AdamR
-
Posts
8 -
Joined
-
Last visited
-
 gsdpic reacted to a post in a topic:
Friendship Sloop by AdamR - BlueJacket Shipcrafters - 1:12
gsdpic reacted to a post in a topic:
Friendship Sloop by AdamR - BlueJacket Shipcrafters - 1:12
-
gsdpic reacted to a post in a topic:
Friendship Sloop by AdamR - BlueJacket Shipcrafters - 1:12
-
rshousha reacted to a post in a topic:
Friendship Sloop by AdamR - BlueJacket Shipcrafters - 1:12
-
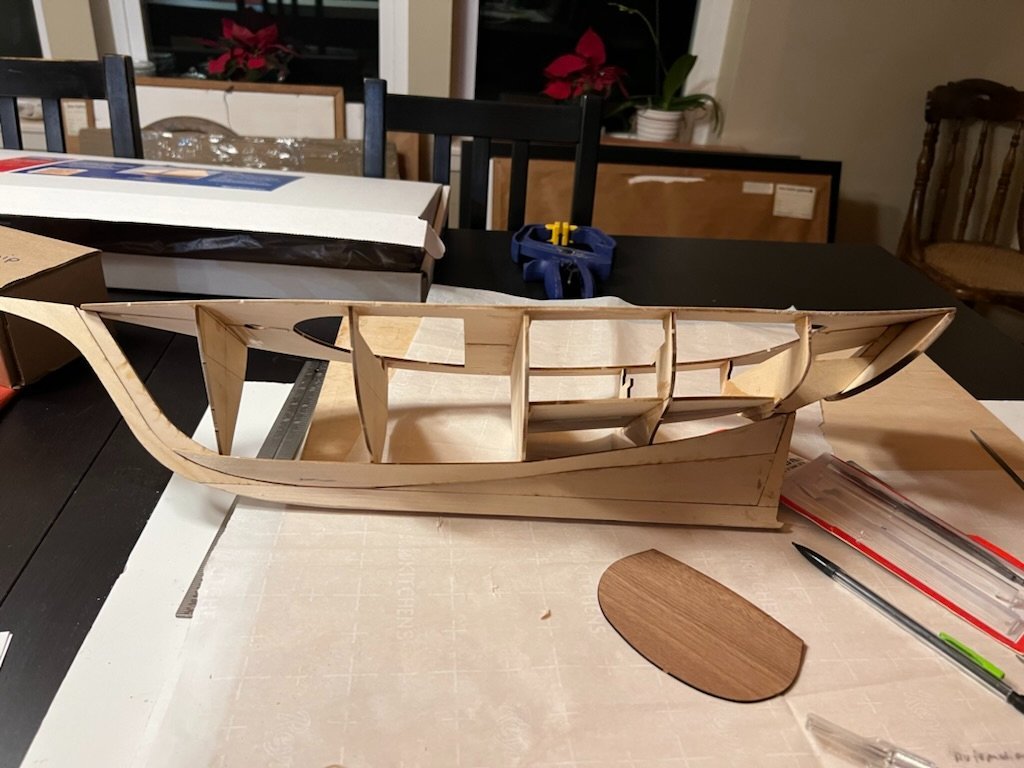
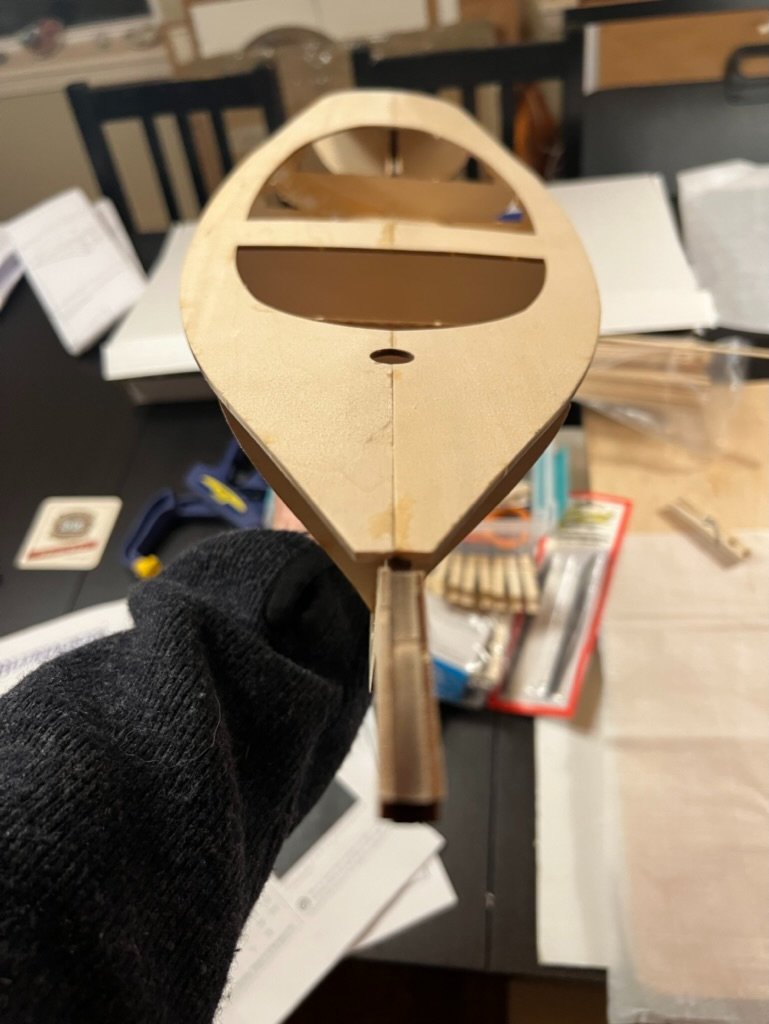
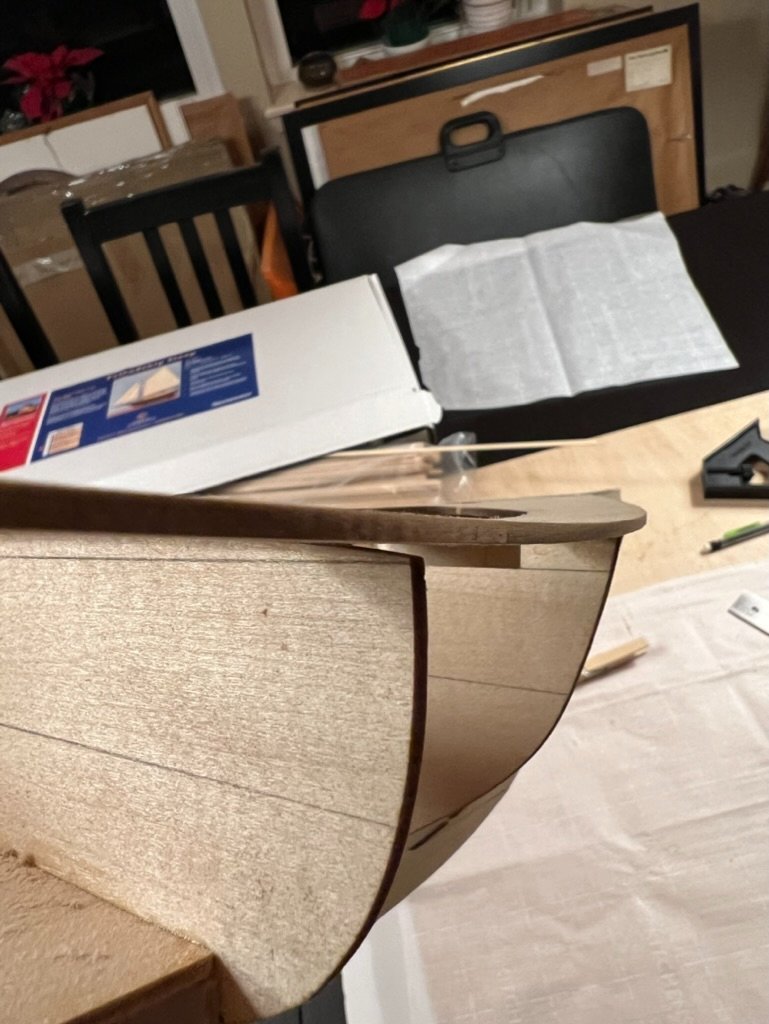
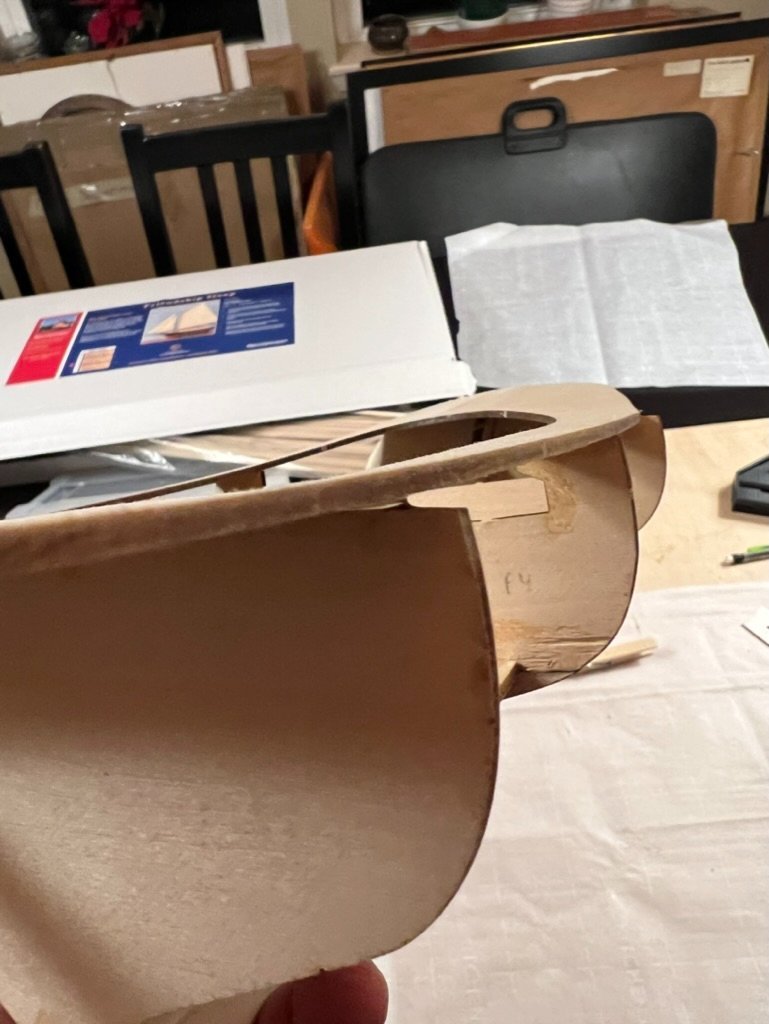
So i was pretty happy with the deck. Learned some important things. But then it was on to learning about planking and bending wood. Wow, there is a lot out there on wood bending. Steaming, soaking, boiling, microwaving, additives vs no additives. Being 2022, I decided to try the microwave method and i overcooked my wood. It was pliable but the planks curled on them selves. but they bent nicely, however the curl improved but was too pronounced to use even when dry. I think proceeded to the boiling technique which seemed not to cause the curling, however, they did expand quite a bit (all of which resolved upon drying). The biggest challenge i had with this technique was finding a pot that was long enough for the planks, fortunately the oval dutch oven seemed to do the trick. Had to do some surgery on bulkheads to get a planks to lay flat but nothing too bad. Have a gap between plank 1 and 2 that you can see, but all in all I was happy with both my shaping and bending experience. Onward!

-
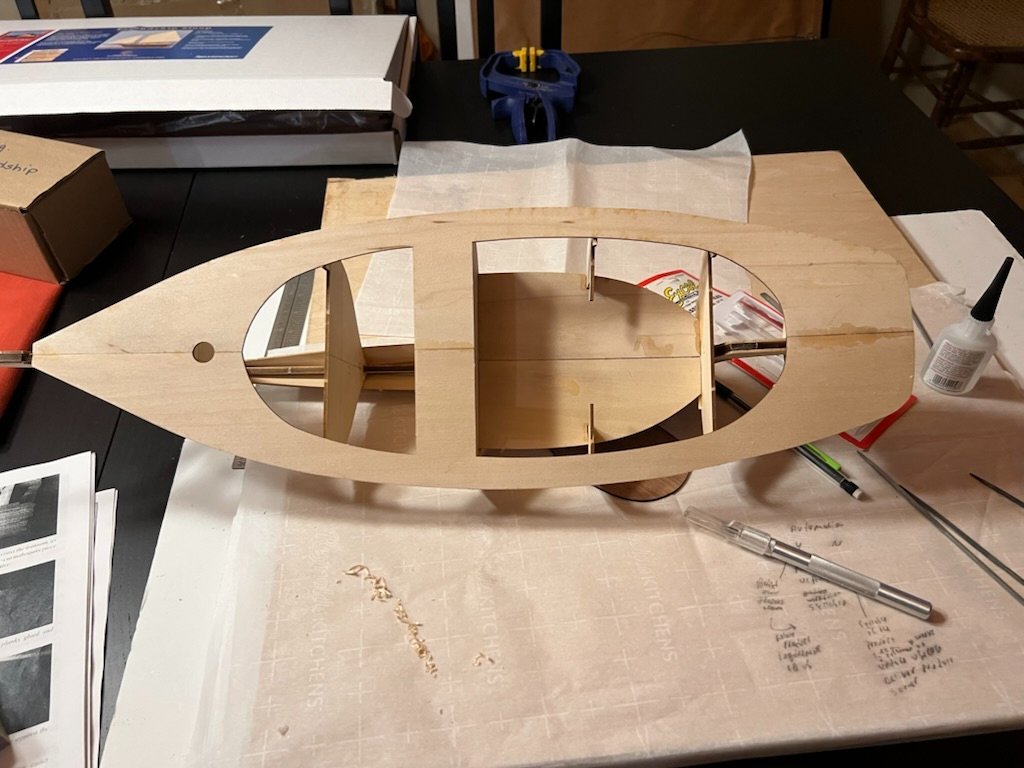
Thanks for the pointer, Gary! You are right and it is my untrained eye that didn't pick up the sloping keel. Appreciate the insight. Anyway, I got tied up with work so haven't had time to post, but am making some progress. Got the deck attached about a month ago. The decision i had to make was whether or not to assemble the deck pieces and then attach them to the hull or do them one at a time. I settled on the former figuring it would be easier to line up the 2 pieces and then get them square on the hull. It seemed to work fine but there are some gaps between the deck and hull supports which will either get a small shim or just be covered by hull planking.
-
Ryland Craze reacted to a post in a topic:
Friendship Sloop by AdamR - BlueJacket Shipcrafters - 1:12
-
ccoyle reacted to a post in a topic:
Friendship Sloop by AdamR - BlueJacket Shipcrafters - 1:12
-
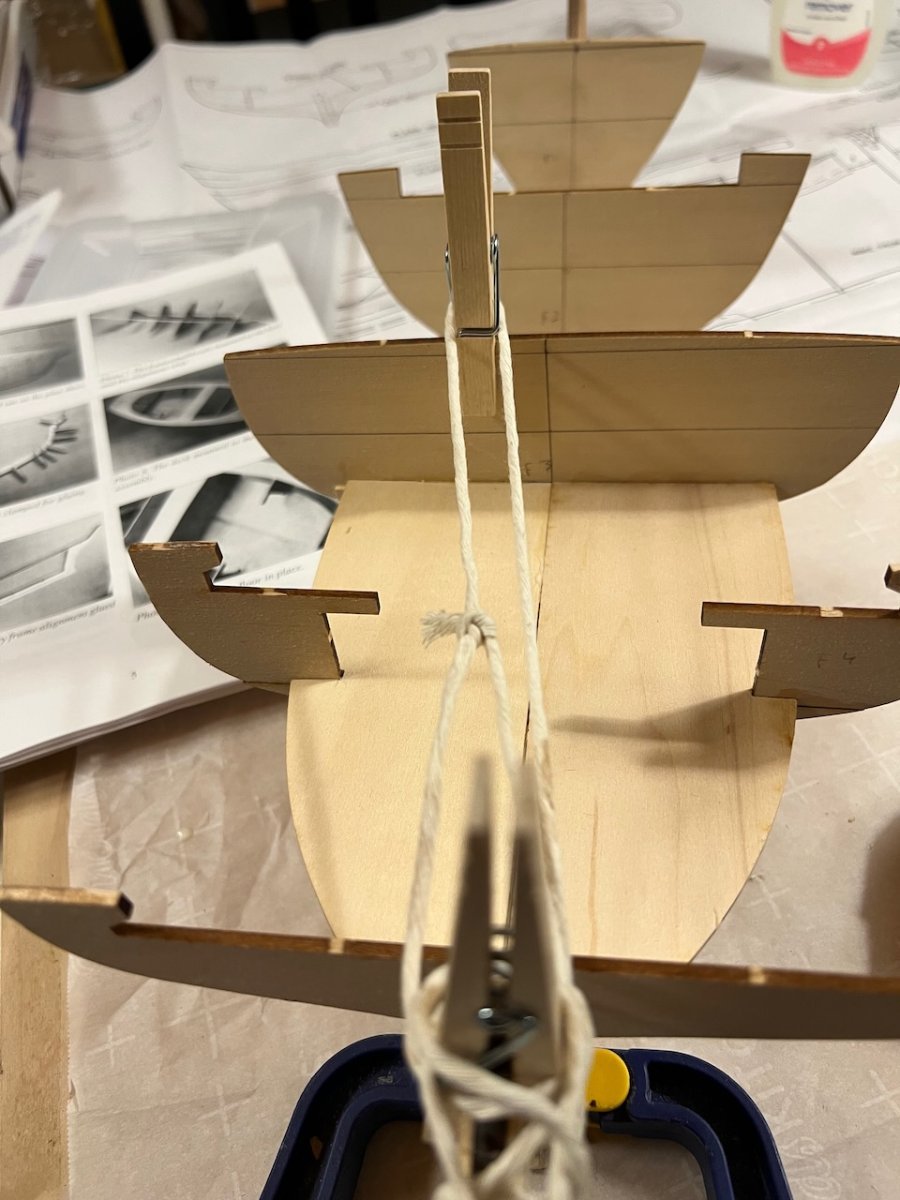
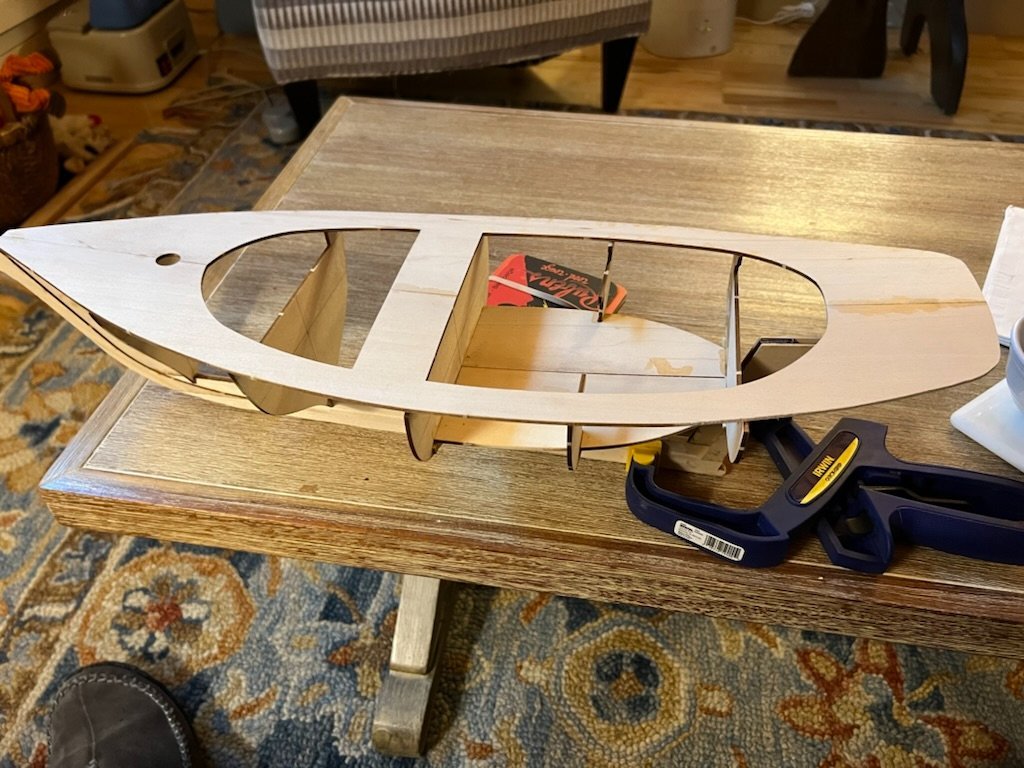
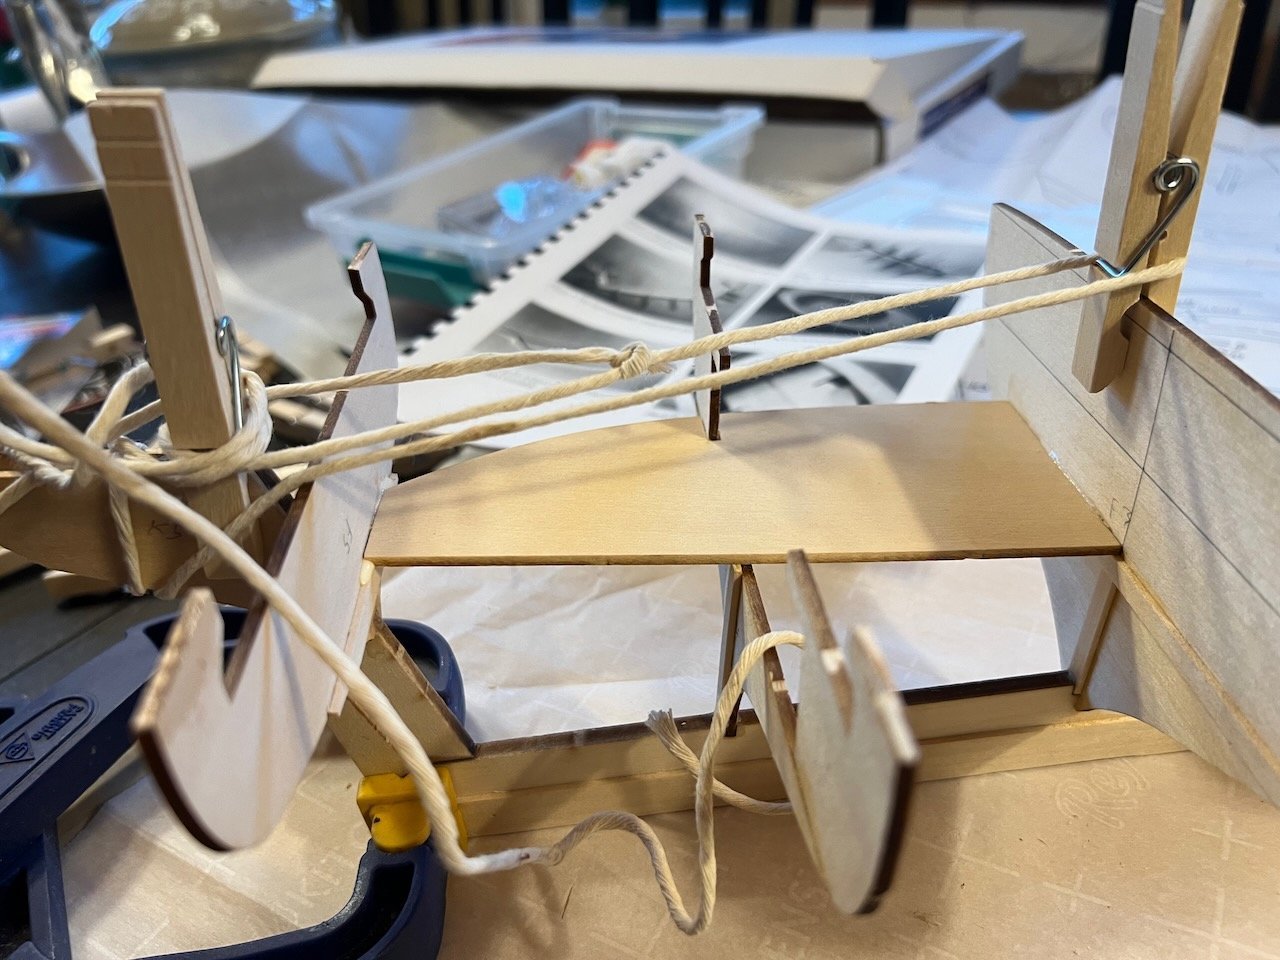
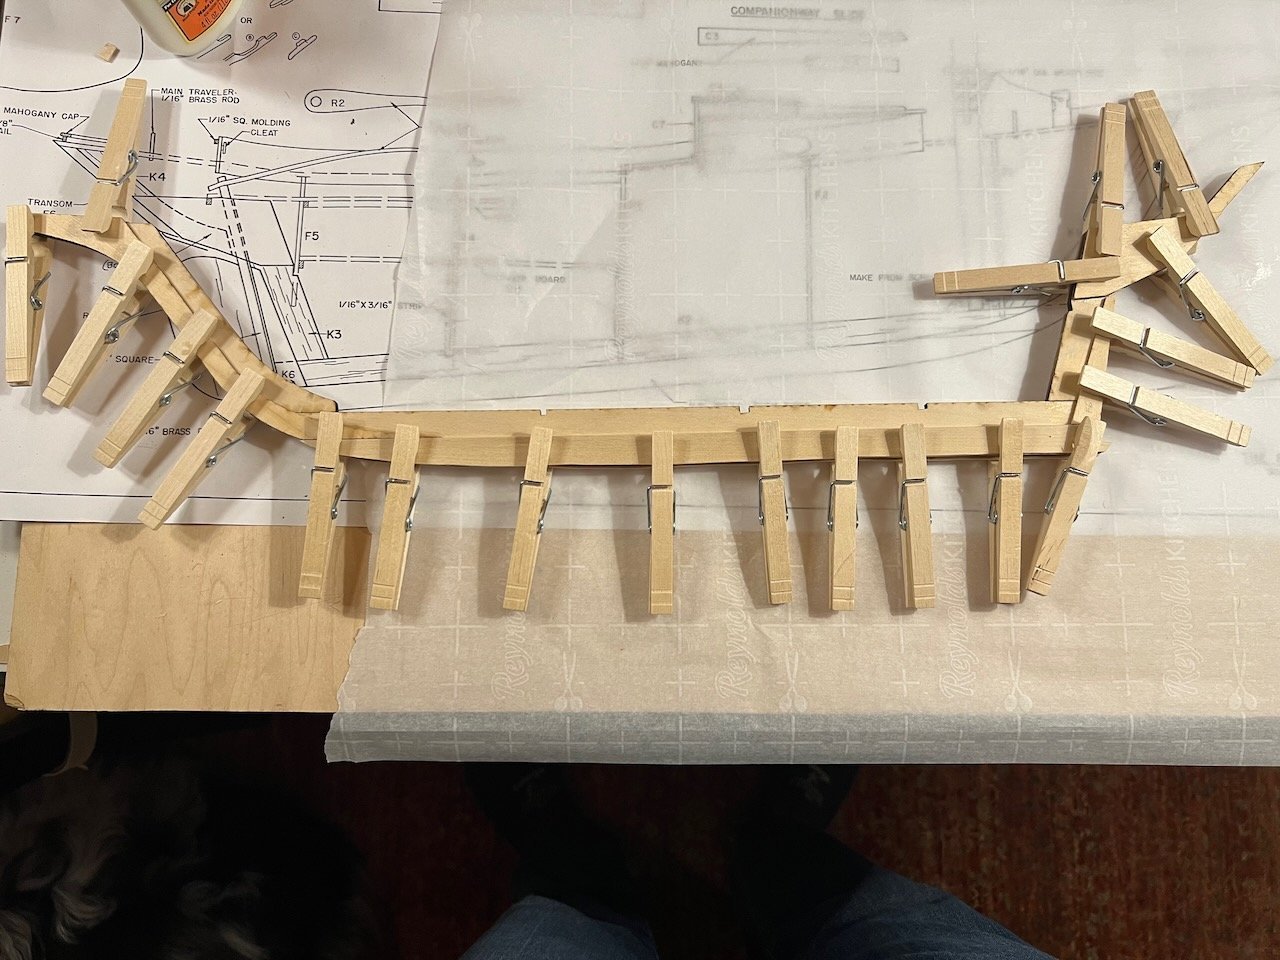
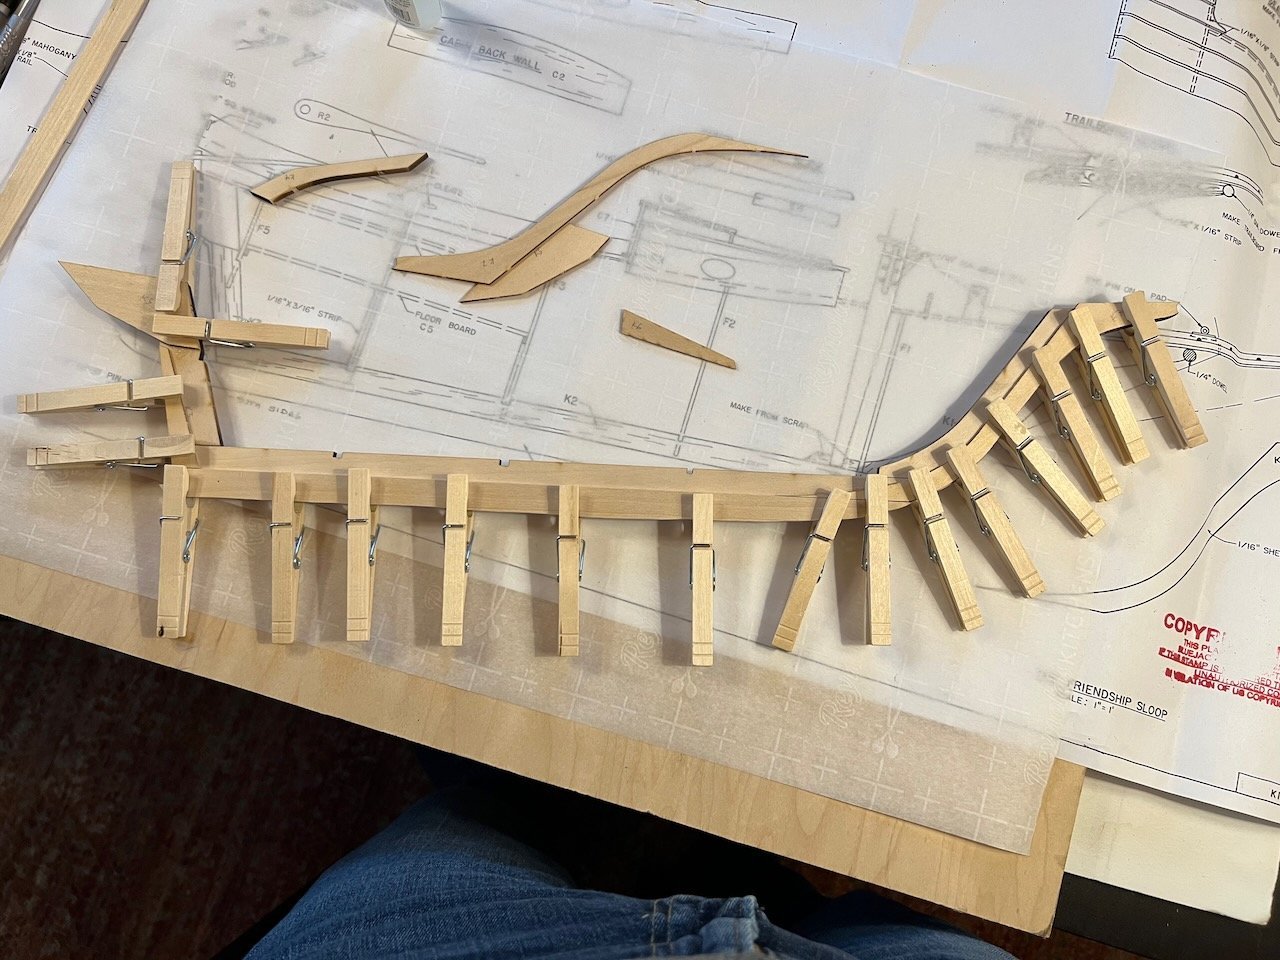
Starboard side of cockpit floor installed. And this was the interesting part for me. You will see that I used some twine and clothes pins to create a makeshift clamp. I elected to cinch the bulkheads to create a tighter marriage between the cockpit floor and the bulkhead. I did this at the risk of possibly creating a ripple effect down the line if I pulled the bulkhead out of alignment for another piece, but time will tell and I will learn.

-
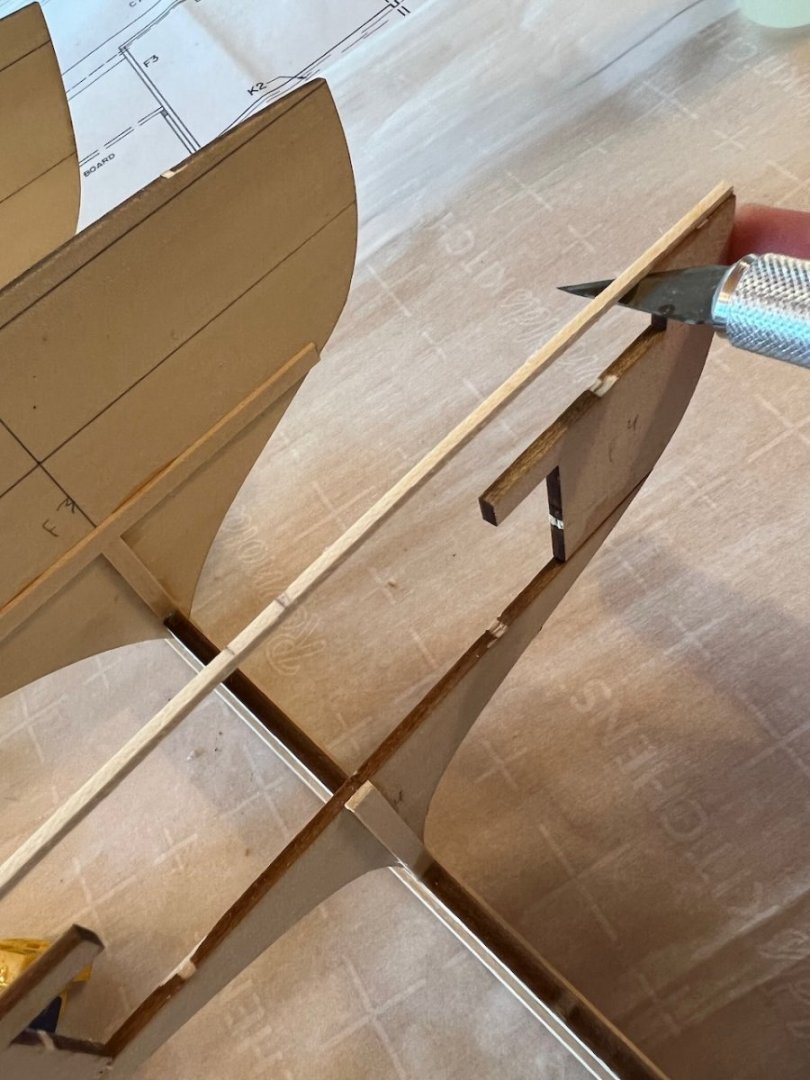
Thanks, John! Appreciate the encouragement. So next big decision was to remove or not to remove the 1/16th cross pieces from the top of th 2 bulkehads. I mean, how much of an issue is 1/16th of an inch. My better angels took hold and I decided it was the right thing to do to remove them. Unfortunately I glued them pretty good with CA. So I used a little nail polish remover applied with a q-tip then used my exacto to cut and peel the cross piece off. Not a bad finish. Just needed to shave a little residual wood off the 1/16th inch cross piece. Once that was done I widened the slot on both cockpit floor pieces and had to do a little minor reshaping of one of the floor pieces to get a nice fit and glued one of the cockpit pieces in. Decided to do it as a 2-step process. Not sure why, just seemed like less of a chance for a screw up.

-
Ryland Craze reacted to a post in a topic:
Friendship Sloop by AdamR - BlueJacket Shipcrafters - 1:12
-
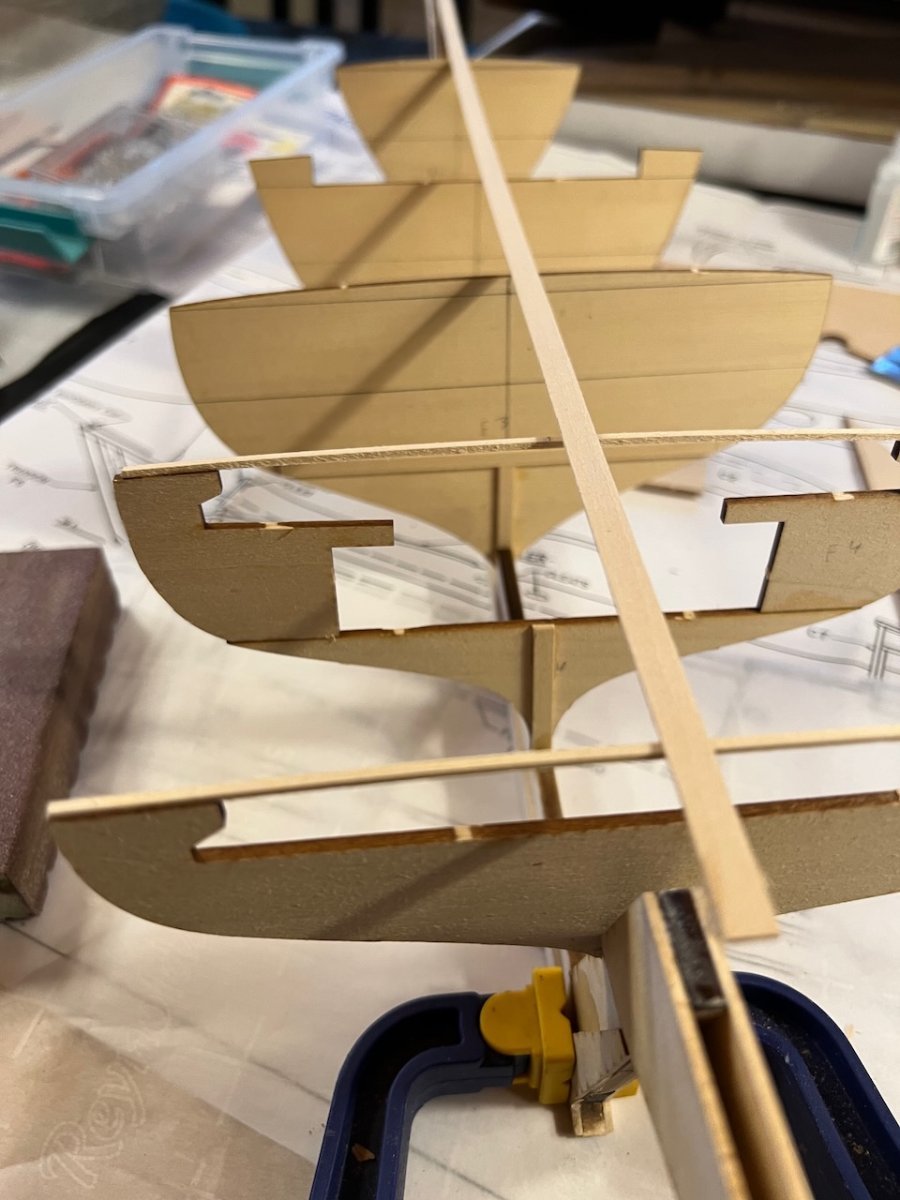
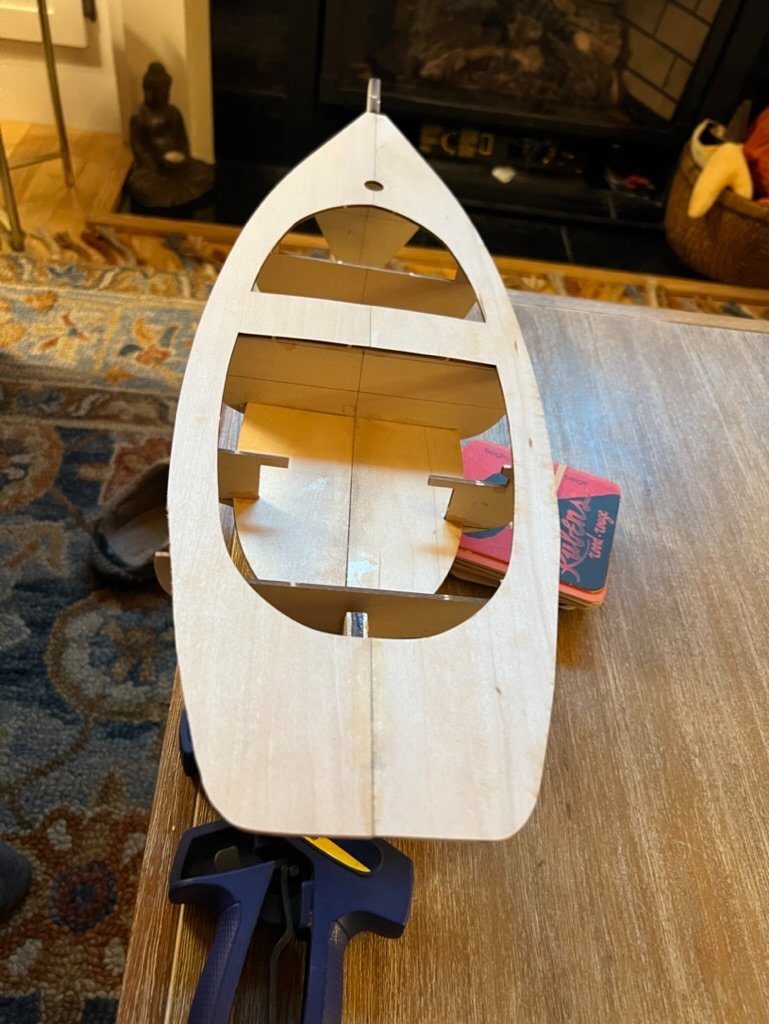
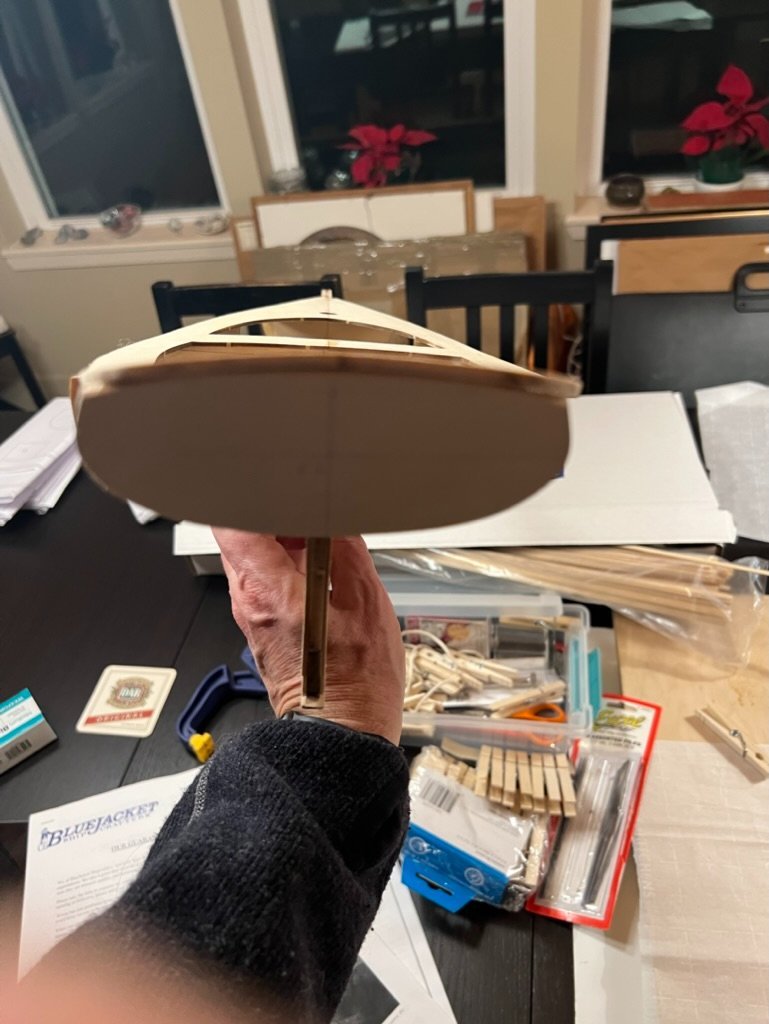
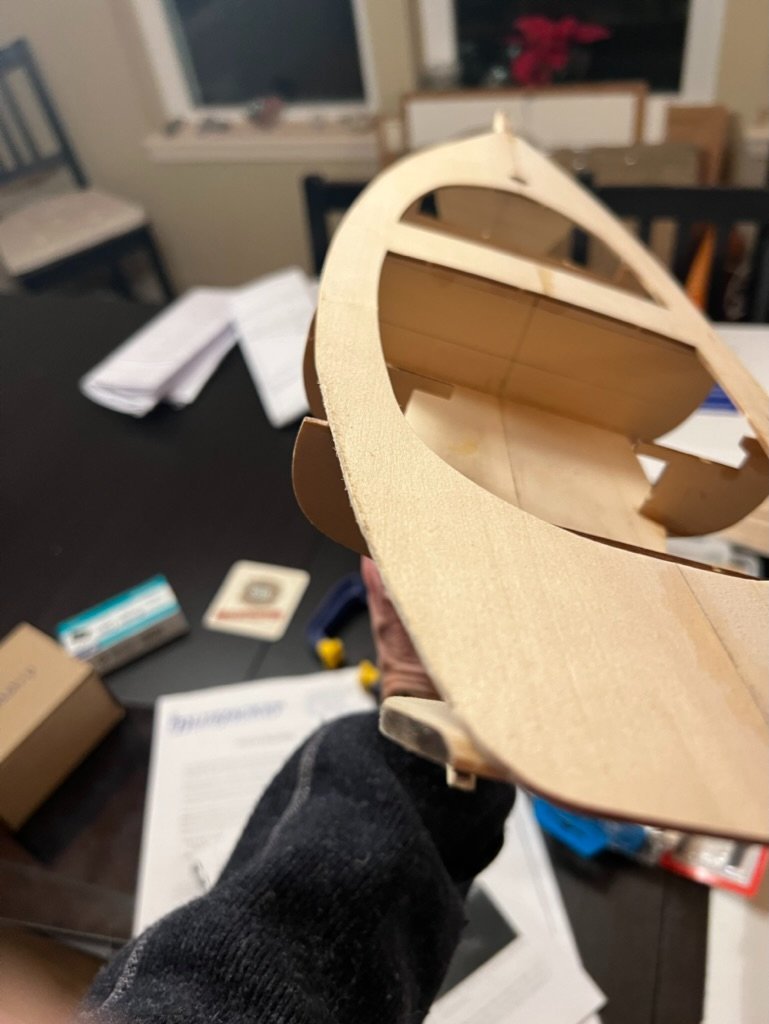
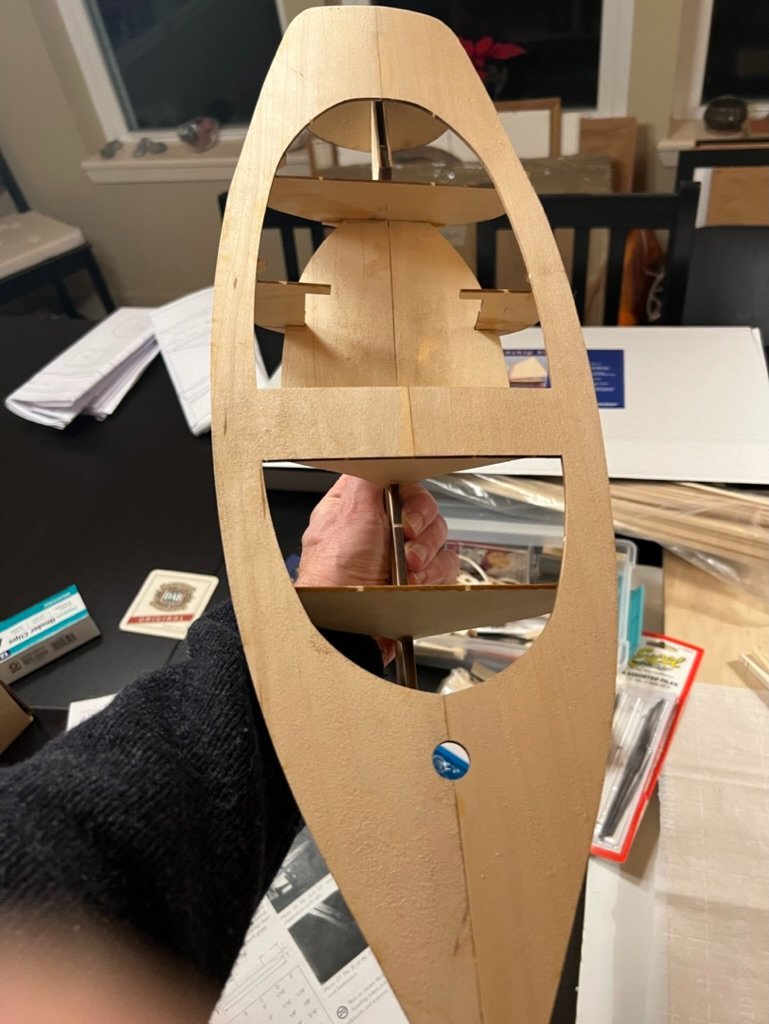
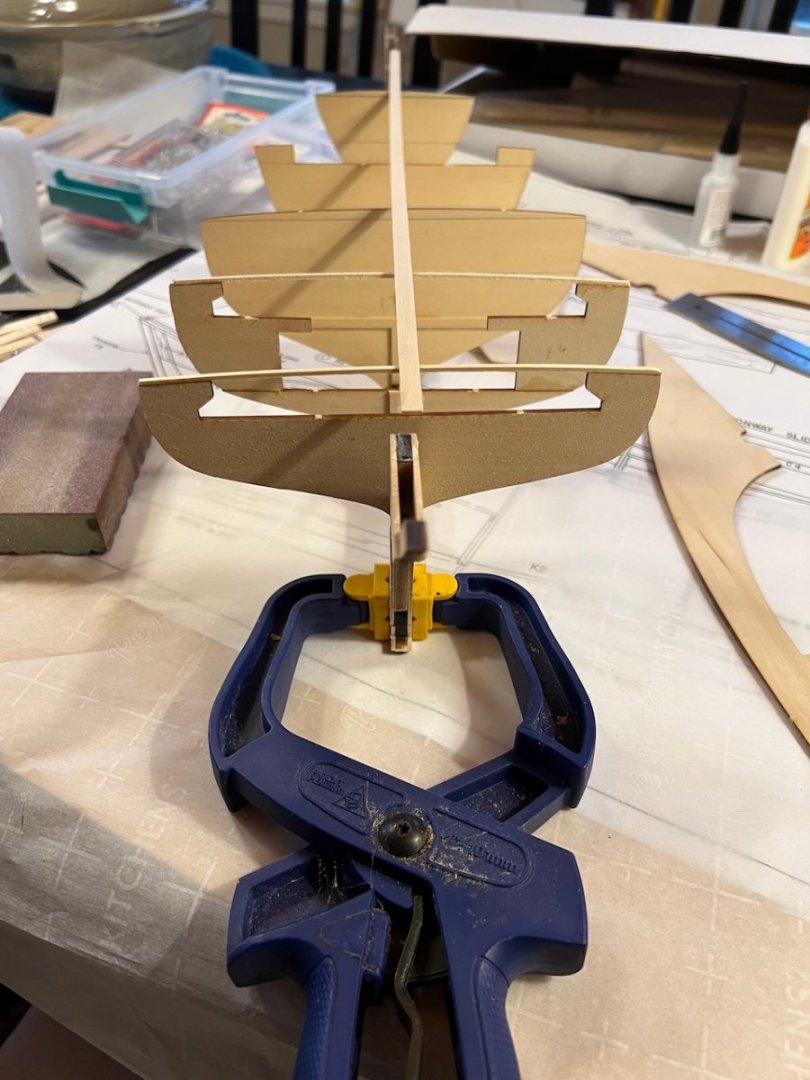
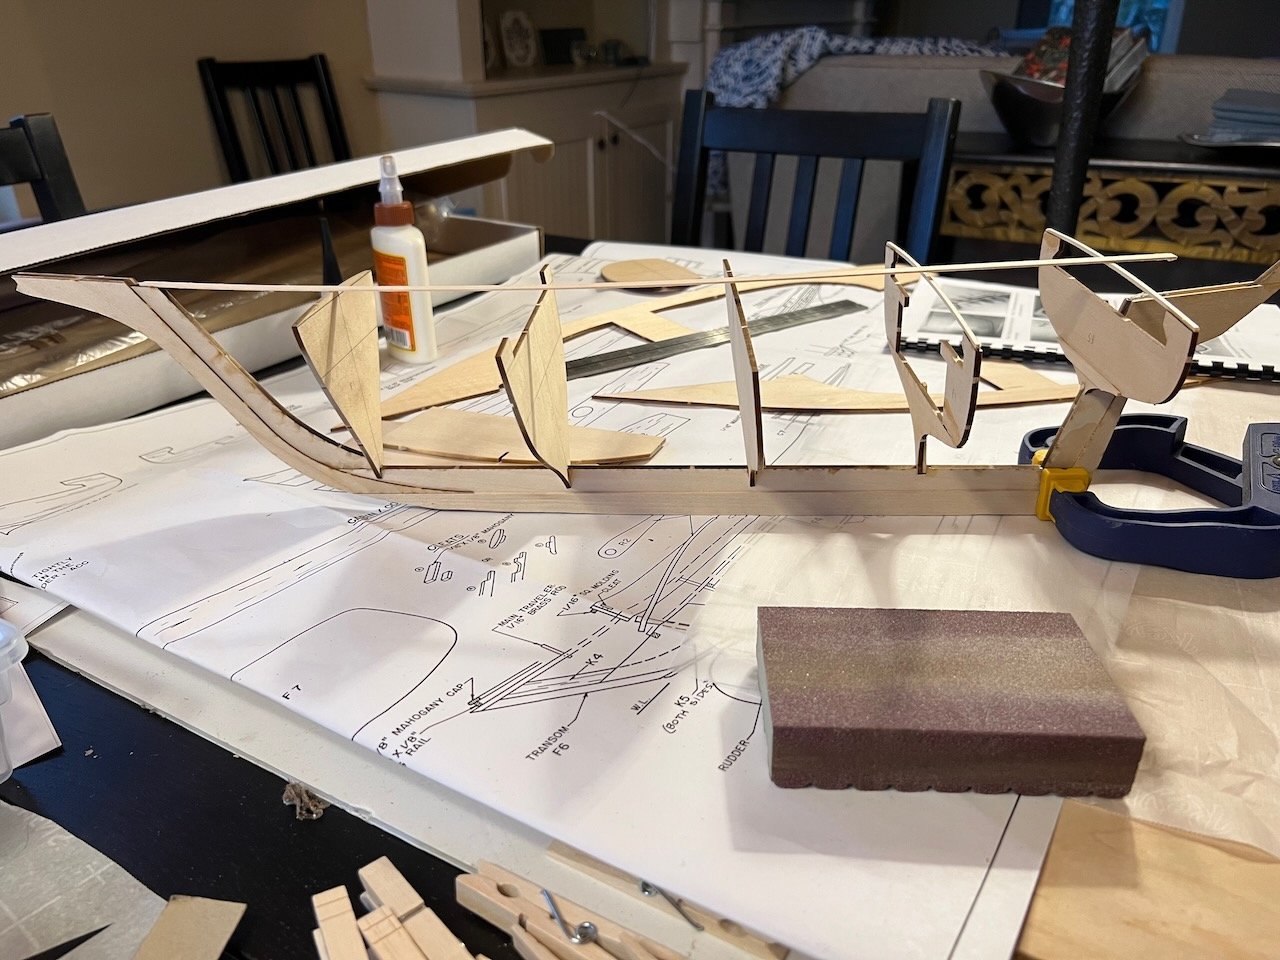
I got the bulkheads installed. I used the suggestion in the instructions to temporarily glue a strip from stem to stern. Interestingly, the instructions also suggest glueing top pieces to the open top bulkheads, F4 and F5 to aid in alignment, but they don't suggest doing the same for F2, another open top bulkhead. As an observation, I think you could do the same for F2 and it wold help similarly. I eye-balled F2 so we shall see what happens. One thing that I did notice on the plans, and maybe this is where being a noob is showing itself, is that all of the bulkheads, with the exception of F5 have a slightly forward rake. There was nothing about this in the instructions but they clearly are not at a 90 degree angle to the keel on the plans. I hope that's correct! Unfortunately, there isn't much of a guide for how much rake, and to make matters worse, the rake seems to slightly decrease as you move aft. I did my best to capture the rake in the photos below. I once again used wood glue instead of CA because my hands aren't 100% steady and i wanted the ability to adjust before it set. Am thinking about using a little CA around the seams between the bulkheads and the keel to add strength. Not sure it will help, but I don't see anything it would hurt.

-
Ryland Craze reacted to a post in a topic:
Friendship Sloop by AdamR - BlueJacket Shipcrafters - 1:12
-
Ryland Craze reacted to a post in a topic:
Friendship Sloop by AdamR - BlueJacket Shipcrafters - 1:12
-
Ryland Craze reacted to a post in a topic:
Friendship Sloop by AdamR - BlueJacket Shipcrafters - 1:12
-
GrandpaPhil reacted to a post in a topic:
Friendship Sloop by AdamR - BlueJacket Shipcrafters - 1:12
-
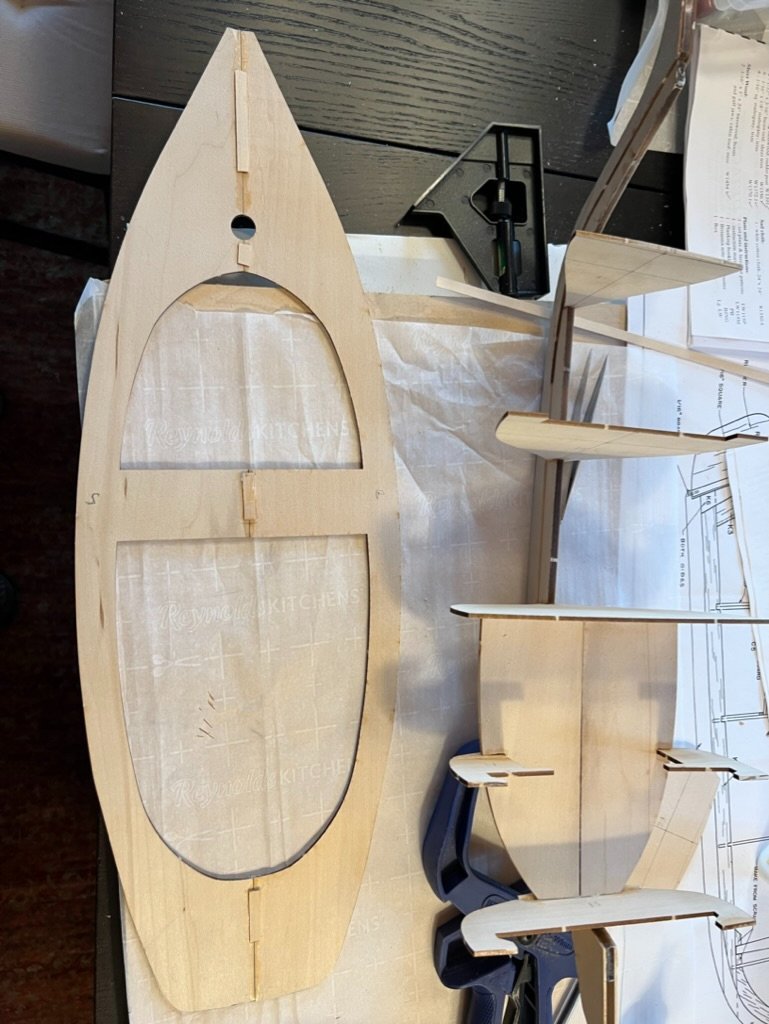
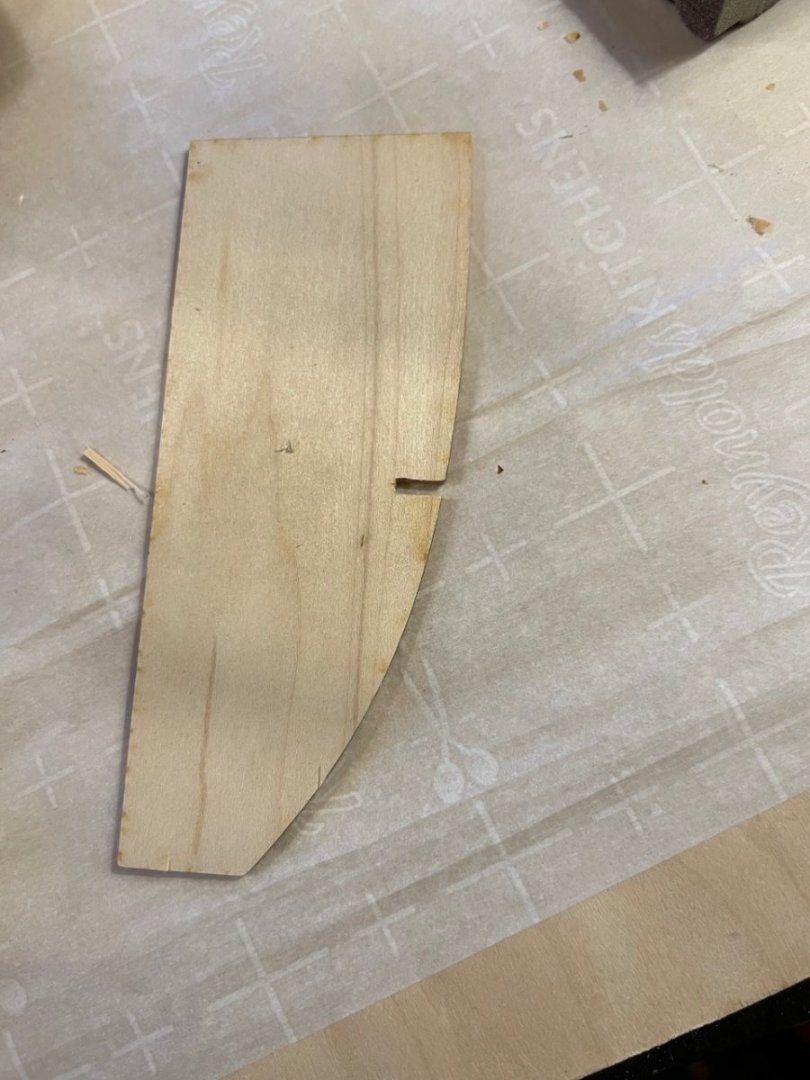
Next It was time to form the keel. Most of the keel pieces are laser cut, but I got to hand cut my first pieces using the enclosed basswood sheets. My plan was to make a copy of the plan and then cut the piece out from the copied plan, unfortunately my copier was not long enough. So I found another use for the anti-stick parchment paper, it doubles as tracing paper. Once I traced the part, I used push pins to affix it to the basswood (remember, tape won't adhere to parchment paper) and then used my exacto to cut out the piece. The top picture shows the keel assembly with the starboard side laminations and the bottom picture is after both sides were laminated.
-
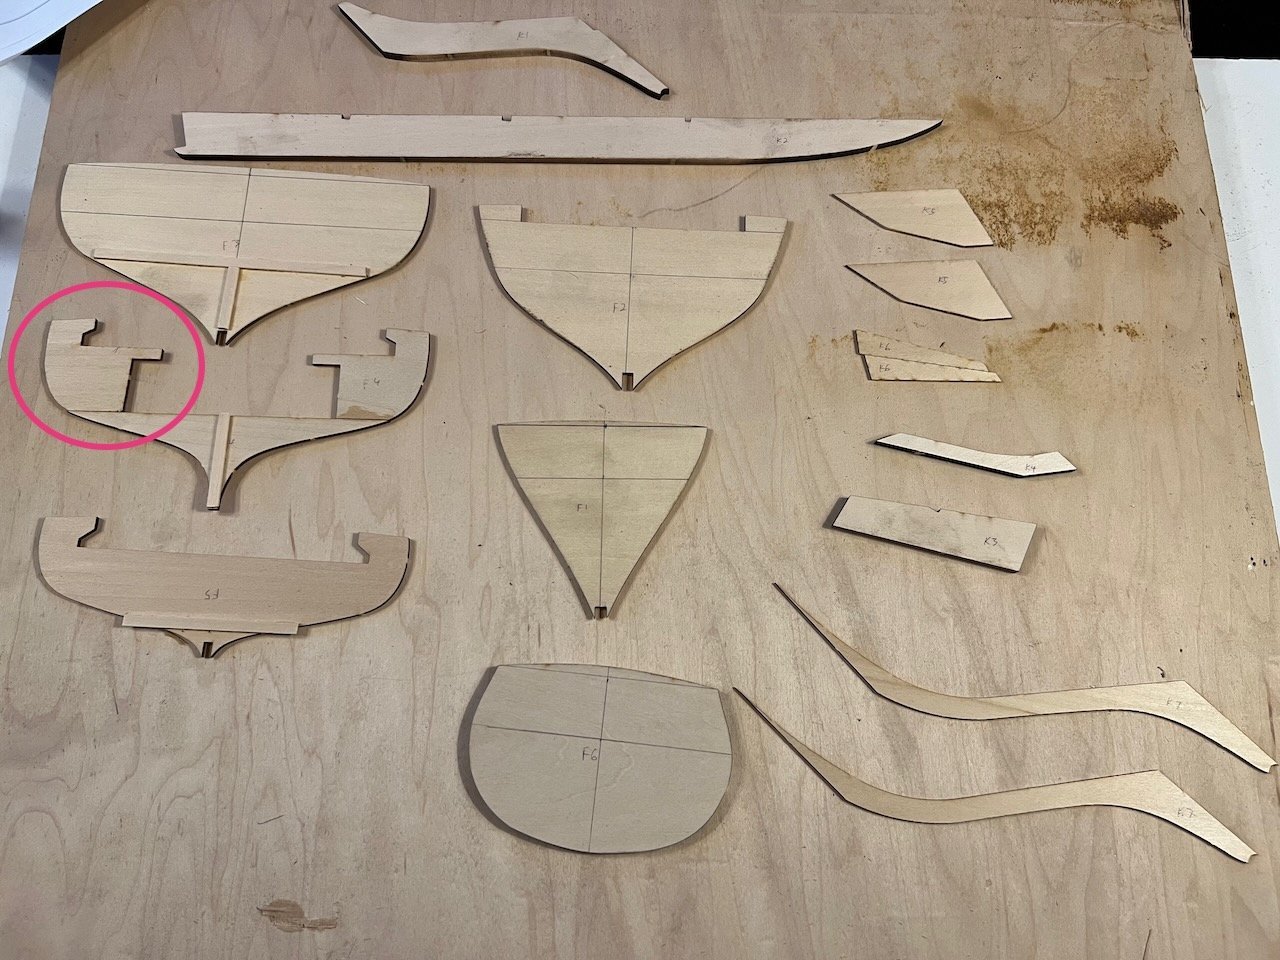
Next I cut out the laser cut pieces of the keel and bulkheads. So far so good. For a noob I'm feeling ok. One of the things I will highlight through my posts is where my inexperience shines through. Many of you will undoubtedly say "really!? he did that?" but if there are any other would be modelers out there like me, they may appreciate my novice mistakes and insights. So after cutting out the laser cut pieces, instructions say to glue three pieces together to form one of the bulkheads. Here is where the trouble began (see red circle). The glue I bought was Medium CA...which I have since learned means cyanoacrylate...and if I had taken the time to actually read the label, I would have realized this was "instant glue". D'uh! So when I laid out those three pieces, I decided to do it on my work surface as I figured it would give me the best chance for success at getting the pieces aligned appropriately. Well, I had not yet been introduced to the "wax paper" trick. So my very first model glueing experience as an adult ended up in my bulkhead being immediately attached to my work surface. My scream of anguish notified my neighbors that my new hobby was not going well! Fortunately, after stepping away from the board for a while, I returned to my work area and with gentle application of my exacto was able to dislodge the bulkhead intact!! So if you are new to modeling here are two suggestions (pro modelers, feel free to laugh): 1. When you glue, lay down a sheet of wax, freezer, or parchment paper over your work surface. Surprise...glue will not stick to this paper! This will save A LOT of frustration and not terrify the neighbors with your own screams of woe! 2. Glue...Having spent 3 hours scouring the internet, there are multiple types of glue you can use for modeling. There is not a consensus of what is best, but each modeler has a preference. From my perspective, CA glue is great in that it cures almost instantly and you don't have to hold it in place for a prolonged period of time. BUT it is unforgiving. So if you are working with small pieces or have shaky hands, you need to figure that once two pieces come in contact, they are forever married. Other types of glue (like wood glue) are way more forgiving and give you more flexibility at coaxing two pieces together appropriately. I decided to use CA on all of these pieces. I only went to wood glue for one piece on the keel (K4) because i needed to make sure that I had time to seat it correctly.
-
Finally got bored streaming Netflix and was jealous of my wife's knitting projects for holiday gifts. So 2 weeks ago that I said to my wife, "I need a hobby!". I have picked up and put down the guitar too many times to count. Did some pottery a few years ago, but could not find a studio that took students here on the coast of Maine. Am an avid sailor so started to do some research and found that the oldest, continuously operating model ship building company was only 1 1/4 hours away in Searsport. So last Monday took a trip down there and met the owners who are awesome. I haven't built a model since a plastic B-17 when I was 8 years old (sadly, 50 years ago). My first decision was solid hull or plank...well, not knowing much of anything, I decided to jump into the deep end and start my modeling journey with the 1:12 Friendship sloop. Nic and his team were great. In addition to the model, they were extremely helpful in outfitting this noob with a paint kit, an exacto knife, drill bits, tweezers, etc...Once I got it home I unpacked the kit and separated all the laser cut pieces, planking and dowels.