-
Posts
216 -
Joined
-
Last visited
Content Type
Profiles
Forums
Gallery
Events
Posts posted by rudybob
-
-
11 hours ago, Jaager said:
POF or POB with Pine or Basswood fillers the whole way,
POF , POB ?
-
7 hours ago, Bob Cleek said:
I'll mention further that if you have a small clothes iron or electric plank bender, or even a hair drier, you can apply heat to the outside of the plank (taking care not to scorch it) while holding it in place. The heat will substantially accelerate the drying time of the PVA.
I have used the iron and the hair dryer to bend my planks but not to dry glue. This is the first I have read that. I will try it
-
2 hours ago, tlevine said:
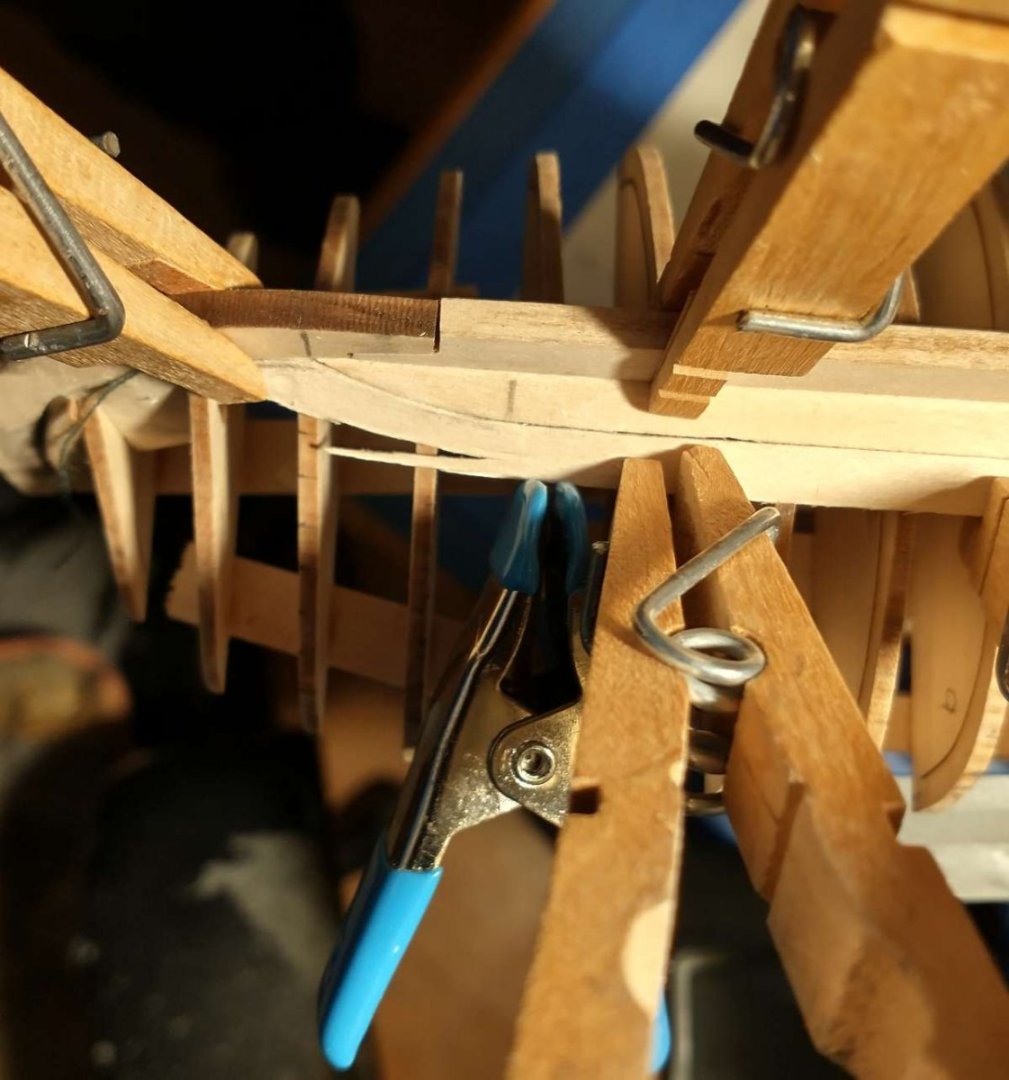
By only applying glue to a few bulkheads at a time, you almost eliminate the need for clamps. Hold it in place with your fingers for a few minutes and you are good to go. Apply the glue to the bulkhead with either a toothpick or a #11 Exacto blade.
I been using a toothpick but haven't been happy with them. I will try the #11.
-
2 hours ago, barkeater said:
Are you heat bending your planks. If not then that might be your solution. I don't use cyanoacrylate just white (carpenters glue). CA I'd bet is causing your quick drying time.
Richard
Yes I am bending the planks. I rarely use CA. I was trying to do to many planks at once
- Ryland Craze and mtaylor
-
 2
2
-
-
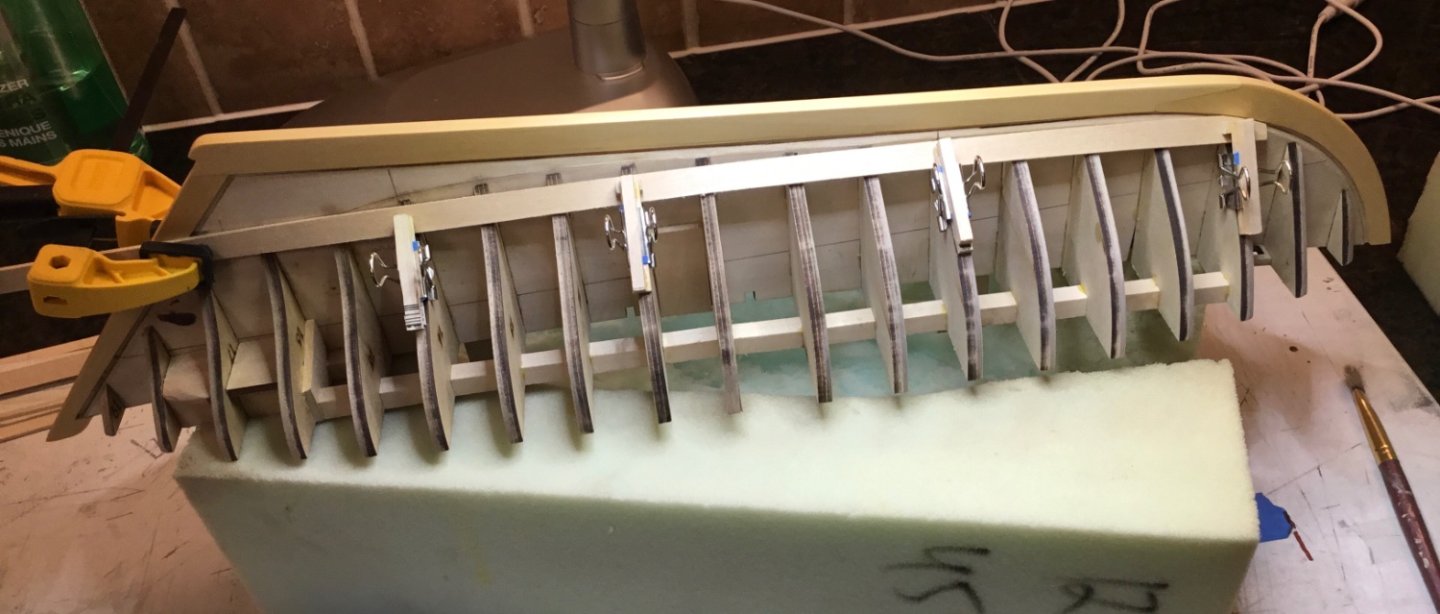
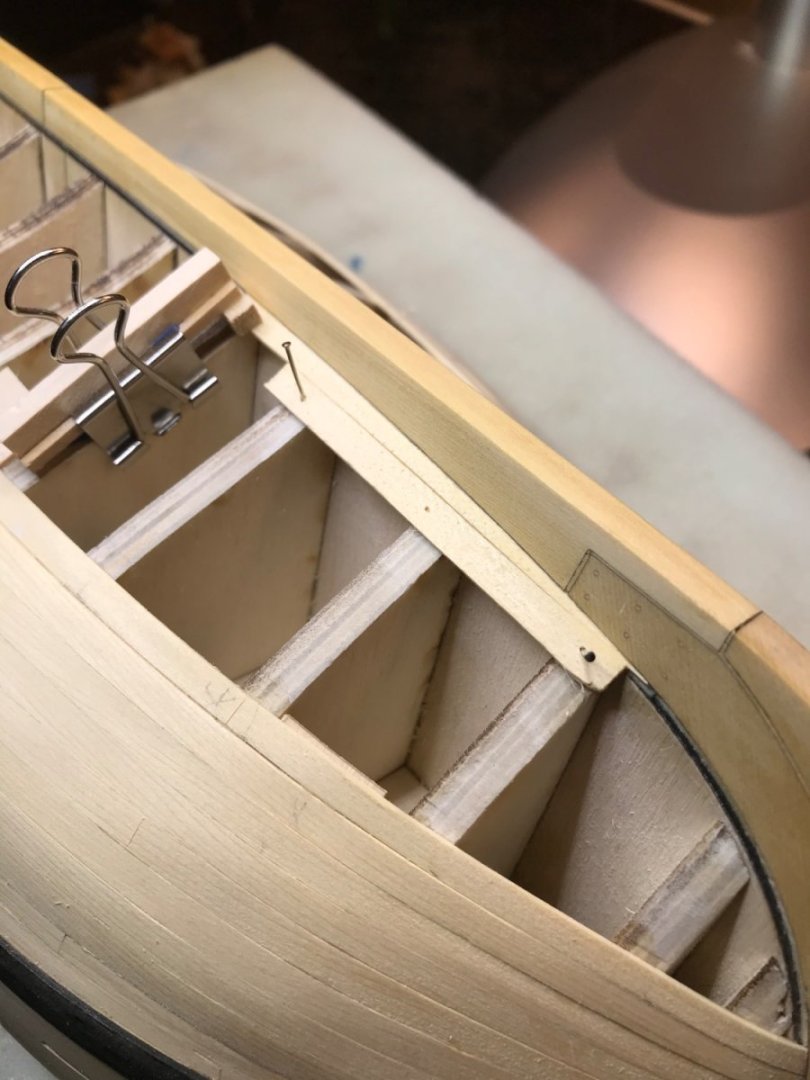
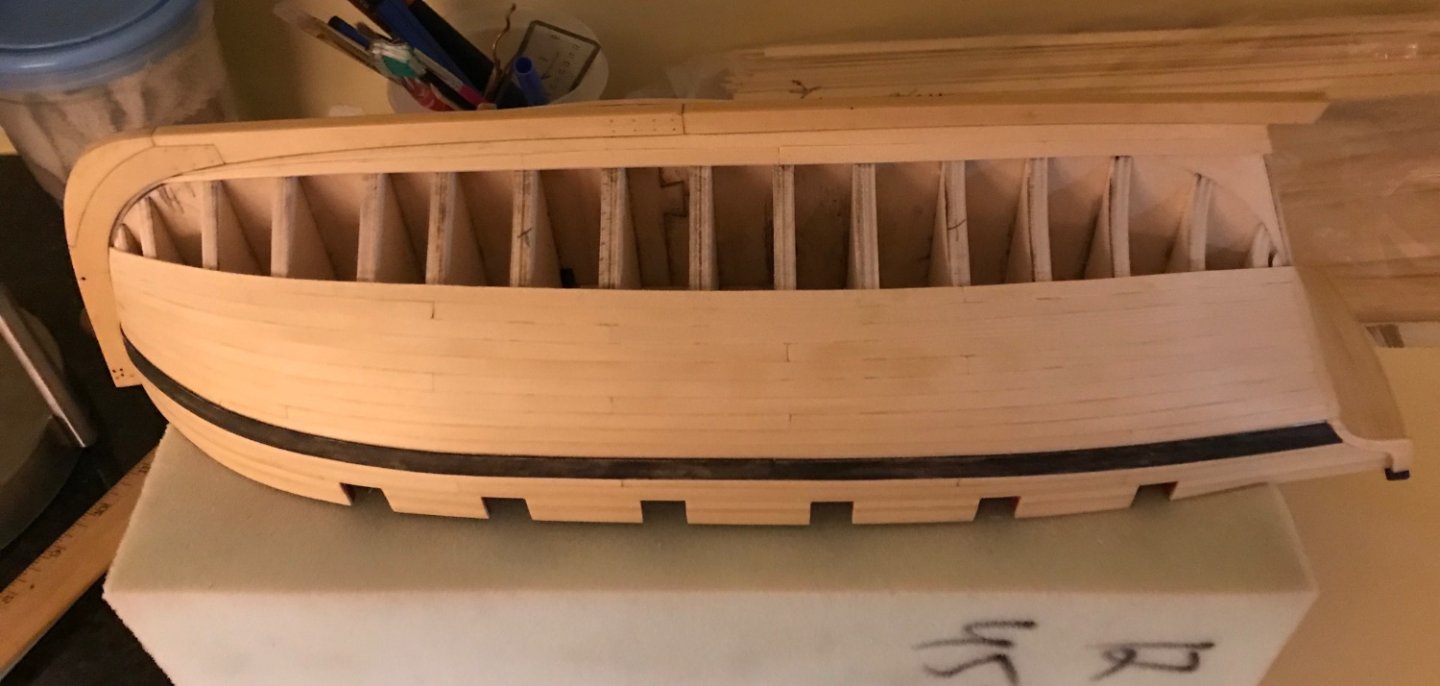
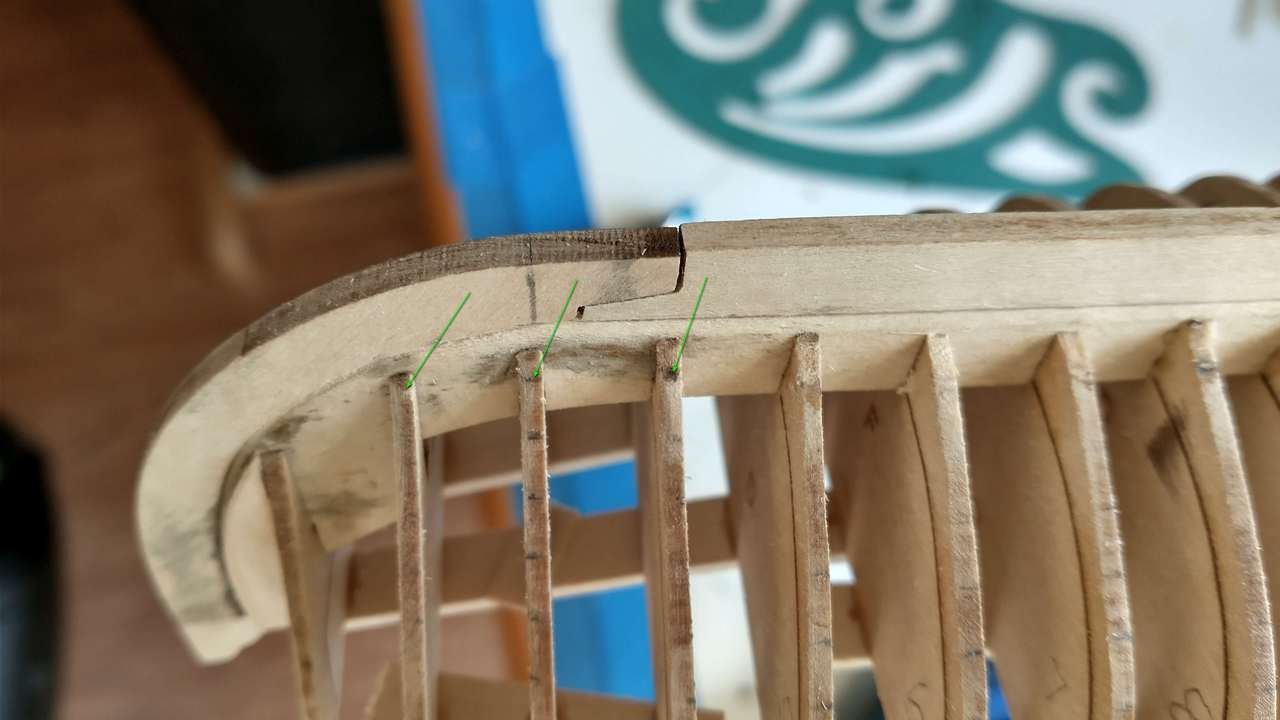
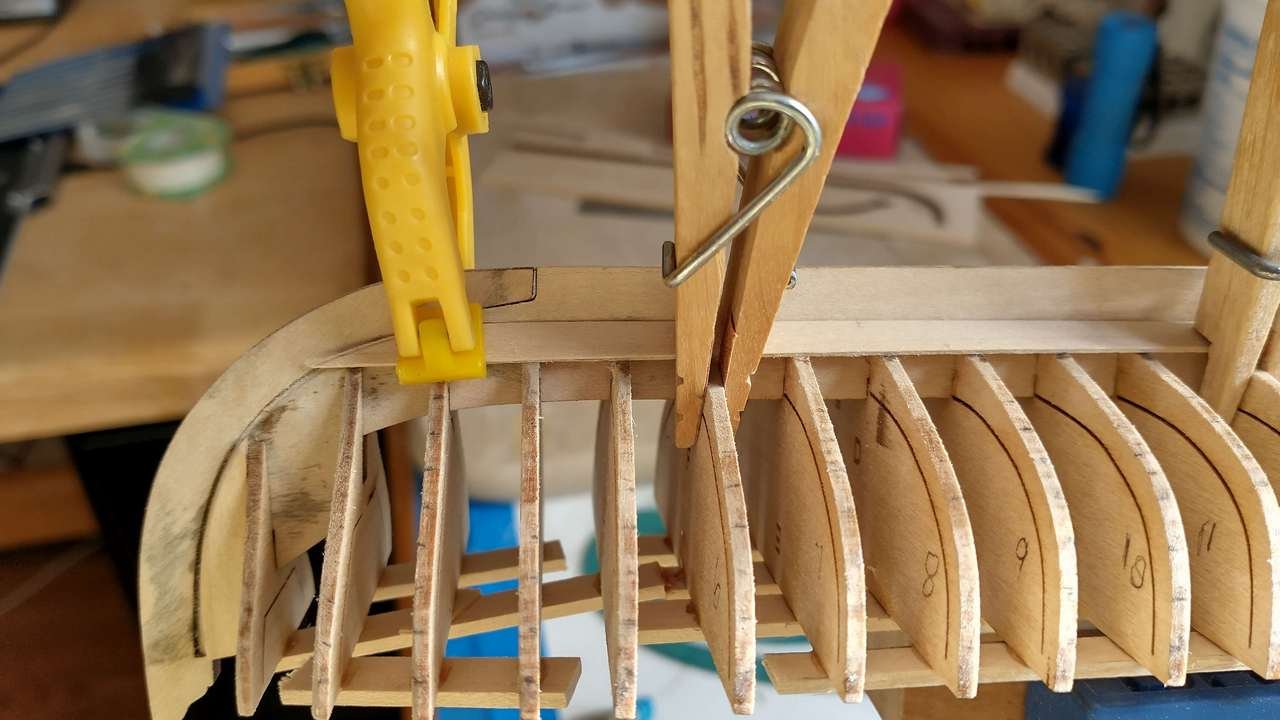
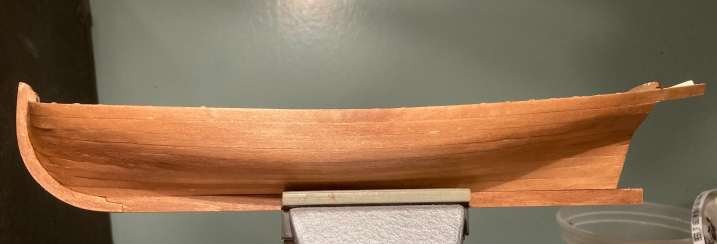
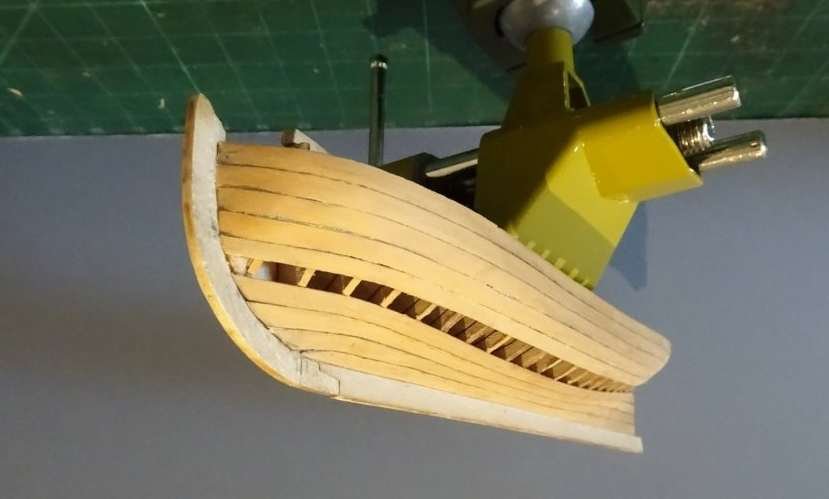
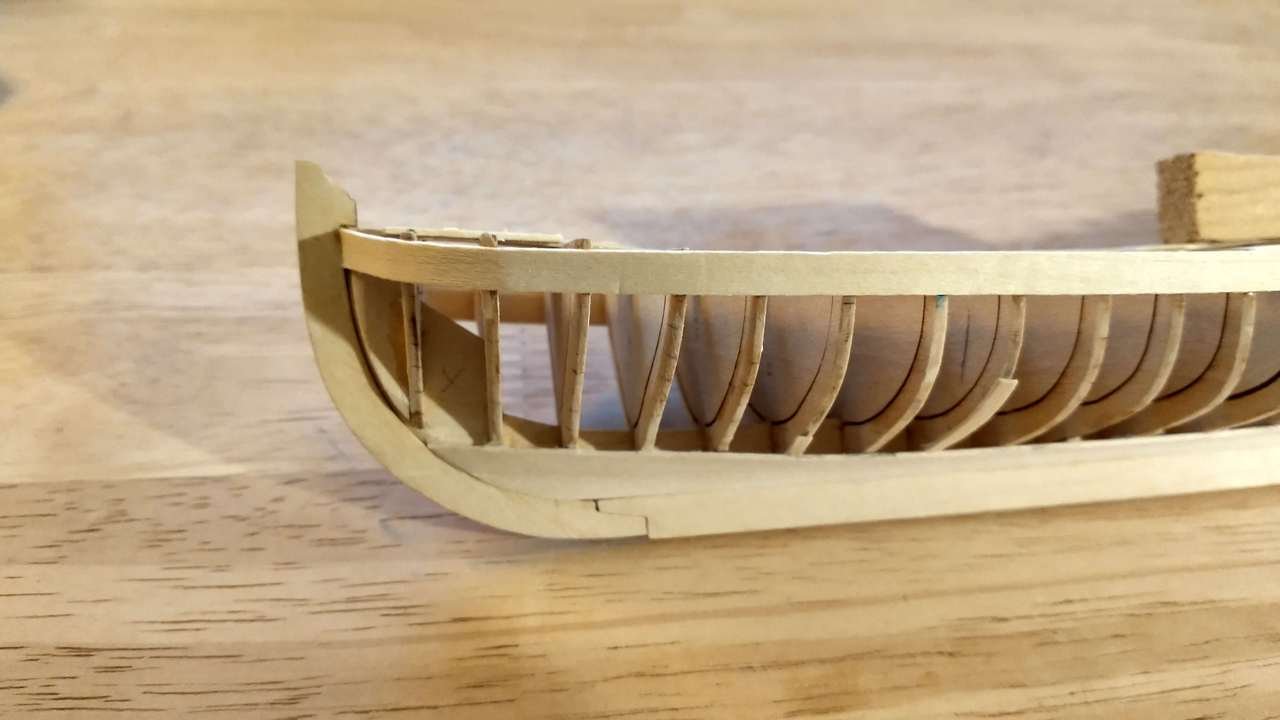
A problem I am having is gluing. By the time I get to one end of placing glue on the bulkheads the end I started on has dried more than I would like. I have been using Gorilla Wood Glue and a little bit of CA. Does anyone have any suggestions? Perhaps I need a glue that doesn't dry as fast
- Ryland Craze, mtaylor and robert952
-
 3
3
-
8 hours ago, Paul Le Wol said:
Hi rudybob, here’s a few pics of some of my planking. I found it easier to lay out the garboard but using a straight strip of wood clipped to the bulkheads where the plank above the garboard would sit. Start at the joint and run it back to the stern keeping the distance from the keel not more than the width of the plank you are using for the garboard. Mark the bulkheads and use the measurements at each bulkhead to lay out your garboard. Yours won’t be as wide at the stern (as in the first pic) but the principle is the same.
These aren’t the best examples but they give you an idea of what Allen suggesting.
I am going to try this tomorrow. Thank You
- Paul Le Wol and mtaylor
-
 2
2
-
9 hours ago, tlevine said:
The run of the garboard looks OK, maybe just a tiny bit high at the stem. Is your keel piece glued in place or just placed there for the photos? I ask because there is a considerable gap between it and the stem. Which kit are you building?
Yes. It is glued and I had to choose the lesser of two weevils. It's poorly cut and I am not the only one to get it like this. So much for laser cut accuracy. A more talented guy could have fit it by sanding or filing but I ain't that guy. It's Chuck's pinnace from our old friend model shipways
-
-
-
-
I'm thinking about the strake that snubs into the rabbet and what difference if any that makes.
-
Do I begin ticking from the keel upwards or the sheerline down?
-
Is it advisable to shave down only one edge of a plank? It seems to me it is but I don't know. Thanks.
-
-
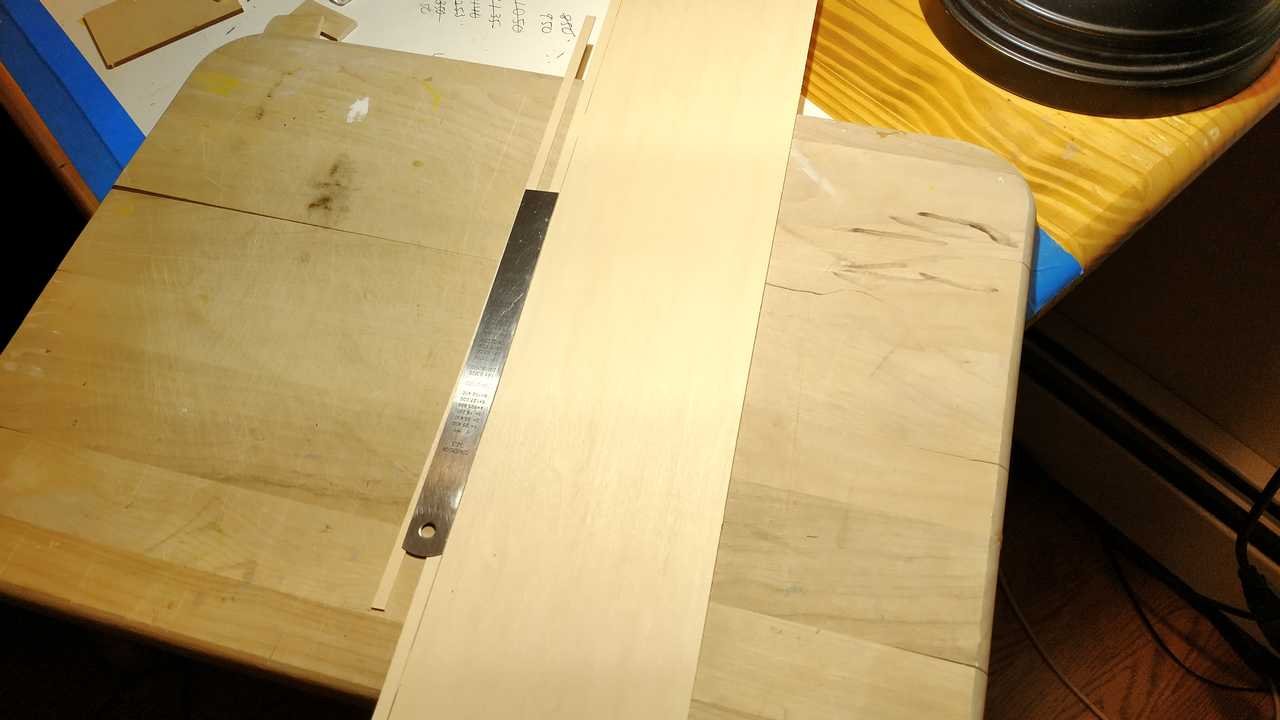
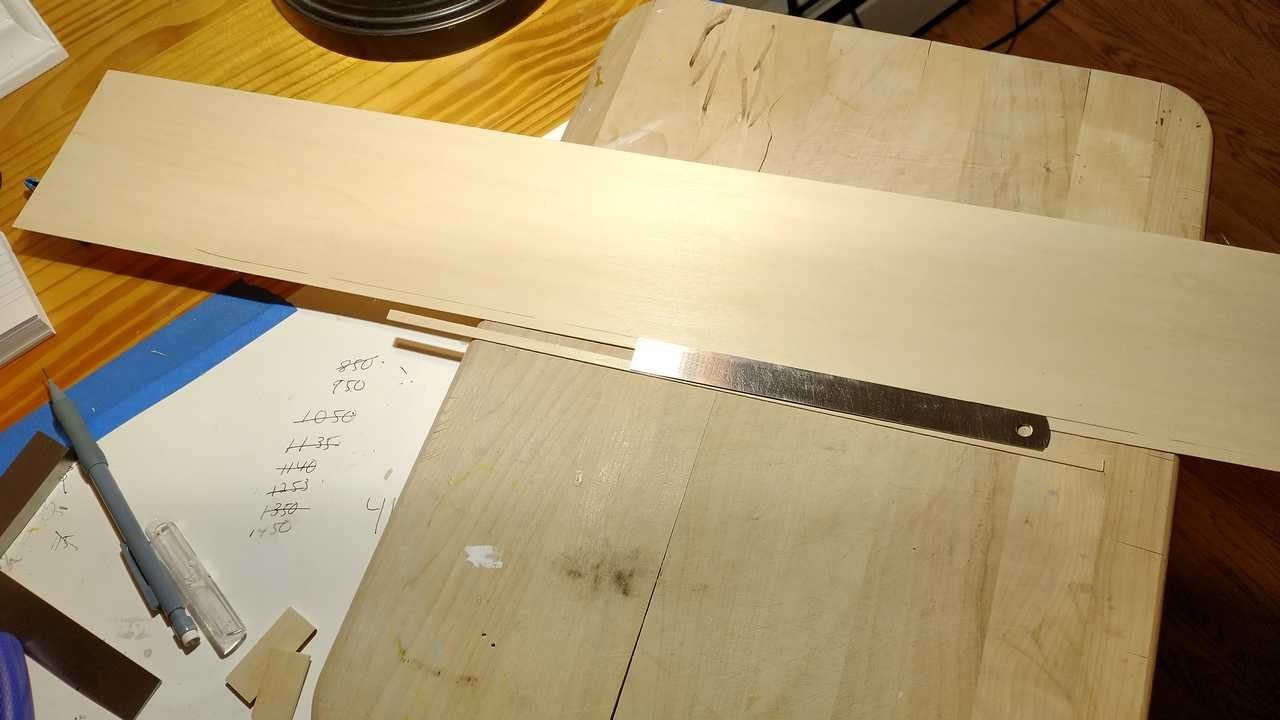
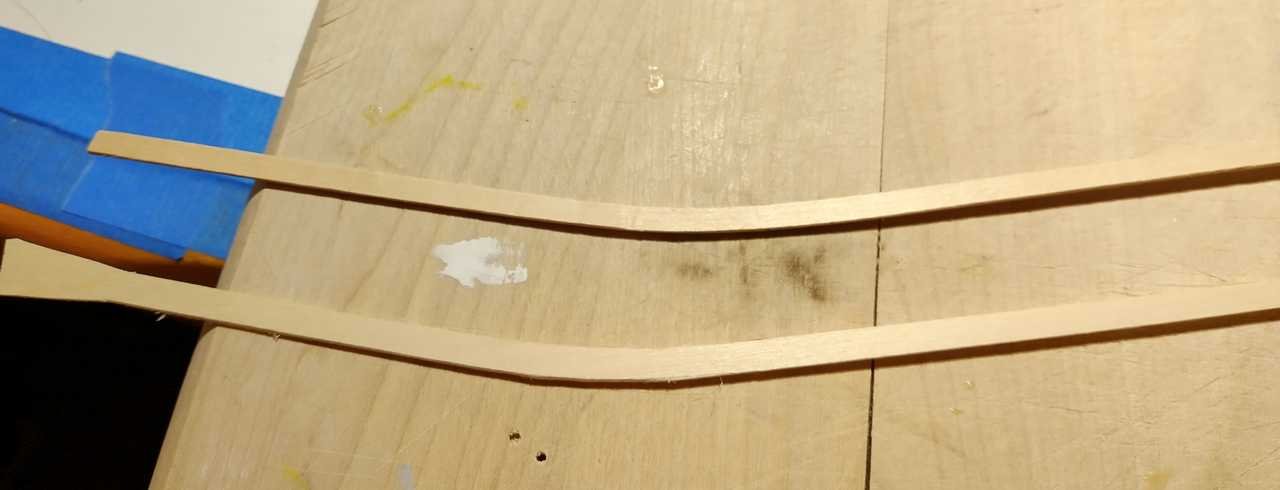
I have cut spiled planks from a flat sheet. It seems to me that as I bend them around the bow I MUST keep their width in the bend the same as the width of any planks I have not cut out ie the straight planks that came with the kit. I did so using dividers. I am working with the second garboard plank ie the one above the garboard. I know that all planks don't have to be the same width I am concerned with the bend. If this is unclear I am out of luck because I can't explain it better. Please don't suggest I look at someone's video :-)
I really only need a yes or no.
Thanks
-
I've known for sometime that the strake above the garboard should not creep to far up the bow. OK fine. I also knew that it has to follow the curve of the garboard and fit into the rabbet. OK fine. I also see where guys install the garboard in one of two ways. With the bow curve facing up (1) and the bow curve facing down(2). I did up (3) and had bow curve really bad as someone in my log commented though I didn't see it.
I decided to flip the garboard on this rebuild. OK fine. To get the curve I needed for the strake above the garboard some severe edge bending was in order. I read this:
"By now you will realise that virtually all
the planking will need to be cut to shape,
as you cannot edge set a plank. Edge setting
means bending the plank sideways across
its width. If you try to do this, one edge of
the plank will lift off the frame and be im-
possible to attach.Well ya can't edge set without edge bending, eh ? Or can ya? I don't know. Maybe it means two completely different things.
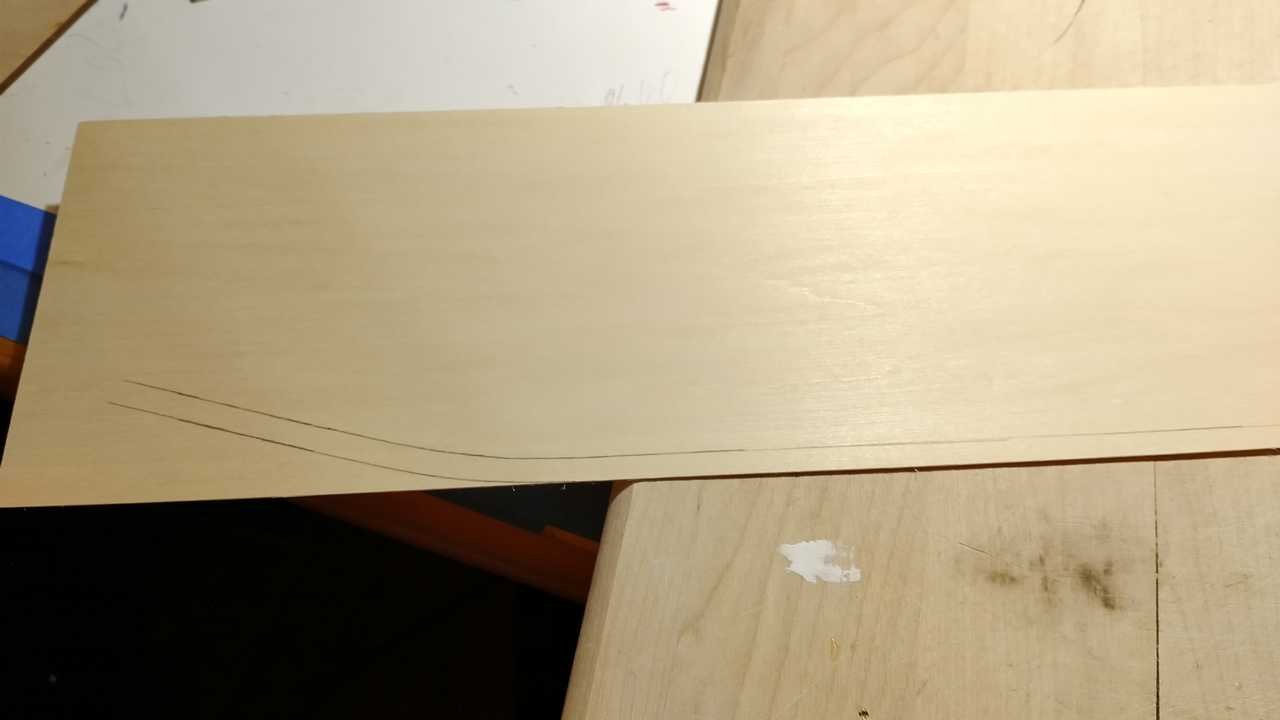
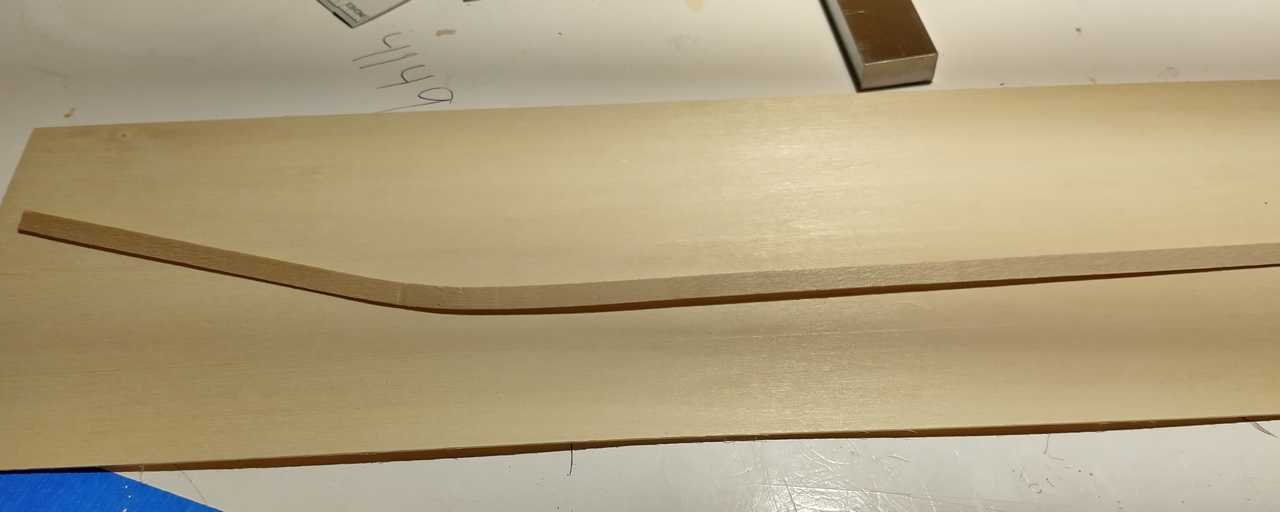
Which meant I needed to cut a strake from a flat sheet already spiled. To get the spile I needed to edge bend a strake that followed the curve of the garboard. OK I tried that with heat (iron) too extreme a curve it broke. I wasn't going to toss that strake though. I just soaked it down, got my curve, clamped it down and ironed. I did all that close to the center of a 14 inch strip. All I needed was the curve. I traced the curve onto my sheet and there it sits until tomorrow when I will "laser" cut it out. That's a joke. I will use a X-acto and sandpaper.
The strake I edge bent to measure spile angle I fit to the frame. I needed to know...how I gonna do this, before I do it? Well it turned into a good day. Not because it is exact but because my procedure worked for me. Can I reproduce it...That is the next question.
I had long since lined off the hull. Last night I ran thread along the tics. What I saw today while fitting my second strake was that the lining off pretty much matches the curve on the strake. Seeing is believing.
I have read and heard, paraphrased...just get those two bottom and two top strakes on best ya can and tic from there.....
I'm thinking after I get the two garboard and two sheer strakes attached a re-tic is in order. I didn't know if I should tic
into the rabbet or stop before it. I think into it but doing a re-tic will dump that problem and give me more practice. I'm looking forward to my next sessions on this brain breaking ball buster -
-
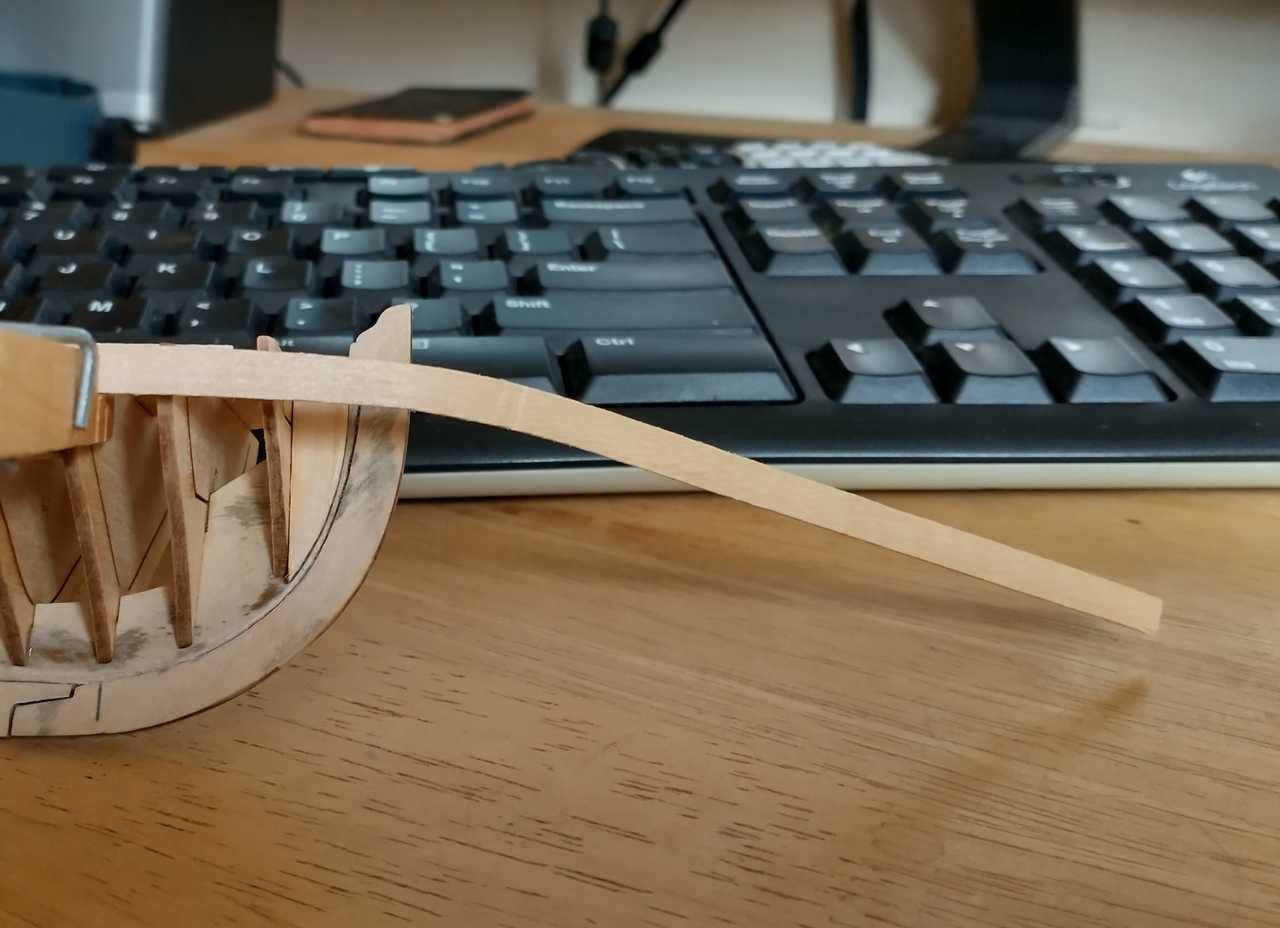
Now that I have the spile it was time for a bend. I dampened the strake at the spile and slid the entire piece along the top of the bulkheads until I found what I thought was the correct spot to put the curve and then the cut to fit into the rabbet. That went fine but I still needed a twist for the final fit. I tried the bottle cap scheme but that was laughable. So, I dampened it and placed the end I had size snipped into the rabbet and clamped it there. I let it dry overnight and it turned out. That made me happy. So that is some progress. I hope to repeat it for the other side. What I was looking to accomplish and did so on the top strake was to get it to lie FLAT in all it's twistyness. It does. Yahoo.
I've also sized and cut the garboard planks
While all that was going on I recalled that the bulkhead holders from my previous attempt had been poorly placed. They were to far in from the edge if I wanted to use them to clamp the strakes to after glue. I cut some thin ones and placed them what I hope turns out correctly. The bulkheads on this pinnace are so close I found it a super bugger trying to fit my clamps between some of them.
Kits come with pre-spiled strakes and the curve must be calculated and fed into the cutting device so there is a way to get a measurement because I don't think guys sit around doing the trial and ERROR method I use but I have yet to see that discussed. Is there a formula or a method taken from a plan?
Slow progress is better than I will do it tomorrow progress.
-
- bruce d, EricWilliamMarshall, CiscoH and 1 other
-
 4
4
-
Thank You for the time spent on your log. It is very helpful
-
It's come down to this. I've ticked the hull on one side.
I can see where it would have benefits. I don't know how my seeing that it has merit will aid me in this build though. Quite the opposite in fact. The ticks need to be accurate. I spent time and made them as accurate as I can. When I lay a strake it is easy to see where my ticking is off as I was pretty certain it would be. The tick marks can be adjusted. Tape can be used to visualize the run of the strakes before actual attachment. The tape has to be pretty darn thin. On the Medway Longboat 3/64 of an inch strips were cut. I wonder if I can cut 3/64 in strips of anything let alone sticky tape. LOL. I have 1/8 inch tape which is 8/64. I can't cut that in half, straight and true, without some severe equipment. Well maybe but I would probably remove the stick from the tape then I would need glue. LOL. I'll leave that there for now.
While I have been practicing and pondering the previous I got myself back into bending planks. Even the meager three or four months I spent last year has helped for what I am doing this year.
There are two main sources I am using to rise above my current understanding and skill level. One are the directions for the Medway Longboat the other is Blue Ensign's pinnace log. He does a superb job covering how he overcame his difficulties and he asked the right questions.
For example ..."did you have to start the short bow curve well back in a longer length of strip to give you the leverage to form the bend?"
The answer being "Yes indeed....it is impossible to bend that severe a curve on the end of the strip."
OK Now I know.
I tried it. It helps. I slide the strake along until I found what gave me the best results to get that tight bow curve. Of course, I have extra strake at the bow that needs to be cut off and am going to have to figure where. It will take a few strakes to solve that. Then all that will need doing is a bend at the short end into the rabbet. Yea Sure .."all that needs doing."
It was suggested to Blue Ensign "...it is probably easier to find and spile the shape and then cut from a sheet." I am going to try that. Last year a huge obstacle was getting one curve good then losing it while I tried to make another. If the strip is cut spiled I could save some headache by working on only one curve in such a tight area.
That's where I am at. More thinking and reading than doing but I do a little physical labor on the build daily, if I didn't I would think I putting it off. LOL
-
15 hours ago, allanyed said:
Good for you ticking the frames for the planking! I am impressed with the fact that the number of frames looks to be spot on for a 21 foot pinnace. Kudos to Model Shipways! Many other kits have oversized frames and far too few of them.
Can you tell us the sided and depth dimensions of the keel? It is hard to tell from the photos. Regardless I realize it is what the kit provided. See below with 1:24 scaled dimensions based on scantlings from May's Boats of Men of War
Looking forward to the planking. It seems to always be something of a challenge!
Thank you for sharing your build.
Allan
I measure .25 " along the entire keel length.
I'm looking forward to planking also. I think I will do better....
-
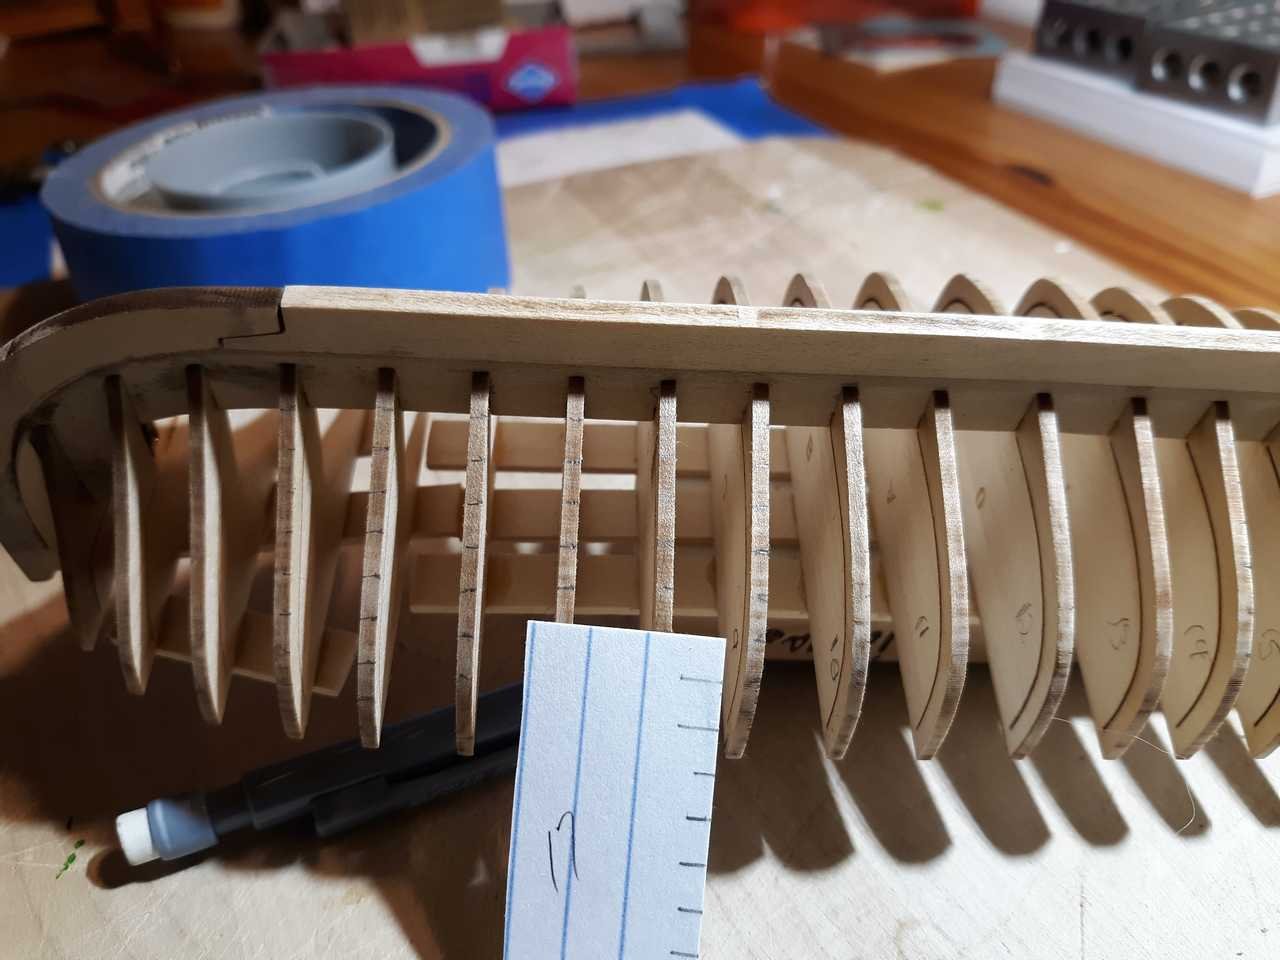
As usual I got a bit ahead of myself. I forgot I was ticking the hull. I came across the Medway Longboat directions and the author writes that he ticks his hull on every build for all the obvious reasons. The build is similar enough to pinnace that I can work off it to tick. It is a process that may introduce error and in my case does. The bulkheads on the pinnace are quite narrow which makes it hard for me to lay cardstock or paper along them to get each length. What I did was cut my 3x5 index cards so the laid over two bulkheads, This gives me some support for getting an accurate length and after making the tick marks from the fan getting the marks on the bulkheads. If my length measurement is wrong then my ticks will be wrong. If my length is accurate then I must get the marks drawn properly on the bulkhead. Mostly I do. Once I get it all ticked I see where some tape laid on the marks will show me how I have done. I don't know if this whole process will do any good but it will teach me something, which is nice. I recall several suggestions from previous posts regarding ticking and will keep them in mind. It's a slow process and not really to be done without good light and a mind that isn't tired. I am almost half done.
- Ryland Craze, oakheart and bruce d
-
 3
3


Gluing on planks
in Building, Framing, Planking and plating a ships hull and deck
Posted
I got it now Plank on Bulkhead, Plank on Frame