HOLIDAY DONATION DRIVE - SUPPORT MSW - DO YOUR PART TO KEEP THIS GREAT FORUM GOING! (Only 20 donations so far - C'mon guys!)
×


Dearborn
-
Posts
48 -
Joined
-
Last visited
Content Type
Profiles
Forums
Gallery
Events
Everything posted by Dearborn
-
 Here are few pictures I took of the Cutty Sark Hull (the real ship)
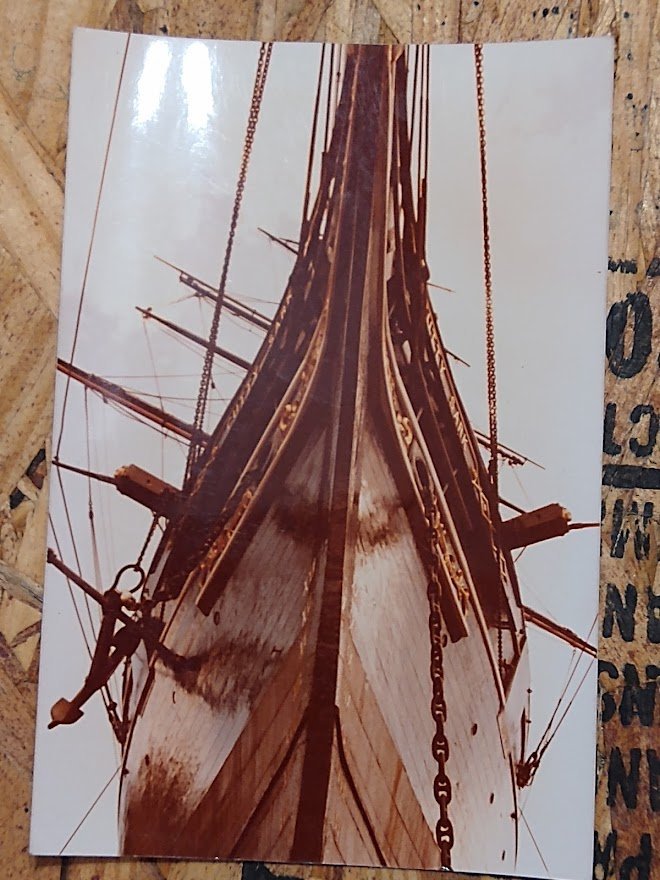

- 39 replies
-
- 3
-

-
- cutty sark
- sergal
- (and 1 more)
-
this is all great information here, I'm now glad i waited 30 years to plate the hull..🤣. This is going to be better than I thought it could be. I was going to just use the plates that came with the kit, but seeing the newer better plates that have been developed, I'll be needing to get them for a much better built and look. I also would have just butted the plates up against each other instead of over lapping them a tiny bit for a more realistic look.
- 39 replies
-
- 2
-
-
- cutty sark
- sergal
- (and 1 more)
-
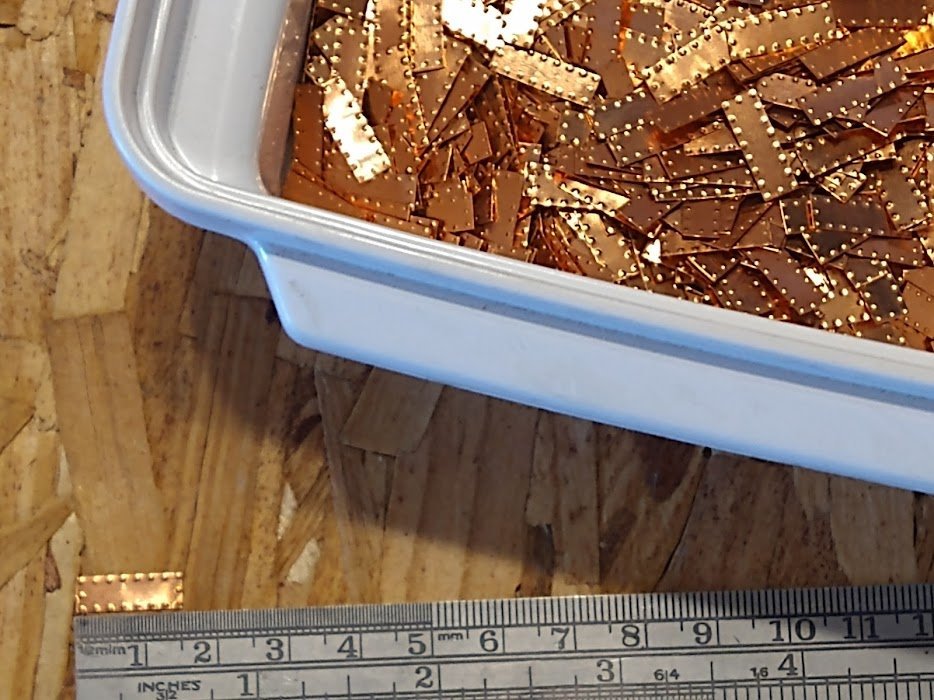
The copper plates that came with my kit measures 15x5 mm, I'll post up a picture of them, but I'm not crazy about the bolt pattern on them. The link you provided is out of stock, I hope to find a number I can call to see if they will get more.
- 39 replies
-
- 1
-
-
- cutty sark
- sergal
- (and 1 more)
-
The plates that came with my model are the same as what you showed in the second picture. I do love the look you showed on the hull (First picture). Yes I'm going for as realistic as possible. As it is I have already made some changes to the forecastle deck. Under it for the anchor chains the model would have had me just glue a board to block the area under the upper deck. So I fabricated custom bulkheads. when I get home from work, I'll take some pictures of what I'm talking about. Thanks greatly for your observations and advice. I will be plating the hull with copper but I think a bit of research is in order to choose the best method for the greatest look and impact.
- 39 replies
-
- 1
-
-
- cutty sark
- sergal
- (and 1 more)
-
Thanks Keith! (BTW - build Log is started)
-
uploading pictures
Dearborn replied to David56's topic in Using the MSW forum - **NO MODELING CONTENT IN THIS SUB-FORUM**
I prefer the 'drag and drop' method. I get the photos I want to upload onto my desktop then I'll type out my text and get my thoughts all down before I forget them, Then where I want a picture, I'll just enter a carriage return, then, leaving the curser in the blank line, I'll drag my image to the curser and drop it. -
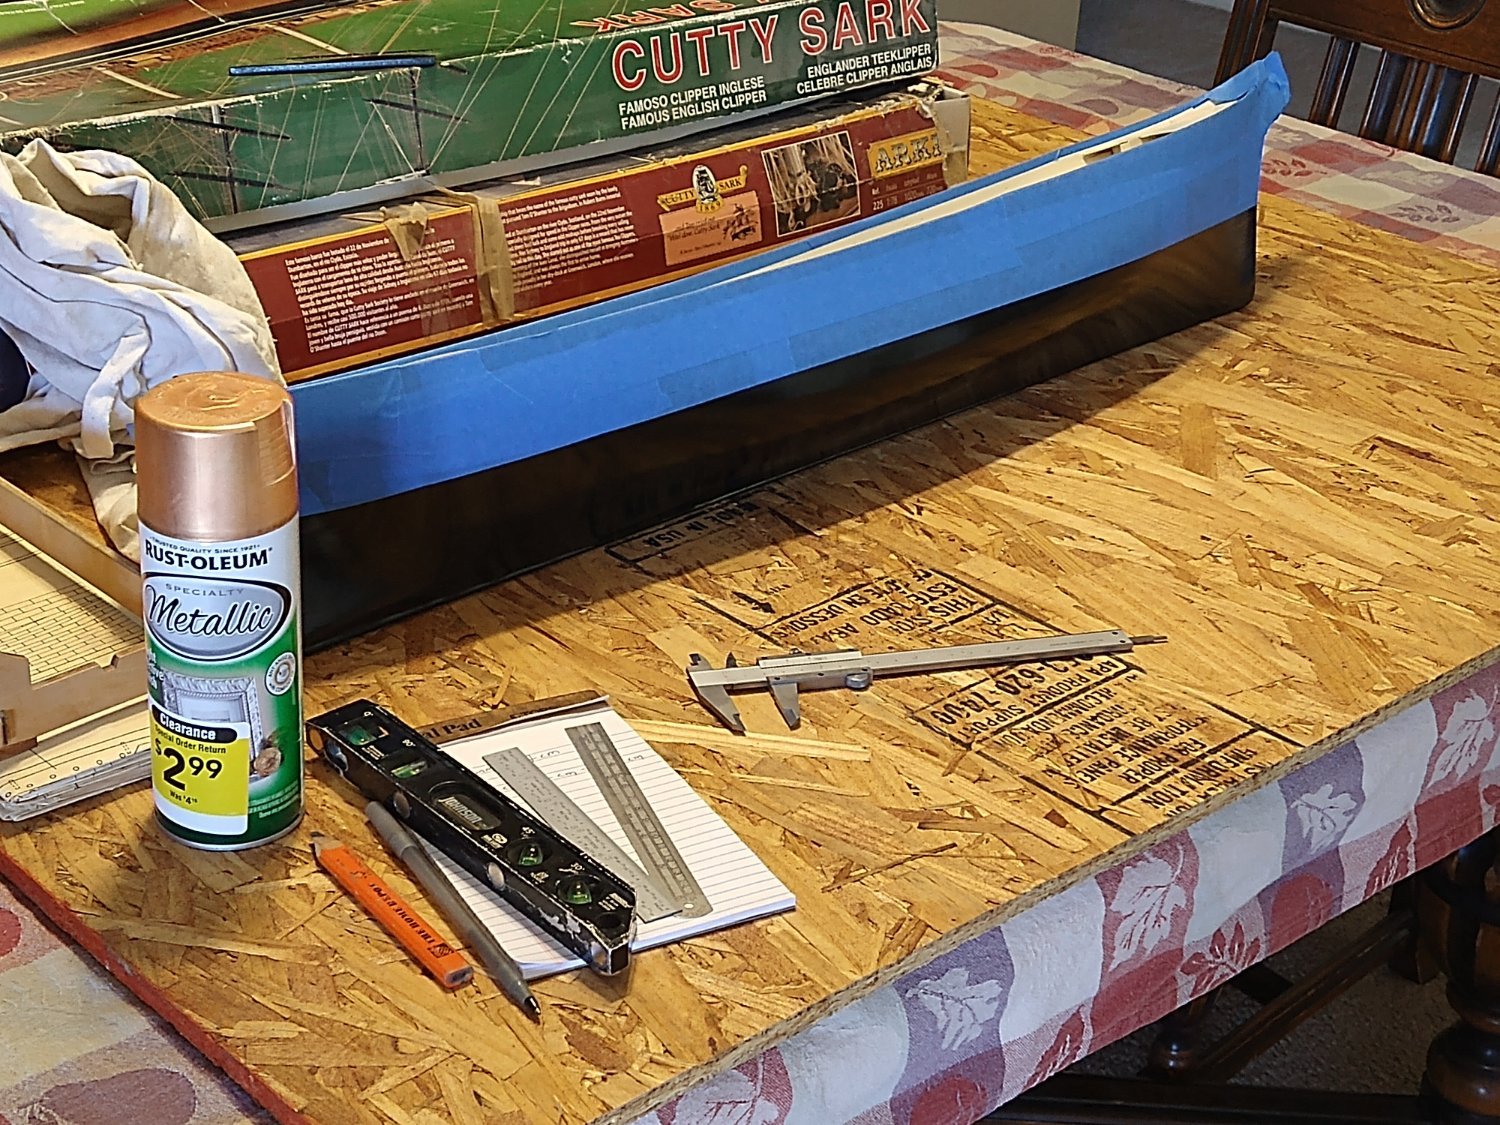
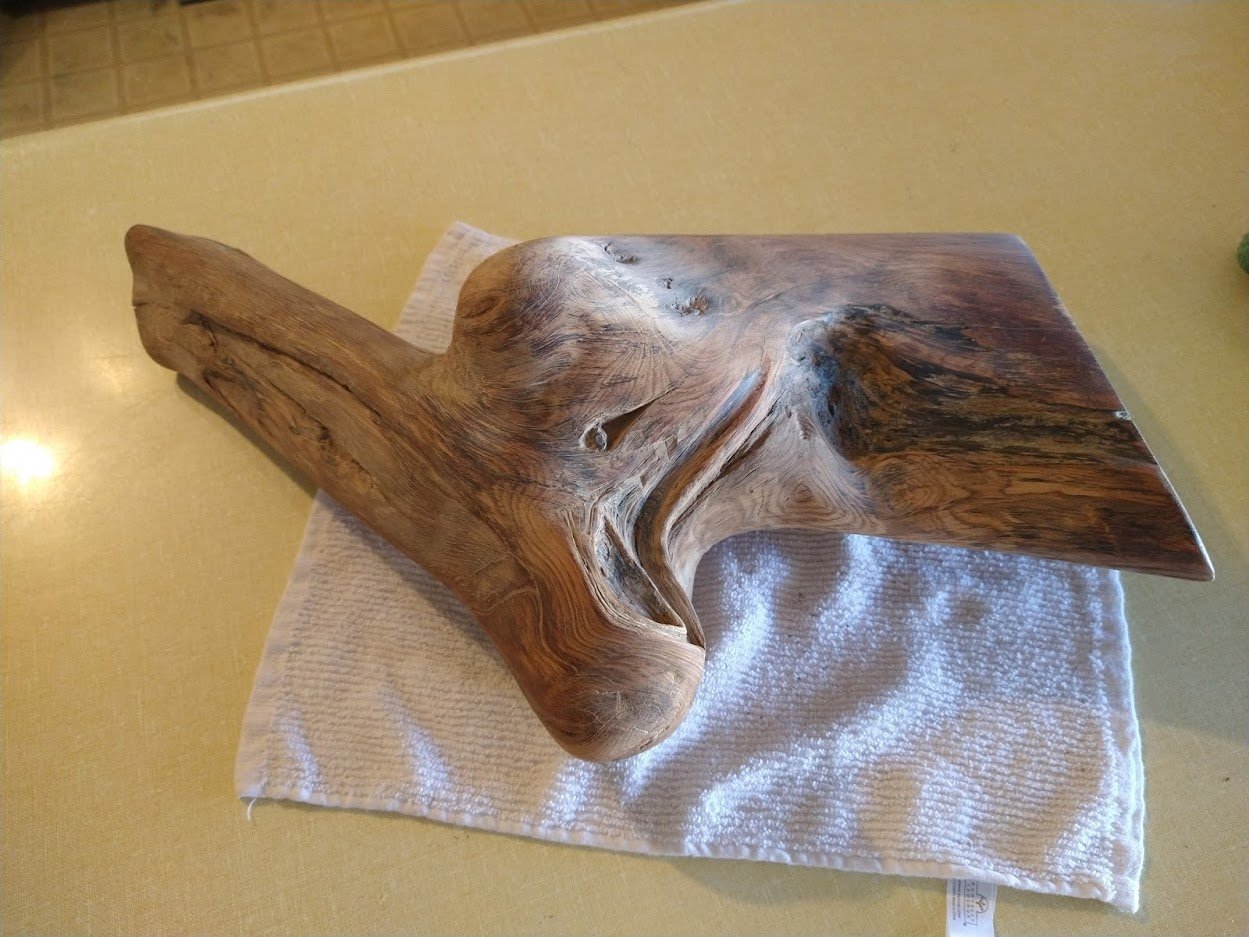
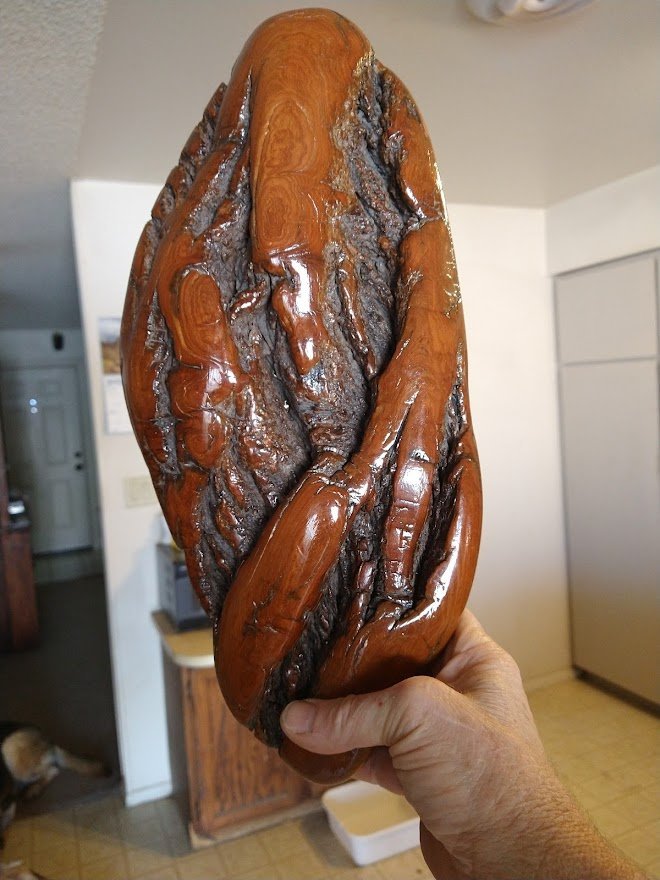
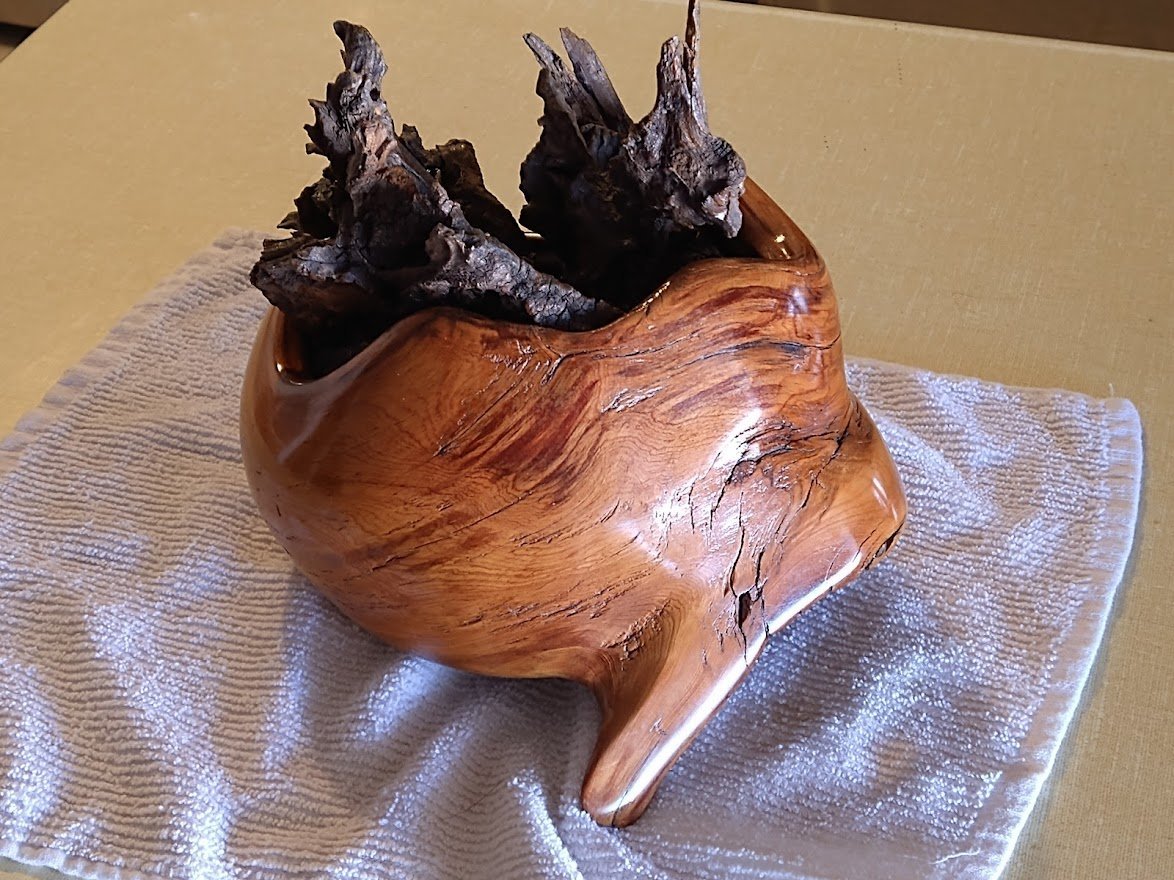
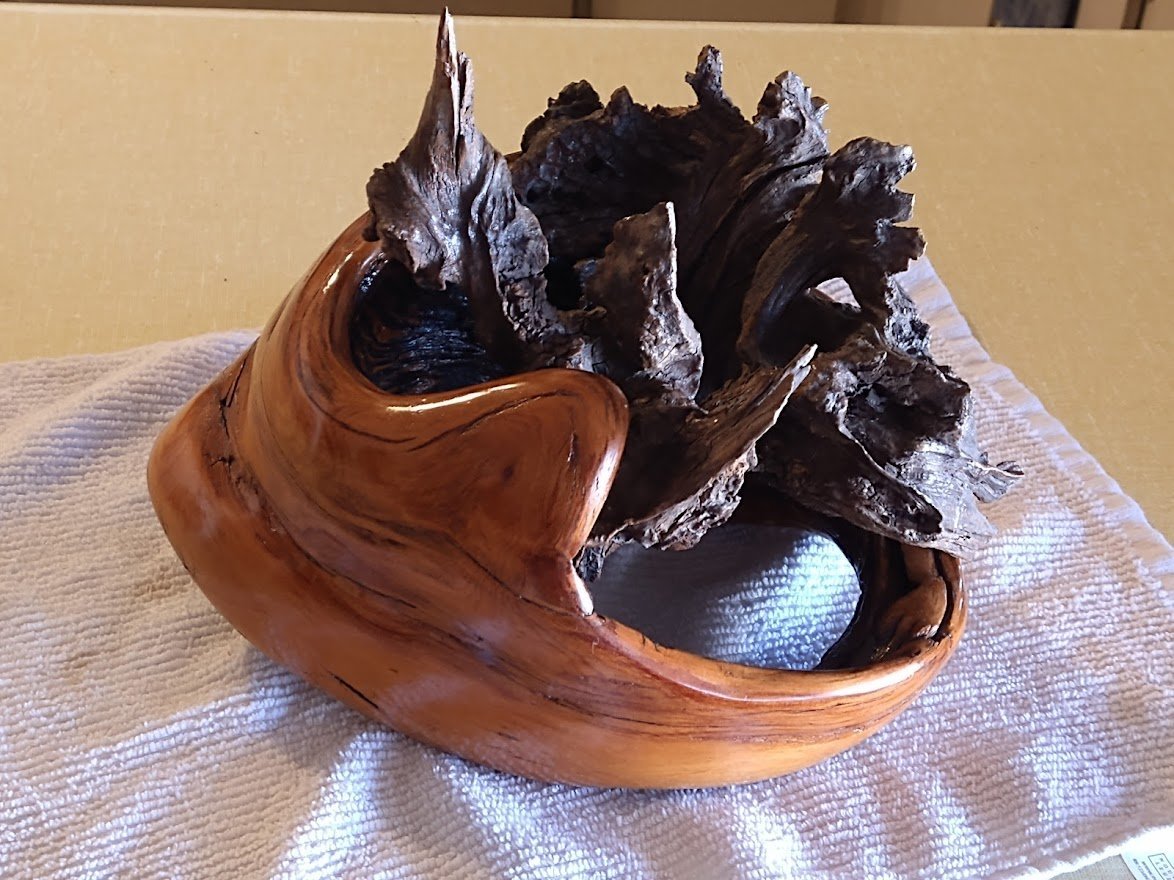
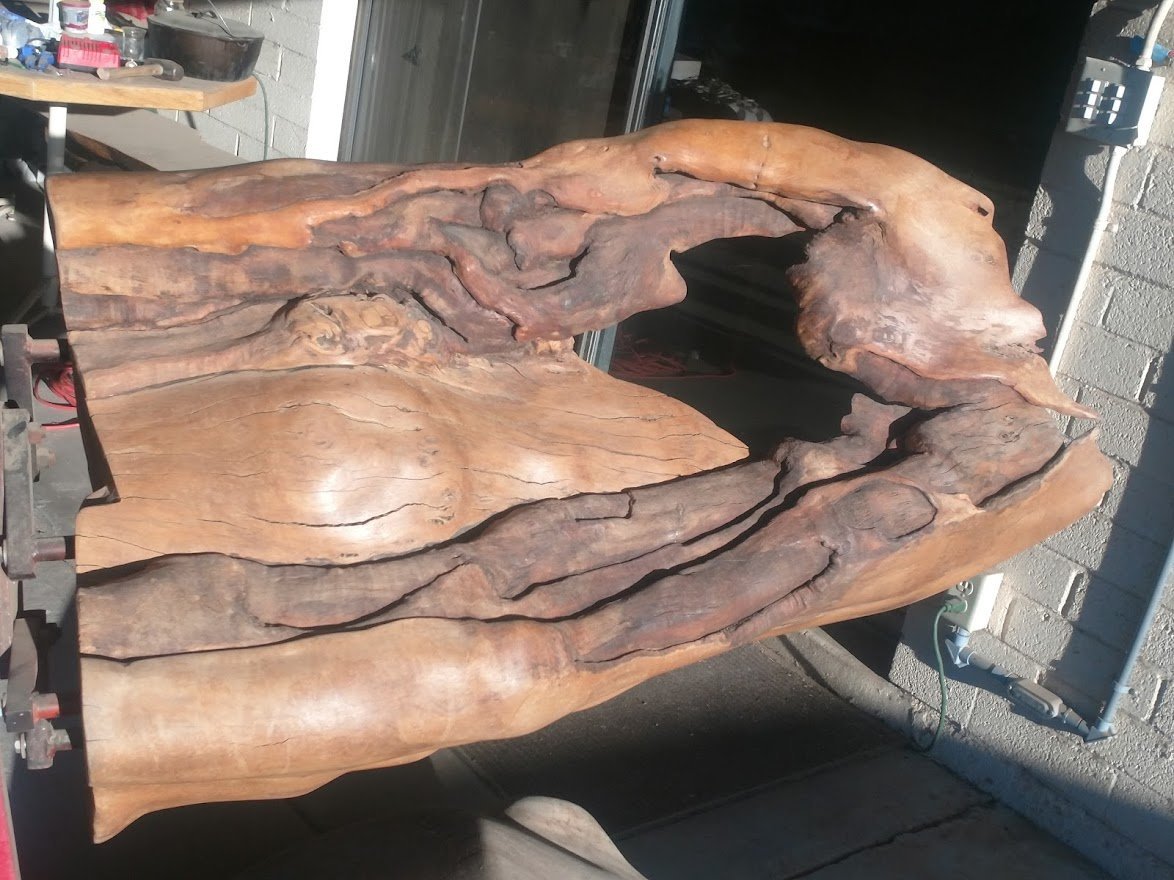
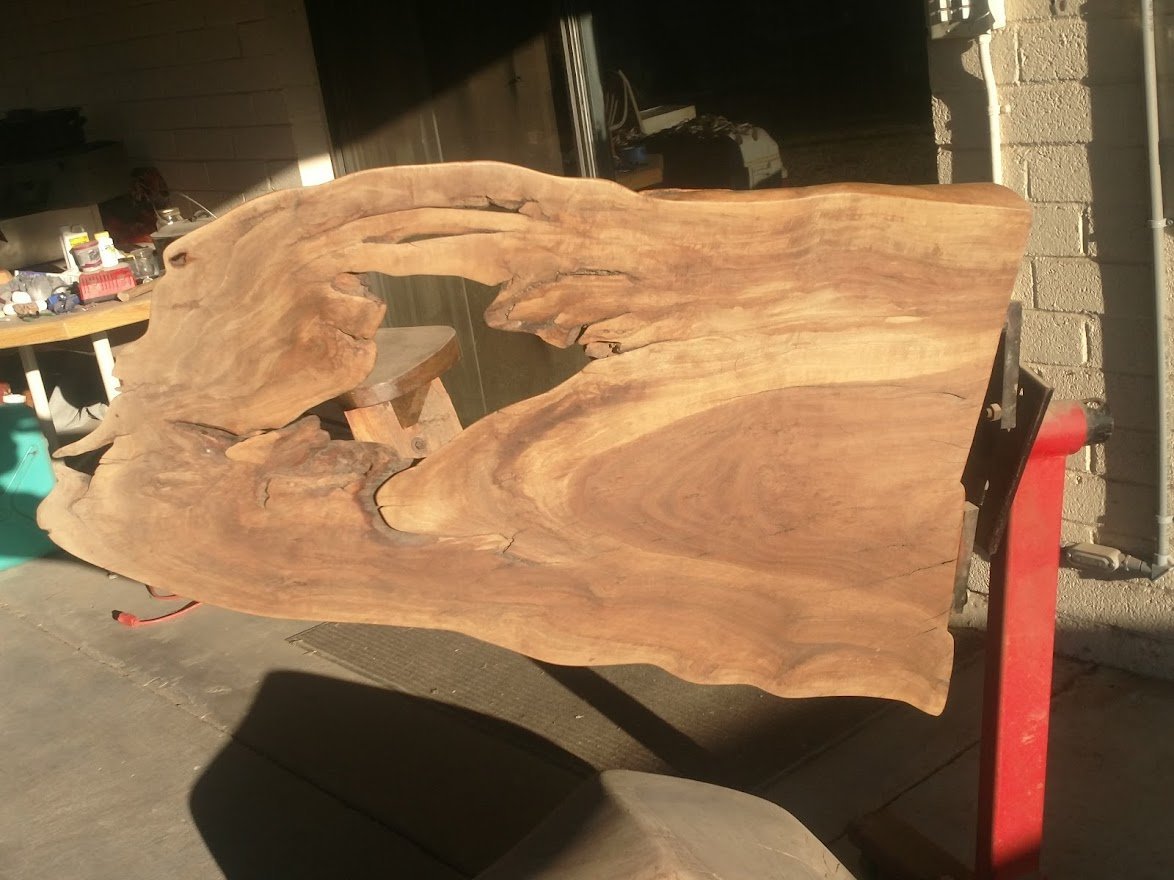
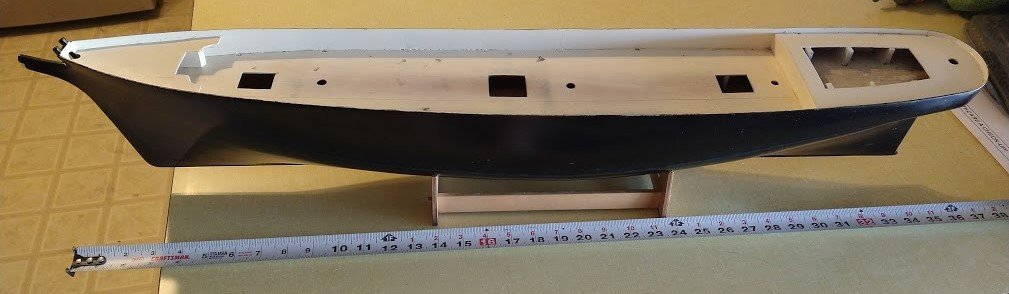
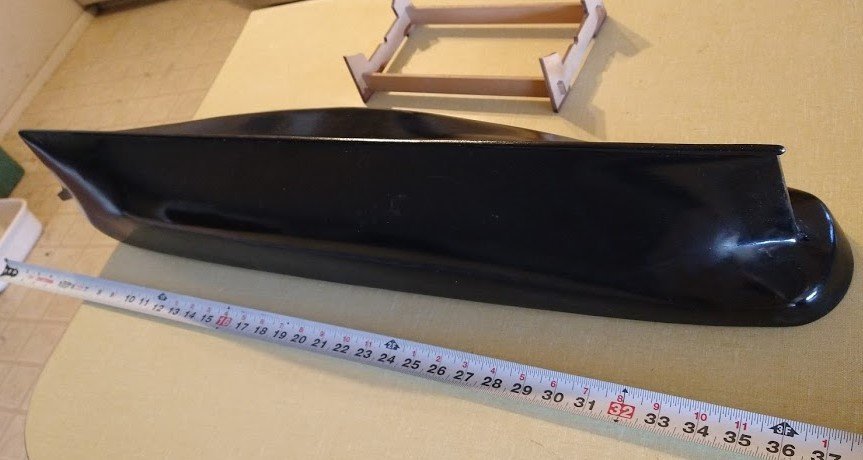
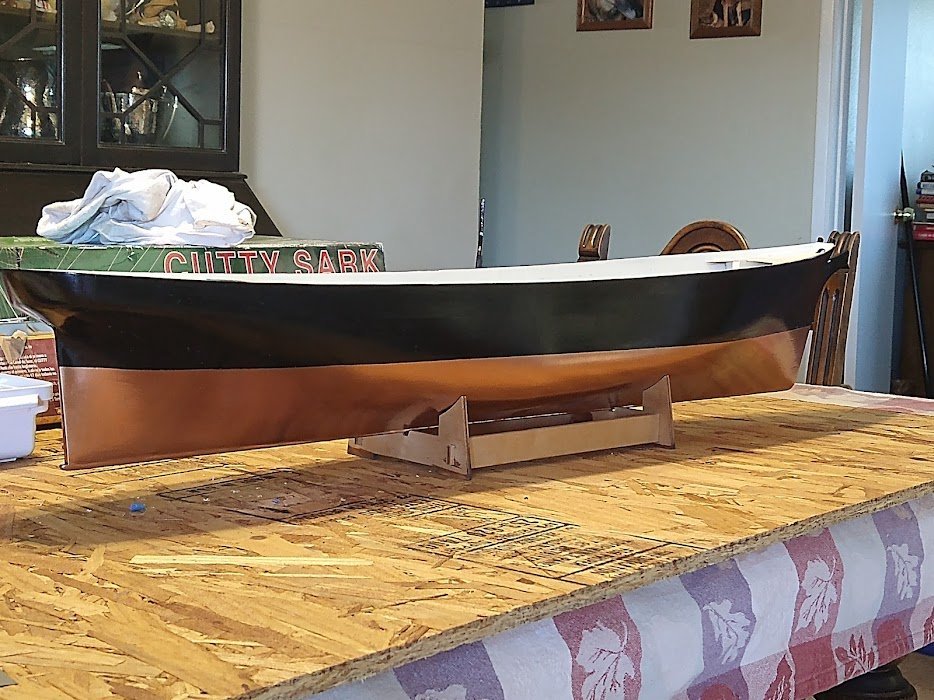
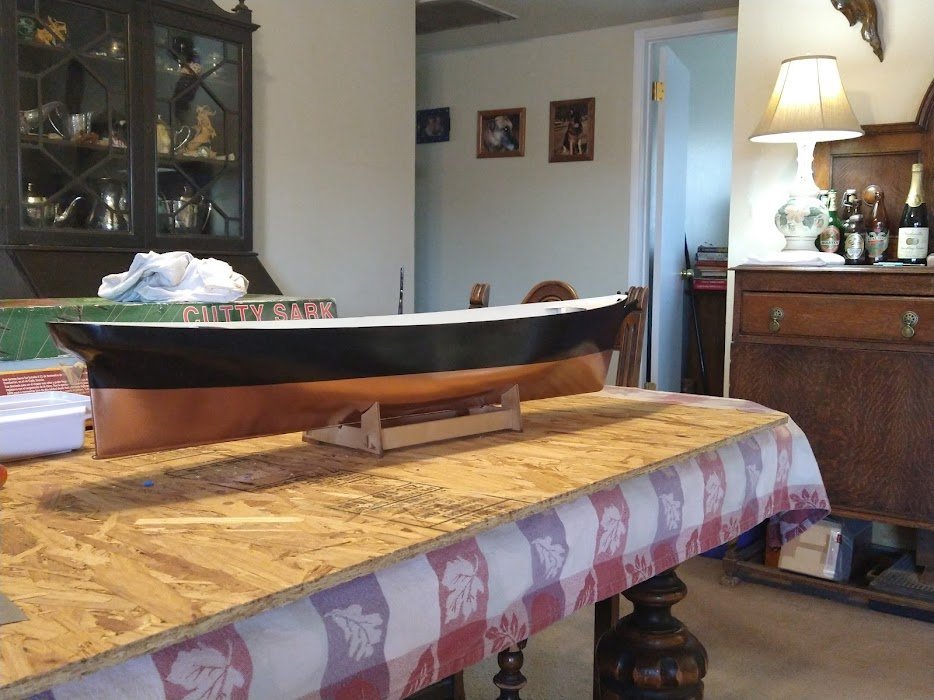
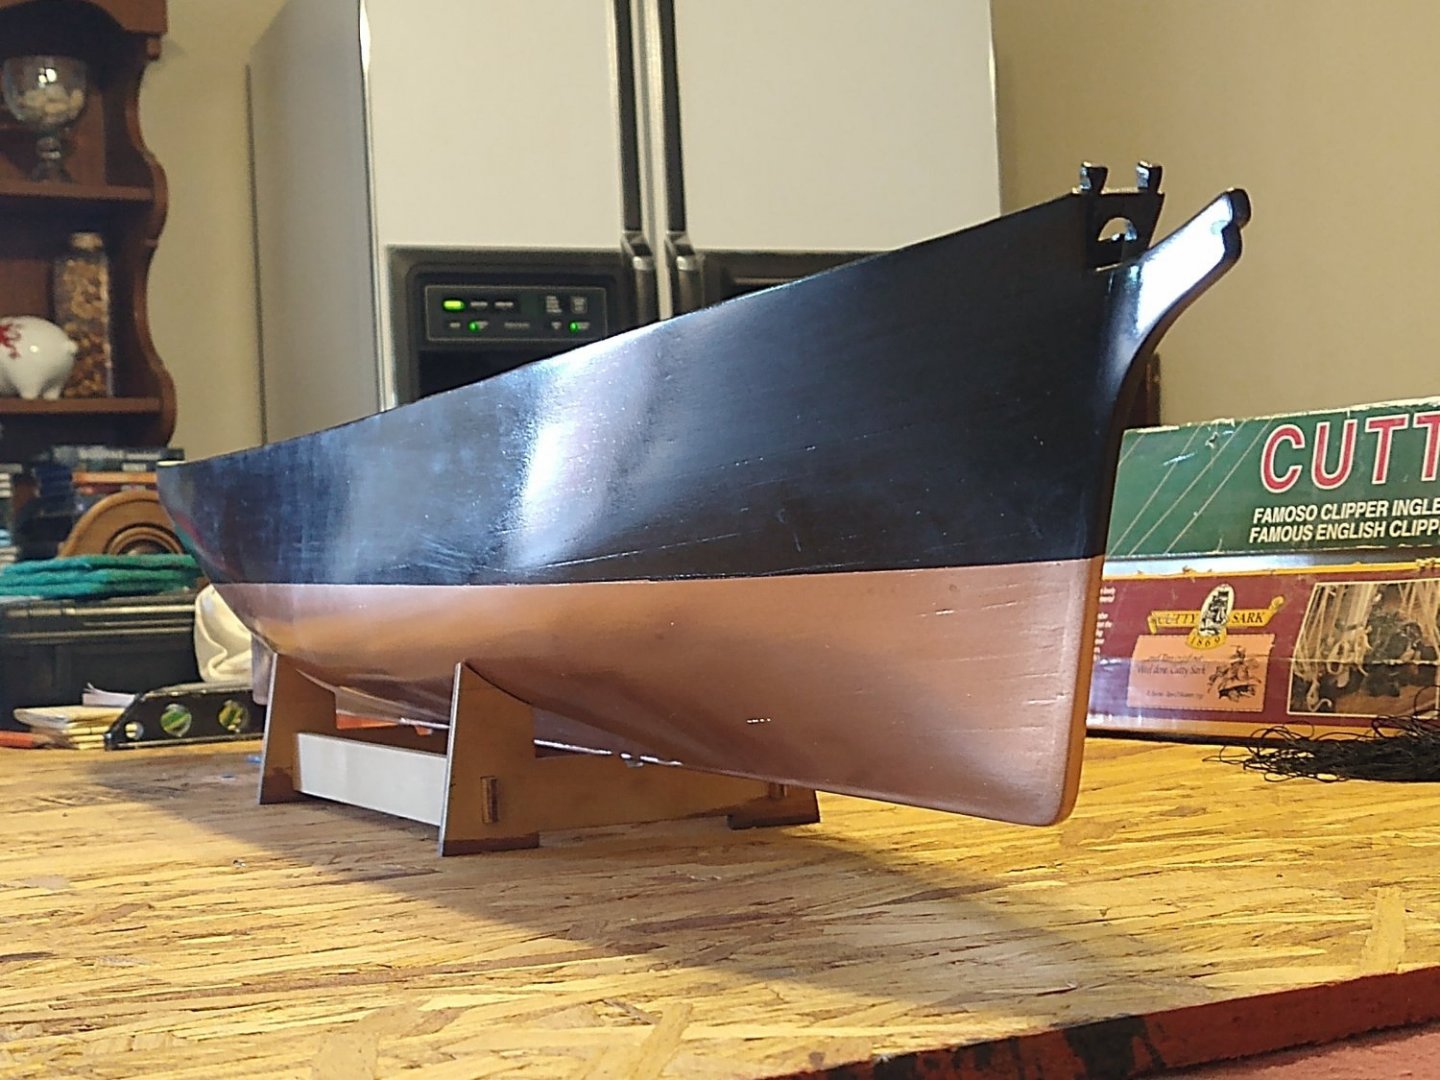
Ok, This is my Build Log. First a bit of history as the images to be posted begins with my 4th build of this ship. I have loved building Model ships ever since I was a kid (a very, VERY long time ago). My first was a half hull Cutty Sark that was placed on a plaque and then wall mounted, I was in 7th and 8th grades for this one.. My next attempt was when I was in High School, a 'Revell' Plastic Cutty Sark Model that went very well, but didn't hold up well over the years and is now gone forever. No picture that I can find of that one. My 3rd attempt is the 1:78 Cutty Sark wood planked ship by 'ARKIT'. I started it back in 1988 while in the U.S. Navy, but when they shipped my model home when I discharged, it was destroyed. So attempt 4 (and current) is a 1:78 Wood 'Sergal' model of the Cutty Sark. I have Been working on mine for a while, I laid down the keel On this latest attempt in 1993, assembling and planking the Hull. I got the hull sanded and painted. But when it came to mark the copper plating line, I took a loooong break from it as I was afraid I didn't have the skills then. (that was 29 years ago). This is where I stopped for this long 29 year hiatus: In between these years I have been honing my wood working skills better. Here are some examples: Now it's 2022 and I have a renewed desire to get back at it. I designed a jig to cut the line to mark the top of the copper plating line. I then Taped off the upper part of the hull right down to the line I scribed. I then painted the lower part a copper color. You see, I have seen other models that have been plated but the plates are next to impossible to get them perfectly in place without tiny gaps. These gaps I saw had shown with the black paint showing through where the plating was not as close as it could have been. Hence, I painted the under side copper so any gaps would be invisible. I'm now at that point where I need to glue on the hundreds of plates to the hull. Which brings me up to date with the newest pictures: If any are wondering why I painted the hull copper first, I have a good reason. I have been looking around at other folks that built this ship and notice that the copper plates were not applied perfectly and the black under coating of the hull was showing through. So I wanted to make sure that didn't happen here, So I painted it the same color as the hull plates, so If they don't go on perfectly, the seams are still hidden.


- 39 replies
-
- 4
-
-
- cutty sark
- sergal
- (and 1 more)
-
A few picture I had on my camera (otherwise known as a cell phone)


-
Yup, a necessity here in the desert. If I worked on it outside, it may burst into flames from the outside summer temps.🥵
-
Never mind, I think I found the Build log area.. just need to get back home to start it with images attached..
-
This 'build log' I see you mentioned, Is that a function of this Forum or a note book I would keep at home on my table?
-
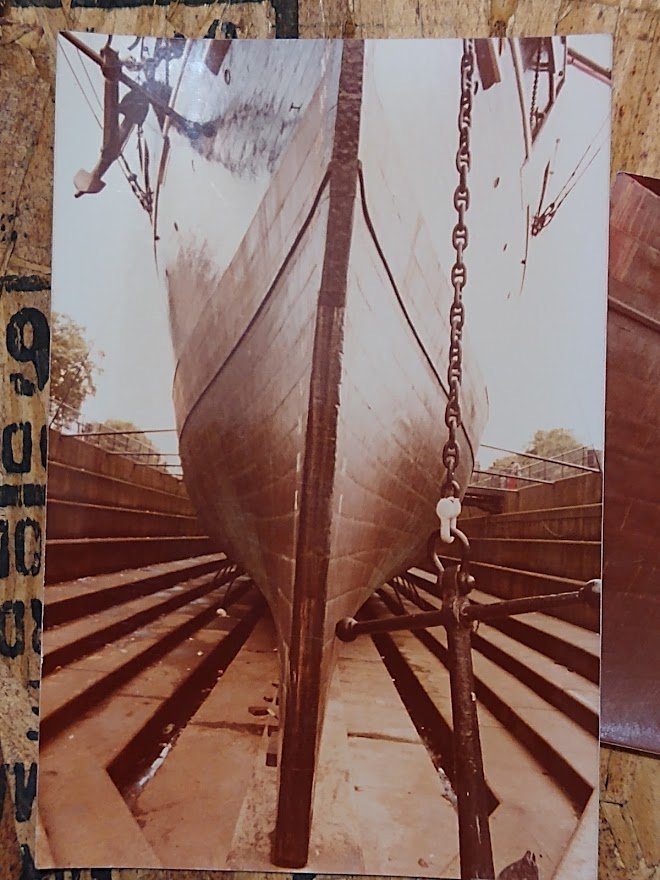
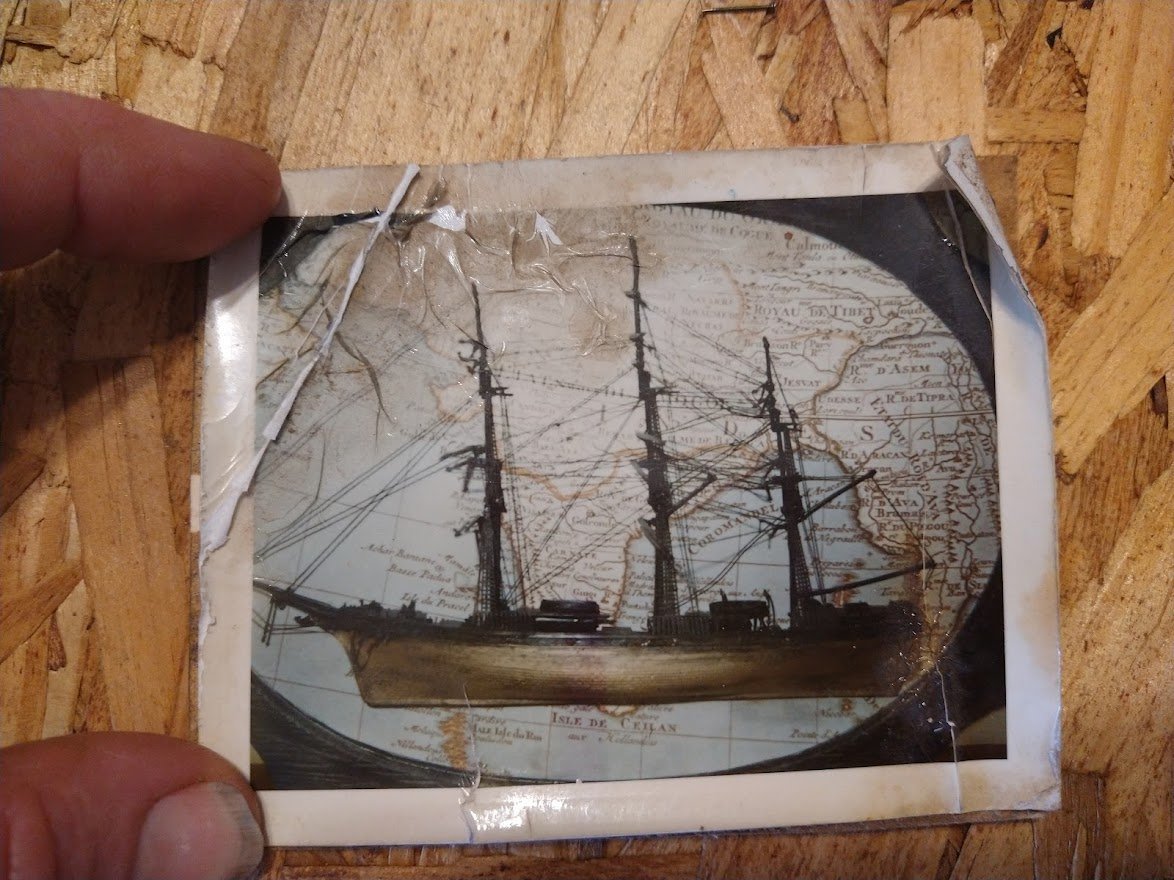
I have loved building Model ships ever since I was a kid ( a very, VERY long time ago). My firs was a half hull Cutty Sark that was placed on a plaque and then wall mounted. (still have a picture of it - I'll post that up later when I'm home) My next attempt was a Revell Plastic Cutty Sark Model that went very well, but didn't hold up well over the years and is now gone forever. My newest attempt is the 1:78 Cutty Sark wood planked ship. I started it back in 1988 while in the U.S. Navy, but when they shipped my model home when I discharged, it was destroyed. So attempt 4 (and current) is a 1:78 Wood Sergal model of the Cutty Sark. I started that one in 1993. I got the hull built out, planked and painted. then I was afraid to move on when I had to scribe the top line for the copper plating. So I took a break from it. So almost 30 years later, I picked it up again. (My skills have improved as so did my confidence in completing this project. I have actually have been on board the Cutty Sark back in 1986 and have taken several photos of it for me to refer back to so I can get details that are not usually included in models correct. I'll post them up later as well. (they will be photos of photos as cell phones were nothing more than a science fiction thought at that time.
-
Very nice work! I had typed a reply when I was a guest, but for some reason, it hasn't shown up. (Good thing I saved it on my notepad at home. I'll copy paste it later.)
- 42 replies
-
- 1
-
-
- Cutty Sark
- Sergal
- (and 1 more)