


Cbrand02
-
Posts
36 -
Joined
-
Last visited
Content Type
Profiles
Forums
Gallery
Events
Posts posted by Cbrand02
-
-
55 minutes ago, JacquesCousteau said:
Nicely done, congratulations on the build. It looks great, and despite not building this particular model, I've learned a lot from the build log!
Thank you, I’m glad it was helpful. Your trajinera log was excellent! Loved the history and personal touches.
-
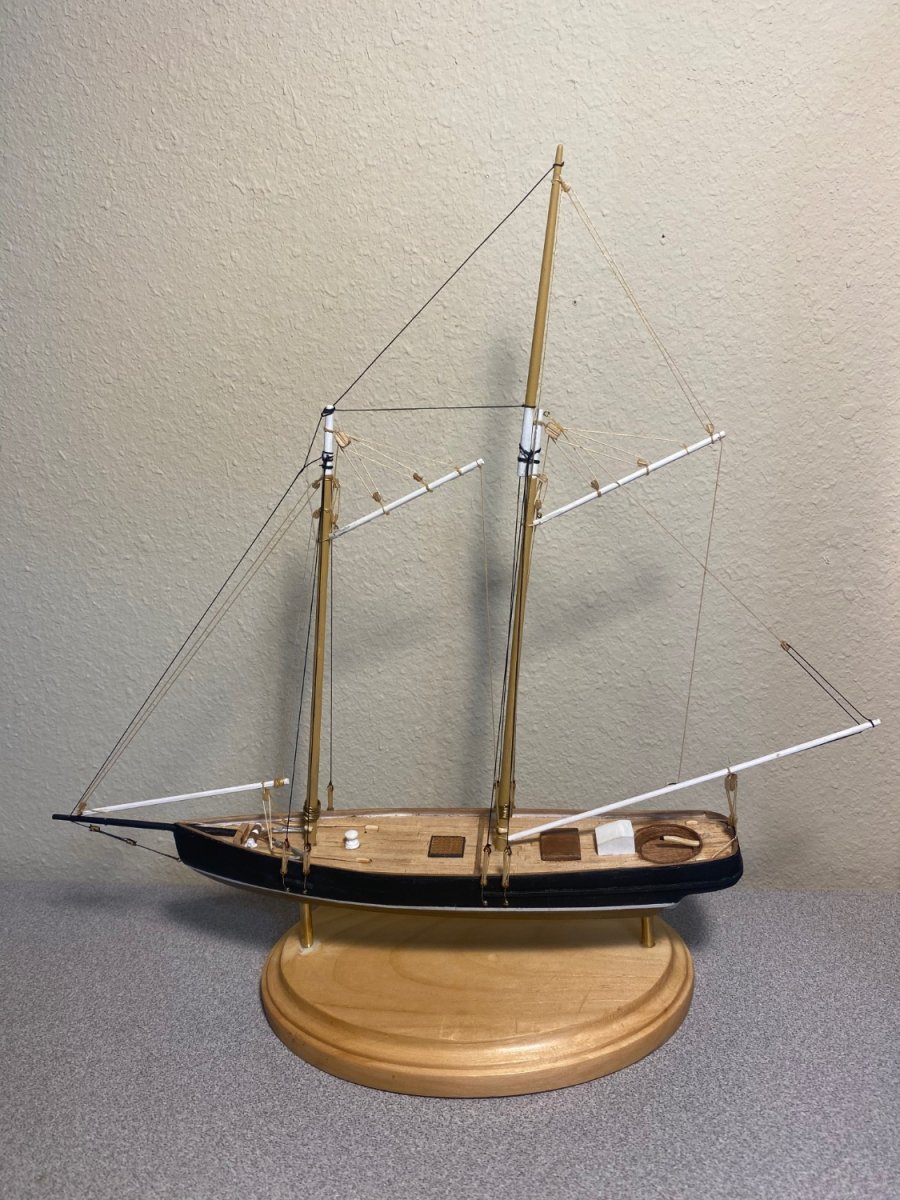
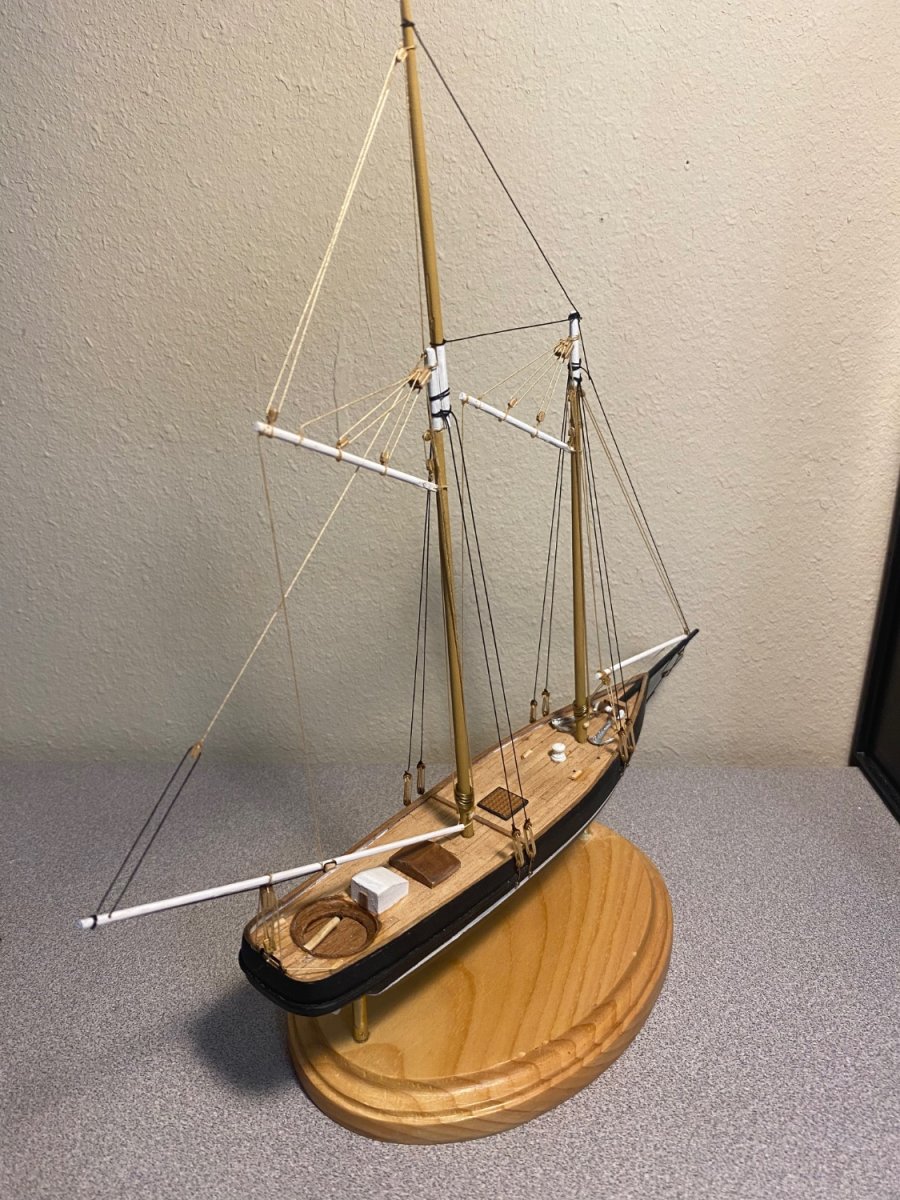
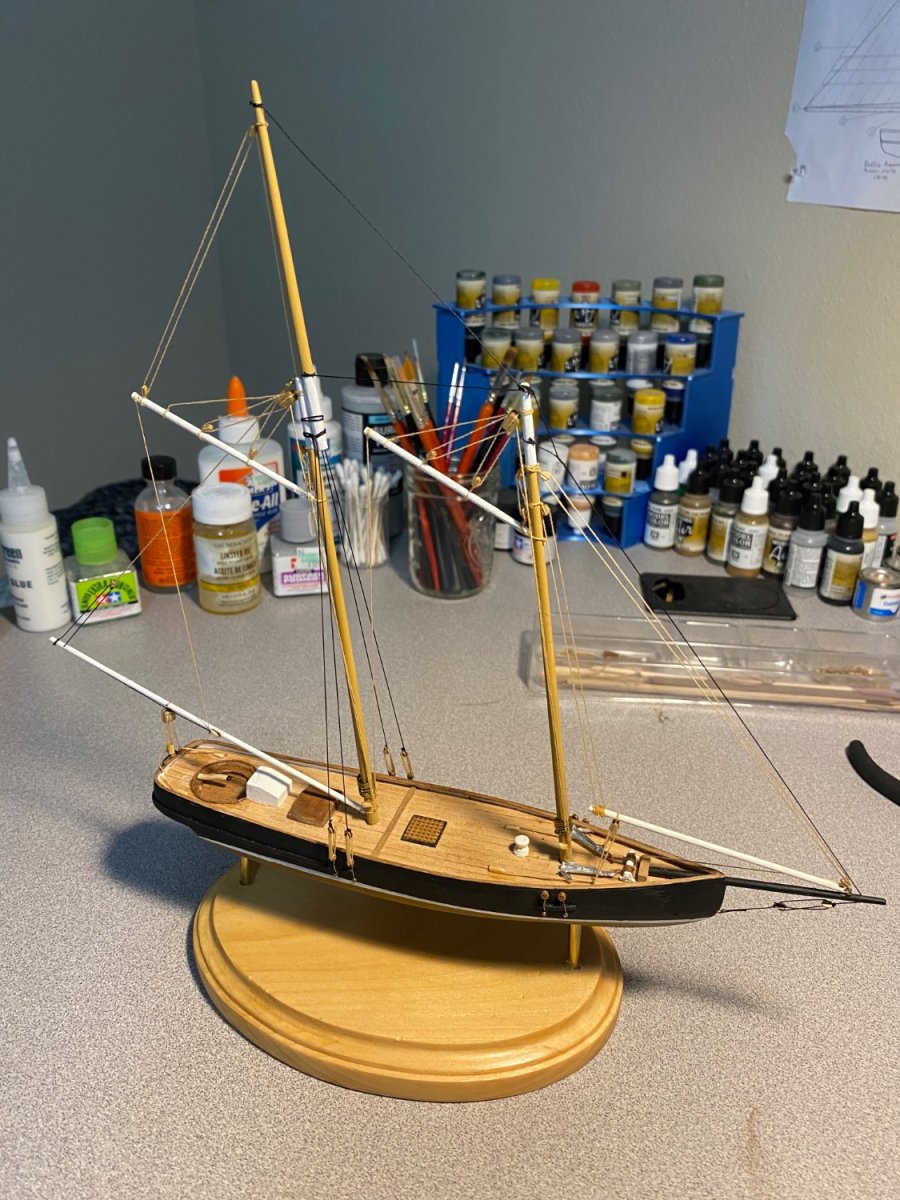
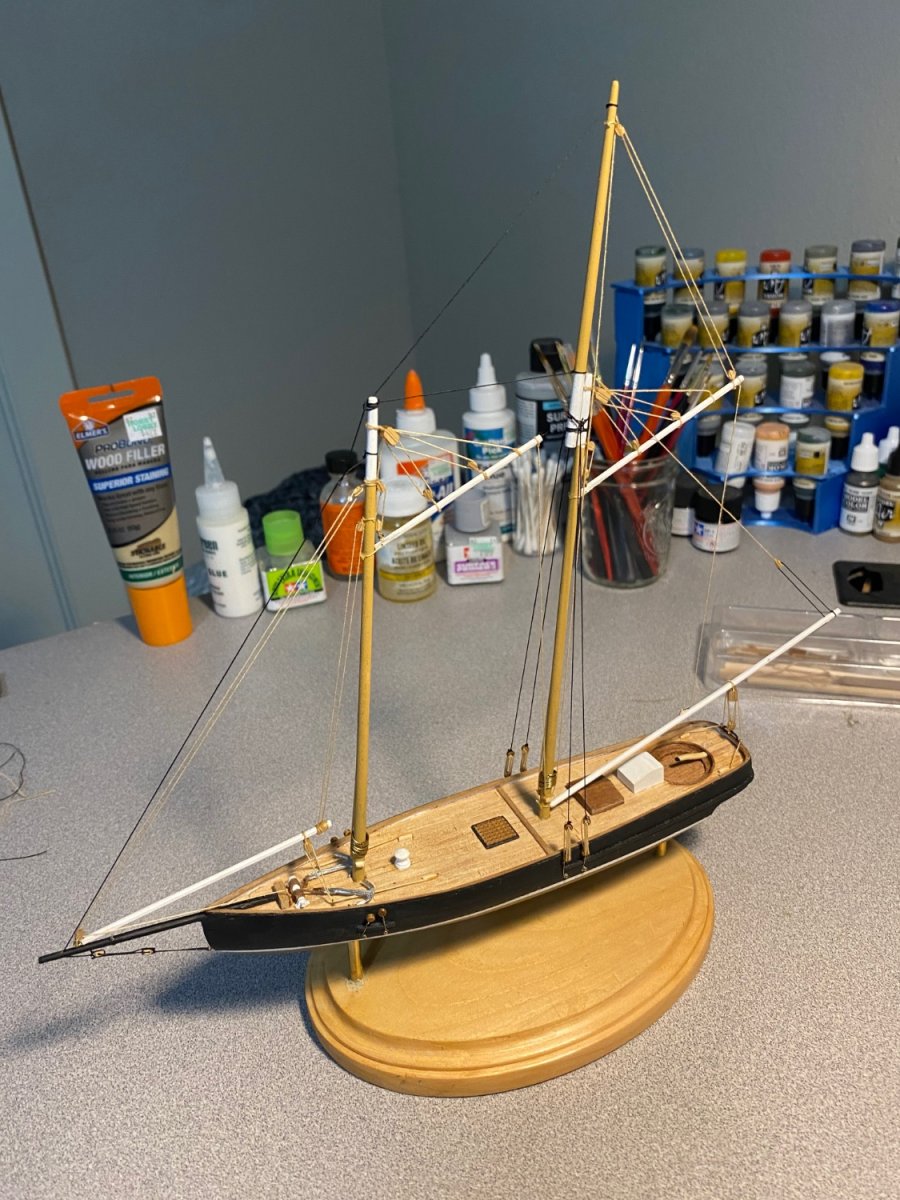
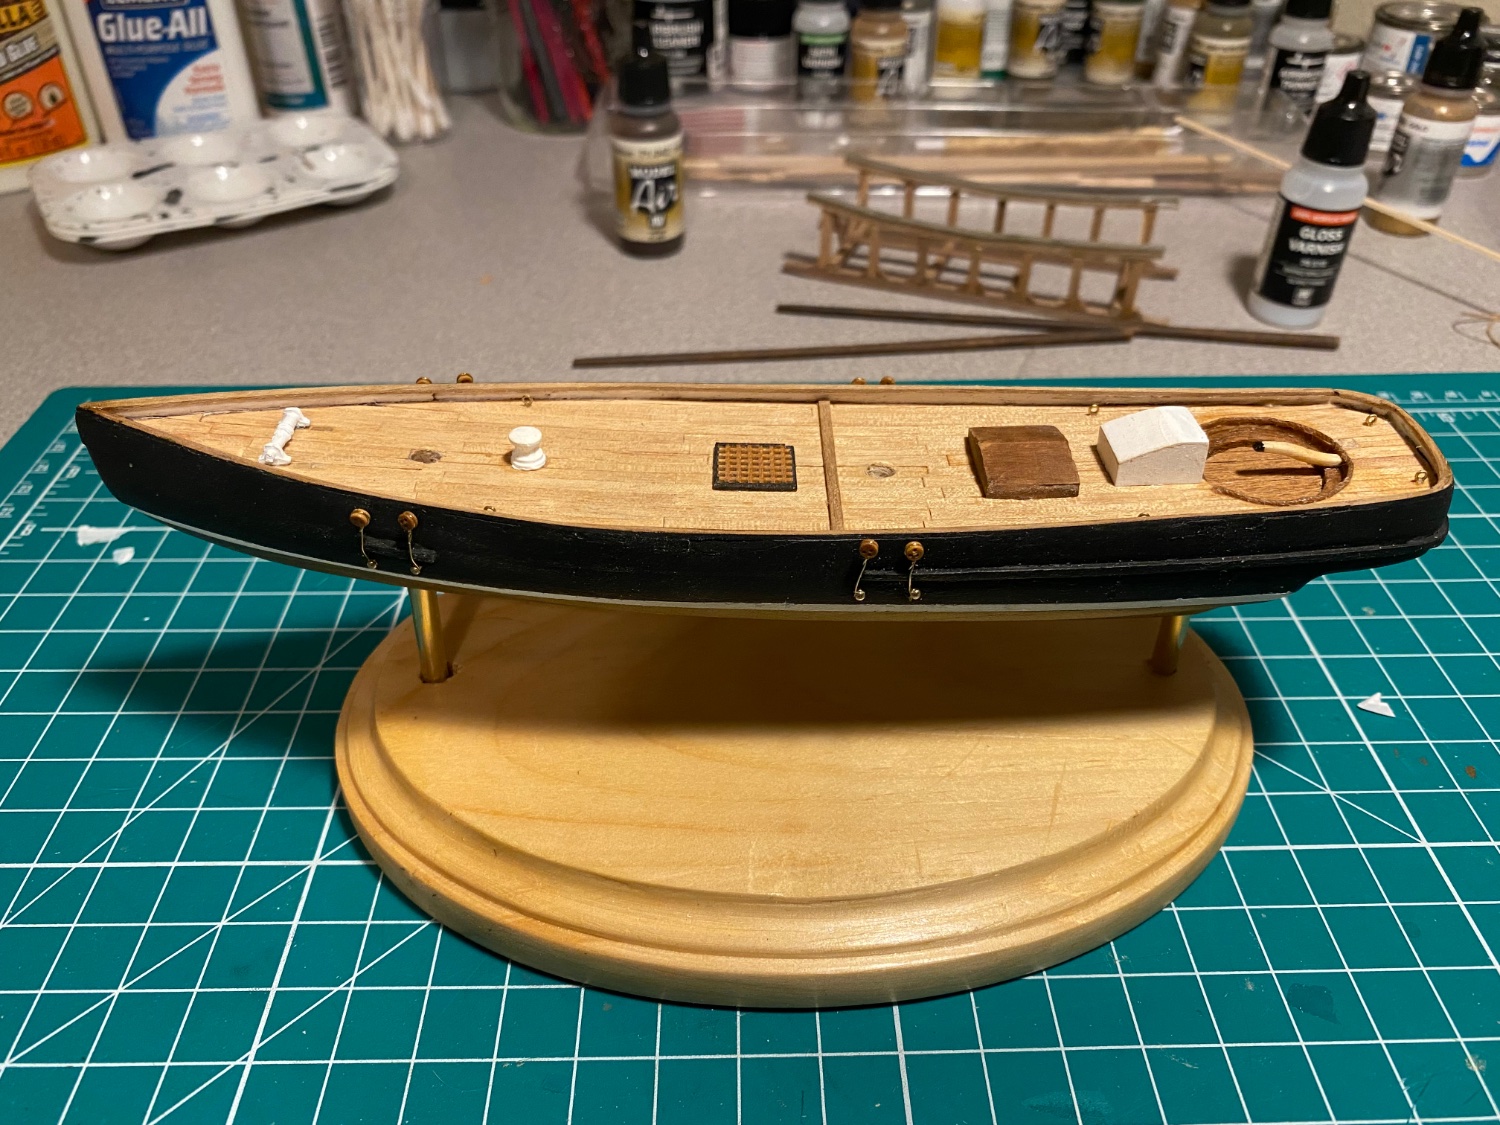
And at that I’m calling my first ship done! HUGE thanks to @Stevinne for the help and posting pics of his build and to everyone else. I was close to calling it done here:


But pushing through the fear, taking my time, and messing up and redoing lots of things, I was able to achieve this result:
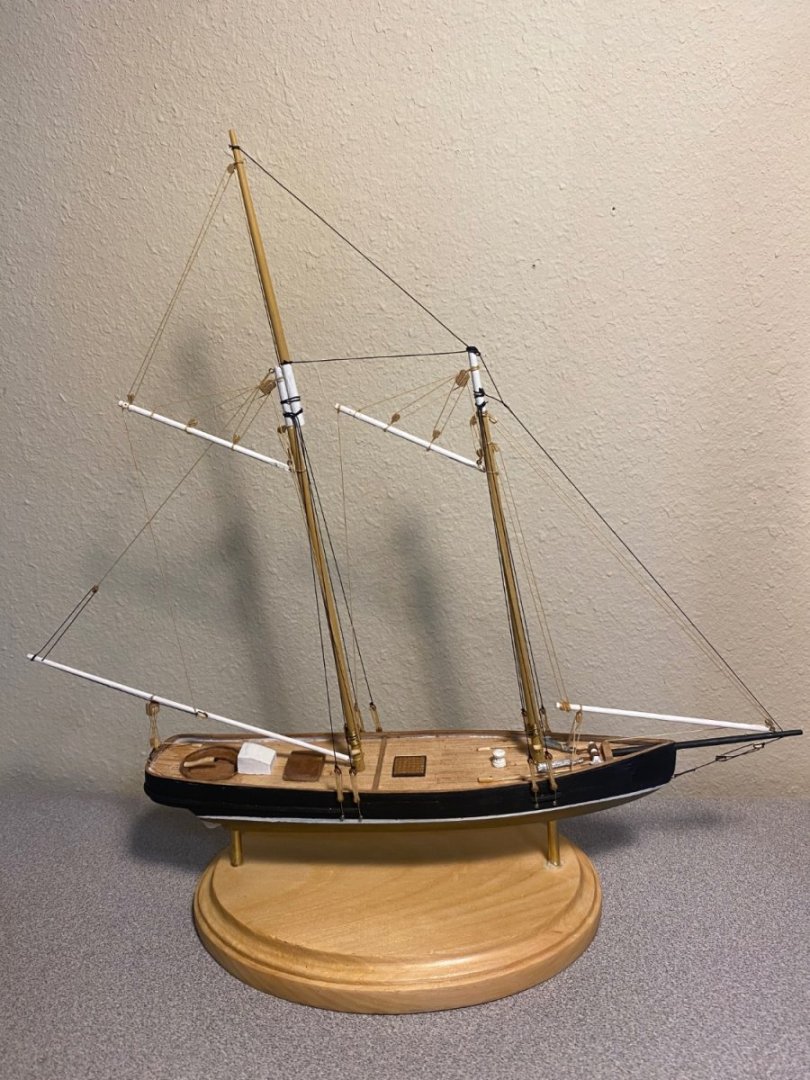


Still far from perfect but that’s part of the process I’ve learned. Now I can move on to other models!
-
-
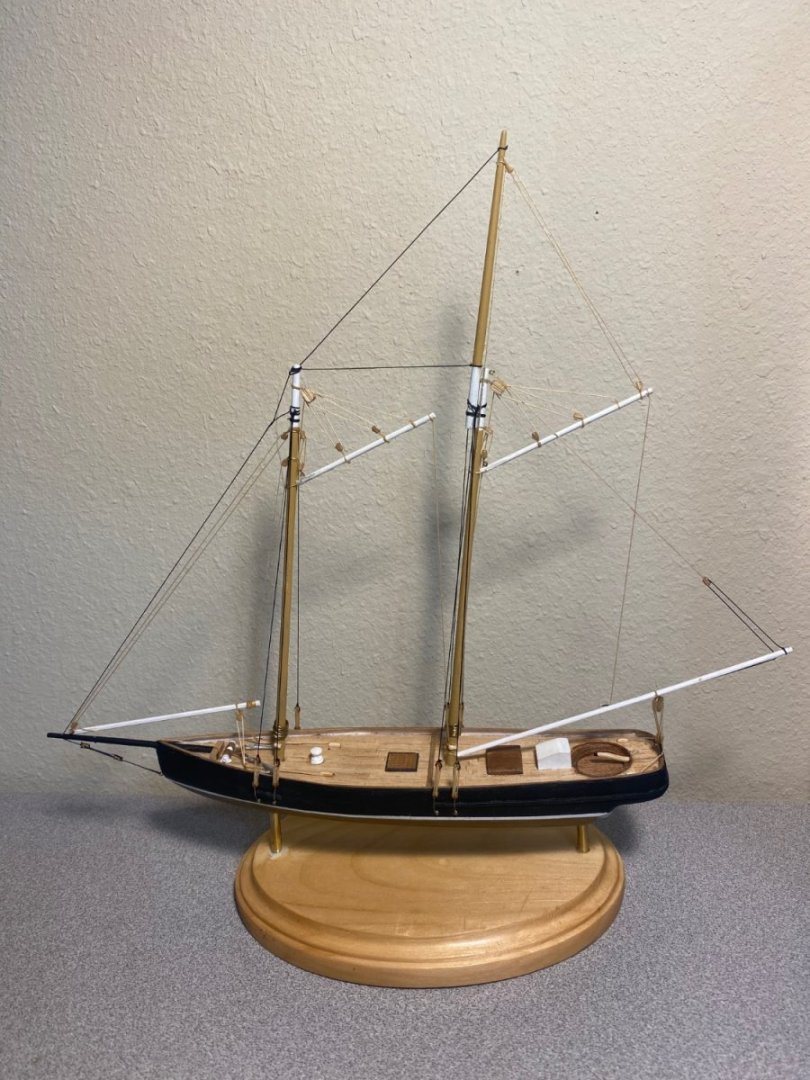
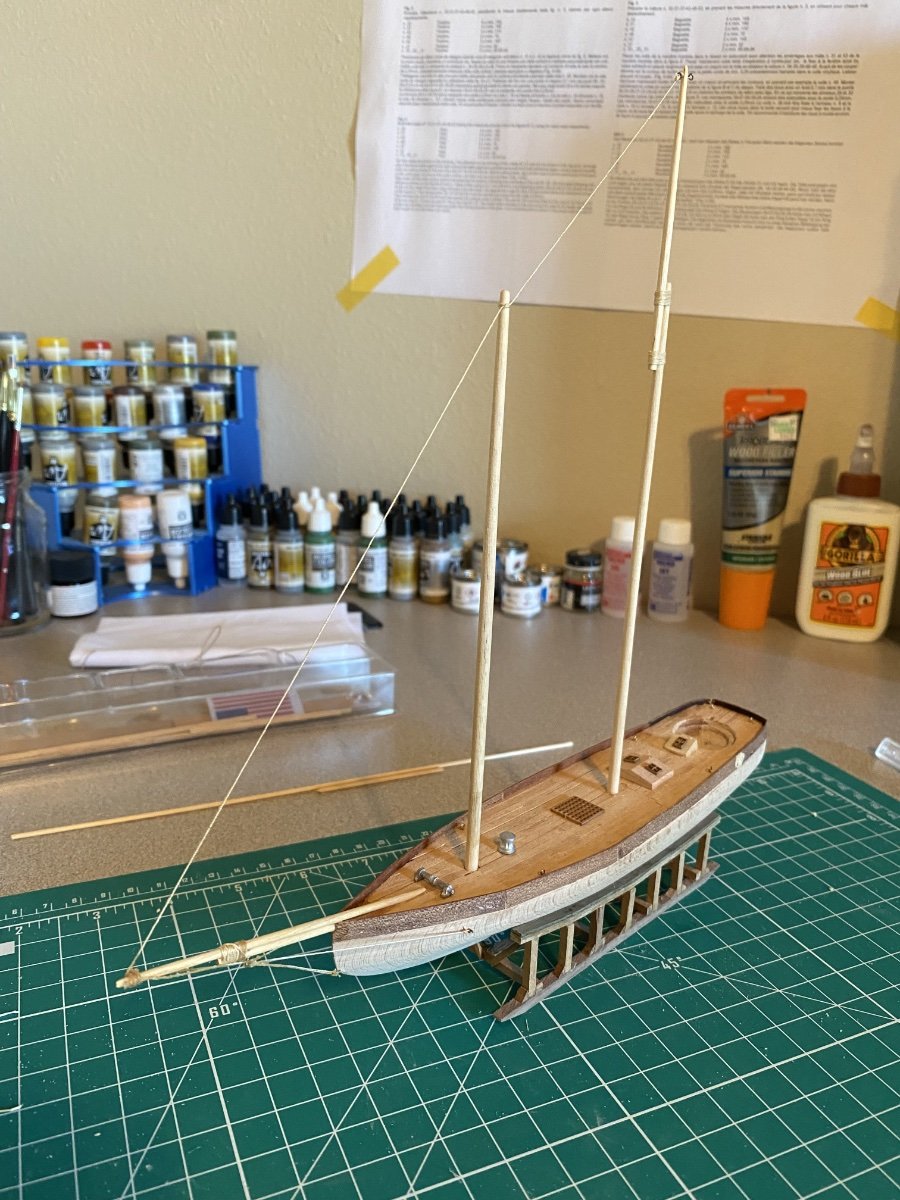
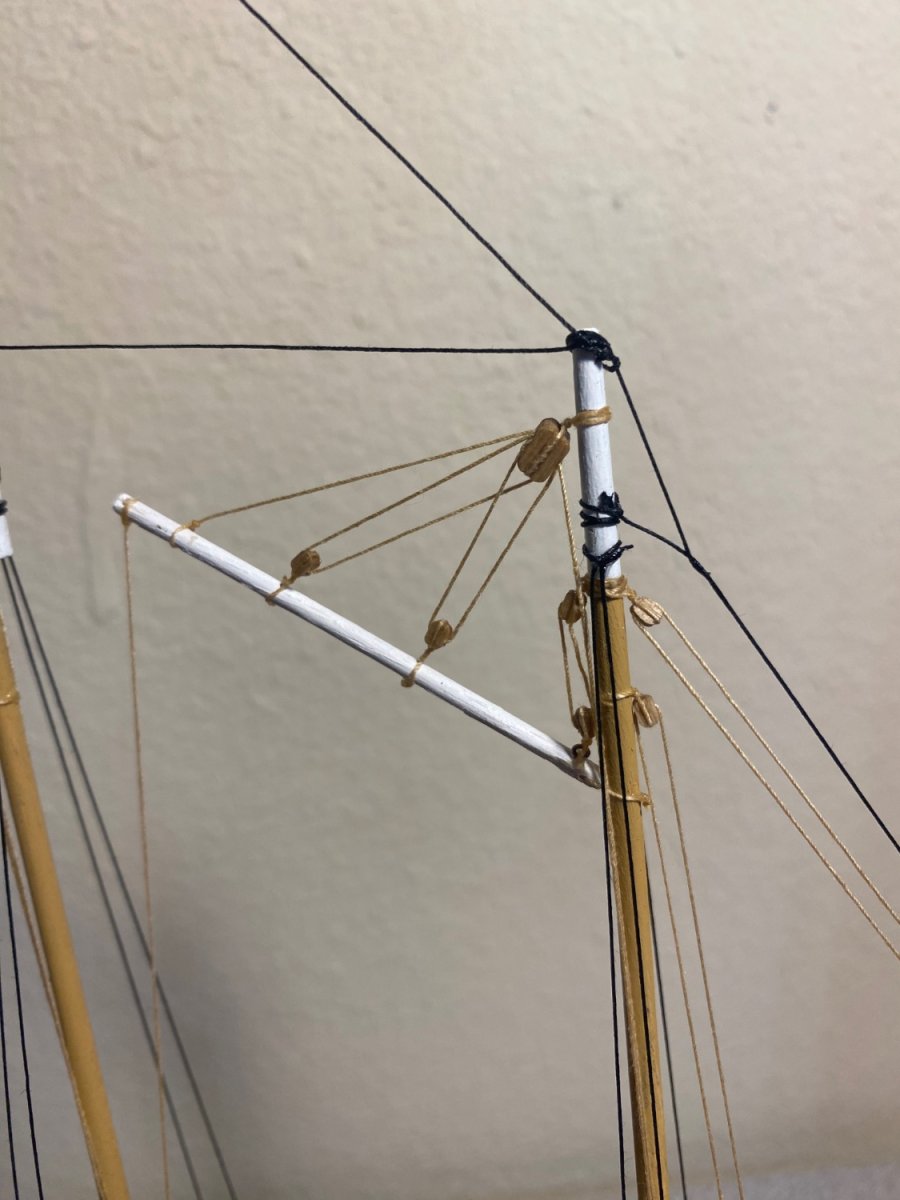
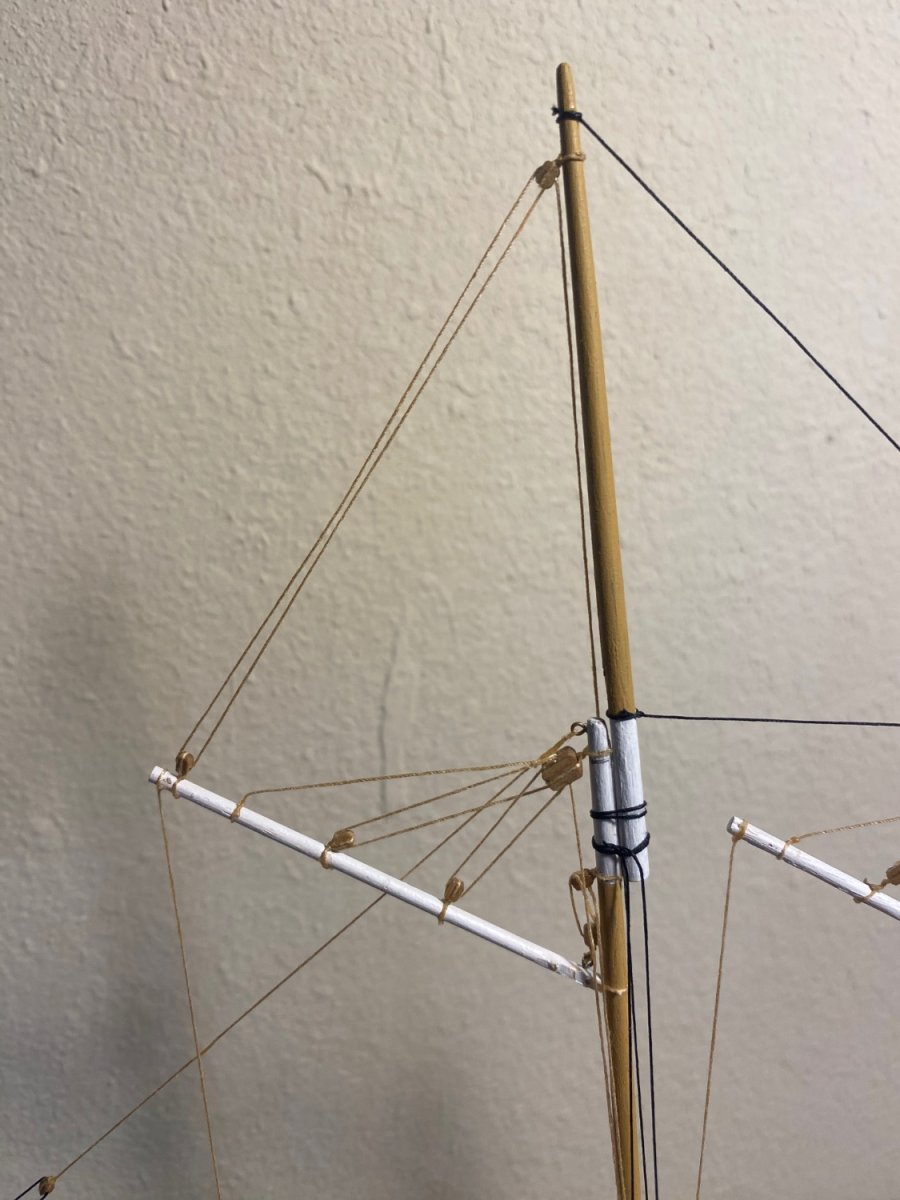
Almost there! Need to do the shrouds and make some rope coils and I’m calling her complete. Took some creative liberty in a few areas, such as cleats becoming small sanded pieces of basswood and some rigging not completely right.
Anything glaring that I’m missing? Eager to finish this up but would like to know if I am missing a main piece of rigging or something (other than the shrouds)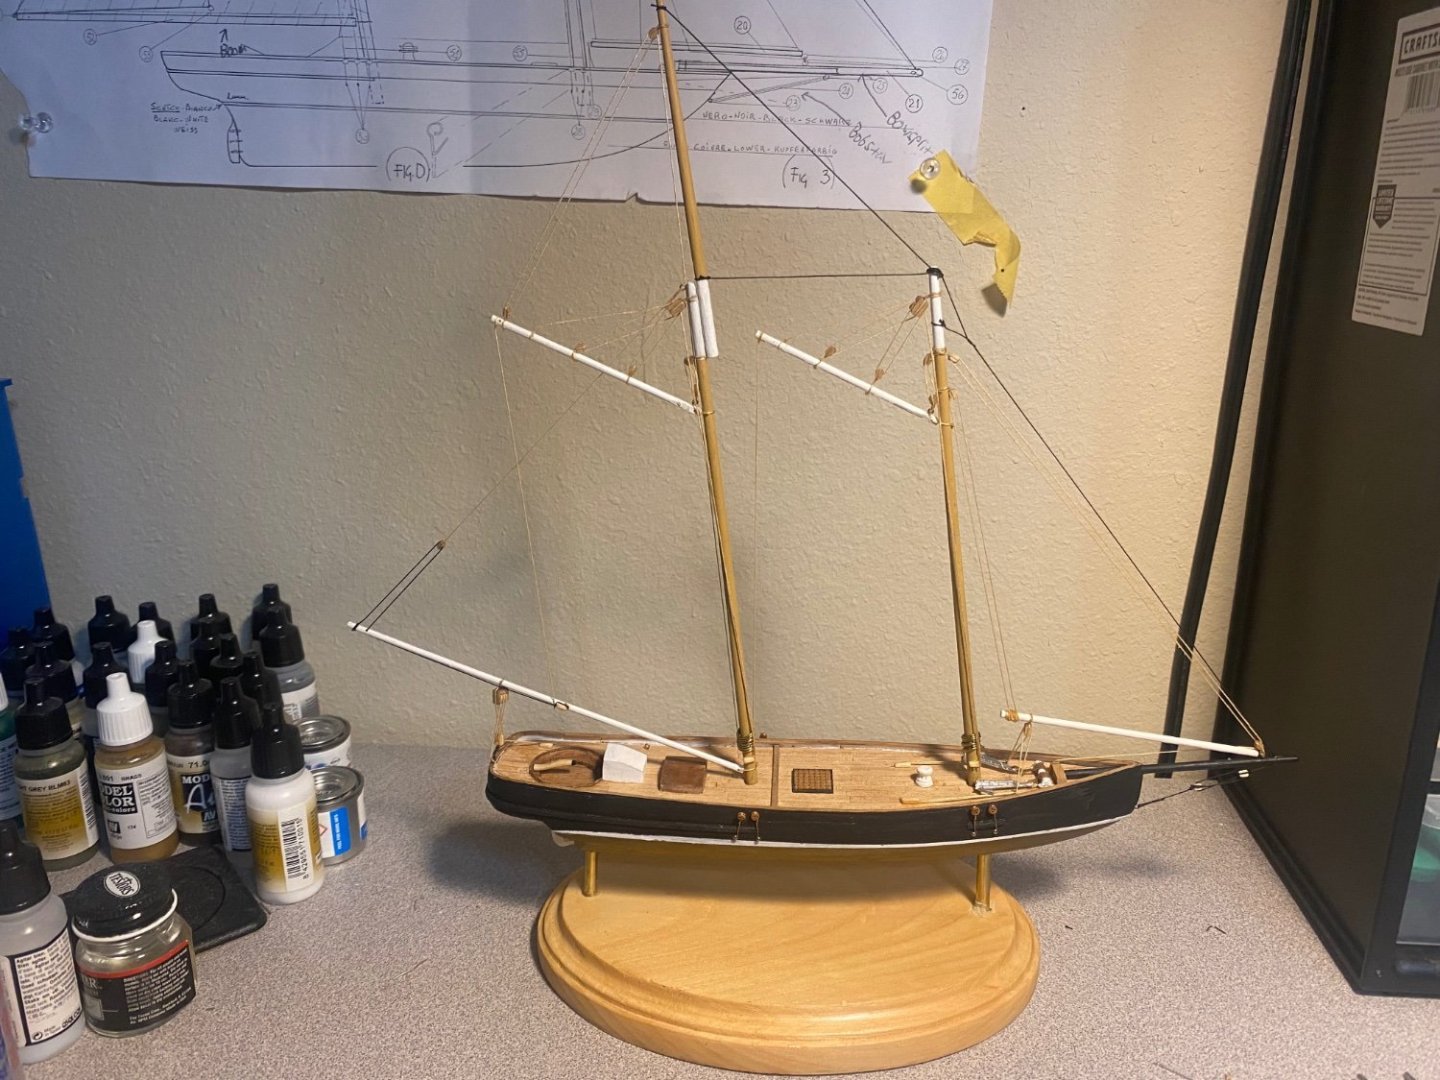
- JacquesCousteau and ccoyle
-
 2
2
-
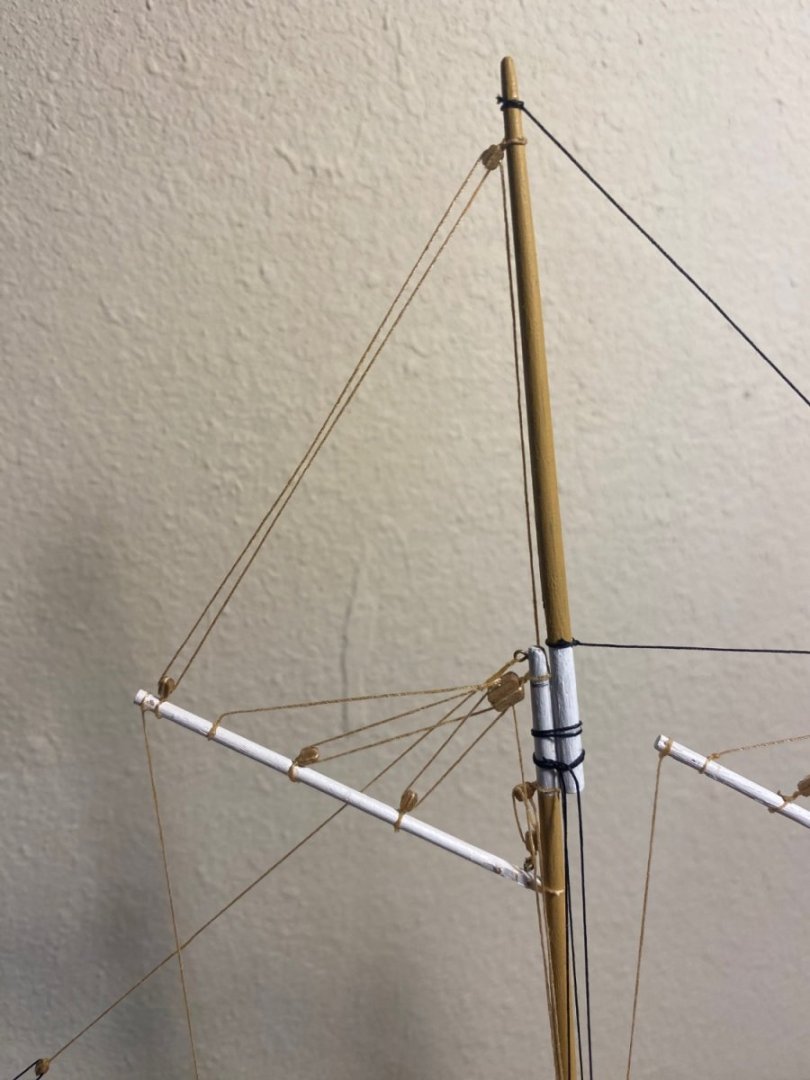
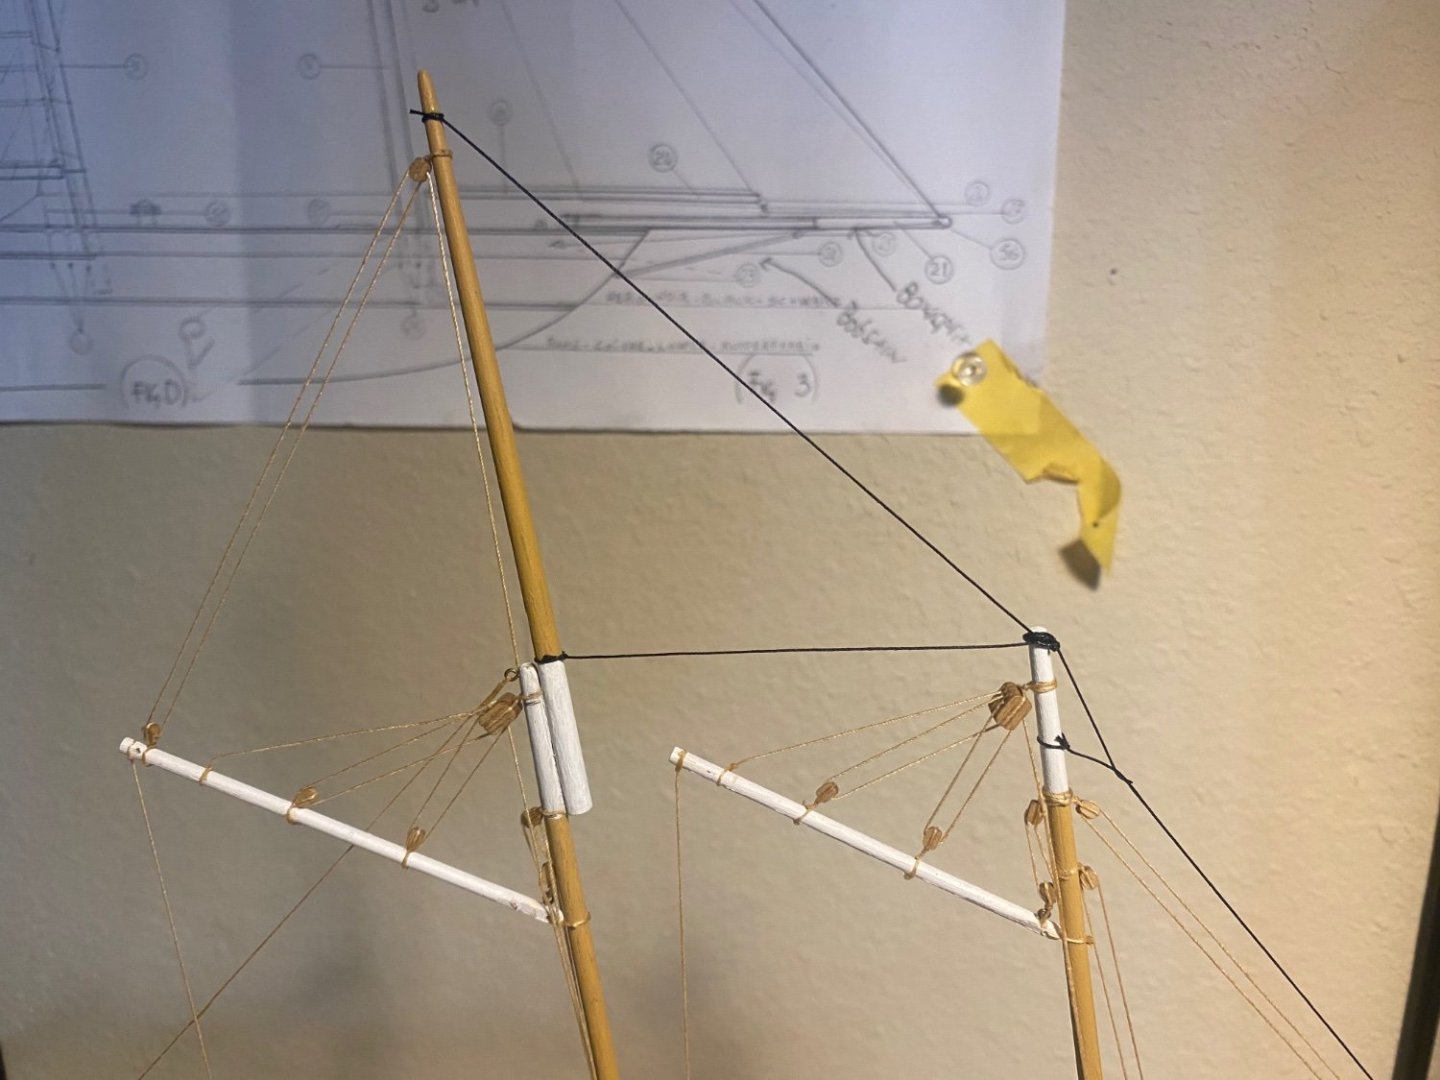
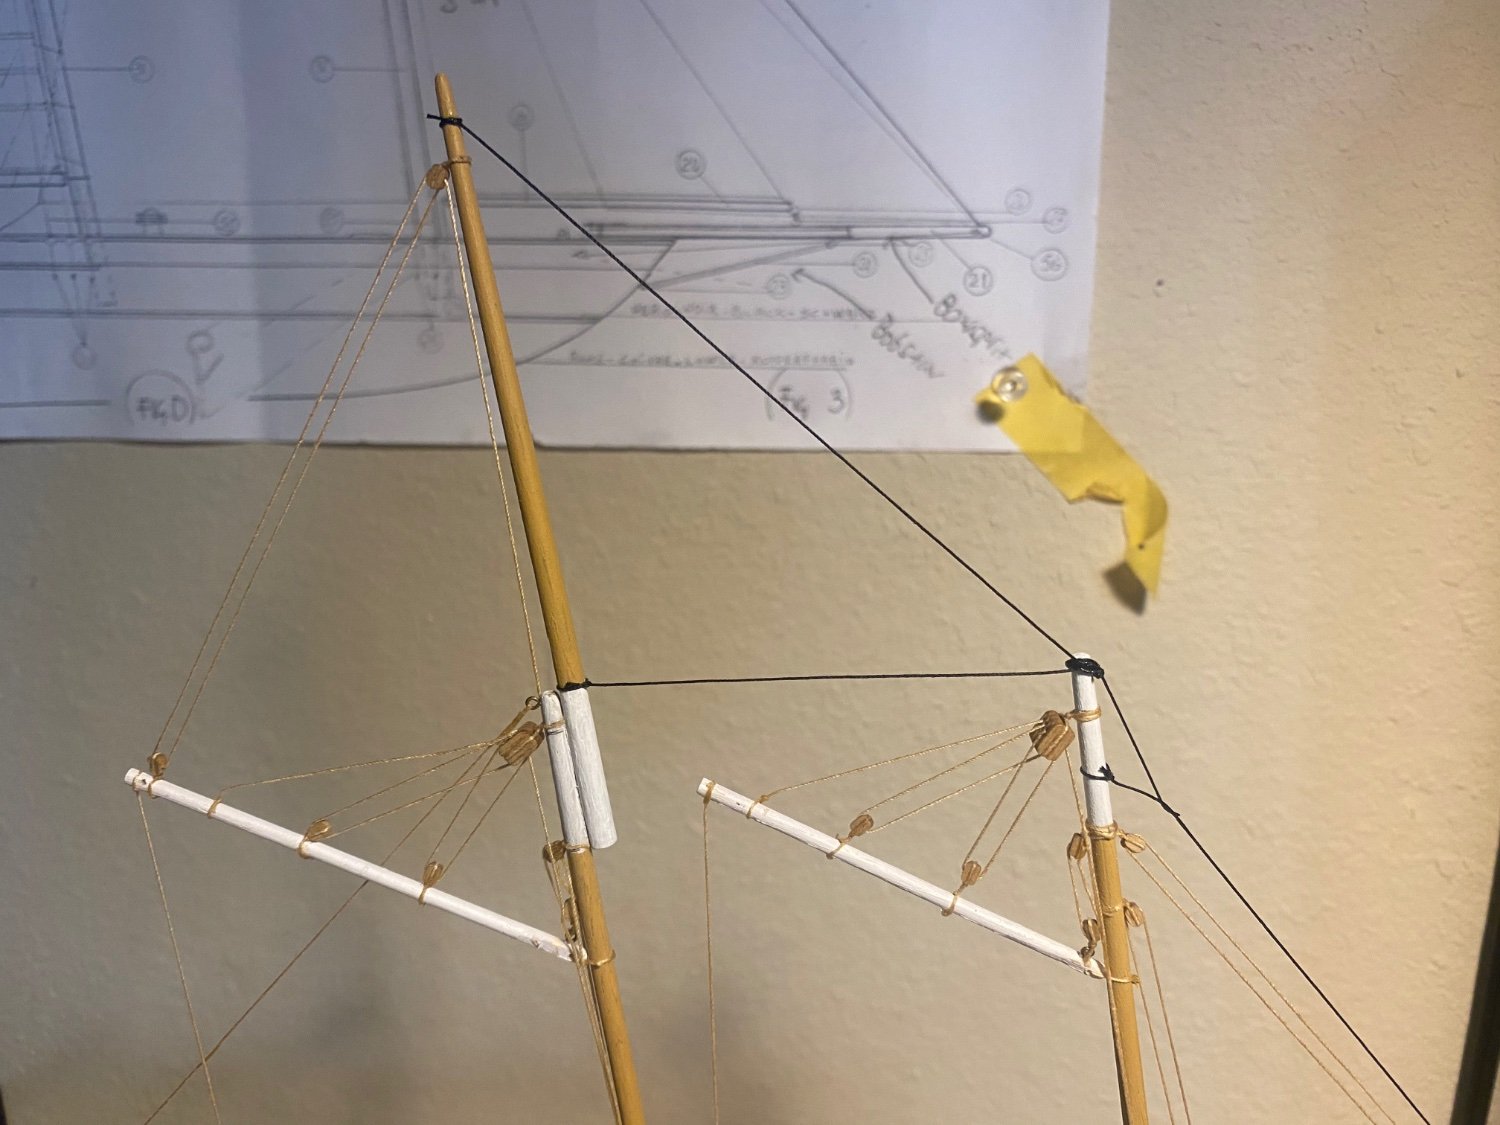
More rigging on the mainmast, about to glue them permanently. Goofed by laying the mainmast in a puddle of thin CA glue, had to redo a large chunk. The joys of modeling!
-
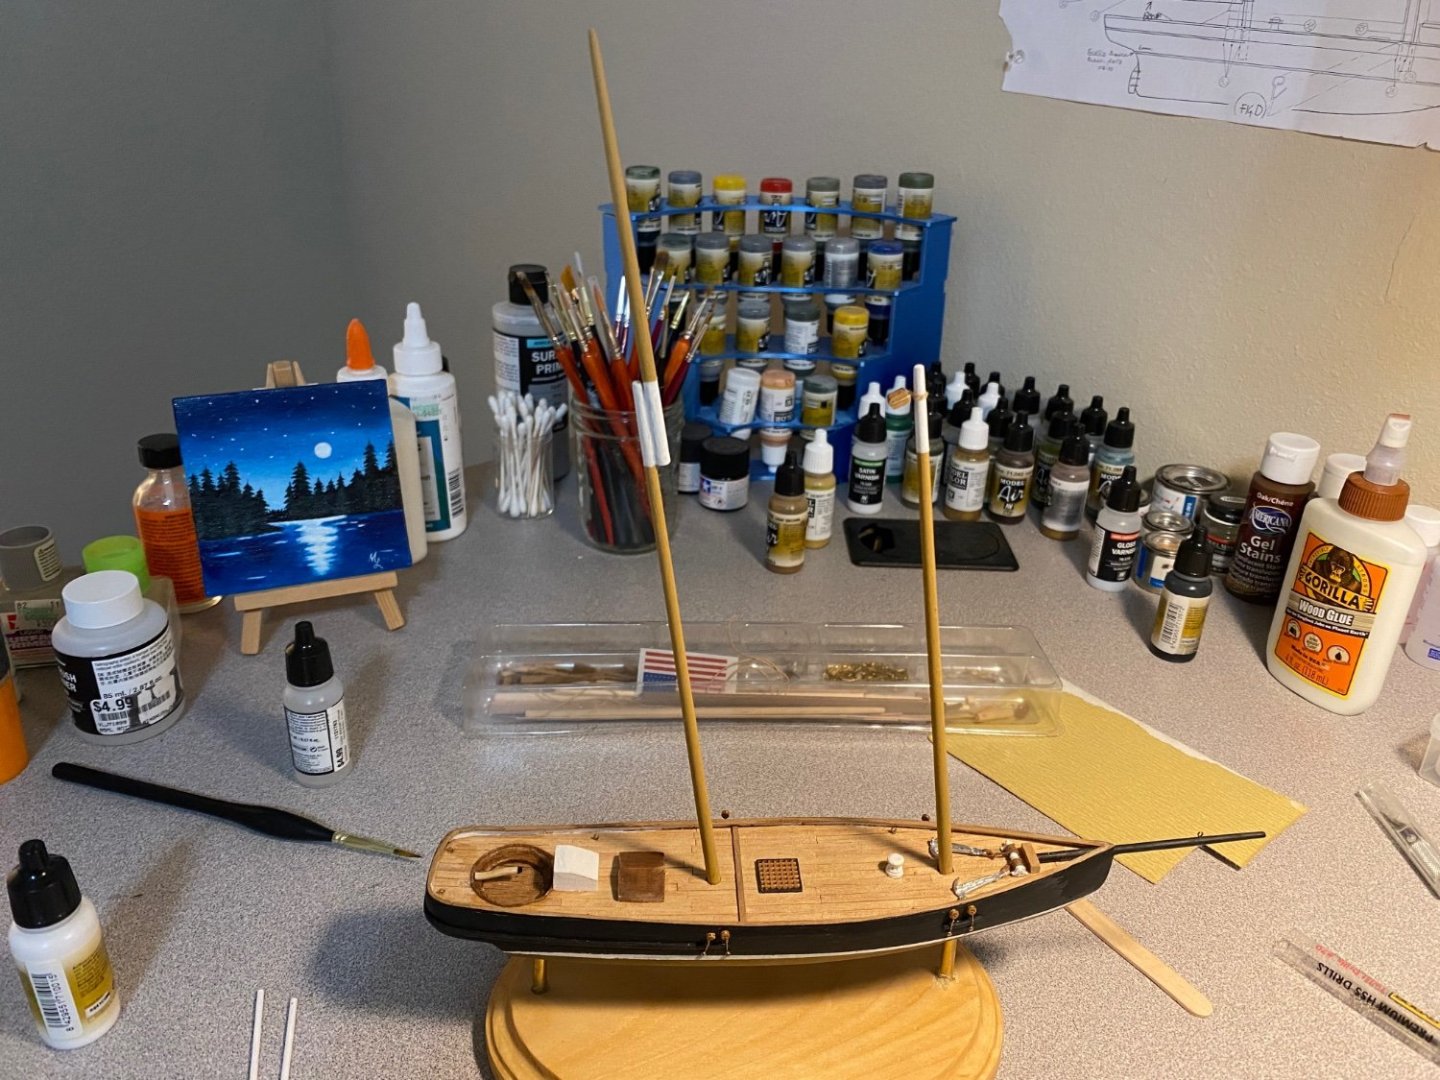
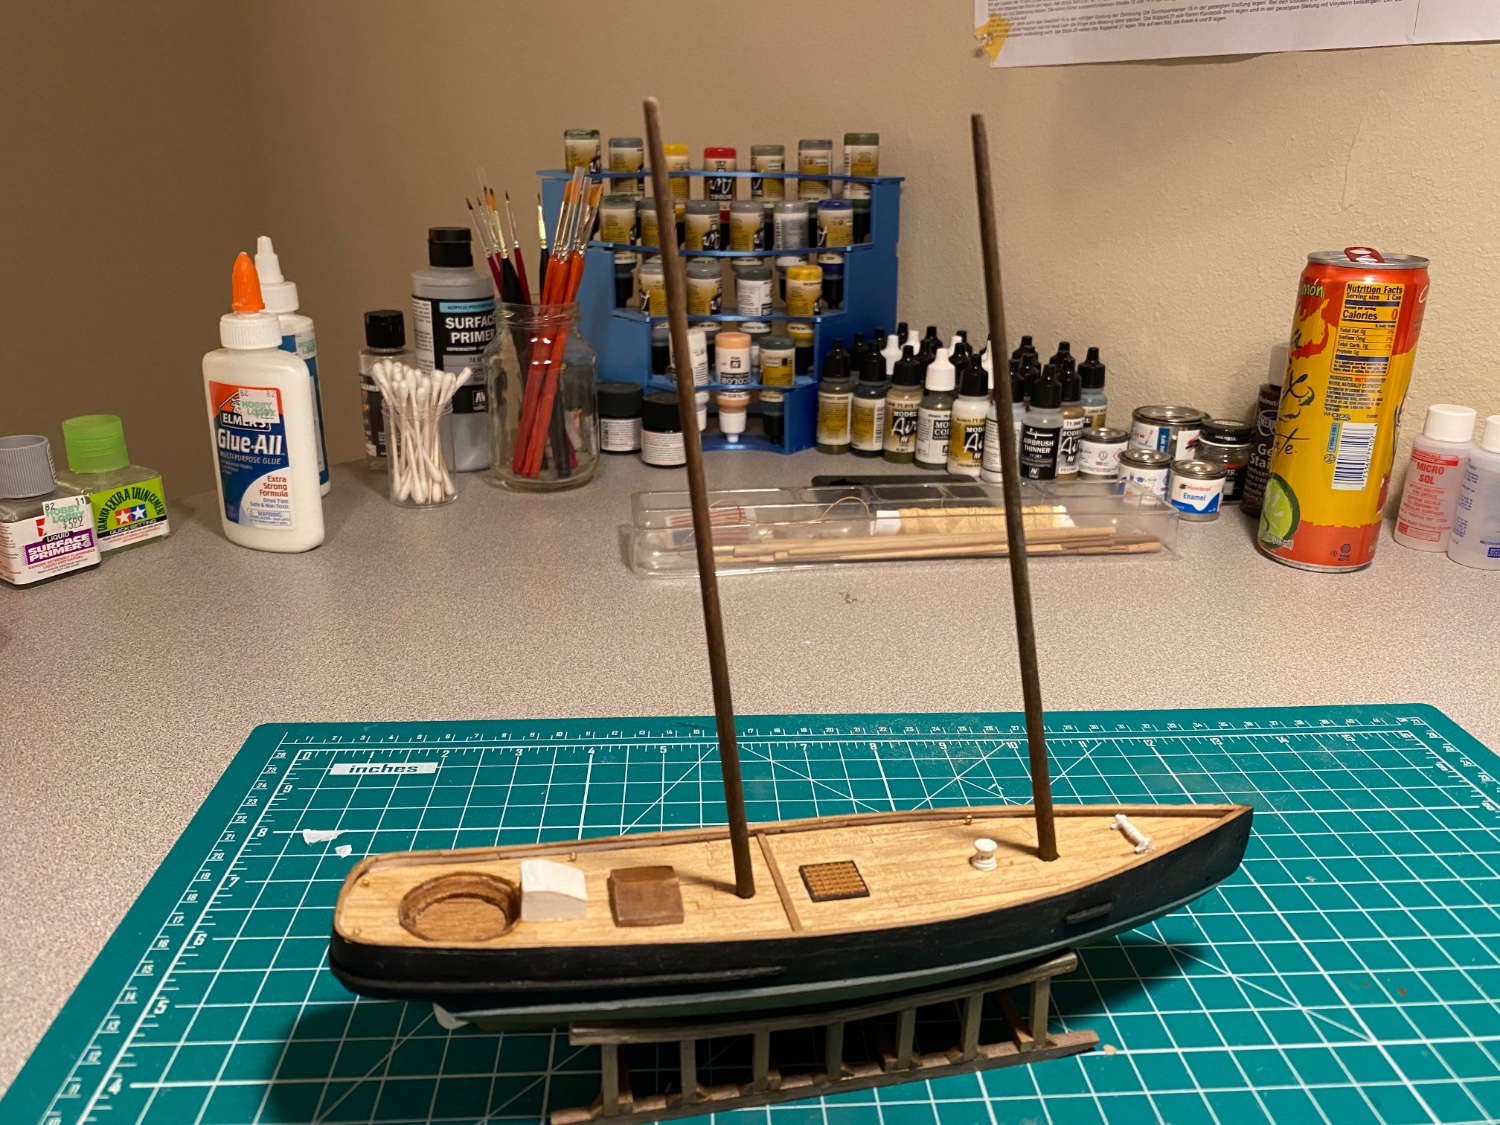
Starting the running rigging. I haven’t glued the masts in place yet as I have no idea how I’d get to any of this more intricate stuff.
-
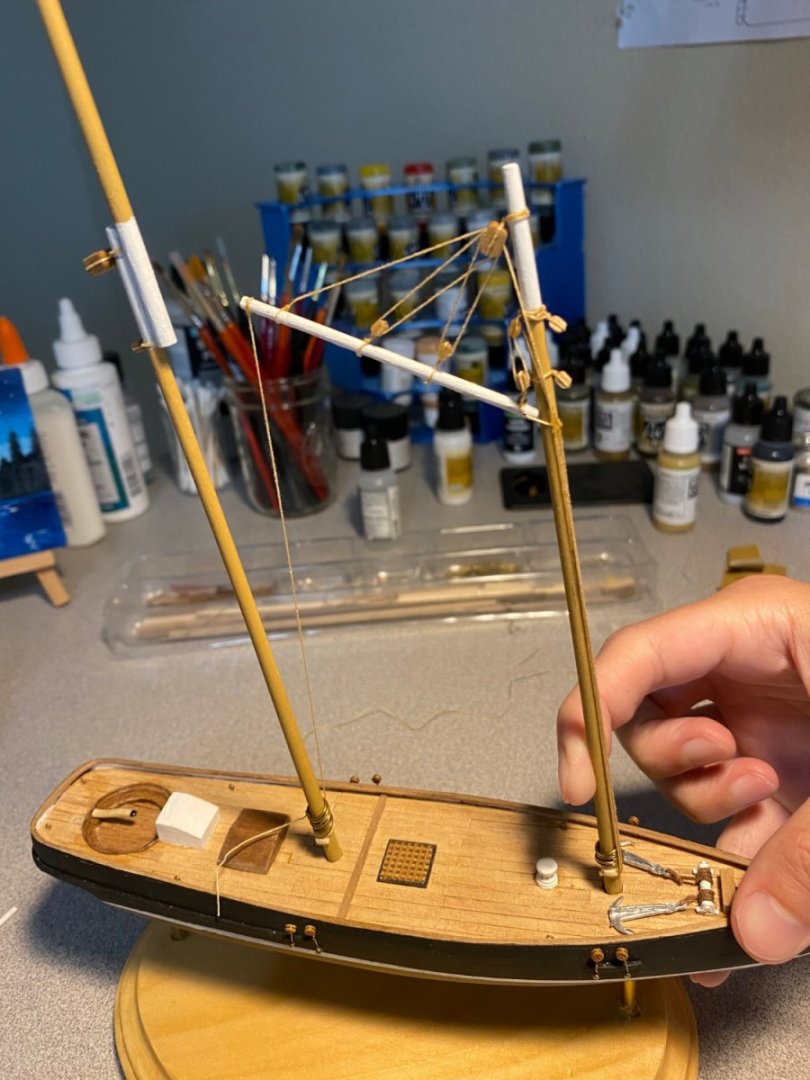
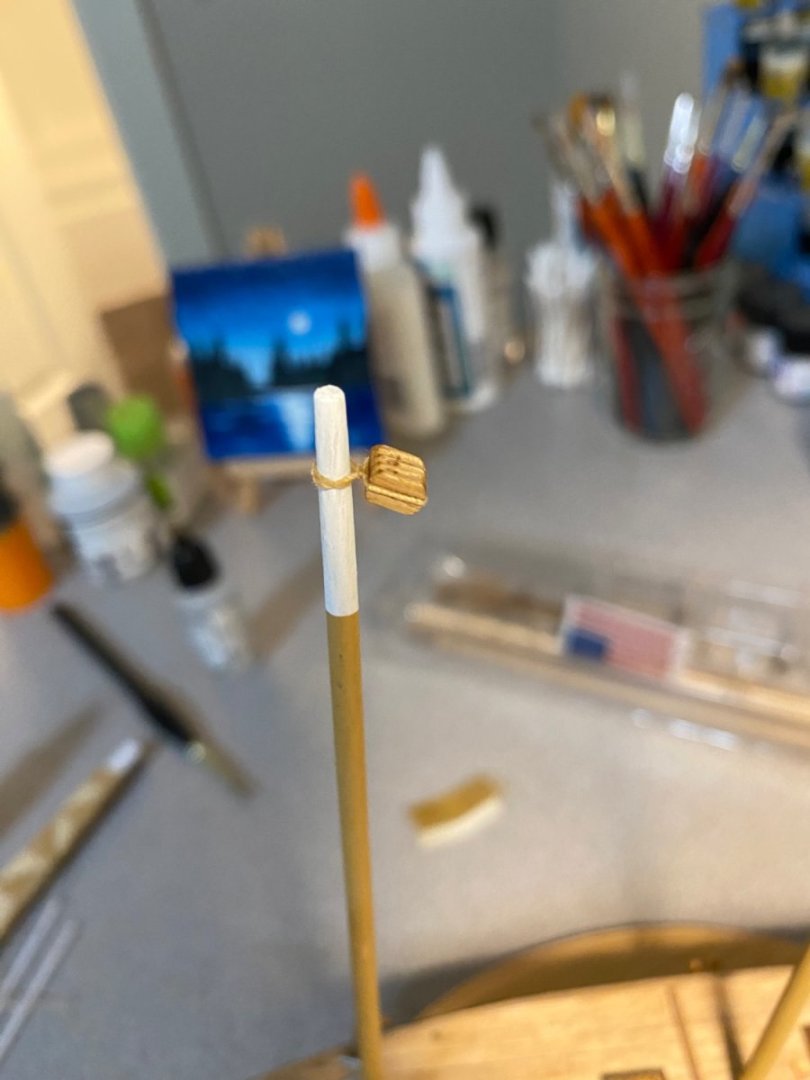
Foremast fittings completed

-
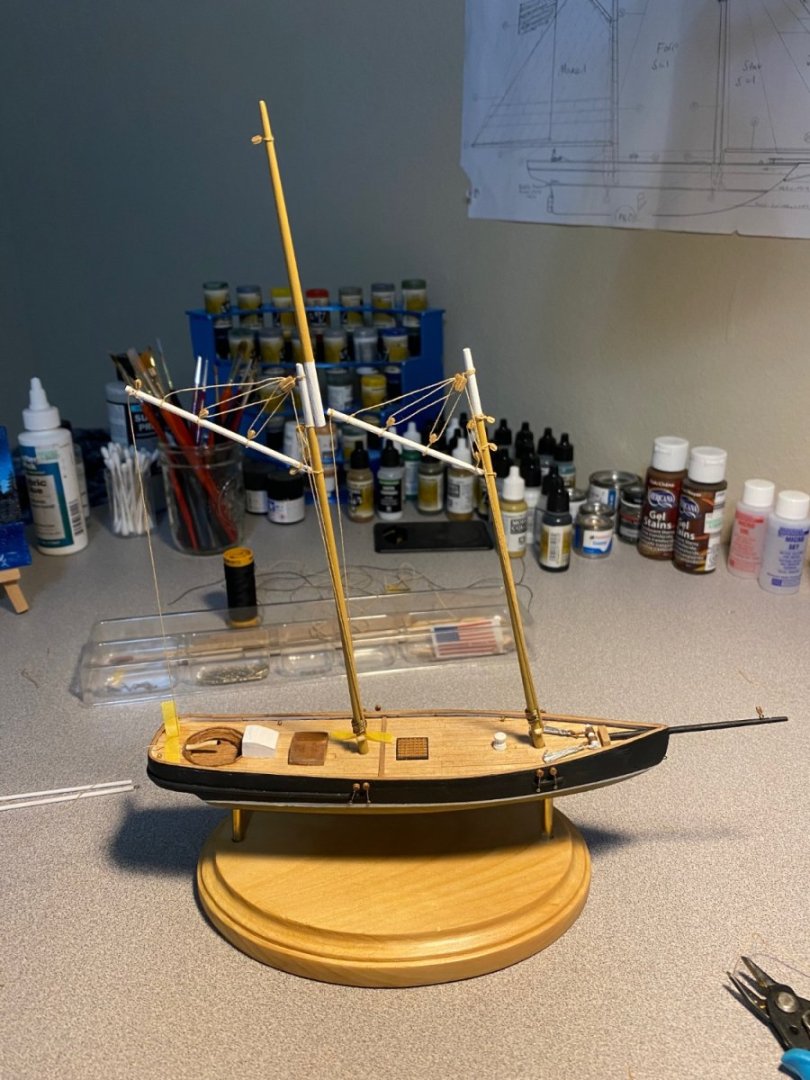
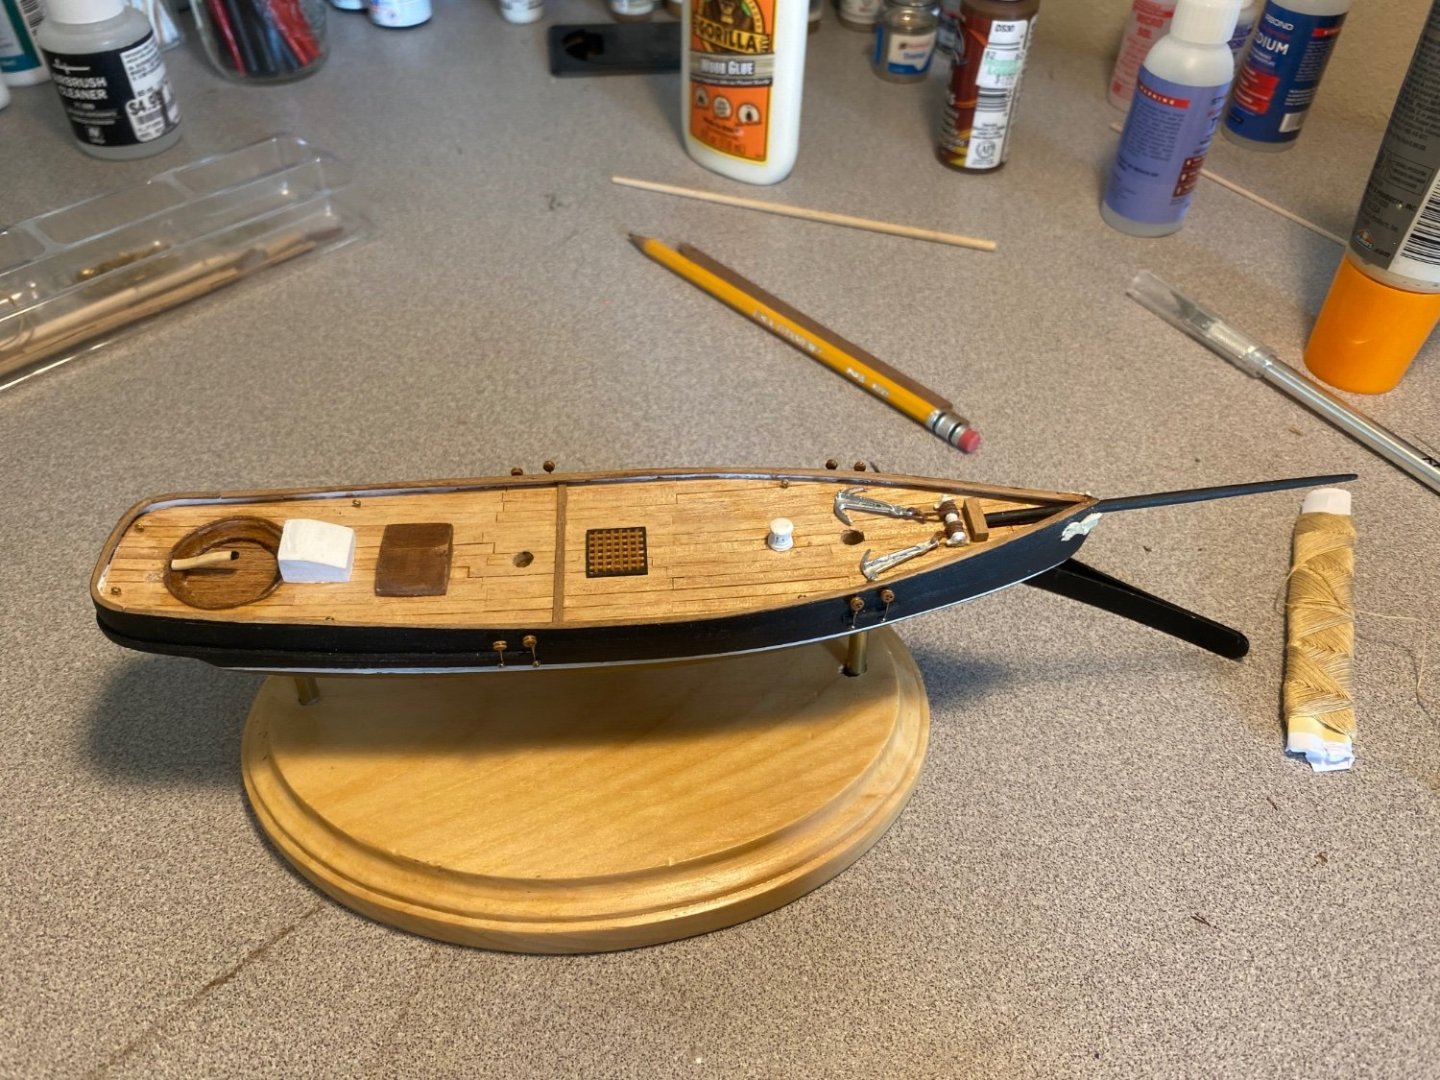
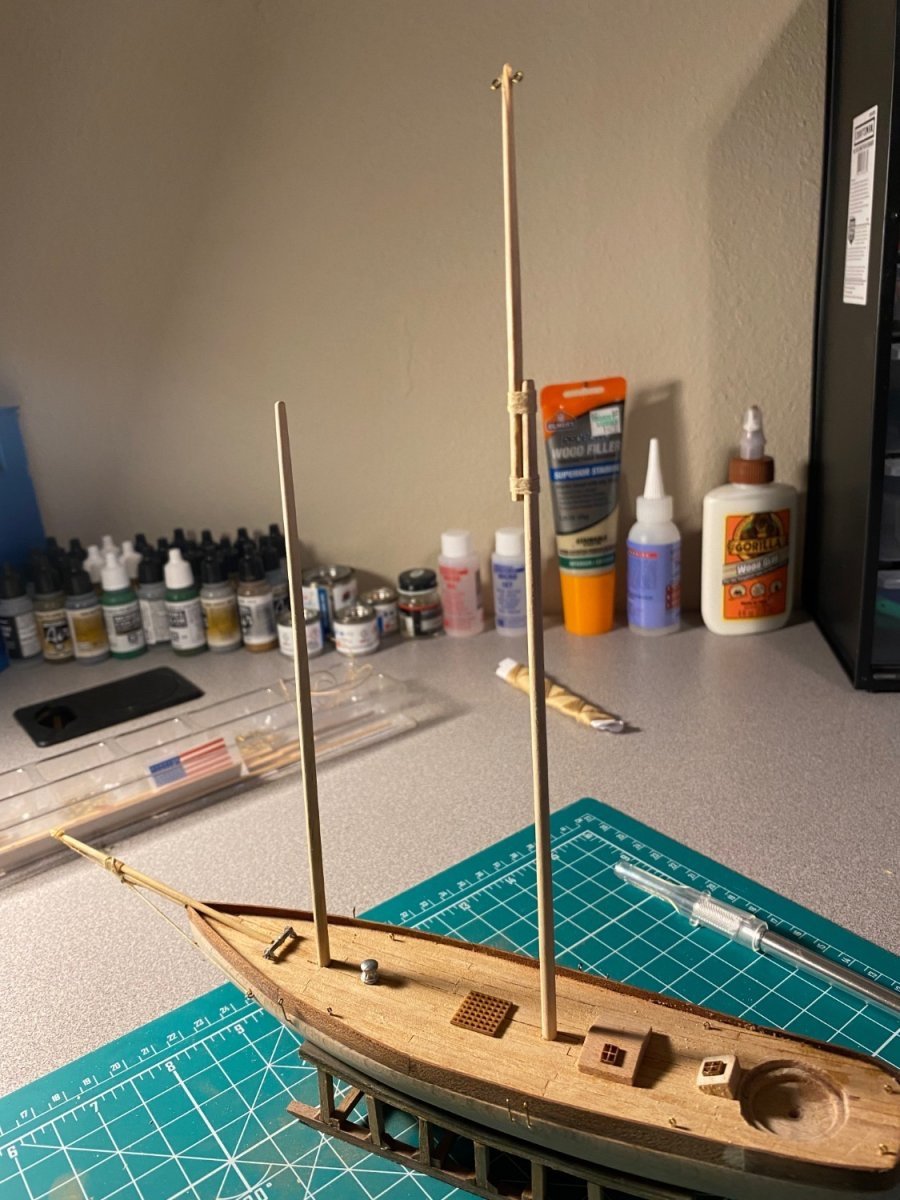
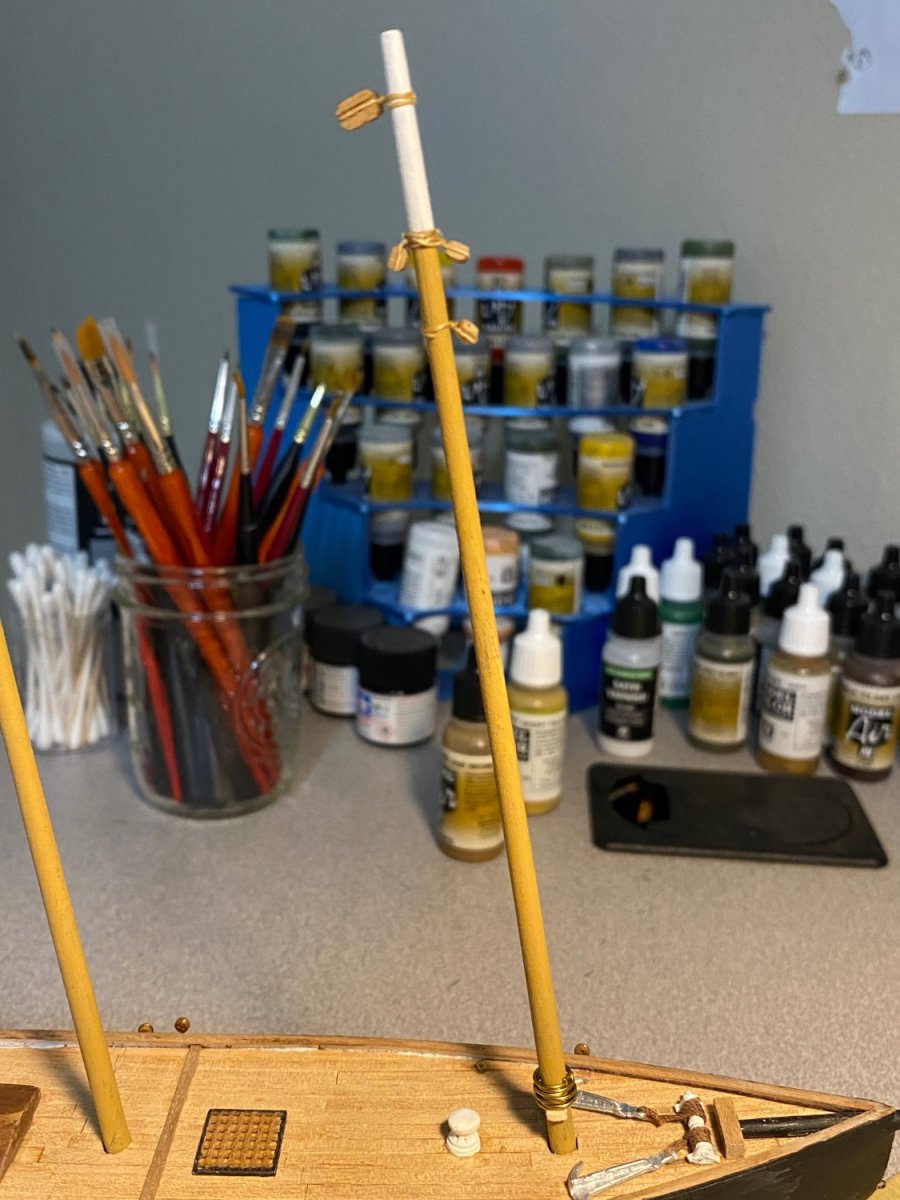
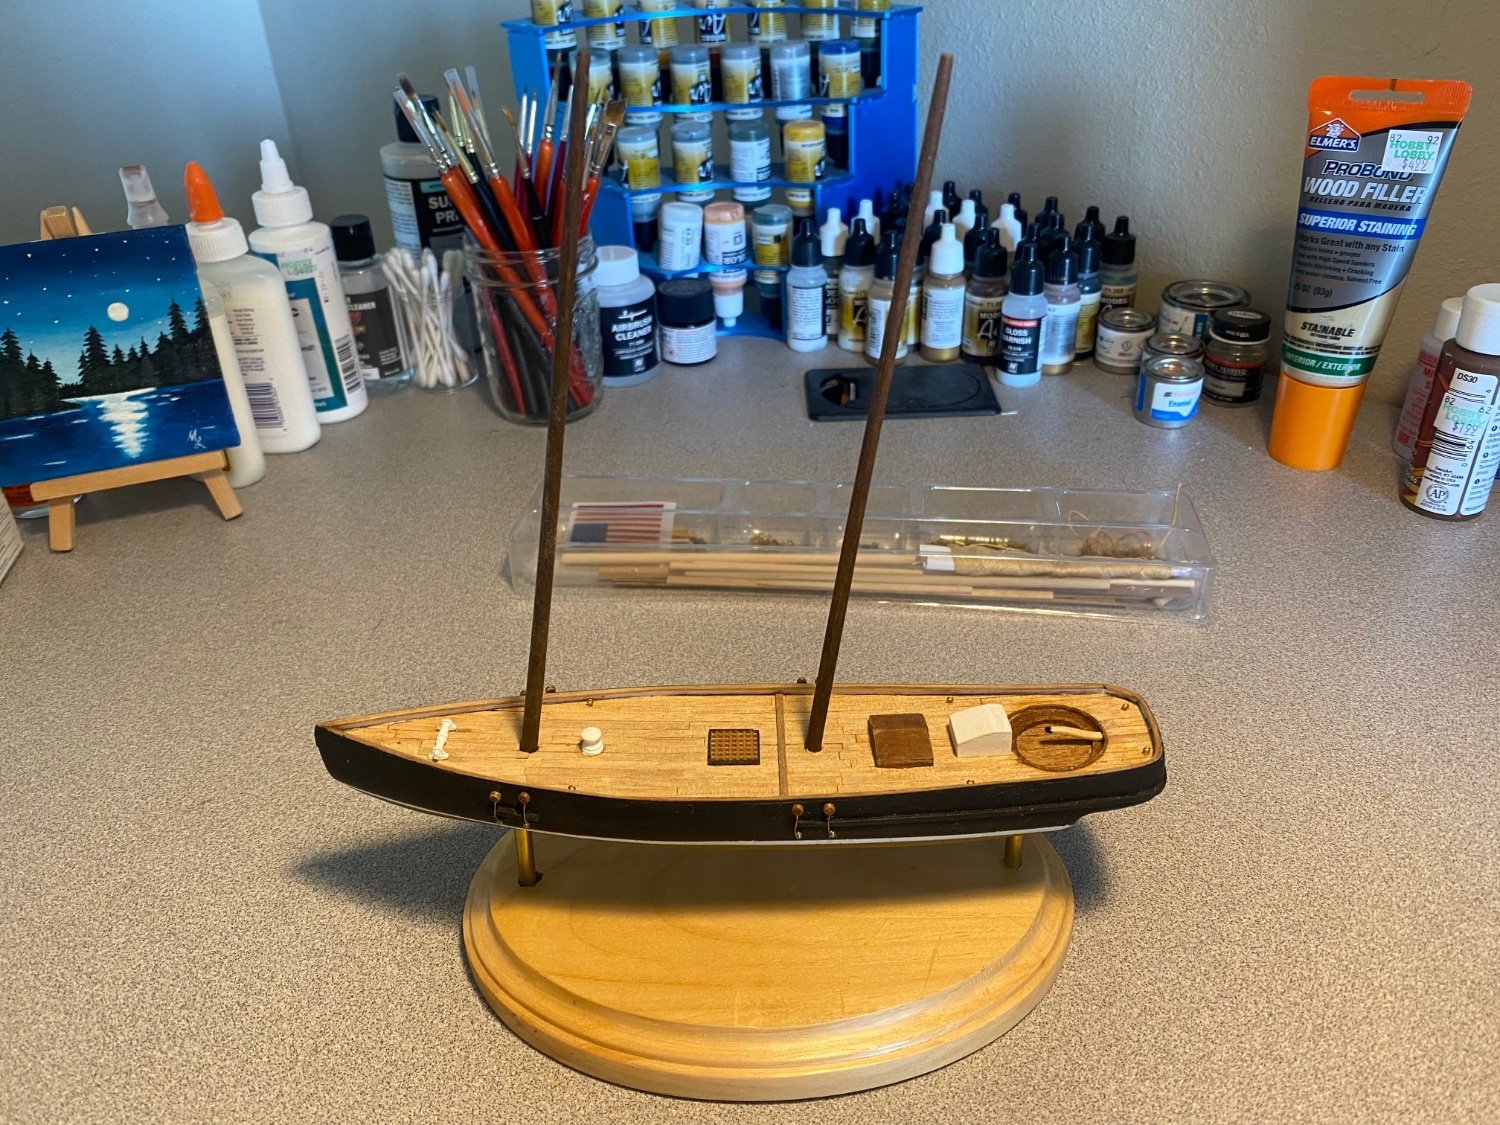
Topmast attached and painted, bow cleaned up after sanding, and first block attached! Masts have not yet been stepped. I’m just looking at pictures and eyeballing everything.

-
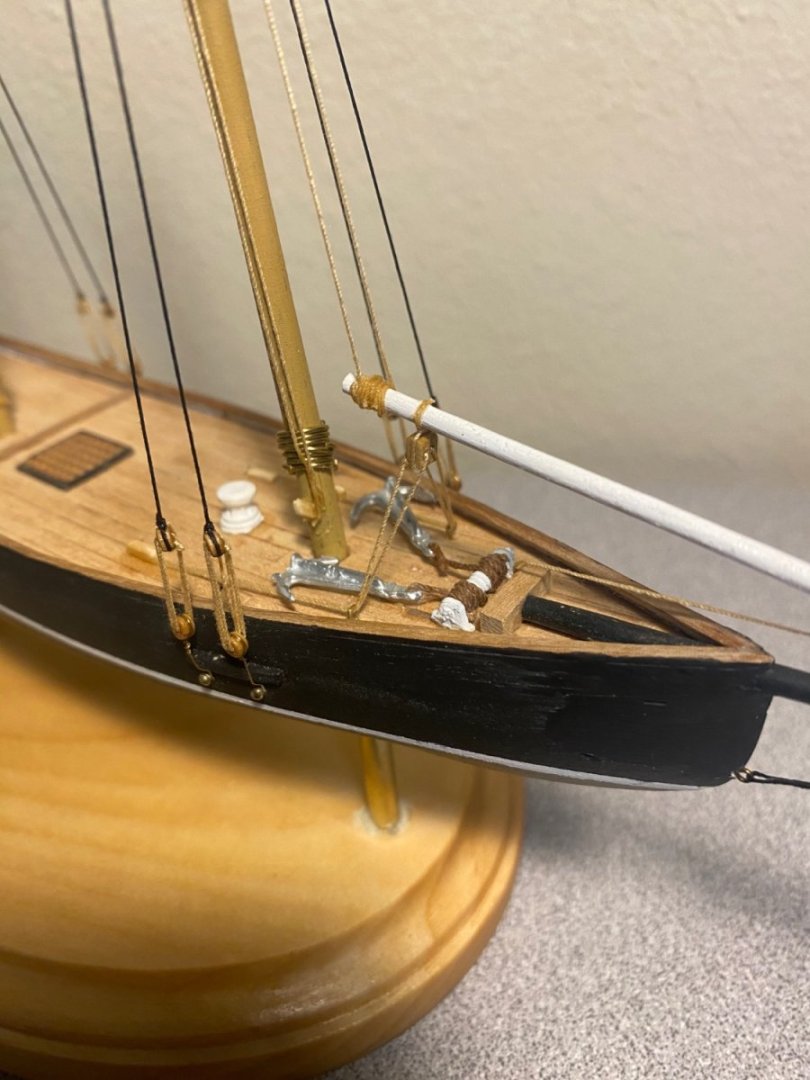
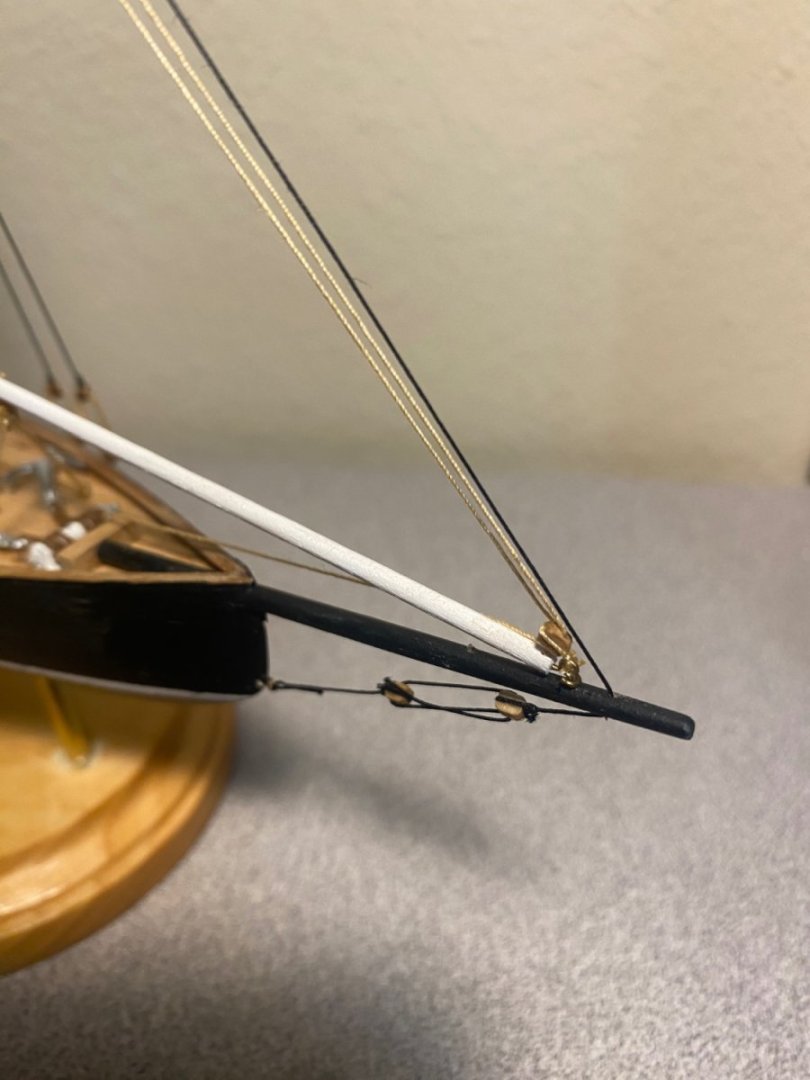
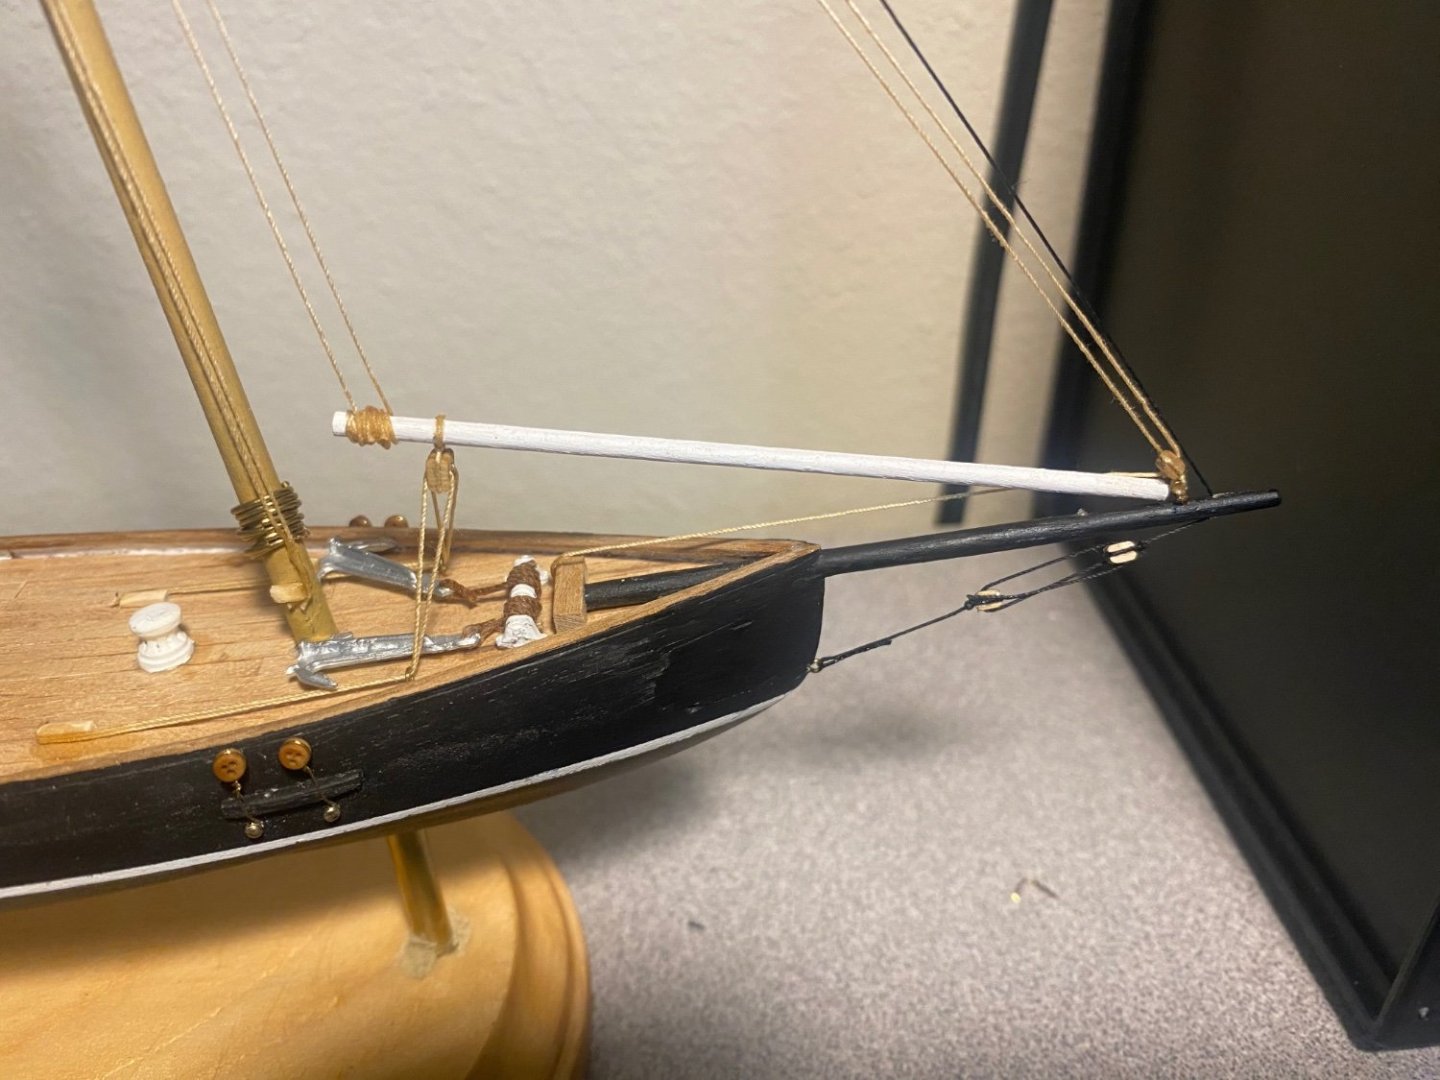
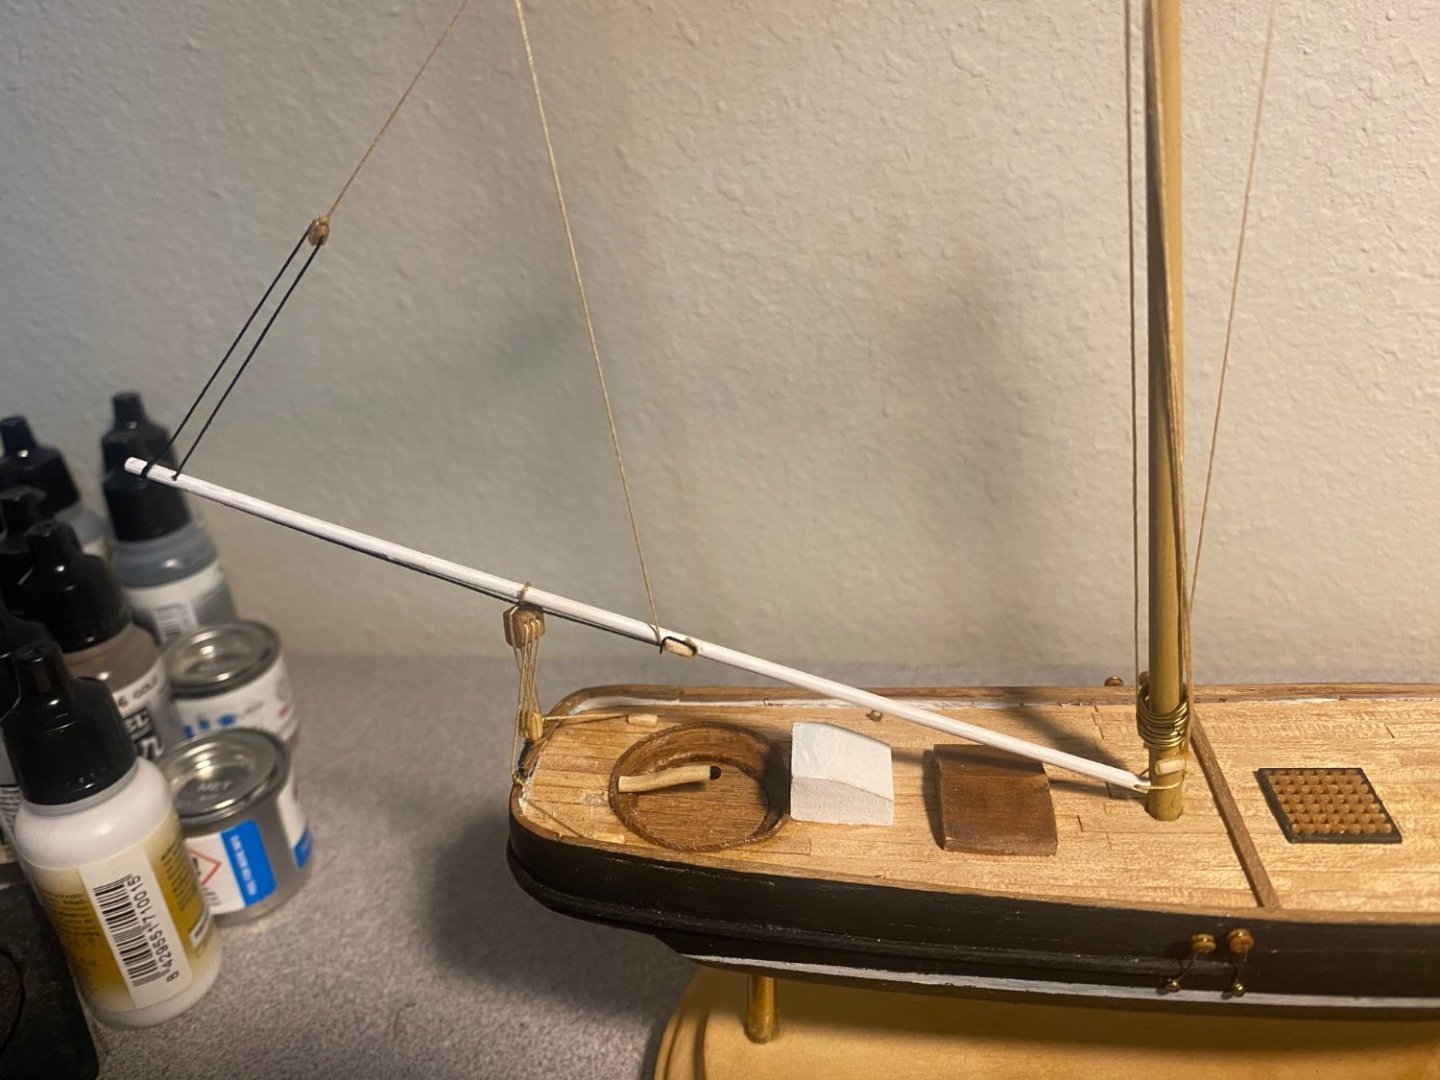
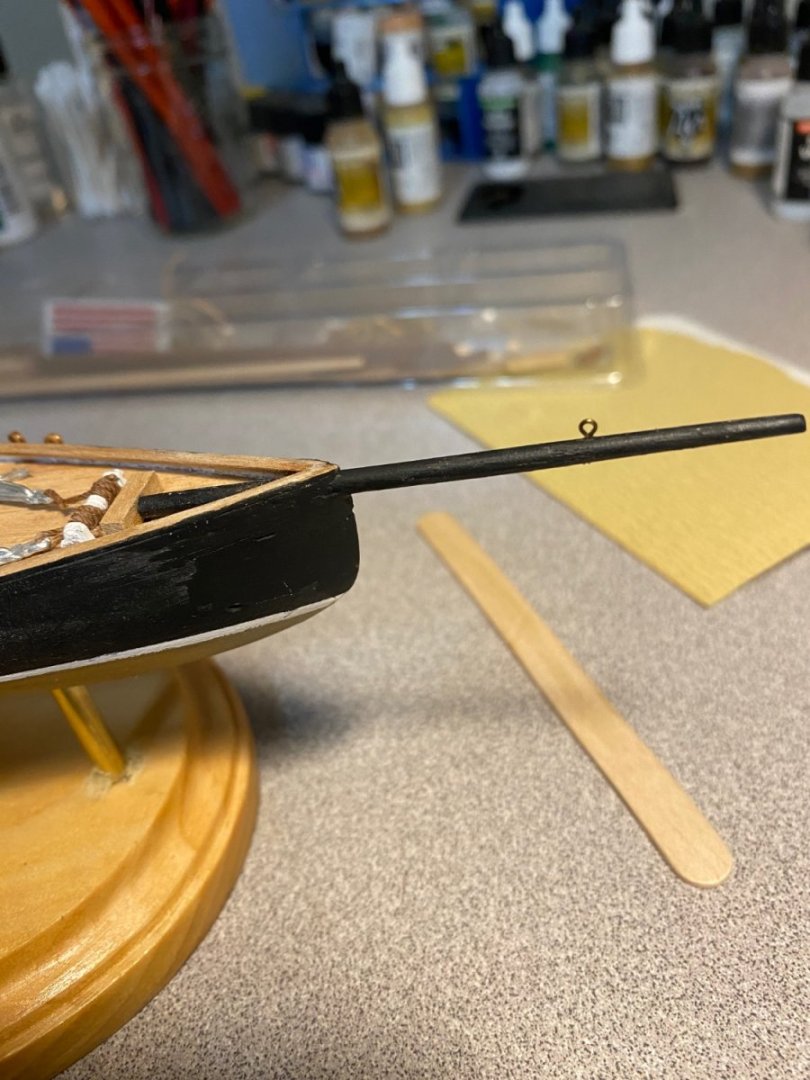
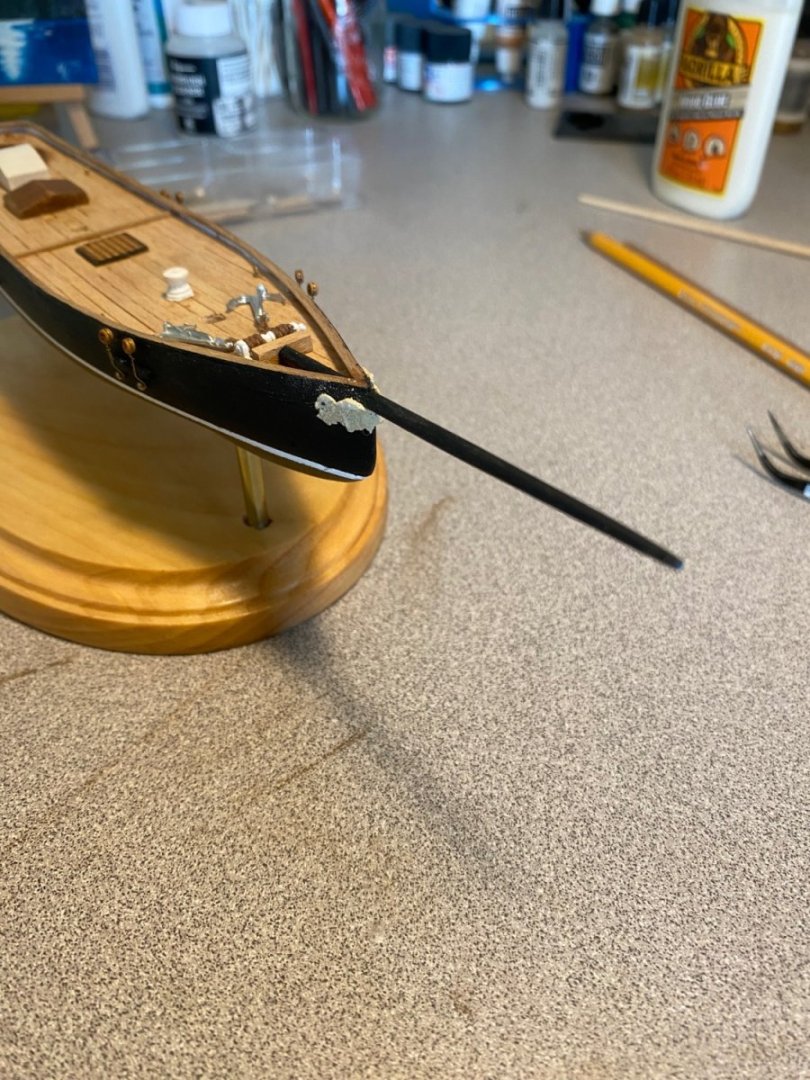
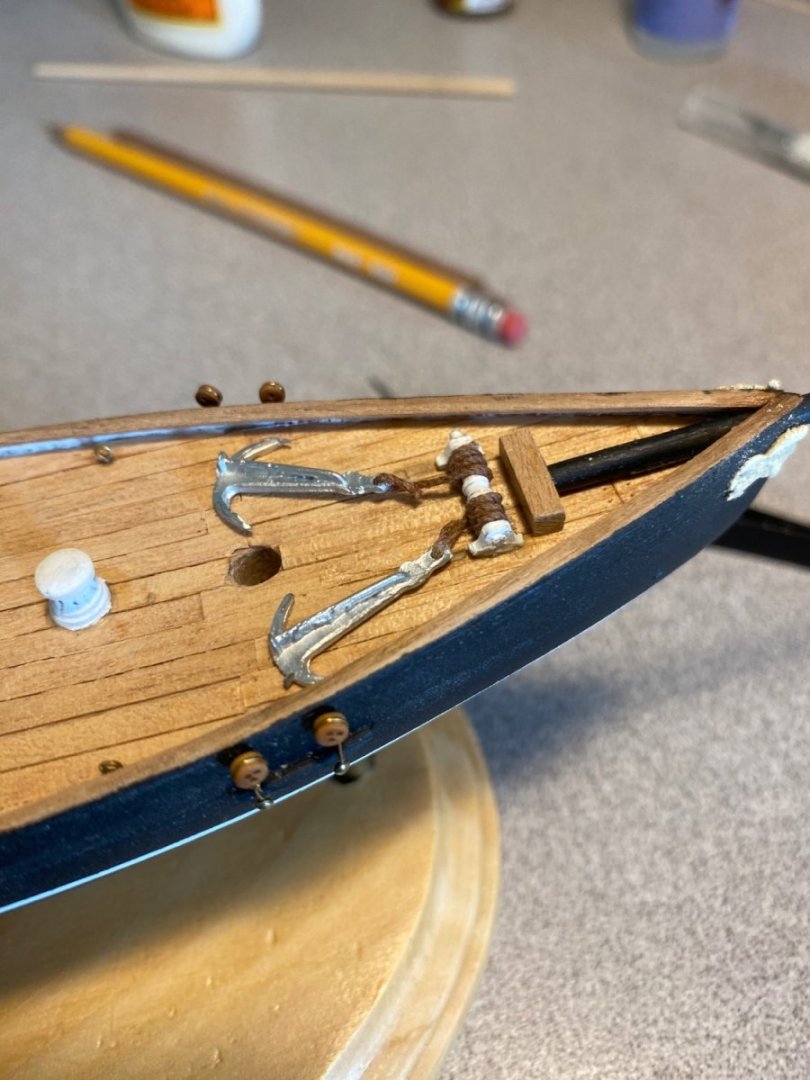
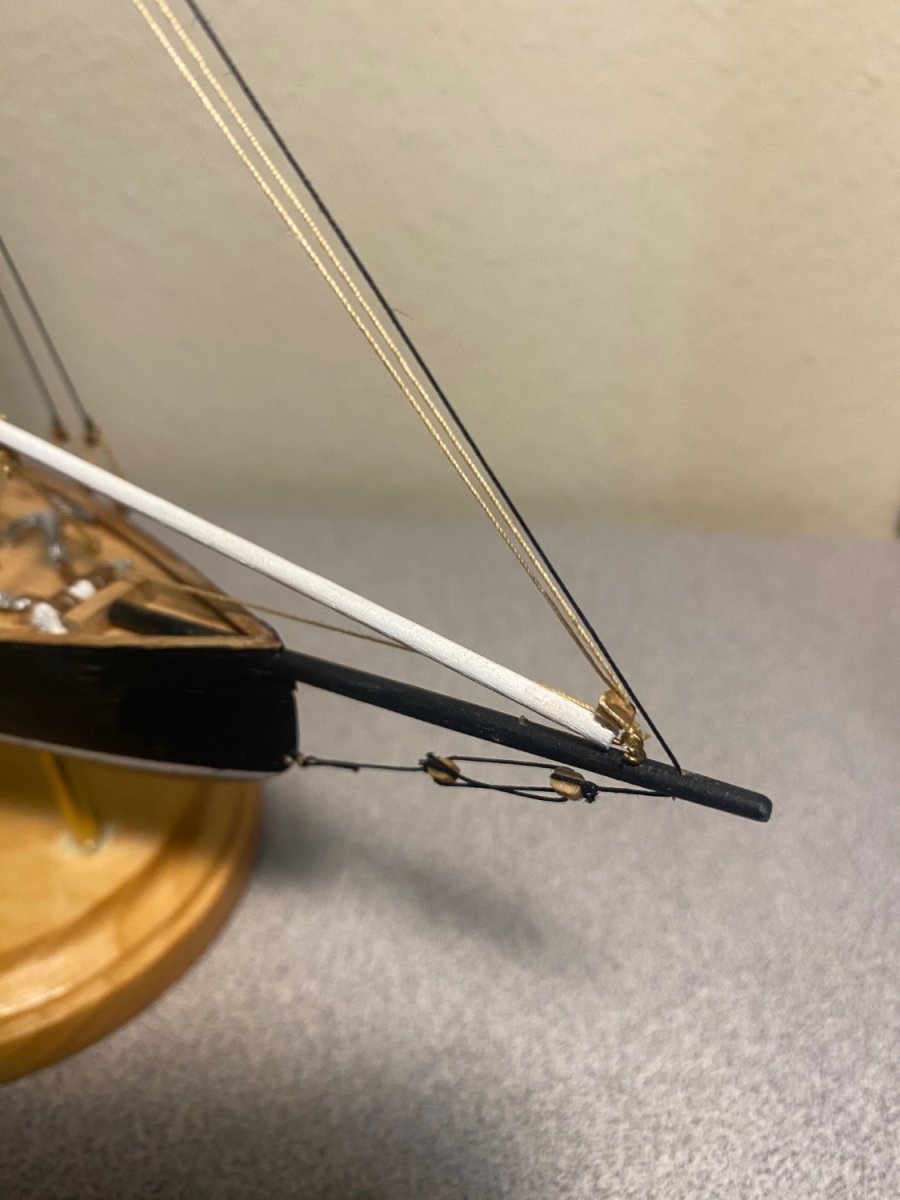
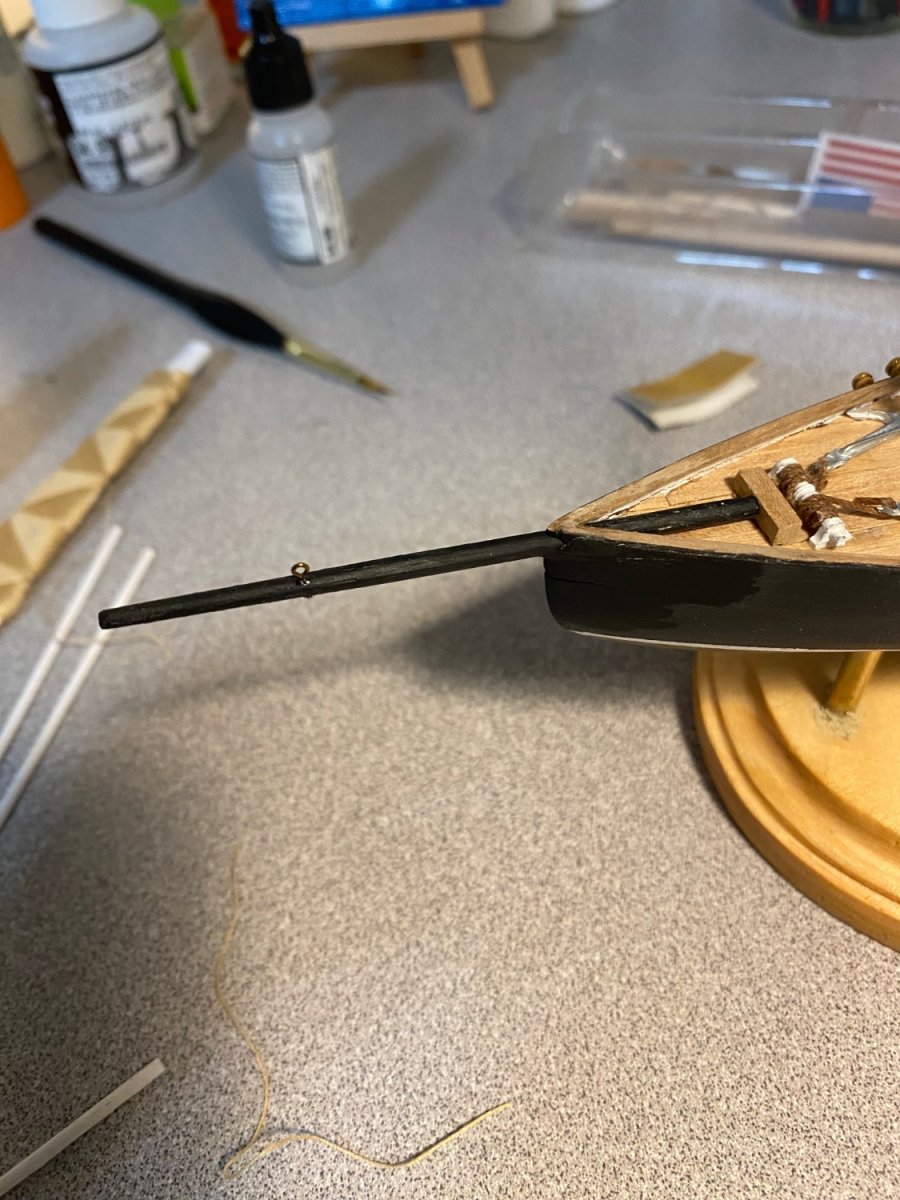
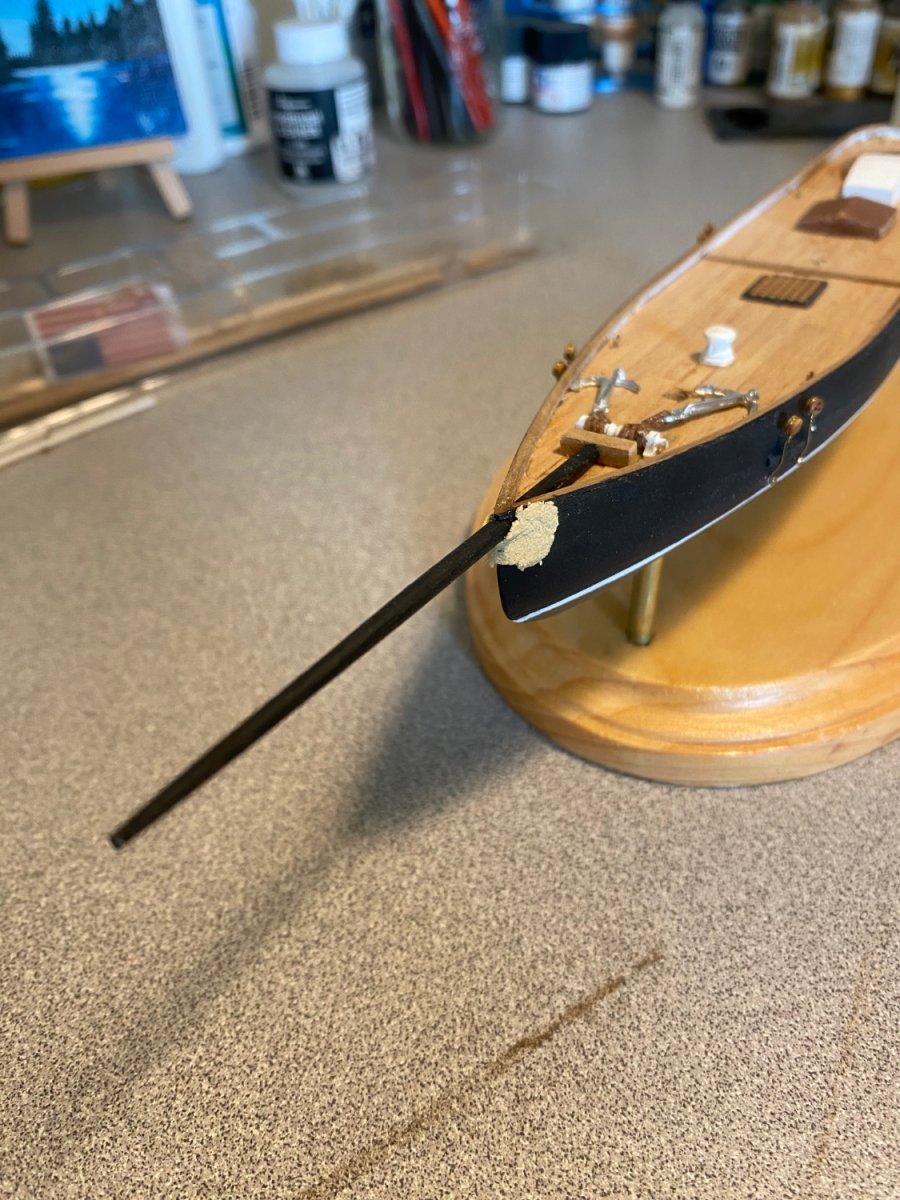
Bowsprit painted and attached along with the anchors. Need to sand down the filler used on the splintered wood created by drilling the hole for the bowsprit.
Not a huge fan of the mast staining I did. Tried to sand them down to get rid of the stain but they’re starting to get too thin, so might just paint them.


-
-
As an update, I haven’t given up on this! I think I got a little too excited with trying to over-detail my first kit with a set of proper rigging at this scale, so I’m going to dial it back a bit. I will report back once progress has been made.
-
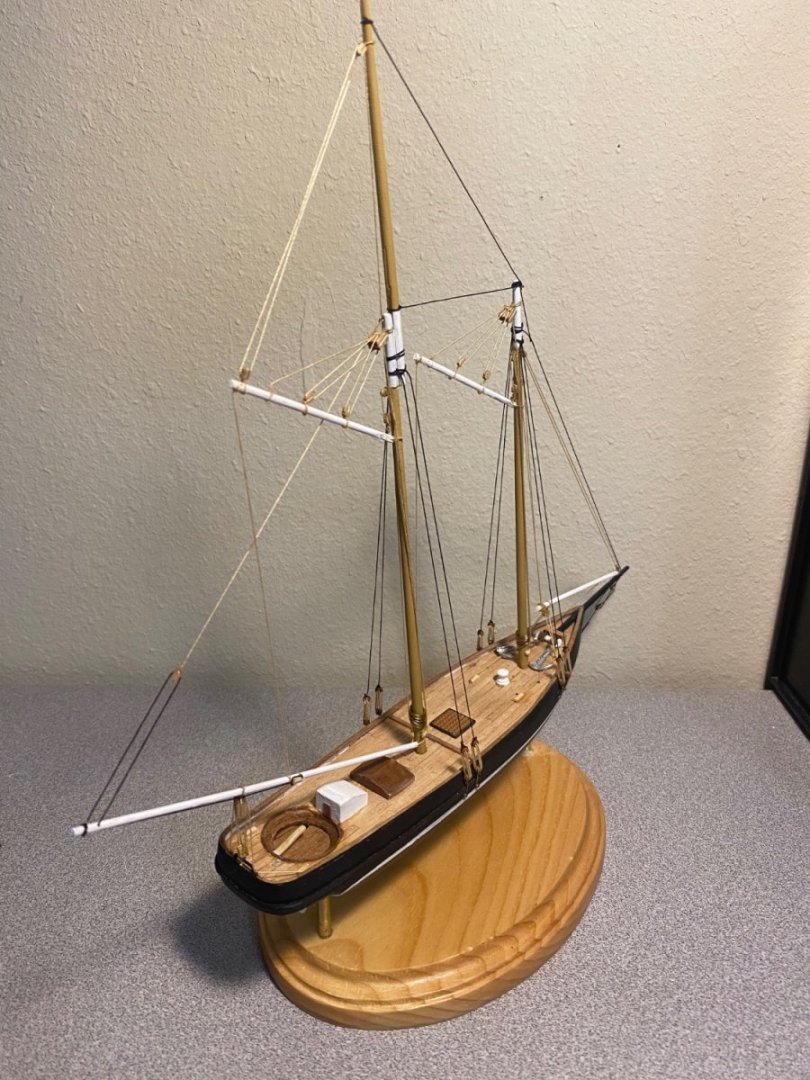
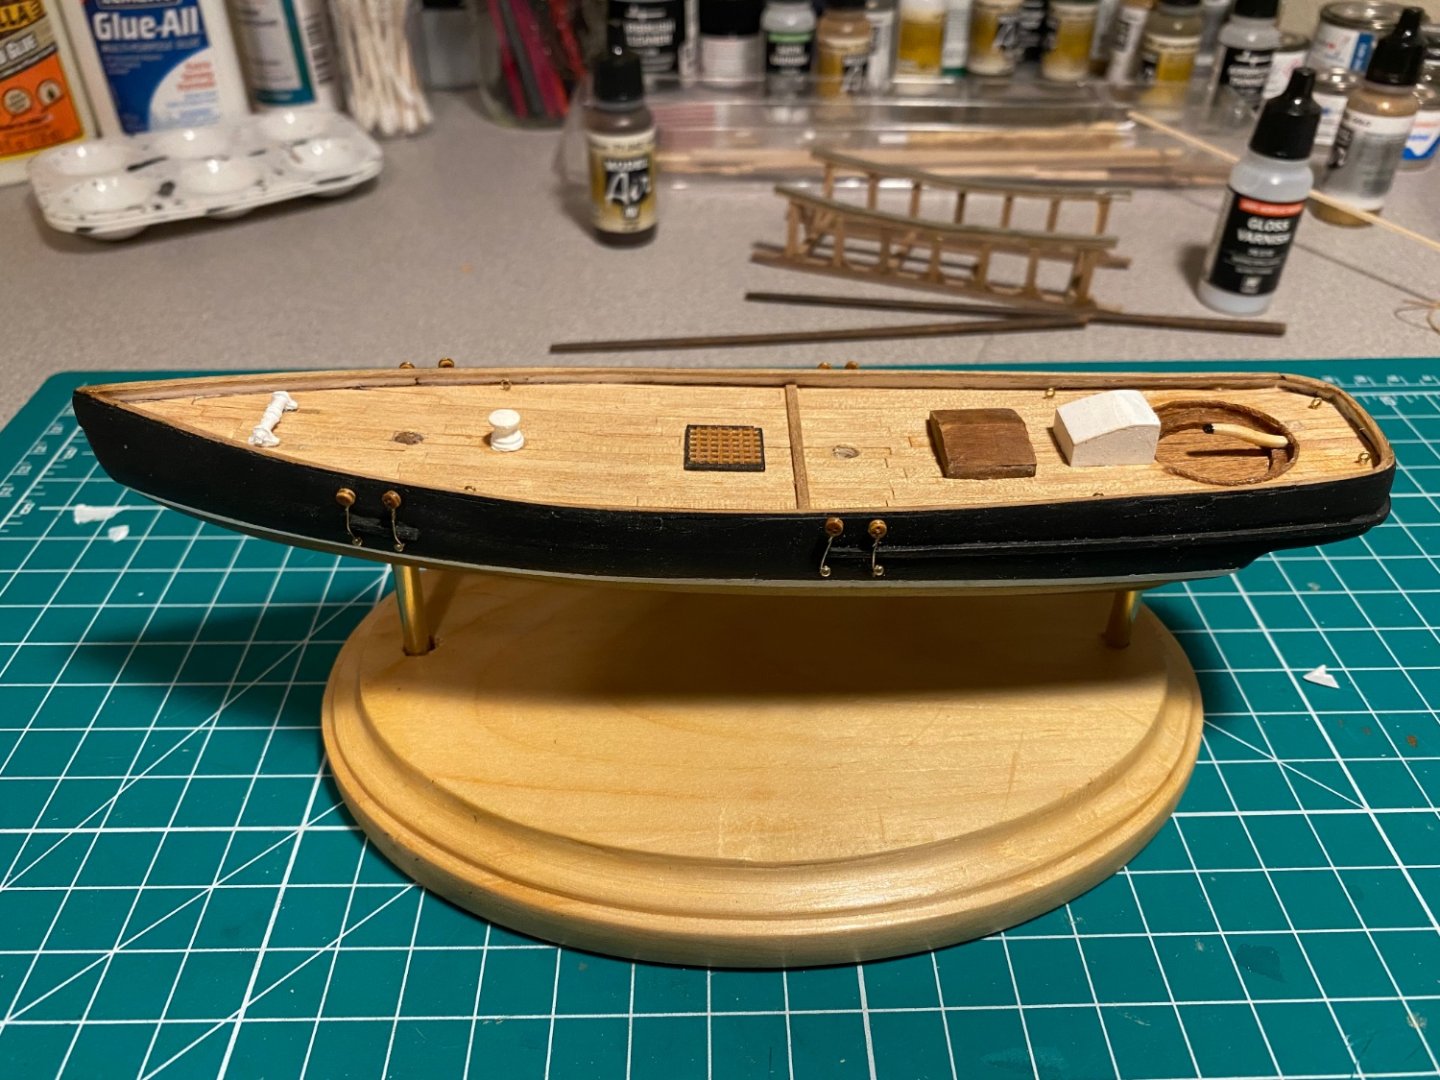
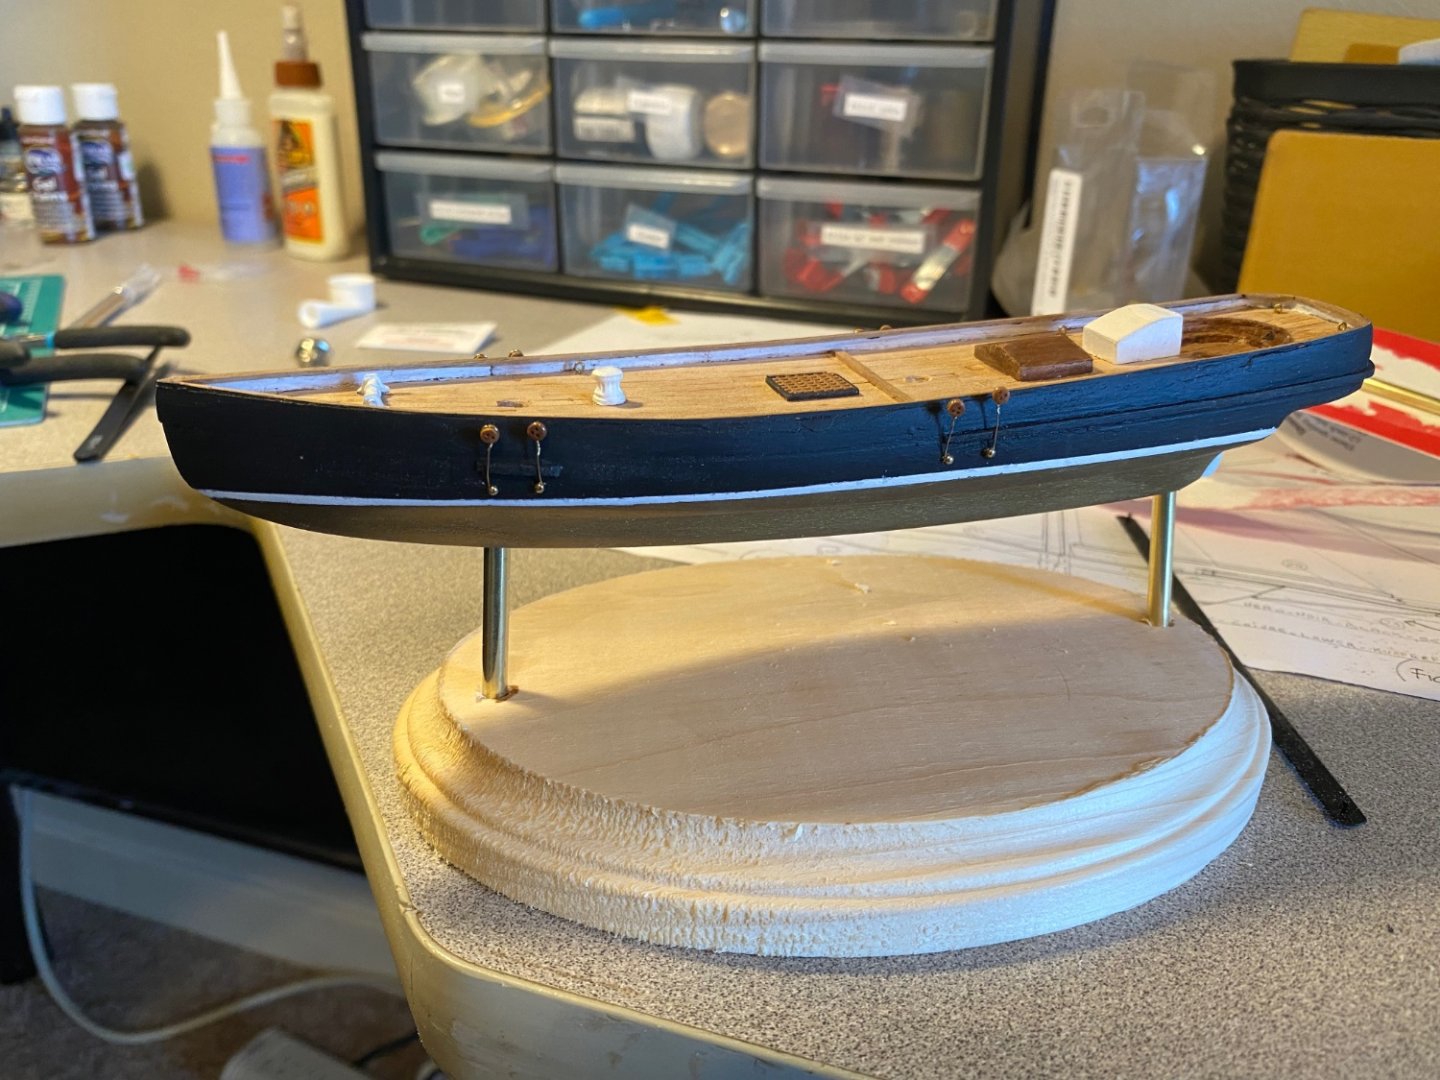
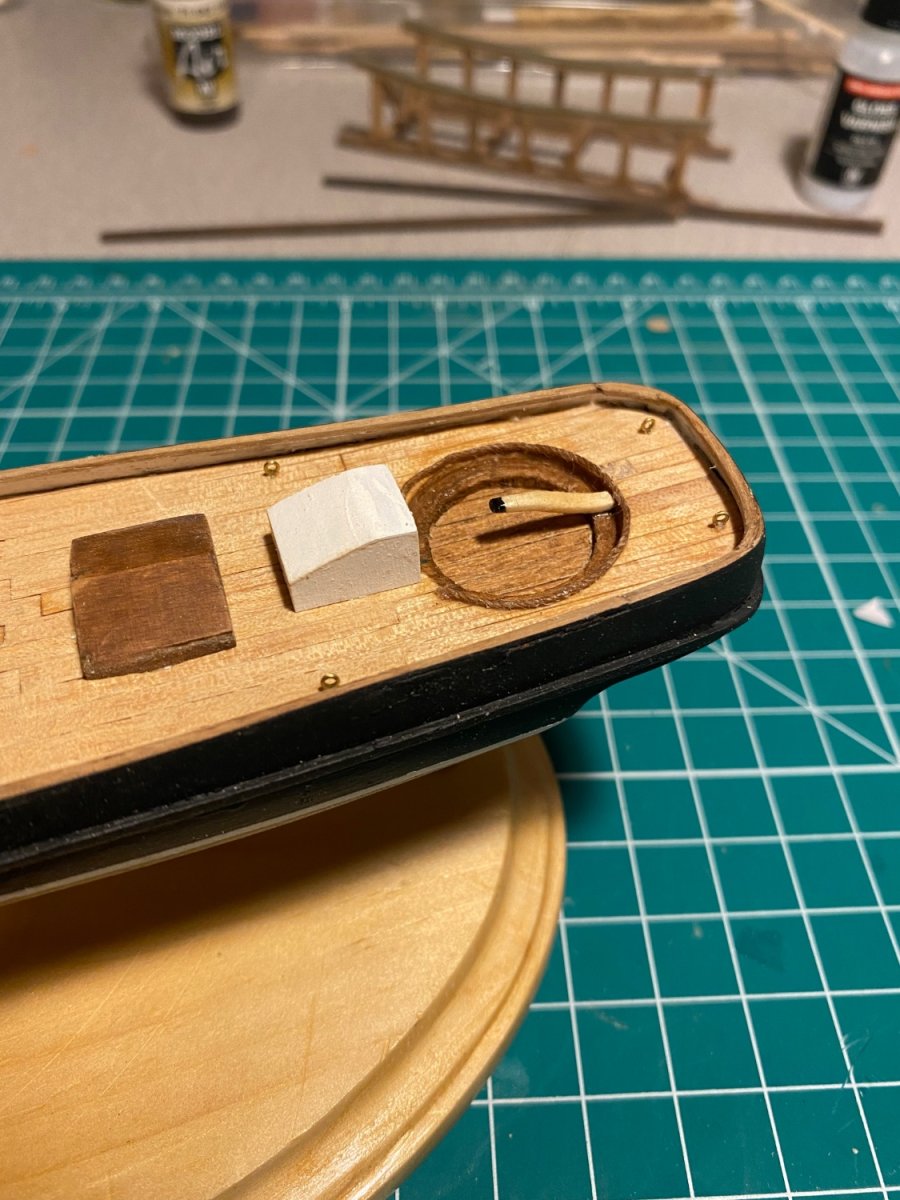
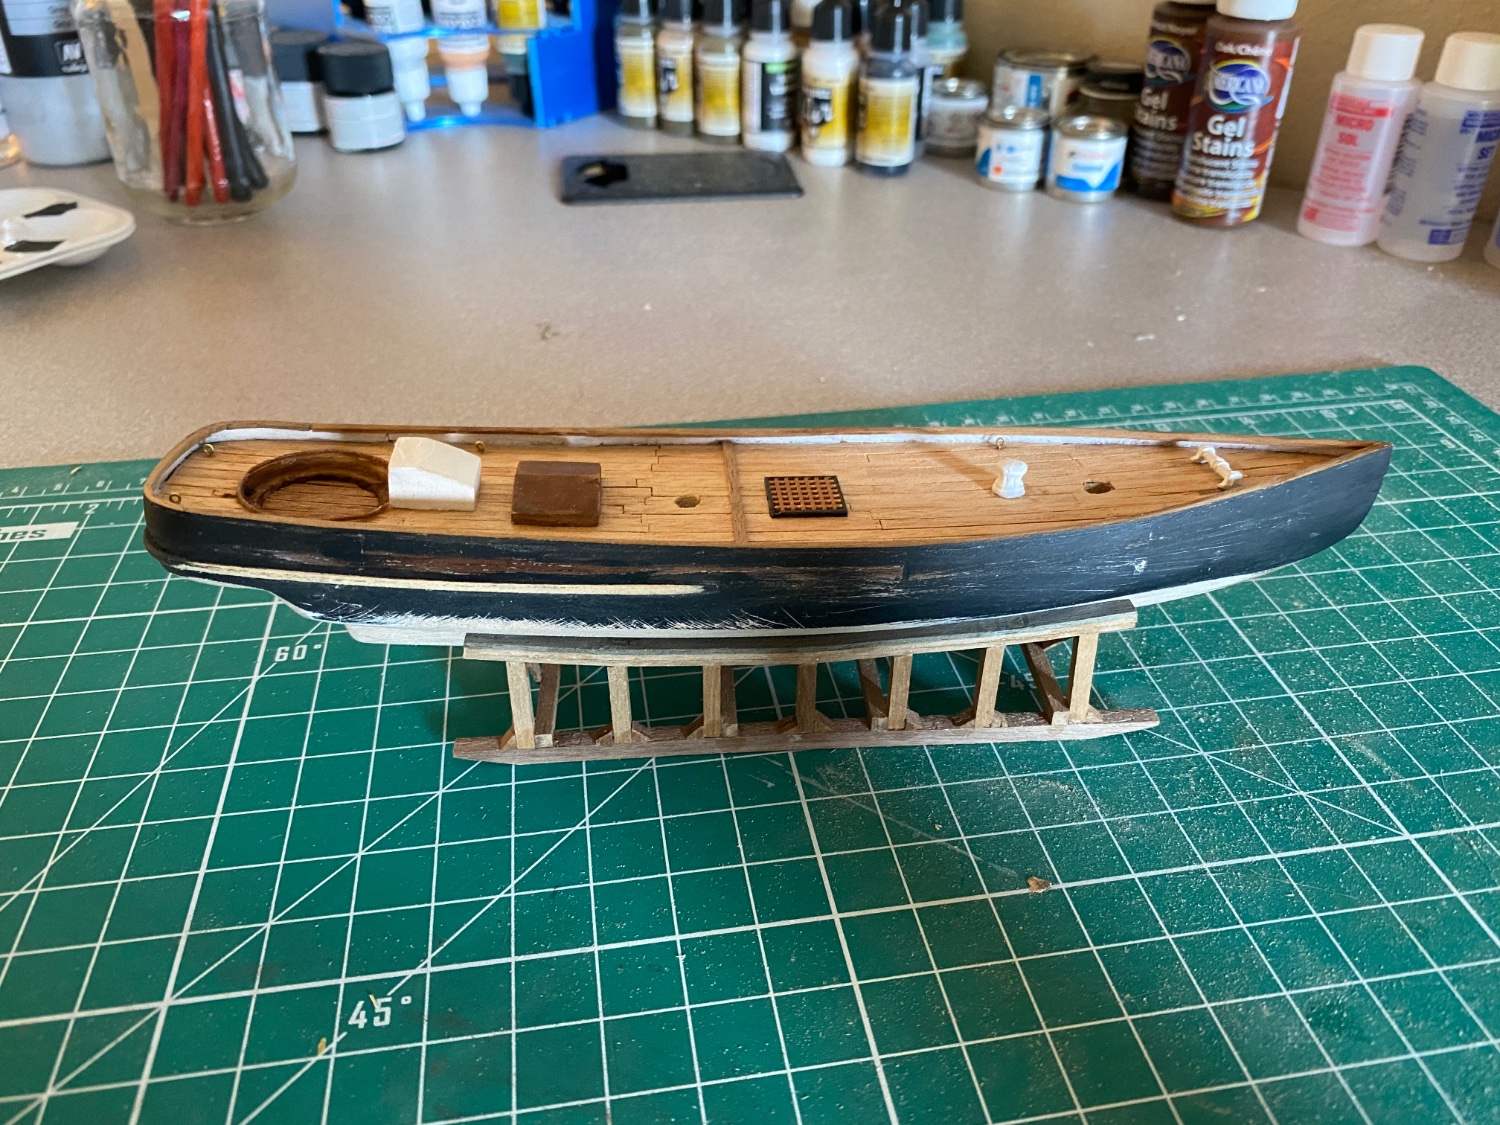
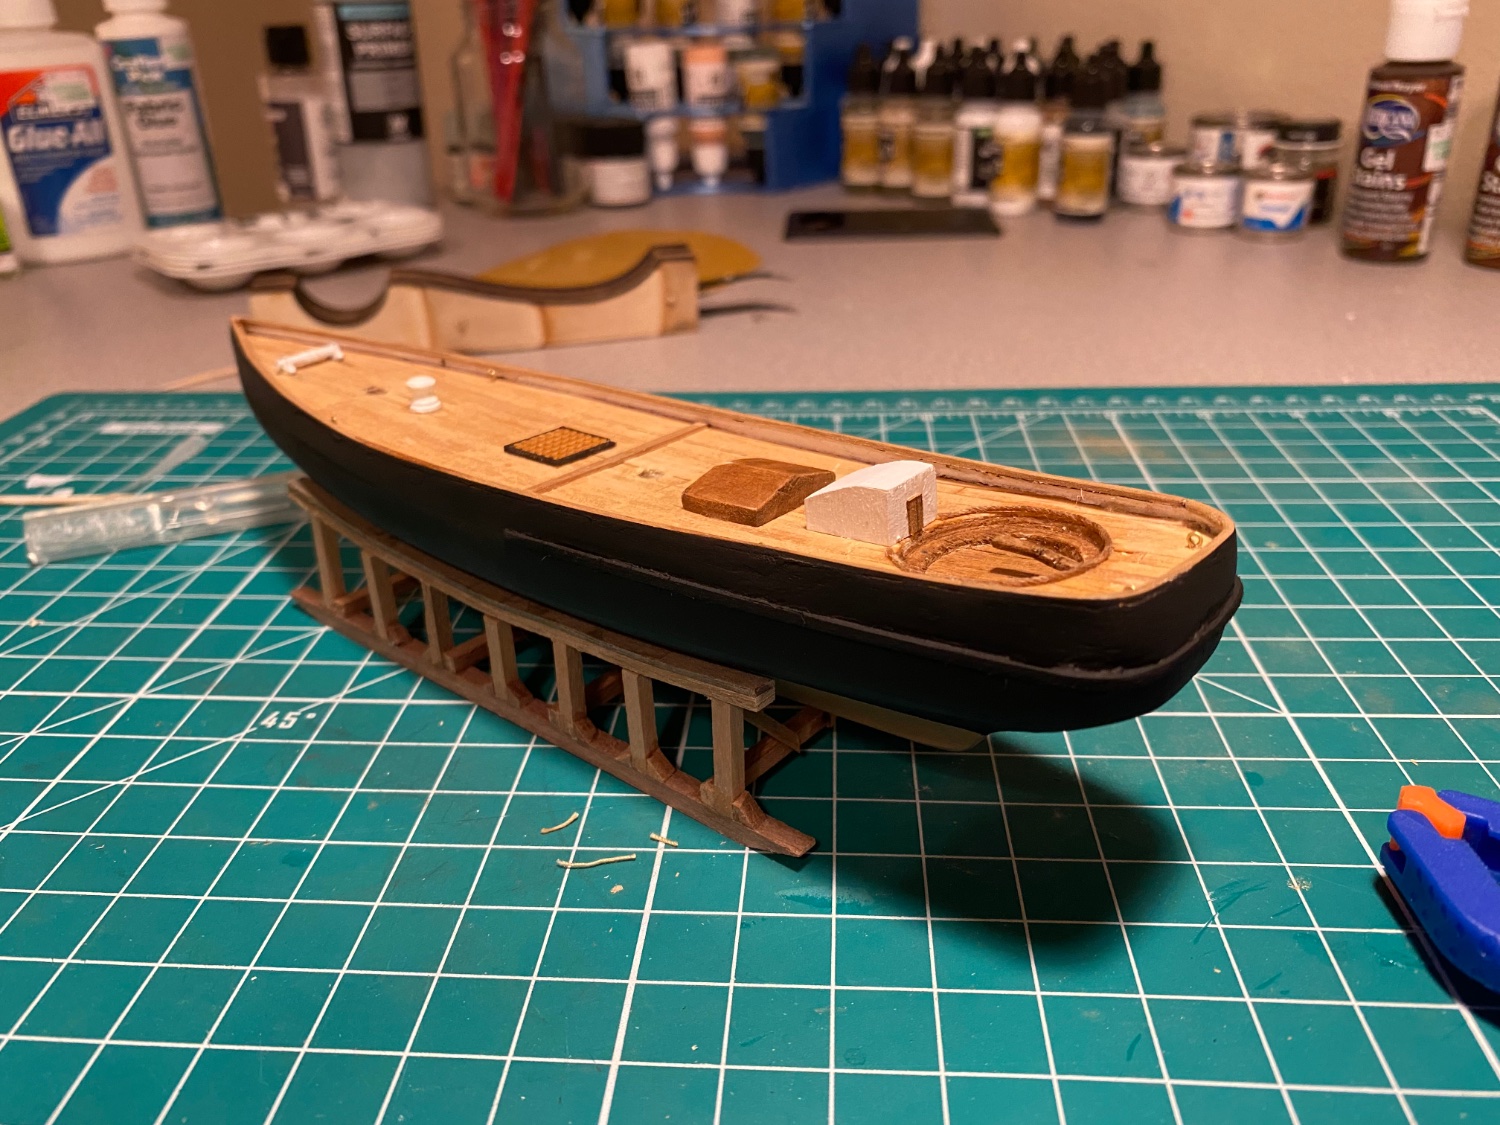
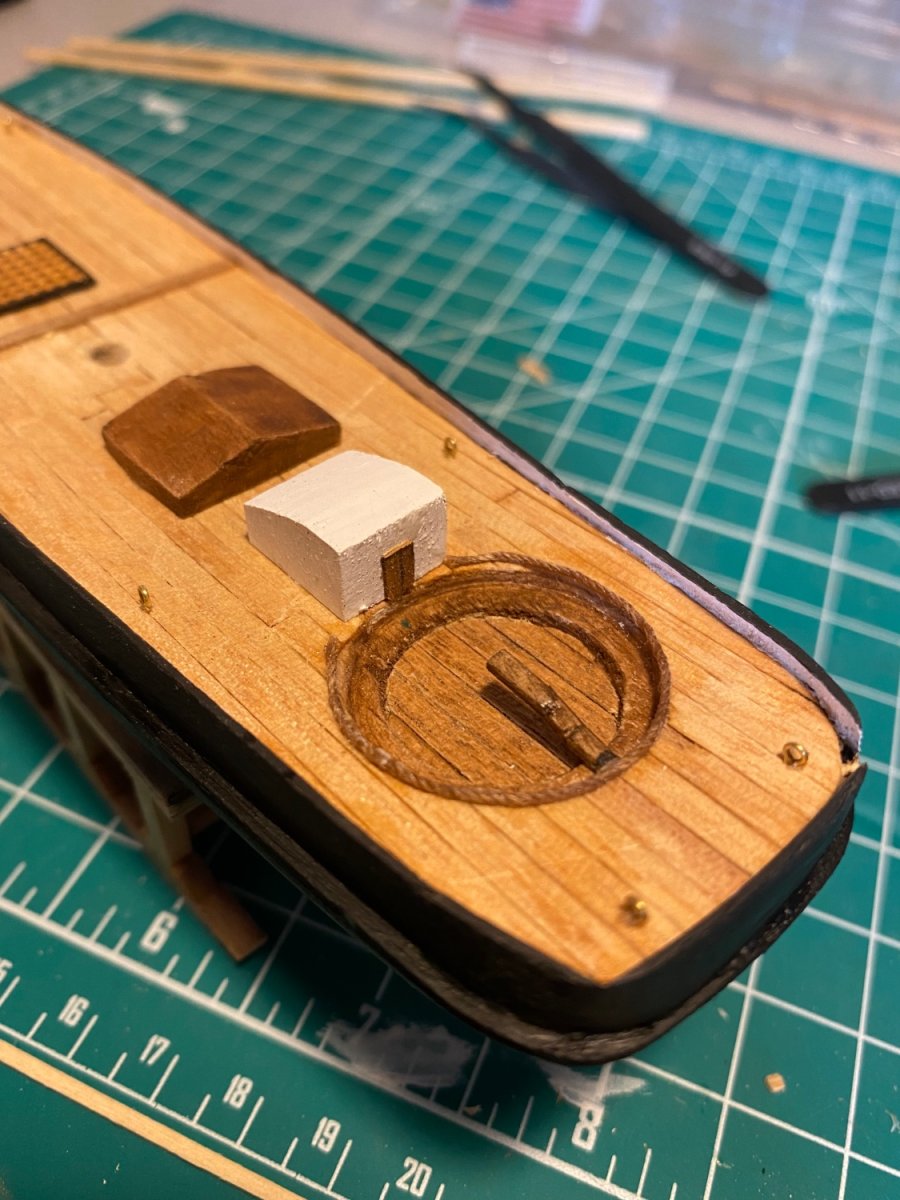
The wooden stand is protected in a poly satin finish and the ship is mounted to it permanently. At some point the old tiller was lost, which I had created by taking a 1x1 and cut notches in to bend the pieces. However, I couldn’t re-create this without splitting the wood, so I decided to carve it out of basswood scraps. It’s my first wood carving and I’m pretty proud of it.
")


- Stevinne, JacquesCousteau and ccoyle
-
3
-
Testing what the ship will look like on a base using a spare.
-
-
-
I think I’m happy with this result.
-
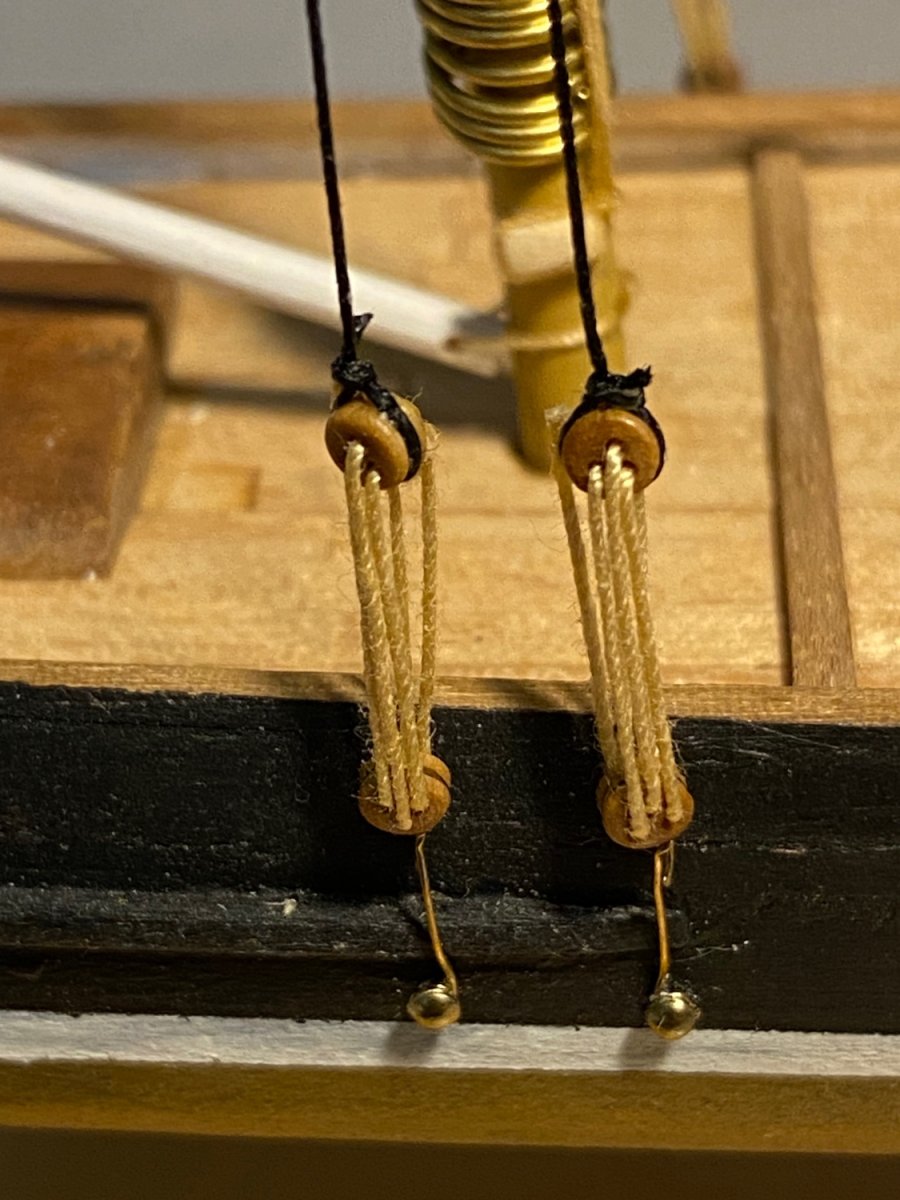
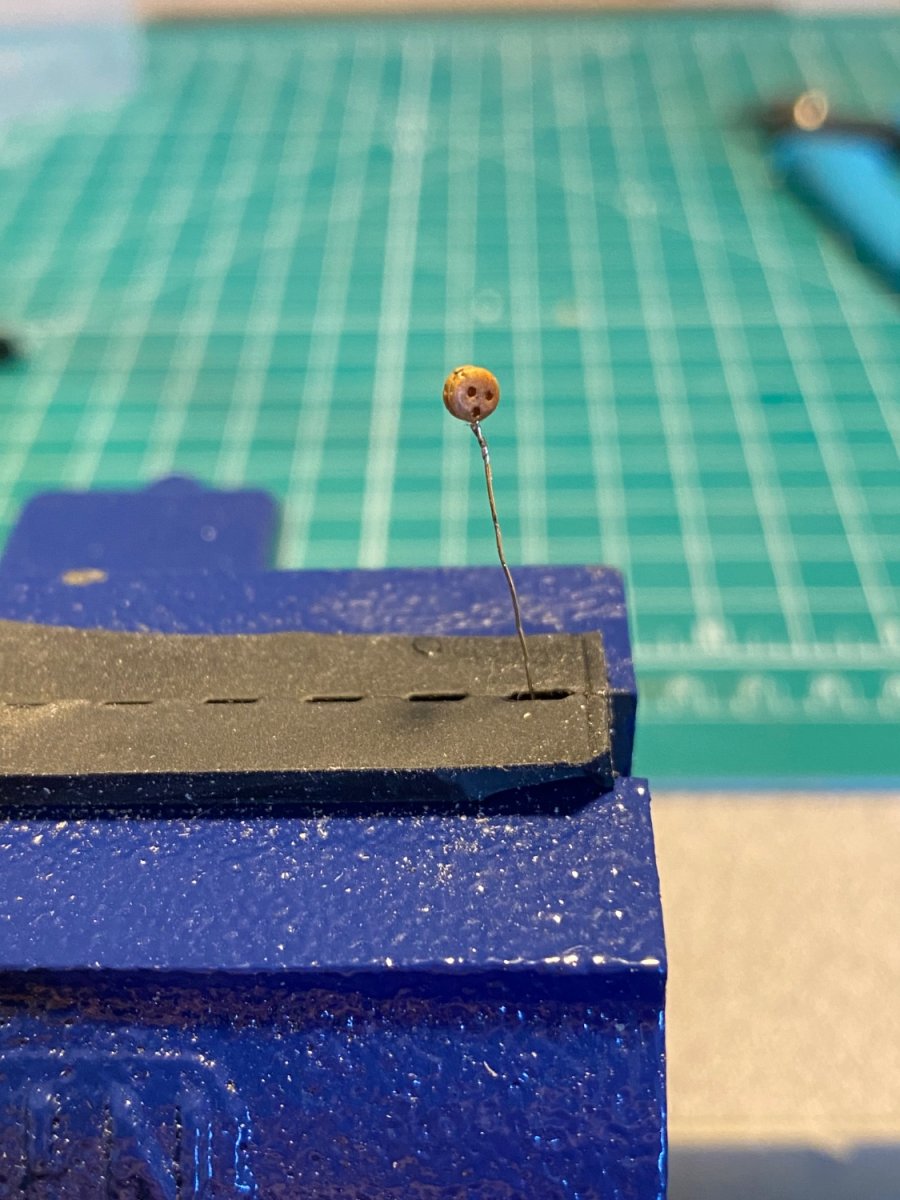
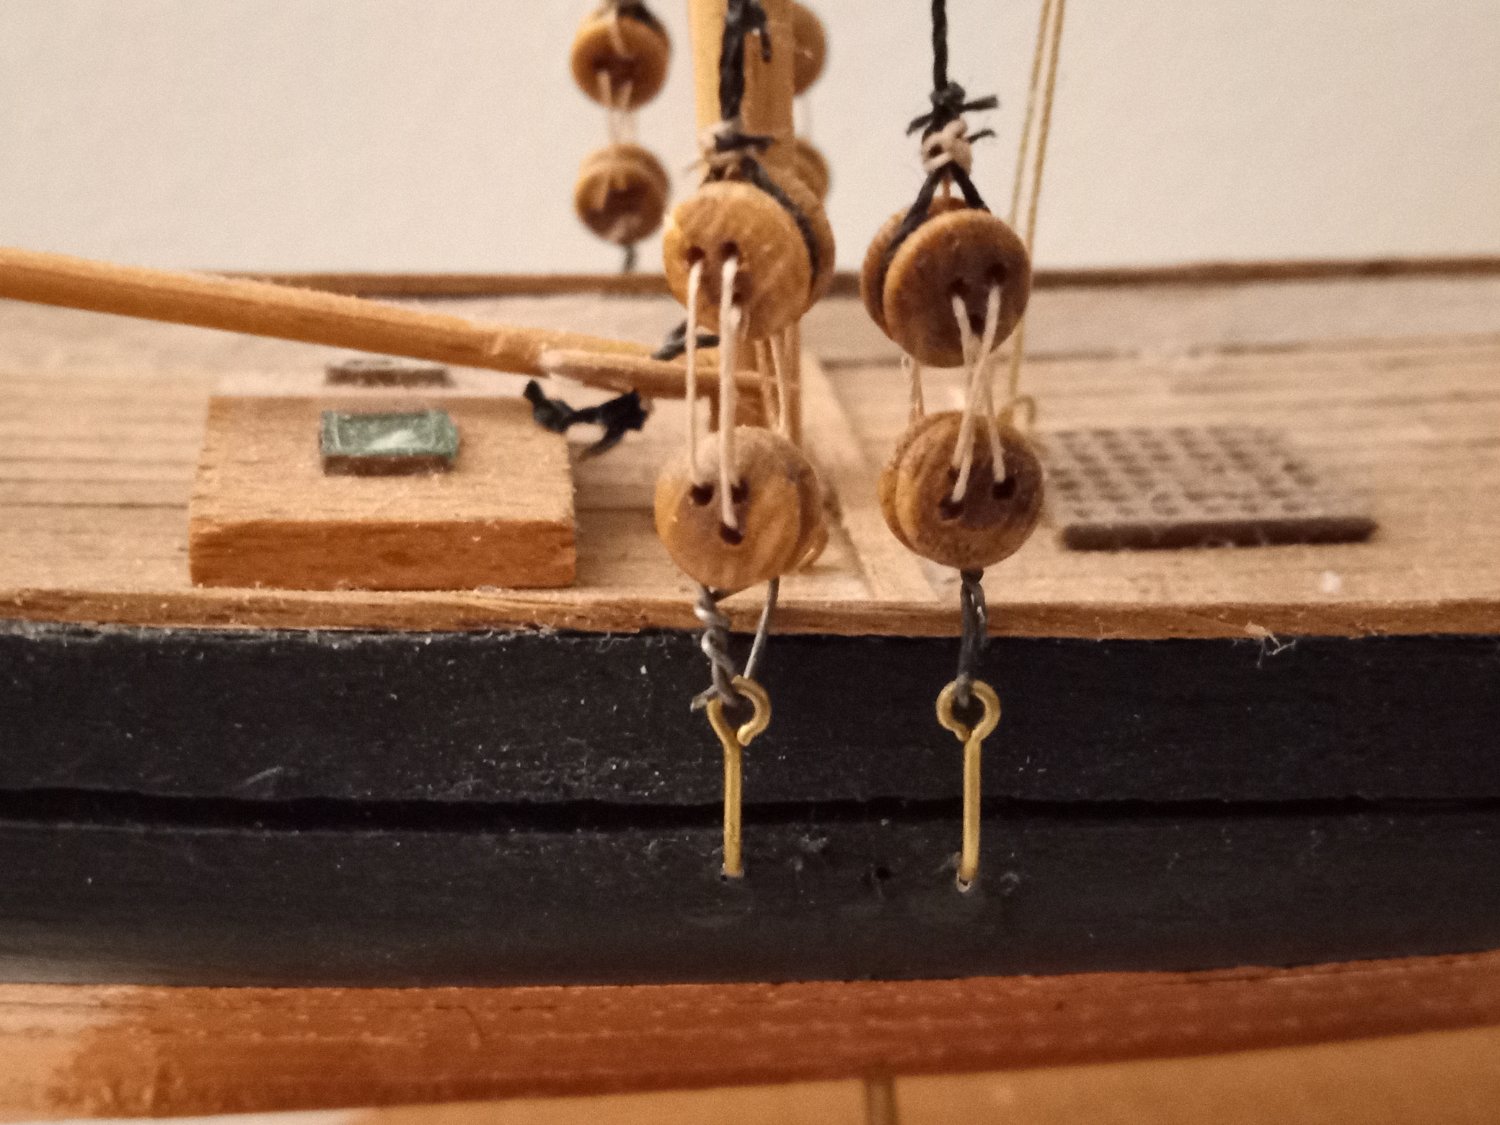
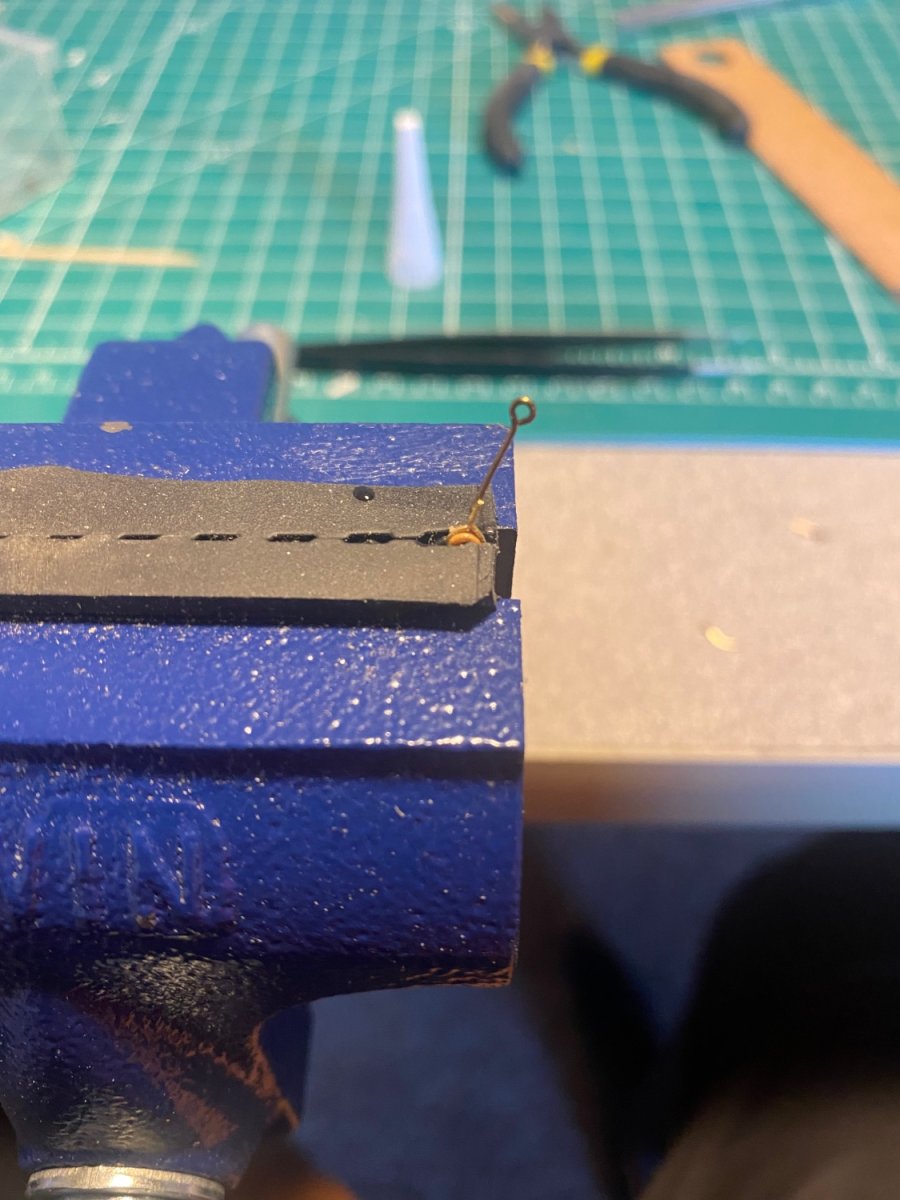
On 9/27/2022 at 5:04 PM, Stevinne said:
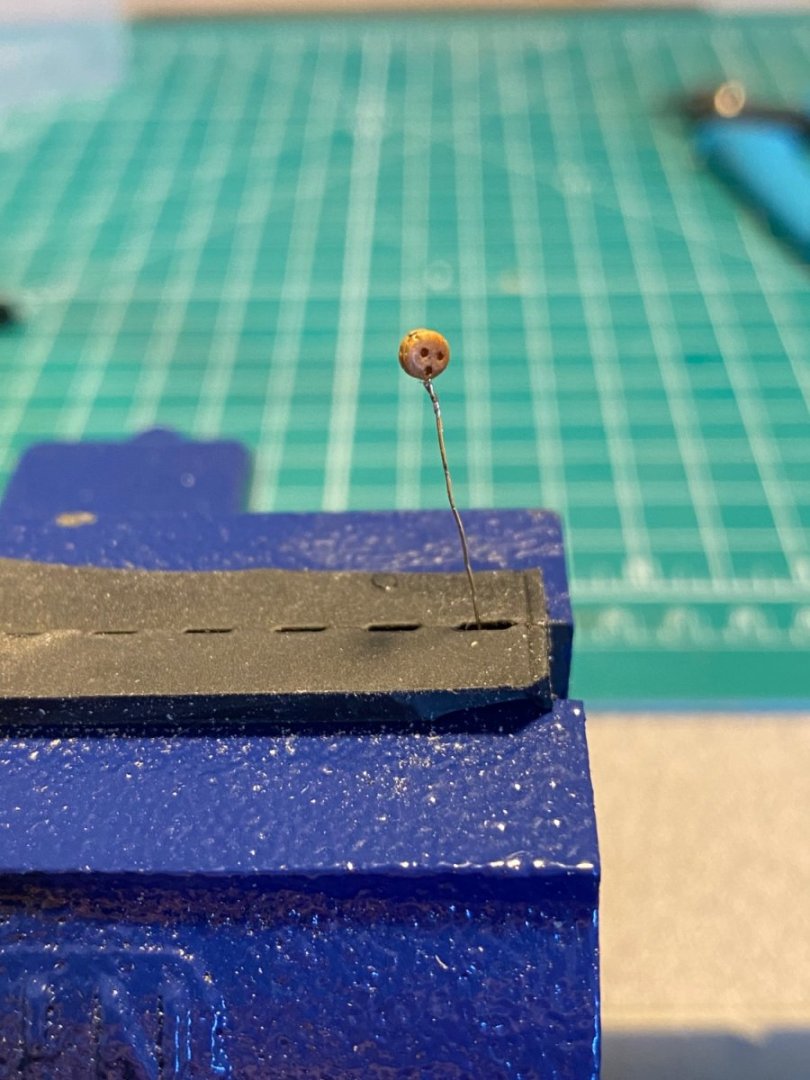
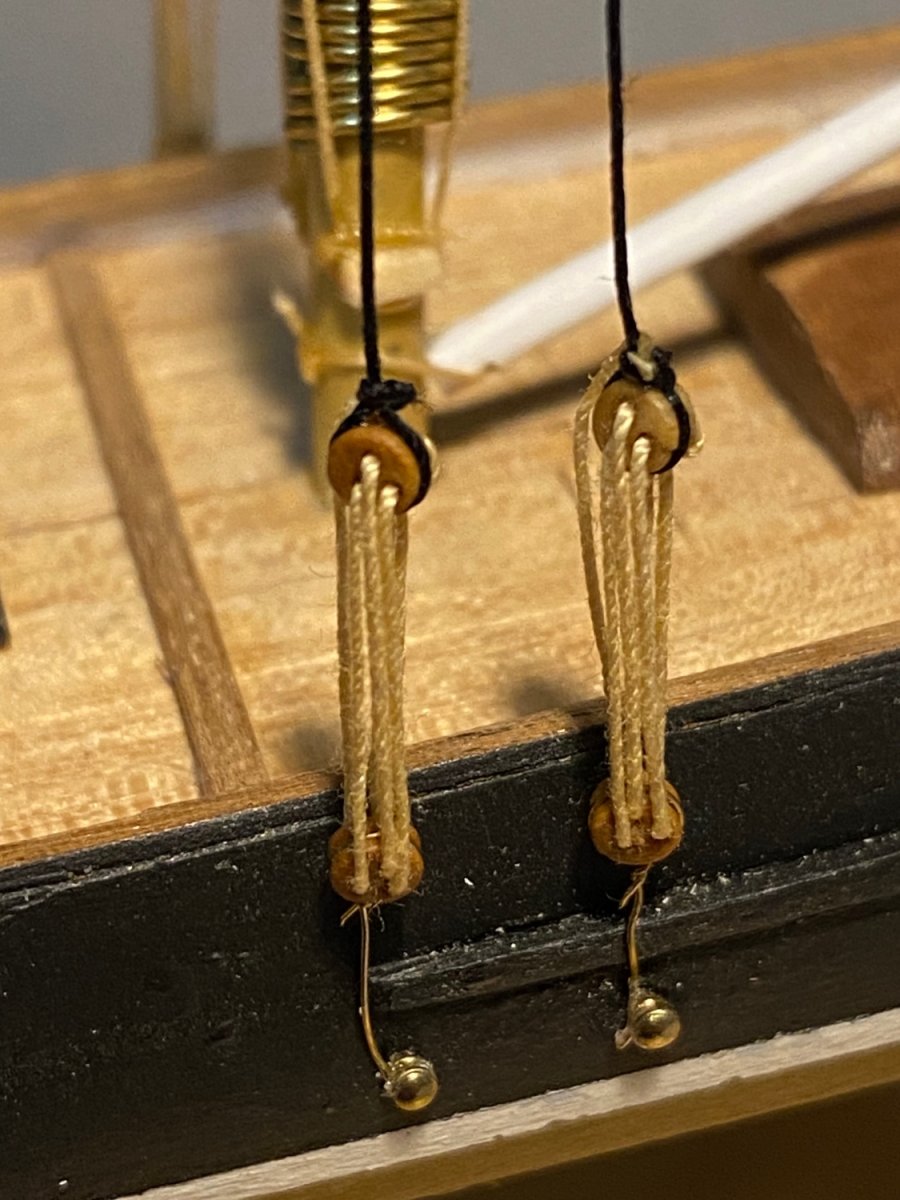
If I remember correctly, I wrapped black wire around the deadeye, gave it a couple of twists and then hooked it through the brass pin, which I then bent into an L shape and inserted the end into a hole I drilled in the hull. As Mastini recommends, I used a u-shaped piece of wire to set the spacing between the upper and lower deadeye and a needle-threader to get the line through the teeny-tiny holes. On a side note, a really close-up picture sure reveals a lot of things I really would rather ignore.

Thank you! I also see what looks to be jaws on the boom, which gives me an idea. I will do something like this. The deadeyes are so tiny, I’ve lost so many.
-
-
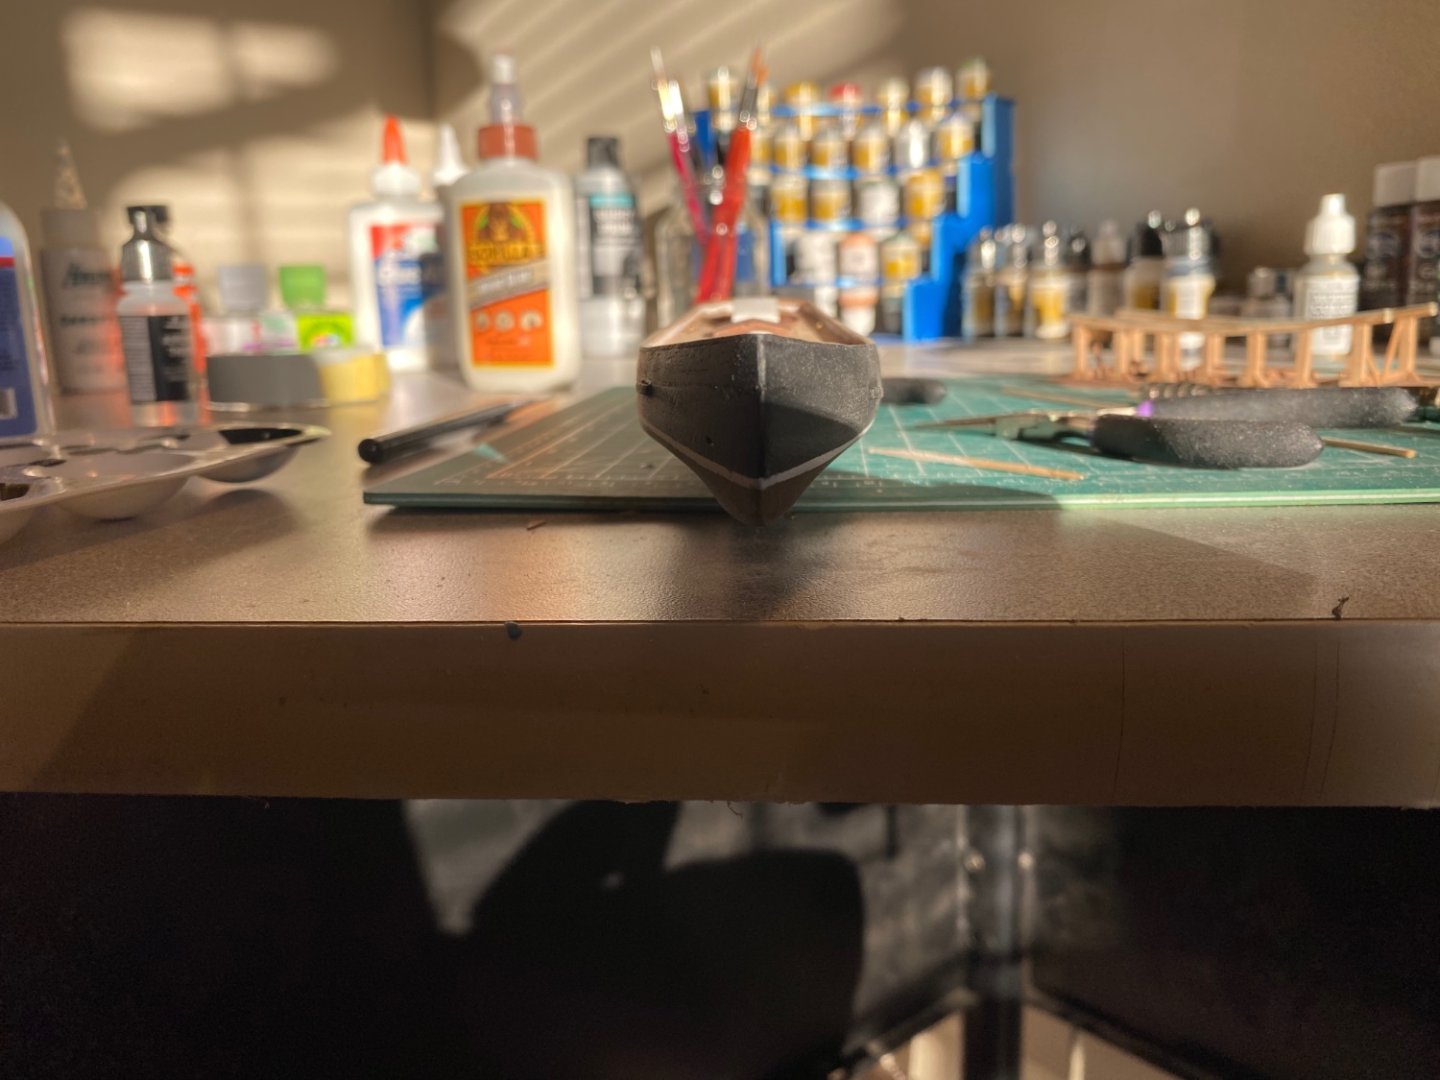
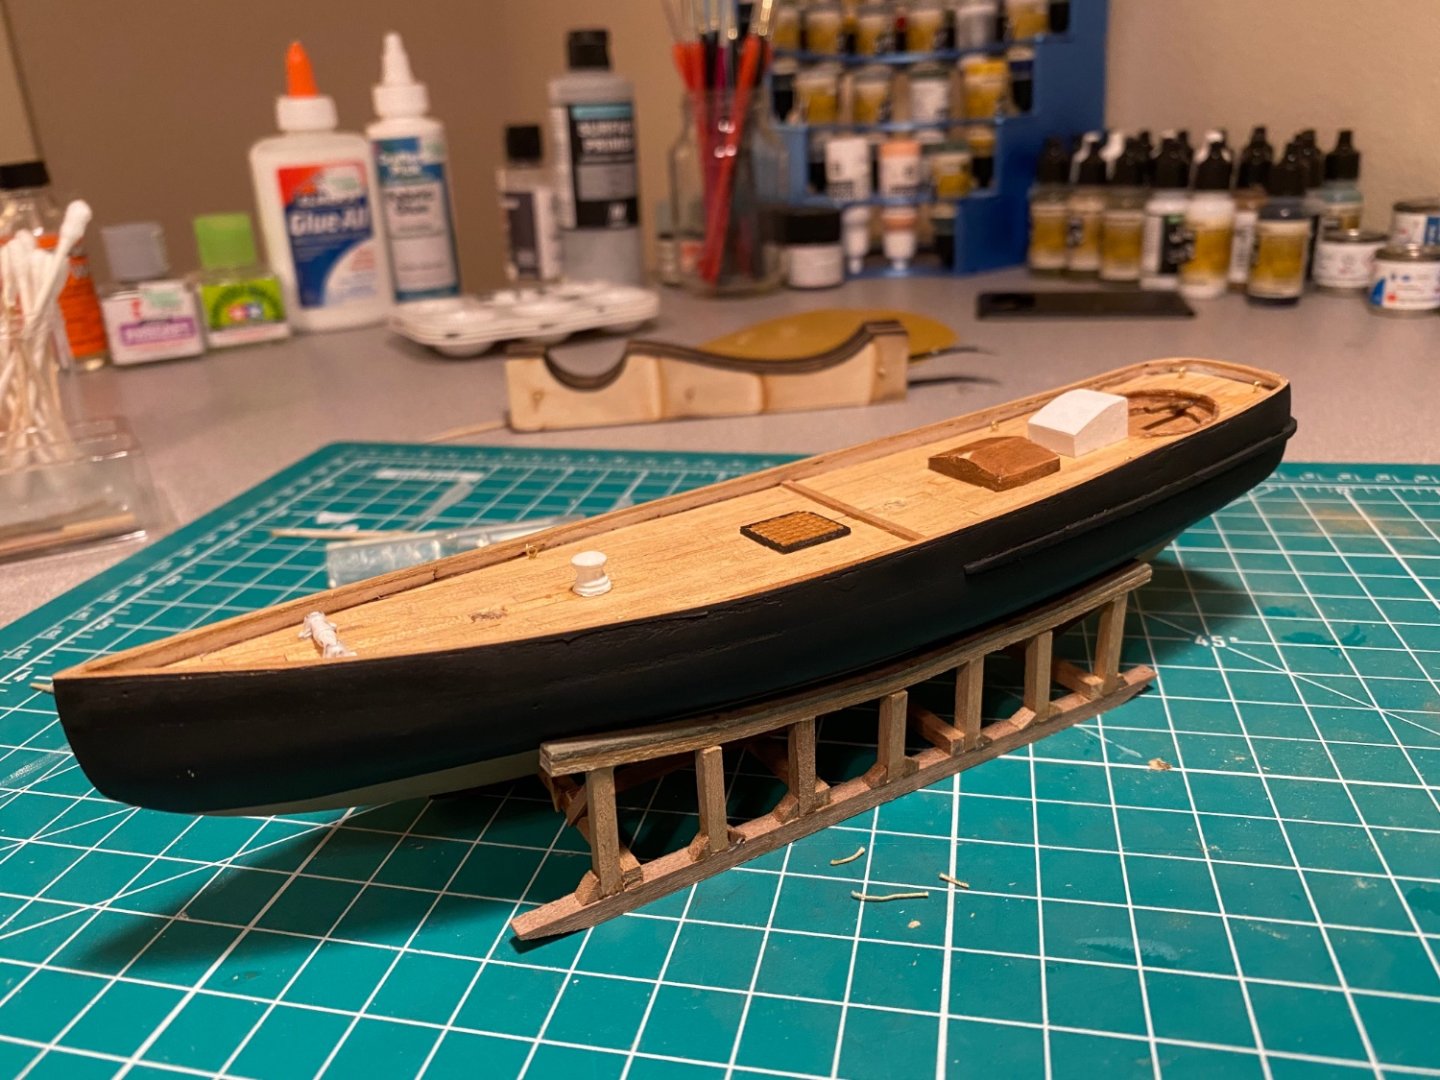
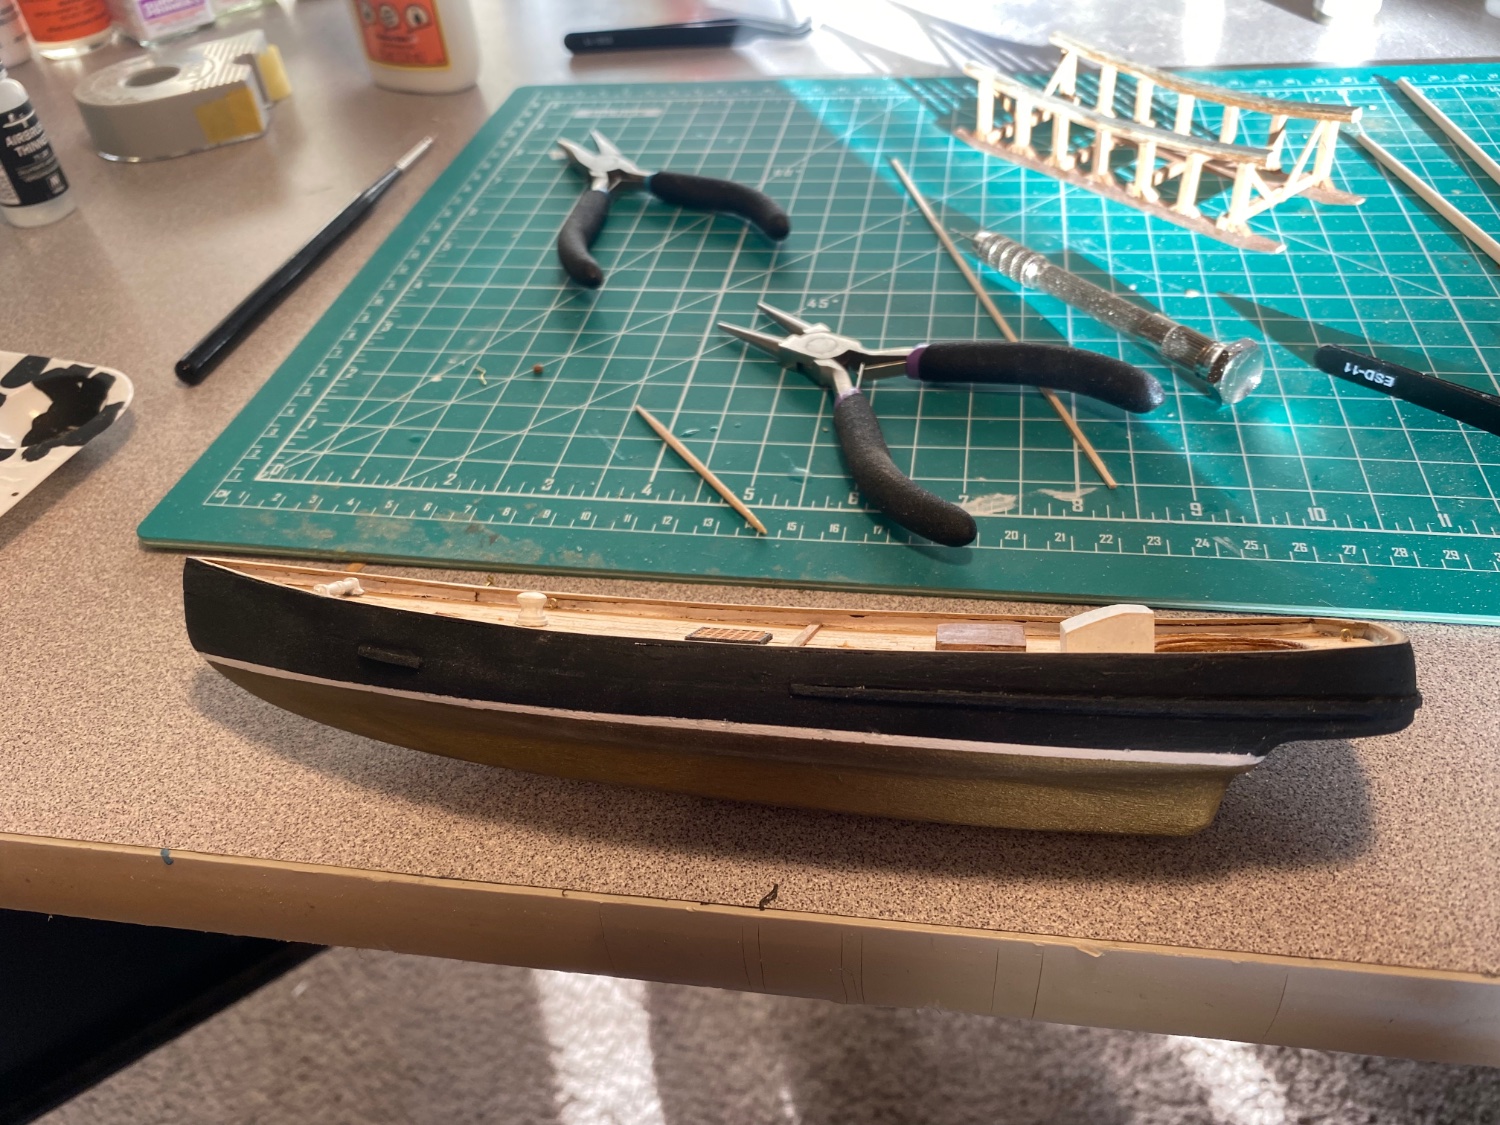
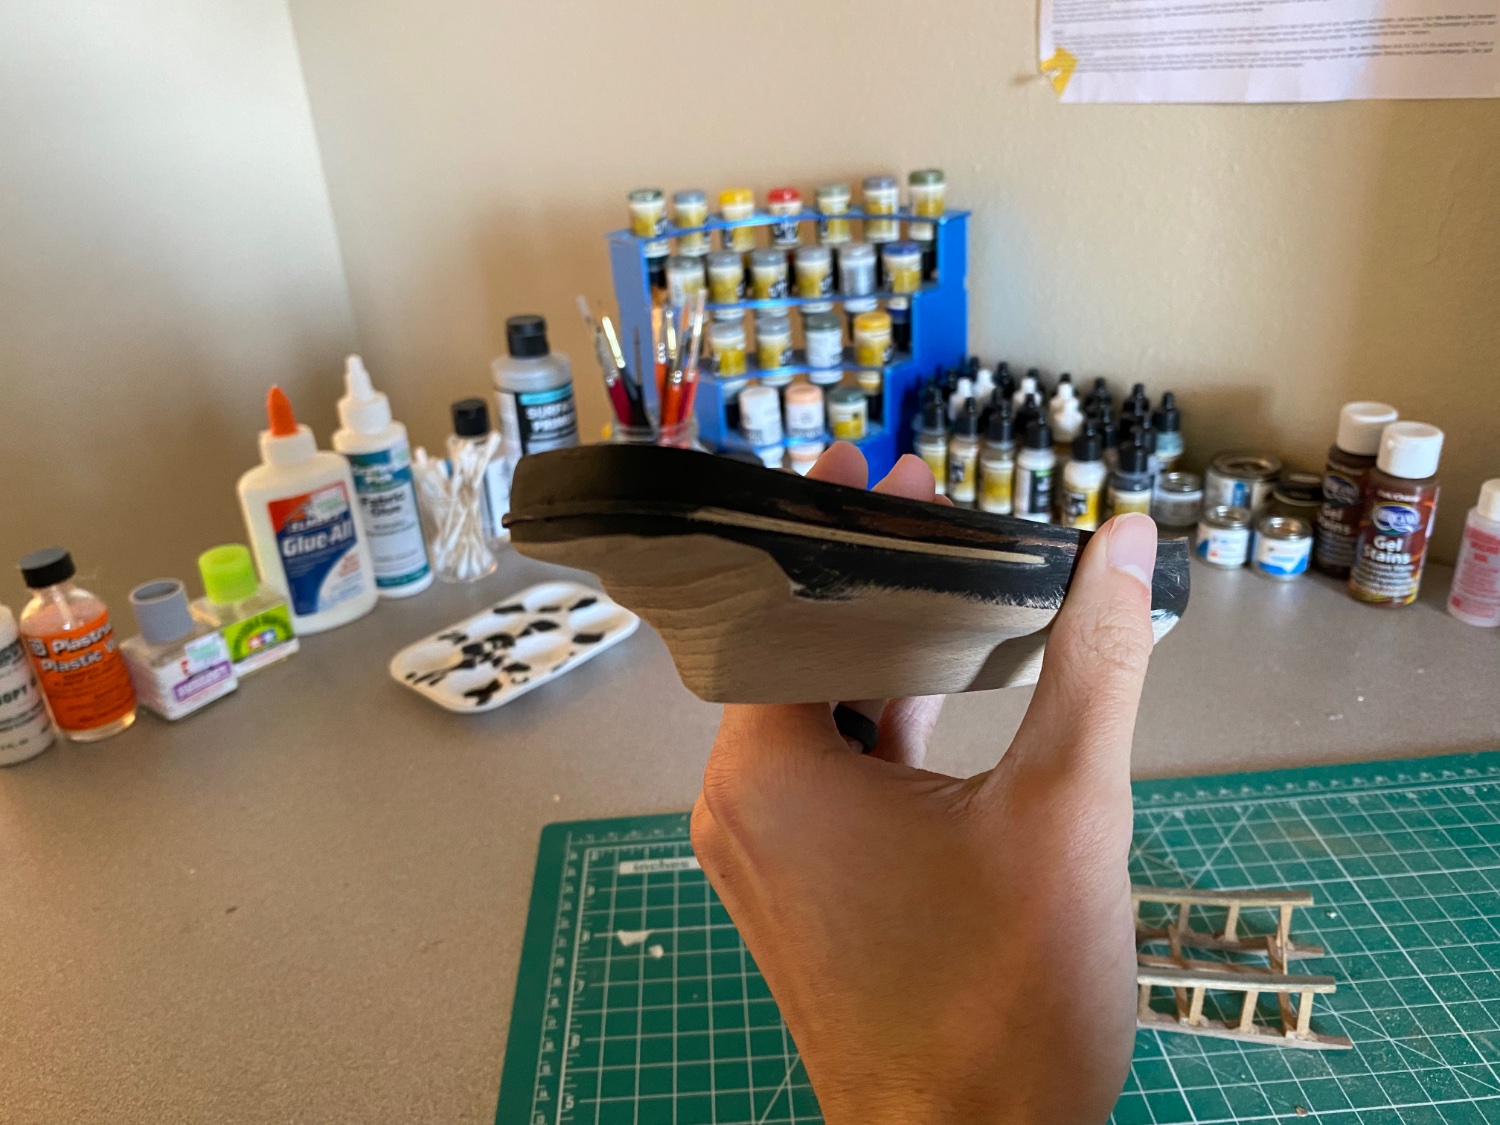
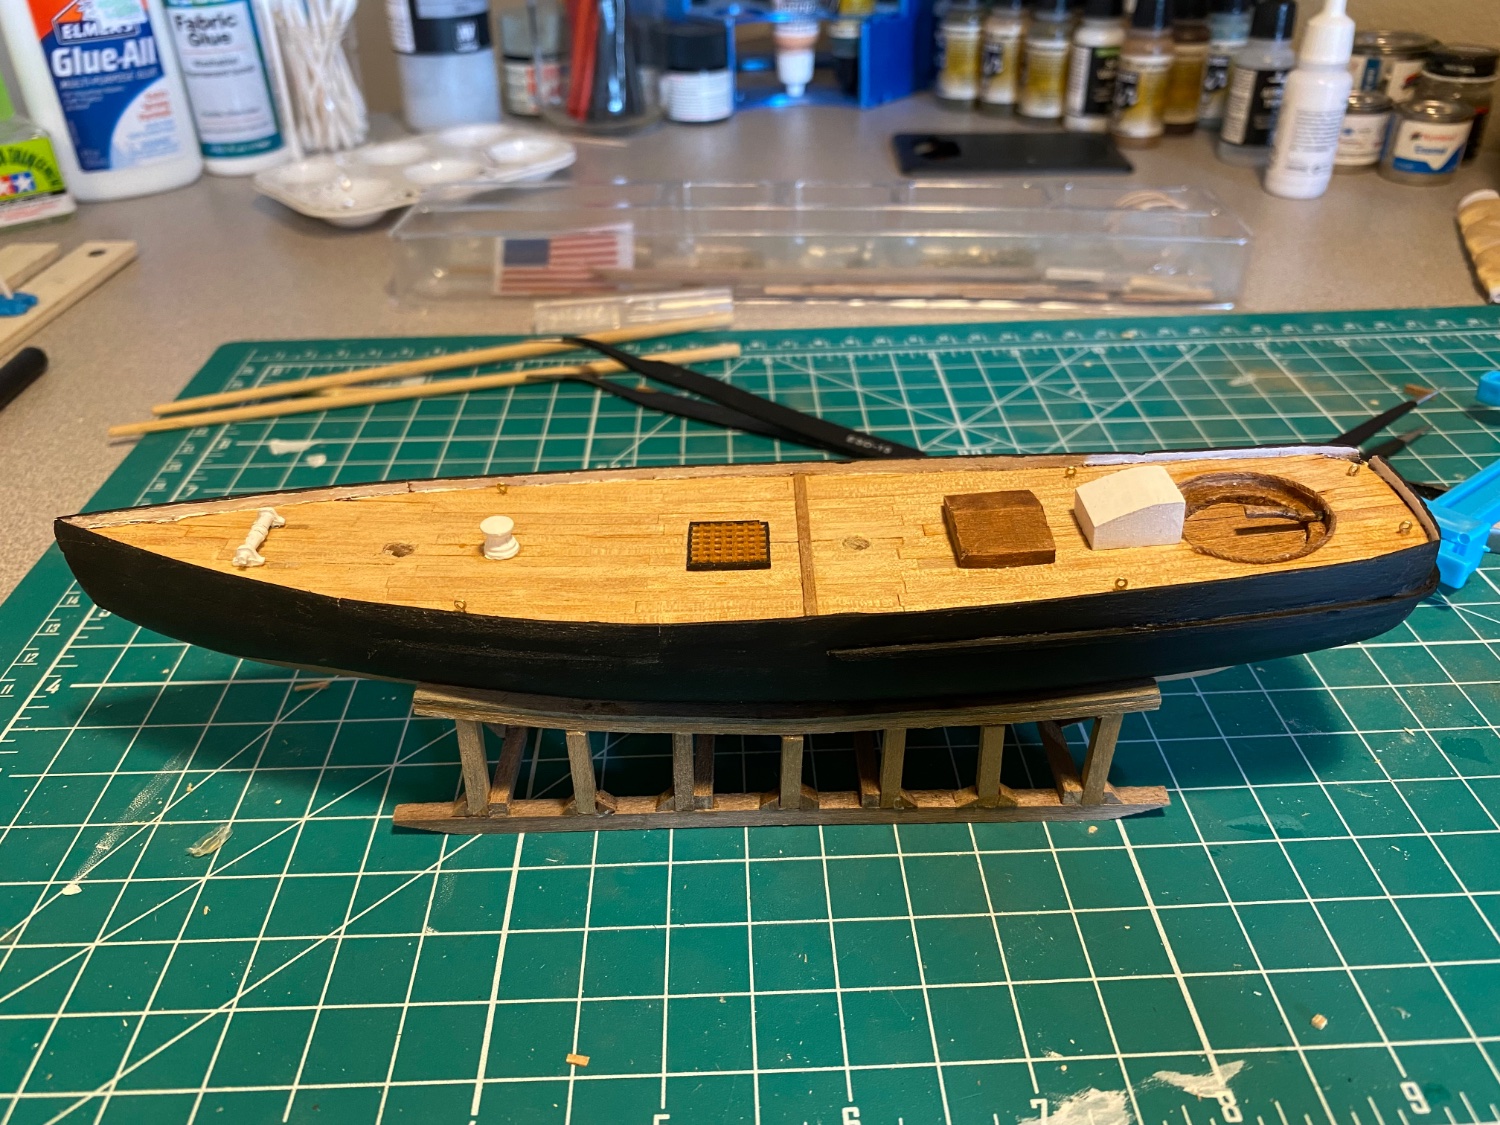
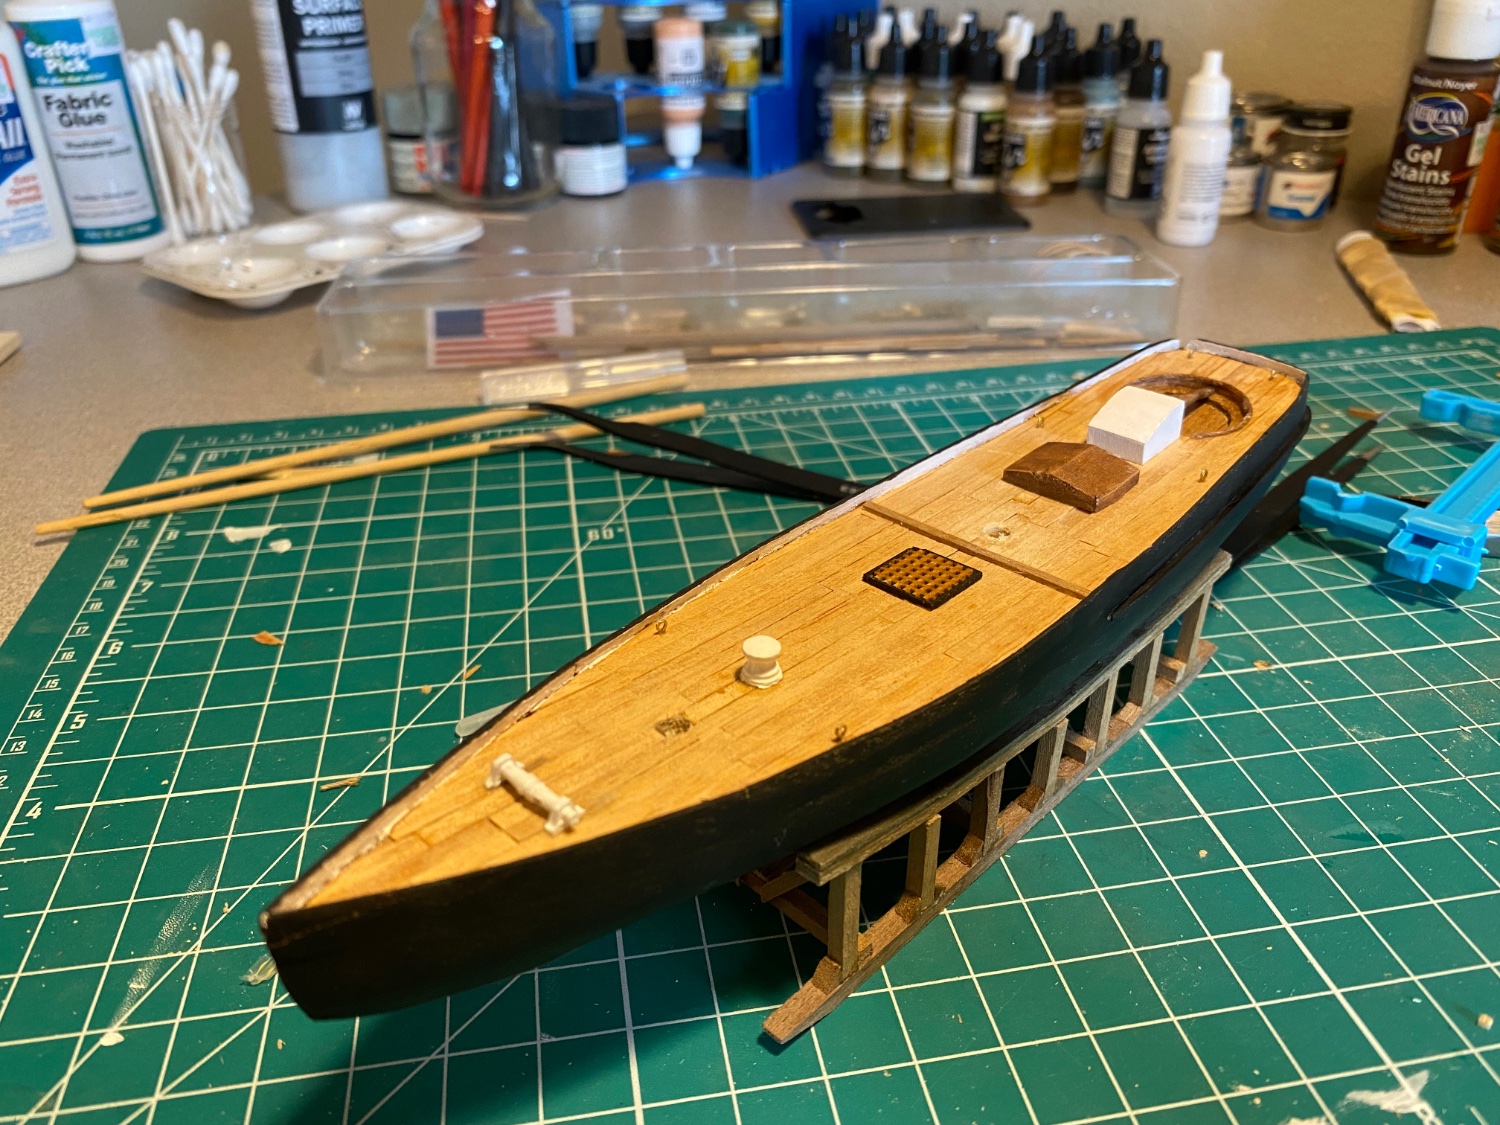
Decided to give her a new paint job after forming a rough shape of the keel. Bulwark repairs are complete, wales are attached, and hull is finished in a satin clear coat. At one point the tiller was broken off so have to re create that, as well as fix one more plank that broke at one point and is being difficult to remove. Otherwise, I have Re-created the masts and I’m trying to figure out a way to make the gaff jaws.
In all honesty, I dislike airbrushing. The mess it makes and constant jamming and cleaning required makes the process annoying for me. I enjoy this form of model building because brush painting still gives a desired finish, and it seems the process is more heavily involved with fabricating rather than gluing then painting something. I’ve also found myself to be more forgiving of mistakes, and less worried about breaking things since I can just re create the parts.


-
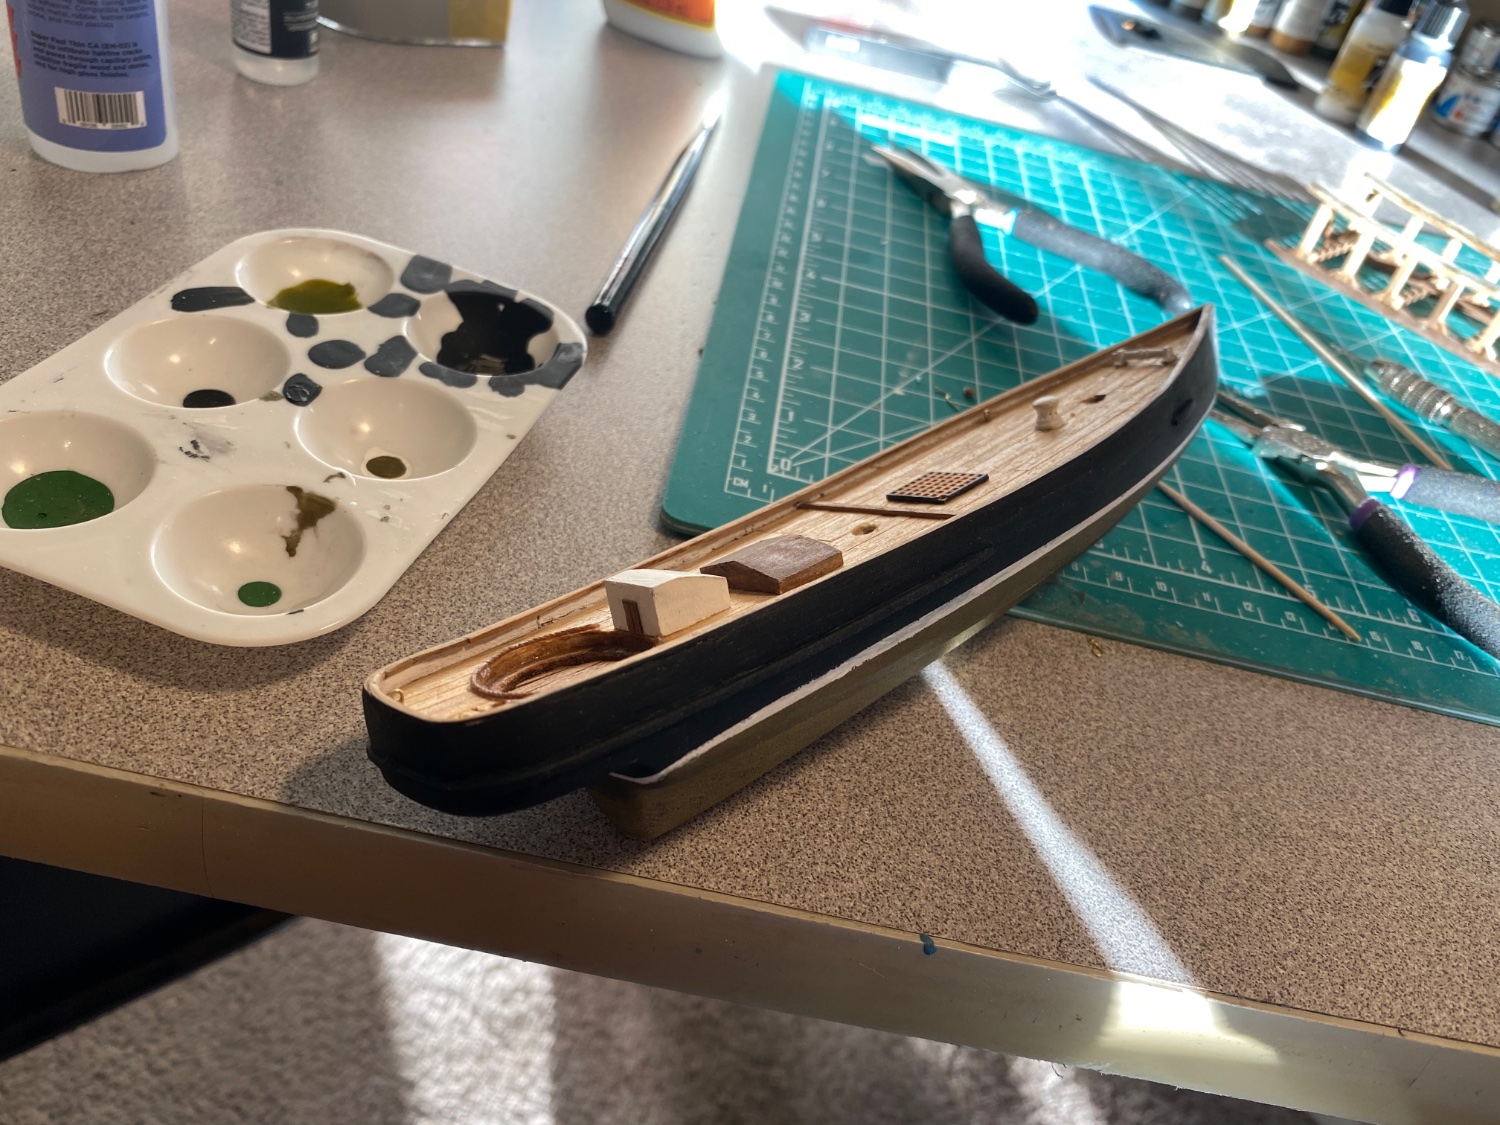
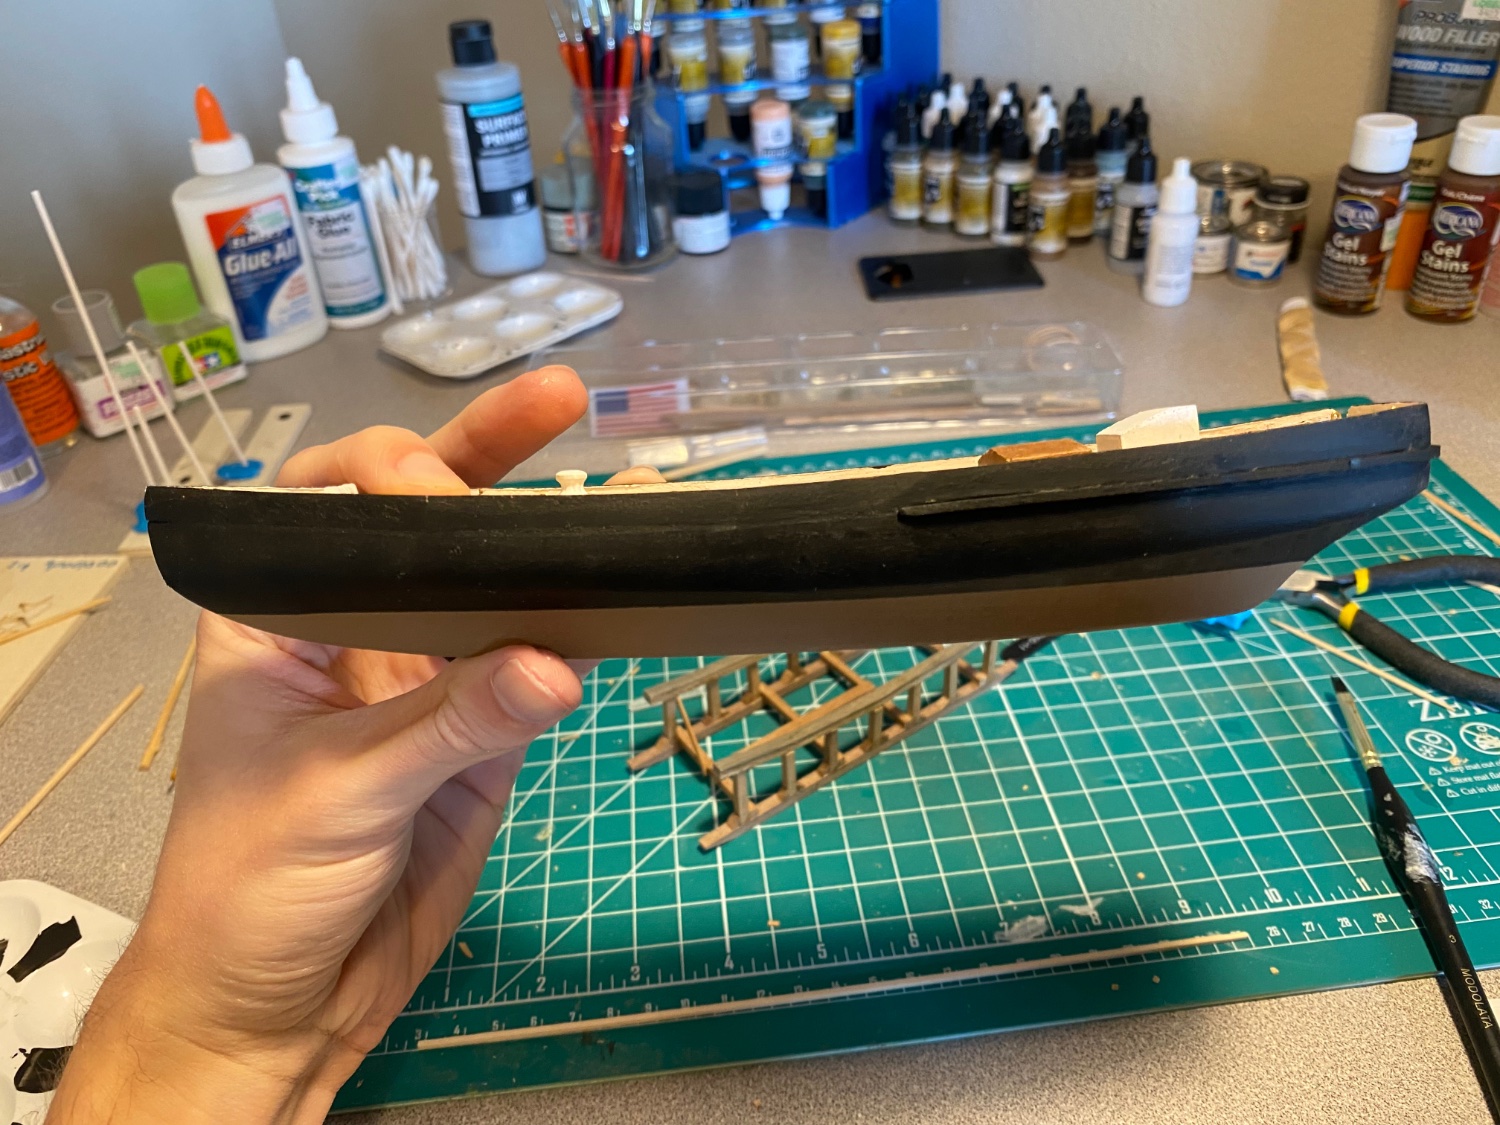
I was not satisfied with the shape of the hull, so over the past few days I’ve taken sandpaper to it. It’s a closer shape to the actual ship with a pseudo-keel. In the process I’d broken some of the bulwarks, which had required repairs.
I plan to paint below the waterline in a true copper color as well as make the white waterline. I’m 3D printing a waterline marker. The last time I tried to freehand it and wasn’t entirely satisfied with the results.
I feel after the re-painting I need to stop redoing parts of the ship and take the lessons learned and move onto the Lobster Smack that just arrived! I keep learning things as I go and the perfectionist in me wants to do those things better.


-
30 minutes ago, Stevinne said:
I don't know if you'll ever be able to get the bulwark lines to disappear. That sort of stuff never bothered me, because I've always approached a wooden ship - where I guess the lines to me show that it's handcrafted - differently than say a plastic model, where I do find seam lines bother me.
That is a very good point, I'm coming from plastic modeling so this is a big change for me.
-
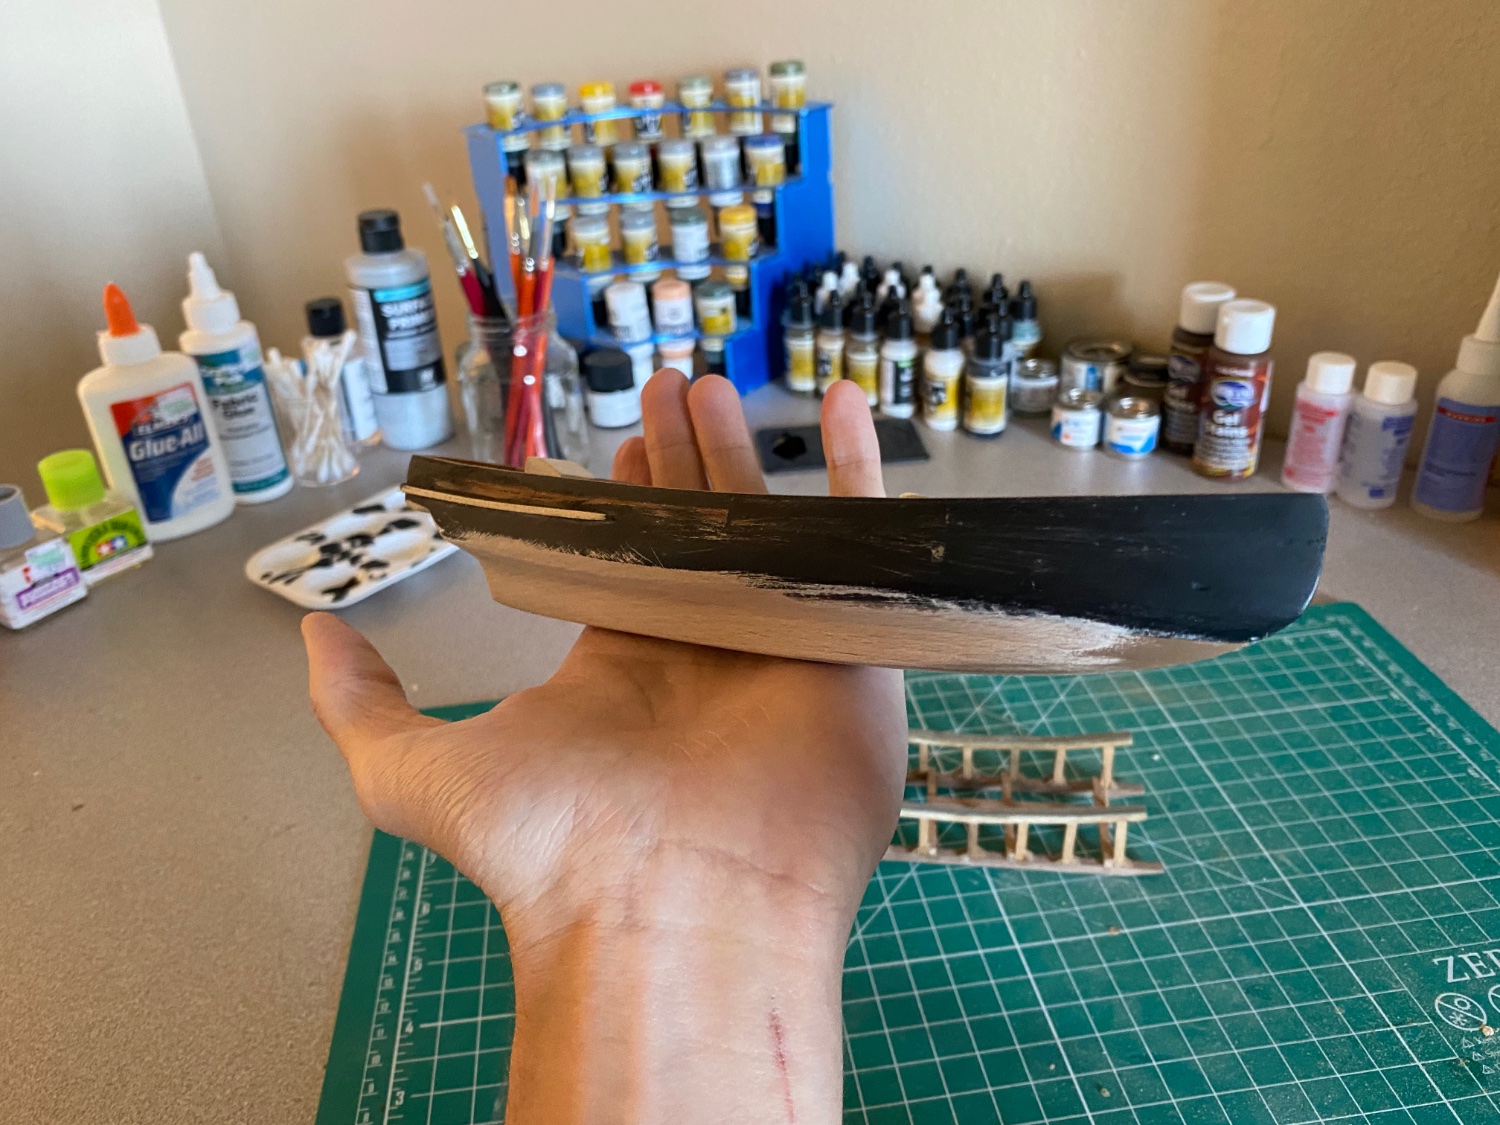
I've noted a few things as I've worked..
1. The shape of the keel is pretty far off. It is tempting to sand it into shape, but I am afraid of destroying it somehow. I will probably just go at it with the sandpaper and hope for the best.
2. I am somewhat satisfied with the finish, but it could be better. For example, even after tons of sanding and filling the transition from the bulwarks is still not perfectly smooth. There are tiny lines where things meet that are very difficult to see through the paint, but still there. Is there a solution for this? A layer of planking? A layer of some type of putty?
3. Is it advised to prime the metal pieces? I find the acrylic paint removes easily.
-
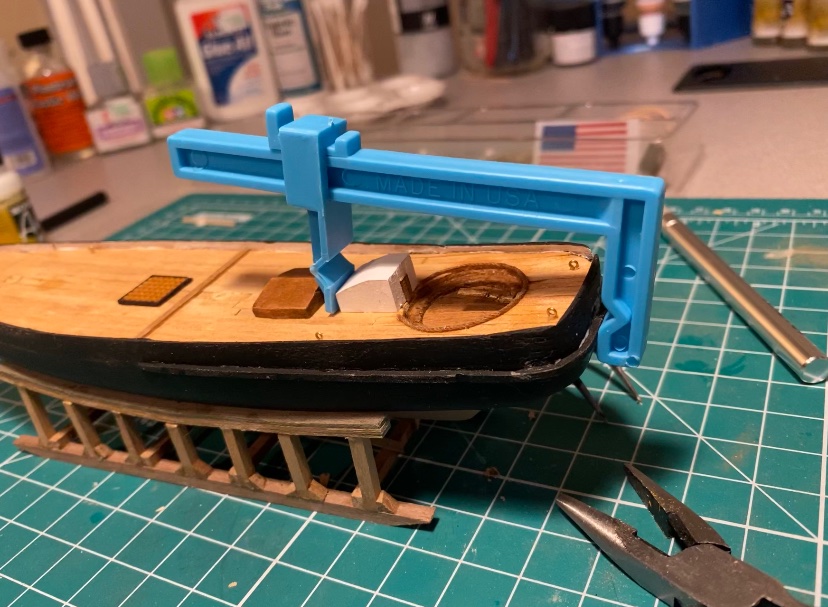
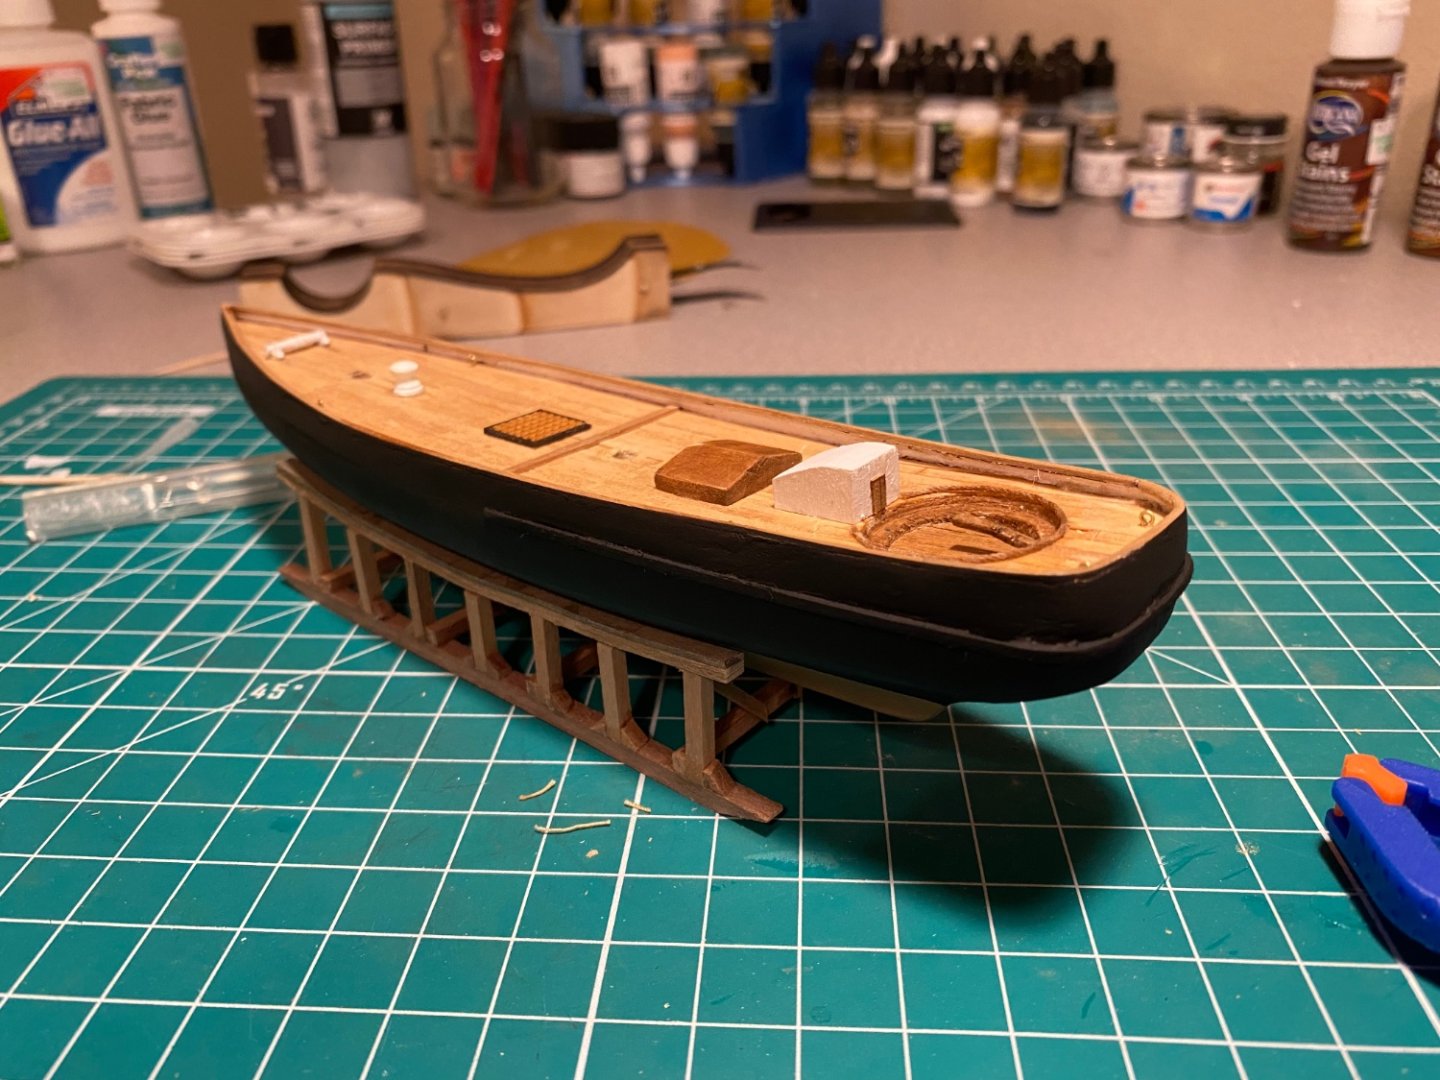
Gunwales have been added. Massive thank you to @Stevinne for the help, allowed numerous repairs in the stern and filling the large chunk taken out. Also inspired me to turn the ship from something I was dissatisfied with to something I can be kinda proud of.
Thus far the gunwales have been the most tedious and annoying bit of the build, and I’m happy to have them behind me. I purchased a plank bending jig which I struggled to use when needing to bend the strips in the direction required for the gunwales. For the rear portion some pretty sharp curves were required, so I just wetted the strip in a water and alcohol solution and used my finger nail to make small notches in them, allowing them to bend sharply. I had considered not even going through this process, but I am far more satisfied with the result.
I am also learning the power of sanding. The bulwarks were still slightly off after installed, but I was able to sand them in a shape I was pleased with. Almost every screw up has been correctable just by sanding the wood to shape. It’s also been interesting seeing the ship turn from multiple little hunks of wood into a uniform shape. It has been an incredibly satisfying experience.
However I do find myself at times wanting to cut corners to get to the rigging (Such as just realizing I forgot 2 small strips that go on either side of the hull for the deadeyes to attach to and really not wanting to apply them after just thinking the hull was finally completed), but I must push and see it through. I don’t want to leave dissatisfied because I didn’t complete a part of the ship due to laziness.
-


America by Cbrand02 - FINISHED - Mini Mamoli - Scale 1:140
in - Kit build logs for subjects built from 1851 - 1900
Posted
For a beginner they were less than ideal. The translation from Italian was confusing, the line drawings were confusing, the plans were not to scale, etc.. I ended up using a different larger model’s plans that I linked earlier in the build.
However as I got more comfortable the plans began to make more sense, so someone going into it already knowing what they’re doing would have much less trouble. I eventually went with the “if it looks good then it’s right” philosophy