PhiipG
-
Posts
22 -
Joined
-
Last visited
-
 palmerit reacted to a post in a topic:
Mary Taylor 1850 by Phiipg - FINISHED - BlueJacket Shipcrafters - Pilot Boat
palmerit reacted to a post in a topic:
Mary Taylor 1850 by Phiipg - FINISHED - BlueJacket Shipcrafters - Pilot Boat
-
GrandpaPhil reacted to a post in a topic:
Mary Taylor 1850 by Phiipg - FINISHED - BlueJacket Shipcrafters - Pilot Boat
-
GrandpaPhil reacted to a post in a topic:
Mary Taylor 1850 by Phiipg - FINISHED - BlueJacket Shipcrafters - Pilot Boat
-
Dr PR reacted to a post in a topic:
Mary Taylor 1850 by Phiipg - FINISHED - BlueJacket Shipcrafters - Pilot Boat
-
petervisser reacted to a post in a topic:
Mary Taylor 1850 by Phiipg - FINISHED - BlueJacket Shipcrafters - Pilot Boat
-
ccoyle reacted to a post in a topic:
Mary Taylor 1850 by Phiipg - FINISHED - BlueJacket Shipcrafters - Pilot Boat
-
 Coyote_6 reacted to a post in a topic:
Mary Taylor 1850 by Phiipg - FINISHED - BlueJacket Shipcrafters - Pilot Boat
Coyote_6 reacted to a post in a topic:
Mary Taylor 1850 by Phiipg - FINISHED - BlueJacket Shipcrafters - Pilot Boat
-
Jolly Jo reacted to a post in a topic:
Mary Taylor 1850 by Phiipg - FINISHED - BlueJacket Shipcrafters - Pilot Boat
-
JacquesCousteau reacted to a post in a topic:
Mary Taylor 1850 by Phiipg - FINISHED - BlueJacket Shipcrafters - Pilot Boat
-
MAGIC's Craig reacted to a post in a topic:
Mary Taylor 1850 by Phiipg - FINISHED - BlueJacket Shipcrafters - Pilot Boat
-
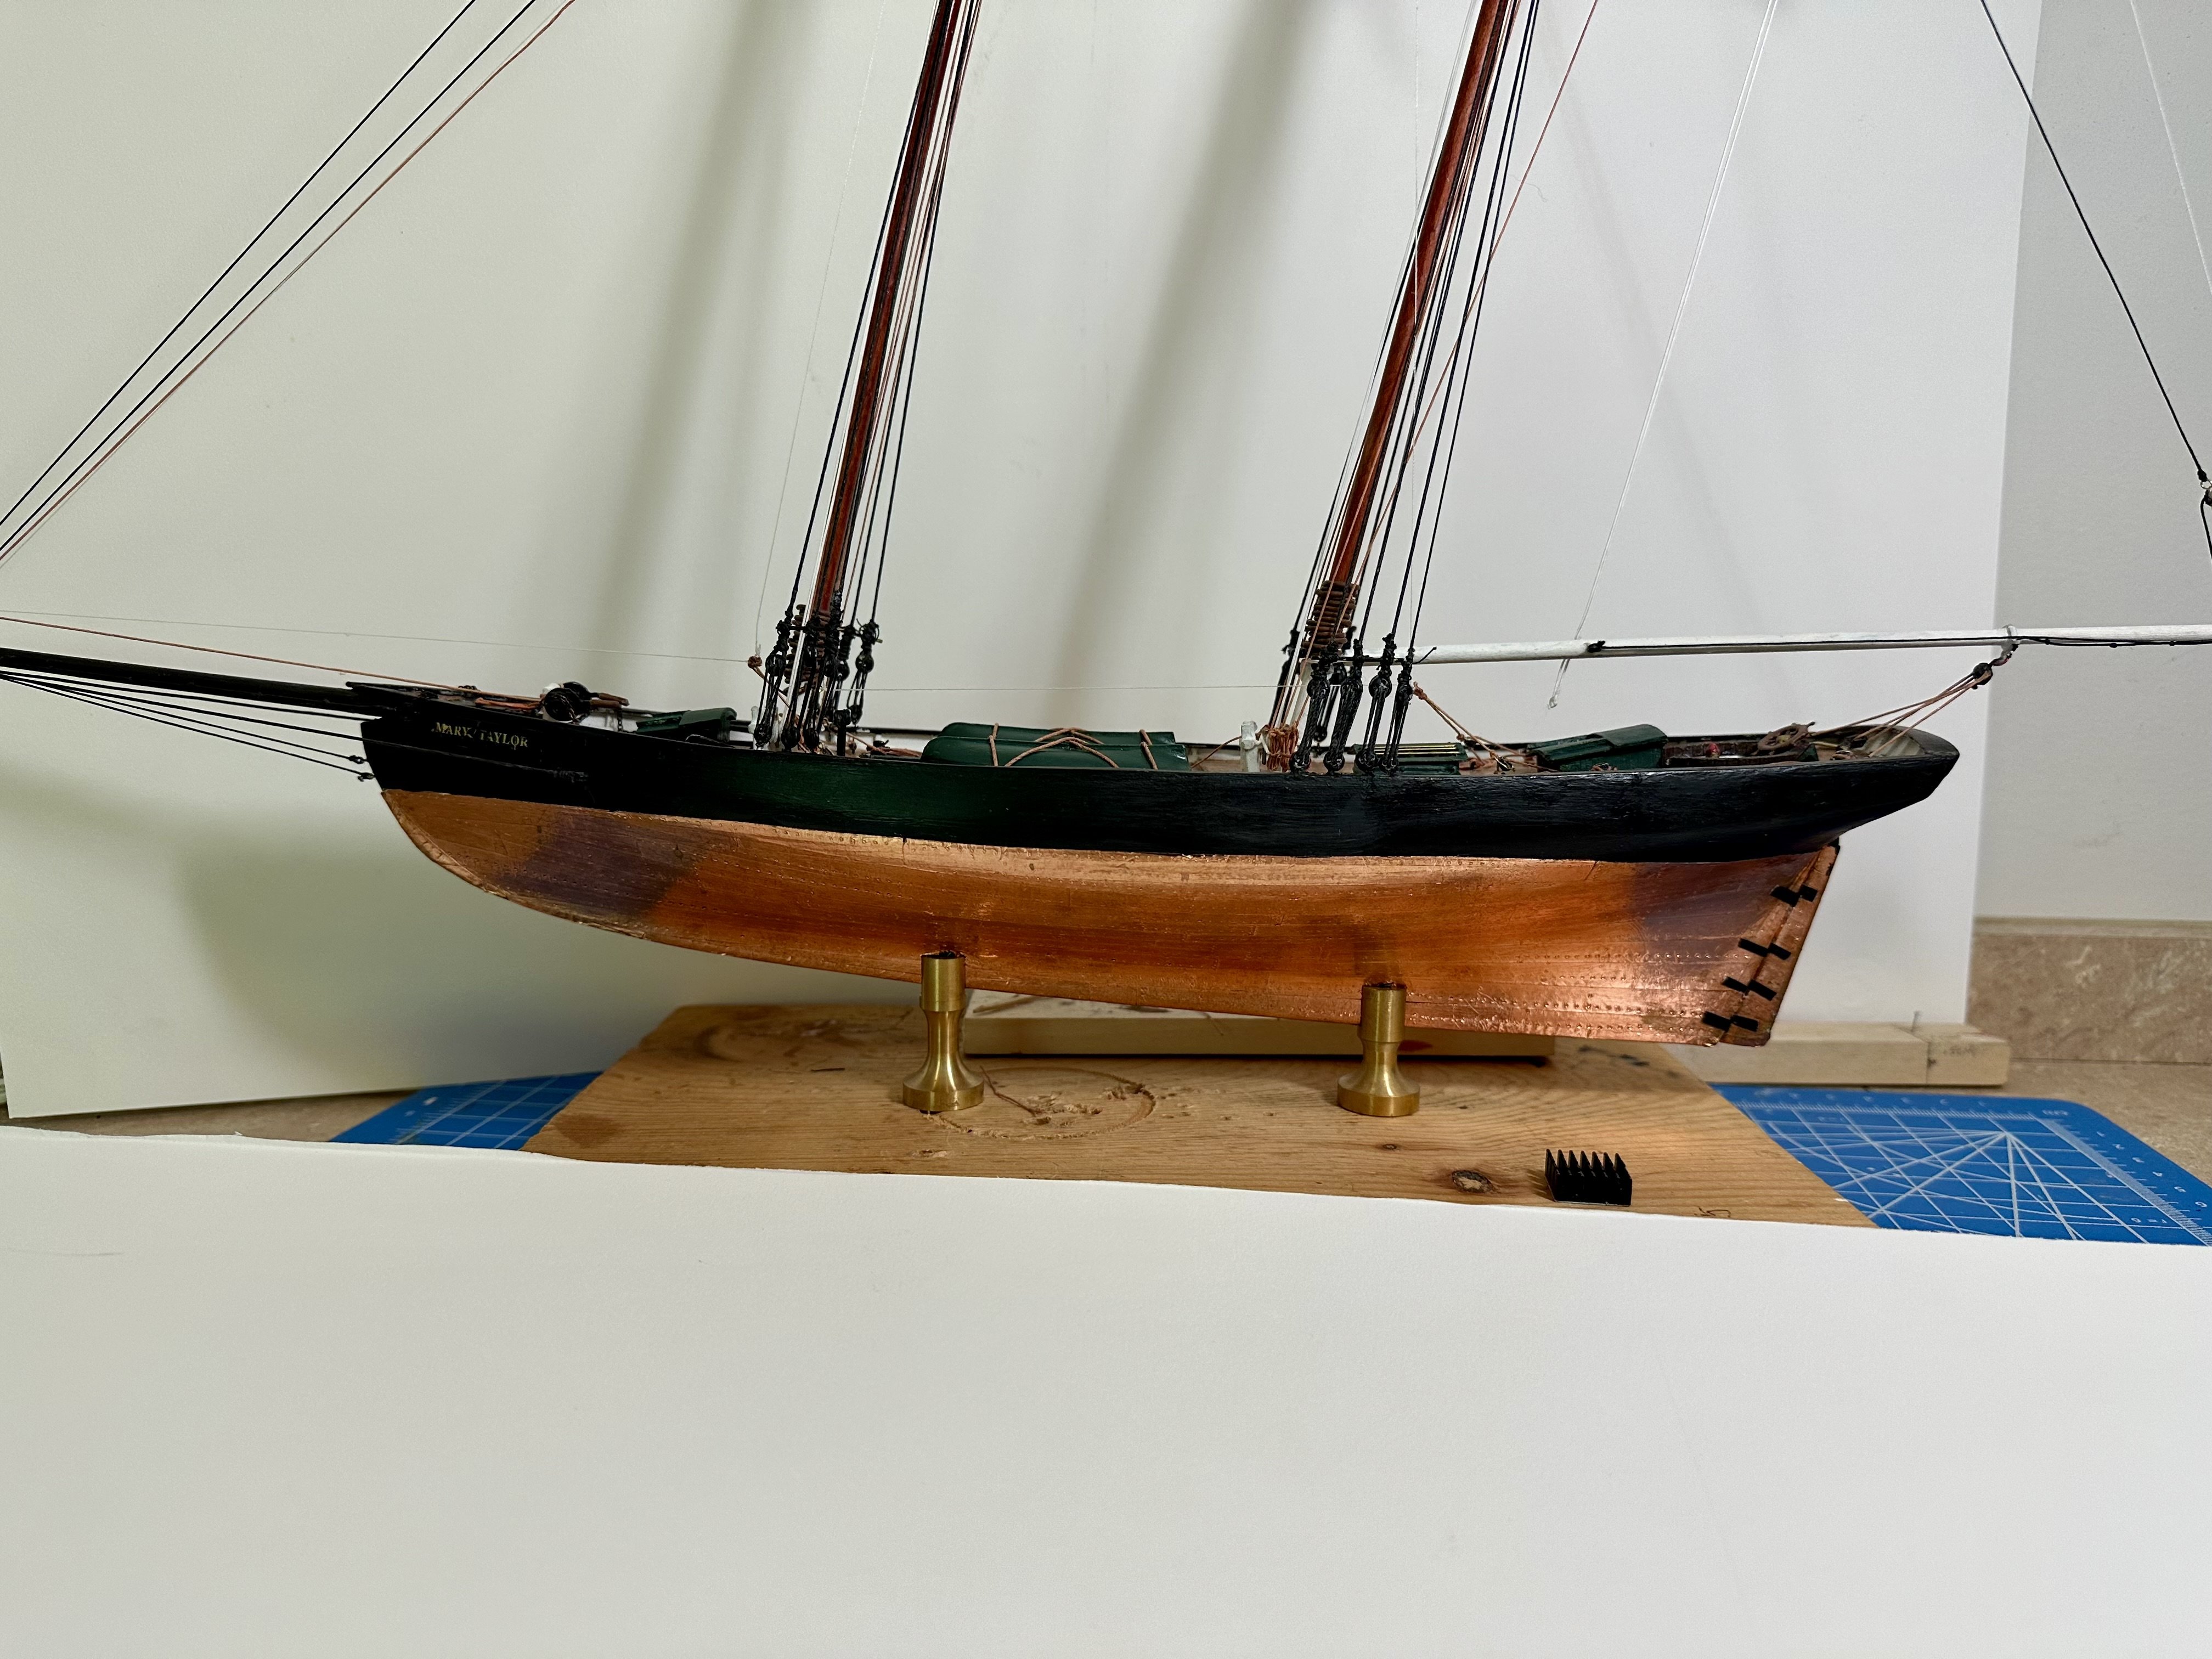
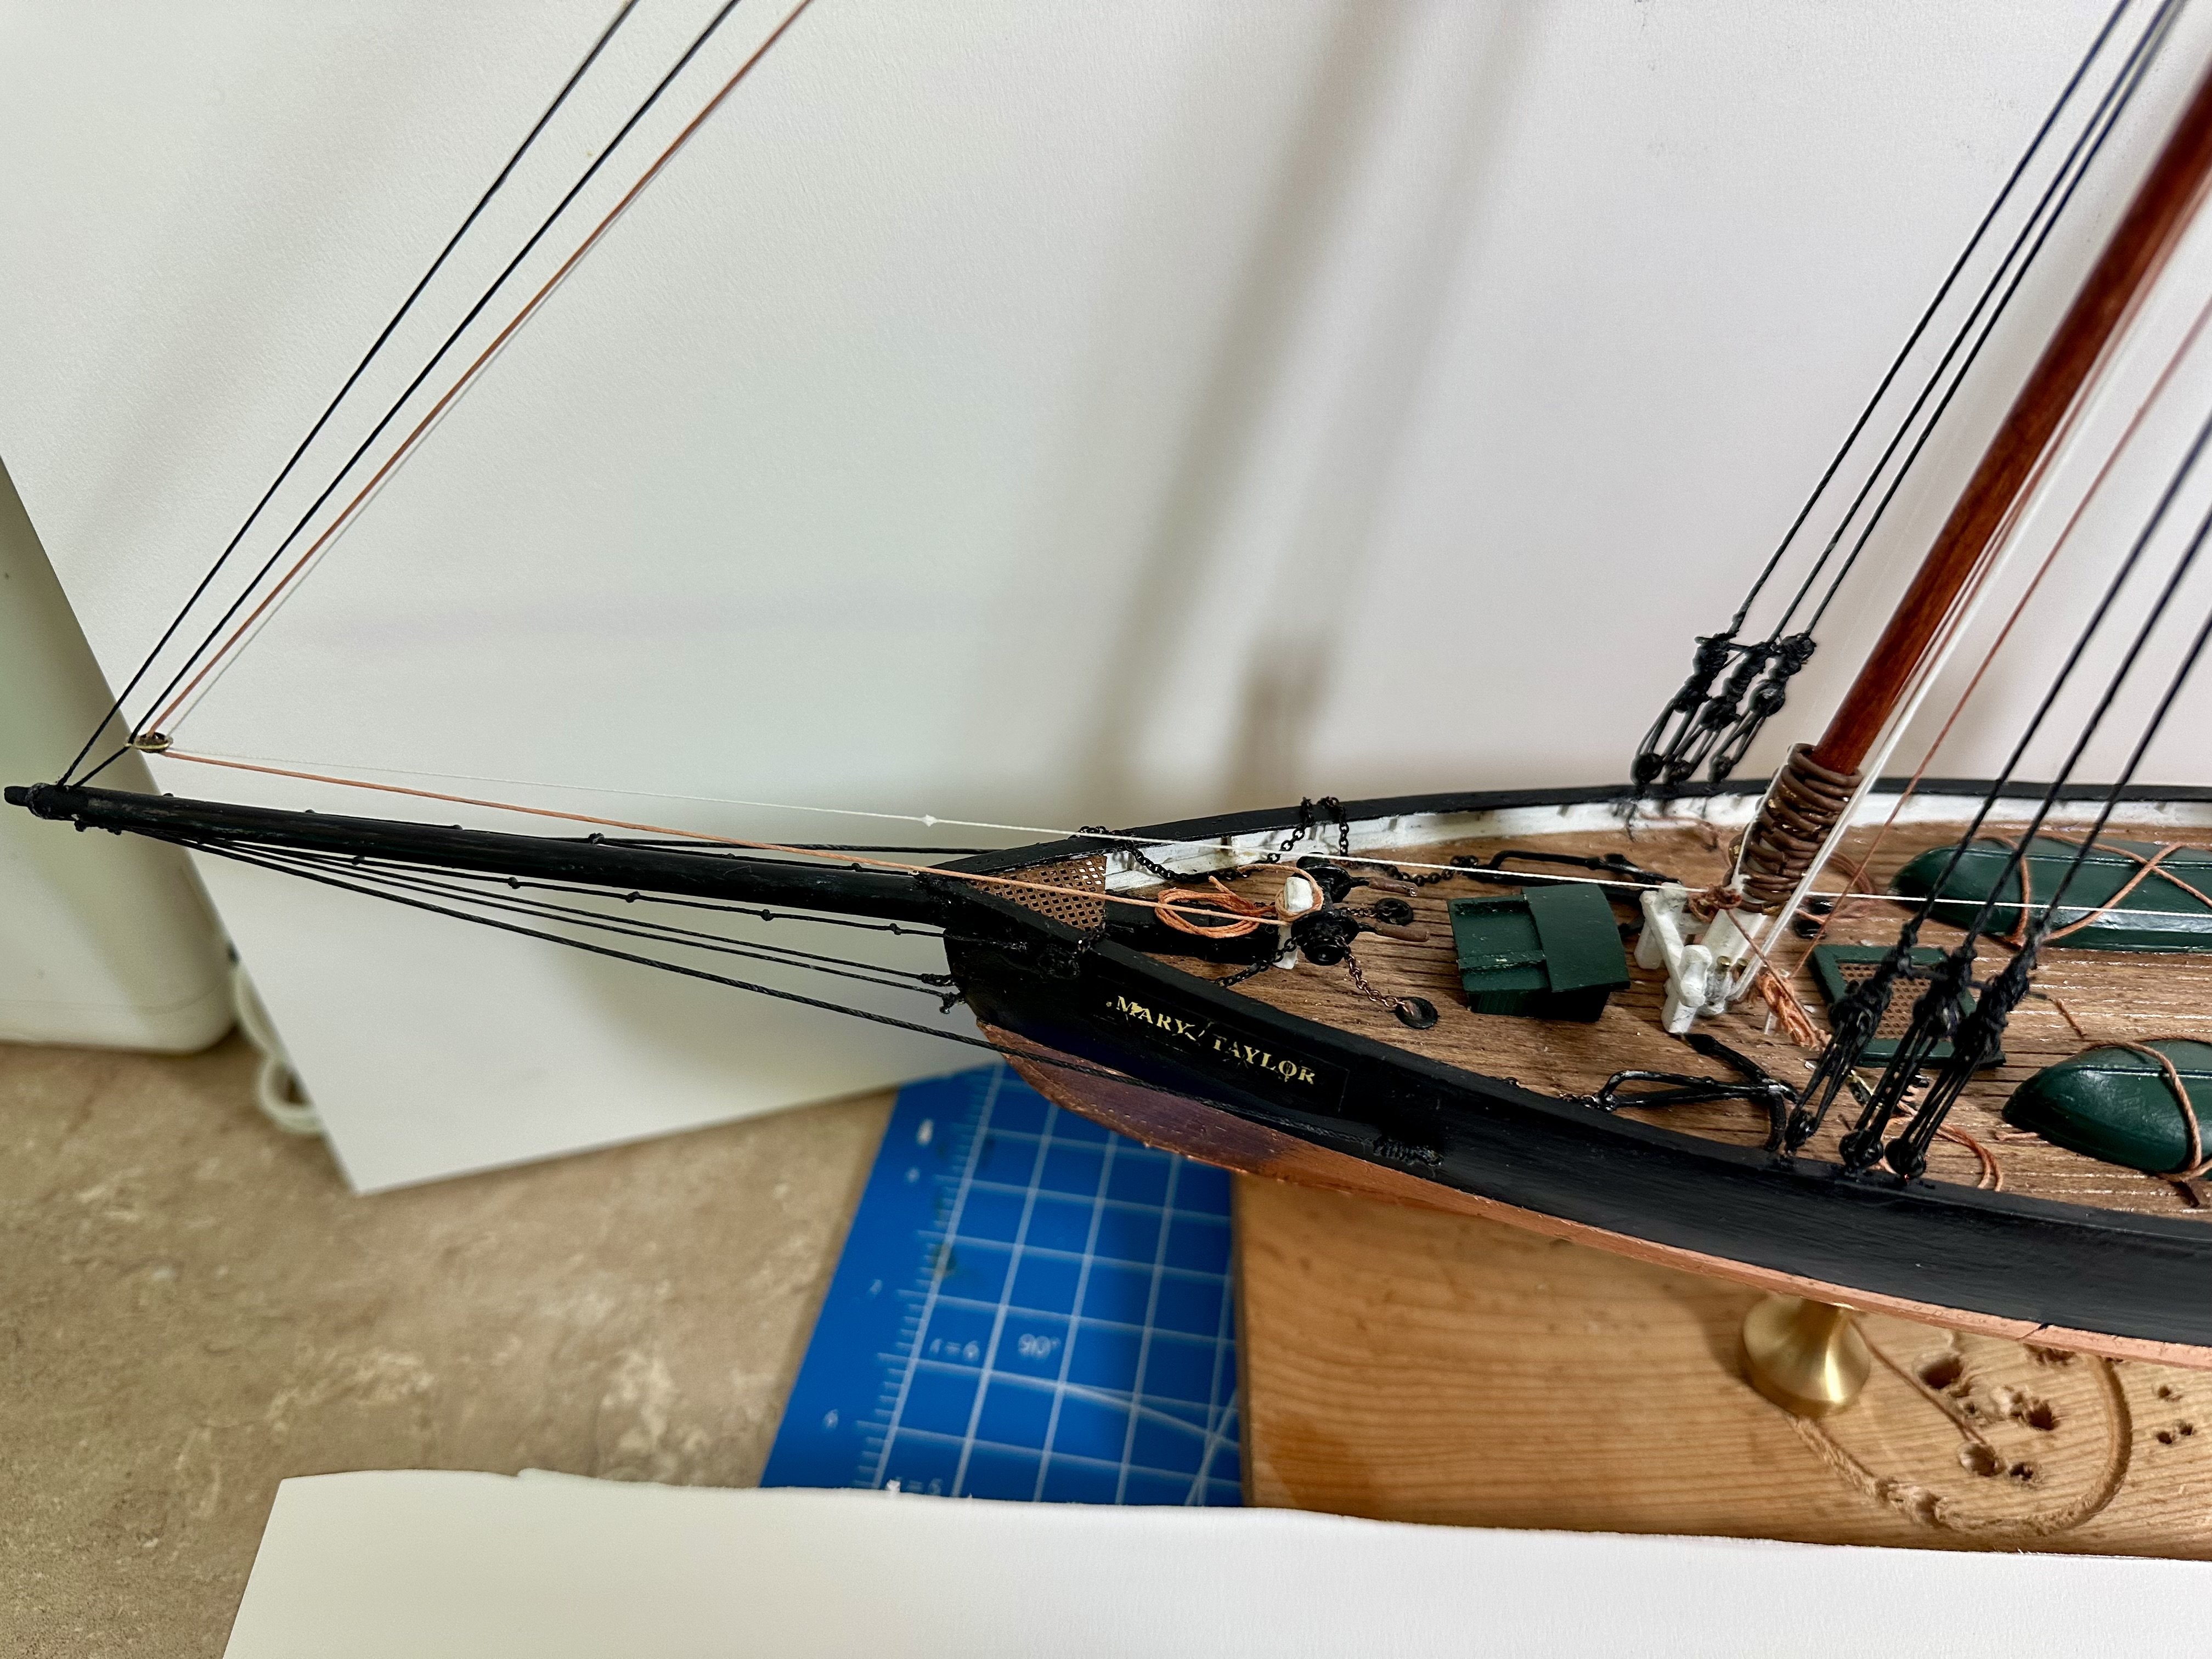
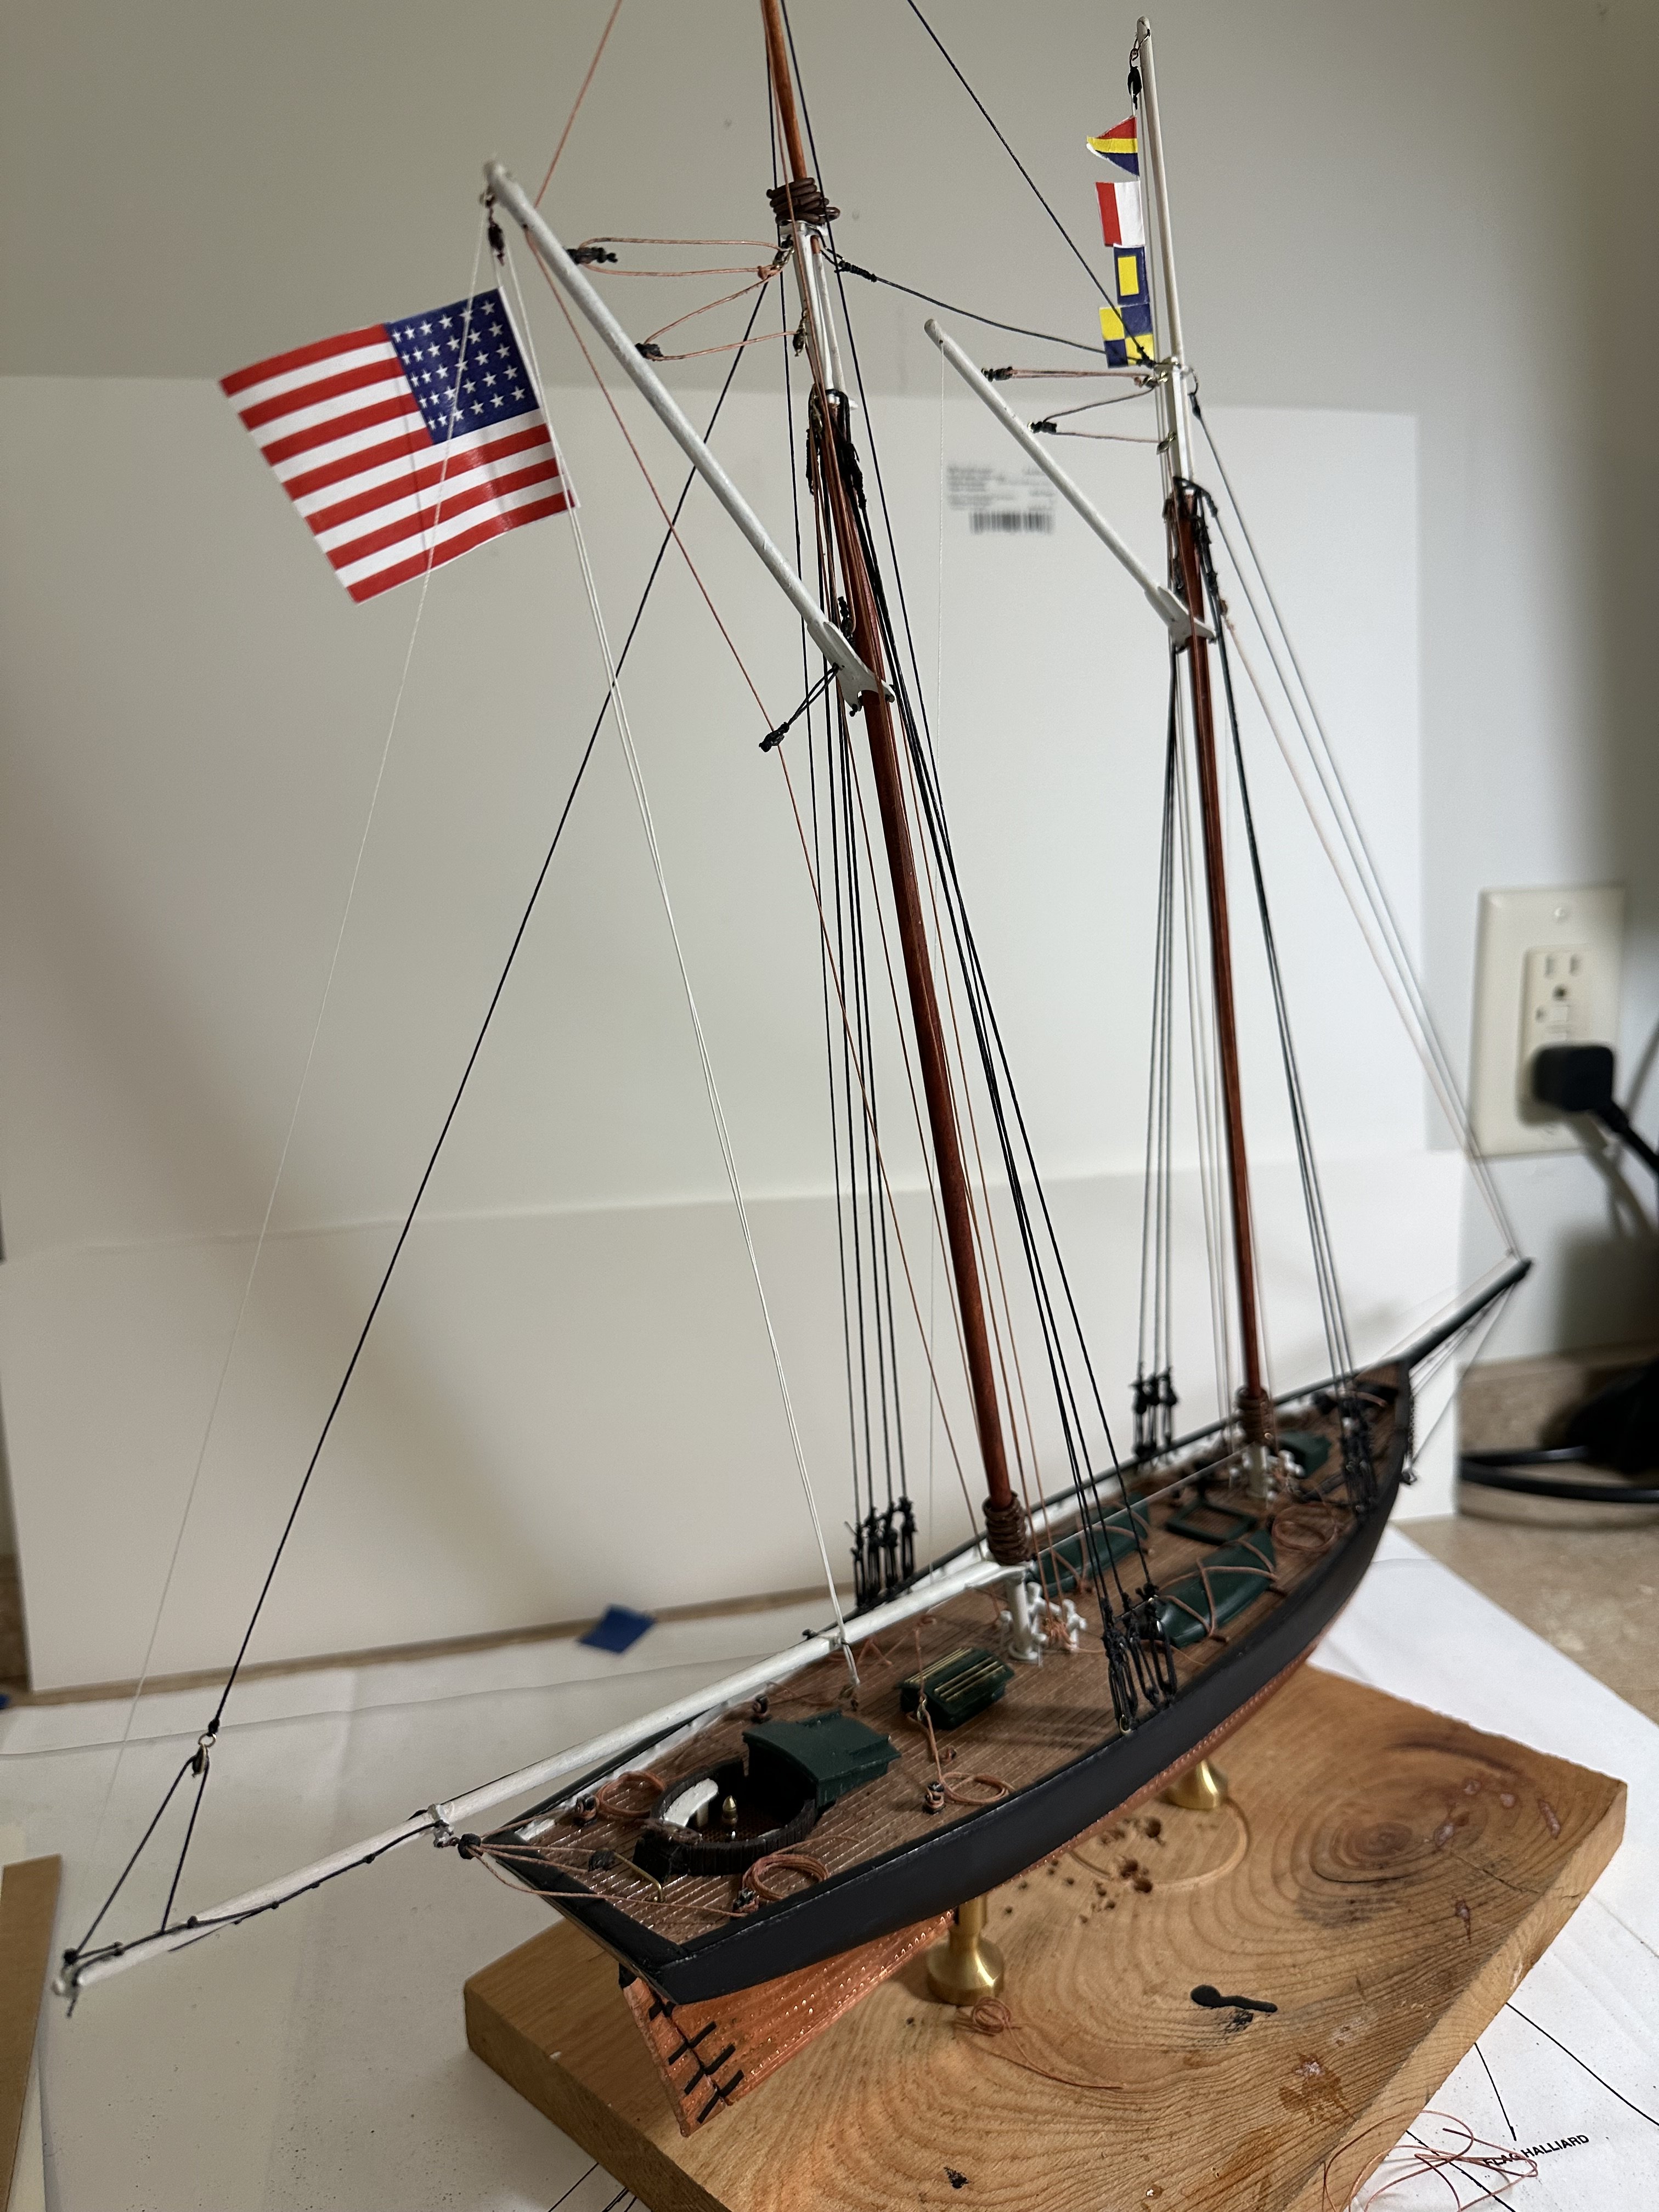
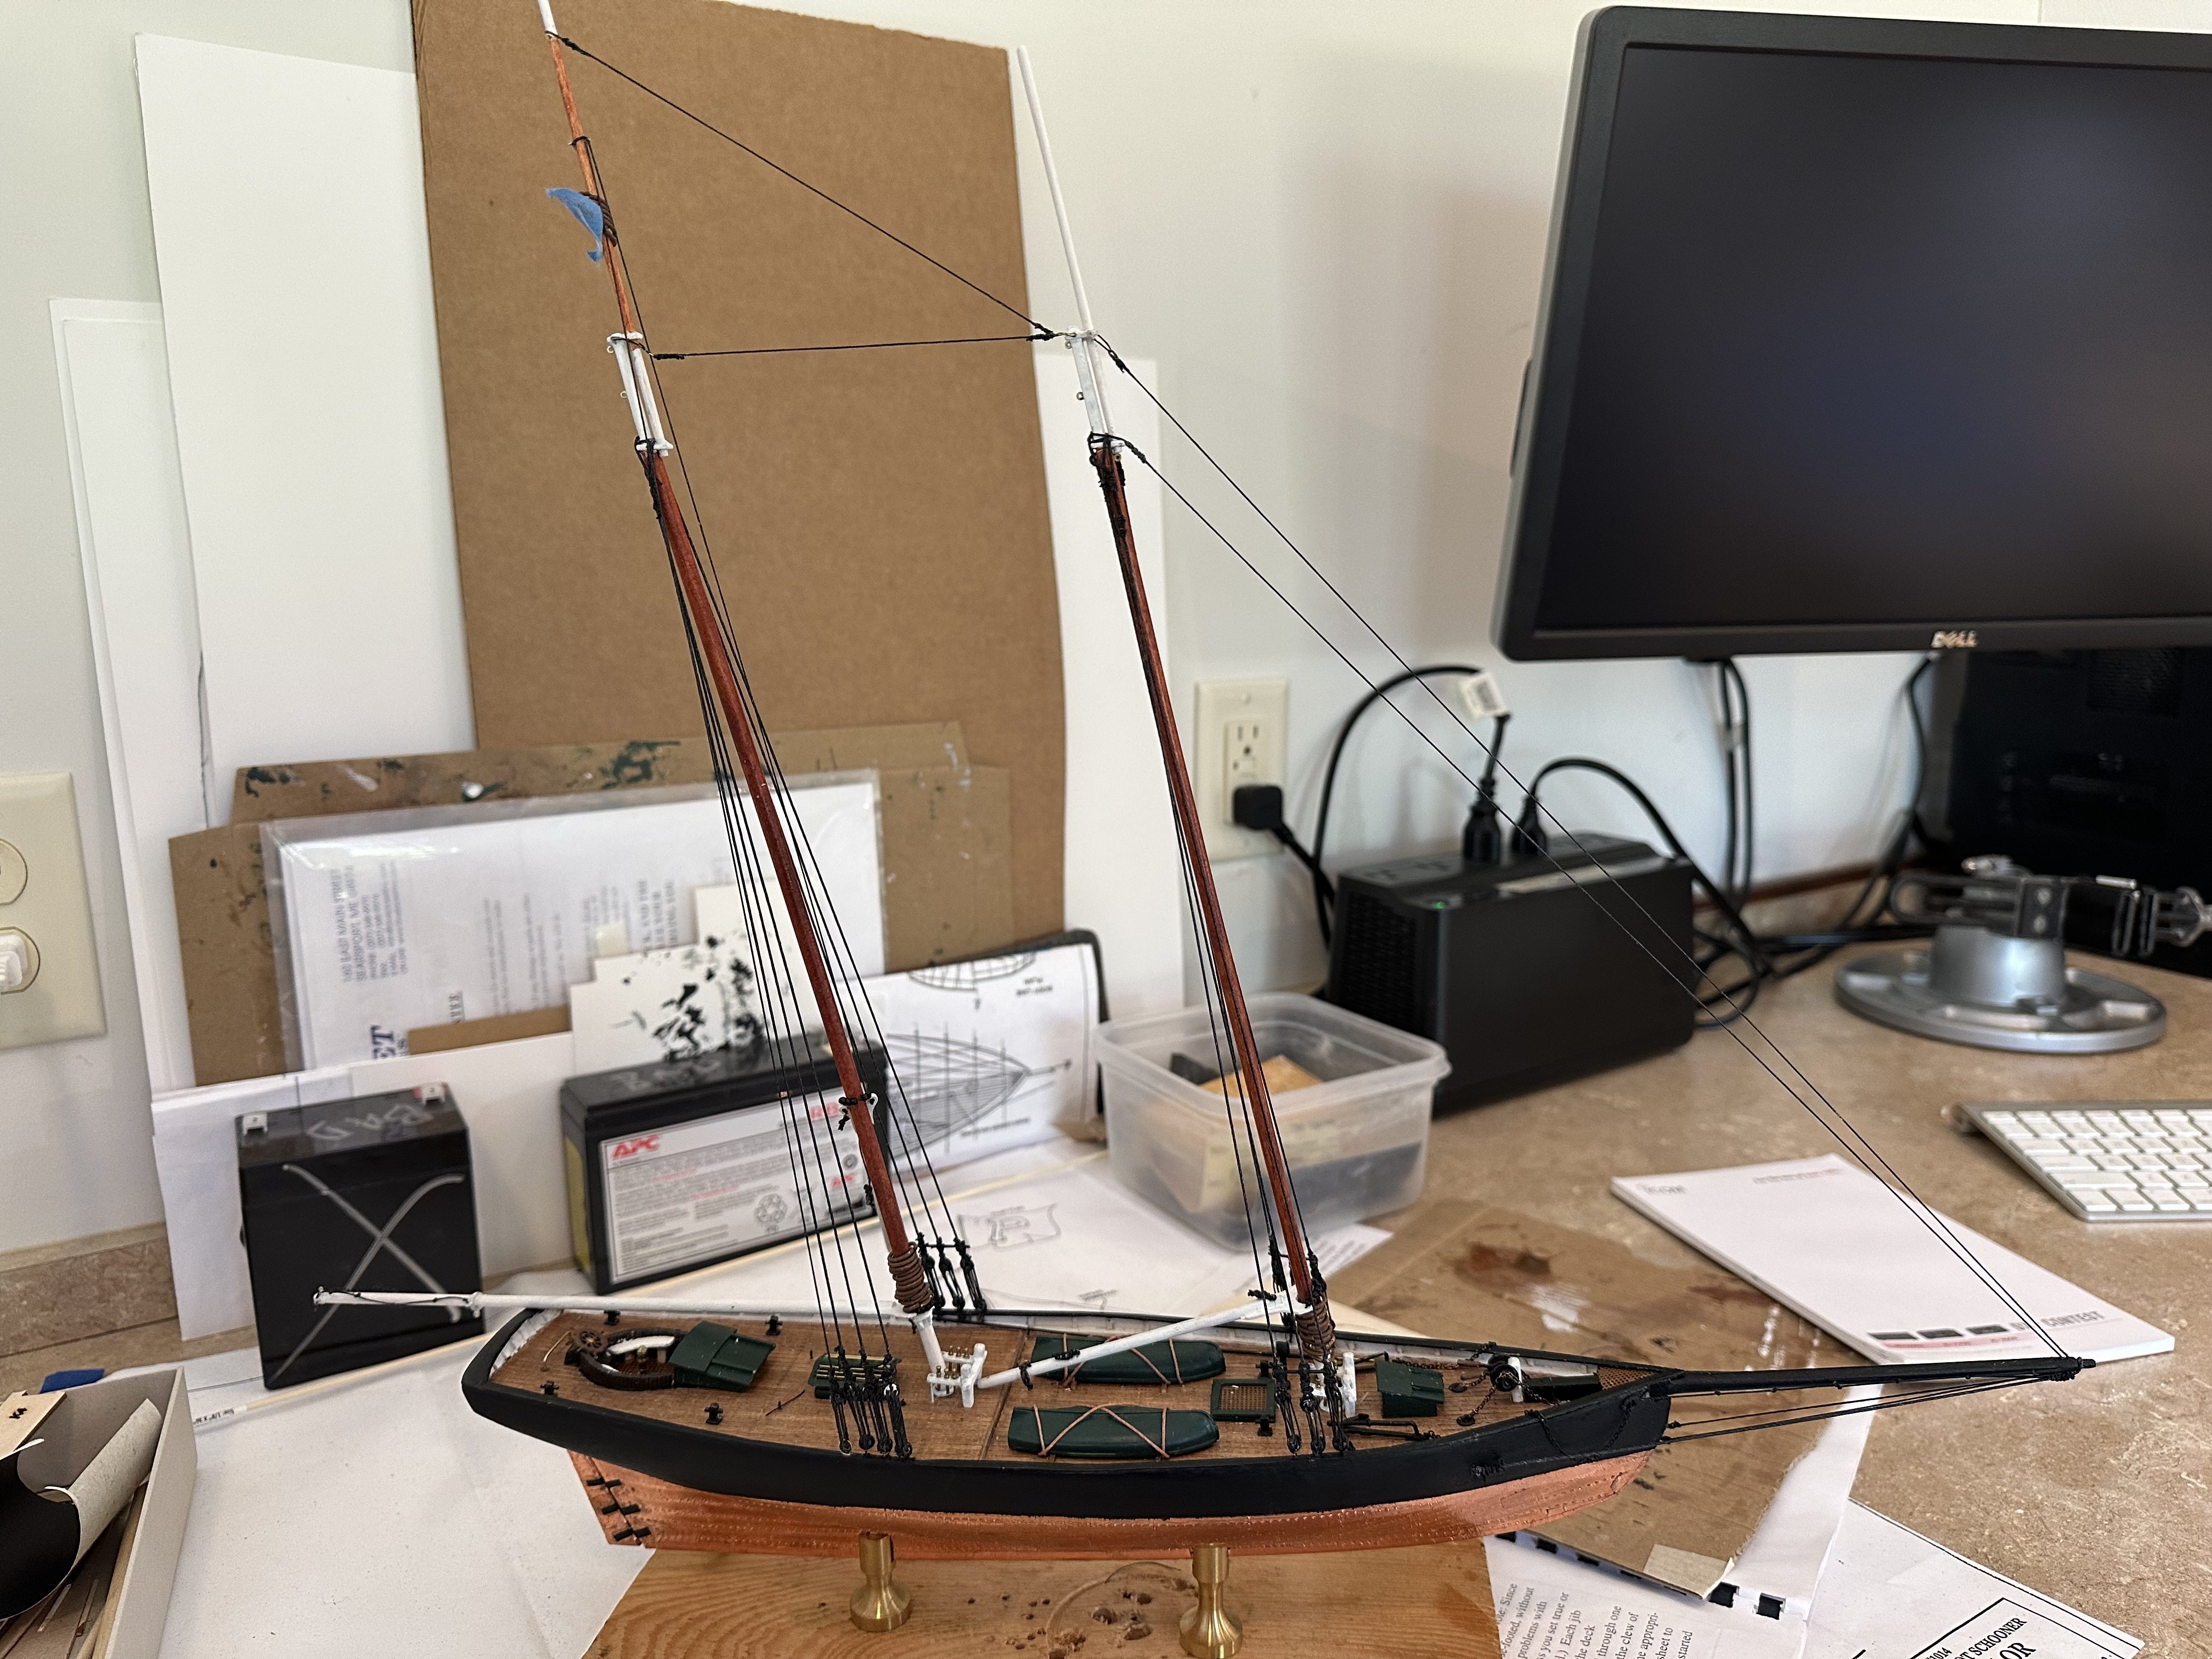
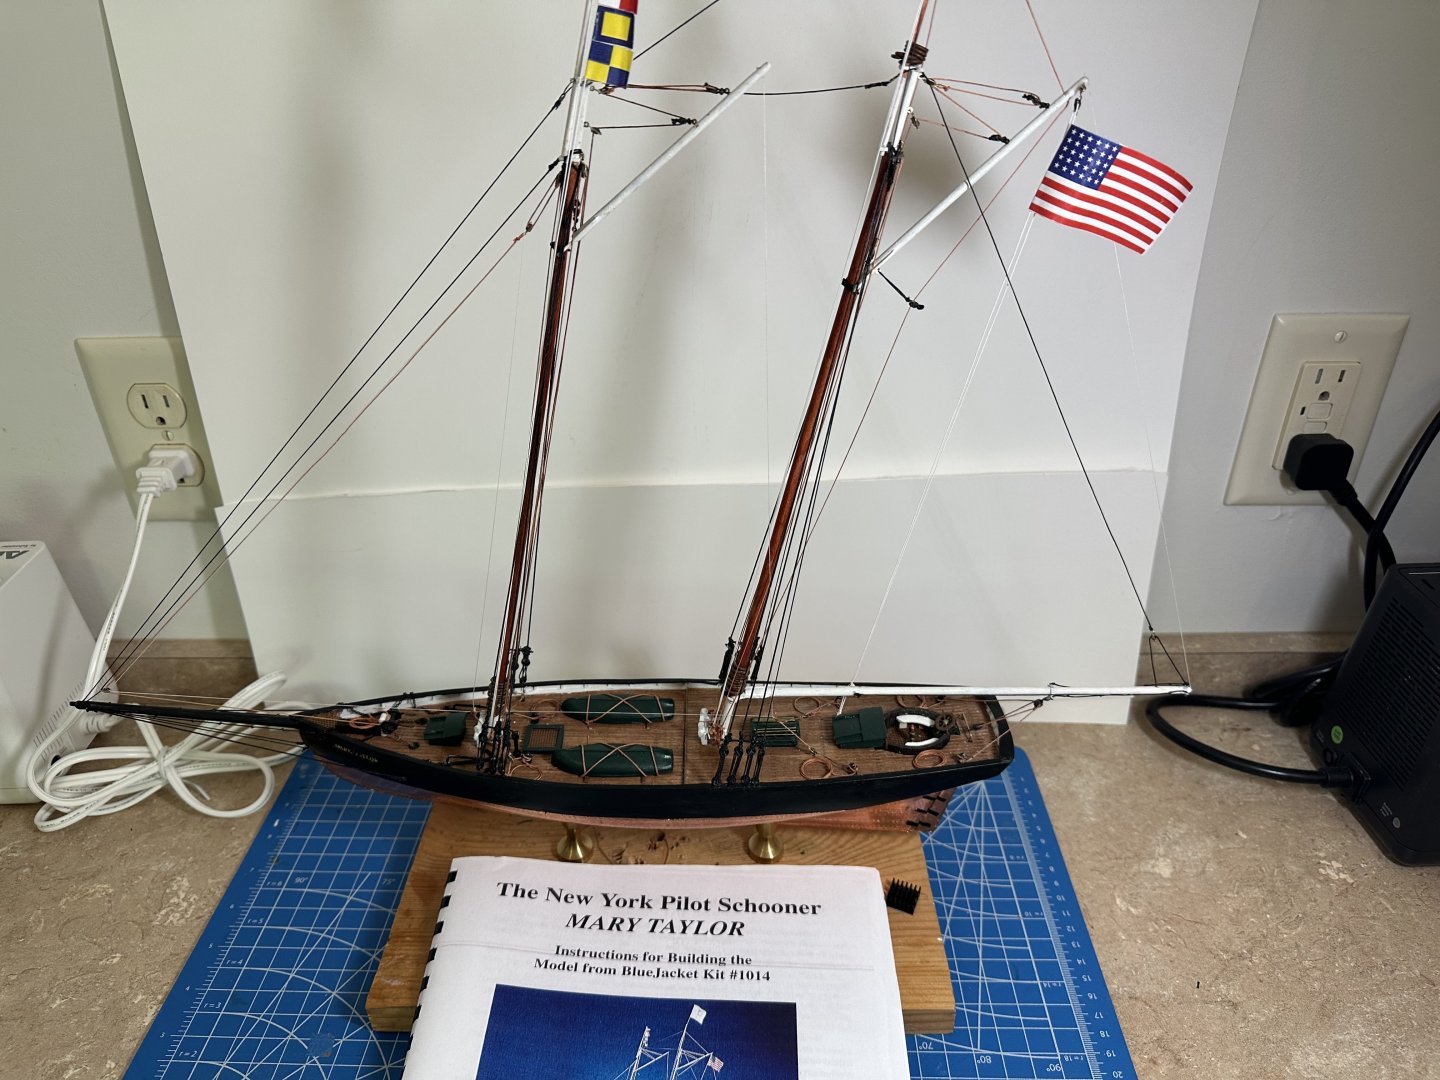
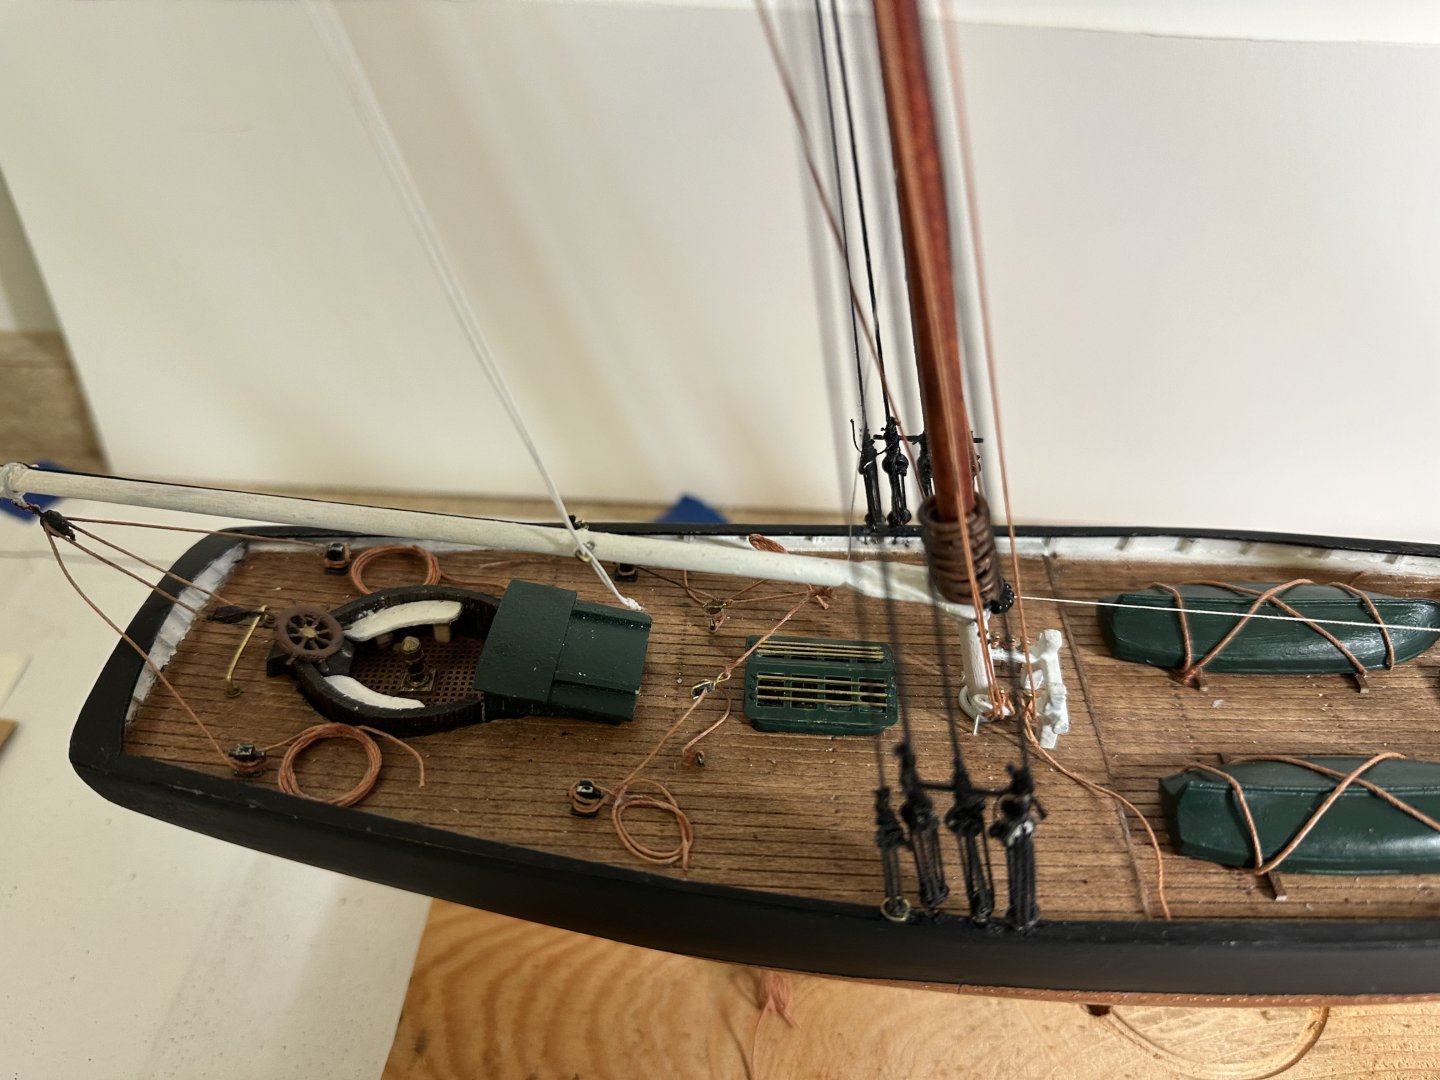
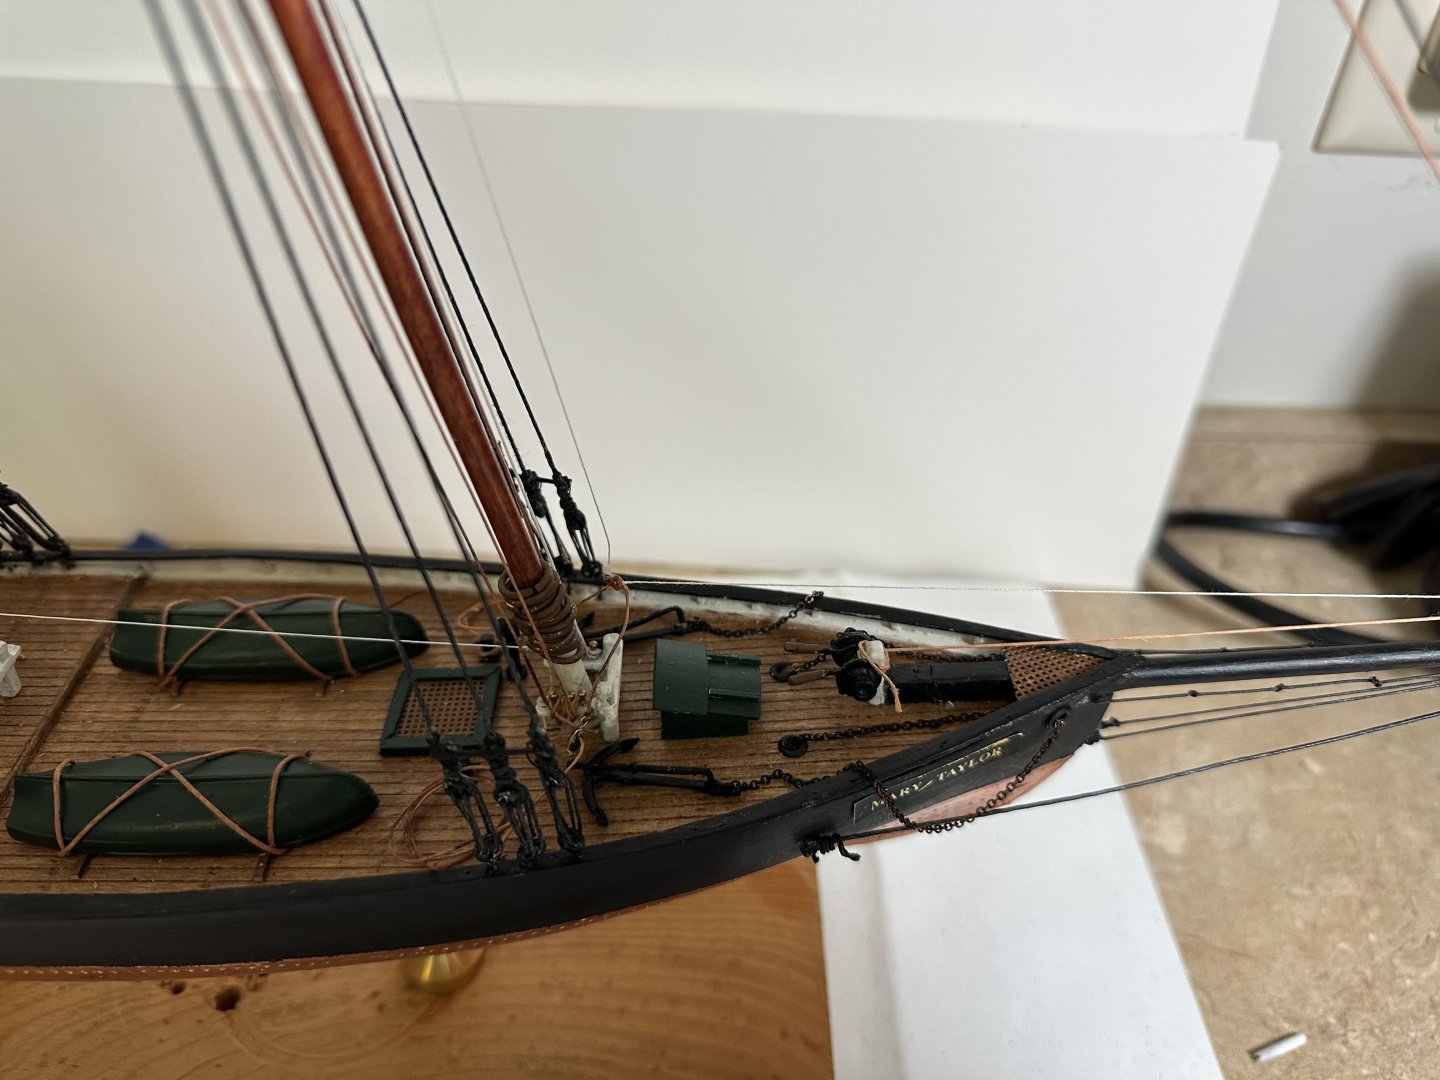
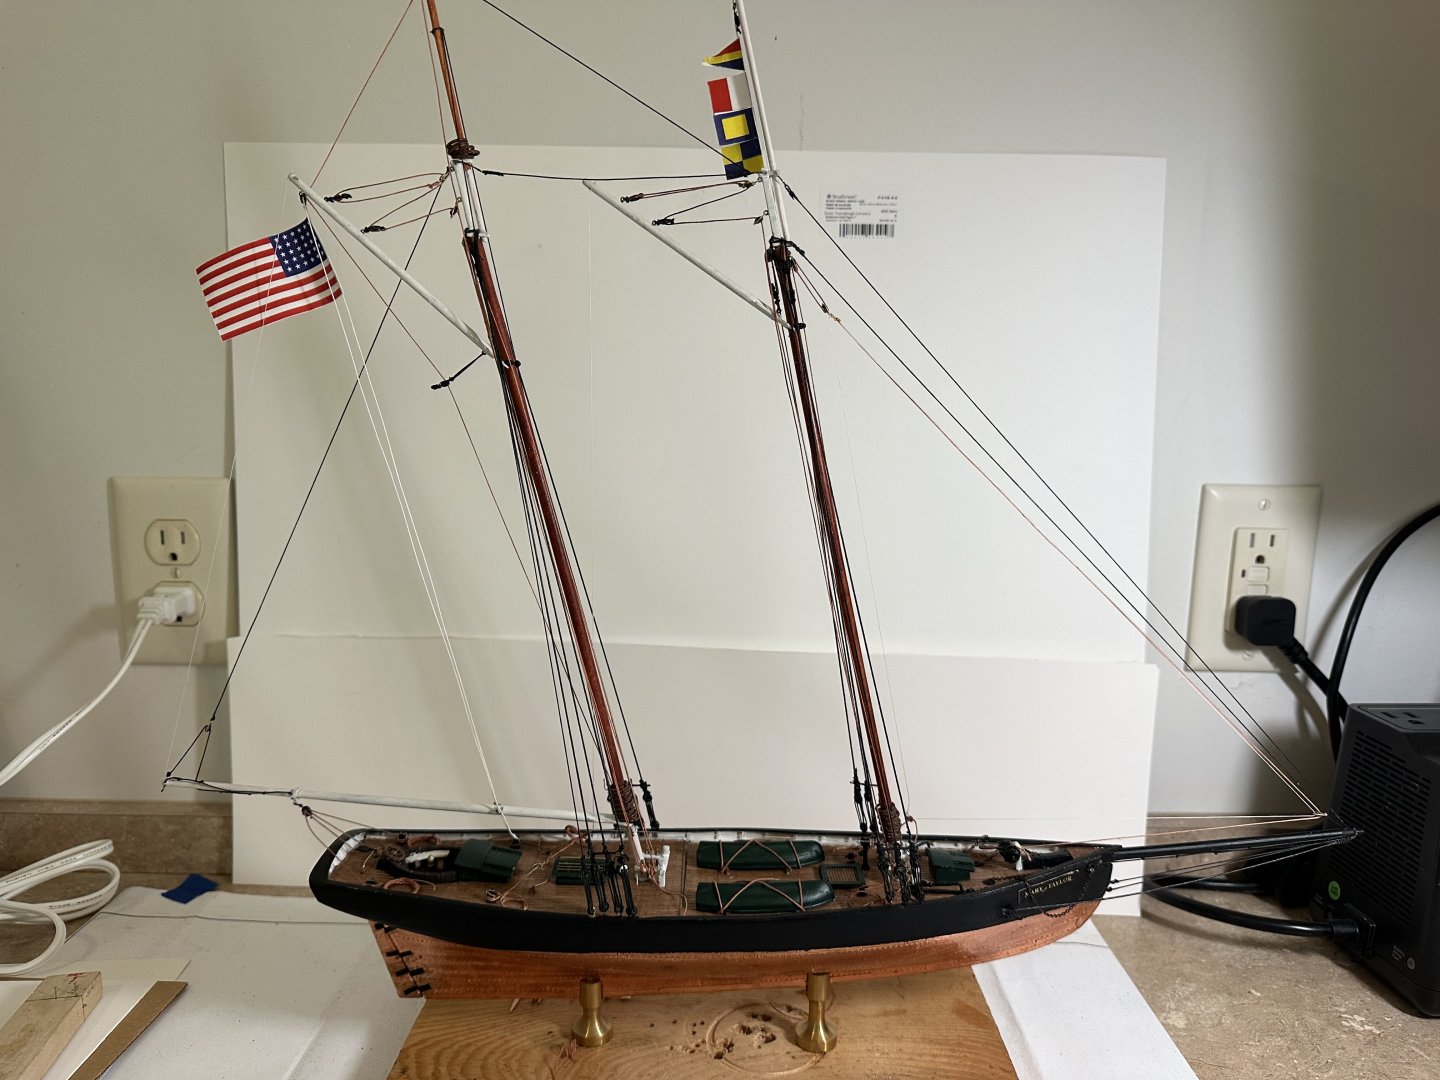
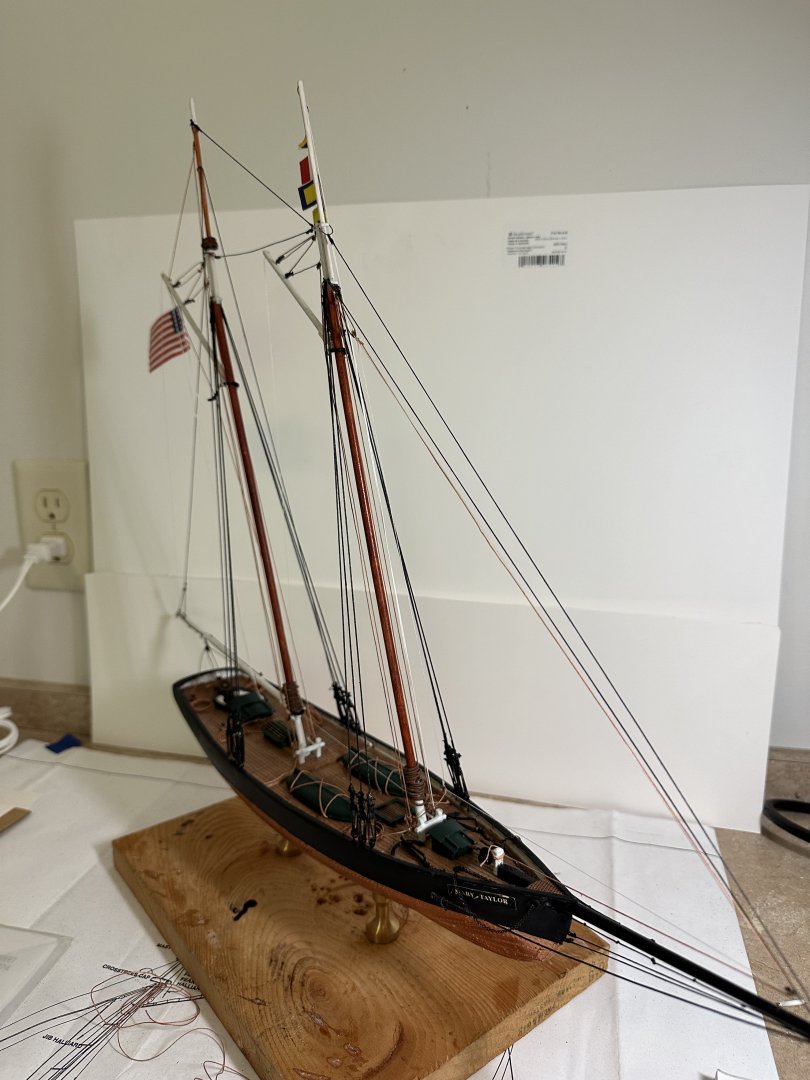
FINISHED! I completed the rigging, did a pit of paint touch up, secured lines on deck. All that's left is putting it in the glass case. Time to start thinking about the next kit..... I welcome all suggestions for another kit, plus you comments on this completed one. Happy sailing


- 30 replies
-
- 10
-
-
-
- Mary Taylor
- solid hull
- (and 2 more)
-
I estimated where the waterline ended at the bow and stern from the drawings and drew a line between those two points - getting the ship level and using a jig with a pencil attached to scroll it on the hull.
-
OK, rigging competed, as best I can do it. I had the most difficulty with the blocks and stropping them. But the ship is completed except for a little touch up paint and figuring out a way I can make the rope hanks that hang on the lines look natural. I will order the materials for a glass case tomorrow as well as a brass plaque to identify this project. But for all intents and purposes, the Mary Taylor is read for her sea trials. Thanks so much for your thoughtful comments and encouragement. I've learned a bit, and I feel that with every block and line that I set, I gain a little more skill.
- 30 replies
-
- 2
-
-
-
- Mary Taylor
- solid hull
- (and 2 more)
-
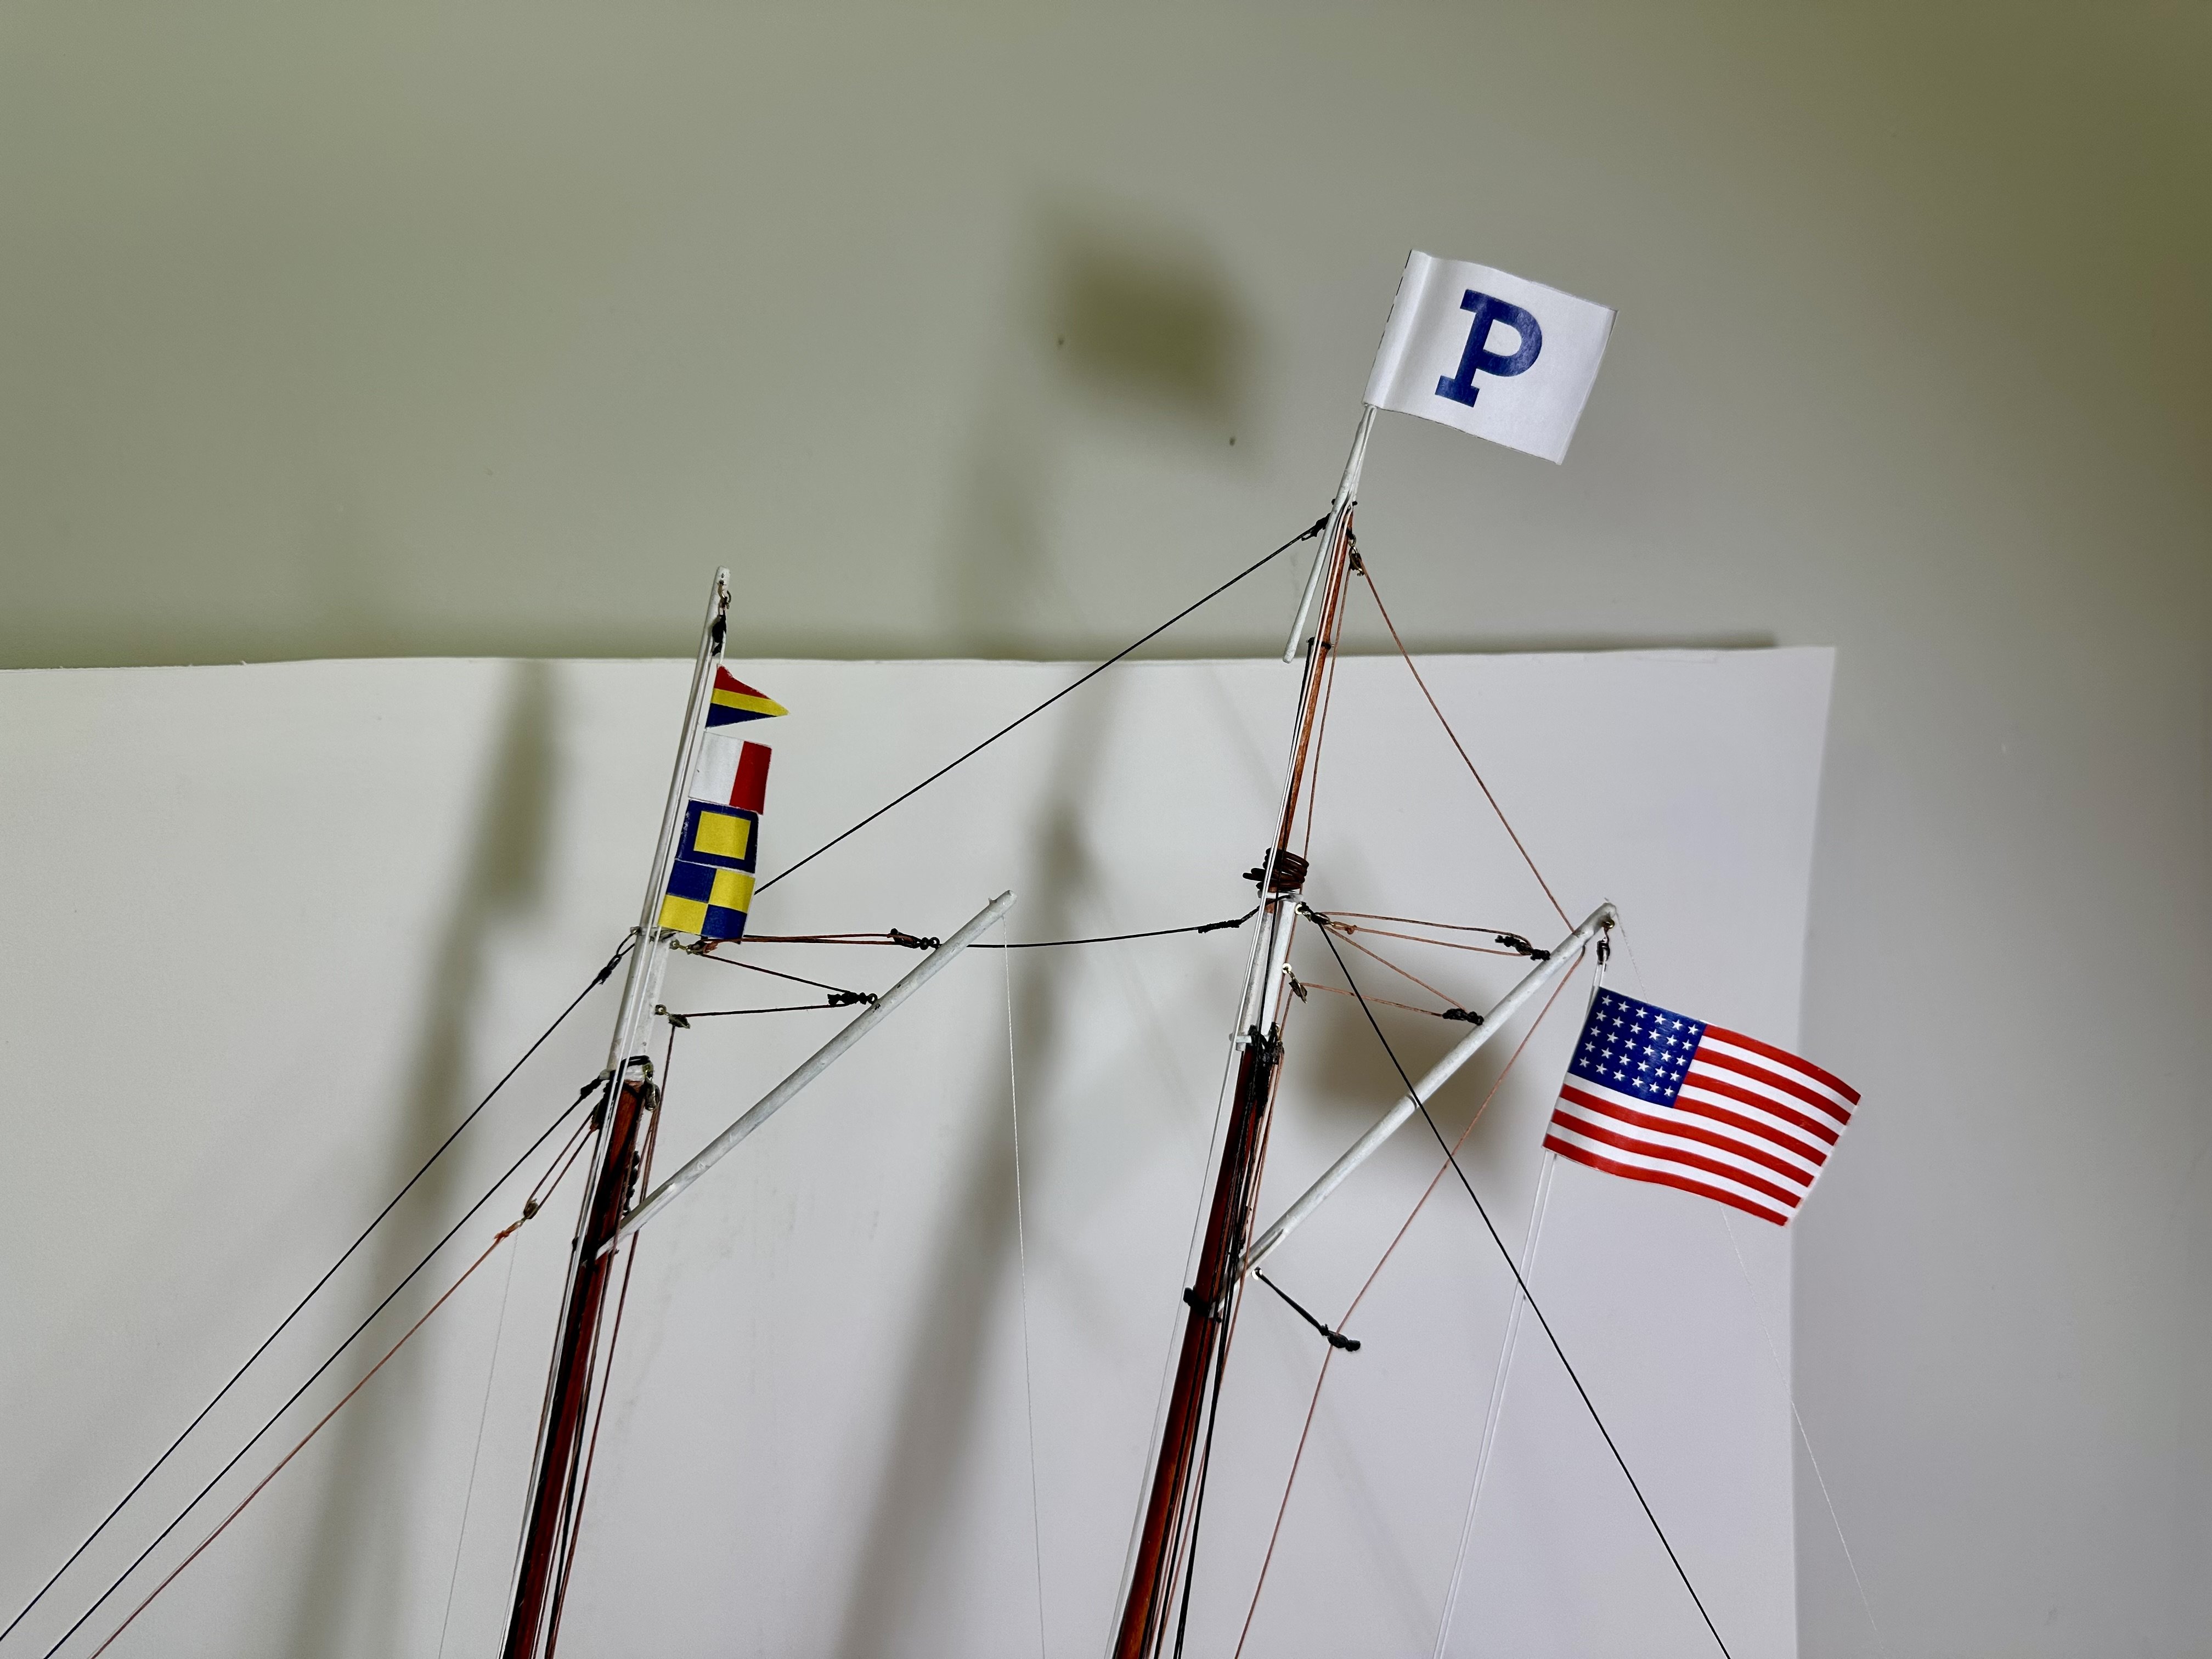
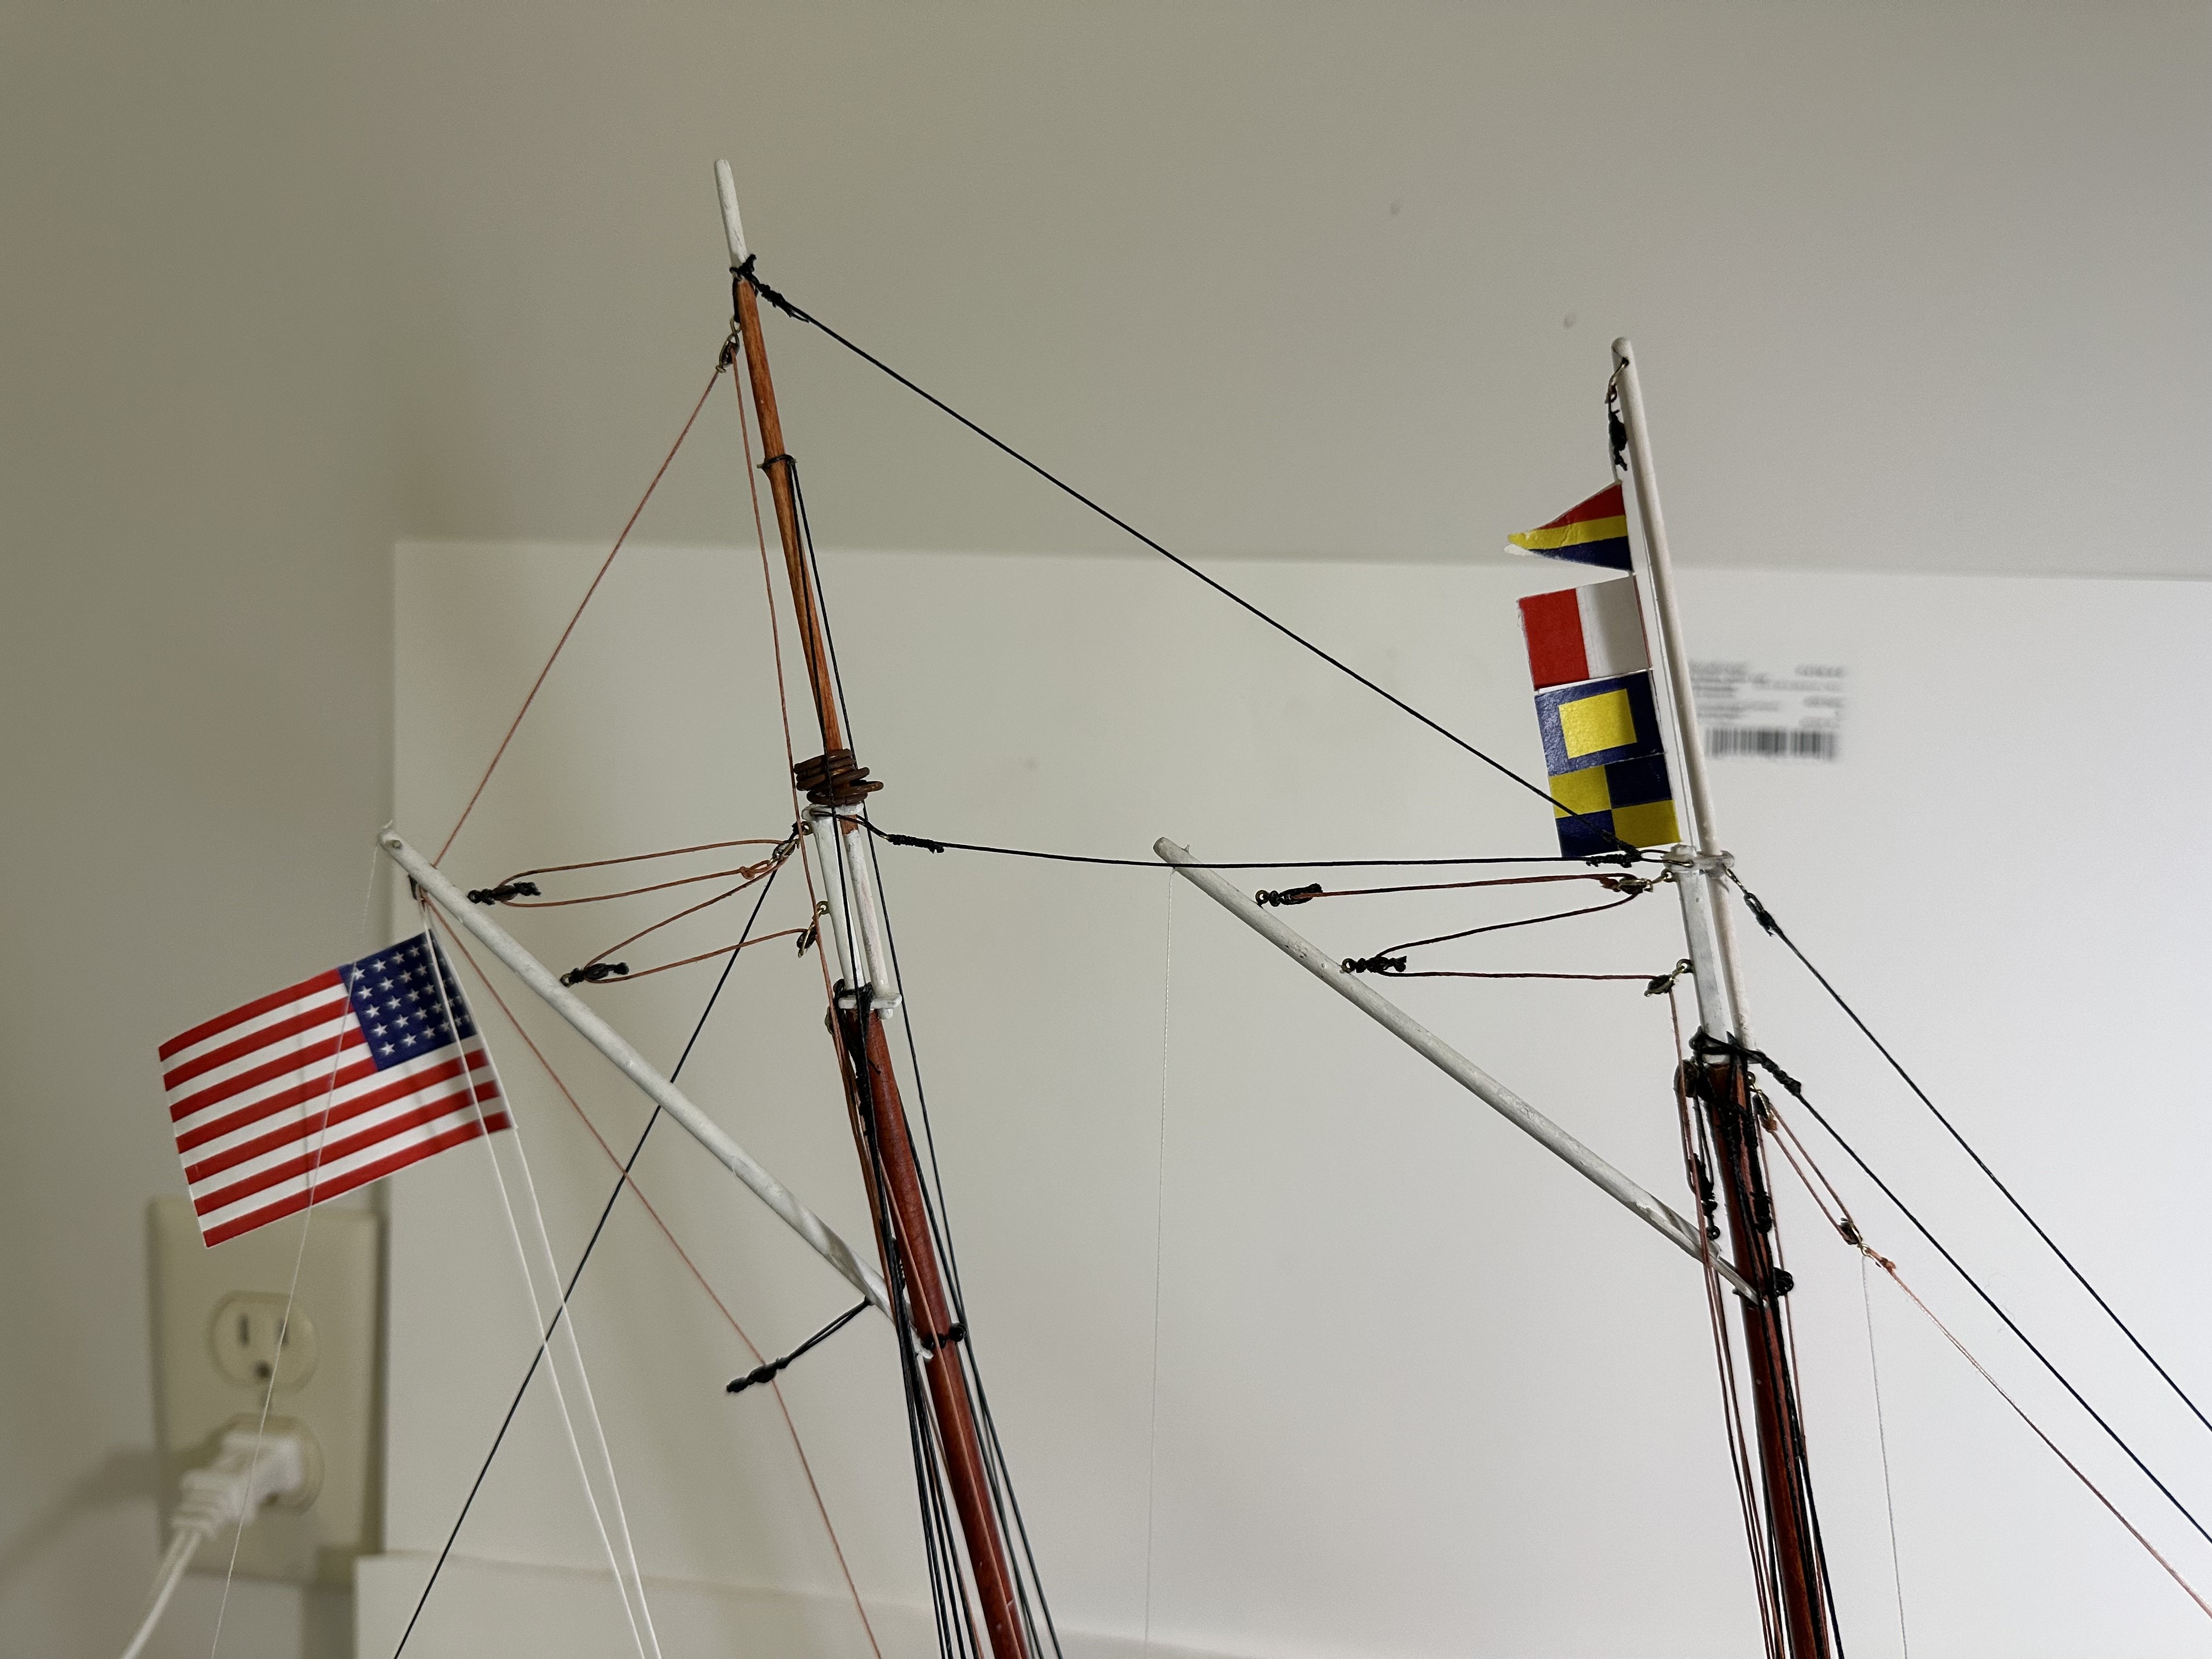
Standing rigging completed. That wasn't so difficult. (I did lose one of the 1/8 deadeyes - twice - and had to wait for replacement (twice) from Bluejacket (thank you!).


- 30 replies
-
- 2
-
-
-
- Mary Taylor
- solid hull
- (and 2 more)
-
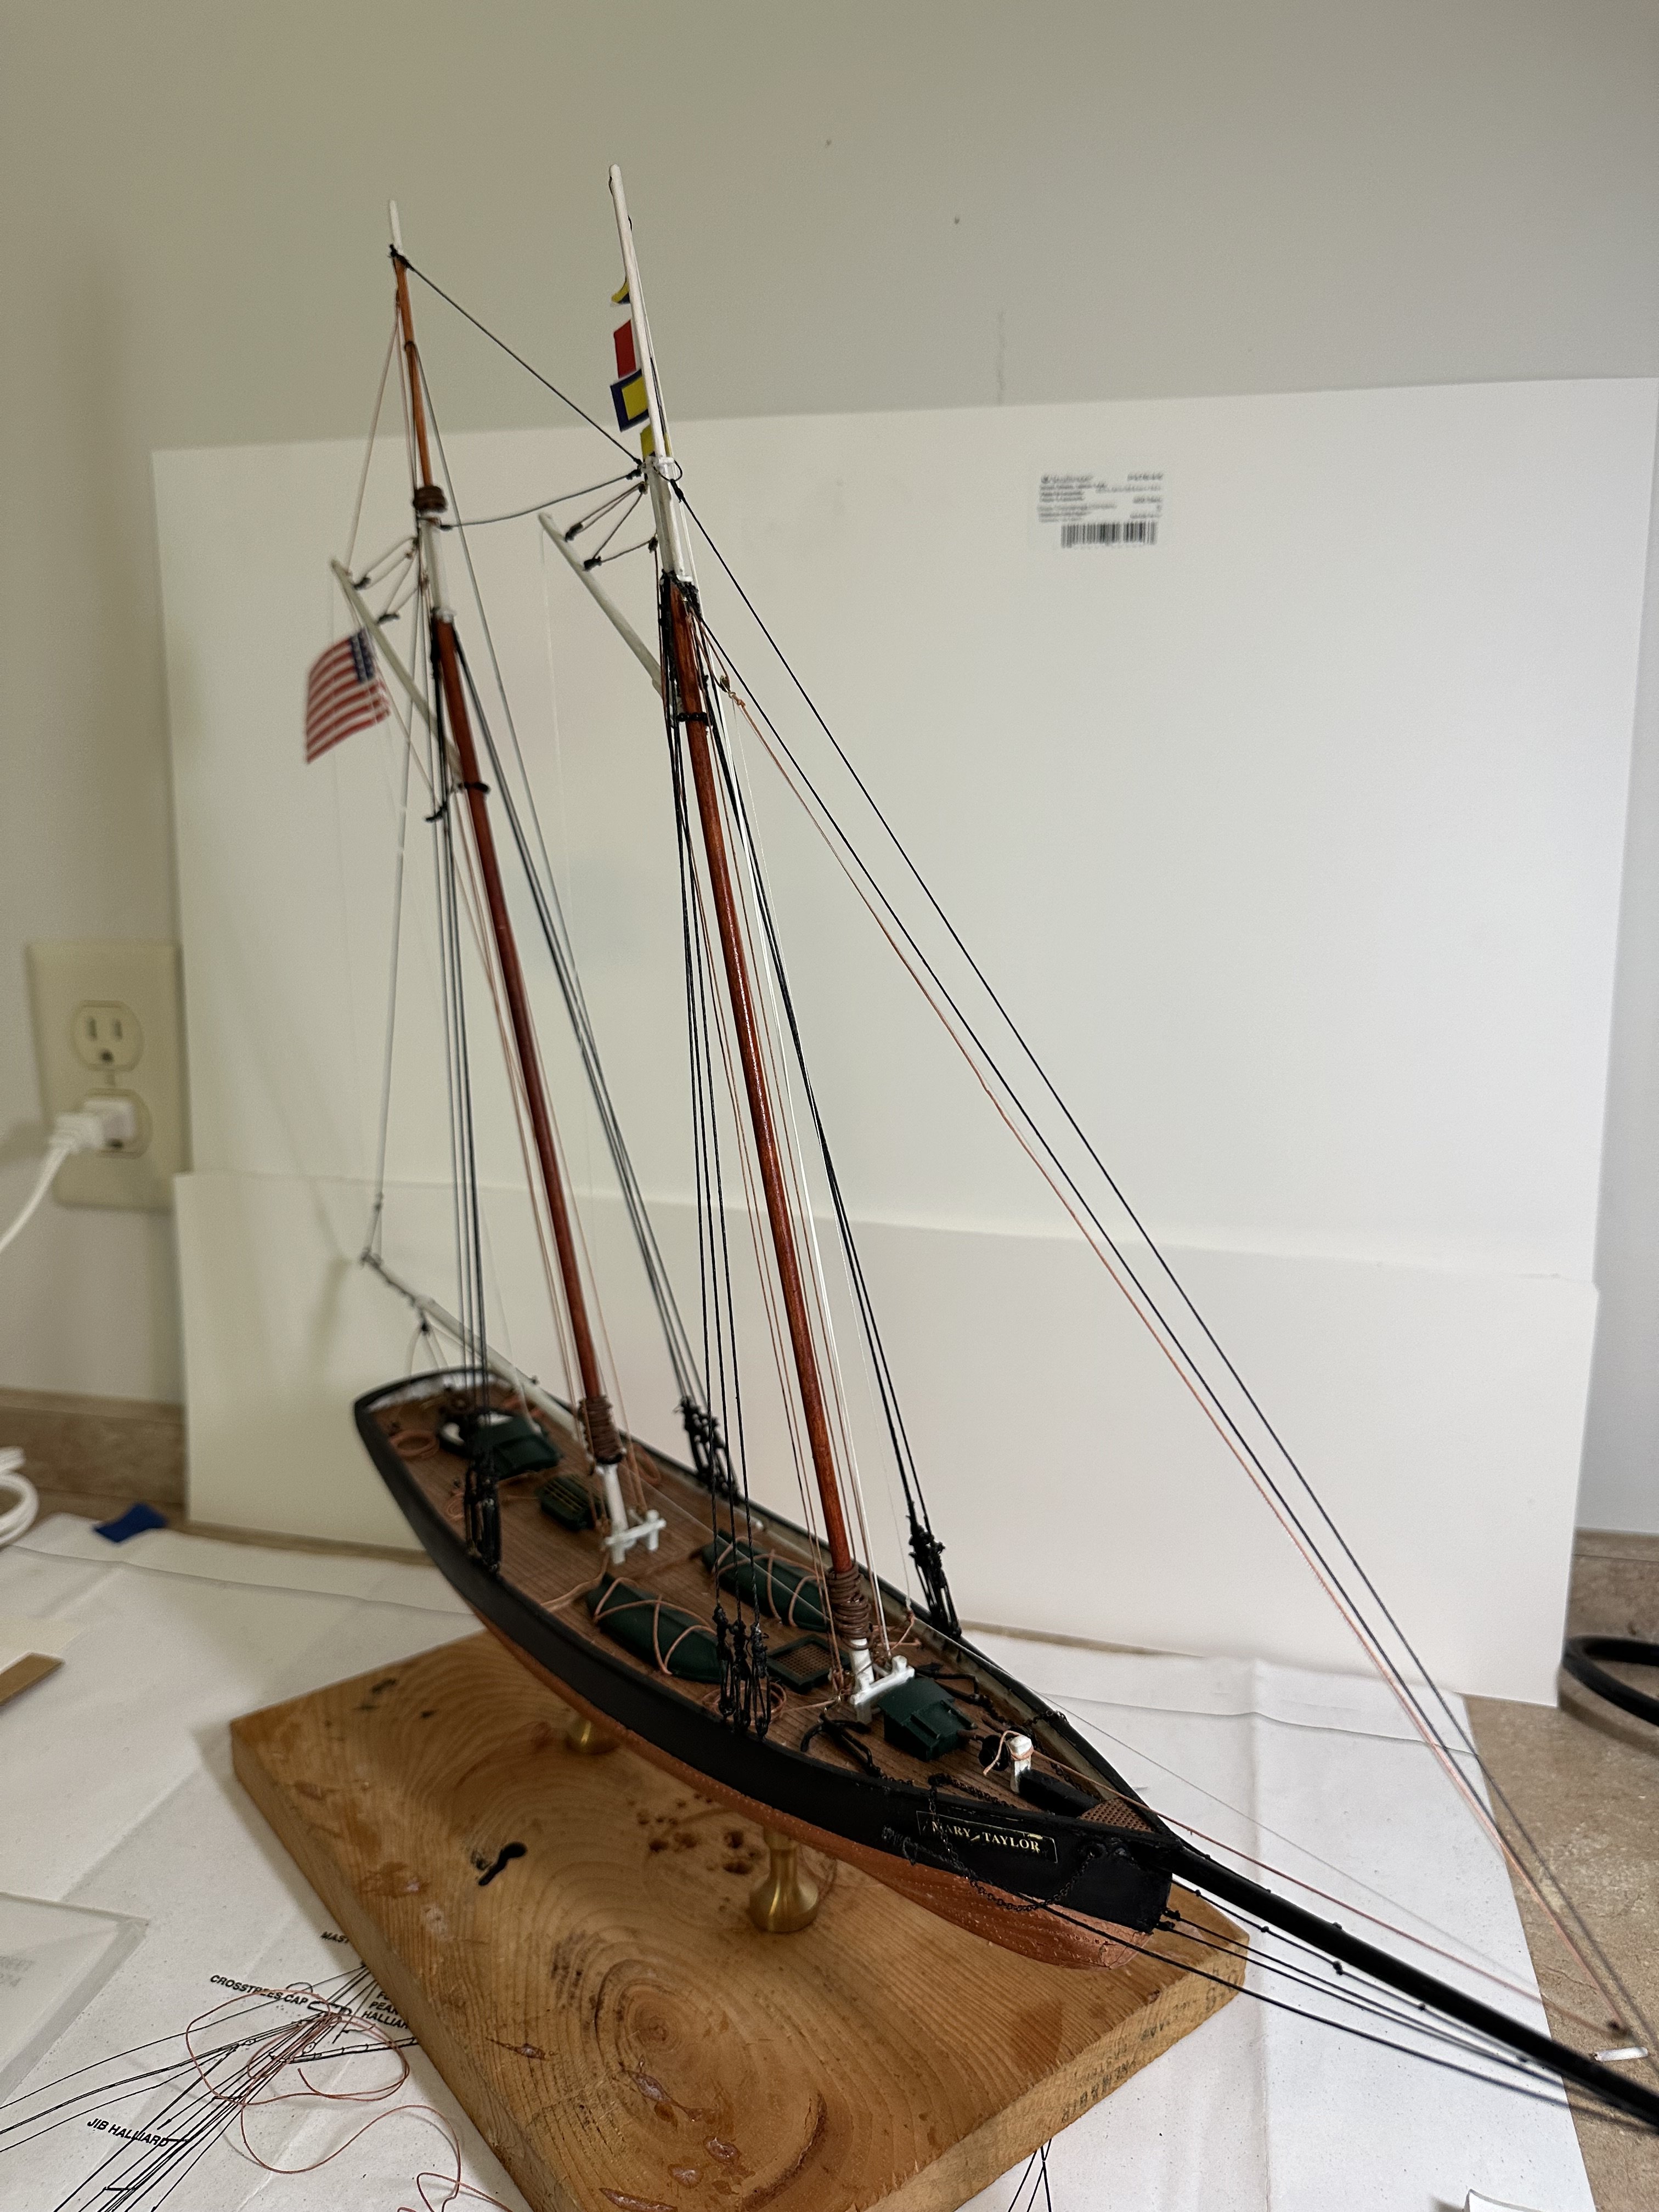
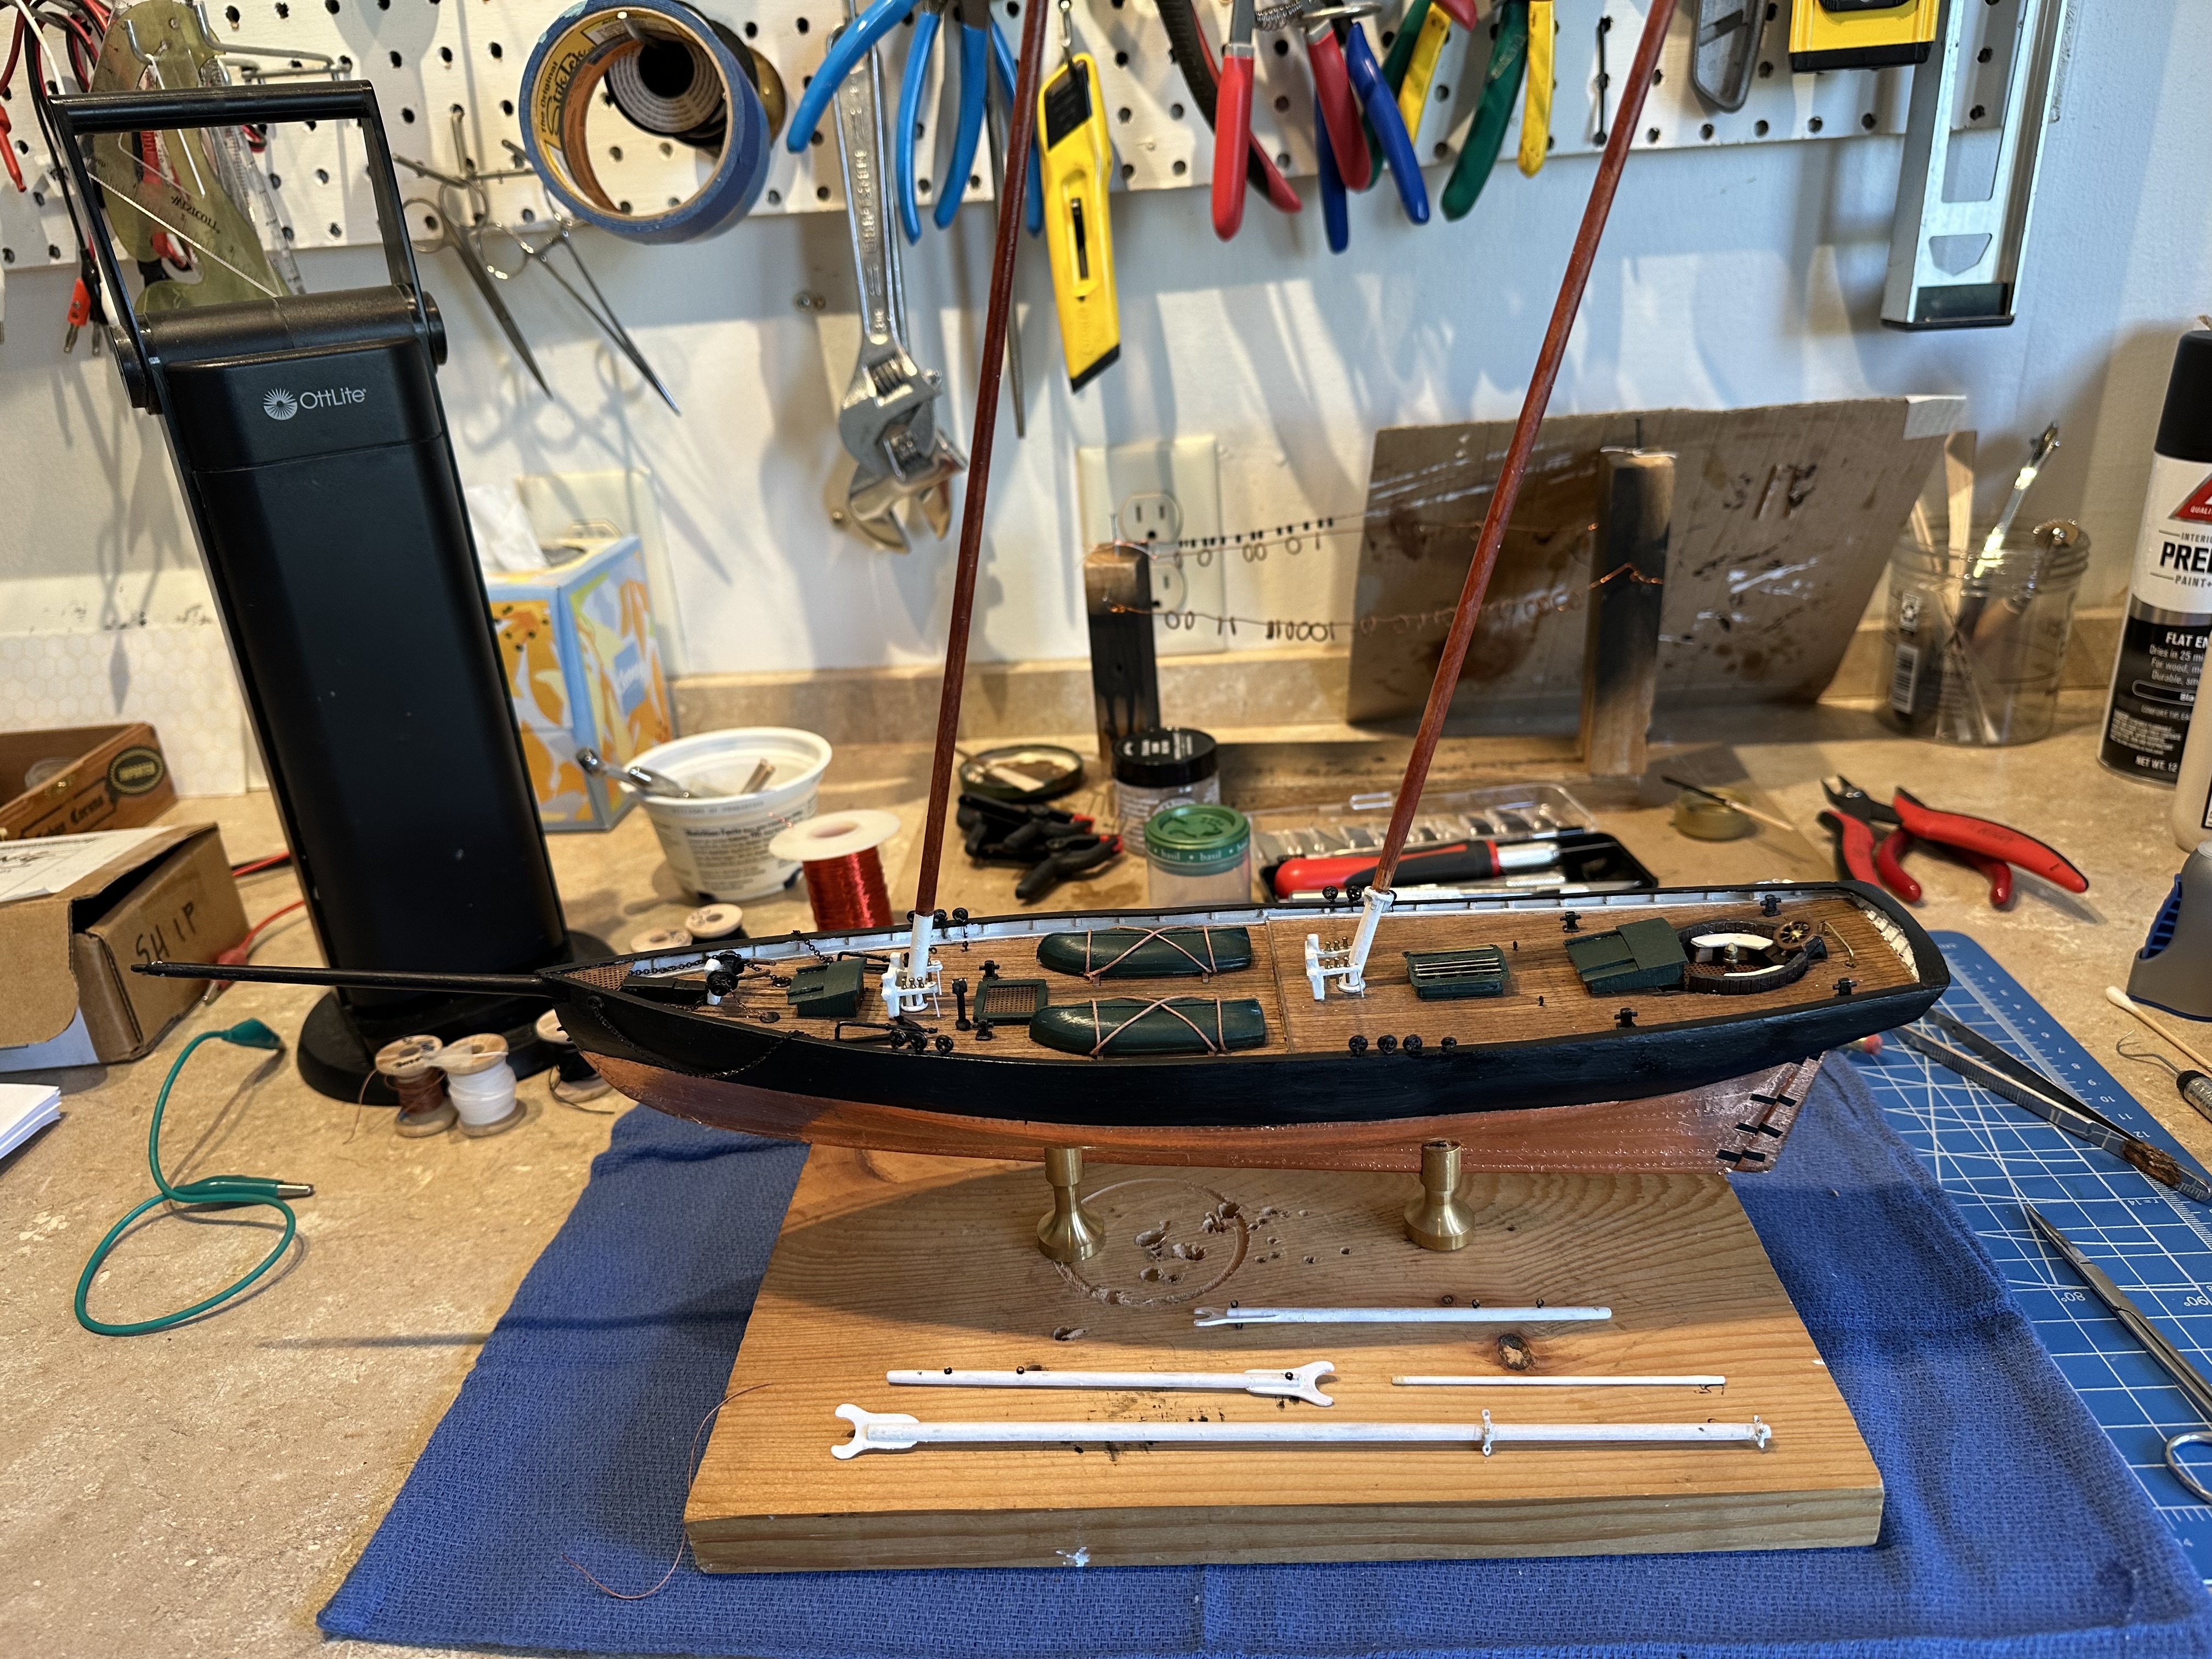
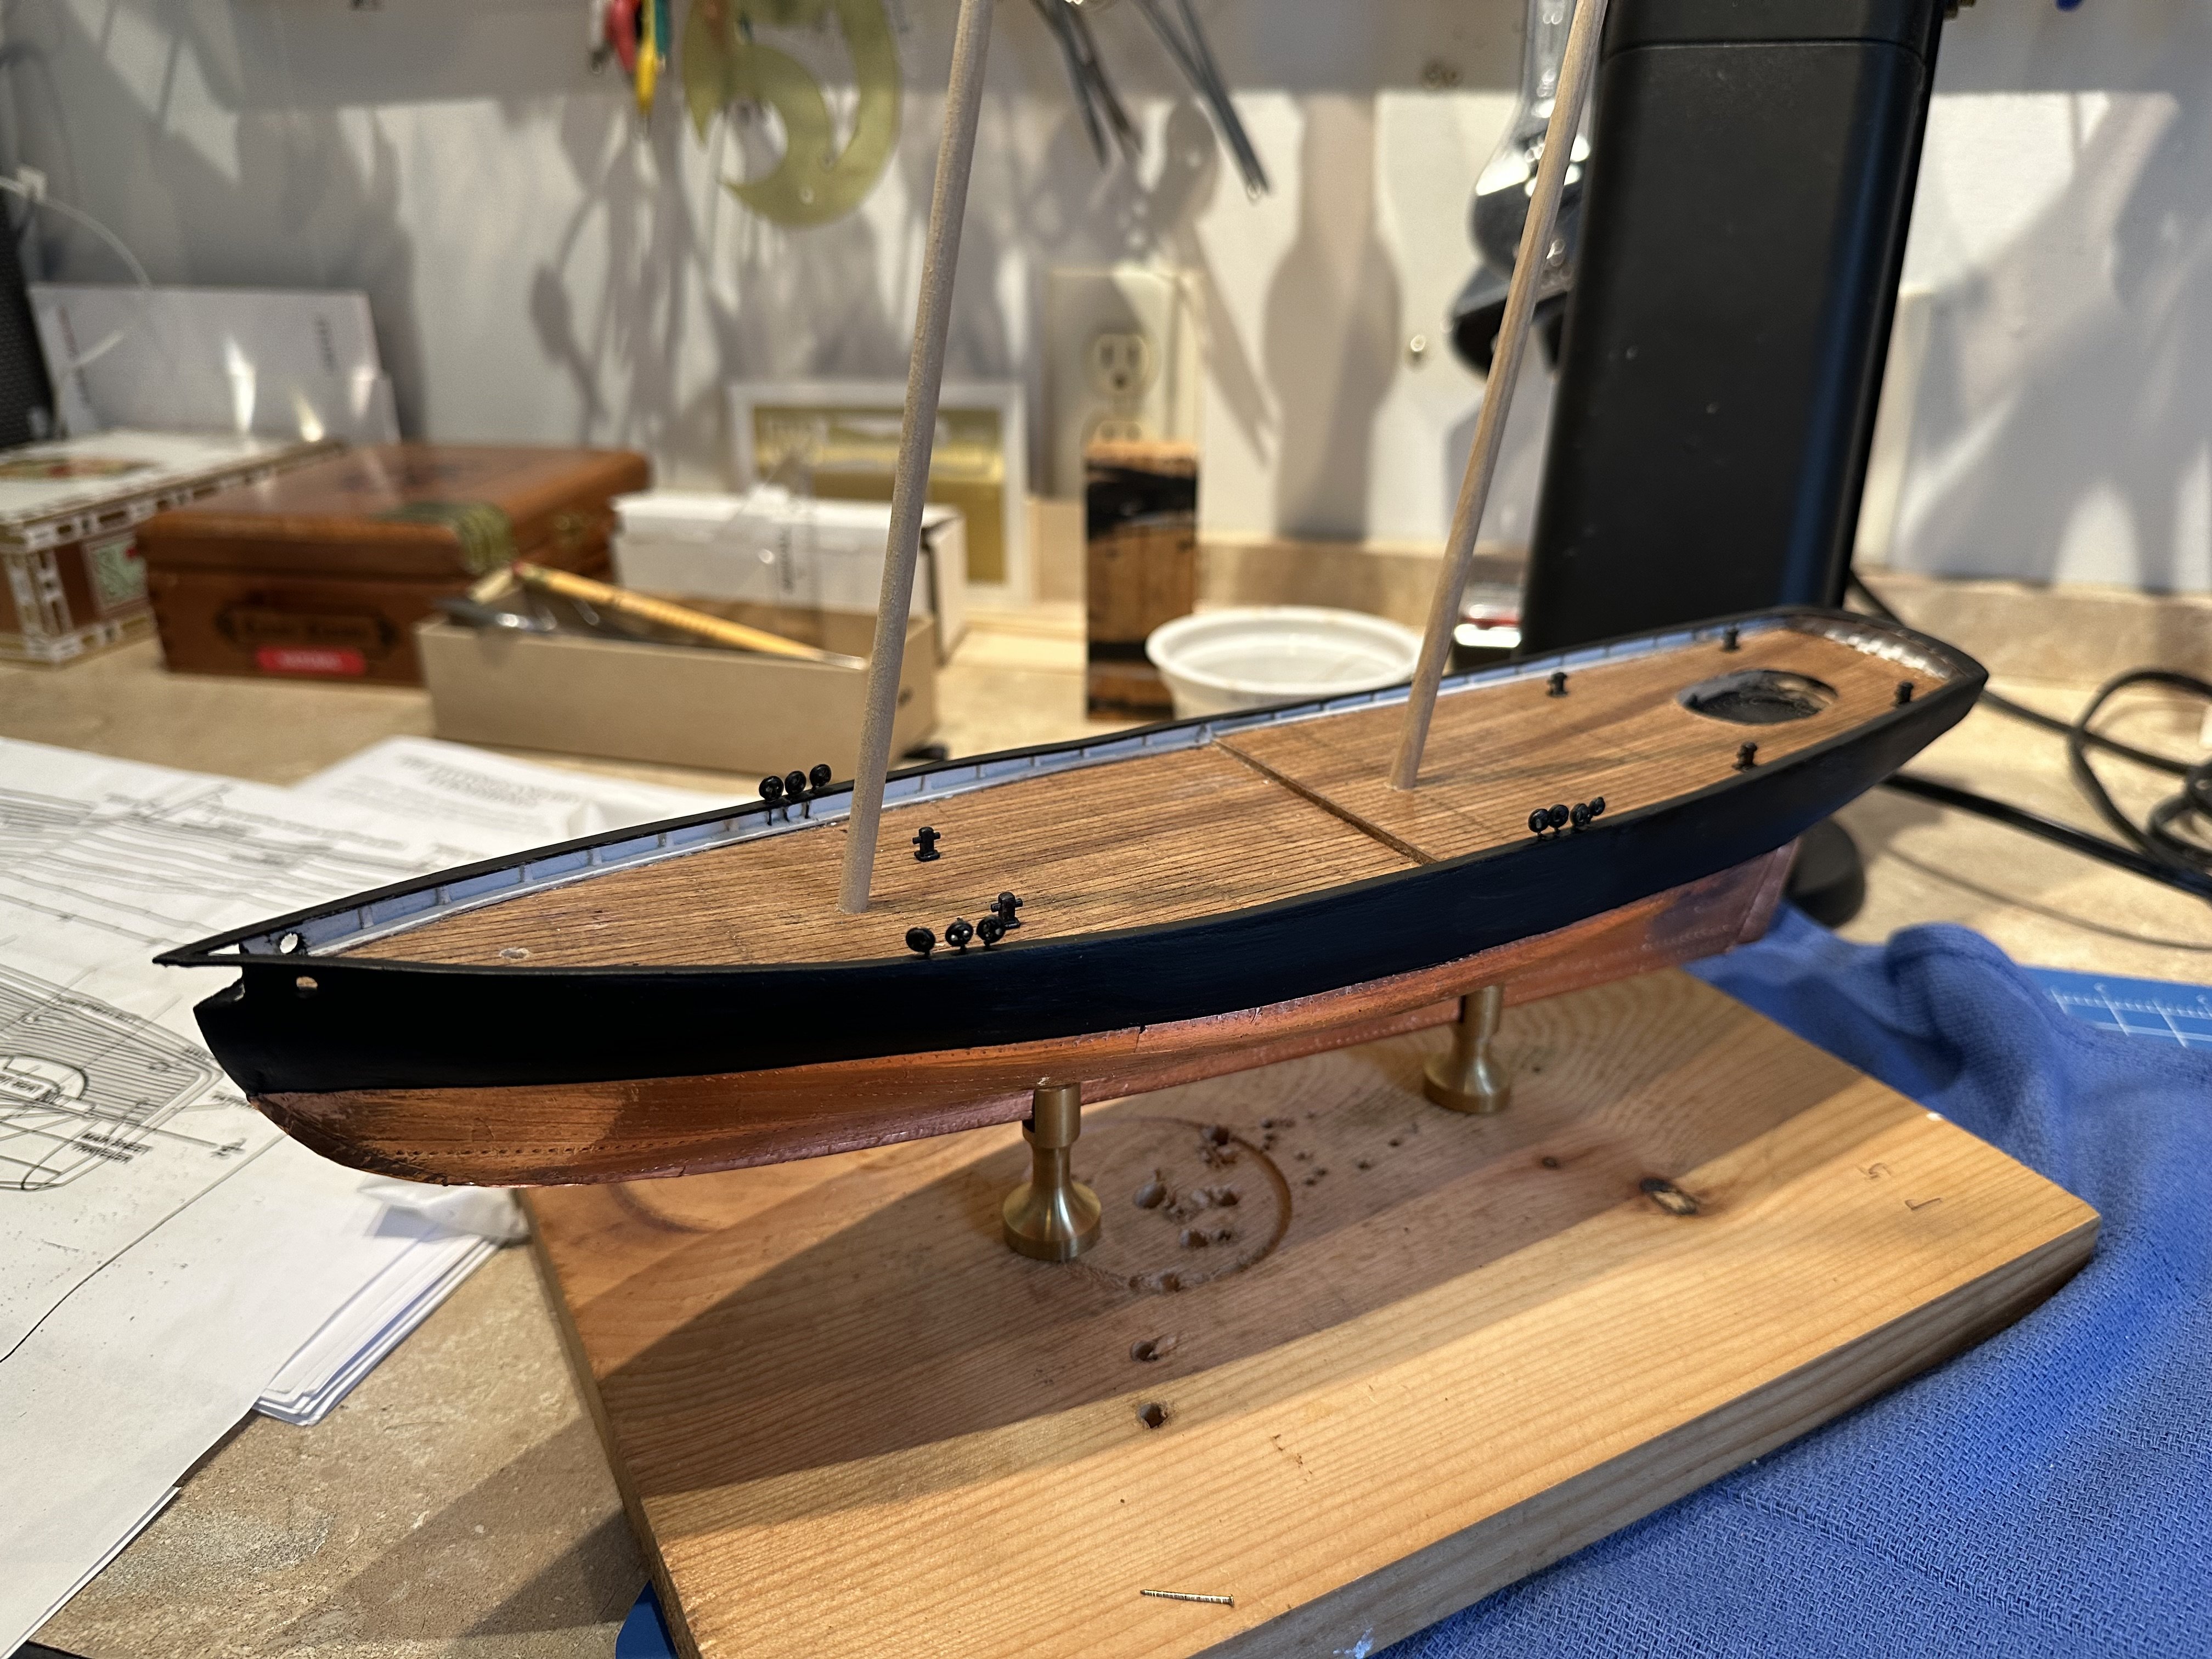
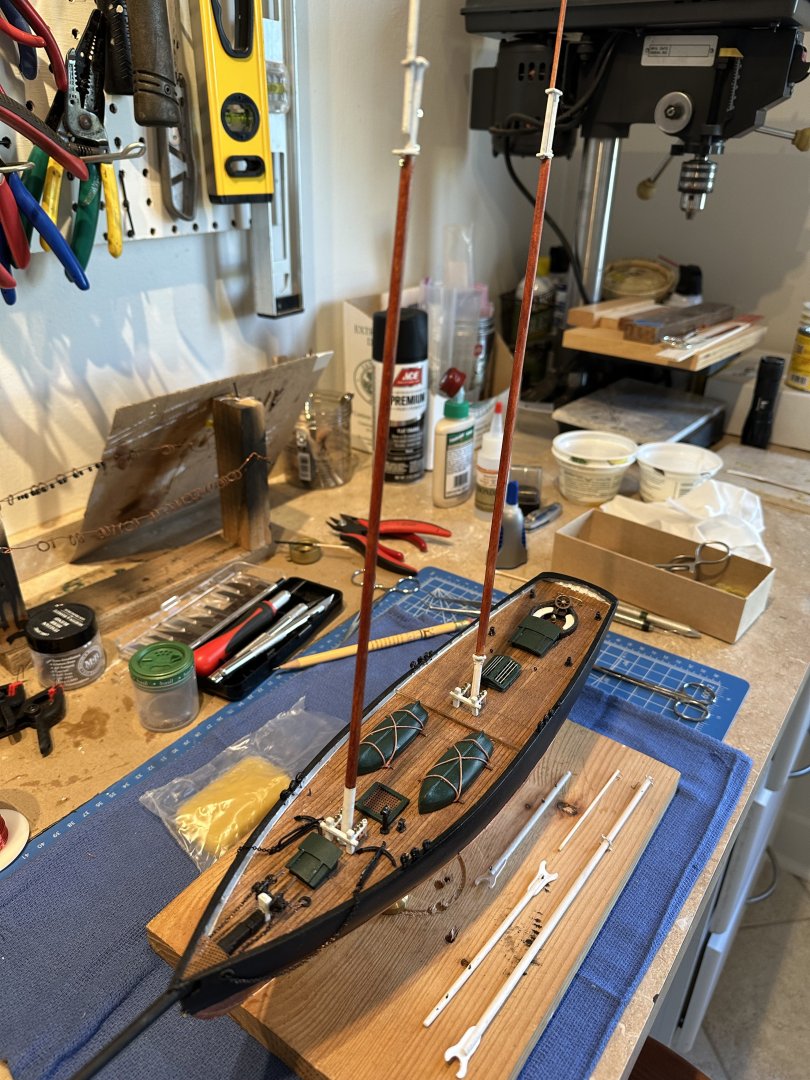
Thanks for the comments and the links on rigging a Schooner. The rigging itself doesn't seem complicated; I'm just lacking the technical skills needed to get it all looking good on a model. Might as well dive right in! Here are a couple pictures of the ship, ready for rigging.....

- 30 replies
-
- 3
-
-
- Mary Taylor
- solid hull
- (and 2 more)
-
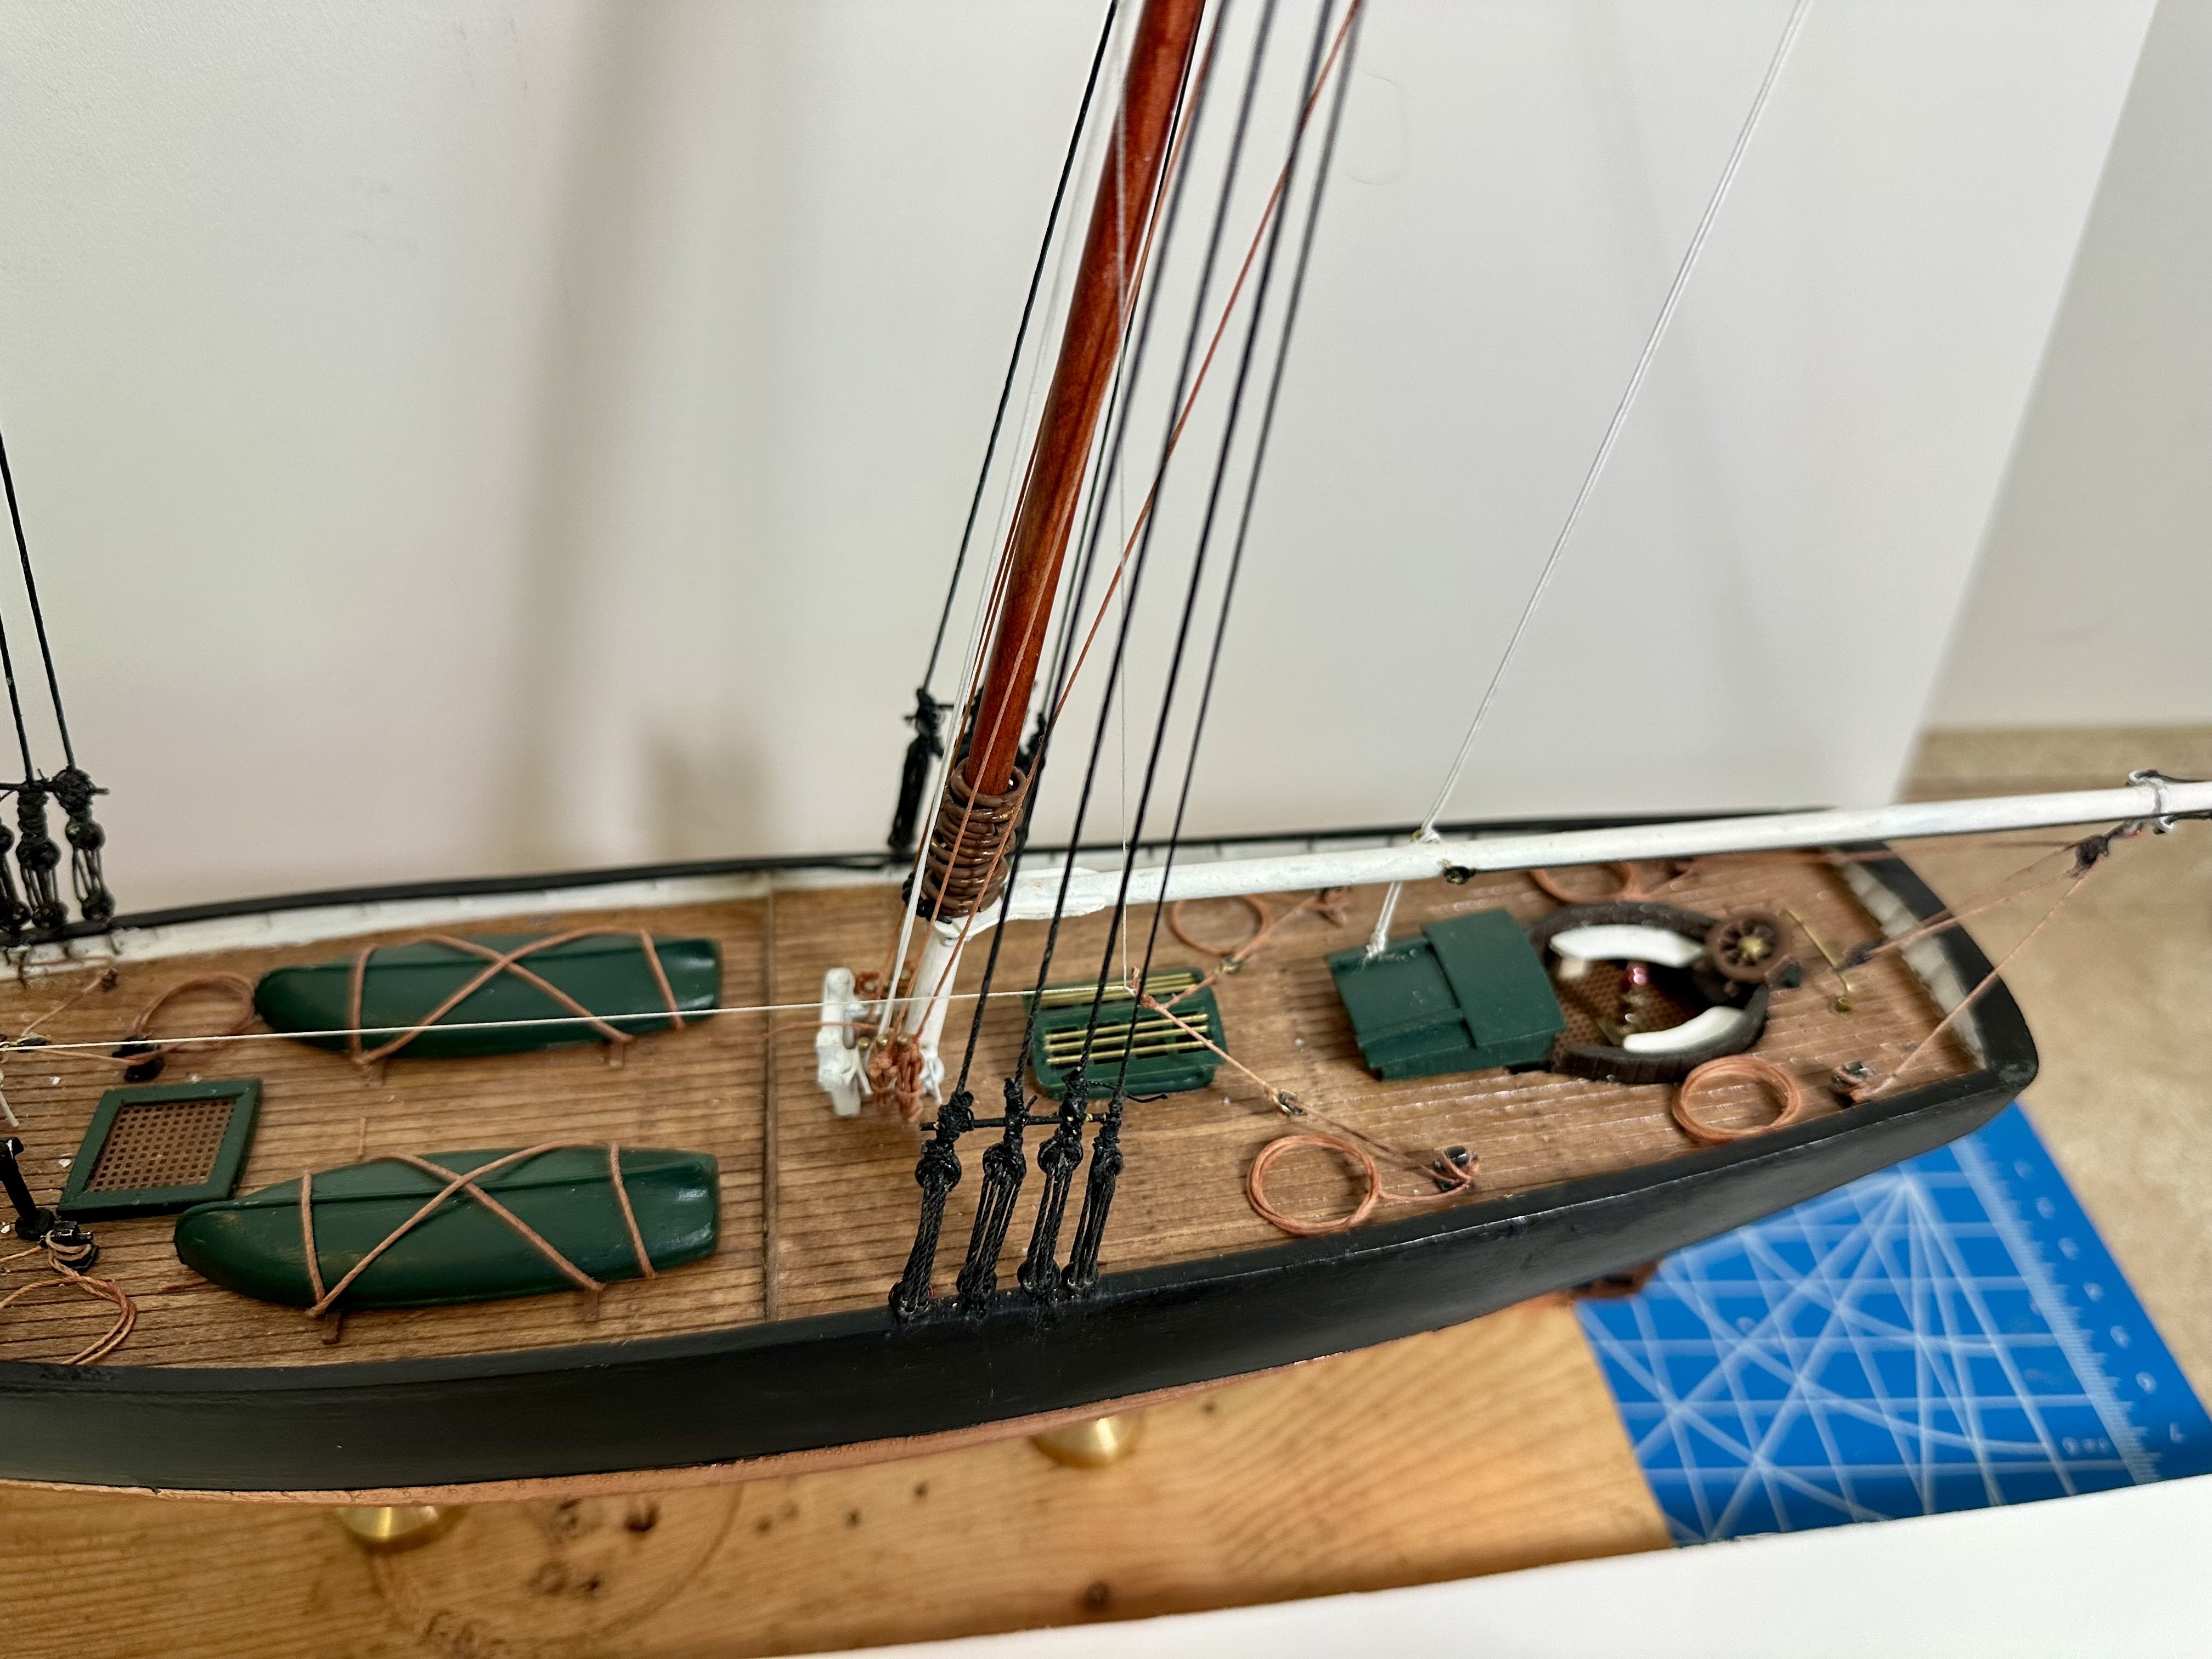
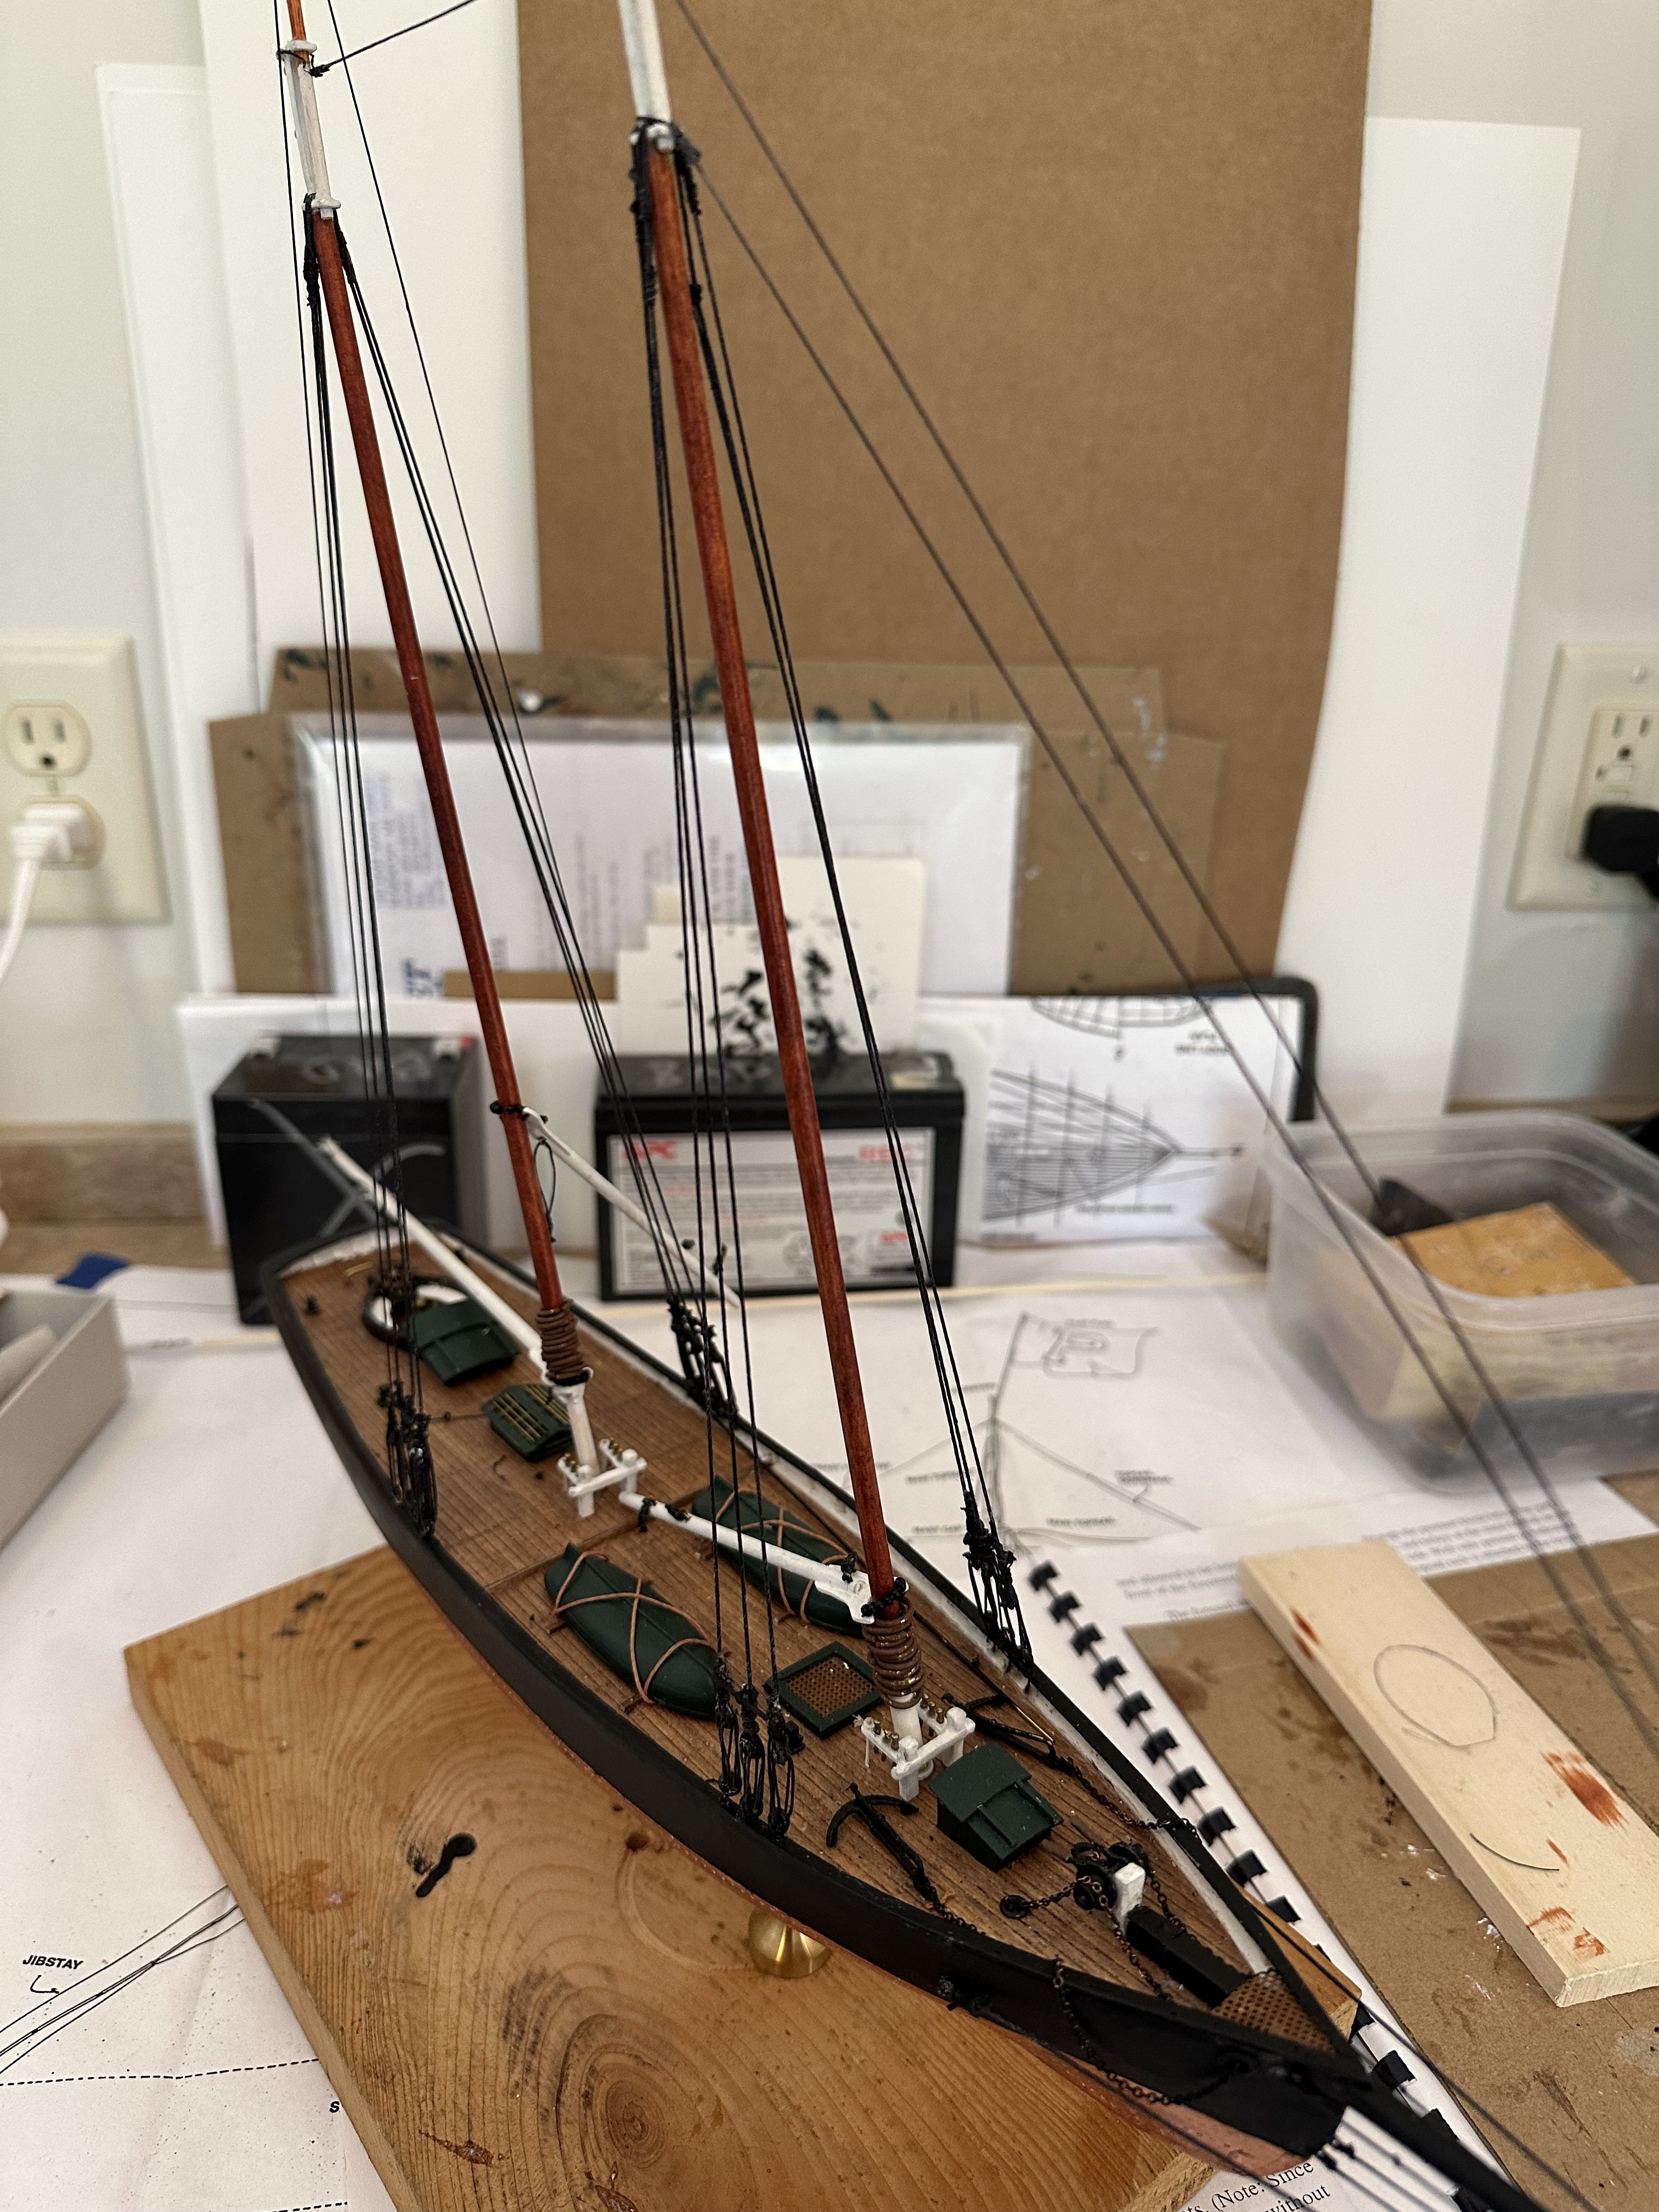
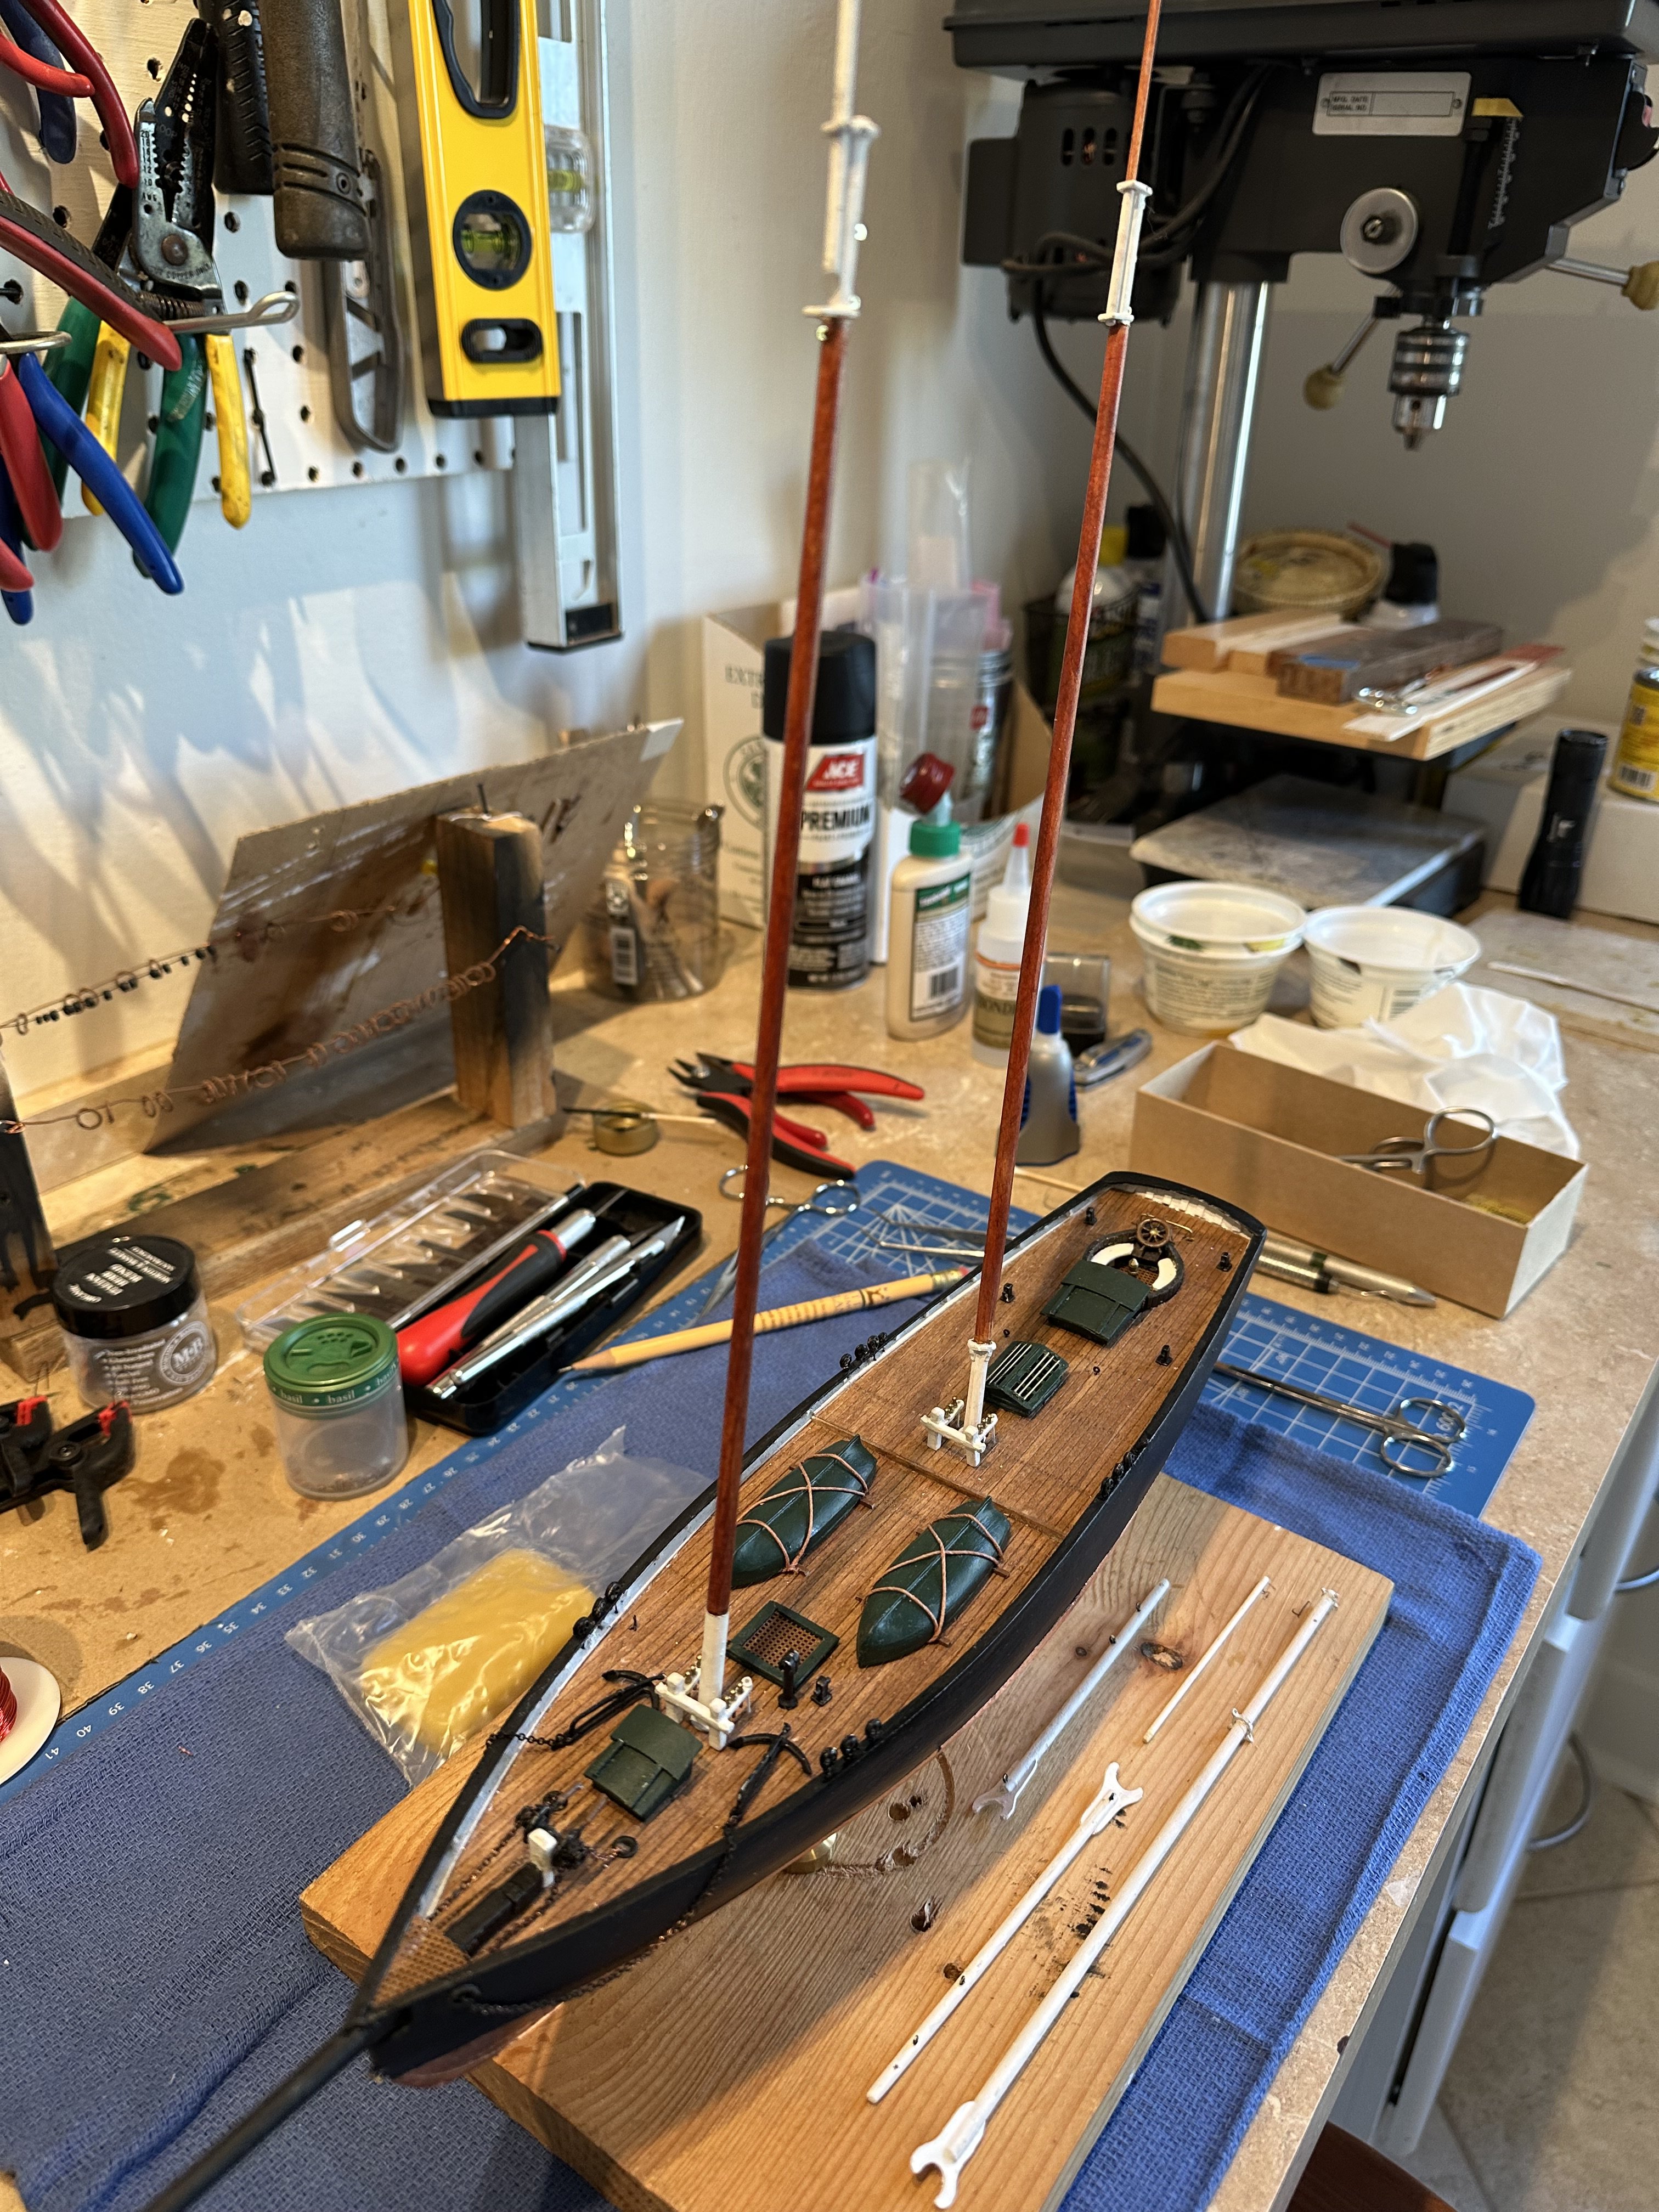
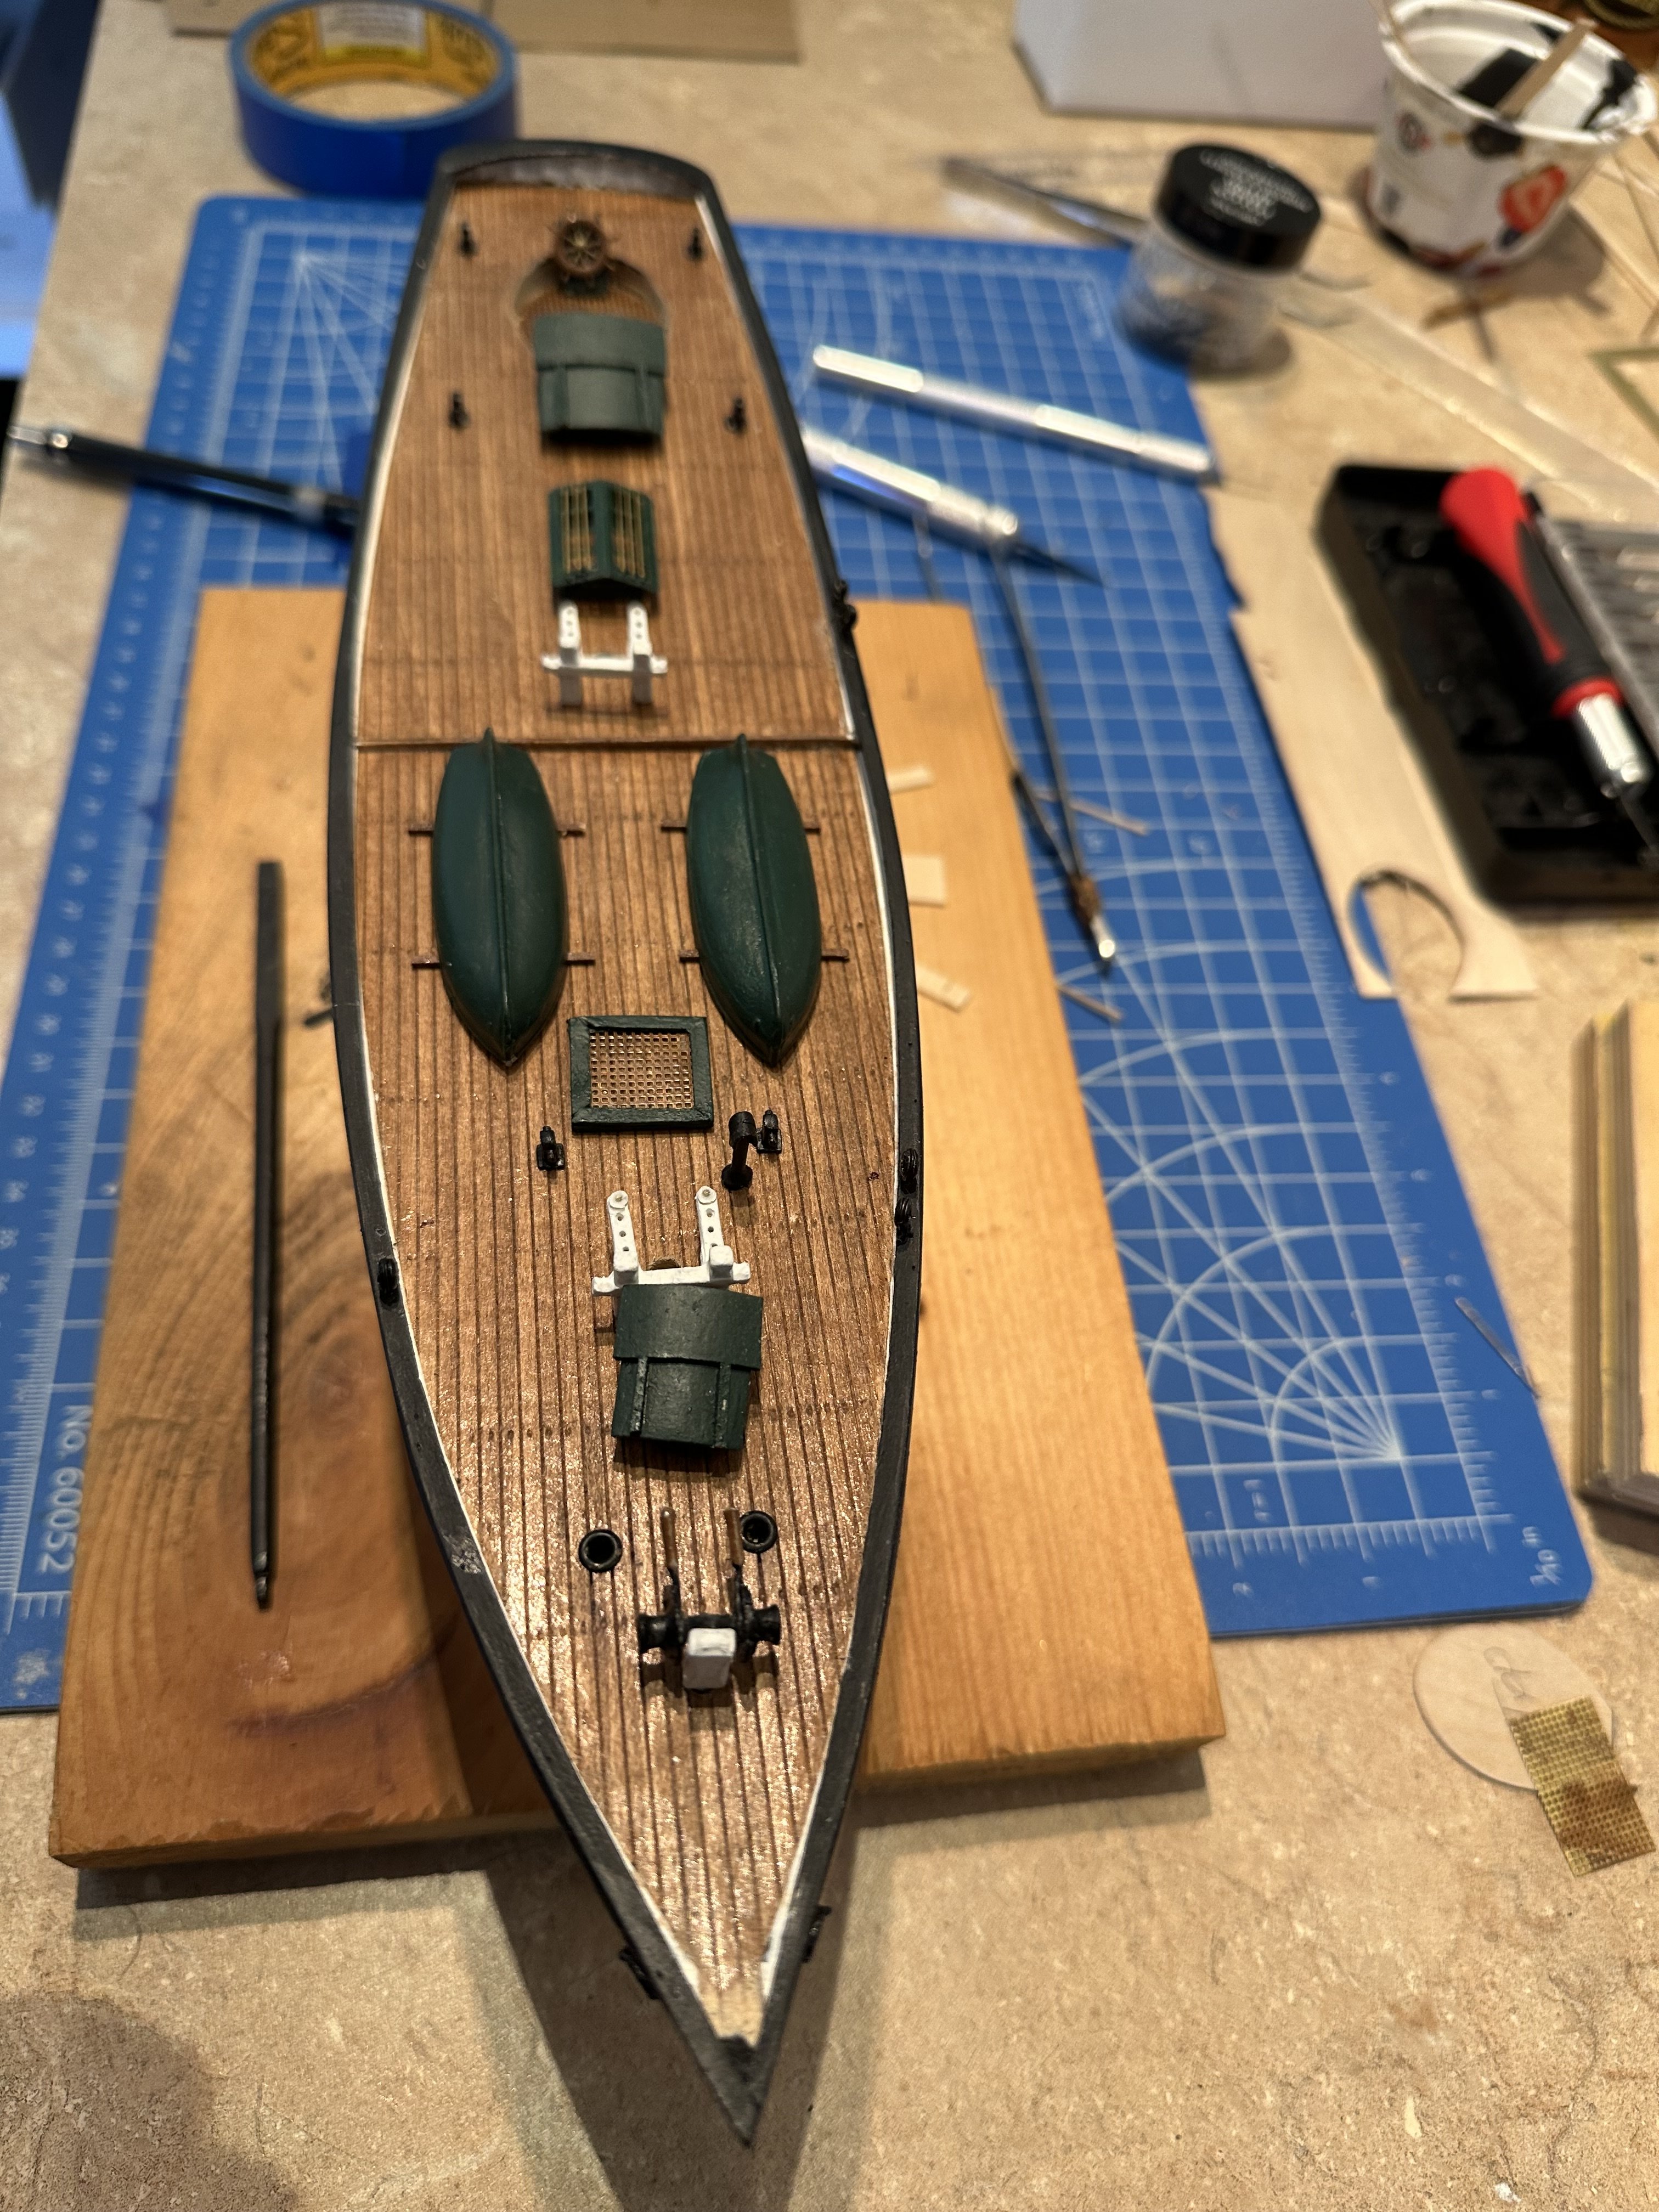
I have built and painted the deck furniture and I am placing on deck just to see how they look. When I complete the cockpit cowling later today, and I will be ready to begin the rigging. Already a couple of the lower deadeyes have taken flight as I was binding them with wire. I will need to order replacements. I have no idea how to build the masts and the booms. The instructions are not clear. Is there a guide that will get me started on the rigging?


- 30 replies
-
- 2
-
-
- Mary Taylor
- solid hull
- (and 2 more)
-
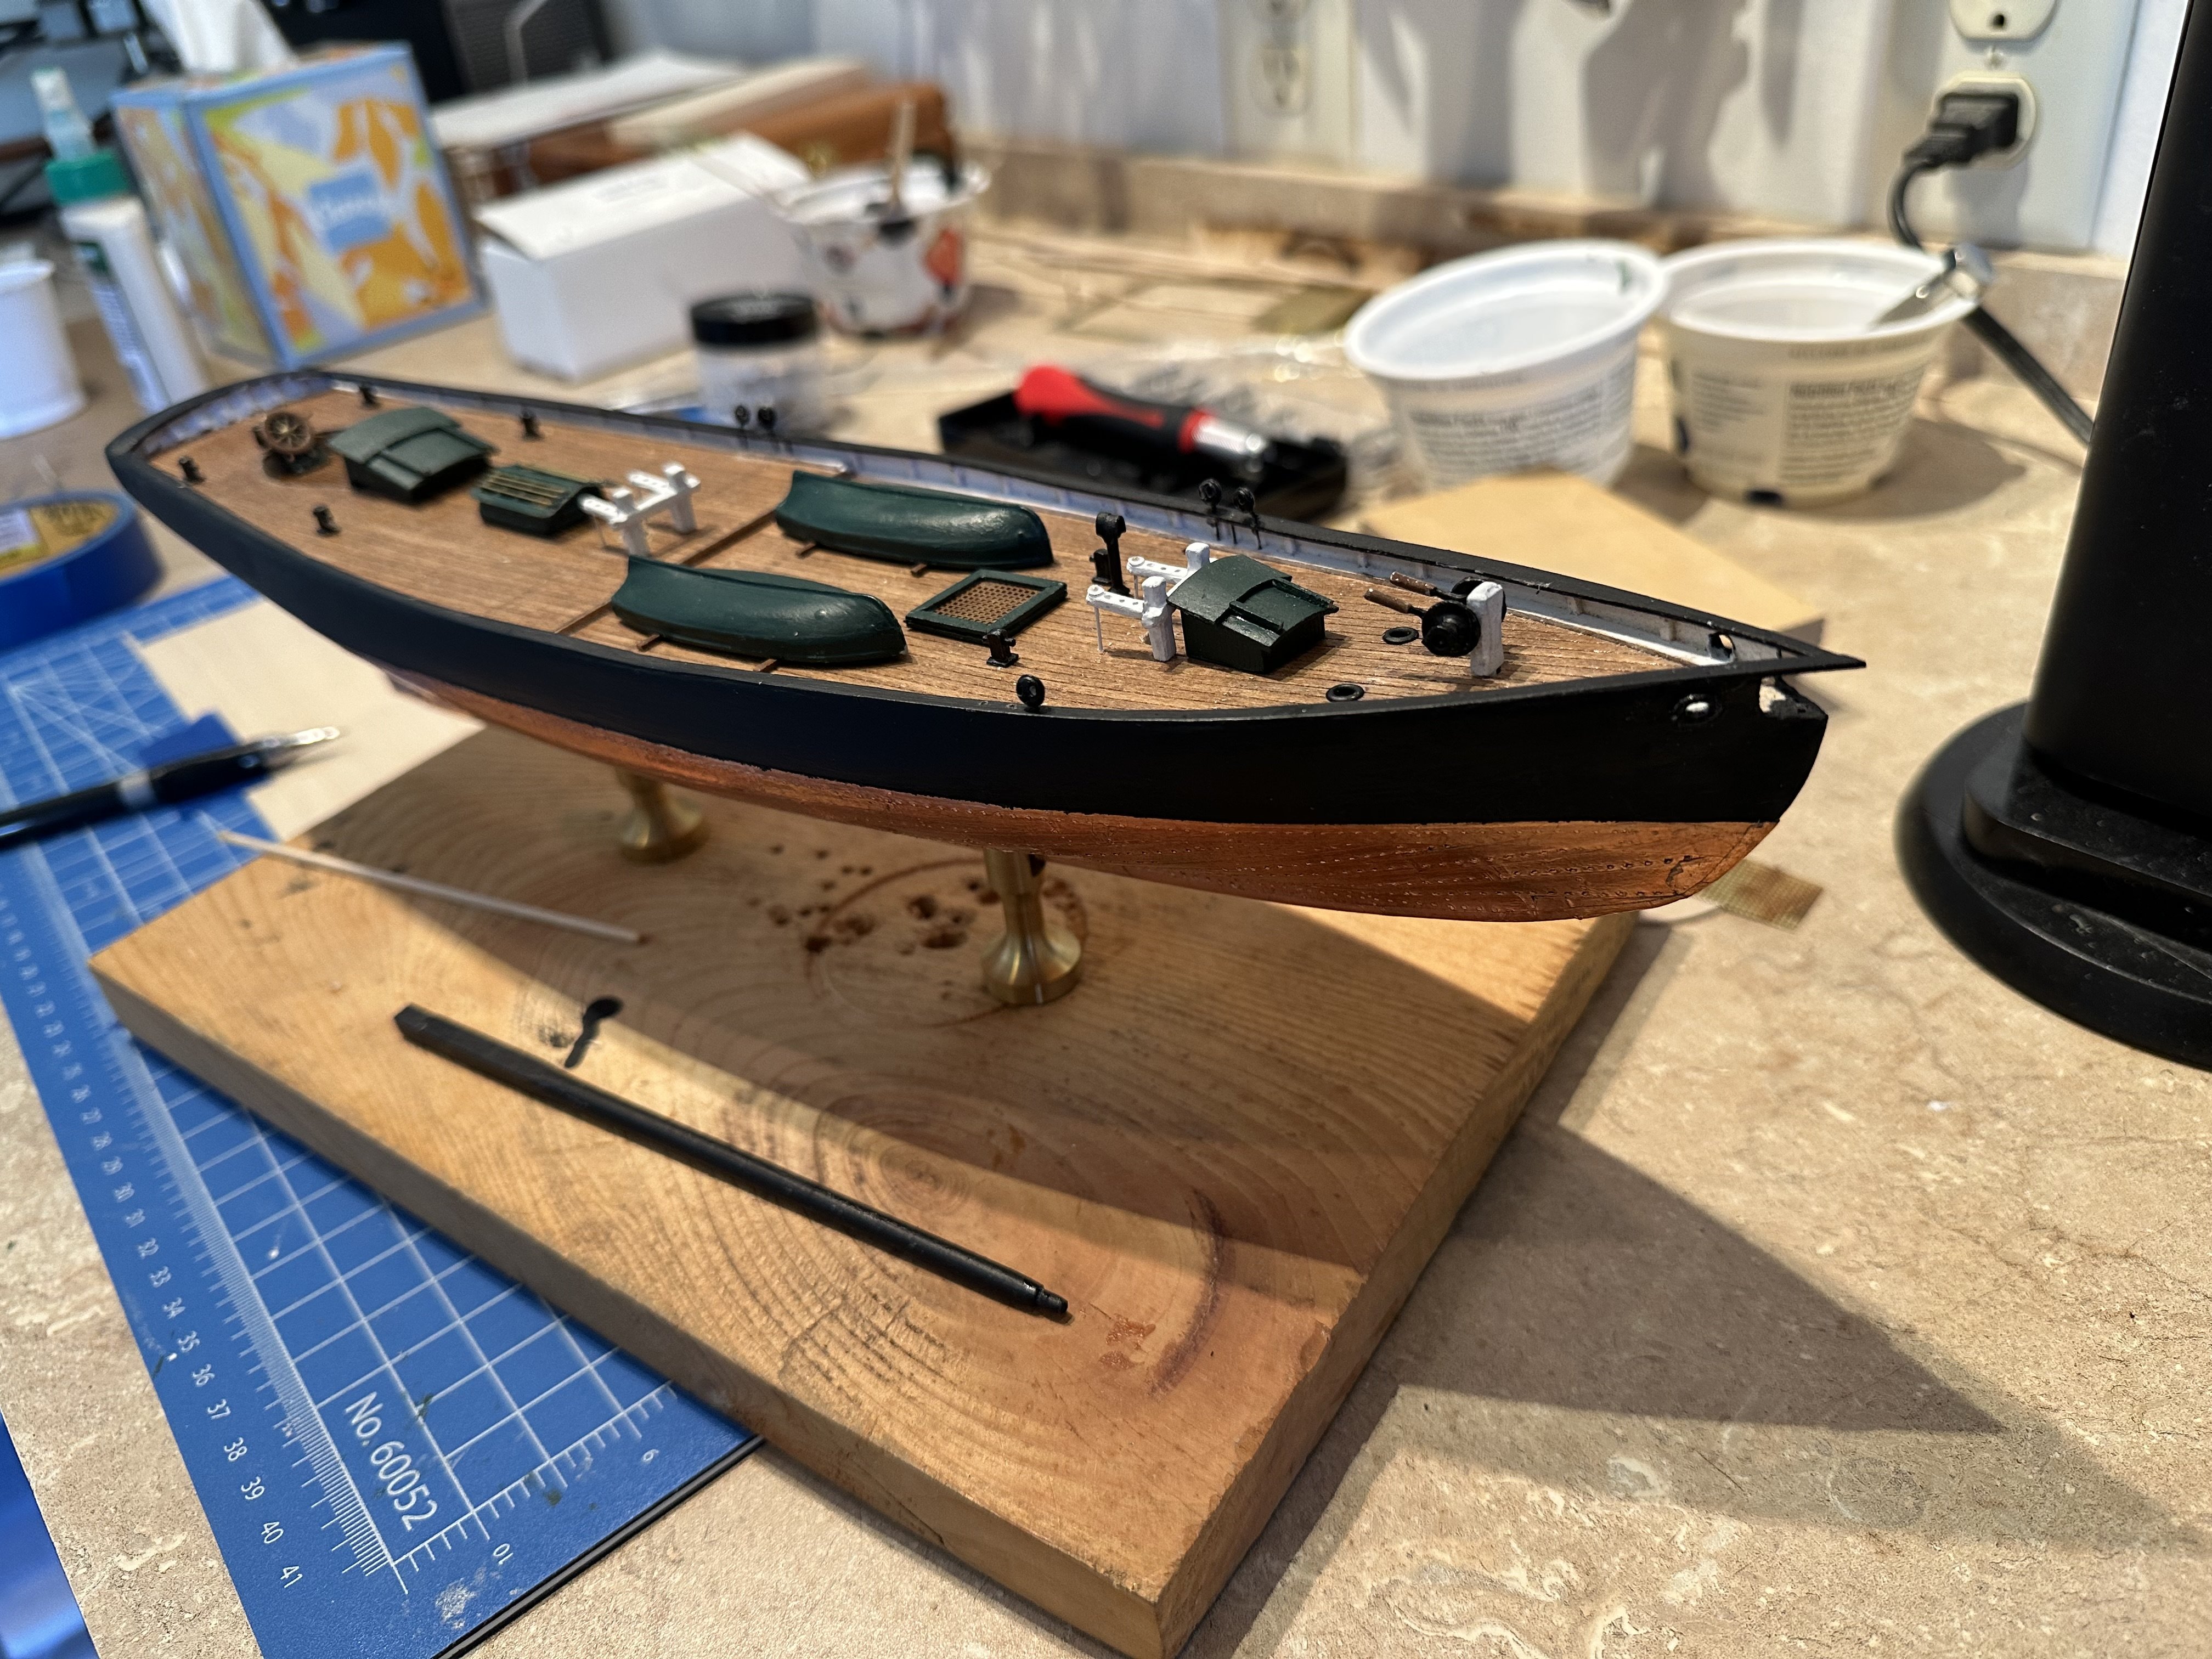
Still working topside with the top rail. Now I am starting to add the deck furniture and hardware. Couldn't resist putting the unfinished masts in place just to start to imagine the finished ship.


- 30 replies
-
- 2
-
-
- Mary Taylor
- solid hull
- (and 2 more)
-
Began work on the topsides, with a dilute coat of polycoat on the decking that makes the planking pop out a little better. Also worked on beams and rails.

- 30 replies
-
- 2
-
-
- Mary Taylor
- solid hull
- (and 2 more)
-
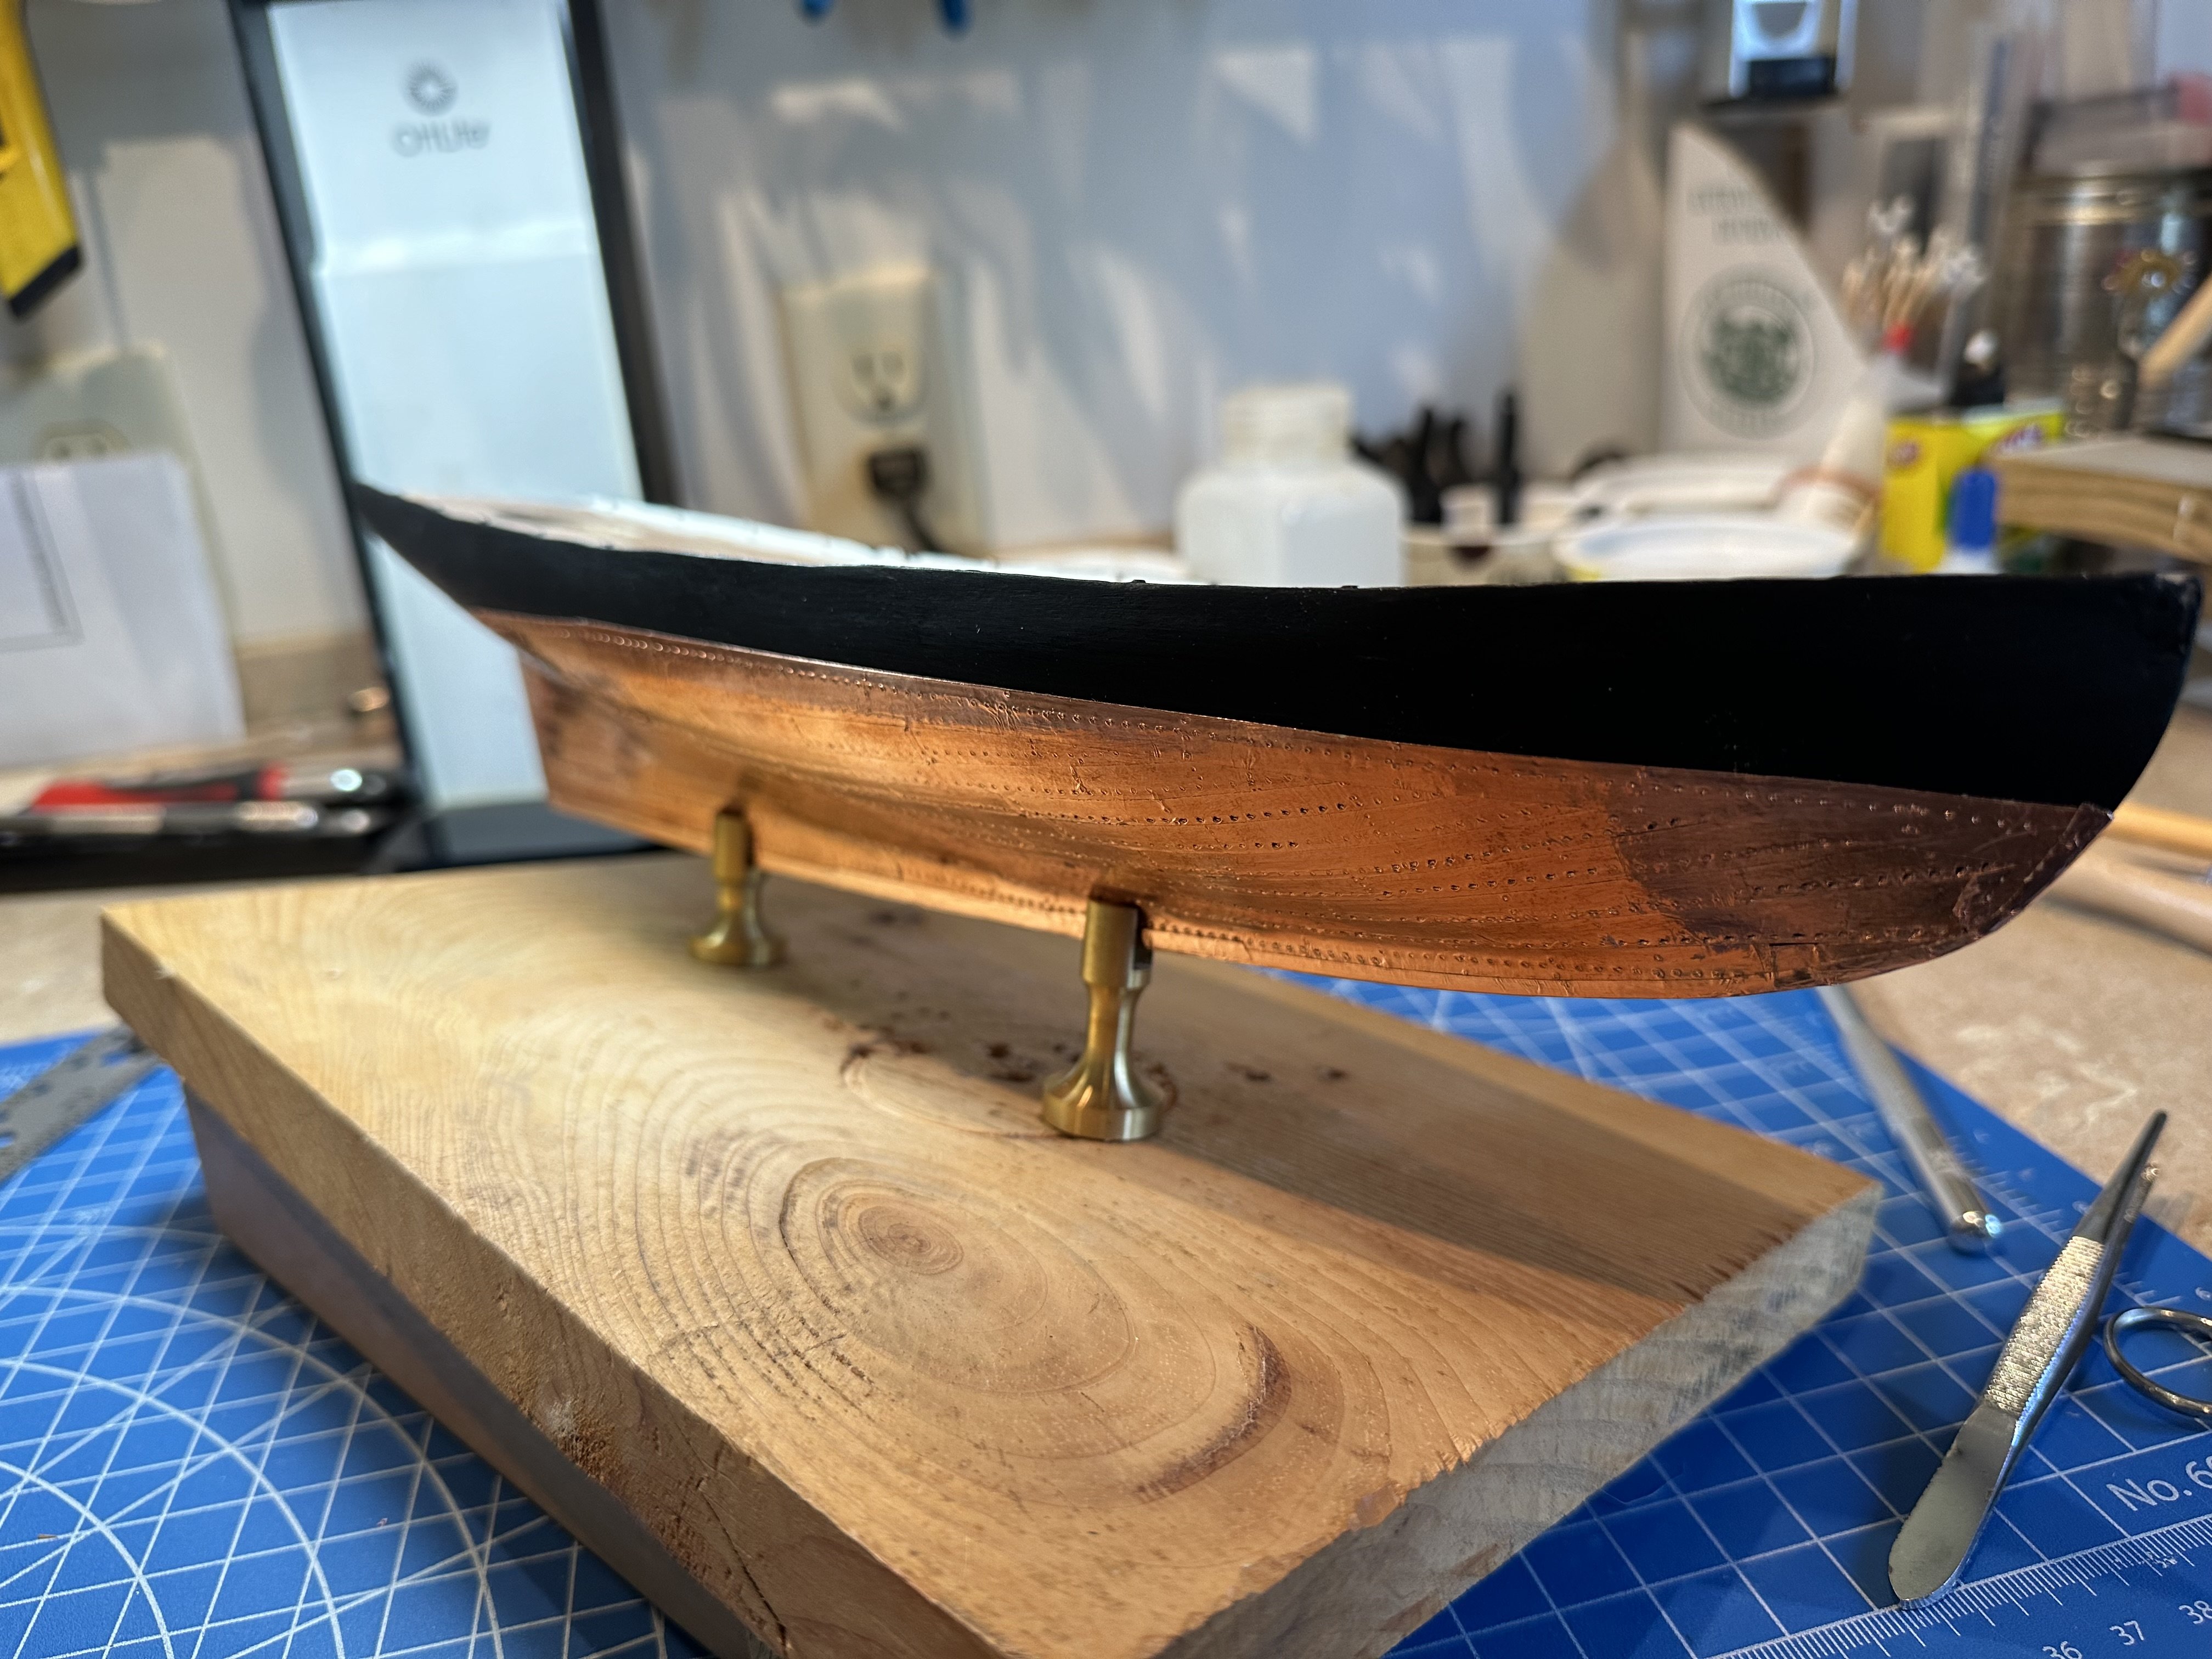
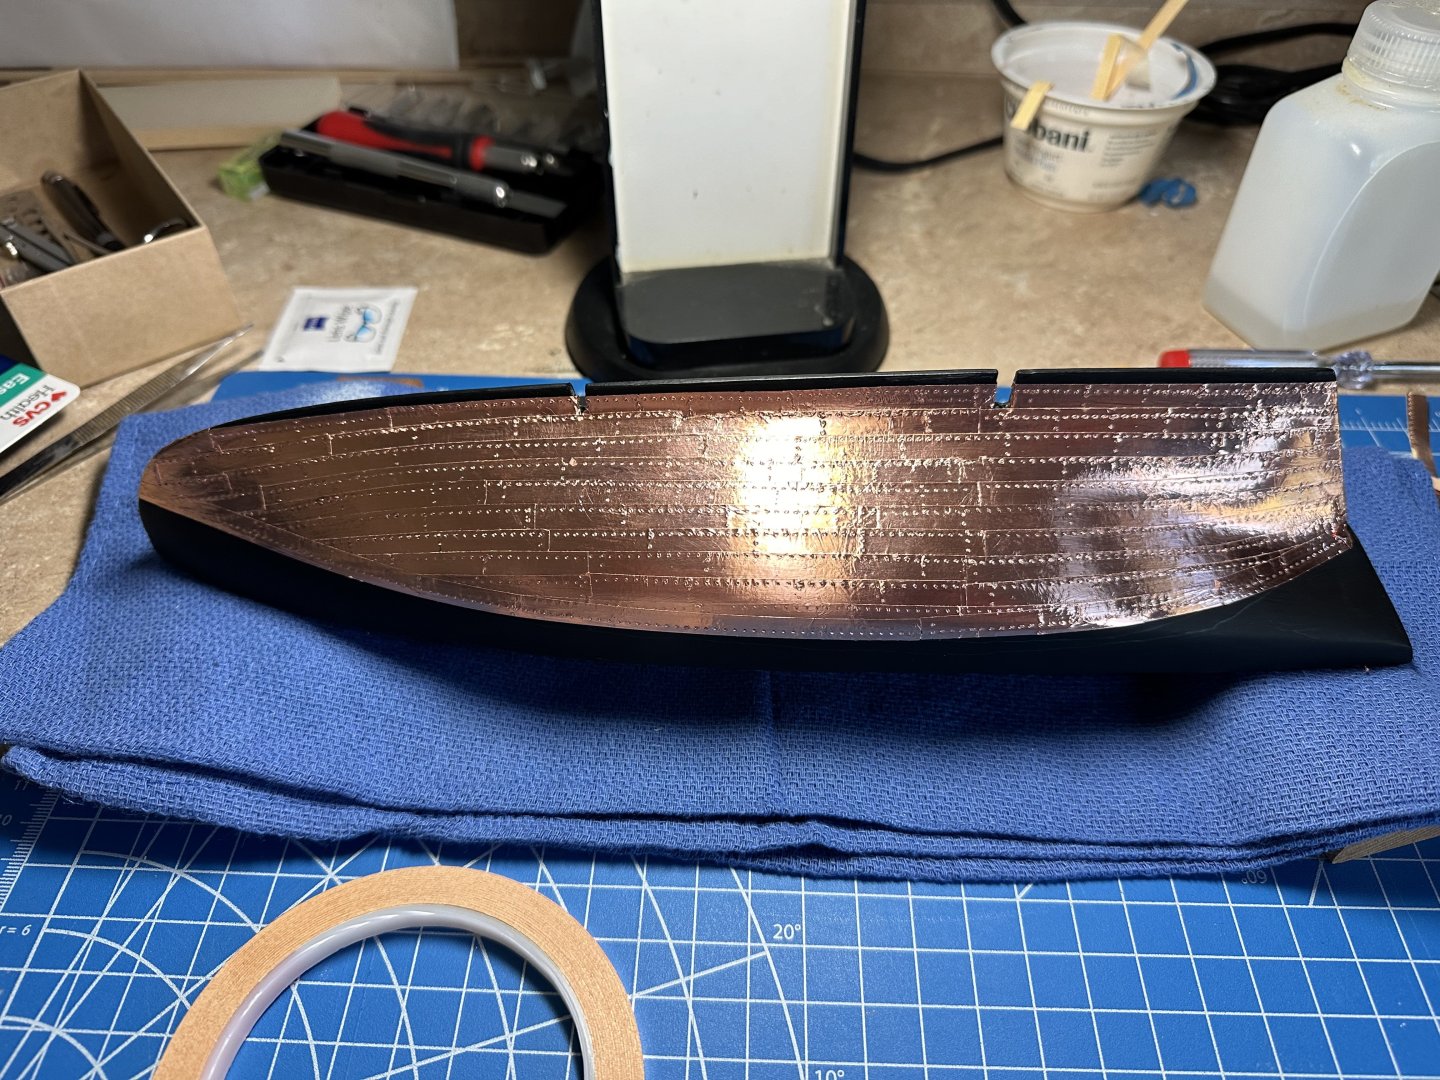
December 17, 2024 - I haven't been posting, but I have been working on the Mary Taylor, and in spite of a few mishaps and miscues, I am pleased with the progress. Since this is my first real model, I realize there are lots of things I could be doing better, and I realize I have made lots of slight mistakes that can't be fixed in this model, but I also realize that the NEXT model I won't make these mistakes, either. Coppering the hull with 1/4 copper tape was not as difficult as I imagined. I used adhesive backed tape so did not add any CVA glue.

- 30 replies
-
- 3
-
-
- Mary Taylor
- solid hull
- (and 2 more)
-
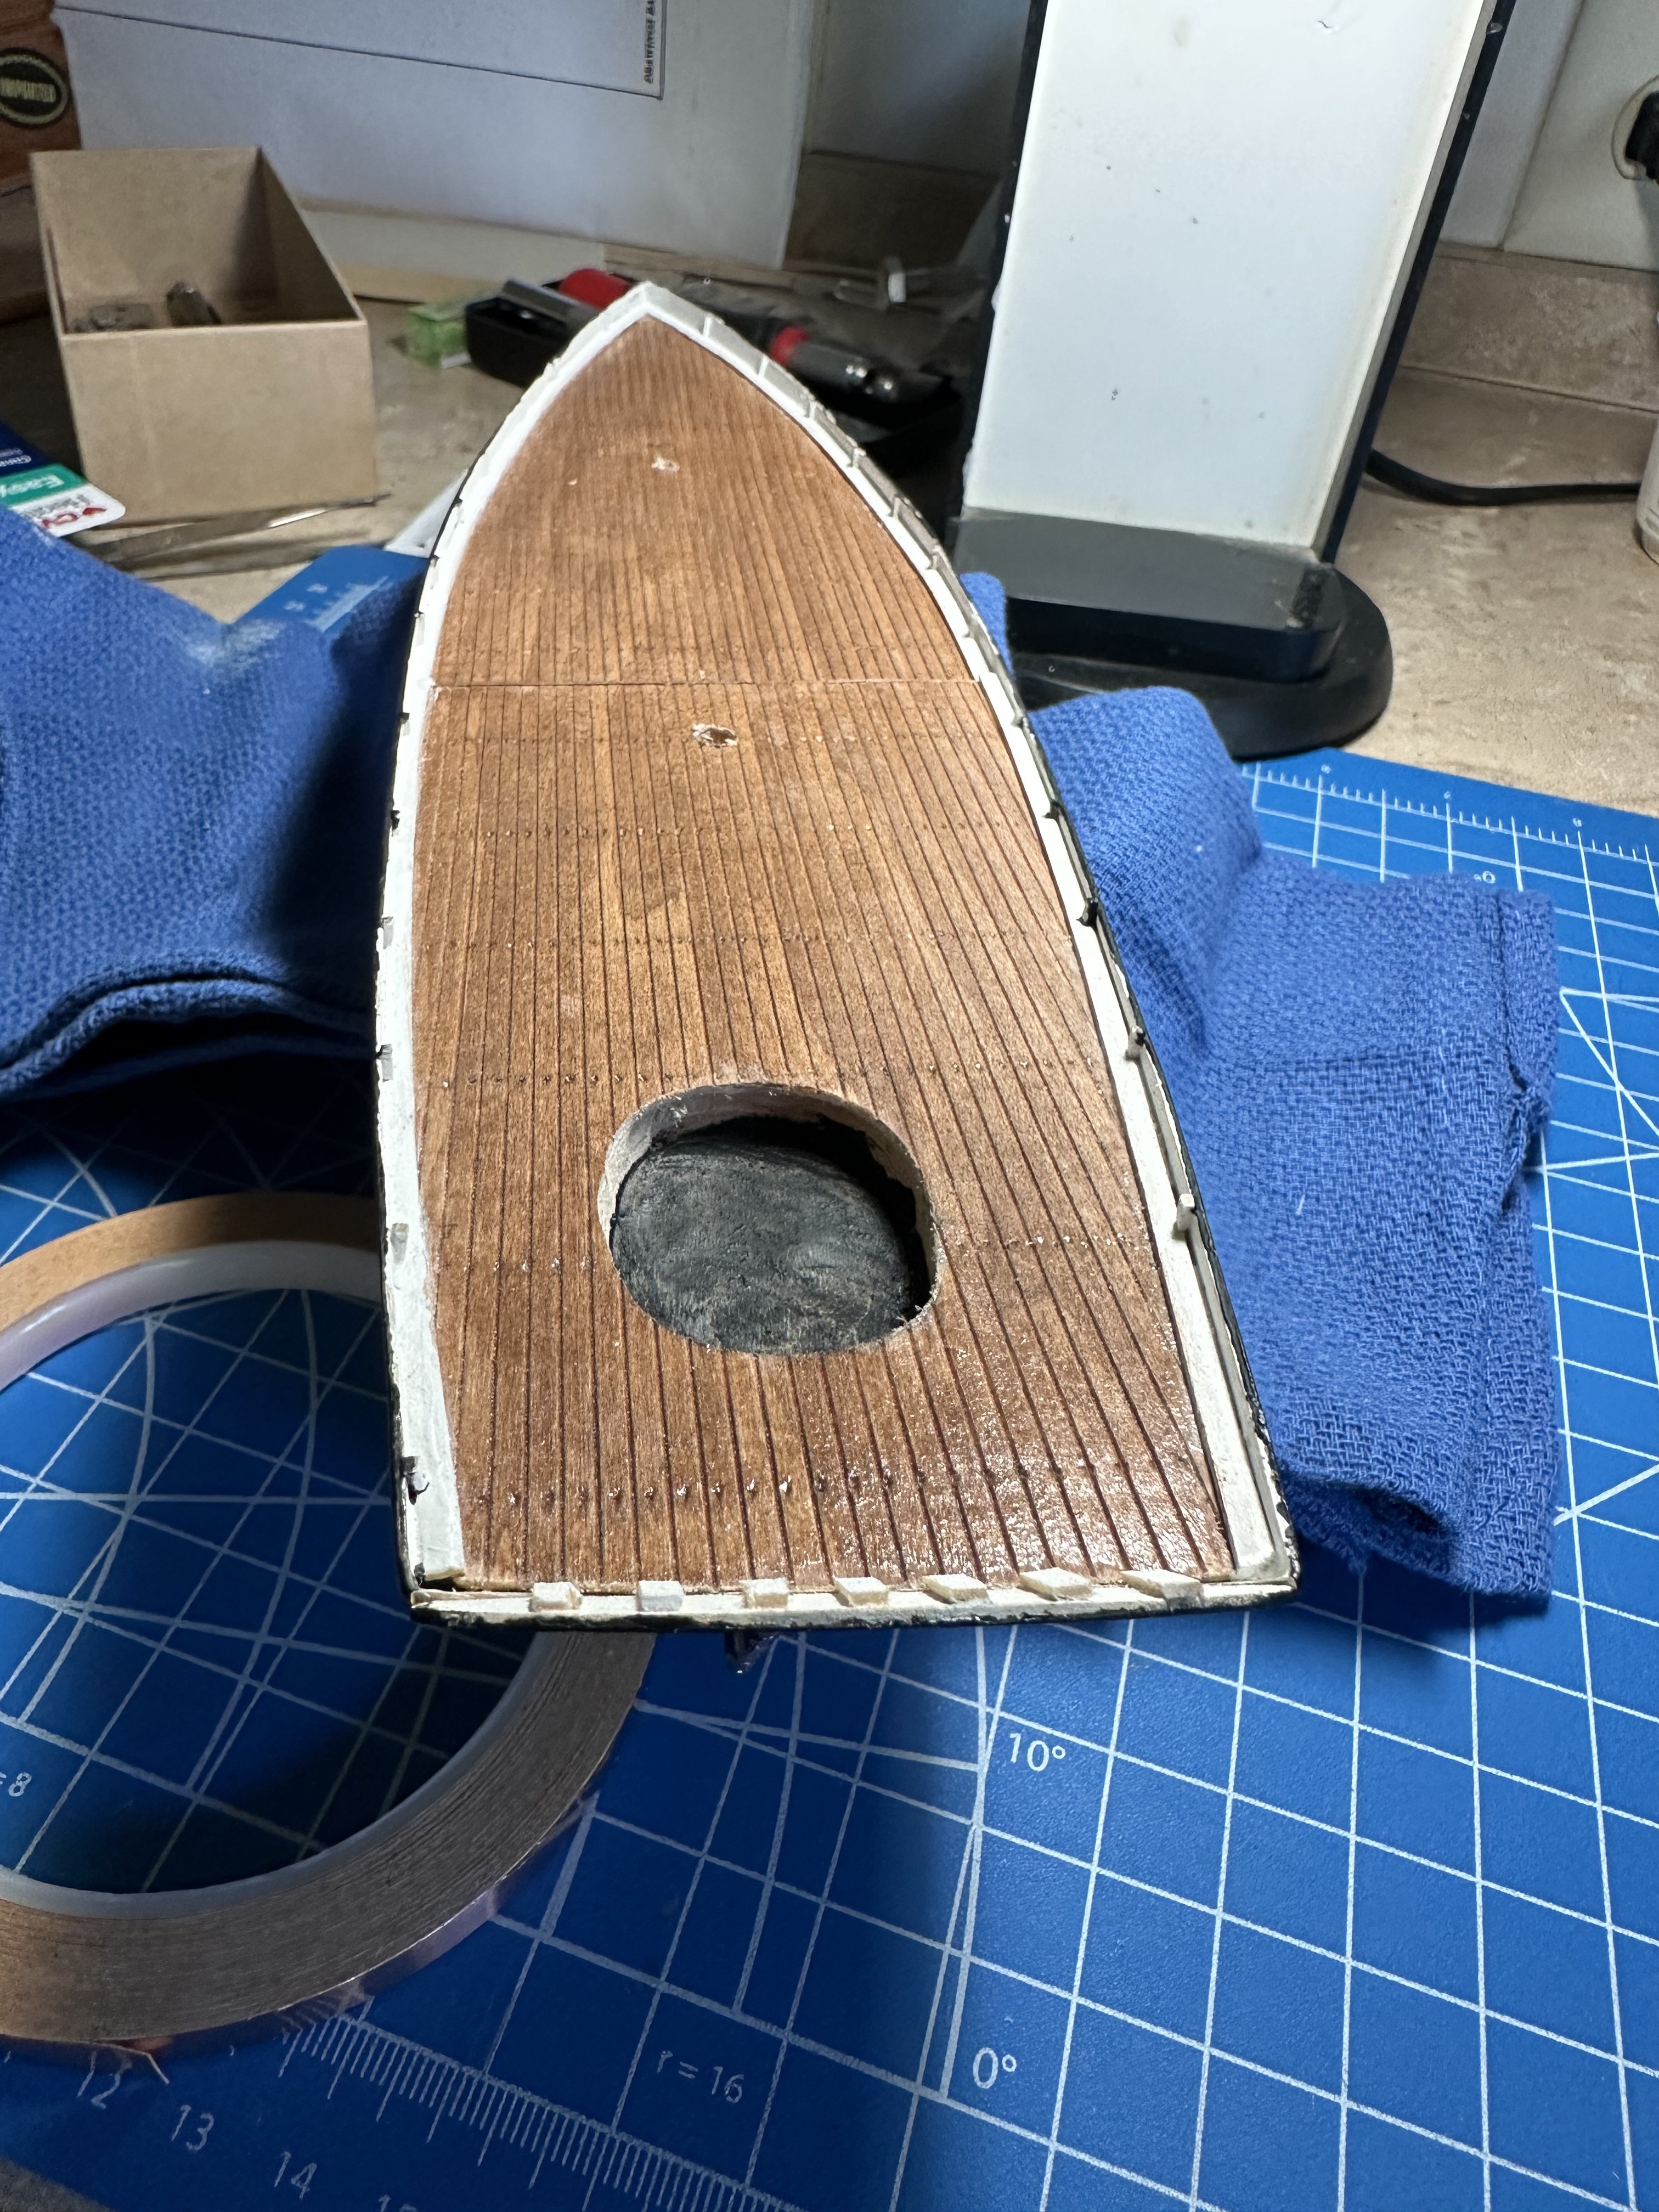
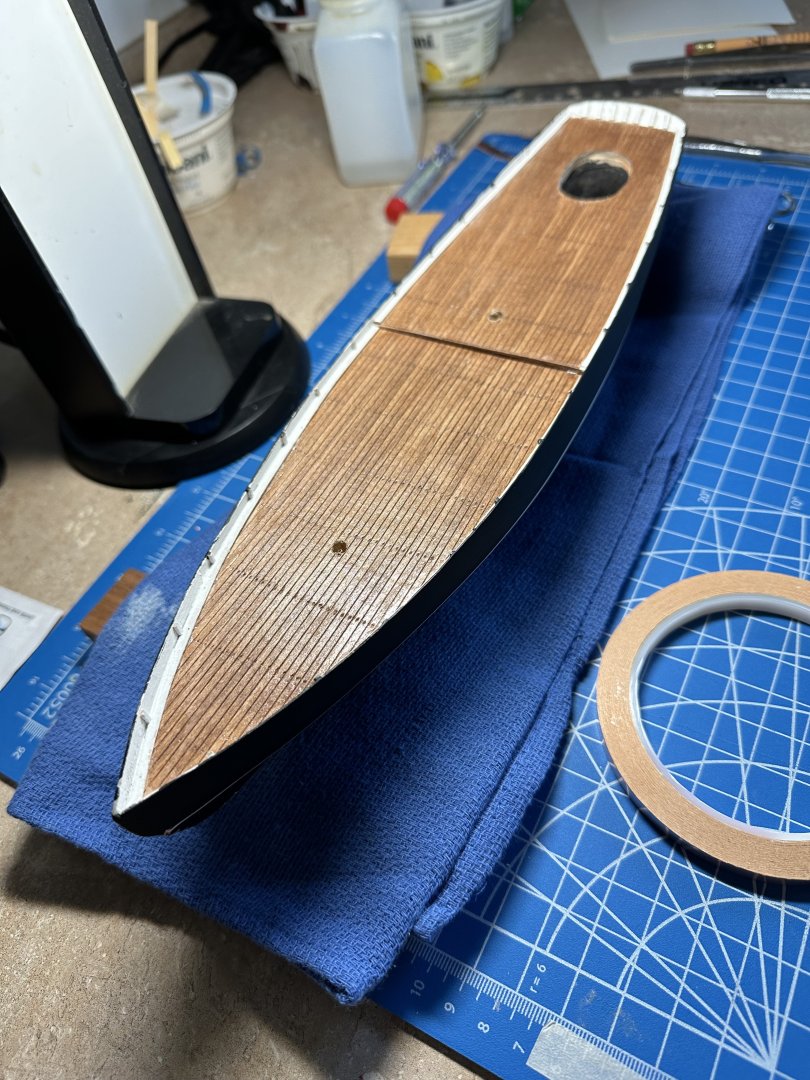
I pounced the deck and washed it with a thin brown. Sadly, I didn't push the pounce wheel hard enough and the nail indentations aren't as defined as I would have liked. I don't think I can fix this. so I'll do better on the next build. Deck glued on and cockpit shaped with a dremel tool. Then I glued on the bulwarks. They still required a little fiddling. I used Elmer's glue and pinned and clamped them and the transom for 24 hours. Slight mismatches here and there, but I am learning. Fine sanding of hull. I'm going to be away for a couple of weeks, so the hull will be ready for priming and painting when I return. Question: where do I find the paint scheme for this model?

- 30 replies
-
- 1
-
-
- Mary Taylor
- solid hull
- (and 2 more)
-
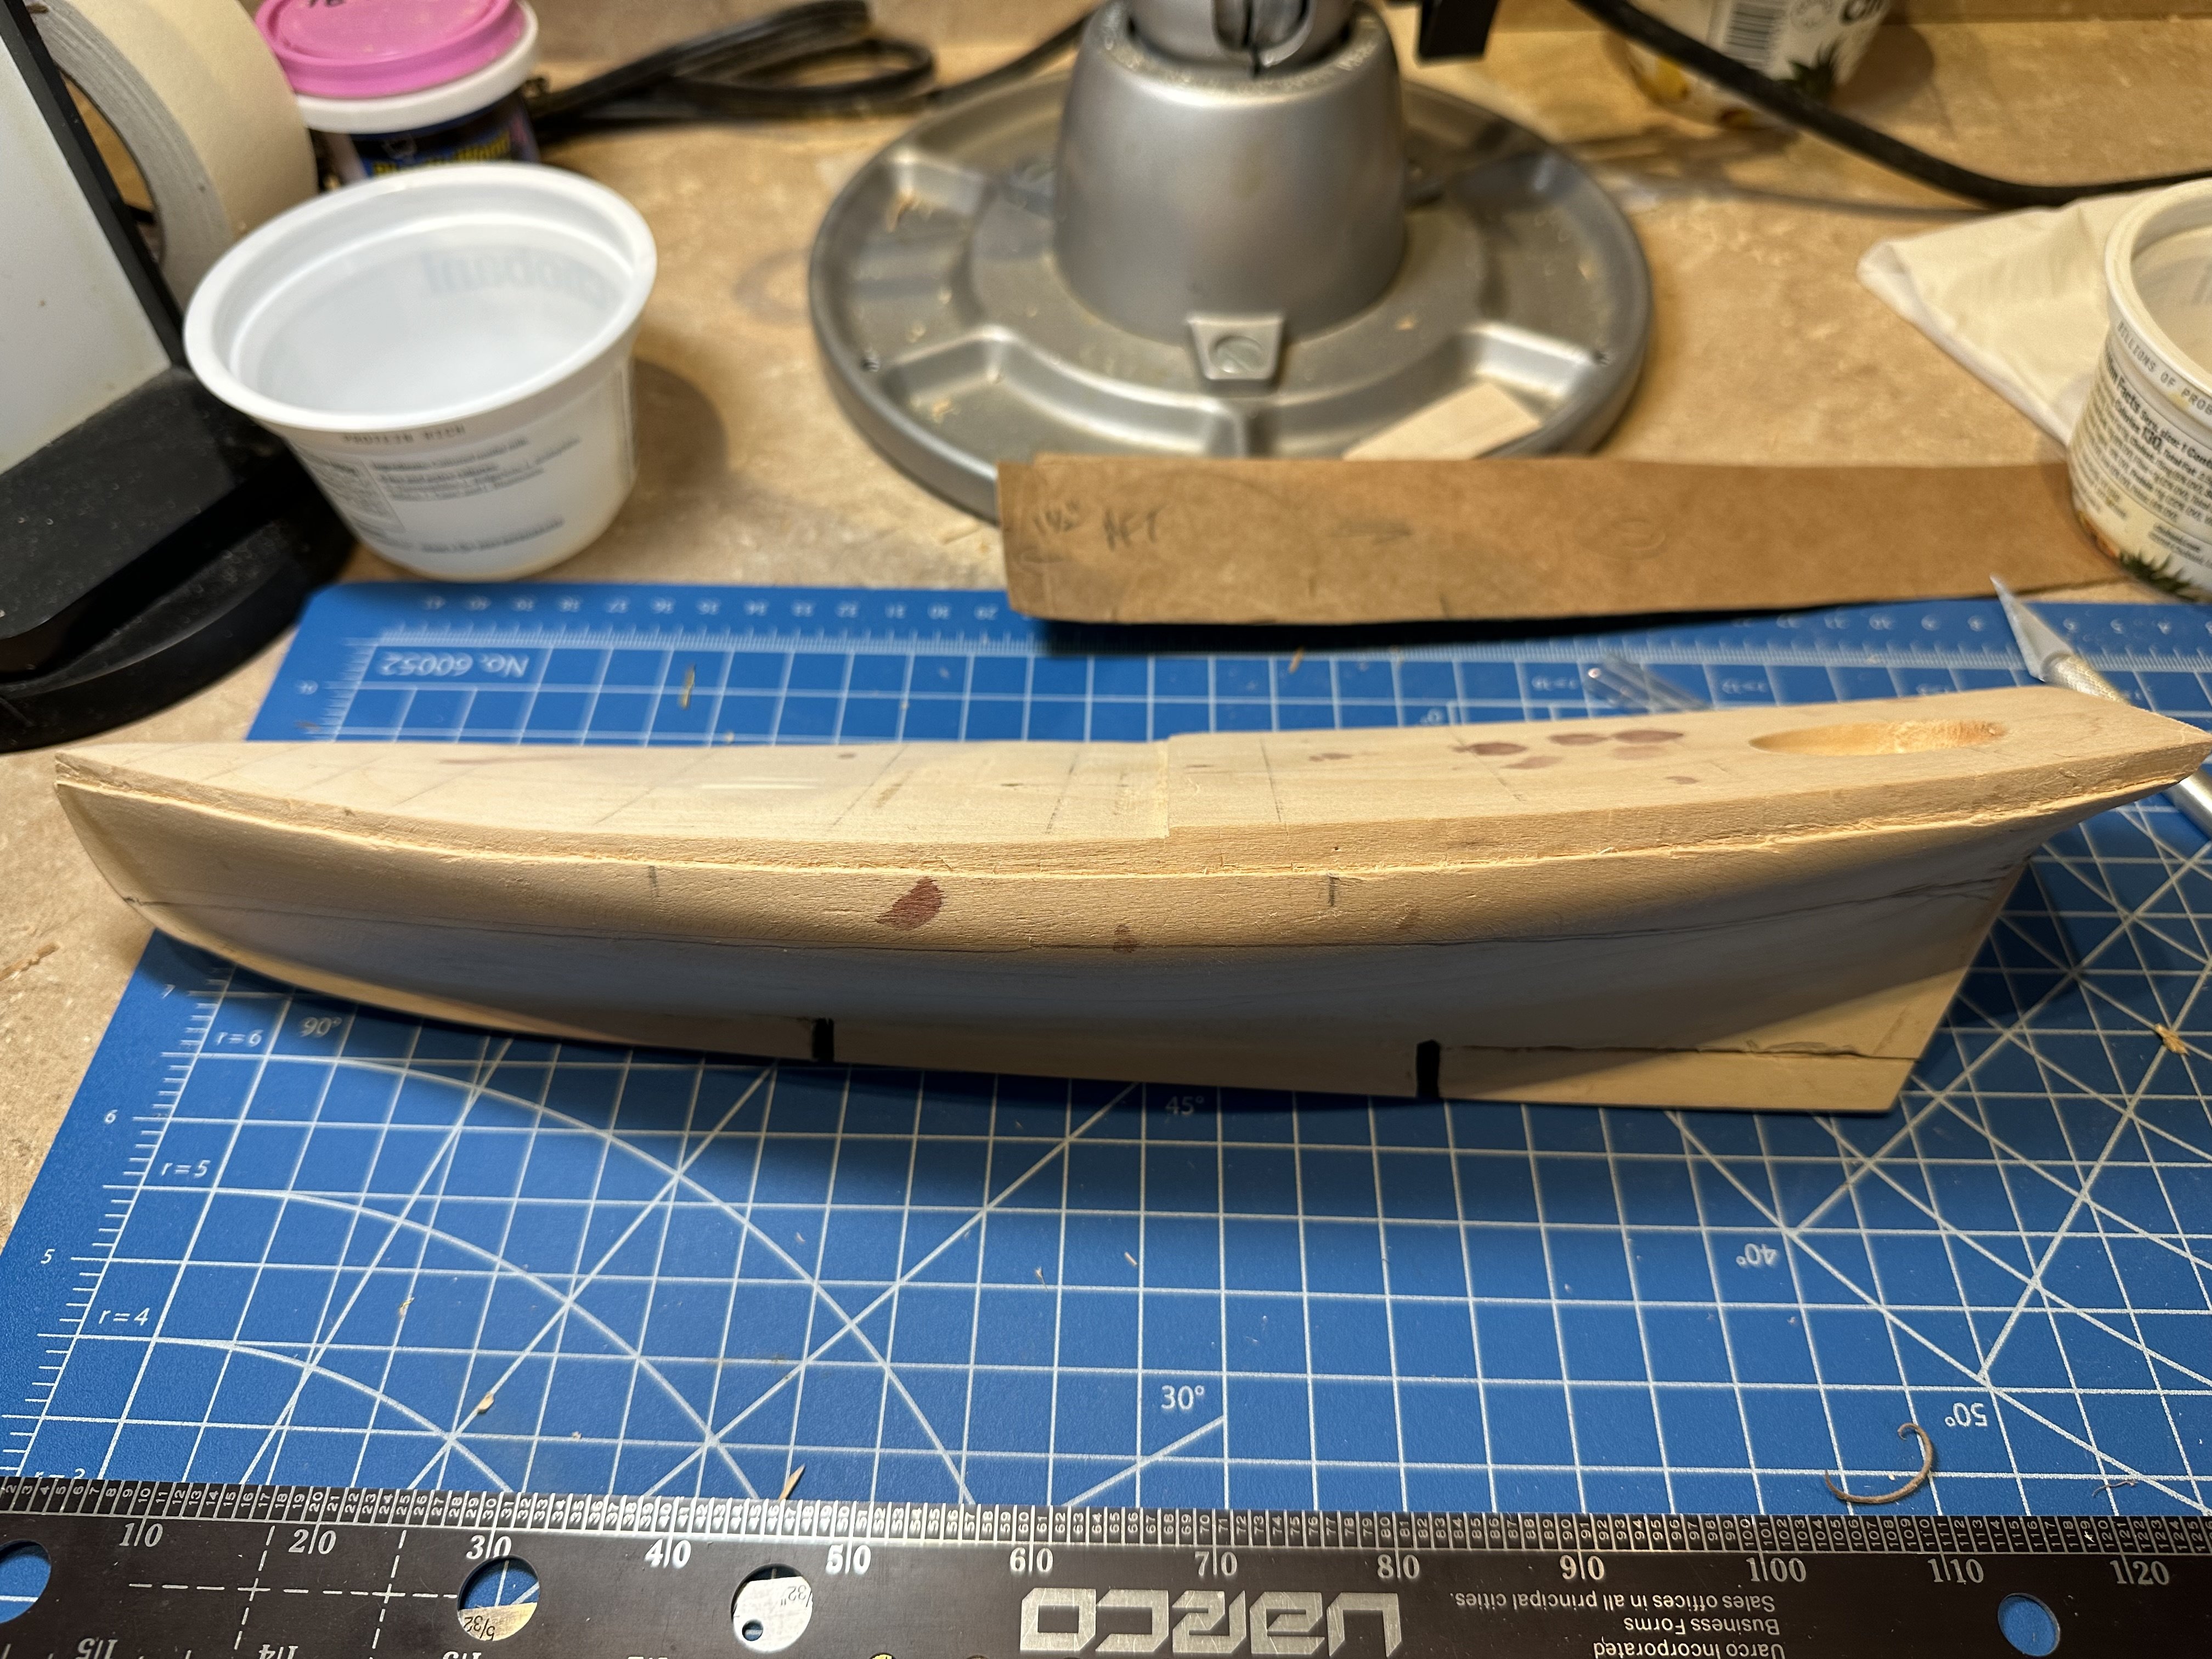
Transom fitted, bulwarks fitted. I'll cut the the tops of the bulwarks and then begin cutting and pouncing the decking. I have only been able to find a pounce wheel that leaves 1/8 marks which are too widely spaced for the planking. I'll search in some more stores or else simulate the fastenings with a small awl. Although I built the Yankee Hero, the Mary Taylor is a magnitude more difficult. I feel I am learning and the NEXT ship will be even better. See you in a few weeks.
- 30 replies
-
- 2
-
-
- Mary Taylor
- solid hull
- (and 2 more)
-
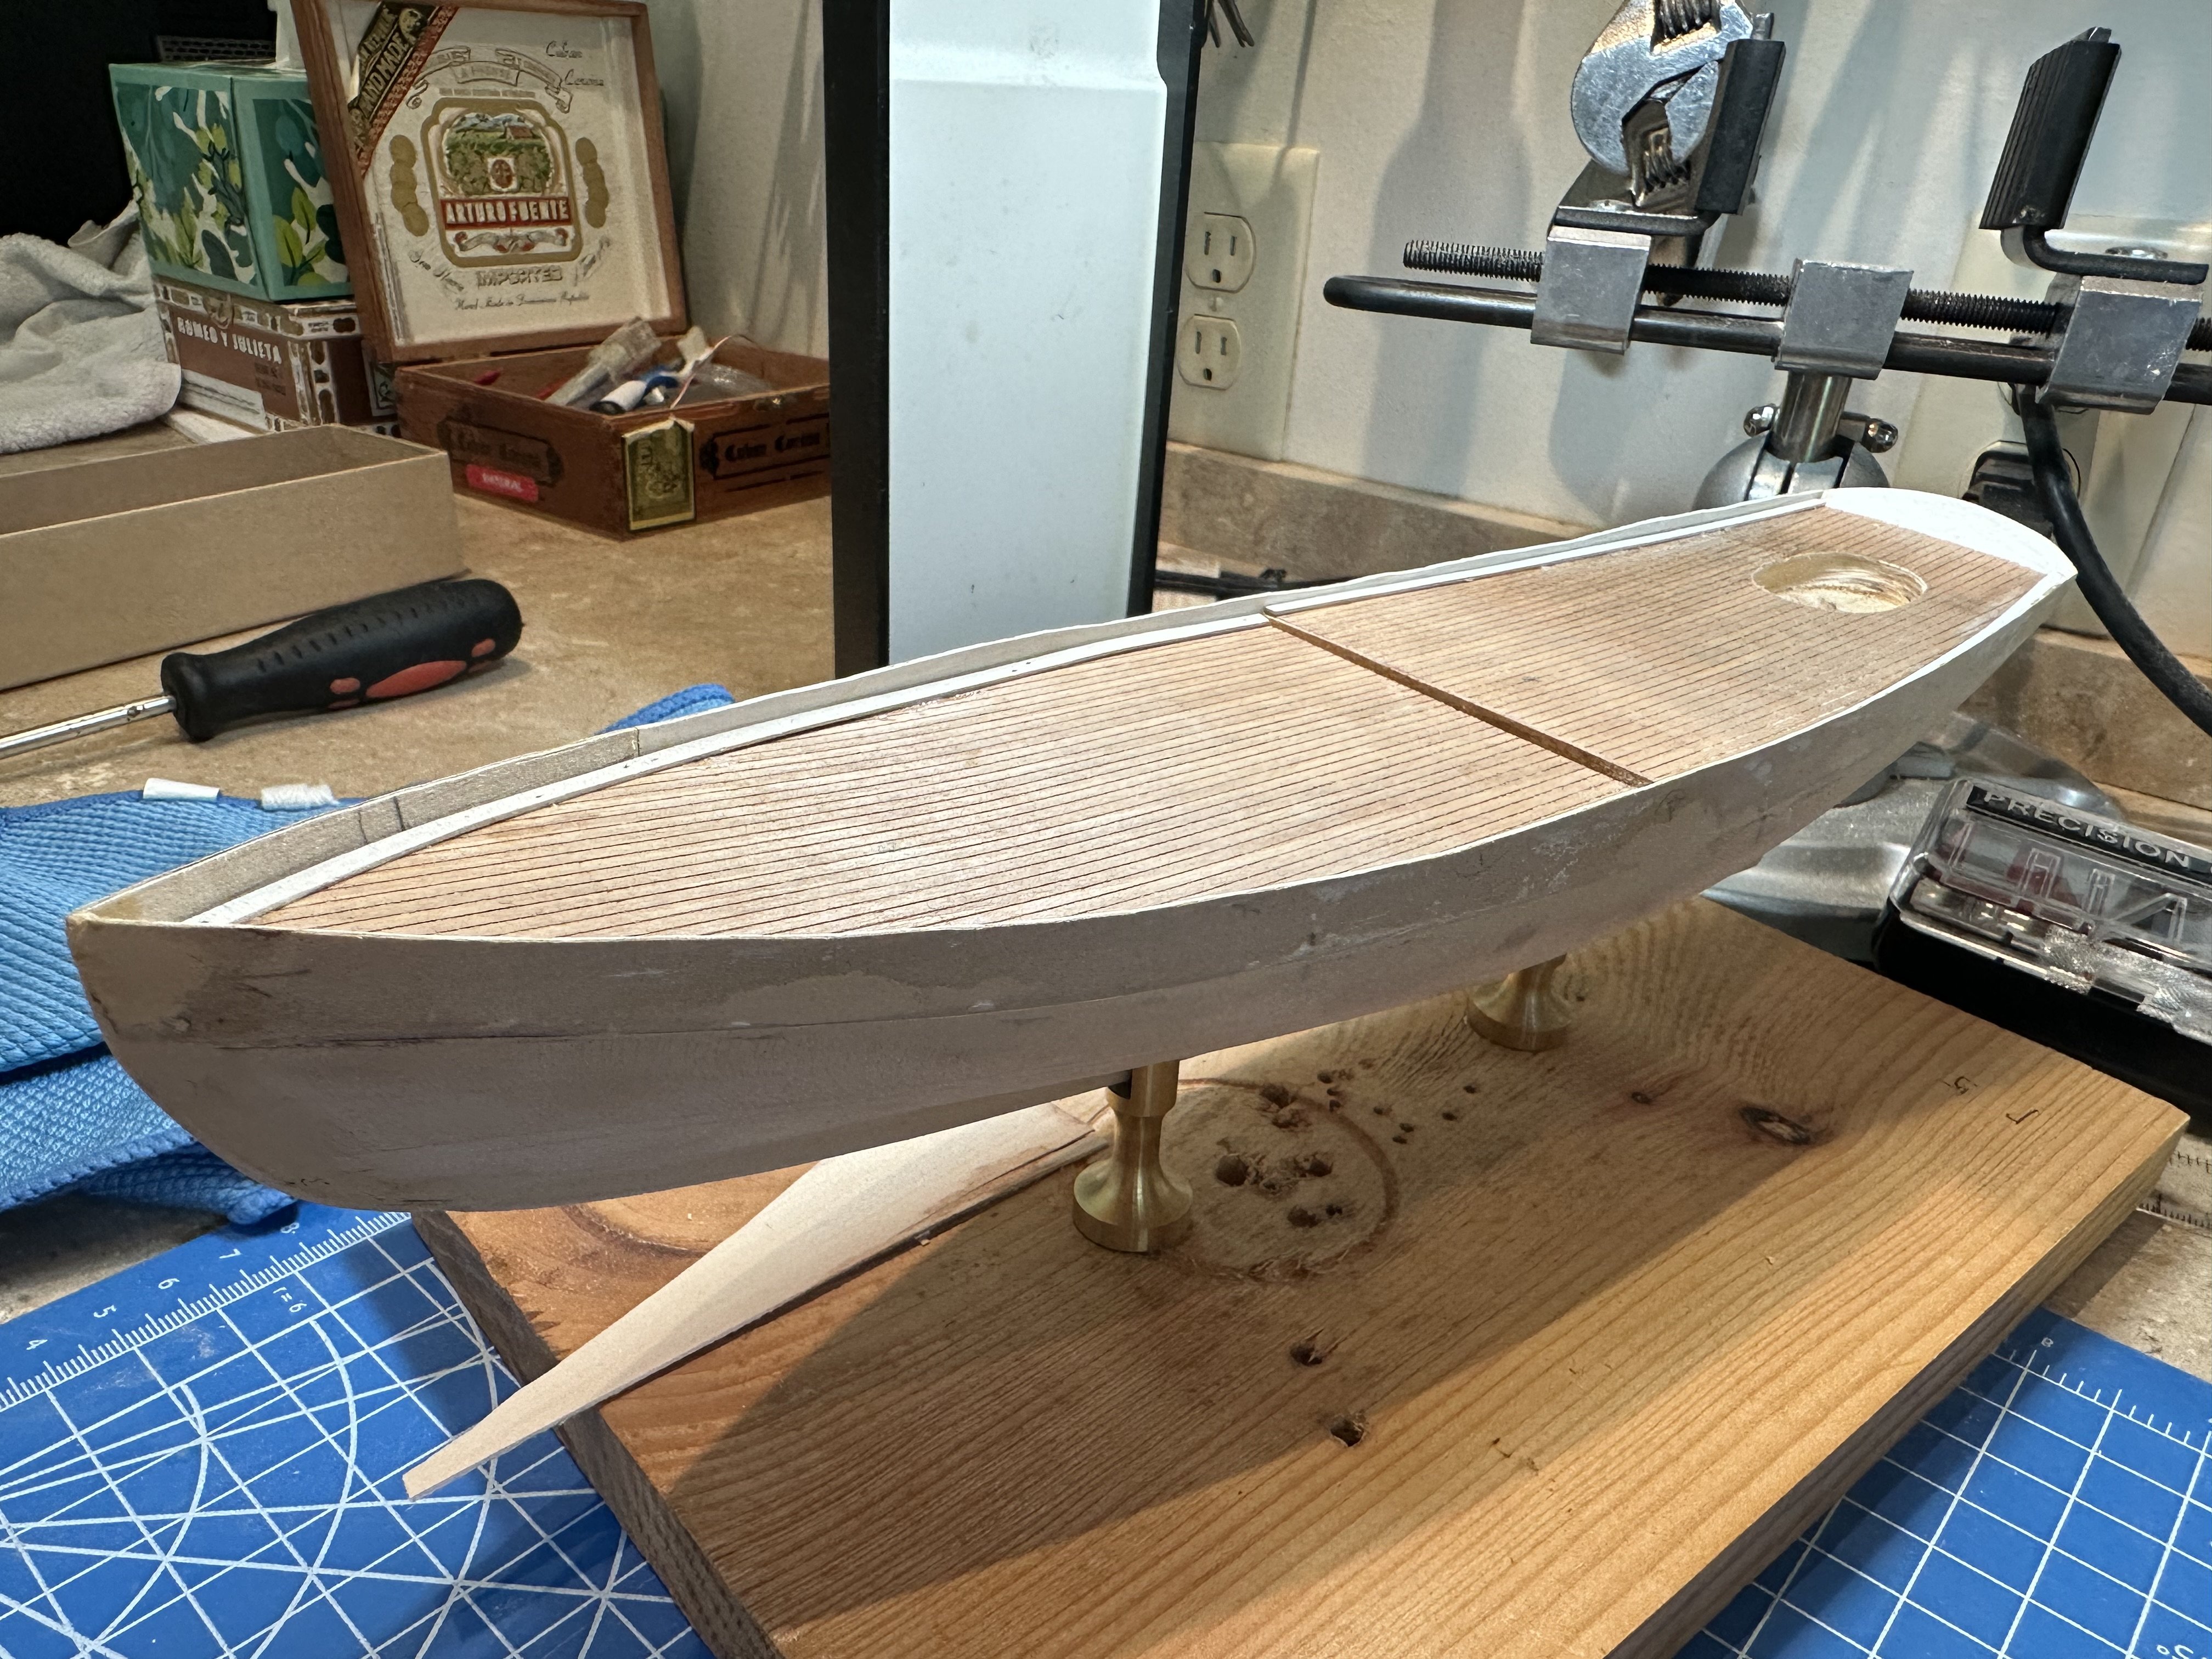
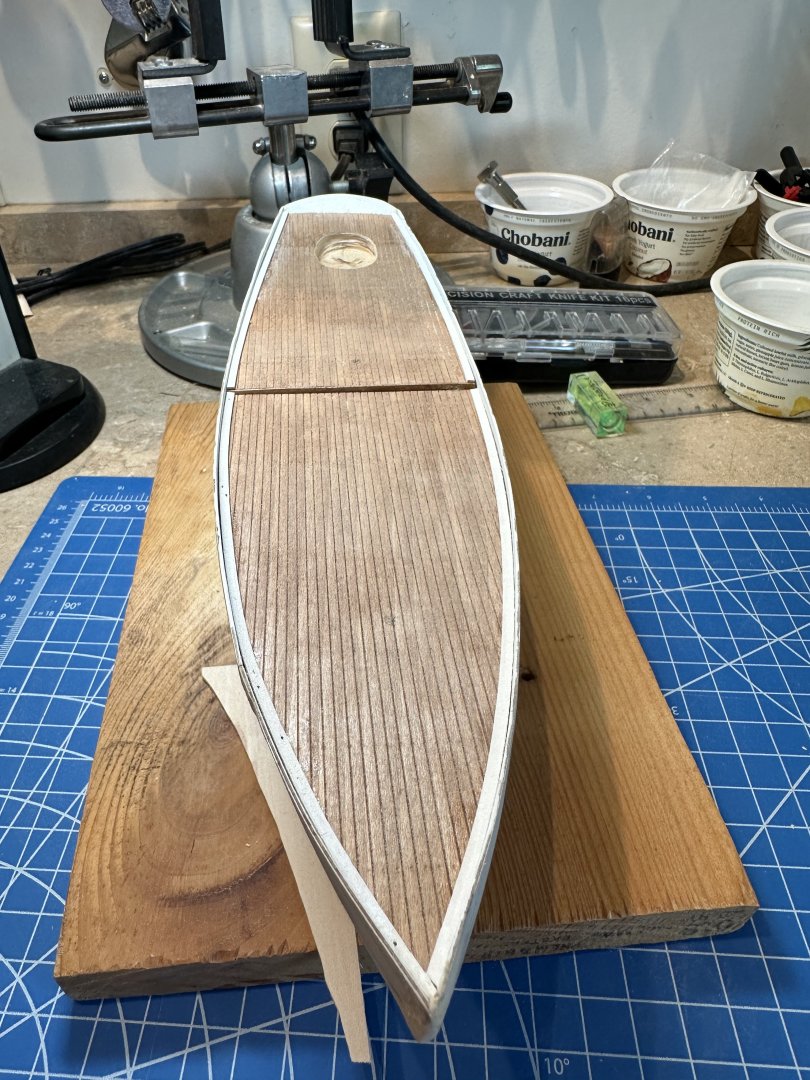
I traced the rabbet, made a template, fit the template, cut the bulwarks from the plywood, and then adjusted them to fit the rabbet. I found that soaking the bulwarks and rough fitting them to the hull made it easier to adjust them to their final finished shape. A little more sanding here and there needed, but I'll get them fitting.
- 30 replies
-
- 2
-
-
- Mary Taylor
- solid hull
- (and 2 more)
-
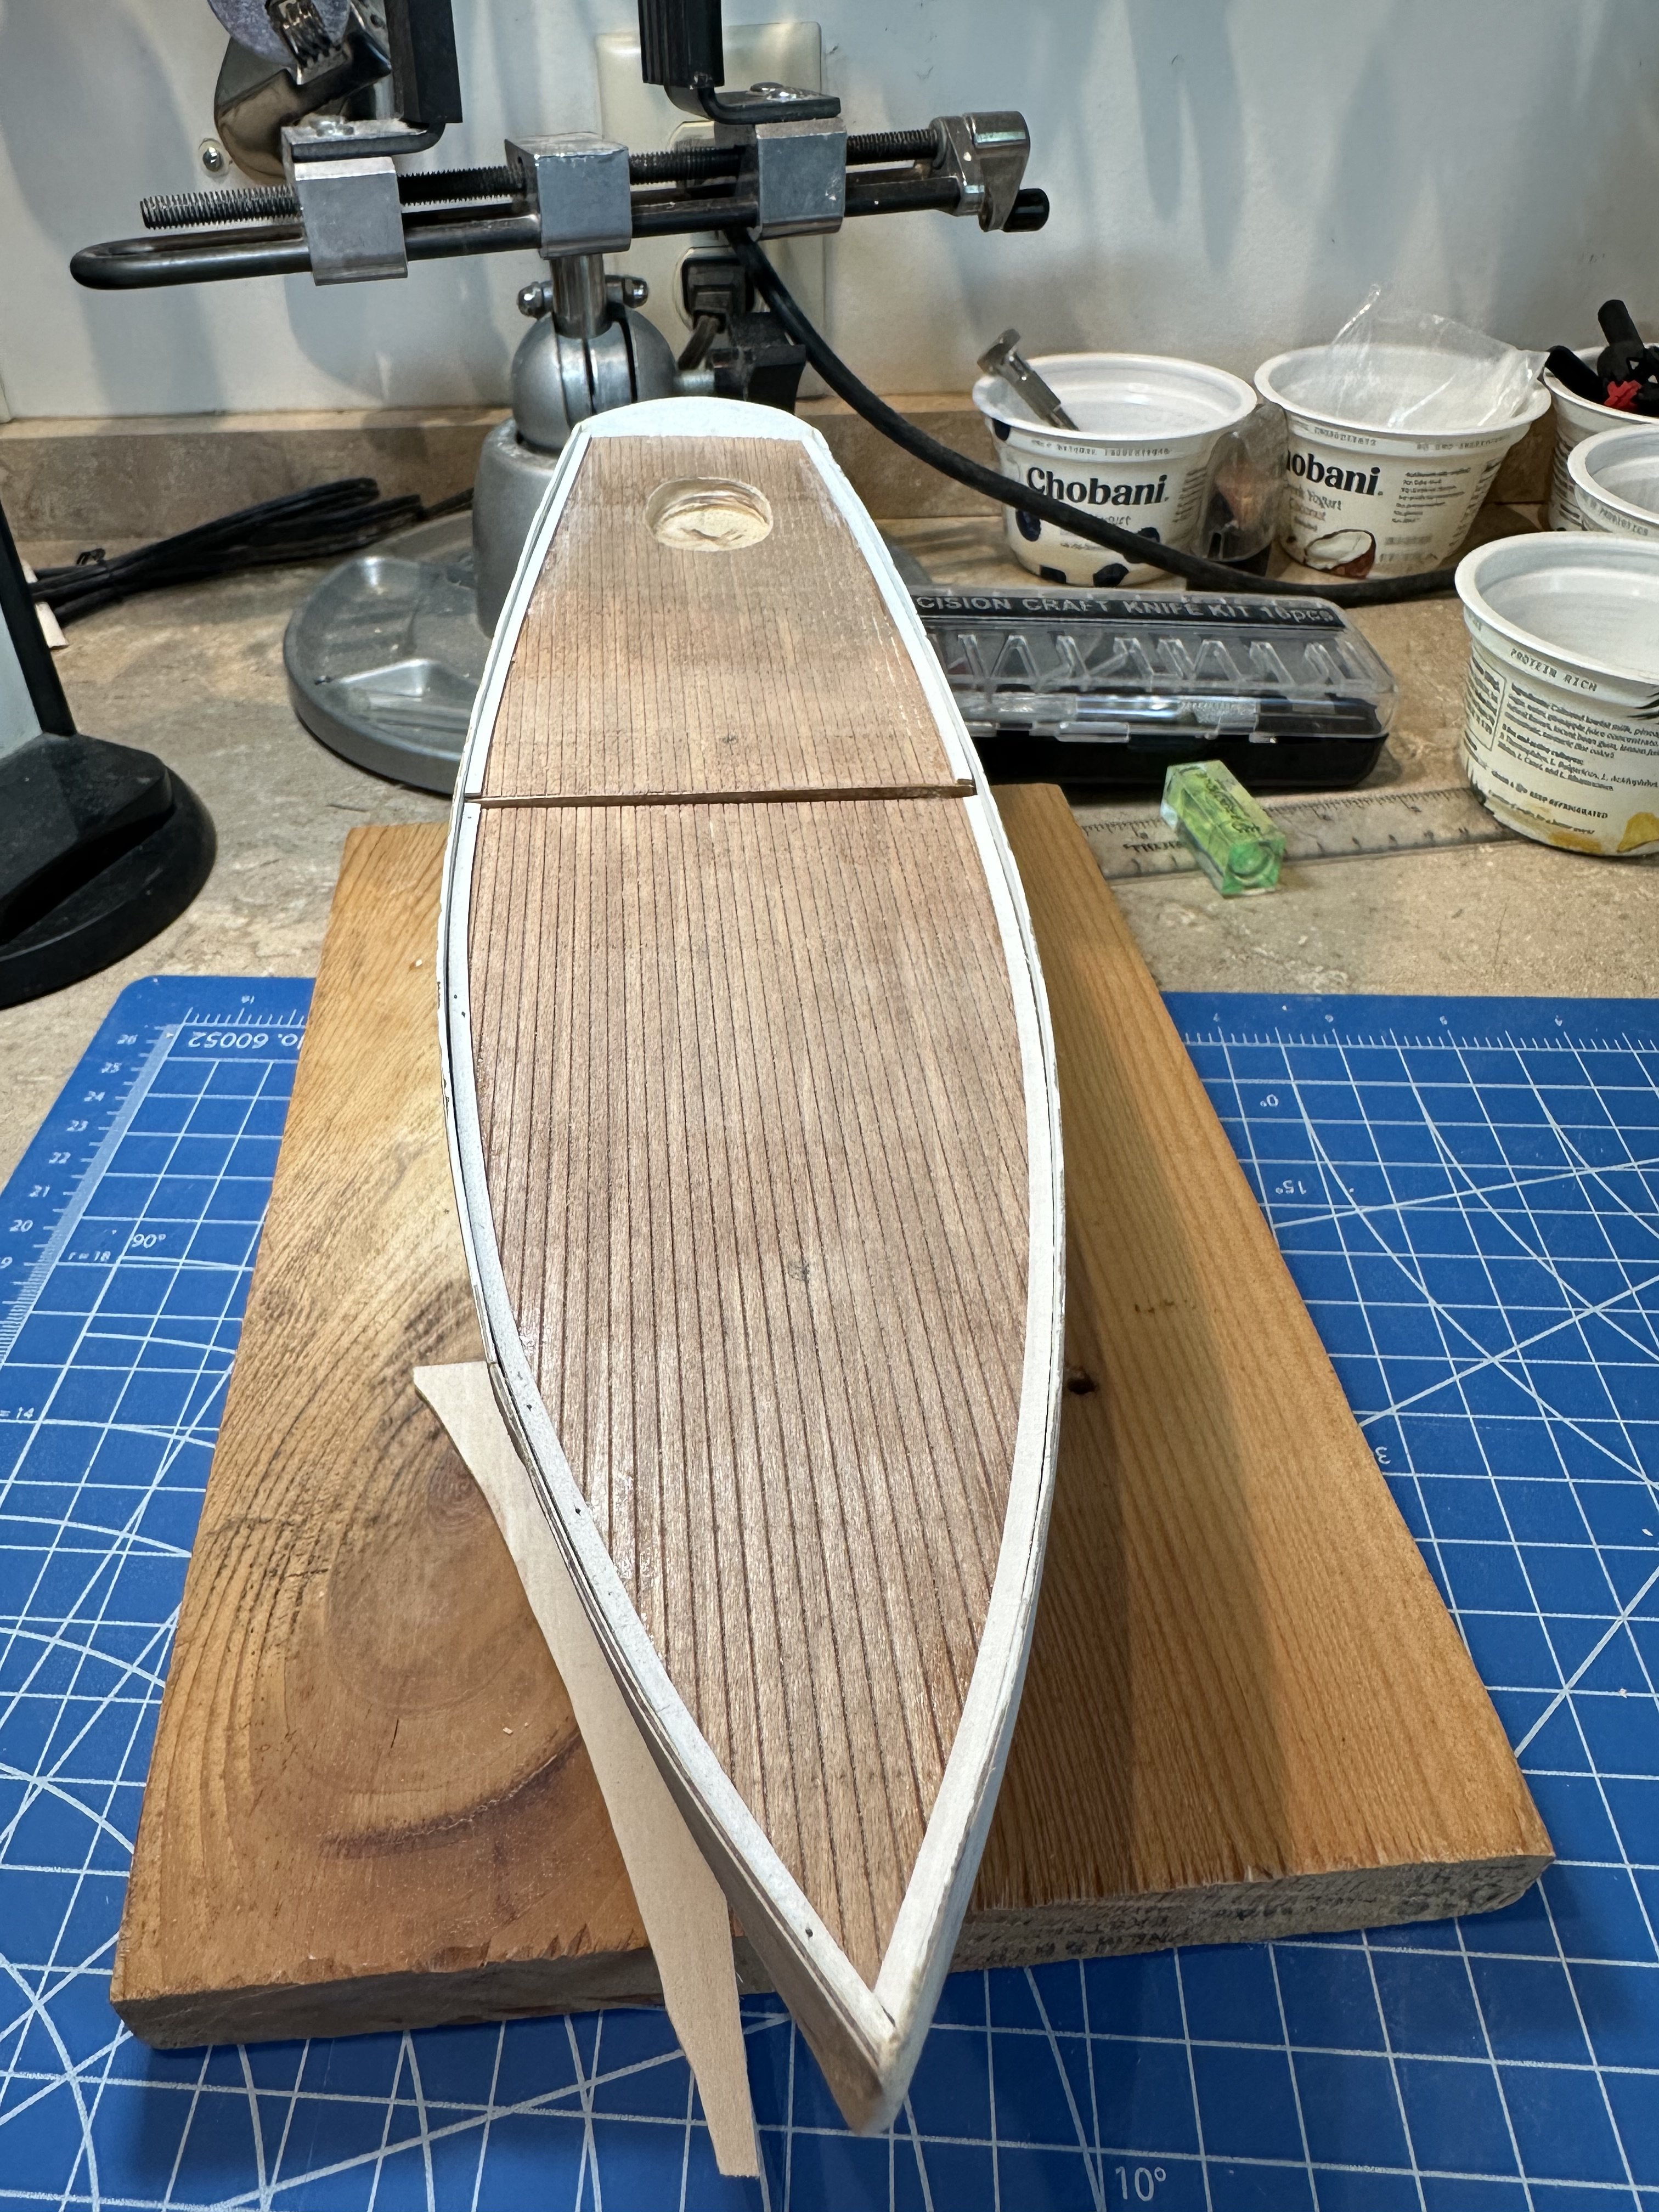
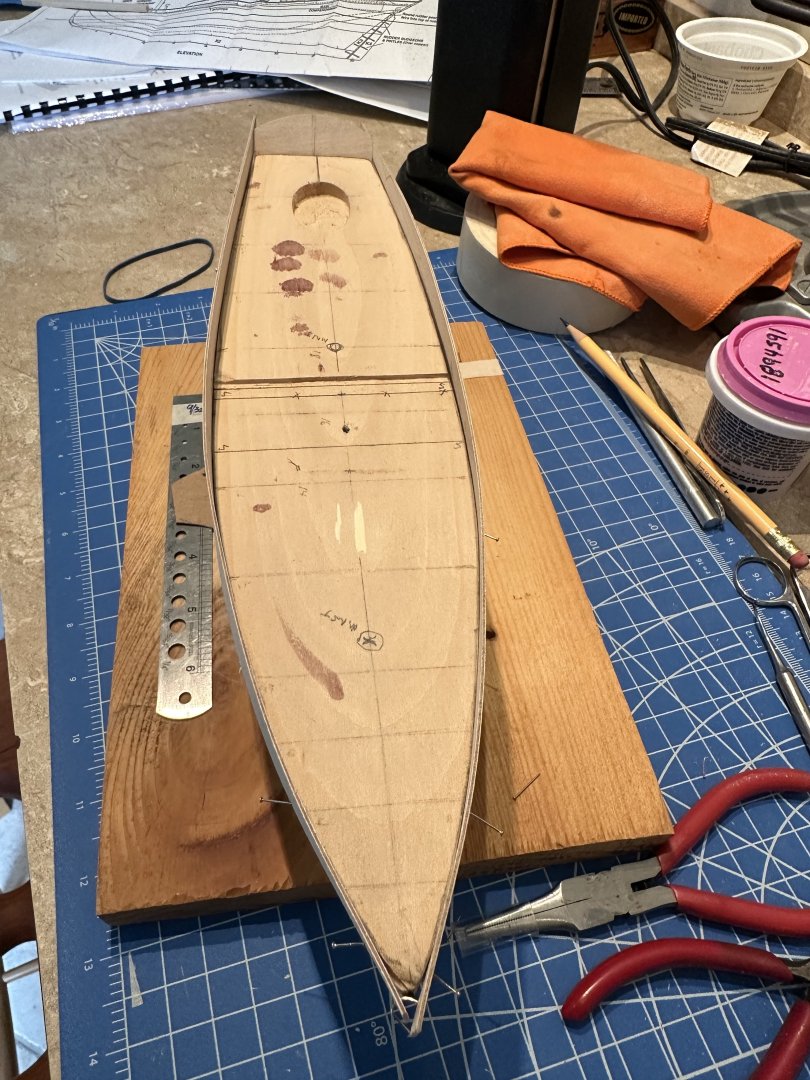
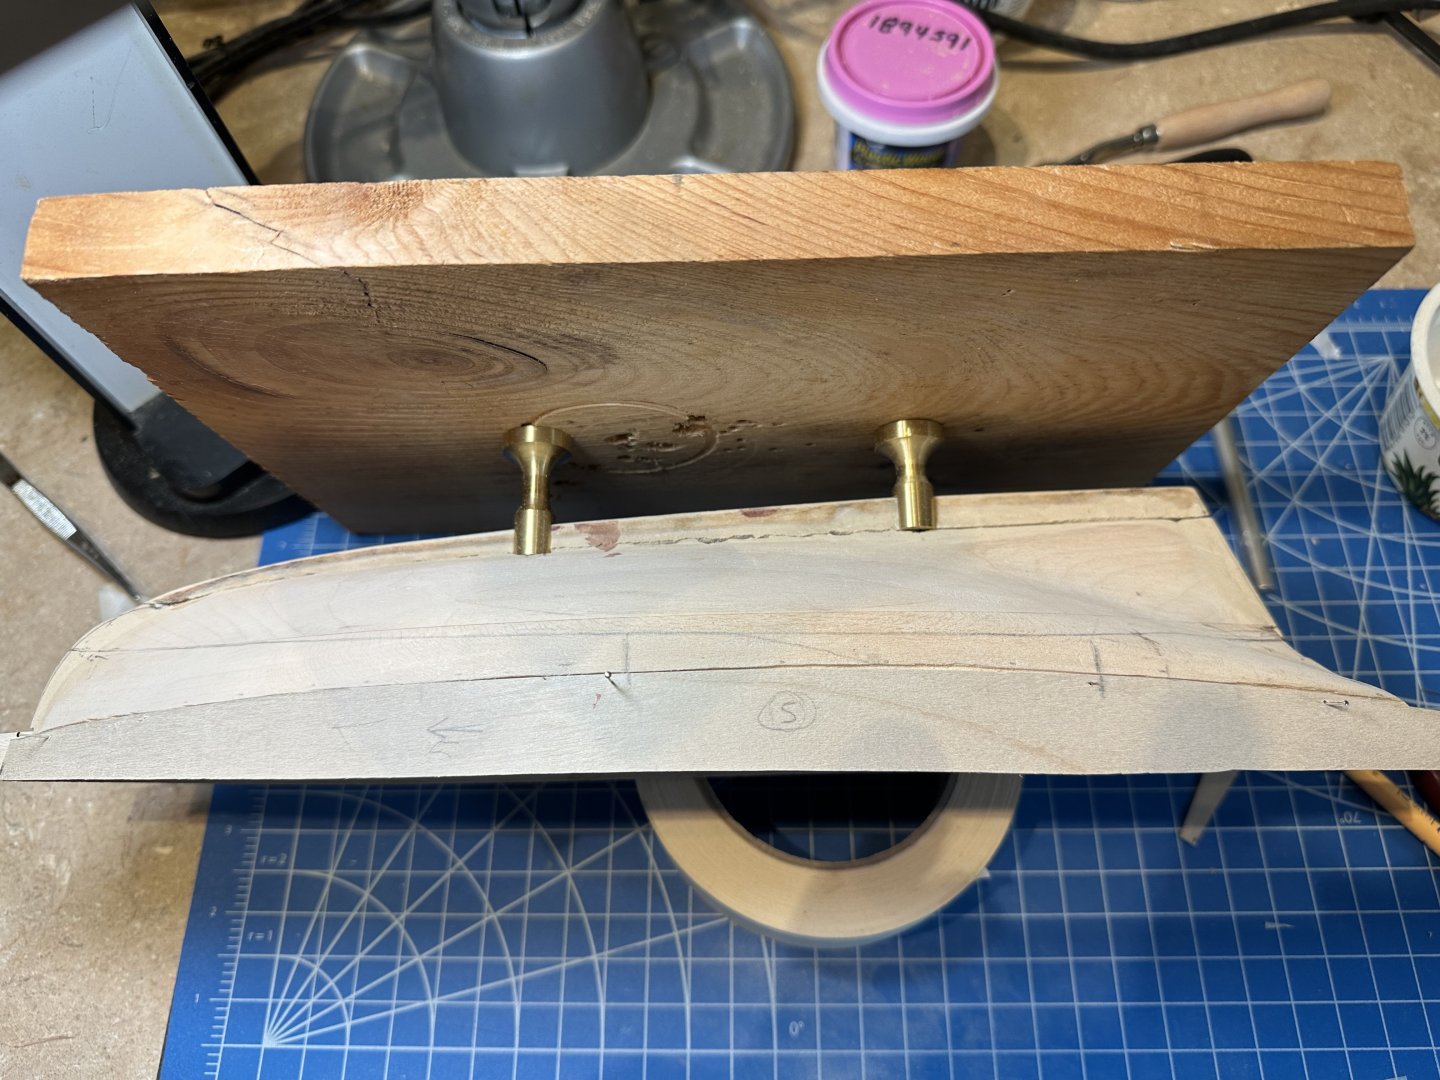
With bandaged thumb, I soldiered on, and in my enthusiasm inadvertently put too much pressure on the keel, and the section between the screw holes for the pedestals broke off. Fortunately, that was the only damage, because my young dog, who is my assistant, picked up the broken piece, thinking it was a chew toy for her. I glued it back on and continued with my knife handiwork. Cutting the groove for the rabbet has proved to be the biggest challenge so far.