HOLIDAY DONATION DRIVE - SUPPORT MSW - DO YOUR PART TO KEEP THIS GREAT FORUM GOING! (Only 36 donations so far out of 49,000 members - C'mon guys!)
×

MajorChaos
-
Posts
301 -
Joined
-
Last visited
Content Type
Profiles
Forums
Gallery
Events
Everything posted by MajorChaos
-
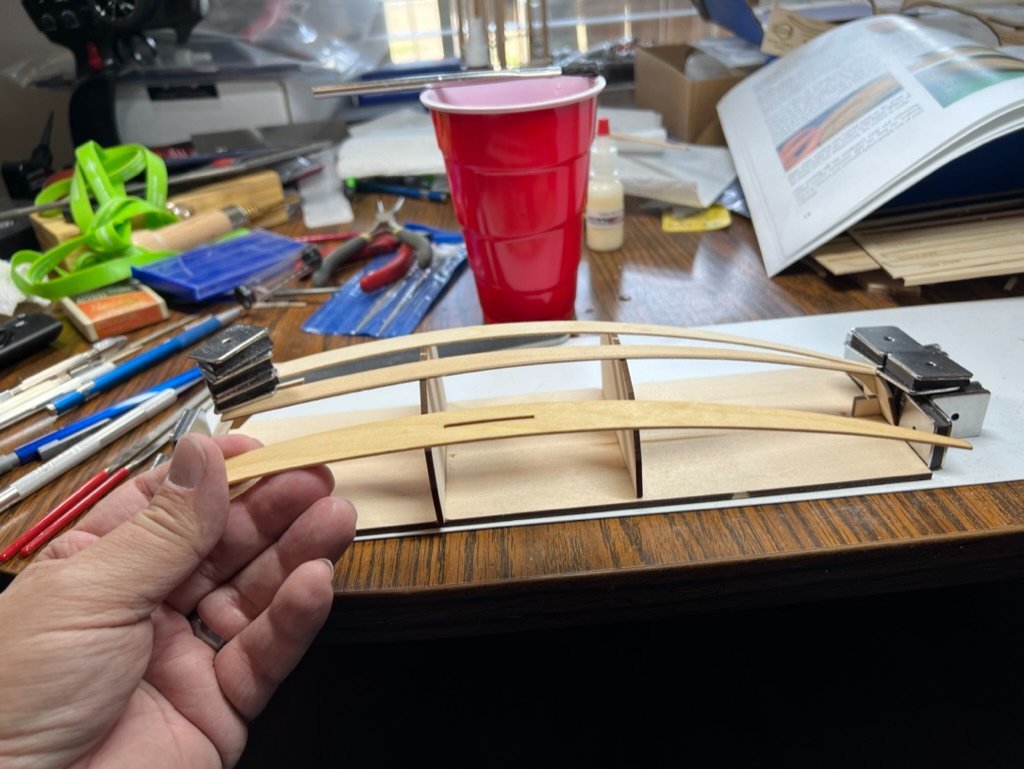
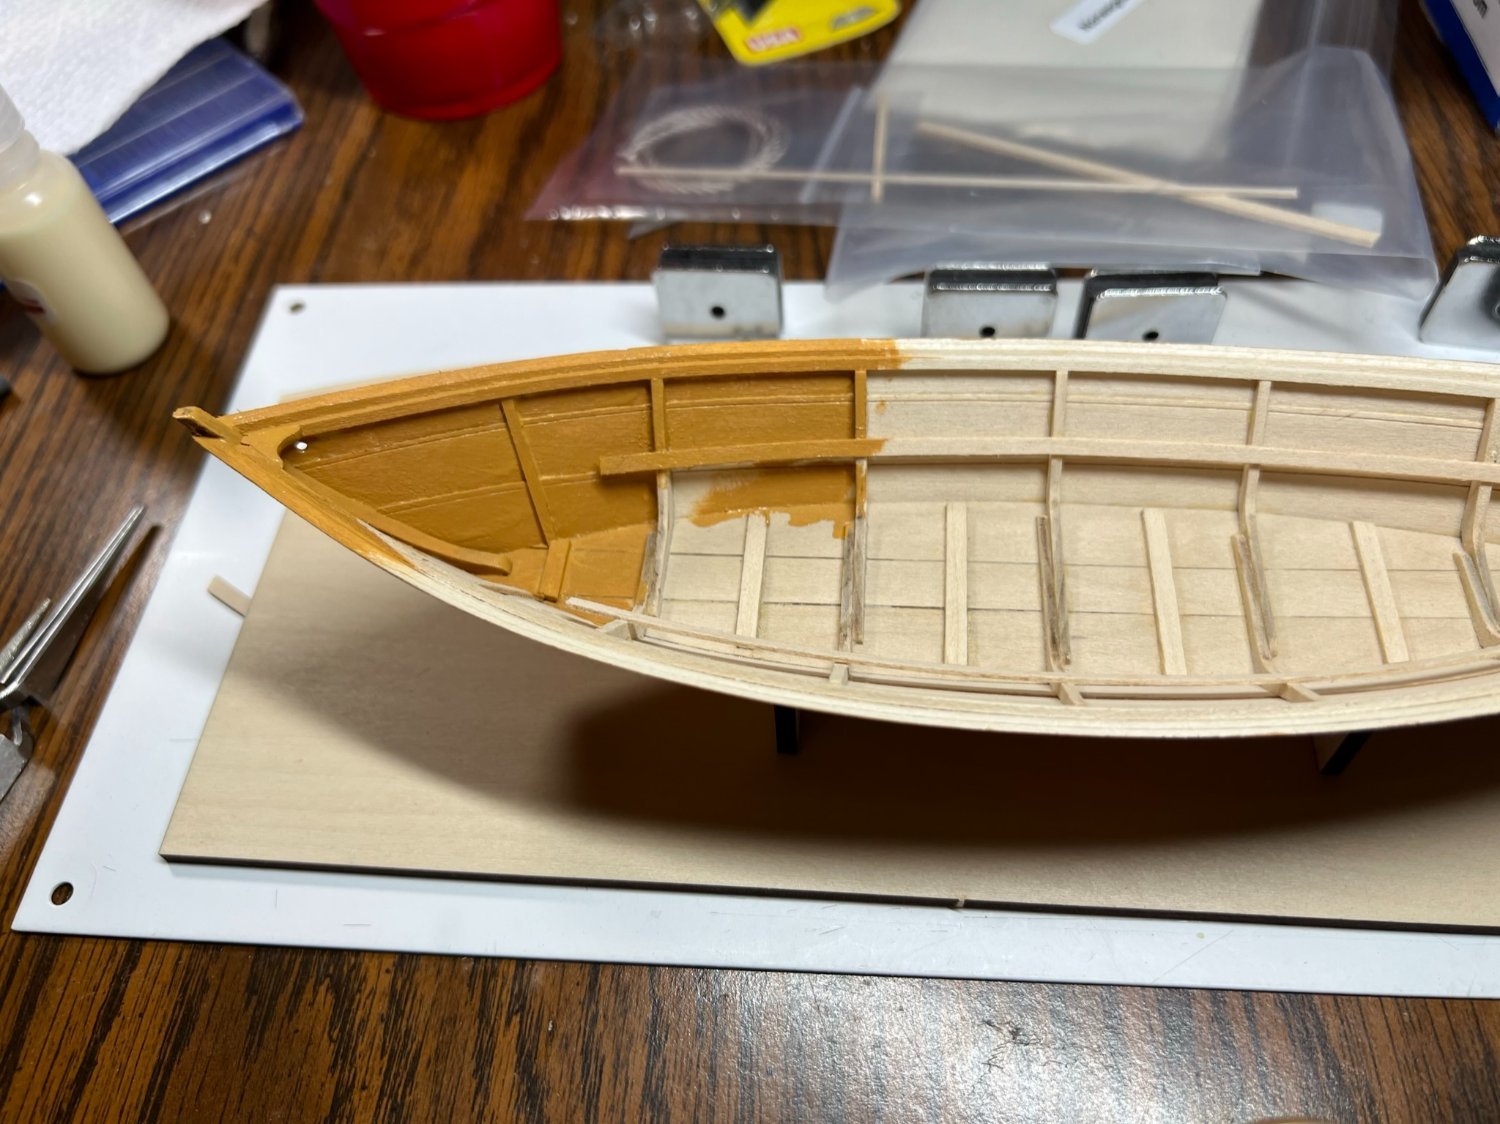
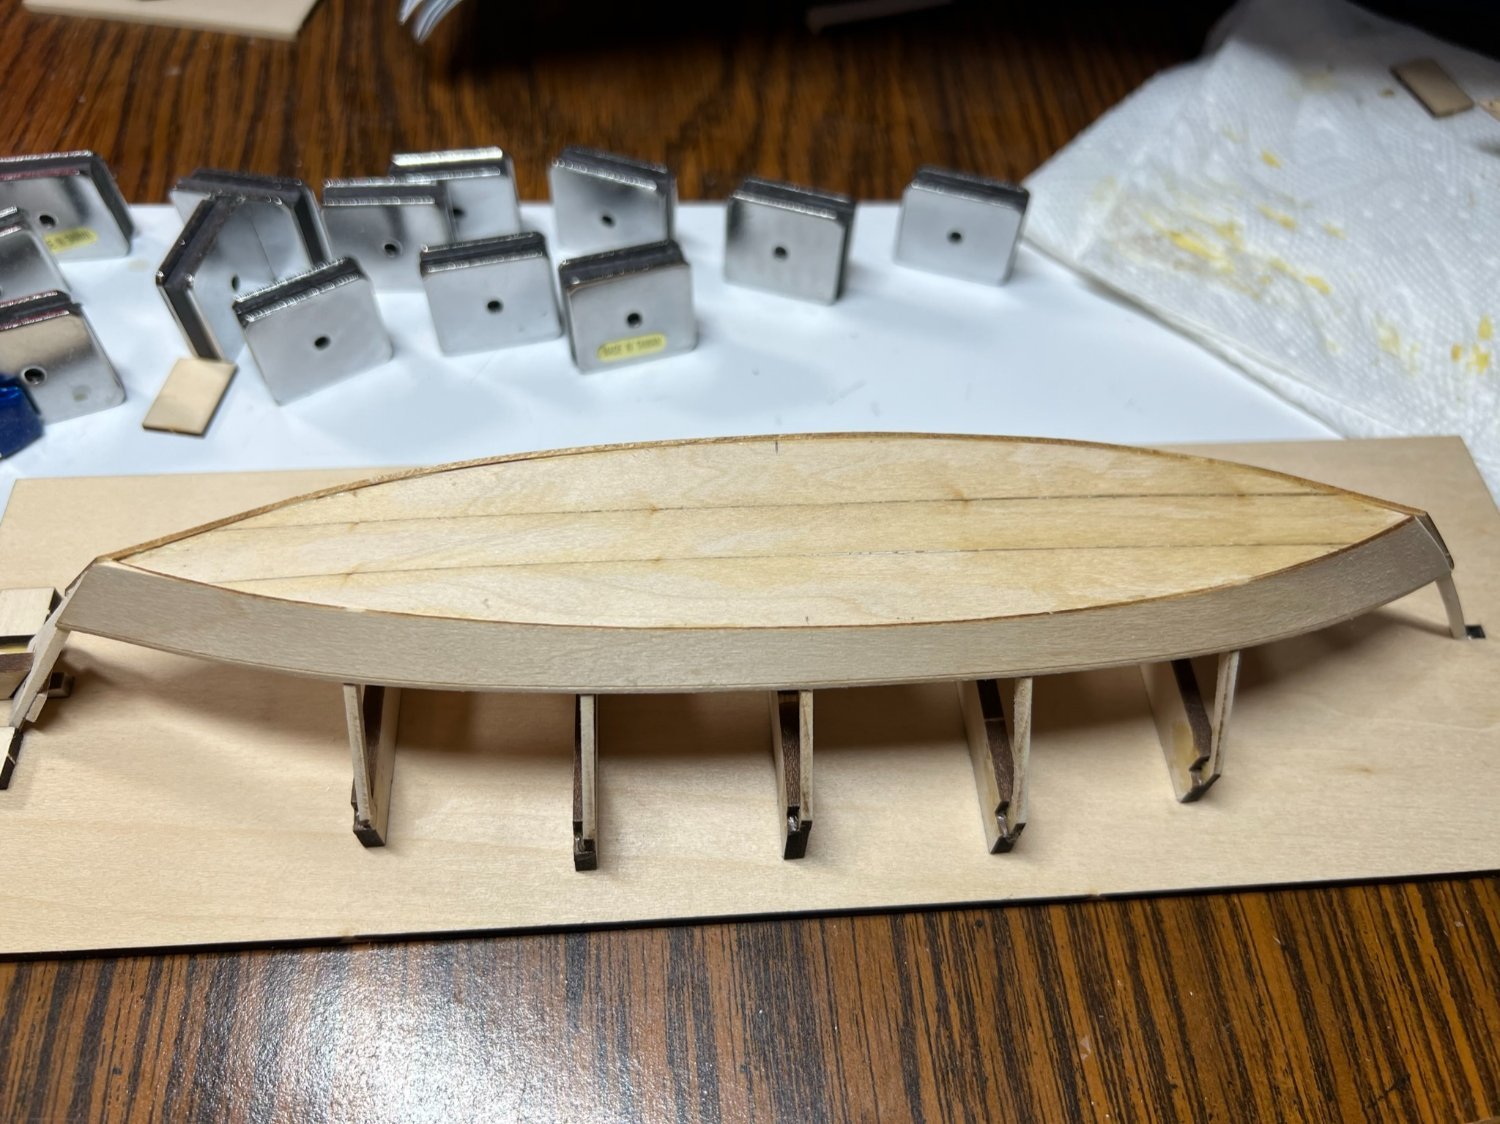
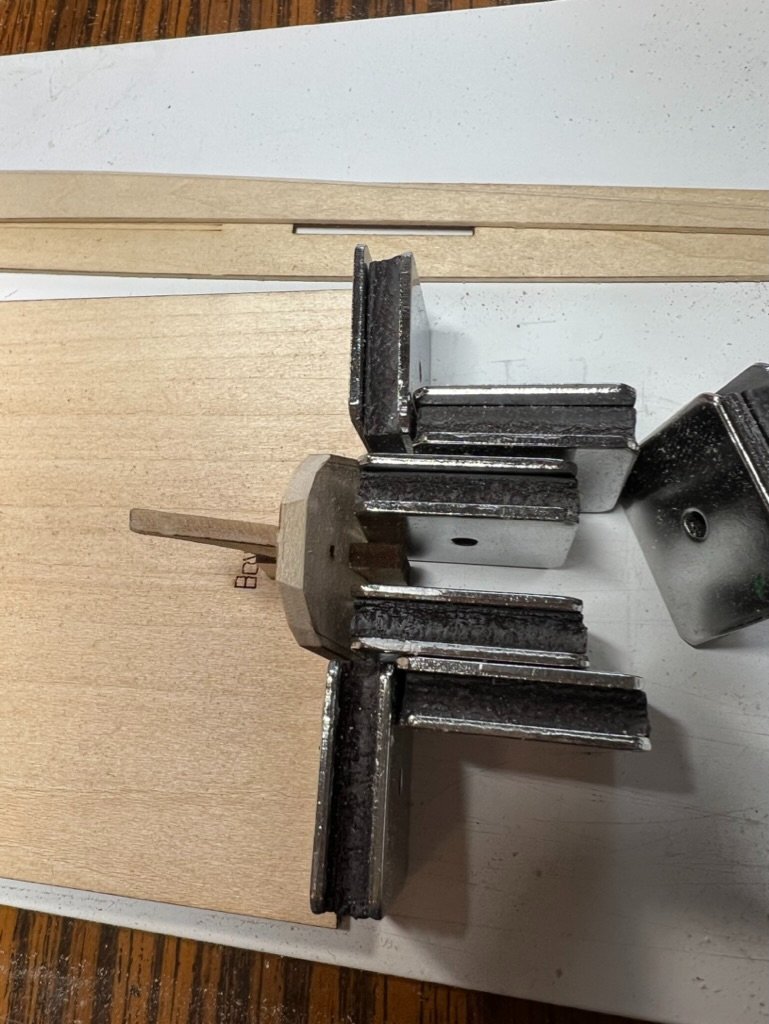
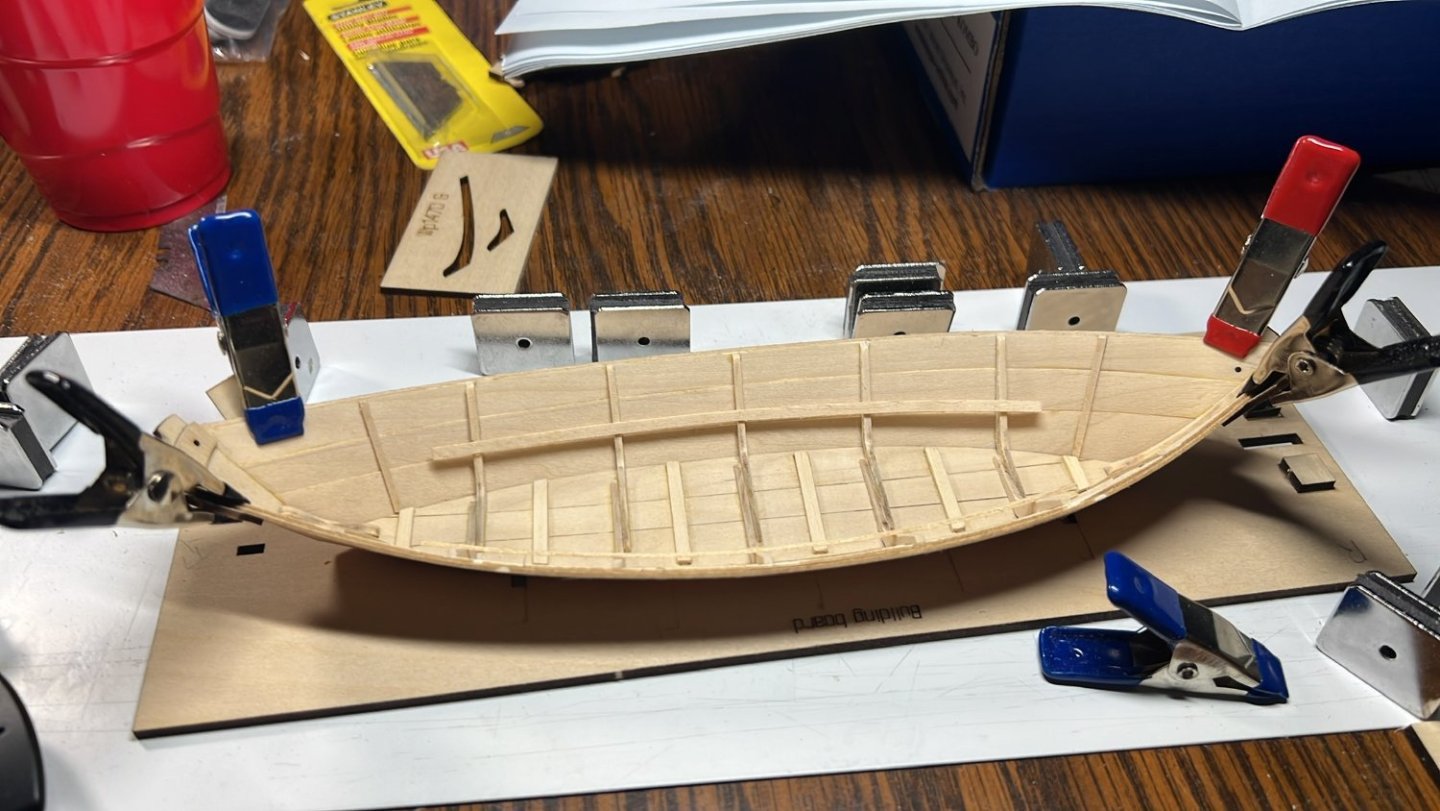
I didn't get a picture of the fill pieces added. Under the center plank the knee and the transom are filled to the thickness of the bottom planks. It turned out well.
- 72 replies
-
- 3
-

-
- Norwegian Sailing Pram
- Model Shipways
- (and 1 more)
-
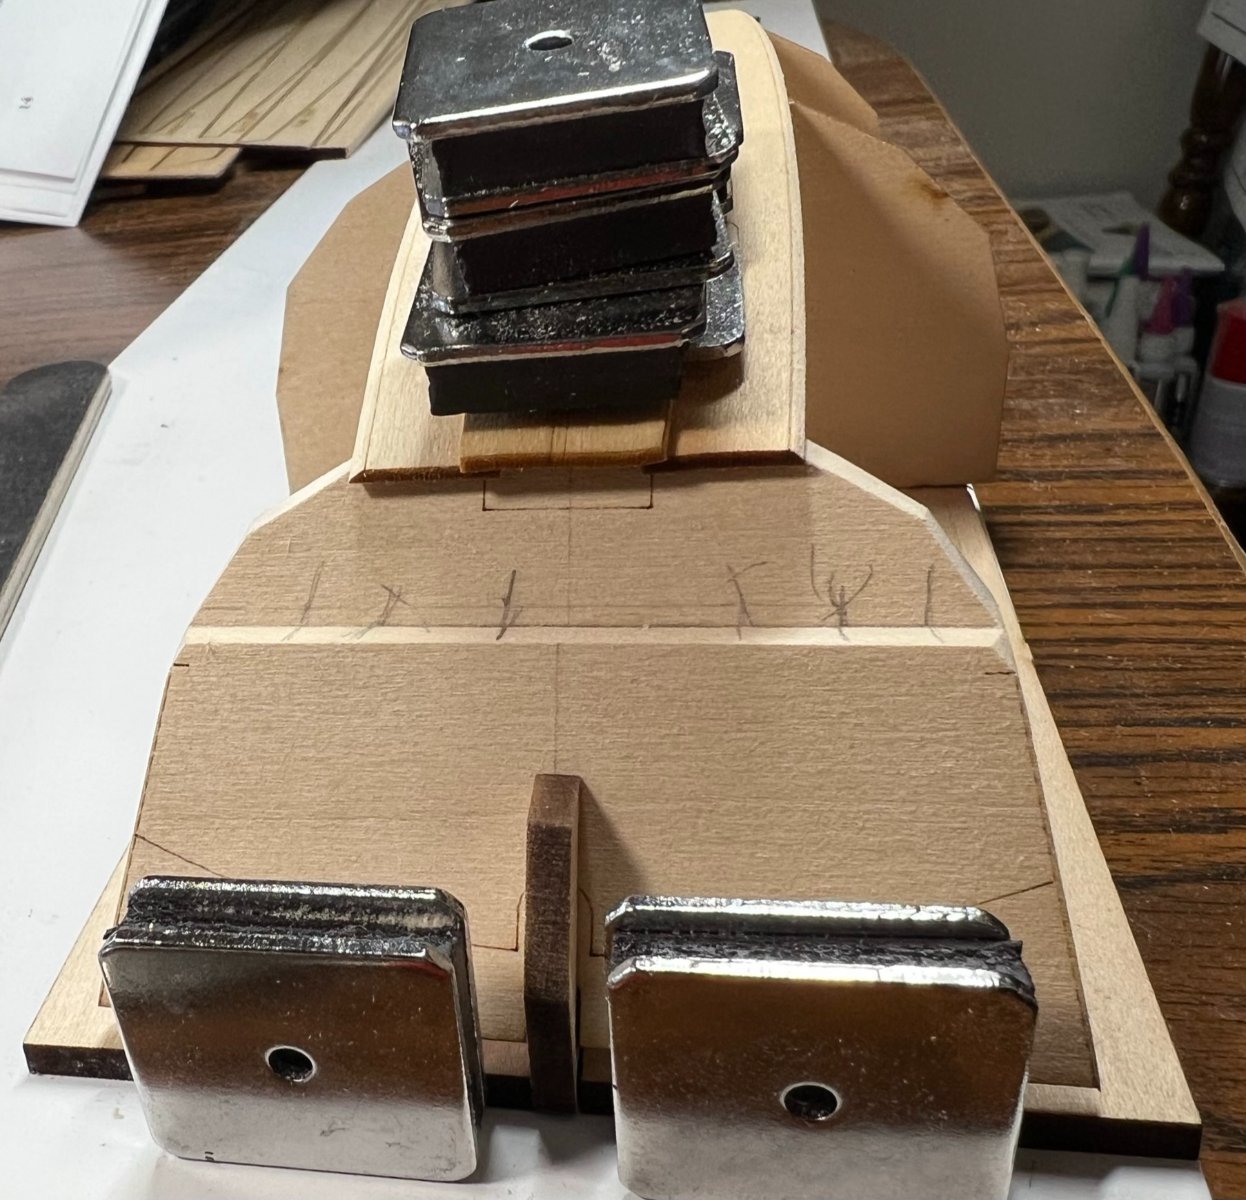
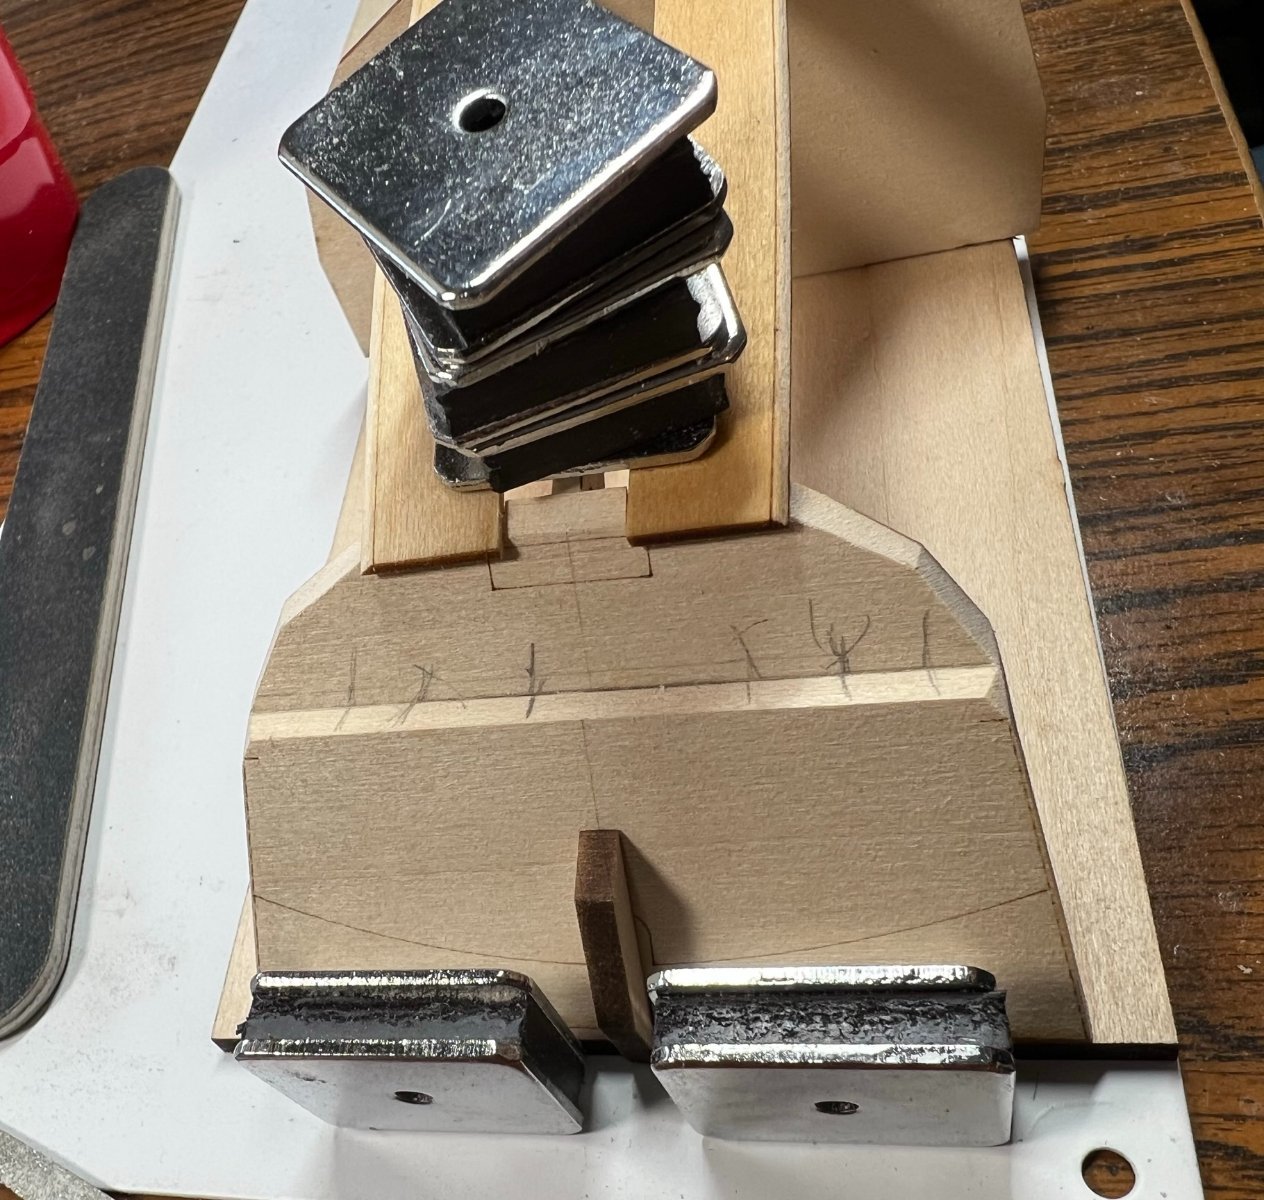
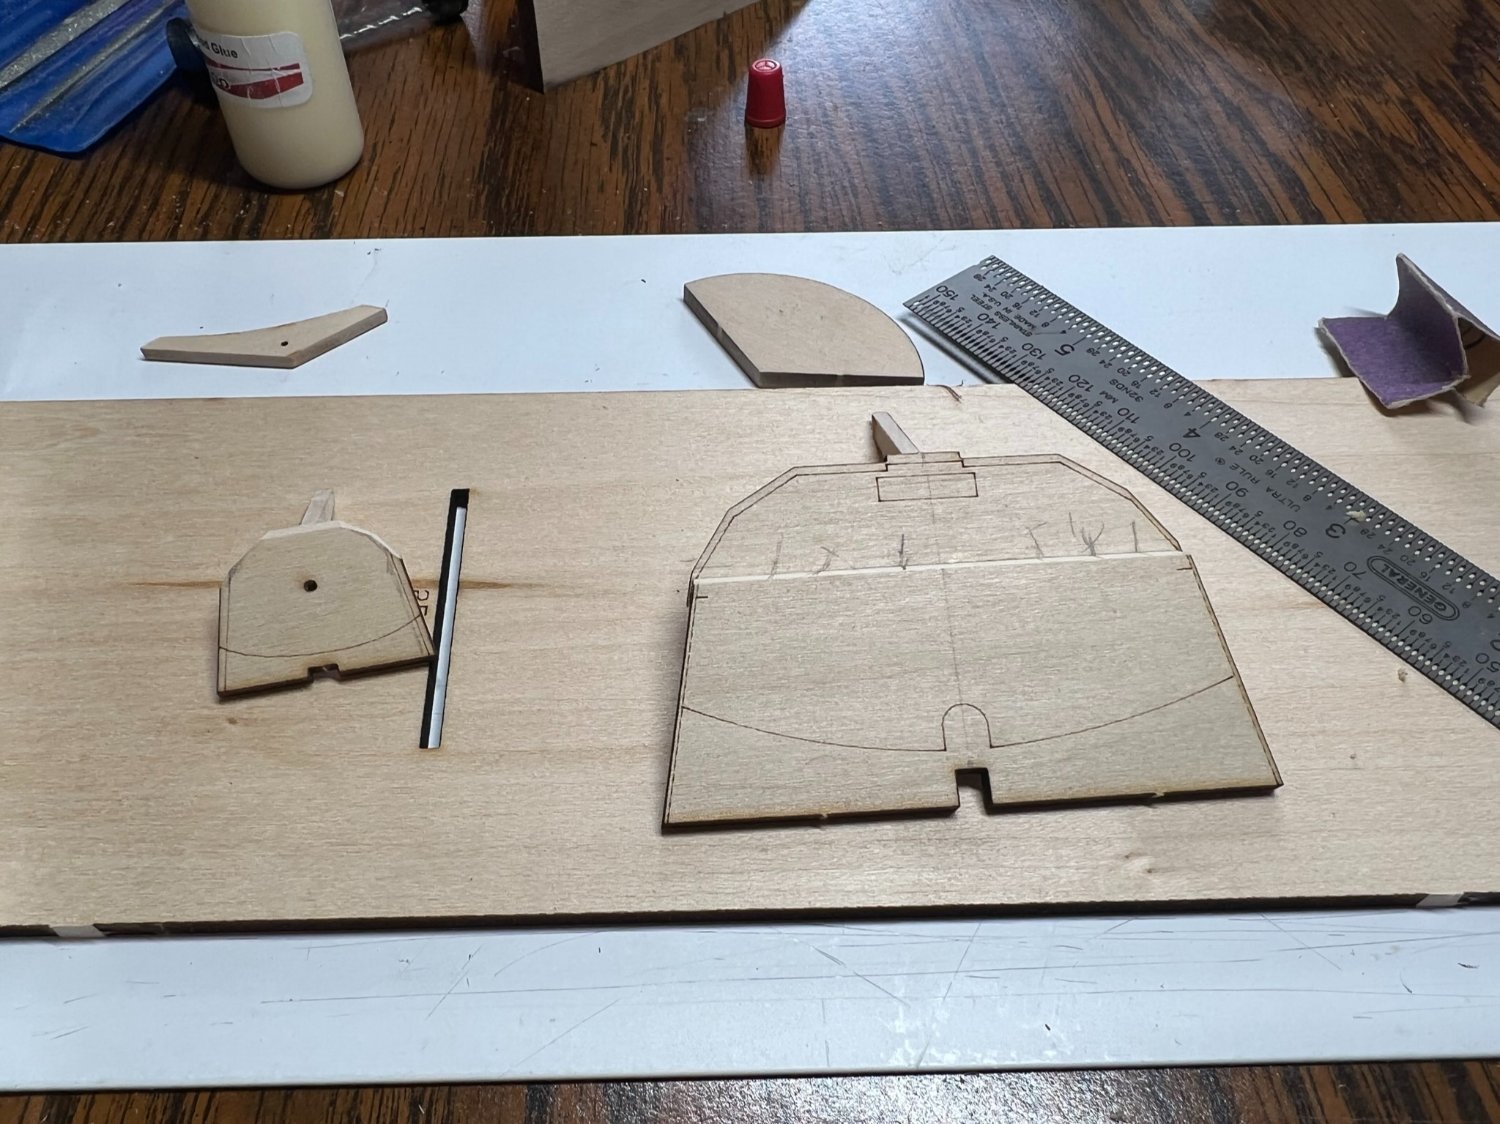
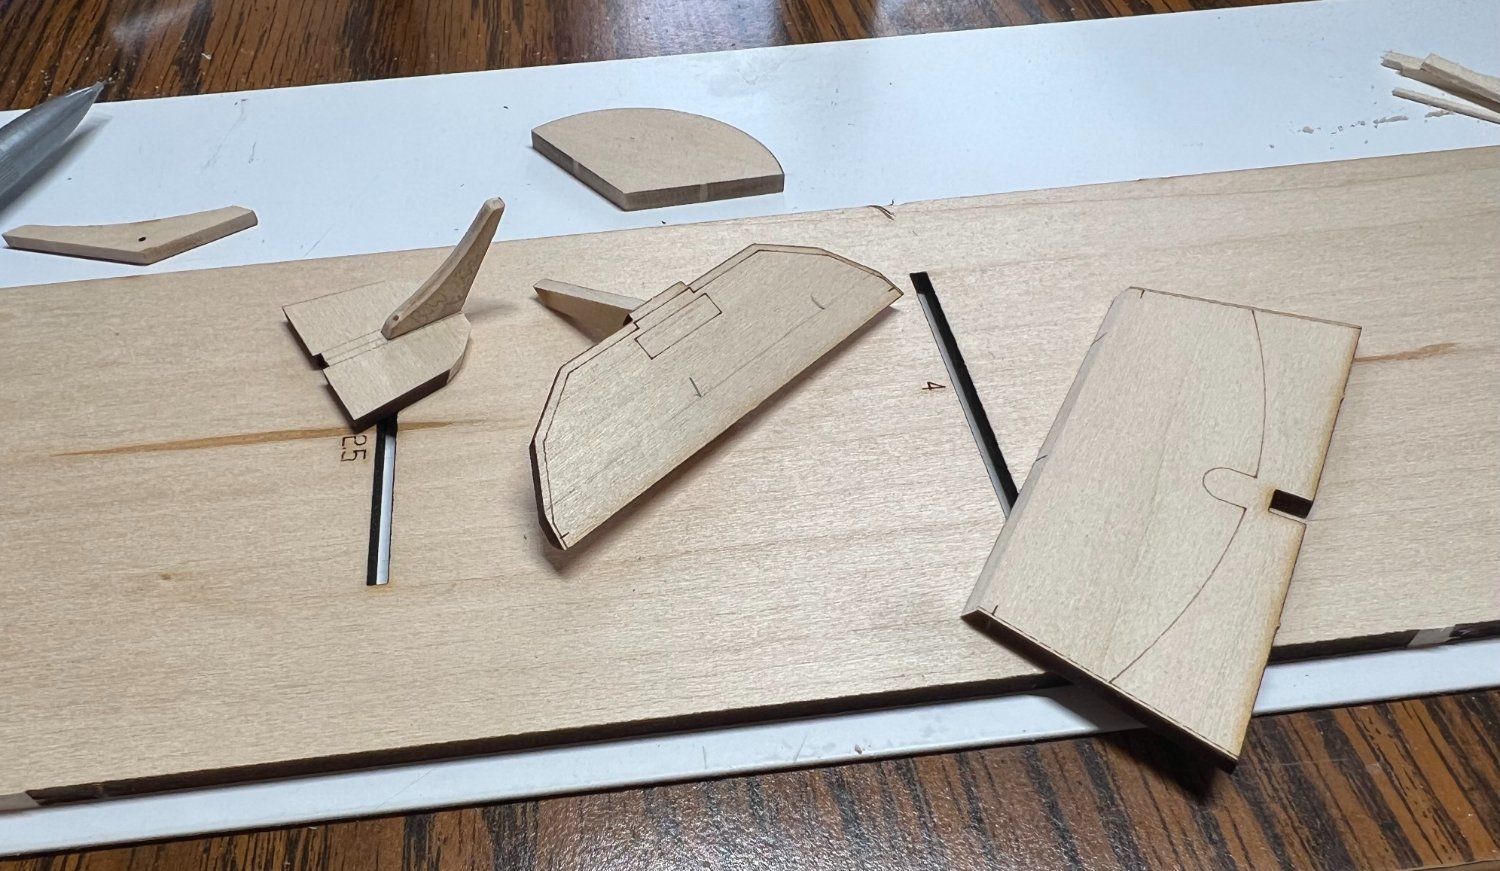
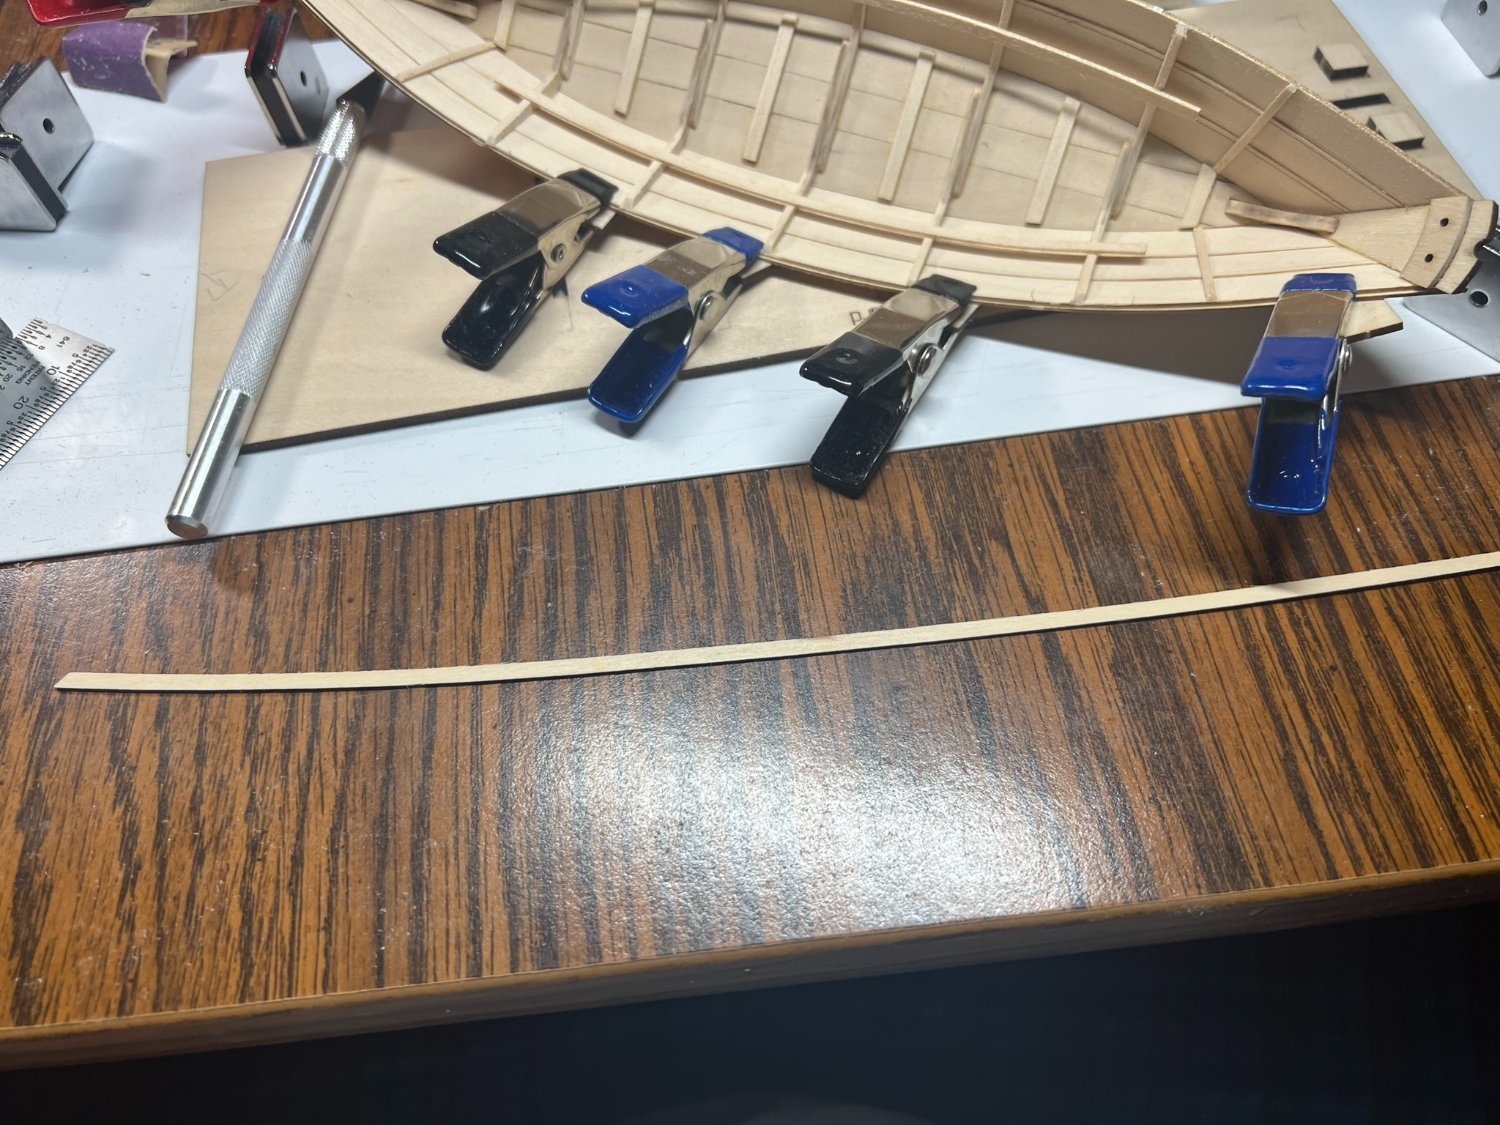
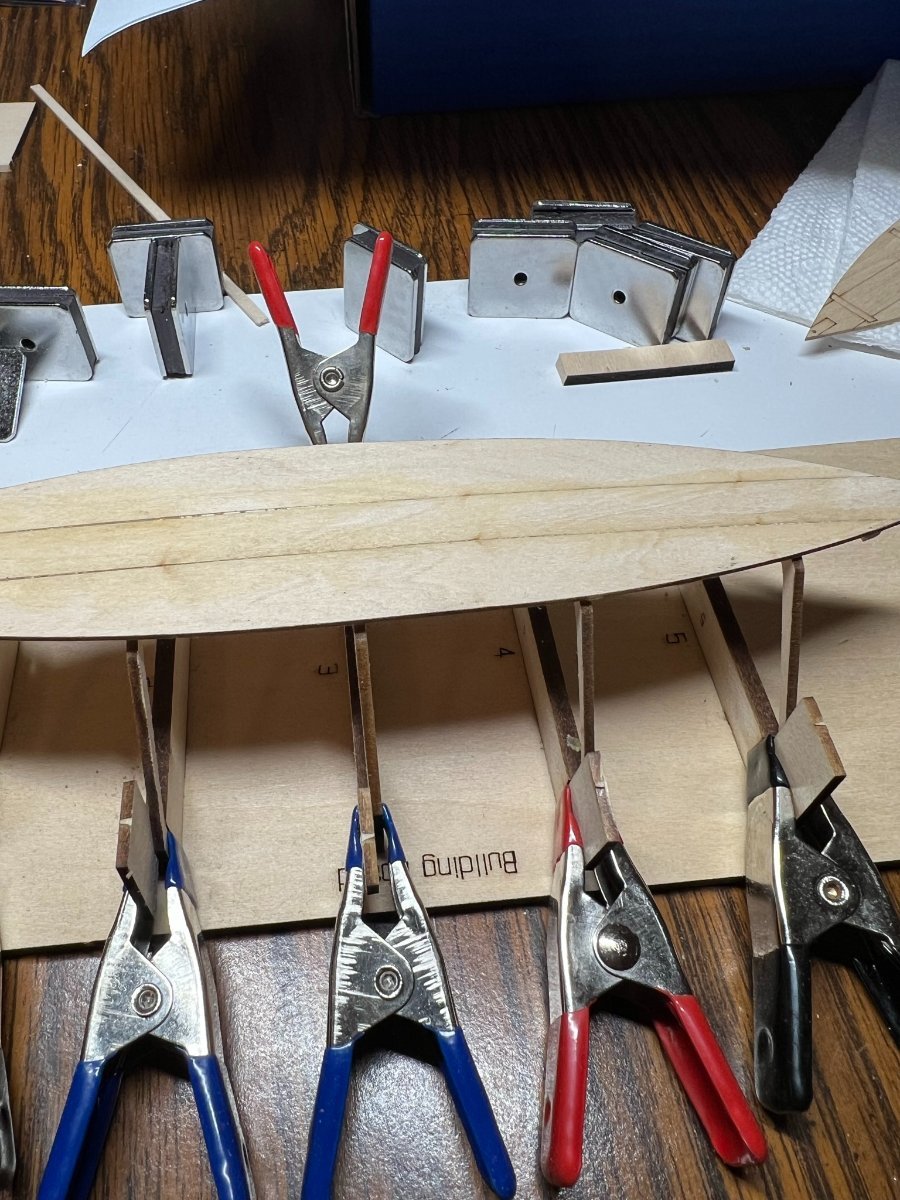
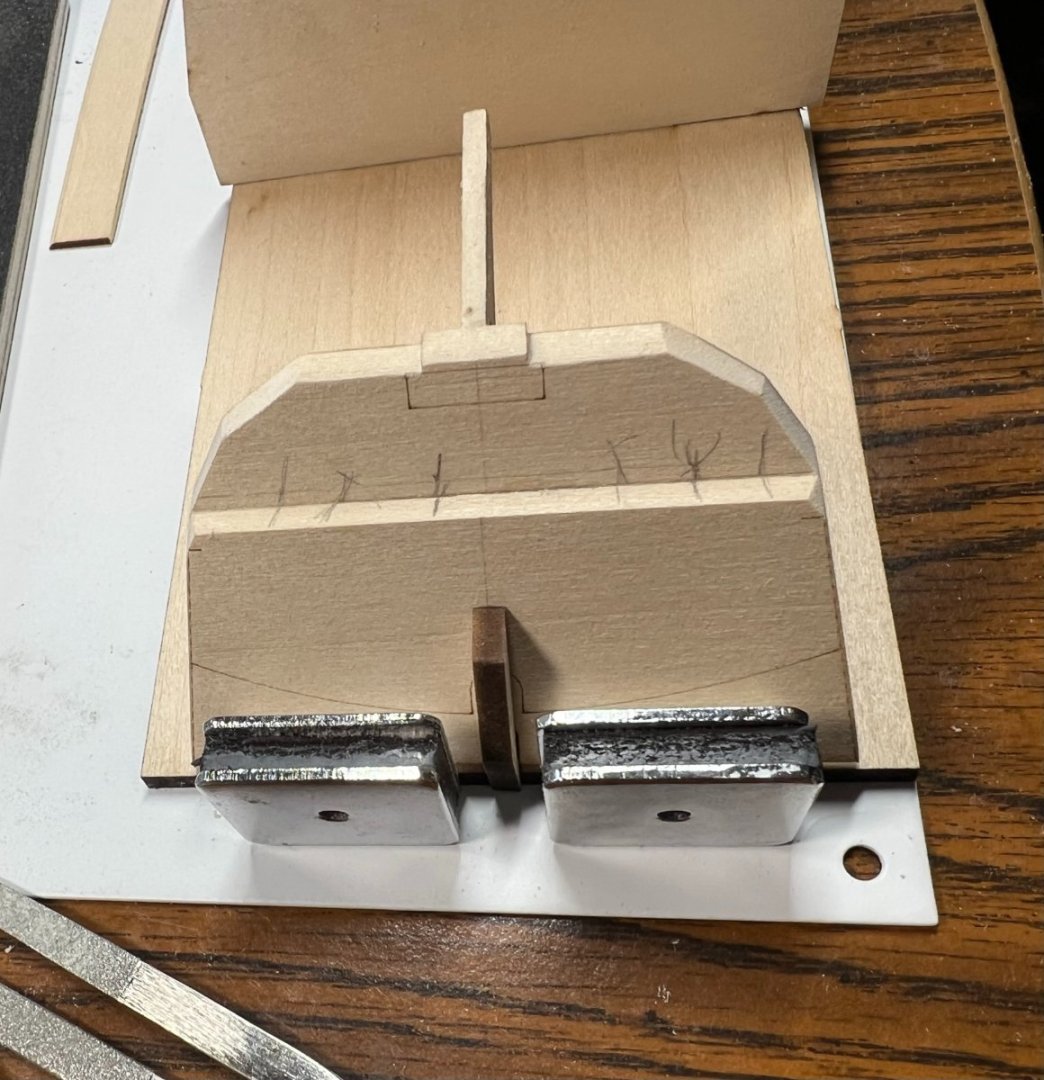
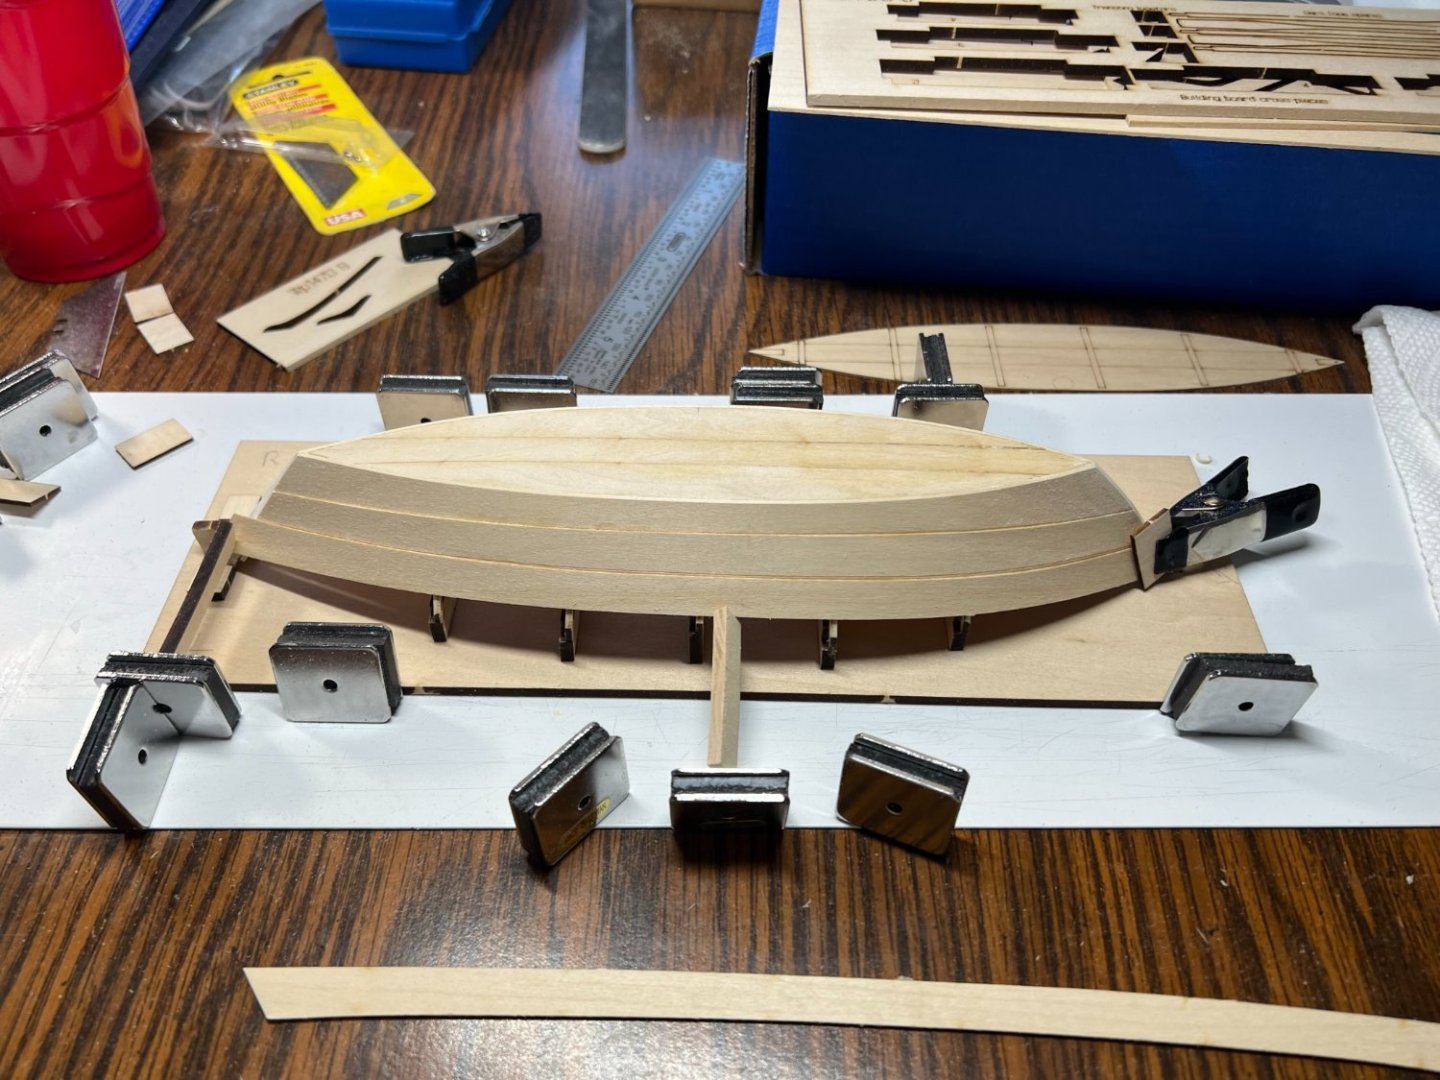
Stern and bow transoms ready to go. The stern transom beveling was to short in the middle if the knee was higher (lower as its upside down) it would be better. The height is the thickness of the bottom planks. Bending the bottom planks is easy with a cup of room temp water and an acid brush to soak the plank. Soaked and then bent gently in my fingers to the curve needed. Gently working and stretching the plank in to the curve. Twisting and gently working the wood loose so it will bend. Resoaking helps. Its less than a minute to do, none of them have been done with hot water. I would think it would make a wet noodle of wood that hot and soaked. The soak and bend keeps the shape and doesn't go back when held and dried.

- 72 replies
-
- 3
-
-
- Norwegian Sailing Pram
- Model Shipways
- (and 1 more)
-
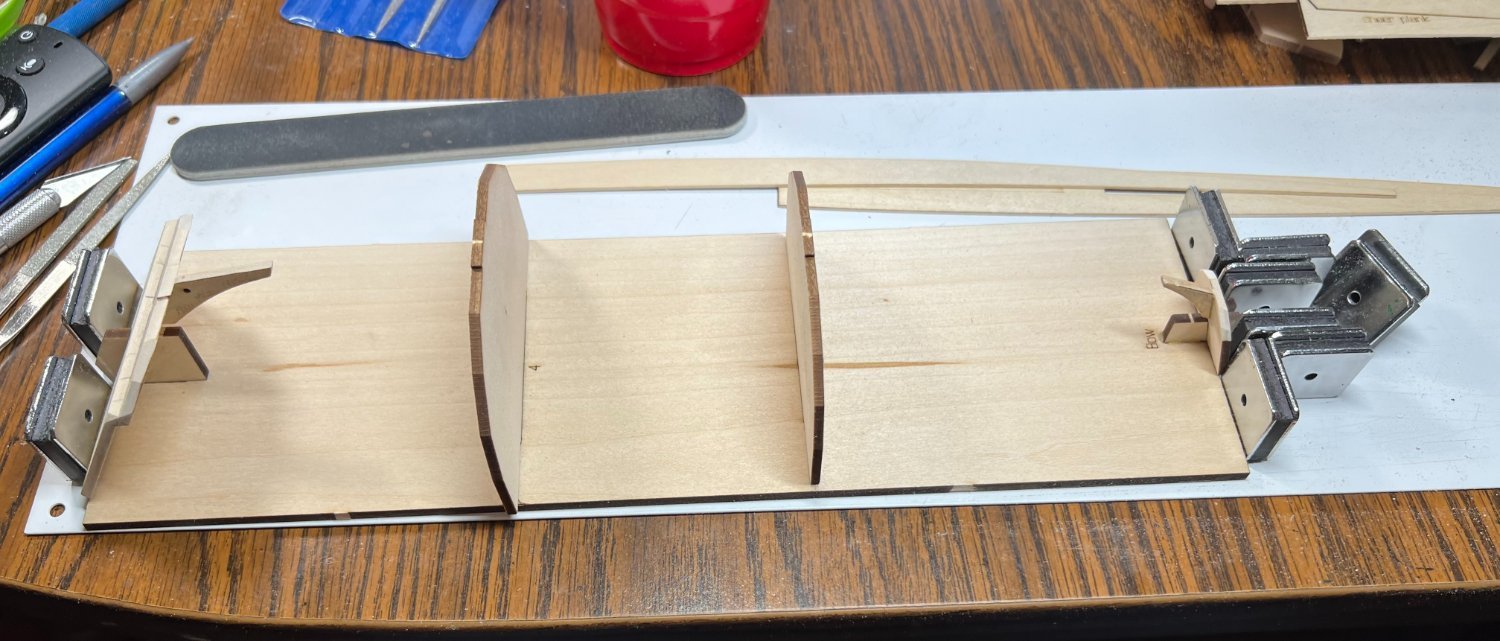
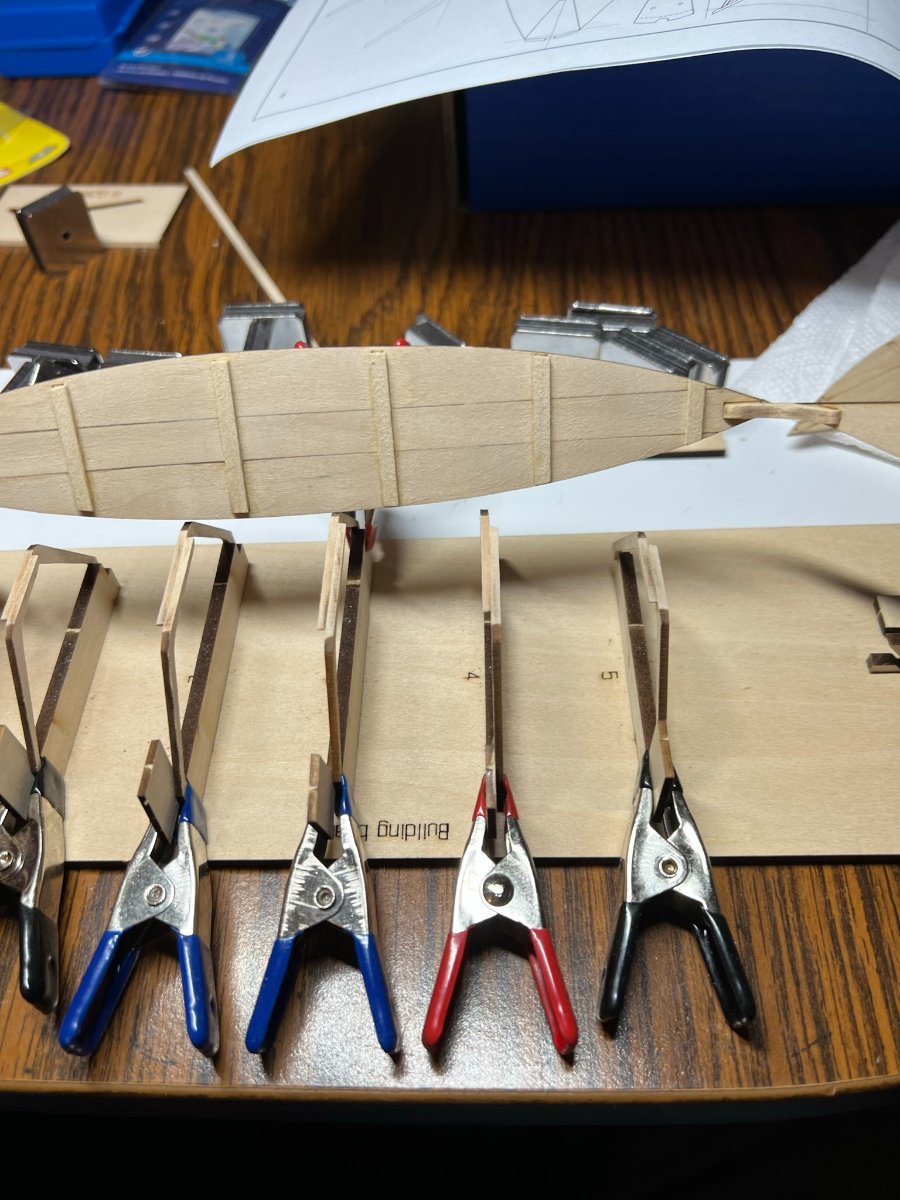
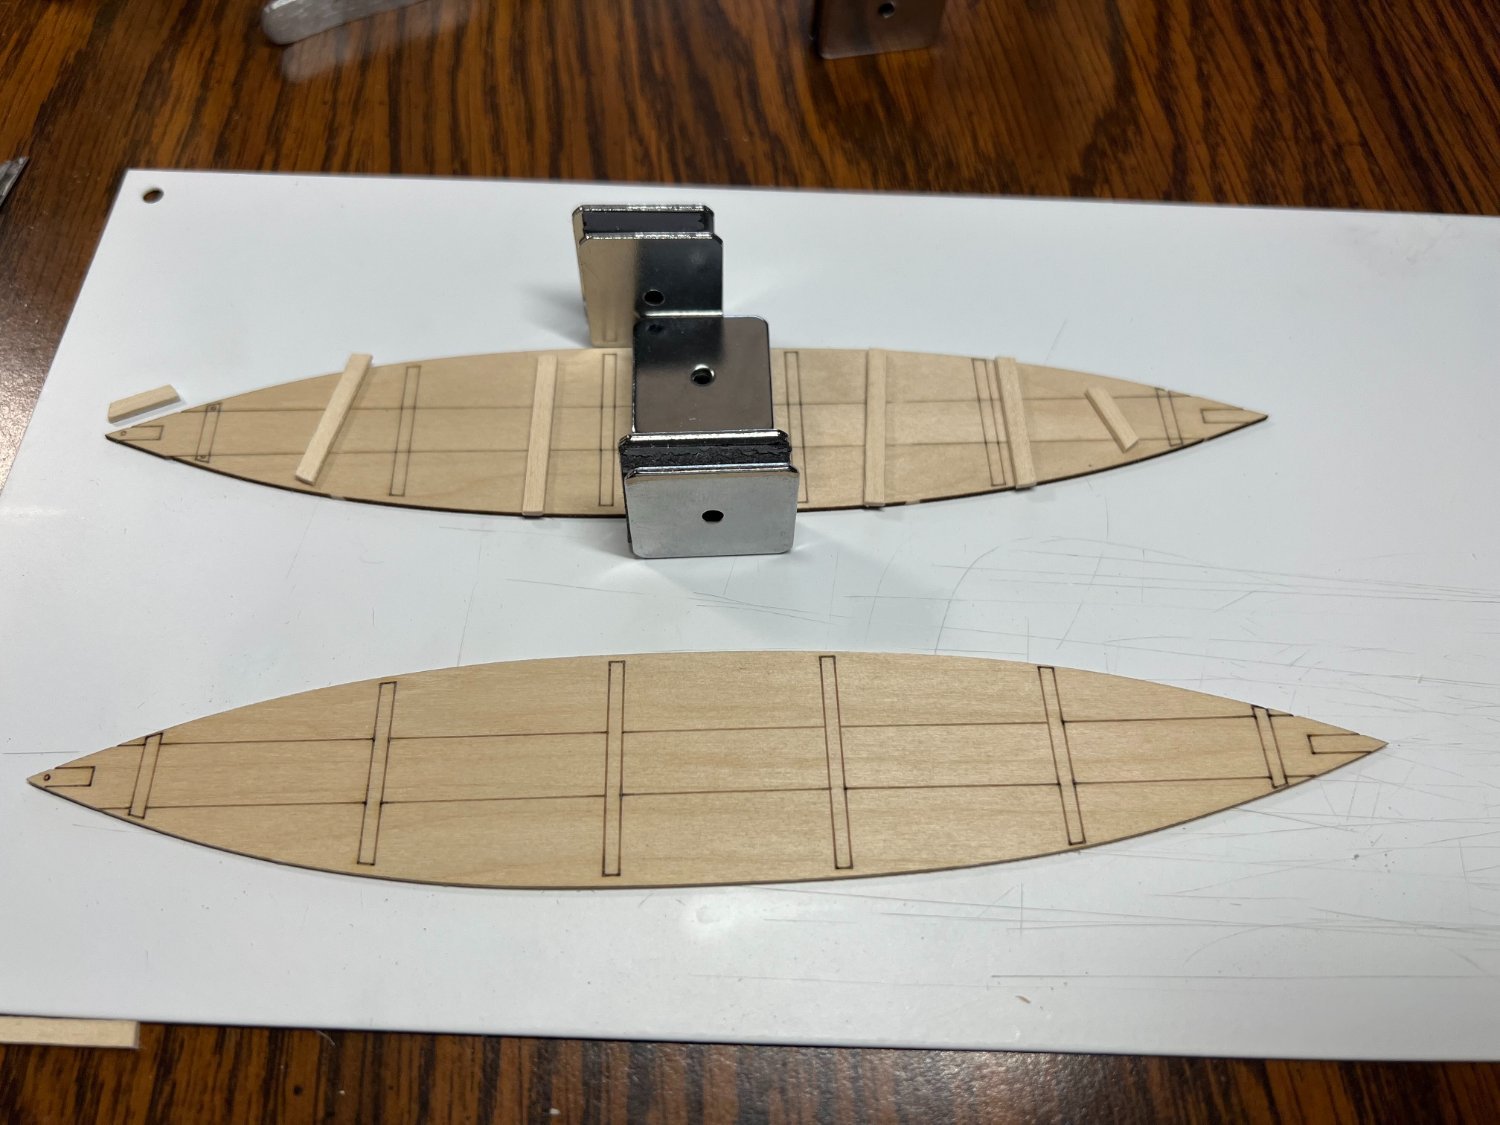
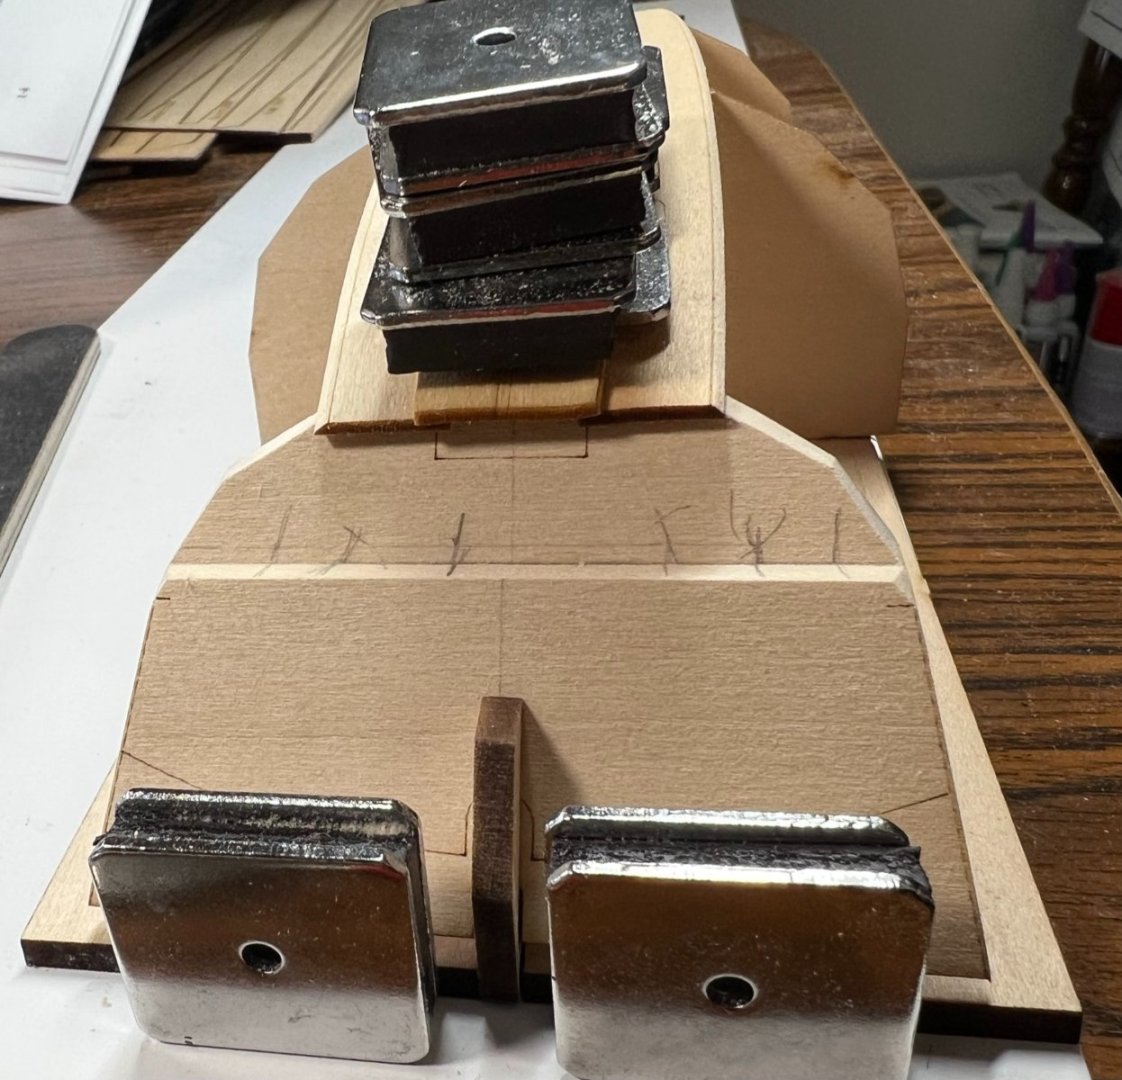
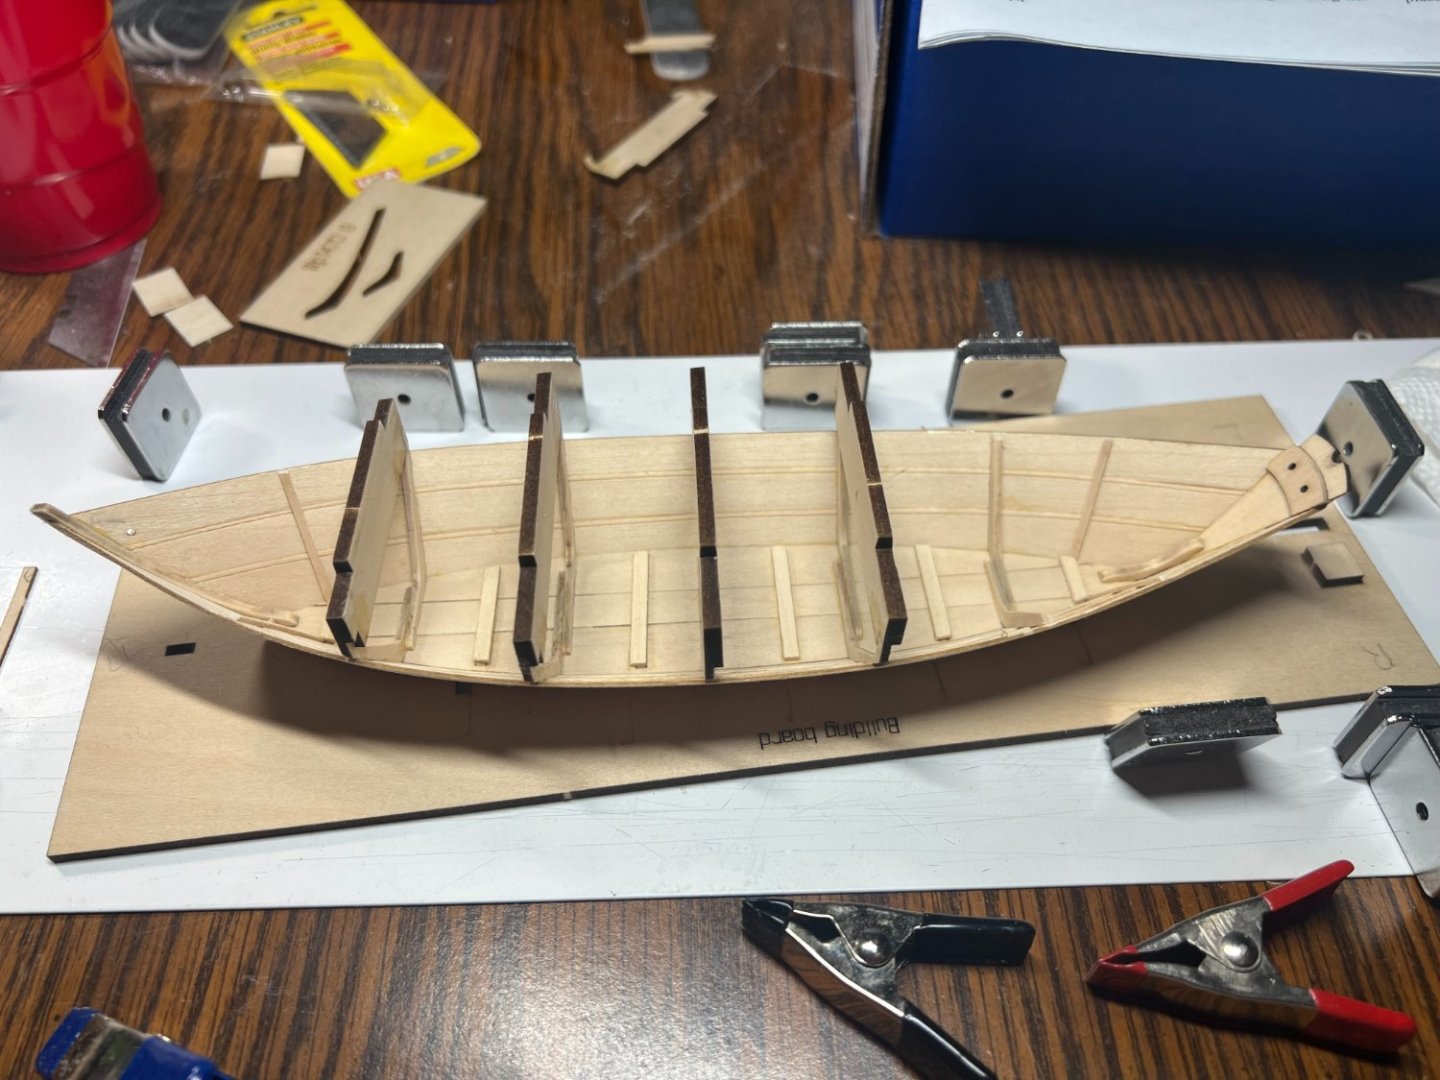
Bow and stern transoms. The bevel was handy as described to bevel the stern transom. Knowing what I know as I write this, the stern knee needs to be a tad above the top (bottom) of the stern. I had to add a little to the stern to make it work better. The instructions say the rear stern in 2 parts has exactly 1/8 overlay. The small marks kind of make you think they should line up. It might make the stern transom to short if glued in place there. Time will tell if I made the right location to glue it. The building form was easy enough. I securely glued the bow support. The middle pieces are a tight fit. The stern is not glued.


- 72 replies
-
- 3
-
-
- Norwegian Sailing Pram
- Model Shipways
- (and 1 more)
-
Thank you, the first one I finished!
- 21 replies
-
- 1
-
-
- Lowell Grand Banks Dory
- Model Shipways
- (and 1 more)
-
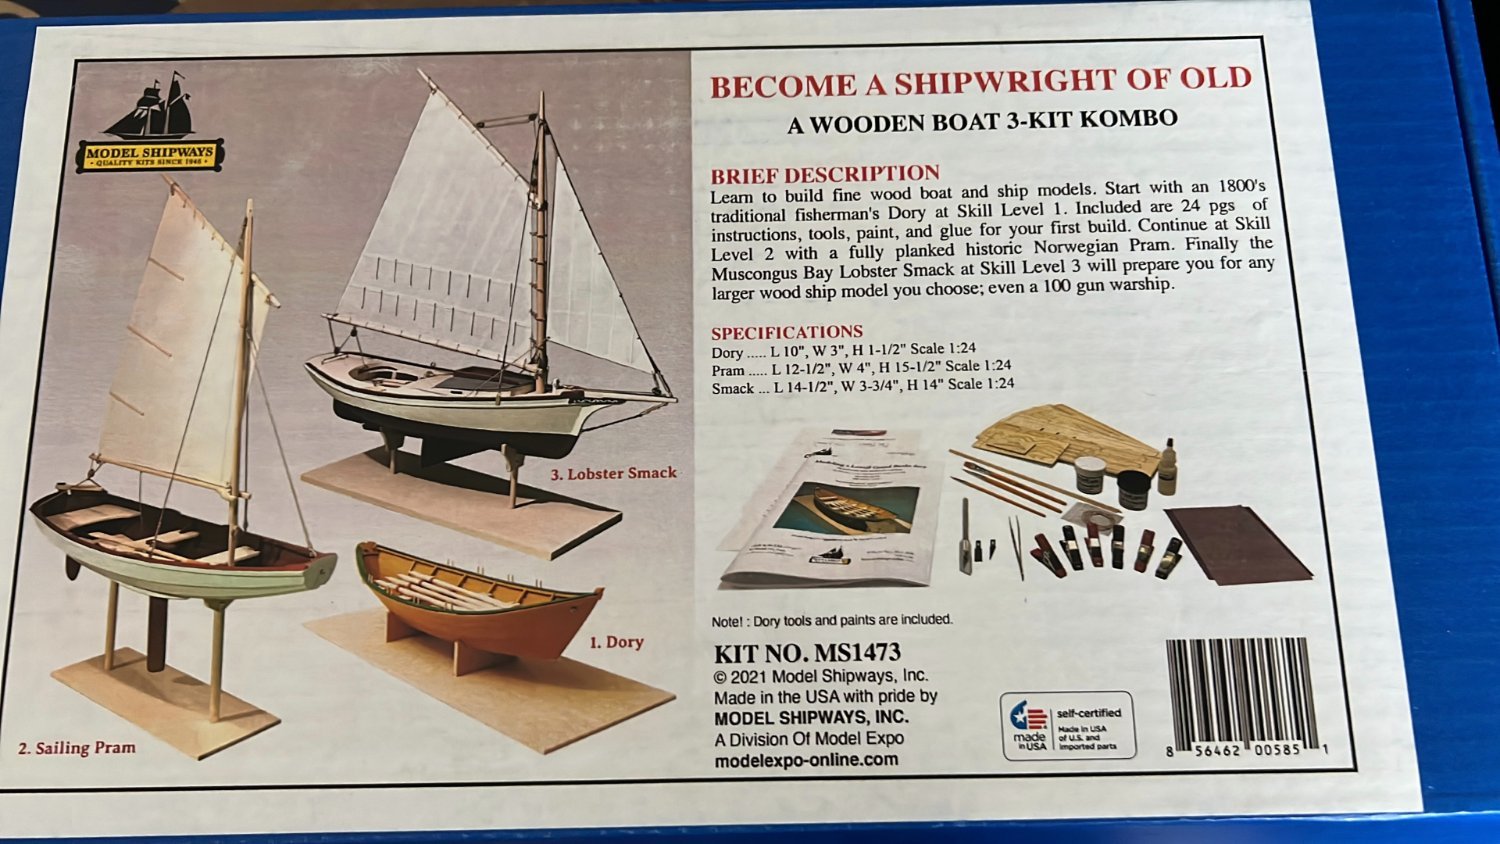
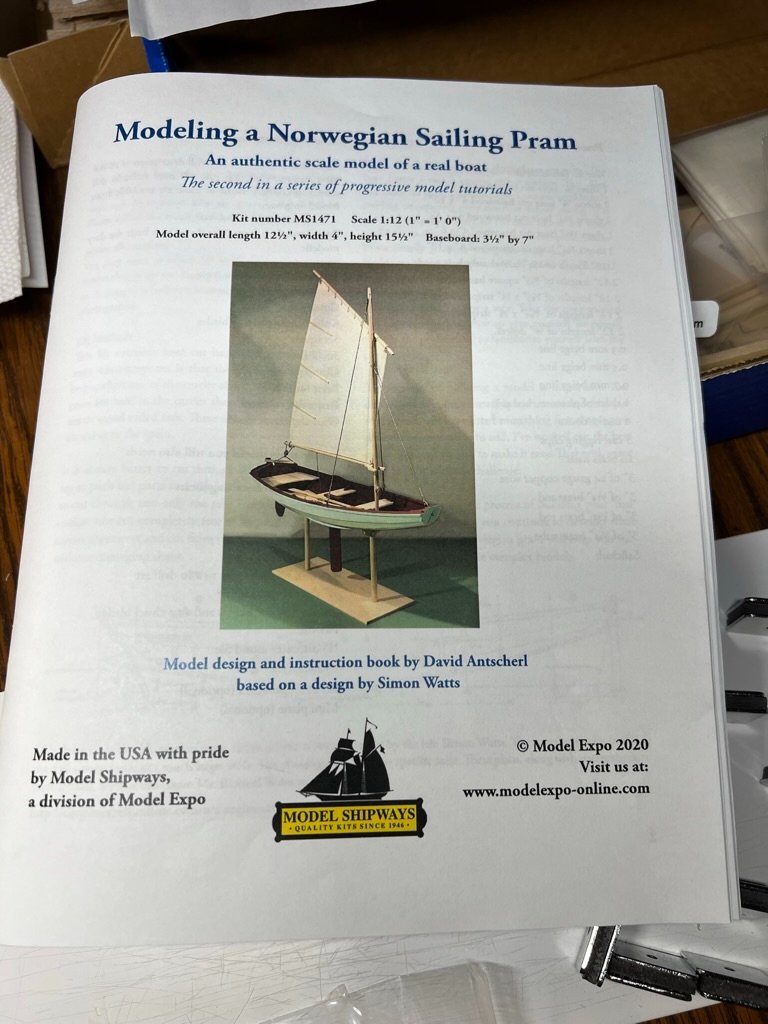
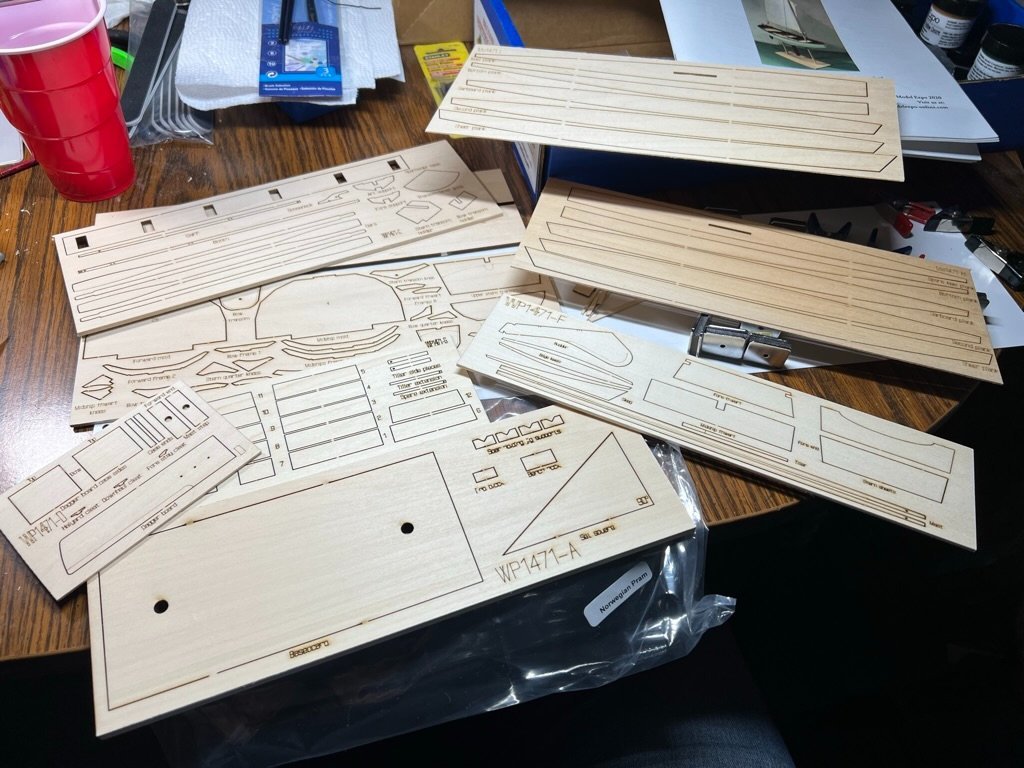
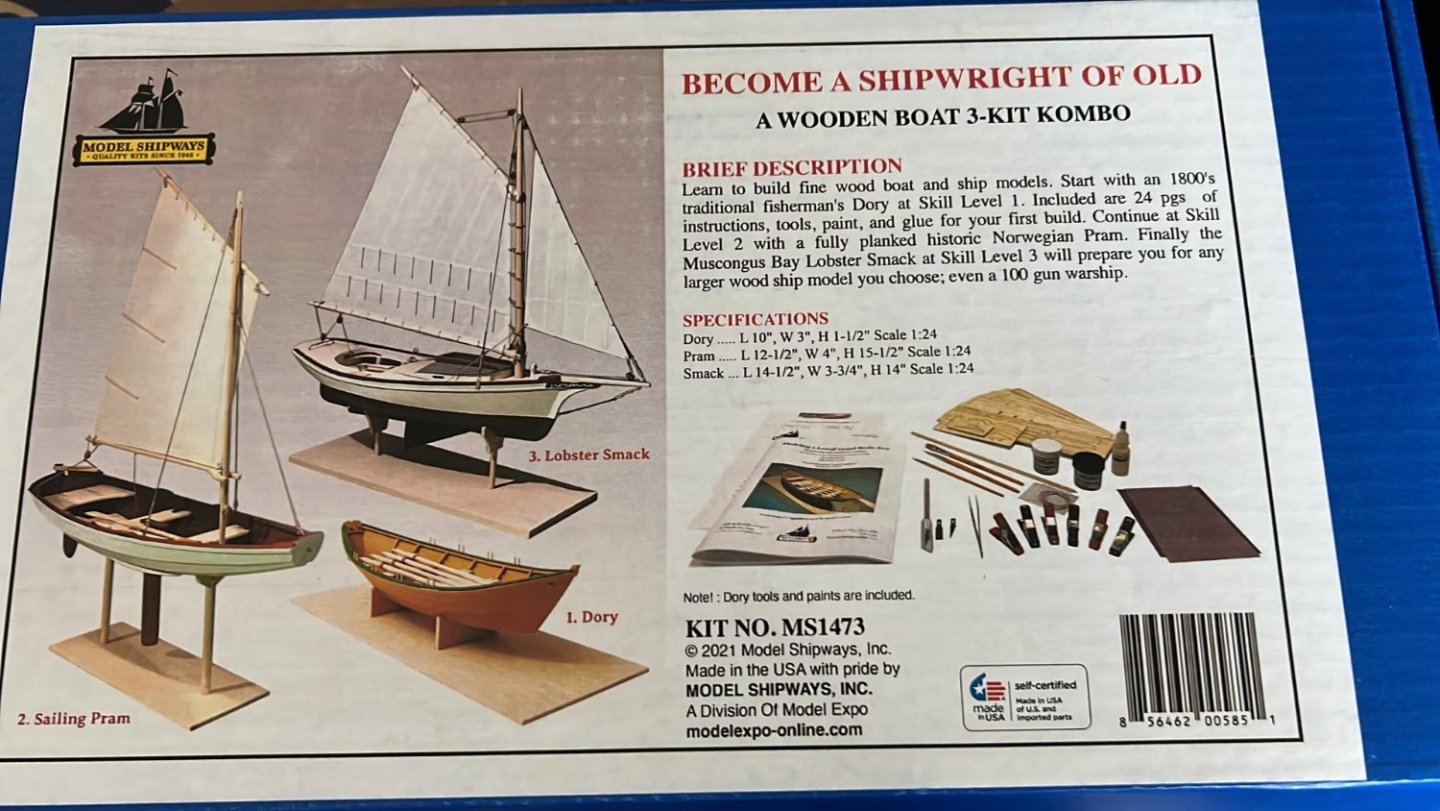
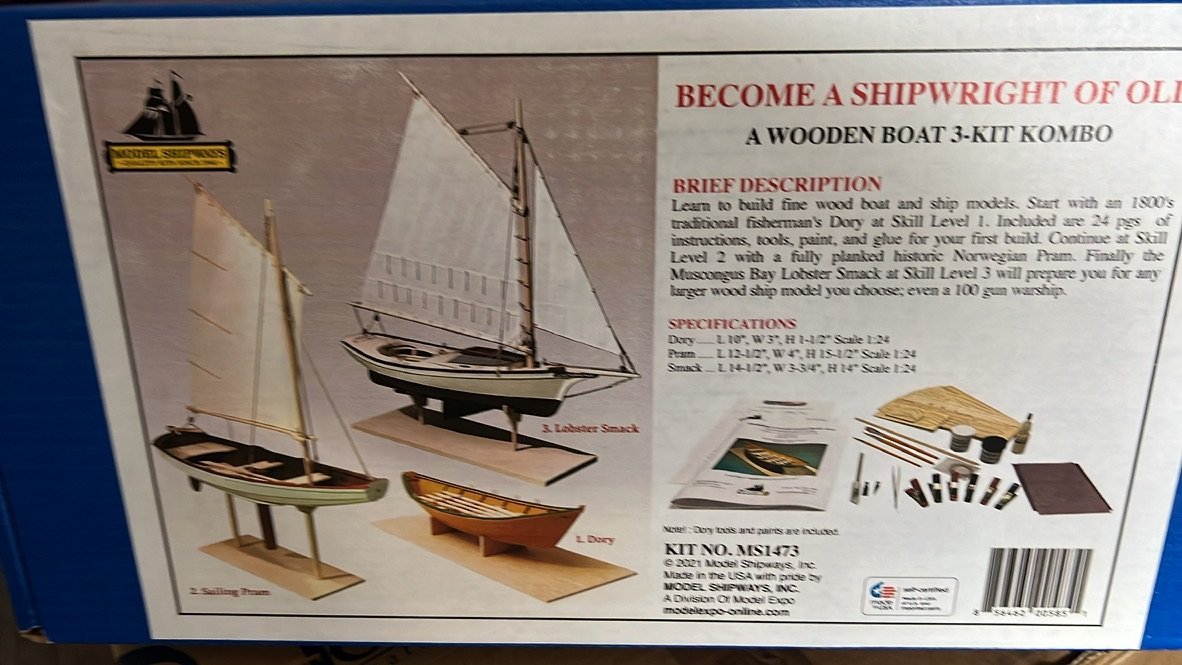
Build 2 of the 3 part series Become A Shipwright of Old. Norwegian Sailing Pram. Kit number MS1471 The Grand Banks Dory was completed on March 20th, 2023. The build log for that is in other places of course. The Dory The Muscongus Bay Lobster Smack build The plan is to learn and build my way into a larger project with some skill and confidence to make it turn out well. So far the learning has been useful. This kit is a bit more complicated. But it does look like fun. I bought the full size real plans from Simon Watts, they did help answer many questions about how to build. The plans were $30 and were a pfd download with the rights to print the 3 full size sheets actual size, a local printer shop would be needed. It was well worth the $30 to get a great idea how to do certain parts. Started on March 18th, 2023.
- 72 replies
-
- 5
-
-
- Norwegian Sailing Pram
- Model Shipways
- (and 1 more)
-
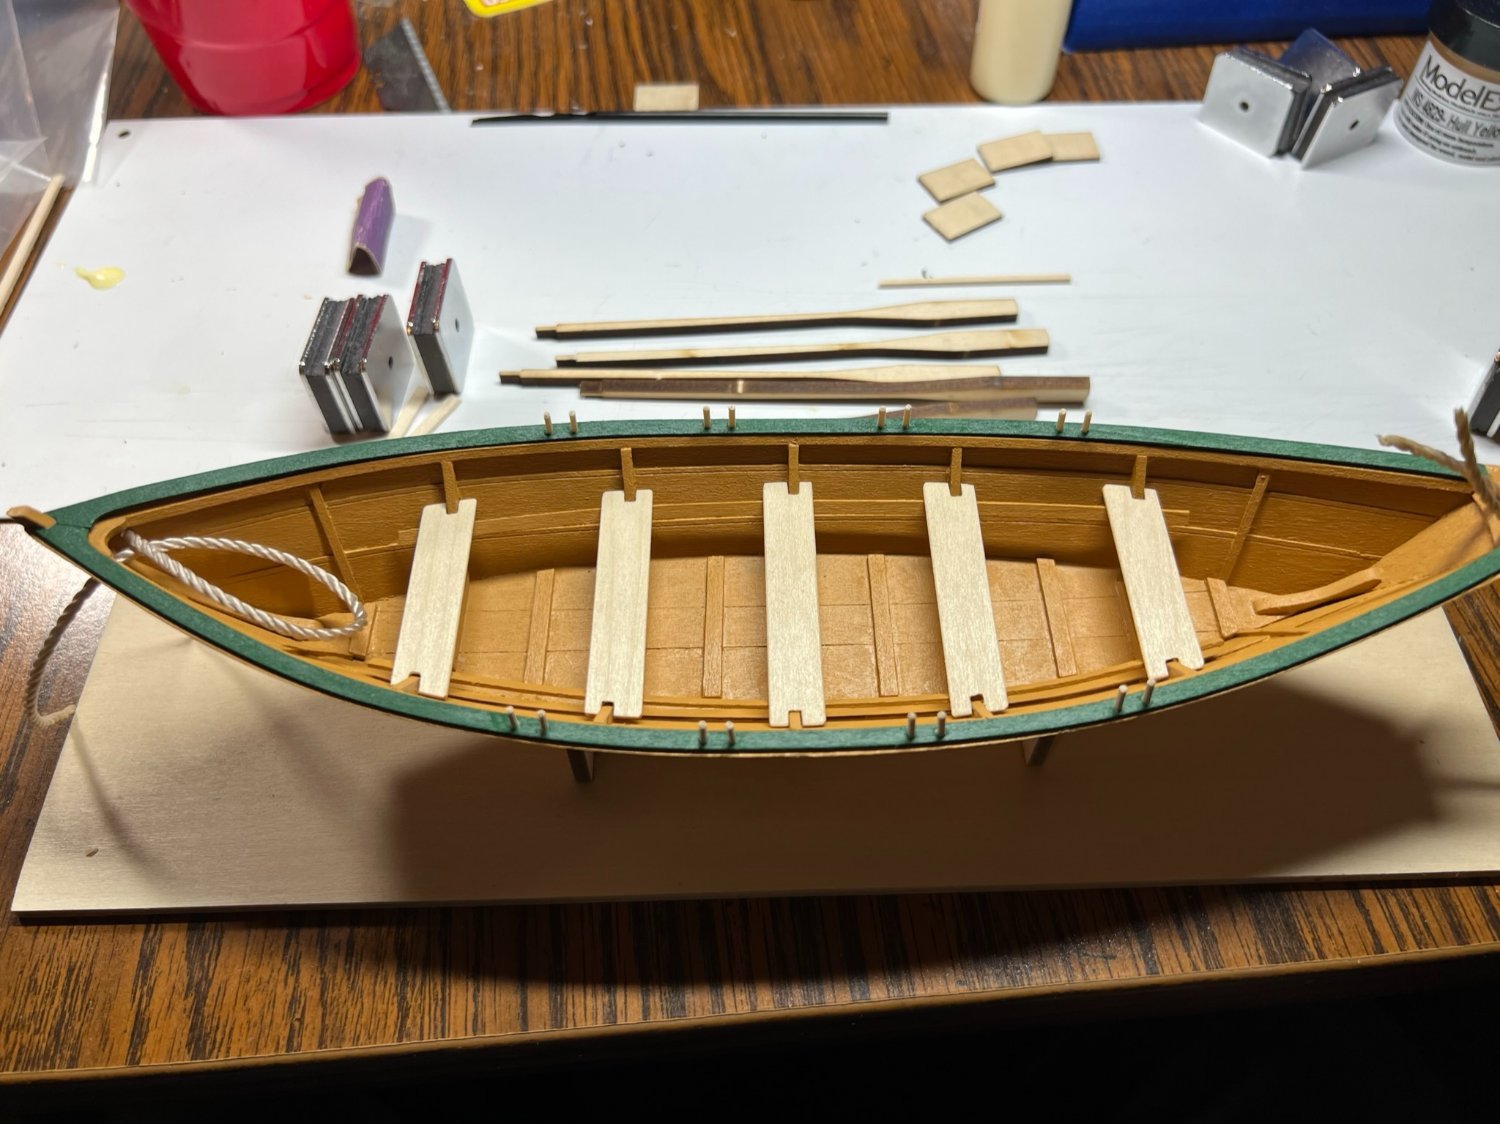
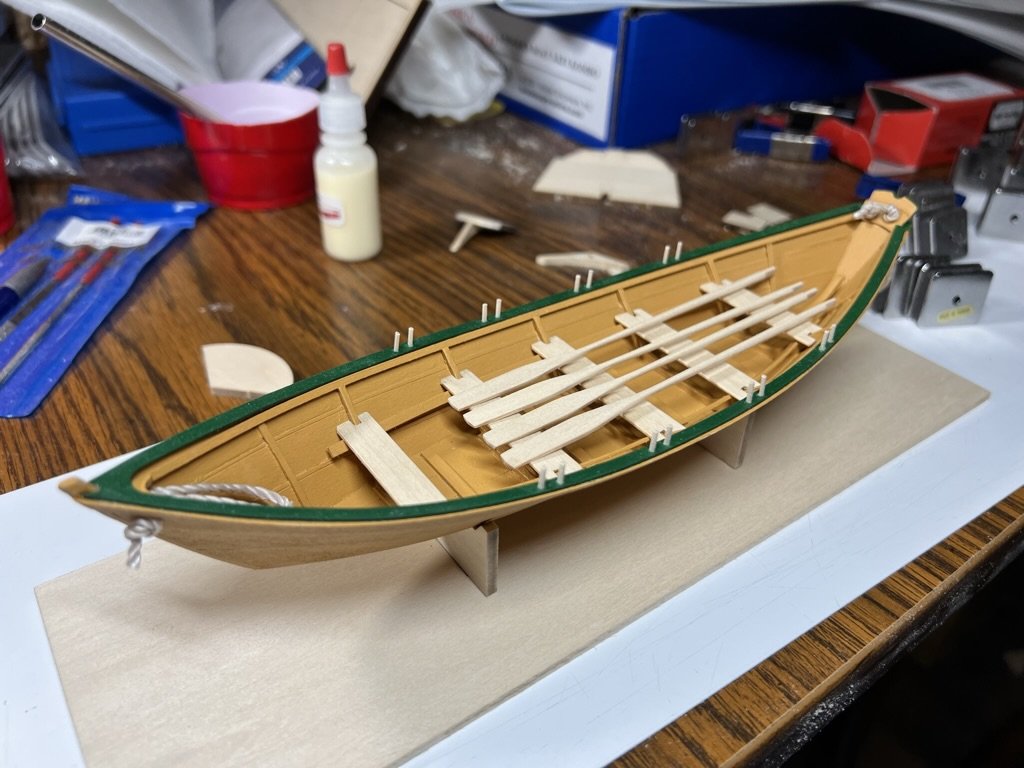
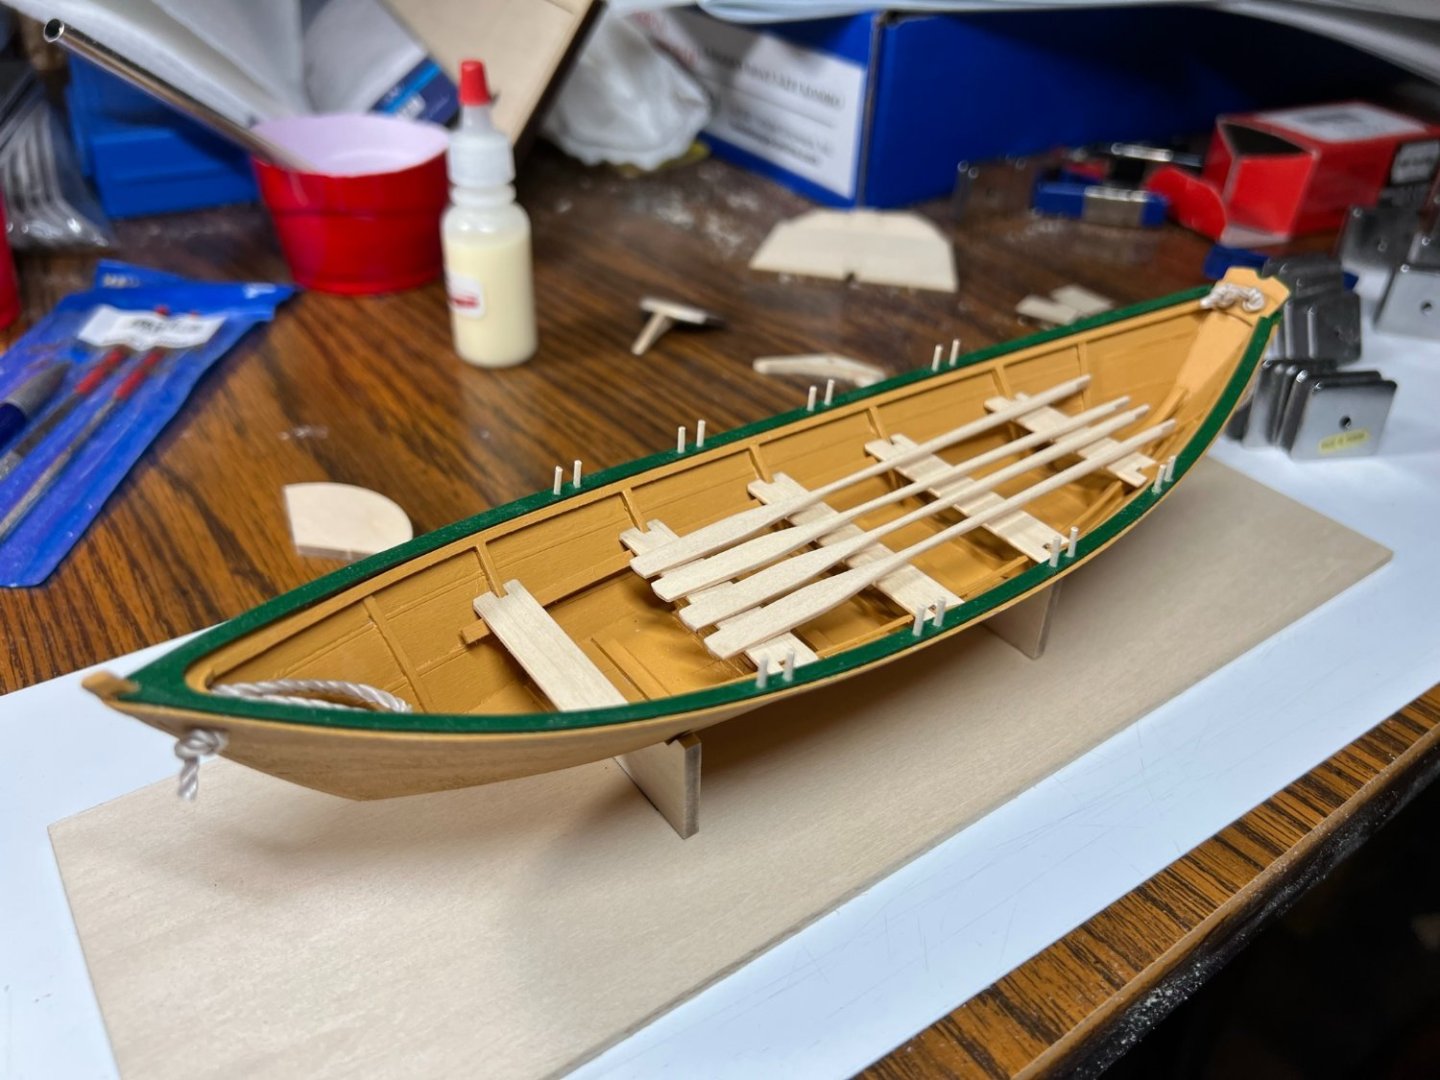
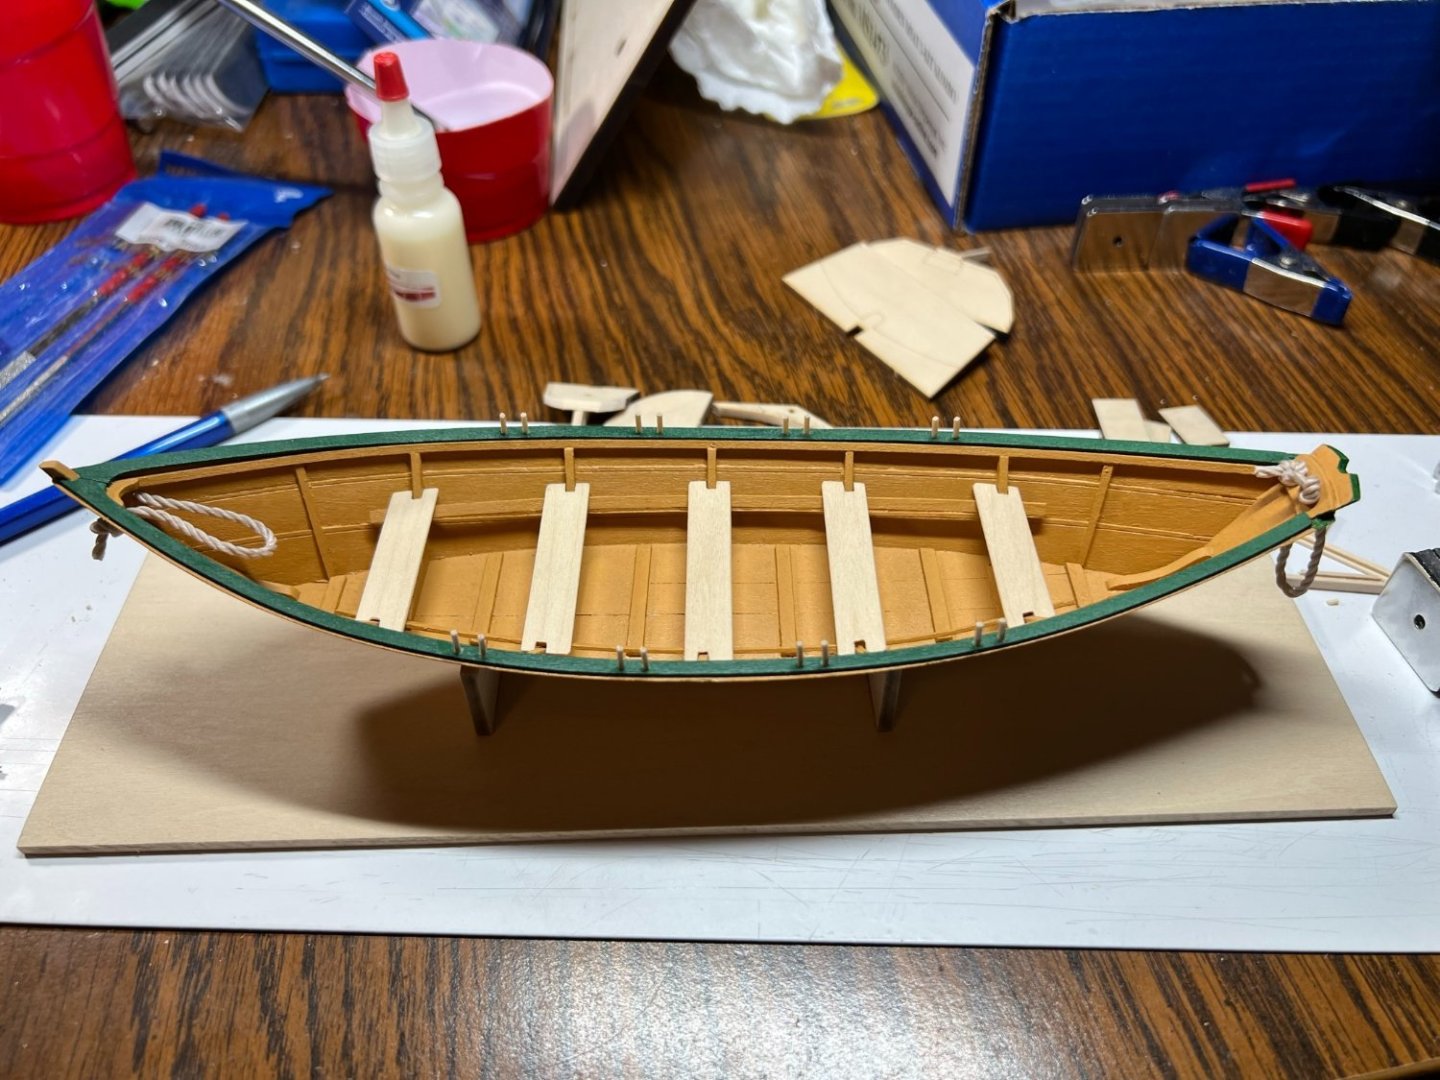
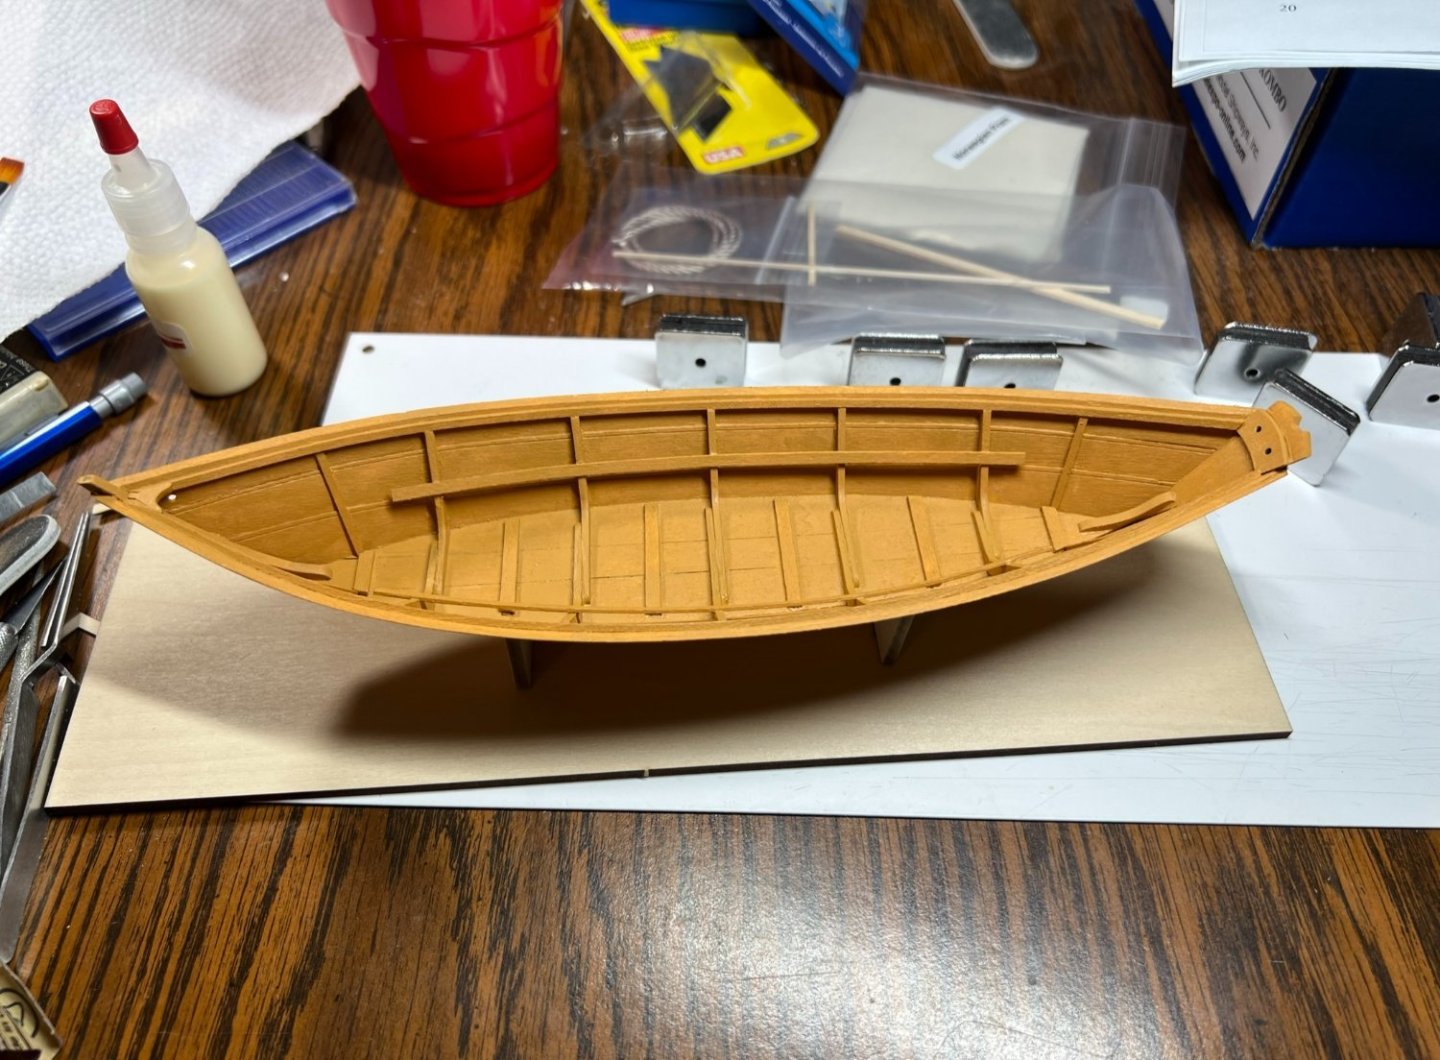
Its not perfect, but its FINISHED! I might use some brown paper to make the leather on the oar and coat them with clear, to make them look good. I'm happy with how it turned out. I didn't track the hours but 30-40 hours maybe. 50-60 total with all the studying and futzing around trying to figure out how to move forward. I have started the next, and now that I can log my journey here, it may give me more accountability to proceed. Thanks for reading following my first completed boat build.
- 21 replies
-
- 13
-
-
- Lowell Grand Banks Dory
- Model Shipways
- (and 1 more)
-
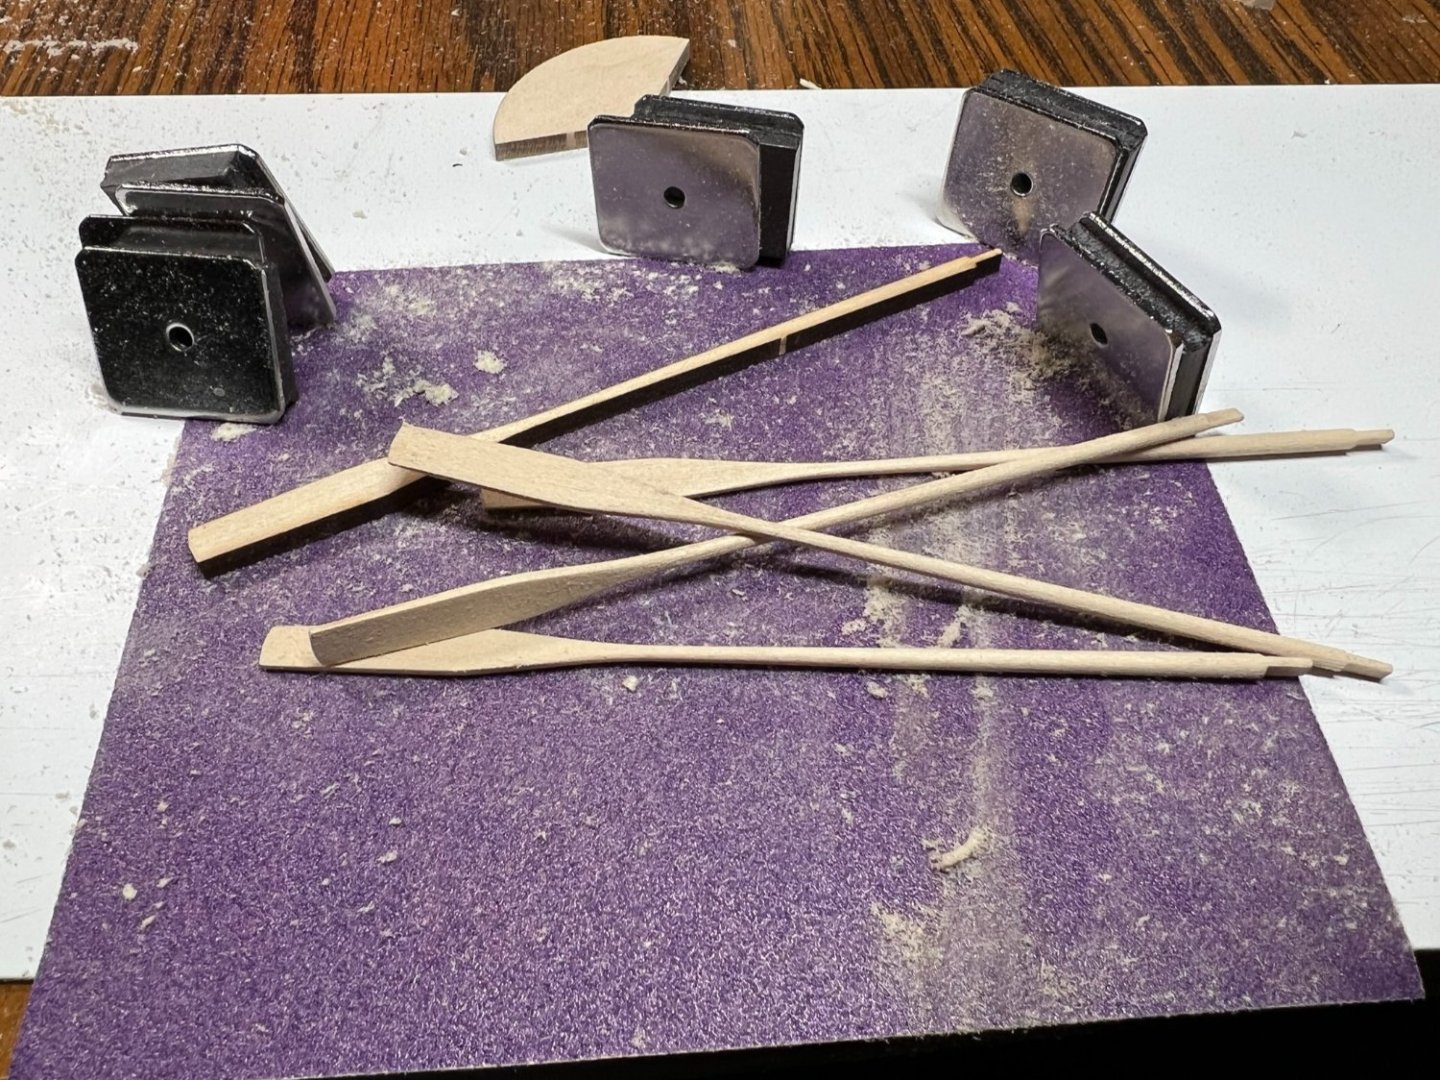
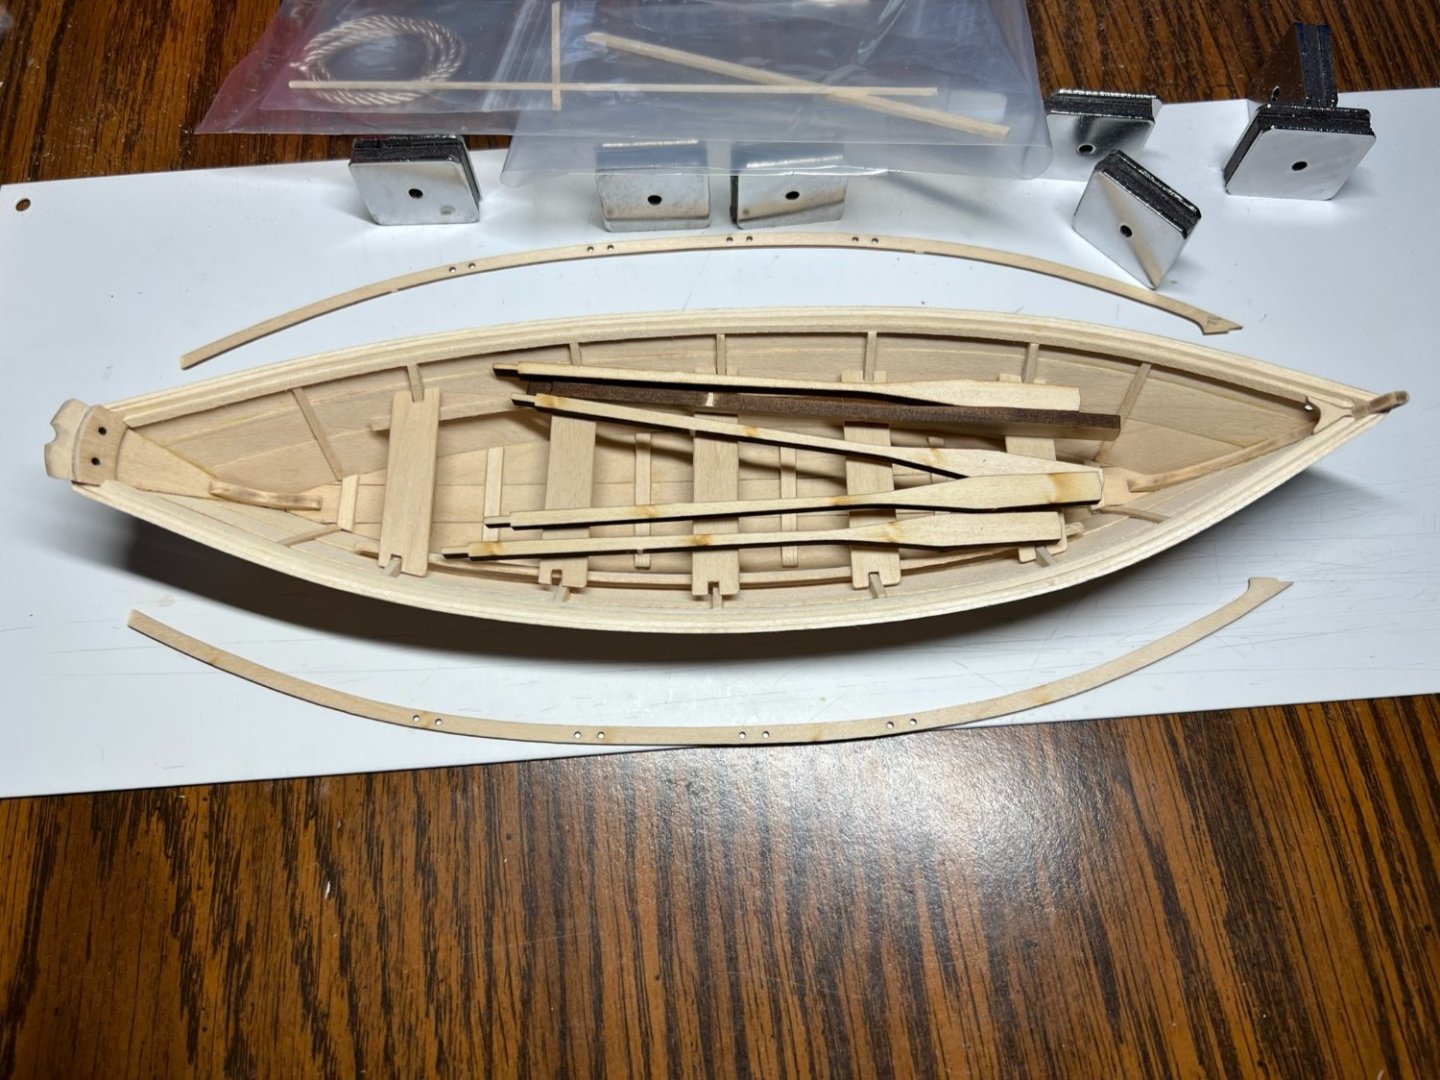
Oars. They give you 5, you need to make 4. If you don't break the 5th, you can save it to PROVE what kind of work it took to shape the oars. The next 2 boats, have oars, again, to shape. Ugh.
- 21 replies
-
- 2
-
-
- Lowell Grand Banks Dory
- Model Shipways
- (and 1 more)
-
Many hours passed as I figured out the top cap and the green paint. The rope didn't turn out great. White glue 50/50 water mix didn't work well like I hoped. Straight white glue for the ropes worked just fine. The mix was to thin and didn't really bind or bond anything on this type of rope. But I can see later the glue water trick will work on other lines.

- 21 replies
-
- 2
-
-
- Lowell Grand Banks Dory
- Model Shipways
- (and 1 more)
-
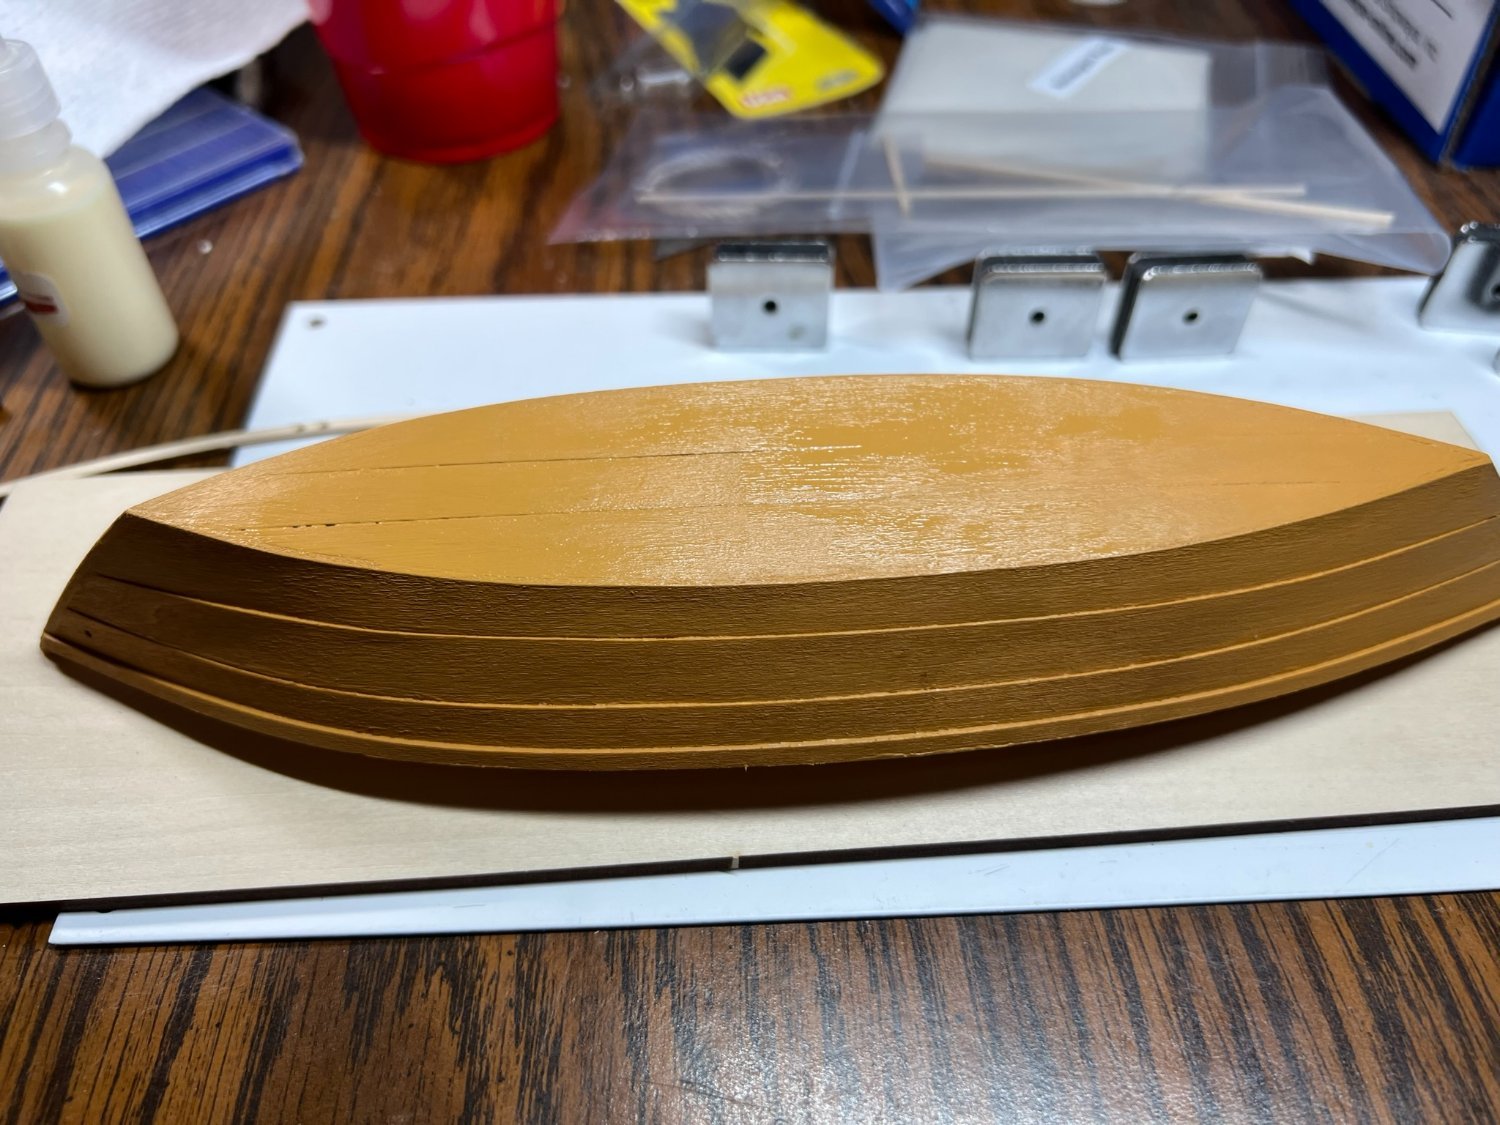
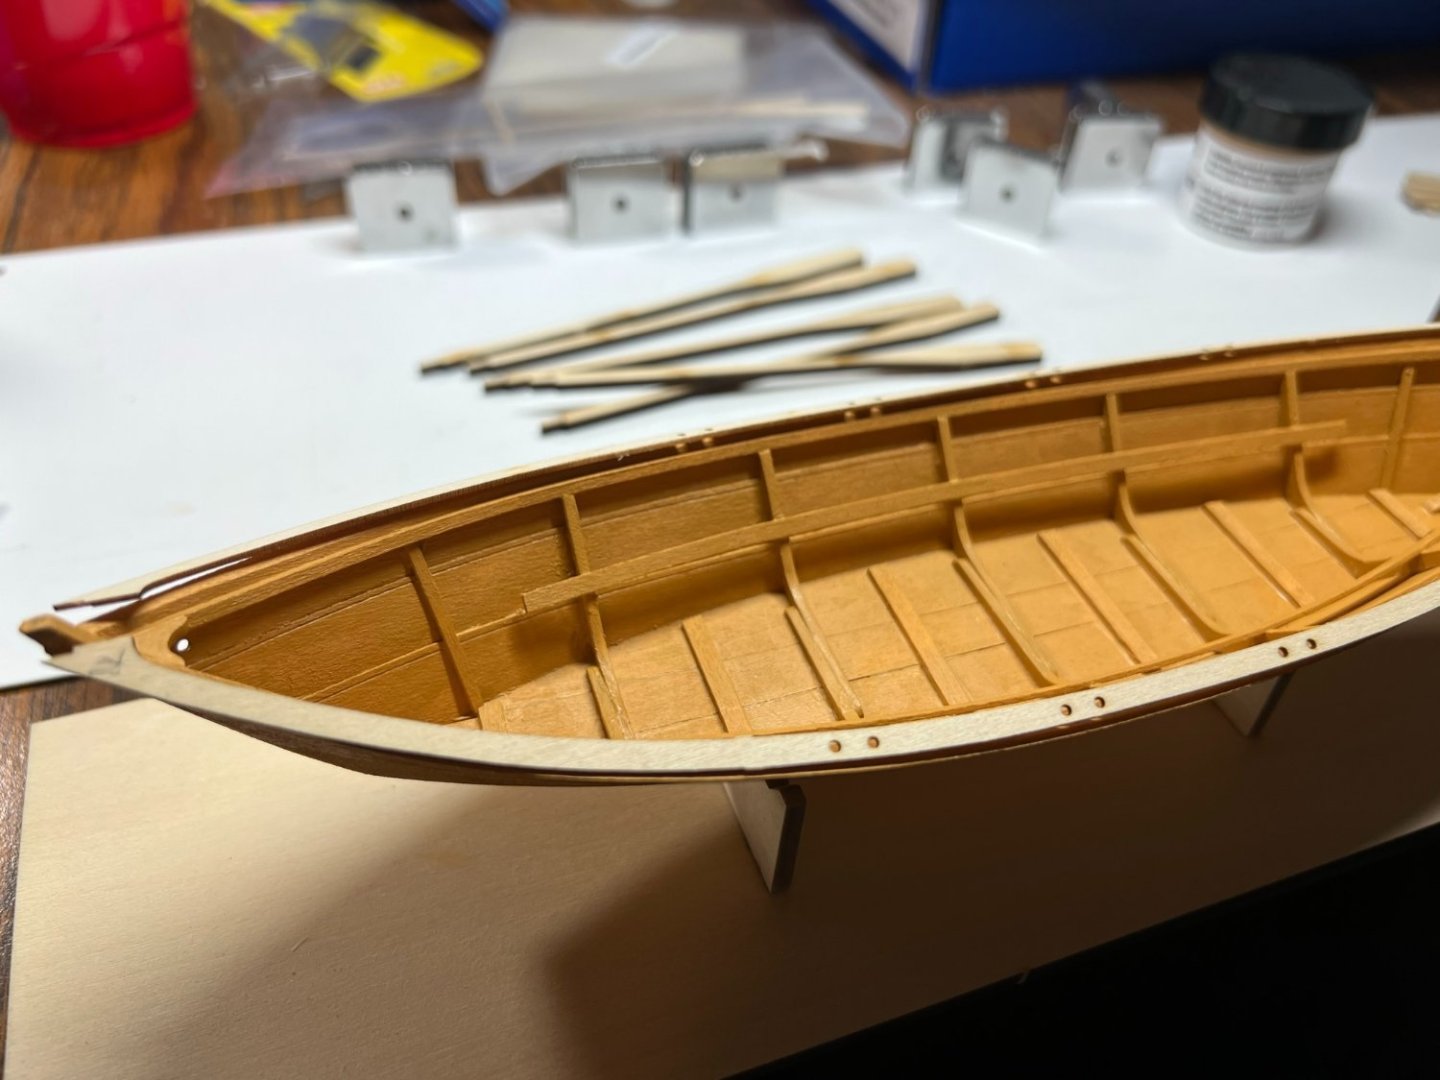
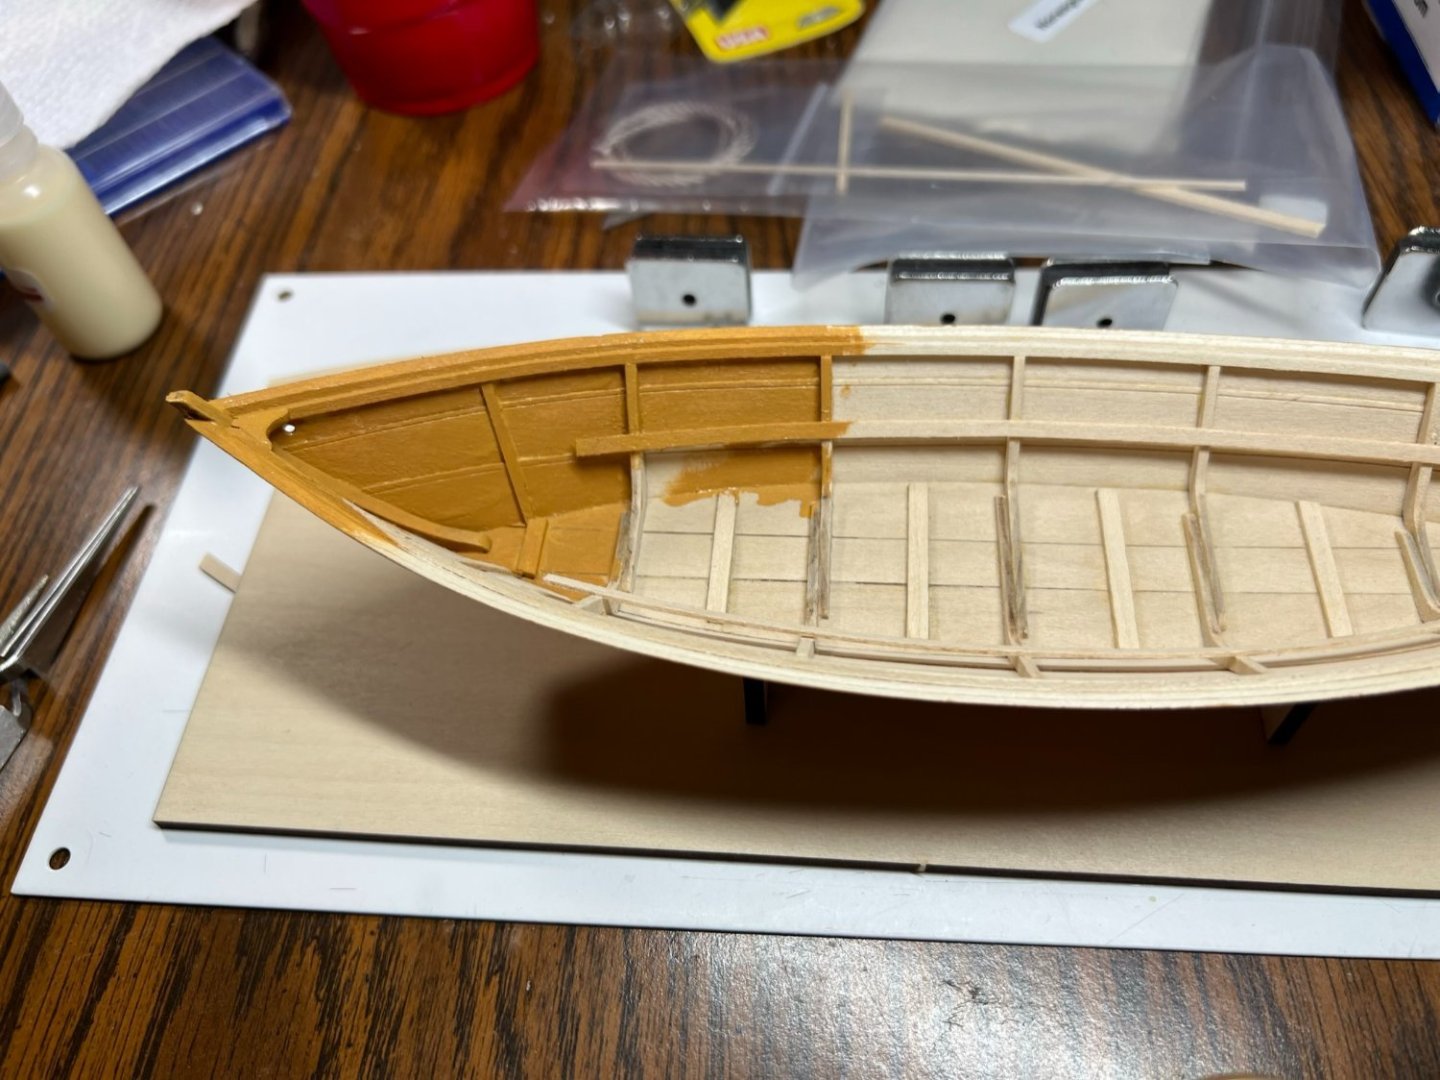
The fuzzy wasn't to bad, lightly sanded with a small piece of 220, knocked off the fuzz and another coat of paint. Hull Yellow I think it was called.
- 21 replies
-
- 1
-
-
- Lowell Grand Banks Dory
- Model Shipways
- (and 1 more)
-
Many hours passed as I look at this boat contemplating how to do this paint thing. The instructions indicated it would turn into a fuzzy mess.....

- 21 replies
-
- 1
-
-
- Lowell Grand Banks Dory
- Model Shipways
- (and 1 more)
-
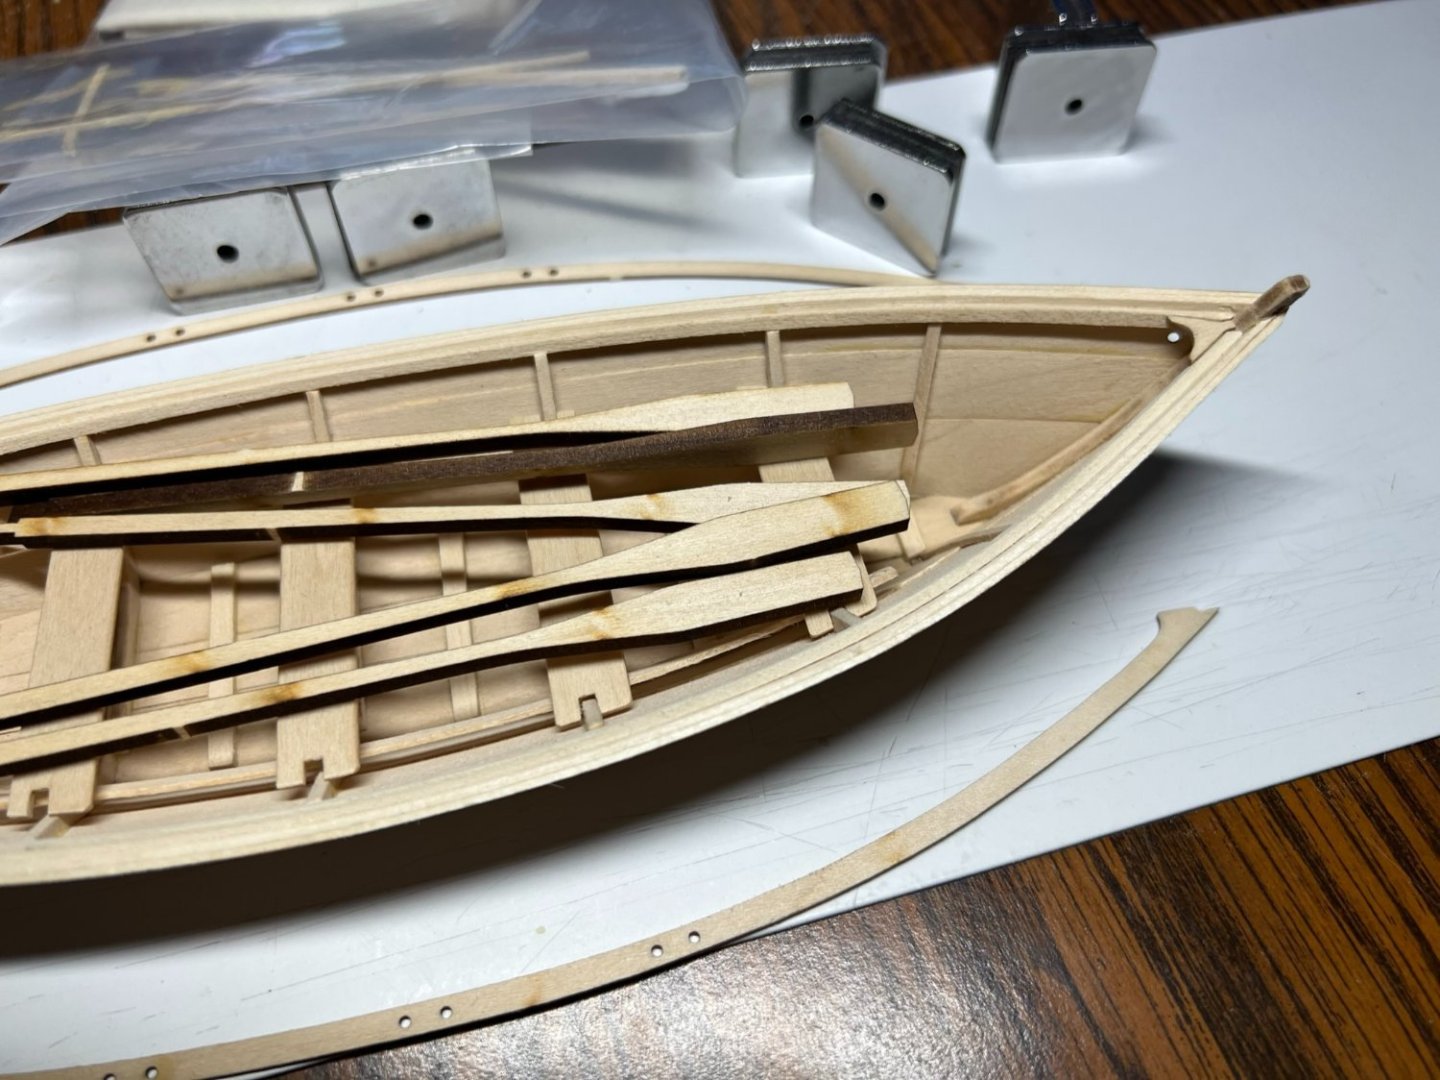
I found out I had oars to sand and shape. Ugh, I have to make 4 oars look the SAME. Yeah, that will happen. Its not perfect but its looking pretty darn good.
- 21 replies
-
- 1
-
-
- Lowell Grand Banks Dory
- Model Shipways
- (and 1 more)
-
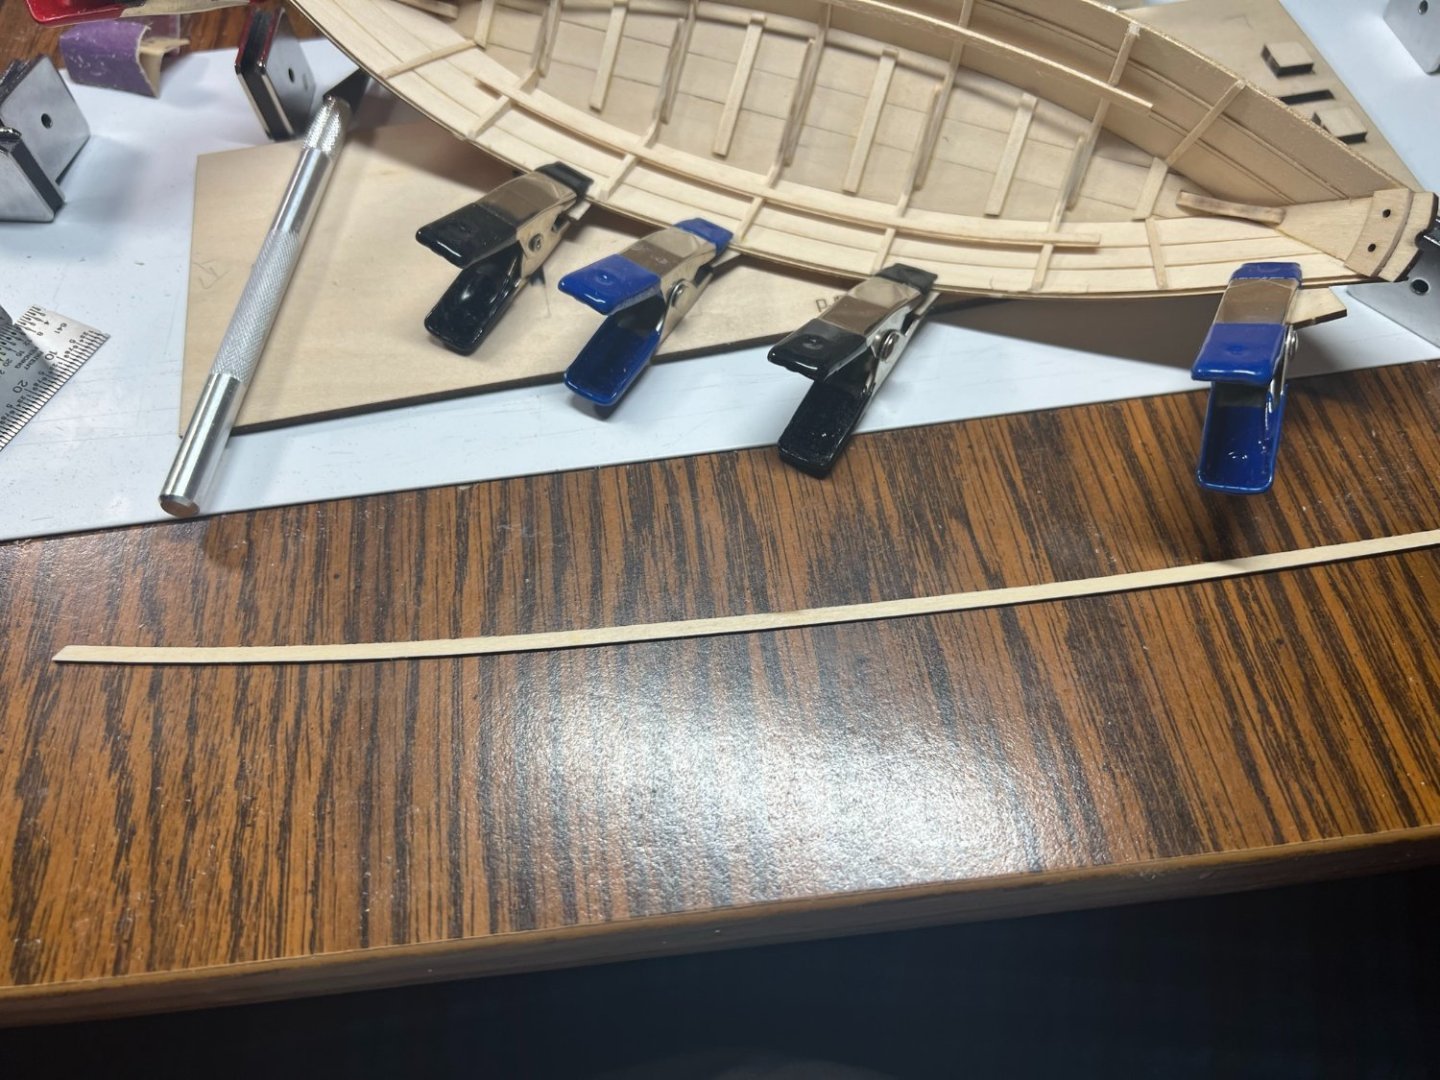
Many days passed..... no activity.
-
I whole lot more sitting and looking and not activity. Finally learning more about wood and water. Soaking the wood and lightly drying. Then holding it place until it dried work a treat.

- 21 replies
-
- 1
-
-
- Lowell Grand Banks Dory
- Model Shipways
- (and 1 more)
-
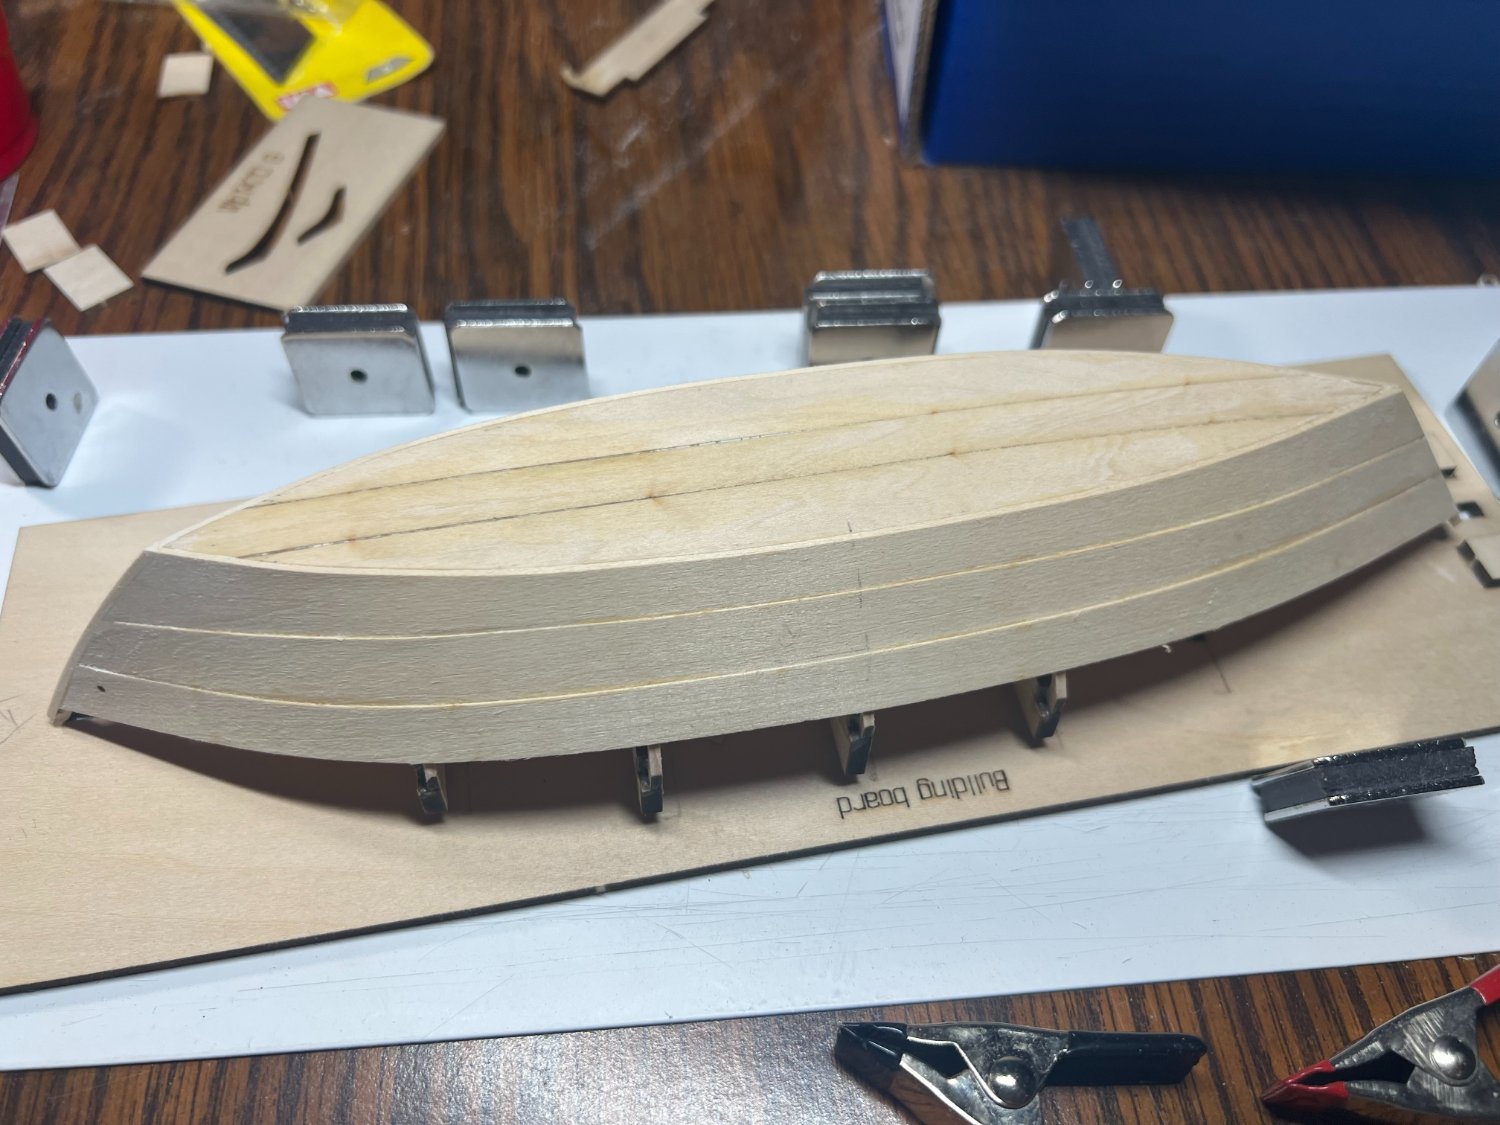
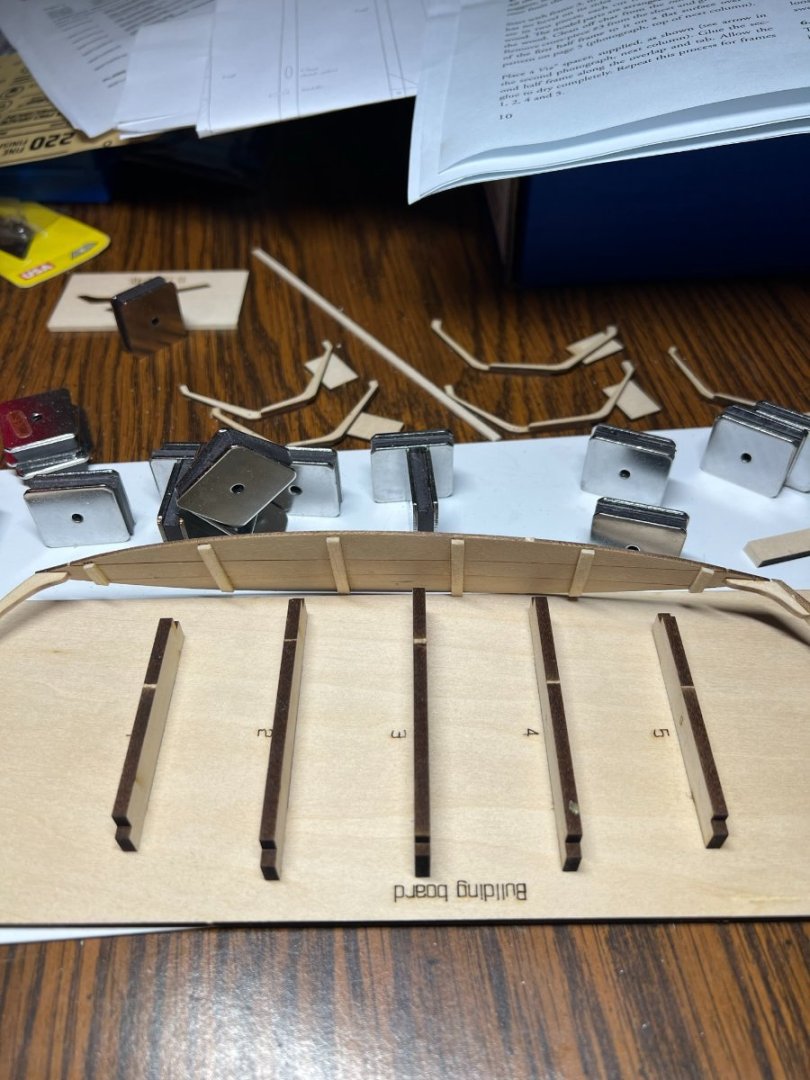
Now it looks like something upside down building is wild. What the heck will this look like on the inside? I thought I would never know.

- 21 replies
-
- 2
-
-
- Lowell Grand Banks Dory
- Model Shipways
- (and 1 more)
-
I discovered I got a kit with all left or right sides, it says they are different and they are on different lettered sheets but they are the exact same. They are not reversal-able. I shaped it all best I could and pressed on, no point in stopping now. I could not find a cross section of the plank placement until it was all over, I winged it.

- 21 replies
-
- 1
-
-
- Lowell Grand Banks Dory
- Model Shipways
- (and 1 more)
-
I finally found a picture that made it click. The ONLY way those could be like that is if they were GLUED! TA DA. Glue I did.
- 21 replies
-
- 1
-
-
- Lowell Grand Banks Dory
- Model Shipways
- (and 1 more)
-
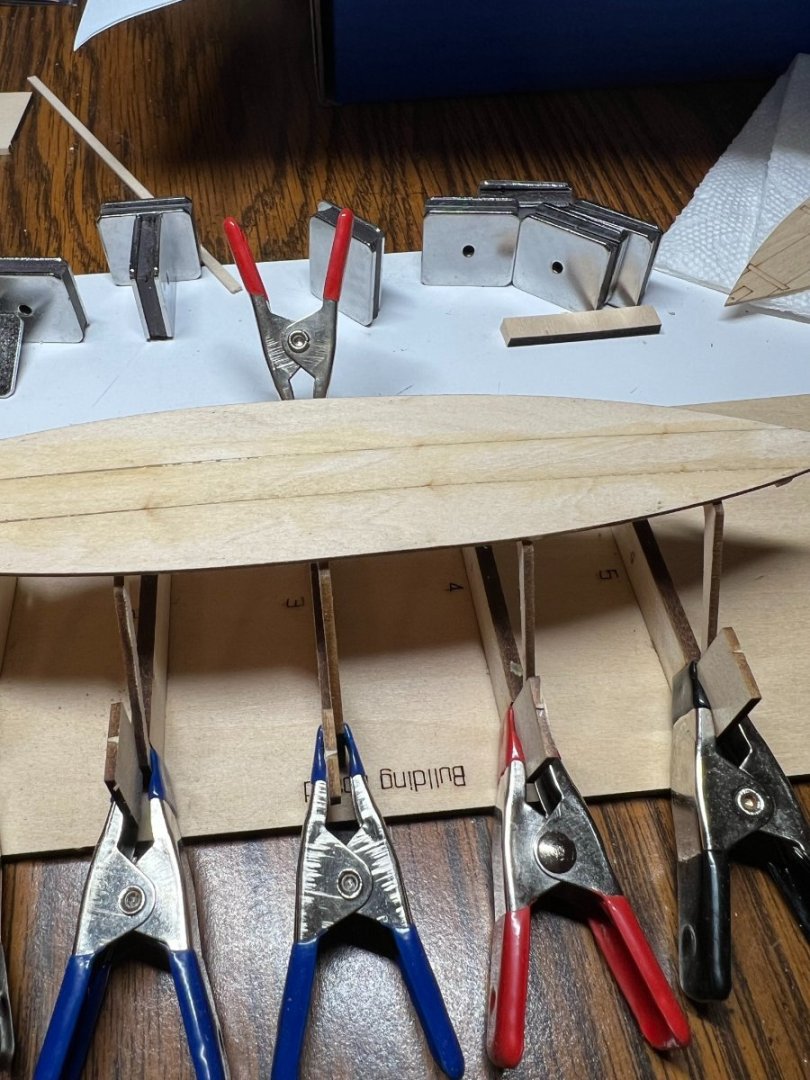
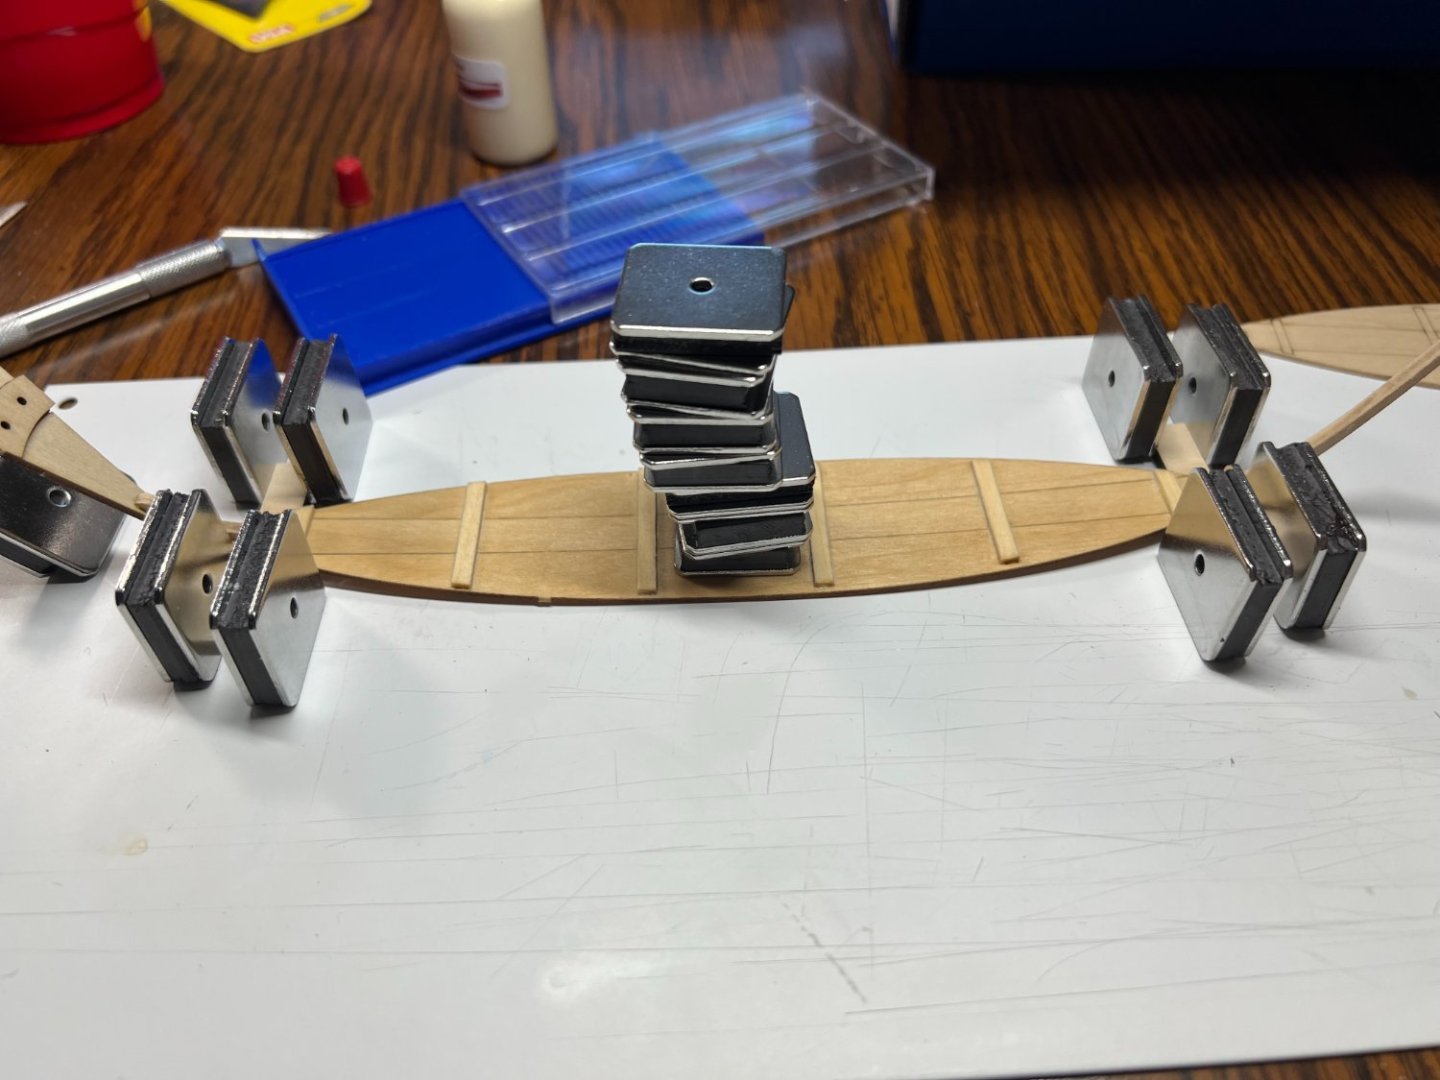
So I hold these things in place ? ? ...... not effective.

- 21 replies
-
- 1
-
-
- Lowell Grand Banks Dory
- Model Shipways
- (and 1 more)
-
What have I got myself into, I stared at this stage for many many hours. The instructions didn't really say what to do well. Written as if you have done this before.
- 21 replies
-
- 1
-
-
- Lowell Grand Banks Dory
- Model Shipways
- (and 1 more)
-
Building ships requires hydration. And liquid courage. Nothing an Old Fashion can't handle.
- 21 replies
-
- 1
-
-
- Lowell Grand Banks Dory
- Model Shipways
- (and 1 more)
-
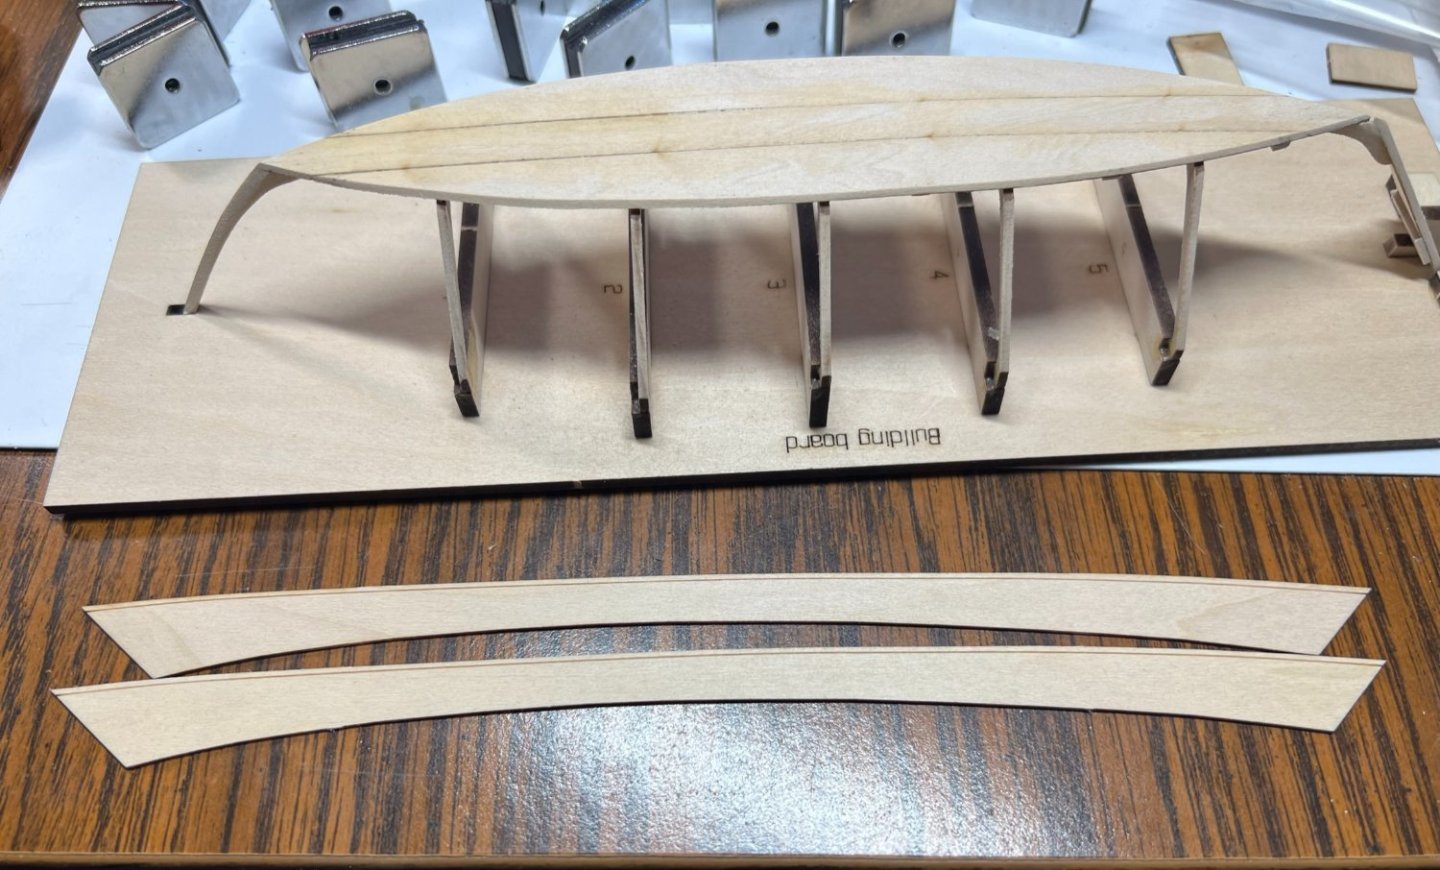
They wanted a bend in the bottom. I shall comply. Wood and water do crazy stuff, this was just the beginning of what I was to learn.
- 21 replies
-
- 1
-
-
- Lowell Grand Banks Dory
- Model Shipways
- (and 1 more)
-
Given a choice of a pre built bottom and a bottom made of many pieces, I took the harder version.

- 21 replies
-
- 2
-
-
- Lowell Grand Banks Dory
- Model Shipways
- (and 1 more)
-
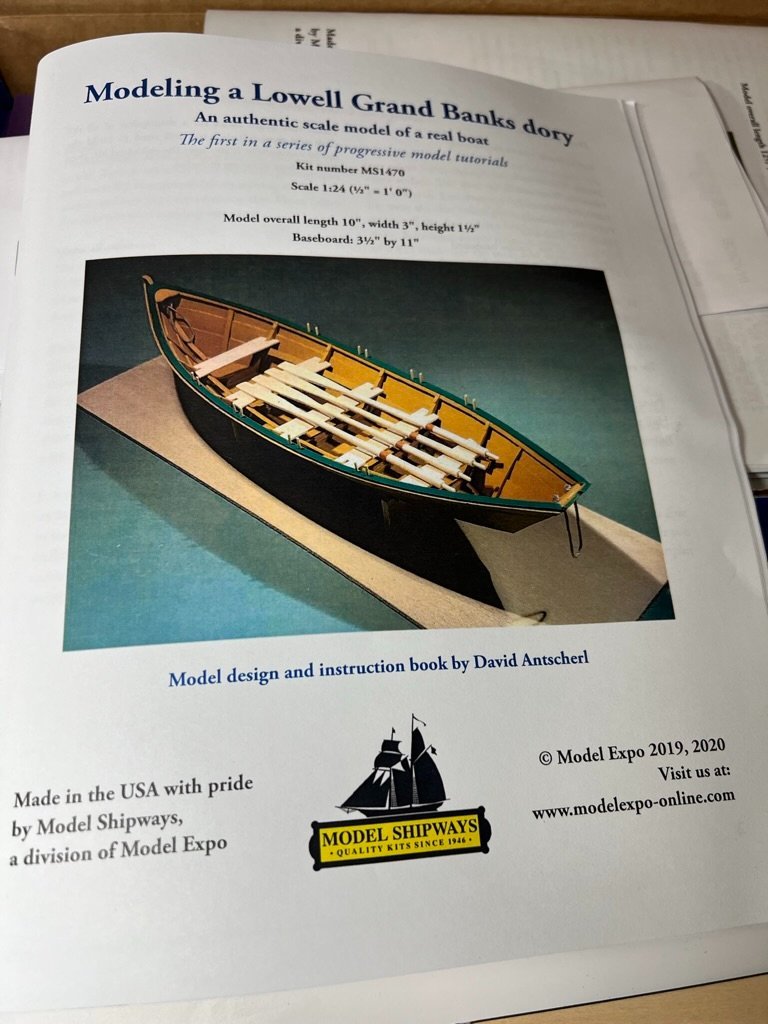
Build 1 of the 3 part series Become A Shipwright of Old. Lowell Grand Banks Dory. Kit number MS1470. The Pram build The Muscongus Bay Lobster Smack build Its been years since I've posted on forums, I tried a Bluenose built first and was in over my head, so we start from smaller a few years later. It is completed, finished, I will add the rest of the pictures and notes. I didn't take pictures as if I was making a log, but I got most of the key moments.
- 21 replies
-
- 1
-
-
- Lowell Grand Banks Dory
- Model Shipways
- (and 1 more)