
Claire7
-
Posts
76 -
Joined
-
Last visited
Content Type
Profiles
Forums
Gallery
Events
Everything posted by Claire7
-
Looking very tidy! Well done
-
As @druxey suggested I am going to wait for the Brass Black. Consider this tiller a trial run! I wanted to understand how it all goes together. But I realized I want to stain it first before any glue, and I want the darker metal parts. So I will be re-making this, and also preparing the other wooden pieces/mast etc. Then stain everything, then do the metalwork. My ceramic soldering plate was broken in transit so I’m waiting for another as well as some soldering tweezers. I filled the soldering torch yesterday and it works ok, doesn’t always light but I just turn it off and wait a few seconds and try again.
-
Hmm in my photo it looks like the top is wider than the sides too so maybe it’s fine… it’s just not very clear from a photo
-
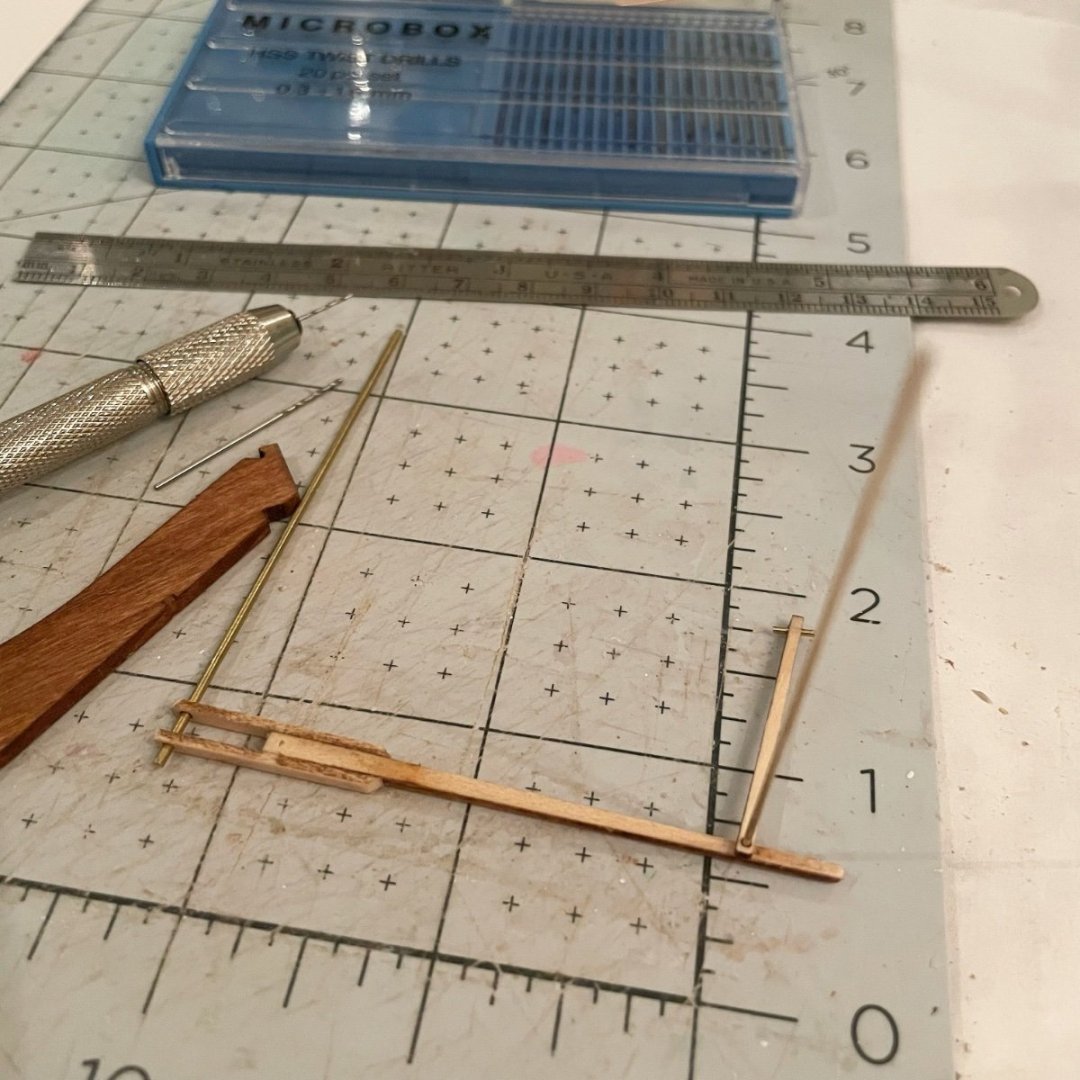
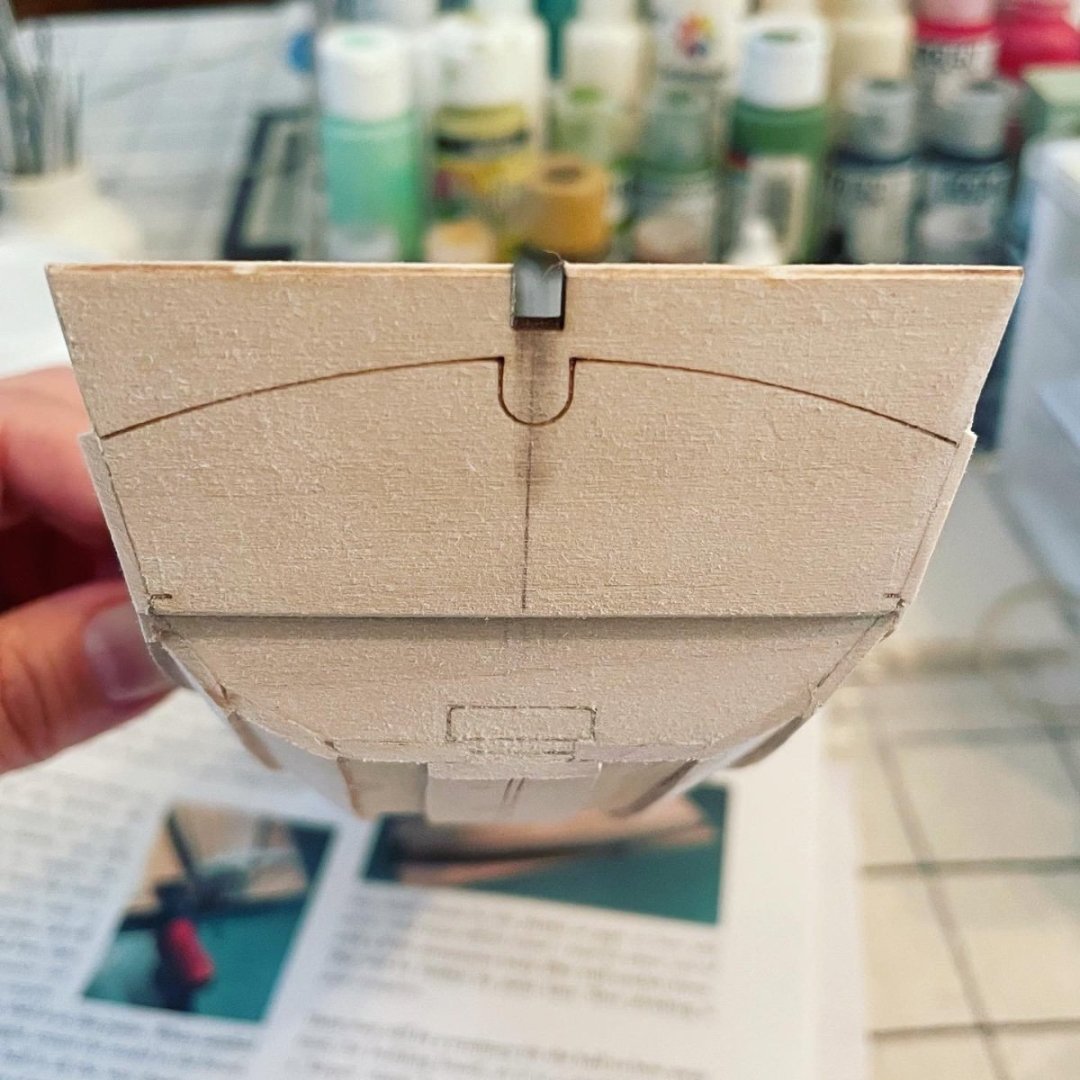
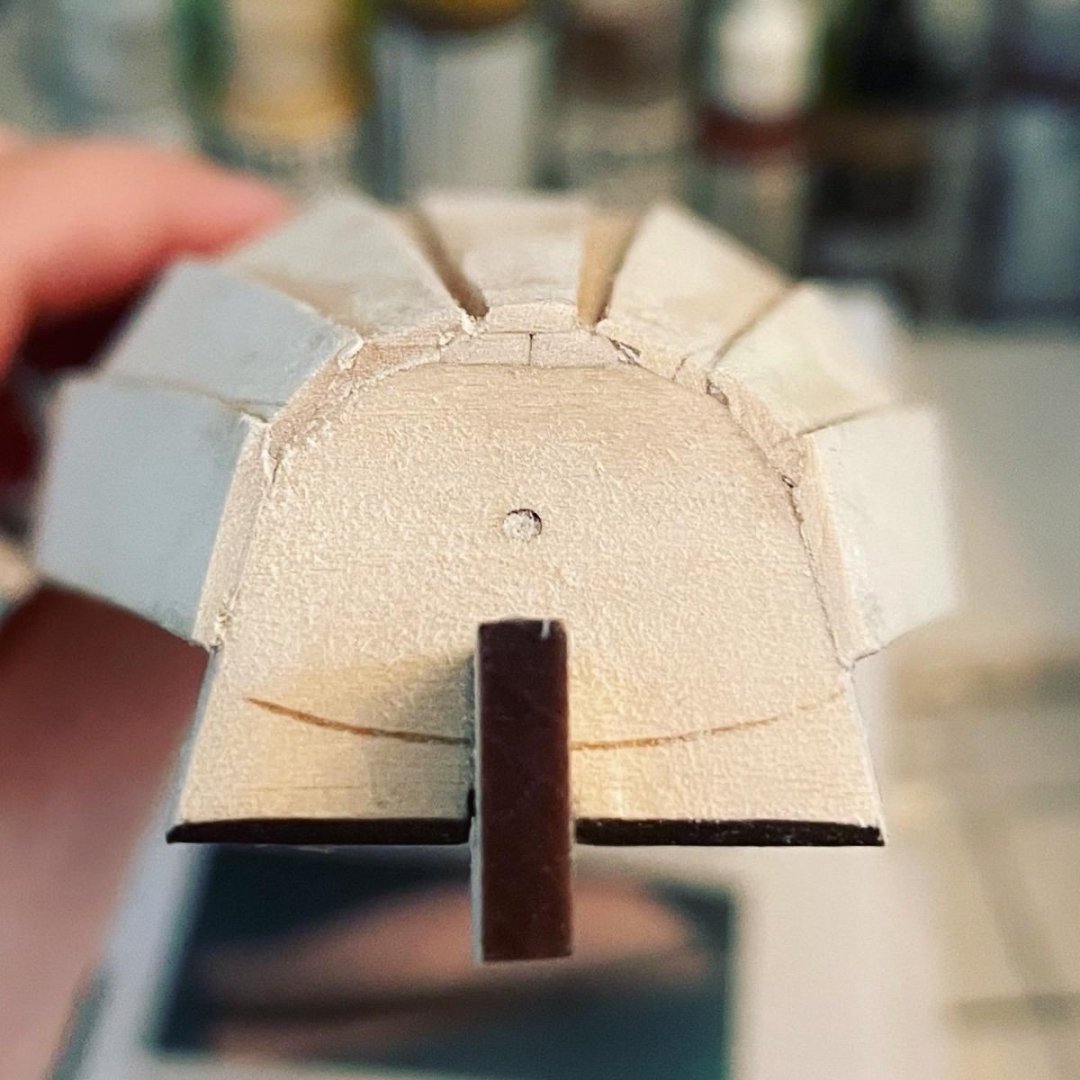
A start on the tiller assembly… I’m not sure I have it the right way around. If I add the supports on the narrow side they are wider which doesn’t seem right. The width matches perfectly if they are glued to the wider sides. But examining the photo it does seem like mine doesn’t quite match. I guess it doesn’t really matter. Also the 1/16” metal rod works for the support ends that join to the rudder. But not the narrower joins. So I will use the 1/32” metal rod supplied. Maybe that’s what is intended and it just wasn’t spelled out. So far I’ve glued the 1/4” long rod in the end of the extension with superglue. And I’ll try the hammering/rivets for the other joins tomorrow.
-
Thank you! Ok I’ll try to do that! There are some other things to do…
-
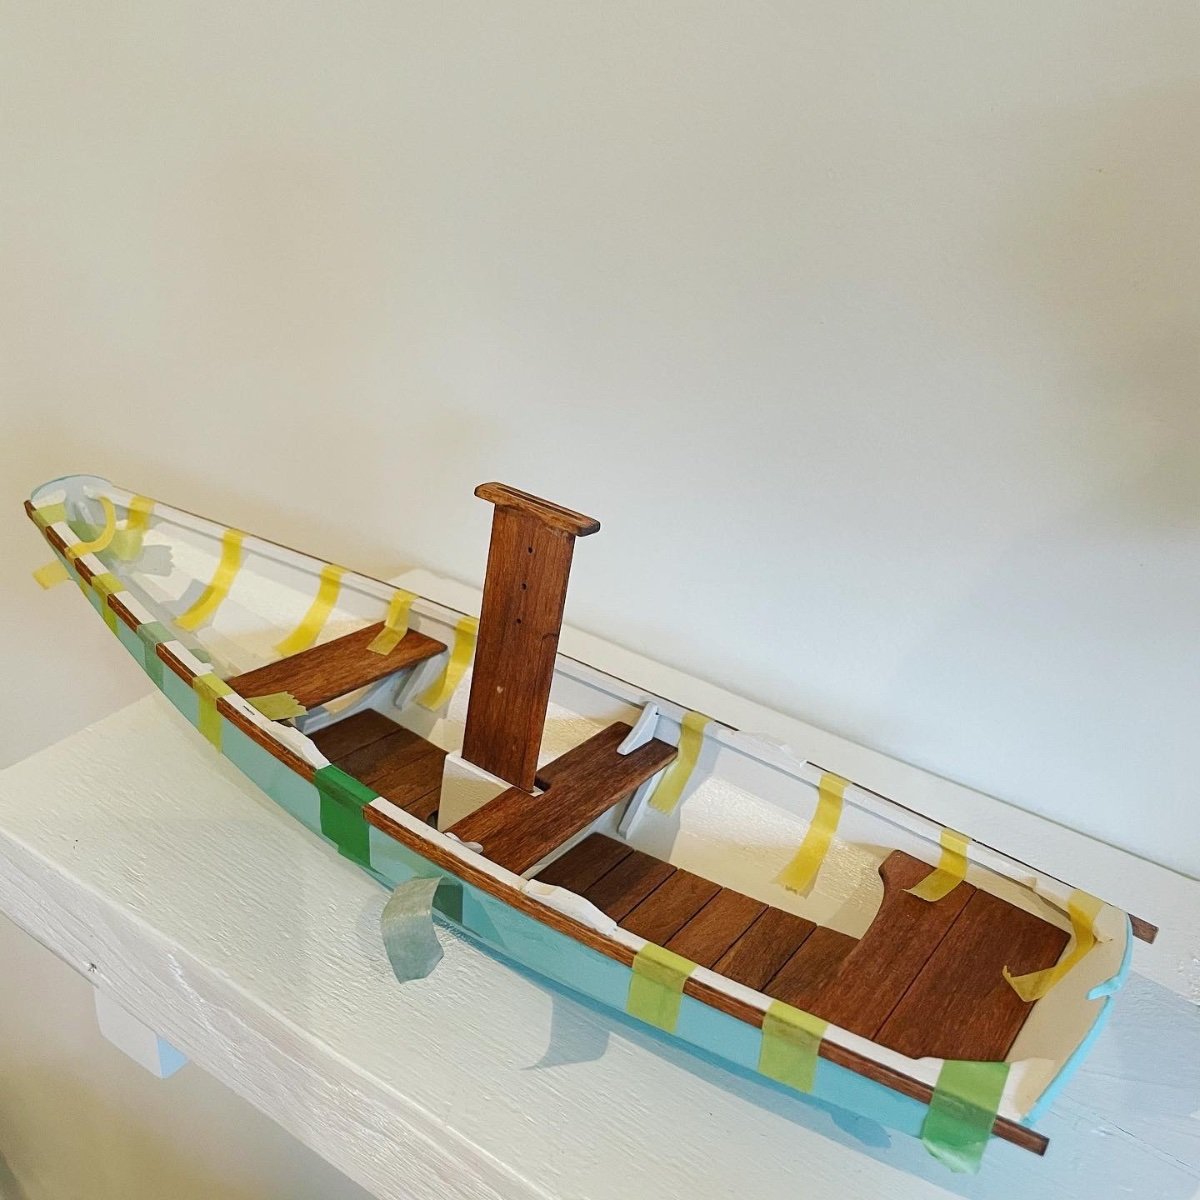
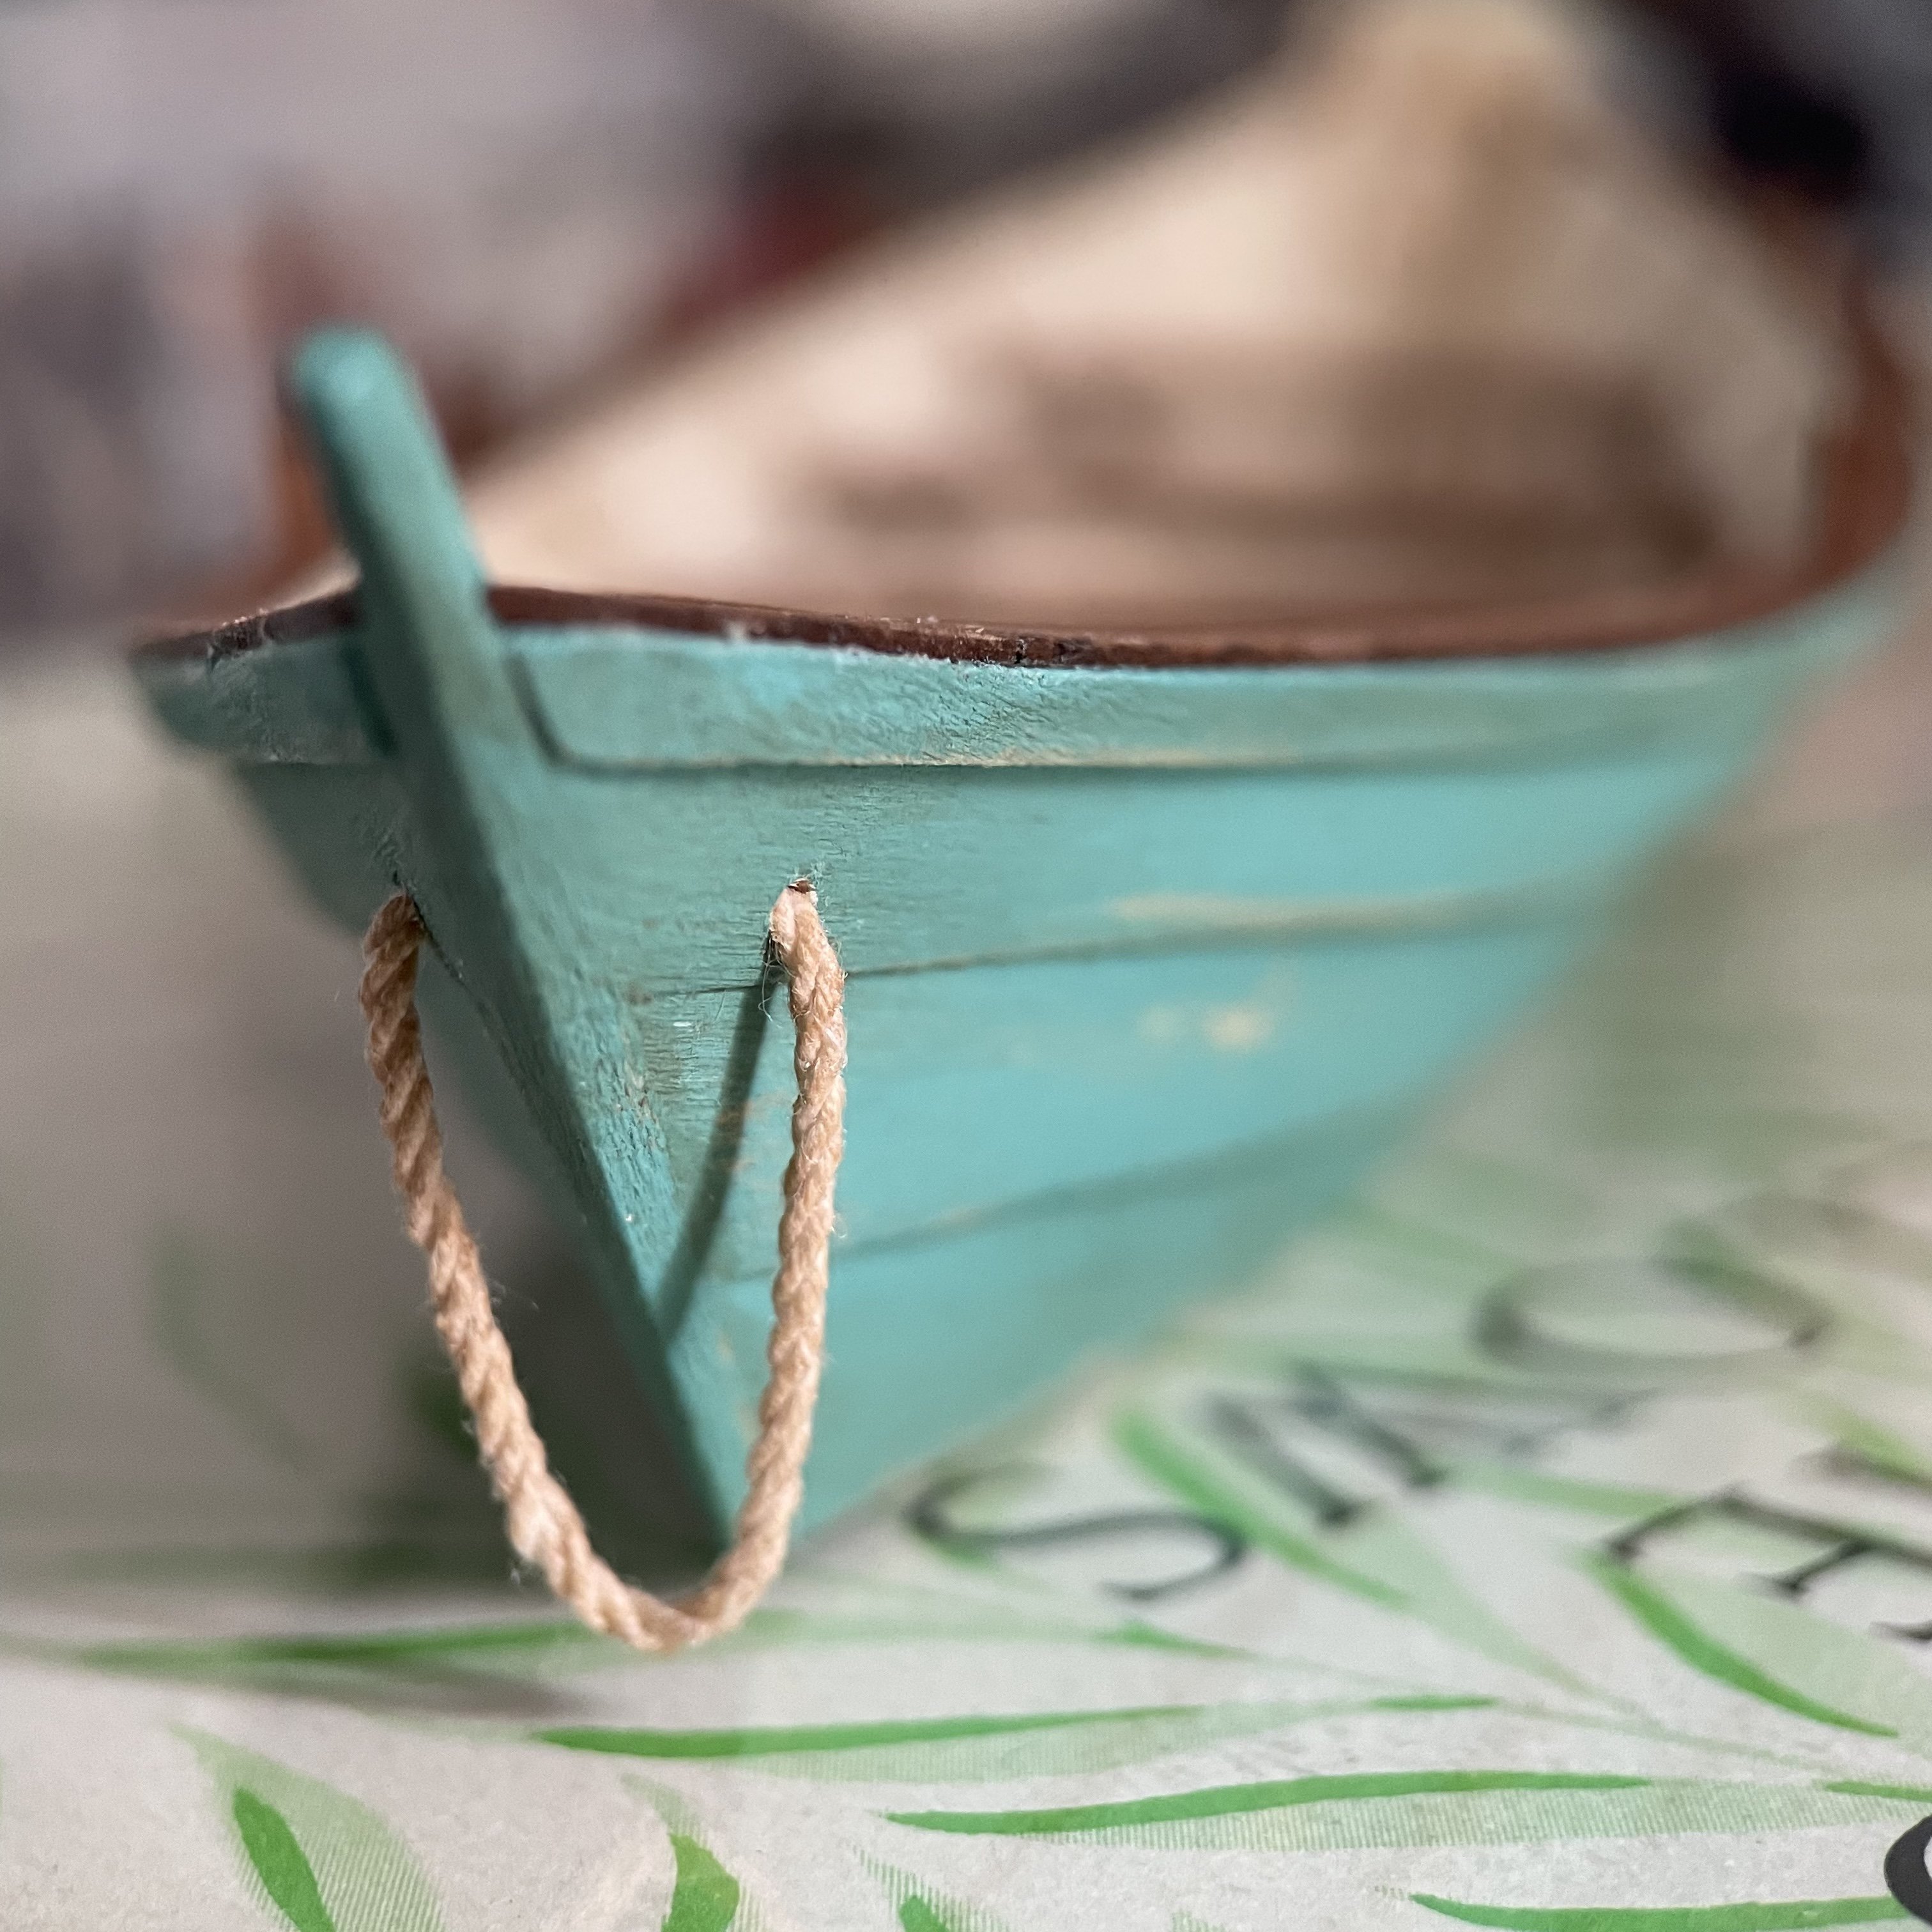
Pram interior painted cream, exterior light turquoise with stained thwarts, rub rails, daggerboard and floor boards. Floor boards and thwarts attached. As before everything needed to be sanded, trimmed and beveled as necessary to fit neatly. I just need to trim the ends of the rub rails. Then up next… the tiller assembly. I wanted to darken all the brass bits and ordered Brass Black but couldn’t find it locally. I didn’t want to pay $30 on Amazon either. So I found some on eBay but it likely won’t arrived for 3 weeks. But the time has come to start the metalwork so I may try painting the pieces.

-
@druxey thanks very much! Happy to be this far along. 😅
-
So much sanding… the daggerboard, rudder, thwarts and stern sheets. I’m finally ready to paint. Everything seems to fit neatly. I’m planning to stain the rub rails before attaching, and also the thwarts, and maybe the rudder and dagger board.


-
Ahh yes! You’re right thank you so much! I didn’t notice that. There’s an etched rectangle so I had assumed it fit inside that but I see in the picture it is aligned with the plank as you say.
-
Not sure about the position of the rudder gudgeon pad. (Step 24) can’t quite tell from the photo reference…

-
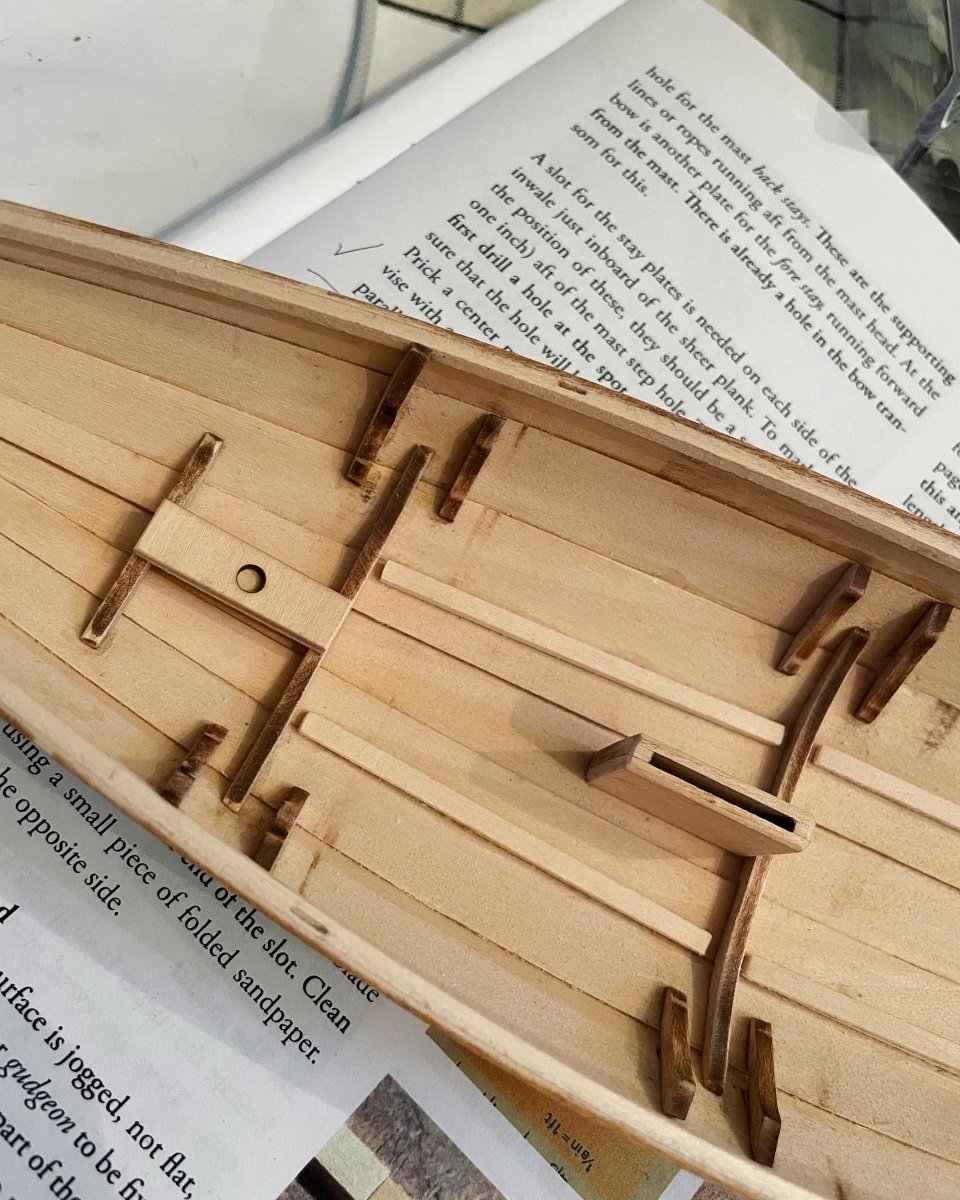
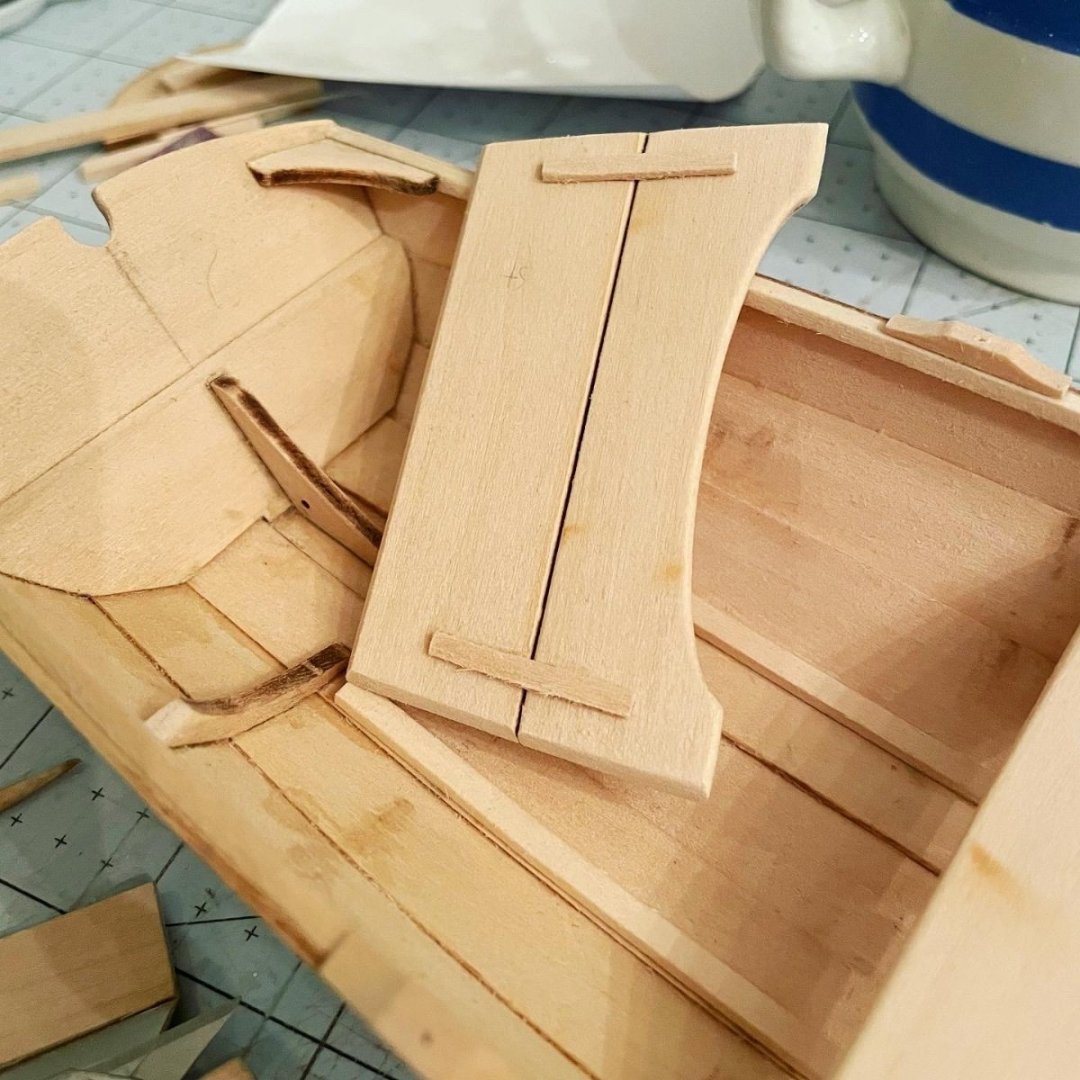
Four floor board cleats are fine but realize just now that two more are needed, thank you @WizardOfOs. Transoms shaped and look good to me. Mast step installed, I cut a scrap piece for the base part that is meant to be solid (as others did). Chain plate slots done.

-
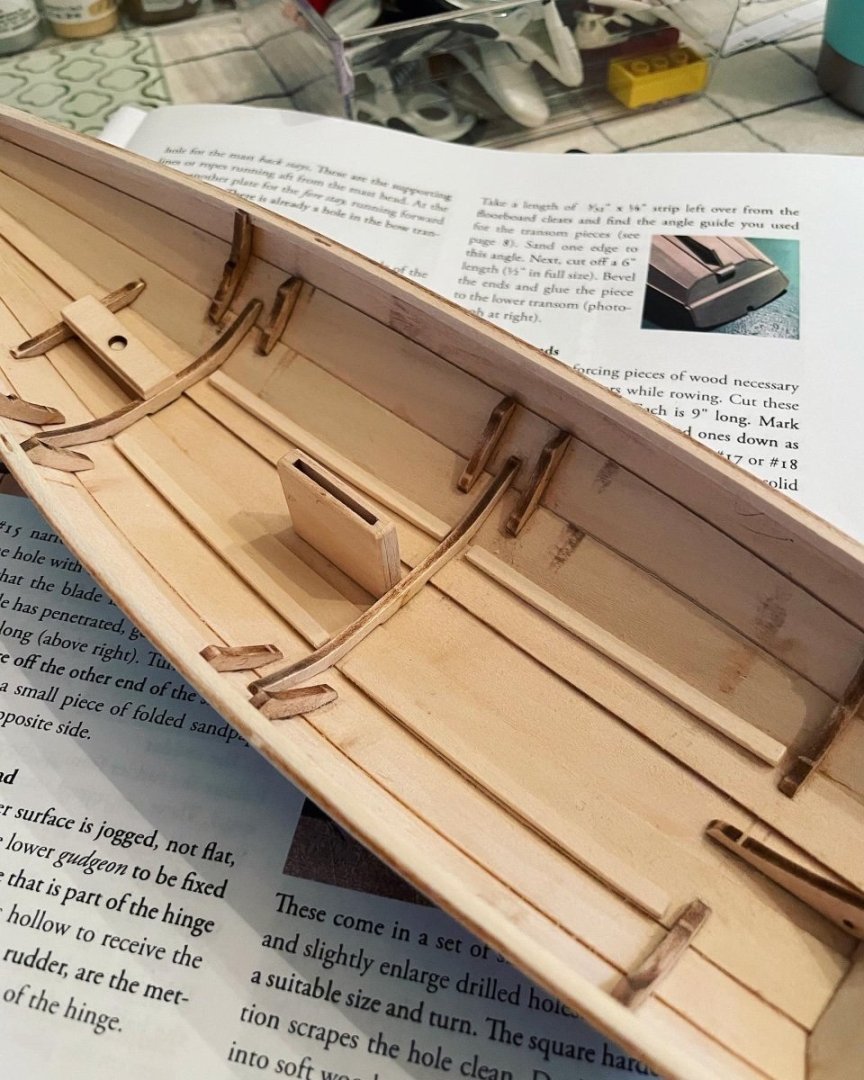
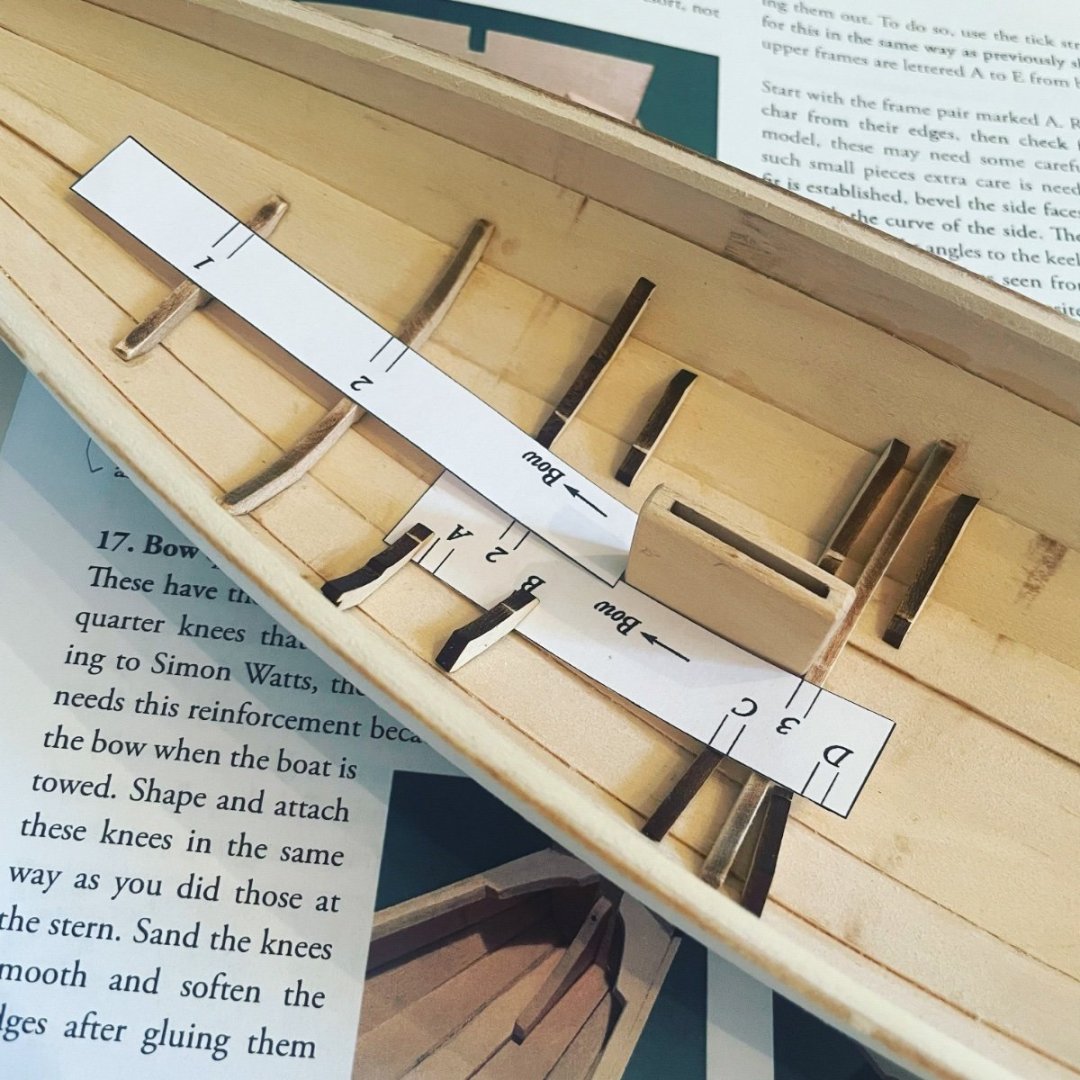
Thank you @Ryland Craze! So far today I have installed lots of tiny bits, inwhales, the stern & bow quarter knees and seat & thwart frames. As others have mentioned it takes a bit of thought to work out exact positions especially vertically which is only indicated with a reference photo for some pieces. One thing that threw me off was the position of the A B and C D pairs of frames. Their position is indicated relative to the 2 and 3 bottom frames (but not to each other on the paper strip). Up next: completing the transoms.

-
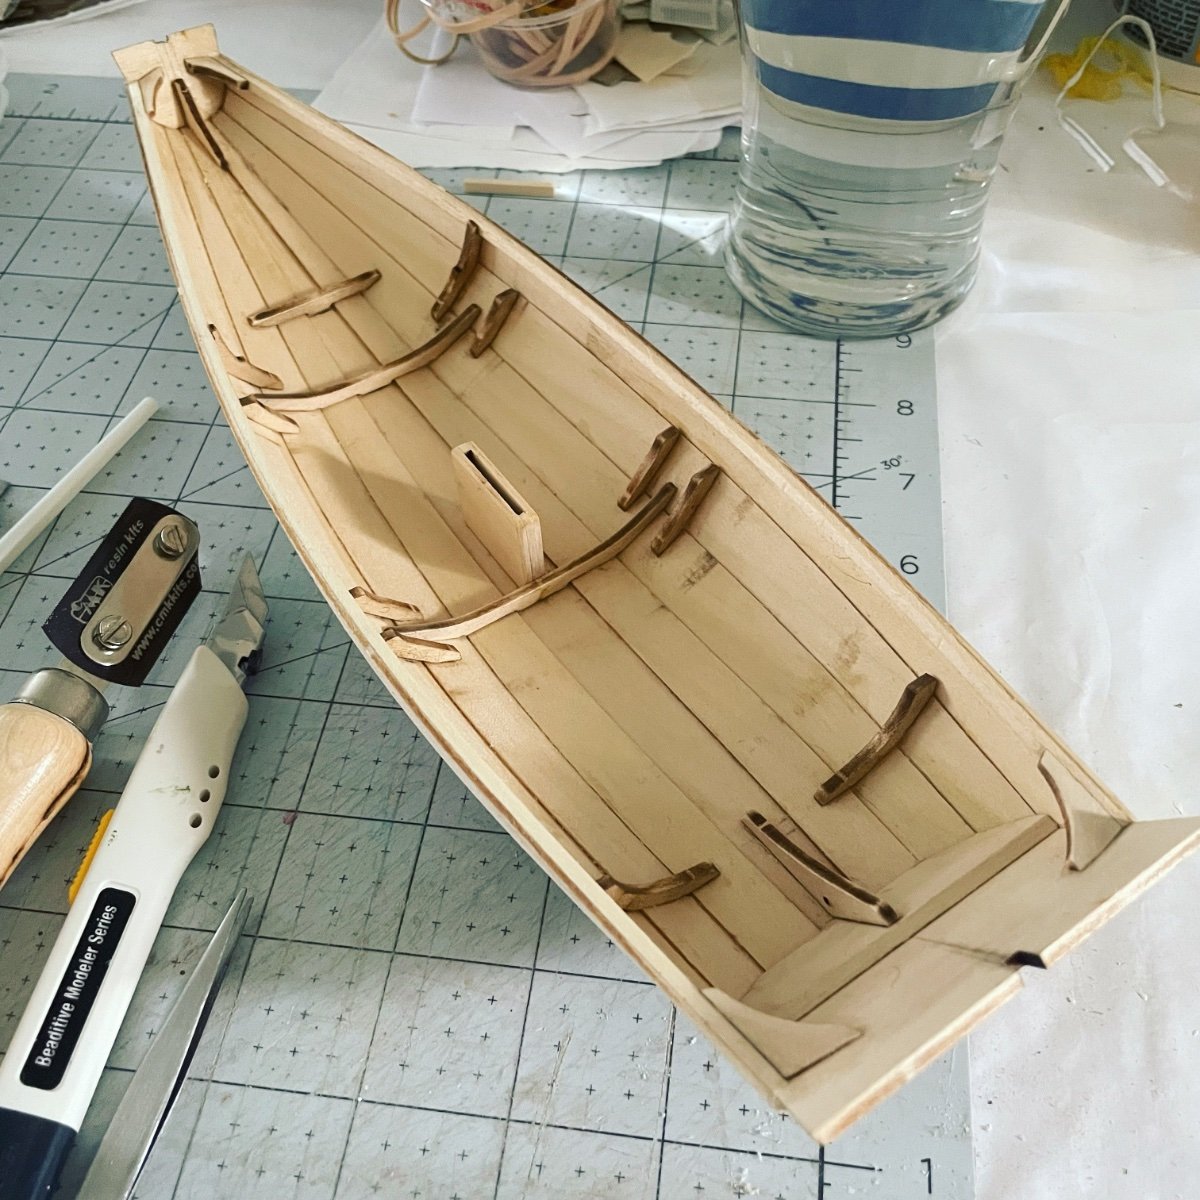
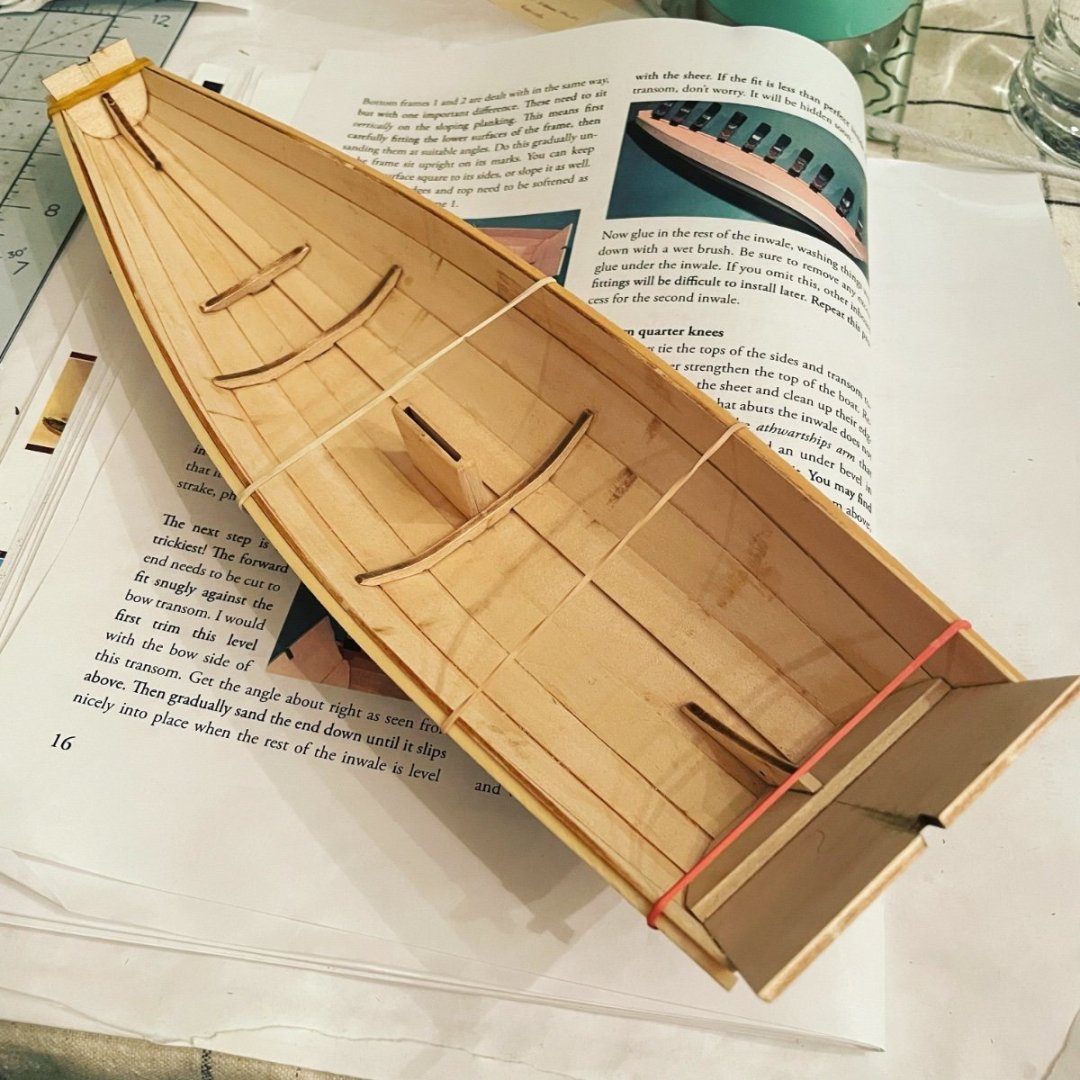
Thank you very much @Bob Cleek! Bottom frames now installed and the inwales (first bit of strip wood being used, I couldn’t find them at first!) bent around the boat to dry overnight in a curve. Then I can install them inside the boat.
-
I vote we call it the Lobster 😂. I’m thinking I’ll order it to make after the Pram, looks great!
- 40 replies
-
- 2
-

-

-
- Model Shipways
- Muscongus Bay Lobster Smack
- (and 1 more)
-
I always have time for YouTube 😂. A recent favourite “Building a 21’ South Bay Catboat” by Jannik Takul. Thanks for the kind words.
-
P.15 “Check now” My boat is almost a 1/4” narrower than it’s meant to be… but I think I can live with that. Nothing I can do now!
-
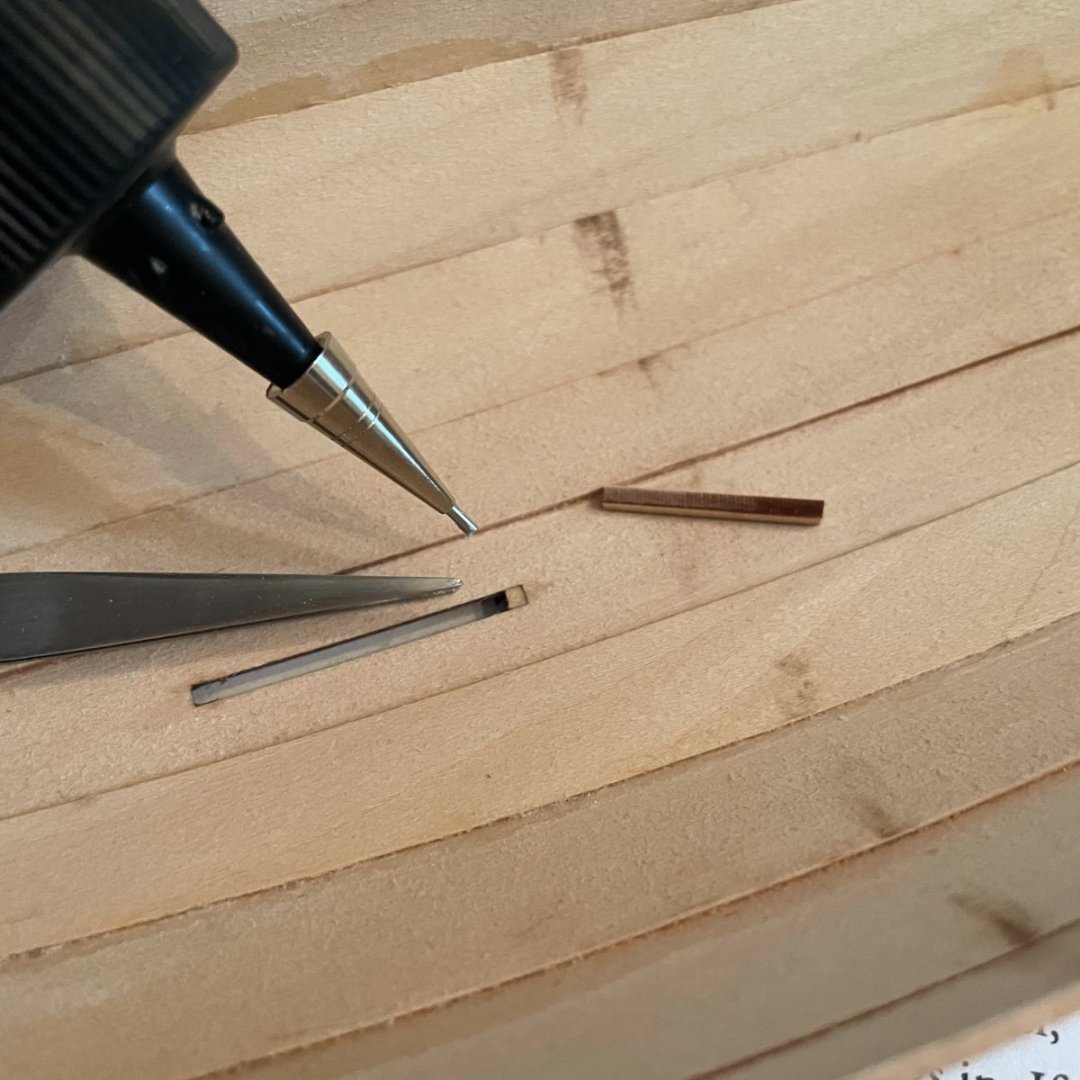
Waiting for the dagger board case to dry before sanding. I came up with a nice way to fill the little extra width of the keel plank slot. When removing the side pieces for the dagger board case a thin strip detaches and I’ve used this to cut a tiny piece to fill the gap. You can cut a few until you get one that’s the right size and as square as possible. I used the tweezers that came with the dory kit and a fine tip glue bottle to help place it. It’s slightly proud of the base so I will sand it smooth. Seems a little overkill as I think it will get covered later… but I like the result. I filled the stern side because that’s the side that gets covered later.
-
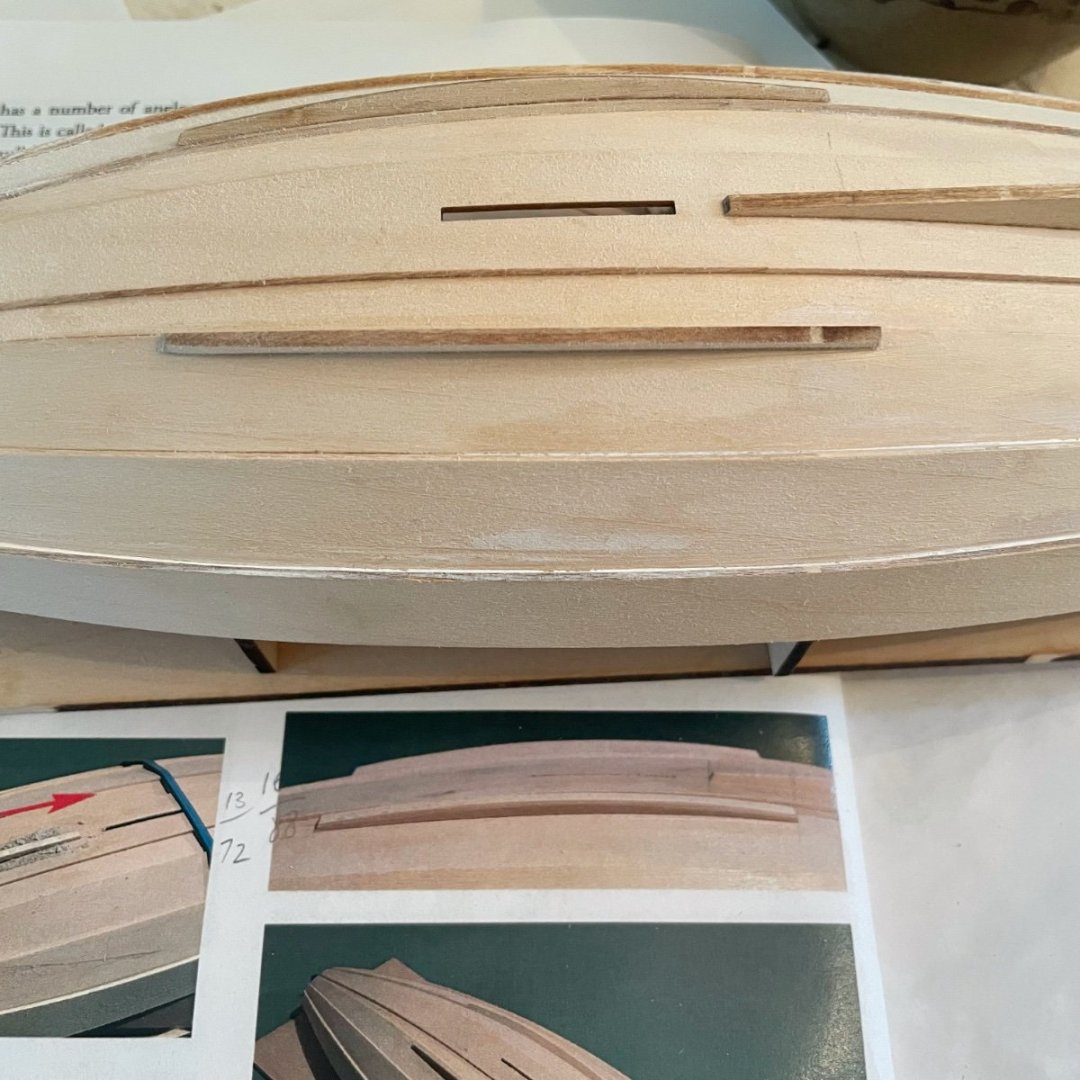
Skeg and bilge keels attached. I don’t want to shock anyone but in my opinion they fit snugly enough without the sanding method suggested. Also I don’t have any rubber cement! I calculated the exact position of the bilge keels by measuring the photo then scaling up. My result: the keels overlap the skeg position by 16mm. Hopefully my photo is clearer. The instructions say “sand the outer surfaces vertical as shown”. I sanded a bit but I see the tops still look flat in the photo so I didn’t continue sanding them fully vertical which would result in them having more of a pointy edge.
-
Thank you @East Ender! Nothing like a photo to see all the little flaws, bit of asymmetry, but I’m moving on 😅
-
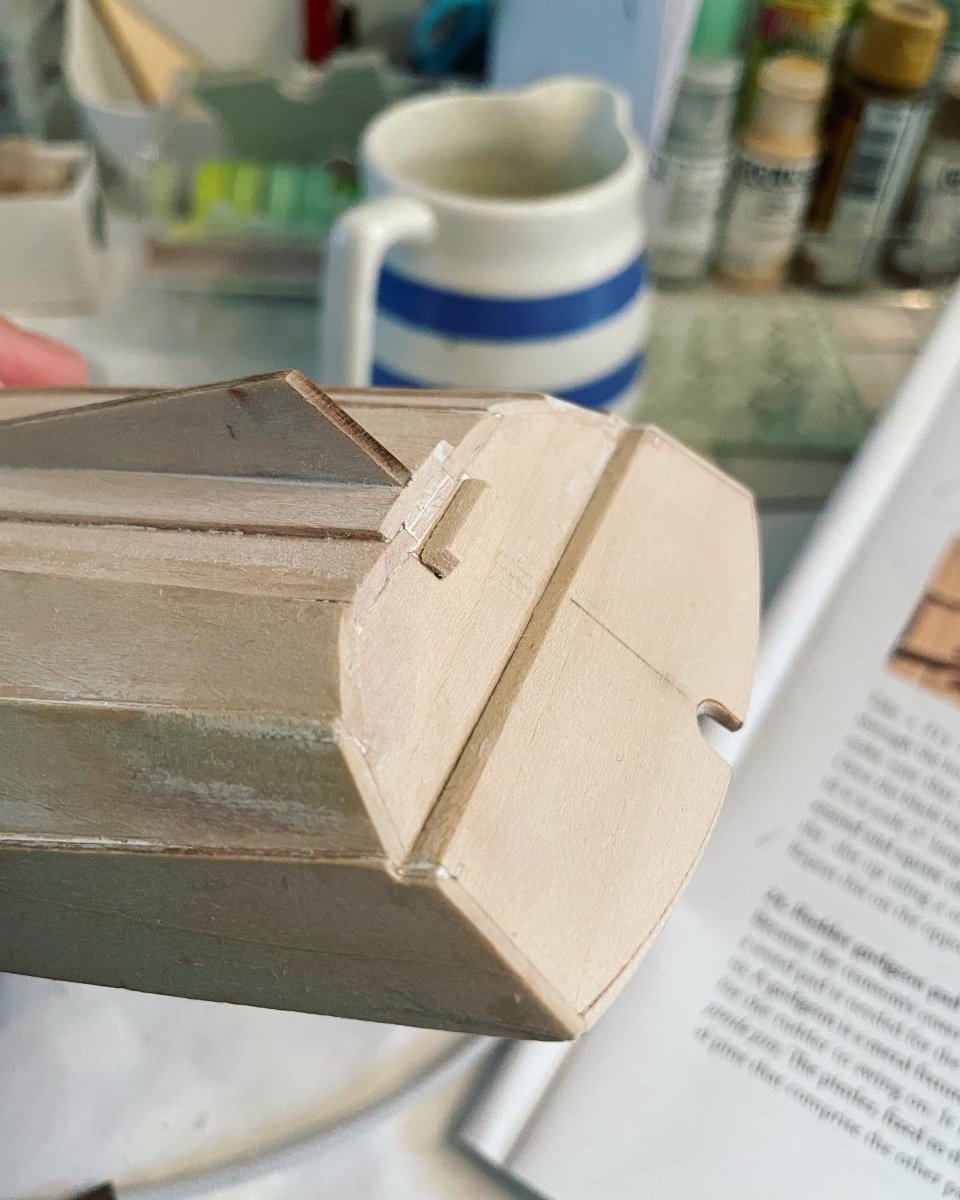
After trimming here are my transoms. Better than I thought, only tiny gaps! I will add a tiny bit of filler then move on…
-
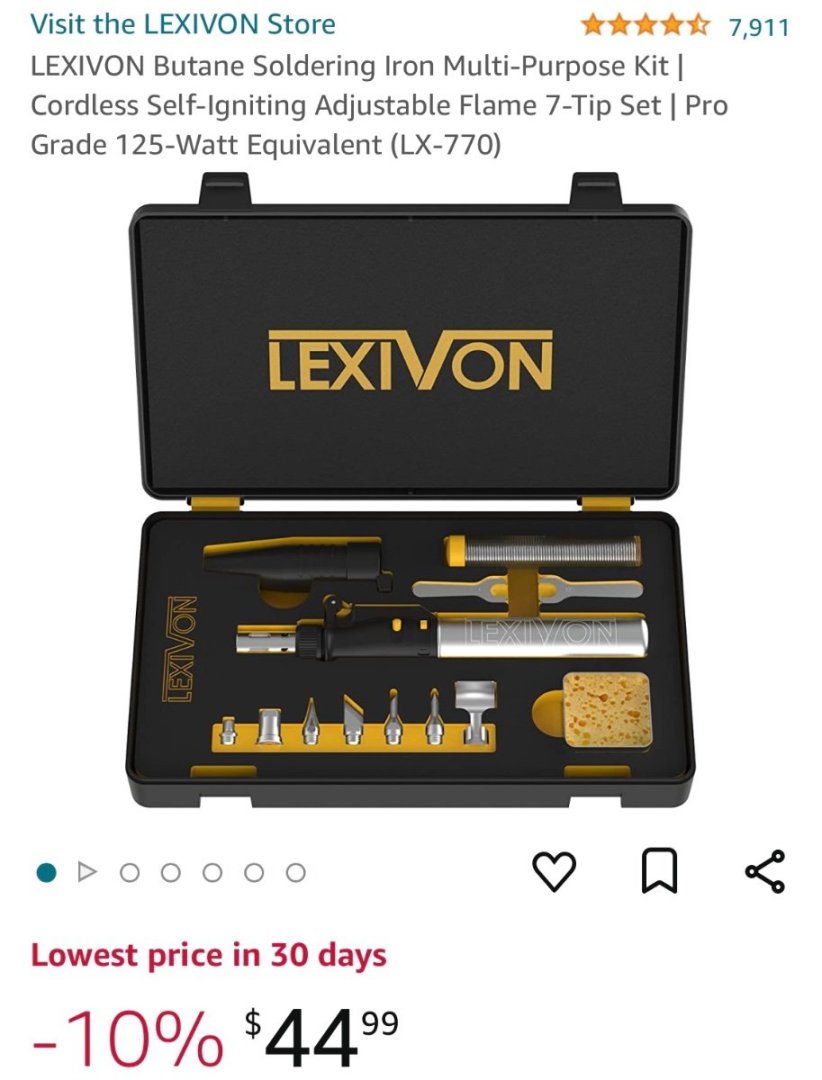
Ok I think I found a good option. I found one of those cordless soldering kits that include a torch tip. So I can anneal now and try soldering someday later on. This is the one I bought (prices in cad$). Assuming I should anneal before brass blackening? Looking forward to boat building today.
-
I’m new to this and also annealing. Would you anneal your brass parts before blackening? Maybe annealing would also remove any clear finish.
-
Turns out husband would like to try making crème brûlée so buying the torch makes sense. This is particularly good news because I love crème brûlée.
-
@druxey thanks very much for the answer, I’ll investigate a bit more!
-
Thinking ahead to the annealing brass steps… does anyone know of by any chance I can use my gas stove burners or do I need to buy the butane torch? I did already order a soldering ceramic tile, the kind with tiny holes on it.