MORE HANDBOOKS ARE ON THEIR WAY! We will let you know when they get here.
×

Claire7
-
Posts
76 -
Joined
-
Last visited
Content Type
Profiles
Forums
Gallery
Events
Everything posted by Claire7
-
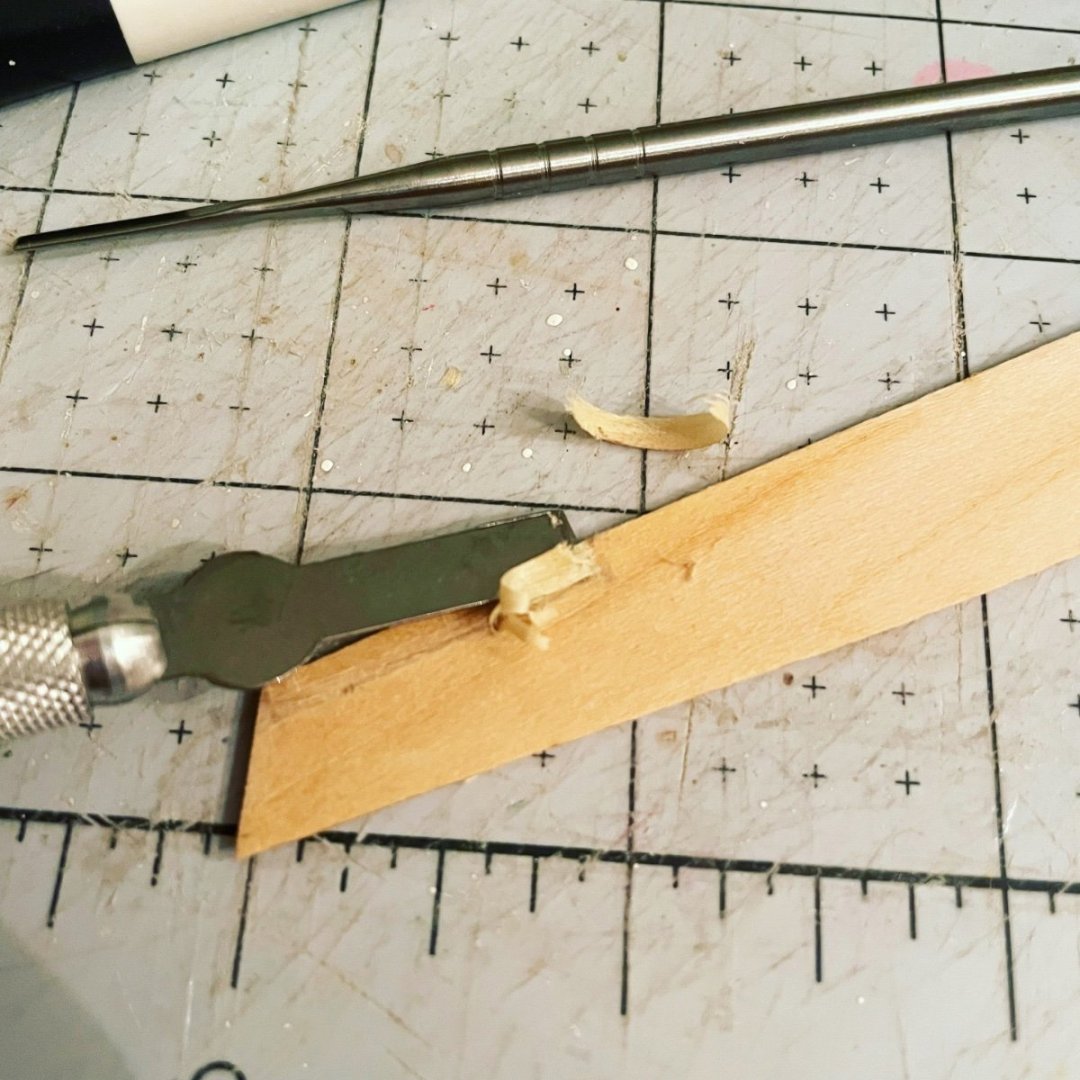
@Bob Cleek I did soak them to bend them first and dried them in a curve with rubber bands. I did find that they still need to be secured to dry in the right position.
-
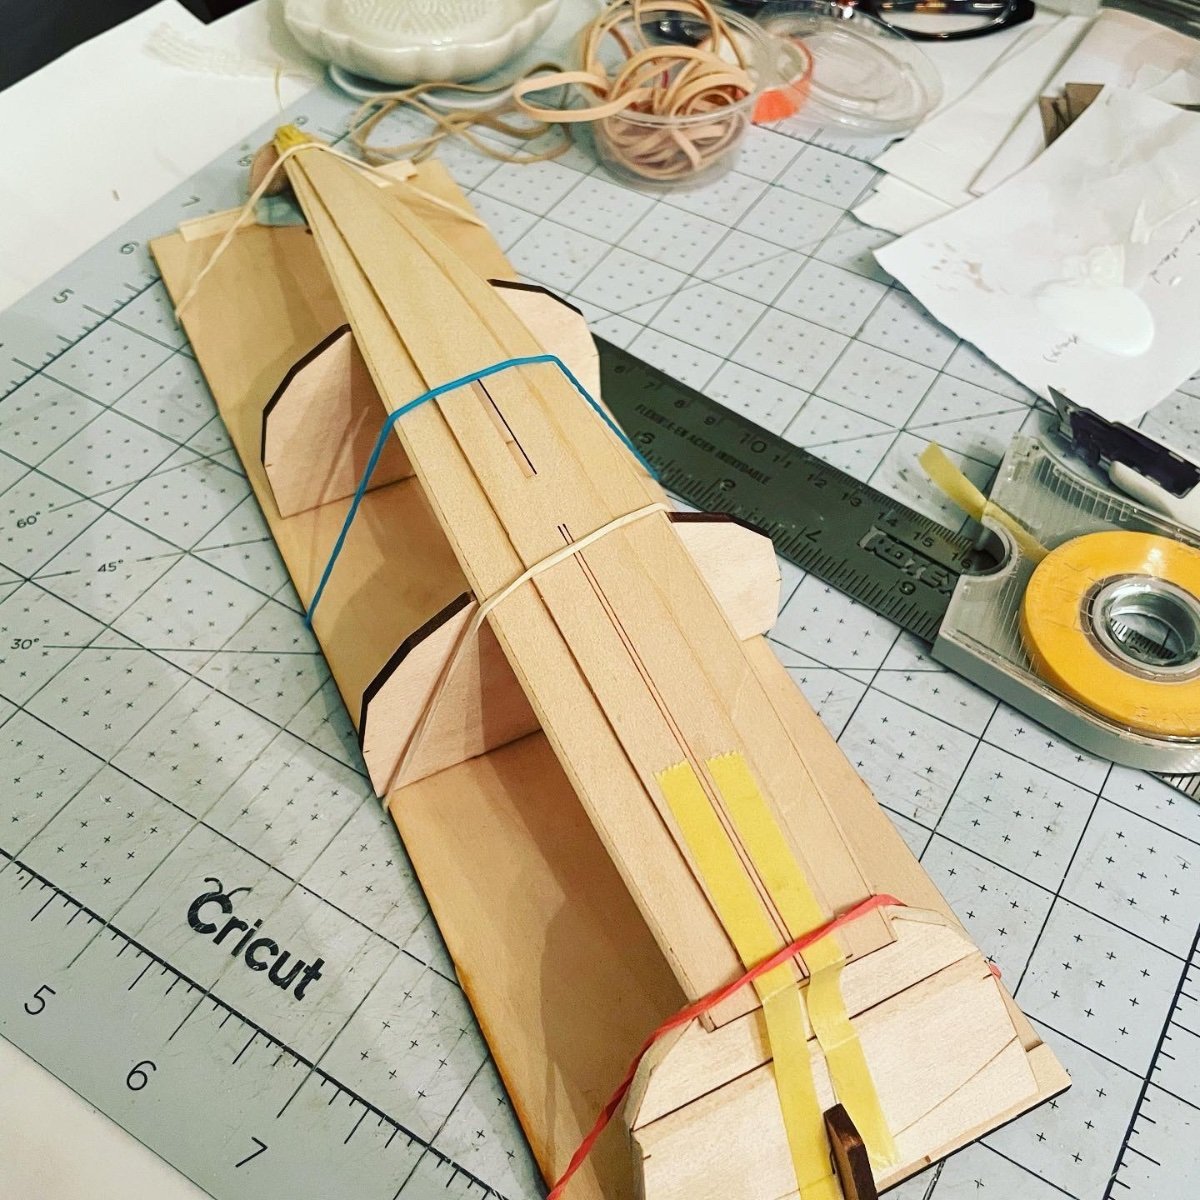
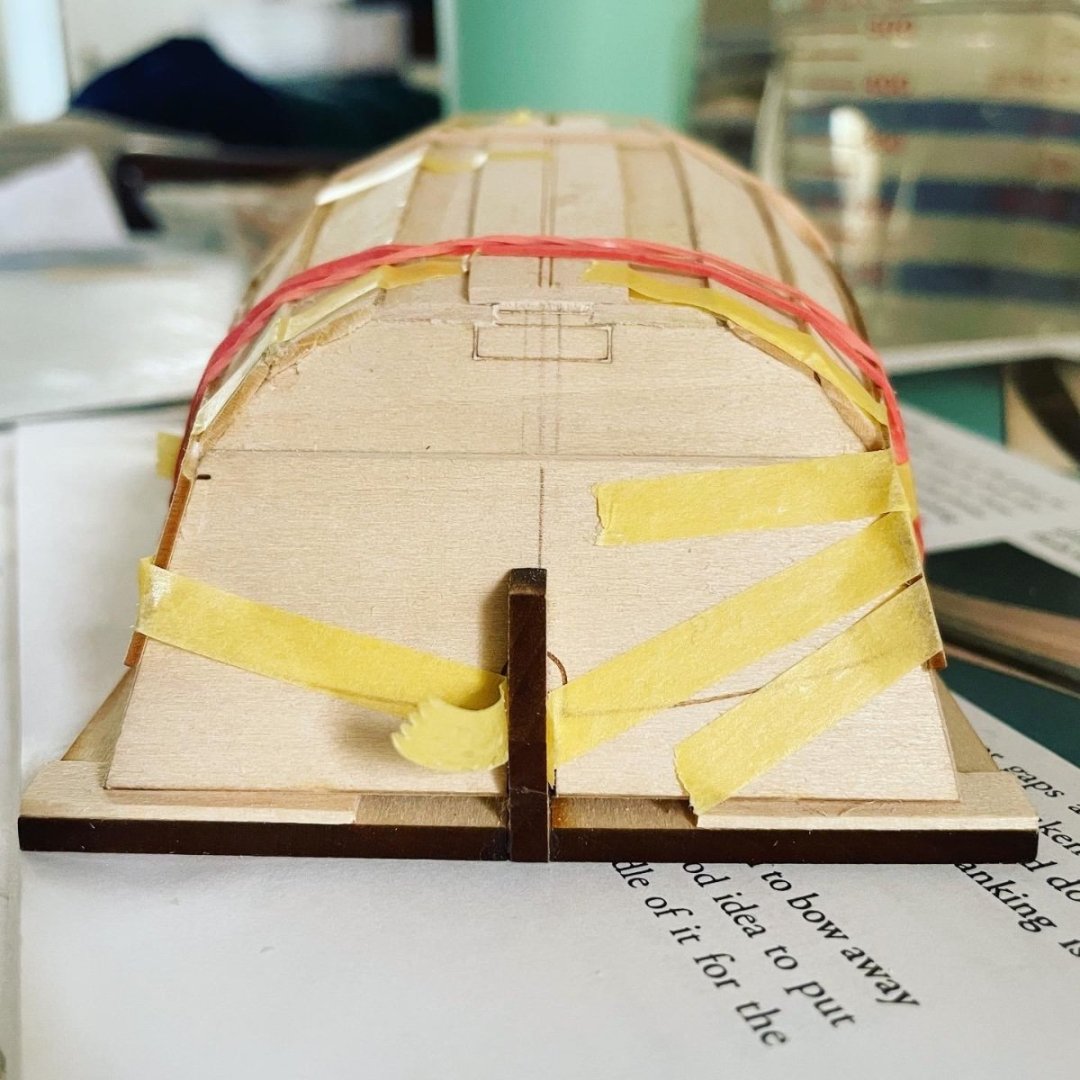
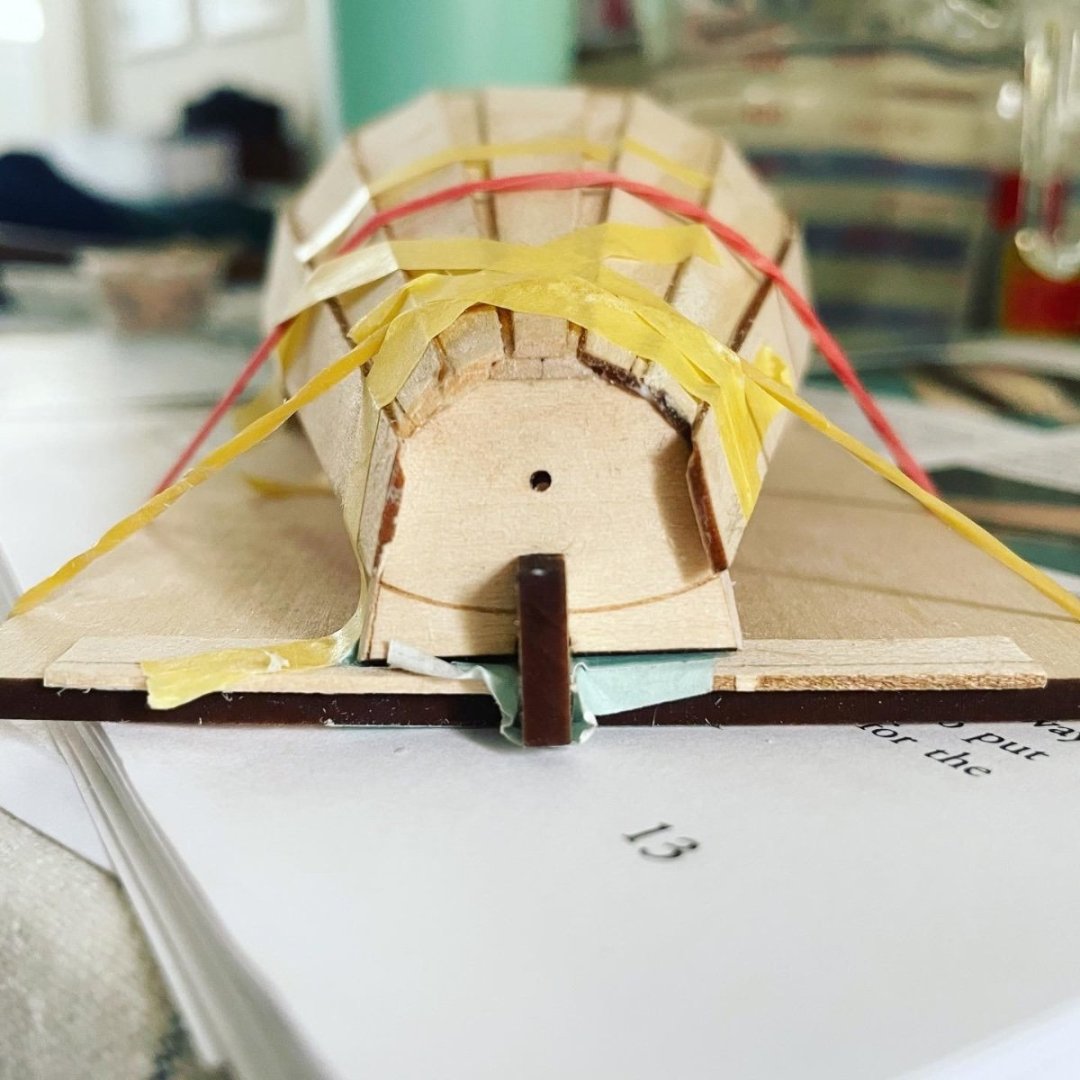
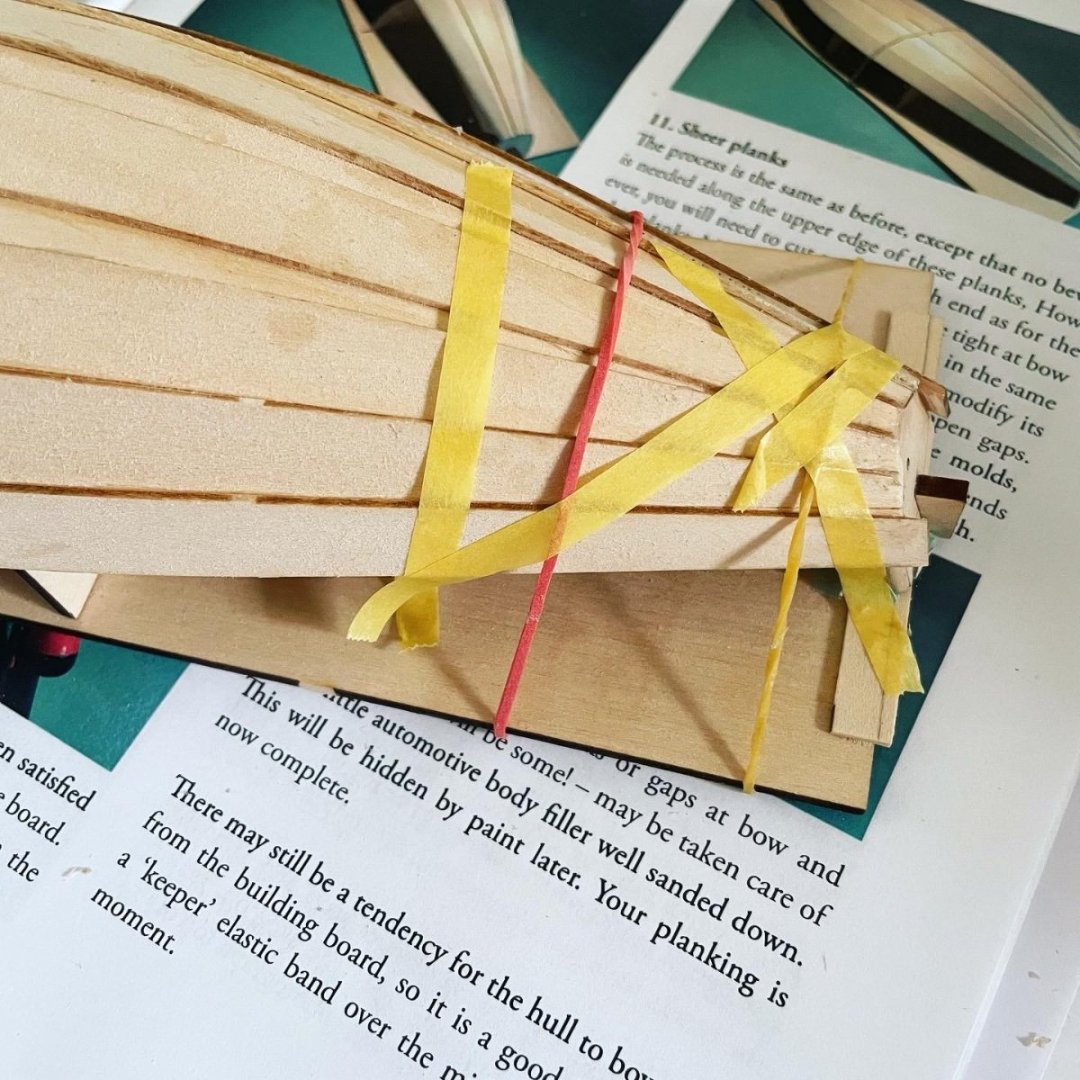
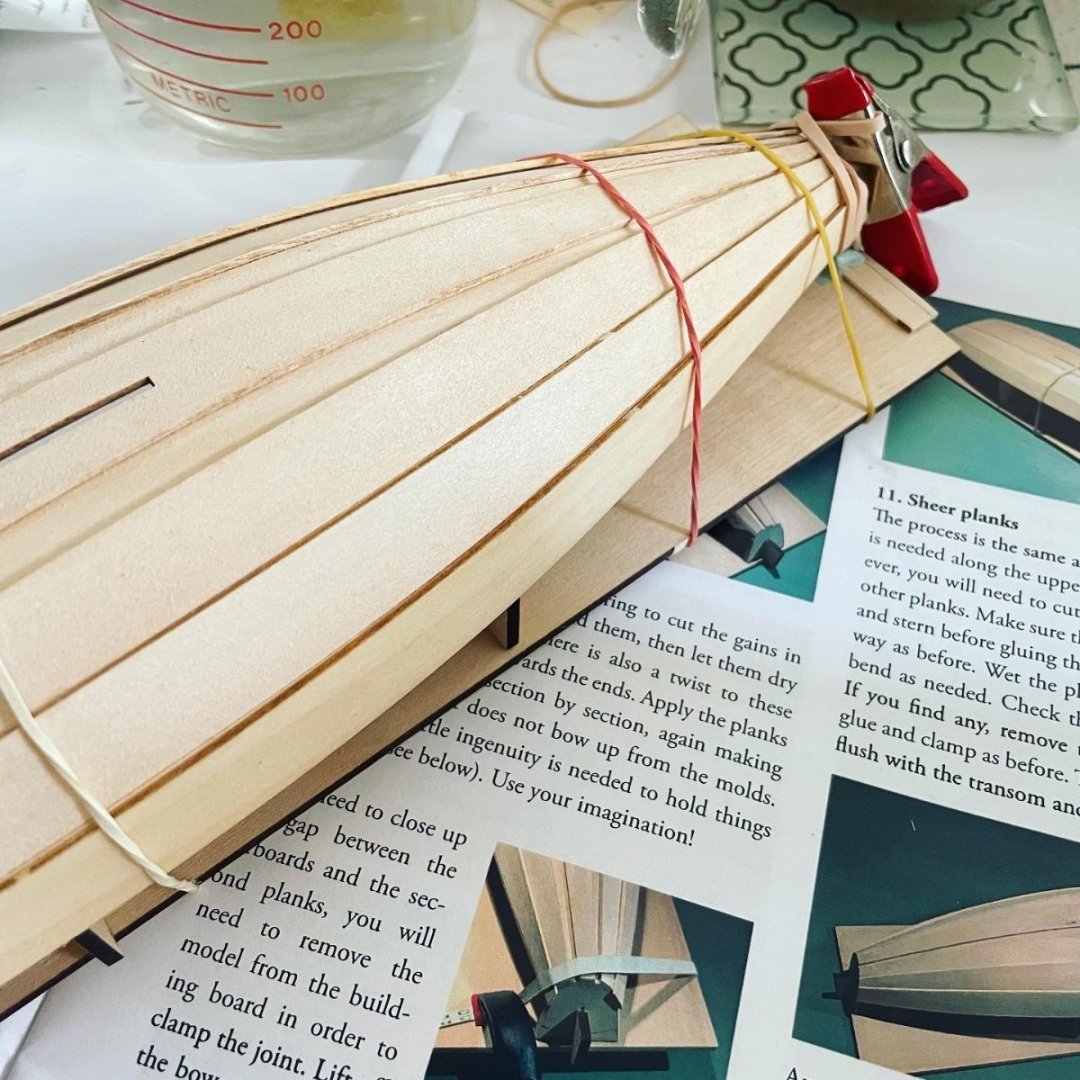
Well I’ve done my best, the planks end slightly below the marked line on the bow transom and a bit above the marked line on the stern transom. My method of keeping things in place is basically rubber bands plus tape, sometimes I just hold a stubborn plank by hand for a bit until it sets.
-
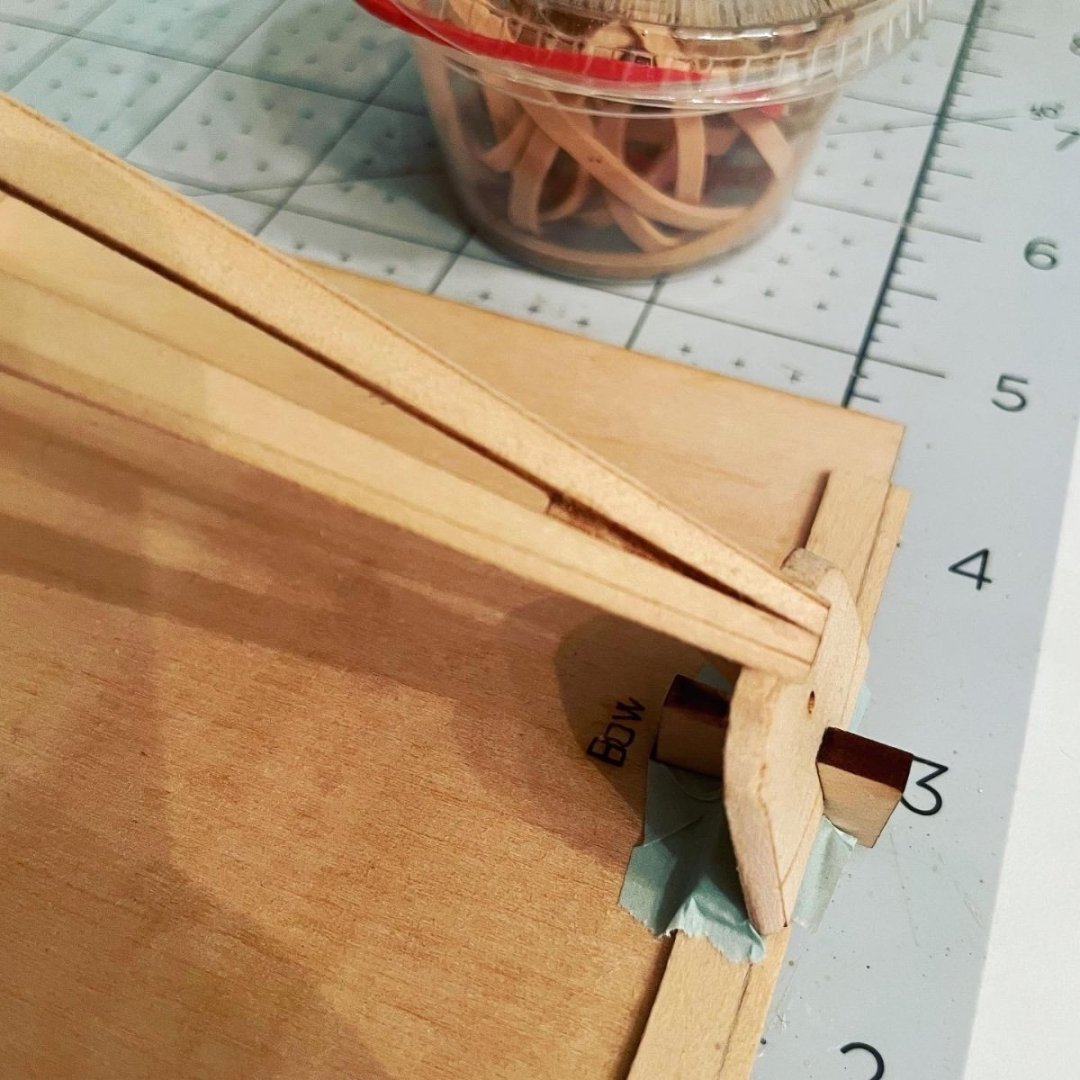
Ugh, I felt like working on the pram today but have made a few mistakes. Namely cutting rabbets on the wrong side. I’ve added wood filler, sanded and cut them in the right place. So now the last three planks are drying in a curve. I’m not sure yet but it looks like the sheer planks come up too high on the stern transom. I’ll have a look at others logs!
-
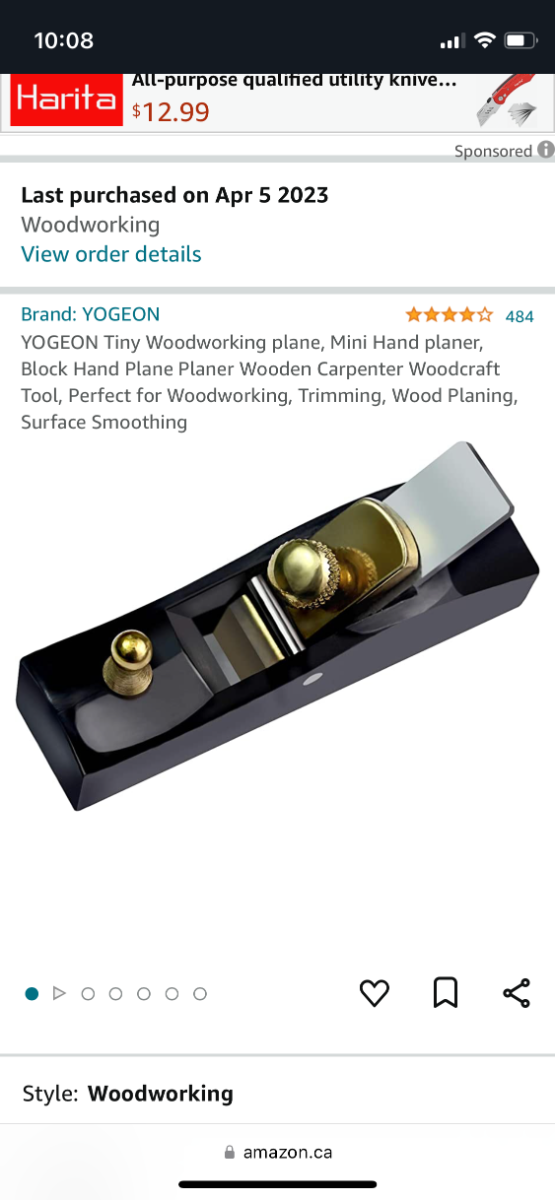
What a superb answer!! Thank you so much for all the detail. You’ve answered my questions perfectly. I also wasn’t confident about my rabbets and the diagram you sent helped immensely. I also loved the photo of the stained wooden boat as it was beautifully made and inspirational as well as a terrific example of what we’re trying to achieve with this type of hull. About the spread I understand better now—that it could result in the planks becoming too short. I have already noticed my very first plank dried slightly off centre at one end and spent some time redoing it as I do want a good result. …and finally I do love tools, especially tiny ones and now covet a squirrel pocket plane! Something I didn’t know existed and now feel I need 😂. I did already purchase one recently when I saw in other logs it would be useful. I just combed through to find one that seemed good quality... It hasn’t arrived yet. Thanks again I appreciate the help very much.

-
Just enjoying “rubber band party”… and your detailed notes as I navigate this build myself 😅
-
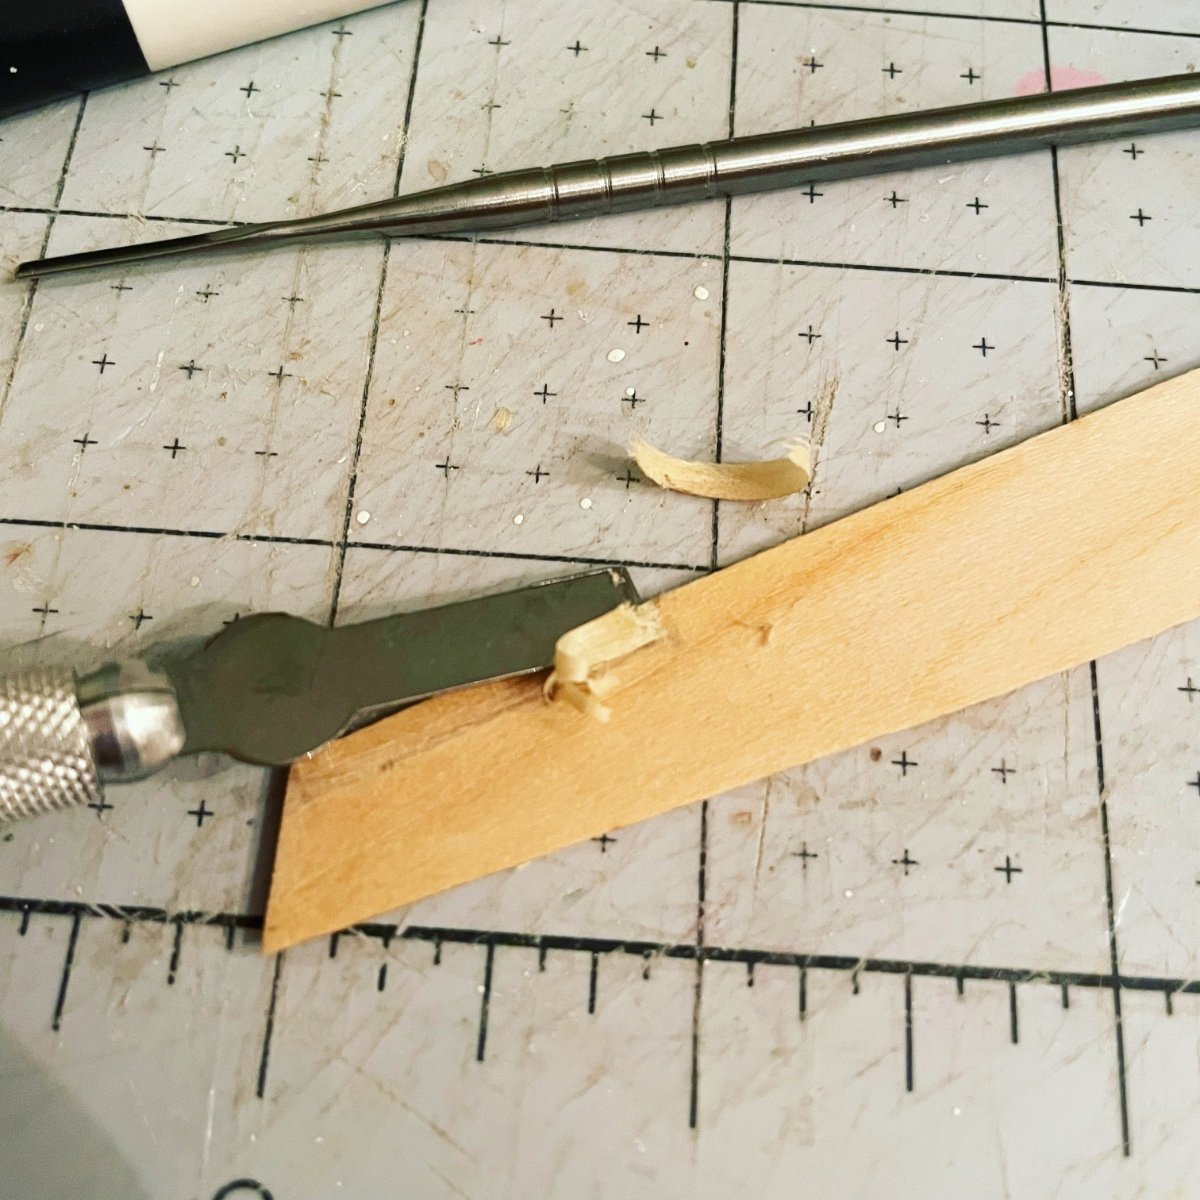
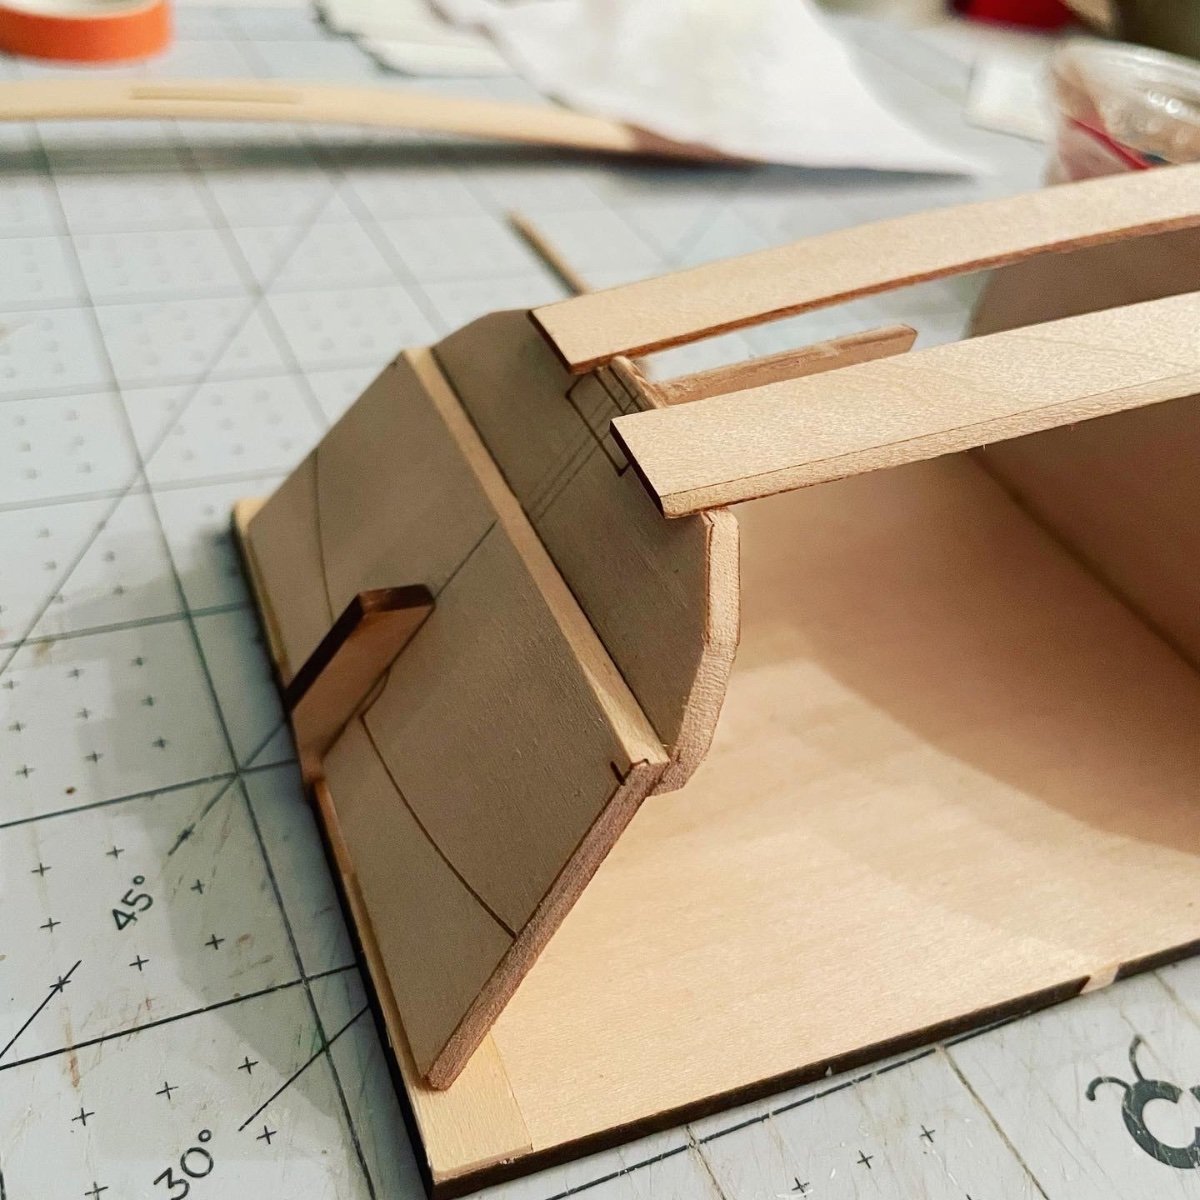
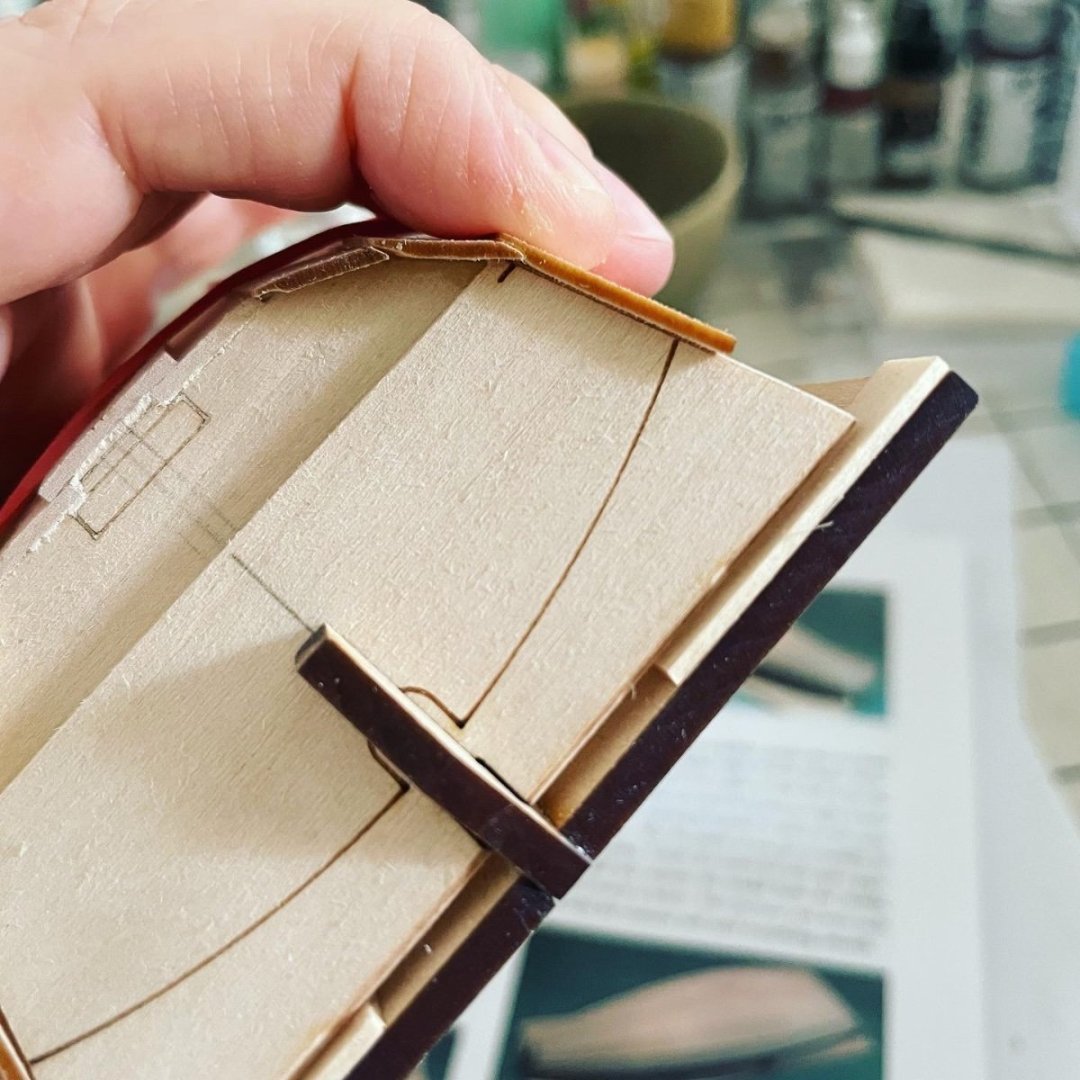
Step 9. Garboard planks I think I made the rabbets slightly too wide but the planks sit together reasonably well. I did enjoy that I received a chisel blade with the extended dory kit so that was handy. Terms I’m not clear about “glue the bow end of the plank to the bow transom and along the bevel to the first mold making sure that the gain seats nicely”. What is “the gain”? Also “Check that the plank is sitting against both molds and the hull is not beginning to spread”. Does this mean the hull just getting wider than it should be?
-
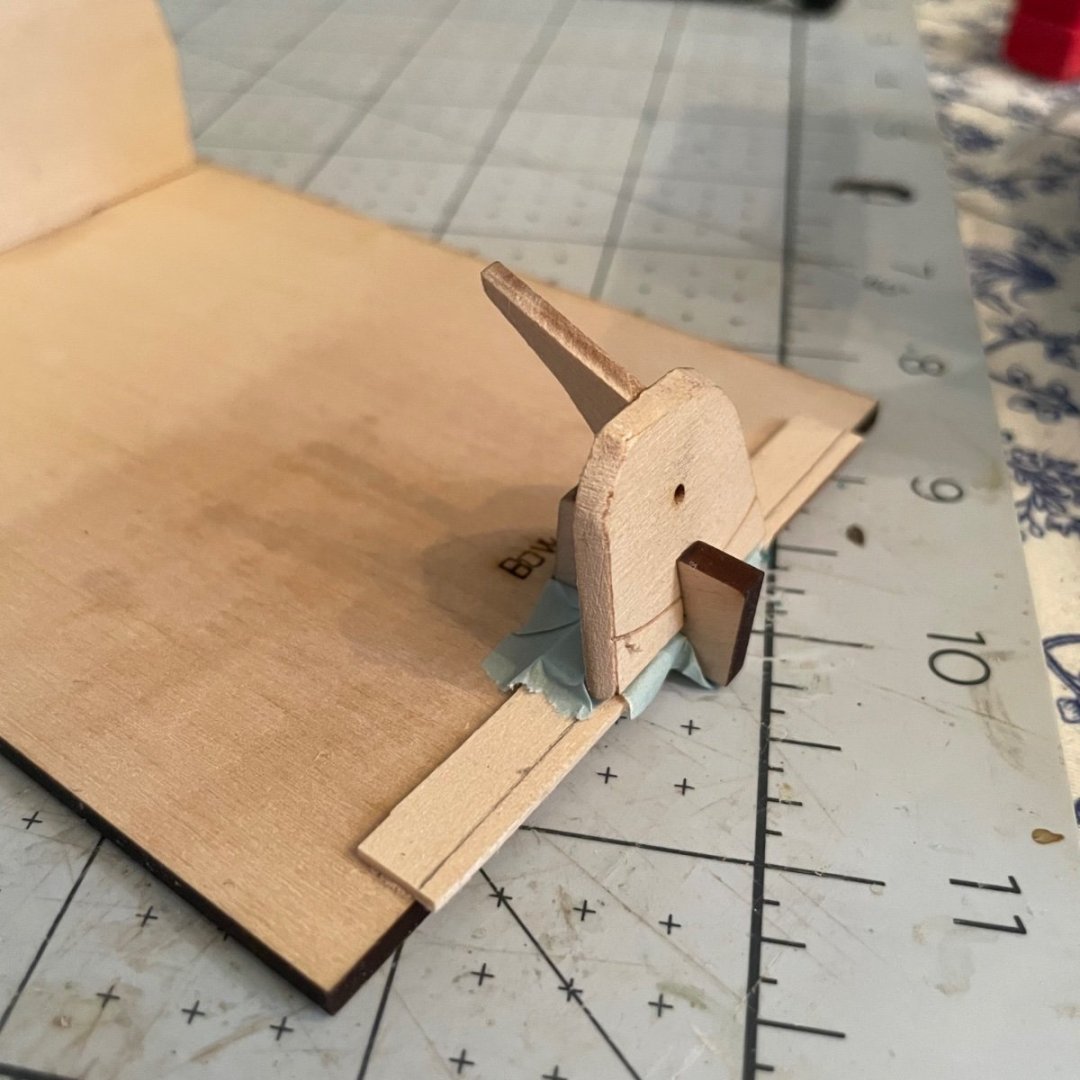
I think I’ve figured it out… maybe the angle of the initial beveling I did on the stern transom doesn’t allow the planks to lie as they should to meet the knee precisely. I did try to follow the guides on the transom and used the beveling tool/guide. Anyway it’s not too significant I hope and I’ve just glued and clamped the knee to the plank.


-
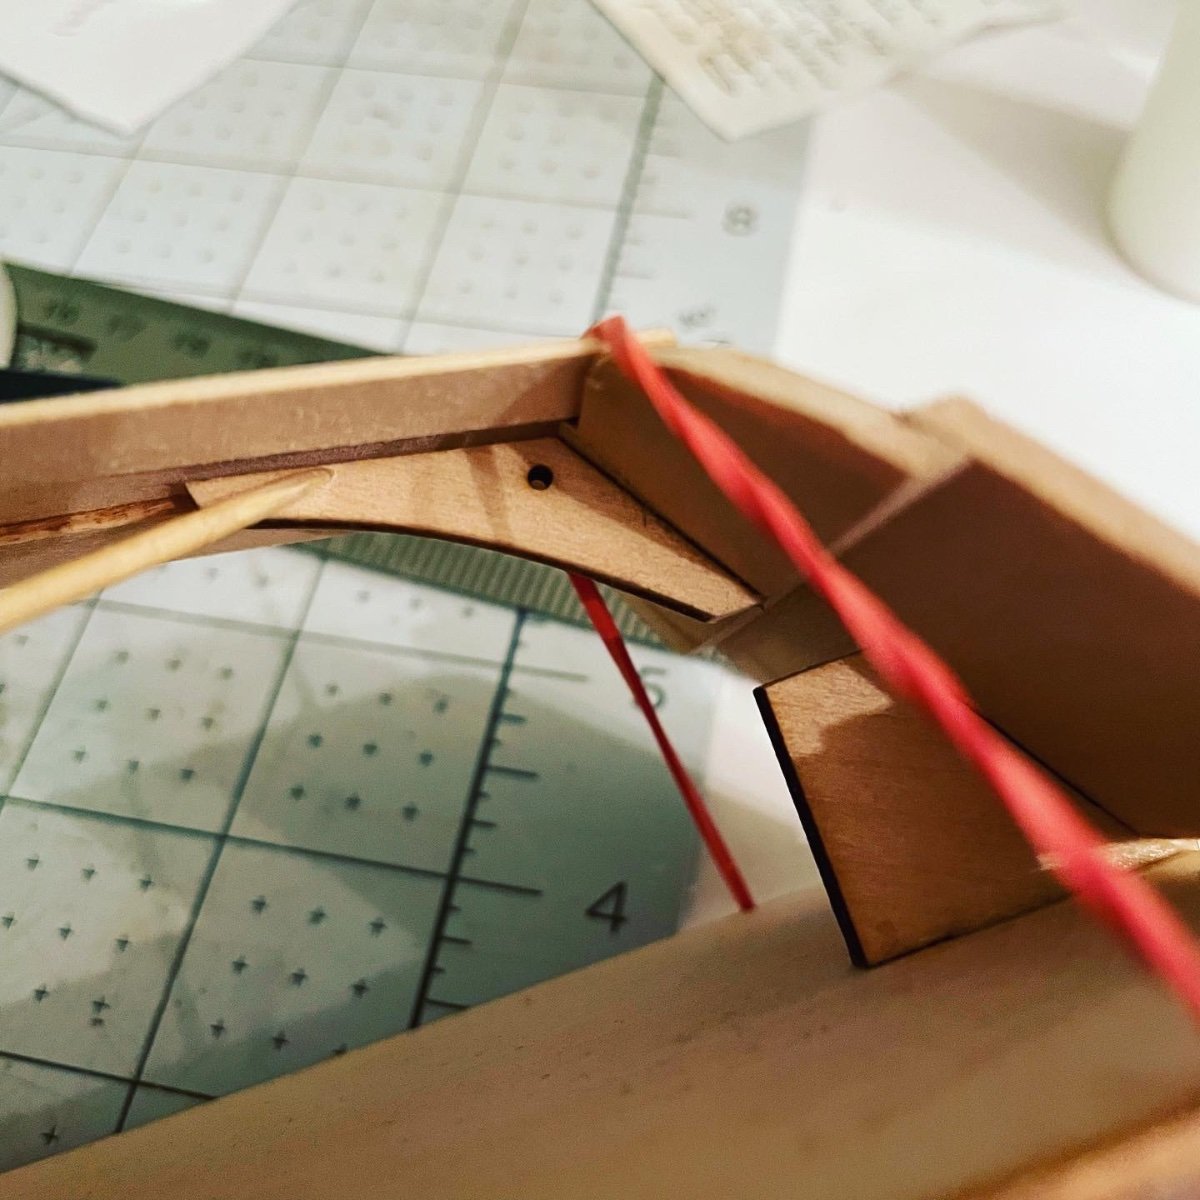
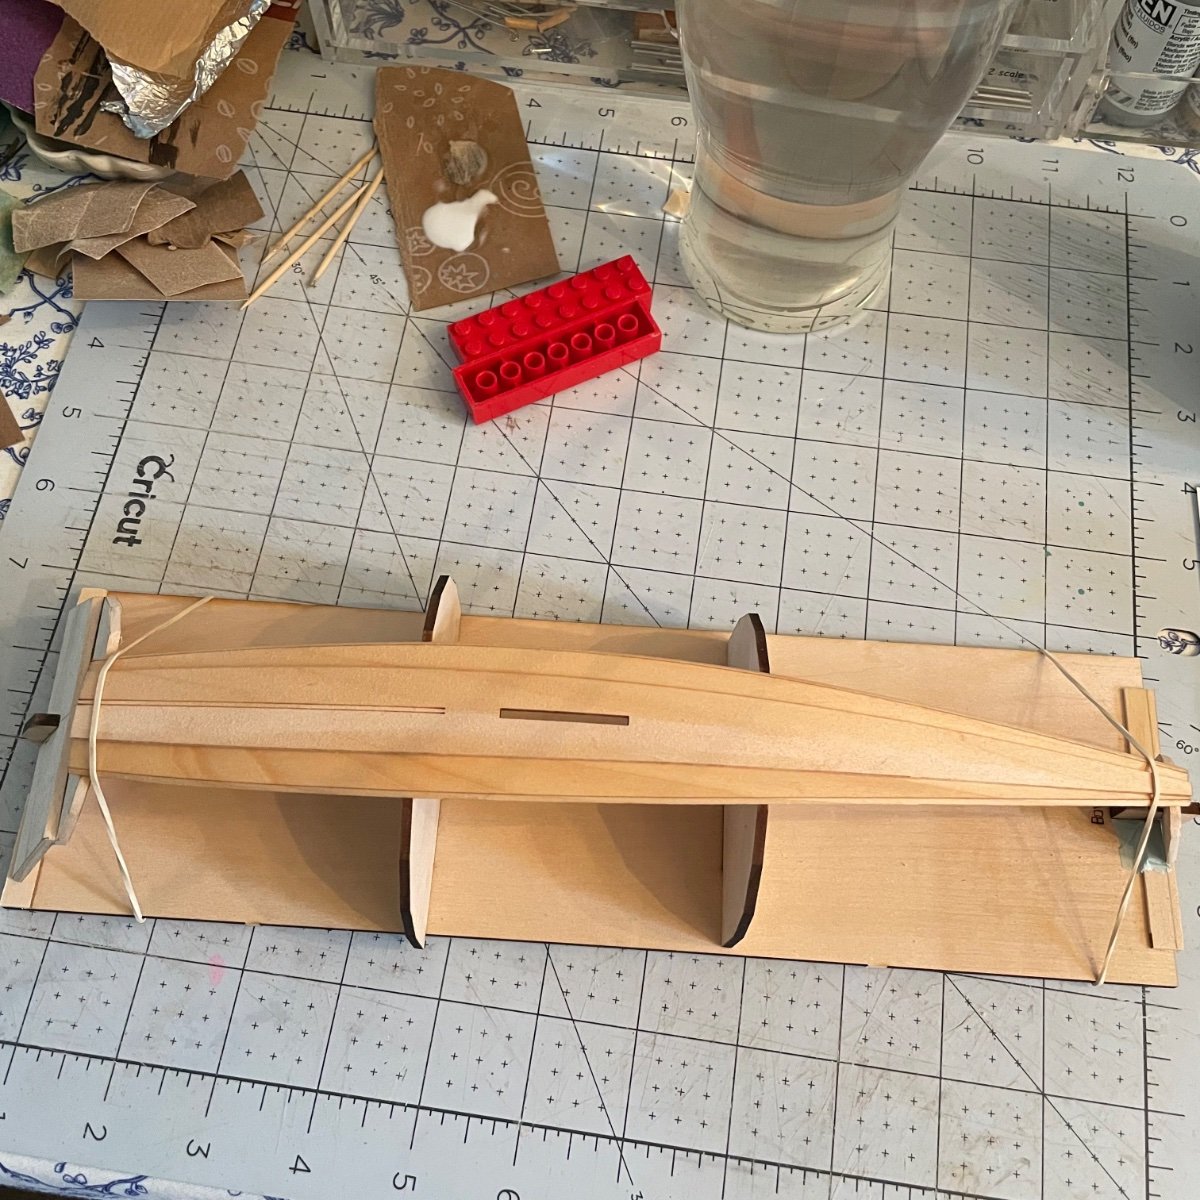
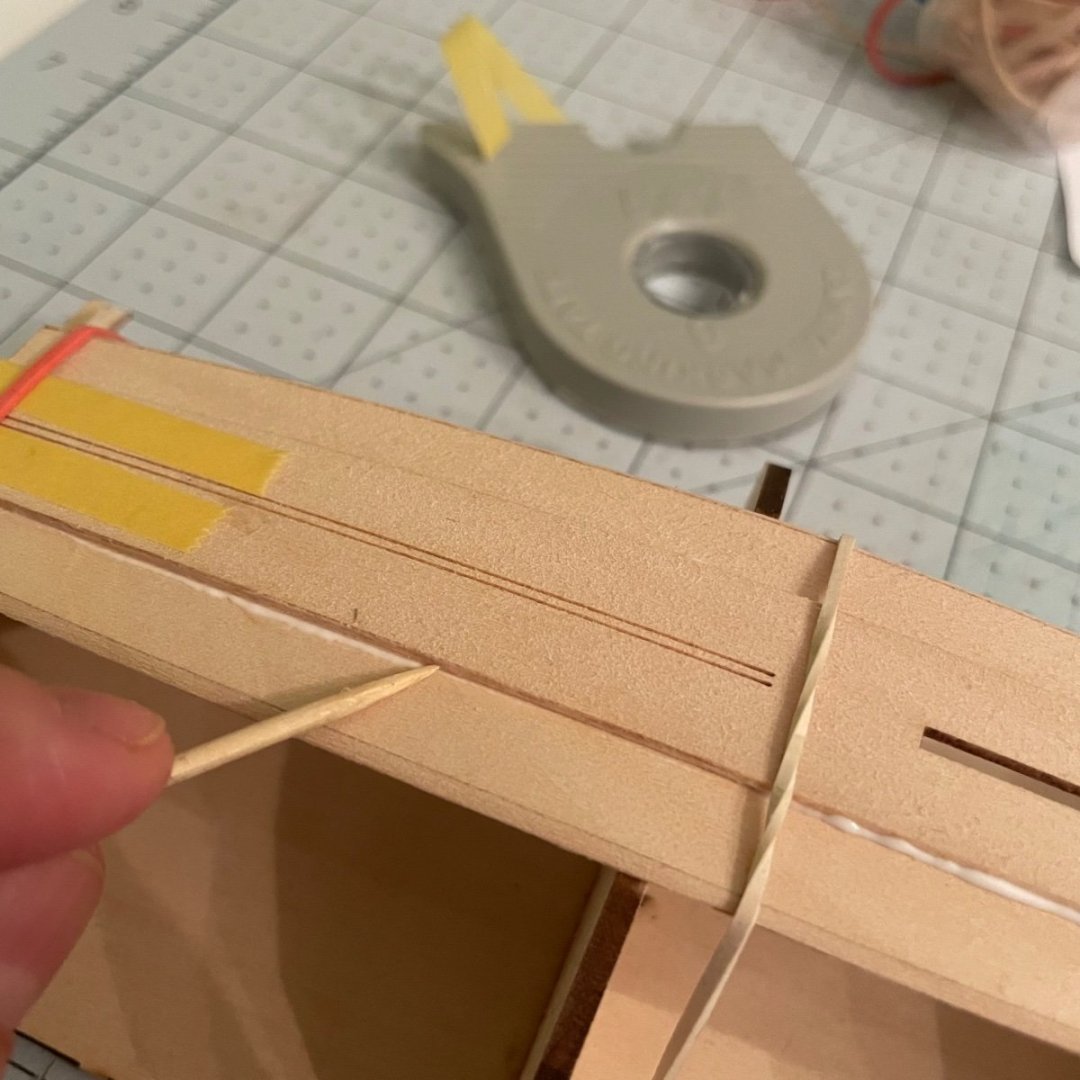
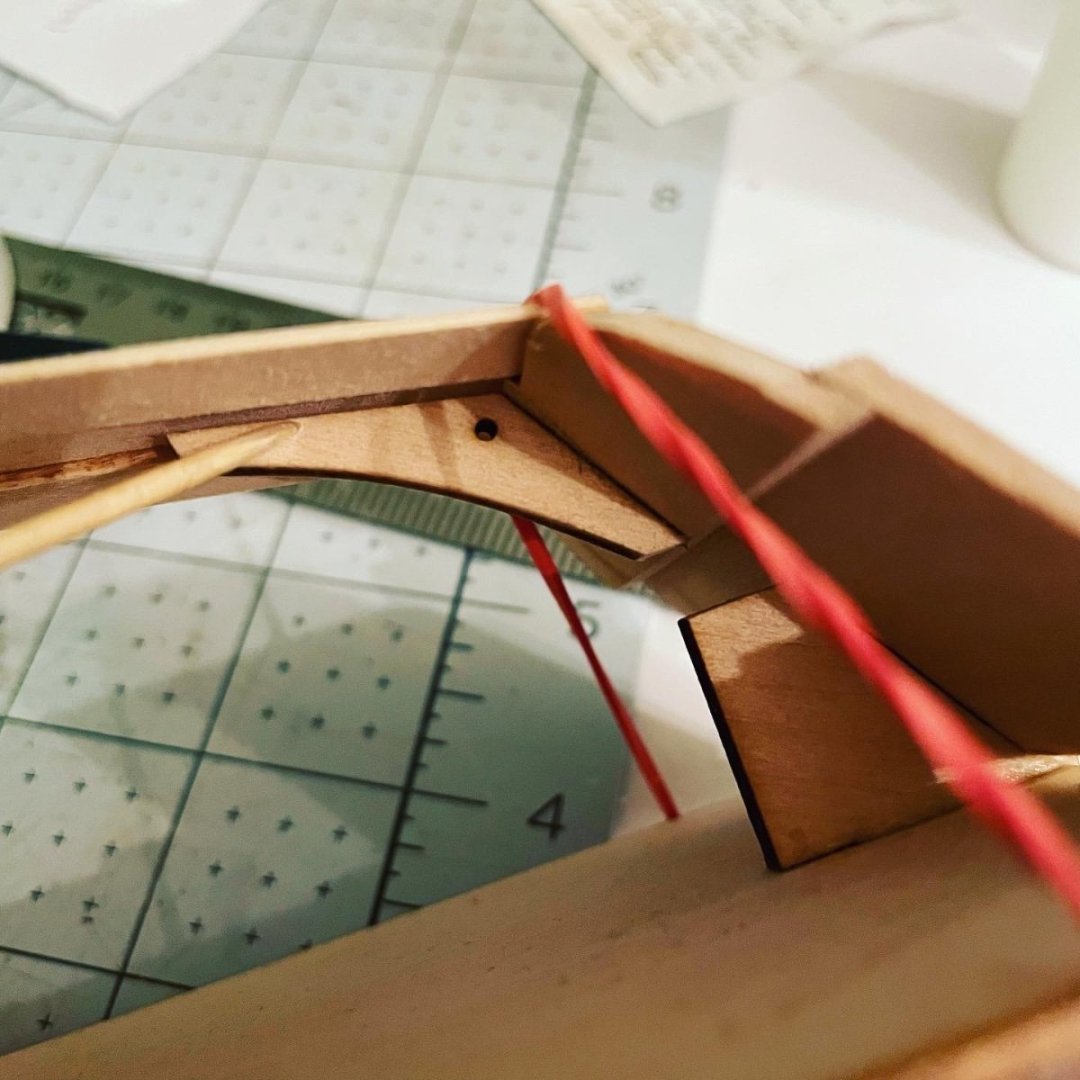
Keel plank now added, lots of excess glue which I understand is good and means the join isn’t glue-starved! I tidy extra glue up with a toothpick. Things seem symmetrical and look ok but there is a big gap (indicated by toothpick) between the keel plank and the stern knee. Wondering if I should glue them together now /clamping the pieces to join or add filler later on? It seems like it makes sense there’s a gap because the keel plank sits on top of the bottom planks…

-
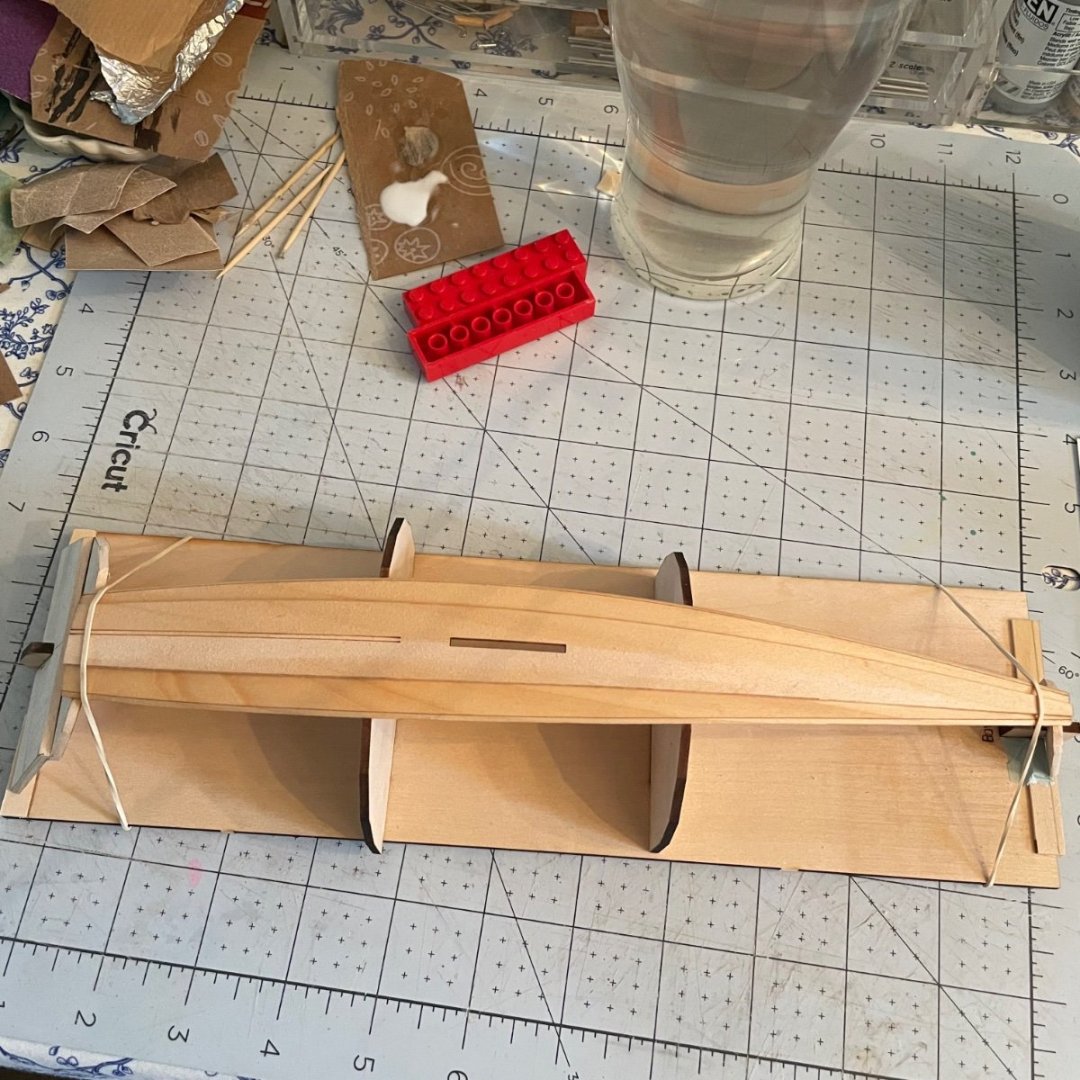
Getting back to work on this now that the dory is done… Bottom planks are attached. Held in place with elastics and Tamiya tape.

-
You’ve ordered the part, but I was wondering could you not use the punched out shape to recreate the rudder?
-
Norwegian Pram build log: https://modelshipworld.com/topic/34384-norwegian-sailing-pram-by-claire7-model-shipways-112
- 39 replies
-
- 3
-

-
- Lowell Grand Banks Dory
- Model Shipways
- (and 1 more)
-
Such a lovely comment, thank you so much ☺️, this made my day.
- 39 replies
-
- 1
-
-
- Lowell Grand Banks Dory
- Model Shipways
- (and 1 more)
-
Thank you! I had a bit of a fear of staining wood. I tried a long time ago with some miniature chairs and the tiny craft wood soaked up too much instantly leaving them very dark and not how I intended. I’m trying to get better at it, so glad you like the result!
-
Wow thanks so much! What a huge compliment!
-
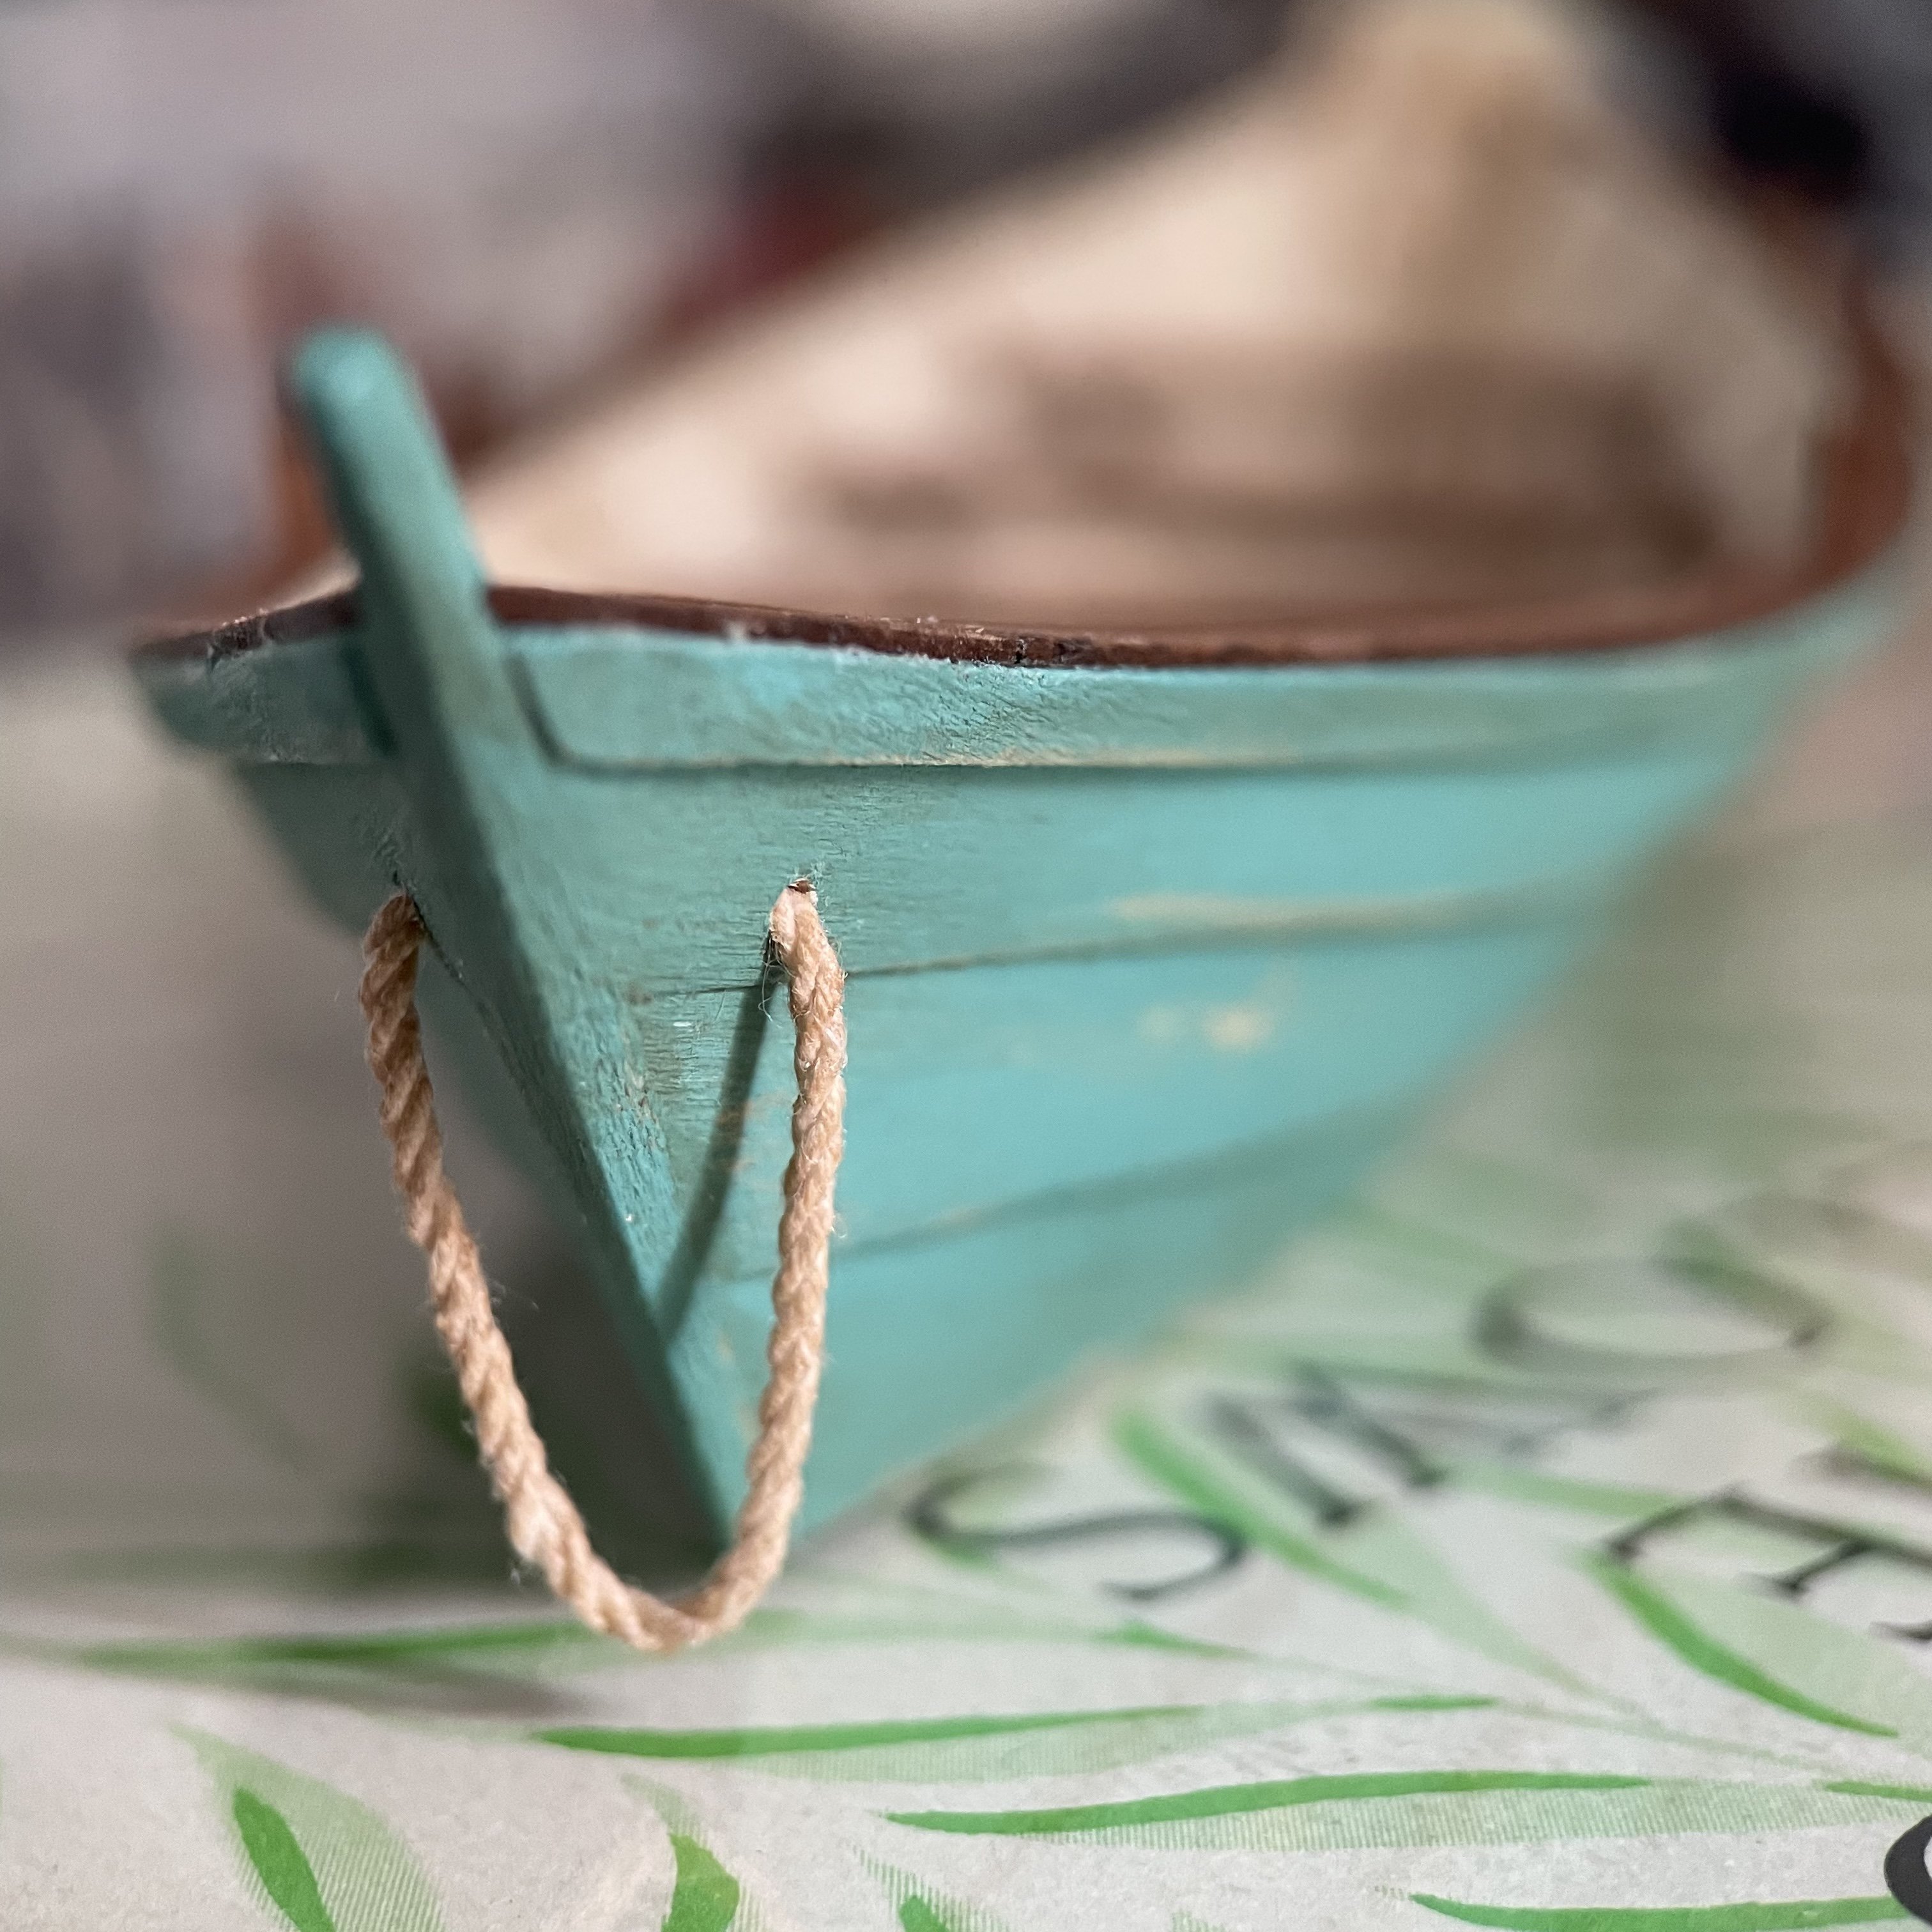
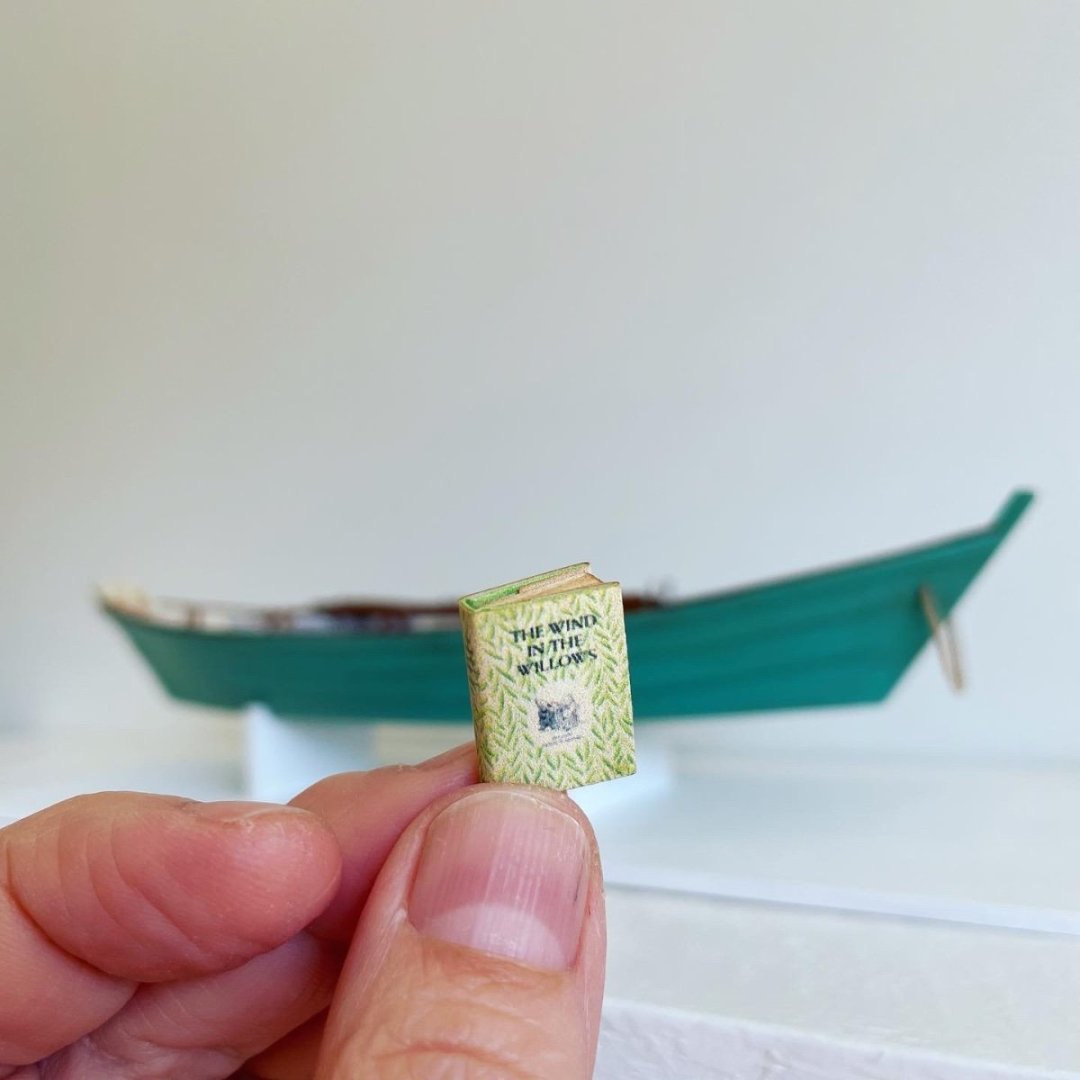
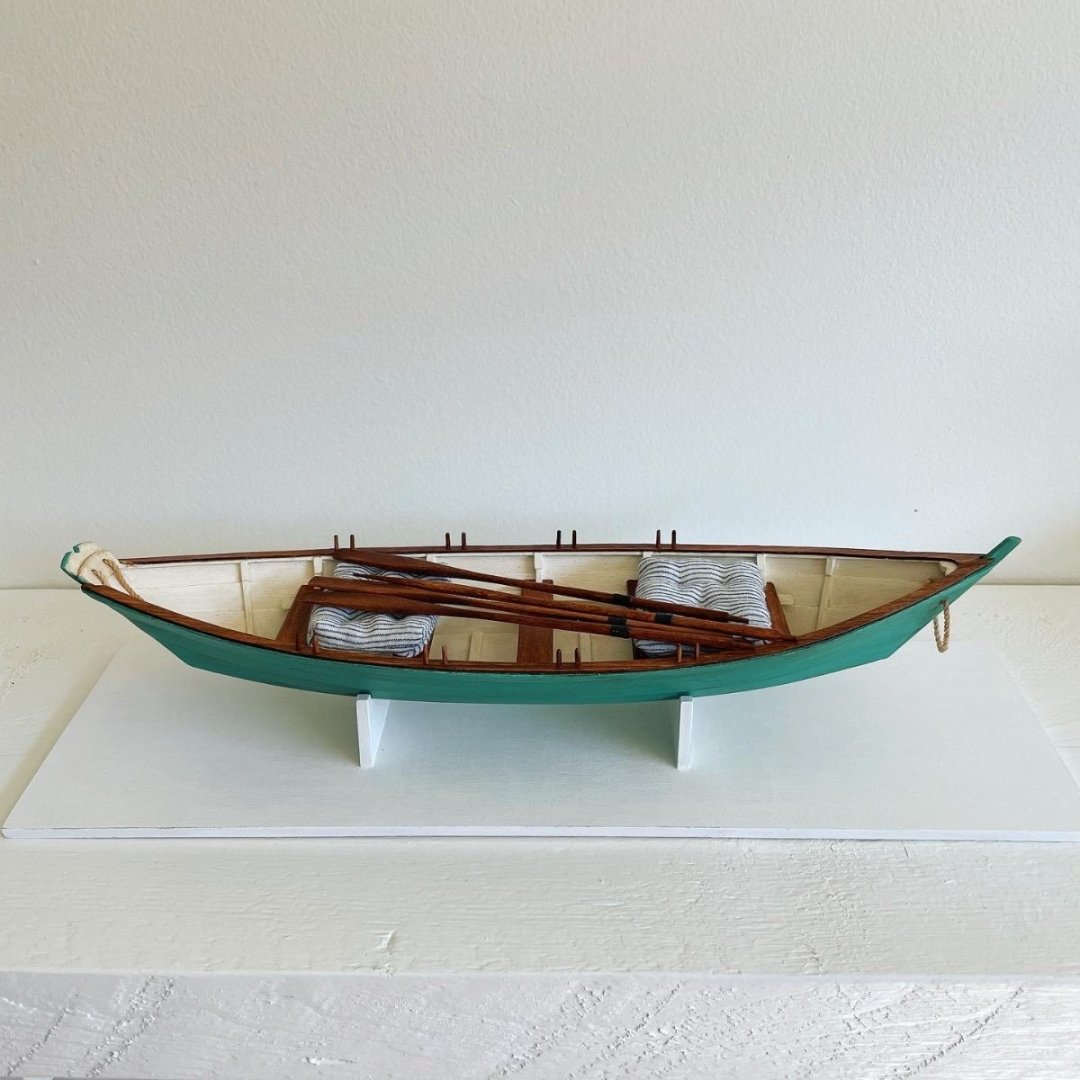
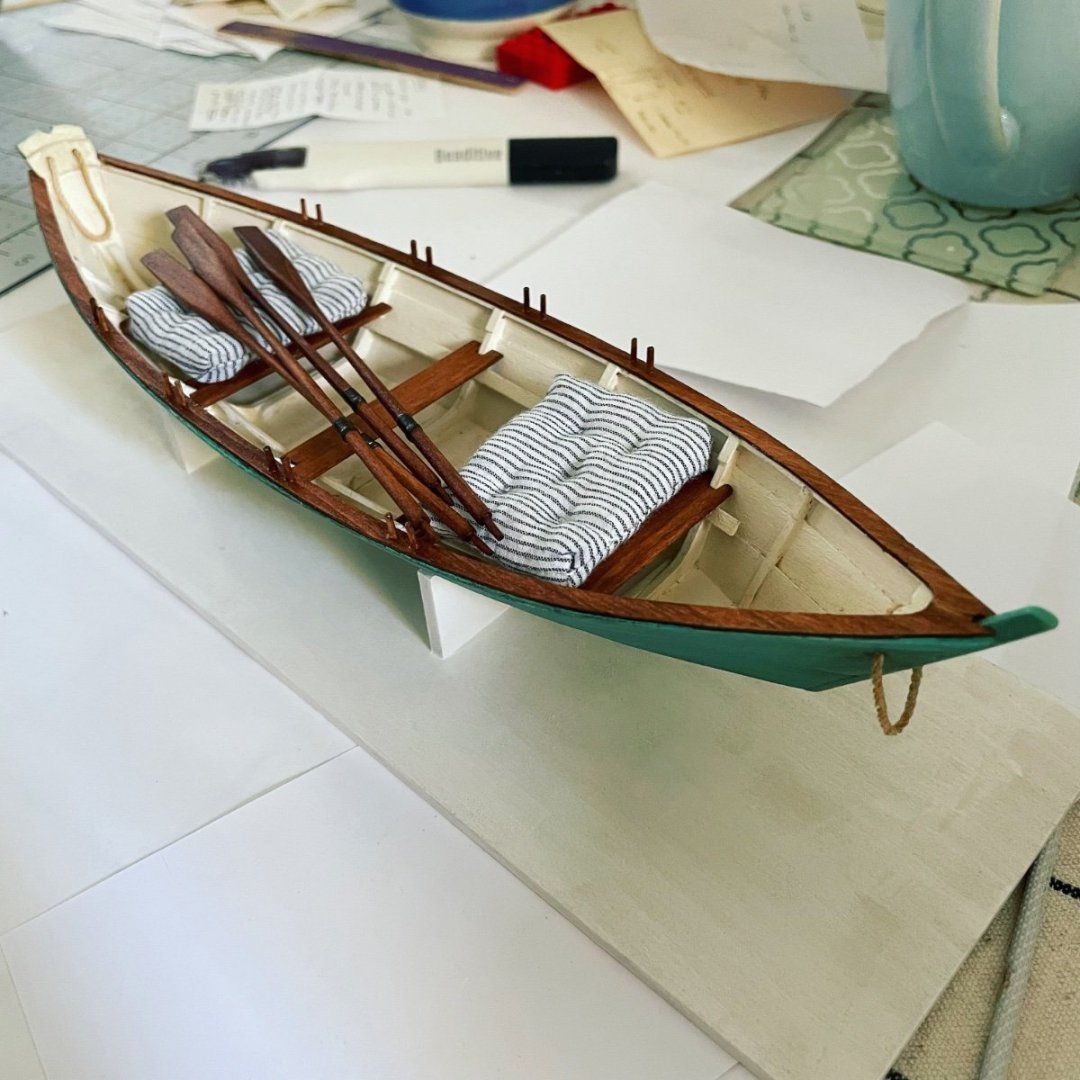
Tried to take some better “finished” pictures. And just for fun I made a teeny copy of my Wind in the Willows book… I loved the dory kit, the perfect intro for a beginner. I found the planking the most challenging but having shaped pieces cut for me made it much easier. The tricky part for me was securing each piece exactly in place to dry. I appreciate that this kit involve a lot of detail so that you can develop your skills and be proud of the finished boat. Now on to the Norwegian Pram! Thanks so much to everyone for the likes and kind comments.

- 39 replies
-
- 8
-
-

-
- Lowell Grand Banks Dory
- Model Shipways
- (and 1 more)
-
Dust masks and respirators.
Claire7 replied to Bill Hudson's topic in Modeling tools and Workshop Equipment
@mtaylor thanks very much for this, lots of detail here! Basswood is not on this list. I also checked basswood is actually American Linden, also not on the list. Good news at least as so many kits use basswood. I will still be more careful when doing a lot of sanding. This time of year I can work outside. I’ve been doing that with staining and it’s nice to have the option. This forum is so helpful. I really thought that “wood is a nice safe natural material” and now I will be more careful. -
@Montaigne thanks so much for the kind words! It means a lot to me as a beginner.
-
Dust masks and respirators.
Claire7 replied to Bill Hudson's topic in Modeling tools and Workshop Equipment
On some craft wood and kits I am seeing a warning about cancer risk. I was wondering if this is from some added chemical or if sawdust is risky on its own. I did find some information after Googling… suggesting specific woods are actually cancerous with prolonged exposure to the sawdust. A common kit wood is basswood which was not on the list. I was interested in an older out-of-stock kit on eBay and it had the warning. But my recent kits do not. Hoping manufacturers addressed this concern and it’s fine! Not sure if this is the right topic to post about this, but interested if anyone has more information. -
@druxey thanks so much! that’s the quote my great aunt directed us to when she signed the copy she gave us. She loved it, loved boating and hoped we would love the book and boating too. I read it over and over!
- 39 replies
-
- 2
-
-
- Lowell Grand Banks Dory
- Model Shipways
- (and 1 more)
-
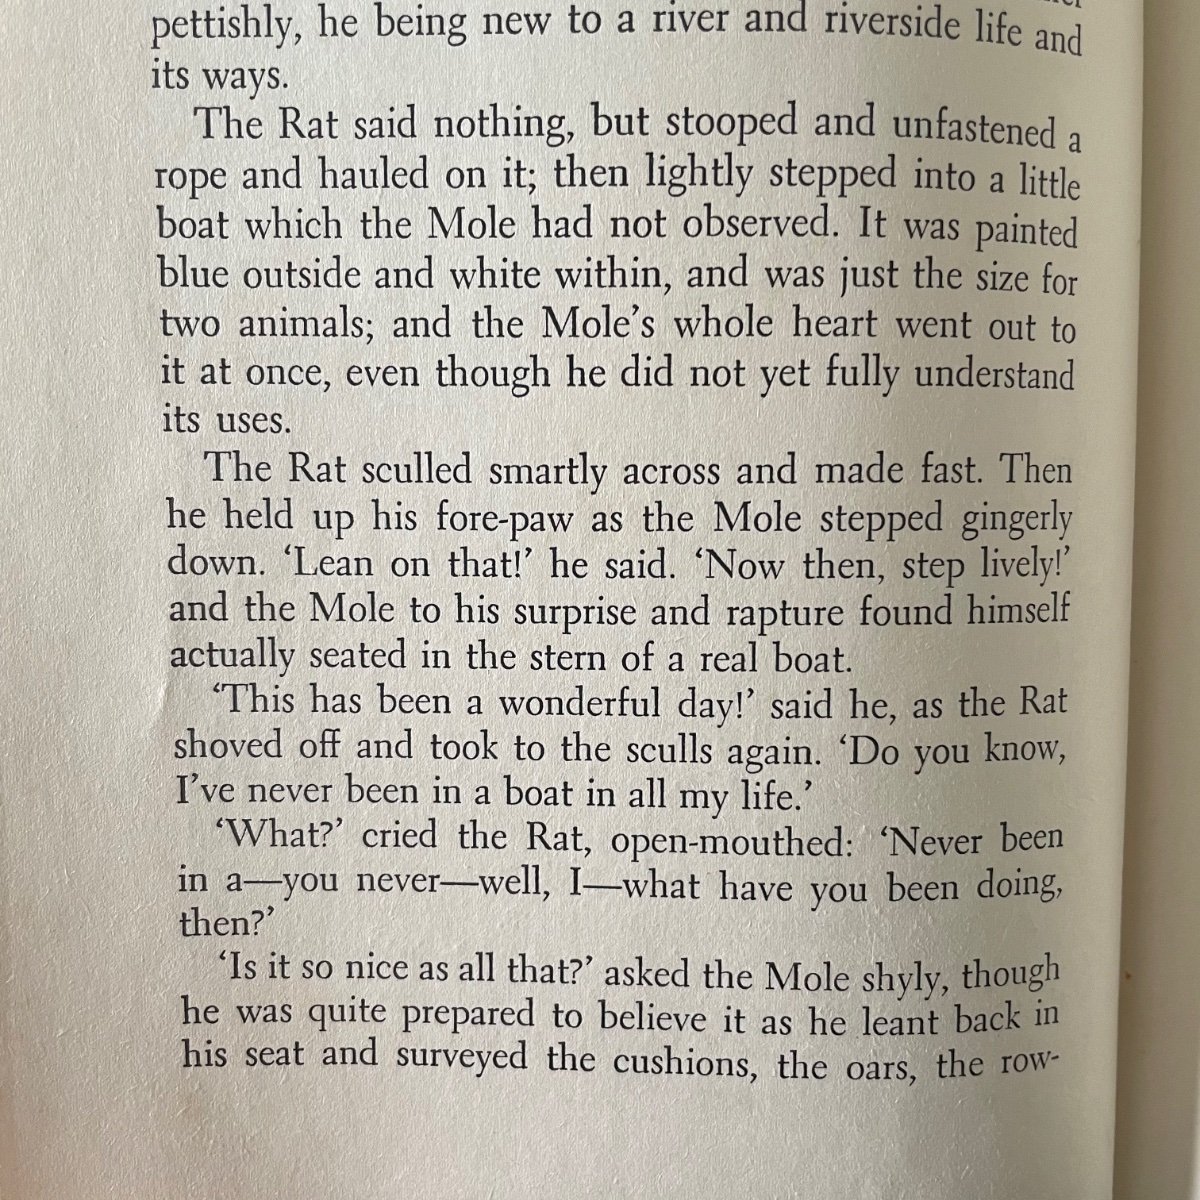
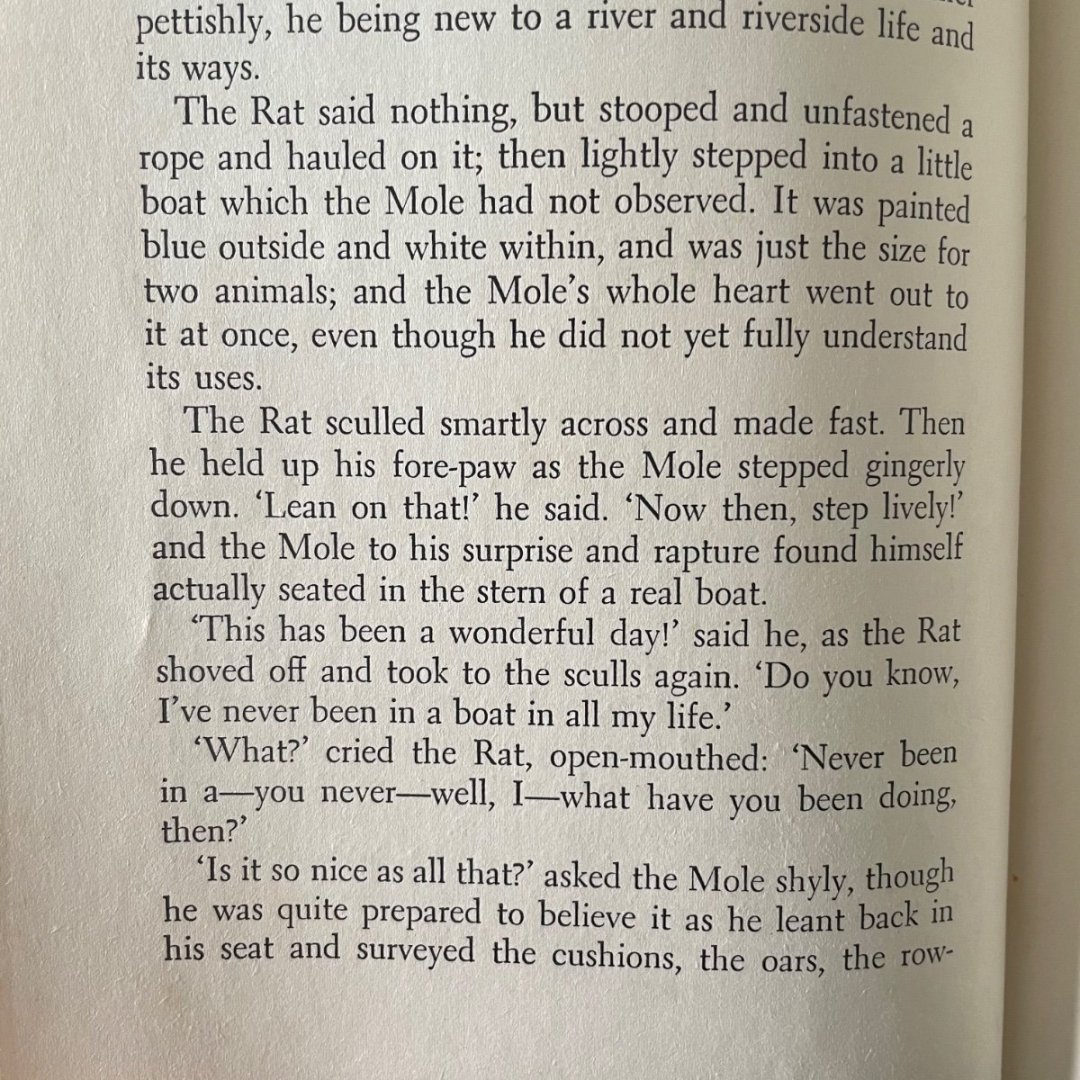
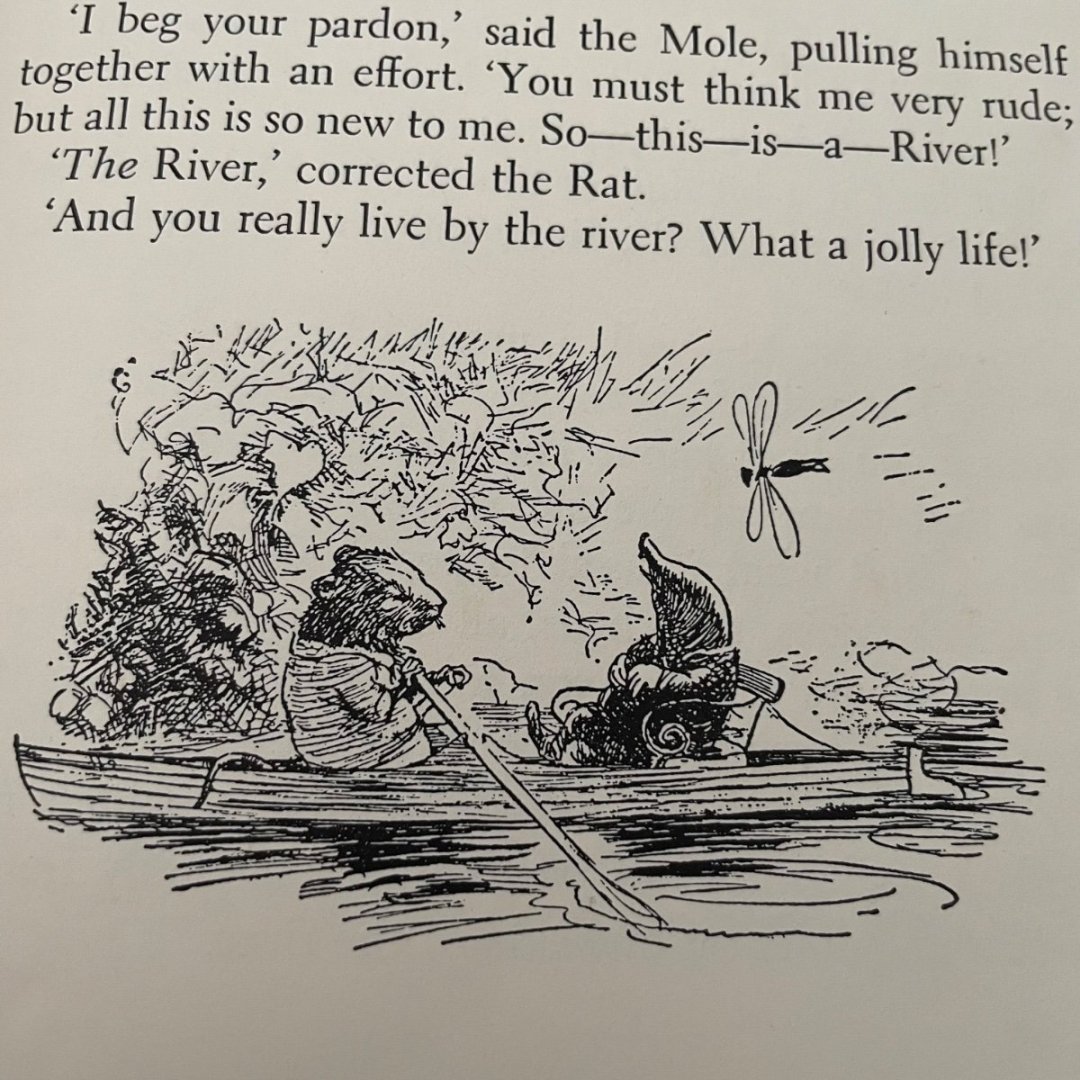
Finally I have a nice quiet day to try to finish my dory. I did start the pram already but I didn’t want to leave the dory unfinished. I’ve glued together and painted a first coat on the stand. Then I will sand and paint a second coat. I decided white will blend in with my white bookcase. My inspiration for this boat is the one in Wind in the Willows. It’s not exactly the same, but matches the description of being painted blue on the outside, white in the interior, and just the right size for two small animals. So I sewed a couple of cushions to match the look of the illustrations. I was tempted but I don’t think I’ll make the seat with curved arms…
- 39 replies
-
- 12
-
-
-
- Lowell Grand Banks Dory
- Model Shipways
- (and 1 more)
-
I think it looks fantastic and I can see it was a lot of work! Well done seeing it through 👍
- 72 replies
-
- 3
-
-
- Norwegian Sailing Pram
- Model Shipways
- (and 1 more)
-
And last part done today, boards are prepared—ready to attach tomorrow.
-
I spent a fair bit of time today just getting my working board in good shape with added shims and tape to keep things secure and level. I learned that this was a good idea from other’s logs. I also learned from the dory build that you don’t want anything to go askew early on.

-
It’s looking great! The more I read the pram about the more I see how much more advanced this kit is compared to the dory. I like a challenge but am a bit nervous 😅. Also like you I can spend a fortune at Micromark 😂.
- 72 replies
-
- 3
-
-
- Norwegian Sailing Pram
- Model Shipways
- (and 1 more)
-
@WizardOfOs thank you for the info! I think this is going to be a really nice little boat, I love that it’s 1:12 and still small.