MORE HANDBOOKS ARE ON THEIR WAY! We will let you know when they get here.
×

Claire7
-
Posts
76 -
Joined
-
Last visited
Content Type
Profiles
Forums
Gallery
Events
Everything posted by Claire7
-
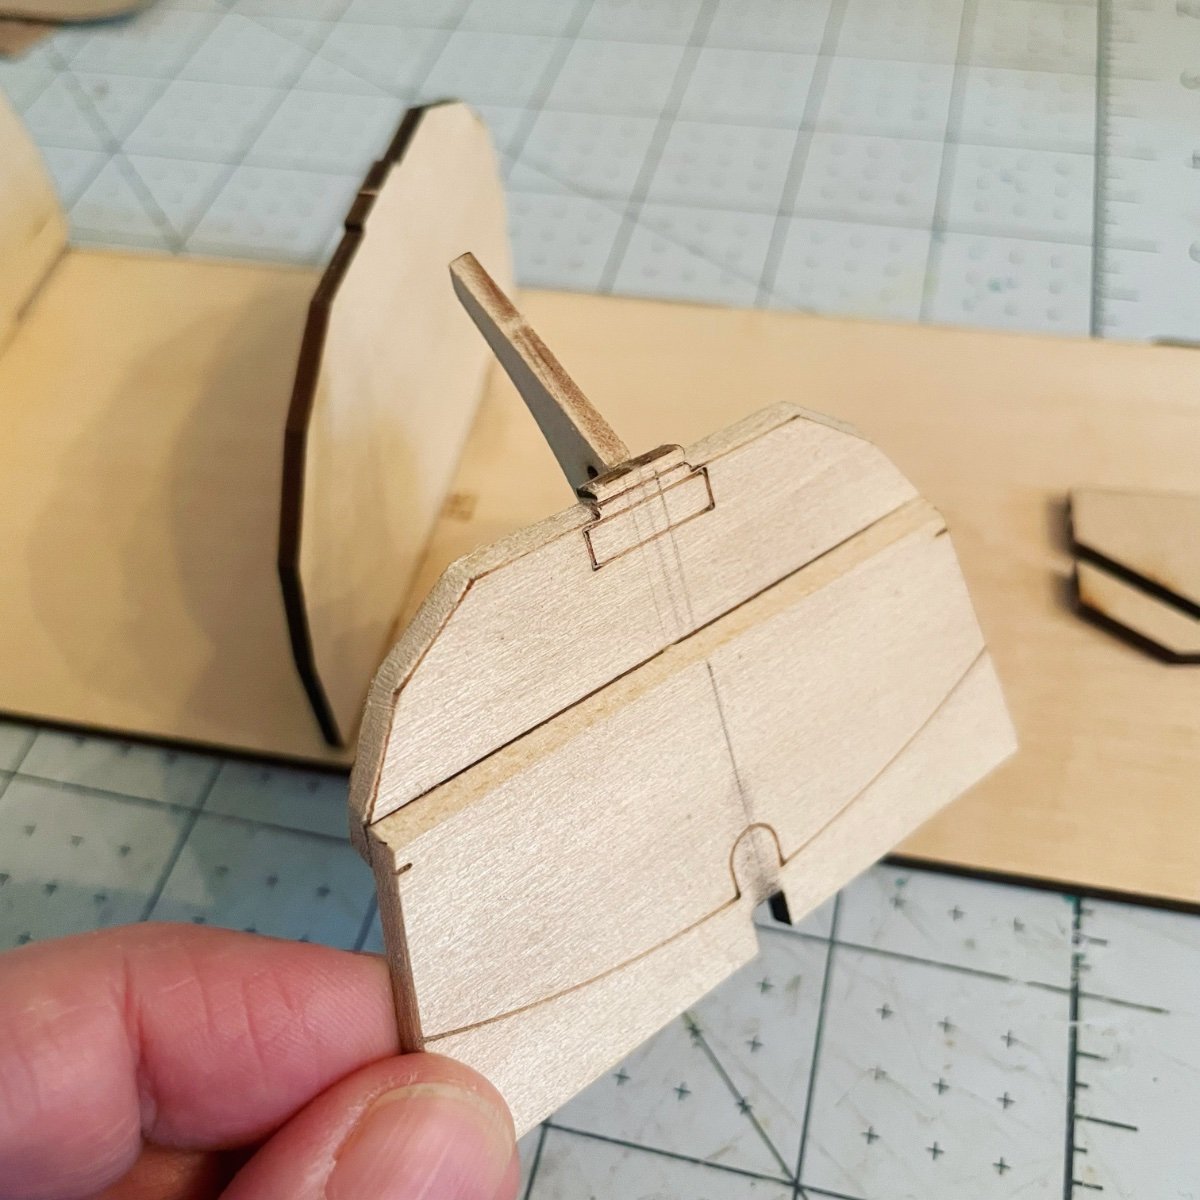
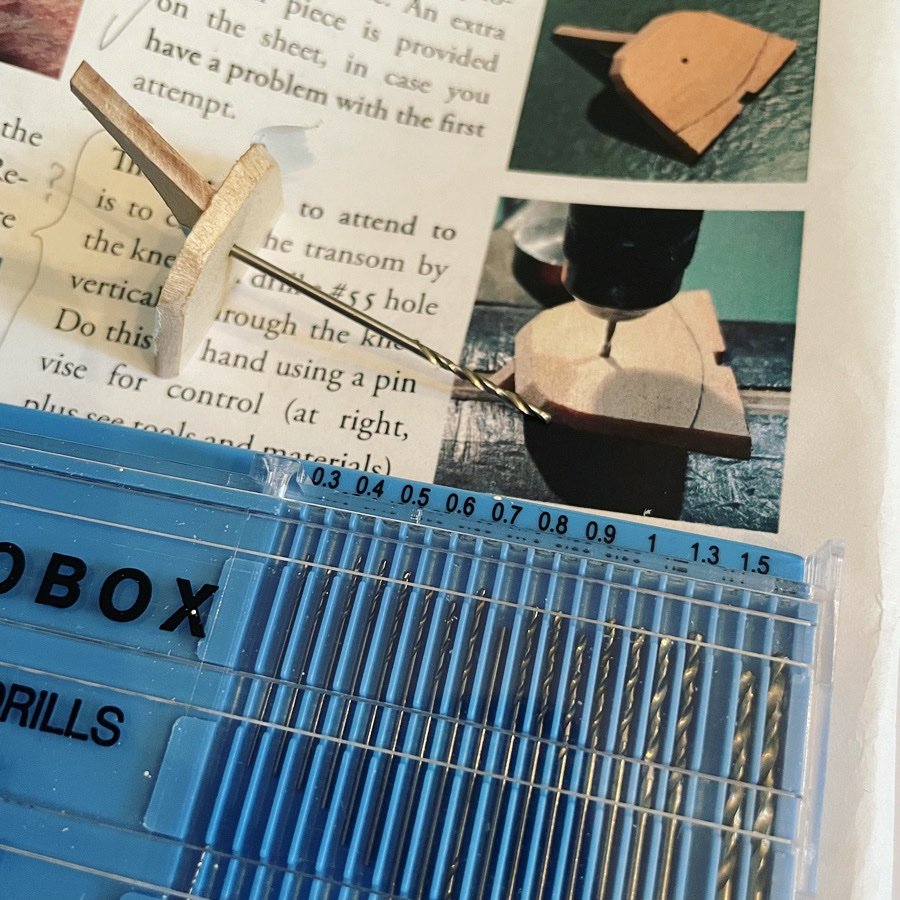
Hurray! it worked. Being cautious I drilled the hole with a .75mm bit first then the larger one. Now on to complete the build board. Same experience as others, needed to file down the middle slots to be able to attach molds. And will use tape to snug up stern support which is quite loose. And finally use shims so the transoms sit level.
-
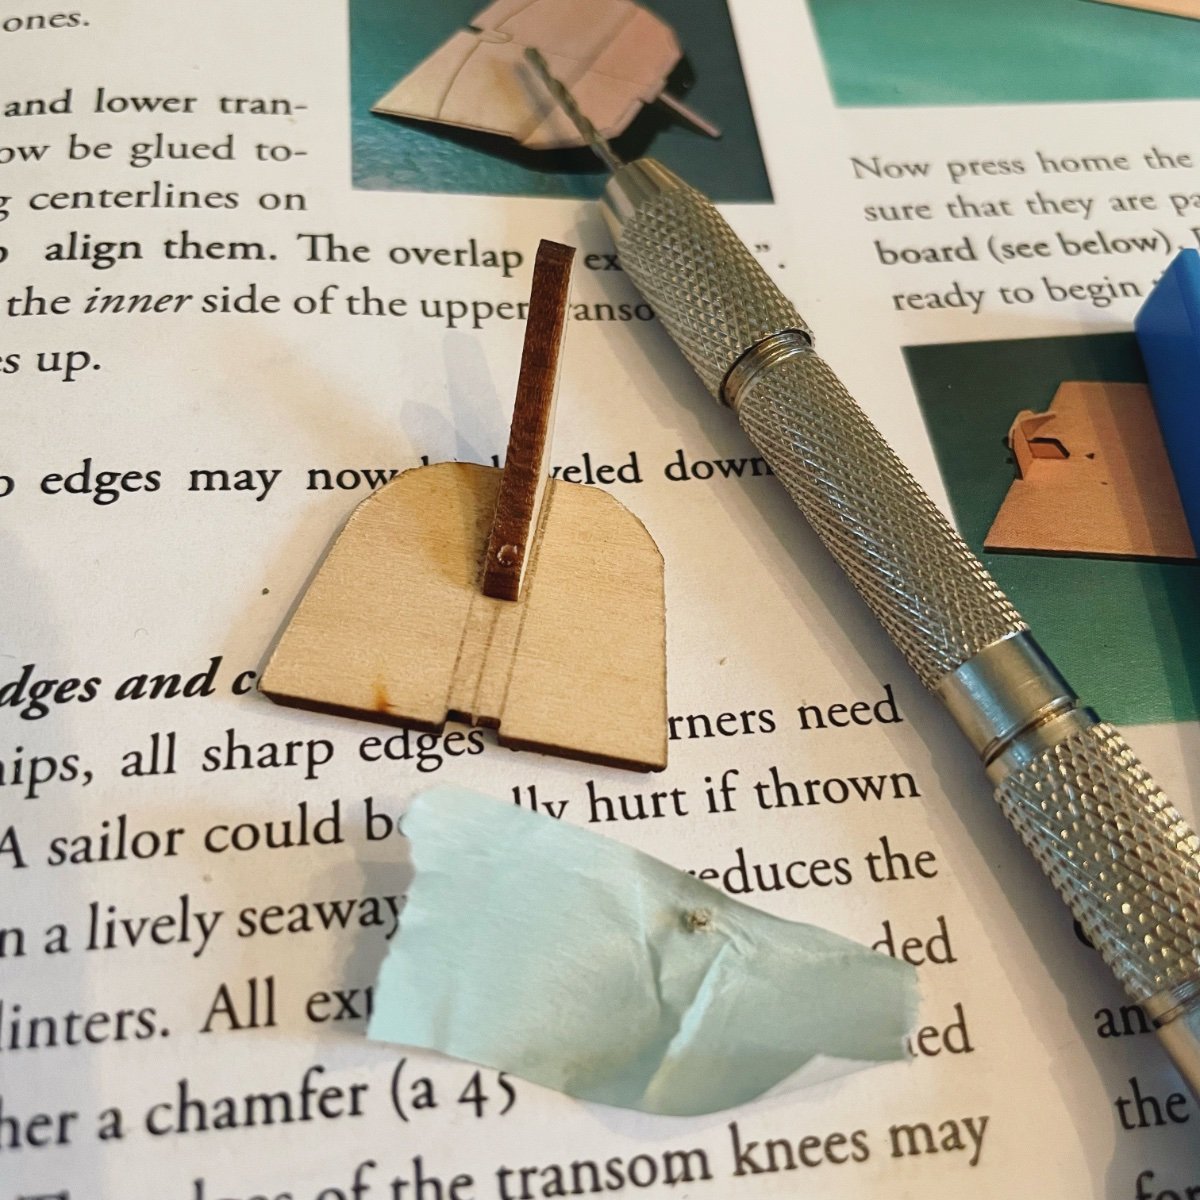
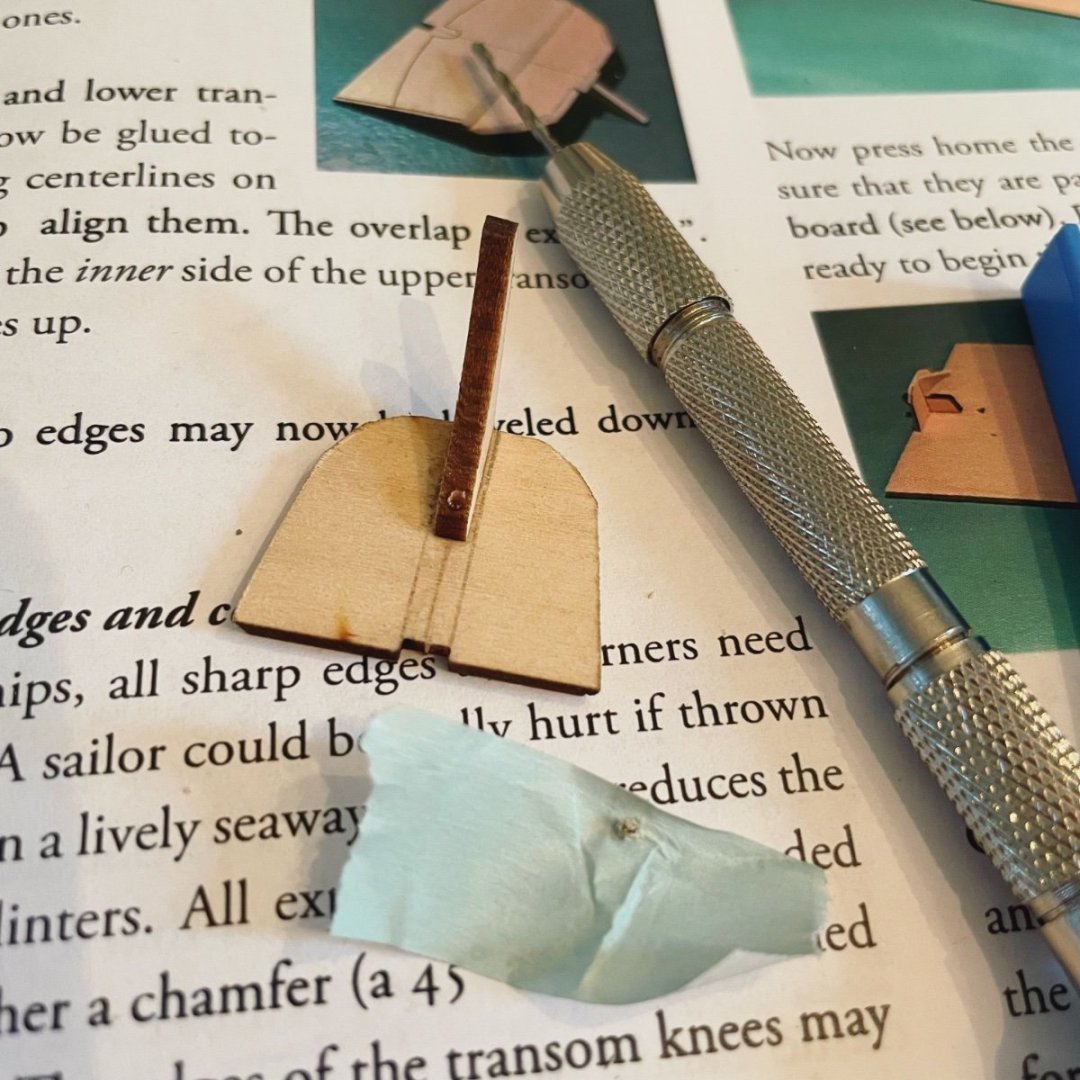
My first mistake was attaching the wrong knee to the bow transom. I didn’t notice how many different knees were on the sheet. So then the one I used didn’t cover the hole on the transom so I was perplexed about why I was drilling a hole that already existed. Once I attached the right knee it looked like the diagram. Like others I wasn’t sure what a #55 hole was so just used a drill bit the same size as the transom hole, in my set it’s labelled 1.4mm. Also using a tip seen in other logs and adding tape to the knee so it won’t crack or splinter… *cross fingers*
-
Starting out the second kit in the Model Shipways series, the Norwegian Sailing Pram. Finding this one a bit trickier that the dory but have already benefited greatly from previous logs.

-
@dbwhip thanks so much for the tips! I’ve already started the pram and having minor difficulties. I’m spending a lot of time reading logs and I appreciate them so much. That’s why I’m making a log as a beginner, someone else may benefit if they are at the same stage. Also… I am constantly looking around for tiny things I’ve dropped. My husband says what does it look like and I’m like it’s 1/4” long, 1/32” diameter and the exact colour of our hardwood floors 😂
- 39 replies
-
- 3
-

-

-
- Lowell Grand Banks Dory
- Model Shipways
- (and 1 more)
-
Agree! I’d love to see more of this build. I just started mine and it has already helped a lot!
-
Can’t imagine that scale! Looking forward to investigating that…. Welcome!
-
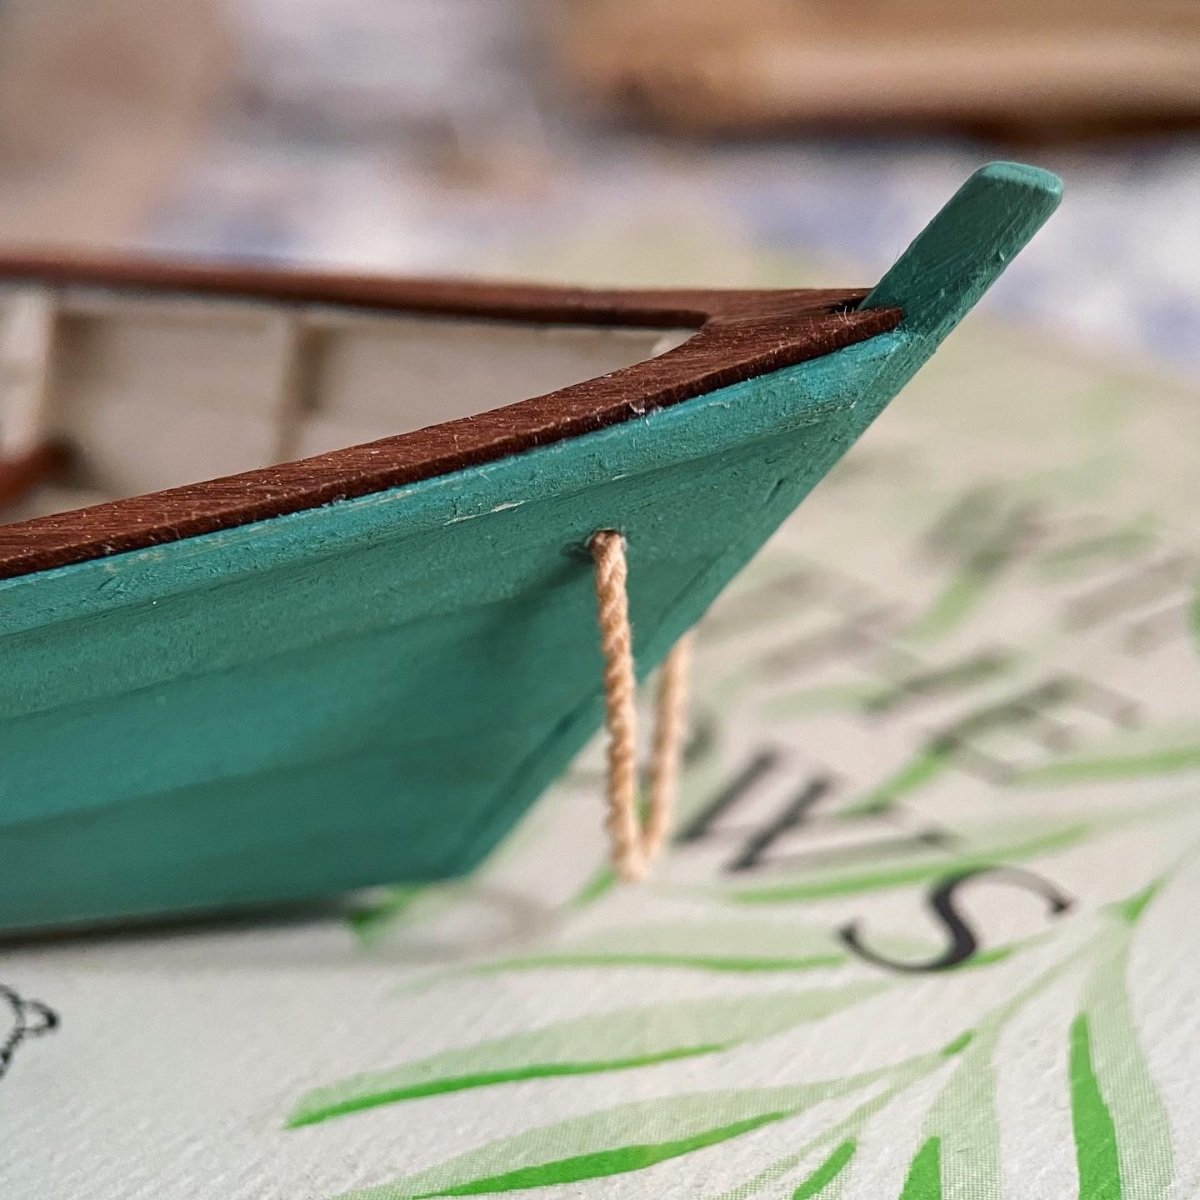
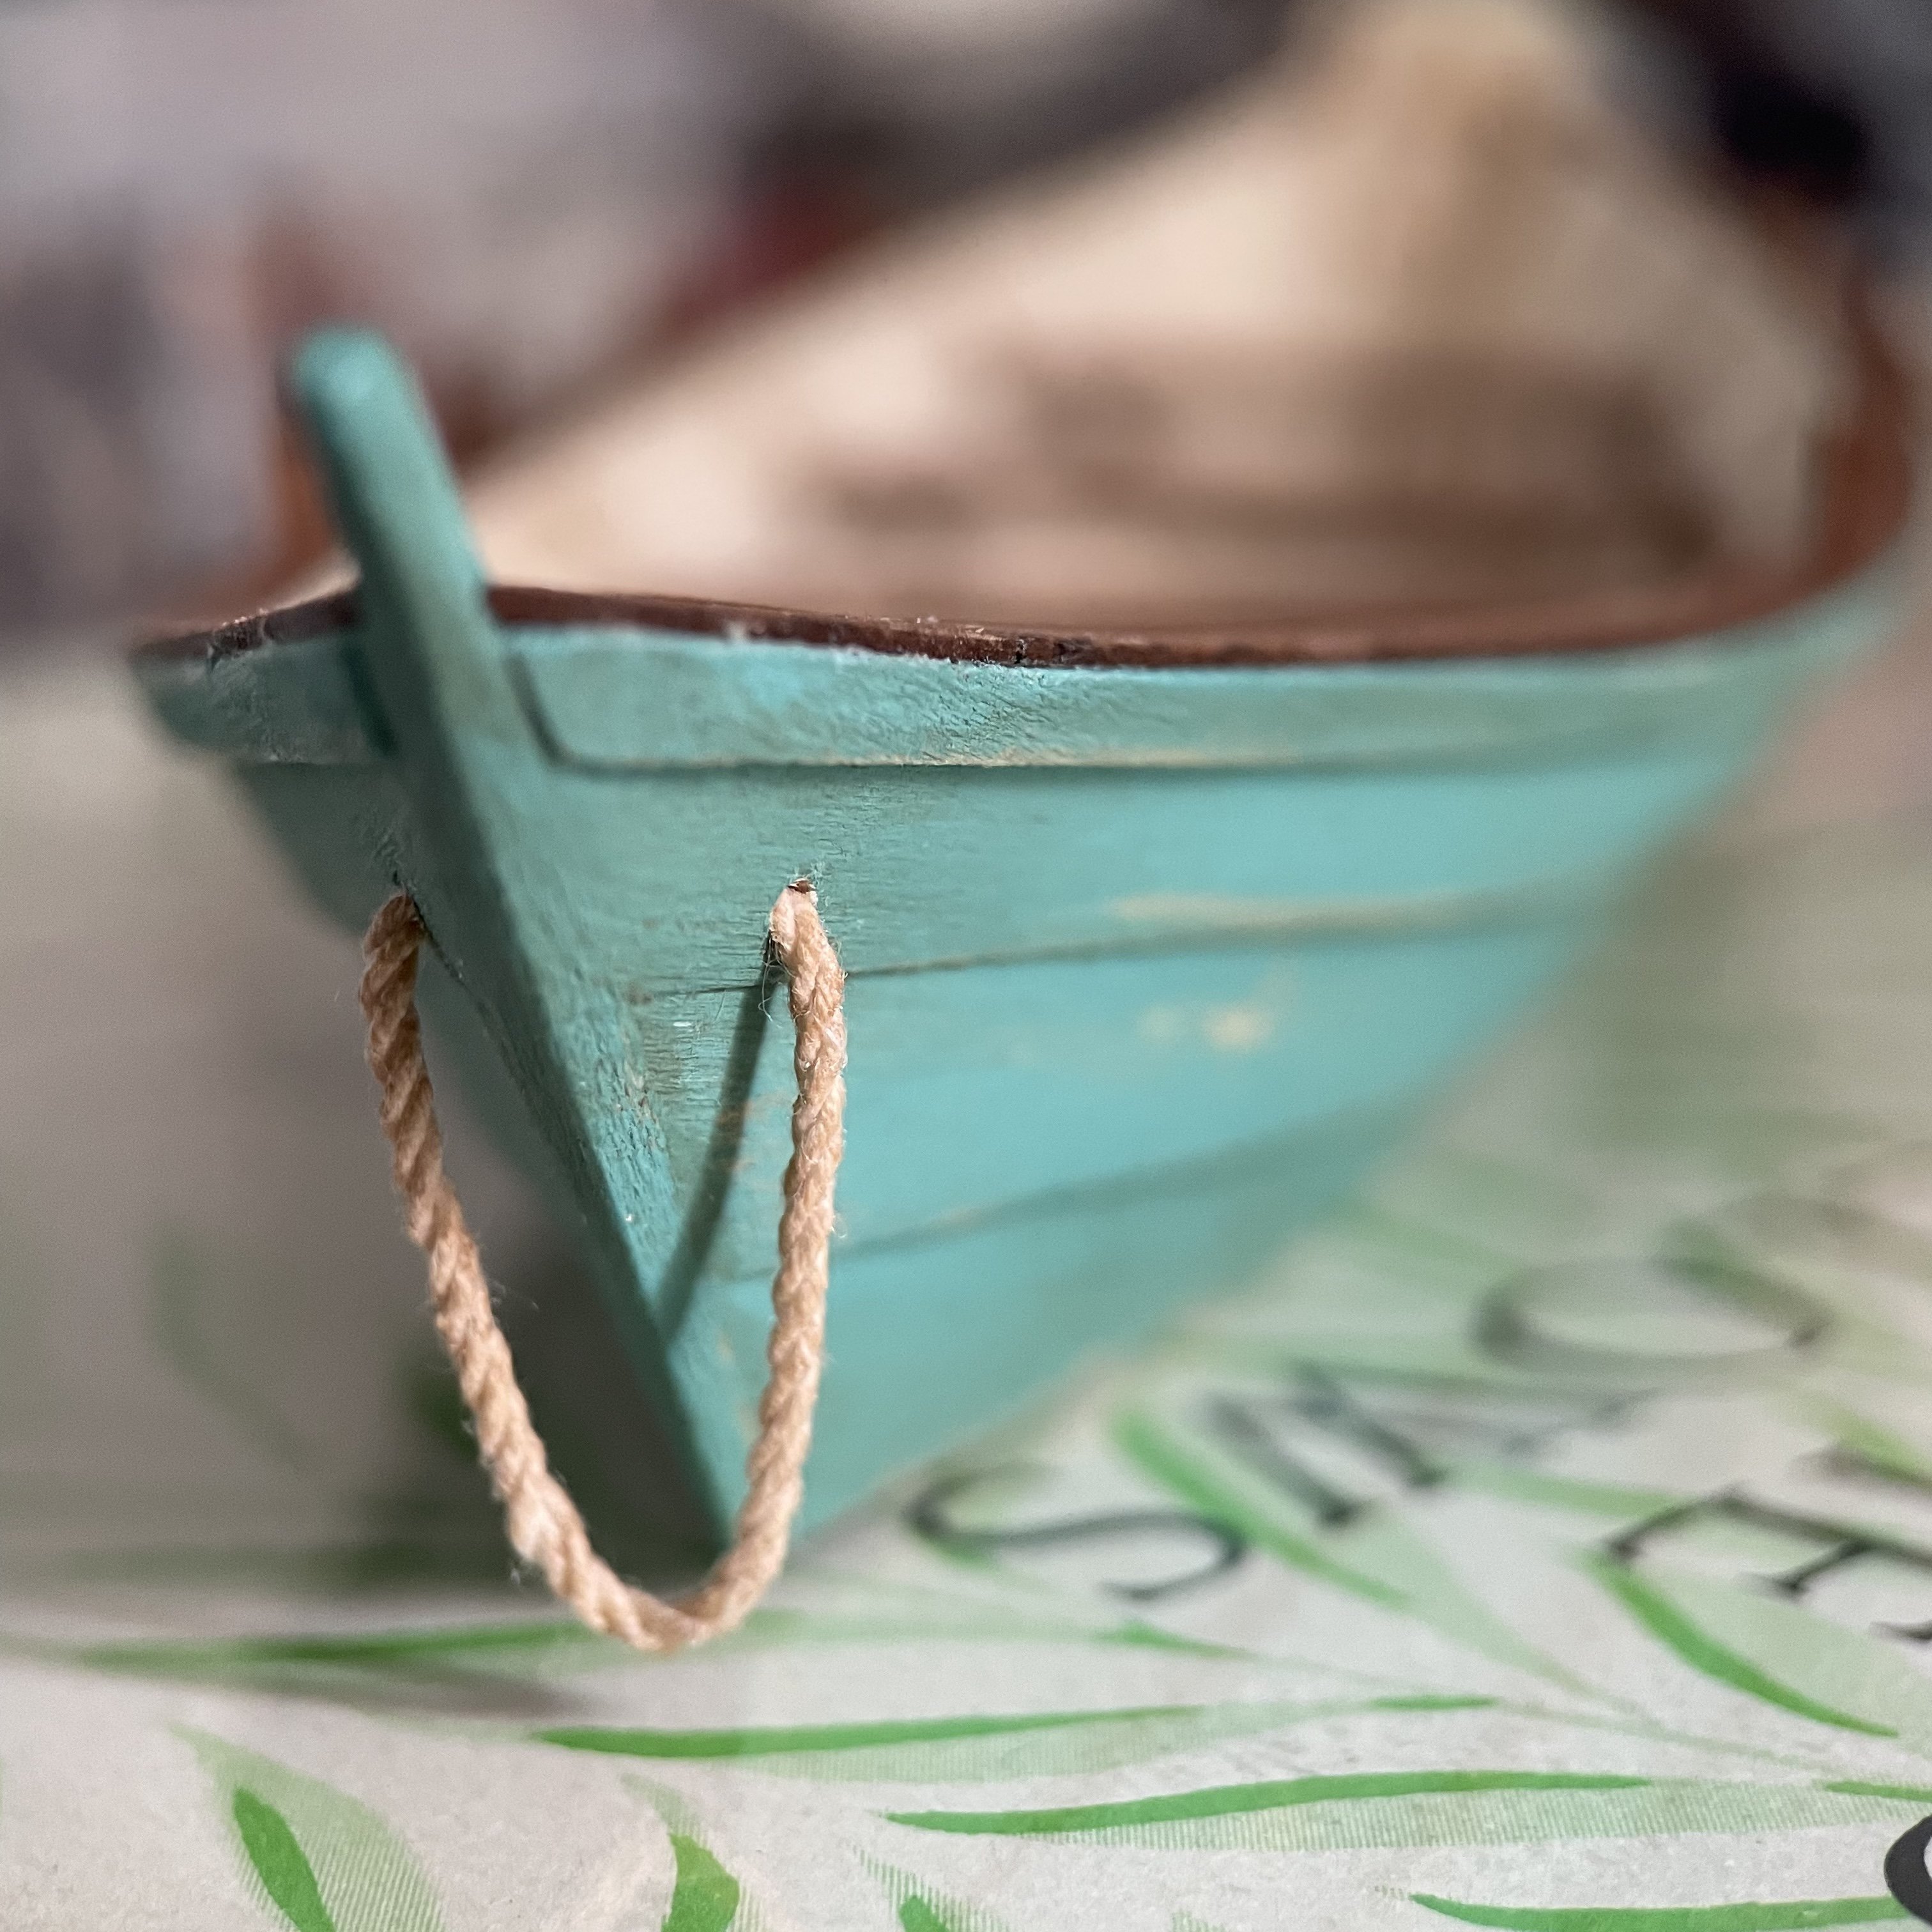
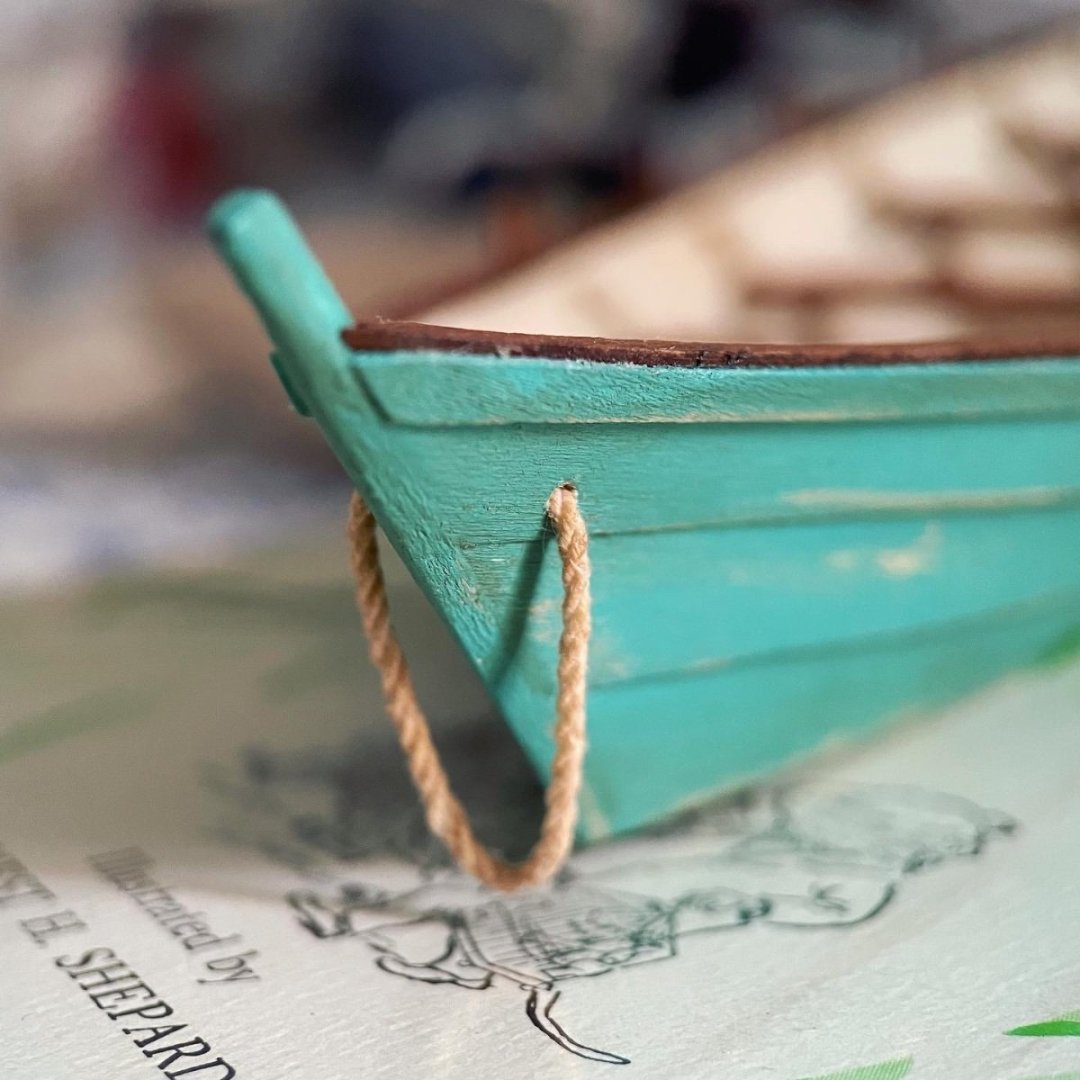
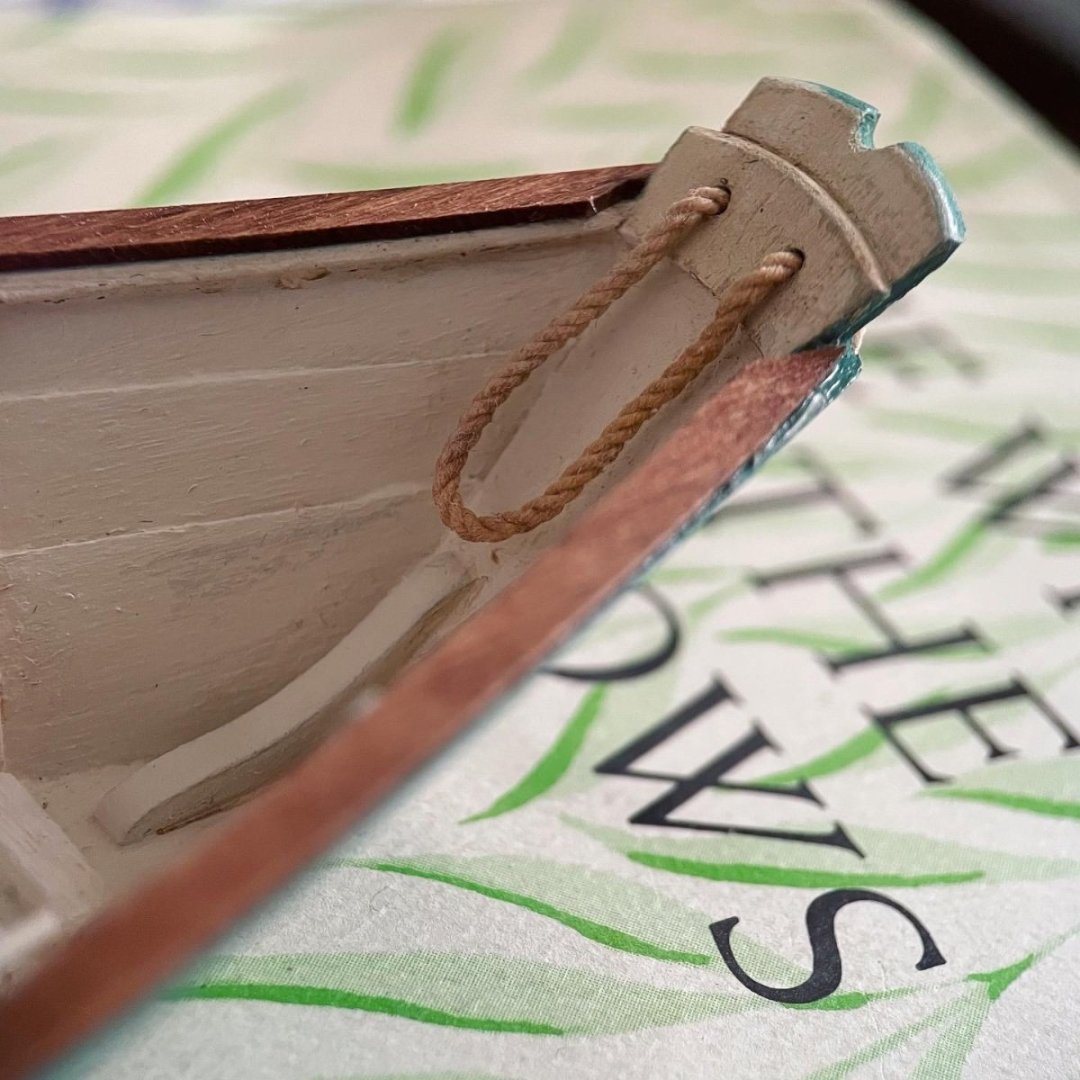
Surprising amount of trouble with the ropes 😂. The rope that came with the kit seemed a bit heavy and glossier than I wanted… I used some thinner rope that came with the Dumas kit. It was very bright white, I dyed it light brown with watered down ink. It was still tricky to get it through the holes but I didn’t want to enlarge them too much so I took out one ply of the rope. Then used fray block to get them to stay in place. Need to add a bit more for the stern one.

- 39 replies
-
- 11
-
-
- Lowell Grand Banks Dory
- Model Shipways
- (and 1 more)
-
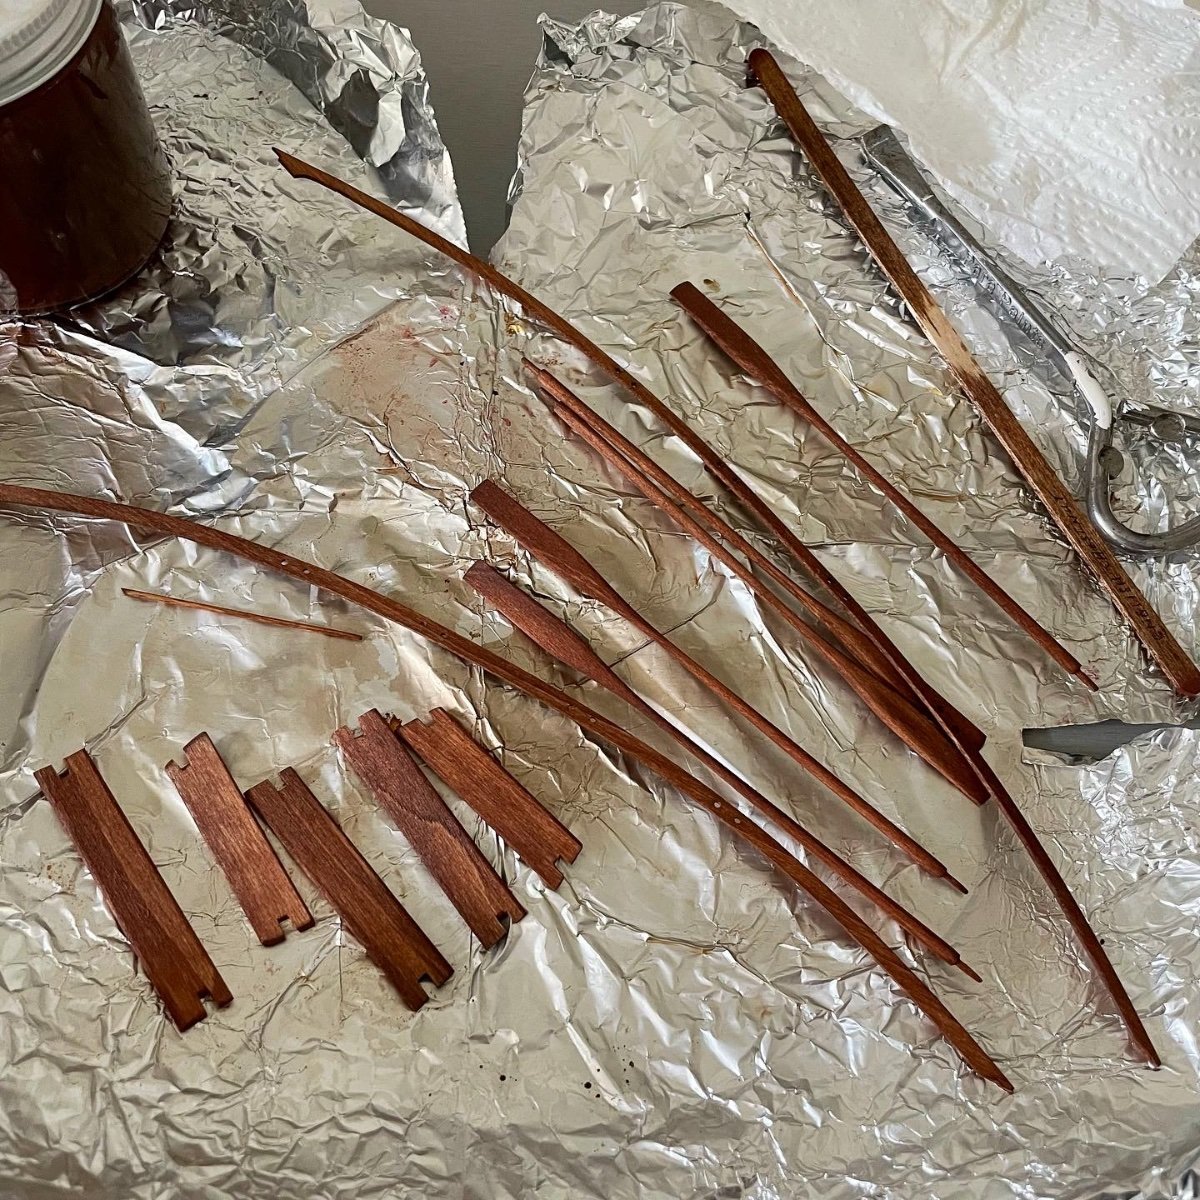
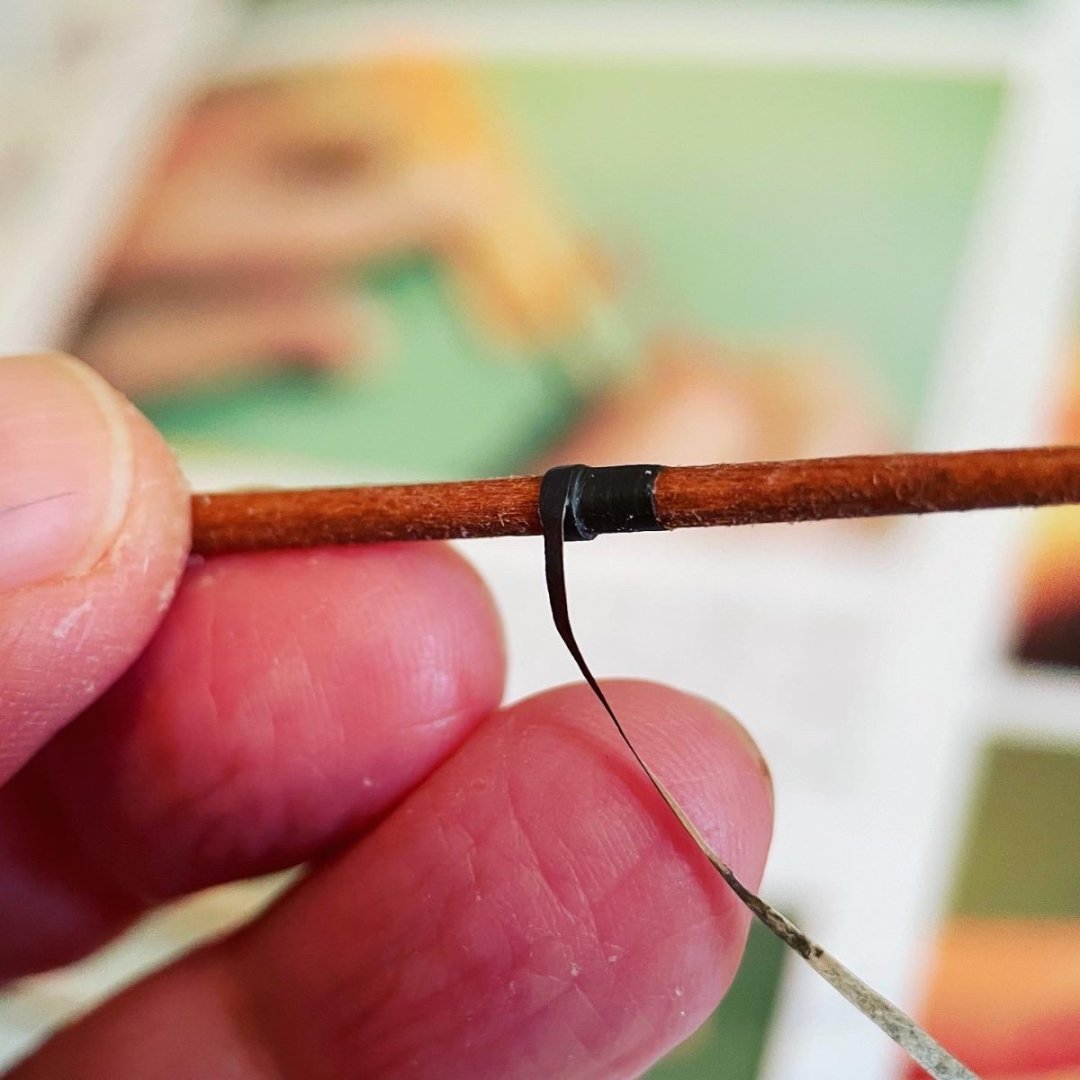
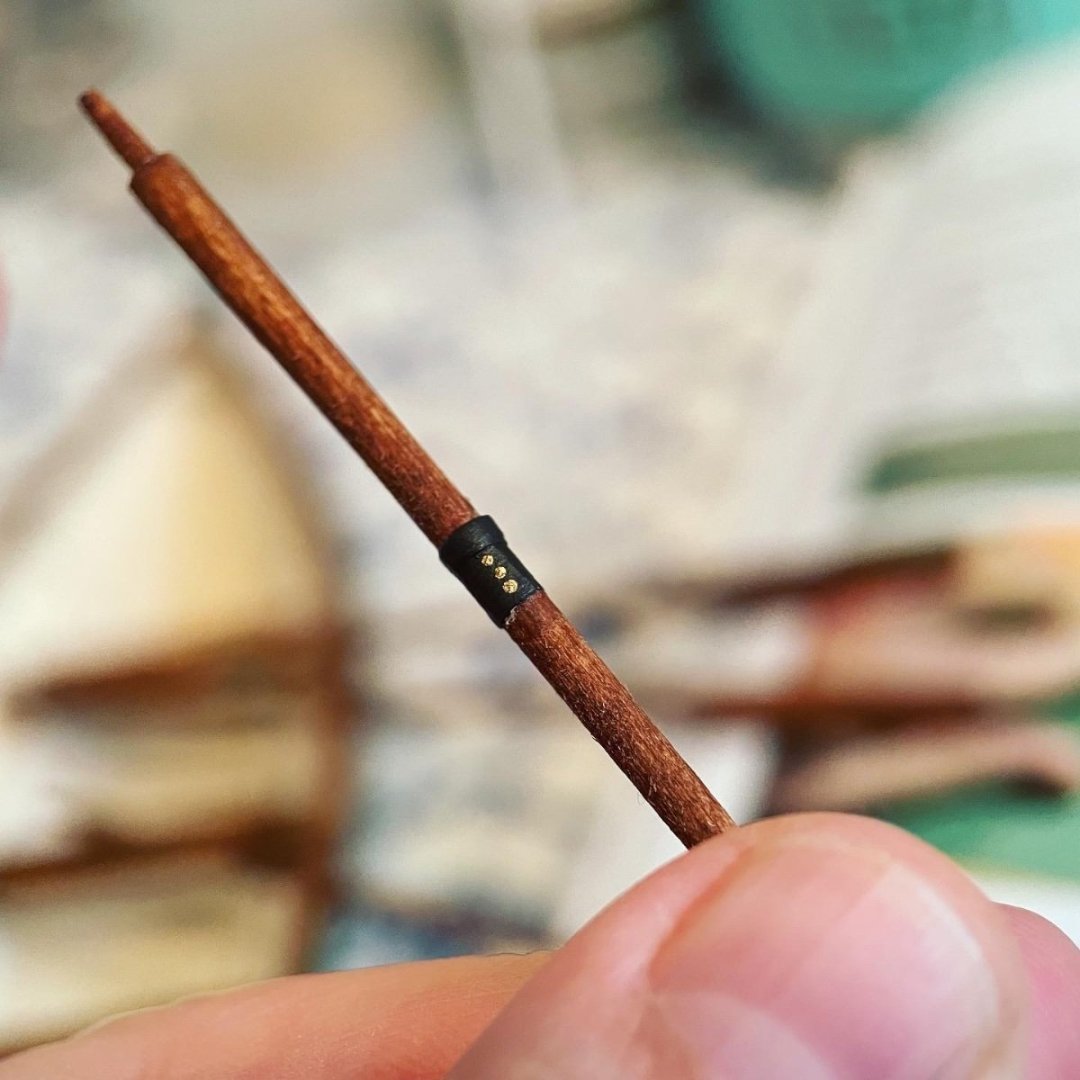
Leathering done on the oars. I added an extra narrower and thicker strip at the top of each and some tiny painted “nails”. It’s thin brown paper painted darker to show up against the brown stain. Also finished the thole pins. I’m not sure I like the rope supplied with the kit, I’ll go look in my sewing room…
- 39 replies
-
- 8
-
-
- Lowell Grand Banks Dory
- Model Shipways
- (and 1 more)
-
Thanks very much! I bought the BlueJacket cat boat kit because I love all the details but I am a bit worried about how large it is. I’m hoping to make the pram next then maybe go for the cat boat next. I was looking for a smaller one, maybe like a beetle boat (?) without the cabin but couldn’t find anything similar elsewhere. There’s also a YouTube where someone shows their completed BlueJacket cat boat and it’s beautiful and inspired me. My kit arrives Thursday, I’m in Canada so it’s extra expensive and it looks like I’m going to pay customs too 😣. Anyway I’m enjoying the process and learning a lot too.
- 39 replies
-
- 2
-
-
- Lowell Grand Banks Dory
- Model Shipways
- (and 1 more)
-
Thwarts and cap rails attached. The exterior is now turquoise, the interior cream (both lightly aged). I think the wood is a nice contrast although a bit darker than I intended. I’m trying to get more confident staining wood. I realized recently I could mix stain colours to try to get the colour I wanted… not much left to do: need more thole pins, oar leathering and beckets. Not sure if I want the stand.
- 39 replies
-
- 10
-
-

-
- Lowell Grand Banks Dory
- Model Shipways
- (and 1 more)
-
I was interested in the BlueJacket dory too but was keen to do a series because it felt like taking a class. Nice to hear you like the MS dory. I’m looking forward to the pram. In fact I was being patient to learn from the dory first but was more interested in having the pram. But now I’m nearing the end on the dory I really love it.
- 39 replies
-
- 3
-
-
- Lowell Grand Banks Dory
- Model Shipways
- (and 1 more)
-
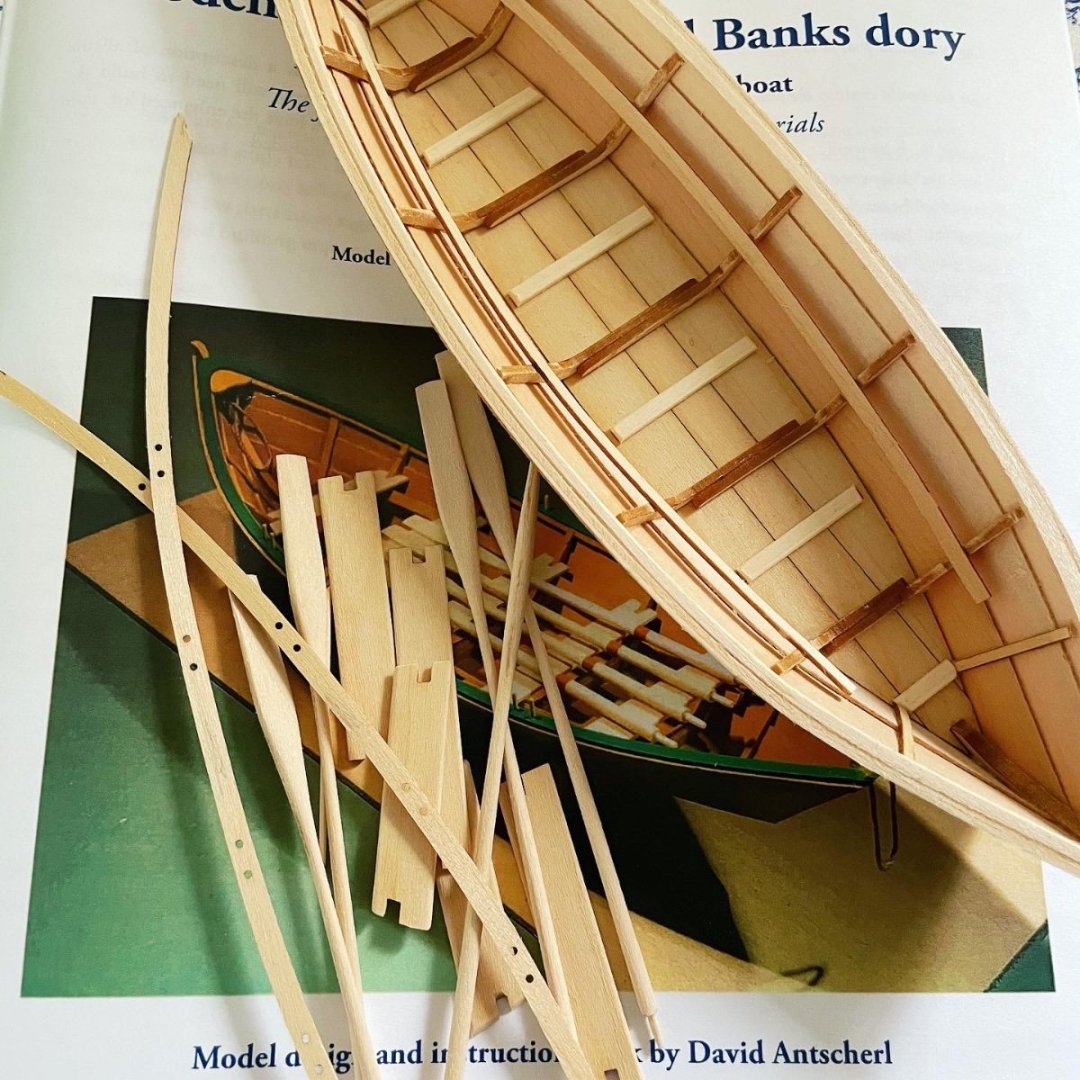
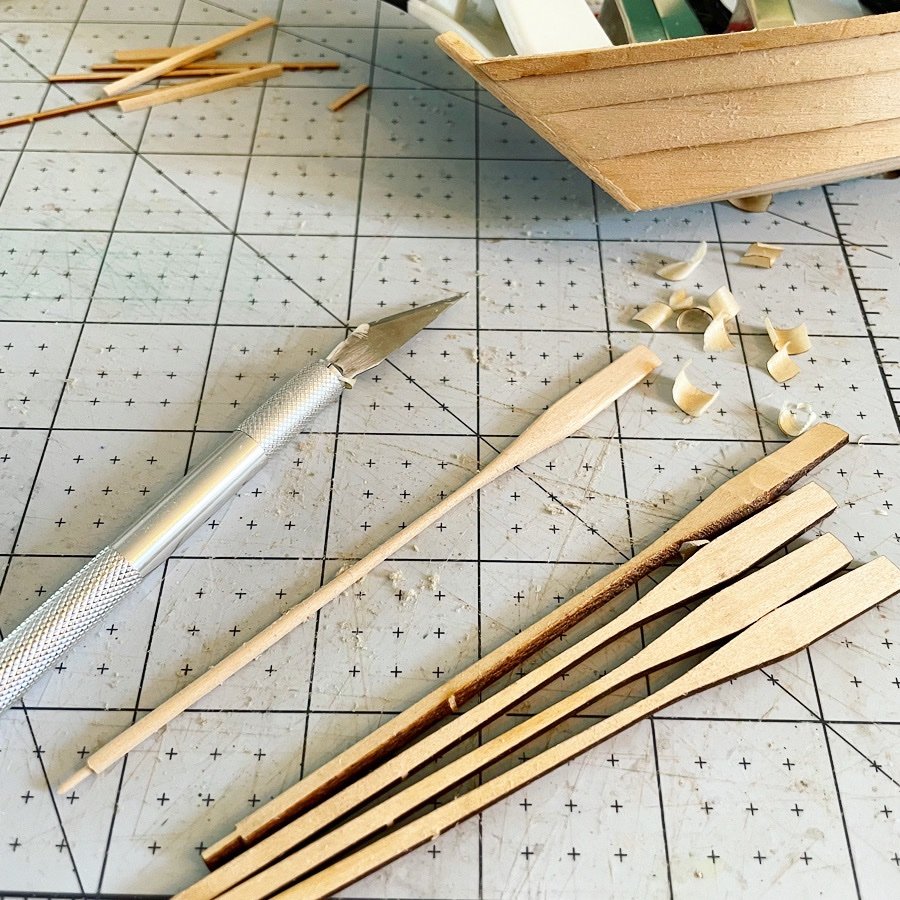
After a lot of sanding pieces are ready for staining: thwarts, cap rails, oars and oar pegs. I trimmed the cap rails to fit beforehand and checked the thwarts were resting well on the supports. I did a little beveled sanding as they were sitting a bit above the seat risers (supports). Now on to some painting!

- 39 replies
-
- 7
-
-
- Lowell Grand Banks Dory
- Model Shipways
- (and 1 more)
-
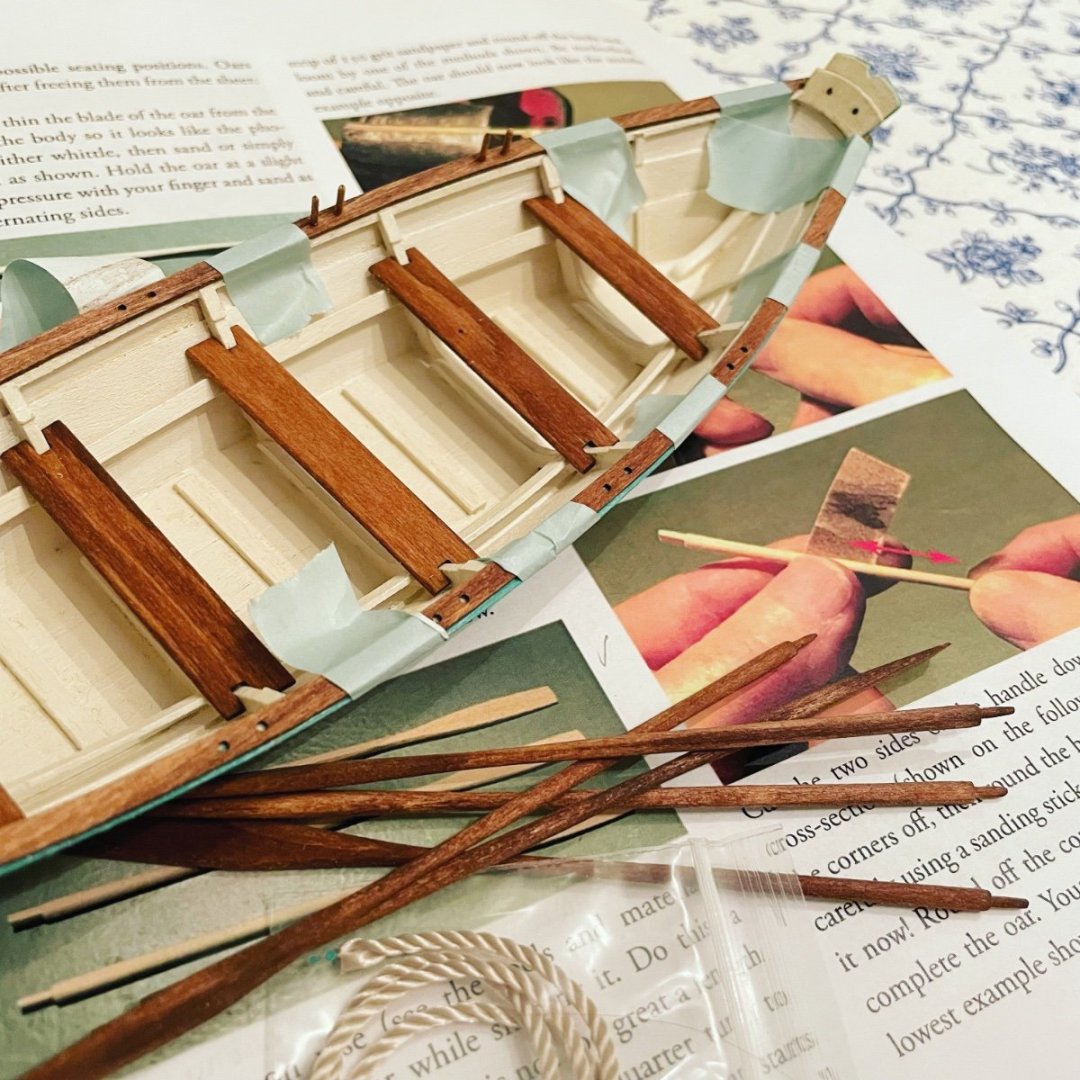
Shaping the oars… so far I love this kit because there is so much detail. I’m happy there are still a lot more steps to do and it will keep looking better. I just noticed the dowel for the thole pins is missing from my kit but I think I can easily make them the same way I rounded the oars. I will use the leftover 1/16” strip wood.
- 39 replies
-
- 6
-
-
- Lowell Grand Banks Dory
- Model Shipways
- (and 1 more)
-
Really appreciate your detailed notes as I’m going to build this boat next. It’s looking great!
- 38 replies
-
- 2
-
-
- Norwegian Sailing Pram
- Model Shipways
- (and 2 more)
-
I’m sure this is too late but I just did that part and I wasn’t sure either. I used the strip wood supplied and it was fine, I agree it wasn’t clearly stated to do so.
-
I see now the front holes are for the rope. I can drill new holes, it will be ok!
- 39 replies
-
- 3
-
-
- Lowell Grand Banks Dory
- Model Shipways
- (and 1 more)
-
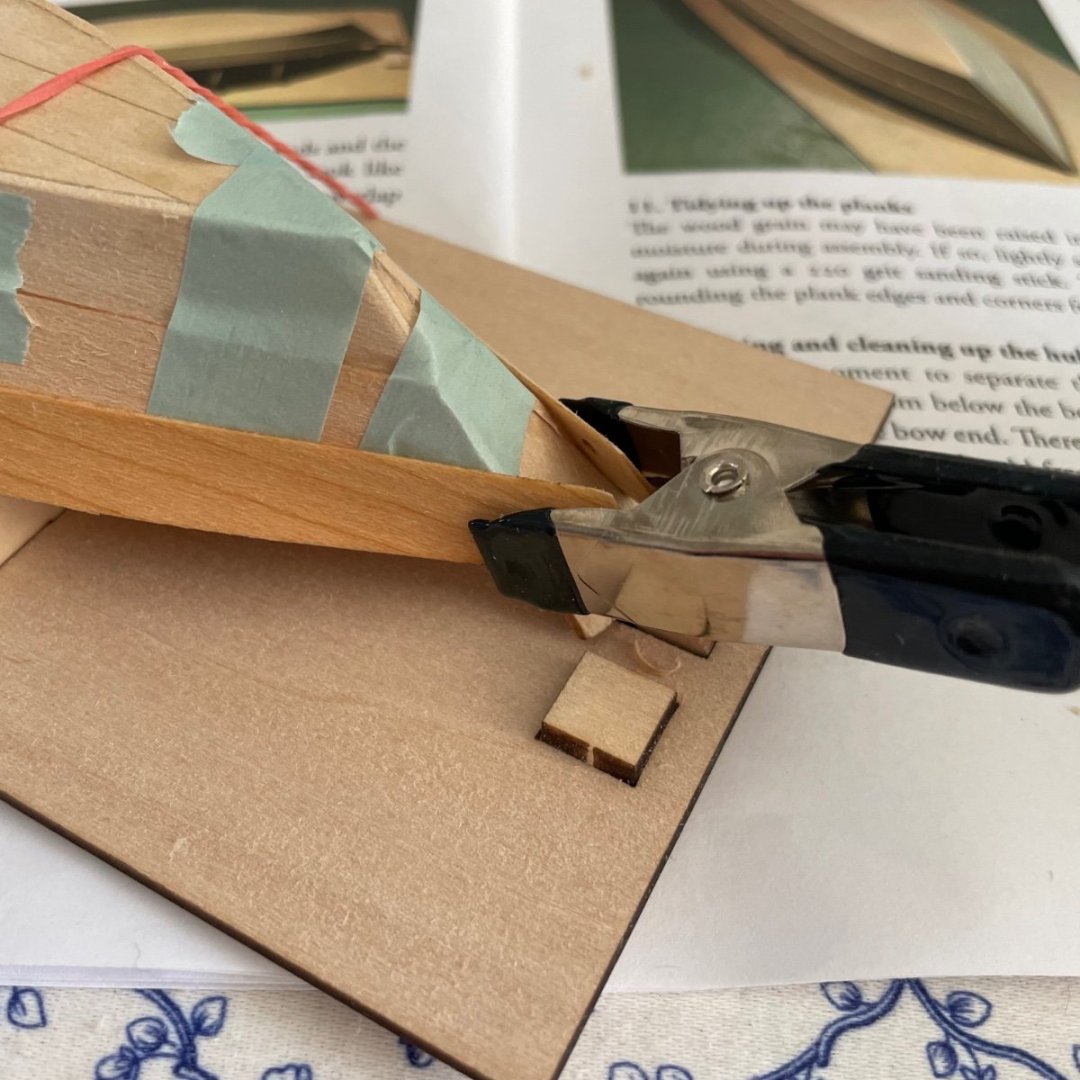
Side cleats attached and seat risers almost dry and ready to glue in. I noticed there are 8 laser cut side cleats where only 4 are needed. There are 4 vertical grain and 4 cross grain (is that the right term?) pieces. So I used the sturdier vertical grain pieces.
- 39 replies
-
- 5
-
-
- Lowell Grand Banks Dory
- Model Shipways
- (and 1 more)
-
Thanks so much Michael! I did glue unfortunately… I did wait for the pieces to dry but didn’t check in at the right time to see your answer. One of the holes shows slightly and I’m filling it, but otherwise they were trimmed off… what do they represent? I can’t find them mentioned in the instructions.
- 39 replies
-
- 1
-
-
- Lowell Grand Banks Dory
- Model Shipways
- (and 1 more)
-
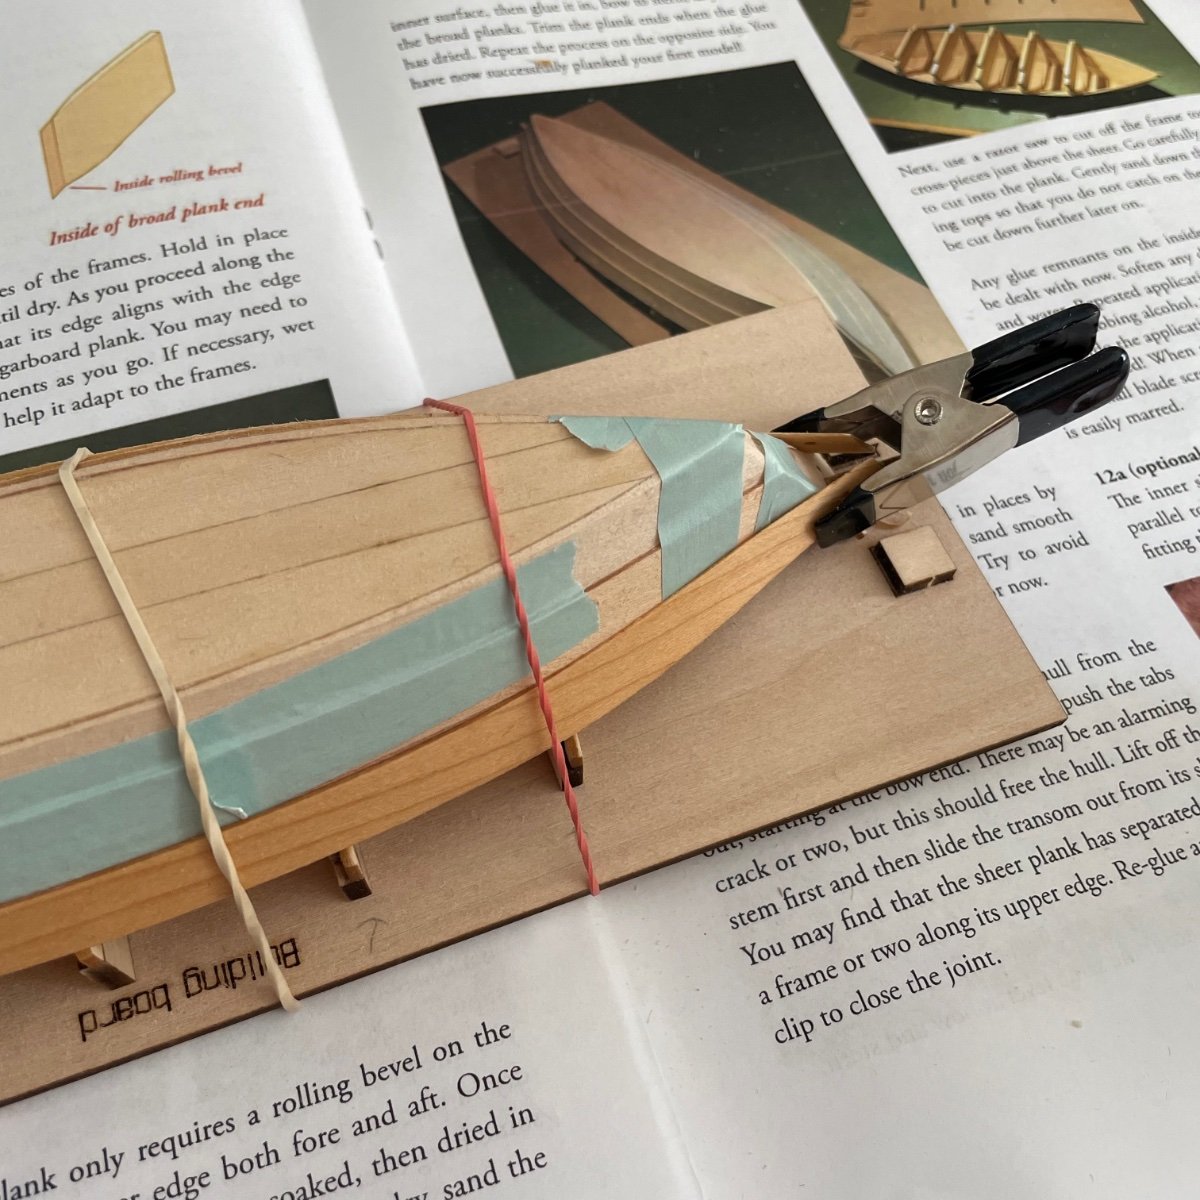
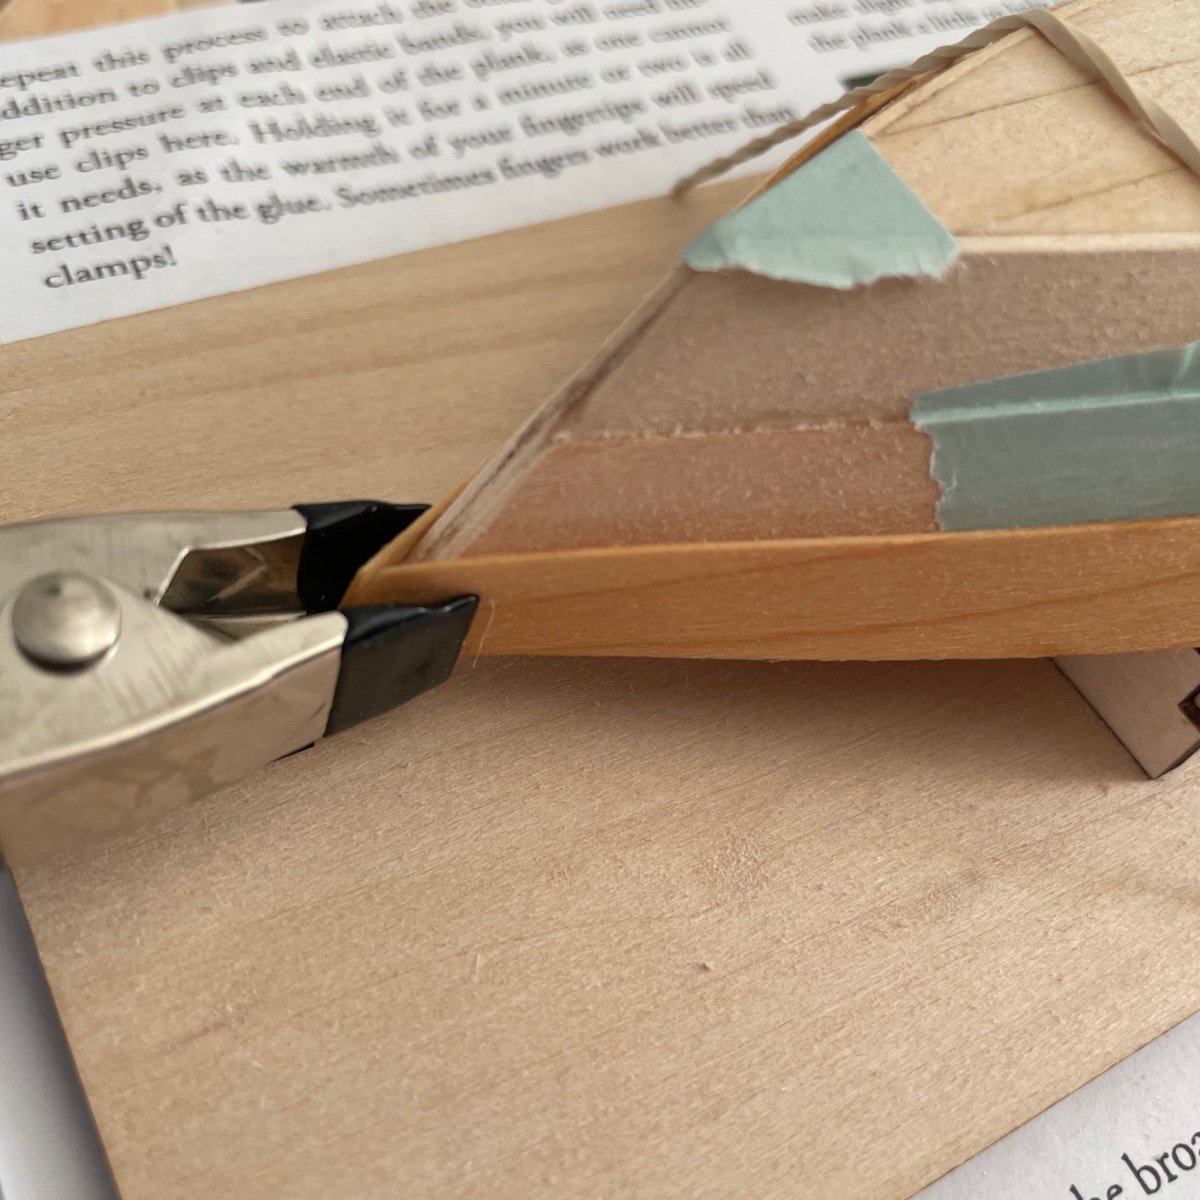
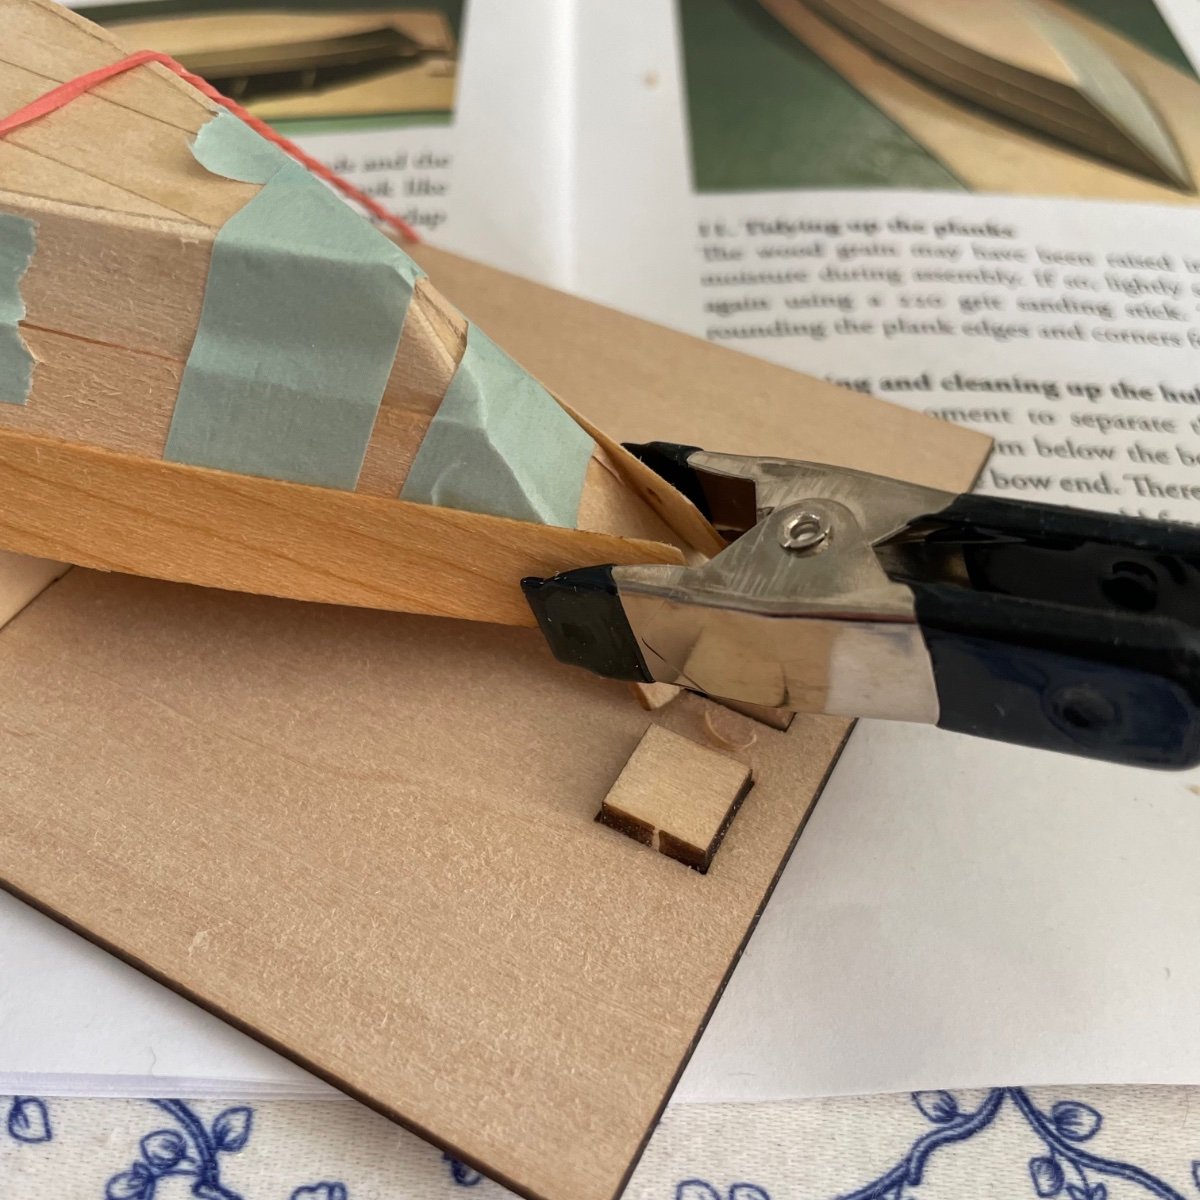
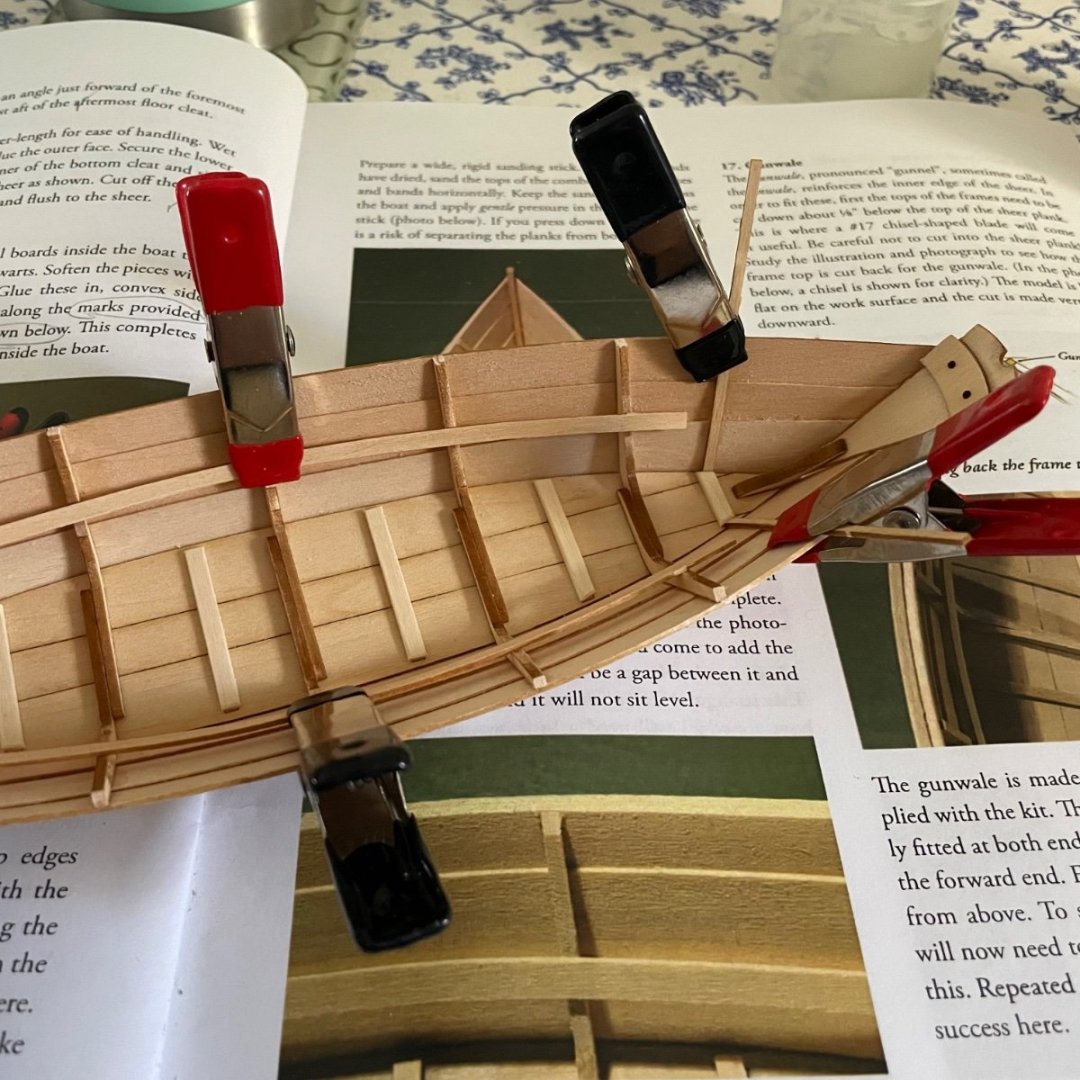
Making progress on the planking. I found it tricky to hold each piece at all points while drying but had some success with washi tape. I had to redo one end because the planks weren’t aligned with each other, reminder to compare the planks on each side of the boat to check their positions match. The upper/sheer plank is drying now, these planks have a hole at one end that isn’t mentioned in the booklet, not sure what the holes are for because they would get trimmed off after attaching?


- 39 replies
-
- 8
-
-
- Lowell Grand Banks Dory
- Model Shipways
- (and 1 more)
-
It’s true miniatures are popular now. I do seem to see more boat models on places like Etsy recently… but maybe that’s just because I’m looking because I like them. I did try to list my Dumas boat for $80- the kit cost $40 and I spent a week making it but no takers lol. Sorry to hear about the shop, we’re lucky to still have one locally. It is a great source of lumber too.
- 39 replies
-
- 3
-
-
- Lowell Grand Banks Dory
- Model Shipways
- (and 1 more)
-
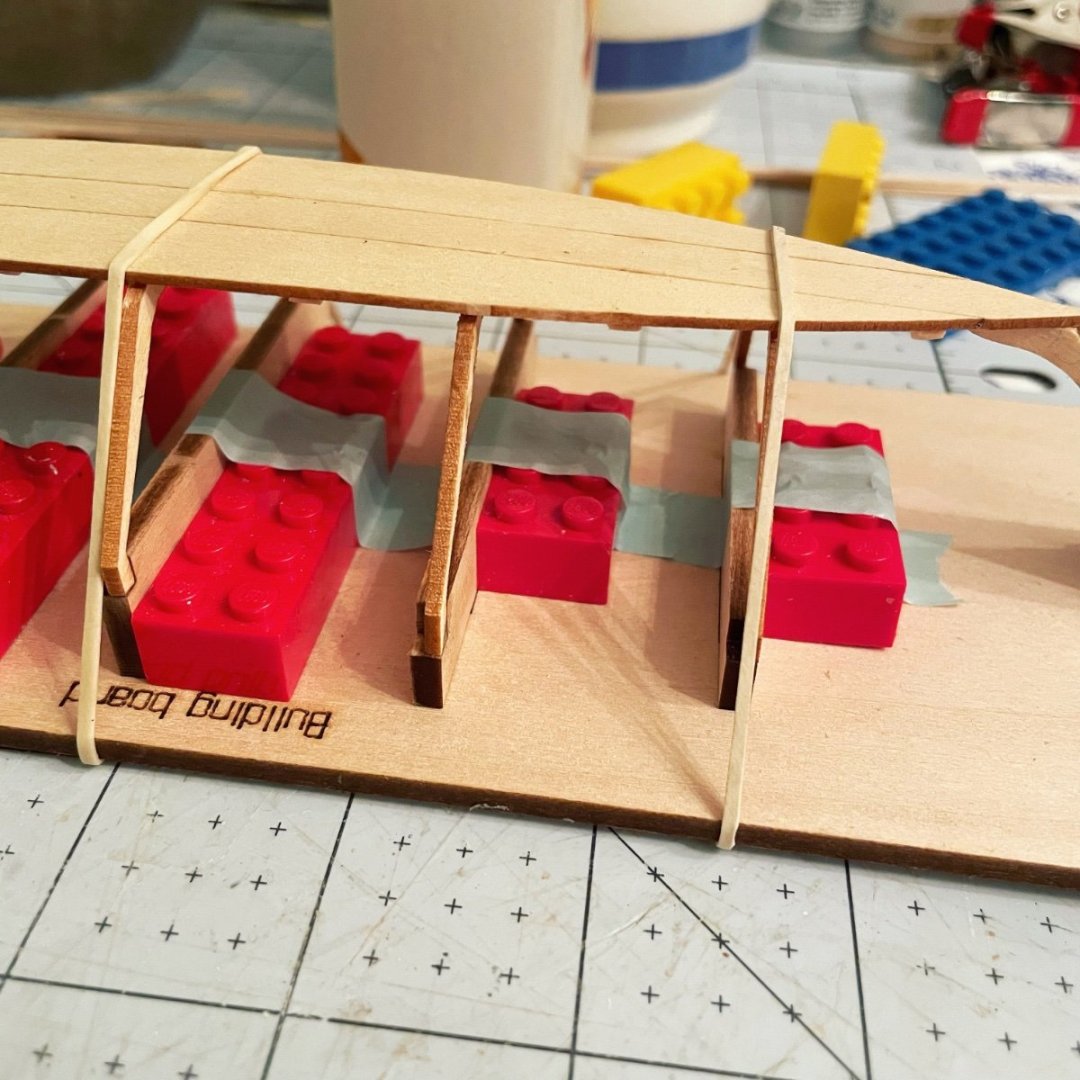
I like to use Lego pieces to help check the frames stay perpendicular. .
- 39 replies
-
- 3
-
-
- Lowell Grand Banks Dory
- Model Shipways
- (and 1 more)
-
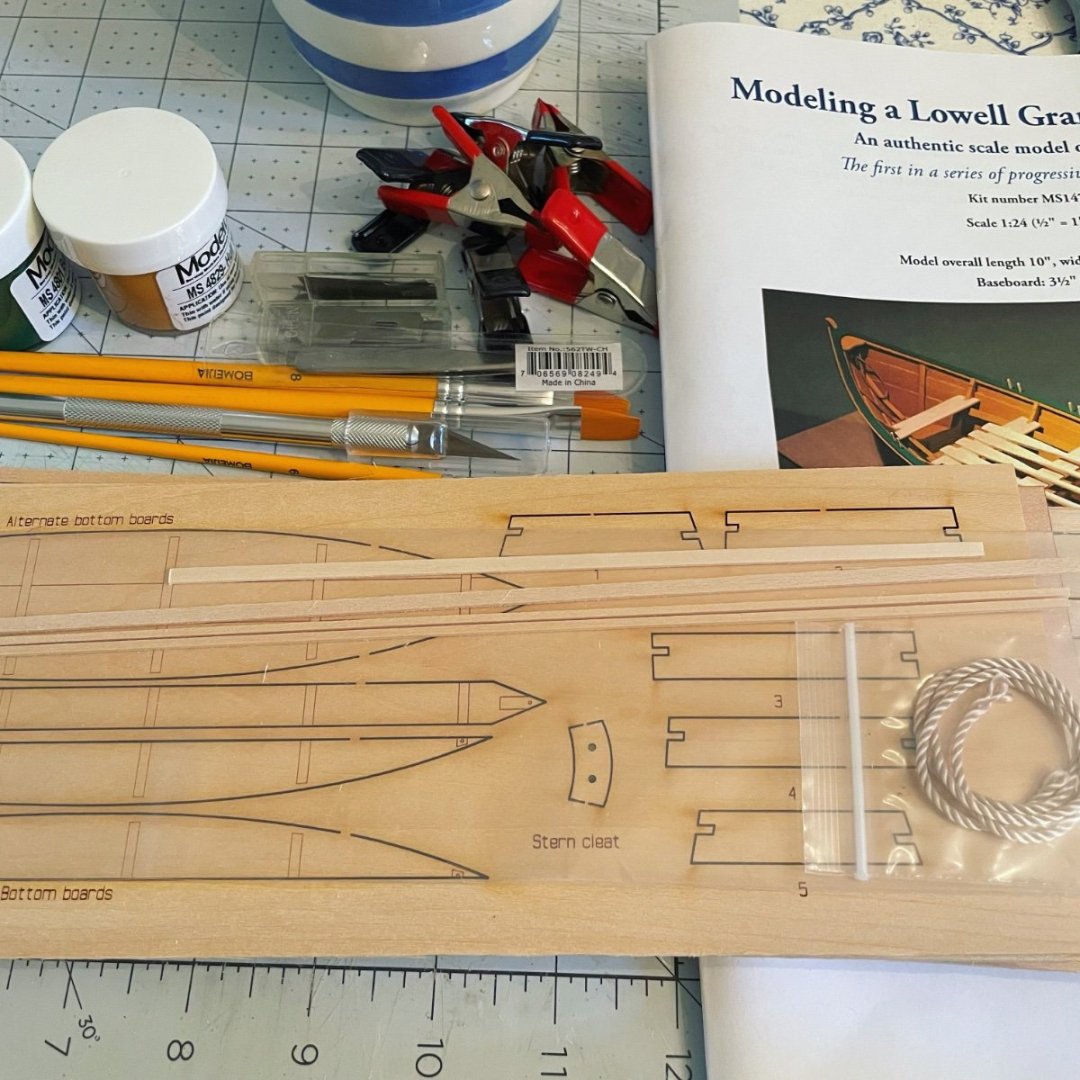
Making some progress… the instructions are a bit different from miniature kits, referring to parts of the boat rather than part numbers but the charts are very helpful.
- 39 replies
-
- 2
-
-
- Lowell Grand Banks Dory
- Model Shipways
- (and 1 more)
-
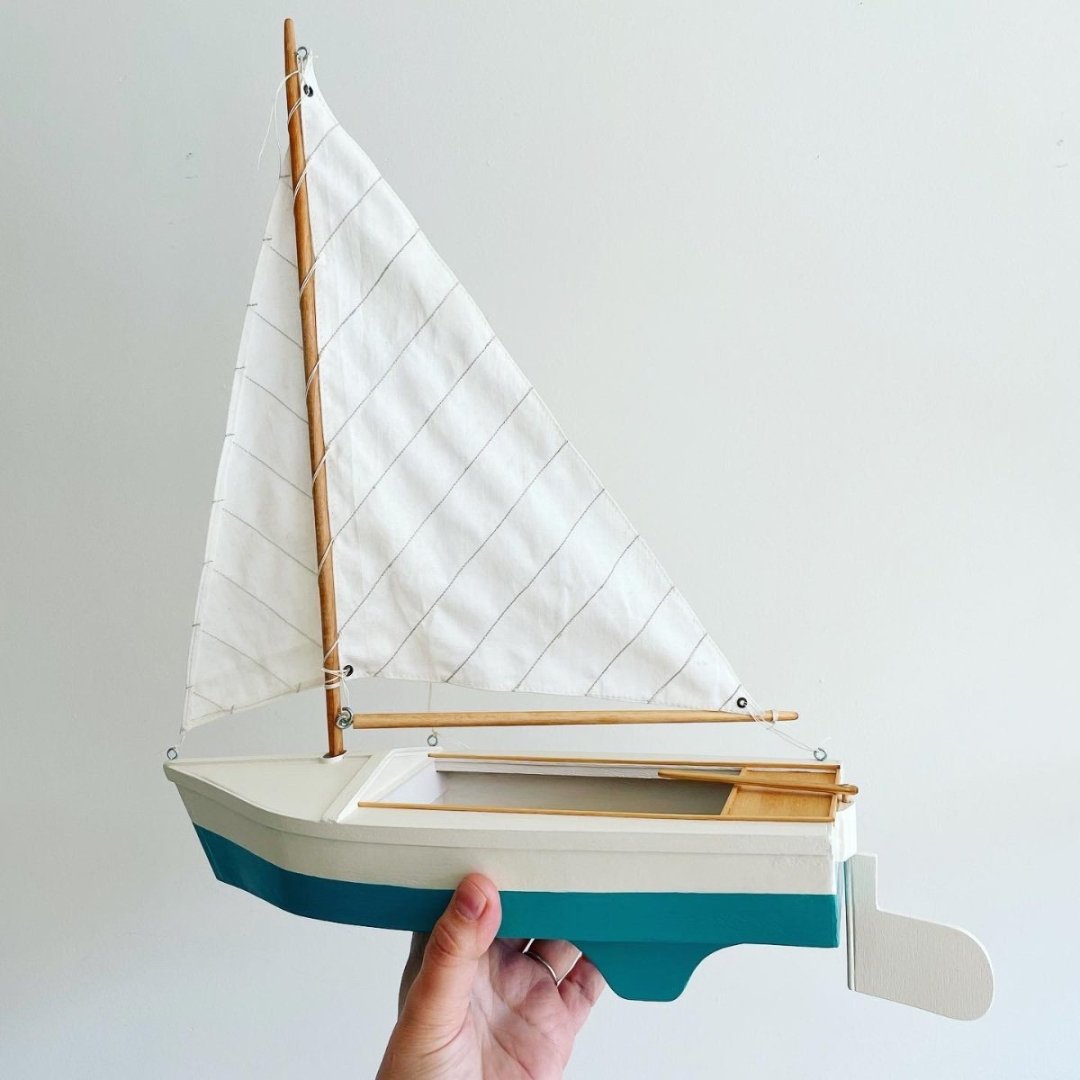
I’m new to the group but have enjoyed reading previous building logs. My background is in making miniatures, the only previous boat experience was the Dumas 12” boat which I finished recently. I wanted to try something more detailed and develop my skills so I now have the Grand Banks dory and the Norwegian pram. Earlier on I had bought the BlueJacket Cape Cod catboat but realized that was not a good starting point! I think that boat is absolutely beautiful so I want to do the kit justice. I will appreciate very much any feedback/assistance along the way. Just for fun I will show the finished Dumas…
- 39 replies
-
- 7
-
-
- Lowell Grand Banks Dory
- Model Shipways
- (and 1 more)