HOLIDAY DONATION DRIVE - SUPPORT MSW - DO YOUR PART TO KEEP THIS GREAT FORUM GOING!
×

Isaiah
-
Posts
200 -
Joined
-
Last visited
Content Type
Profiles
Forums
Gallery
Events
Everything posted by Isaiah
-
 Thanks Steven and Ferrus. Now that you’ve pointed out the stealers/ wedges they don’t make much sense. I can see how this was aimed at new modellers by stuff like that.
- 177 replies
-
- 1
-

-
- Perseverance
- Modellers Shipyard
- (and 1 more)
-
Thanks Steven, As you’re aware I don’t have a whole lot of knowledge. What would the main things you see wrong with my planking or the model for that matter?
- 177 replies
-
- 1
-
-
- Perseverance
- Modellers Shipyard
- (and 1 more)
-
Very nice work Marsalv, I might have to try making belaying pins on my lathe as I don’t have enough. I will keep this forum up for later reference Ferrus thank you.
- 589 replies
-
- 4
-
-
- le gros ventre
- cargo
- (and 1 more)
-
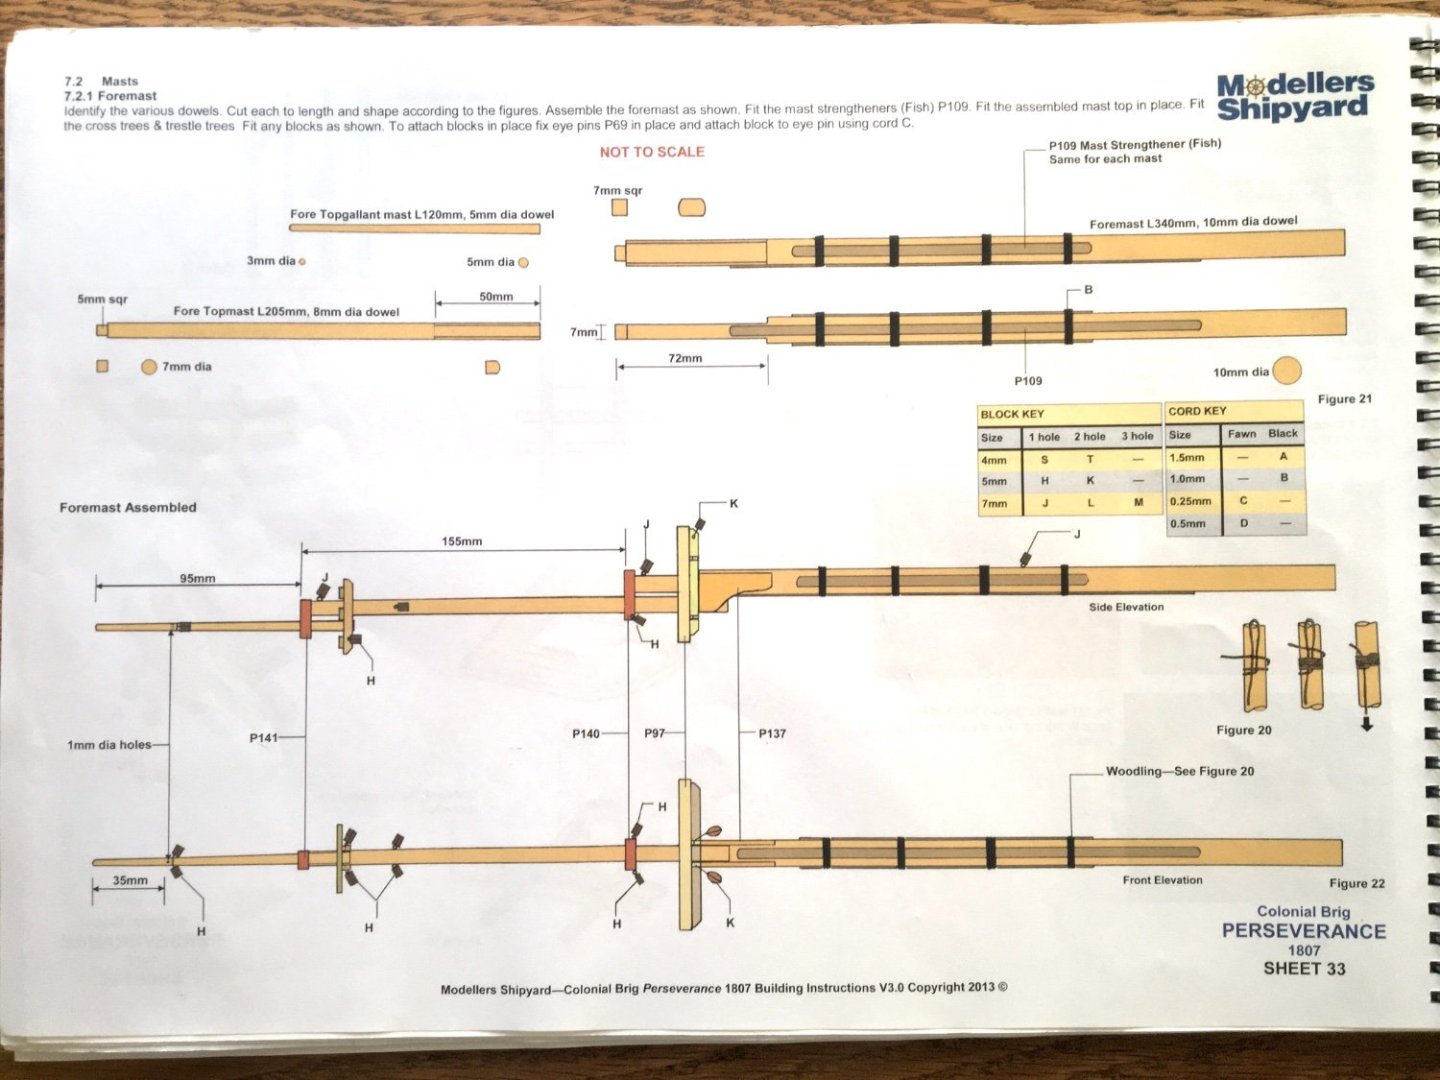
I’m near Warrnambool way. I could’ve used a block plane to shape the masts and yards, but I’m lucky enough to have a lathe. I’ve got most of the parts made for the foremast so I will start assembling maybe next week.
-
Foot hooks make sense, I was wondering why they had that name.
- 177 replies
-
- 1
-
-
- Perseverance
- Modellers Shipyard
- (and 1 more)
-
I’m sorry but I think I beat Ferrus in being the youngest MSW member. 😄
- 279 replies
-
- 1
-
-
- Spanish Galleon
- Imai
- (and 1 more)
-
Congrats, 👌what kind of career in nautical history would you like to get into?
- 279 replies
-
- 1
-

-
- Spanish Galleon
- Imai
- (and 1 more)
-
Yes I do have one, I do woodworking as well which helps a lot with having the right tools for ship building.
-
I found these very interesting old videos on how they built a 1:1 replica of the Götheborg, a trading ship built by the company East Indiaman in Sweden. The Götheborg wrecked just outside of Götheborg harbour in 1745. Construction of the replica started in 1995 and the completion in 2003. I absolutely loved these videos so I thought I’d share with anyone who hasn’t seen them. part 1 Part 2 Part3 some additional info and history https://www.gotheborg.se/about-gotheborg/the-ship-s-history/
-
Thanks for the info. I think they’re are paired, the manual says to just glue all the parts together before doing anything else. Also I’m referencing another colonial brig build by @Mike Hunt. He assembled the whole mast before fitting on to the ship. so I’m pretty certain they are pairs. I’m new to all these nautical terms and techniques so I don’t know a whole lot.
-
I am going to make a start on the foremast. Please inform me if there’s anything I should know or if there’s anything I should do differently to the instructions.
-
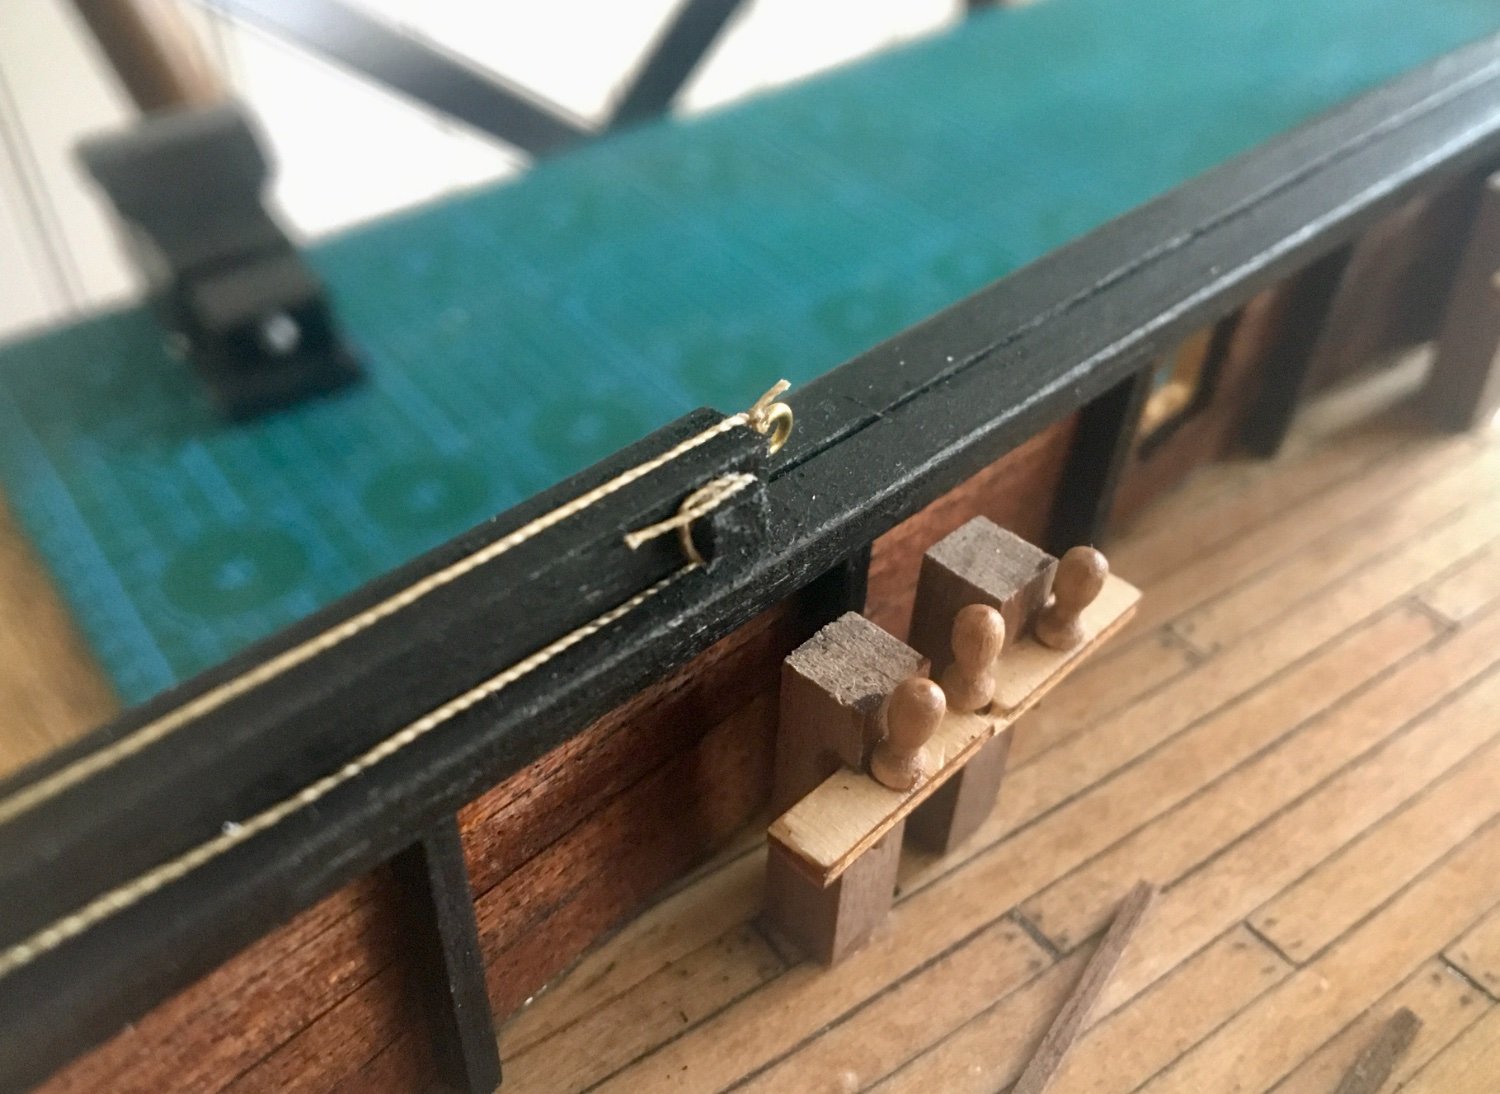
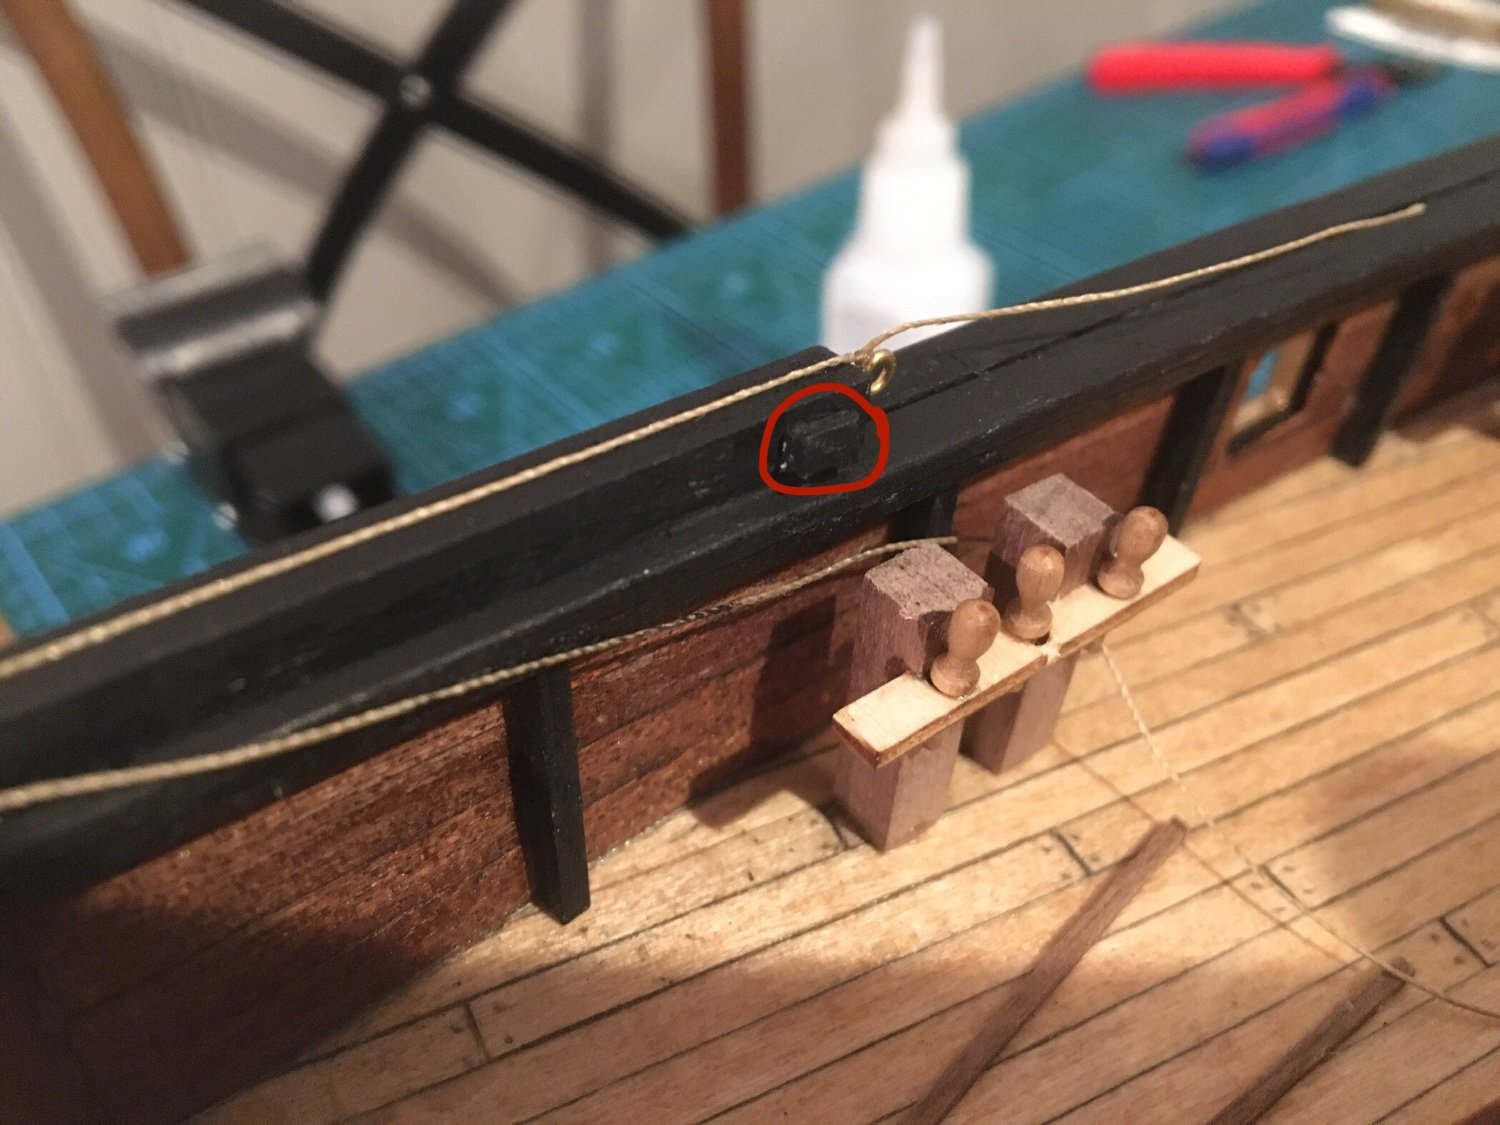
Ok, I hope this is somewhat right. I tied it at the eye bolt on the end of the davit first, then I threaded it through the hole on the other end, through one of the holes on the block, back up through the hole and down into the second hole next to it, then I threaded it through the second hole on the block and finally back up and through the eyebolt on the part of the davit that sticks past the transom. I put cleats where you said (where the red circle is.) If I have verified that this is correct I will then wrap the remaining line around the cleat.


- 177 replies
-
- 2
-
-
- Perseverance
- Modellers Shipyard
- (and 1 more)
-
Ok I think I know what you mean. The eyebolt is in the right spot according to the manual, I guess I listen to the instructions too much.
-
Can I just add a hook to the block and loop the line through the block and up again? Then just hook the block to the boat?
- 177 replies
-
- 1
-
-
- Perseverance
- Modellers Shipyard
- (and 1 more)
-
Looking good Ferrus, You sure know a lot more about ships than me. I’m very soon going to start making the masts on my Perseverance which means rigging is coming up. Going to need a lot of advice because I don’t know what the heck I’m doing.
- 279 replies
-
- 2
-
-
- Spanish Galleon
- Imai
- (and 1 more)
-
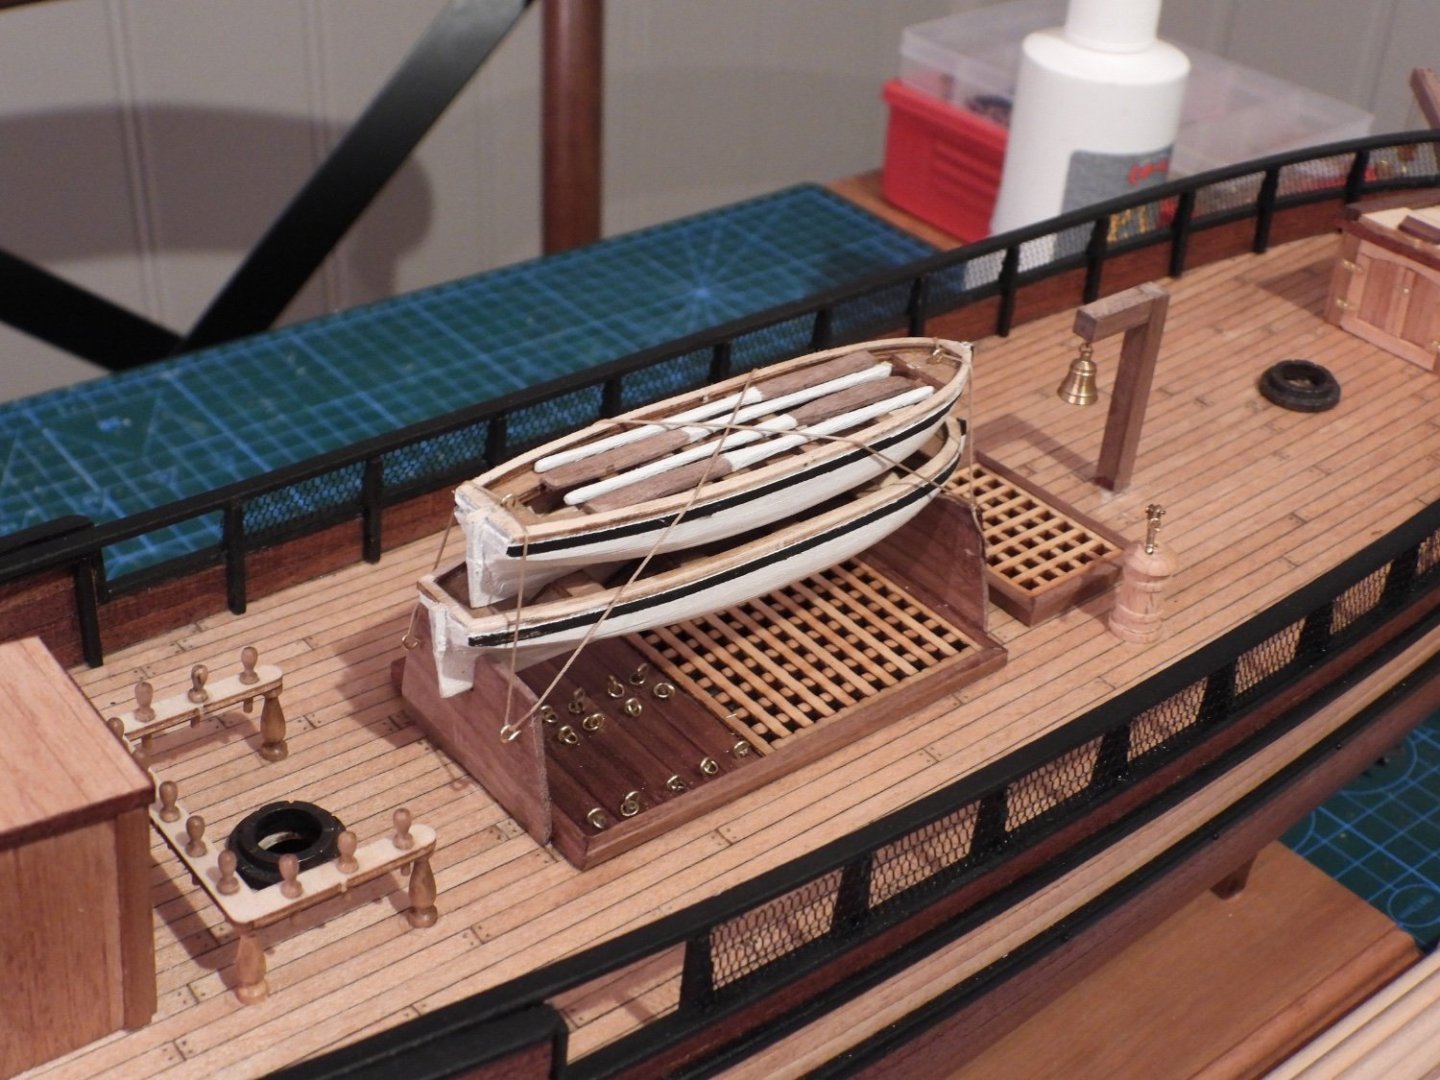
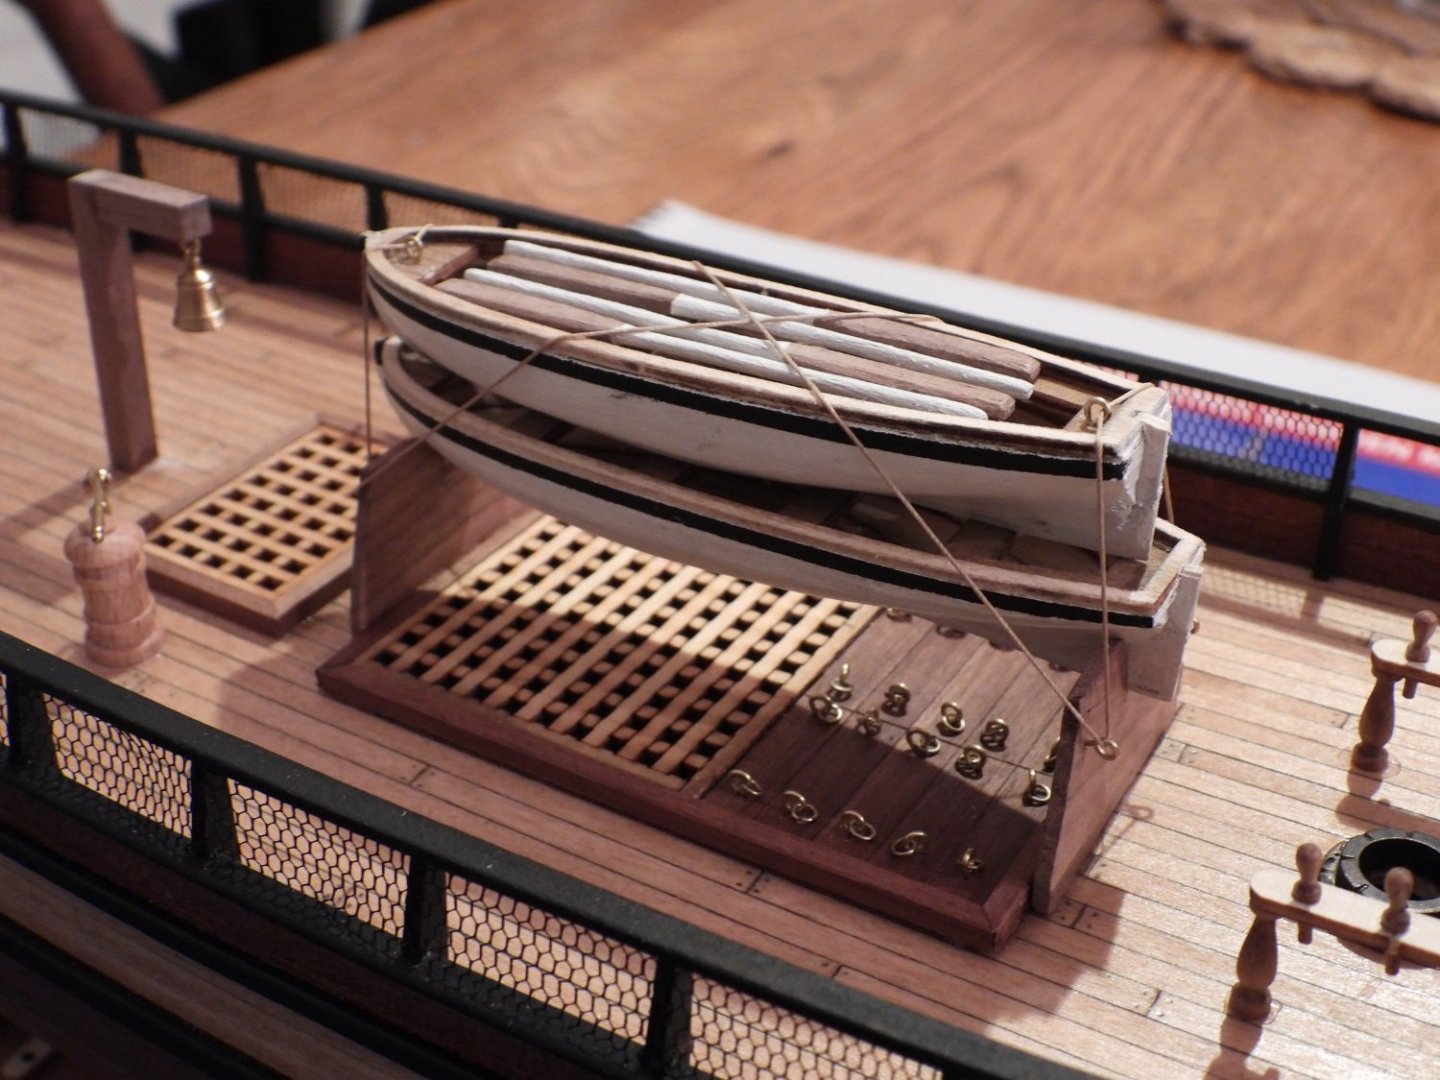
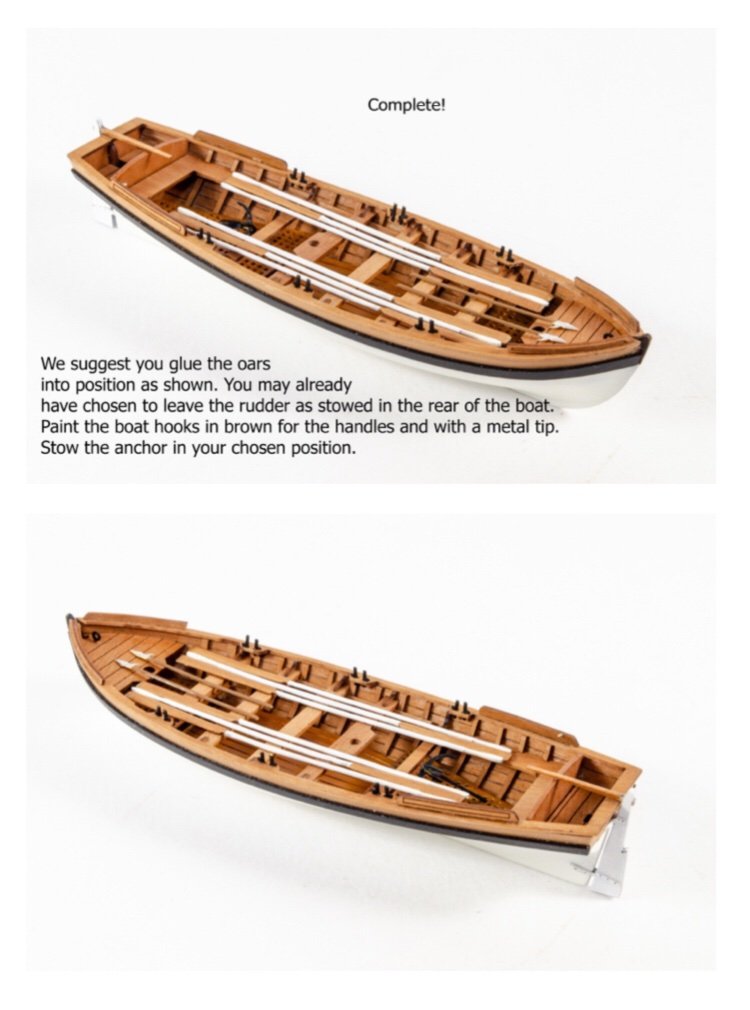
The boats all tied up and rigged to the ship. Unfortunately ccoyle, I super glued the oars to the boat and there was no way I could remove them without damaging the oars and the boat itself. I’ll just have to live with how I’ve made them.
- 177 replies
-
- 2
-
-
- Perseverance
- Modellers Shipyard
- (and 1 more)
-
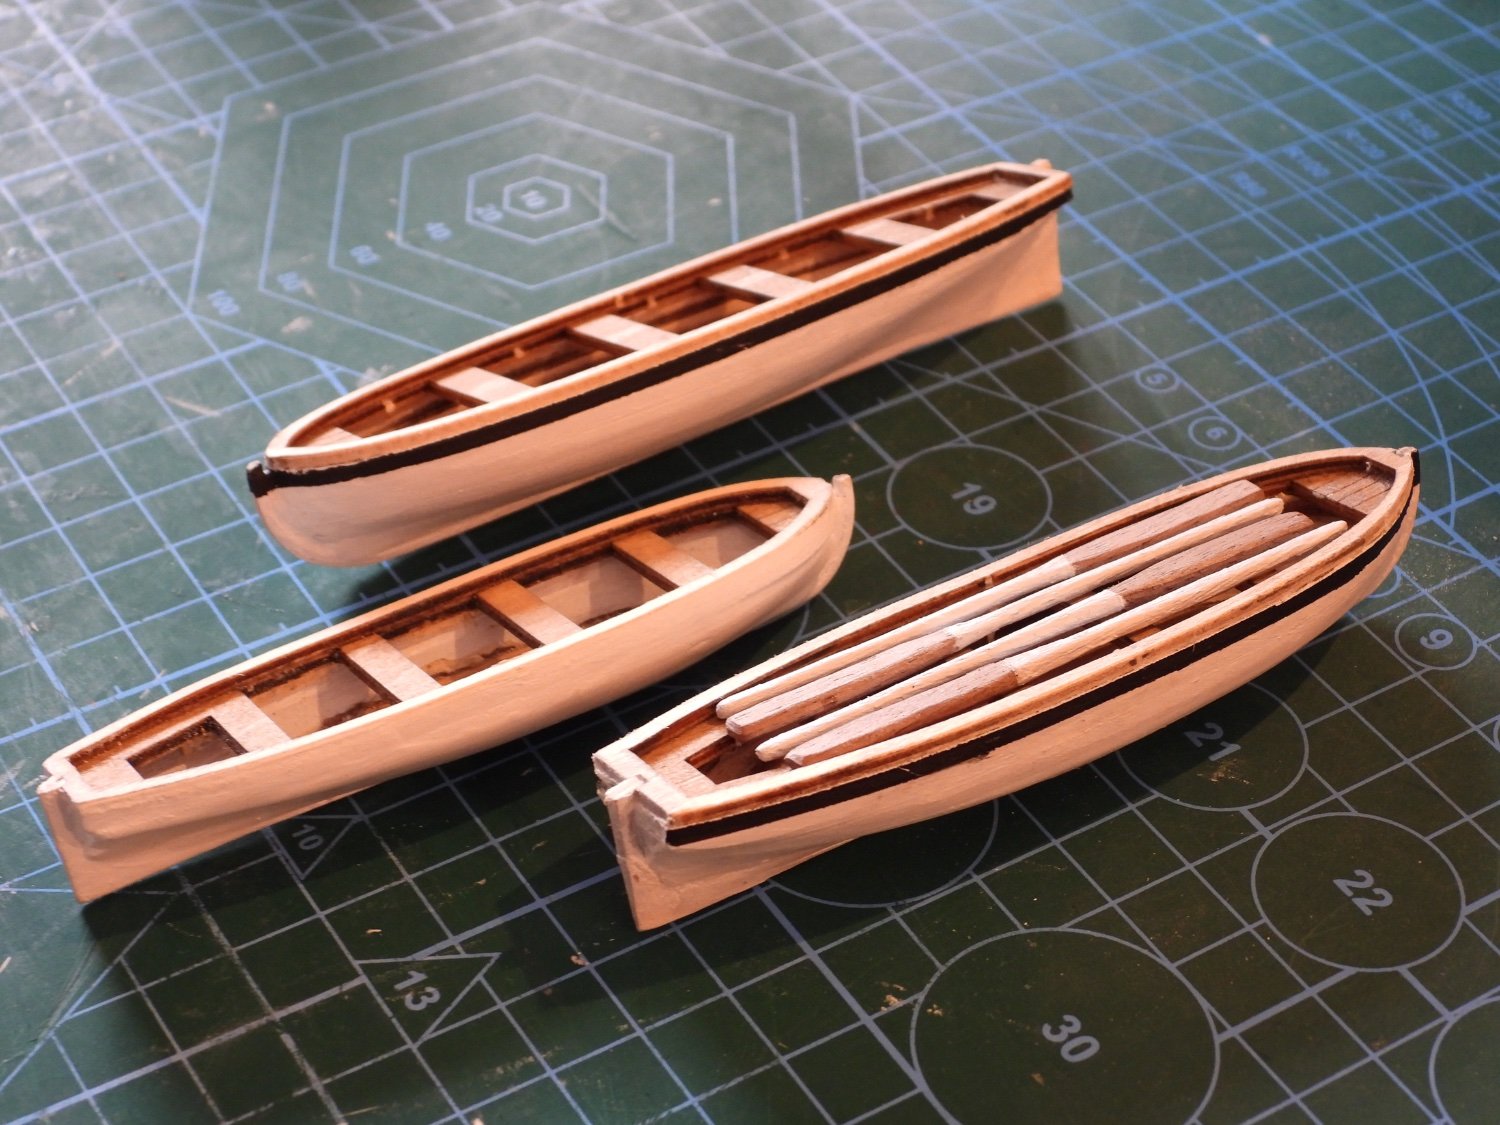
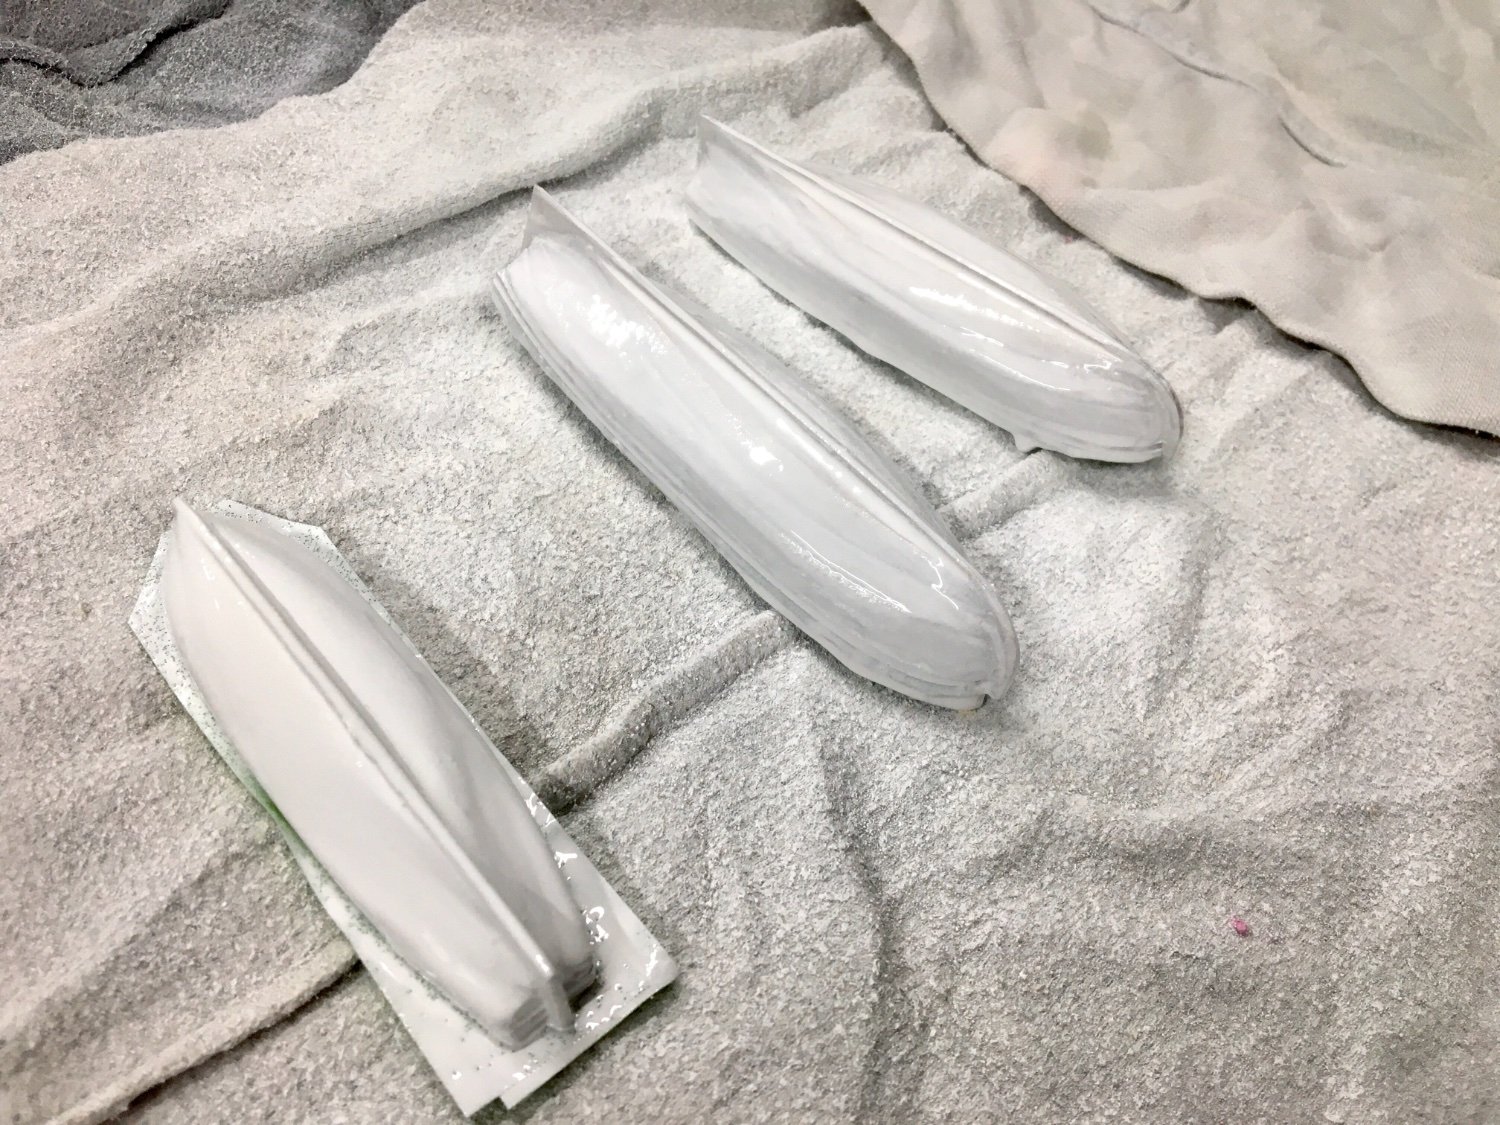
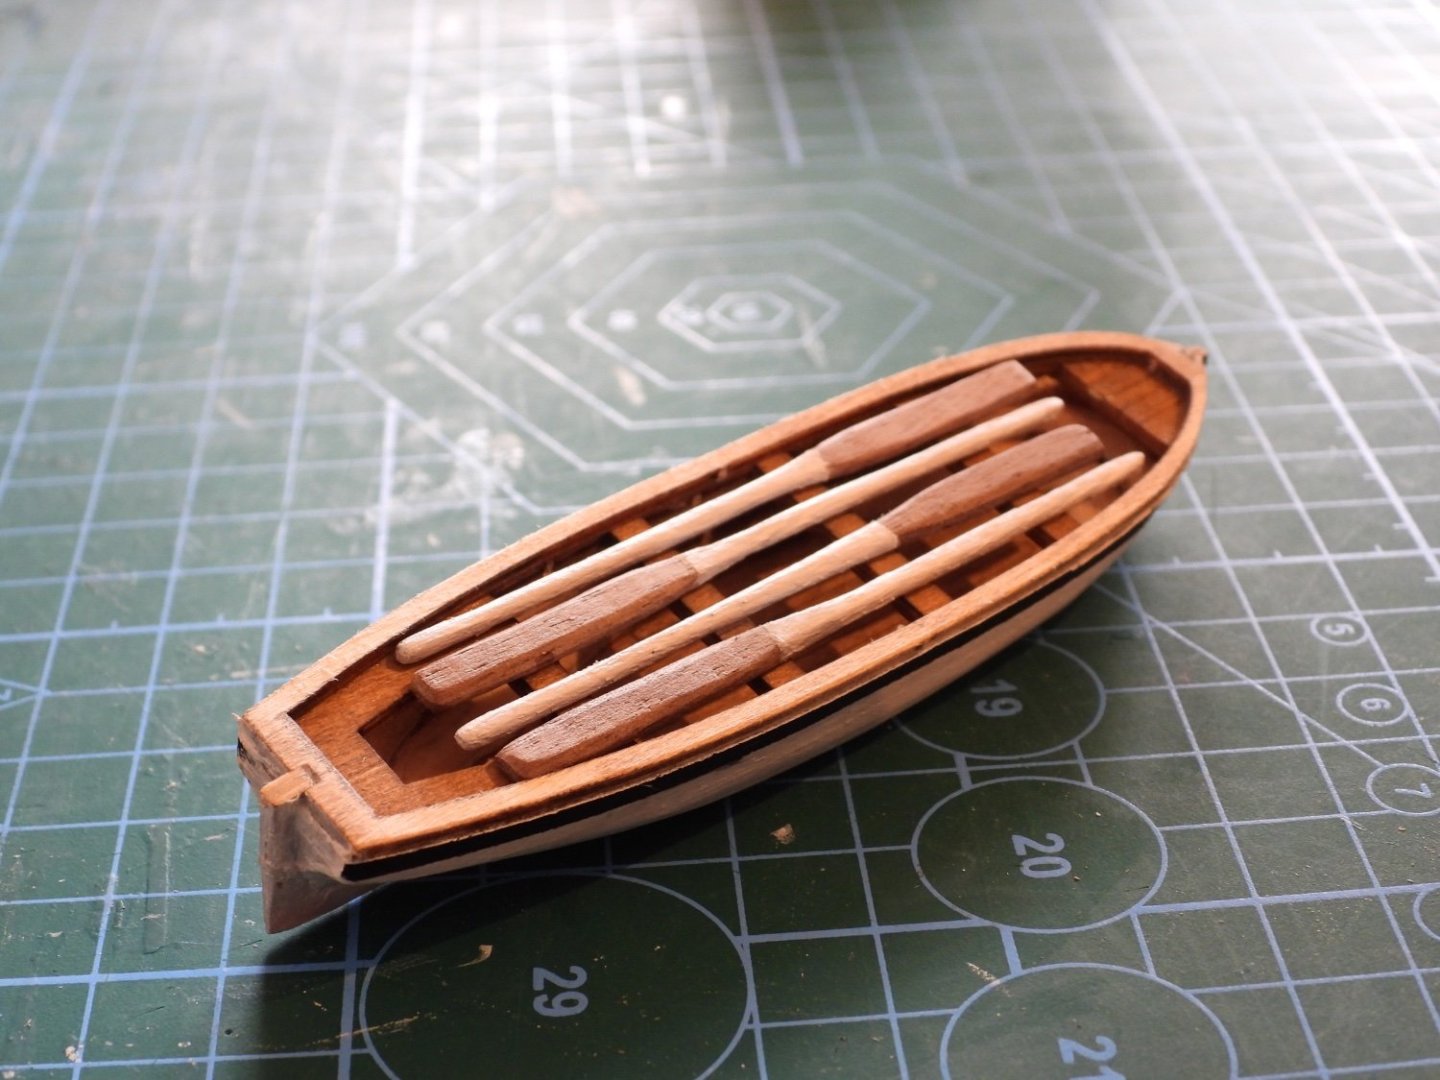
Here they are, pretty happy with them actually. I used white spray paint first but wasn’t happy with the finish, it gave a glossy plastic look. So I gave them a coat of white acrylic. I’m not sure about the oars, they seem a little big but when I put them next to the deck furniture they seem ok.


- 177 replies
-
- 3
-
-
- Perseverance
- Modellers Shipyard
- (and 1 more)
-
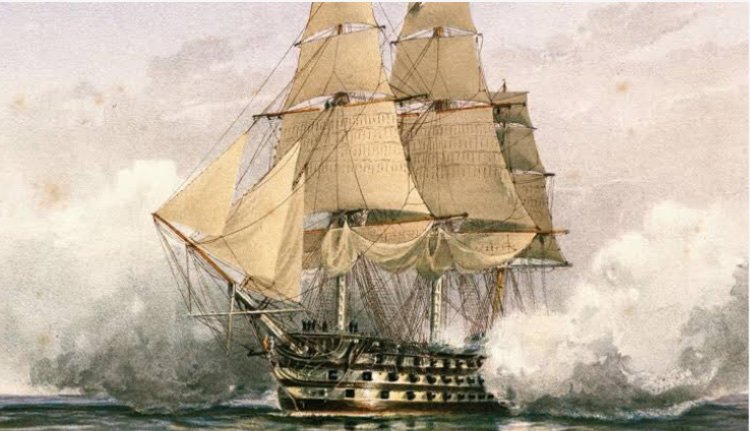
Here’s the link to the types of model boats: https://vanguardmodels.co.uk/product/ships-boats-various-types/ I think it’s a yawl but tell me what you think. I’ll add four ores. I like that black line around the top of the hull so I might add that as well.
- 177 replies
-
- 1
-
-
- Perseverance
- Modellers Shipyard
- (and 1 more)
-
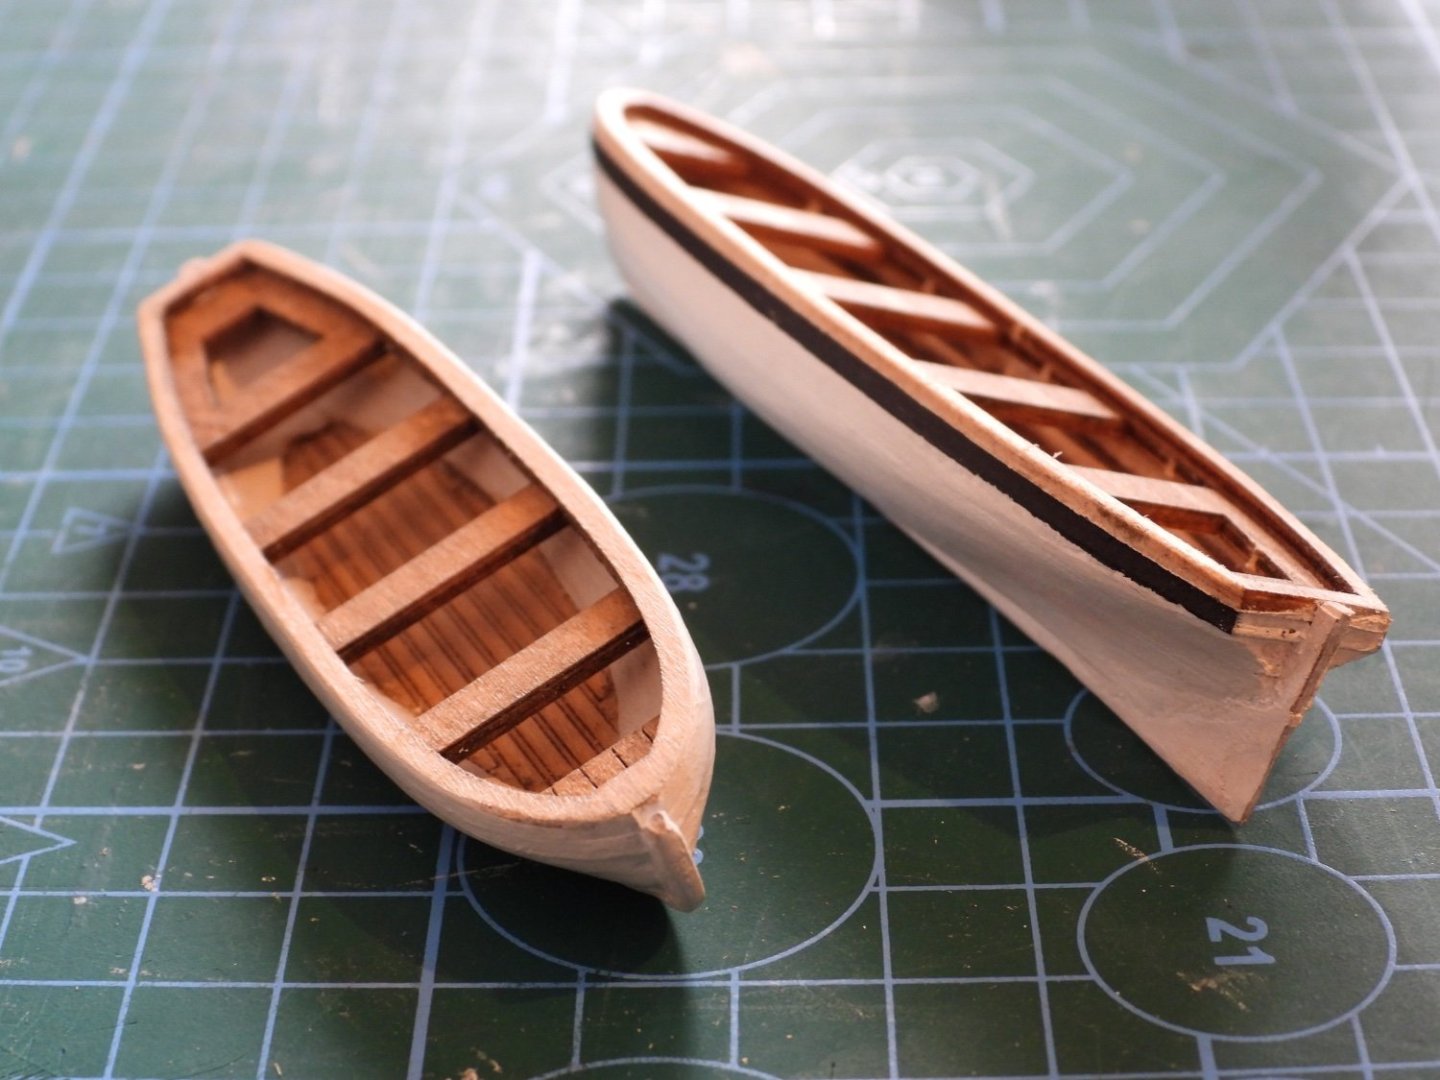
One on the left is the smallest one which I made first. The middle and right one I made at once. The one on the left has its final coat and I’ll re-coat the other two tomorrow. I’ll probably make some oars just for one of the boats with some scrap walnut as well.
- 177 replies
-
- 3
-
-
- Perseverance
- Modellers Shipyard
- (and 1 more)
-
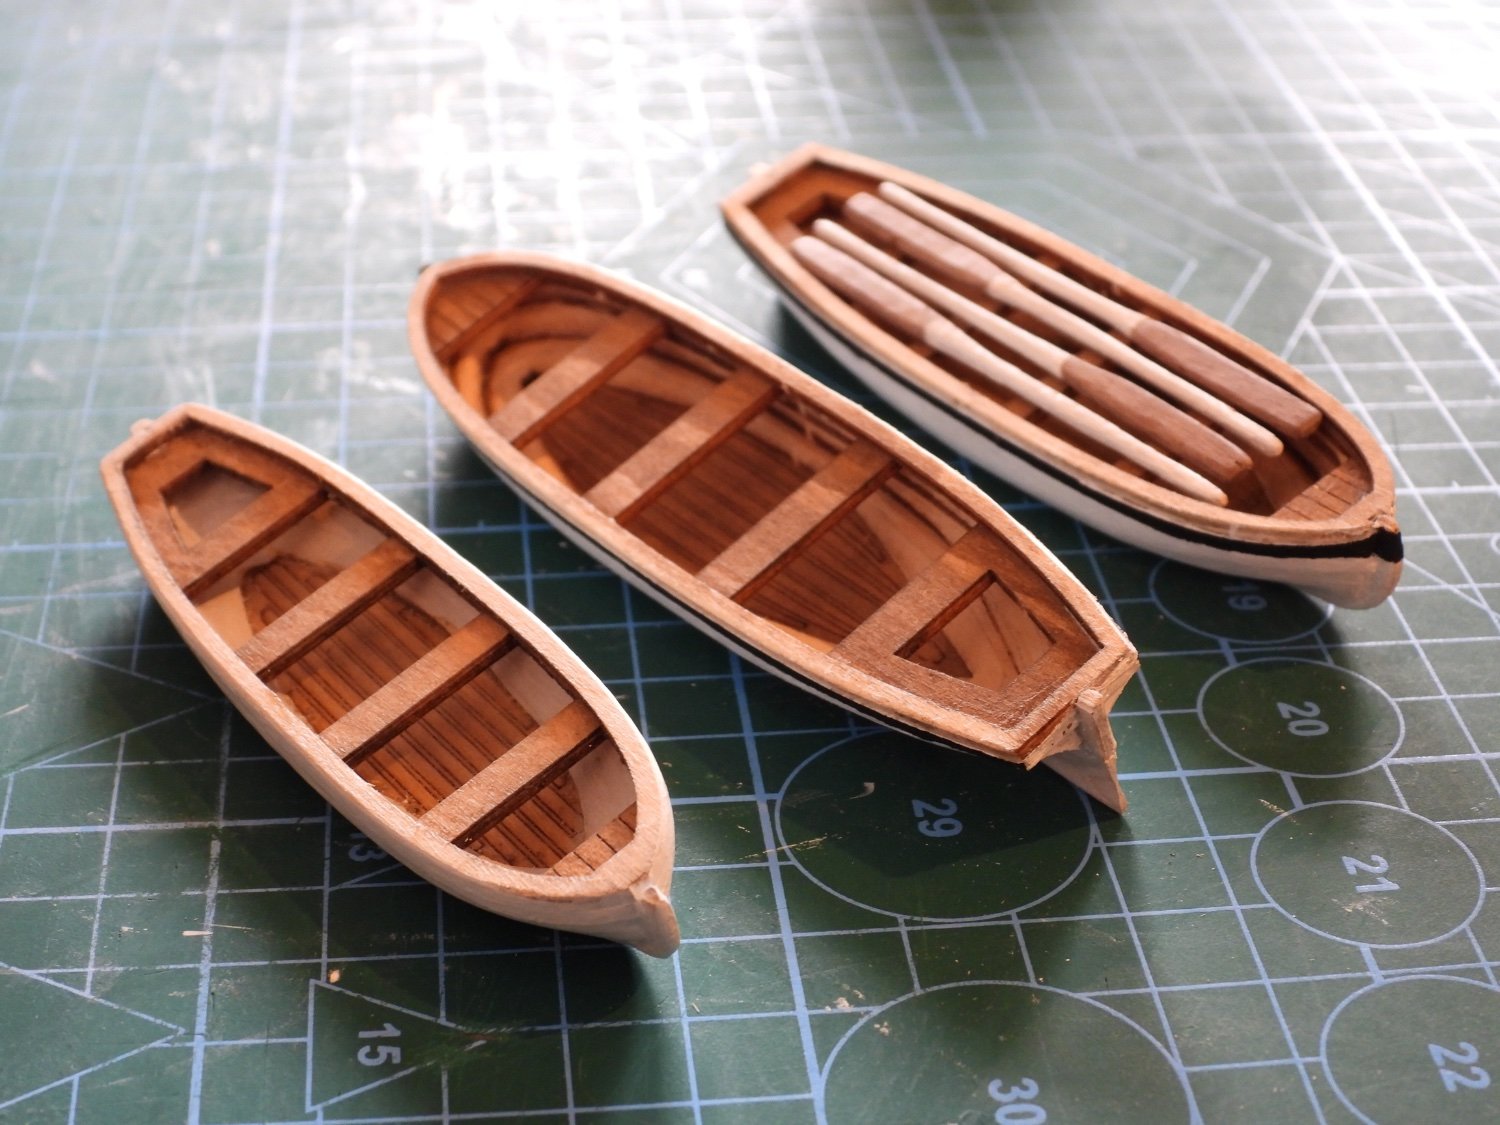
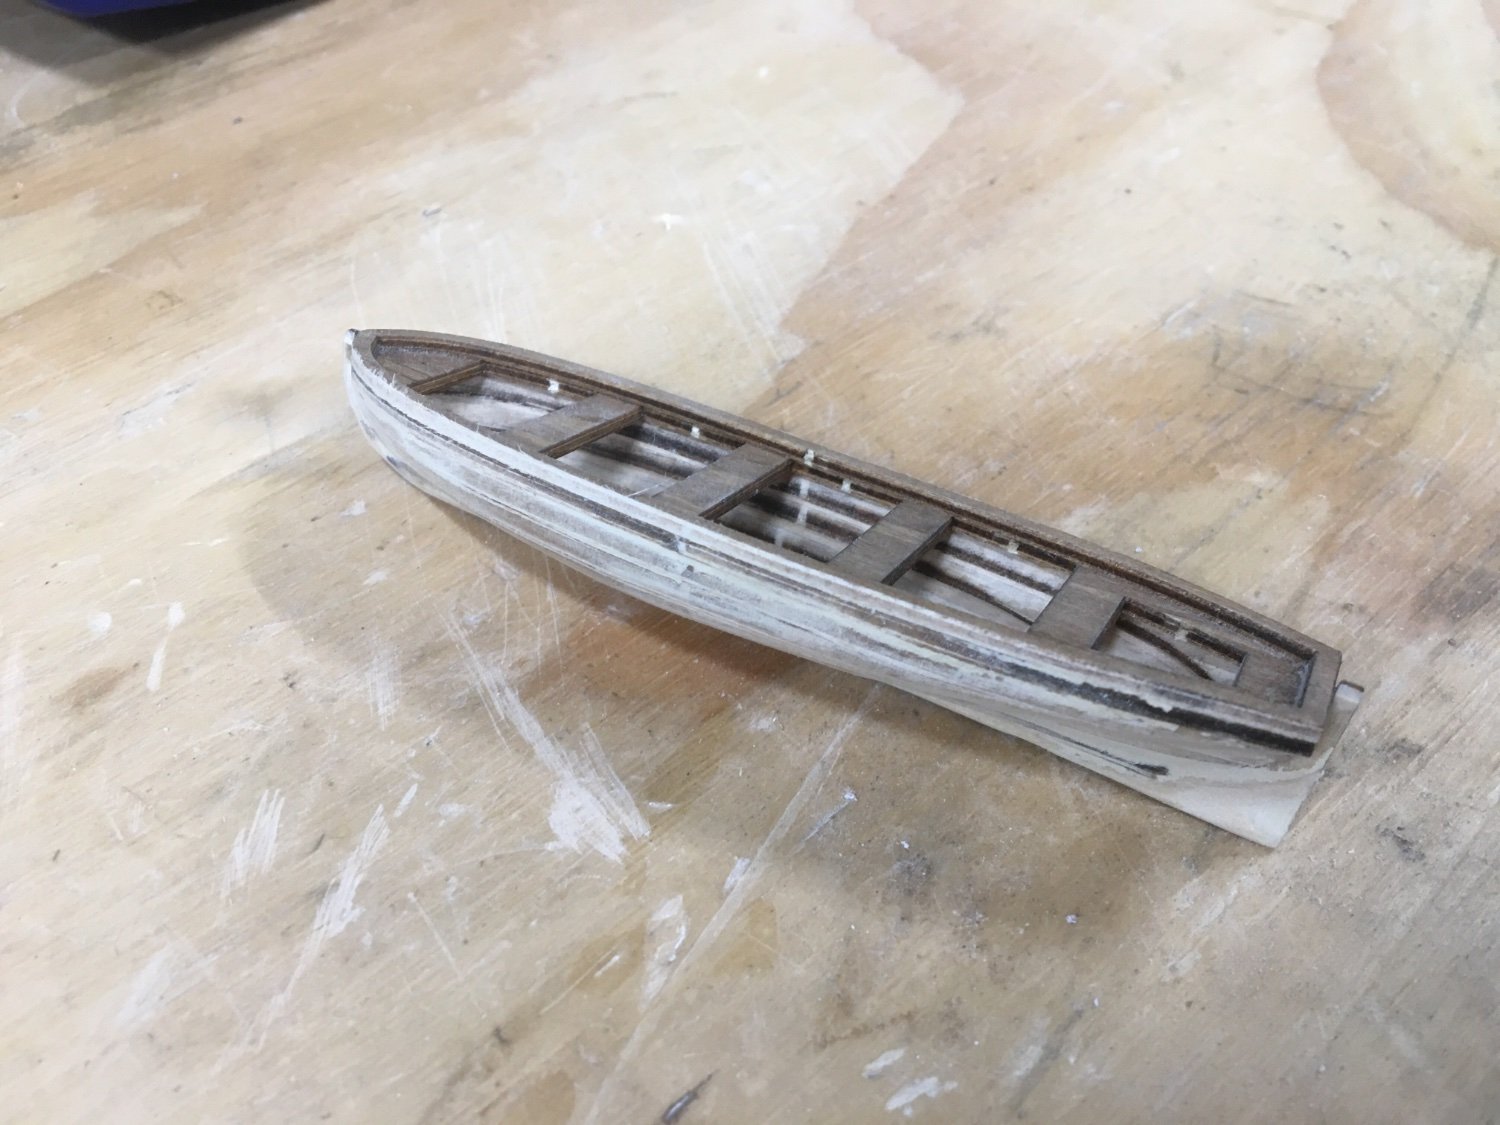
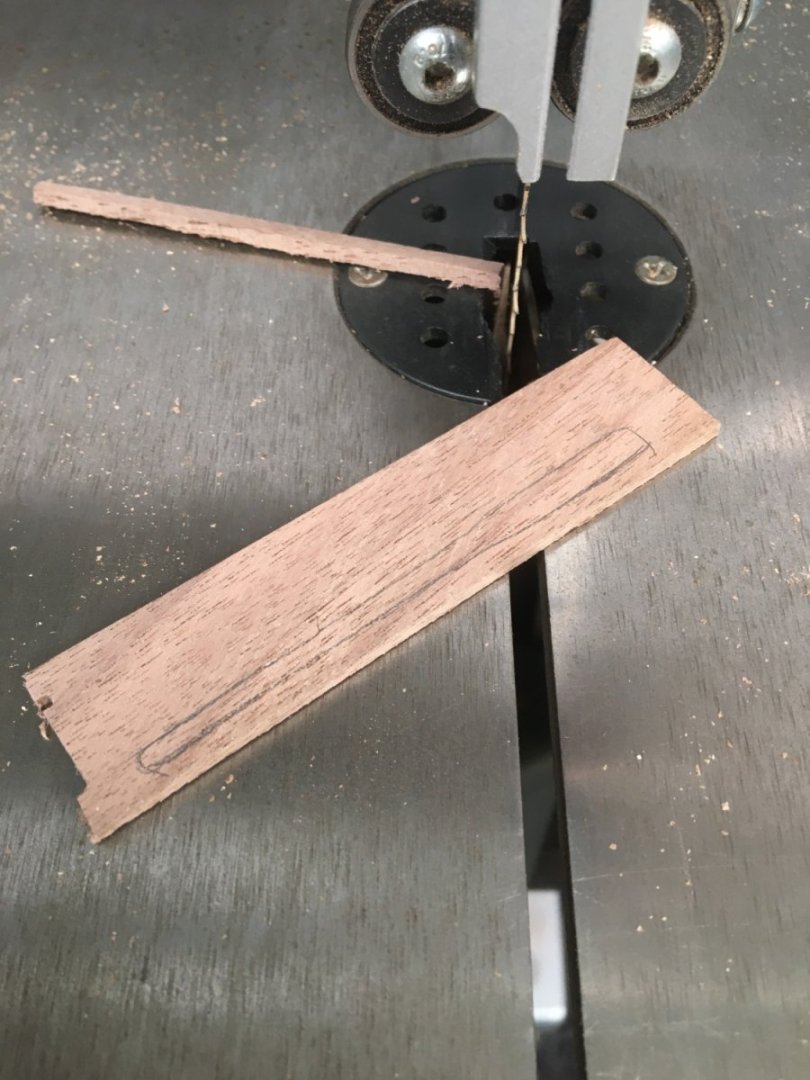
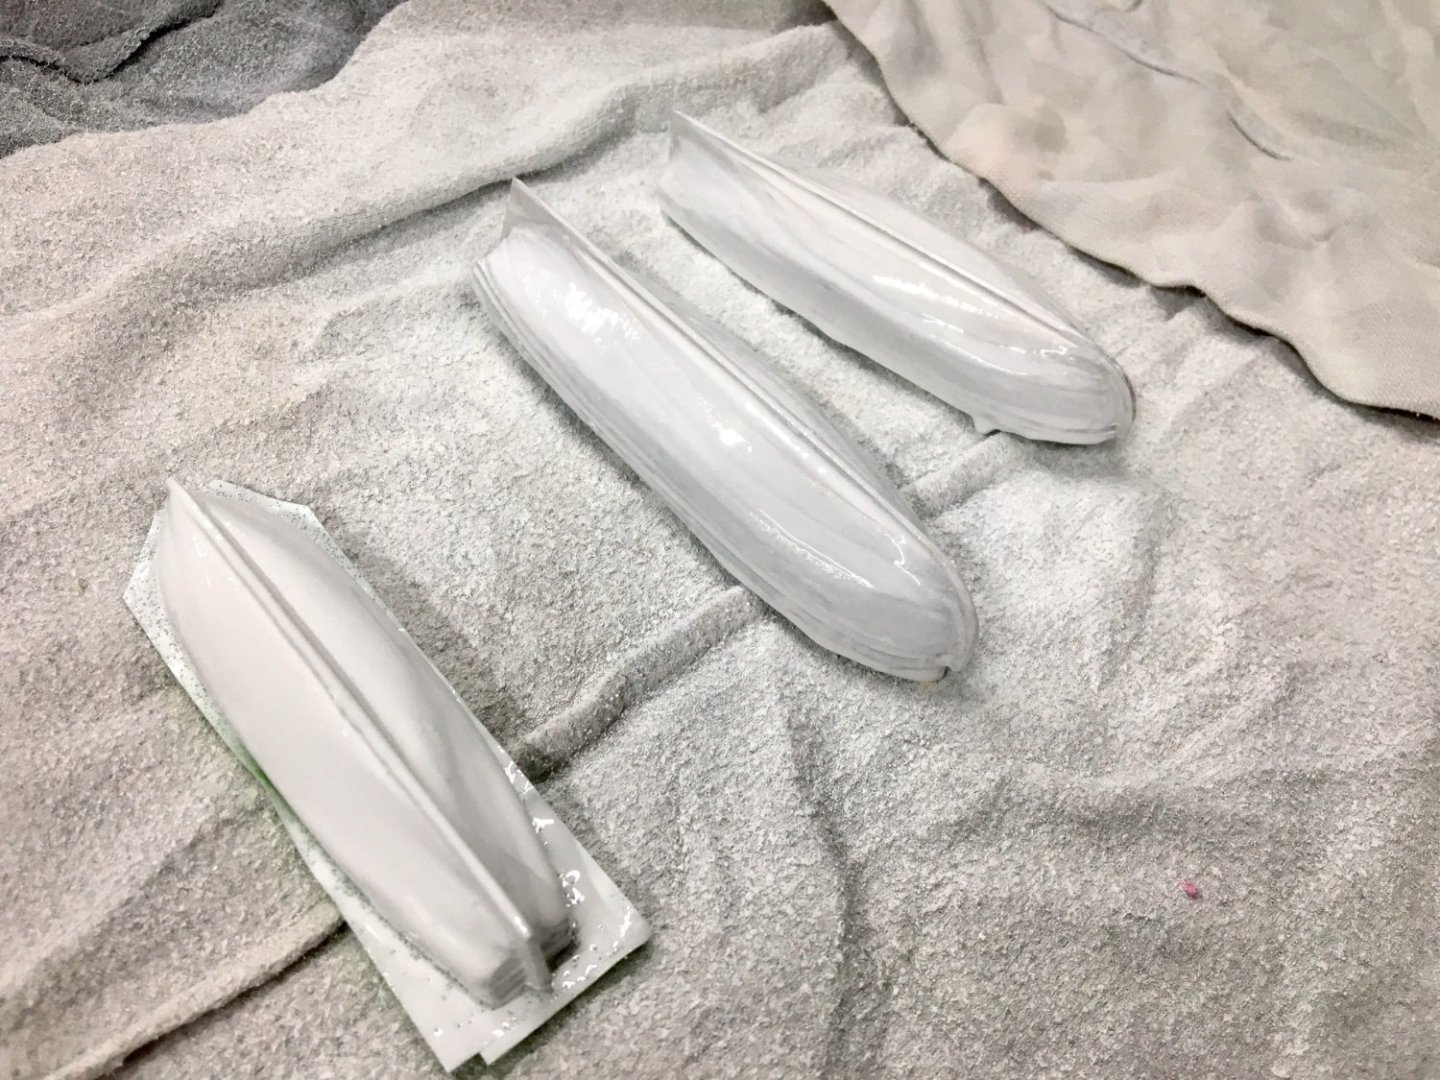
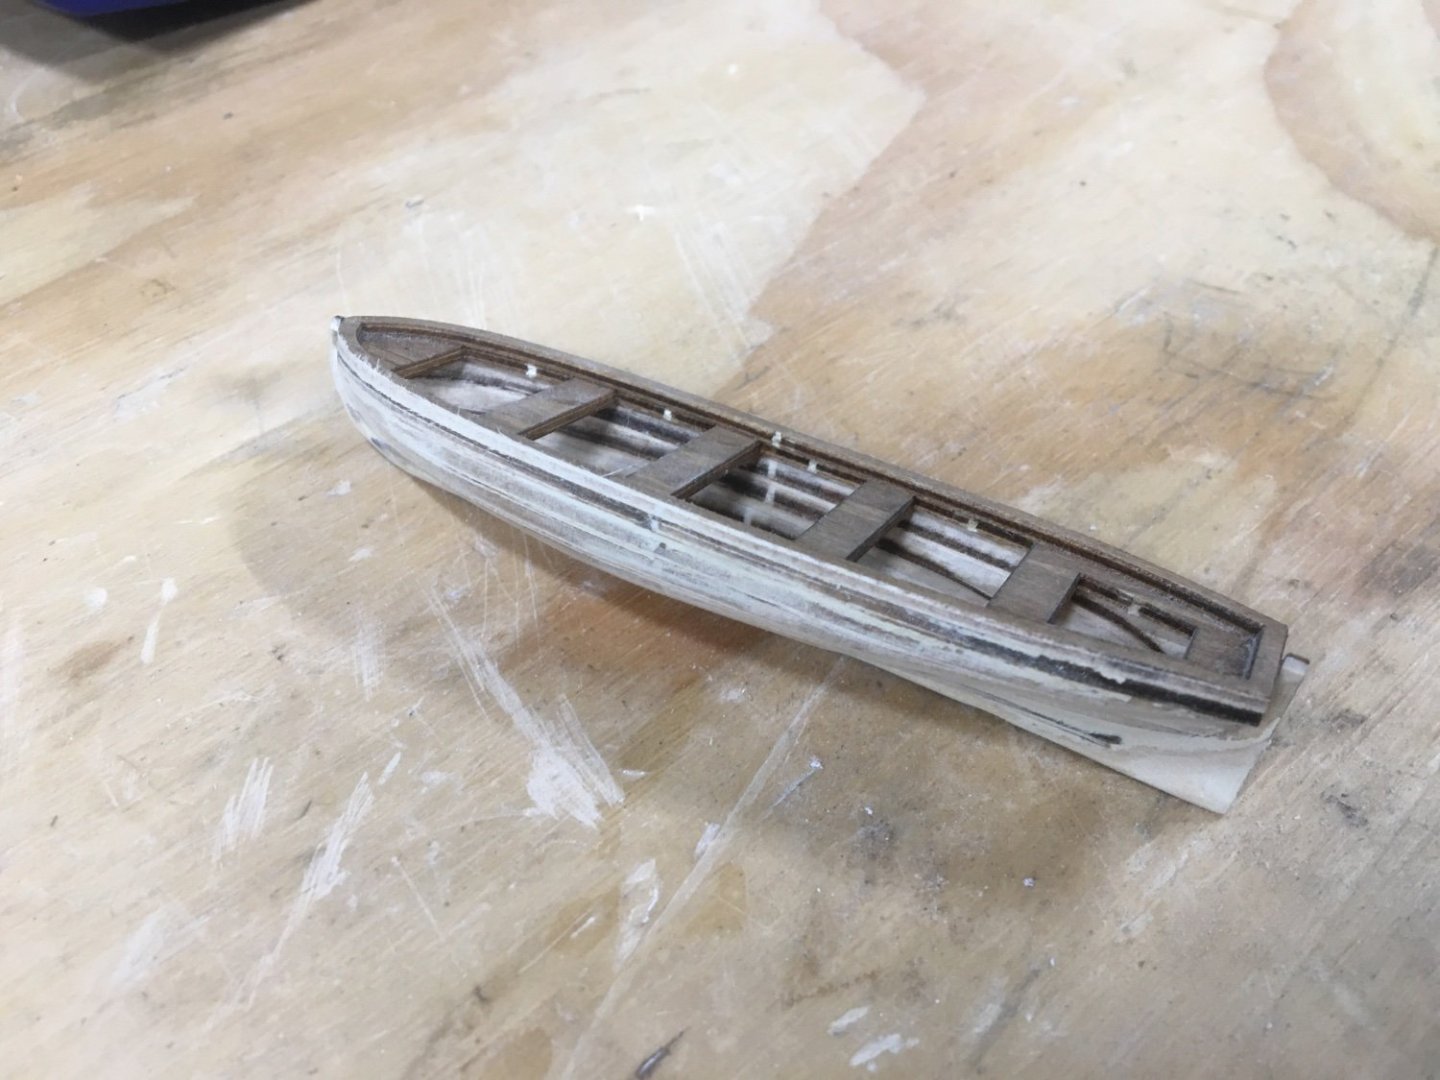
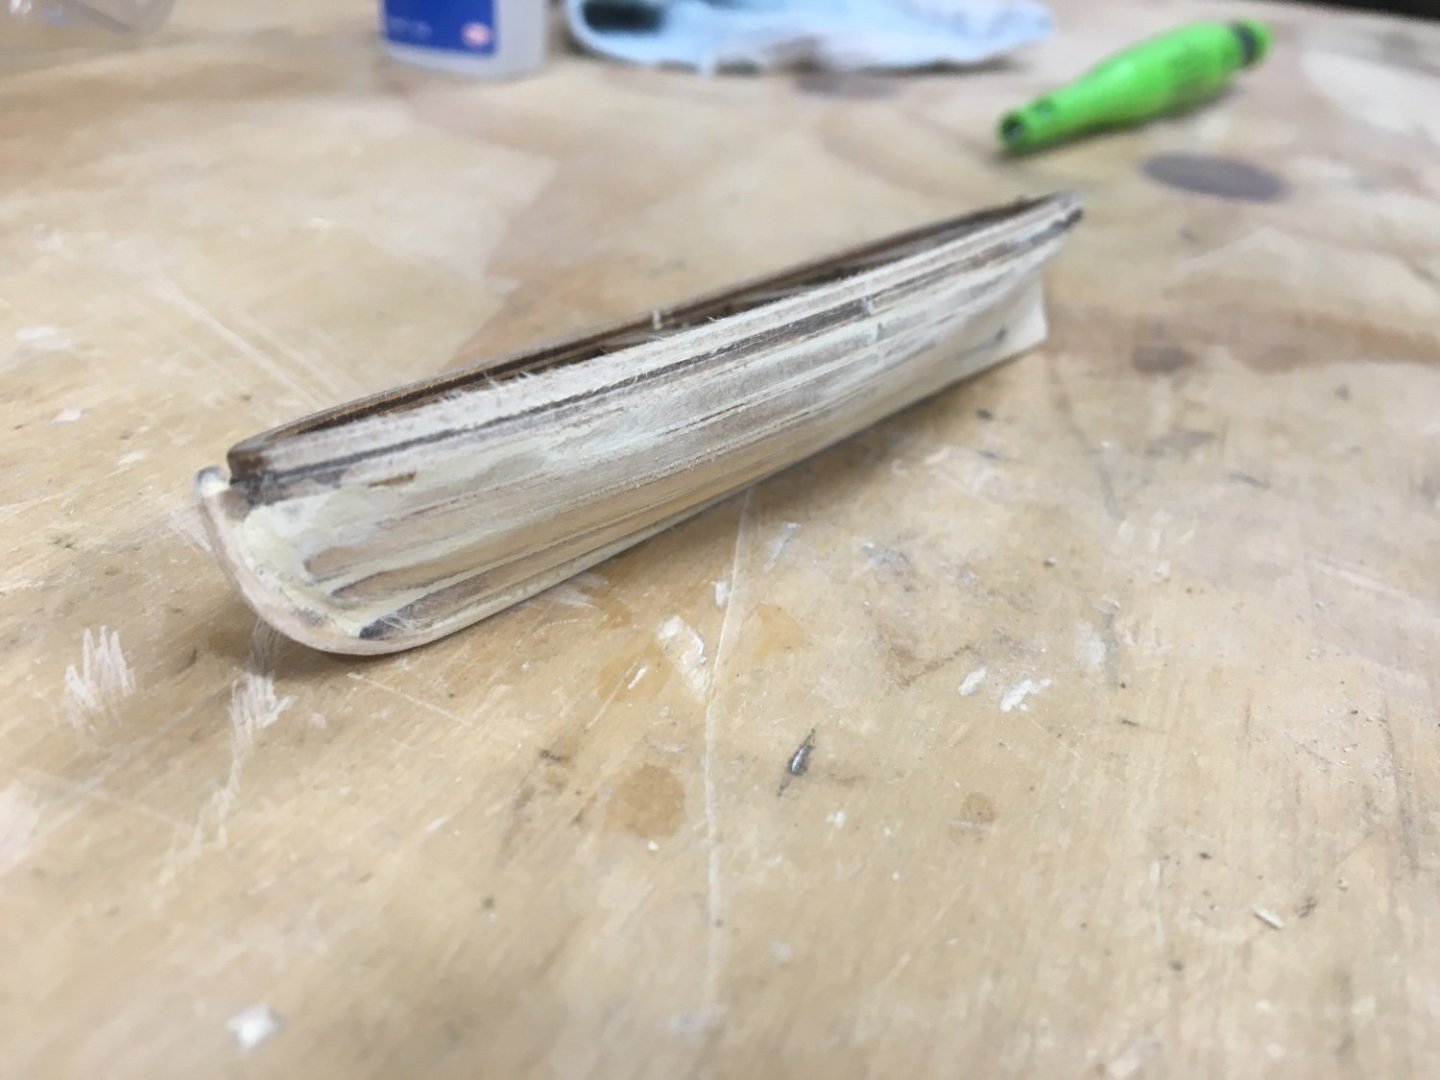
I’ll have to think about it, oars do sound good I just don’t have any included in the kit but I can certainly make some. the second boat, a little bigger, came out much better. I used a different technique, gluing the hull as one piece before shaping it. I used a bench top drum sander and a dremel. I almost don’t need putty. Just going to shape the third one and then paint them both.
- 177 replies
-
- 1
-
-
- Perseverance
- Modellers Shipyard
- (and 1 more)
-
What do you mean by lash a spar? they get tied down to the ship if that’s what you mean.
-
I don’t think I could’ve painted the lamp as good as that. nice job.
- 279 replies
-
- 1
-
-
- Spanish Galleon
- Imai
- (and 1 more)
-
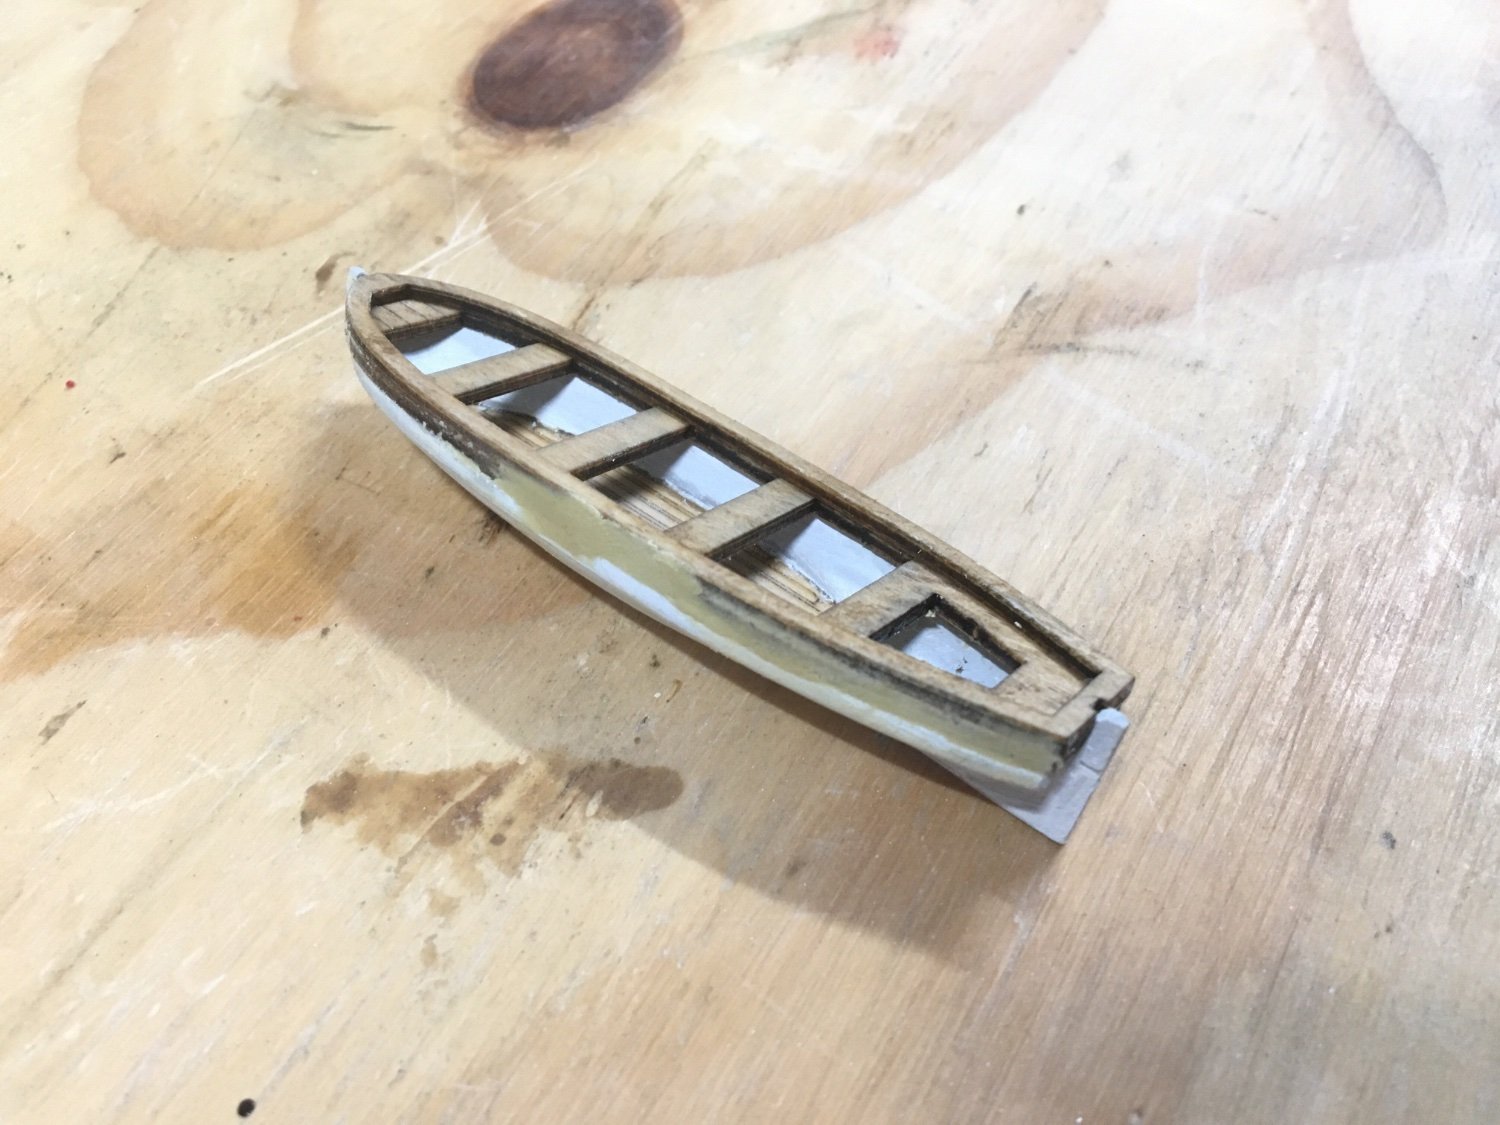
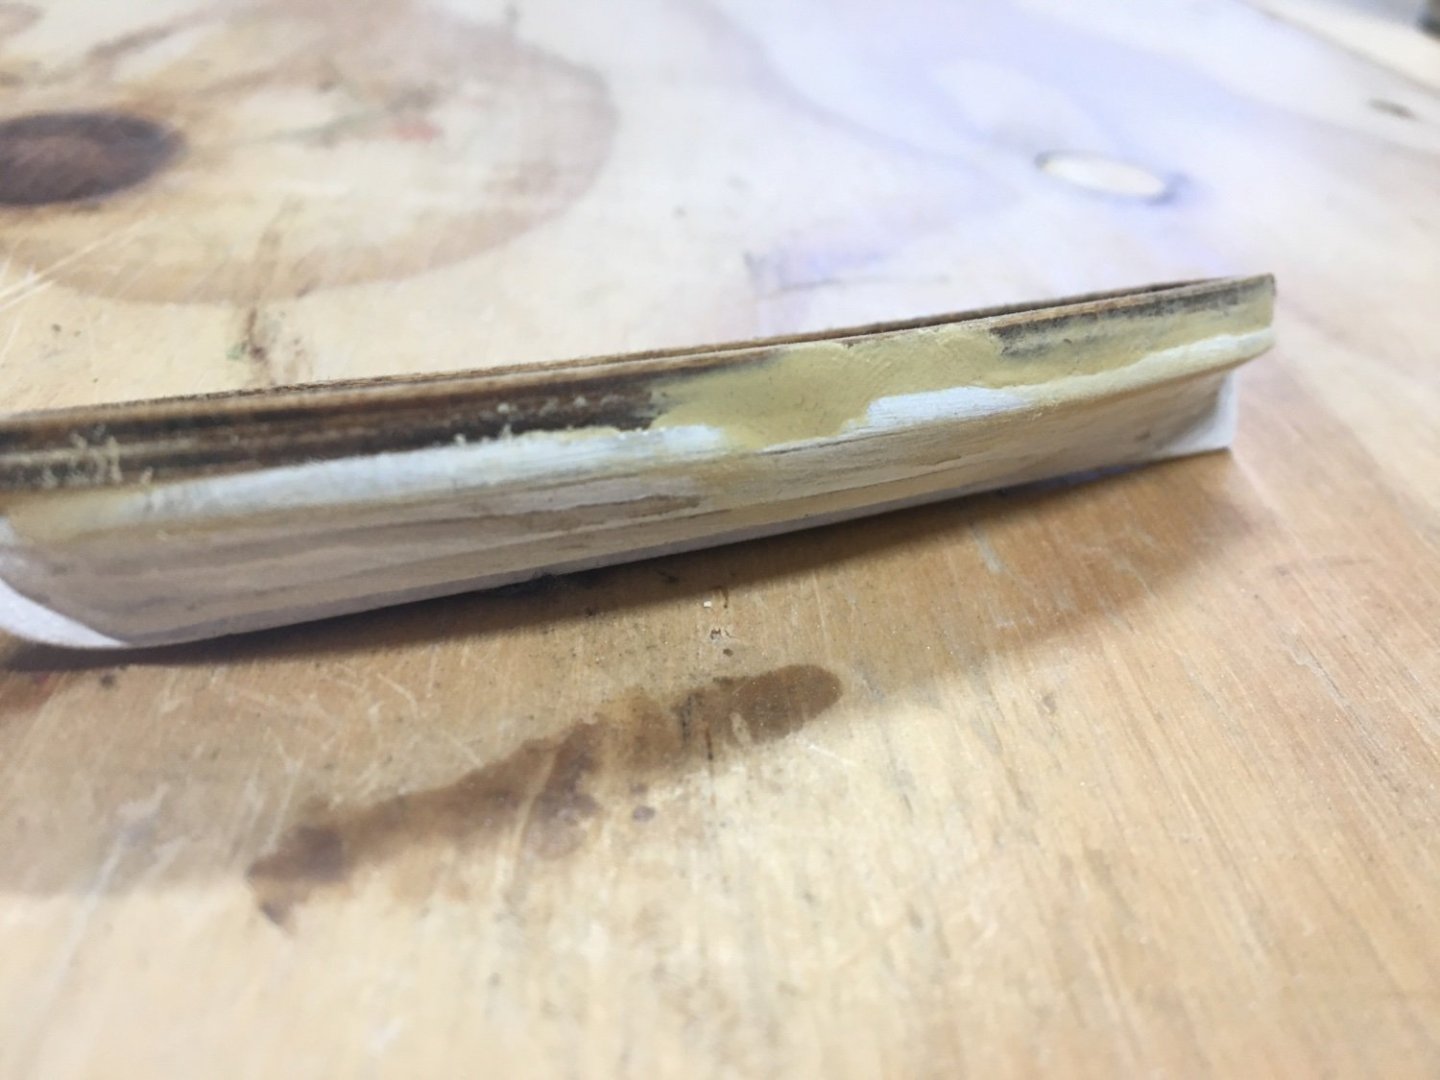
Here is the boat fully assembled. I filled the holes with putty then tomorrow I will mask it and paint the hull again.

- 177 replies
-
- 2
-
-
- Perseverance
- Modellers Shipyard
- (and 1 more)
-
I might try the putty again but with the top plywood piece, it’ll give the putty more stability and hopefully won’t chip off.
- 177 replies
-
- 1
-
-
- Perseverance
- Modellers Shipyard
- (and 1 more)