HOLIDAY DONATION DRIVE - SUPPORT MSW - DO YOUR PART TO KEEP THIS GREAT FORUM GOING!
×

Isaiah
-
Posts
200 -
Joined
-
Last visited
Content Type
Profiles
Forums
Gallery
Events
Everything posted by Isaiah
-
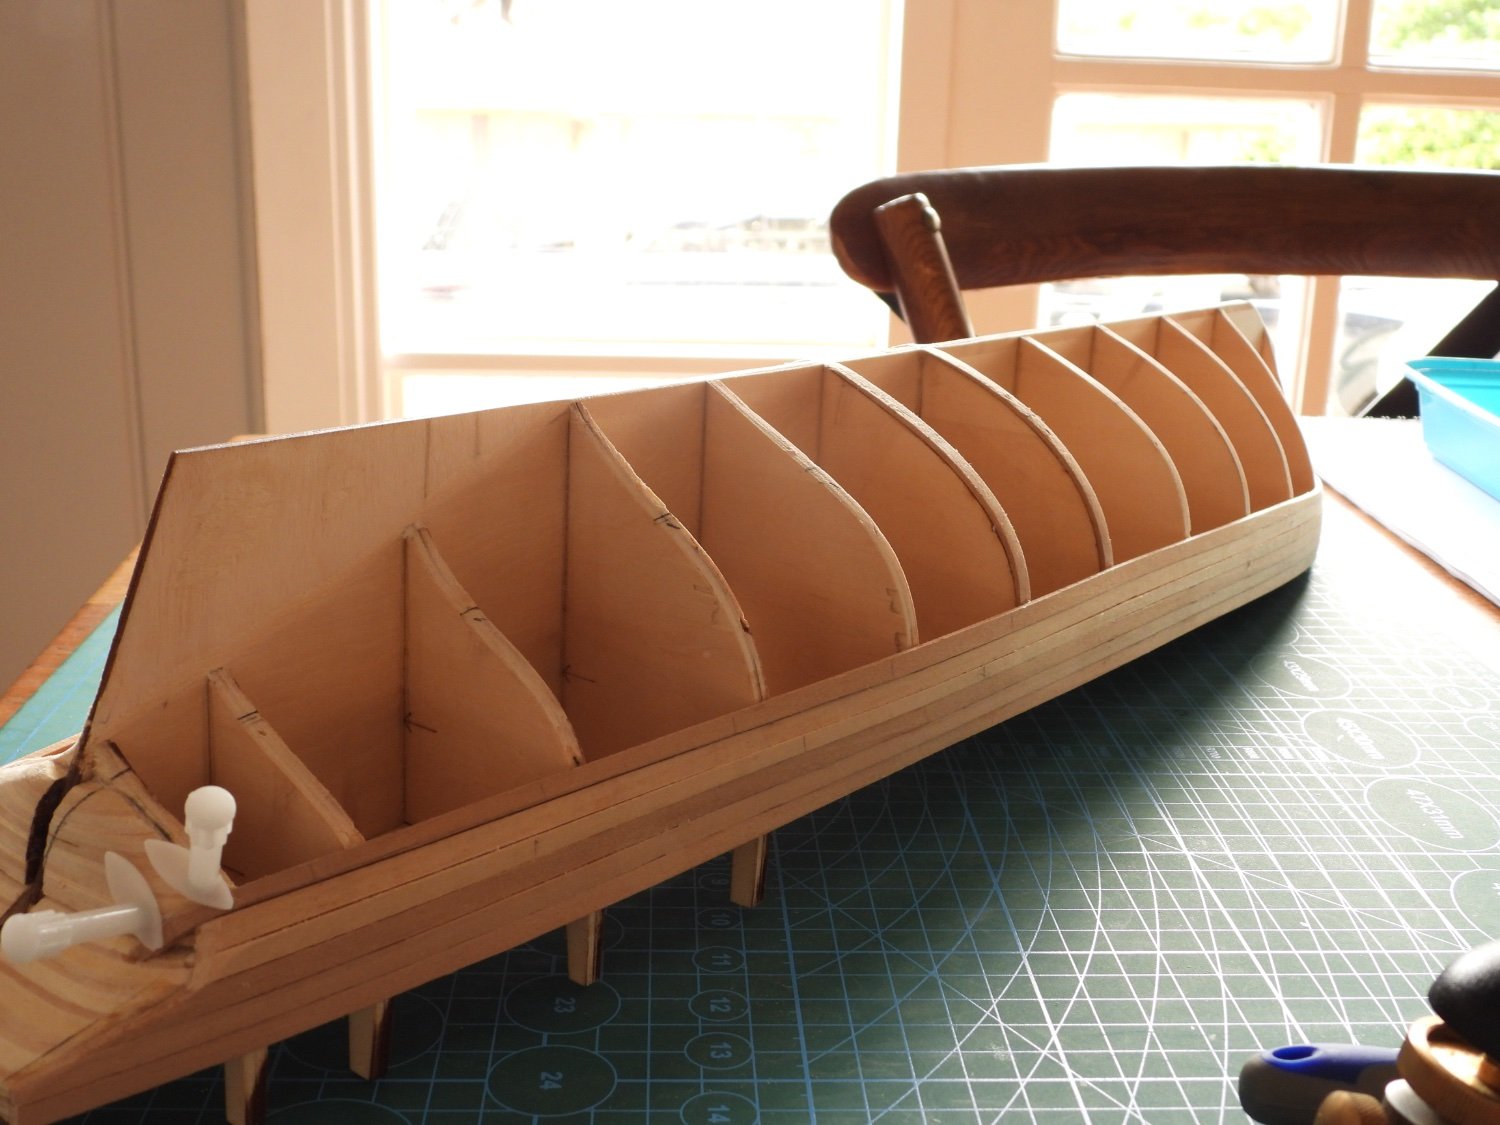
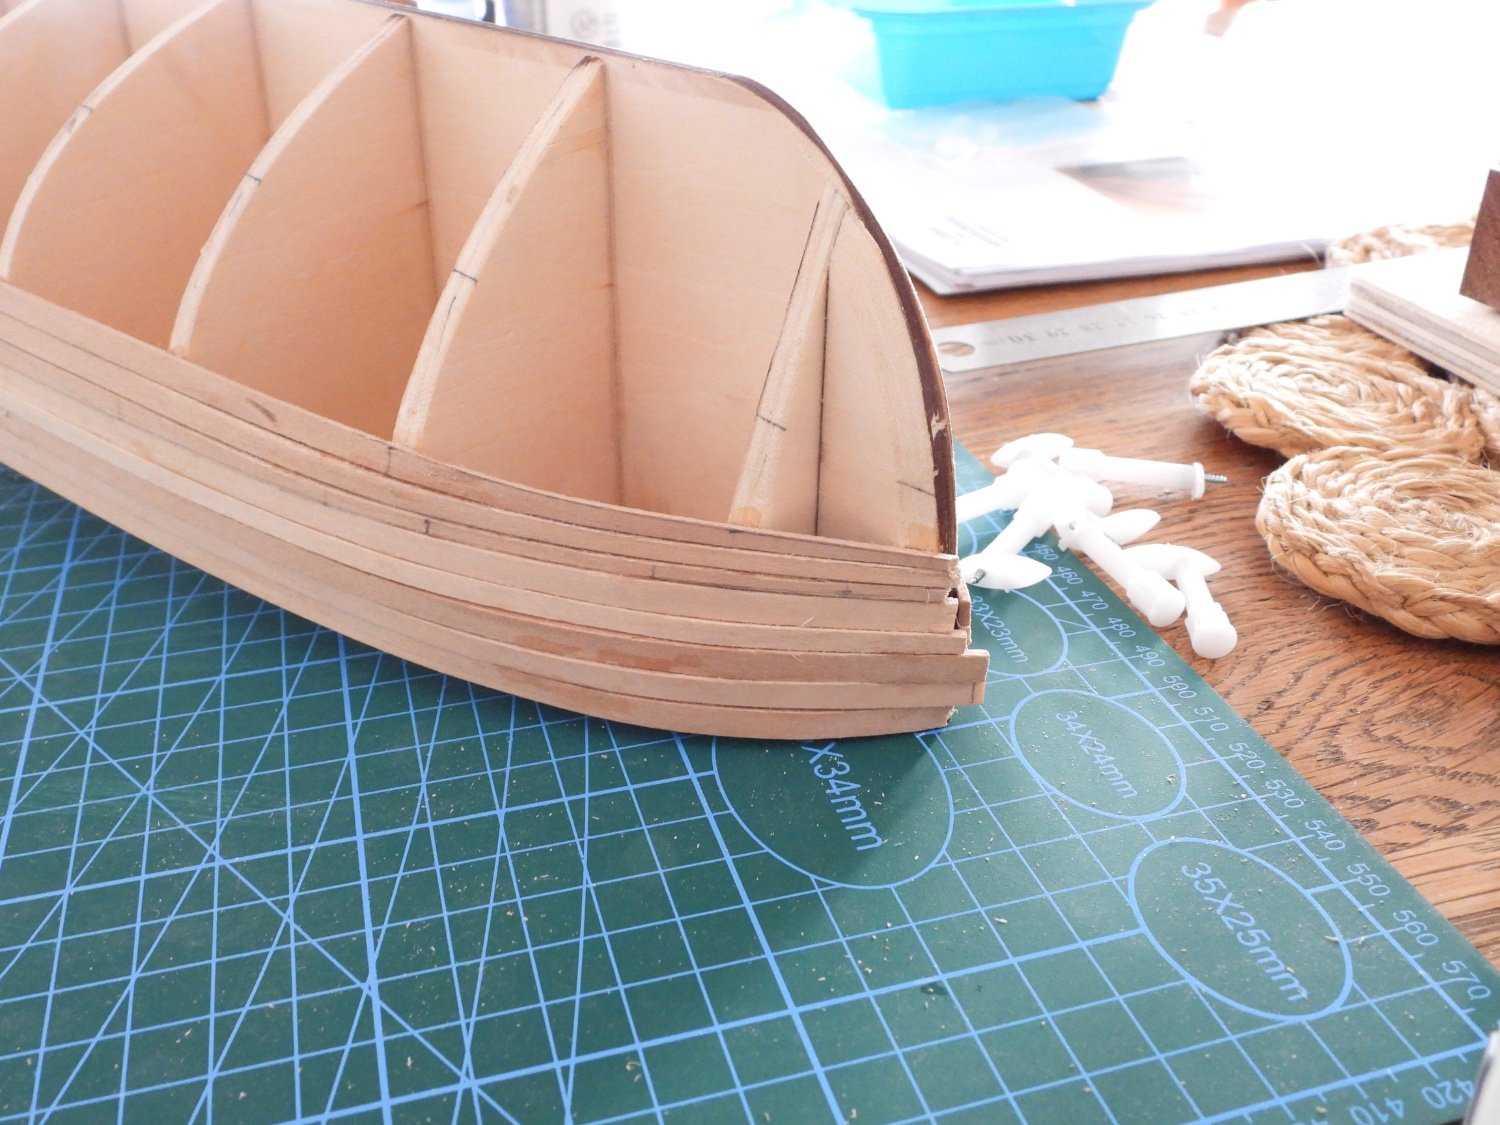
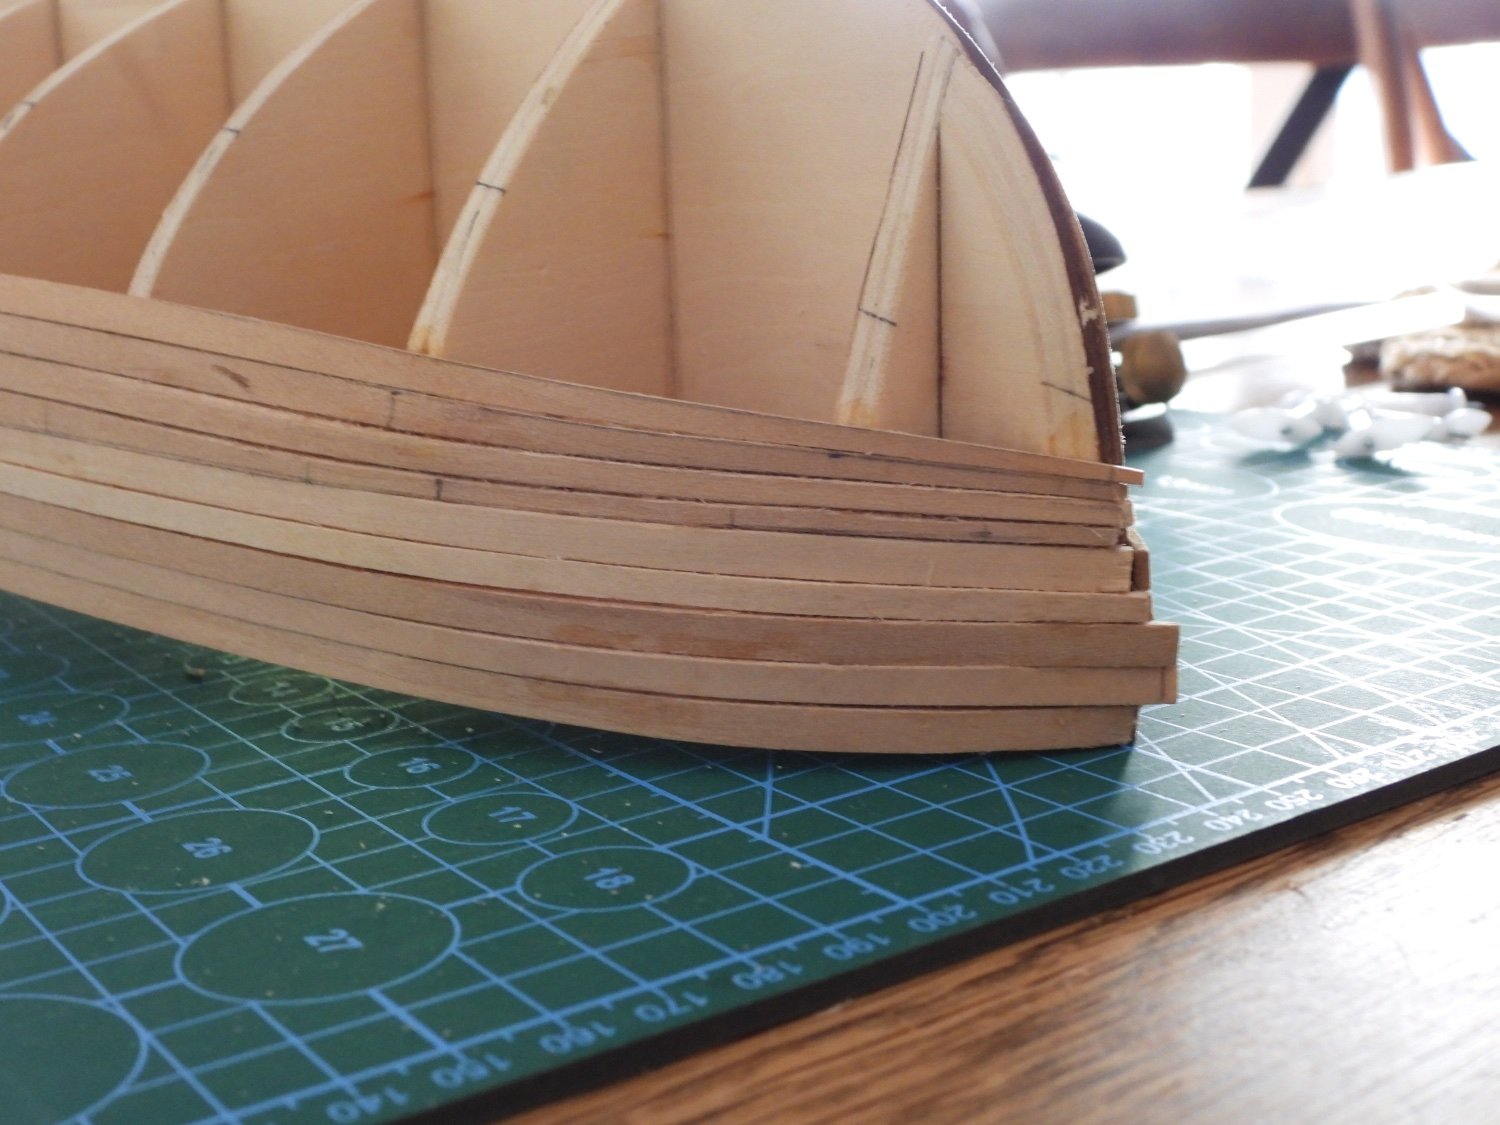
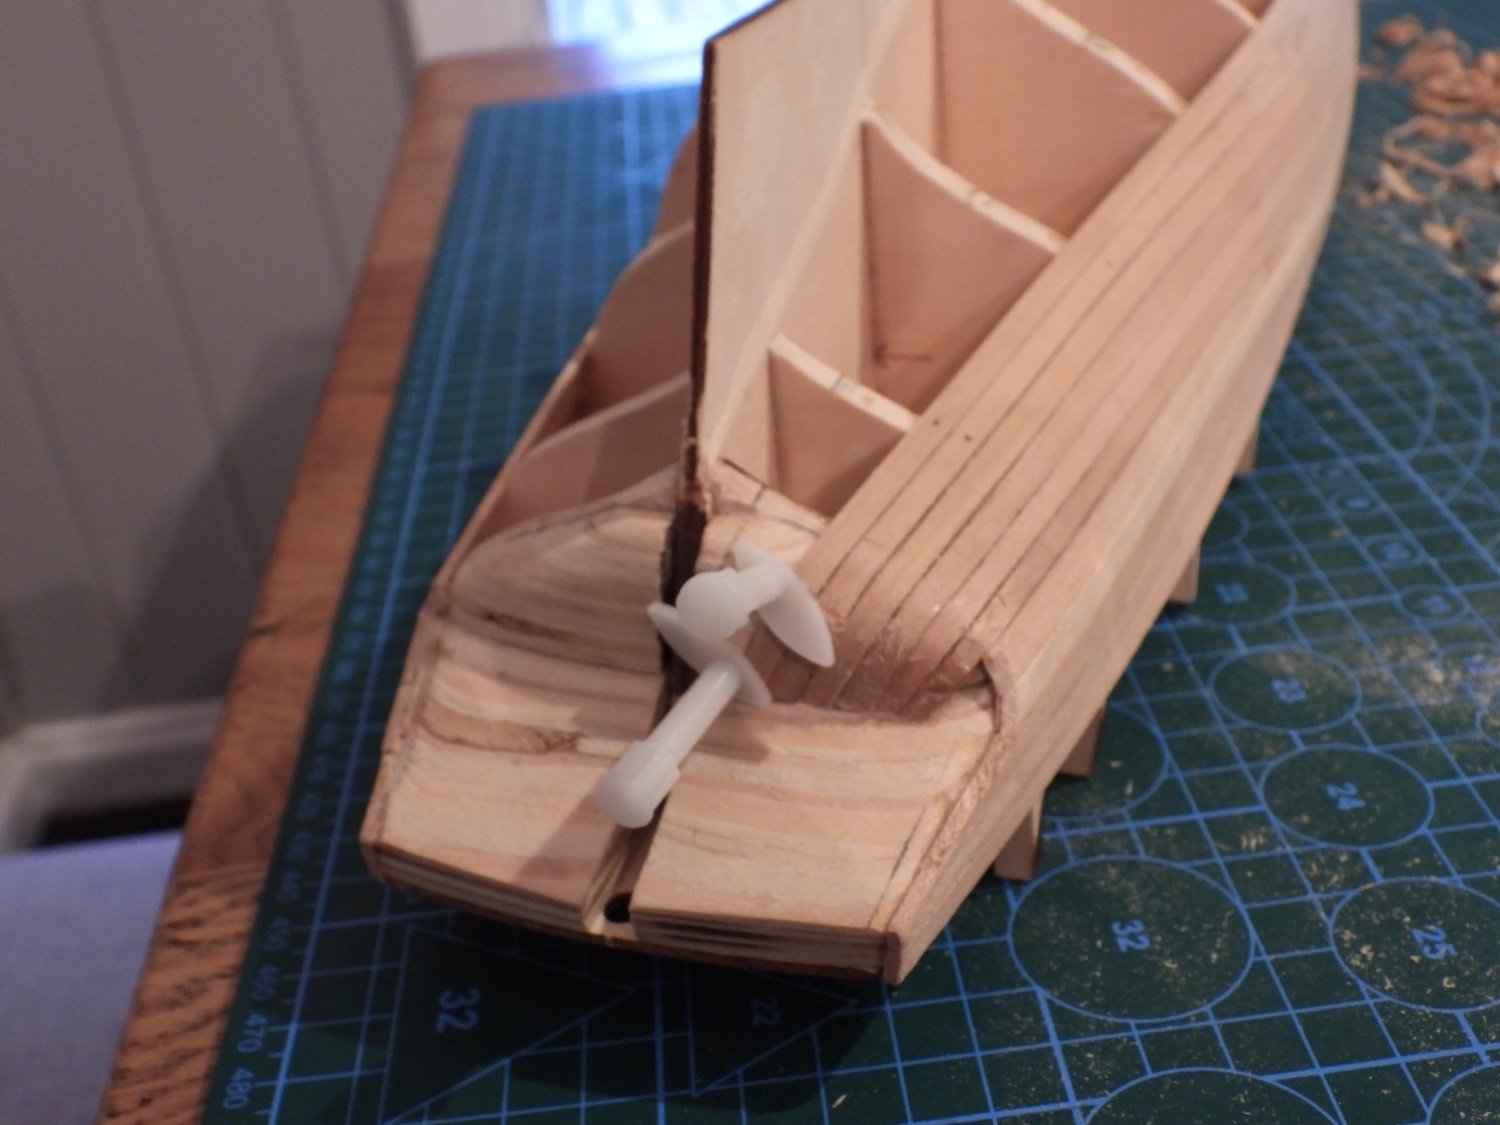
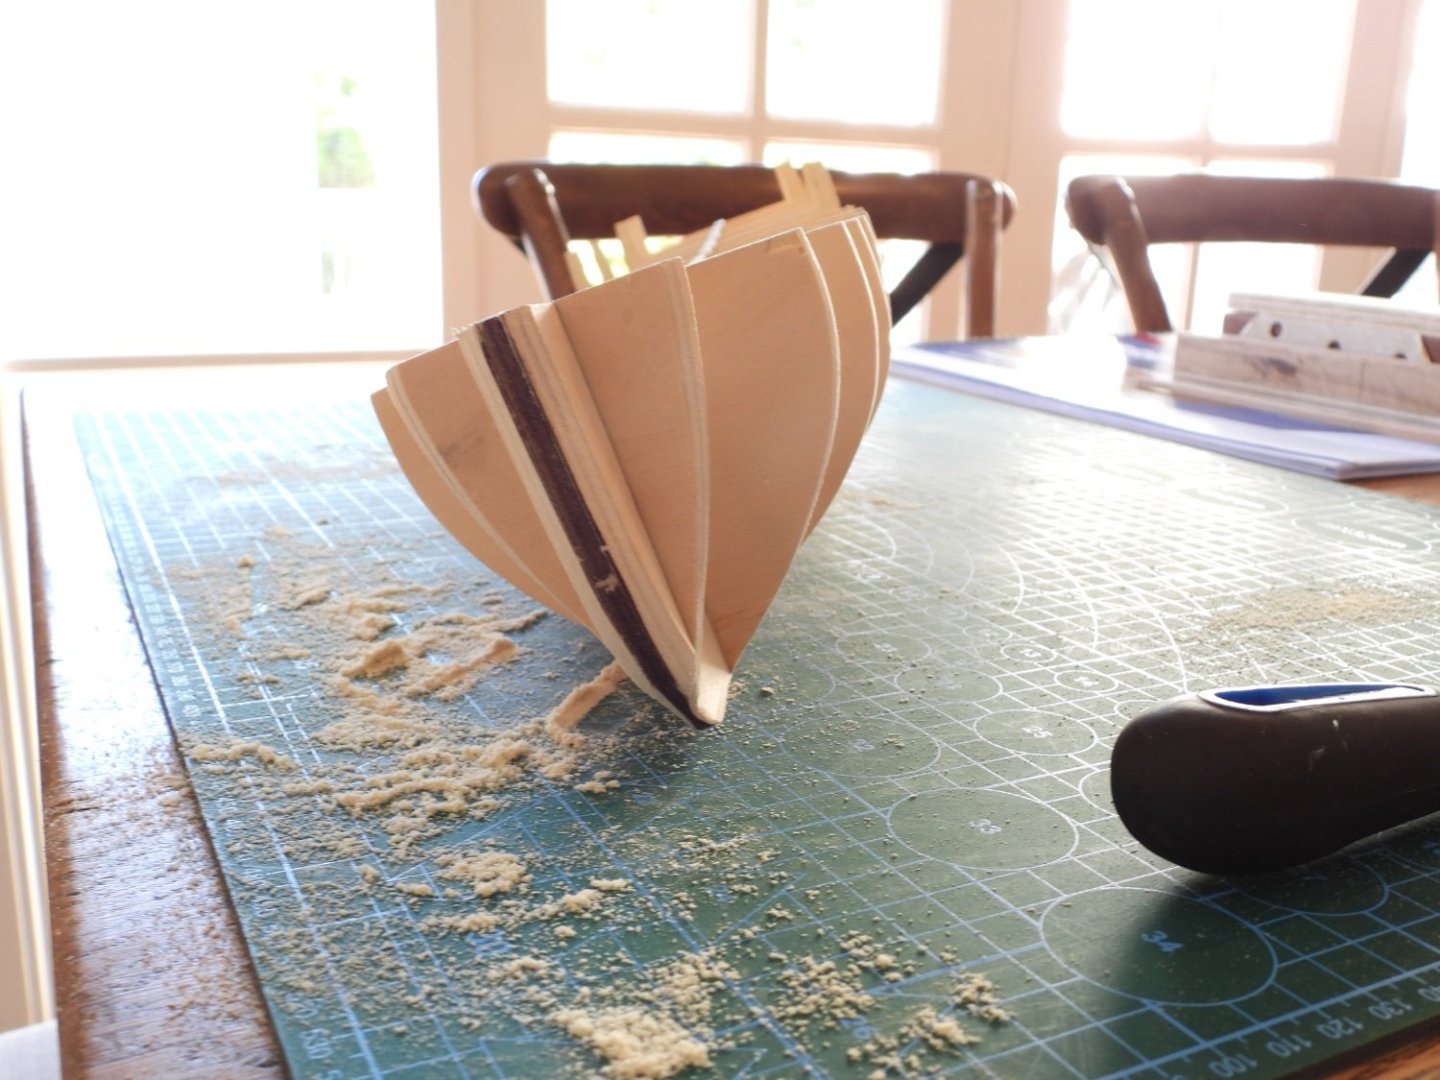
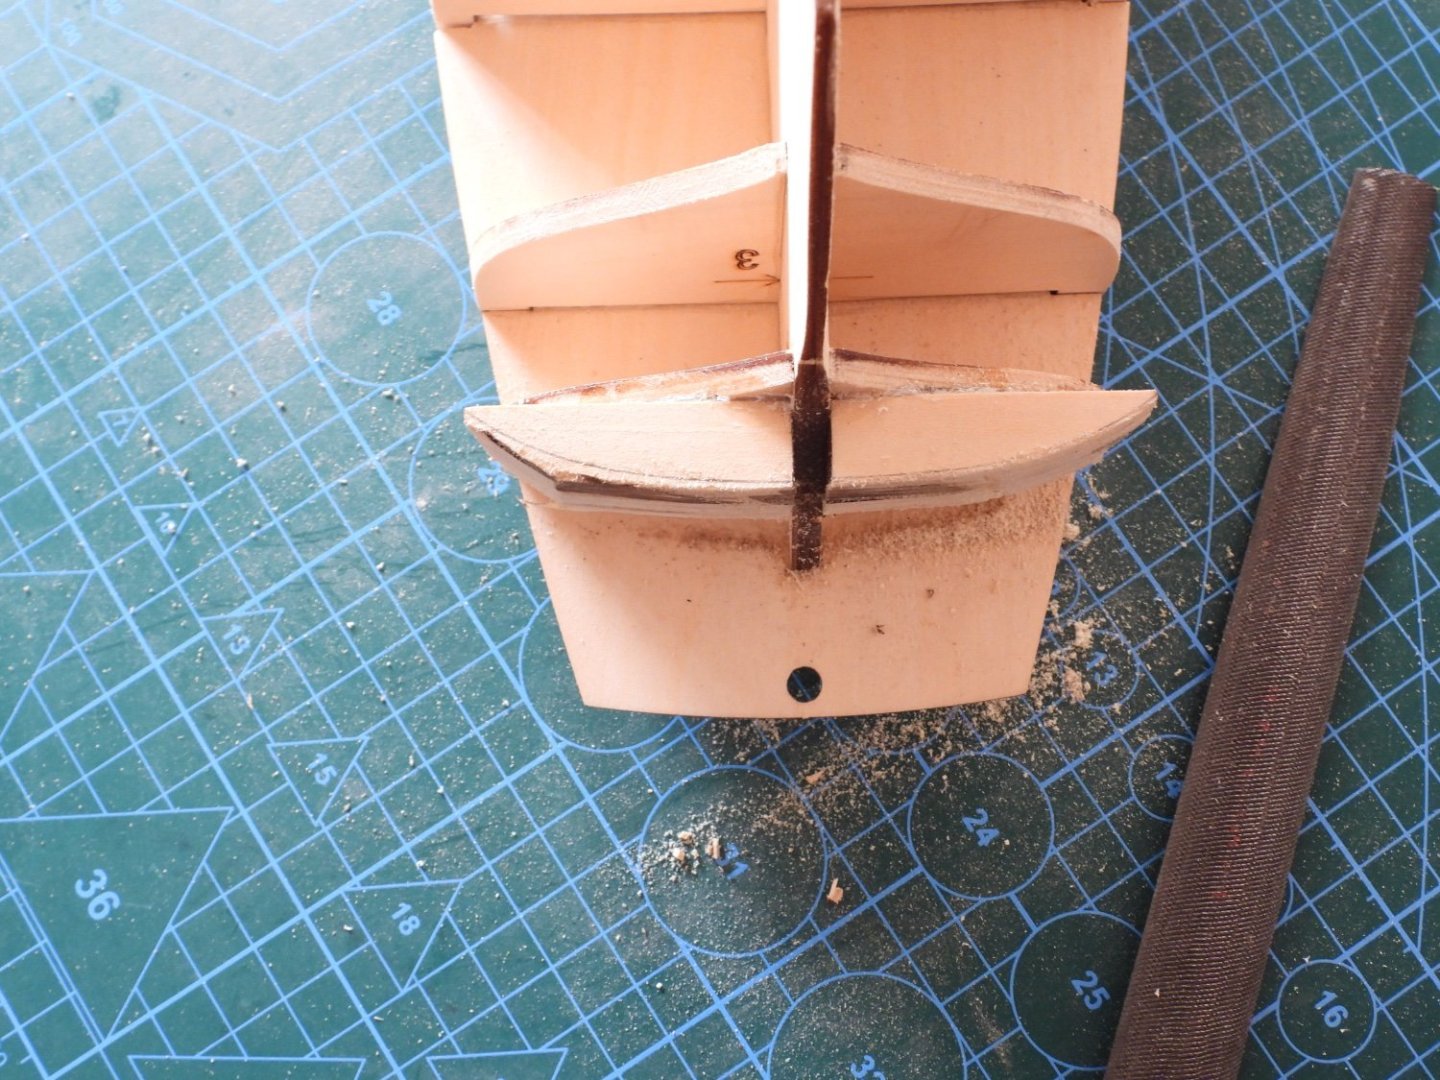
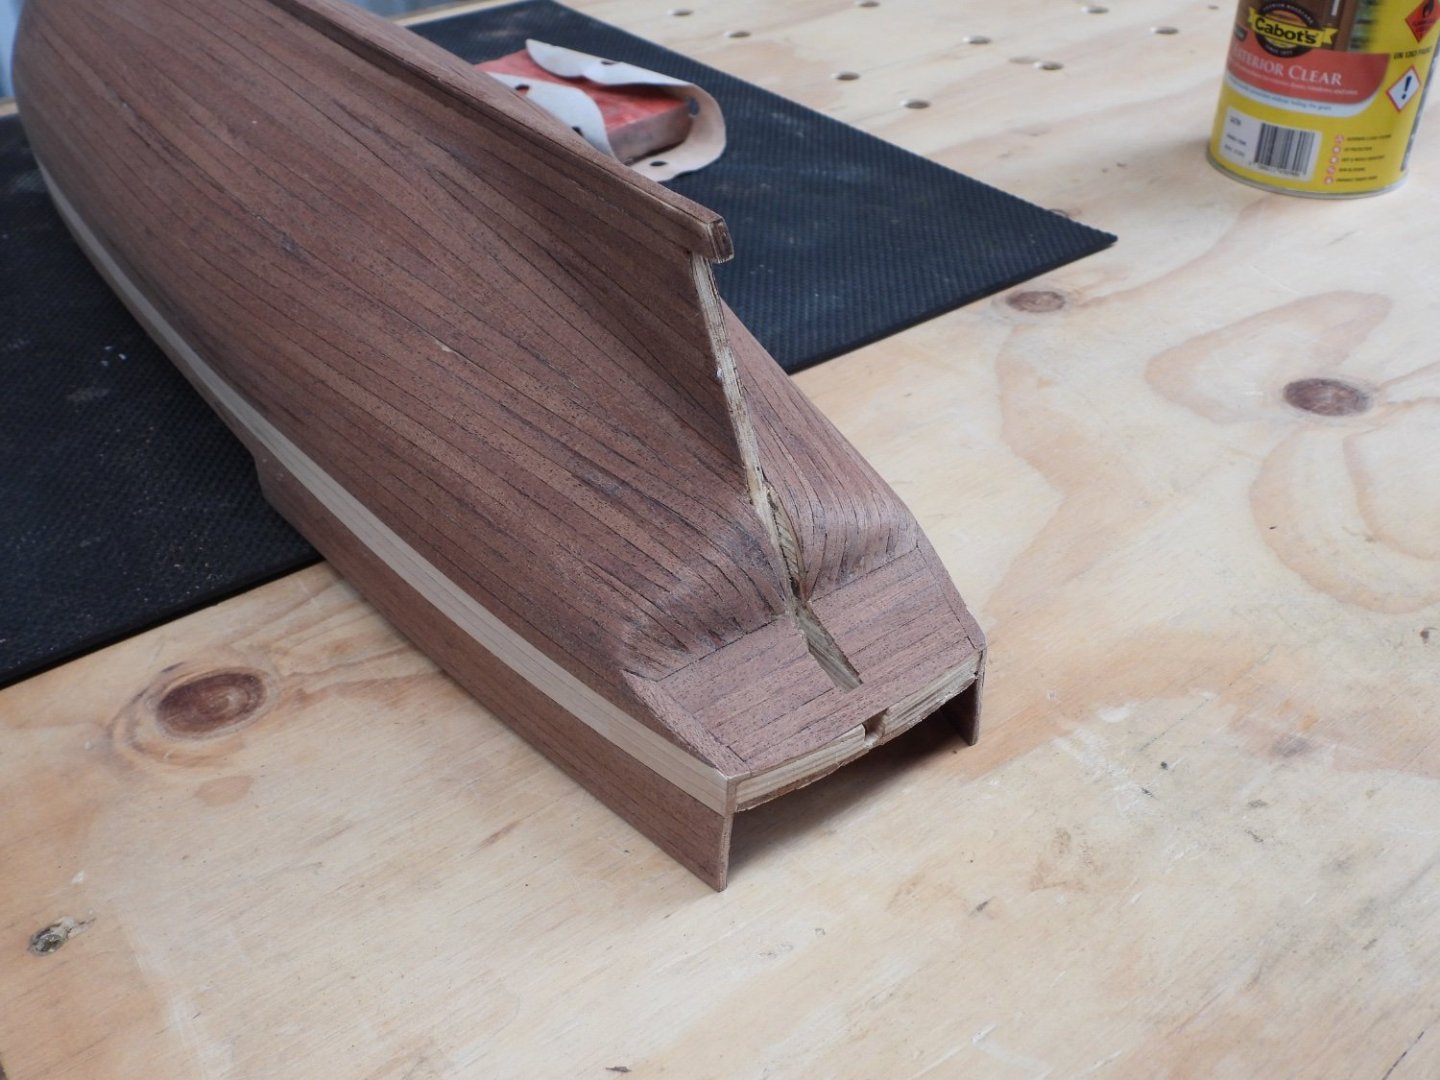
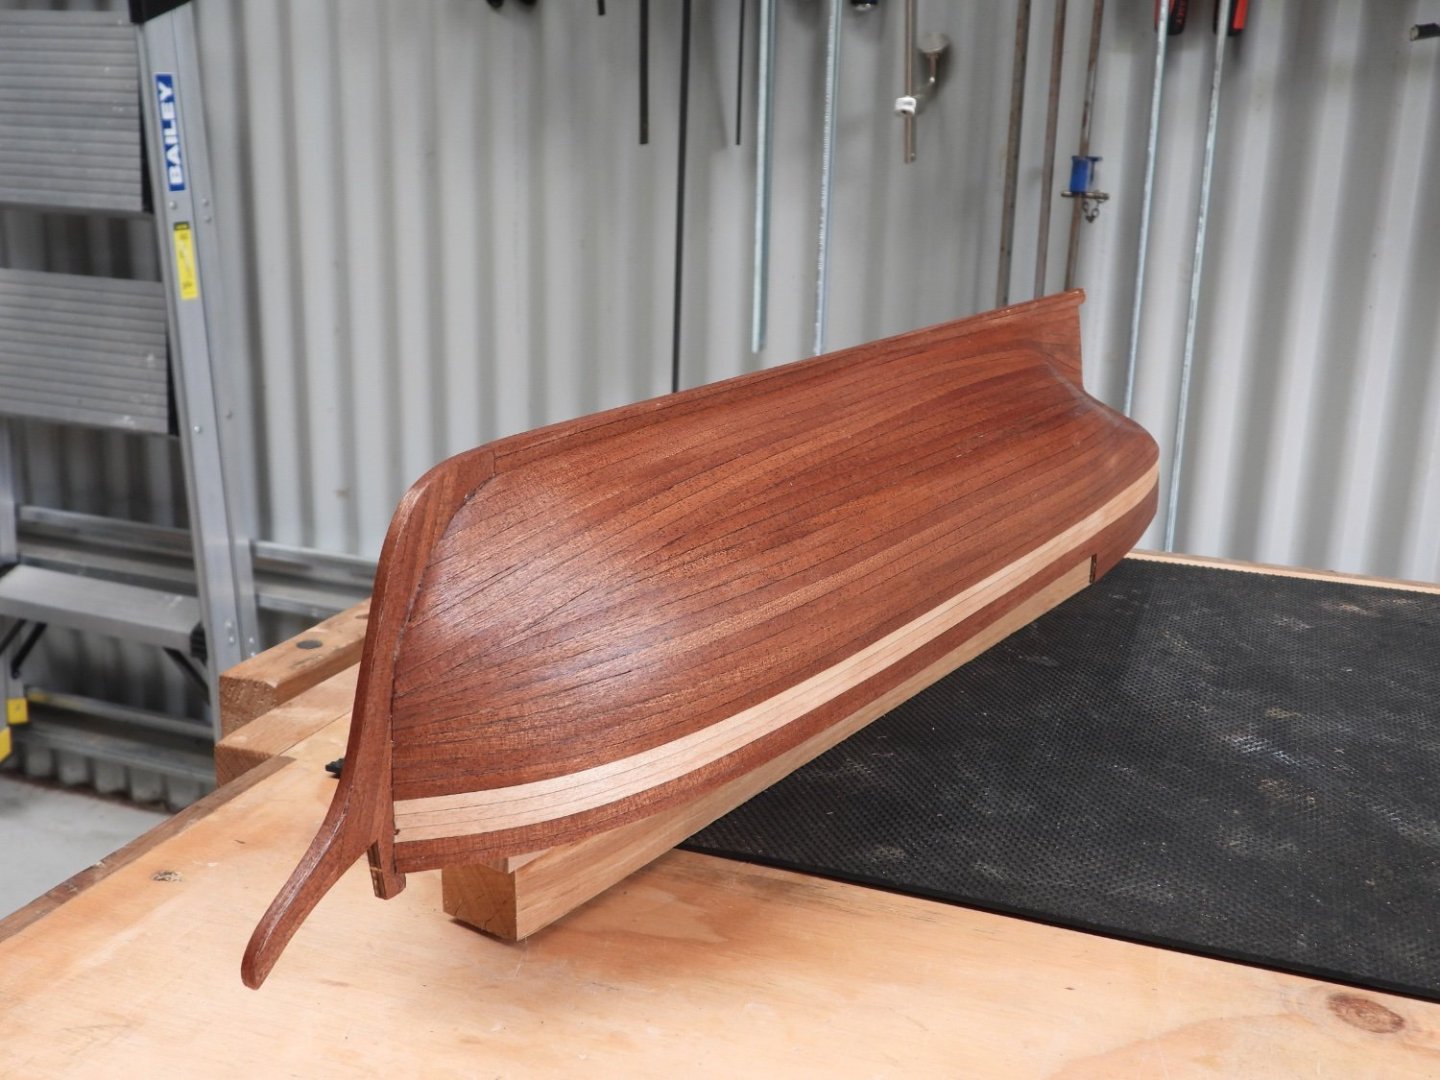
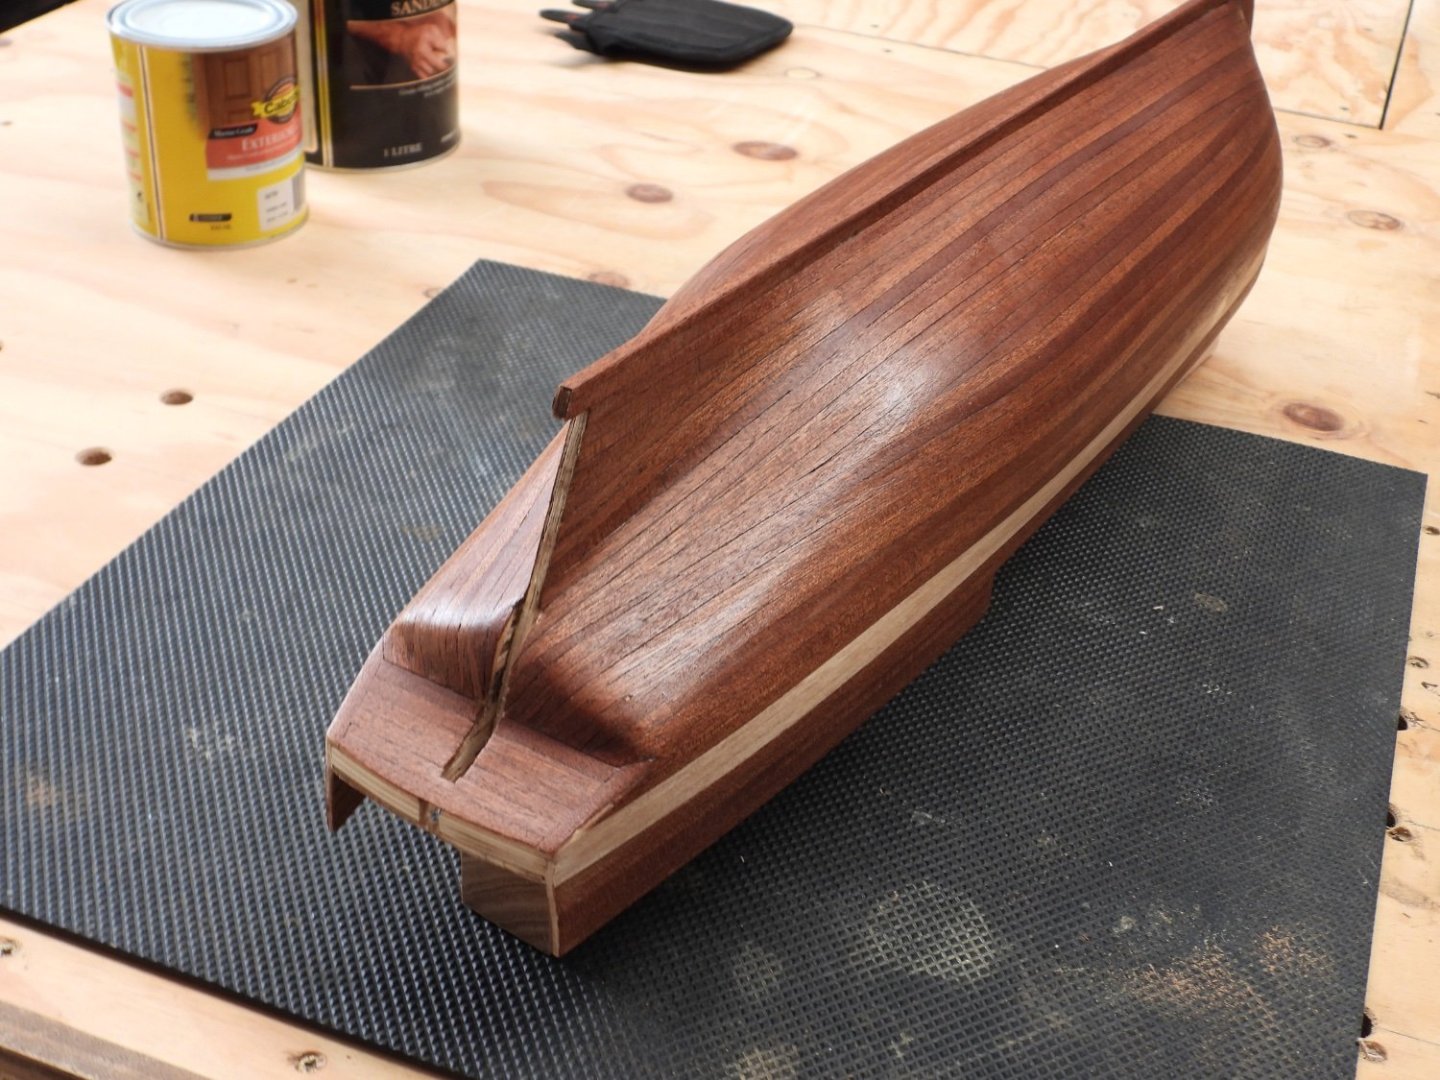
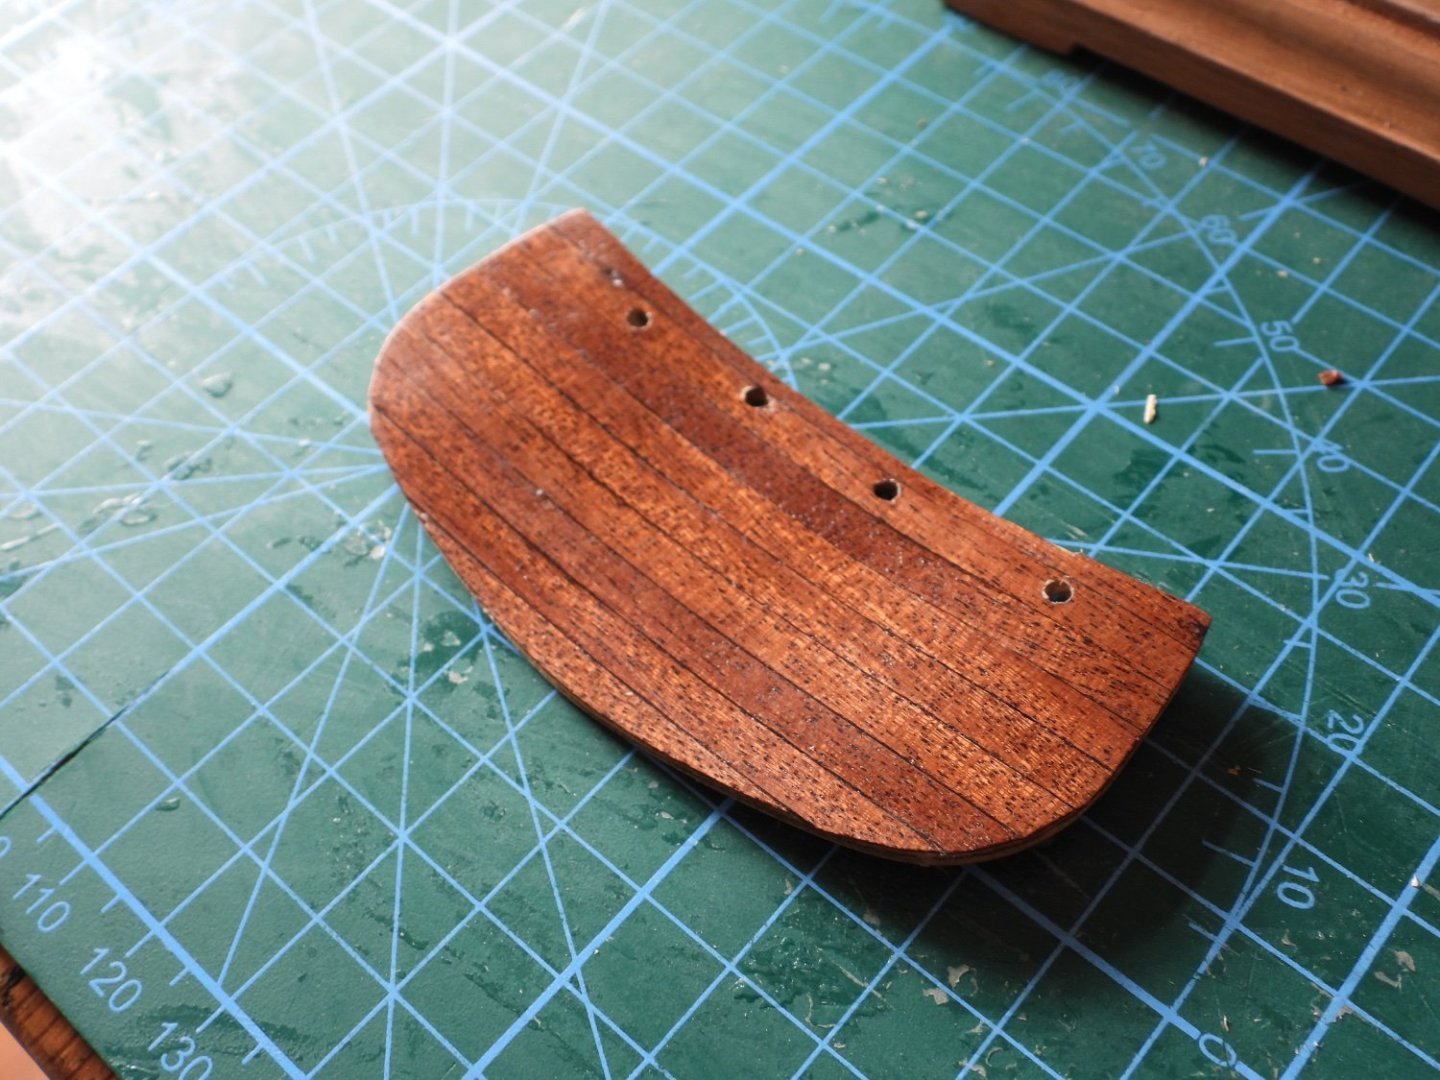
 One of the Boats half assembled with a coat of primer. as you can see there’s a few chips on the edges. The hull is made of three pieces of ply wood that requires shaping. I broke nearly every piece which I had to super glue. This was quite a difficult task and didn’t turn out as good as I hoped. If you have any suggestions on how to patch up the hull please let me know. I tried wood putty but it just breaks off. I was going to just glue the top piece with the thwarts ( I think that’s what they’re called) and then try to fill the gaps.
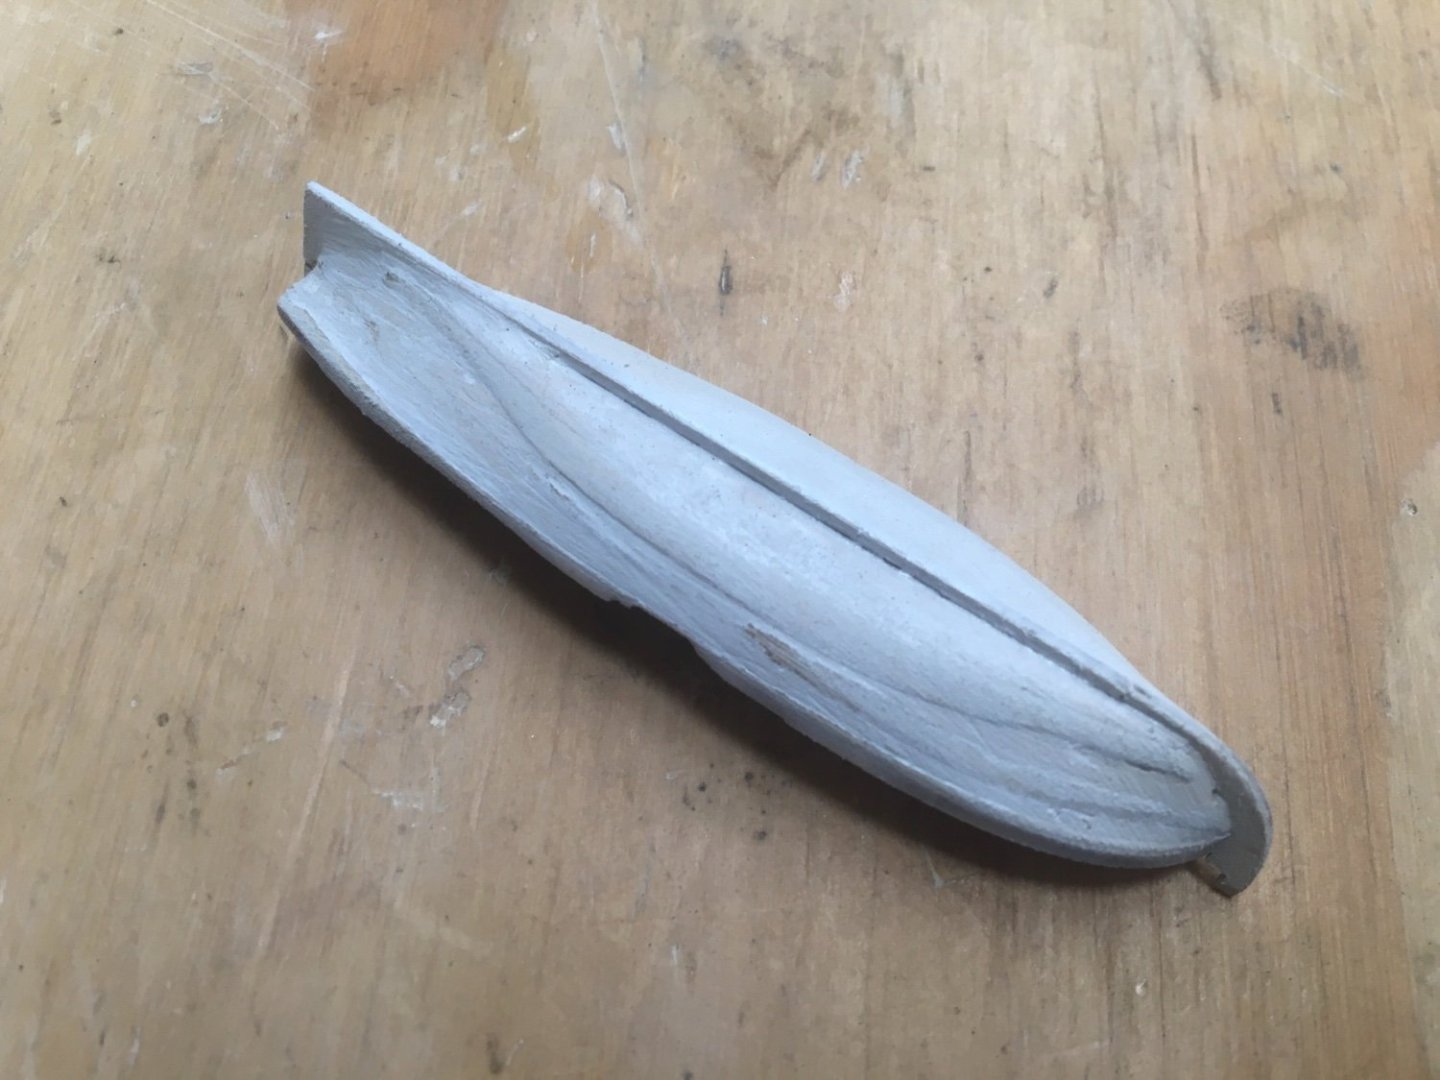
- 177 replies
-
- 2
-

-
- Perseverance
- Modellers Shipyard
- (and 1 more)
-
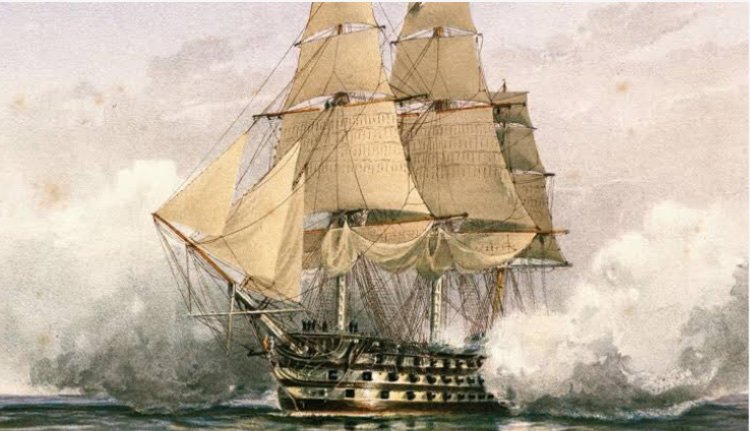
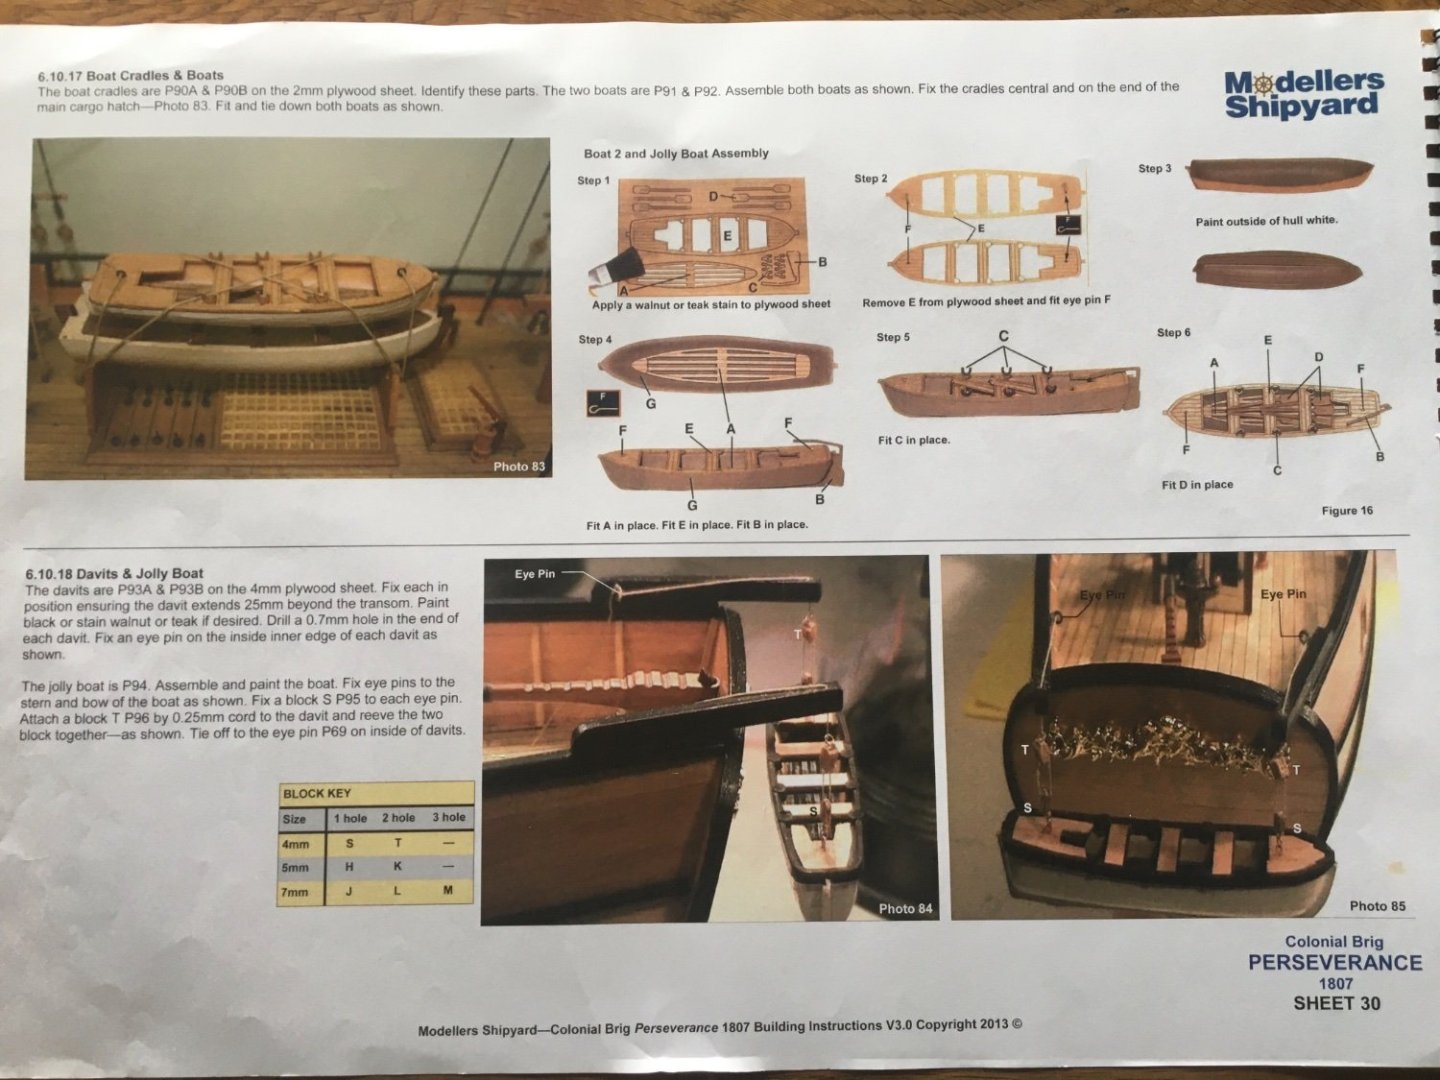
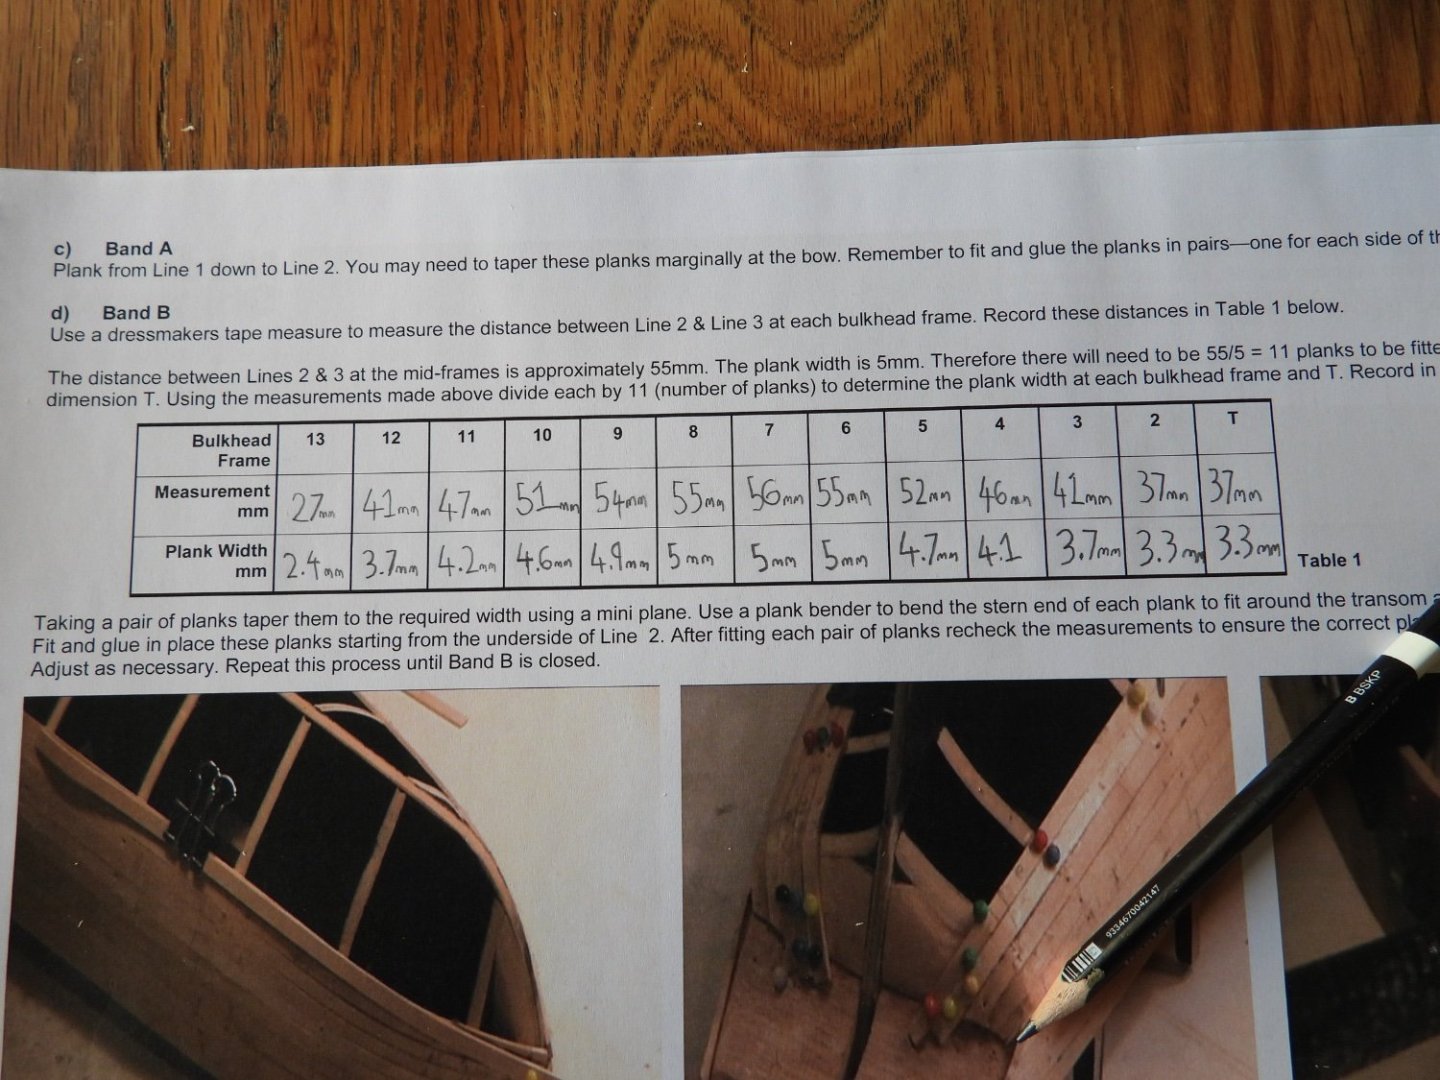
Yes I think you’re right. here’s a better photo from the manual.
- 177 replies
-
- 1
-
-
- Perseverance
- Modellers Shipyard
- (and 1 more)
-
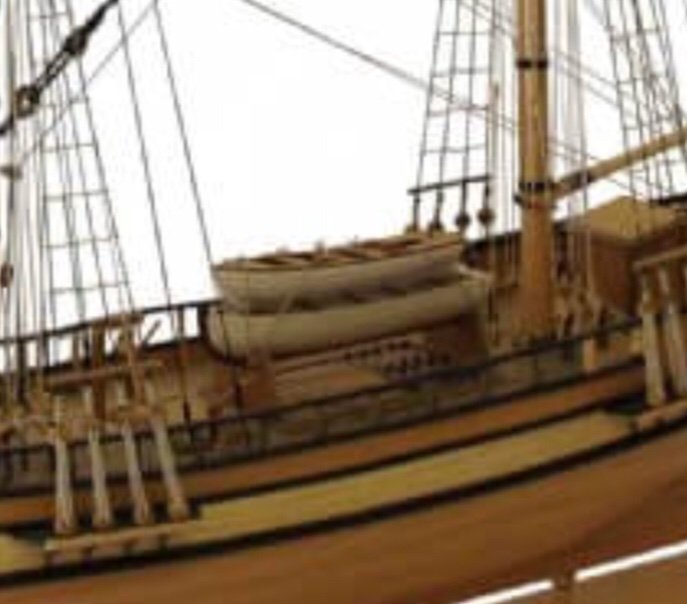
No no, this is a photo from the website I bought the model from, not my ship.
- 177 replies
-
- 1
-
-
- Perseverance
- Modellers Shipyard
- (and 1 more)
-
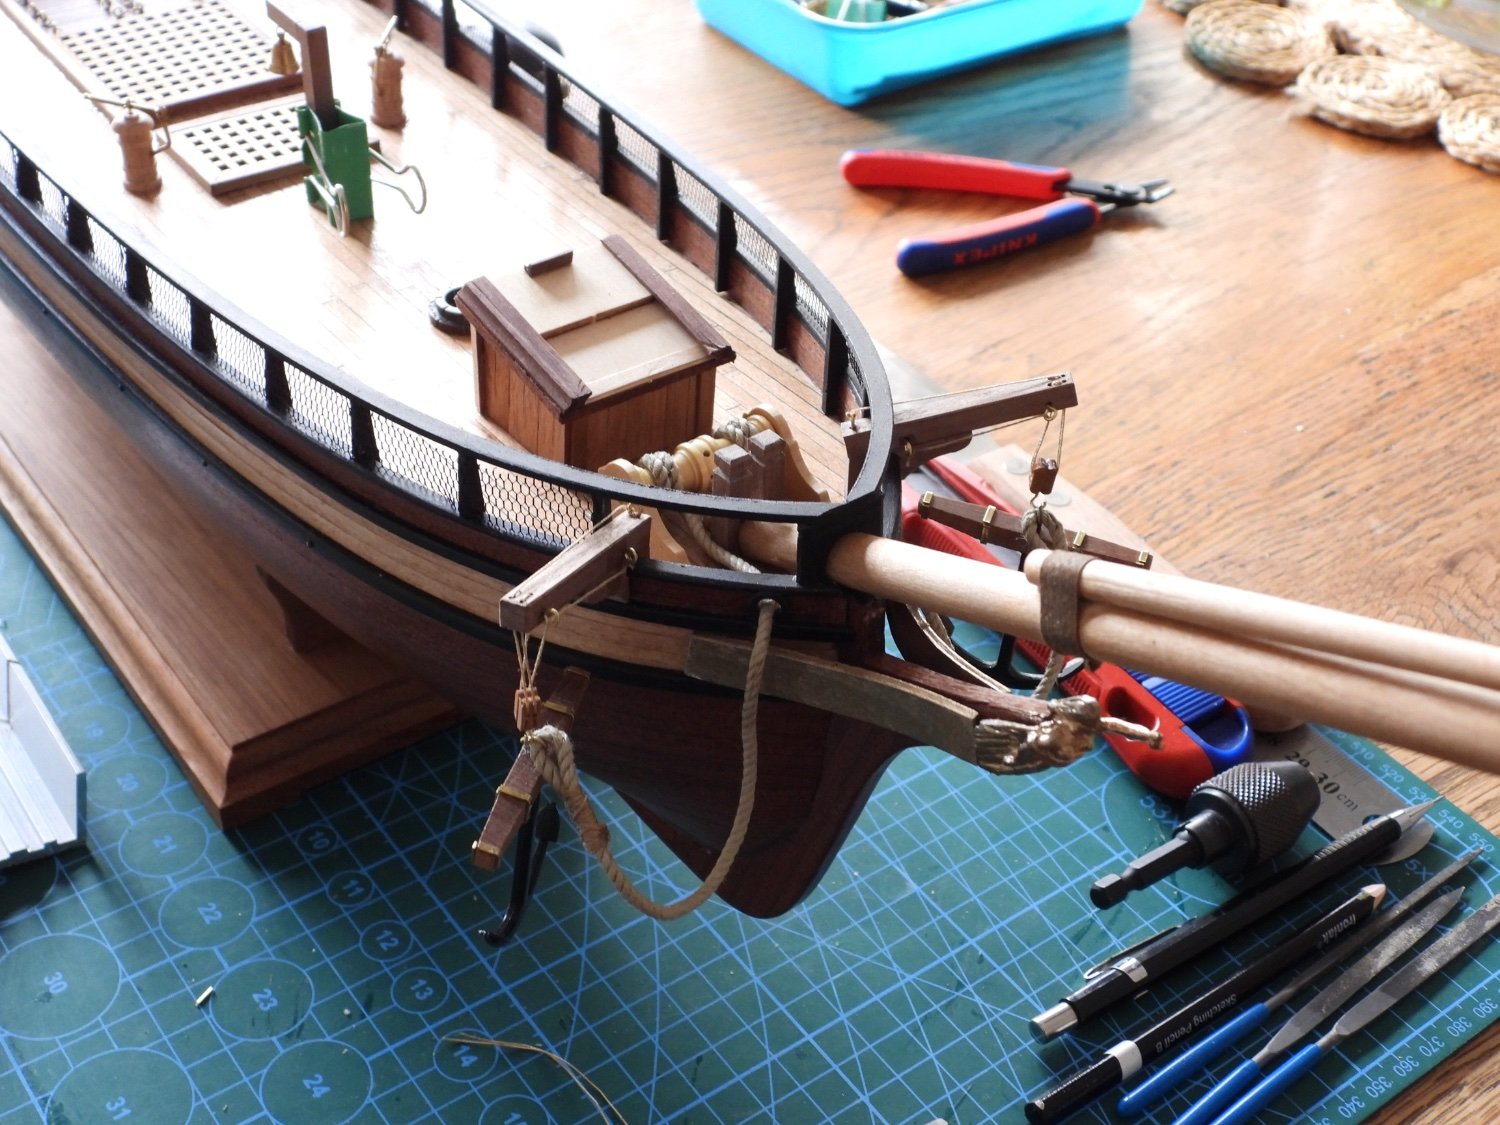
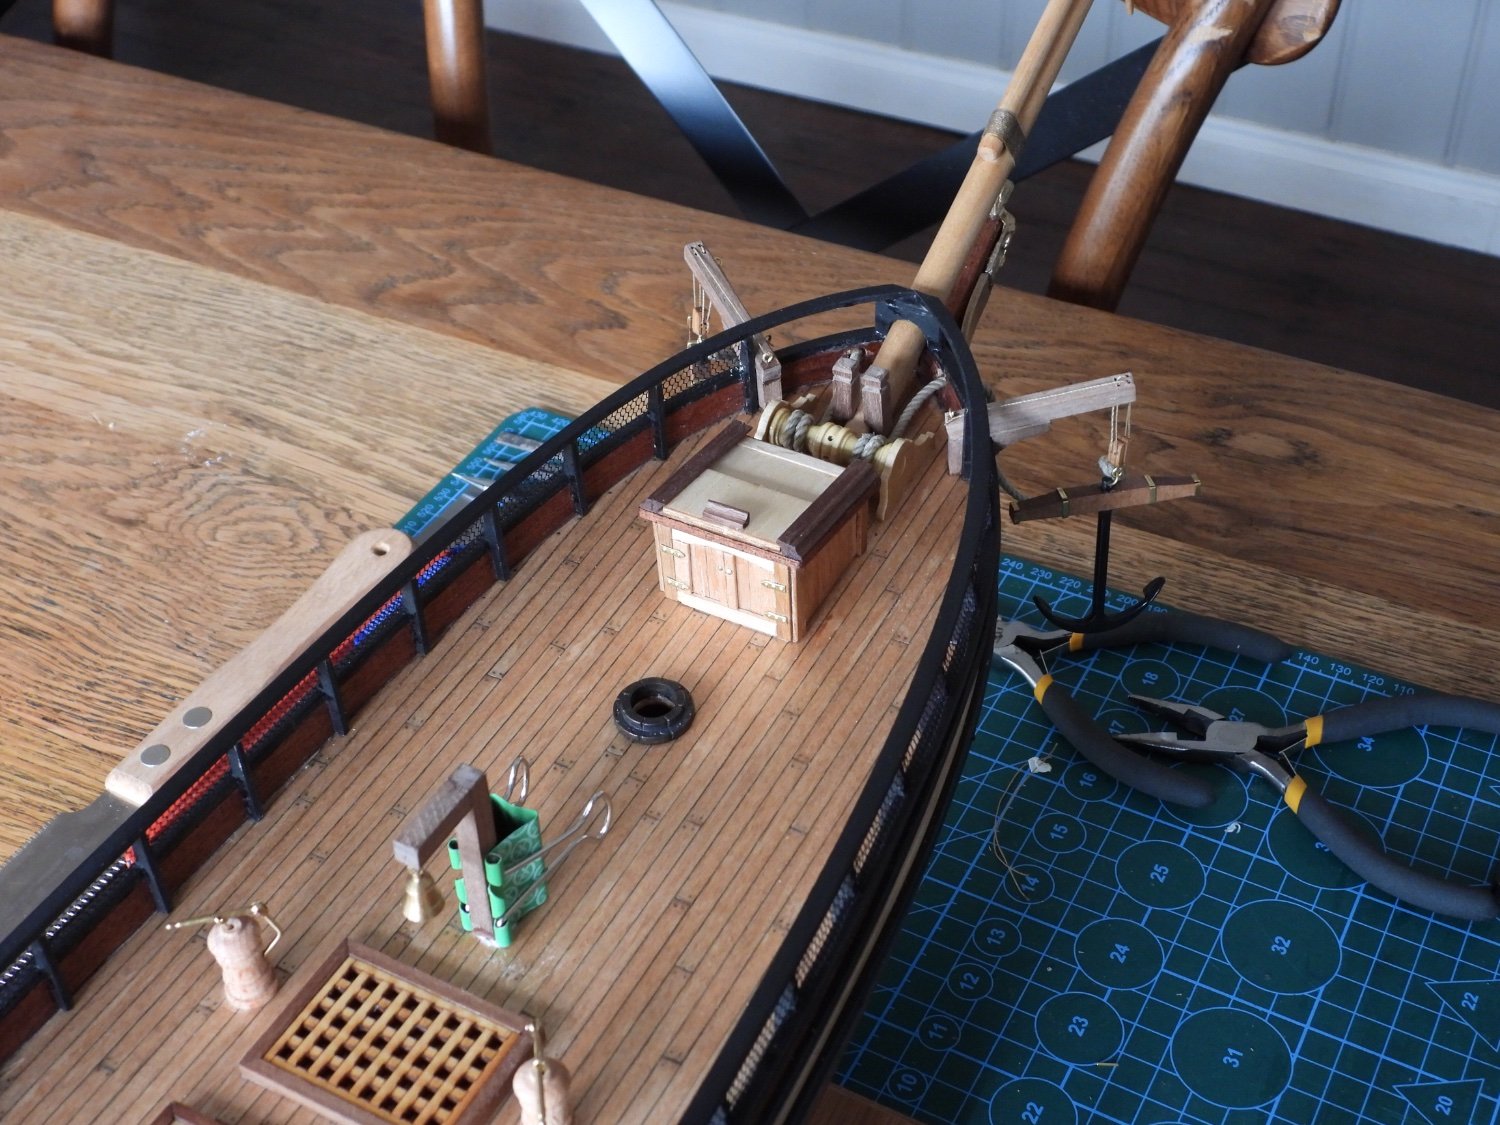
Good to know. I will call them boats for now until I find out what they are actually called.
- 177 replies
-
- 1
-
-
- Perseverance
- Modellers Shipyard
- (and 1 more)
-
Here’s the other two boats on the completed Perseverance from modellers central.
-
Thanks for your help, I might try using the two pictures side by side technique down the road.
-
Yes I shouldn’t have called them life boats, I didn’t I know what the specific names for them were. I know the one hanging off the stern is a Jolly boat, used for transporting crew to and from shore, but I don’t know what the other two are called. The manual just calls the other two “boats.” And why are the crane things called a cat head? 🤔
- 177 replies
-
- 1
-
-
- Perseverance
- Modellers Shipyard
- (and 1 more)
-
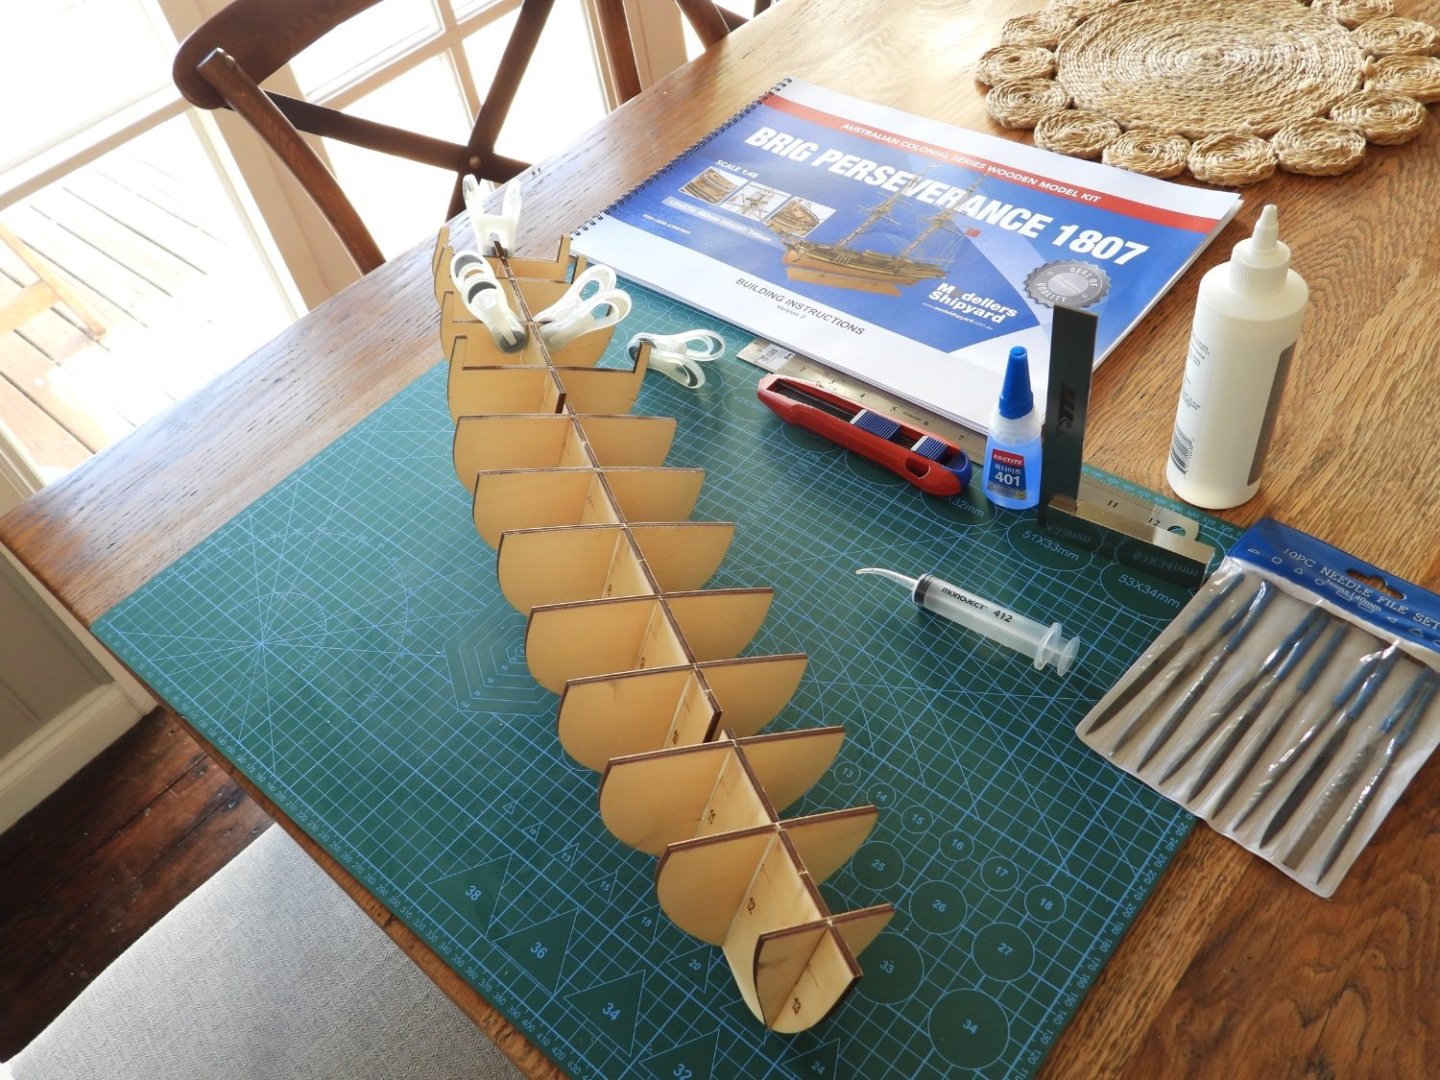
Might make a start on the lifeboats in the next few days.
- 177 replies
-
- 2
-
-
- Perseverance
- Modellers Shipyard
- (and 1 more)
-
I just had a look at some of your work, looks very nice. Is that Spanish galleon plastic because if it is you’ve done a great job to make it look like wood. 👍
-
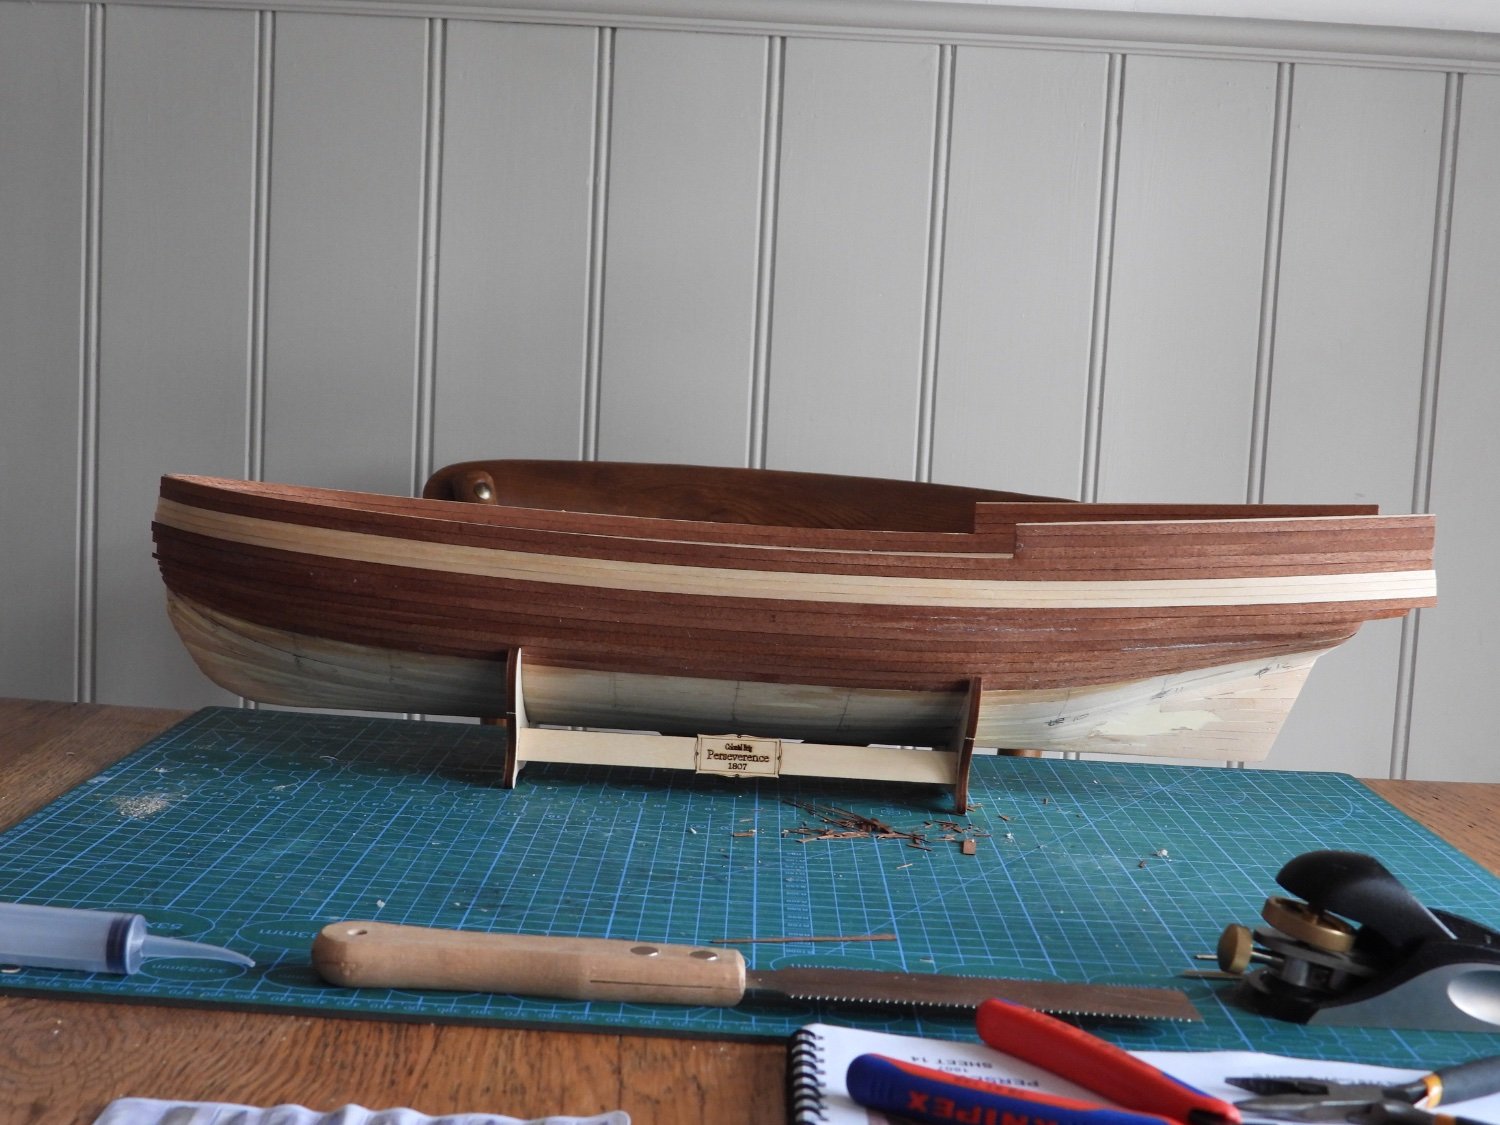
Thanks for the kind words. I used mahogany for the second layer planking, but it’s still just as brittle as walnut. I don’t know how I managed to do it to be honest. It was the most challenging part for me.
- 177 replies
-
- 2
-
-
- Perseverance
- Modellers Shipyard
- (and 1 more)
-
I know I’ve messed this log up by posting all the photos in one post because I have no clue what I’m doing. I am thinking of making a new build log and starting again, but then it might be too confusing. I don’t know, please let me know if I should make a new one or just leave it as it is.
-
Thank you, I understand now
-
Thanks for the info. fewer photos it is! 😃
-
Wow, coming from a complete beginner like myself this looks incredible. I’m sure this takes some serious dedication and skill. Looking forward to seeing the rest. Isaiah.
-
Hi all, I am very new to this forum and need a little bit of help. I’m assuming it’s very simple. I have recently posted my first build log and I thought it was fine but I realised that from the page where you scroll through build logs, mine has all 120 something photos in a gallery type thing. How do you edit it so you can only see some text until you open the build log? one more question, how do you divide the build log into seperate pages? Right now I have the whole thing in one page and it’s annoying to scroll through the whole thing. any help would be much appreciated. Isaiah.
-
Thank you! I hope to be posting more photos in the near future.
-
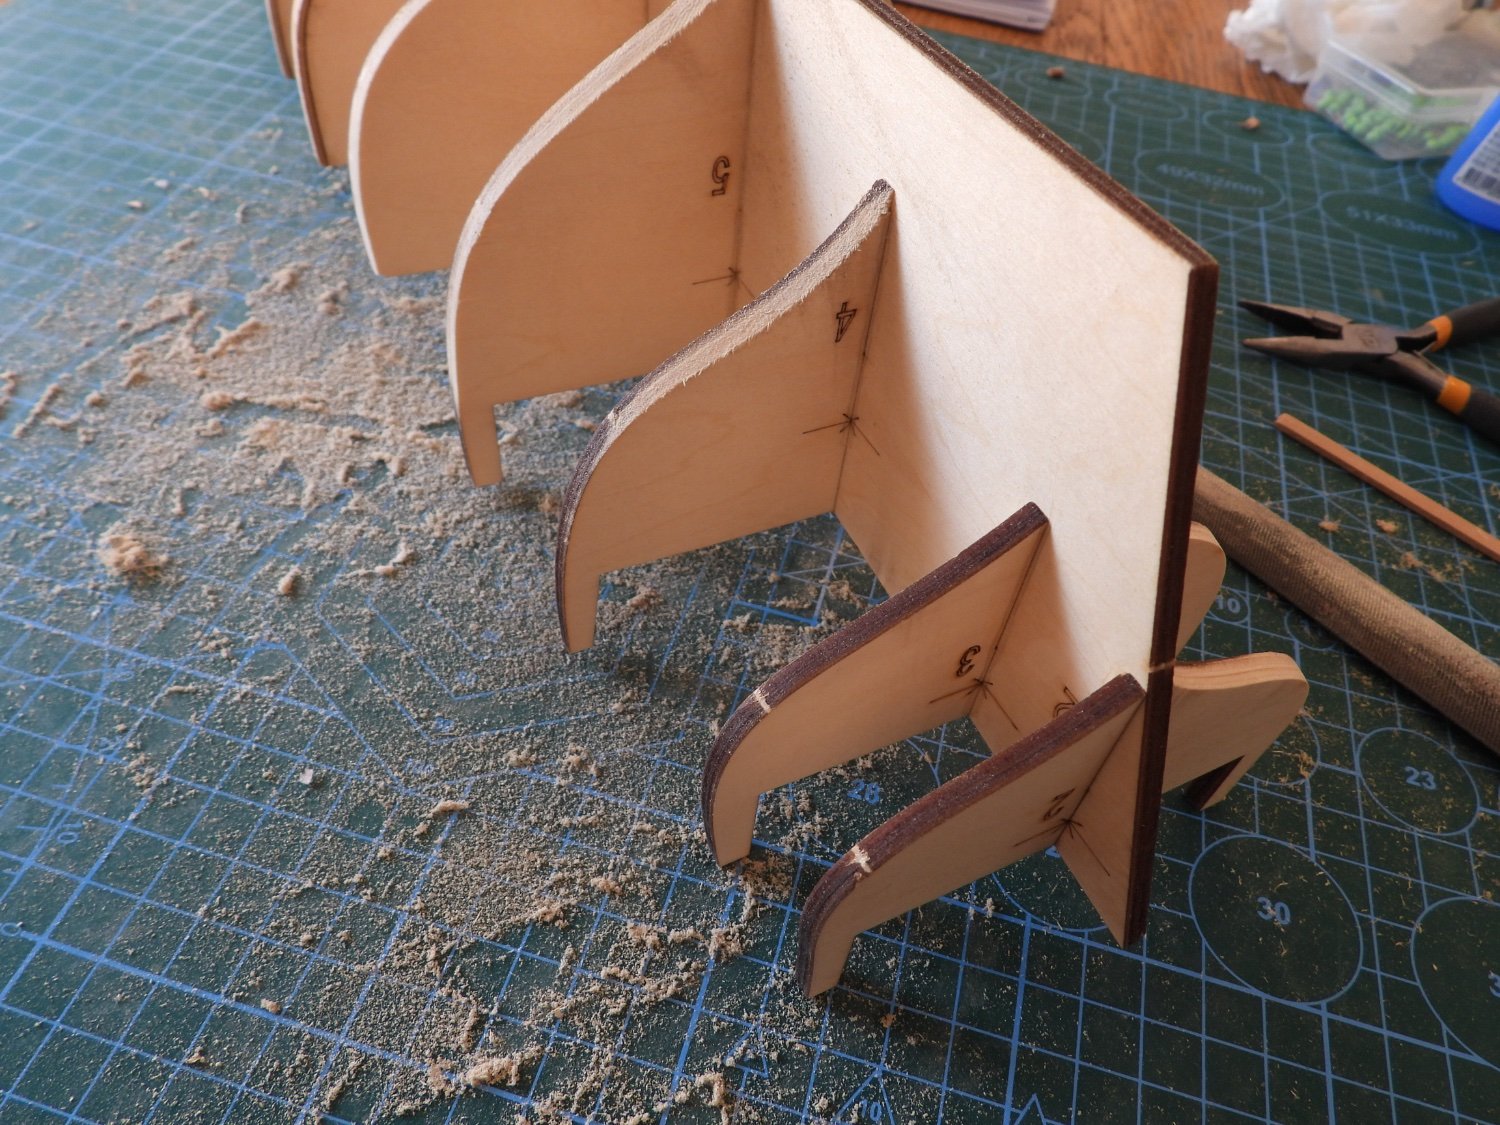
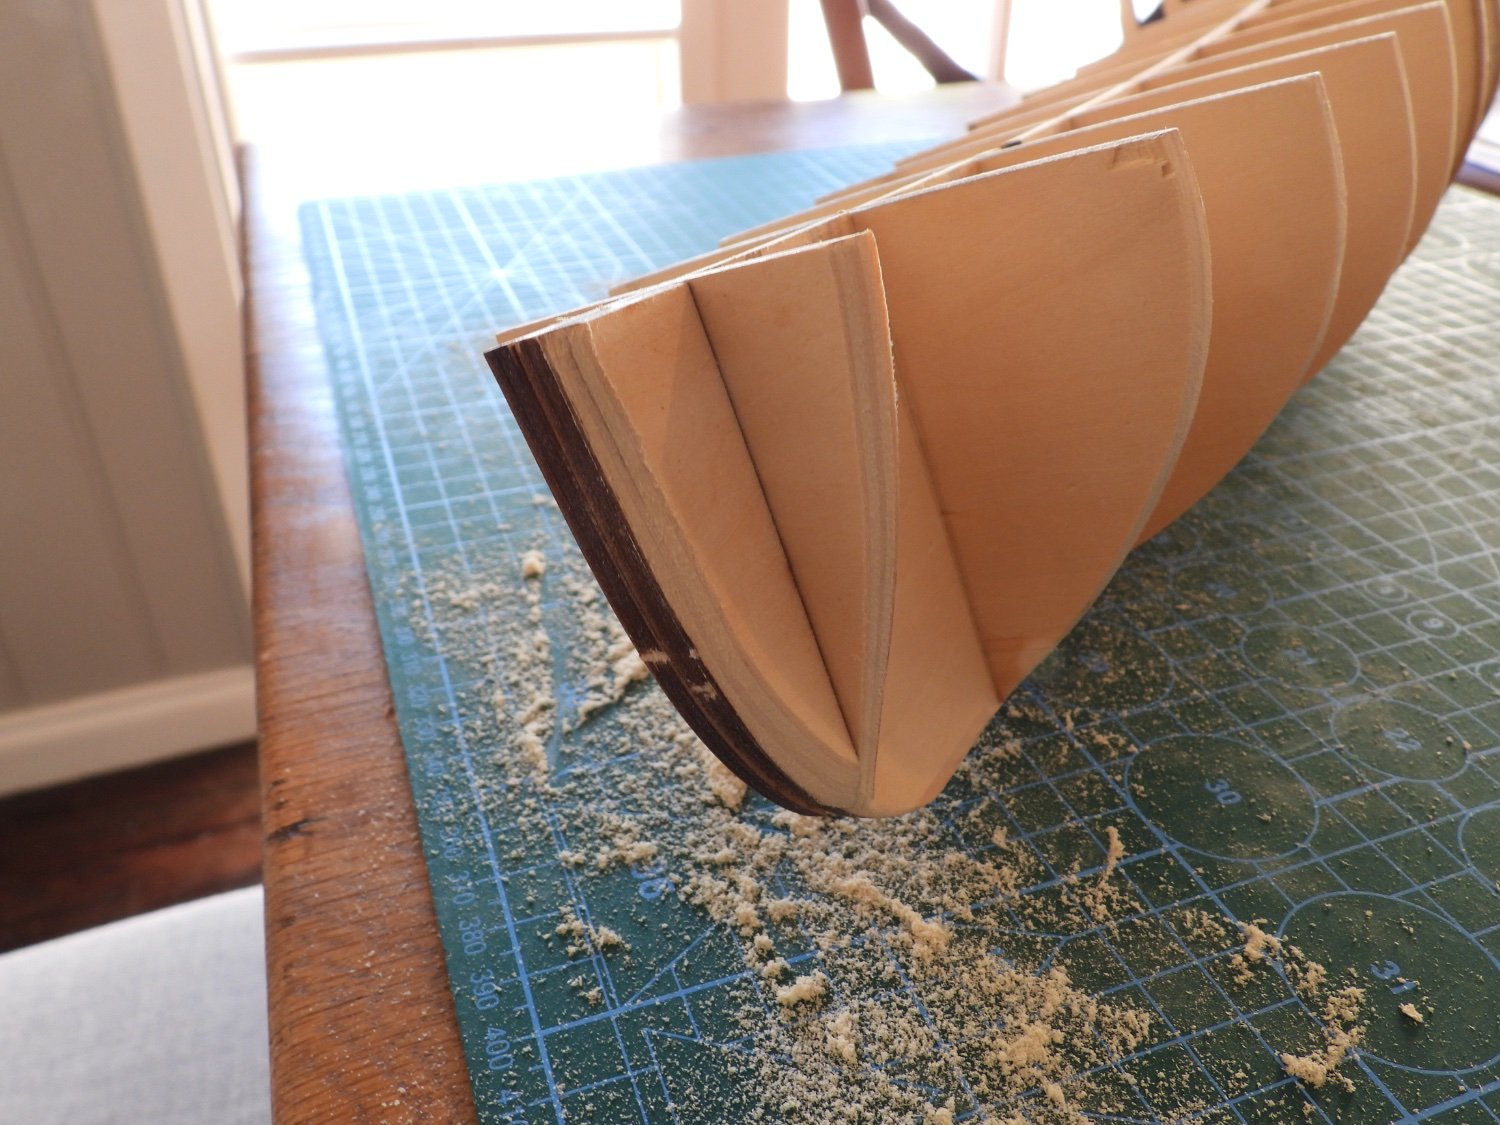
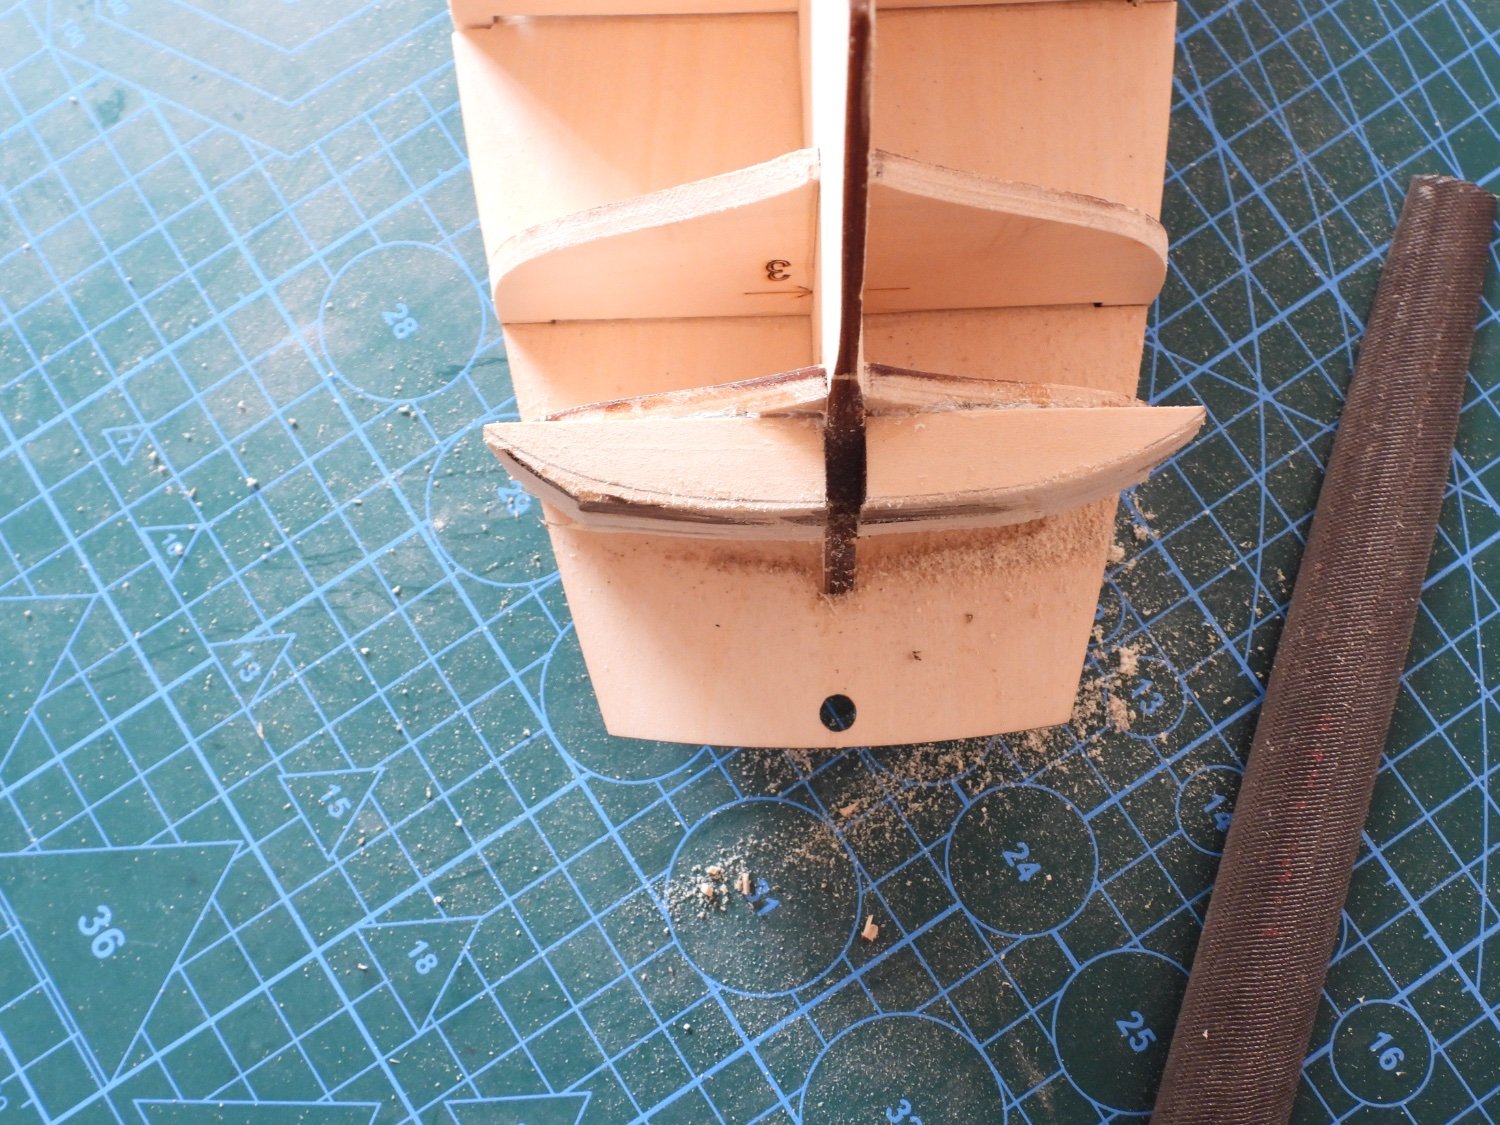
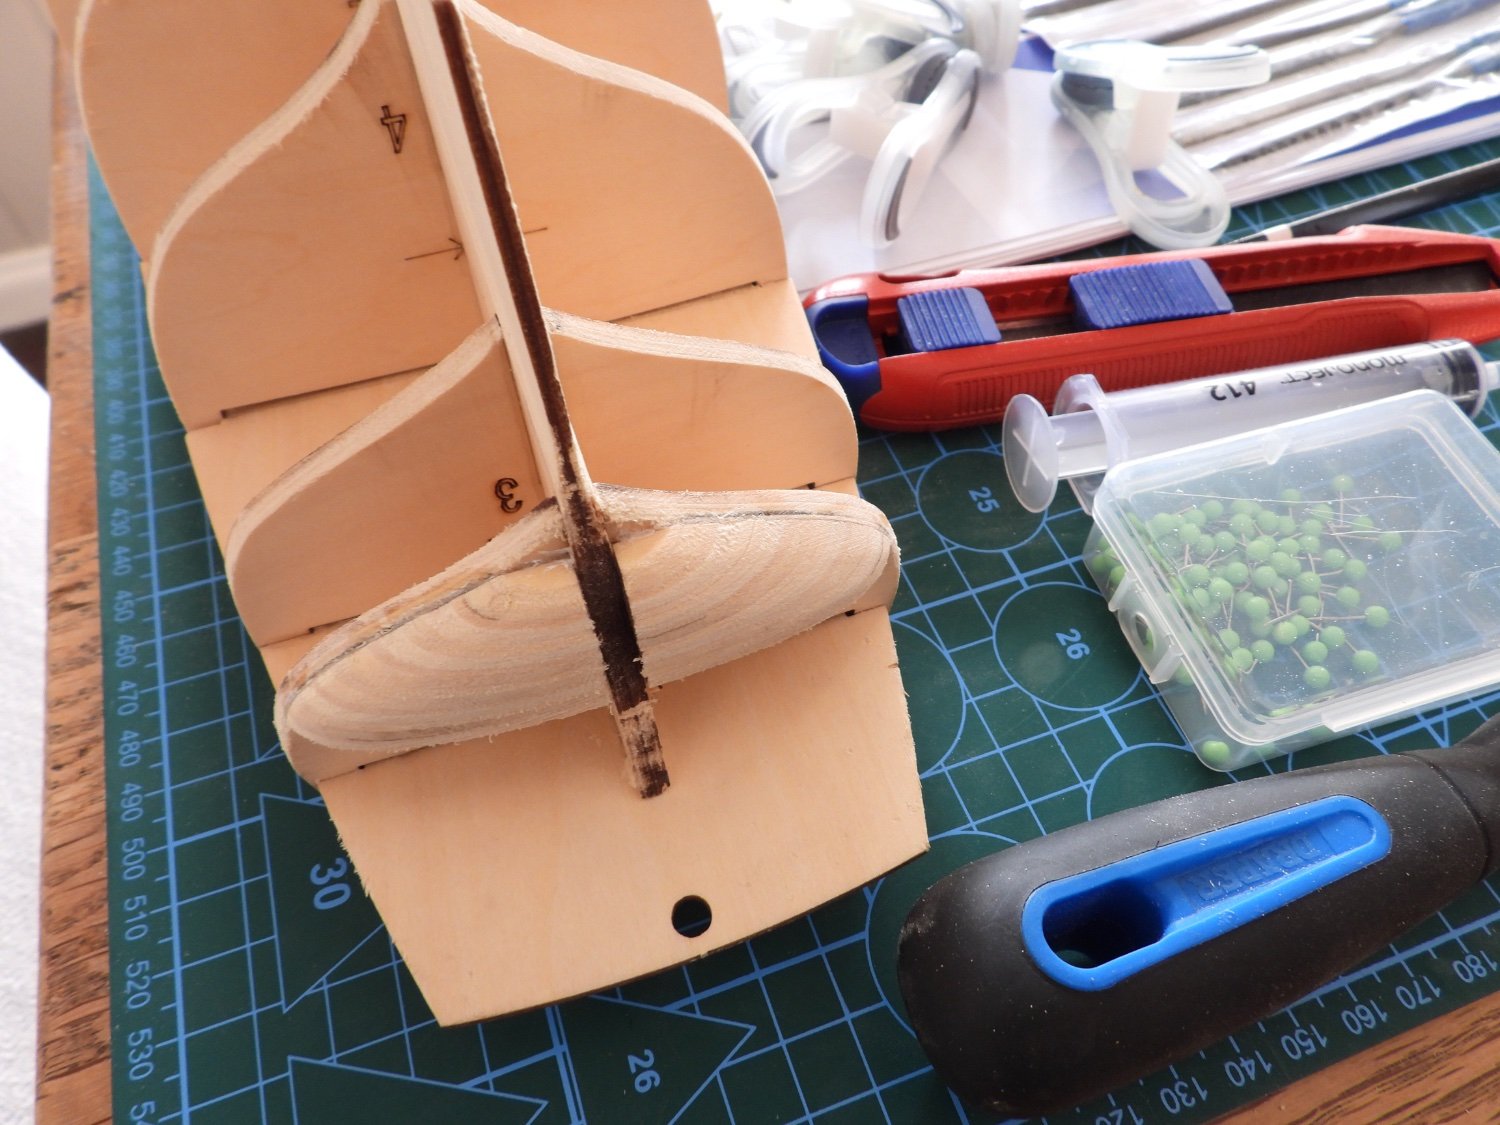
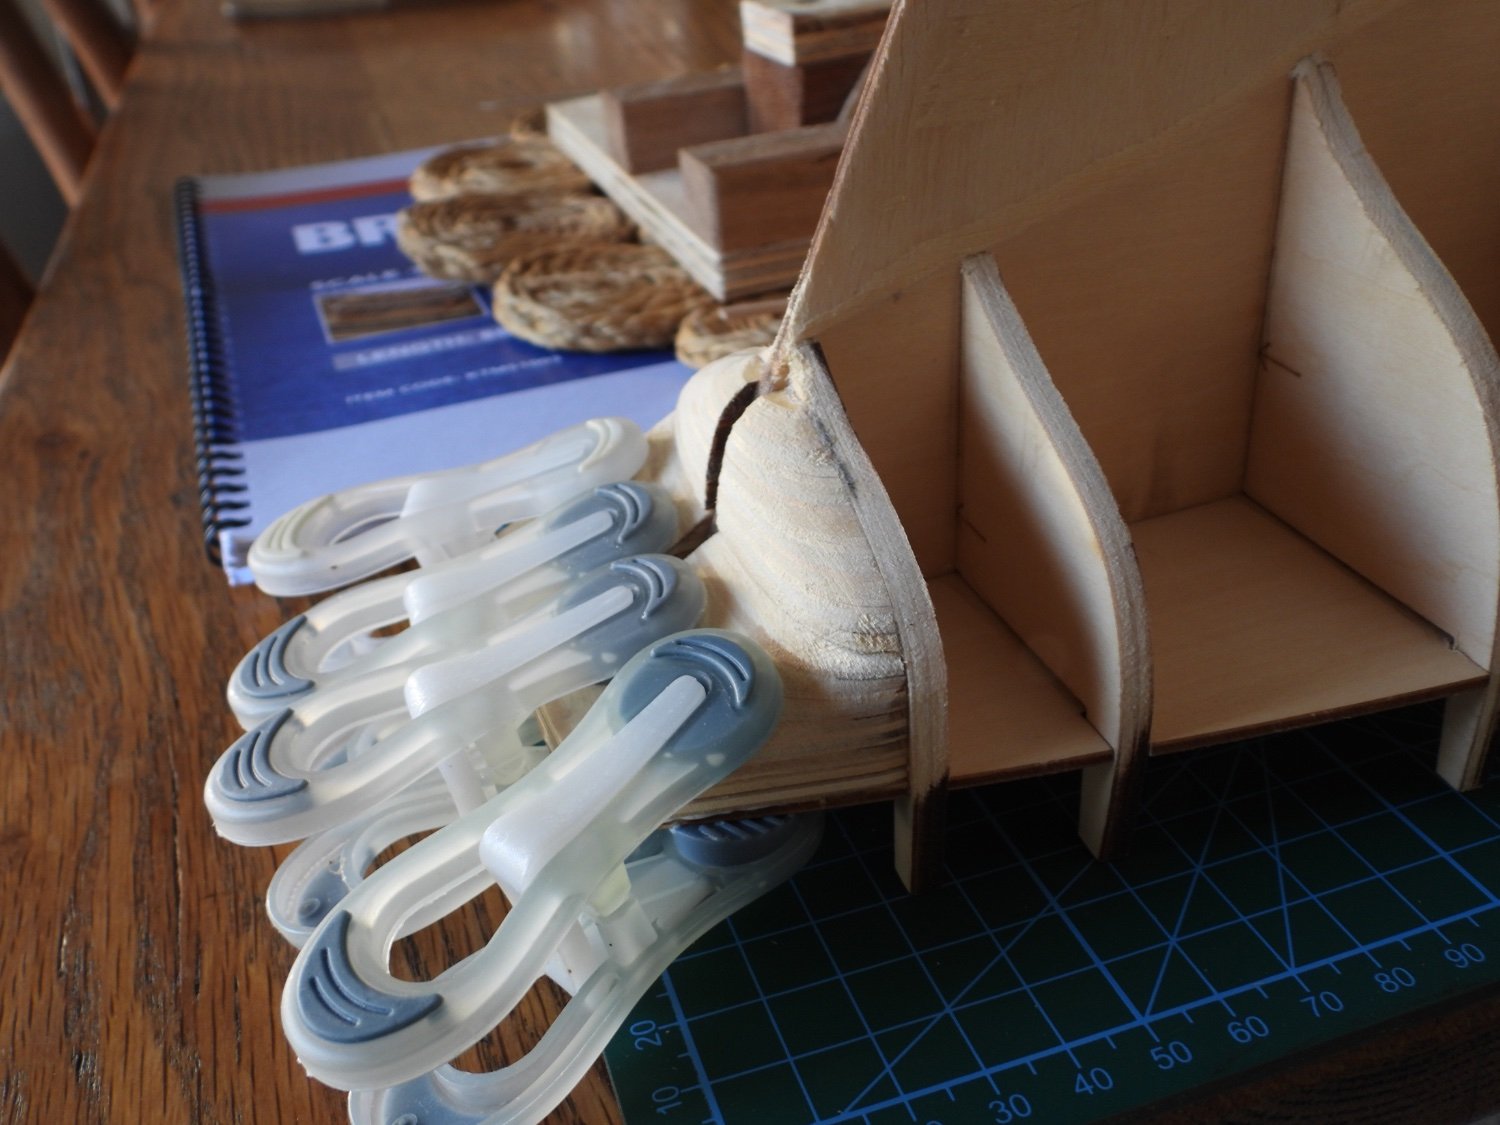
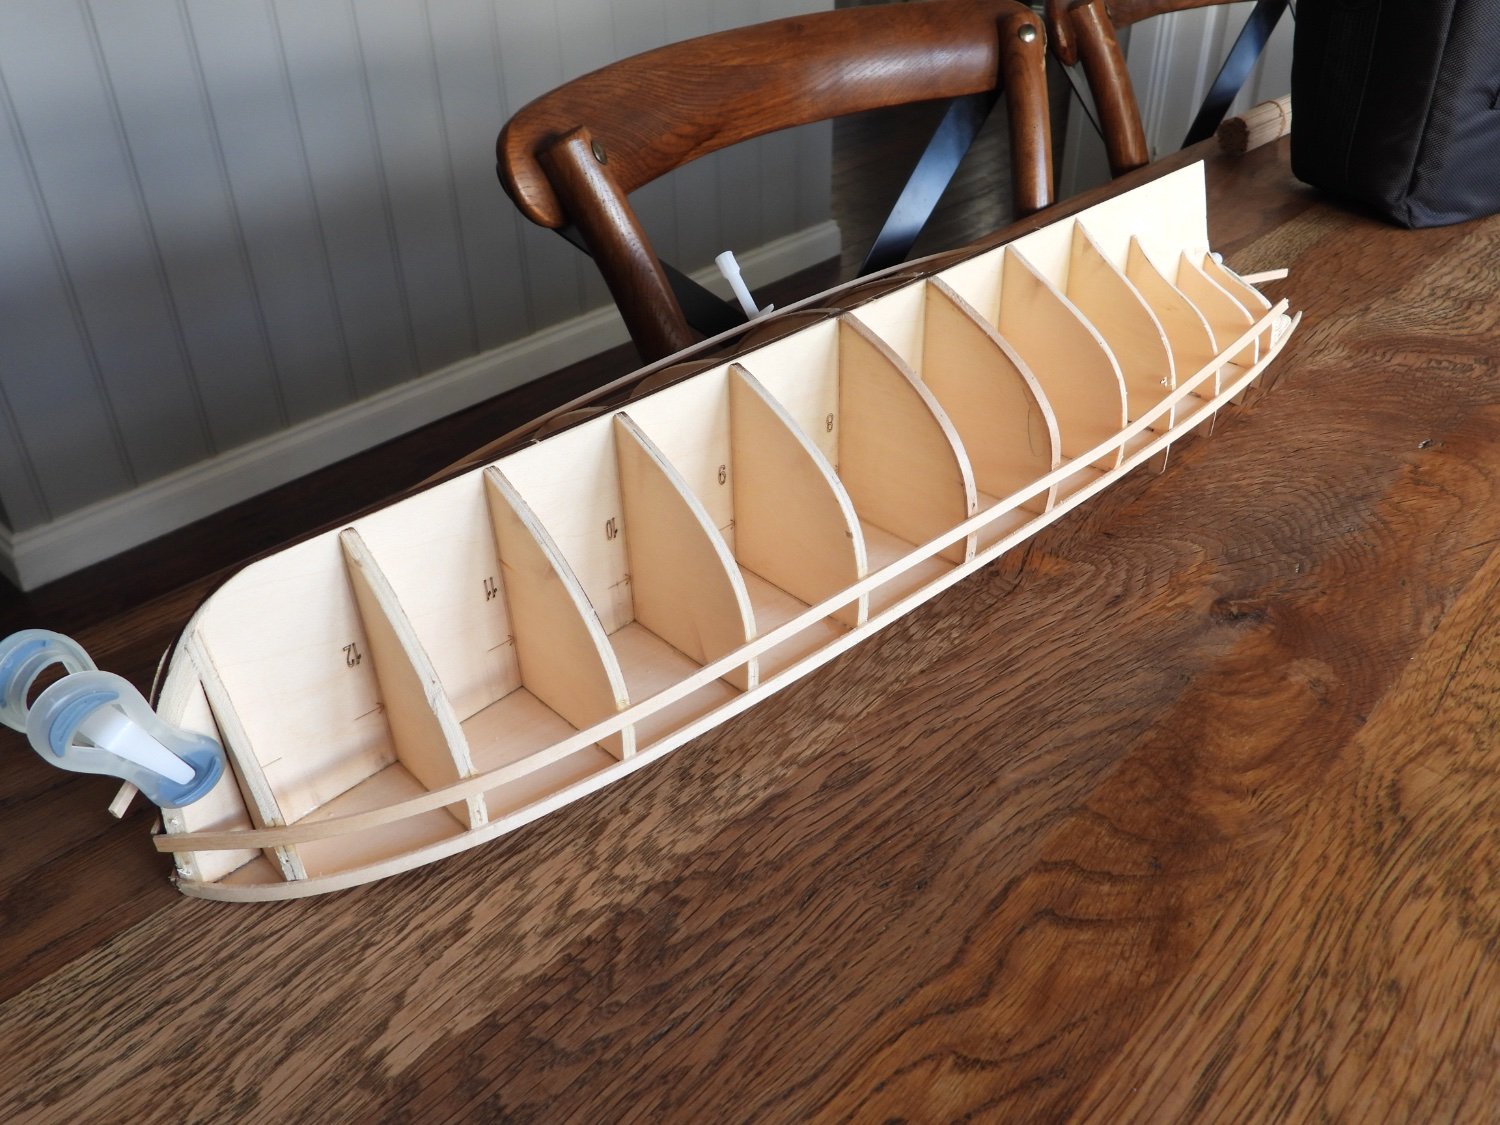
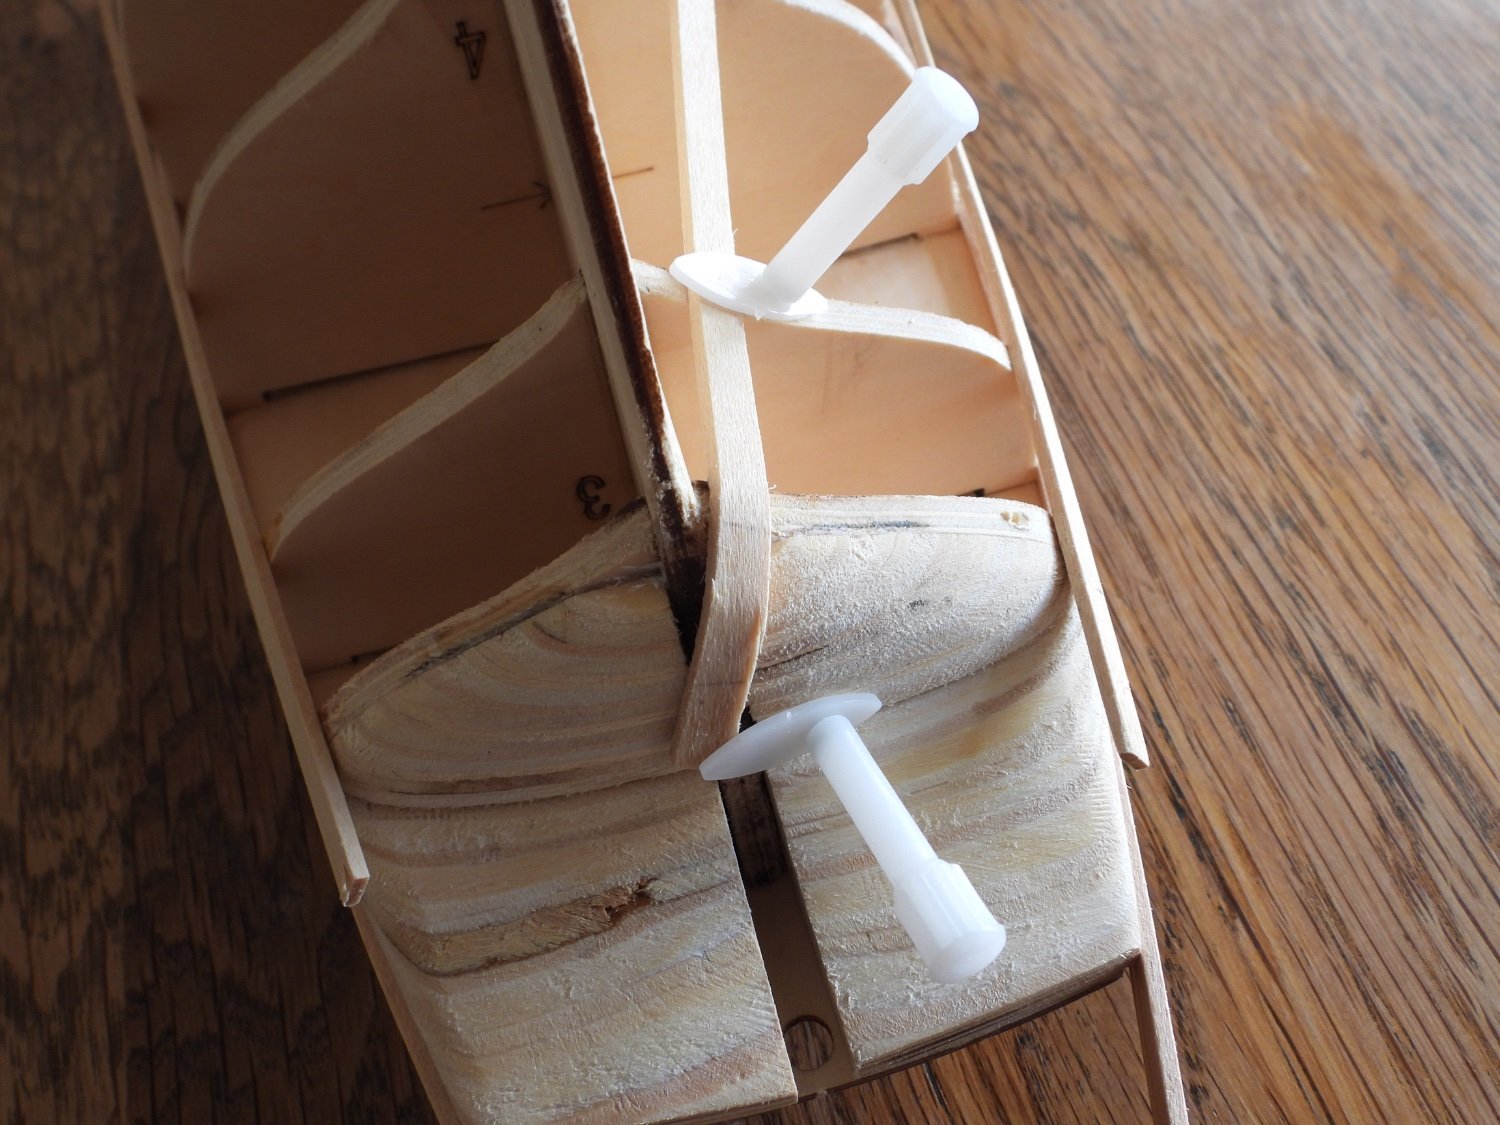
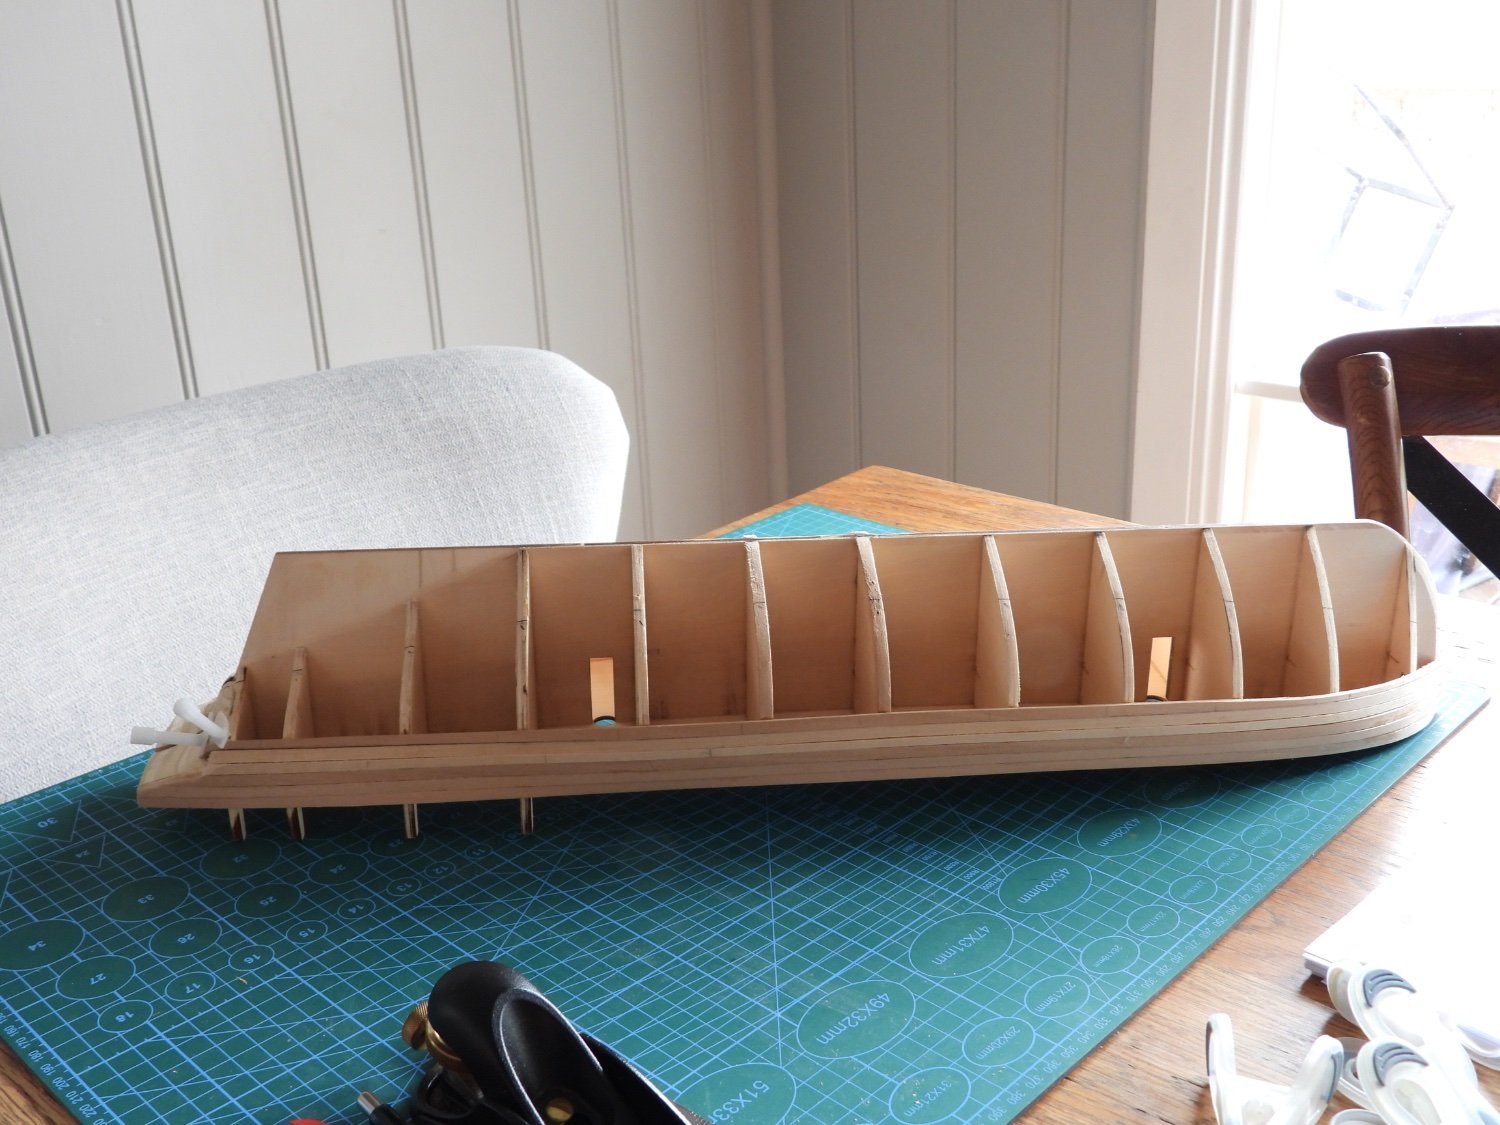
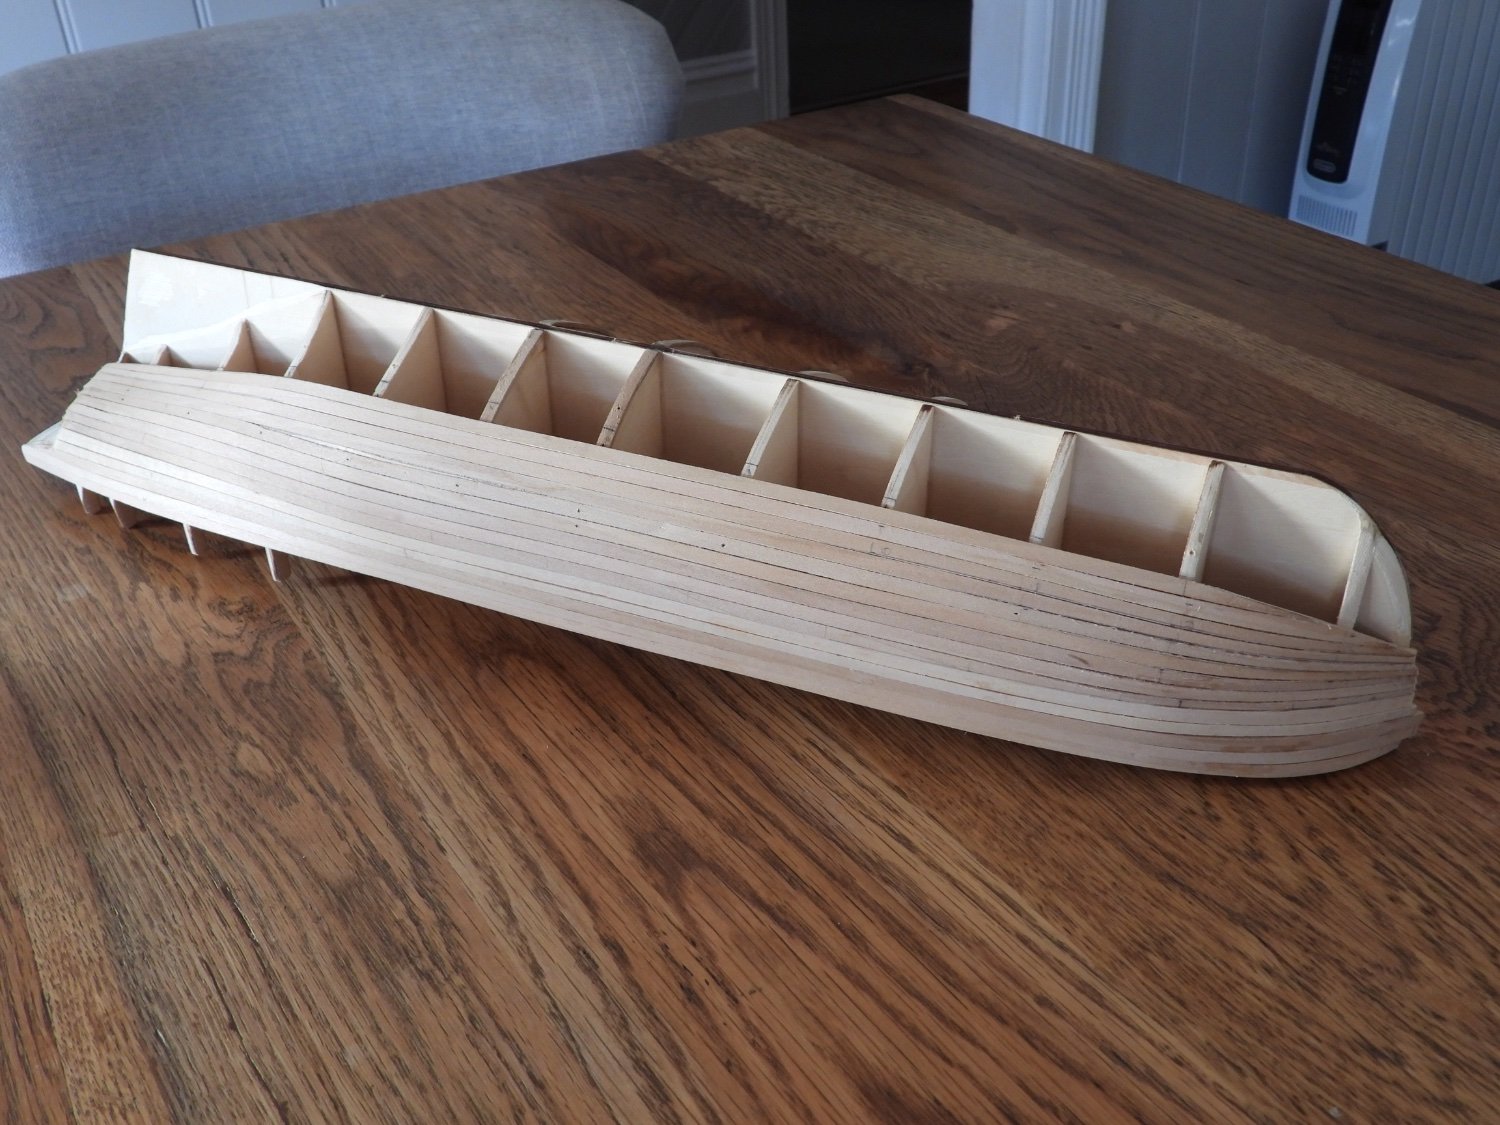
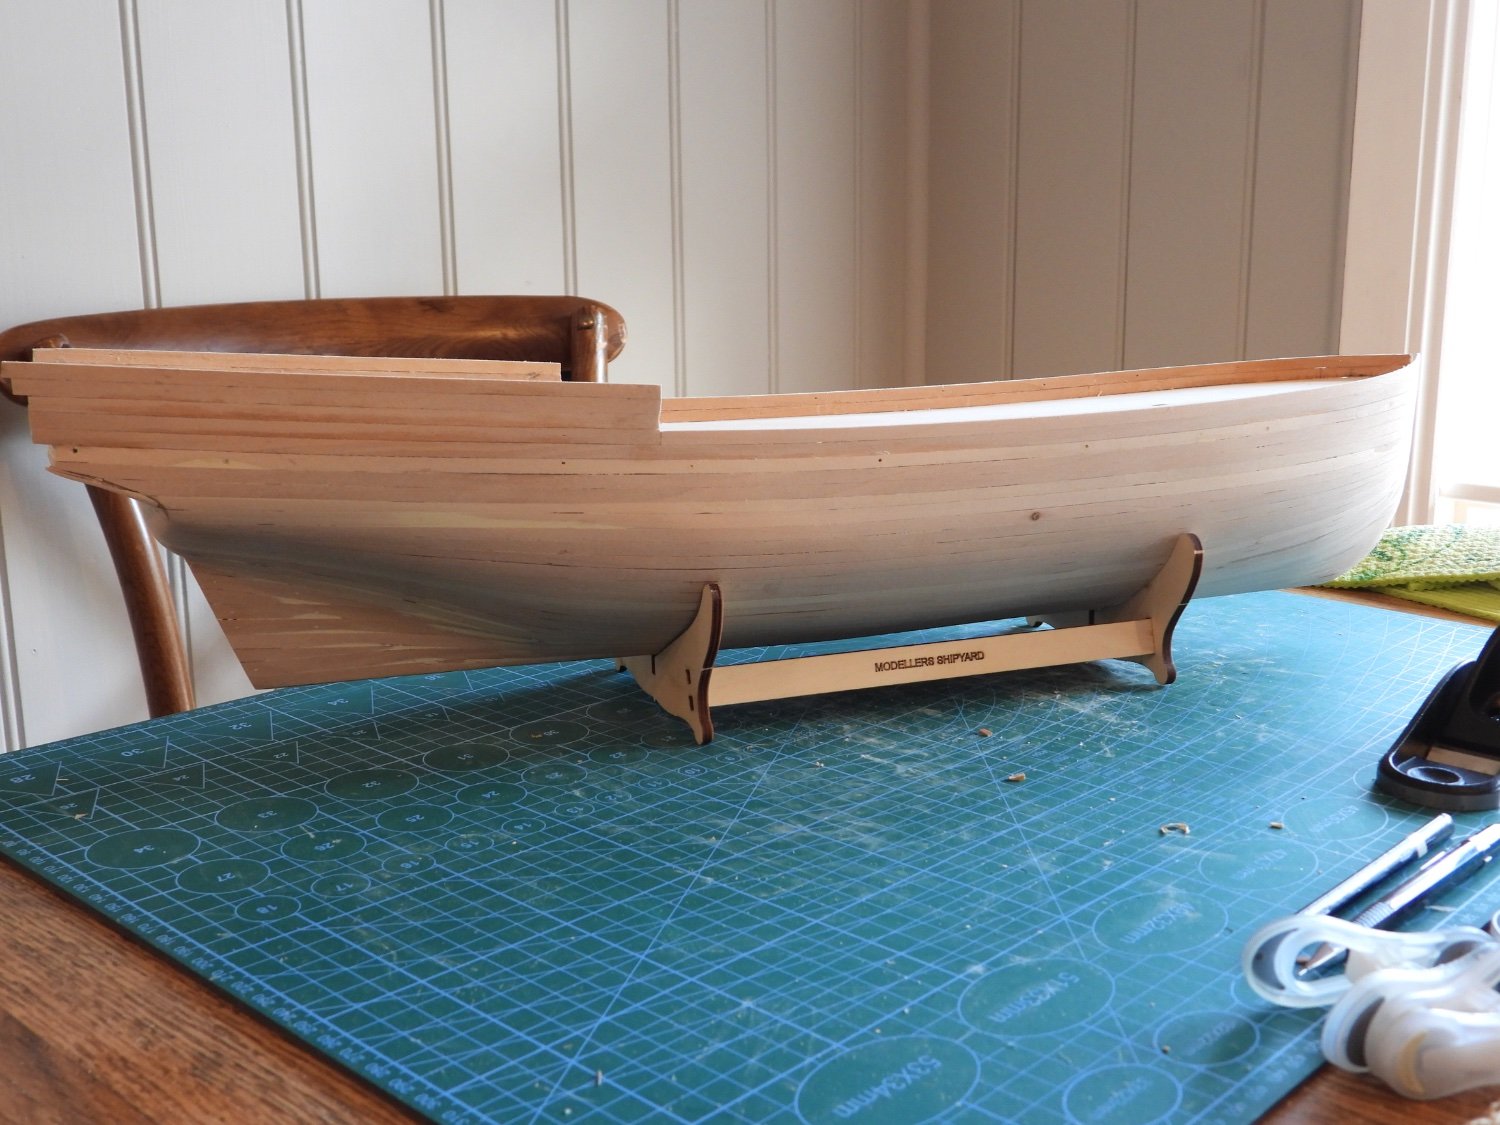
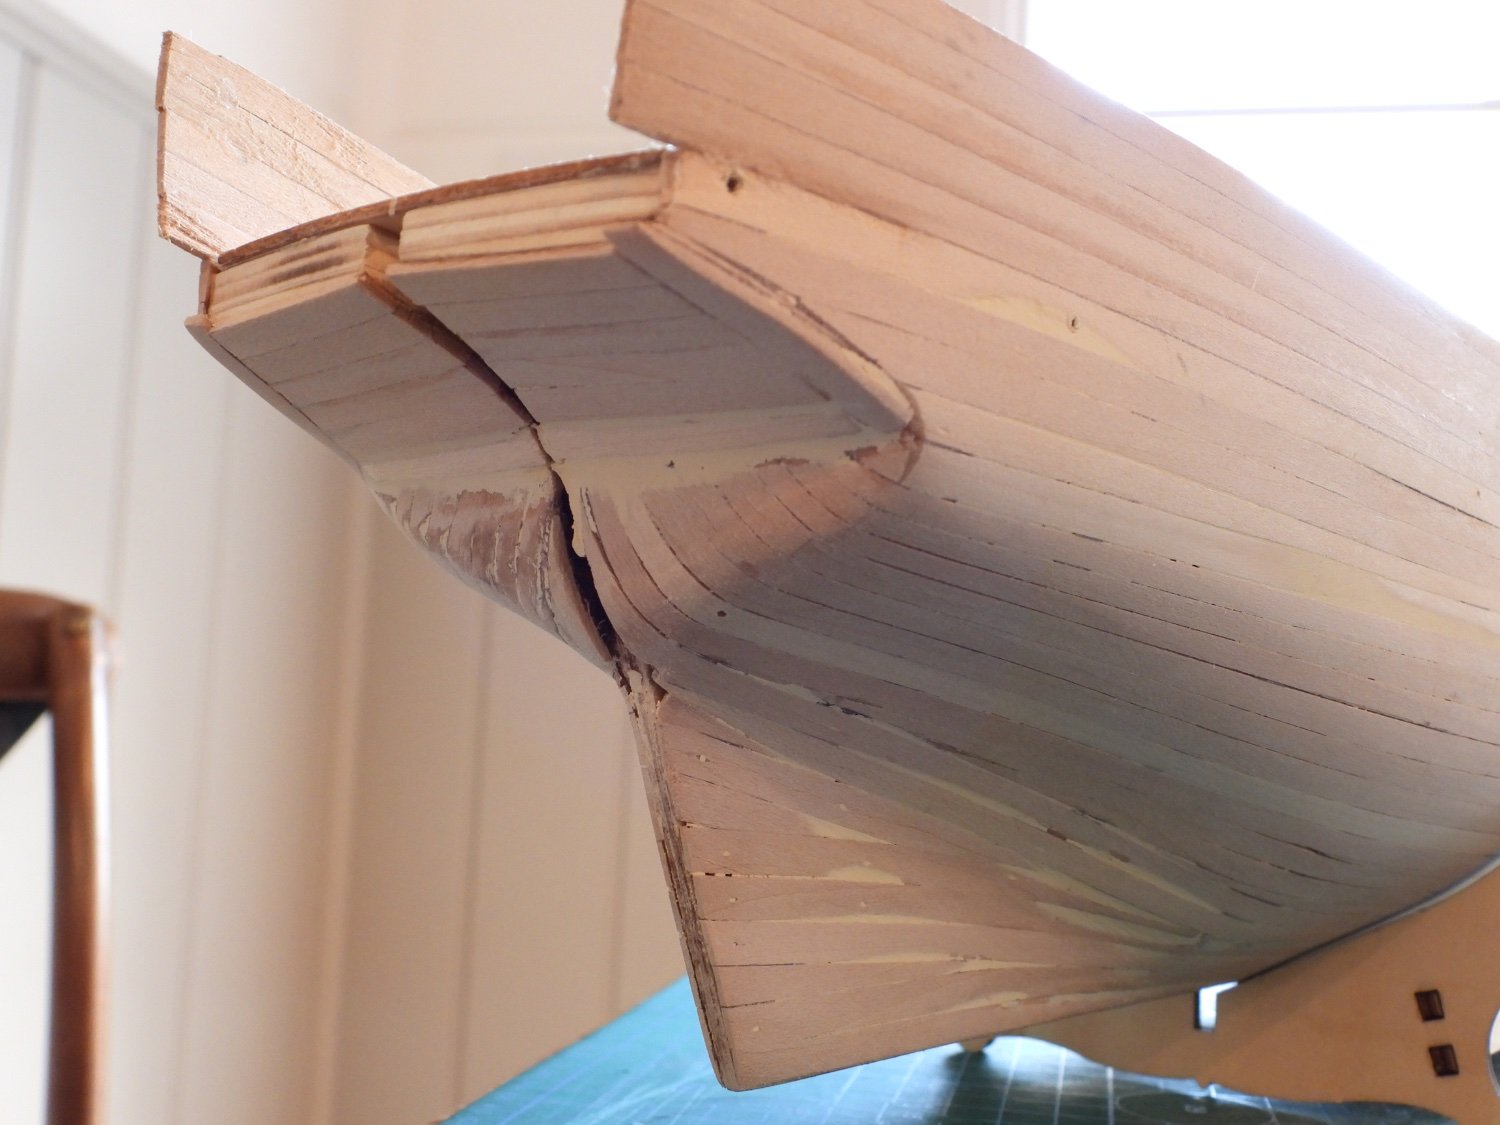
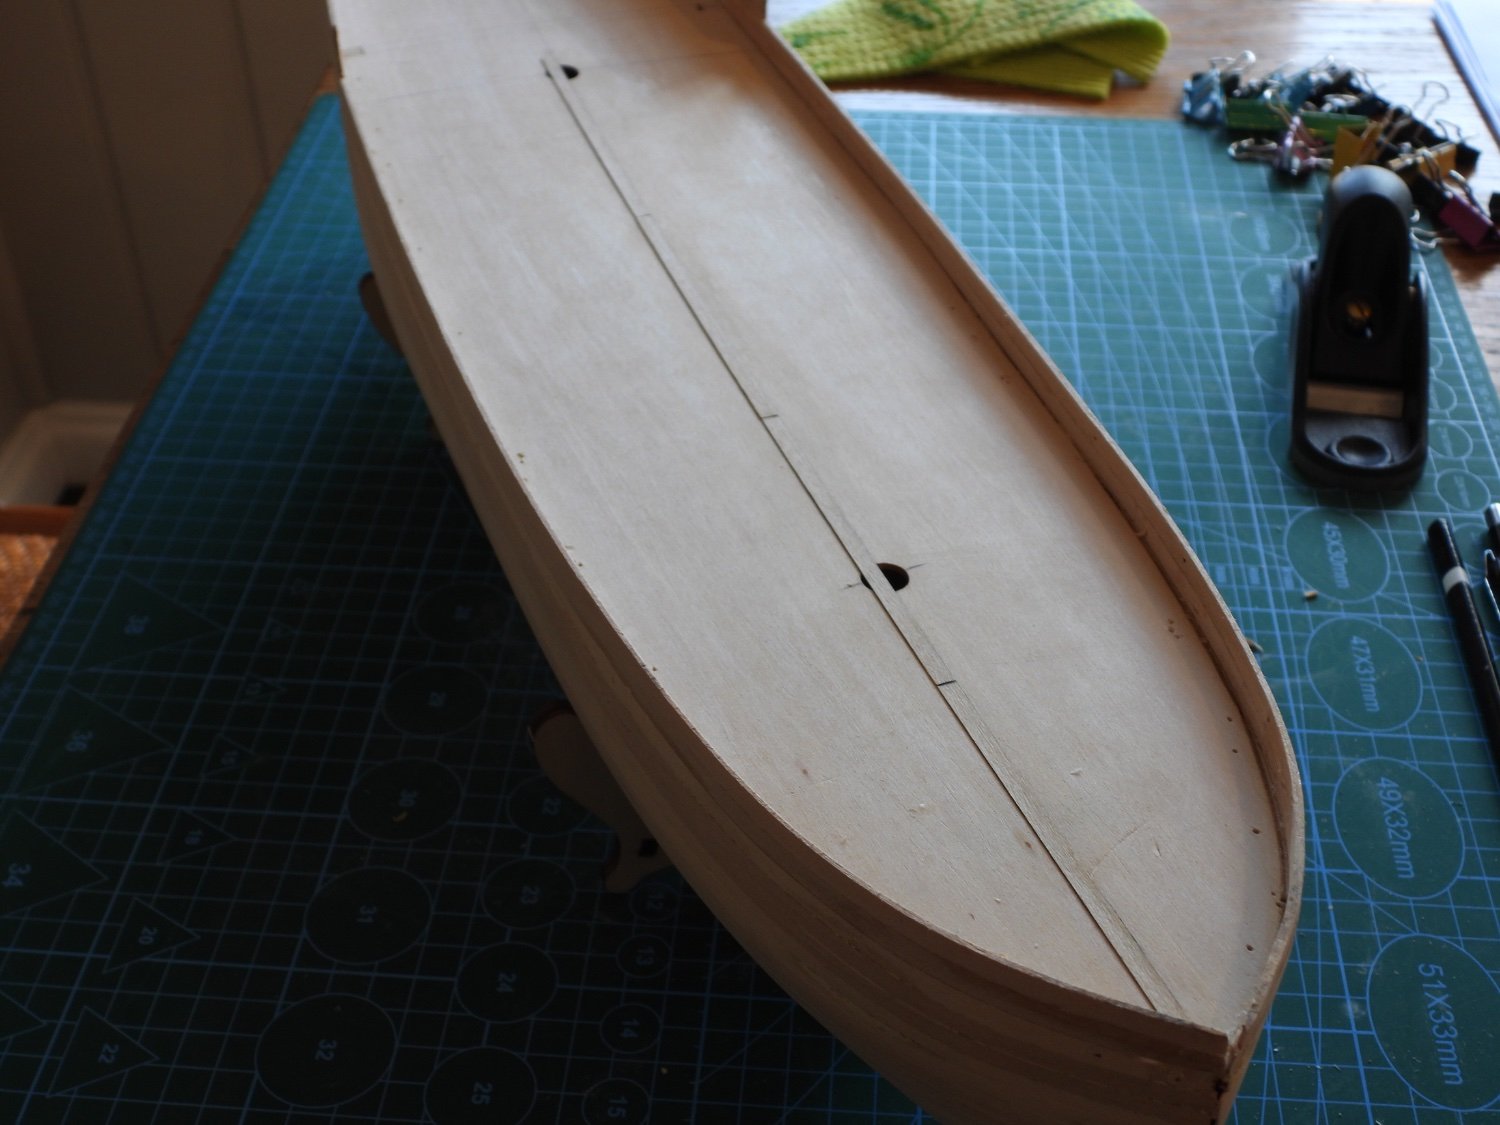
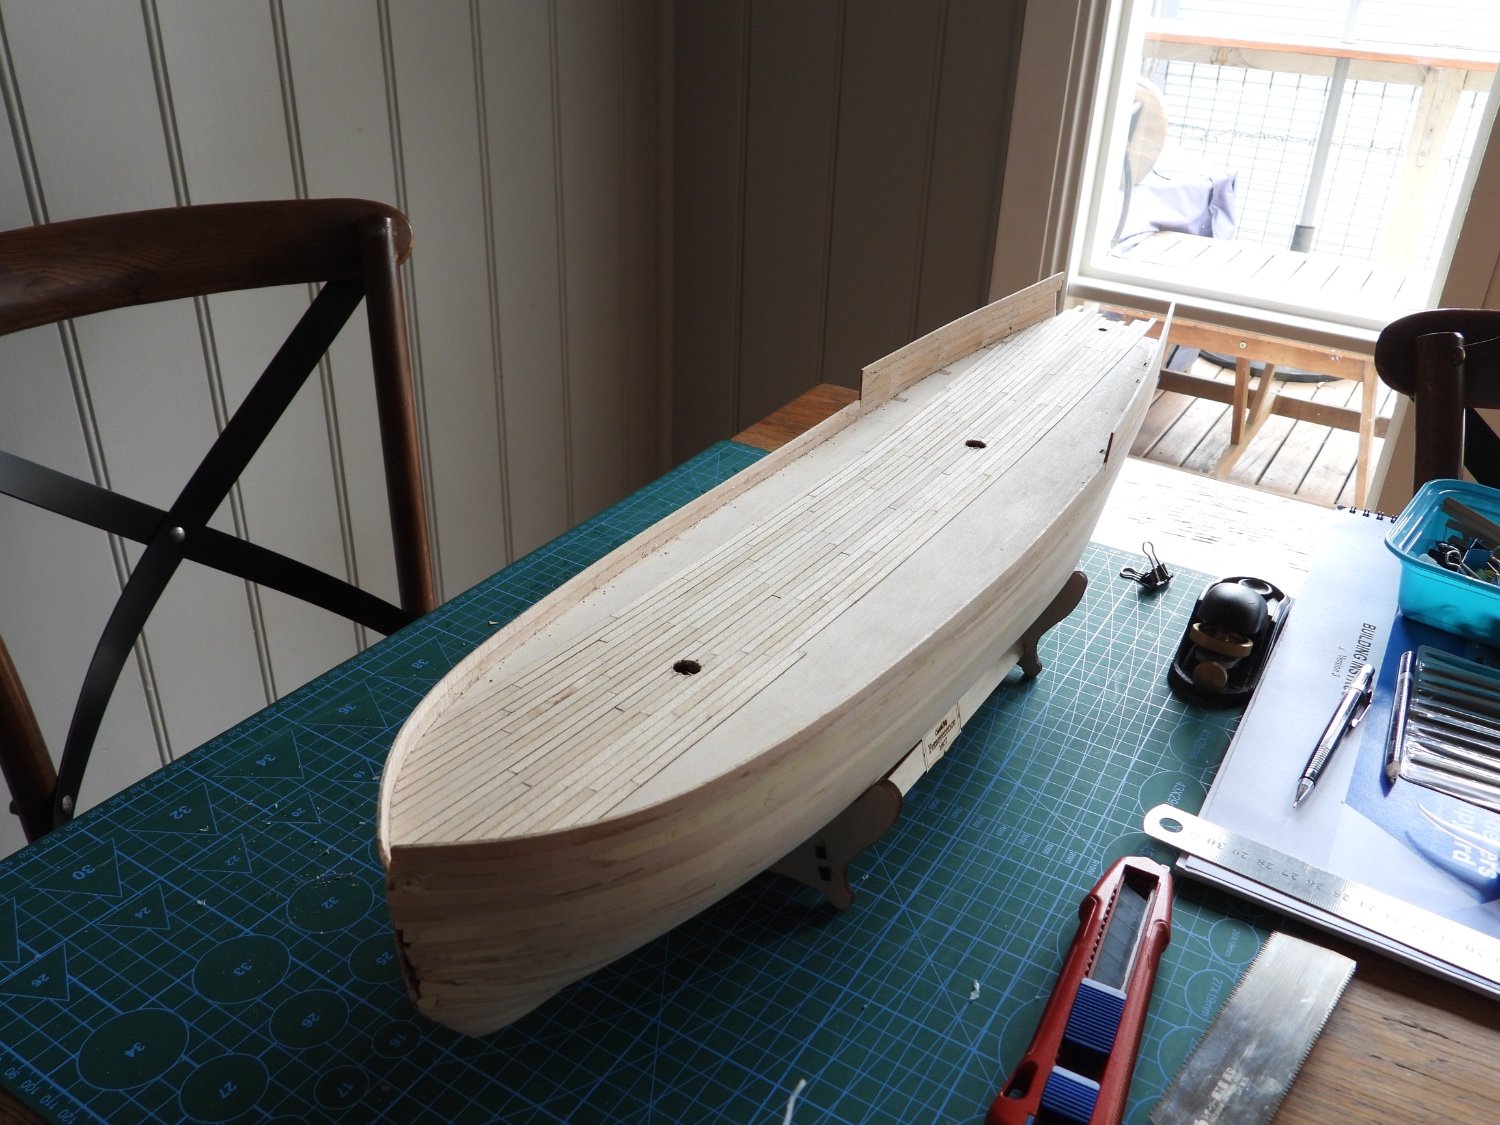
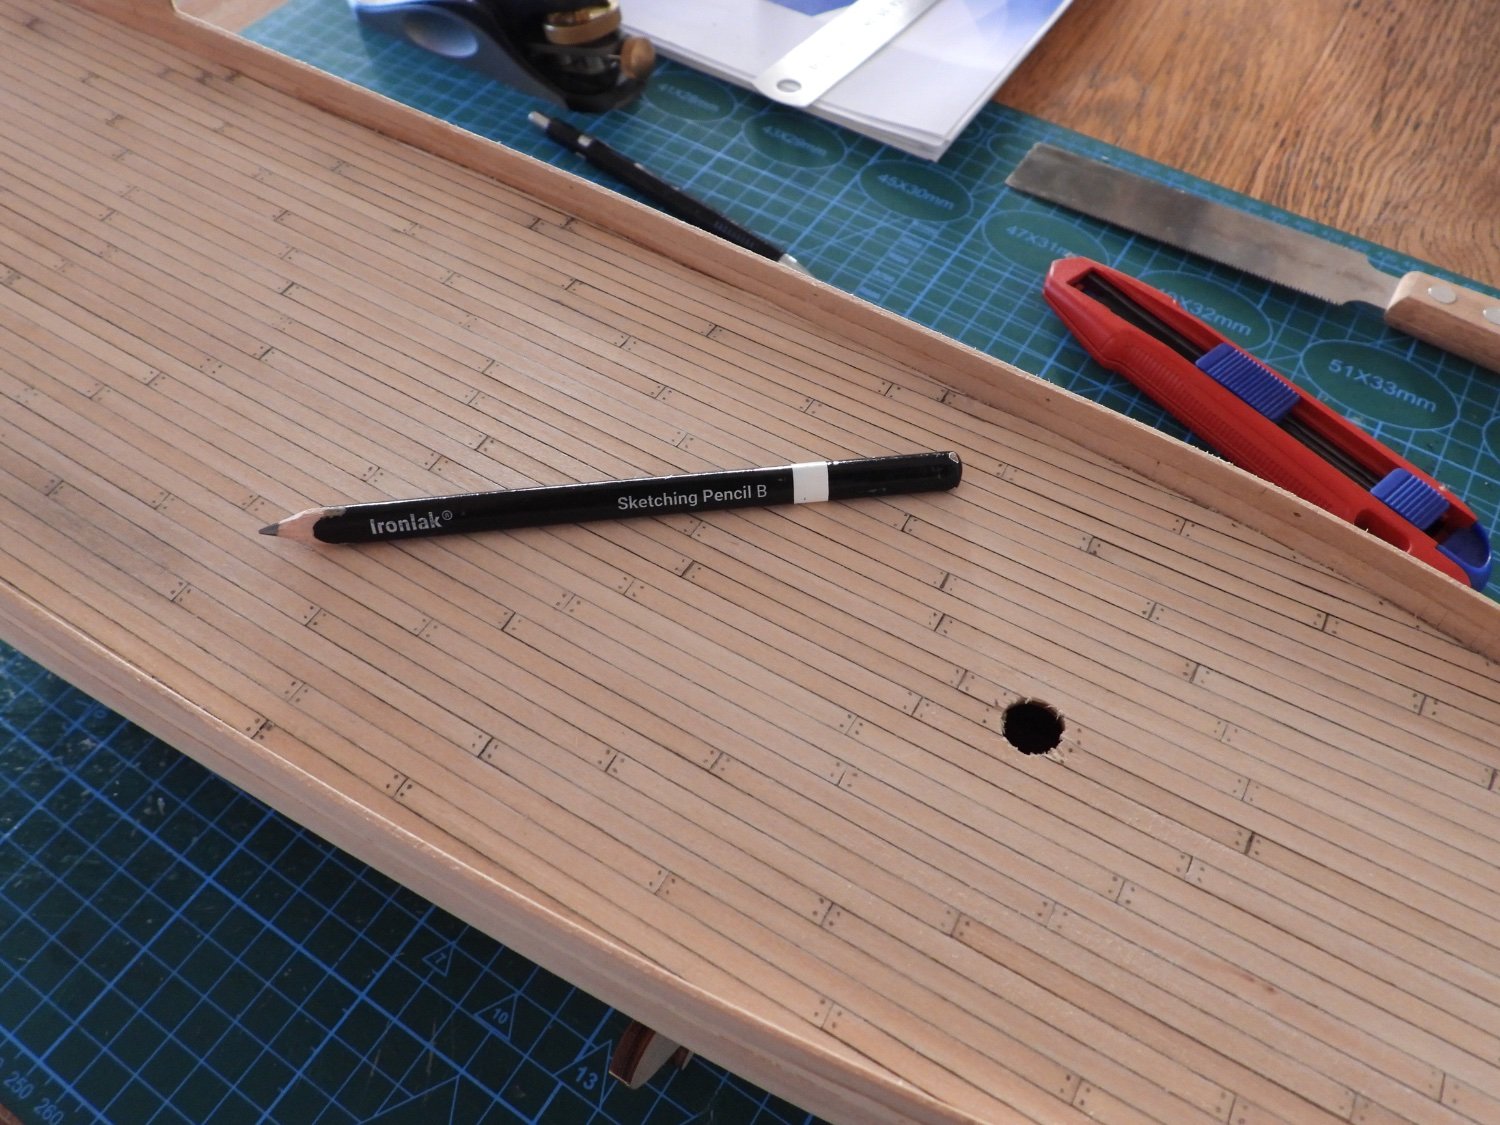
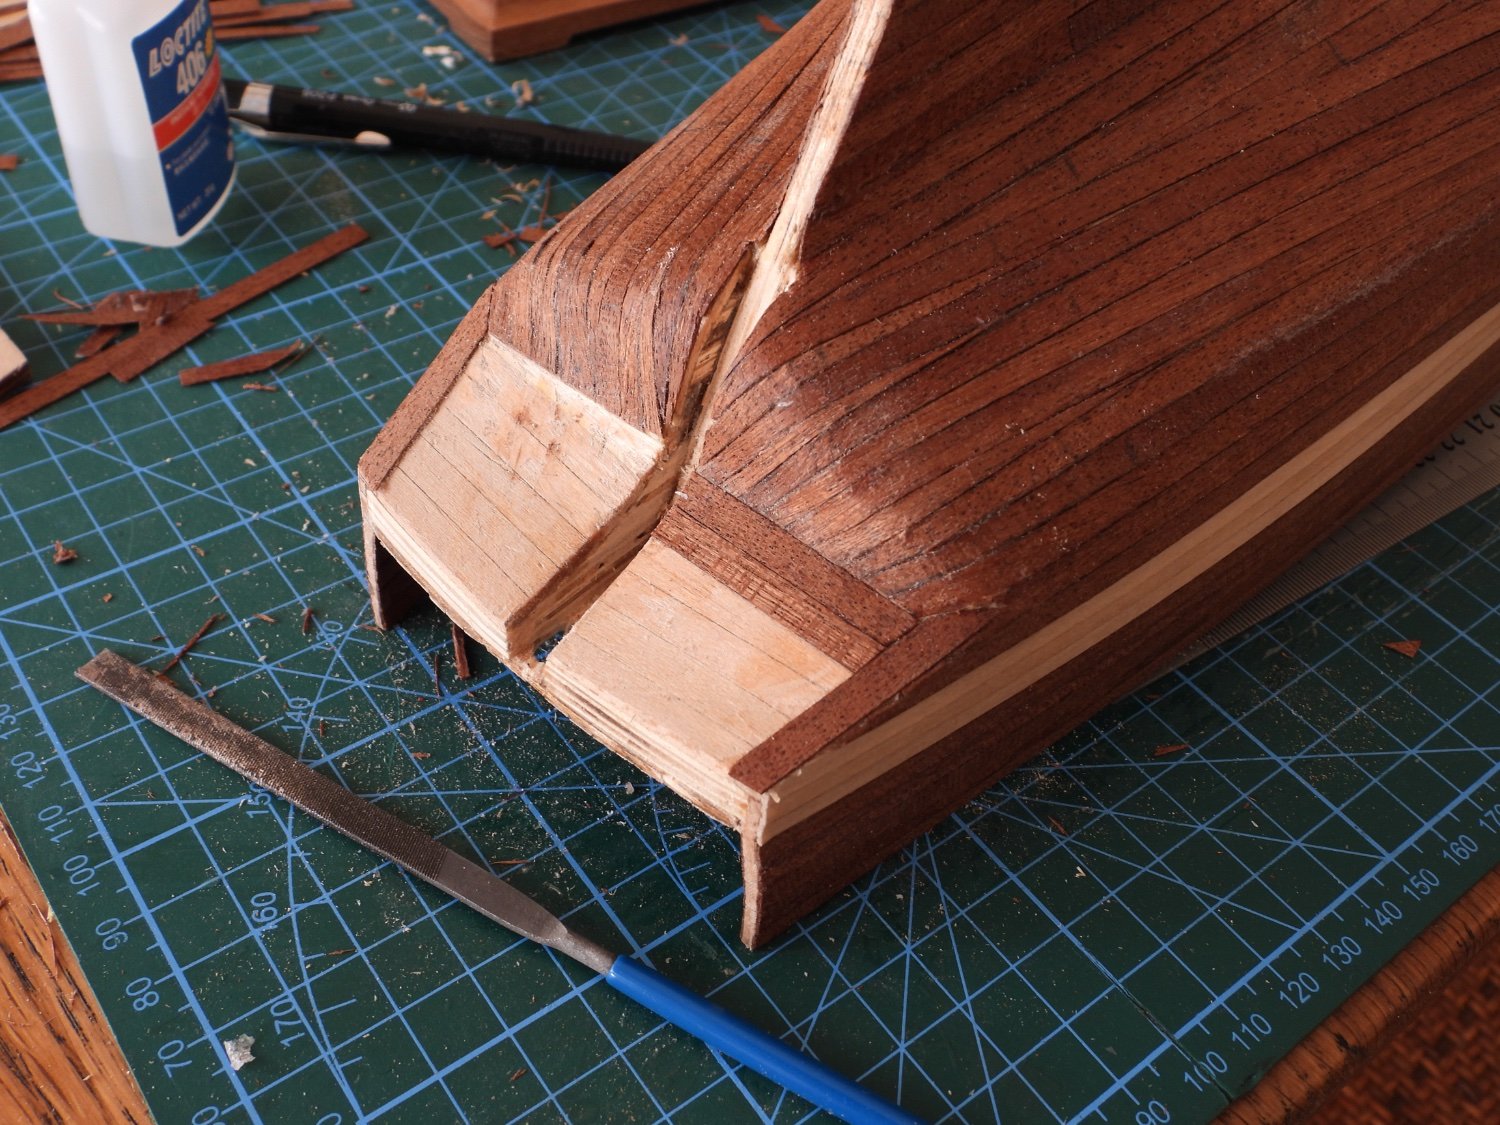
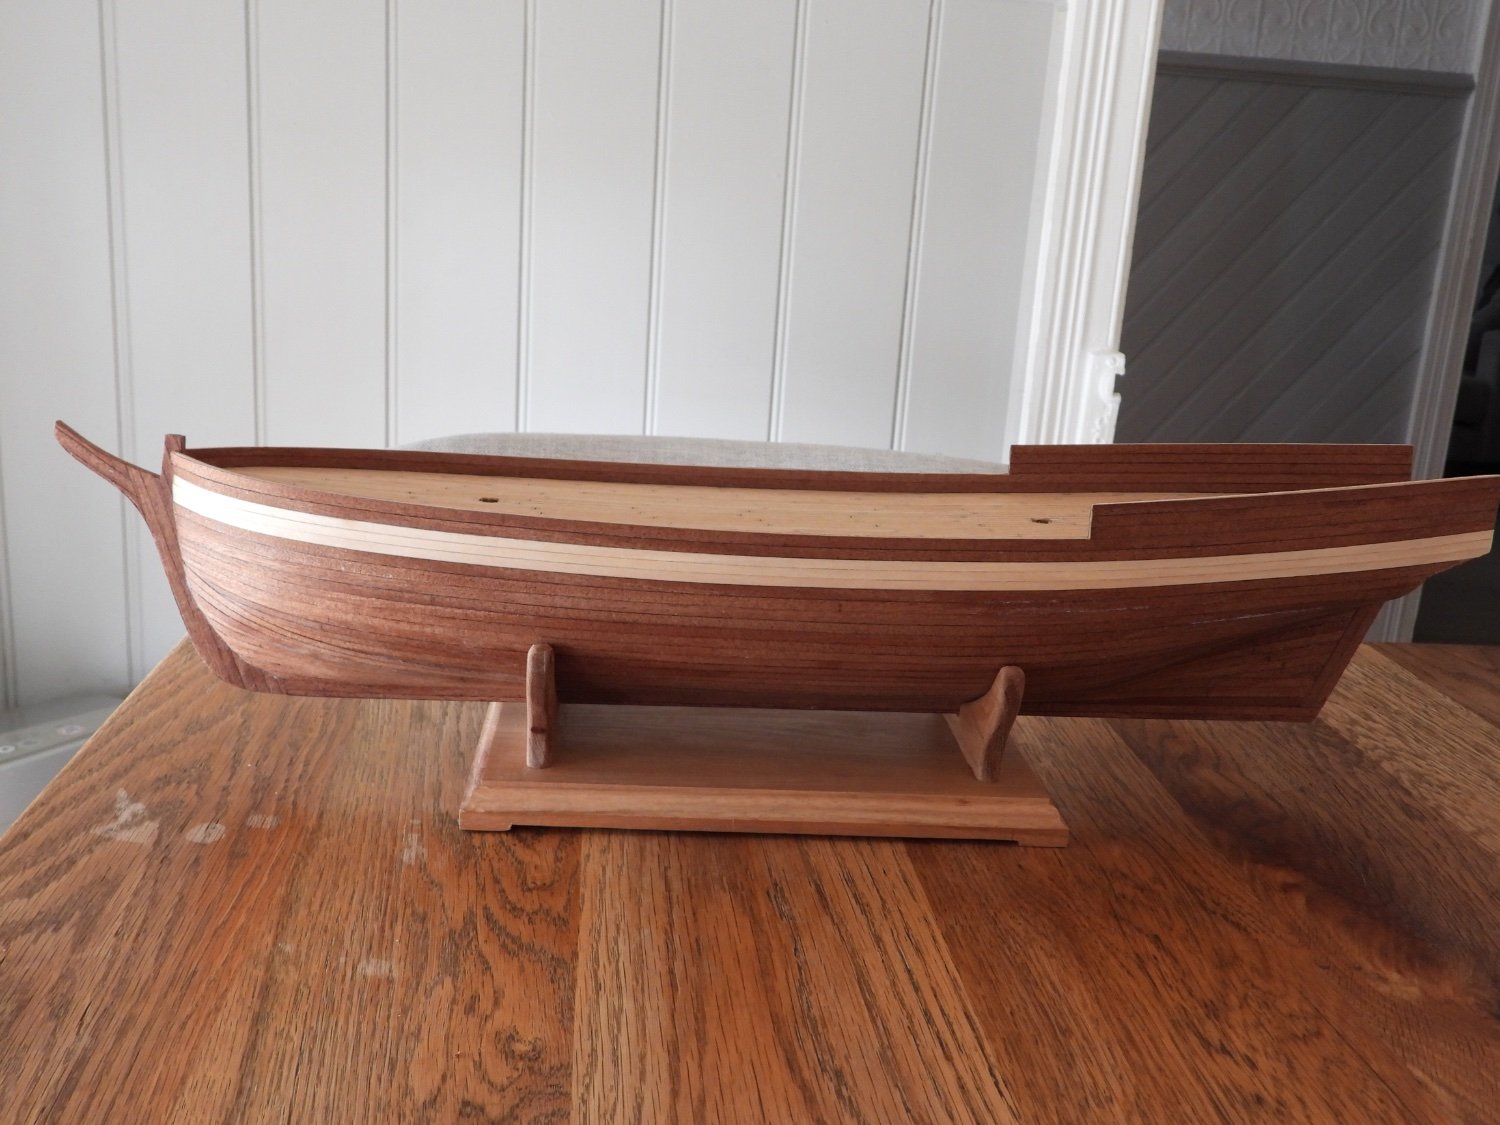
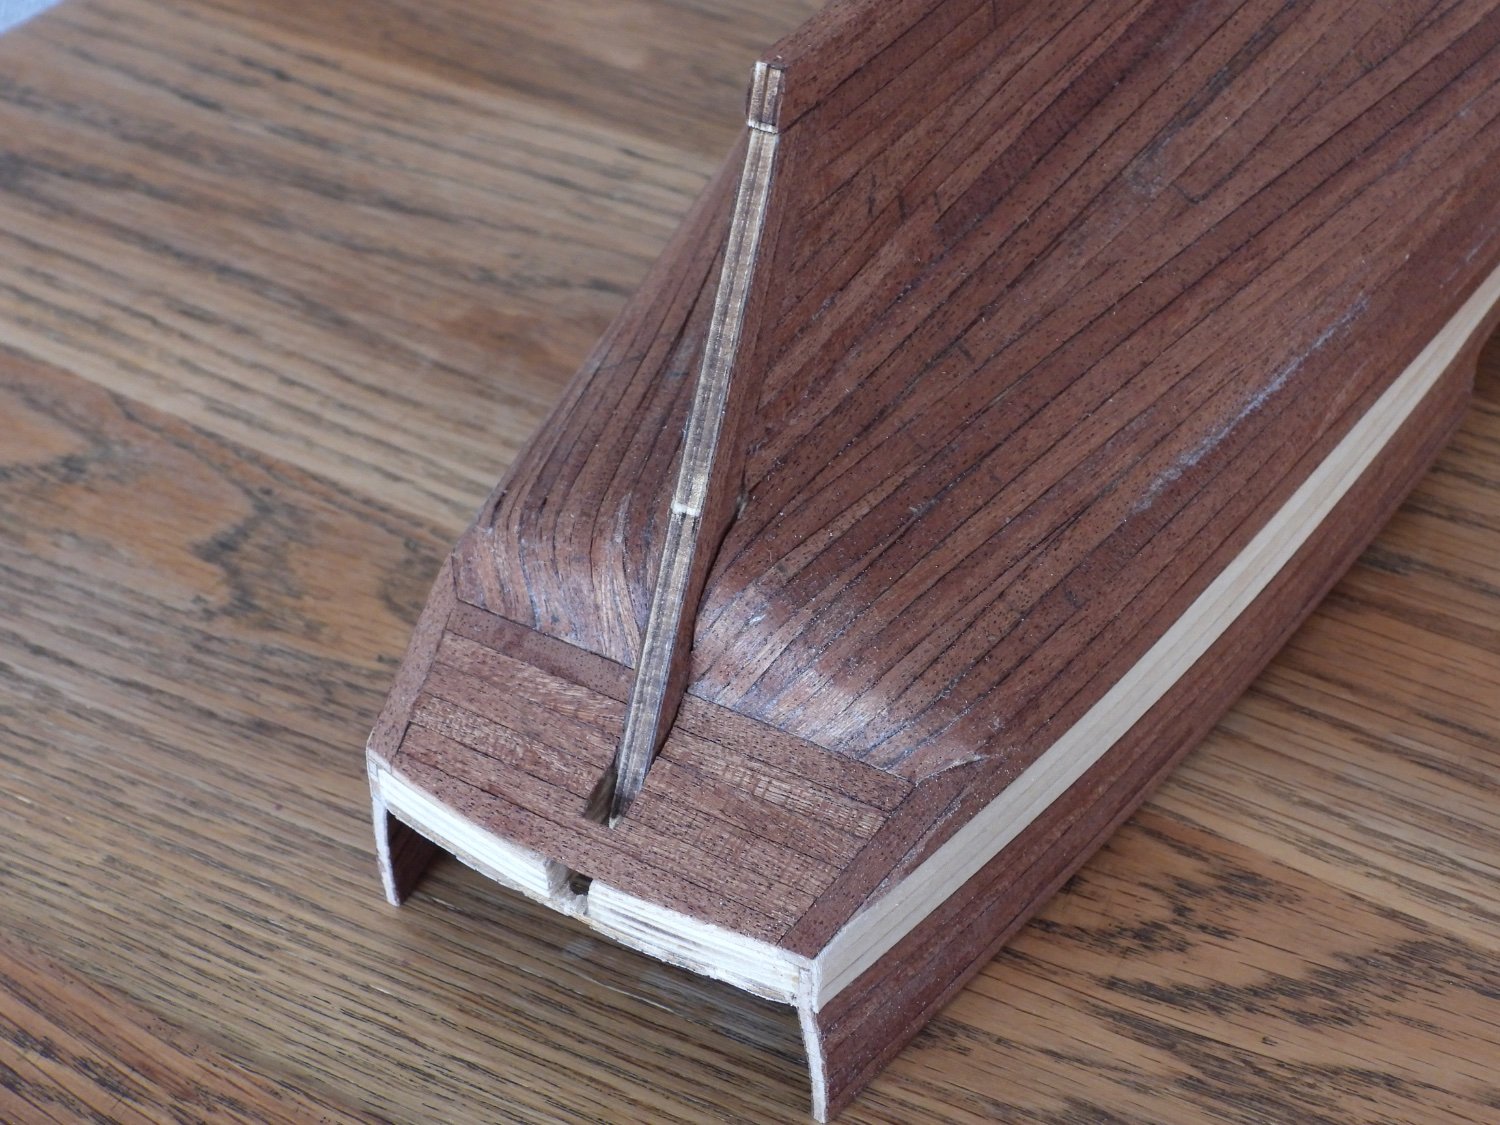
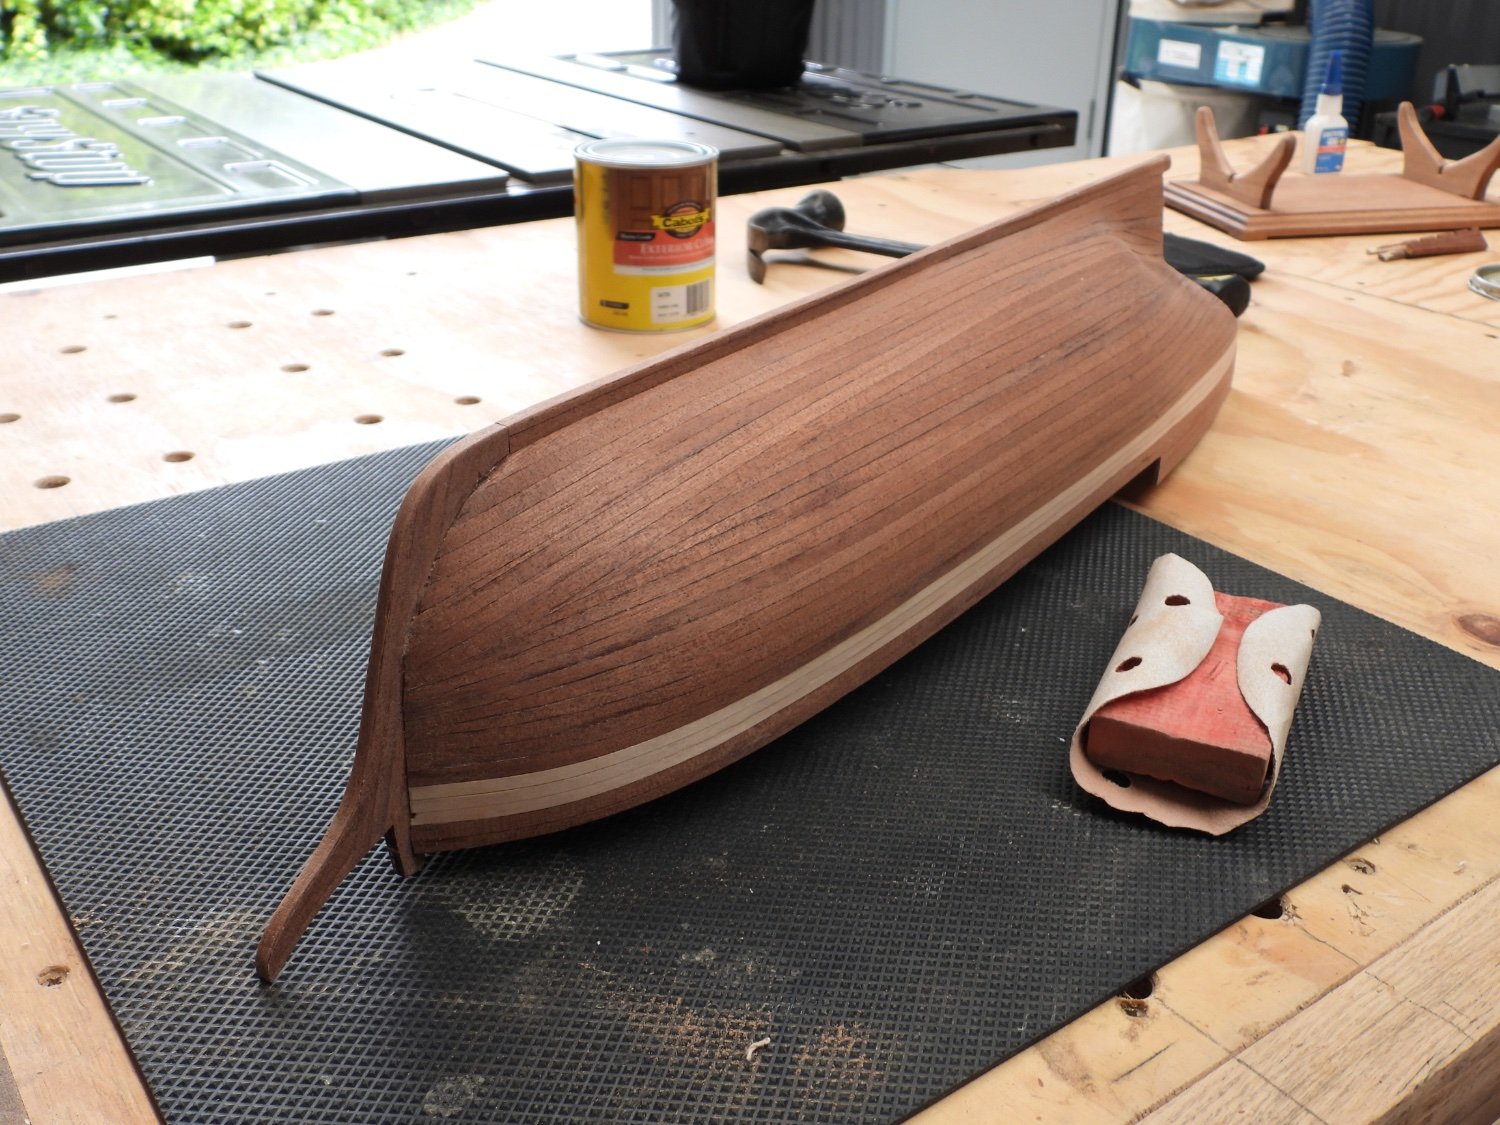
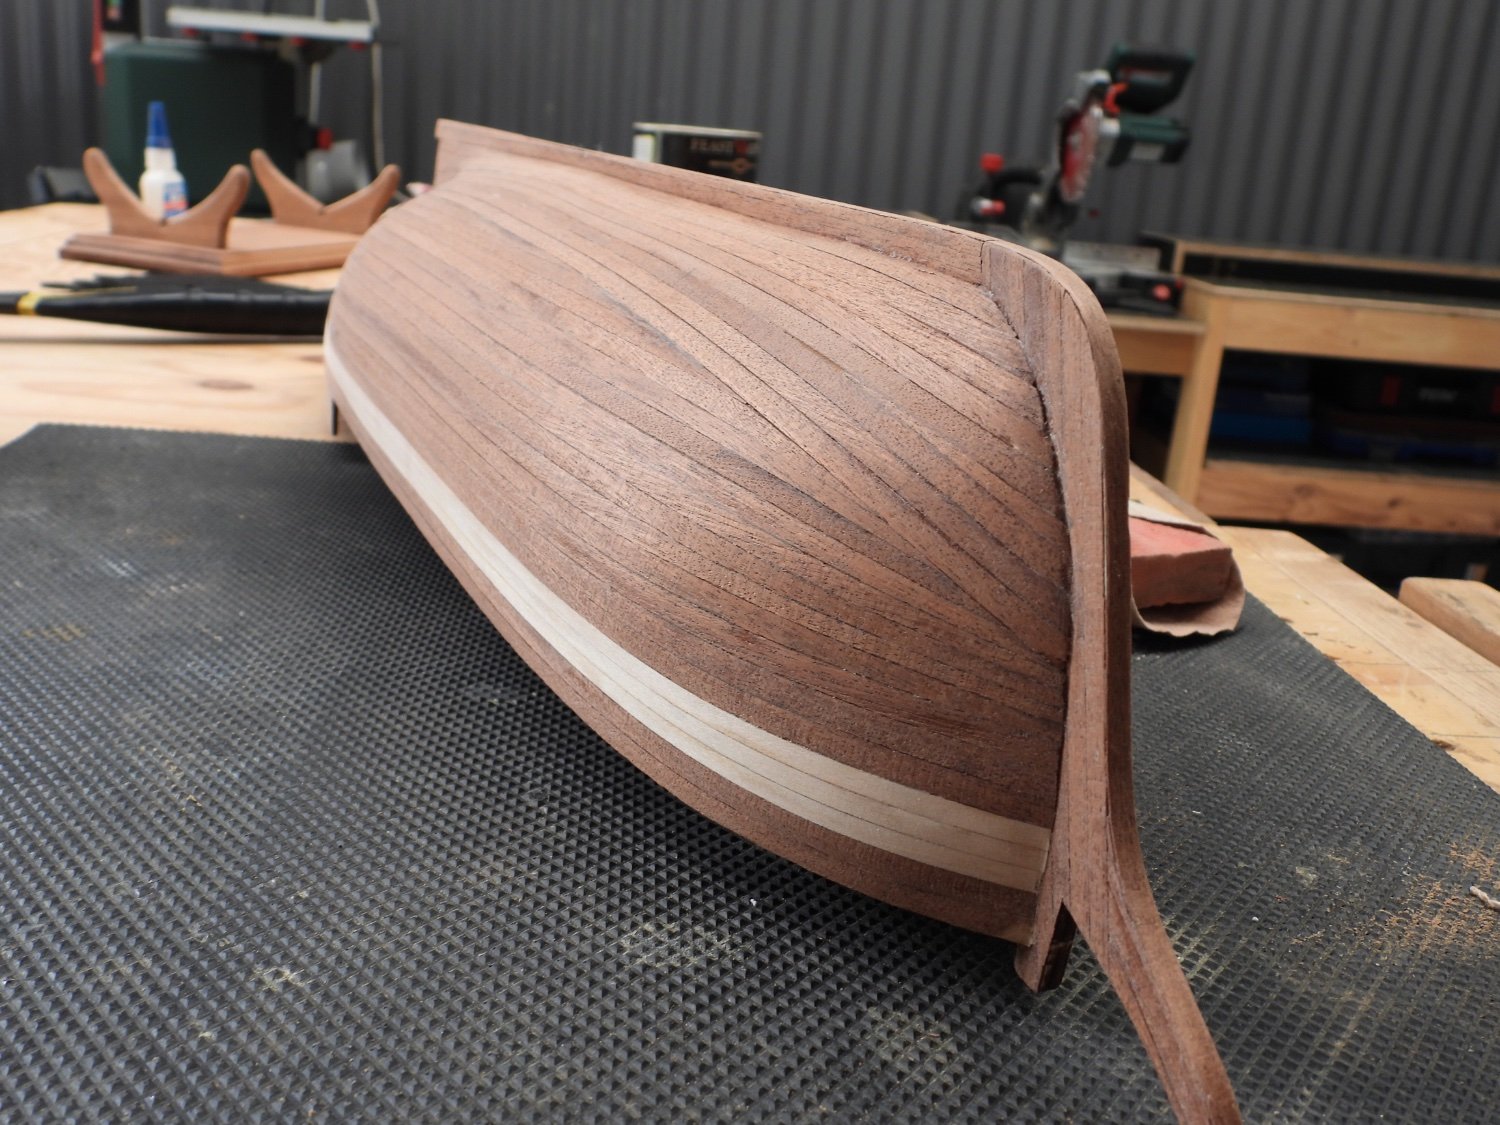
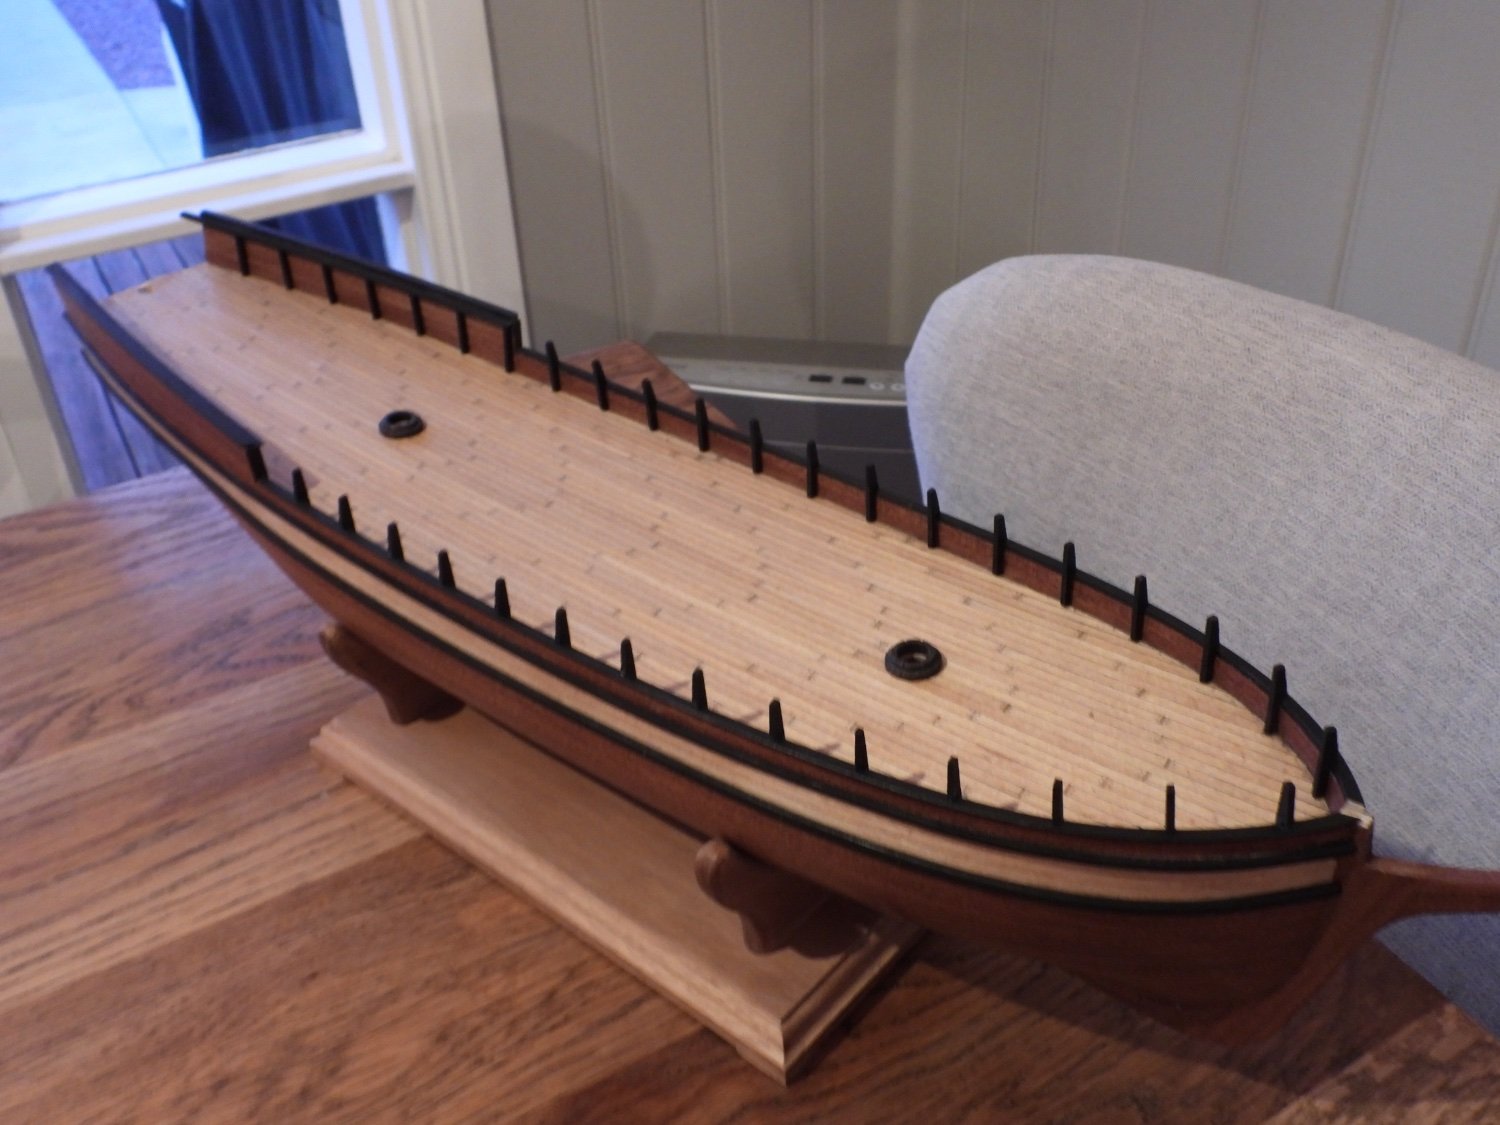
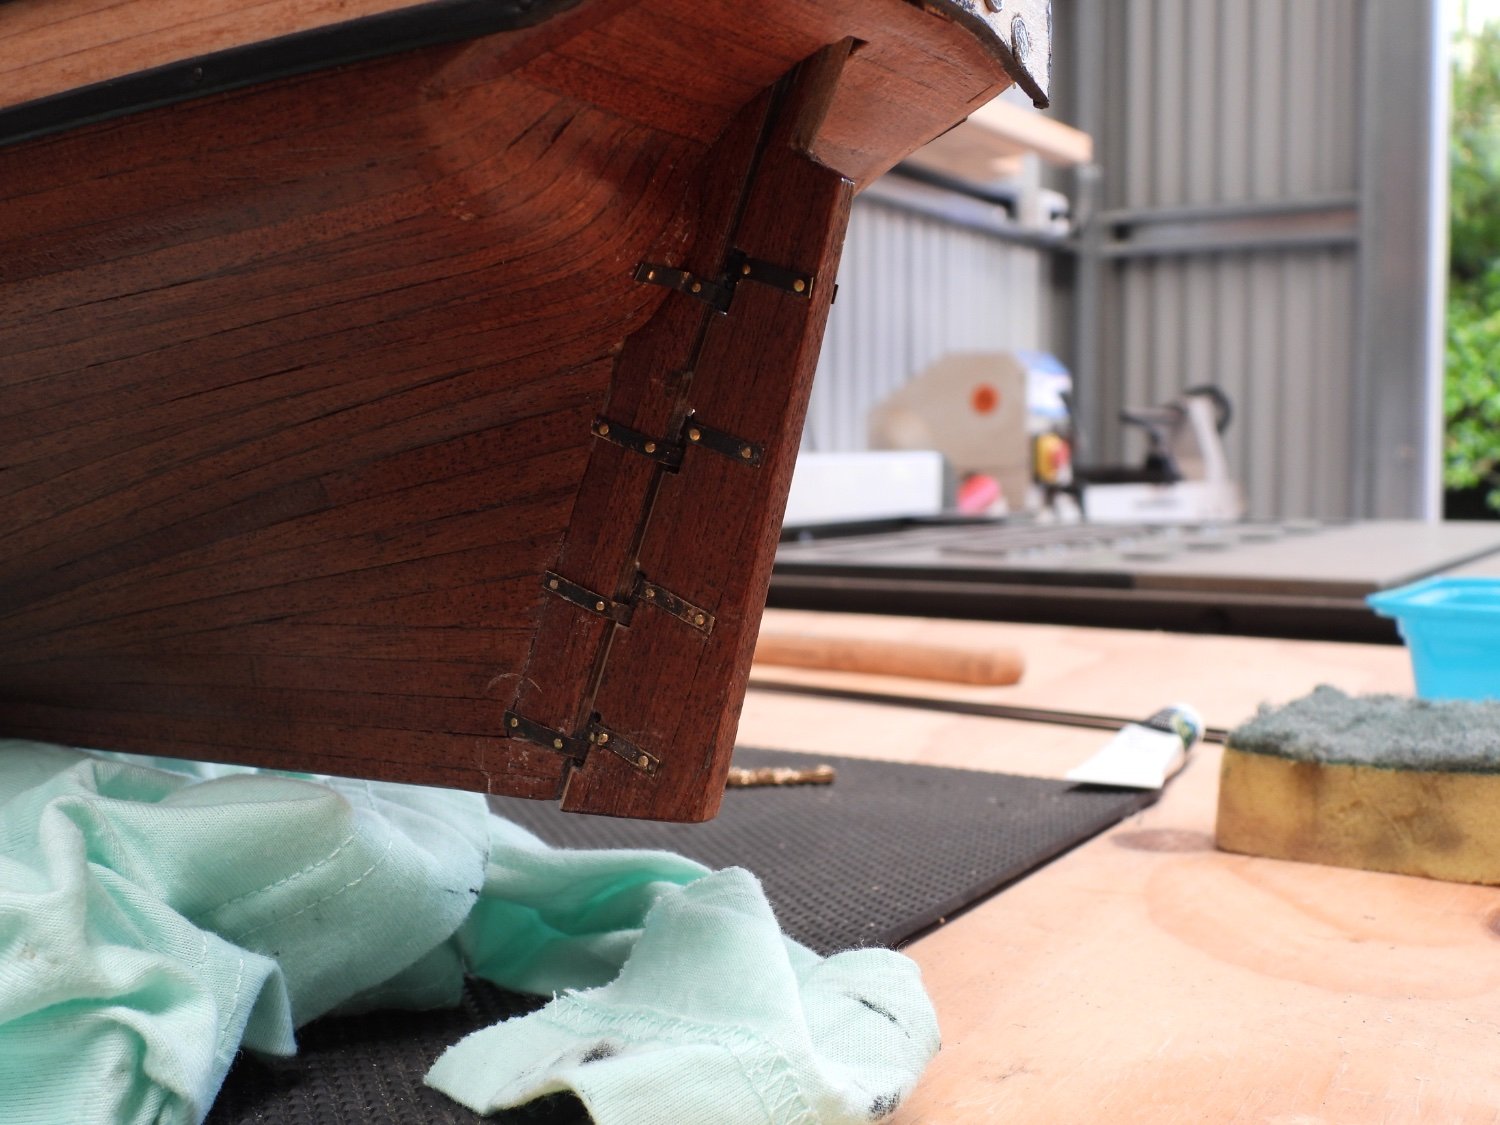
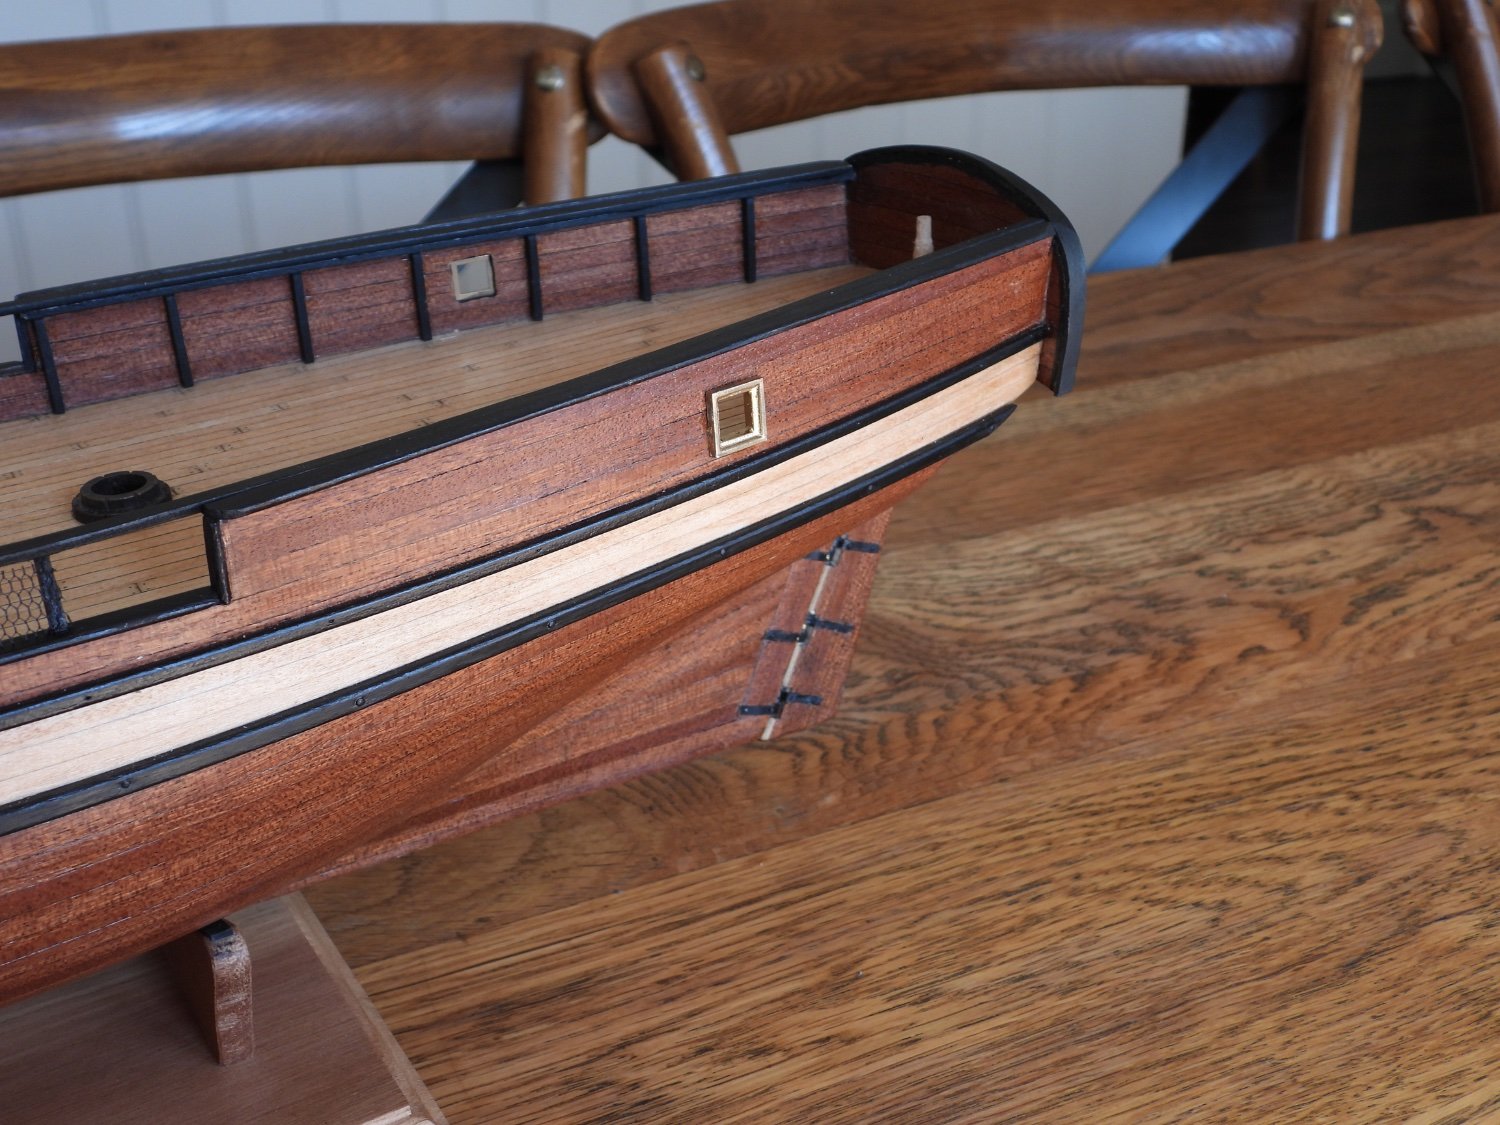
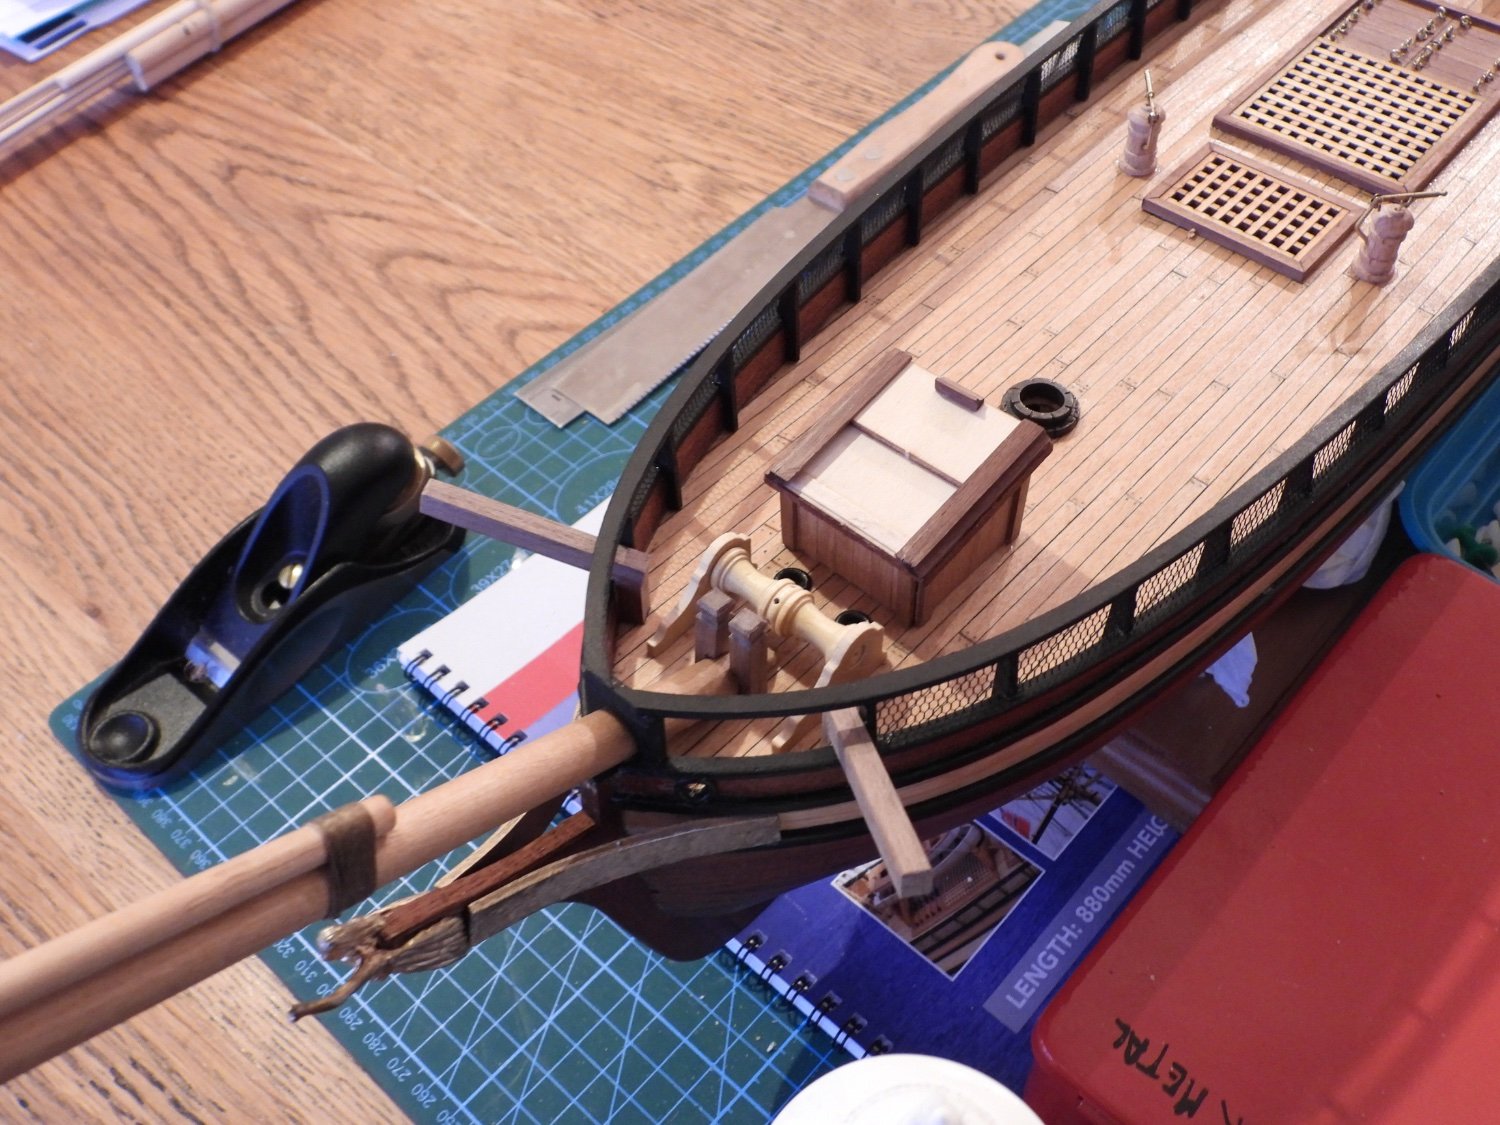
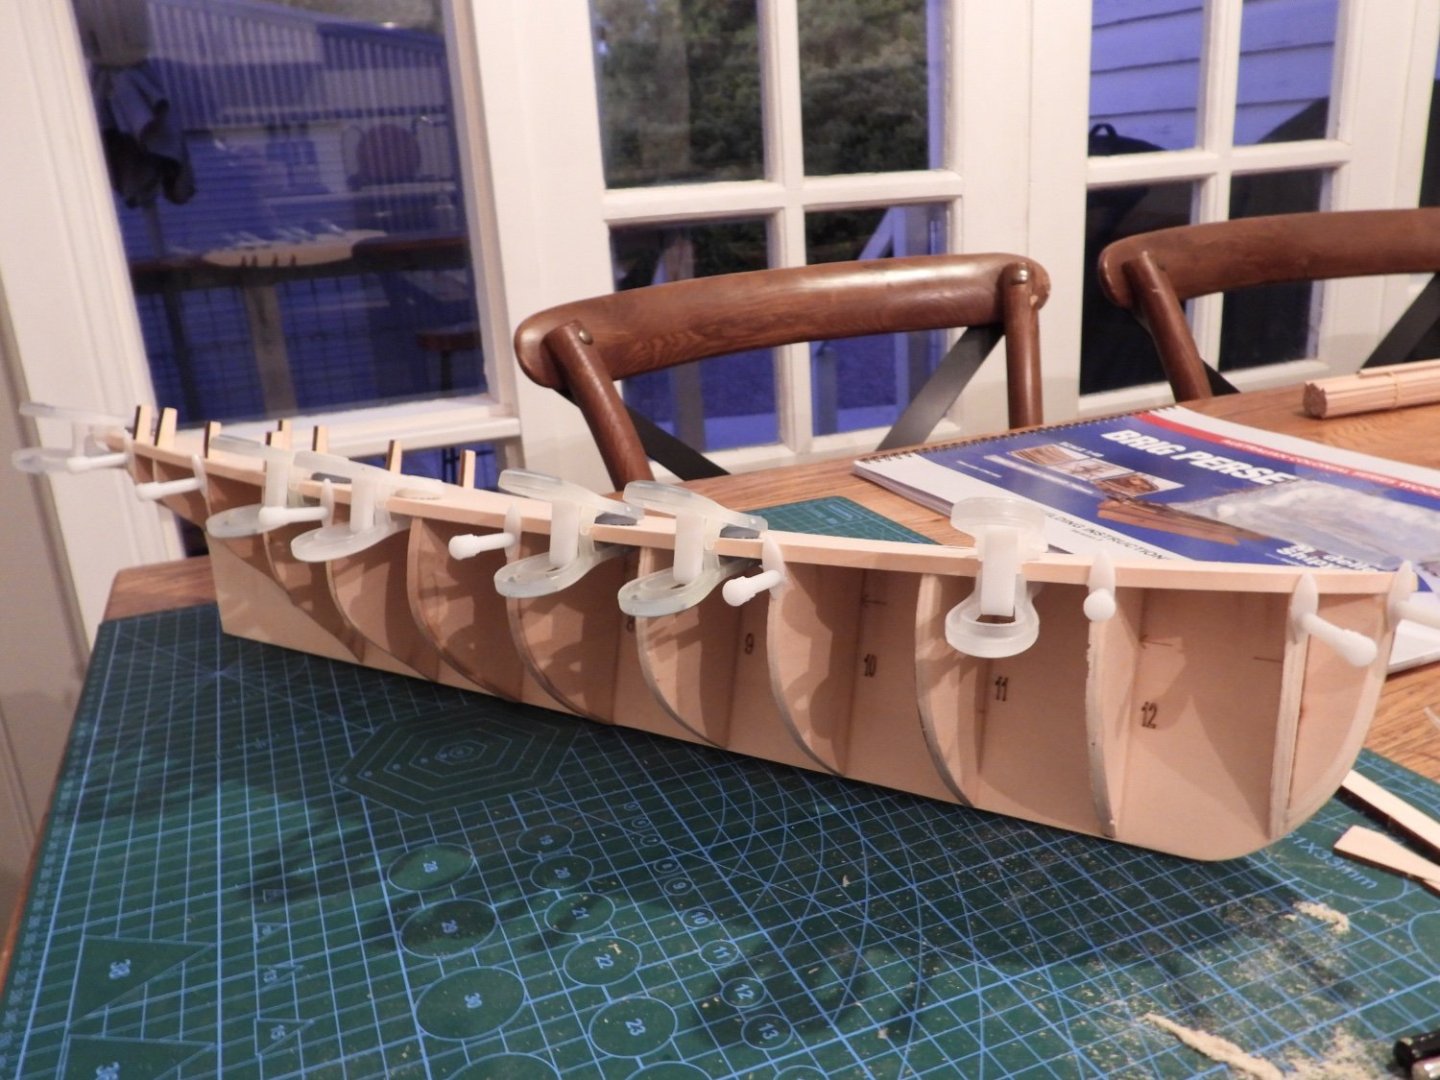
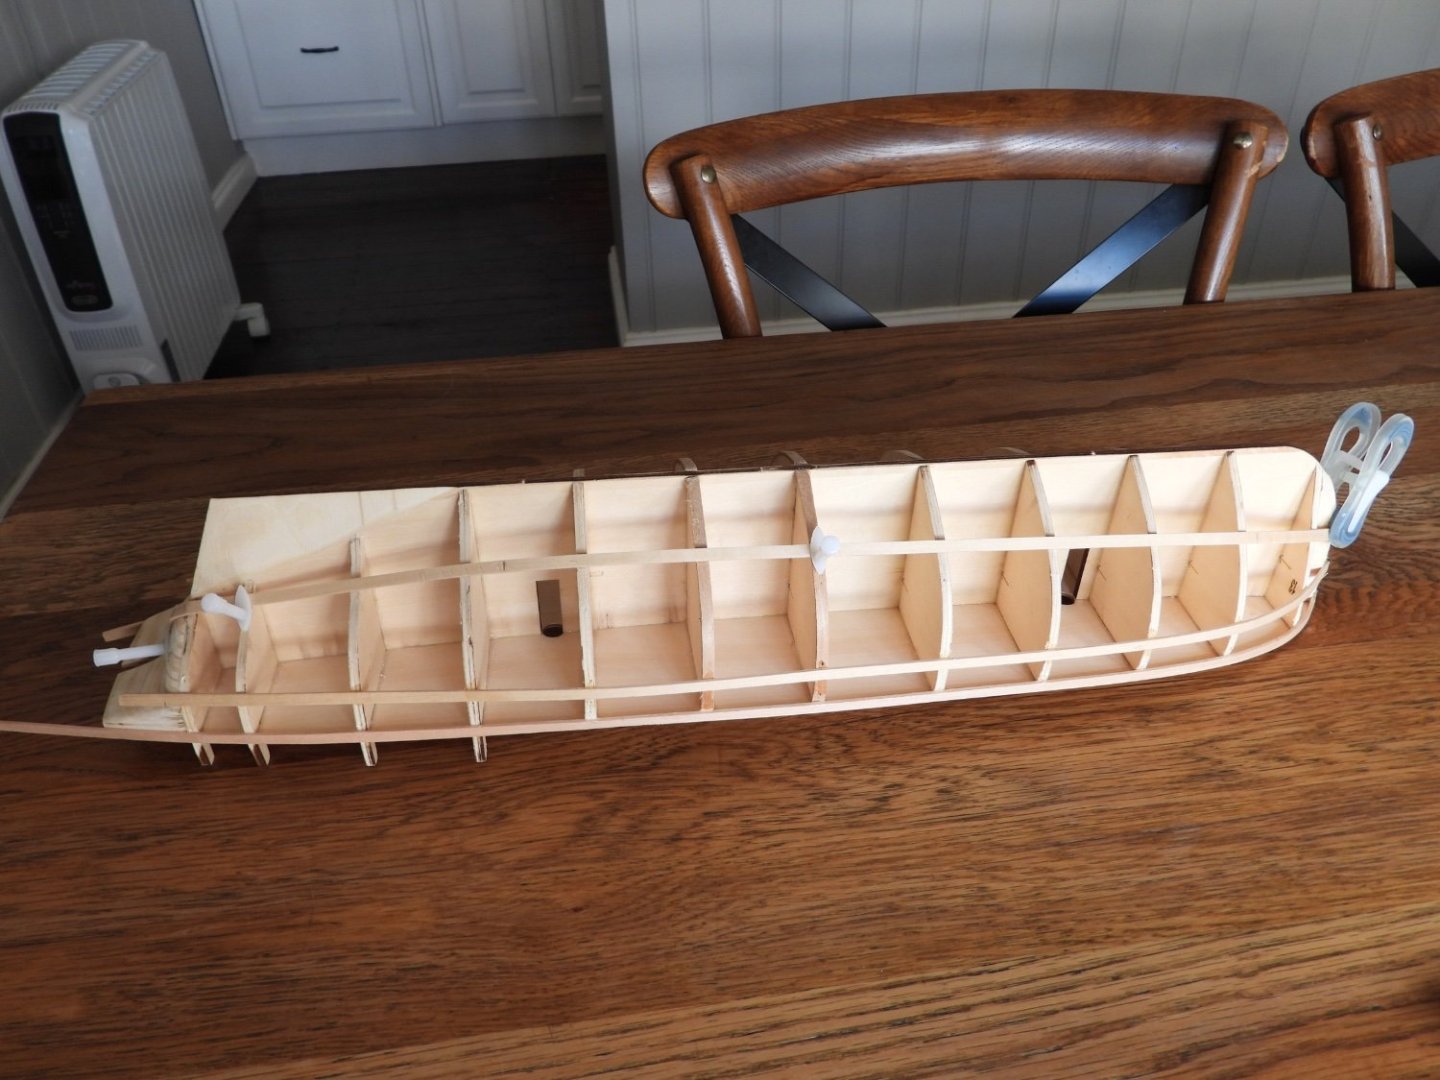
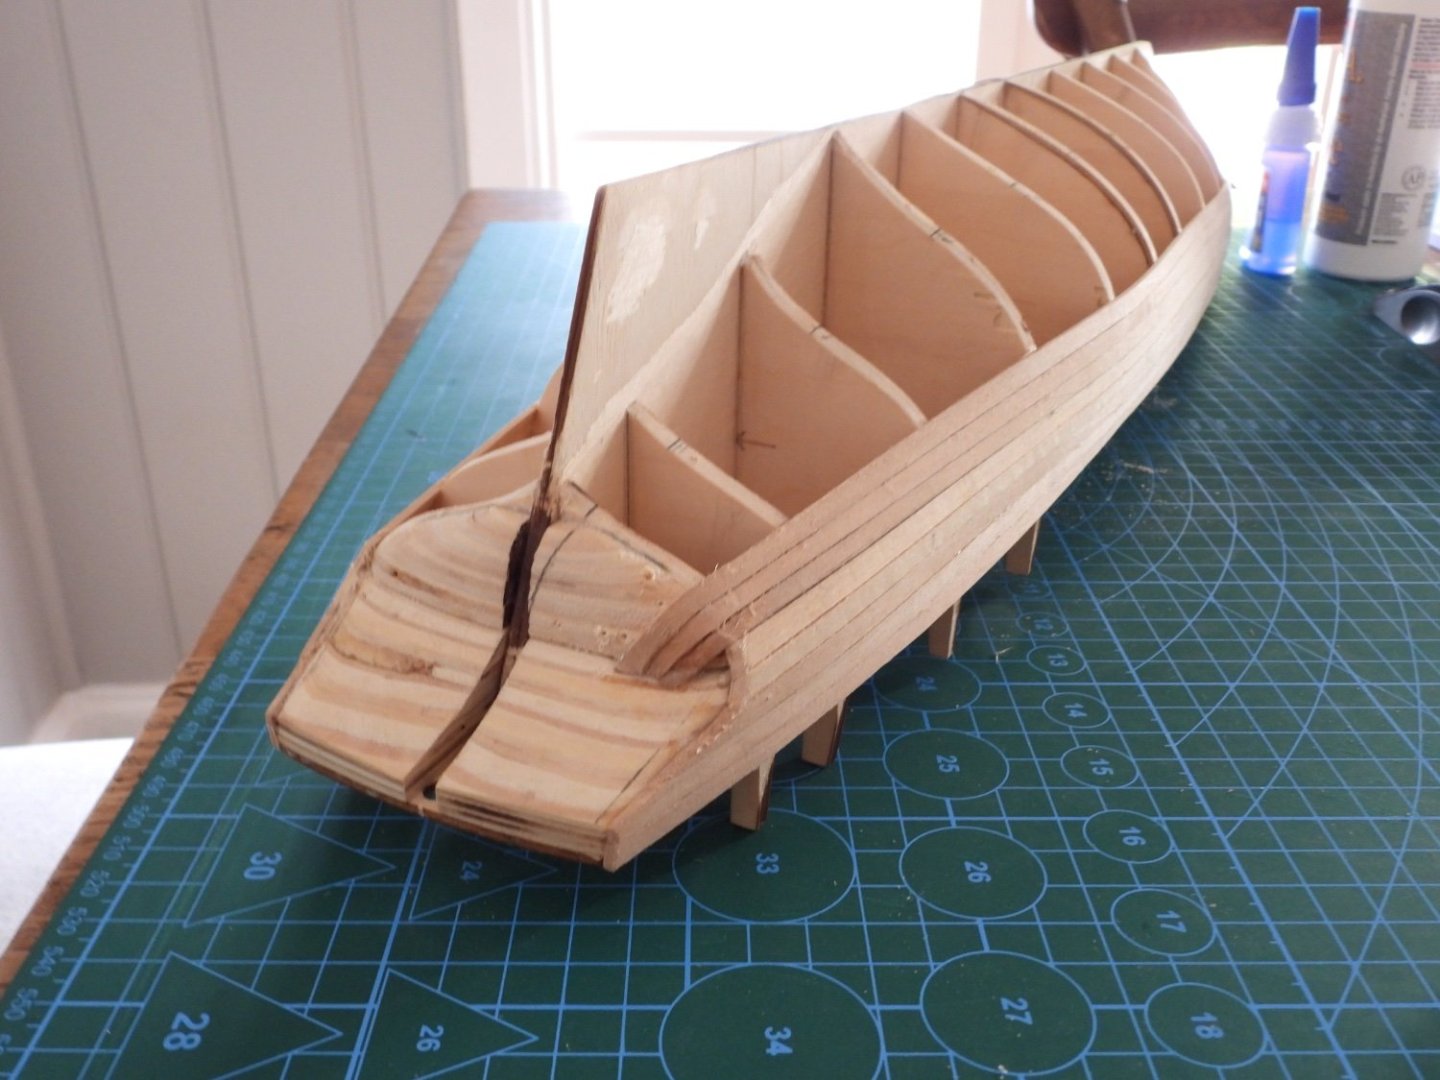
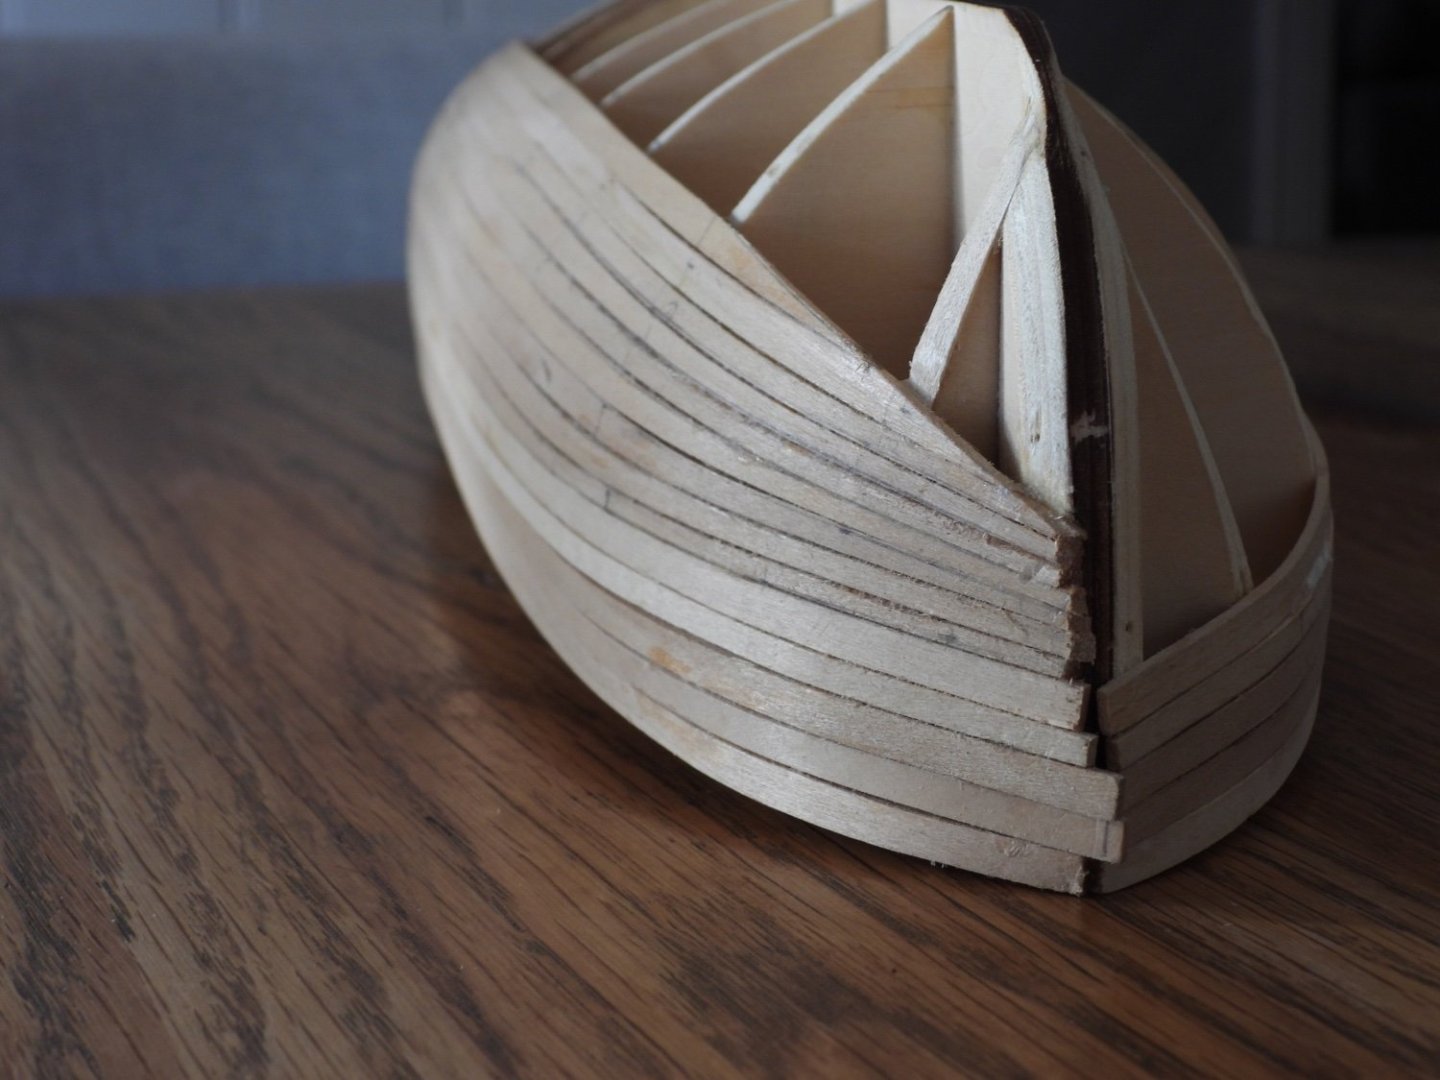
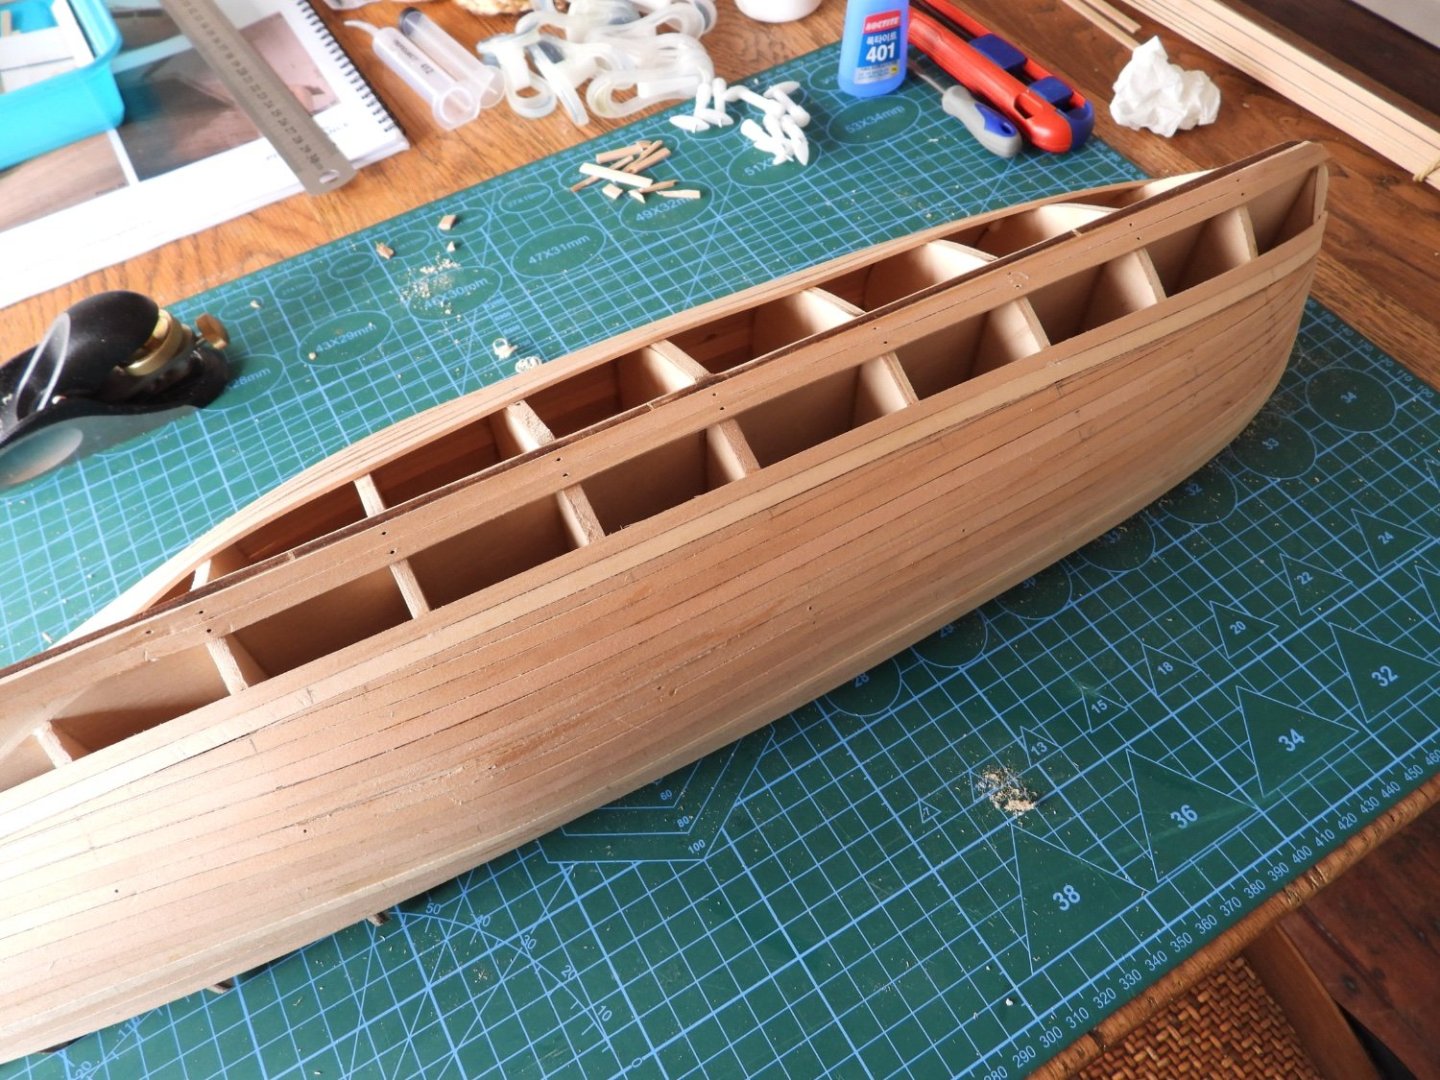
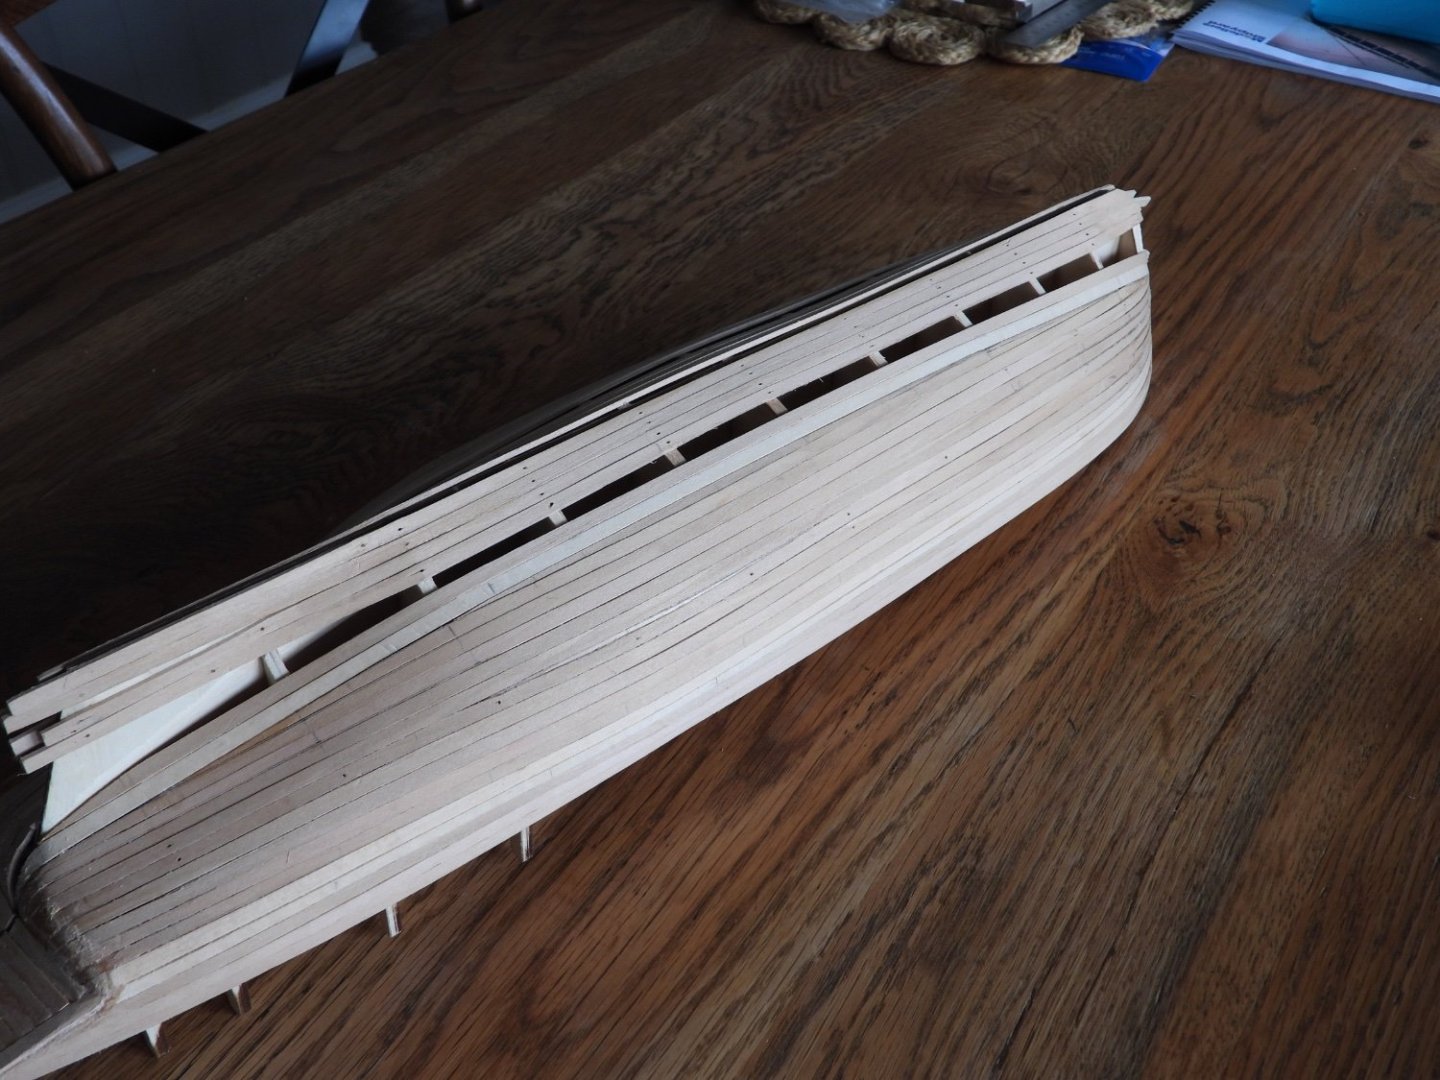
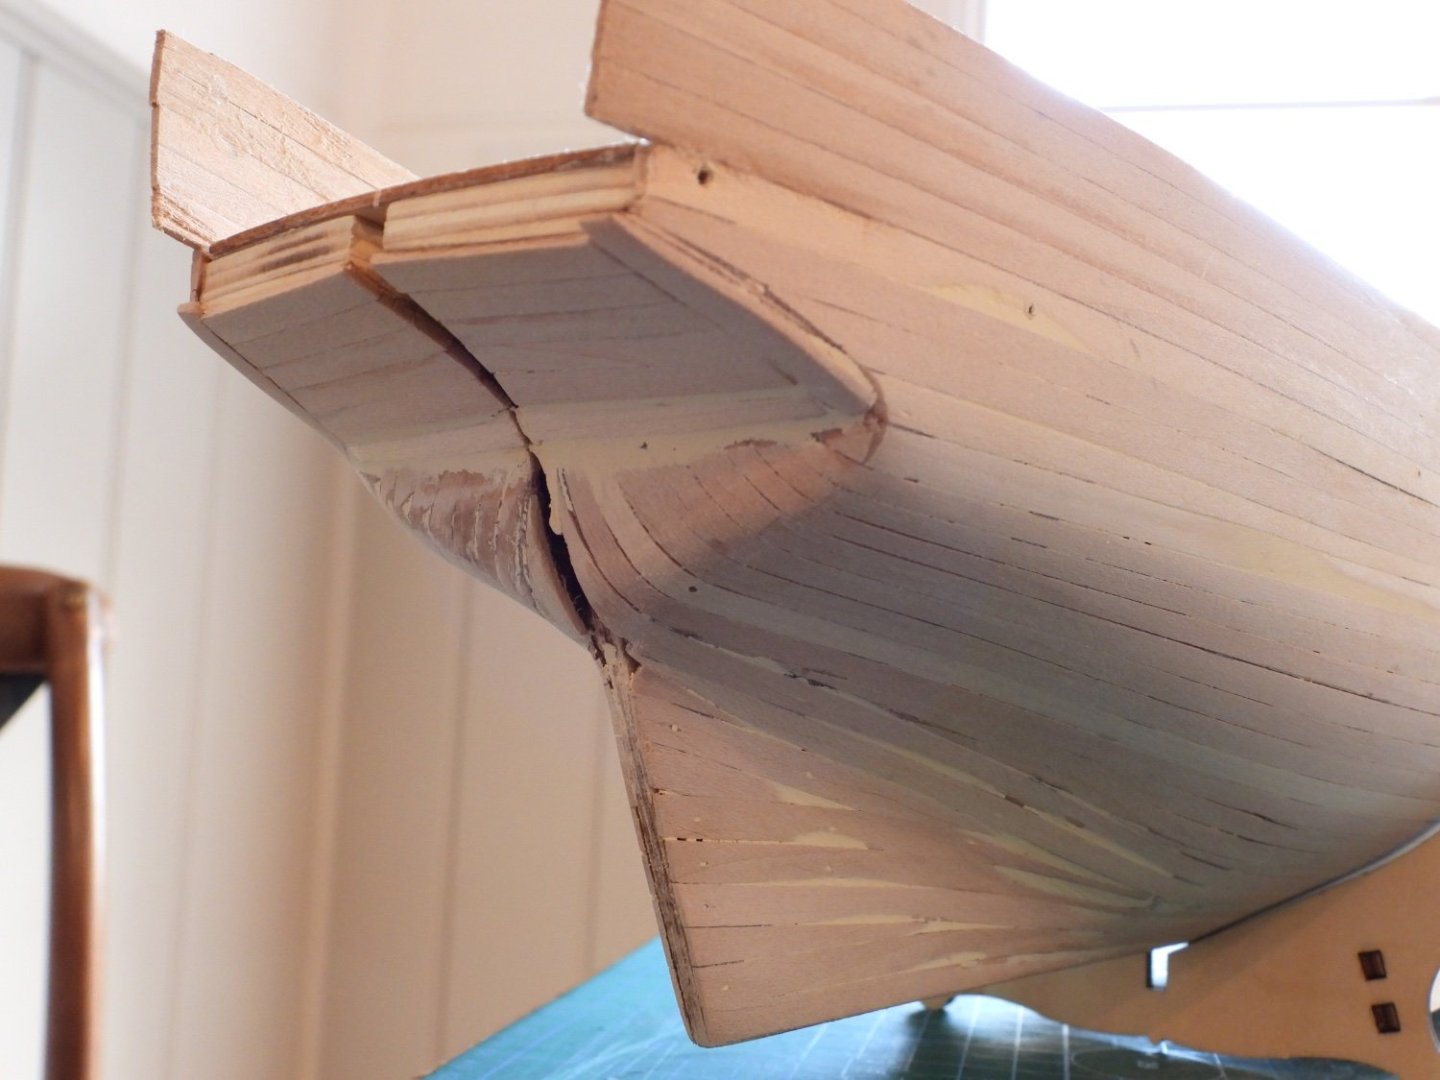
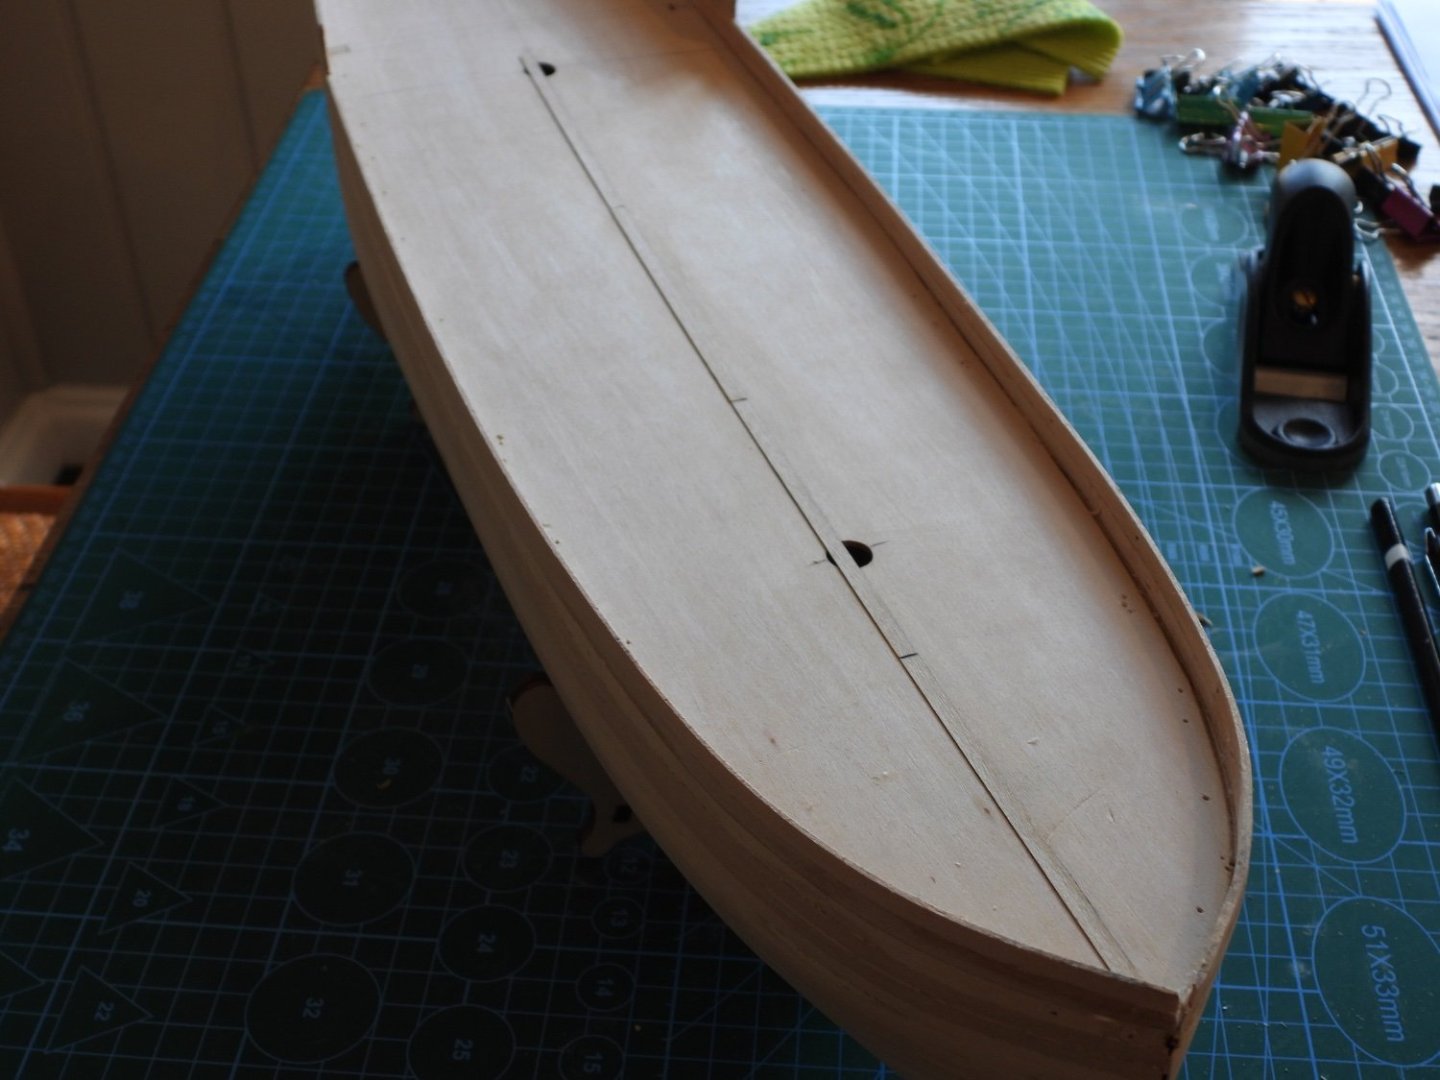
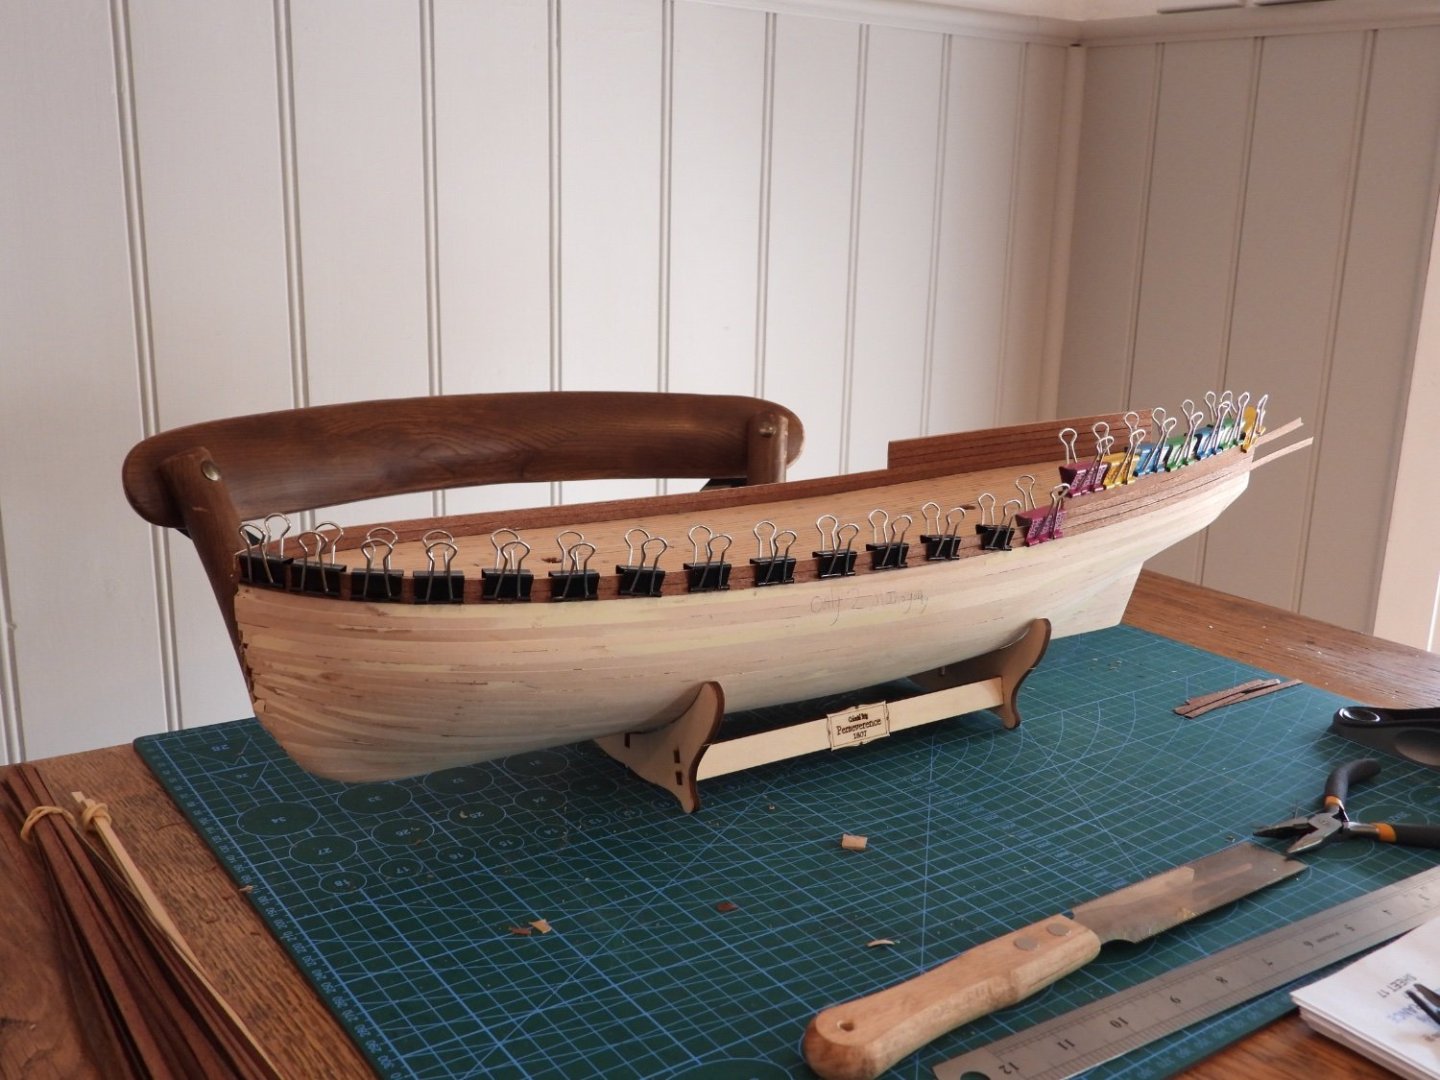
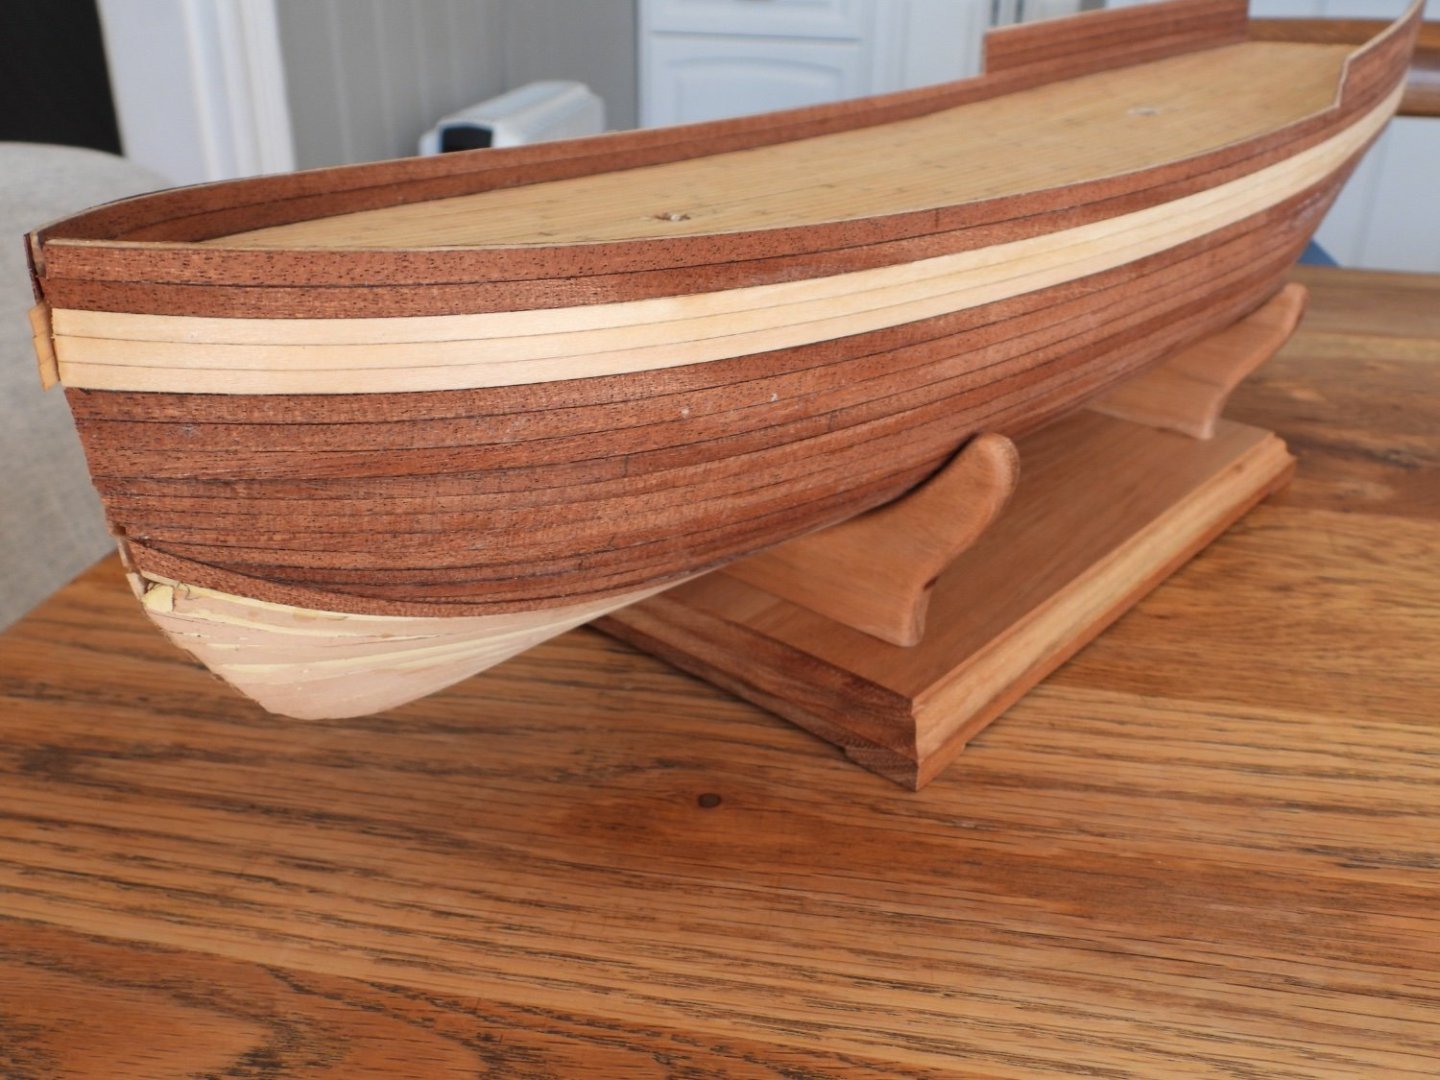
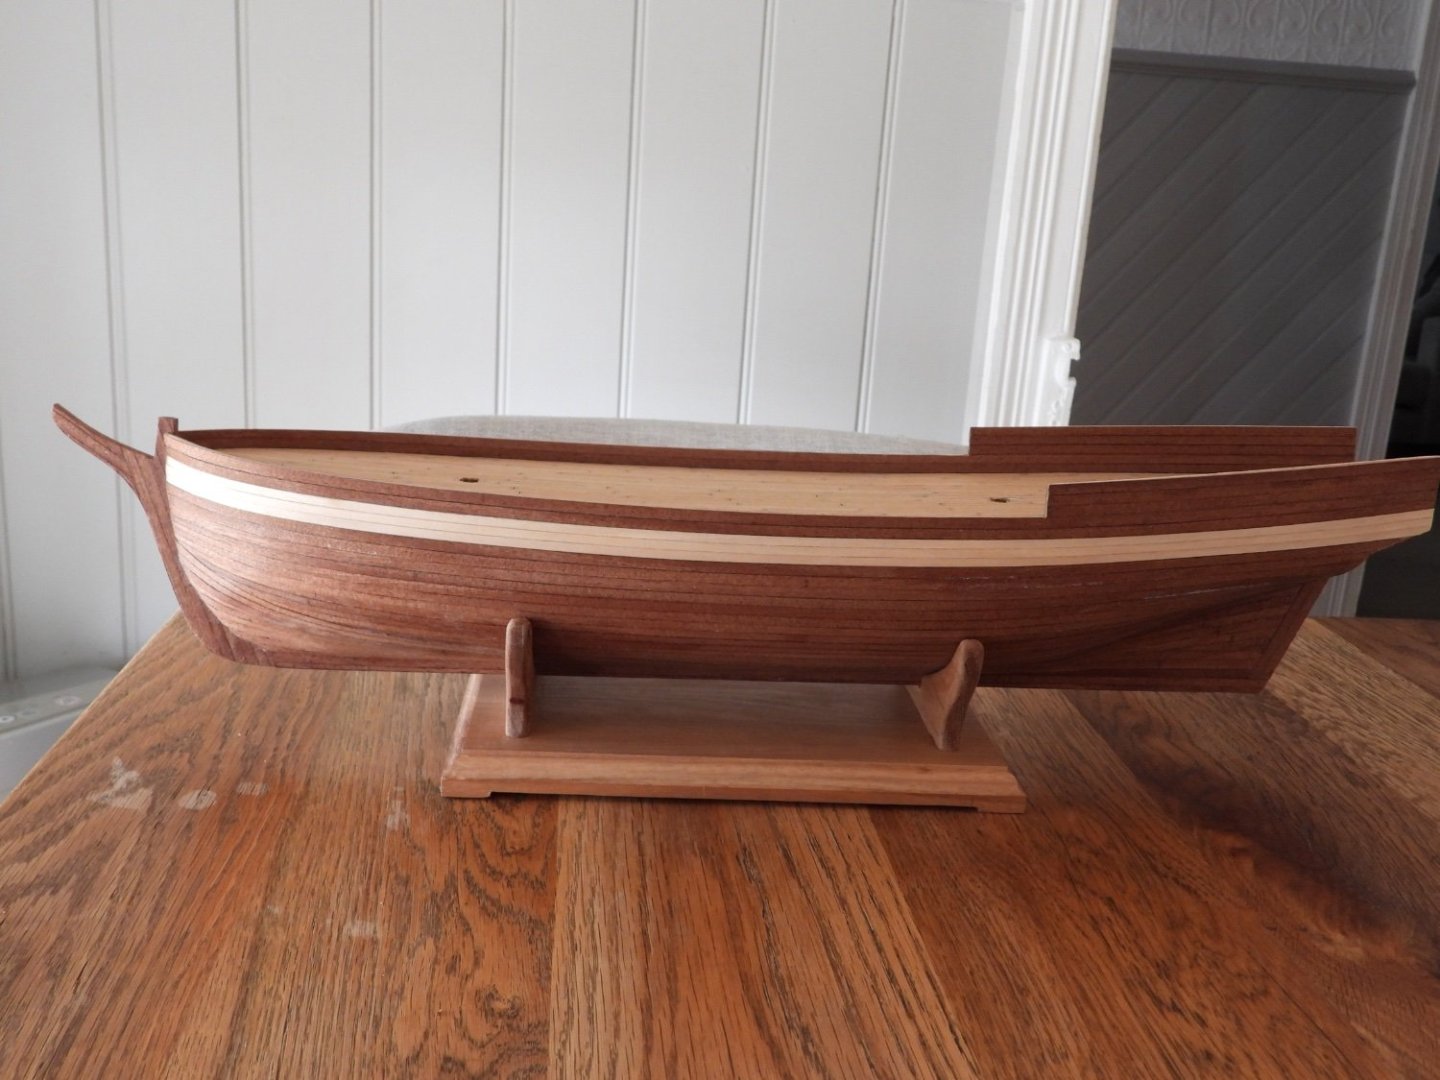
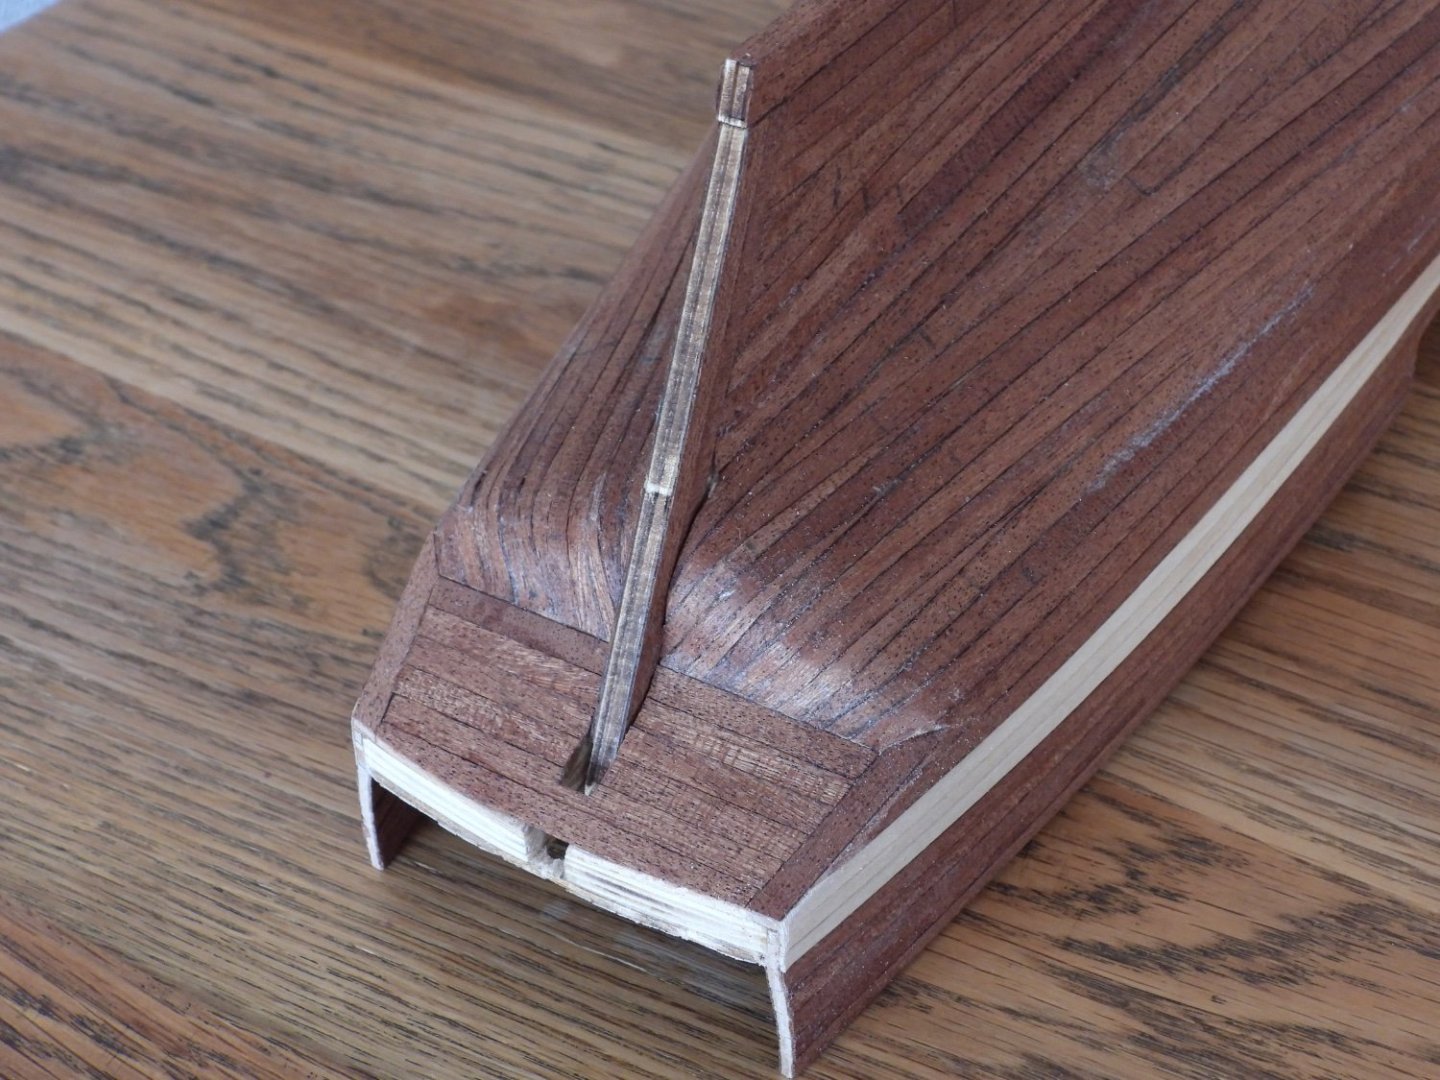
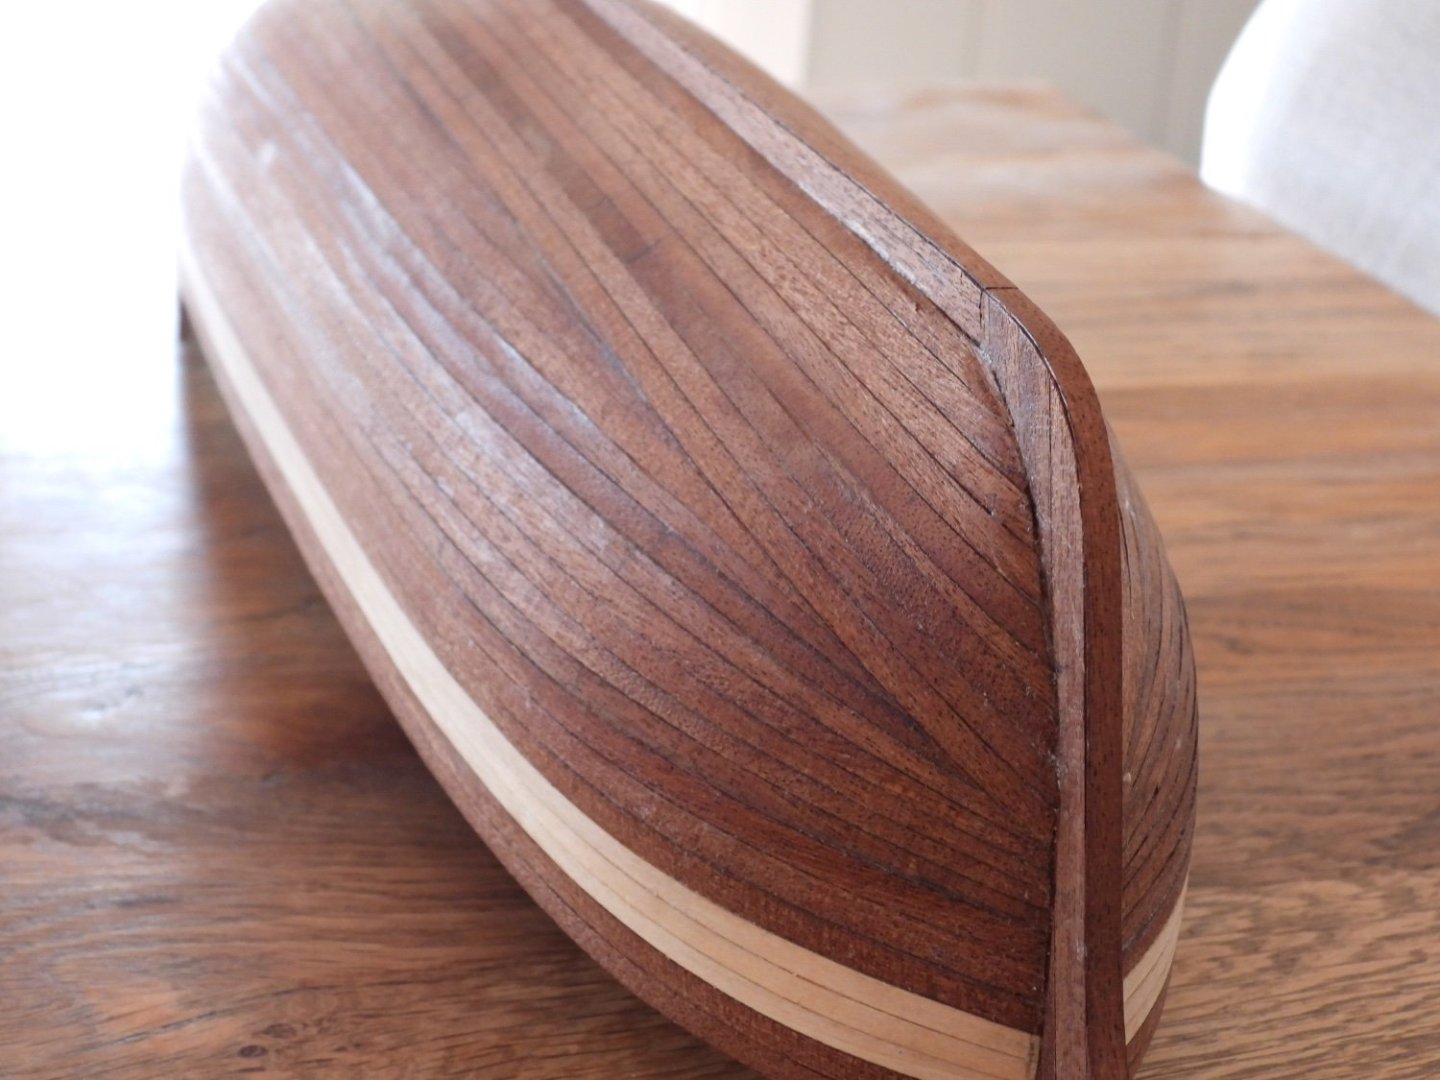
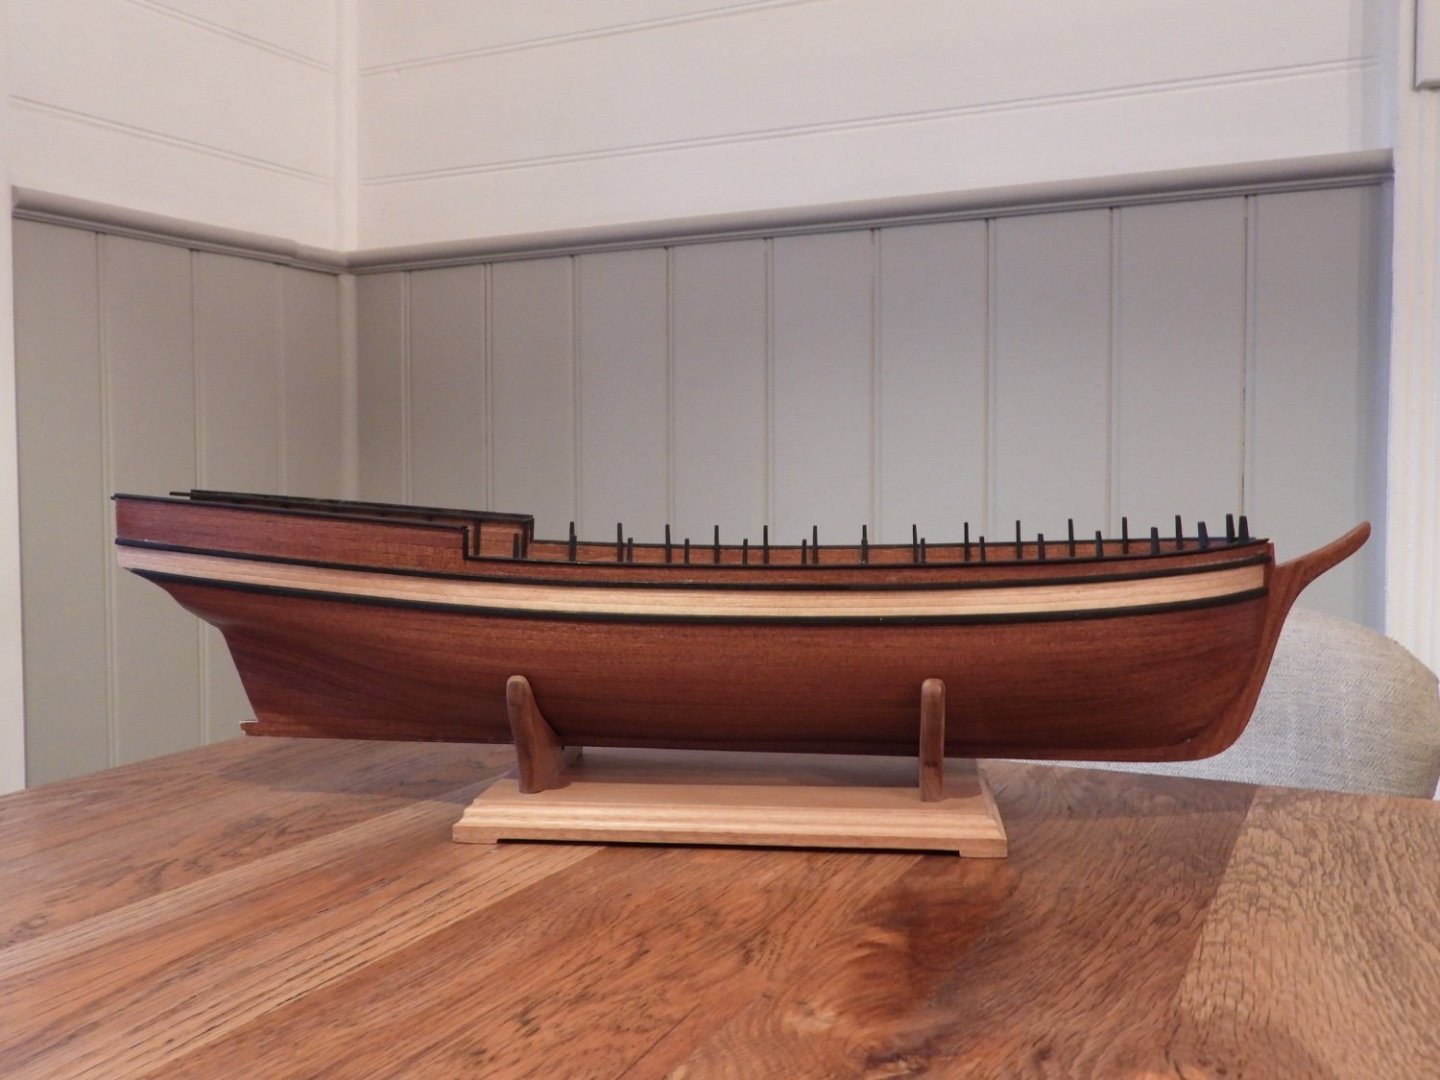
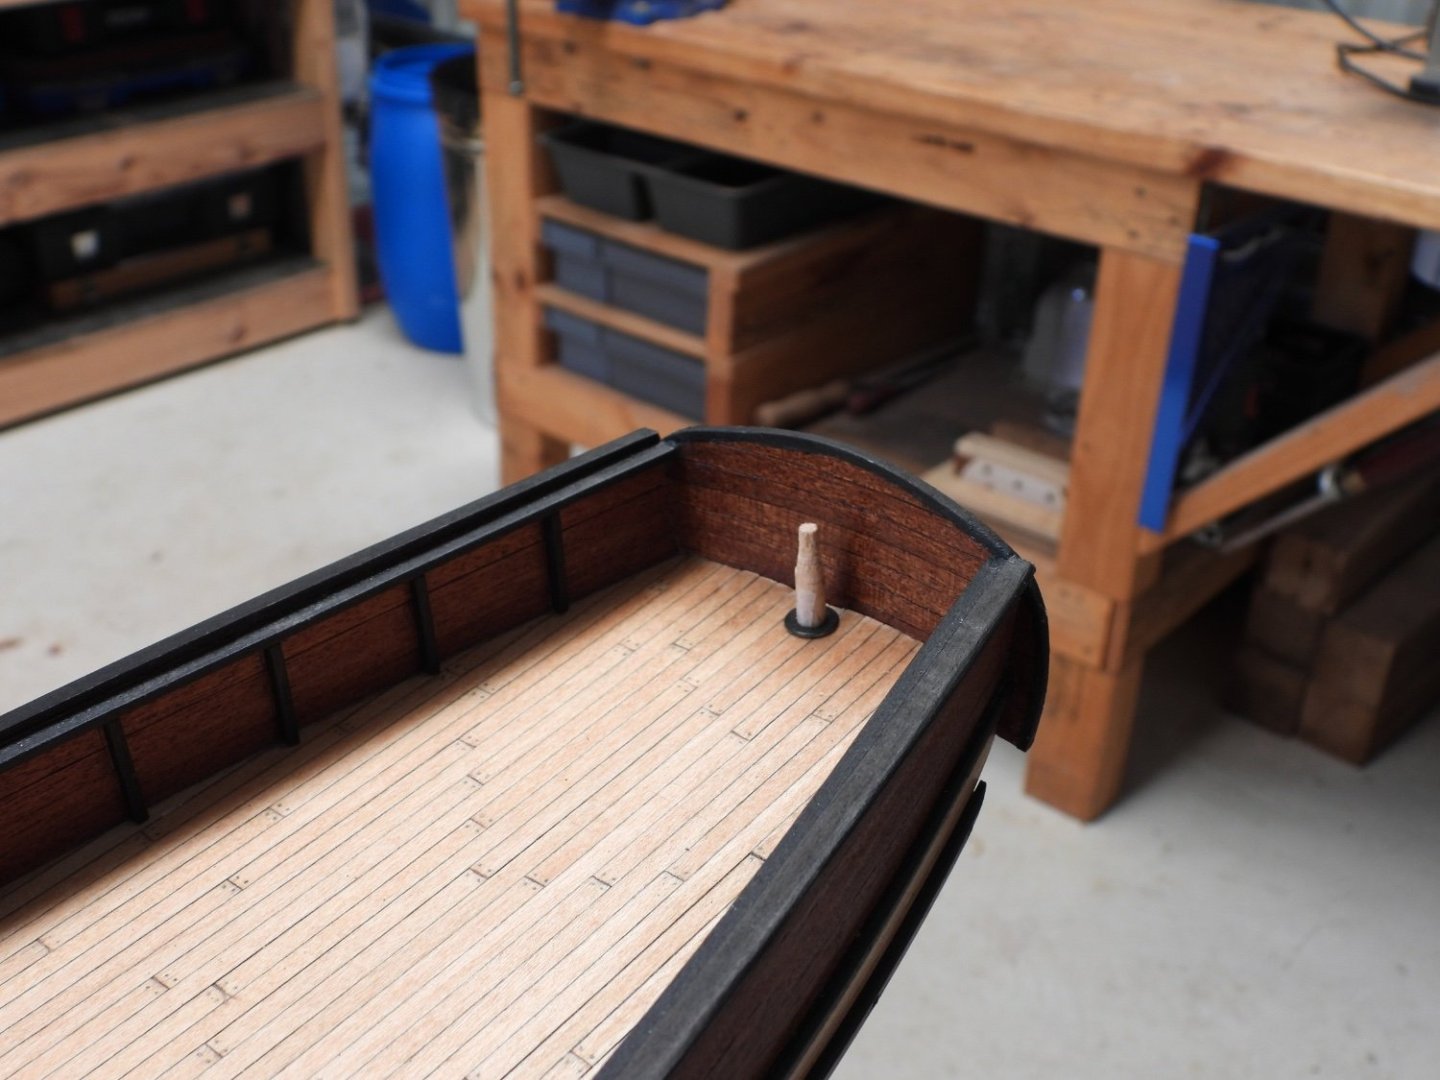
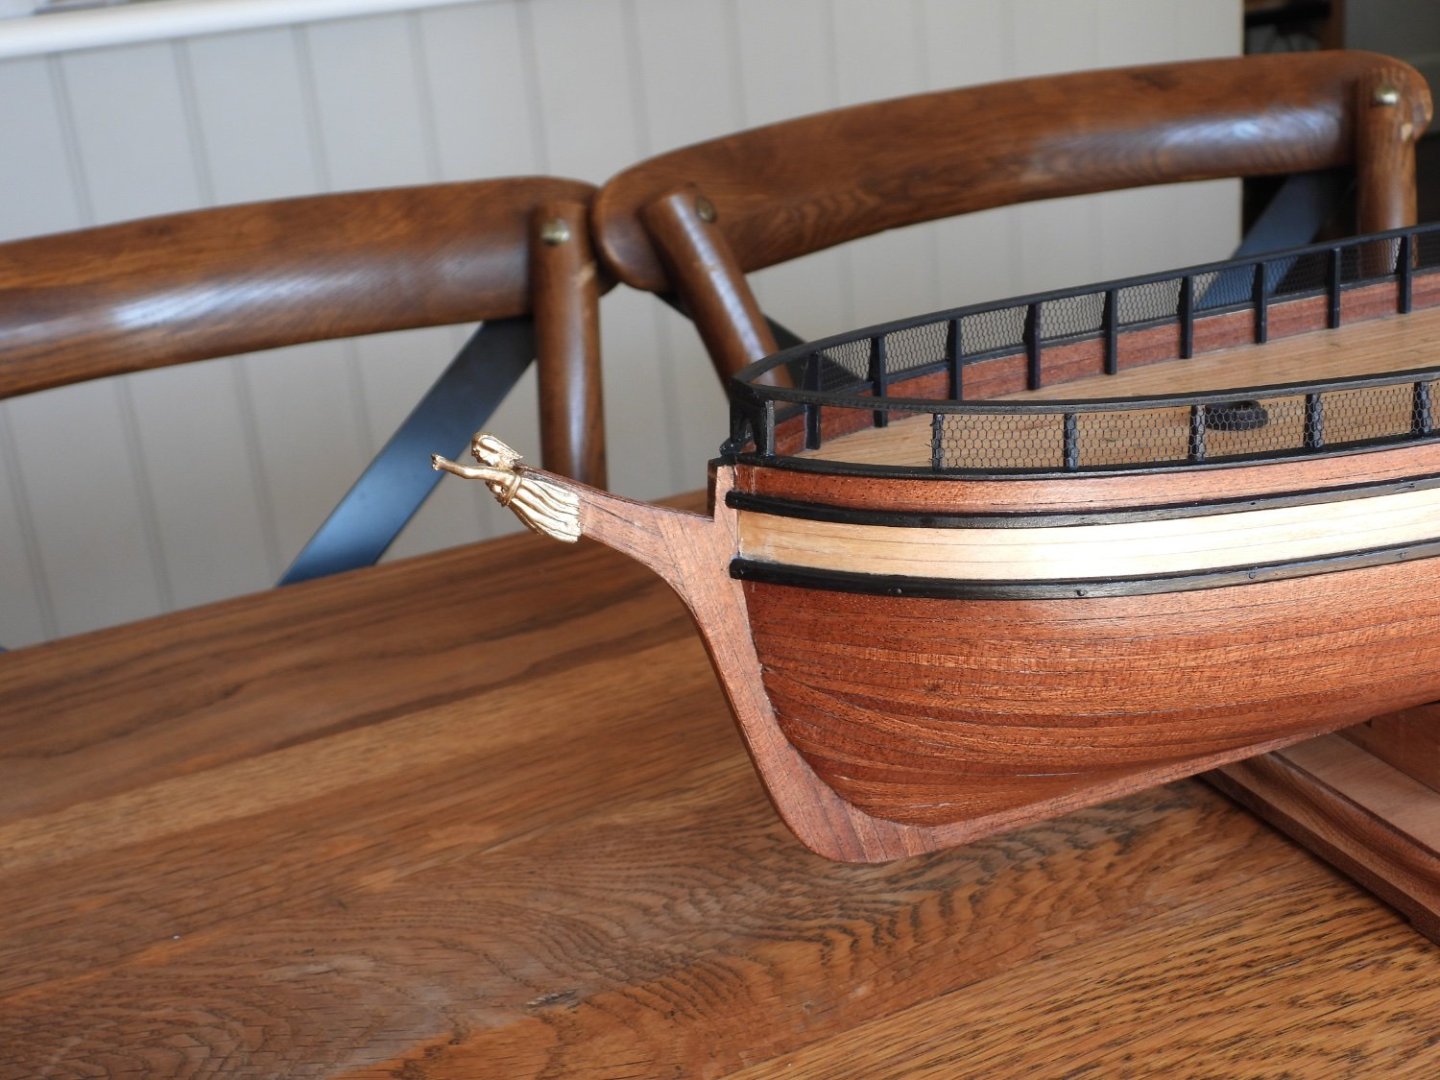
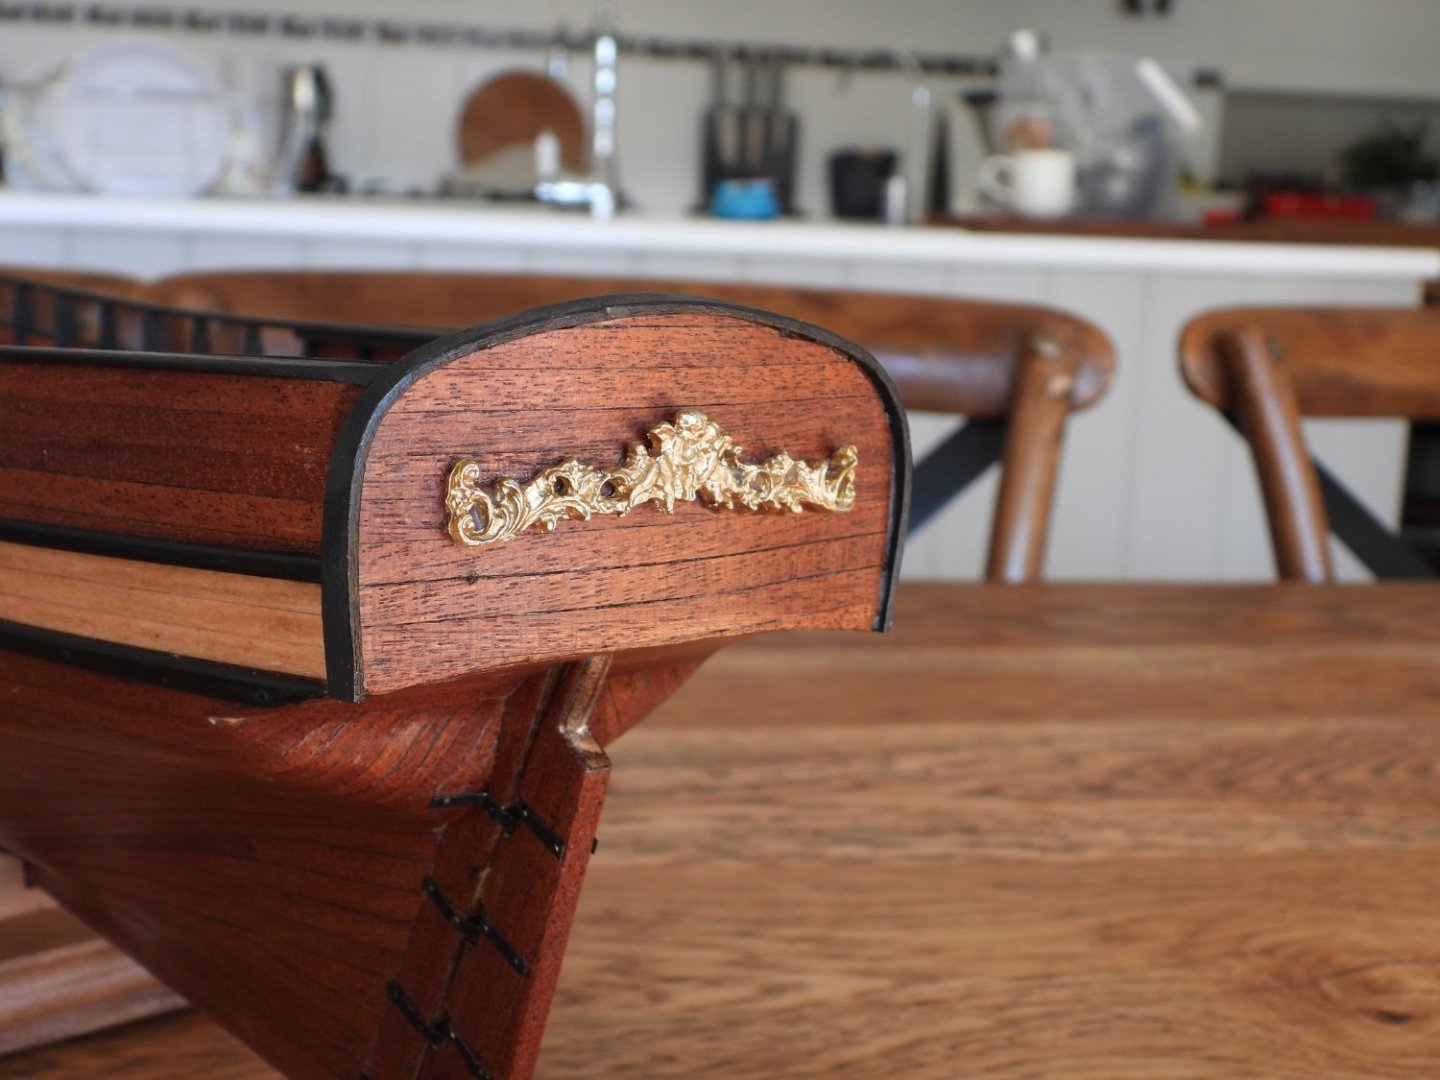
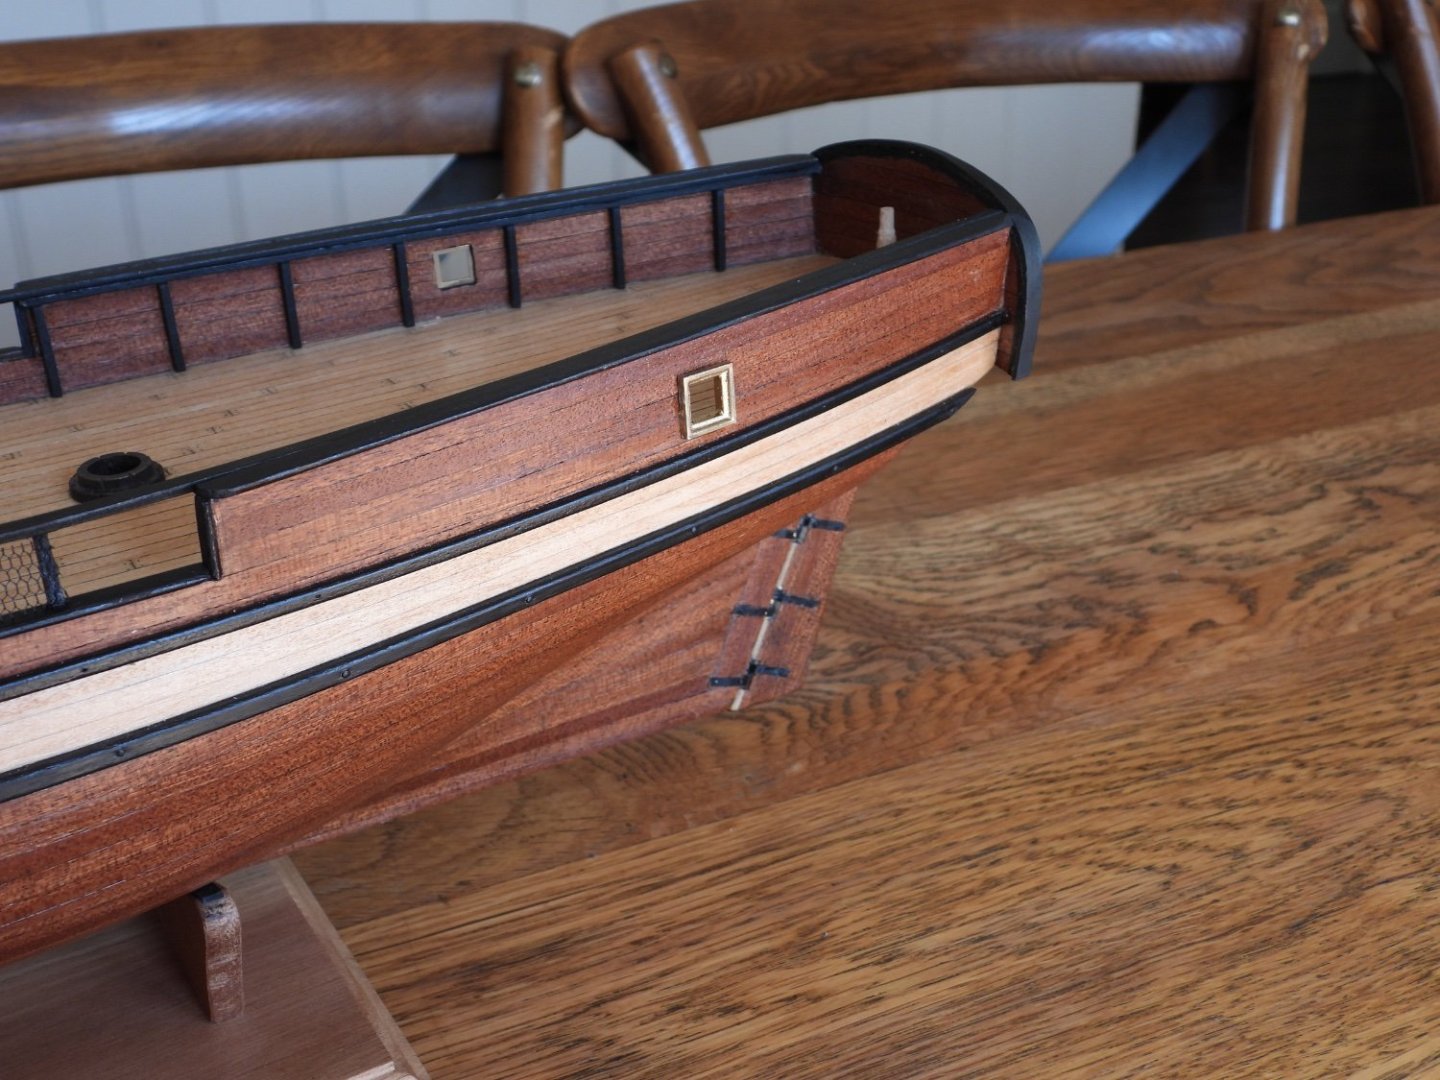
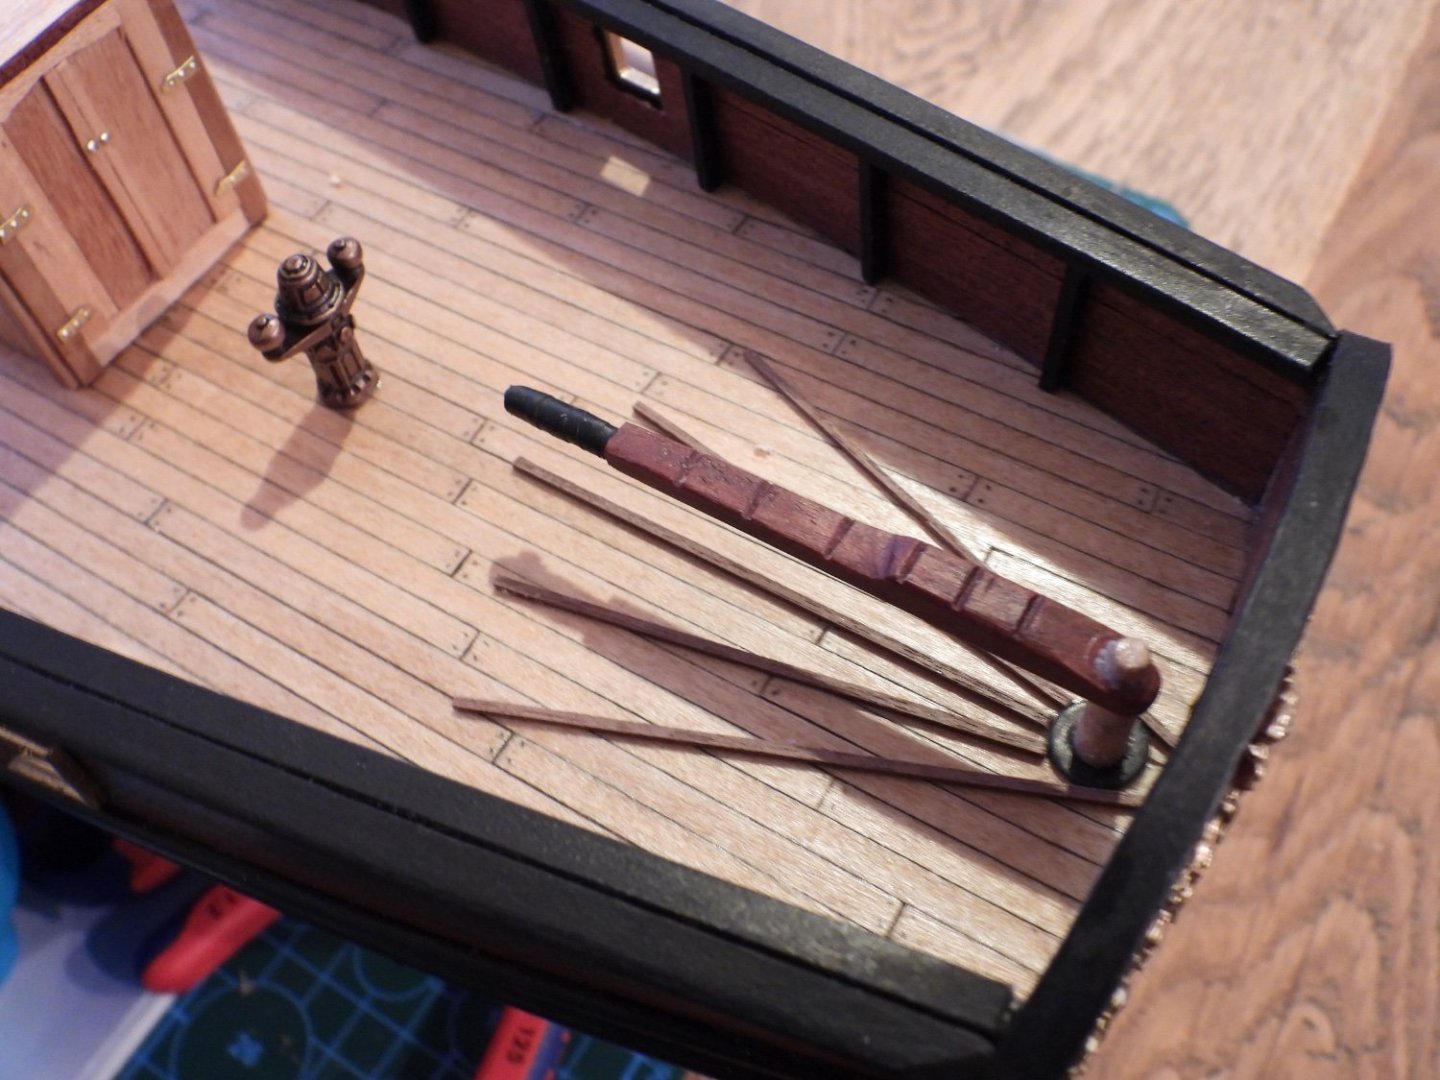
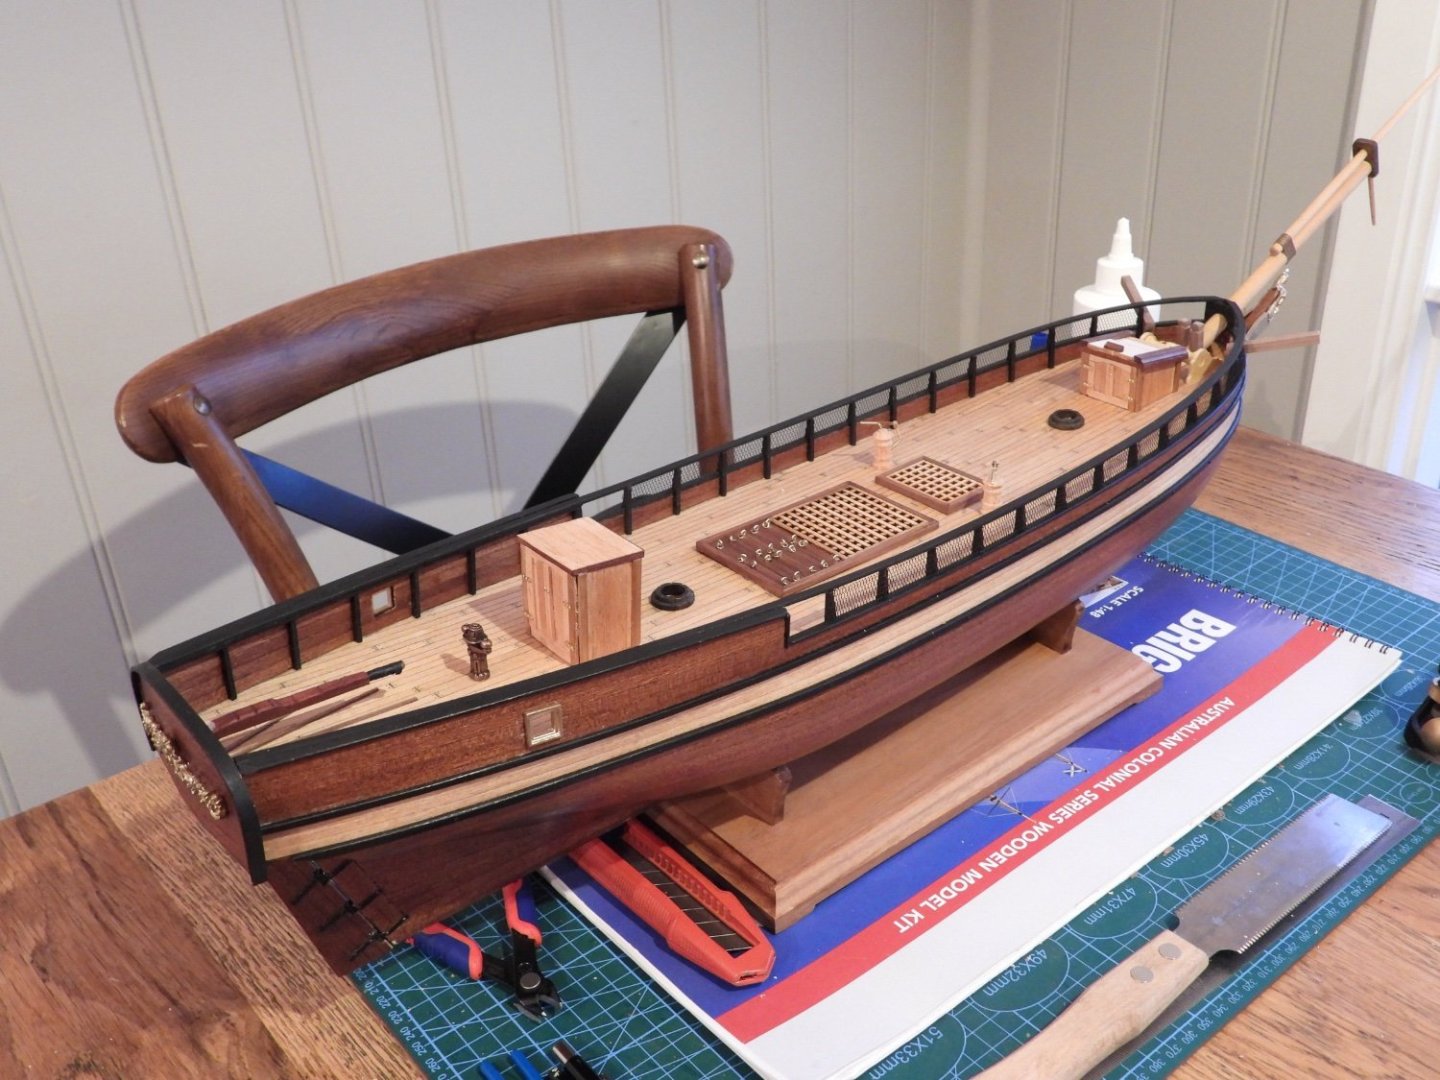
Hi all, I’m 17 years old and this is my first ever model ship I’ve built. I thought I would share my progress. I wanted to build a model ship for a while but didn’t know where to start. I eventually settled on the Colonial Brig Perseverance 1807. It seemed like the right amount of difficulty while still being enjoyably challenging. I also bought the DVDs from modellers shipyard which have helped. I posted all these photos in one go up until I fitted the deck furniture. Up to that point it has taken 4 months. If there’s anything I’m doing wrong please let me know. Bulkheads glued, some of them were the wrong size so a bit of building up and shaping was needed. Fairing complete. Transom blocks glued. Shaping the transom blocks. Gluing upper transom blocks First plank being fitted. Temporarily clamping the plank in between the two planking bands for measurements. I just used the boiling water method for bending. First band complete. More planking. Second band completed. Commencing the third band of planking. First layer planking finished. It’s far from perfect, but I’m pretty happy with the result for the first time. planking all filled and sanded ready for second layer planking. Starting the deck planking, this is where I make my first big mistake. Somehow I forgot that the deck strips I was placing down were not lined up with the bulkheads. I only realised this after the deck was finished so I wasn’t going to remove them. I now know how to plank the deck properly on my next one. Starting second layer planking. I started off using PVA glue but it was too hard to hold while the glue set. I then moved to CA glue which was a pain to apply and also seeped through the grain making it stick more to your fingers than the ship, which pulls the plank away. I had a look at contact cement but seen too many bad reviews for model ships. So I just continued with CA glue but just adding a bit as I went. it also didn’t help that the mahogany was so brittle either. Any recommendations and/or tips would be much appreciated. Got there in the end. I definitely could do better as there are small gaps here and there but overall I thinks it’s ok. I definitely will not be using mahogany for planking ever again. Lightly sanding by hand. I applied 3 coats of sand-n-seal, then 5 coats of satin varnish. Transom cap steam bent and planked. It’s only planked on the inside for this moment. I didn’t know how to attach it other than nails. Once I glued it on I planked the outside. Gun whales and posts in place. Rudder attached. I made a mistake with the transom cap. I think it was supposed to be fitted at the same angle as the rudder post, if not it’ll hit the transom cap. I just added an extra piece to make it fit at a 90 degree angle. Figure head and transom decoration painted gold and fitted. Cargo ports cut and ready for frames. Cargo port frames installed. Bowsprit in place. Gluing most of the deck furniture. Cat heads in place. Anchors and cat head rigging finished. This is my progress so far.


- 177 replies
-
- 17
-
-
- Perseverance
- Modellers Shipyard
- (and 1 more)