
Isaiah
-
Posts
144 -
Joined
-
Last visited
Content Type
Profiles
Forums
Gallery
Events
Everything posted by Isaiah
-
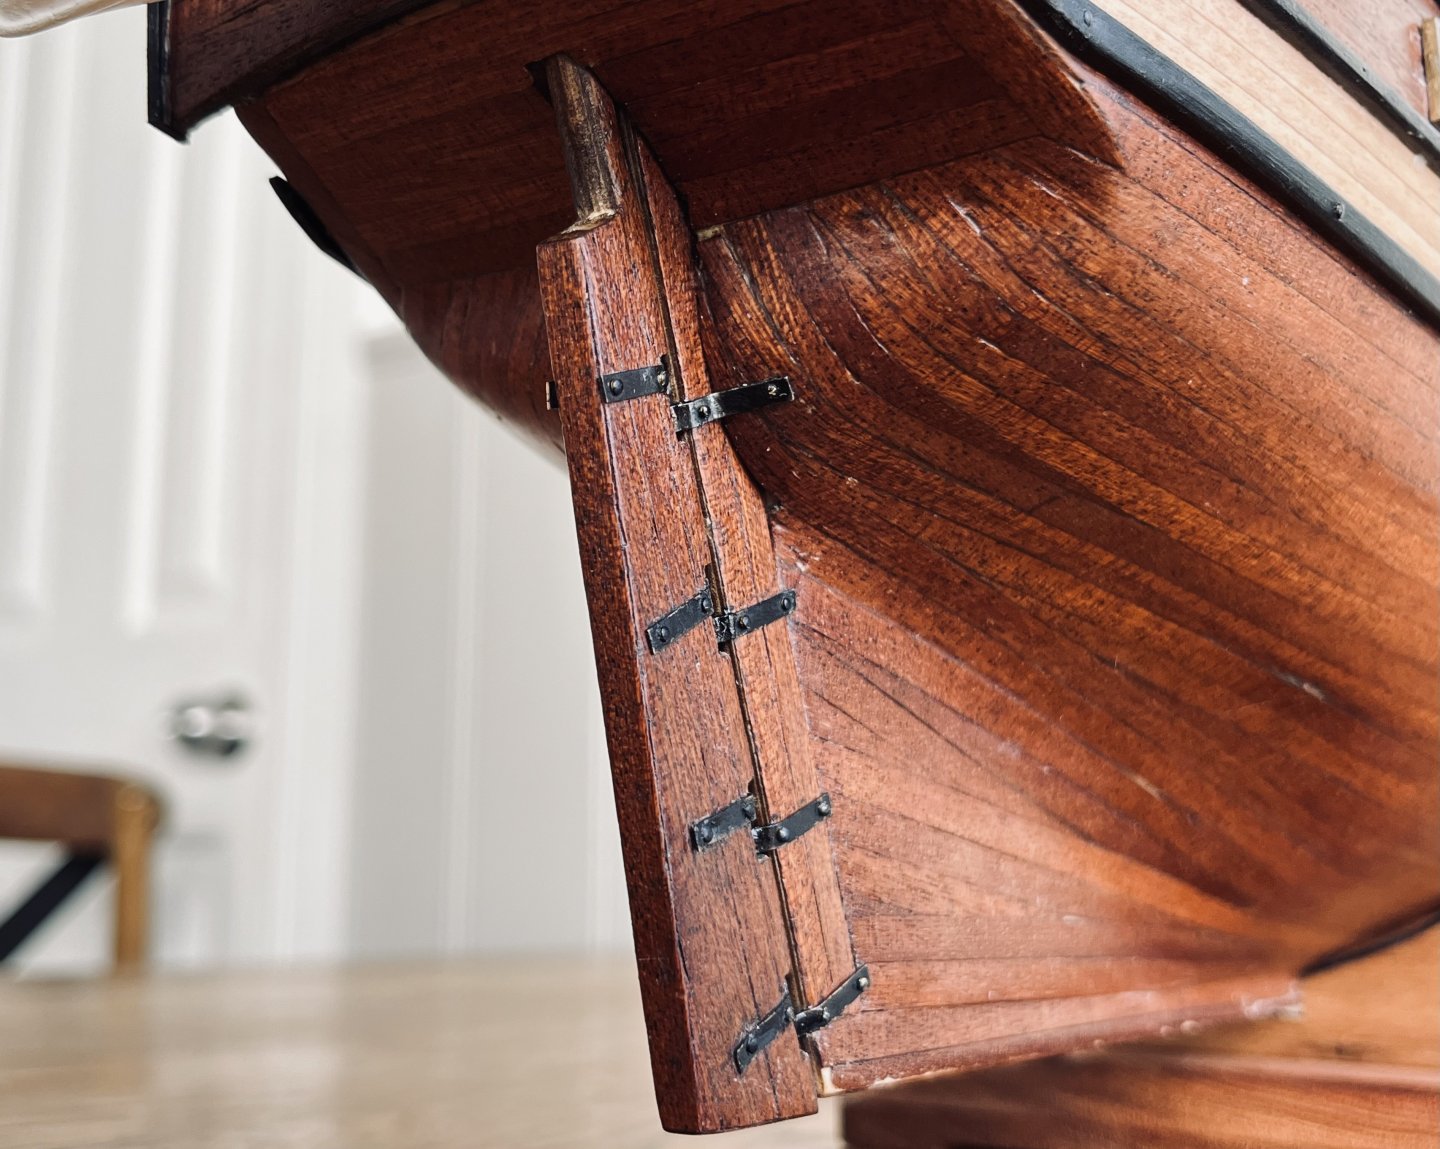
 What would you say’s wrong with the pins? Are they too small?
 -
I’m following your build as well. It’s not Ropes of Scale. I think it might be Amati cord. Ropes of scale rope only comes in 6 metre lengths. Good point about the standing rigging. Coal or black tar came much later so brown or pine tar would be better.
- 12 replies
-
- 1
-

-
- vanguard models
- cutter
- (and 1 more)
-
Pretty late here but anytime a blade or mill passes out the back of your wood piece there will almost always be tear out. Using masking tape or duct tape at the end of the cut or really anywhere the surface is exposed to the blade. helps quite a bit. Clamping a sacrificial piece of wood on the end also helps.
-
And I also bought the fore and aft rigging book by Lennarth Petersson.
- 12 replies
-
- 1
-
-
- vanguard models
- cutter
- (and 1 more)
-
Yes I would, even though I want it to be accurate, I’m going to focus more on making a good looking build. I don’t mean compromise accuracy, obviously I’ll try my best to have both worlds.
- 12 replies
-
- 2
-
-
- vanguard models
- cutter
- (and 1 more)
-
I like how Thukydides organised his log so I’m copying. You will be able to easily find any part of the build. Table of contents Log #1: research and preparation ——————————————————— Log #1: Research and preparation This is the start of the Sherbourne build log, the kit won’t be arriving for another 2-3 weeks but anything that I should be aware of or extra parts I should get please let me know. I will be replacing all rope with Ropes of Scale and the kit blocks with Syren blocks. I will also get thimble blocks from Syren for the backstays. I don’t have an airbrush and I don’t like the idea of using spray paint for the hull. I just bought white acrylic paint so what I might do is only use spray paint as a base coat, then apply a thinned down white acrylic. I’m already thinking about gun tackles and I know I’ll need at least 2mm blocks. I don’t think there’s really any available though. Only Vanguards blocks but they’ll be different to Syren blocks. Will I just have to make them?
- 12 replies
-
- 5
-
-
- vanguard models
- cutter
- (and 1 more)
-
I’m just confused because the plan before your drawing has a straight bow, but then you said you’re redesigning to make a straight bow?
-
Thank you all for the compliments, I’ve just ordered the Sherbourne so I’ll be starting that as soon as it arrives!
- 177 replies
-
- 2
-
-
- Perseverance
- Modellers Shipyard
- (and 1 more)
-
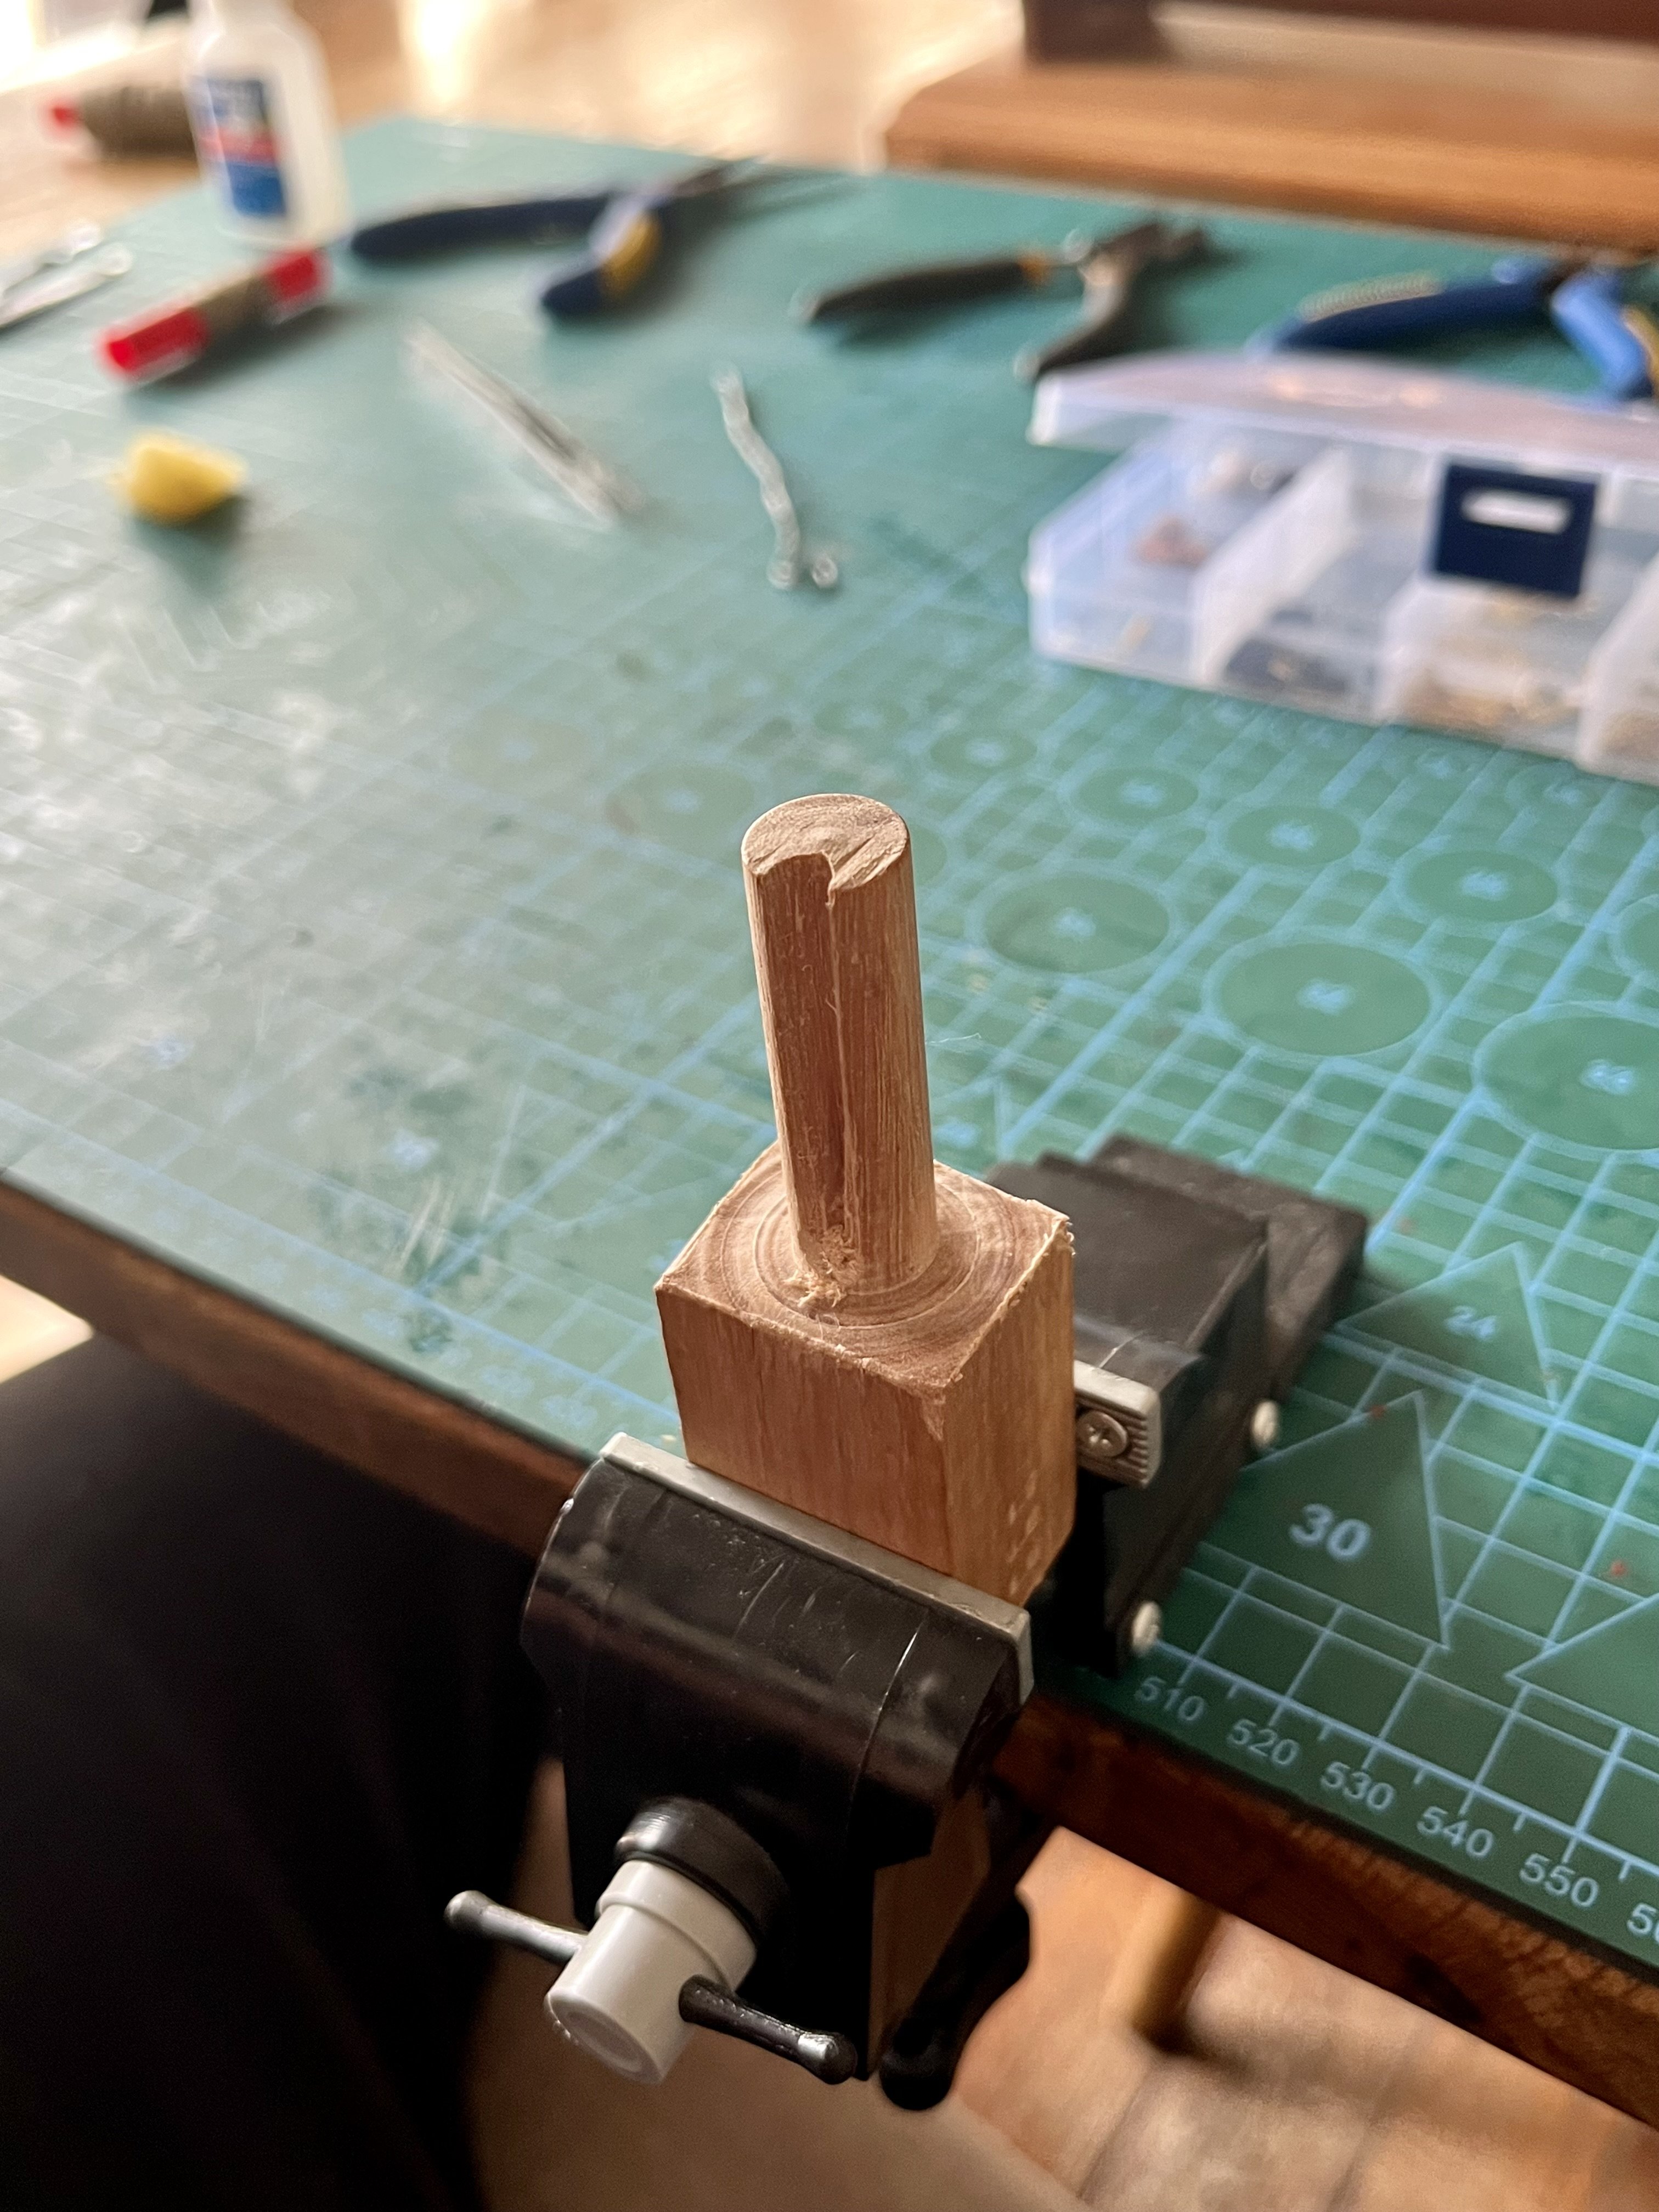
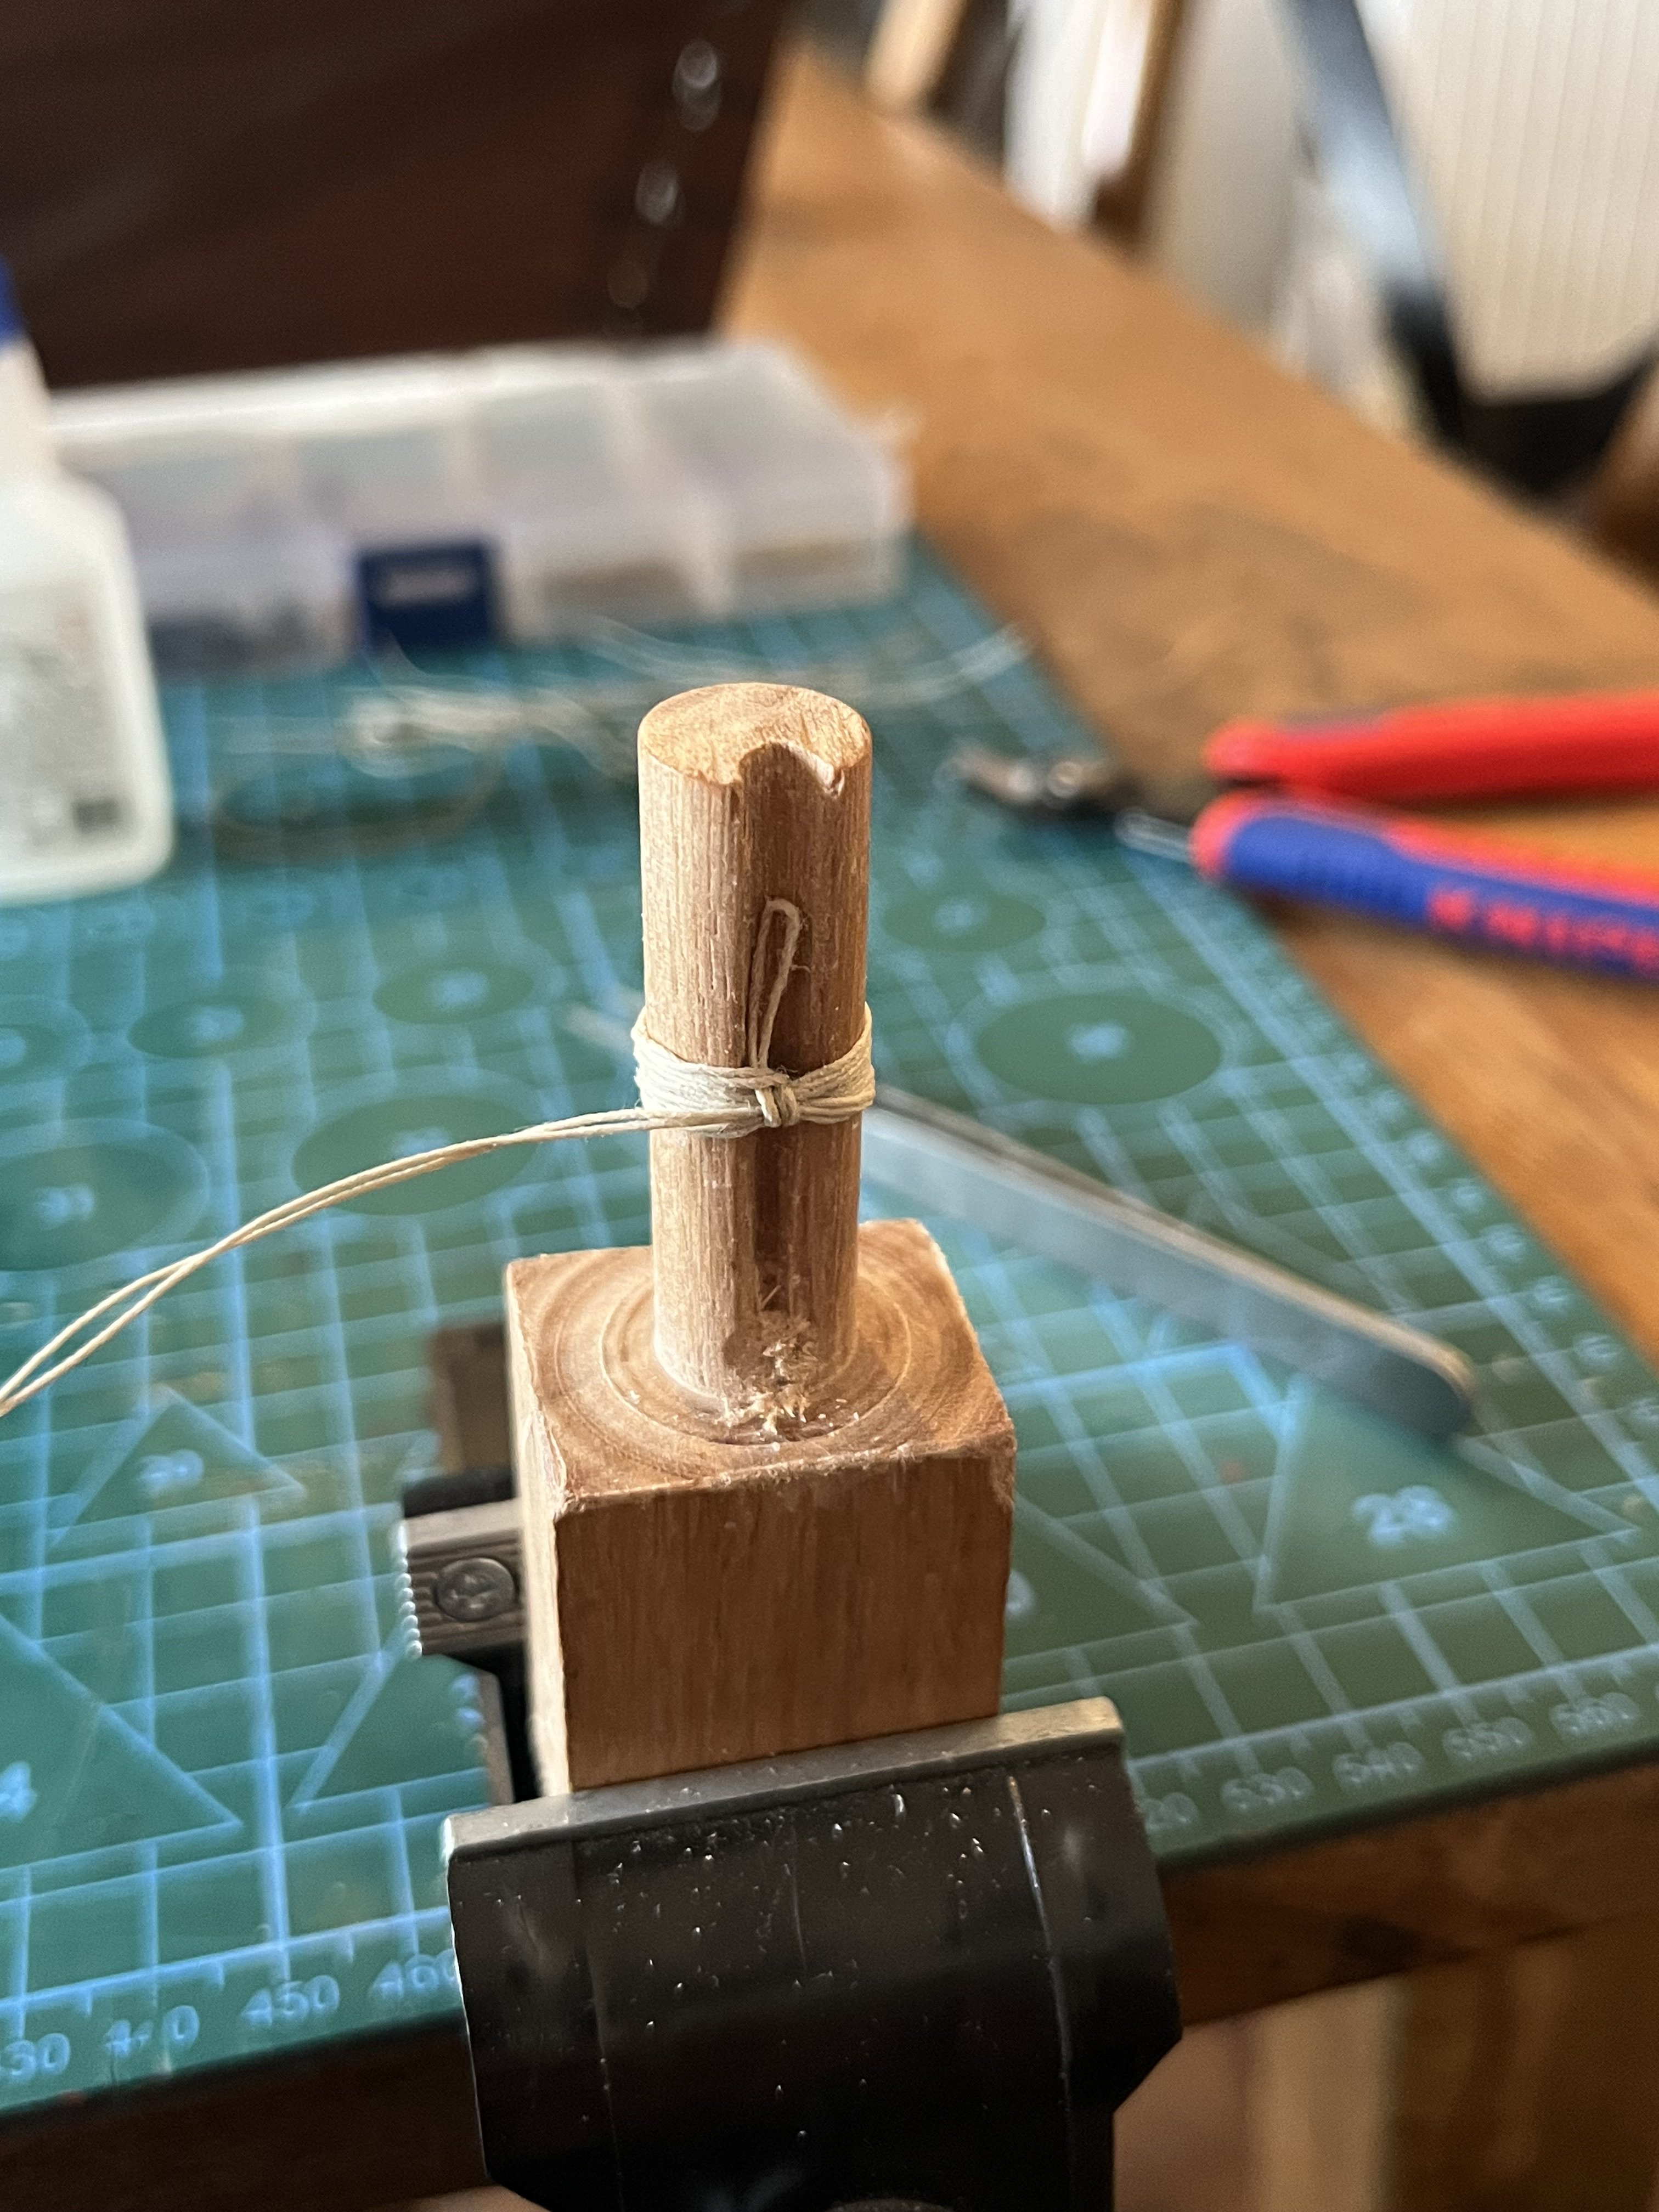
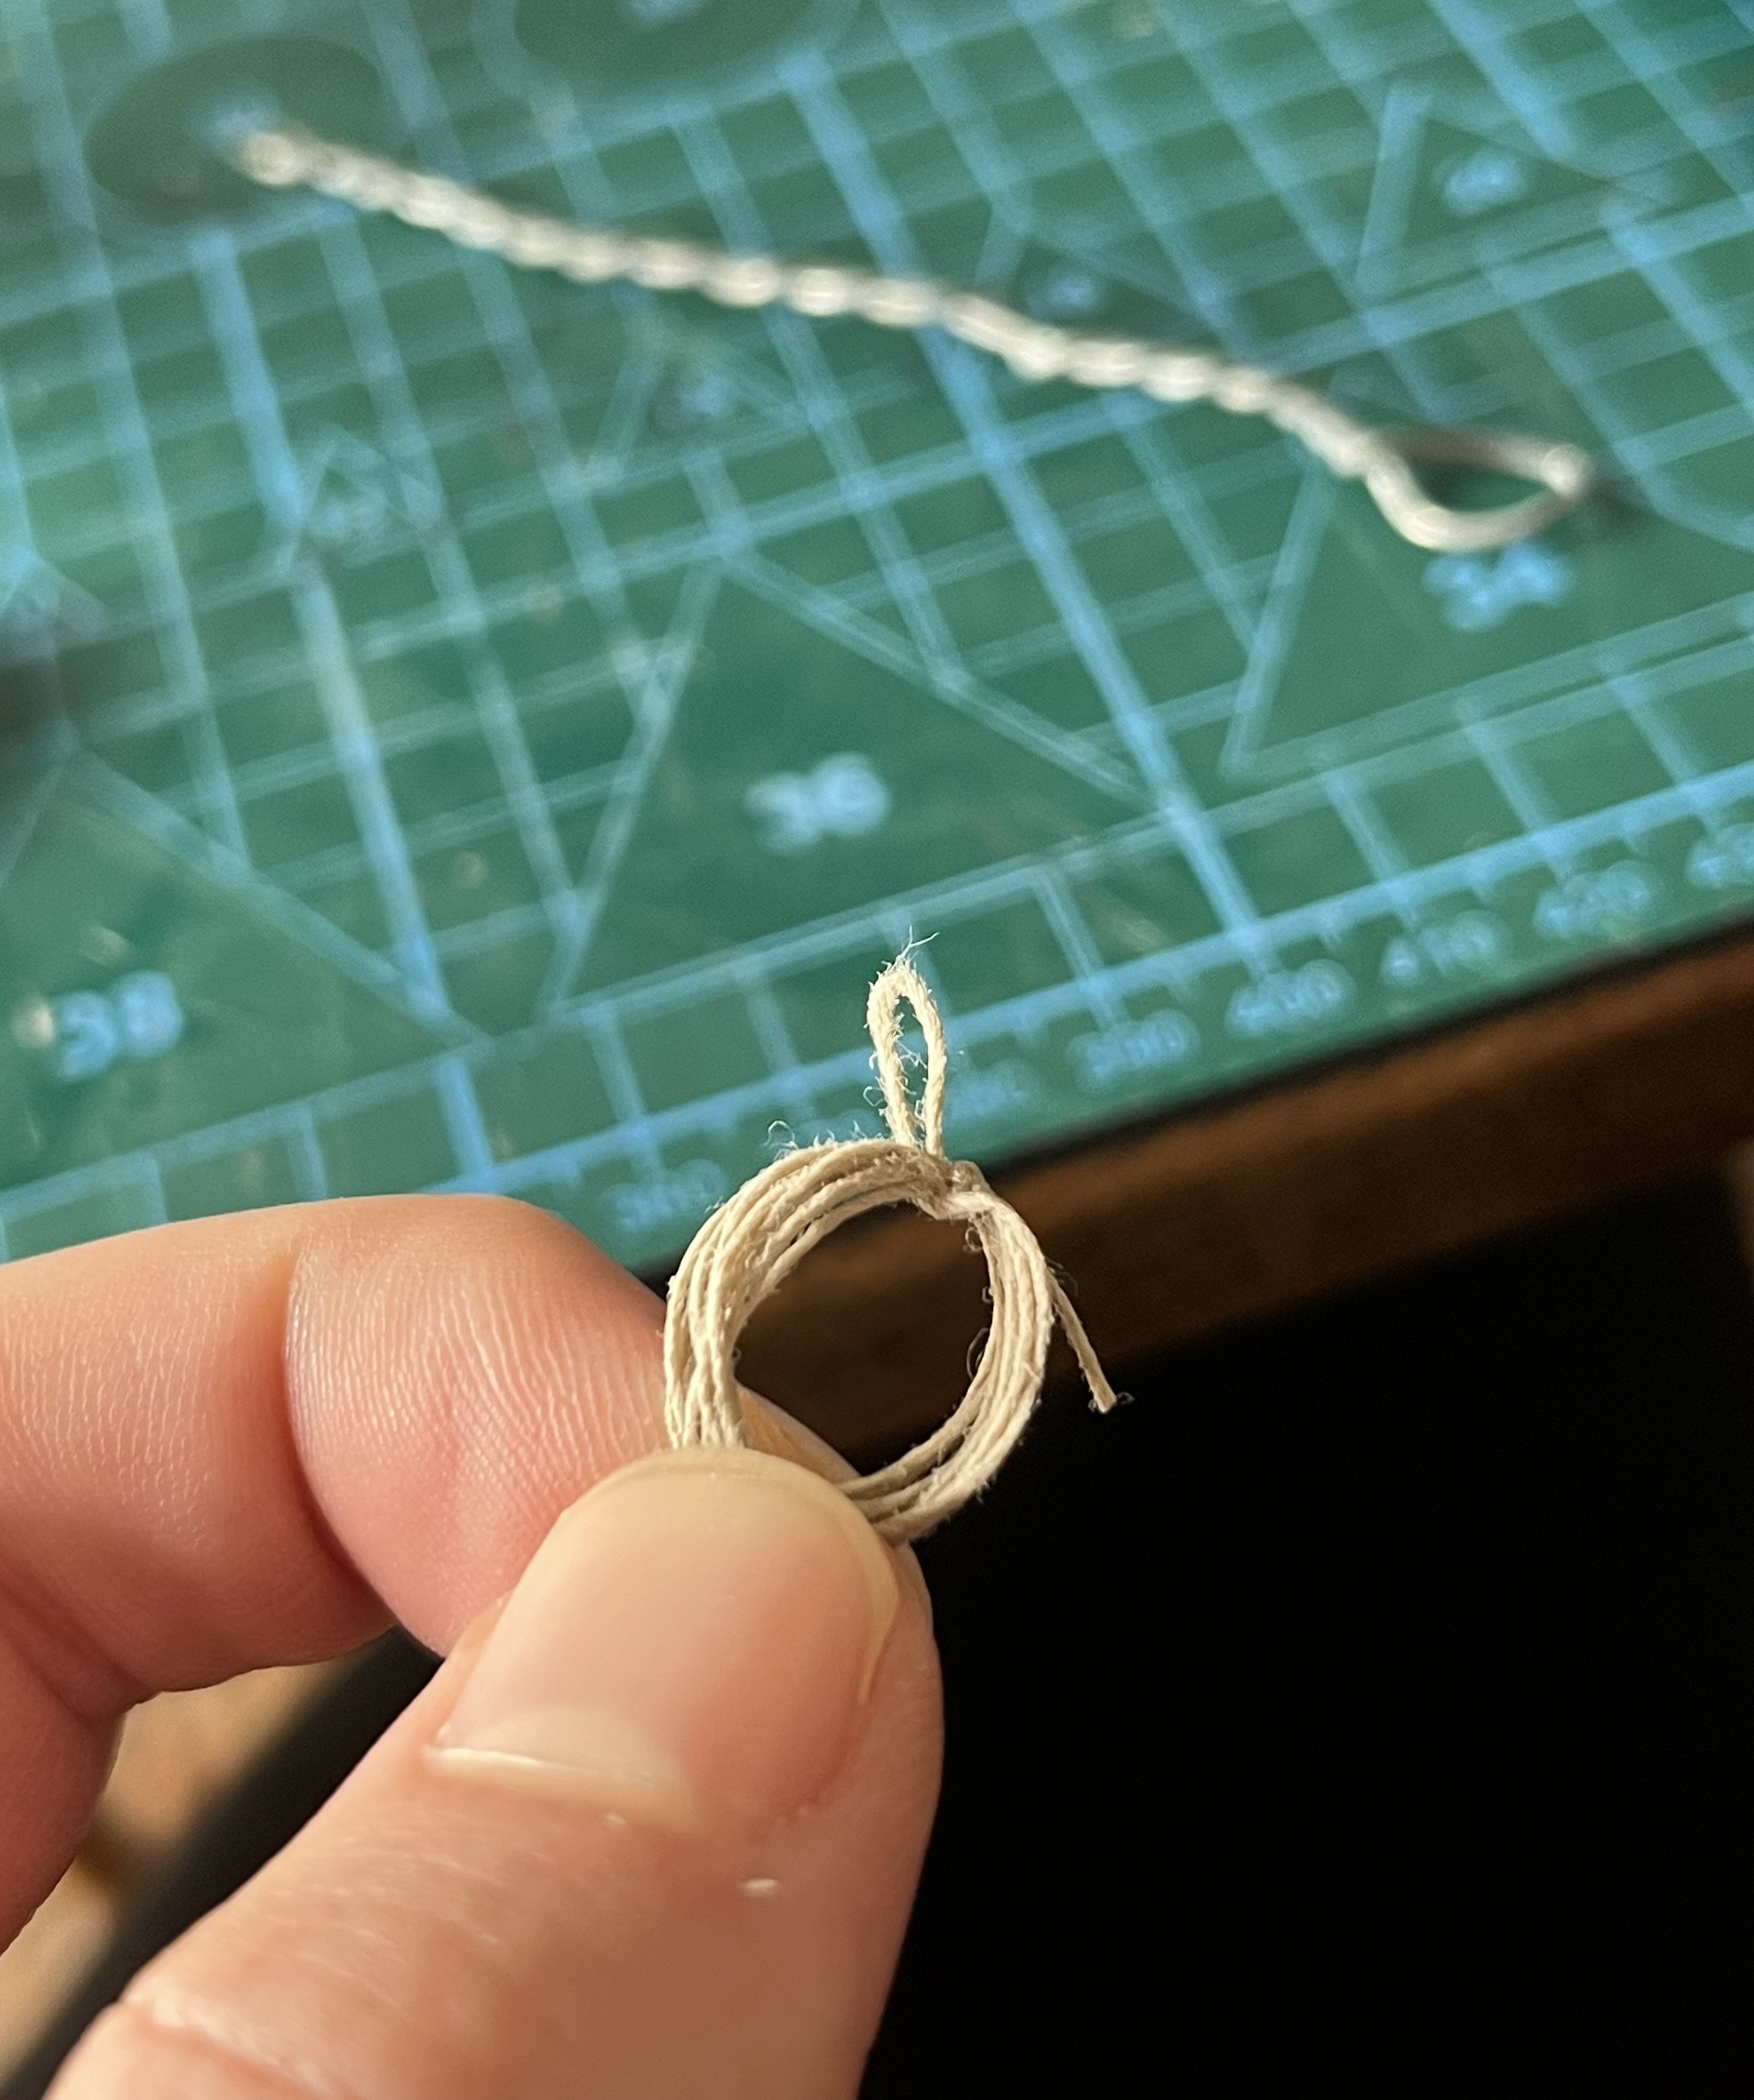
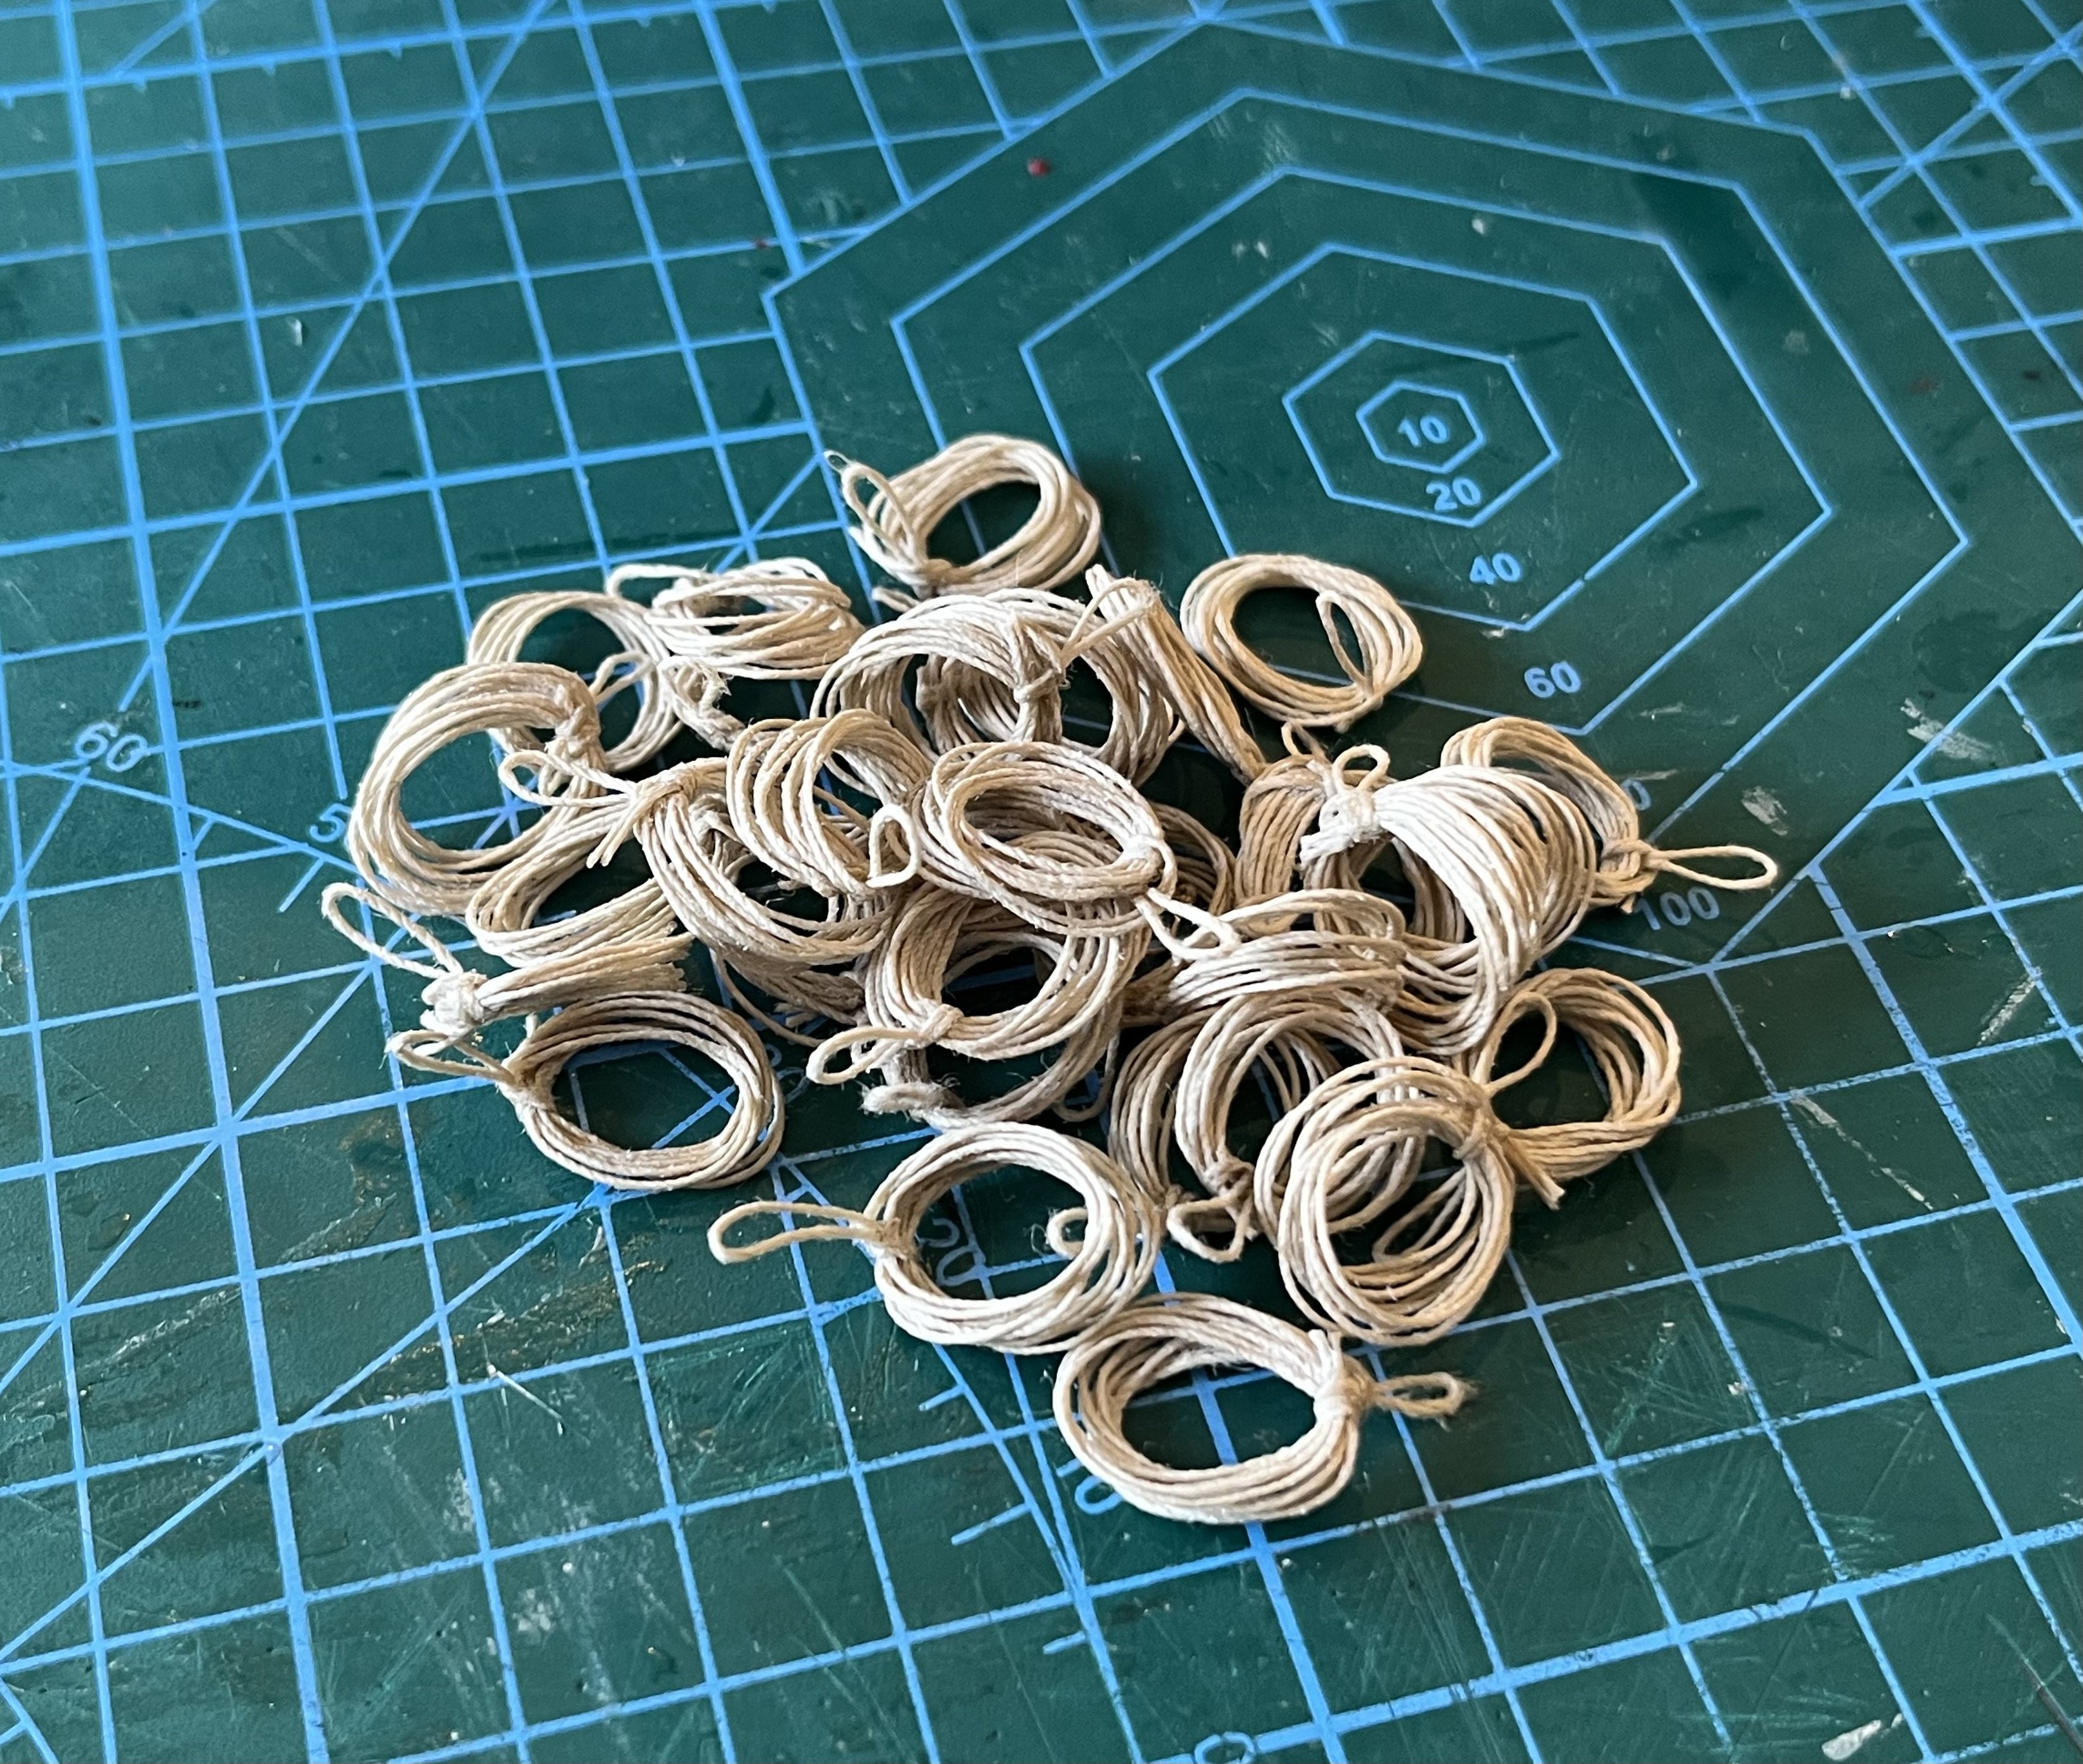
Glad it’s useful for others as well. Once I made this jig I made about 40 of them in just a few hours.
-
Thanks Bob, I got the idea from this video Here.
-
Most likely the Sherbourne from Vanguard, I’ll be purchasing it shortly if no other ideas arise.
- 177 replies
-
- 3
-
-
- Perseverance
- Modellers Shipyard
- (and 1 more)
-
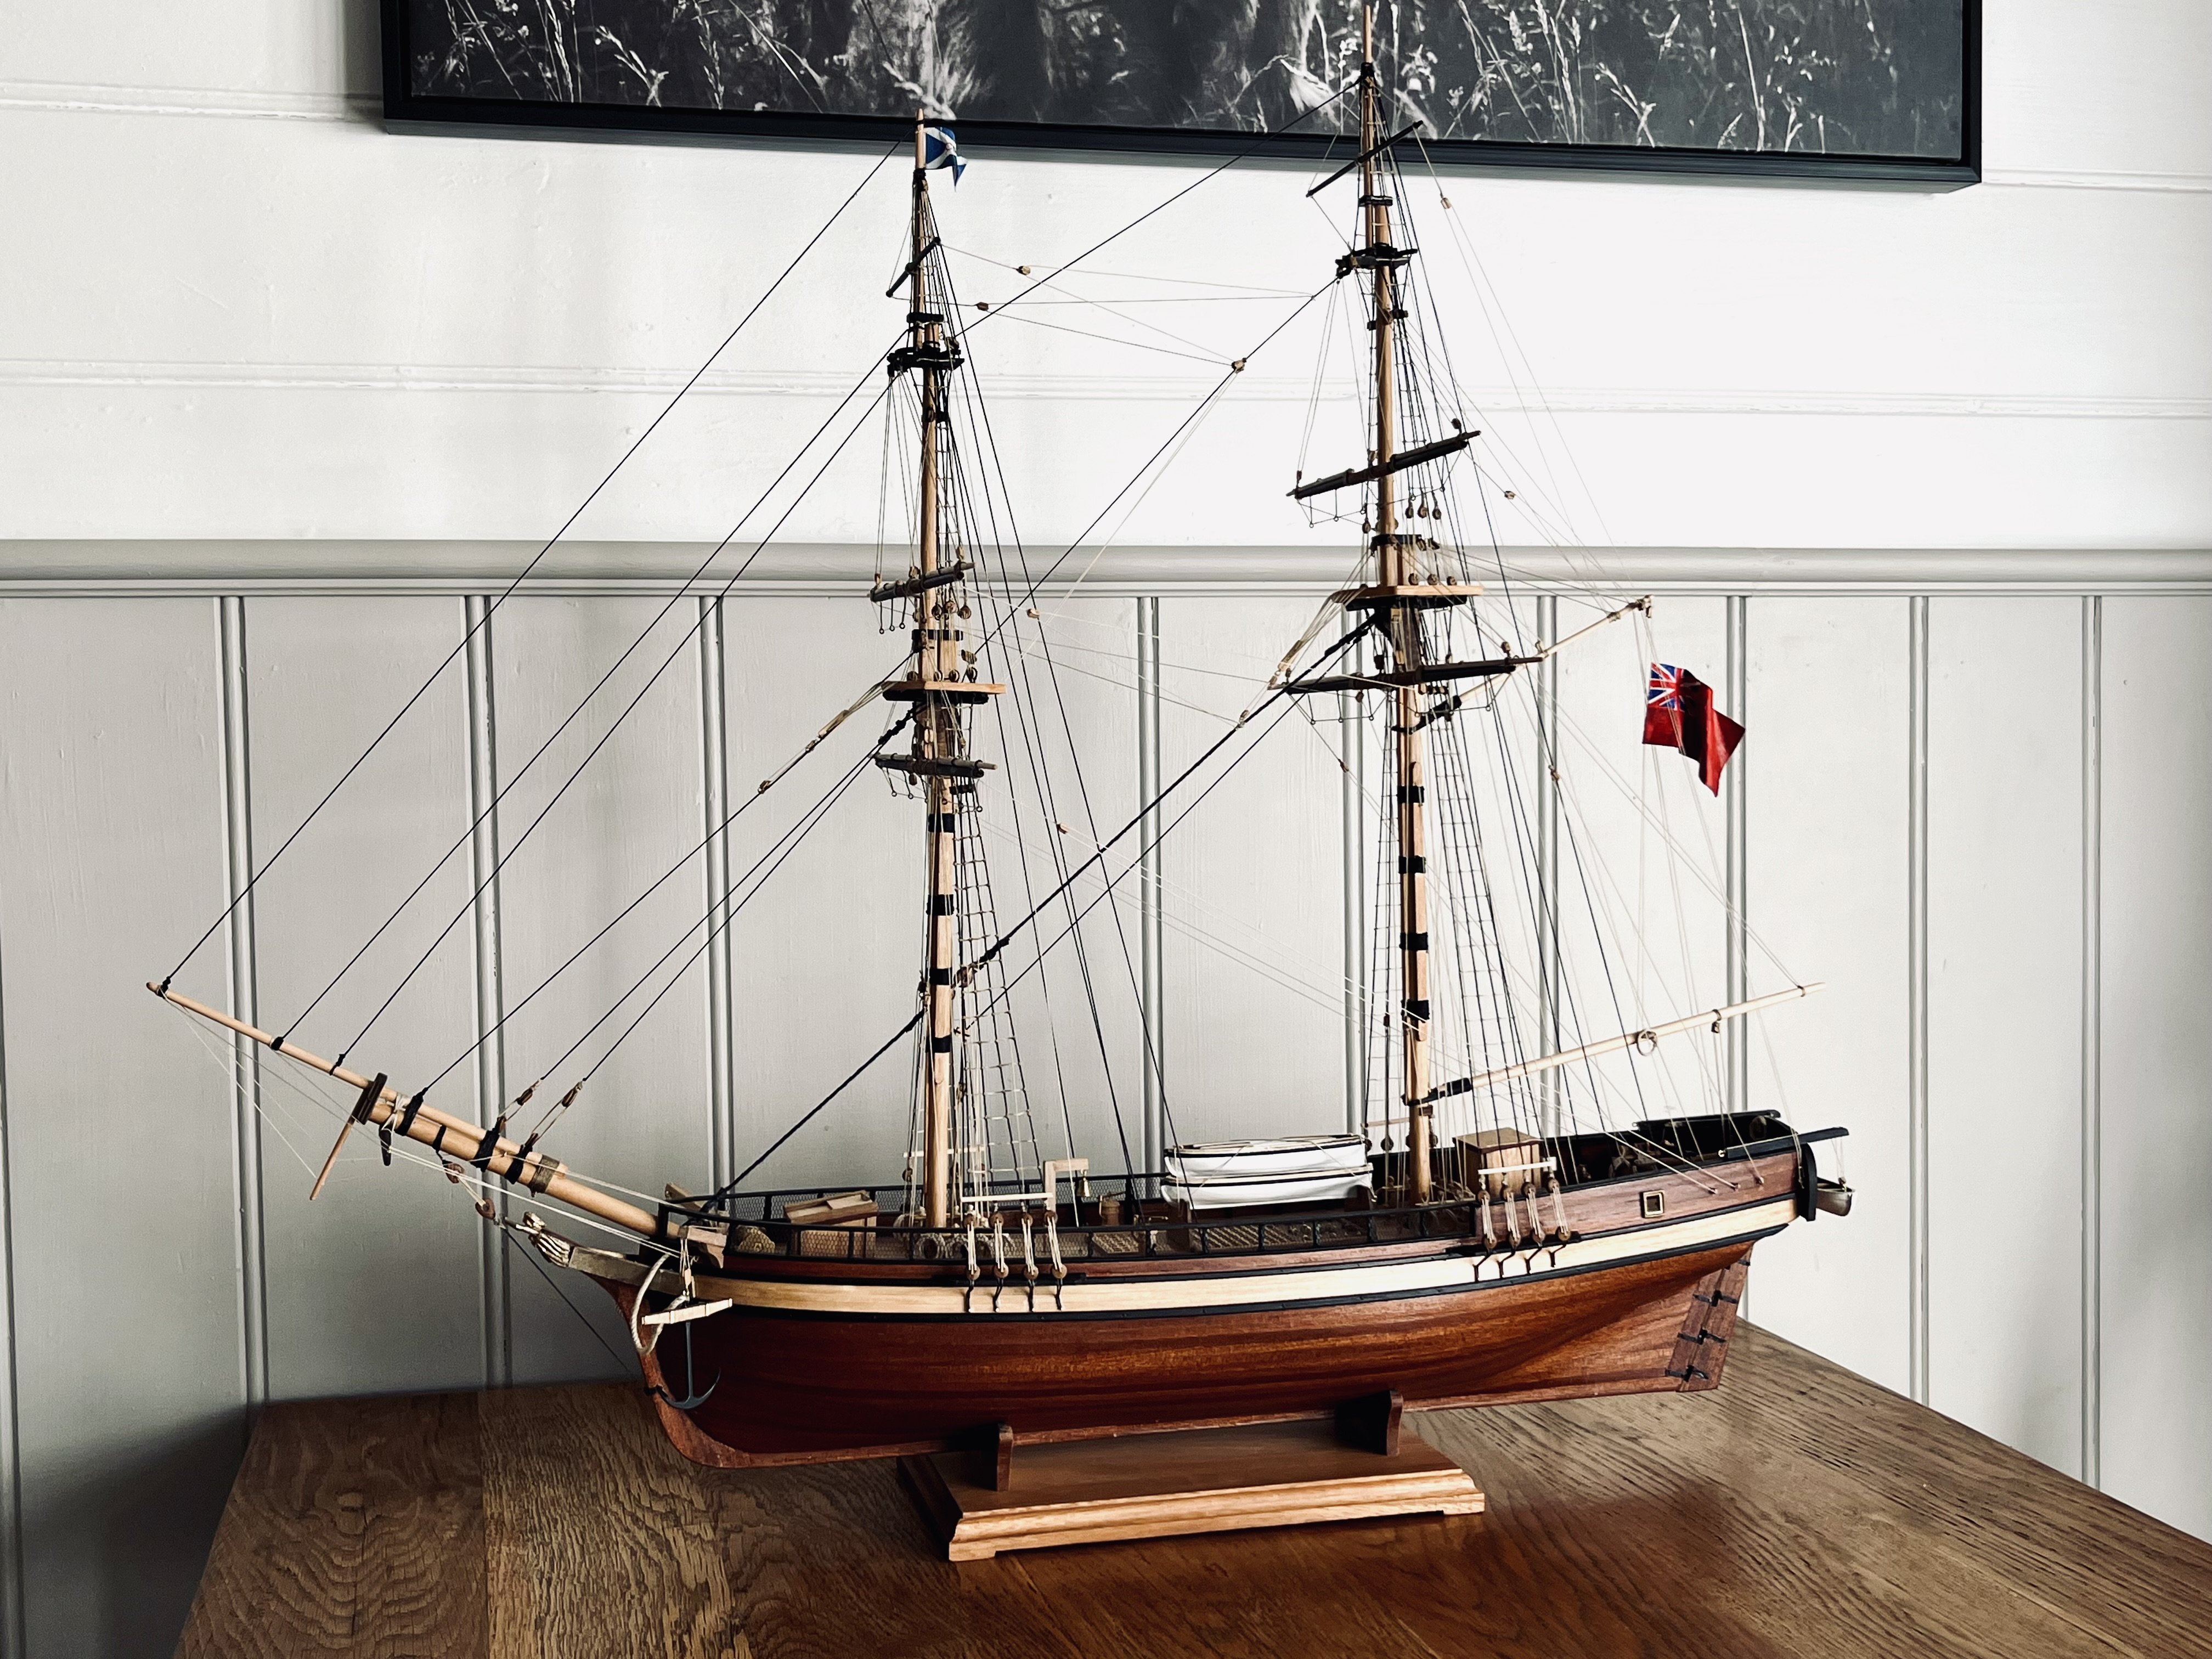
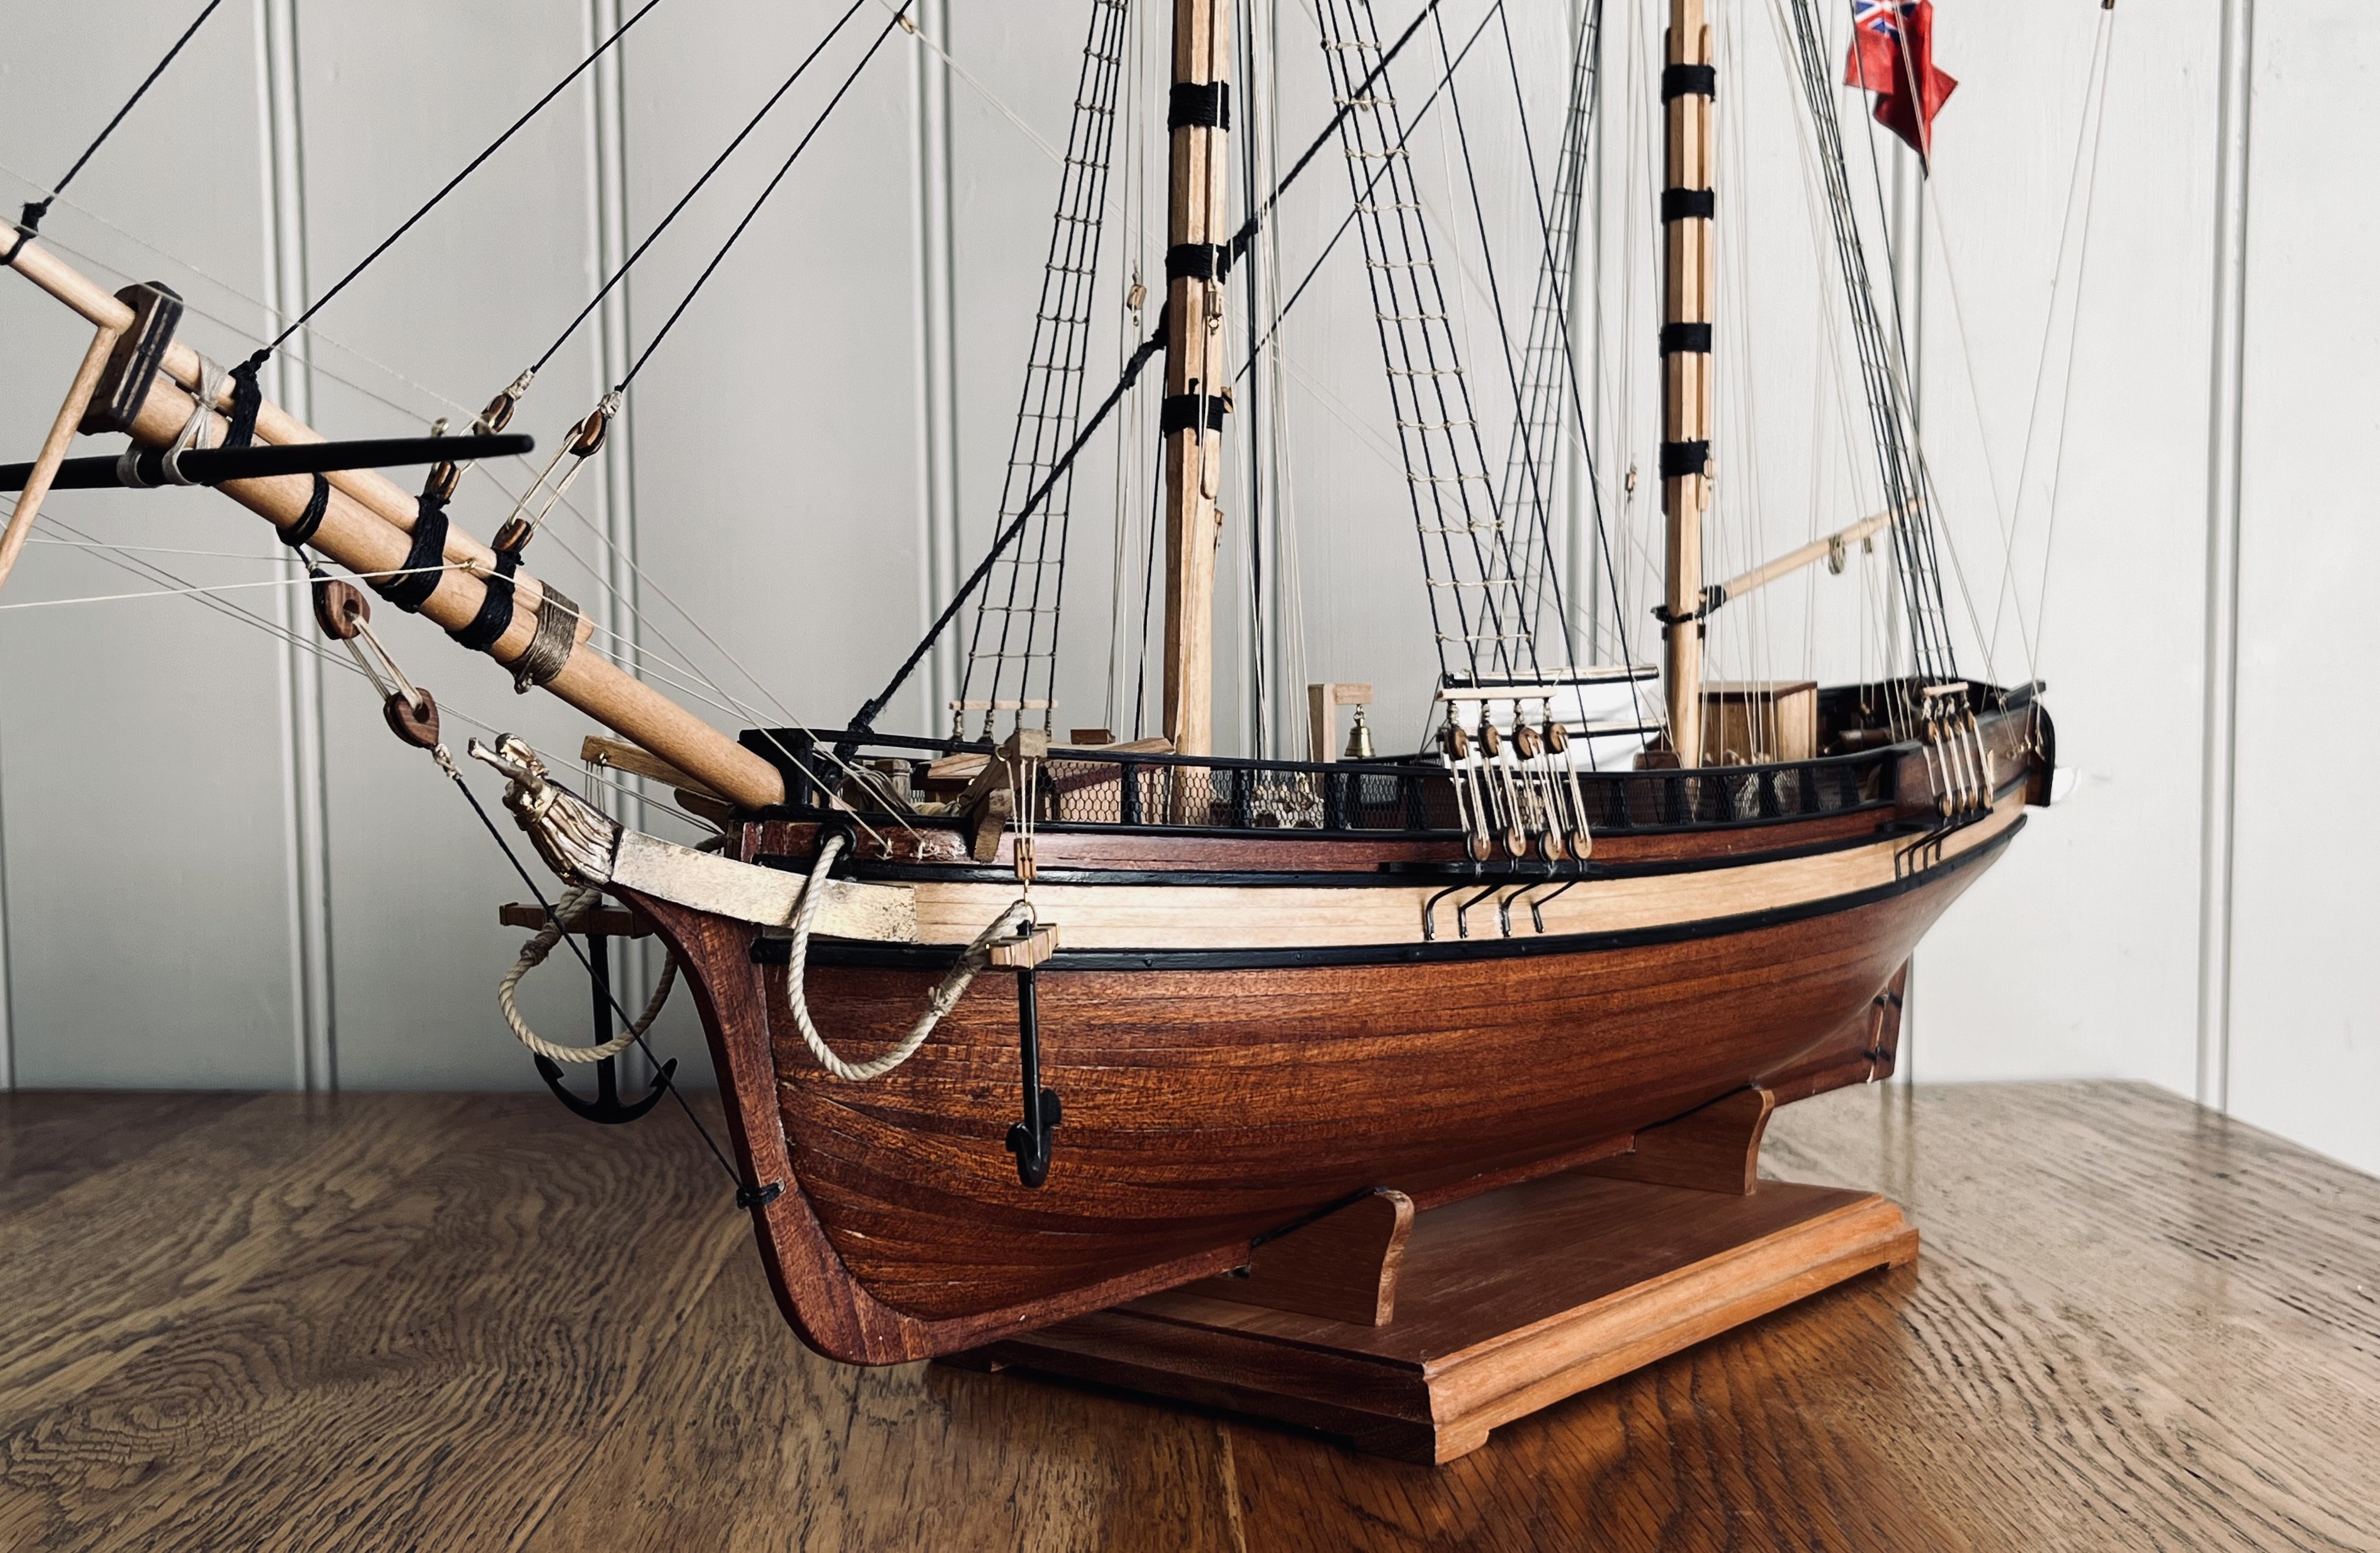
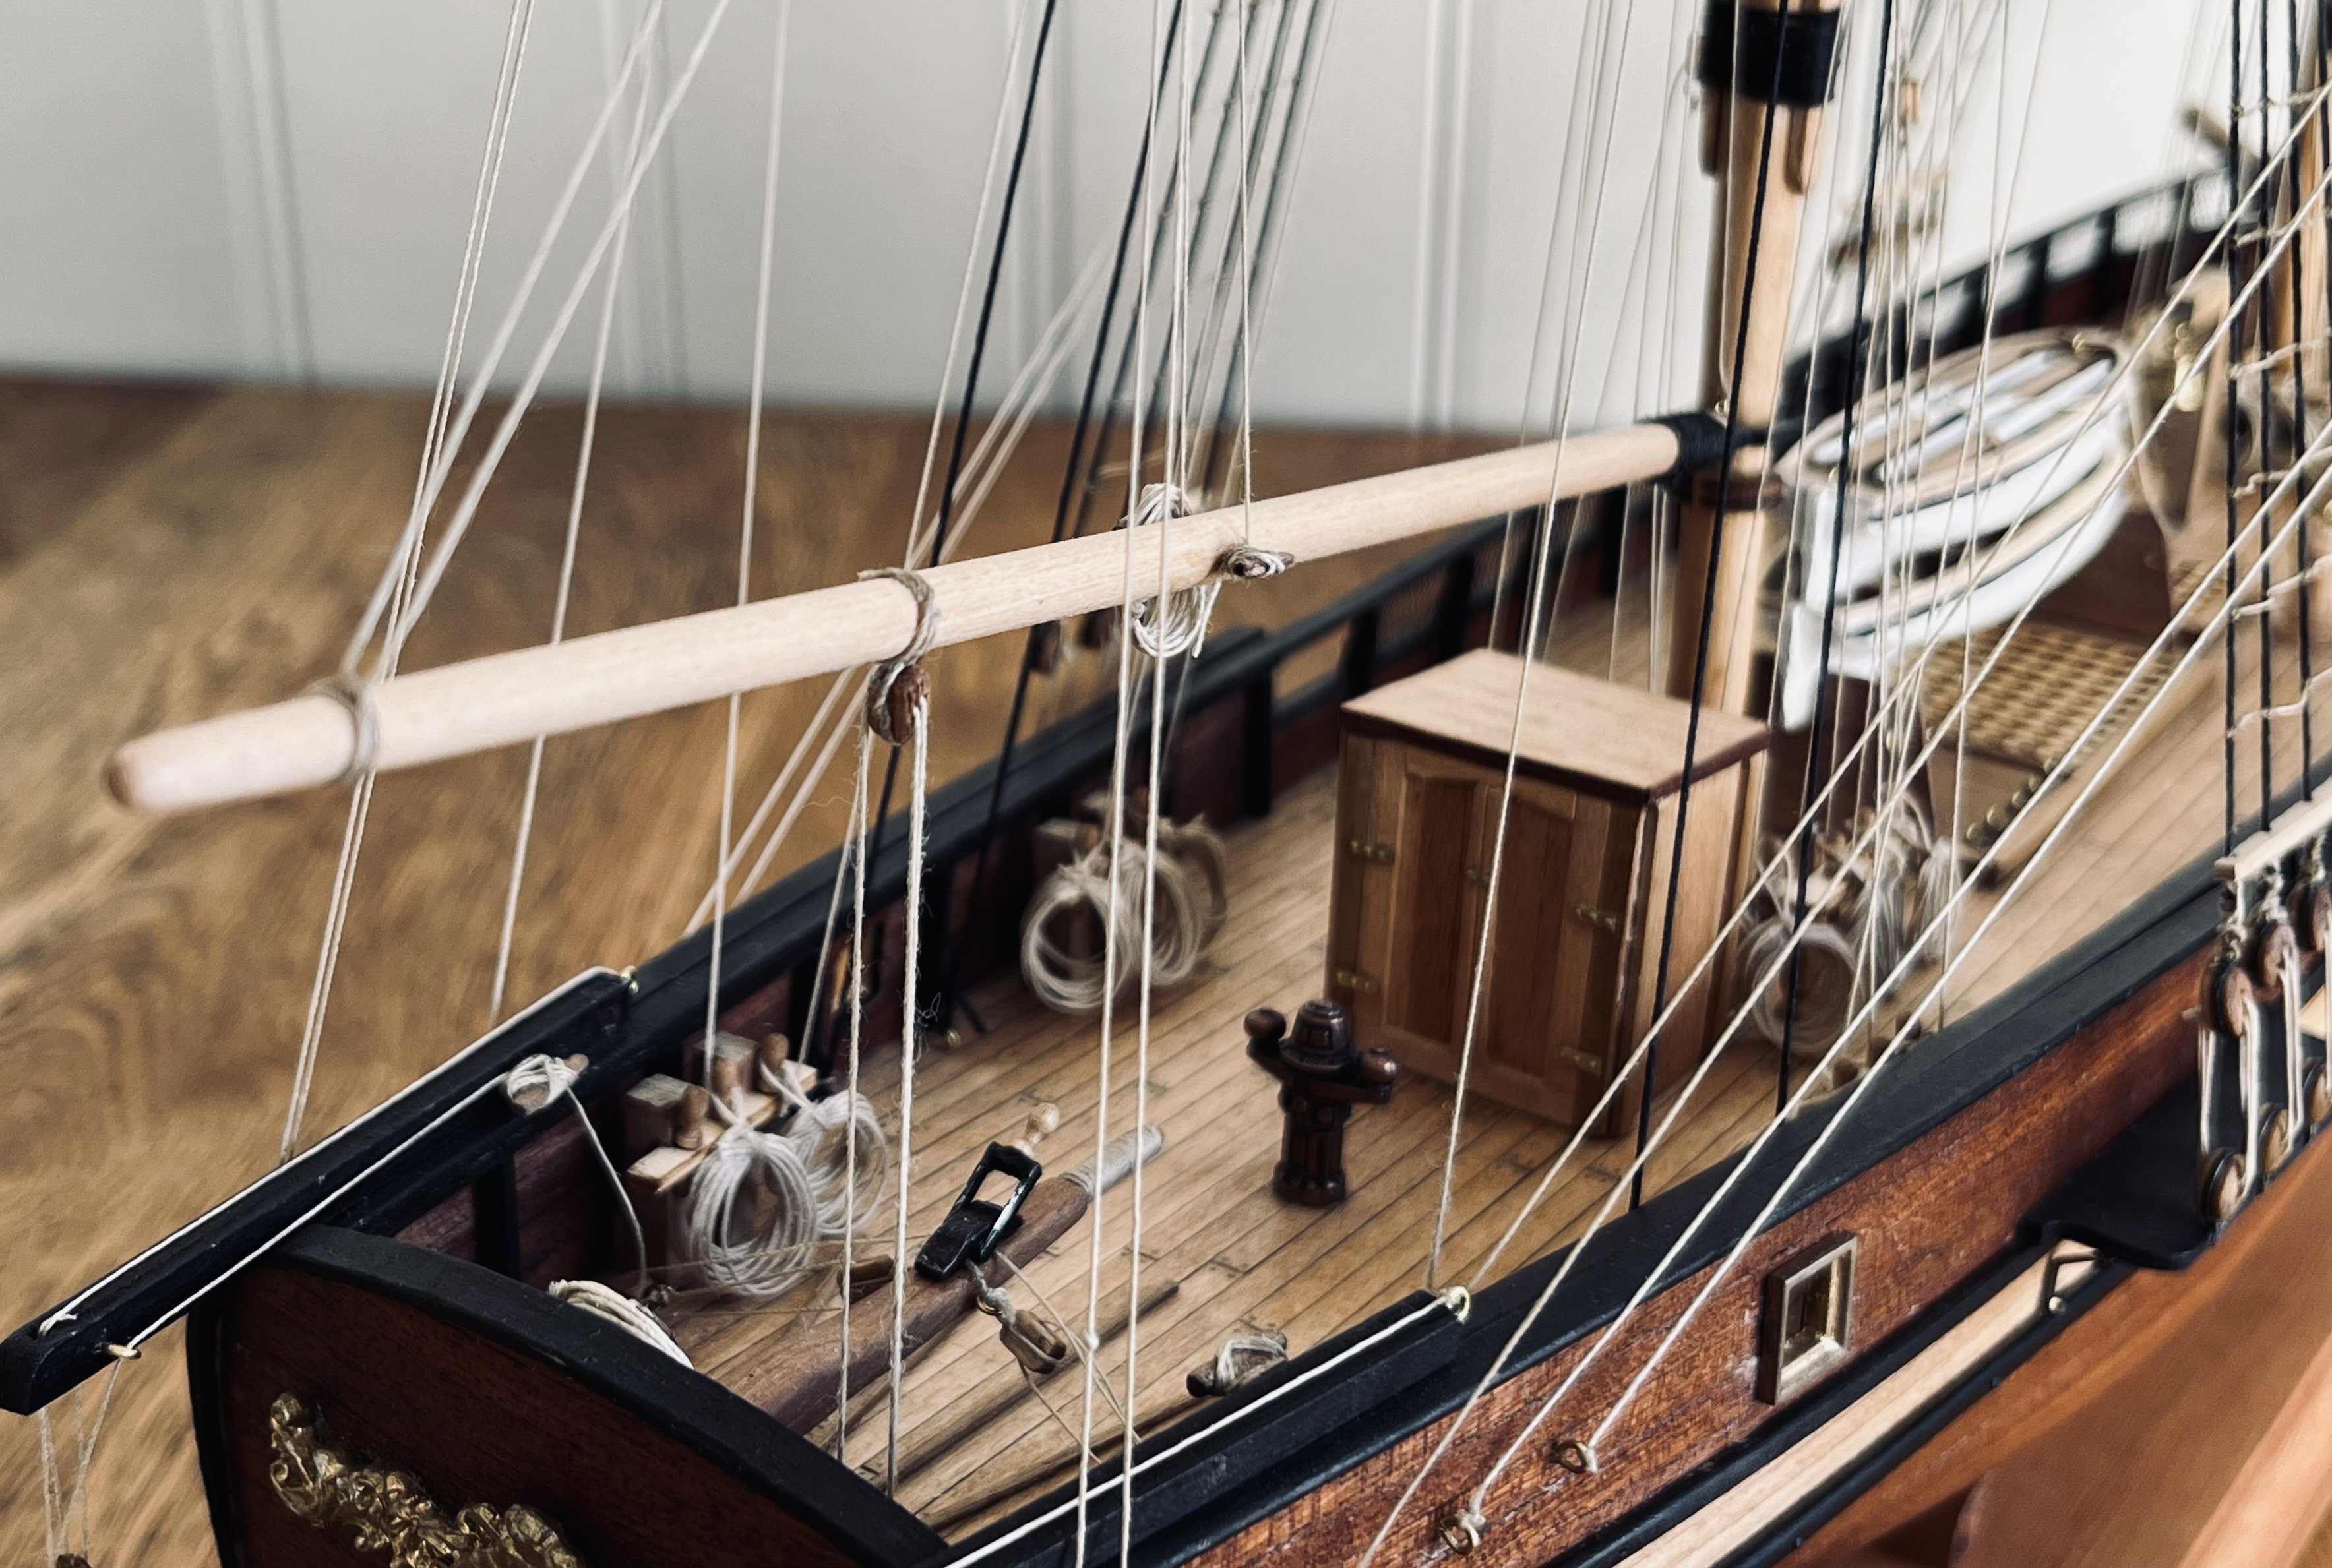
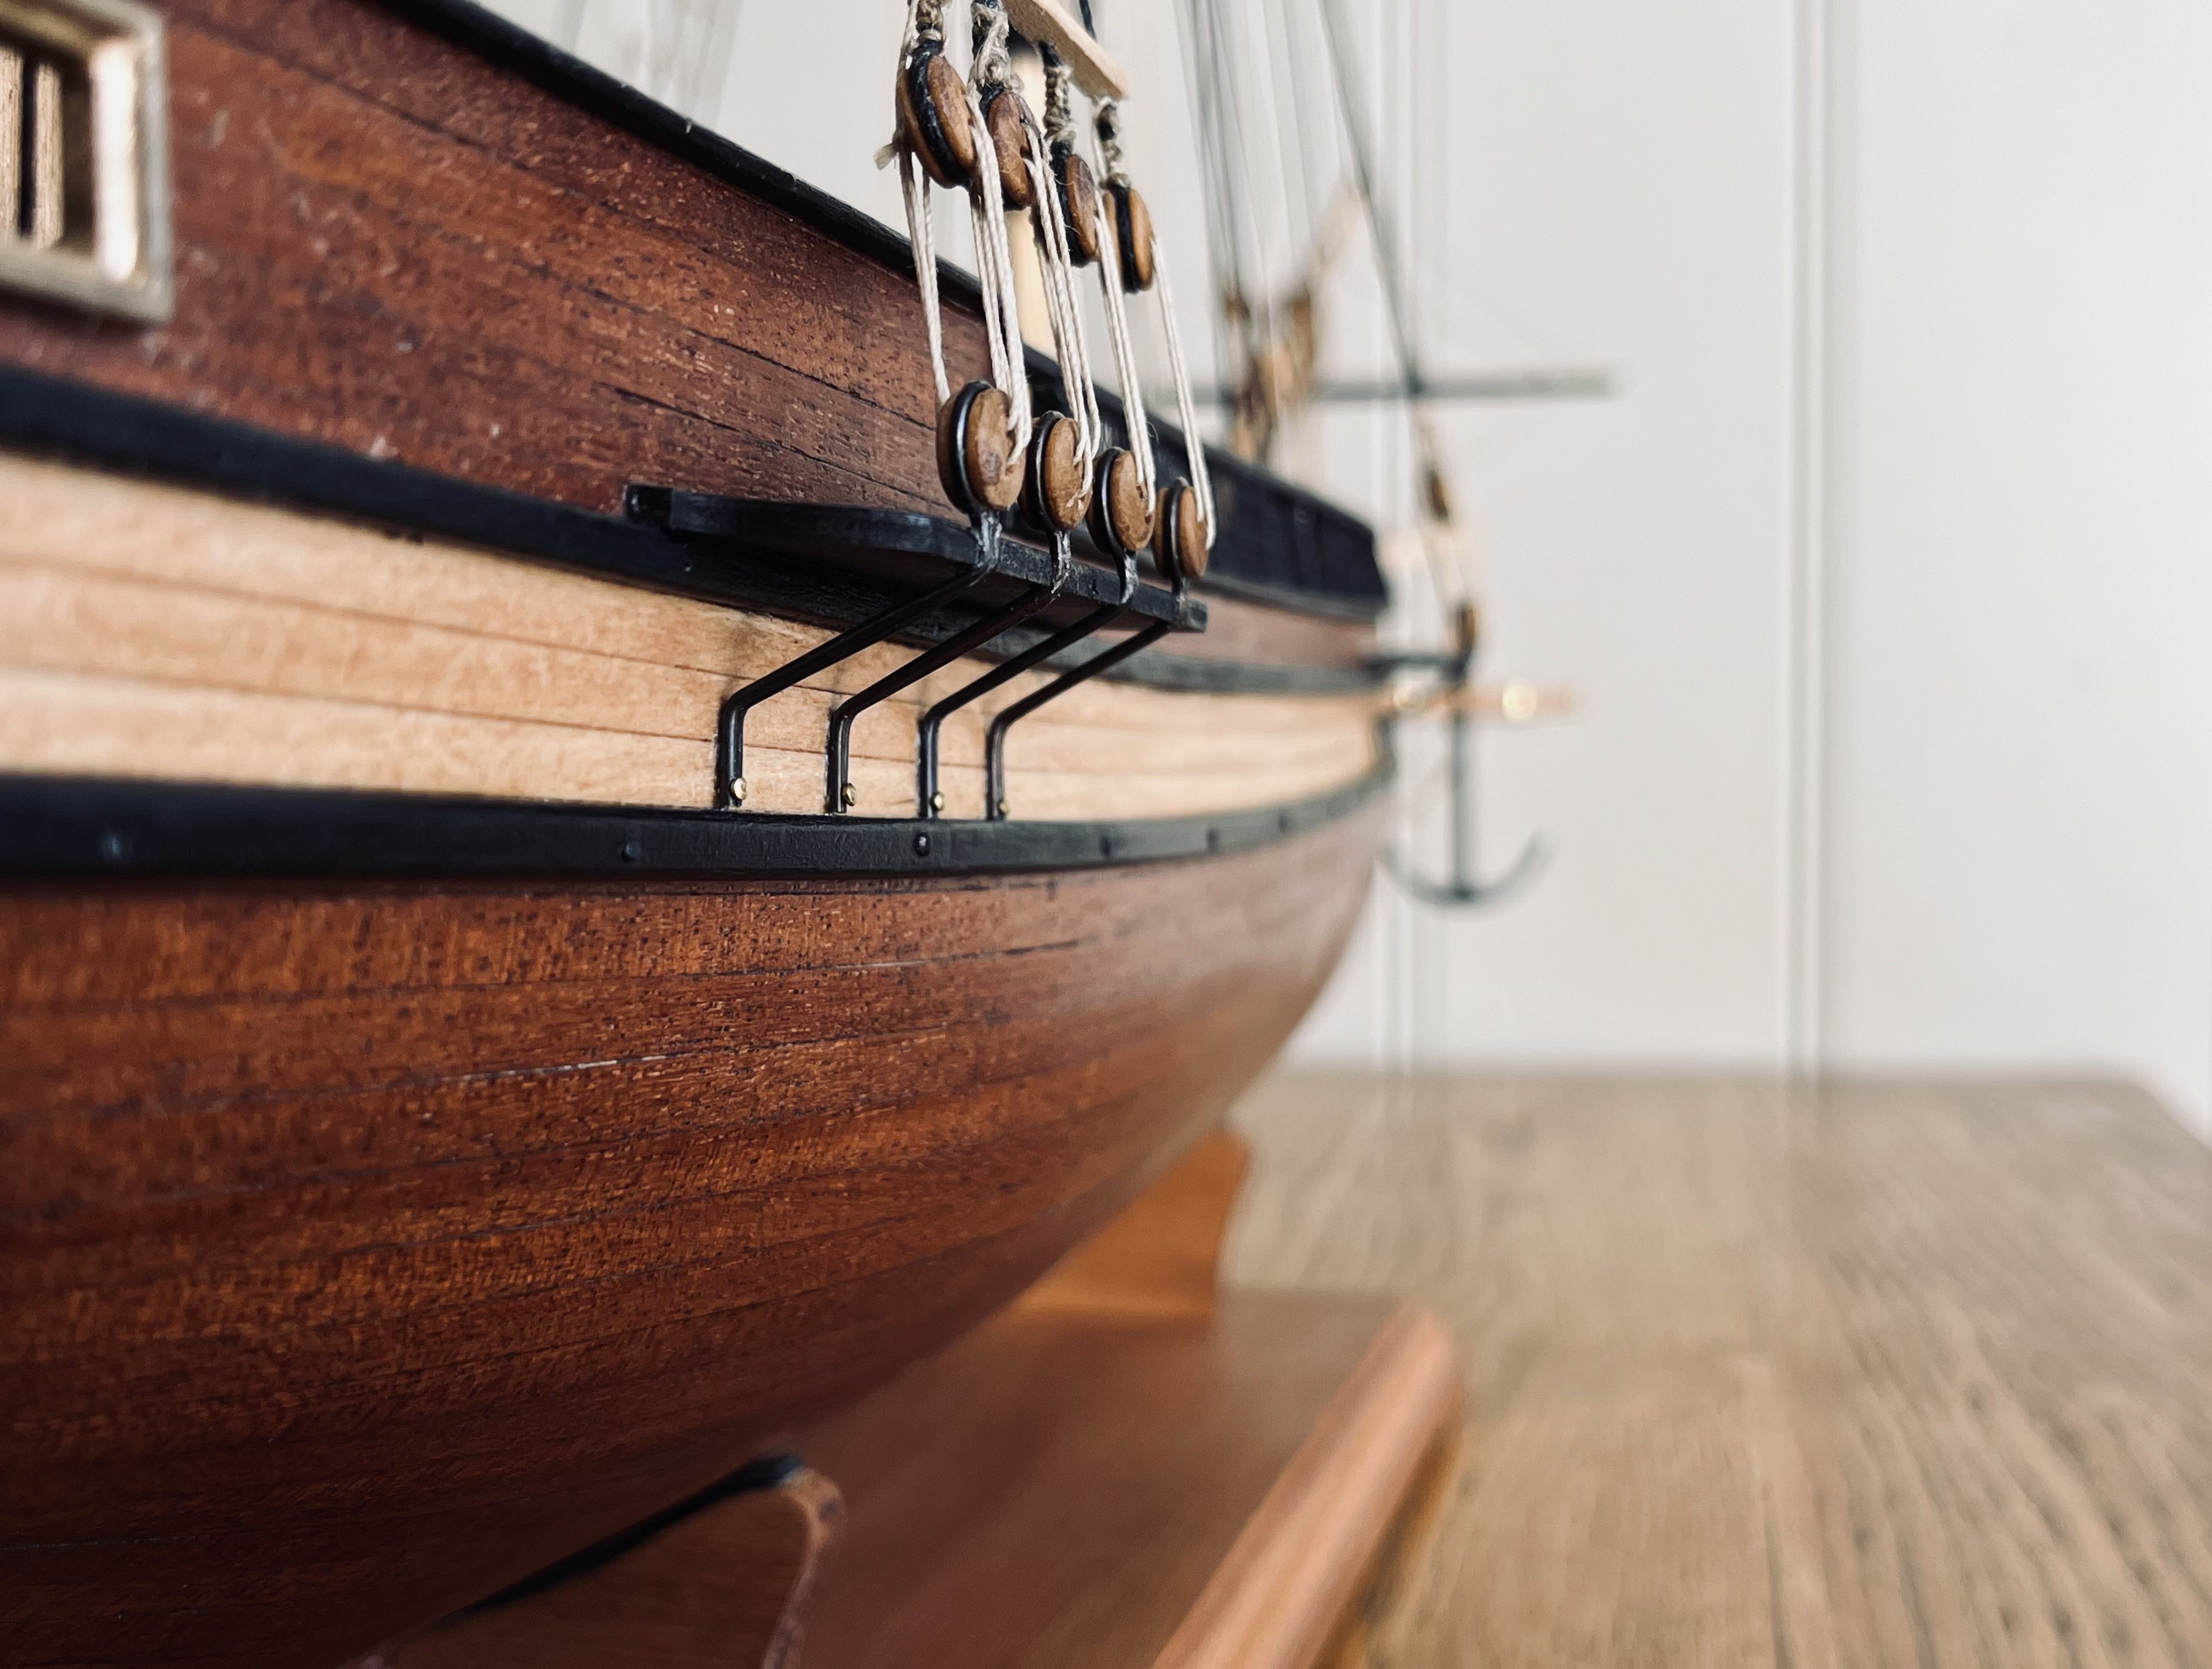
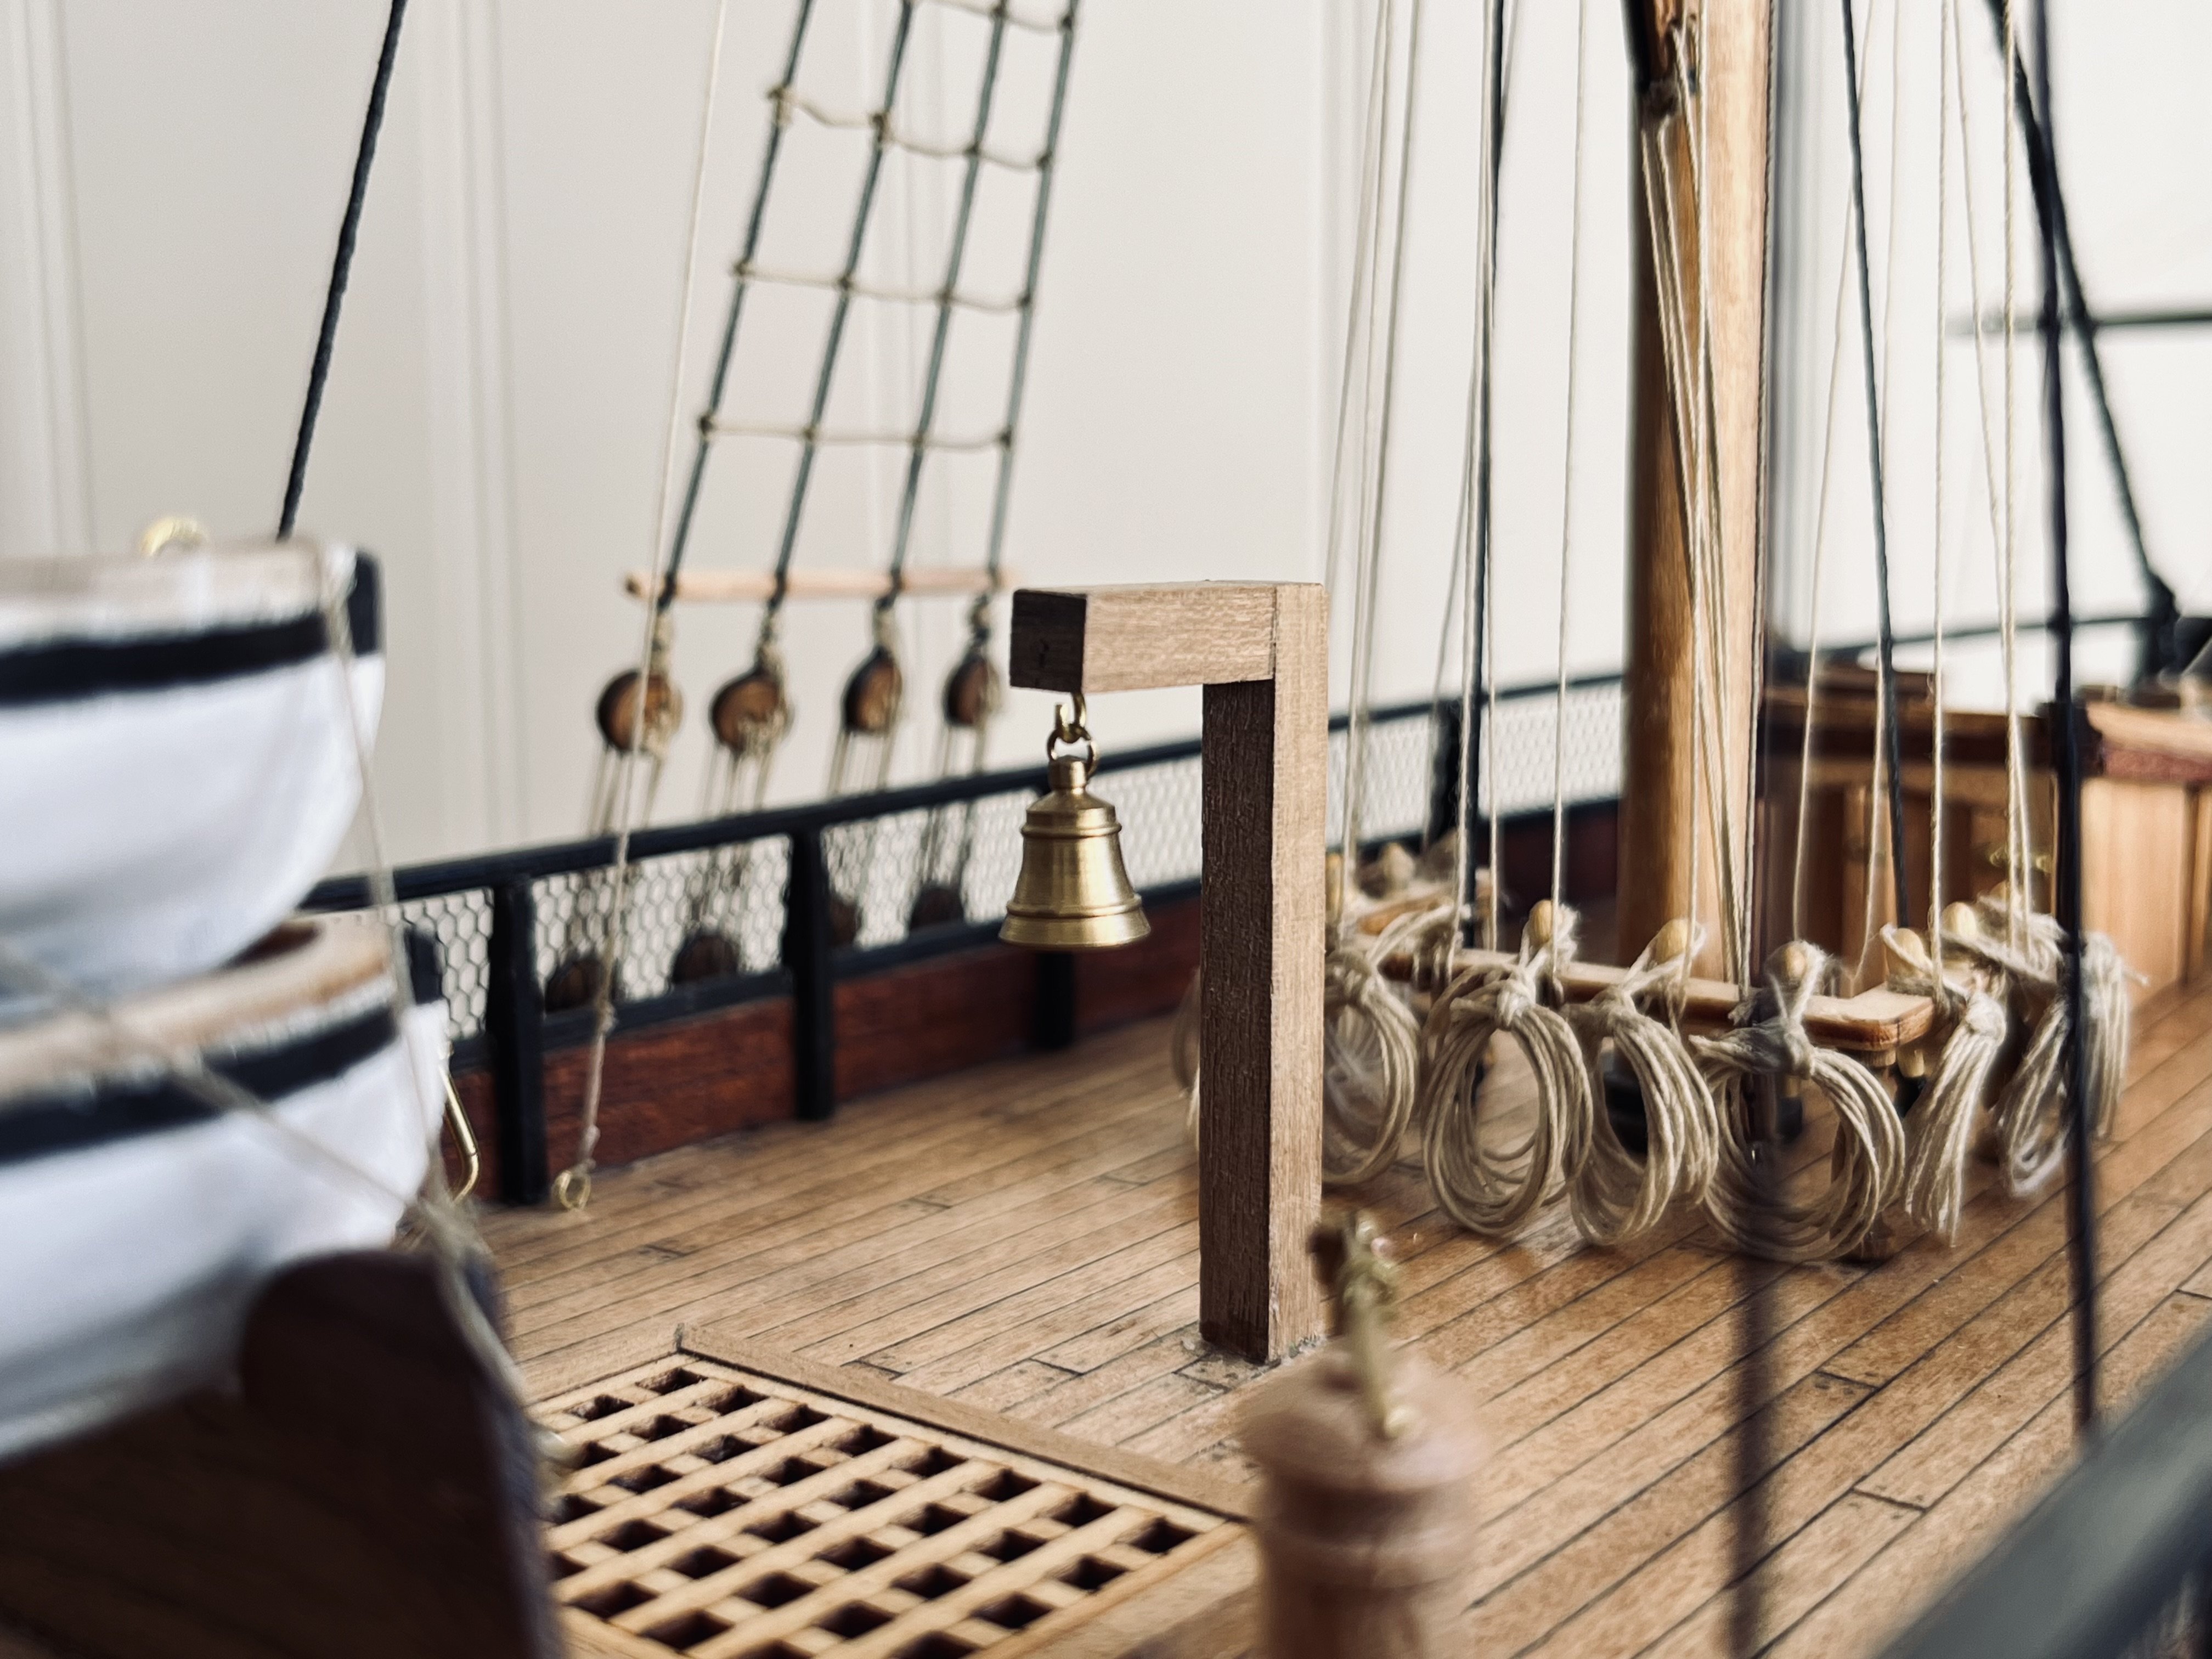
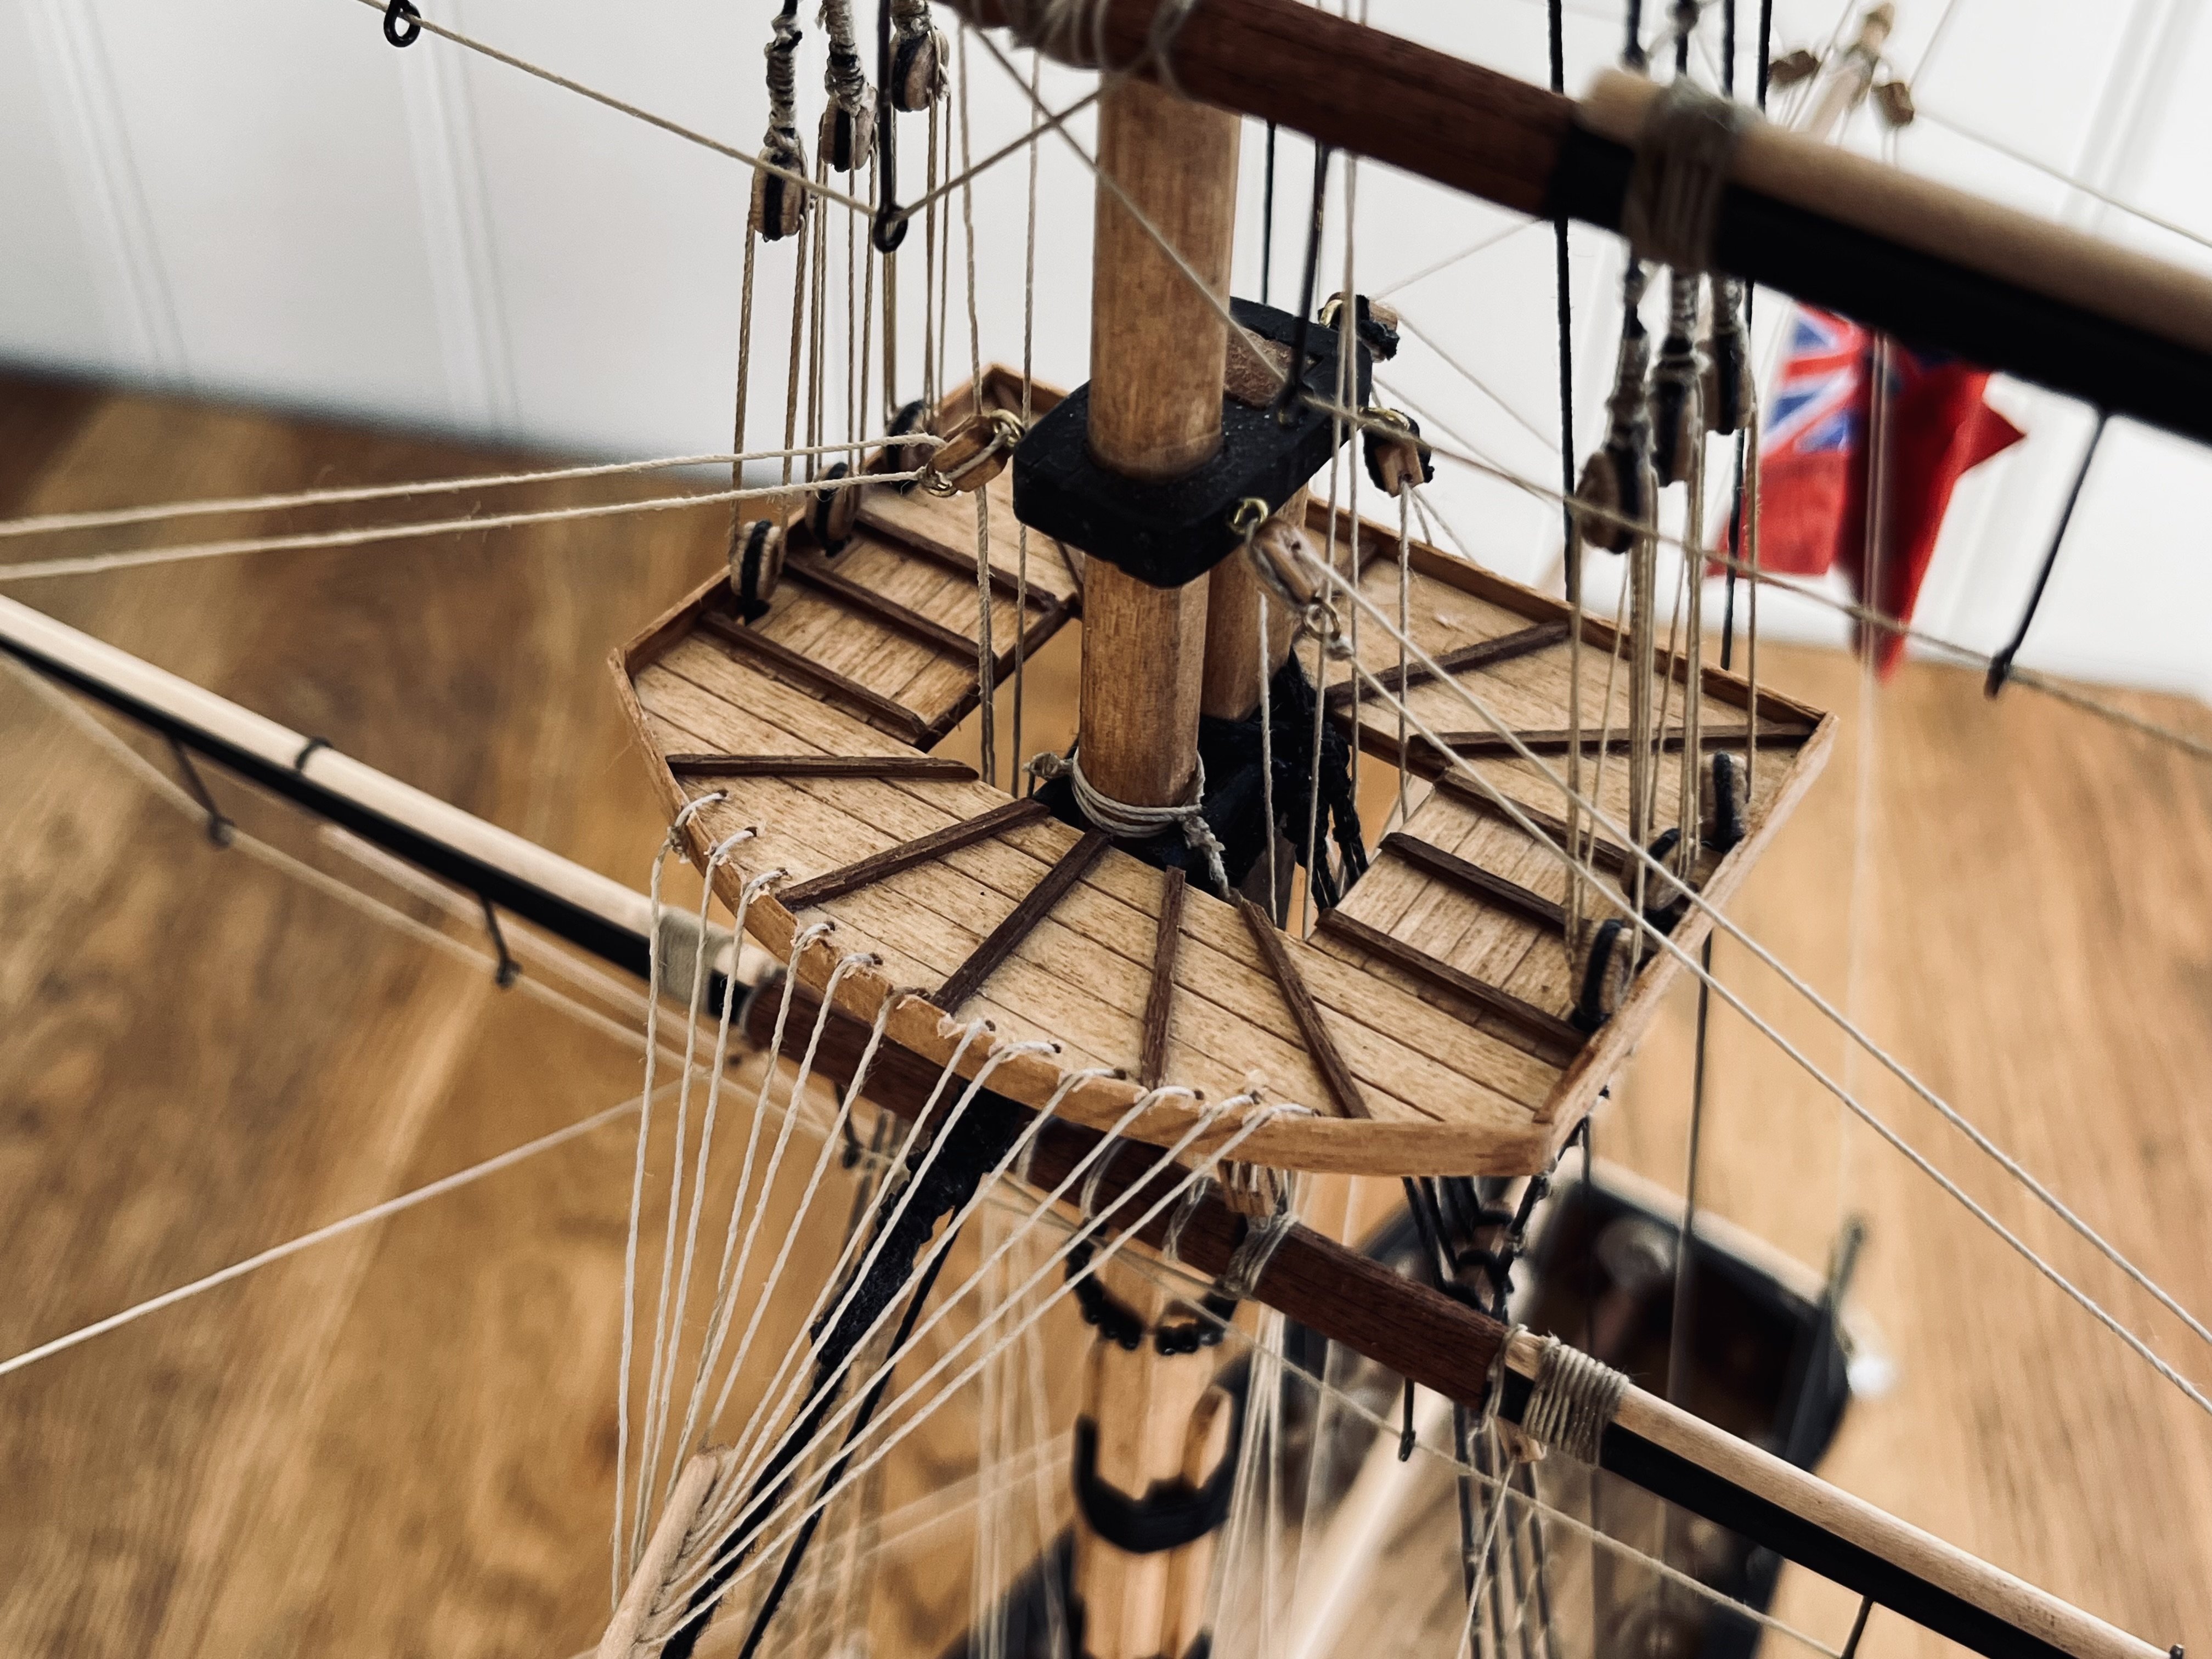
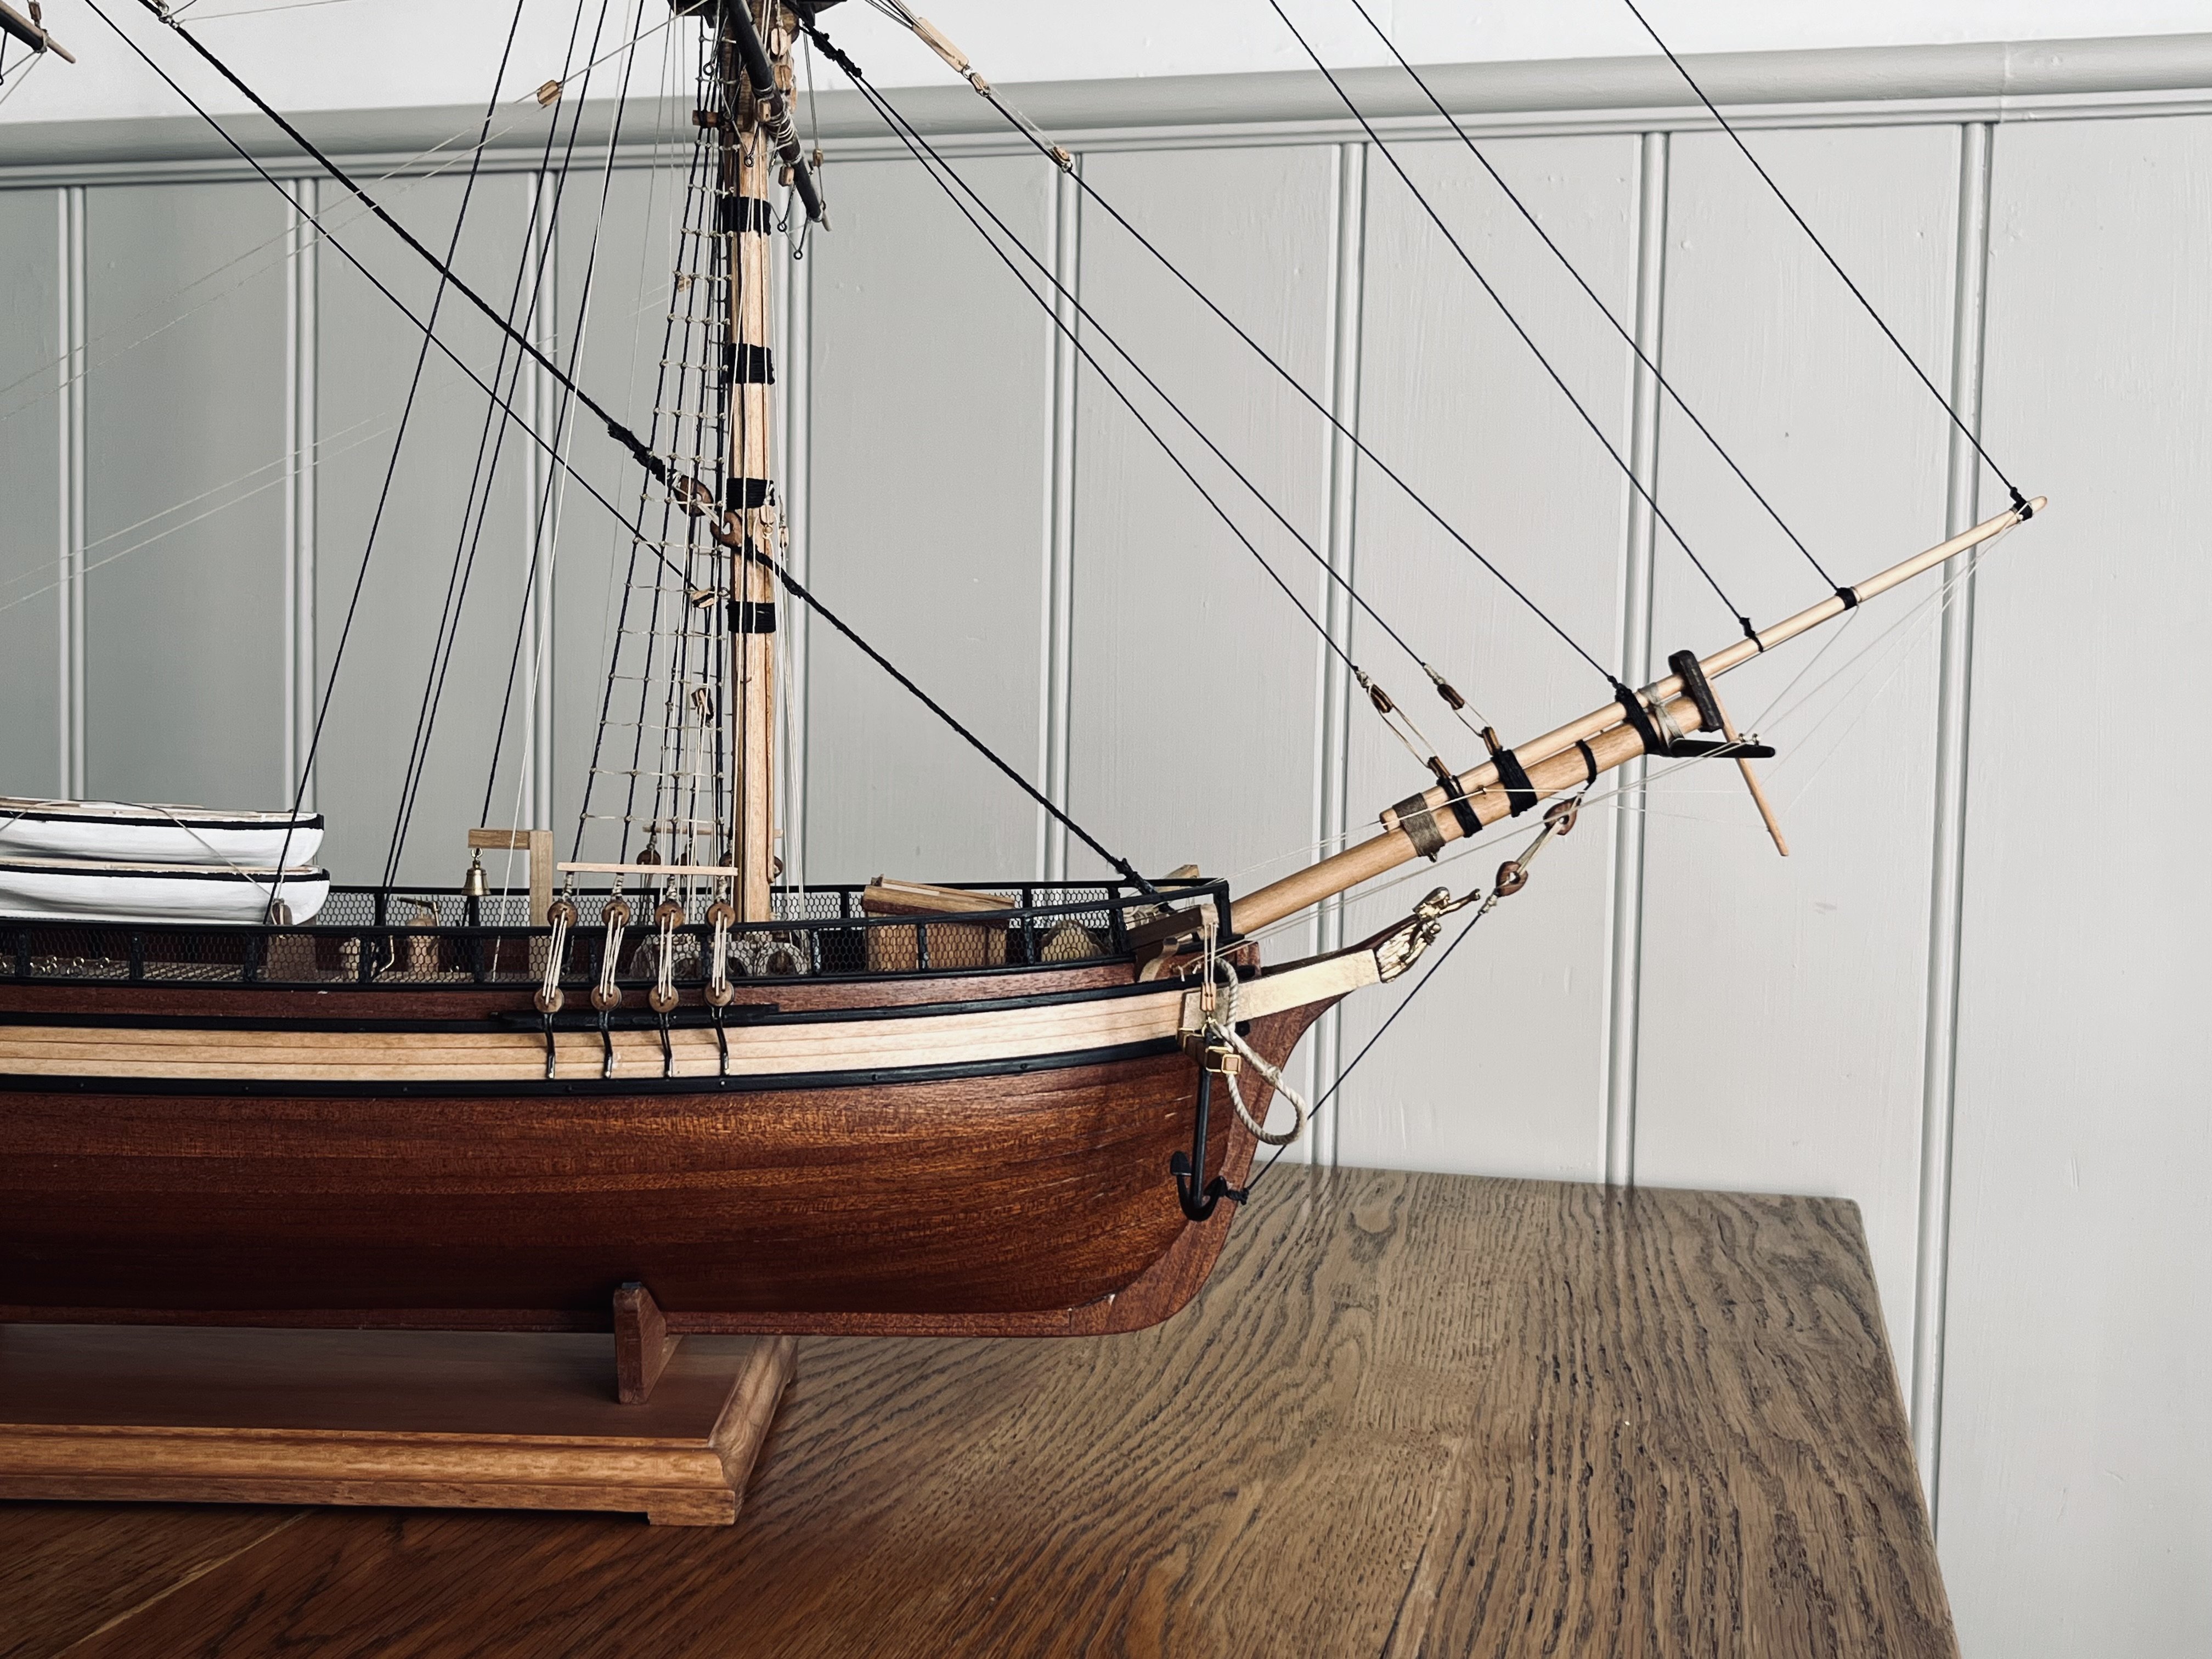
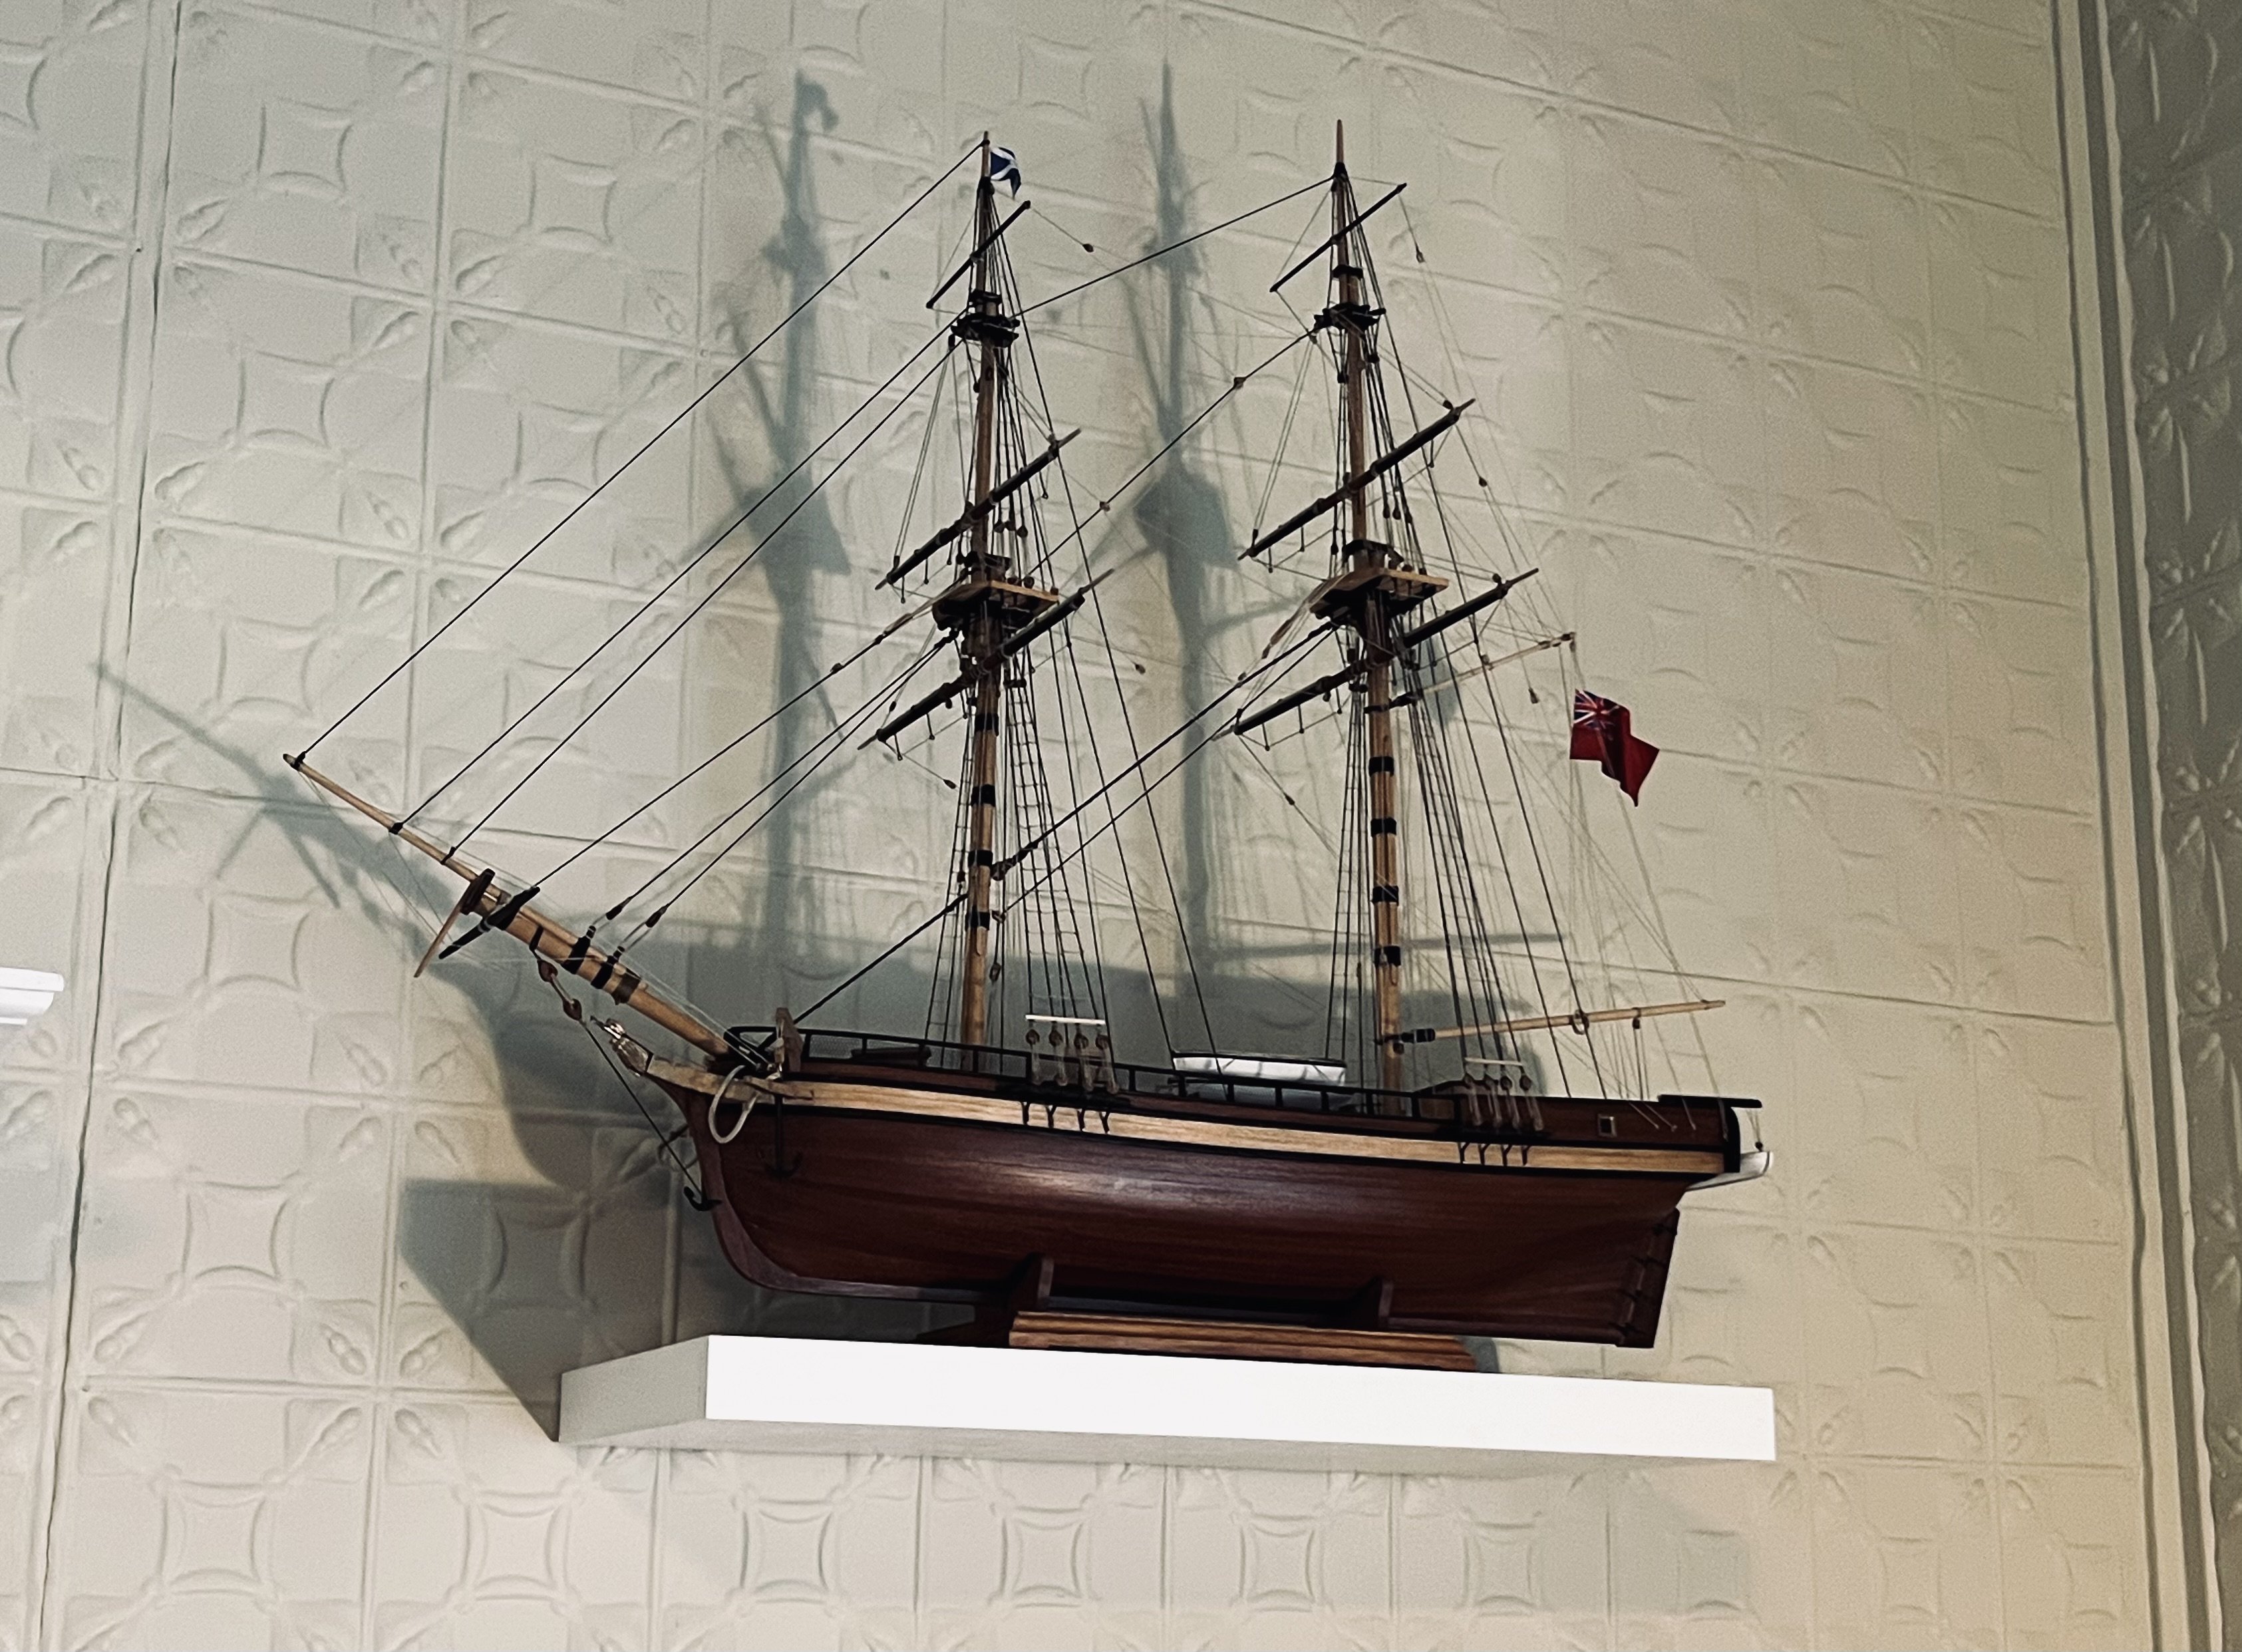
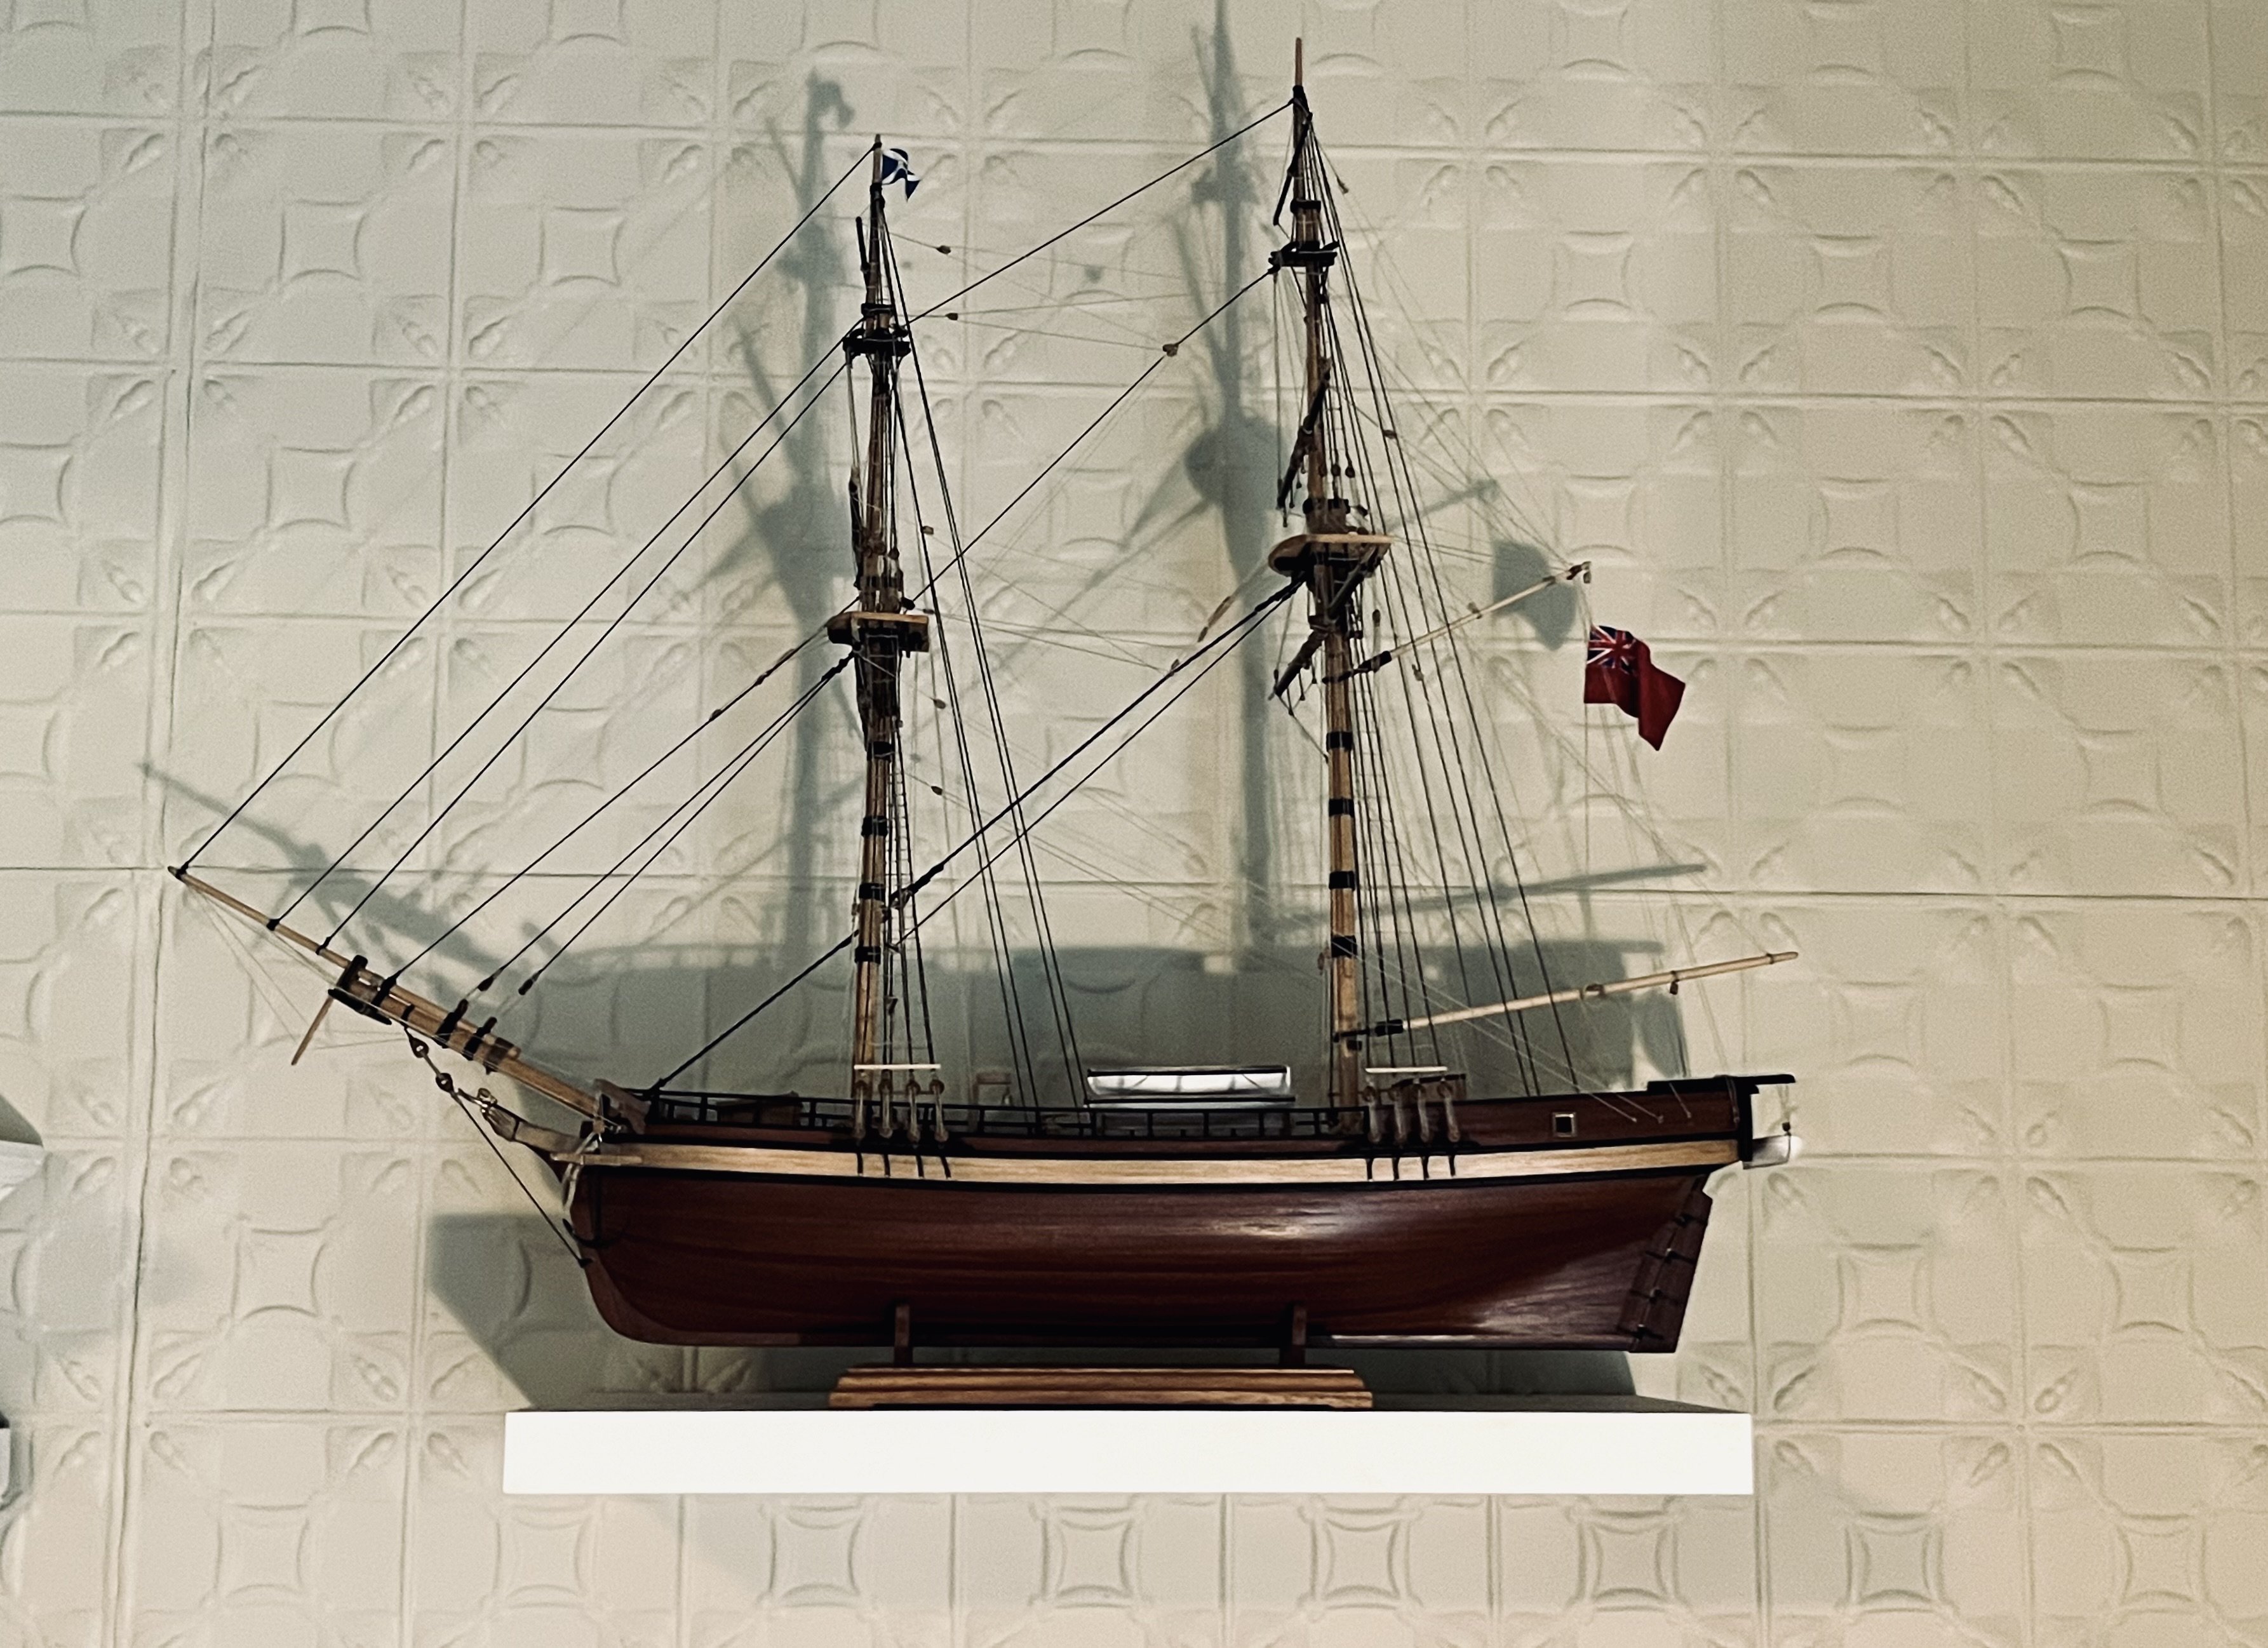
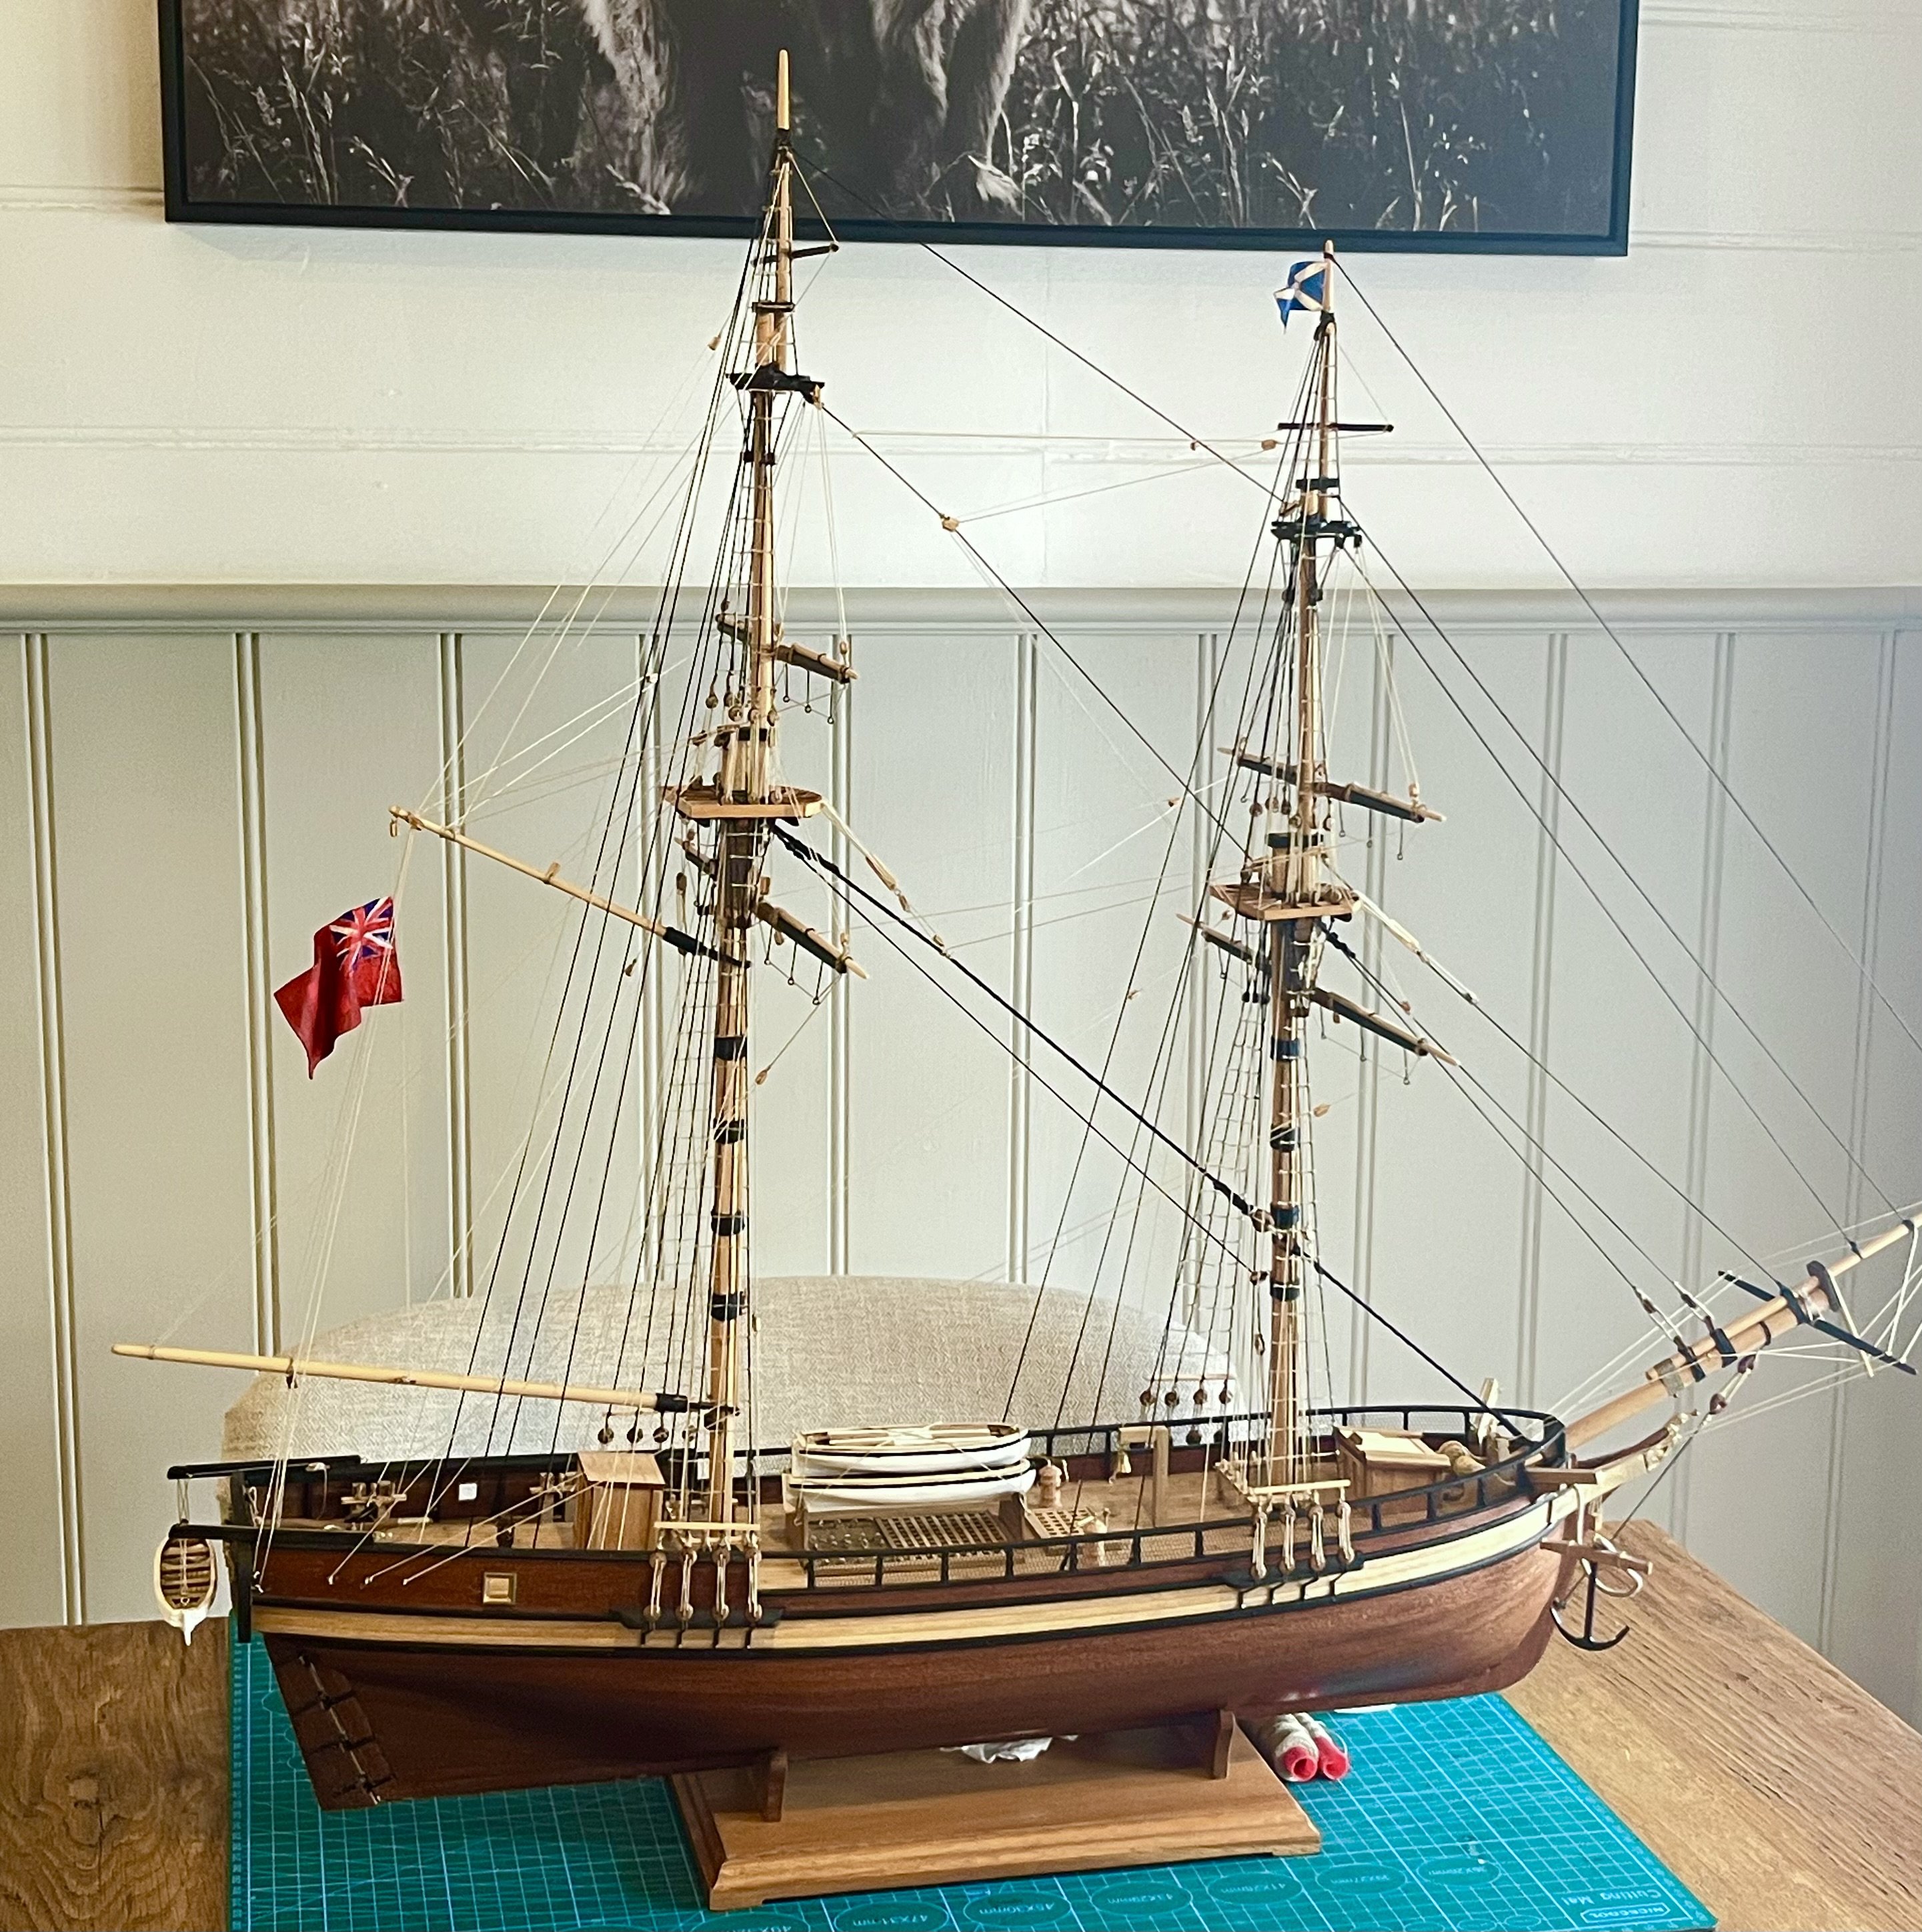
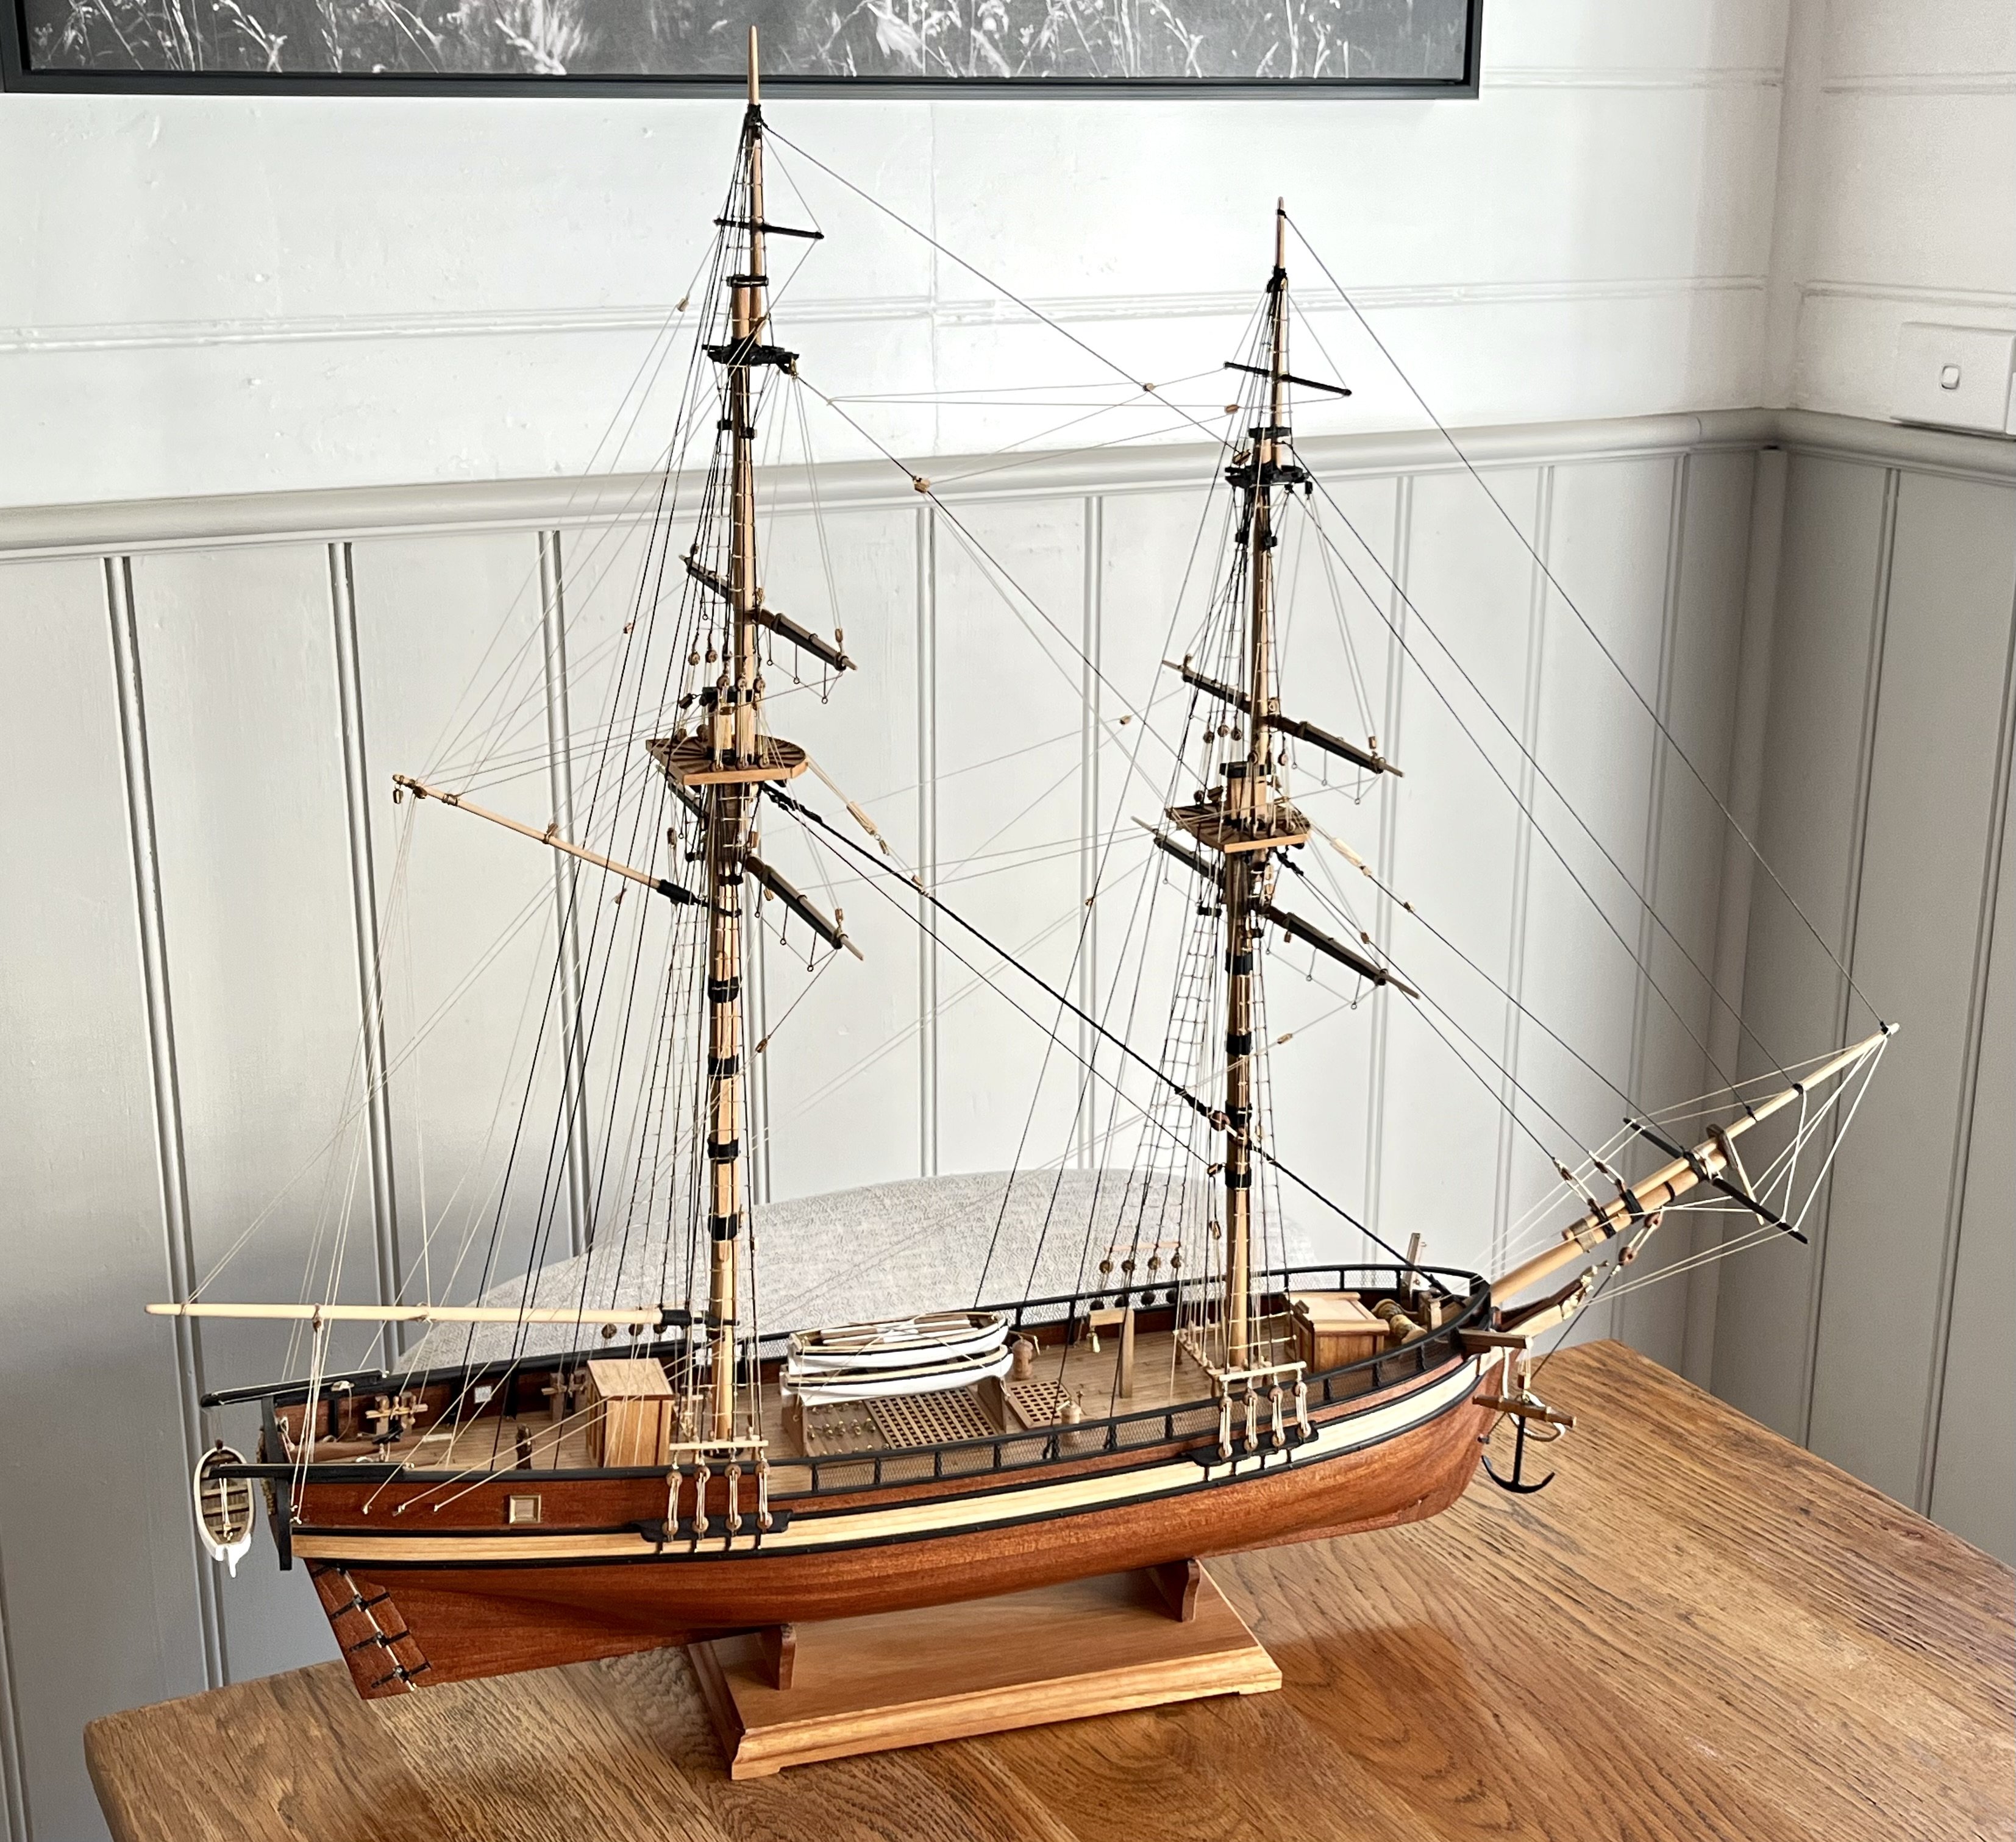
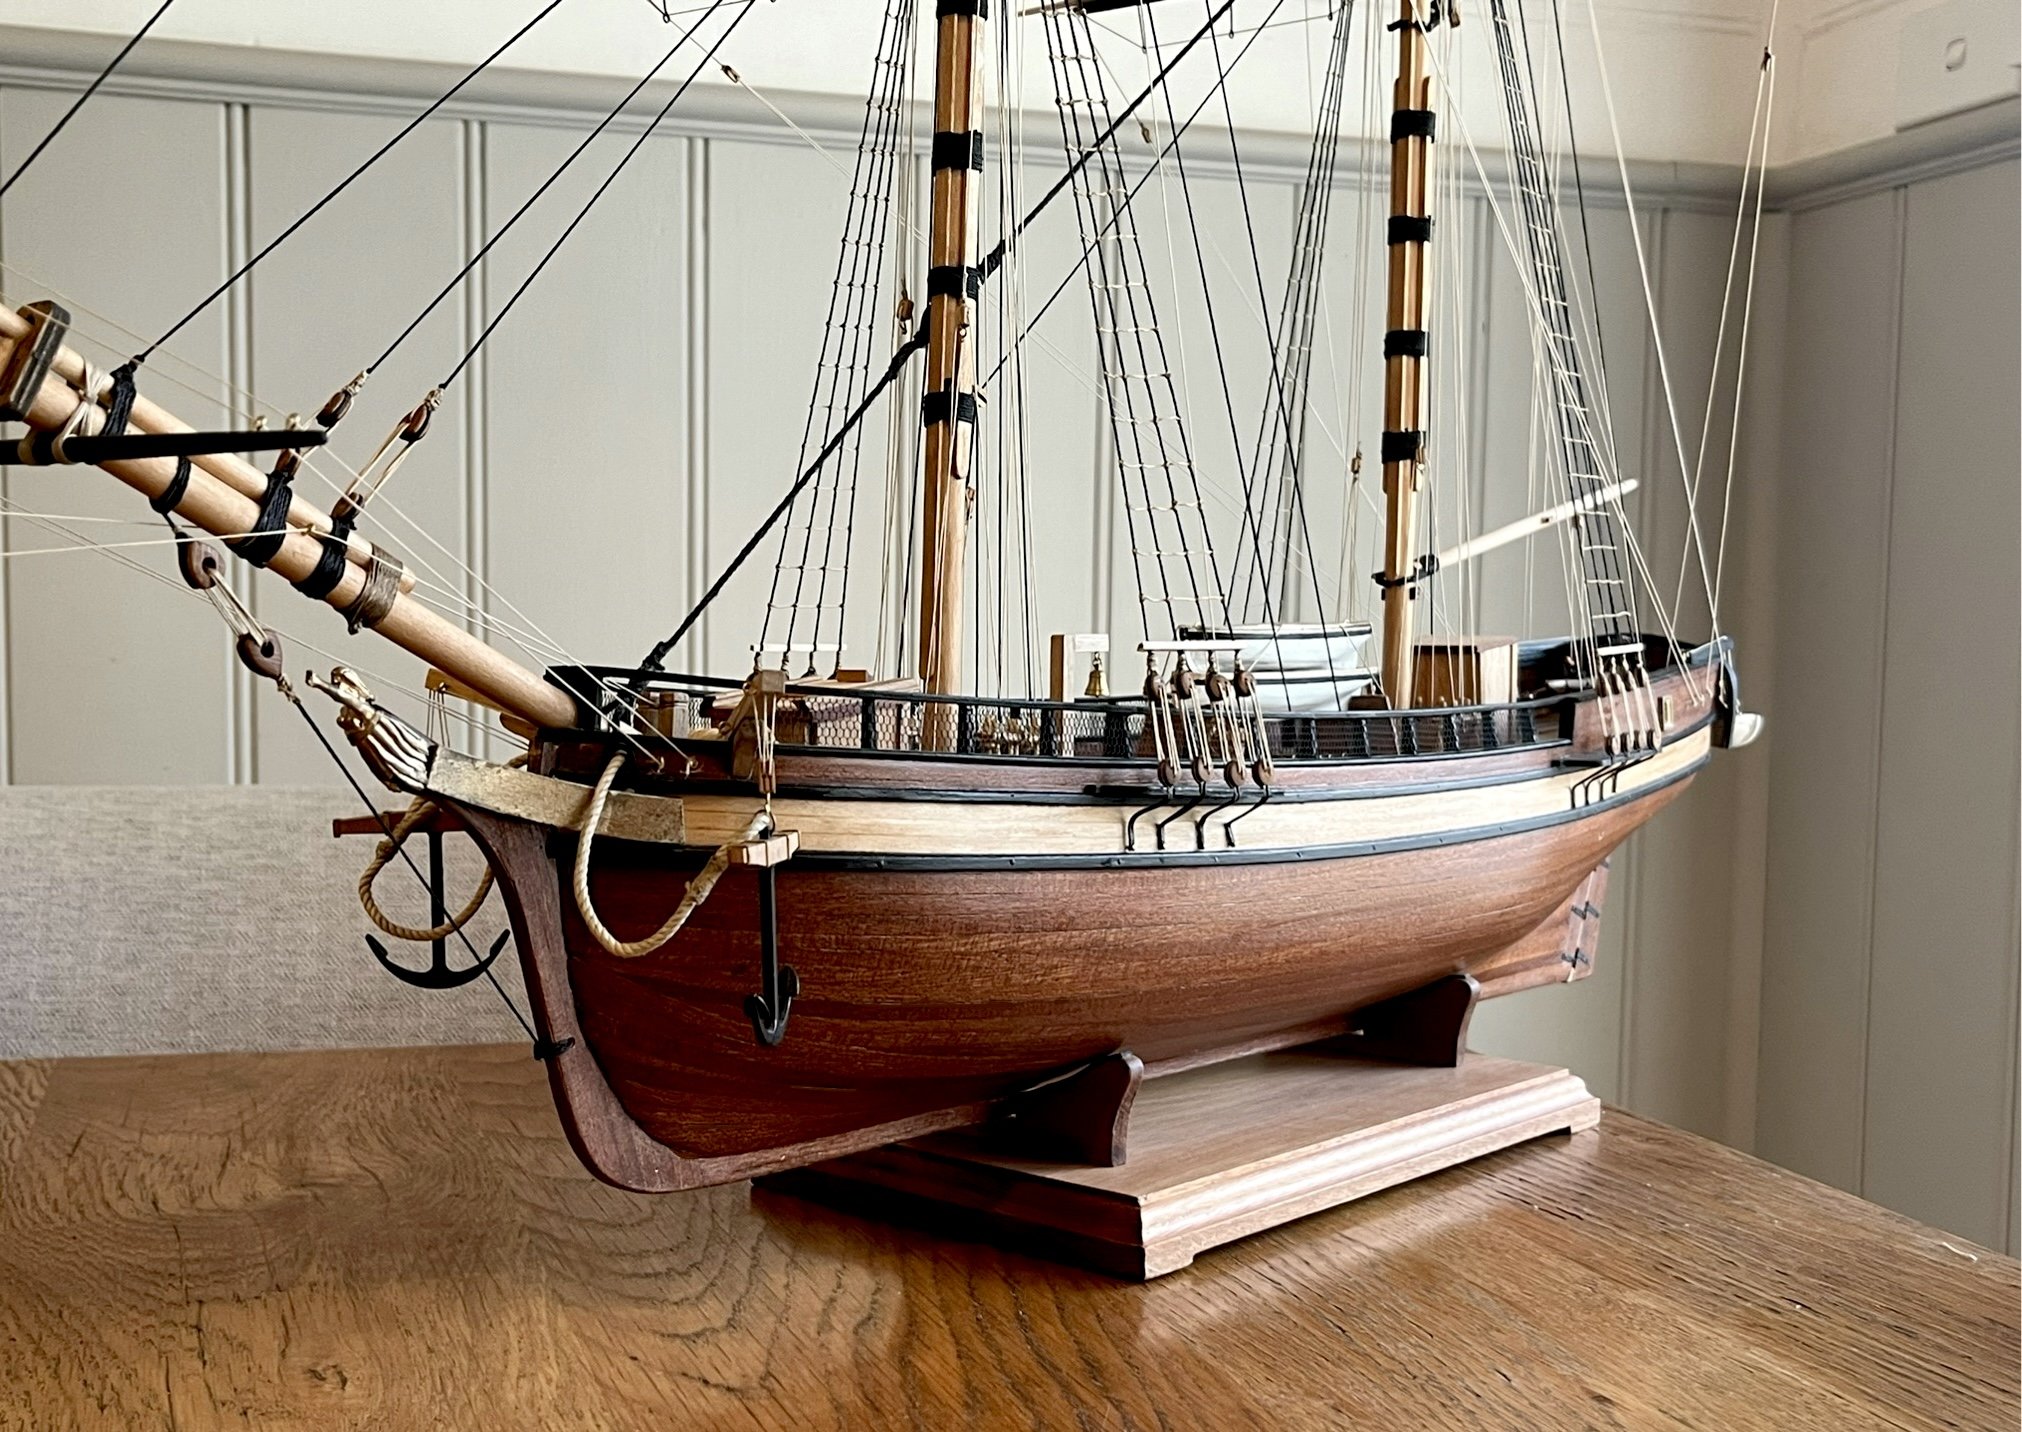
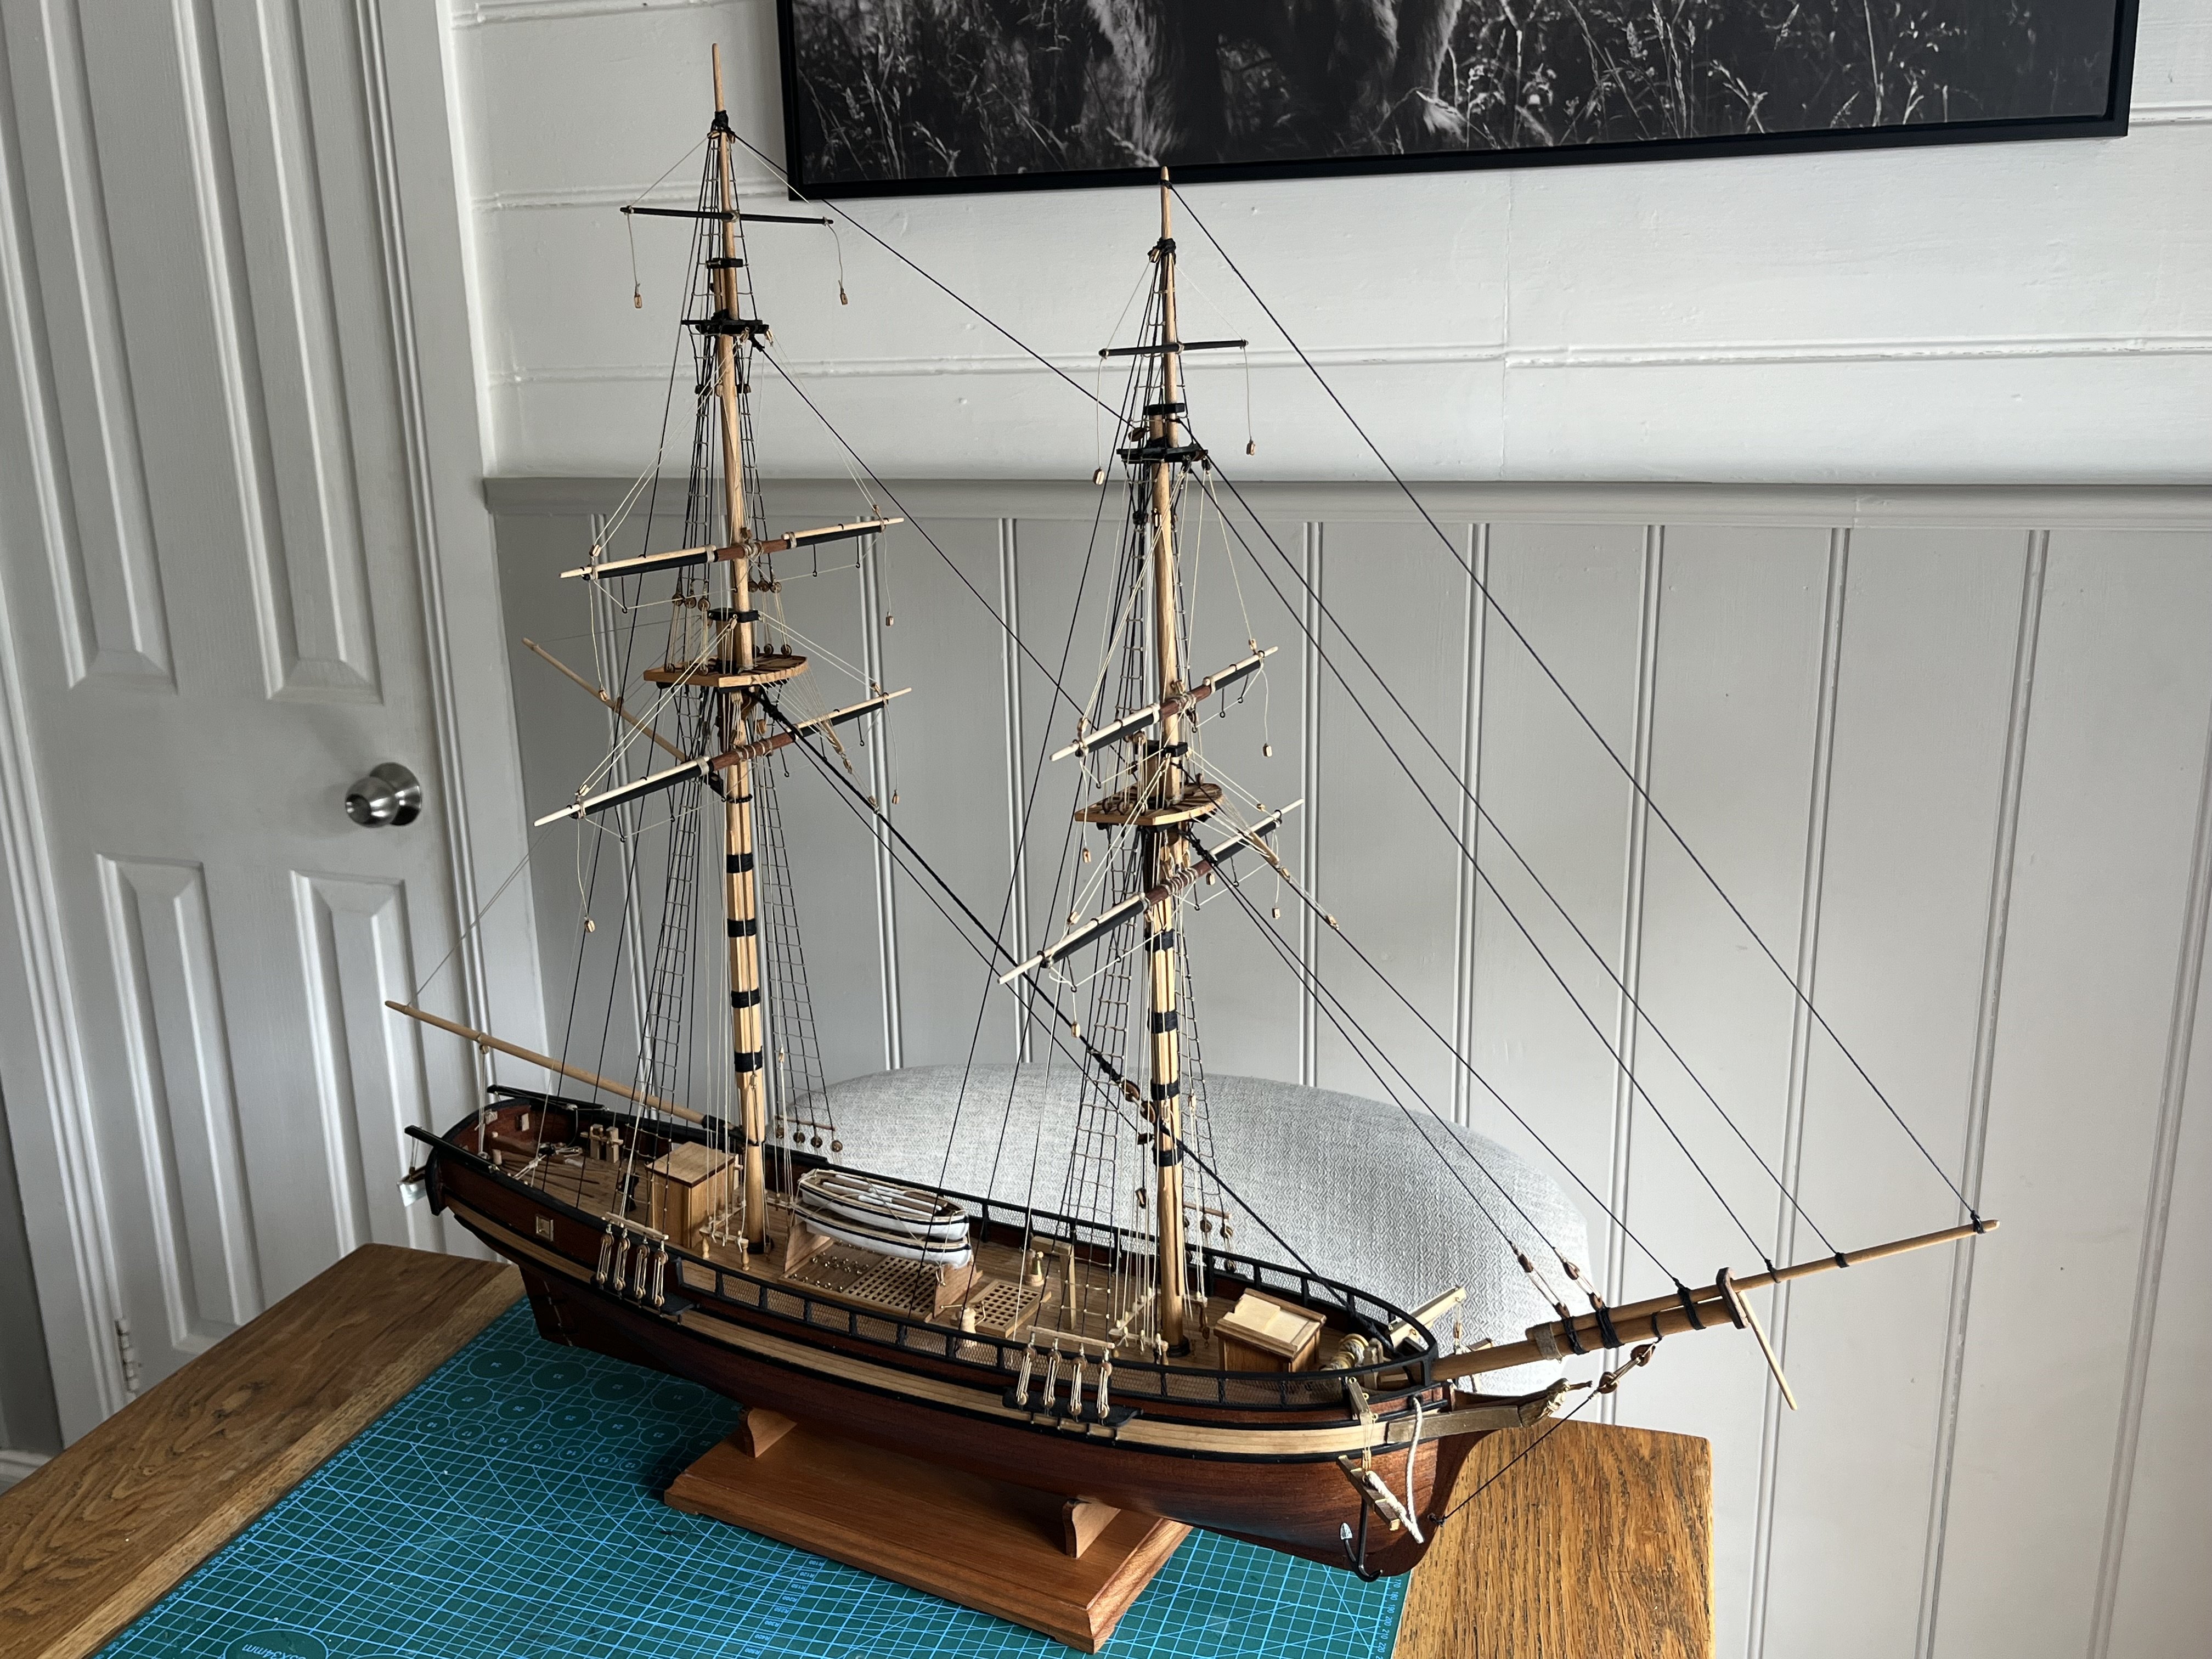
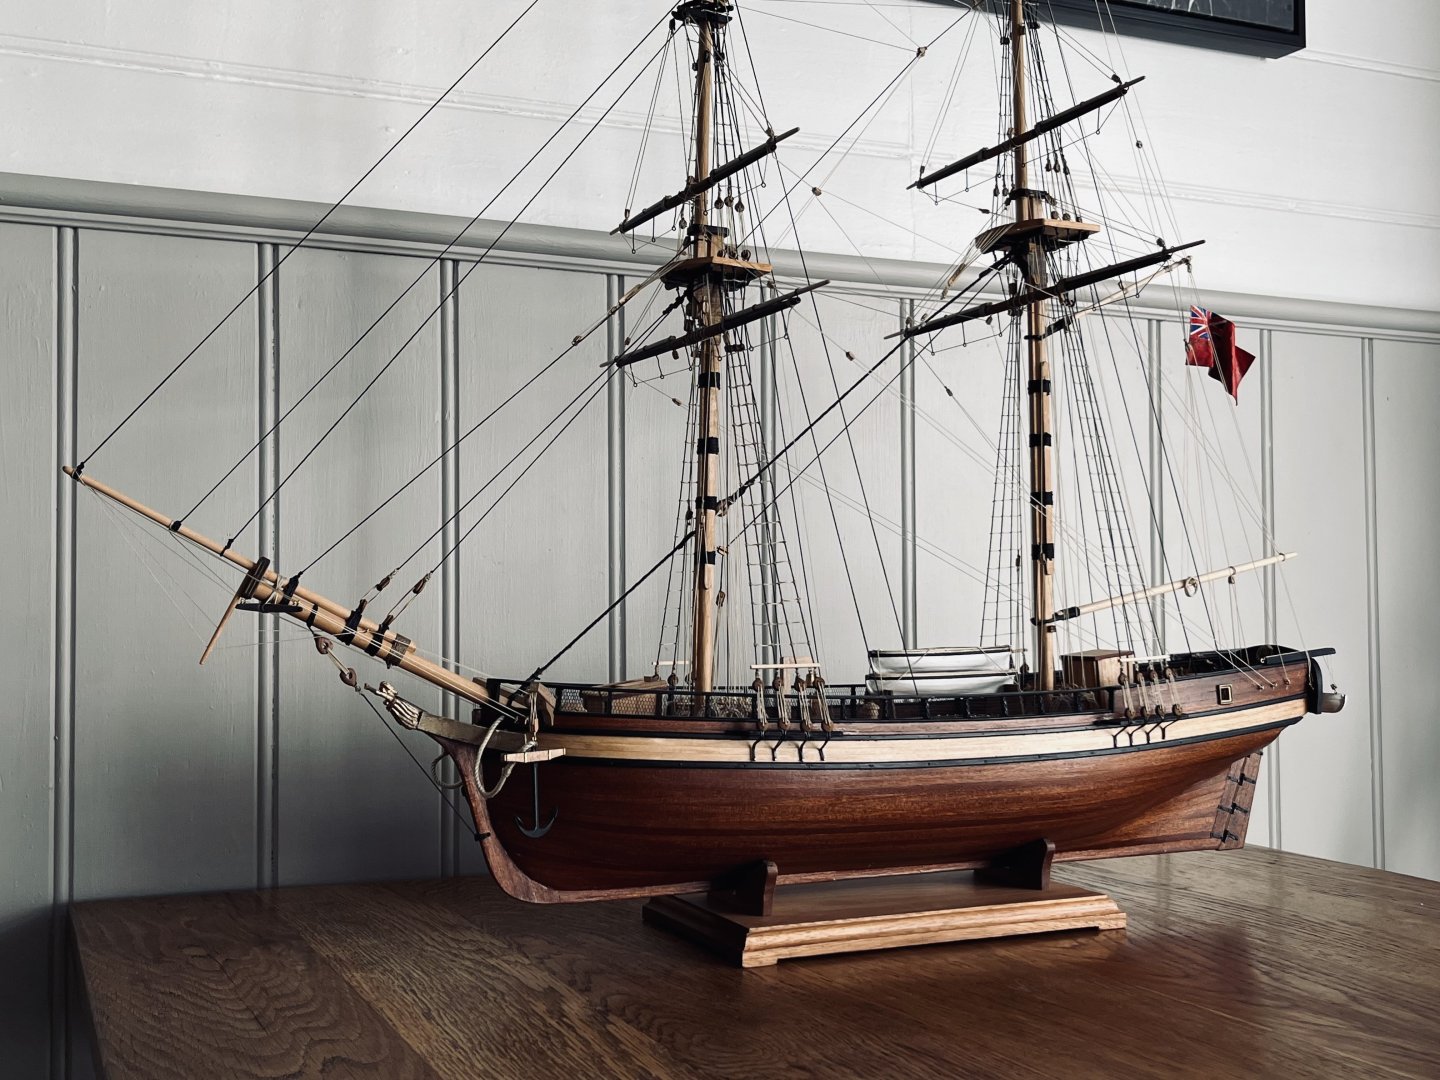
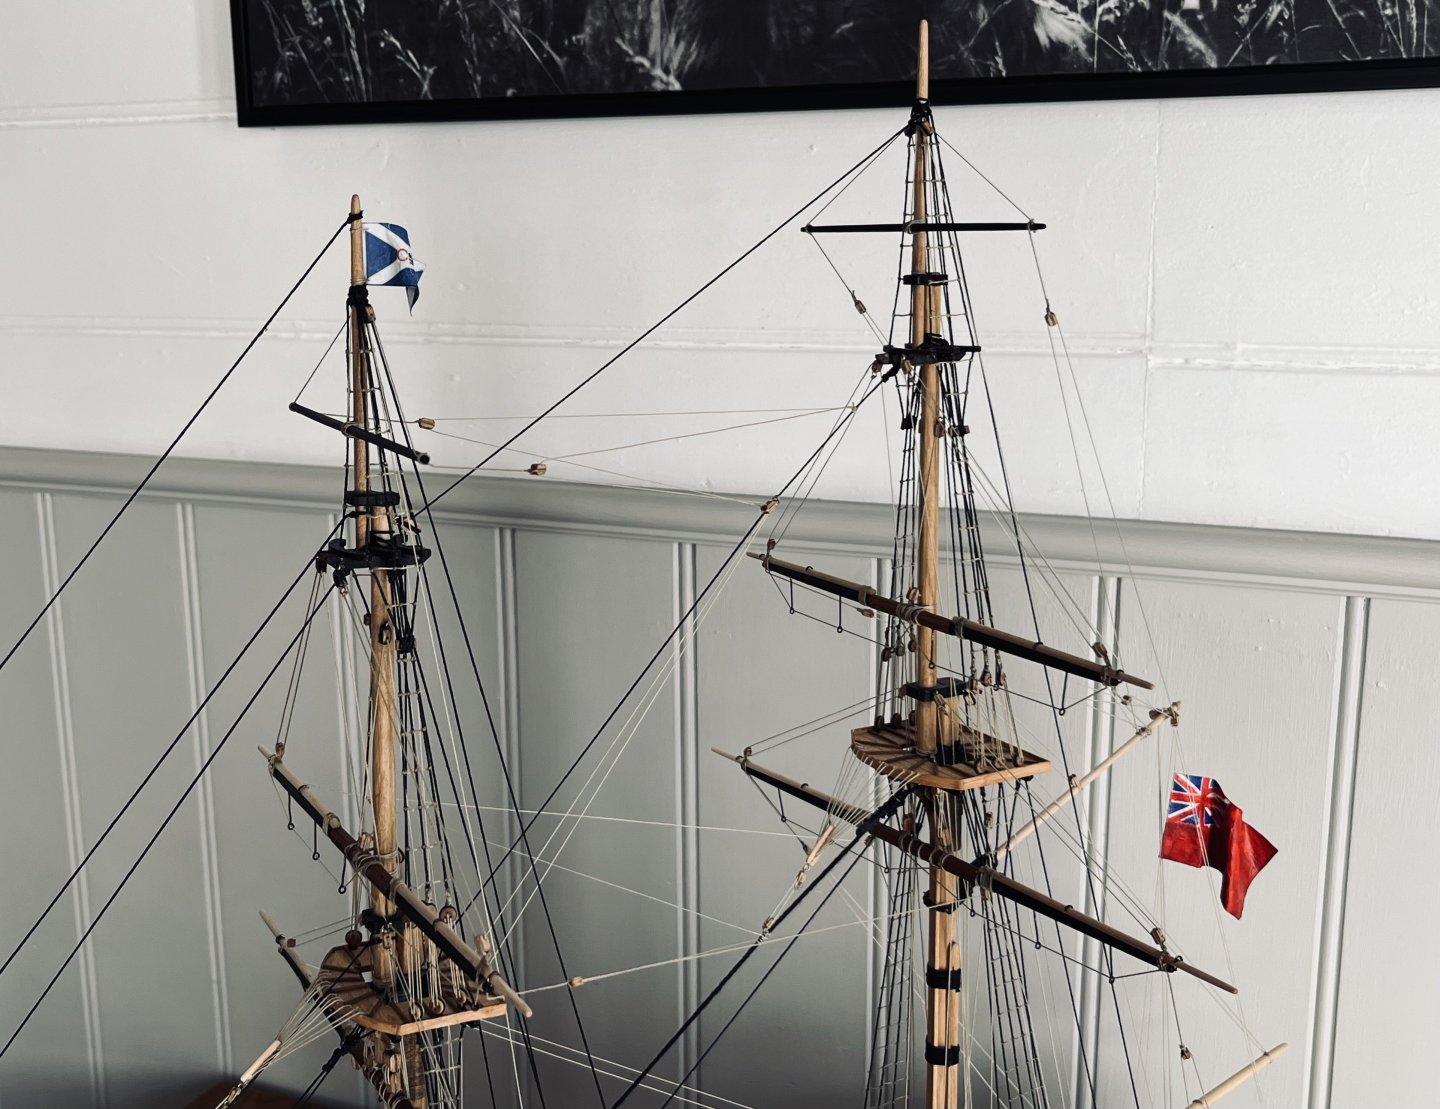
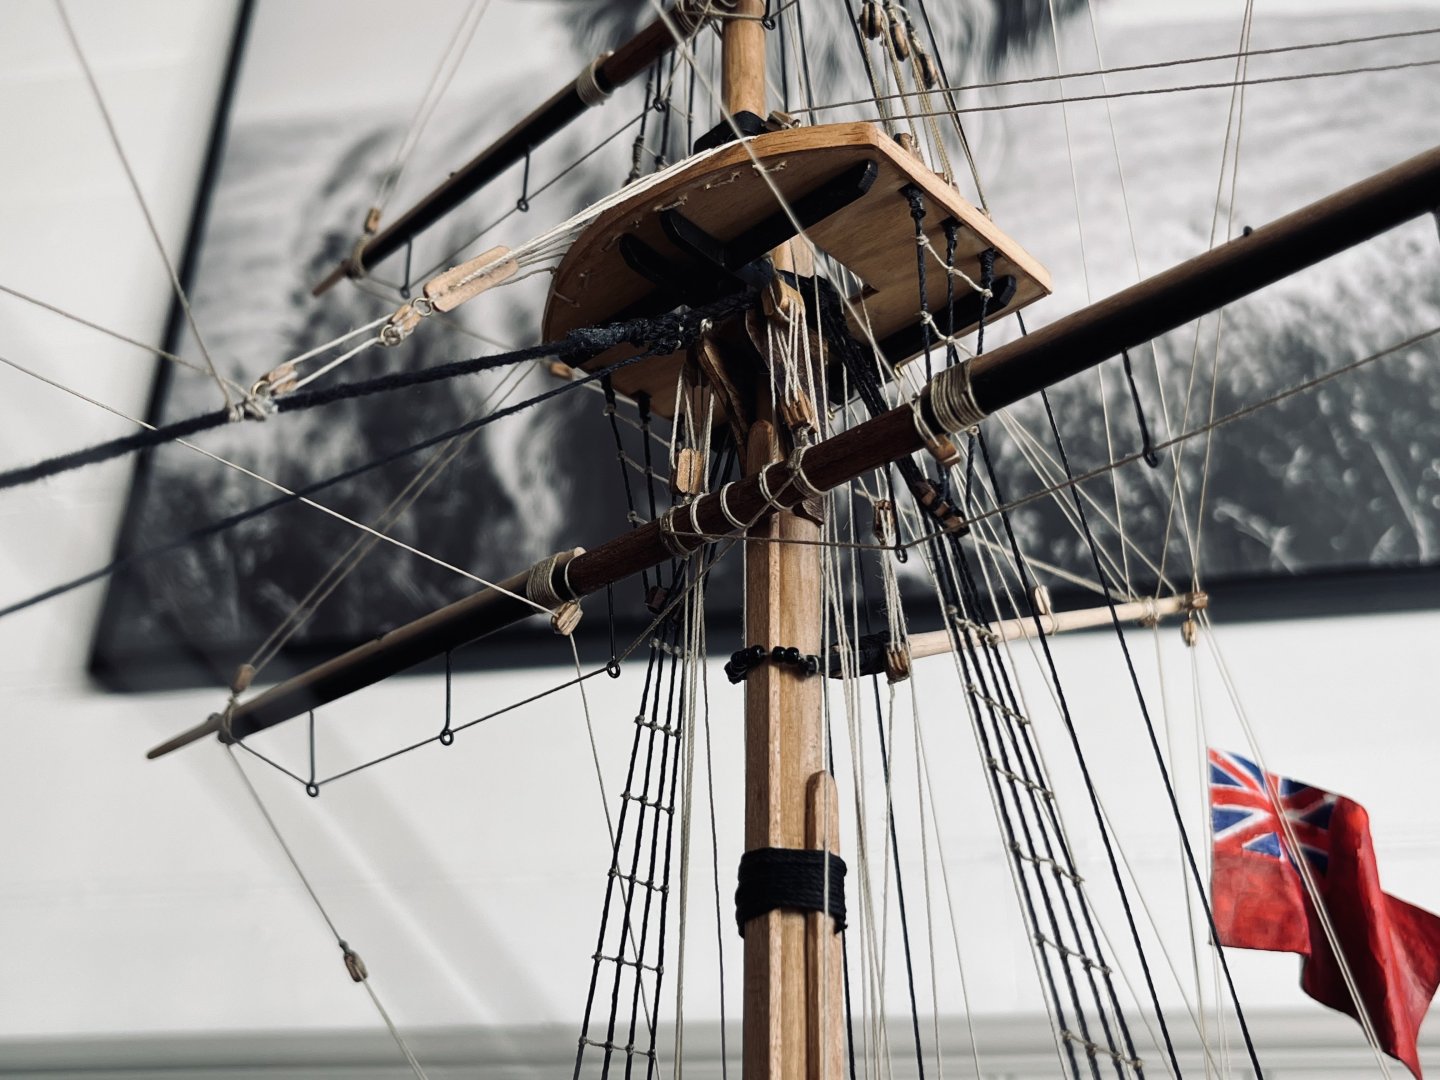
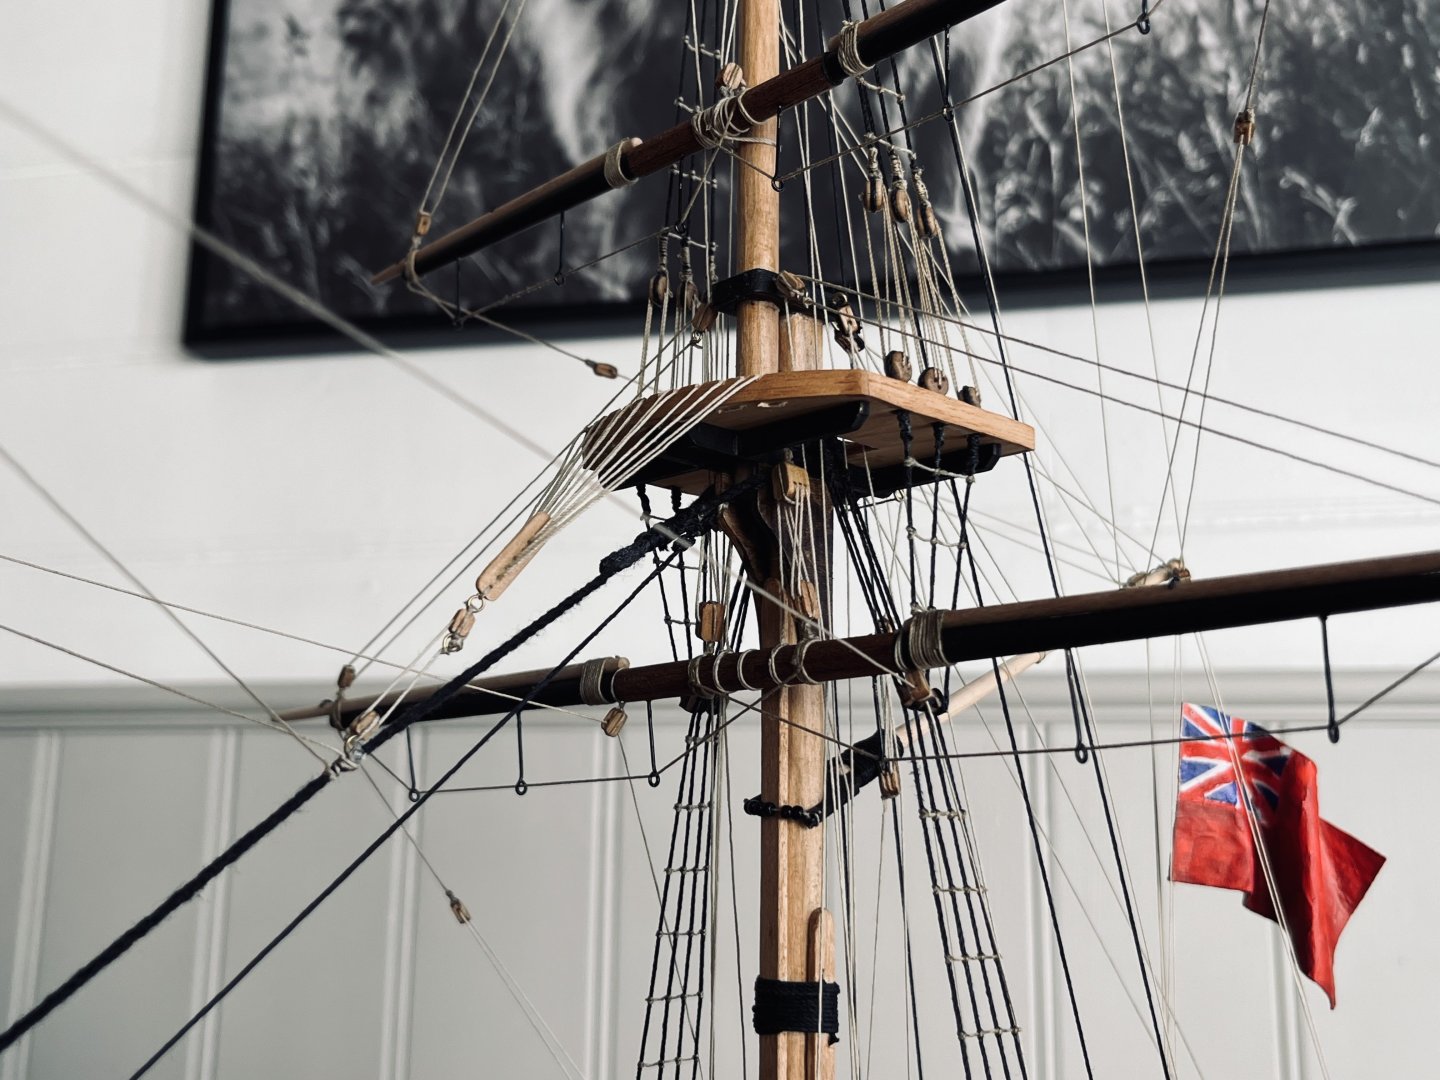
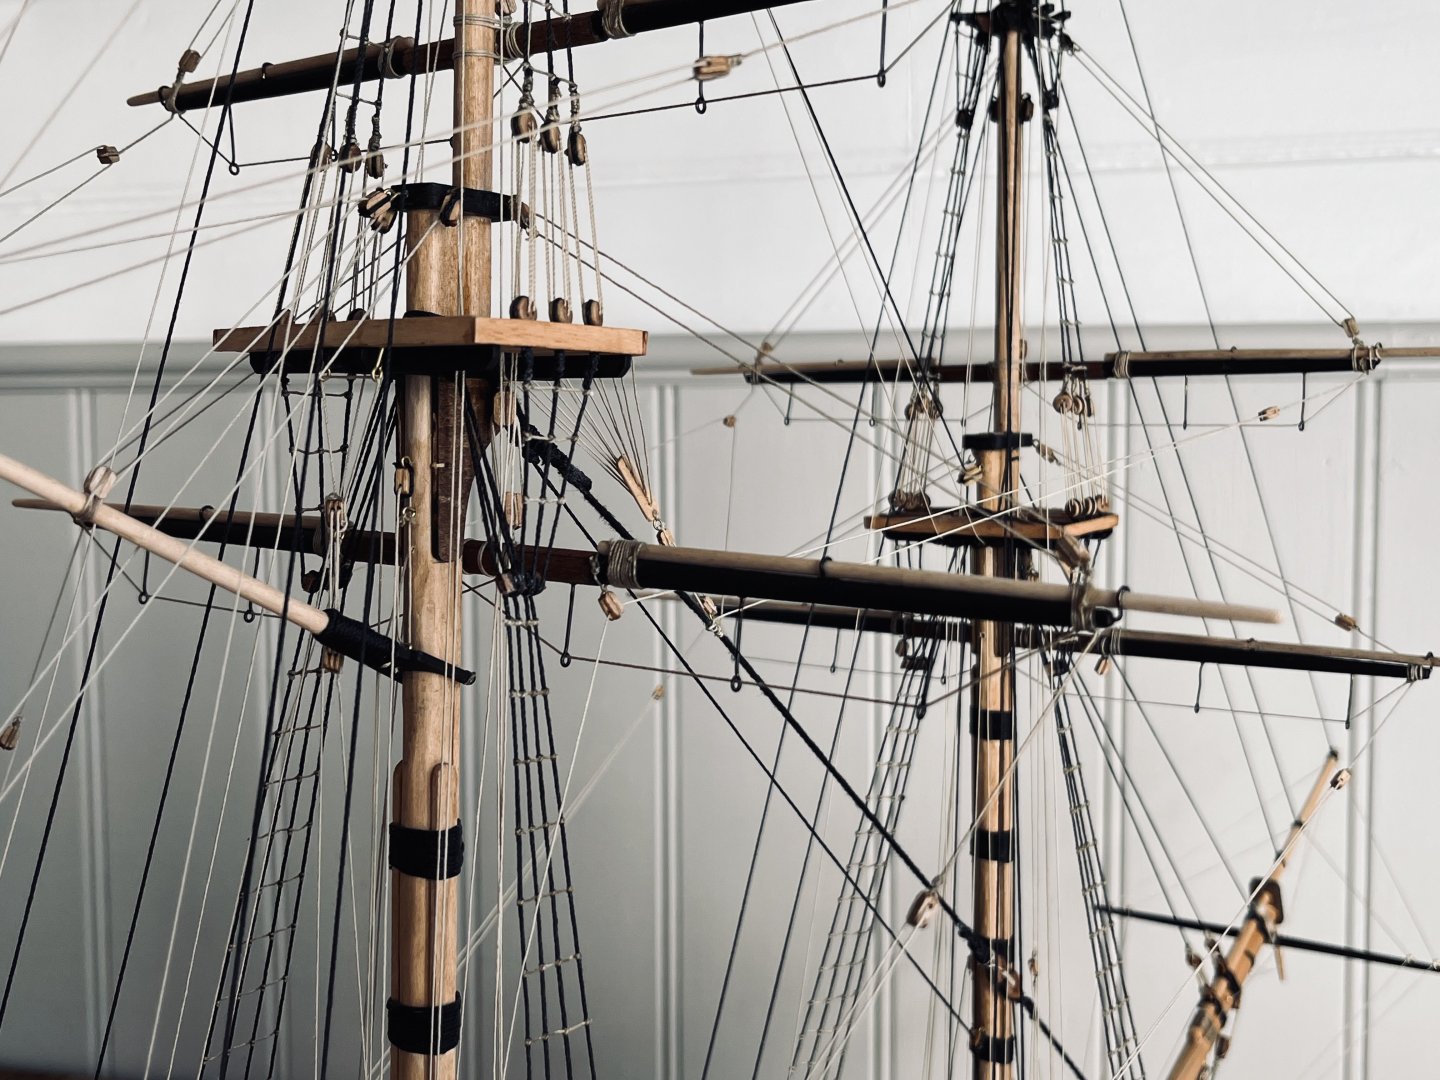
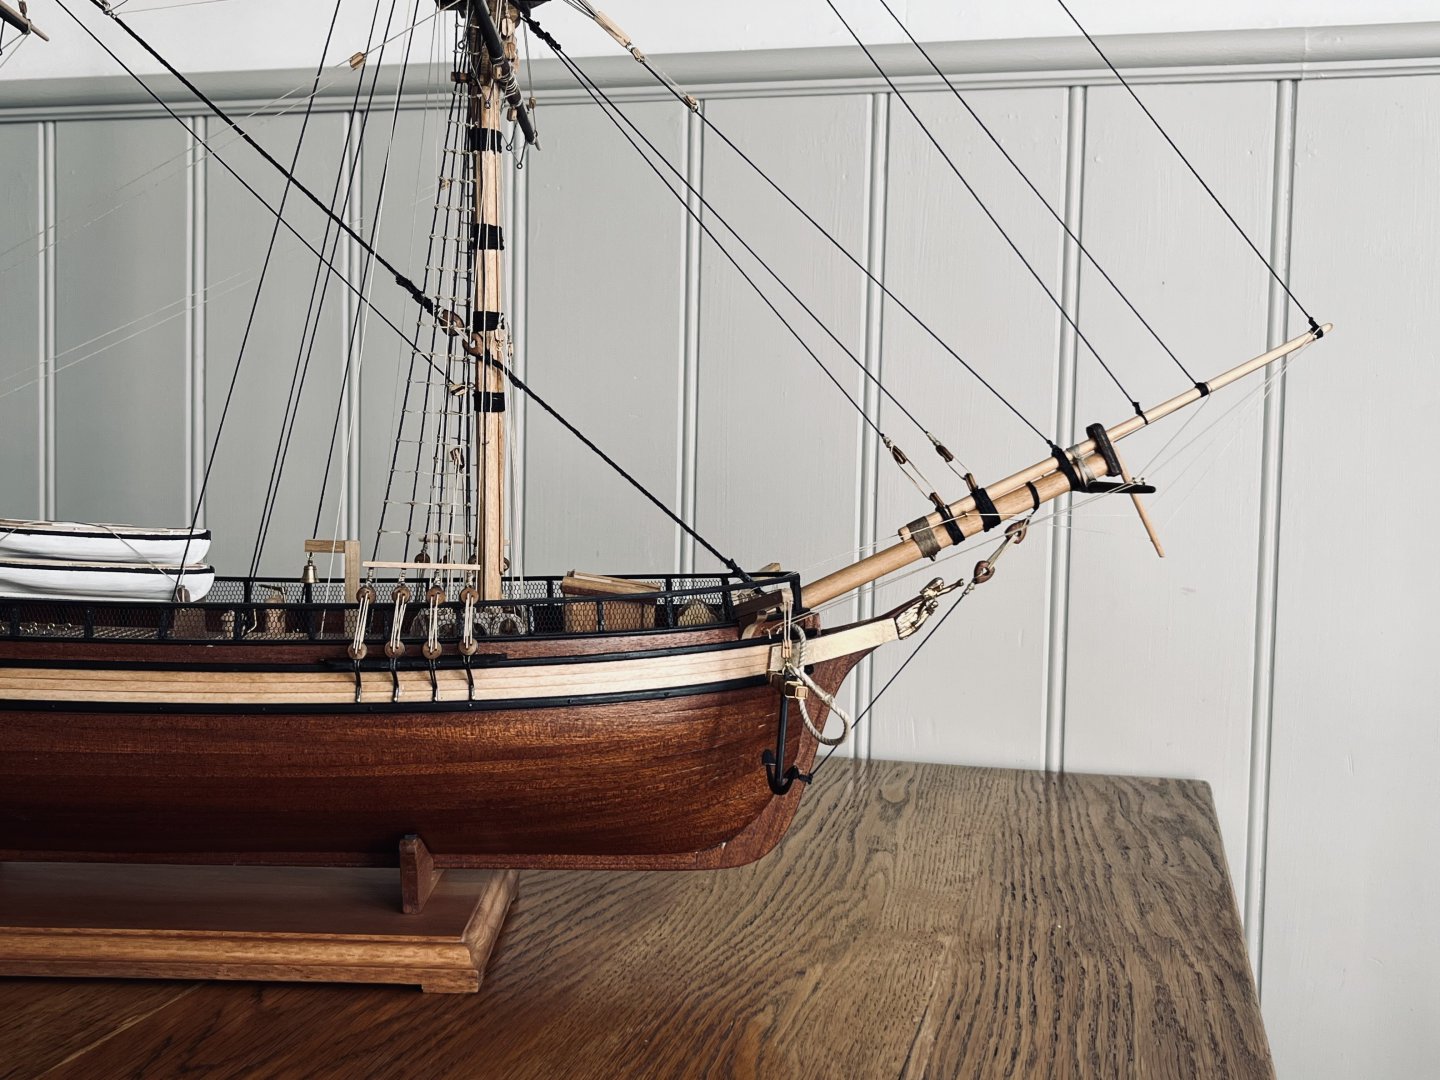
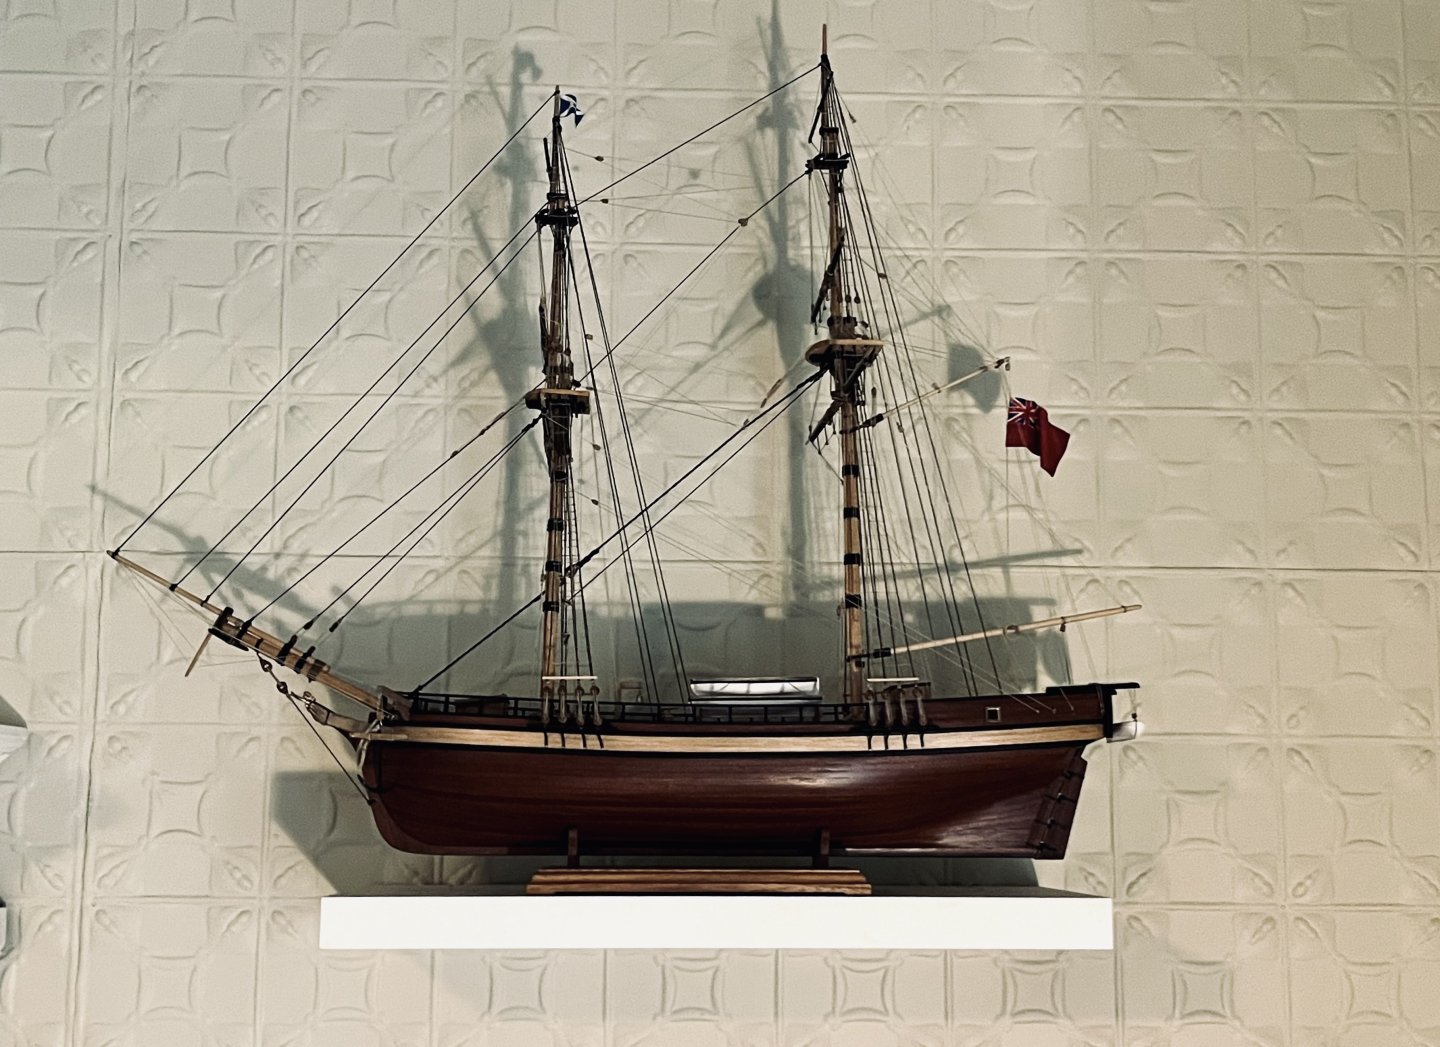
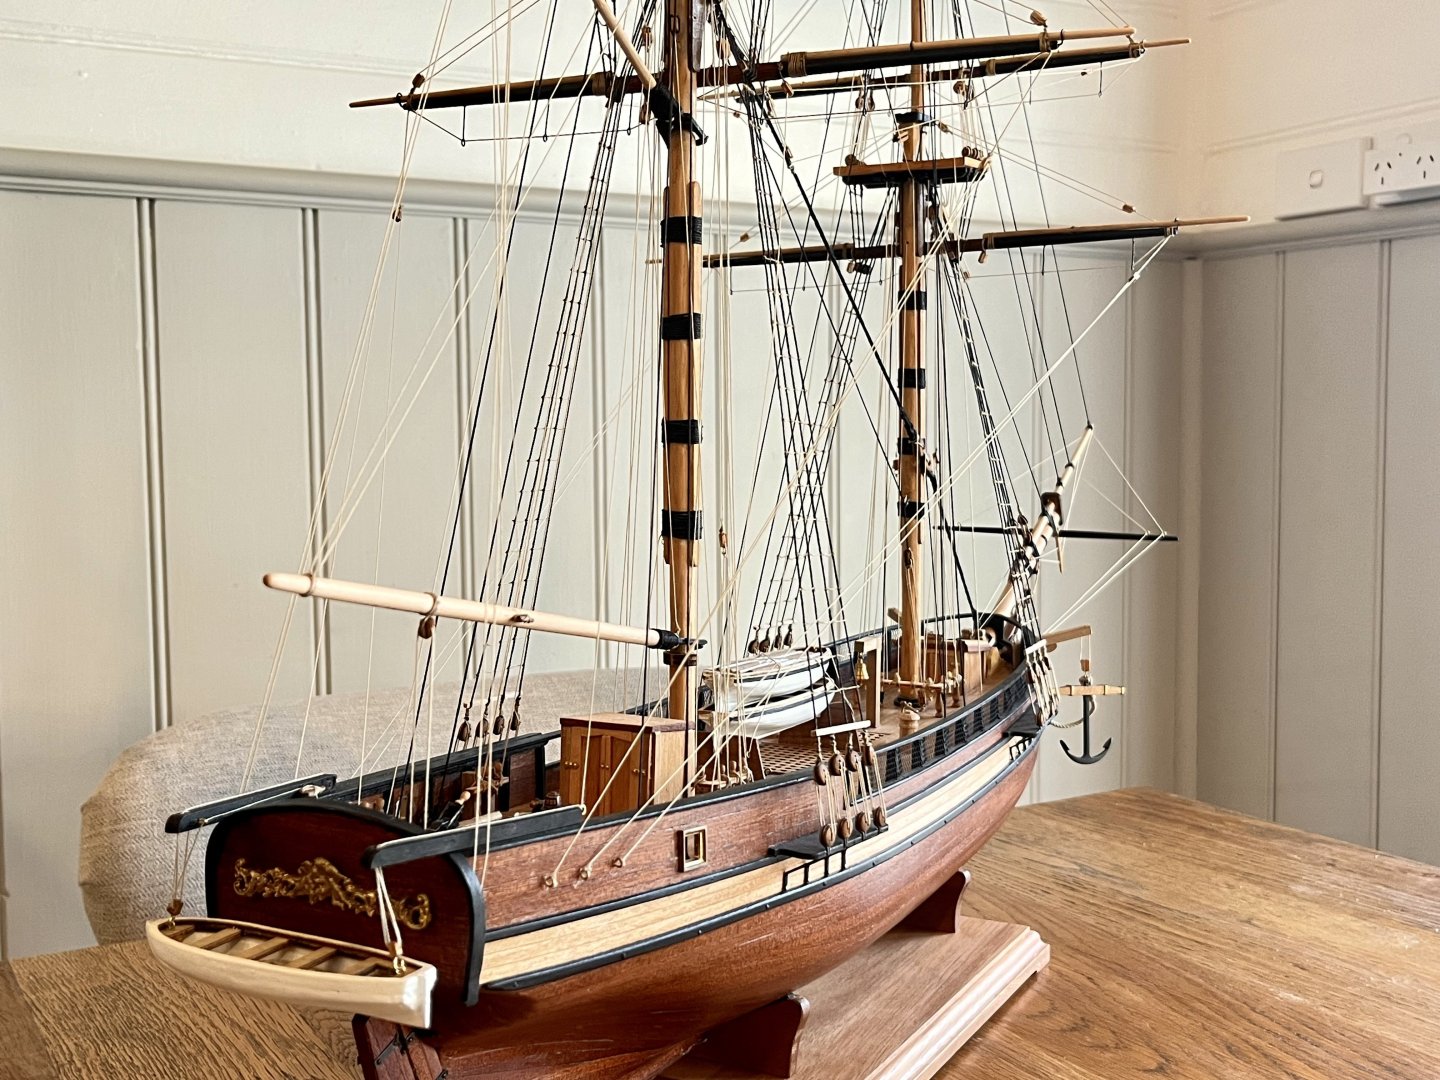
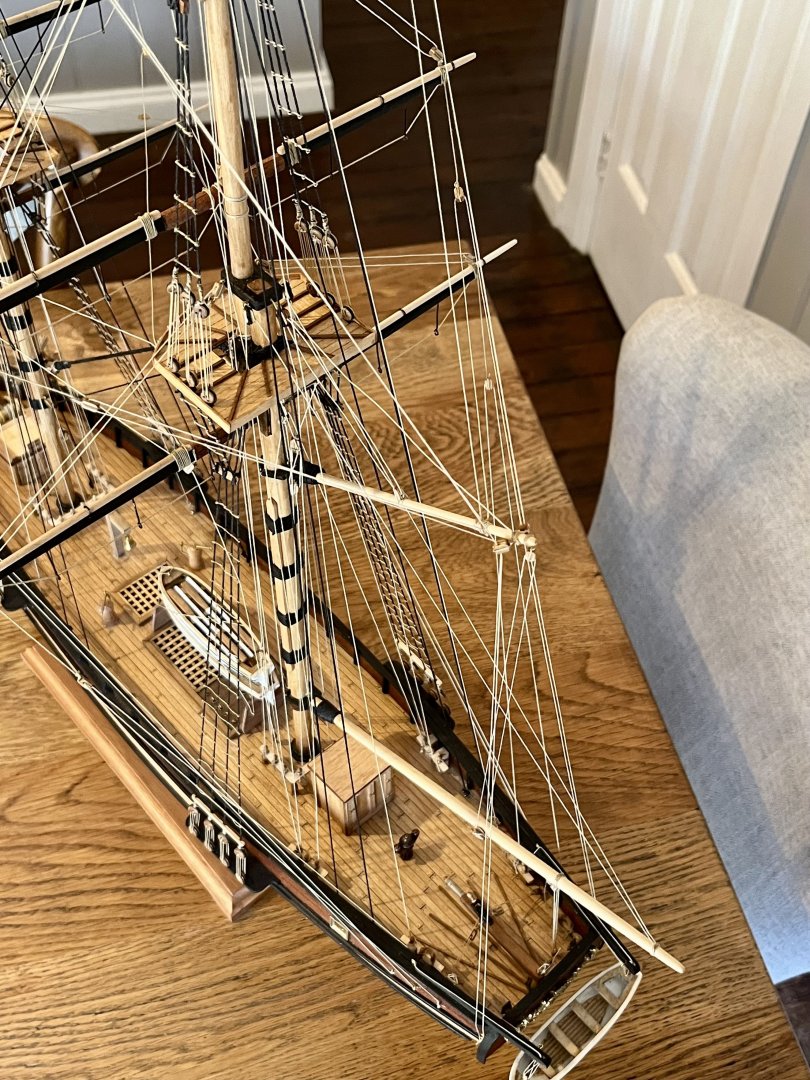
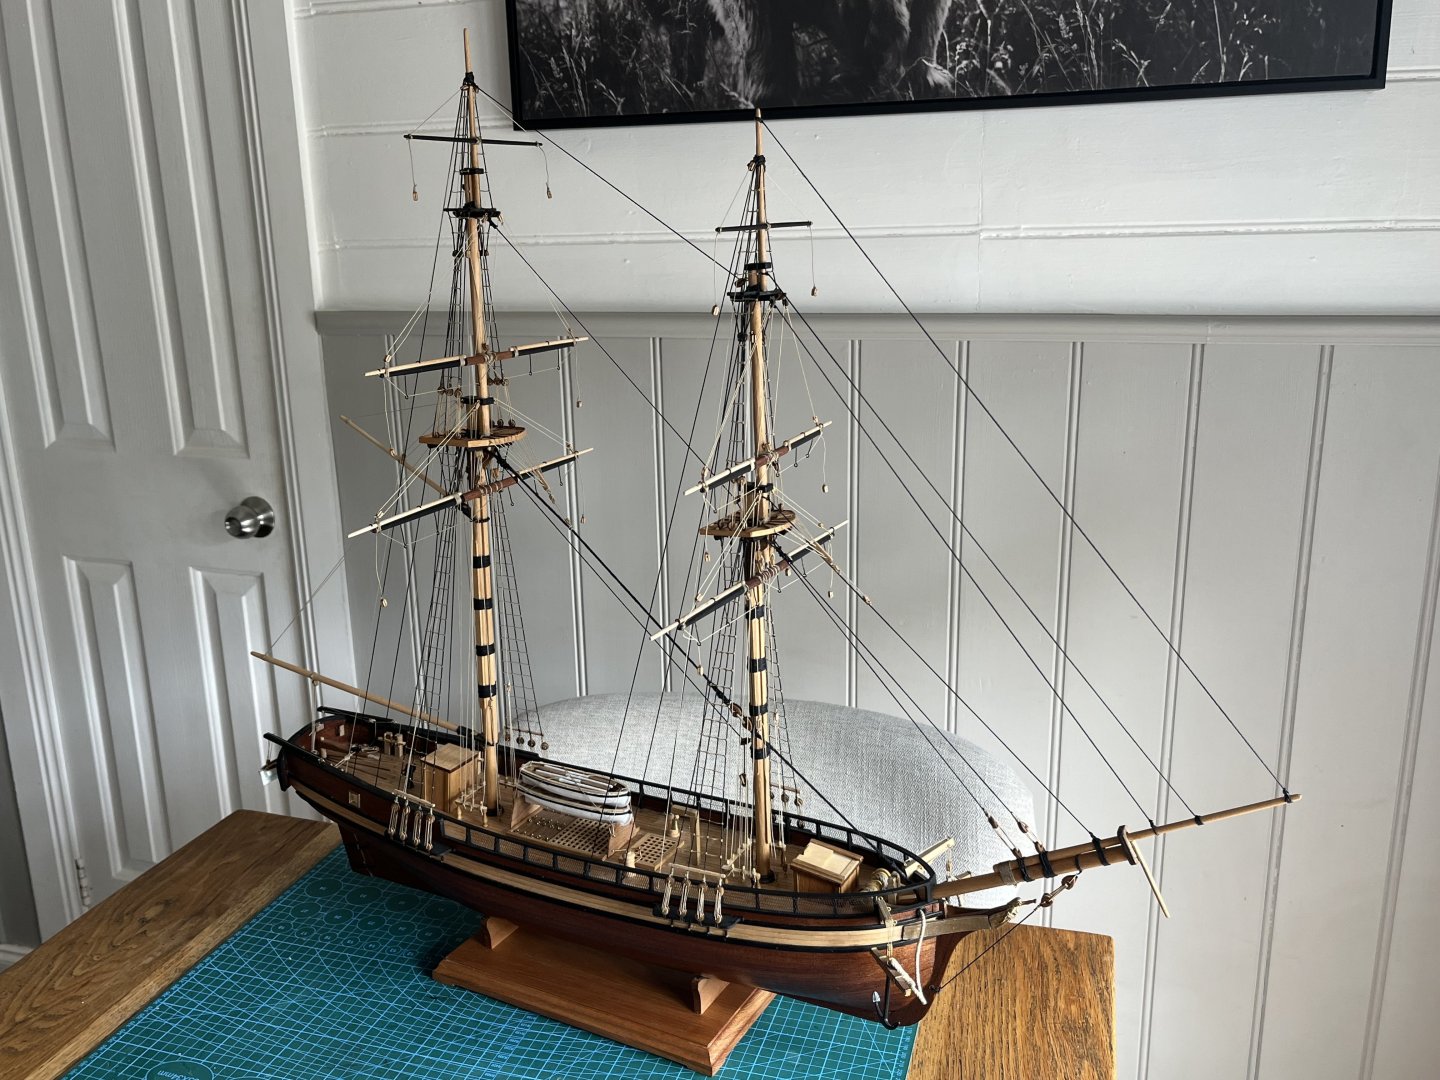
Here’s the Perseverance, my first model ship, fully complete after 15 months. I’ve learnt a lot over the course of building this kit, real life and model building. Even though there’s many flaws and inaccuracies, I’m still quite proud of this accomplishment. My main goal was to resemble something that looked like a wooden ship and I’m pretty sure I achieved that! Thanks to all who followed along and a big thanks goes to Michael and Steven, you’ve been a big help. @Ferrus Manus @Louie da fly Until next time, Isaiah


- 177 replies
-
- 10
-
-

-

-
- Perseverance
- Modellers Shipyard
- (and 1 more)
-
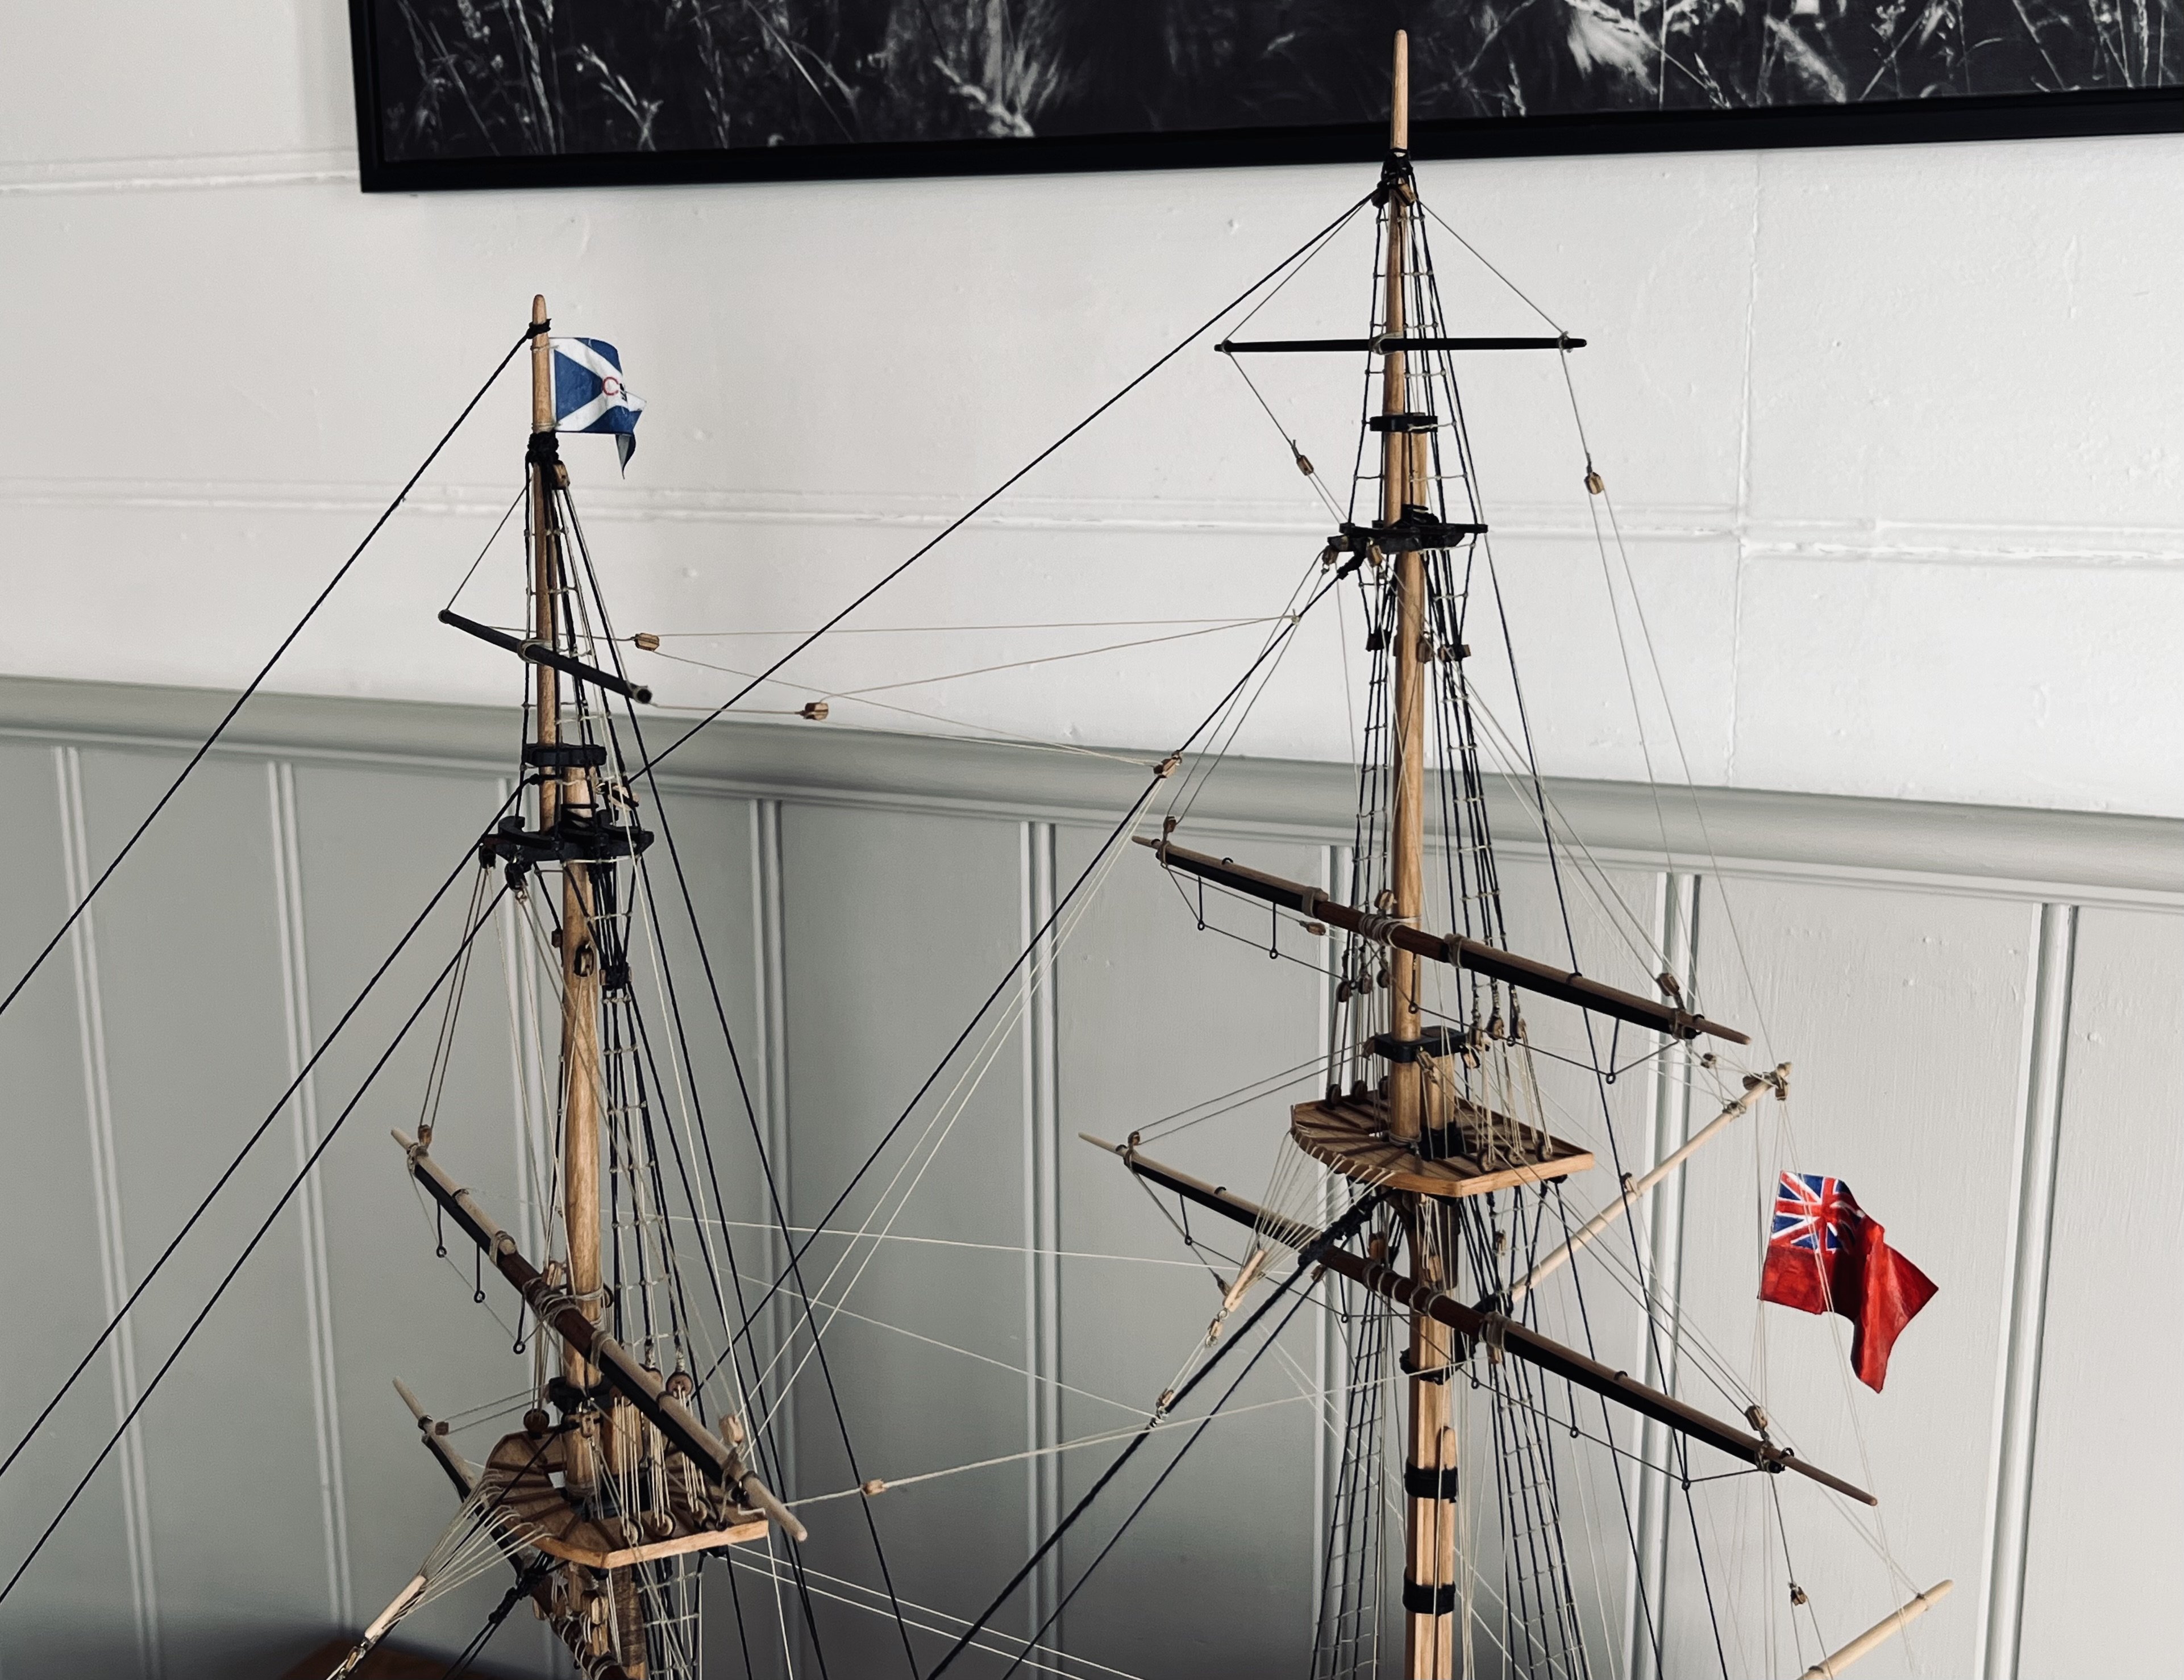
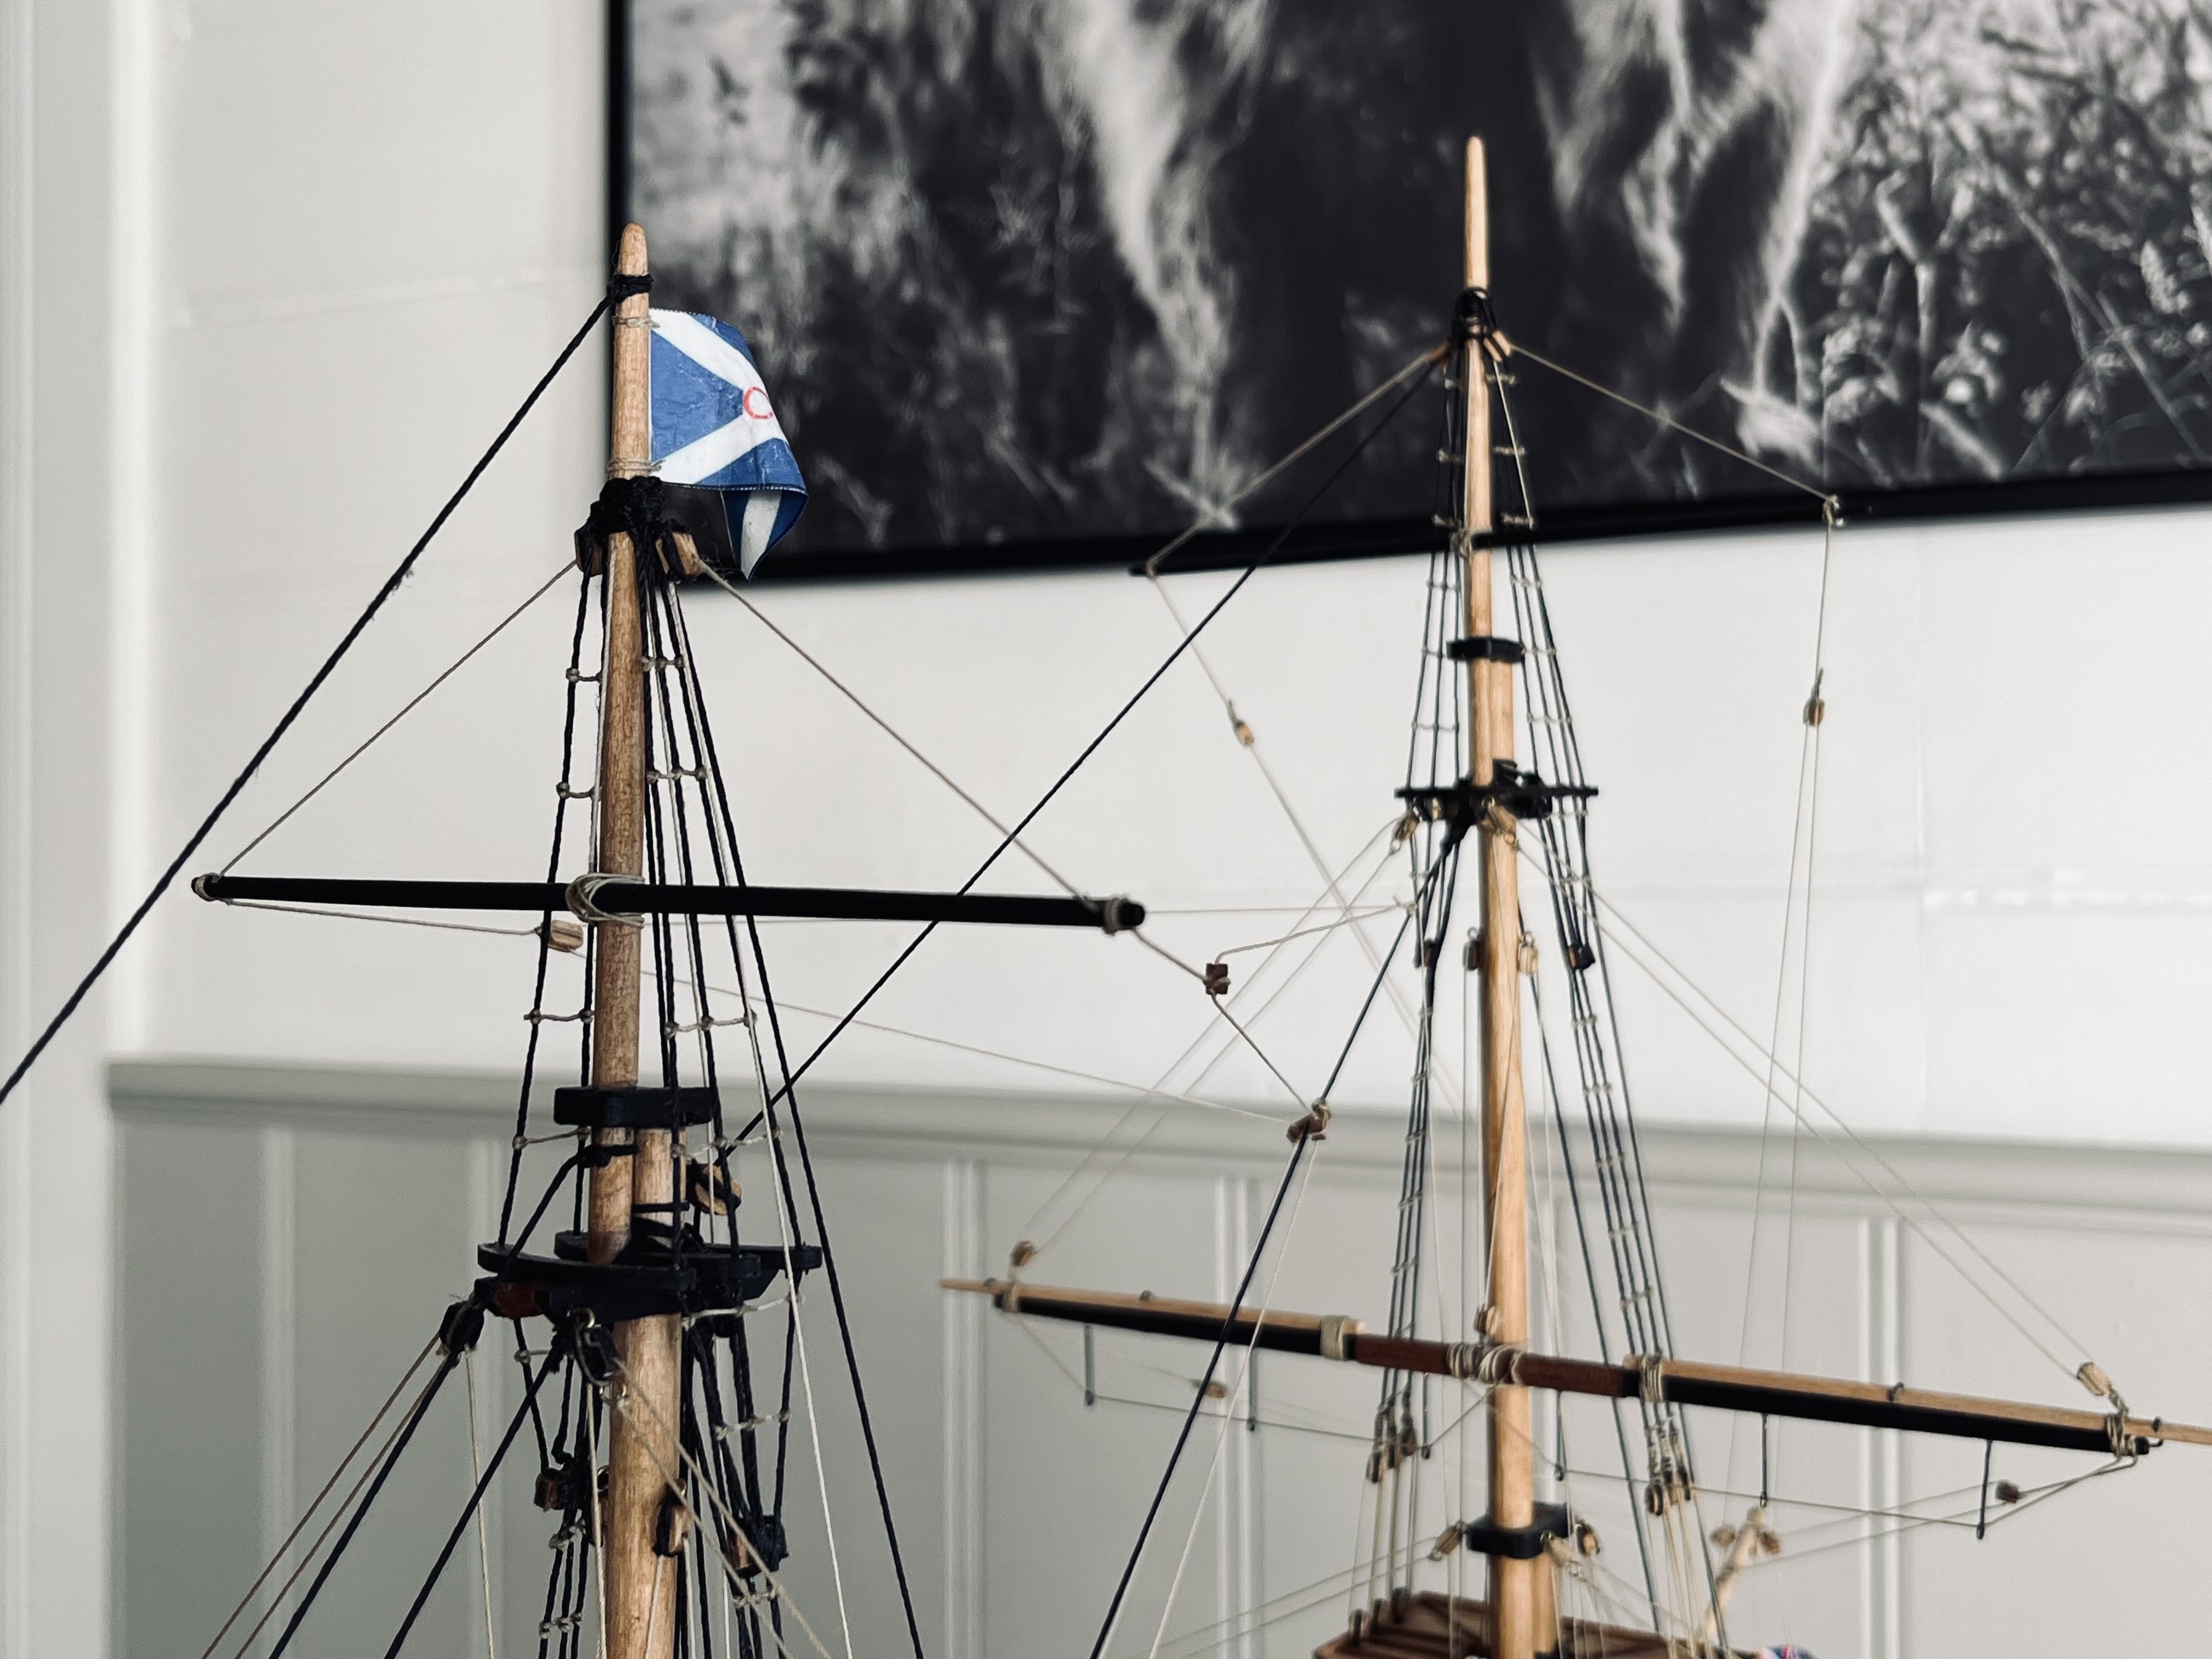
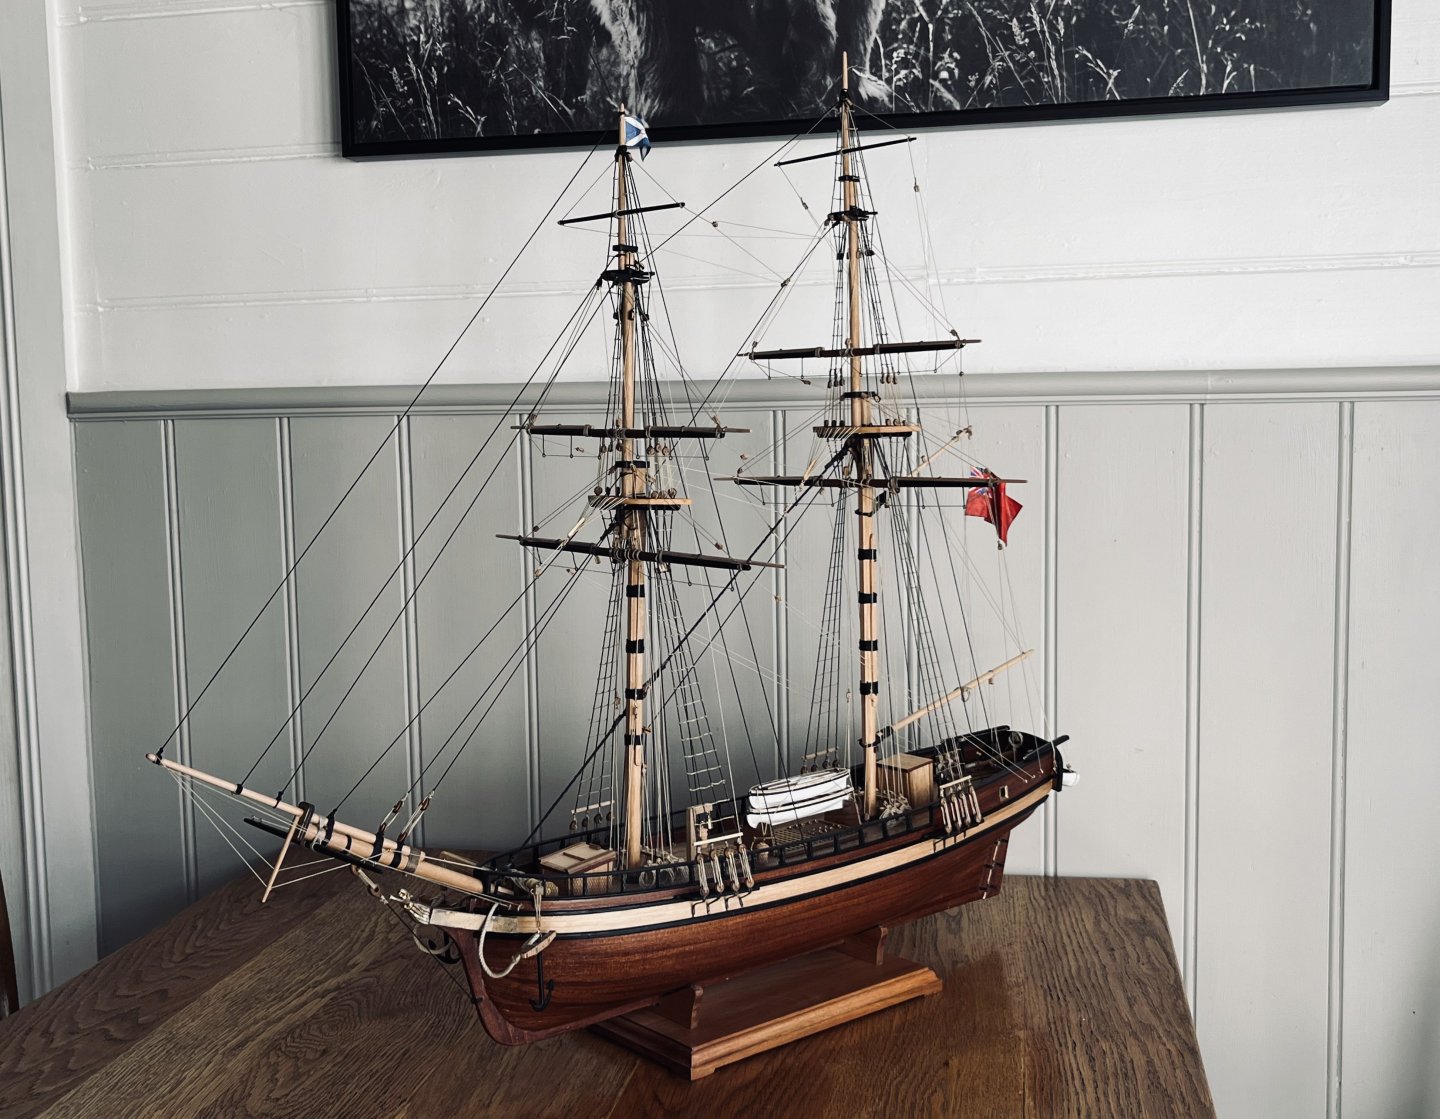
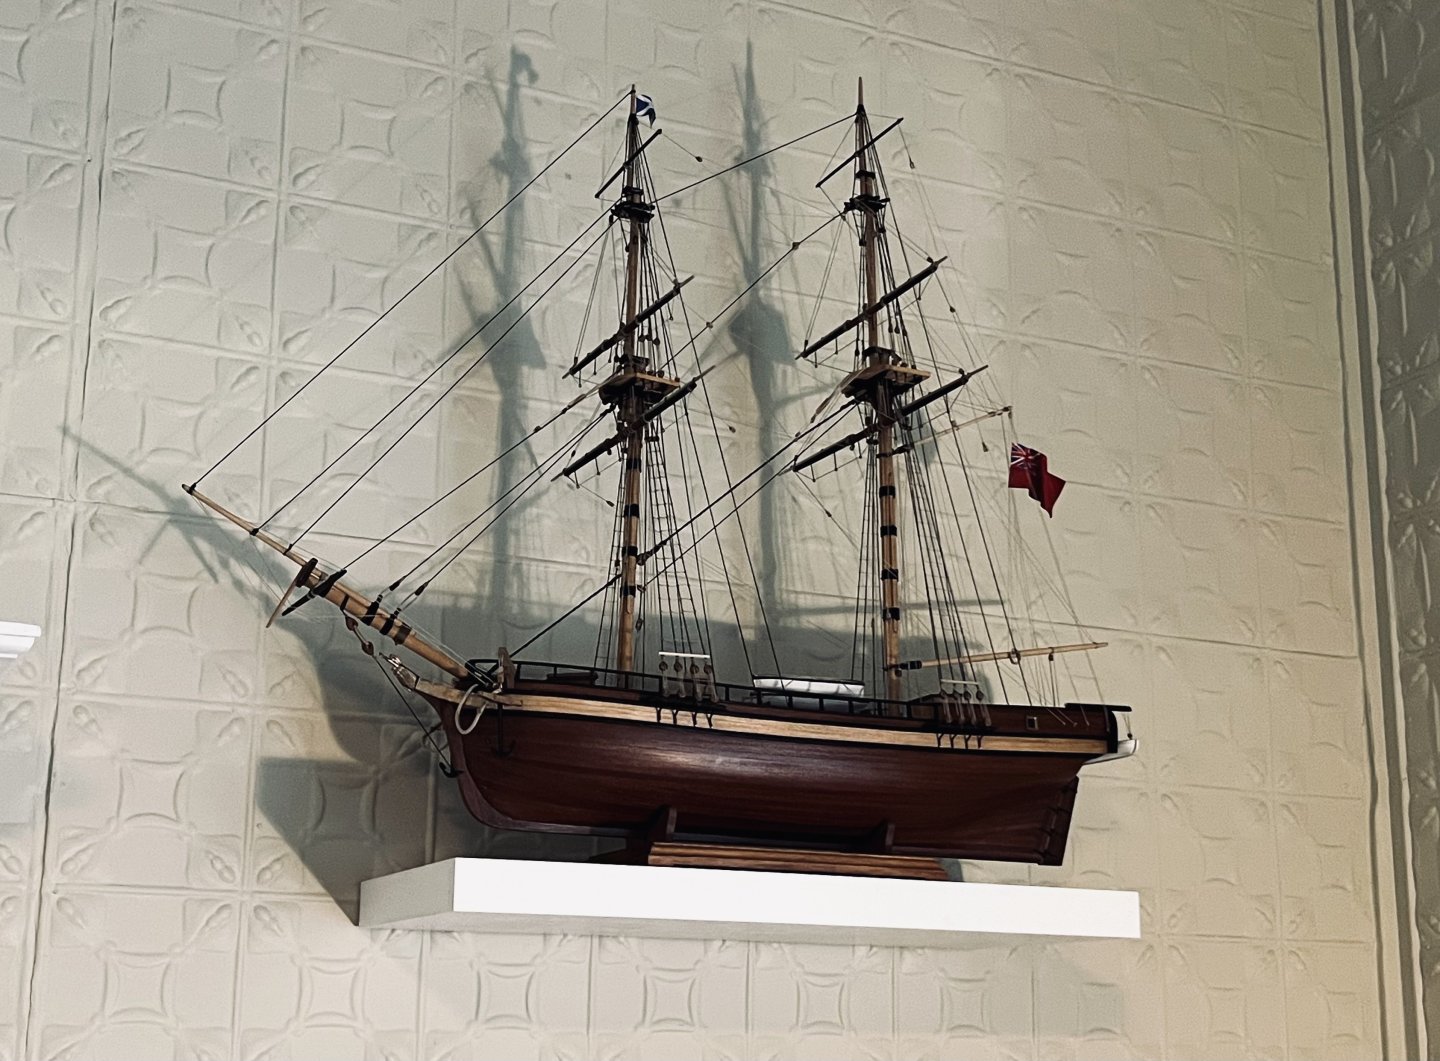
The flag looks best at that distance, no need to look closer!
- 177 replies
-
- 2
-

-
- Perseverance
- Modellers Shipyard
- (and 1 more)
-
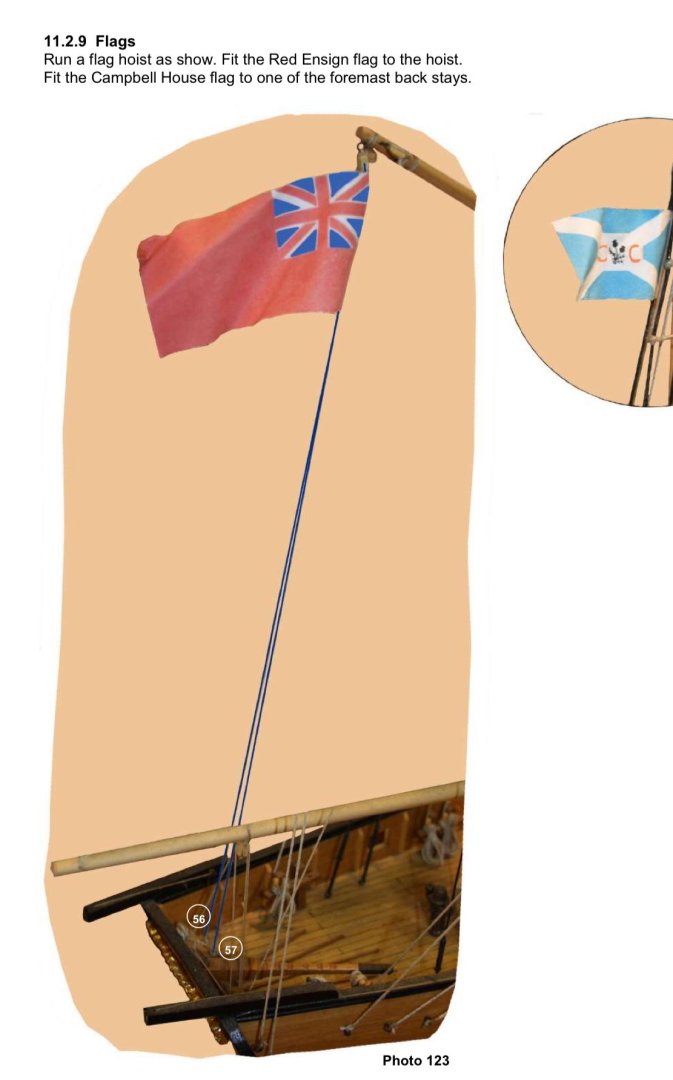
Flags are on, I had quite a bit of trouble with the house flag (see bottom photo) I did save it in the end by painting over the whole thing. One thing I learnt is to use something cylindrical to bend the flag around, otherwise it just makes ugly creases.


- 177 replies
-
- 6
-
-
- Perseverance
- Modellers Shipyard
- (and 1 more)
-
Do you know if they’re carbide? I’ve been looking for the HSS version but can’t find any.
-
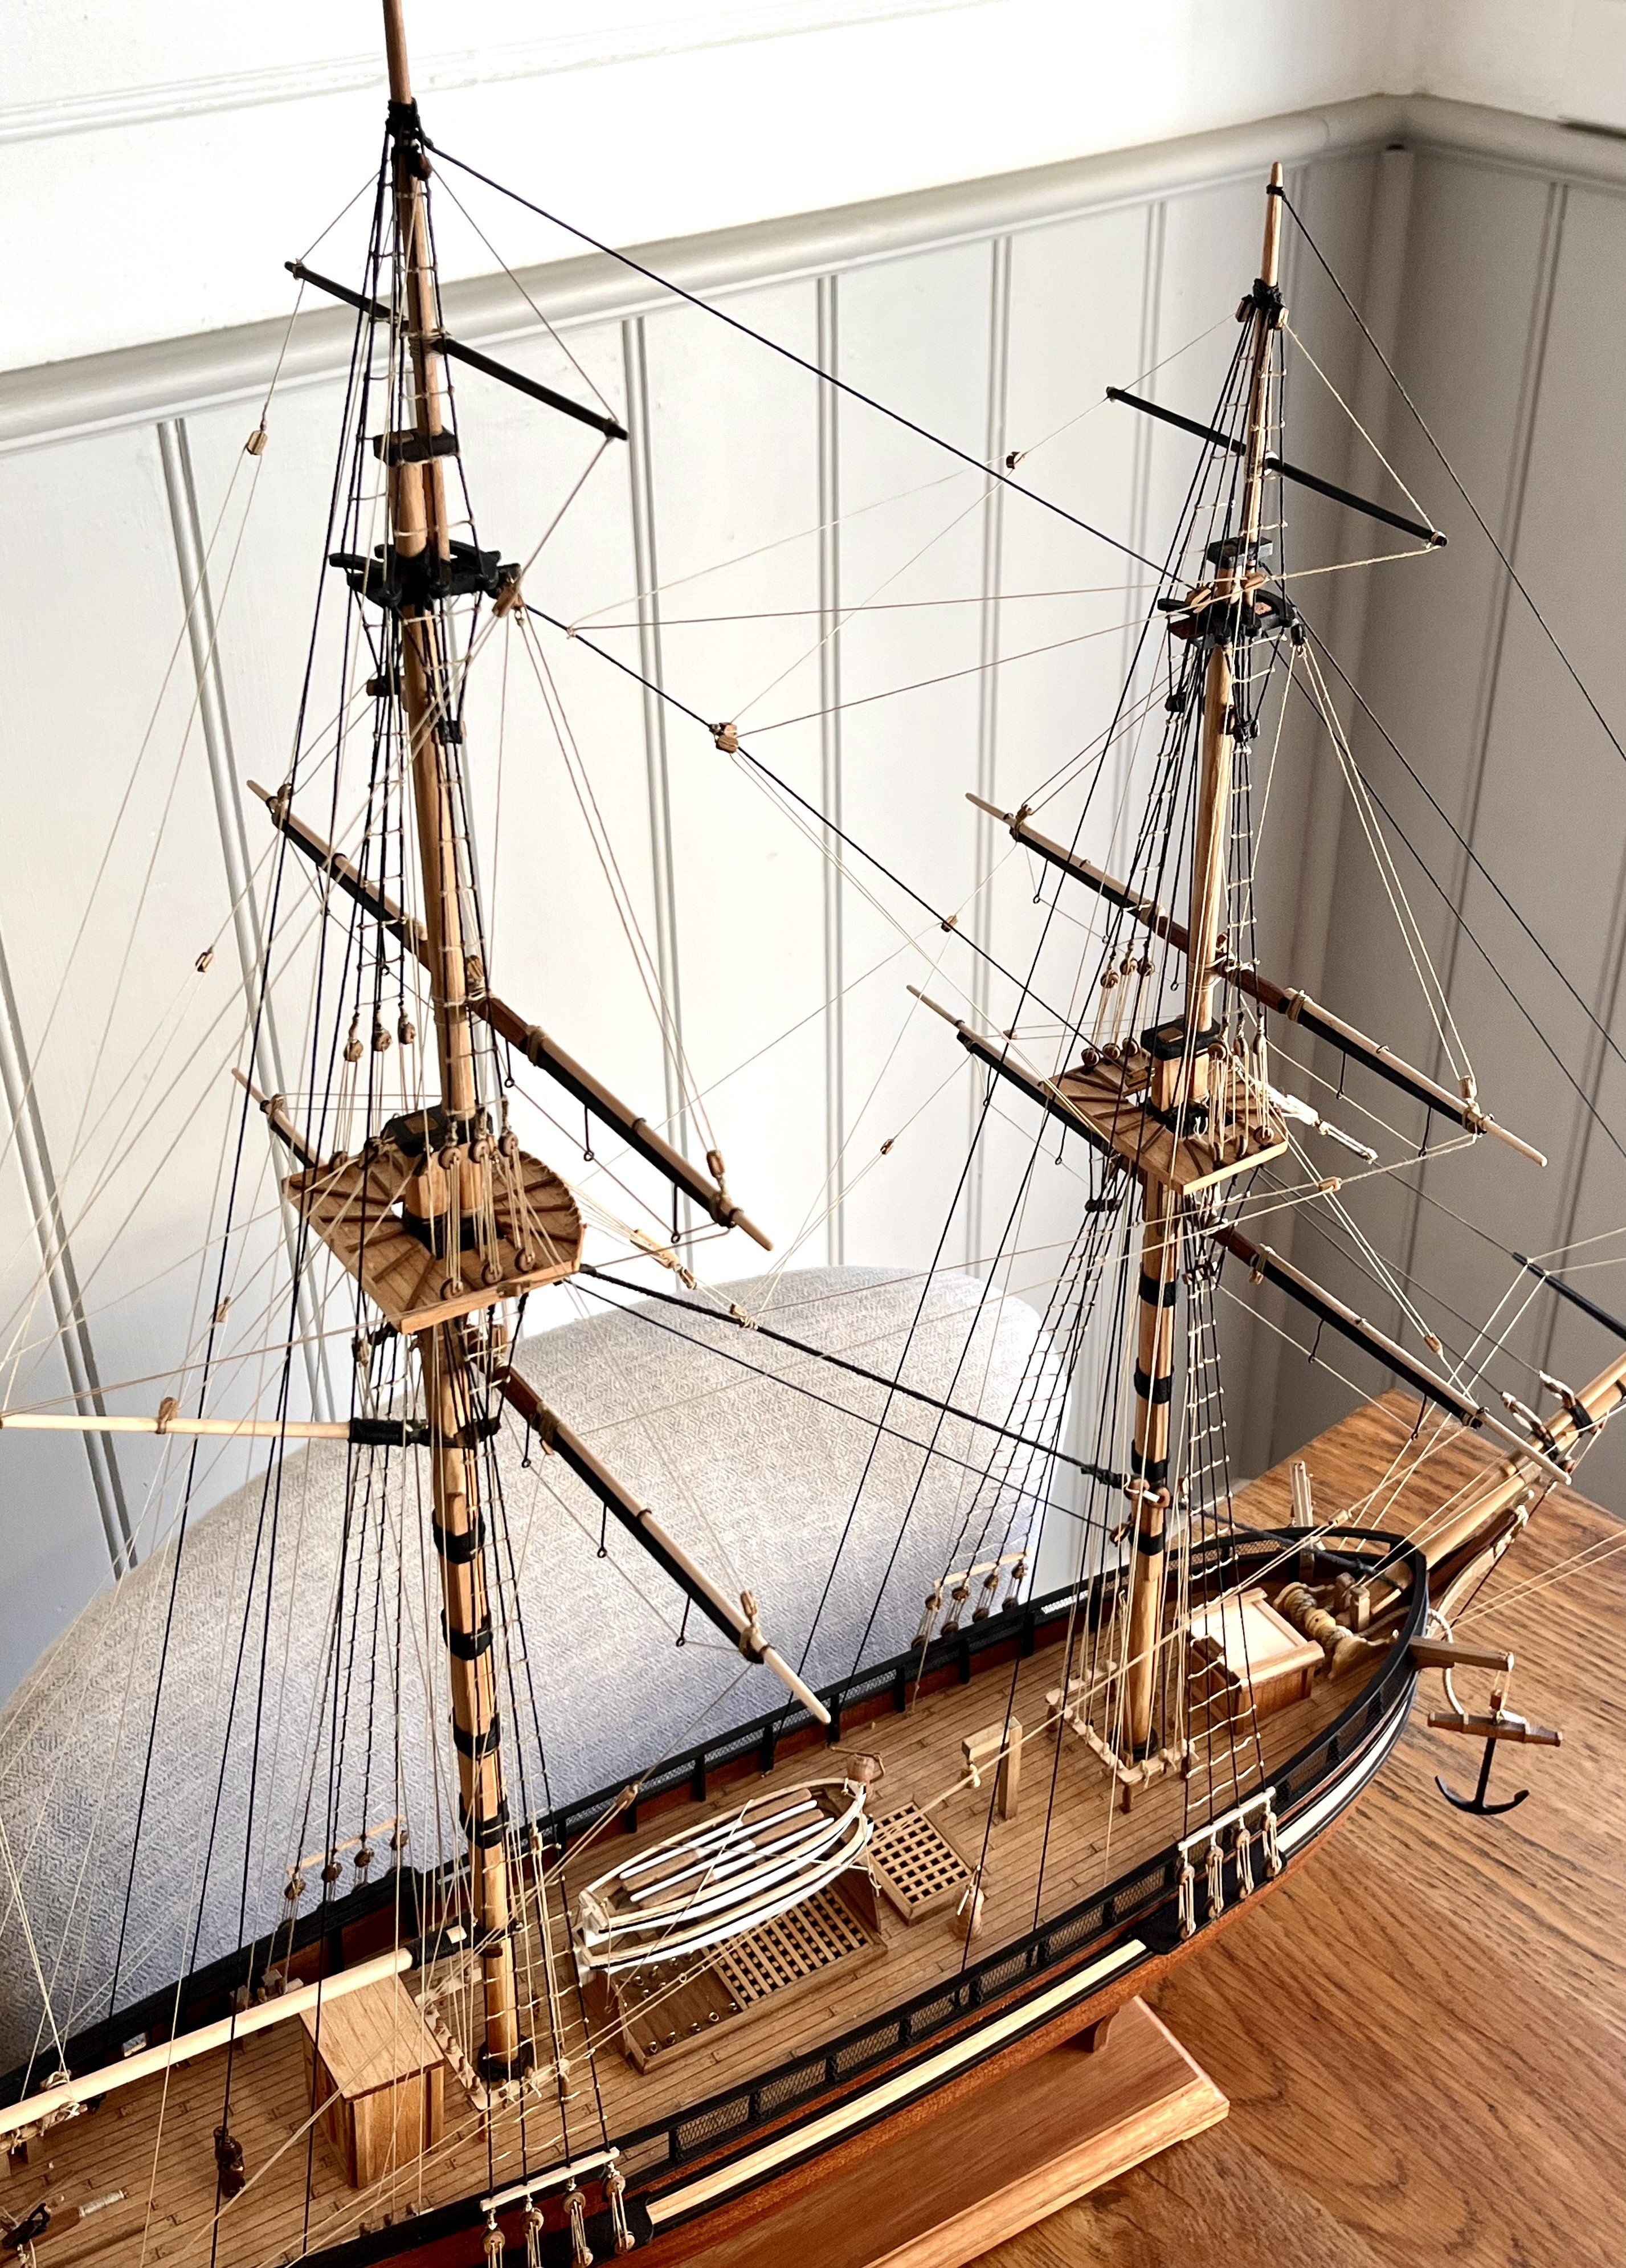
All rigging is done, Almost there! Just the flags and 35 rope hanks to go.


- 177 replies
-
- 7
-
-
-
- Perseverance
- Modellers Shipyard
- (and 1 more)
-
Looks like I’ll have to pay extra for the small stuff then! There’s no question I’ll be buying Syren blocks, most standard blocks are awful.
- 479 replies
-
- 1
-
-
- vanguard models
- alert
- (and 1 more)
-
I hope that someday I could build a model as good as this. Would you say it’s worth it to buy aftermarket rope that’s smaller than 0.5mm? How noticeable would it be compared to say, Amati cord for example.?
- 479 replies
-
- 2
-
-
-
- vanguard models
- alert
- (and 1 more)
-
Looking great Simon, you’re flying through this build! I’m looking to buy the Sherbourne from Vanguard Models so the Trial is also a good reference.
-
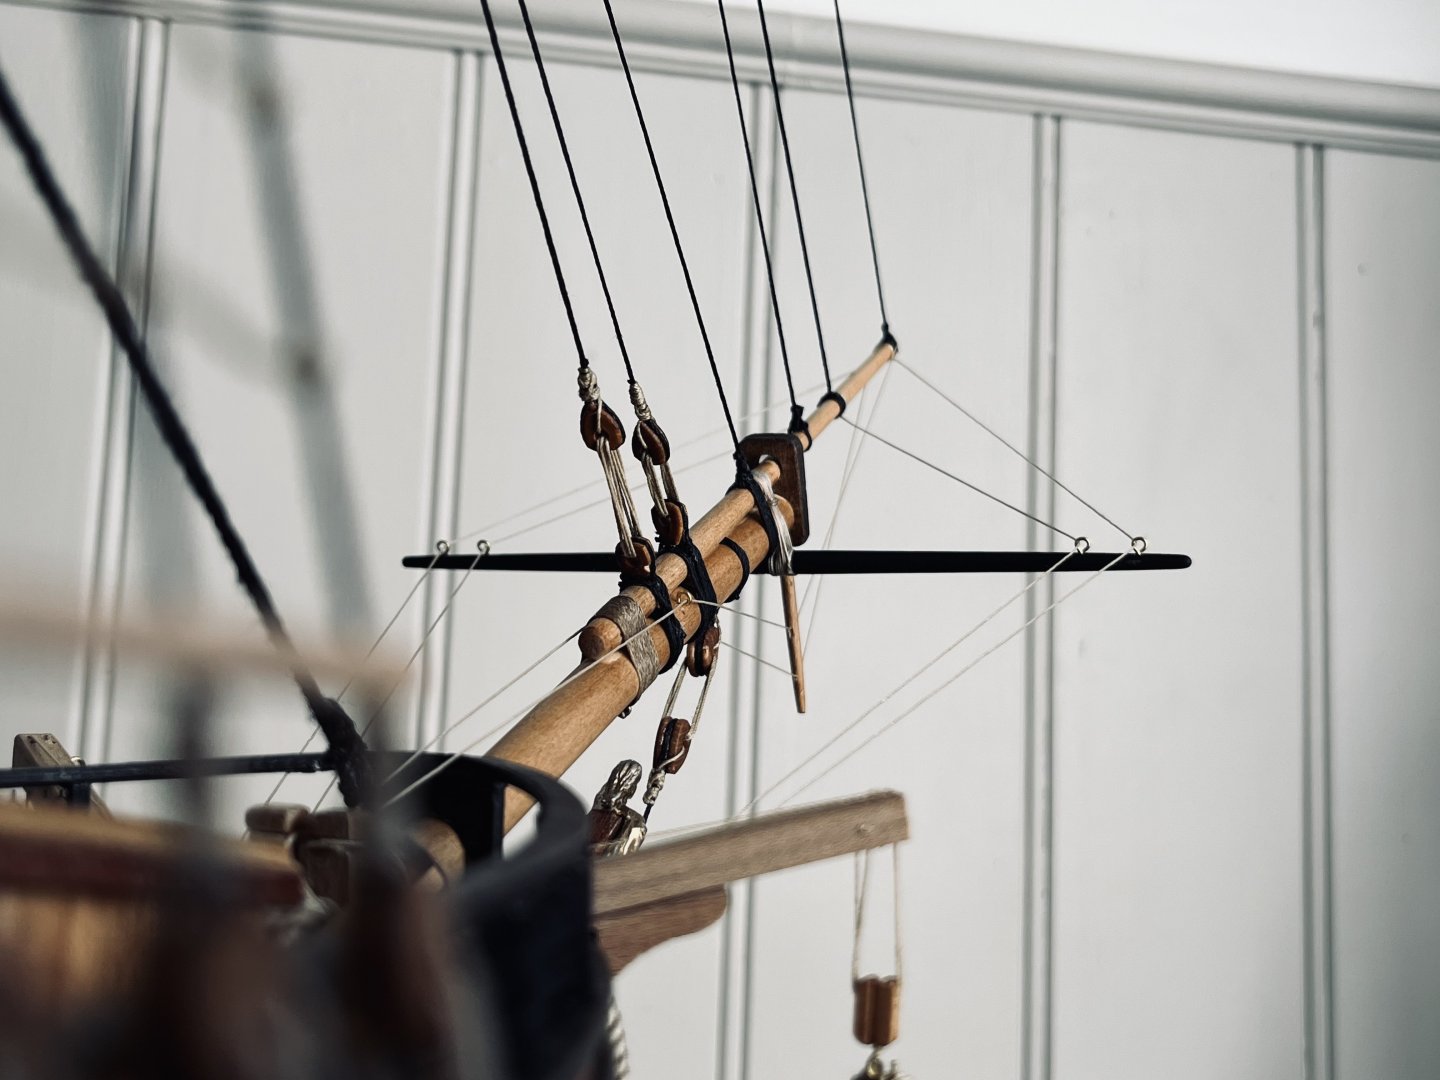
Thanks Phil and John. Im just going to run the line from a block on the gaff down to two cleats on the boom. I’ll probably leave the flag position for now John. I might change it at a later date though.
-
Sorry for not showing the model: Your answer sounds good, it seems like that would work.
-
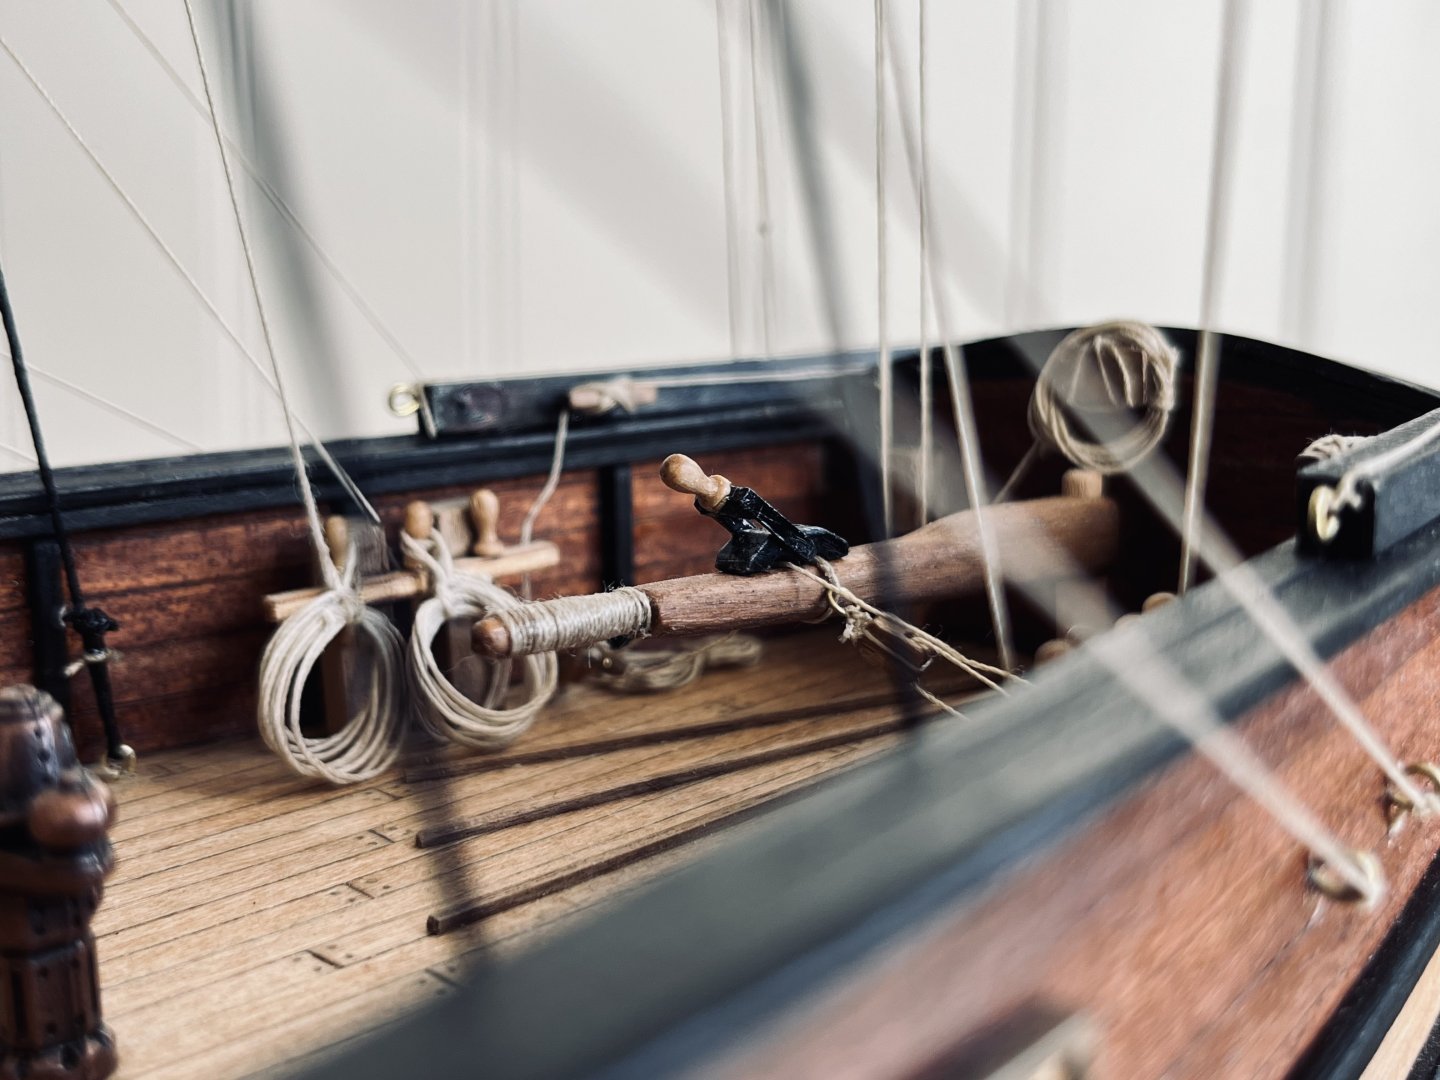
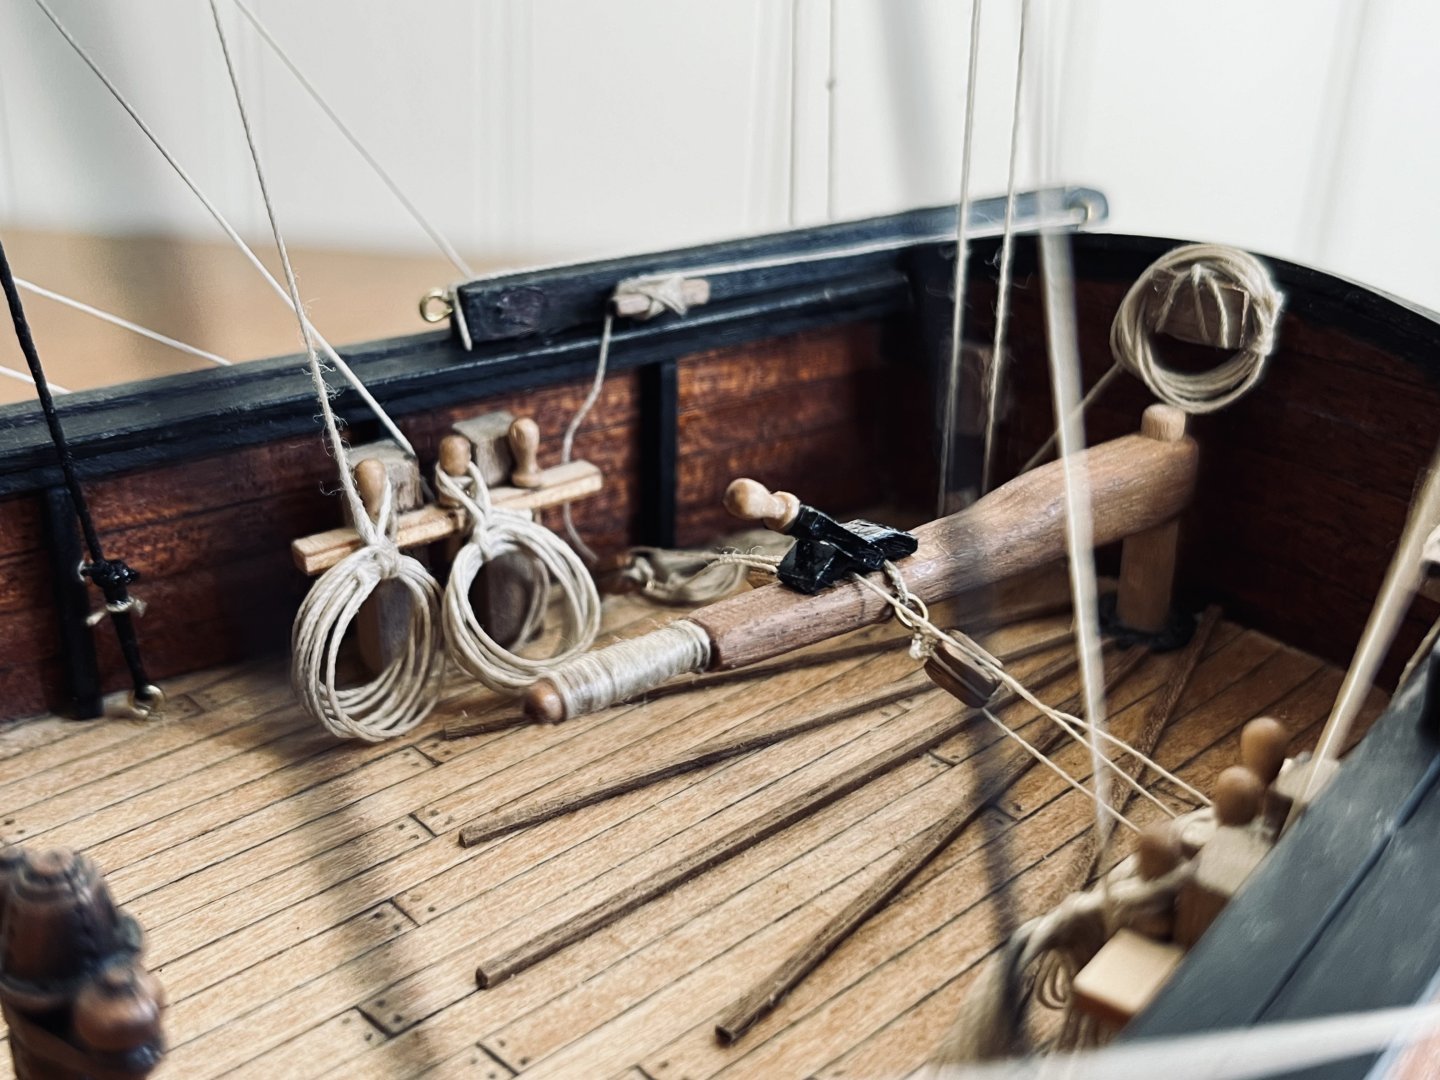
This flag halliard diagram isn’t right. It’s way too close to the boom. Could someone help me with how it’s supposed to be? I have no idea if it’s supposed to be connected to the main boom or not. I couldn’t find any diagrams on this. this is the incorrect setup from my instructions: