MORE HANDBOOKS ARE ON THEIR WAY! We will let you know when they get here.
×


g8rfan
-
Posts
156 -
Joined
-
Last visited
Content Type
Profiles
Forums
Gallery
Events
Everything posted by g8rfan
-
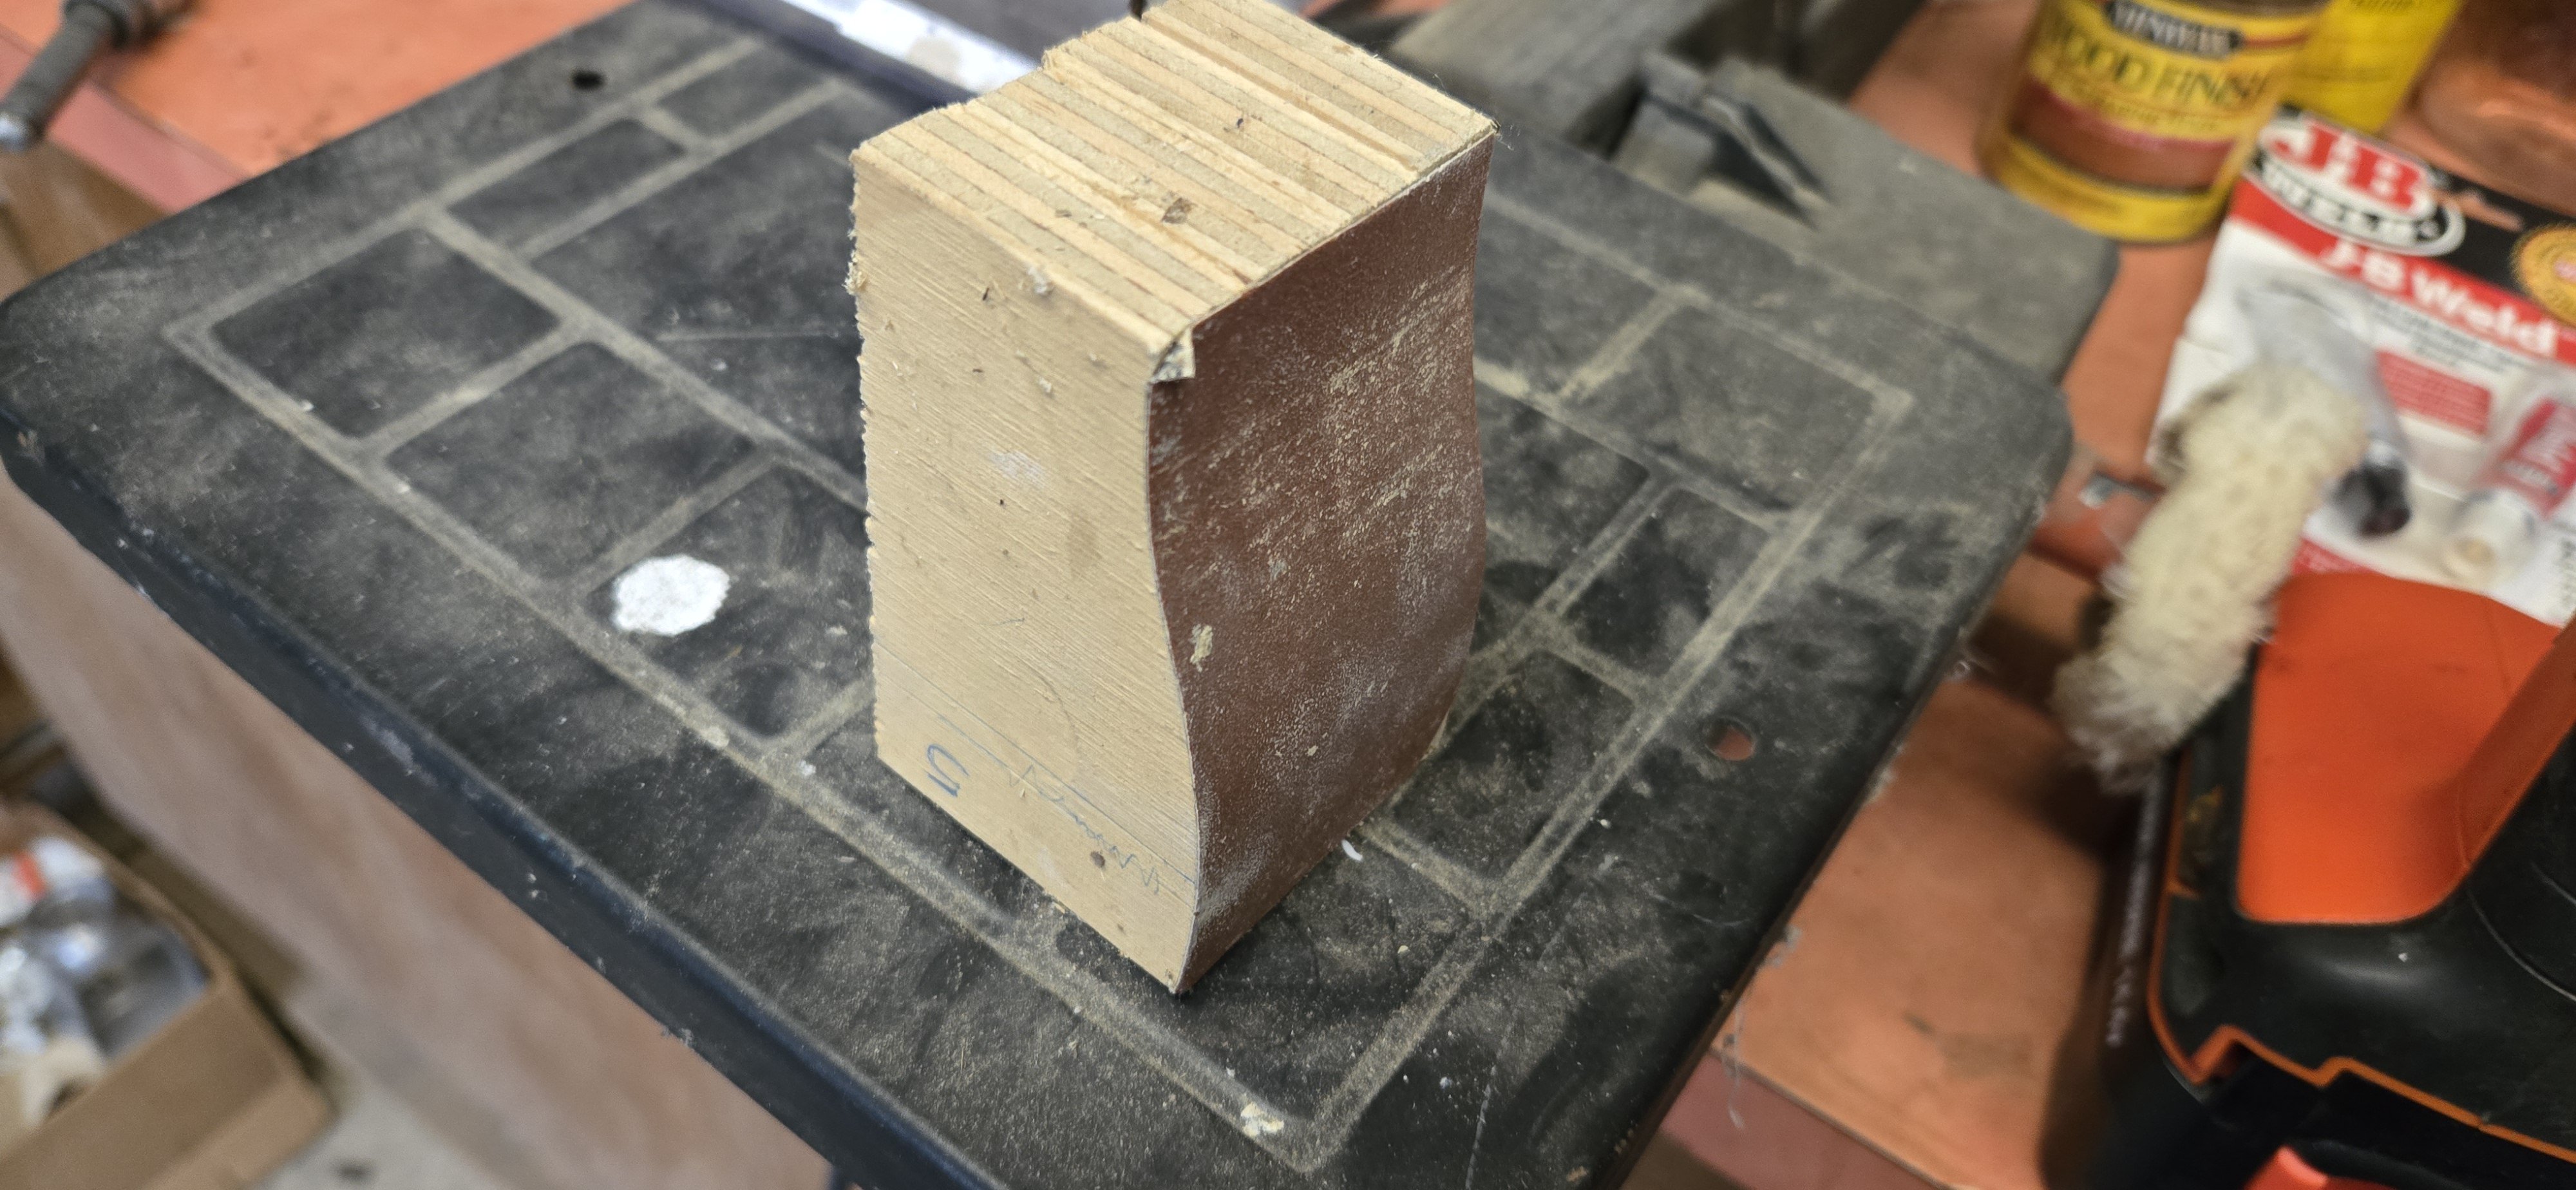
Thank you both for the encouragement. At the pace I'm going, I imagine it will be several years before I reach the finish line. Kurt, I read through your build (a few times) and appreciate the heads up on the shape of the hull. I believe mine too had a little twist to it, which might explain why one side was higher than the other. Once I finished carving and shaping, everything seemed to line up. As for the transom, I was prepared for that thanks to you, and added some extra wood to compensate. I'm actually well into the build and will continue adding some photos and comentary until I get up to where I am, which is currently starting on the gundeck. Based on a lot of discussions on this site, I decided to remove the preformed quarter gallery pieces. After getting the hull sanded perfectly smooth, I moved on to thinning the bulwarks. This is where I ran into my first issue. having not done anything to the inside of the hull, I found that the bulwarks were slightly higher on one side. I decided to go with the level of the gun deck as supplied, and build up the bulwarks where needed. A chisel was used to remove most of the wood to get the proper inward angle, this was then "fine-tuned" by using sanding blocks fabricated using the hull templates as a guide

-
Based on a lot of discussions on this site, I decided to remove the preformed quarter gallery pieces. After getting the hull sanded perfectly smooth, I moved on to thinning the bulwarks. This is where I ran into my first issue. having not done anything to the inside of the hull, I found that the bulwarks were slightly higher on one side. I decided to go with the level of the gun deck as supplied, and build up the bulwarks where needed. A chisel was used to remove most of the wood to get the proper inward angle, this was then "fine-tuned" by using sanding blocks fabricated using the hull templates as a guide
-
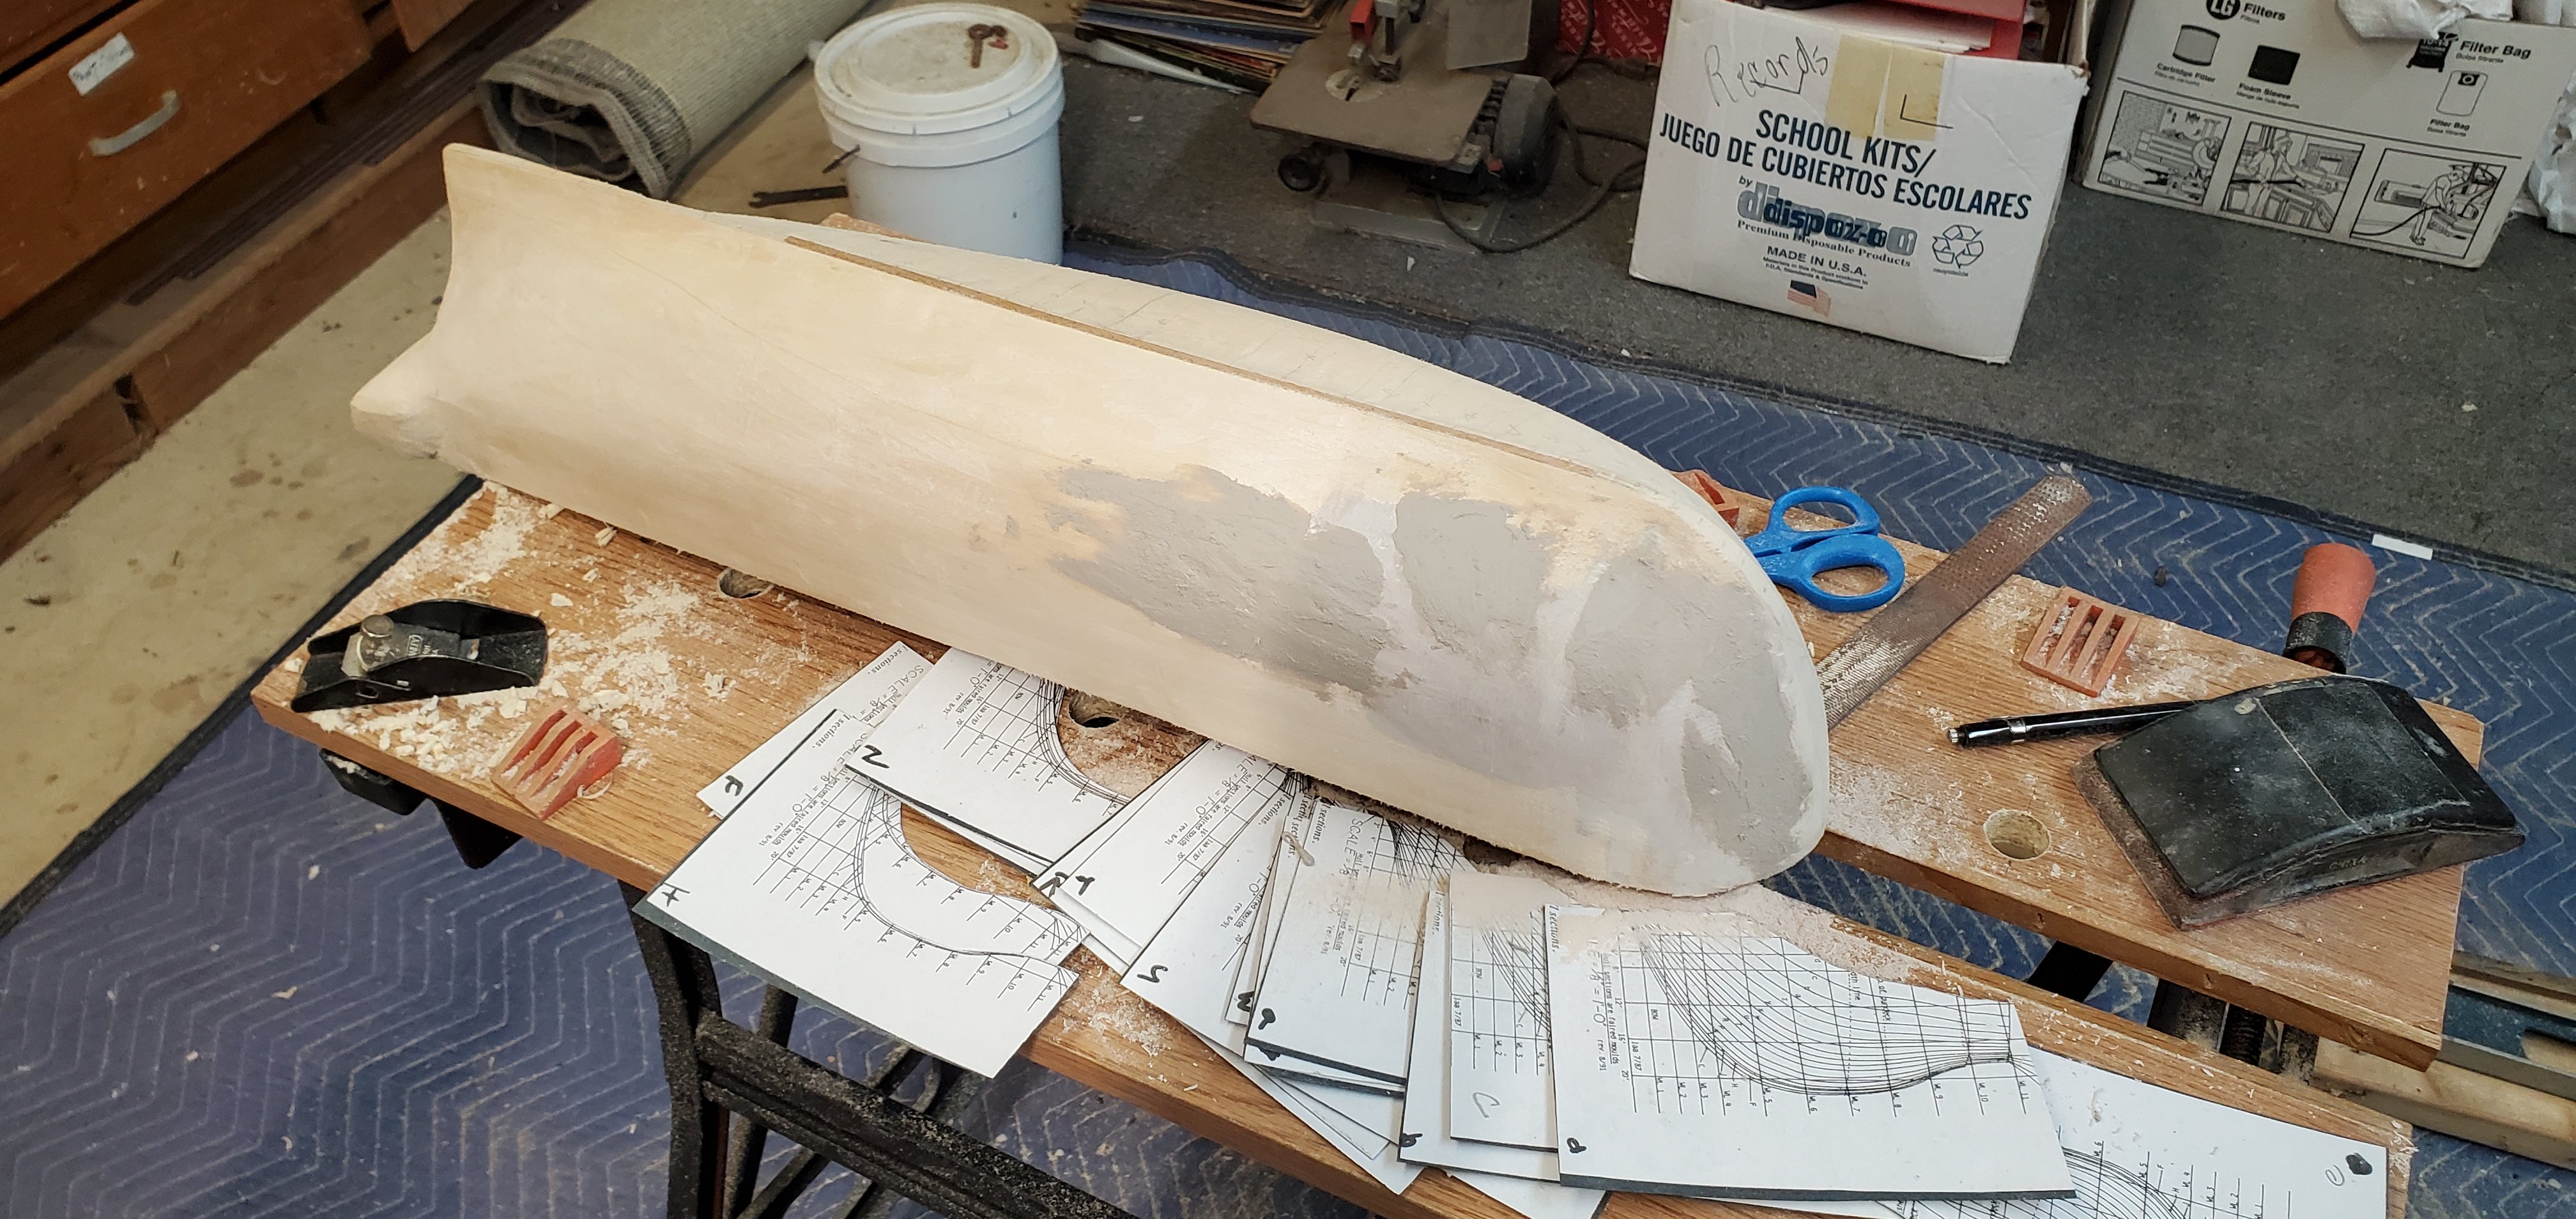
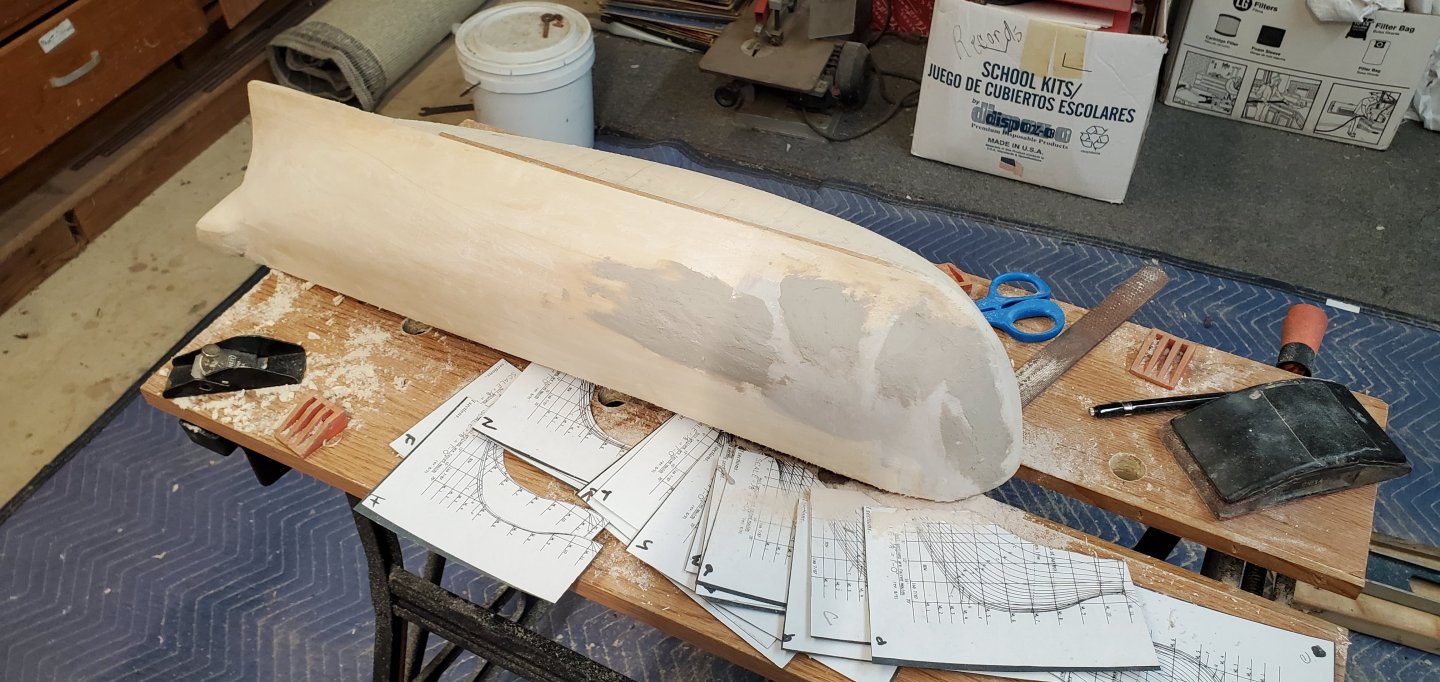
So, to start off, there was the shaping of the hull. I have to say, if I were going to choose a model for myself, I would go with a POF model. The shaping of a solid hull for me was more than just a challenge. First off, I was very surprised at the amount of wood that had to be removed from the "Precarved" hull. Making the templates was no big deal, but making sure they were perfectly perpendicular to the hull was a little different. To say I had a steep learning curve would be an understatement. Nevertheless, I managed. At first, I used a technique similar to what Avi used, where I used a dremel to reduce the hull along the section lines with the idea of then removing the excess wood in between. I ended up digging too deep in some places and not enough in others, so switched to using a 1 1/4" drum sander on a drill in conjunction with a miniplane, sanding block and a rasp. I used the 1 1/4" drum sander, because the small dremel sanders seemed to cut in too deep, and the larger drum was easier to maintain a flat line. Automotive Bond was used to fill low spots and after about a month of work, this is what I came up with.
-
Hello MSW family. I am working on the BlueJacket, USS Constitution and have been at it since August of 2023. I've had a lot of experience with plastic models in my younger days, including Revell's Constitution, but never have built a wooden model like this. The kit was given to me as a gift from some well intended colleagues, who had no idea of the challenge. I have to say, the BlueJacket kit is definitely intended for the experienced modeler, as the "instruction" manual is very vague, and leaves a great deal up to the modeler. If it were not for the great build logs on this site and the help and advice that I have received from a few PM's here, I could never have gotten as far as I have. From those few folks I have talked to, all have encouraged me to start a build log, and I finally decided to do just that, if for no other reason than to get some great advice from all the extraordinary modelers here. I plan to post photos and some dialog to show my progress up to this point. I'd like to send a shout out to those who have helped me so far, JSGerson, KurtH, jfinan, ERS Rich, and of course, Mr. BlueJacket, Nic.
-
Hey Jon I know its been a while since this post. Have you considered HO scale figures. HO is 1:87 which is pretty close and these figures are readily available and pretty cheap. you can buy all sorts on Amazon and get anywhere from 25-100 for $10-12. You may have to do a little re-painting to make them look appropriate. Here's an example: Amazon.com: NWFashion 25 PCS 1:87 Scales Painted Worker Figures for Miniature Dollhouse Railway Train : Toys & Games
-
Hi Avi, First I'd like to say that your ship is looking great. I've been reading your build for some time now and it has been very useful. I'm just starting my own BJ Connie and currently getting the hull shaped (what a job!) I am contemplating doing as you did and removing the galleries. My question for you - what did you have in mind for building and attaching them once you get to that? Frank