
Boerscht
-
Posts
101 -
Joined
-
Last visited
Content Type
Profiles
Forums
Gallery
Events
Everything posted by Boerscht
-
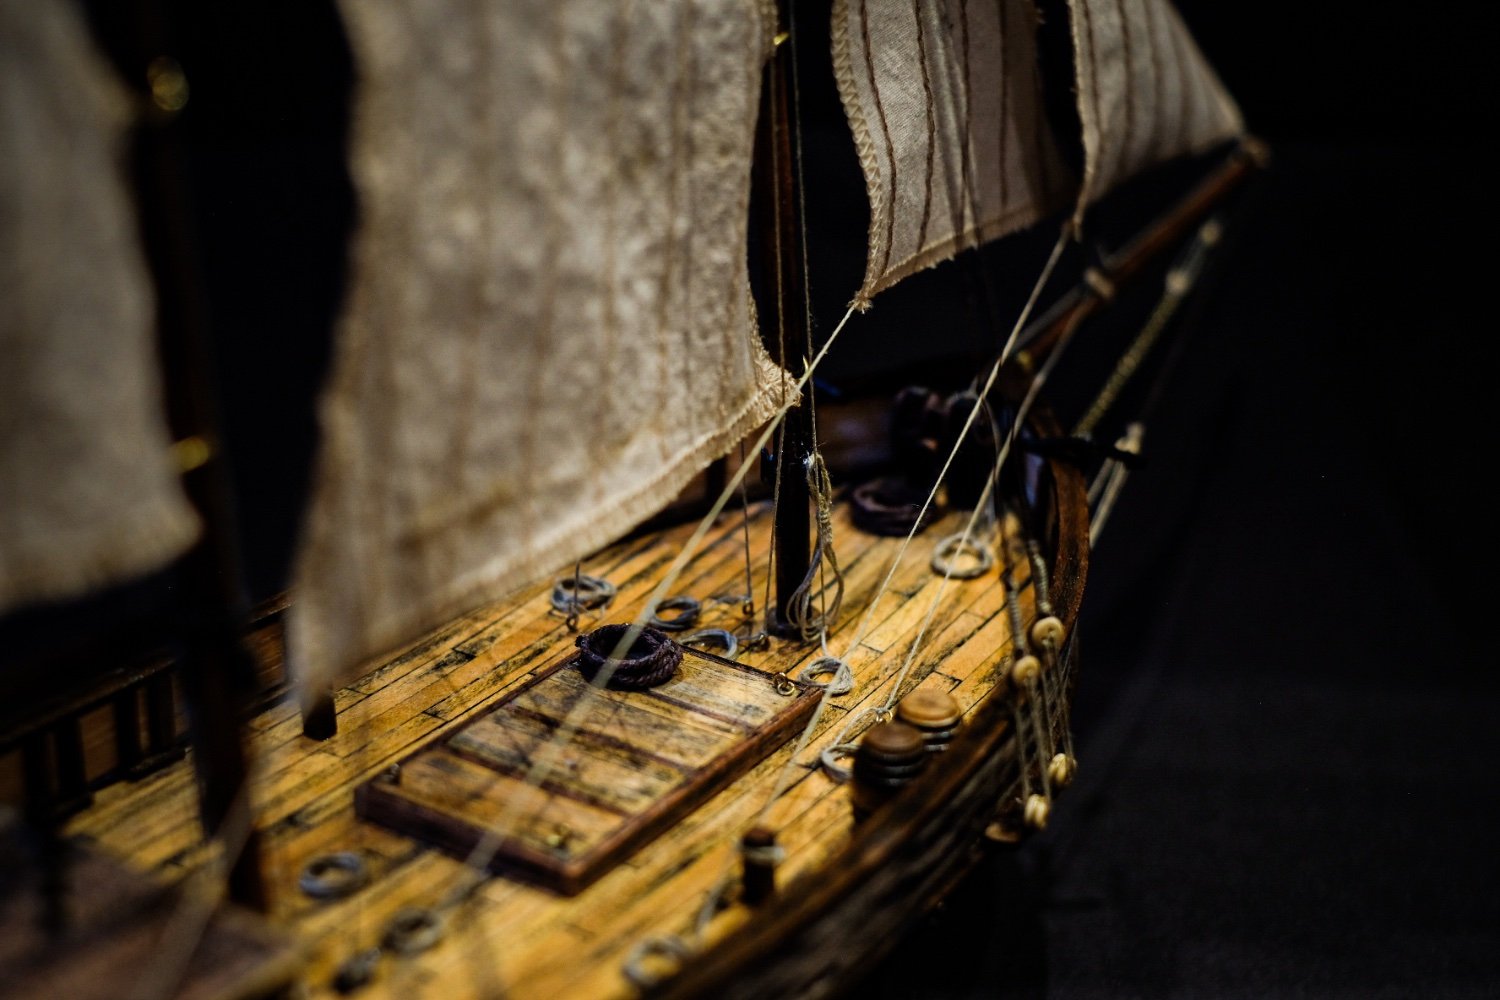
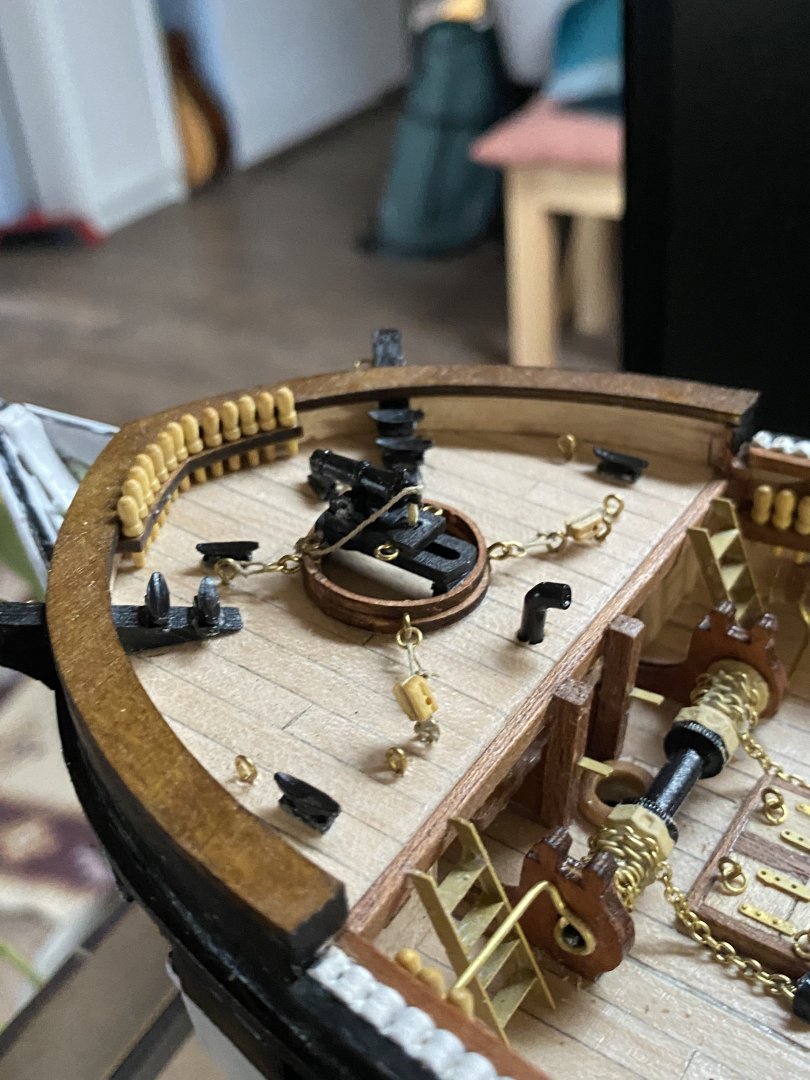
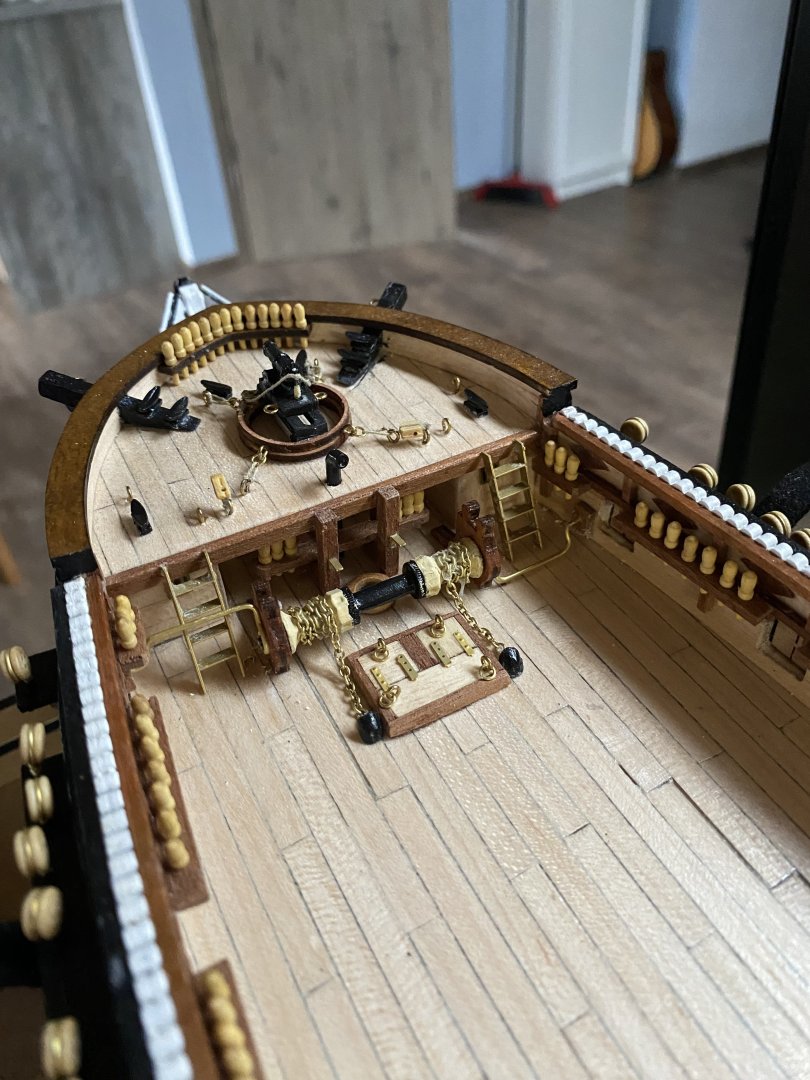
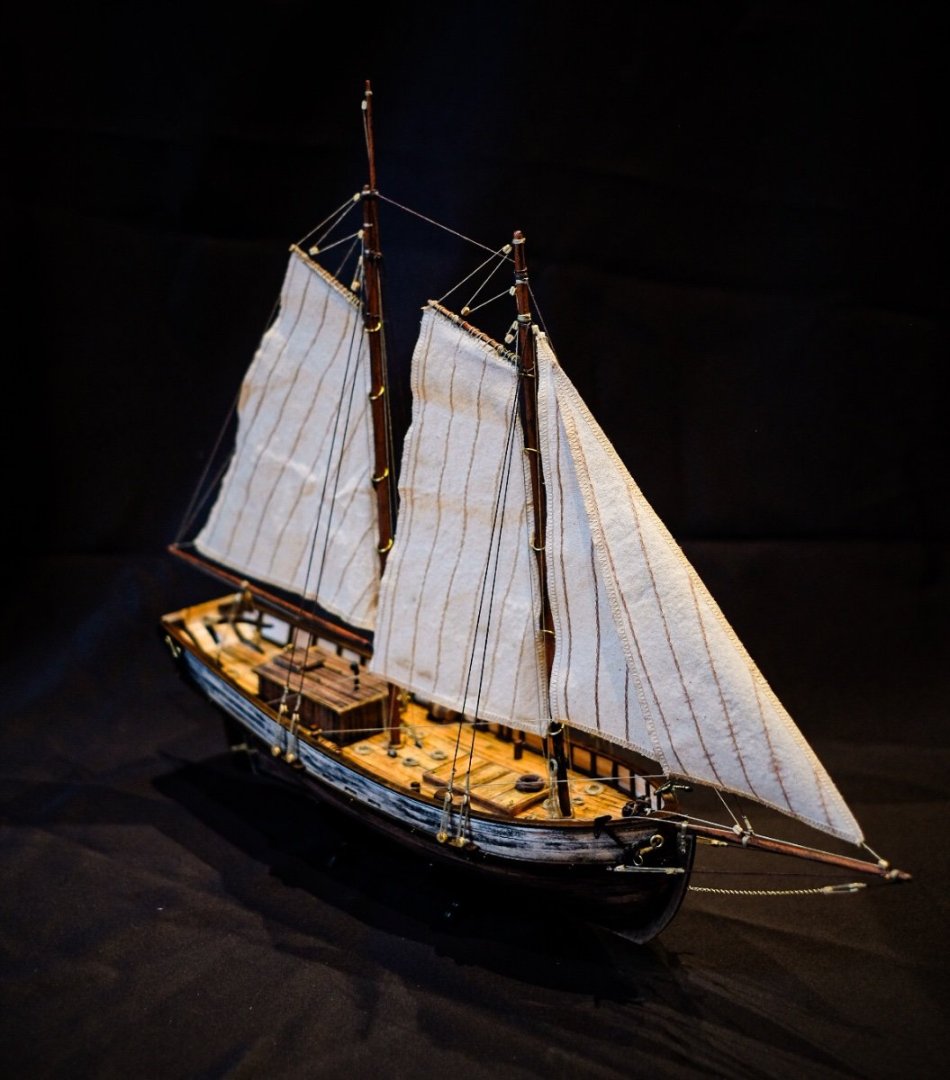
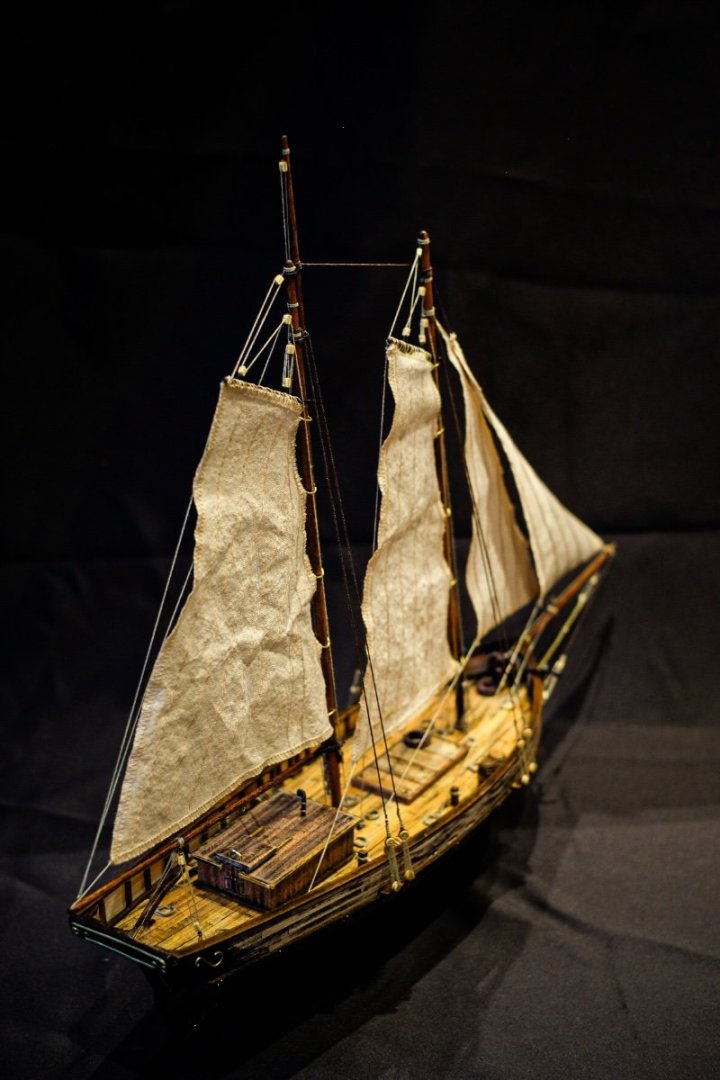
 And here we go with another week of work on the Beagle: Started with the deck fittings and did the deadeyes the Beagle found it’s place
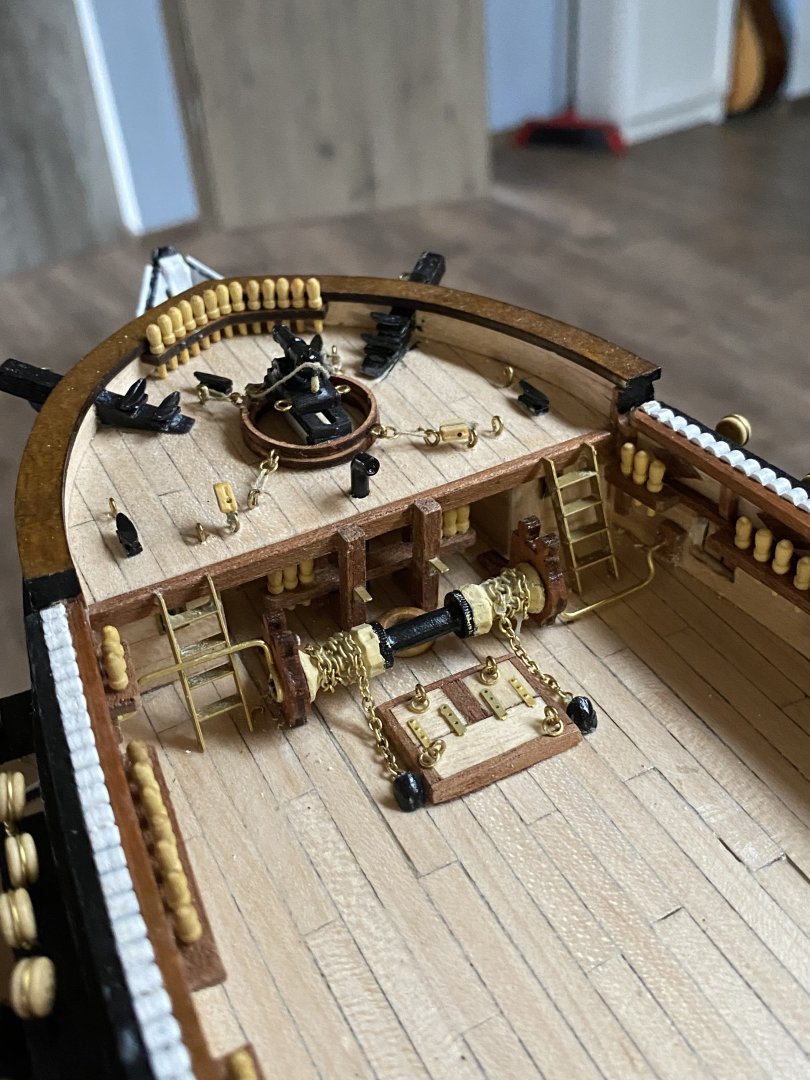


-
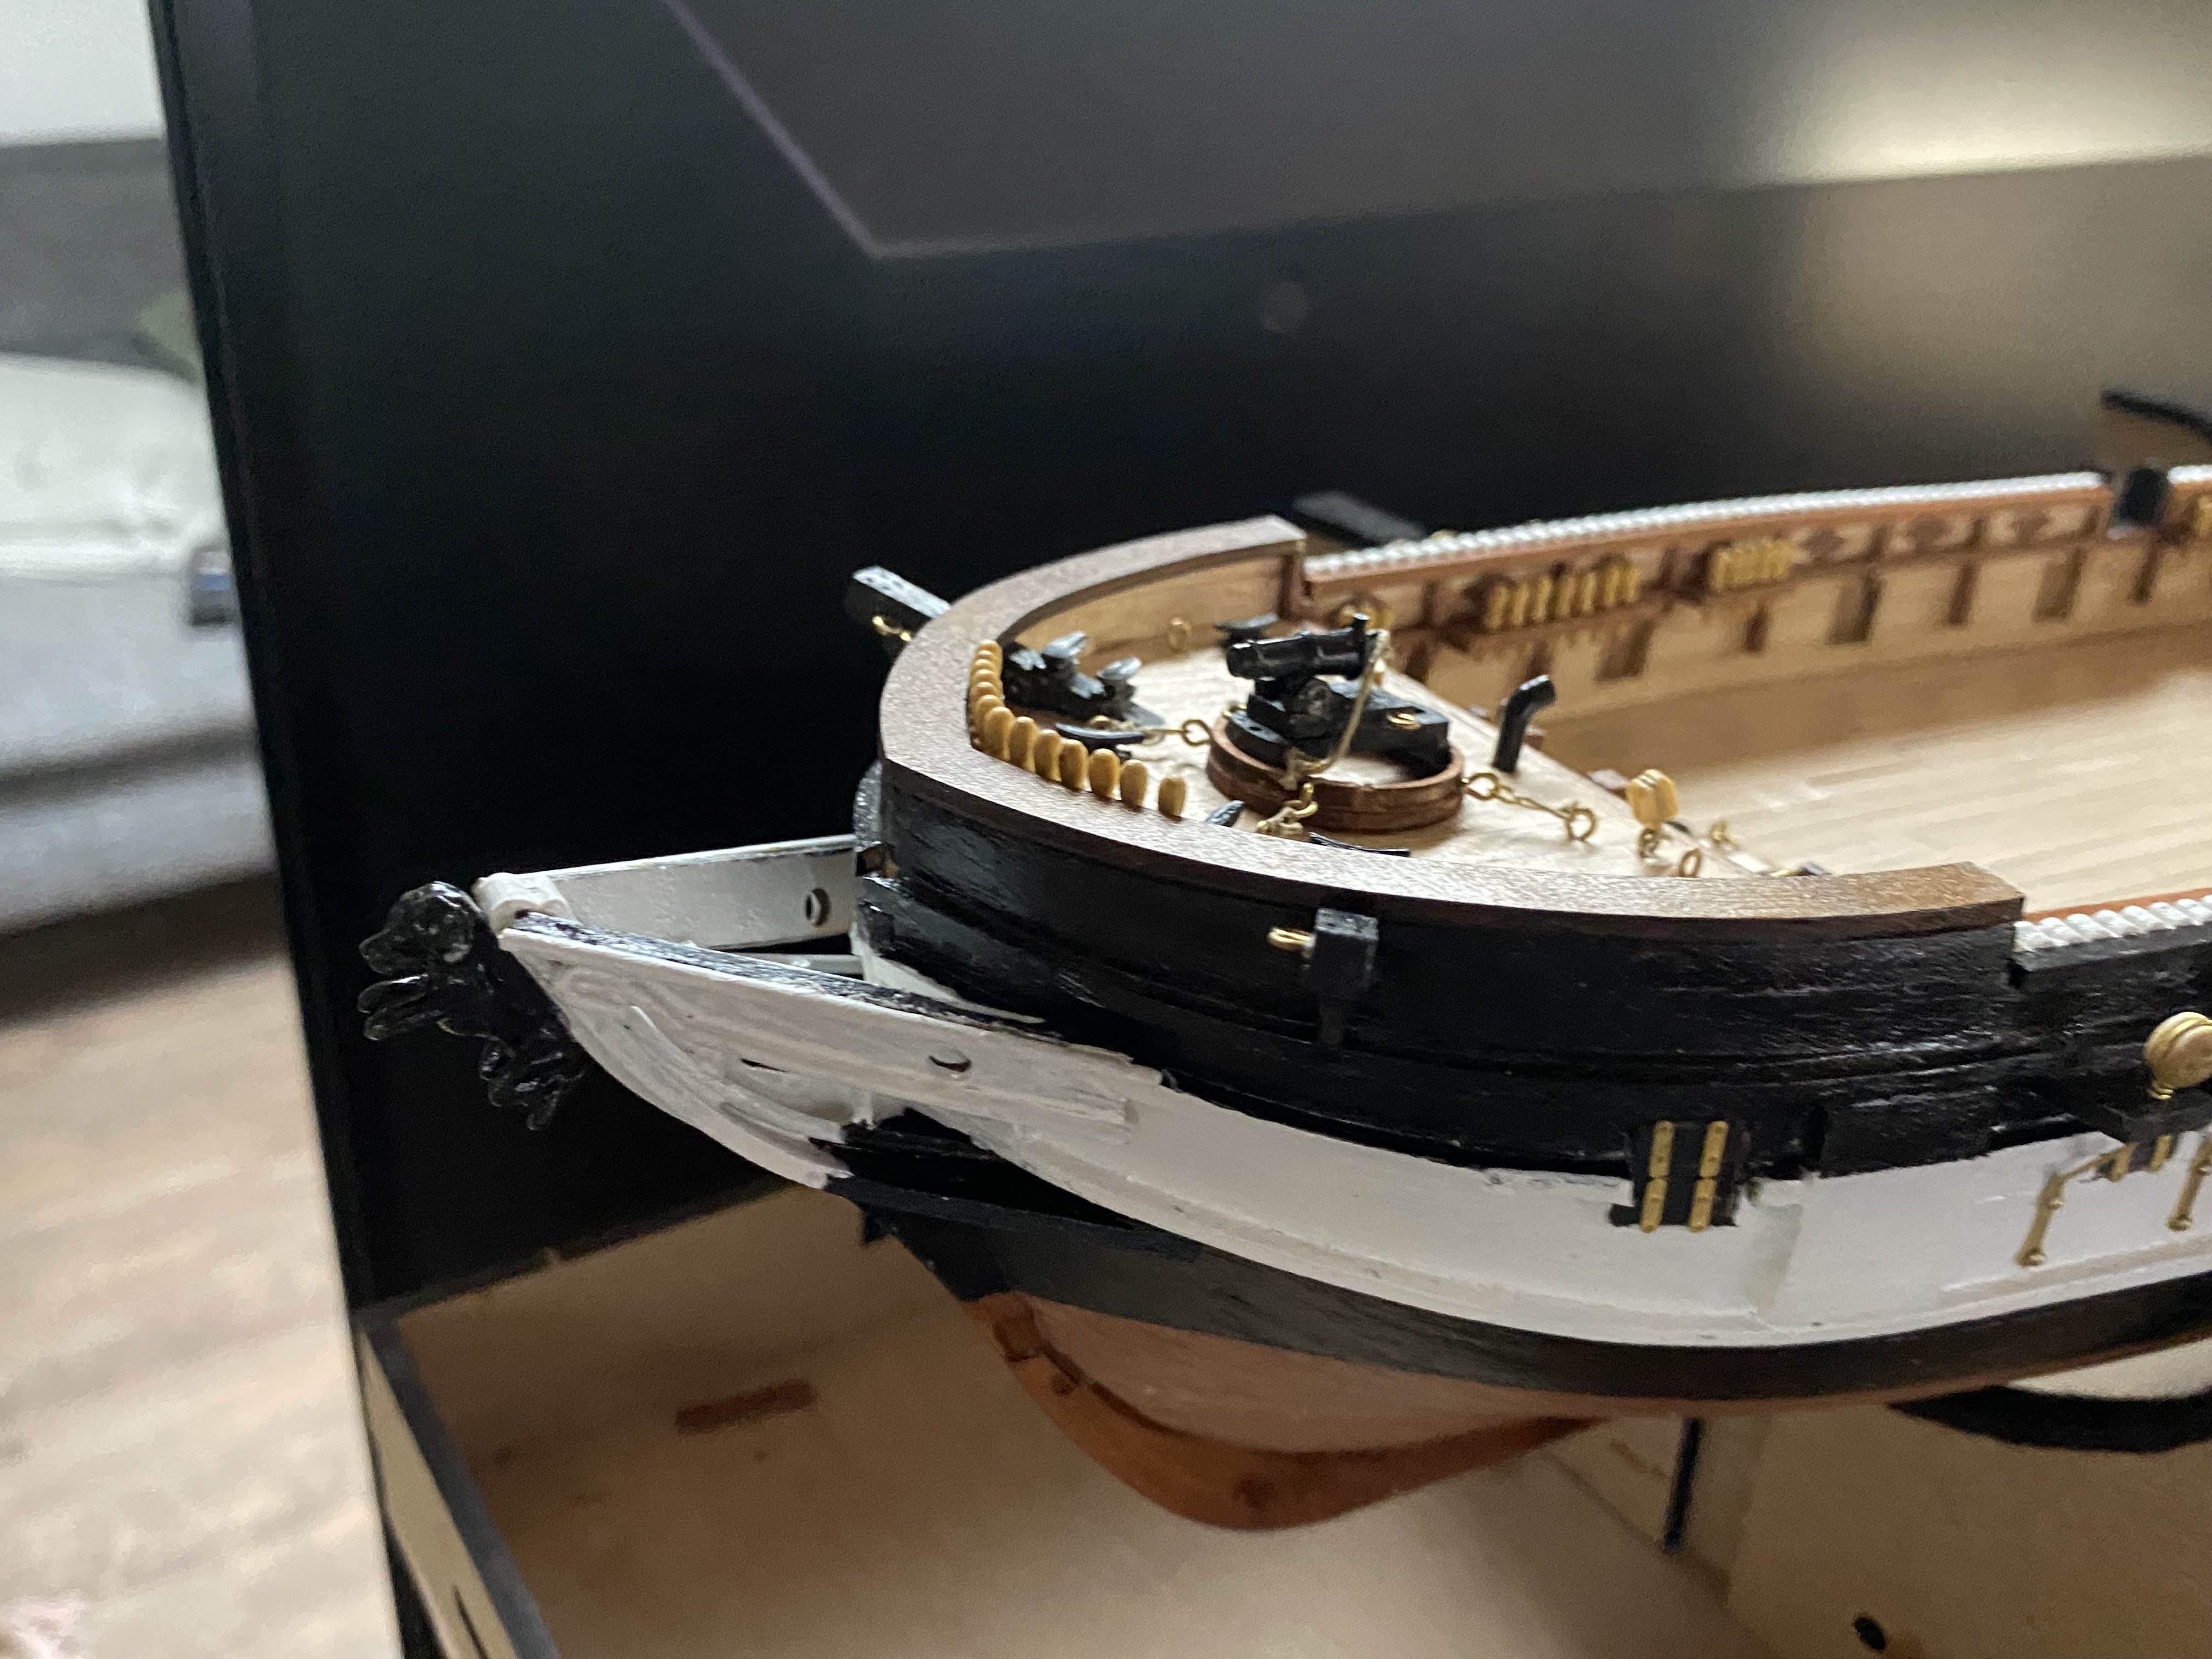
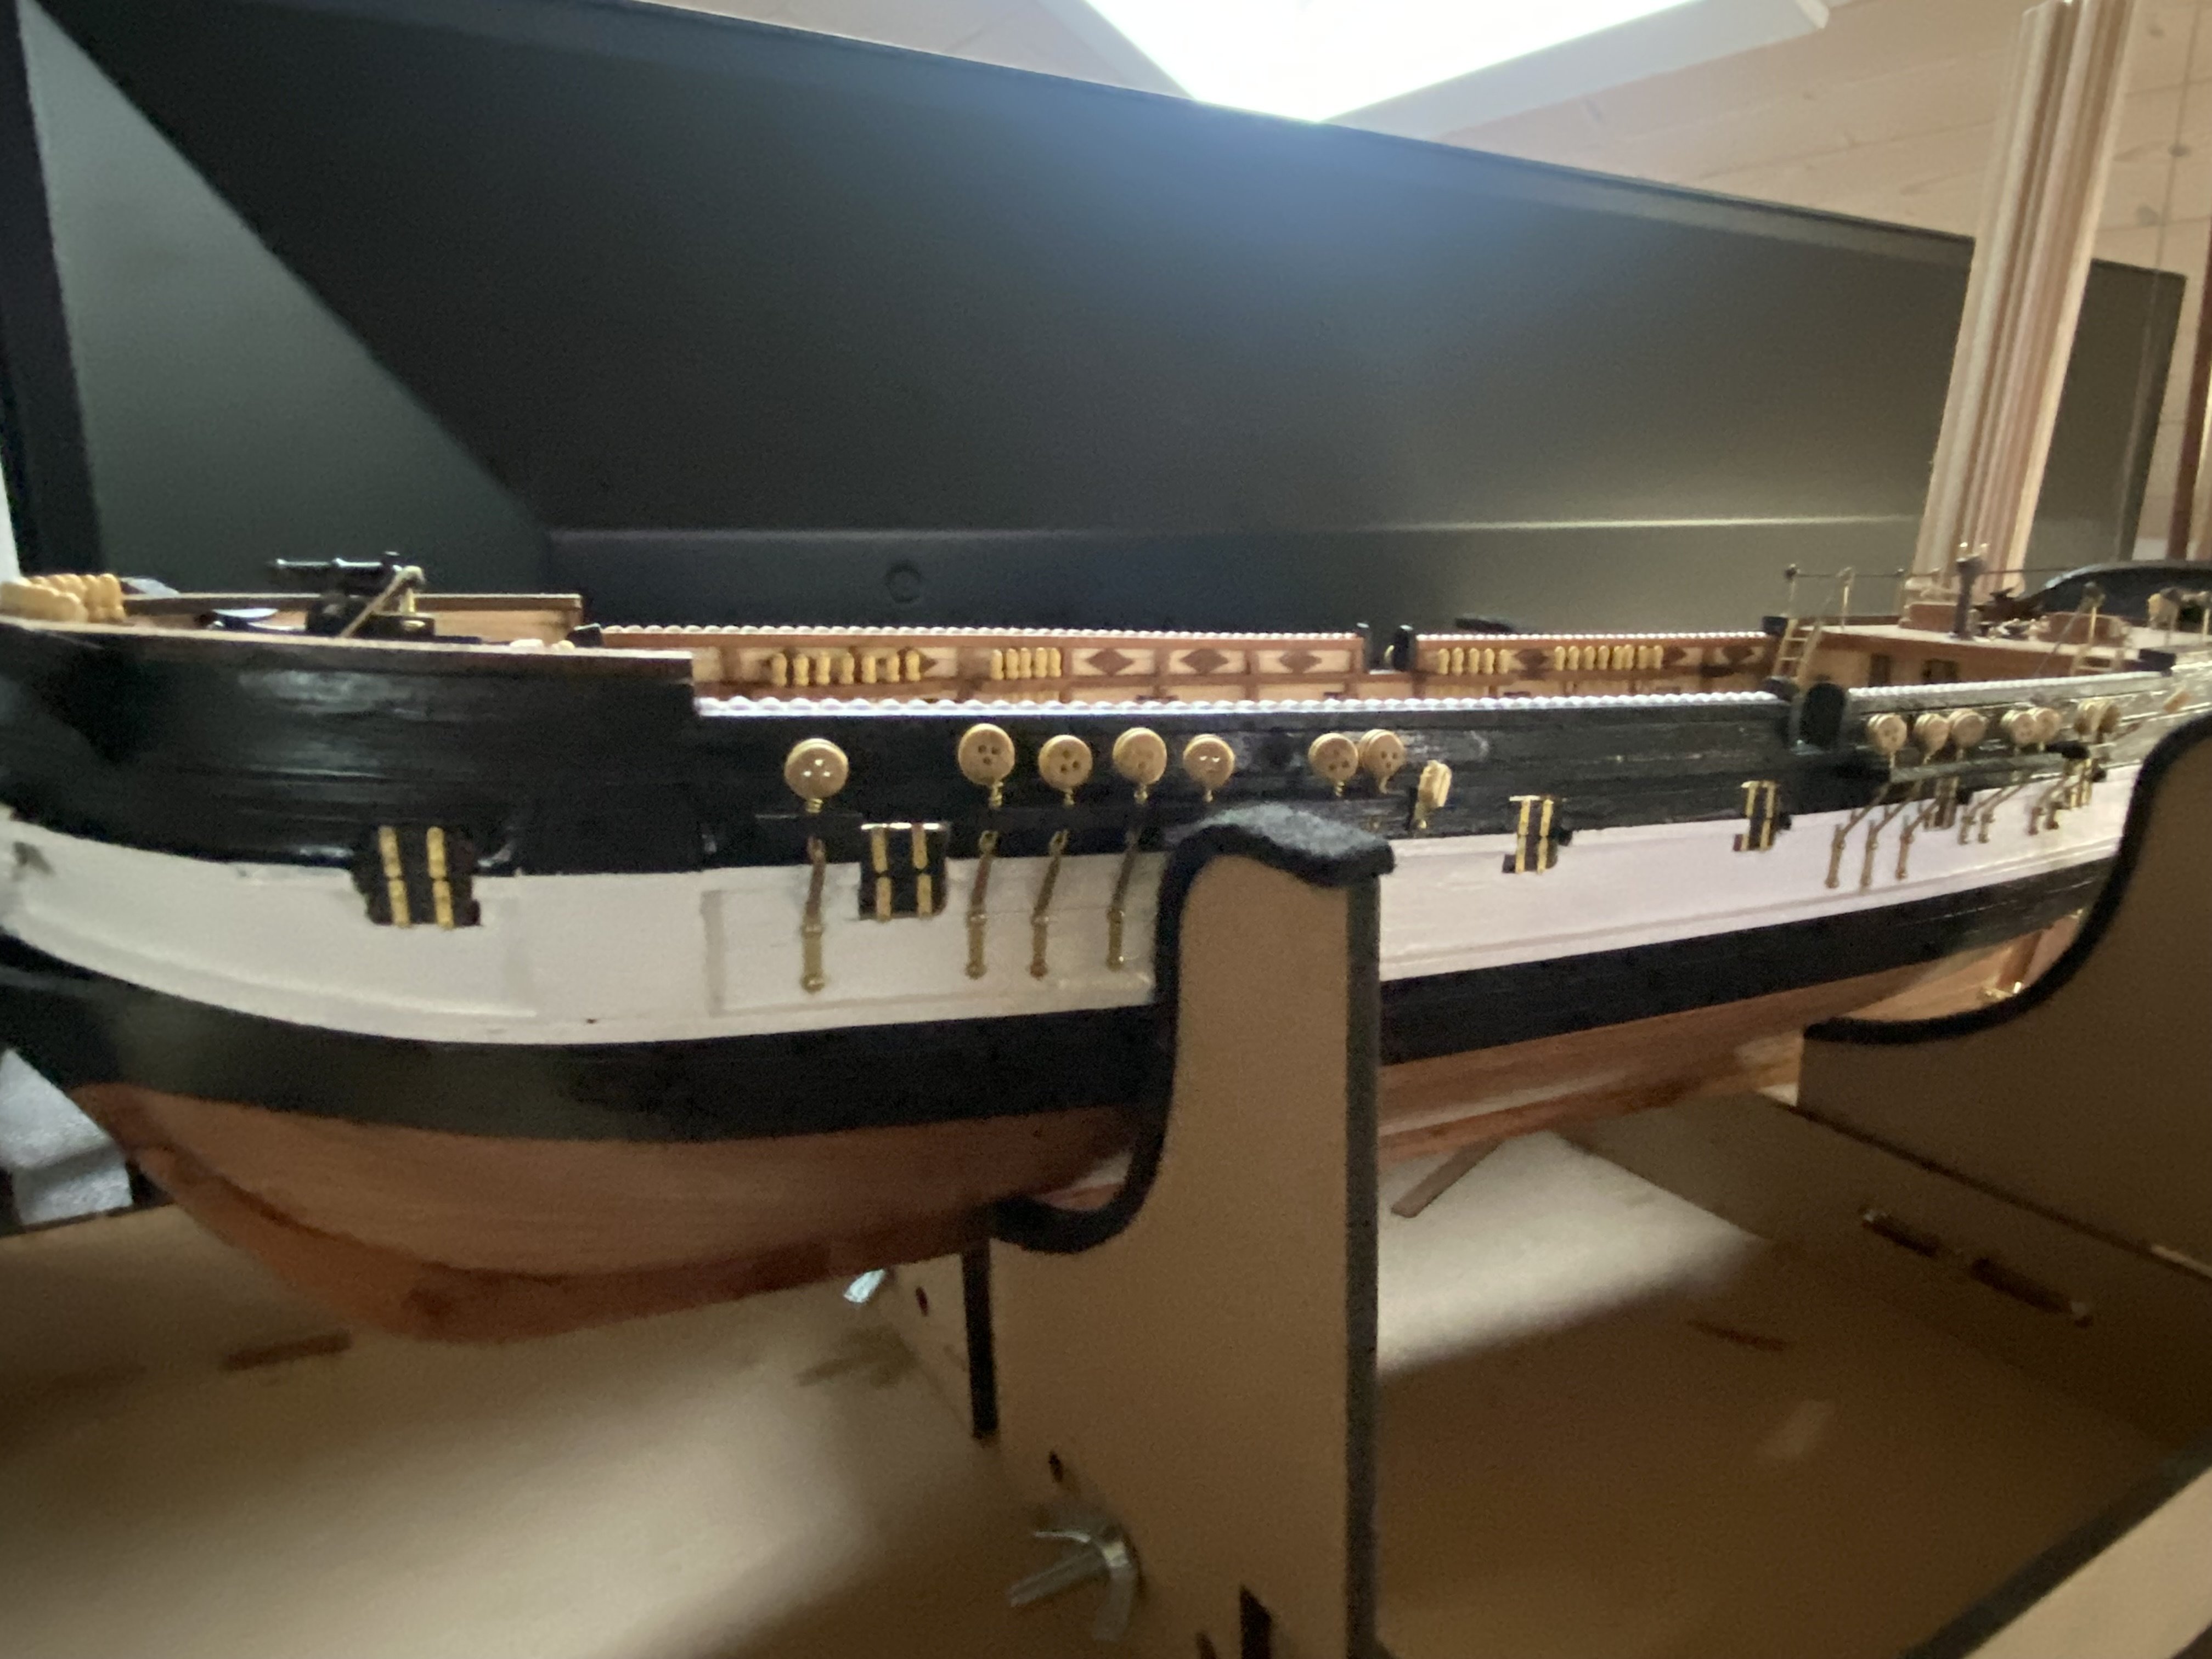
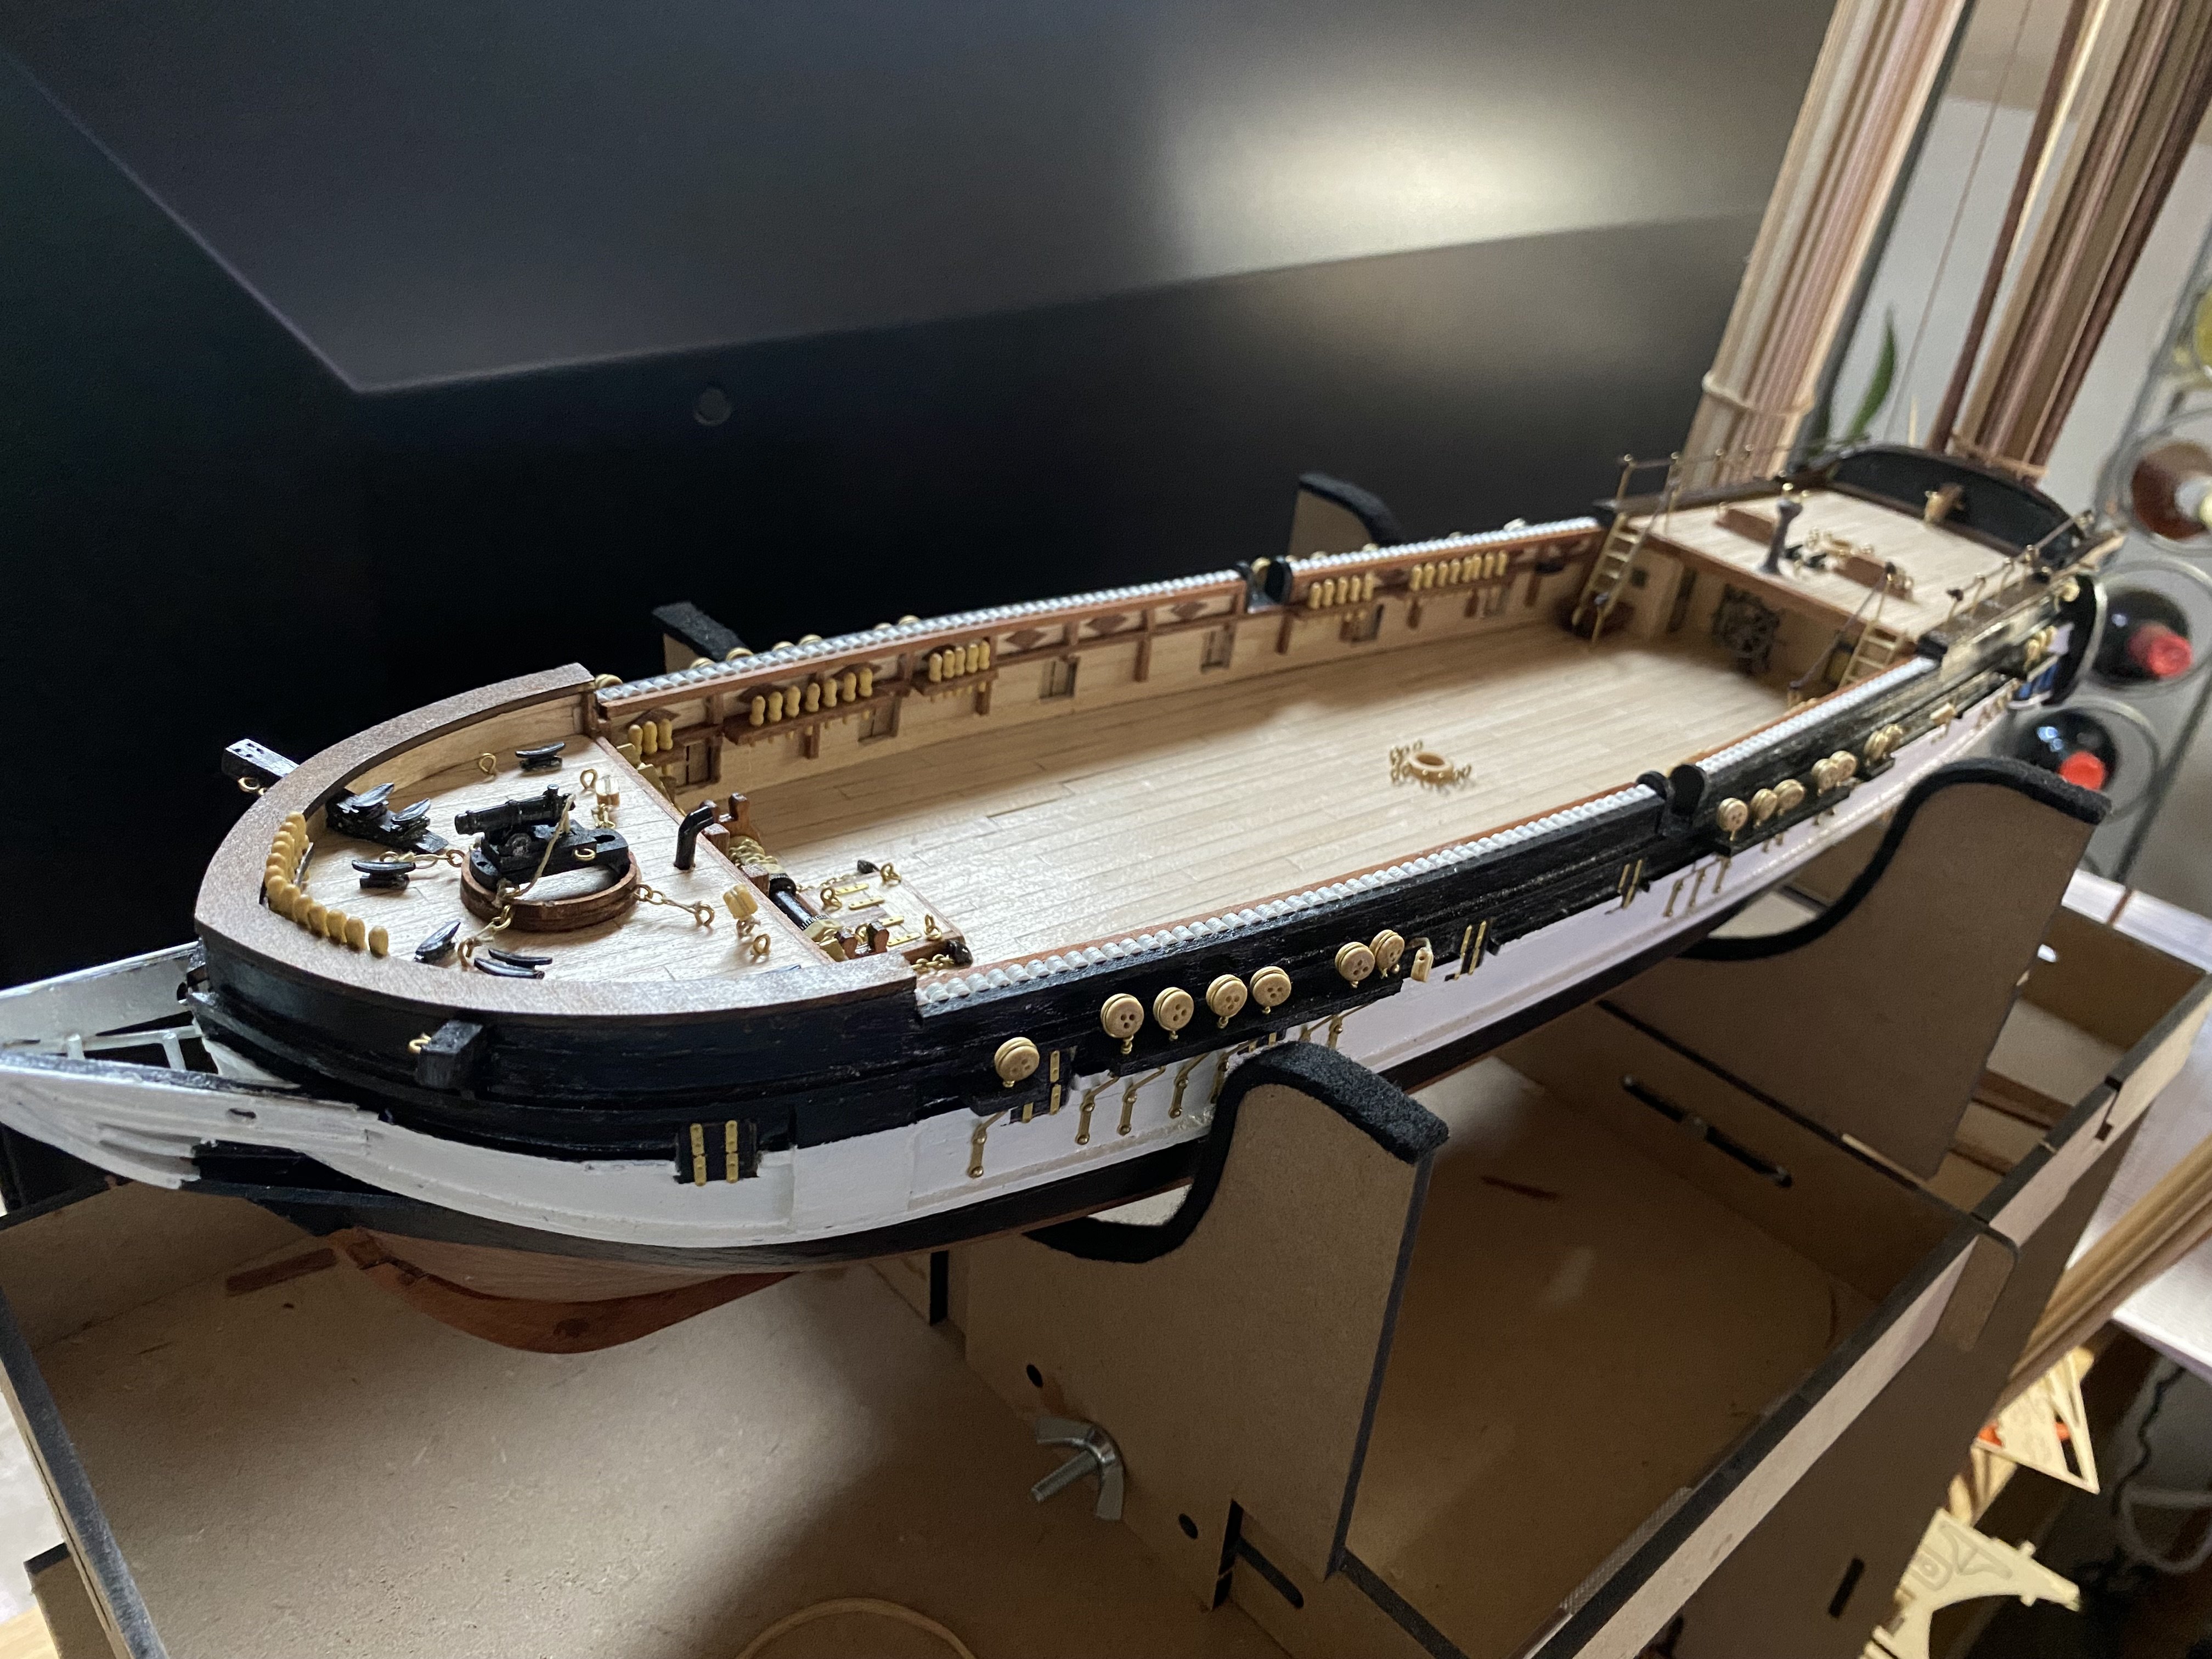
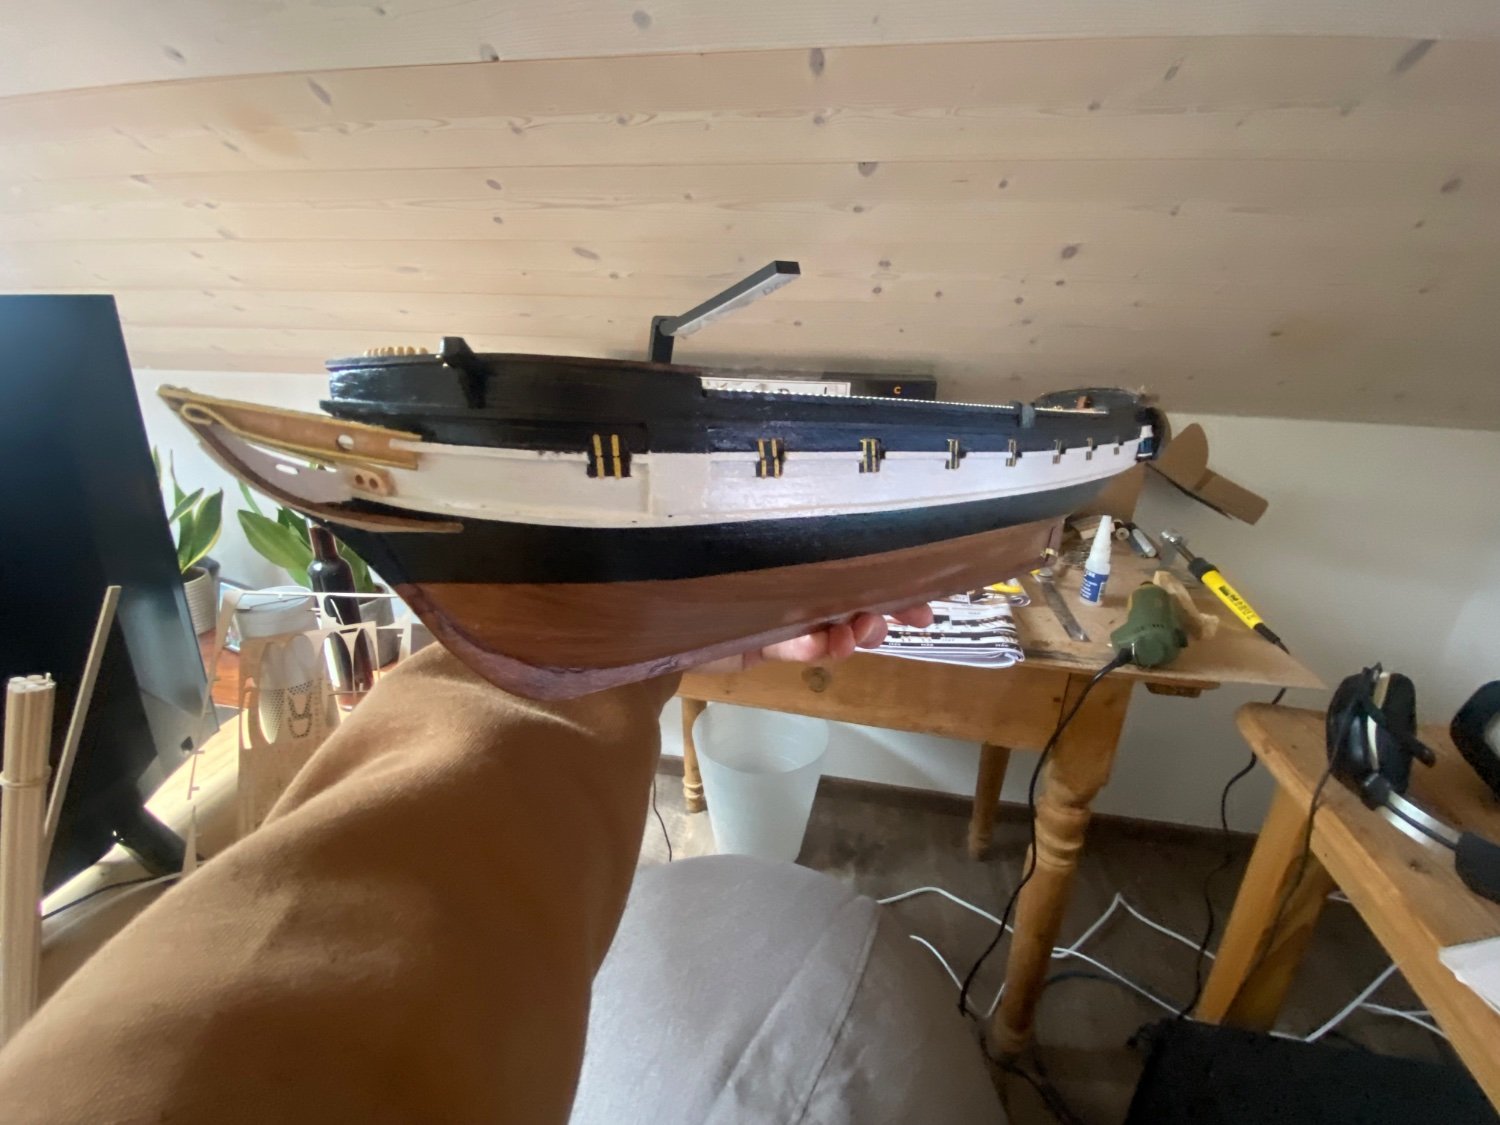
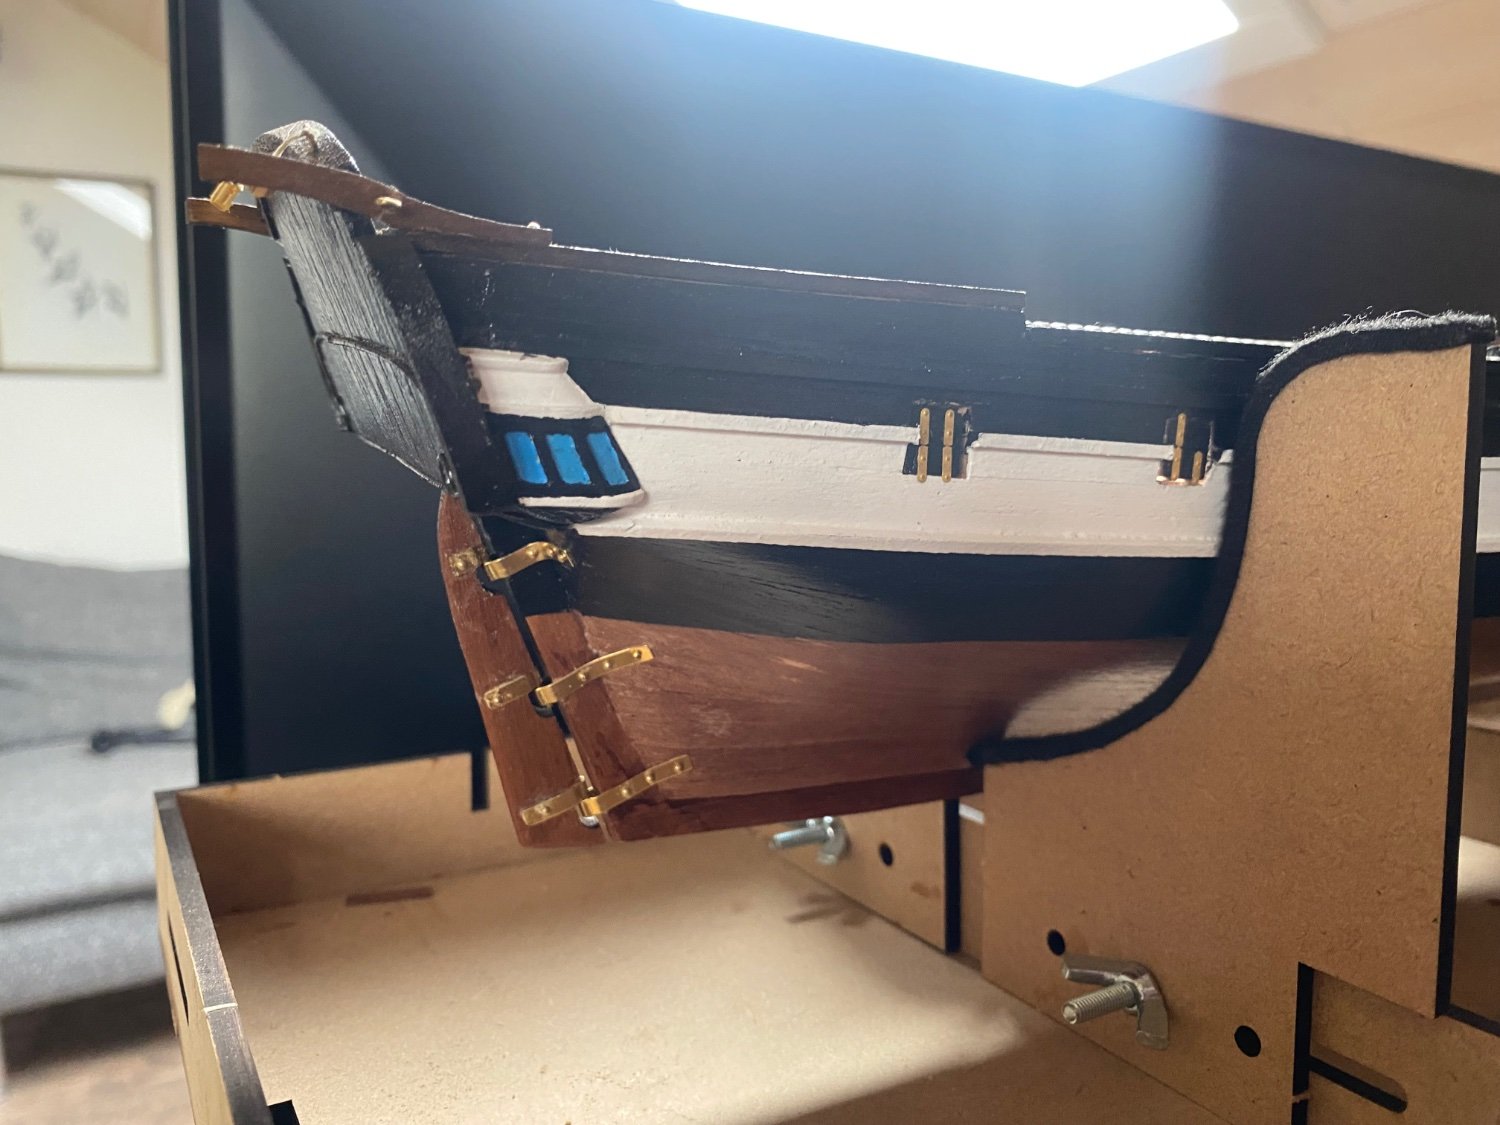
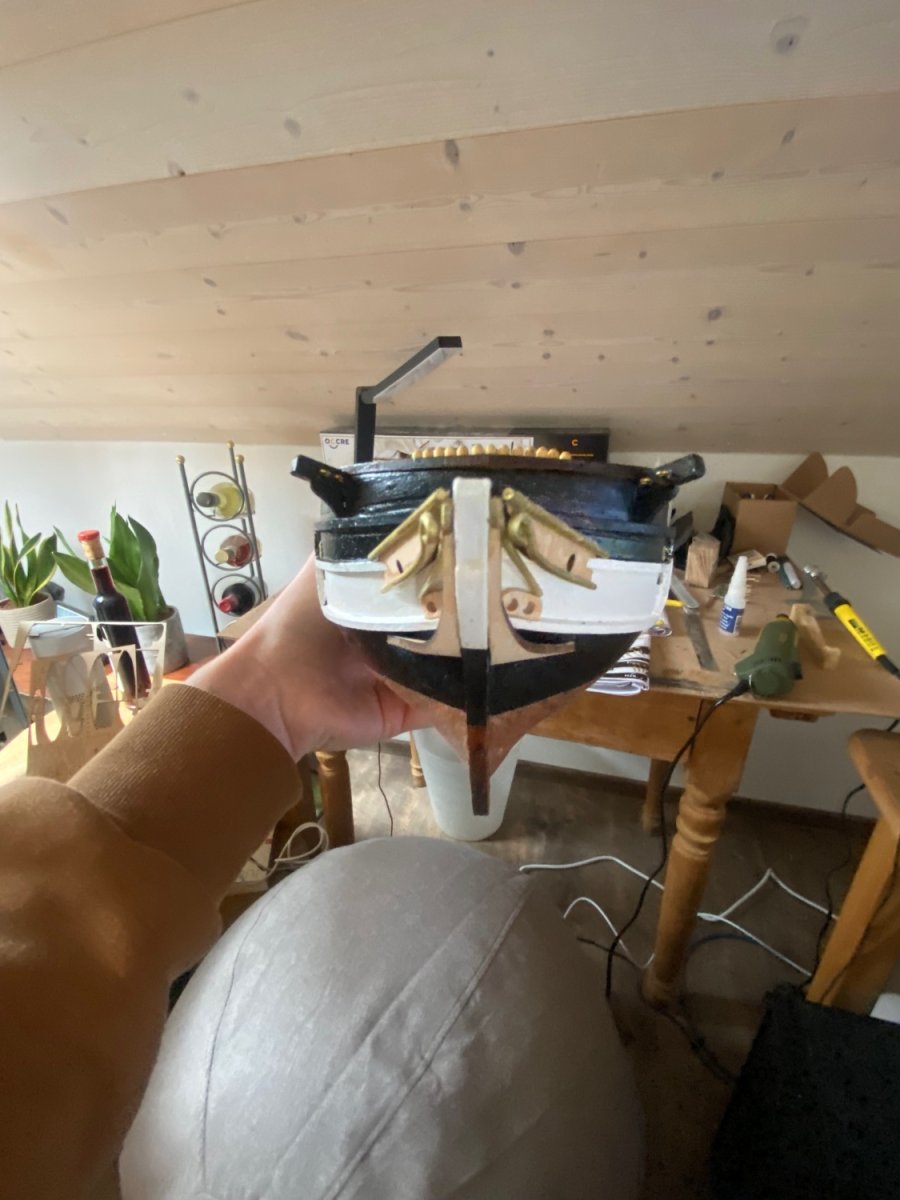
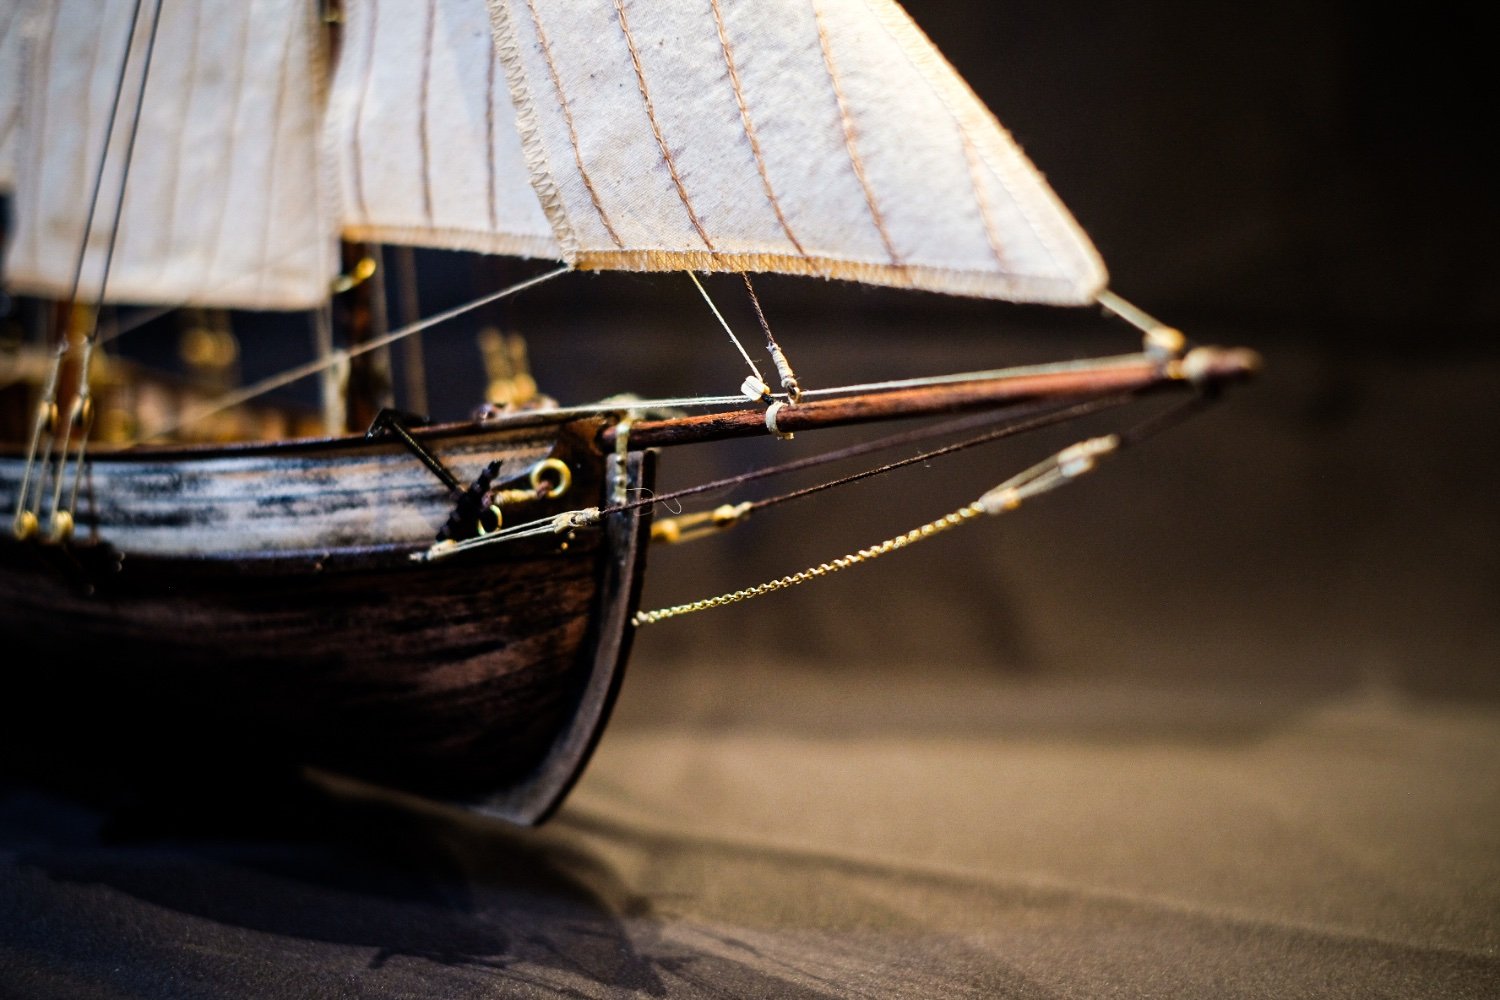
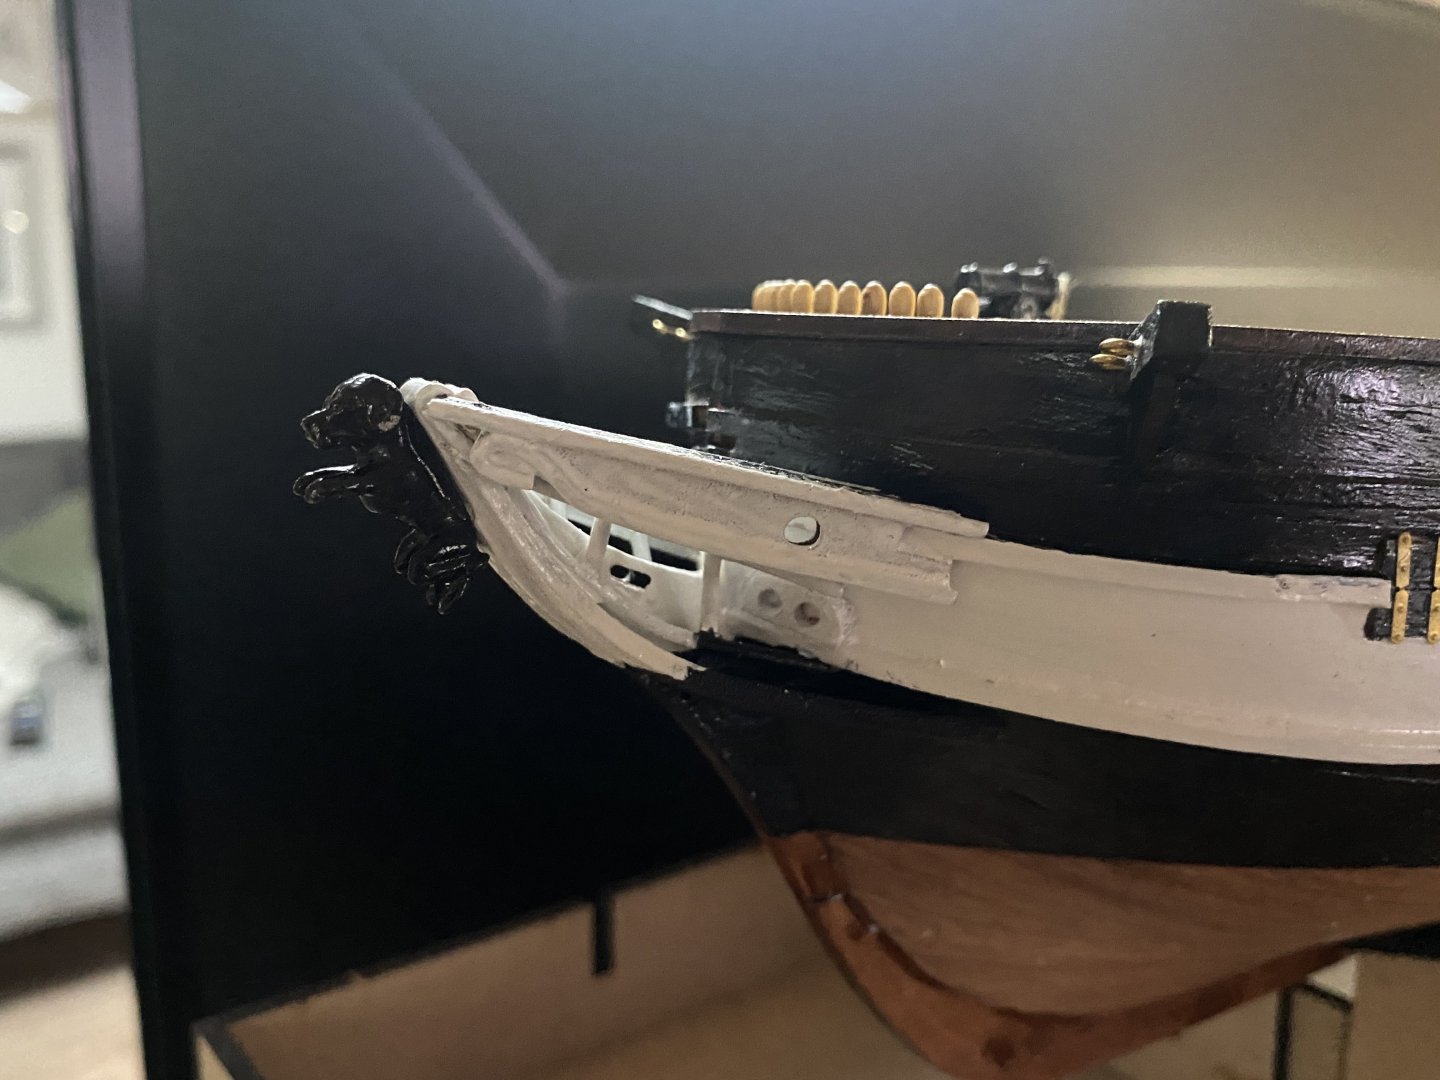
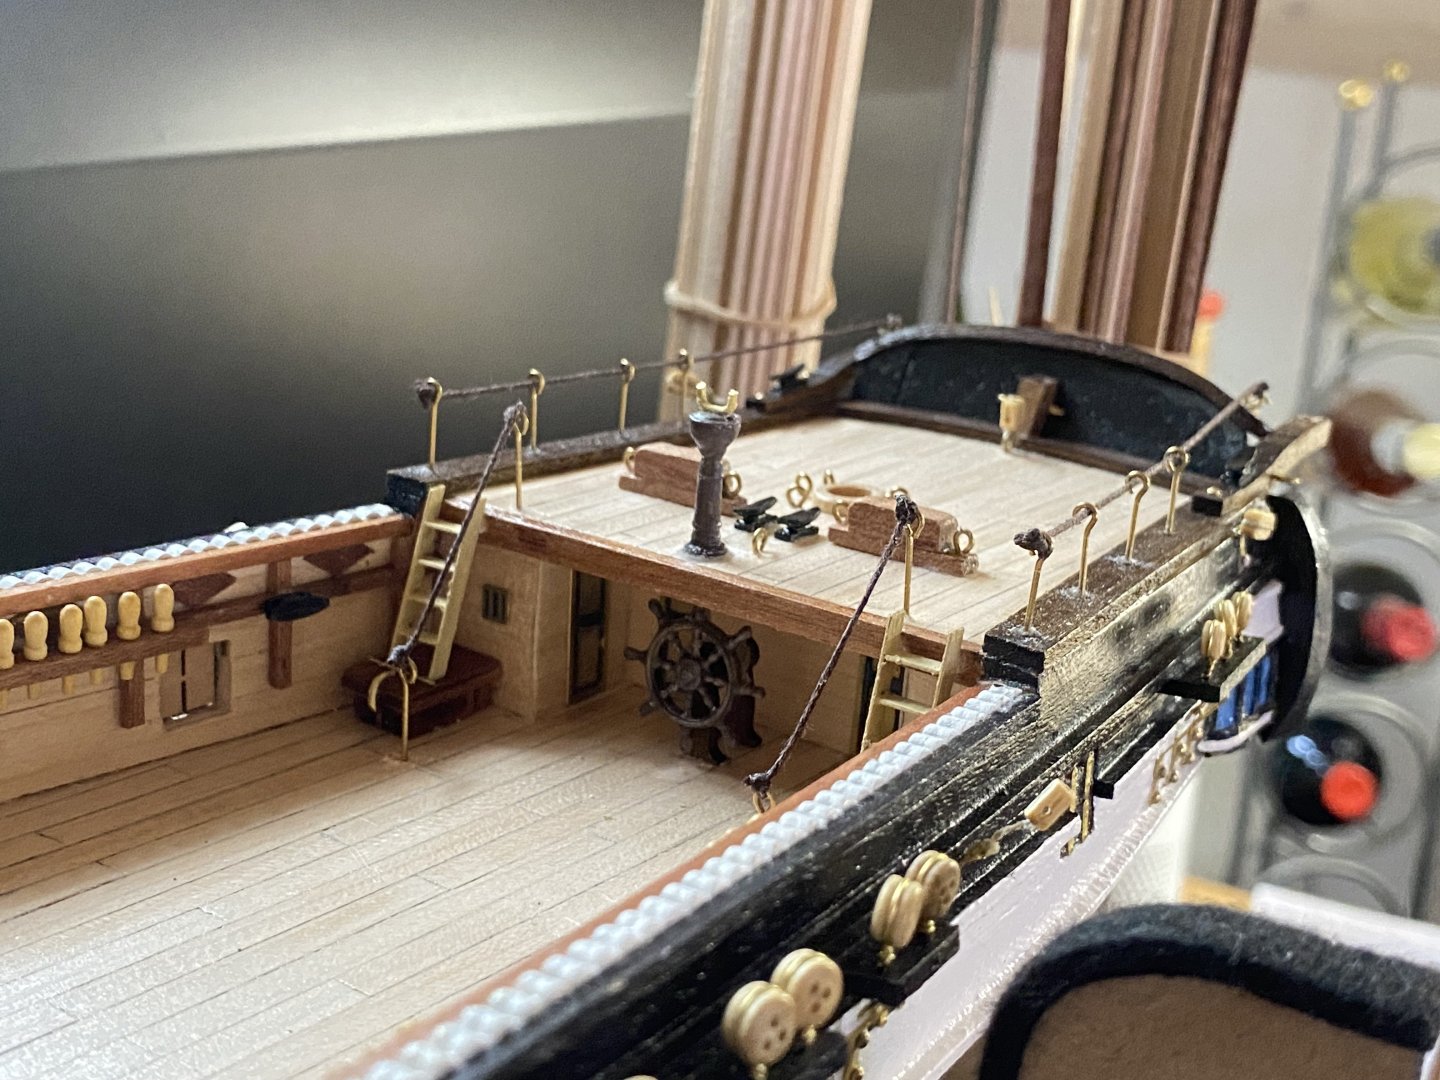
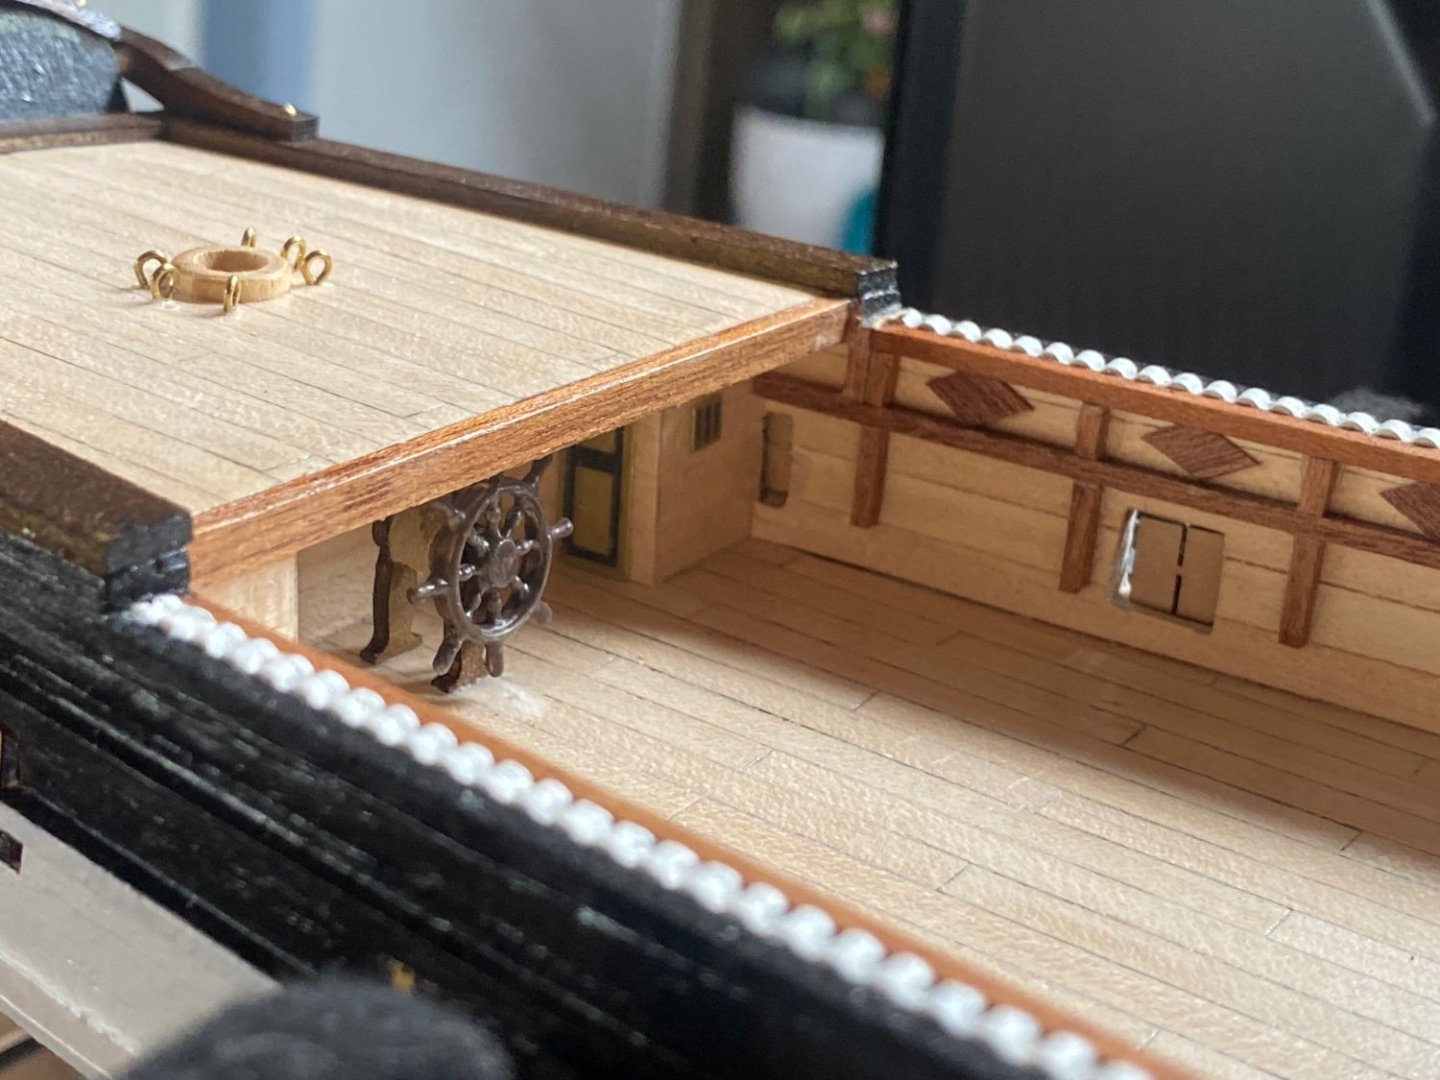
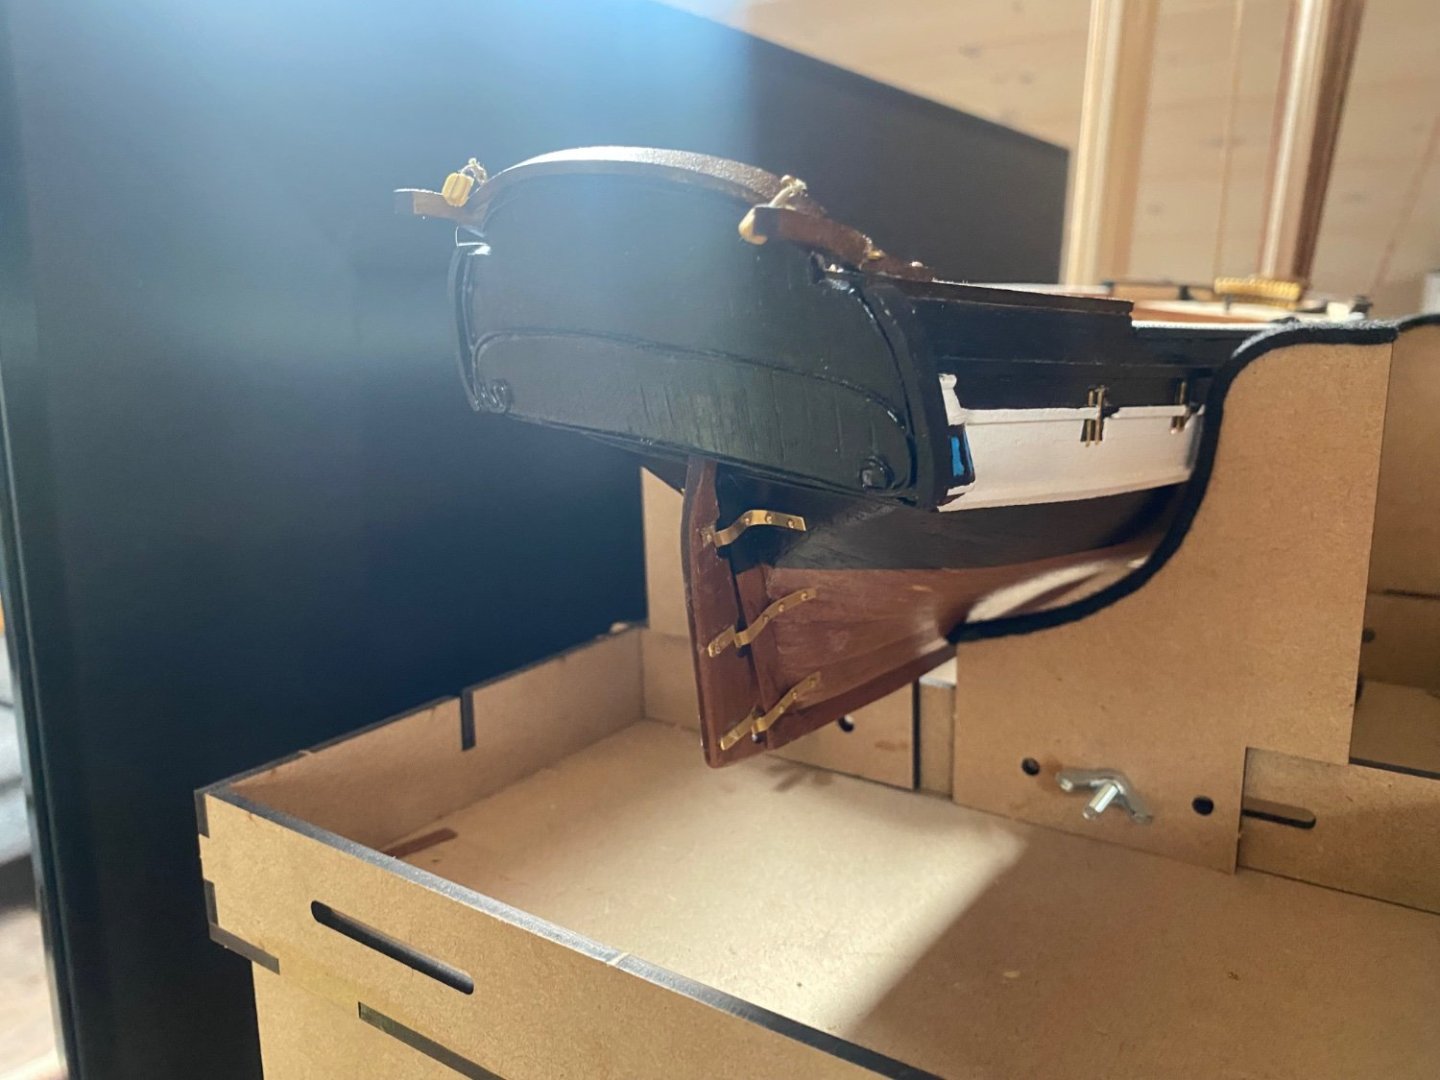
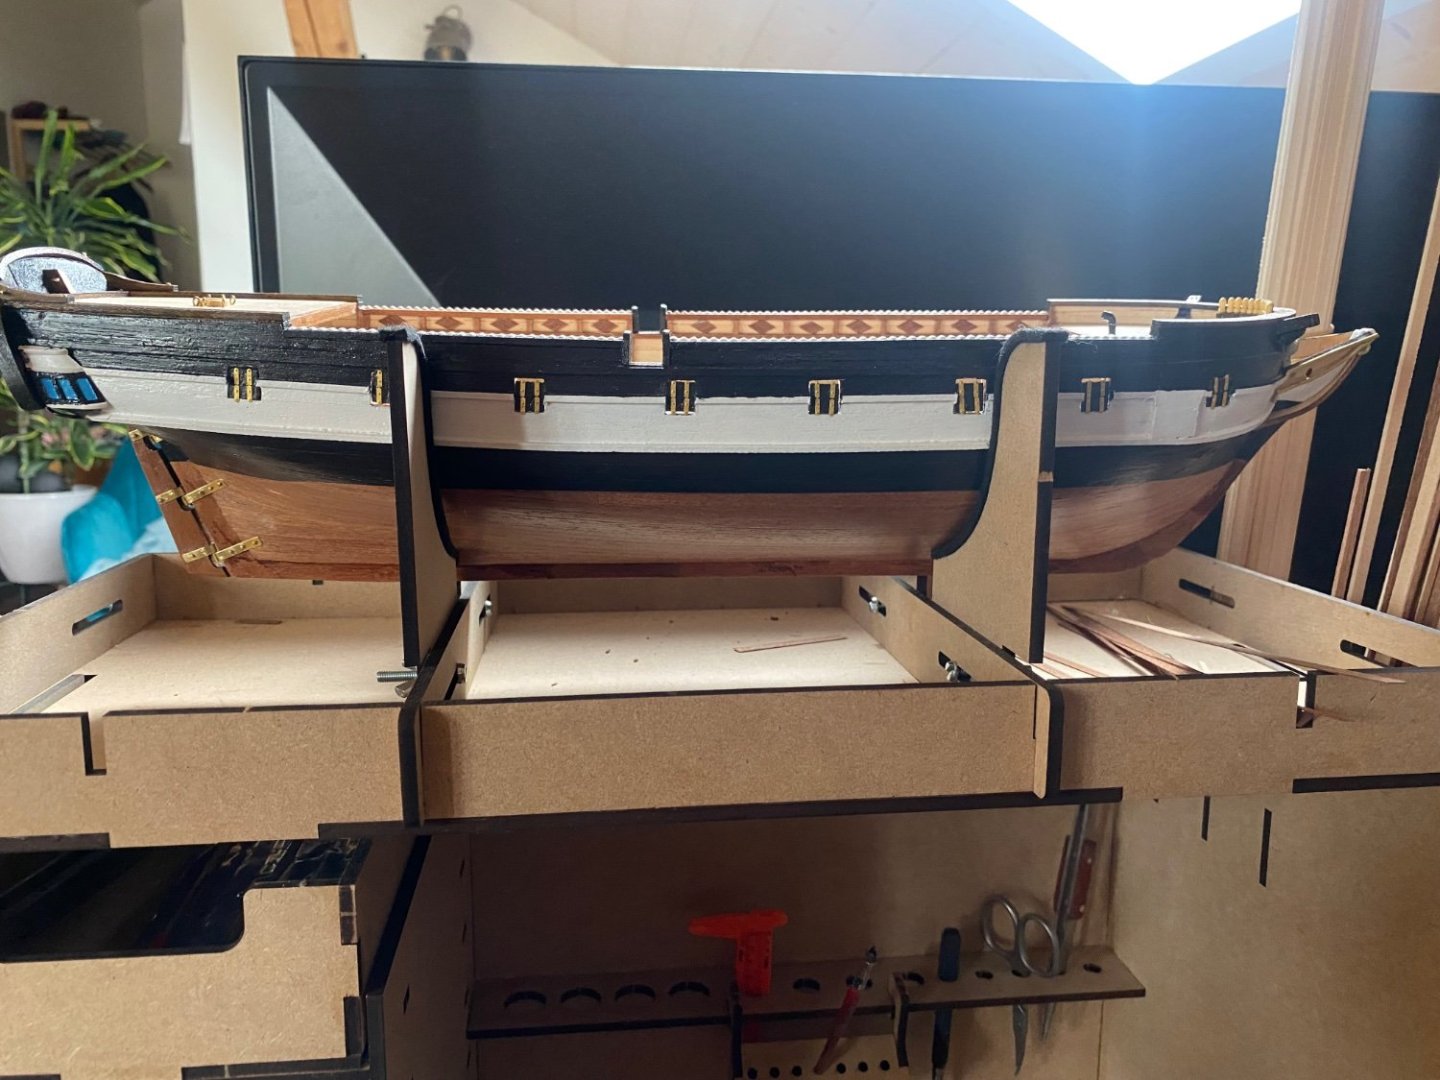
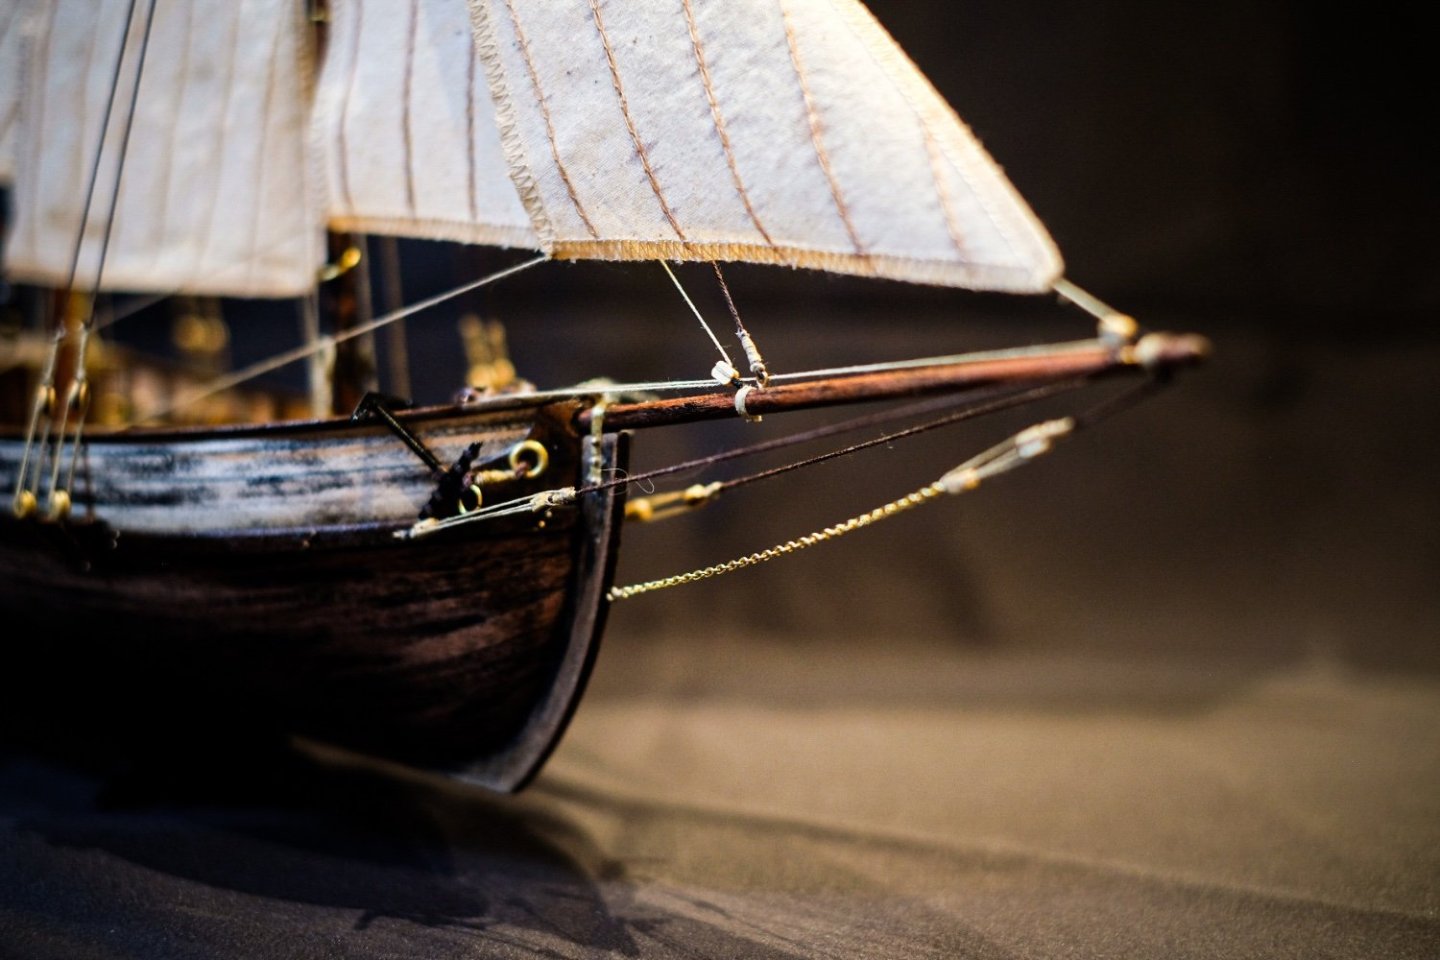
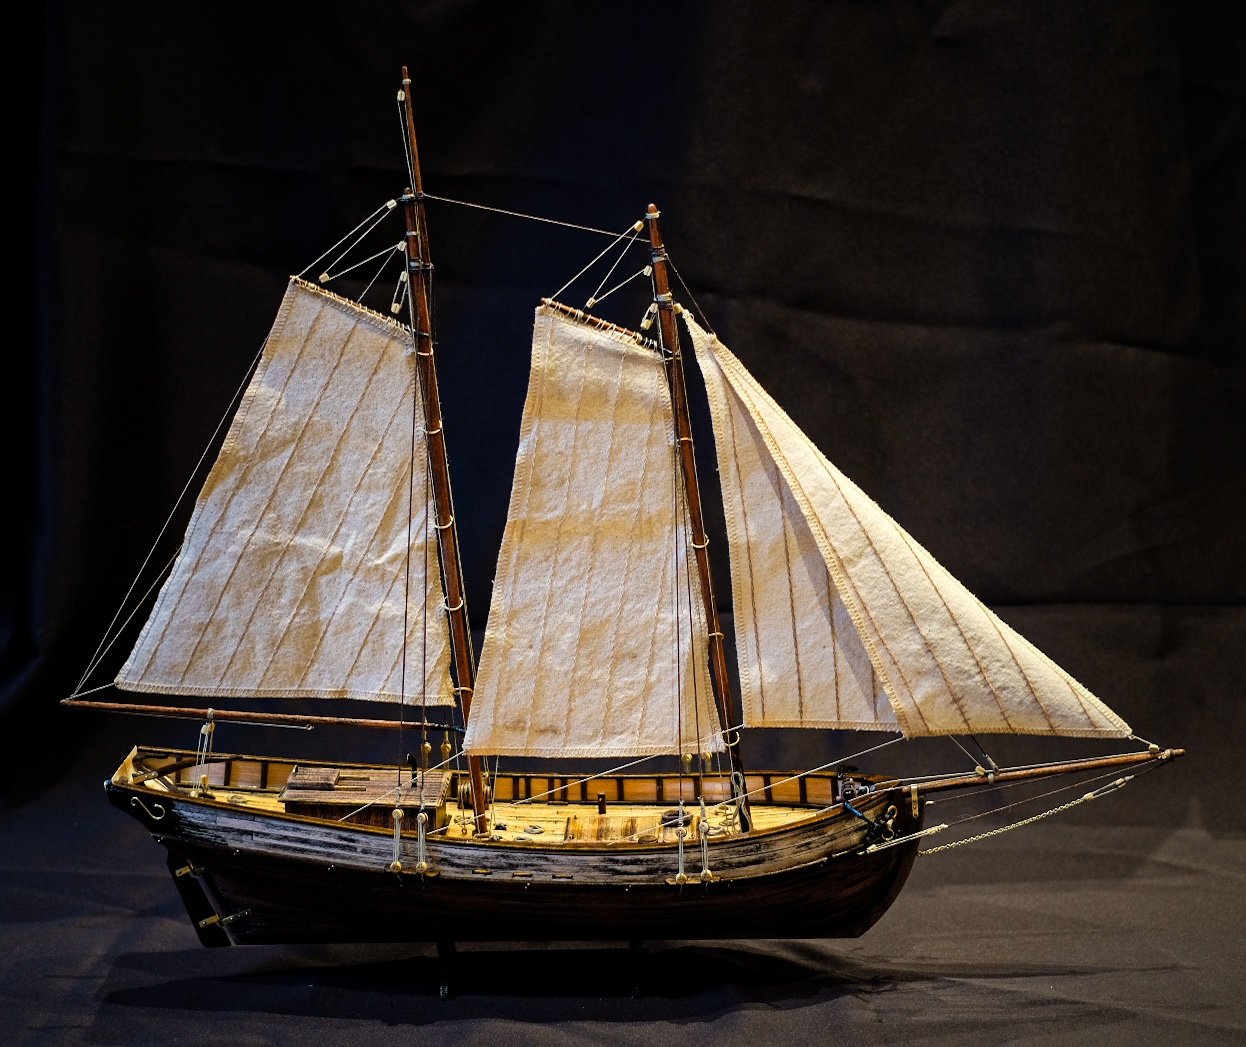
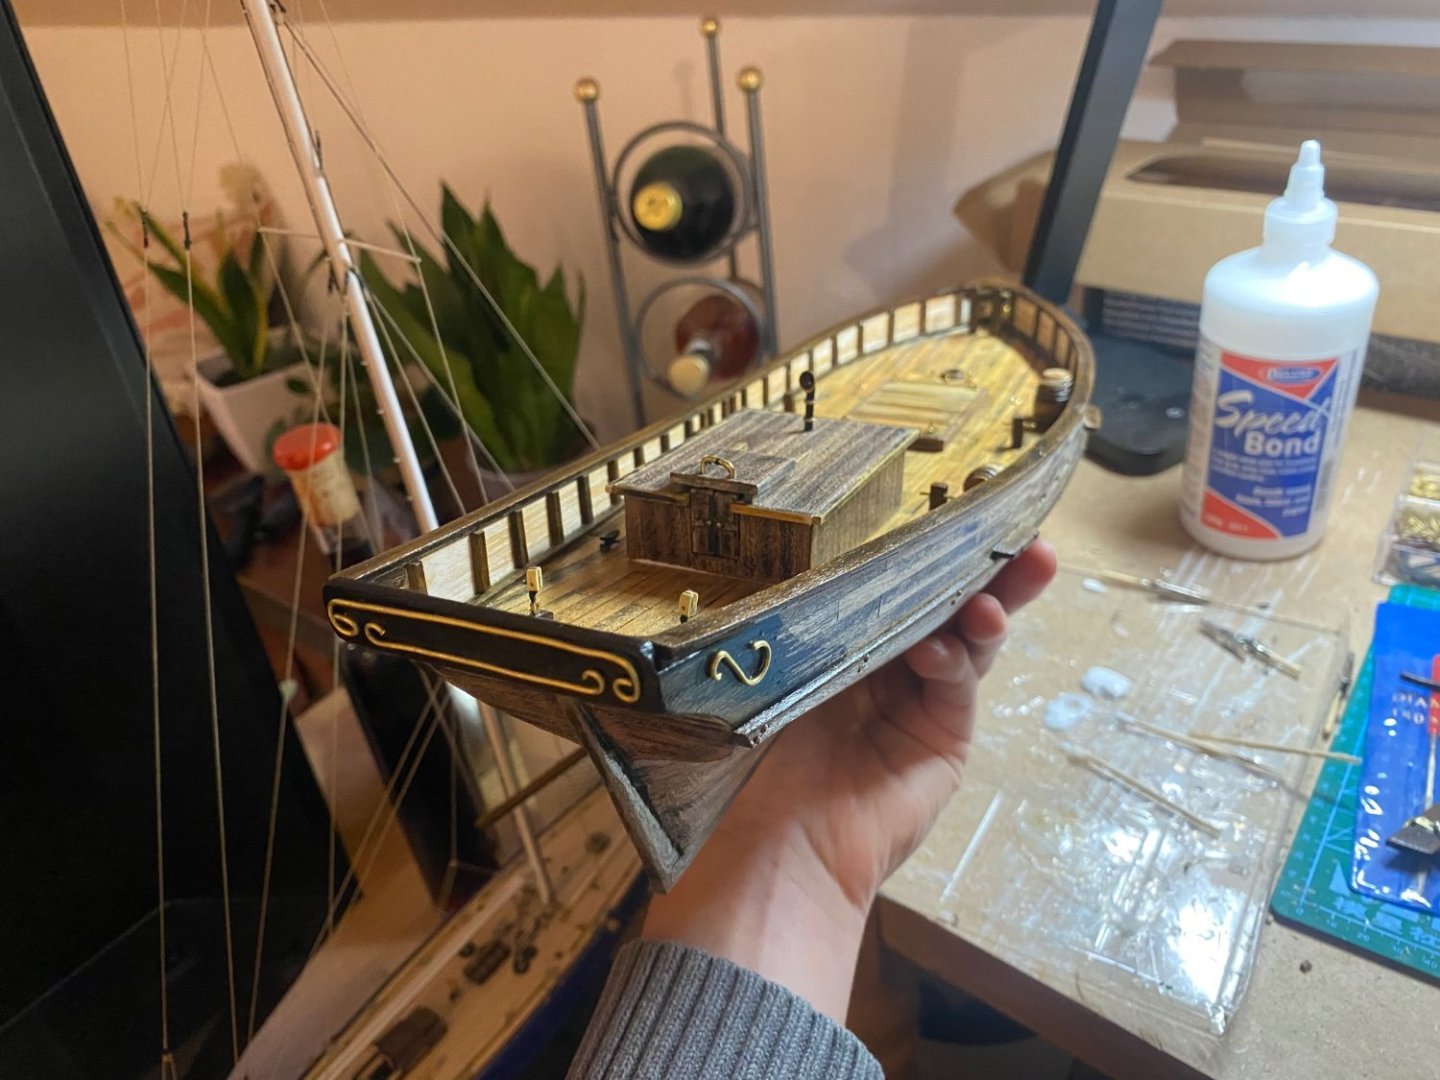
A lot of work went down last weeks. Painted the hull. Installed the rudder and rear decorations. Steering wheel is in place and a lot more small details on the hull.


-
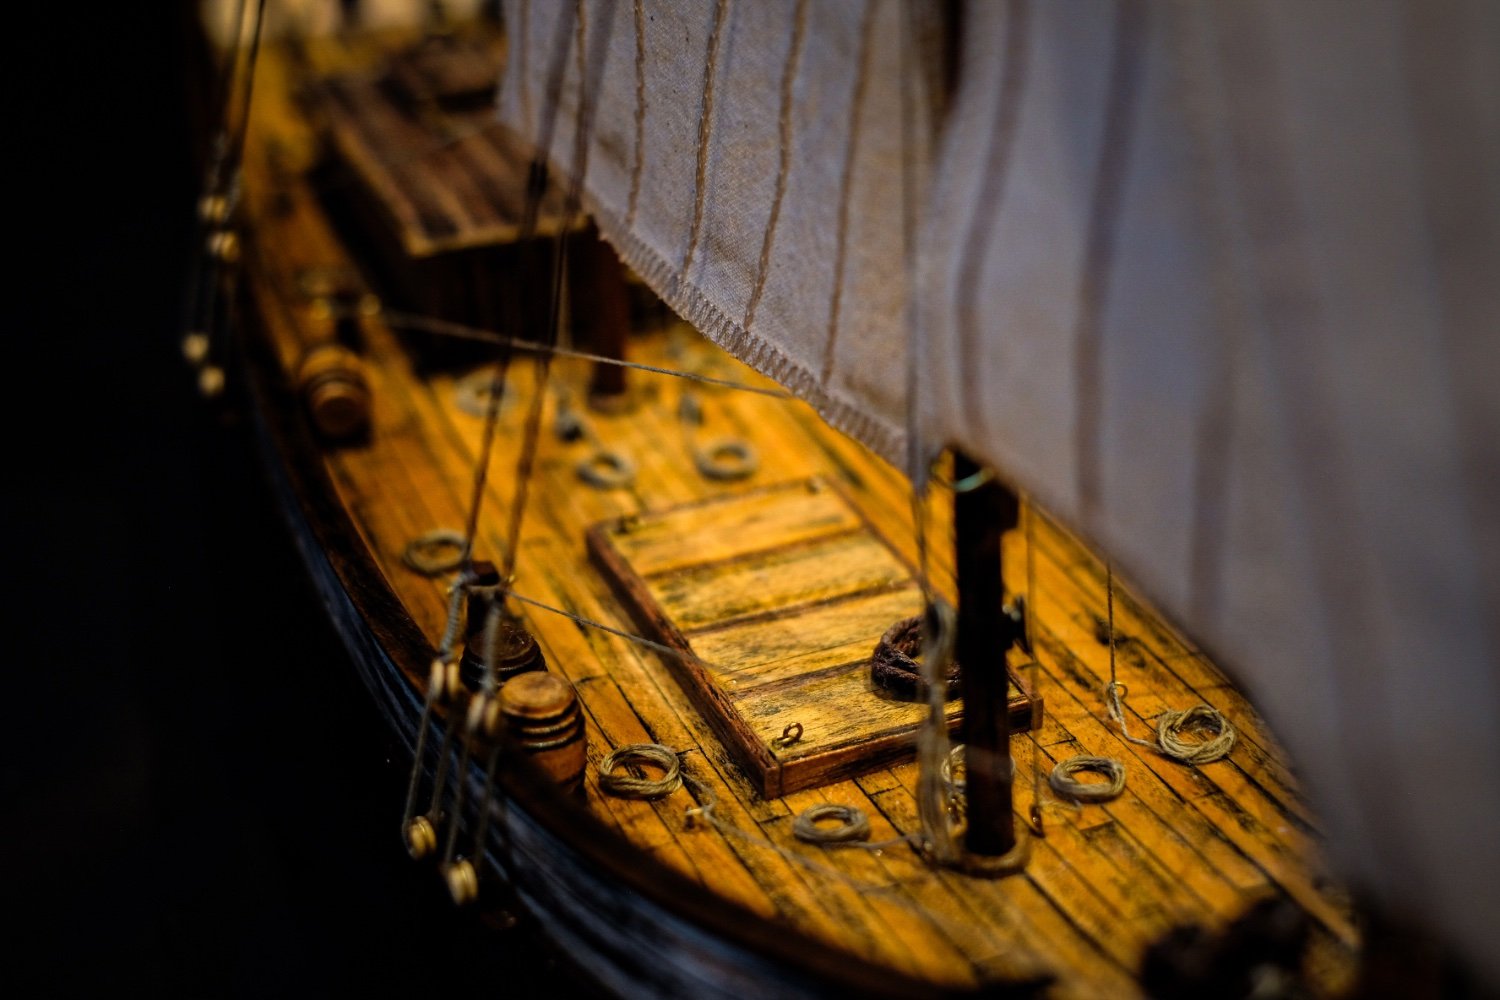
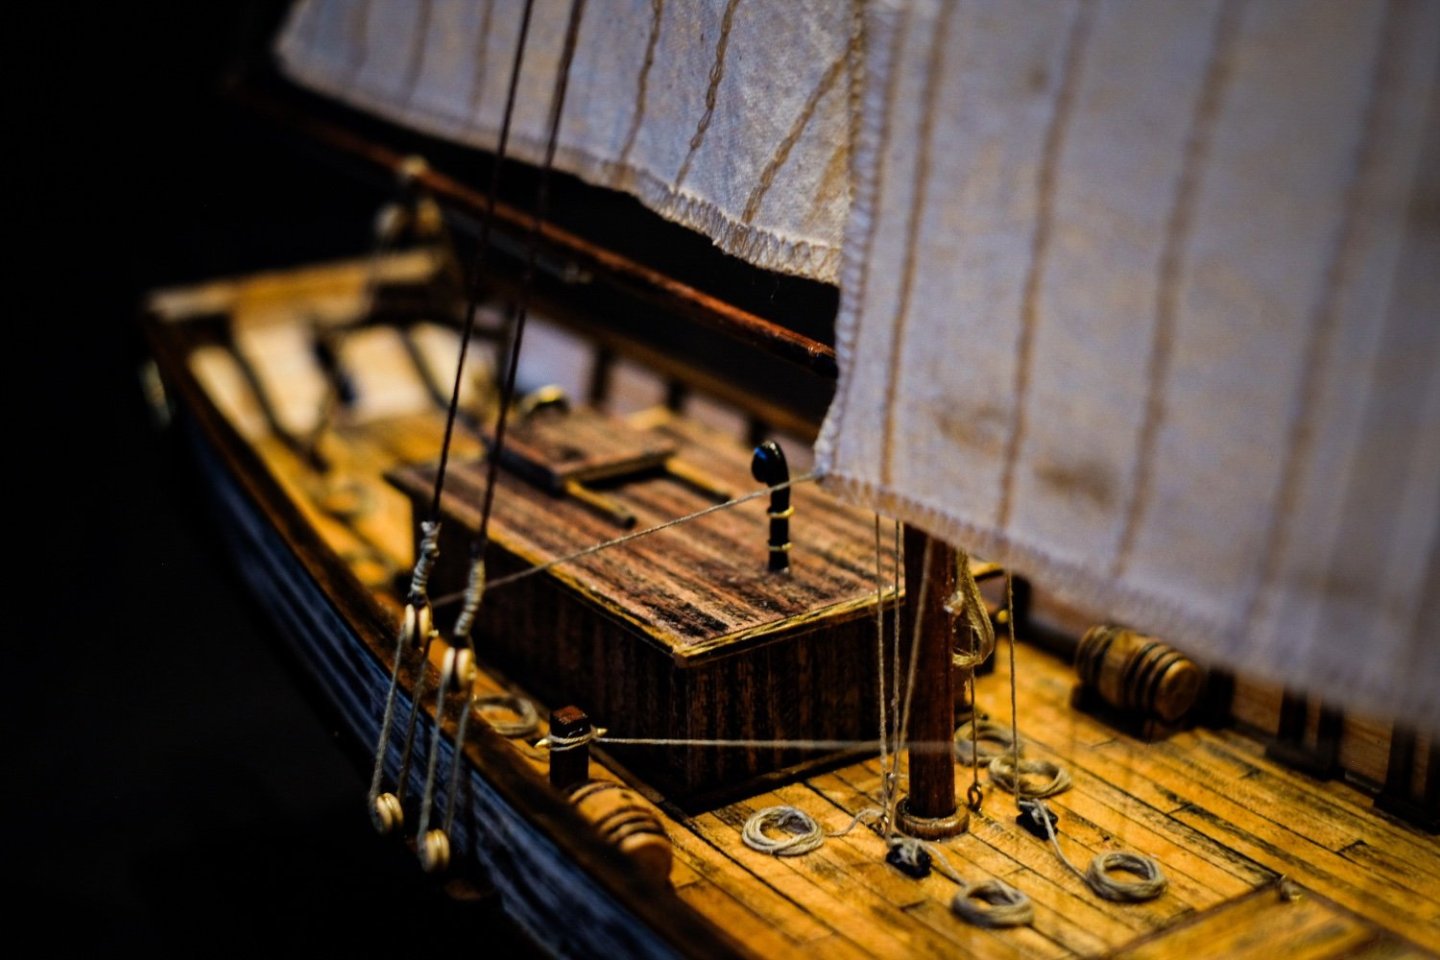
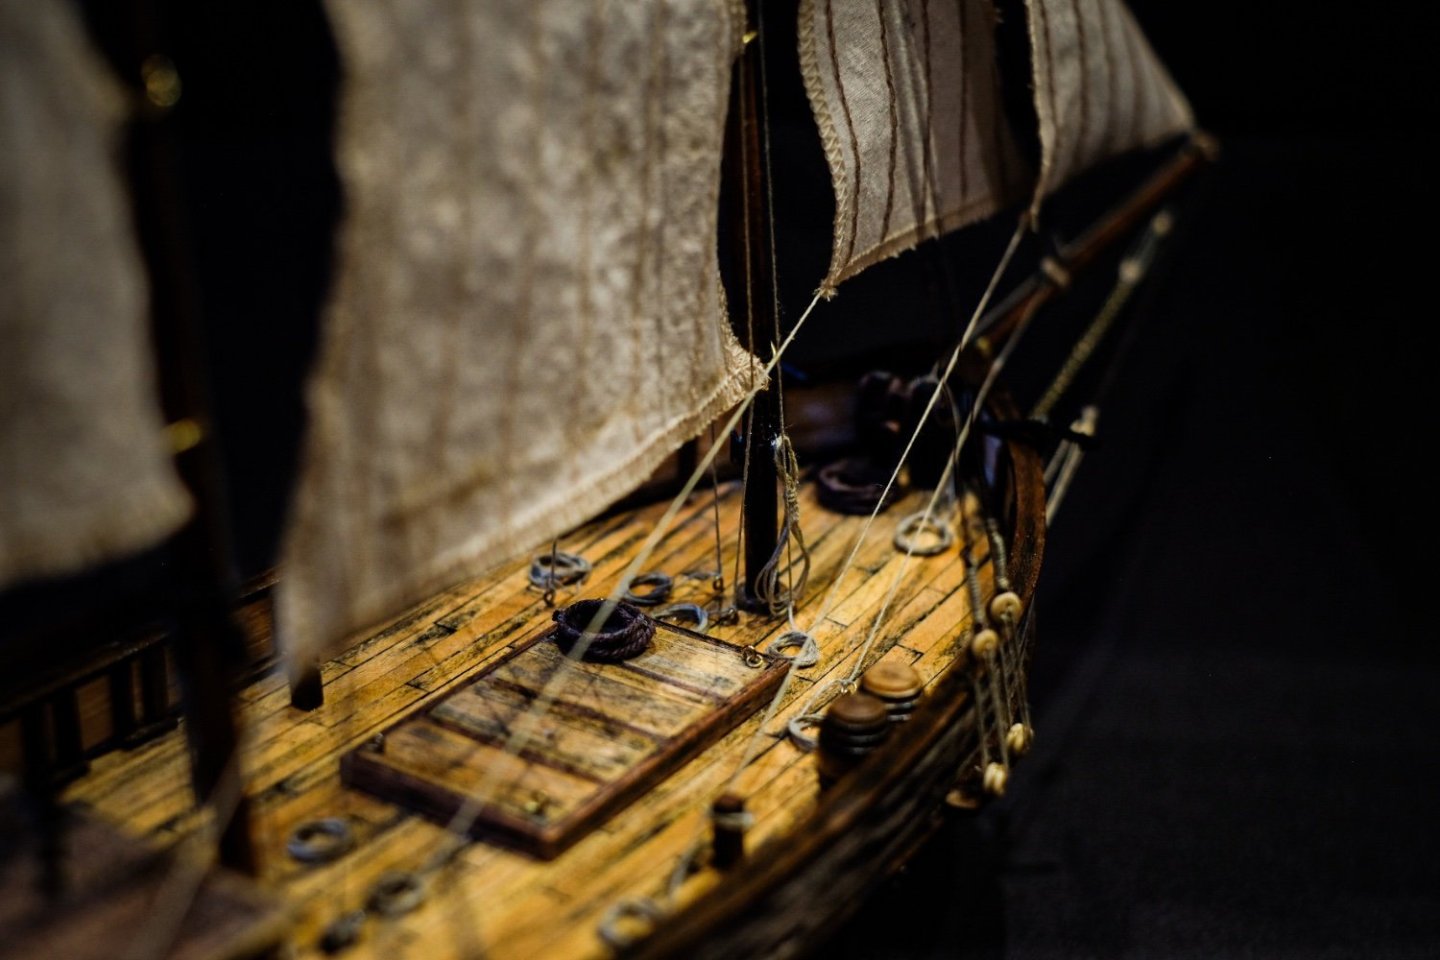
haha ja ich verstehe dich auch so die seilrollen auf dem Deck habe ich mit einem kürzeren fadenstück in Bienenwachs gewachst dann mit etwas Leim versehen die Schnur und per Finger aufgerollt auf einer ebenen Fläche. Das Ende der Takelage aufs Deck geklebt und dann die gefertigte Rolle da drauf. falls du die Wicklungen an den wandten meinst um die Seile herum die habe ich auch gut eingewachst und dann geleimt und mit Pinzette drum herum gerollt dann hebt das ganz gut. Hoffe konnte dir weiterhelfen
-
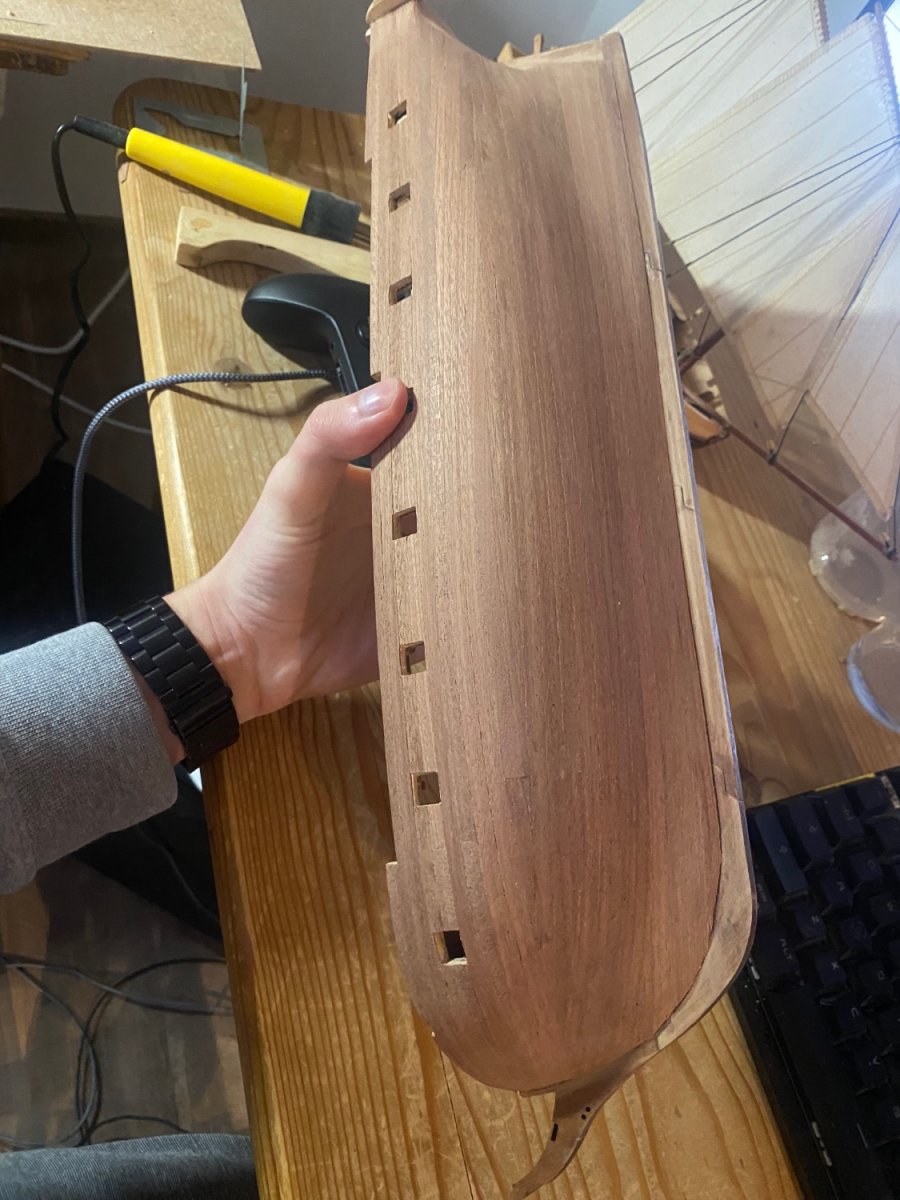
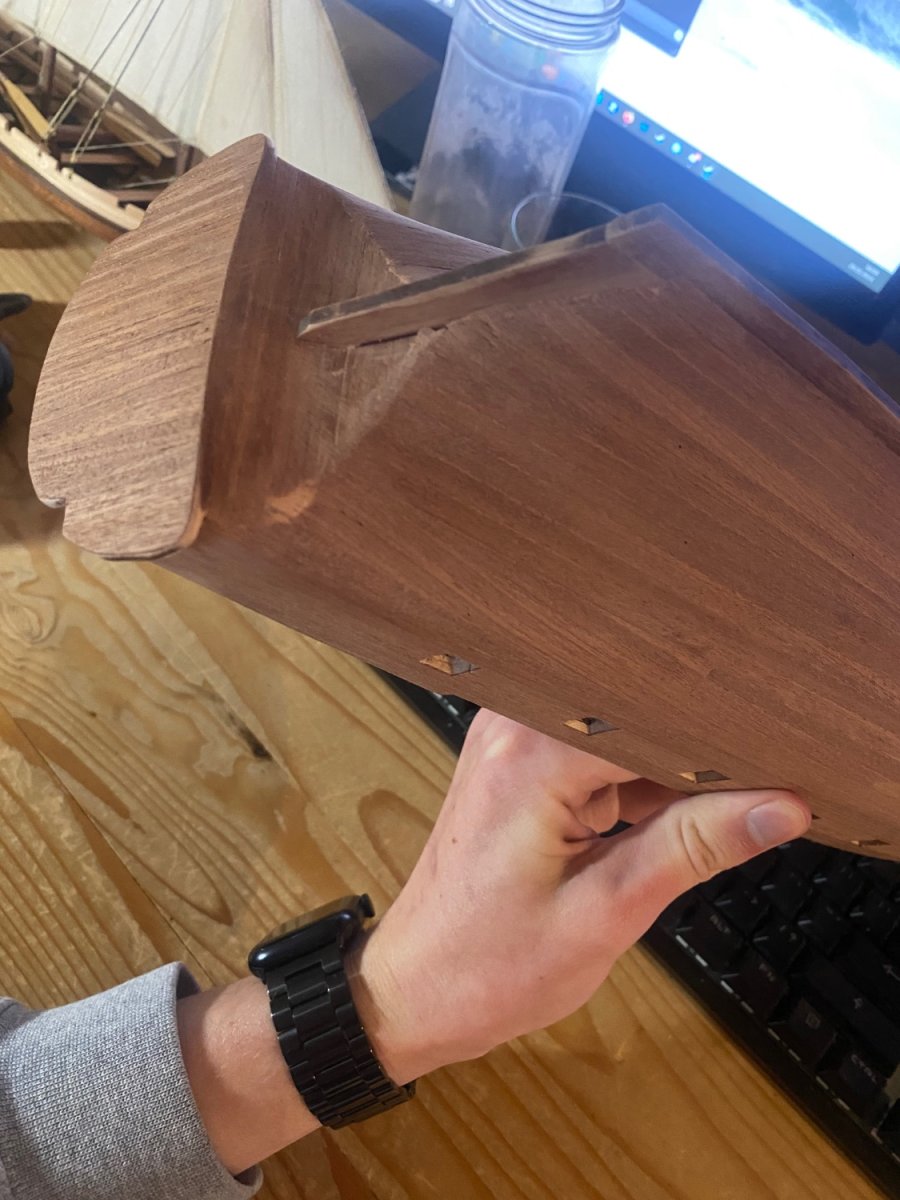
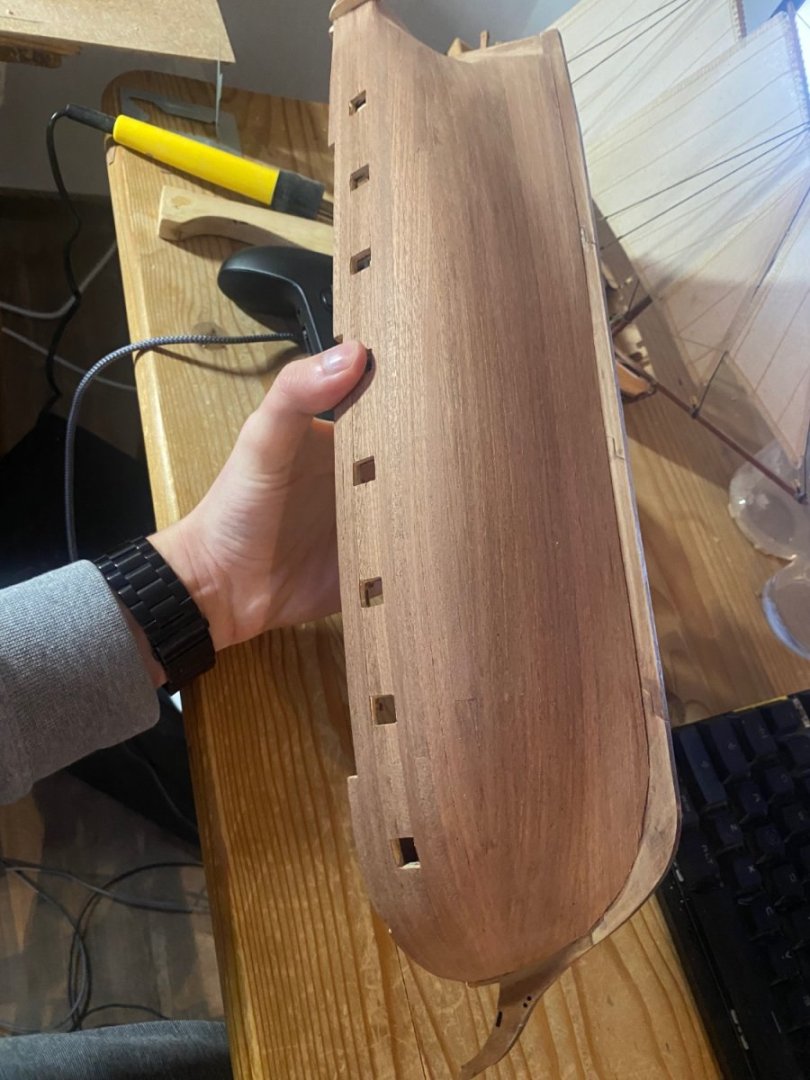
Yeah i am now finally done with the second planking. Was pretty straight forward, just the rear and bow were a bit tricky. Added the kiel parts also Did some work on the inner side of the bulwarks with the decorstion strips and shapes and prepared the canon hole parts and some deckings next up is finishing the hull with decorstion strips and paint it


-
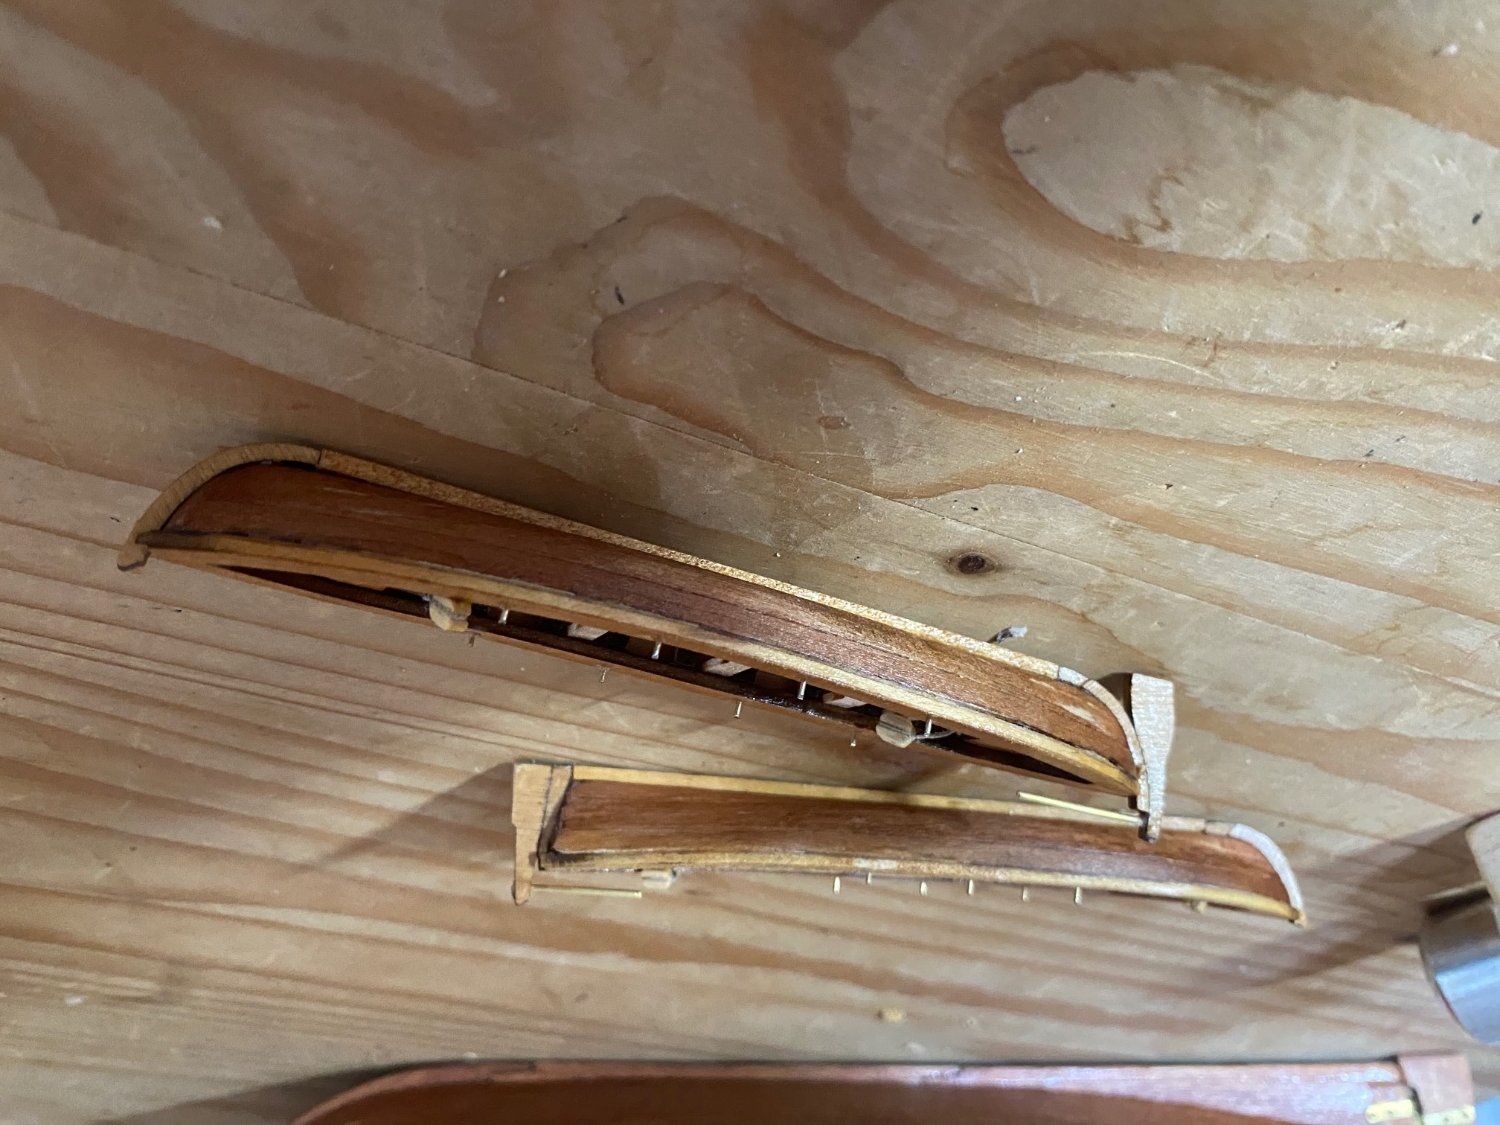
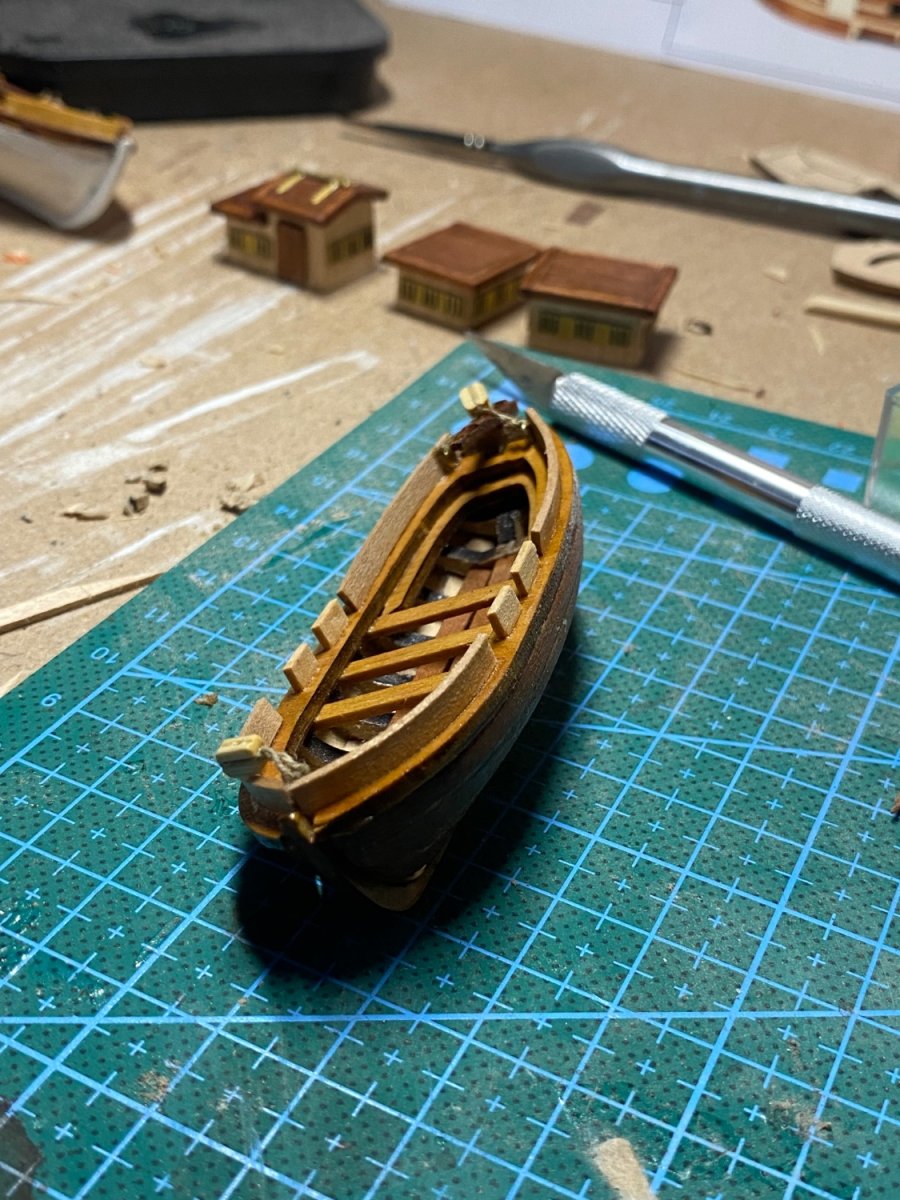
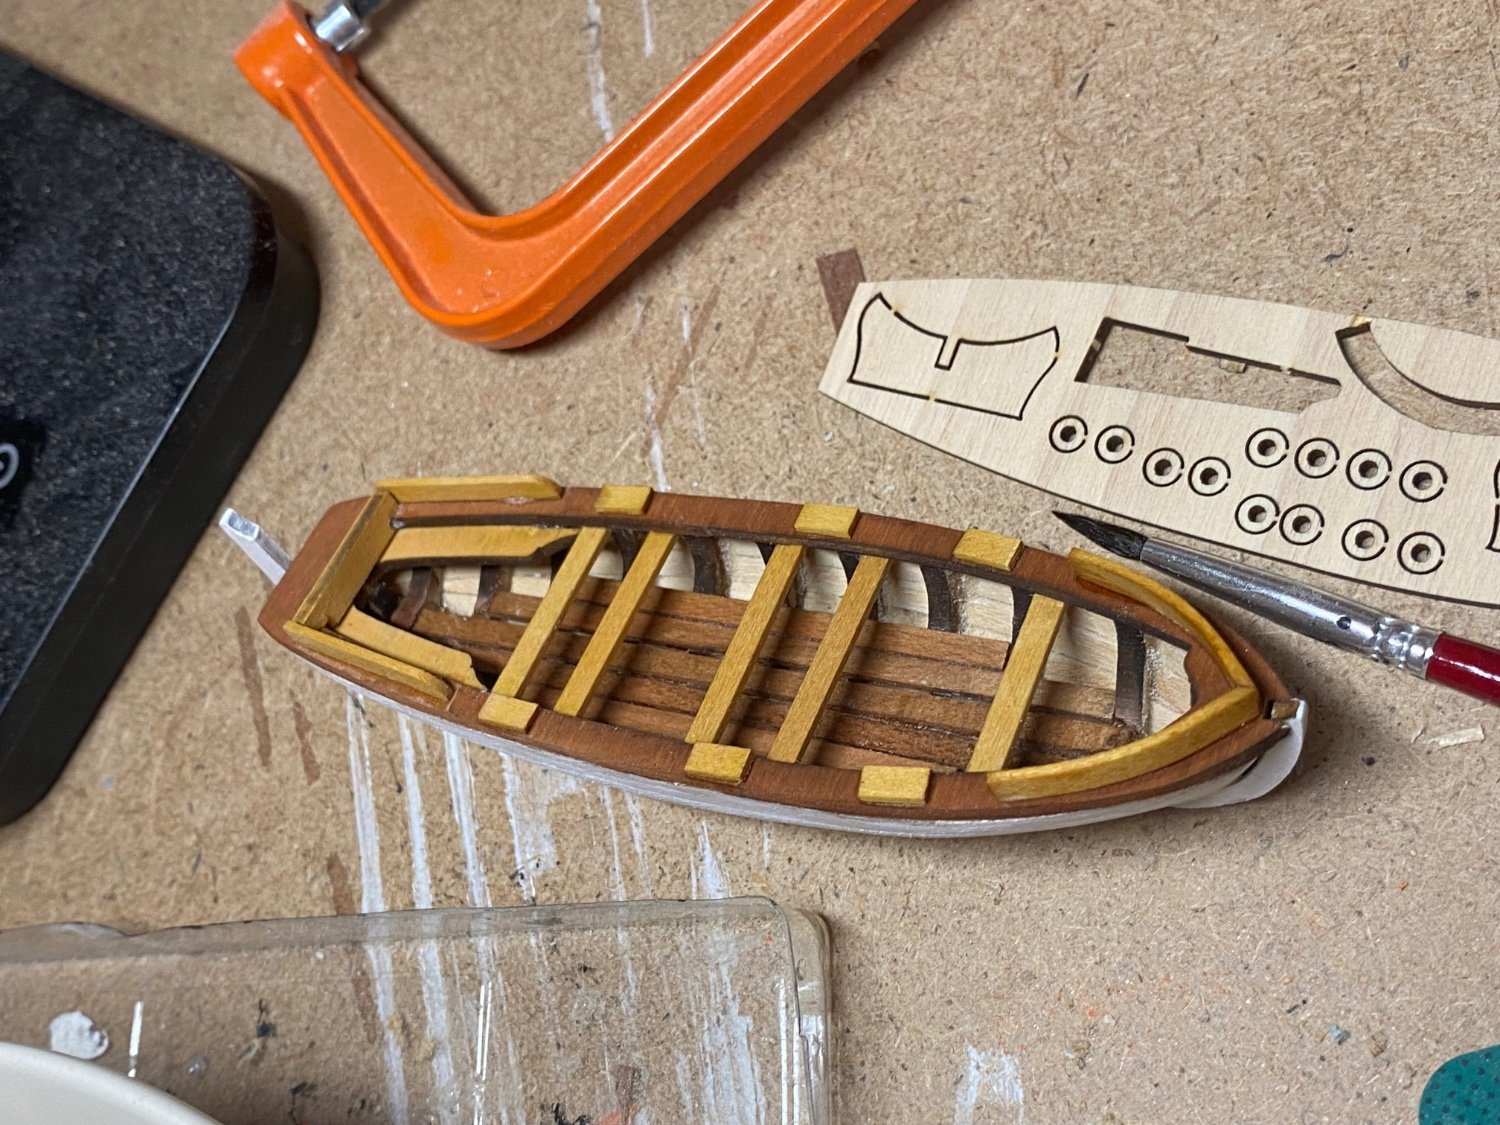
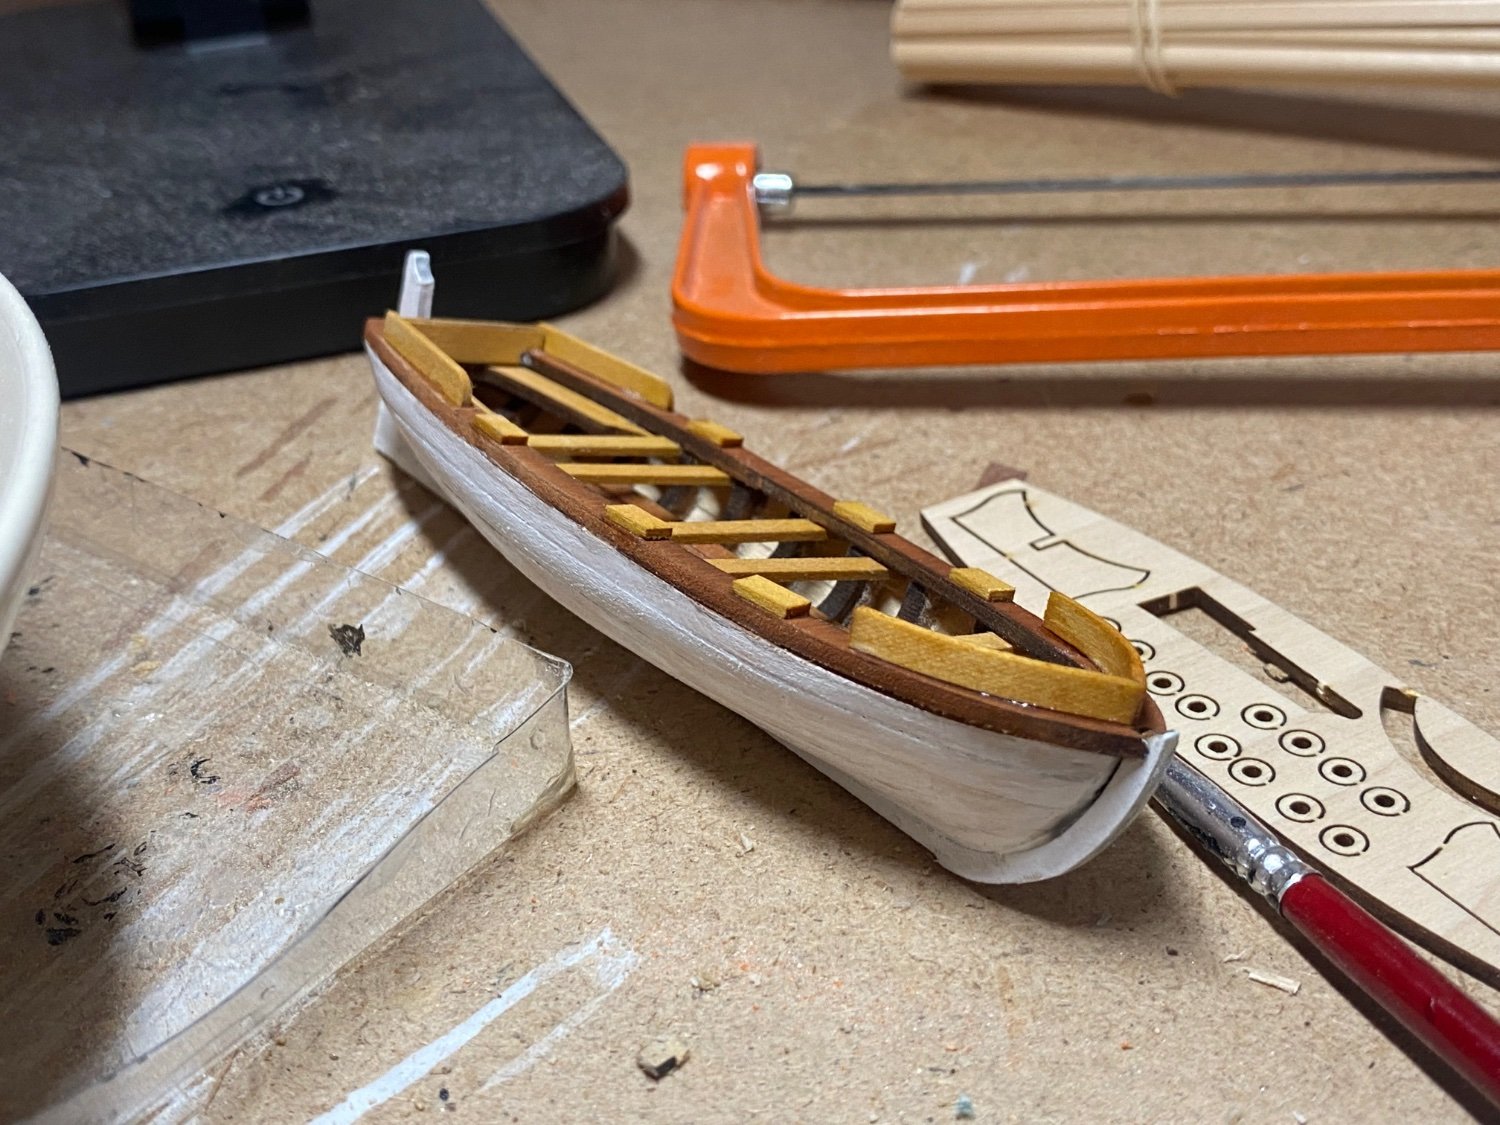
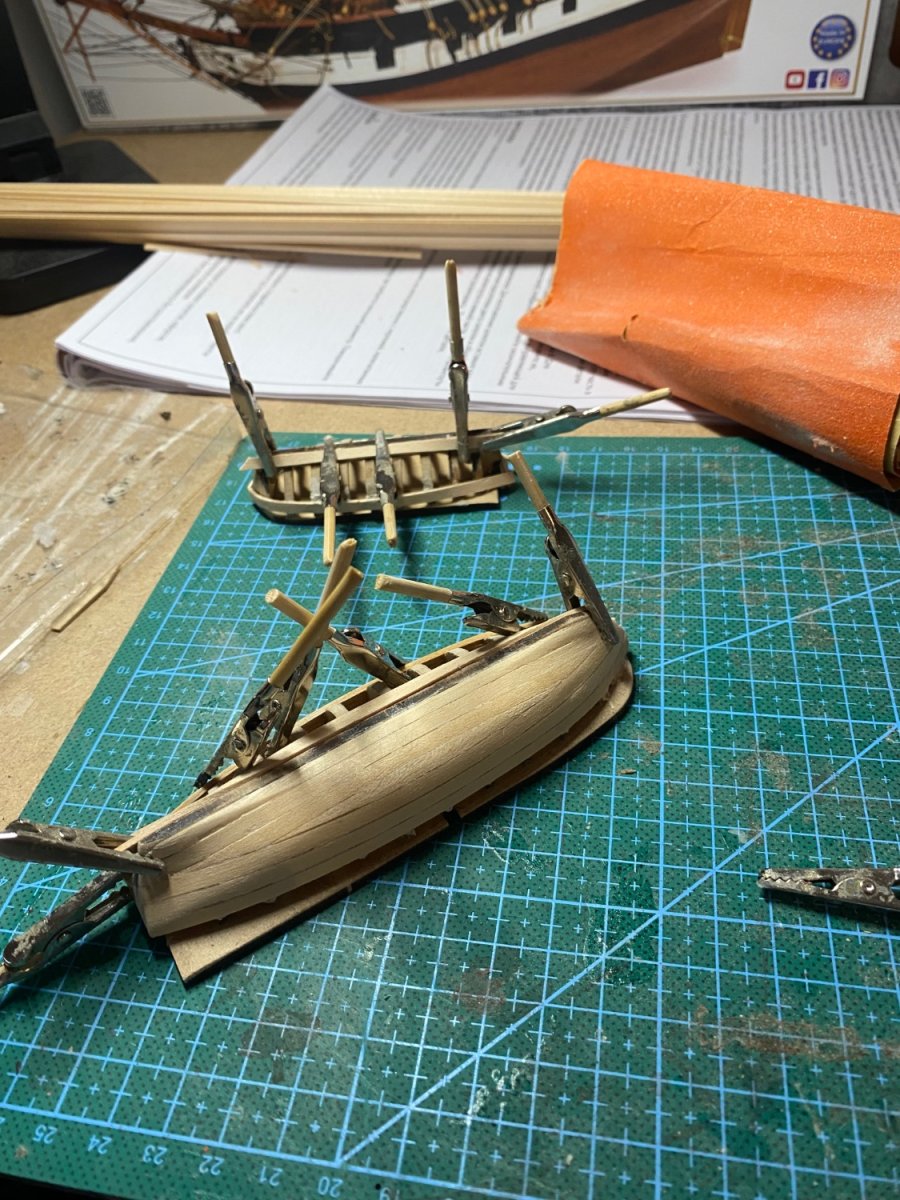
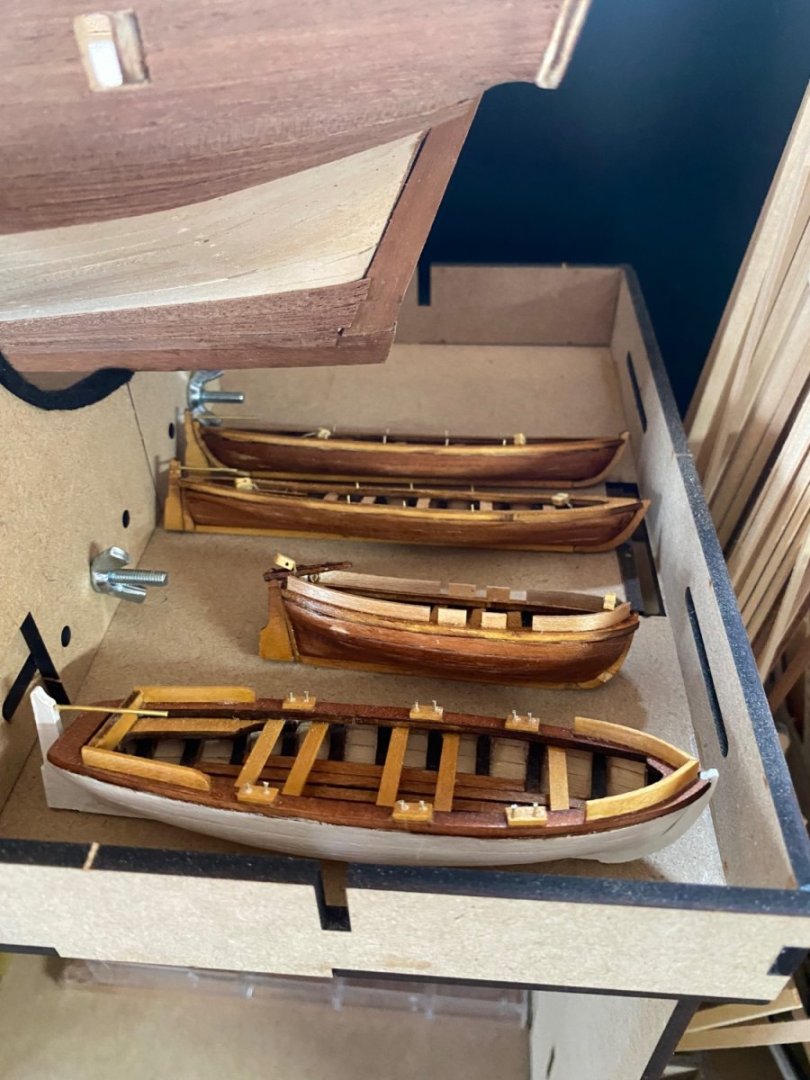
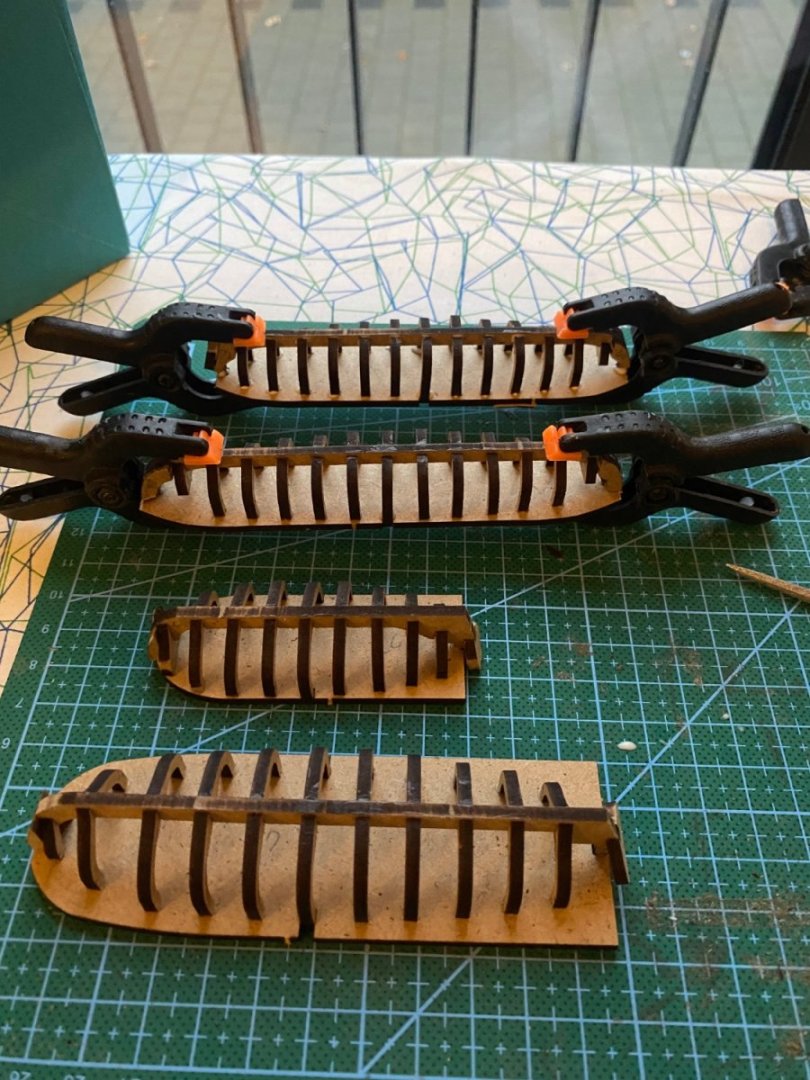
More dinghy work is done. Now all the 4 are ready, took me quite some time…

-
thanks Dominik! yes i glued the fittings and mast to the deck.
-
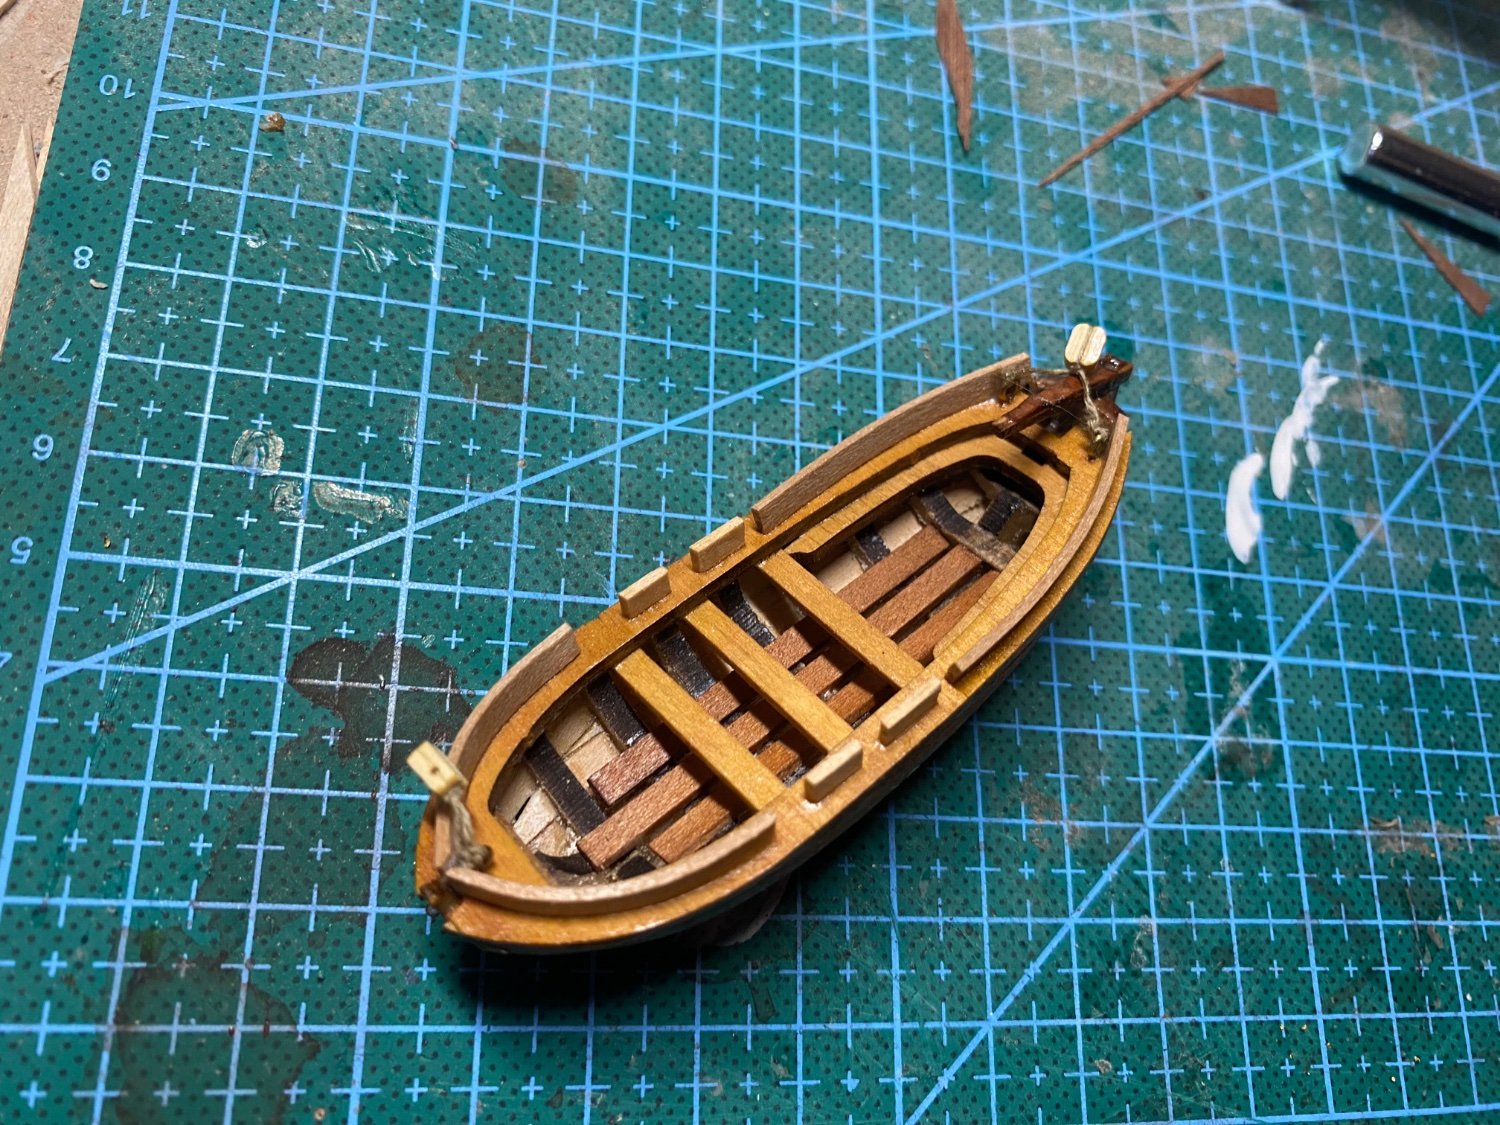
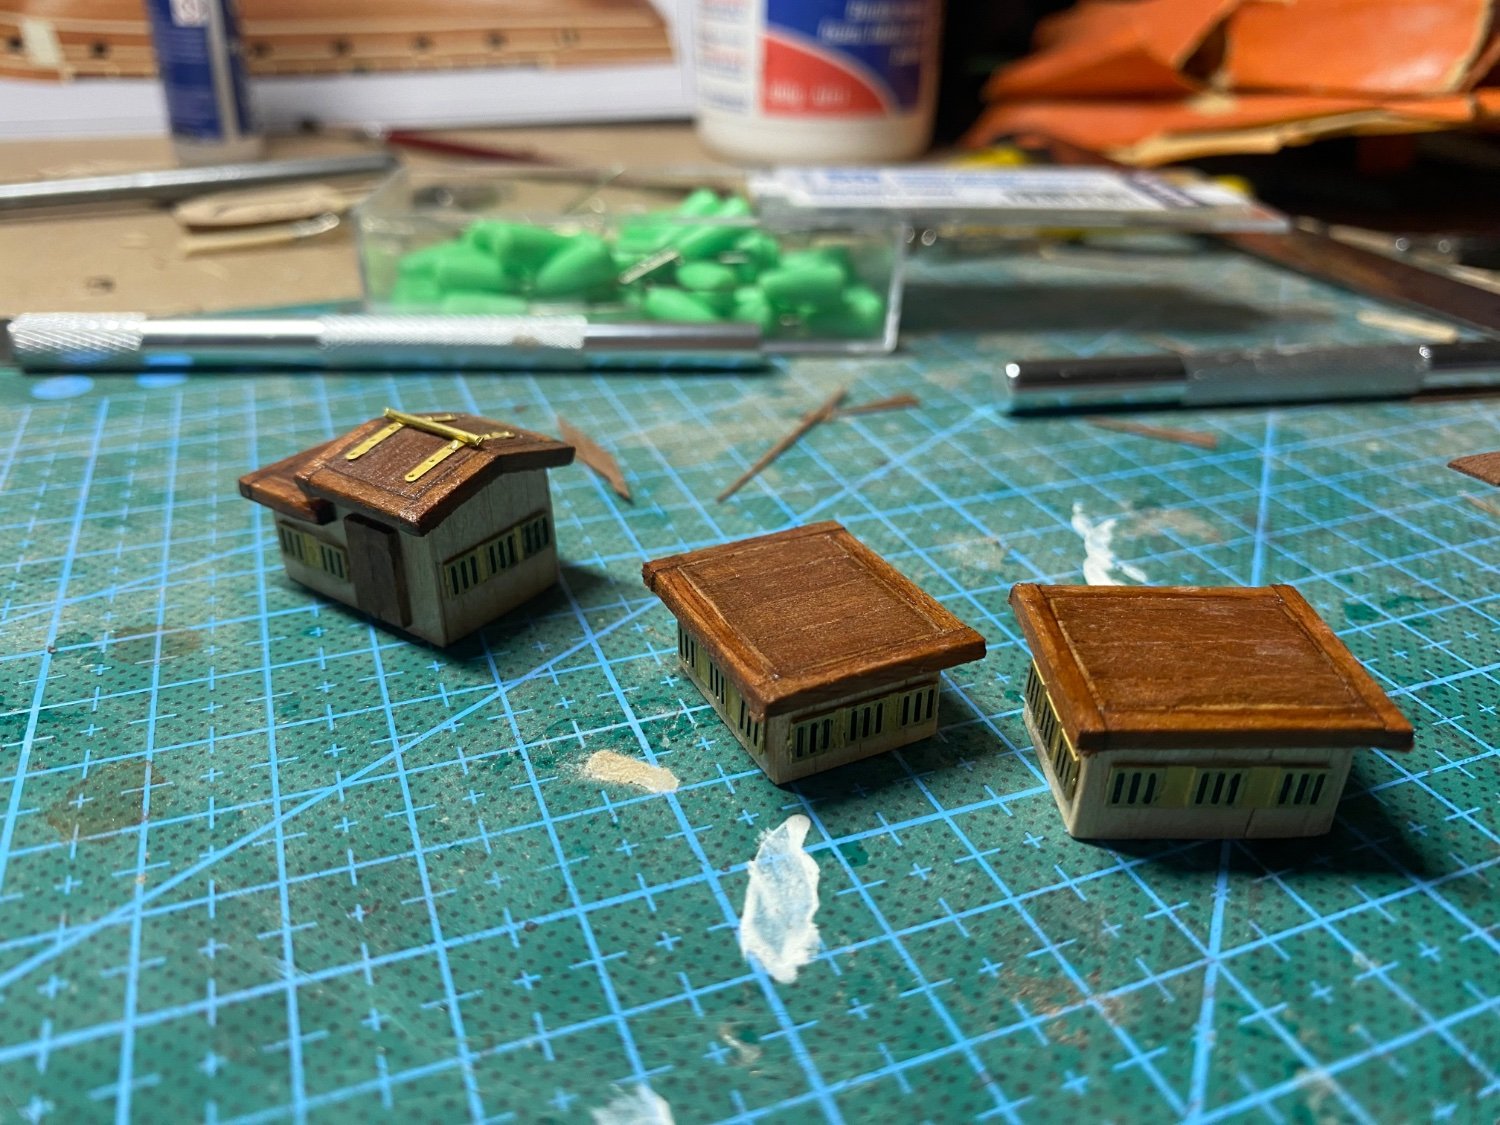
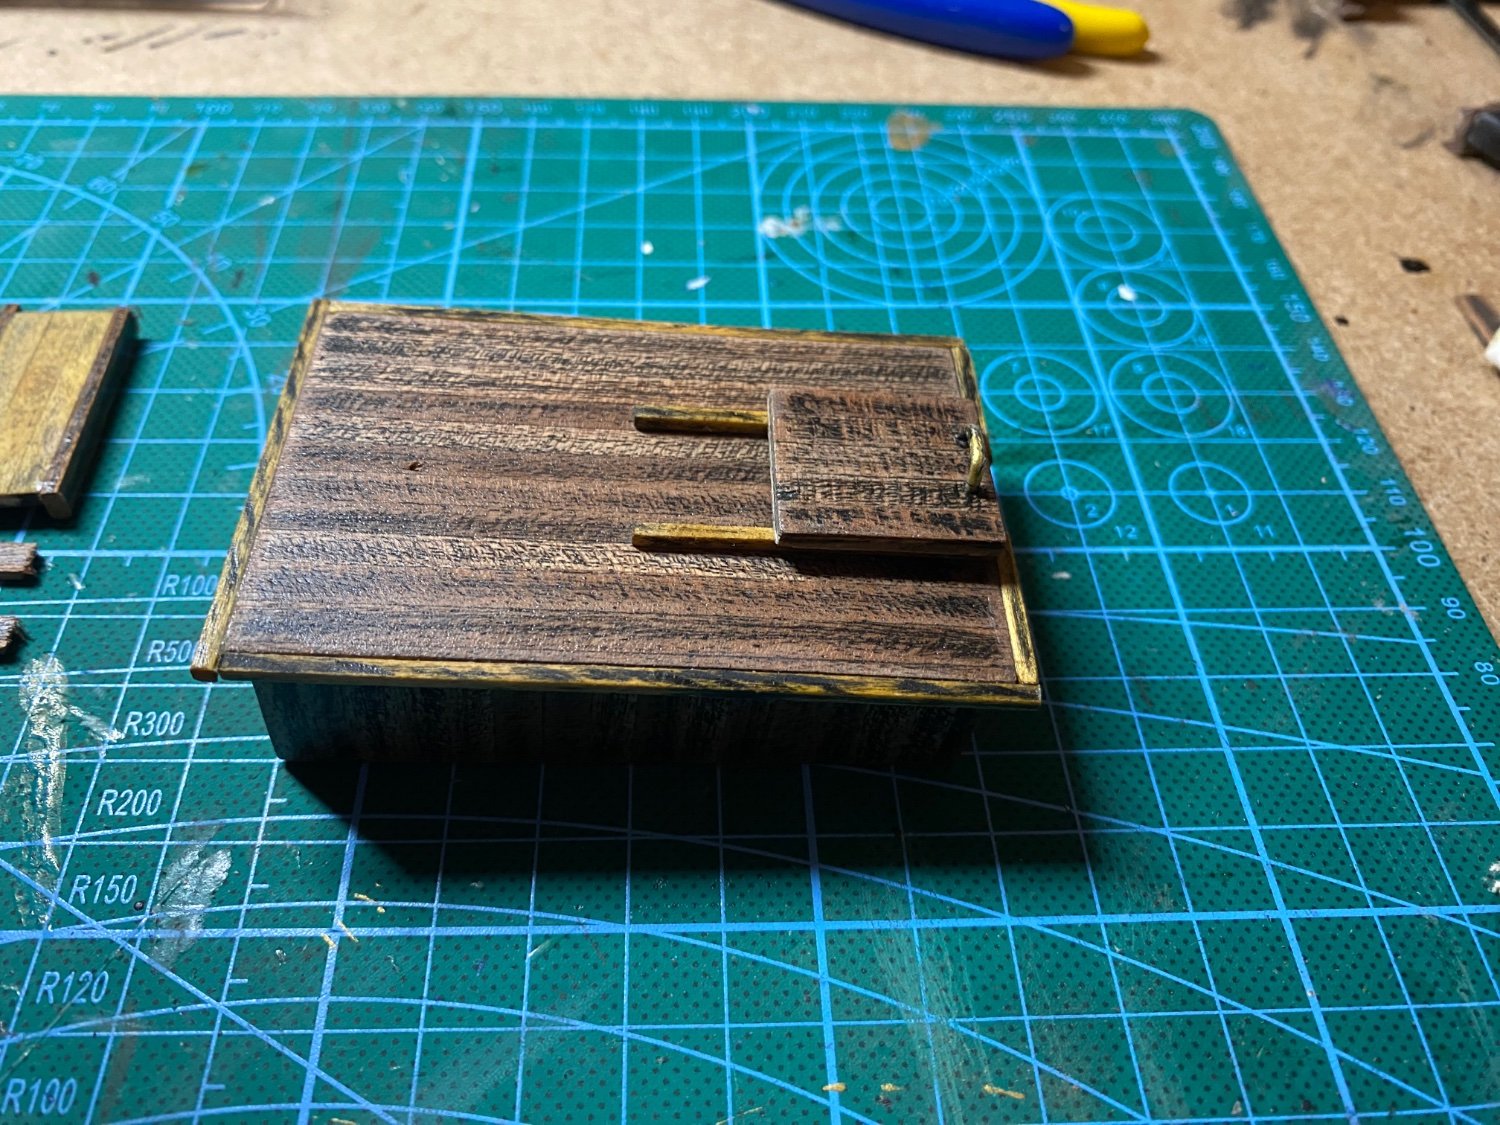
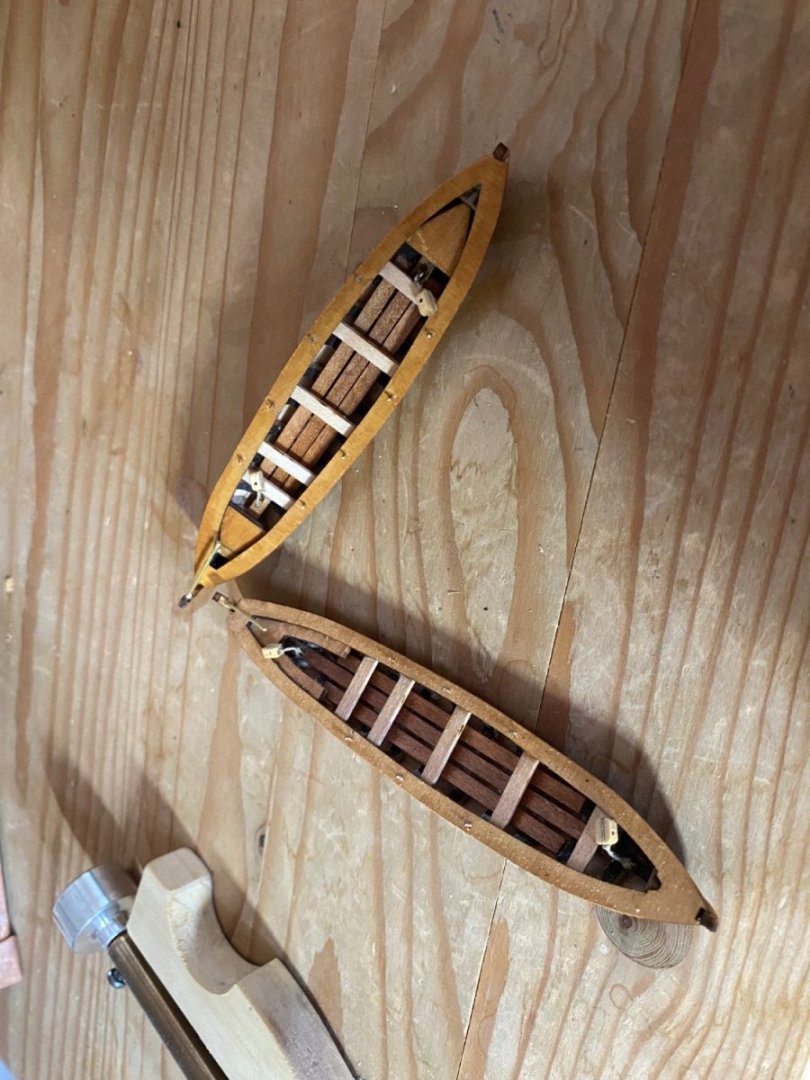
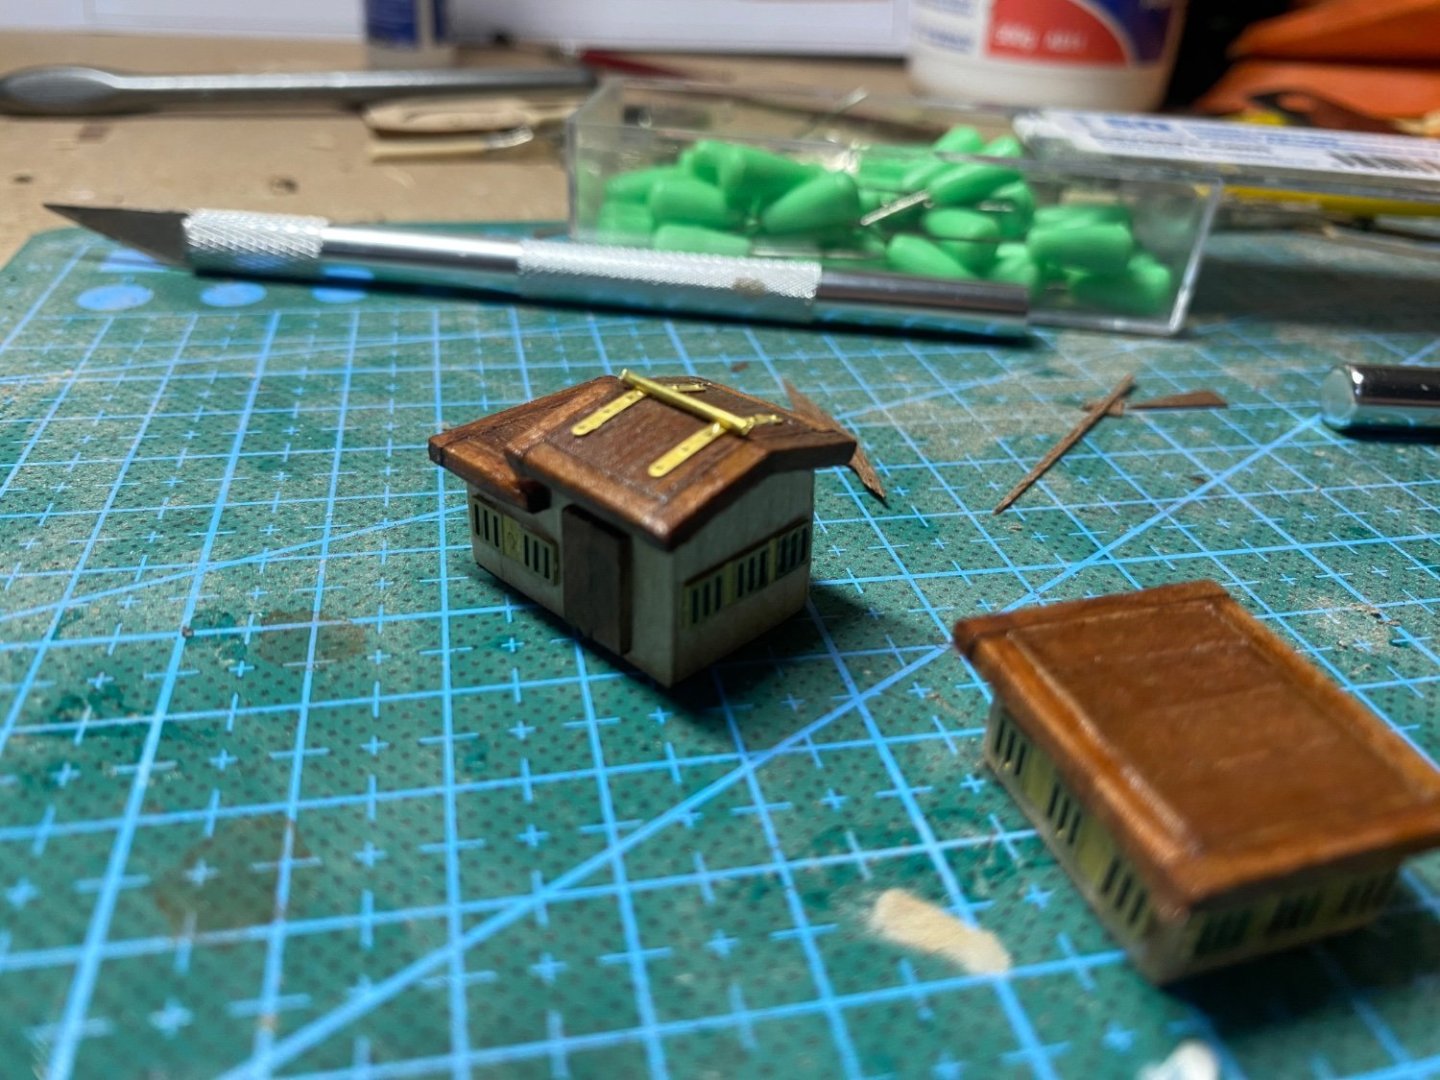
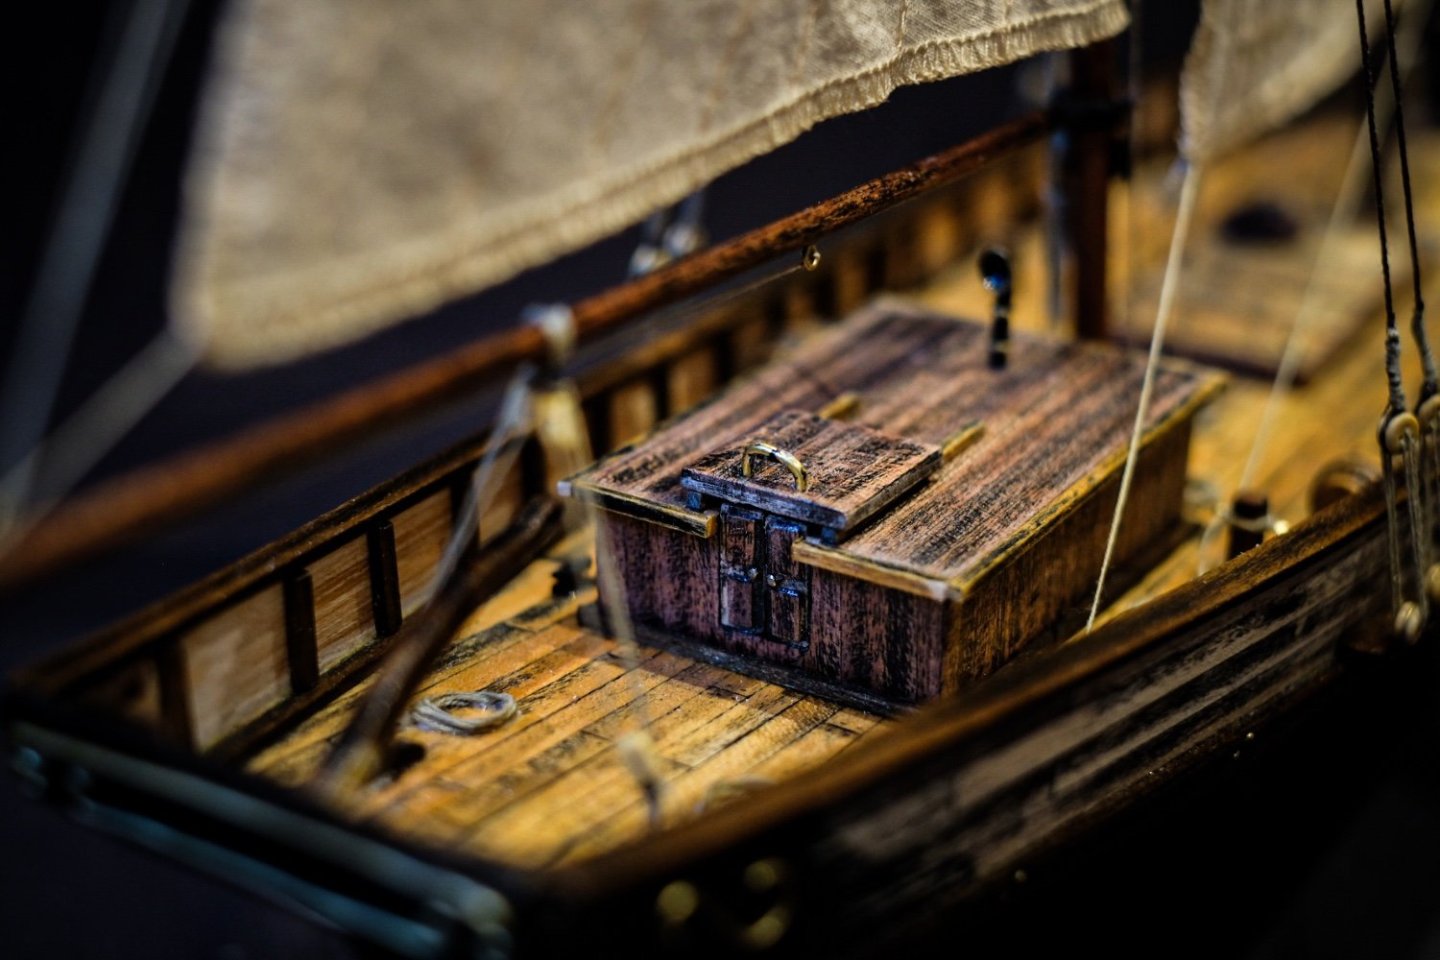
Finished one more of the dinghys and did the three cabins


-
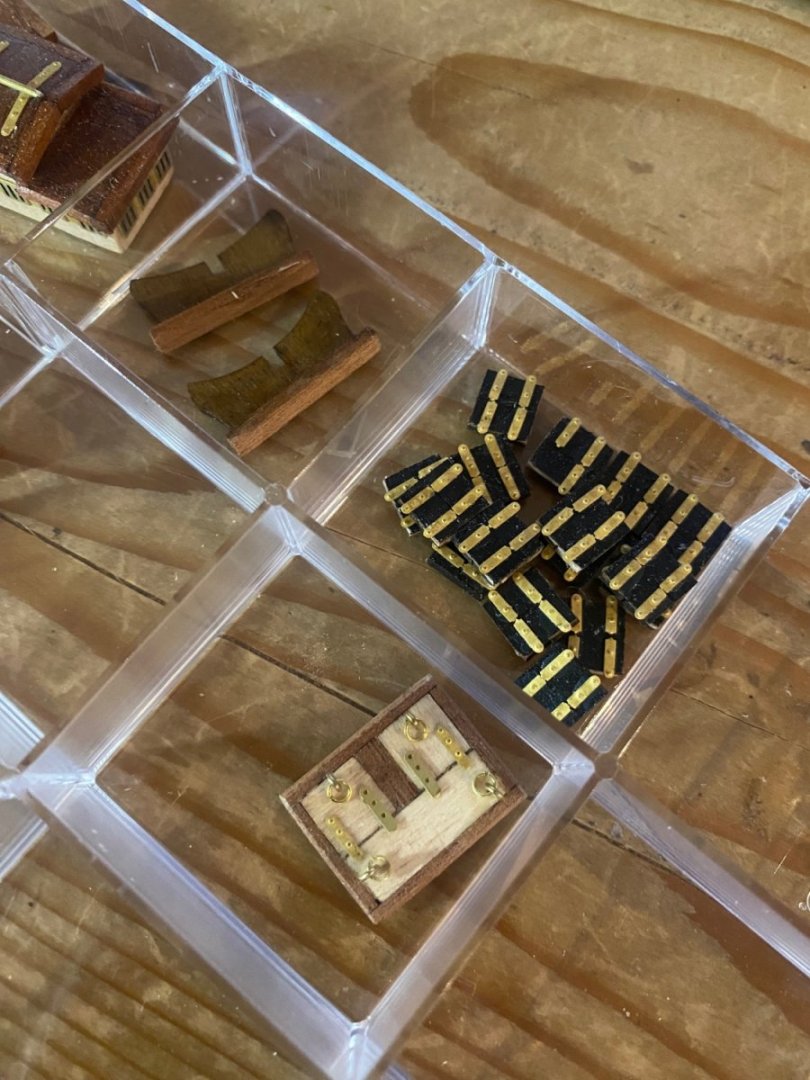
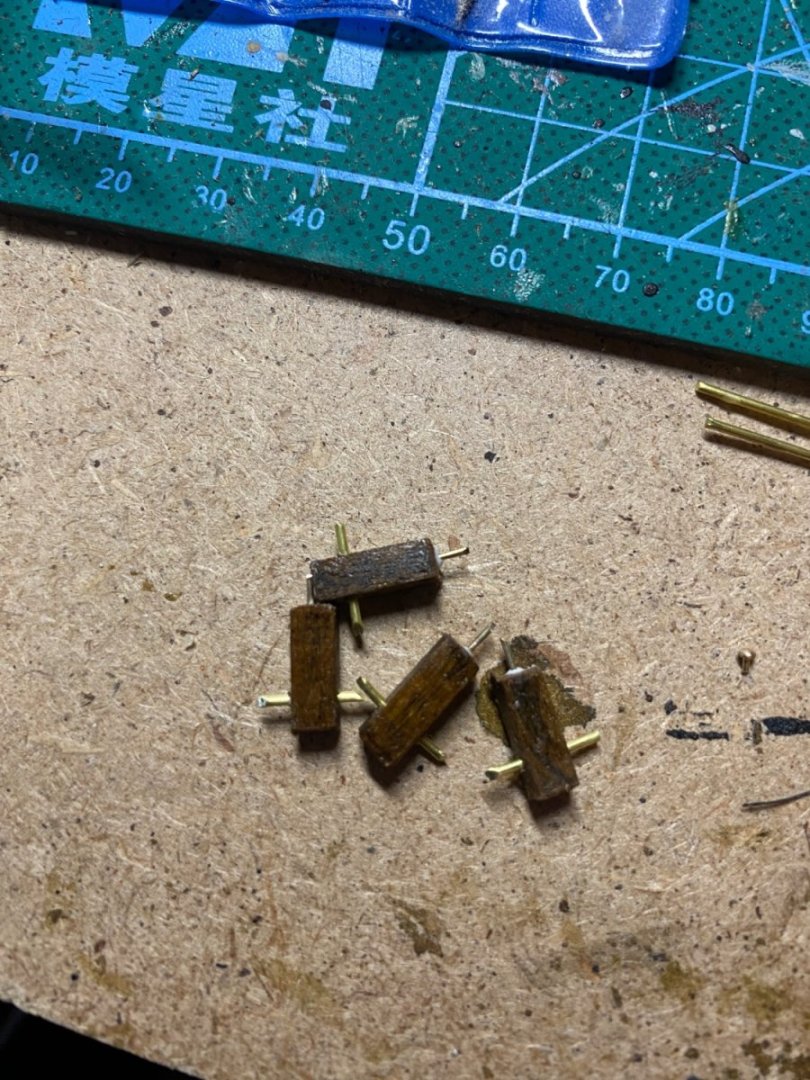
blocks are made of Wood and yes I have a sheet of walnut pieces
-
Looking good!
-
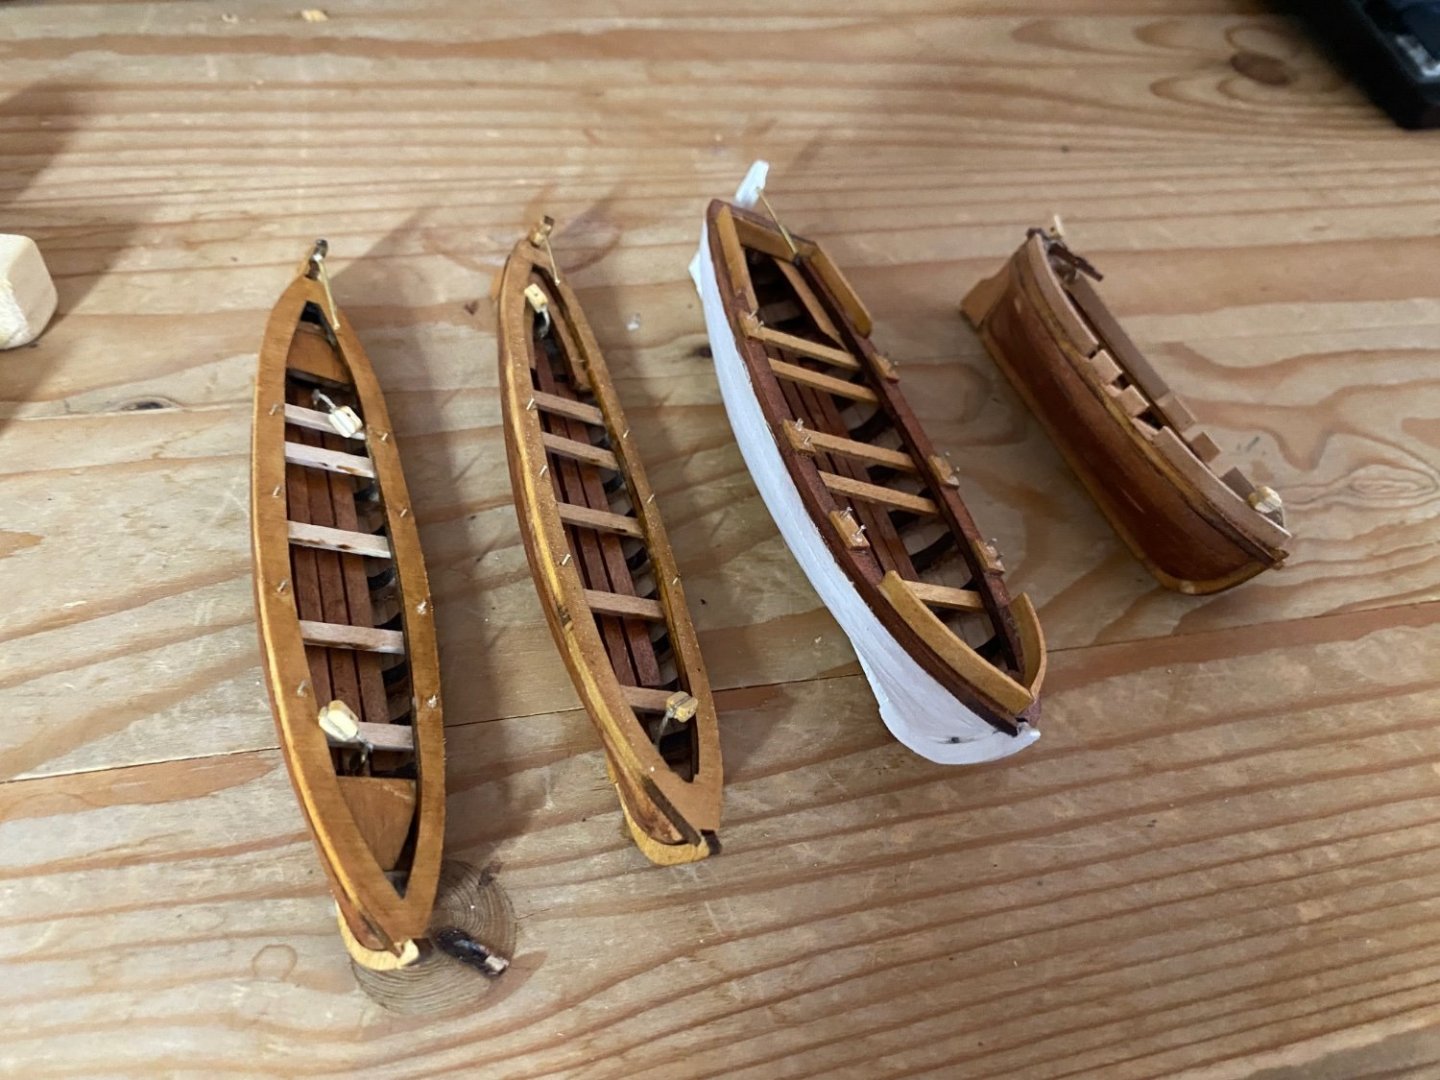
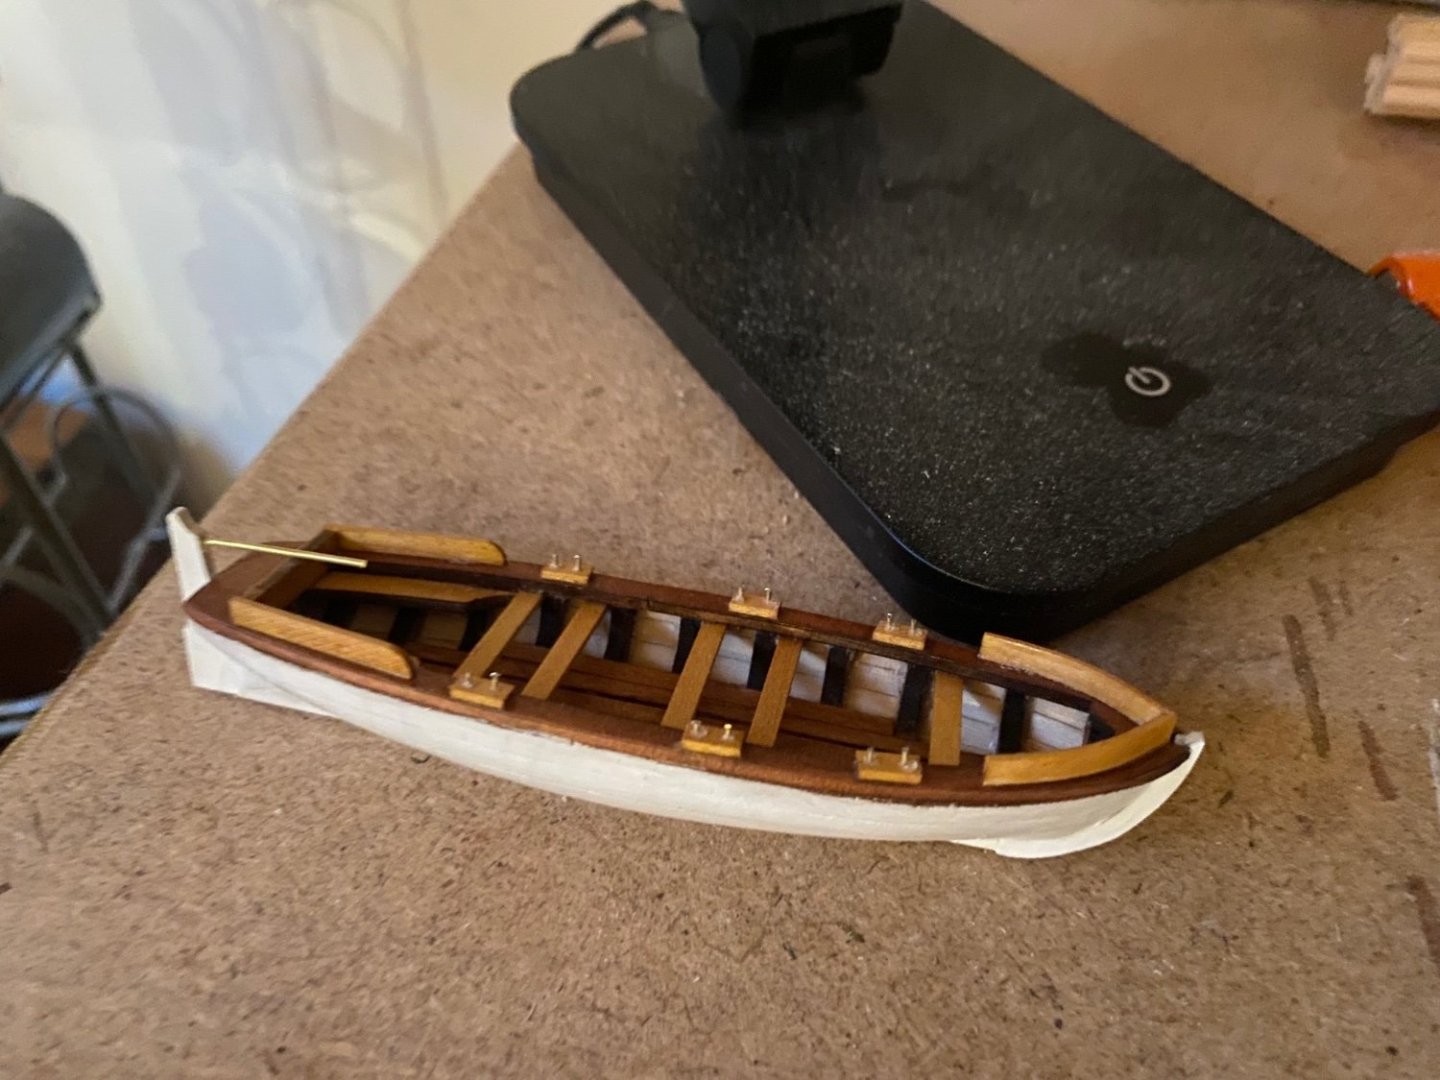
Finished the first and biggest one of the four dinghys: not a lot of progress lately


-
quality is good but the Models are not perfectly historical correct. Instrucions are clear and material is good. Good beginner models.
-
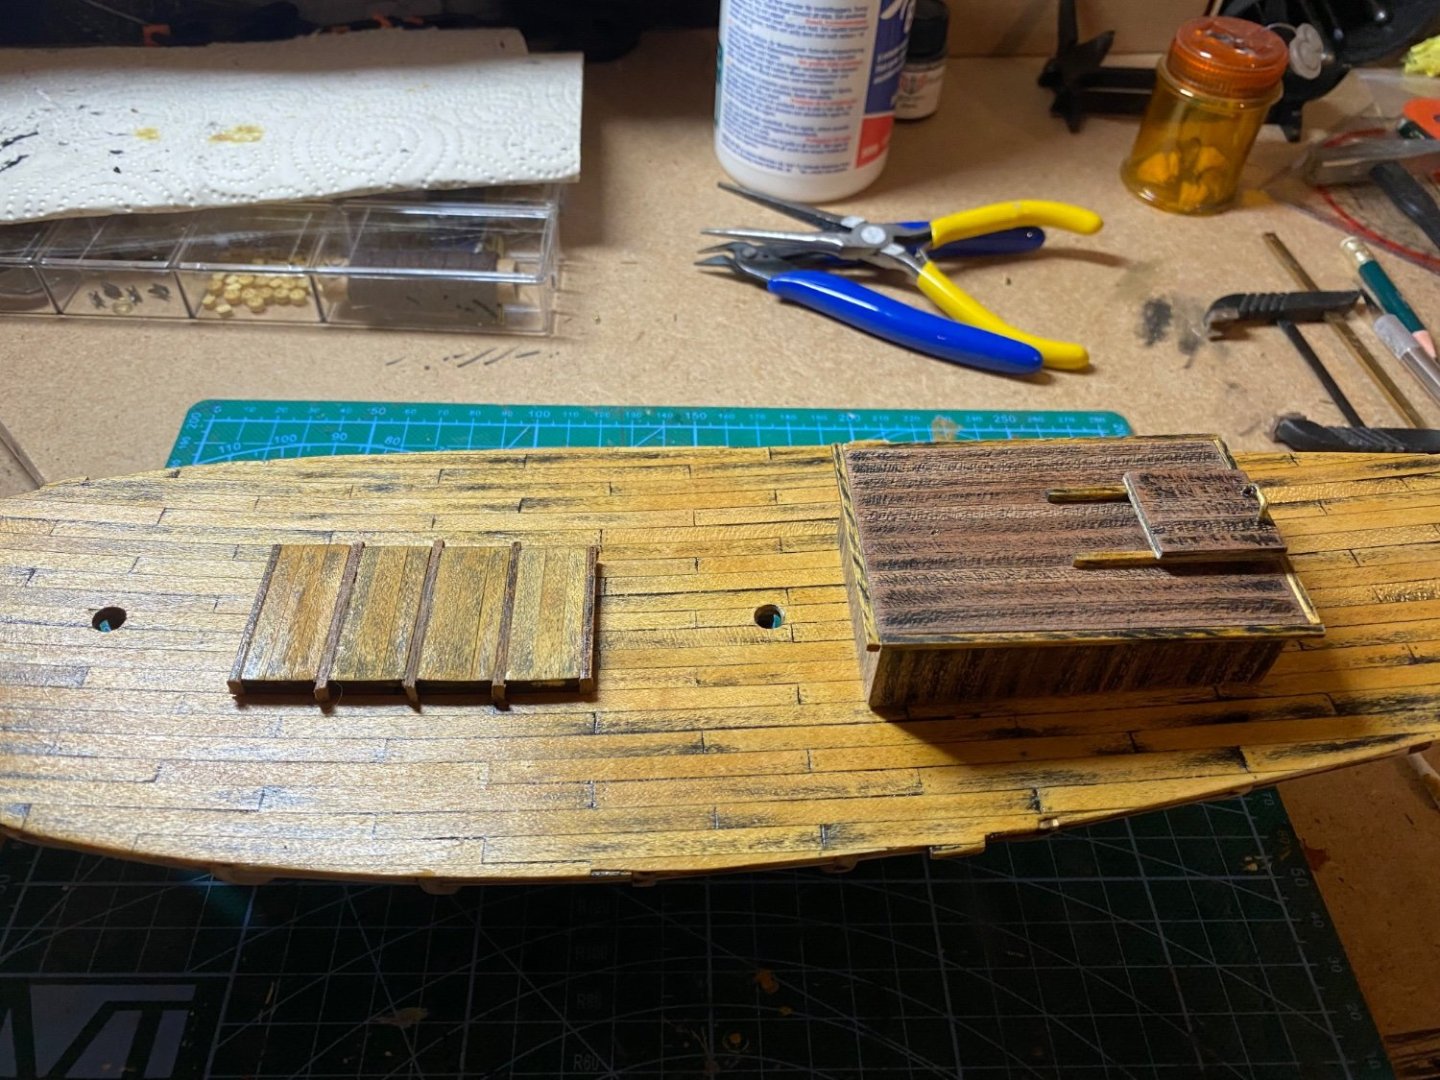
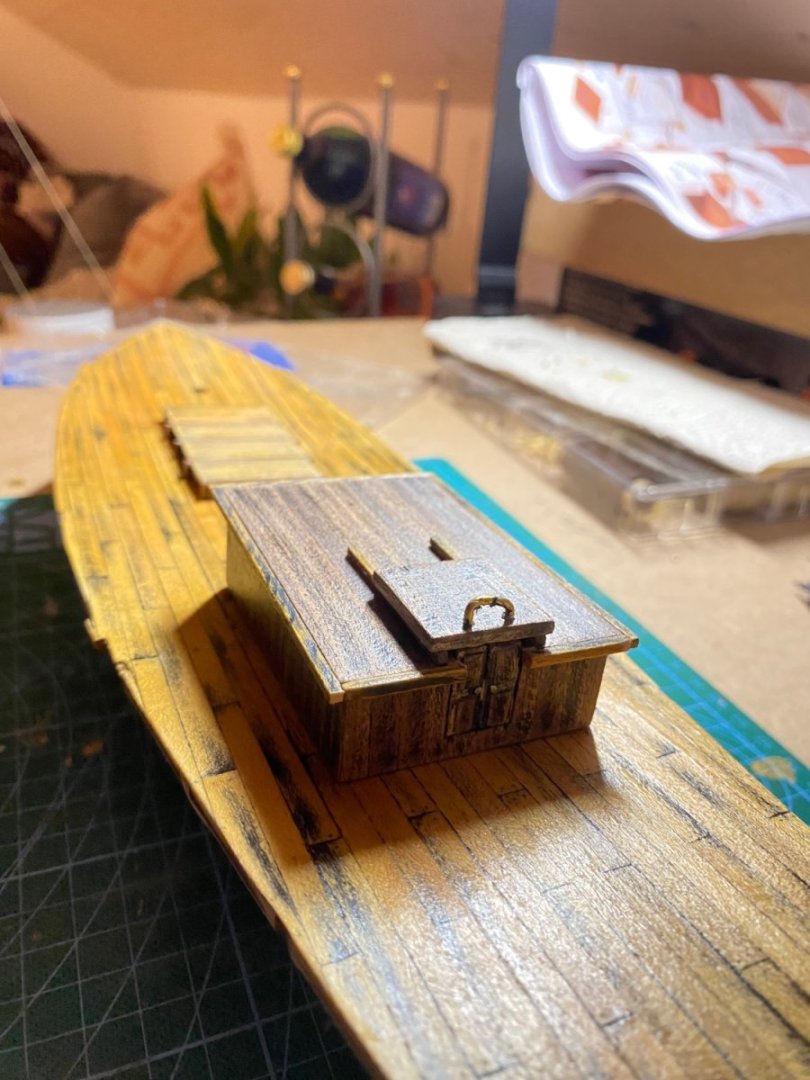
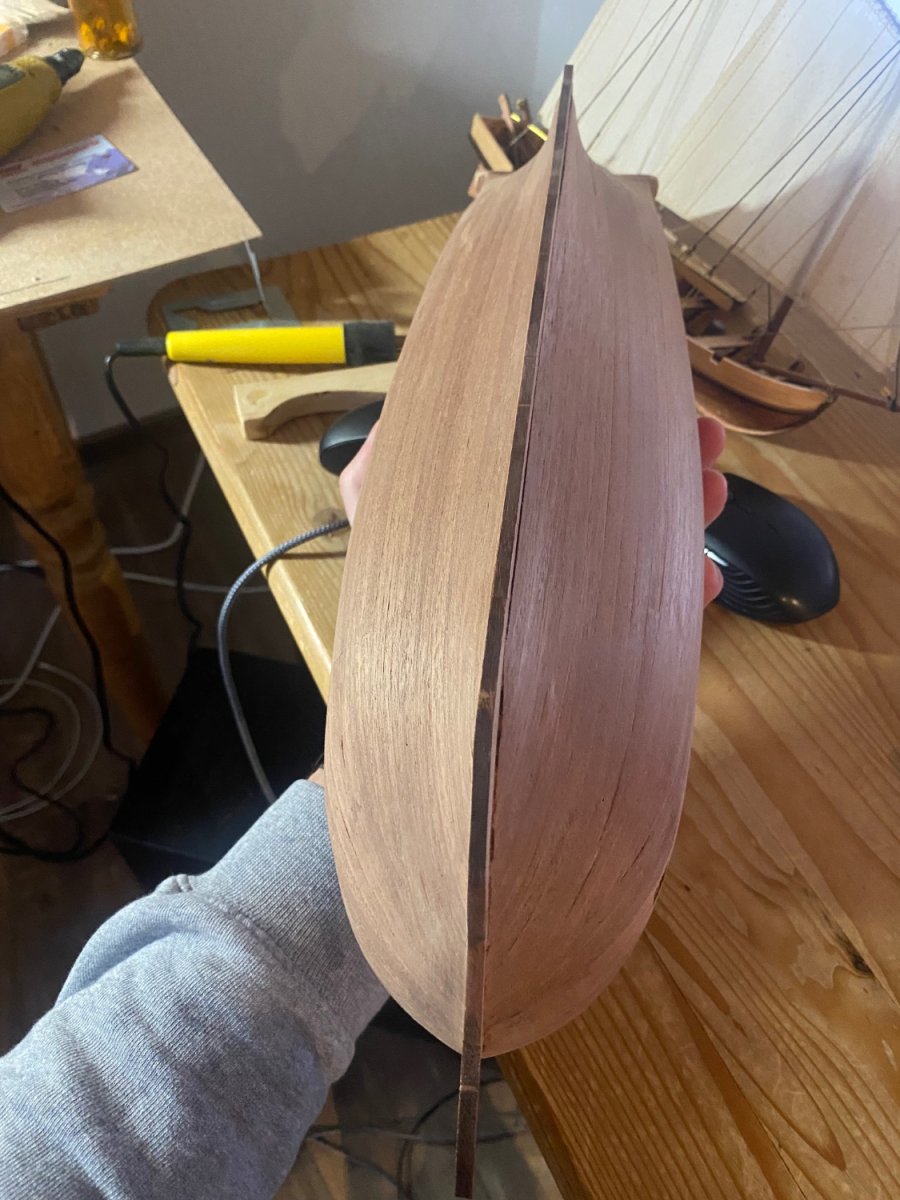
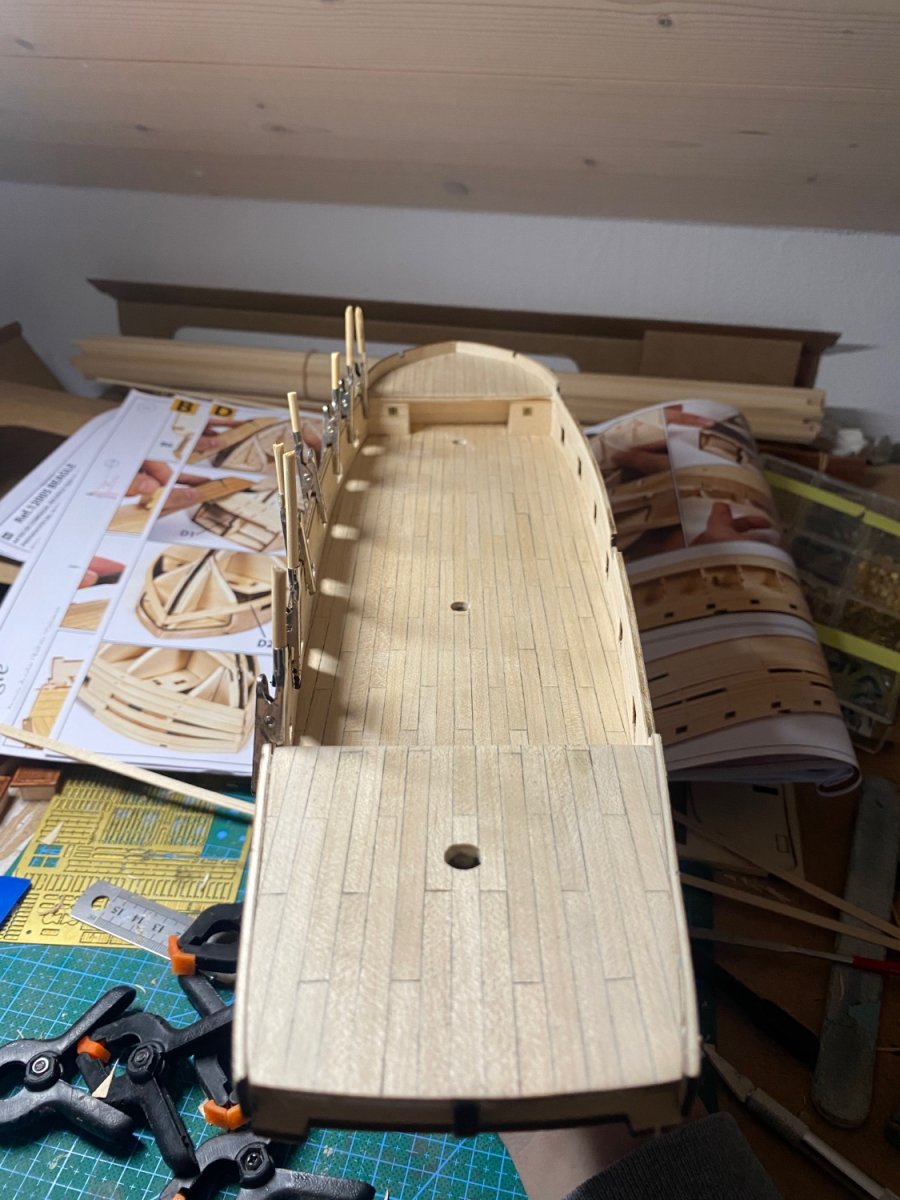
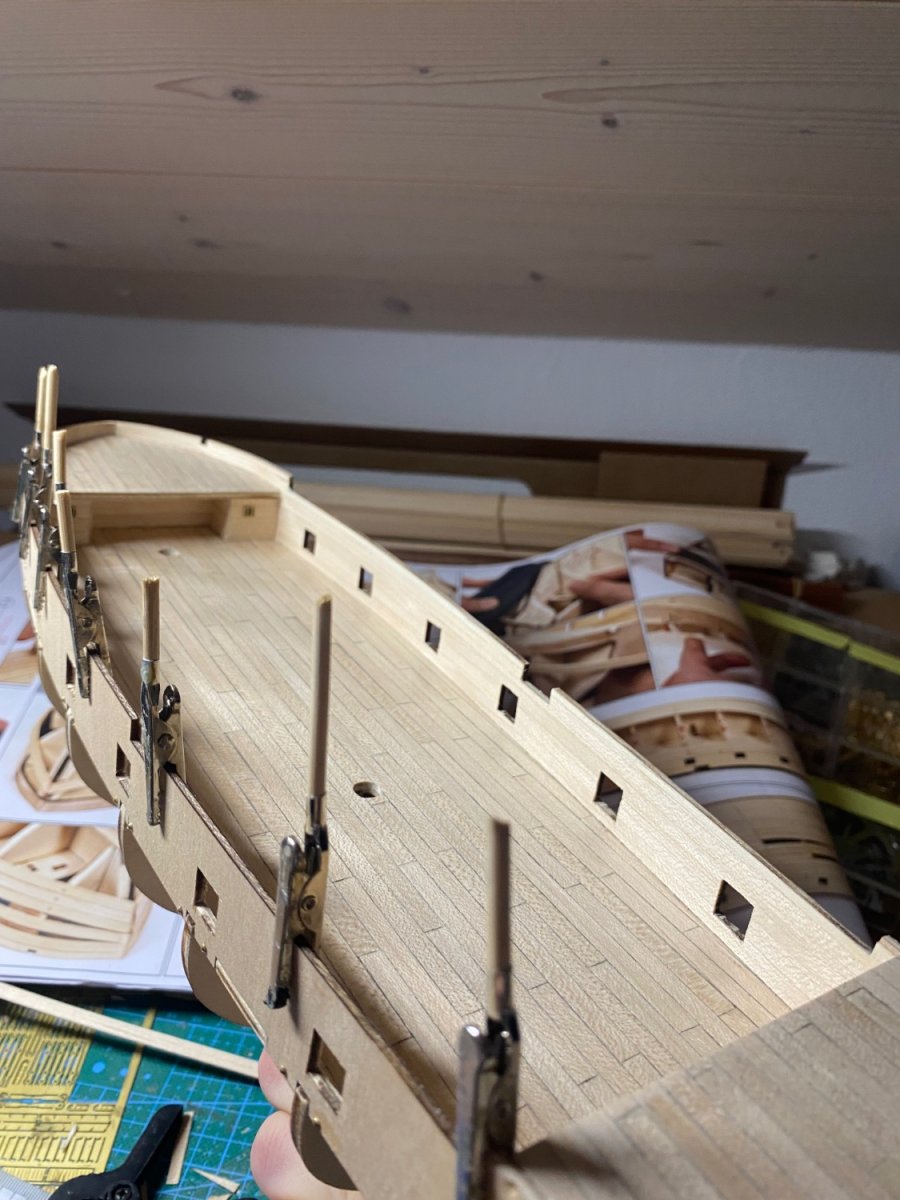
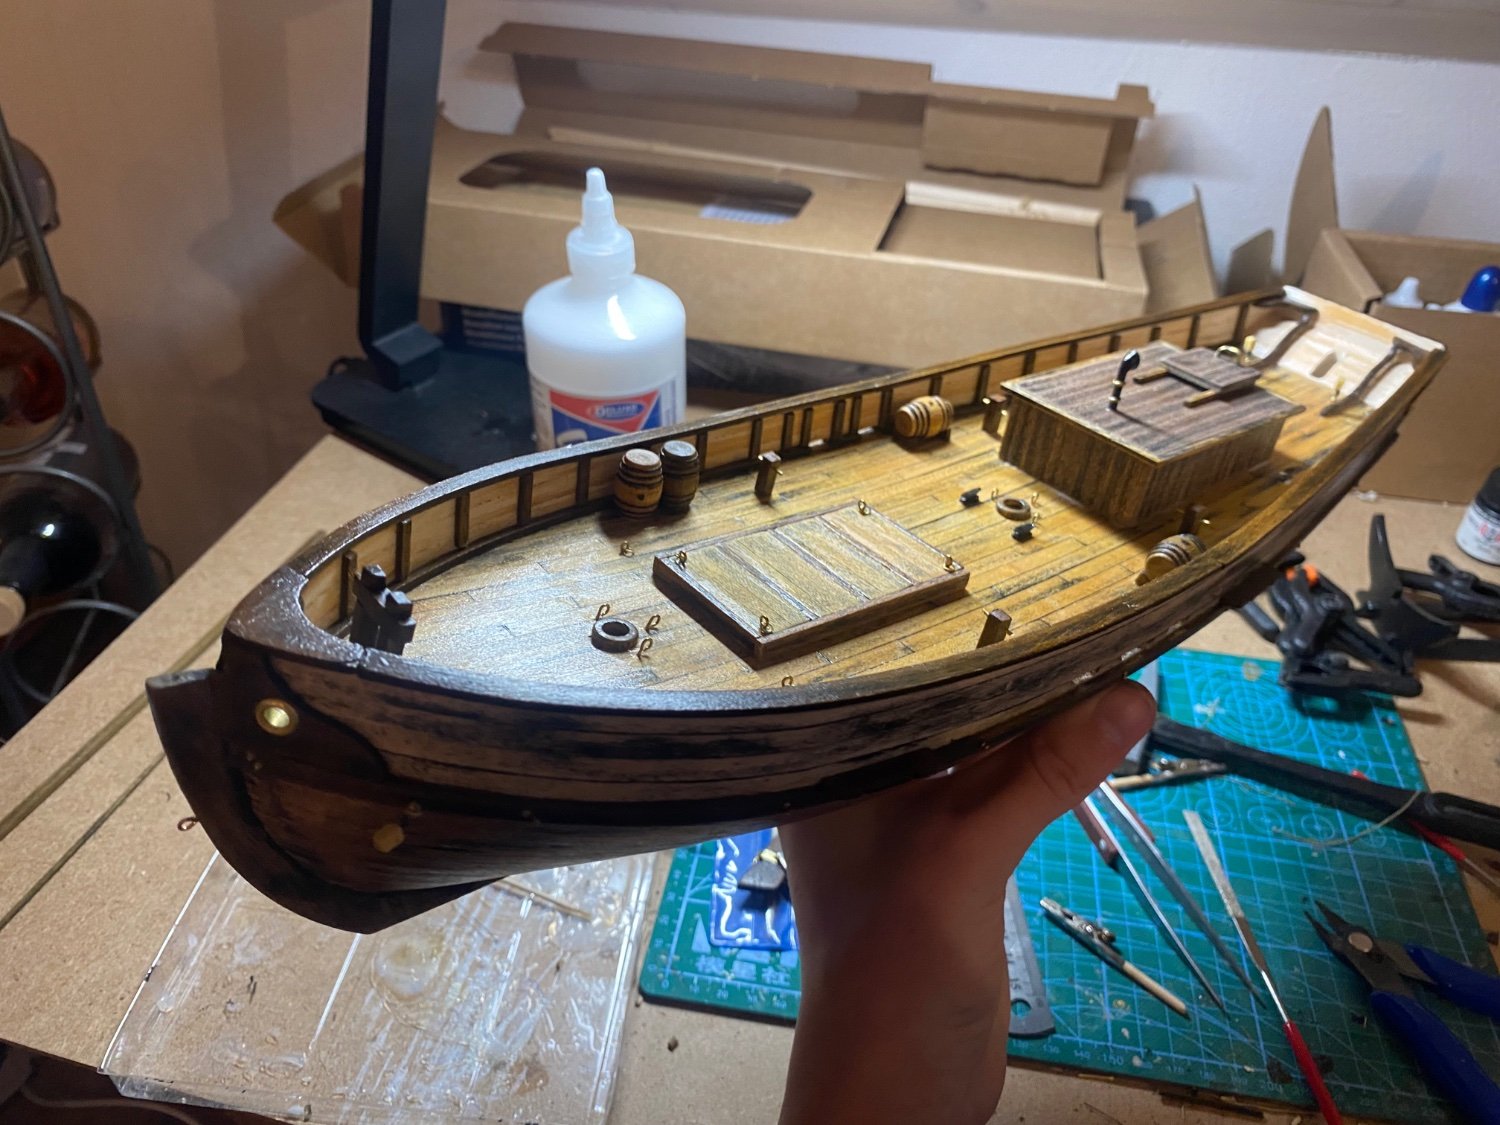
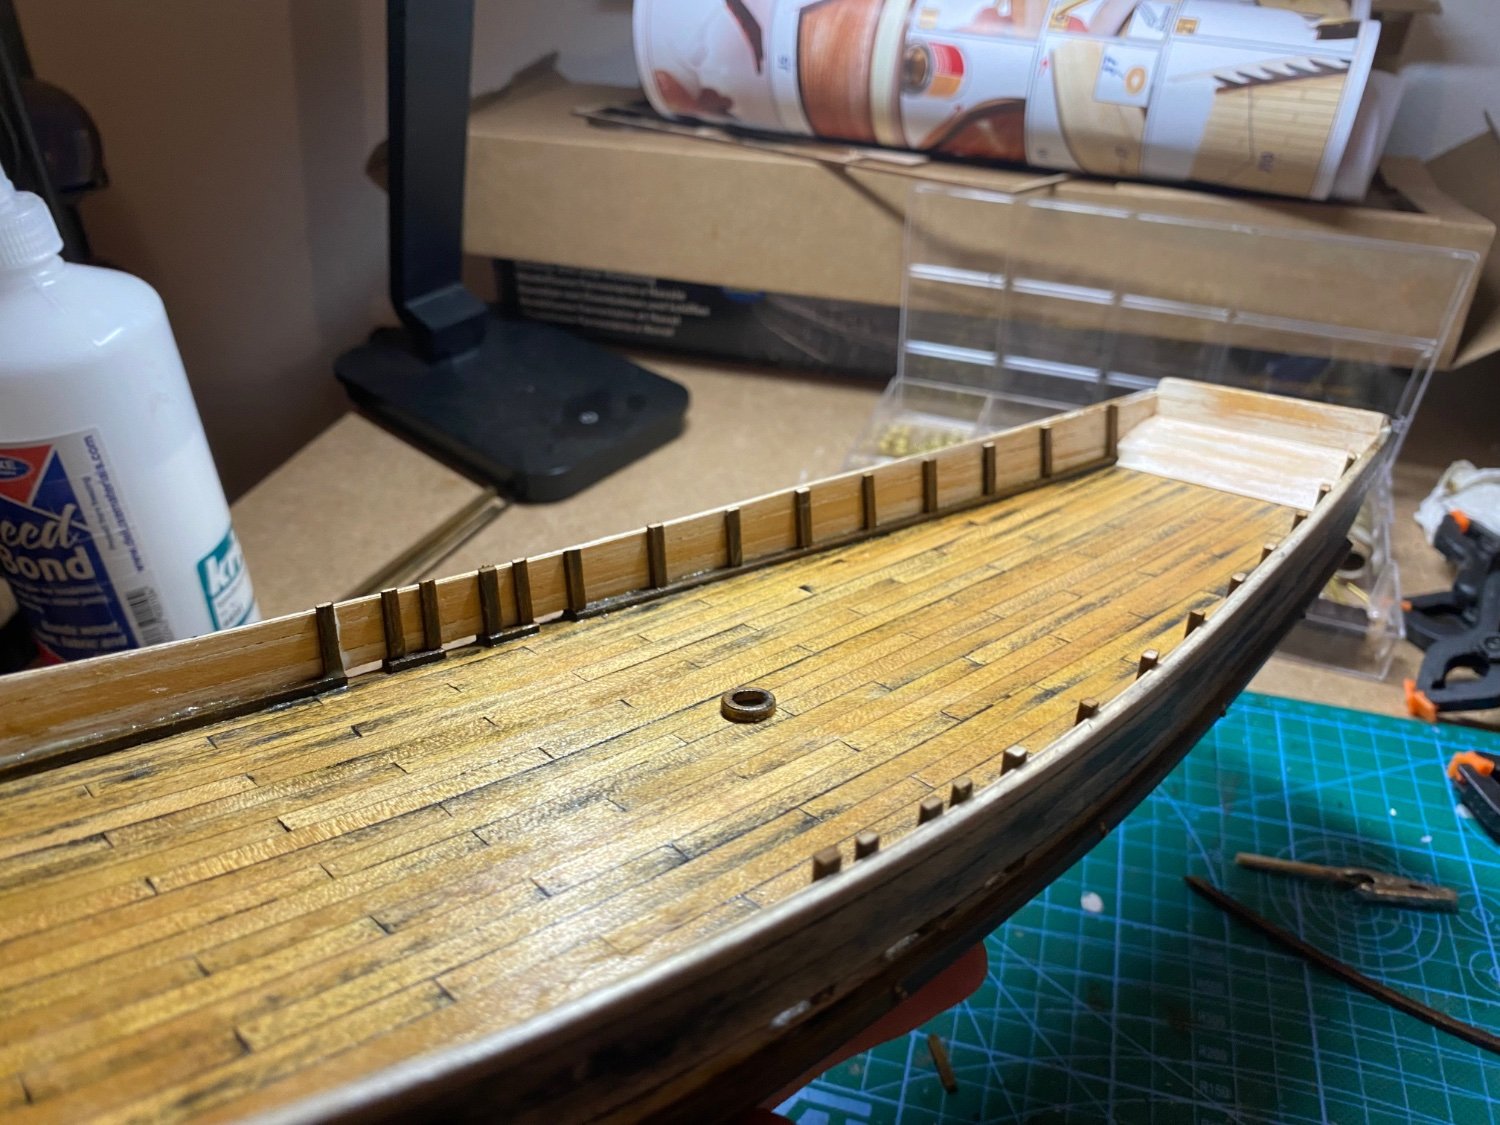
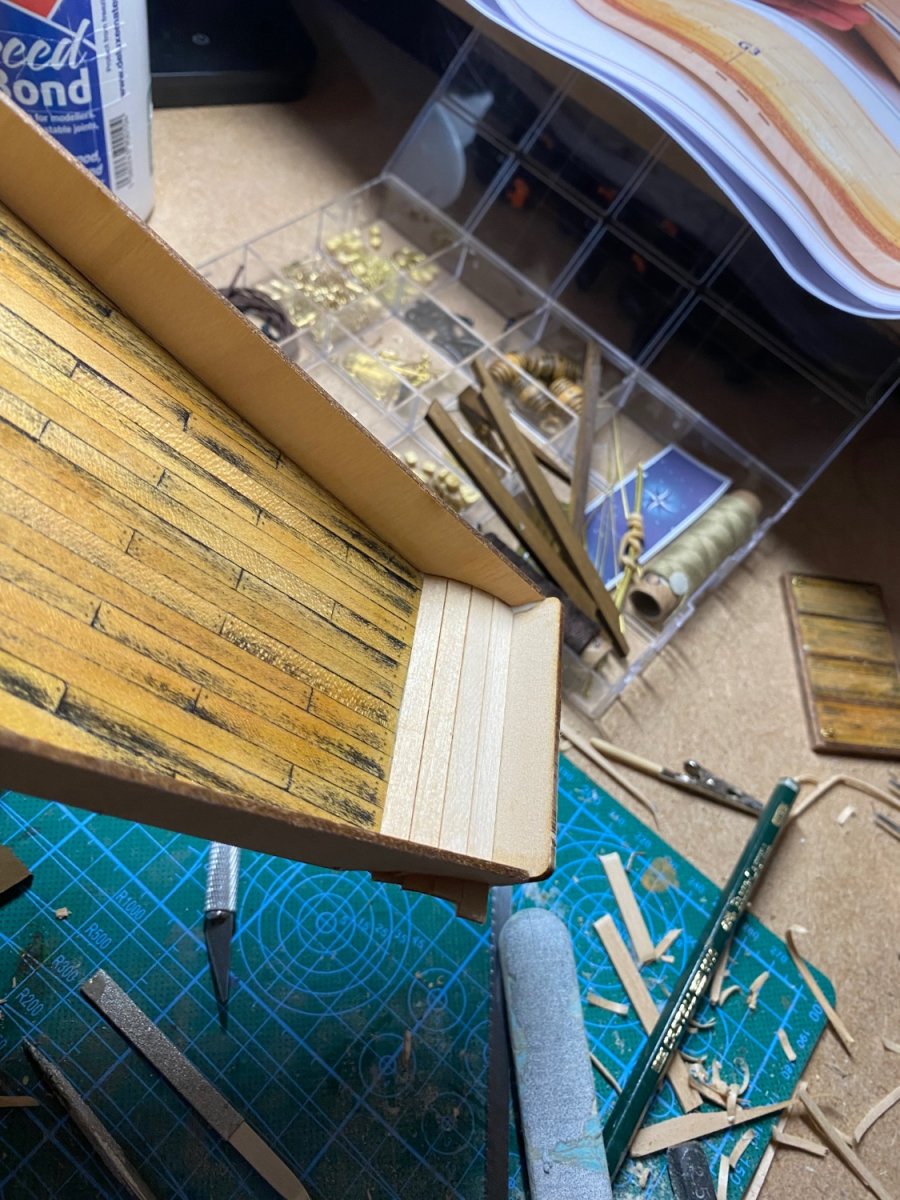
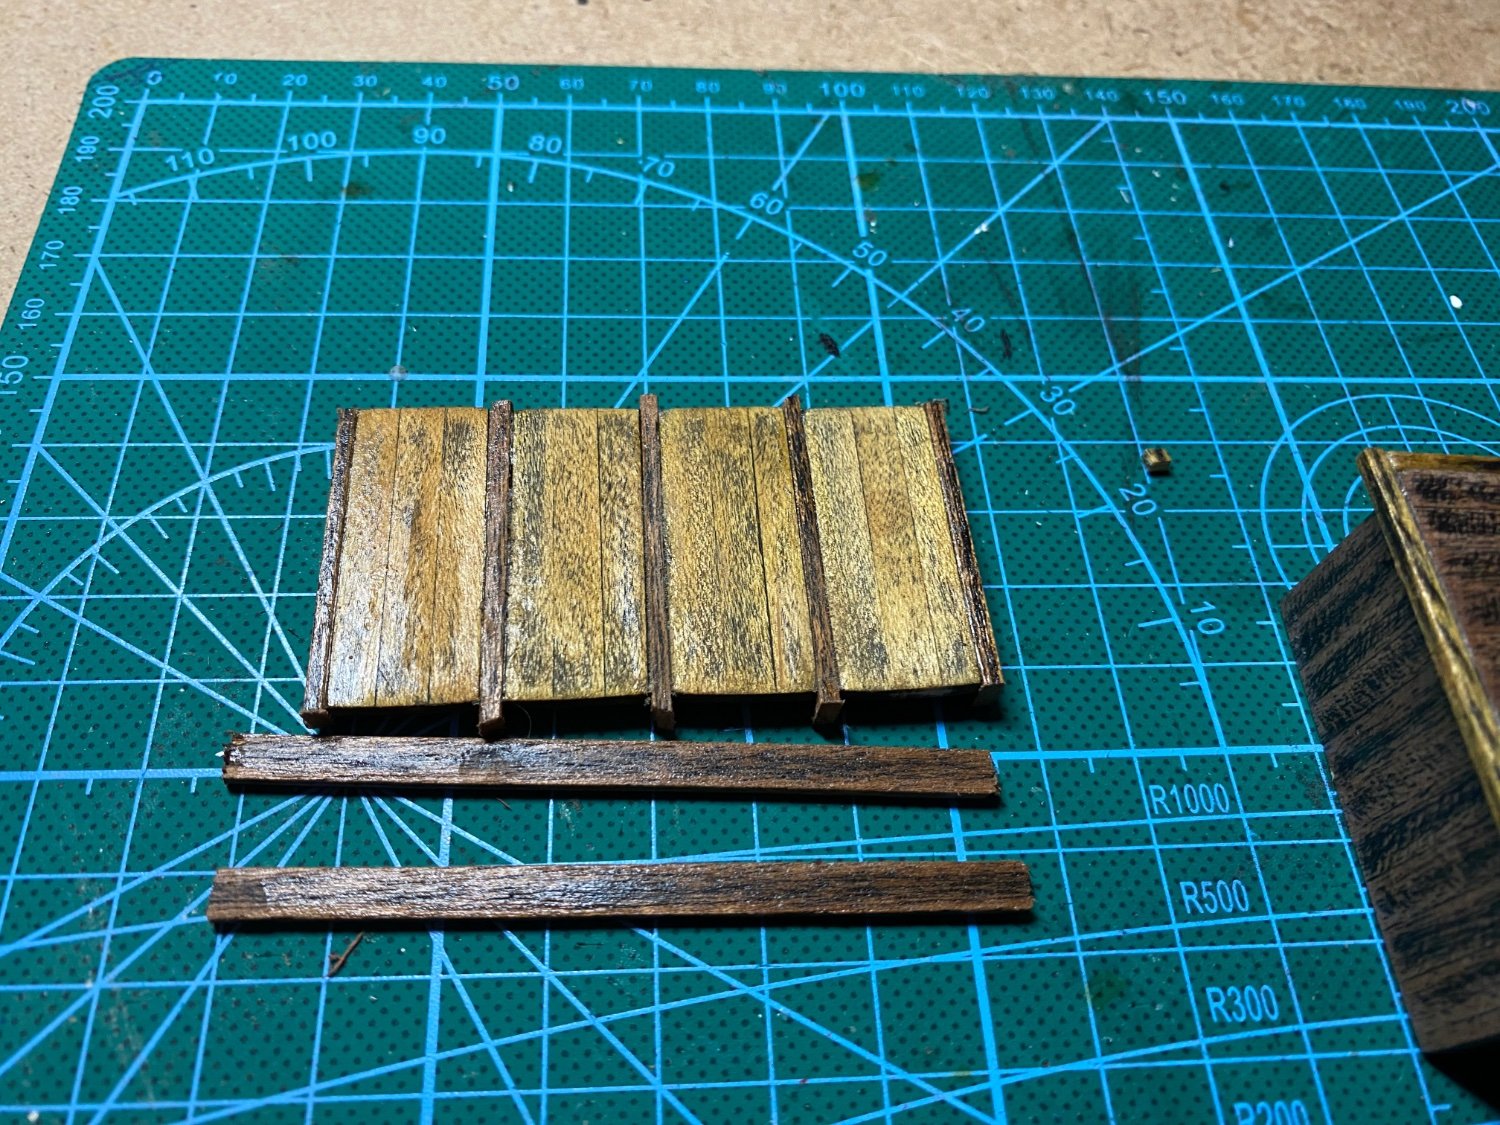
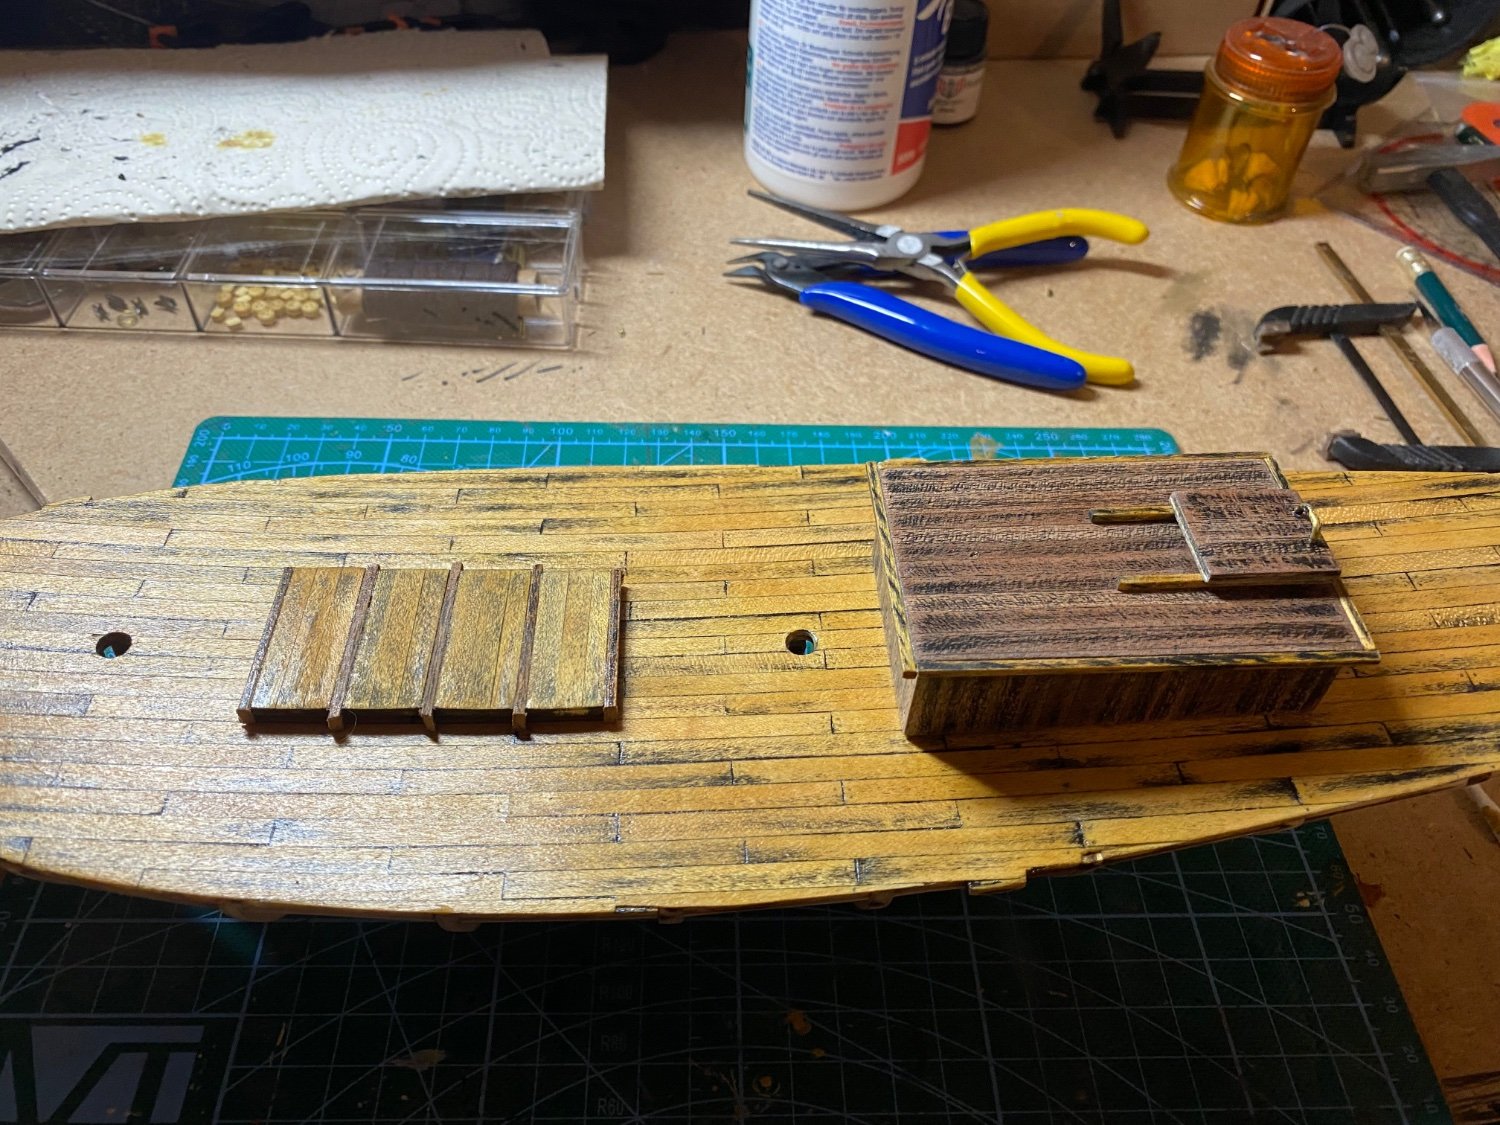
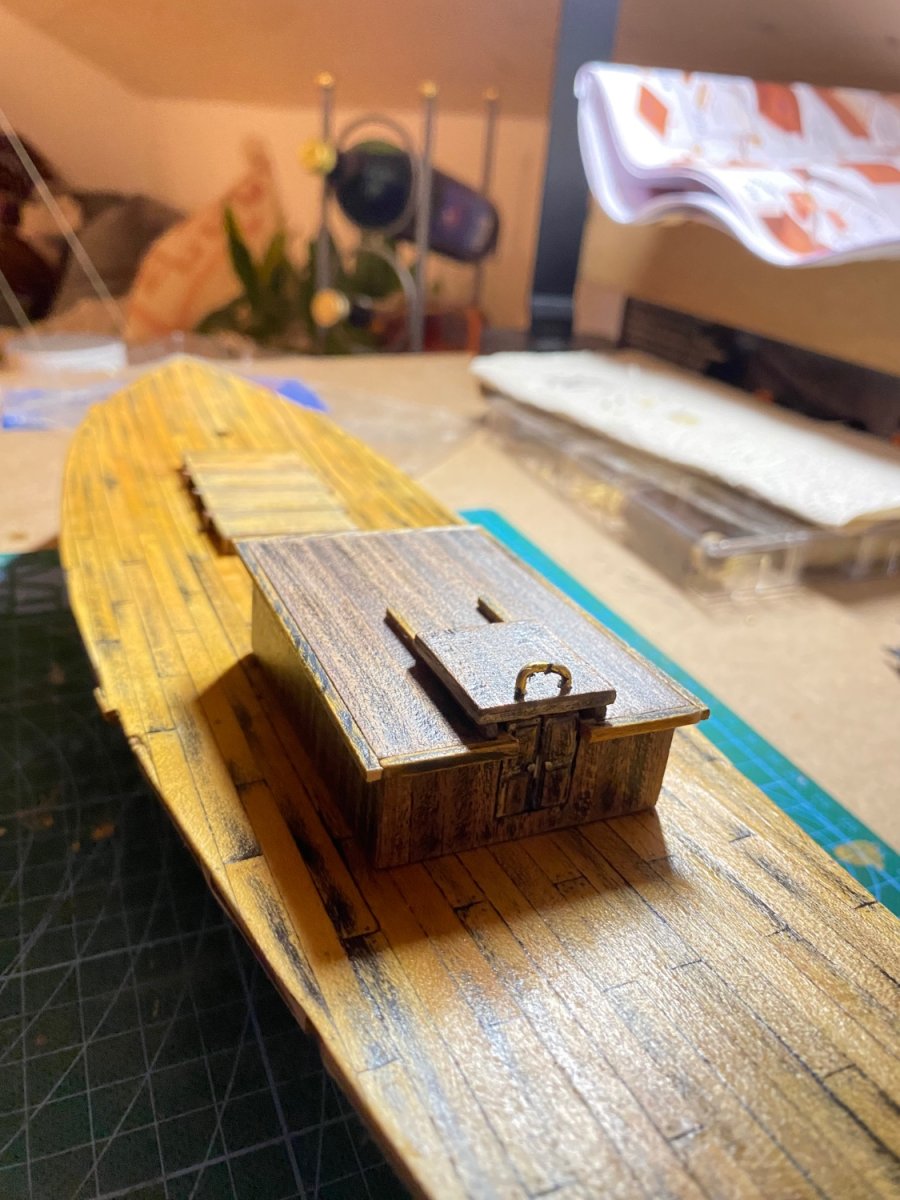
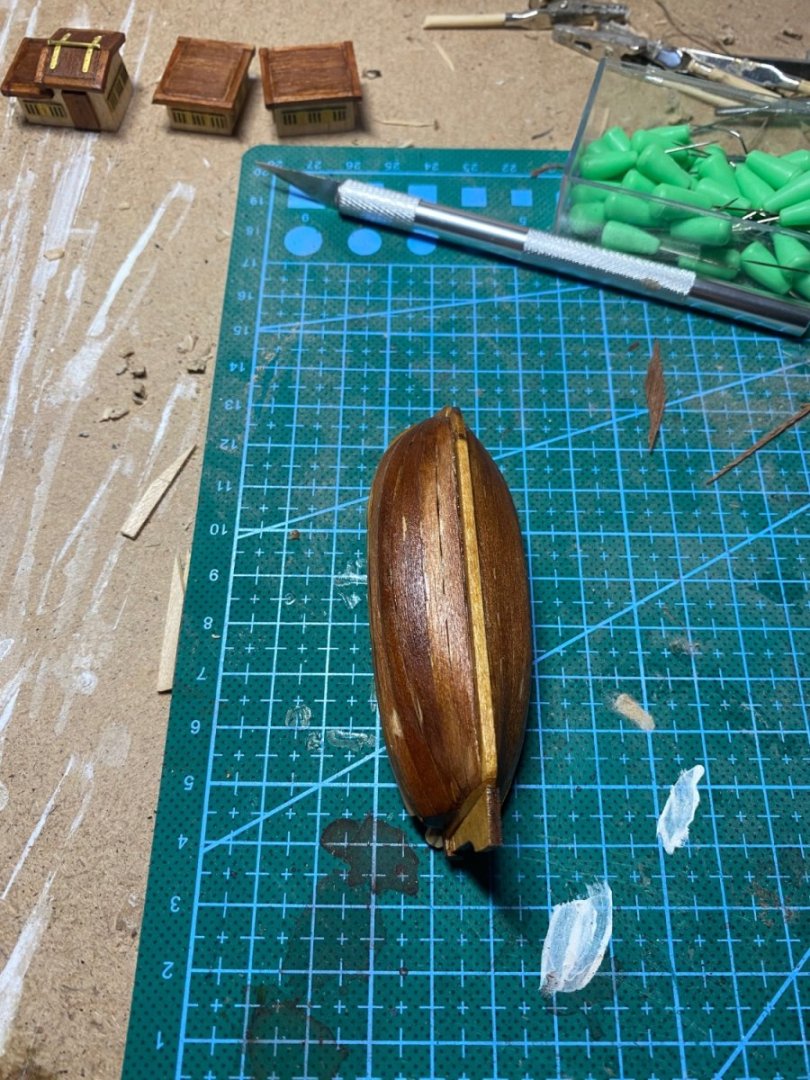
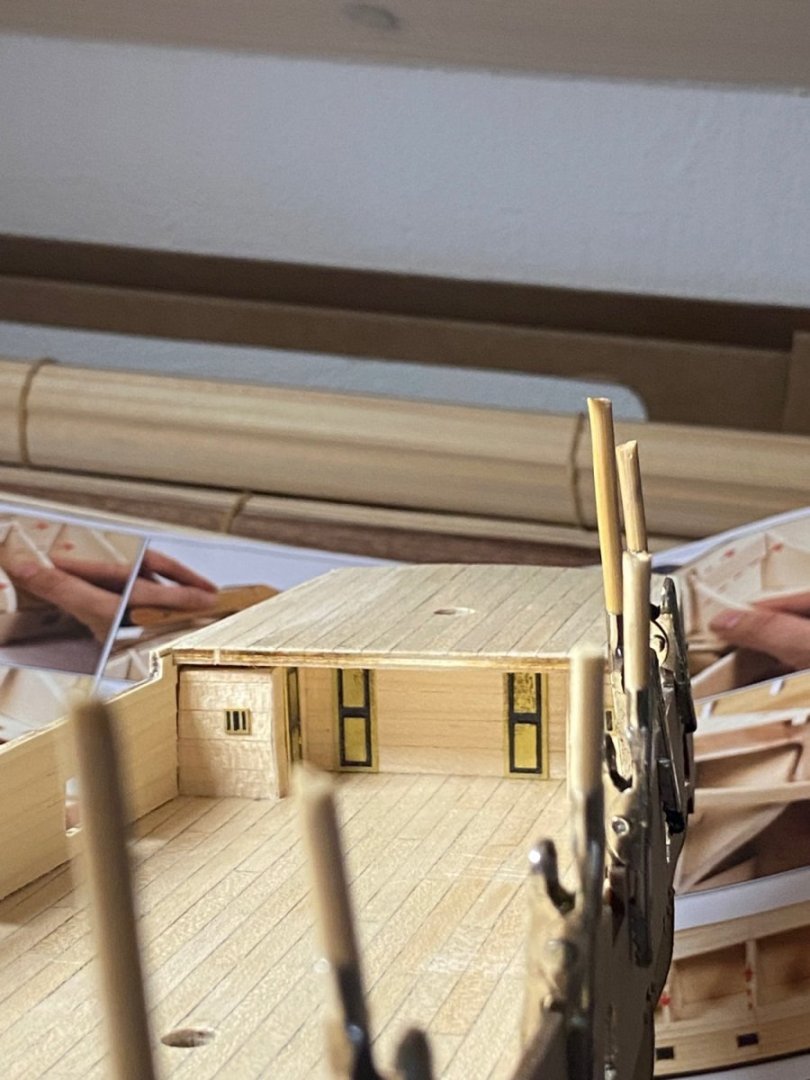
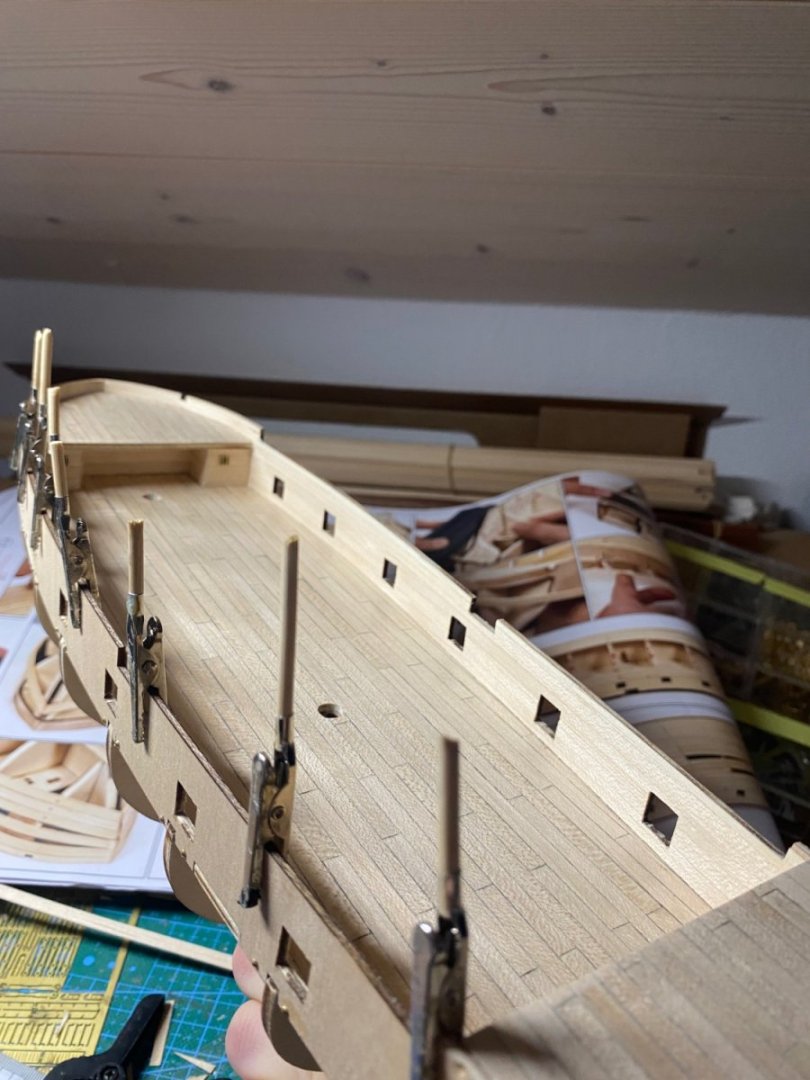
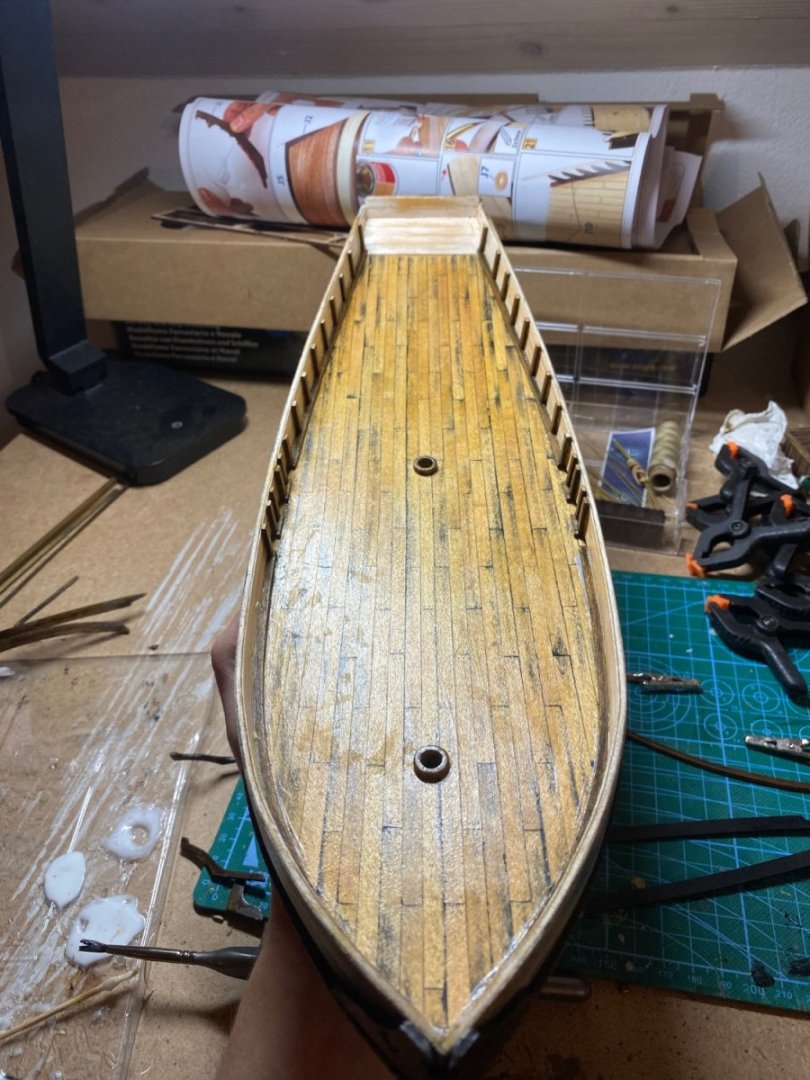
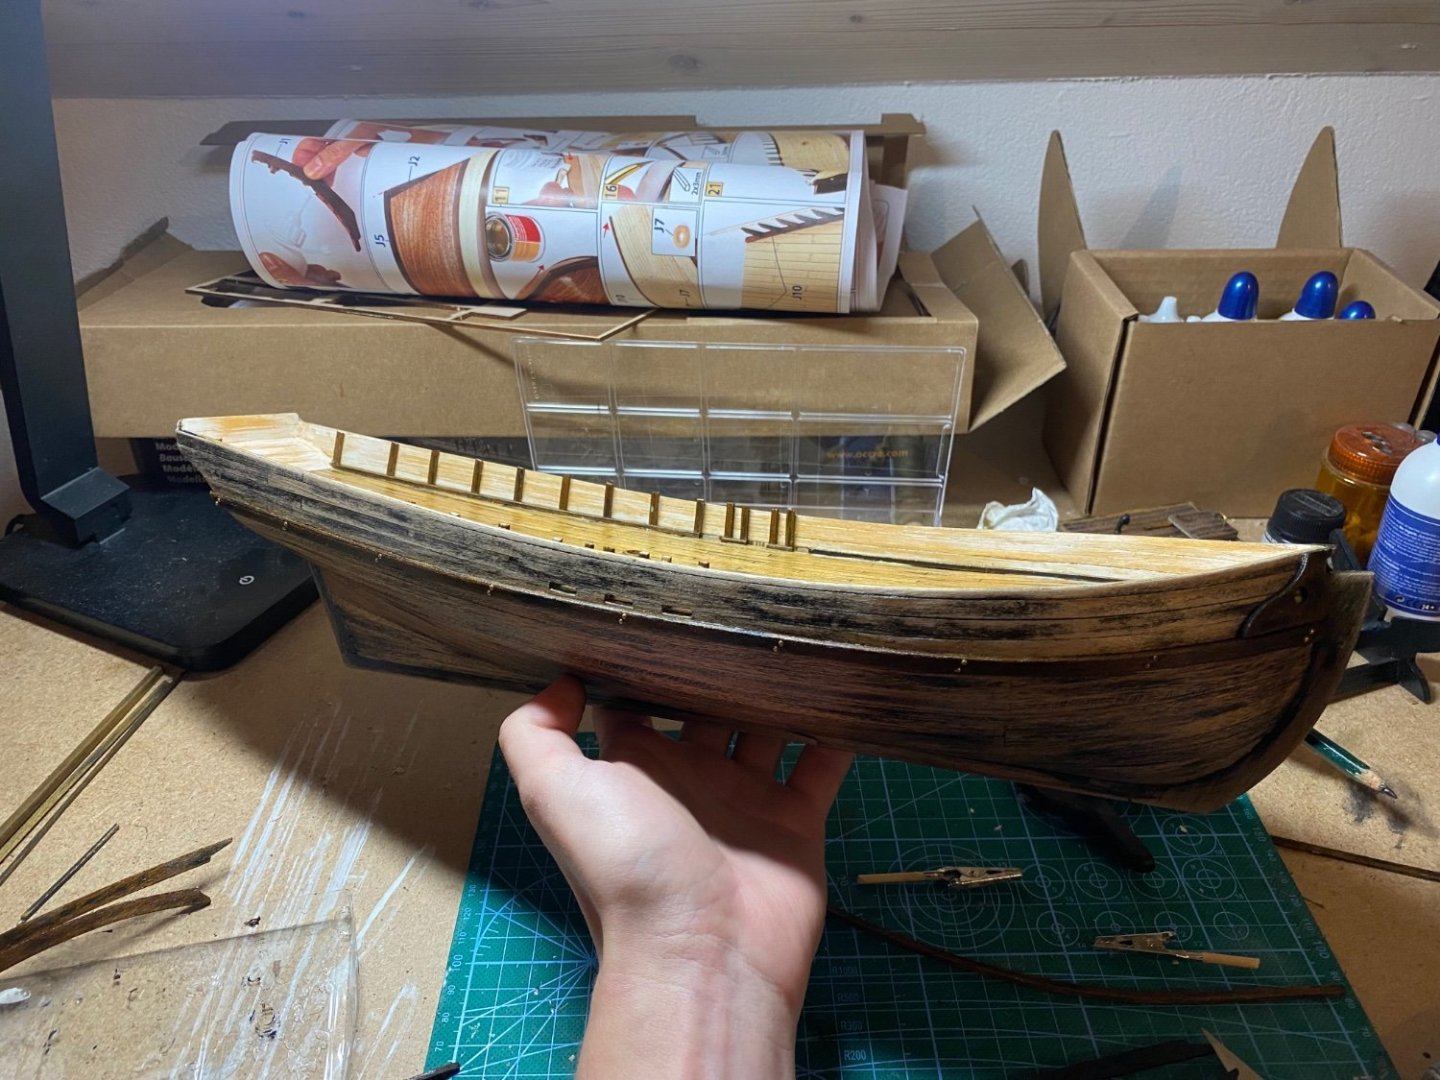
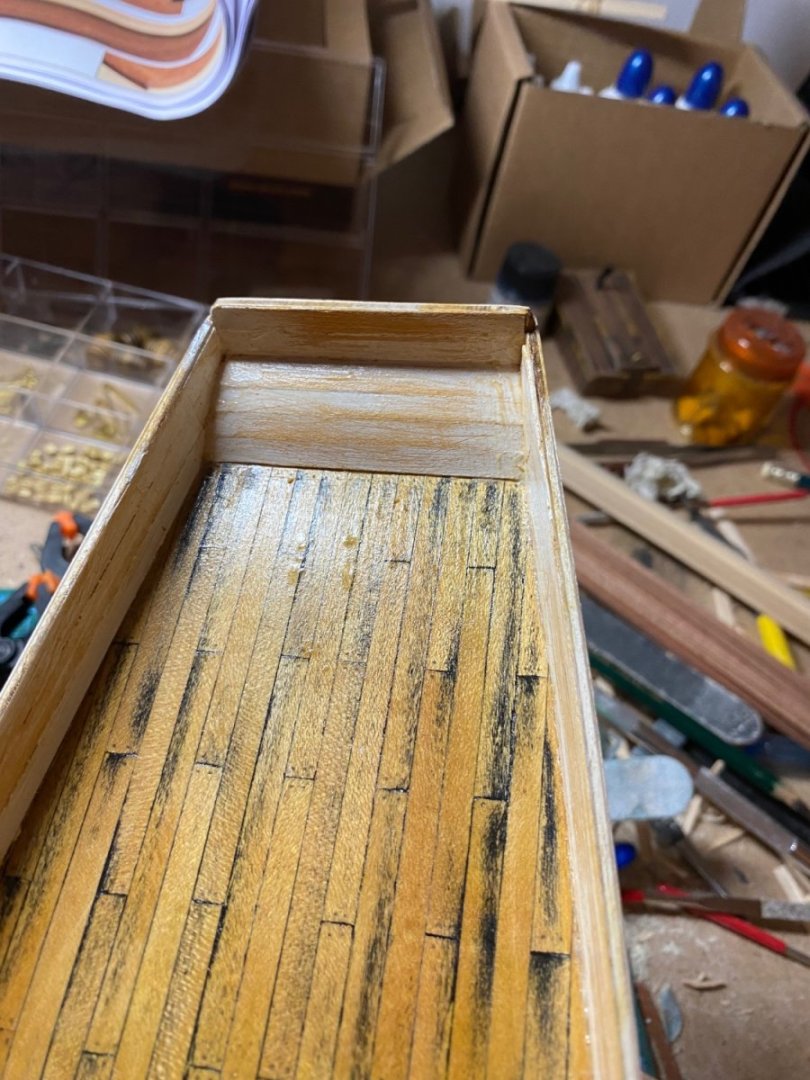
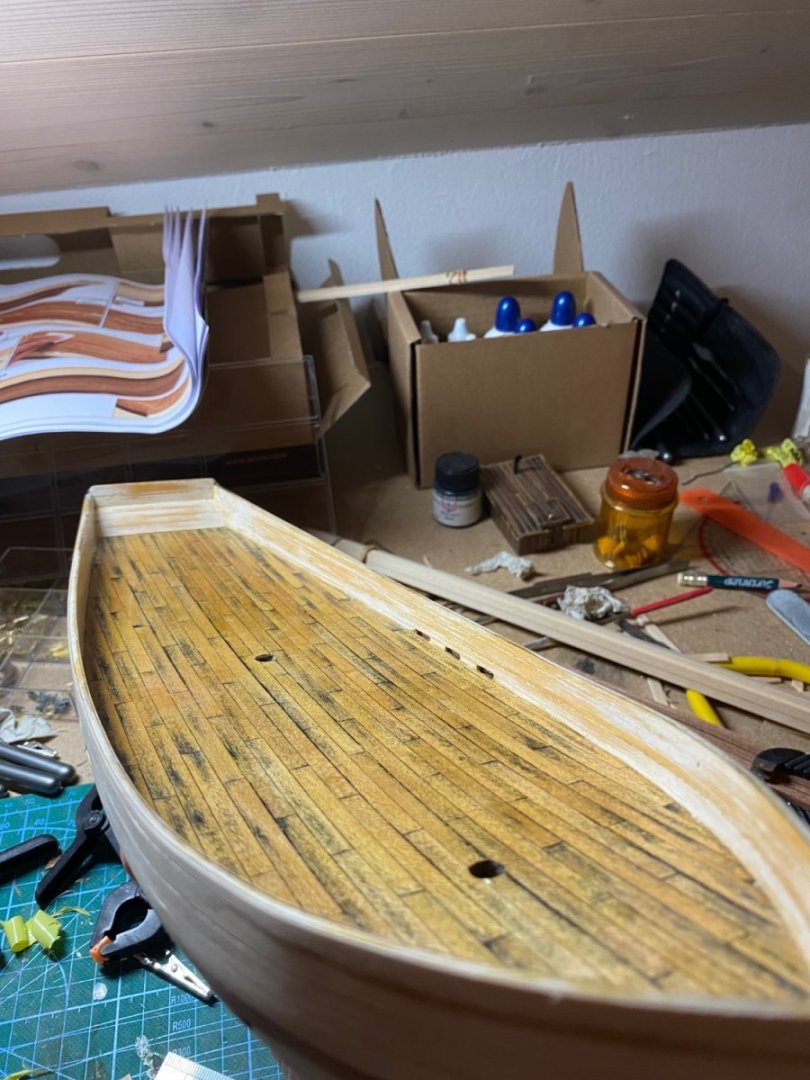
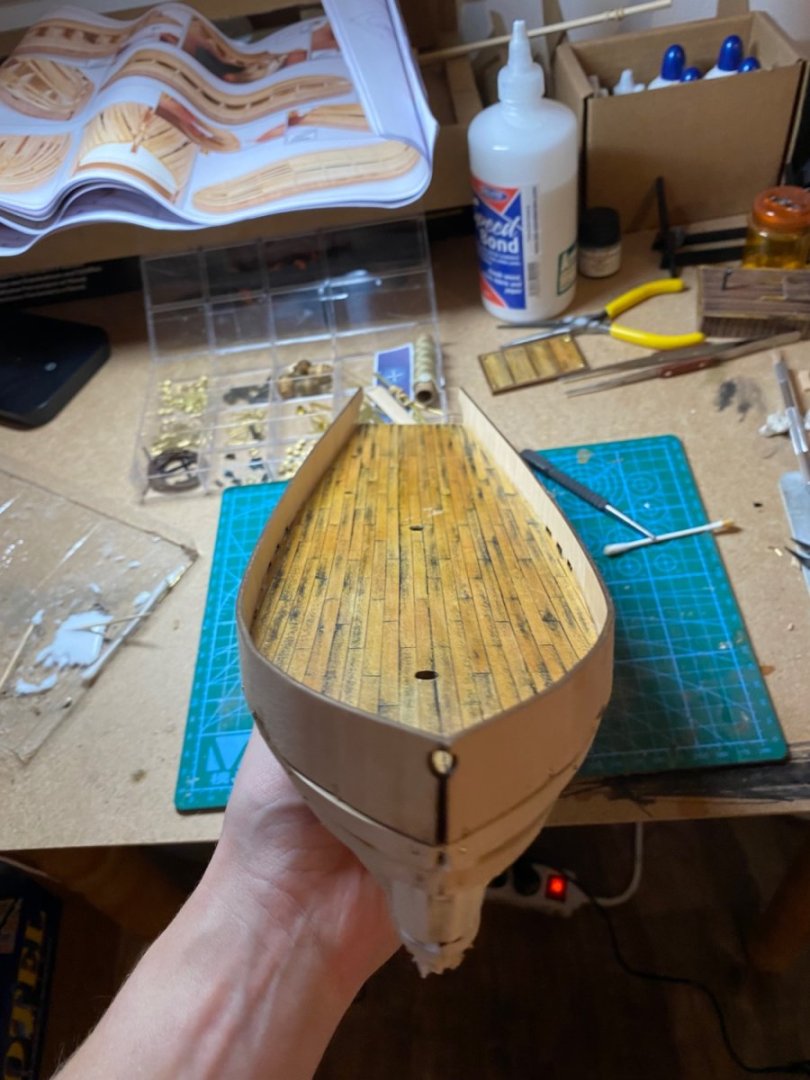
Long time no see, but had a little bit progress on the Beagle the last weeks: Started with the lifeboats besides planking the deck: planked the deck with 6 cm long pieces, not single stripes: added the brass doors and windows: and already started with planking the first layer of the hull:


-
Yes works perfect with them
-
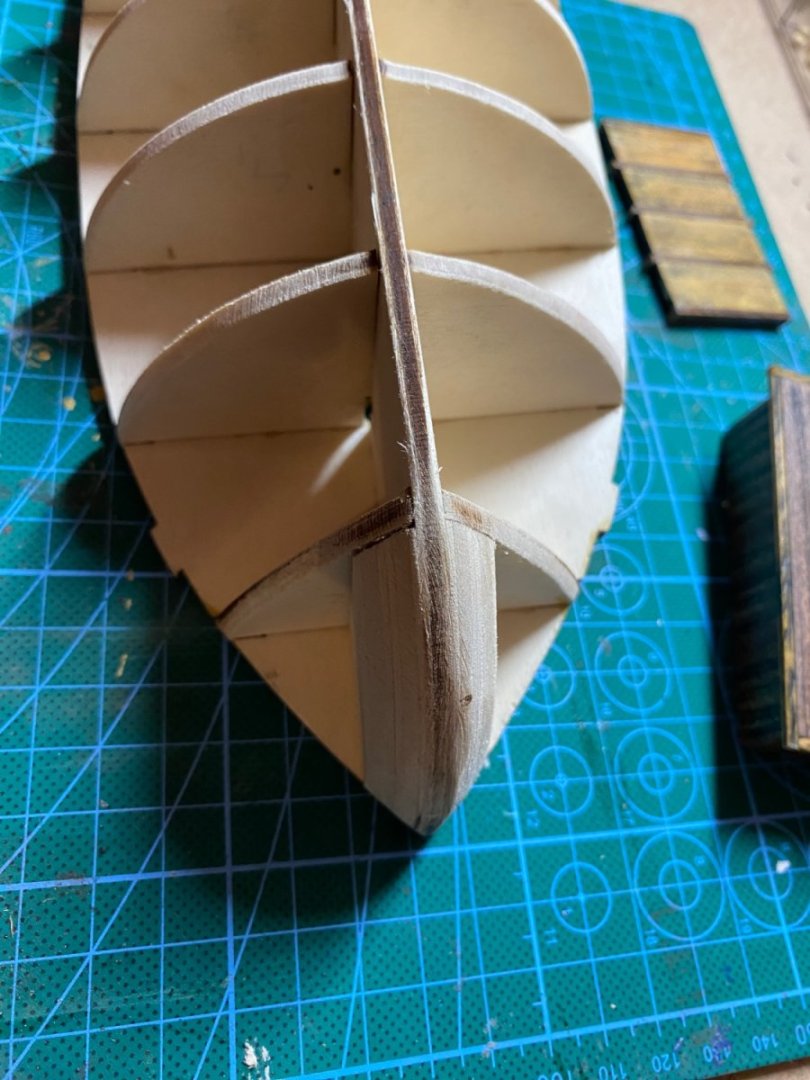
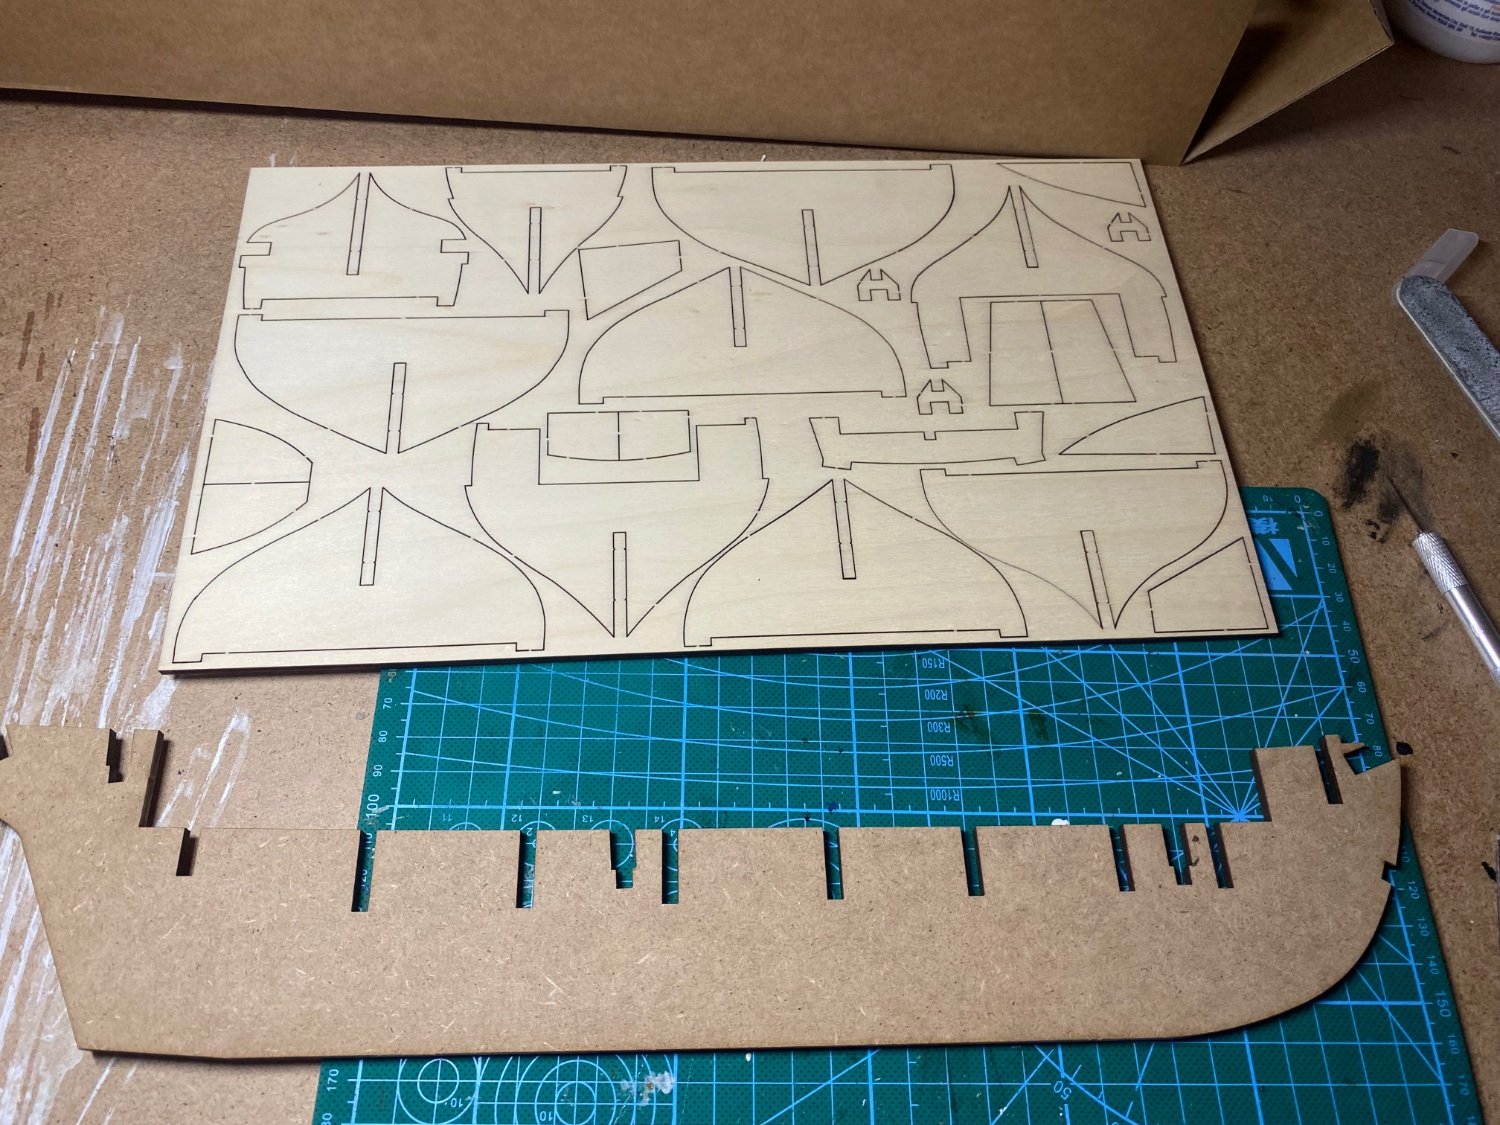
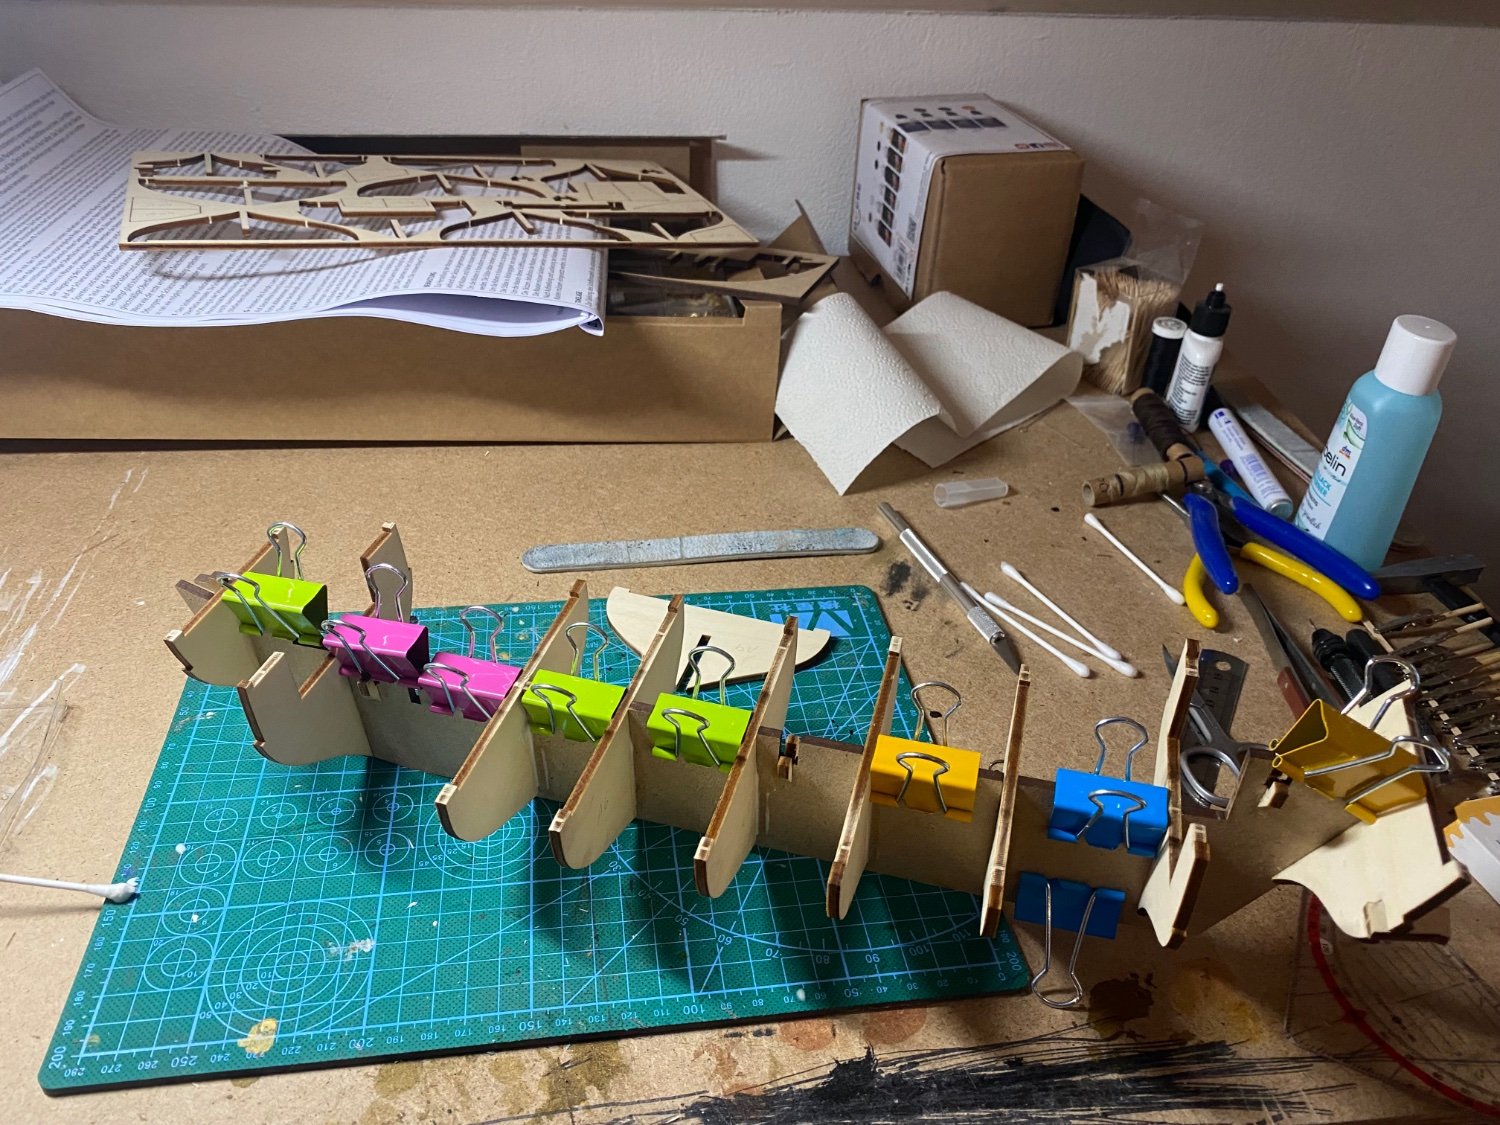
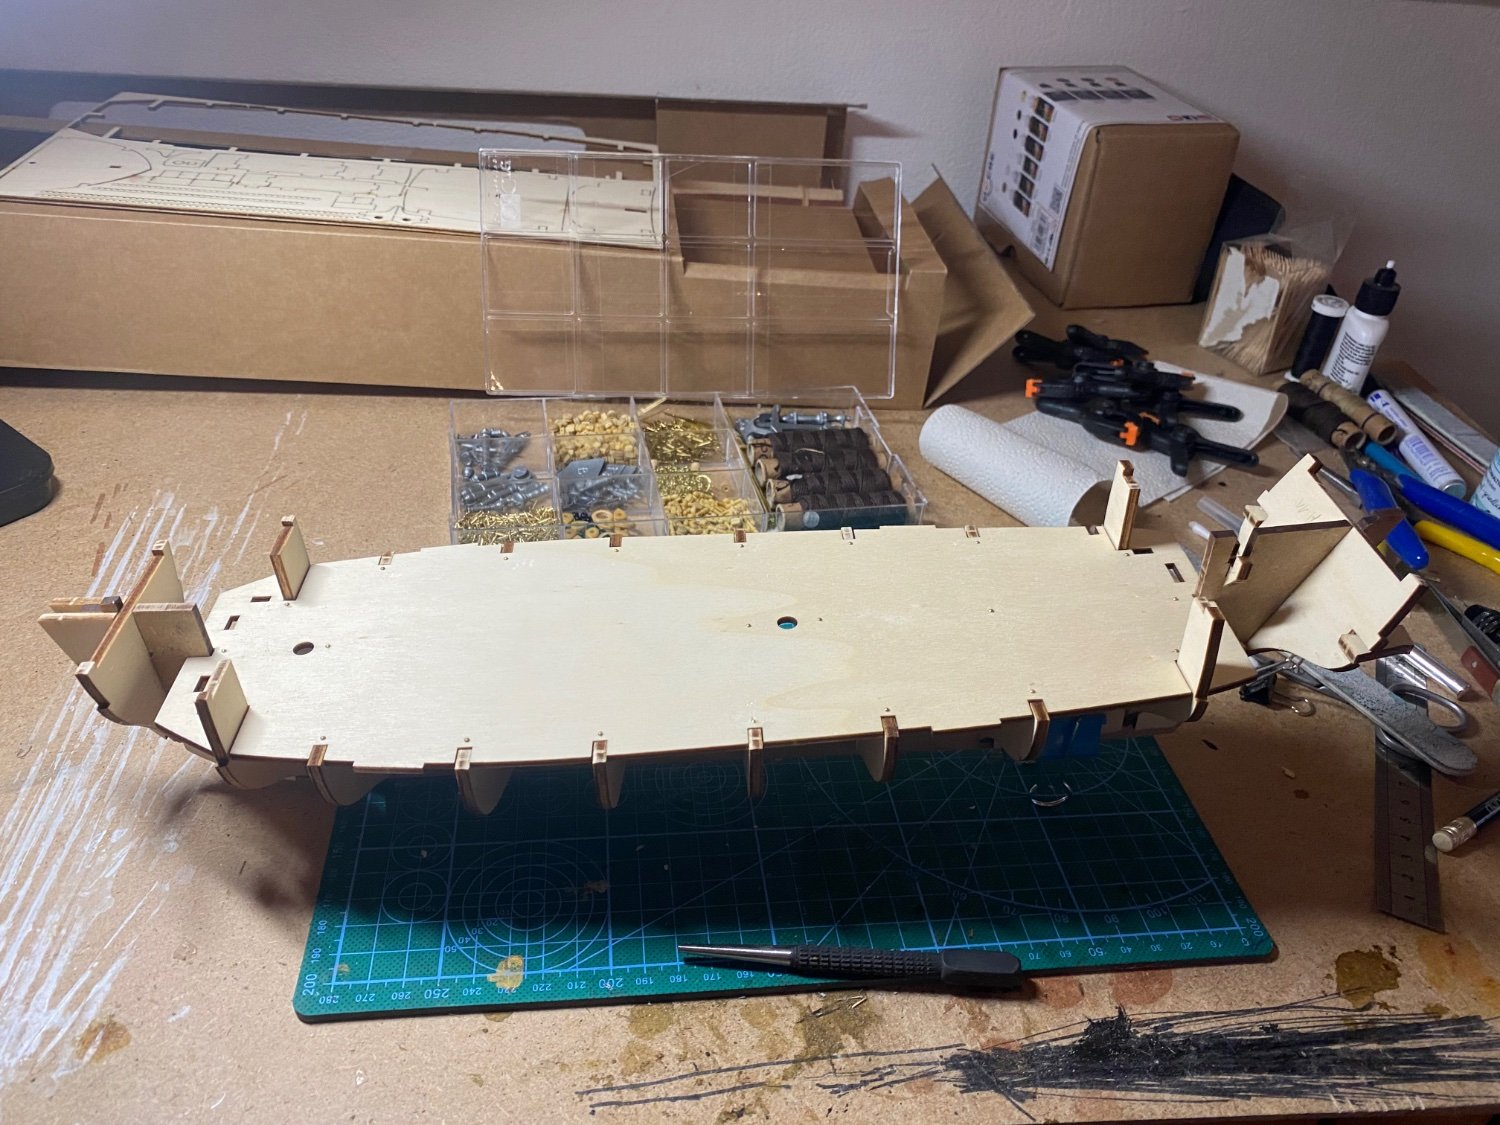
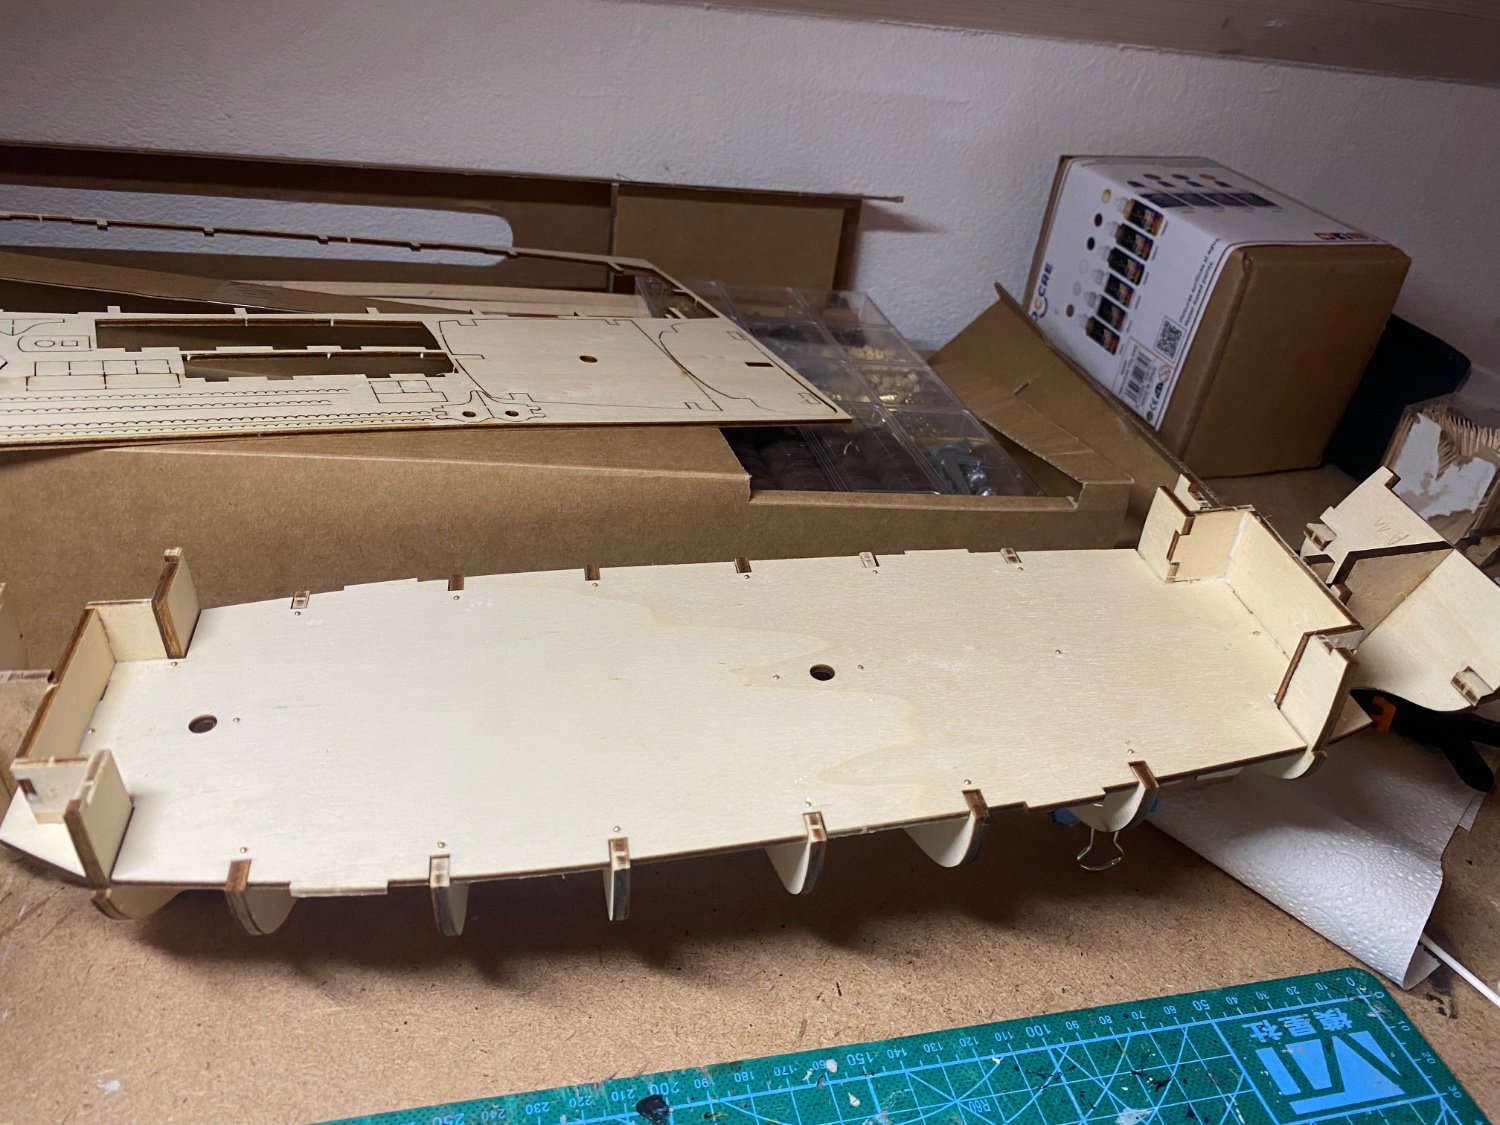
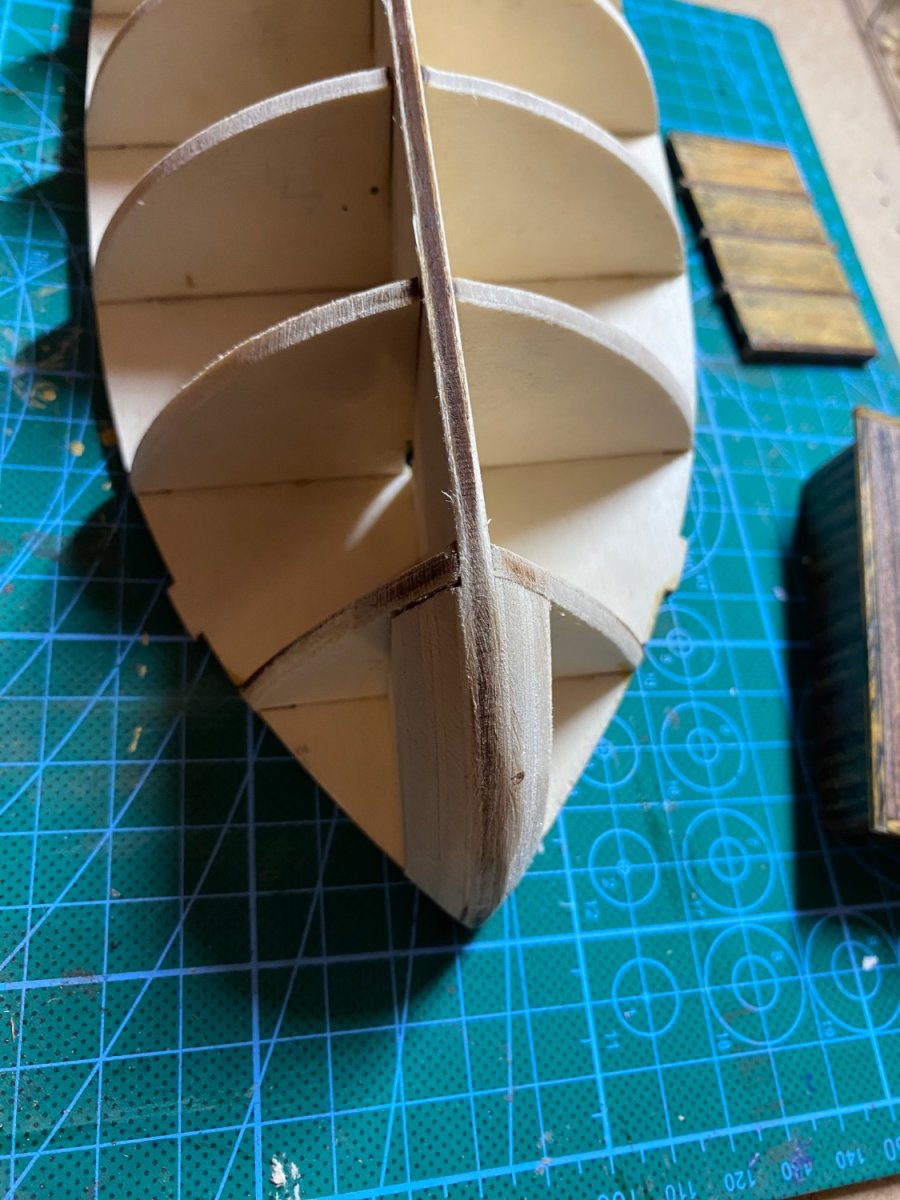
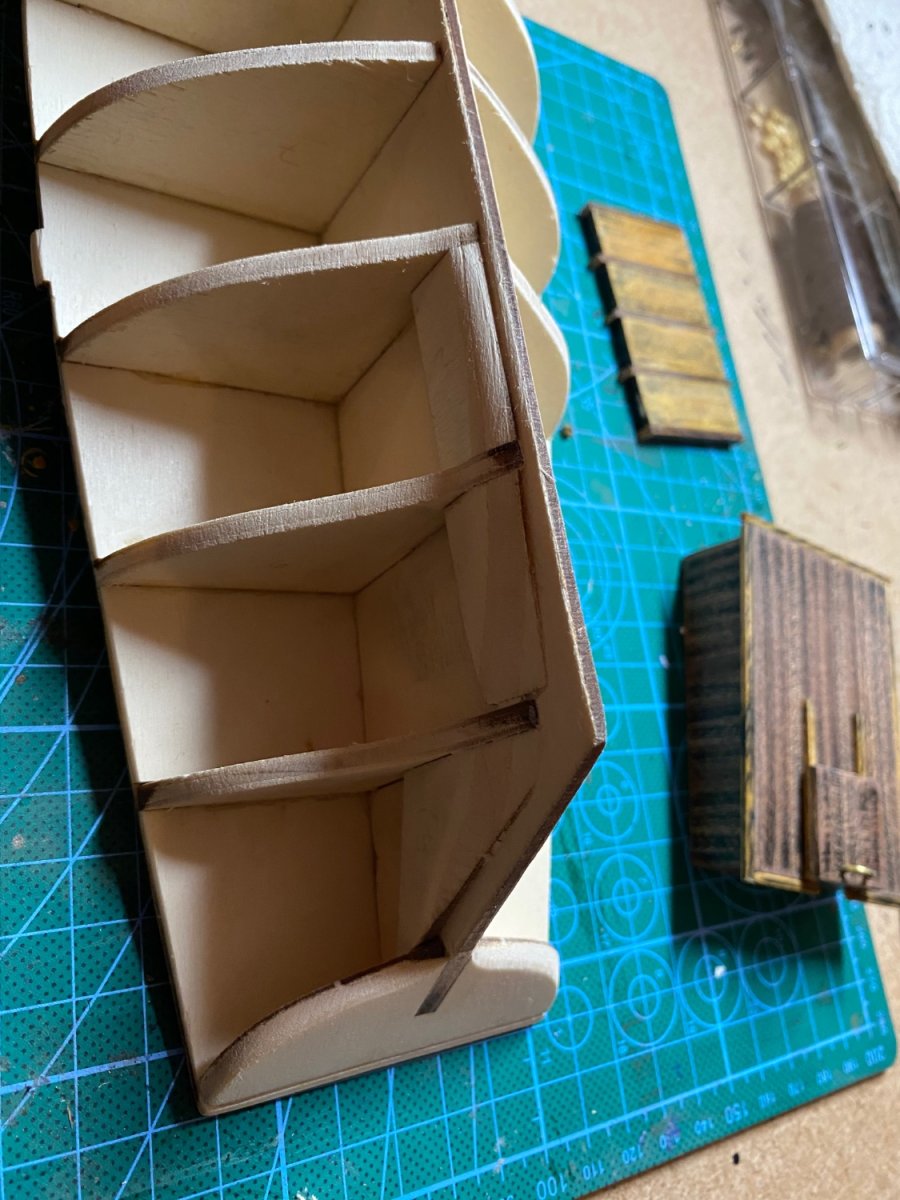
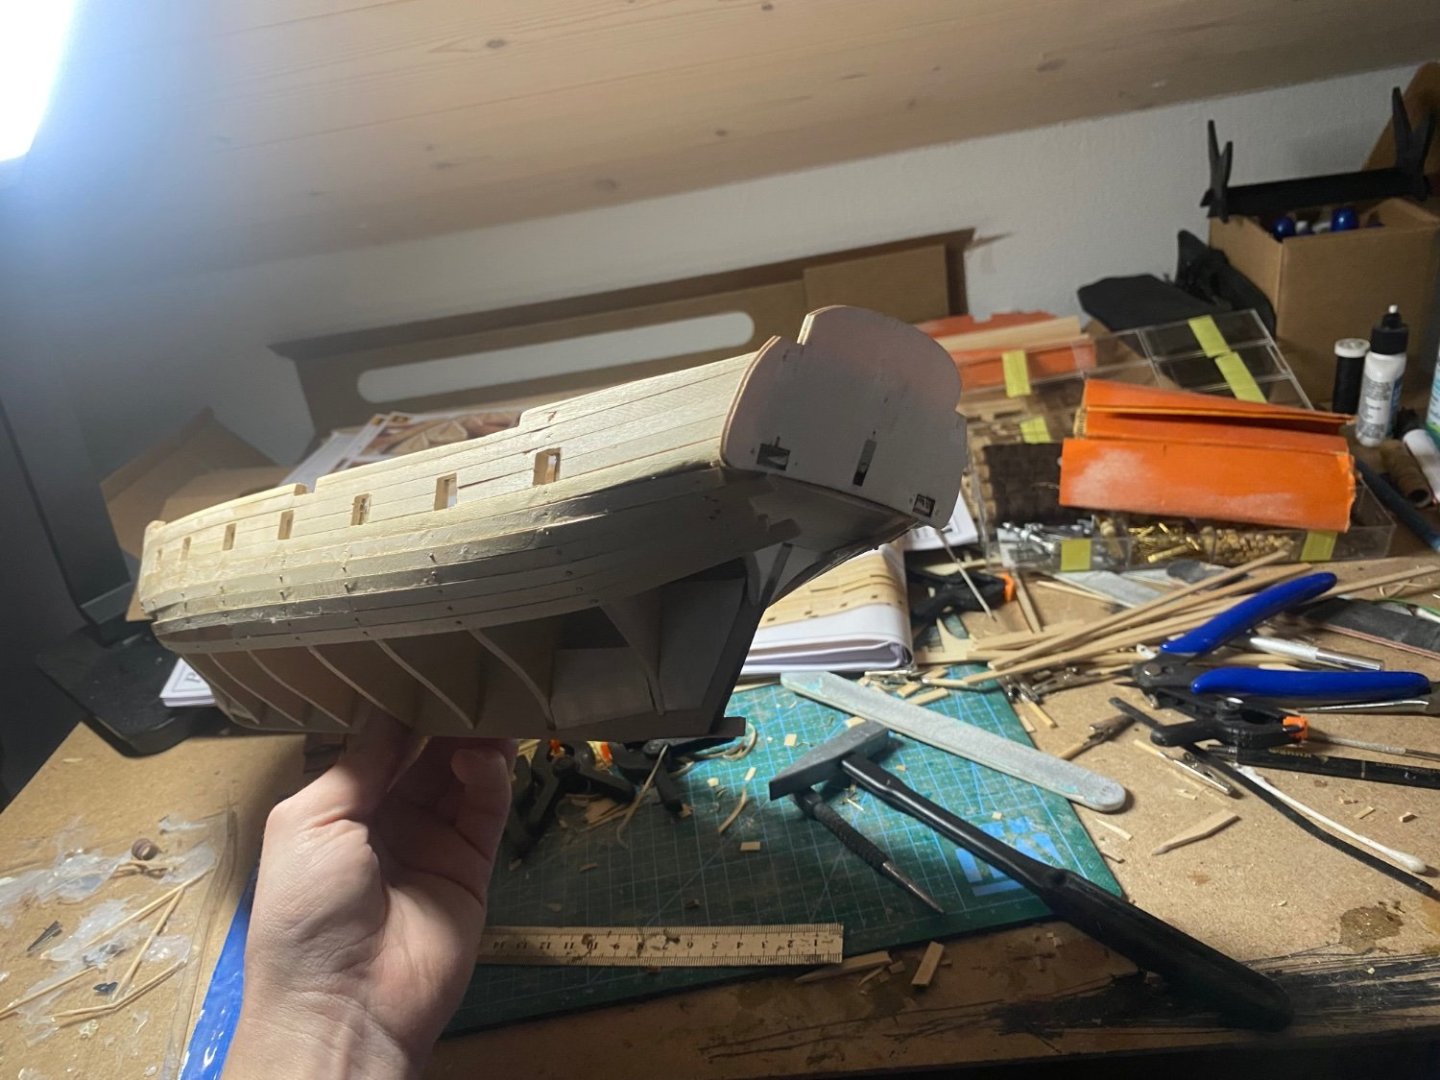
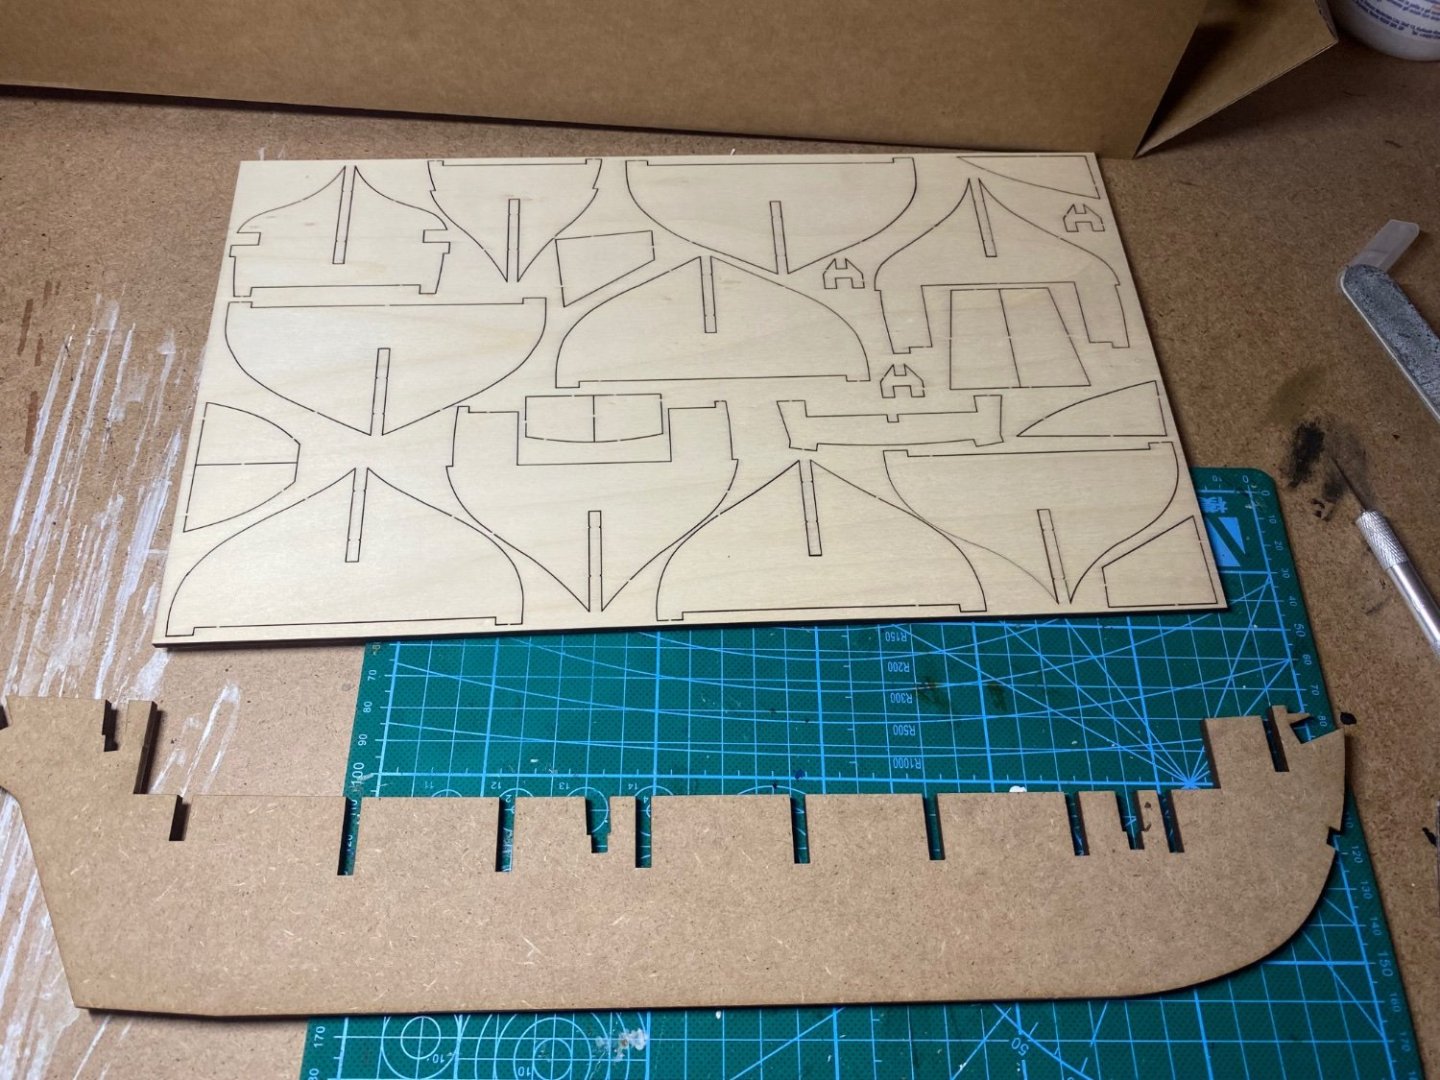
After finishing my OcCre Polaris I wanted to go more advanced and chose the Beagle for my next model. I really like the look and also the historical background of Charles Darwin. There she is: Kiel is perfectly straight: doing the skelleton applied the deck before planking. I can fix it with some nails this way. cabin walls added, thats it for the start:


-
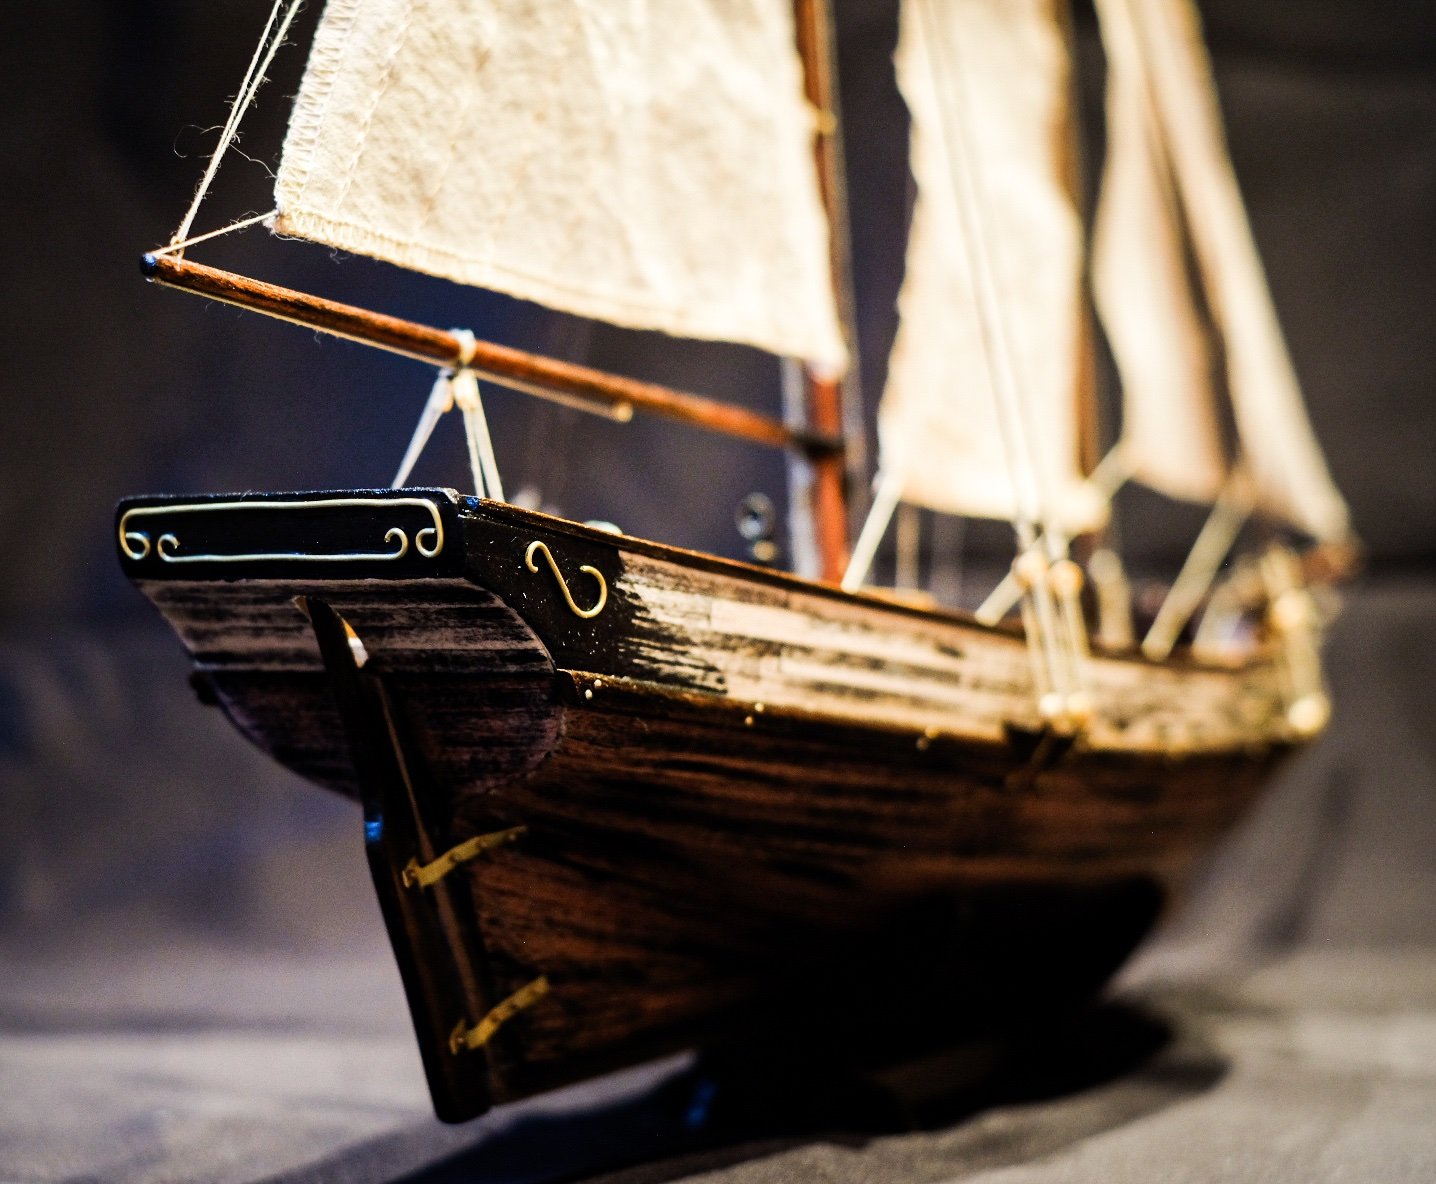
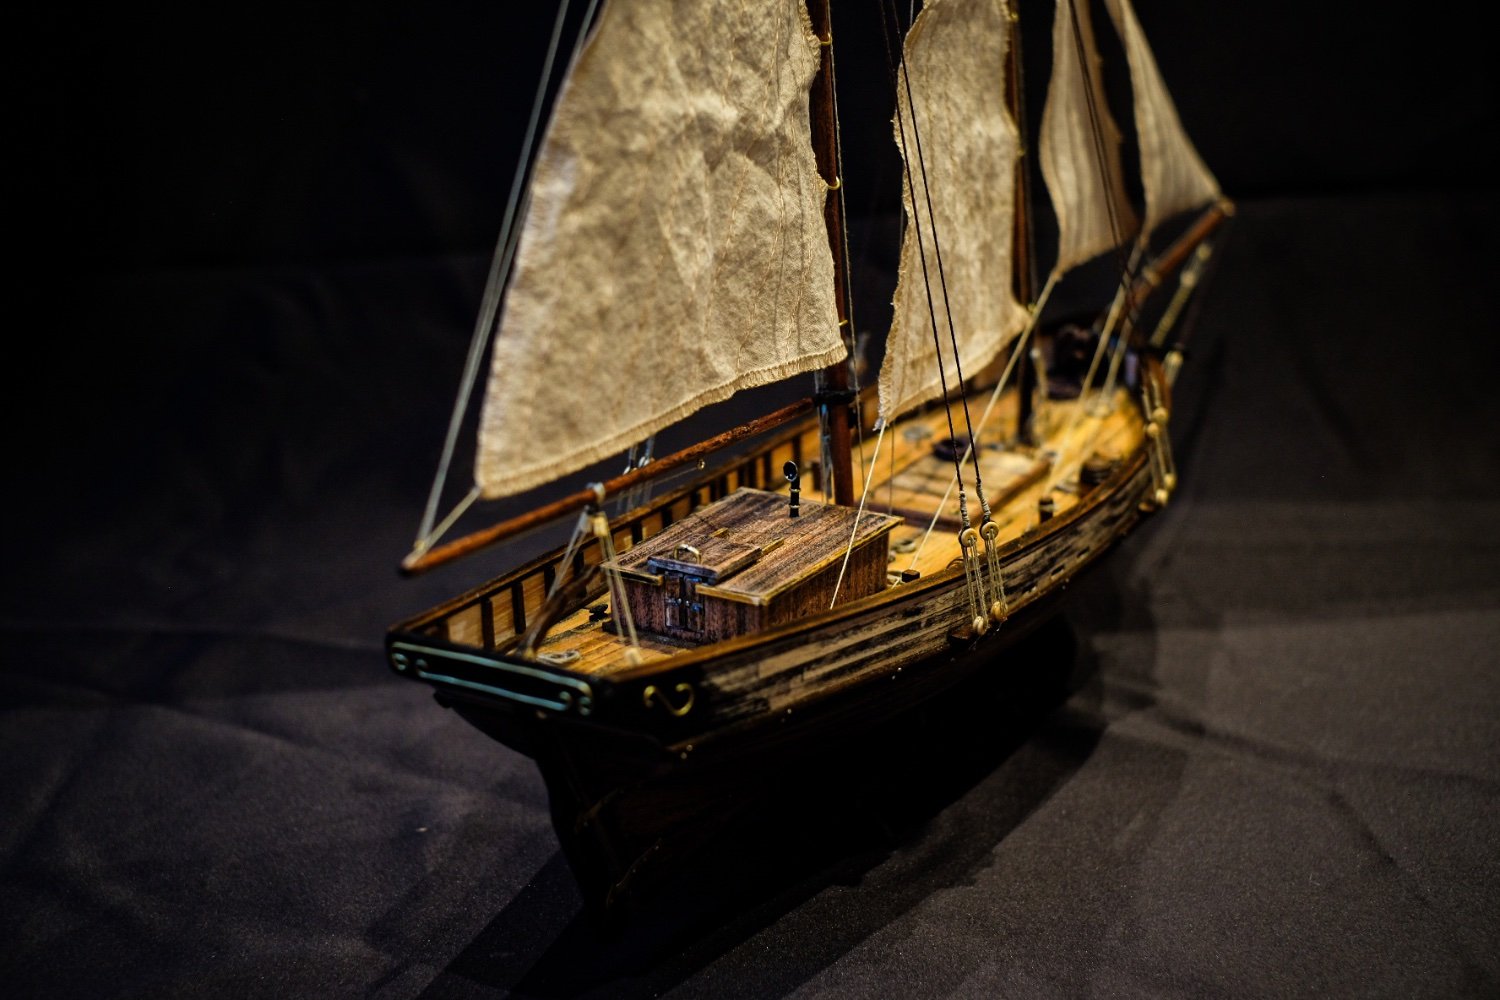
Lately no updates but I just finished my weathered Polaris. Rigging was easy and fast done. little bit too fast, thought it will be more… I broke one mast while sanding it but could fix it with a nail inside and some glue. The sails went into some black tea to get the look right. All in all it was a relly fun, but short and easy build. I could need some reccomendtions for my next model! should be something more challenging. elegant like my Endeavour but more rigging (I like rigging), good quality and can be time consuming. Definetly a sailing vessel. Any recommendation is welcome! pictures of the finished Polaris 1:50 by OcCre:


-
I am painting the wood completely black, then sand it down a lot so that there is more wood to see than black. Then dye it in the wood colour you like and apply clear coat. I am also a newbie so maybe there are better or easier ways to do so…
-
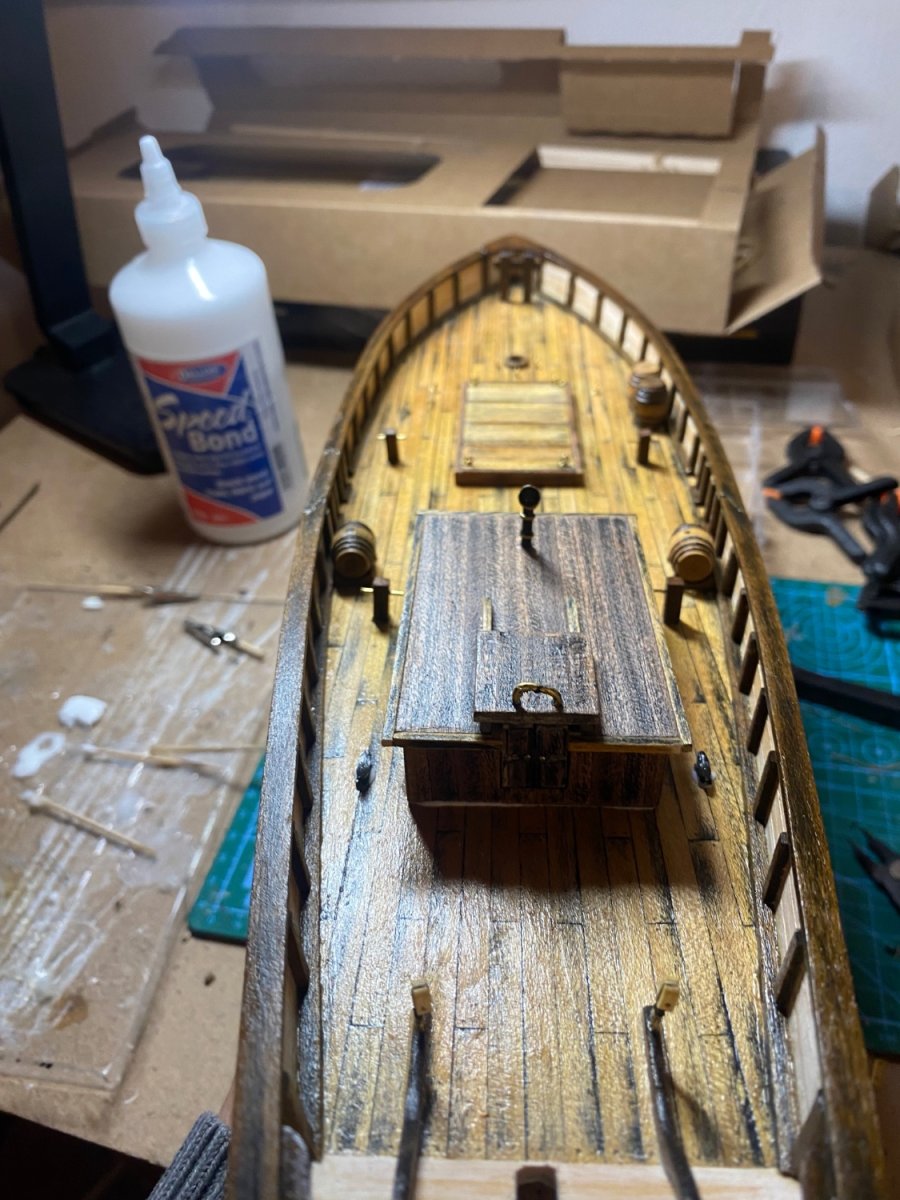
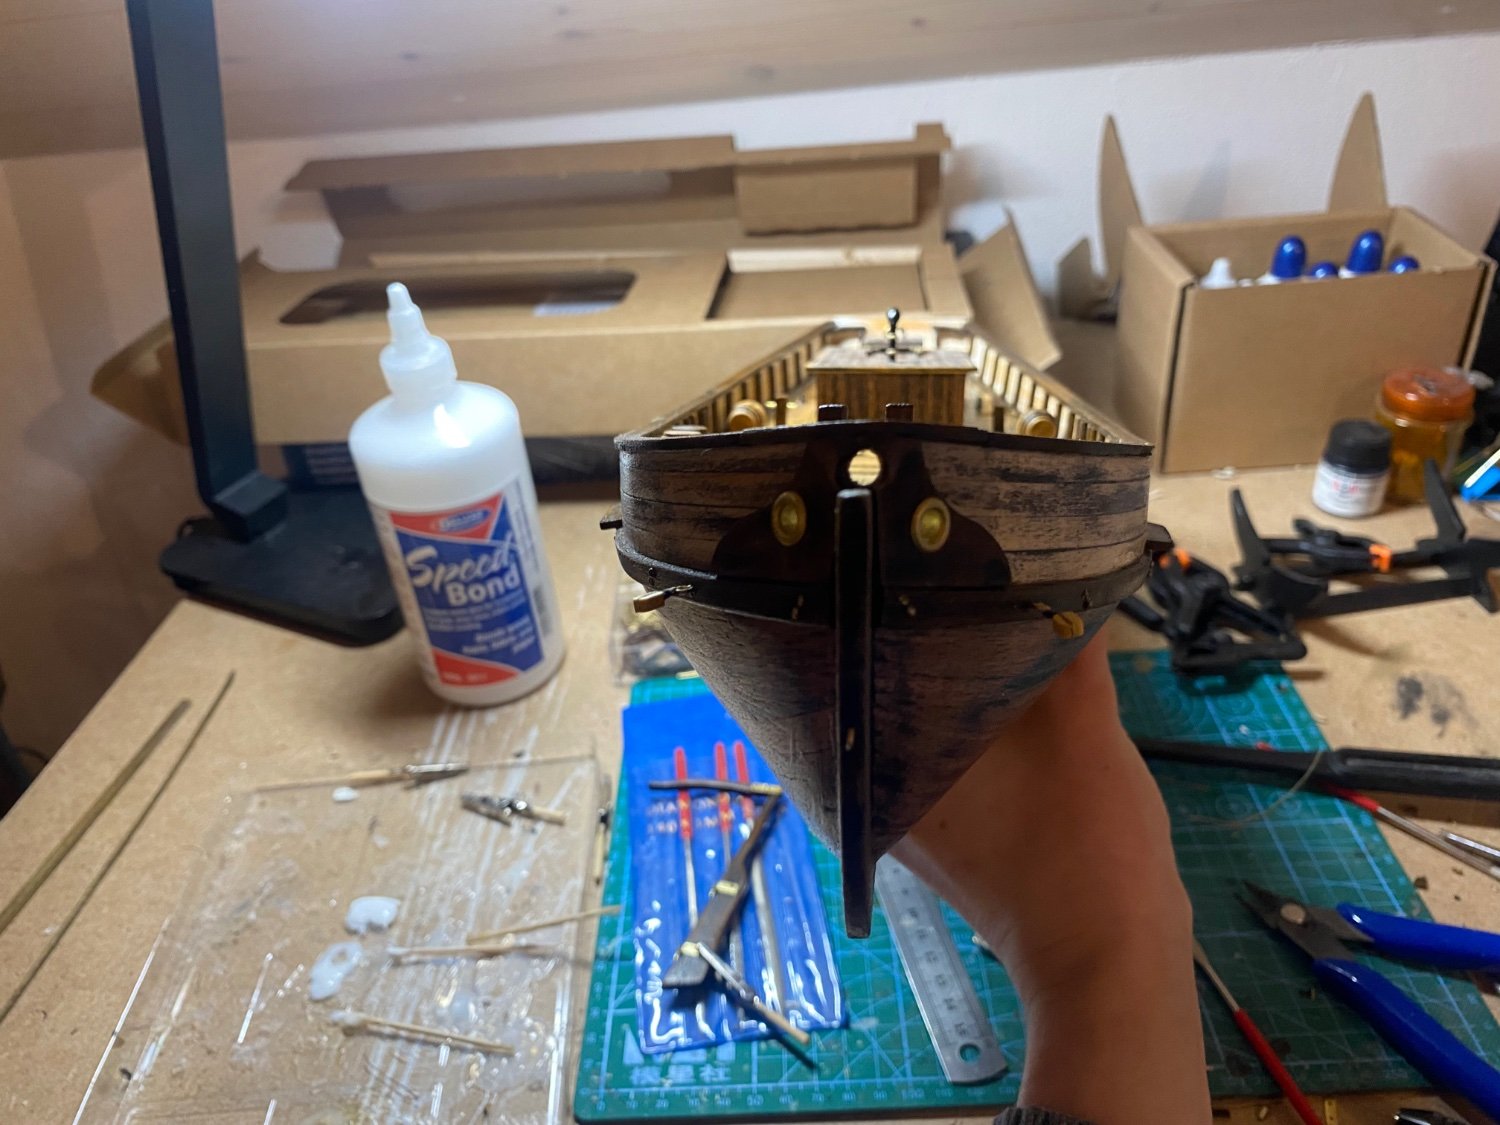
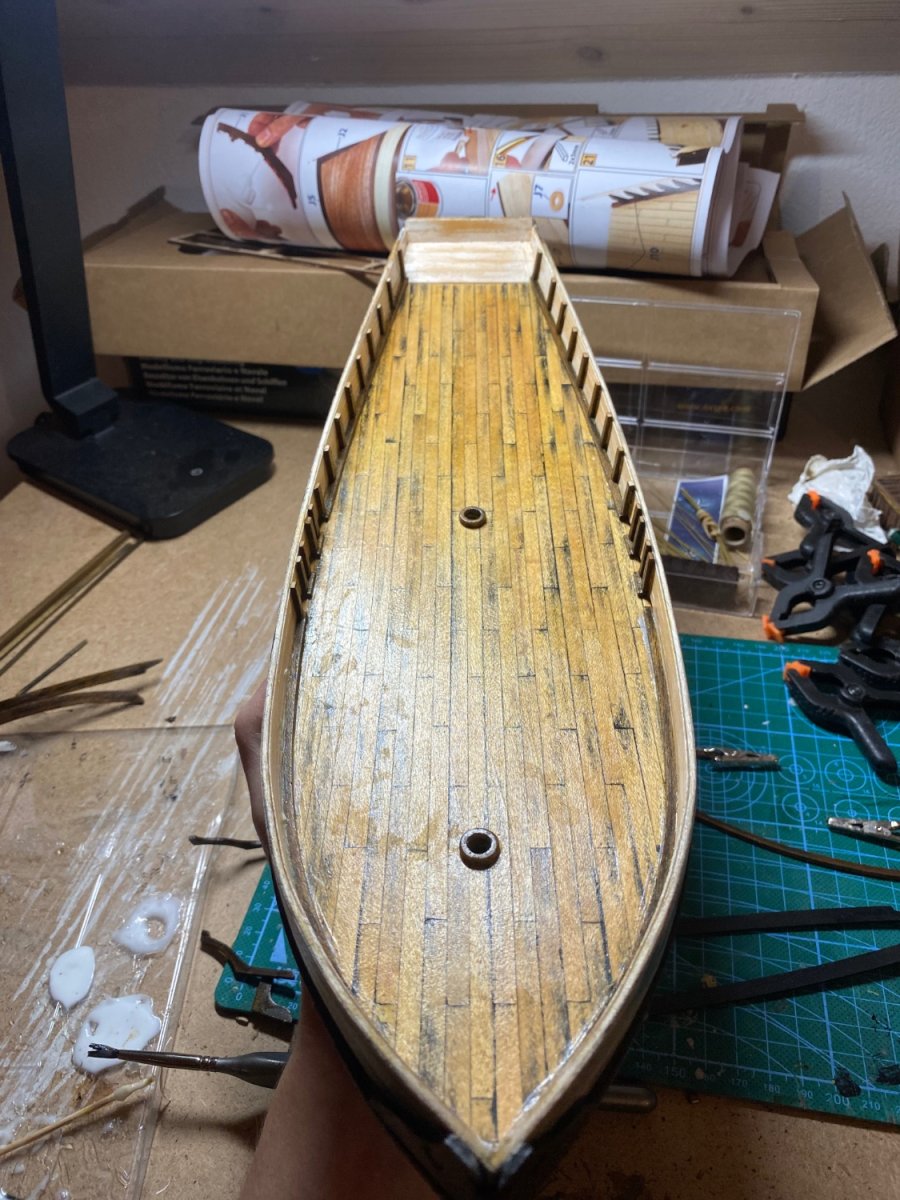
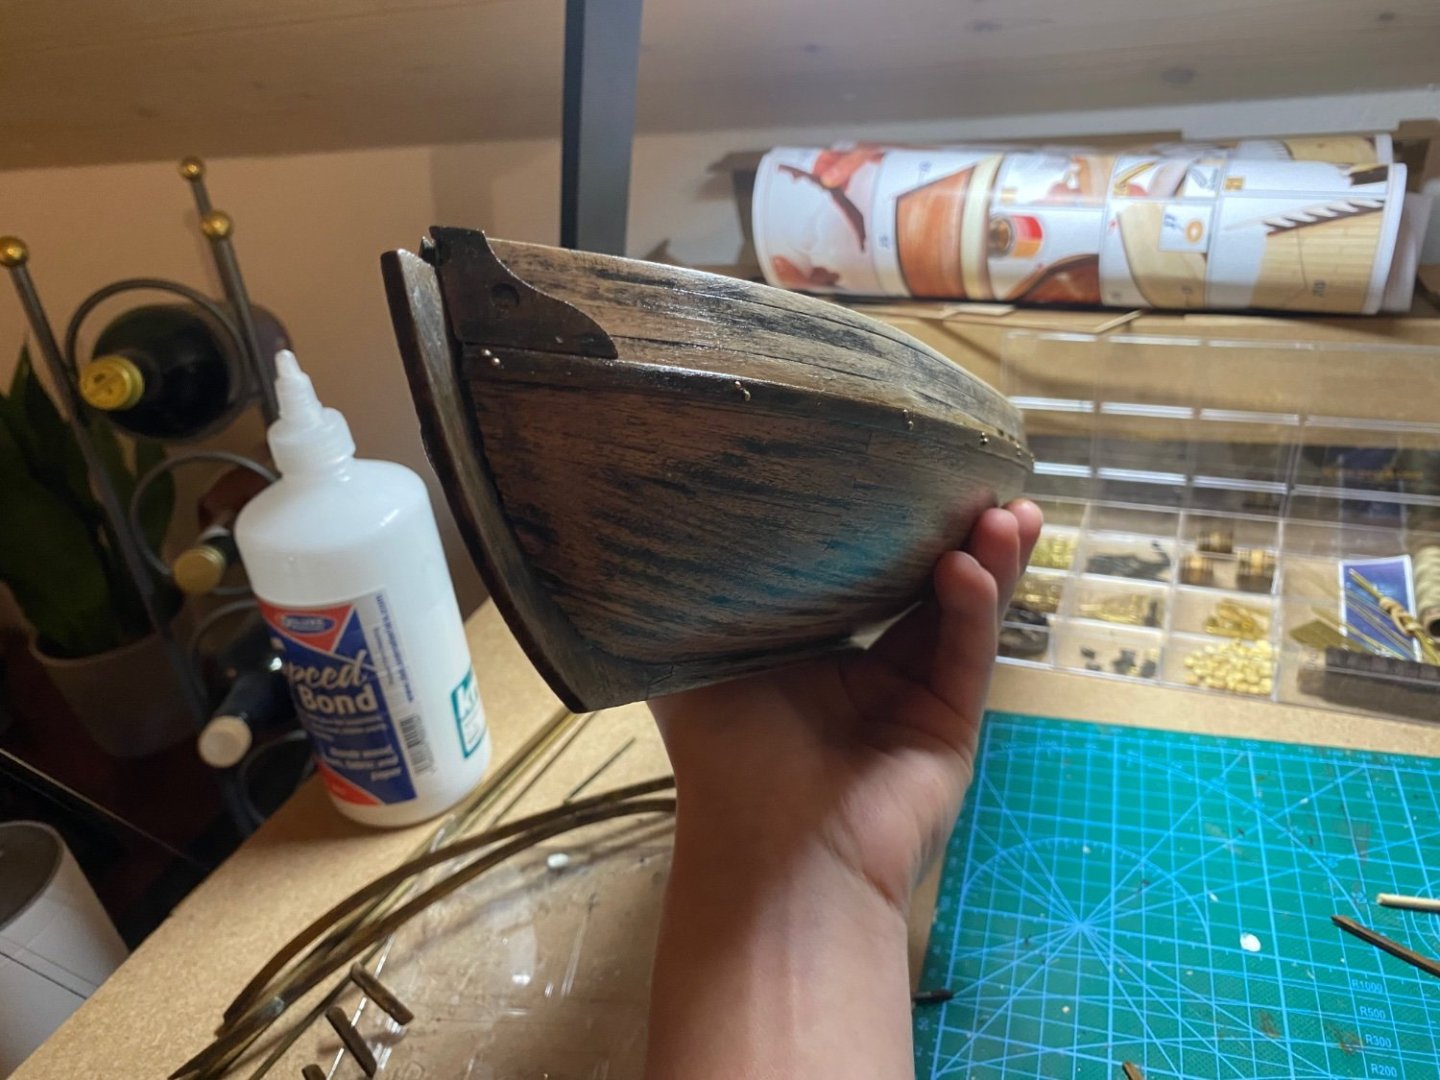
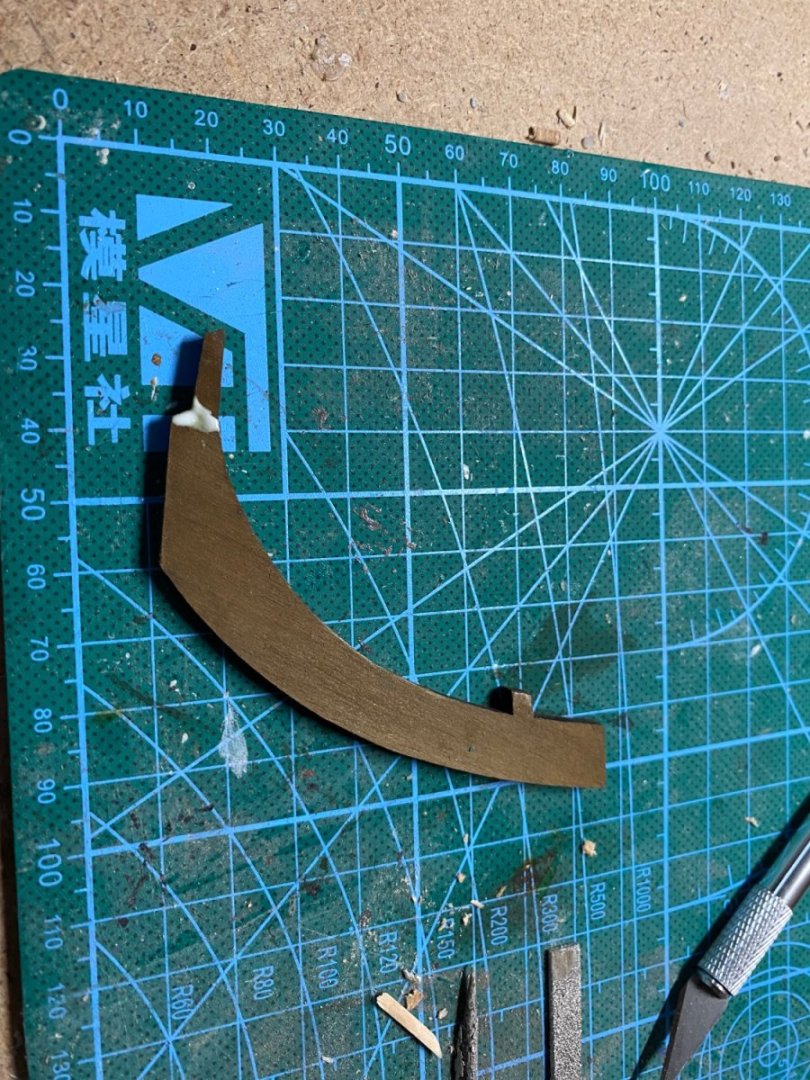
Worked a lot on the deck. Some parts I had to fix with additional nails: rudder in the making: Bow: rear: deck: Weathered every small wooden part so far to get this look. Was quite some work.


-
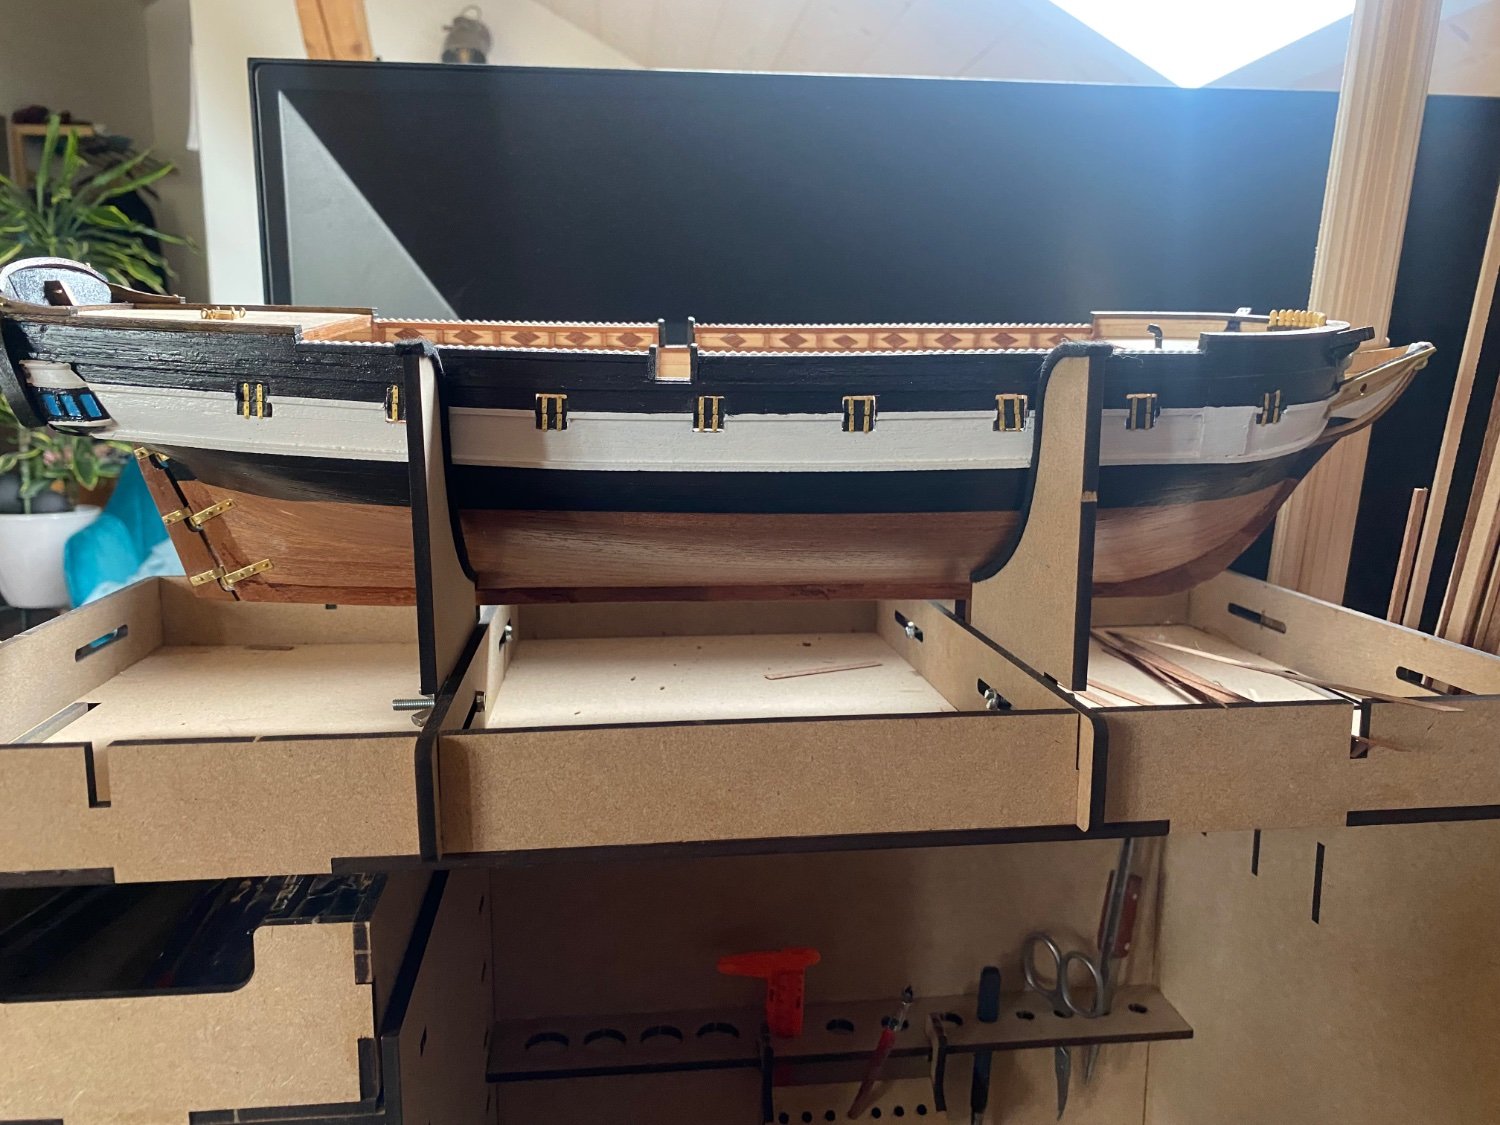
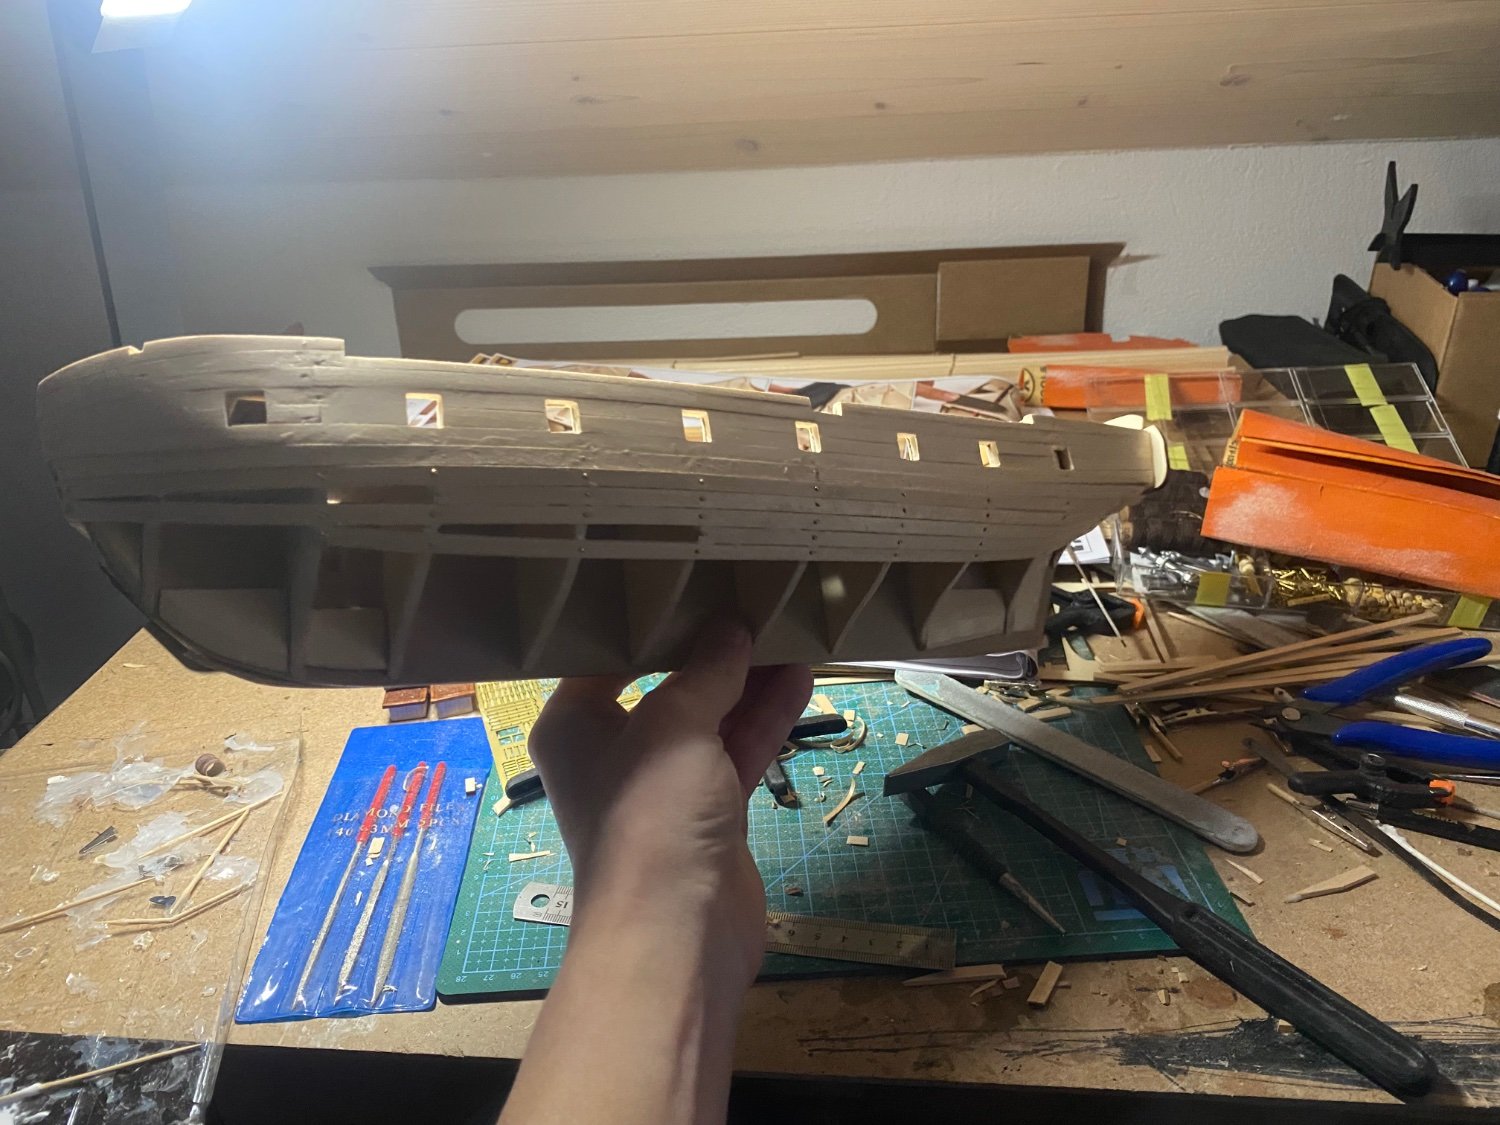
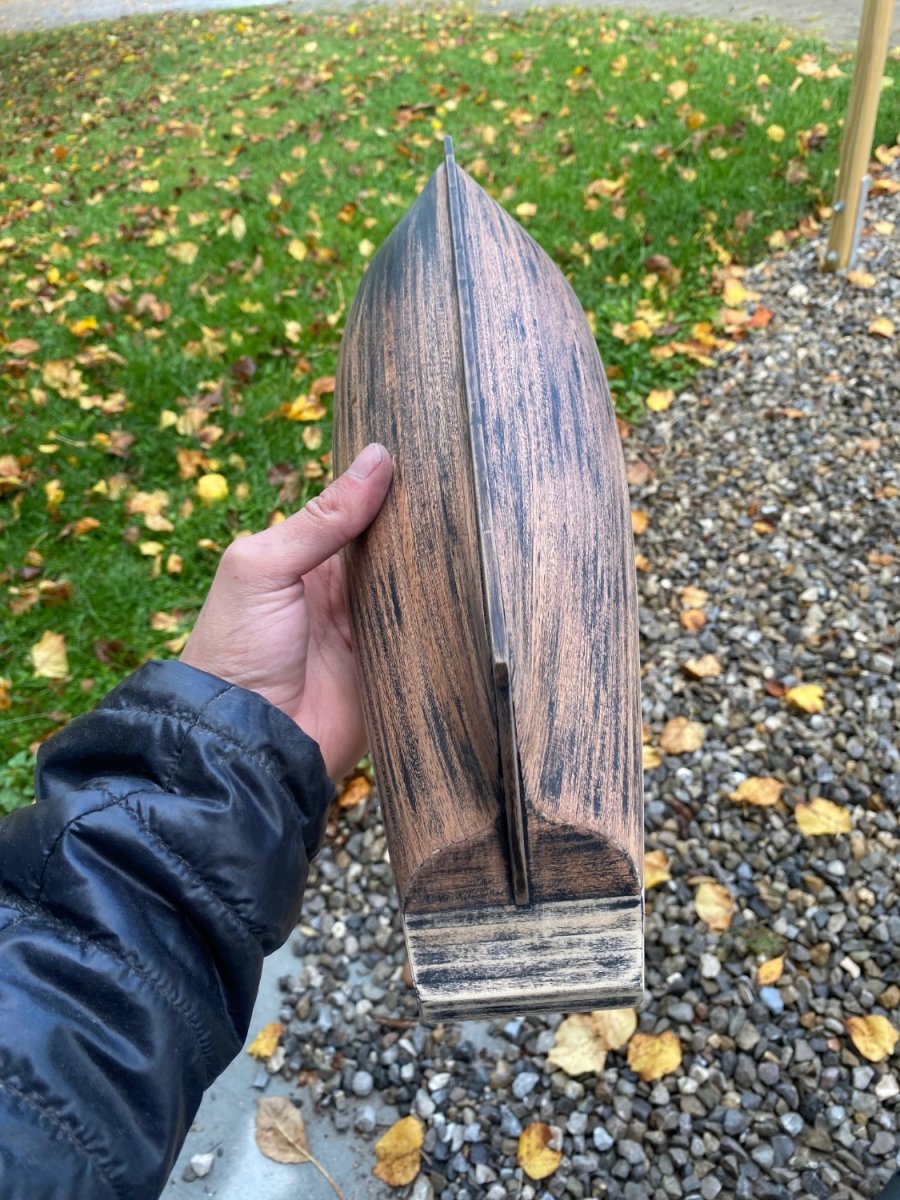
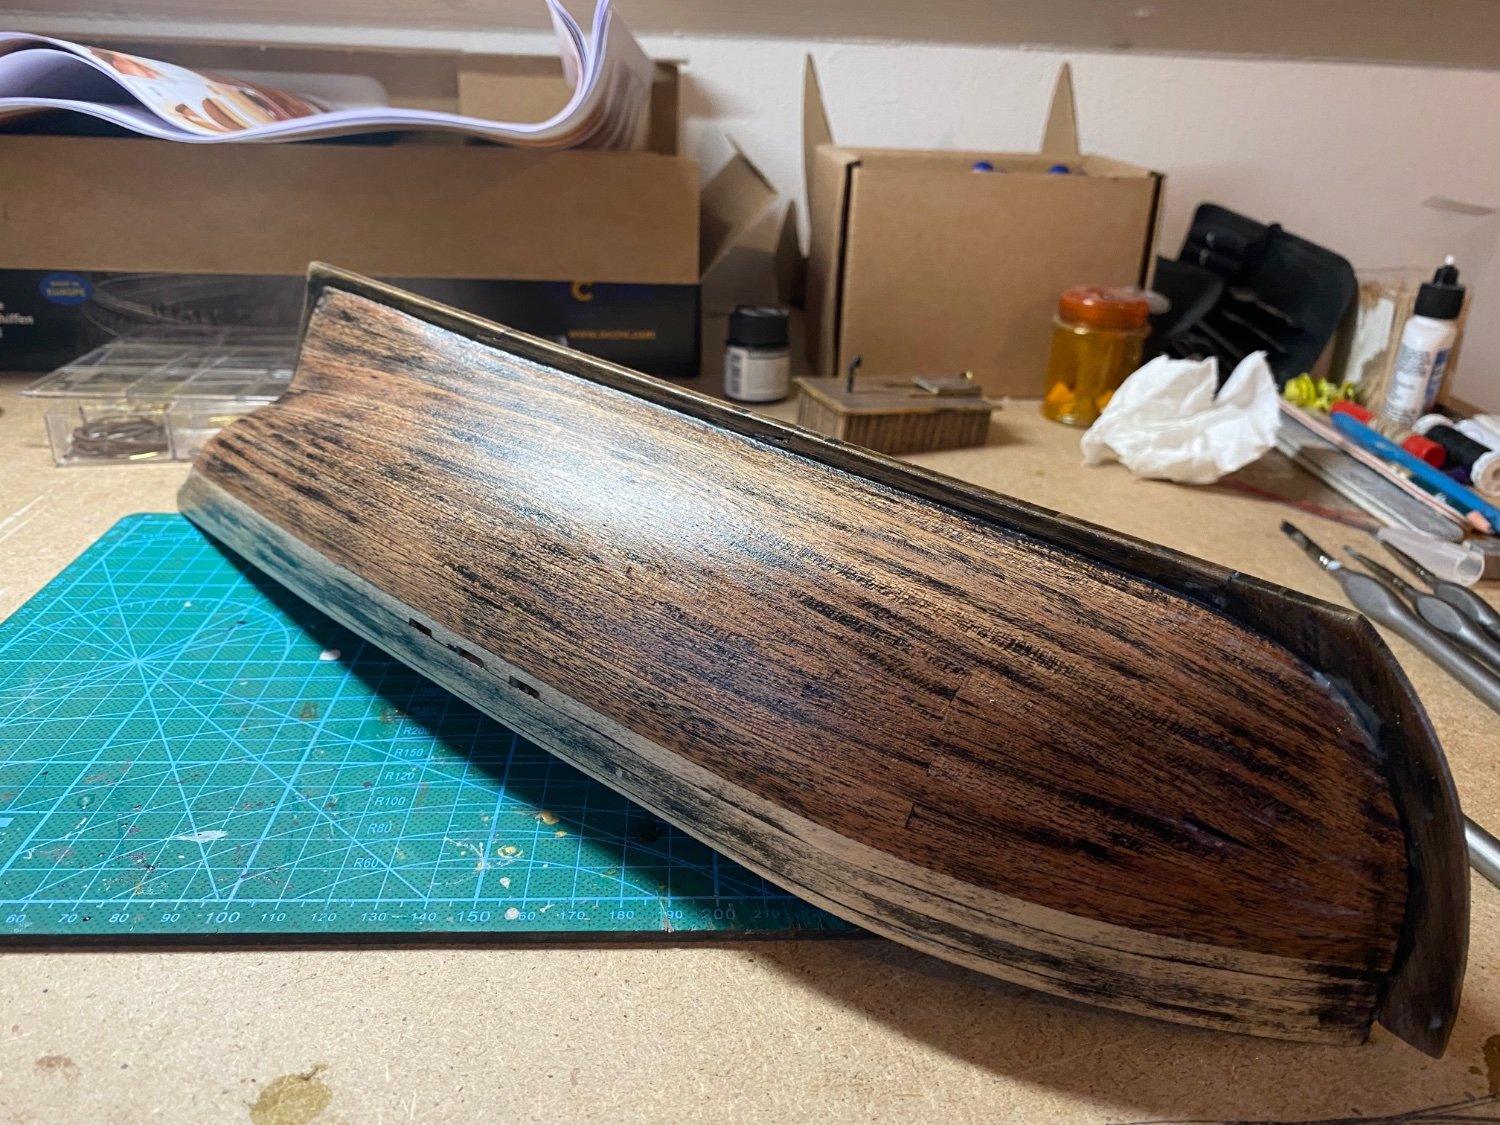
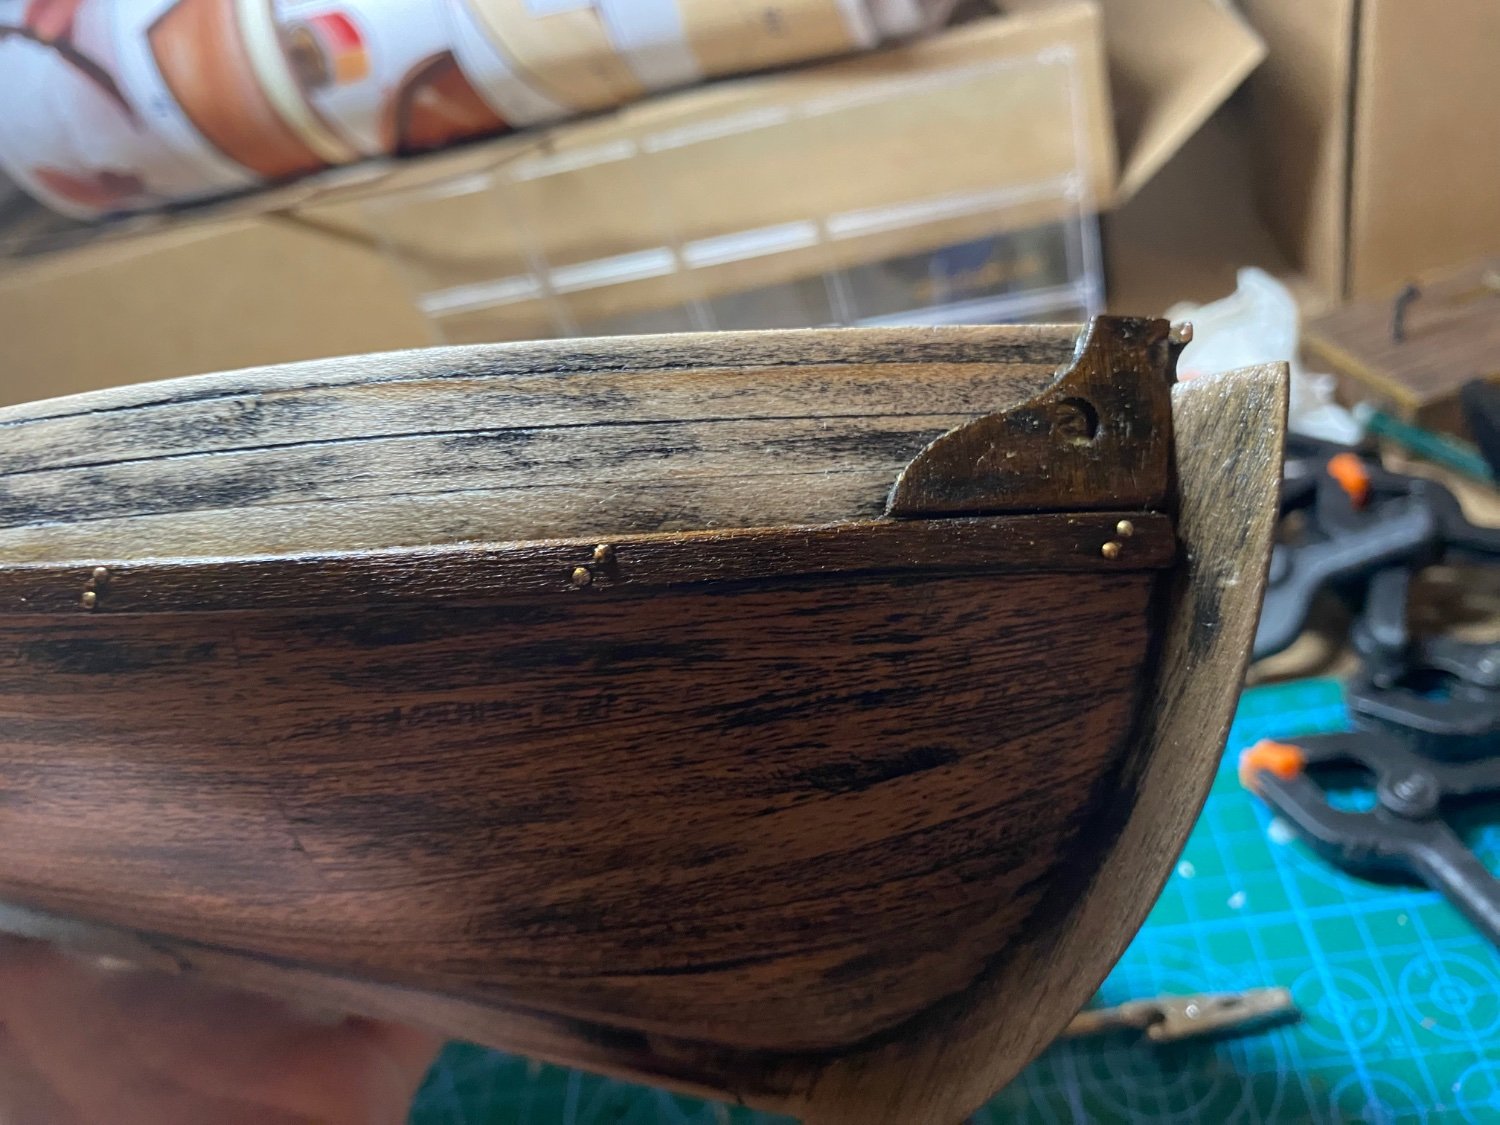
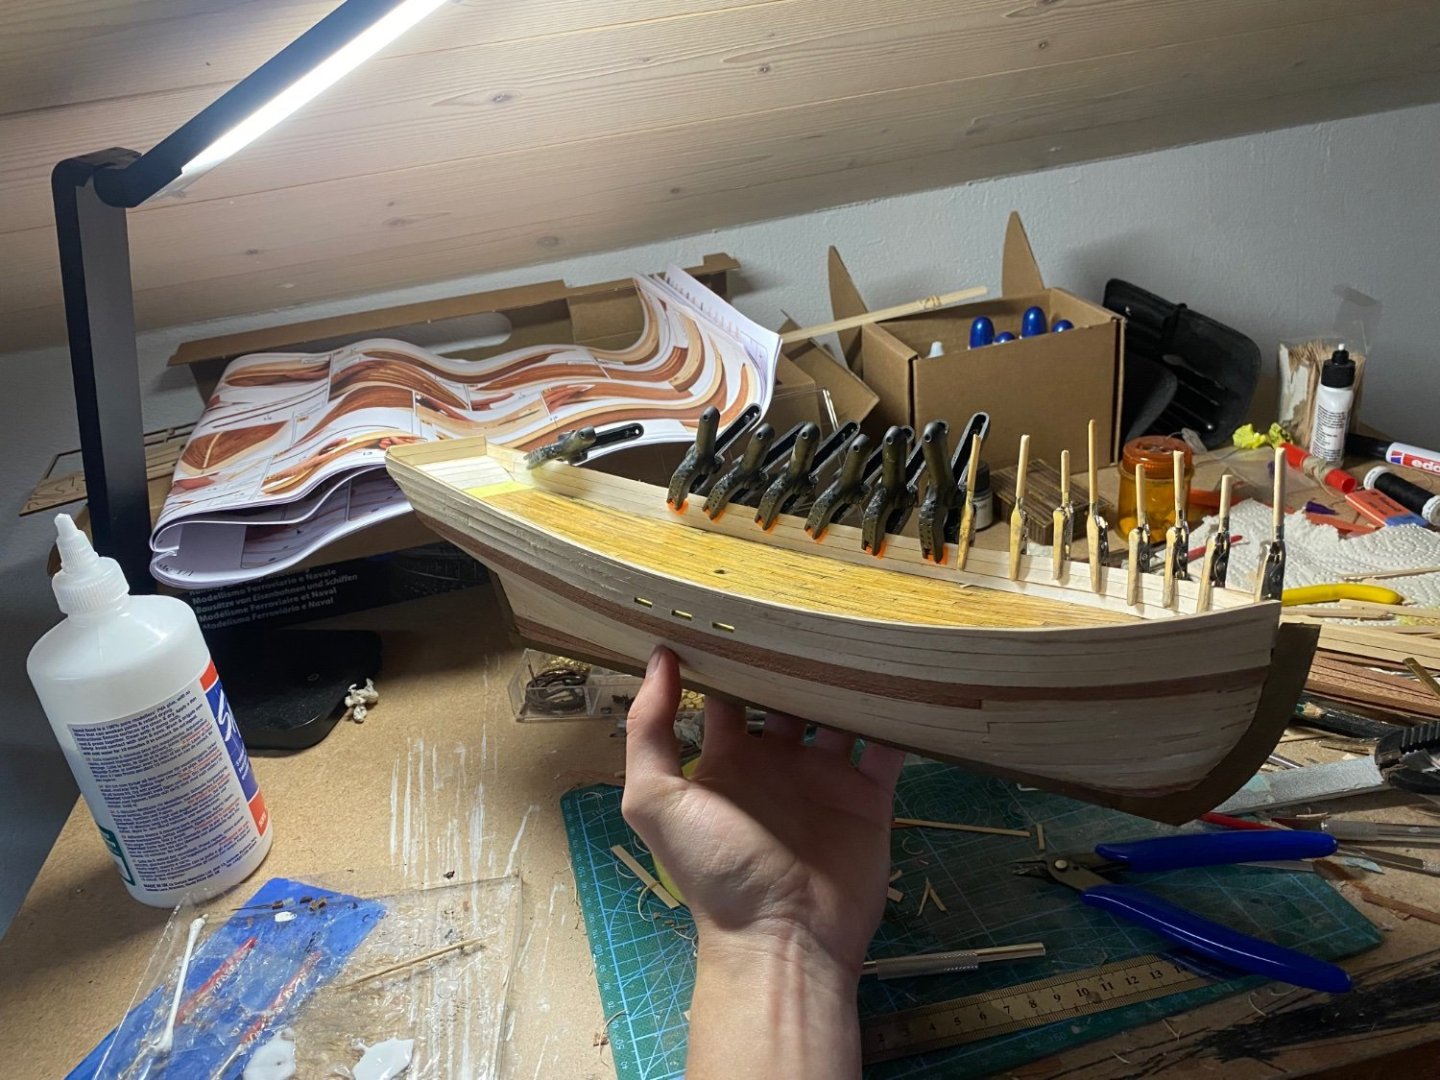
A lot of progress today. Finished planking the second layer: sanded it down a first time and then painted everything black now sanding it down again until it looks good clear coat now on top also working on the inner bulwarks whalers are added, decided to add some golden nails to them thats it for now


-
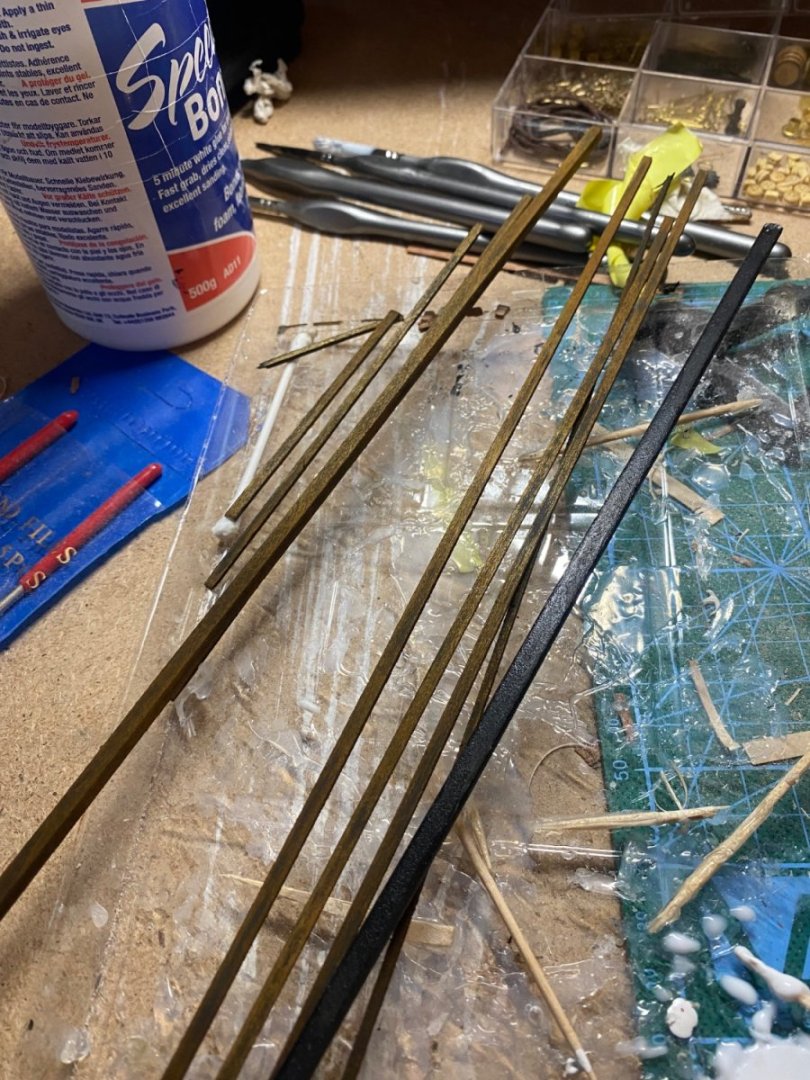
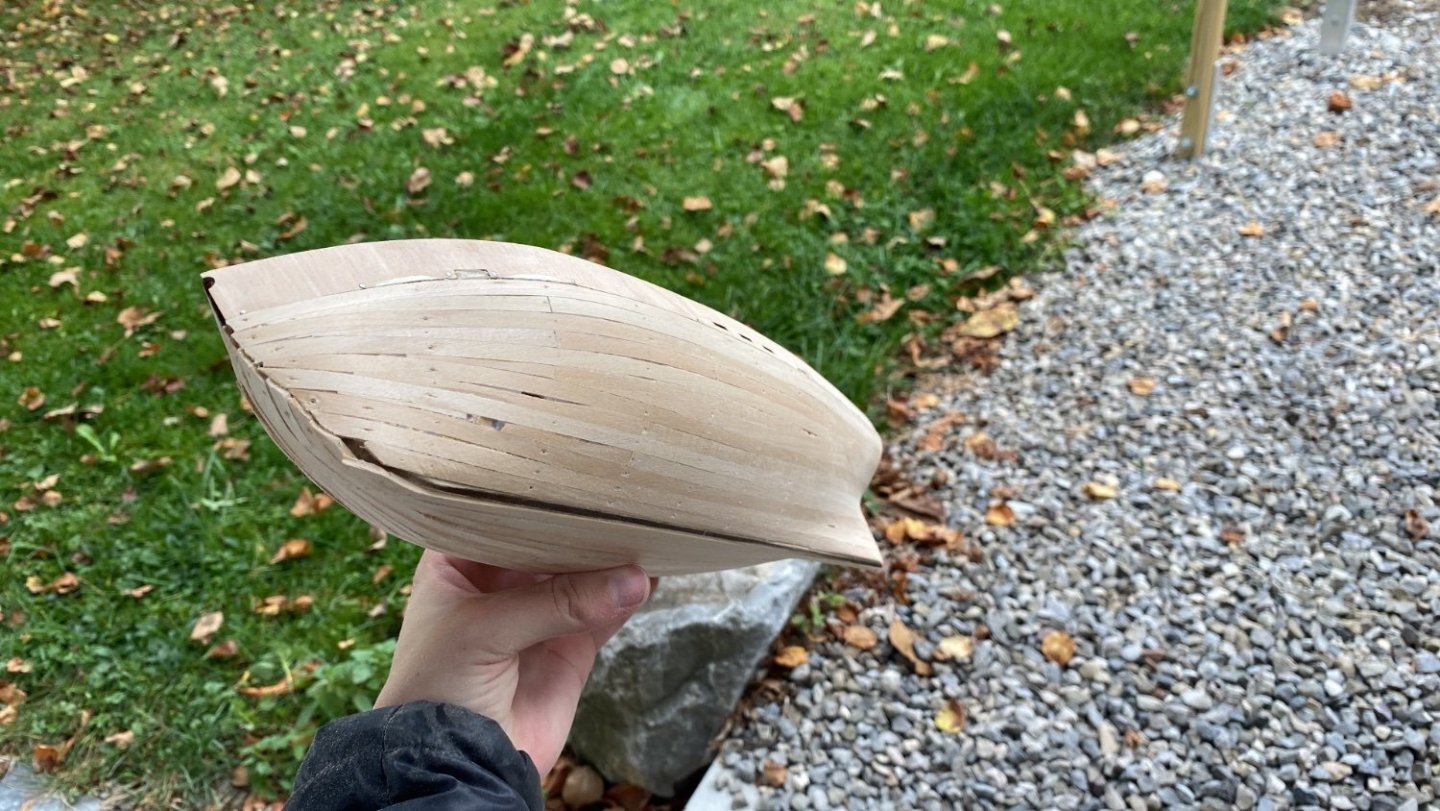
First side is planked with the second layer and sanded down: Weathering every part takes a lot of time:

-
Thanks a lot!
-
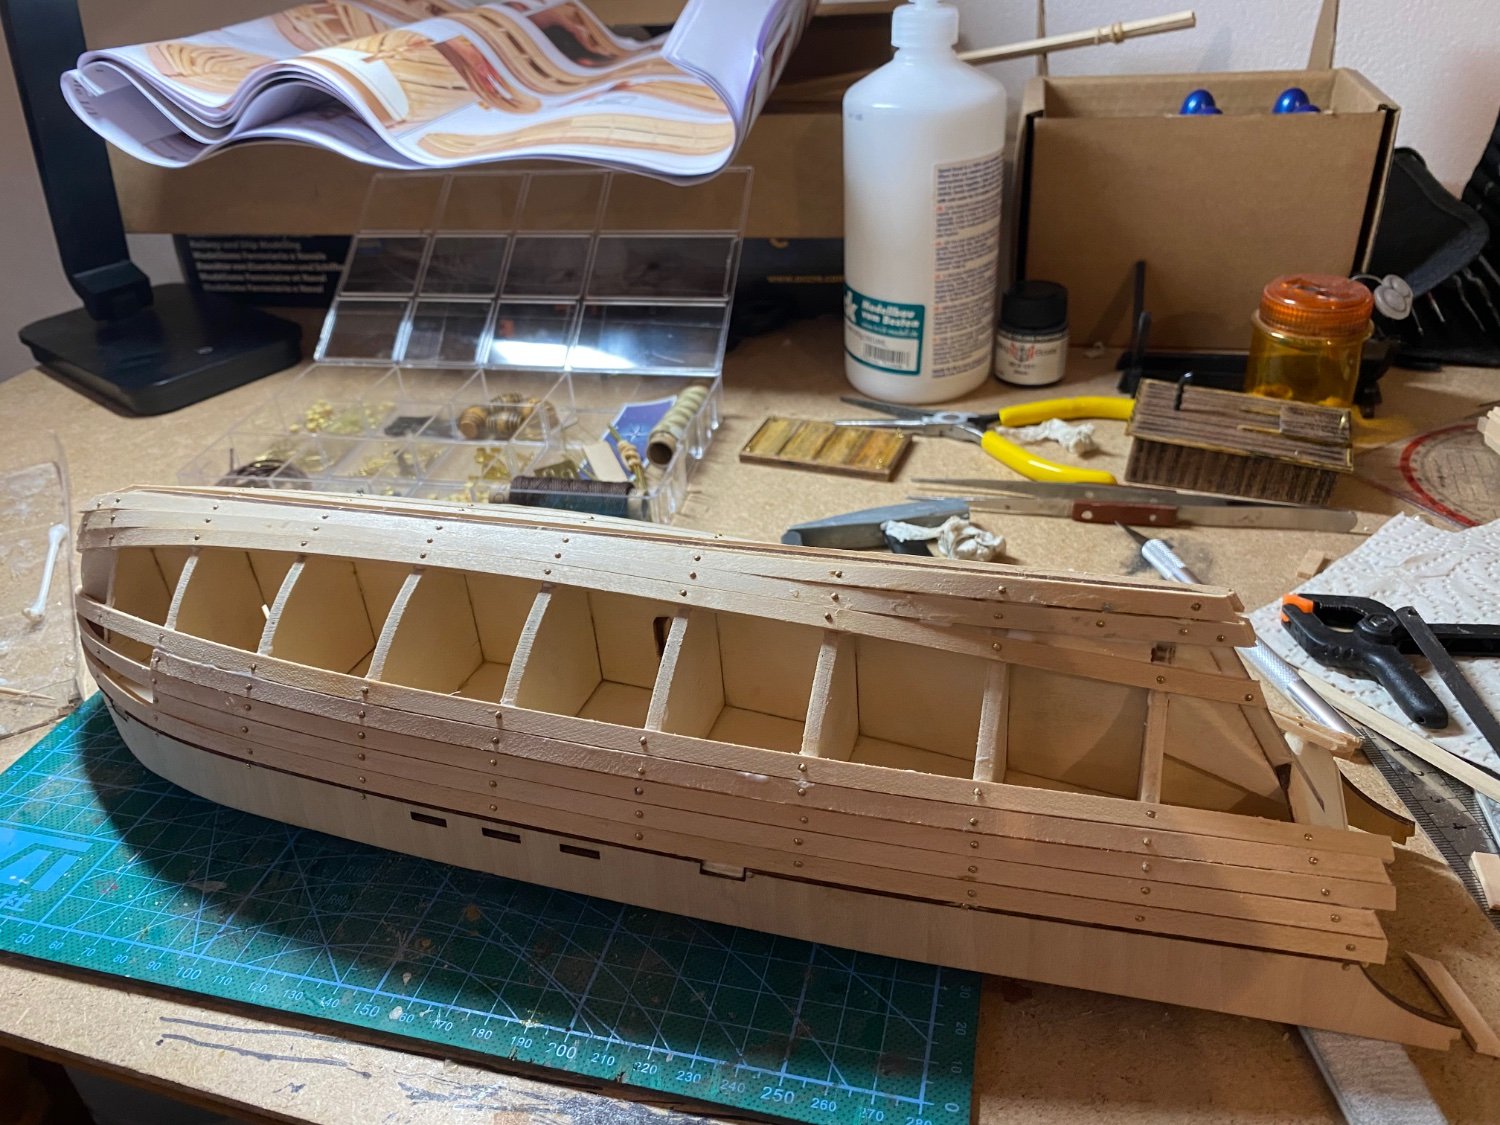
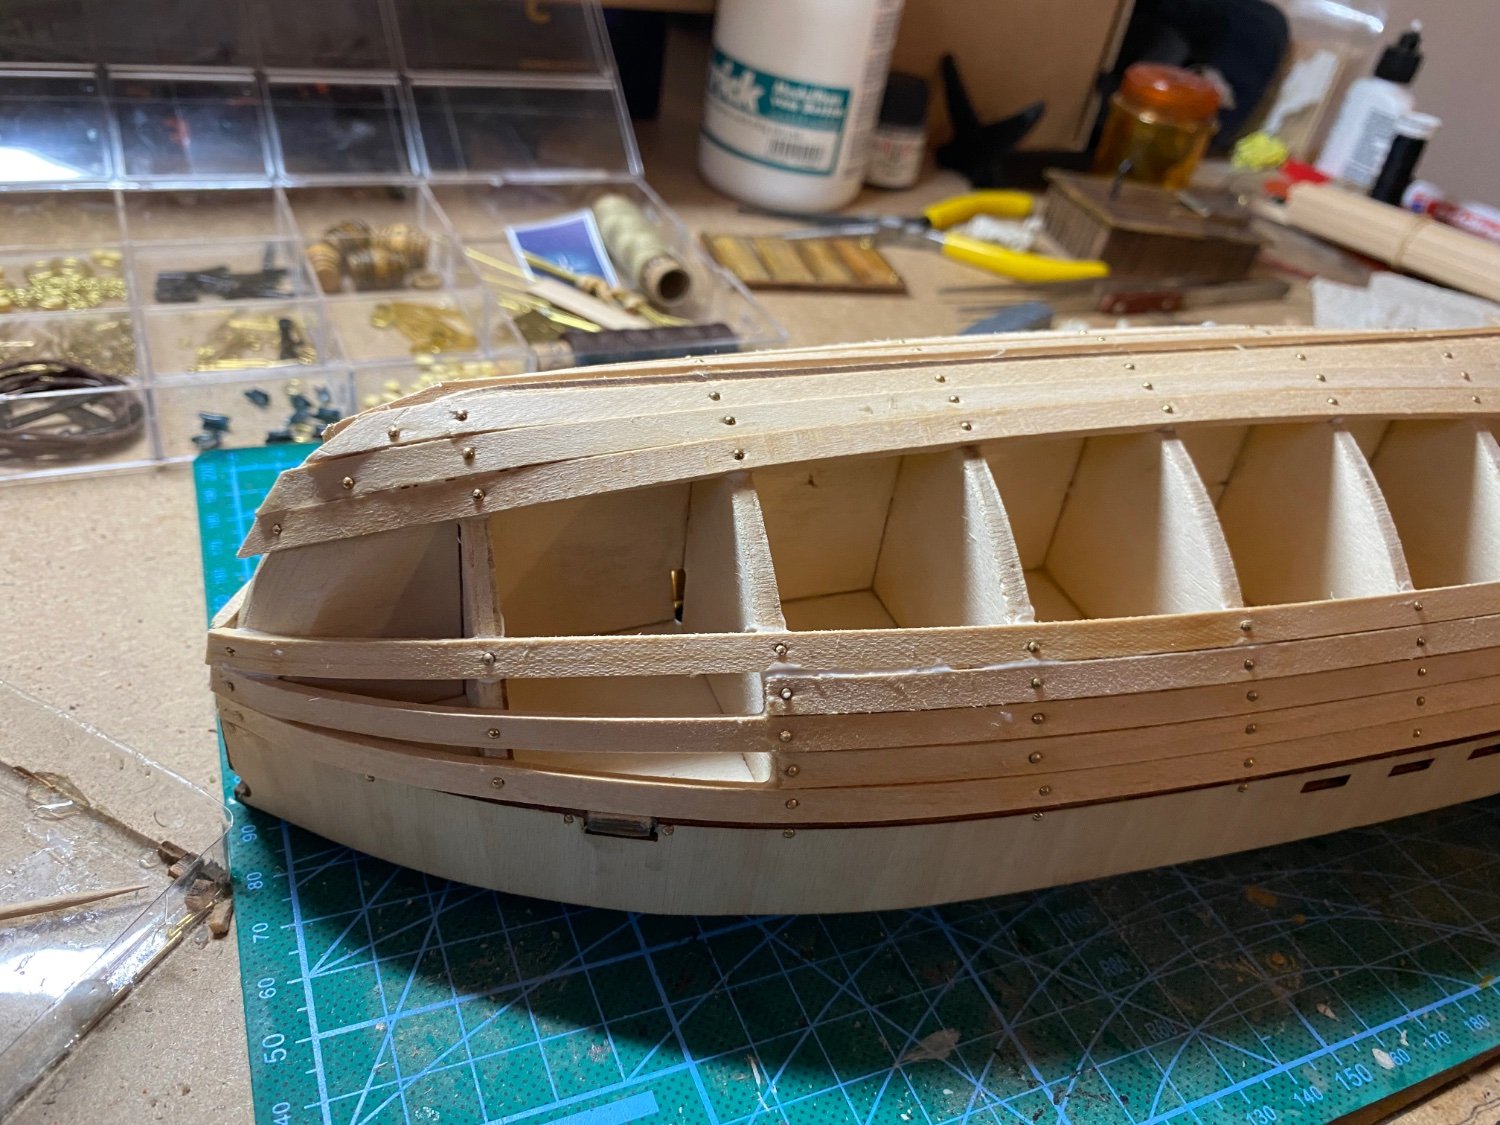
Started with the second planking: also I decided to plank the inner sides of the rear and bulwarks and weather them with white look. Normally in the instrucions the inner sides are not planked… the Final Look:
-
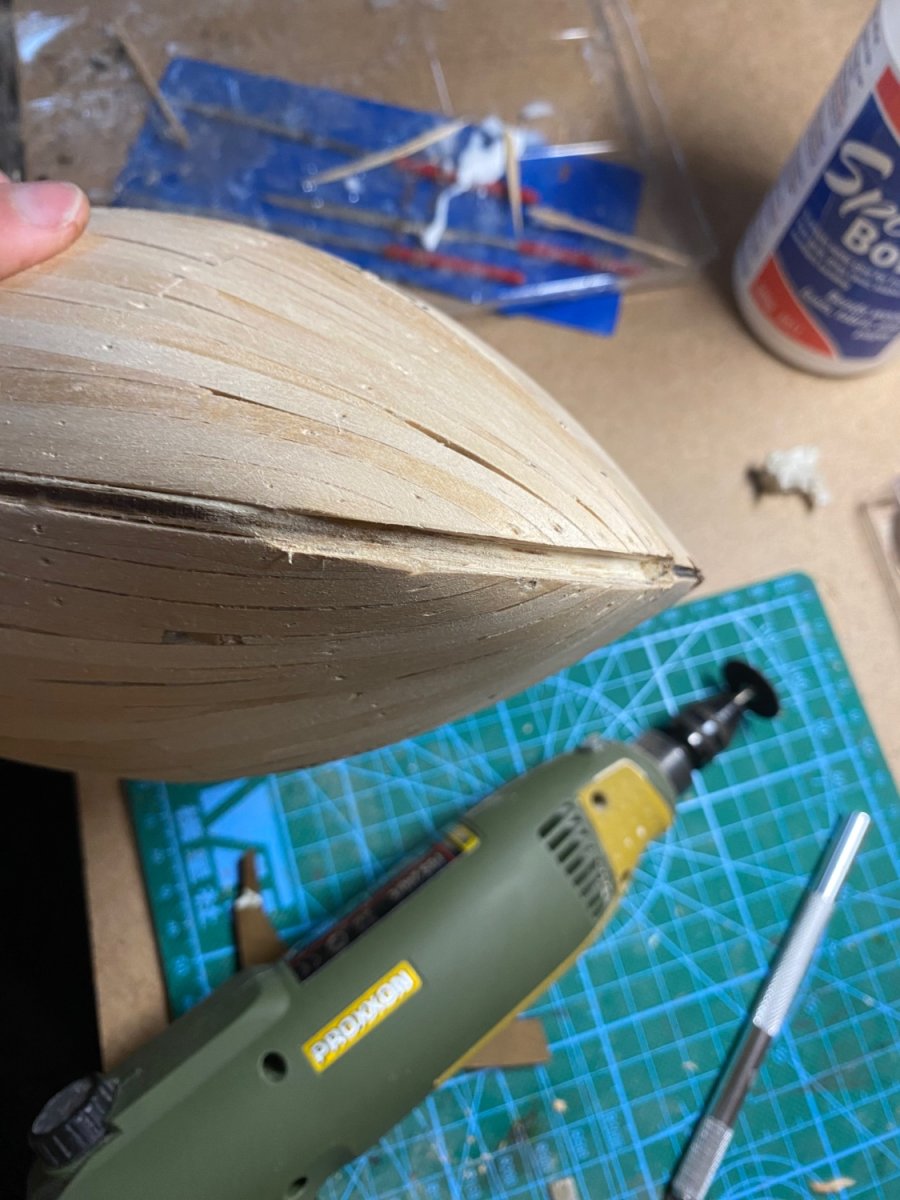
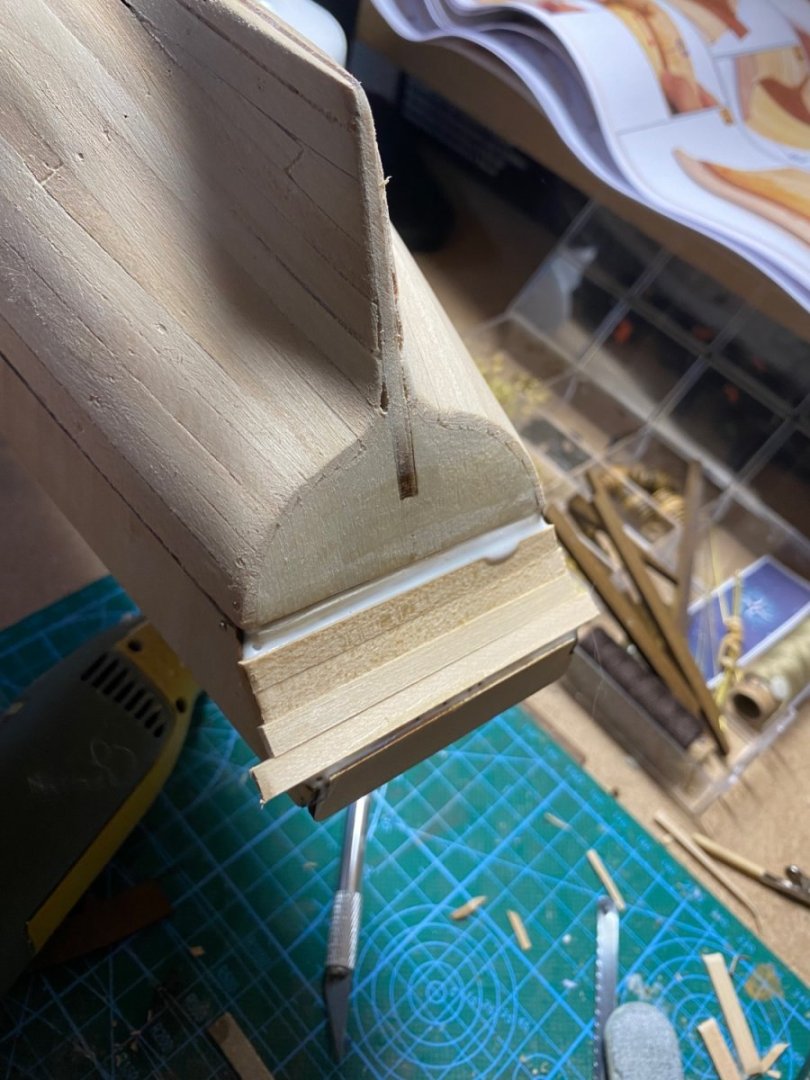
Dry fitted the kiel and broke it…damn. But nothing a little bit of glue cant fix. used my dremel to flex the kiel zone which worked well. also the rear is planked now


-
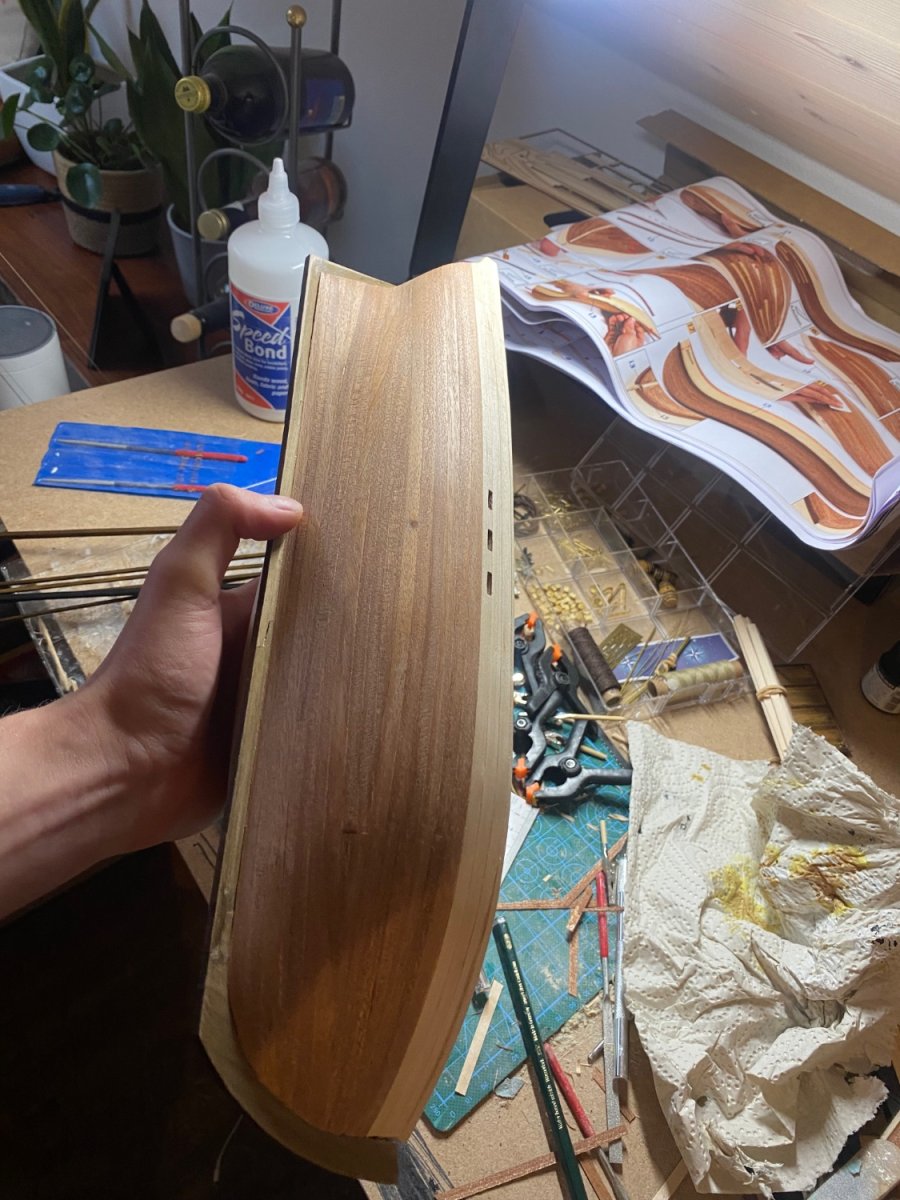
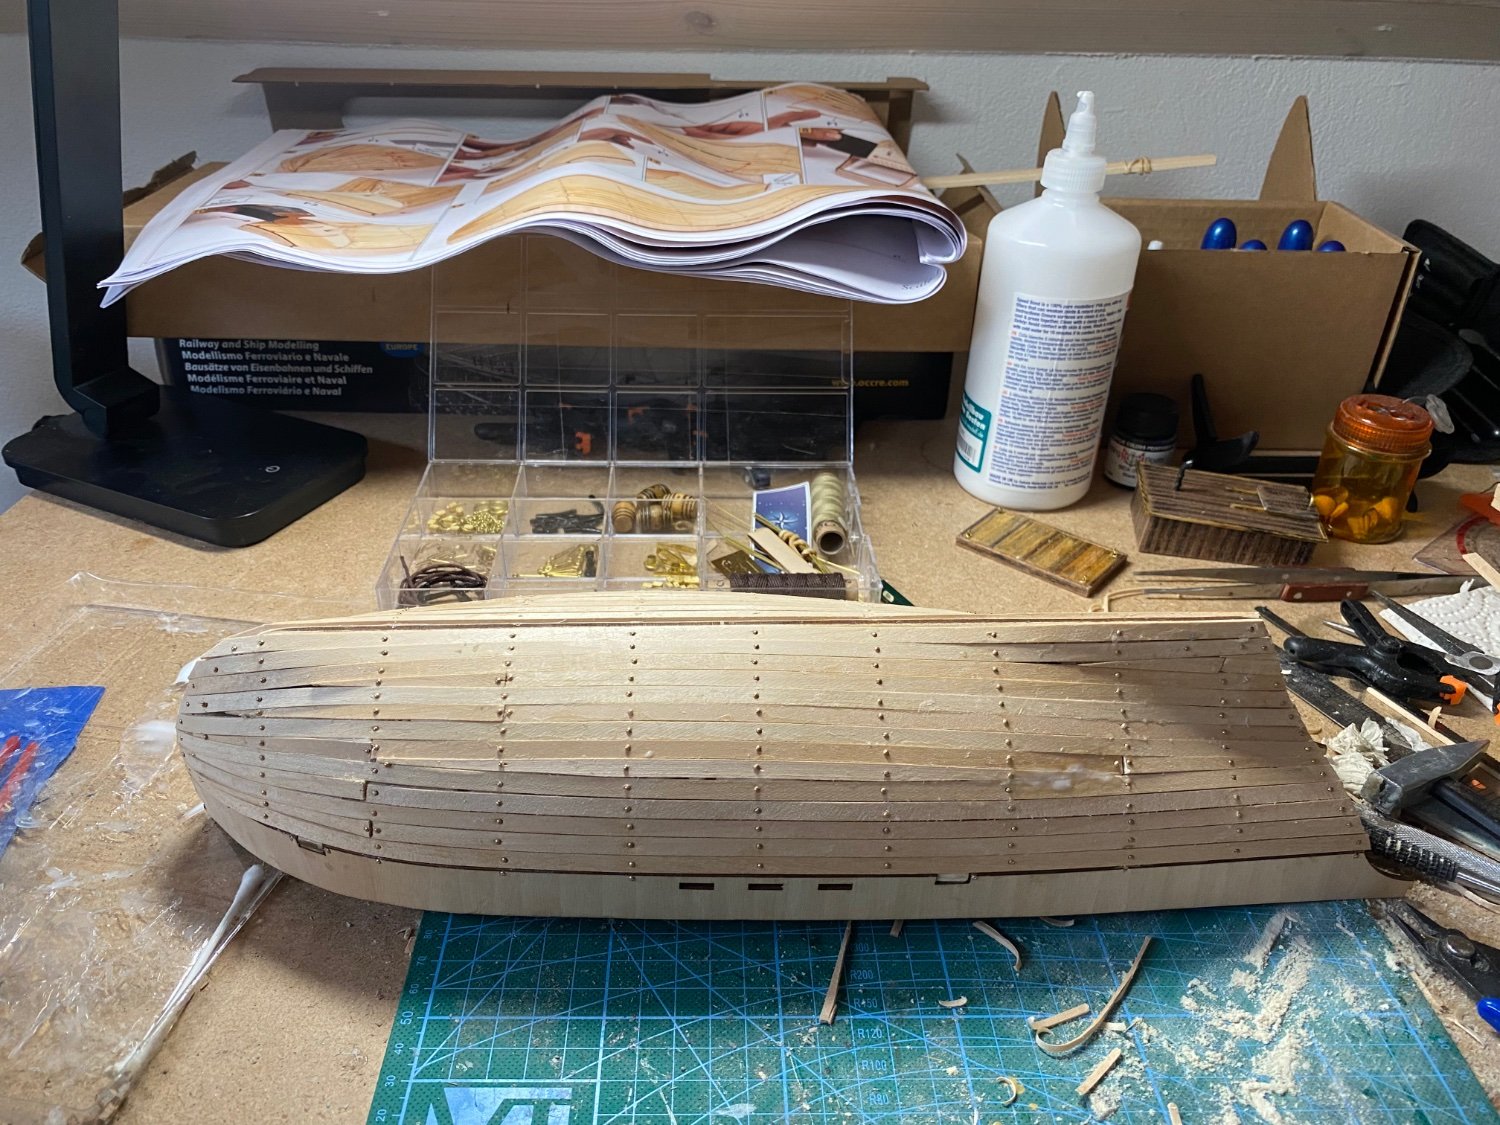
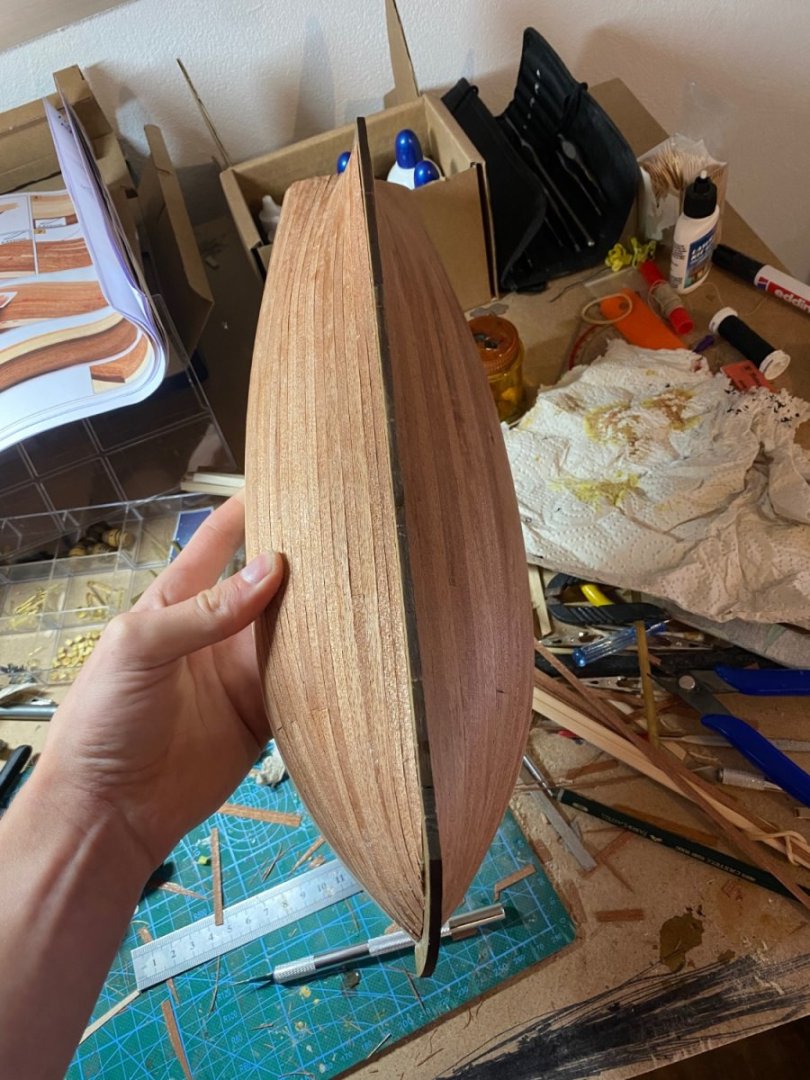
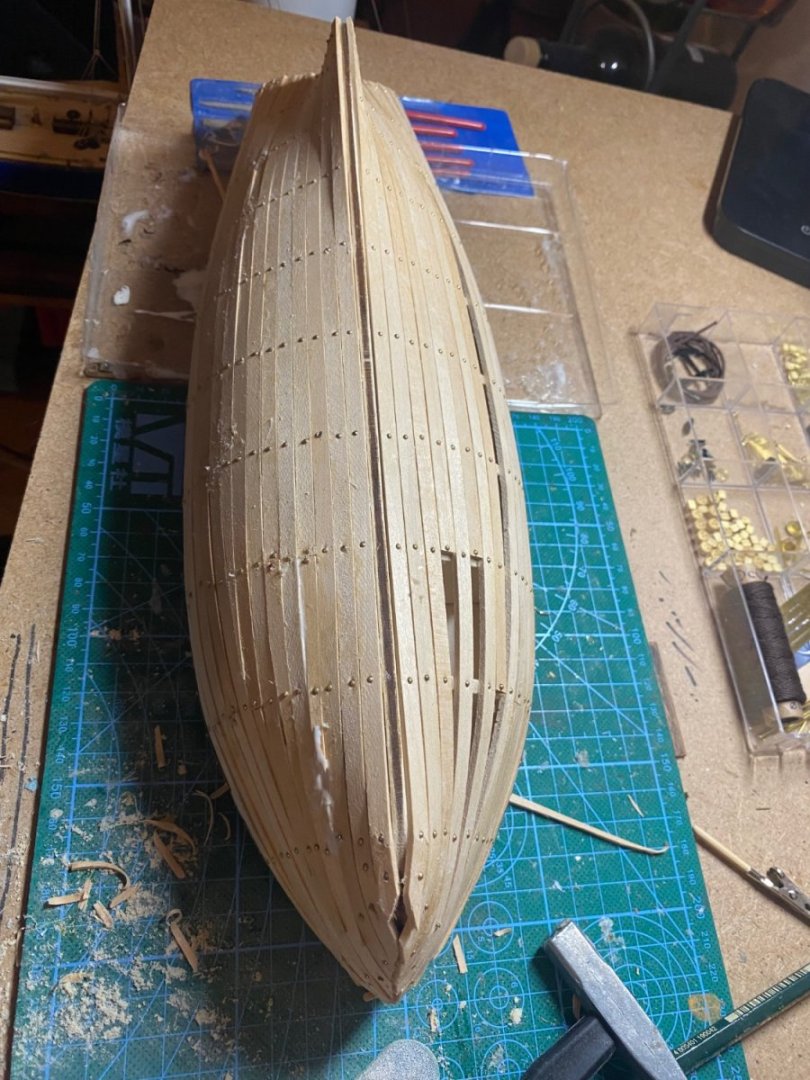
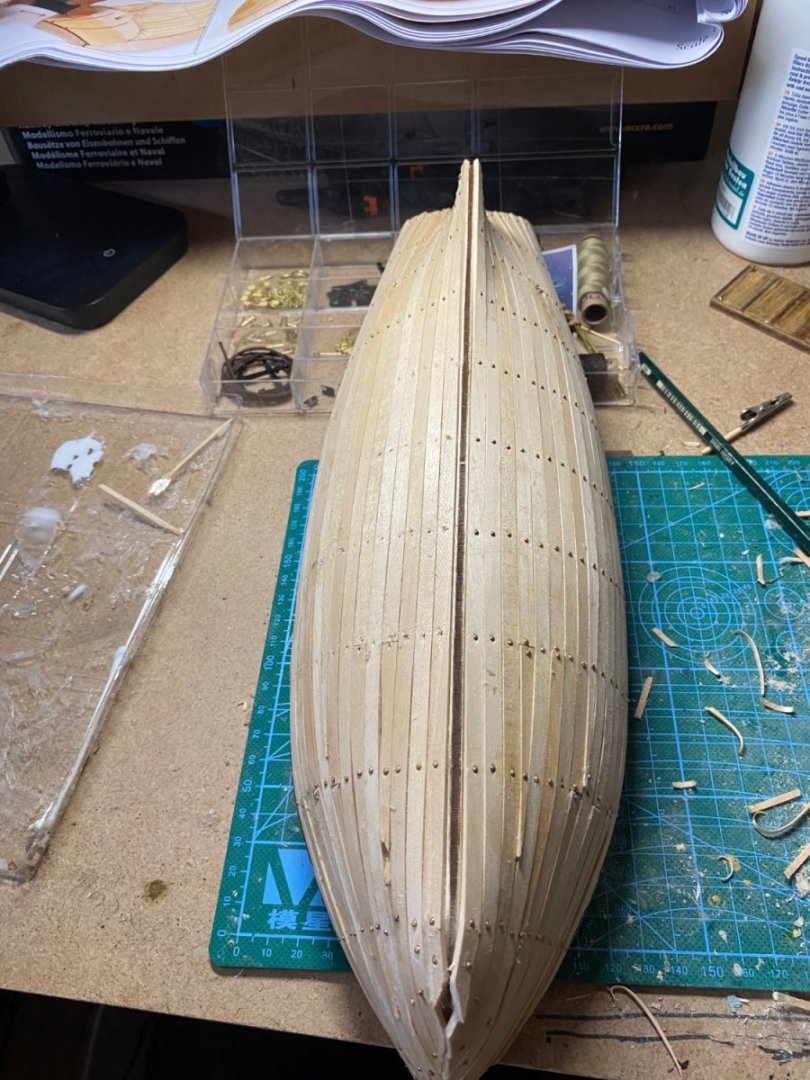
Planking the first layer is finished now without any problems: Did some sanding on it but will need some more with 80 and 120… think I will not need any filler at all.

-
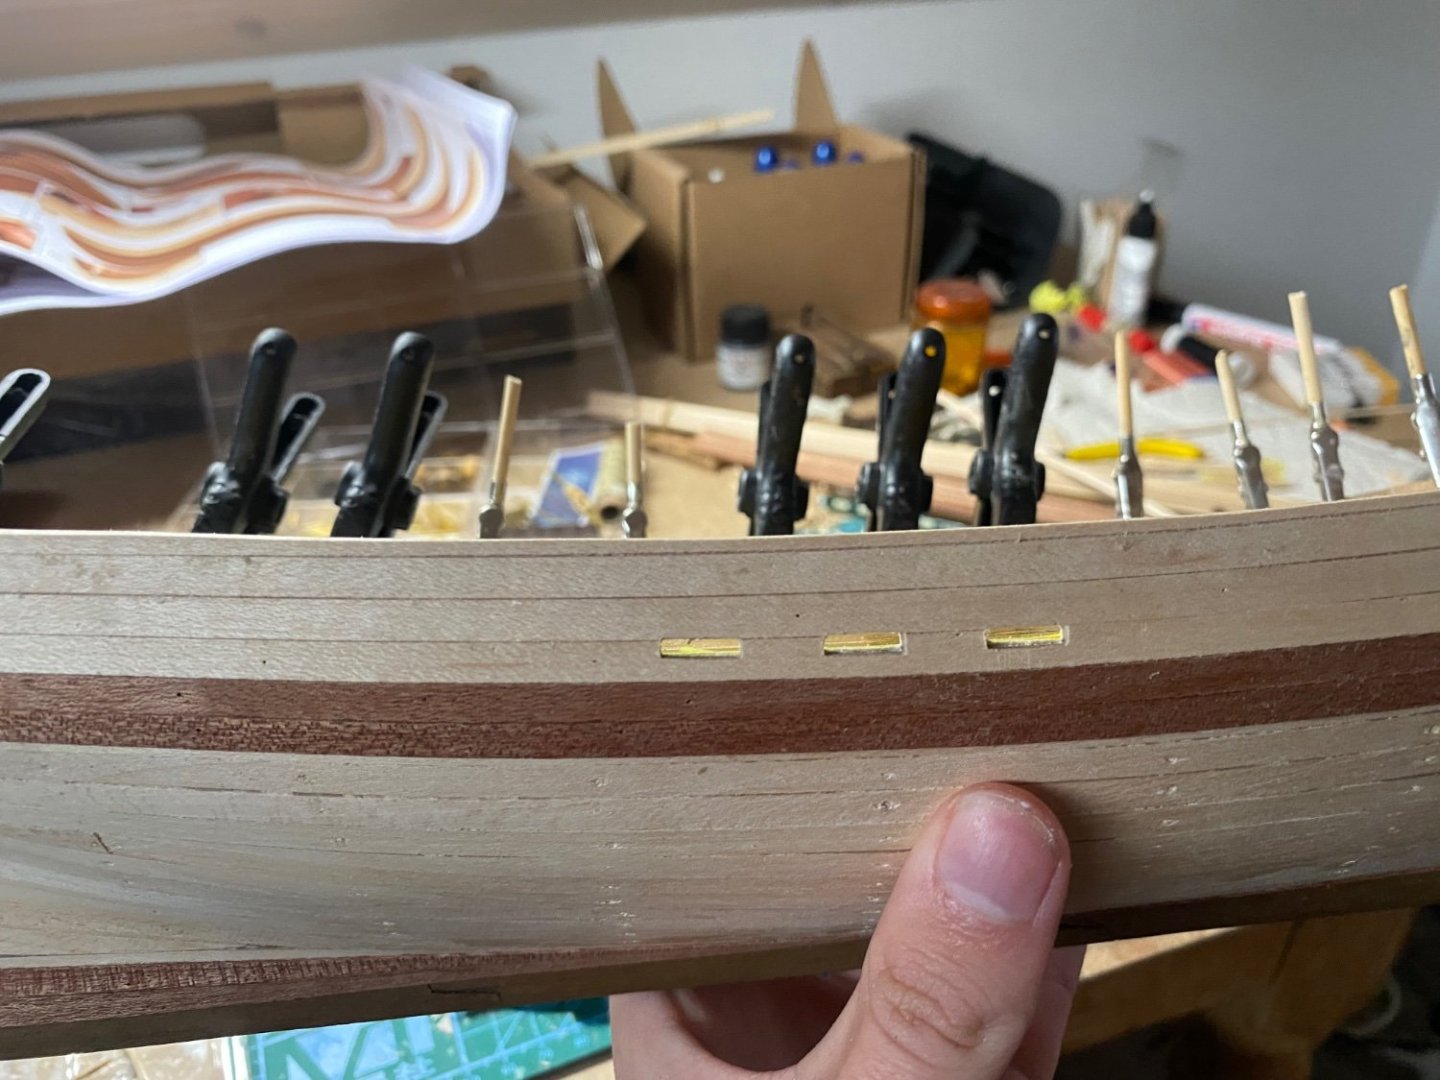
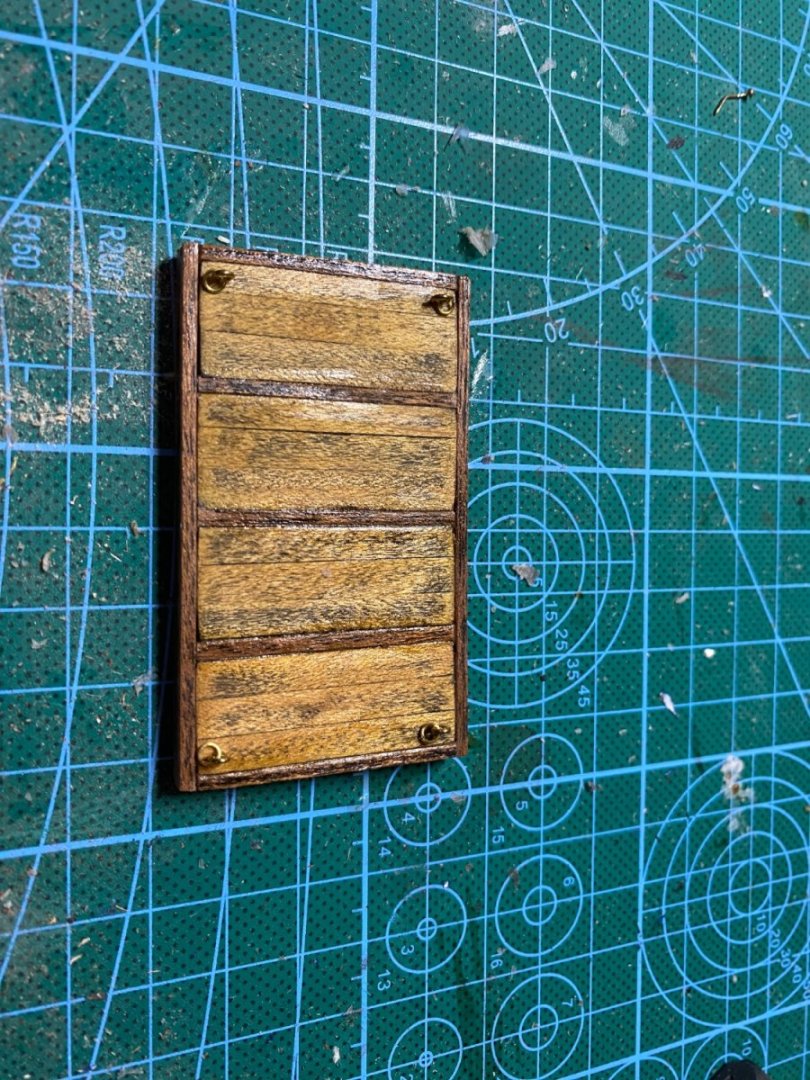
Bulwalks are added with the help of some nails started planking with the pattern which is shown in the instructions And this weathered decking part is finished:


-
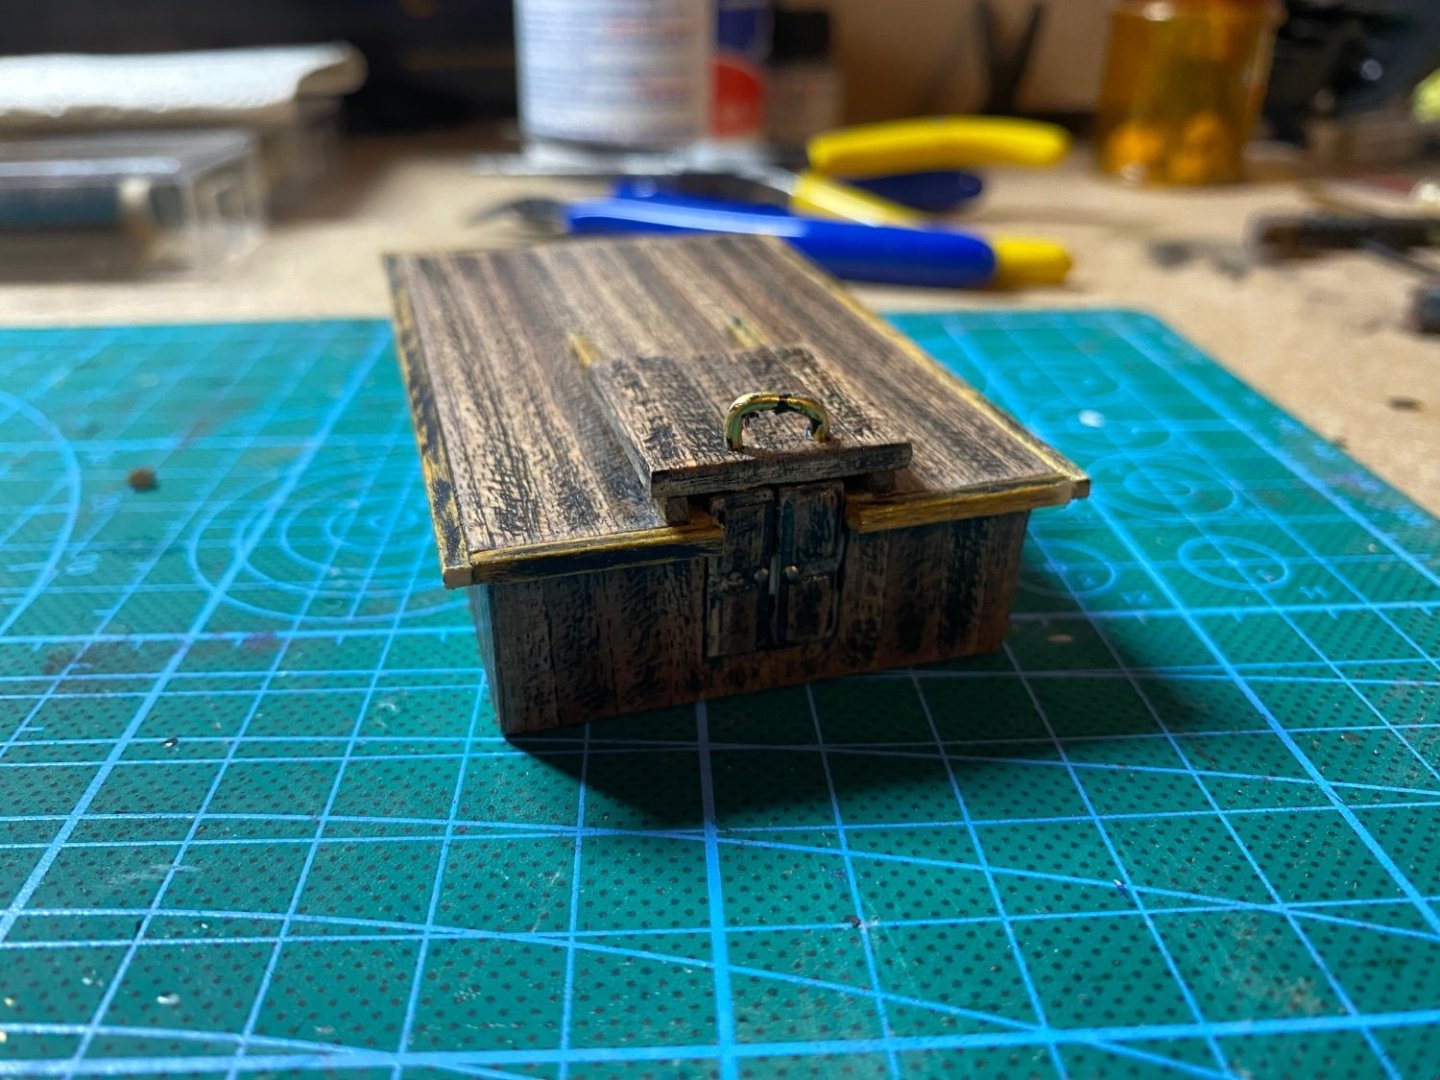
Sanded down the kiel and frames: and parallel did some work on the main cabin and more decking stuff: