MORE HANDBOOKS ARE ON THEIR WAY! We will let you know when they get here.
×

Boerscht
-
Posts
102 -
Joined
-
Last visited
Content Type
Profiles
Forums
Gallery
Events
Everything posted by Boerscht
-
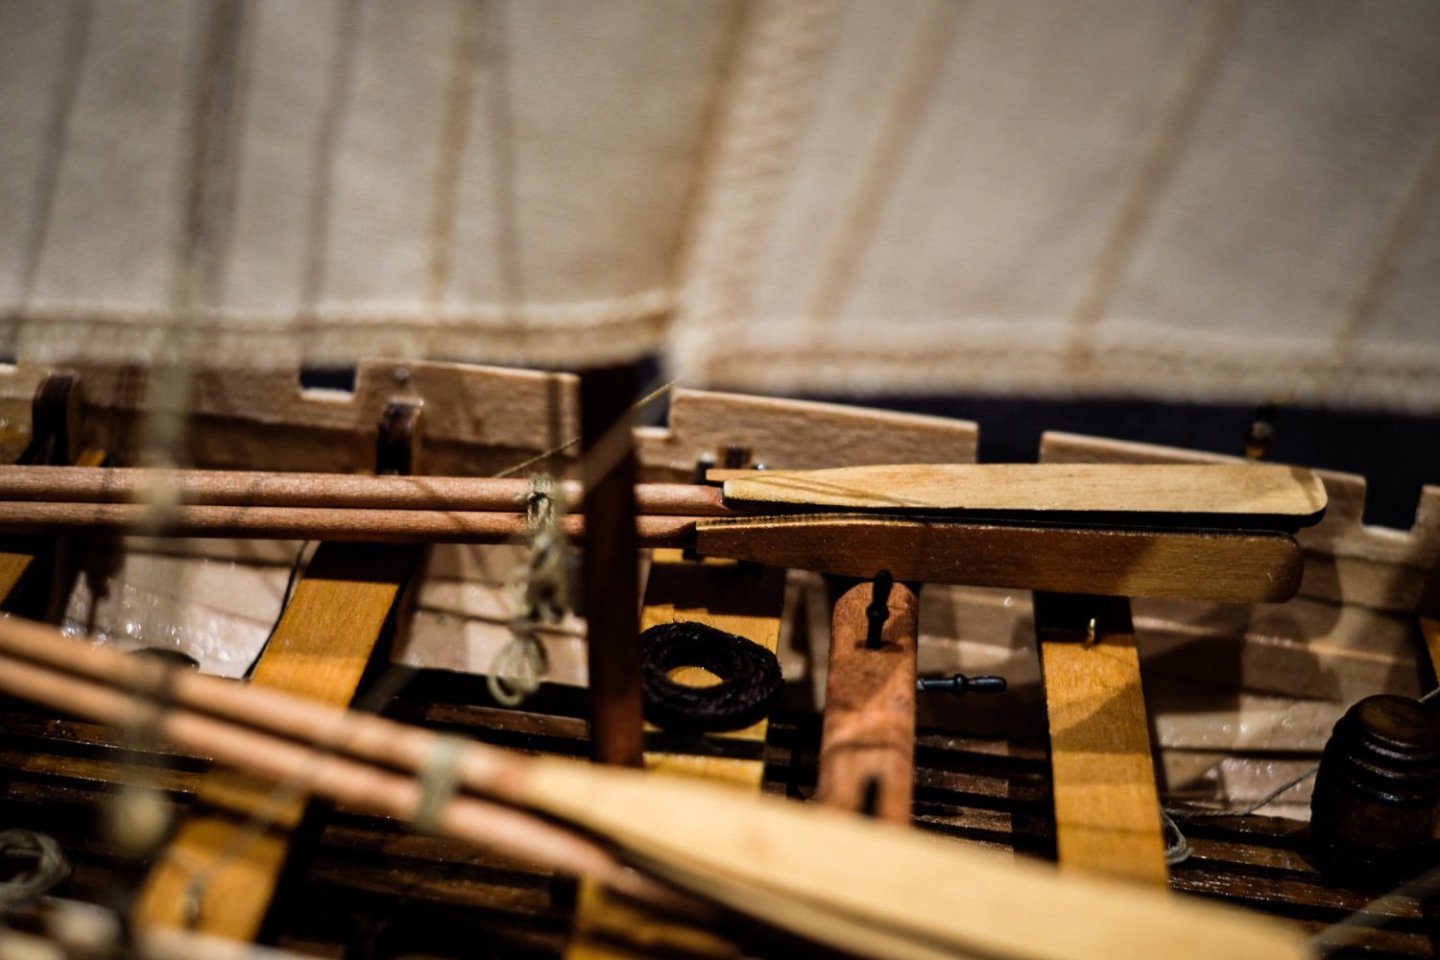
 Sanded down the kiel and frames: and parallel did some work on the main cabin and more decking stuff:
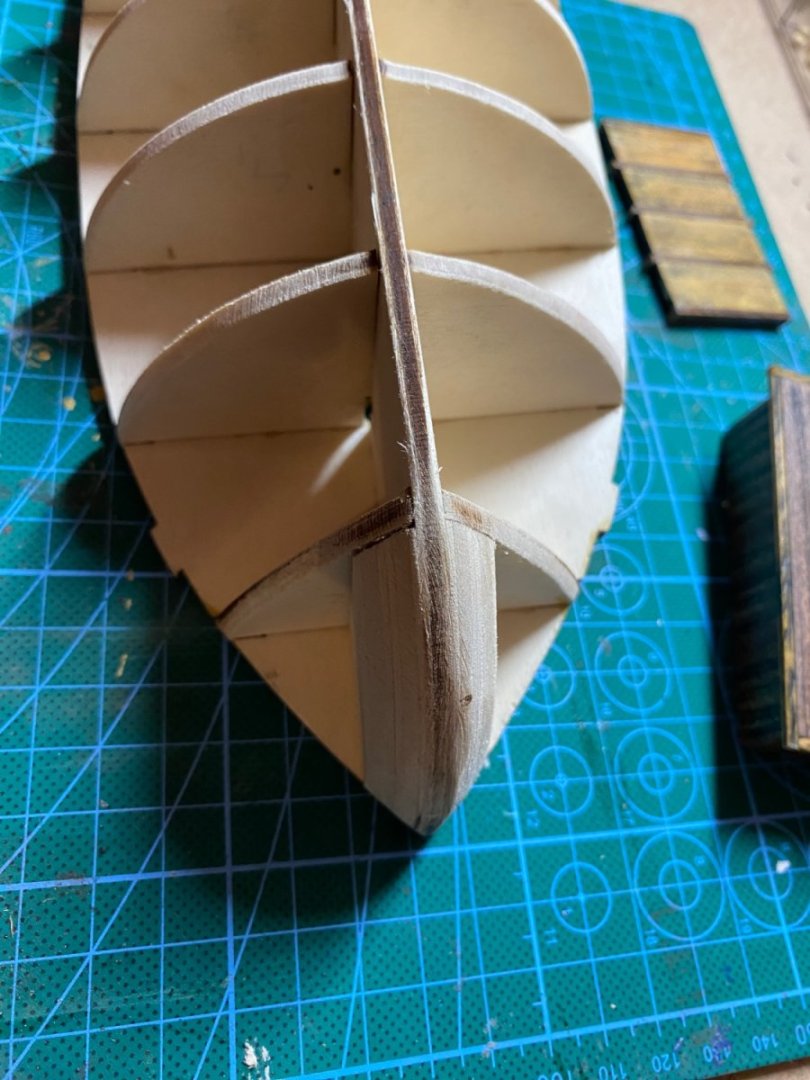


-
Thanks! Already read your build log. Nice job with your polaris, especially the sails. Thank you! You too.
-
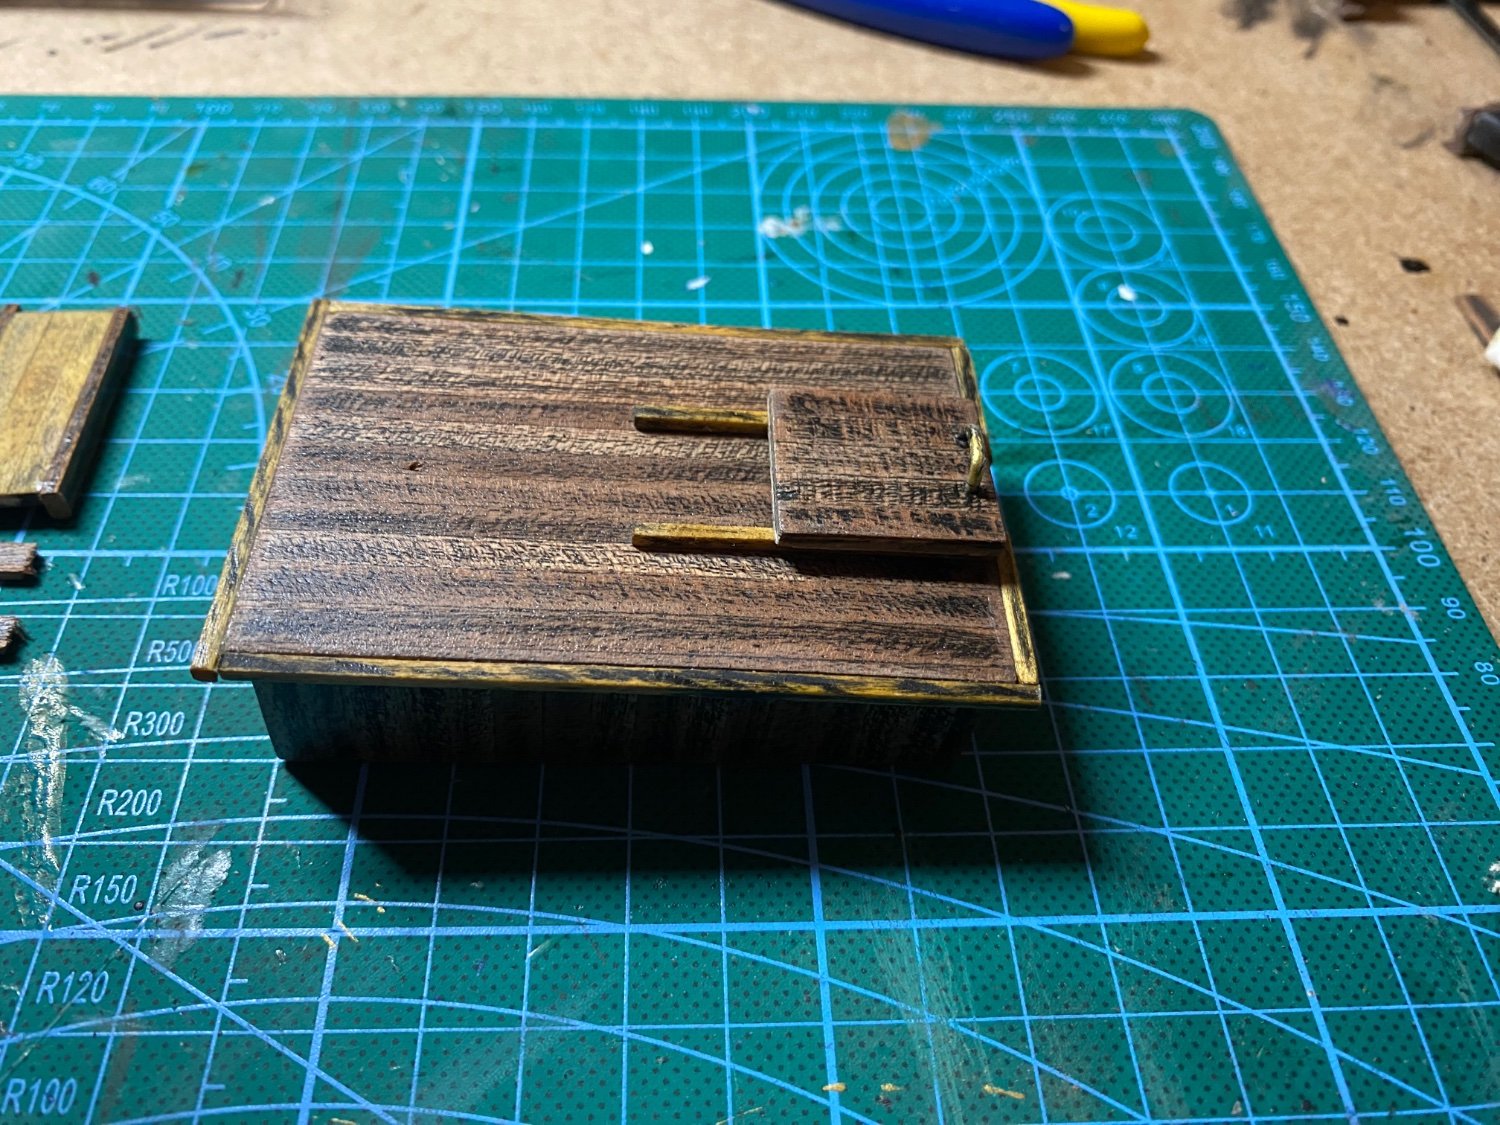
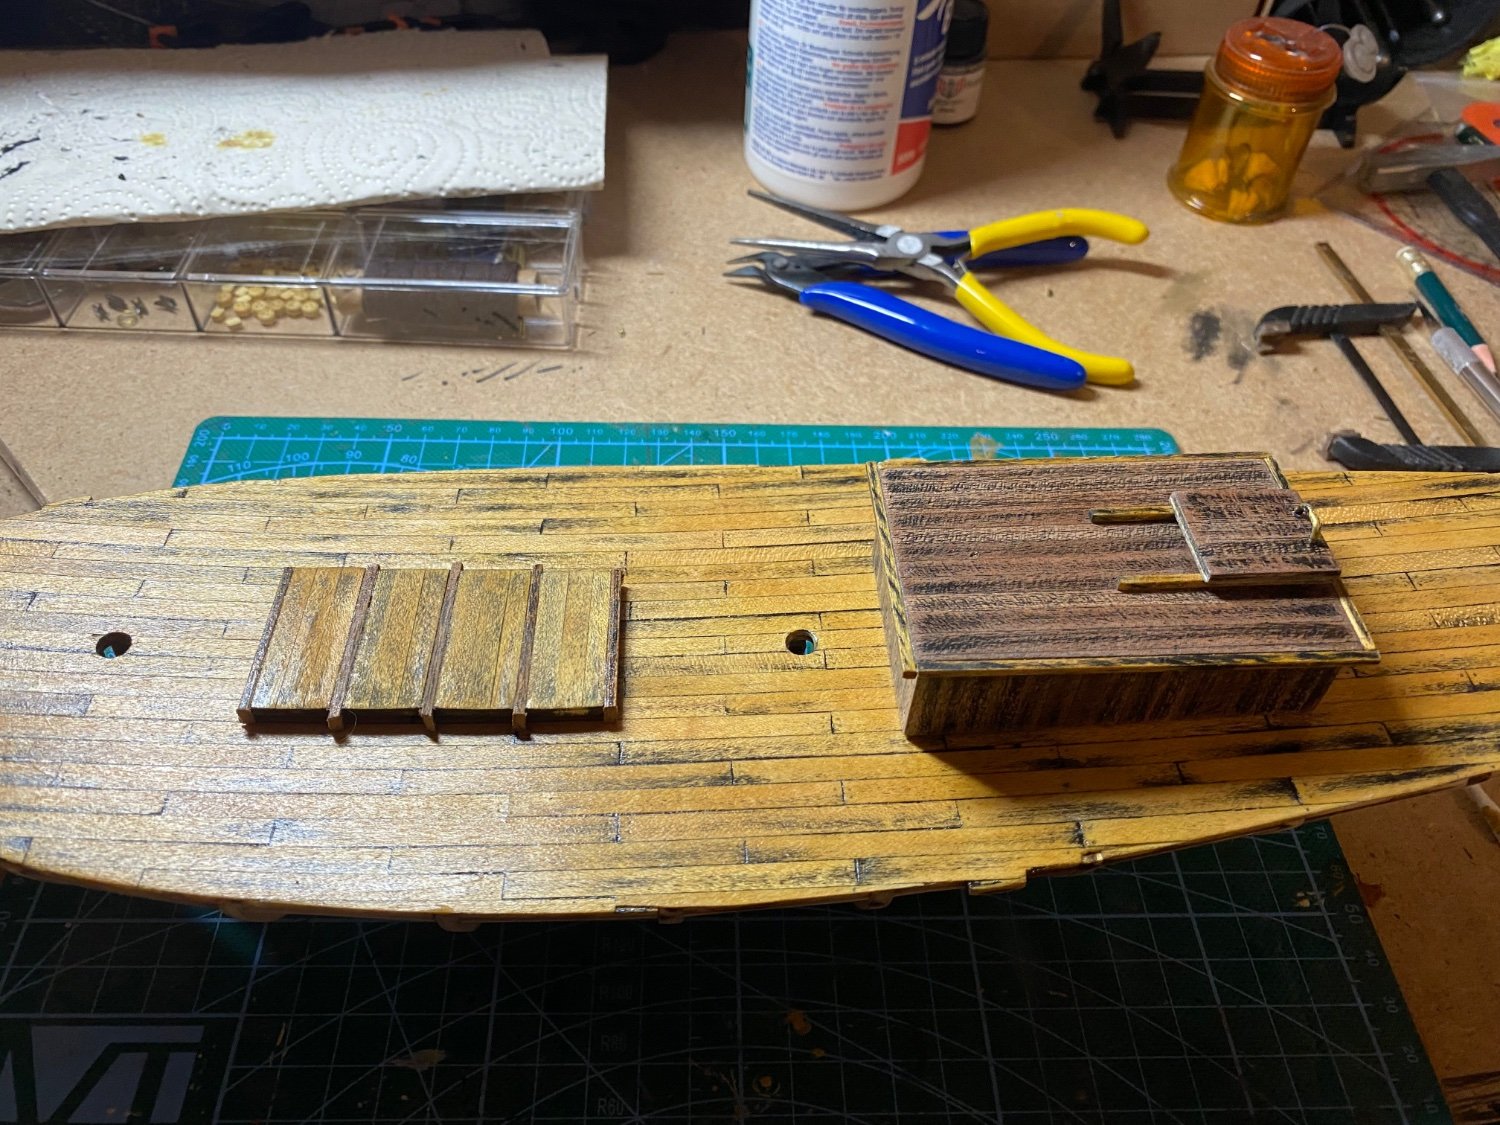
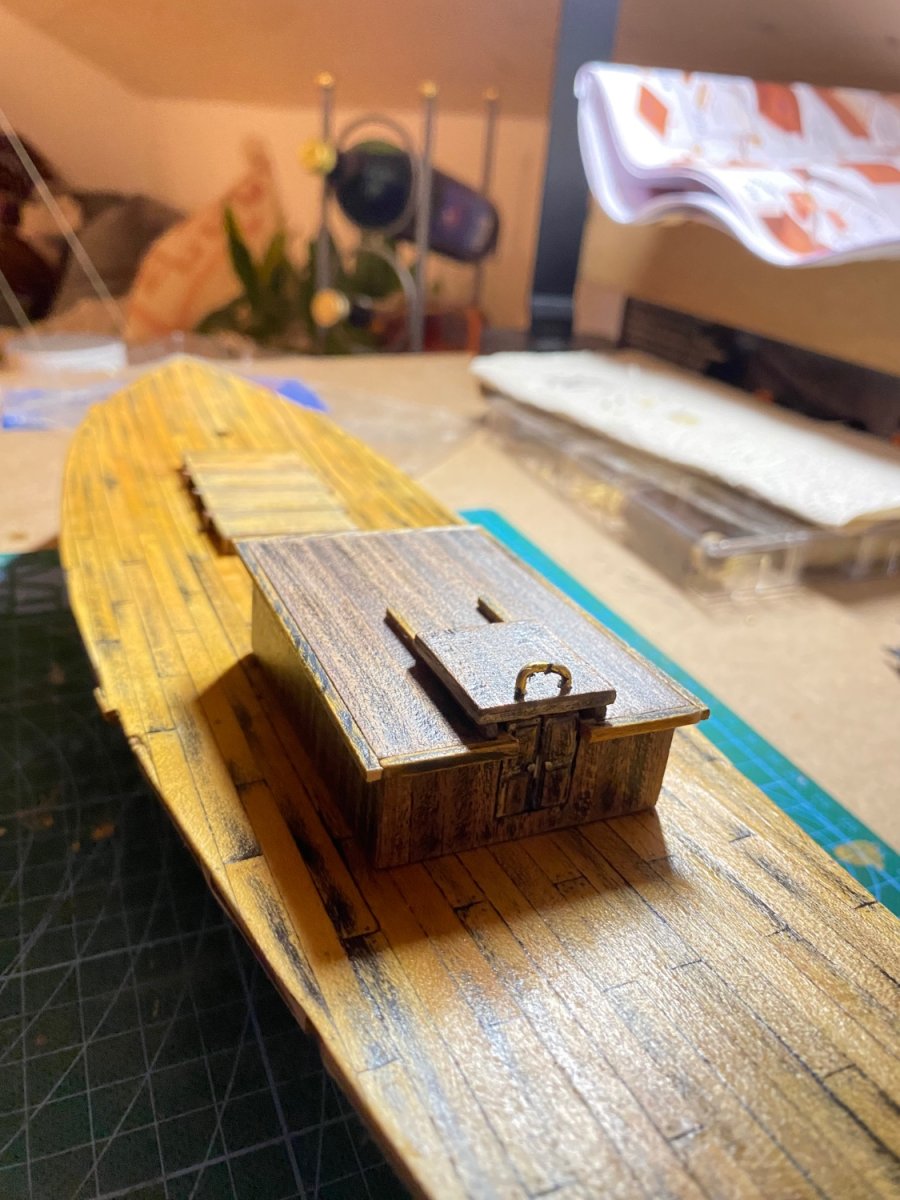
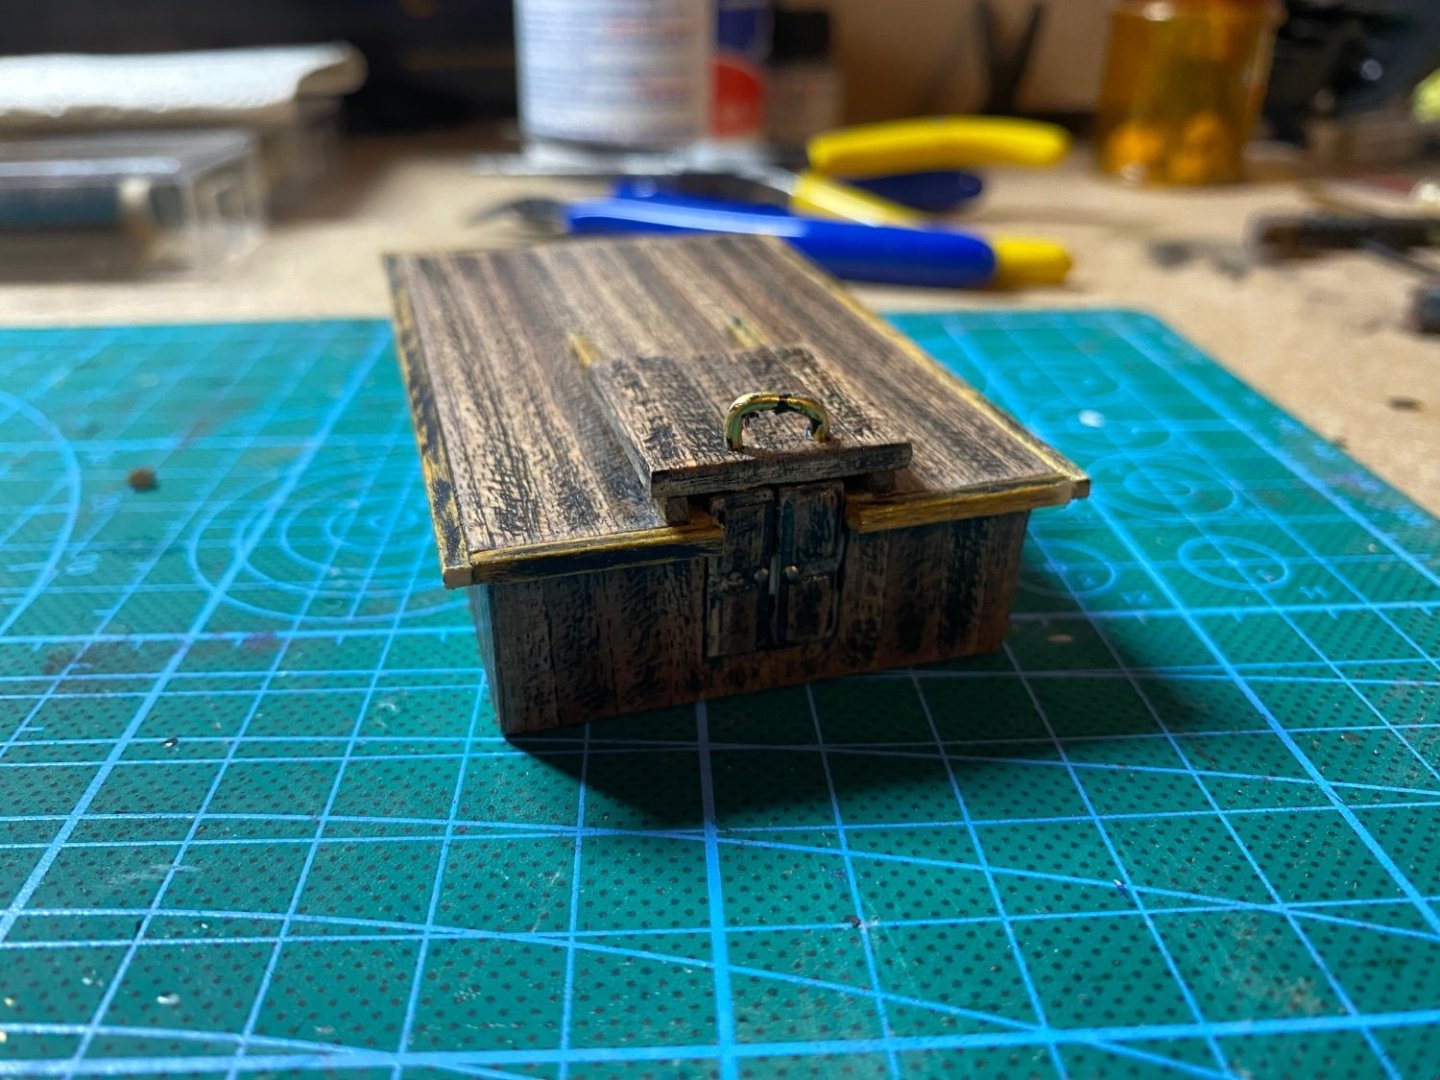
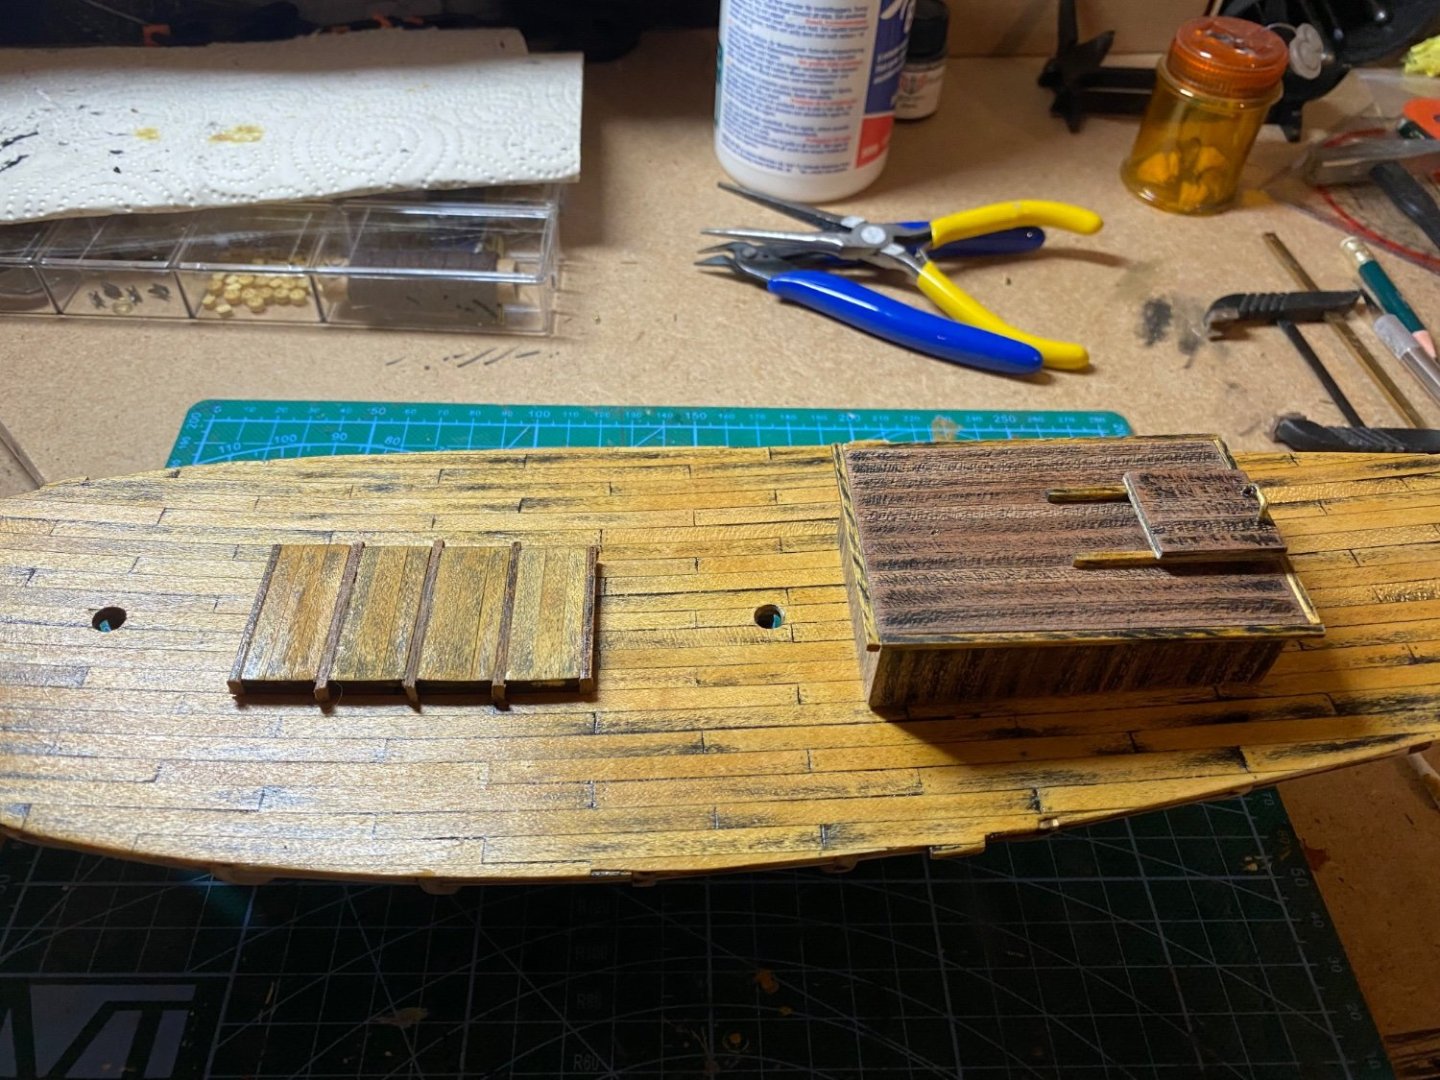
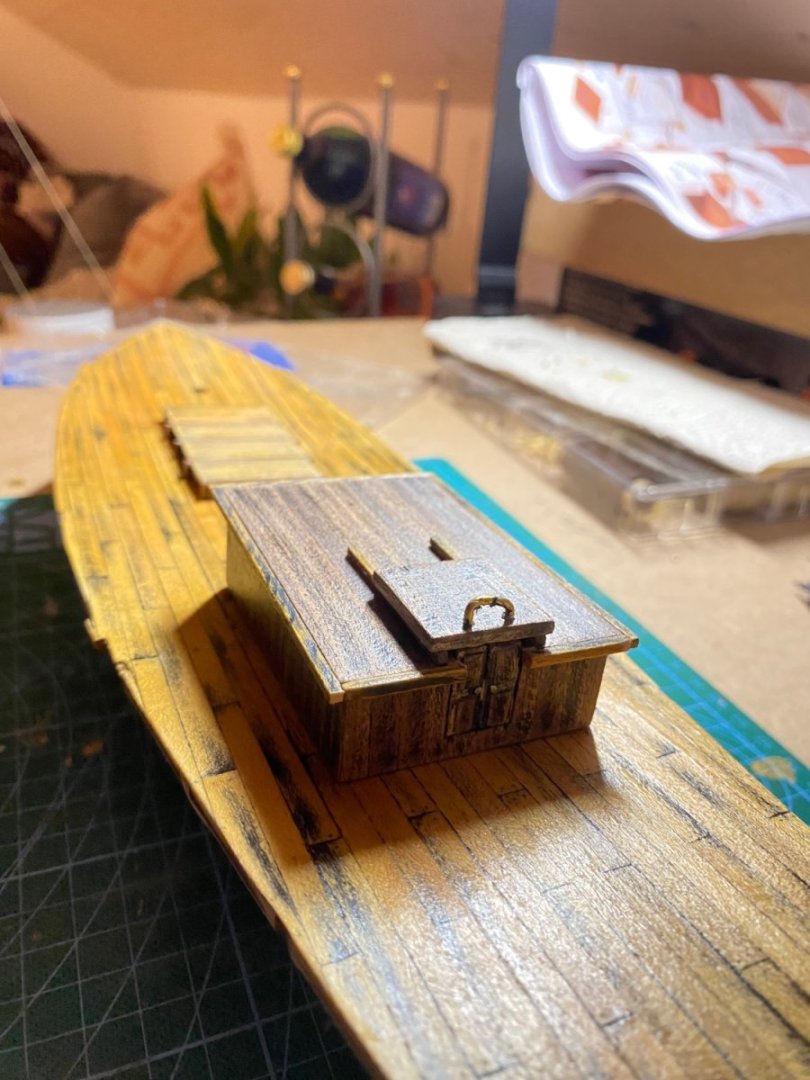
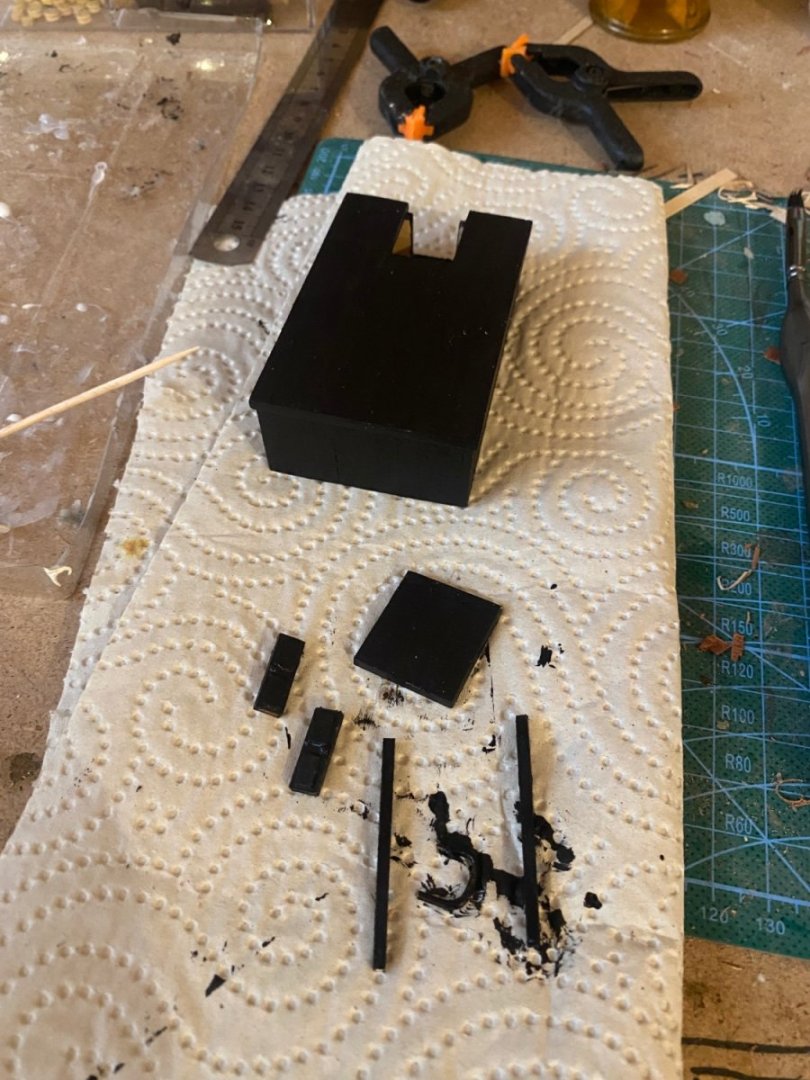
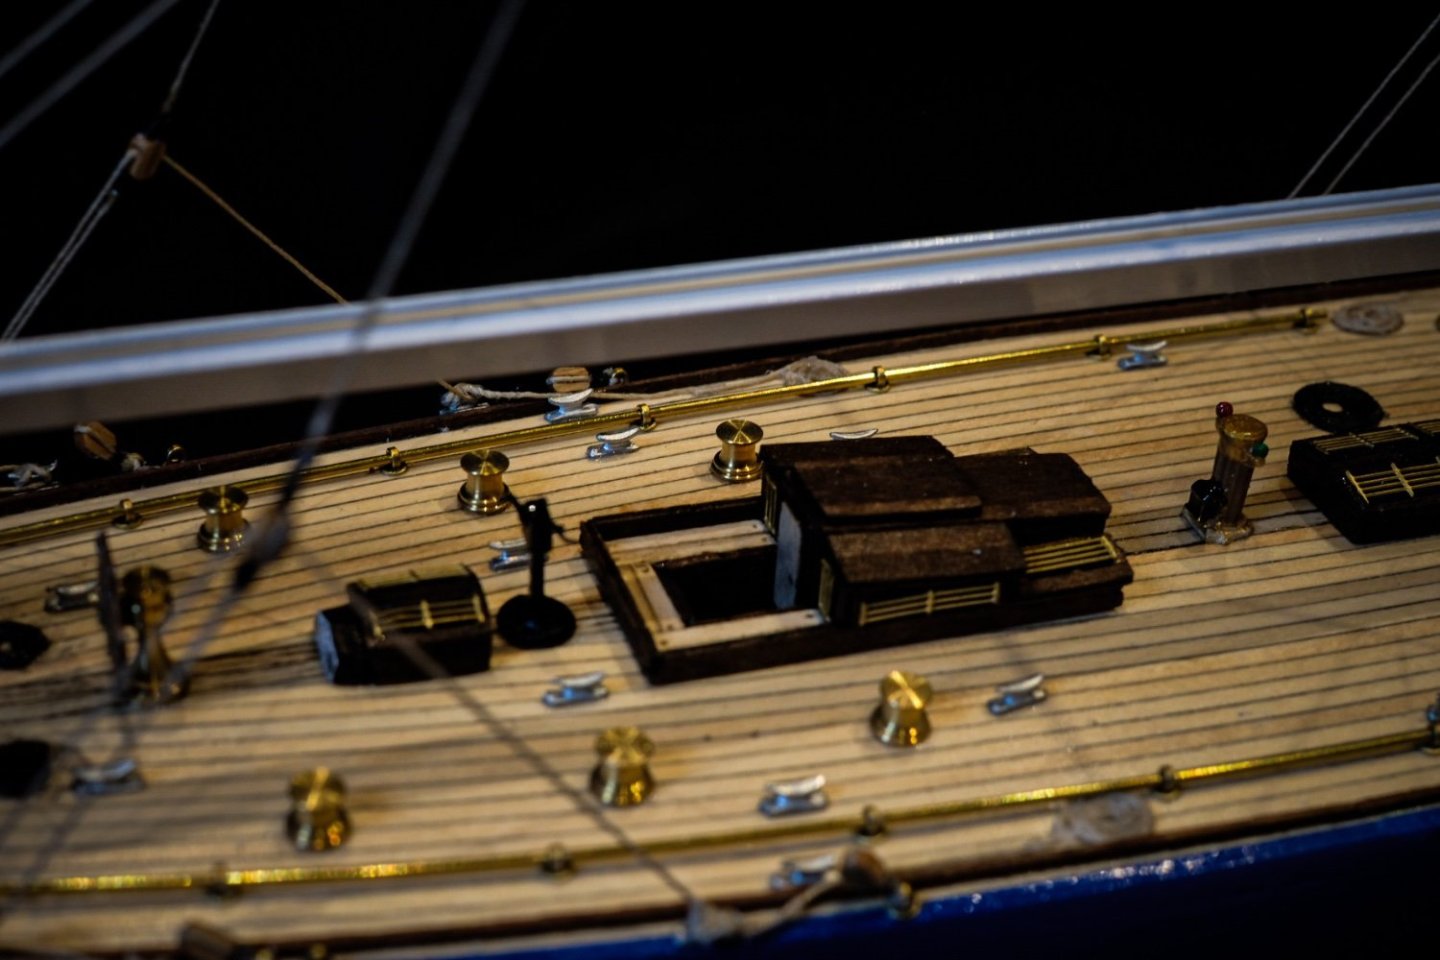
Did some work on the Main cabin. Planked it and blacked everything to get the right look again…
-
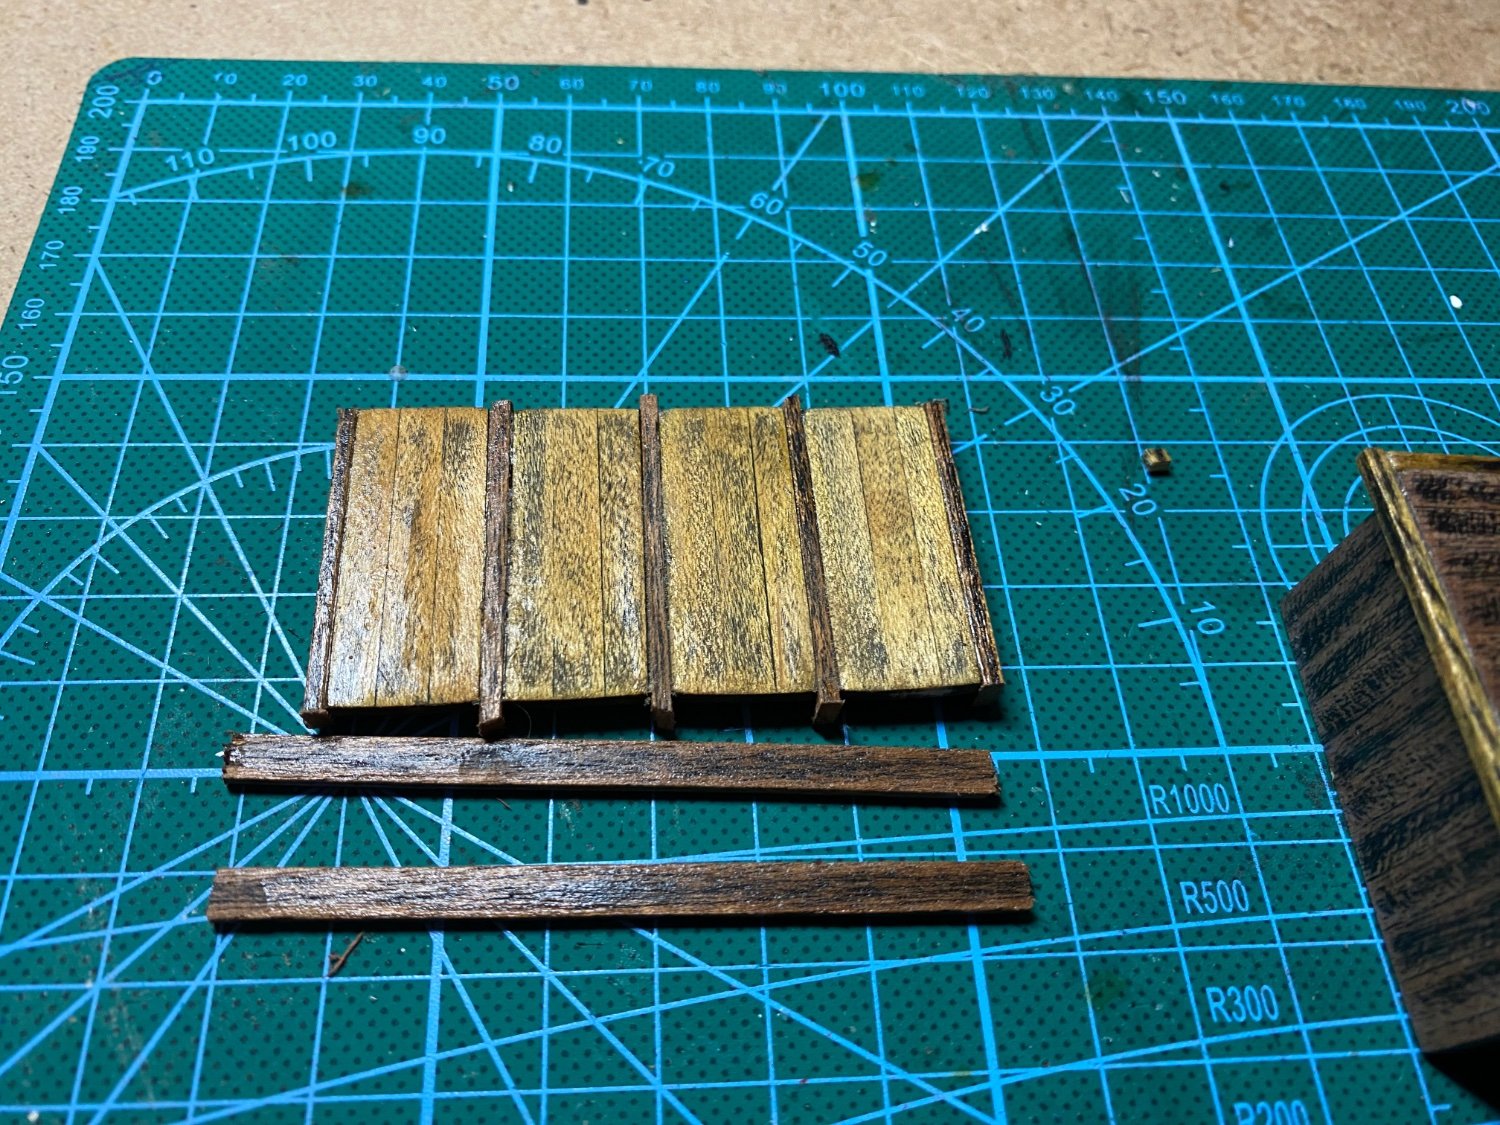
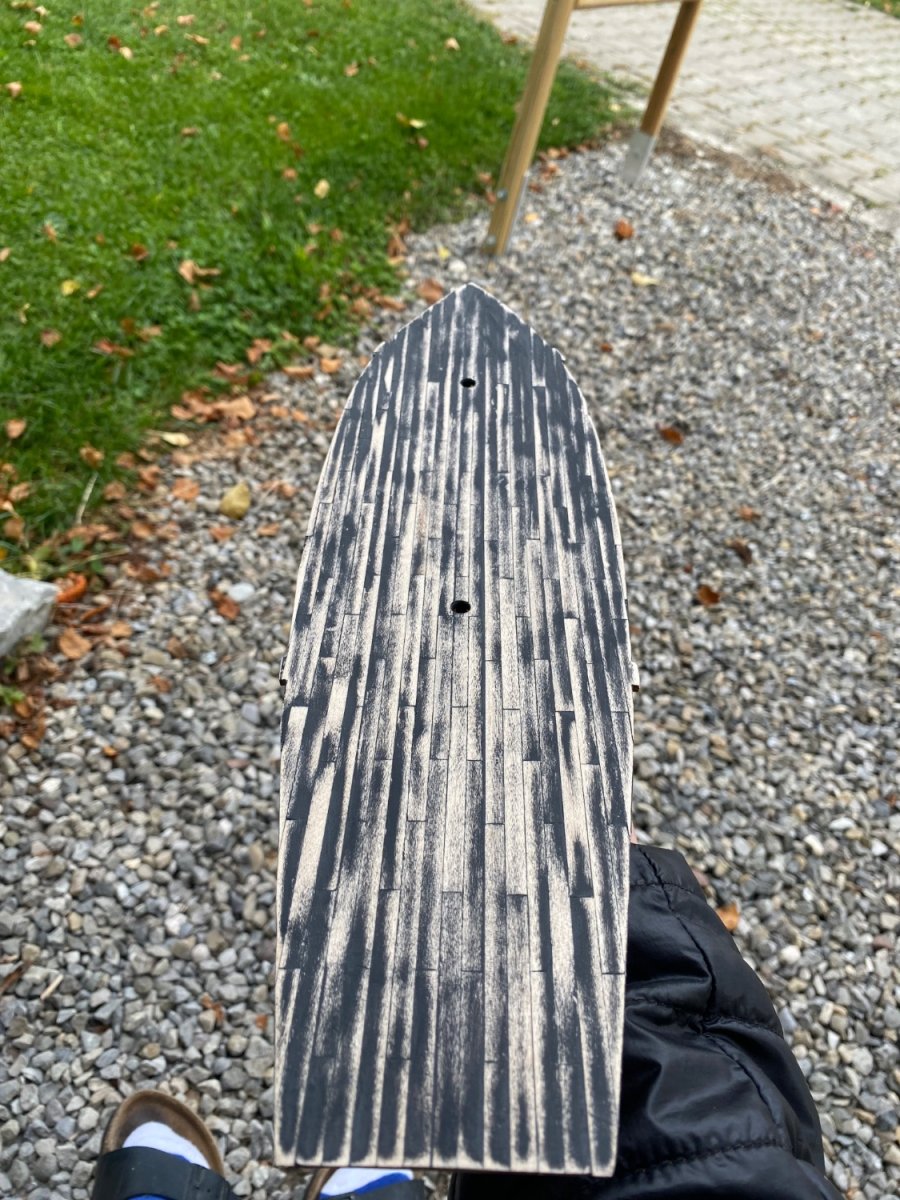
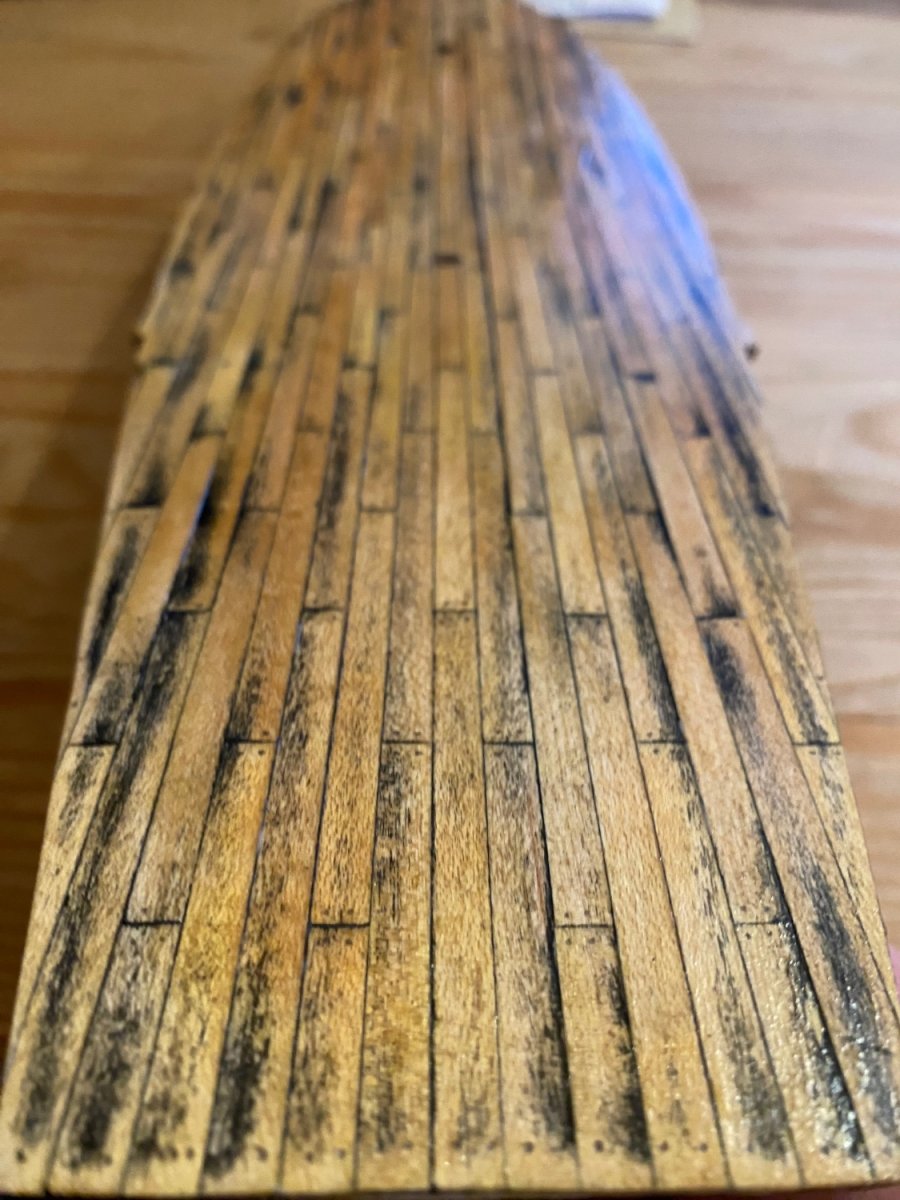
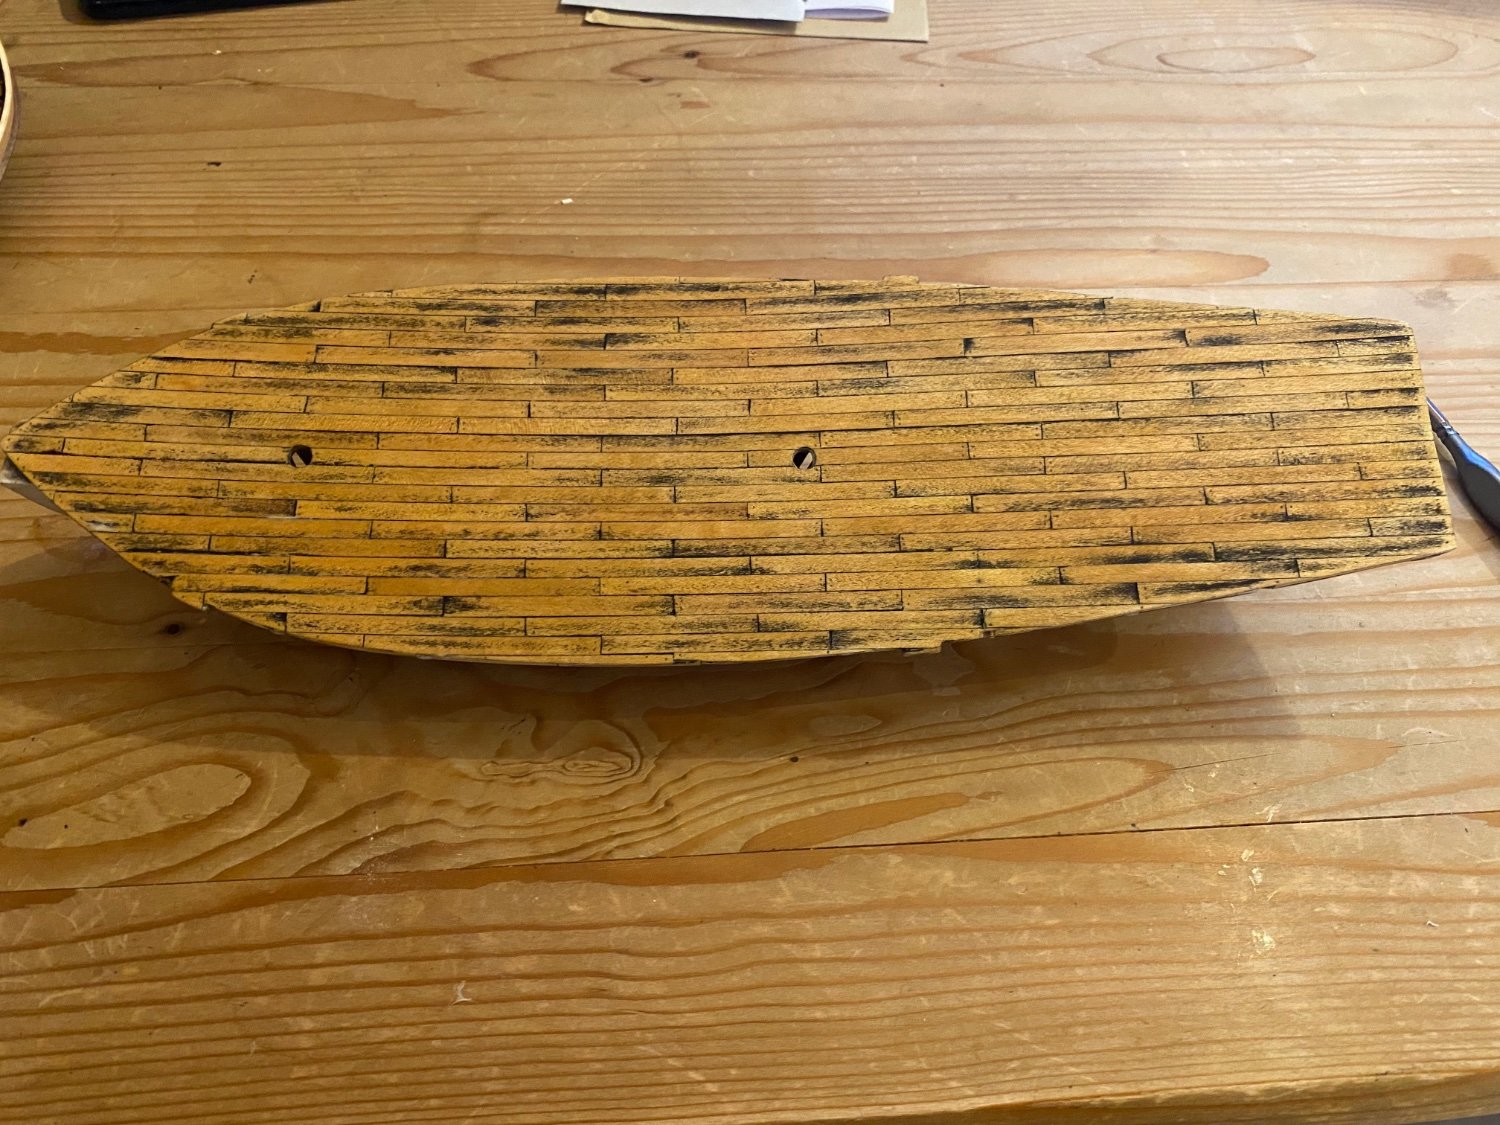
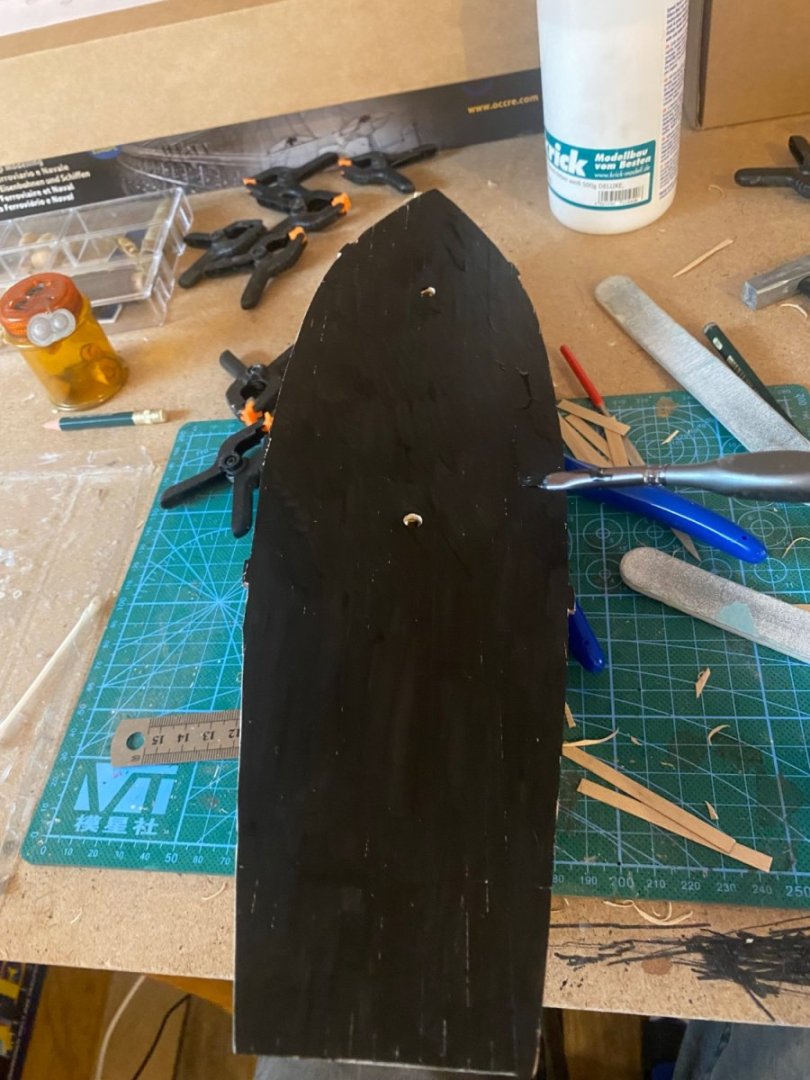
The weathered deck is finished and I am happy how it turned out. sanding the black layer off: adding pine dye, clear coat and marking small nails with a pencil:


-
Deck planking is finished: tried the weathered look on one plank: First Layer of Black which then is sanded down. Then apply the occre pine dye and clear coat. Looks like this: i am happy with the look so started blackening the Deck
-
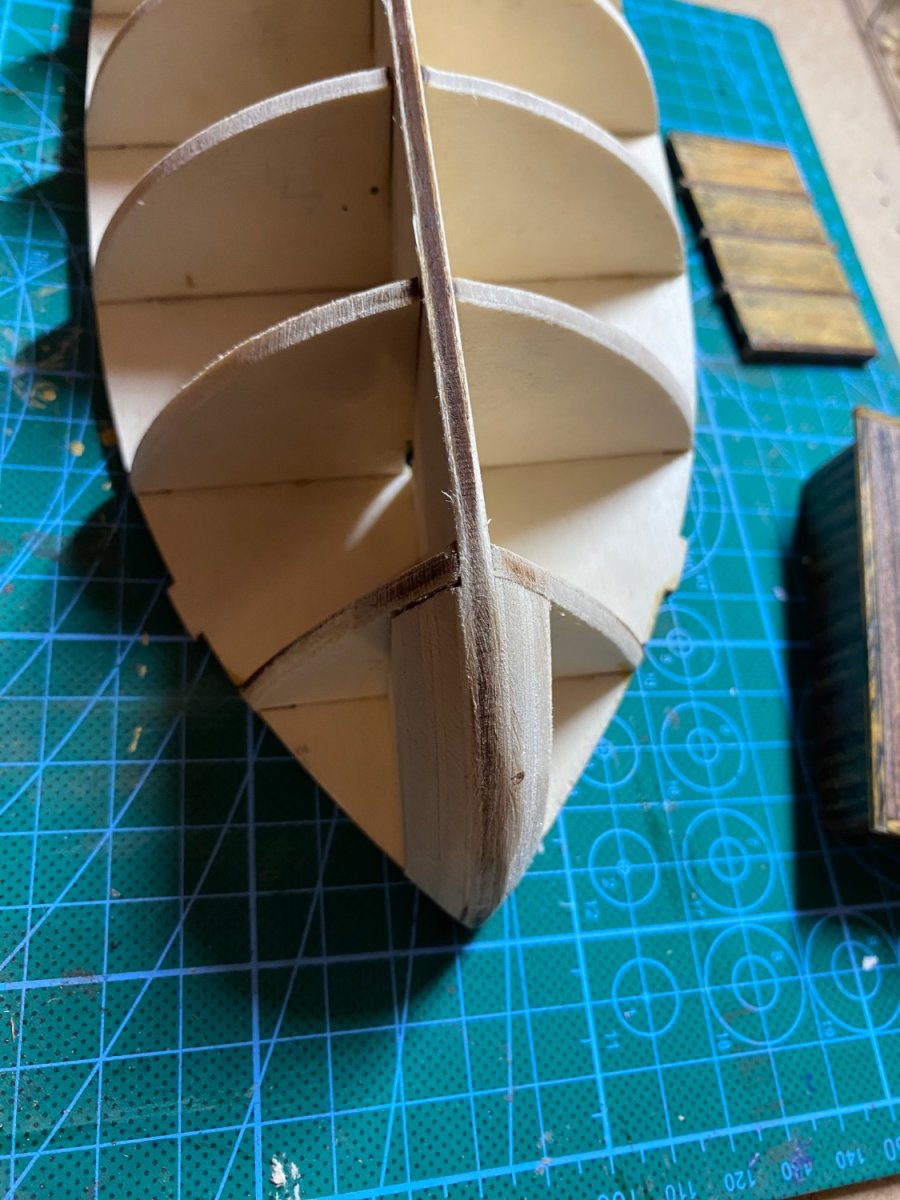
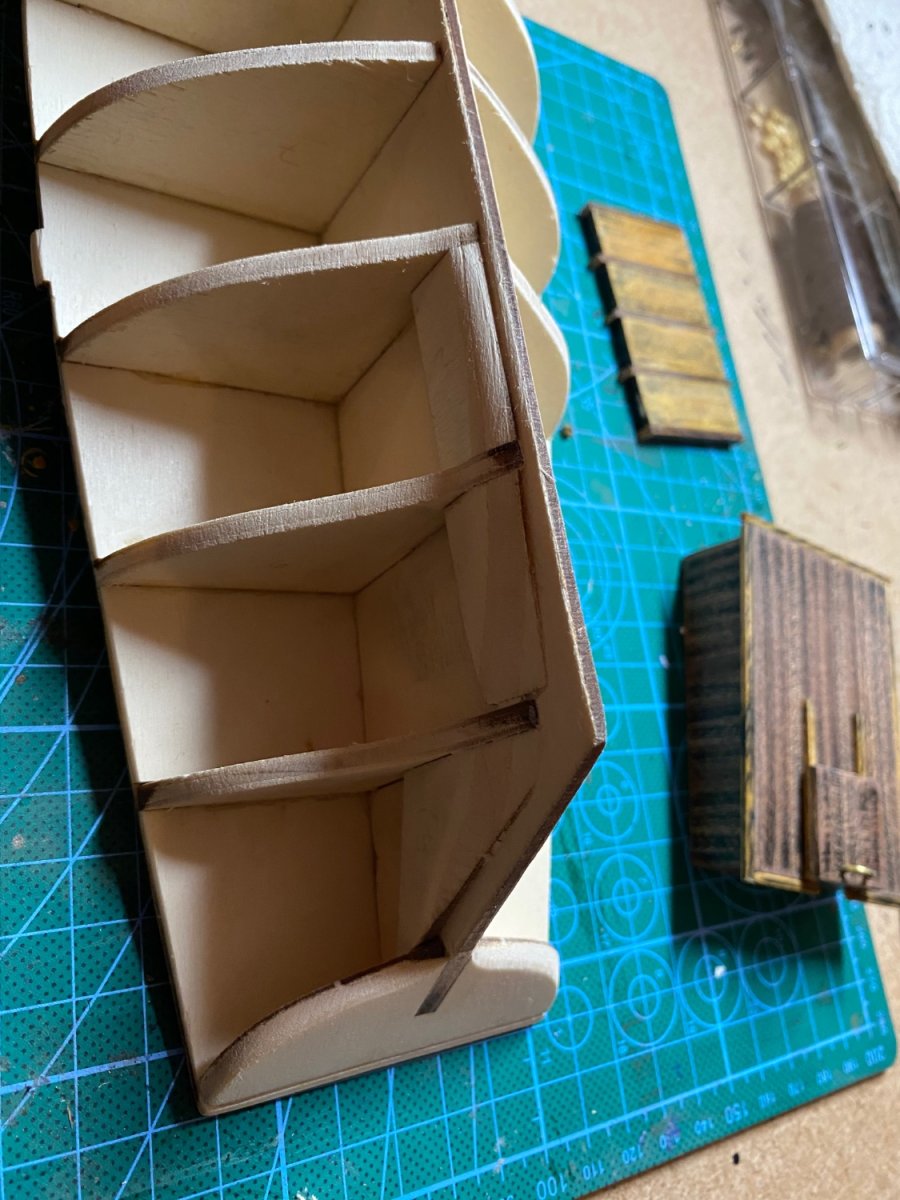
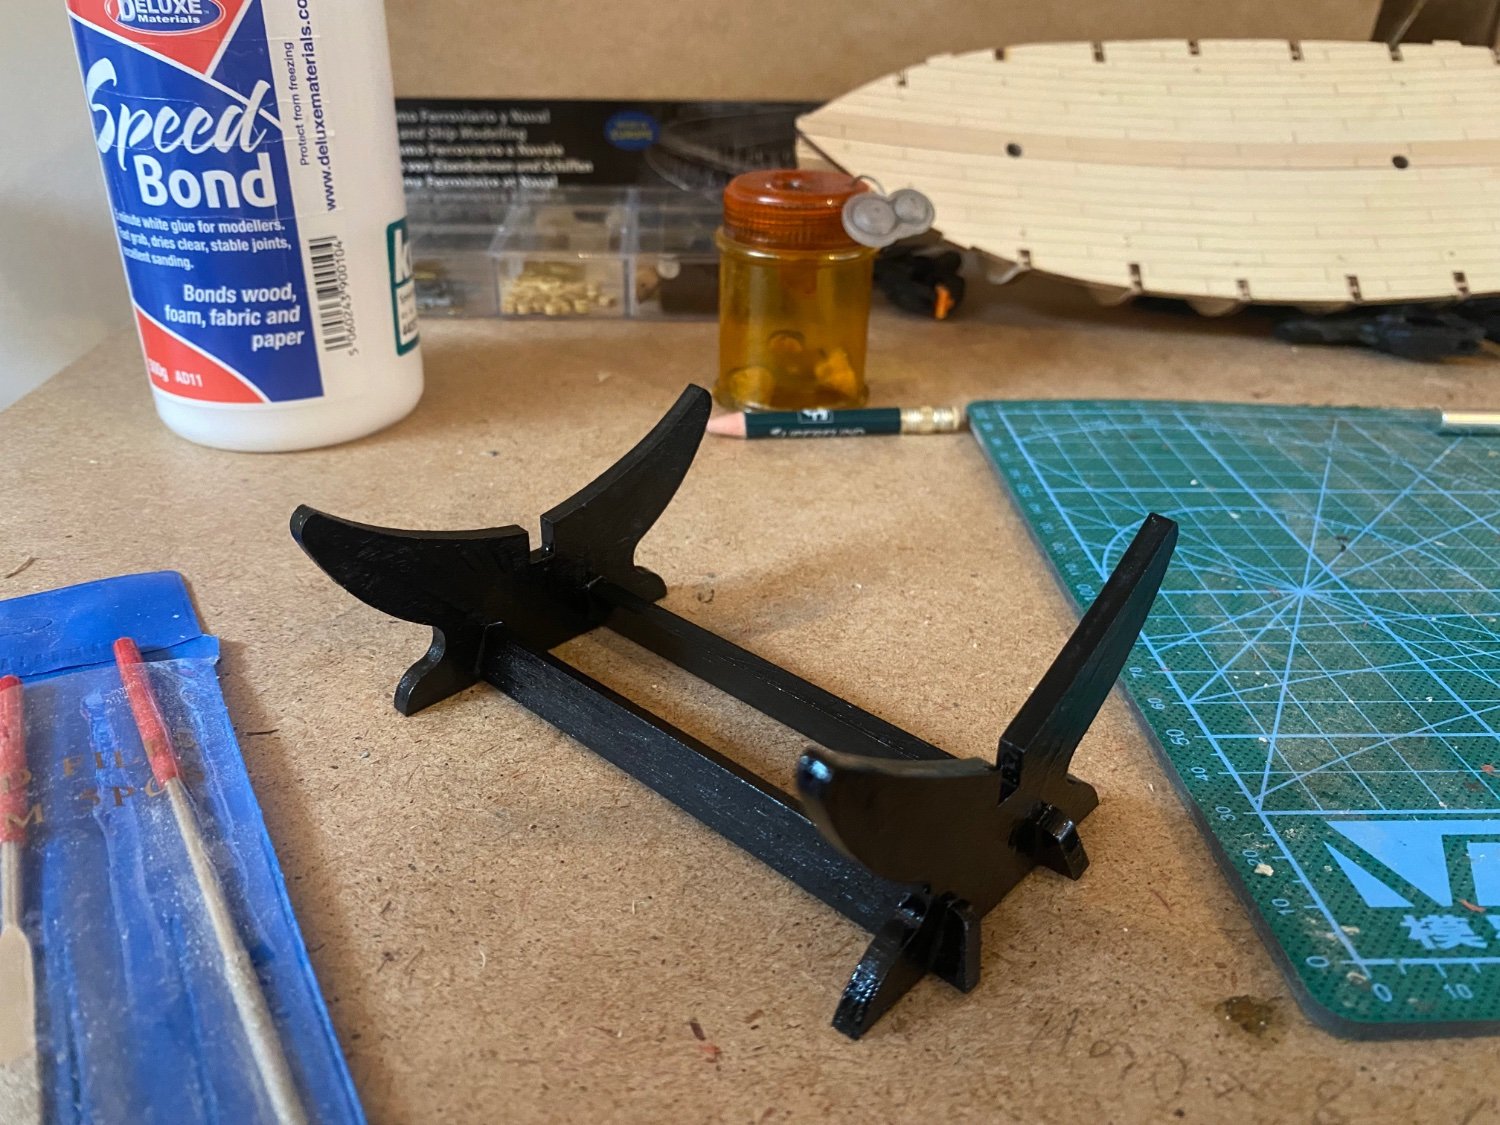
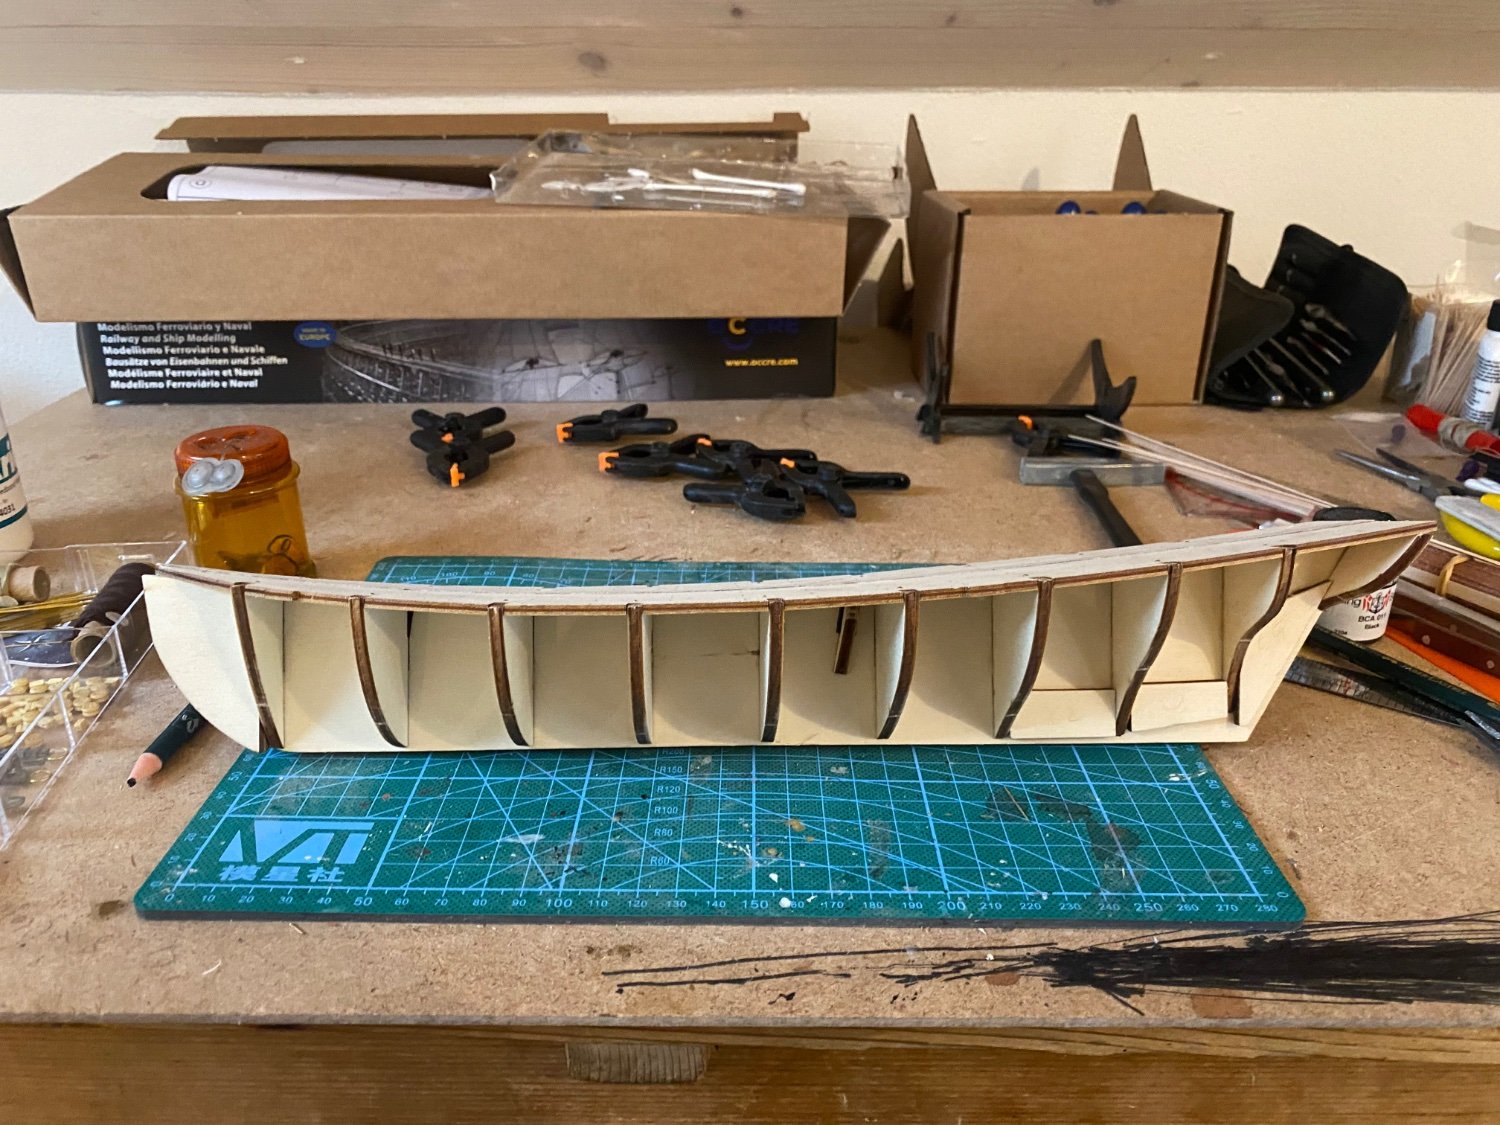
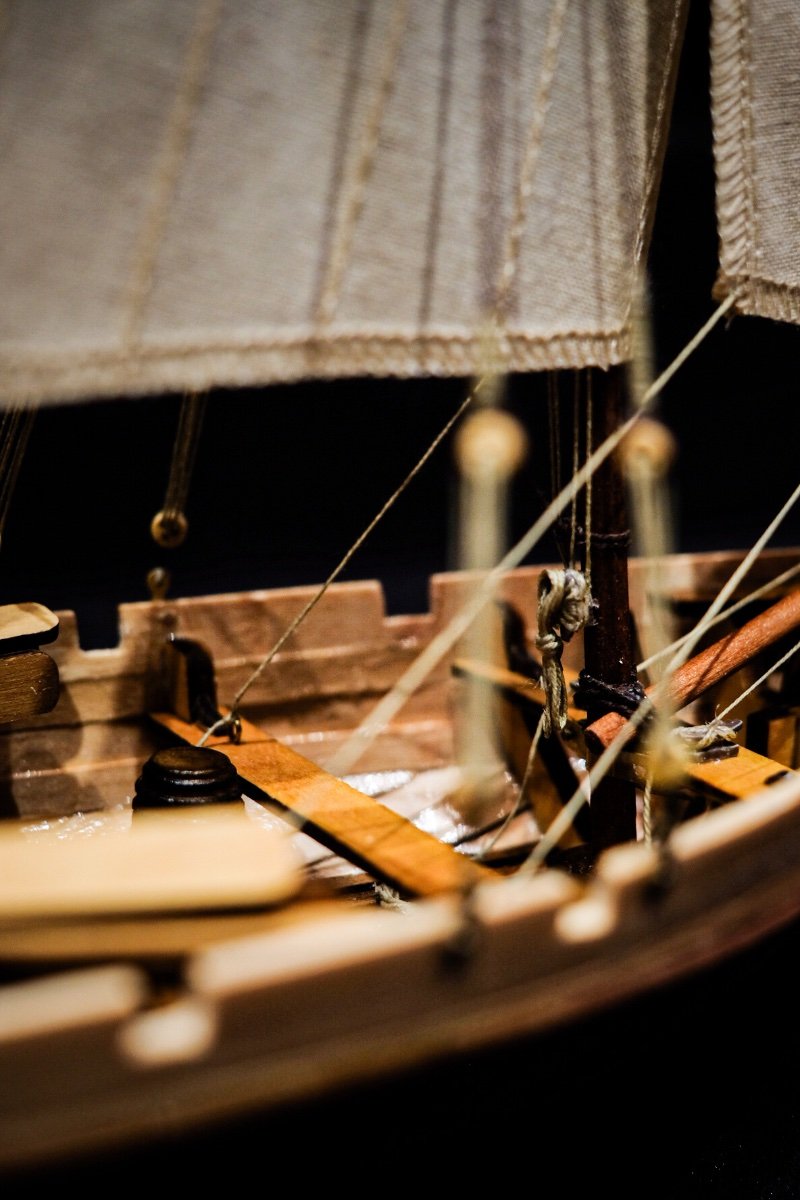
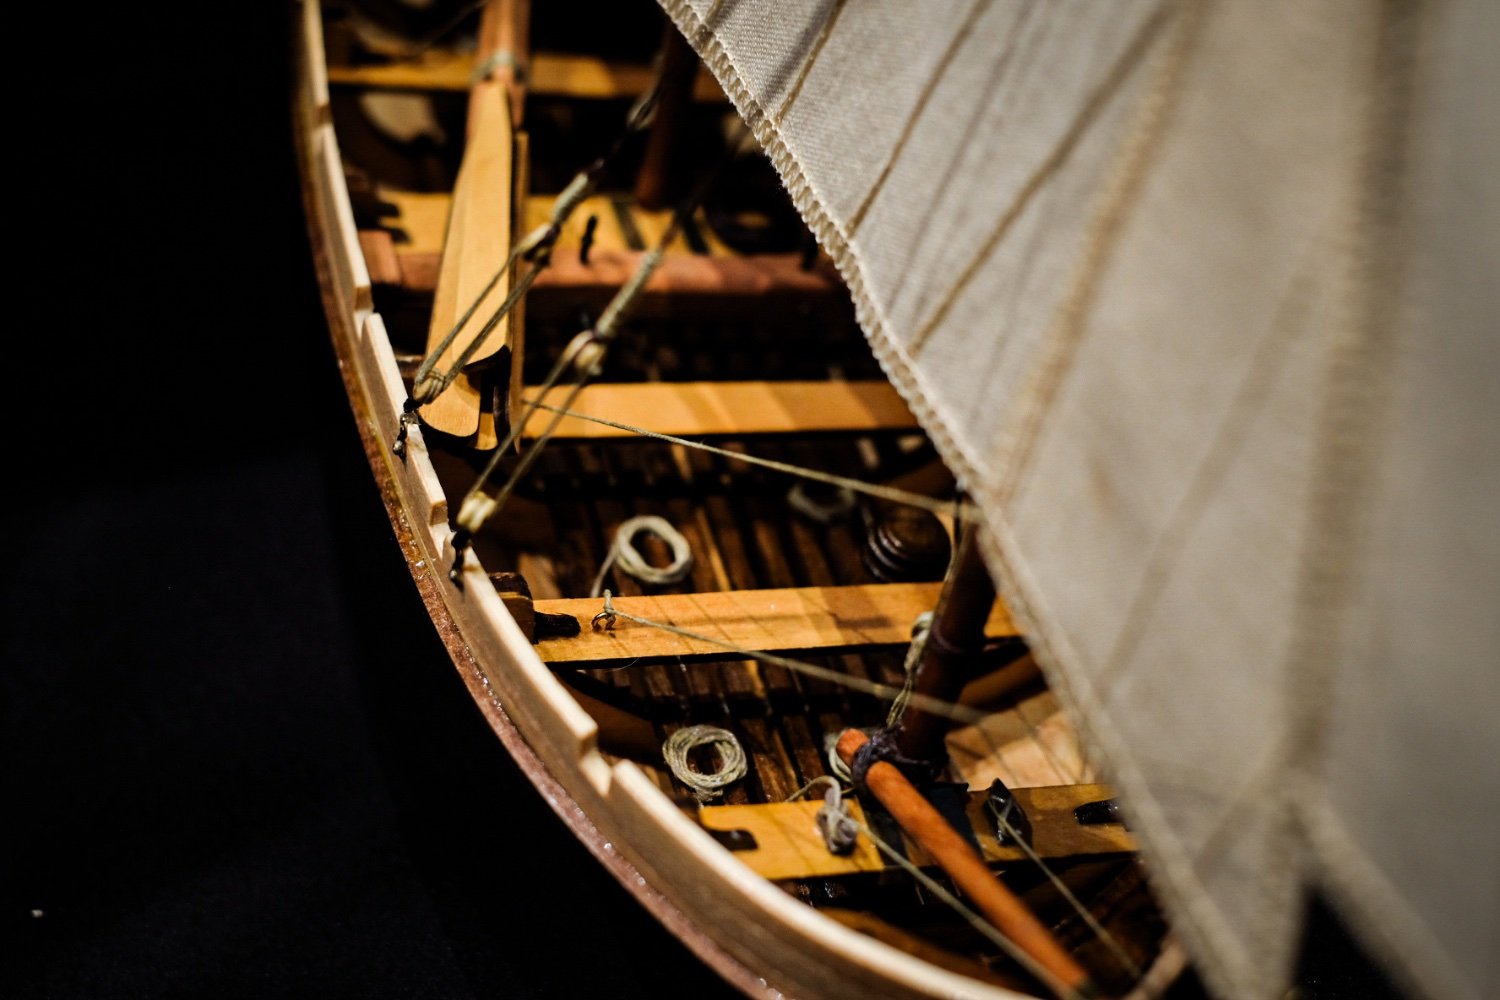
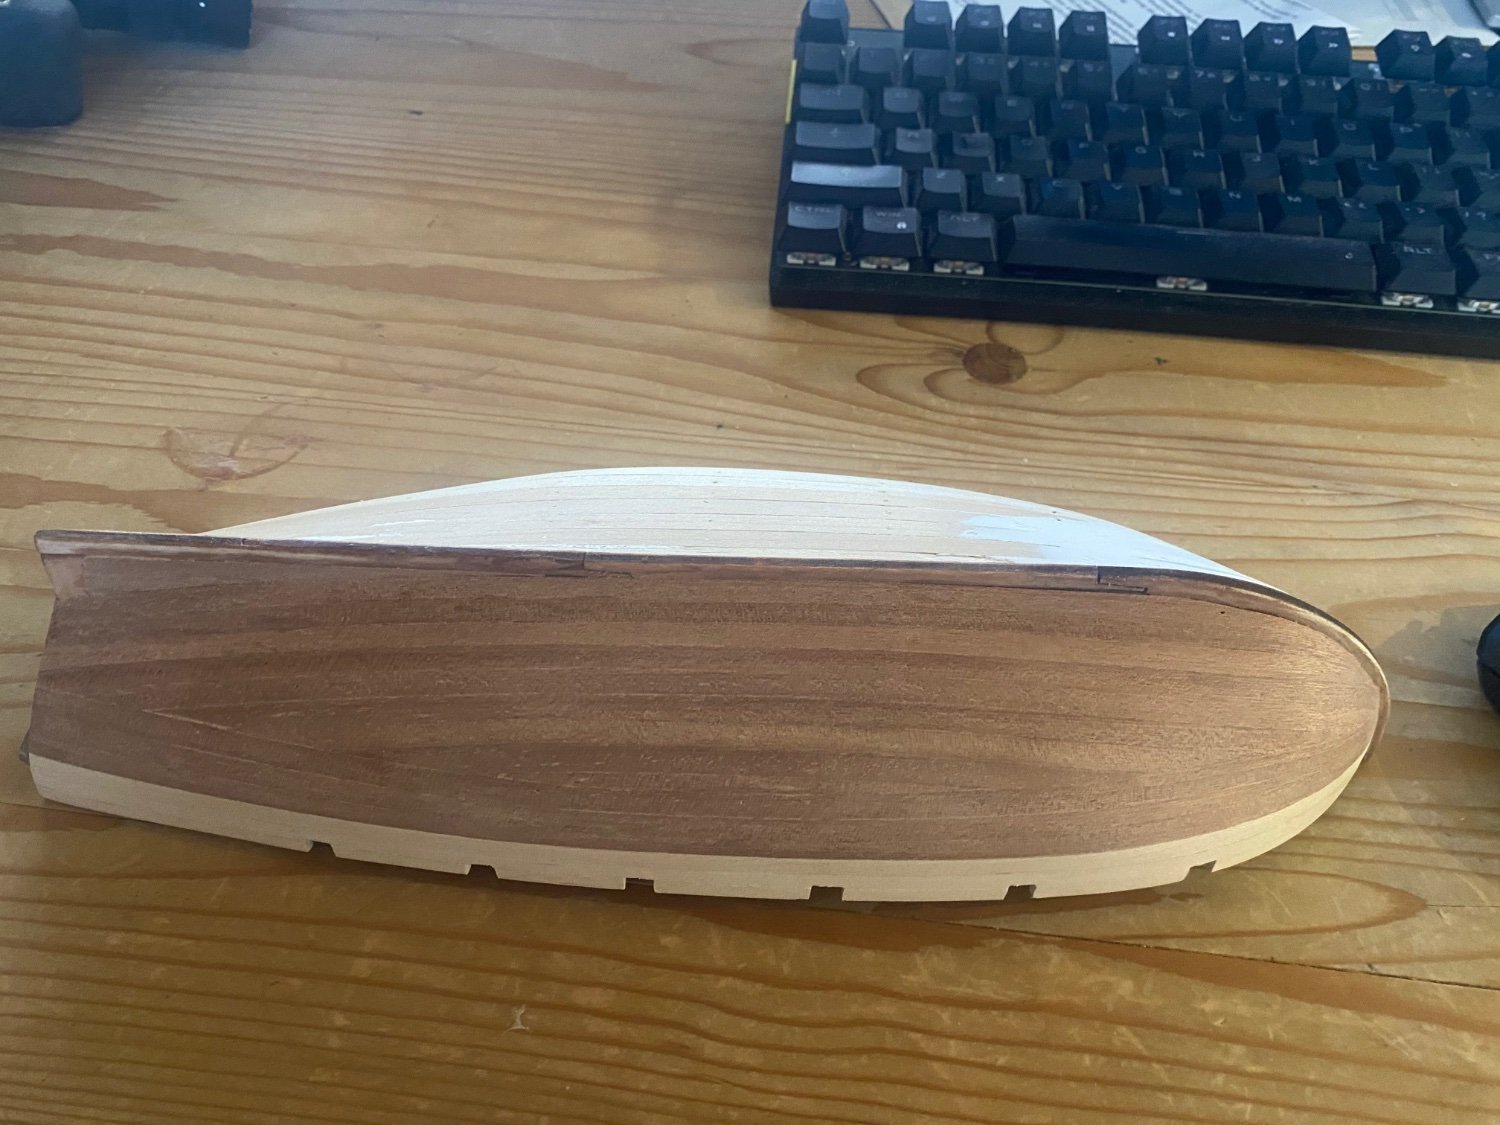
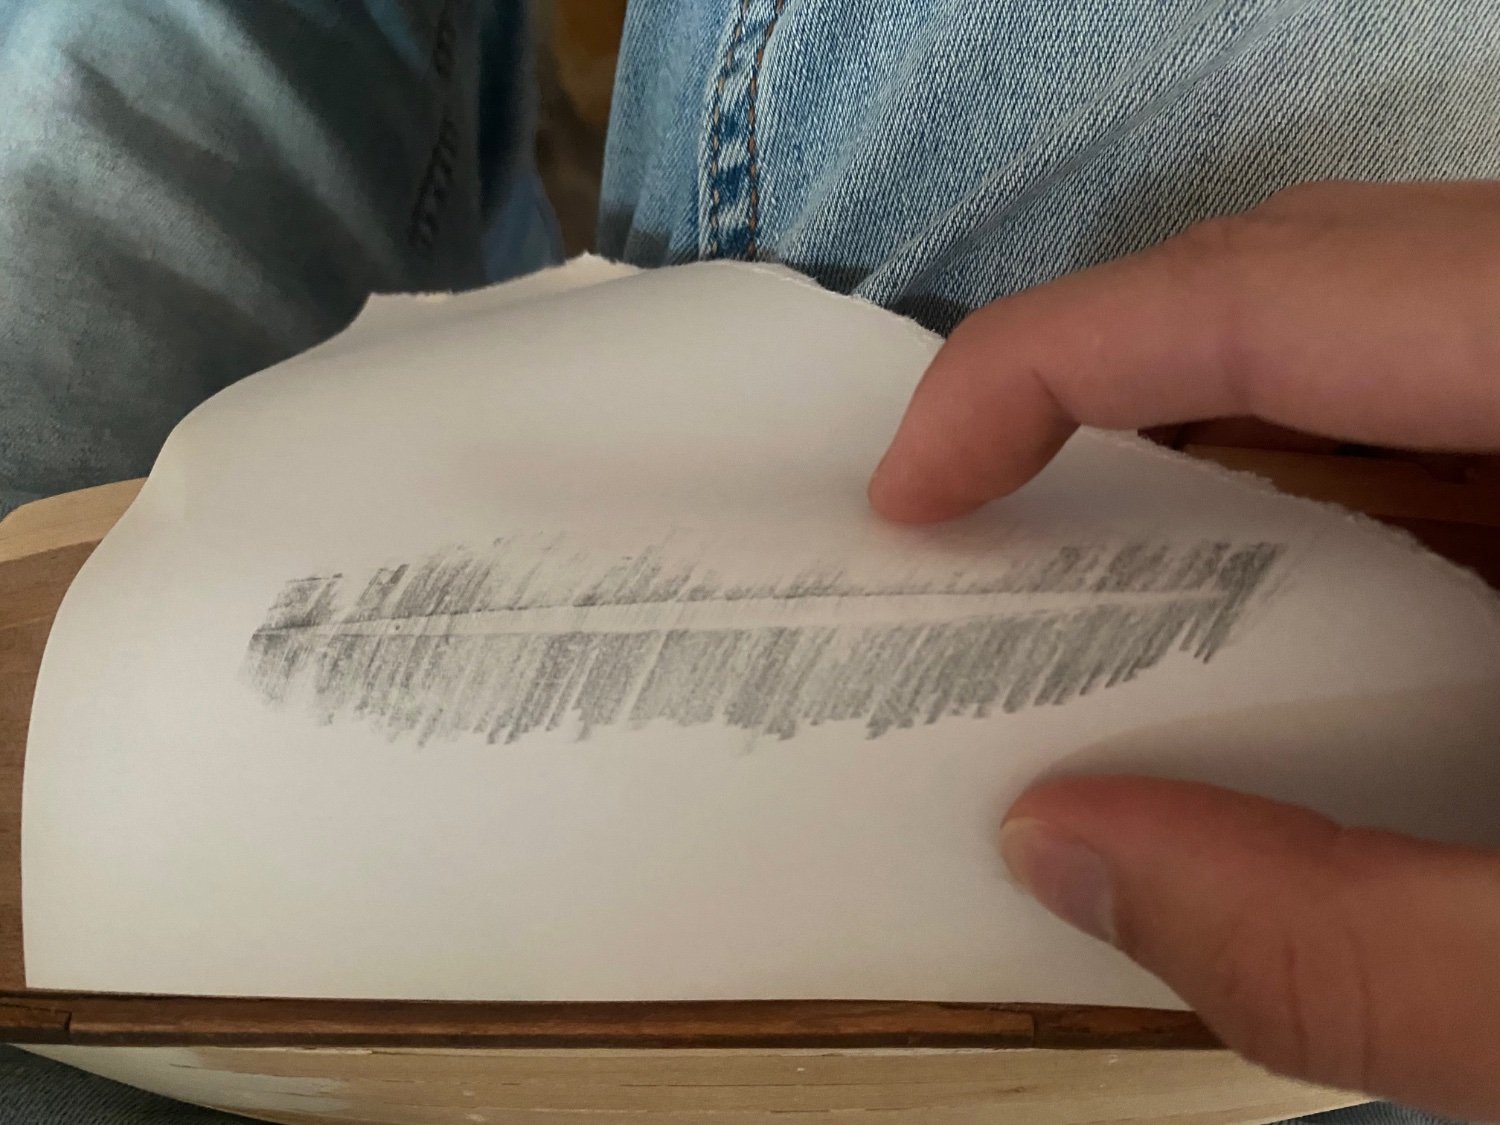
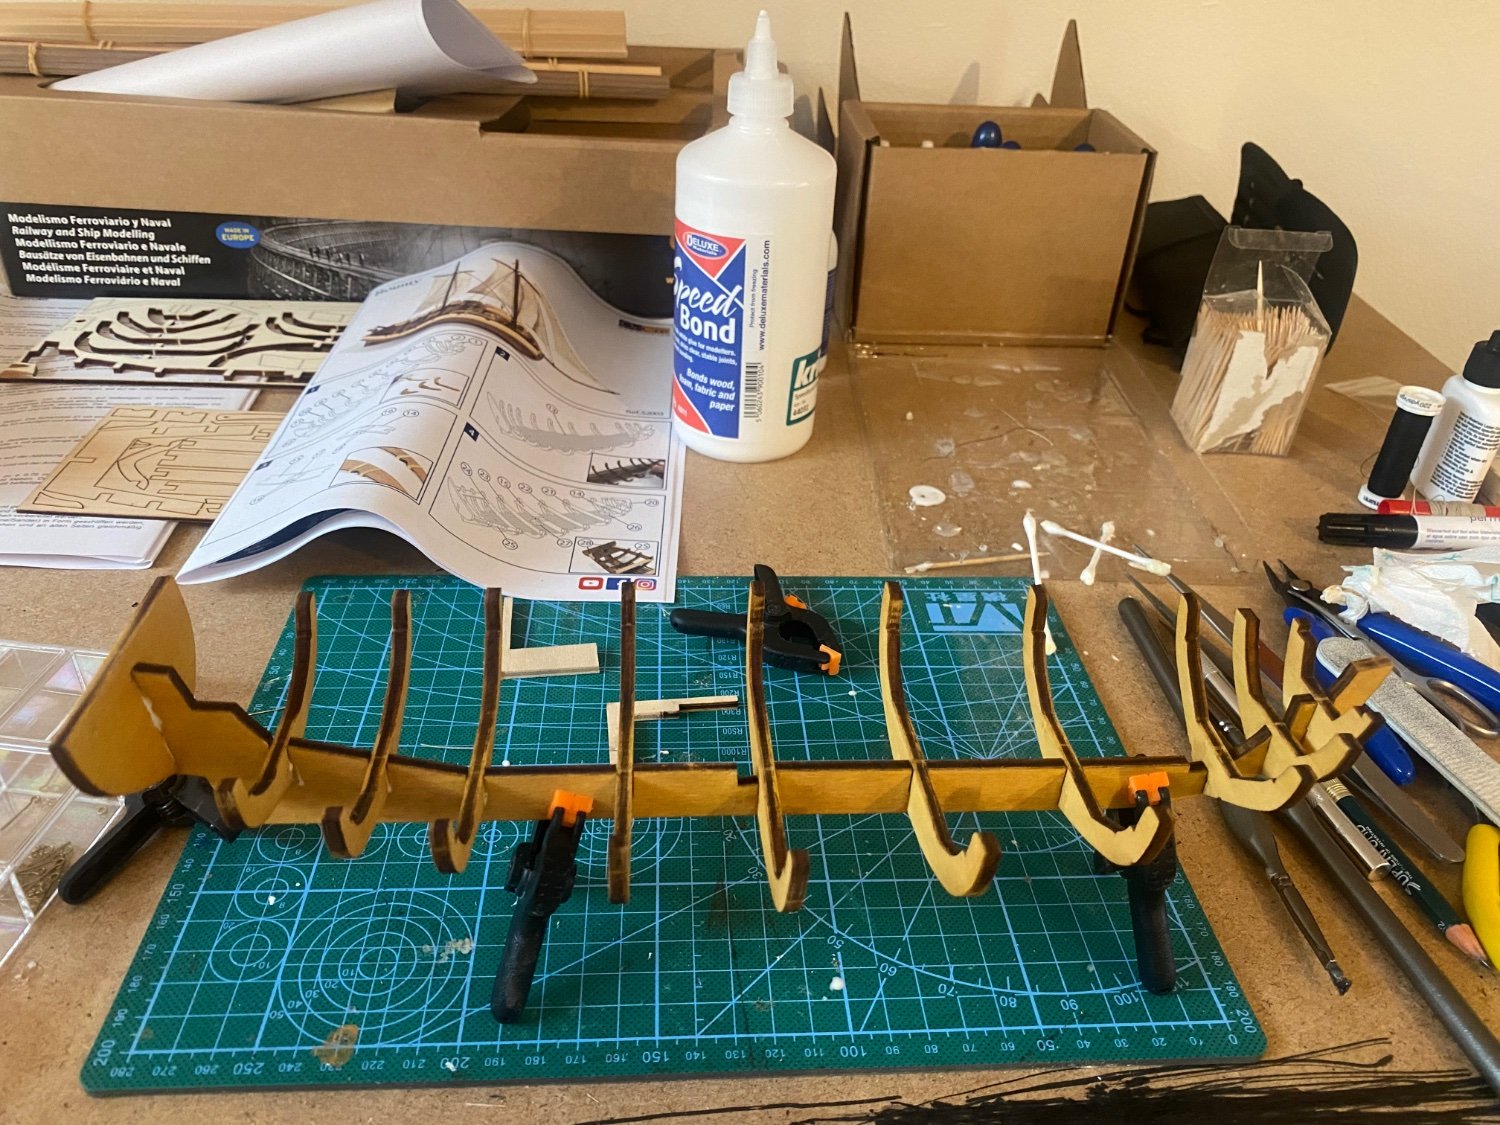
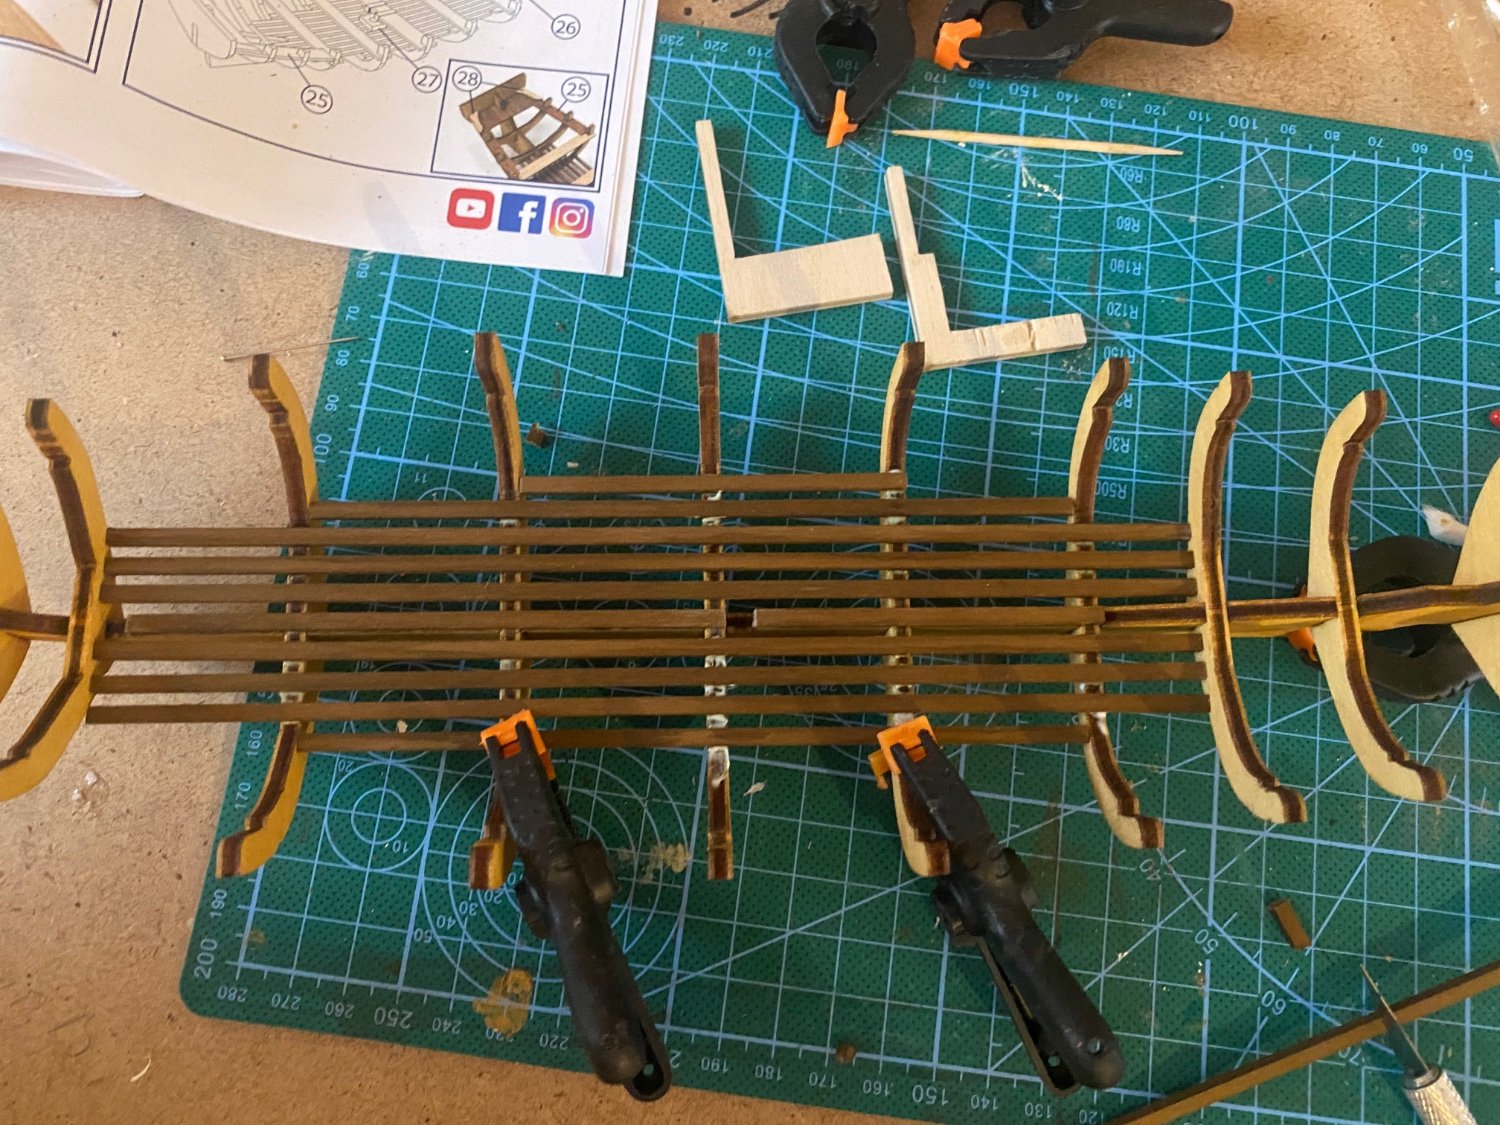
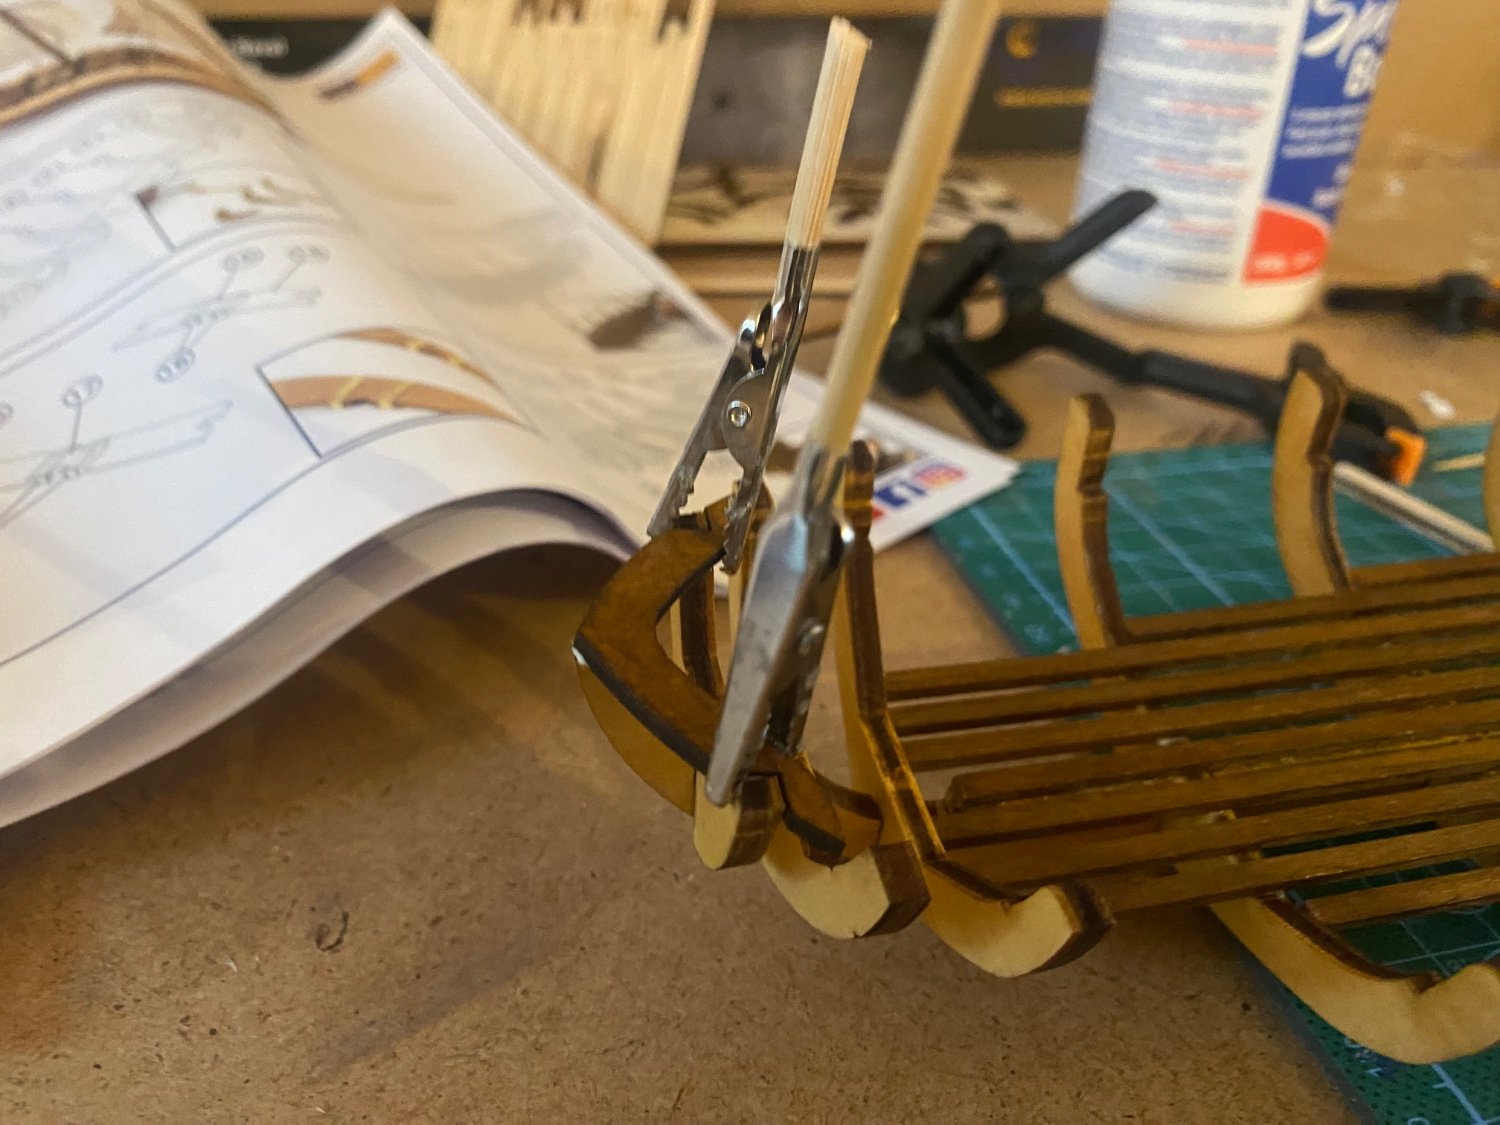
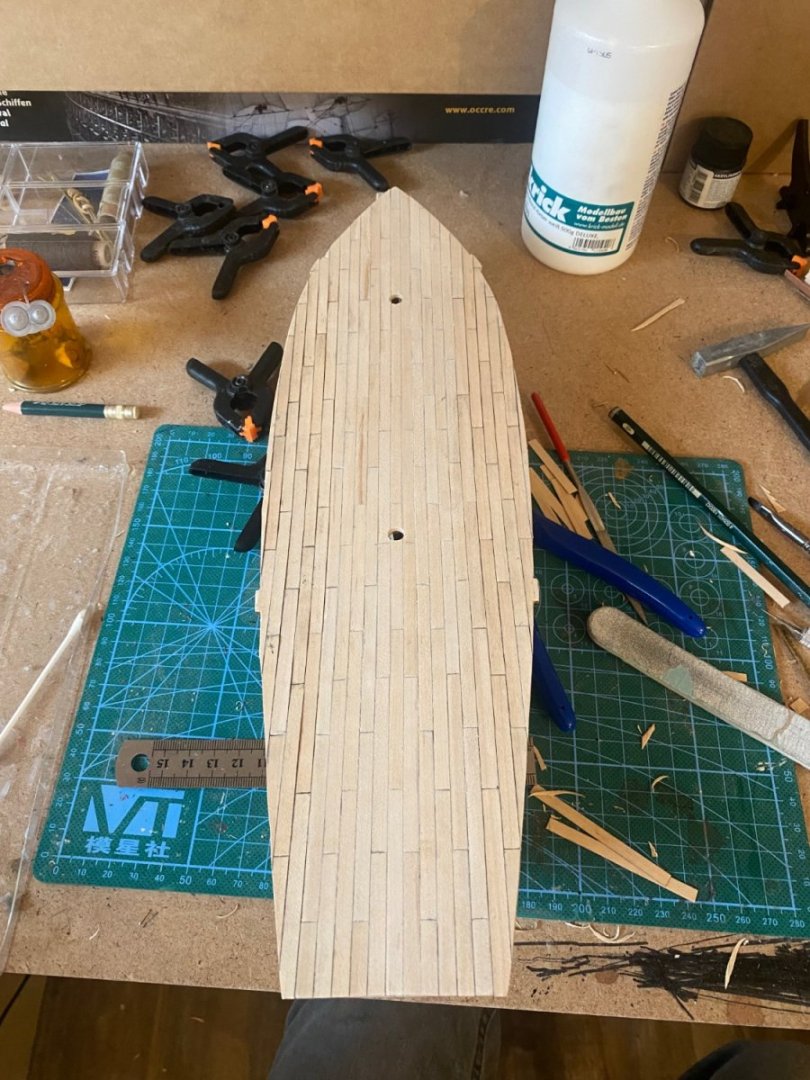
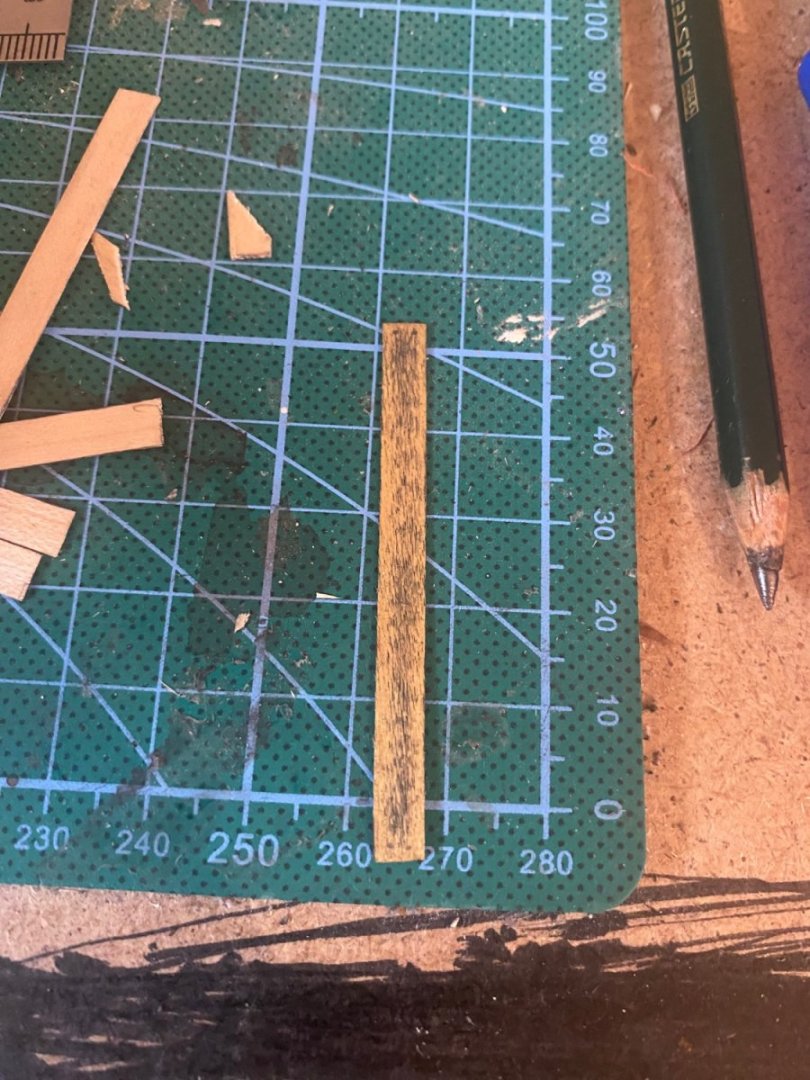
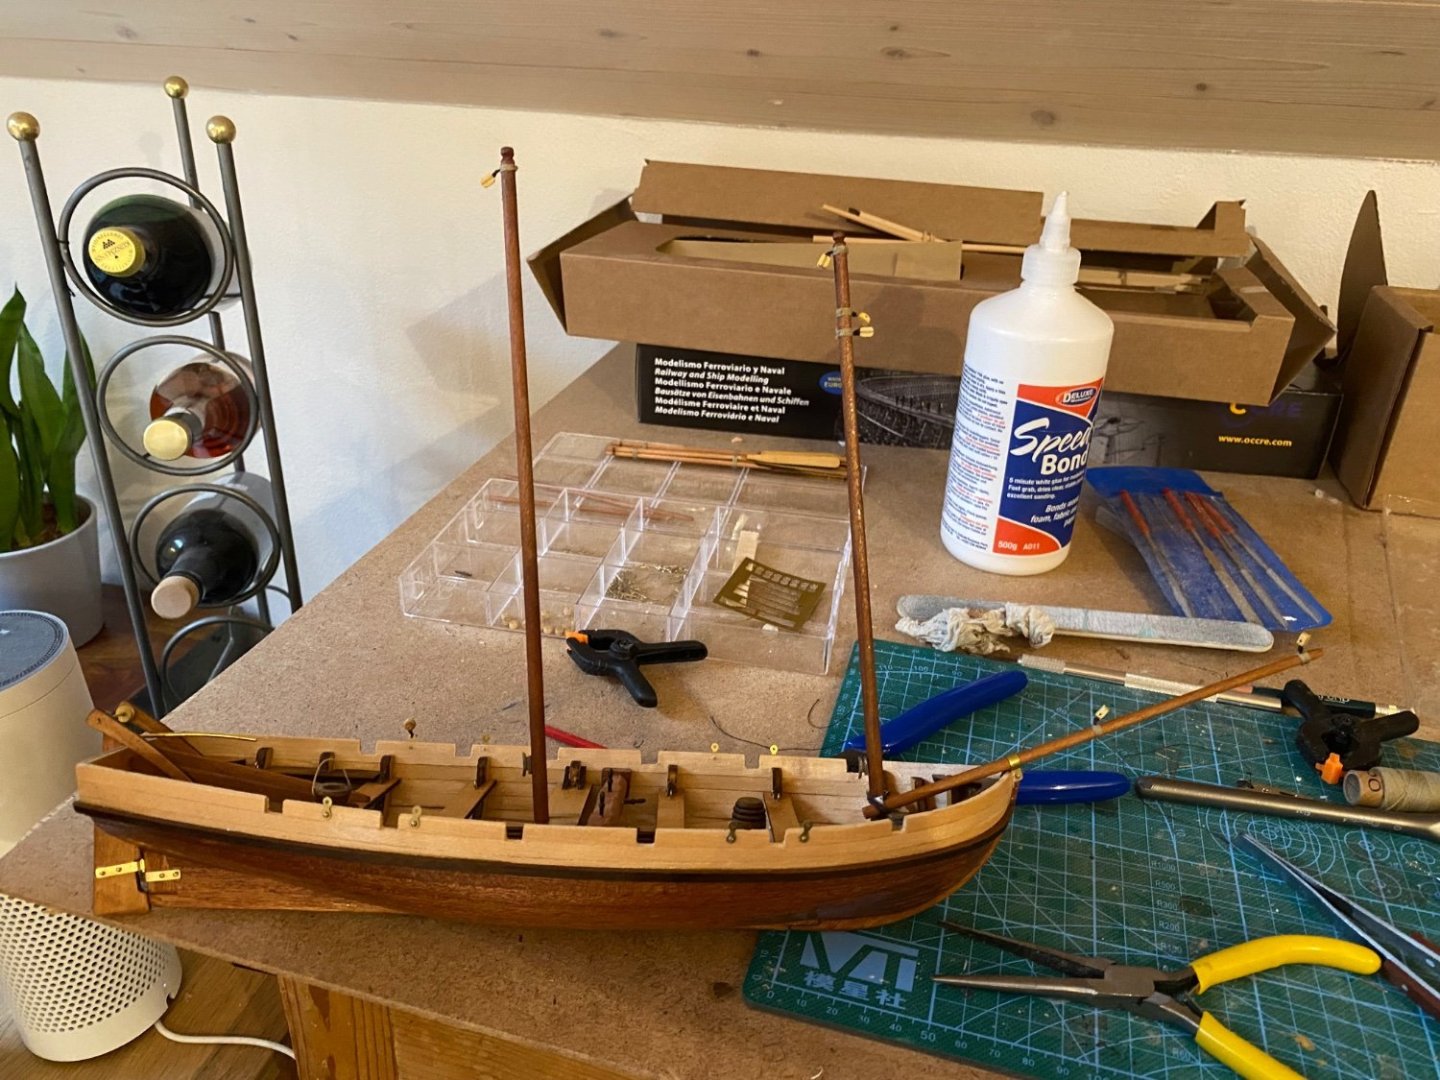
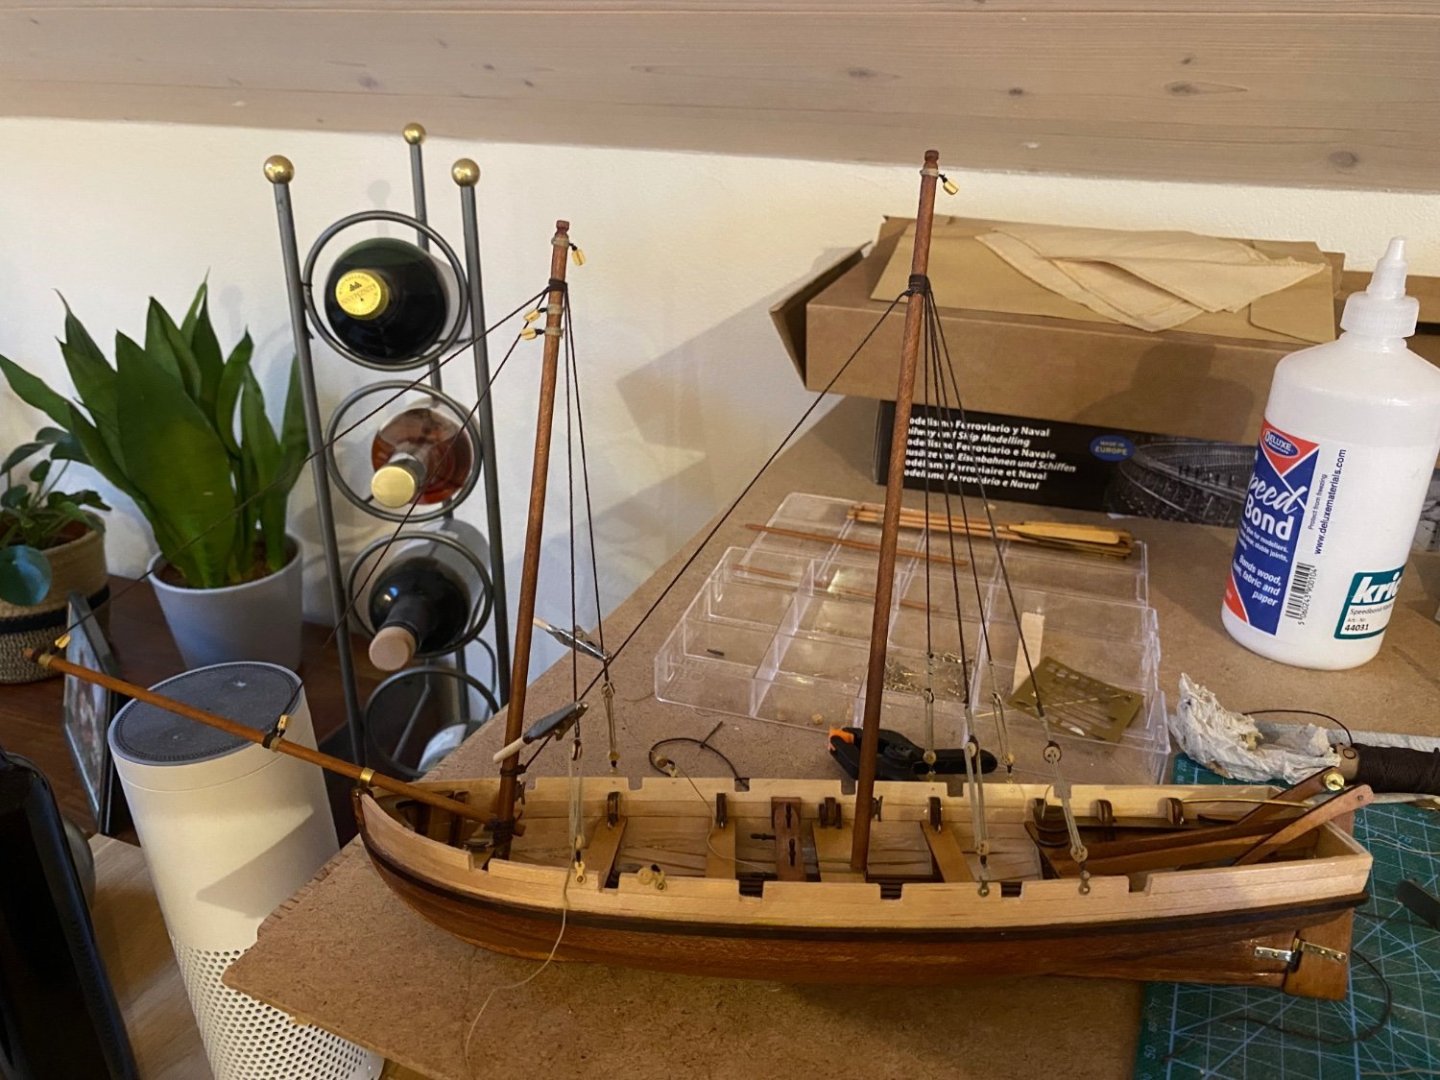
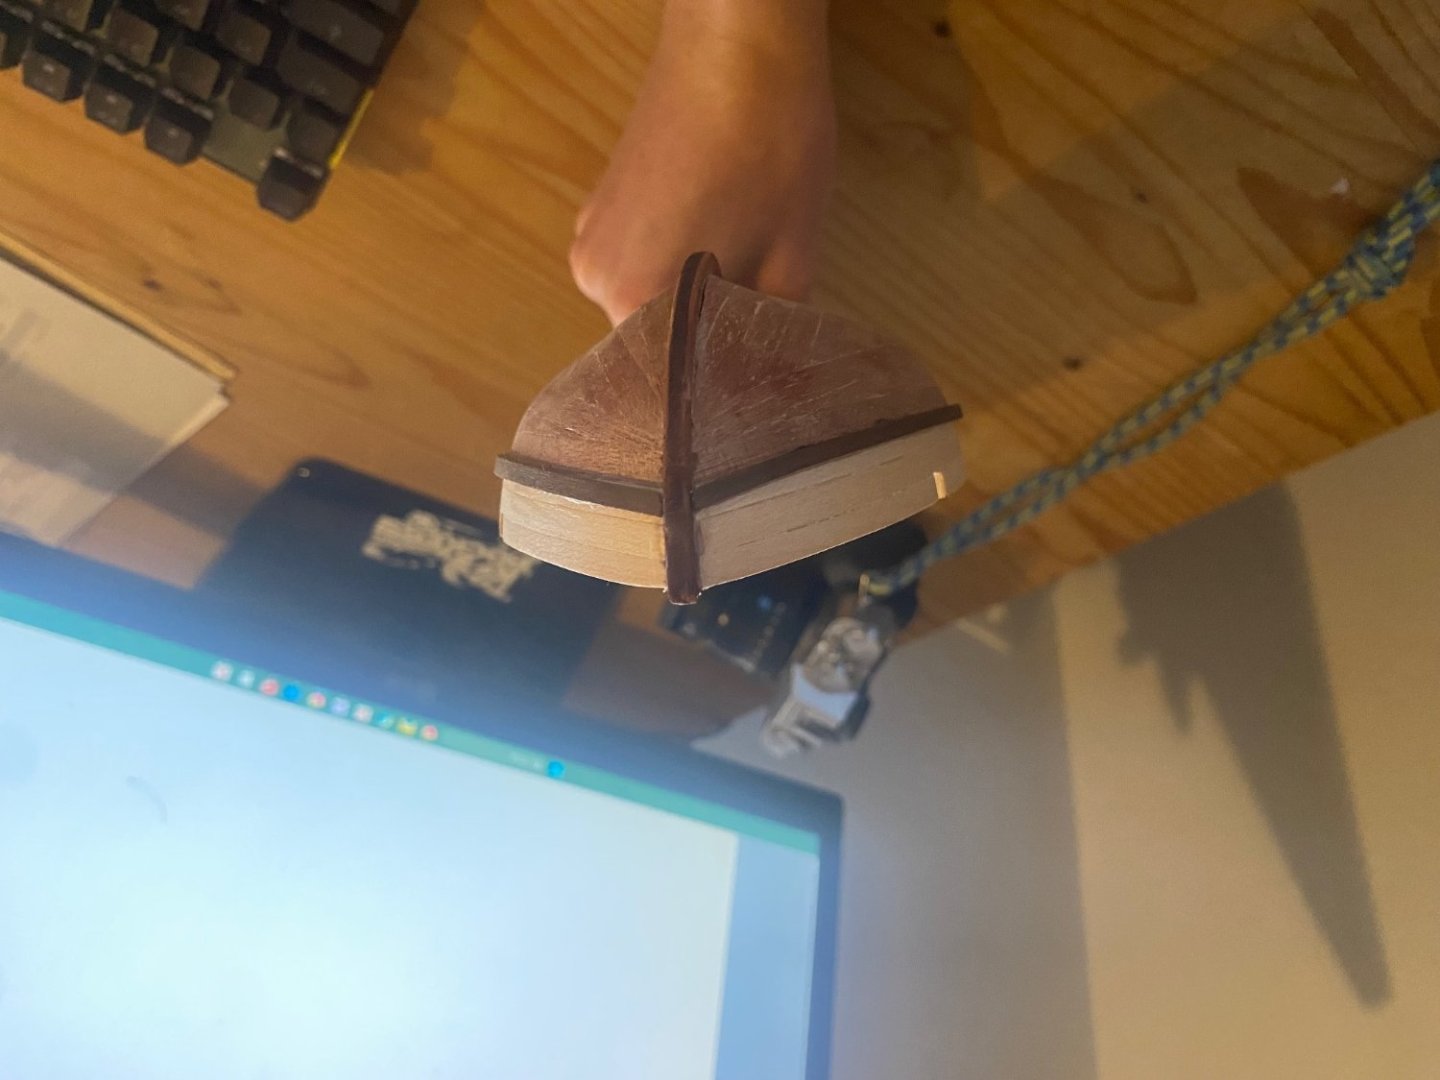
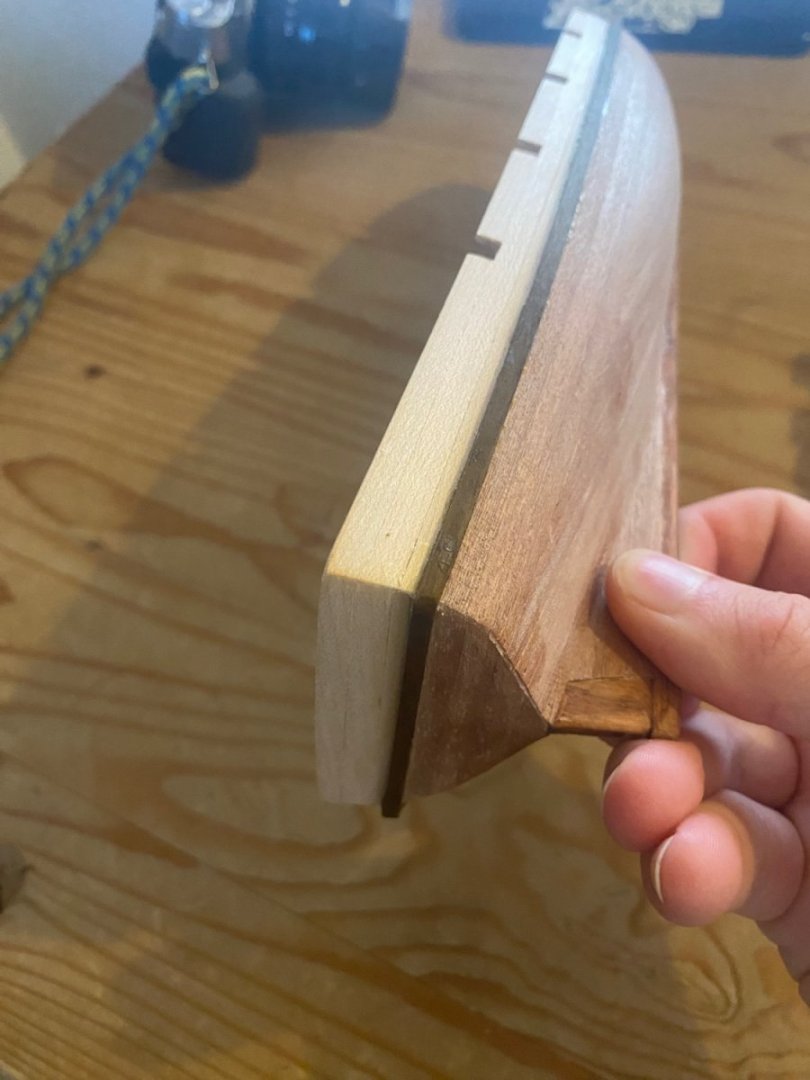
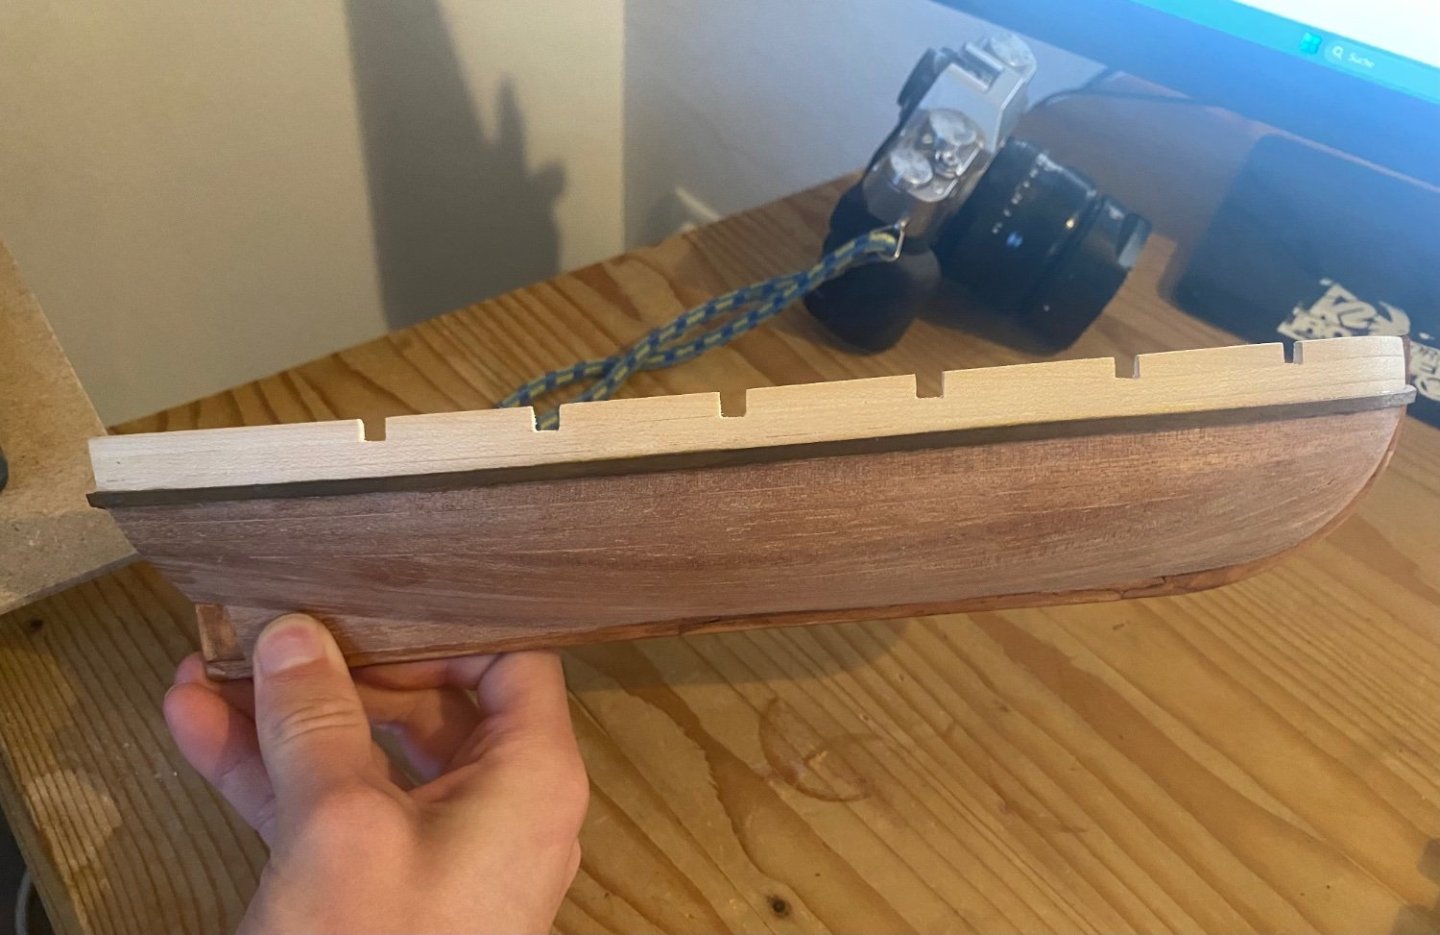
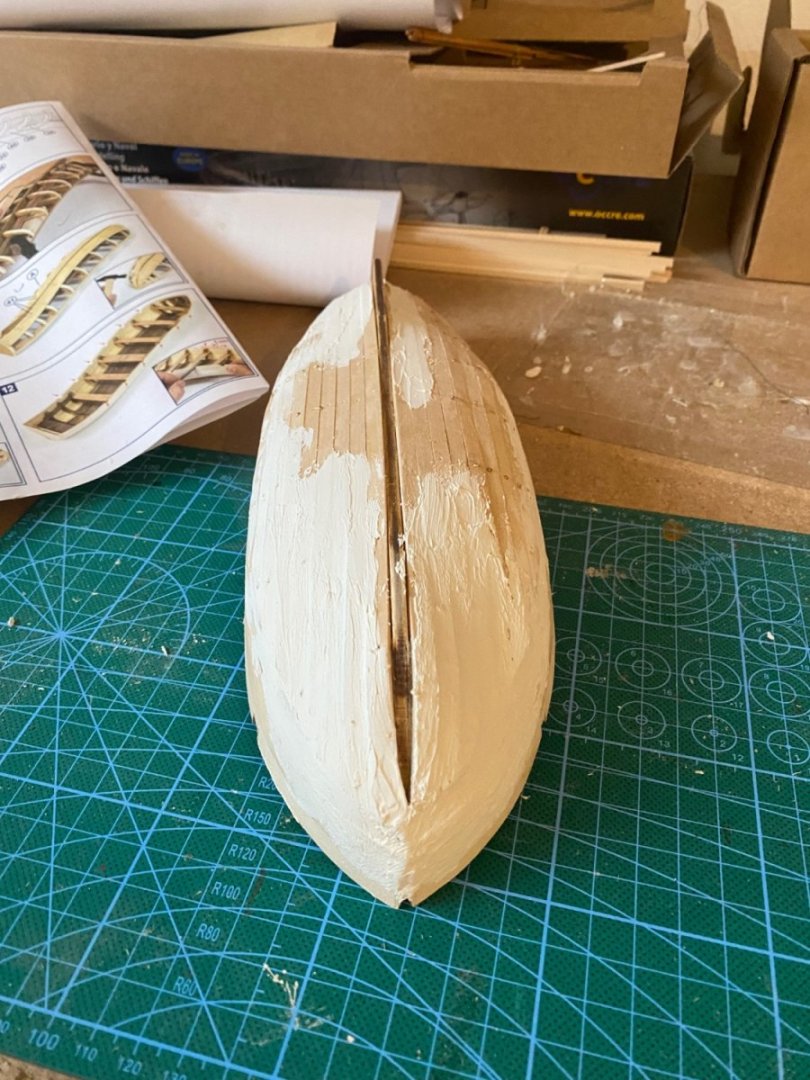
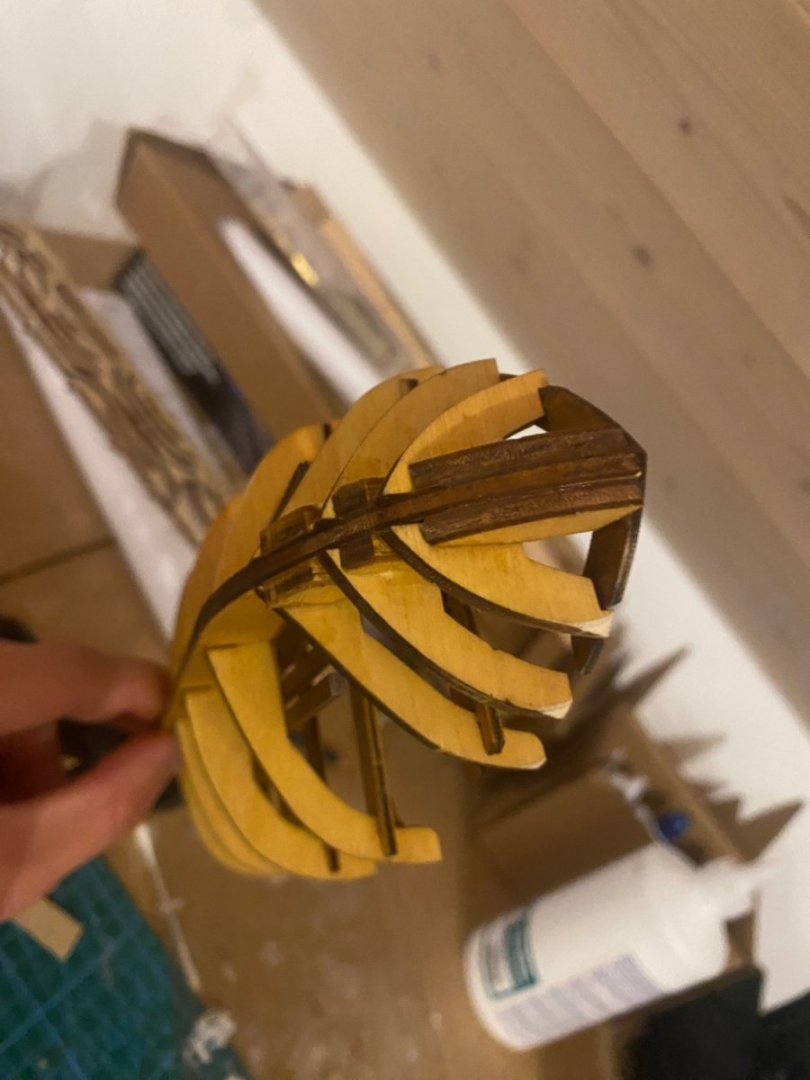
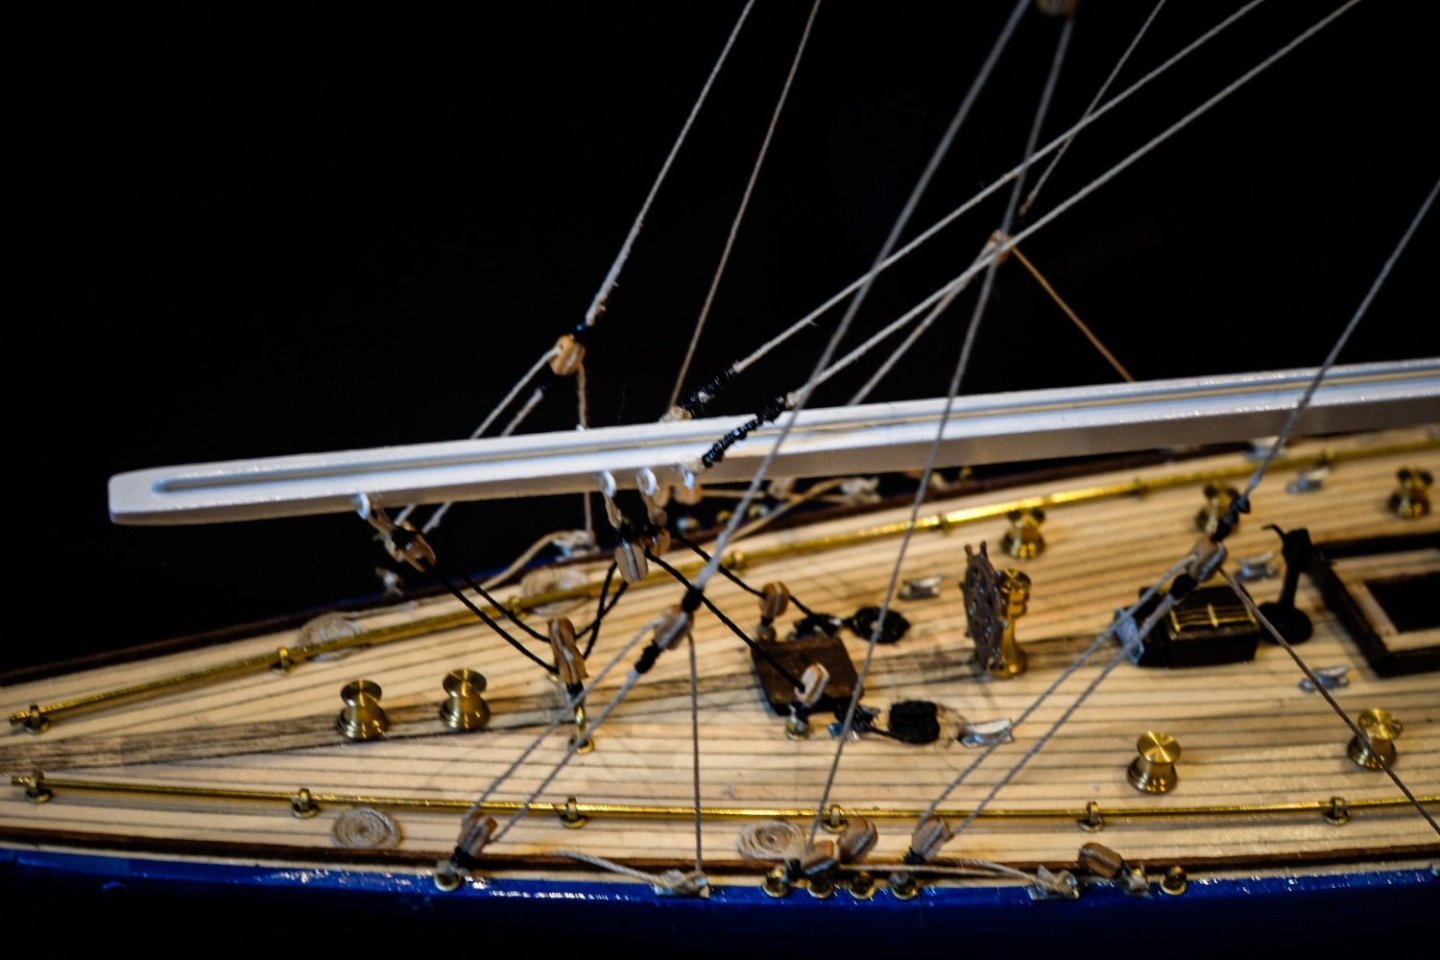
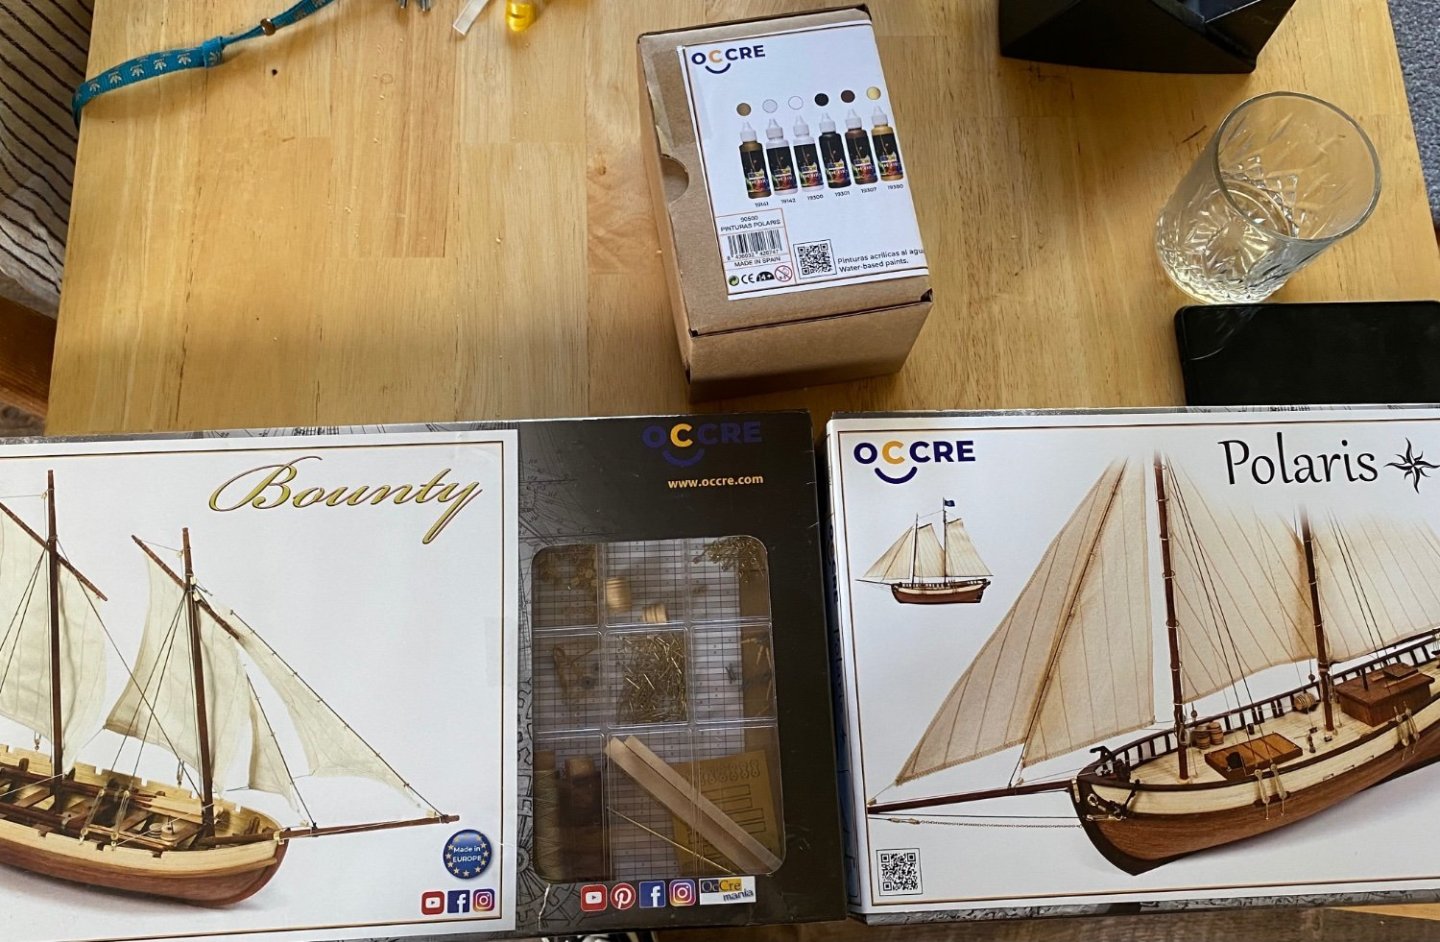
After finishing the OcCre Bounty launch my next project already started: The OcCre 1:50 Polaris. Little bit bigger than the Bounty launch but same amount of sails. With this Model I will try a weathered look, let‘s see how this will work out. False kiel was perfectly straight out of the box this time. Scelleton is already done and the false deck is mounted with glue and the help of some nails. It is a little bit bended so the nails were useful and I would recommend everyone to apply the false deck first before planking it. In the instructions planking comes first. If you do so, you cant use nails to fix it to the scelleton. marked my planking pattern on the deck and started with 6 cm pieces planking. Also here I will do it different than the instructions. They use whole planks but I will use smaller pieces like it would be in reality. also glued the provided stand together and did the first two layers of Black colour. One more and clear coat will follow I guess.


-
Thanks Chris! you are totally right with this. I have to admit that I Just was to lazy to do this. But now in the finished Model I also think it looks a bit off and I will probably fix it later.
- 24 replies
-
- 1
-

-
- OcCre
- bounty launch
- (and 1 more)
-
Thanks a lot Keith! I actually don’t know yet where to place it. There is no stand provided in the kit so I have to build one or let it just sit there without a stand. Probably will end up in my office on the window side besides my desk…
-
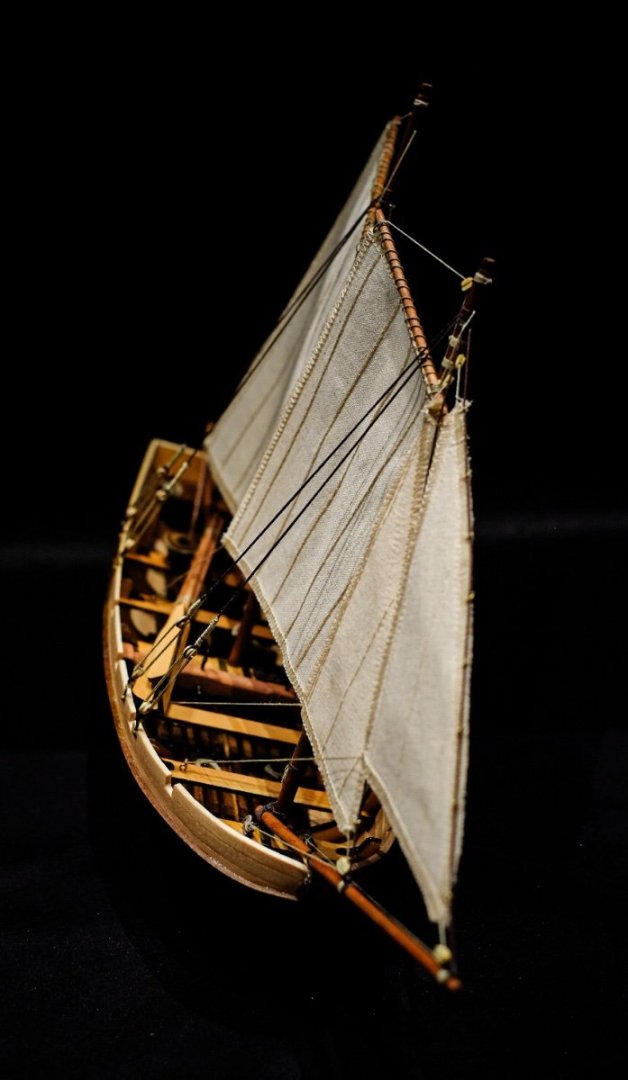
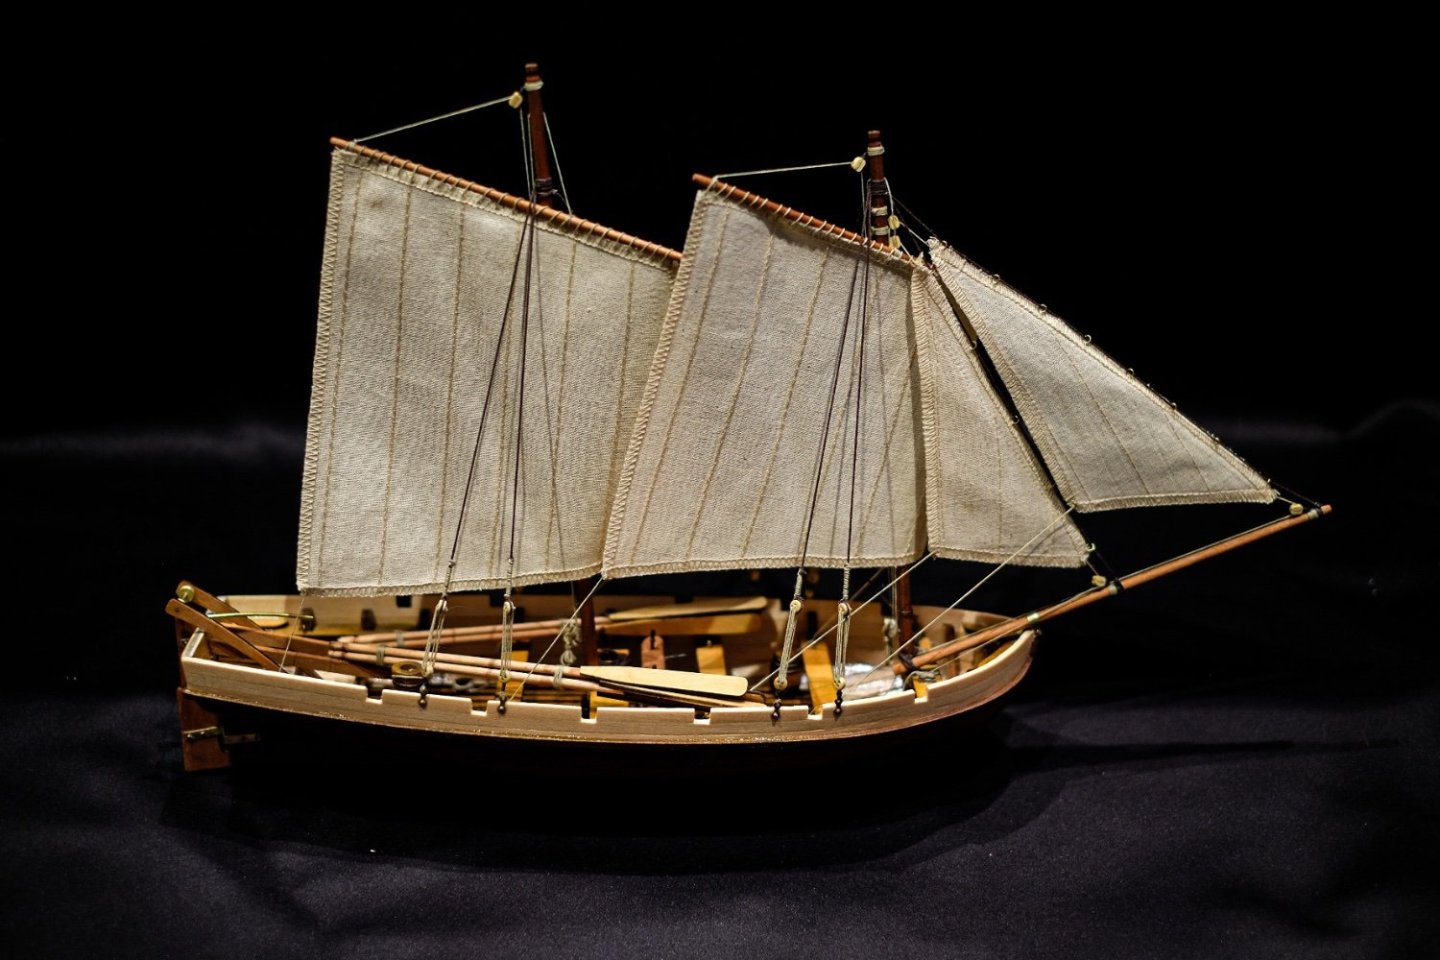
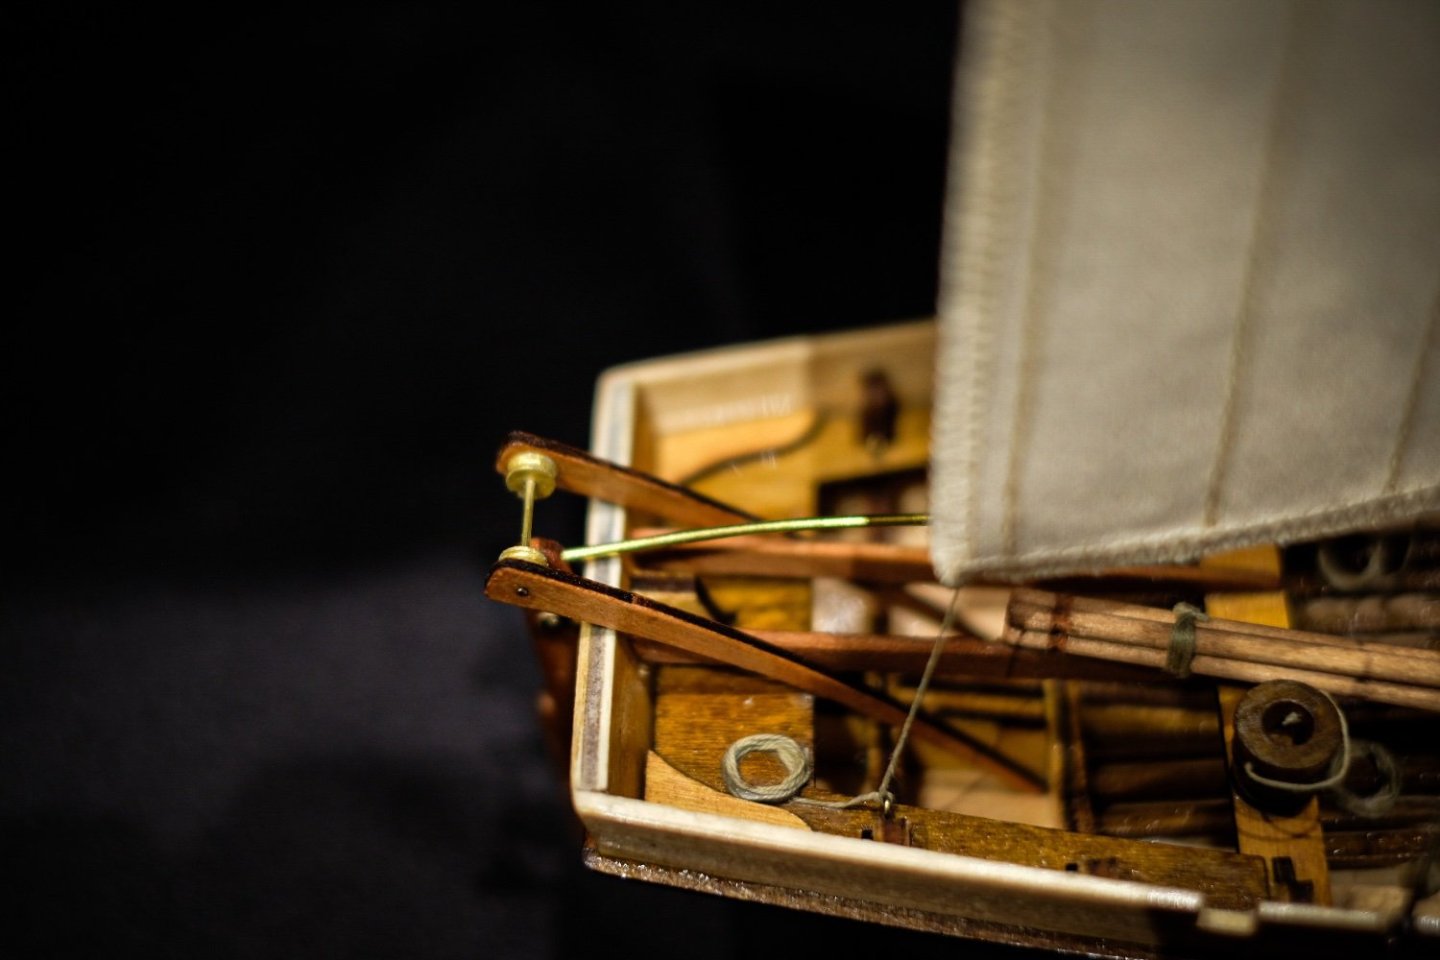
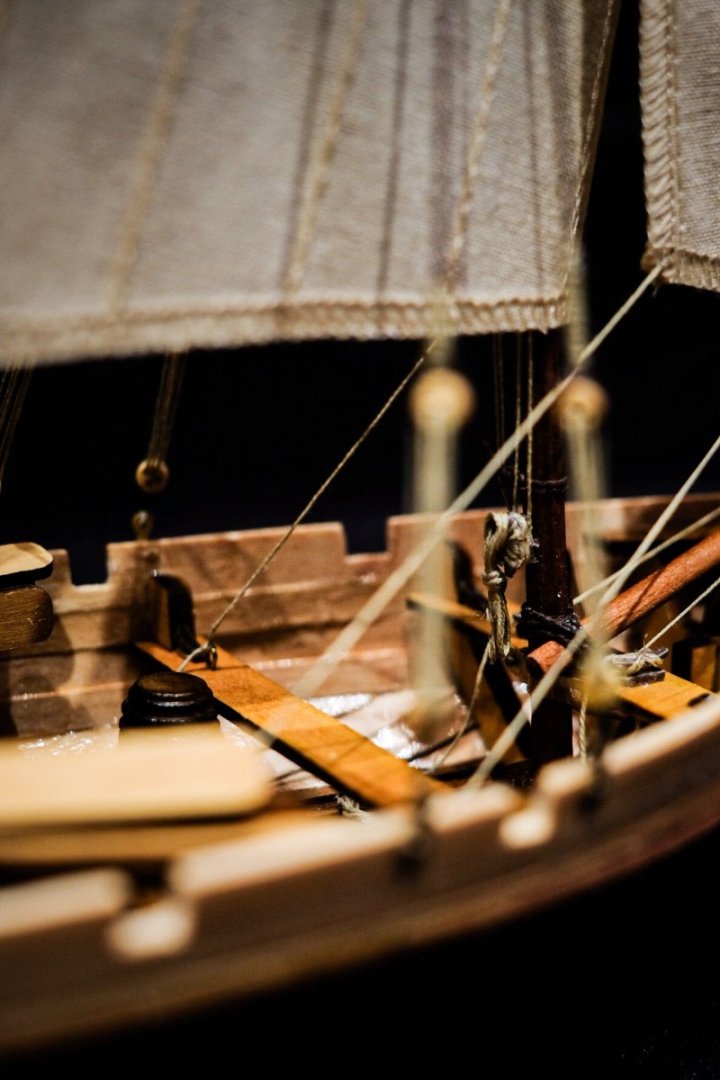
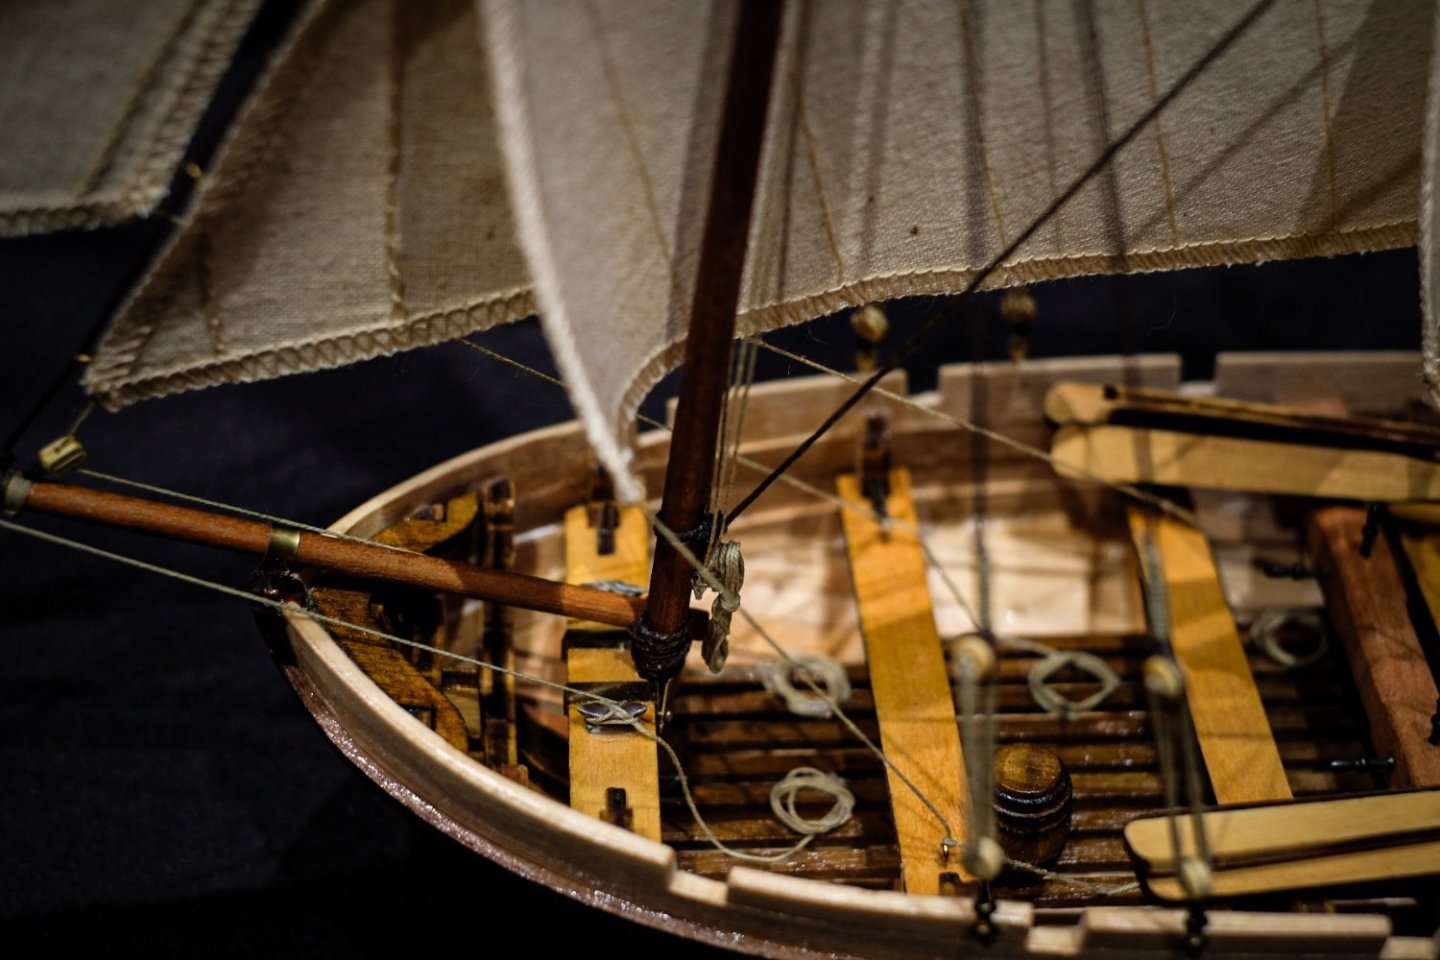
Only 11 days since I starten this fun little build and it is already finished. The rest of the rigging was pretty straight forward and there were no problems with it. I added to every line a coiled rope at the end and also some tied up rope on the masts. Also added some spare coiled ropes with the bigger brown line to add some more „life“ to the model. Here are the pictures of the finished Bounty launch boat: and the details:


- 24 replies
-
- 6
-
-
- OcCre
- bounty launch
- (and 1 more)
-
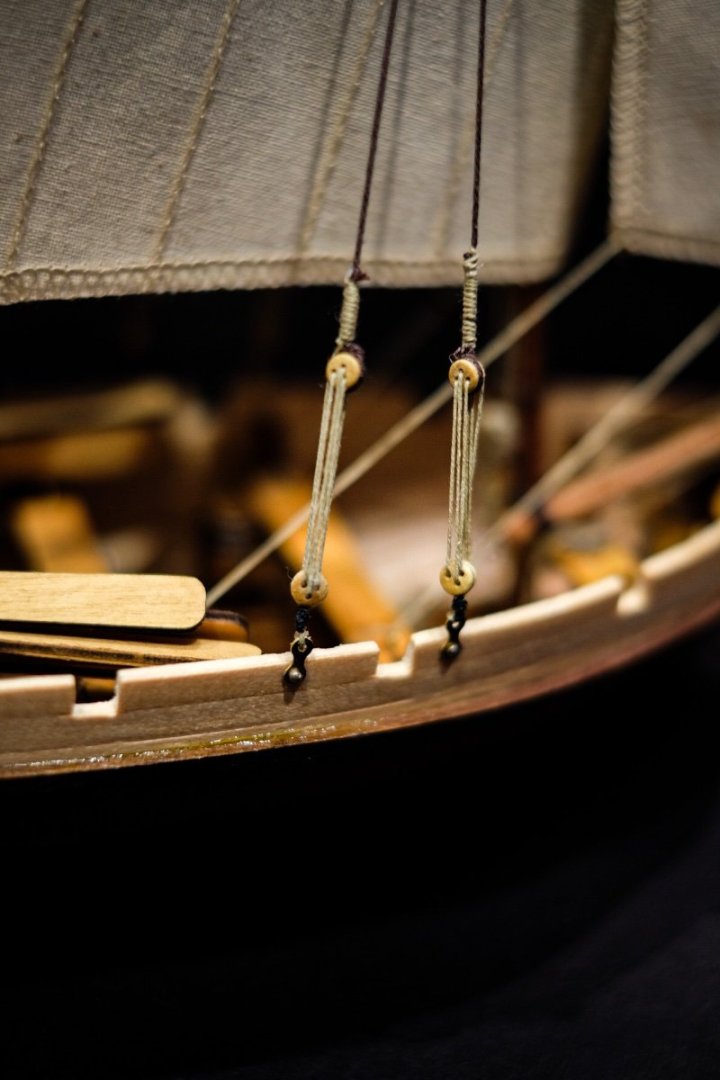
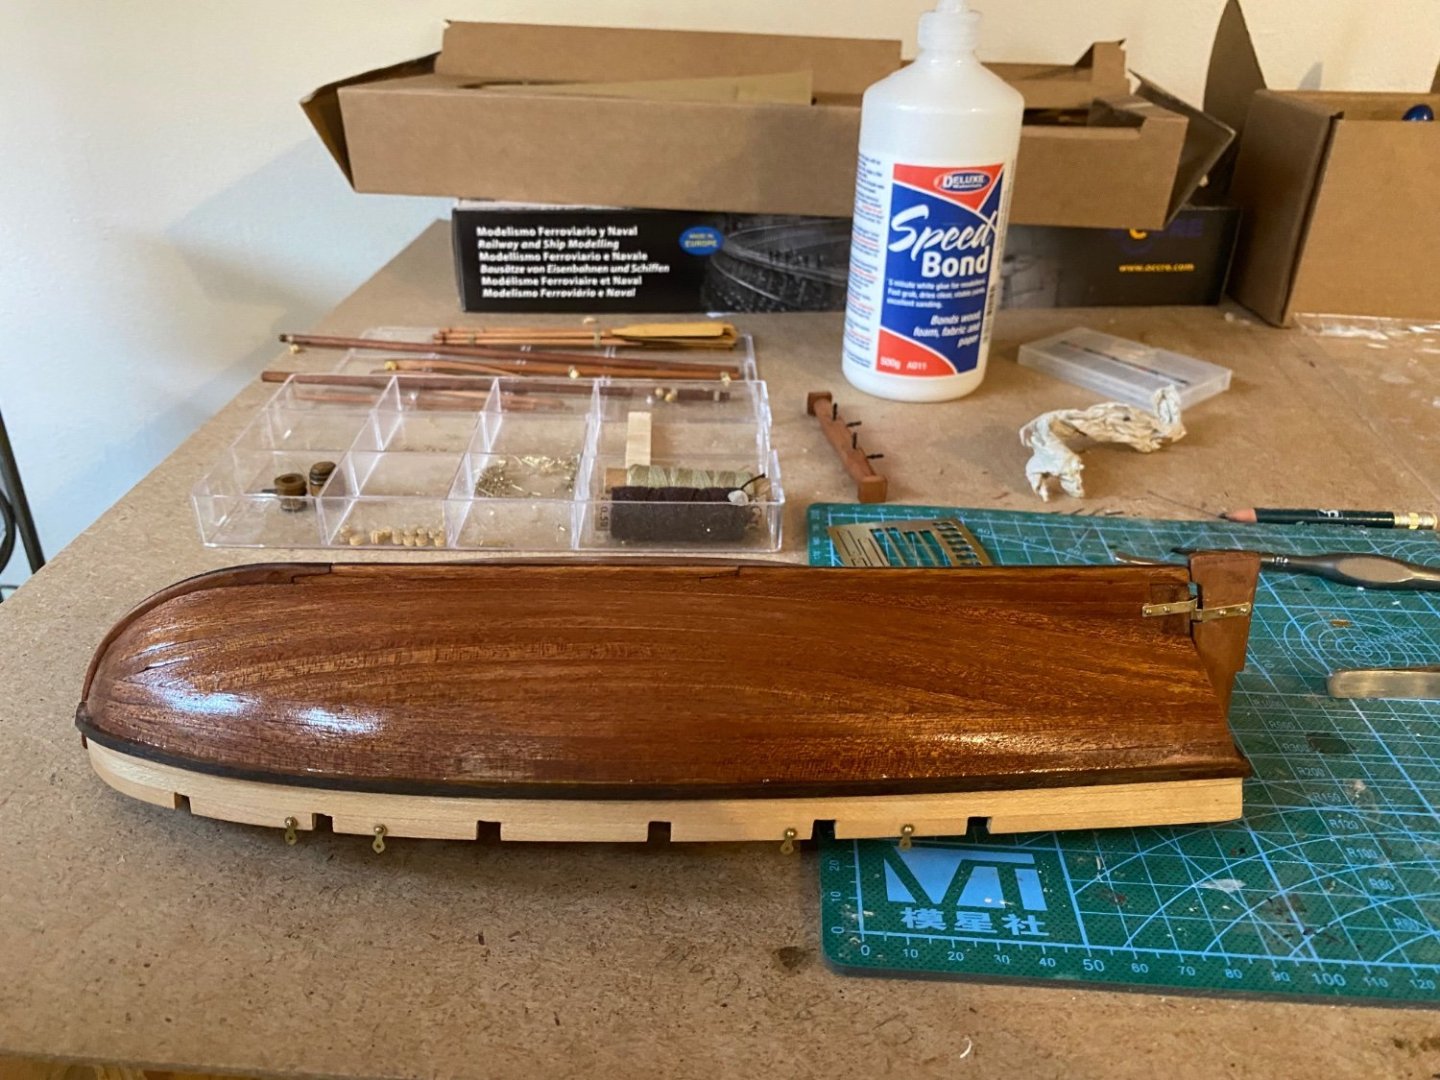
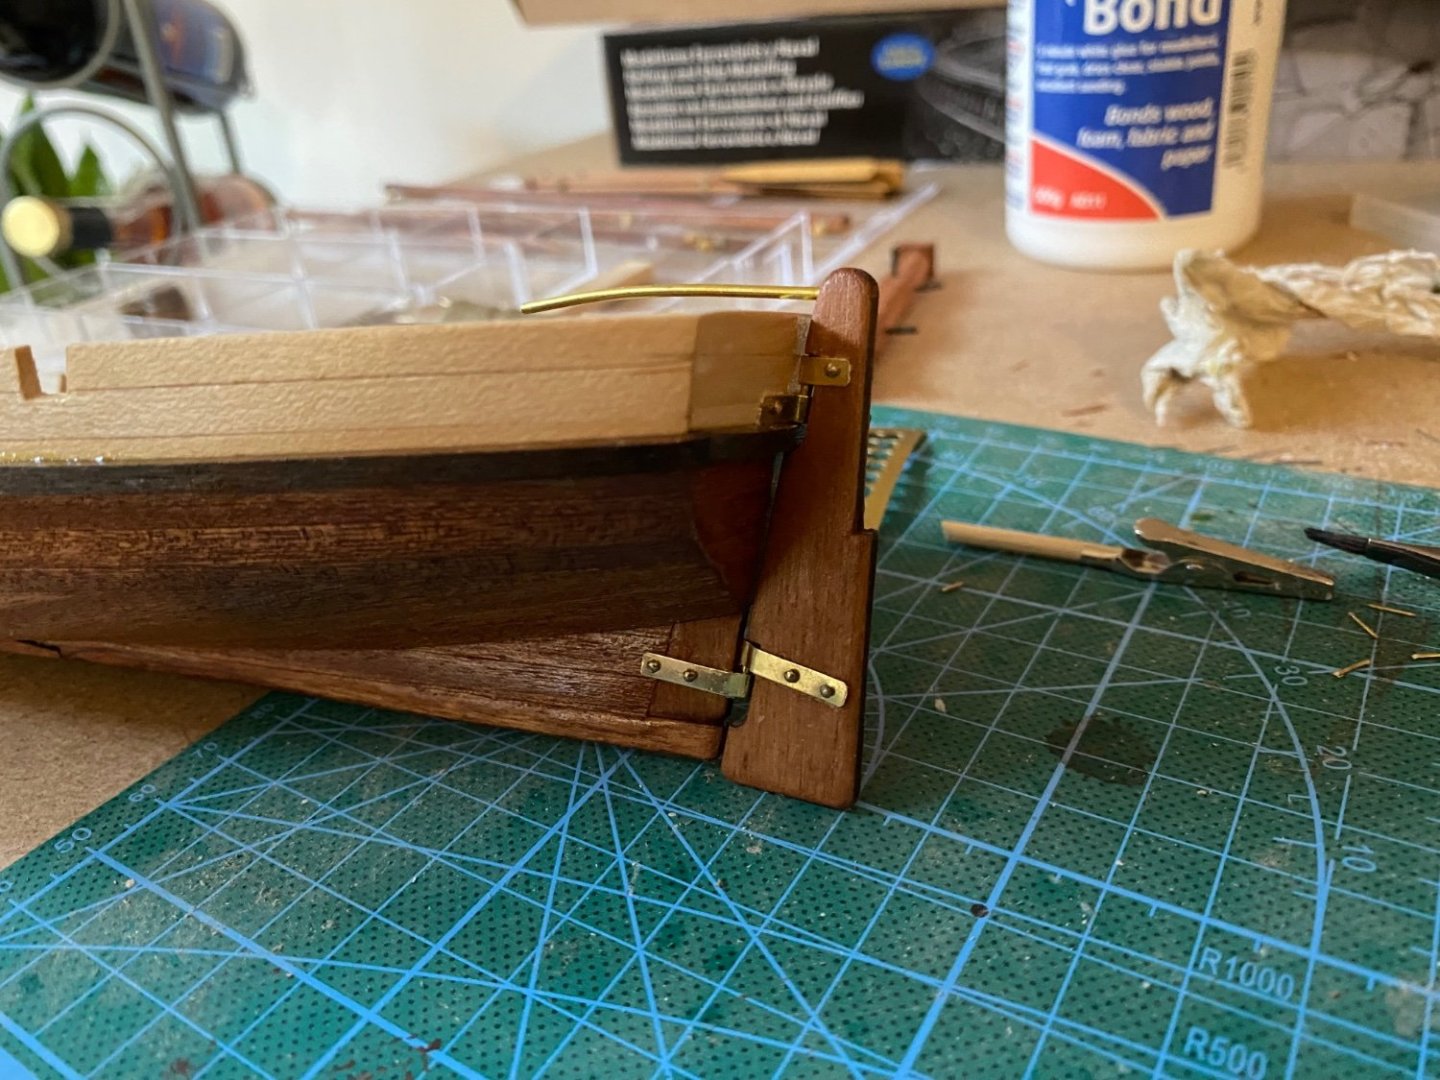
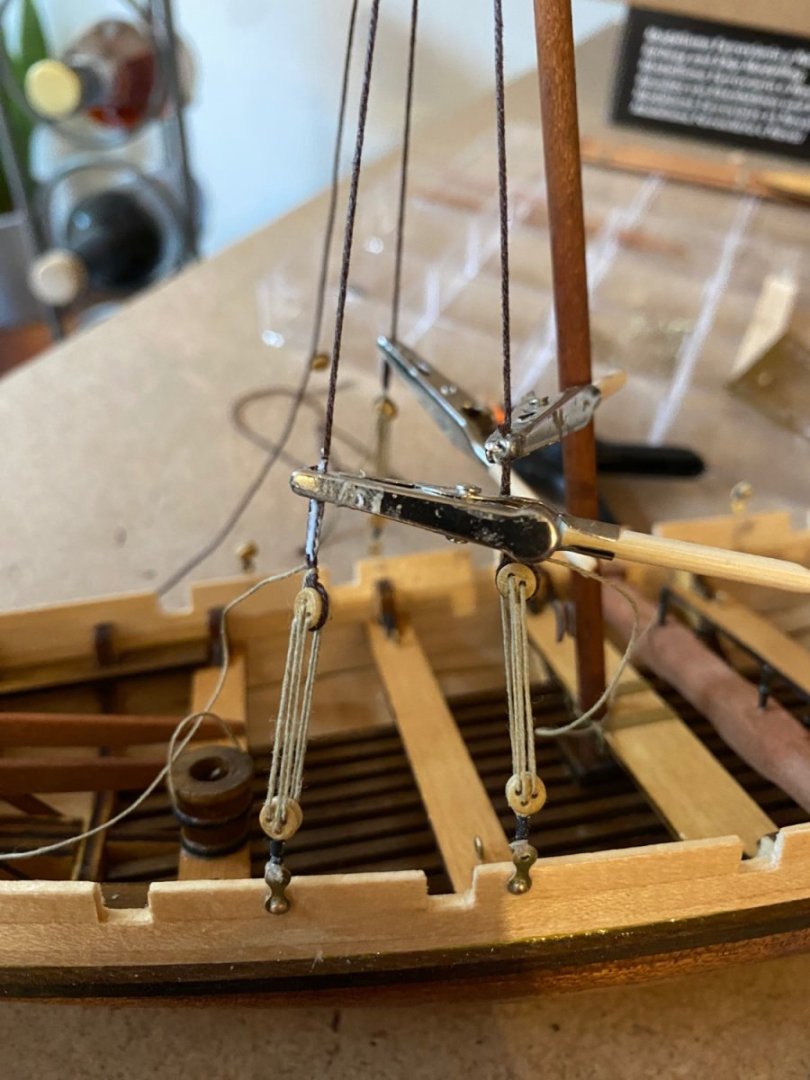
Acrylic clear coat in gloss is sprayed on. Looking sharp I think: also the rudder is mounted: Launch mechanism is added: and winch installed: next up was setting the already stained and clear coated masts: Now it starts to look like a really fine little boat! Let’s begin with the standing rigging. First time for me to rig deadeyes: current state of the build is now looking linke this:
- 24 replies
-
- 4
-
-
- OcCre
- bounty launch
- (and 1 more)
-
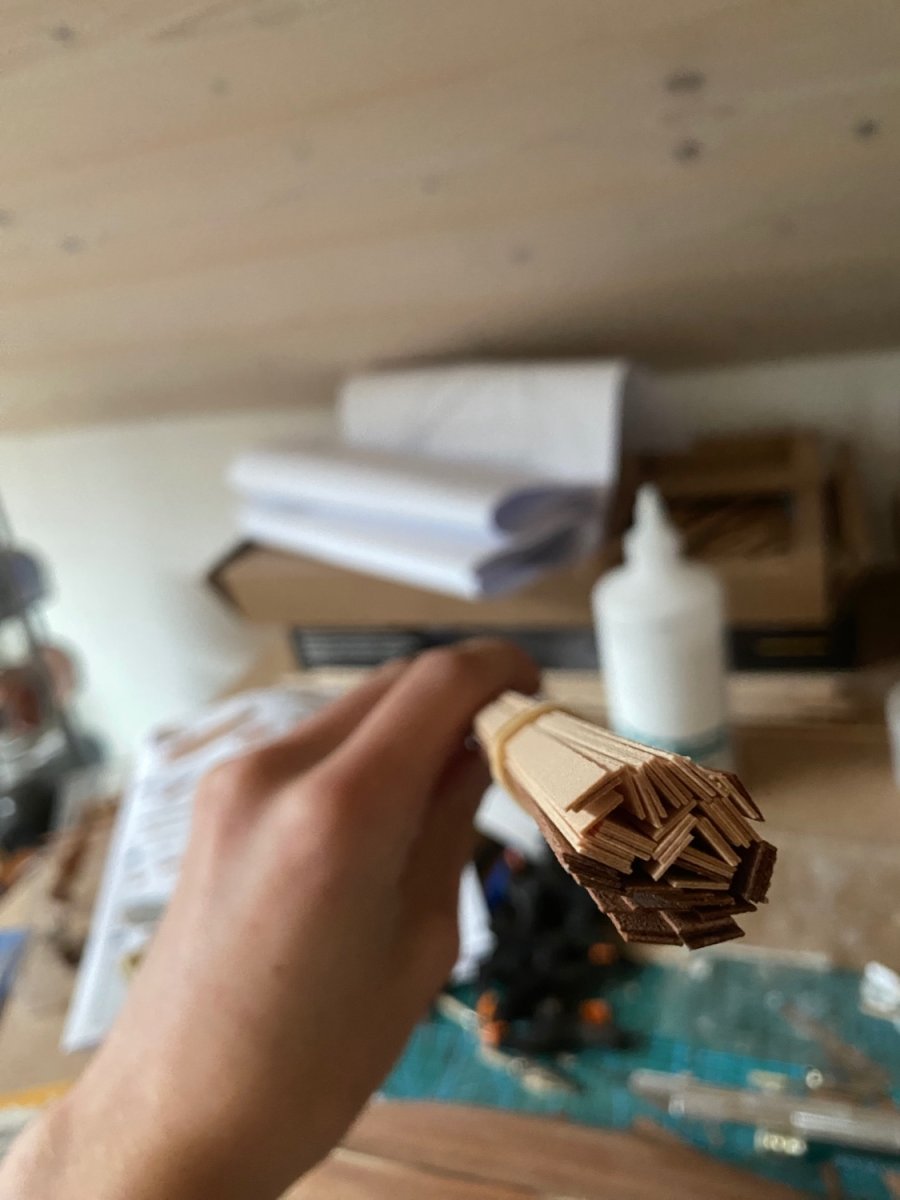
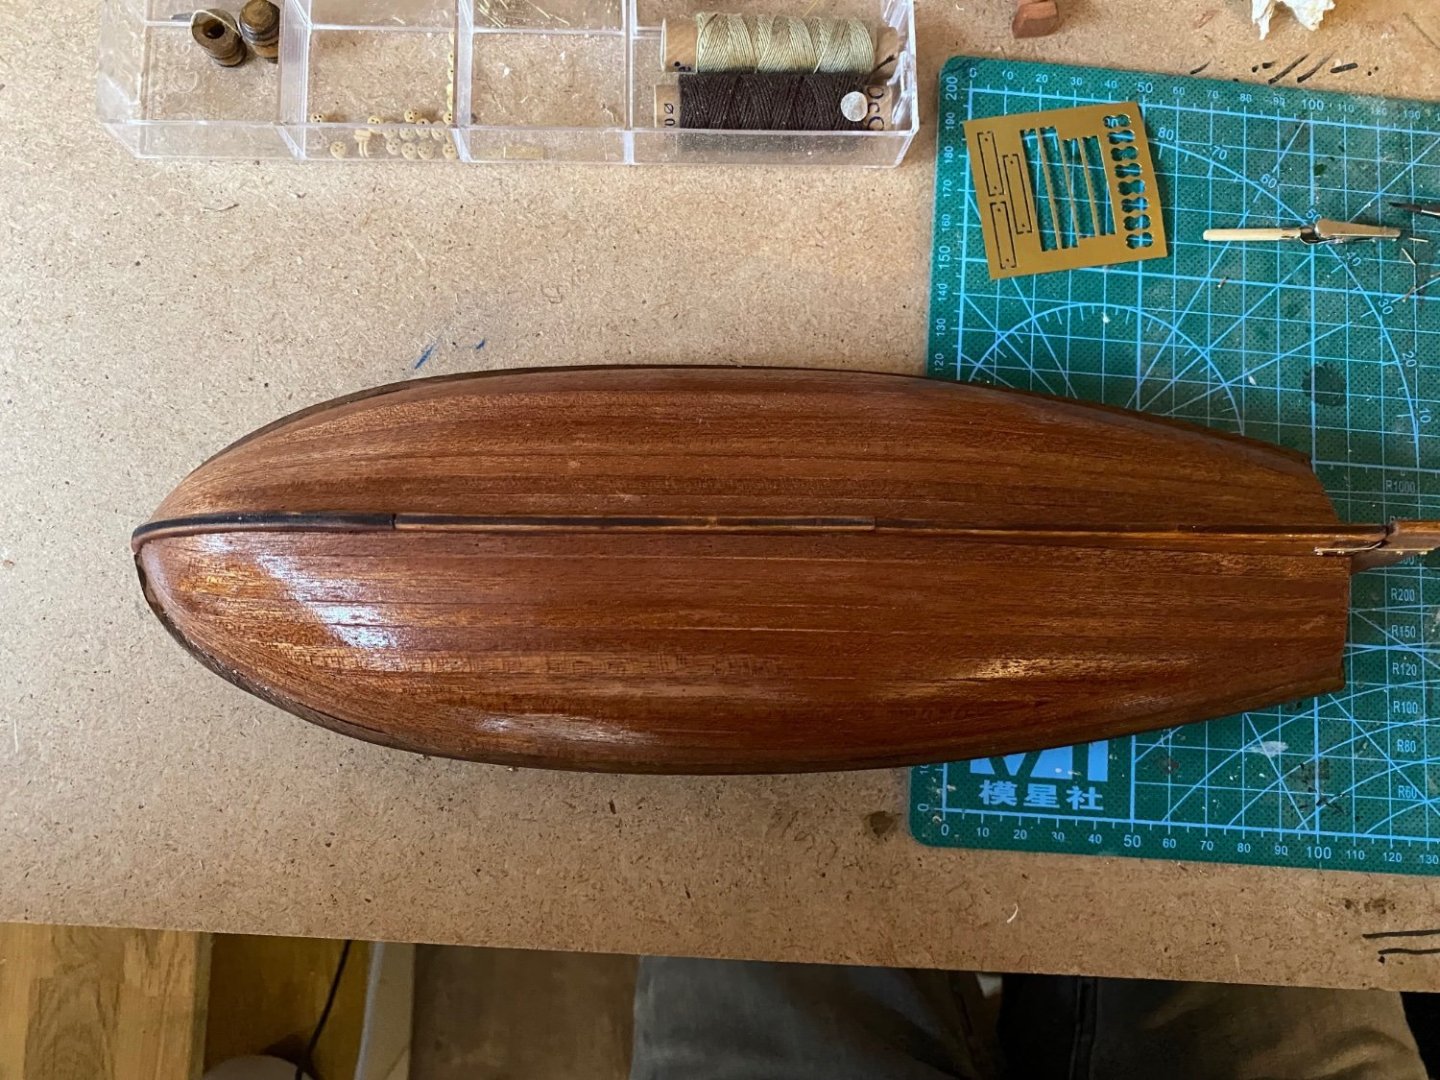
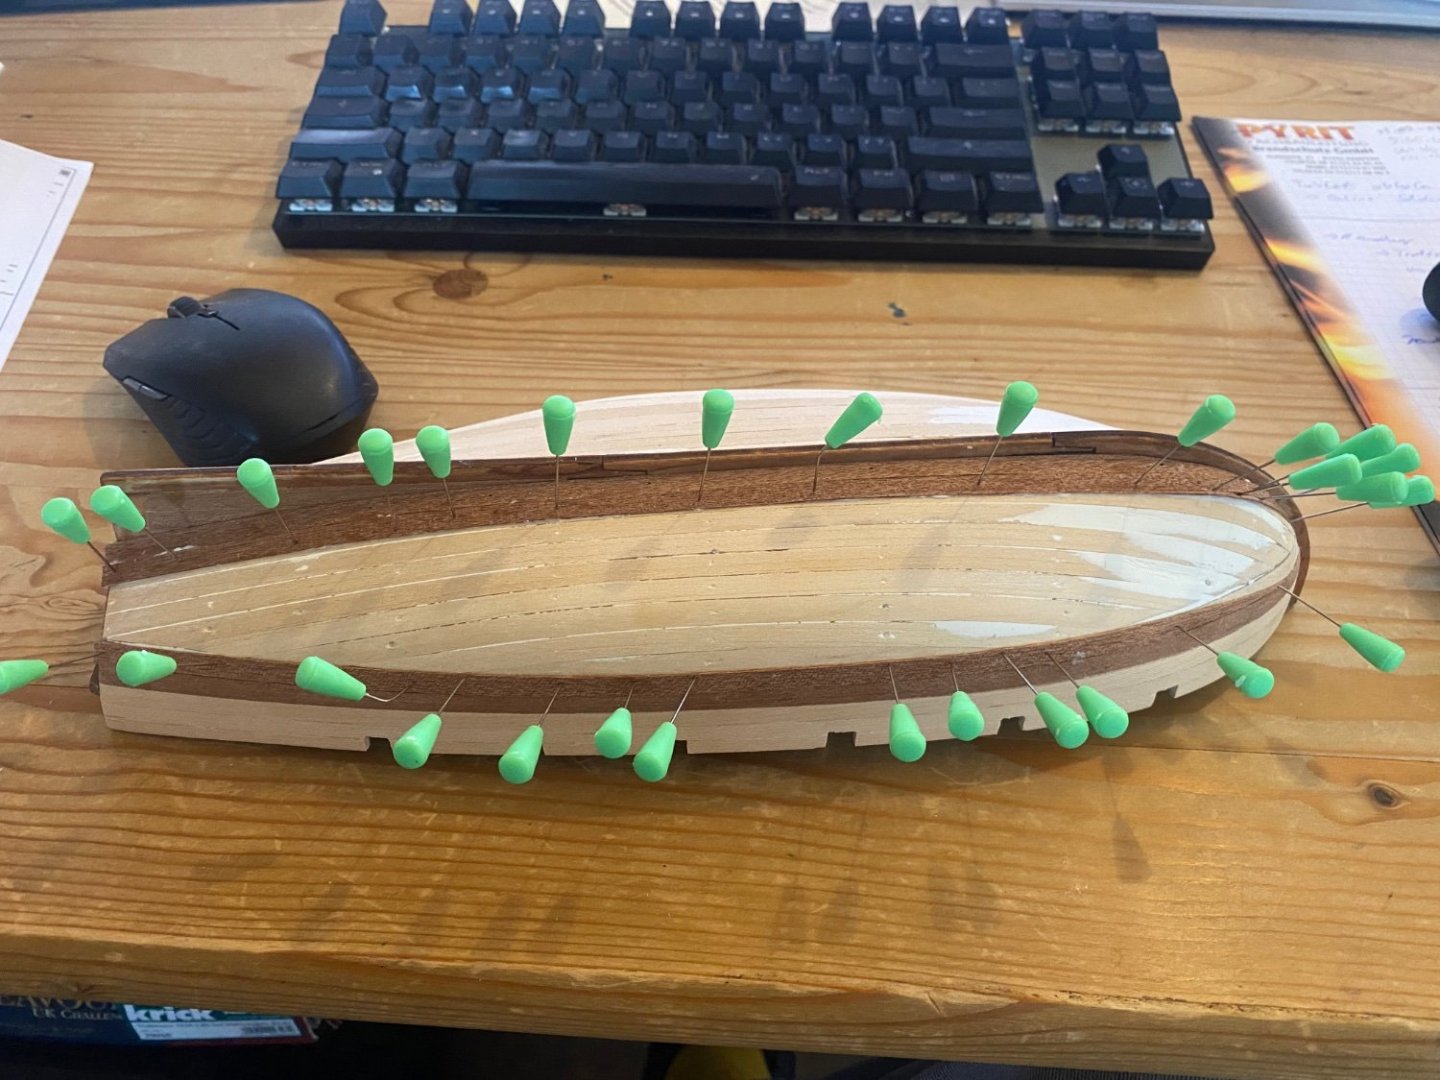
Planking is finished. Yeaha! and there is enough material left to build a second one…


- 24 replies
-
- 6
-
-
- OcCre
- bounty launch
- (and 1 more)
-
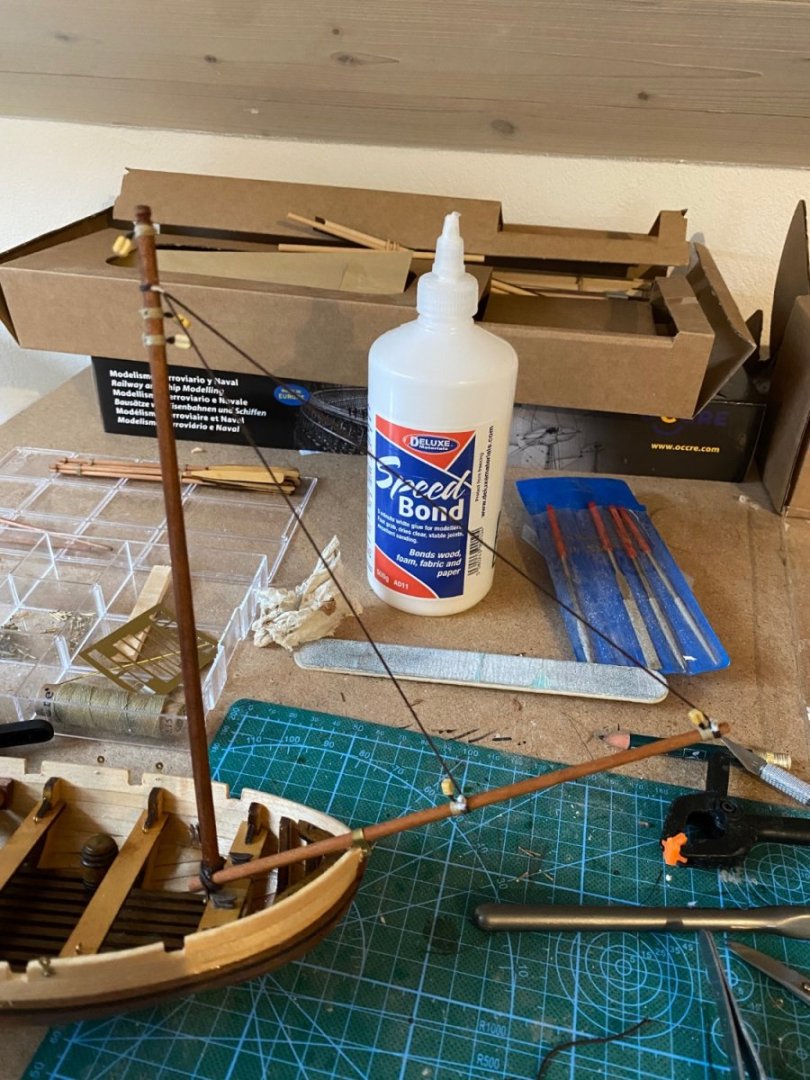
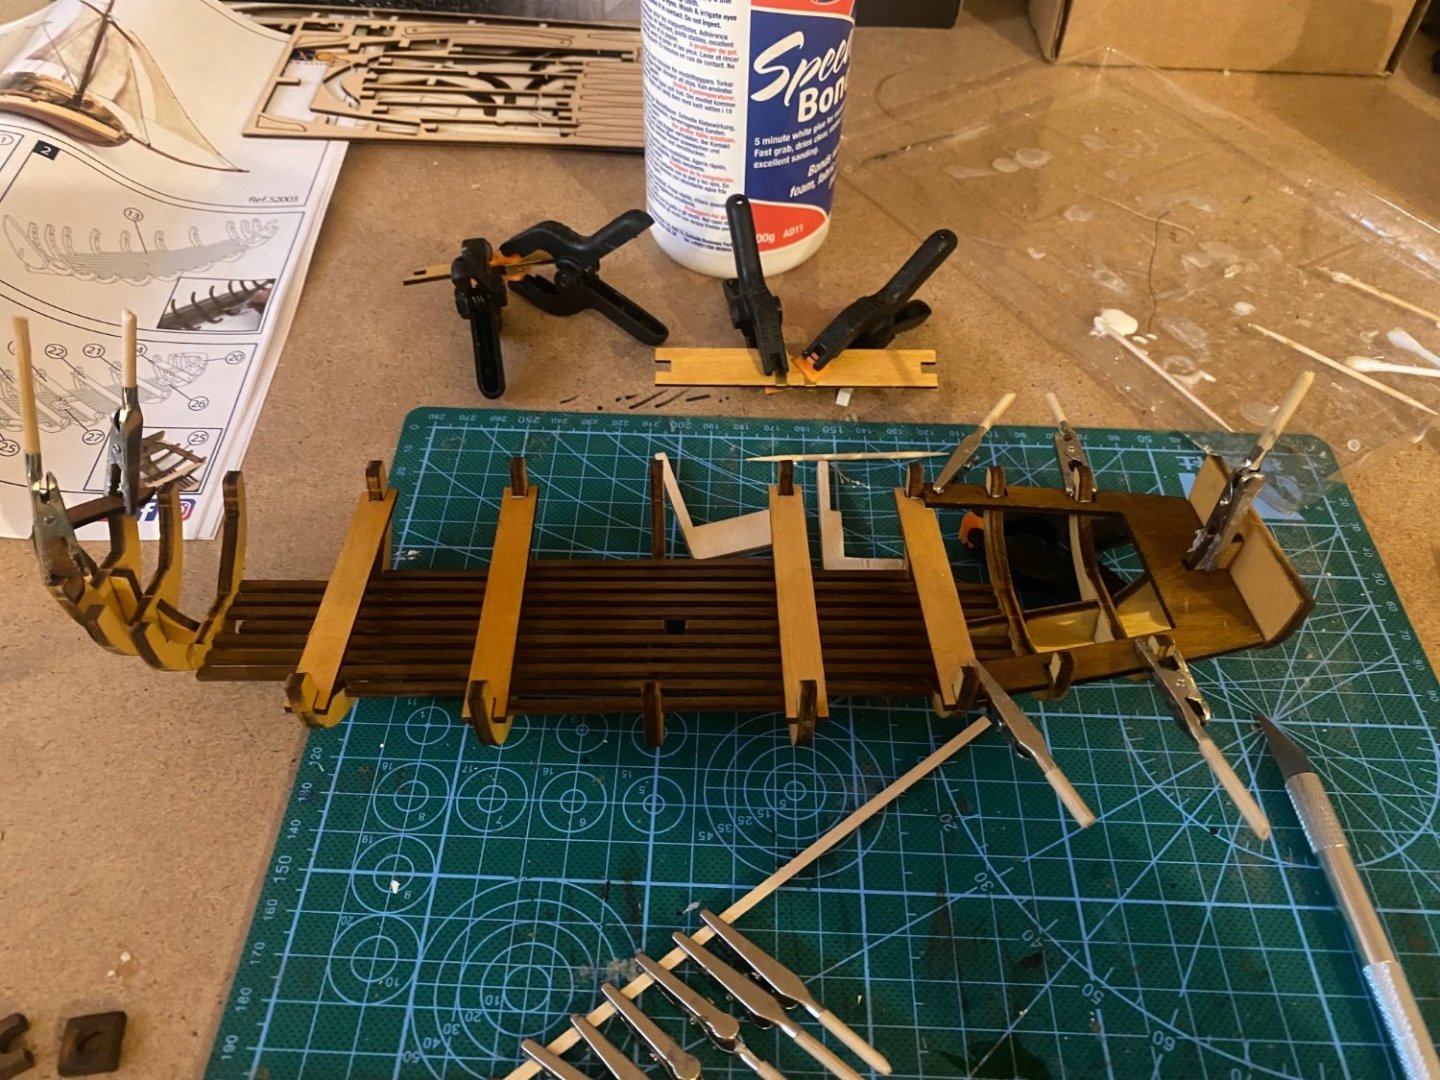
Sanded the filler down, attached the Kiel and already finished one side of the second planking. fitting the last piece: done started rigging the masts:


- 24 replies
-
- 4
-
-
- OcCre
- bounty launch
- (and 1 more)
-
Hey Keith, thanks a lot for your points. 1. Yep I will apply the kiel before the second planking. 2. thats what I already did 3. you are probably right. I had one or two height differences in planks to cover but yes it was too much of the good and I am sanding till my arm falls off
-
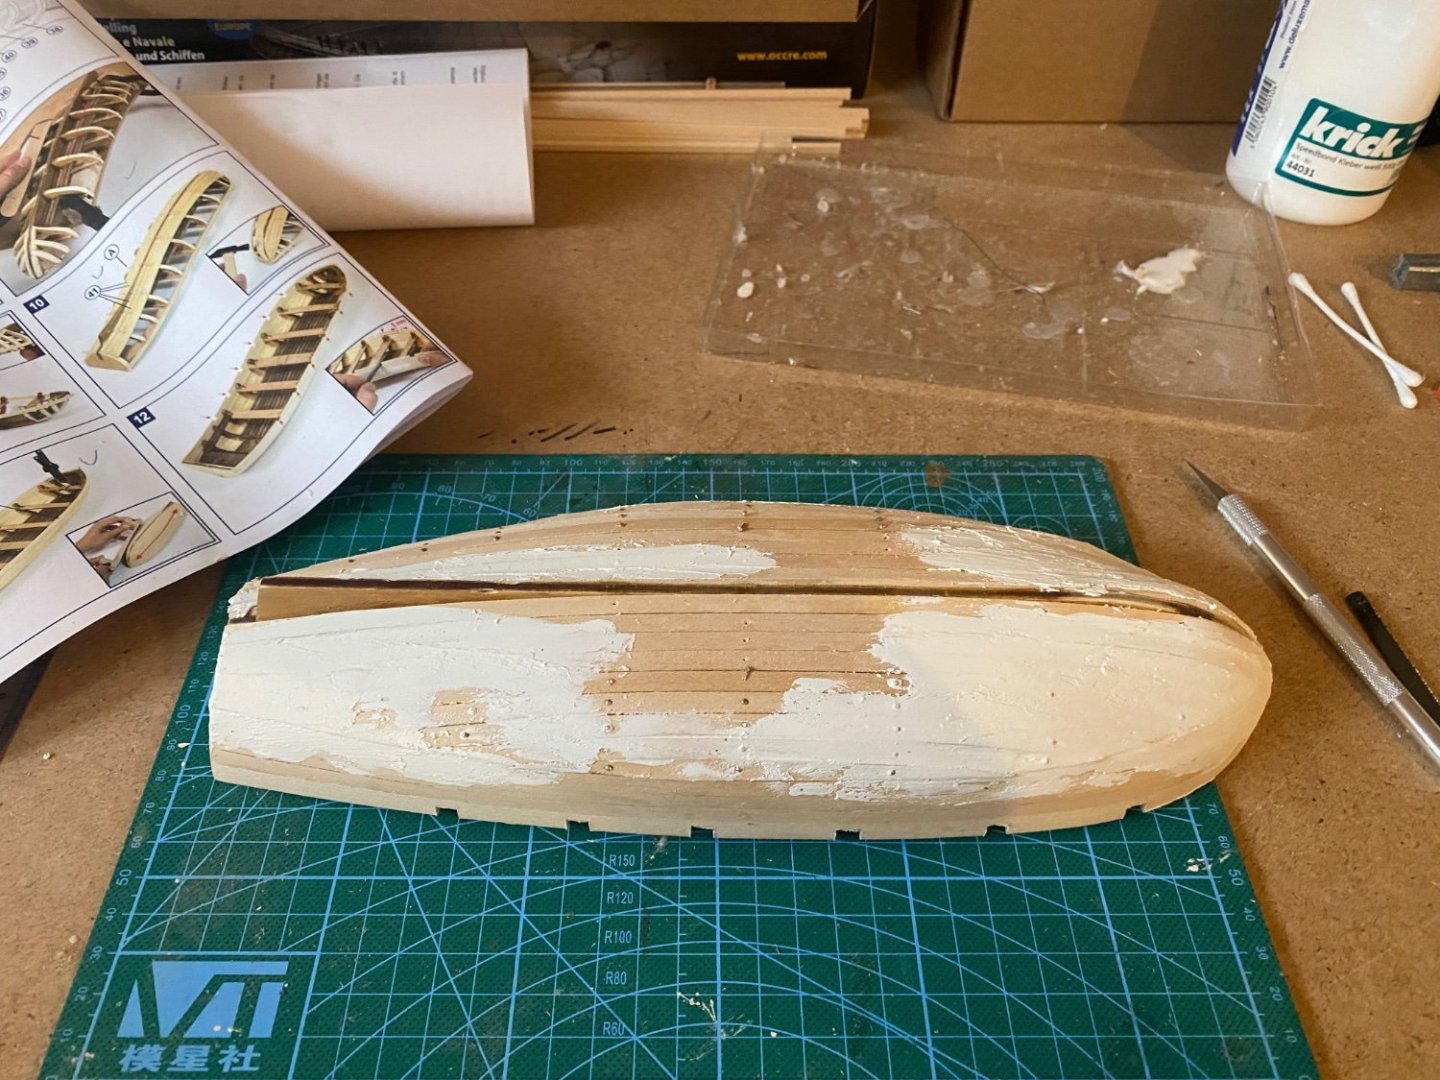
First layer of planking is finished and the cutouts for the rudders are done. Not much woodfiller needed. Next up is the sanding. Should I apply the kiel before the second layer of planks or afterwards?
- 24 replies
-
- 1
-
-
- OcCre
- bounty launch
- (and 1 more)
-
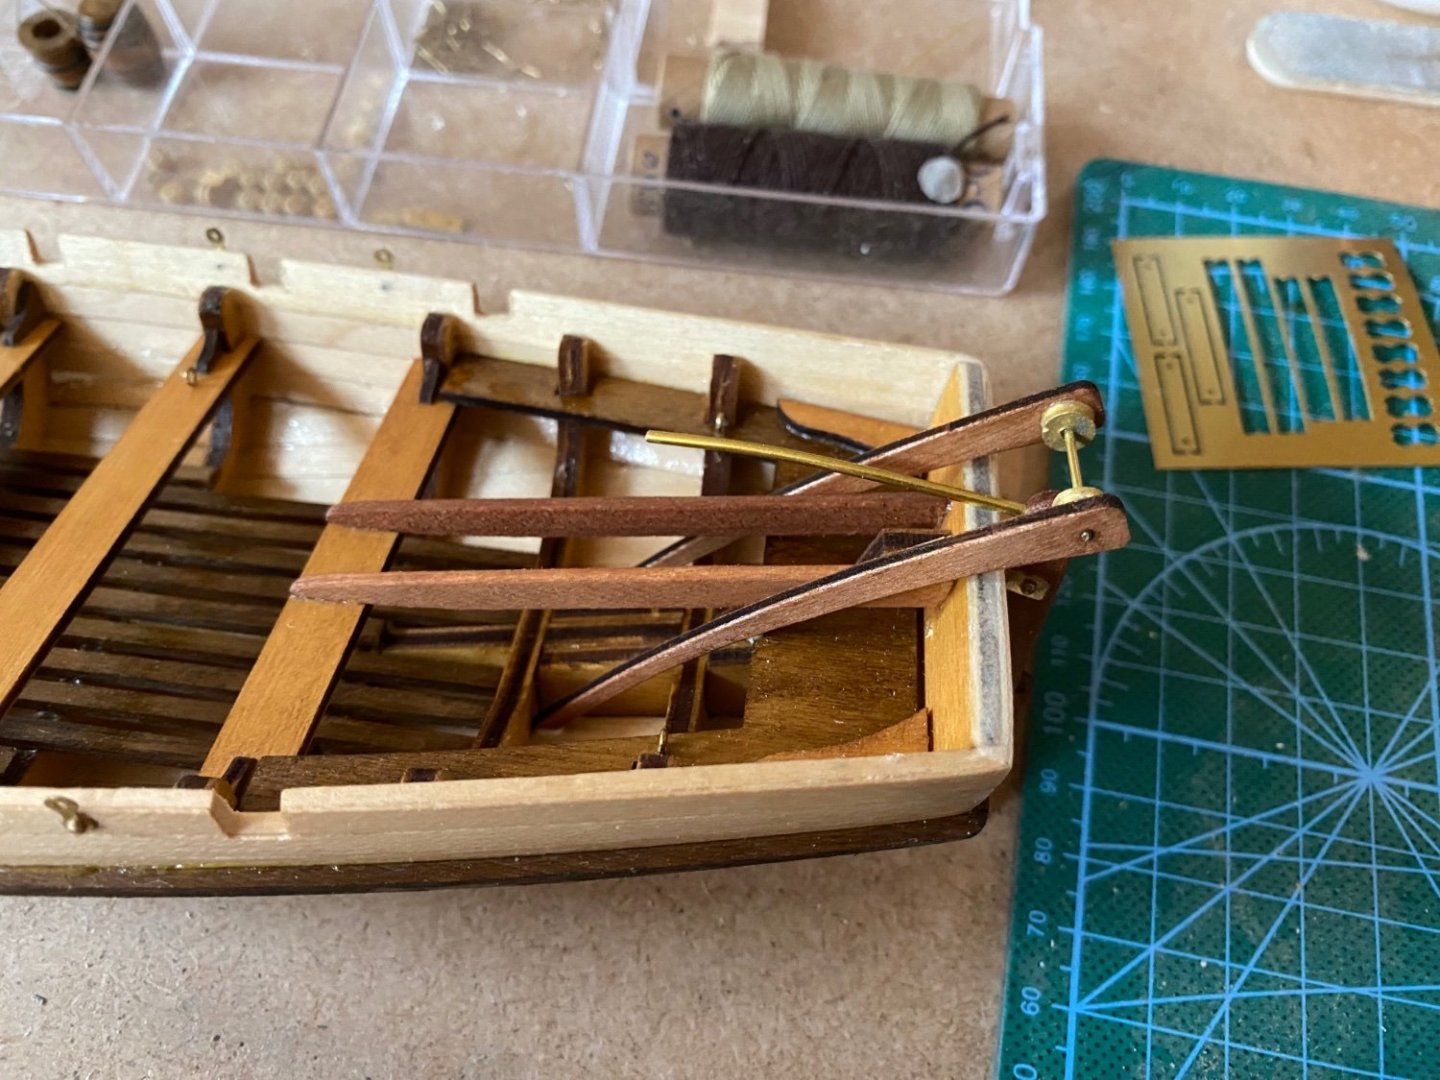
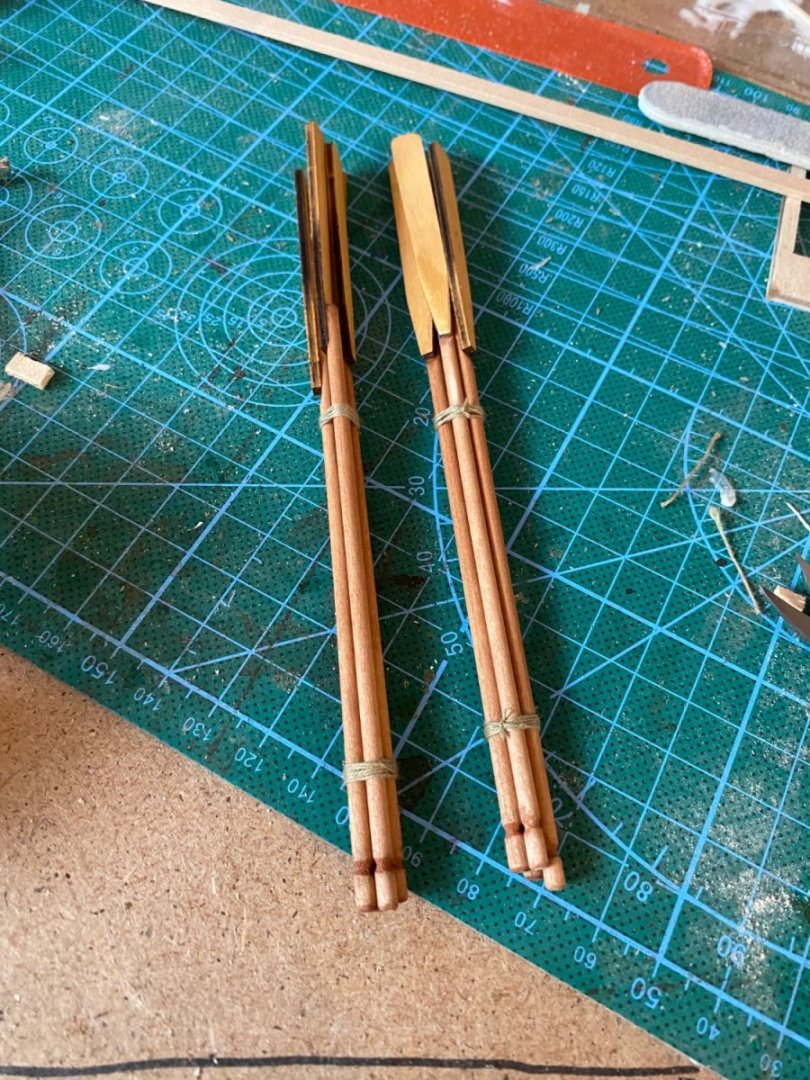
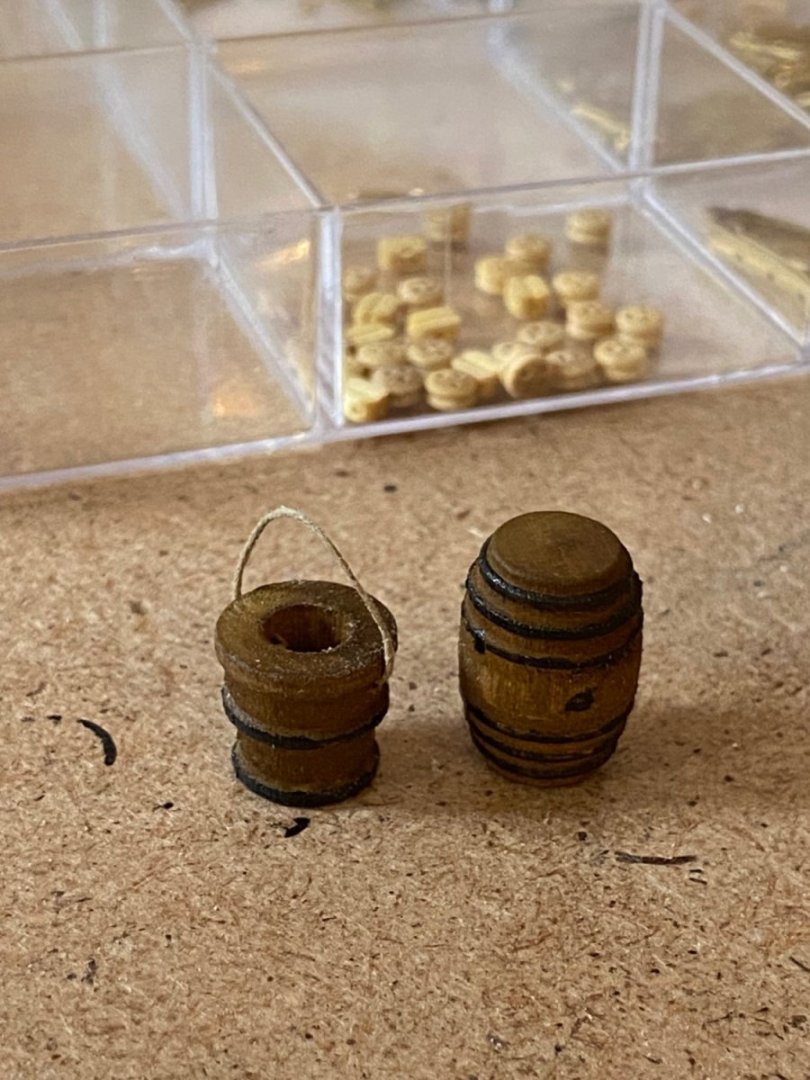
Did the rudders and some accessories… Also the planking goes easily:
- 24 replies
-
- 1
-
-
- OcCre
- bounty launch
- (and 1 more)
-
Hi Craig, just measured from the 1:1 plan. The length your questionmark shows is in the plan 29,5 cm. So in 1:24 this would be 7,08 m length. Seems reasonsble for me?
- 24 replies
-
- 1
-

-
- OcCre
- bounty launch
- (and 1 more)
-
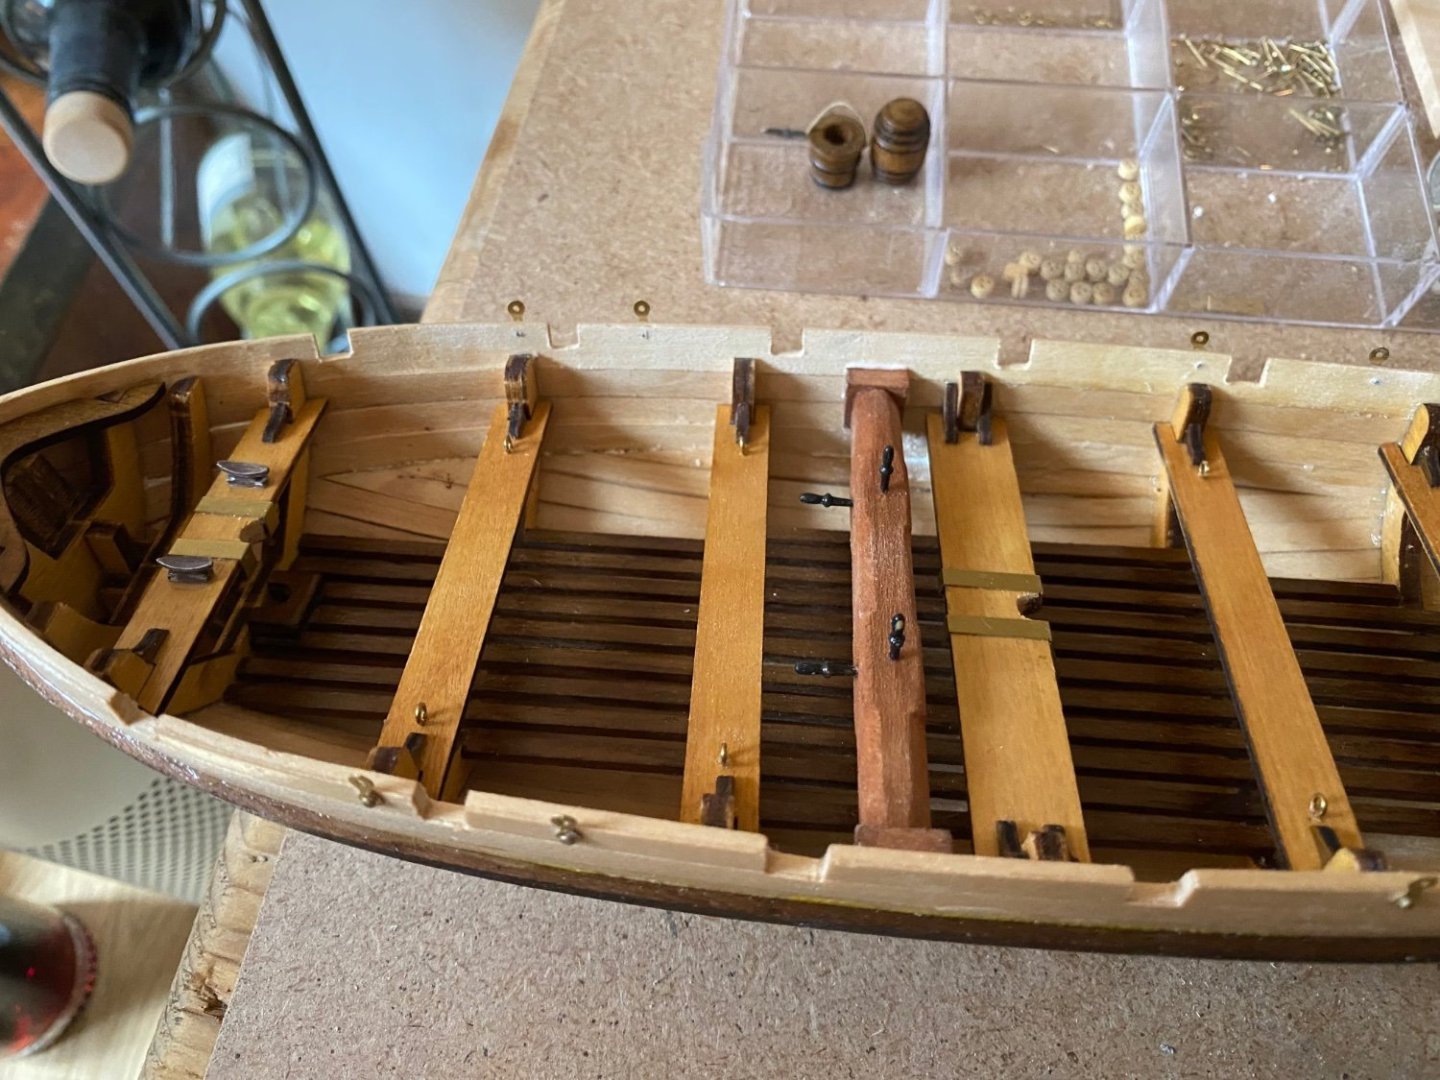
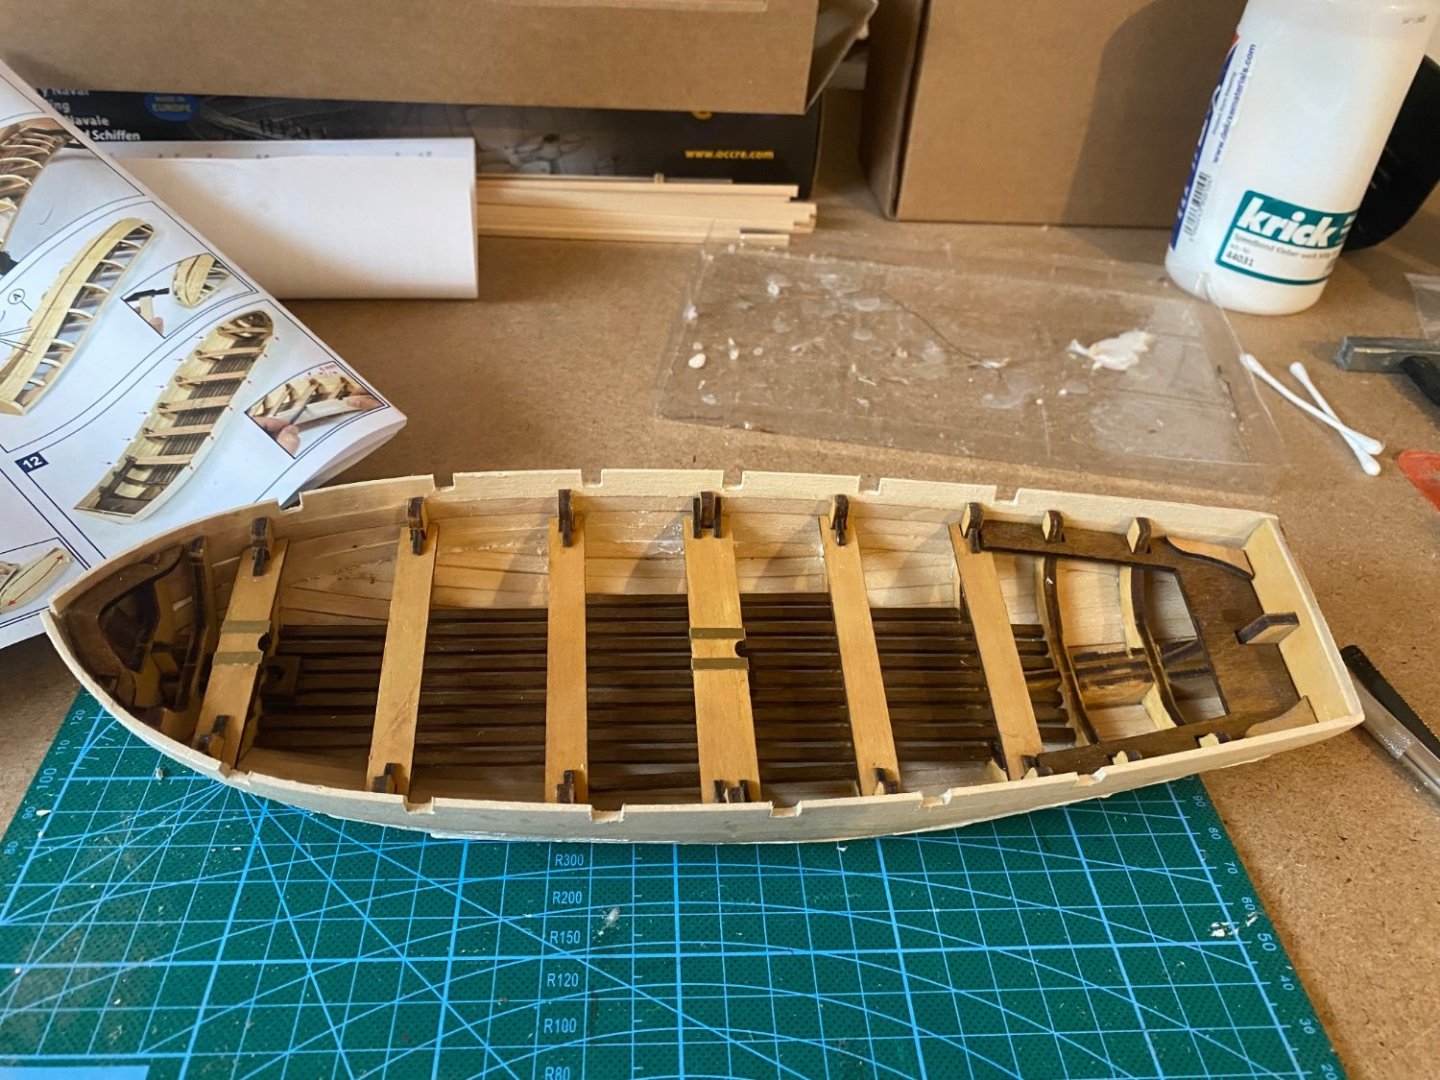
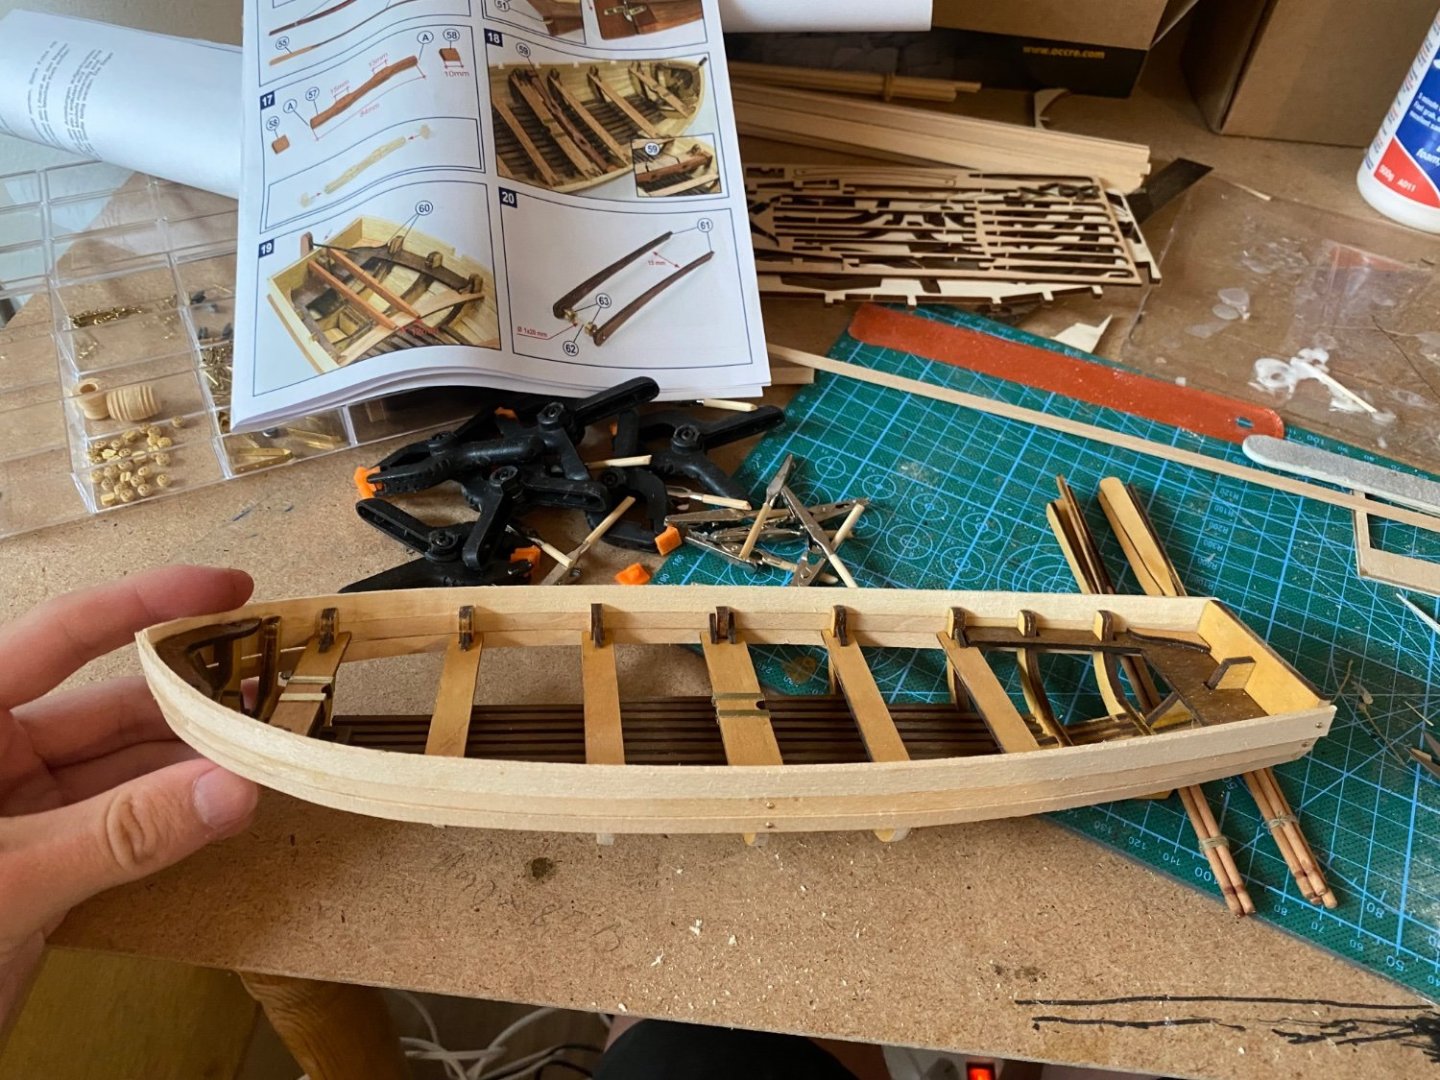
Thank you! yes already tried that with the floorboards. Went better but it’s still not perfectly straight. Maybe with the planking I can get it in shape. stabilizers at the bow and rear are in place:

- 24 replies
-
- 2
-
-
- OcCre
- bounty launch
- (and 1 more)
-
thanks a lot Chris! Was a really fun build…next one will be the Occre bounty boat and the Occre Polaris. Already on my desk they will probably be a lot easier than the Endeavour
-
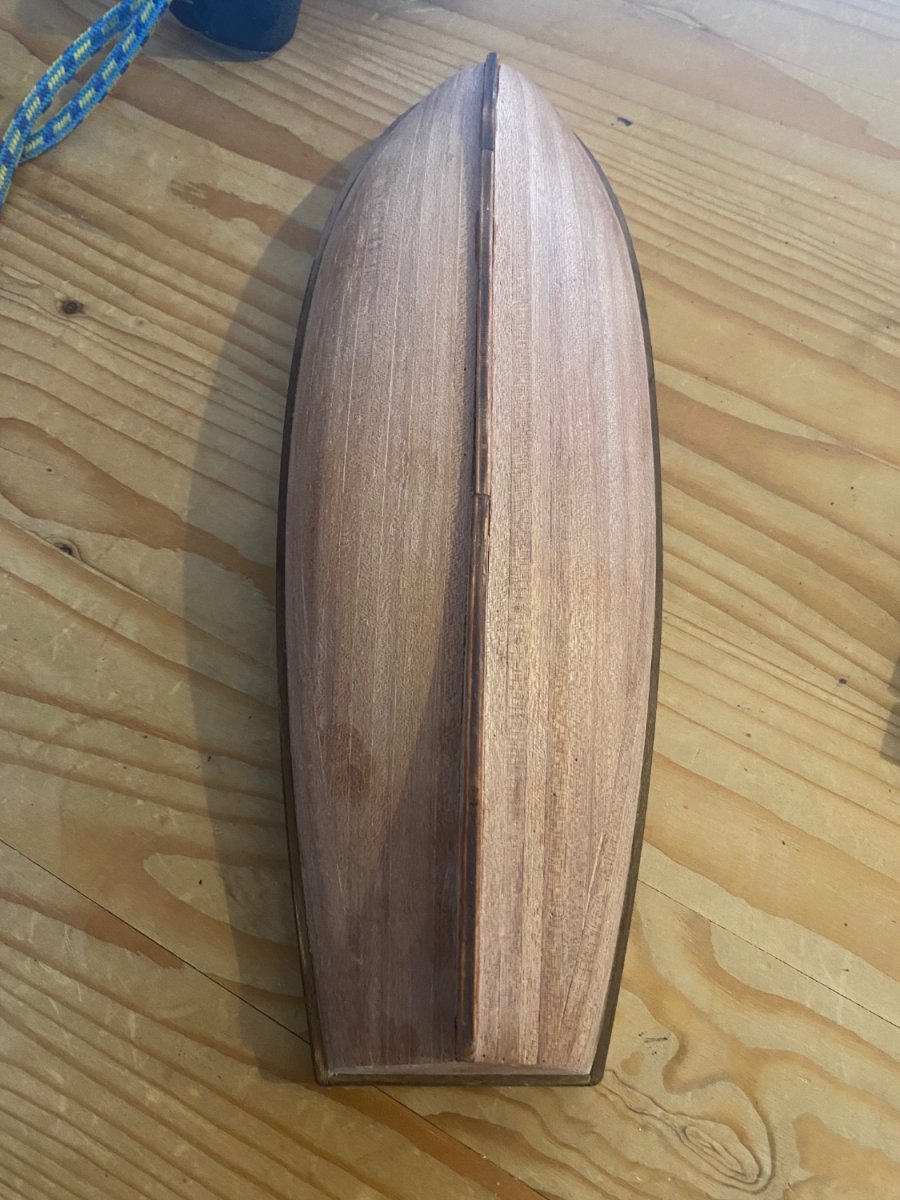
After the Endeavour J-Class my next little project will be the Occre Bounty boat 1:24. Not that big and beutiful like the Endeavour but the history behind it is fascinating… So let‘s start: false kiel is set. And damn it’s not plane, slight left bend, saw this after assembling. Lets hope this will not be a big problem later on. Really like the ocre colours to stain the wood! They look great. thats it for the beginning. Some kiel parts and stabilizers next and then the happy planking part begins…I find the Occre planks much thicker than the amati ones, will probably be harder to work with.


- 24 replies
-
- 4
-
-
- OcCre
- bounty launch
- (and 1 more)
-
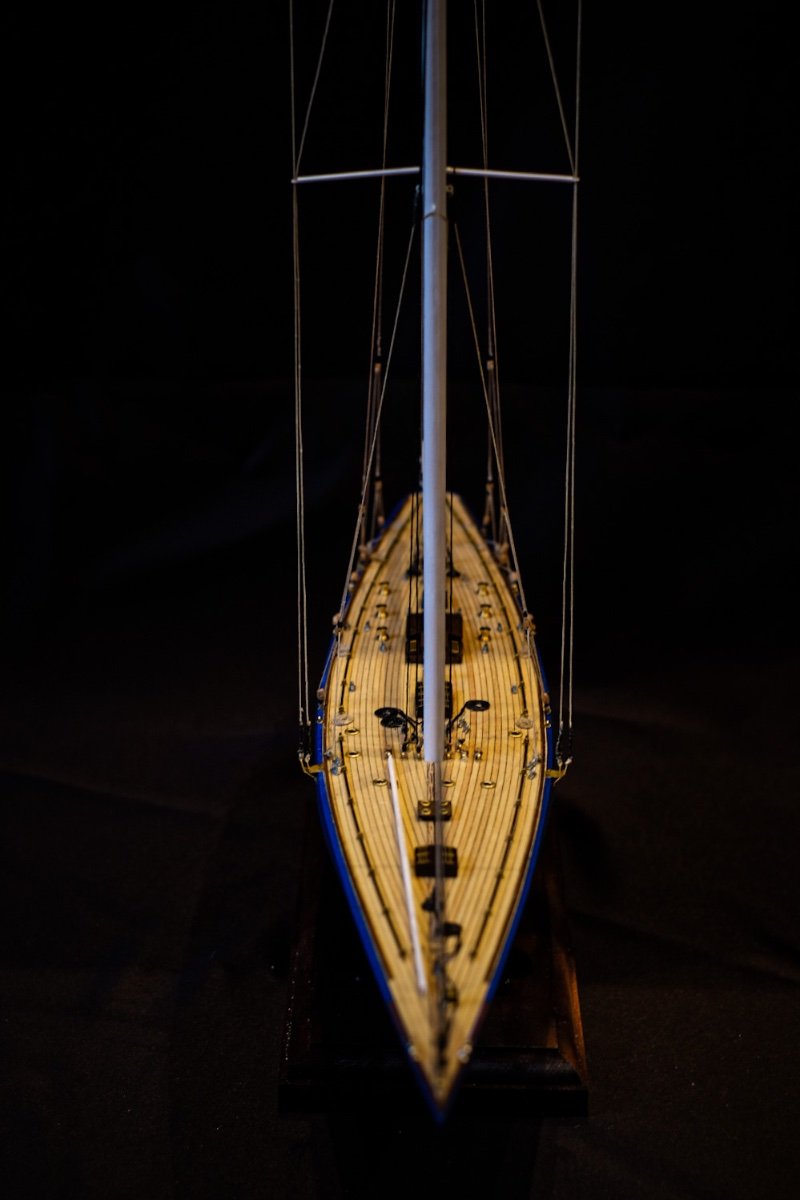
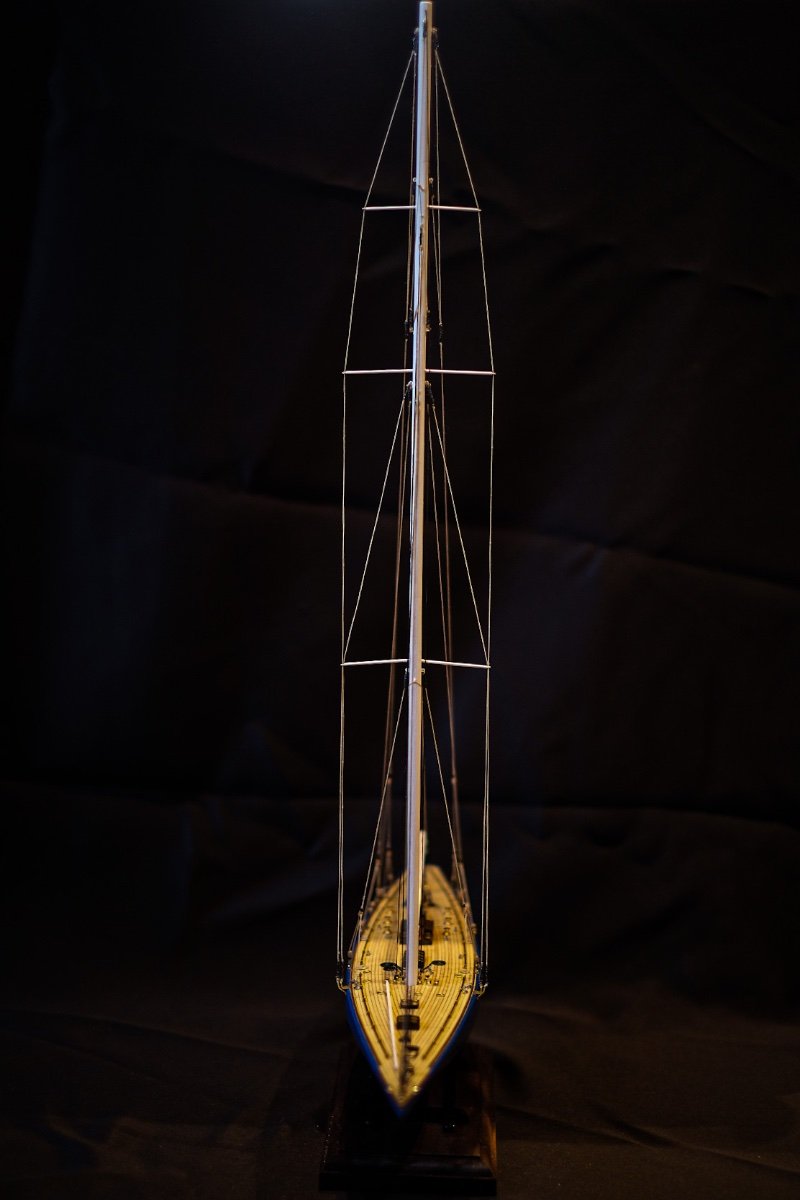
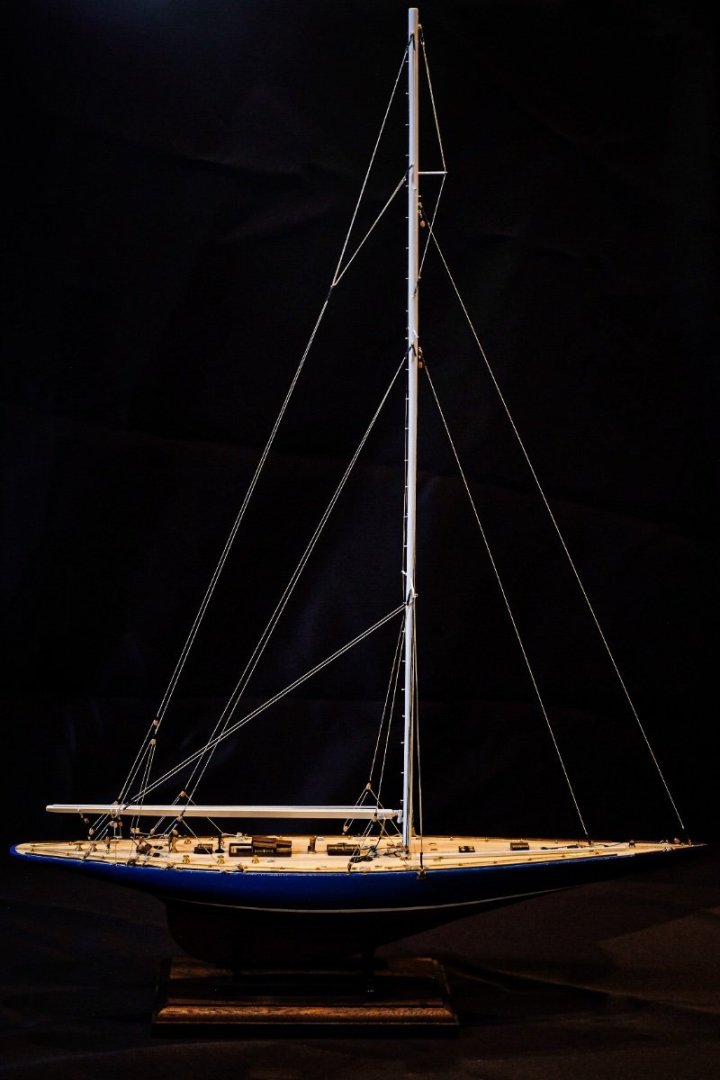
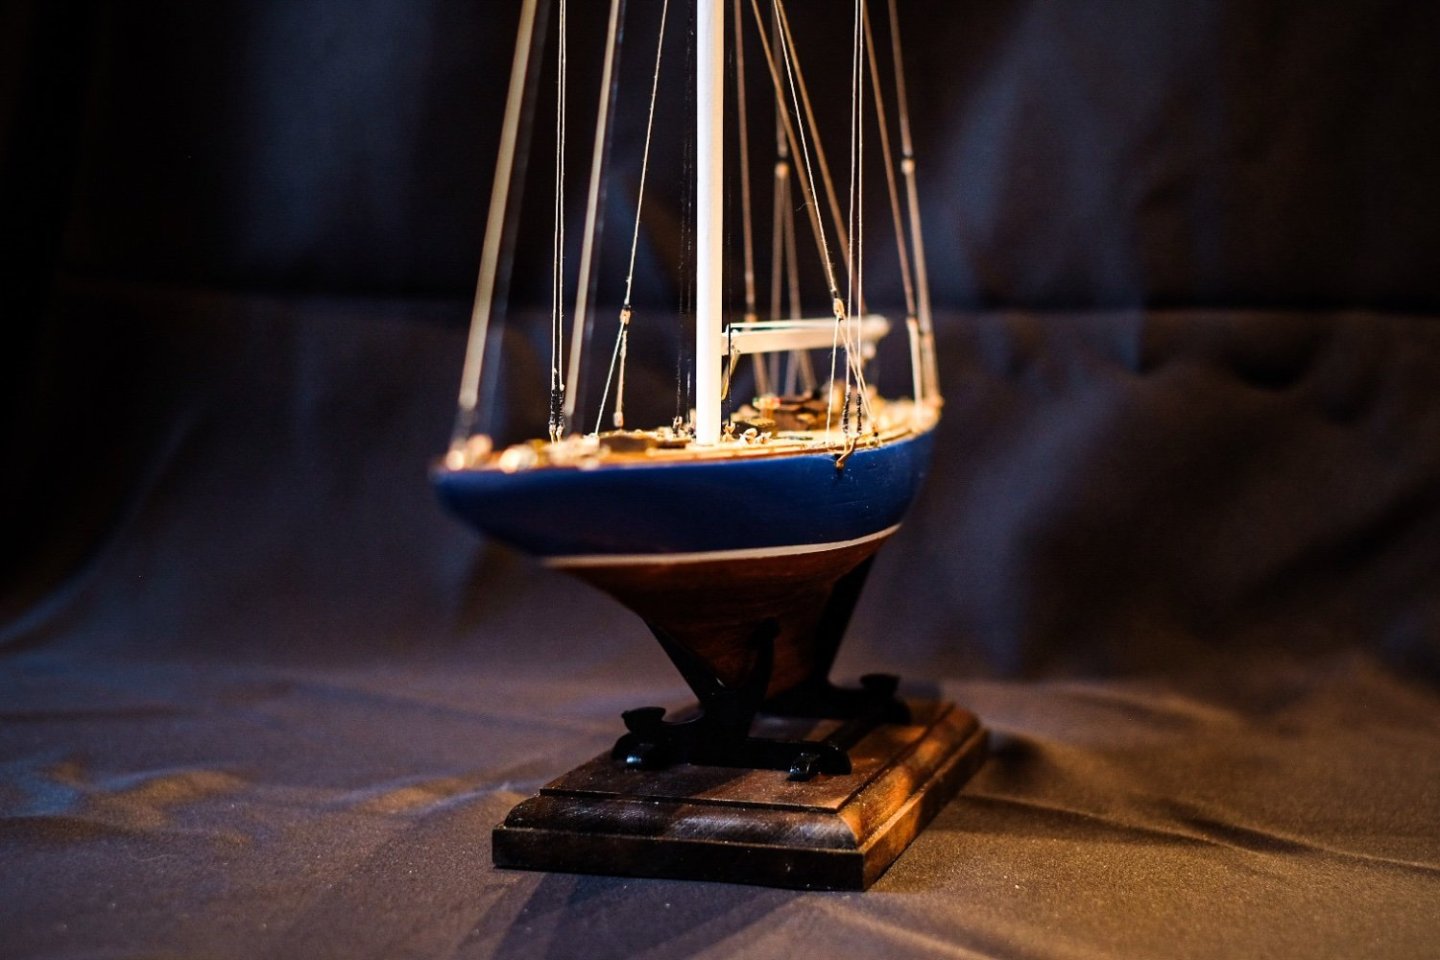
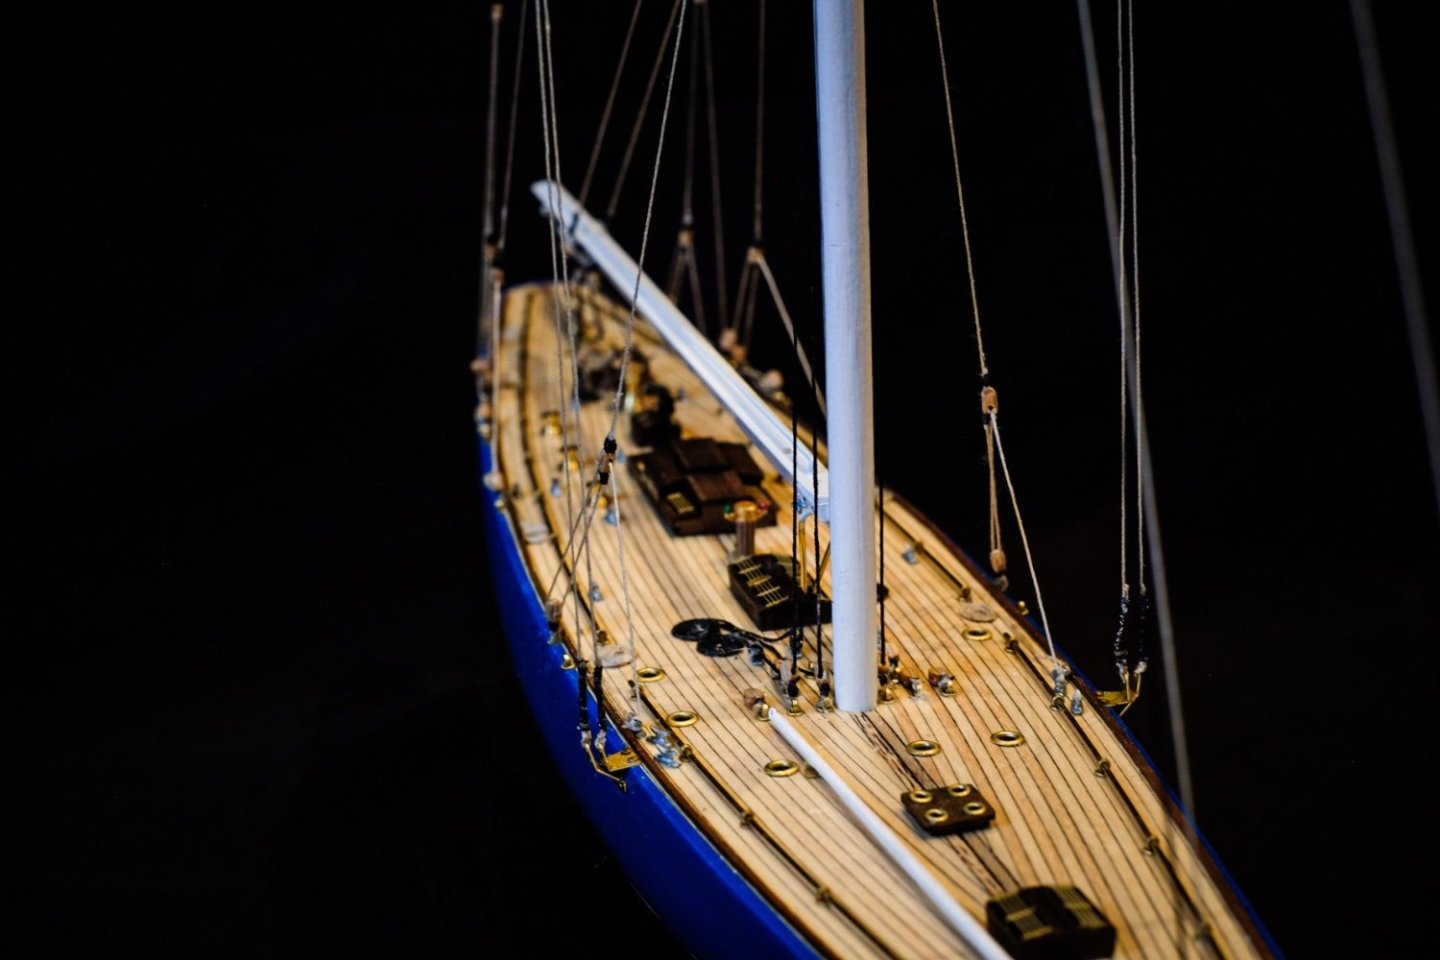
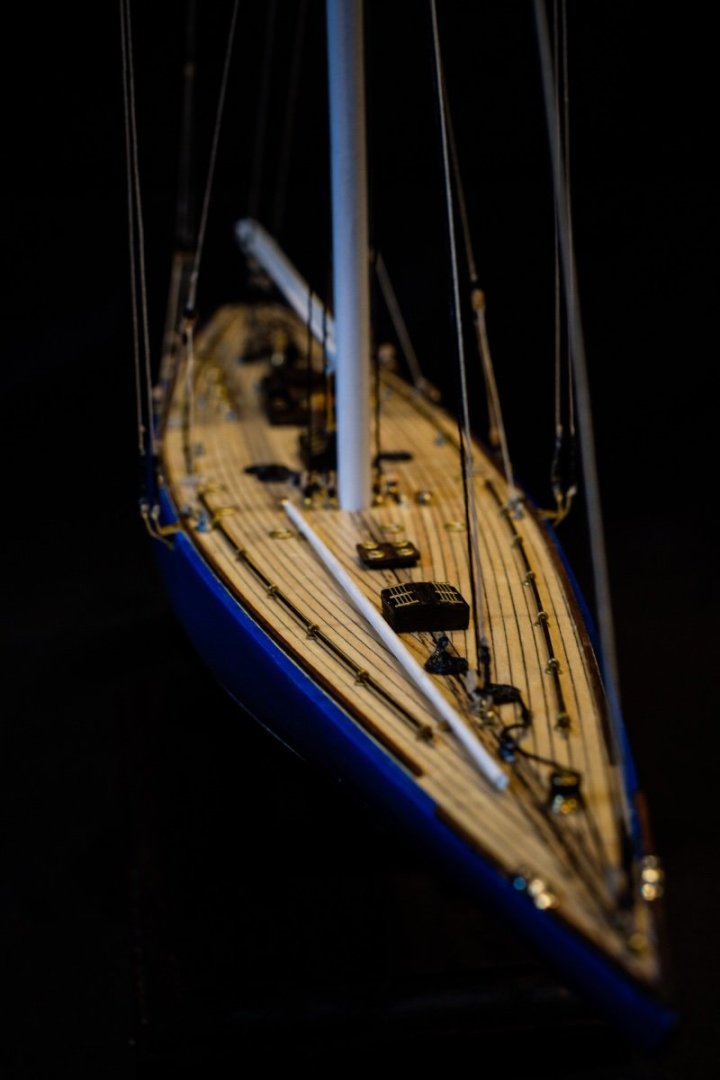
Finished my first real wooden model ship today with the beautiful Endeavour J-Class 1:80 by Amati. Did some mistakes and learned a lot during the build for my next models. some pictures of the final Endeavour:


- 40 replies
-
- 10
-

-
-
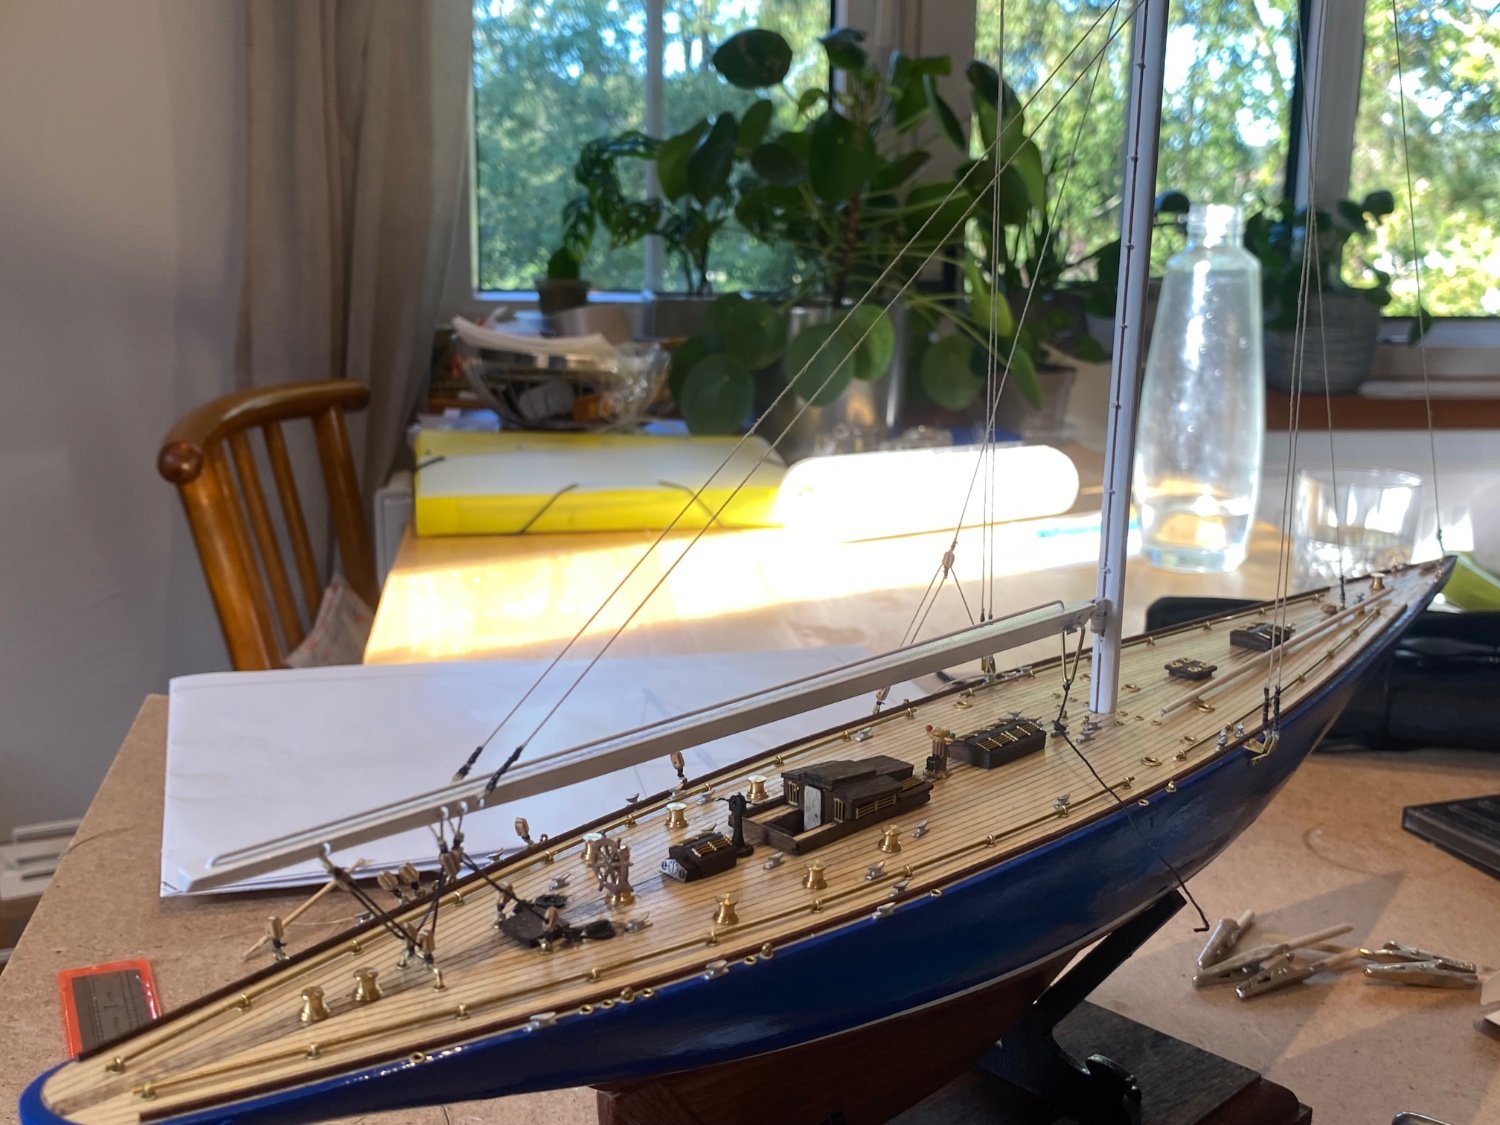
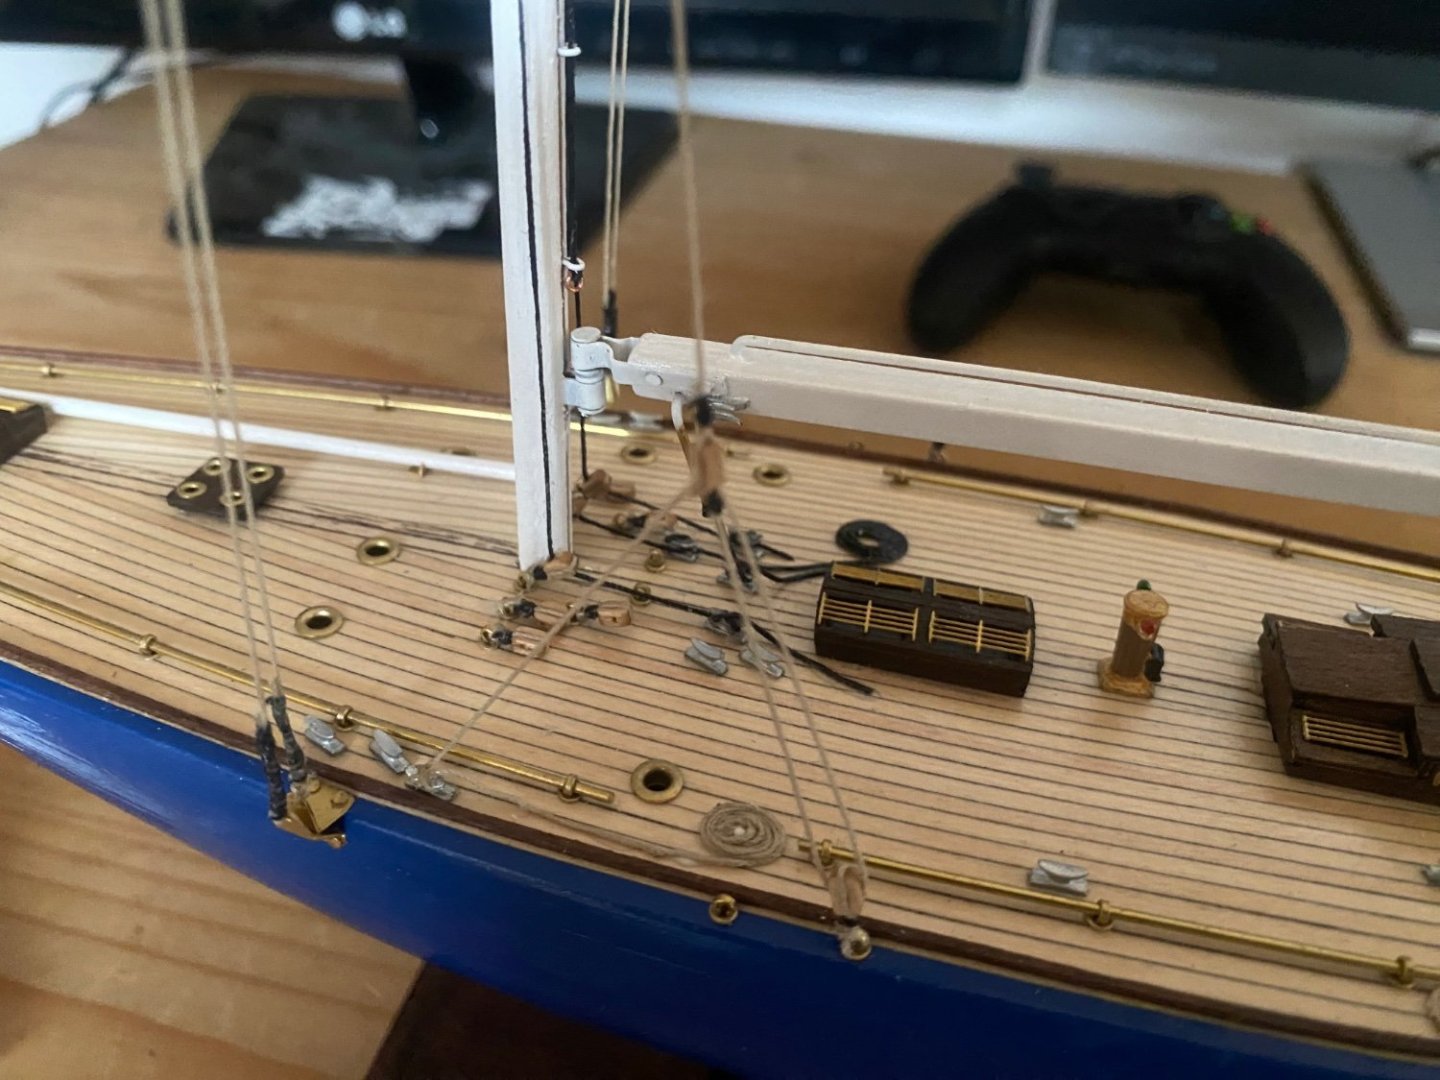
Added some rope coils and the rolling rigging in black for the mainsail halyard line and the two fock sails halyard lines. For the mainsail line I added a small copper ring to look like a shackle. and sadly my LongCovid sickness is still not getting better and I am still not able to work or do sports or even go for a walk, so two new projects from Occre came in the post today: the bounty launch boat and the Polaris. Which one should I do first after finishing the endeavour?


-
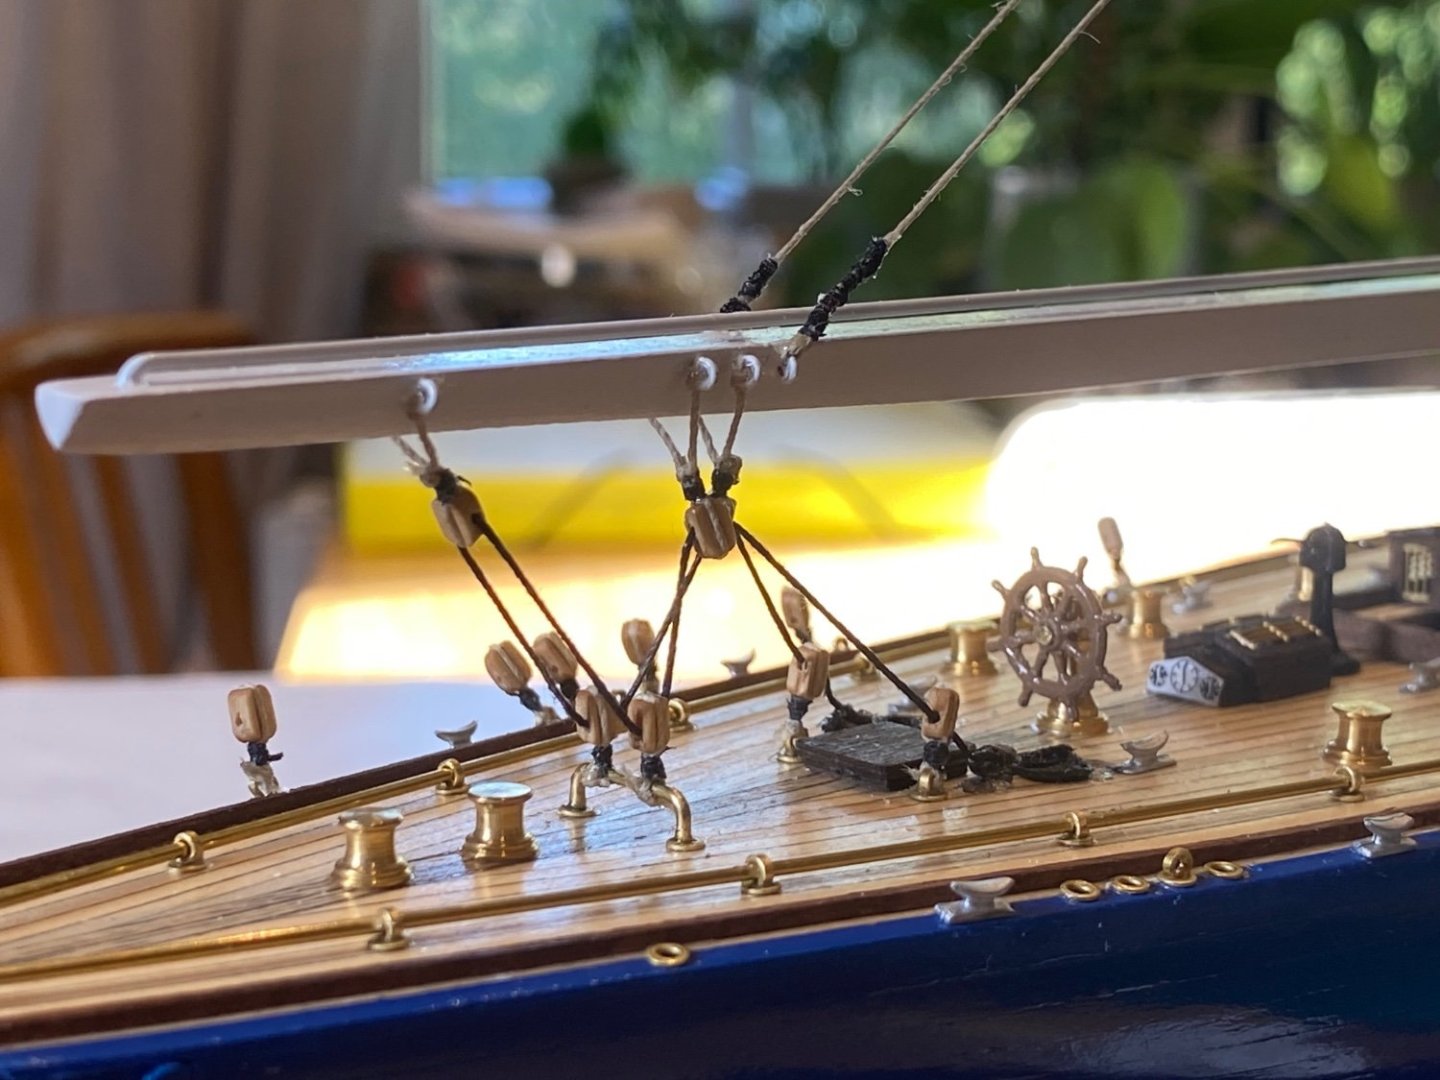
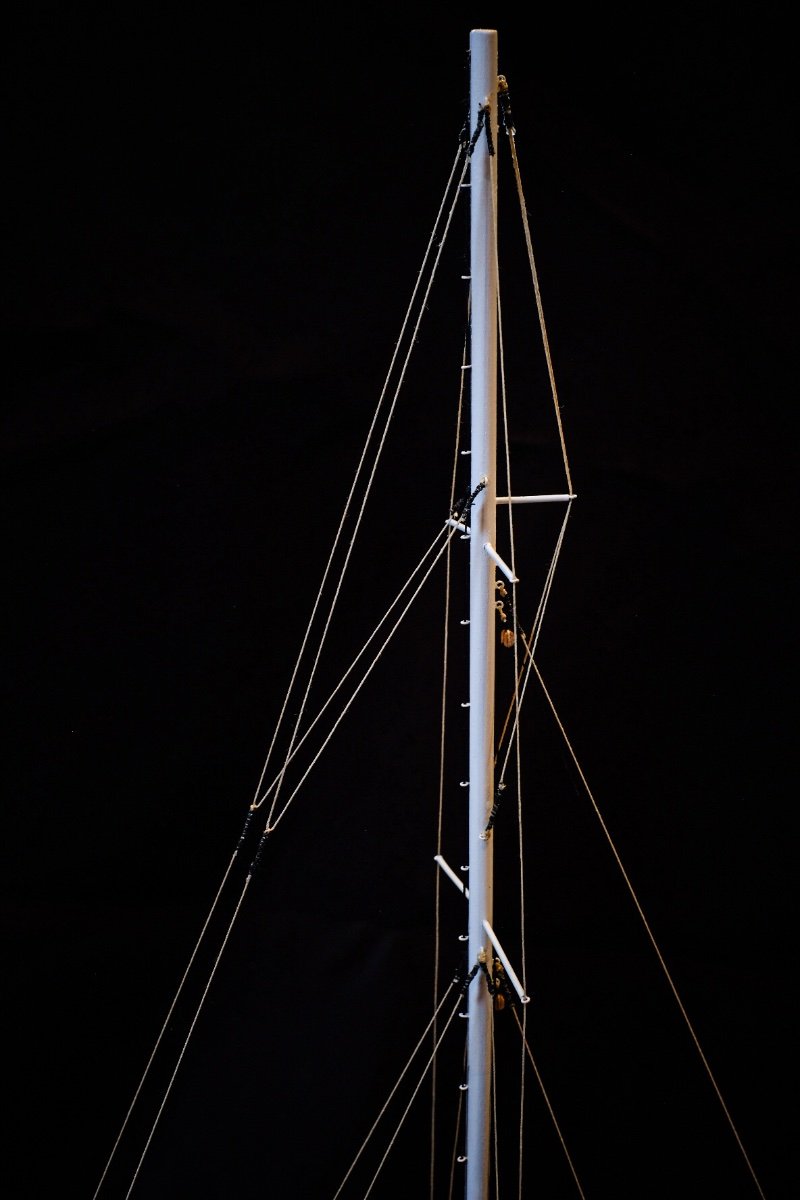
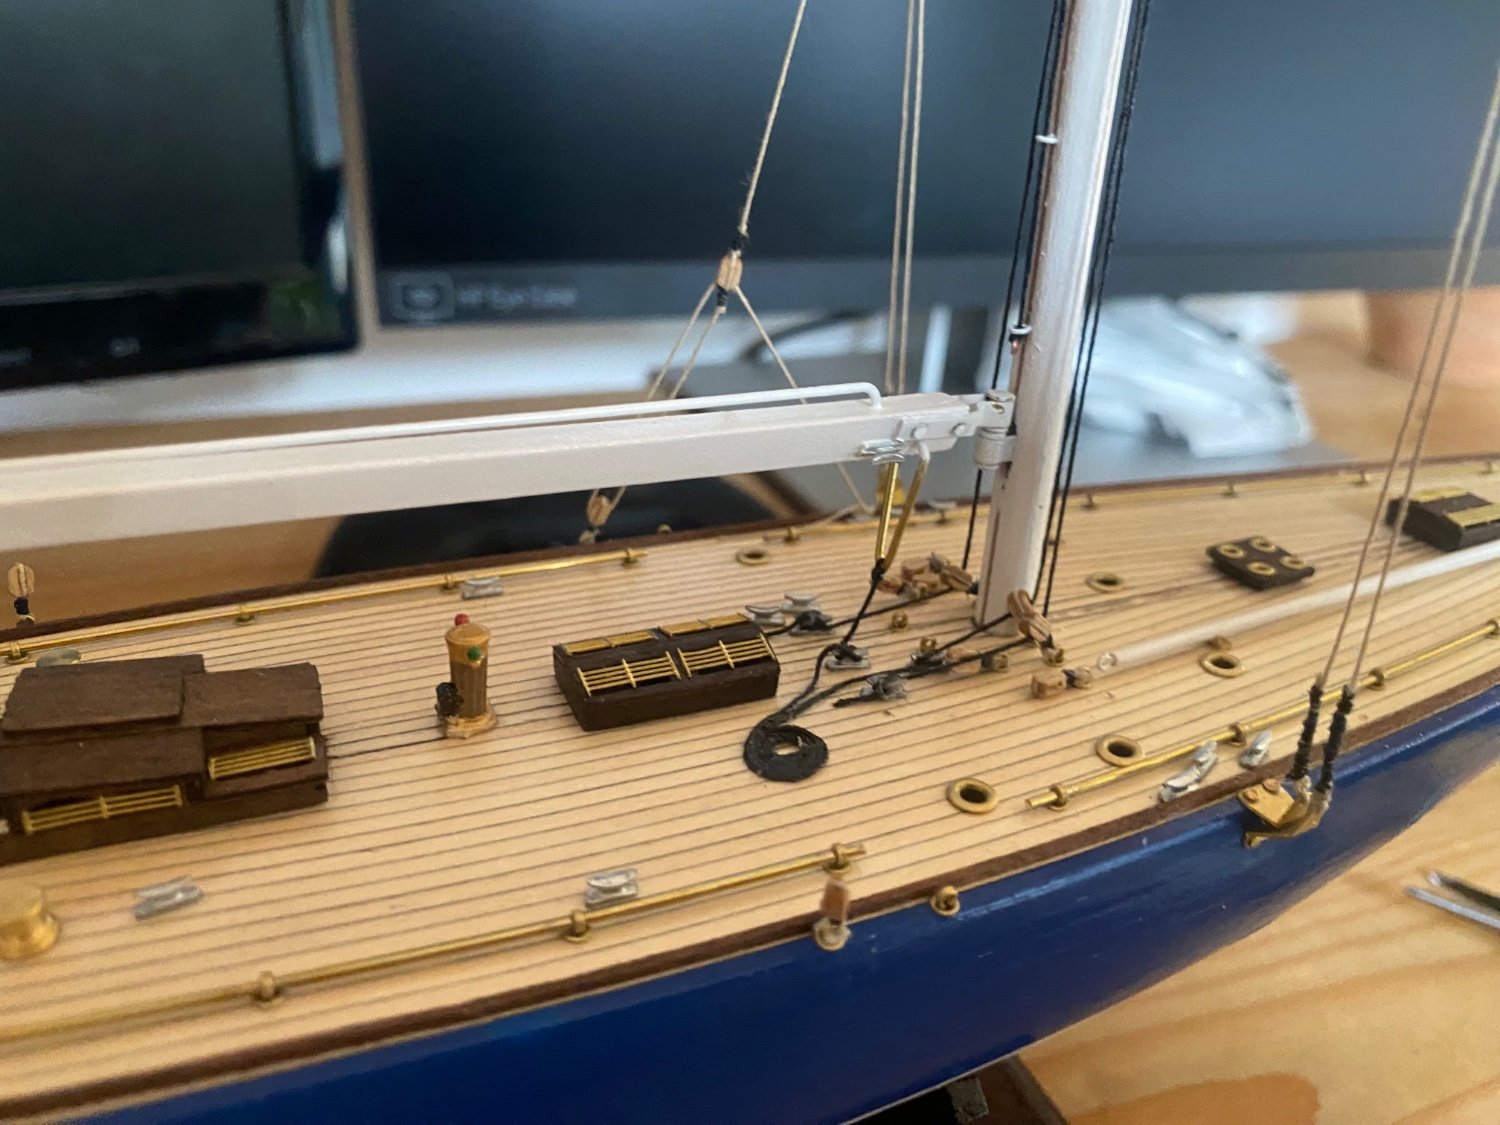
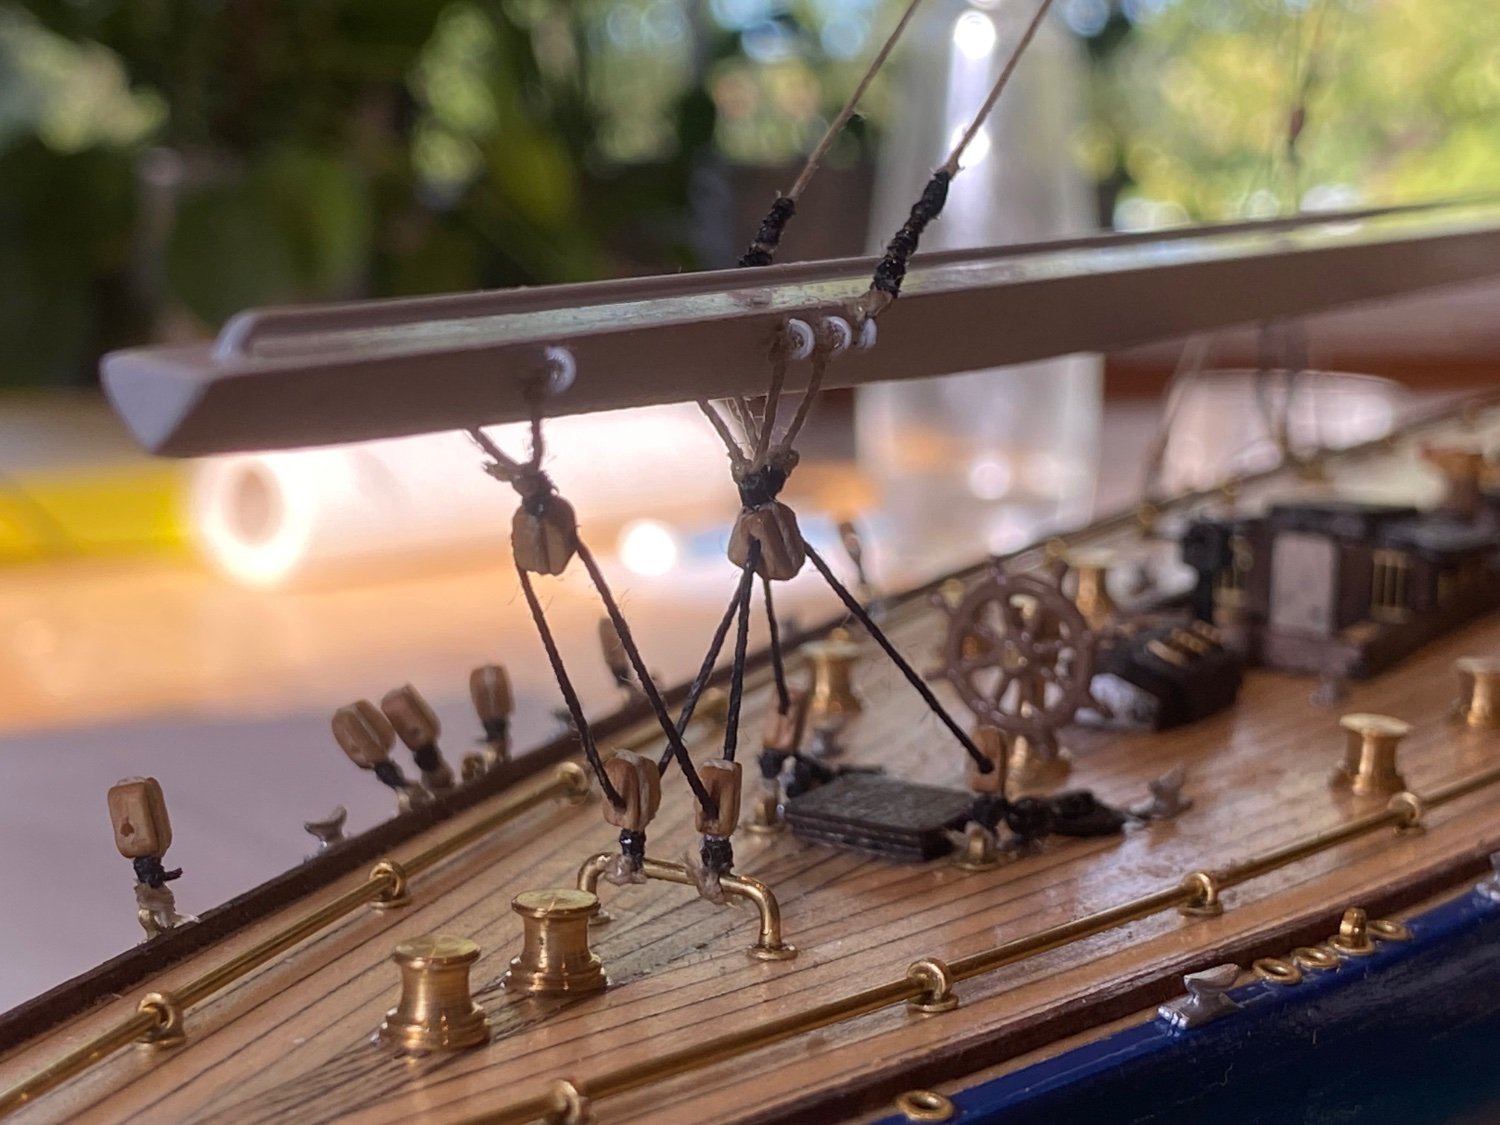
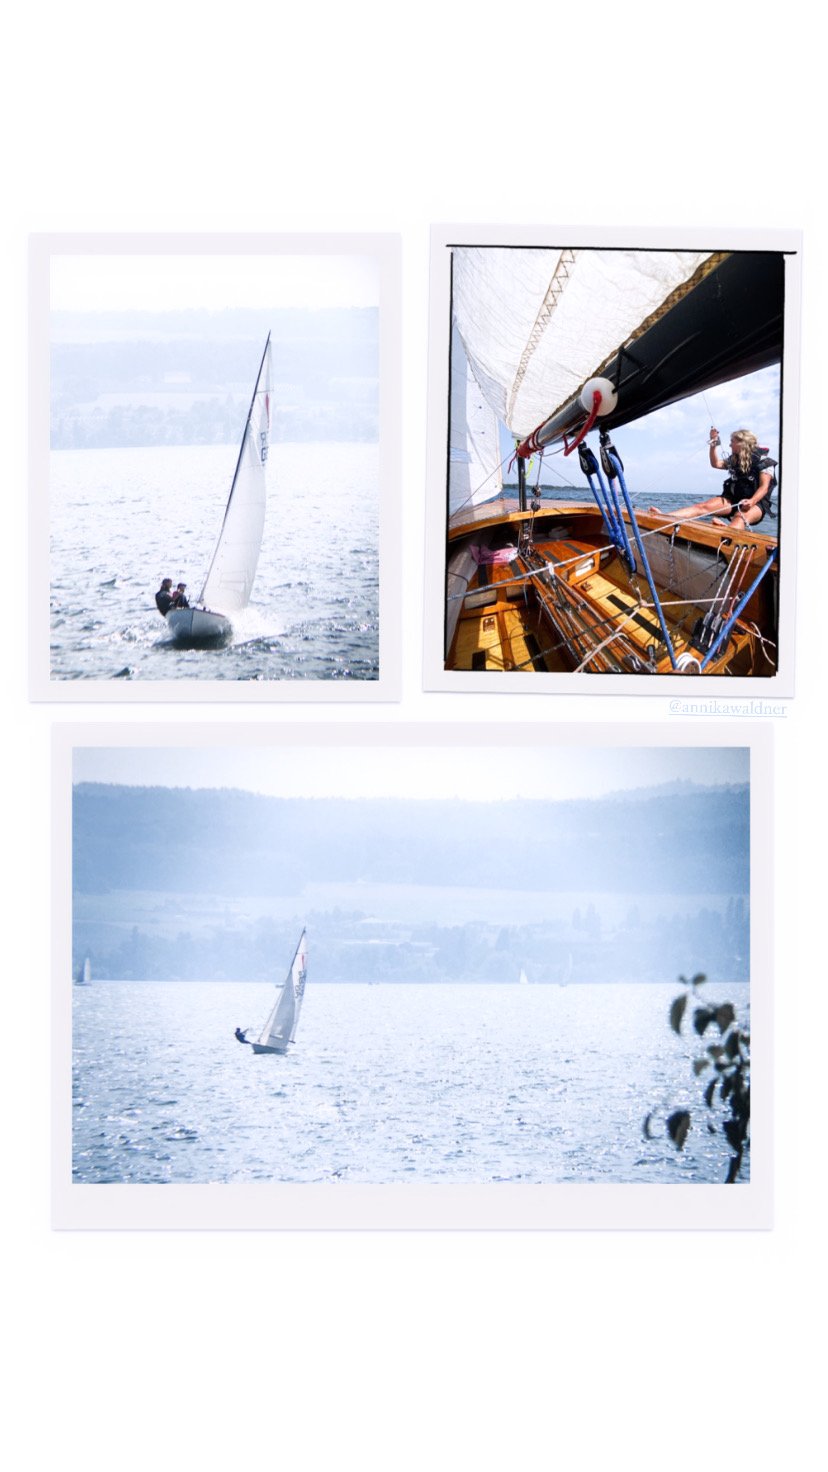
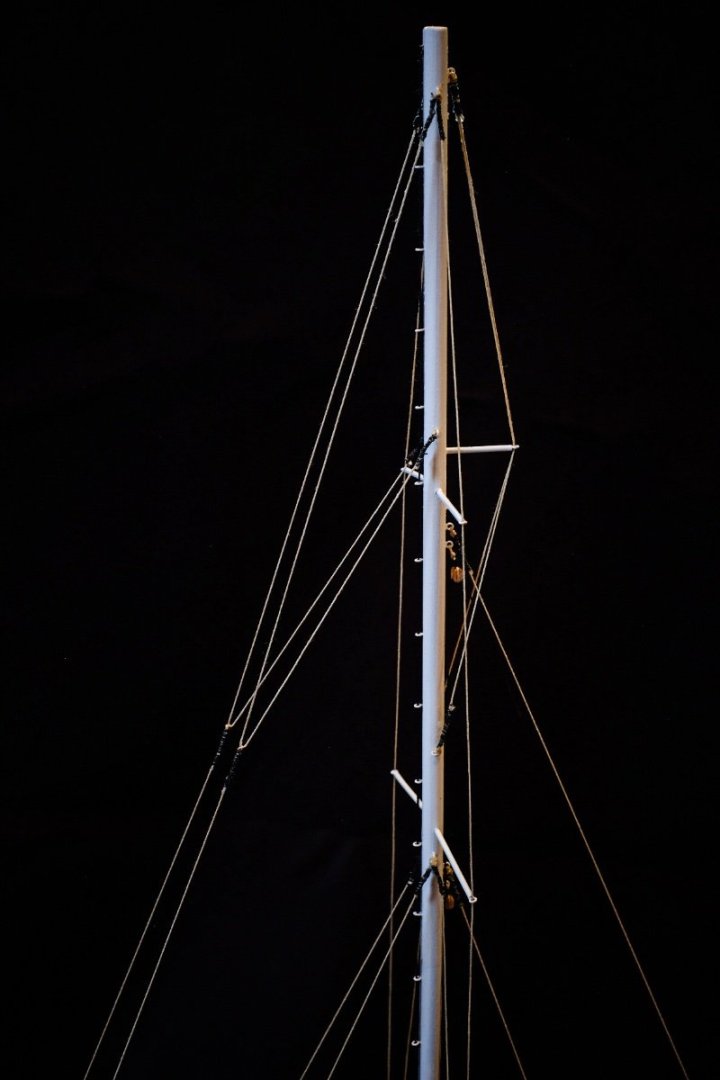
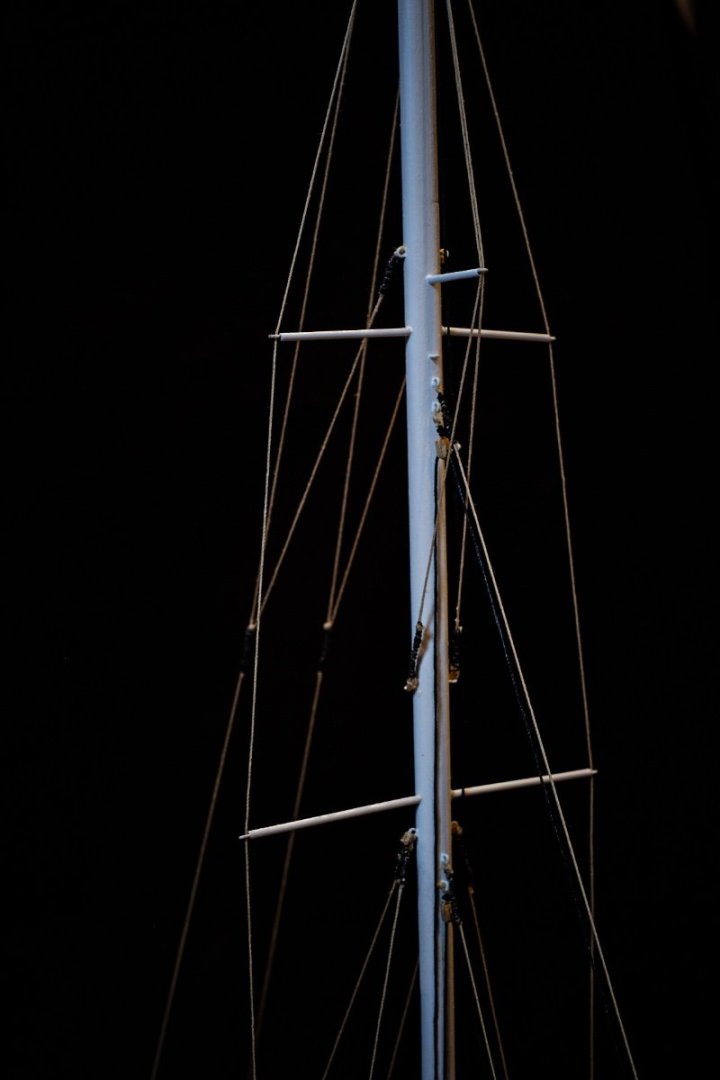
Thanks a lot Bob, appreciate your comment! Indeed its my first „bigger“ model with a planked wooden hull and lots of details so I am learning a lot while building. I don’t mind the historical and 1:1 accuracy of the model in detail. I have some books of the great yacht photographer Franco Peace which include the endeavour and other classic yachts. Indeed the brass wires are incorrect and should be wooden. But that might have changed in the last years, in this Video you can not see the wooden rails anymore and it looks more like brass. But it looks beautiful with the brass anyways on the model so I don’t really care. Yes I will complete the running rigging. tarred lines are nowhere to find in those j Class boats. Today they have high end dyneema ropes. I chose black rope for the running rigg to make contrast to the grey standing rig which in the original is steel cables so the grey is accurate.
-
Now I have a question to you. If i don’t mount the sails, which is my plan, do I still do the running rigging? Or just the standing rig. But without the running one lots of blocks, clamps and stuff will be unused which looks off I think.
-
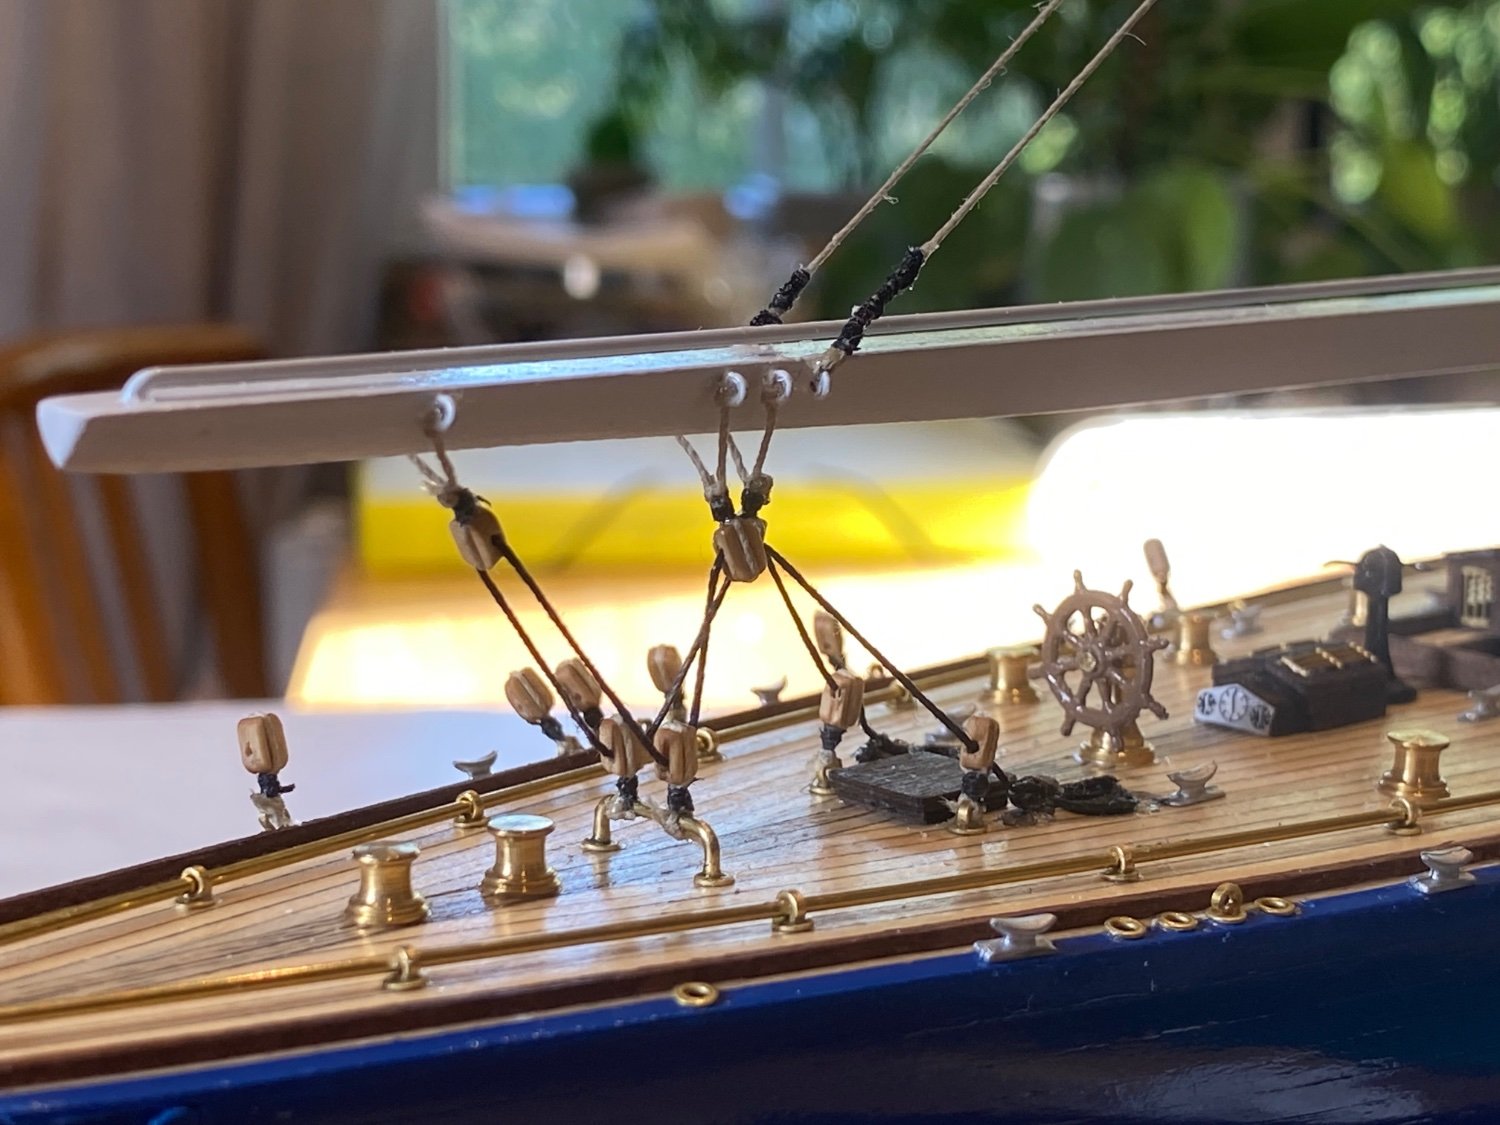
The boom and mainsail line is now in place. Also did two tope coils, not the best ones…