-
Posts
102 -
Joined
-
Last visited
Content Type
Profiles
Forums
Gallery
Events
Everything posted by Caferacer
-
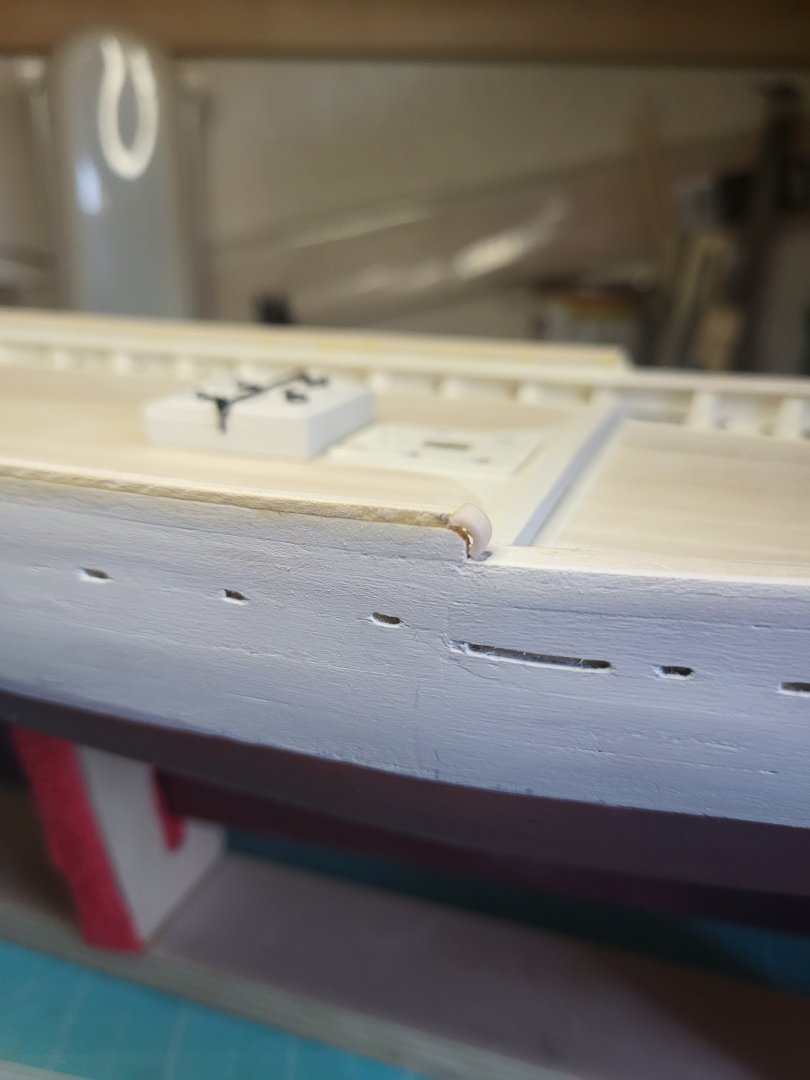
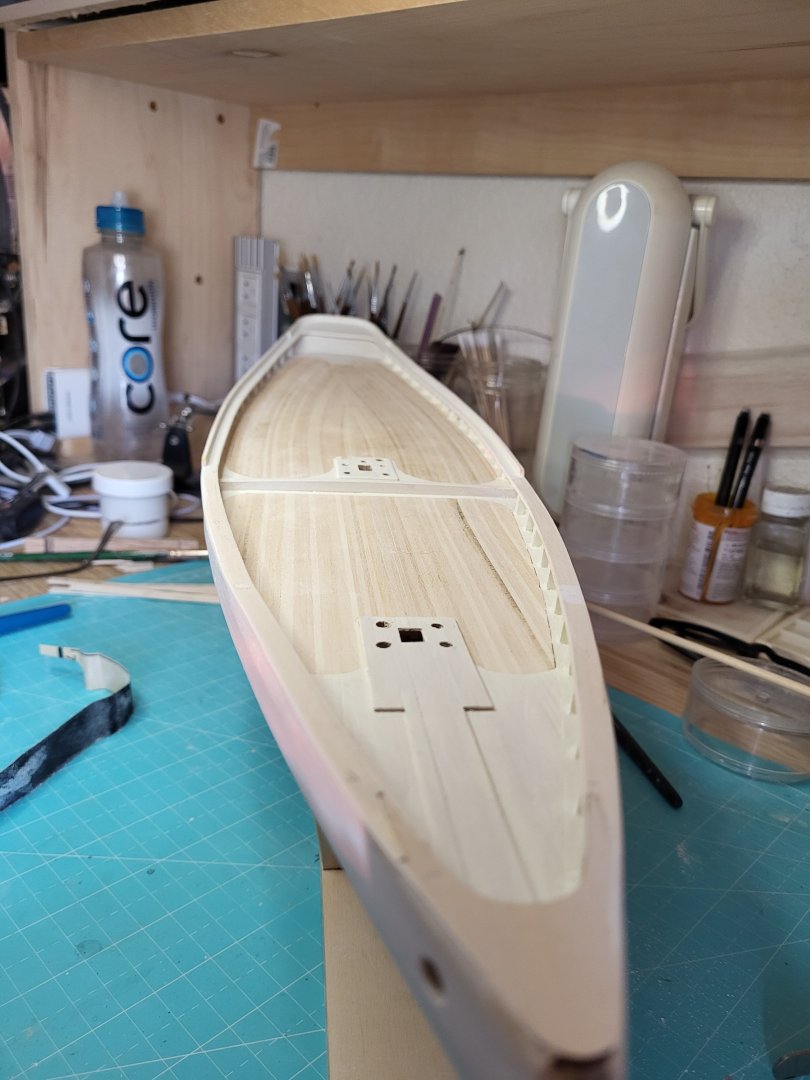
Garage season is over, and 100+ plus degrees here in Arizona, so back to inside activities! Since last update I have added the top rail and the monkey board. I used Sculpey to to make the curved section where the monkey board meets the top rail. I've used this material before and it's a great solution to hard to form parts, or where tiny details are needed. I used it a lot on the Sultana.
- 51 replies
-
- Model Shipways
- Benjamin W Latham
-
(and 1 more)
Tagged with:
-
Same here, they just seem so elegant, I'd love to dig into all the complex rigging of a British Man of War, but then there are all those tiny gun doors! lol Thanks for the comment
- 51 replies
-
- Model Shipways
- Benjamin W Latham
-
(and 1 more)
Tagged with:
-
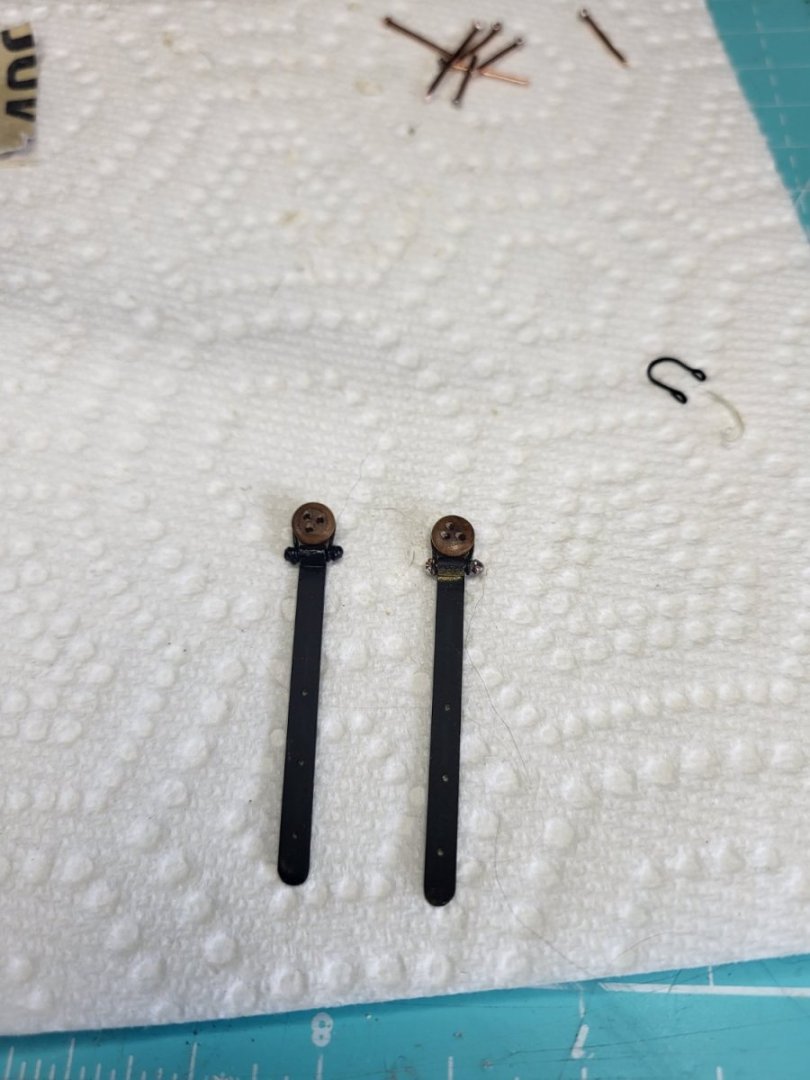
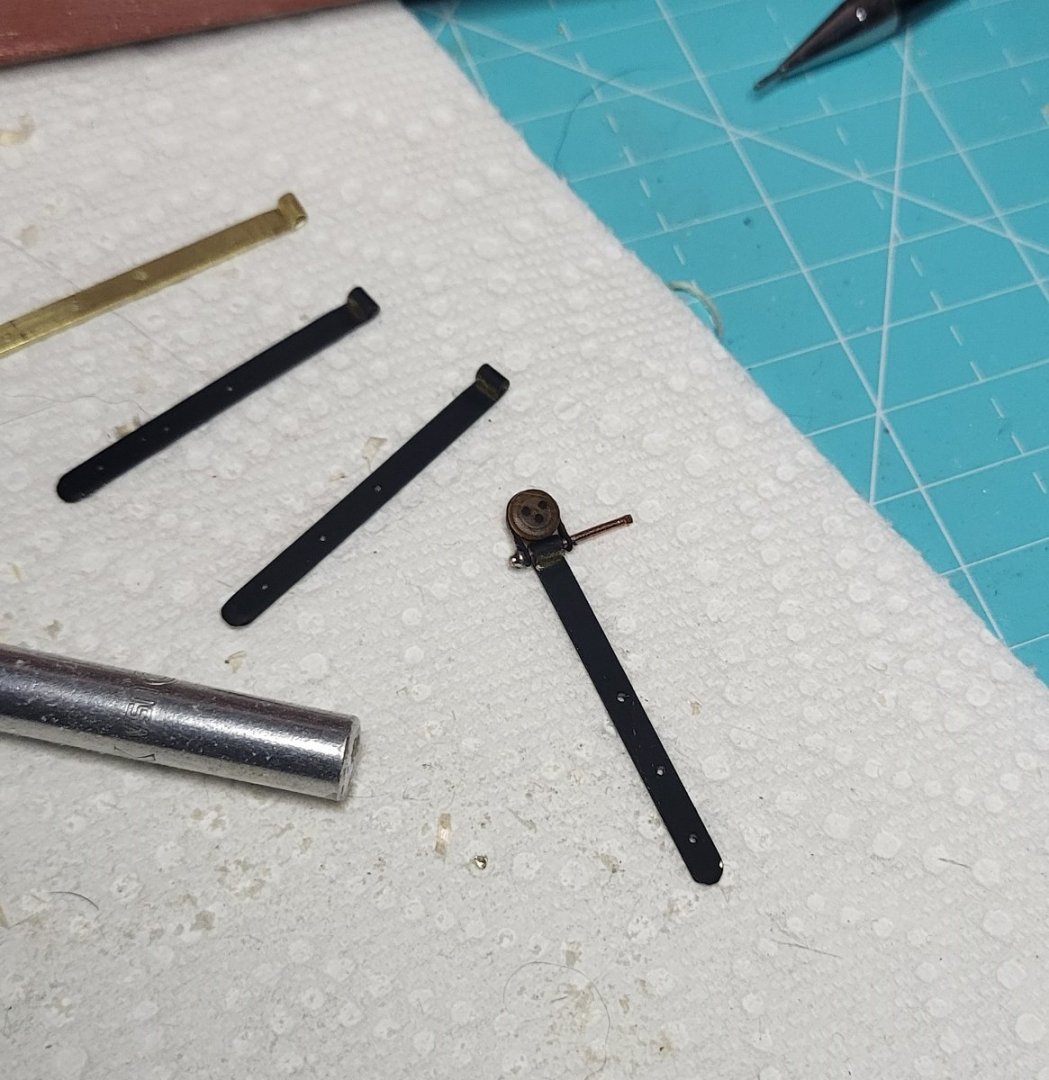
Thanks Joe! Your log really helped, there is no way the deck would have come out so well without the tip of adding the sub-deck, and removing the timbers from the frames. Now only if I had remembered there were two false timbers between each frame section.. Your rigging on the Latham is amazing, and the build has been inspiring.. The final chainplate "bolts" are a little out of scale, of course now that the are painted I see this, but I have plenty of material I can remove to improve it. I mean there's no hurry, time enough to get it right.
- 51 replies
-
- Model Shipways
- Benjamin W Latham
-
(and 1 more)
Tagged with:
-
- 51 replies
-
- Model Shipways
- Benjamin W Latham
-
(and 1 more)
Tagged with:
-
- 51 replies
-
- Model Shipways
- Benjamin W Latham
-
(and 1 more)
Tagged with:
-
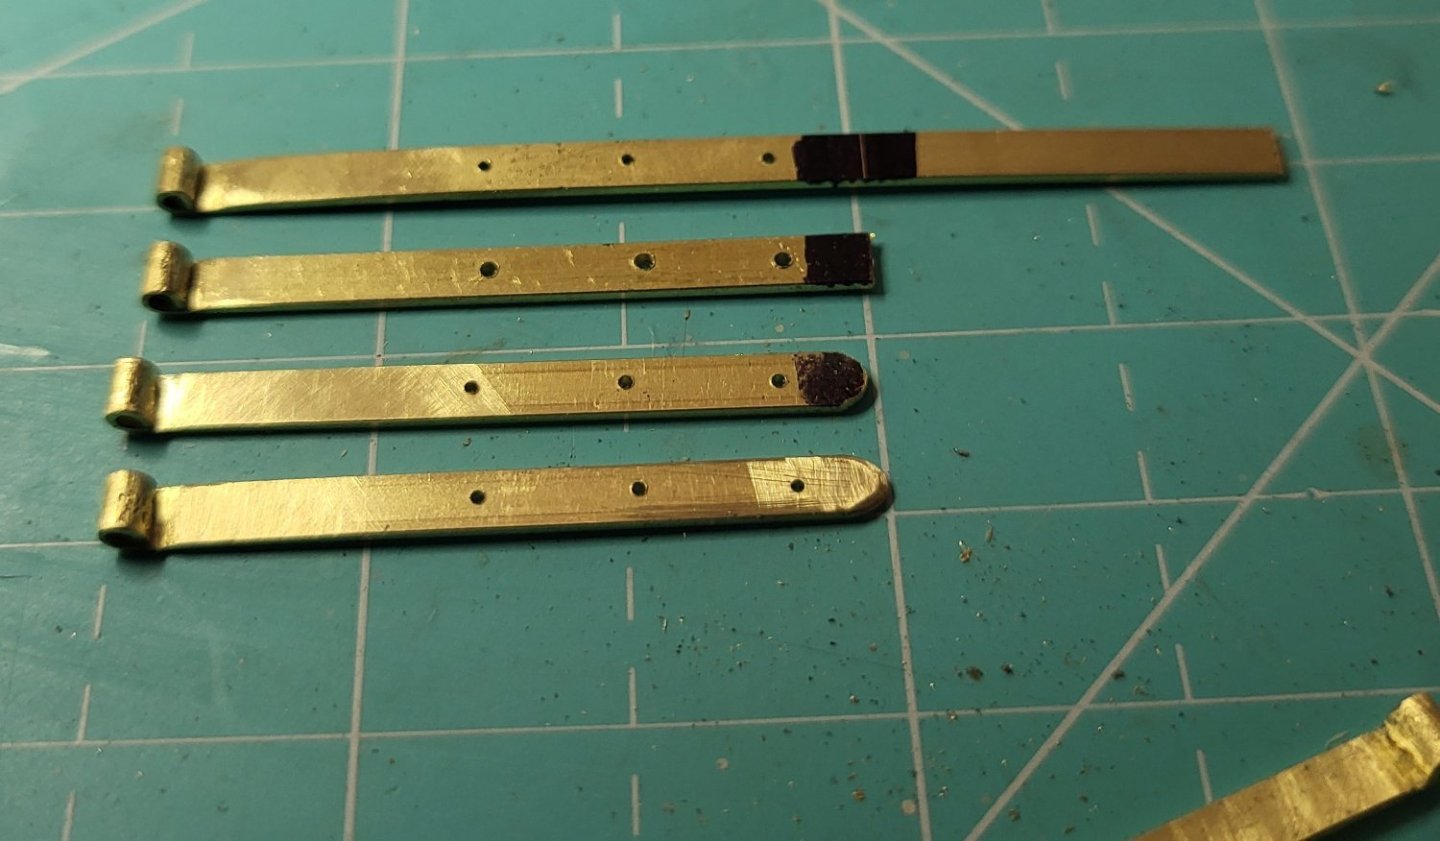
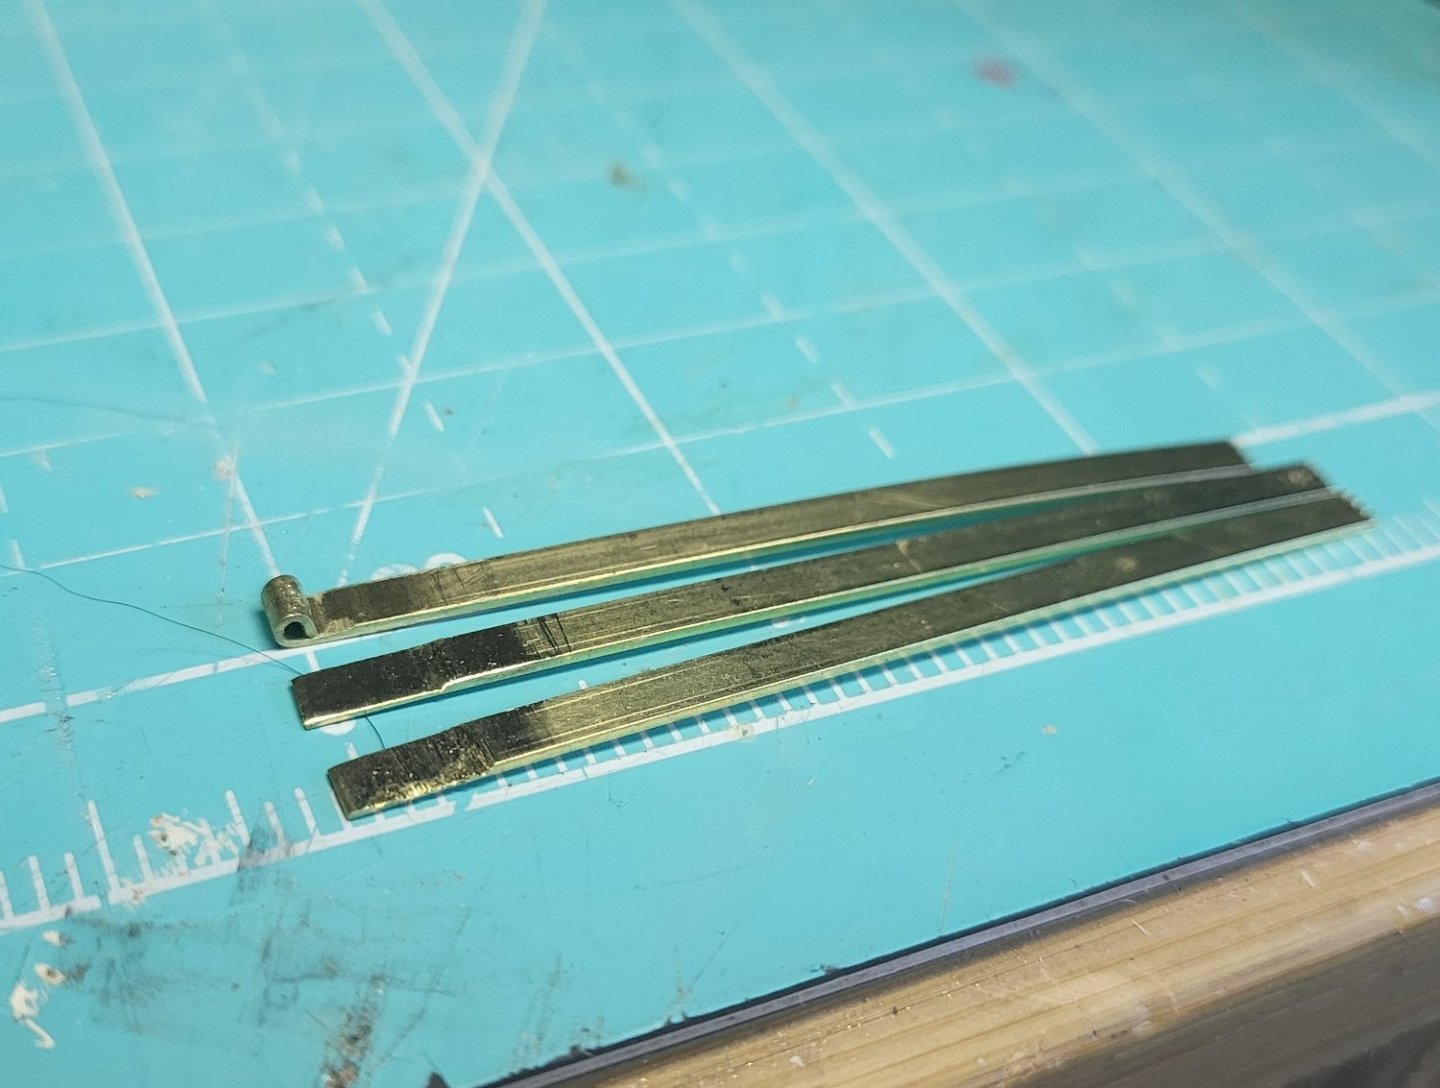
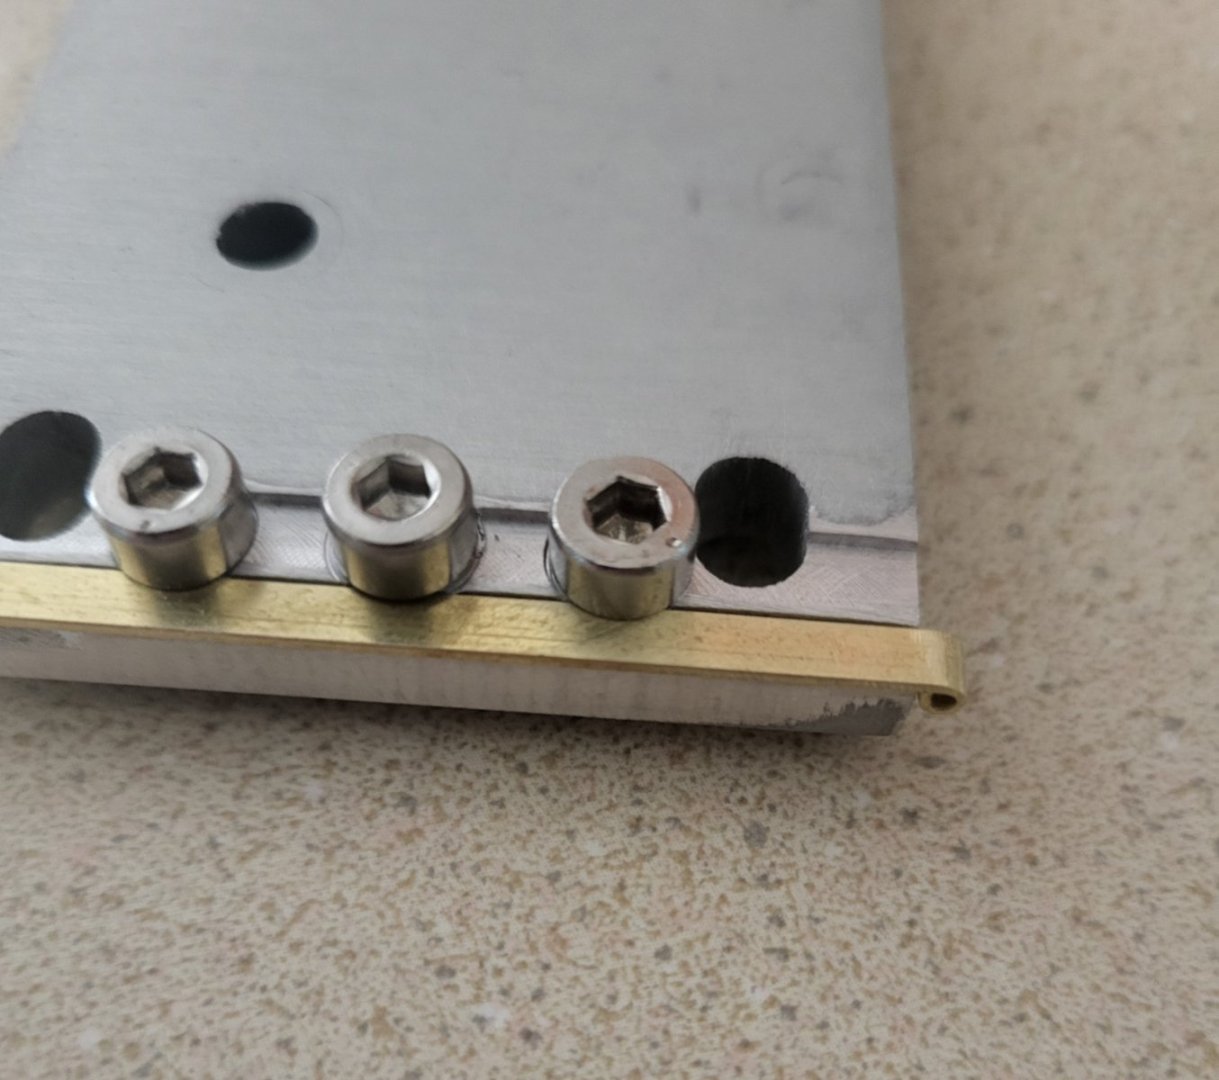
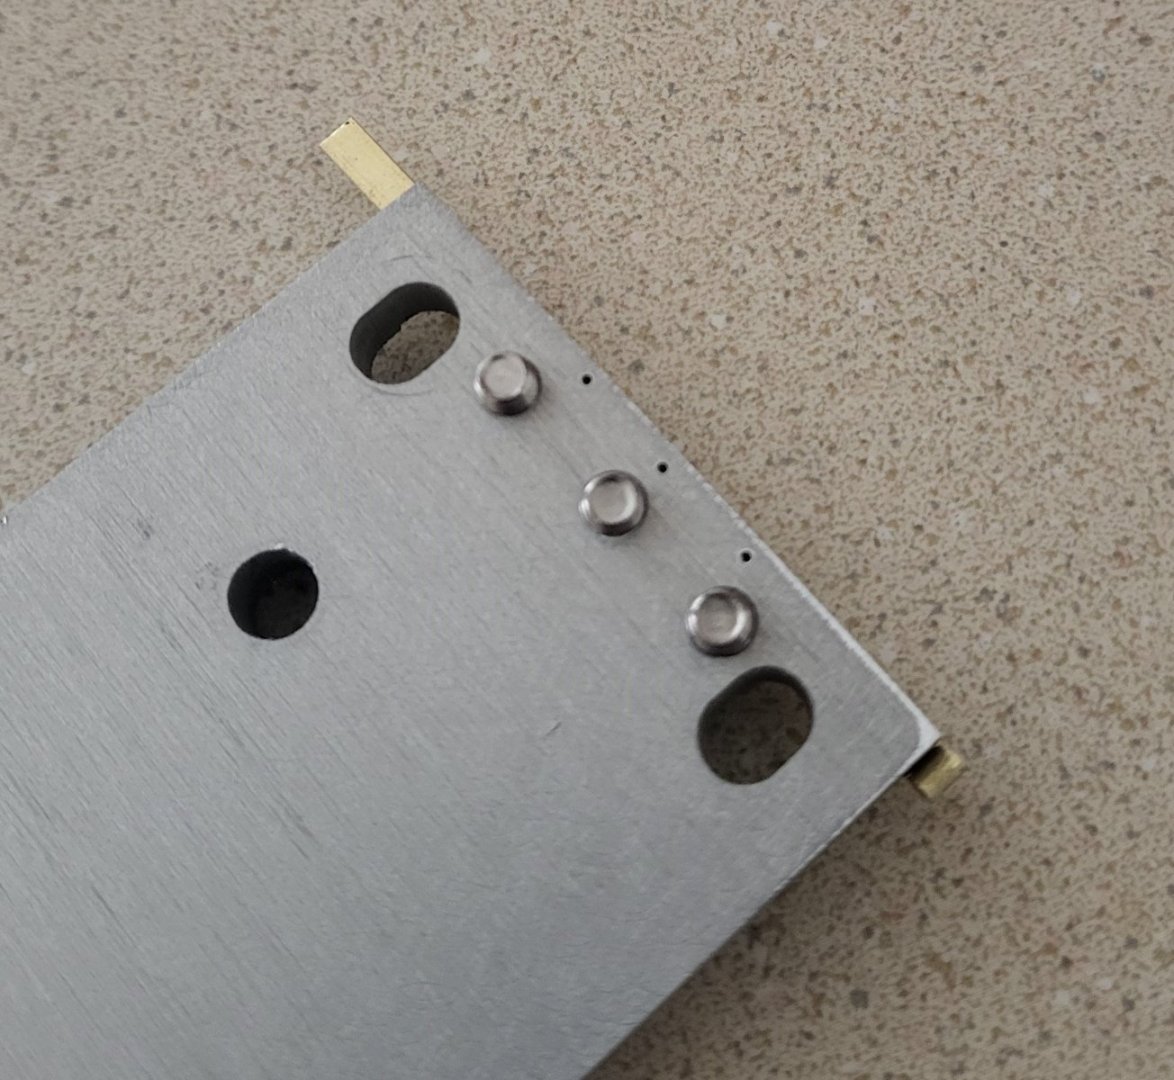
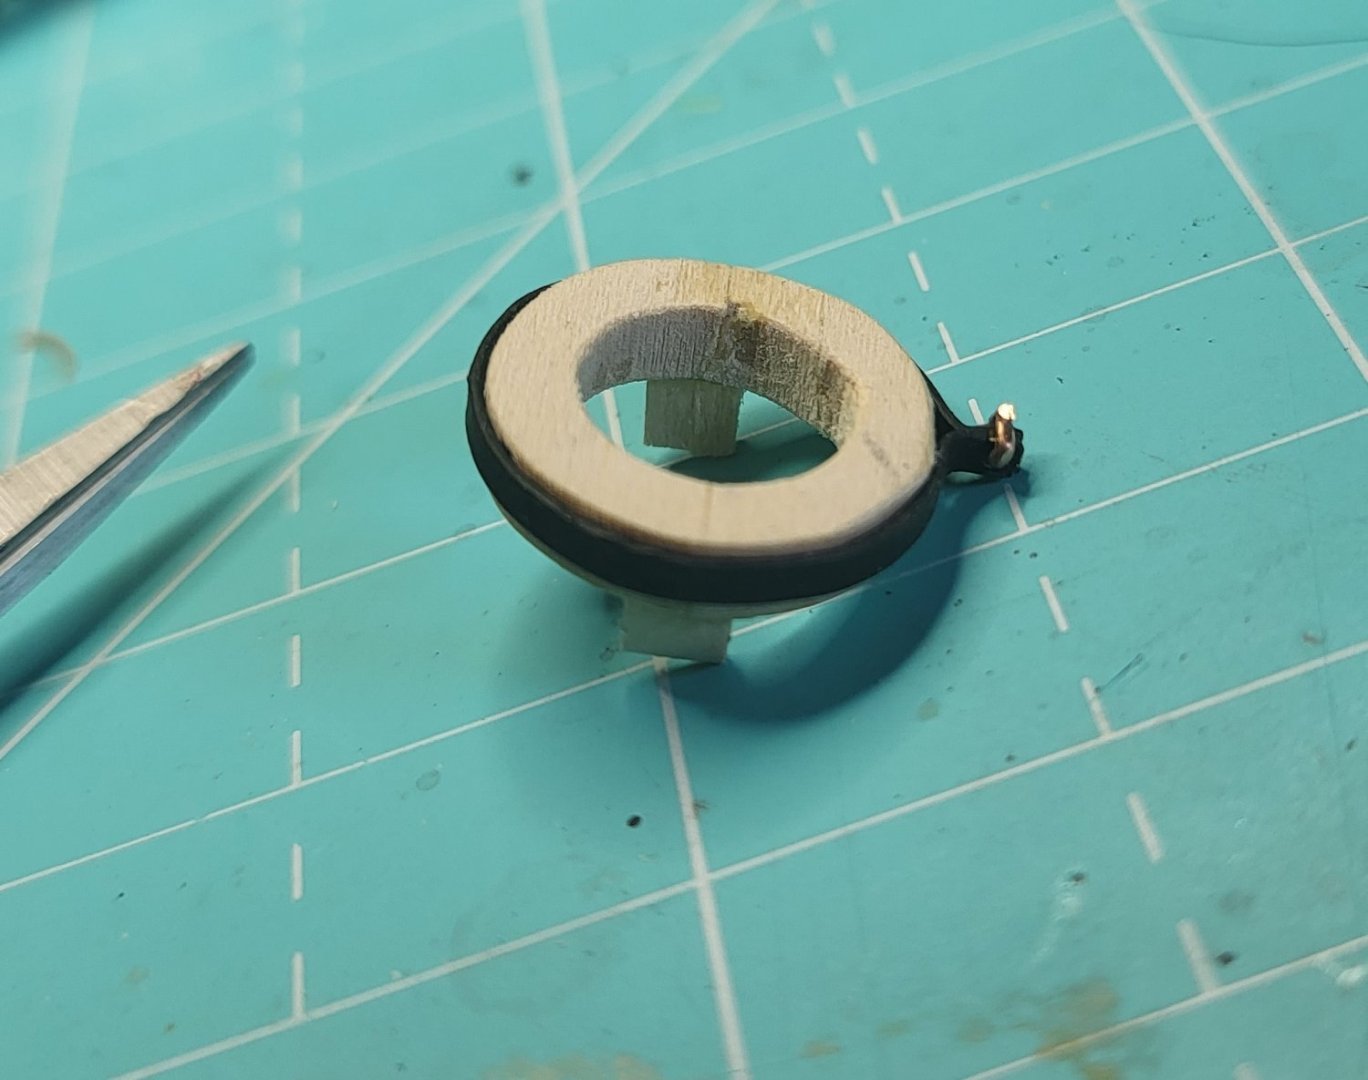
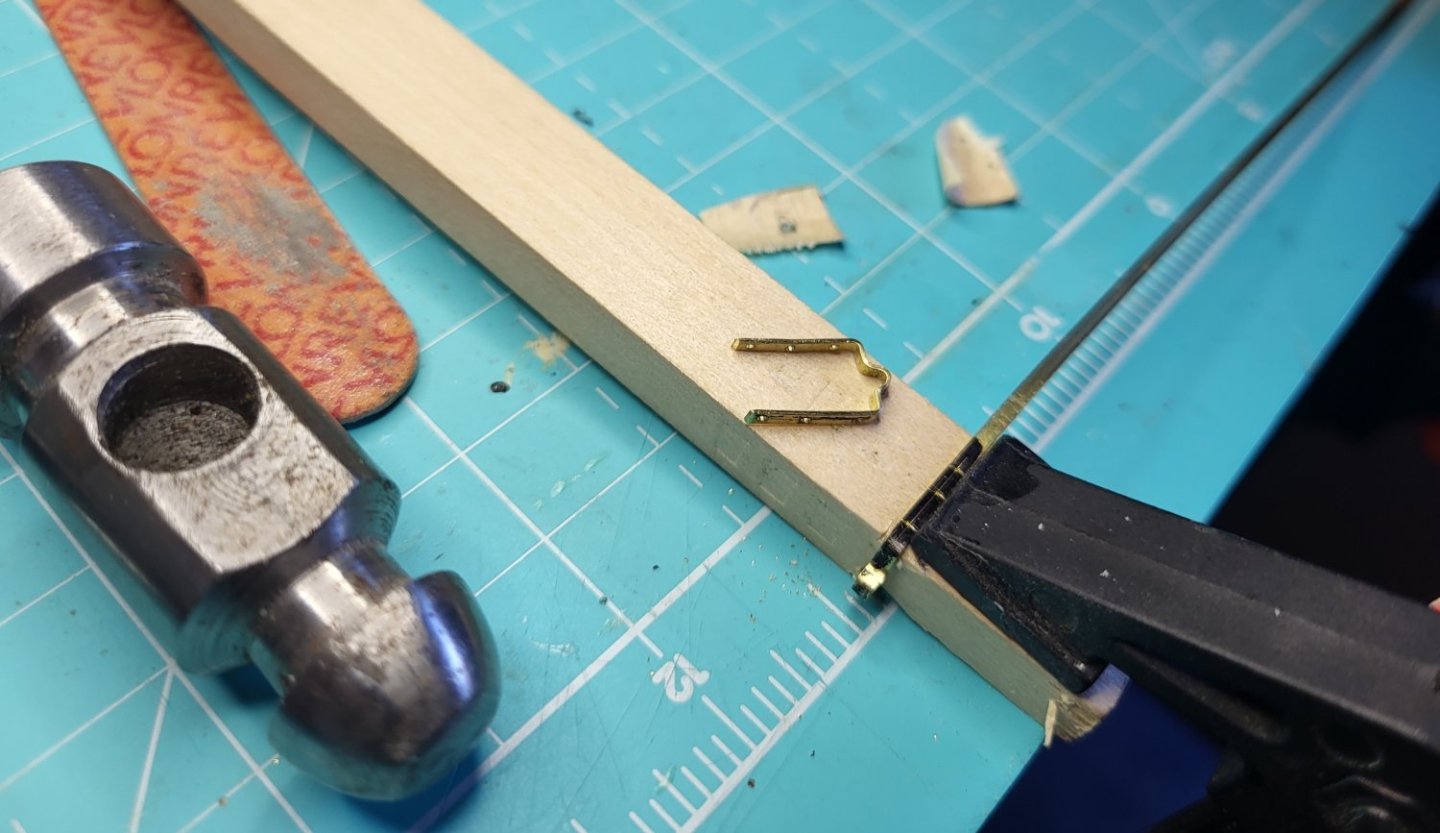
Working on chainplates, I wanted to use thinner brass, but couldn't find any. So I thinned out the ends with a file, and got a good tight loop. I also machined a fixture to drill the mounting holes. As I mentioned when I was drilling the holes for the rudder pintles the drill walked so they are not as even as I wanted. This fixture should make the hole spacing and they should be well centered., then I will trim them to size. Hard to tell teh scale, but those are M4 screws and 0.028" (#69 drill) holes
- 51 replies
-
- Model Shipways
- Benjamin W Latham
-
(and 1 more)
Tagged with:
-
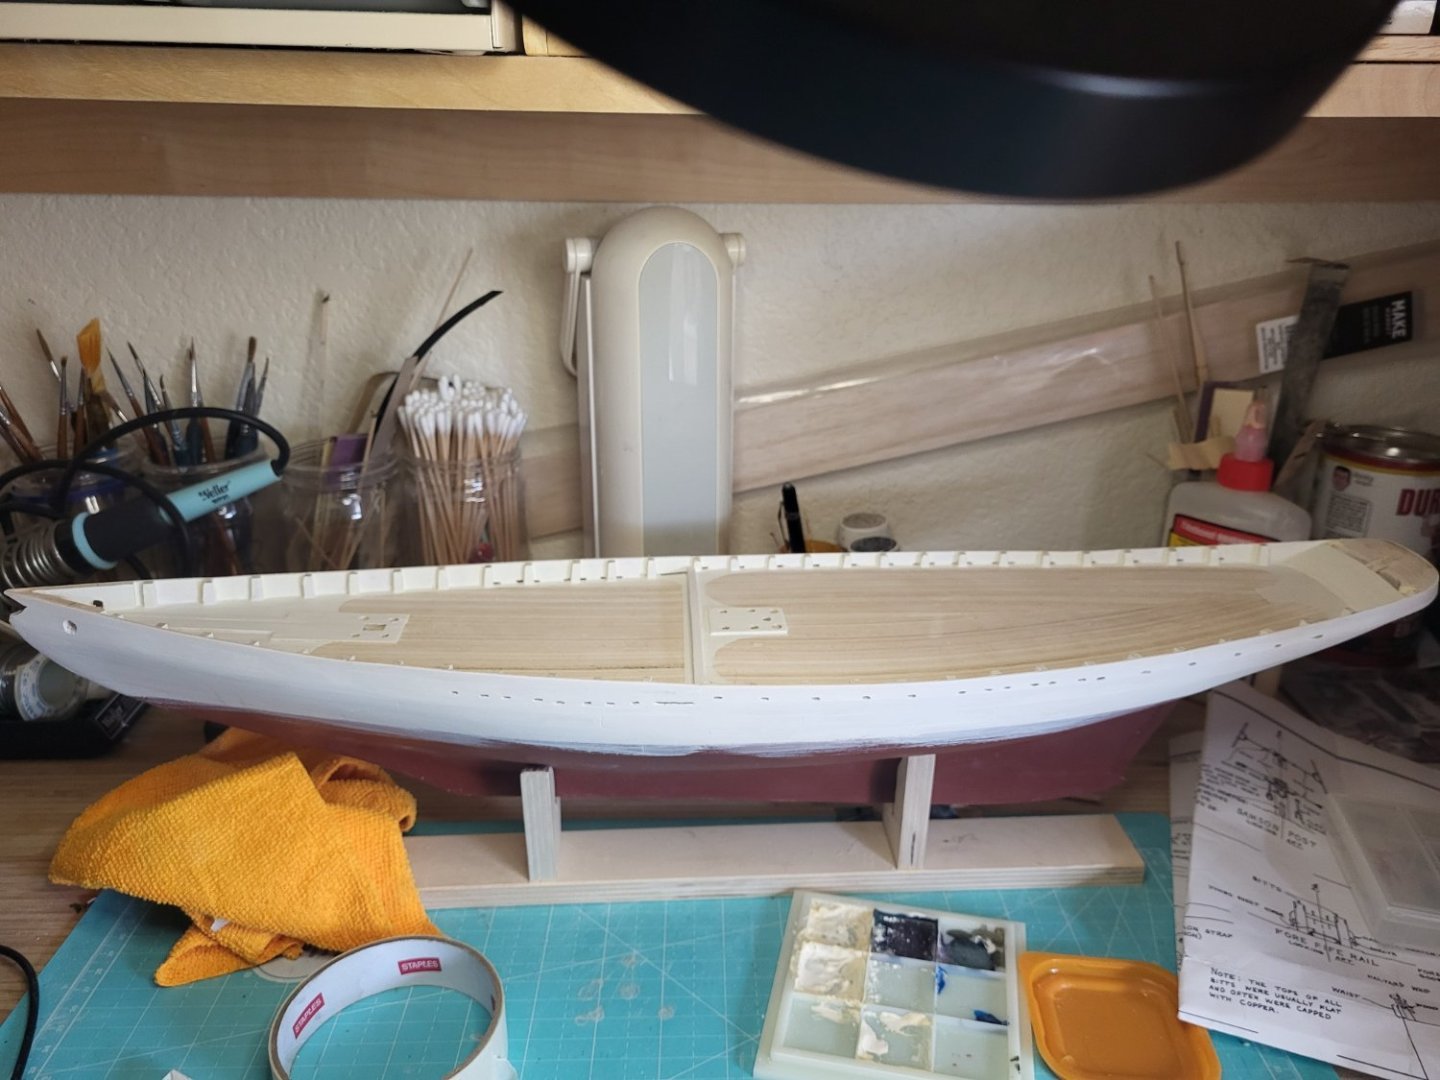
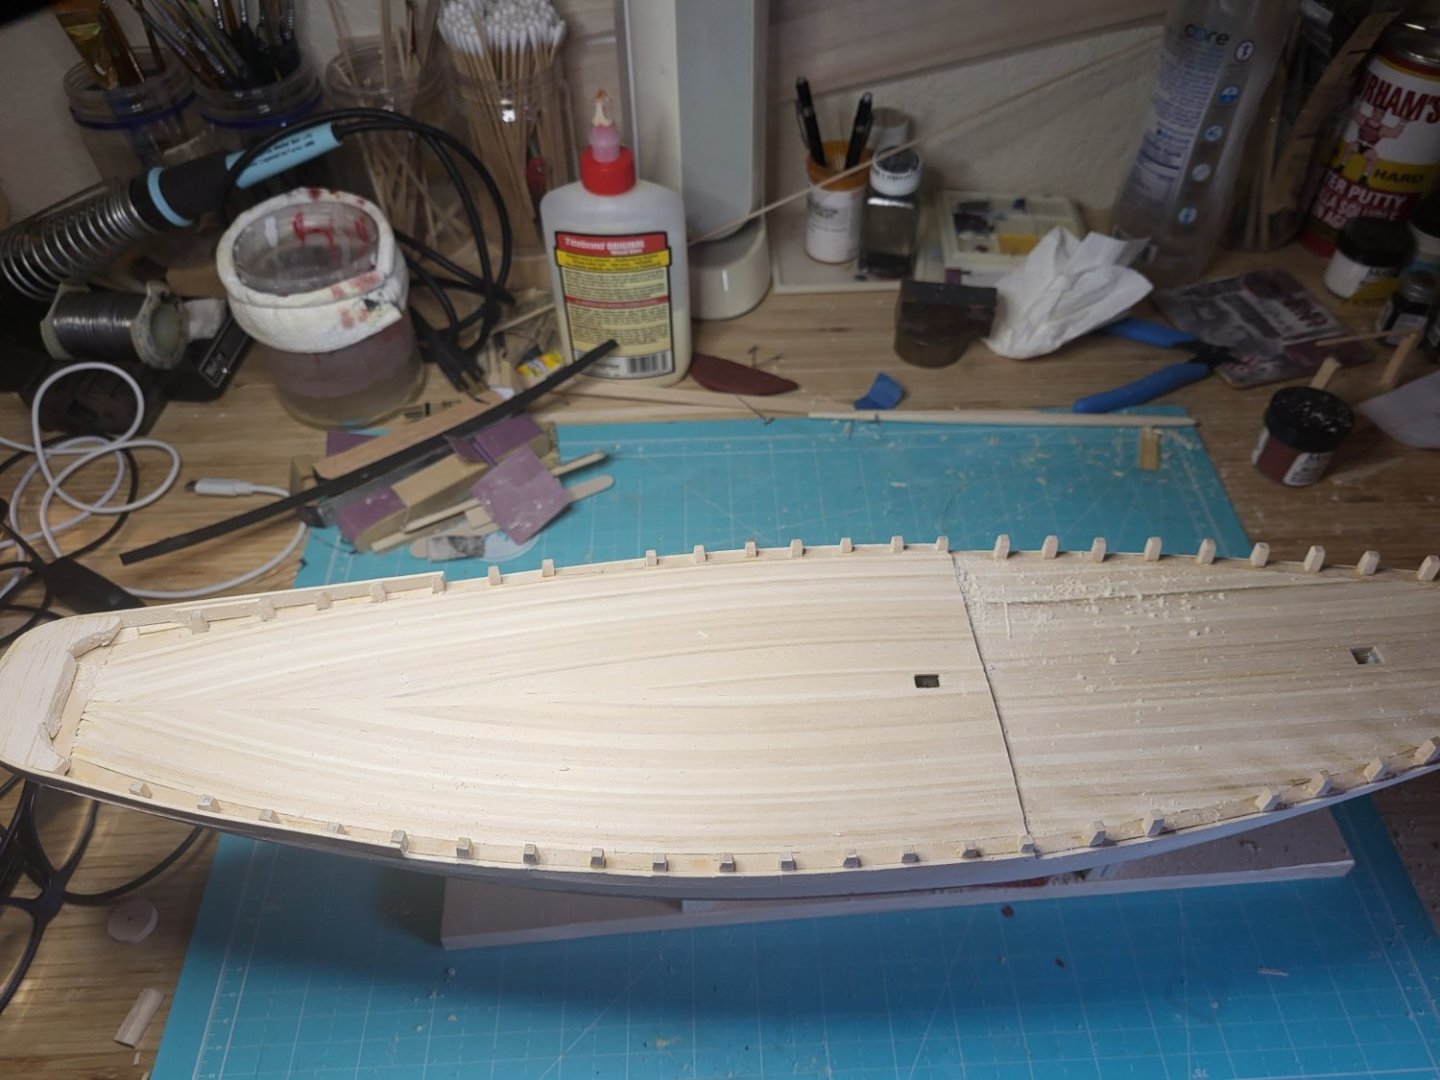
At this point I've got the deck and bulwarks painted, but not quite ready to start the top rail. I want to consider the right way to approach it, bent 1/4, or 1/2 inch that I trim and shape. I think the latter, but I want to think a bit. Scuppers are cut and cleaned up after this photo, prow is mostly shaped, and cut for the bowsprit. The hull above the water line is just primed. When cutting the scuppers I realized I somehow miscounted the timberheads! There should have been 2 between each frame section, and I only added 1. My next step will be creating the chainplates, that's going to require some work, based on the "lessons learned" from creating the pintles, I want to create a fixture to ensure the chainplates are drilled evenly, the drill walked a bit while making the pintles and given the prominence of the chain plates I want them as uniform and identical as possible.
- 51 replies
-
- Model Shipways
- Benjamin W Latham
-
(and 1 more)
Tagged with:
-
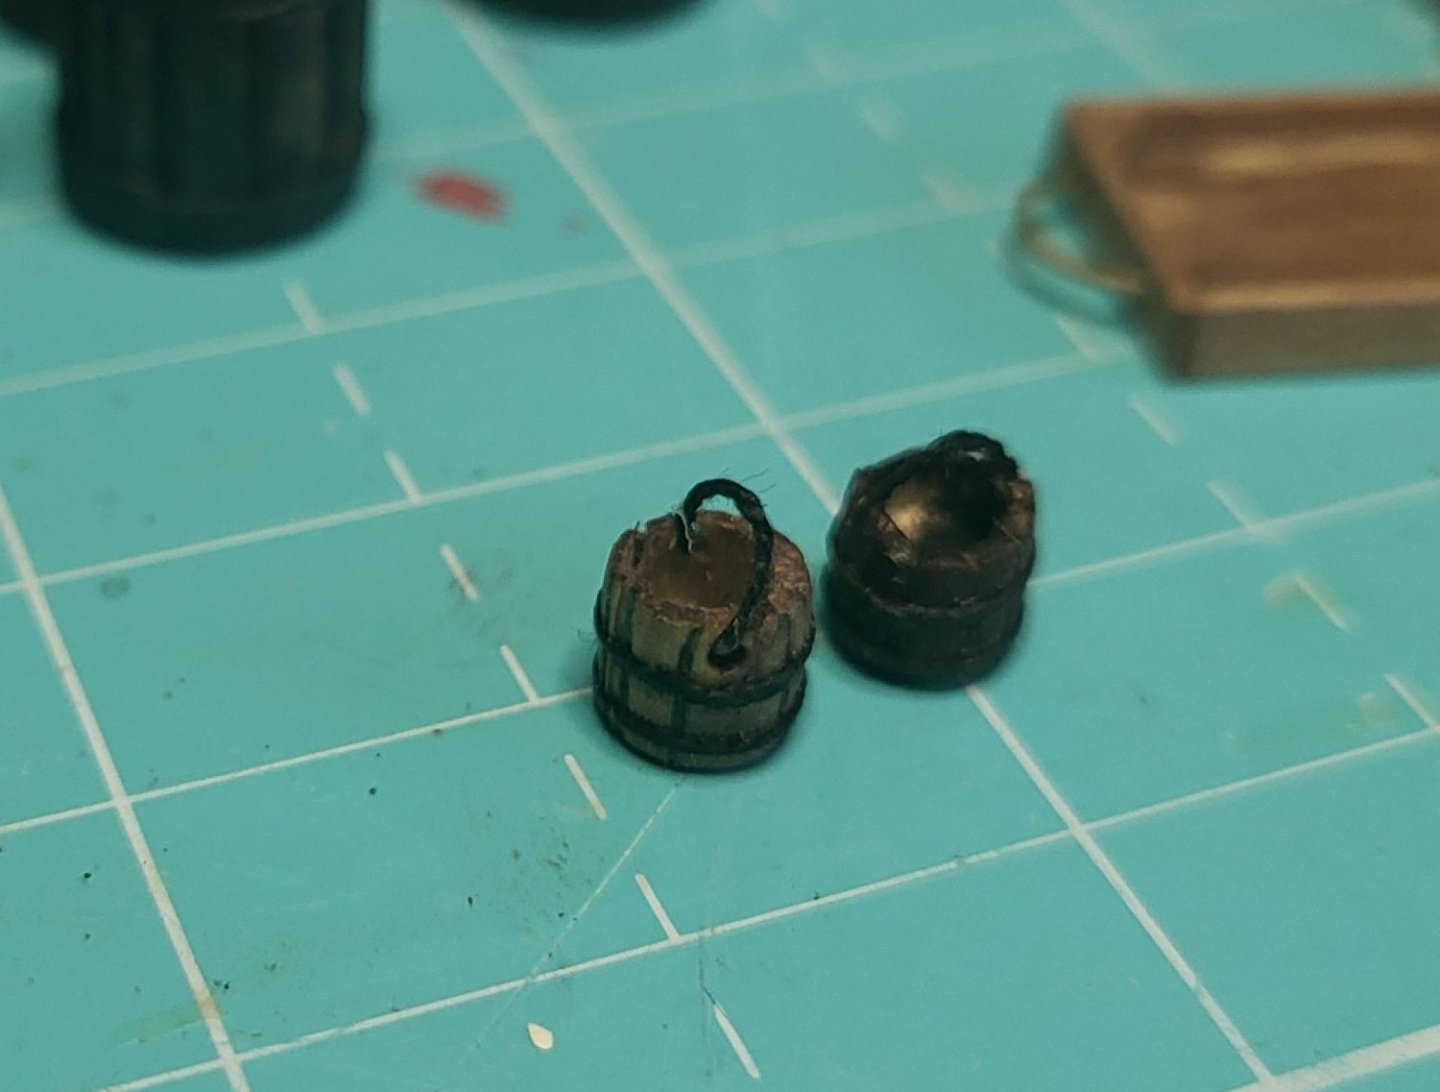
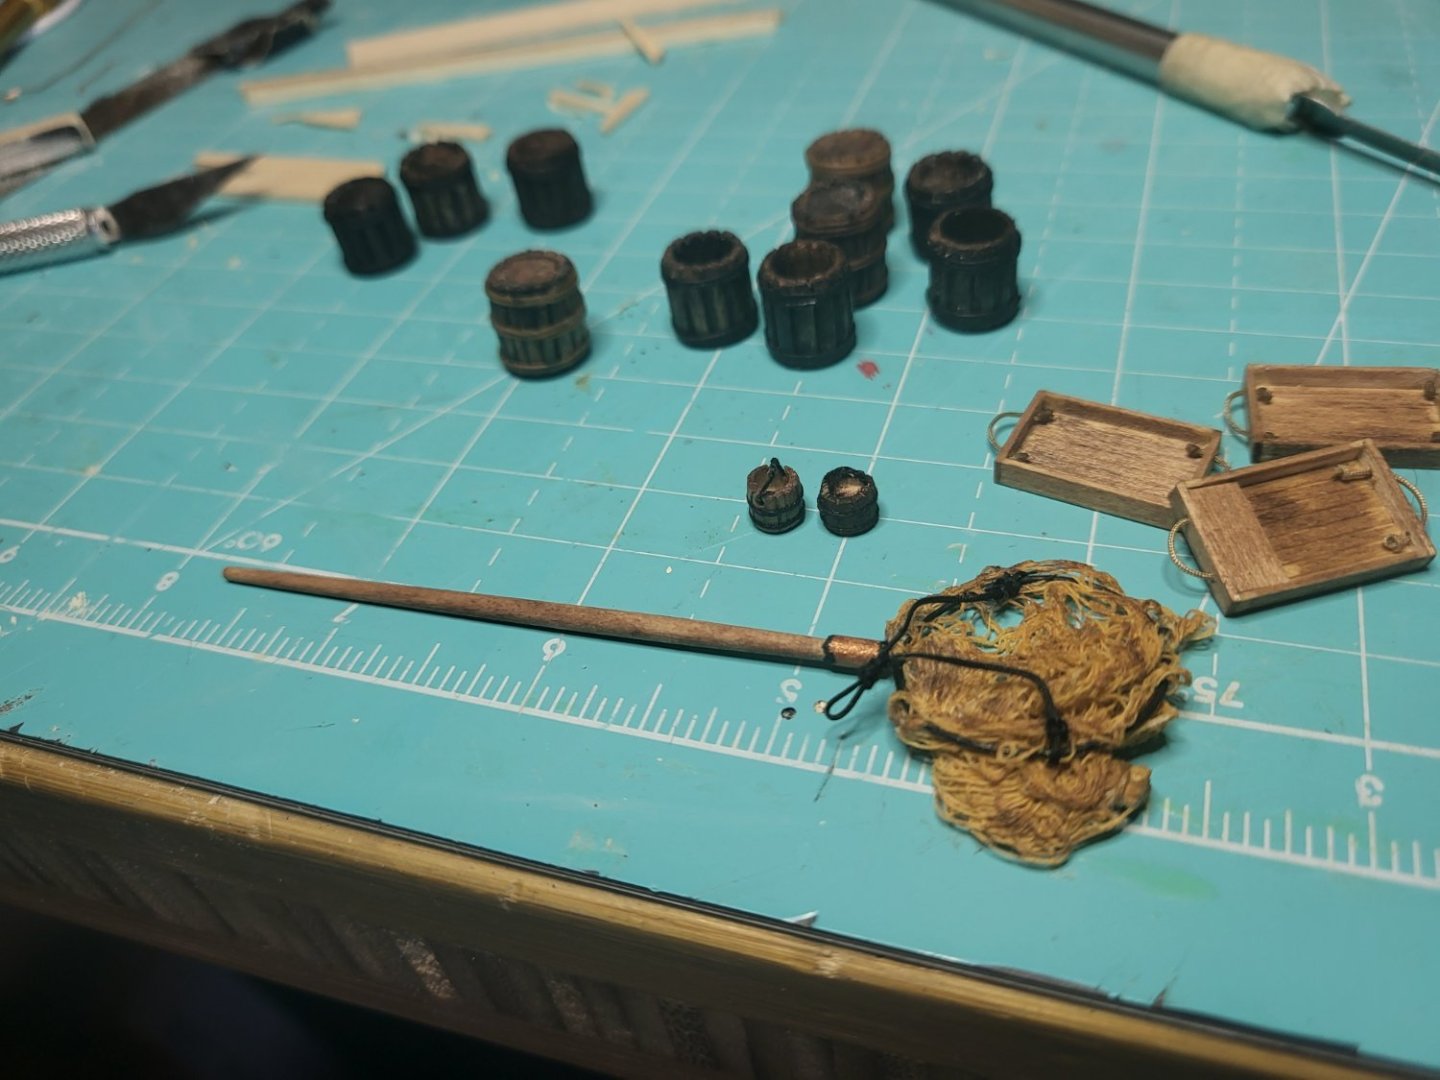
Using a similar technique I made a couple of buckets. Also shown the completed gutting trays and the net. The cheesecloth was very easy to work with, so I'm looking forward to creating the sine net as well.
- 51 replies
-
- Model Shipways
- Benjamin W Latham
-
(and 1 more)
Tagged with:
-
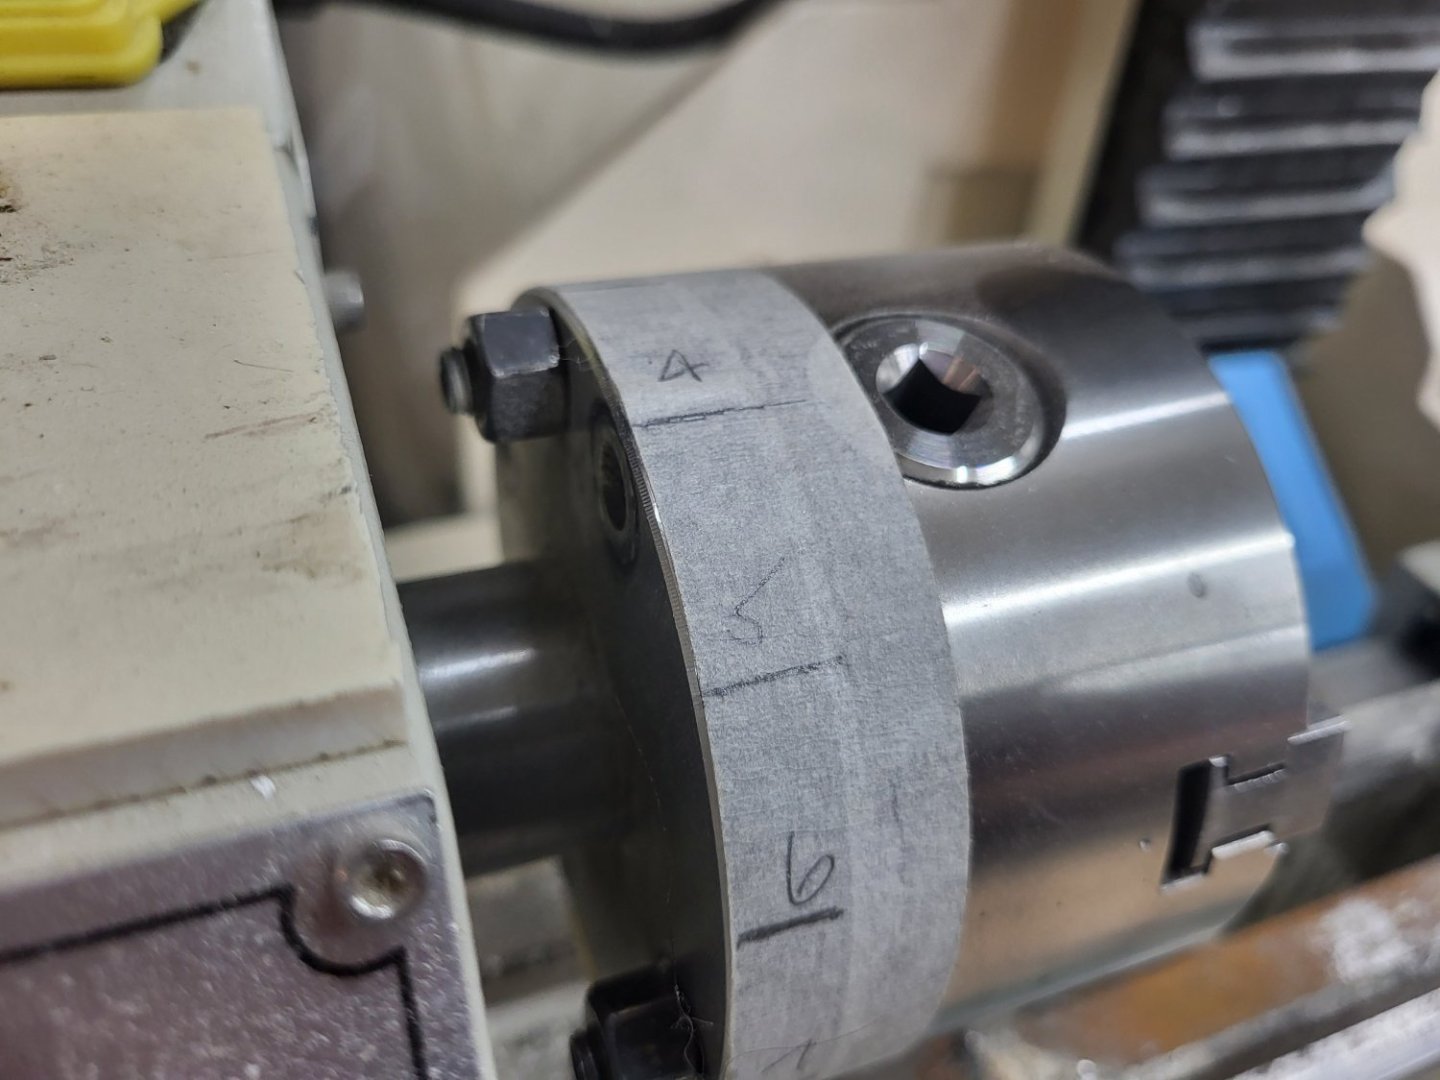
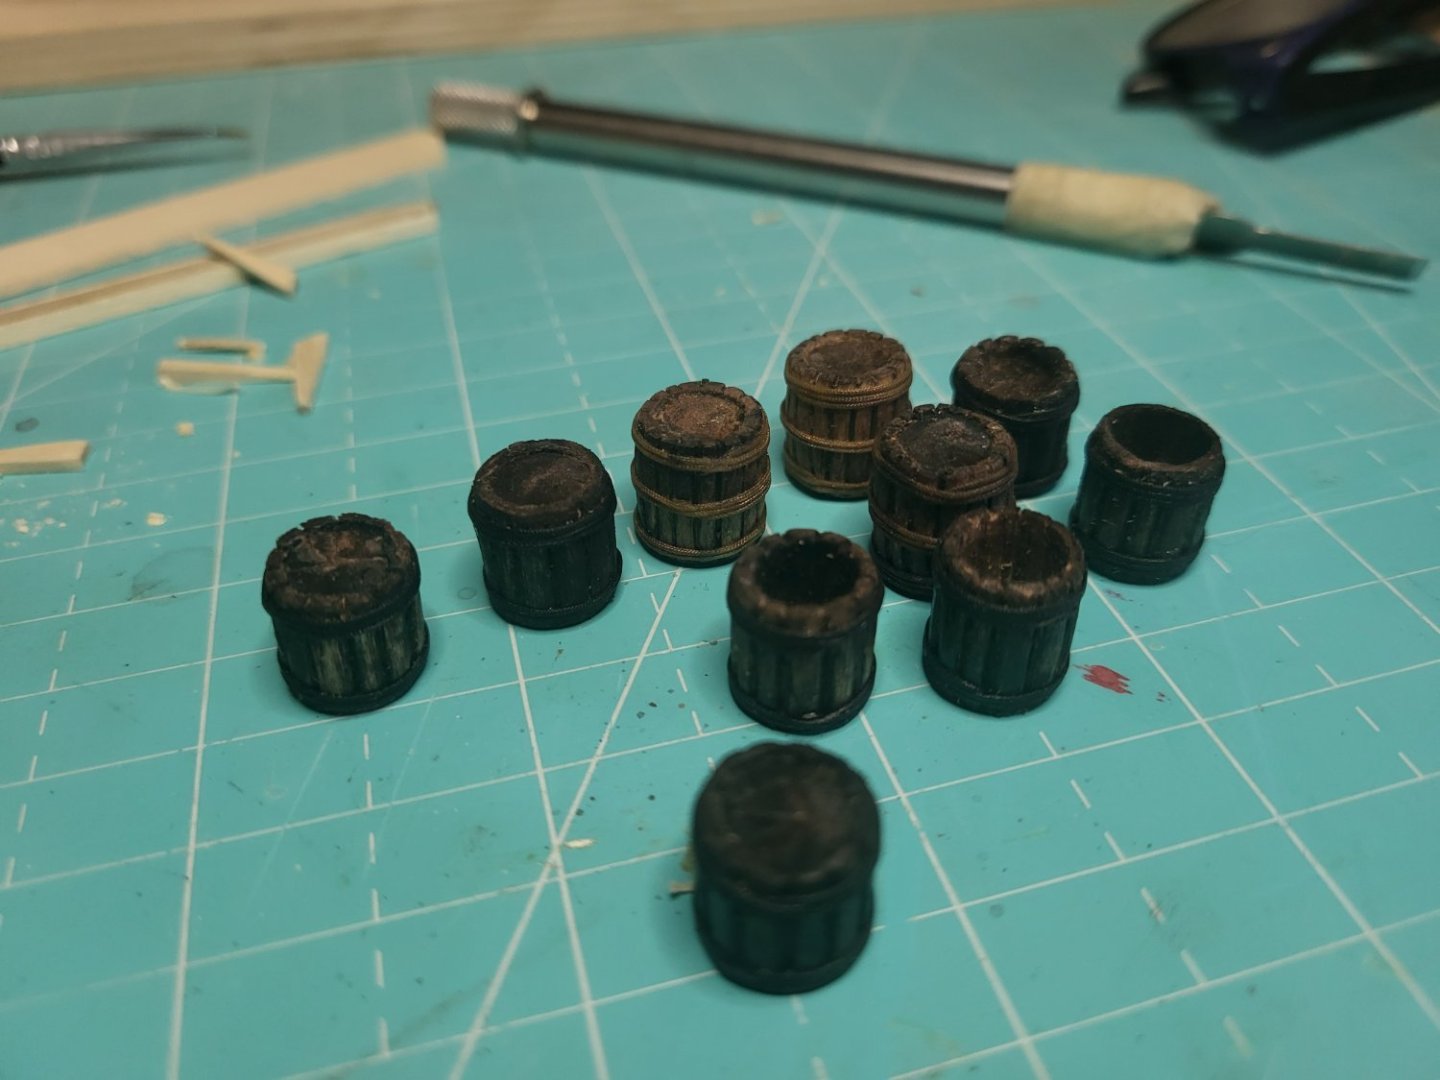
Thought I wold share some previous accessories; I tried a few ways to make barrels, the one that worked best was turning some soft wood in the lathe. I then created an "index" mark on the lathe chuck, then draw a tool across the round to create even grooves representing the staves of the barrel. I then marked and tapered the the individual barrels while in the lathe, and drilled the hole through the round. Finally at the workbench I carved the details to the staves, and wrapped the "sapling" around the barrels before cutting off each barrel. I didn't drill all the way though so some barrels could be "closed". Using a small chisel I cut back the the face of the "closed" barrels to create the recessed lids. All this was made easier by having a decent piece of wood to hold on to while working. Hope all this makes sense. I made a lot, and using different finishes, so I can pick and choose.
- 51 replies
-
- Model Shipways
- Benjamin W Latham
-
(and 1 more)
Tagged with:
-
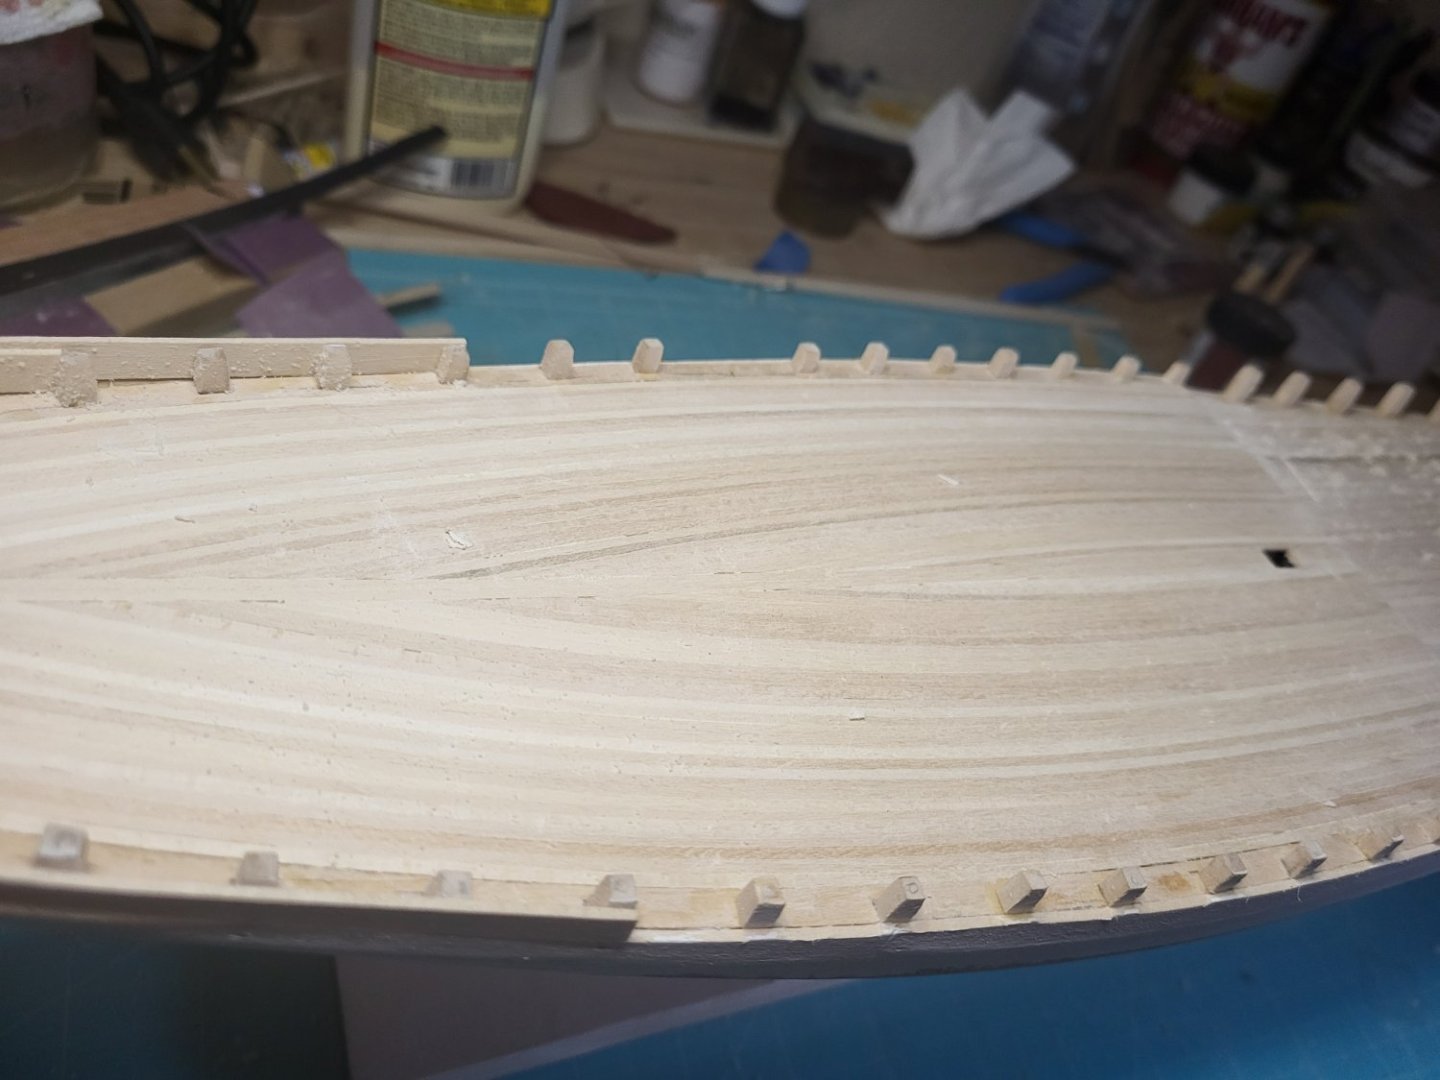
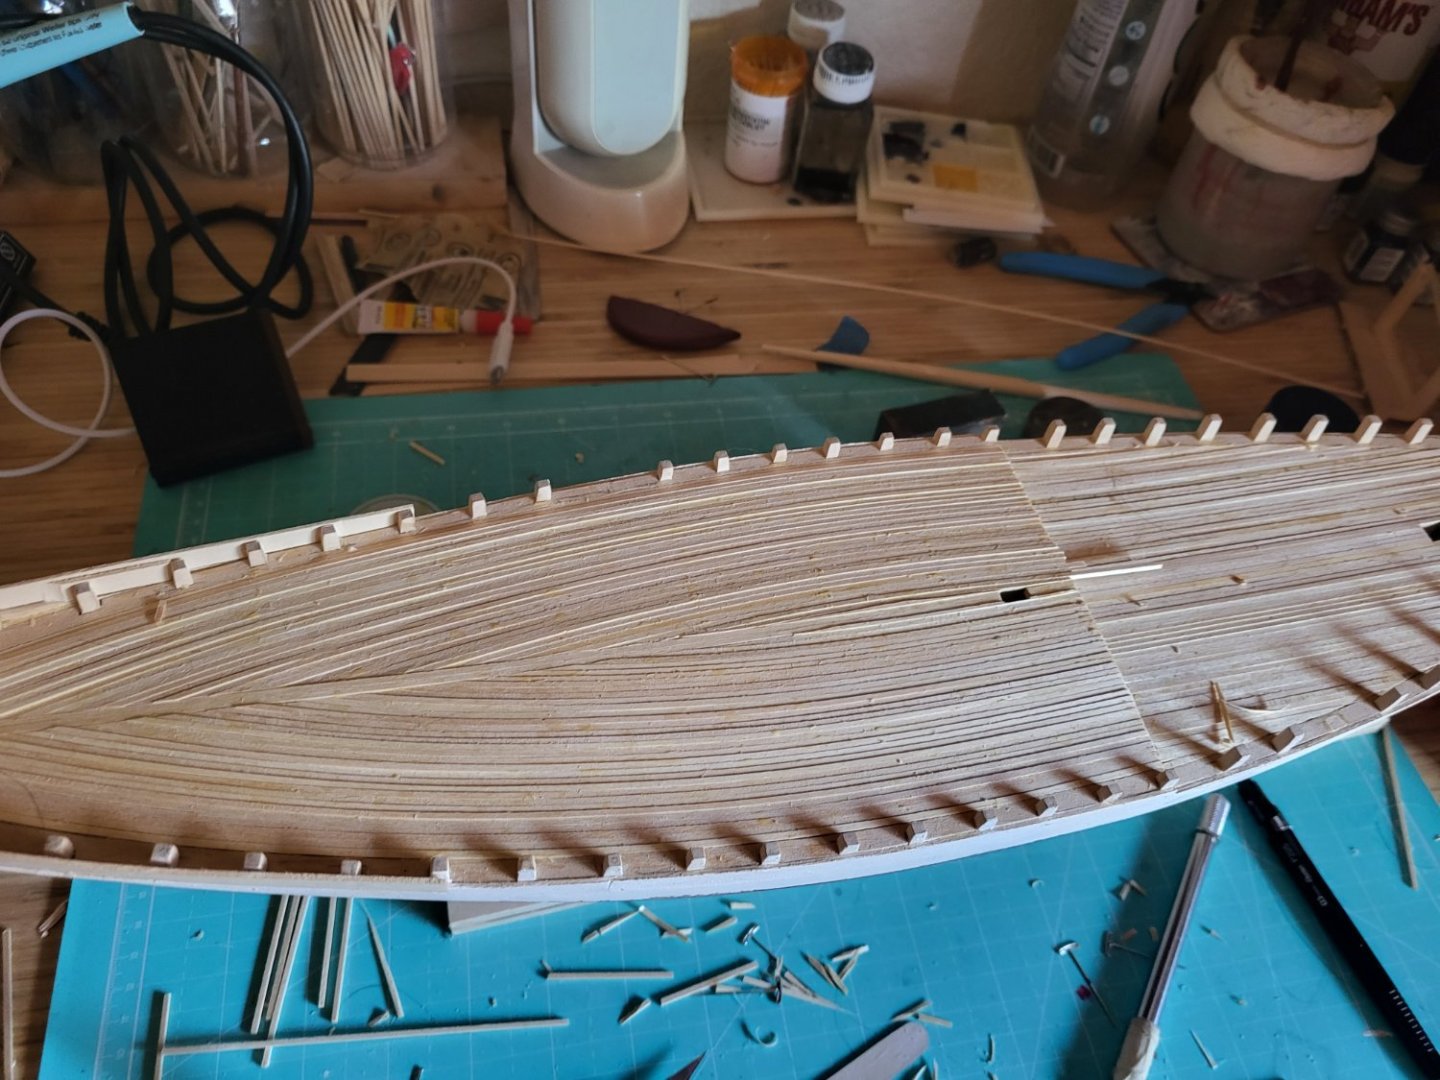
Finally got back to work, the deck sanded down well. Lost a few timberheads, this seems to be happening a lot, however they are easily replaced. Bulwarks next!
- 51 replies
-
- Model Shipways
- Benjamin W Latham
-
(and 1 more)
Tagged with:
-
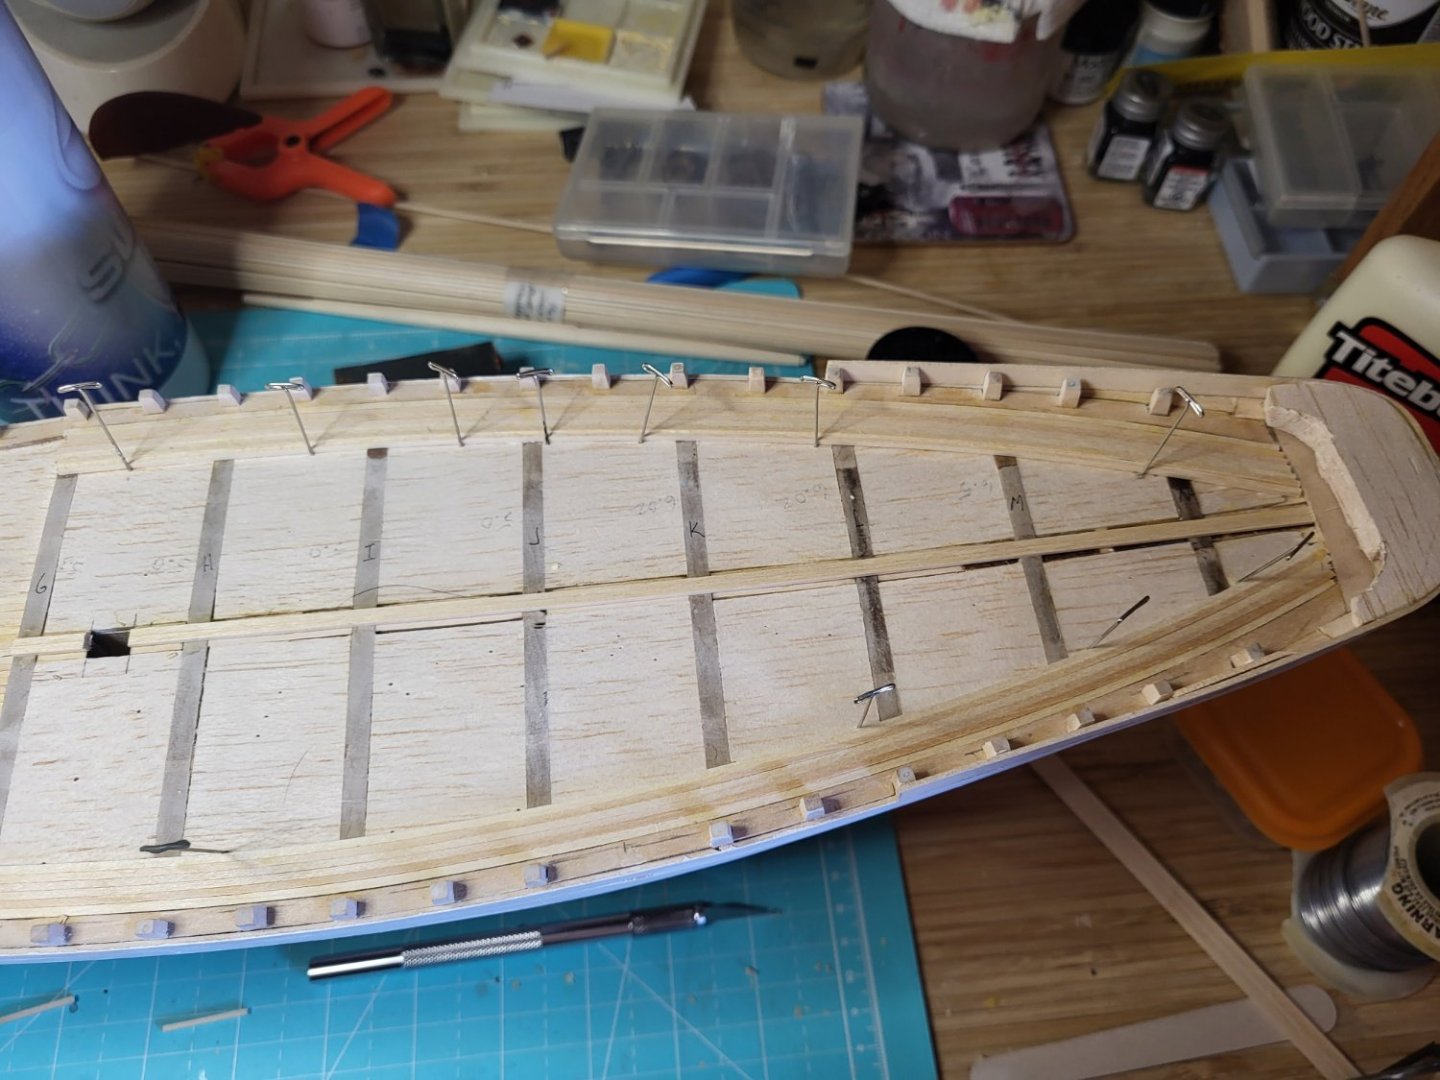
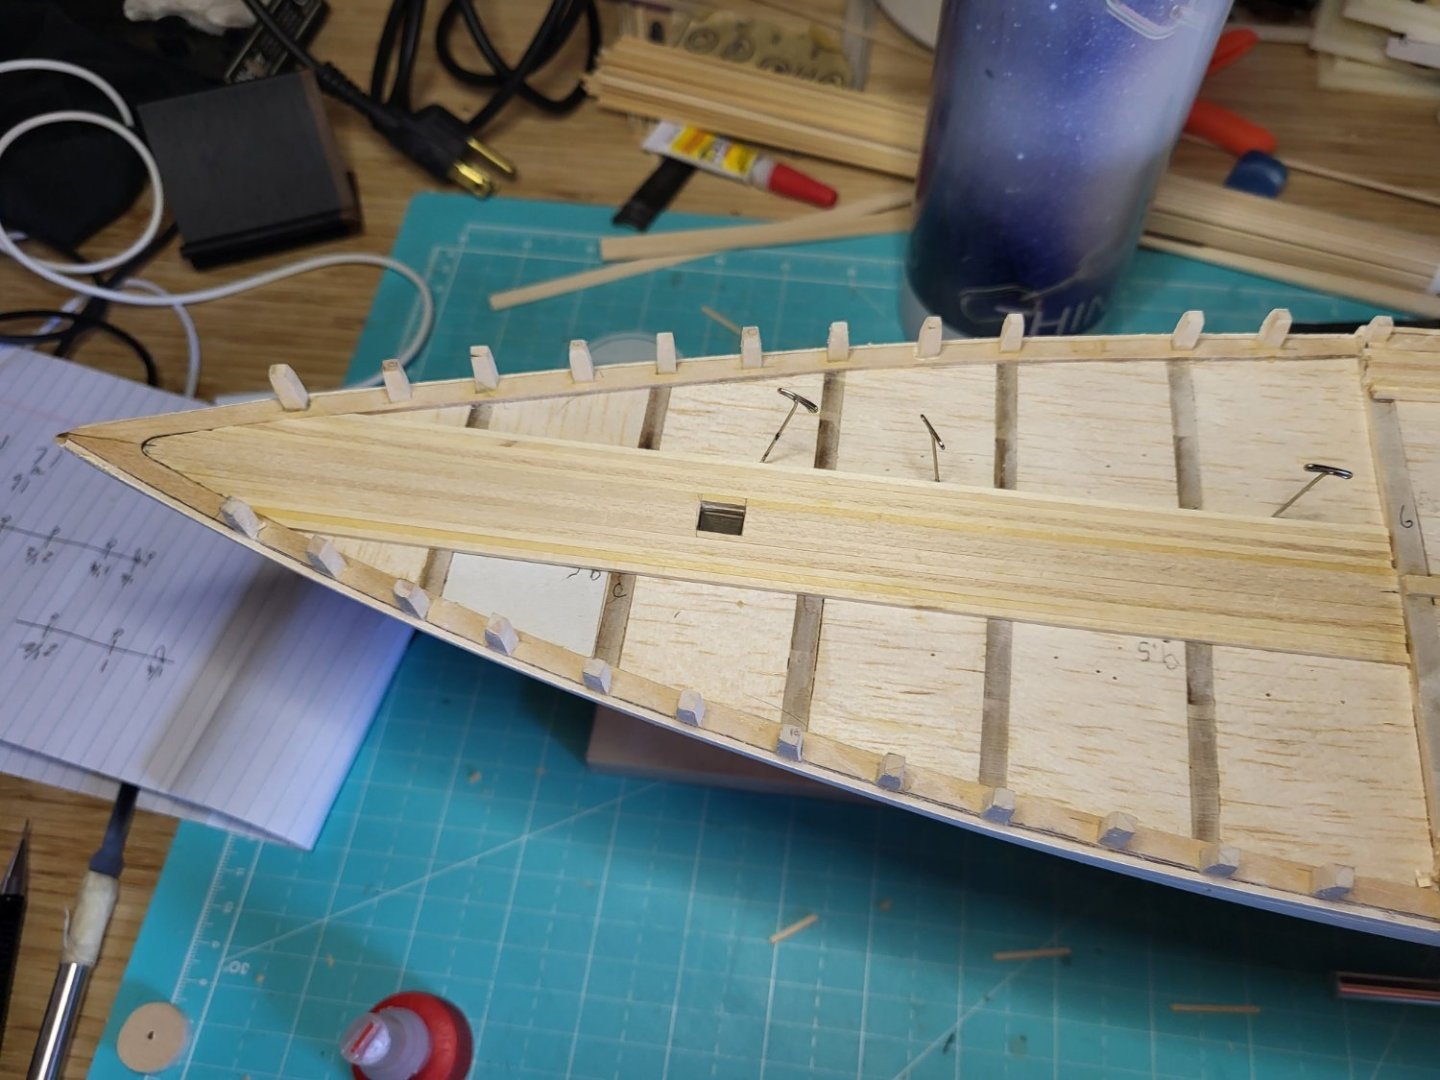
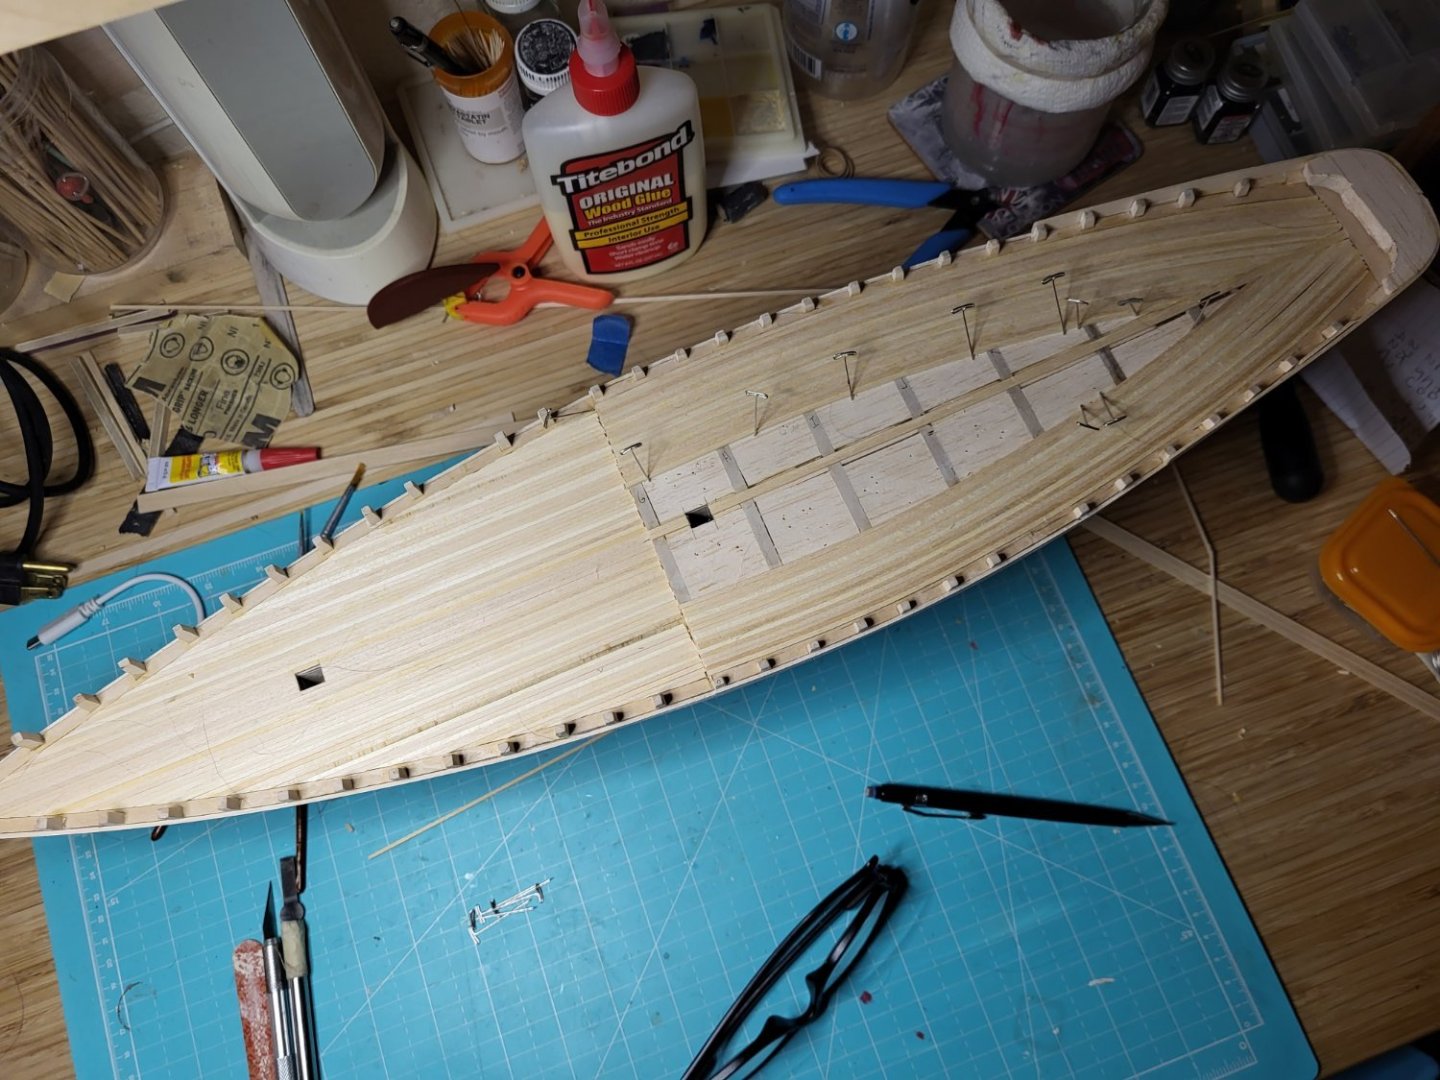
Decking time! It went easier and quicker than I expected, however the strips provided by MSW are not the same. I think it will all sand down fine, but I bought extra 1/16x1/16, so I should have been more selective. In order to bend the planksheer I built up the transom with balsa. Worked great, in addition to soaking the plank for a while, I "pre-curved" it with my hand. I know they sell pliers for this, but just gently bending it to "loosen" the fibers of the plank, it took the tight curve of the stern well.
- 51 replies
-
- Model Shipways
- Benjamin W Latham
-
(and 1 more)
Tagged with:
-
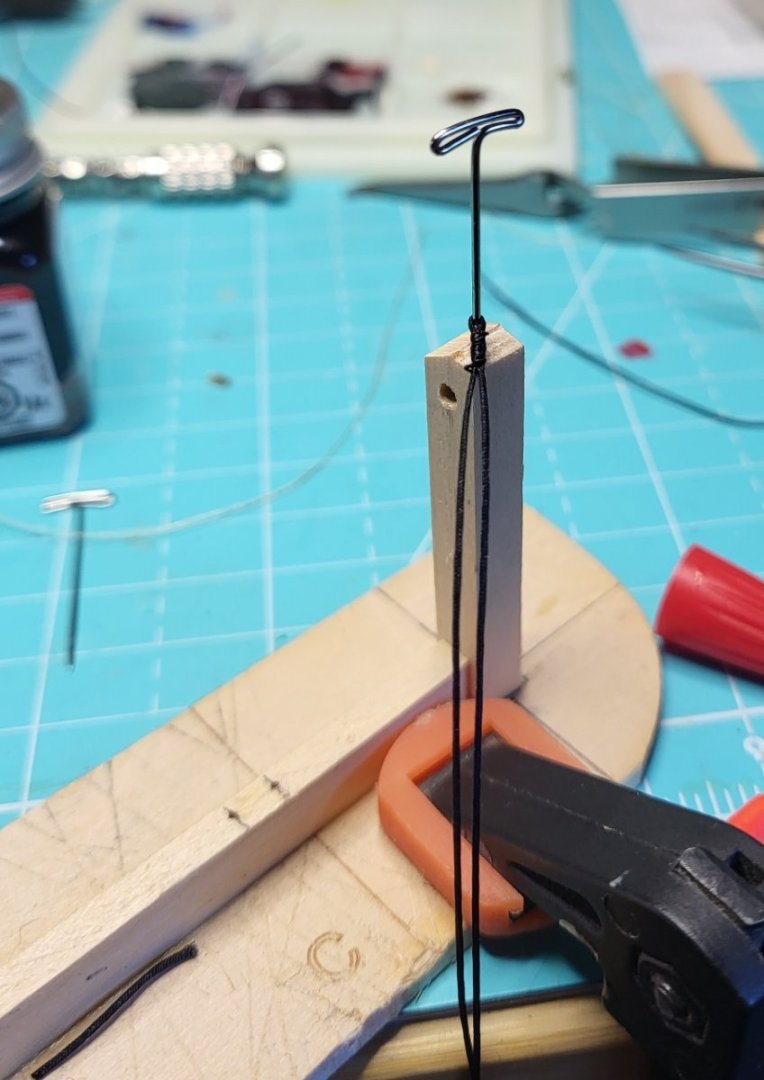
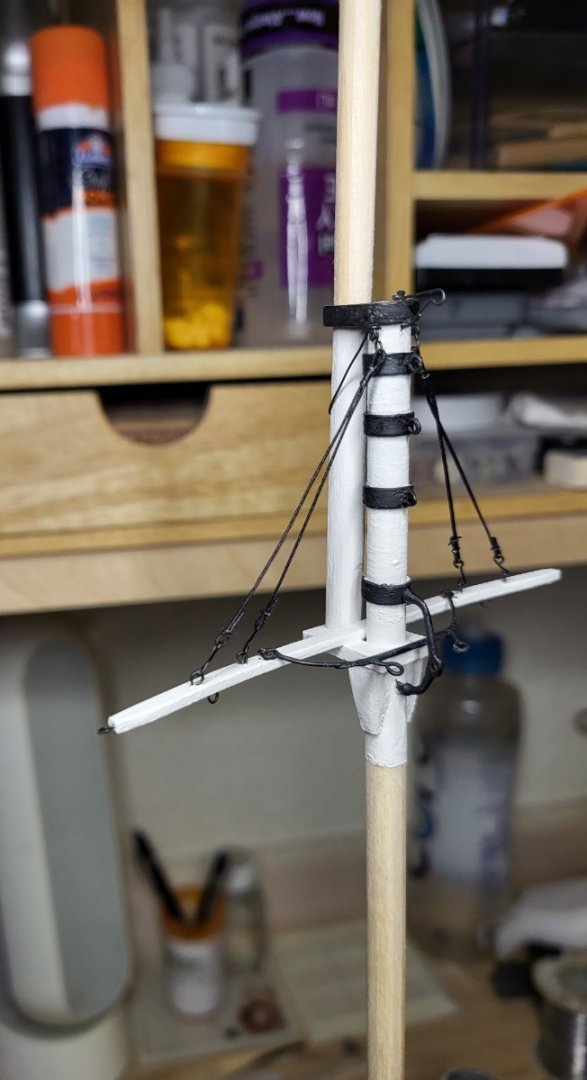
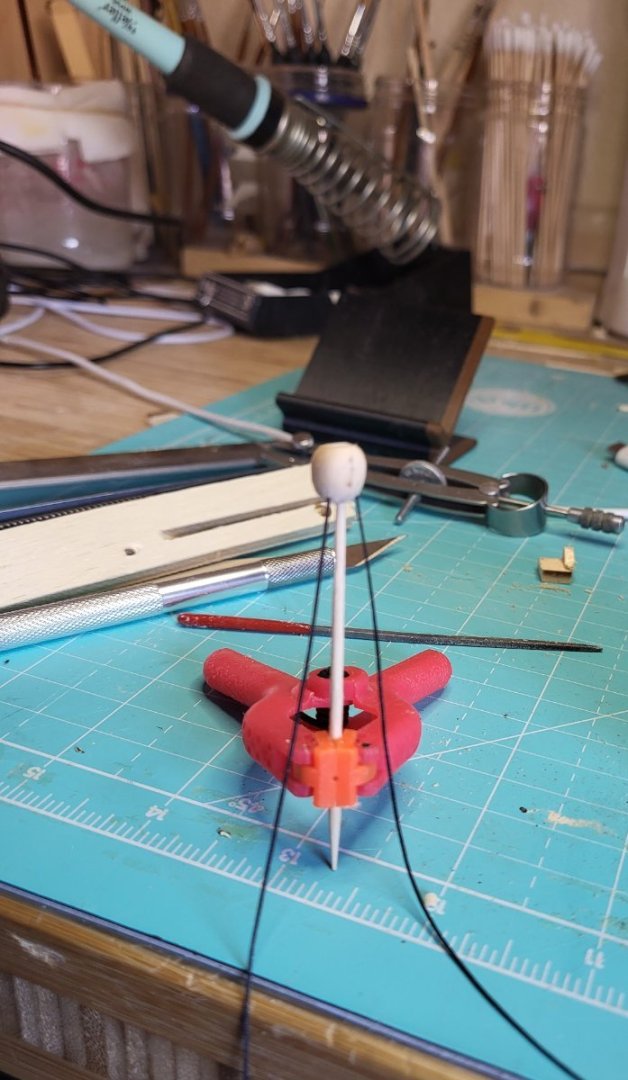
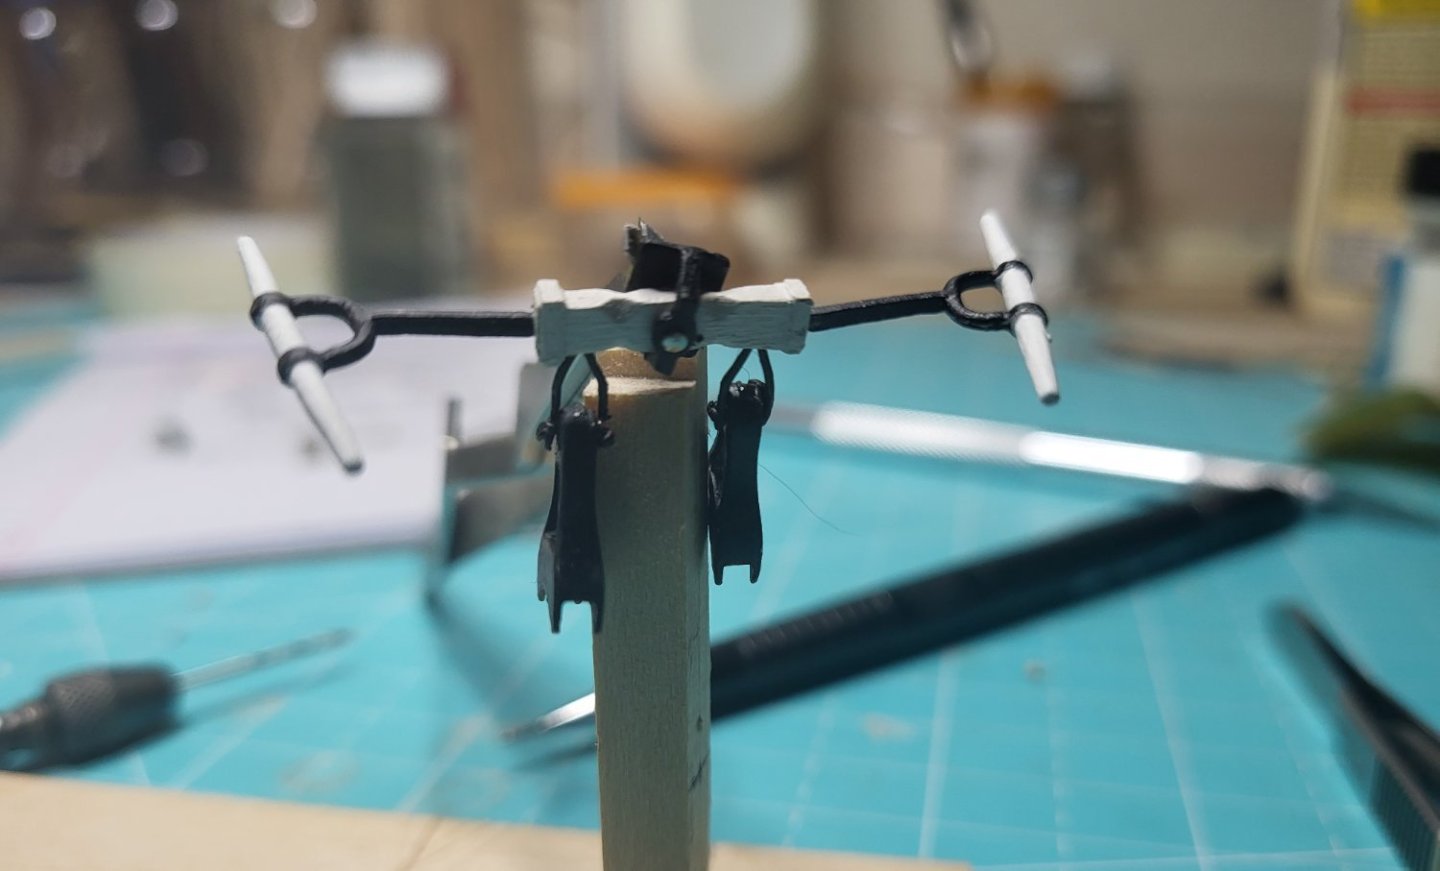
Almost finished with the masts, the spreader lifts are done, and they are assembled, finished off with the top truck.
- 51 replies
-
- Model Shipways
- Benjamin W Latham
-
(and 1 more)
Tagged with:
-
Thanks Jacques, I'm starting back to work on the hull. I think I'm going to plank the deck, before finishing the monkey board or top rail. I think having the deck "clear" will allow me to plank using full pieces. Meanwhile, I've been doing a few other details. The boom rest, and the foresail boom, rail thingie. Also the pintles.. almost out of brass strips.
- 51 replies
-
- Model Shipways
- Benjamin W Latham
-
(and 1 more)
Tagged with:
-
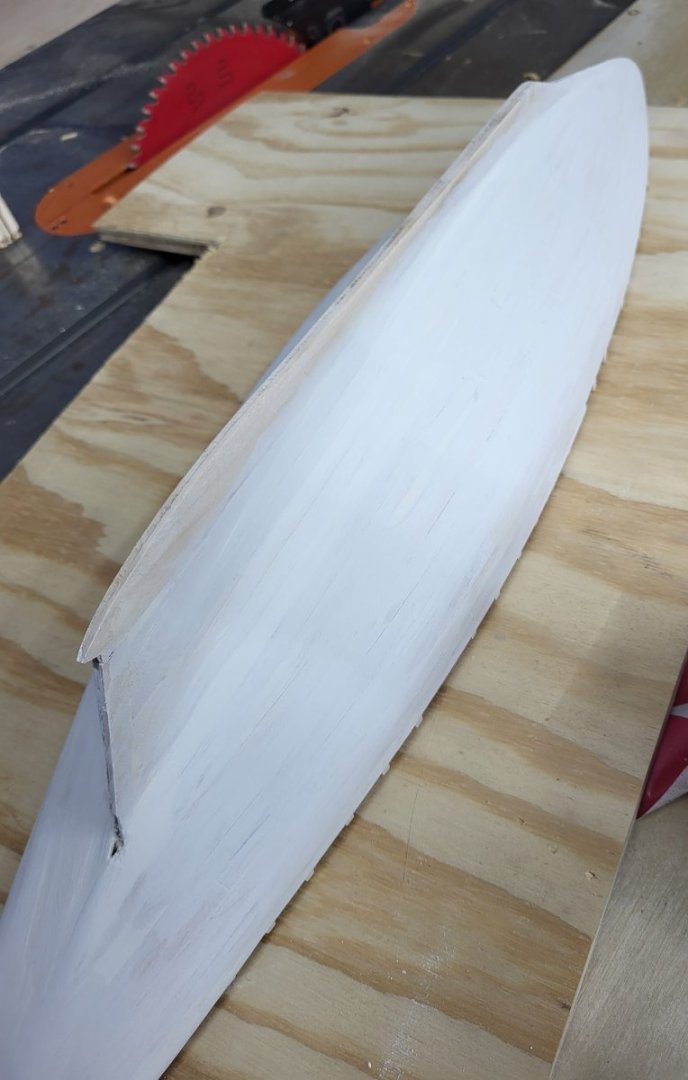
Meanwhile the hull is done and primed. Once I have a lot of the mast details made up, the spreader and mounts, I'll get back to the hull. The planking isn't perfect, I need to work on tapering the bulkheads. Even after making lots of measurements, I still had some planks "miss" the bulkhead. Also the way the planks meet the transom, yikes. I'm not going or obsess about the gaps in the planks, as long as they are stable, I've worked glue into the gaps to be sure no planks "pop", if the planks show, well, it's a planked boat, they will show.
- 51 replies
-
- Model Shipways
- Benjamin W Latham
-
(and 1 more)
Tagged with:
-
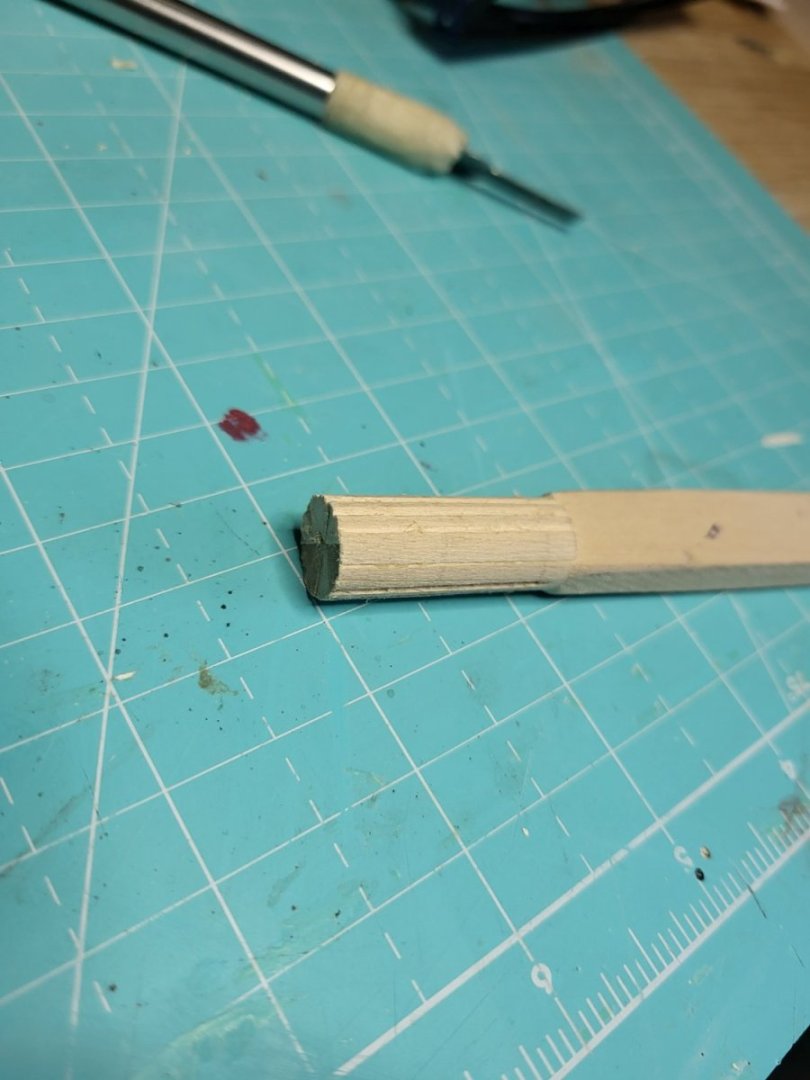
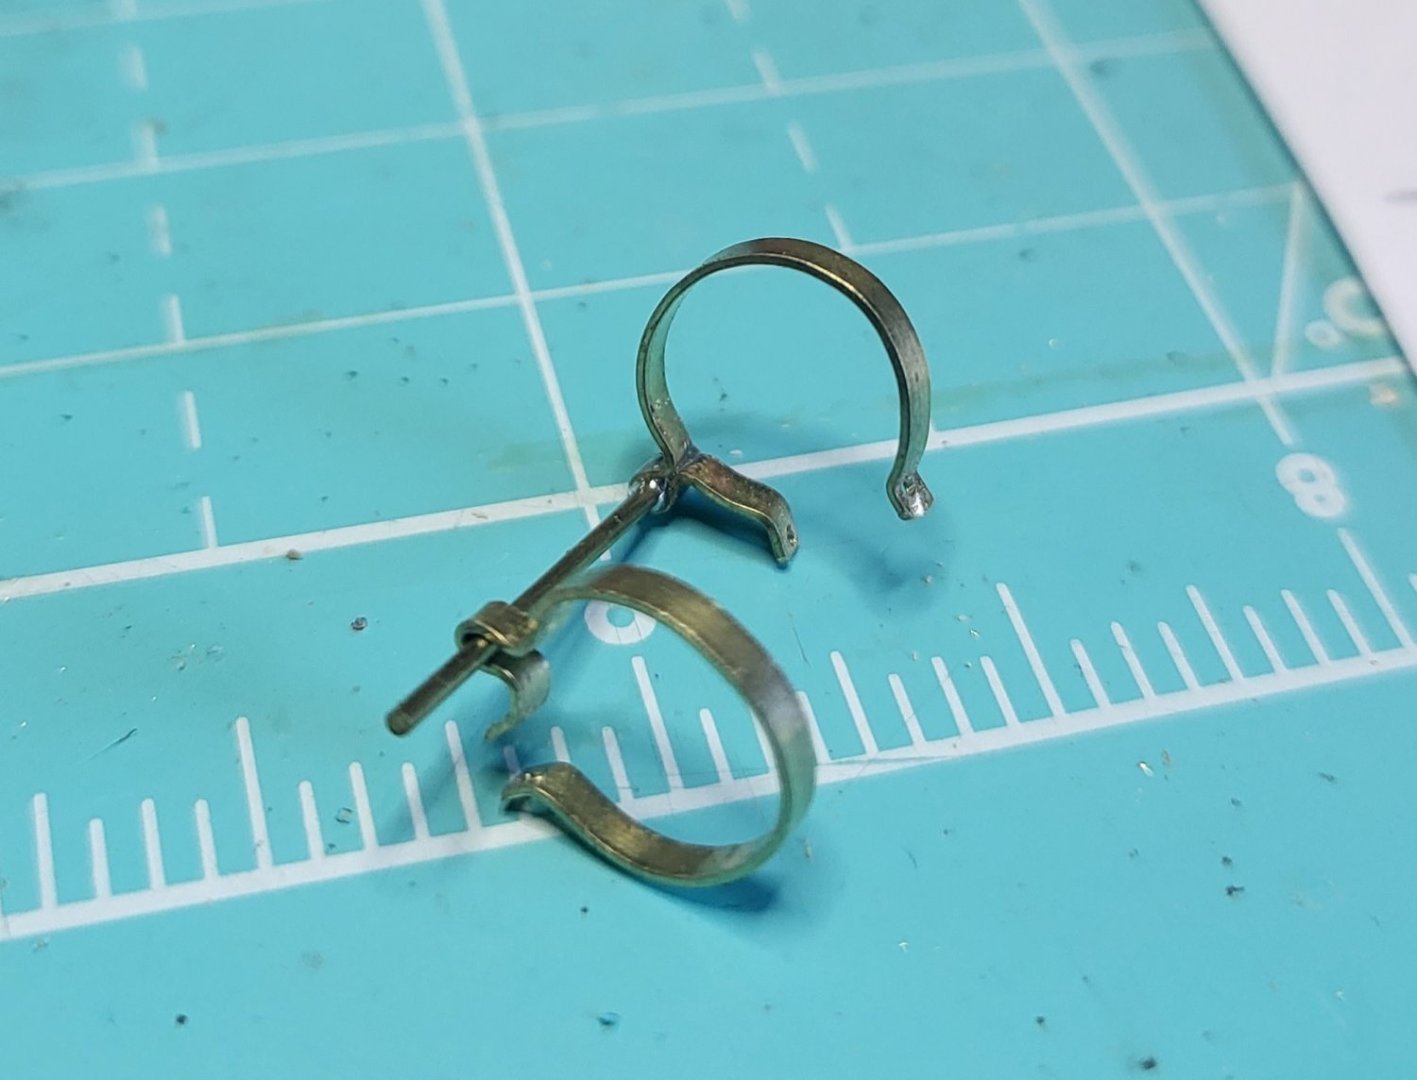
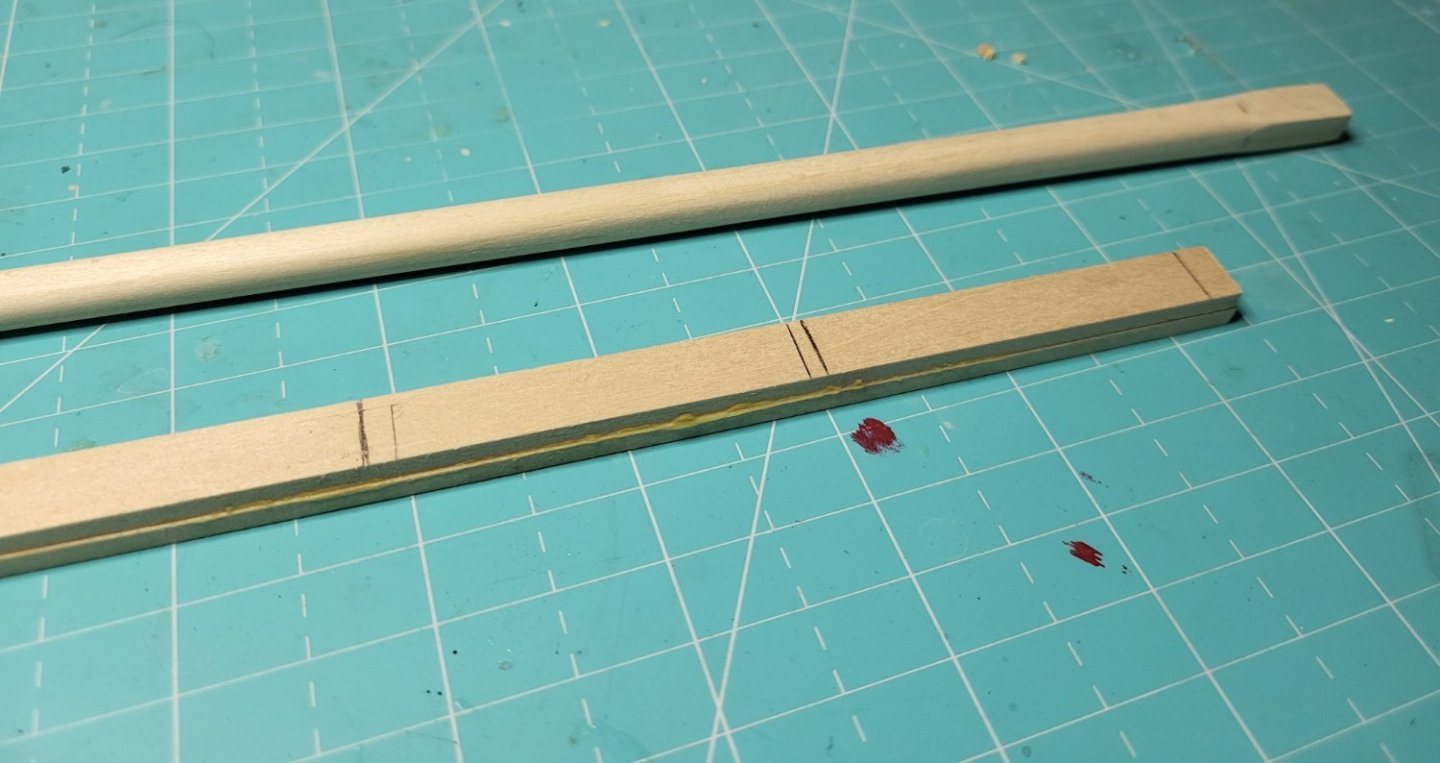
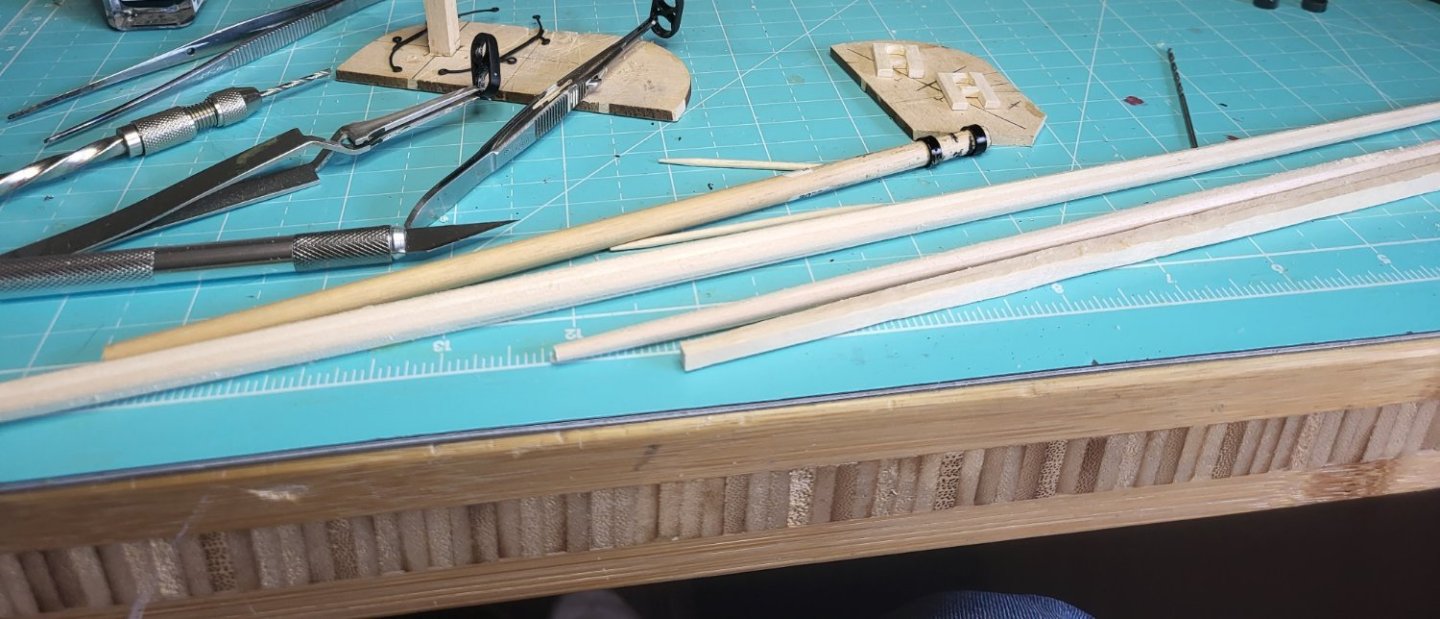
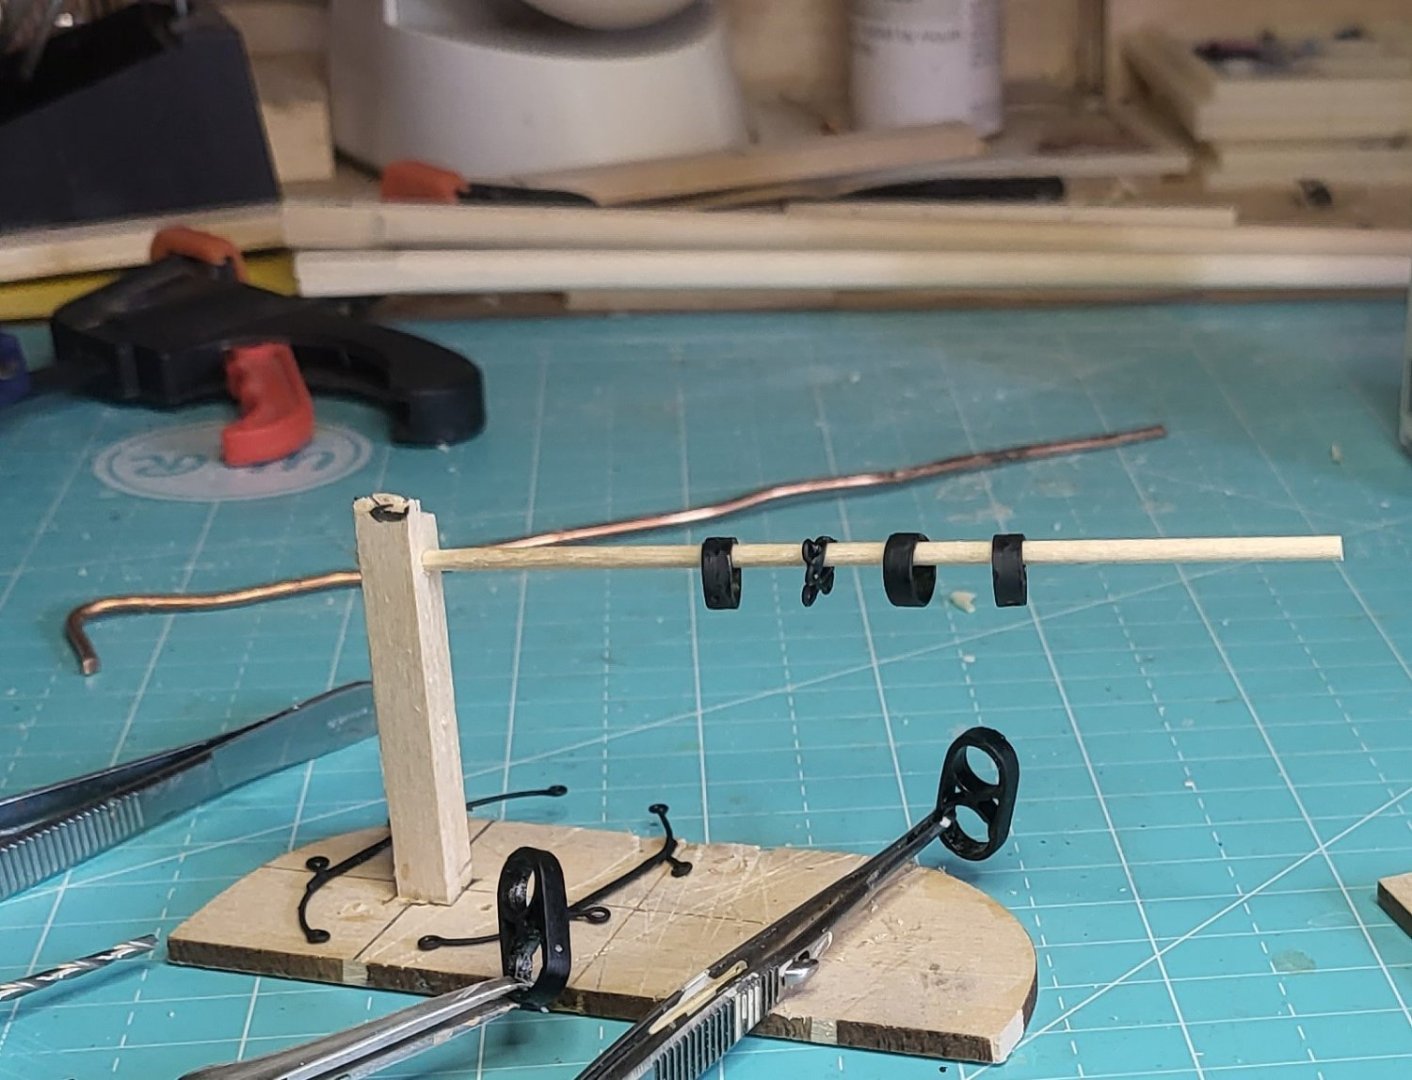
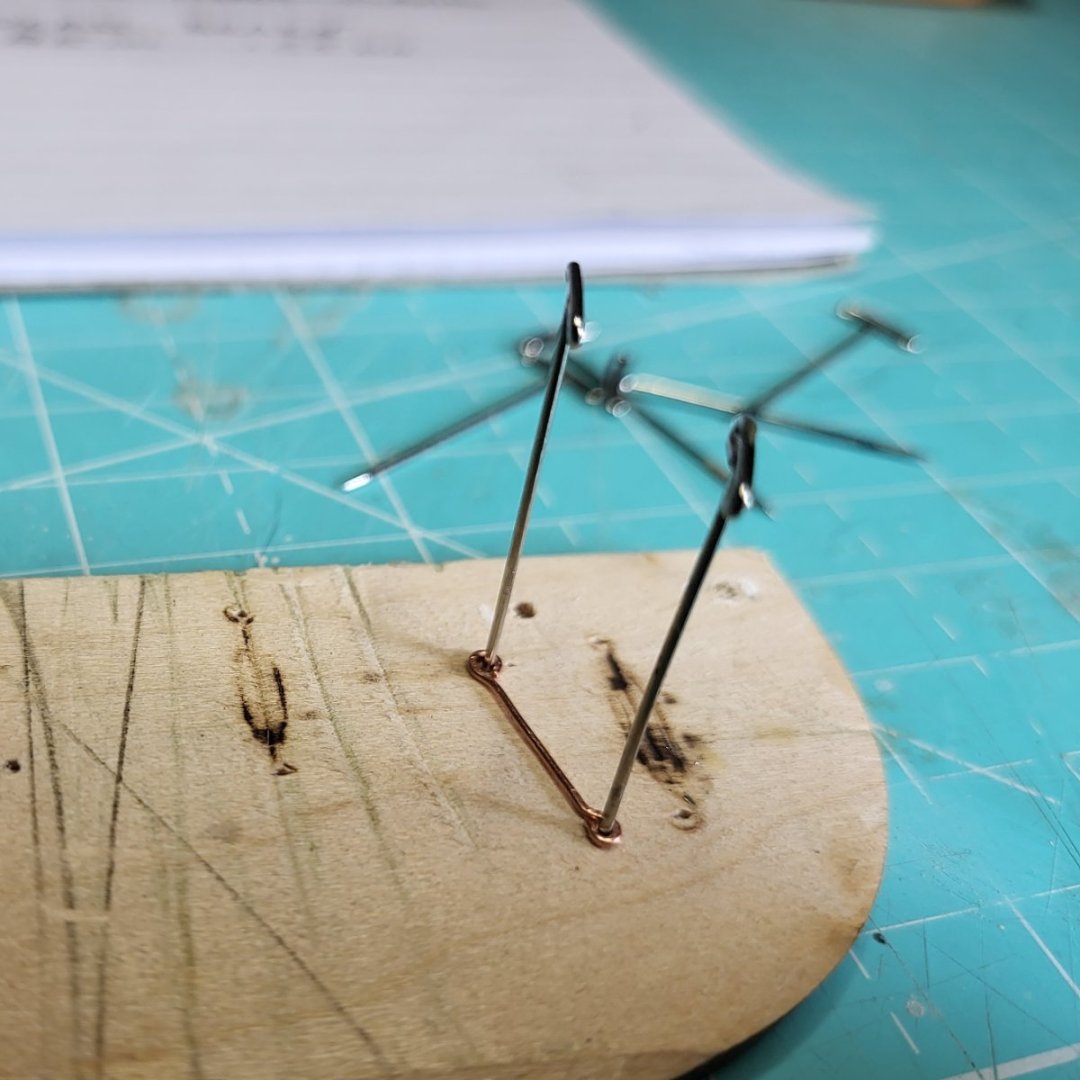
I did not like the dowels that came with the kit, and hardwood like these were bound to frustrate me, so all the masts and spars are laminated basswood, then carved down to the right size and shape. While they are not perfect, I think they will stain nicer, and the grain being finer will look better at scale. At the same time I'm making the bands, these are from brass strips, curled and soldered. I put a coat of matte spray paint, then a coat of flat with a brush. The kit supplied cast parts as well, also I made up the spreader struts off the drawings from copper wire.
- 51 replies
-
- Model Shipways
- Benjamin W Latham
-
(and 1 more)
Tagged with:
-
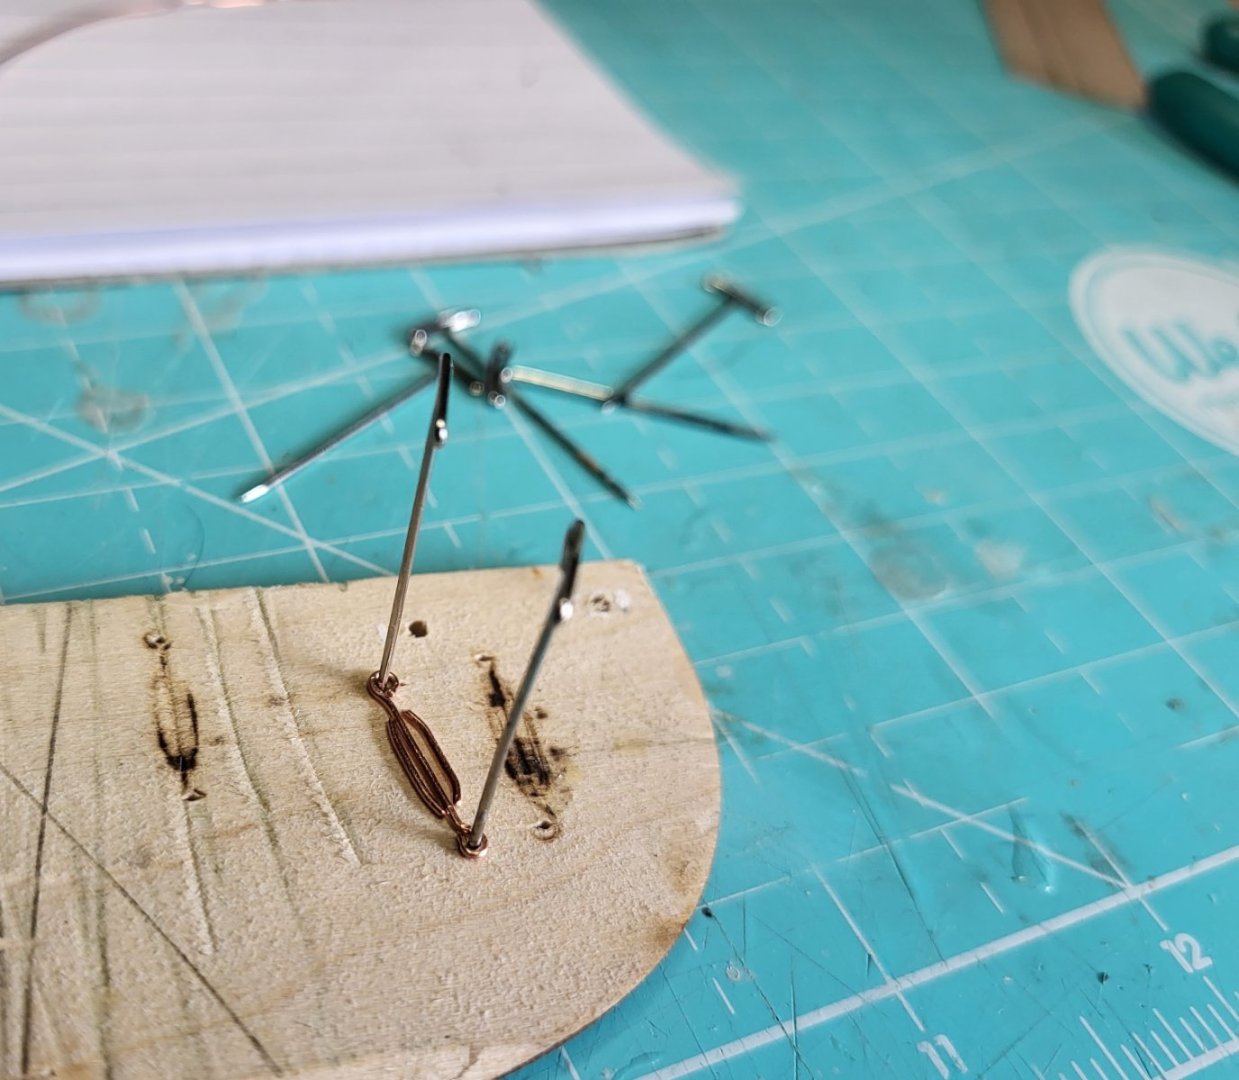
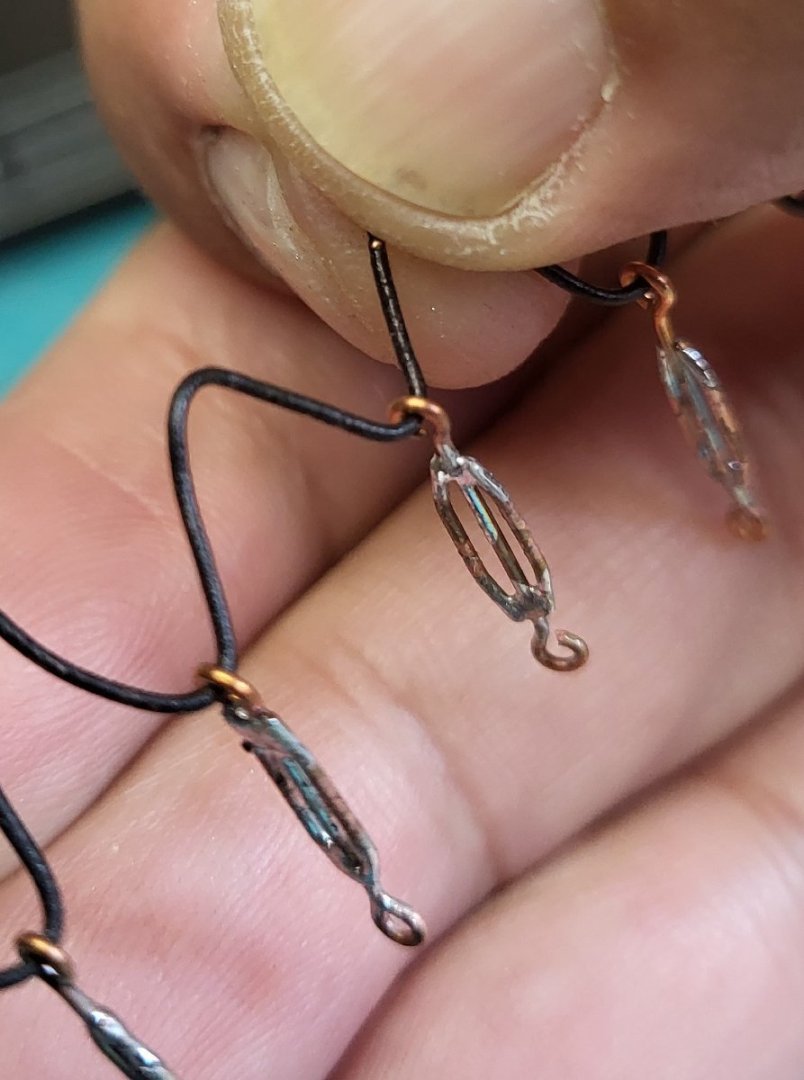
Tiny turnbuckles.. I really thought about this one for a while, I didn't want to just paint wood bits, or use sculpy, so after a few tries, I soldered up these. I think after painting they represent turnbuckles well.
- 51 replies
-
- Model Shipways
- Benjamin W Latham
-
(and 1 more)
Tagged with:
-
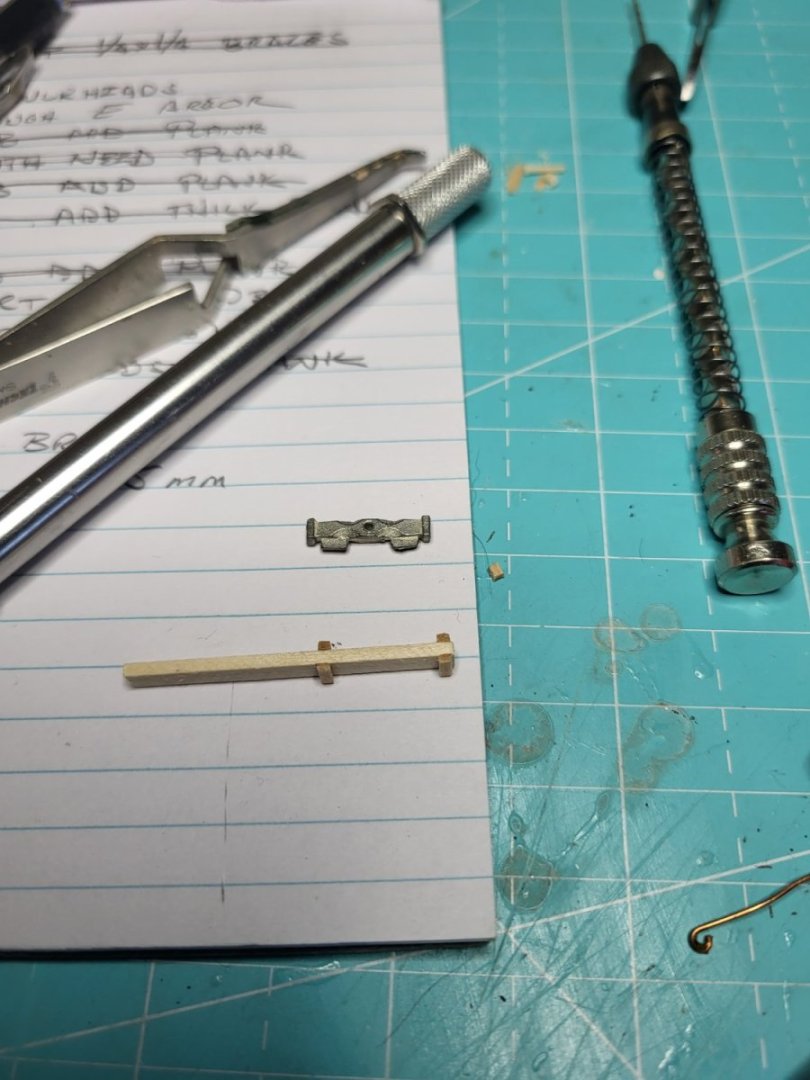
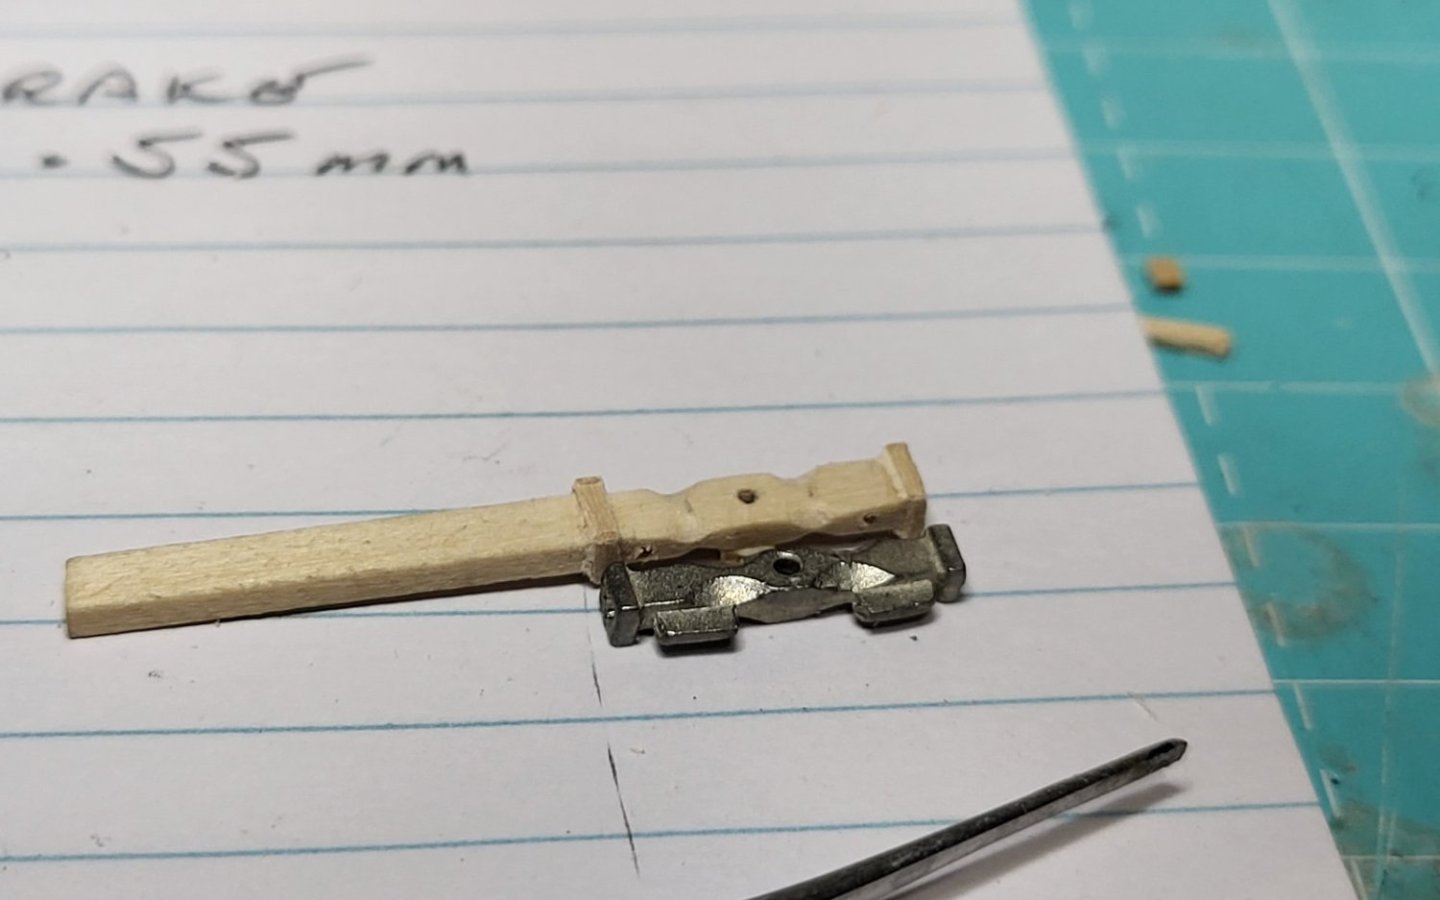
And we're almost caught up to where I'm at. (planking the hull) I remade the windlass brake bar, it wasn't the right size and didn't fit into the pivot casting right, I also made new links. In general the castings are OK in this kit, other kits I have tossed most of them as the scale it wrong, or they just don't look right. The MS Sultana for example, I build up the windlass from scratch as it was all wrong. The Latham windlass is very good in this kit, as were most of the brake parts.
- 51 replies
-
- Model Shipways
- Benjamin W Latham
-
(and 1 more)
Tagged with:
-
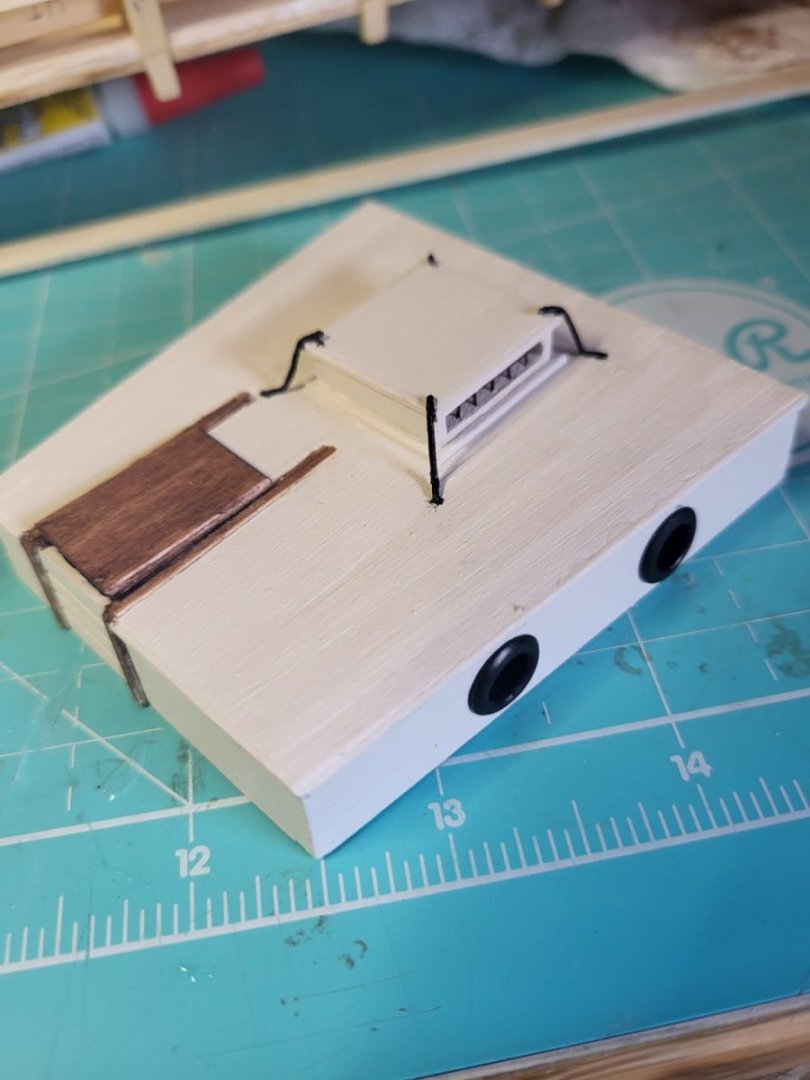
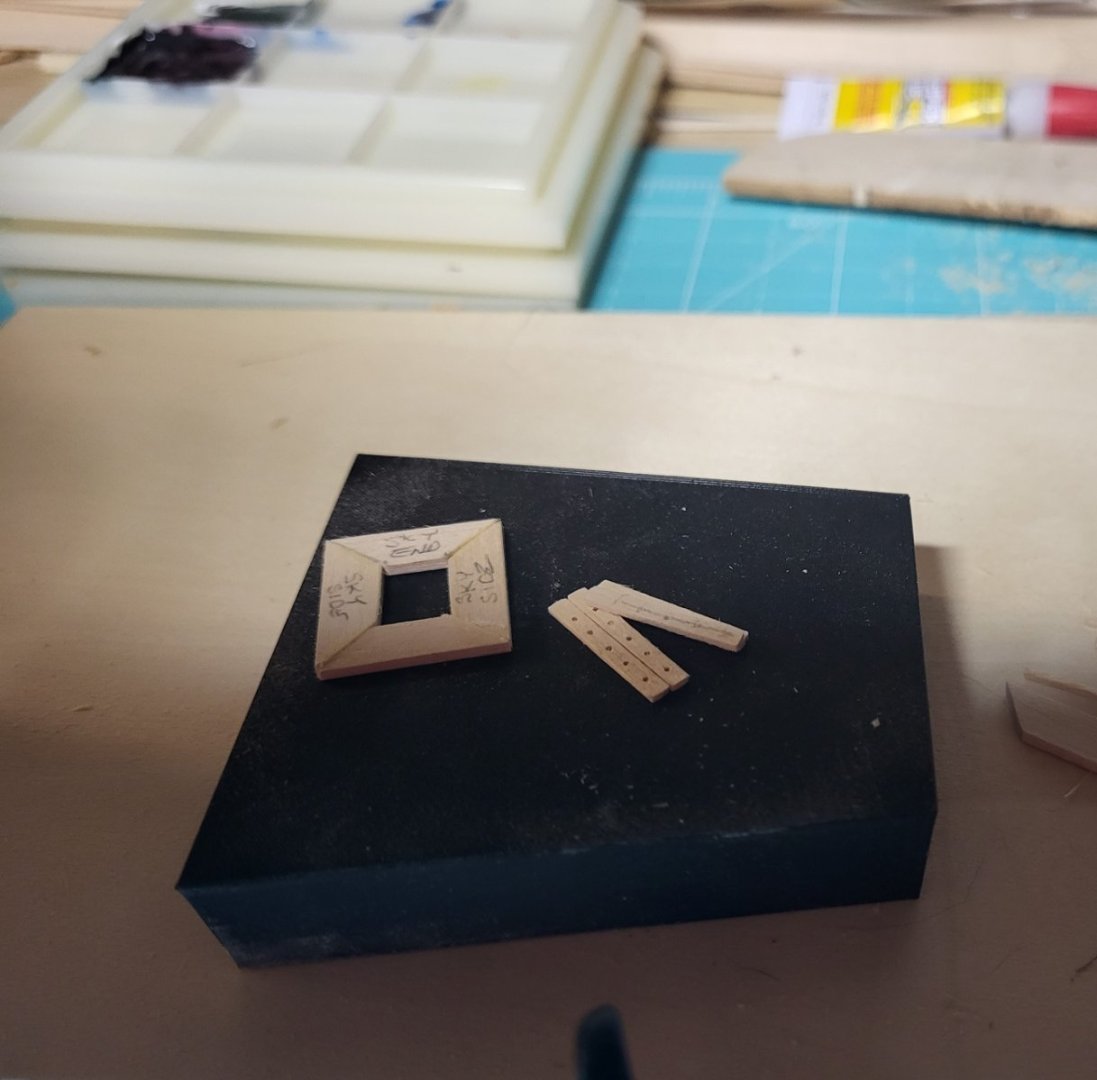
Like a crazy person, I did fully plank the cabin. I also constructed the sky light in a way that I used painted copper wire for the bars. On all the furniture, I'm leaving off the bottom trim, until they are on the deck, this way I can match the contour of the deck when they are in place. All the furniture is built measuring from the deck surface. This way I can make full length deck planks and not "work around" hatchways or cabins, if needed I could carve away the deck planks, but I want them to be full runs so they curve and fitment is tight. The ports on the cabin are leather rivets. They are the right size and I will add a flat finish to them. A bit of a short cut, but one that I think worked well.
- 51 replies
-
- Model Shipways
- Benjamin W Latham
-
(and 1 more)
Tagged with:
-
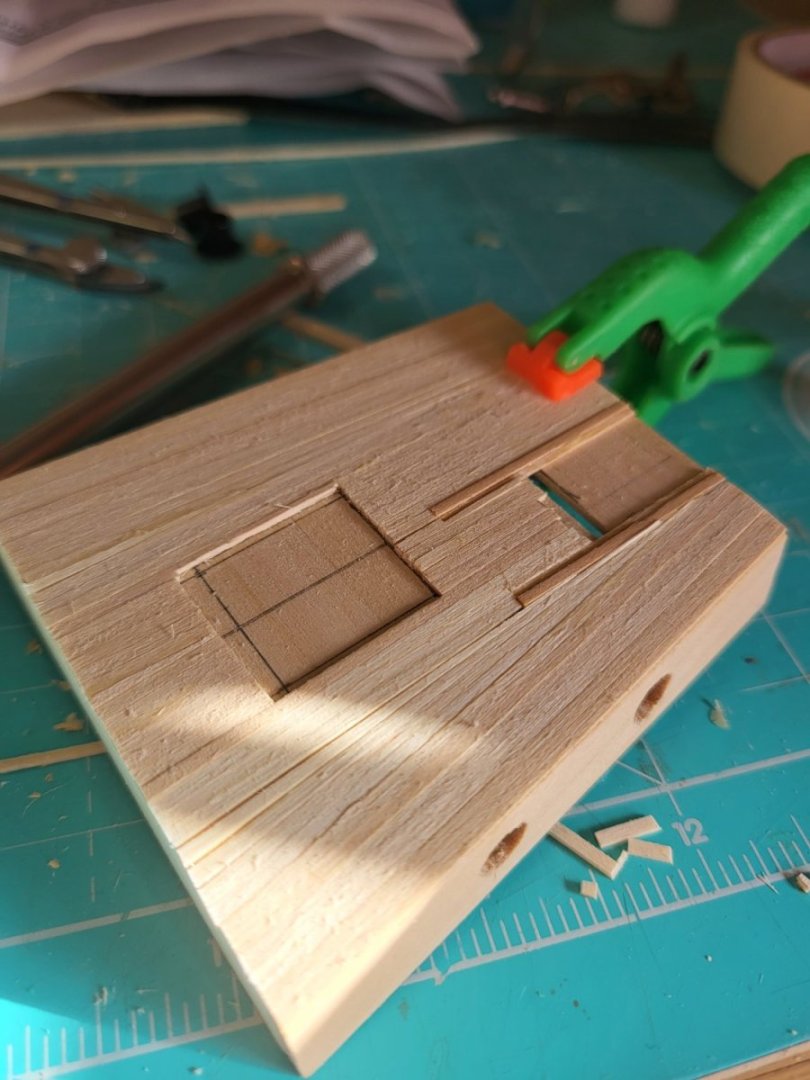
I did something similar for the main cabin, this tapers in both directions, so this buck allowed me to frame it nice and square. Also shown is the start of the skylight.
- 51 replies
-
- Model Shipways
- Benjamin W Latham
-
(and 1 more)
Tagged with:
-
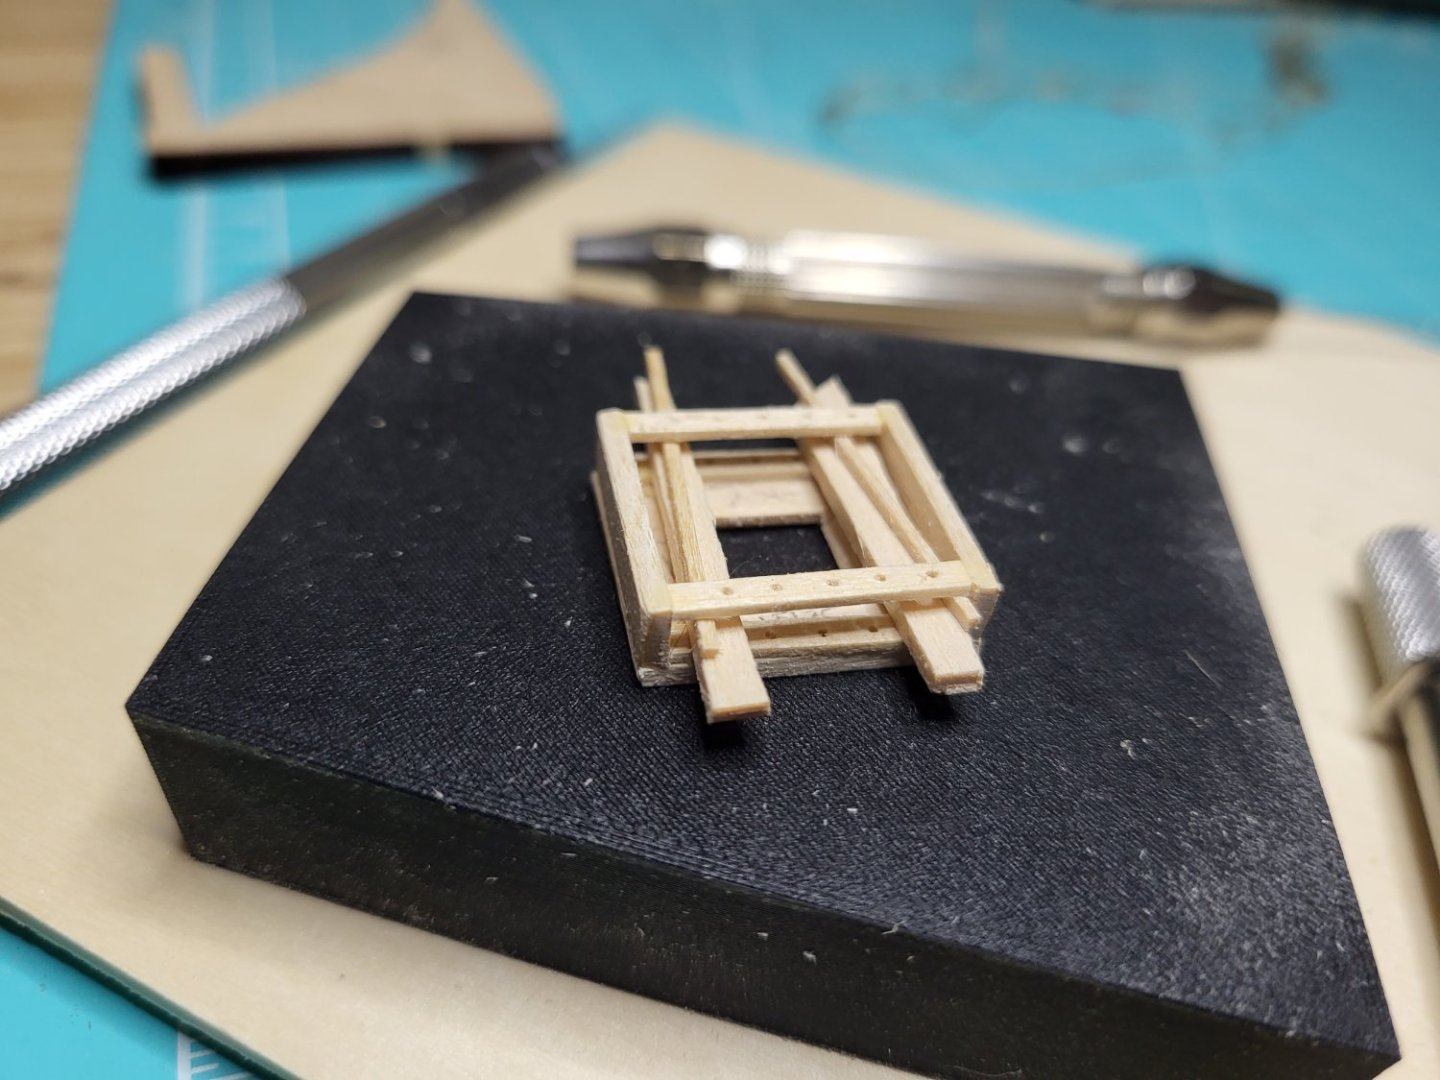
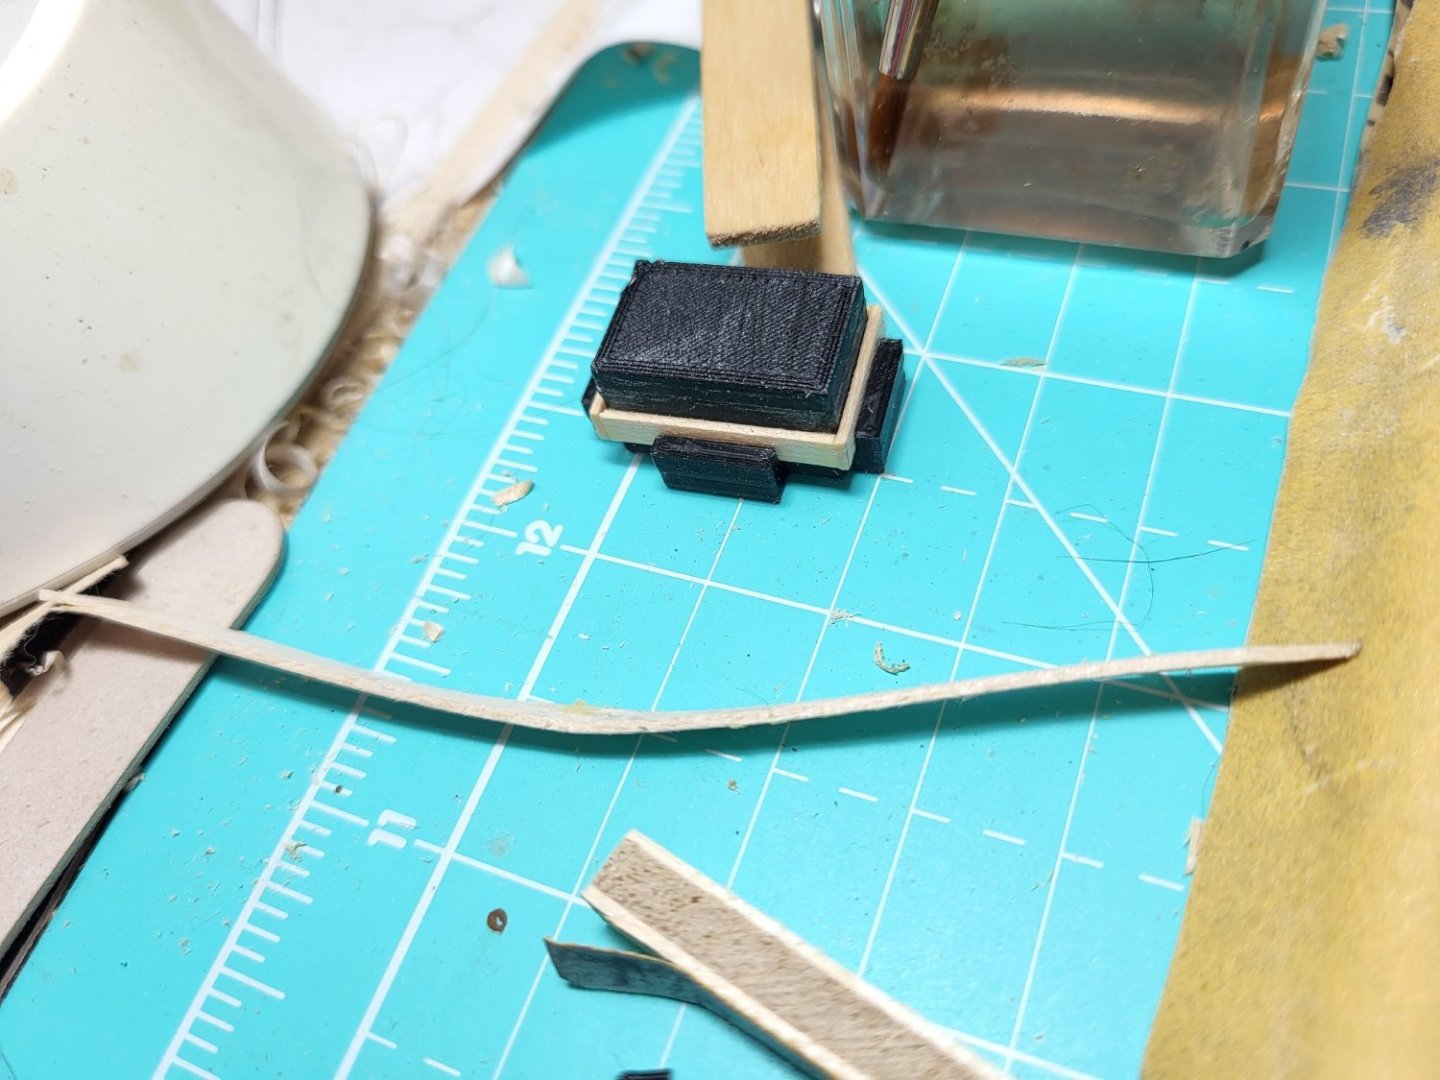
I also have utilized my 3D printer, I made a frame to build the gutting trays, it held the sides square.
- 51 replies
-
- Model Shipways
- Benjamin W Latham
-
(and 1 more)
Tagged with:
-
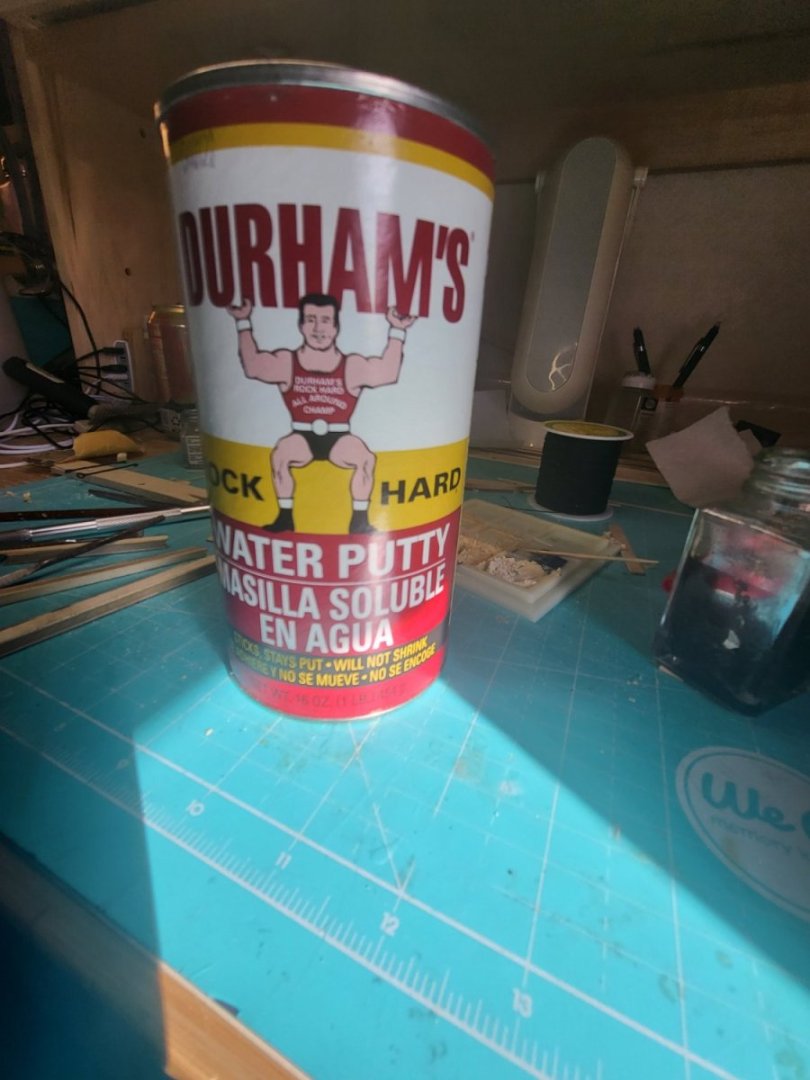
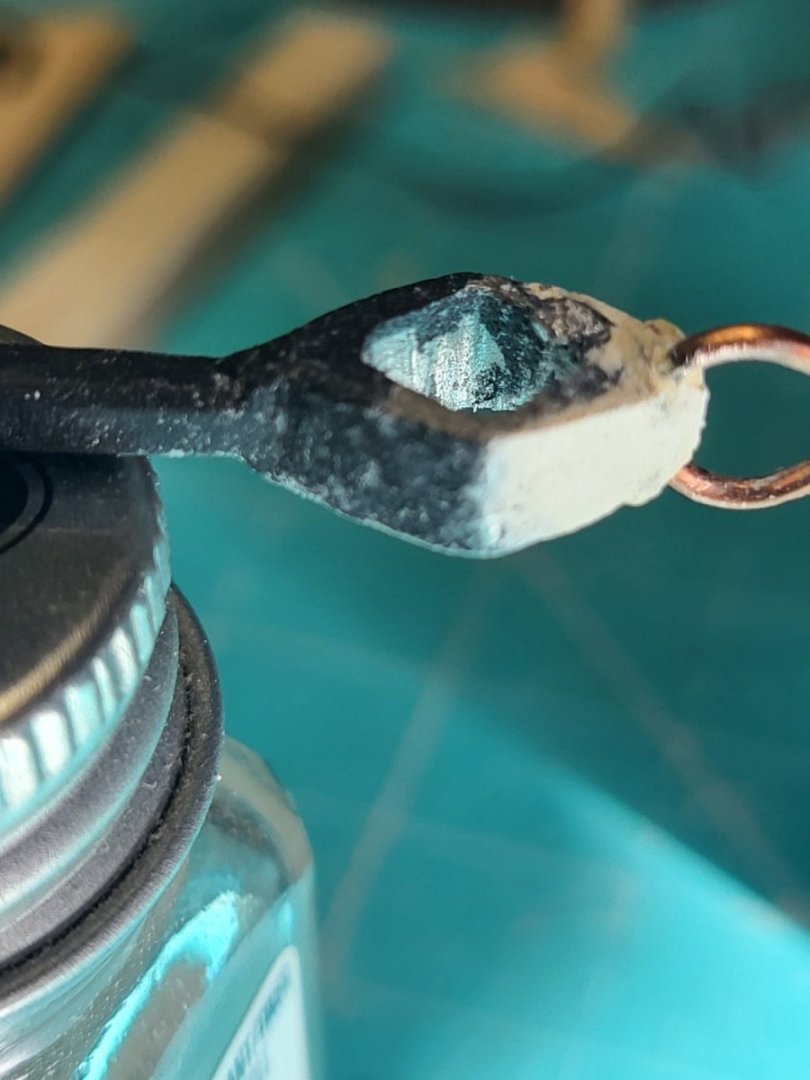
I made a great discovery! Durhams putty, my son had this can, he made game miniatures. This worked great to finish the anchors to the drawing's design, and blend in the attachment of the ring. I'm really please with how well it adheres and how fine it can be sanded
- 51 replies
-
- Model Shipways
- Benjamin W Latham
-
(and 1 more)
Tagged with:
-
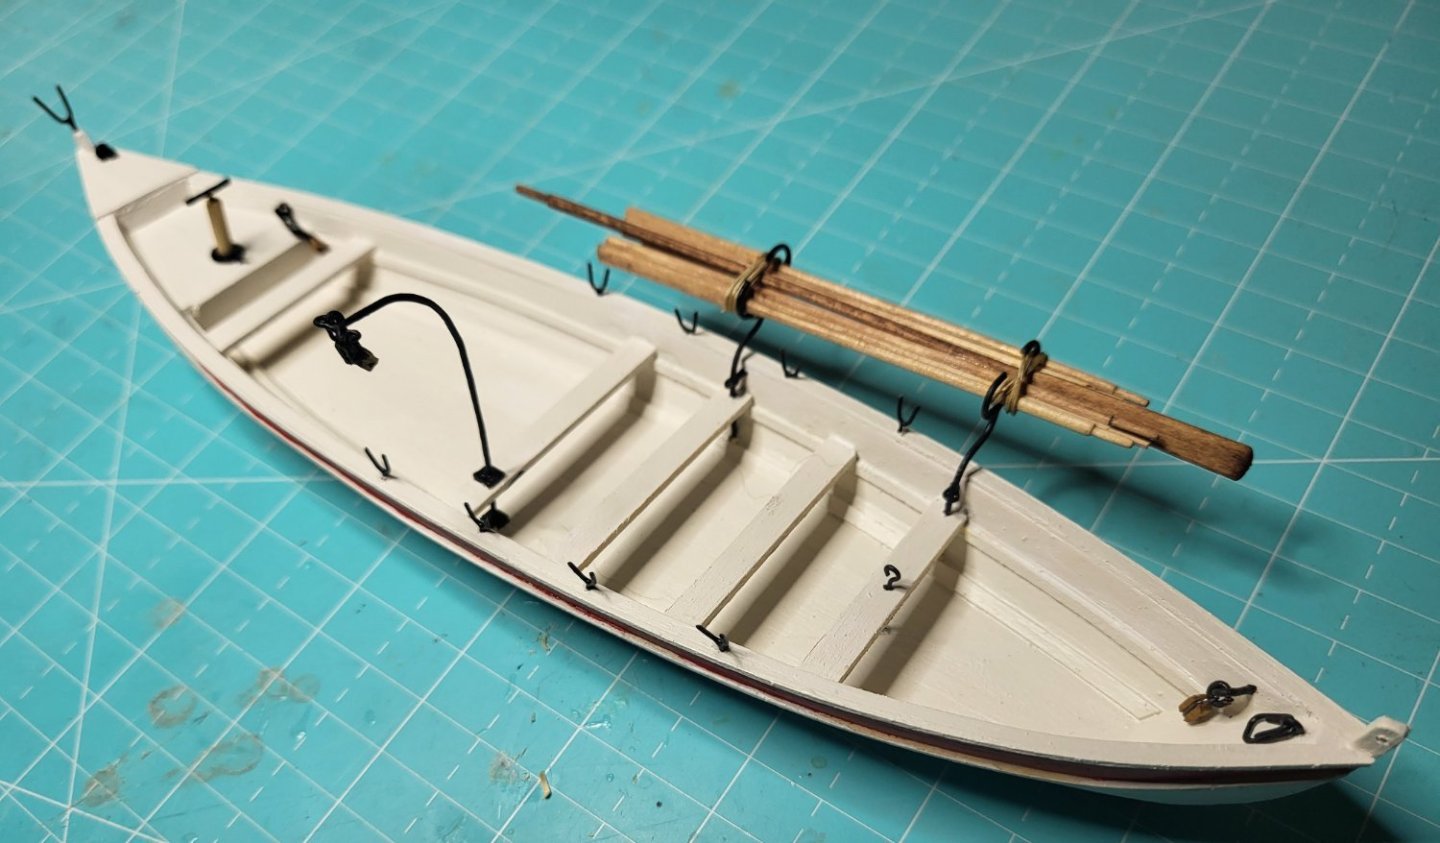
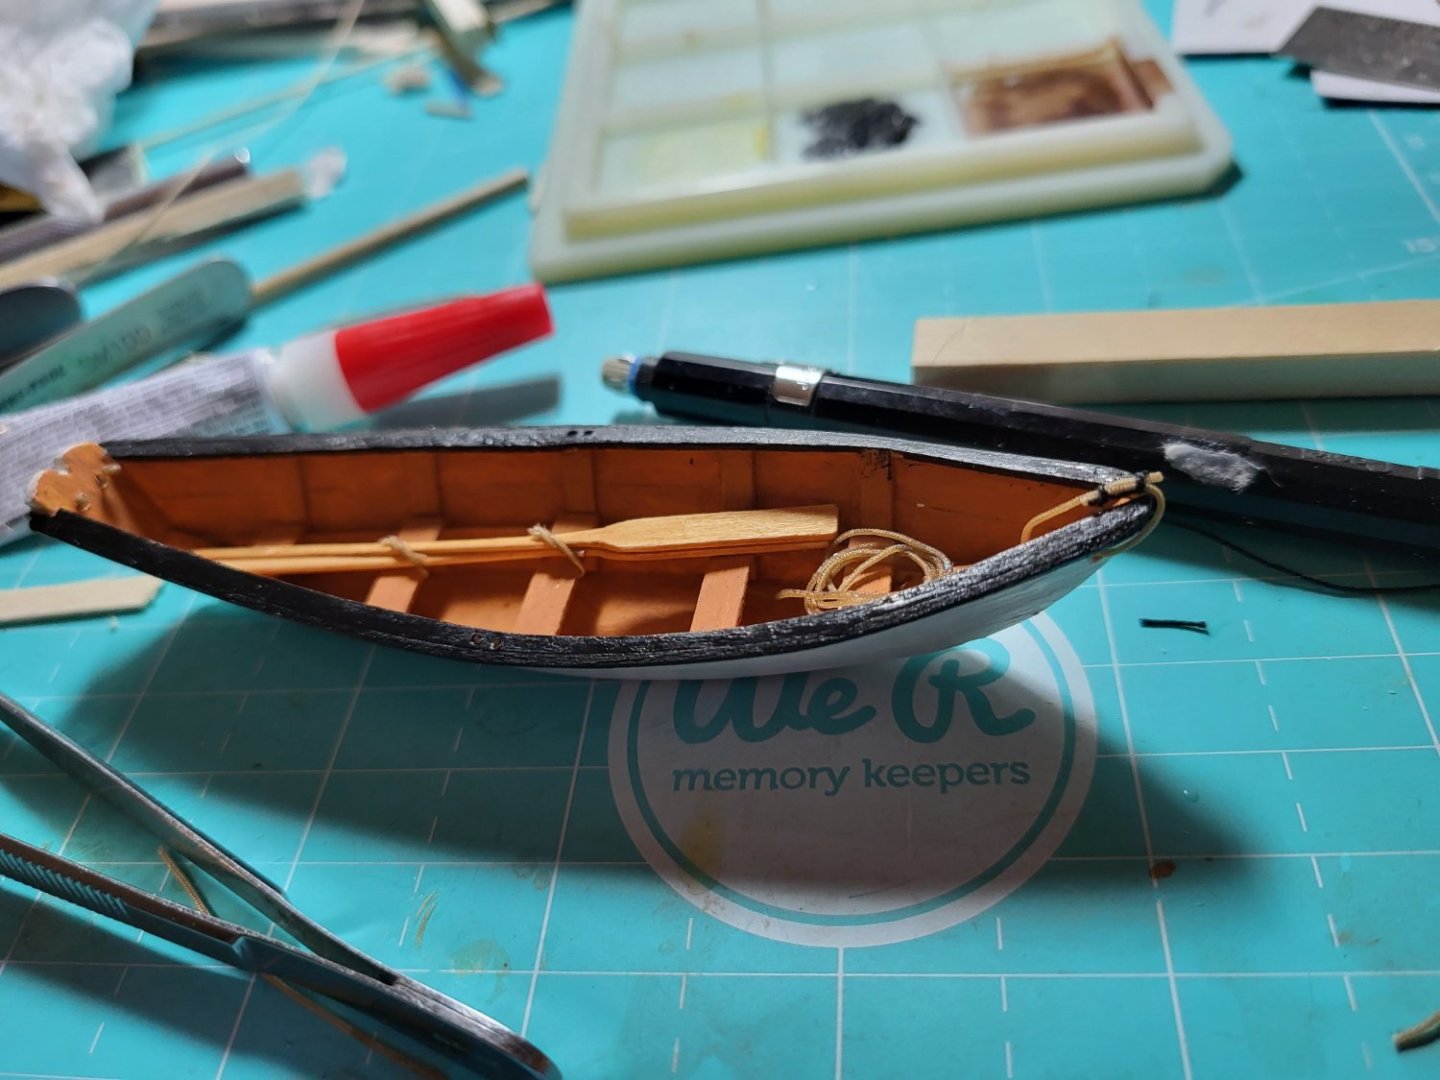
All the hardware is made from copper wire, I did not make all the oars, they are so small... I made as many as I could stand to.
- 51 replies
-
- Model Shipways
- Benjamin W Latham
-
(and 1 more)
Tagged with:
-
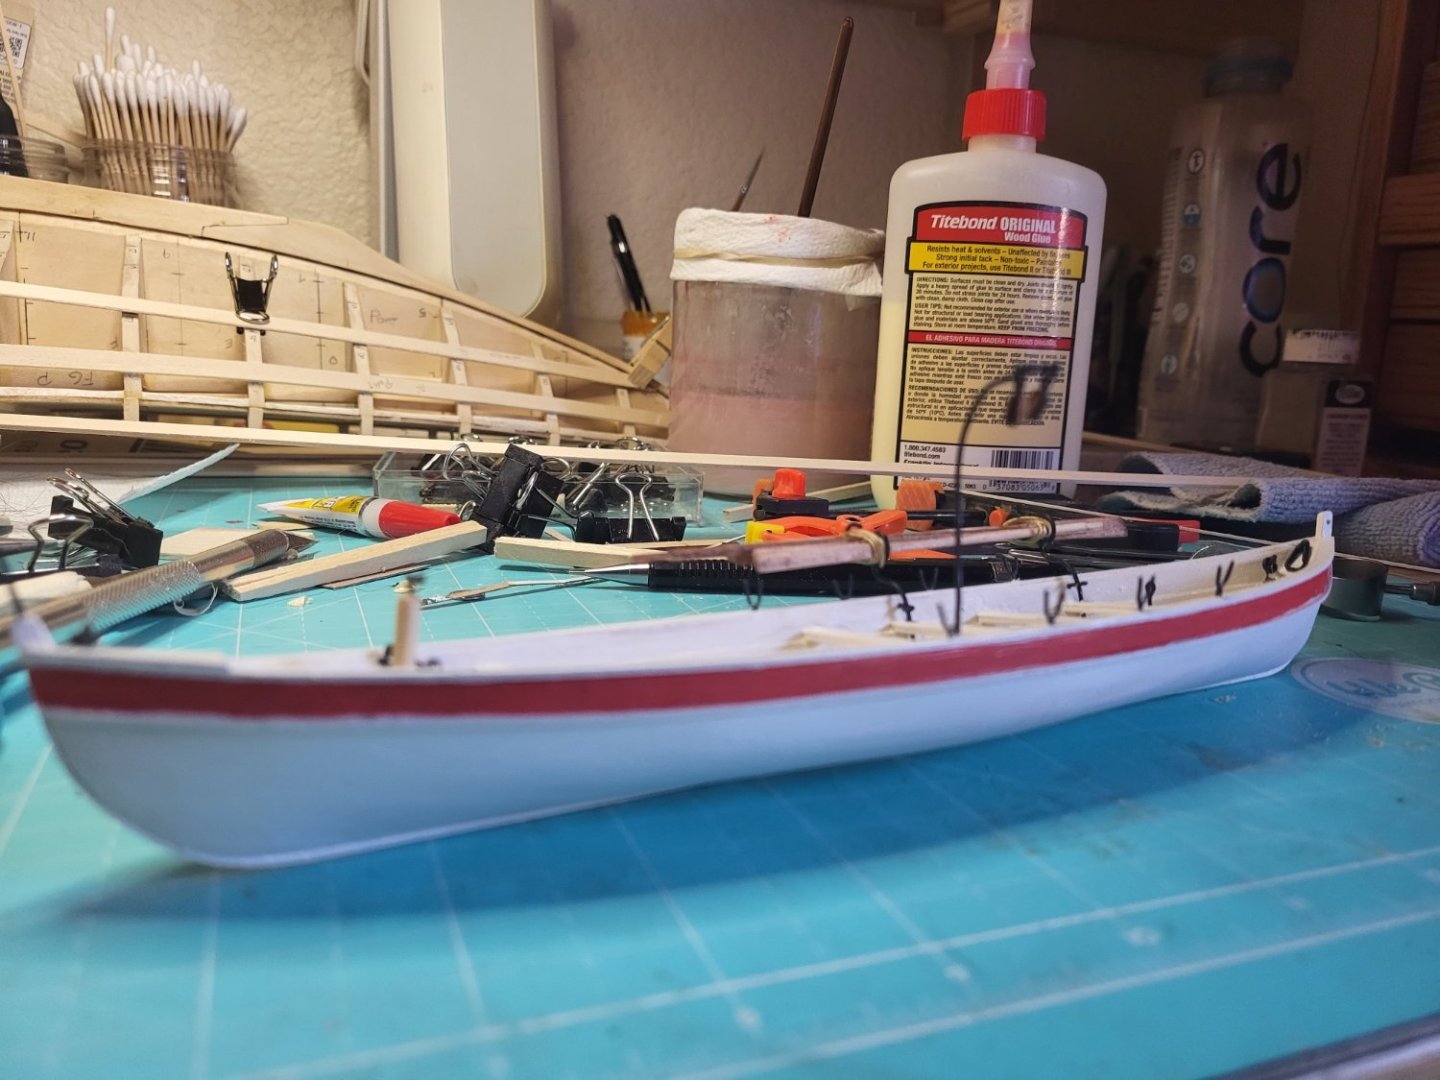
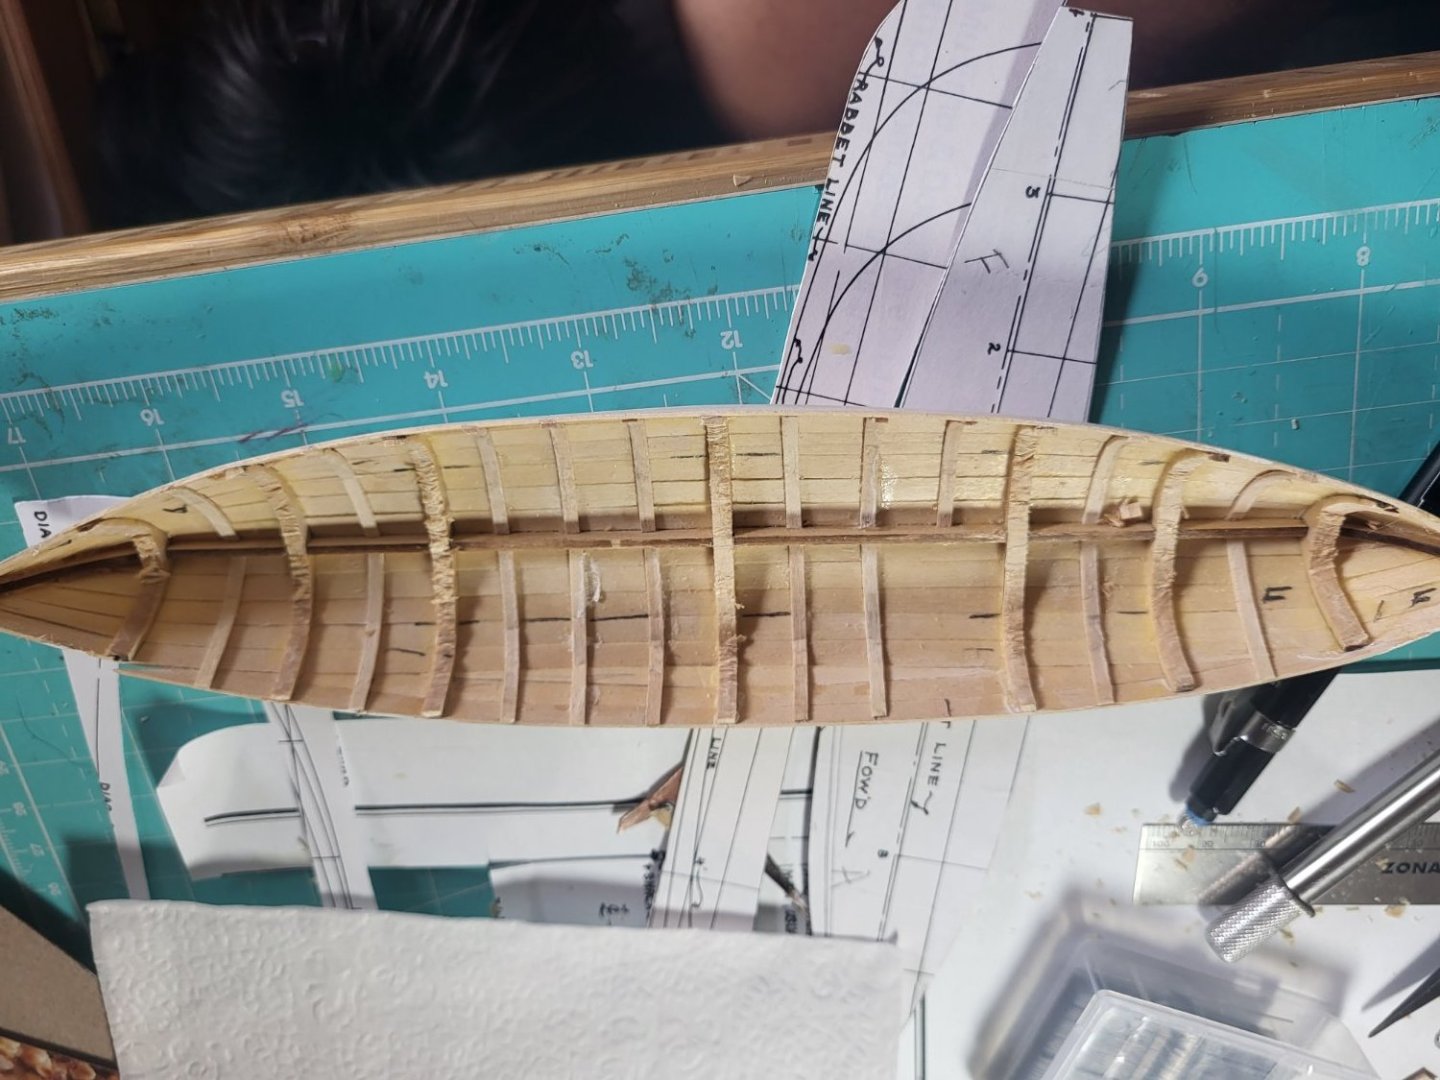
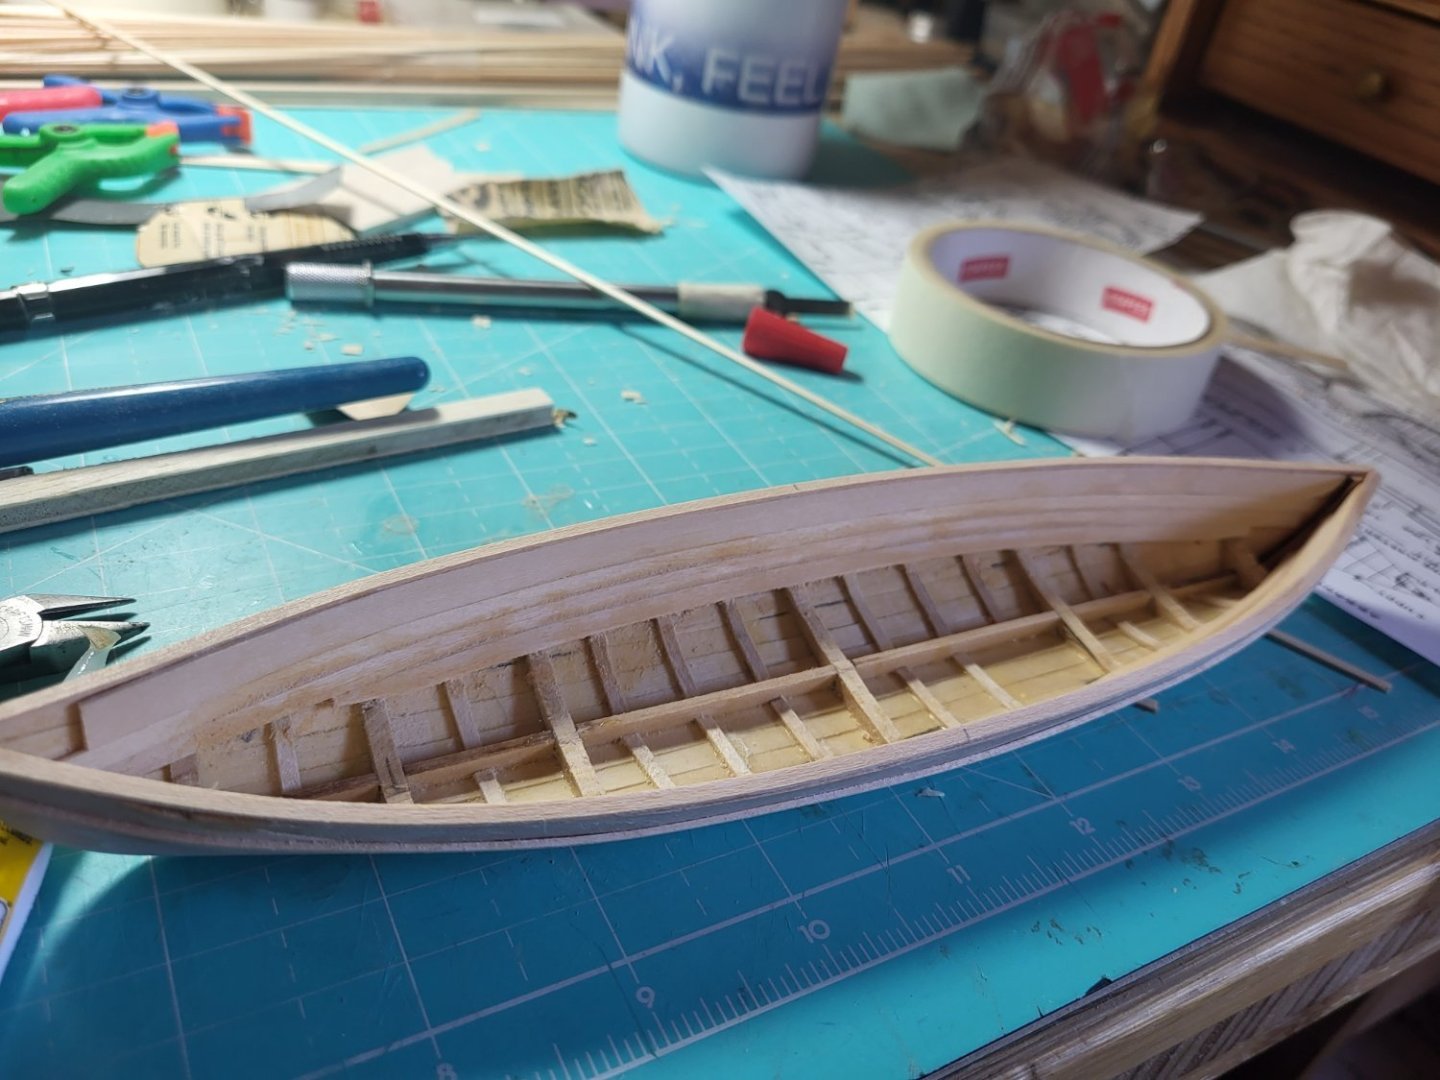
The Seine boat went well, a similar build up as the Armed Longboat by Model Shipways, but much smaller. Carving away the bulkheads took some time. No idea why one photo is posting upside down.. I have tried a few times to fix it, weird.
- 51 replies
-
- Model Shipways
- Benjamin W Latham
-
(and 1 more)
Tagged with:
-
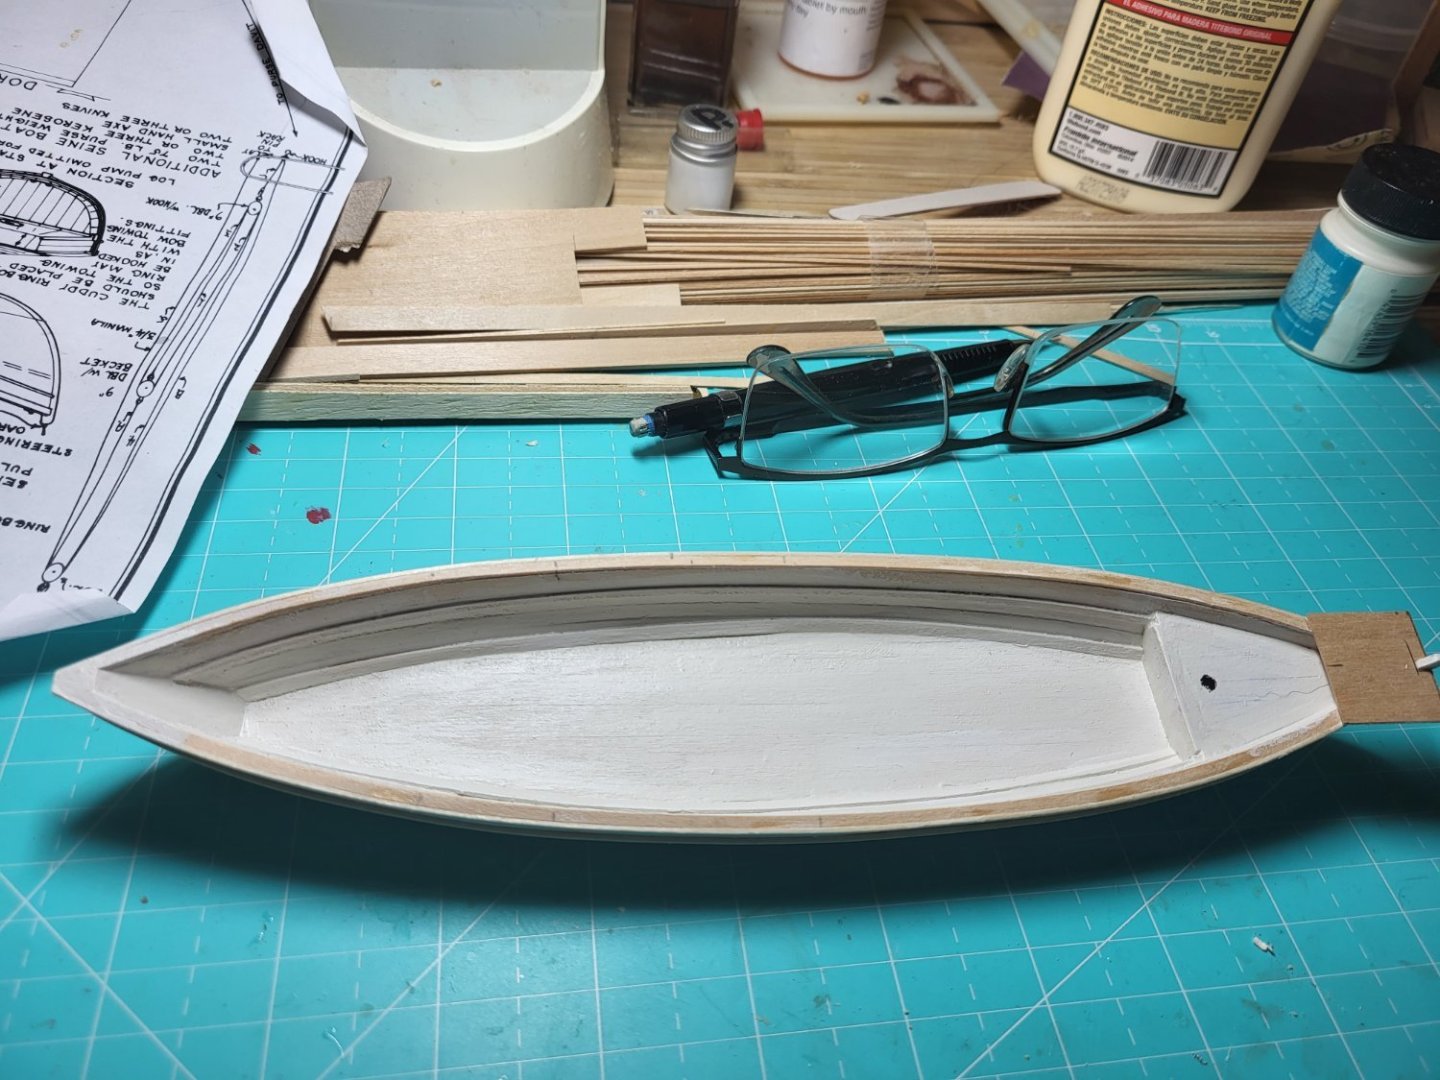
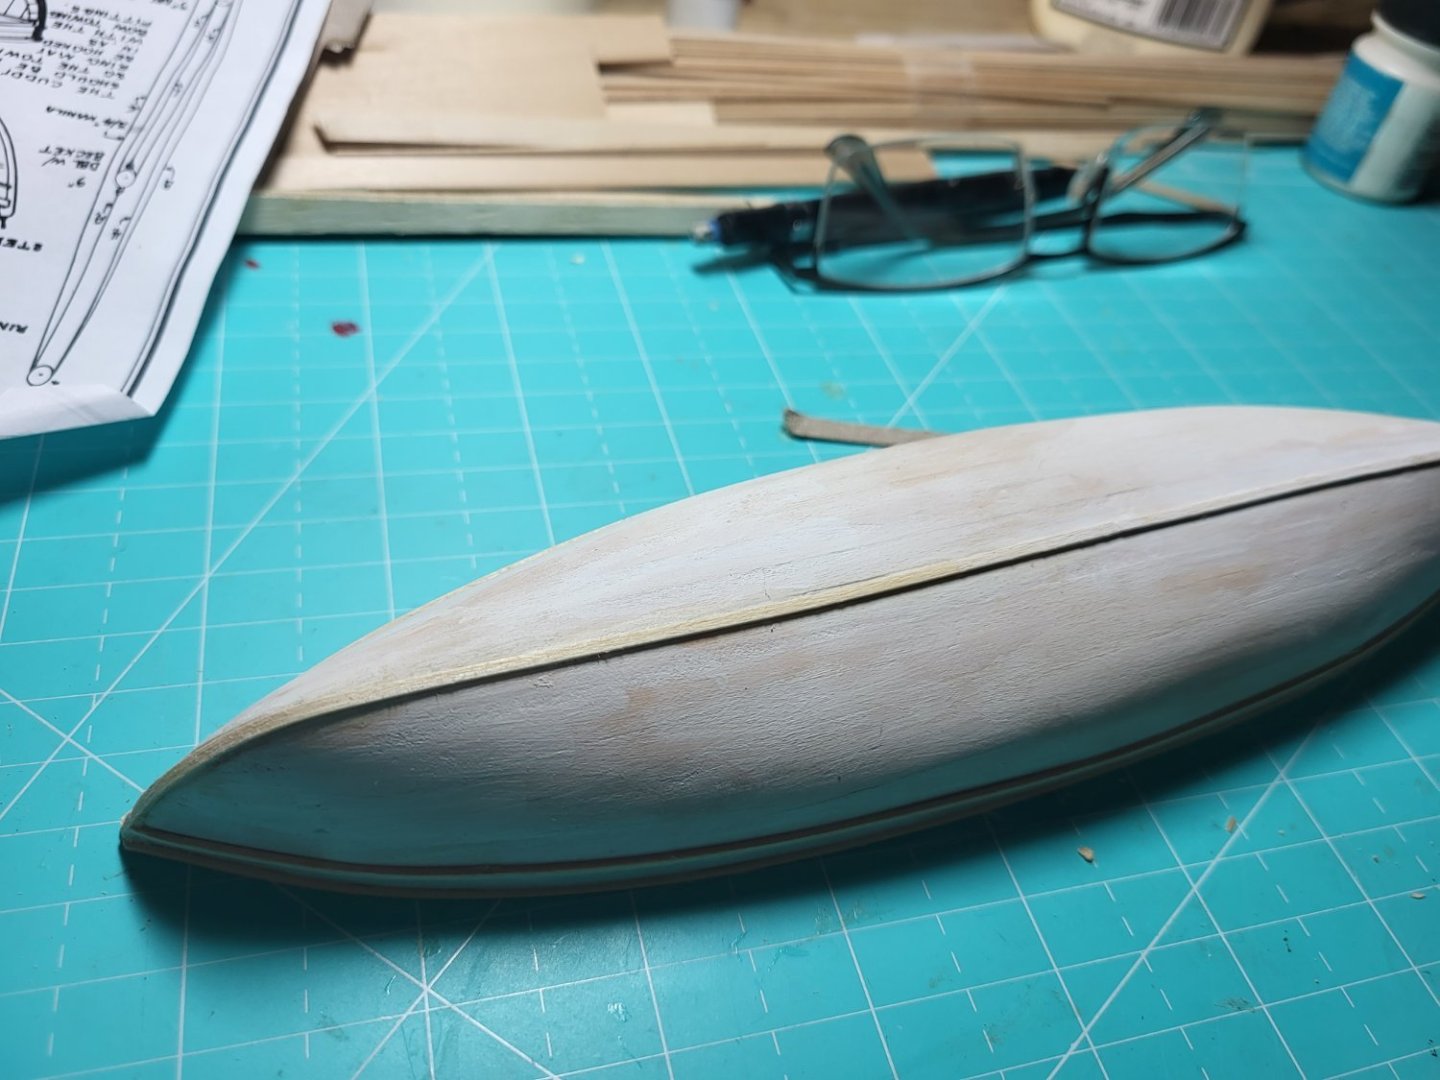
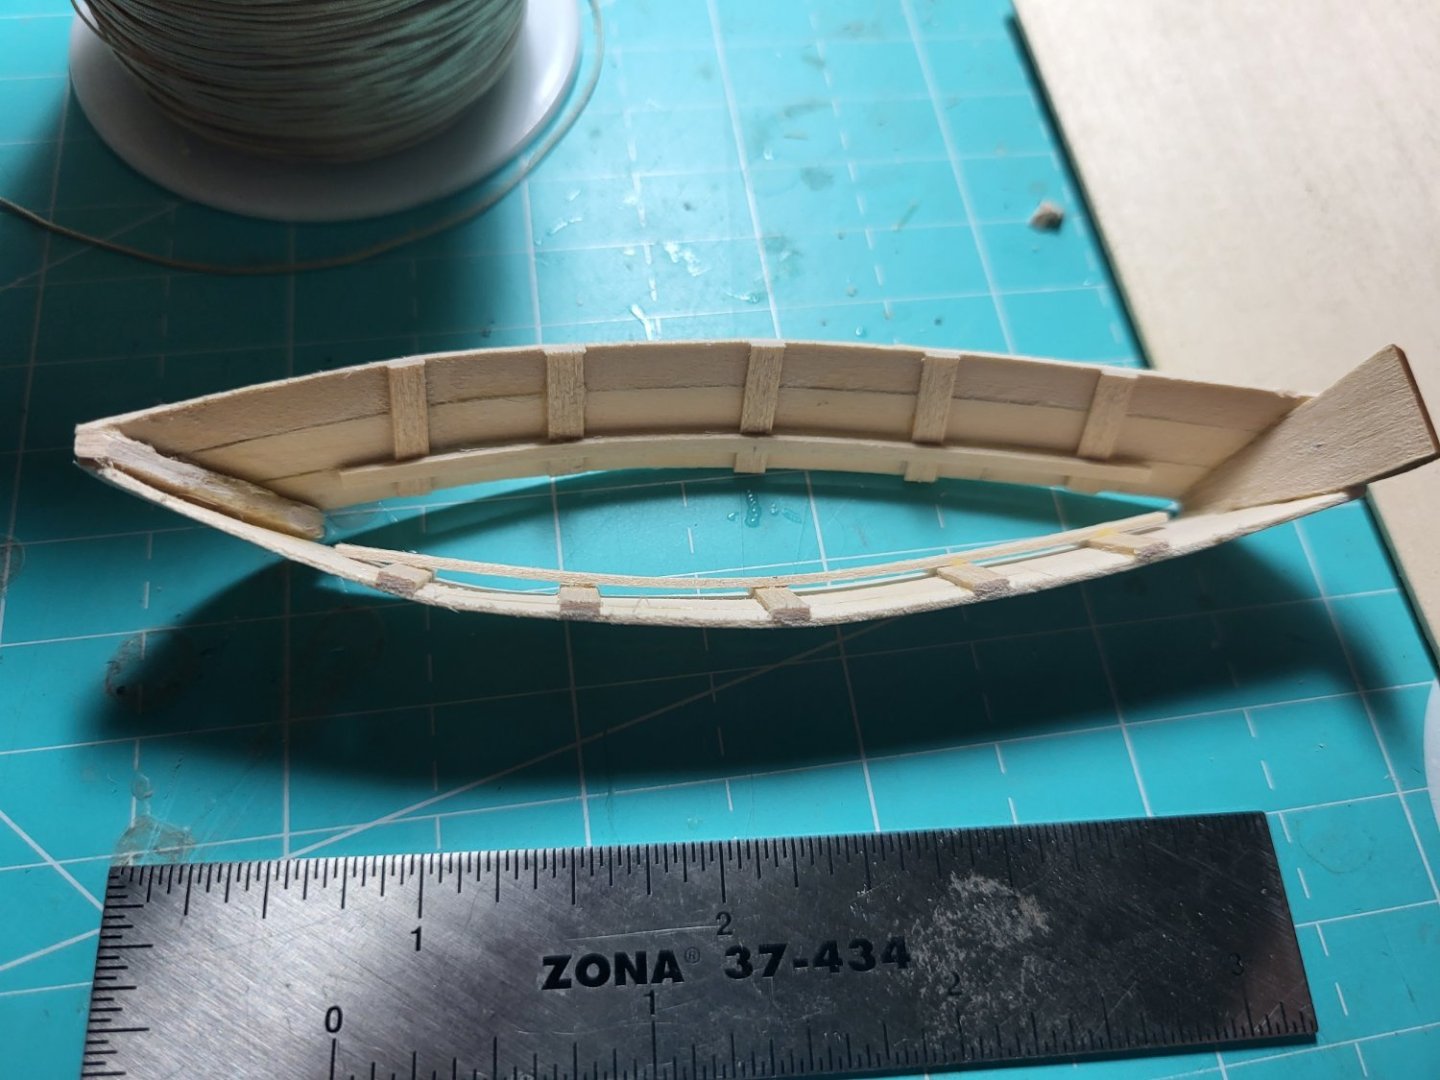
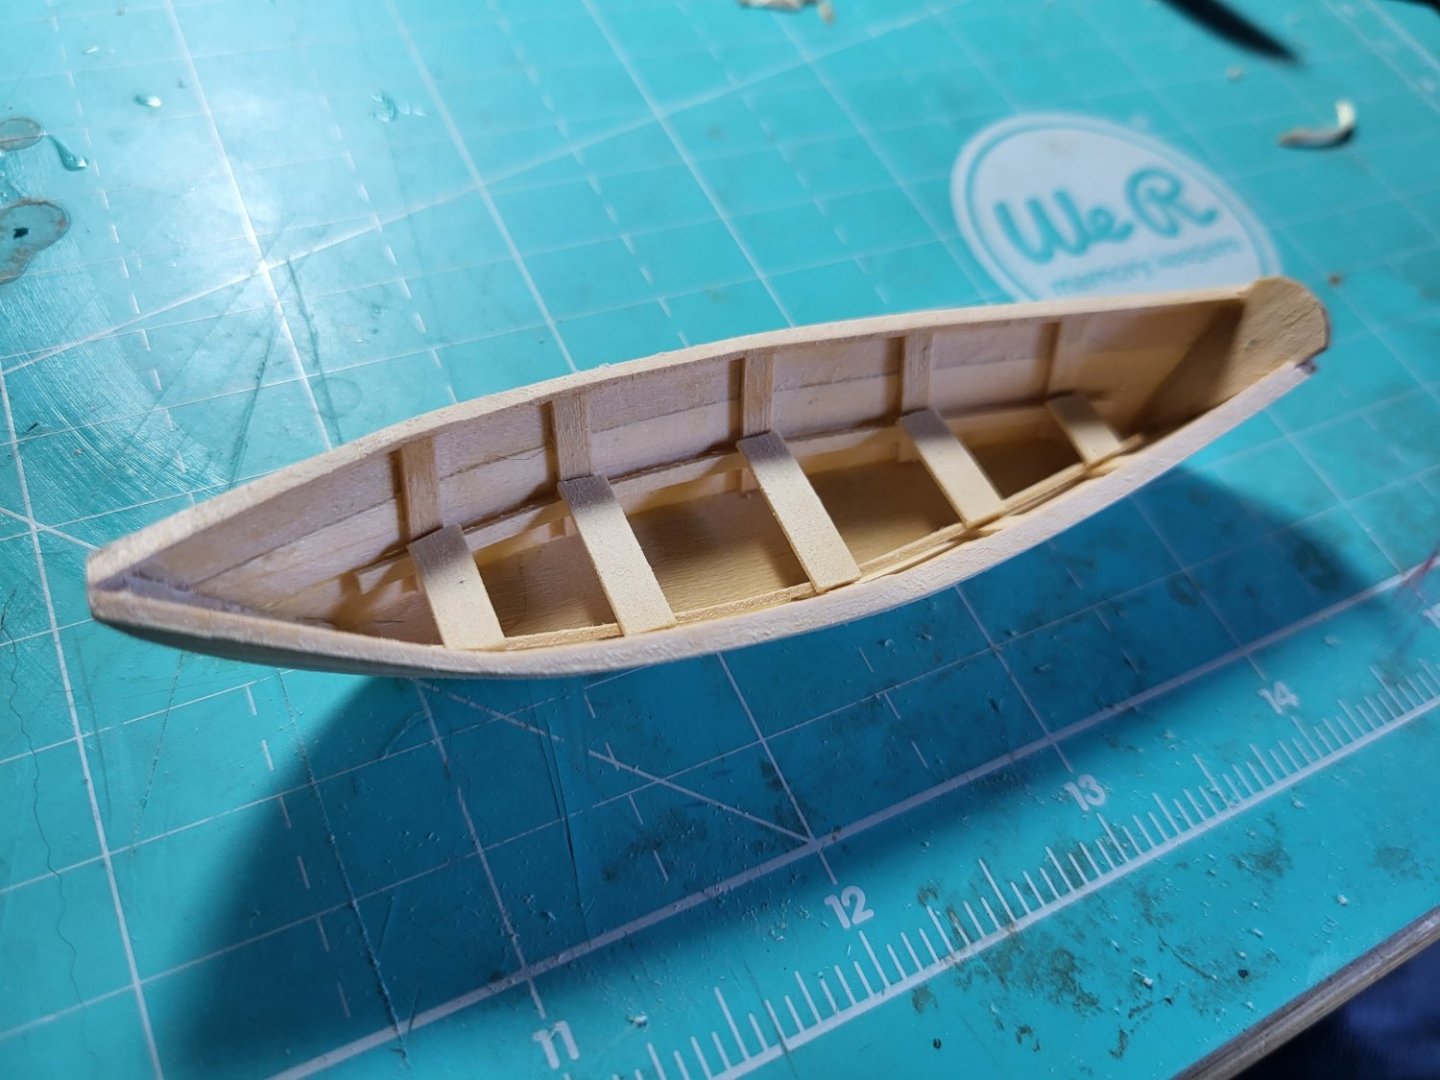
OK the ship.. Actually the Dory... What I generally do is while parts are setting up, while researching or just taking a break form the hull, I have been working on furniture and the other boats. The Dory was frustrating as it was the first fully scratch built hull I have made, after a bunch of false starts I created a spine that held the keel and "false" bulkheads. I was then able to get the planks to curve well. I'm not convinced about the interior finish, I have added several coats of danish oil, but as it's displayed upright on the deck I might sand it down and refinish.
- 51 replies
-
- Model Shipways
- Benjamin W Latham
-
(and 1 more)
Tagged with:
-
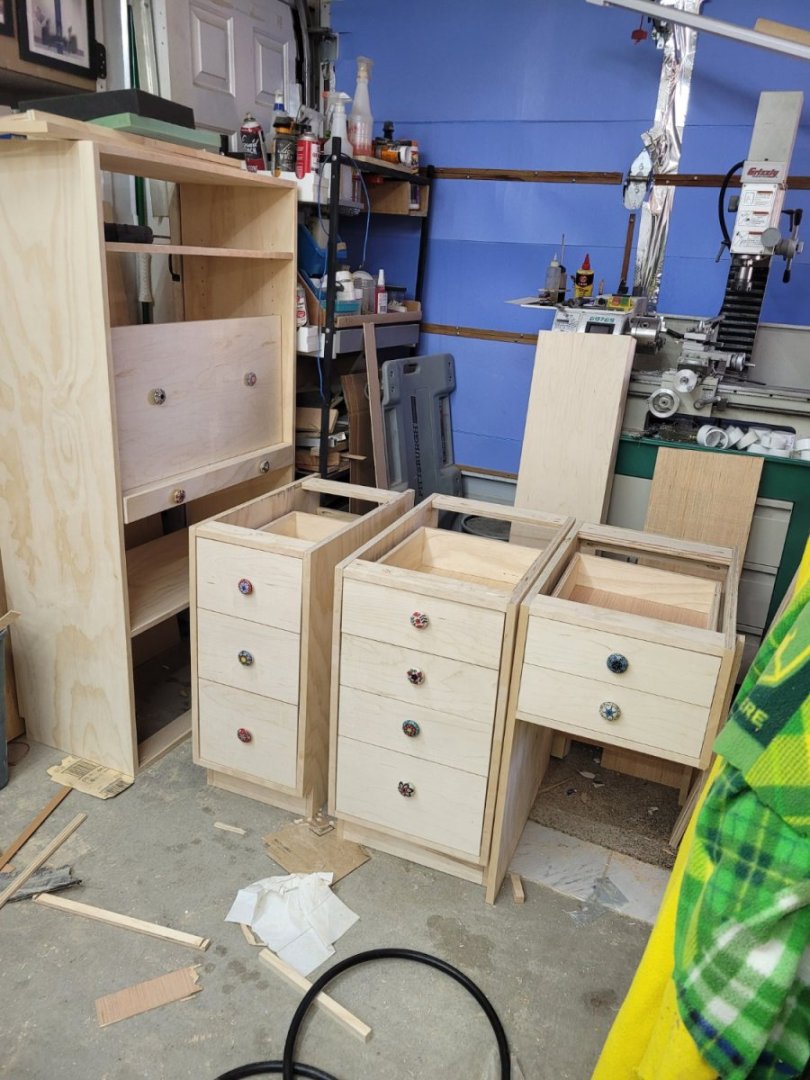
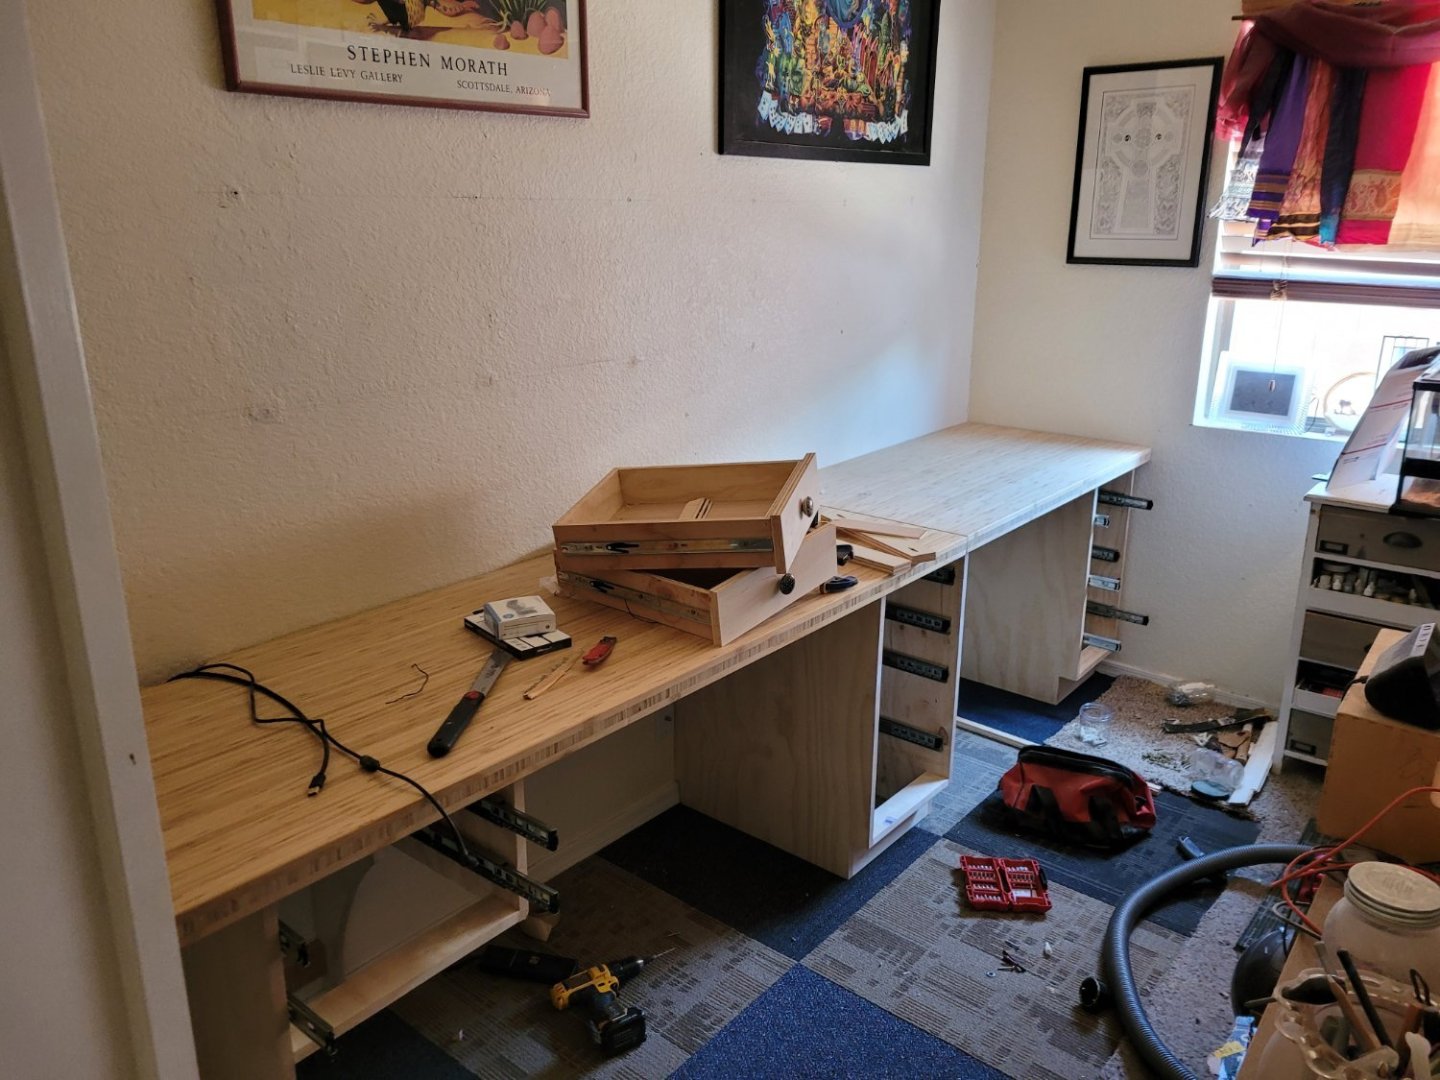
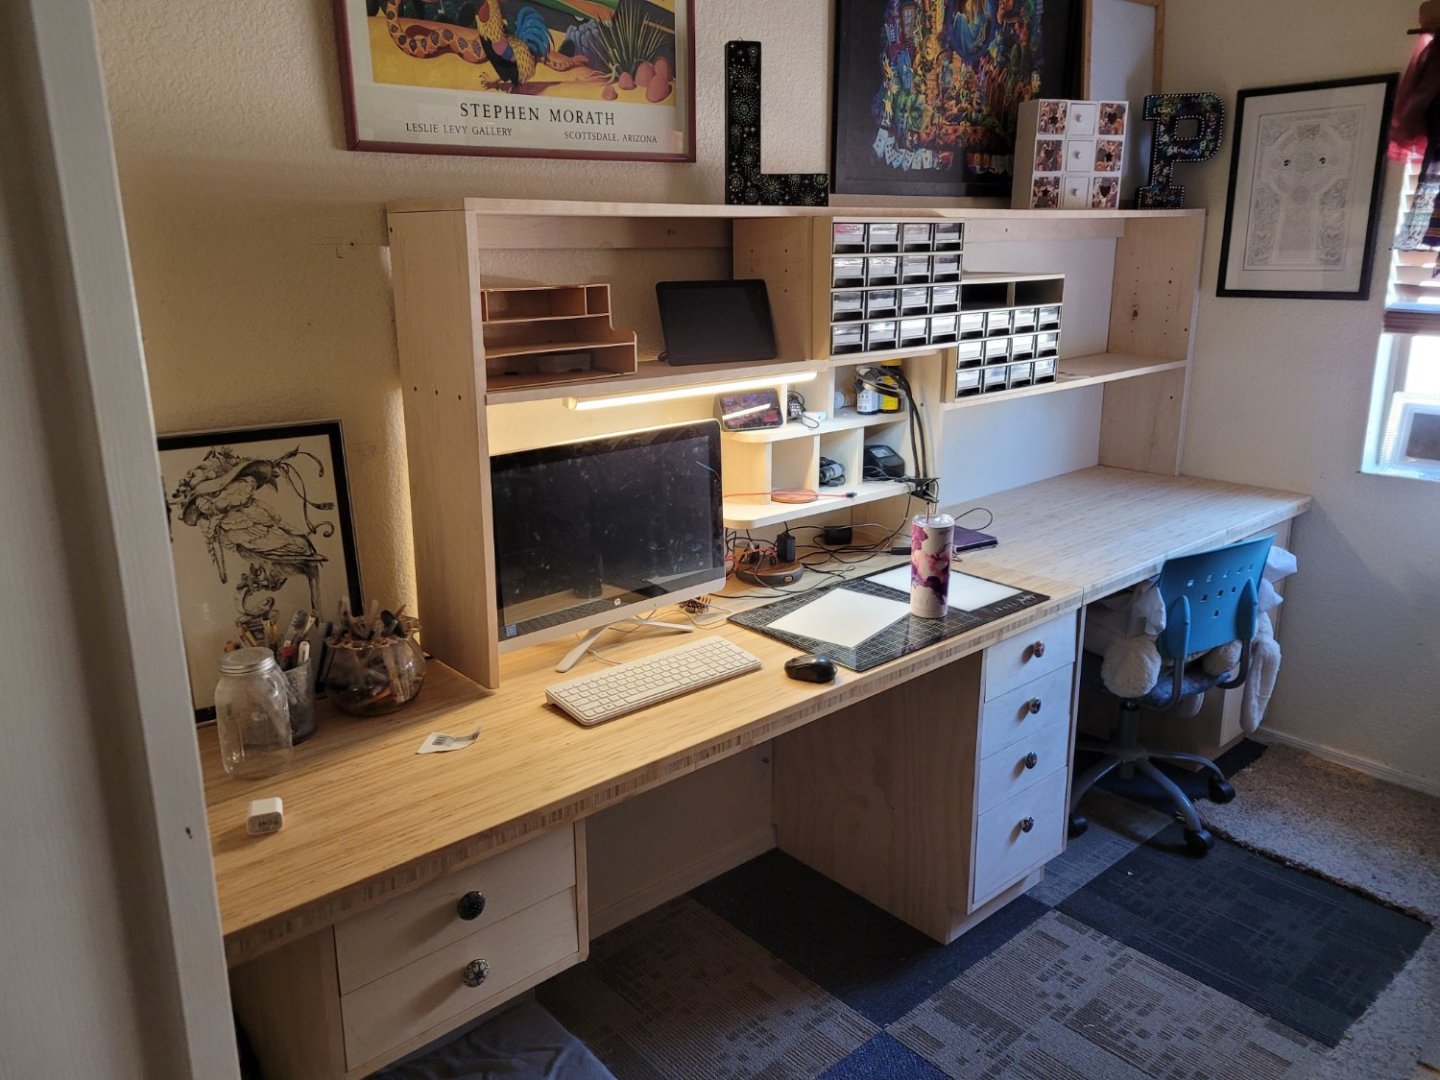
I didn't take too many photos of the start, I live in Arizona so generally work on the model in the summer, in the winter there are lots of garage and outside projects to work on. For example last year I rebuilt the "craft room" my wife's office and where I work on my models and sometimes watches. This was my first time building cabinets, and I was pretty pleased with the results, my wife and I now have large stable surfaces and drawers.
- 51 replies
-
- Model Shipways
- Benjamin W Latham
-
(and 1 more)
Tagged with:
About us
Modelshipworld - Advancing Ship Modeling through Research
SSL Secured
Your security is important for us so this Website is SSL-Secured
NRG Mailing Address
Nautical Research Guild
237 South Lincoln Street
Westmont IL, 60559-1917
Model Ship World ® and the MSW logo are Registered Trademarks, and belong to the Nautical Research Guild (United States Patent and Trademark Office: No. 6,929,264 & No. 6,929,274, registered Dec. 20, 2022)
Helpful Links
About the NRG
If you enjoy building ship models that are historically accurate as well as beautiful, then The Nautical Research Guild (NRG) is just right for you.
The Guild is a non-profit educational organization whose mission is to “Advance Ship Modeling Through Research”. We provide support to our members in their efforts to raise the quality of their model ships.
The Nautical Research Guild has published our world-renowned quarterly magazine, The Nautical Research Journal, since 1955. The pages of the Journal are full of articles by accomplished ship modelers who show you how they create those exquisite details on their models, and by maritime historians who show you the correct details to build. The Journal is available in both print and digital editions. Go to the NRG web site (www.thenrg.org) to download a complimentary digital copy of the Journal. The NRG also publishes plan sets, books and compilations of back issues of the Journal and the former Ships in Scale and Model Ship Builder magazines.


