bcochran
-
Posts
615 -
Joined
-
Last visited
Content Type
Profiles
Forums
Gallery
Events
Everything posted by bcochran
-
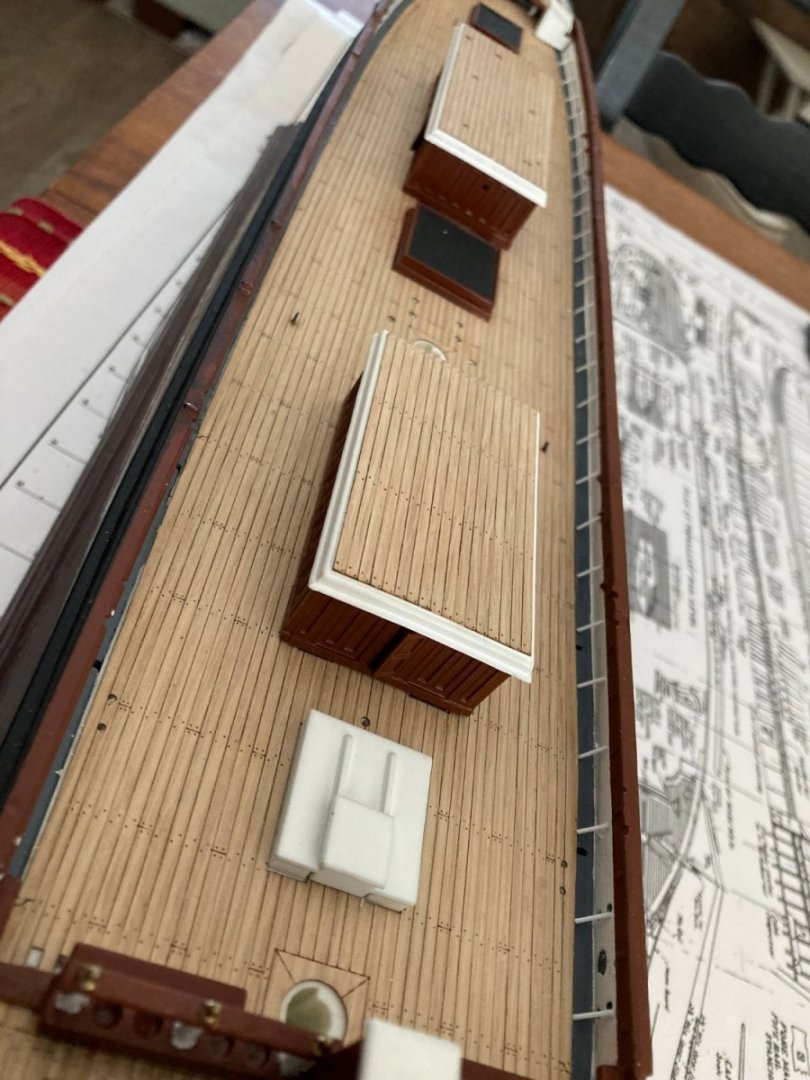
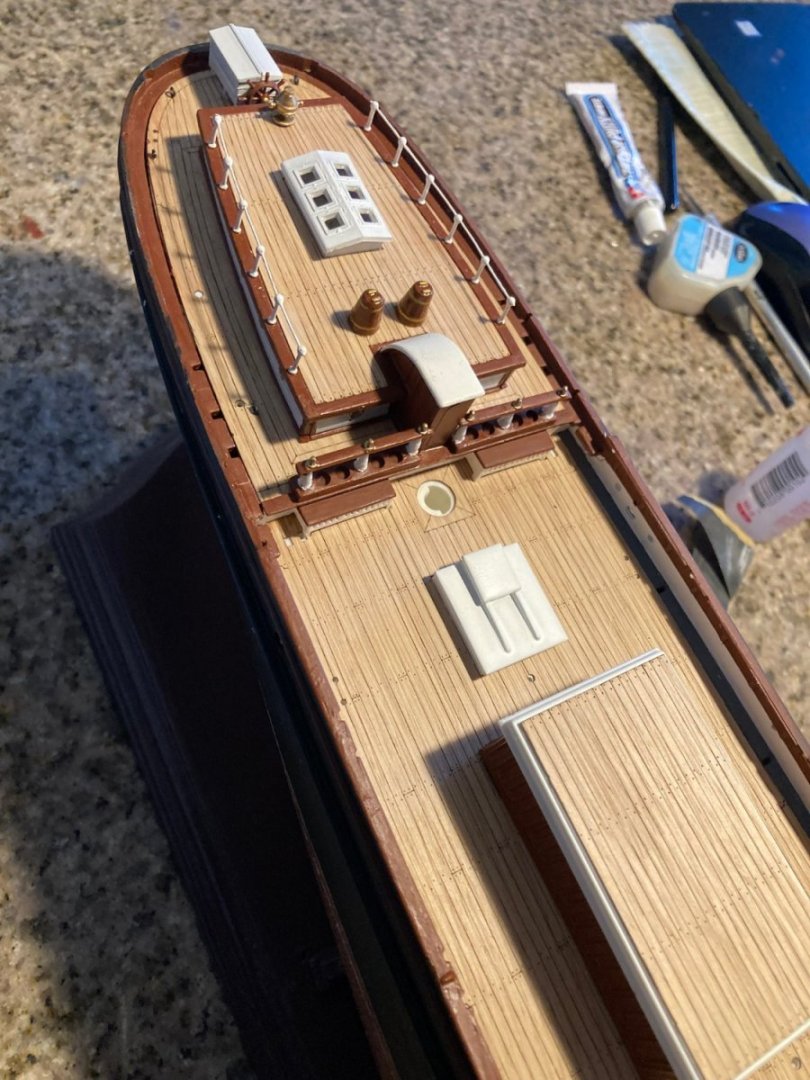
 Stern railings are on and painted and most deck furniture is added. I am waiting for my deadeyes and beading wire to arrive,
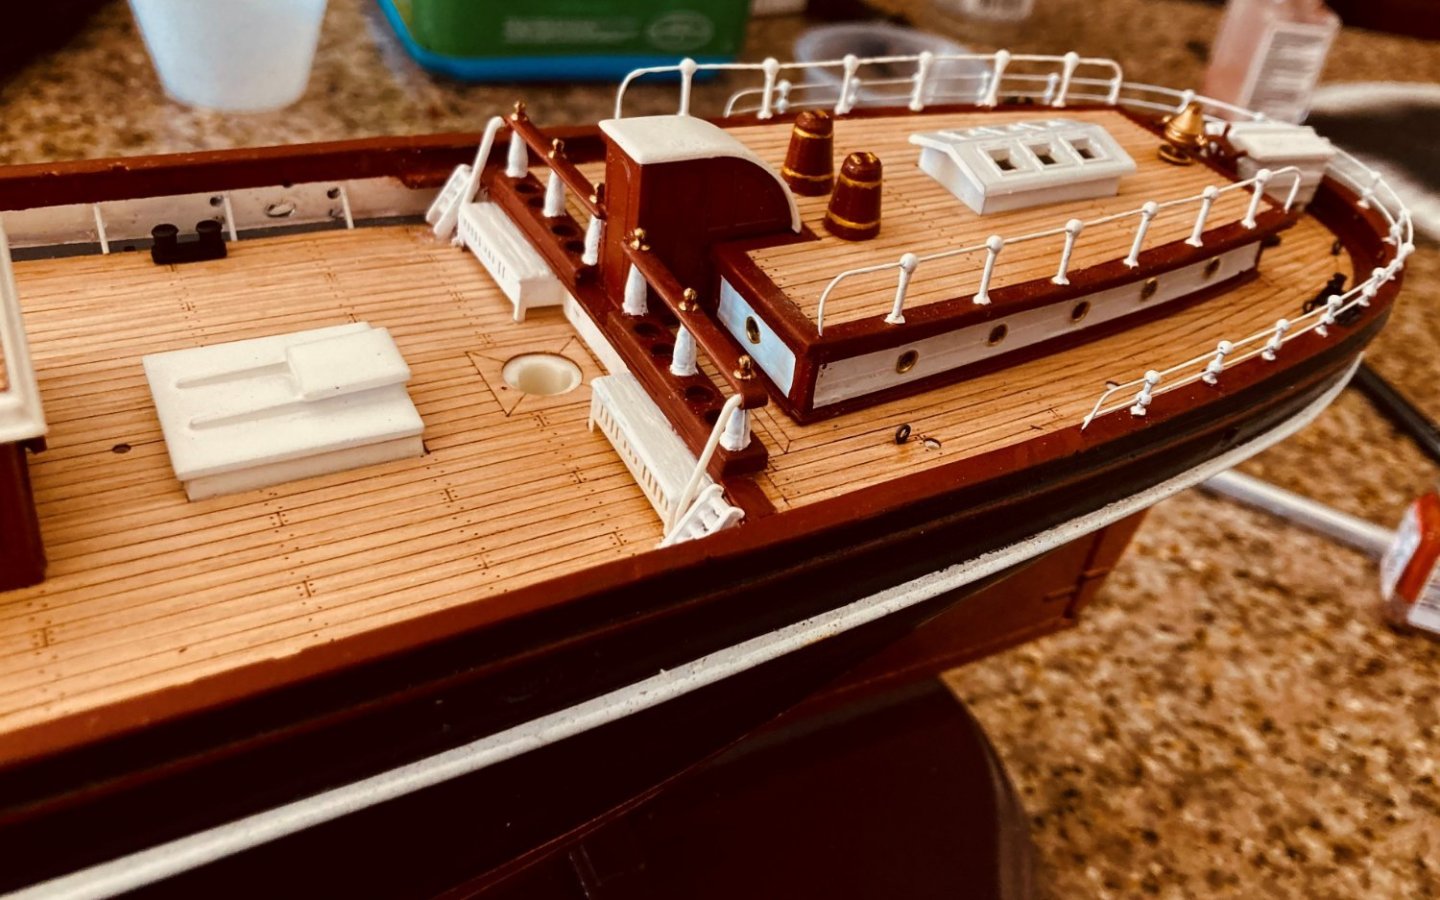
- 481 replies
-
- 9
-

-
- Cutty Sark
- Revell
- (and 2 more)
-
I am thinking of stropping the bulwark deadeyes with white beading wire. I will strop them, leaving a length to go through the pin rail then into the waterway with holes I will drill. I will superglue the length of wire to the waterway and the pin rail, thus helping to hold the pin rail in place. I ordered deadeyes and more one and two hole rail stanchions. You can get very super fine beading wire which might work for the Cutty Sark's wire stays.
- 481 replies
-
- 2
-
-
- Cutty Sark
- Revell
- (and 2 more)
-
Temporarily checking out what the bulwarks will look like with the bulwark stanchions and pin rails. There will be white panels on the teak bulwark sections and stropped deadeyes also. I think things will give off that real ship feeling.
- 481 replies
-
- 5
-
-
- Cutty Sark
- Revell
- (and 2 more)
-
I have been reading the interesting discussions you all had with Bruma'a build. It is all applicable to my build also. It's good to have all your references. Thank you all for what you do.
- 481 replies
-
- 3
-
-
- Cutty Sark
- Revell
- (and 2 more)
-
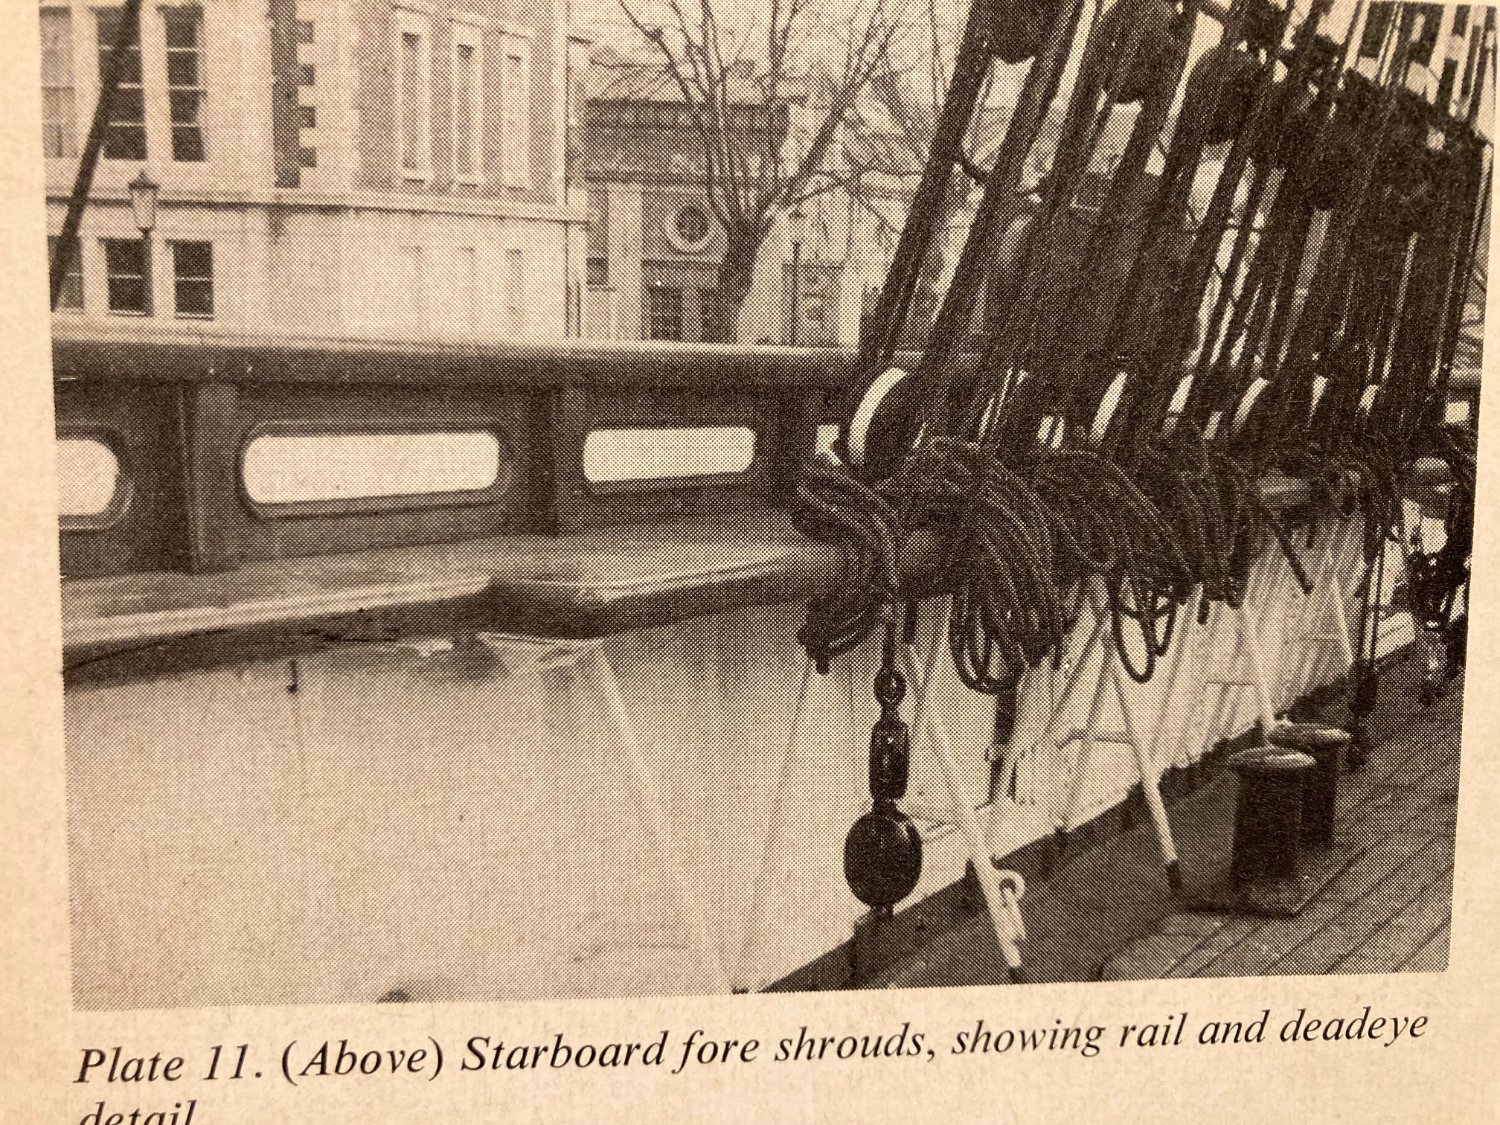
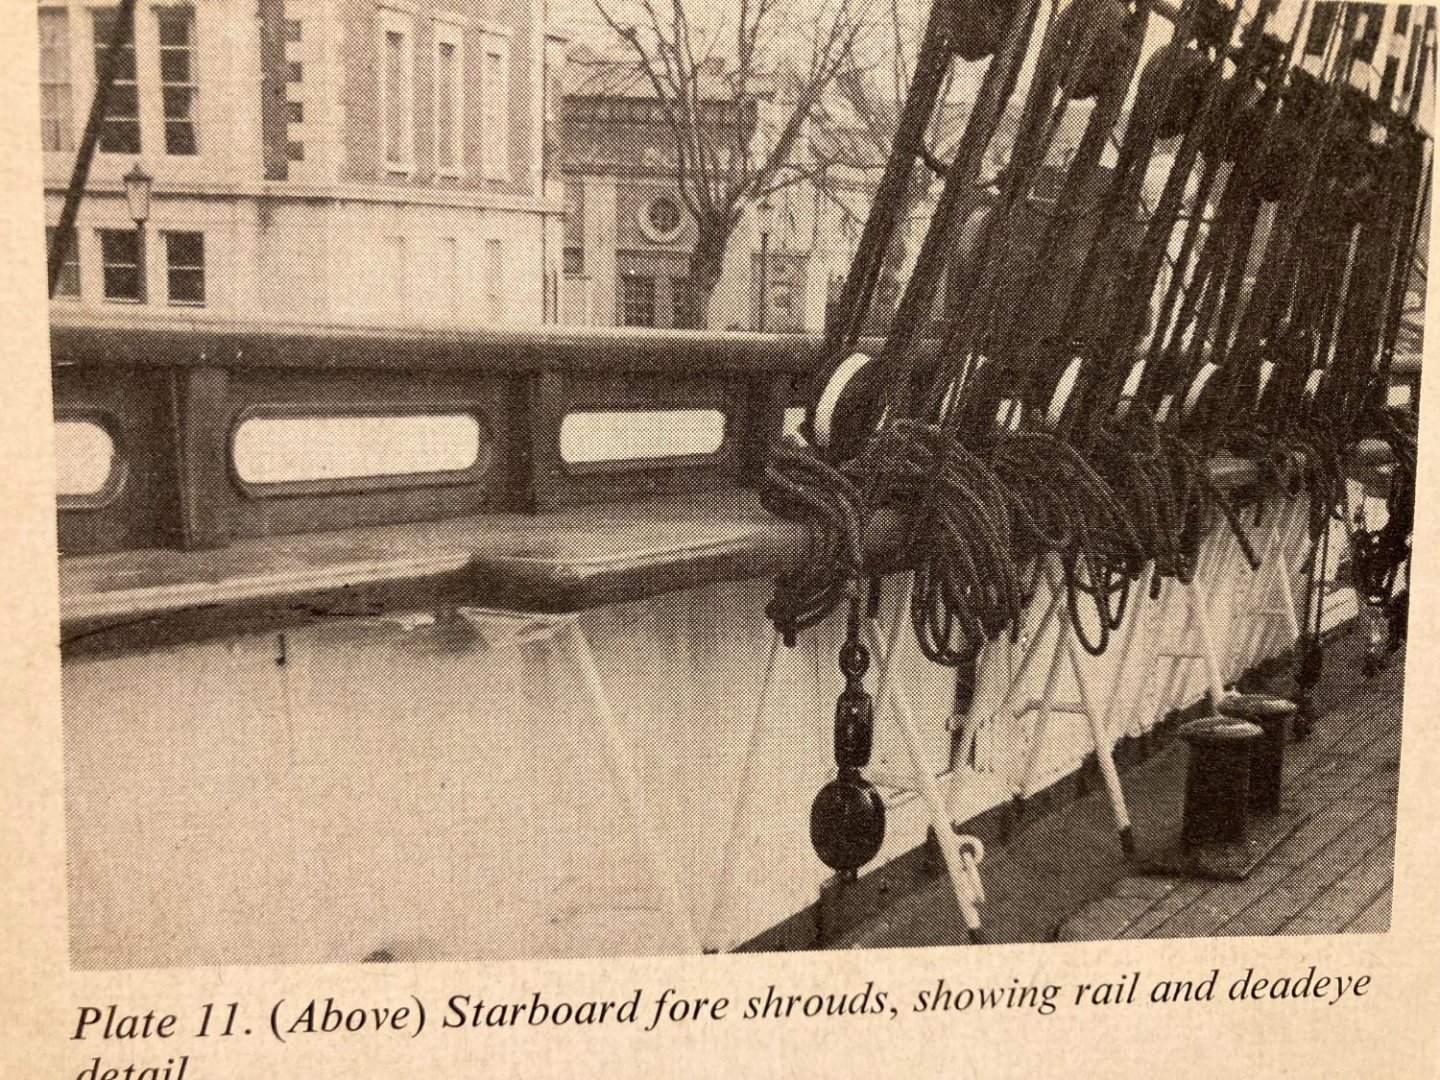
A photo of Cutty Sarks Starboard bulwark and one of my model near the same place. Hopefully I will have all the shroud and deadeye detail added at some point.

- 481 replies
-
- 5
-
-
- Cutty Sark
- Revell
- (and 2 more)
-
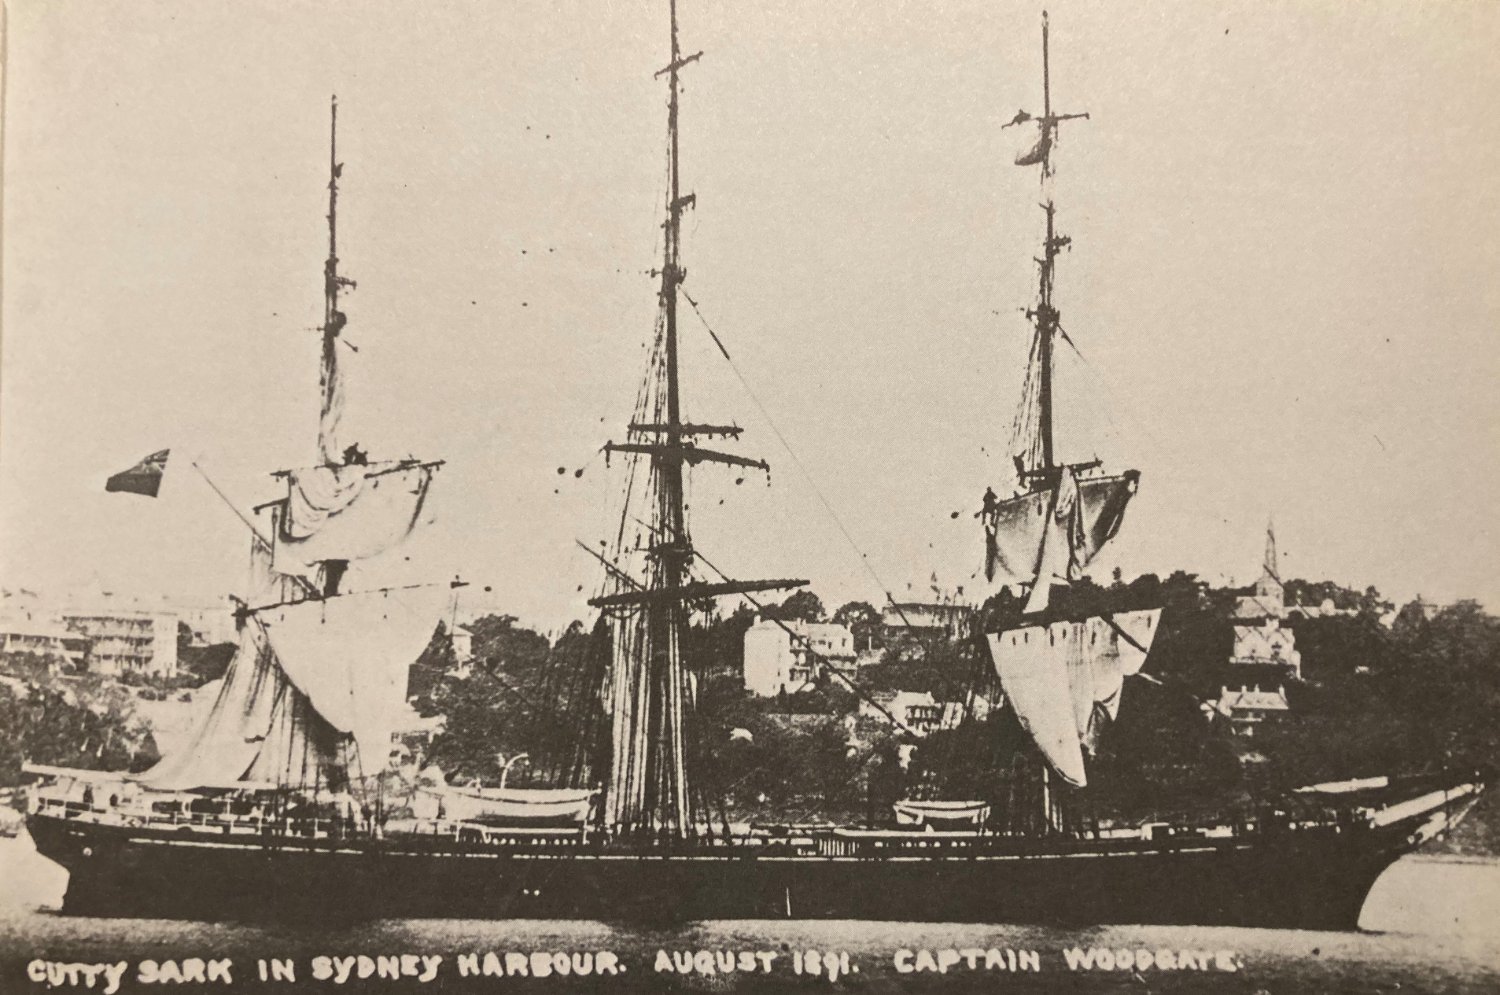
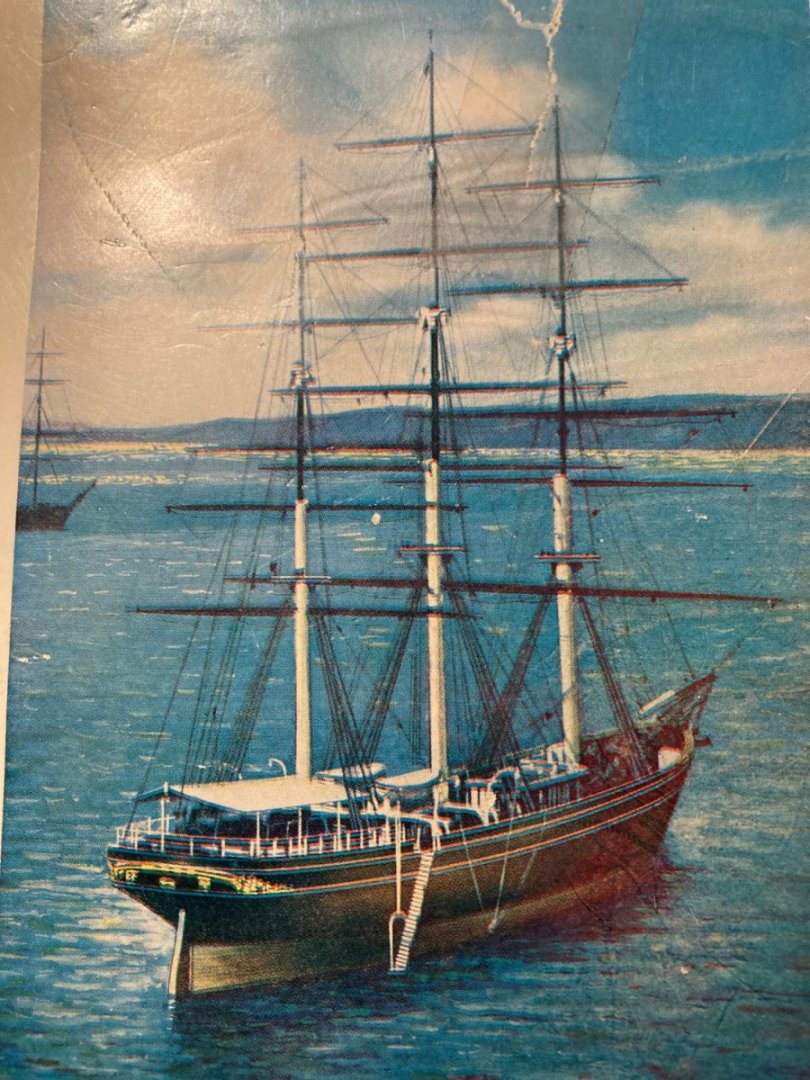
Thanks for the compliment. Yes, I will be having a go at the lozenge panels with decals. In the picture, the foremast and the main mast can be seen, and they look white to me. These three pictures were taken around the same time in Sidney. The colors in one can speak for the colors in the others, I'd think.
- 481 replies
-
- 3
-
-
- Cutty Sark
- Revell
- (and 2 more)
-
Here is a picture of the Cutty Sark from 1891, the period I am modeling. You can see the white panels on her deck houses, the white side of her cabin and what I believe is her white wheel house. This is from the book "Running Her Easting Down" by William F. Baker.

- 481 replies
-
- 1
-
-
- Cutty Sark
- Revell
- (and 2 more)
-
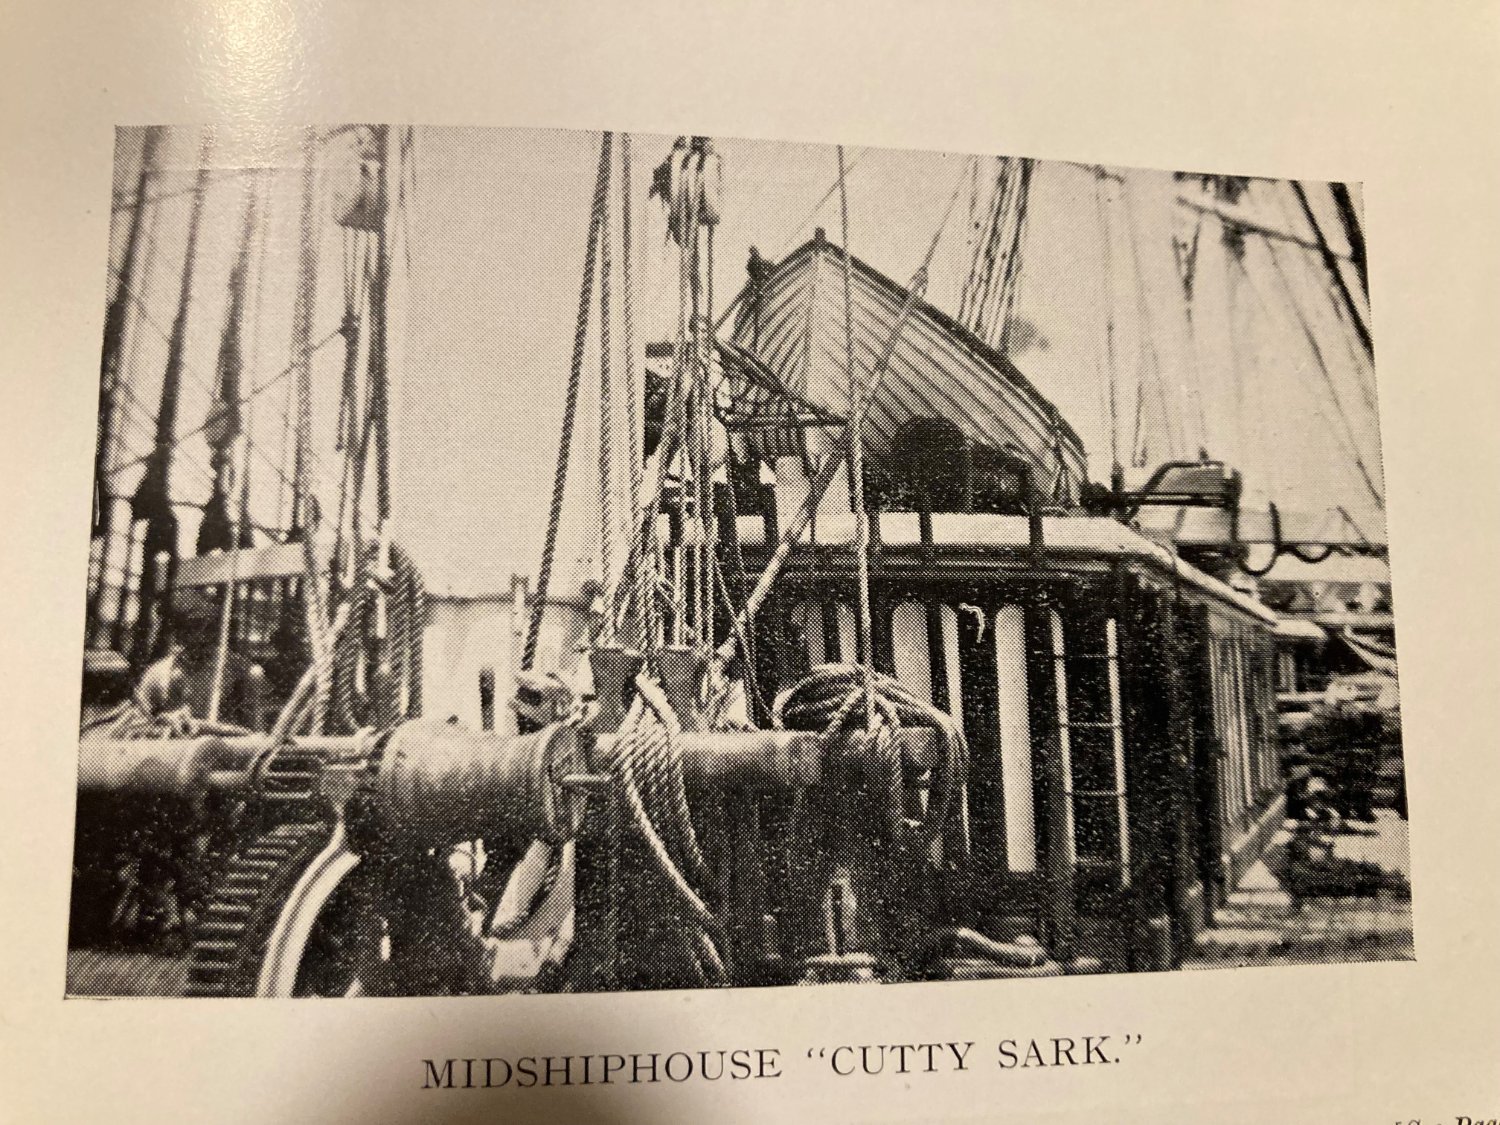
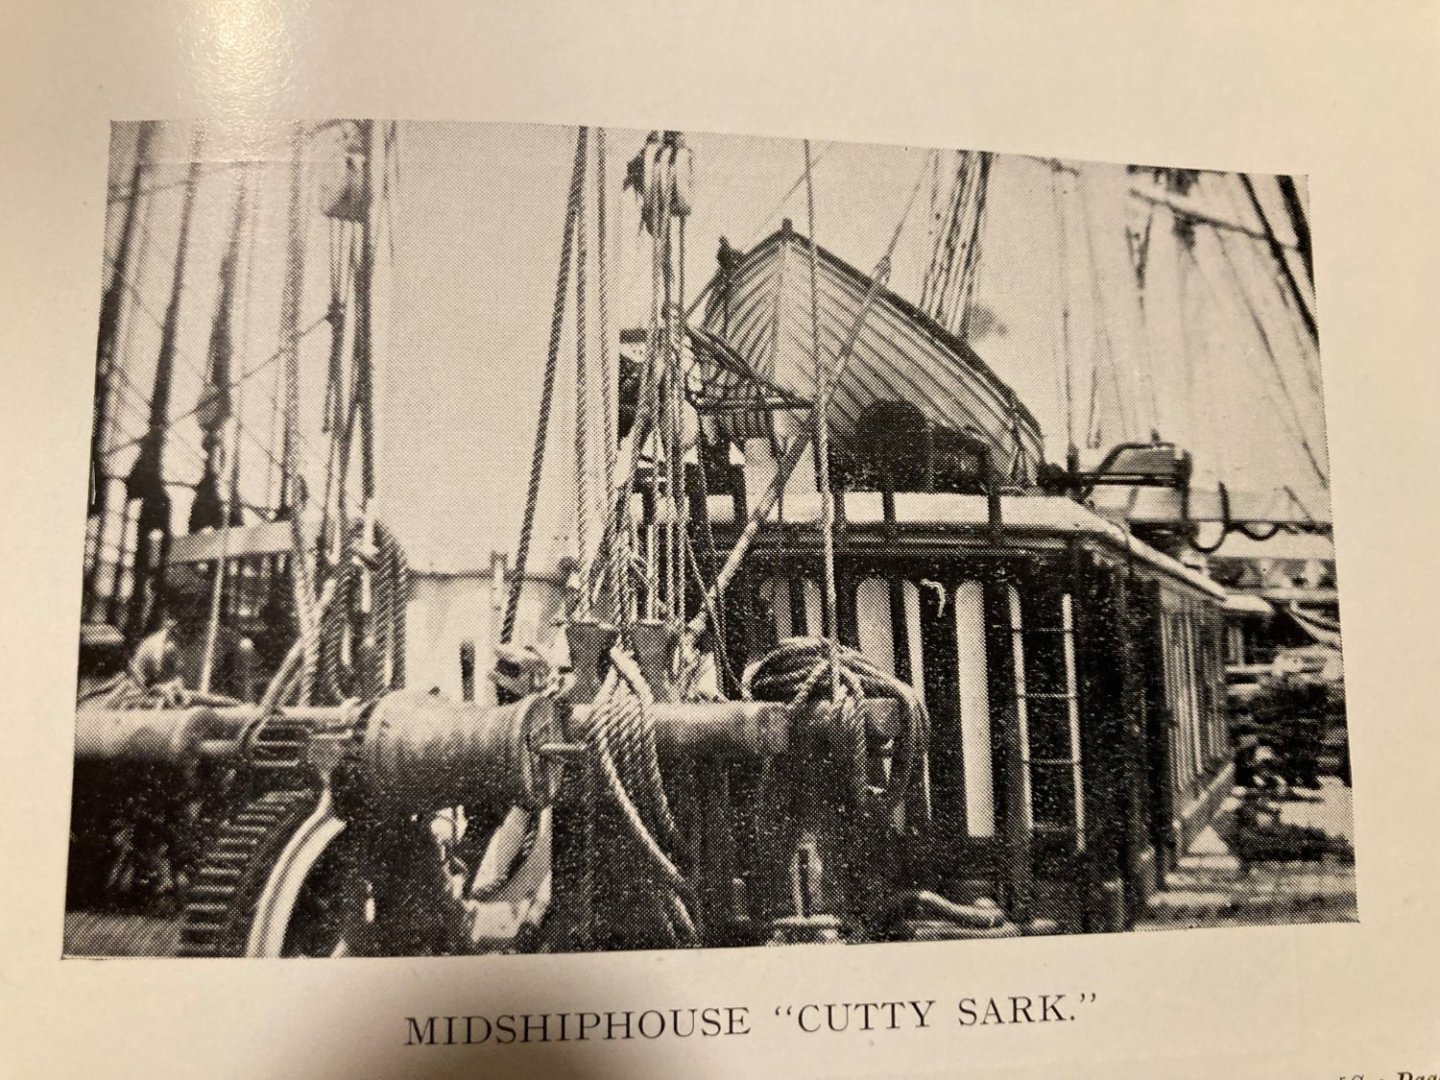
These two pictures are from "The Log of the Cutty Sark" by Basil Lubbock. They were taken during her wool days. This is the period I am modeling. You can see the white starboard head, the white panels on the deck houses, the white edges of their roofs and the white cabin sides. The thought I think I use to get a feel for a ship model is this, when you look at it are you reminded of that feeling you had when you saw a real tall ship?
- 481 replies
-
- 1
-
-
- Cutty Sark
- Revell
- (and 2 more)
-
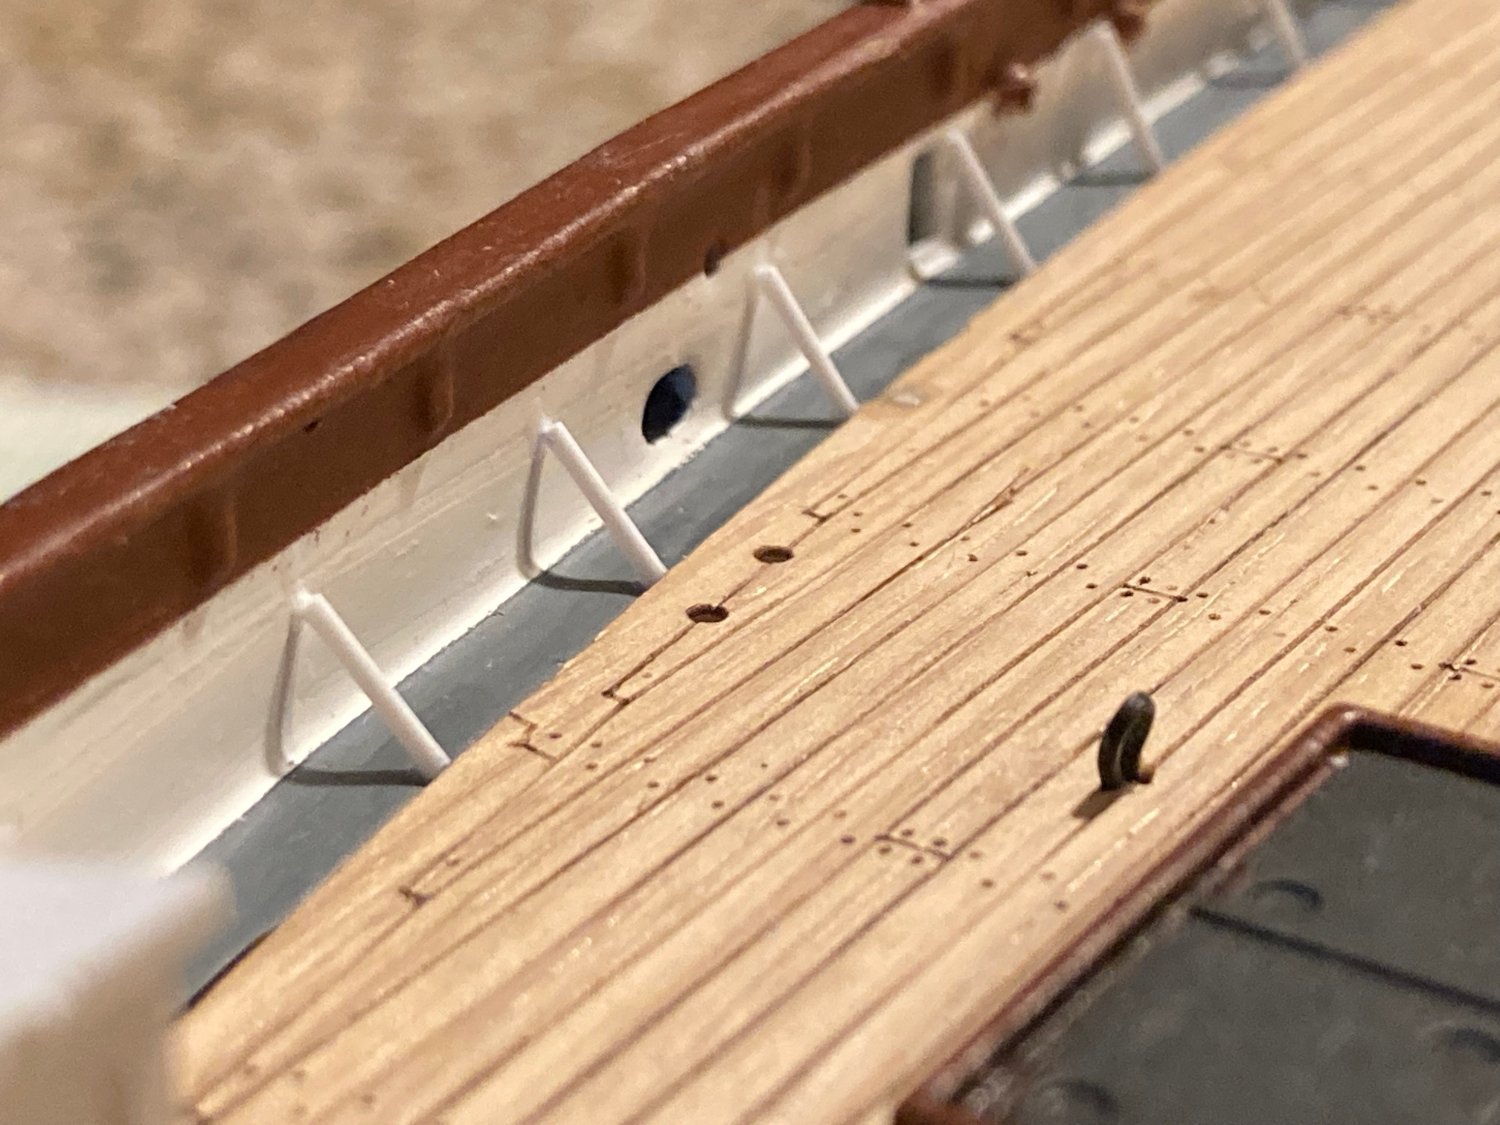
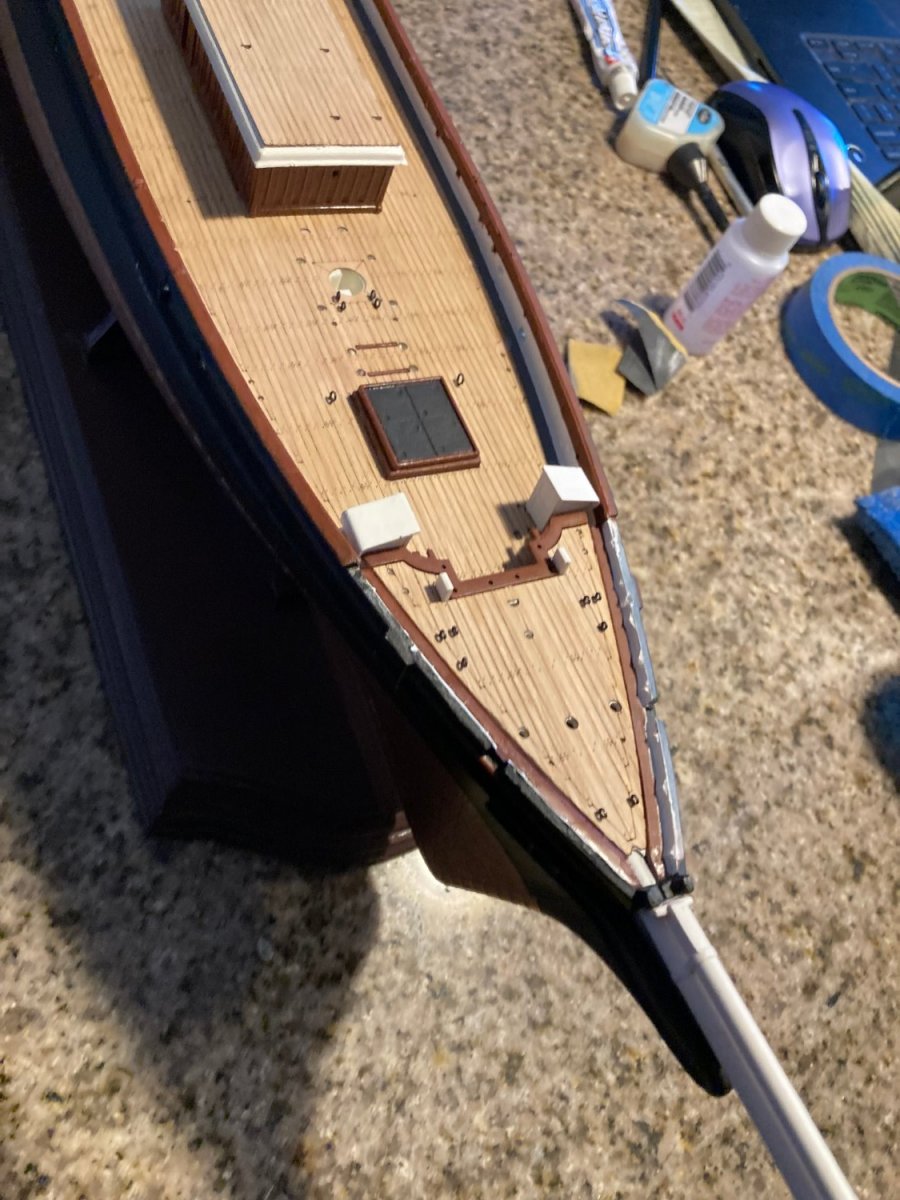
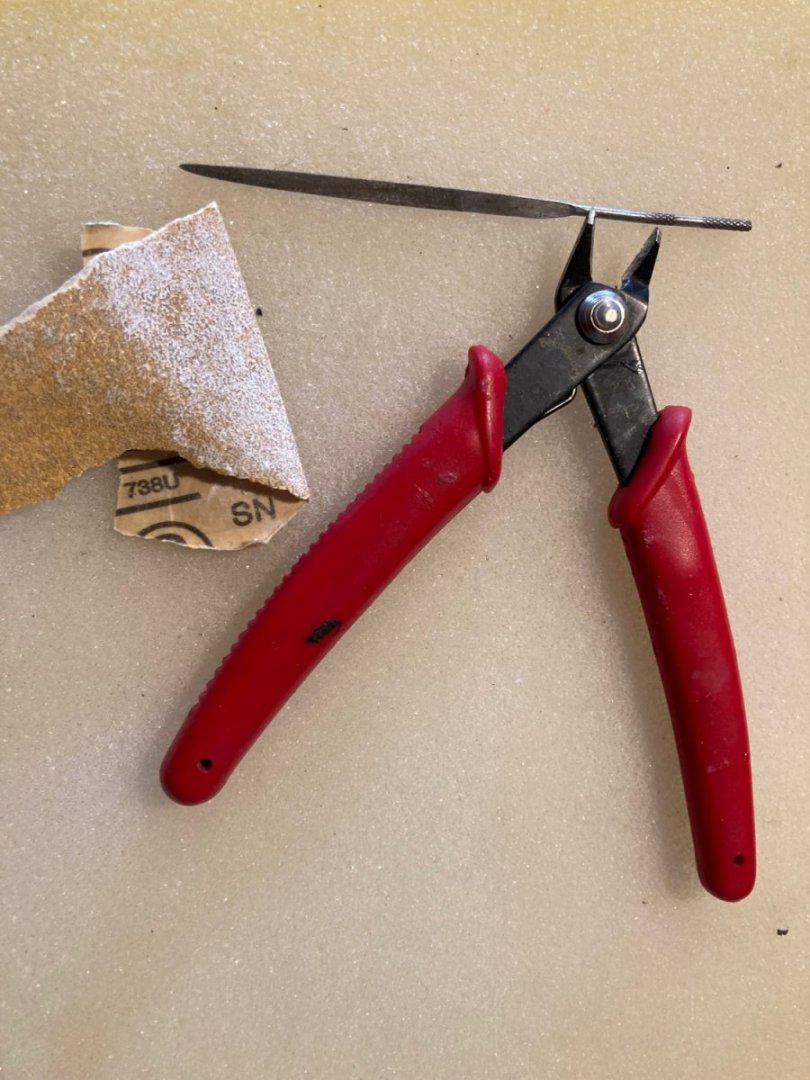
I used a pair of side nippers, sand paper of various grit and a pointed knife-edge file to remove the wedges. I cut the bottom of the wedge parallel to the waterway first with the nippers. This usually removed most of the wedge. I then used rough sandpaper to remove the rest of the plastic and then finer grit to remove the rough grit scratches. I used the file to get into the corner where the sand paper could not reach.
- 481 replies
-
- 5
-
-

-
- Cutty Sark
- Revell
- (and 2 more)
-
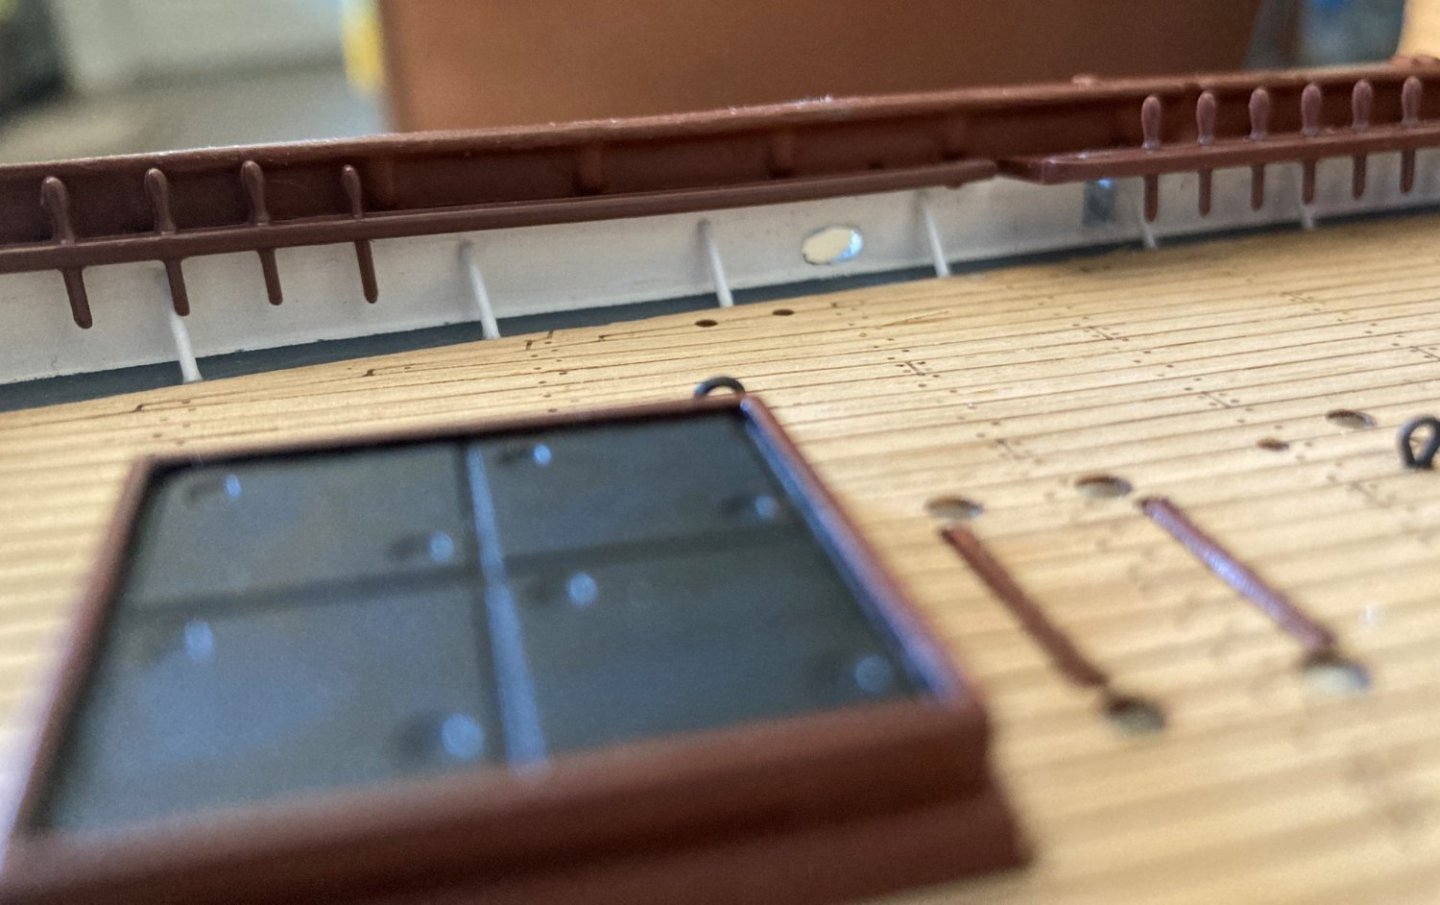
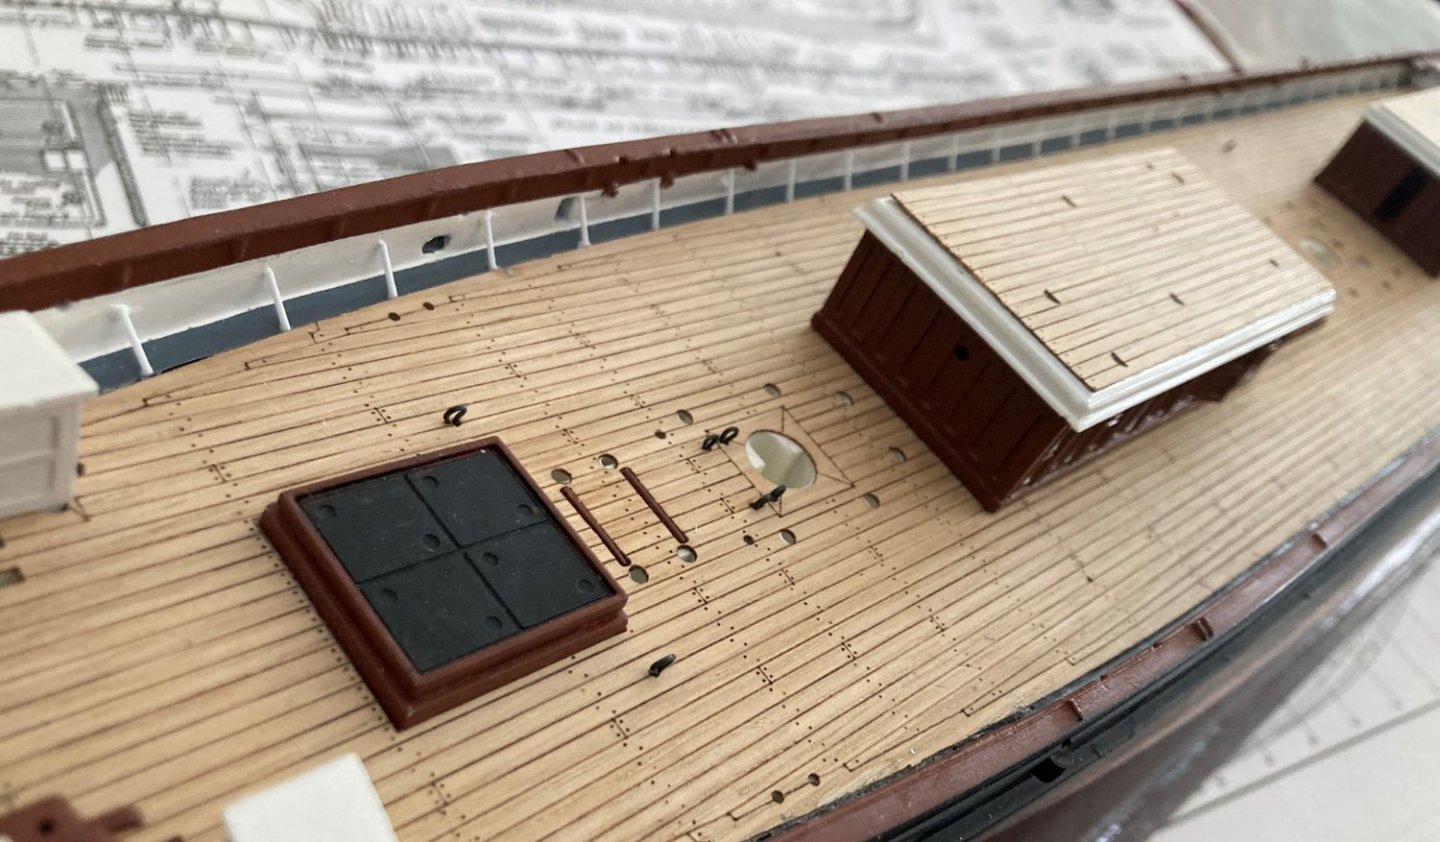
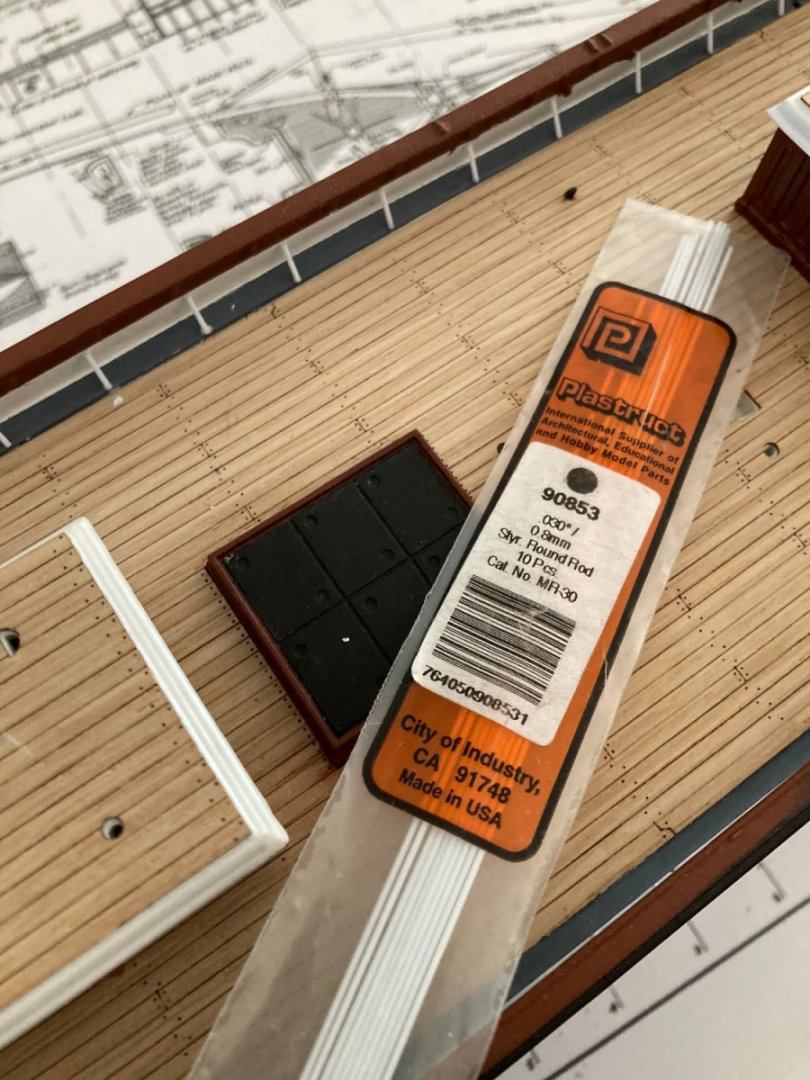
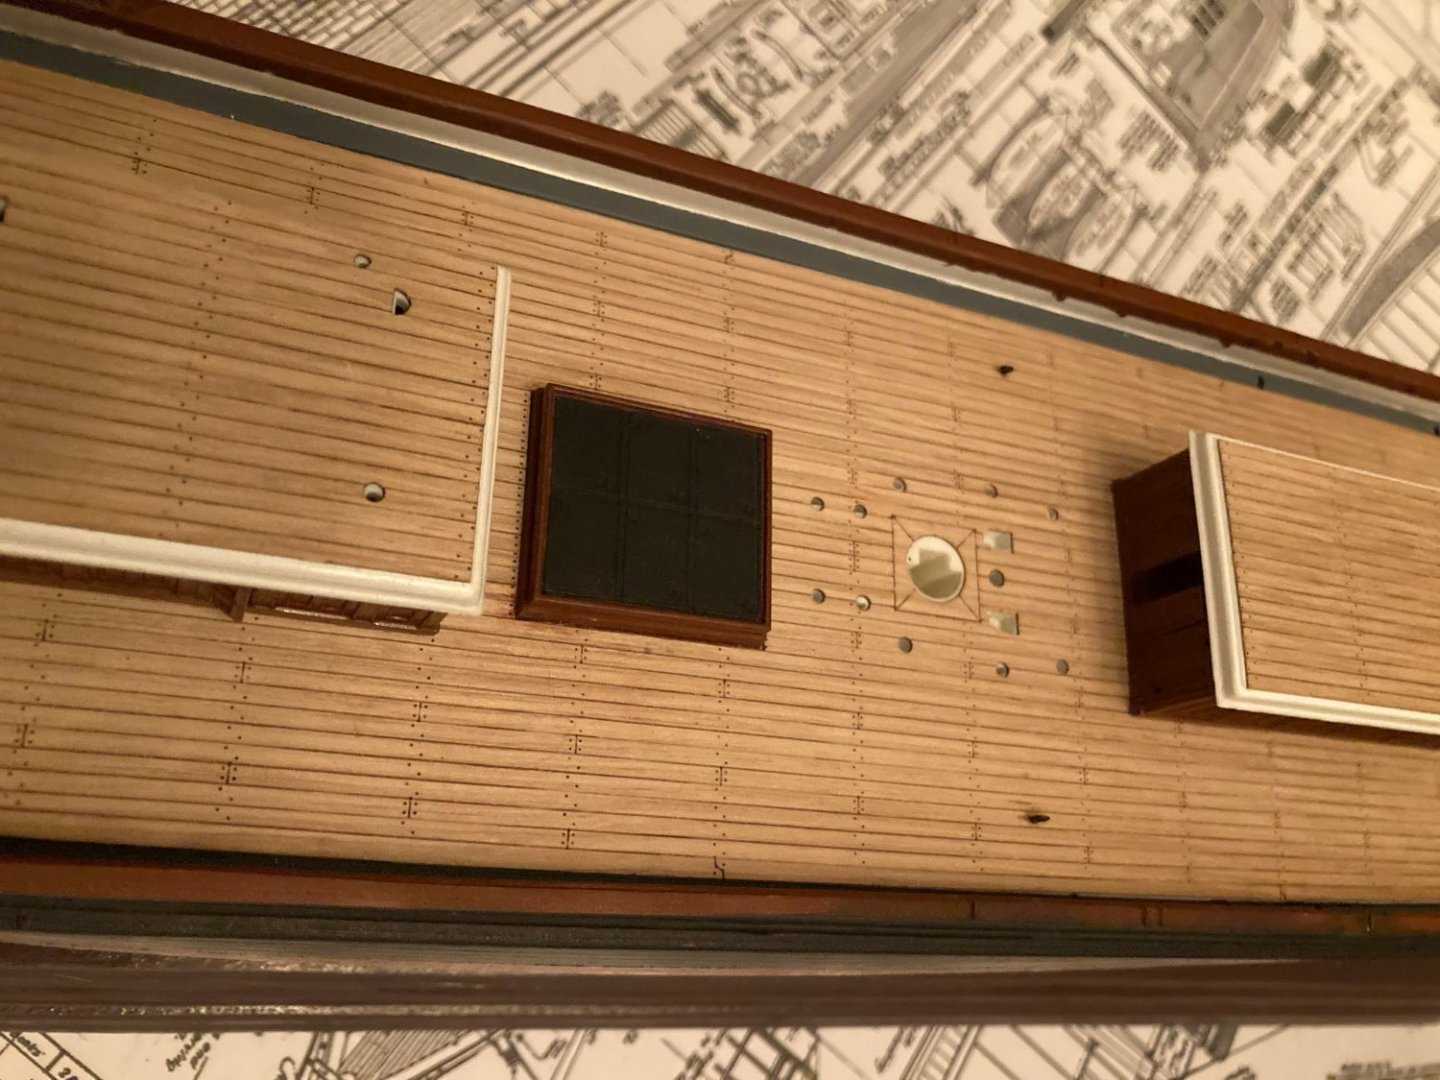
I have added bulwark stays or stanchions to one side of the deck. The Cutty Sark had 26 per side. Revell used some wedges of plastic to represent these. I removed them since they did not look right and there were not enough of them. I used plasticstruct rod and Elmer's white glue, which will disappear when dry. I don't think they will get much stress since they are out of the way once the pin rails are in place. I can easily remove them if I need to. They are not real prototypical. There were five types of these bulwark stanchions, and they had a horizontal bar attached. I don't think in 1/96 scale I want to attempt to make those. Anyway, I think they look better than the originals. I made a paper template for spacing and a cutting jig to cut the rods.
- 481 replies
-
- 3
-
-
- Cutty Sark
- Revell
- (and 2 more)
-
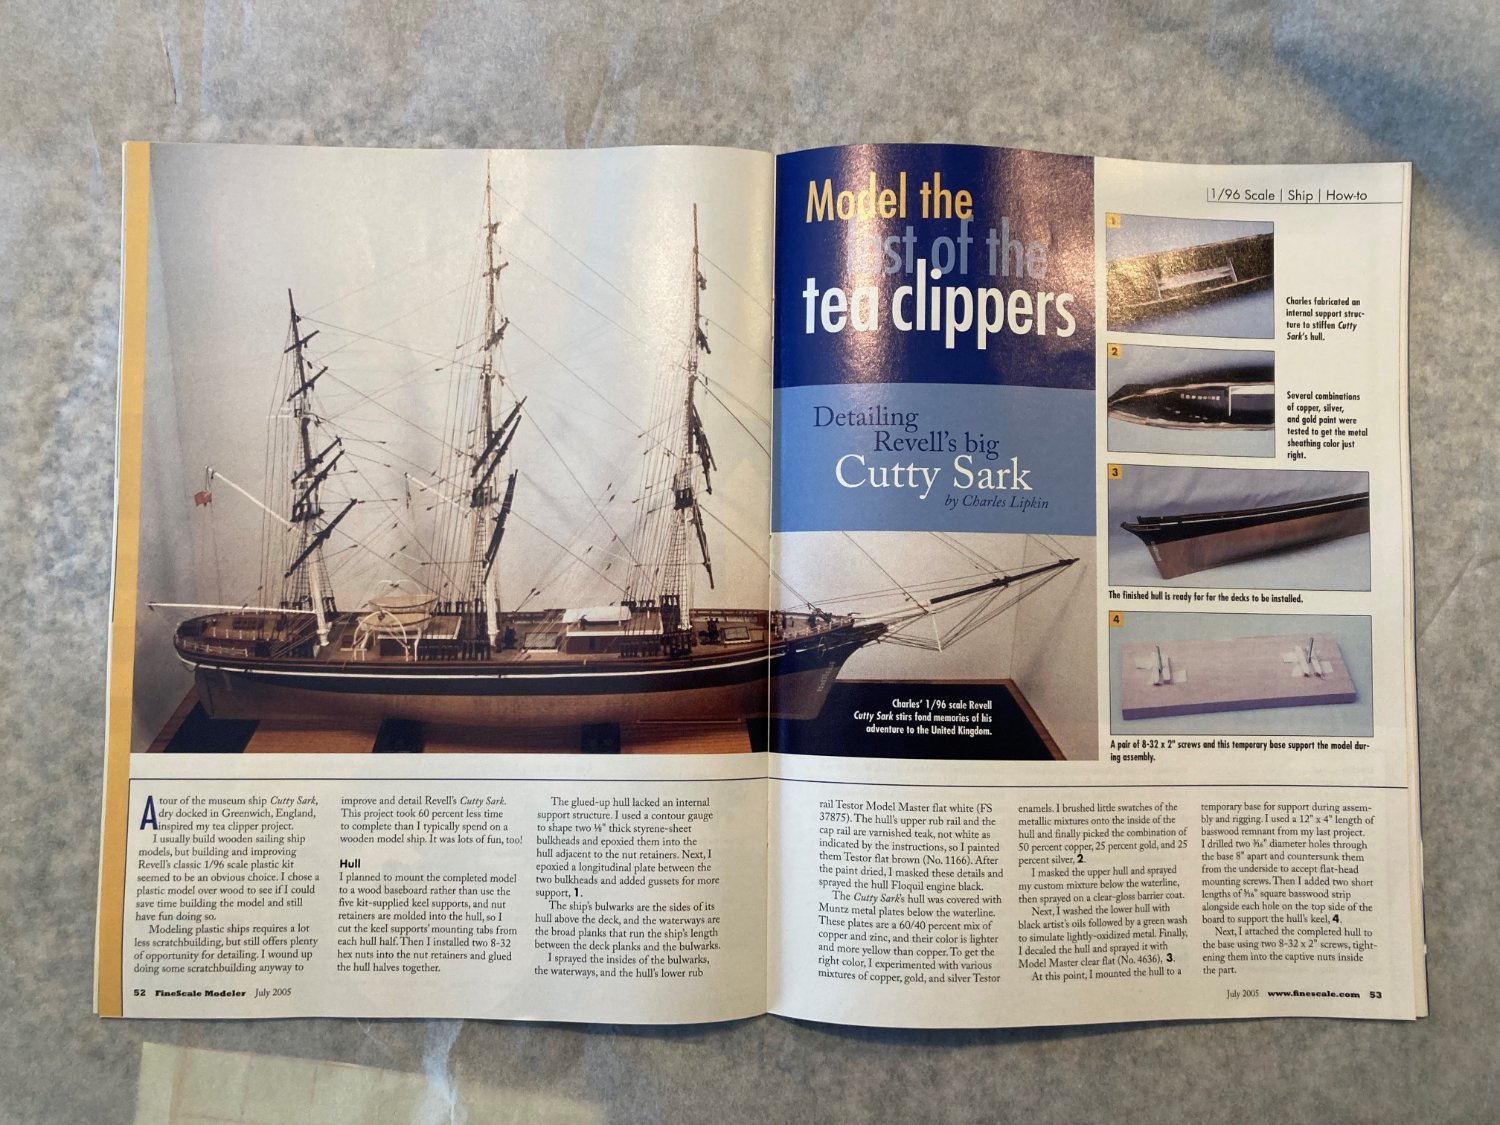
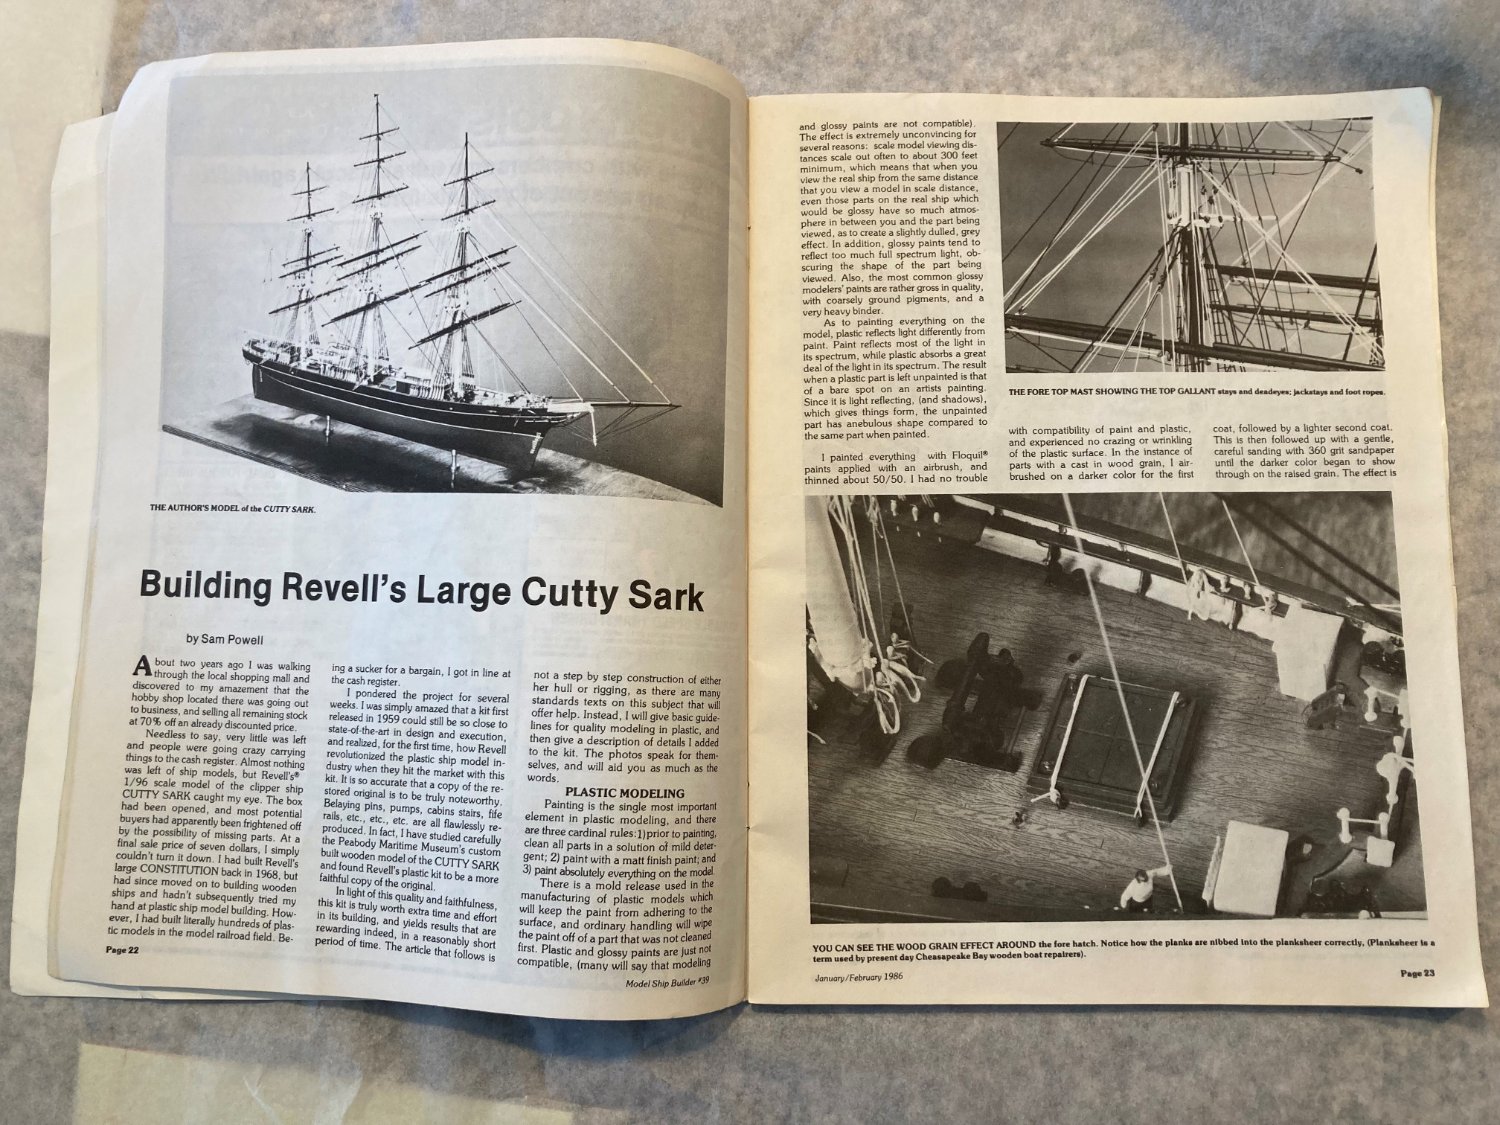
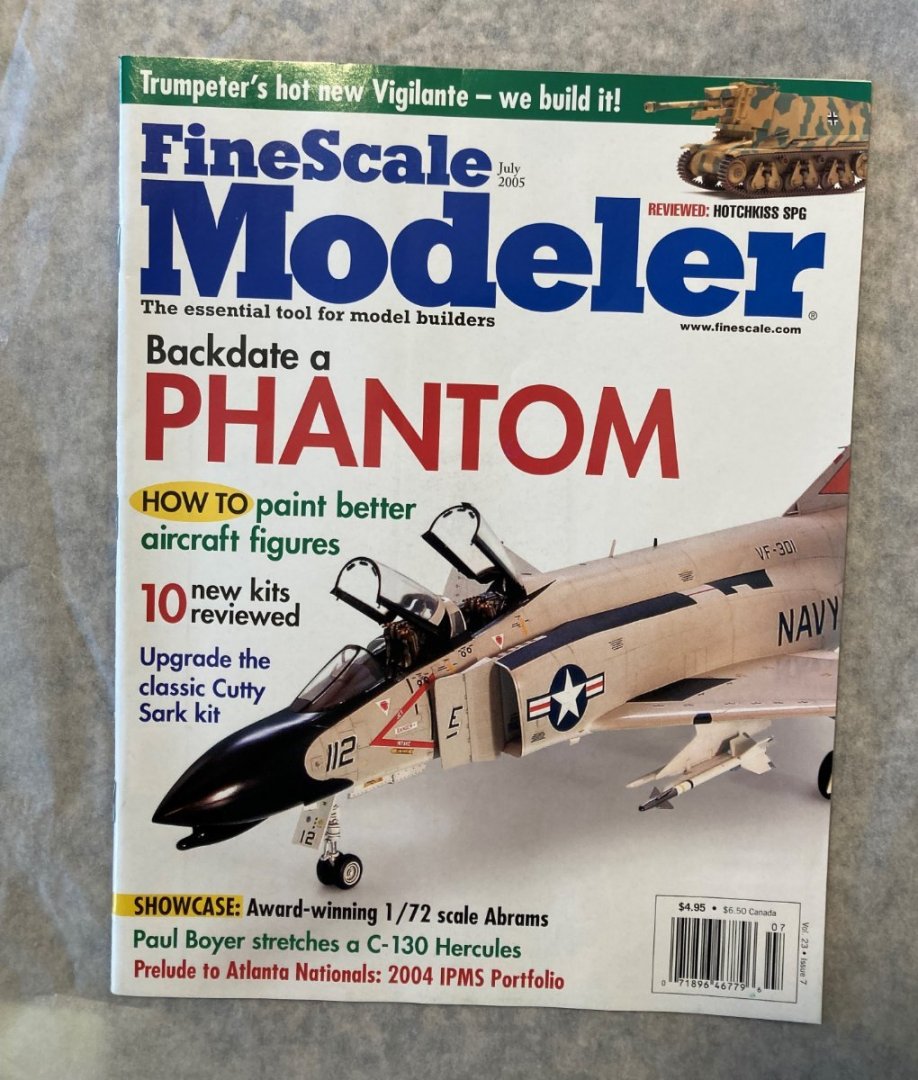
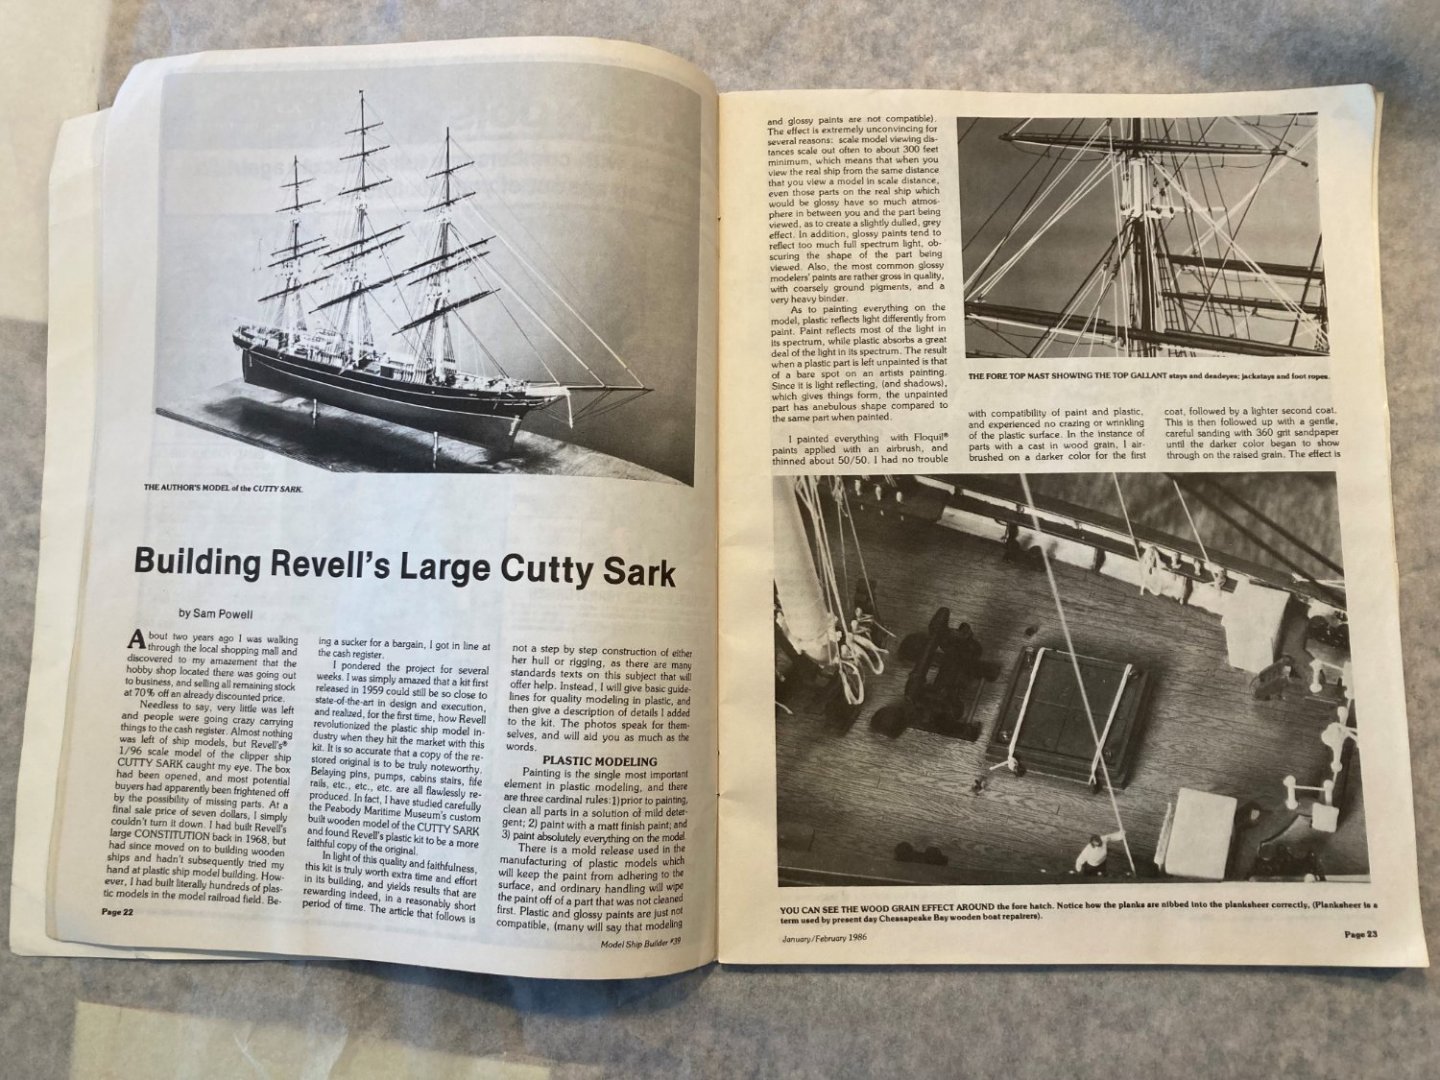
Here are two articles about building the Revell 1/96 Cutty Sark, Charles Lipkin - July 2005 FineScale Modeler and Sam Powell - January/February 1986 Model Ship Builder. I like the Sam Powell's build over Charles Lipkin's. Powel rigged his deadeyes and Lipkin used the kit supplied ones. I have been arguing with myself about this. I lean toward rigging the deadeyes though I have never done it. We will see, I hope. But to each his own. I am not going to tell someone how to build their models.

- 481 replies
-
- 2
-
-
- Cutty Sark
- Revell
- (and 2 more)
-
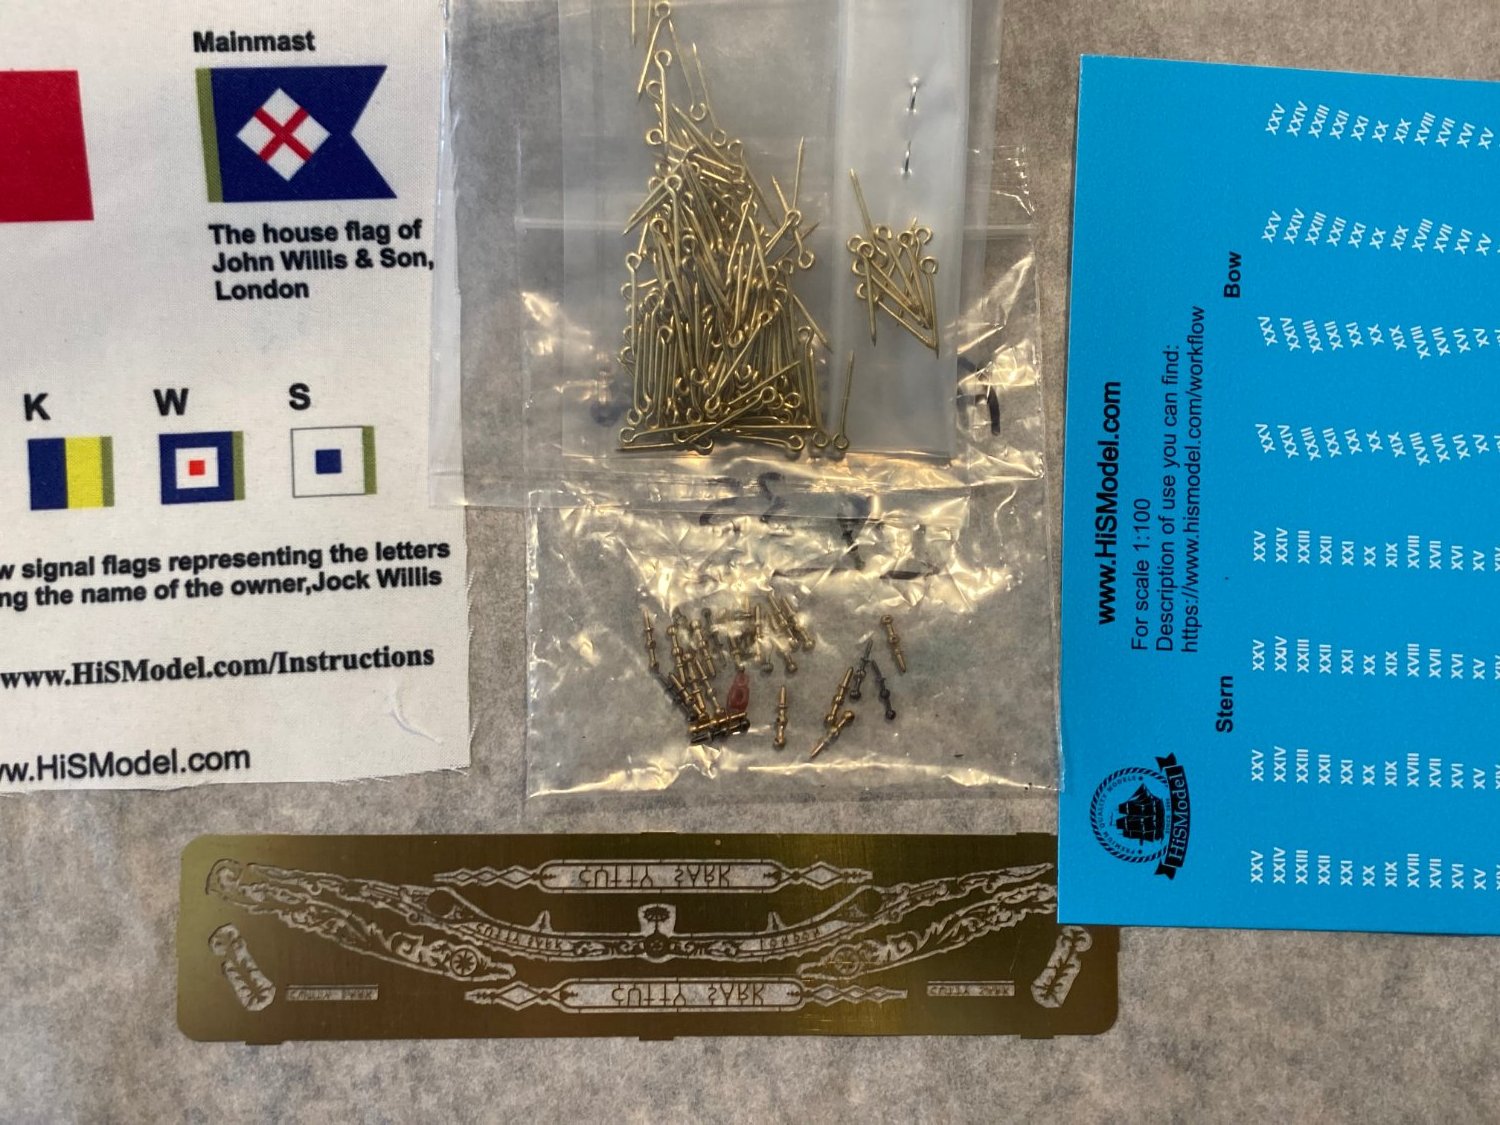
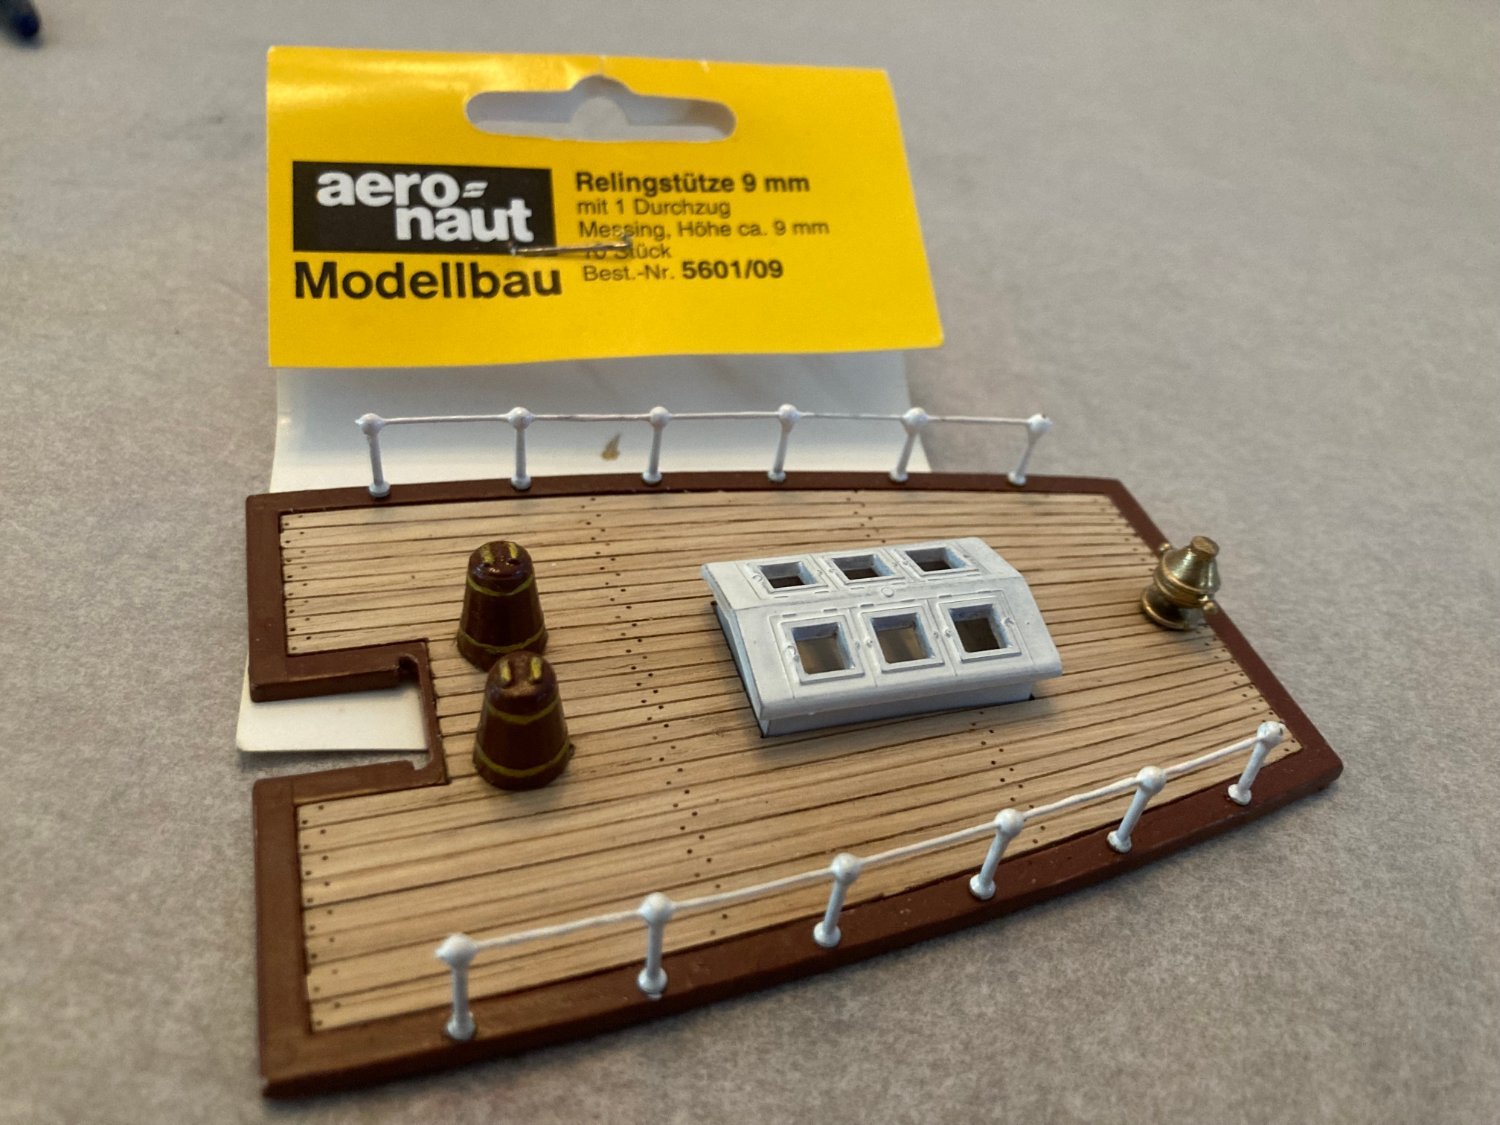
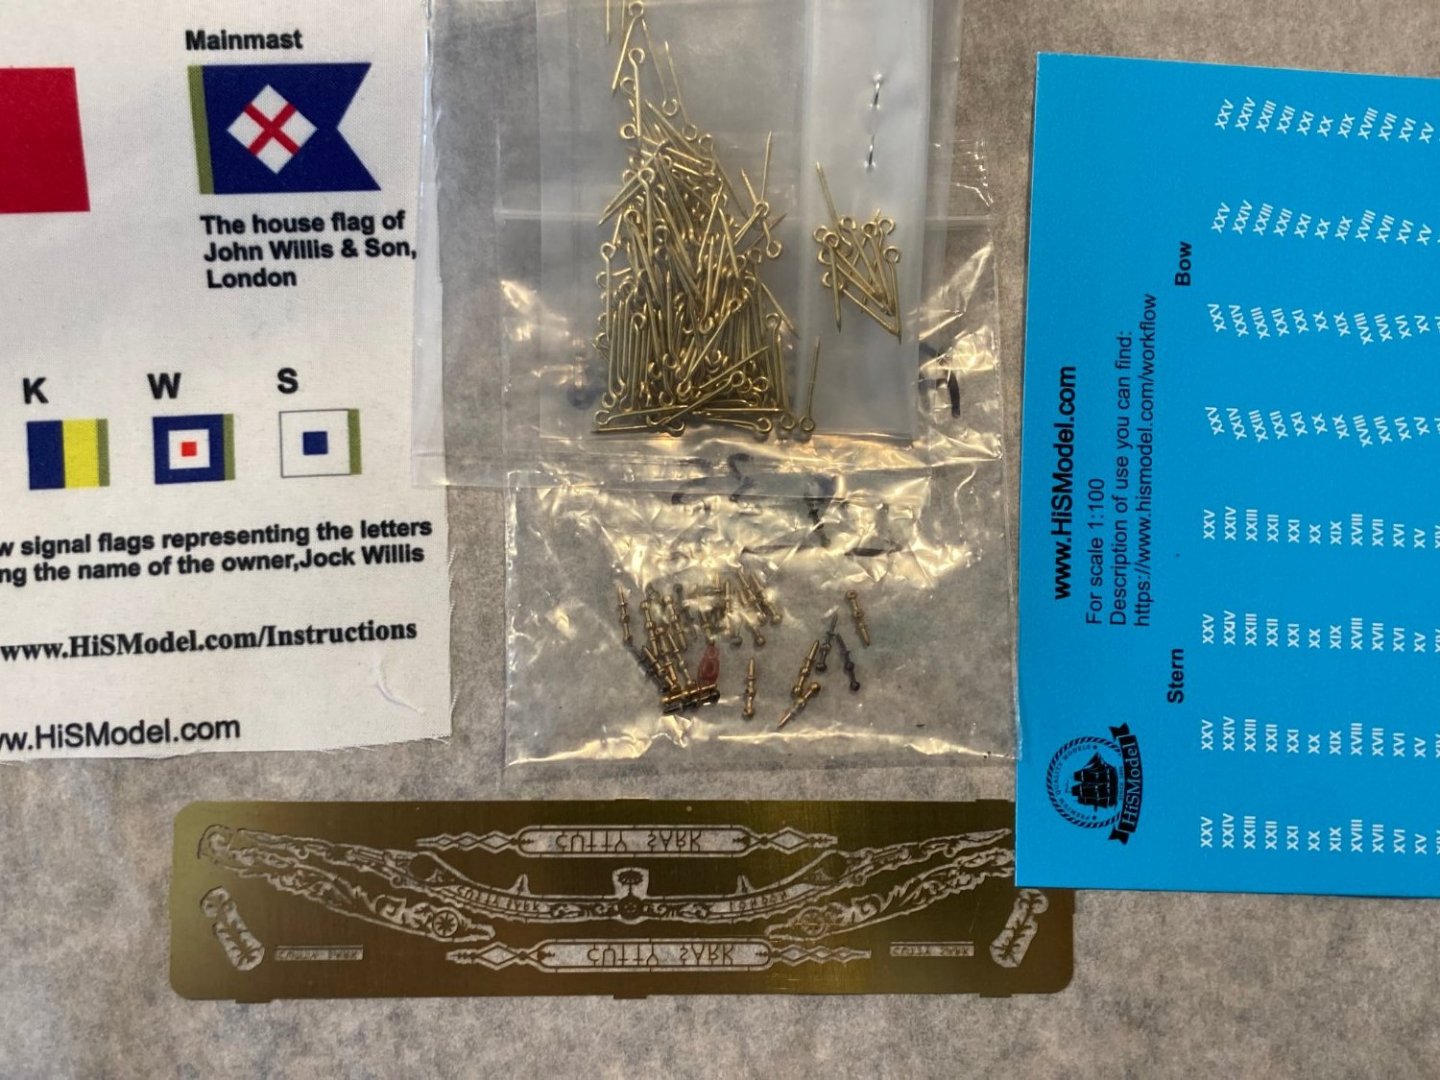
Here are a few details I will use. I need more Aero-naut 9mm 1 ball and two ball stanchions. I can find larger ones online, but not 9mm.
- 481 replies
-
- 4
-
-
- Cutty Sark
- Revell
- (and 2 more)
-
I have one ball and two ball Aeronaut 9mm stanchions. I have enough two ball stanchions for the stern, but need more for the bow. Can you buy them direct? I was looking online but could not find 9mm 2 ball stanchions. HisModel lists preformed railing, but says it is not available yet.
- 481 replies
-
- 1
-
-
- Cutty Sark
- Revell
- (and 2 more)
-
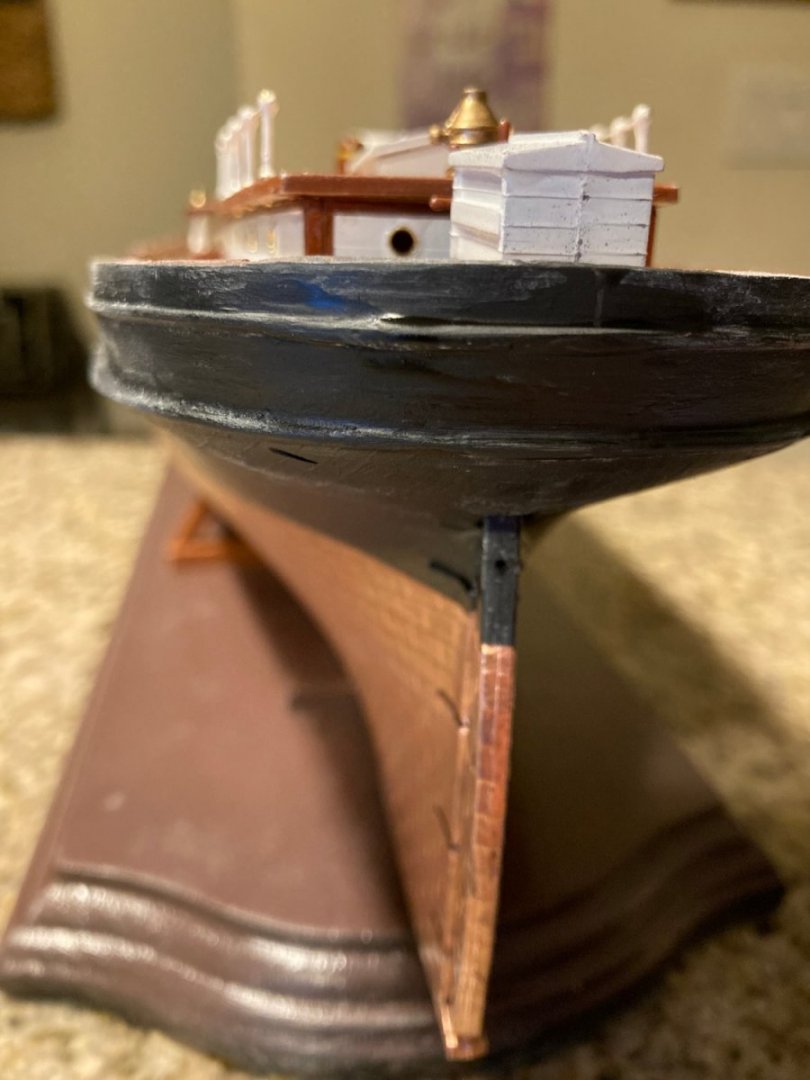
On the whole, I am pleased with the way things look so far. There are gaps, errors and fitment problems that I must accept. Even so, I am inspired to press on. In the back of my mind, I have mixed feelings of dread, anticipation and excitement thinking about rigging this model.

- 481 replies
-
- 4
-
-
- Cutty Sark
- Revell
- (and 2 more)
-
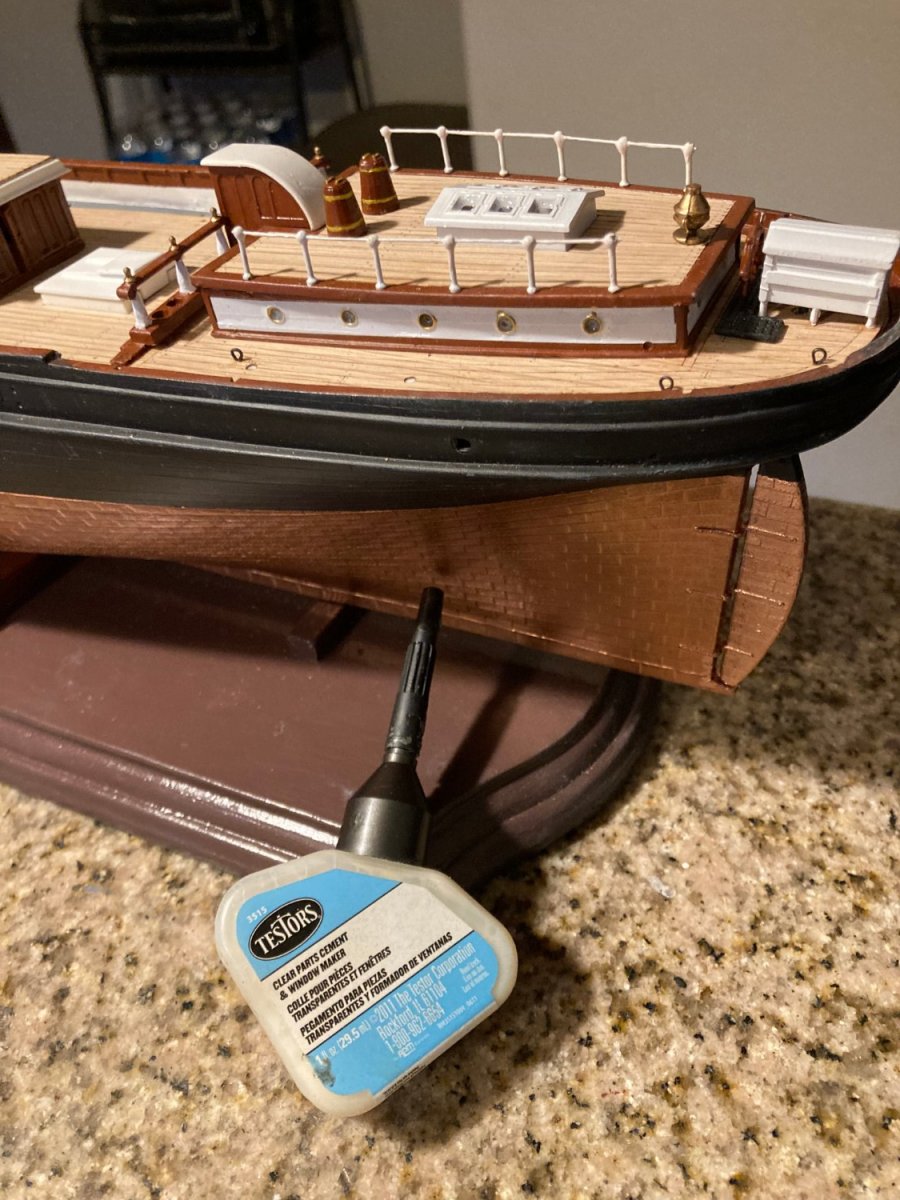
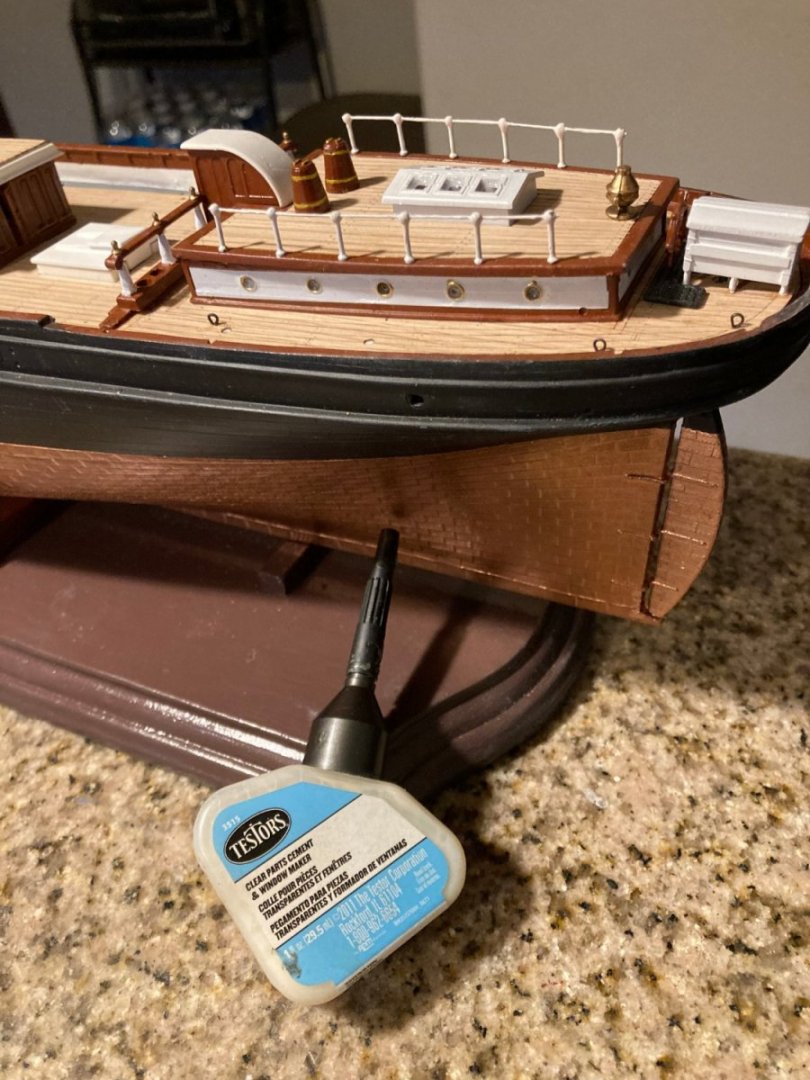
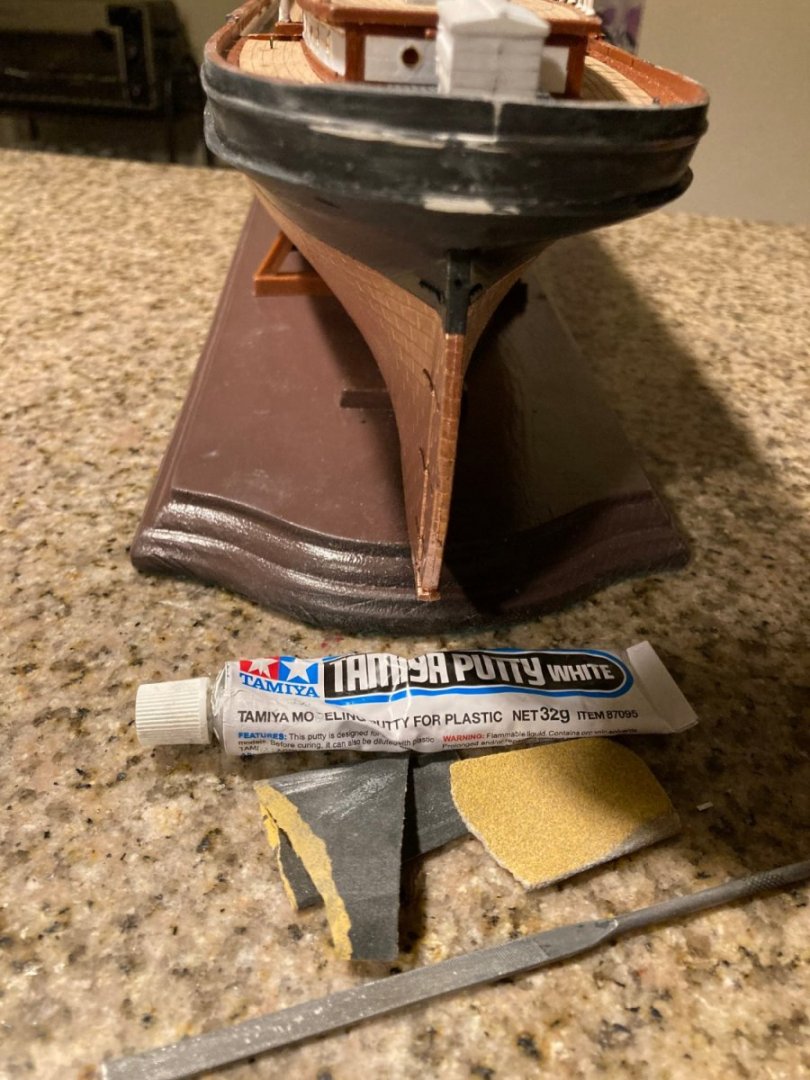
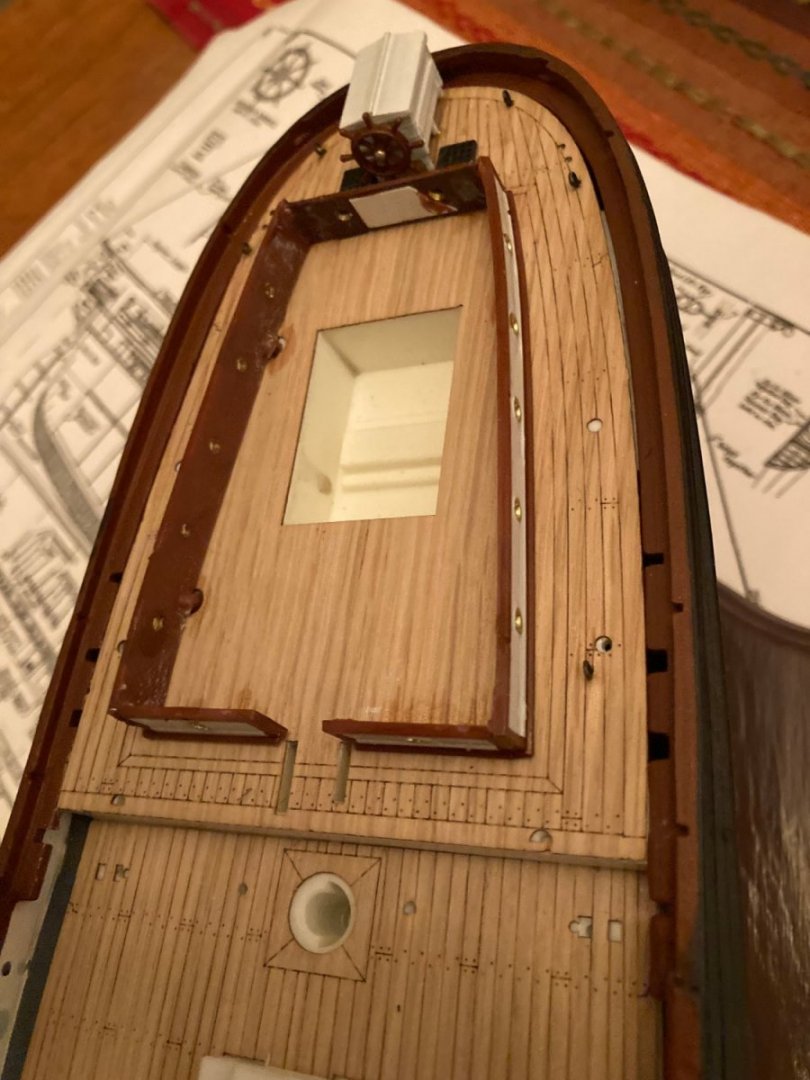
The stern of the Revell Cutty Sark hull does not come together well. The rails do not line up and the two pieces leave gaps. Also the rails are not formed the same depth. I used Tamiya white putty to sculpt the stern so that it is more evenly formed. I used Testors clear parts cement for the porthole windows and the skylight.
- 481 replies
-
- 6
-
-
- Cutty Sark
- Revell
- (and 2 more)
-
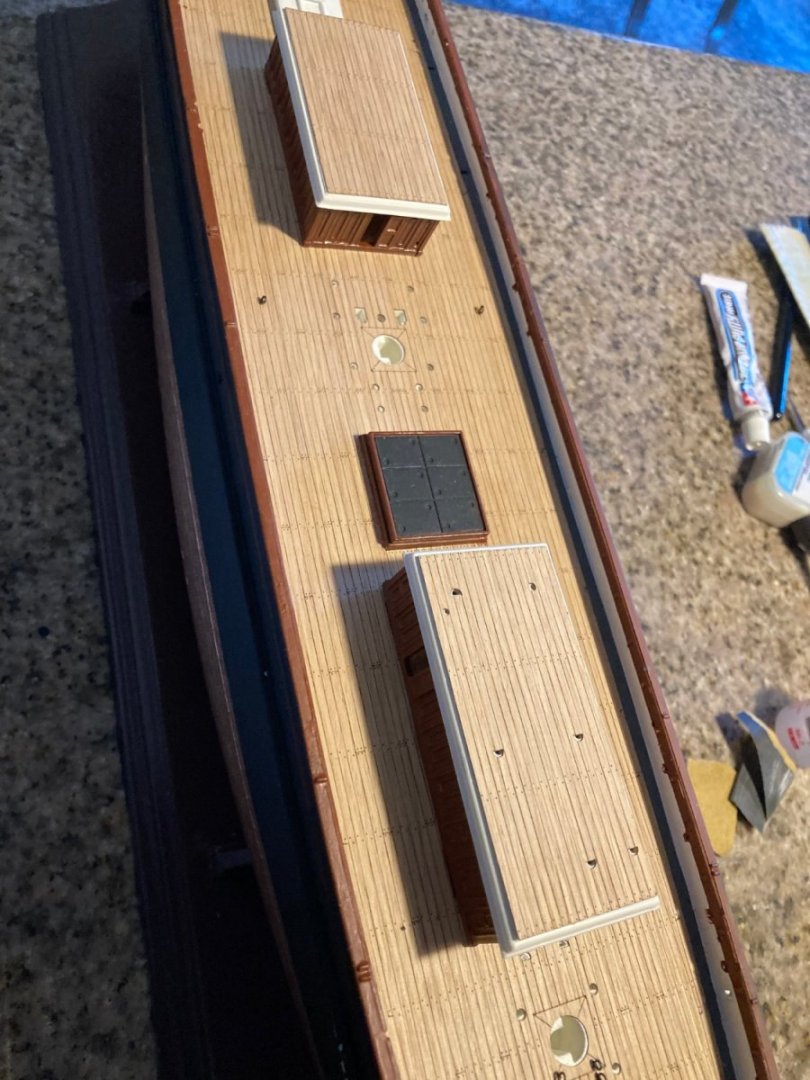
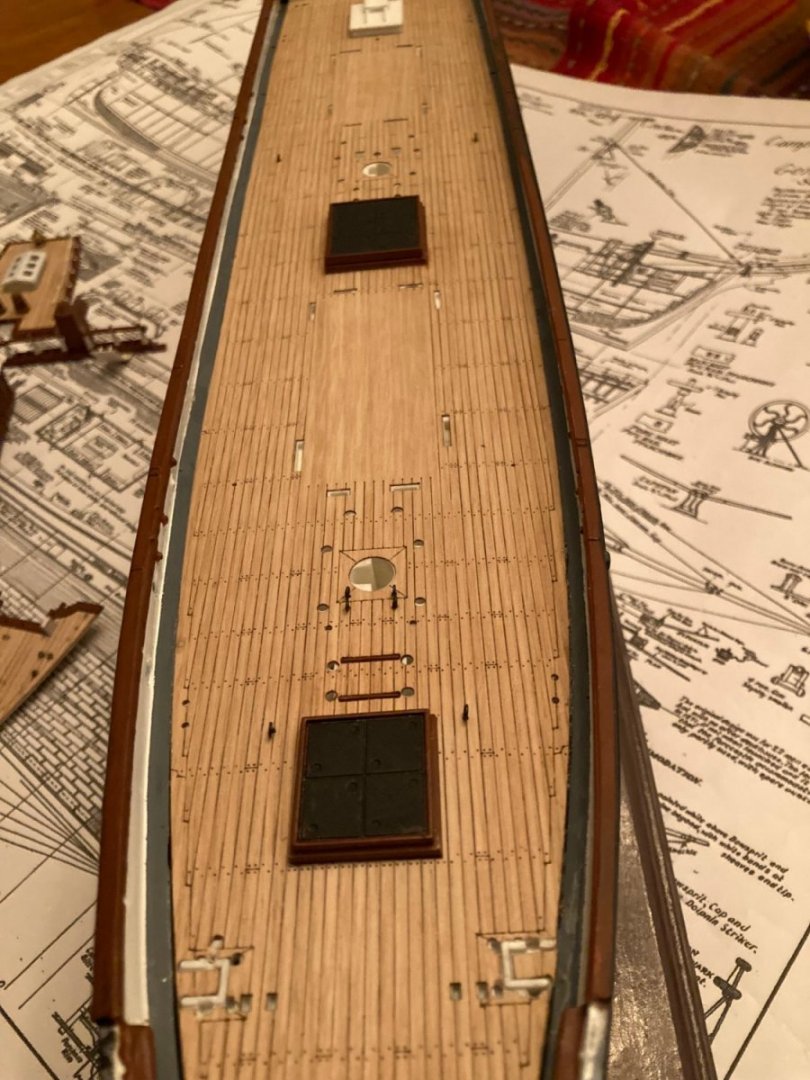
I am reading C. Nepean Longridge's book about the Cutty Sark's deck. He says, "The Cutty Sark's deck was of teak, ......... Owing to the amount of oil it contains (teak) it is extremely durable, and exposure to the sun and air bleaches it to a soft light grey color, although when new, and when wet, it is brown." This is where I got the idea that decks were not a multitude of color.
- 481 replies
-
- 5
-
-
- Cutty Sark
- Revell
- (and 2 more)
-
Your models are very impressive and a great source for inspiration. I am not a sailing man, so unless I am quoting the experts, my posts are my opinion. I should not post uneducated opinions here. When others do, it bugs me. I'll try and research first. I have walked the decks of the Star of India and the Balclutha. It's been a while, but I remember looking at the deck color on these iron ships and I seem to remember they both were a uniform grayish color. I remember the Balclutha's waterways were an unpainted cement trough. I am going to the San Diego Maritime Museum next week for inspiration. That place always puts me in a ship building mood. I don't feel the HisModel deck is authentic, but I used it rather than try to make the plastic look presentable.
- 481 replies
-
- 5
-
-
- Cutty Sark
- Revell
- (and 2 more)
-
I have tried to make plastic decks look like wood with little success in the past. Also wooden ship decks were not a multitude of colors in my opinion. I think they were holystoned meaning scoured and whitened. The HisModel deck was the path of the least resistance and a time saver. Thanks for the encouragement. I am hoping to use deadeyes and wood blocks, but I worry about stropping them.
- 481 replies
-
- 3
-
-
- Cutty Sark
- Revell
- (and 2 more)
-
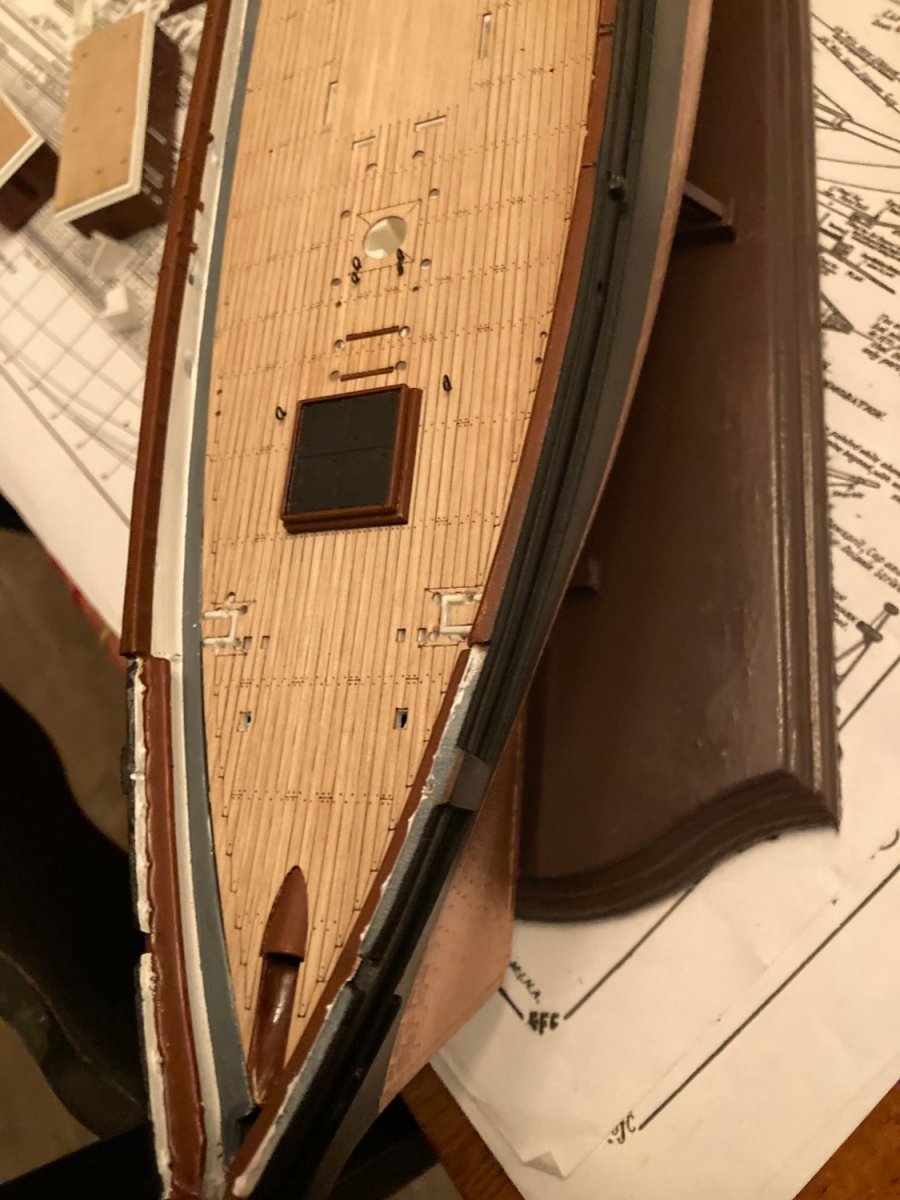
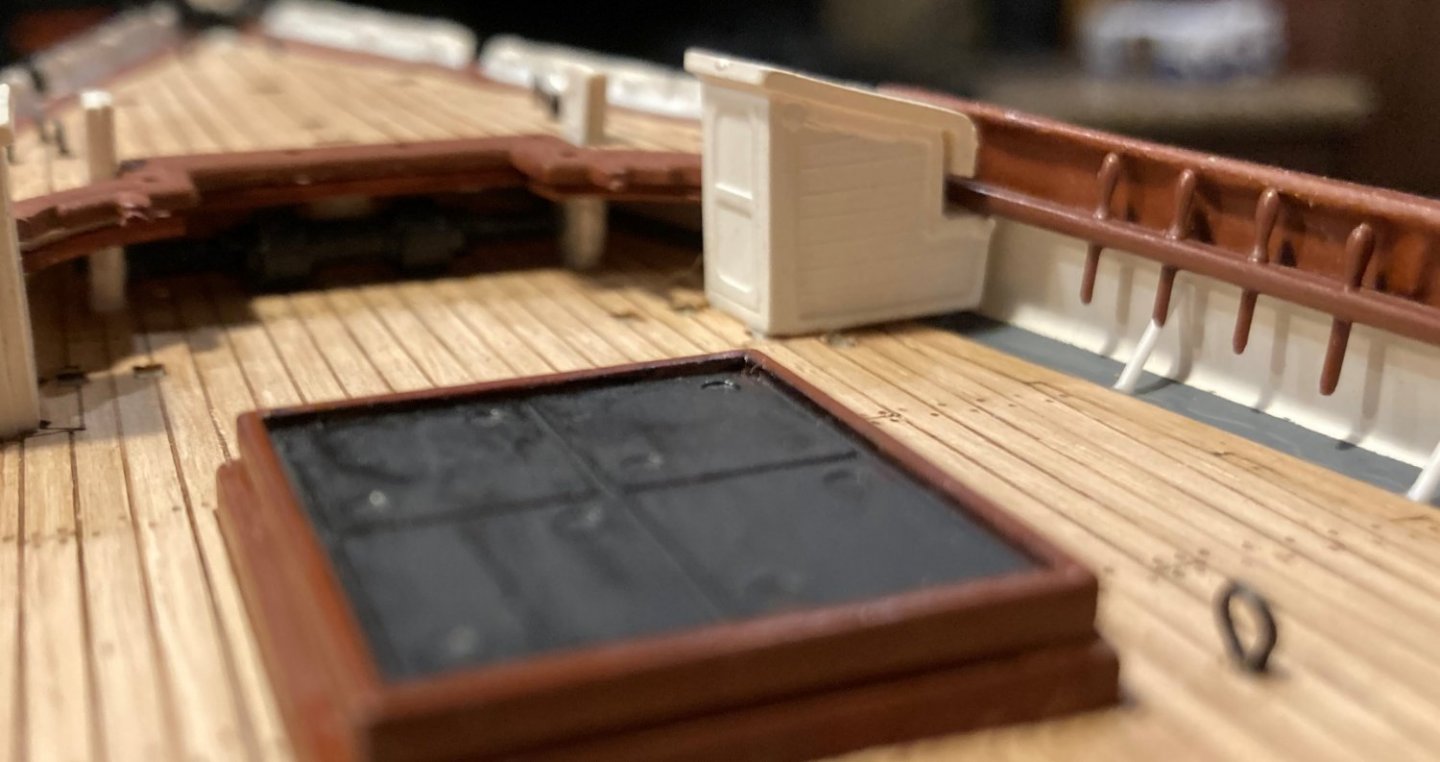
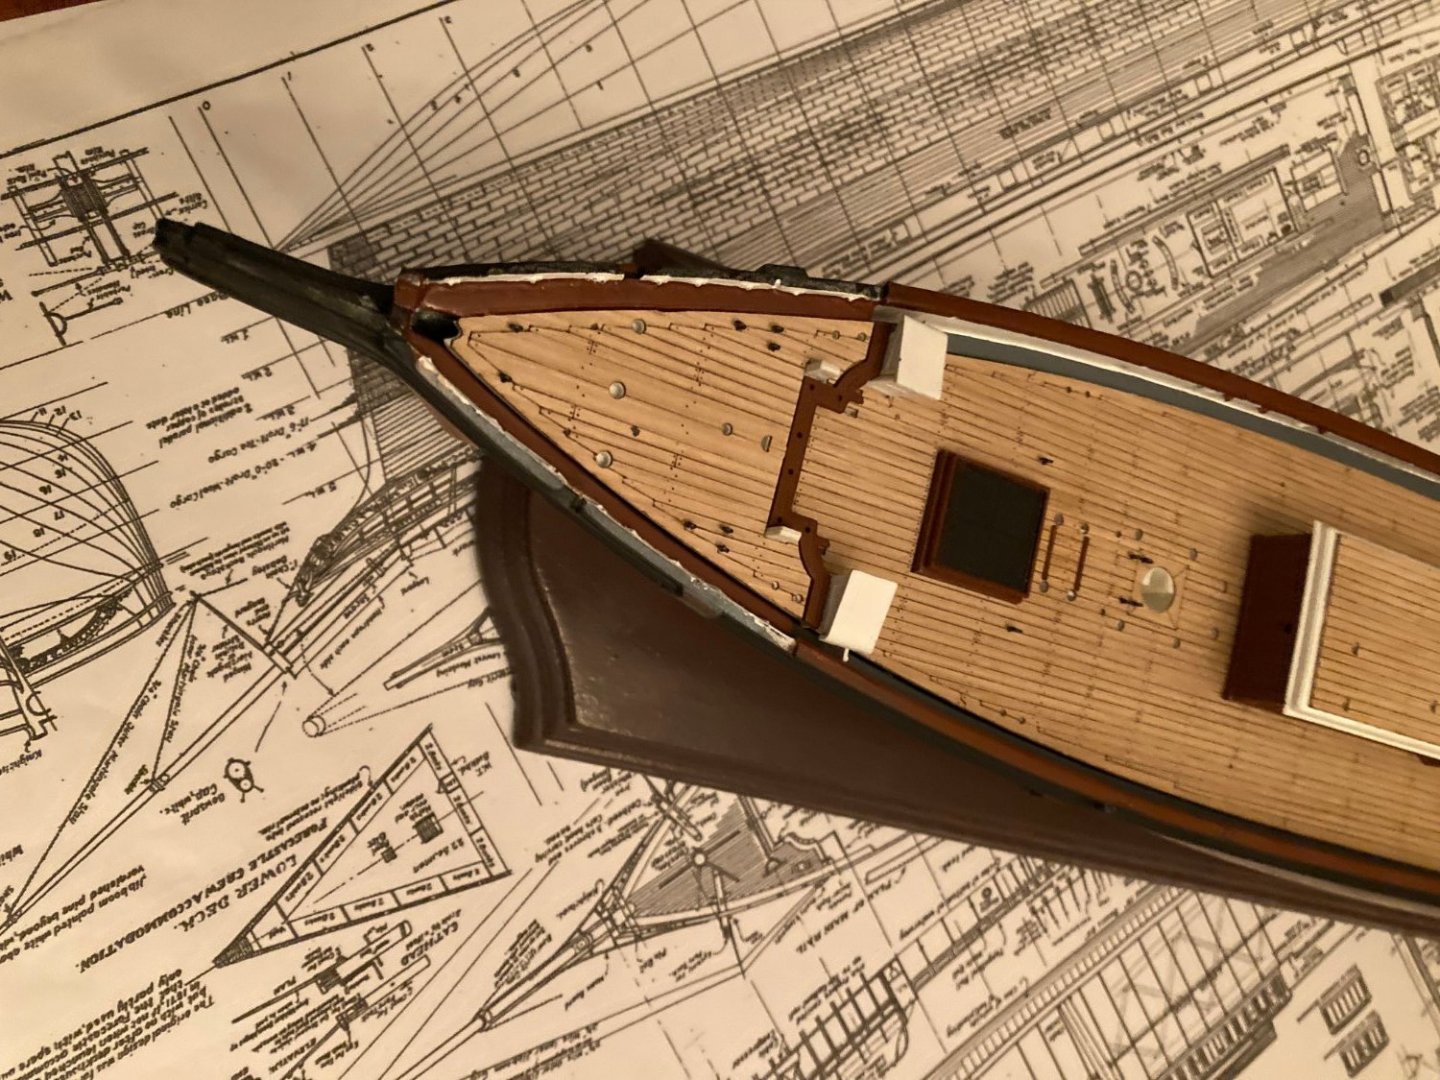
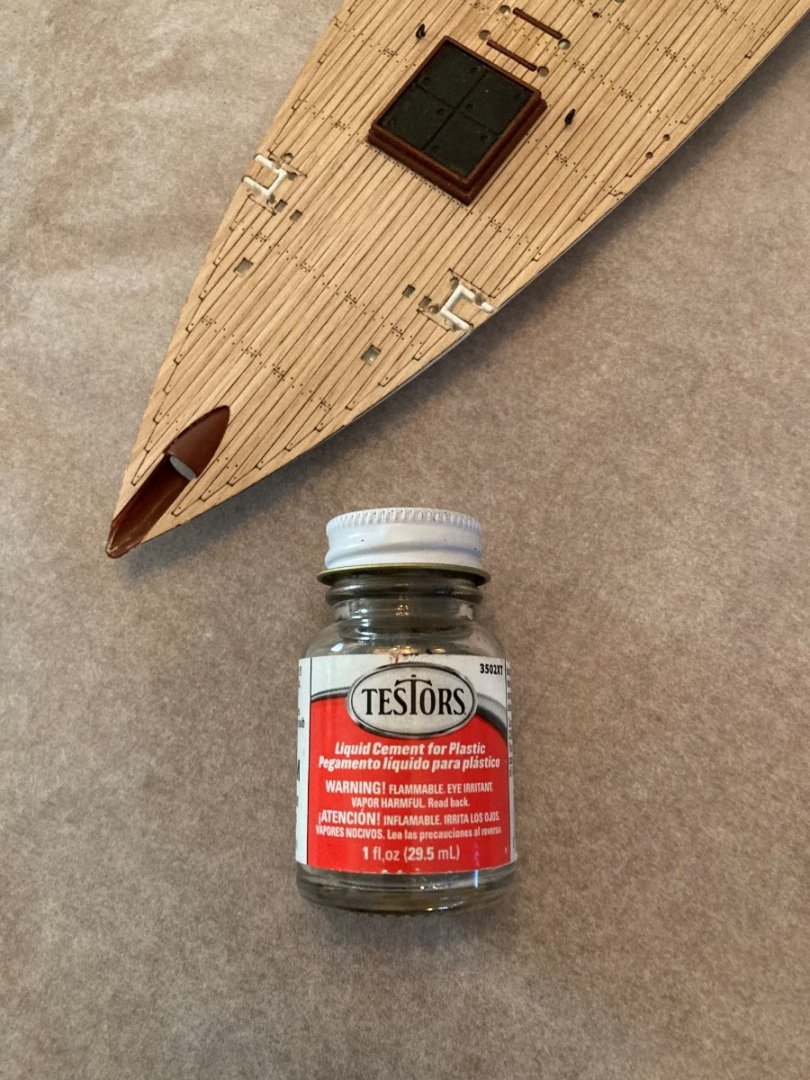
I glued the deck down this morning. I used Testors liquid cement. I glued the deck to the supports I made and tried to eliminate any gaps between the bulwark and the deck. I could not eliminate some gaps, mostly in the bow and stern. I think I will live with them. When ever I build a model, there are imperfections I decide to live with. This ship will not be the exception. The judgement call I make is, is the model pleasing to my eye. If so, I am happy. The other thing I do when building a historical model is to learn as much about the real thing as possible. To that end I have on hand: George Campbell's "China Tea Clippers" George Campbell's Cutty Sark plans C. Nepean Longridge's "The Cutty Sark The ship and a model" William F. Baker's "Running Her Easting Down" Basil Lubbock's "The Log of the Cutty Sark" Noel C.L. Hackney's "Classic Ships Cutty Sark Their History and How to Model Them." I also have two articles on building Revell's Cutty Sark in model magazines. I don't like to make mistakes like calling the Cutty Sark's two heads, sail lockers, though, until I learn I make many of those mistakes. Likewise, I learned the wedges I cut off the model's waterway are poor representations of stanchions. I will replace them with better looking ones.

- 481 replies
-
- 7
-
-
- Cutty Sark
- Revell
- (and 2 more)
-
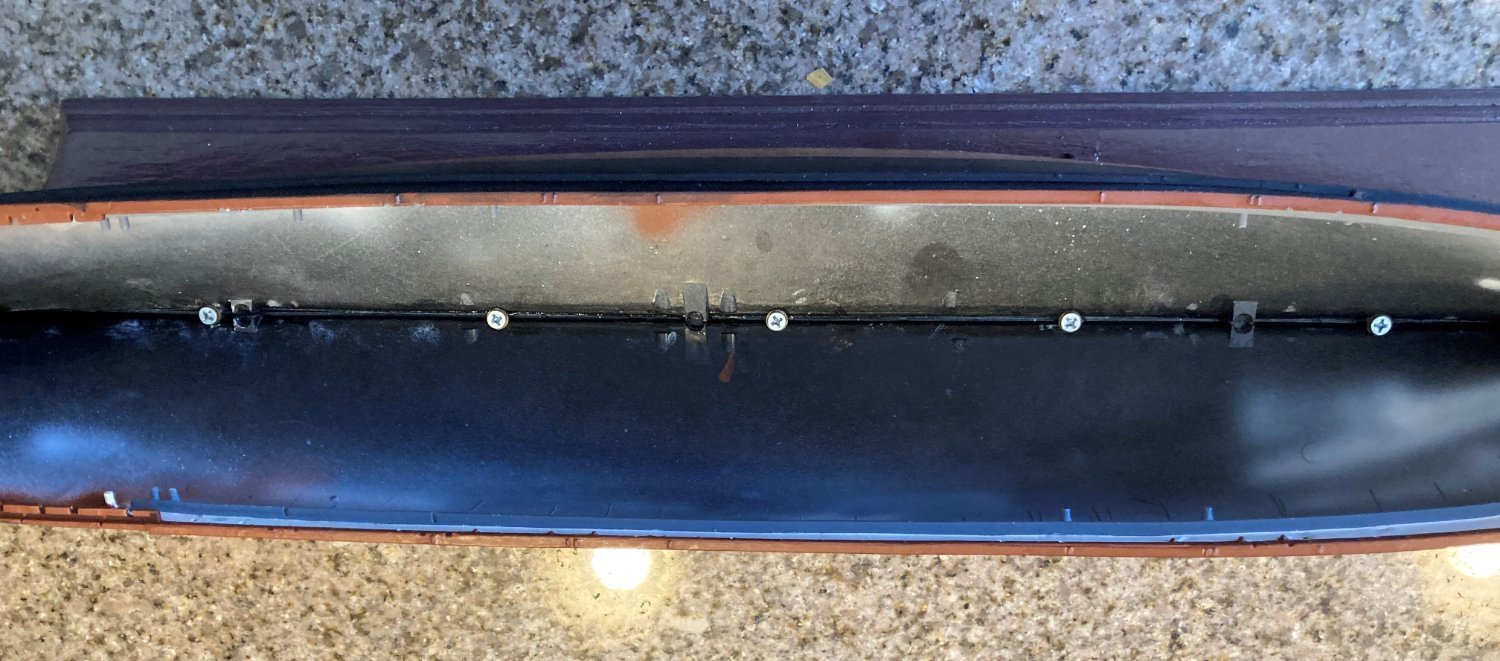
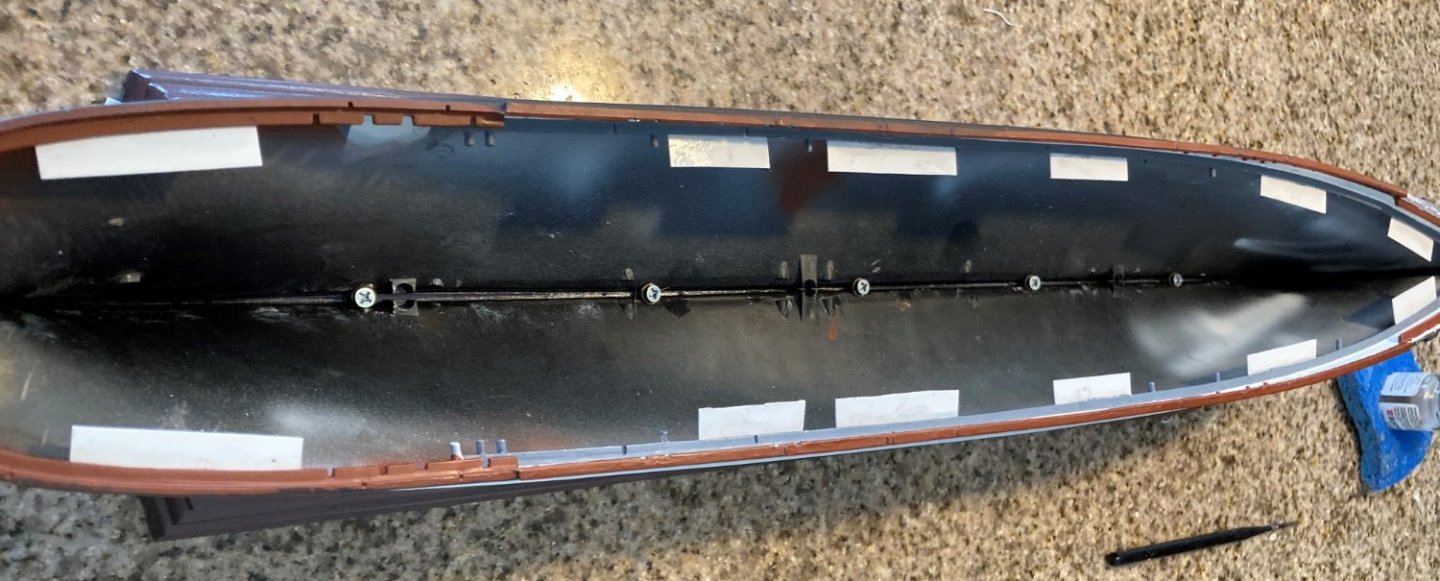
I glued tabs to the hull to mount the deck on, since the deck is warped and some lugs the deck is supposed to rest on were broken off. I will attempt to epoxy the deck to the tabs.
- 481 replies
-
- 3
-
-
- Cutty Sark
- Revell
- (and 2 more)
-
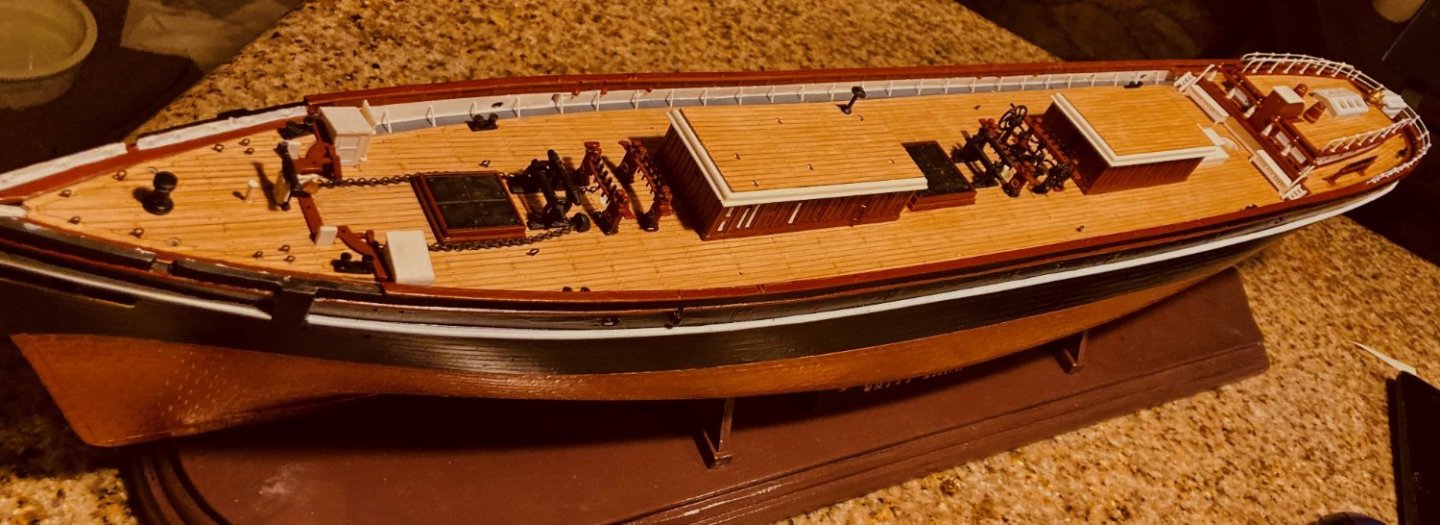
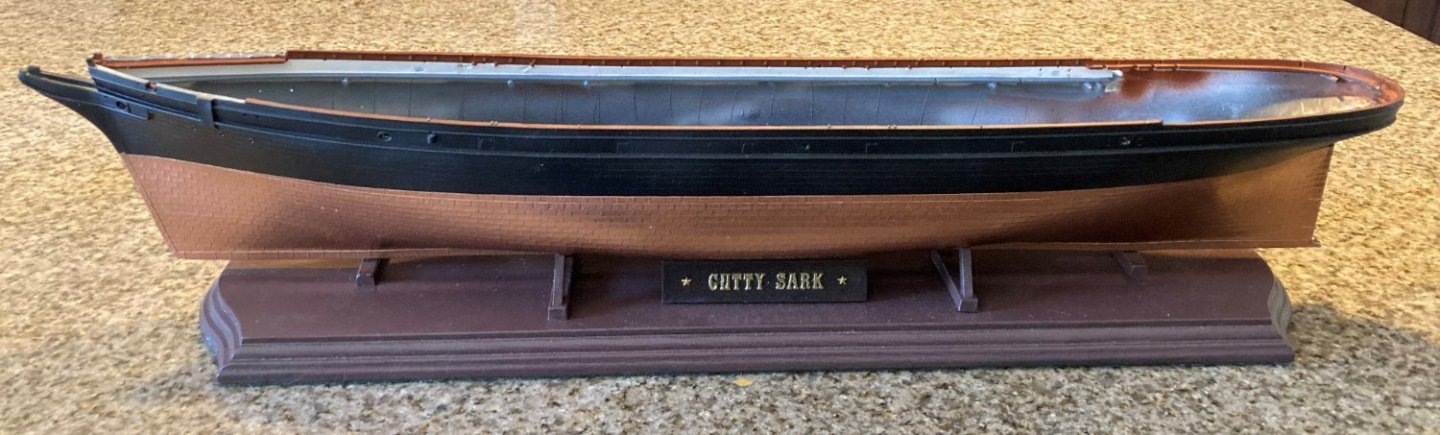
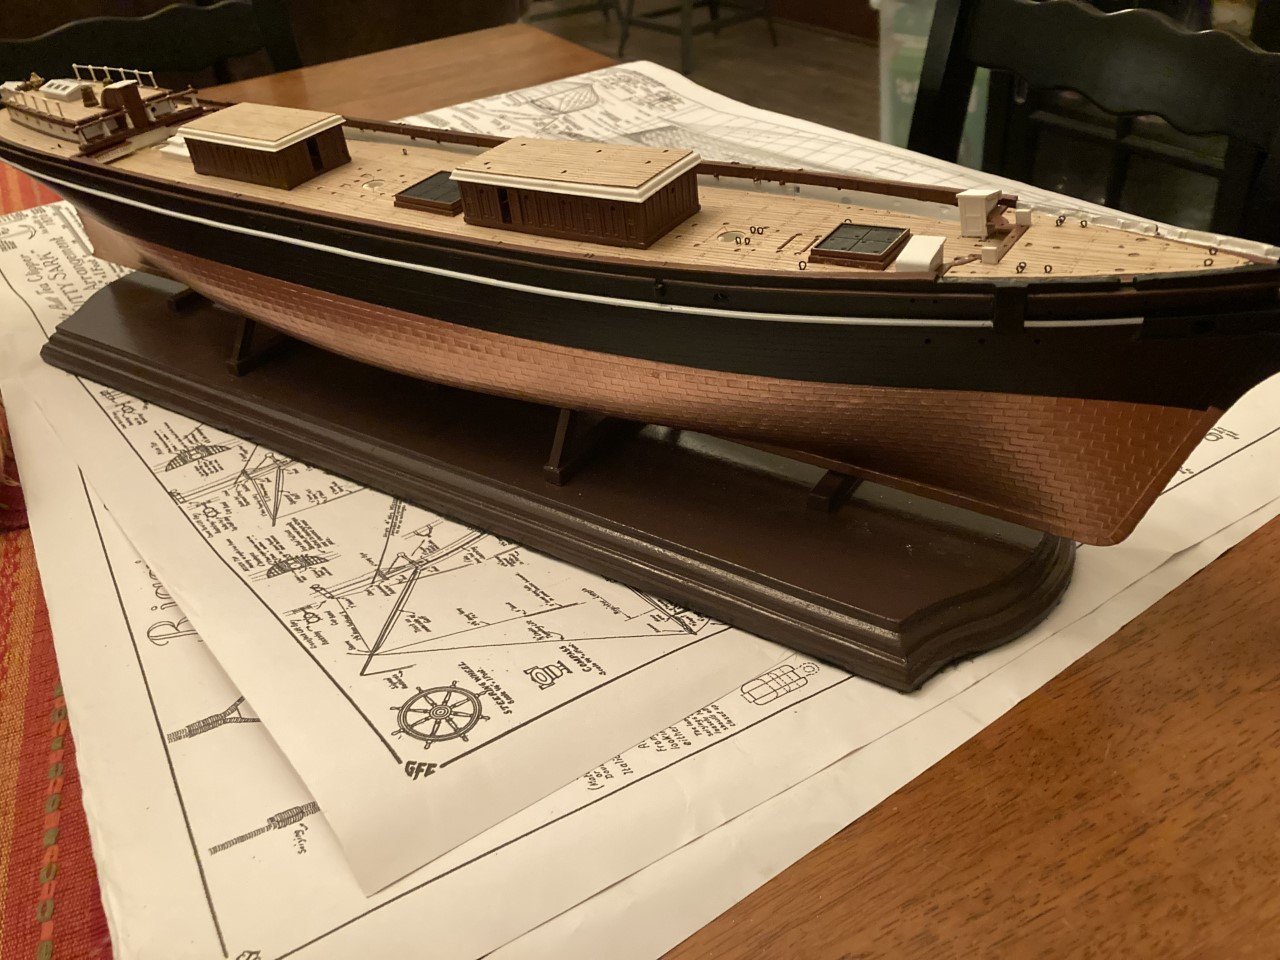
I mounted the hull on a wood base using the kit's stand parts. I drilled through the keel and stand into the base and fastened the hull to the base with wood screws. I used the stand instead of pedestals, in keeping with the idea that it is a plastic model as apposed to wood. The base forms a very sturdy, steady platform to build the rest of the ship on. Being mounted to a plastic model, the base gives the ship an extremely low center of gravity.


- 481 replies
-
- 4
-
-
- Cutty Sark
- Revell
- (and 2 more)
-
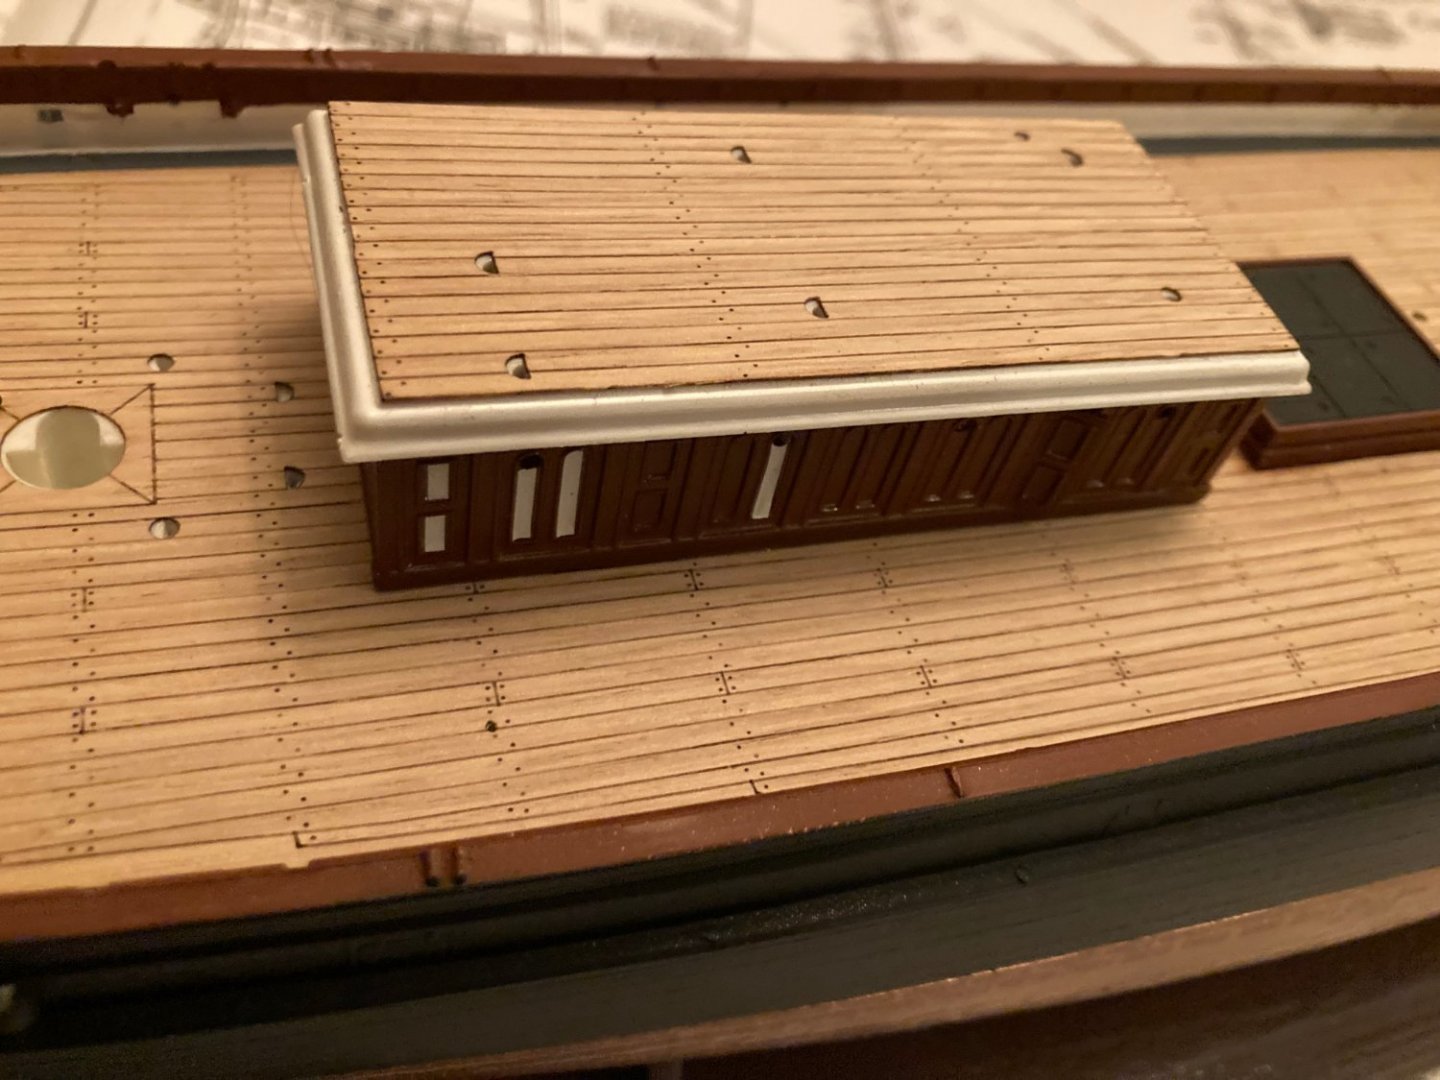
I have glued the hull together and placed the deck on temporarily. It fits pretty good. The port side is warped a bit, but gluing it down should take care of that. I am using the kit stand mounted on a wood base. Screws fasten the hull, stand and base together. It makes for a very sturdy platform to build on. I know using Testors enamels is not too sophisticated, but no one knows unless I tell them. The ideas for coloring of my ship model come from George Campbell's book "China Tea Clippers." Also from the plans he drew. About the copper hull he writes, "Under full sail, heeling over slightly, and rising and falling easily through the sea, a clipper must have presented a magnificent sight from another passing ship. Many eyewitnesses have left us enthralling descriptions; how sometimes a gleaming copper would be exposed down to the turn of bilge in the trough of the sea, or the keel lifting clear from the forefoot to nearly one-third of the length." This would seem to me to argue against weathering the copper with green and white streaks. About the waterways he says, "On both sides of the Atlantic the waterway planks (or gutters if metal) were painted a darker contrasting color such as blue, green, grey or buff." About deck house panels, he said, "The teakwork was varnished bright originally .......... Later, with reduced crews, some of the panels might get painted white, as also the curved moulding on the edge of the roof." I am going to add these white panels. On the plans it states, "topgallant bulwork of varnished teak and teak stanchions. Panels painted white also iron bulwork. (On the hull,) "varnished teak rails, (the top two rails.) (The bottom rail) varnished later white. In his book Campbell says, "The thin white ribband just above the copper line which was painted on the Cutty Sark in her retirement days was not authentic for her or any other tea clipper, and was a detraction." C. Nepean Longridge says in his book that the hatch covers were black. My brown color is supposed to represent a very dark varnished teak, maybe not right, but I like it. Some varnished teak was very dark.


- 481 replies
-
- 7
-
-
- Cutty Sark
- Revell
- (and 2 more)
-
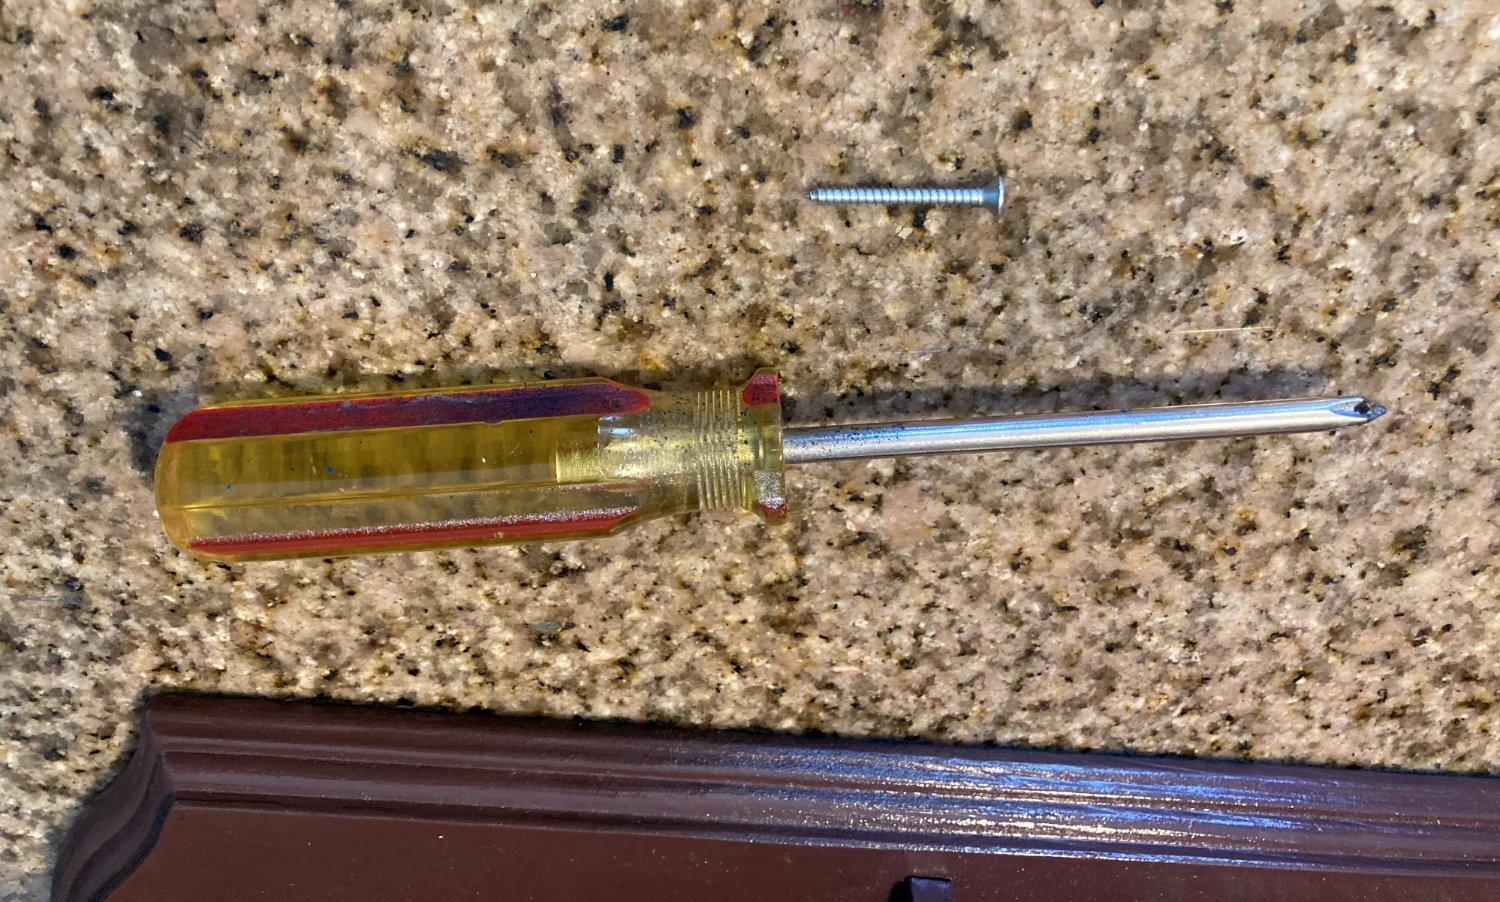
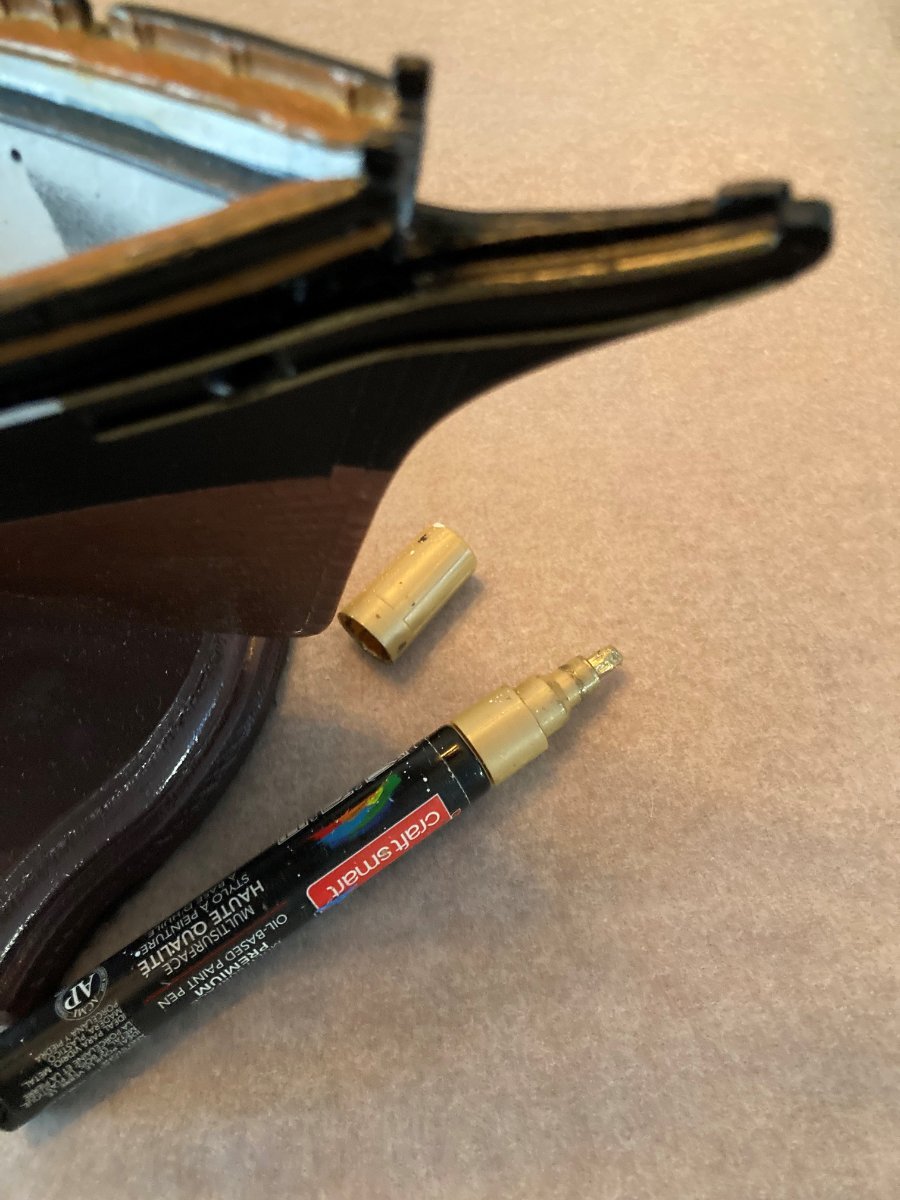
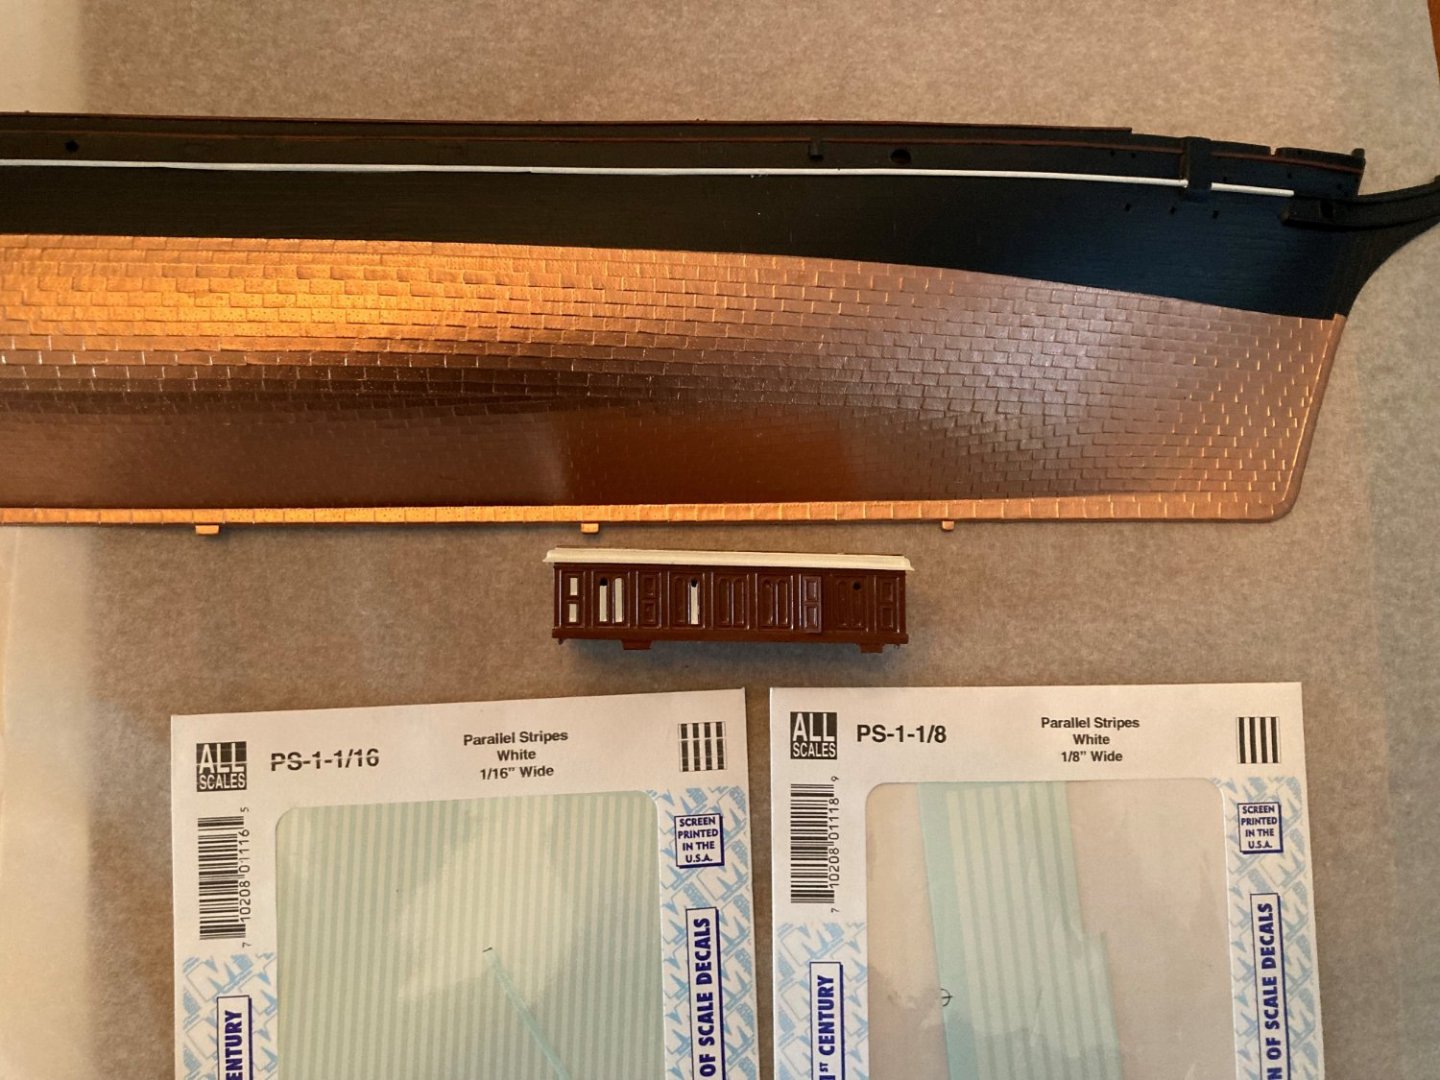
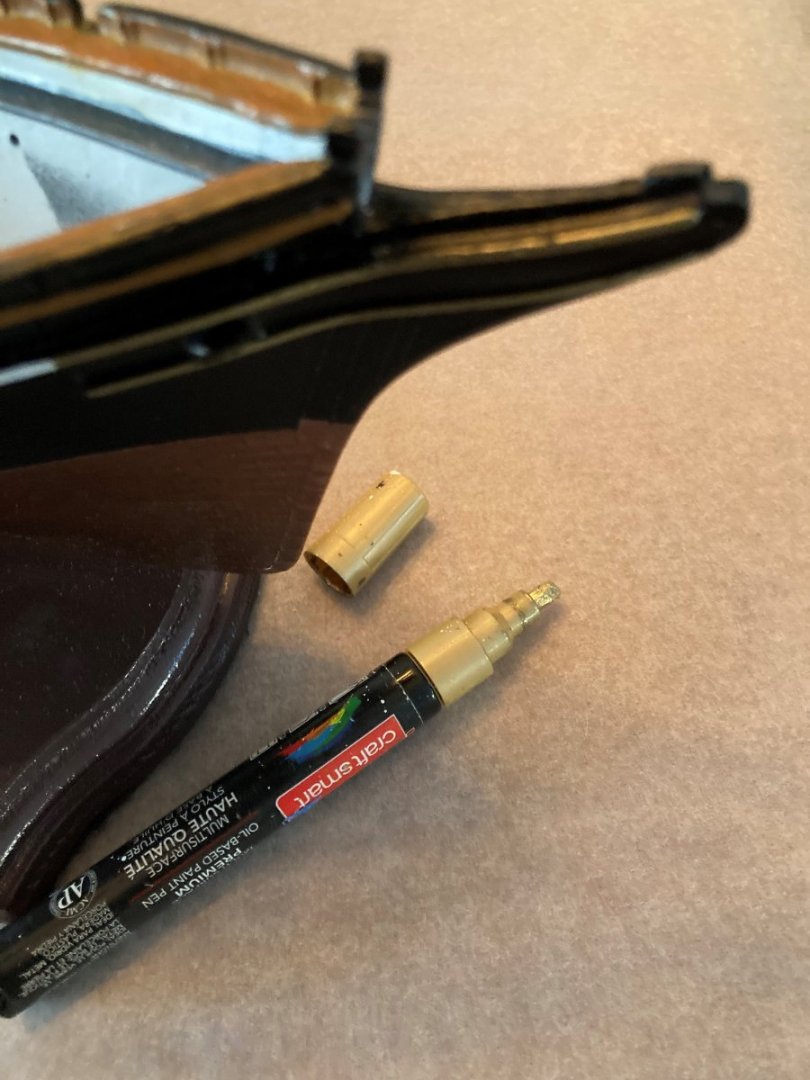
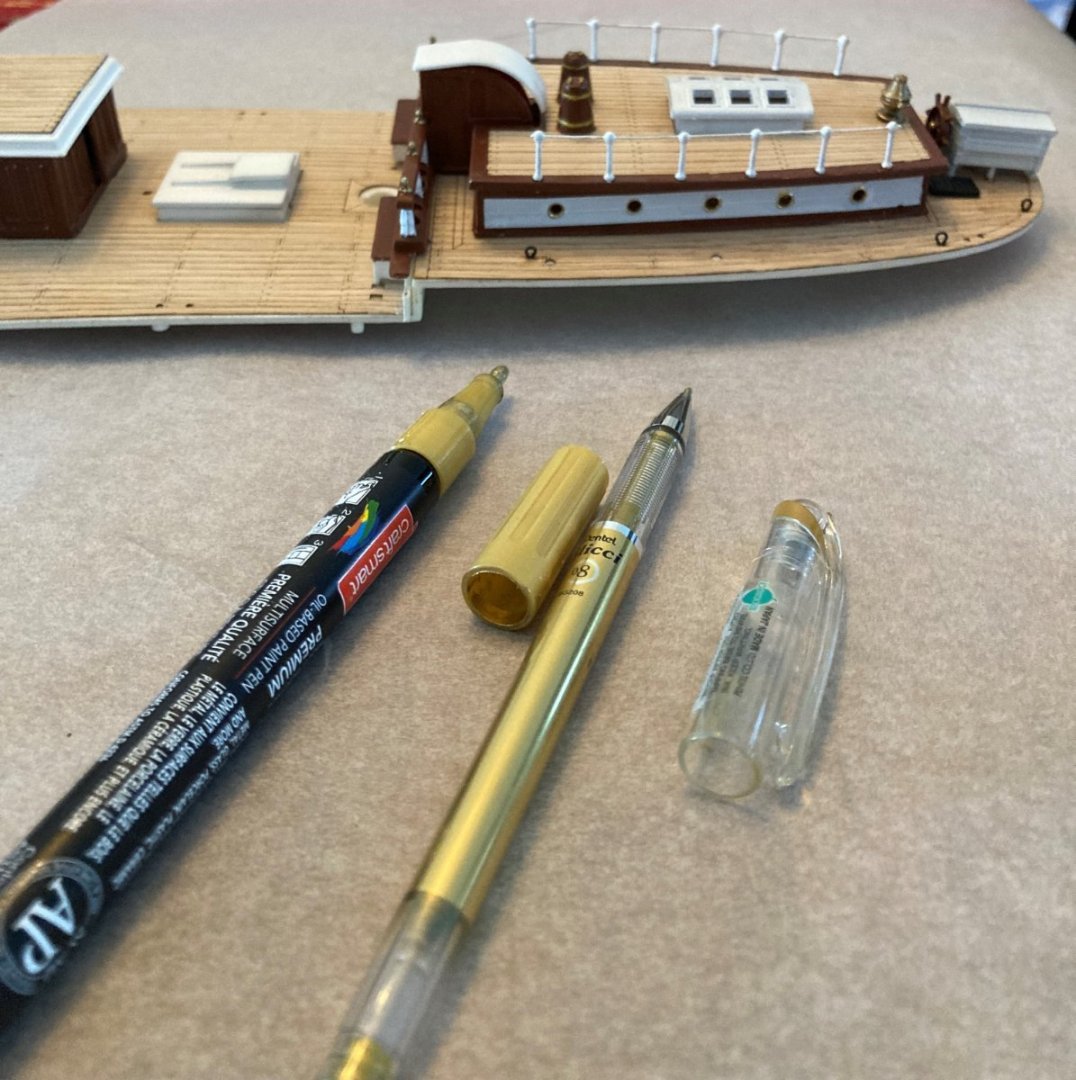
For white stripes, I am using MicroScale decals. I am using paint pens and a jell pen to color the water cask bans, portholes and raised rails on the hull. (The picture is from a prior attempt at this model.) To color the rails on the side of the hull, I used decals for the white rail. I masked off the brown rail and painted it with a brush and touched up where needed.

- 481 replies
-
- 6
-
-
- Cutty Sark
- Revell
- (and 2 more)
-
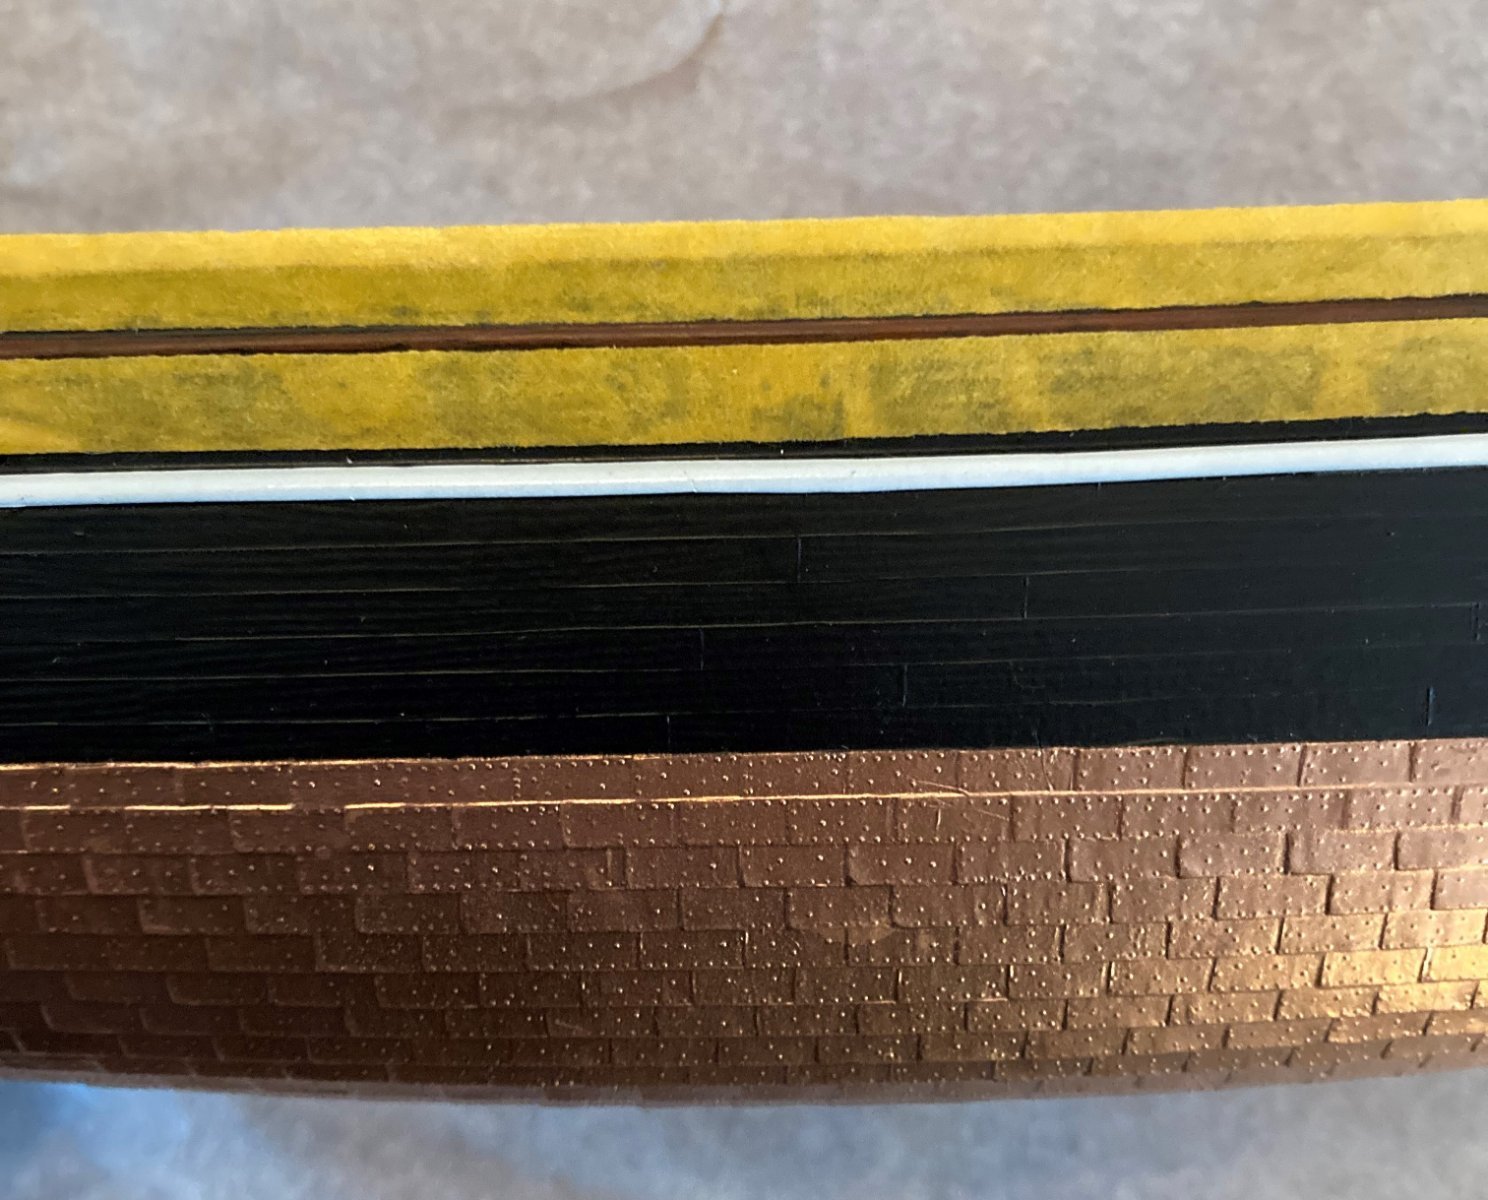
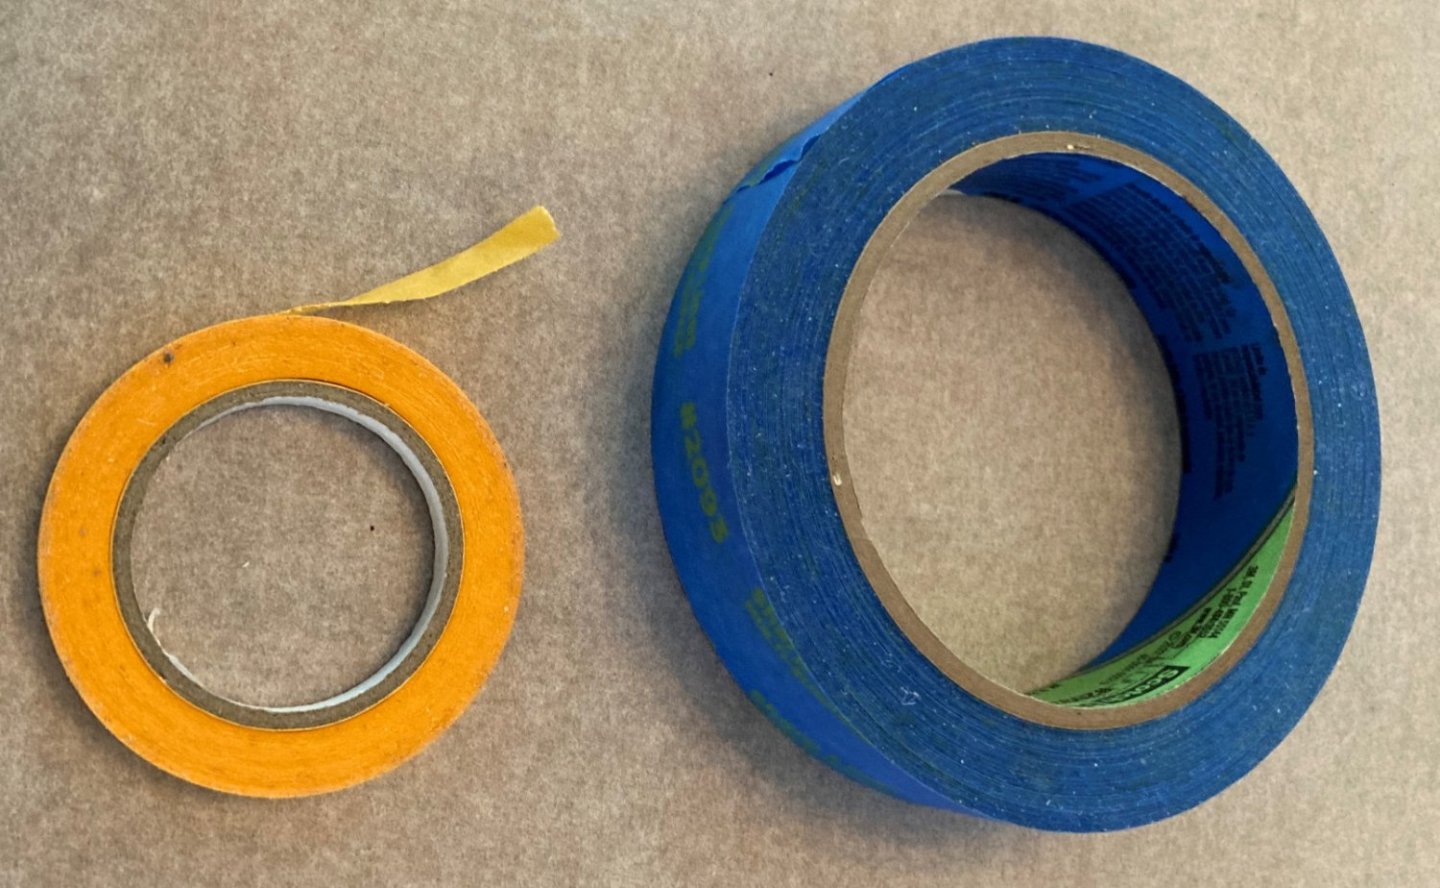
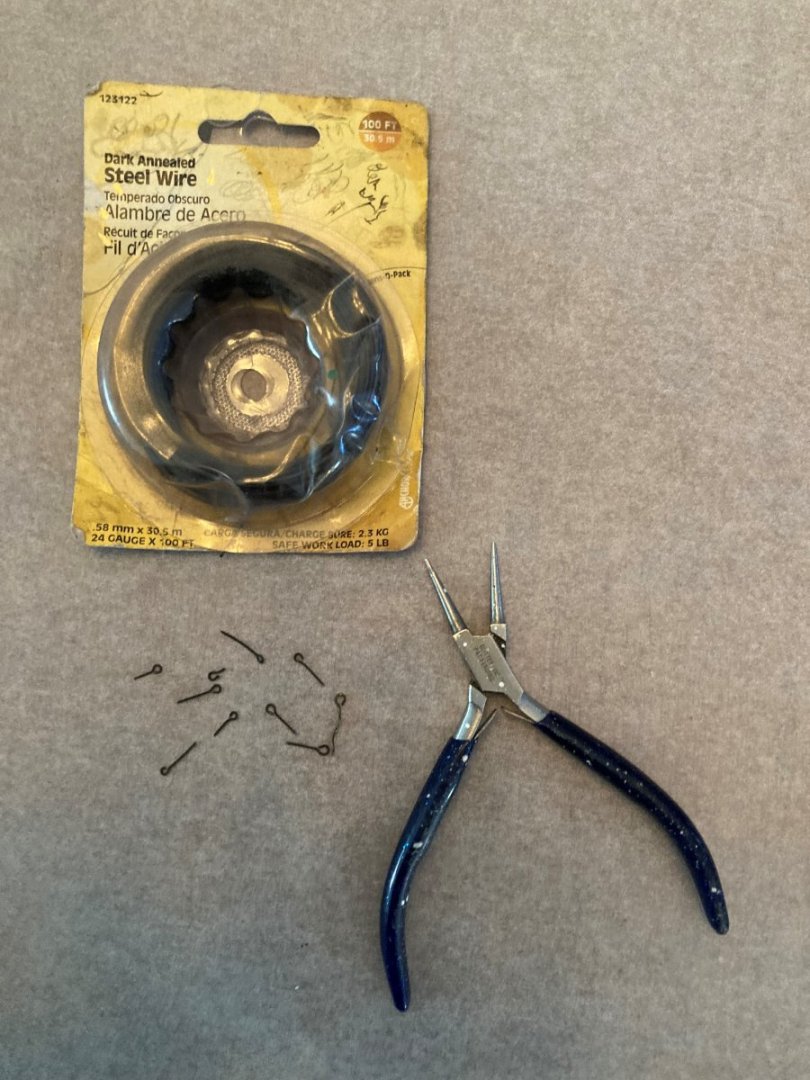
The masking tape I am using came from Hobby Lobby and Home Depot. The orange from Hobby Lobby and the blue from Home Depot. I cut the blue in thinner strips with a straight edge and an exacto knife with a #11 blade if I need them. The brass stanchions are made by aero-naut. I bought them online at a model ship supply site. I don't remember where. I am using 9mm one and two hole stanchions. I make eyelets with dark annealed 24 gauge steel wire. I don't remember where I got it

- 481 replies
-
- 4
-
-
- Cutty Sark
- Revell
- (and 2 more)
-
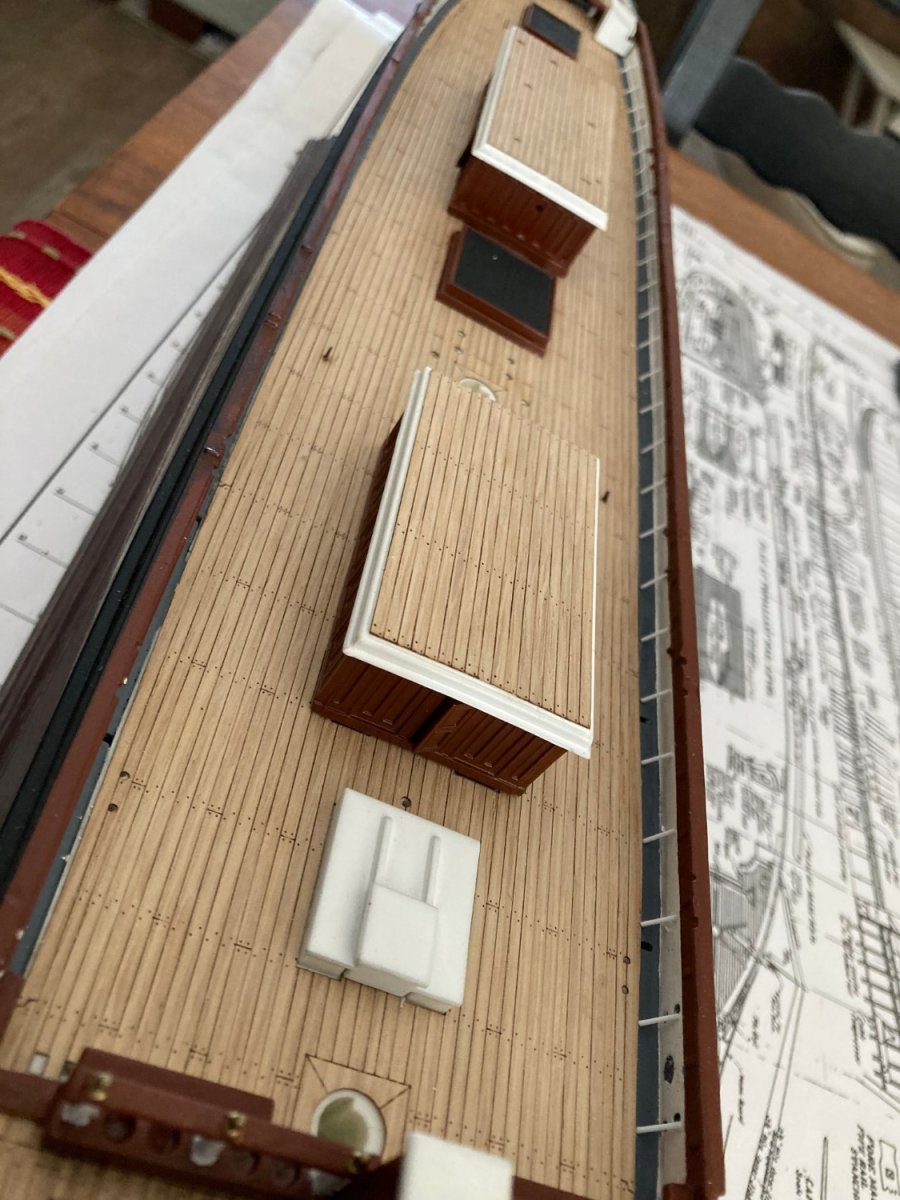
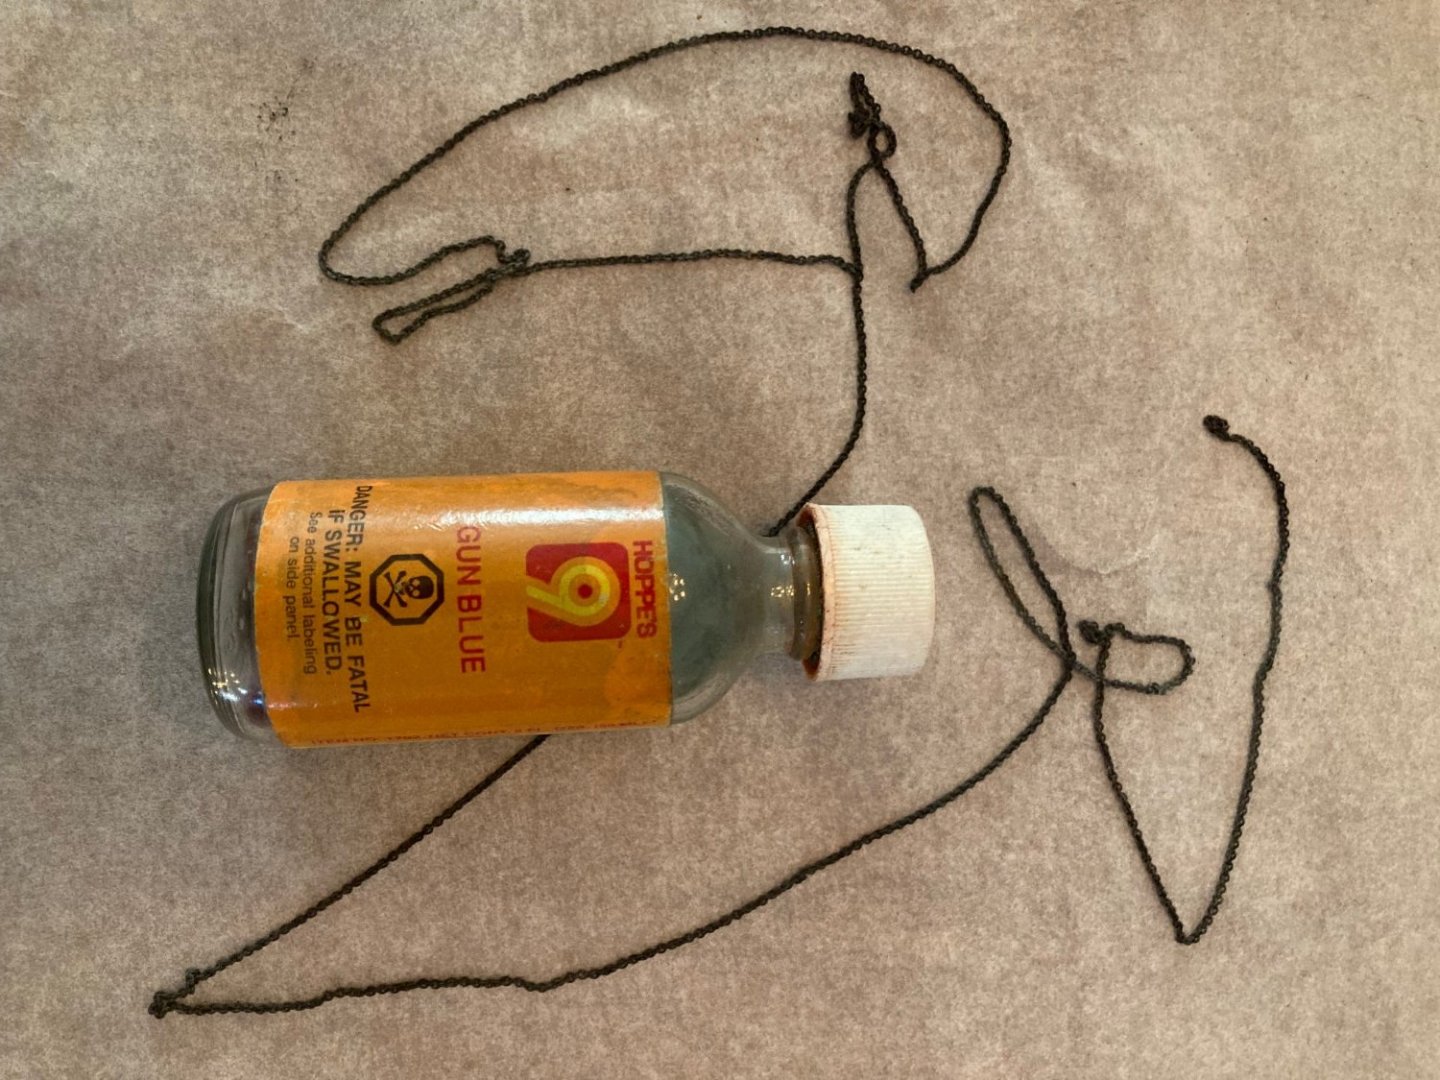
I glued the wood deck from His Model to the plastic deck using Testors liquid cement. I first glued the three deck sections together, sanded any raised areas flat, then painted only the sides of the hatches, leaving the rest of the deck unpainted. I liberally painted the liquid cement on the plastic deck with a brush until all of it was covered. The cement softens the plastic, making it tacky. Before it dried, I laid the wood deck down on the plastic, pressing it down by sliding over it with a paper towel held in my hand. I blackened the brass chain with a product called gun blue by Hoppe's. You can get it at a gun store. I dipped the chain into the bottle held by a piece of wire. It only takes a minute to work, and dries in a few more minutes. I am using Testors enamel paints. In the past, I used Floquil and Model Master paints, but they are mostly gone now. These I can get at my local Michael's or Hobby Lobby. I used my spray gun to paint the hull sides with black, copper, white, rust and gray straight out of the bottle after masking areas with masking tape. My compressor was set to 20lbs pressure. I clean up with lacquer thinner.


- 481 replies
-
- 6
-
-
- Cutty Sark
- Revell
- (and 2 more)