-
Posts
509 -
Joined
-
Last visited
About bcochran

- Birthday 05/14/1946
Profile Information
-
Gender
Male
-
Location
Santa Maria, CA
-
Interests
Hobbies, Model cars, ships, trains, trucks
Recent Profile Visitors
-
 schooner reacted to a post in a topic:
Robert E Lee by rvchima - FINISHED - Amati - scale 1:150 - Mississippi River Steamboat 1866 - 1876
-
 rvchima reacted to a post in a topic:
Robert E Lee by rvchima - FINISHED - Amati - scale 1:150 - Mississippi River Steamboat 1866 - 1876
-
 rvchima reacted to a post in a topic:
Robert E Lee by rvchima - FINISHED - Amati - scale 1:150 - Mississippi River Steamboat 1866 - 1876
-
 berhard reacted to a post in a topic:
Robert E Lee by rvchima - FINISHED - Amati - scale 1:150 - Mississippi River Steamboat 1866 - 1876
-
 Canute reacted to a post in a topic:
Robert E Lee by rvchima - FINISHED - Amati - scale 1:150 - Mississippi River Steamboat 1866 - 1876
-
 Canute reacted to a post in a topic:
Robert E Lee by rvchima - FINISHED - Amati - scale 1:150 - Mississippi River Steamboat 1866 - 1876
-
 Cathead reacted to a post in a topic:
Robert E Lee by rvchima - FINISHED - Amati - scale 1:150 - Mississippi River Steamboat 1866 - 1876
-
 Cathead reacted to a post in a topic:
Robert E Lee by rvchima - FINISHED - Amati - scale 1:150 - Mississippi River Steamboat 1866 - 1876
-
Here are some plans I used for reference. You might already have them. The plans were by Bates I think. I bought a set on Ebay and when my boat was finished I passed them along to another member who was building a Robt E Lee. There are 9 pages,
- 58 replies
-
- Robert E Lee
- Amati
-
(and 4 more)
Tagged with:
-
 hof00 reacted to a post in a topic:
1956 Chris-Craft 54' Constellation by bcochran - FINISHED - Lindberg - 1/20 PLASTIC
-
 yvesvidal reacted to a post in a topic:
1956 Chris-Craft 54' Constellation by bcochran - FINISHED - Lindberg - 1/20 PLASTIC
-
 bcochran reacted to a post in a topic:
1956 Chris-Craft 54' Constellation by bcochran - FINISHED - Lindberg - 1/20 PLASTIC
-
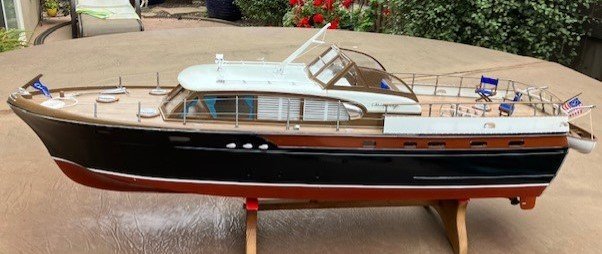
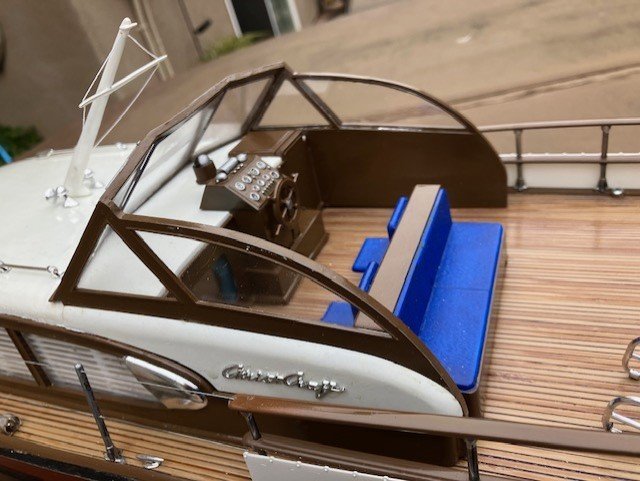
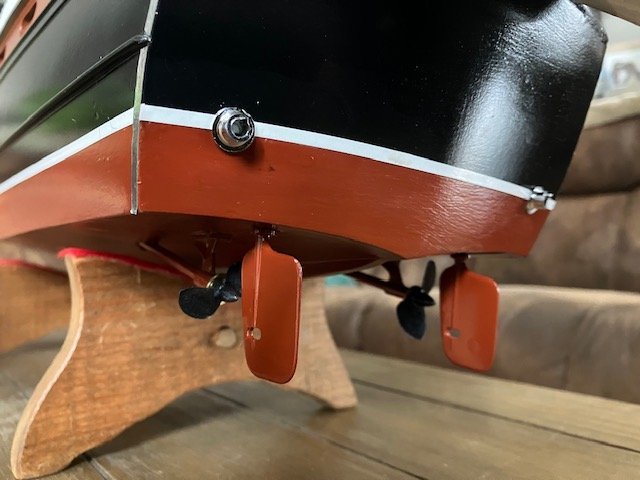
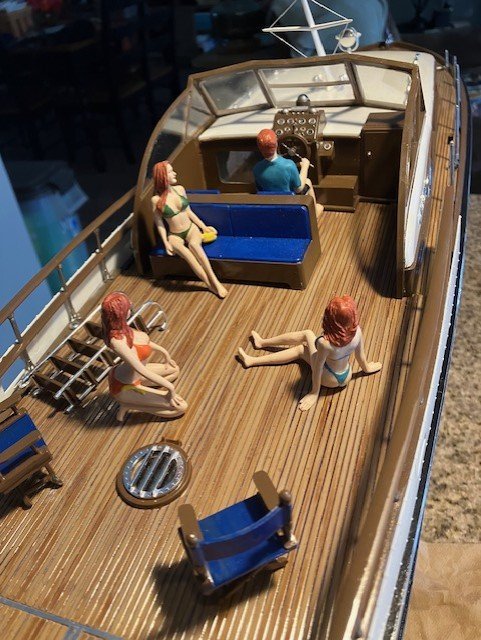
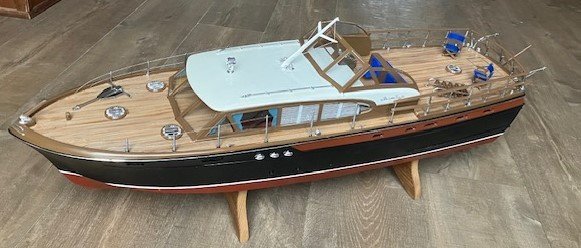
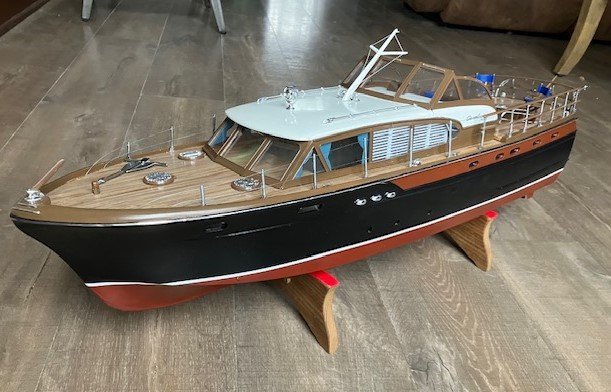
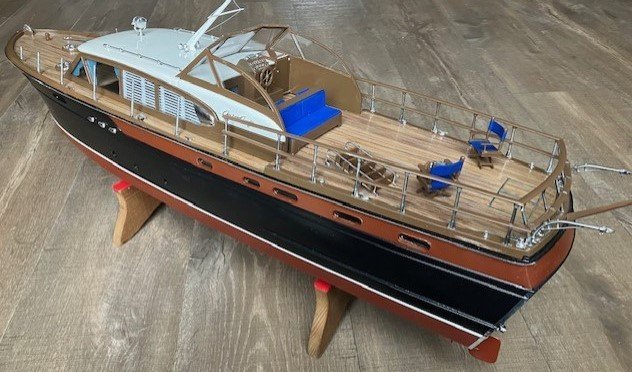
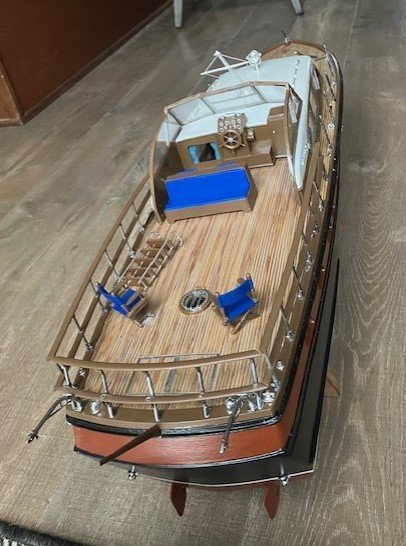
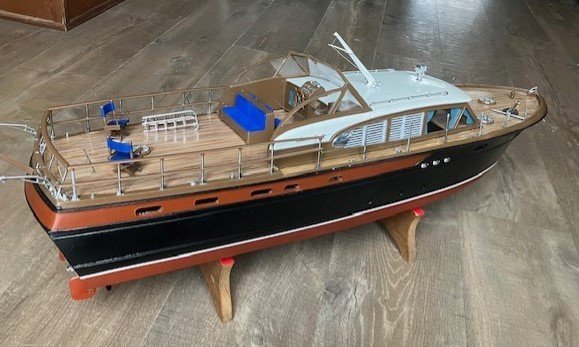
I want to keep this build log open since this boat is a R/C model and I haven't gotten the R/C components working yet. The superstructure is finished but not the electronics and she has yet to float in the water. Several people here have offered help with the electronics and I want to use that advice.
- 147 replies
-
- 147 replies
-
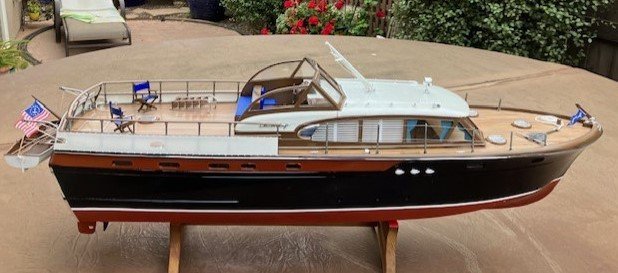
If there are any high rollers out there and you want to build this model, there is an original Marx Chris Craft Constellation on Ebay for $875 plus $40 shipping. It is a rare kit but a bit too expensive I think. There is a Marx power kit on Ebay for the Constellation for $749.99. It looks like from the pictures for the Marx constellation there are no motors or anything to power it. My Lindberg kit has motors and things to power it. I am not using them though. There is a Lindberg sports fisherman for $850 plus $80.65 shipping. I would rather make a Dumas model which is much cheaper. I am seriously thinking of doing that. Or maybe the Lindberg PT-109. I will be completely done with building my Constellation today. Pictures to follow. I will next work on getting the electronics working then on to the pond at Waller Park here in Santa Maria, CA.
- 147 replies
-
 bcochran reacted to a post in a topic:
1956 Chris-Craft 54' Constellation by bcochran - FINISHED - Lindberg - 1/20 PLASTIC
-
Thank you, I learn a lot by reading other people's logs and that's where that idea came from. The one in the pictures here is acceptional I think.
- 147 replies
-
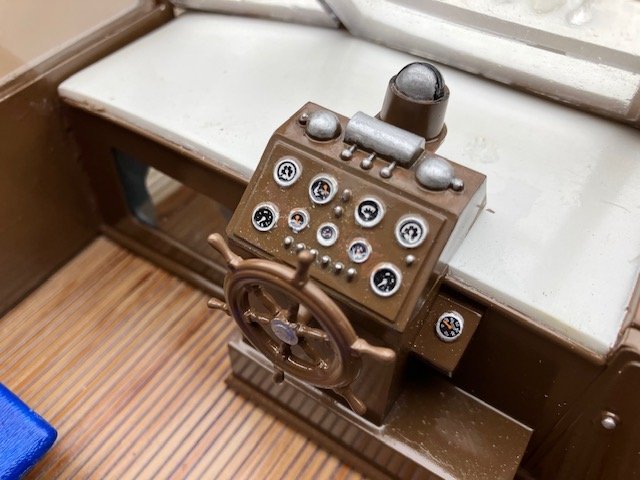
It is getting to be time to get the electronics working.
- 147 replies
-
- 147 replies
-
When I see them for sale they they are mostly on freshwater. I live 9 miles from the Pacific Ocean and there are days I wouldn't want to be on a submarine. Last weekend the waves were 5 to 8 feet above normal. The surfers love it but don't expect me to go whale watching in waves like that. I was looking into joining a club in Santa Barbara that has rental boats to use on the sea. They were 15ft single deck with a tiny cabin. I said no thank you.
- 147 replies
-
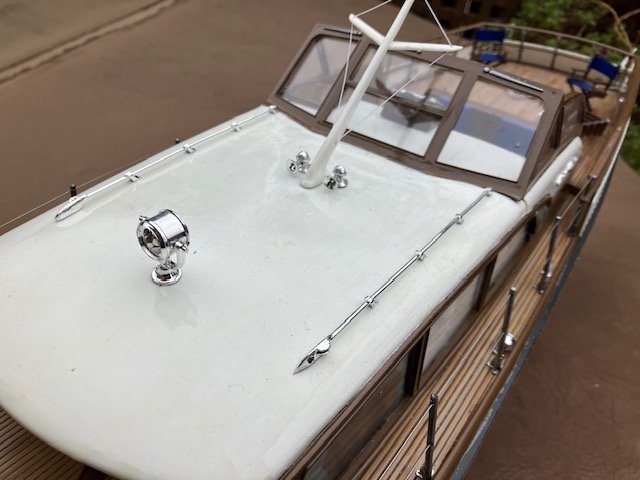
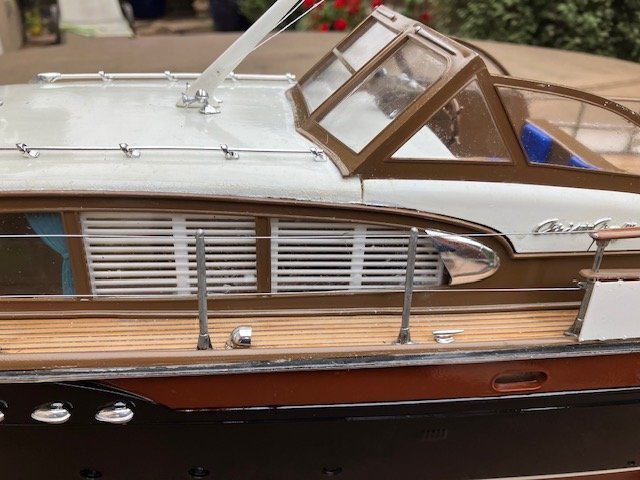
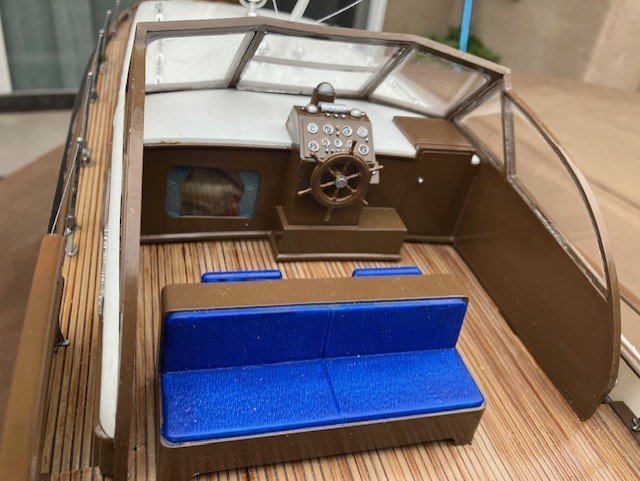
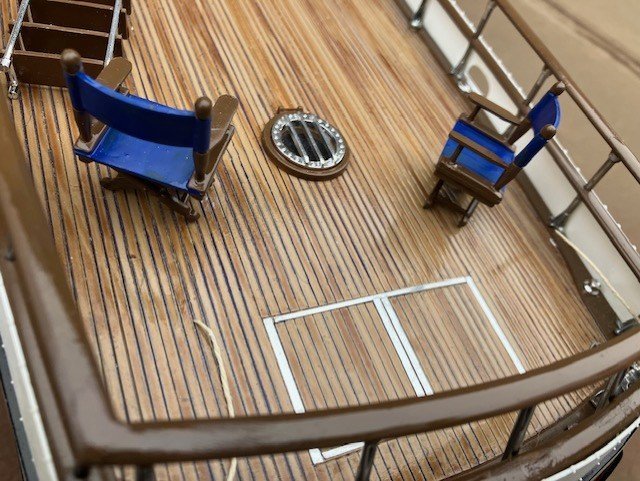
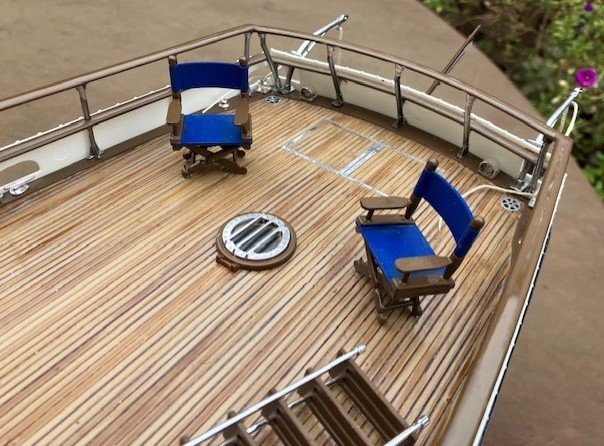
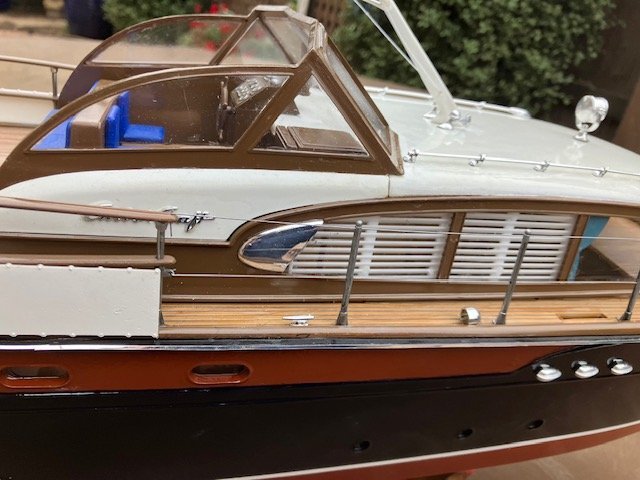
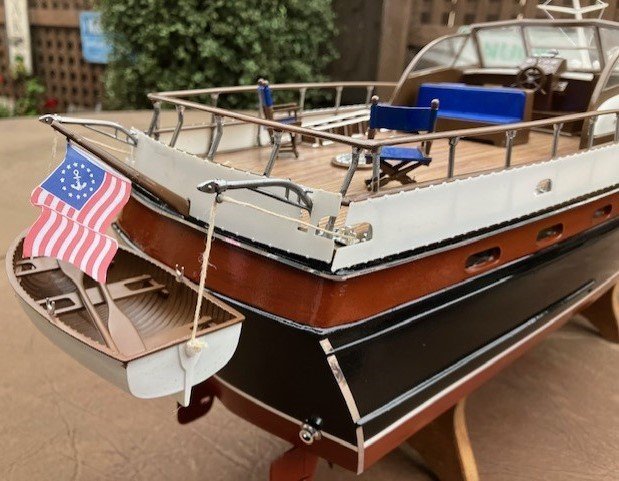
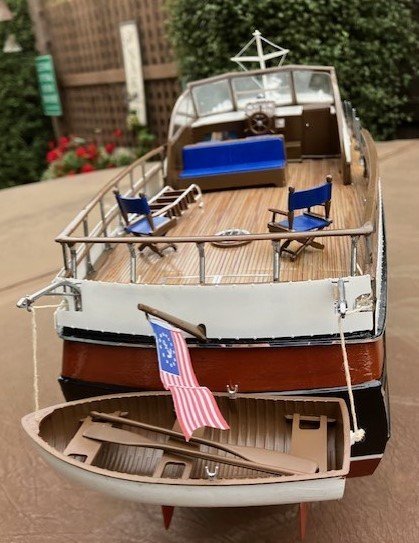
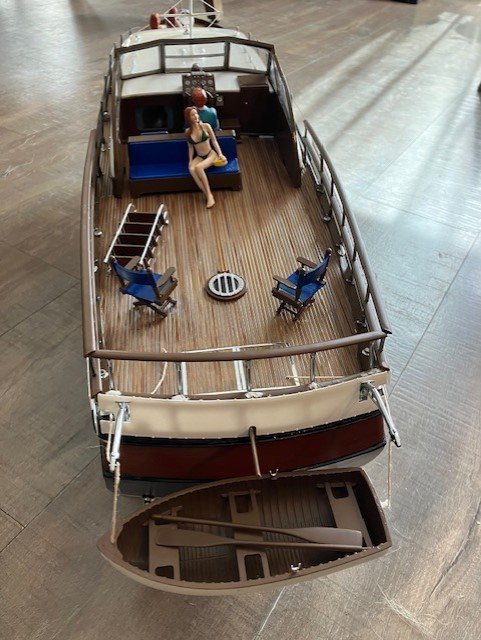
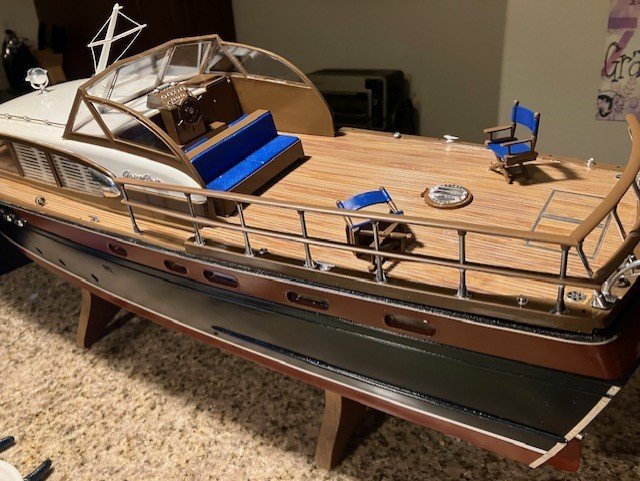
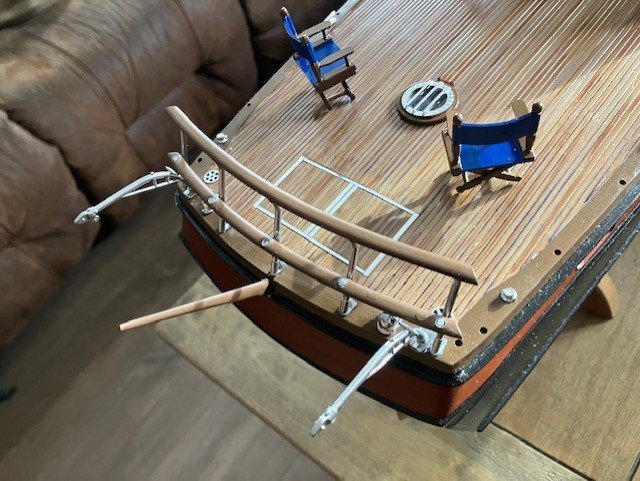
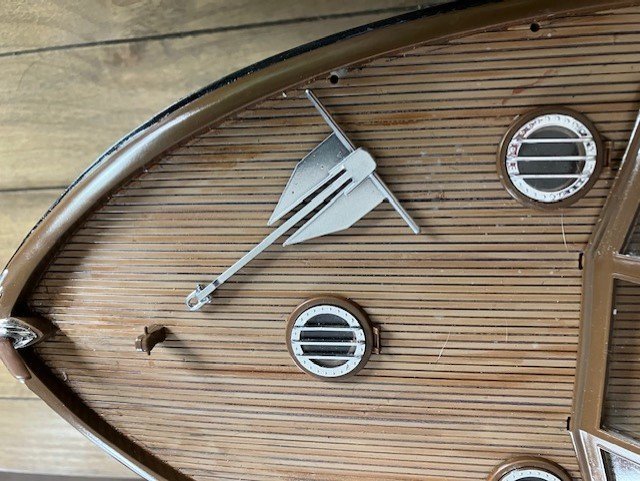
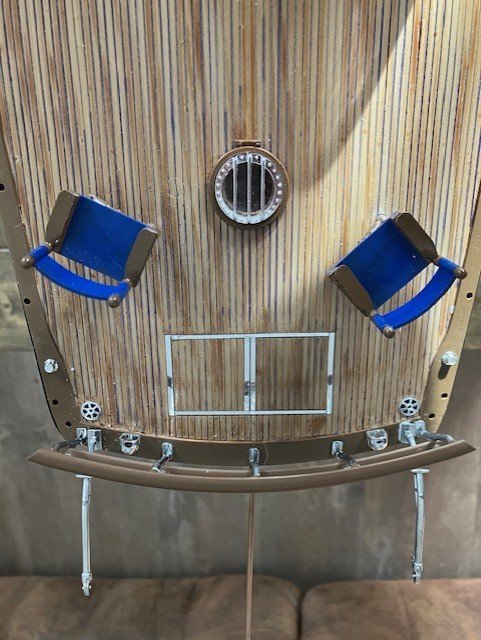
Well the superstructure of the boat is almost complete. I need to add the dingy, the canvas railing covers and a few more things.
- 147 replies
-
 bcochran reacted to a post in a topic:
1956 Chris-Craft 54' Constellation by bcochran - FINISHED - Lindberg - 1/20 PLASTIC
-
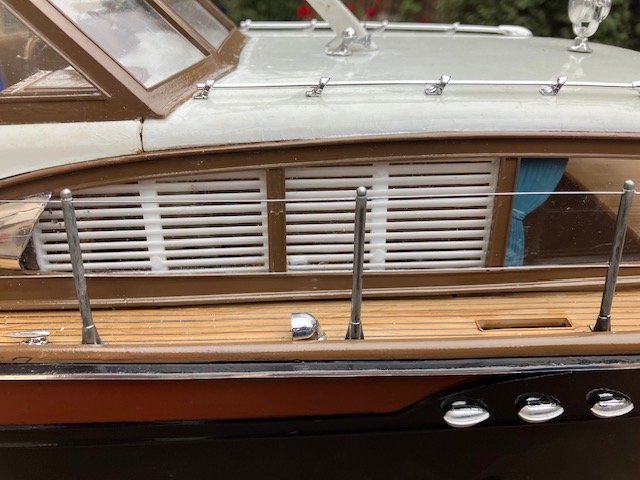
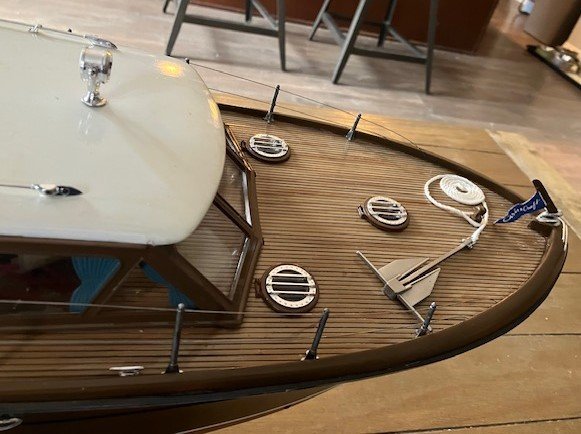
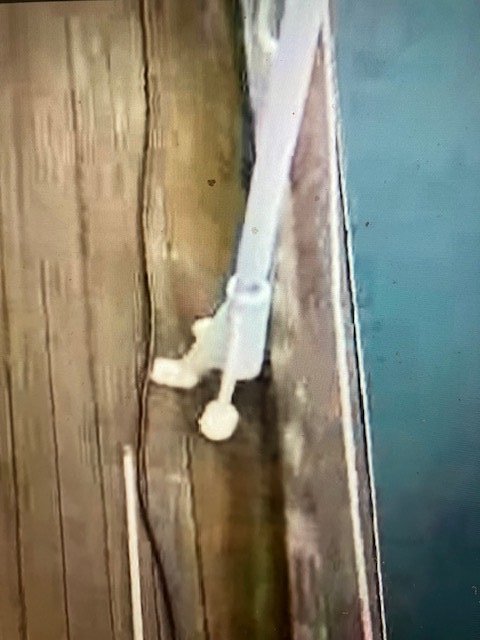
There is a gap between the deck and the right front corner of the cabin. I think the deck is warped. I am going to try and prop up the deck from the underside. I think the Alclad II is the better method of painting chrome provided you go about doing it correctly. It is meant to be sprayed with an air brush. You must first apply a glossy black undercoat then lightly mist on several coats of chrome to bring out the effect. That is not easy to do if you are not skilled with an air brush. Too heavy a coat and the chrome effect will not work. Testor's spray chrome is easier but not quite as good a look as Alclad II I think. Also you can't spray it too heavy either, it builds up fast and it takes a while to cure completely. You can't control the flow of the paint from a rattle can like you can with an air brush. Alclad II has many different shades of finish and I think it pays to learn to use it. I read lot's of threads about things like this and I see what I call "absolute" statements. I don't believe in absolutes other than to say there are no absolutes. You have to use what works for you. If you are happy with the results it doesn't matter what other people say.
- 147 replies
-
- 147 replies
-
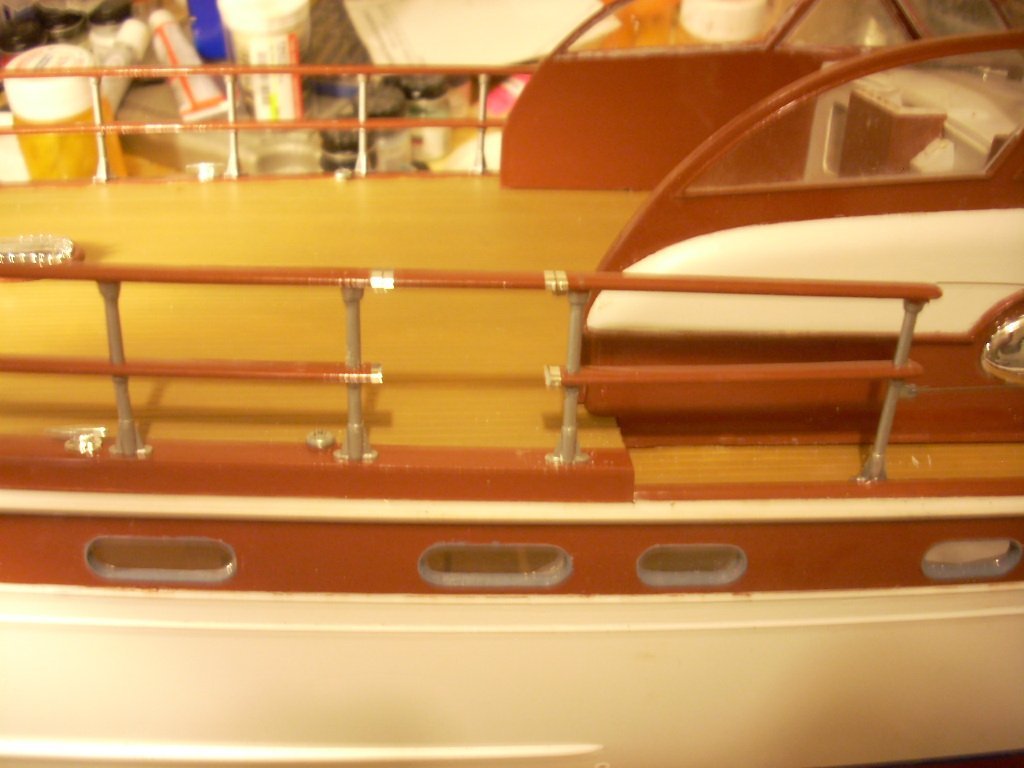
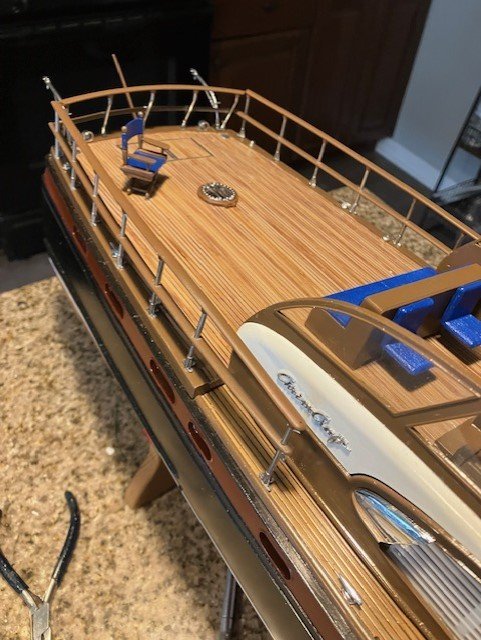
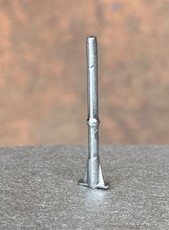
Sometimes when working on a build like this there are days when you can't do anything right. Your skills seem to have abandoned you for a while. Or other mishaps like breaking or losing a part happens. Then there are times when it goes right! I thought I lost one of the stanchions. I was resigned to either scratch build one or just substitute a piece of plastic rod and live with it. I decided to try and scratch build one. I was looking through a pile of tools and junk on my work desk to get what I needed for the scratch build. There at the bottom of the pile of junk was the missing stanchion!! It was incredibly serendipitous! I have no idea how it got there. I didn't want to get out my airbrush and Alclad II paint for just one stanchion so I sprayed it with Testors chrome in a rattle can. It doesn't look all that different from the other ones. So rather than spend a day trying to correct for a mishap I am moving forward again!
- 147 replies
-
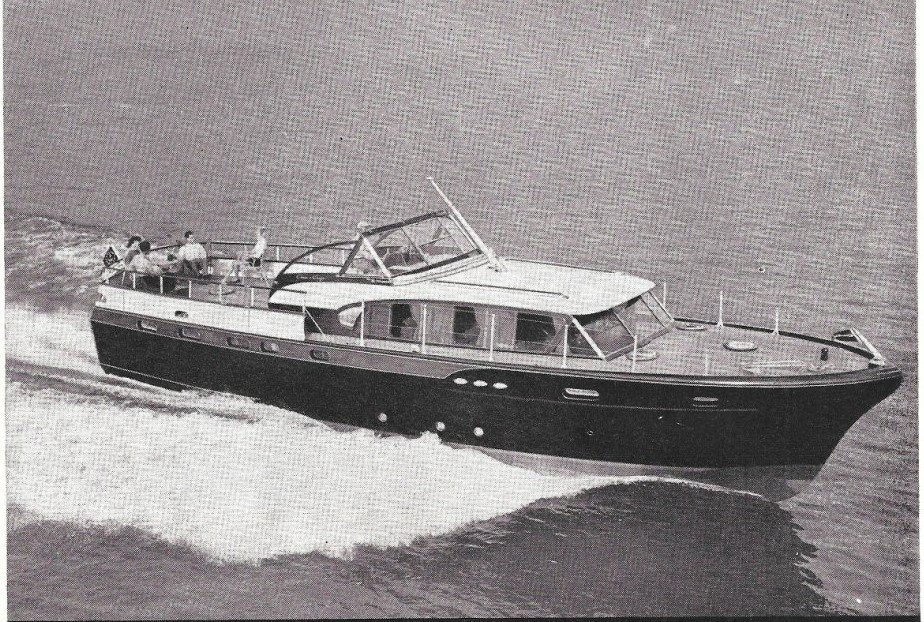
When mounting the port and starboard railings, you can't permanently attach them to the fore stanchion if you want to be able to remove the rear deck to get to the electronics. That stanchion is not mounted to the rear deck. The instructions don't mention this but a little thought makes it obvious. You have to lift the railing off that stanchion to remove the deck. The others can be permanently attached to the railing. There are quite a few places where you can screw up this model by not knowing what you don't know. Be sure to mount the stanchions in the right direction. This isn't obvious but a look at the real thing helps.
- 147 replies
-
- 147 replies
About us
Modelshipworld - Advancing Ship Modeling through Research
SSL Secured
Your security is important for us so this Website is SSL-Secured
NRG Mailing Address
Nautical Research Guild
237 South Lincoln Street
Westmont IL, 60559-1917
Model Ship World ® and the MSW logo are Registered Trademarks, and belong to the Nautical Research Guild (United States Patent and Trademark Office: No. 6,929,264 & No. 6,929,274, registered Dec. 20, 2022)
Helpful Links
About the NRG
If you enjoy building ship models that are historically accurate as well as beautiful, then The Nautical Research Guild (NRG) is just right for you.
The Guild is a non-profit educational organization whose mission is to “Advance Ship Modeling Through Research”. We provide support to our members in their efforts to raise the quality of their model ships.
The Nautical Research Guild has published our world-renowned quarterly magazine, The Nautical Research Journal, since 1955. The pages of the Journal are full of articles by accomplished ship modelers who show you how they create those exquisite details on their models, and by maritime historians who show you the correct details to build. The Journal is available in both print and digital editions. Go to the NRG web site (www.thenrg.org) to download a complimentary digital copy of the Journal. The NRG also publishes plan sets, books and compilations of back issues of the Journal and the former Ships in Scale and Model Ship Builder magazines.


