HOLIDAY DONATION DRIVE - SUPPORT MSW - DO YOUR PART TO KEEP THIS GREAT FORUM GOING! (Only 20 donations so far - C'mon guys!)
×


bibounde
-
Posts
43 -
Joined
-
Last visited
Content Type
Profiles
Forums
Gallery
Events
Everything posted by bibounde
-
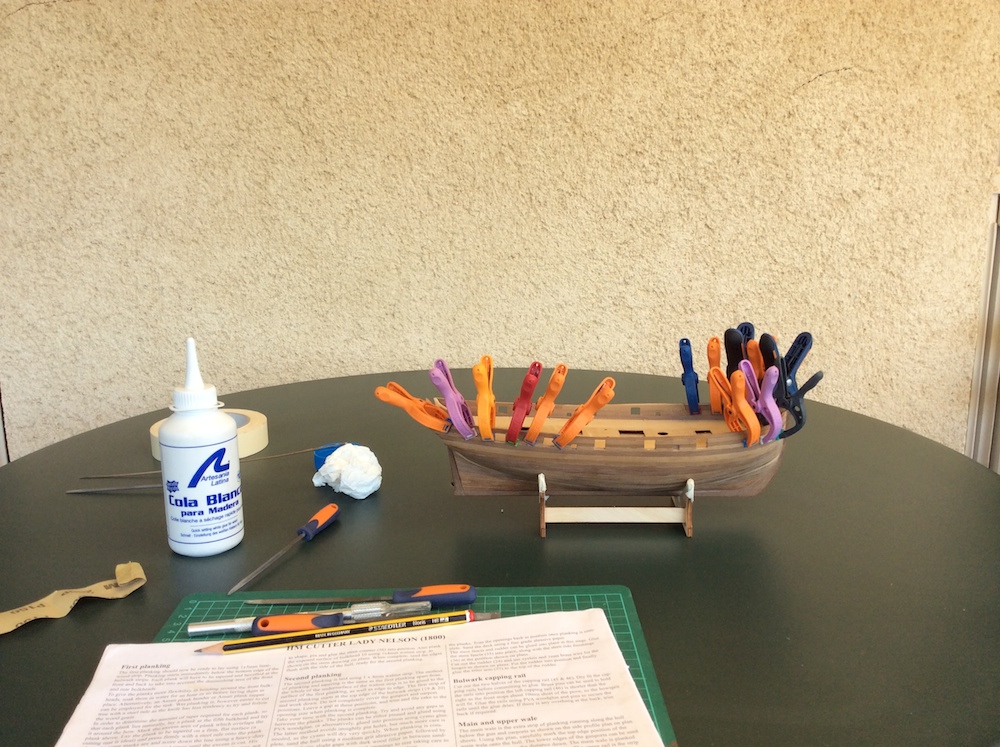
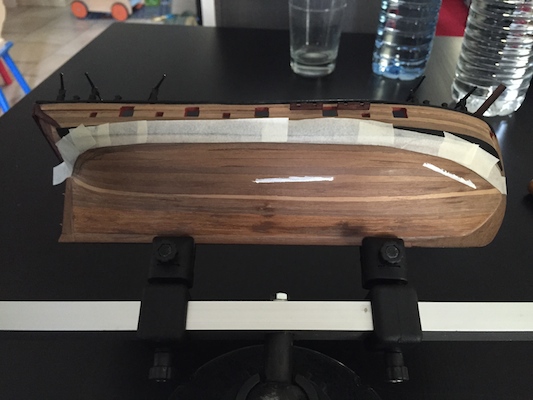
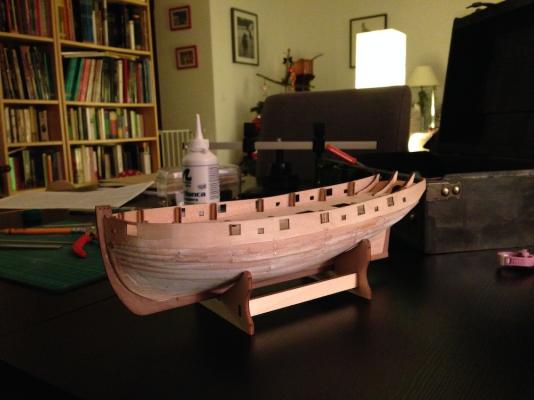
Thank your encouragements John Saturday, I started hull painting (I hope that I will no ruin my ship). First: masking tape More pictures soon.
- 63 replies
-
- 1
-

-
- amati
- lady nelson
- (and 2 more)
-
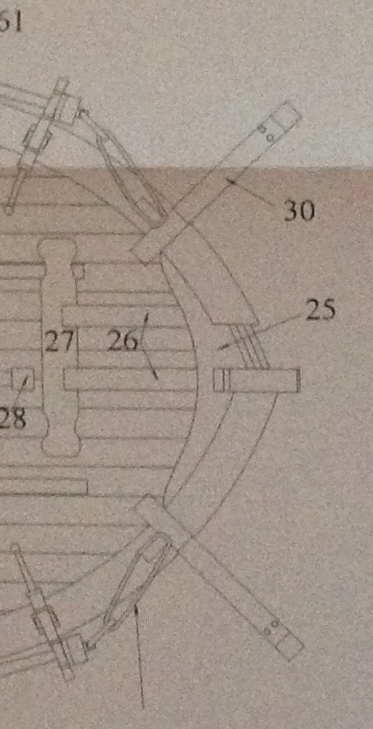
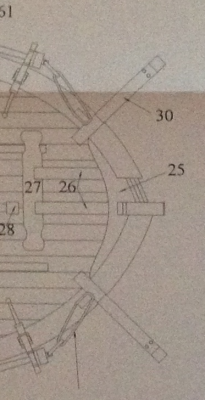
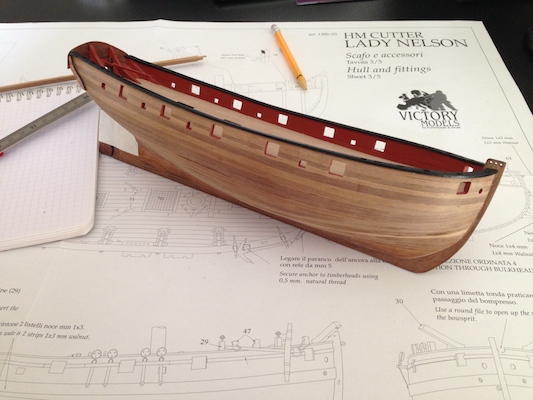
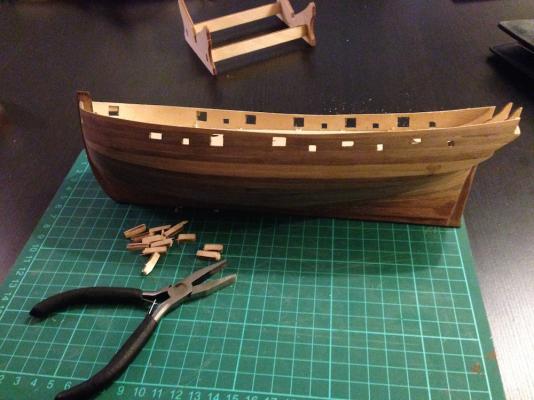
Hi there, I was away too long. During this month, I planked the main wale and the upper rail. I also wanted to glue the two catheads at the bow. And the instructions stated that I need to "mark onto the capping rail their positions, using the overhead view drawing on plan sheet three for visual reference". As you can see, I guess that plan sheet is invalid (the red cathead location is defined by plan sheet) Well, here is the final result. Regards folks

- 63 replies
-
- 5
-
-
- amati
- lady nelson
- (and 2 more)
-
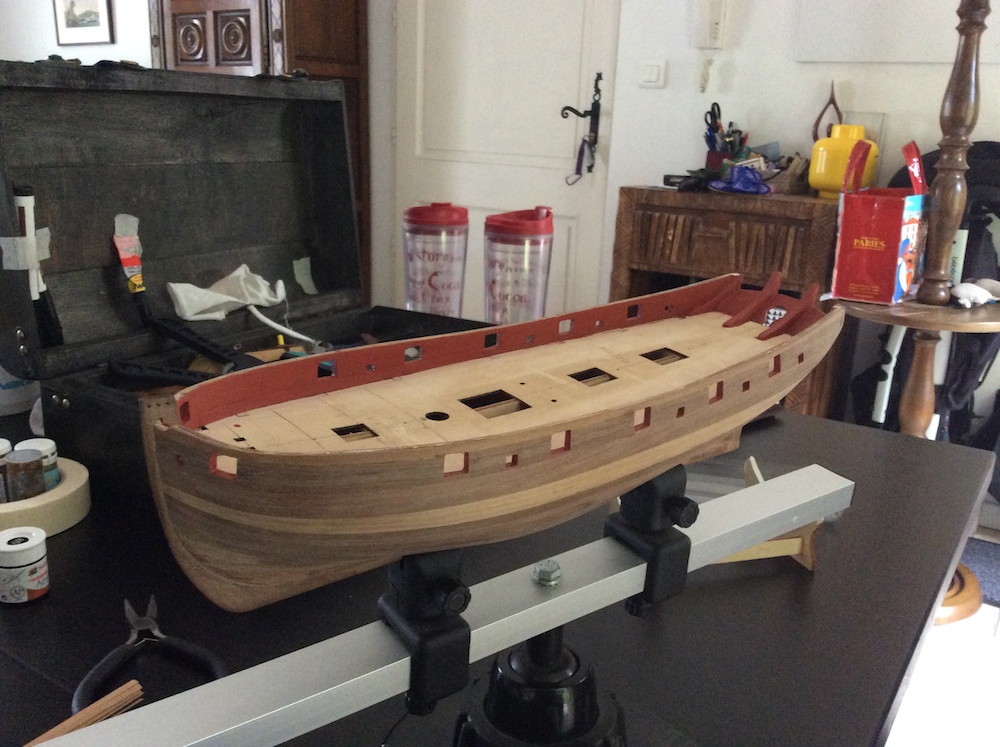
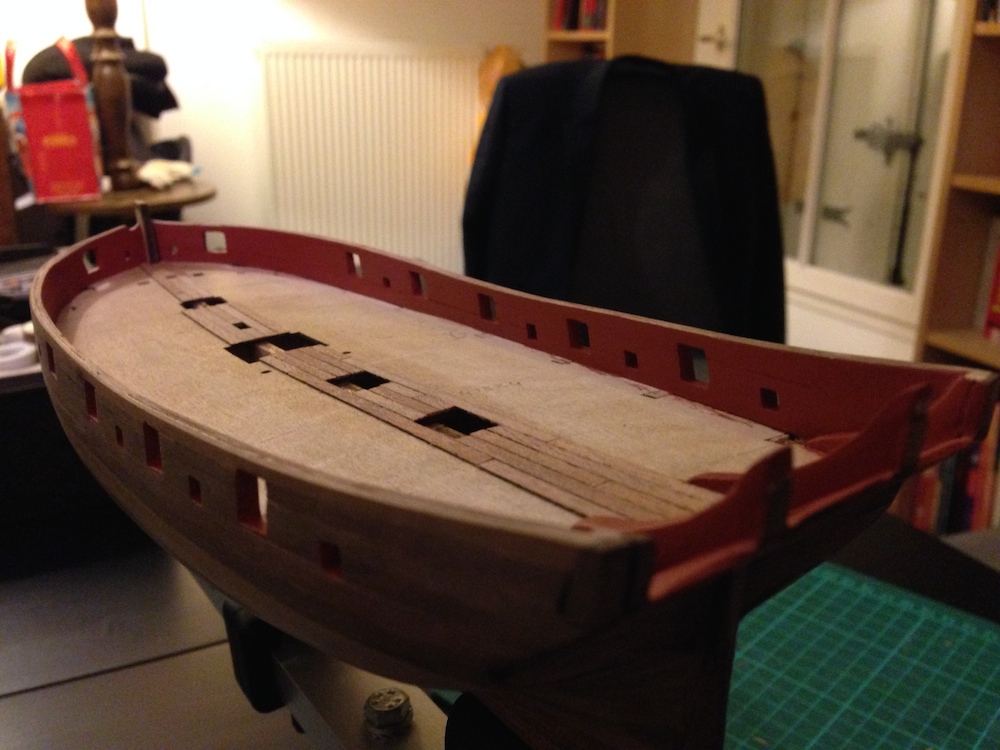
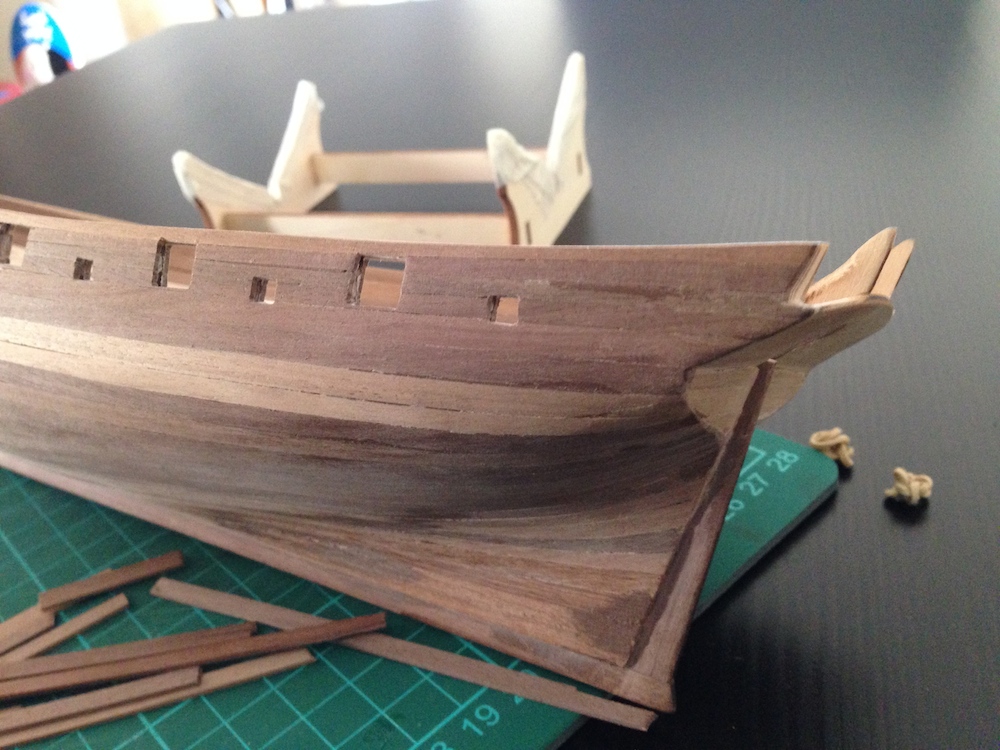
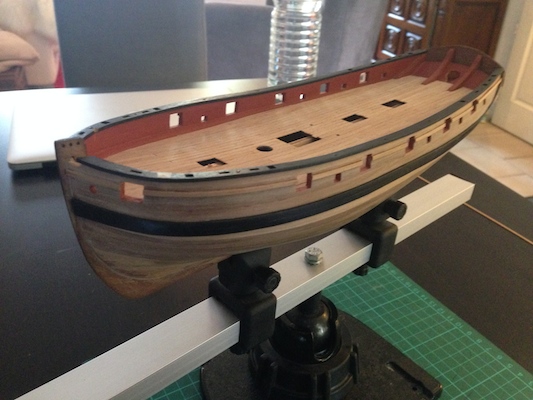
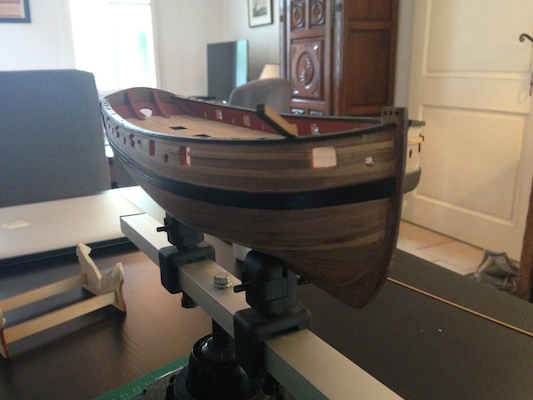
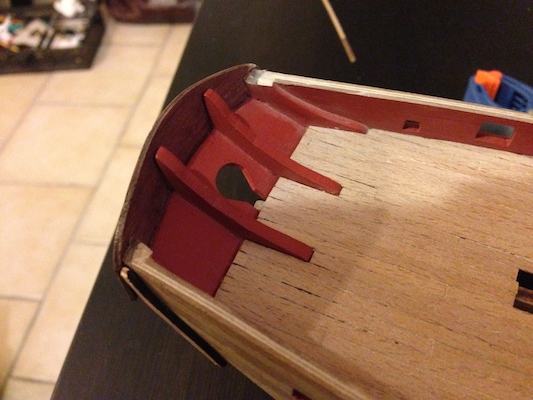
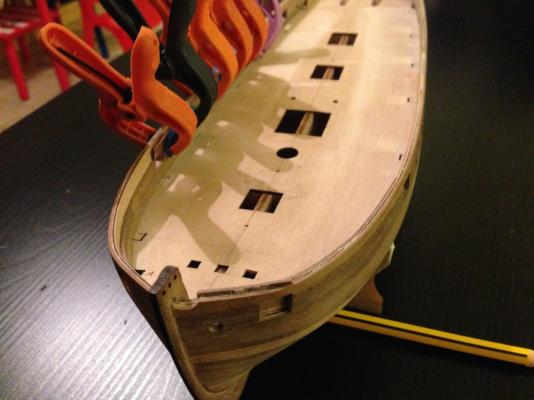
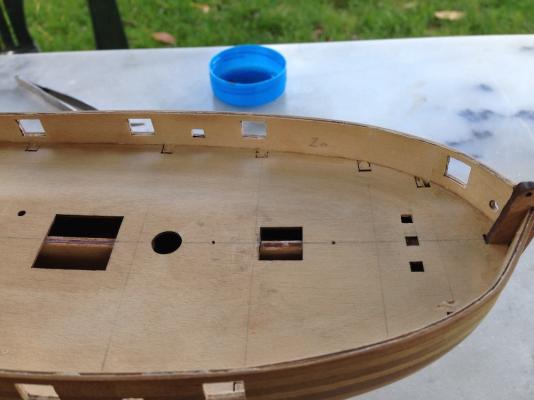
Hello, September update: Bulwark inner planking and Bulwark capping rail steps are done. During these steps, I was surprised to see that the two capping rail patterns are too thin at the stern. So I decided to try a new repair session ( ). I finally painted the patterns in black, and "voilà". See you

- 63 replies
-
- 5
-
-
- amati
- lady nelson
- (and 2 more)
-
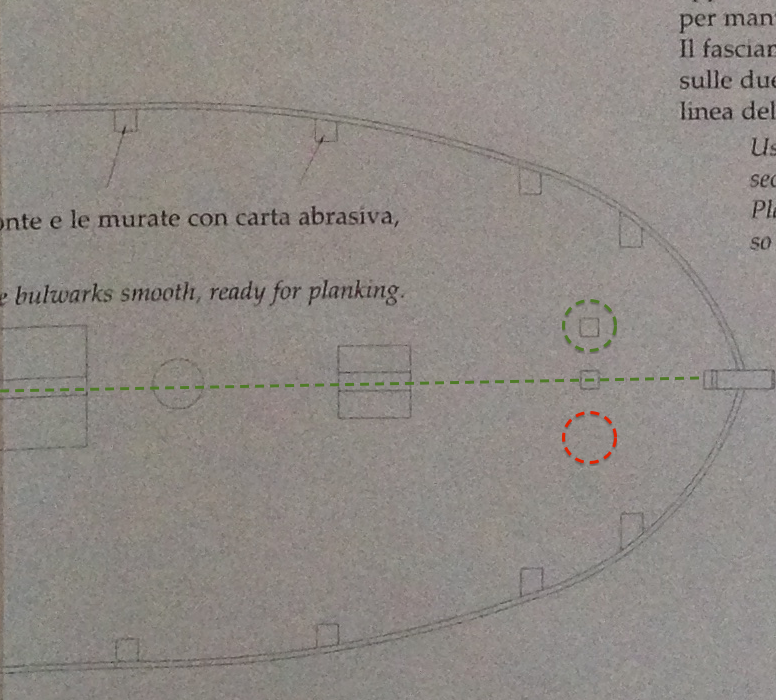
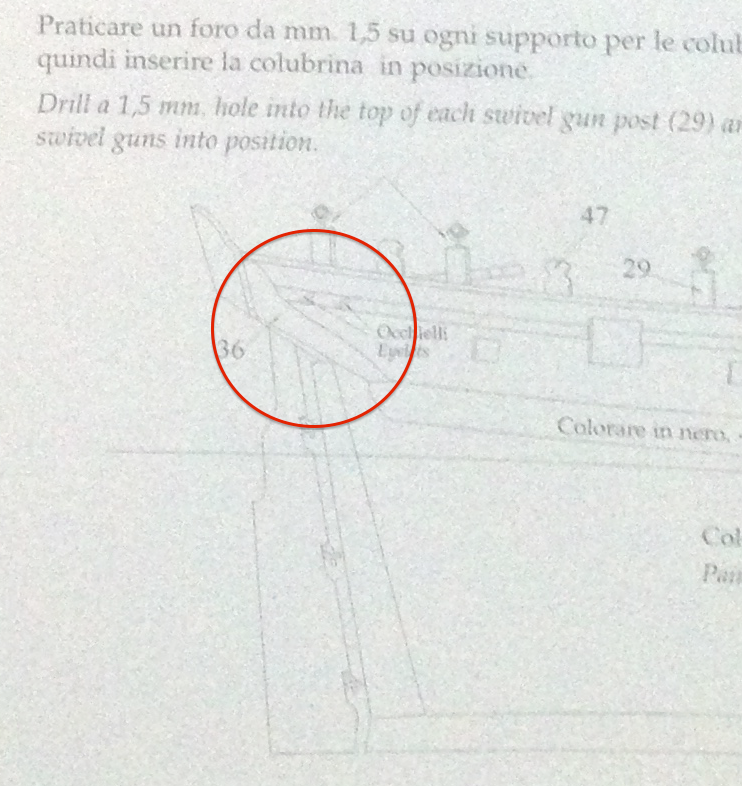
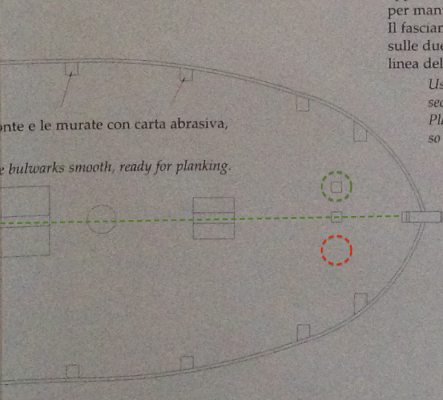
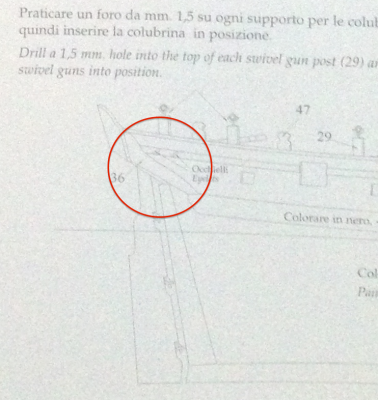
Hi Captain Al, It's not a dumb question (I did the mistake so...). In the Lady Nelson, the bowsprit stands on the bowsprit bitt at the port. And there are two pre-drilled holes in order to glue the bowsprit bitt. Because the rest of the deck is symmetrical, I simply drilled a hole at the port (green) an covered the bad one with the deck planks (red).
-
Great job Holty. I really love the deck of your Lady Nelson.
- 123 replies
-
- 1
-
-
- lady nelson
- victory models
- (and 1 more)
-
Hi, I'm building the Lady Nelson too, and I found in the Lostmarbles website these instructions: Hope it helps, Bibounde
- 123 replies
-
- 1
-
-
- lady nelson
- victory models
- (and 1 more)
-
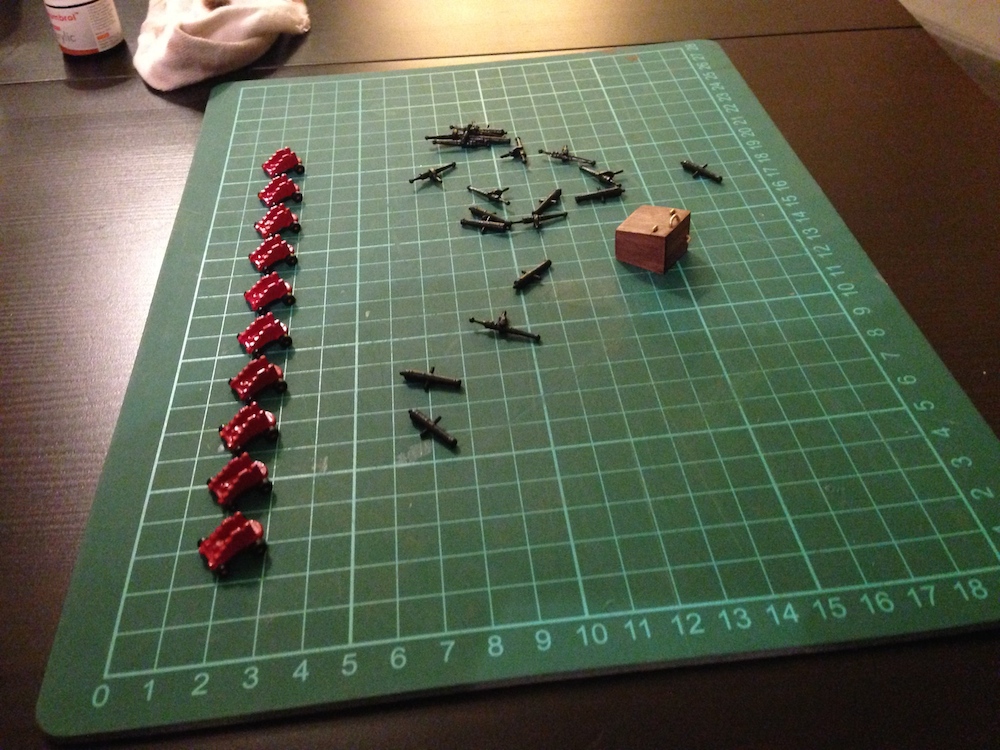
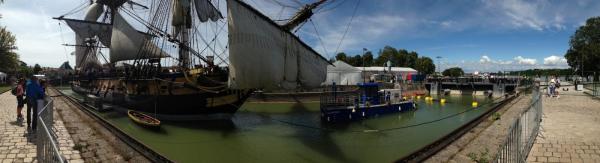
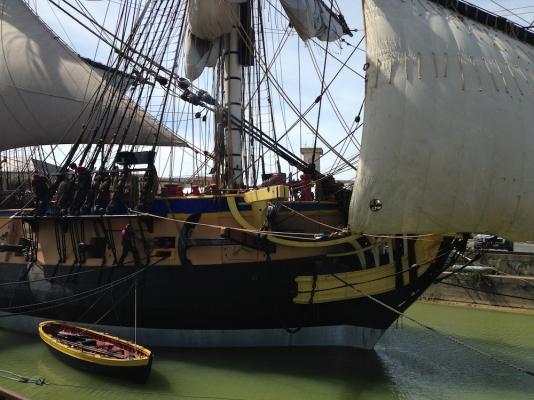
Hello, Last weekend, I worked on my Lady Nelson and I visited the fregate named "L'Hermione" at Rochefort, France. On April 2015, L'Hermione is due to set sail for the USA (see the official website for more informations). Sunday, I finished the bulwark, and I started the deck planking. I used the doc written by Ulises Victoria and just named "Deck Planking": Size: 8 mm Step: 4 I also built and painted the anchors. Regards,


- 63 replies
-
- 4
-
-
- amati
- lady nelson
- (and 2 more)
-
Hello, Thank you for the post. Maybe you will be finished before me. At which stage of the construction are you ?
-
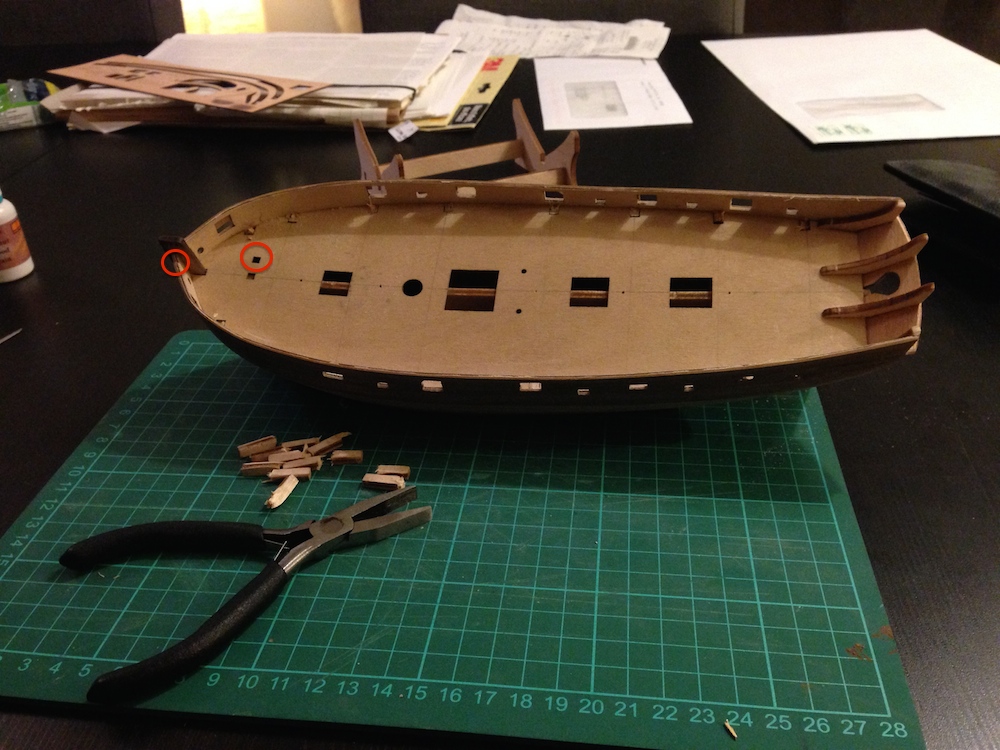
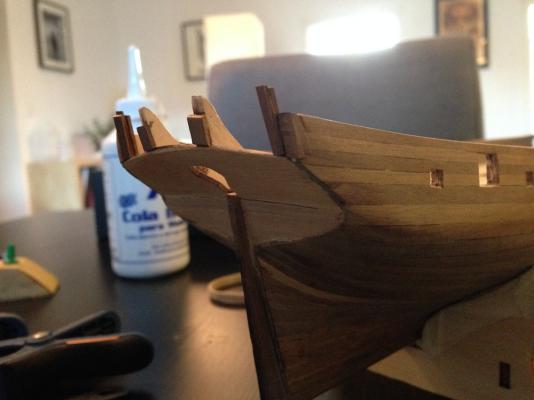
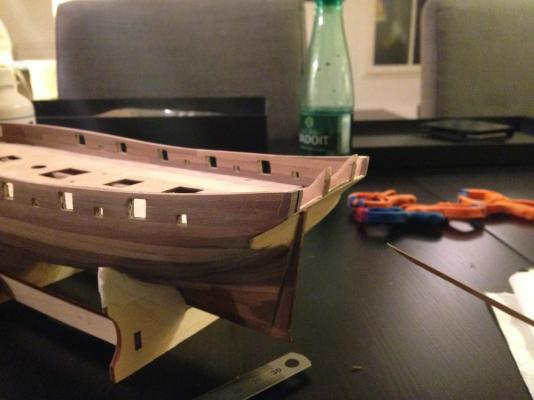
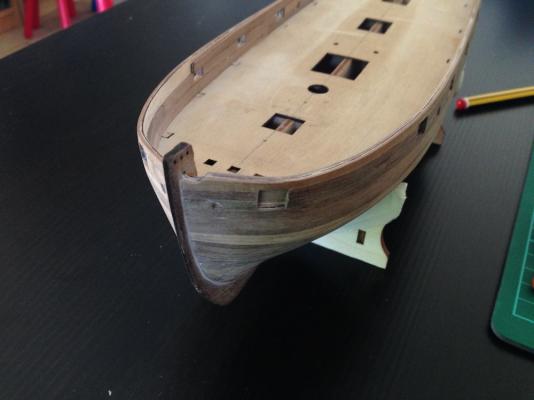
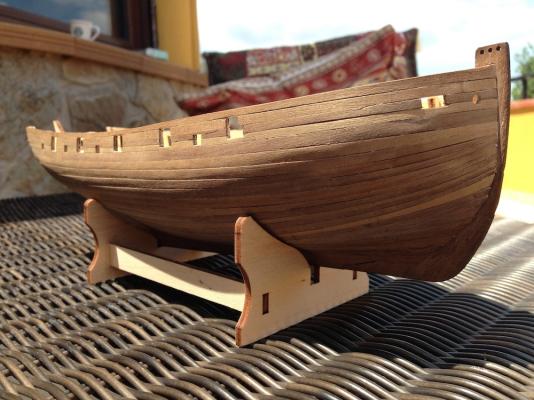
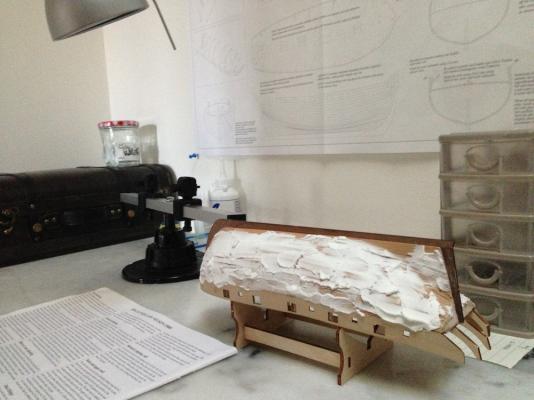
Hello, Yesterday was a "Repair Day". Like Taz (the tasmanian devil of Looney Tunes), I overtrimmed off excess at the back. At this point, the stern fascia could not be added. So I tried to repair by adding some walnut planks and sanding a little. Overall, I am not dissatisfied with the result because at the end, the stern side finishings will hide the small gaps. Next step ? Filling, sanding and painting the inner bulwark.

- 63 replies
-
- 1
-
-
- amati
- lady nelson
- (and 2 more)
-
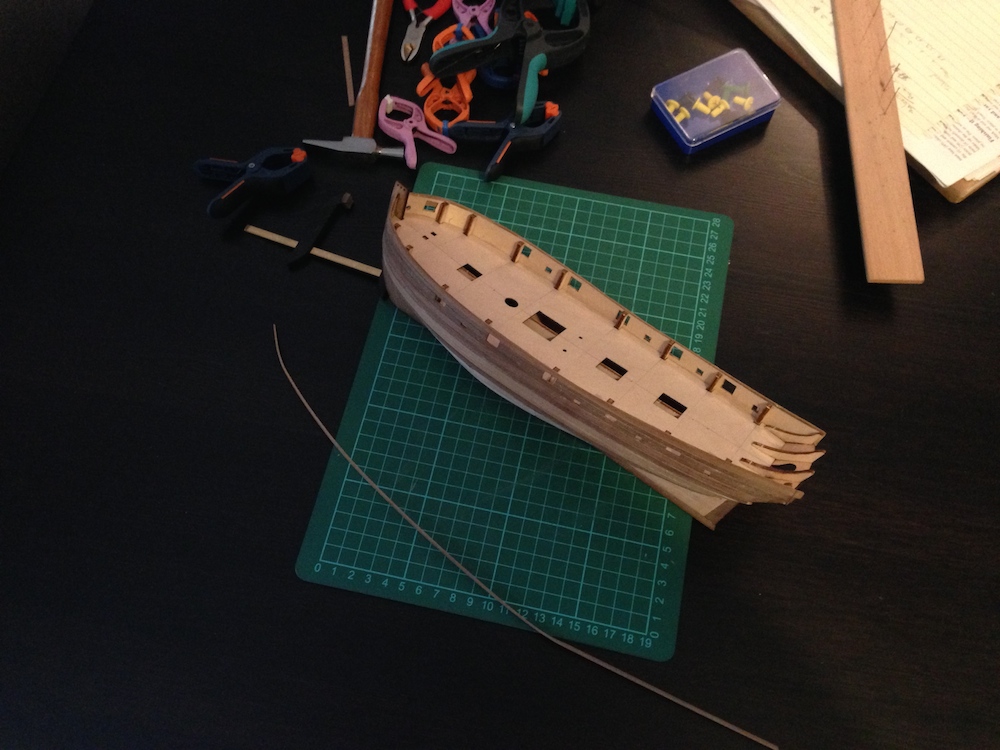
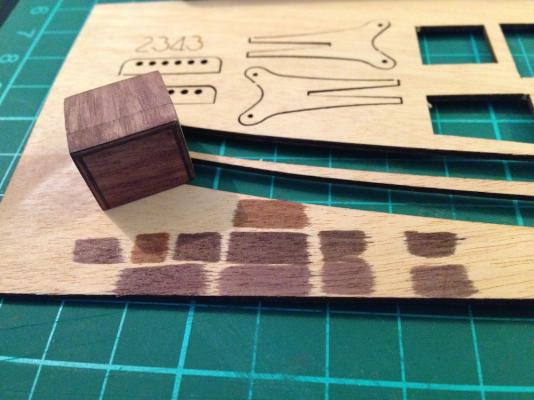
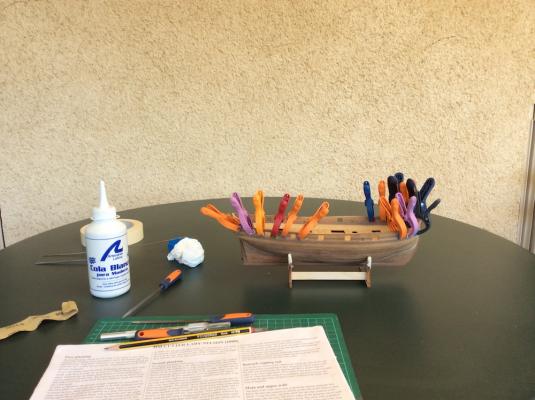
Thx. Last week, I started the planking of bulwark. Unlike second planking, I chose to sand bulwark planks using medium grade each time I put one. Waiting for drying, I stained (with an anti-scratching pen) and built the companionway... And I performed painting...

- 63 replies
-
- 3
-
-
- amati
- lady nelson
- (and 2 more)
-
Thx. I started the Lady Nelson after failing and destroying the Swift (I was not aware of this forum). It is a good reason to follow your build log. Regards
-
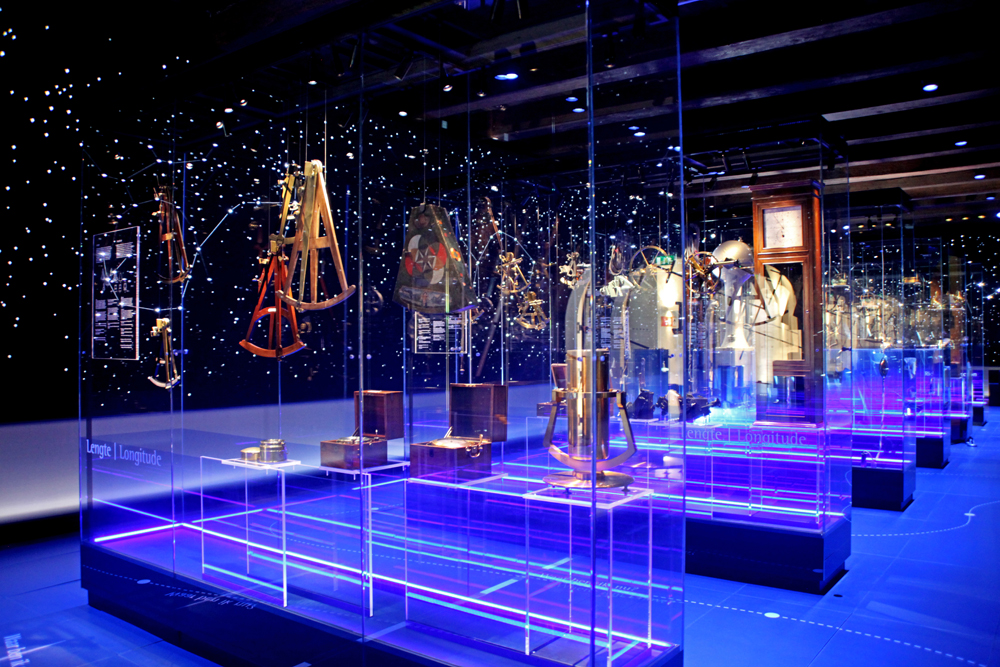
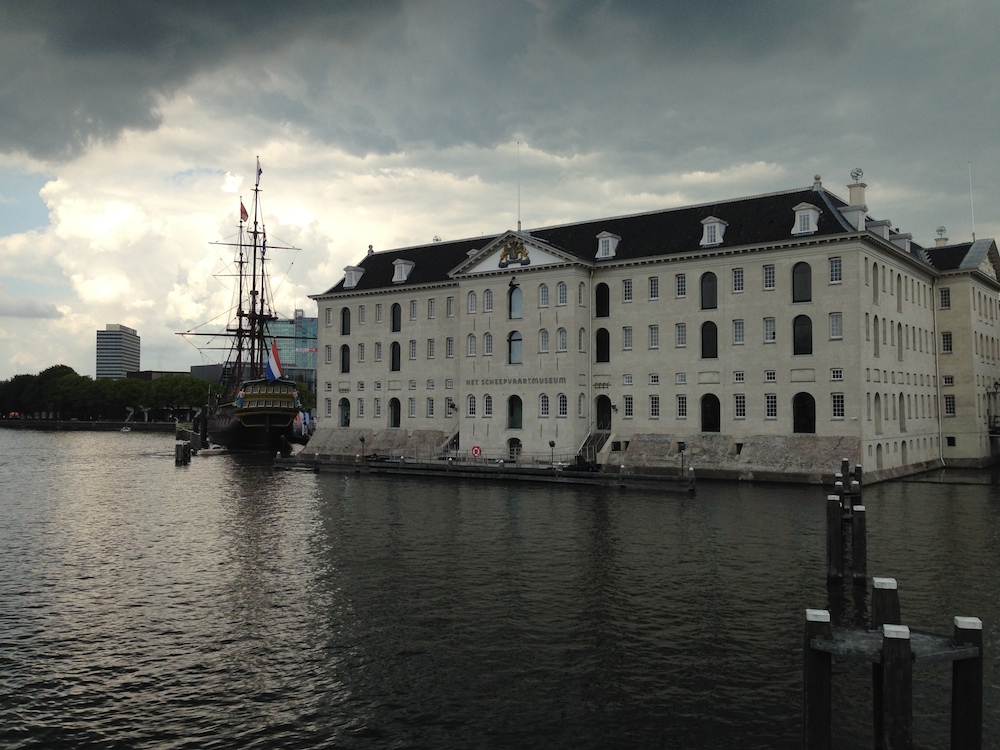
I stayed for a few days in Amsterdam, and I recommend the National Maritime Museum (especially the room with navigation instruments).


- 63 replies
-
- 5
-
-
- amati
- lady nelson
- (and 2 more)
-
Christmas has come early thanks to http://www.shipwrightshop.com

-
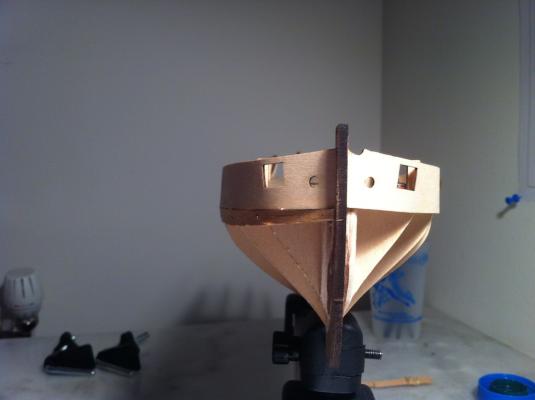
Thx for the replies. It's been a while since I posted pictures. After sanding and filling, and sanding and filling again, I removed the tabs above the deck. And I realized that I made a mistake a long time ago (deck is installed upside down). Repairs were easy.
- 63 replies
-
- 2
-
-
- amati
- lady nelson
- (and 2 more)
-
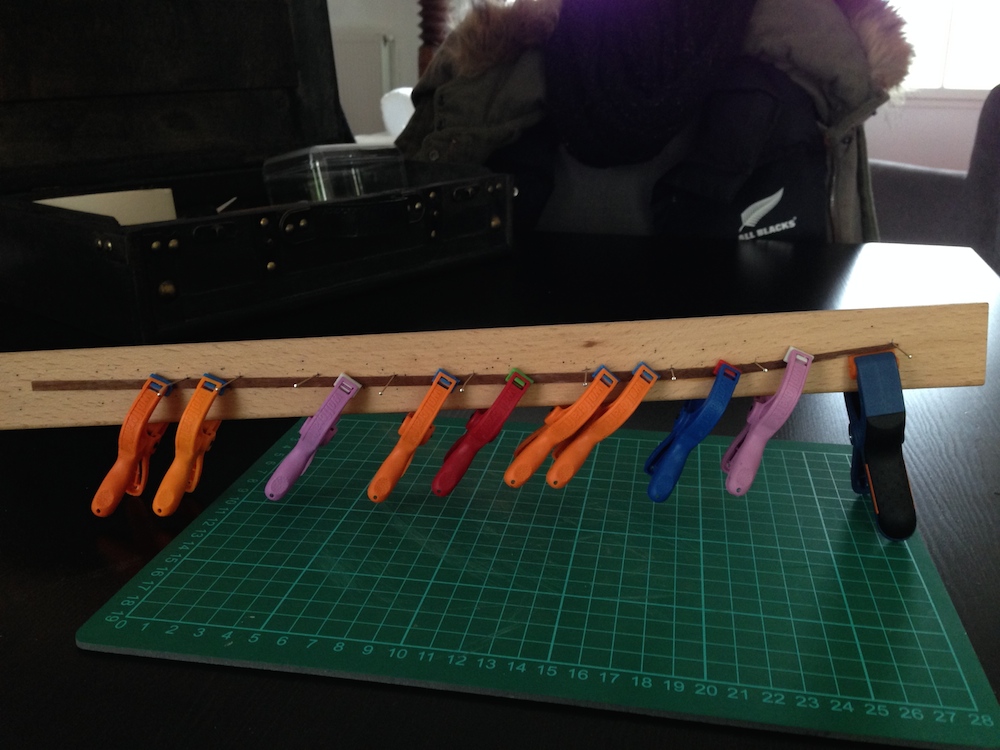
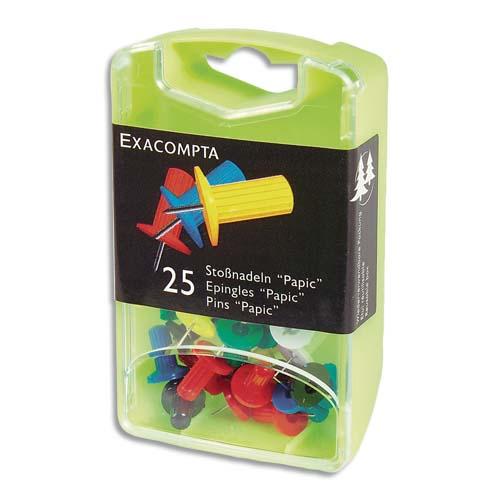
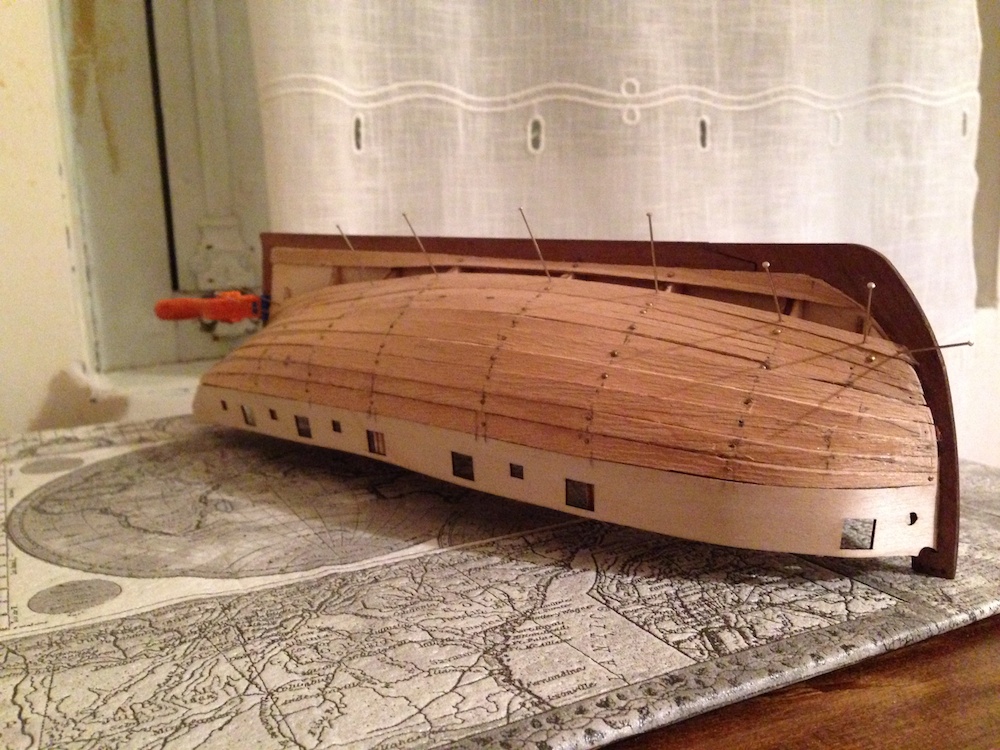
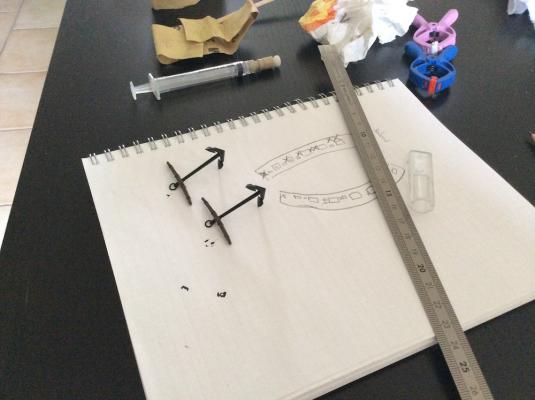
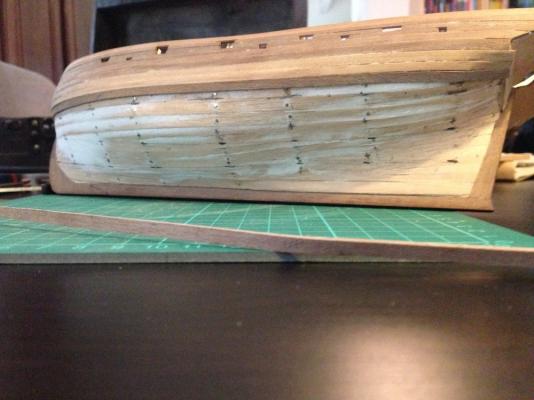
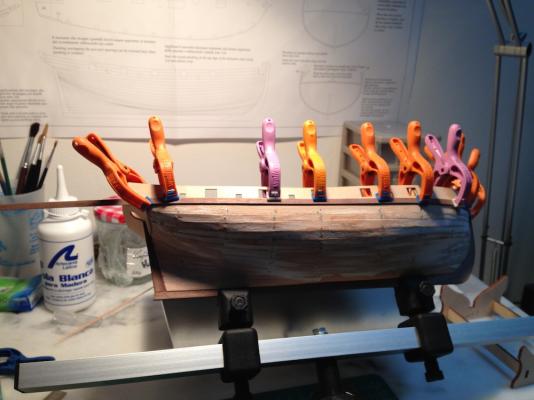
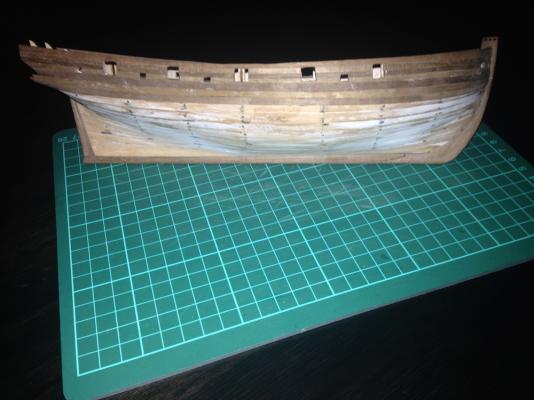
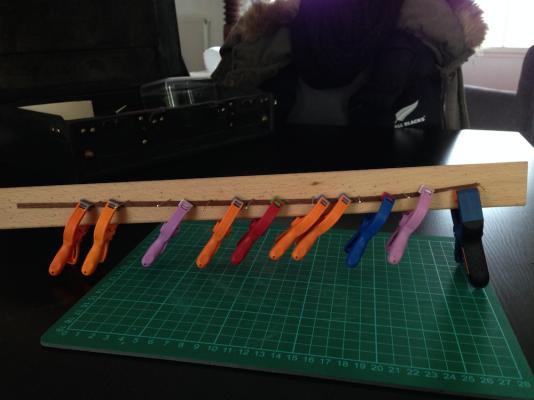
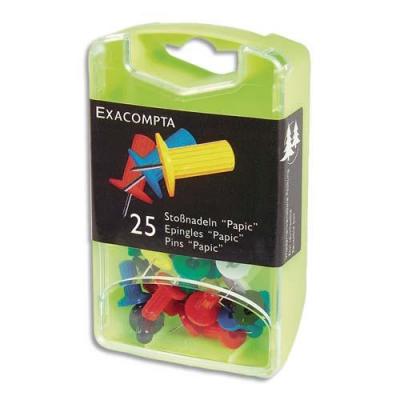
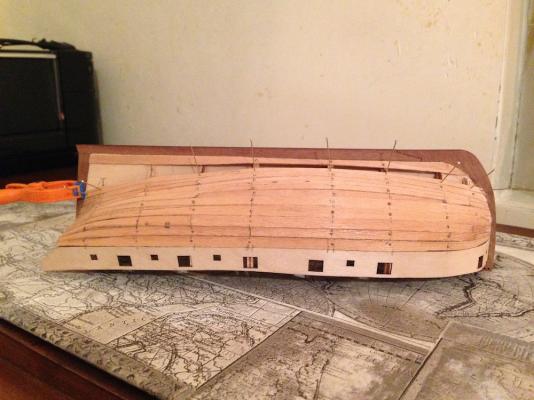
Next, I performed the second planking. I used this kind of drawing pin to fix plank during PVA drying (the point diameter is smaller than that usual drawing pins): and a wood ruler in order to bend planks: Before filling and sanding.

- 63 replies
-
- 7
-
-
- amati
- lady nelson
- (and 2 more)
-
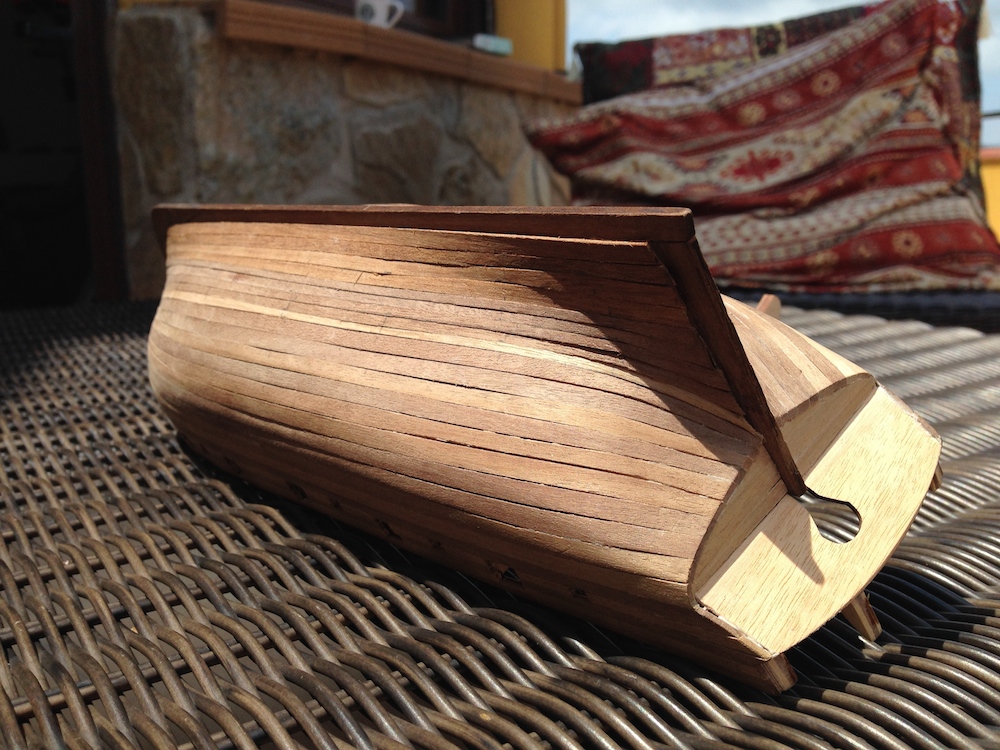
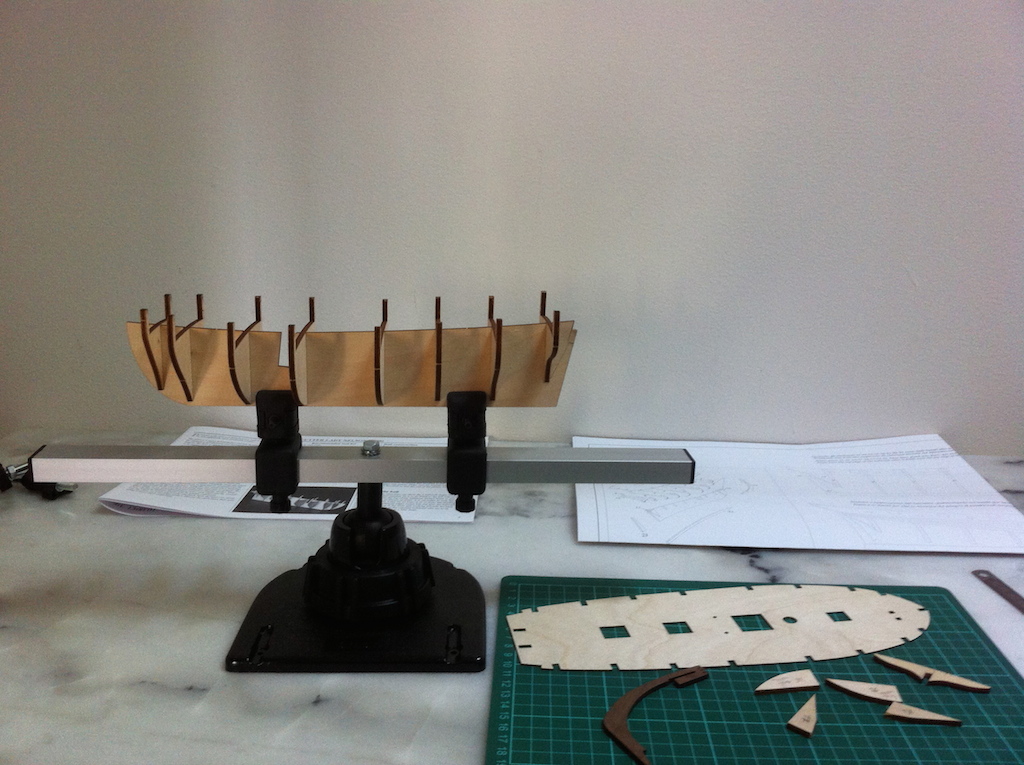
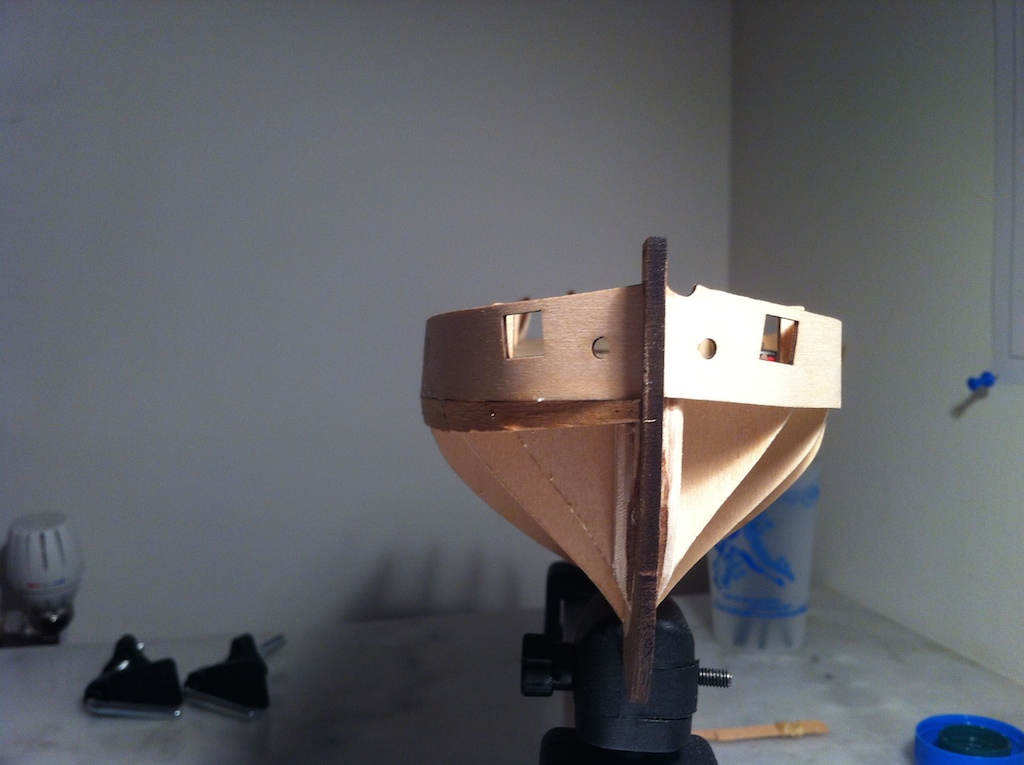
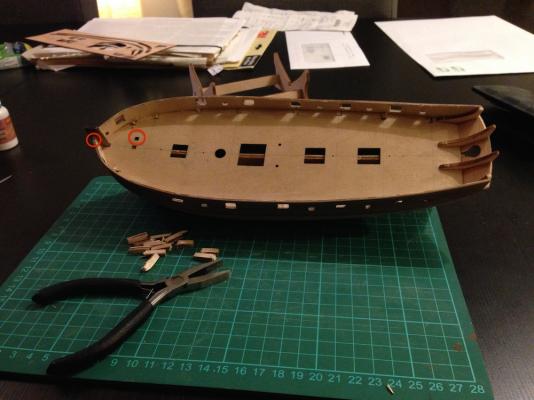
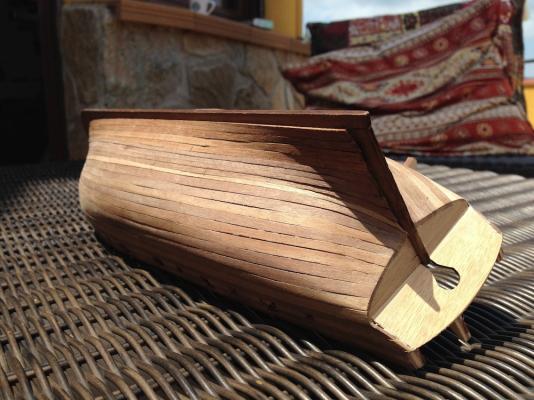
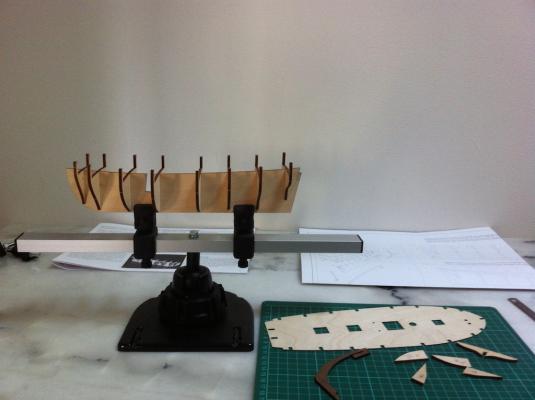
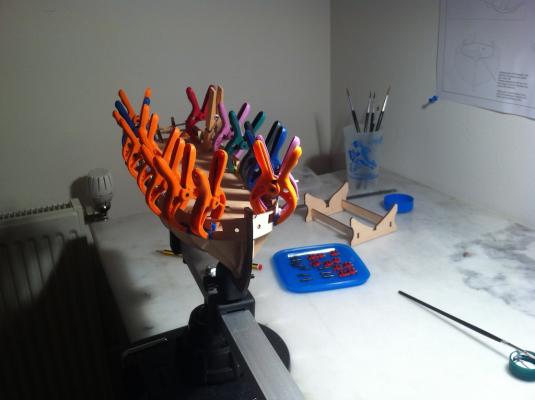
08/31/2012: my son was born . I paused the kit during more one year . I performed the first planking of the hull without reading Planking Tutorial - Lining Off a Hull (cf. http://modelshipworldforum.com/ship-model-framing-and-planking-articles.php). So I need to use wood filler (with sanding of course).

- 63 replies
-
- 2
-
-
- amati
- lady nelson
- (and 2 more)
-
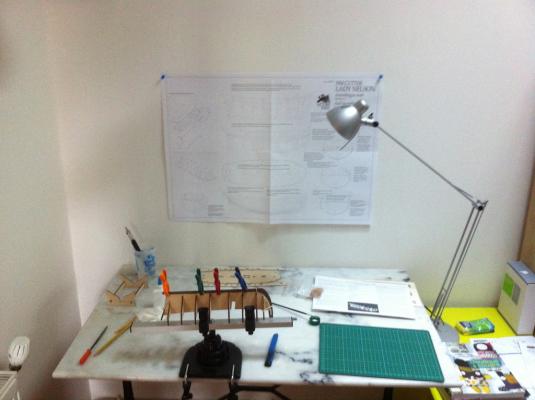
In 2012, I was really excited because it is my first kit.
- 63 replies
-
- 1
-
-
- amati
- lady nelson
- (and 2 more)
-
I started my Lady Nelson in 2012 but I’m a little bit slow. Build Kit logs are really inspiring for me, so after reading lot of topics I decided to post my build log.
- 63 replies
-
- 1
-
-
- amati
- lady nelson
- (and 2 more)