


Firs49
-
Posts
27 -
Joined
-
Last visited
Content Type
Profiles
Forums
Gallery
Events
Posts posted by Firs49
-
-
Hi there. Your build log has been really interesting to follow. I am really impressed with your hammocks and was wondering whether you would mind sharing what materials and methodology you used? Thanks
-
I have seen a tip recommending the fixing of the keel prior to the second planking being installed. Is this a good approach?
-
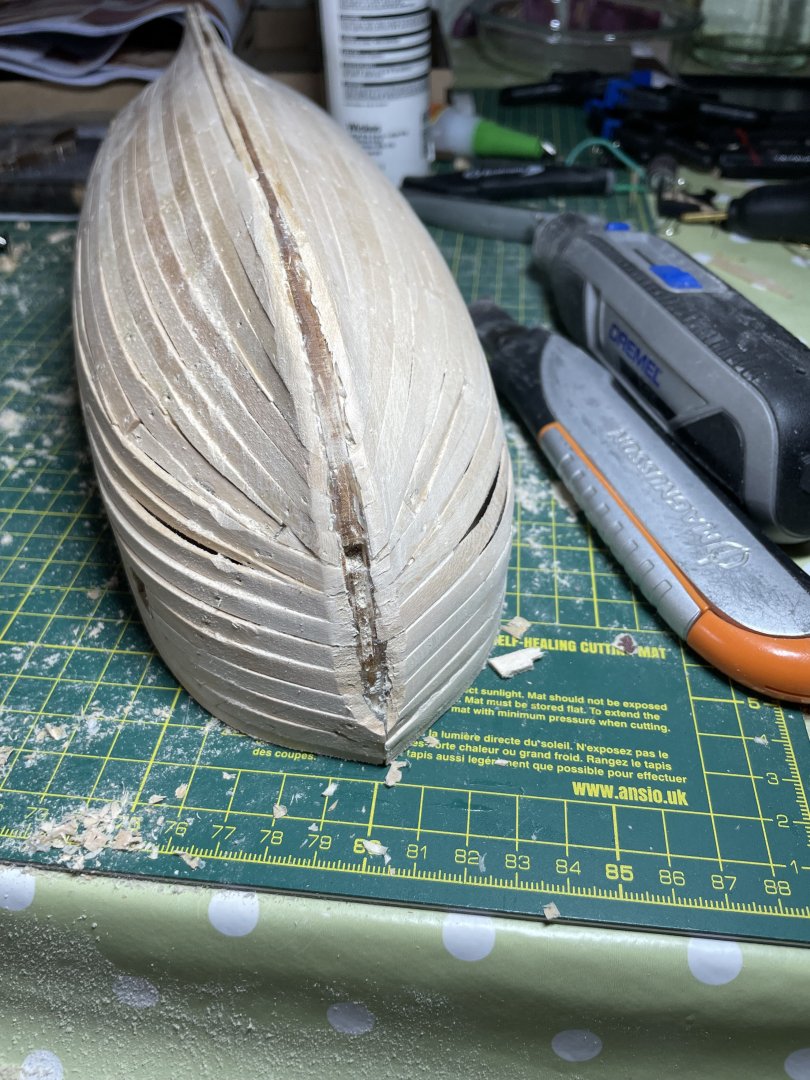
Next mess up is at the bow as I noticed by looking ahead that the keel needs to slot into the frame which I had covered with planking. So some cutting away has taken place and reshaping with sandpaper needed!
-
10 hours ago, The Gimps Chimp said:
Looks like you could do with more filler. Be careful you don't sand too much and break through the wood.
Chimp
Thanks for the warning and the wood filler is ready to go as I haven't put any on yet as trying to get the basic shape there ready for filling.
-
-
15 hours ago, Geordy Aidan said:
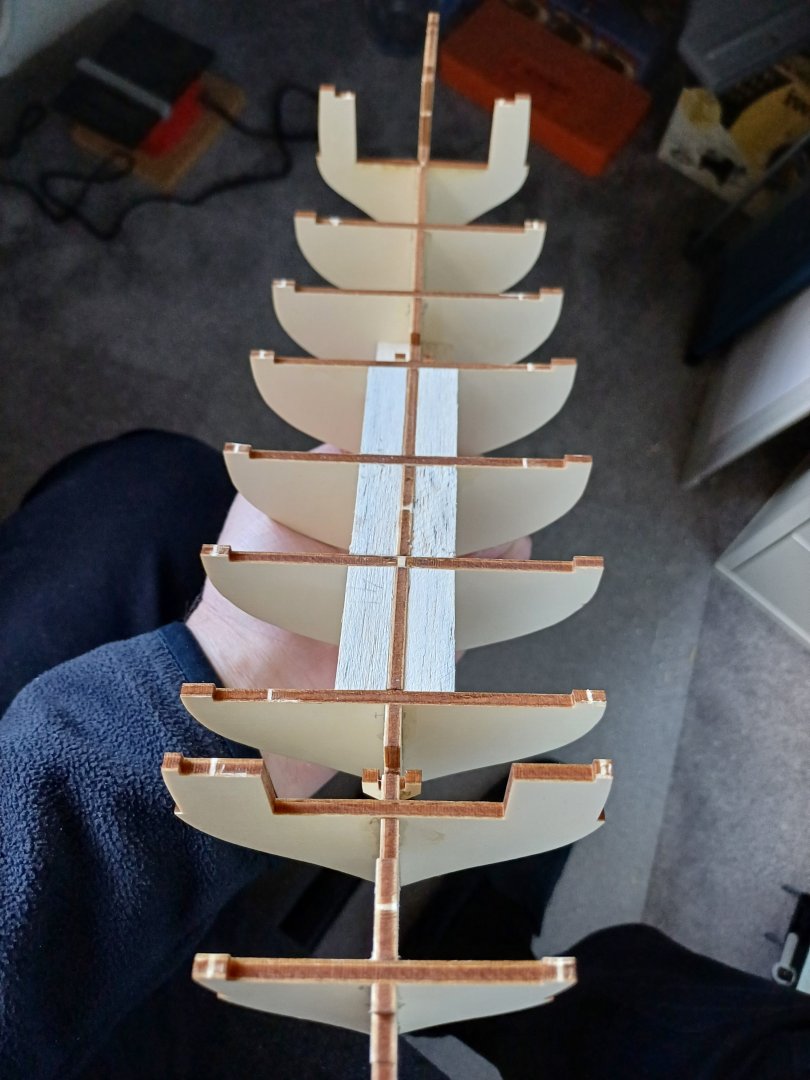
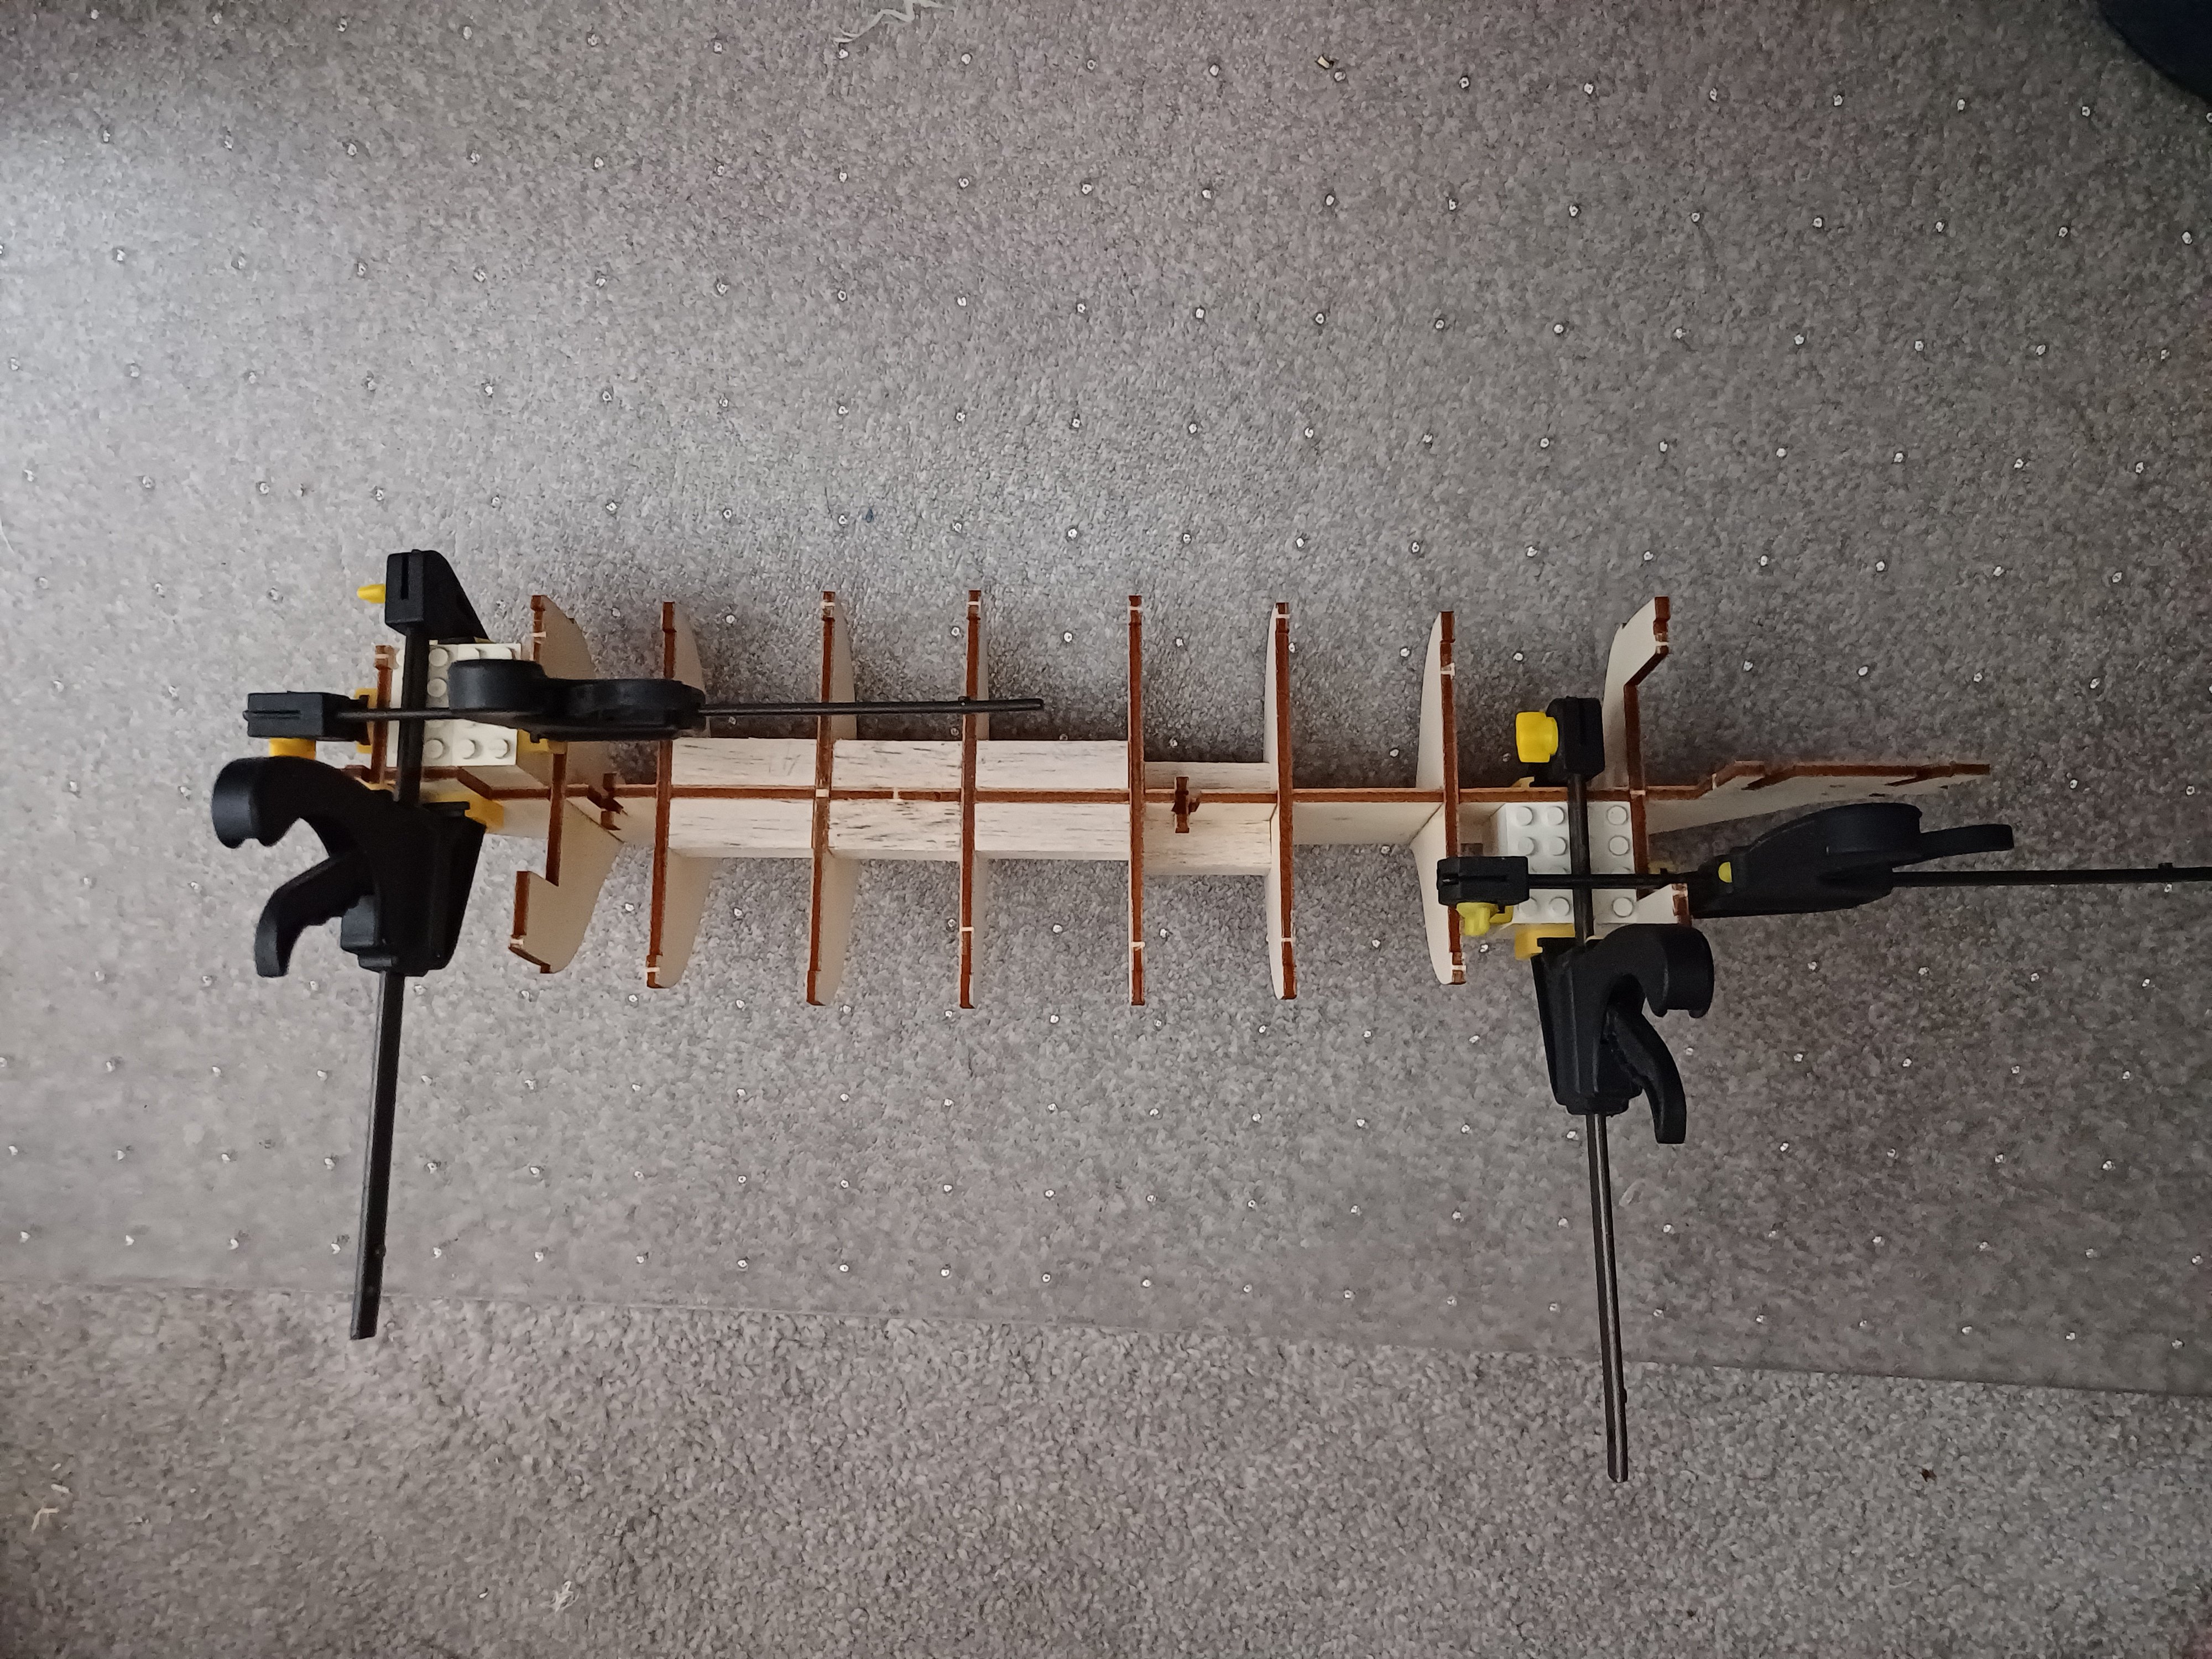
Having put a a model of HMS Supply to one side because I was constantly being asked by the family how the Beagle was going. I opened the packaging and I have to say that whilst my initial reaction was this looks OK BUT on closer inspection I have discovered my first major problem The False Keel has a twist to it! That is not good especially as these models are not cheep.
So I have soaked the false keel in boiling water then clamped it between two pieces of 20 mm MDF and left it to dry for three days. When I removed it it still has a warp towards the stem forward of frame 4 and a twist towards the stern aft of frame 10.
I am attaching the frames and gluing them using Lego Blocks to hold them square and then adding stiffeners in at deck level. I will add larger blocks to fill in the voids forward of frame 4 and aft of frame 10.

If you are not happy with the part then I would go on the Occre website and request a replacement. I did this for a couple of parts in my Beagle kit and they replaced them free of charge and I received them within a week of requesting which considering they came from Spain I think is a great service.
-
-
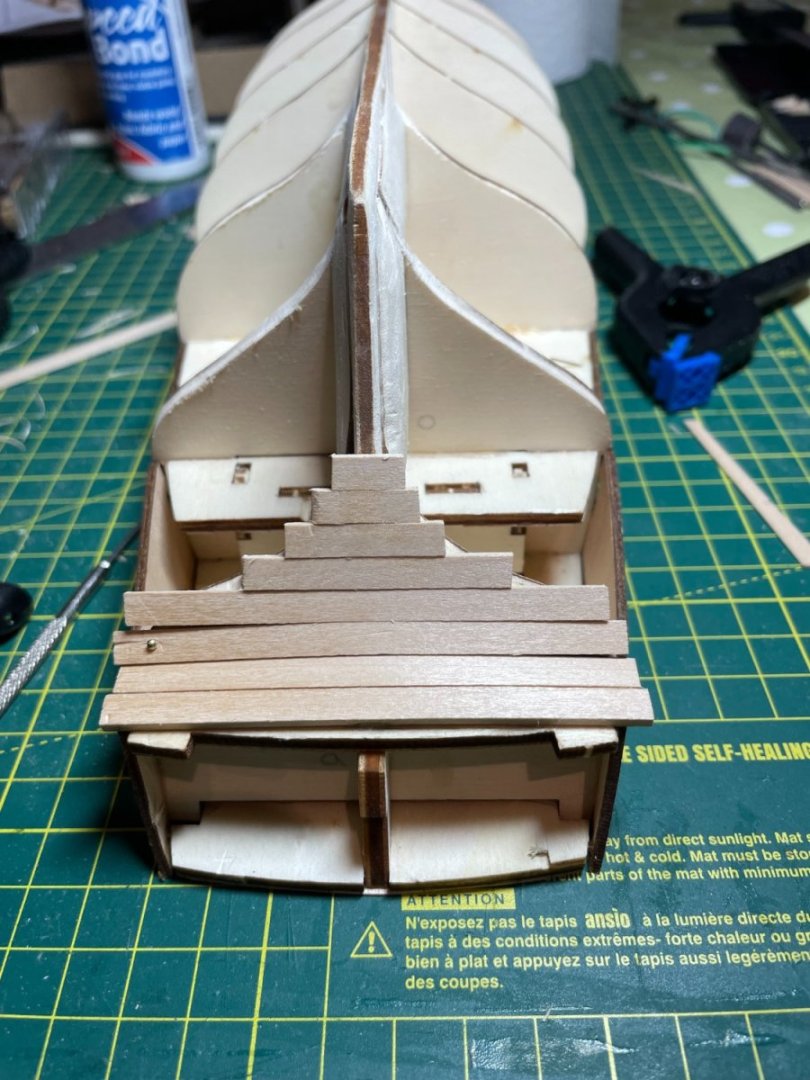
First few planks trying to follow Occre's instructions. Can foresee a lot of sanding ahead.


-
13 hours ago, RossR said:
This was my first model also. I had not discovered this site yet when I did my planking. I used the instructions and the Occre YouTube videos to instruct me.
This is not the historically accurate way to plank a hull. If planking it in a historically accurate manor is important to you, there are many resources on the site and YouTube. Look at TLevine’s half hull project on the sight and Chuck Passaro’s YouTube videos. I will caution you that I am not convinced the very thin second layer material from Occre is suited to Chuck’s technique.
My goal on that model was just to build Occre’s version of the HMS Beagle. I enjoyed myself enough to build a second ship and now I have a couple more on the shelf. My future ships will be planked using more accurate techniques. But I think I would have failed if I had attempted it on my first model.
My advice is to decide what is important to you on this build, look at the material available on the site and from Occre and decide how you want to proceed based on that research.
Good luck.
Thanks Ross. At this stage I'm not so worried about historical accuracy but something that turns out reasonably on a visual basis.
-
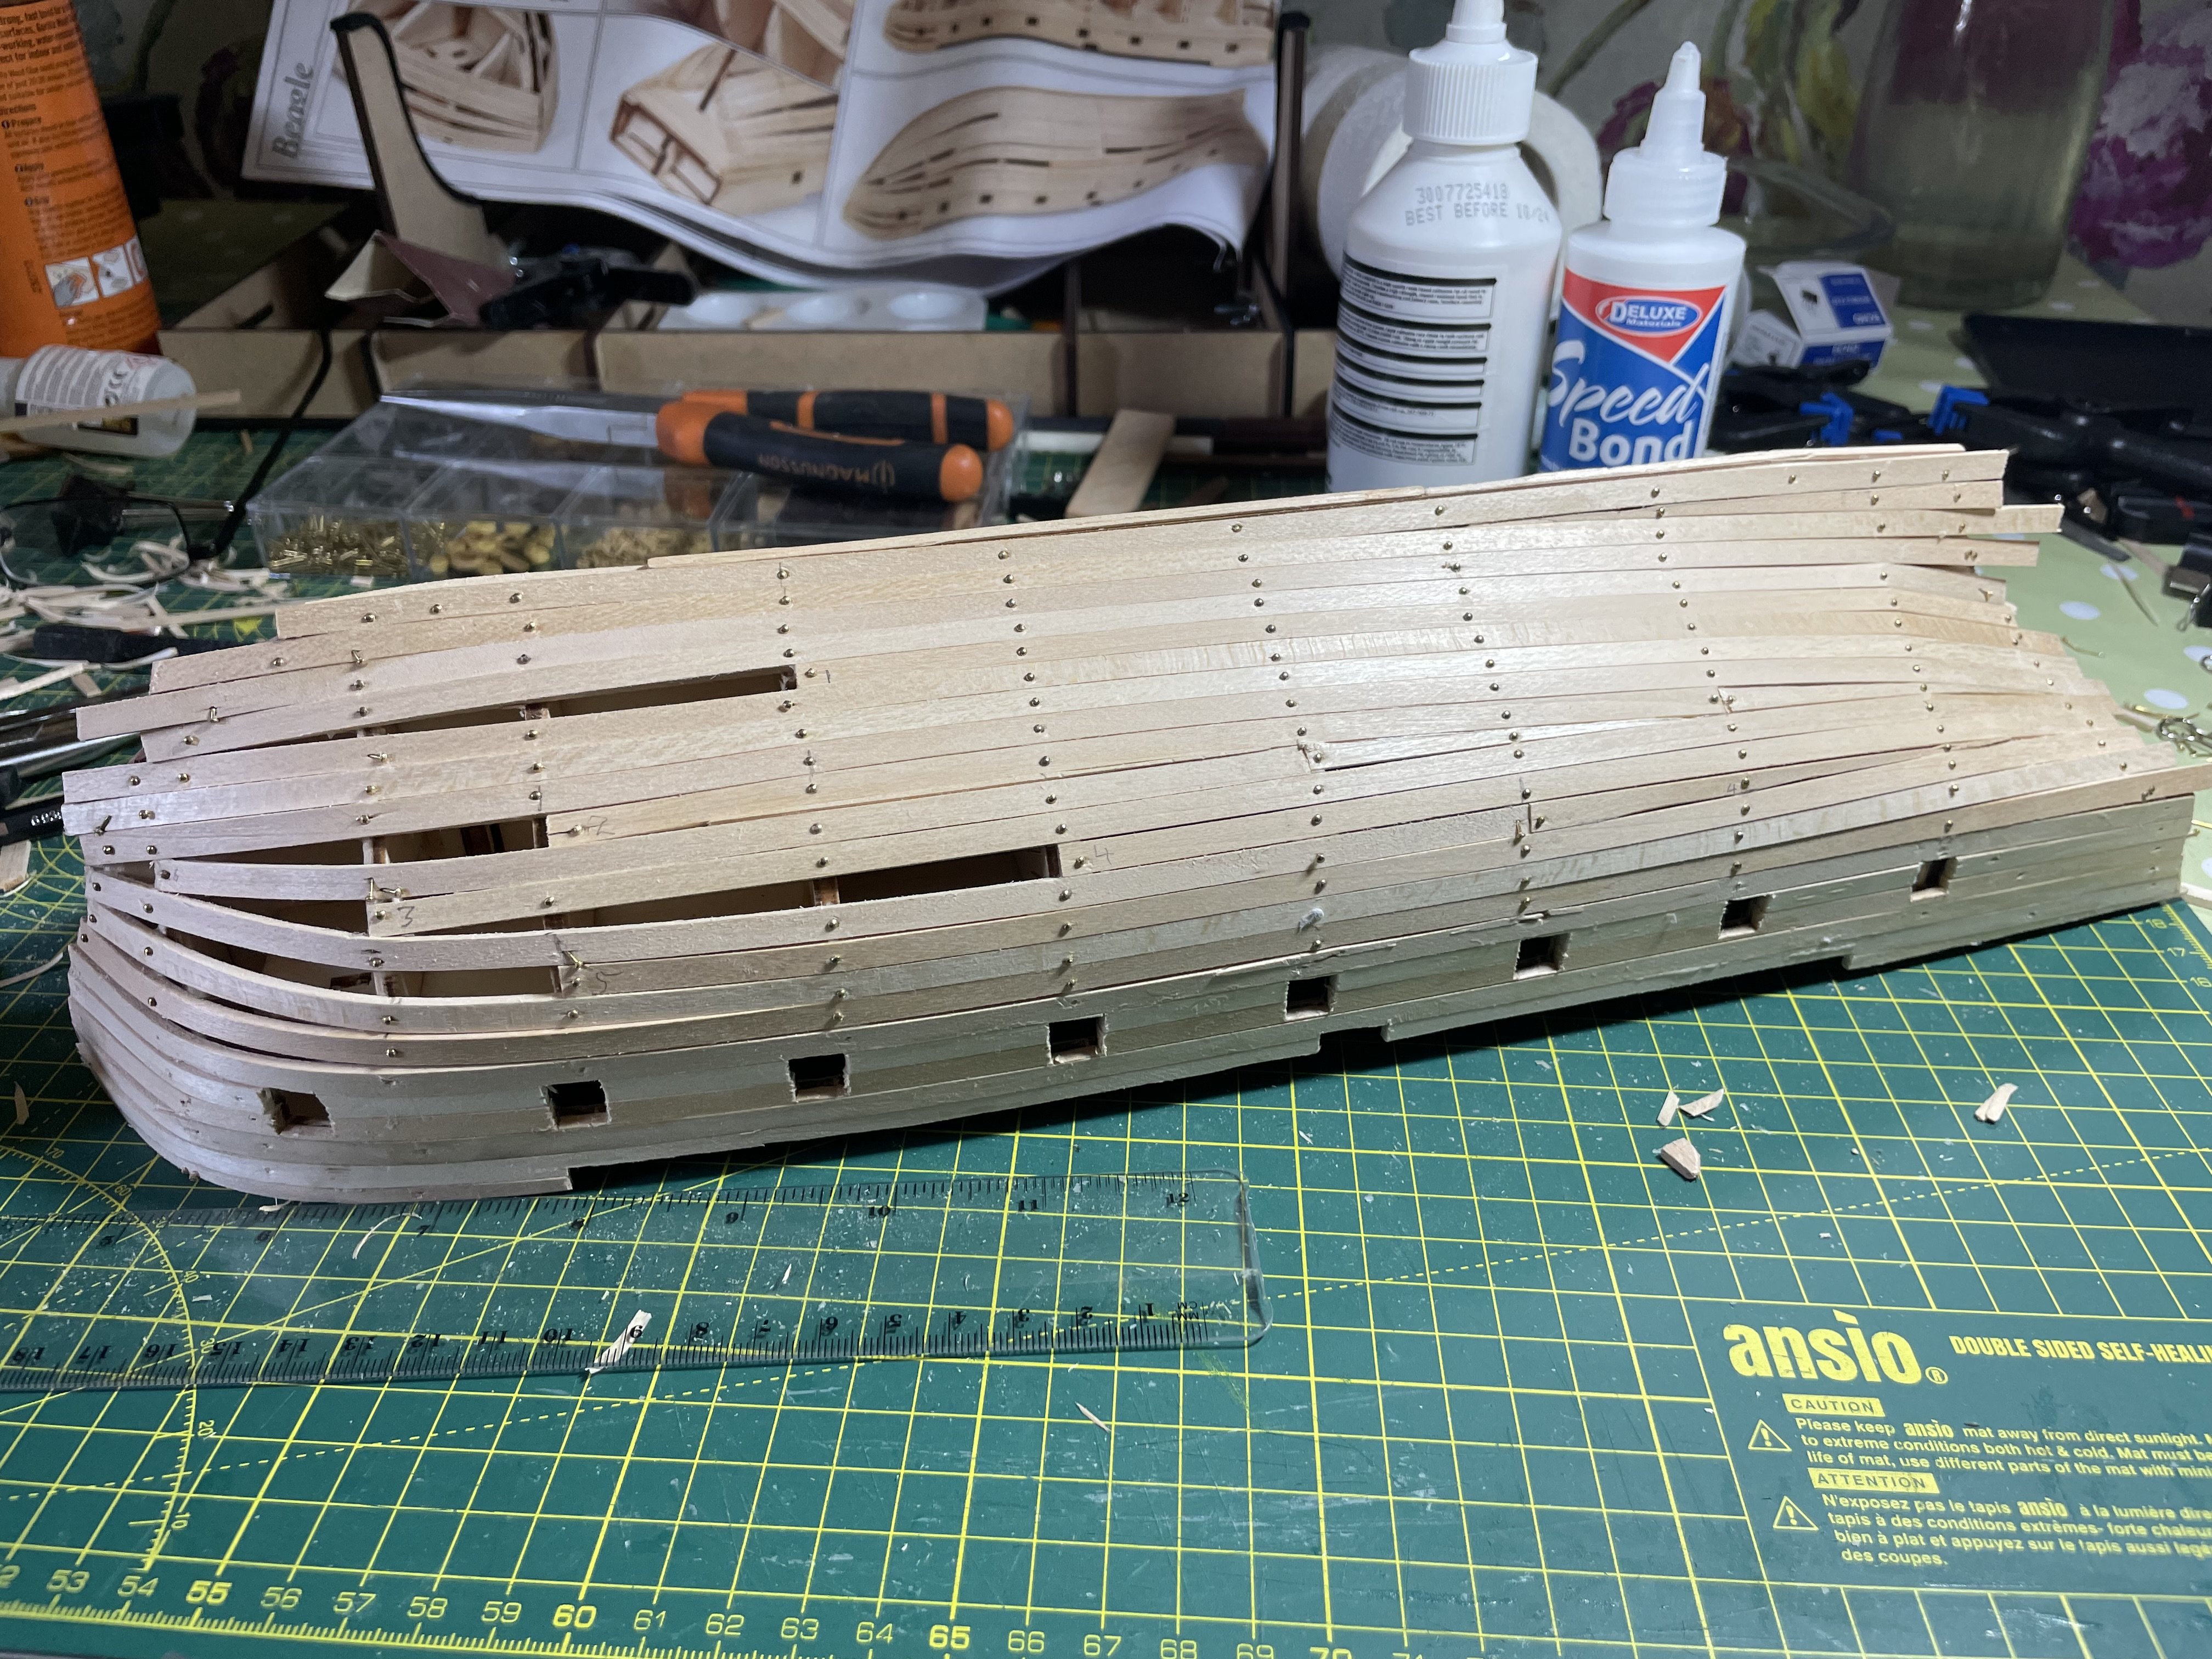
So planking around the bulwarks is nearly complete now so I am reaching out for advice. I have studied various approaches to planking the hull which are quite varied so I could do with some pointers on would be the best approach for someone who has never planked a hull before. I know the first planking layer is not so critical but I would like it to act as a guide for the second layer. Any comments welcomed. Thanks
-
And so the planking on the main hull has begun!!
-
36 minutes ago, brunnels said:
I found a little hobby saw blade attachment for my razor blade made tasks like cutting the cannon ports way easier. They will need to be cut open a couple more times during the planking.
This is what I use.
https://www.amazon.com/gp/product/B08SQQHD9M/ref=ppx_yo_dt_b_search_asin_title?ie=UTF8&psc=1
Thanks for the hint. I have got something similar but found it a bit harsh on the narrow strips. Hopefully it will better on the planking strips.
-
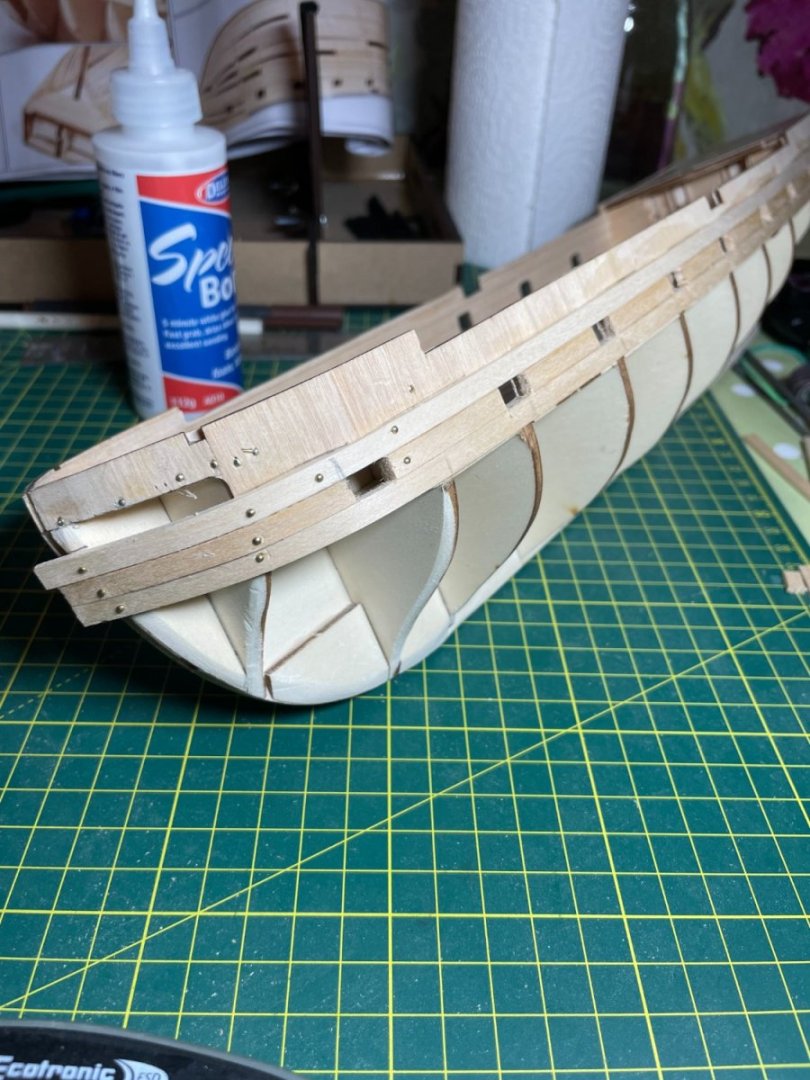
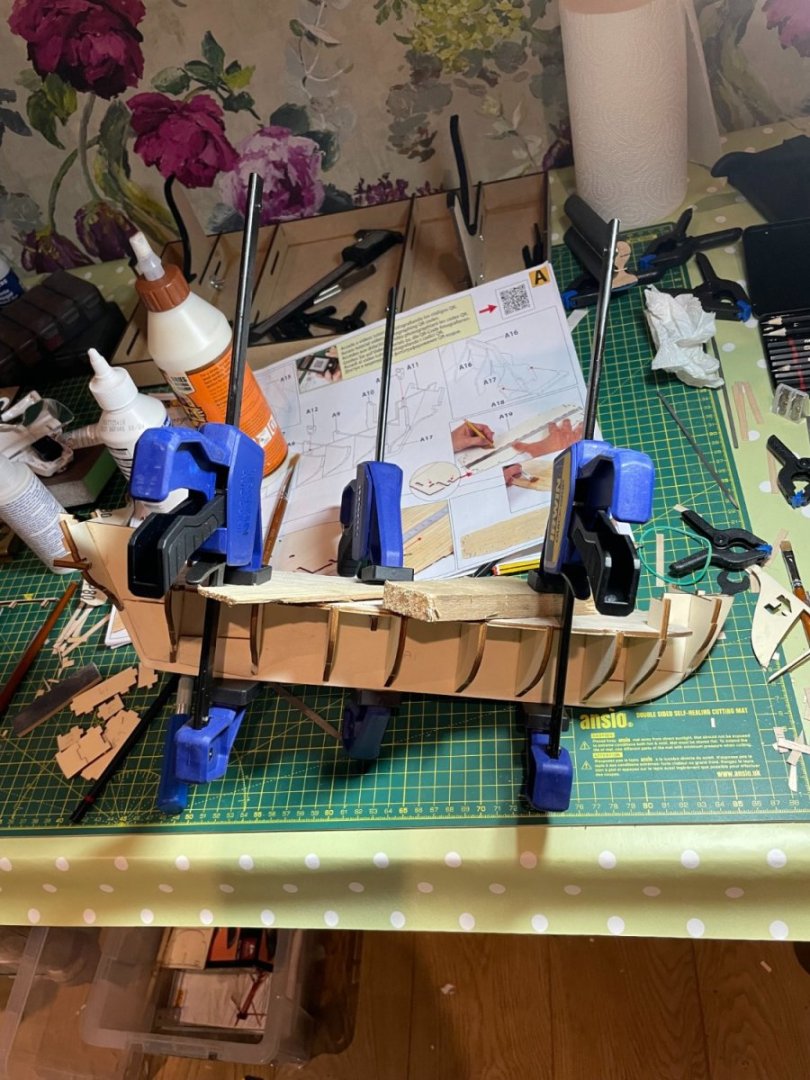
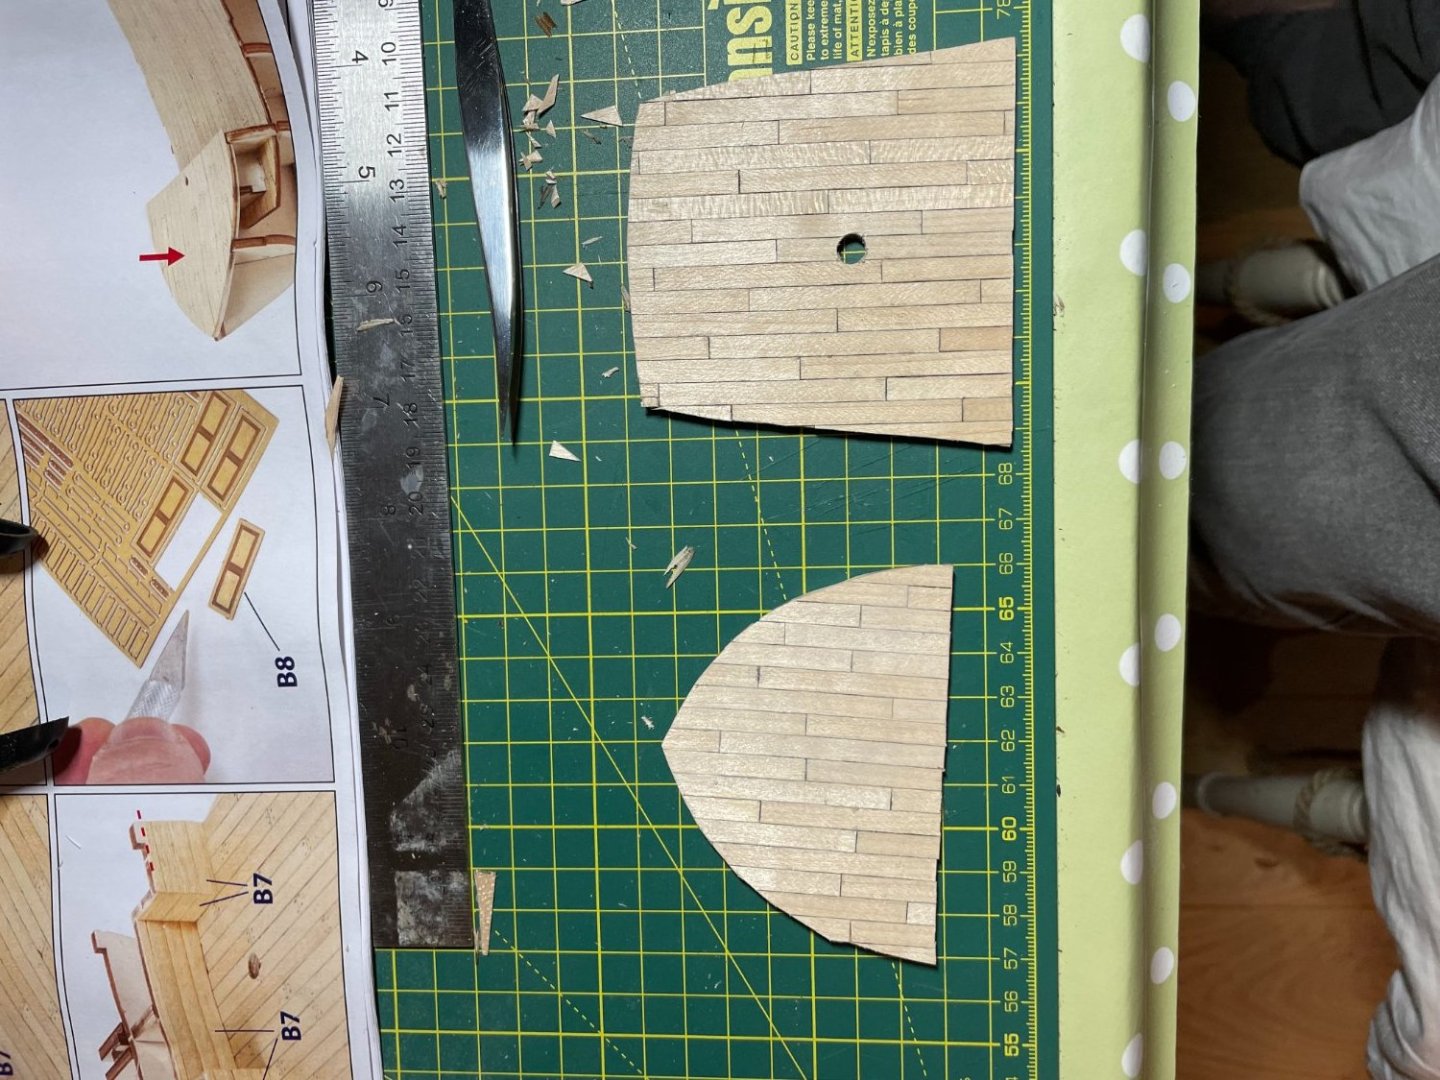
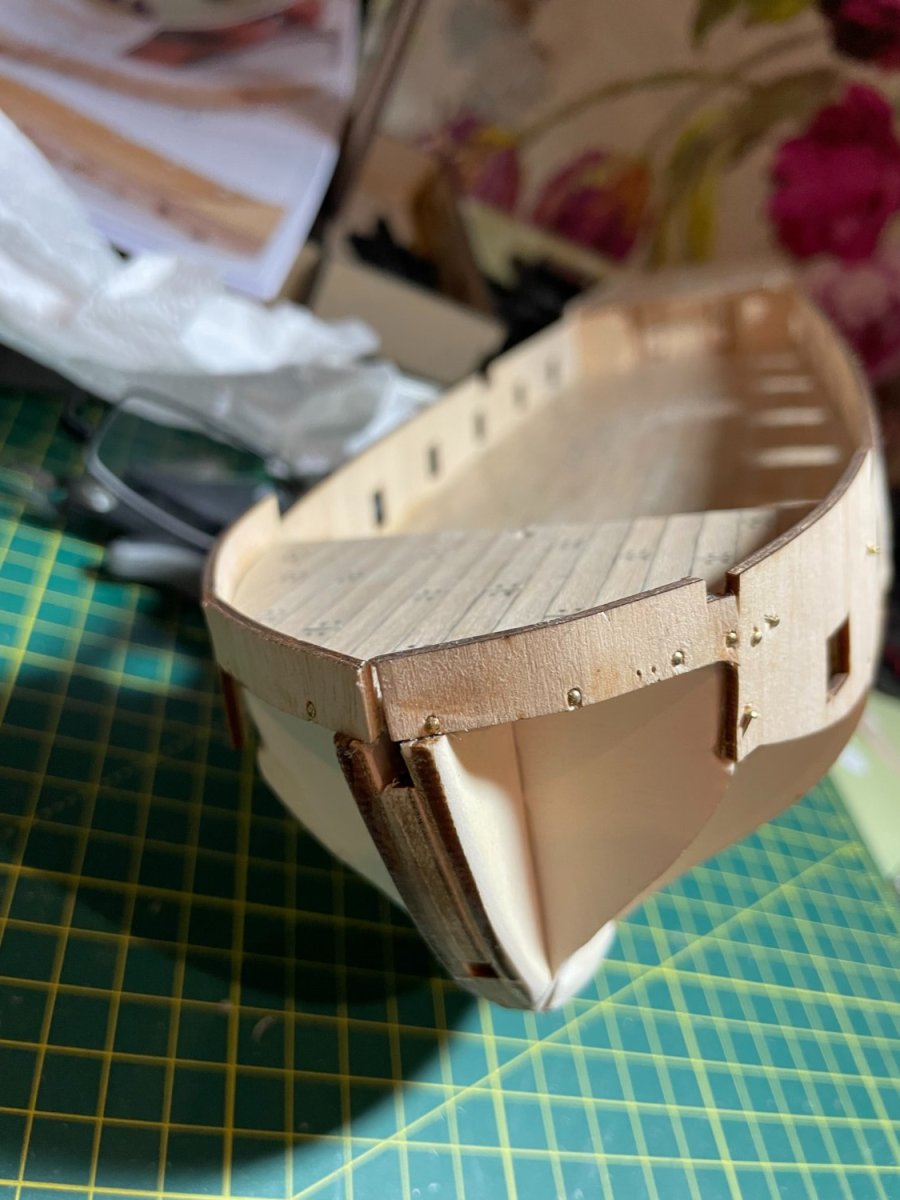
First planking on stern complete. Ended up using super glue gel with clamps to secure planks. A few gaps which I will use filler on and final sanding.
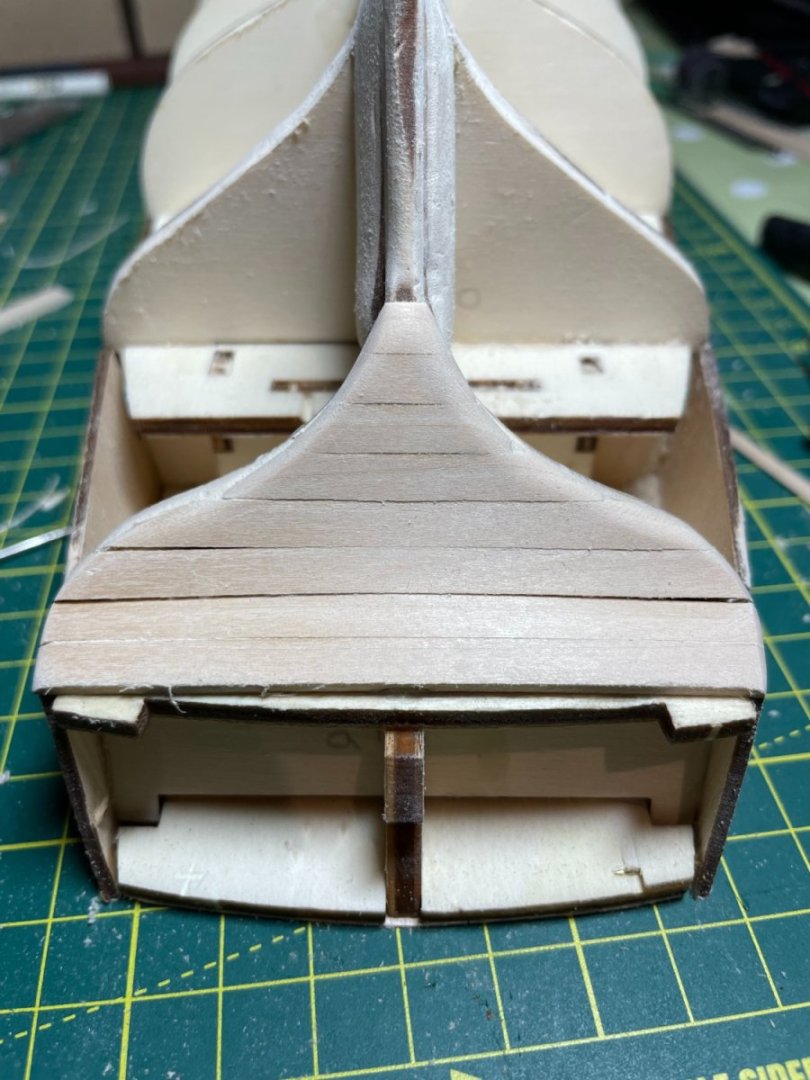
-
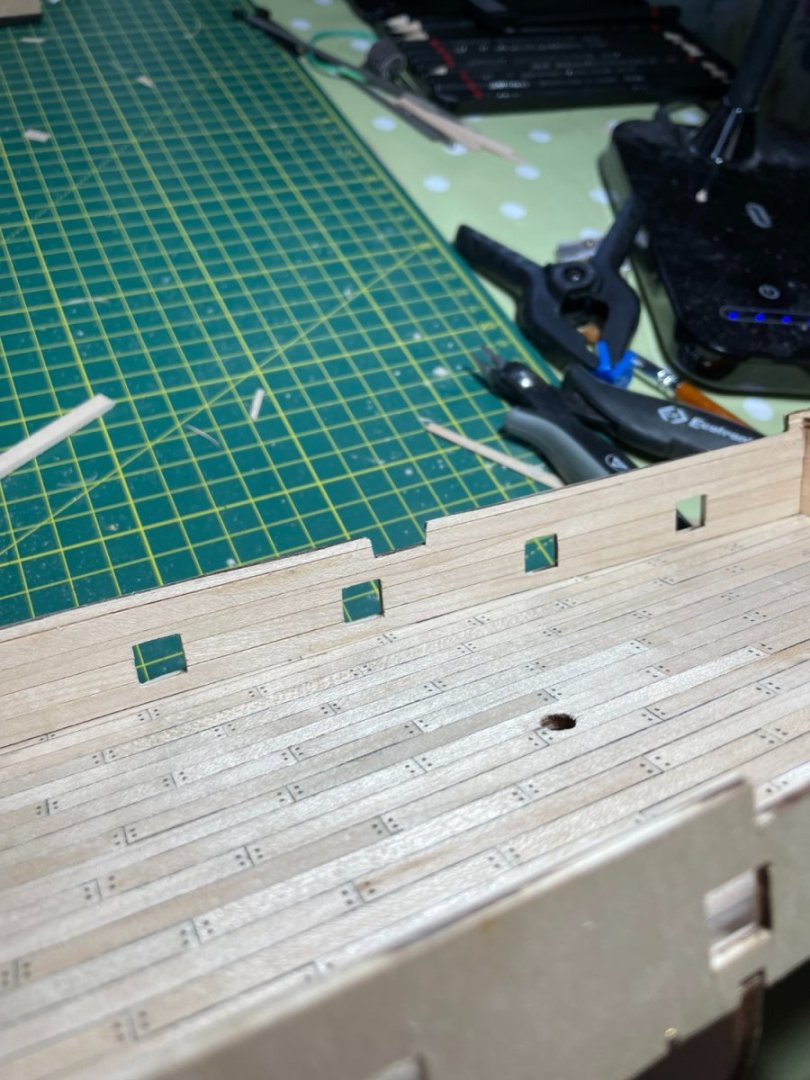
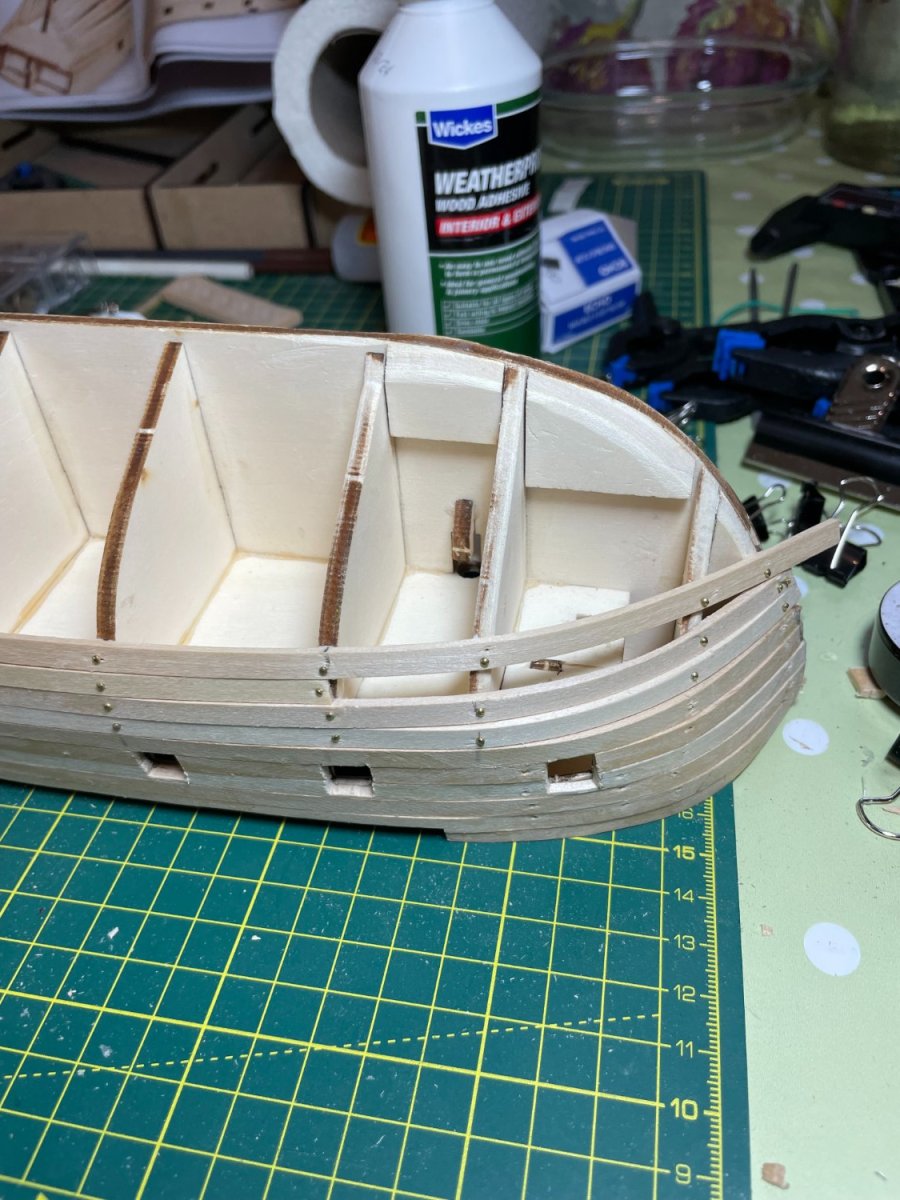
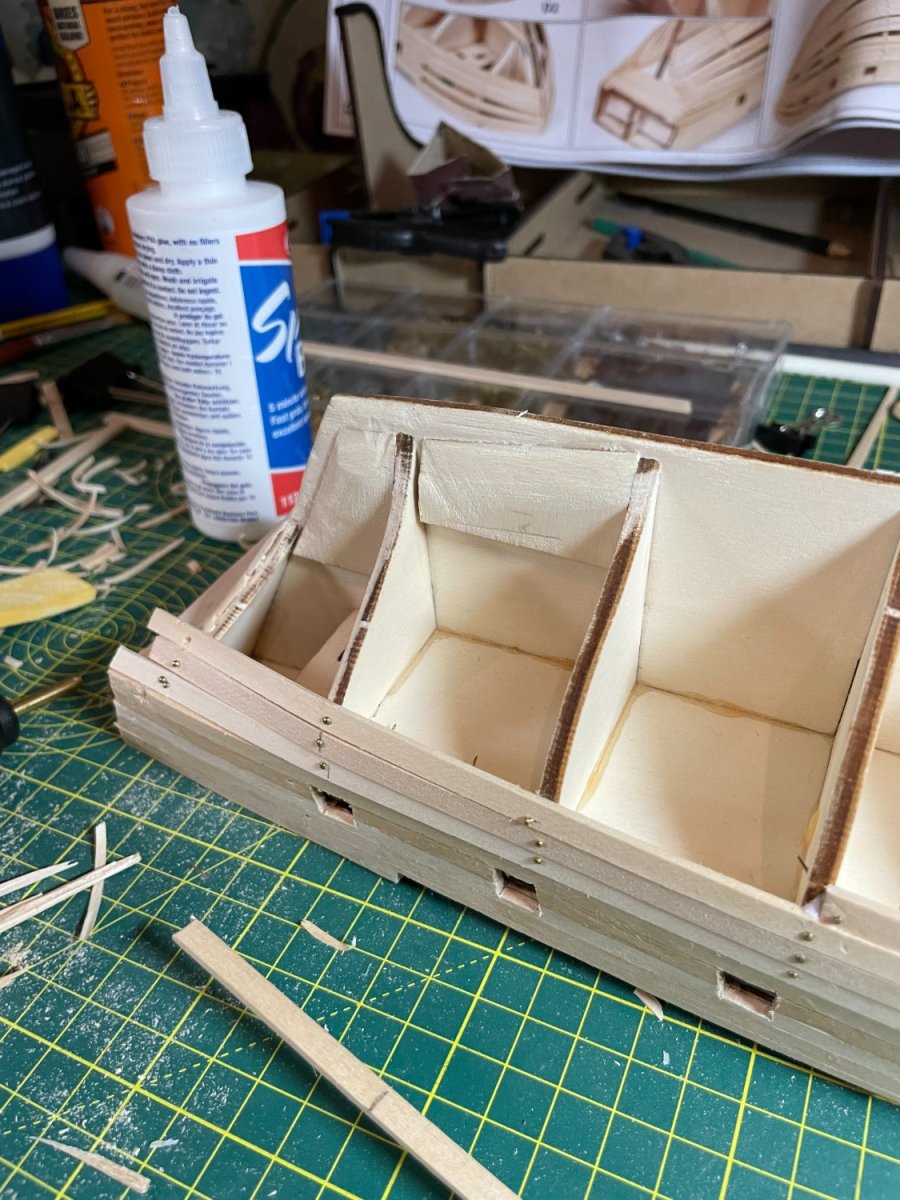
Internal planking to the bulwarks complete. Cutting out of the holes was not that easy.
-
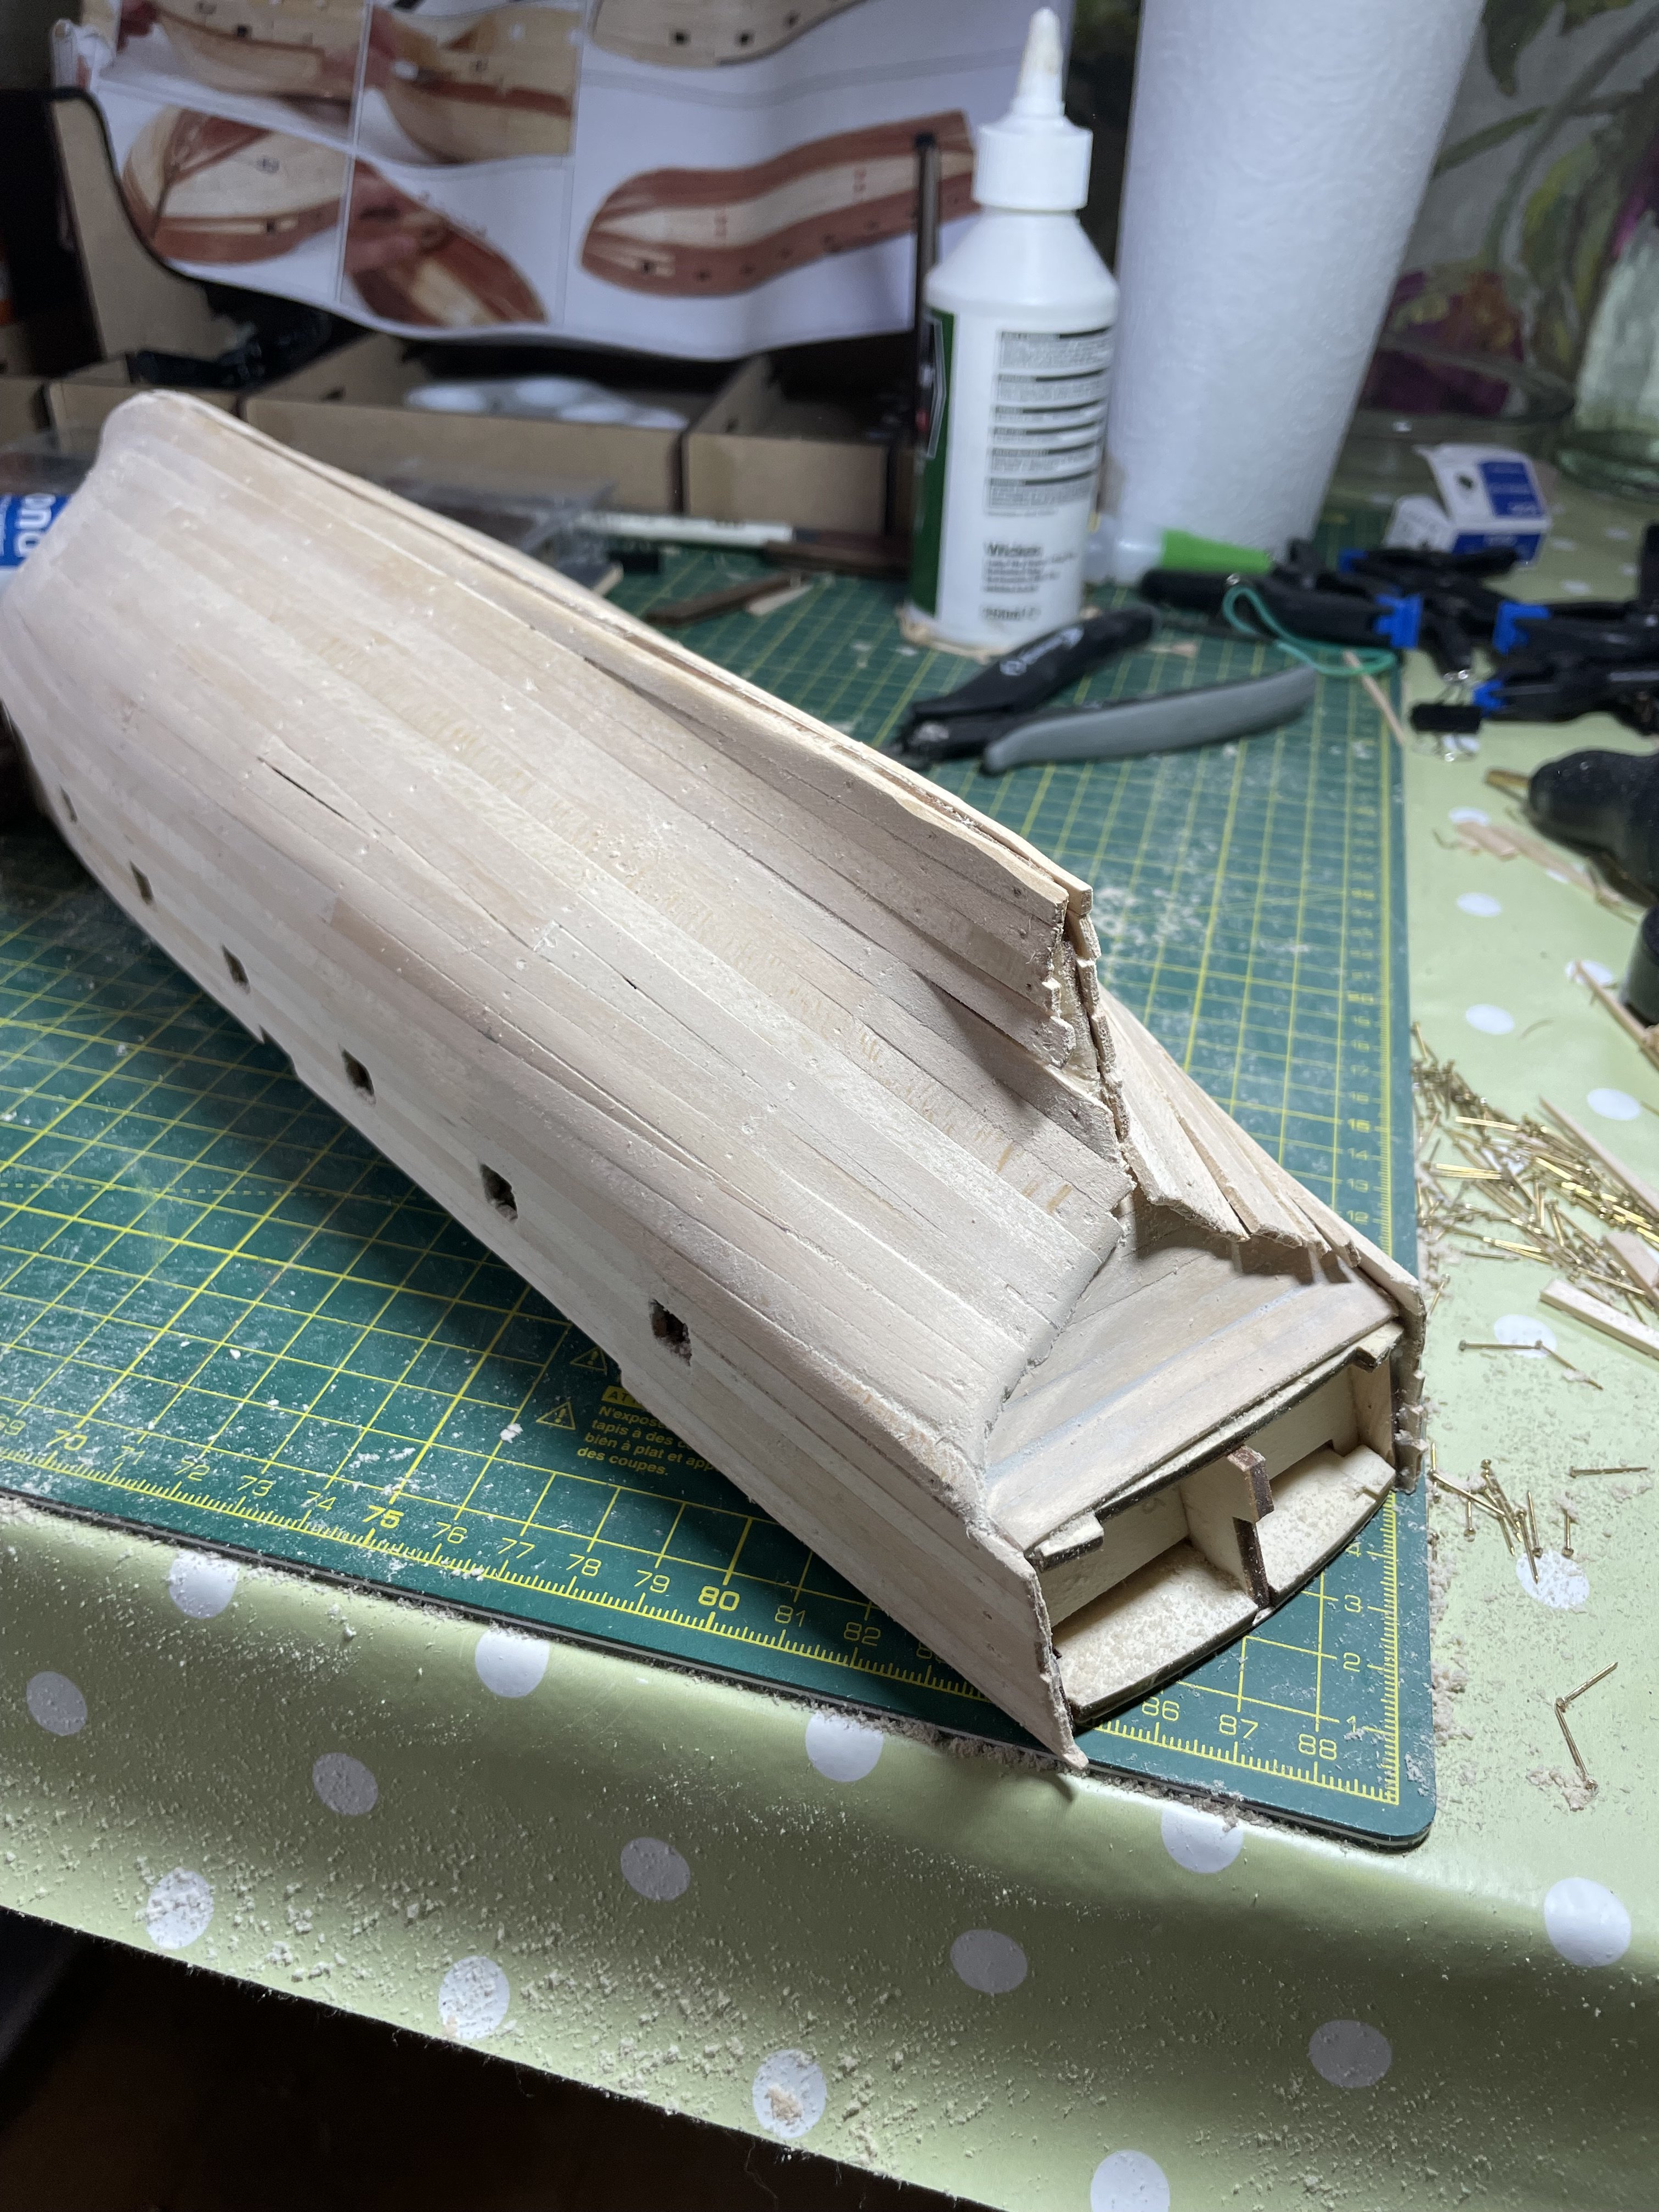
Just trying to fix first planking to stern and having some issues with the glue. Have tried super glue but does not seem to want to grip the wood to wood bond. Any suggestions welcomed. Thanks
-
-
37 minutes ago, RossR said:
I did the same thing on my Beagle. Definitely a weak spot were the bulwark narrows. Should be fixable, but if you want to wait a few weeks, Occre is happy to send a replacement part. They are mailed from Spain, so depending were you live it can take a few weeks. You can order the part on their website, but I would suggest fixing and not waiting.
Yep gone for the fix
-
1 hour ago, ccoyle said:
Did you pre-soak the bulwarks? Best thing to do is to soak the plywood until it can easily be bent, then temporarily pin the piece to the hull (no glue) and allow it to dry. The shaped piece is then much easier to glue in place.
Hi Chris. I did soak it but I don't think it was for long enough. Lessons you learn along the way!!
- The Gimps Chimp, Mr Whippy, ccoyle and 1 other
-
 4
4
-
-
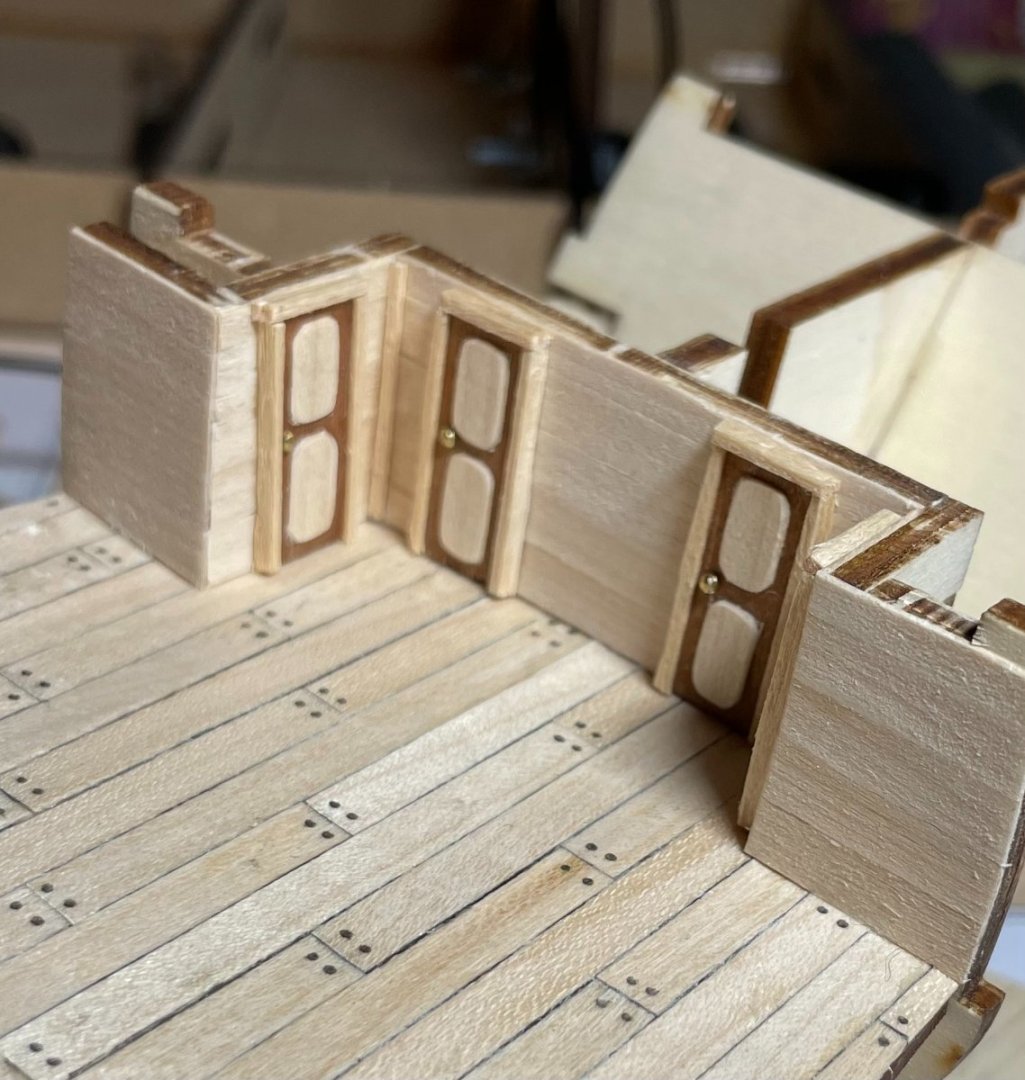
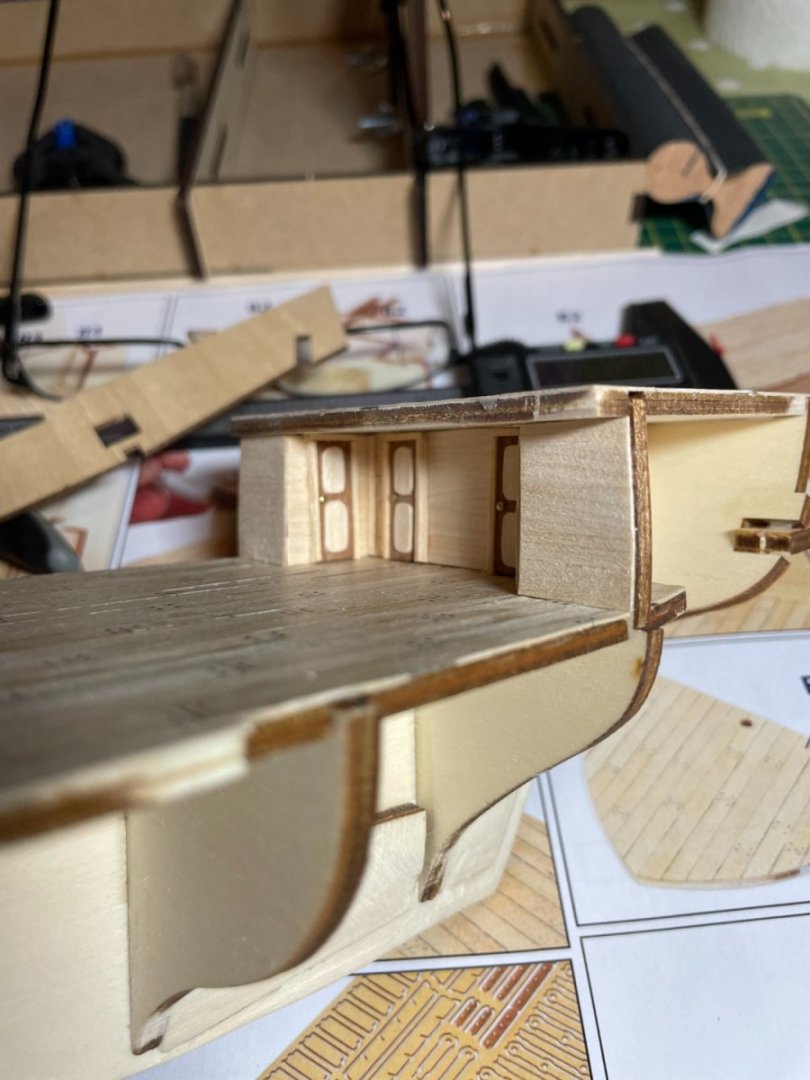
Well played around with the doors and fixed them on and now looking at attaching the bulwarks.
-
On 2/13/2024 at 8:37 PM, JFMJr said:
Quit messing with the doors! Just kidding. (They do look good) Waiting to see your planking method.... lol Rookie here, now working on the Bow for the HMS Beagle.
Anything to delay planking which I must admit I am dreading.
-
15 hours ago, brunnels said:
Those look great, I like the simplicity of the right one personally. I just took my doors off the model again this morning as I am not happy with them, I might have to steal your door idea.
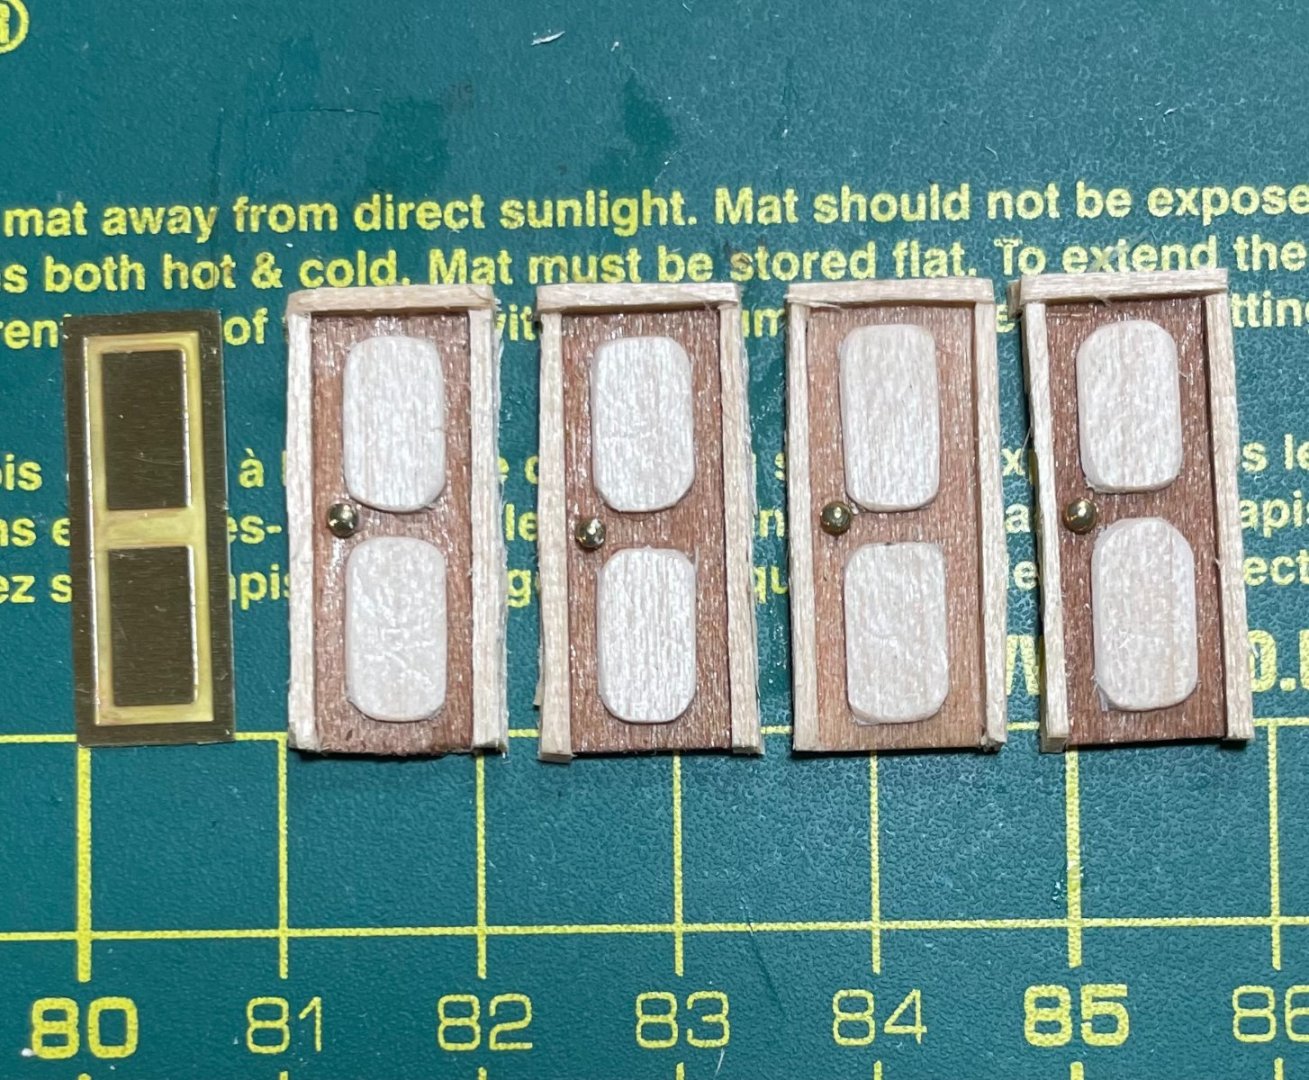
Thanks for the feedback. That is the way I am going to go with one addition and that is thinning the doorframe down with a scalpel. If it helps I glued a 1/32" thick piece of basswood to the photoetch door - to get the same size and also gives a bit of thickness to glue the frame to. I used the sapelli stain on this basswood and the two inserts on the door were from planking lefts overs with edges sanded. The door knob was from a pin in the kit which was snipped and glued and the frame came from the small square pieces in the kit that are meant for something else later in the build which I hopefully won't run short of now.
-
I know the doors in the kit have been causing some negative views so I had a go at trying to build alternatives. Could I get views on which of the two options I tried would look better on the build. Thanks.

-
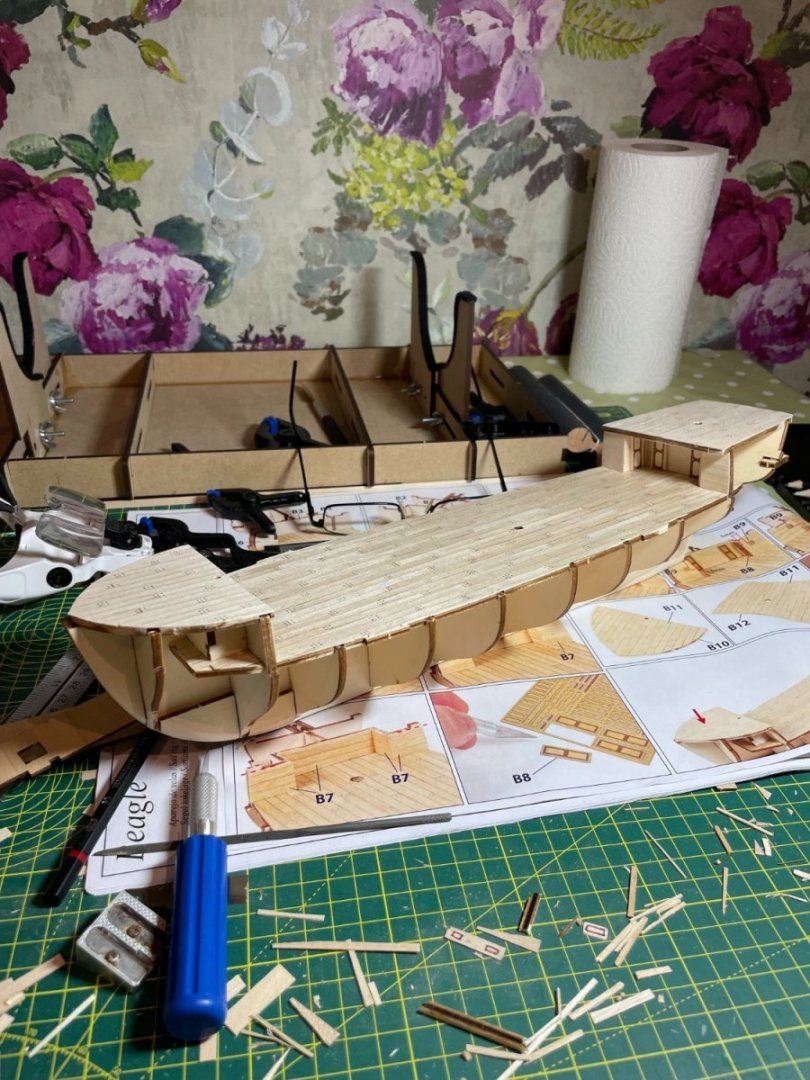
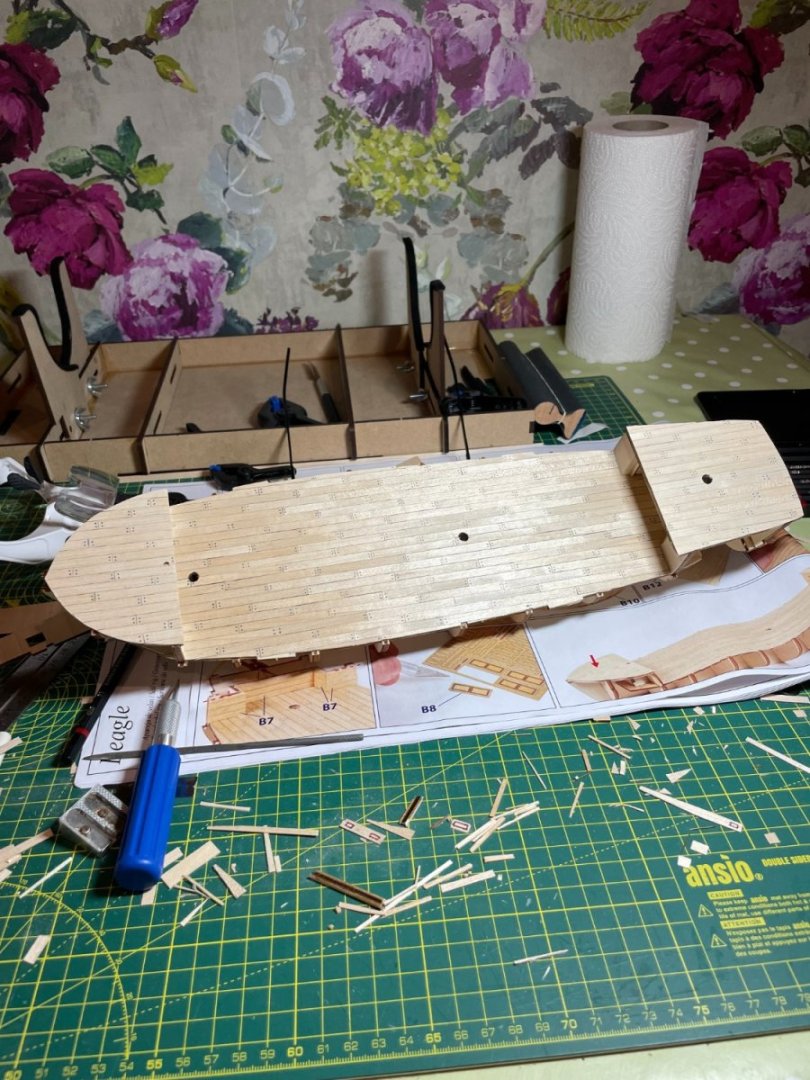
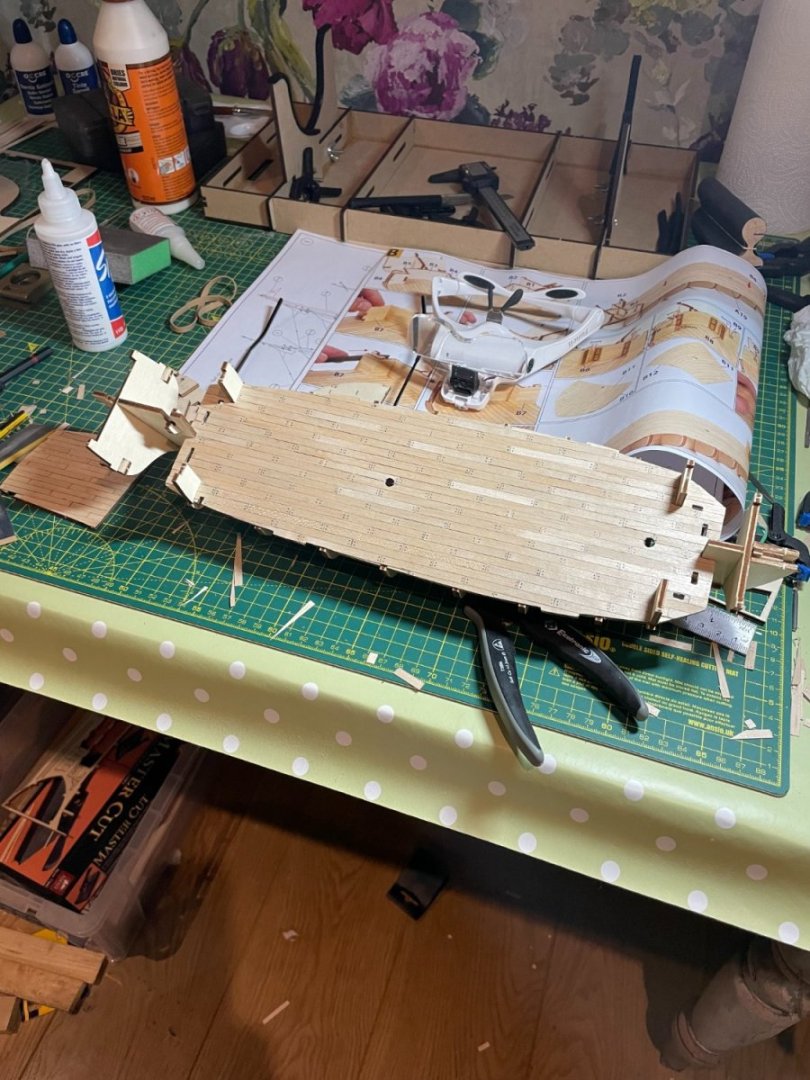
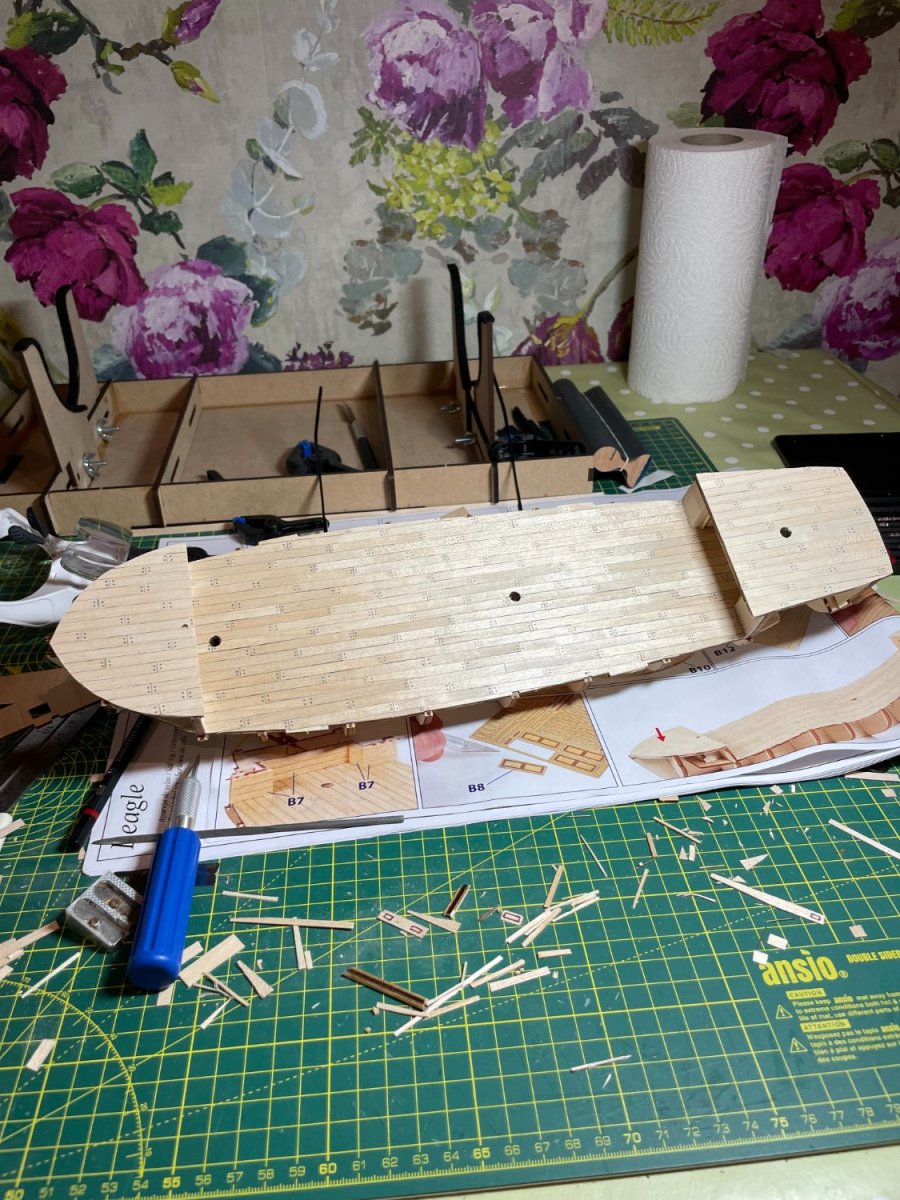
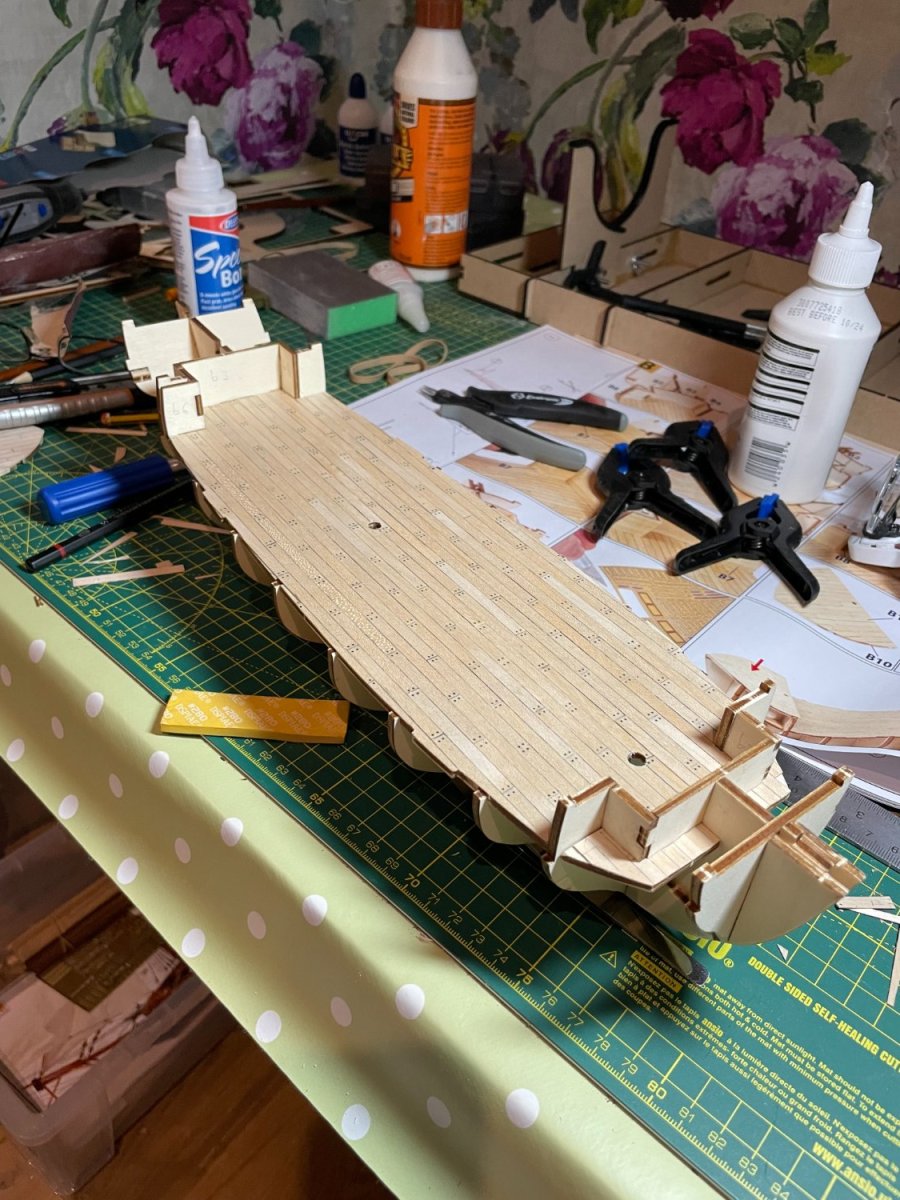
Managed to fix the main deck to the hull without too many issues and gave it a coat of the Occre satin varnish. Then fixed the end walls on the main deck which were a bit fiddly but clamping certainly helped get them in place and started planking the other deck pieces.


HMS Beagle by LucienL - OcCre - 1:60
in - Kit build logs for subjects built from 1801 - 1850
Posted
Brilliant. Thanks for sharing your approach. I am still quite a way off reaching the hammocks but will definitely give your method a go.