Robert Hamlin
-
Posts
6 -
Joined
-
Last visited
1 Follower

-
 GrandpaPhil reacted to a post in a topic:
Great Harry (Henry Grace A Dieu) by Robert Hamlin - Sergal - Scale ~1:64 - KIT RESTORATION
GrandpaPhil reacted to a post in a topic:
Great Harry (Henry Grace A Dieu) by Robert Hamlin - Sergal - Scale ~1:64 - KIT RESTORATION
-
Knocklouder reacted to a post in a topic:
Great Harry (Henry Grace A Dieu) by Robert Hamlin - Sergal - Scale ~1:64 - KIT RESTORATION
-
Old Collingwood reacted to a post in a topic:
Great Harry (Henry Grace A Dieu) by Robert Hamlin - Sergal - Scale ~1:64 - KIT RESTORATION
-
Bill Morrison reacted to a post in a topic:
Great Harry (Henry Grace A Dieu) by Robert Hamlin - Sergal - Scale ~1:64 - KIT RESTORATION
-
Bill Morrison reacted to a post in a topic:
Great Harry (Henry Grace A Dieu) by Robert Hamlin - Sergal - Scale ~1:64 - KIT RESTORATION
-
Baker reacted to a post in a topic:
Great Harry (Henry Grace A Dieu) by Robert Hamlin - Sergal - Scale ~1:64 - KIT RESTORATION
-
Keith Black reacted to a post in a topic:
Great Harry (Henry Grace A Dieu) by Robert Hamlin - Sergal - Scale ~1:64 - KIT RESTORATION
-
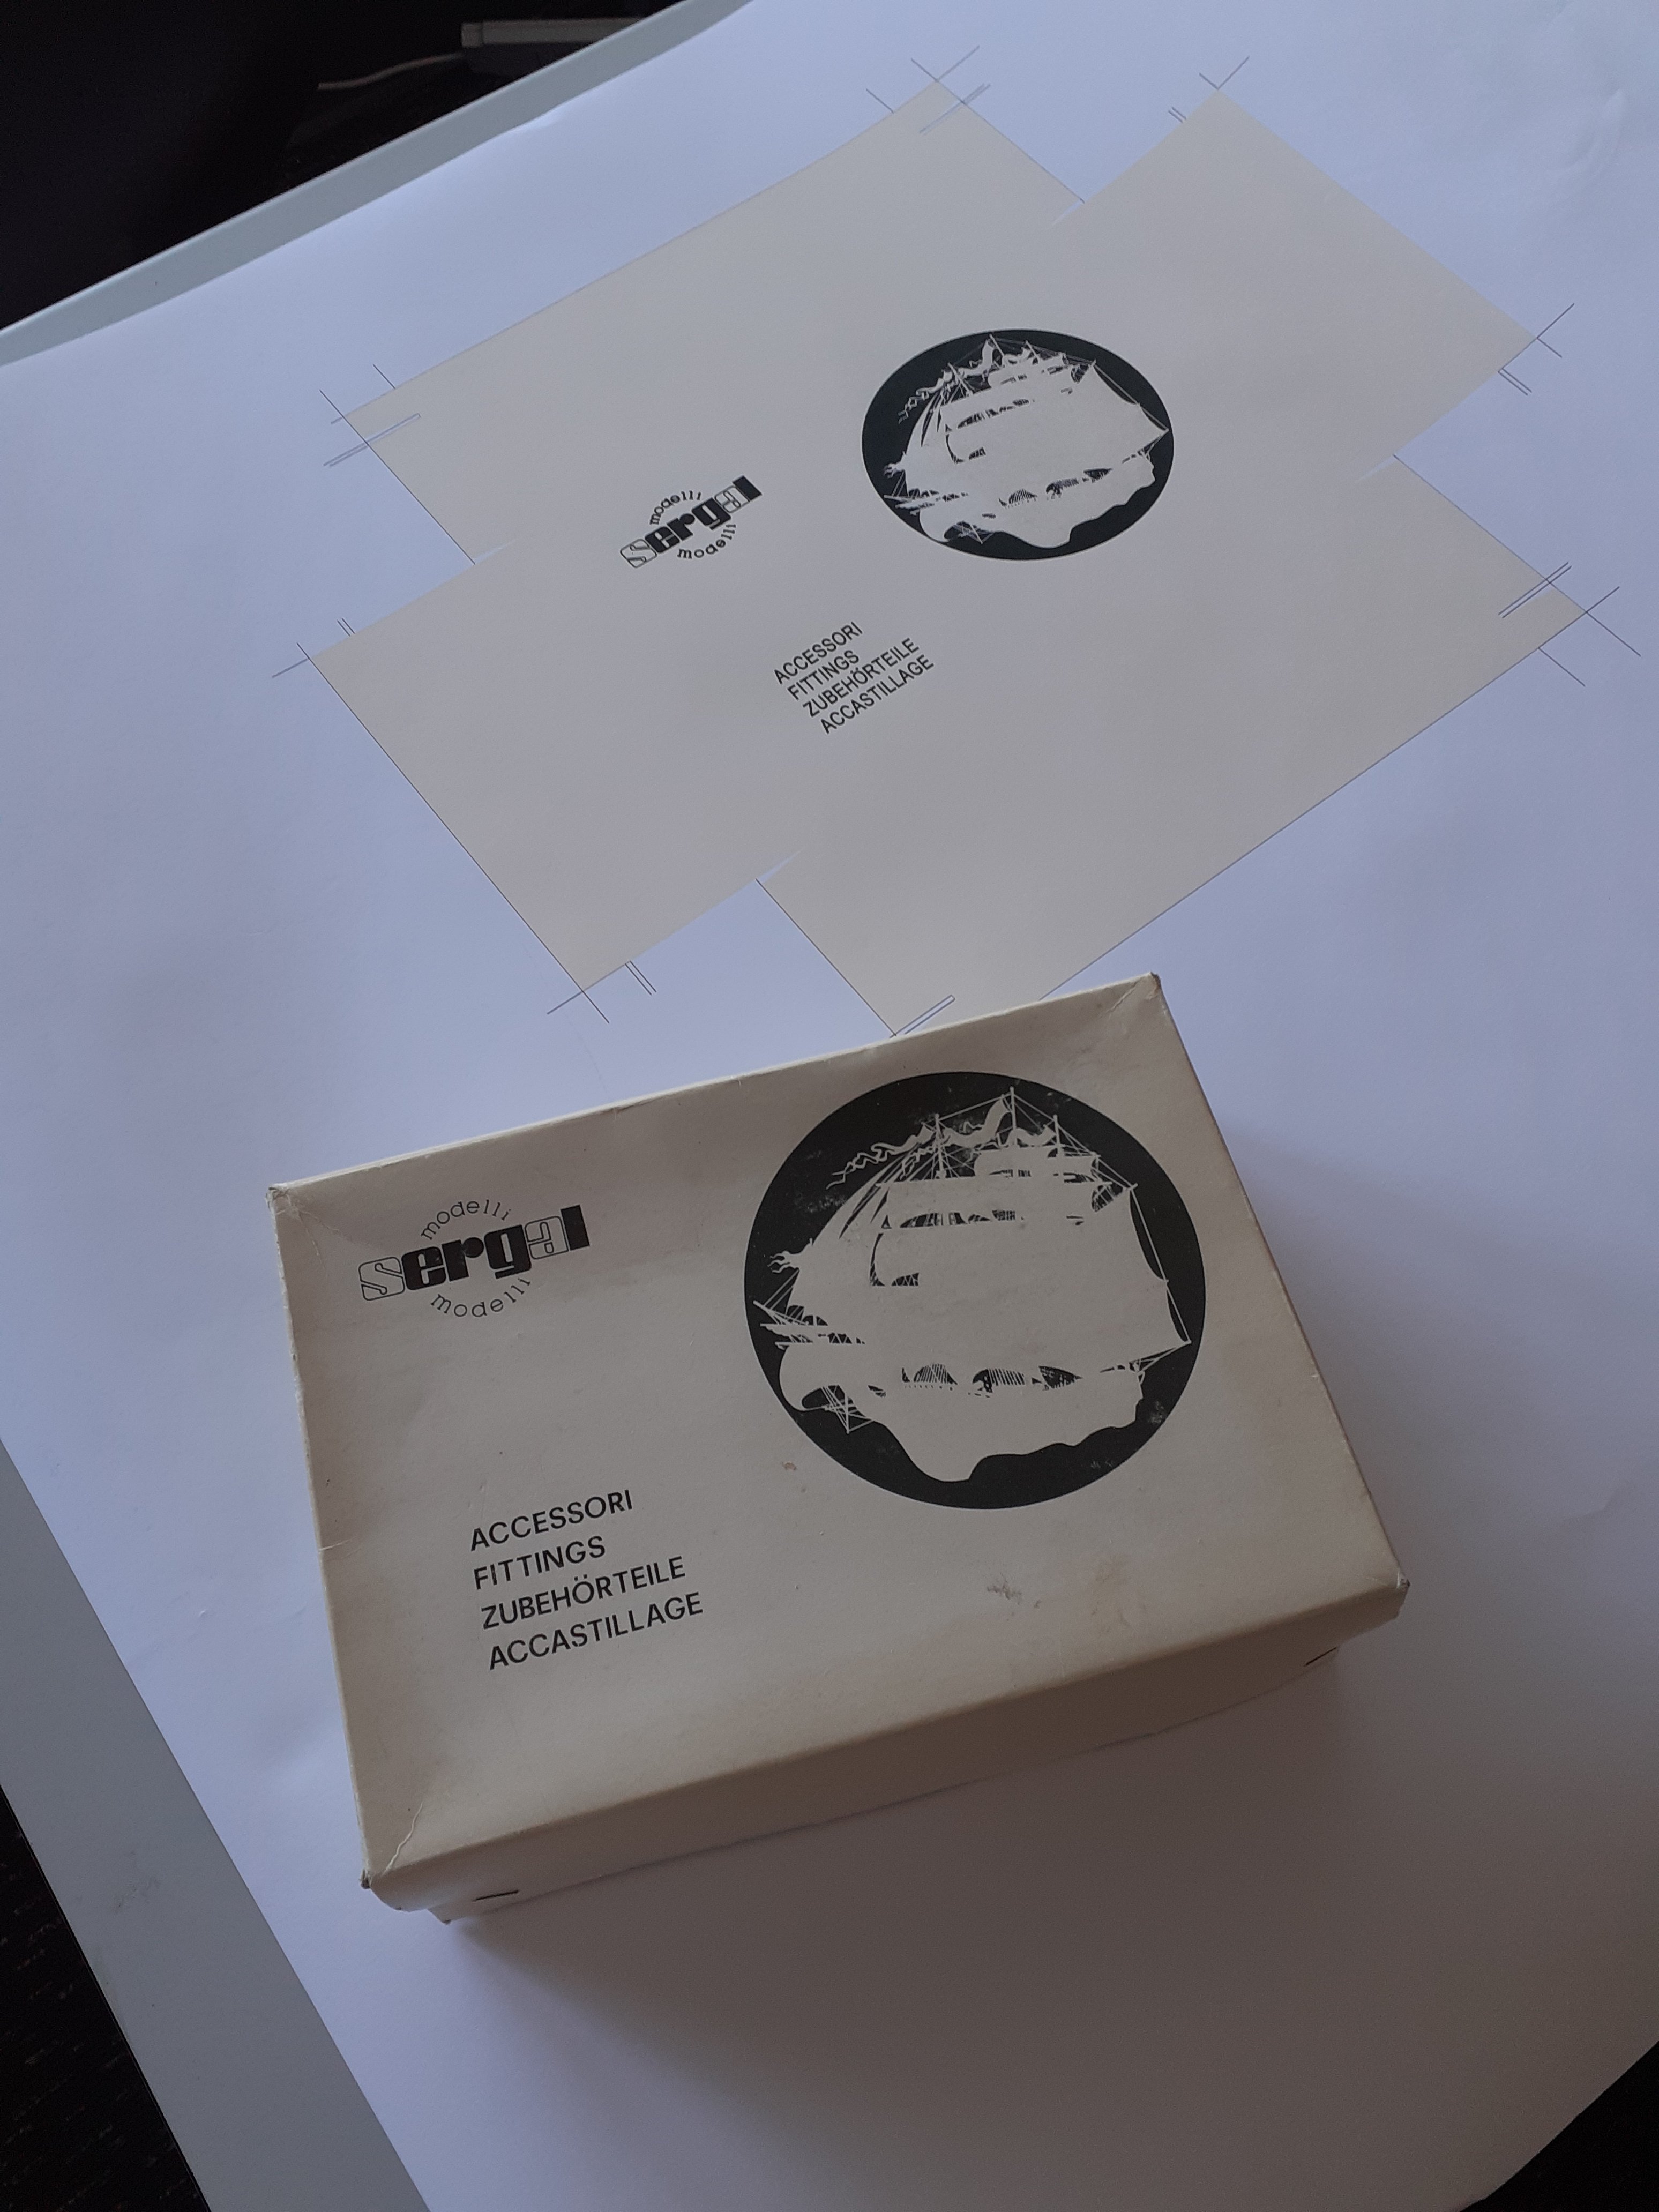
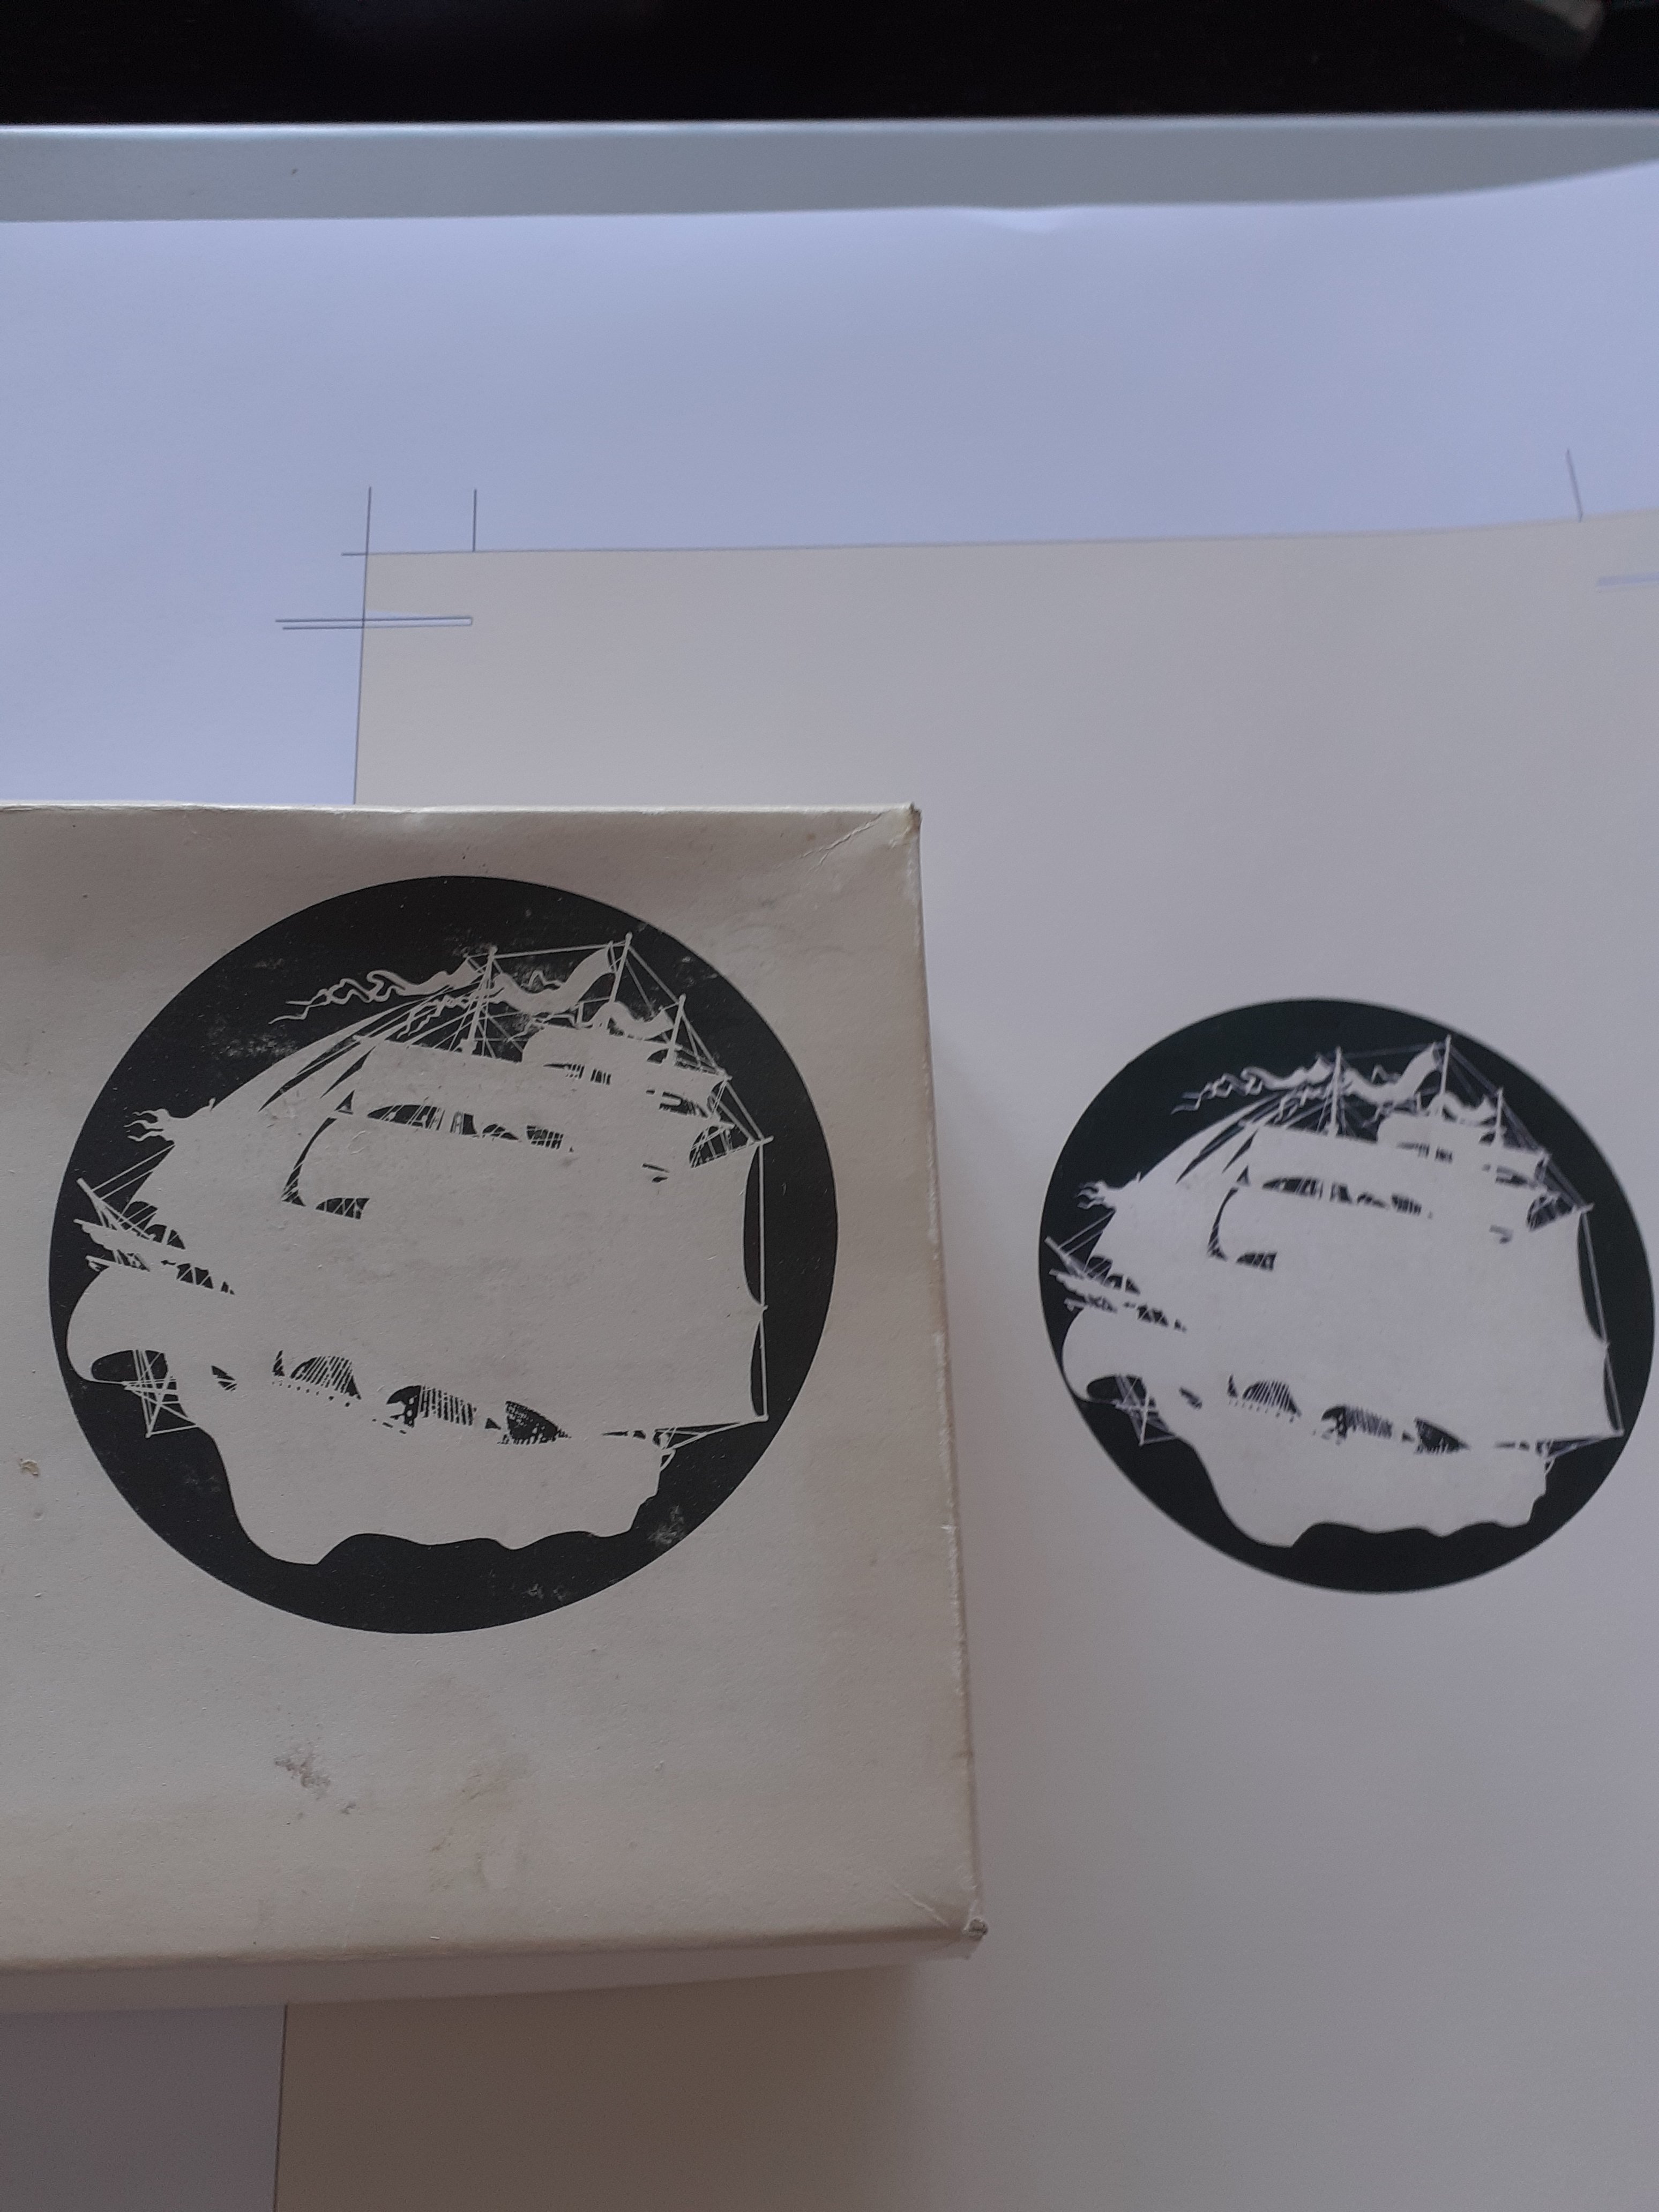
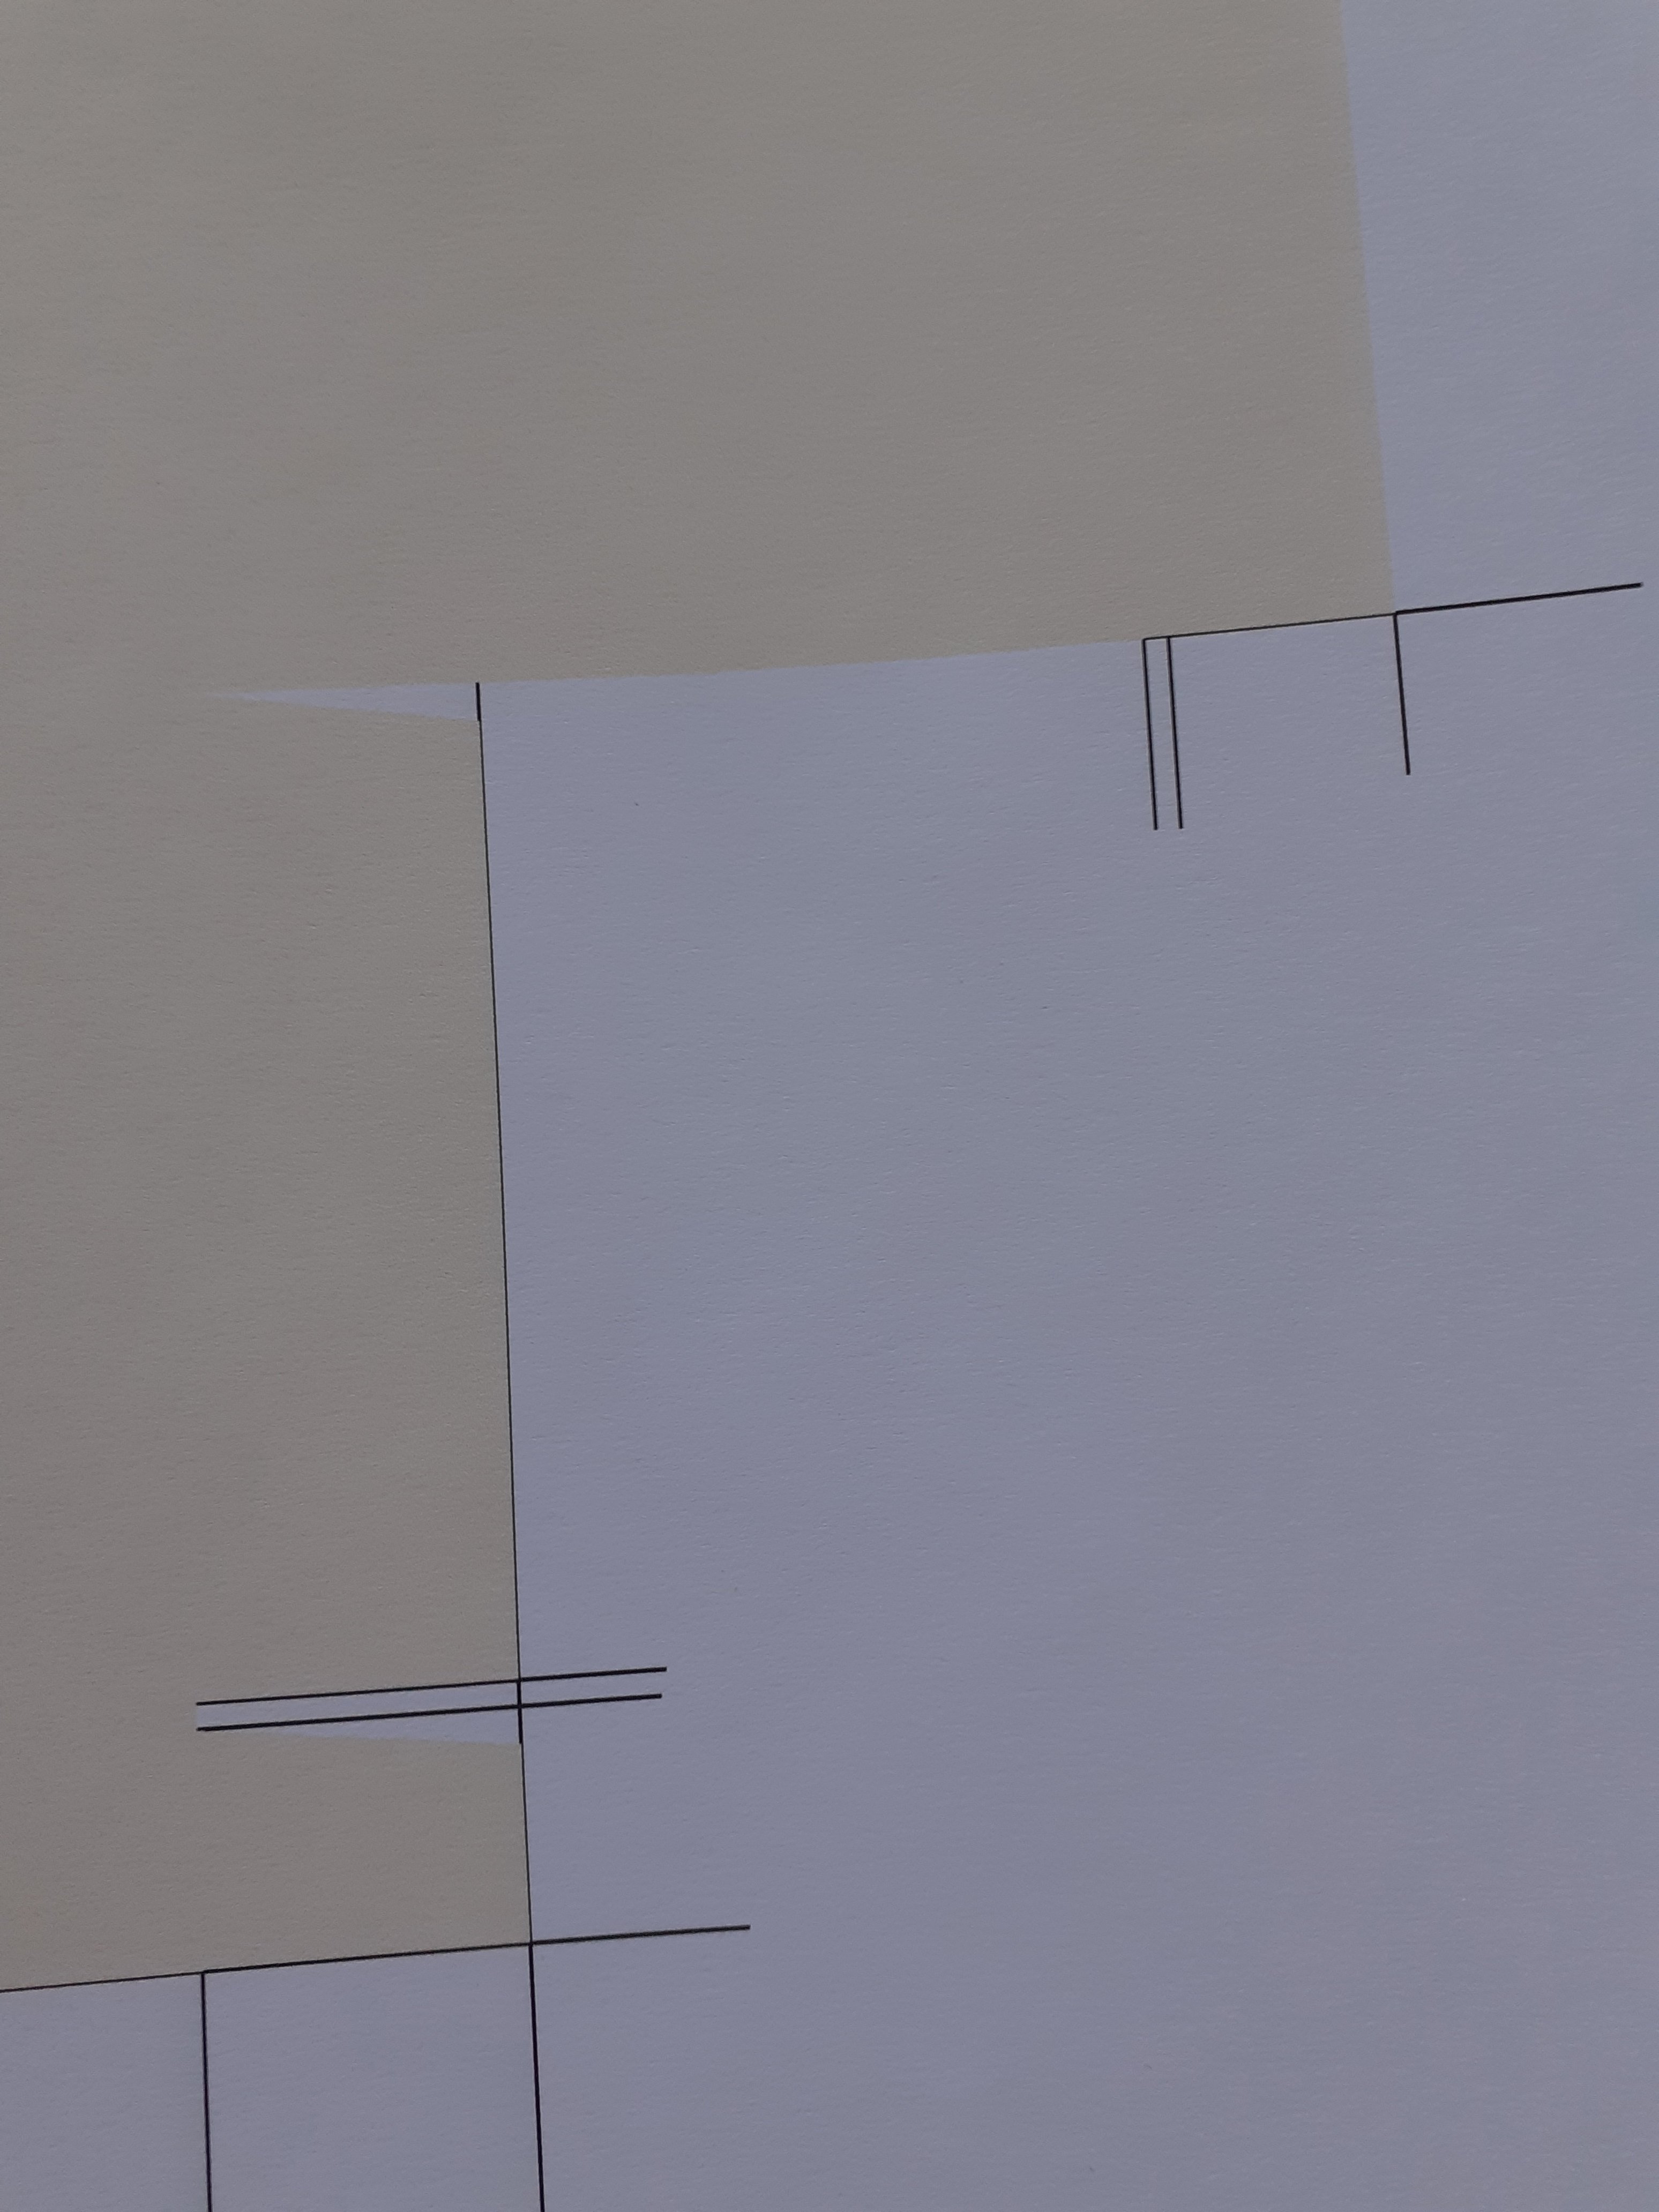
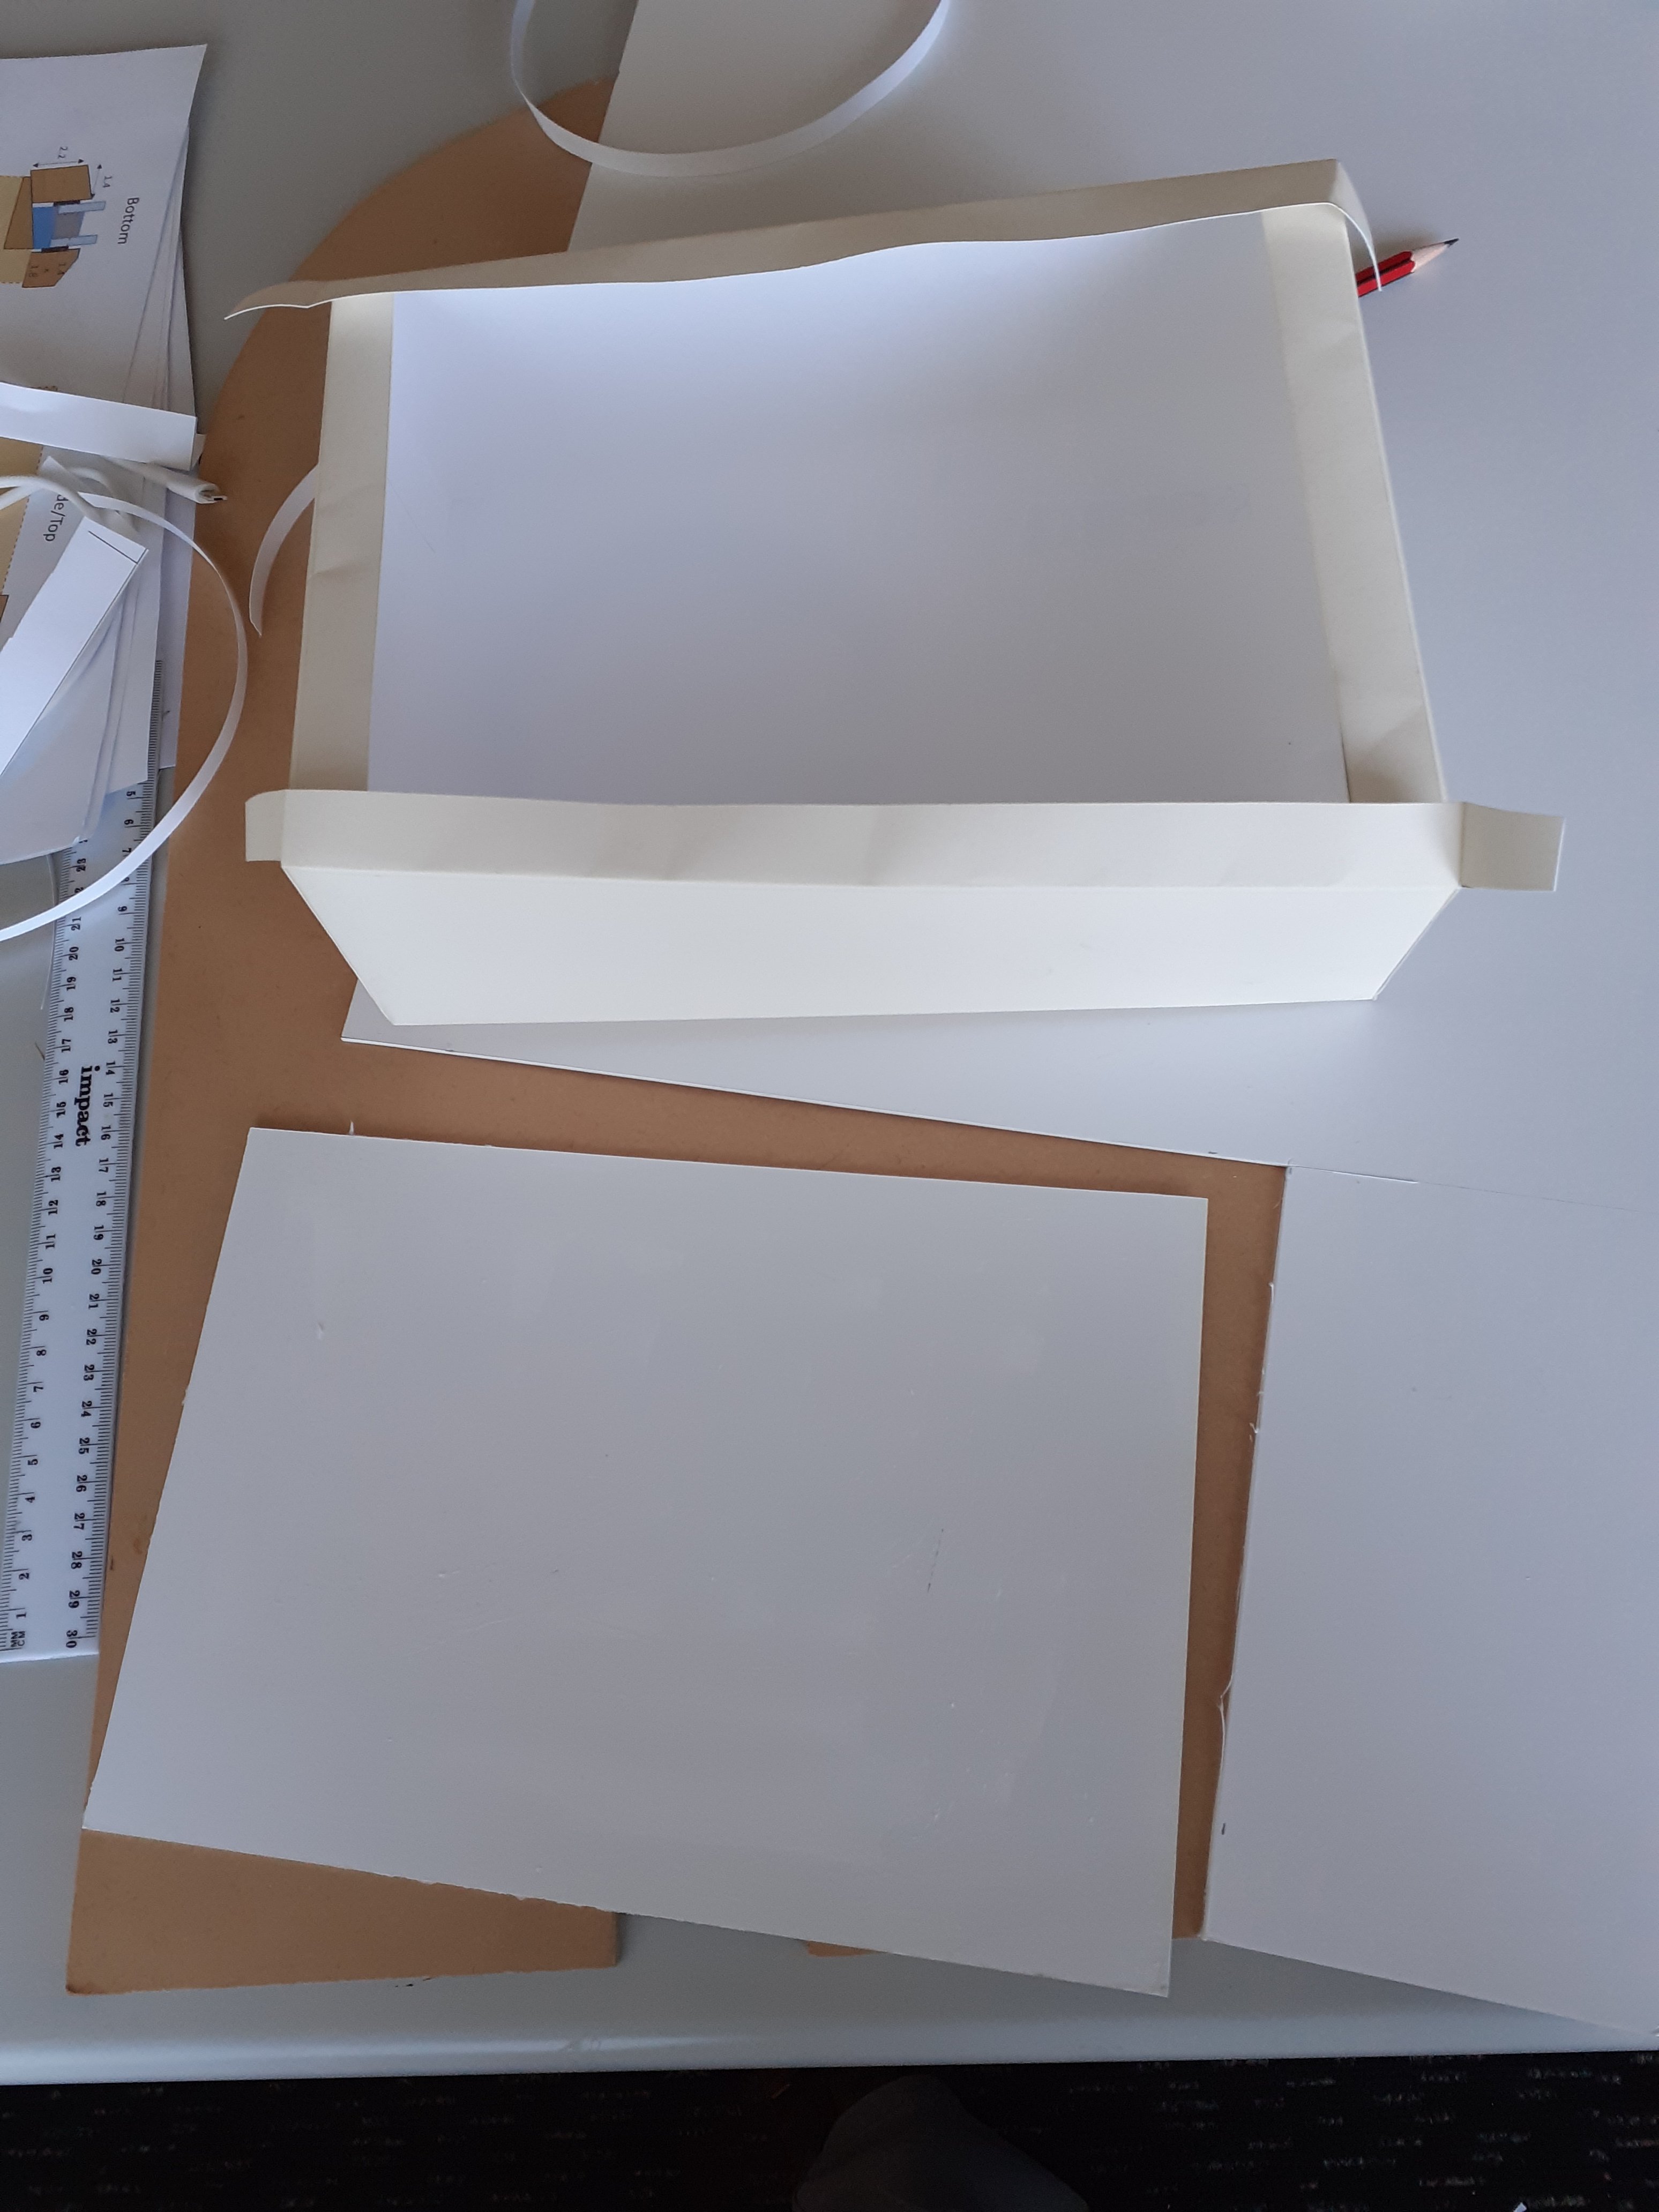
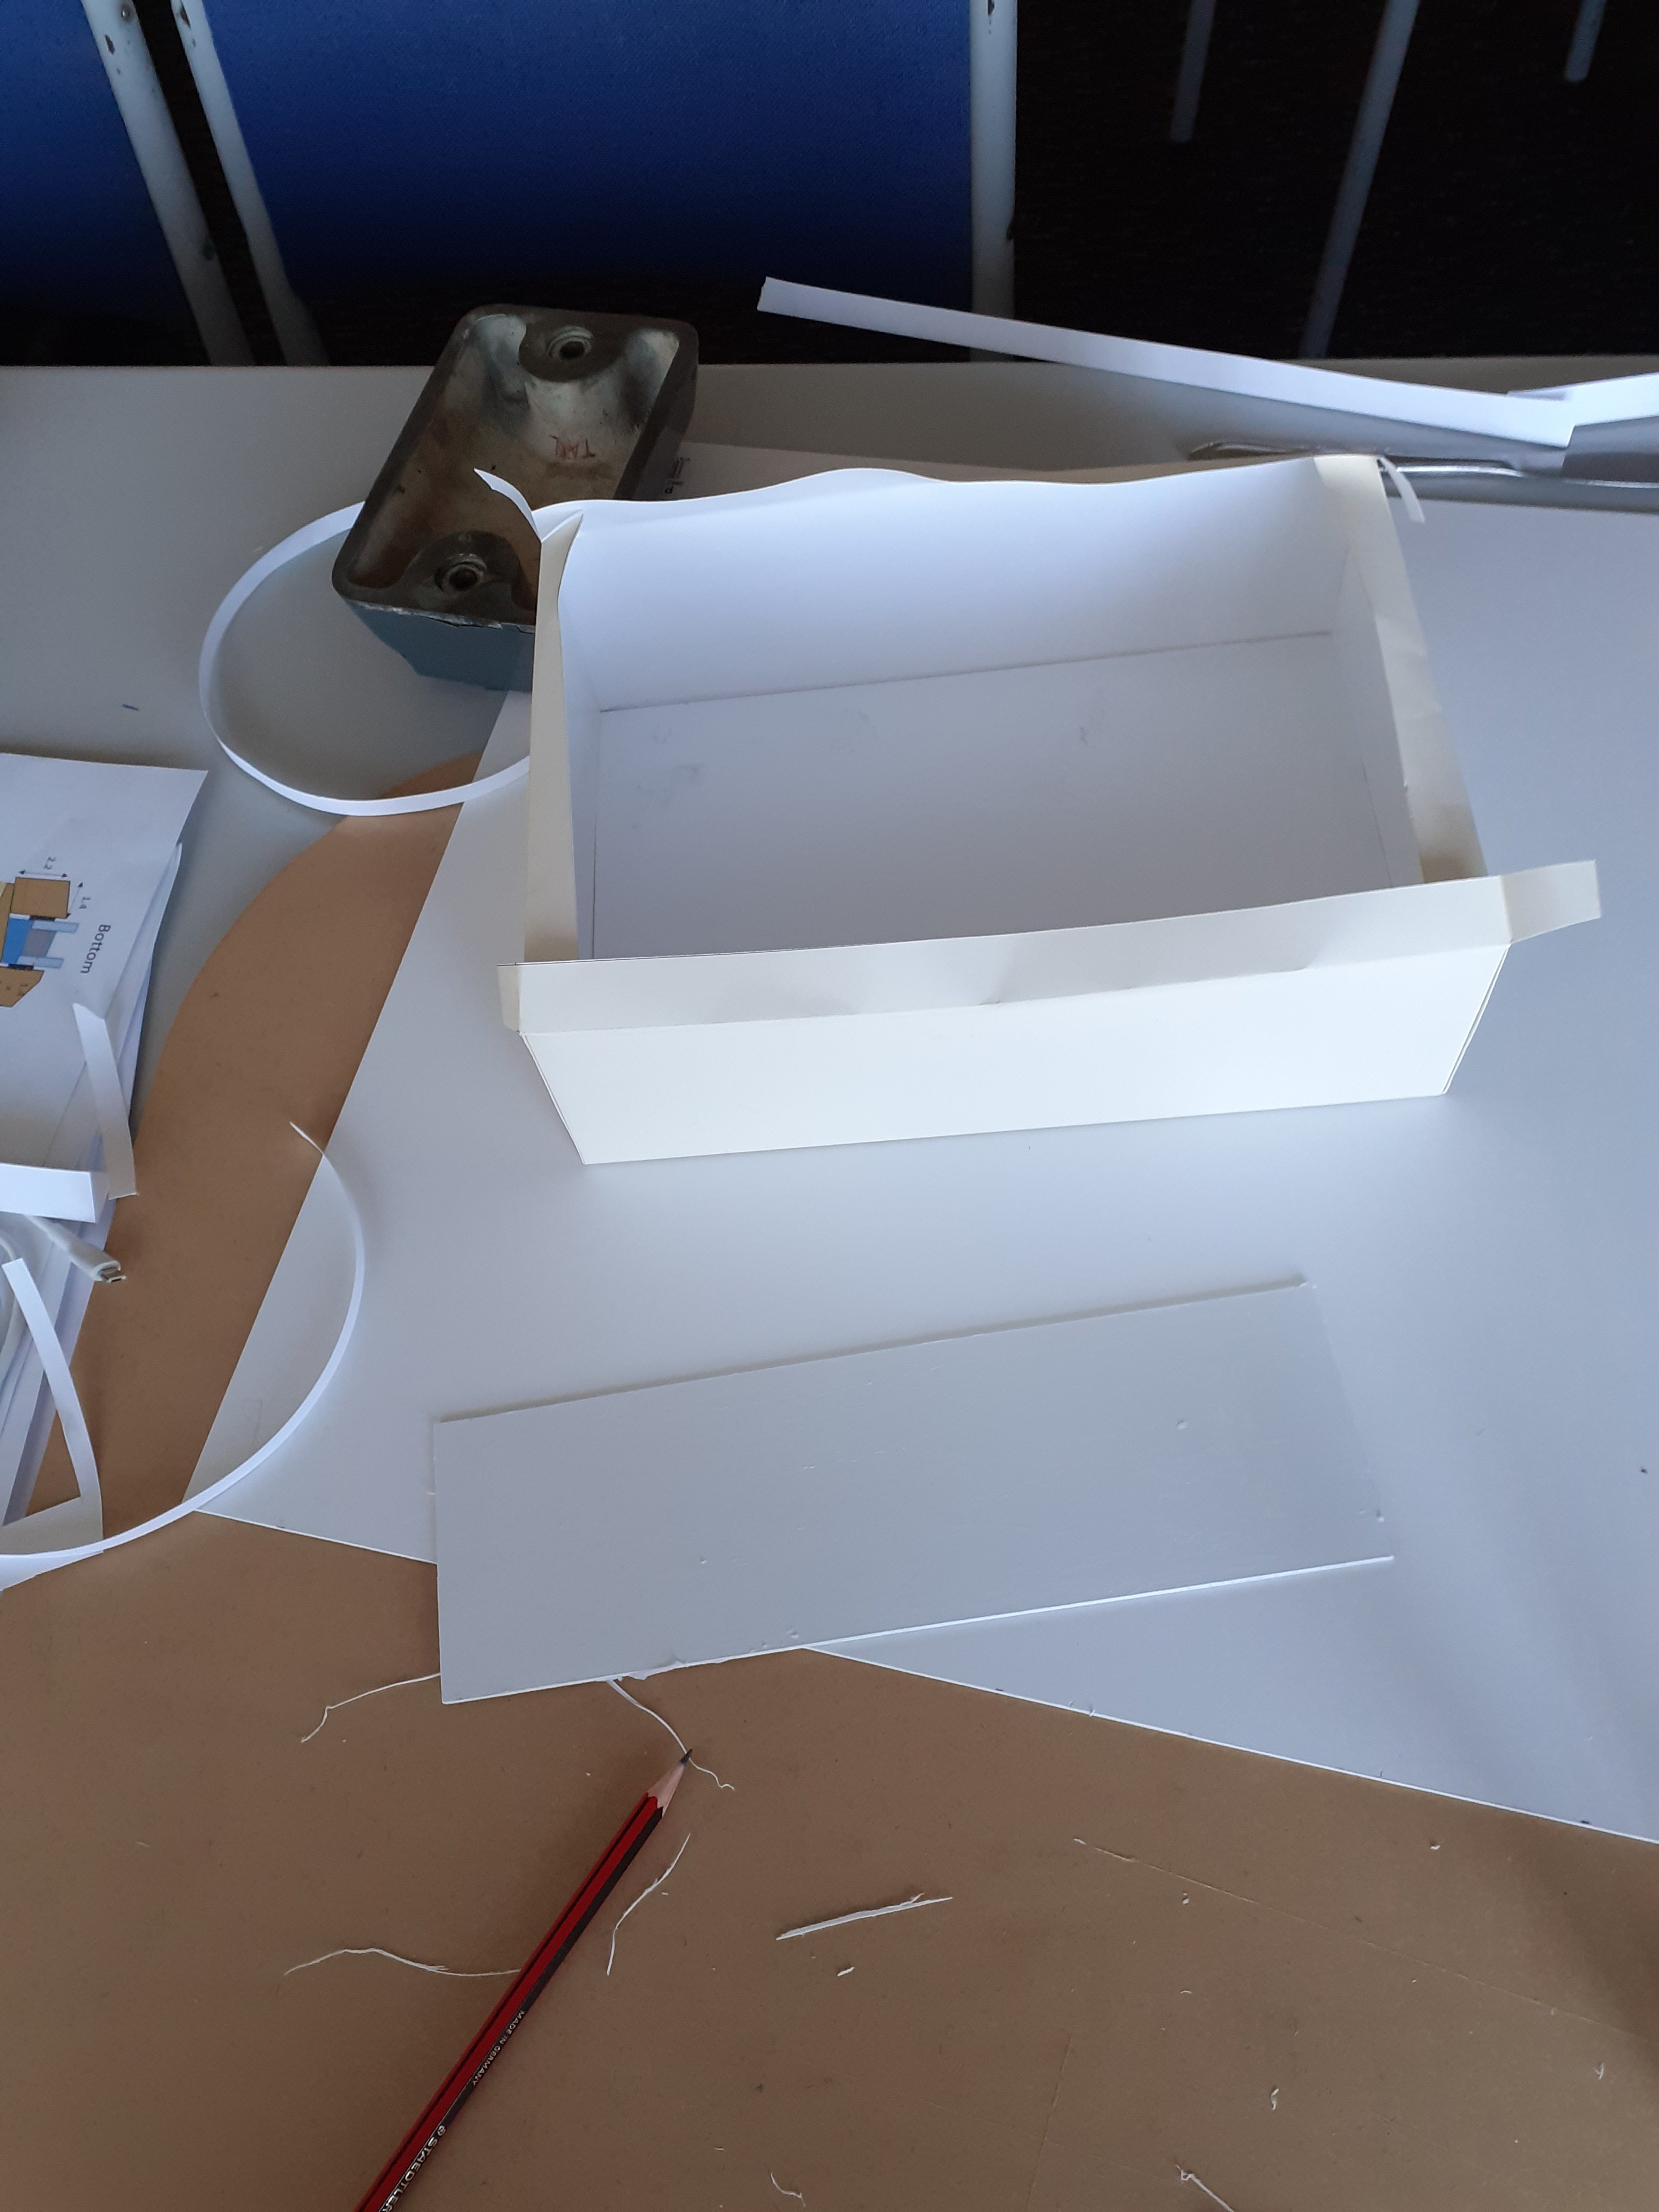
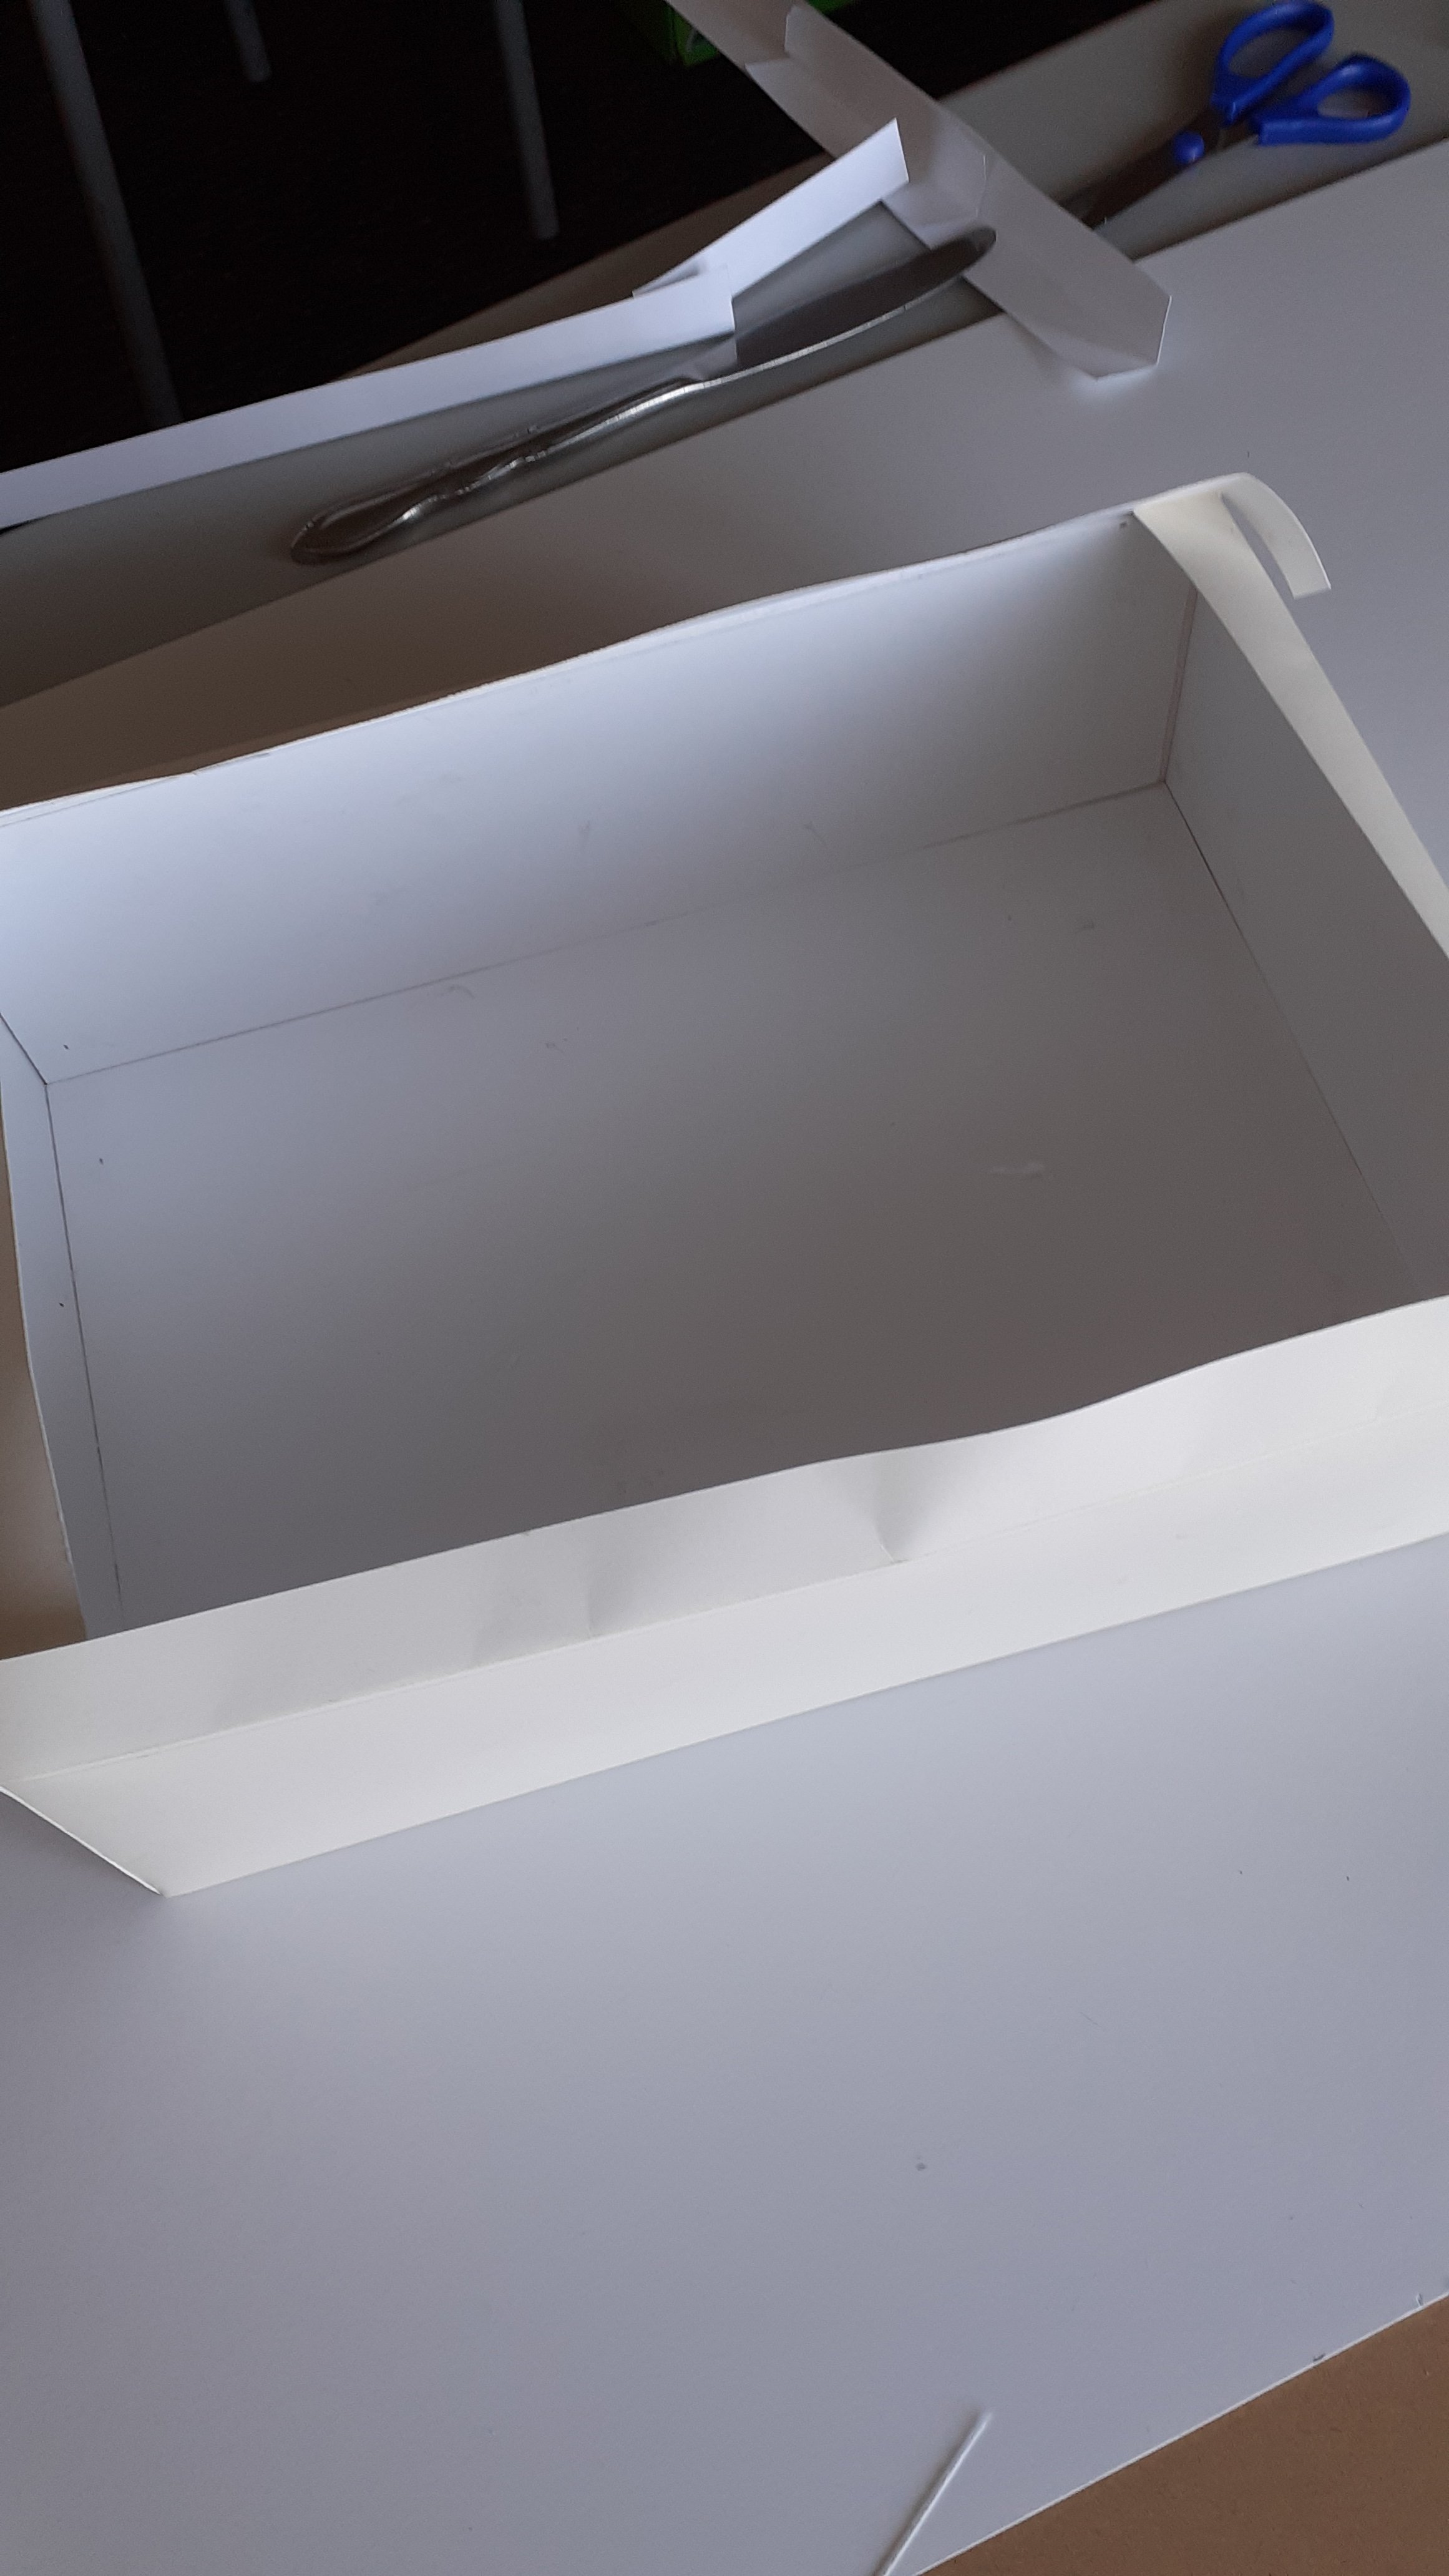
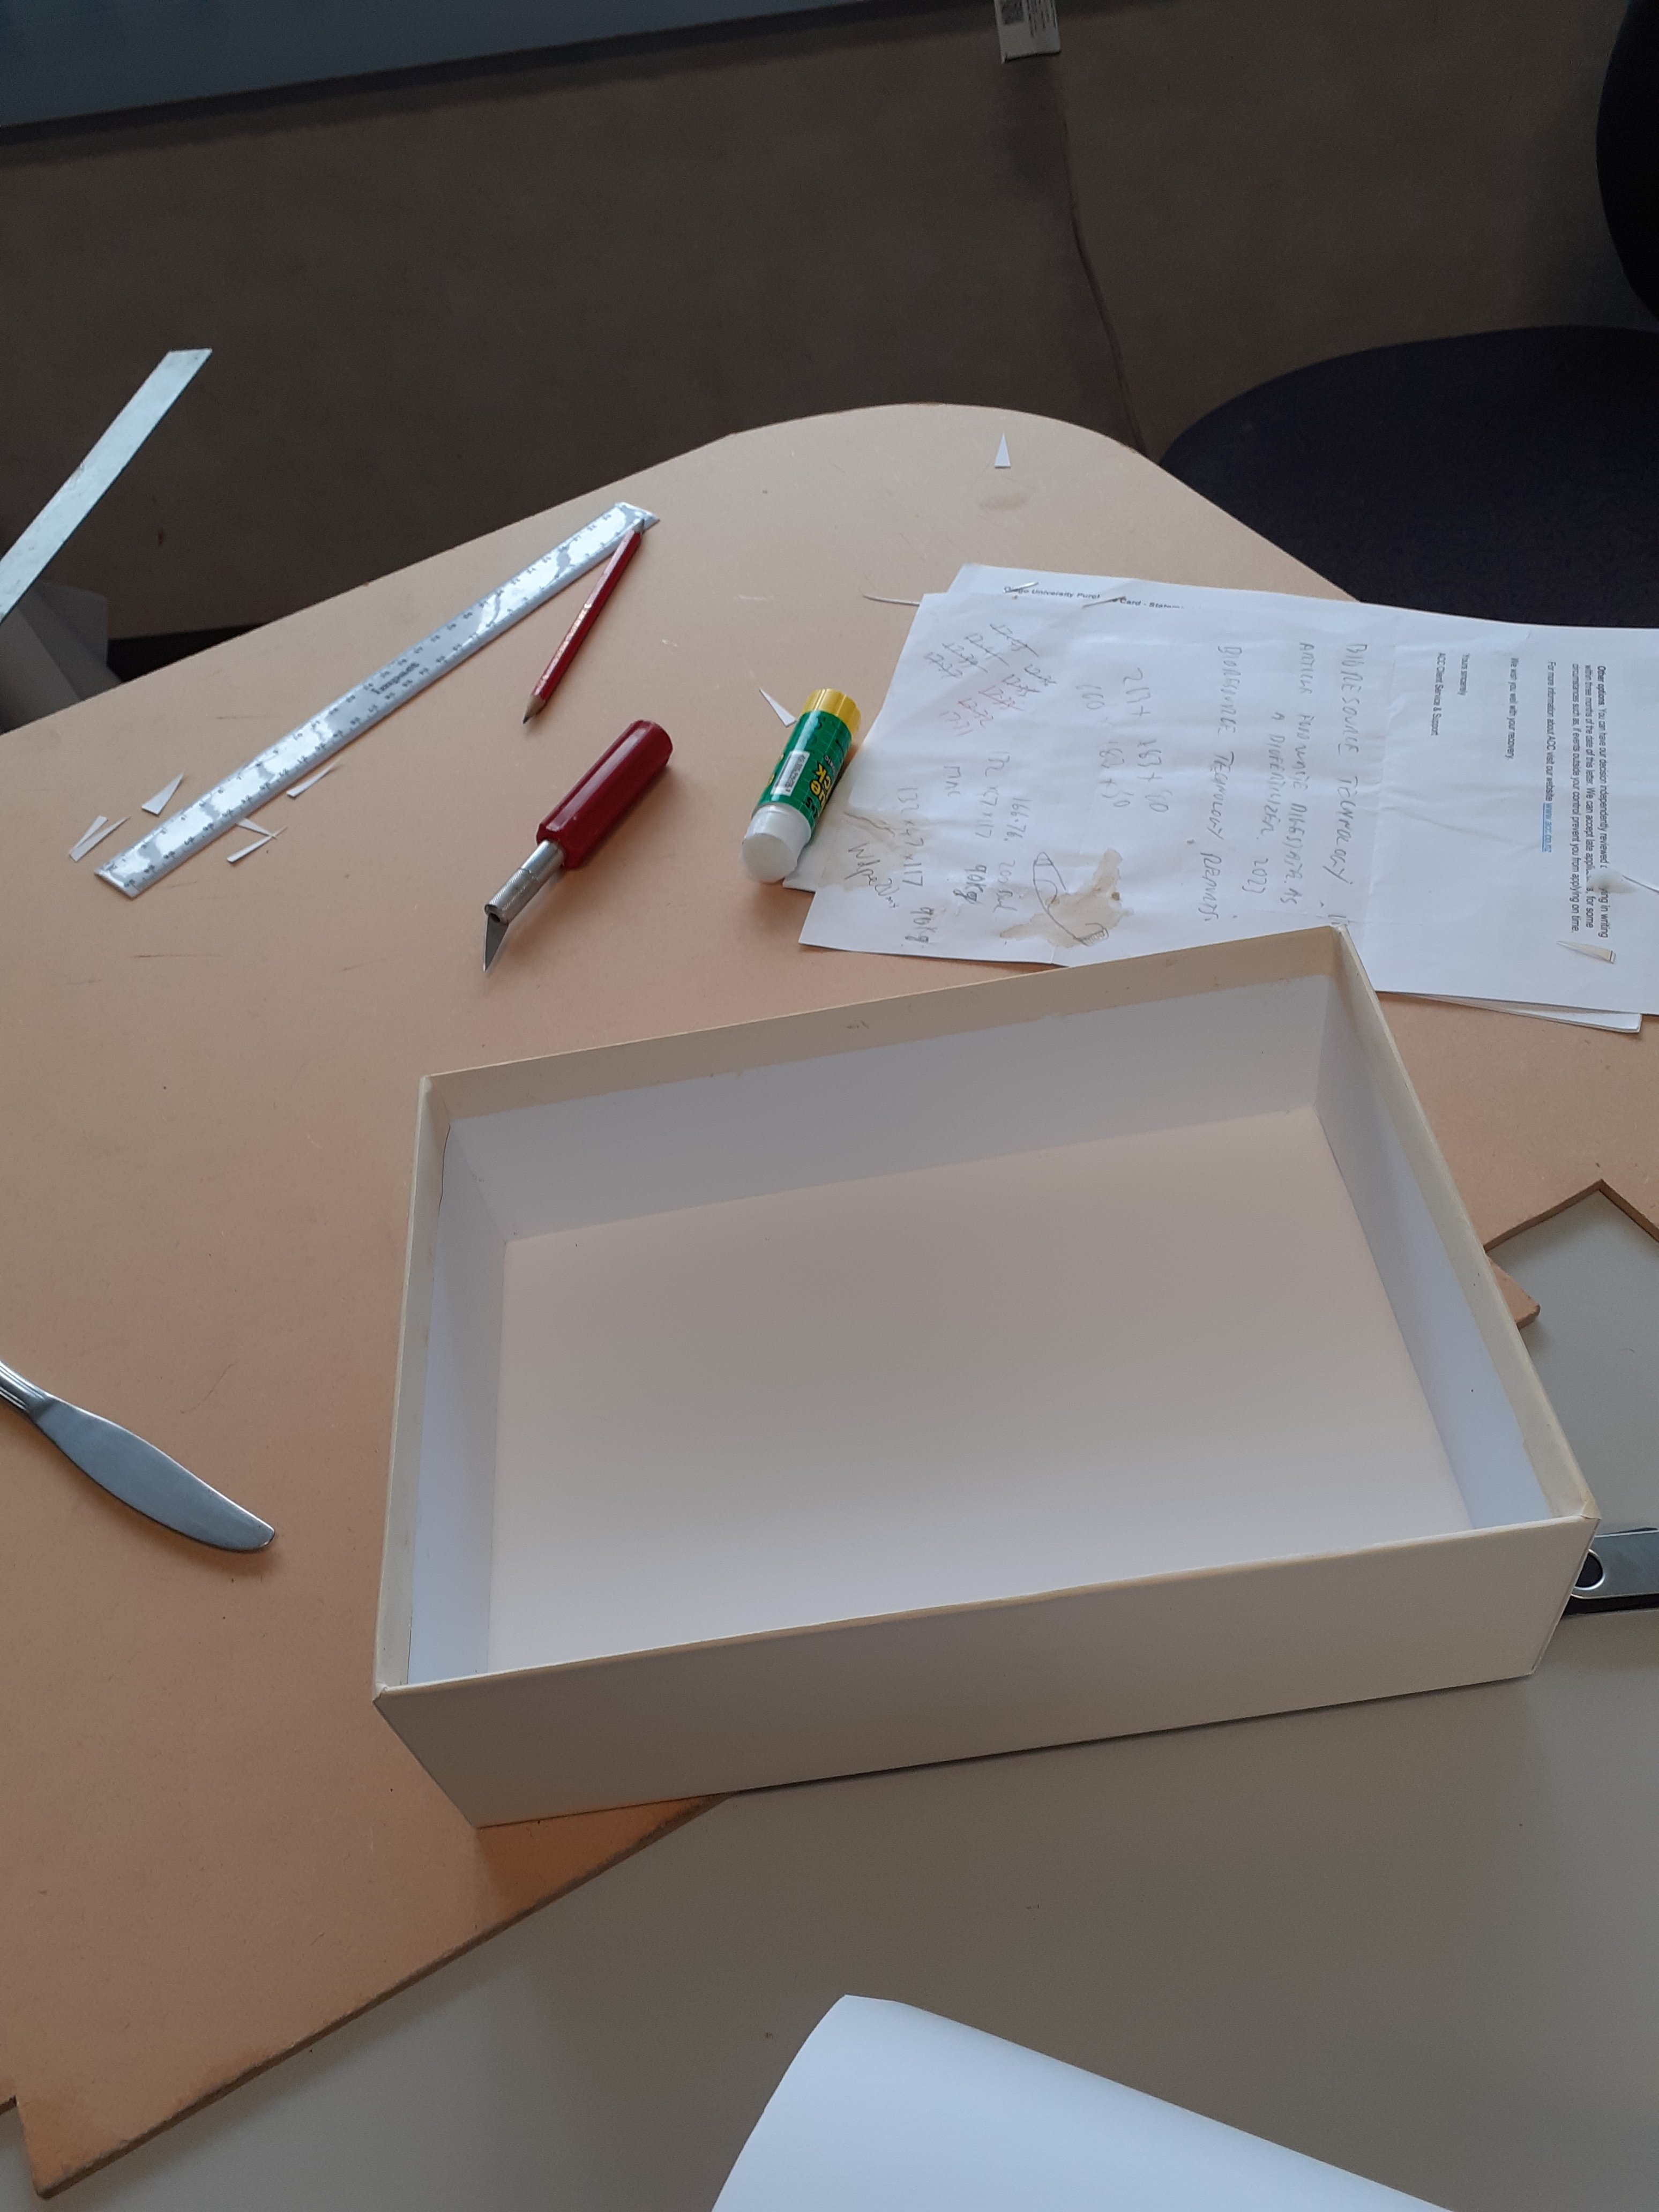
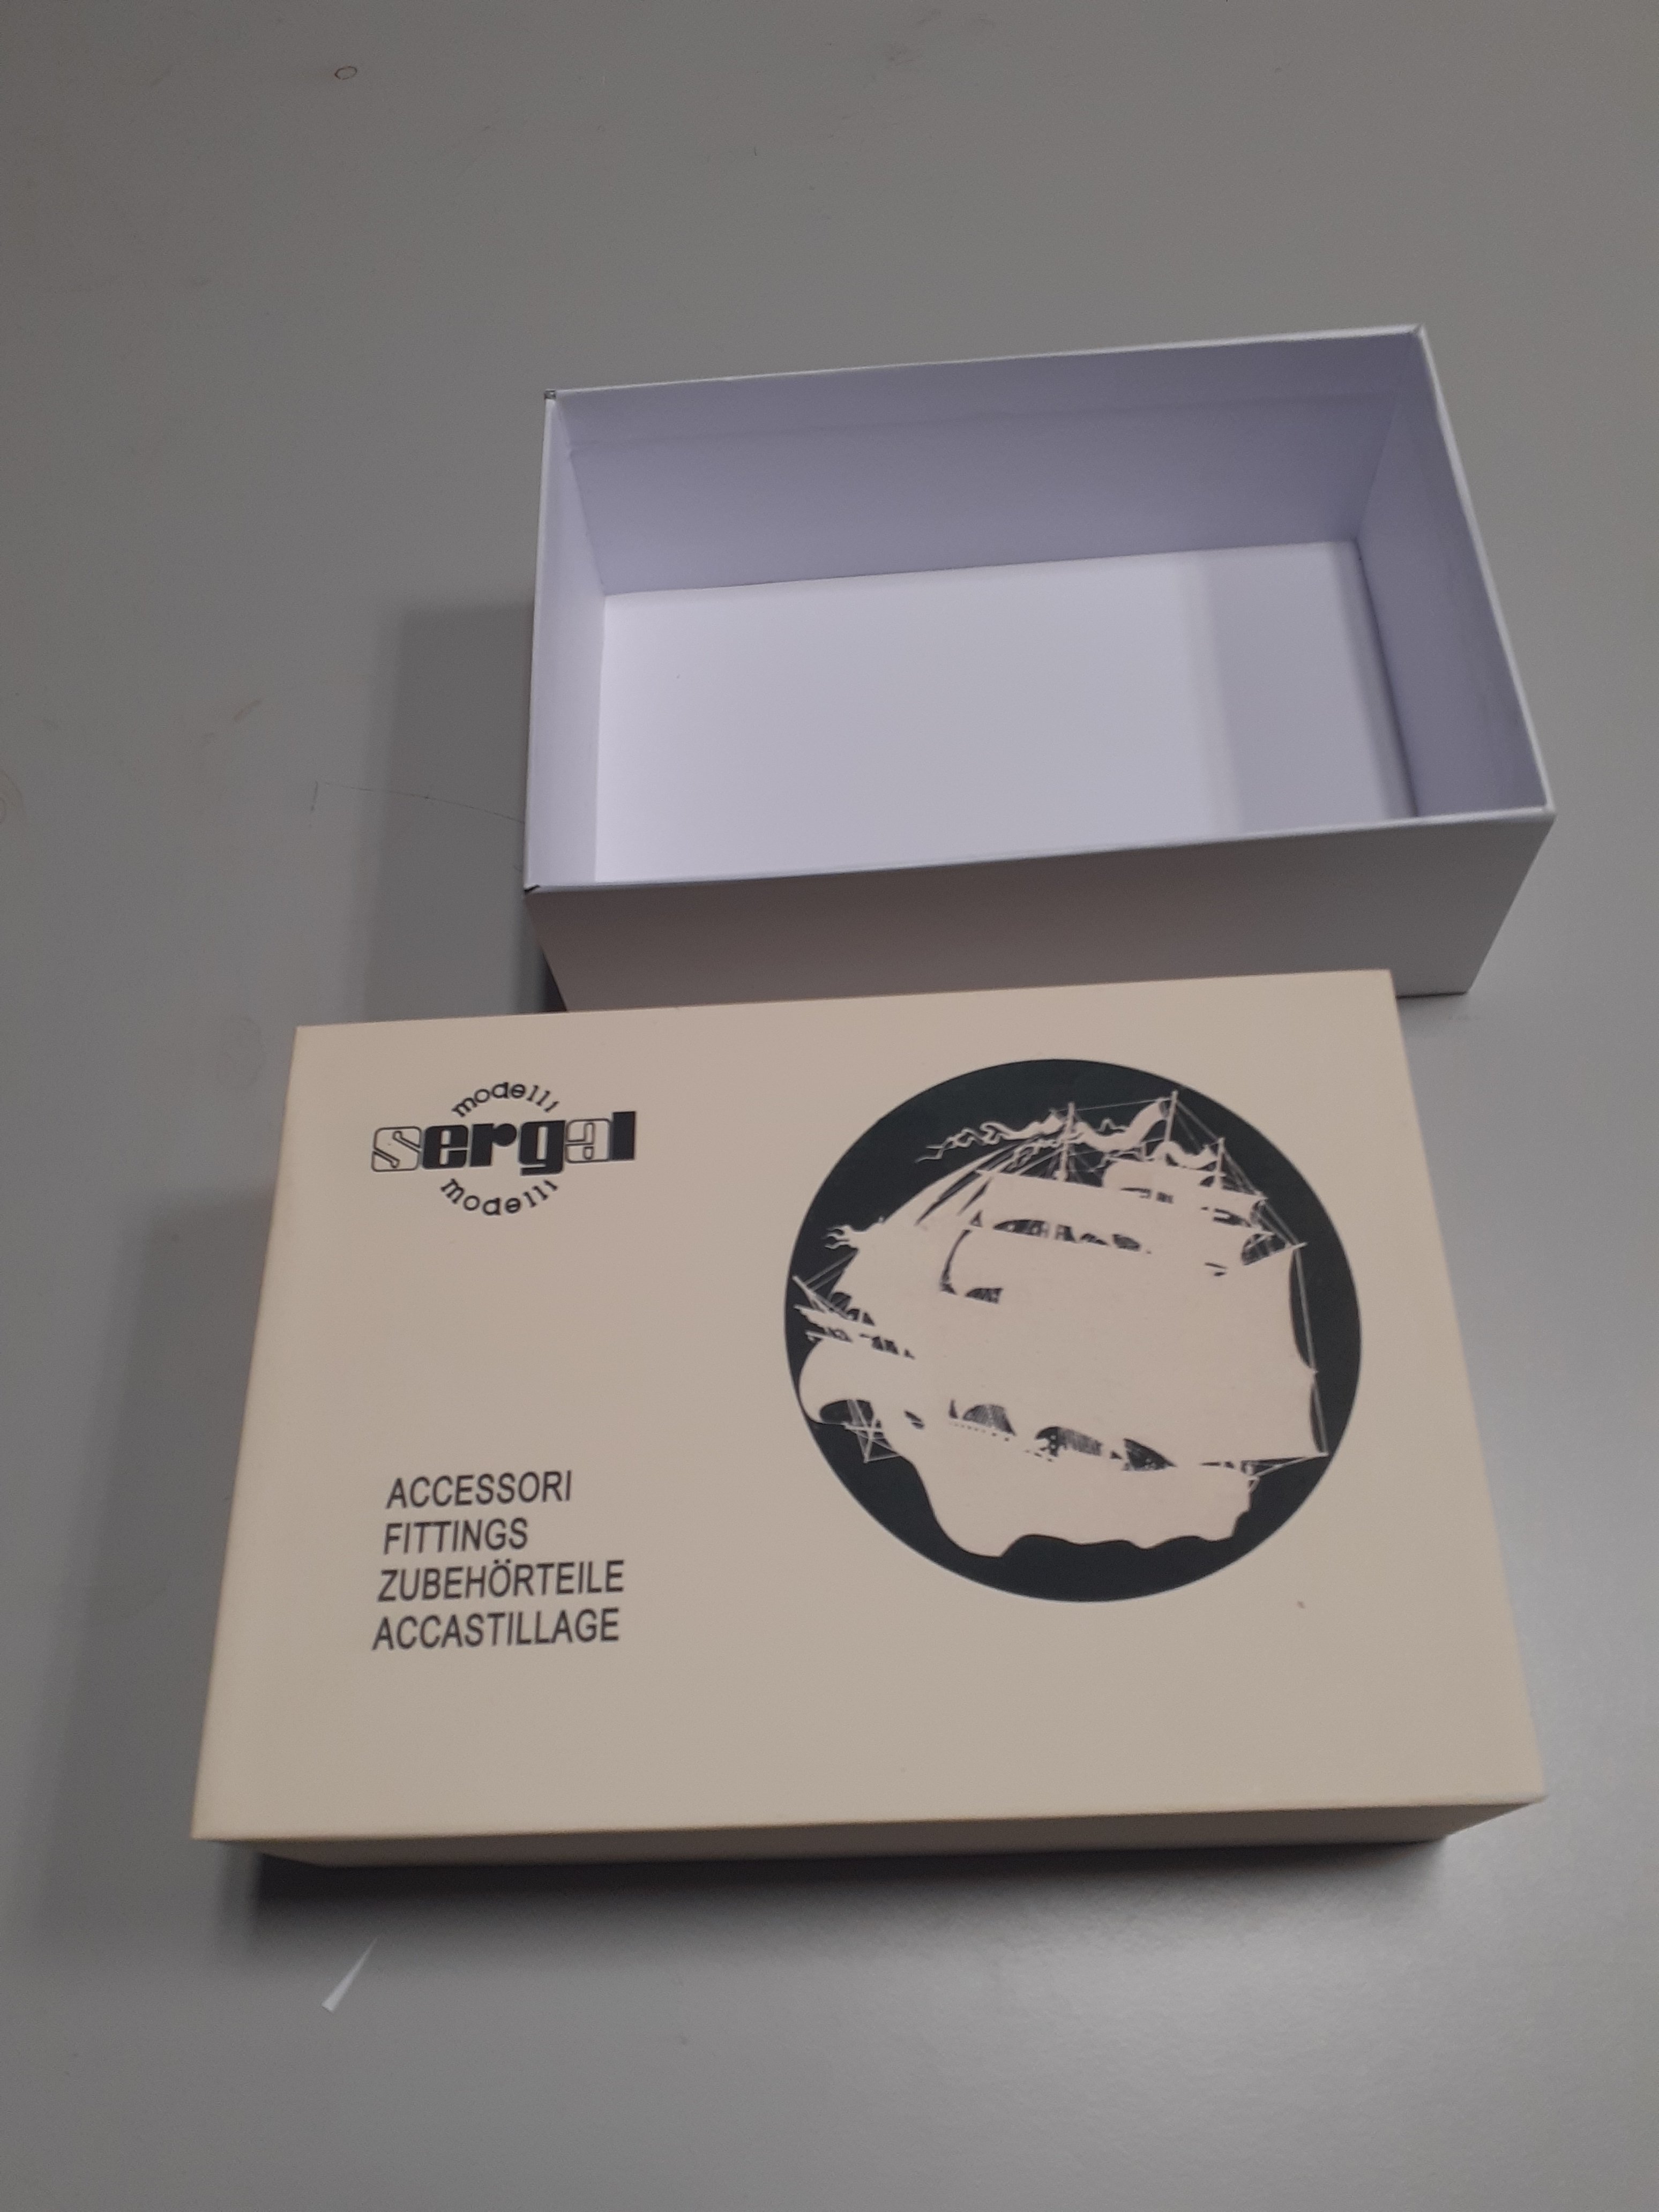
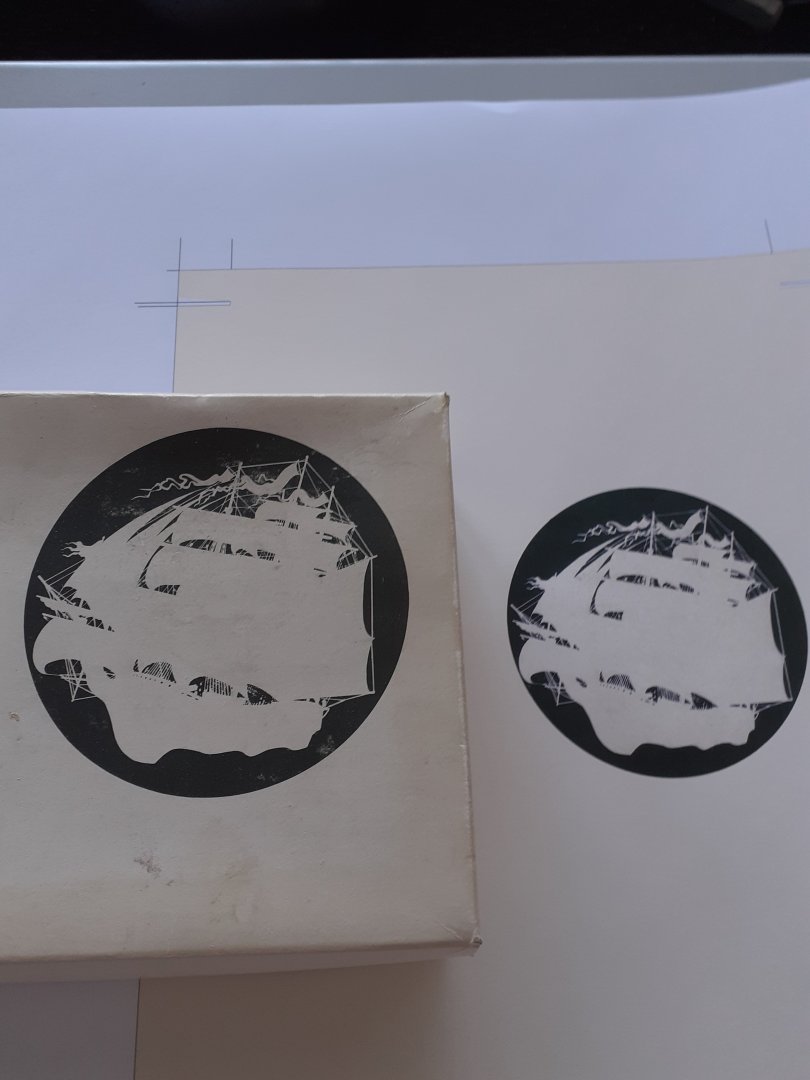
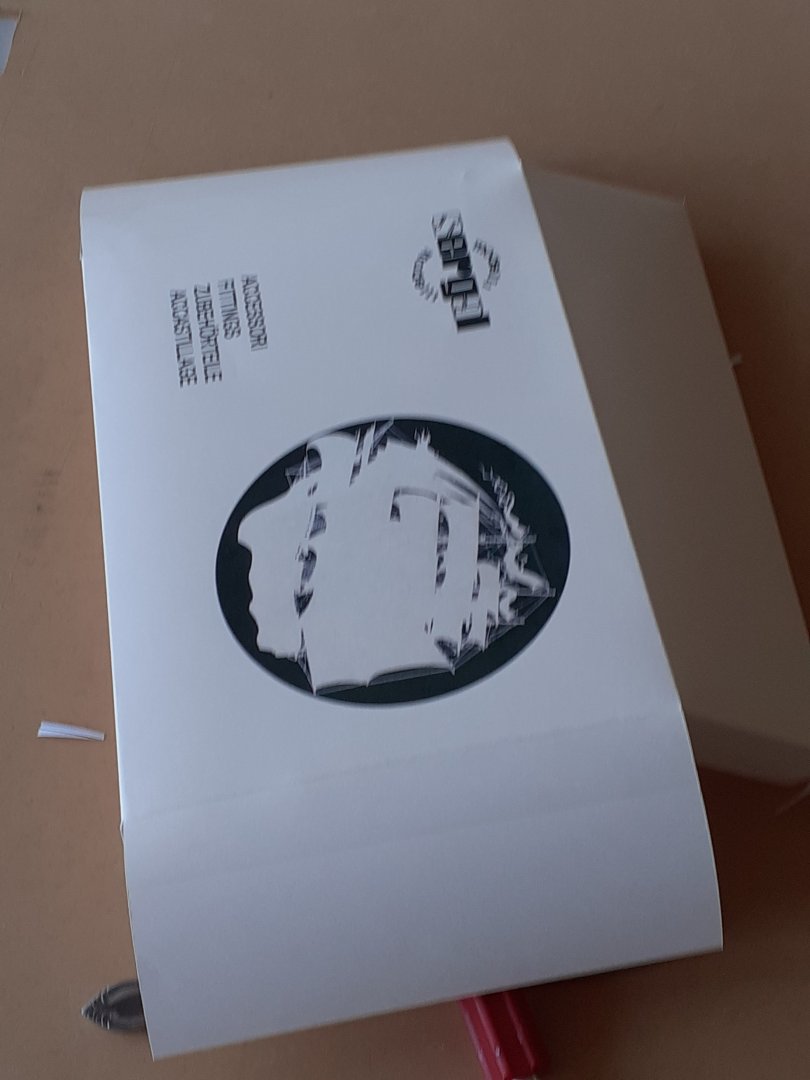
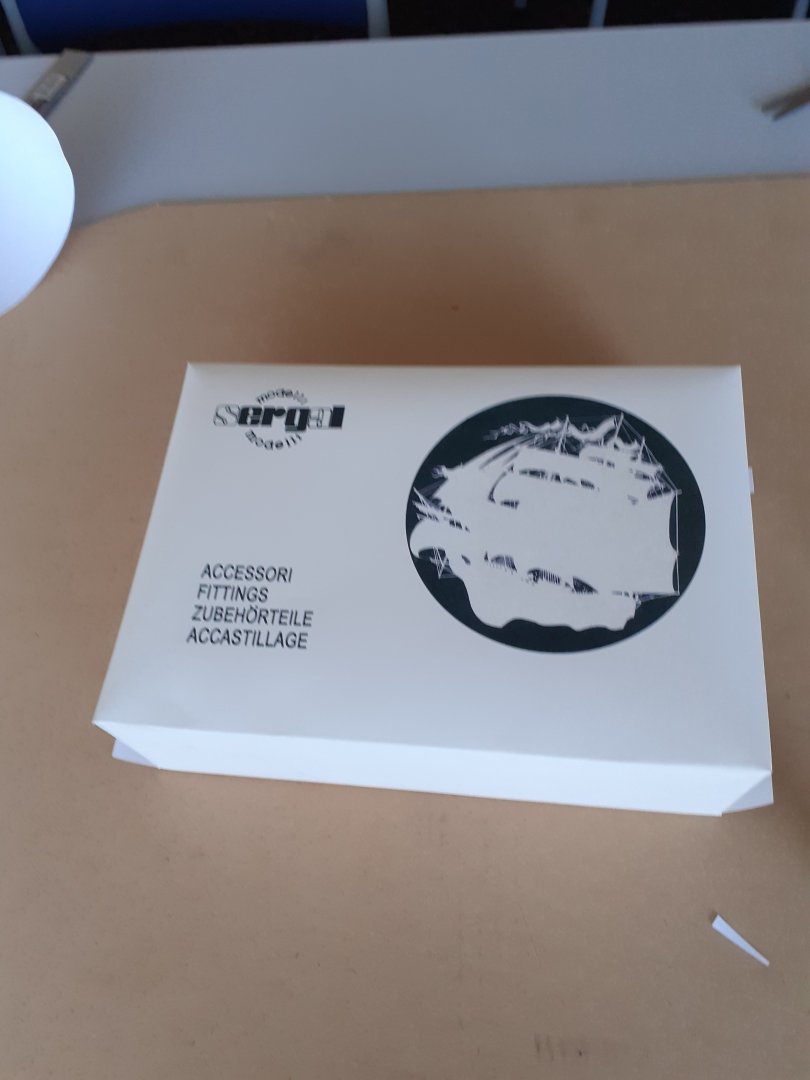
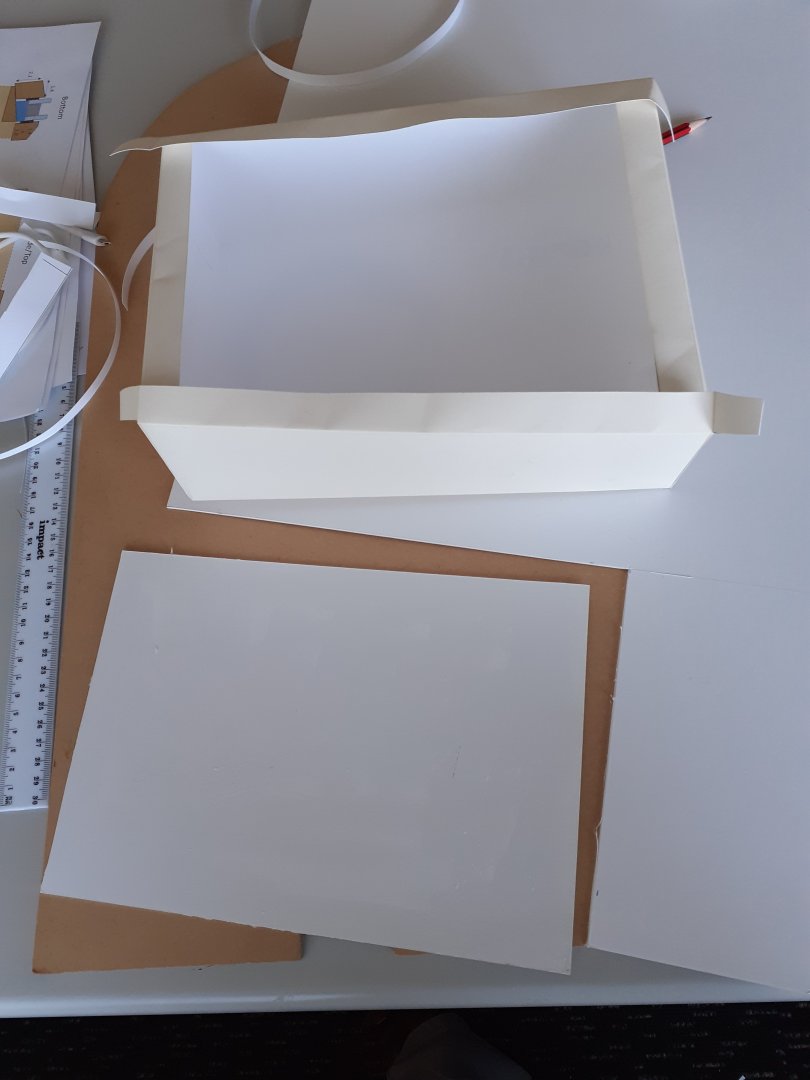
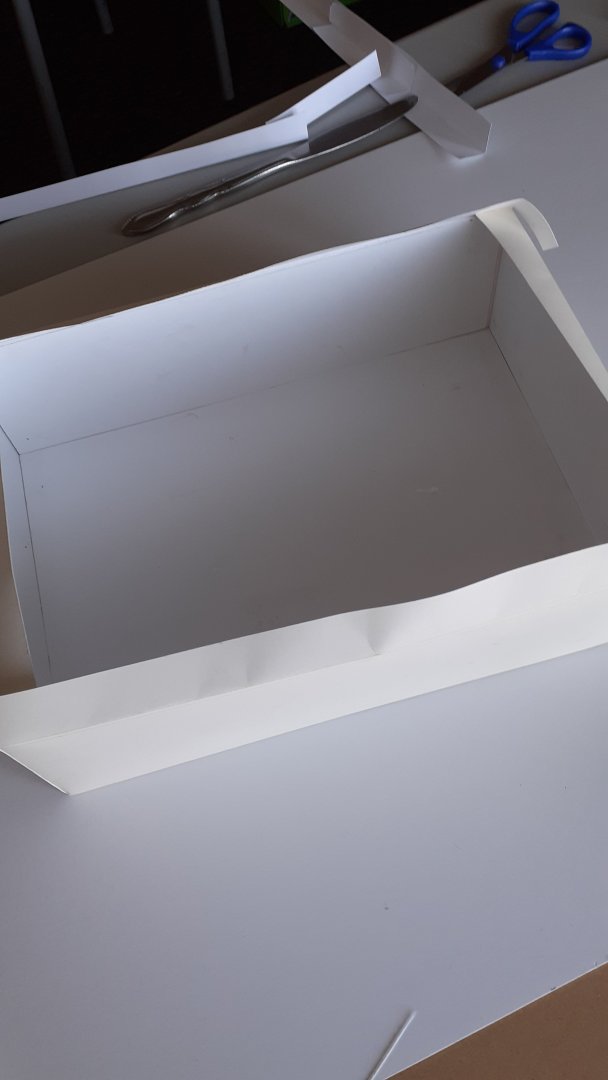
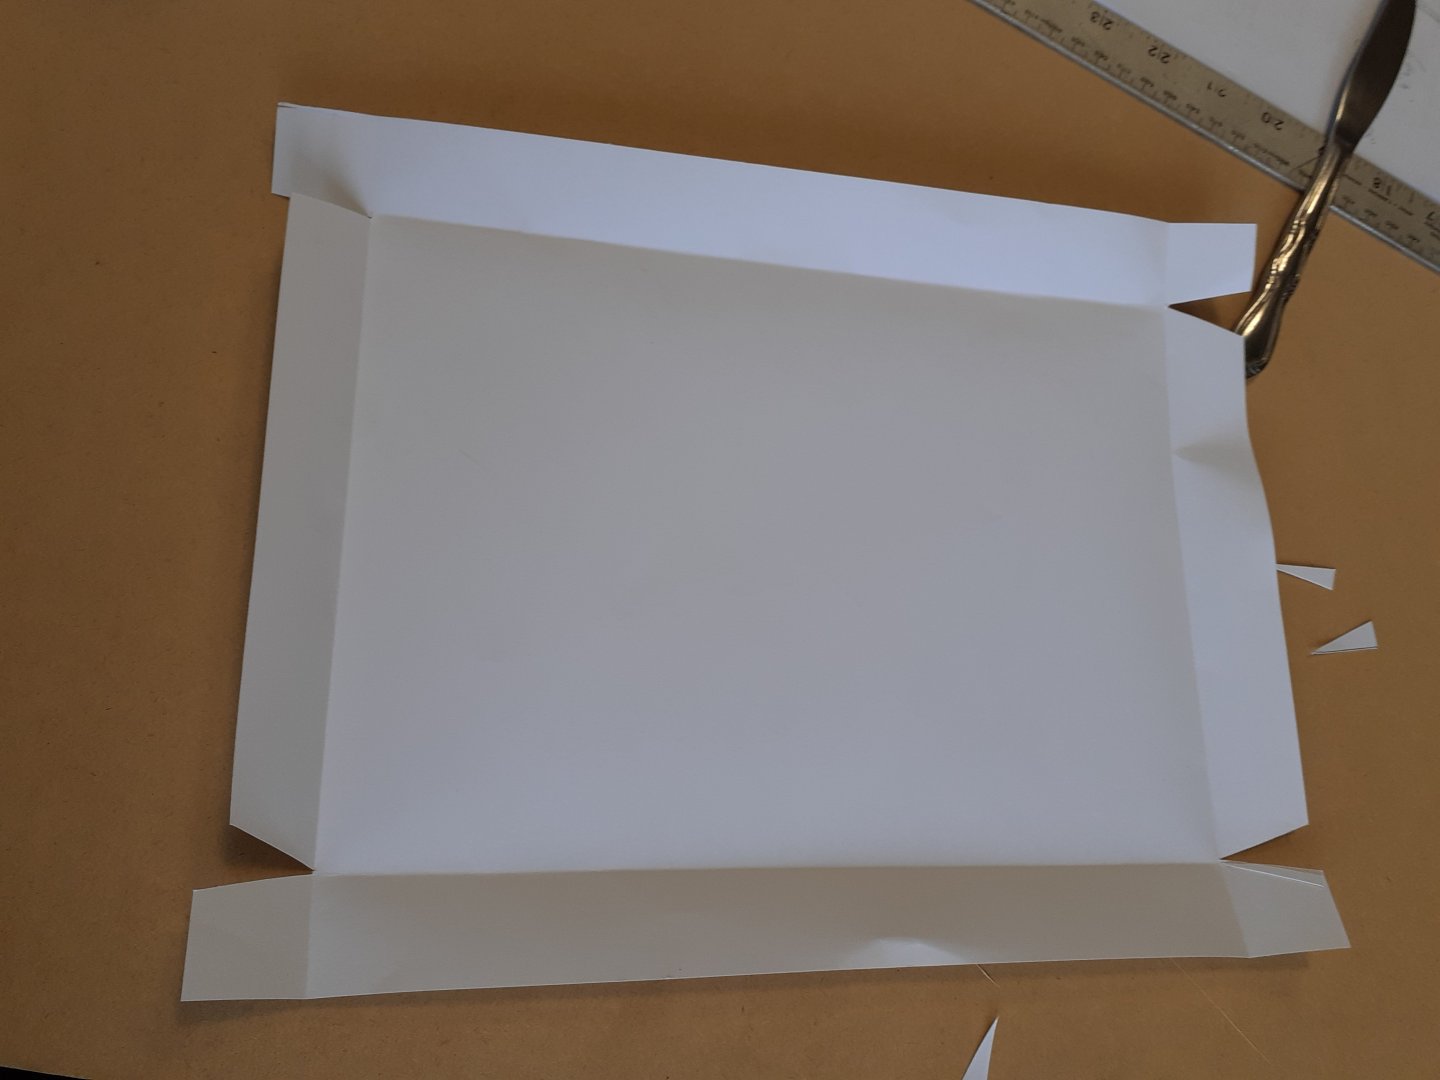
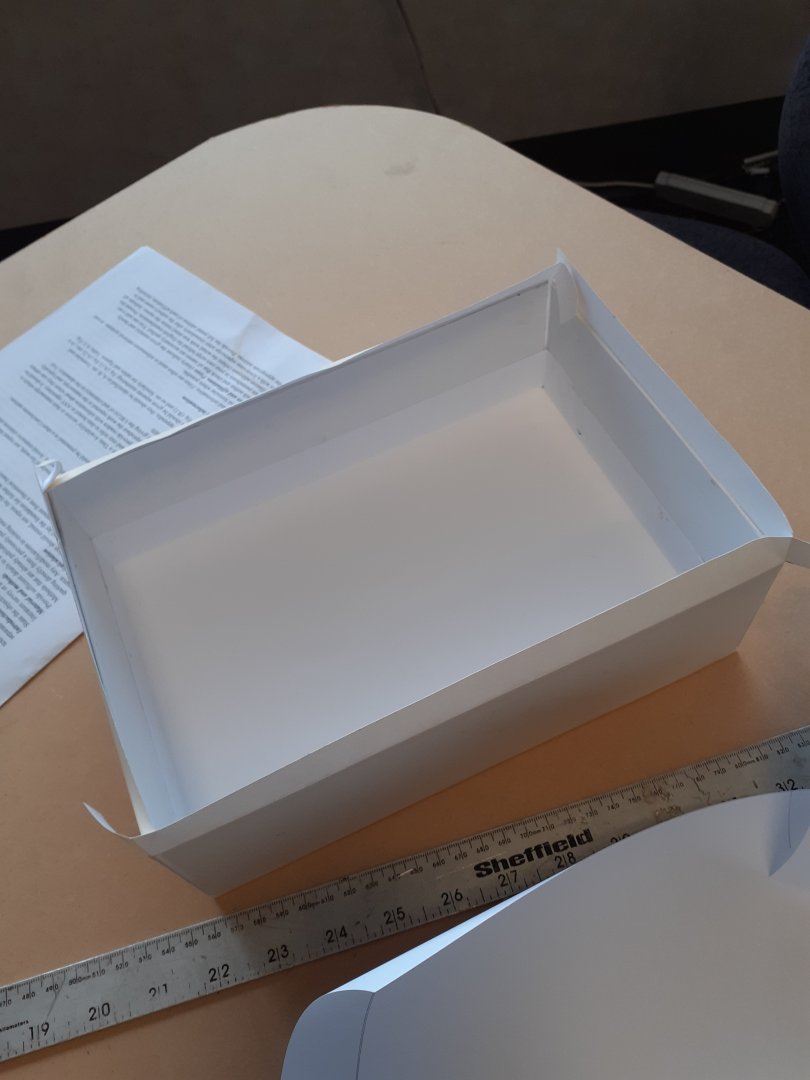
Hi again, Work intervened and I have now only just got back to this. I have now built the first replica box (for the fittings) and this process is shown via the photos below. The process results in an extremely strong box that's near identical to the original but about equivalent in strength to fine plywood. It's quite an involved process, but not that expensive and if it ensures the stash survival of the model, then it's worth it. The description is detailed so that you don't have to invest the learning and bad language time that I have put into establishing this process. I will follow this with the other internal components box, and then the main box. I have now completed all the reconstructive artwork for these and got the things printed. So here is the photo essay: This box is a composite, involving multiple parts. The final box has 26 separate components to it, firmly glued together to make a massively strong integrated structure. The tools required, you will largely already have - rulers, knives, glue sticks and white craft glue. What you may not have is a graphics package and top-end colour printer that can print out up to A0 , but the former can be substituted by PowerPoint, and the latter is available in most stationary shops these days. Remember to 'print out' your work as a .pdf file from your PowerPoint programme or whatever, and load this onto your USB, as this can be guaranteed to print accurately when you take it down to the print shop. That's why it's called a .pdf (portable document format) file. Most of the files are too big to send as E-mail attachments, but can be transferred by file sharing if the USB doesn't work for you . The first task is to make up the image for the shell of the printed box lid, which is the most complex component. This involves taking the measurements off the original and then mapping them out in a graphic design package. In this case, the package is CorelDraw, but with a bit more mucking around Powerpoint can be used. Any images (in this case the black roundel with the ship) are then scanned (at the printshop) and digitised as jpeg files. These are then digitally repaired, basically by cutting bits out of undamaged areas the design, copying them and using them to repair damaged parts of the image. the shell framework is then 'coloured in' using these repaired .jpeg images and the fill tools in the package. The 'Sergal' logo and the writing was recreated from scratch using the graphics package. The final result is shown in the photo below. The shell is printed out on it heavy paper or very light card. This is usually around 200gsm grade. Just a couple of details. Do NOT put a black outline around your design, as it will wreck the final effect. If it's coloured use the colour boundary as a cutting guide, if it's white use a very pale gray outline. The card will have to be scored so it folds cleanly - The score guides are black, but the they are placed around the periphery of the design (See photo below). This means that you should score the card up BEFORE you cut it out (and cut the guides off). Use a ruler and a blunt dinner knife (thieved out of the kitchen and returned before the domestic authorities realise it). Make sure that the dinner knife is blunt, smooth and rounded - the slightest serration will cut the surface of the card and the design causing the colour to split and open up as the card is folded. The cut and scored component is shown below. Note the tightly spaced double score lines - this is where the shell will be folded over the bottom of the lid and the ticker card sheets that form the sides of the box. This is done in two very close 90 degree bends to avoid 'lift' and splitting of the shell. Now you glue the shell together using the four tabs that you have included for this! Use craft white glue for this and use a ruler to press the tab tight into the corner as it sets. The glued shell is shown below. At this point it is very light and floppy. Once it is dry cut a piece of heavier (1/16" or 1.5 mm) card out to tightly fit the bottom. Do NOT attempt to 'pre-cut' this. Even the most carefully mad ebox will be a mm or so out, and these errors accumulate - from now on we will be custom-fitting parts to this initial measured shell. So take the measurements off the shell once it is complete. Stick this base card in with a glue stick. Do not use craft glue as the liquid will cause the shell to expand, wrinkle and disintegrate. Make sure that every square mm is covered with glue stick glue - press and hold until it has stuck. Do the same with thick card squares to the sides and the end of the shell. Cut to fit each component to the main structure (see photos). The next stage is to install the inner shell of the box. This is made out of the same heavy paper/ light card as the outer shell, but is made of multiple components (base and four sides) that are cut to fit the existing structure. As can be seen the four flaps of the outer shell now stands 20mm proud of the internal shell and the stiff card side and ends of the box. If you recall, there are two lines scored here, 2mm apart, that will now allow us to easily fold these 2omm flaps down and around he bottom of the box and glue them to the inside of the box, thus completing the structure (photo below) - Use white craft glue for this as the glue stick will not be strong enough. This thing should now go 'bonk' if you bang it on the table. You now do this all over again to make the bottom of the box. Take the measurements from your existing lid. The outside of the bottom should be 3mm shorter and 3mm narrower than the inside of the top, thus allowing and easy but snug fit. The bottom should be around 5mm deeper as this allows easy lifting of the lid. The bottom is made in exactly the same way as the top. The completed box alongside the original See future postings for further excitement - Nerdy - Nooo!


- 12 replies
-
- 5
-
-
- Great Harry
- Henry Grace a Dieu
- (and 2 more)
-
GrandpaPhil reacted to a post in a topic:
Great Harry (Henry Grace A Dieu) by Robert Hamlin - Sergal - Scale ~1:64 - KIT RESTORATION
-
Old Collingwood reacted to a post in a topic:
Great Harry (Henry Grace A Dieu) by Robert Hamlin - Sergal - Scale ~1:64 - KIT RESTORATION
-
Keith Black reacted to a post in a topic:
Great Harry (Henry Grace A Dieu) by Robert Hamlin - Sergal - Scale ~1:64 - KIT RESTORATION
-
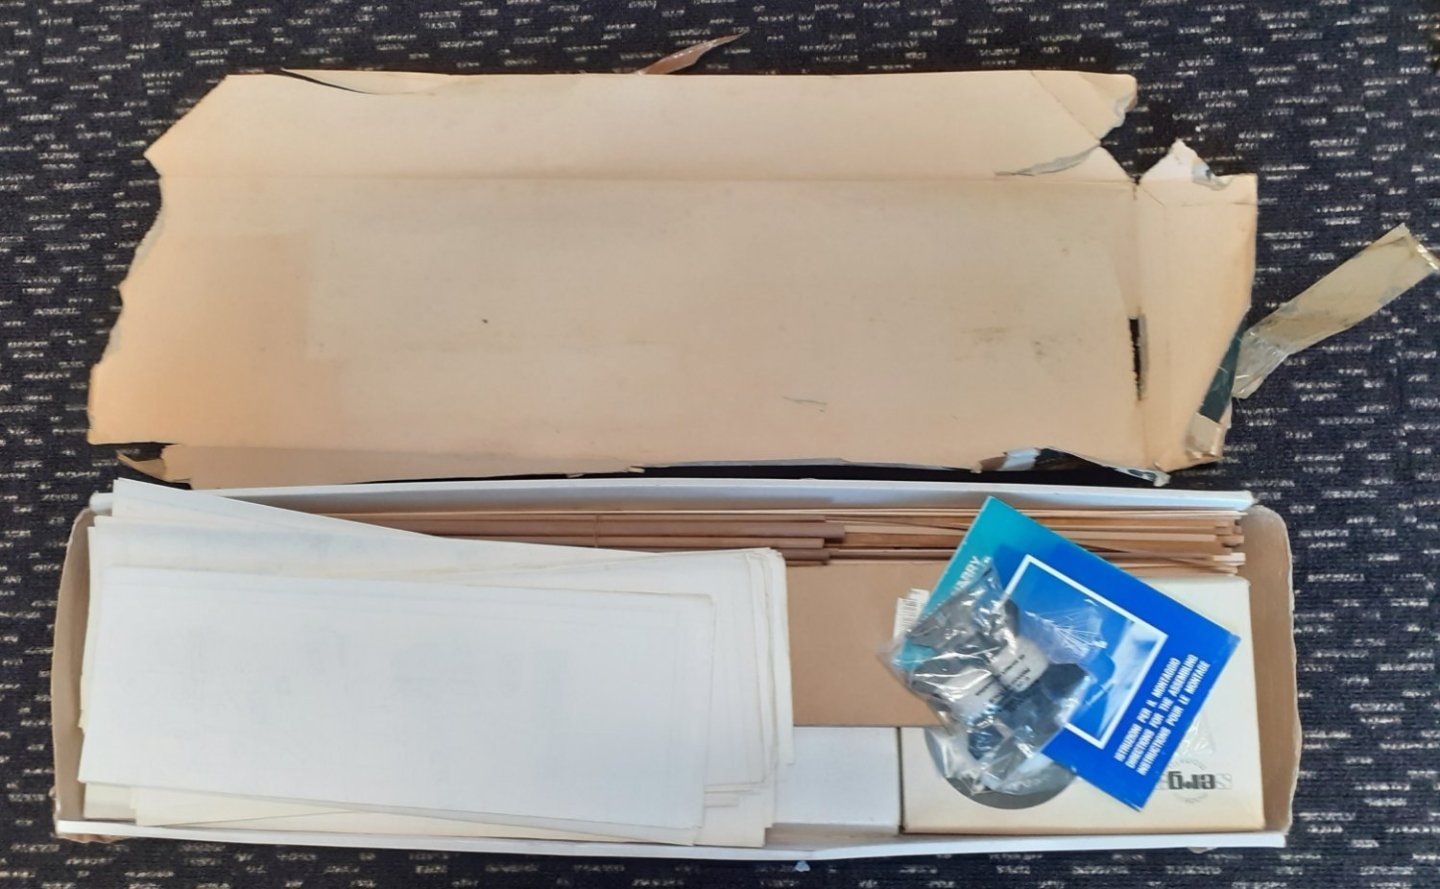
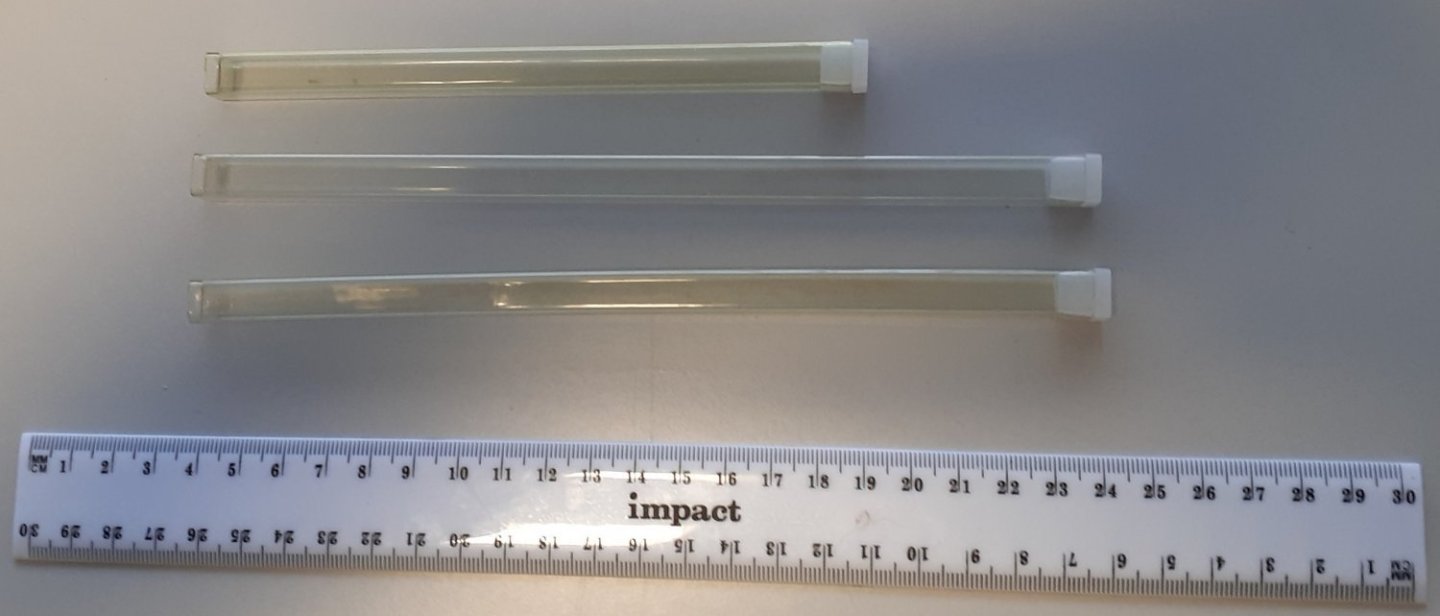
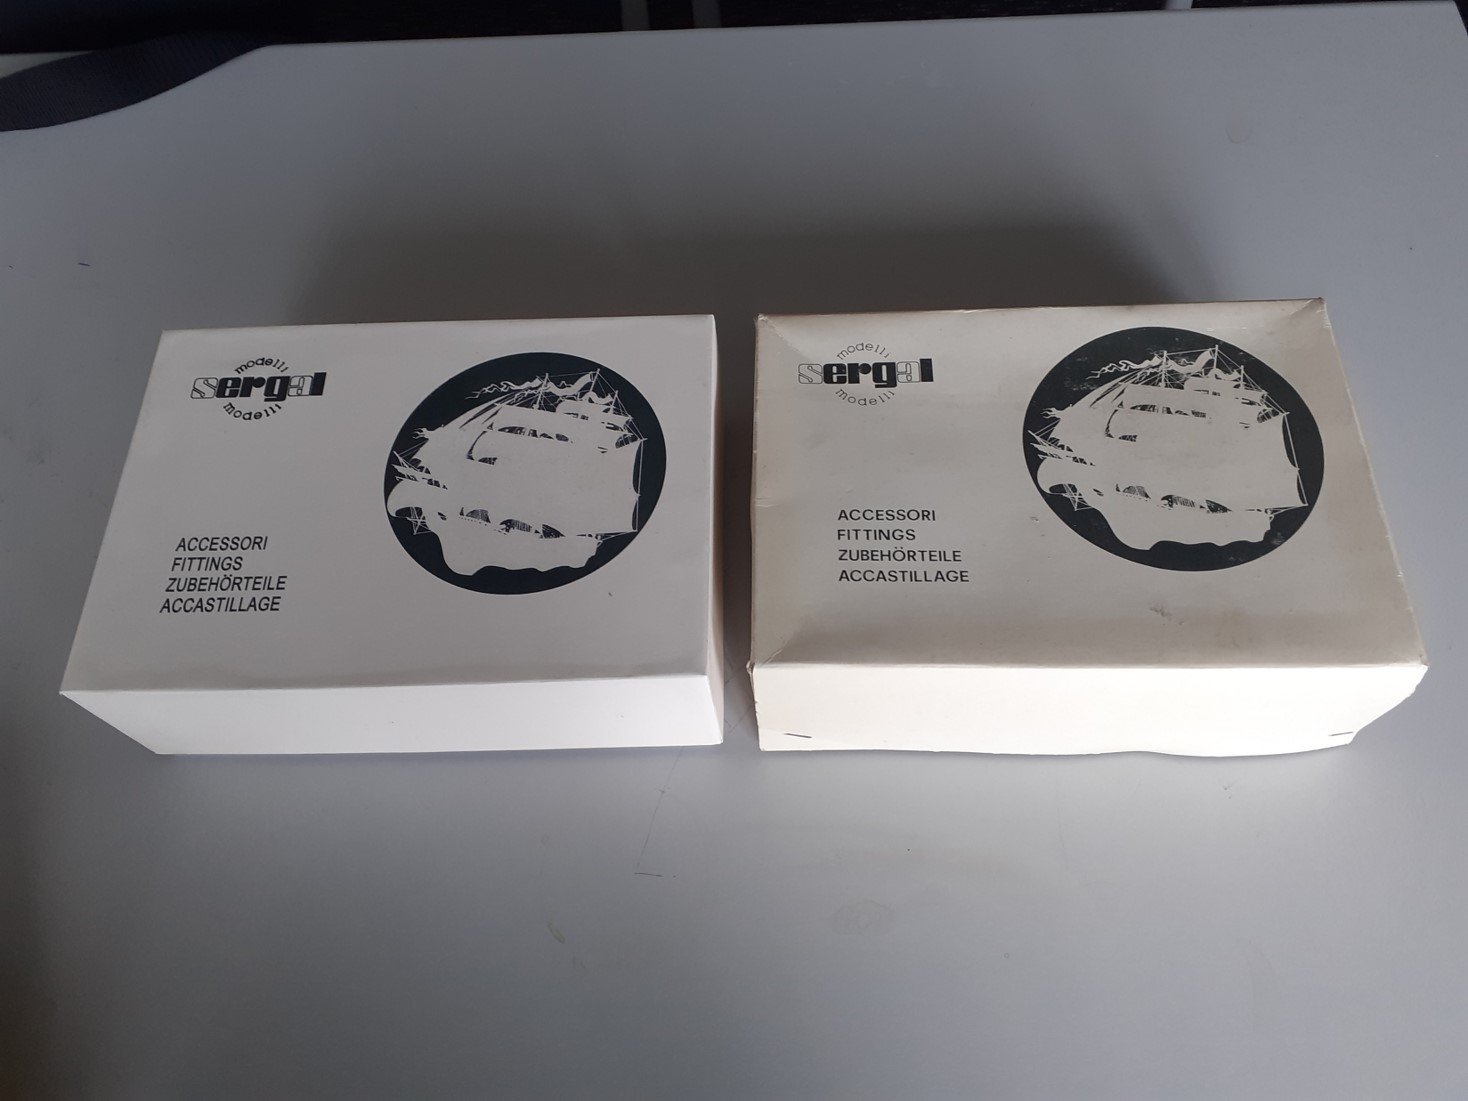
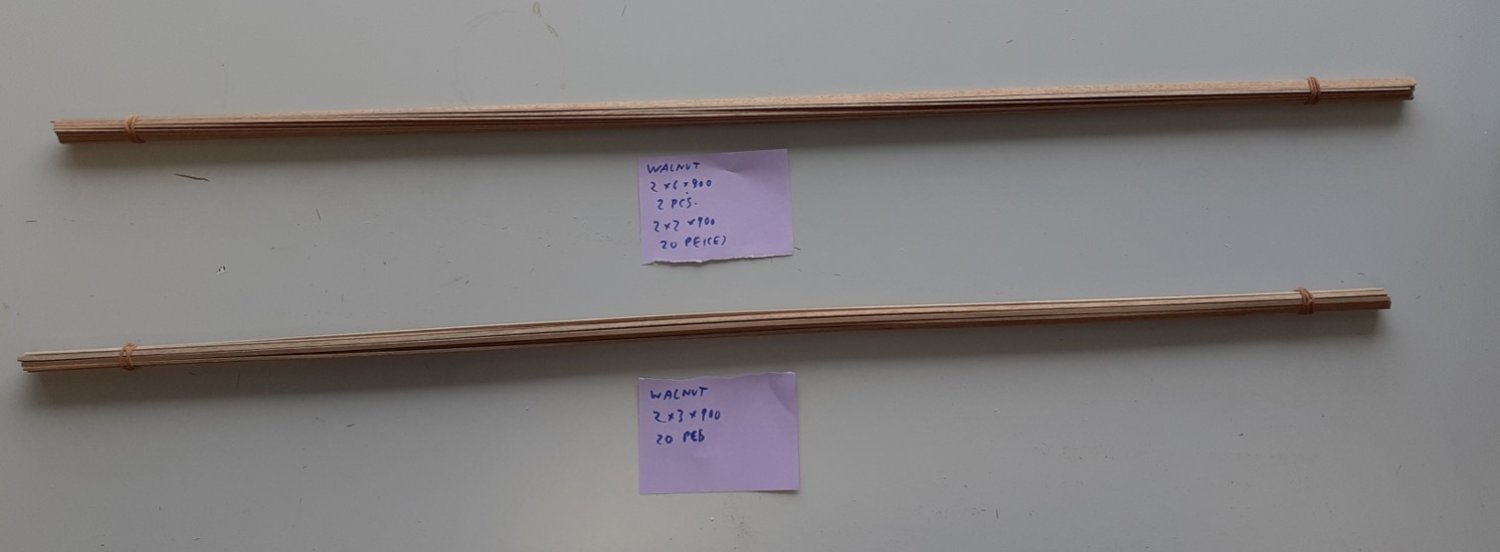
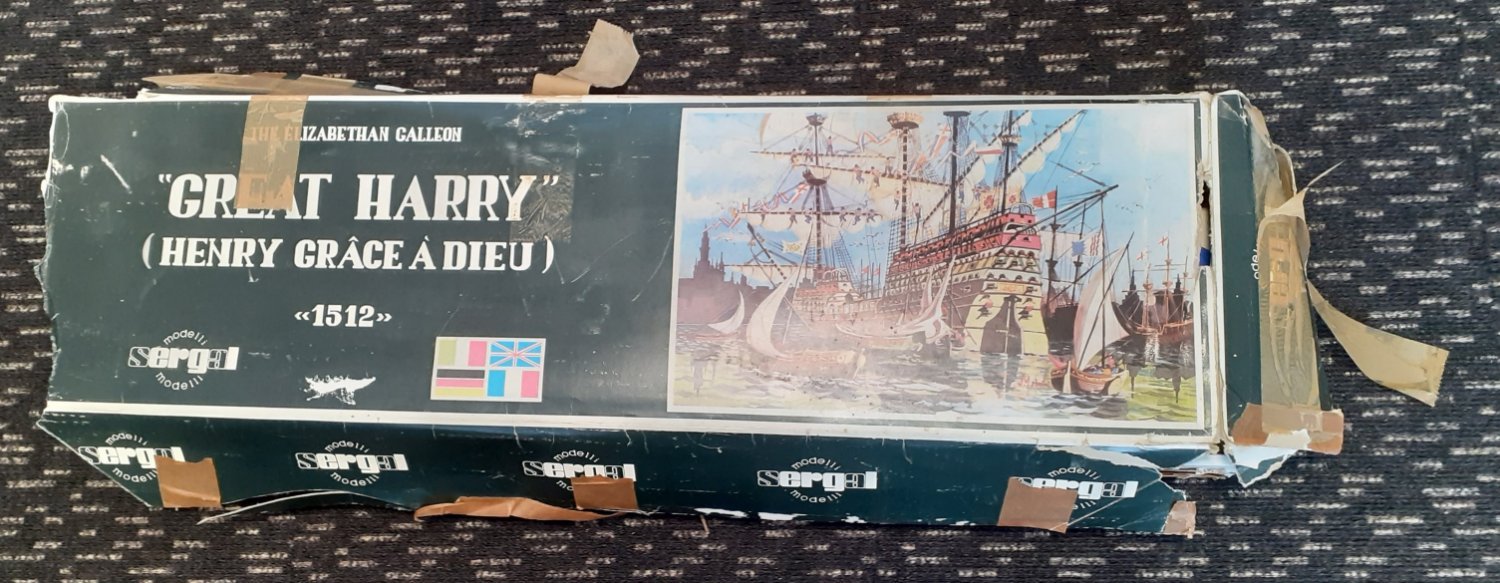
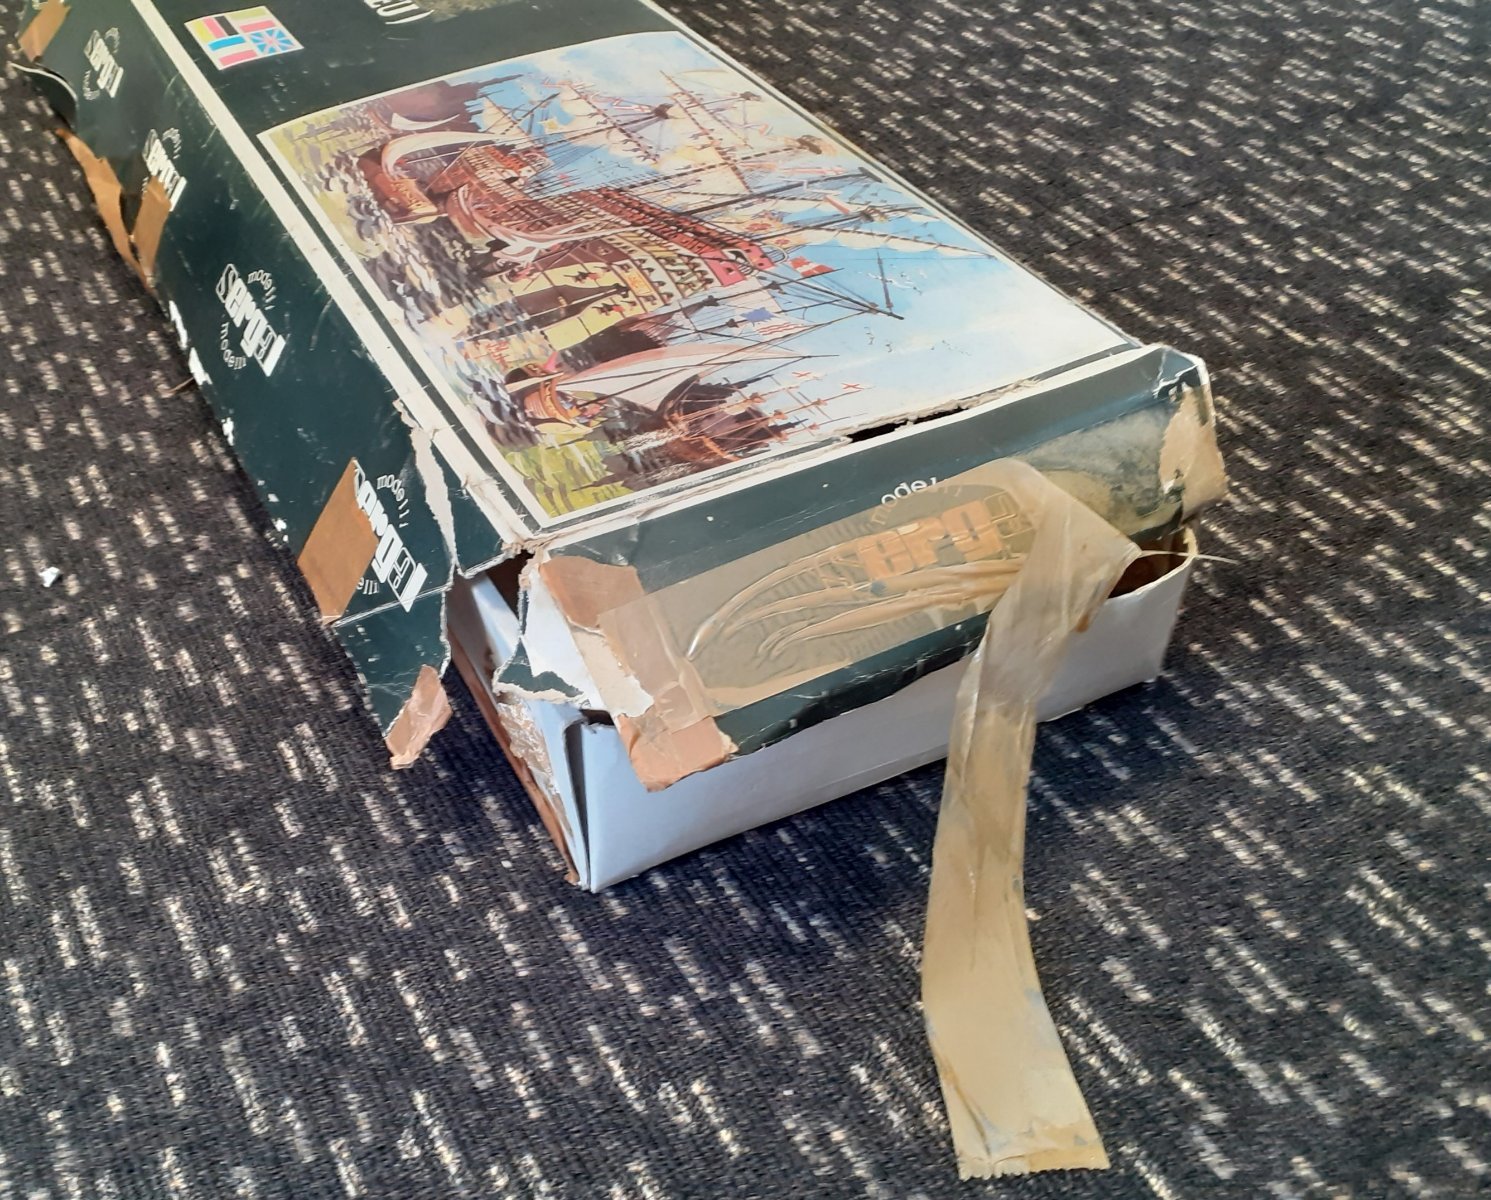
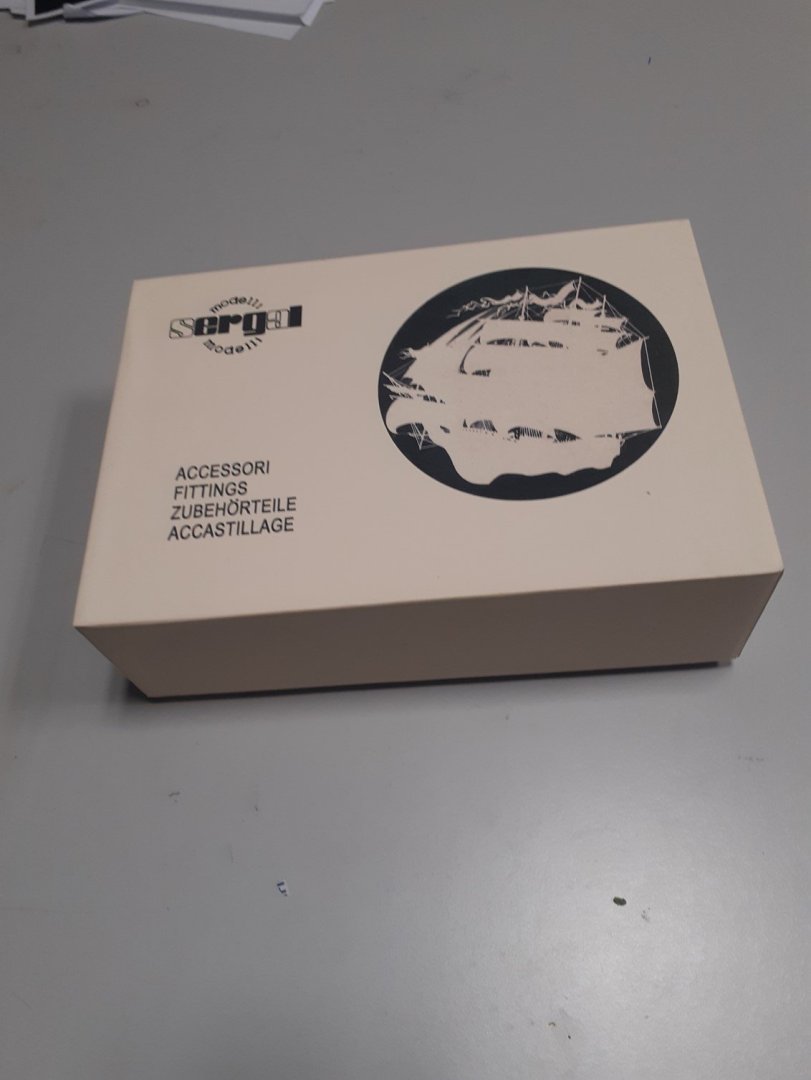
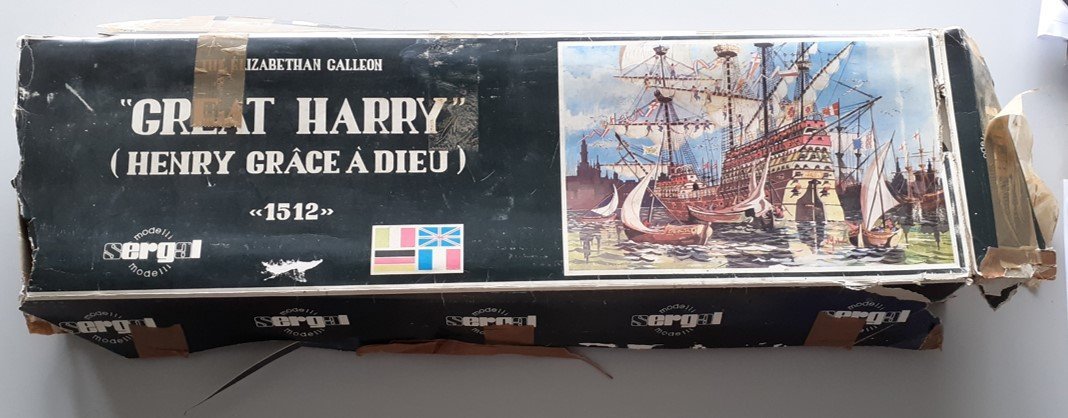
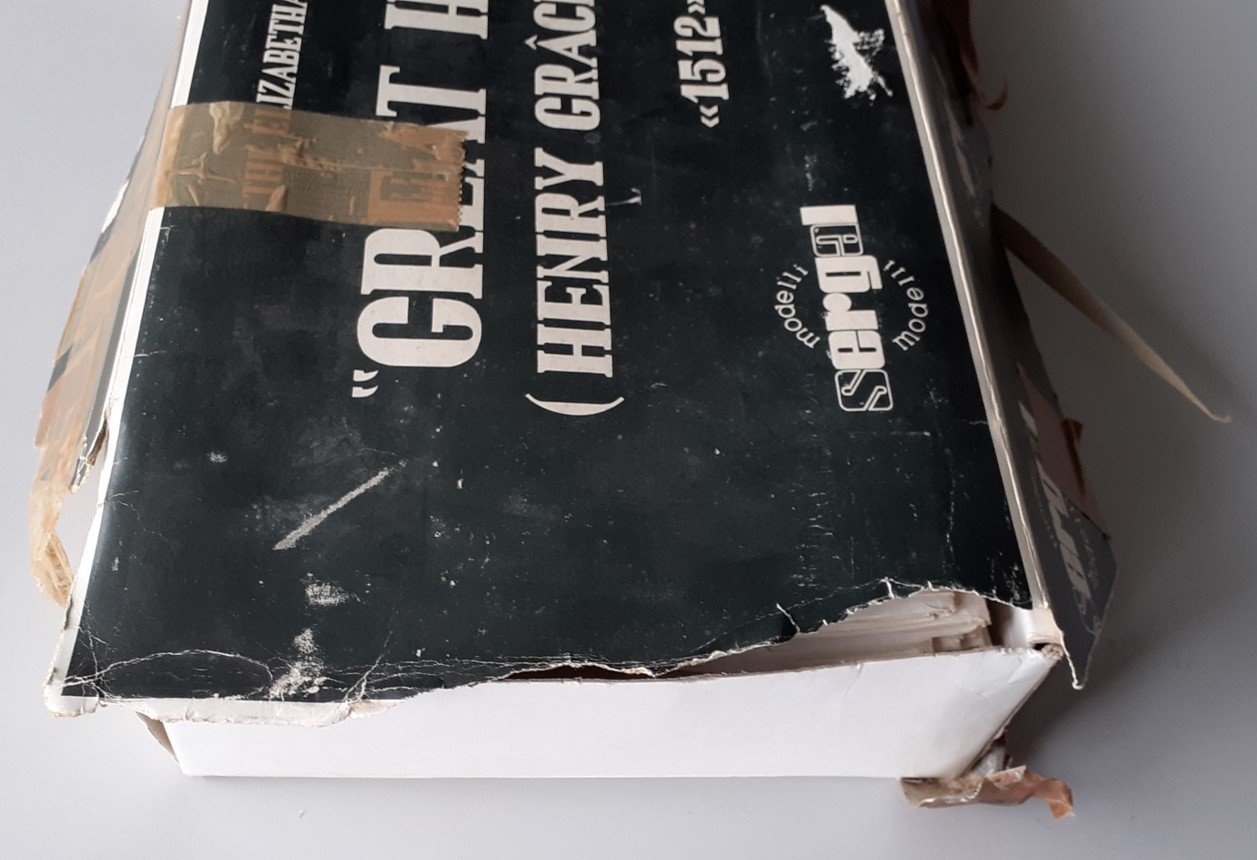
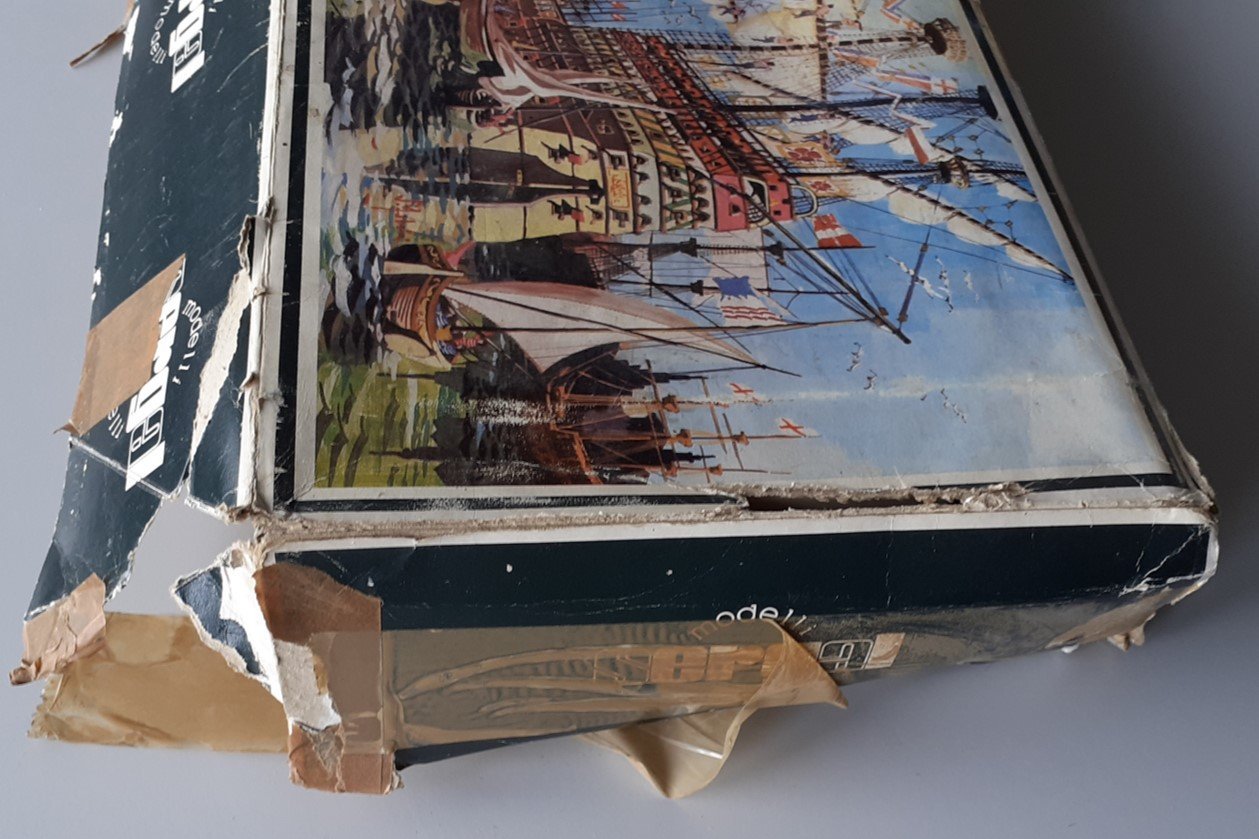
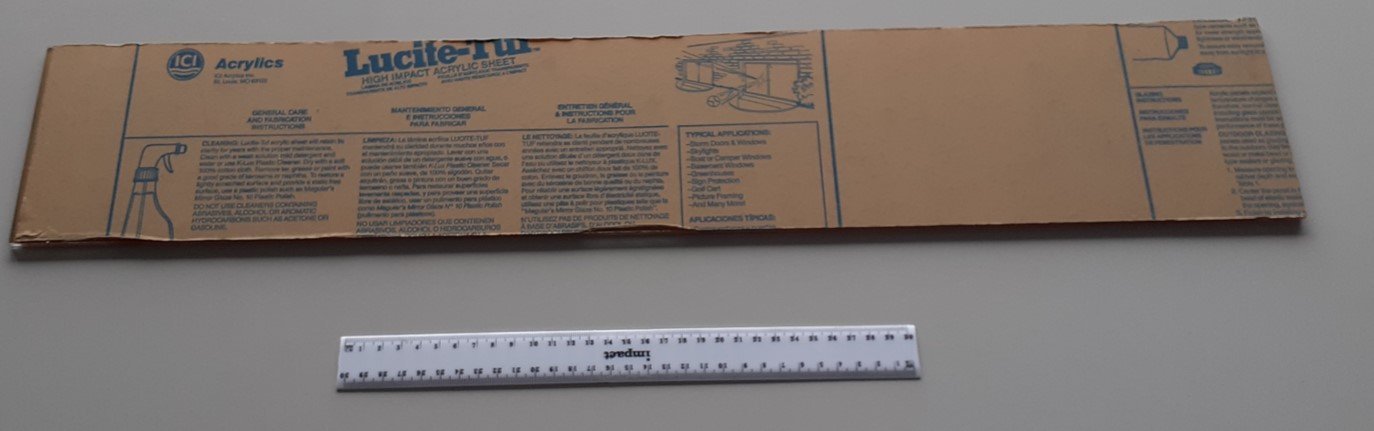
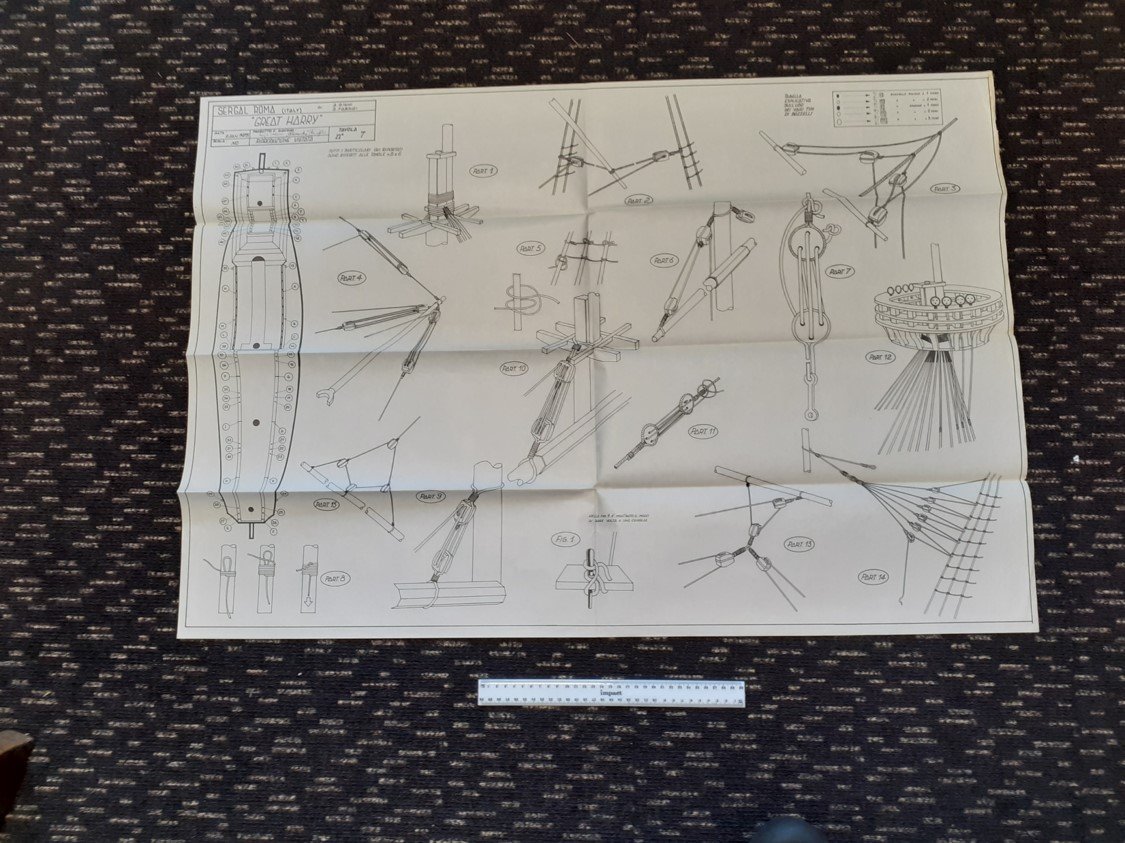
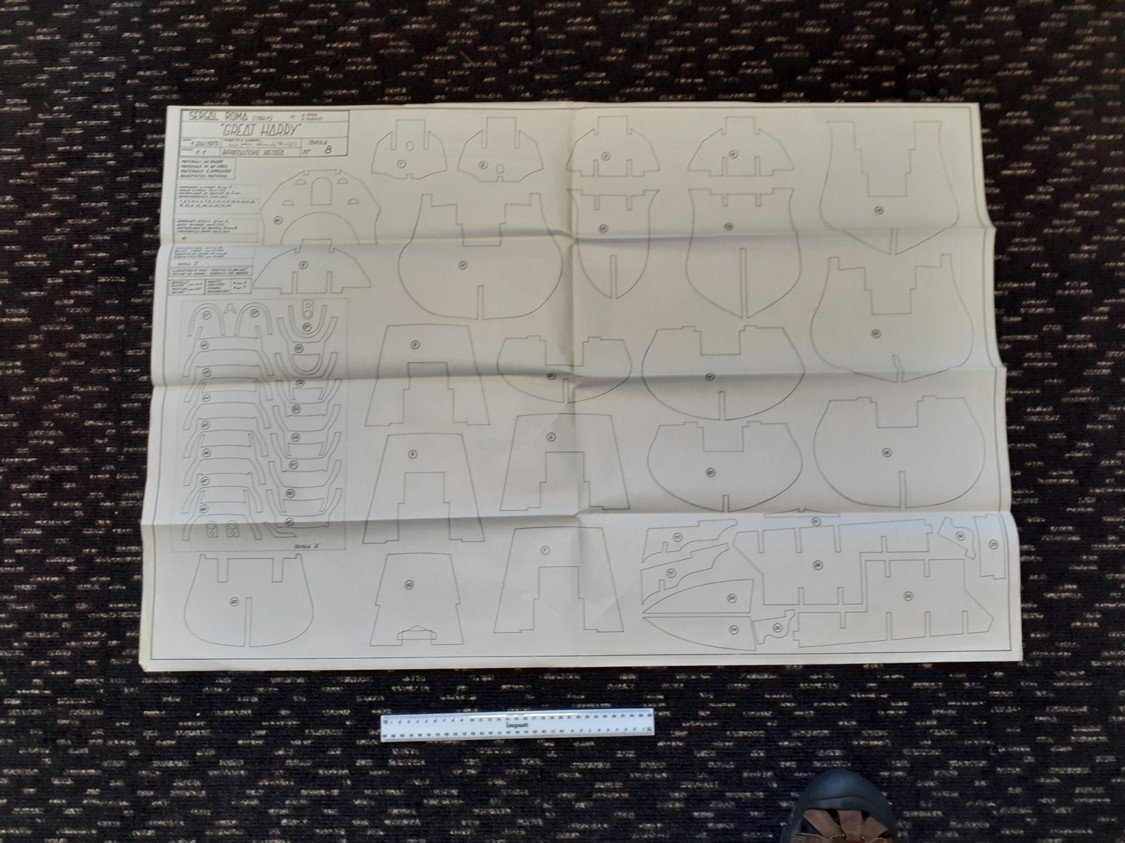
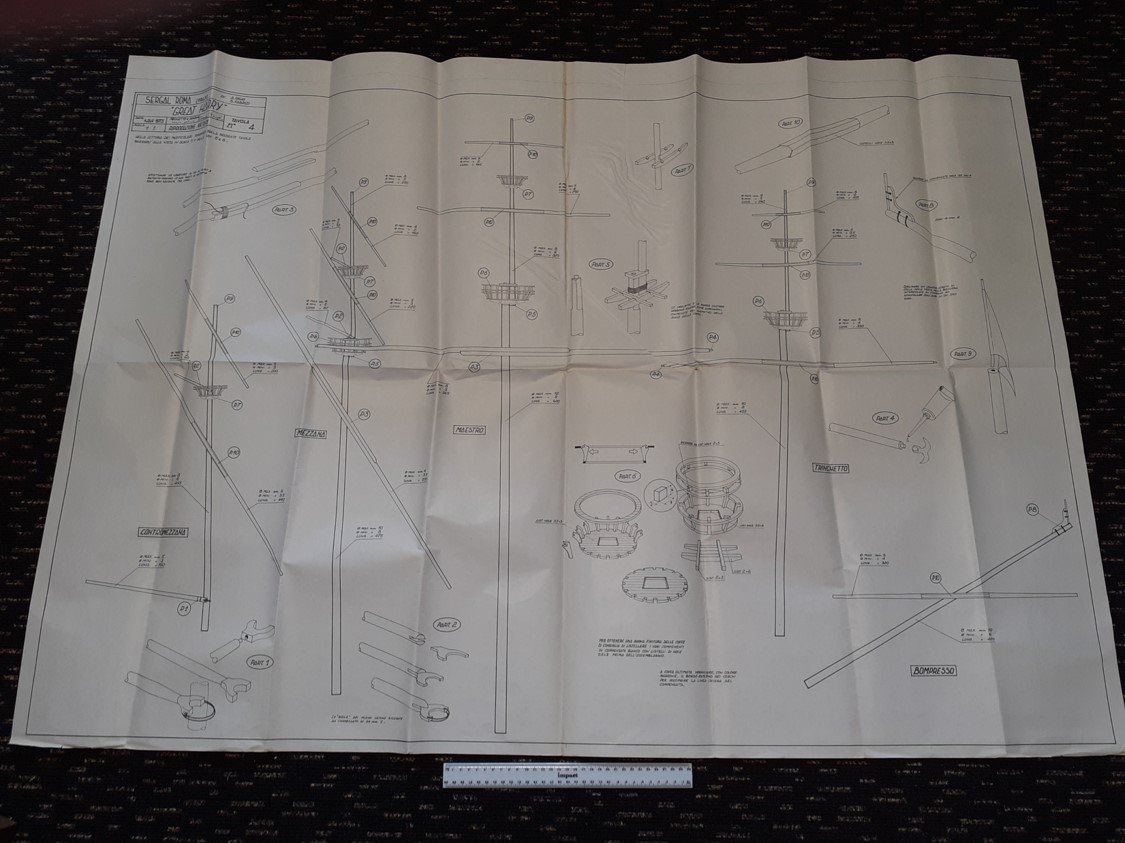
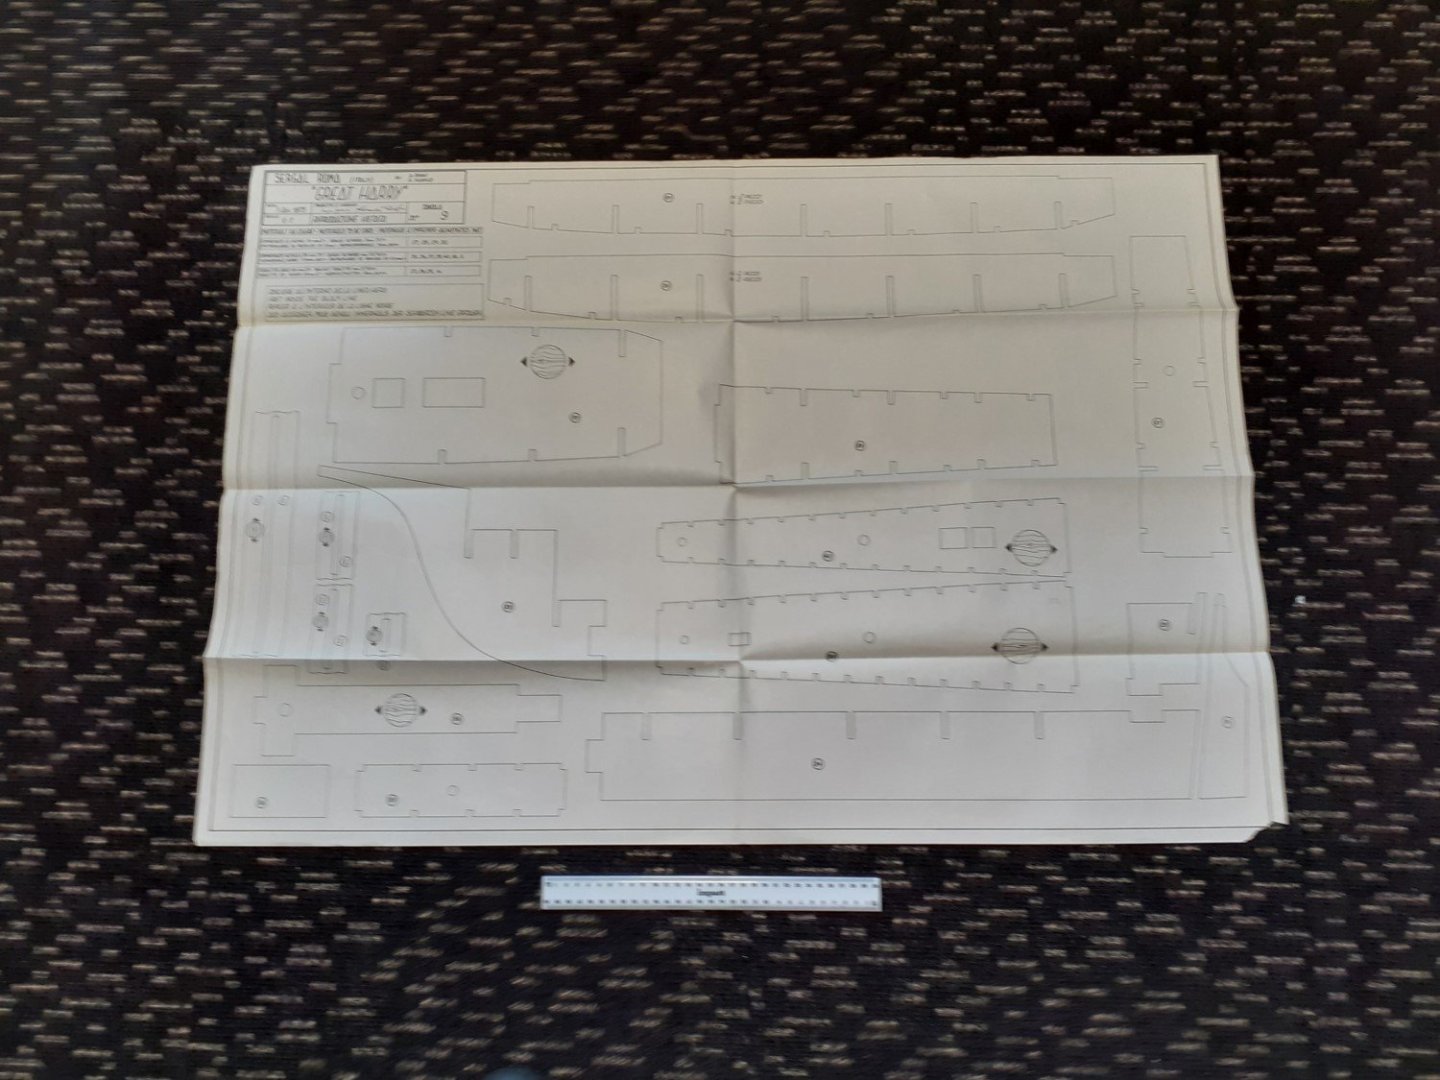
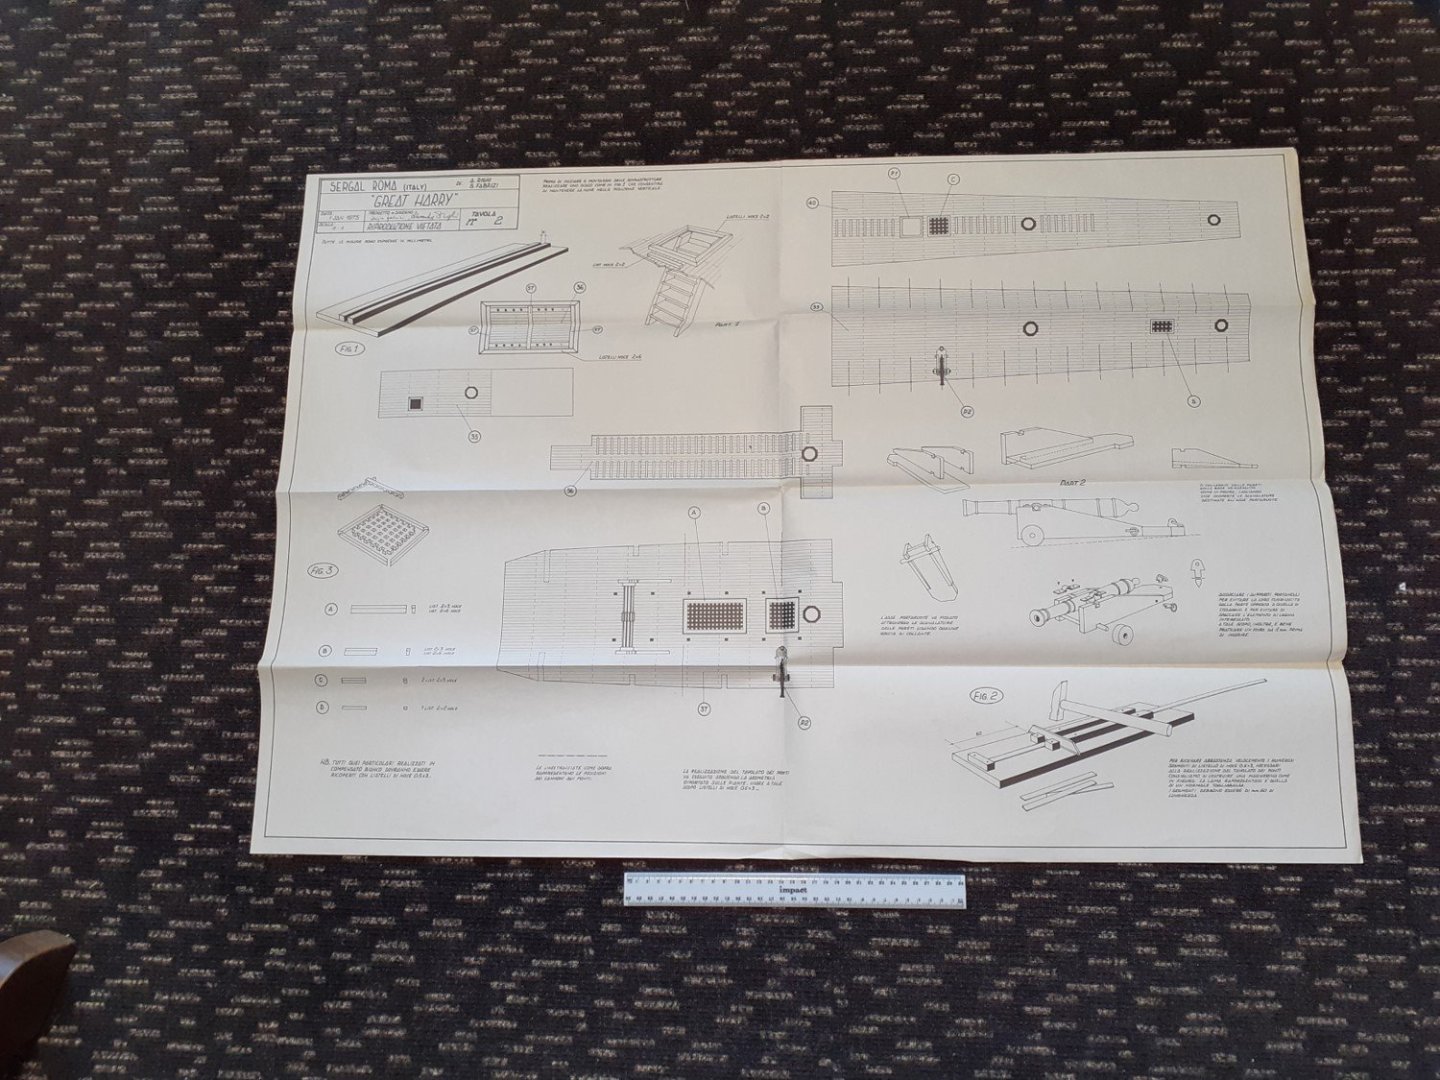
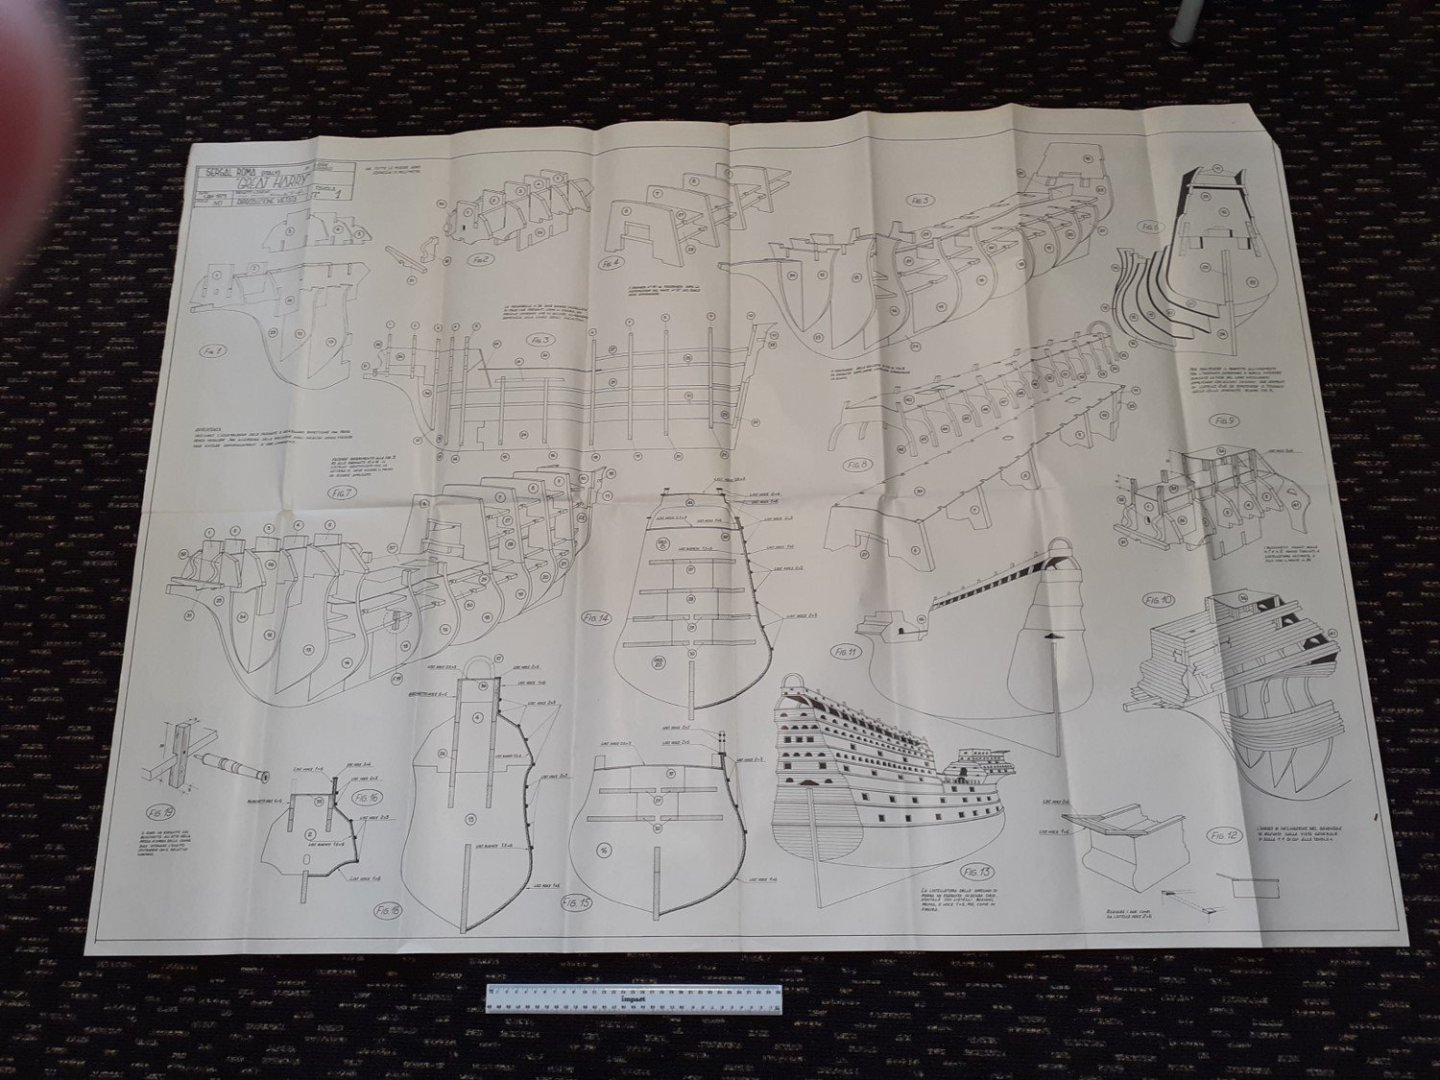
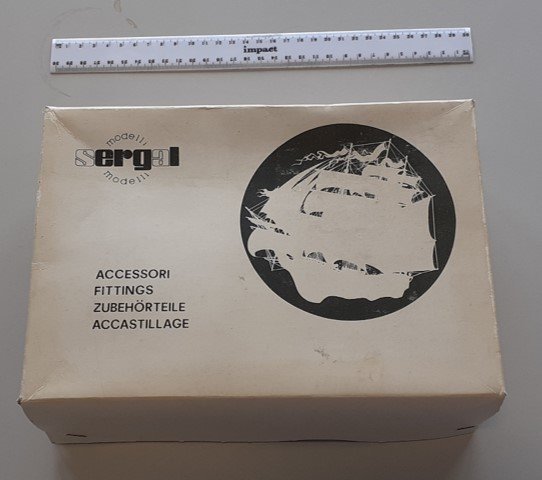
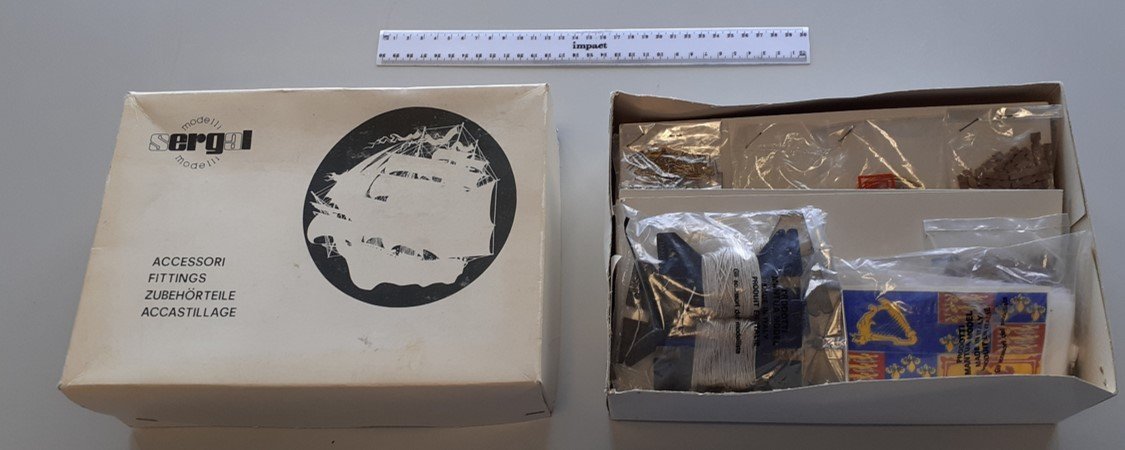
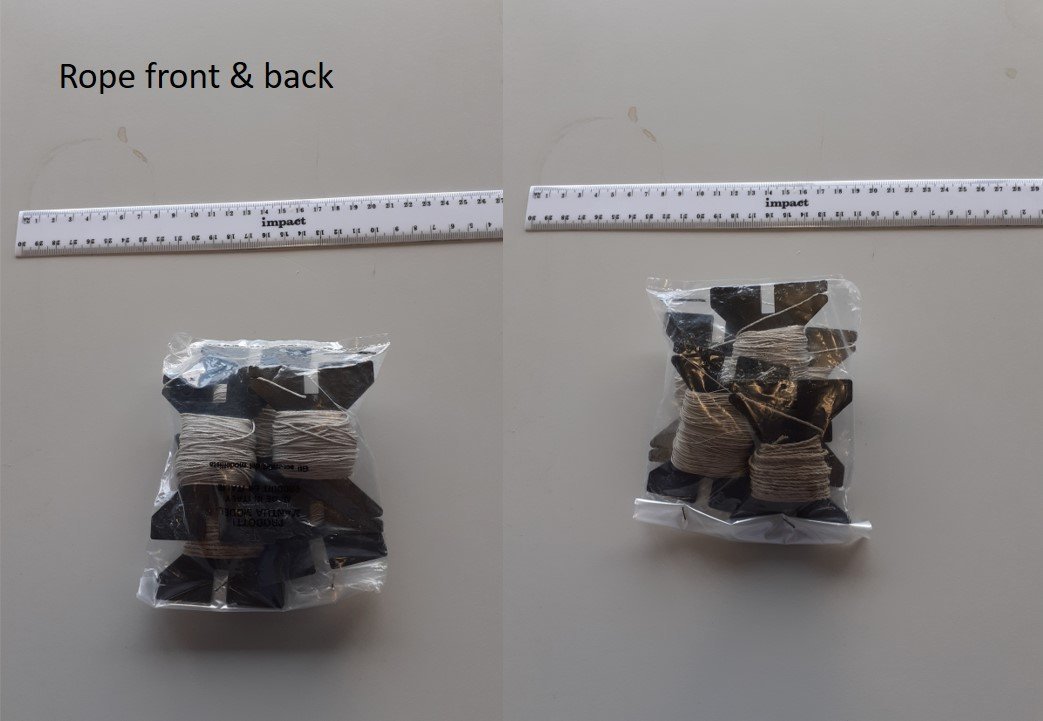
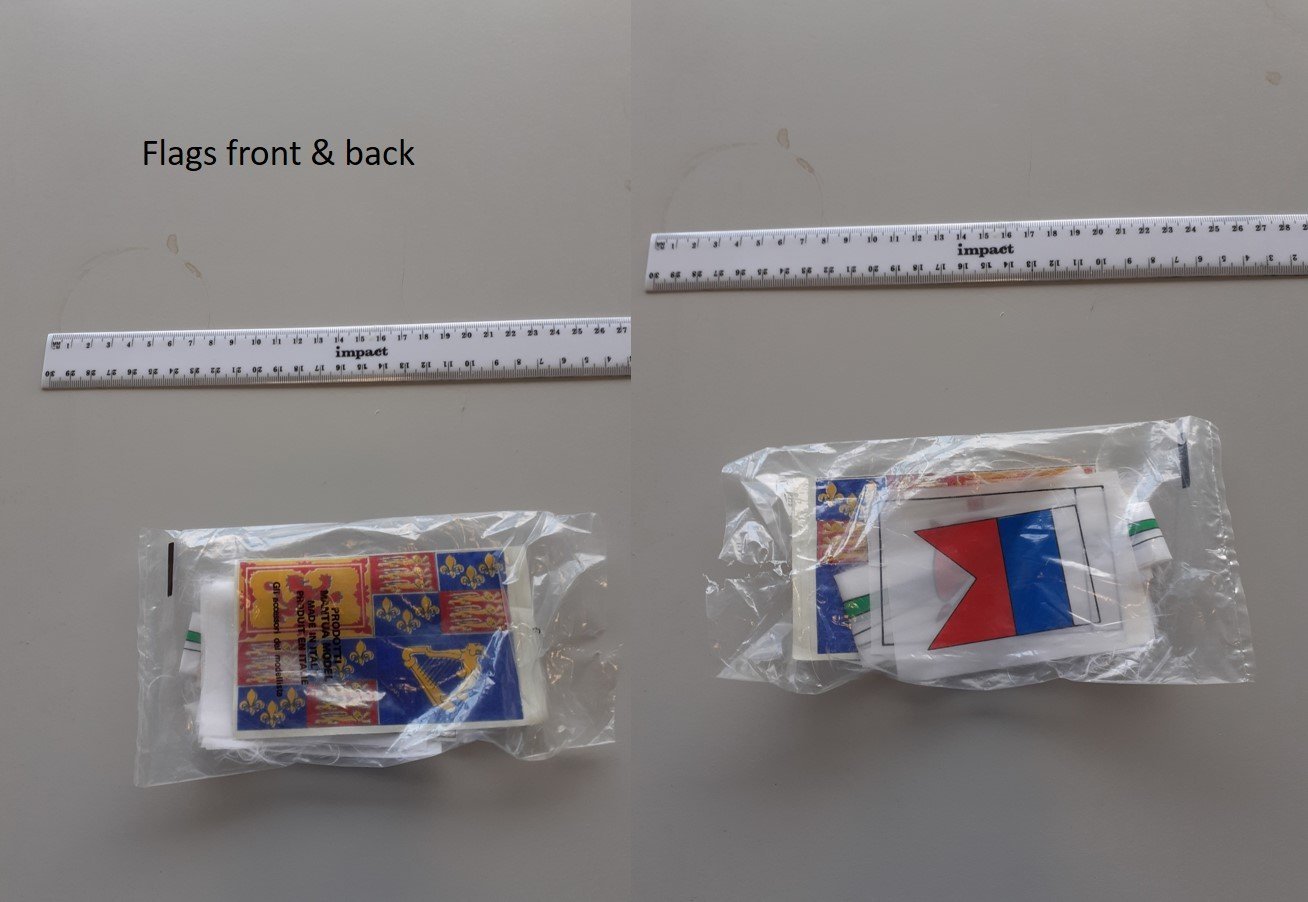
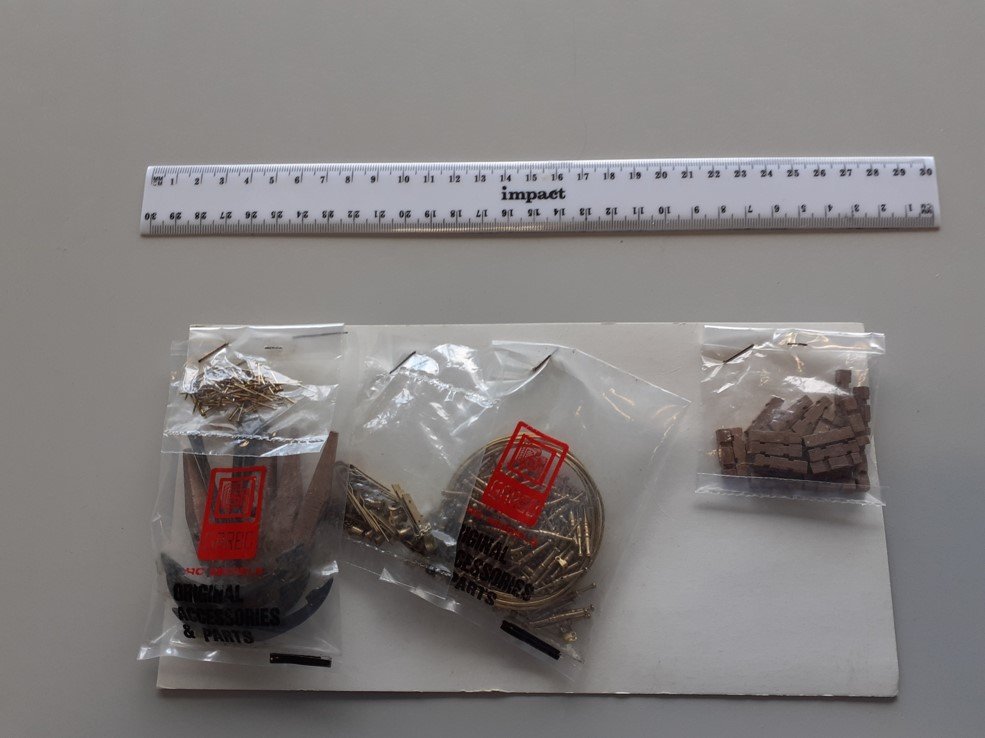
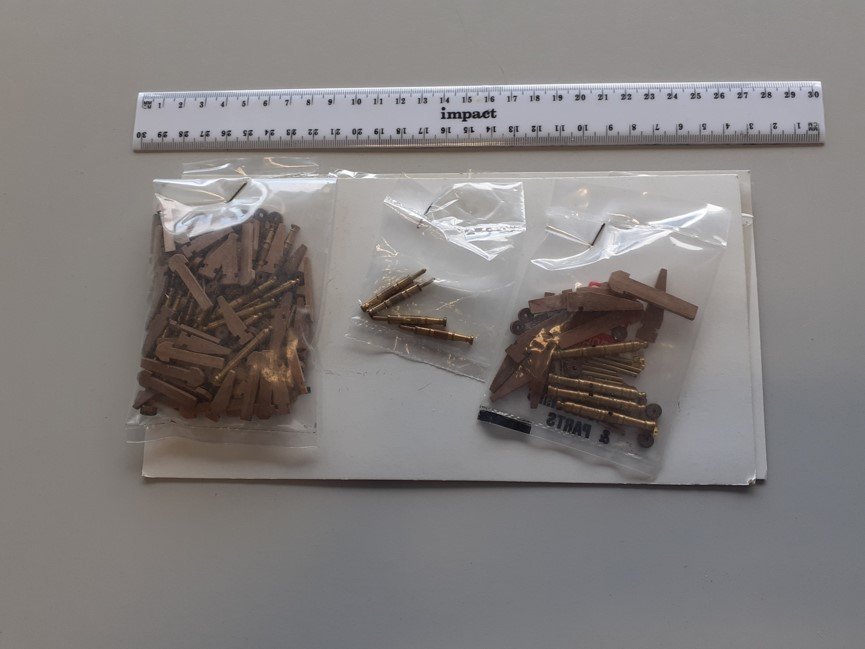
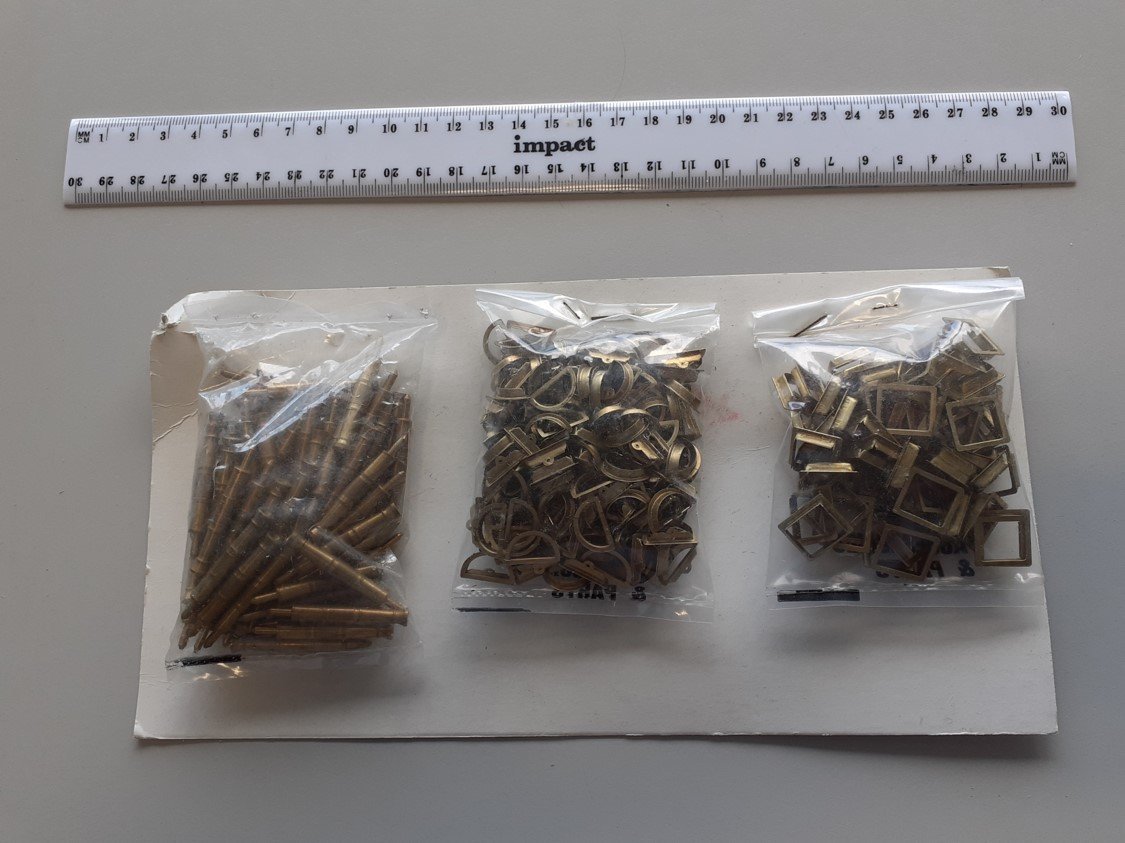
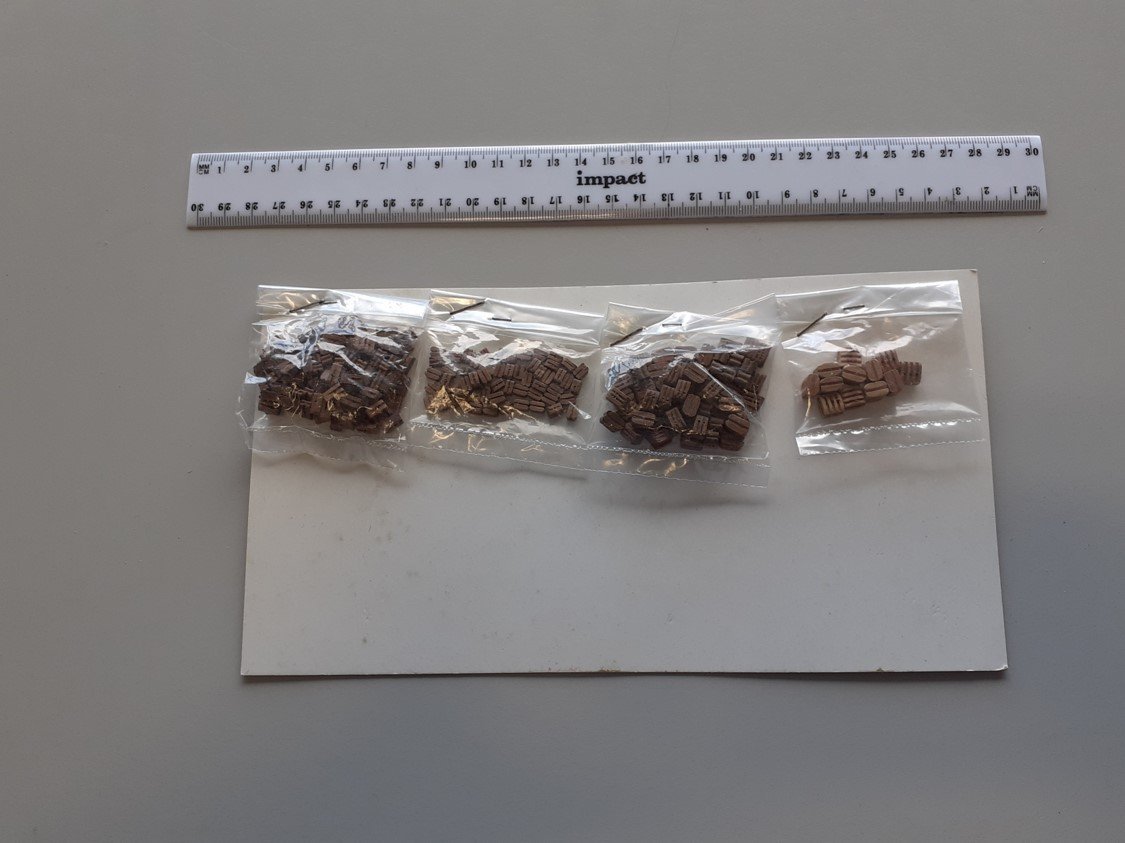
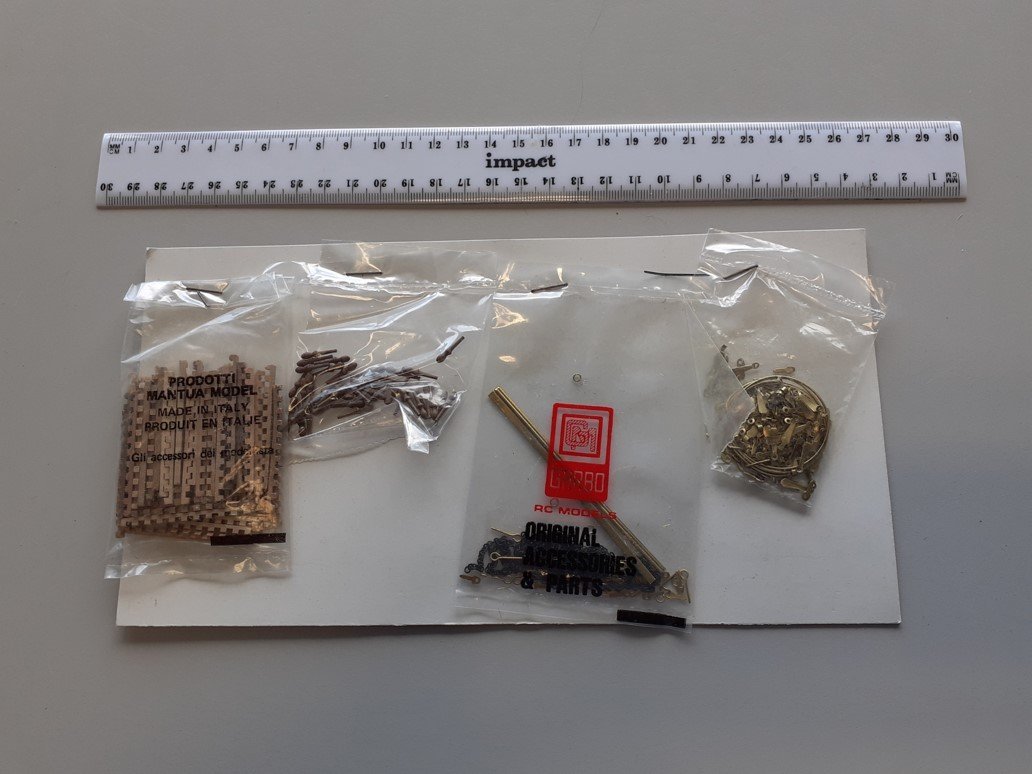
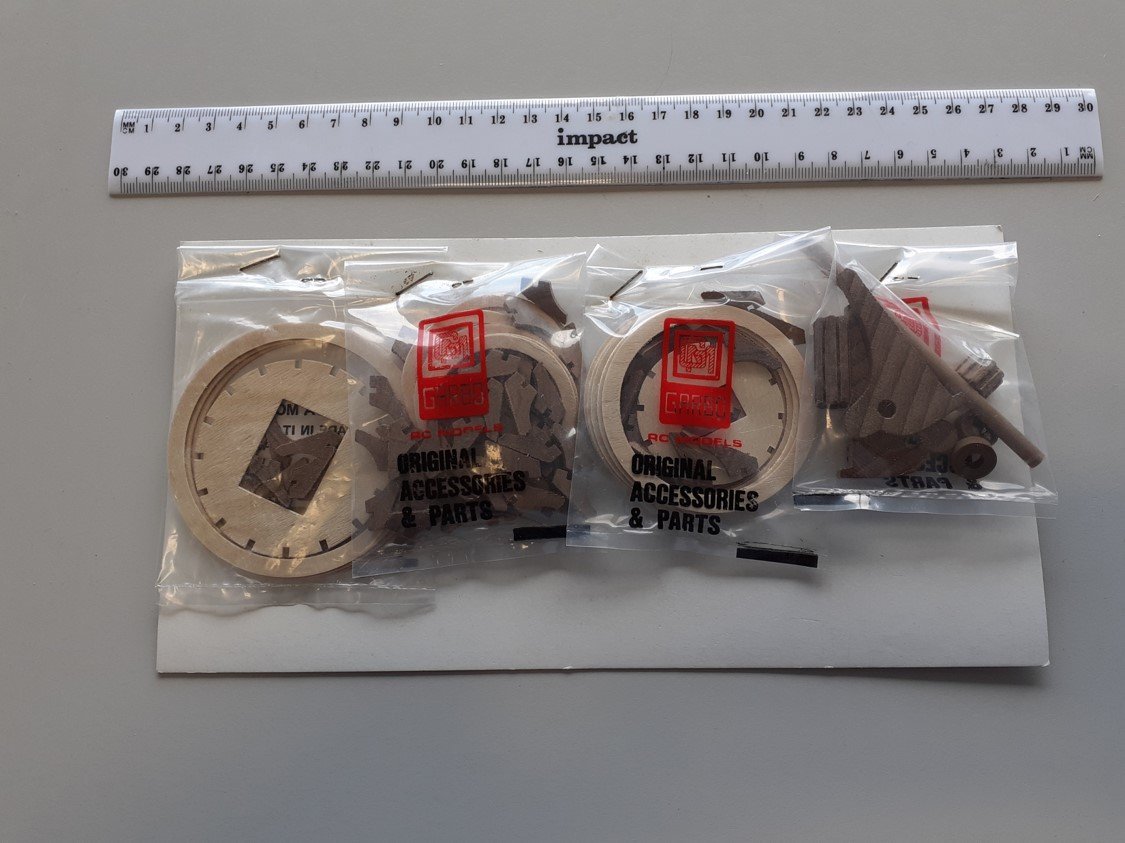
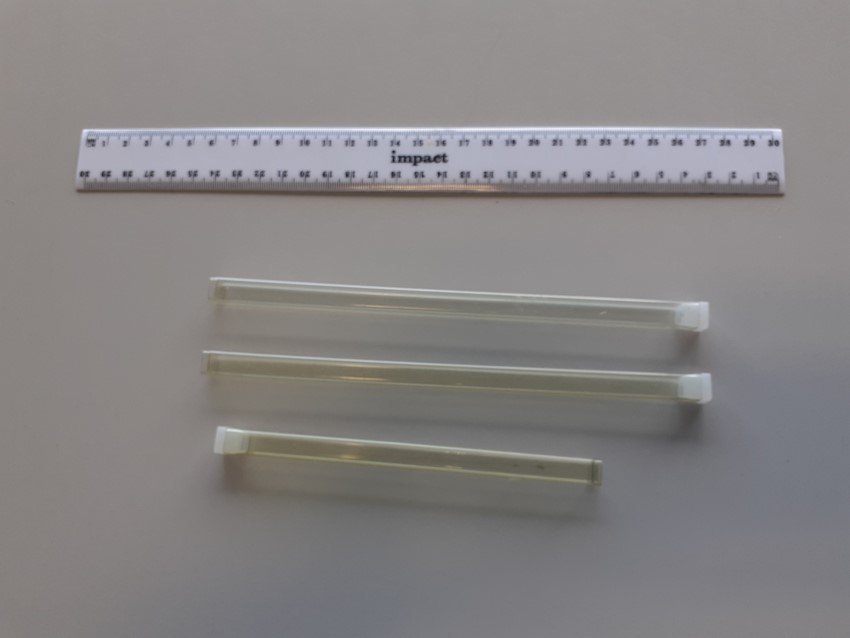
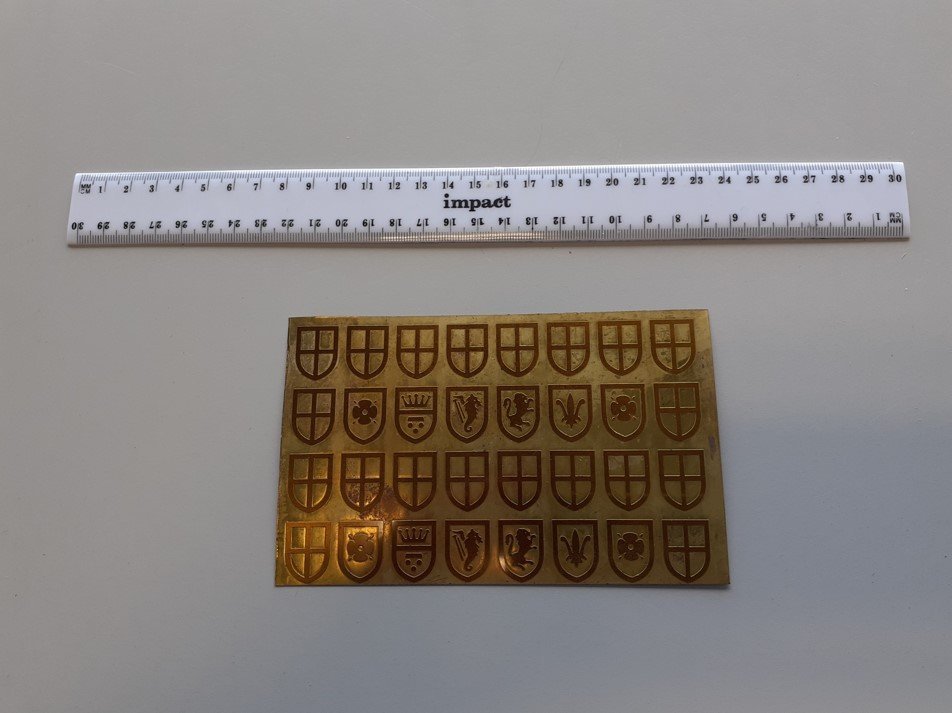
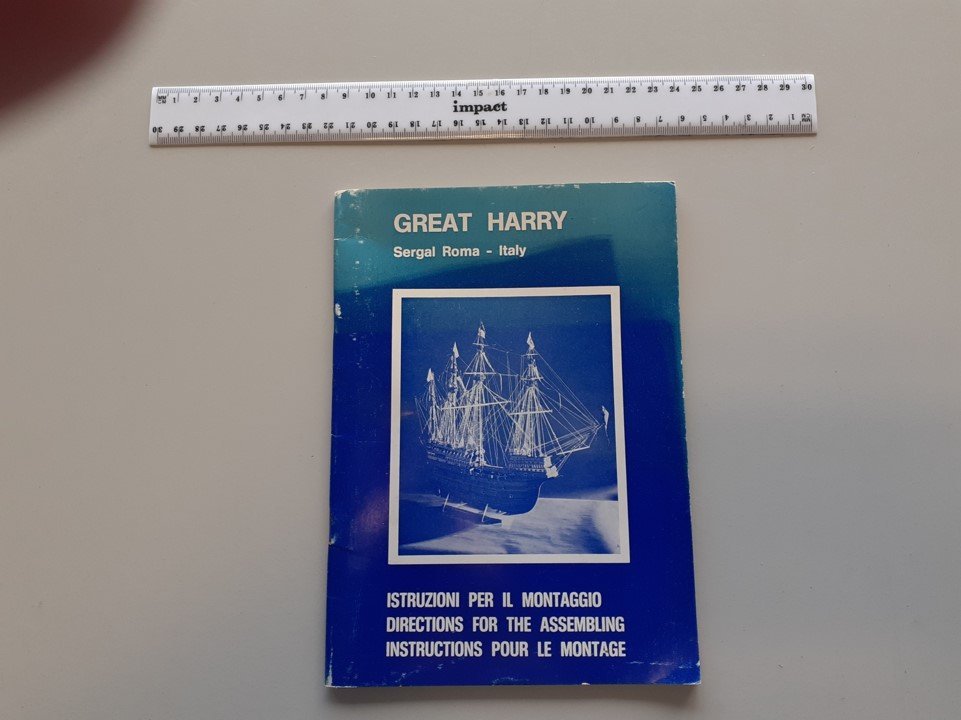
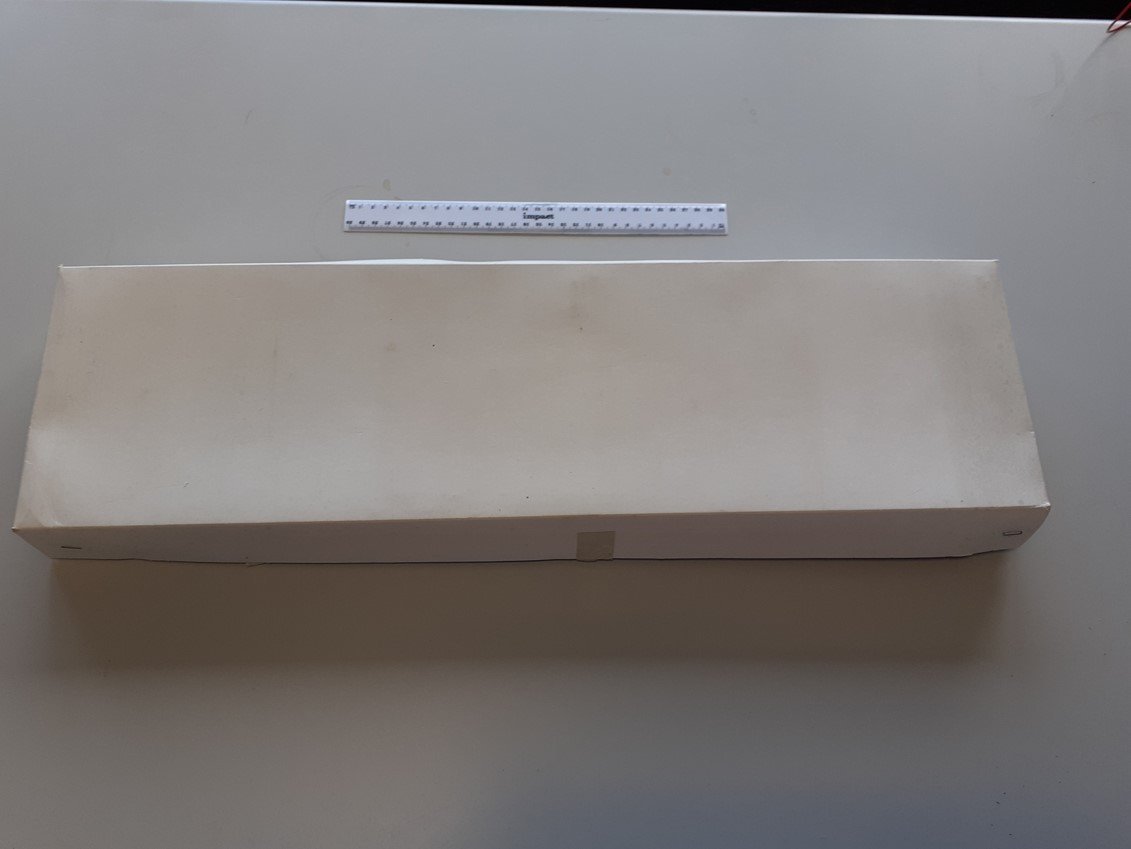
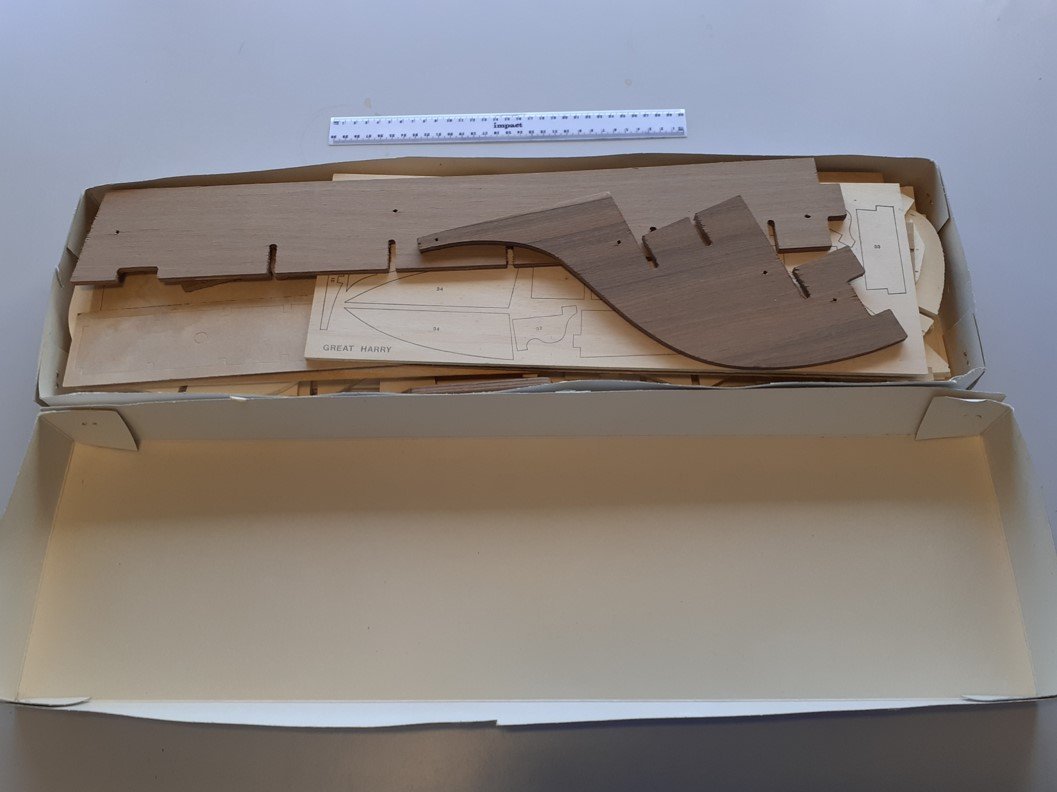
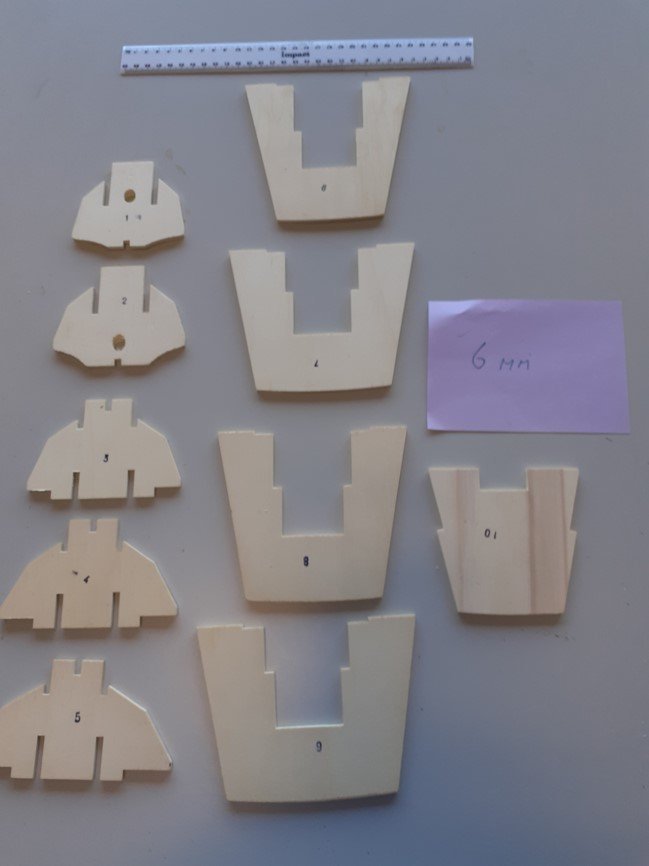
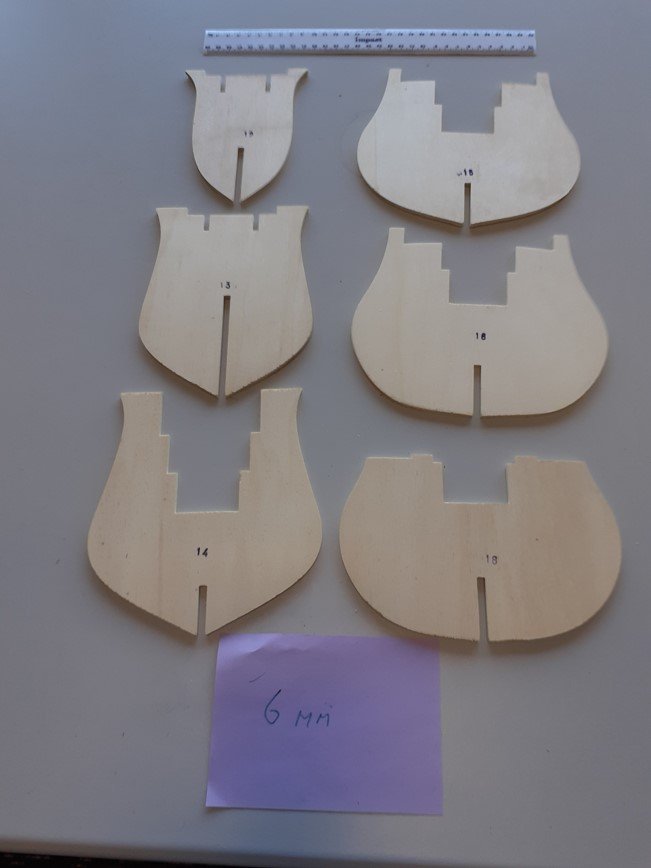
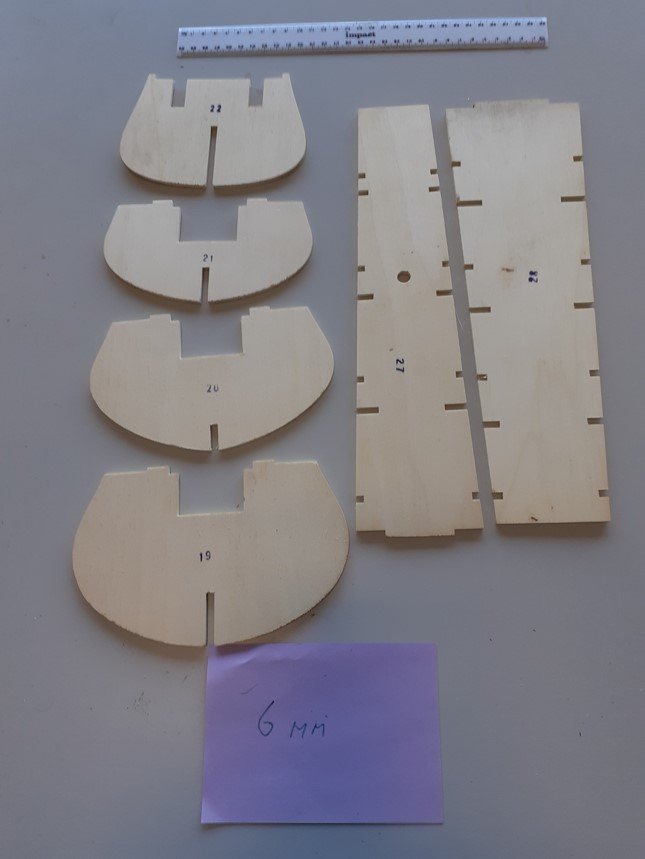
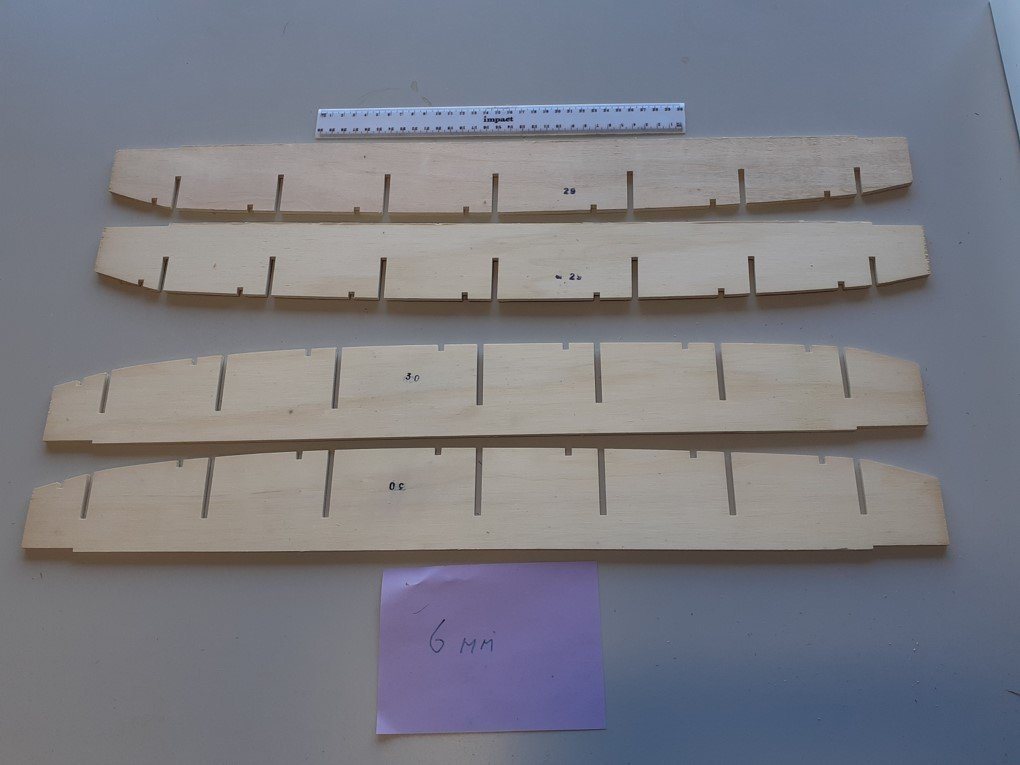
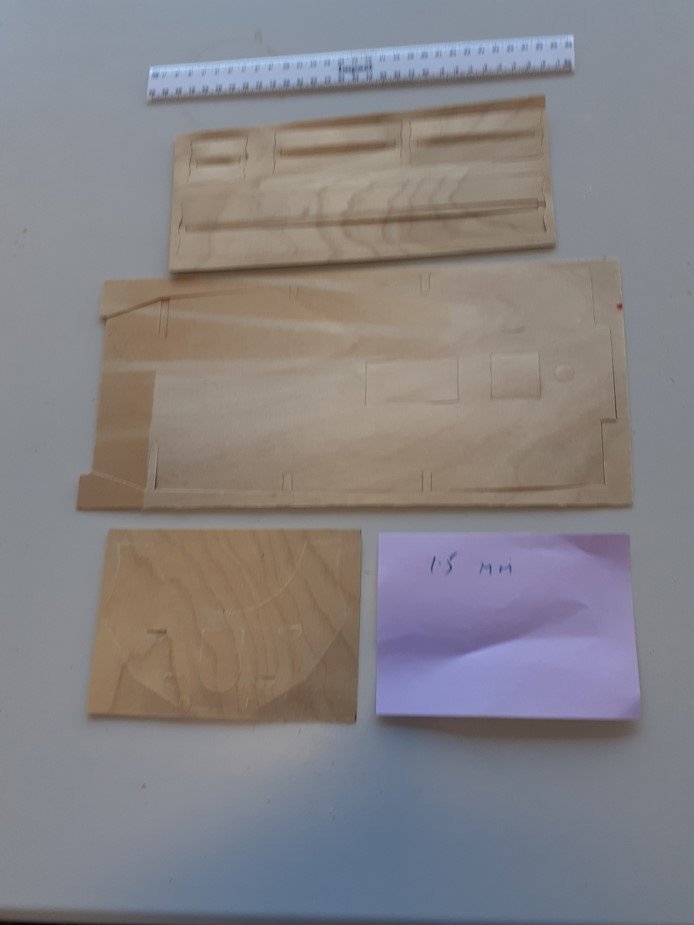
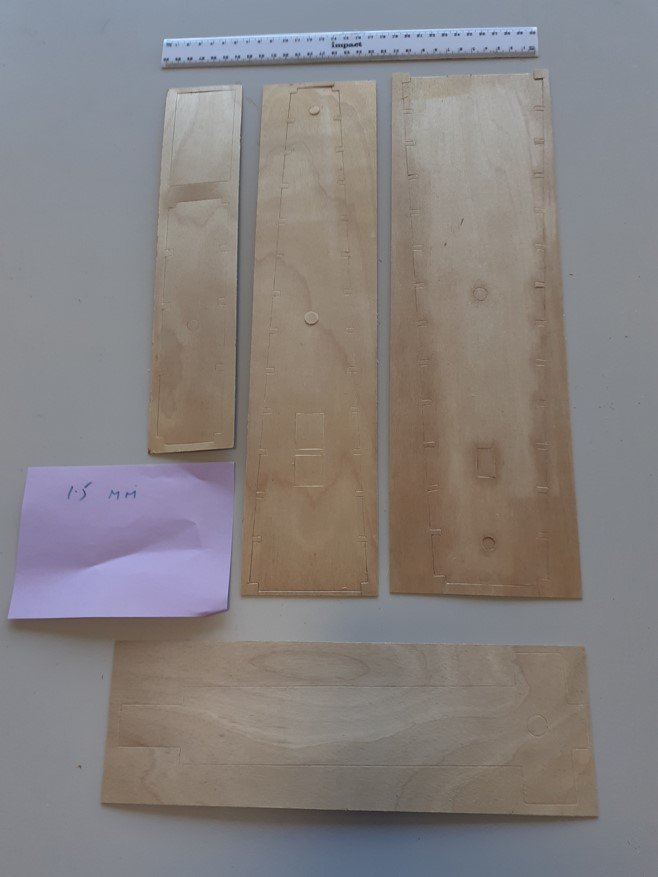
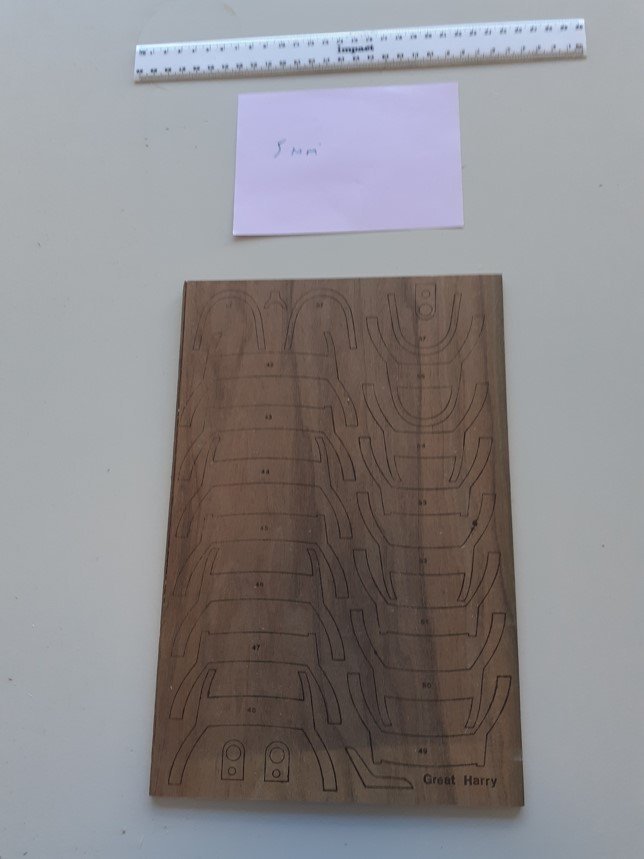
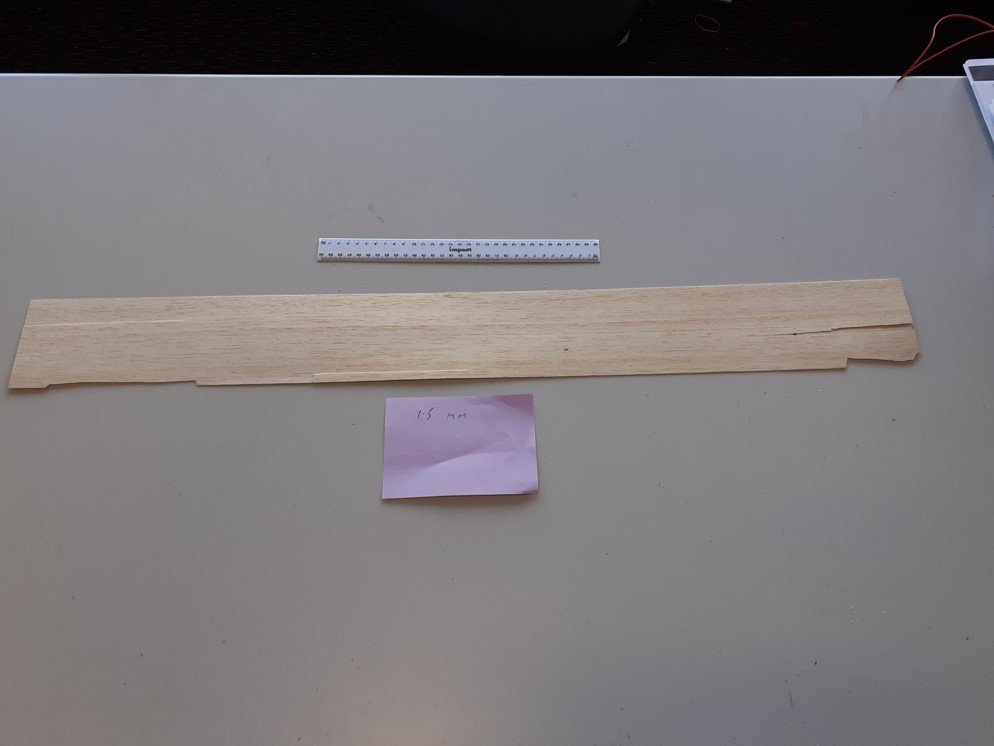
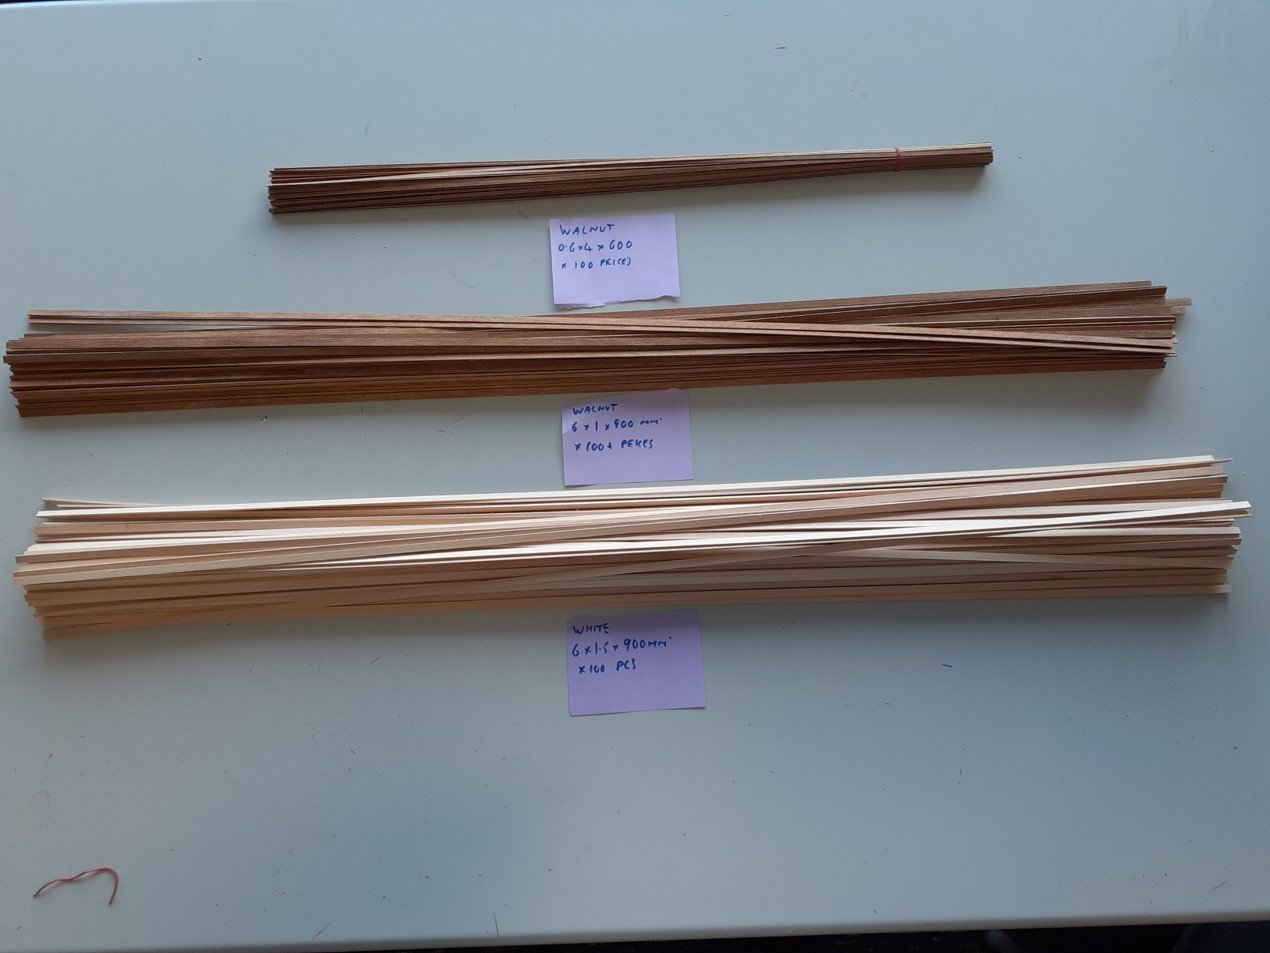
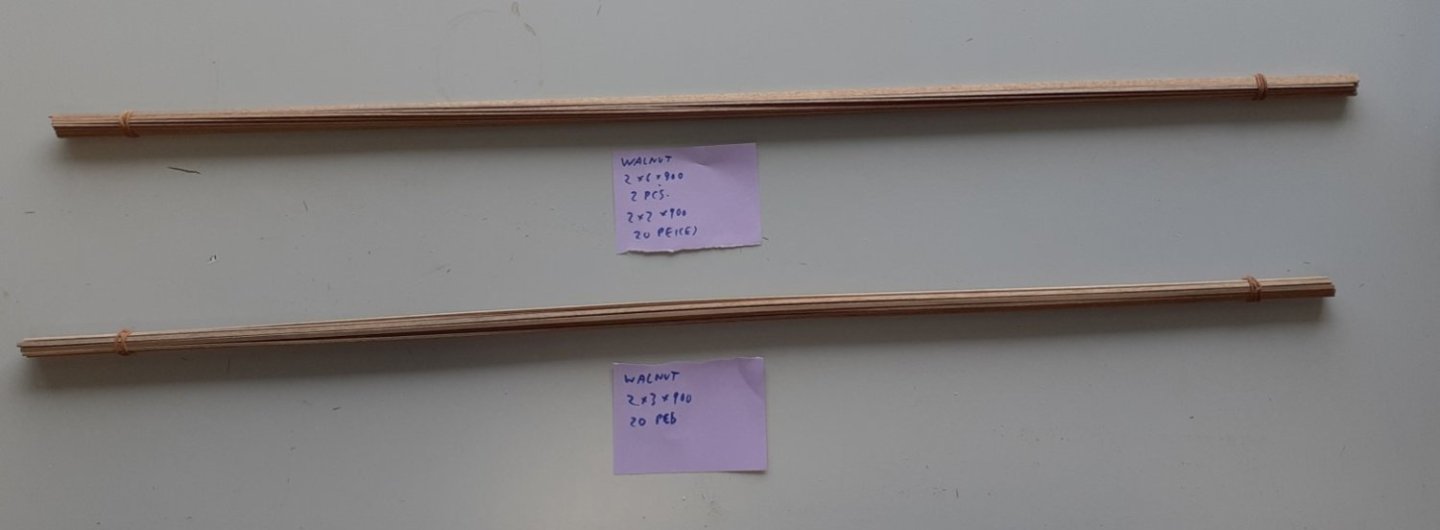
Hi, The subject of this posting is the large scale (1:50-1:64) Sergal model of the Great Harry/Henry Grace a Dieu. This example appeared at a local auction house in Dunedin New Zealand. I paid about 45USD for it. As it dates to 1975 or thereabouts I may well be its third or fourth custodian. The photo shows the state that it is in. The box is wrecked, but the kit itself appears to be complete and undamaged, bar the castings and the large colour poster of the completed model, which are entirely missing. I posted some information about this in my new member’s introduction post (Hello from New Zealand). I said that my intention was not to build this large and rare model, but to restore it so that it was capable of surviving in my own (or somebody else’s) stash until it could be built. This build thread is thus a project that will return the kit to as close as is possible to its ‘as sold’ condition. So it’s a bit different. The response by members to this idea on the new member’s page was that the model was more incomplete than I imagined. Maybe it is, so I am going to start by posting a very long series of photos that represent a complete record the kit and its ‘unboxing’. This may serve to see if the dream is real or I am wasting my time. The box was absolutely full and the photos run to 44 images. The two internal parts boxes are shown closed, then open and then their contents item by item. The plank bundles were packed separately with elastic bands. In the photos they have notes next to them indicating plank dimensions and numbers. All comment is thus very welcome. Particularly if any members have any idea what was in the three mysterious (and empty) plastic tubes that came with the model! 44 photos follow:


- 12 replies
-
- 9
-
-
- Great Harry
- Henry Grace a Dieu
- (and 2 more)
-
Hi, Thanks for all the replies. I will start a build log over the weekend and post a full set of unpack photos there and then go to work.
-
My guess for the tubes is the small super spars flagpoles etc. as these don't seem to be in either mine of Johnnie's model. But somebody may know better. present
-
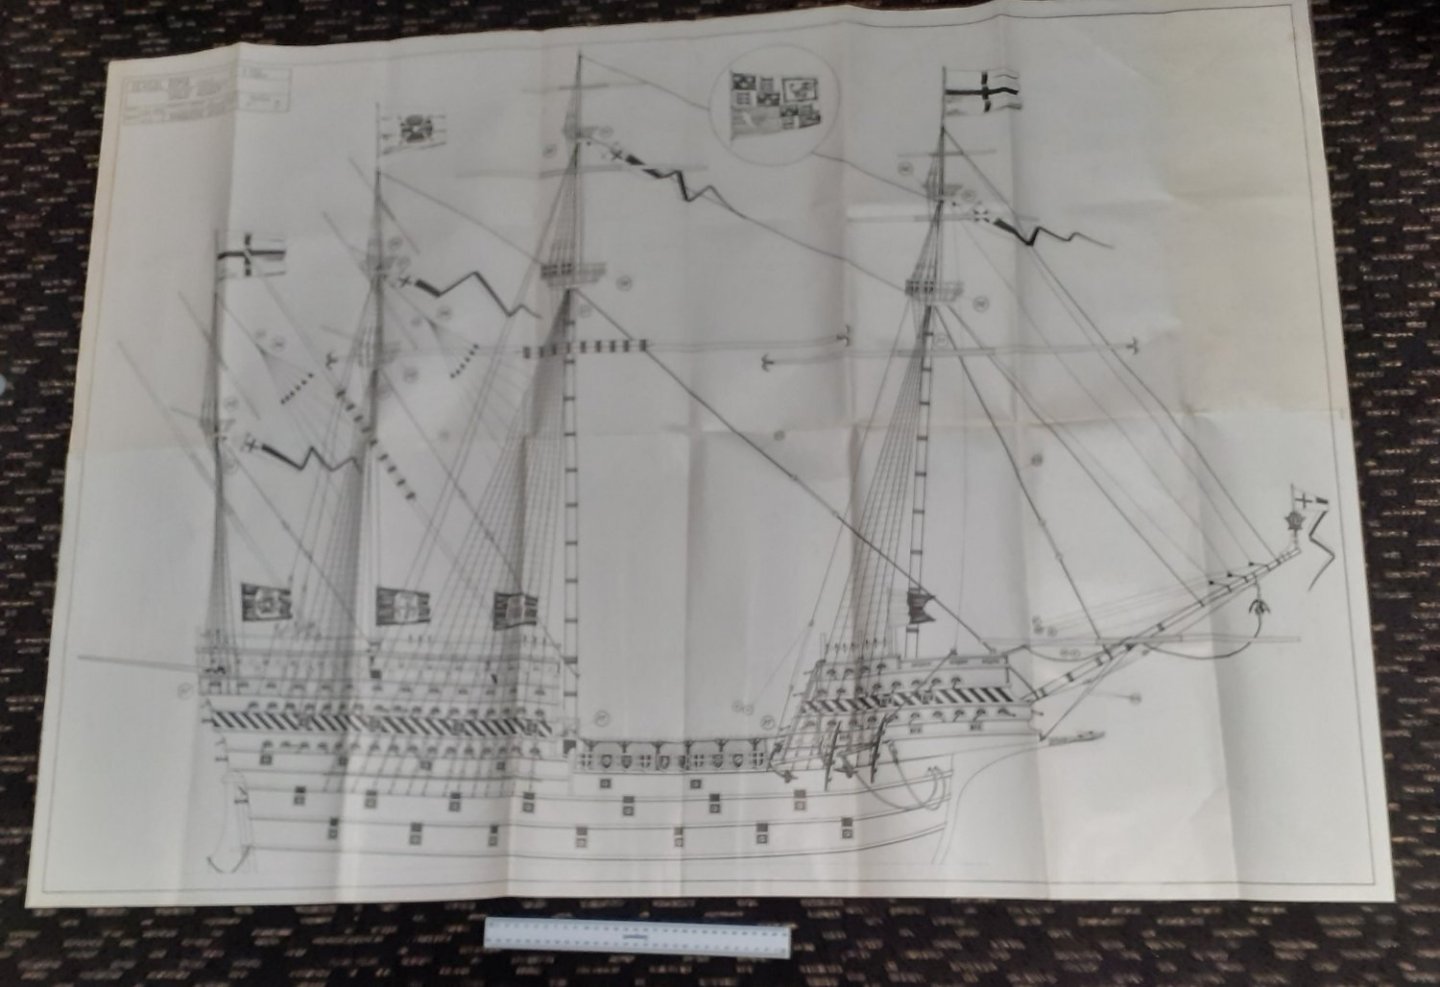
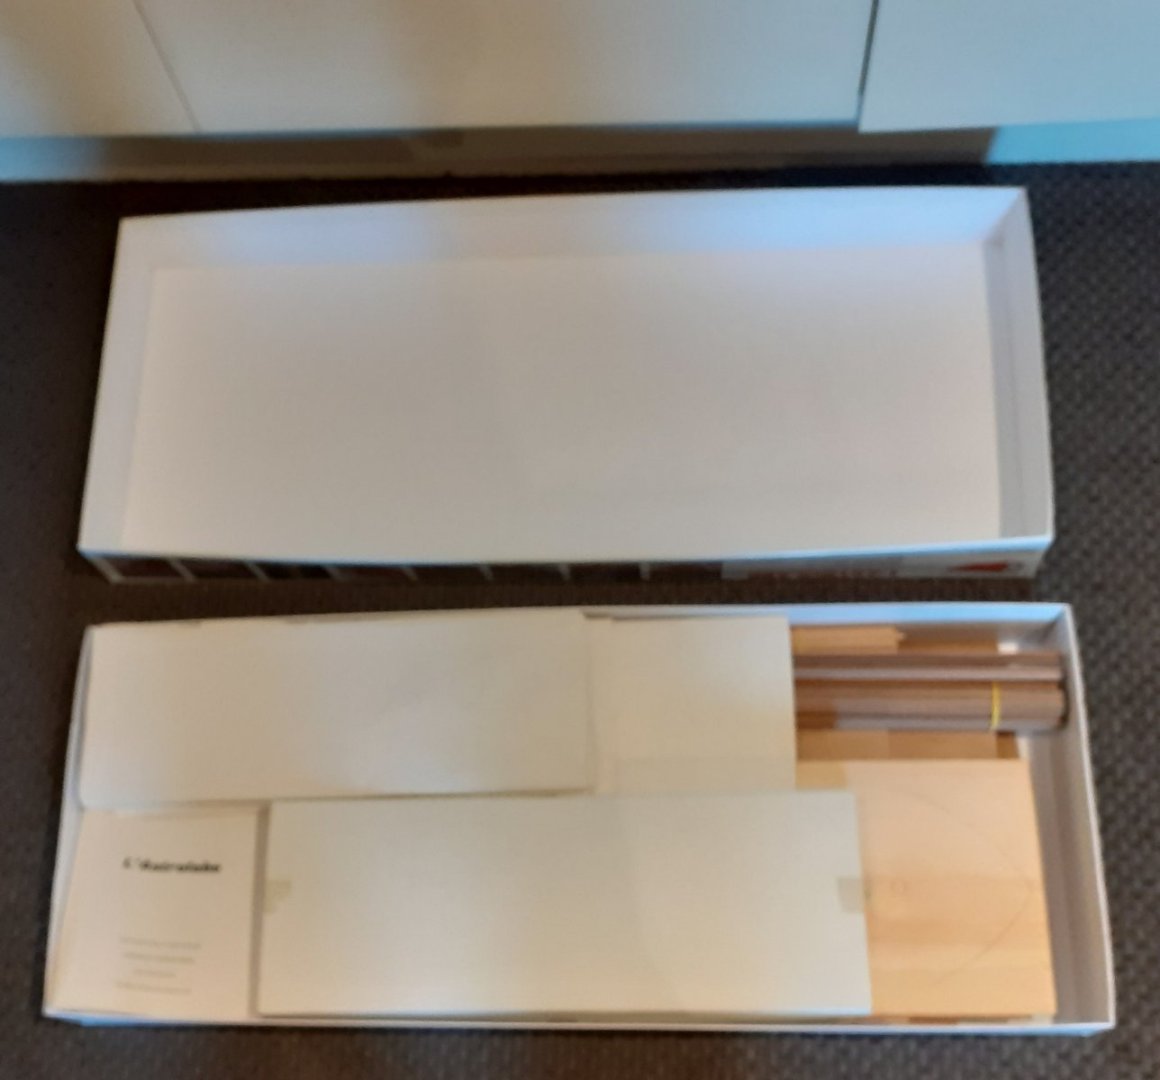
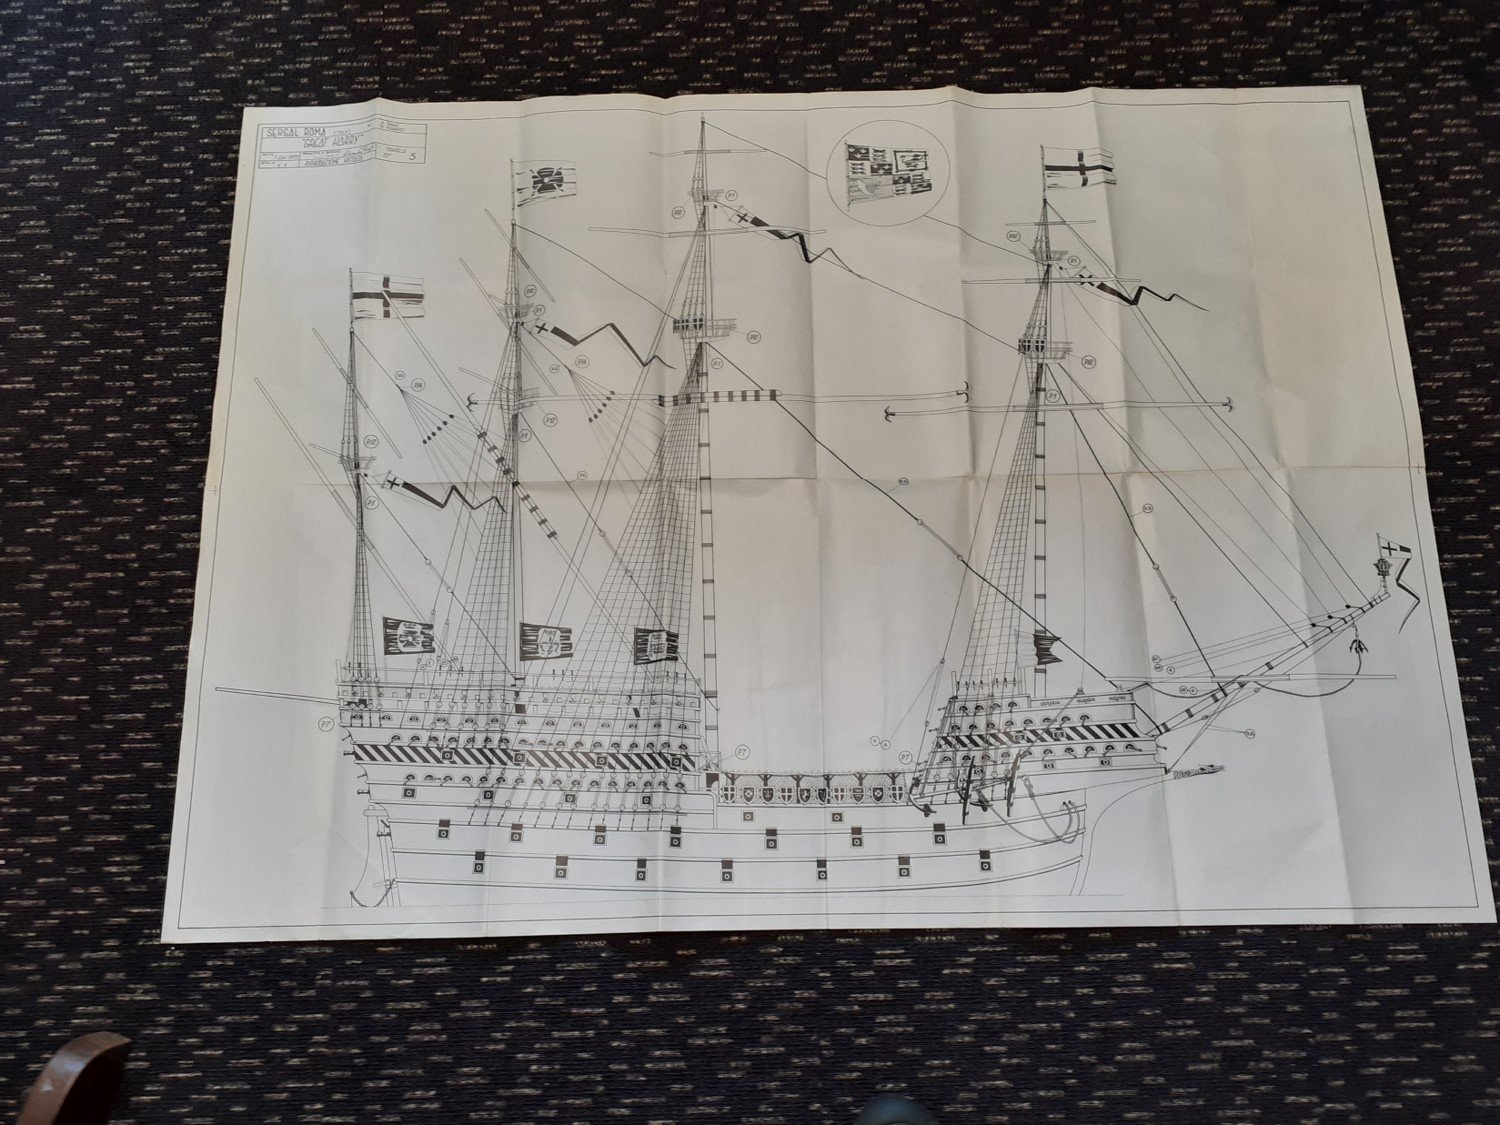
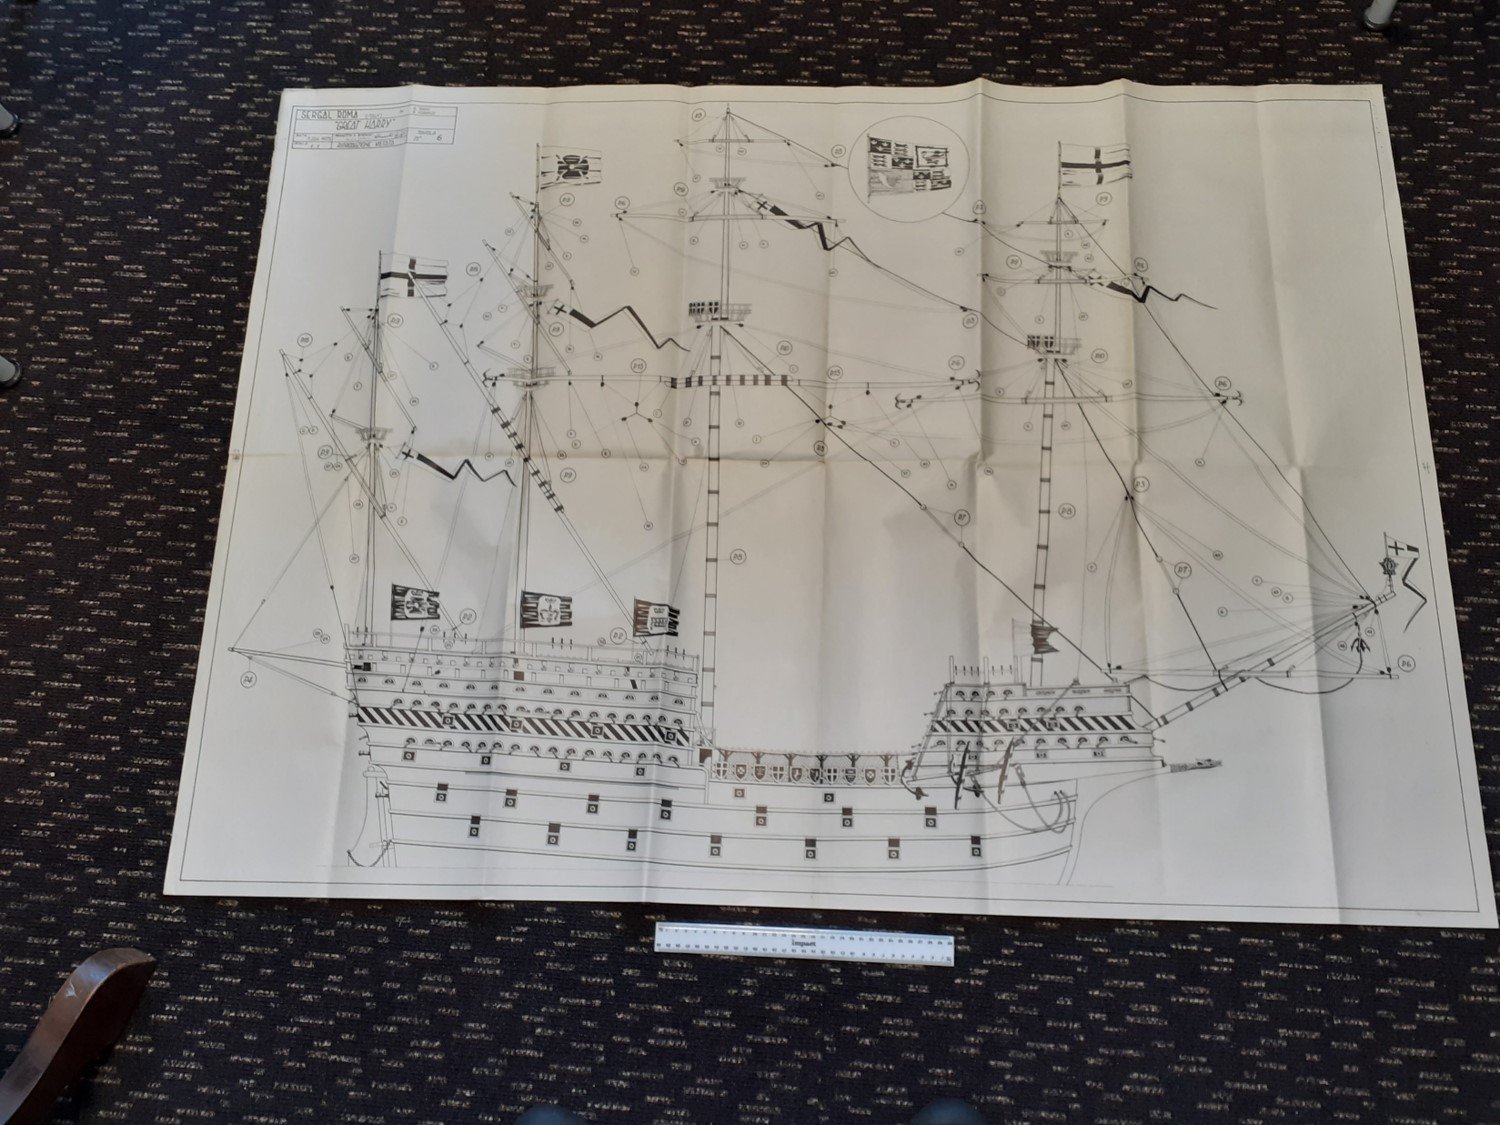
Thanks for the comments. I cross referenced this model with Johnnie's very useful (essential in my case) log of the Great Harry before posting this thread, that's why I'm here guys. This one does seem to be all there, bar the castings pack, the poster (Yes [please if you can scan it Johnny) and whatever was in these tubes if the tubes are original - which they may not be. What I have that Johnny does not have is the clear perspex sheet to make the stand out of. The fittings, cut parts, planks/rods and the plans/instructions appear to be all present and correct. The kit has some very minor packing differences to Johnnie's but is otherwise identical. So it is worth restoring. The same can't be said of the Mantua Dutch gunboat that was the next lot in the auction ($5), but I'm going to fix it anyway just to show the World - call me bloody minded... Missing the castings would be fatal for some models (e.g. Royal Caroline). However, in this case the situation is redeemable because: 1) There aren't that many of them, and they are not 'fitted' to the hull. 2) They are not all that big/complex and many can be quite happily (better in some cases) replaced by available generic (Amati etc.) castings. 3) The originals are not of great quality, and some castings (eg the sheer hooks and grapnel) would be better fabricated anyway 4) Nobody knows exactly what was there, so we can indulge in a bit of artistic license (which will be recorded on a dedicated plans sheet with the new set when the kit is complete). In my view the originals are a bit 'rococo' and I suspect they are sourced from another model. I will take detailed shots of everything when I post the build log.
-
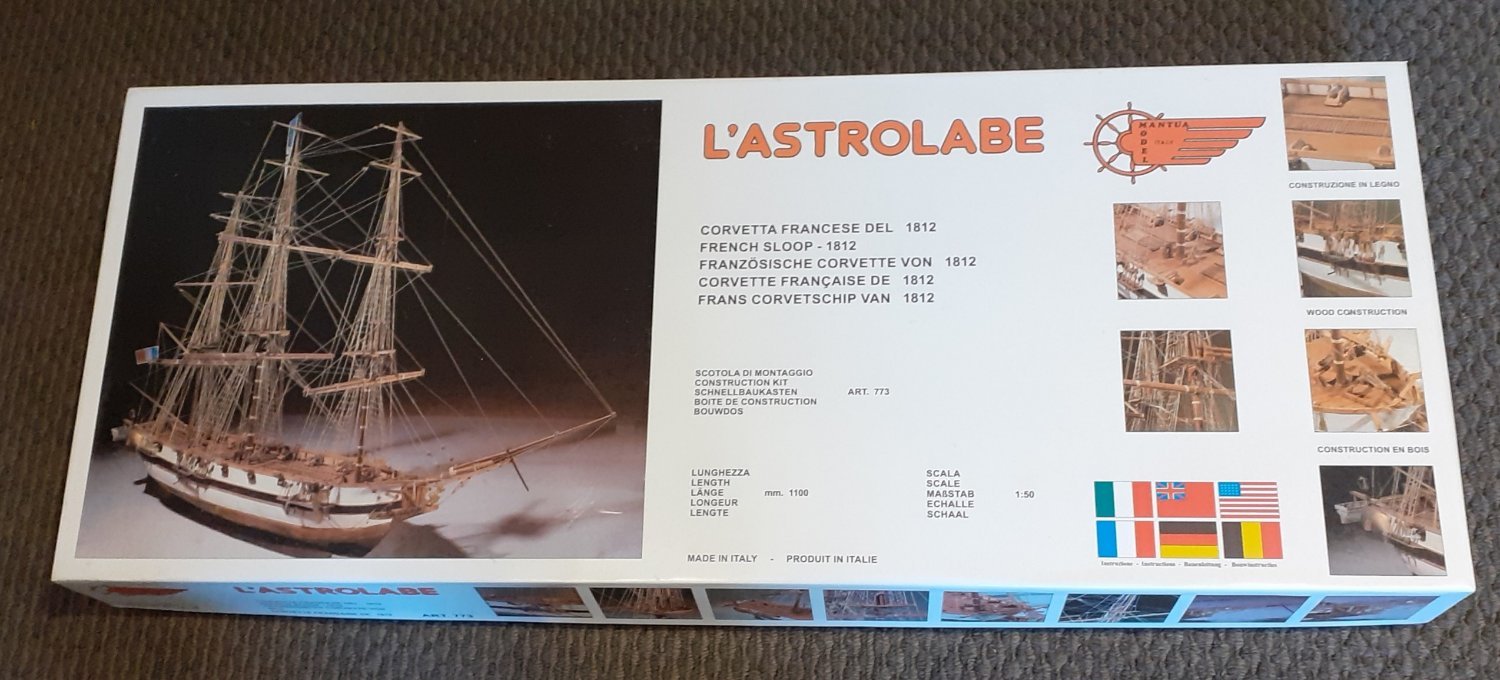
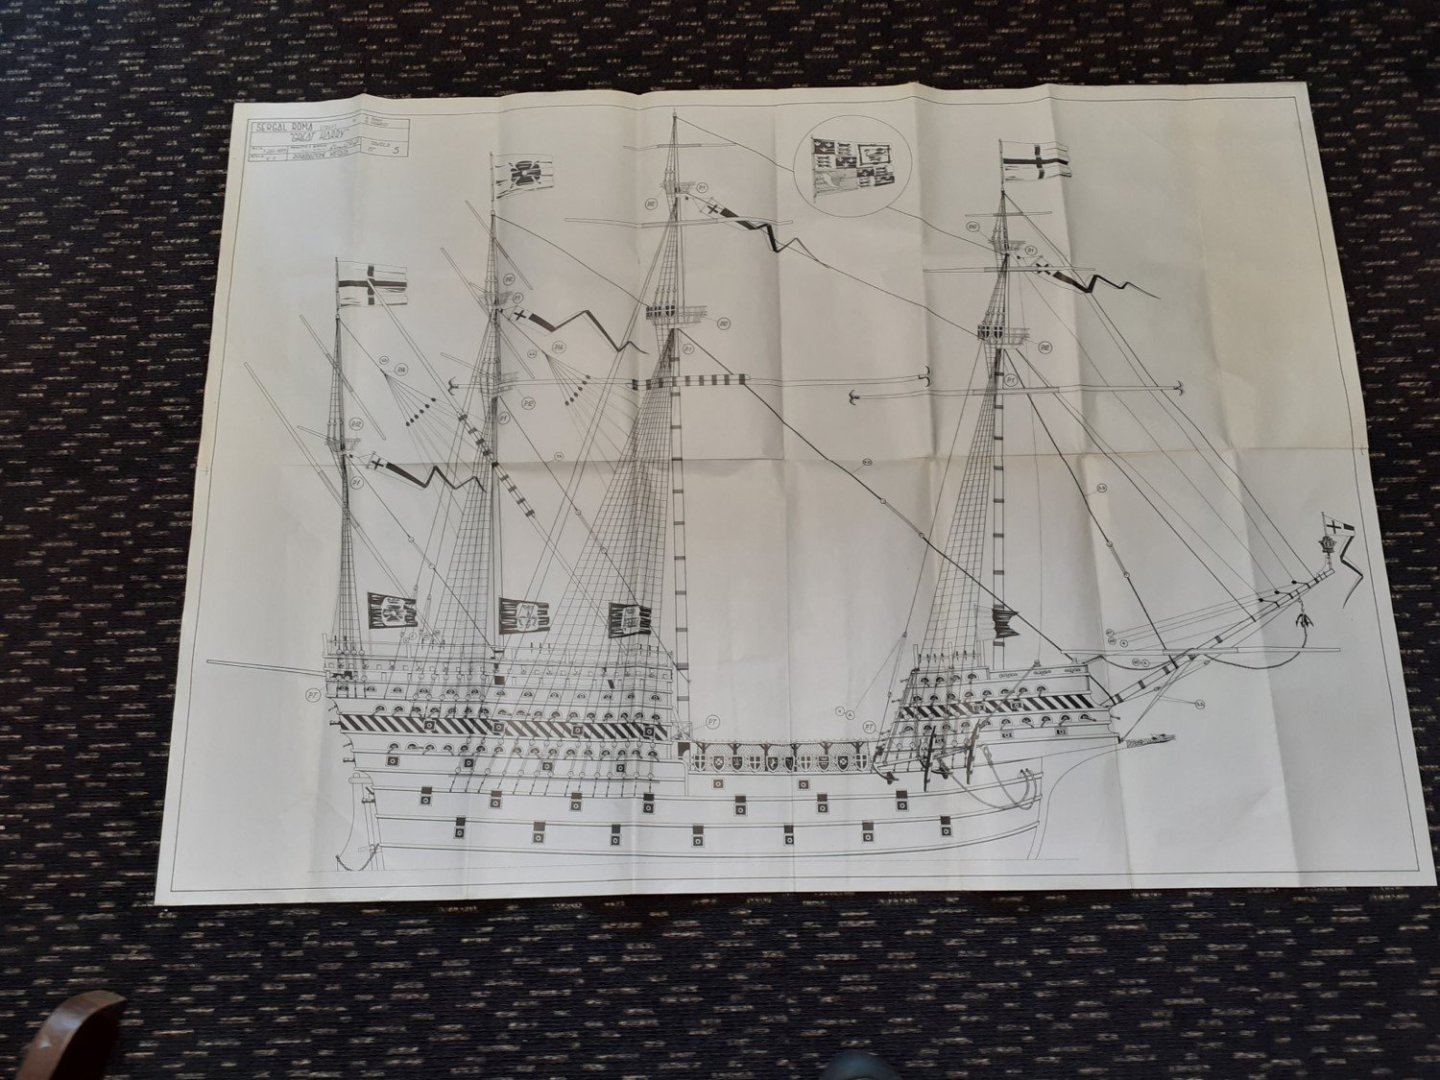
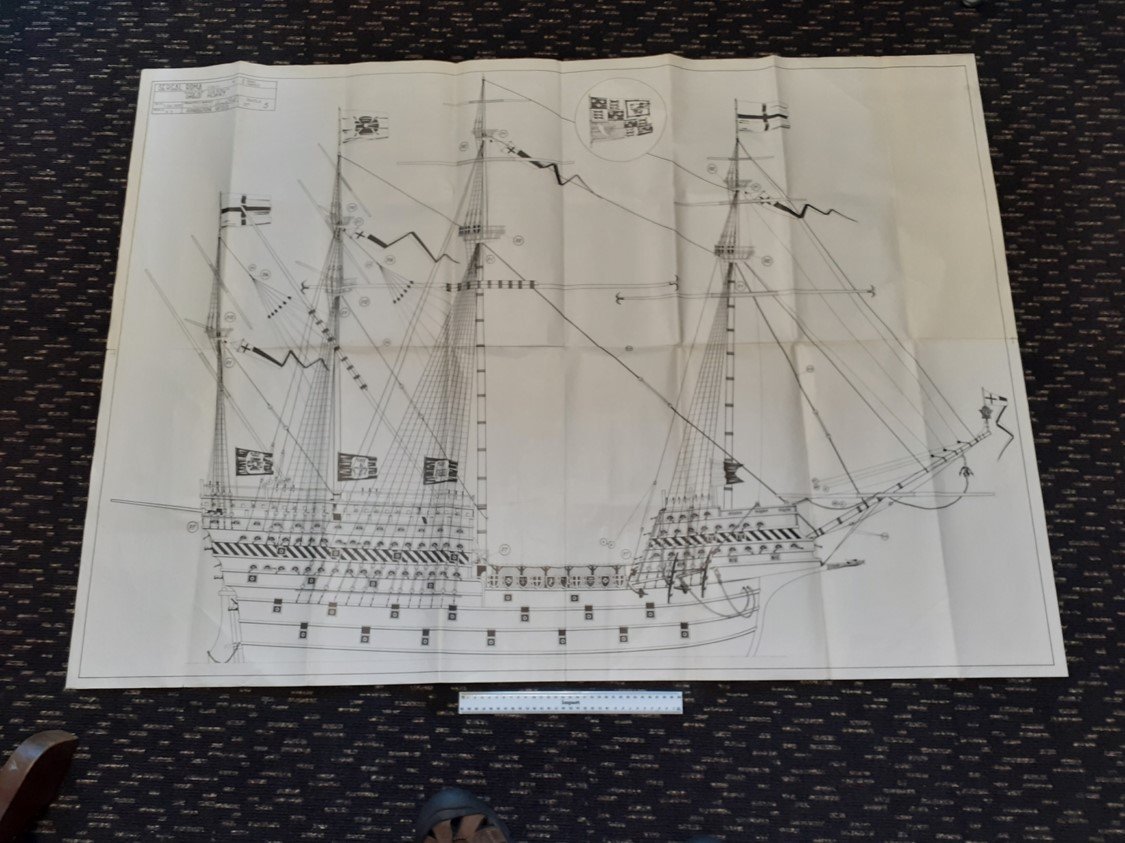
Hi, I am coming into this from a long career of fiddling with all sorts of things including models of all types. I am now approaching retirement and am in what my brother terms a STABLE condition (Stuff Accumulated Beyond Life Expectancy). I think its fair to say that many modellers have a stash that they do not really own....they are merely its custodian until the whole lot is released into the market again, and acquired by the next generation of optimistic custodians. The local auctioneer is familiar with this syndrome and claims that he rarely sells stuff, he merely rents it out for a few years and then back it comes again. It was at this auction house that the item that is the subject of this posting appeared. This is the large scale (1:50-1:64) Sergal model of the Great Harry/Henry Grace a Dieu. As it dates to 1975 or thereabouts I may well be its third or fourth custodian. The photo shows the state that it is in. The kits itself is complete and undamaged, bar the castings which are entirely missing. I paid about 45USD for it. However, the photo shows that it is in critical condition as the box is compromised with bits falling out of it. Parts of the model were scattered around the auction house floor, behind the cupboard where it was displayed and in the store area and a search recovered all of them, bar those elusive castings and the presumed contents of three mysterious empty tubes (These are pictured - any ideas?). This is both an impressive and rare model (production <100). The photo below of the full scale plans with the one foot ruler show the scale of it. As this is a waterline drawing the hull goes down perhaps another four inches. But it has no future in its current state, and I currently have no time to build it immediately. Such models can be 'reboxed' in cardboard banana boxes and the like, but my experience is that their prospects of survival remain grim. This is a pity, as it's an impressive model of a rare subject. I would think that if the production run of fifty years ago was under a hundred we may be looking at a global population of viable examples of maybe ten or less. Its size is its downfall, the thing is simply too big, heavy (10Kg+) and 'stuffed' for the structural strength of the box that it is in. Thus, wearing my custodian's hat, I intend not to build this model and make a log of it, but to restore it to its as manufactured condition (with a box that is visually identical but much stronger) and log that process here. In this case that means replacing all the boxes, interior packaging and castings with reproductions. As a package design specialist I have the graphic and prototyping facilities to do this and I have already done it many times. The photos below shows a restored Mantua 'Astrolabe' that was literally a pile of cardboard rags and a scatter of parts in several separate locations when acquired for USD10. It has now been restored to 'as sold' condition, and added to the custodial stash. If I do one a year when I retire, I'll be 147 when I'm finished - Do your own math! Rob