-
Posts
137 -
Joined
-
Last visited
Content Type
Profiles
Forums
Gallery
Events
Everything posted by Stuka
-
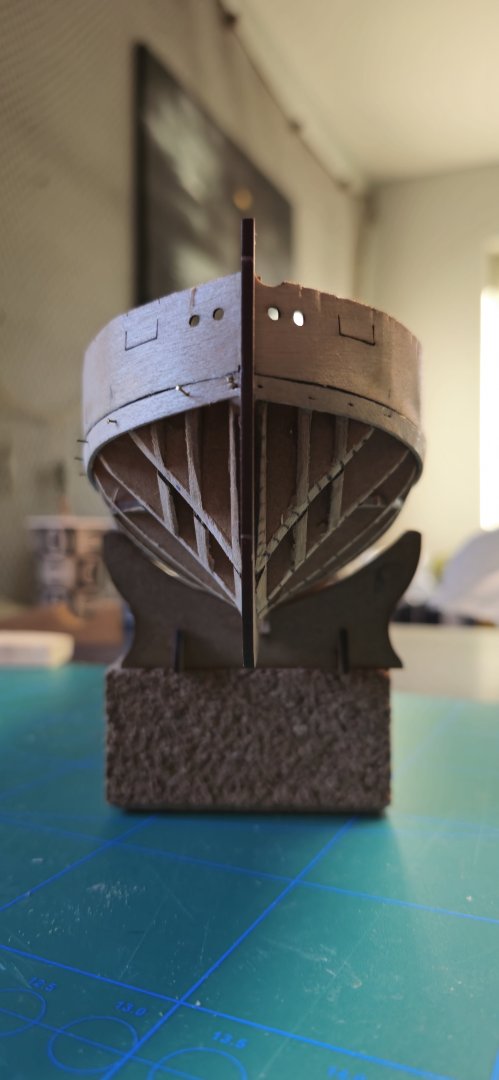
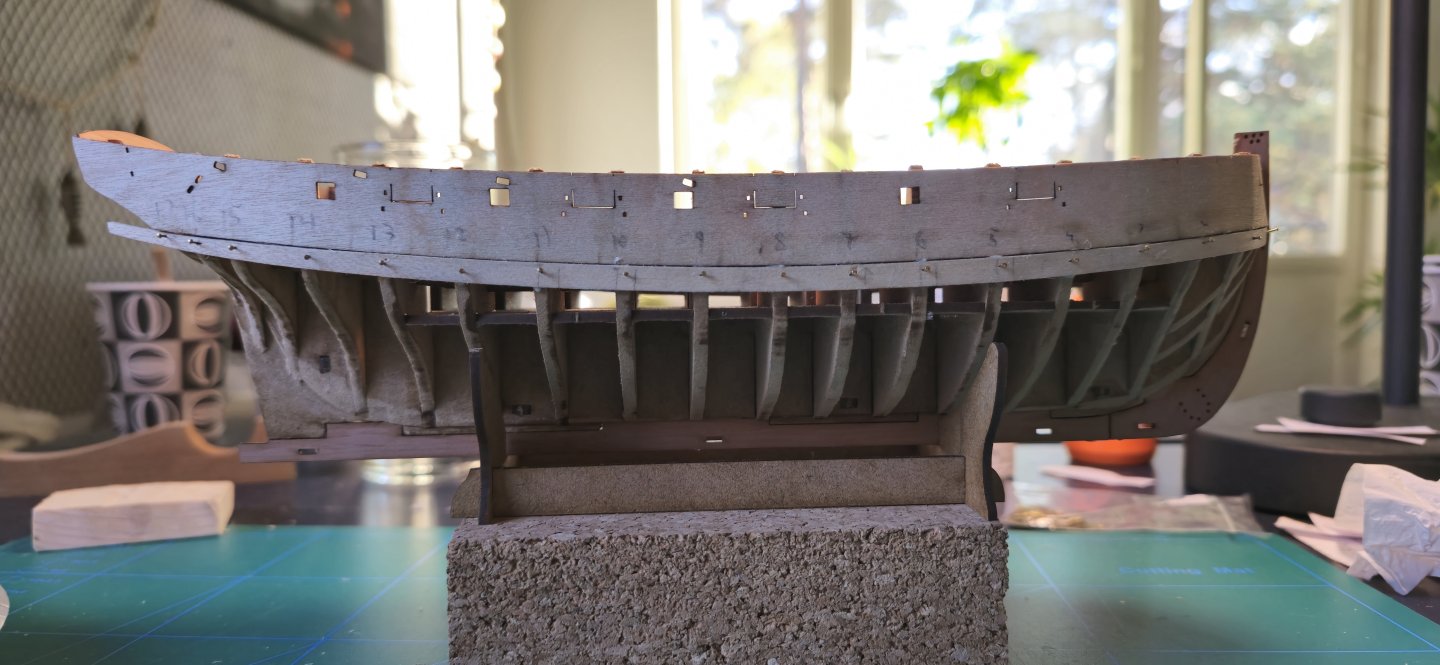
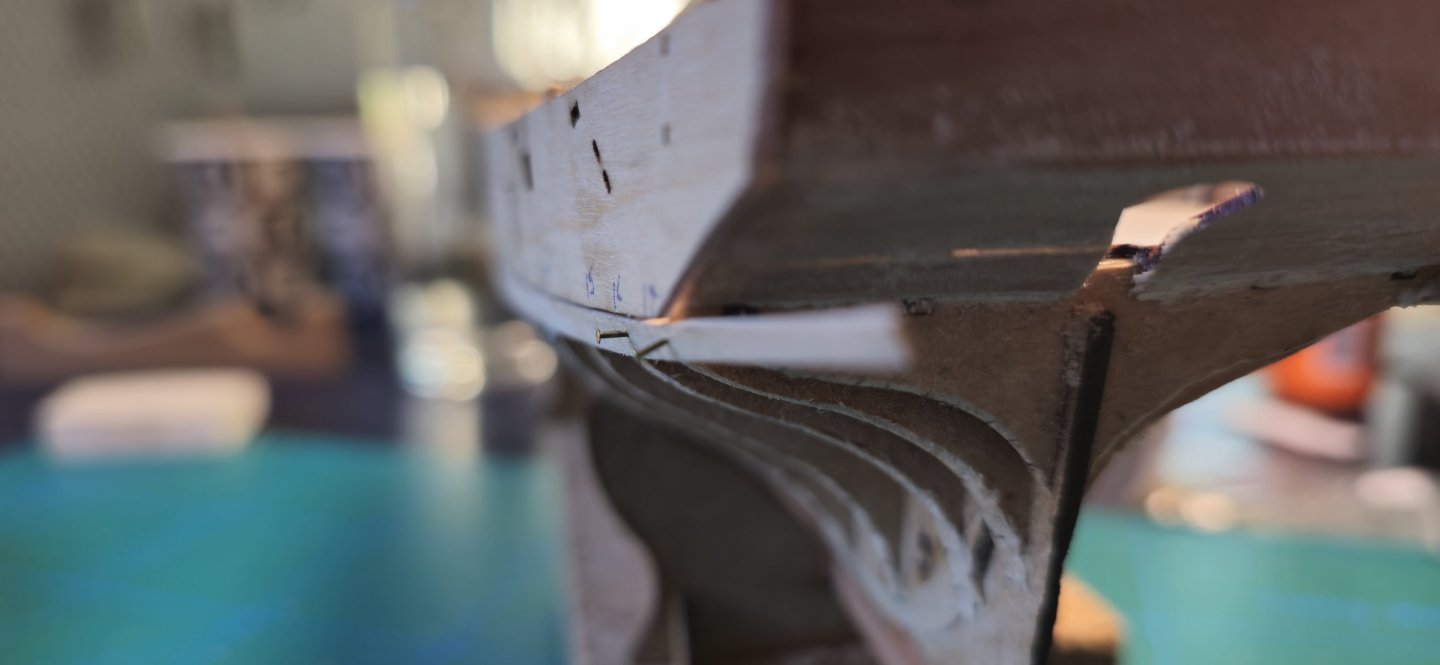
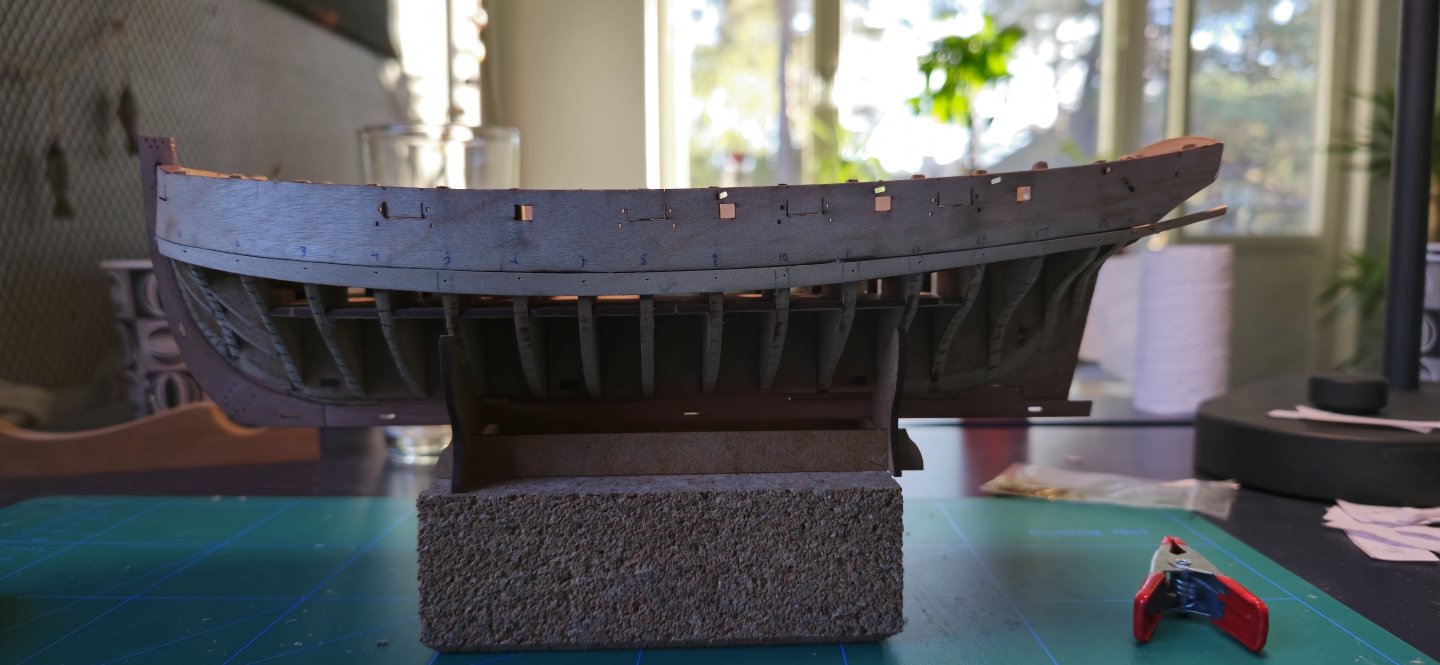
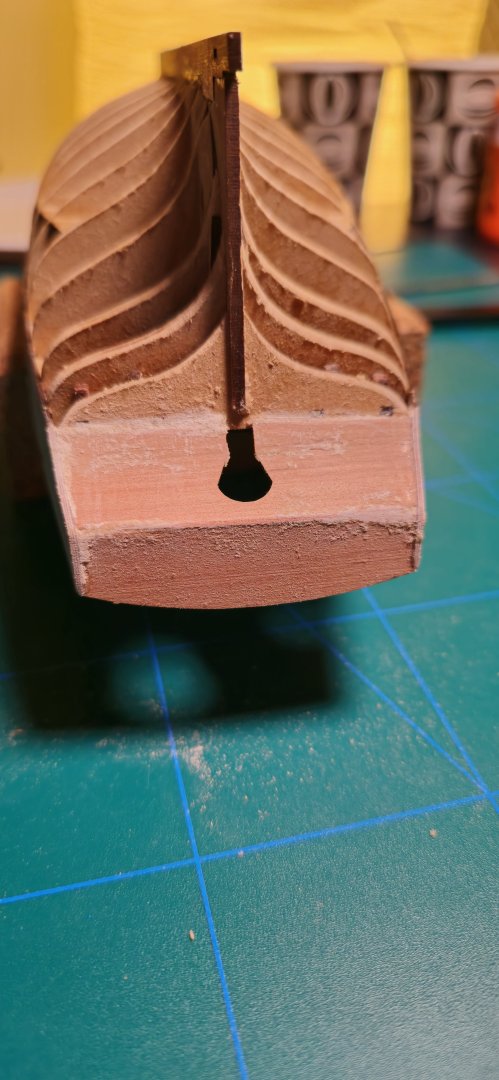
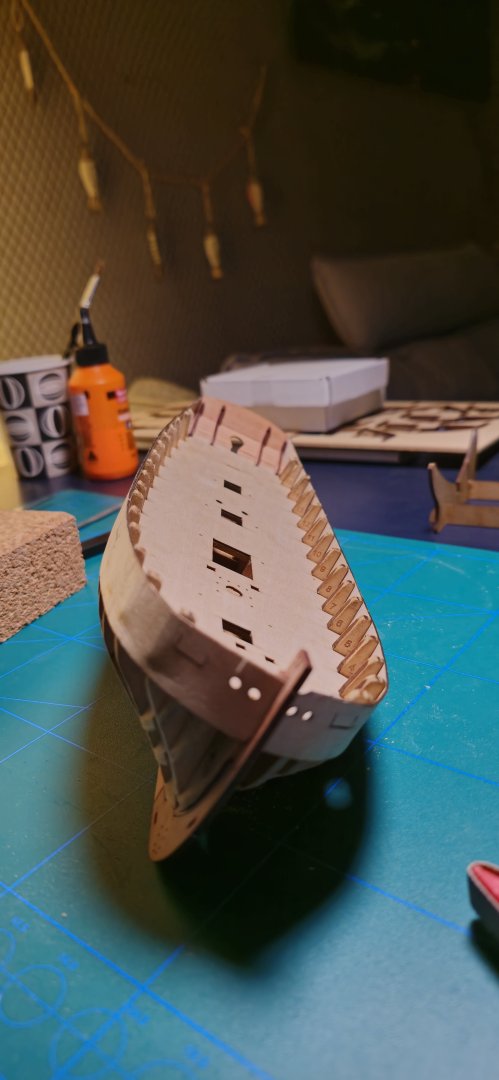
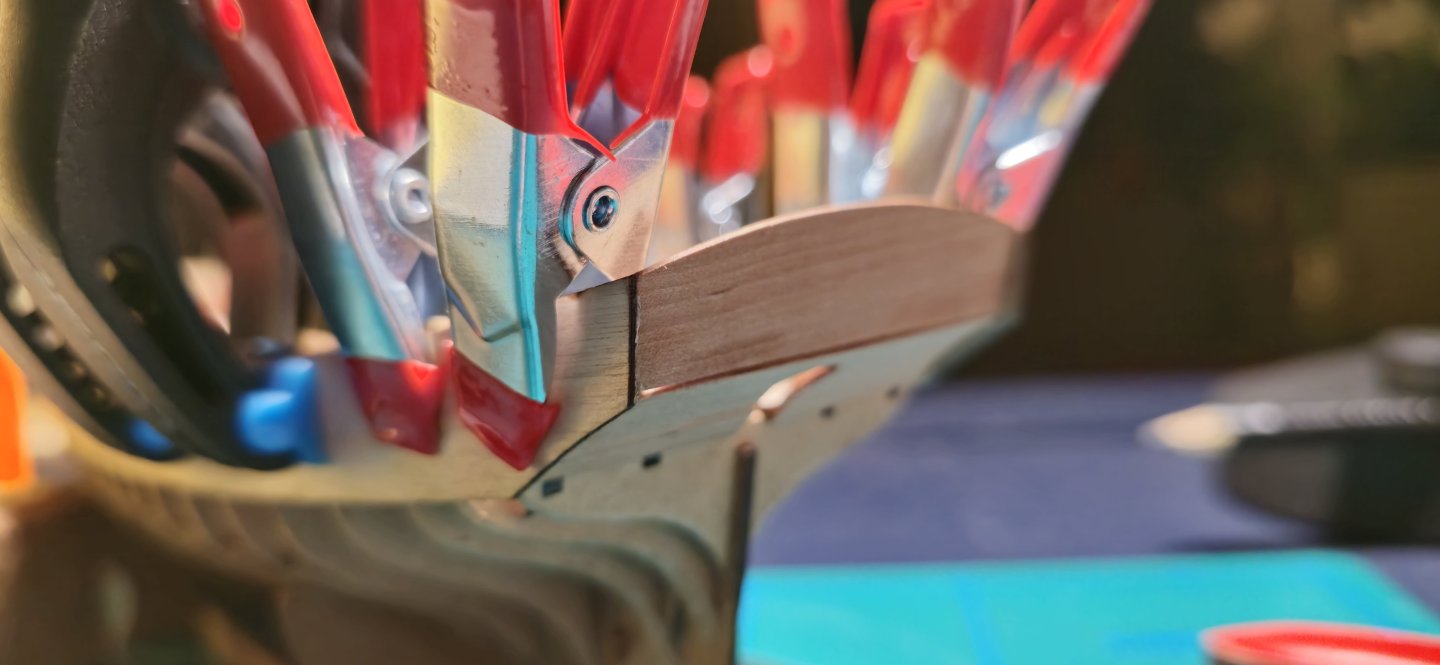
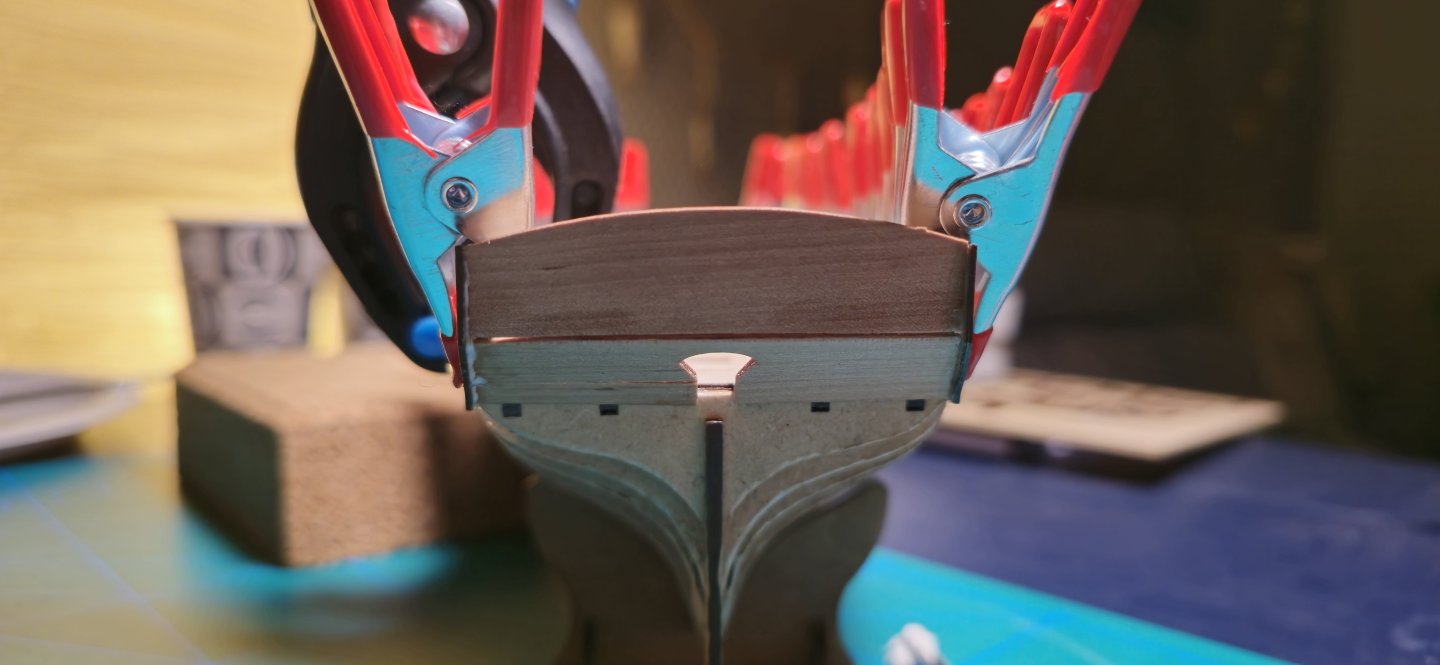
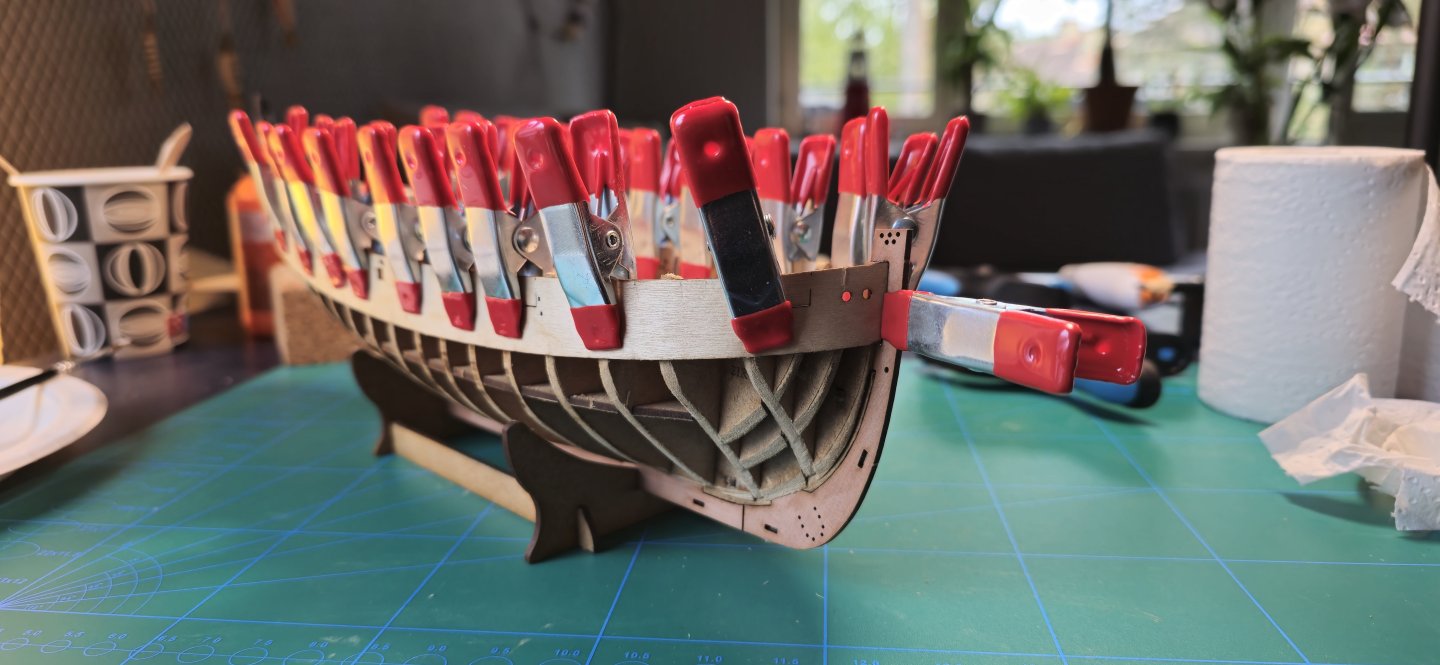
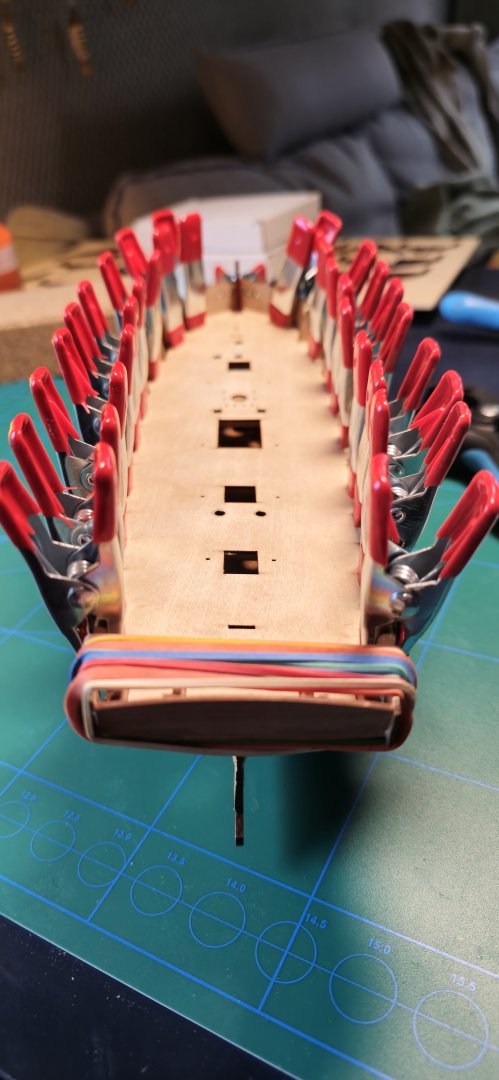
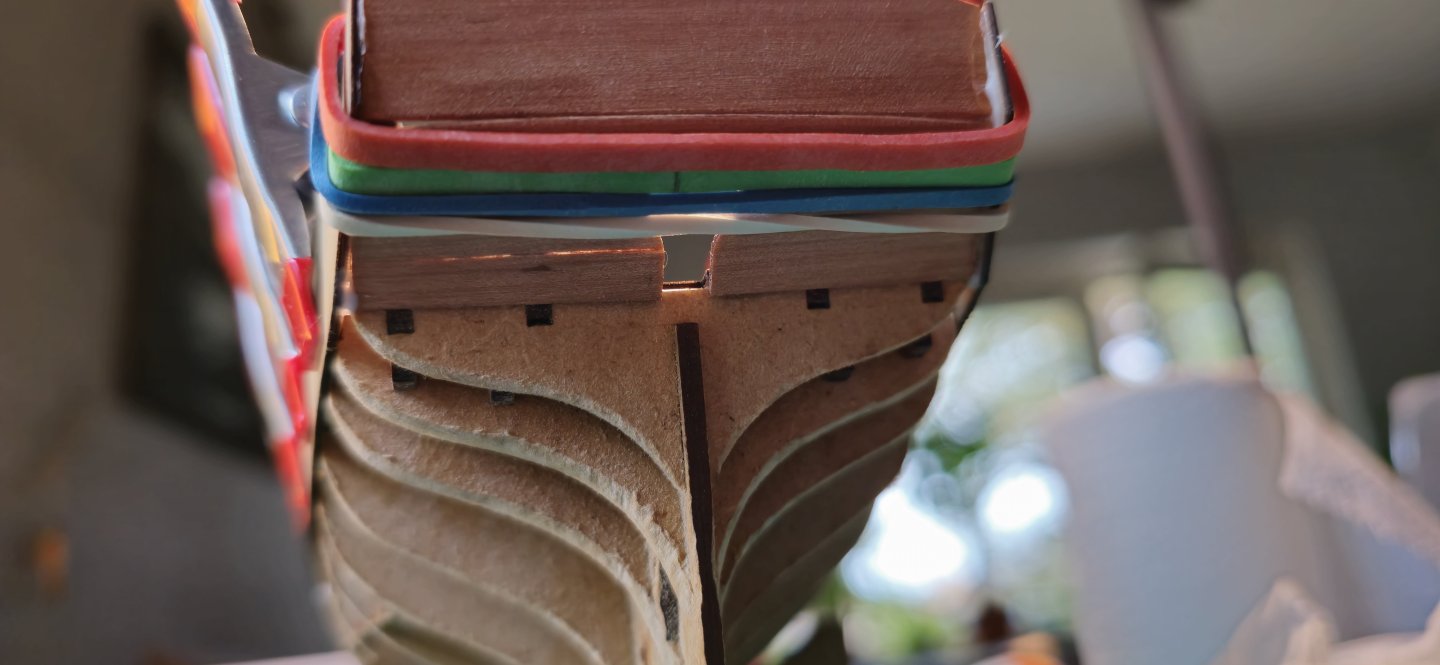
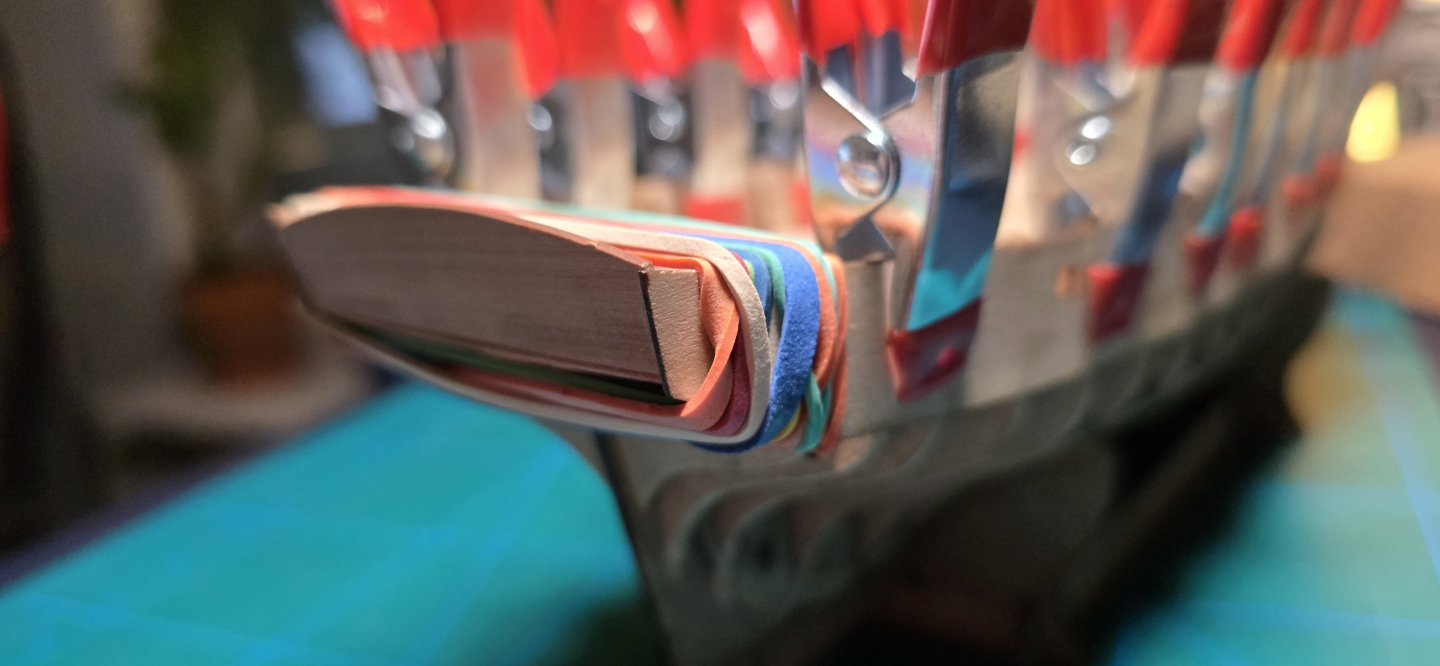
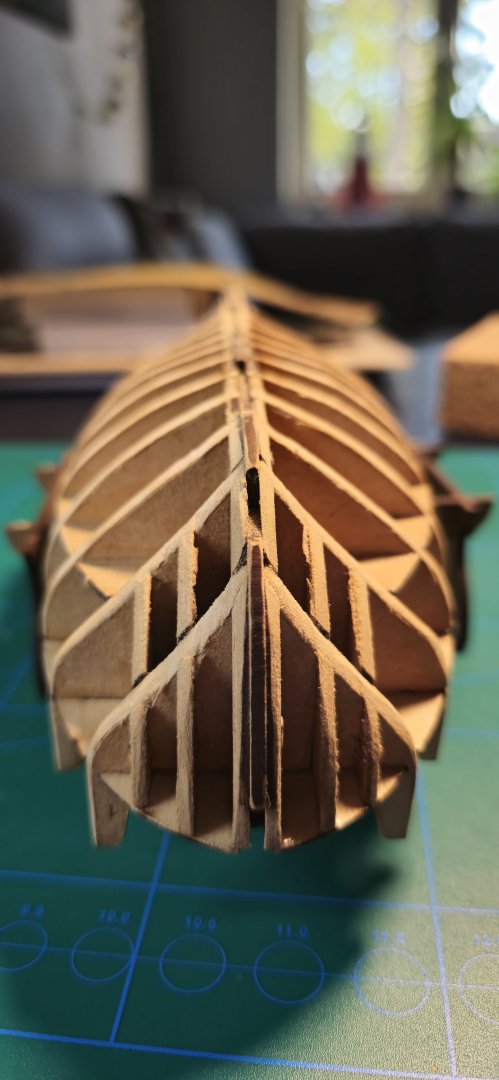
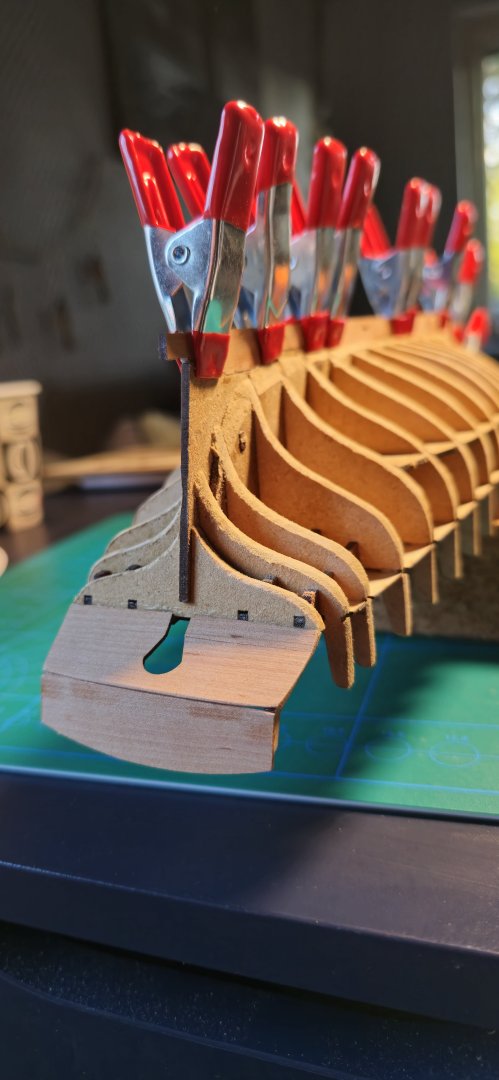
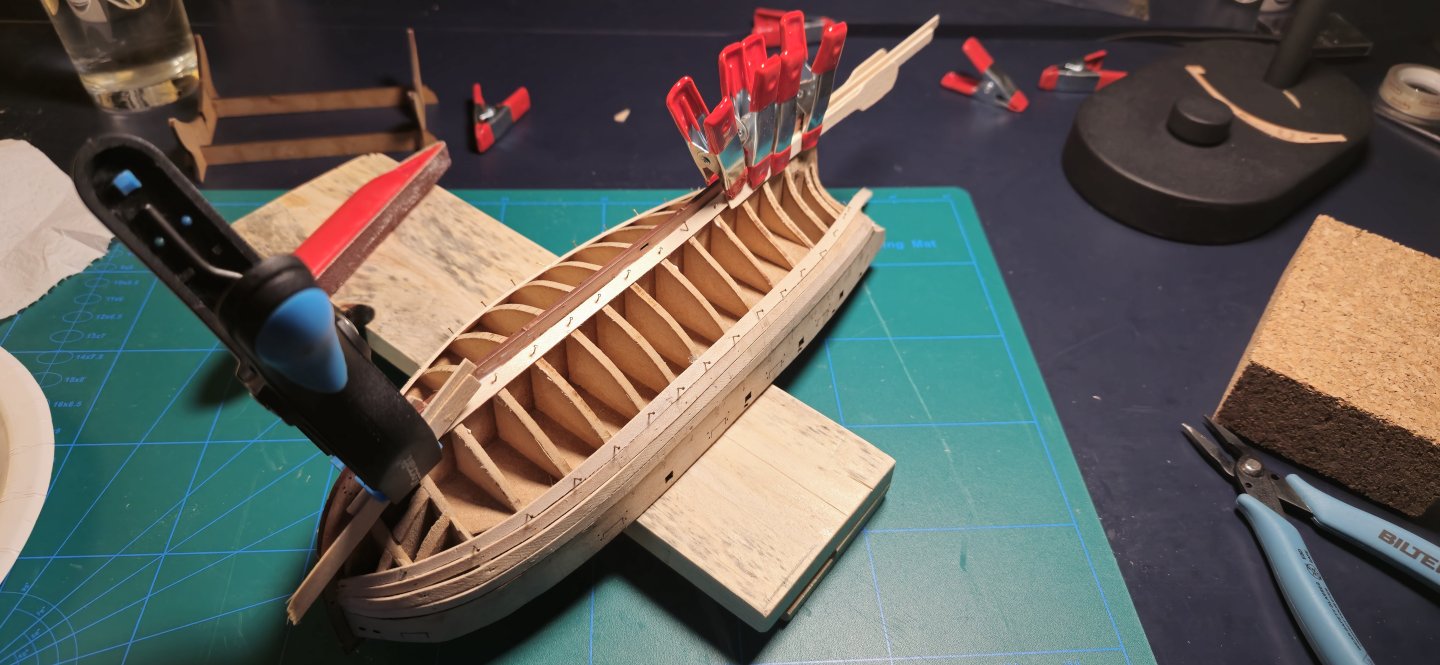
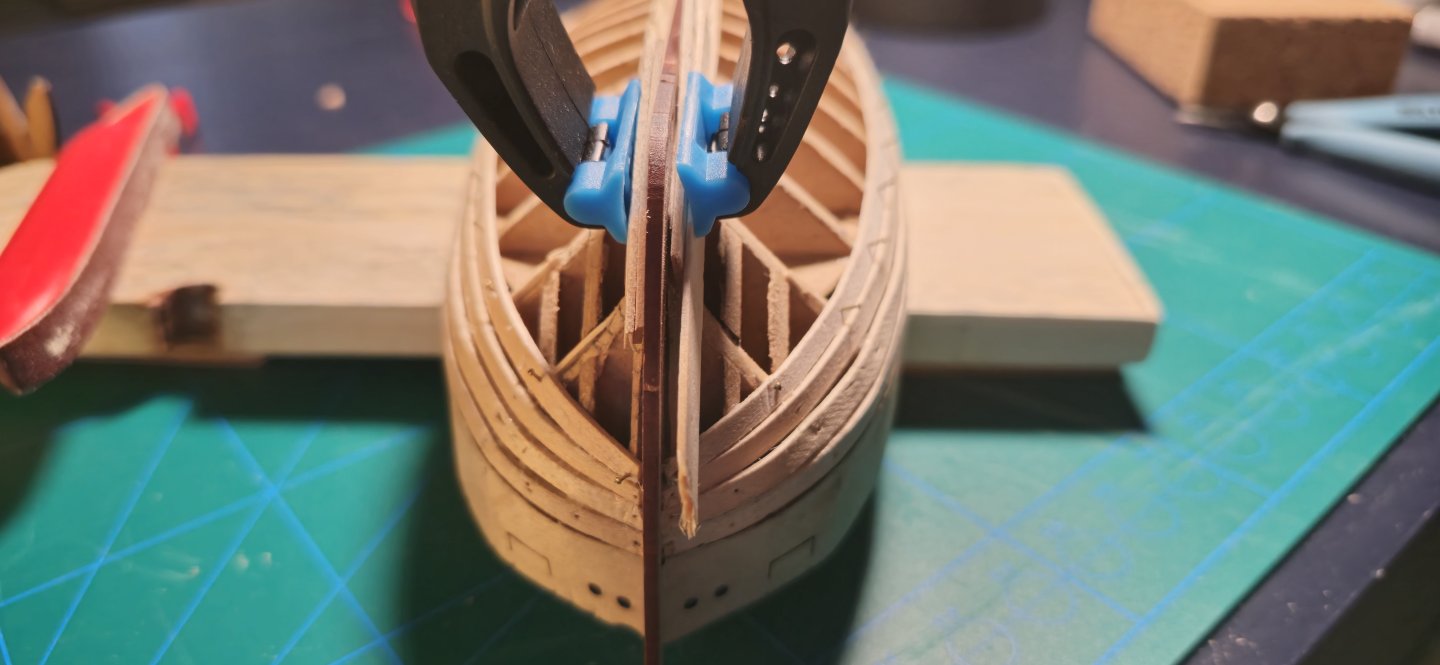
Hello Just a quick update, Im currently cracking on with the planking and its going okay. Im going to back on my statement about the reason for the gaps in my planks. I think actually I oversanded bulkhead 1-2 and didnt even out the rest of the bulkheads to match thats why I had a huge gap over those two. But I tried to fix this by gluing on some wood pieces and it helped to some extent. I will have to learn from this and hopefully not repeat it in the future. Anyway got 4 planks down aswell as the garboard ones so soon halfway as for the tapering. Before I tapered from bulkhead 5 to the stem but I tried with the latest plank to taper it from the 4th bulkhead and no taper in the stern. My tapering skills are very novice so not the best. However I still have gaps between my planks on the bow which Im going to sand down and use wood filler to hopefully rid of those gaps. Afterall this area is to be covered in a 2nd layer aswell as a white paint so im optimistic...for now 😆
- 129 replies
-
- vanguard models
- Sherbourne
-
(and 1 more)
Tagged with:
-
So in looking at my error the fault might actually not be cause of over sanded bulkheads. But more so to me not properly beveling the planks so they start to twist inward. On one side I managed to carefully knife through the glue and realign the plank somewhat. Time will tell if this side worked . On the other side I didnt manage to get it off so I instead took some wood bits of tapering leftovers and put two of those pieces on there. Hopfully to rest the plank halfwidht on it to create a twist without any gaps in my planks. Hopefully this trial and error will get me somewhere with a planked hull someday hopefully.
- 129 replies
-
- vanguard models
- Sherbourne
-
(and 1 more)
Tagged with:
-
Another problem I encountered yesterday was that at bulkhead 2-3 I might have bevelled to much so the planks make contact to far in. Meaning that a gap will appear between the upper plank. I looked at some threads and I think im going to attempt to use a small piece of wood to even out the bulkheads more so my planks run flush. This is a rollercoaster build
- 129 replies
-
- vanguard models
- Sherbourne
-
(and 1 more)
Tagged with:
-
Thanks Craig. Yea many of these english terms are a first time encounter for me. But I will follow your advice with tapering the first set of 4-5 planks on each side. Should the gap get to big around the stern I will throw in a stealer to even the area for edge bending.
- 129 replies
-
- vanguard models
- Sherbourne
-
(and 1 more)
Tagged with:
-
Hi Craig Thank you for the guidance I looked at the images and I can see the planks thinning out along the sternpost until they just stop. I guess this is what you mean by top feathering that they just gradually become thinner and thinner until the planks stop? Also Is it a good idea to perhaps taper less on the planks by the stern as I have more area around the sternpost to plank than what I mistankenly accounted for? But since the planks have to run around the bulkhead 17 down to the sternpost. I might not be able to have full width planks here right now. Therefore I might go for tapering just 1/4 of the planks around the stern while continuing normally on the bow hopefully that will yield a nice result. Any opinion is welcome thanks!
- 129 replies
-
- vanguard models
- Sherbourne
-
(and 1 more)
Tagged with:
-
Its not much, And its slow progress but it looks good so far I think. Though I might have miscalculated the area around the stern. because I made it so that 12 planks would fit on the very last bulkhead but after looking at the pictures I see the planks going down on the stern until they meet the keel. I think im in the deep here, and maybe I should only taper in the bow area ?
- 129 replies
-
- vanguard models
- Sherbourne
-
(and 1 more)
Tagged with:
-
I noticed that too, Though I can get around that easily since im using an electric plank bender. What tools are you using Dan for the planking? Also slight update I got my first plank down yesterday and it looks very good, I edge bent it with a travel iron and then I bent the inward curve with the electric bender. Hopefully I can get some more planks down and then show a picture
- 129 replies
-
- vanguard models
- Sherbourne
-
(and 1 more)
Tagged with:
-
You mean the highest point of the edgebend?
- 129 replies
-
- vanguard models
- Sherbourne
-
(and 1 more)
Tagged with:
-
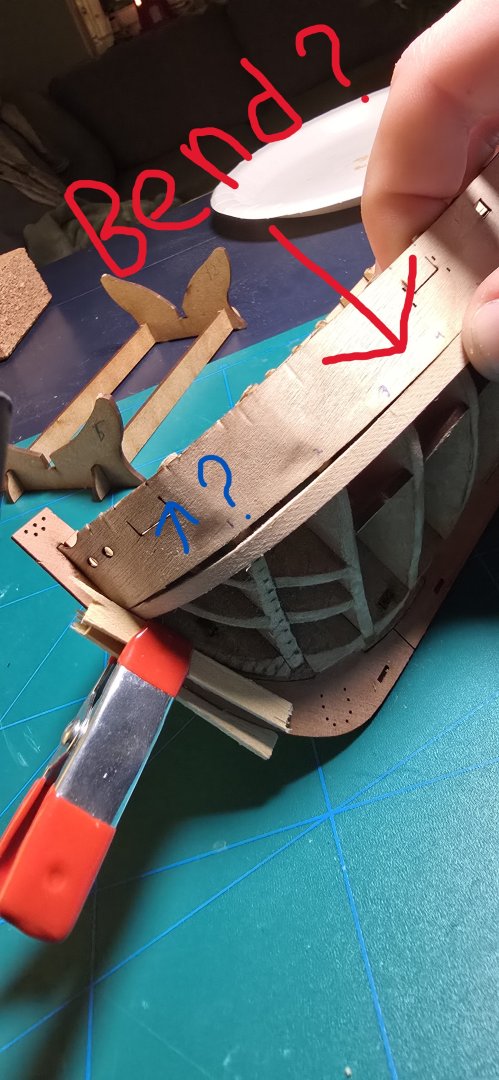
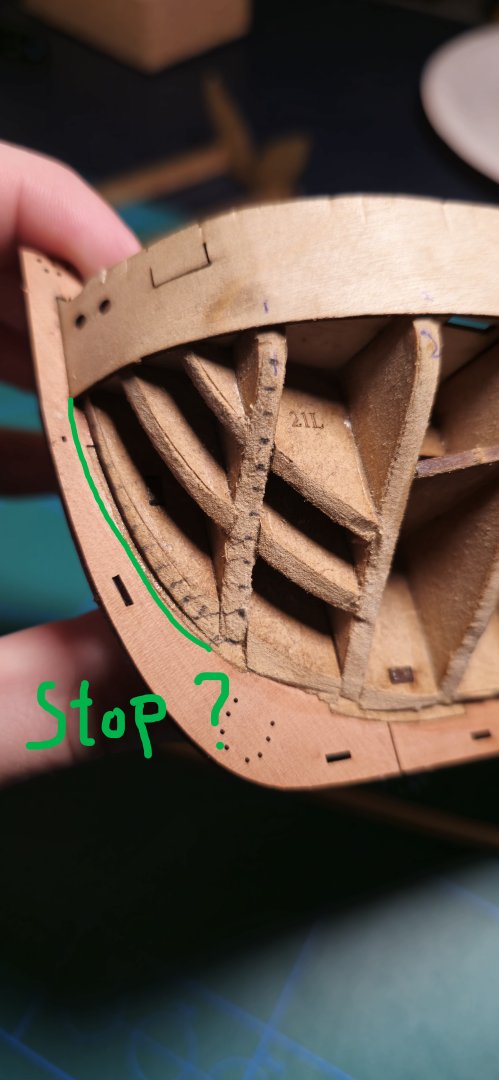
Hello Craig. I looked through your link and its helping to some extent. For page 13 I can see that the stern and bow planks are pointing upwards meaning the center was edge bent down. And whilst looking through I see it being mentioned for word that the tapering is always taken from the upper edge of the plank so thats that settled then. Here above you can see I have a test tapered plank that is tapered to around 2.5 mm at the bow and the taper line goes from the bow to around where the 3rd or 4th bulkhead Is. As you can see here above there is a gap now I did myself try and bend the plank in a way It would be if it was edge bent toward the keel like a U shape. Then the tapering looks pretty okay and could use some slight trimming to get rid of the small gaps. Finally Im figuring out where to stop placing tick marks on the bow/keel area. Is it where the bow meets bulkhead 1 or later?. Now I will redo my tick marks with a thinner pen and also more accurate. ( Hopefully im not bothering to much asking this much questions)
- 129 replies
-
- vanguard models
- Sherbourne
-
(and 1 more)
Tagged with:
-
Thanks for some clarification, Though I did see on example modelers central that the tapering Will be done on the lower edge of the plank. I also saw the same being said on MSW. Im not trying to say one is wrong but for a beginner like me I dont understand frankly what side is correct to taper. I might just need to follow your advice and see the results in reality to grasp it all. Though if I taper it on the upper edge there is an even larger gap between the plank and the bulwark pattern. I Suppose that this is where edge bending comes into play then. Again thanks for the advice im eternally grateful for it
- 129 replies
-
- vanguard models
- Sherbourne
-
(and 1 more)
Tagged with:
-
Hello again, I have been abit busy aswell as trying to read up on how to plank well. Even though some of the tips are great its still hard to grasp but im getting there one step at a time. Im figuring out a good way transfer tick marks to the bulkheads but since I have no good tool like a divider or compass im left with a paper strip which might not be that accurate. Anyway Im currently figuring out how exactly to taper planks and at what angle etc, Are you supposed to taper planks on the lower side or the upper side? I also tested my new plank bender on some other planks to get the hang of it today and the results are promising. But all in all I am a little slow and want to take things carefully and when I know 100% what needs to be done. Therefore I have been these past weeks just gathering information, looking at good tools and even book suggestions for planking model ships
- 129 replies
-
- vanguard models
- Sherbourne
-
(and 1 more)
Tagged with:
-
Thanks again Craig for the answers 😁. I just remembered I do own a measuring tape from my sewing kit so I think its good for the job of measuring the bulkheads. I do own a hair dryer but I just dont have a good setup to clamp down planks and edge bend them like Chuck does. So I will see how im going to tackle that but I will think a little on what kind tool to get. I am dragged towards the electric bender since I have heard lots of good about those as long as its used carefully. But getting a traveling iron is not out of the question though.
- 129 replies
-
- vanguard models
- Sherbourne
-
(and 1 more)
Tagged with:
-
Thank you so much Craig for the indepth answer. Helps a novice like me tonnes so big thanks to that 🙂. So I measure all the bulkheads divide their number by the amount of planks so I get the width of plank for each bulkhead. I guess then I should try mark the areas where the bulkheads are on the plank itself so I can add the markers for each bulkhead and taper it according to the calculation I got from before? Also for the edge bending I follow Chucks video on laying the plank across the hull and mark the area of the biggest gap. Im just double checking so Im not misunderstanding anything. Is there something on my model you see or is it just that common to add stealers? Finally what tools are best for the bending and what tools do you guys use when planking? Im myself really considering getting myself an electric plank bender but I cant decide which one is the best.
- 129 replies
-
- vanguard models
- Sherbourne
-
(and 1 more)
Tagged with:
-
Mini update and looking for advice So I experimented with some wood filler while sanding the transom/counter and it got a little messy but the area is flush and nice now. However now as I have been reading on about planking and trying to find good videos on it im feeling abit lost. Instructions tell me about that the first plank should be laid right below the bulwark pattern so I tried following the instructions but Im having trouble with understanding how to properly taper my planks. I looked around here but I cant find anything easy to visualise for myself. So far I have only wetted the plank and tried fitting it around the bow from the 5th bulwark and there is a huge gap between the upper edge of the plank and the lower edge from the bulwark pattern. I understand that I need to taper it here but I cant seem to grasp where to put my markers so some directions would be greatly appreciated. (I can throw in some pictures if need be aswell)
- 129 replies
-
- vanguard models
- Sherbourne
-
(and 1 more)
Tagged with:
-
Im grateful for the advice, its what makes me learn more about this hobby and what errors to look out for.
- 129 replies
-
- vanguard models
- Sherbourne
-
(and 1 more)
Tagged with:
-
Thanks for the insightful input, I acted on that very quickly as the glue had only been on for around 4 hours. I sawed the glue with my mini saw very carfully and then reglued it aswell as realigned it. This is the result also I think after maybe im going to do some water PVA mix to strengthen the bulwarkpattern to the hull by gluing the springs in between.
- 129 replies
-
- vanguard models
- Sherbourne
-
(and 1 more)
Tagged with:
-
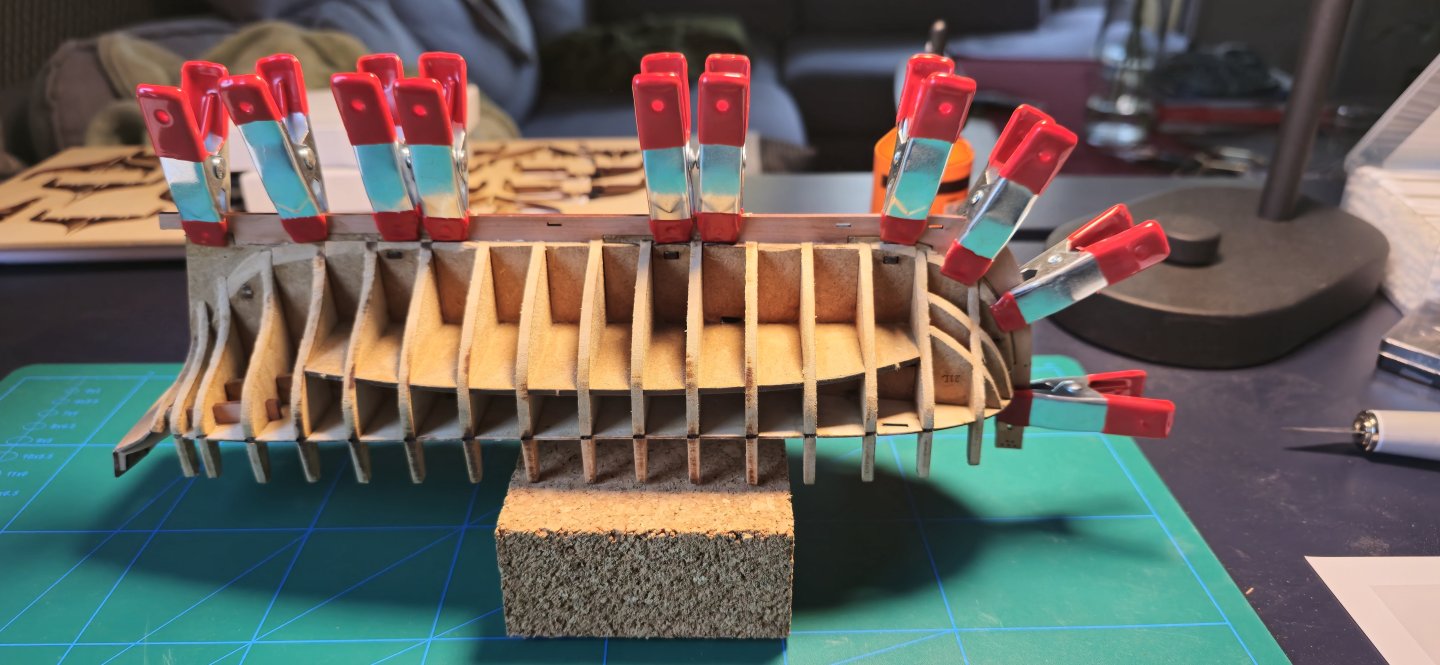
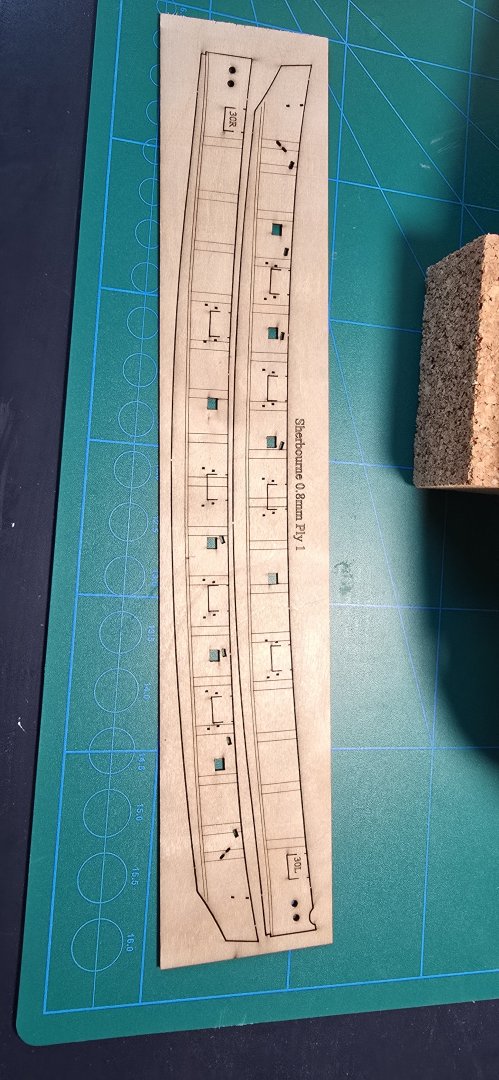
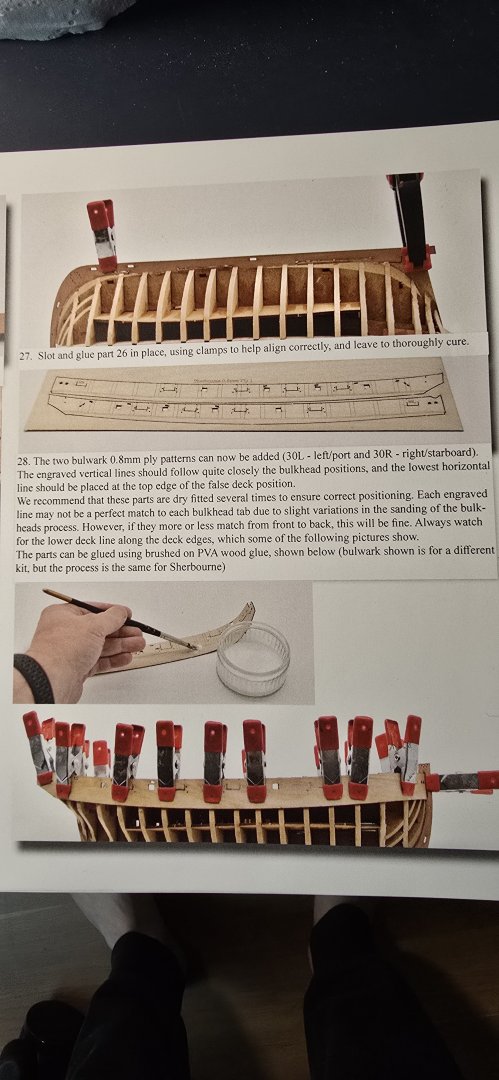
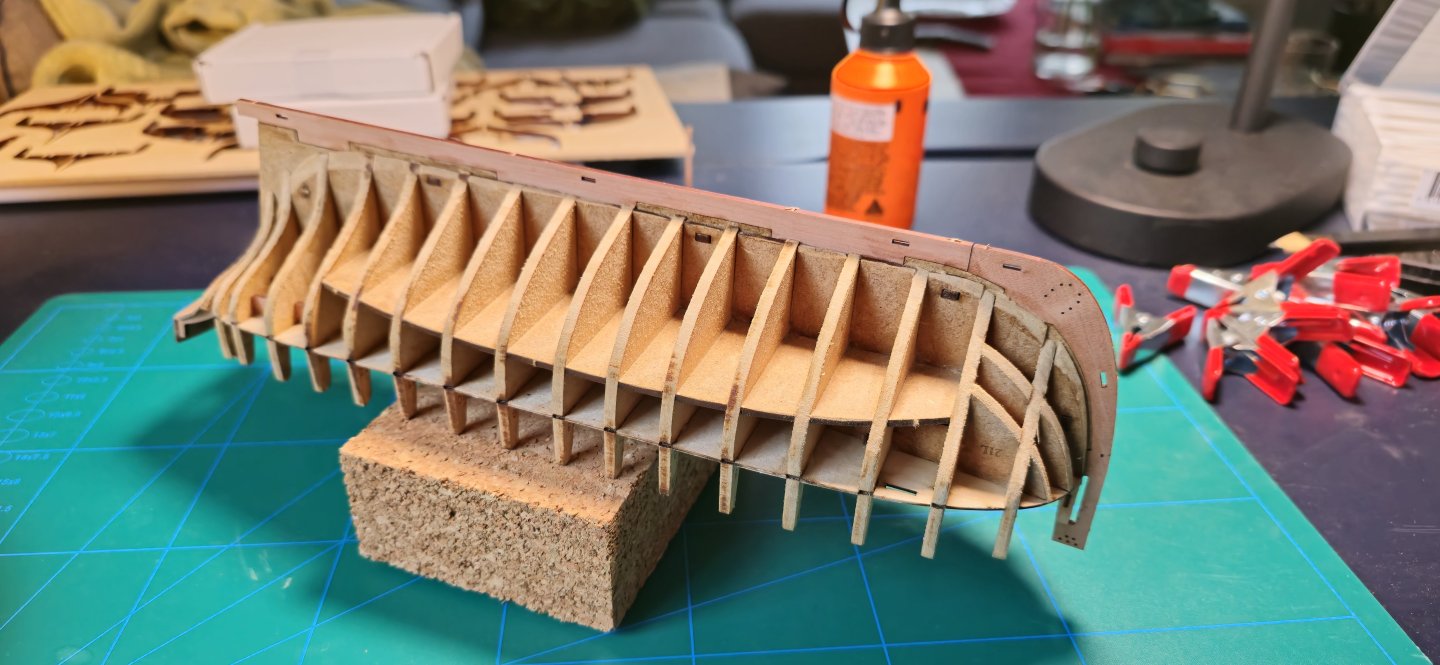
Hello once again. So I did bend the bulwark pattern very careful starting from the bow and I gotta say I was really scared for the wood to snap but it was alright. After I got it in place I clamped it on and left it for 1 day also while doing that I saw that my stern counter needed abit of a sanding so the bulwark pattern would run flush with the stern counter. For this job I used my needlefiles to get in between the clamped bulwark pattern for trying the fit. Gluing on the pattern I used a small brush and brushed the glue under the indicator line for the deck. So not to make the mistake of gluing together the pattern with the bulwark ears to save some sanity for later. I also added some glue to the stern area of contact aswell as the hole in the prow. Then while gluing on I worked my way from the prowl/bow to the stern though I might have made a small error as I glued the port side pattern abit off from the stern counter (pictures below). Though this is just some self reflection that I gotta look on all corners before attaching the pieces in the future to double check alignment. In this case I think some slight sanding and wood filler might do the job aswell as fix that gap in the stern counter/transom area. Im now approaching my first planking ever aswell so Im going to look up some techniques. Because I have no plank benders I hope a novice like me can pull this off. Otherwise perhaps im looking into getting a plank bender but we shall see.
- 129 replies
-
- vanguard models
- Sherbourne
-
(and 1 more)
Tagged with:
-
So what you are suggesting is that I should be able to just put it on without any water treatment? Also yea its starting to come together fingers crossed 😁
- 129 replies
-
- vanguard models
- Sherbourne
-
(and 1 more)
Tagged with:
-
Hello again So I sanded the stern counter and it looks okay for now. Im thinking since its going to be covered up later I might not need to use woodfiller there though I still might try and sand some. As for sanding the hull it went fine I hope, ended up comparing it to other buildlogs and even went over youtube to see how much sanding exactly should be done so I hope im doing okay on that part (Ill let you guys be the judge). Afterwards I put together the prow and keel at the same time using my sanding block as a resting place. Now then some questions have arisen as im getting to the part where im supposed to fit the bulwark pattern. From the info I gathered it seems that the bulwark pattern should be wetted down and bent like planks. I even saw a video of one guy that used a plankbender to shape it better so what do you guys think is the best method to do this. let it become wet and gently bend it around the bulwark and then clamp in place for it to shape? Since im also very new I hope the way im updating this buildlog is correct.
- 129 replies
-
- vanguard models
- Sherbourne
-
(and 1 more)
Tagged with:
-
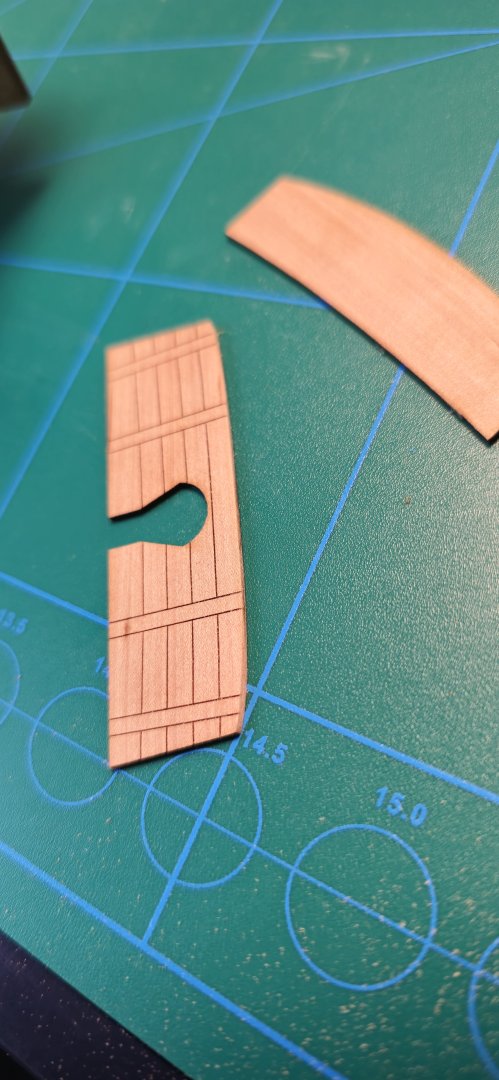
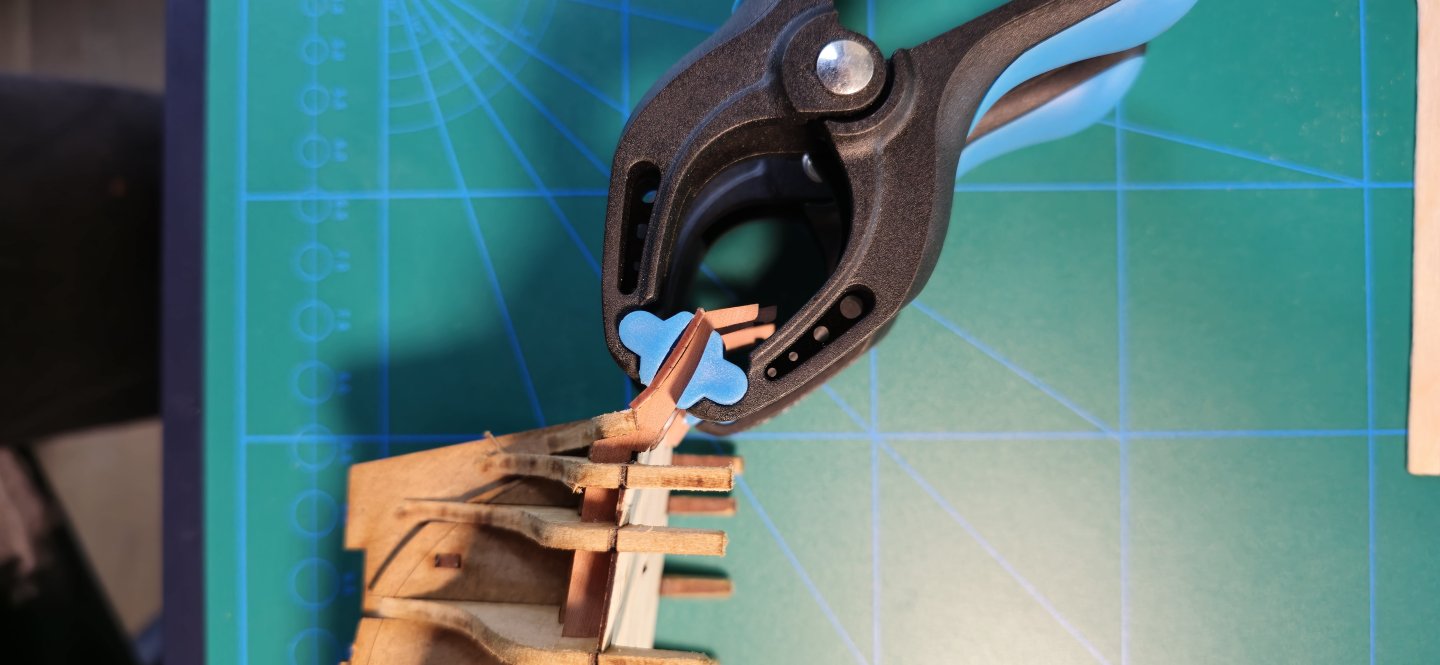
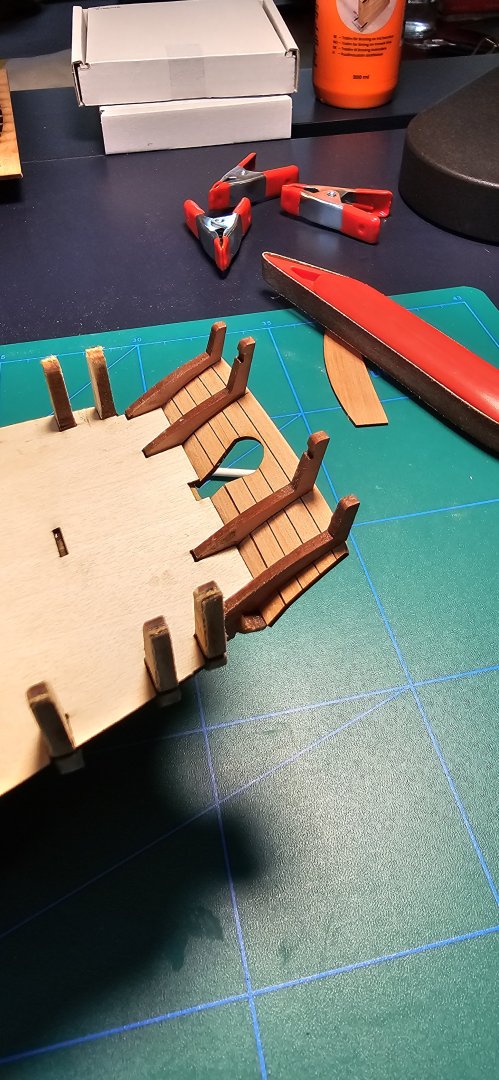
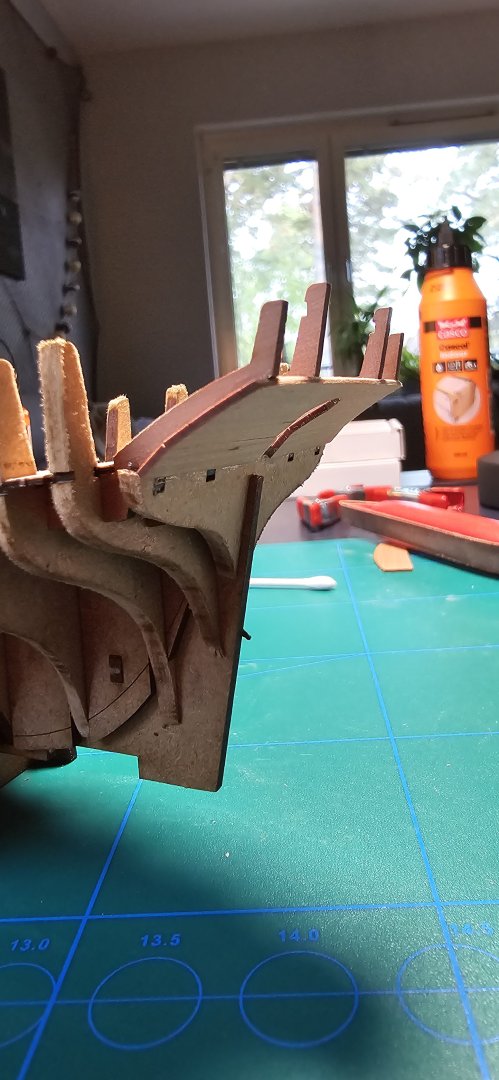
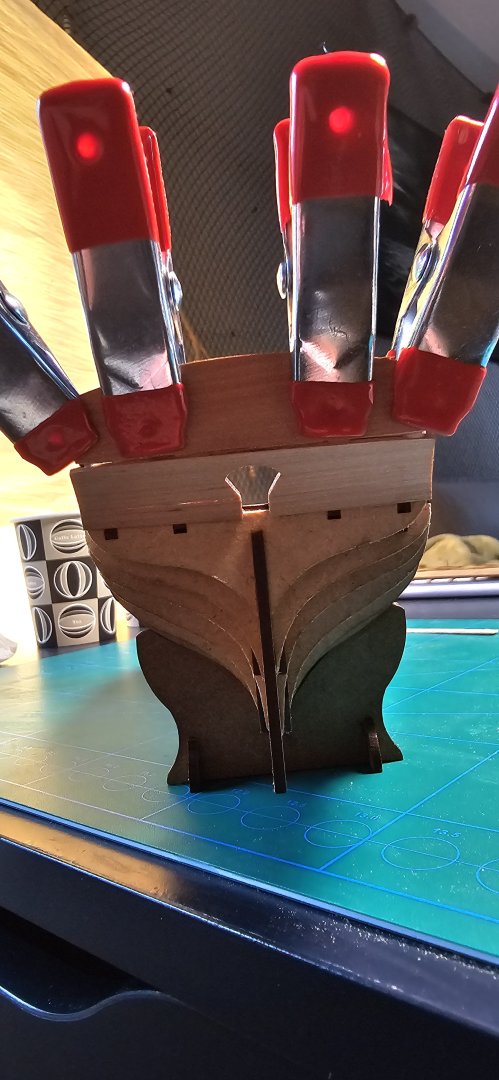
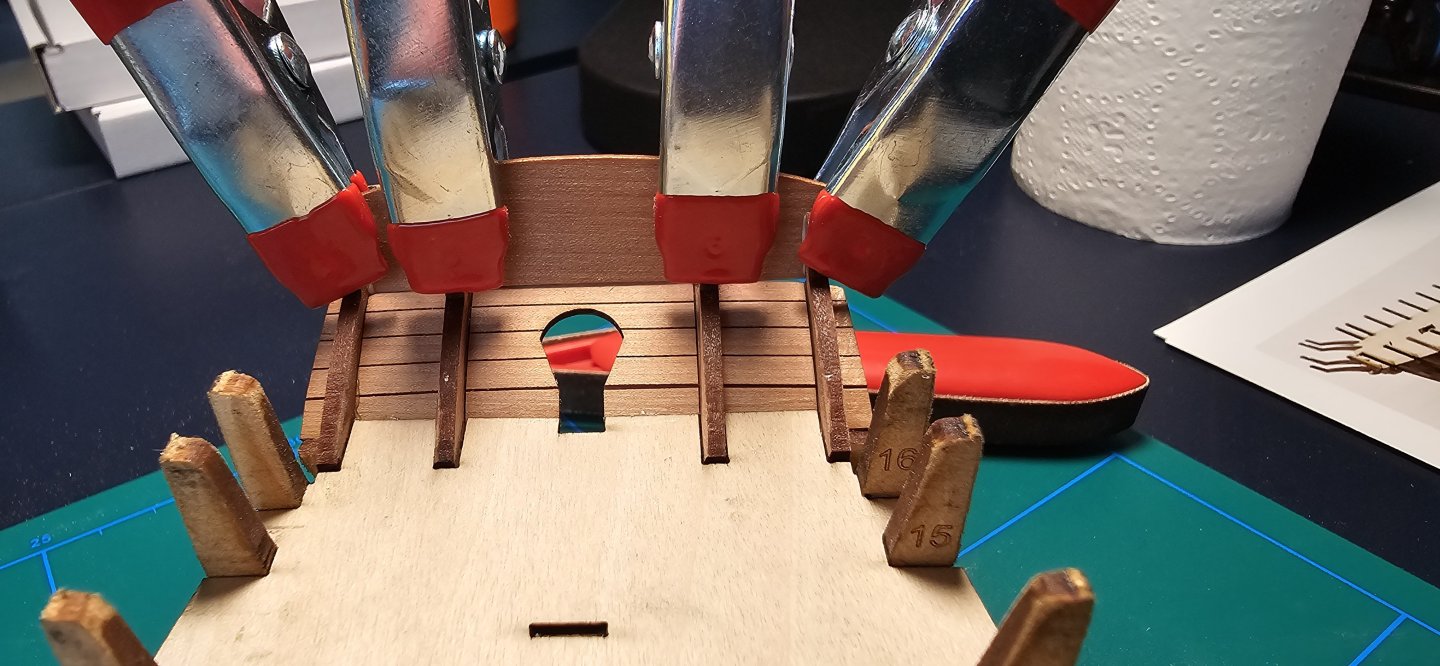
Update No 4 Came upon the step to fix the stern counter and transom. After looking around I got it understood that I should sand the parts so they sit flush against one another. So I started sanding the pieces and started dryfitting them up but because I was going to put them against each other at an angle. I personally found it just much easier to glue one of the parts and later when that part is sturdy I could then sand and dryfit the other part much easier. Gluing up the stern counter I used these big clamps which did the job very good. So when I fitted the transom later it was easier to sand and dryfit it to see if more sanding was required. Even though I tried alot to get it to sit 100% flush. I still got this tiny area which Im thinking of using woodfiller on perhaps? Though maybe this isnt needed since im going to cover these parts later on with other stern parts. Also I got the Idea of dryfitting the stern counter and even went ahead and tried to clamp it at a weird angle with a small red clamp. Which resulted in a slight bend but its barely noticable and will be covered up later. Overall I think this is going well apart from small mishaps here and there.
- 129 replies
-
- vanguard models
- Sherbourne
-
(and 1 more)
Tagged with:
-
Thanks guys, Then I feel more safe about this.
- 129 replies
-
- vanguard models
- Sherbourne
-
(and 1 more)
Tagged with:
-
Thanks for the input. Well yea seems slightly angled but it looks good from all other angles so I suppose its fine and nothing to think of 🙂
- 129 replies
-
- vanguard models
- Sherbourne
-
(and 1 more)
Tagged with:
-
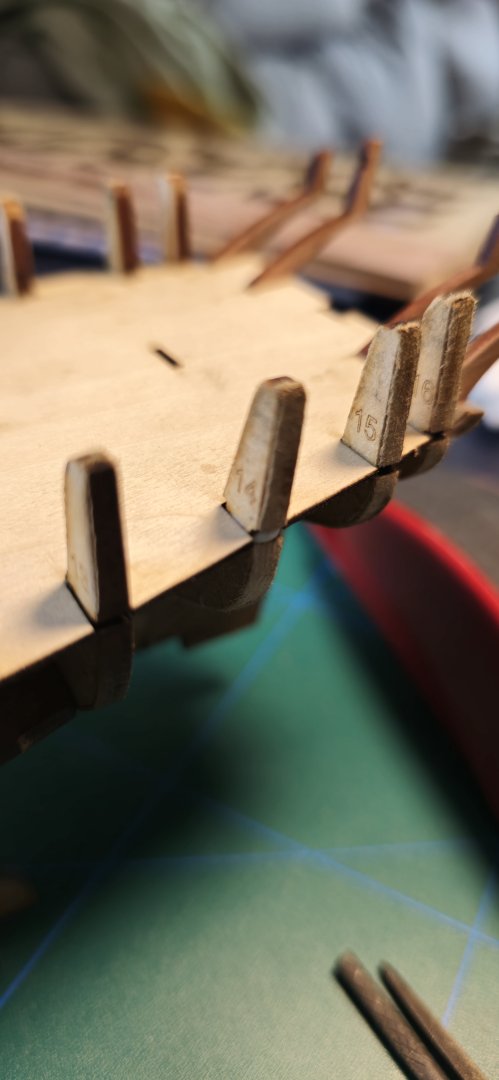
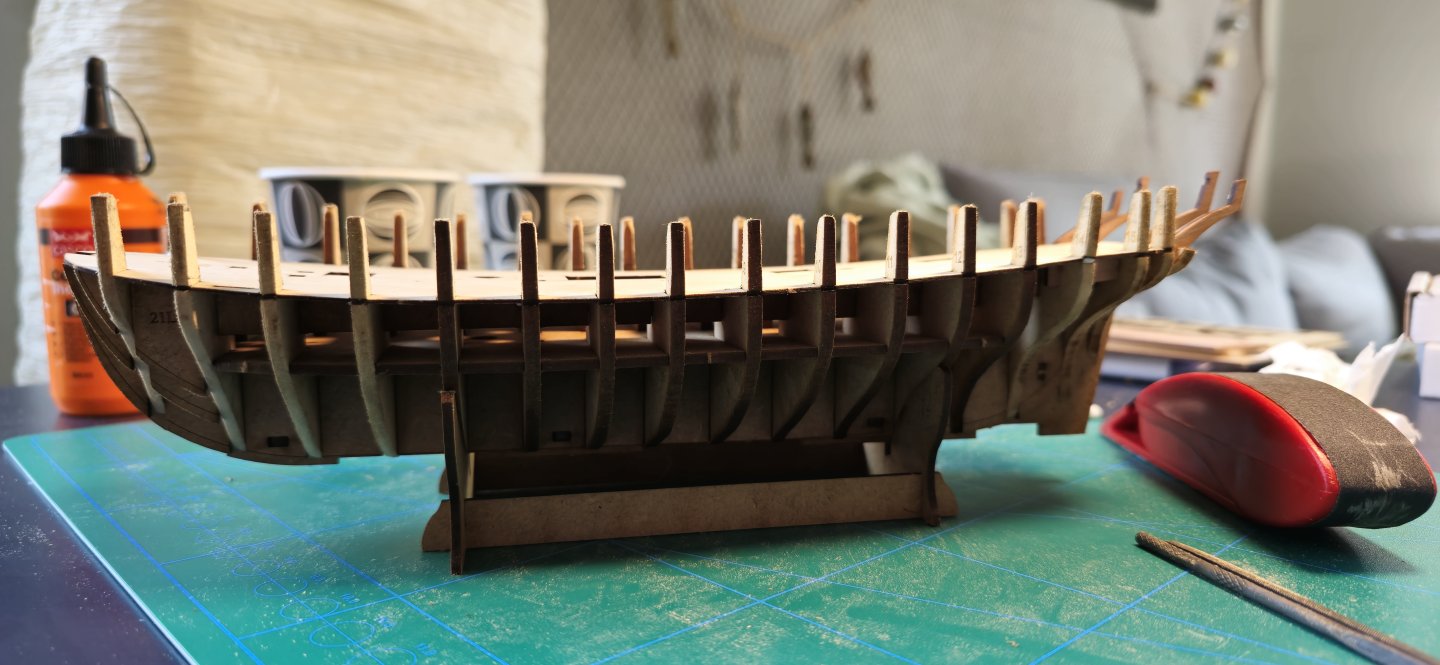
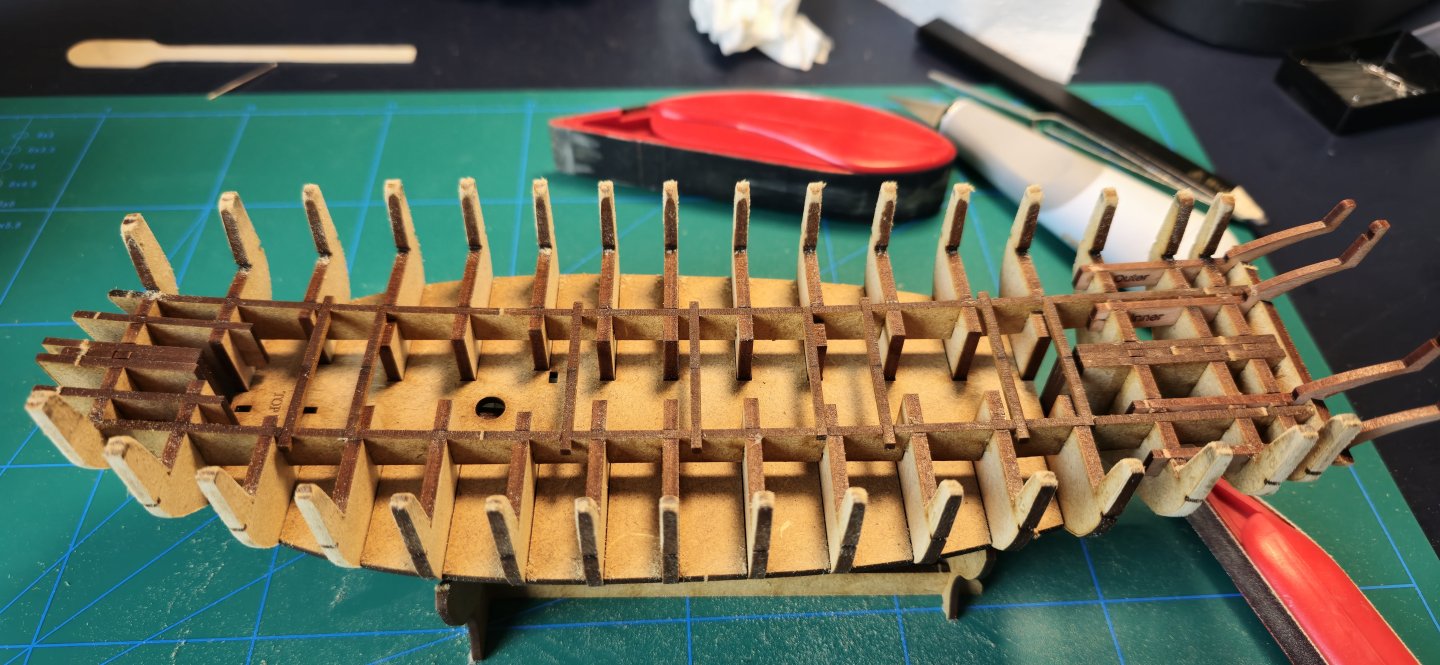
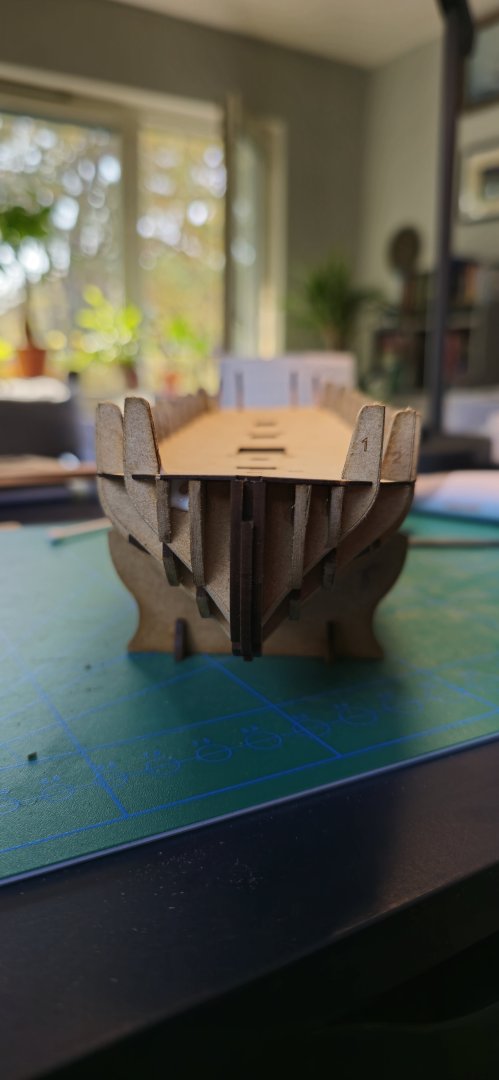
Update No 3 So moving on I got to this dreaded step. Attaching the false deck to the hull was much easier said than done. The fit was very very tight and I tried several times to dryfit it halfway to see if I should sand some more bulkhead ears to make this step somewhat easier. So I did just that and it helped a little so I then added the glue and went for it. The deck slided down halfway pretty easily but then I had to press with my thumb down around each bulkhead to slowly press them down without breaking anything. I tried applying some preassure to some bulkheads lightly to see if the deck would fit more easily and to some extent that worked but I did accidently break two bulkhead ears in the process. So I glued them back on so they will serve their purpose with the side later on. No worries I believe since these parts will be snapped off later on anyway Im still thankful nothing on the deck itself cracked (phew). The deck is now aligned correctly I think and seems too fit nicely. Though perhaps an illusion the deck seems twisted? even though its all prssed down to the bottom in all areas. This step was challenging for me atleast testing my patience. As a final note to newcomers with this model. Even though the manual doesnt mention it by word. It is shown by images that the stern frames are sanded down so the deck can fit much better.
- 129 replies
-
- vanguard models
- Sherbourne
-
(and 1 more)
Tagged with:
About us
Modelshipworld - Advancing Ship Modeling through Research
SSL Secured
Your security is important for us so this Website is SSL-Secured
NRG Mailing Address
Nautical Research Guild
237 South Lincoln Street
Westmont IL, 60559-1917
Model Ship World ® and the MSW logo are Registered Trademarks, and belong to the Nautical Research Guild (United States Patent and Trademark Office: No. 6,929,264 & No. 6,929,274, registered Dec. 20, 2022)
Helpful Links
About the NRG
If you enjoy building ship models that are historically accurate as well as beautiful, then The Nautical Research Guild (NRG) is just right for you.
The Guild is a non-profit educational organization whose mission is to “Advance Ship Modeling Through Research”. We provide support to our members in their efforts to raise the quality of their model ships.
The Nautical Research Guild has published our world-renowned quarterly magazine, The Nautical Research Journal, since 1955. The pages of the Journal are full of articles by accomplished ship modelers who show you how they create those exquisite details on their models, and by maritime historians who show you the correct details to build. The Journal is available in both print and digital editions. Go to the NRG web site (www.thenrg.org) to download a complimentary digital copy of the Journal. The NRG also publishes plan sets, books and compilations of back issues of the Journal and the former Ships in Scale and Model Ship Builder magazines.




.thumb.jpg.8e8c0f0eafa0f5461b7cb557cd2e13a3.jpg)
