DONATION DRIVE - SUPPORT MSW - DO YOUR PART TO KEEP THIS GREAT FORUM GOING!
×


Stuka
-
Posts
137 -
Joined
-
Last visited
Content Type
Profiles
Forums
Gallery
Events
Everything posted by Stuka
-
 Thanks for the Input aswell Palmerit. I used the blue tamiya masking tape that Chris offers on his site. Perhaps I need better technique
 -
Hello again So moving on I Installed the inner bulwark and spirketting patterns, The bulwarks I installed without any issue but the spirketting part closest towards the bow I had to trim some millimeters so it would fit the curve which after it was all fine. Today I sanded the top of the bulwark patterns in preperation for the gunwhales. I felt the sides with my finger to check for any bumps to make sure it would sit flush. Later I took a round file just like the instructions and did a small dent for the bowsprit and I hope it is good enough cause I dont know exactly how big the gap is supposed to be but I think this will be fine. Moving on I then installed my minisaw on my trusty Fiskars tool and sawed open the gunports which went without any trouble. Lastly I filed the sides of the gunports and the oar holes for which I used my minifiles. Having never used the minifiles before alot I used all the wrong files before finally finding the cube shaped one which did the job perfectly. So this is the result now, Im quite happy so far as this is my first ever model so Im not too hard on myself if a mistake happens along.


- 129 replies
-
- 6
-

-
- vanguard models
- Sherbourne
- (and 1 more)
-
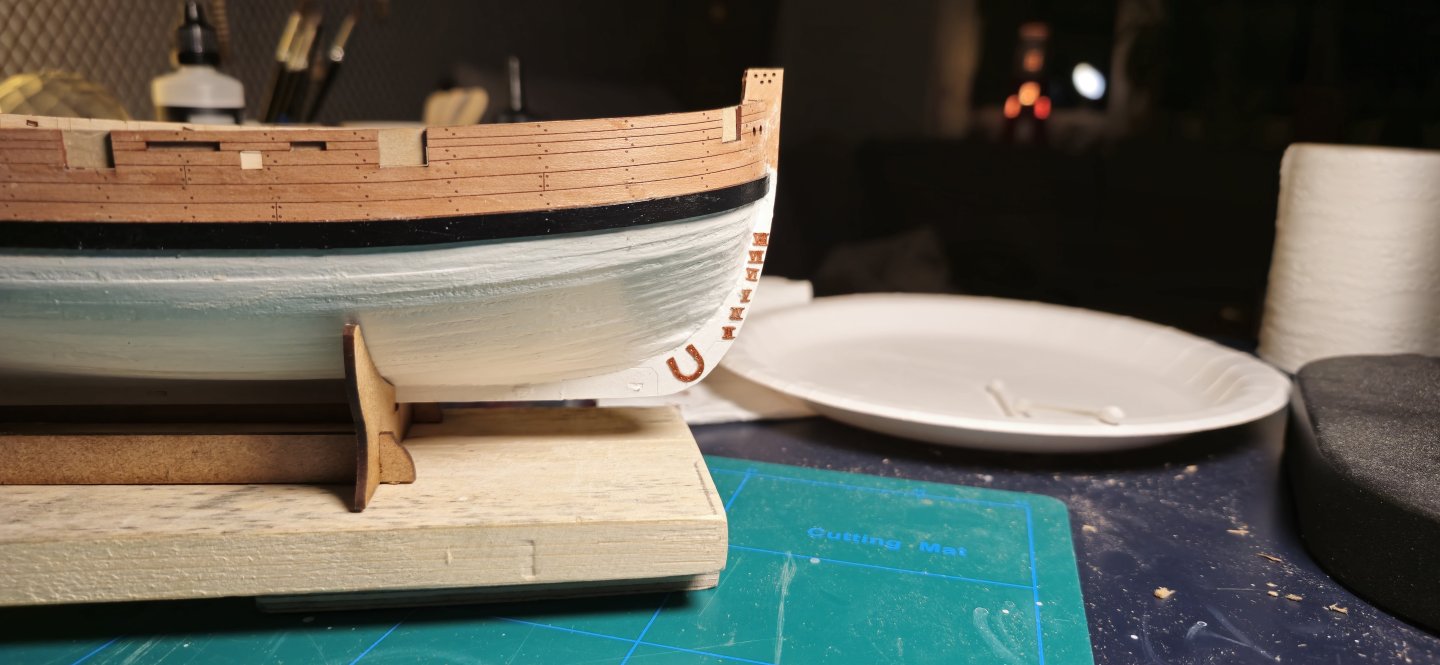
Depth markers added. I bought some actual loctite superglue Gel, which didnt run off as much as the other variant I had used for planking, The result was much better but still far from perfect. Some of the markers turned at the last second and set in with the glue so to late to fix. As for the painting on brass I had already started painting one of the markers with copper when I realized hey this might be the wrong way. Looking up ways to paint on metal I realised I should have used a primer. But I went ahead and did around 2 layers of copper paint on these brass parts so they looked okay. Now I know for the future though that a primer is to be used for better results which Is why I bought this water based primer I hope works. Also added the outer stern transom as I looked at some pictures this thing is to be slightly covered by the black planks running around the bulwark and I was unsure if I needed to sand it that much for a perfect fit. So I went ahead and did some partial sanding but not overly much then glued it on with PVA glue and used some CA for the tricky edges. Still have some edges left to fix though. Edit: When I did the painting the masking tape wasnt perfect especially in the tight spots around the prow and rudder area. This is where I had some paint bleed which I sort of helped with using a knife and carefully dragging it on the paint for some of it to fall off.


- 129 replies
-
- 3
-
-
- vanguard models
- Sherbourne
- (and 1 more)
-
Hello Espen. Welcome to Msw and it looks like we are in the same boat as Im building the same ship as my first. As for the wood filler question since you are going to cover it in white paint I dont think it matters what kind of wood filler it is. I personally used Cascols woodfiller (pine). But you have made fast progress thats for sure 🙂
-
Hello Craig ! No worries, Life is life after all 🙂Thanks for the encouragement though means alot. Now the Cutter is coming along nicely its just alot of problem solving all the time but nothing I should not be able to solve.
- 129 replies
-
- 1
-
-
- vanguard models
- Sherbourne
- (and 1 more)
-
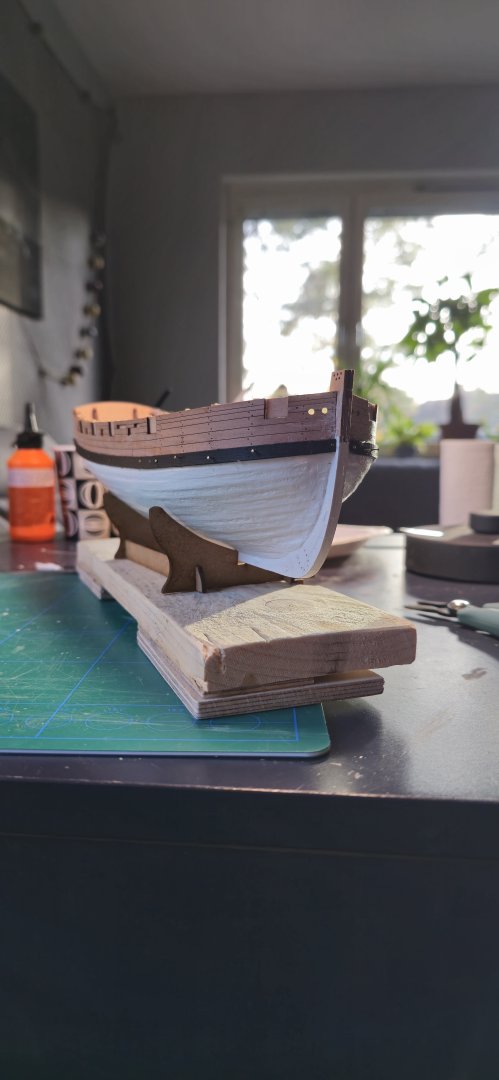
Update So painted some 5 layers total and finished with the varnish and just added the main wales on each side. Using pins was very tricky so I slipped sometimes with the pins. Regarding the next step of gluing the depth markers I read that they are to be painted copper. So I assume I gotta buy a copper paint for them but im checking other builds to see how others did it.
- 129 replies
-
- 6
-
-
- vanguard models
- Sherbourne
- (and 1 more)
-
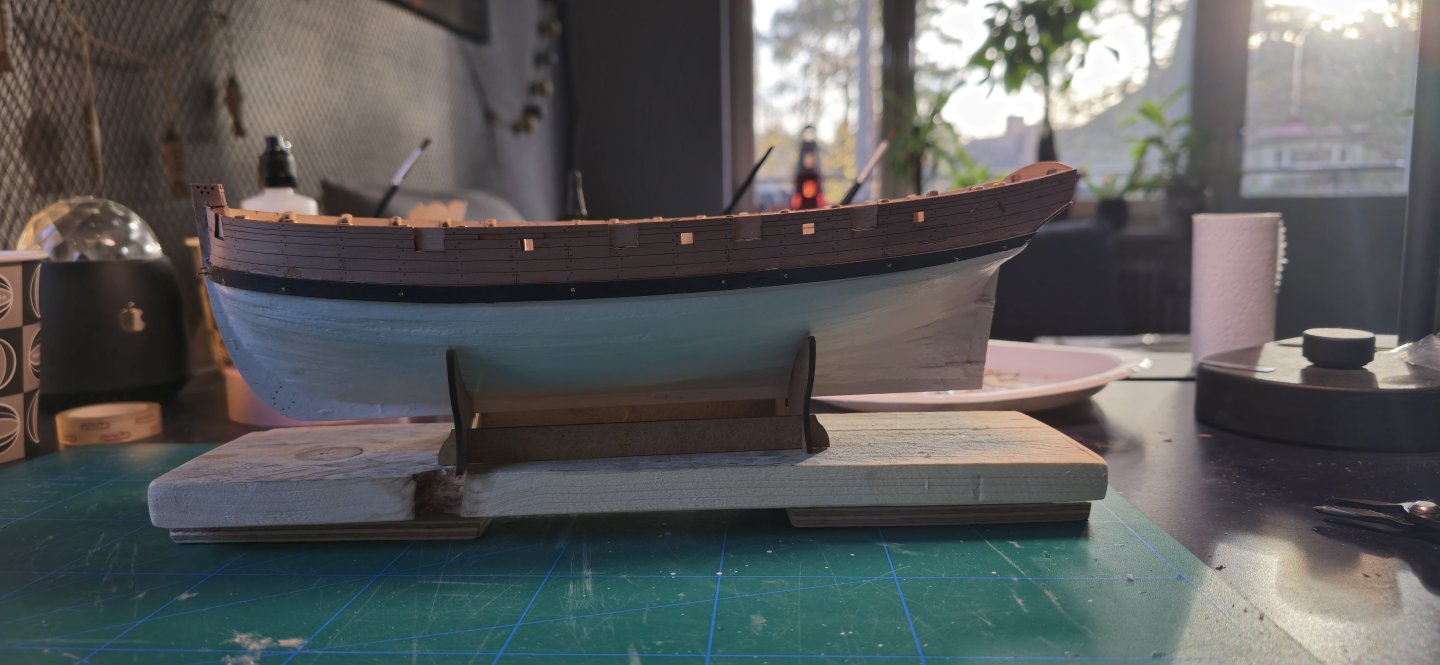
Painting layer for layer by brush, Hopefully it comes up nicely, might thicken the paint though.
- 129 replies
-
- 2
-
-
- vanguard models
- Sherbourne
- (and 1 more)
-
Question When Im painting the hull should I use Varnish before or after painting. Or even both?
-
It was revealed just now at 19:00 Central european time
-
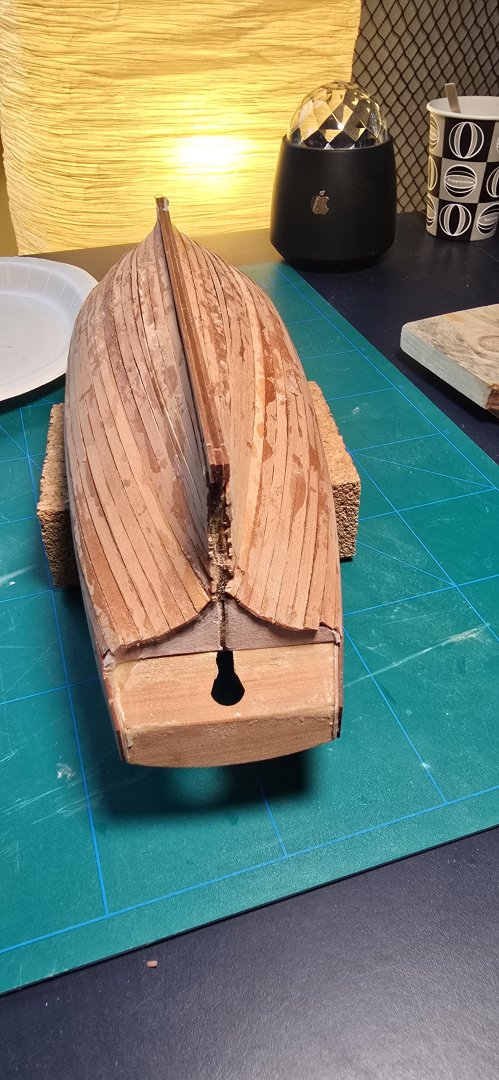
Hello again Now after a long time Im finiushed with the second layer of plank. I had work and other things in the way so it took longer than I thought. The second planking was in a way much more tricky than the first layer atleast to my first impression since this is my first ever model. Since I didnt have any way to press the plank down if I was going to use PVA glue I choosed to go with CA glue. And It went alright apart from my fingers becoming stuck and some other mishaps here and there. But its all apart of learning and next model I will try get hold of more gel/thicker CA glue so it doest run everywhere. Tapering could again have been better at the end cause the last plank on each side I had to sand for so long until they would fit. Had I tapered and had a bit more patience I could have made it so 3 heavily tapered planks could run the final area instead of me having to to a custom made plank where I had to sand and dryfit until it made the fit. Some mishaps happend like when I used a piece of wood to hold a plank at the stern waiting for the CA to dry. After waiting 1 minute the plank had attached itself to my planking and when I tried getting it off it of course took some plank with it.....Learn from your mistakes as they say. I used probably to much woodfiller but the sanding im going to be doing will tell. Since this is my first model I have no way yet as of telling if im overdoing something so I will just have to find out. All in all, Happy to progress having made some mistakes but most importantly all this gives me experience with modelling and thats worth gold 🙂


- 129 replies
-
- 2
-
-
- vanguard models
- Sherbourne
- (and 1 more)
-
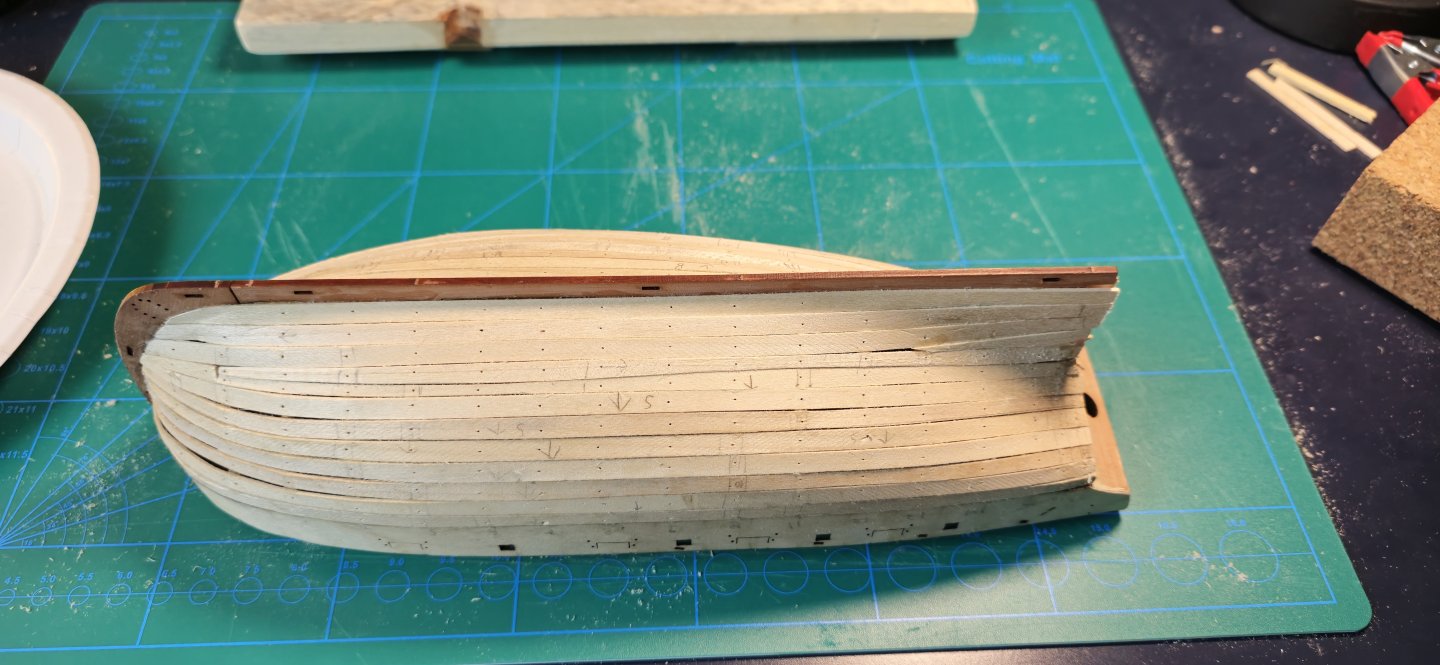
Hello So 2nd plank layer, I looked around on the forum and elsewhere to see how people attached the planks if they used PVA glue. And since I dont own any good pins for that I ultimately decided to go full CA glue. Starting from the bow adding some glue then pressing the plank until the glue has taken its grip and thereafter moving towards the stern. However with the first set of planks I thought for some reason that the planks where going to end right before the stern planking patterns (part 60 R/L) . I realized this mistake and tried correcting it with the 2nd pair of planks. Its not a big deal I think we are talking about 1 mm of plank. Also wont this area be covered with the waterline "plank" the one I see painted black in the pictures anyways not a big deal I think ultimately, moving on. With the tapering like the manual suggests I only tapered my planks by the bow down to 3mm from the 2nd bulkhead and im quite happy with the result. Working with CA glue is not ideal cause several times my fingers get stuck and leave these ugly marks on the planks so im lucky this will be sanded down and painted over. I can imagine why people would rather use PVA glue especially if the hull is not going to be painted.


- 129 replies
-
- 3
-
-
- vanguard models
- Sherbourne
- (and 1 more)
-
Welcome Nick! Quite a daunting task ahead I can imagine but I will eagerly watch it. And good luck for you will surely need it 🙂
-
Thanks for the tips, Ill take a look around and see if I find anything 👍
-
I did see it being mentioned before. I just gotta find out where I can get some of it in my town.
-
Thanks for the tip Chris, I hope I will do your model justice 😆
- 129 replies
-
- 2
-
-
- vanguard models
- Sherbourne
- (and 1 more)
-
Hello Andrew, I did sand some corners here and there and felt it with my hand several times so now It feels very smooth so hopefully all goes well. I might had used to much wood filler though
- 129 replies
-
- 1
-
-
- vanguard models
- Sherbourne
- (and 1 more)
-
Hello Chris, I was actually considering buying one, any recommendations of a particular one?
-
Hello Craig I ended up sanding the hull for a little bit more and I drew my fingers across to planks to feel for bumps or sudden deppressions and I didnt find any so fingers crossed now
- 129 replies
-
- 2
-
-
- vanguard models
- Sherbourne
- (and 1 more)
-
Amazing scenery!! quite jealous of your trip Jon
-
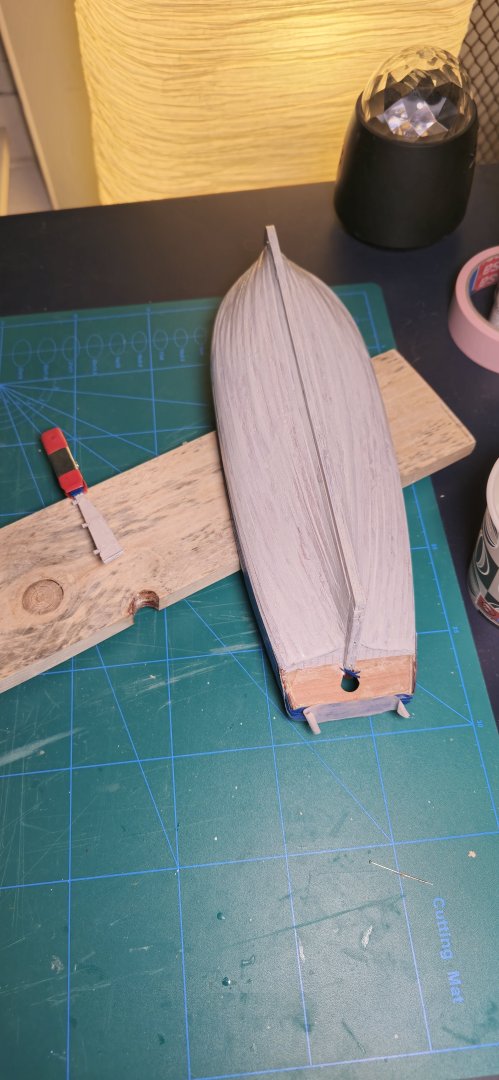
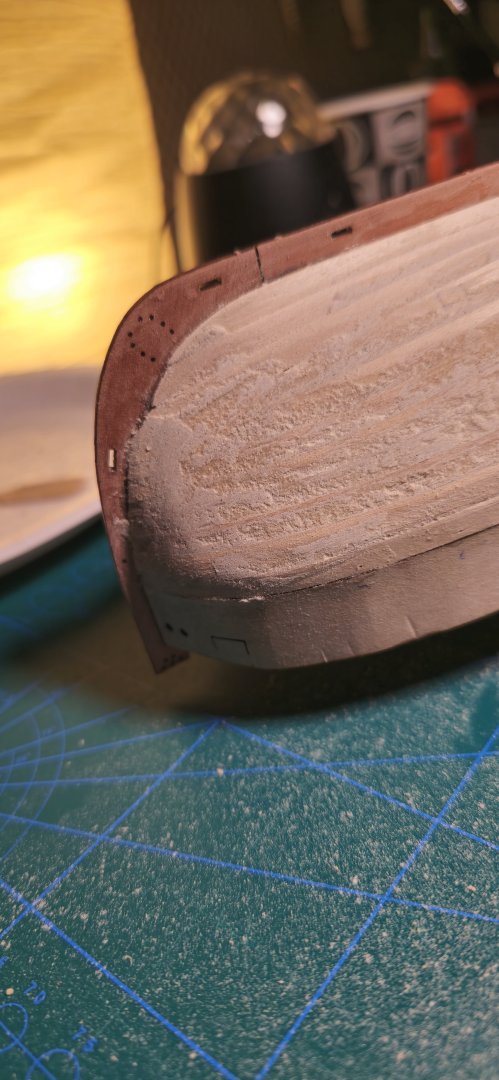
So I spent around 1.5 Hour sanding and it feels very smooth now all around so I think this good enough. Hopefully my 2nd plank layer will sit flush against each other now . or should I sand off more wood filler?


- 129 replies
-
- 7
-
-
- vanguard models
- Sherbourne
- (and 1 more)
-
Oh dont worry Craig haha, I wasnt going to use pins for the 2nd planking I already have scrolled through here and read the manual to know that only glue is used. Now Im wondering how to clamp down these planks if im going to use PVA glue, Cause CA glue settles way to fast and is unforgiving
-
Thanks Craig for the encouragement 🙂 feels very relieving to be over the first plank layer as it took me a long time to get this finished. As you are saying my plan now is to use woodfiller and start sanding the hull to get it smooth. And Im trying to be patient cause I want to start adding the other parts and paint her. I did actually buy that one but because I saw so many people use pliers and once I tried using the pliers it just stuck with me. But next planking Ill try to use the pin pusher to see if its easier/ more convenient. Afterall I spent money on it so hopefully will get some use of it.
-
I bought the Vanguard one and its my first ever build. And Im very statisfied with everything from the good instructions to the material and parts. It feels very beginner friendly so I would put my vote on it.
-
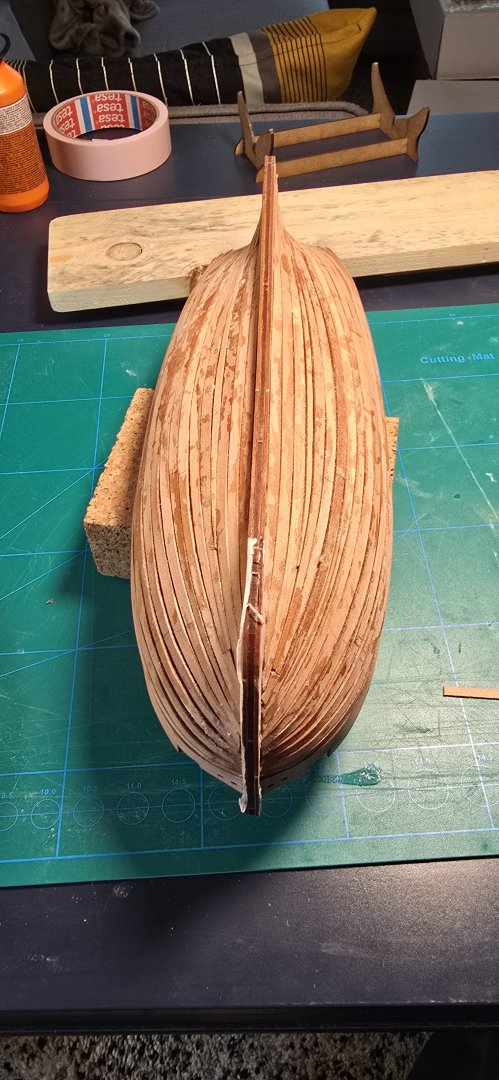
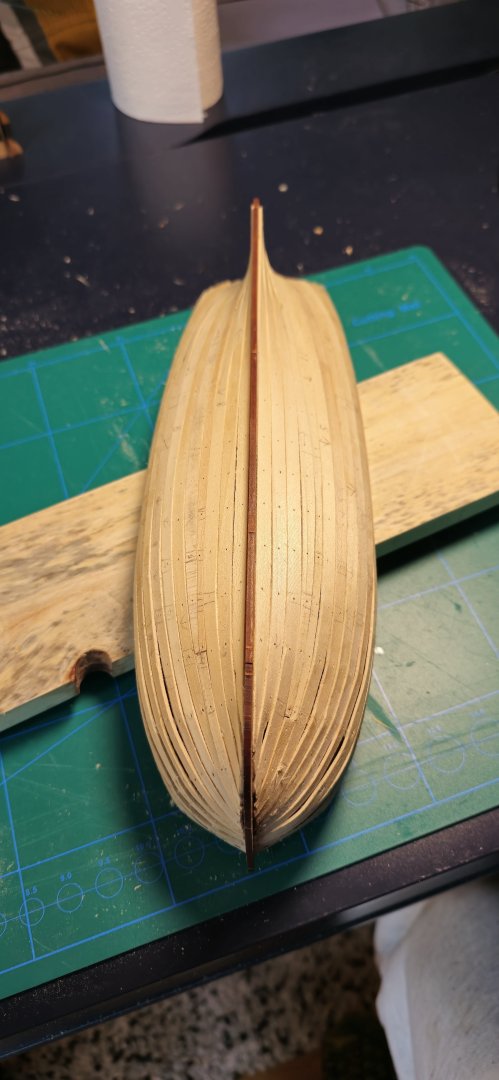
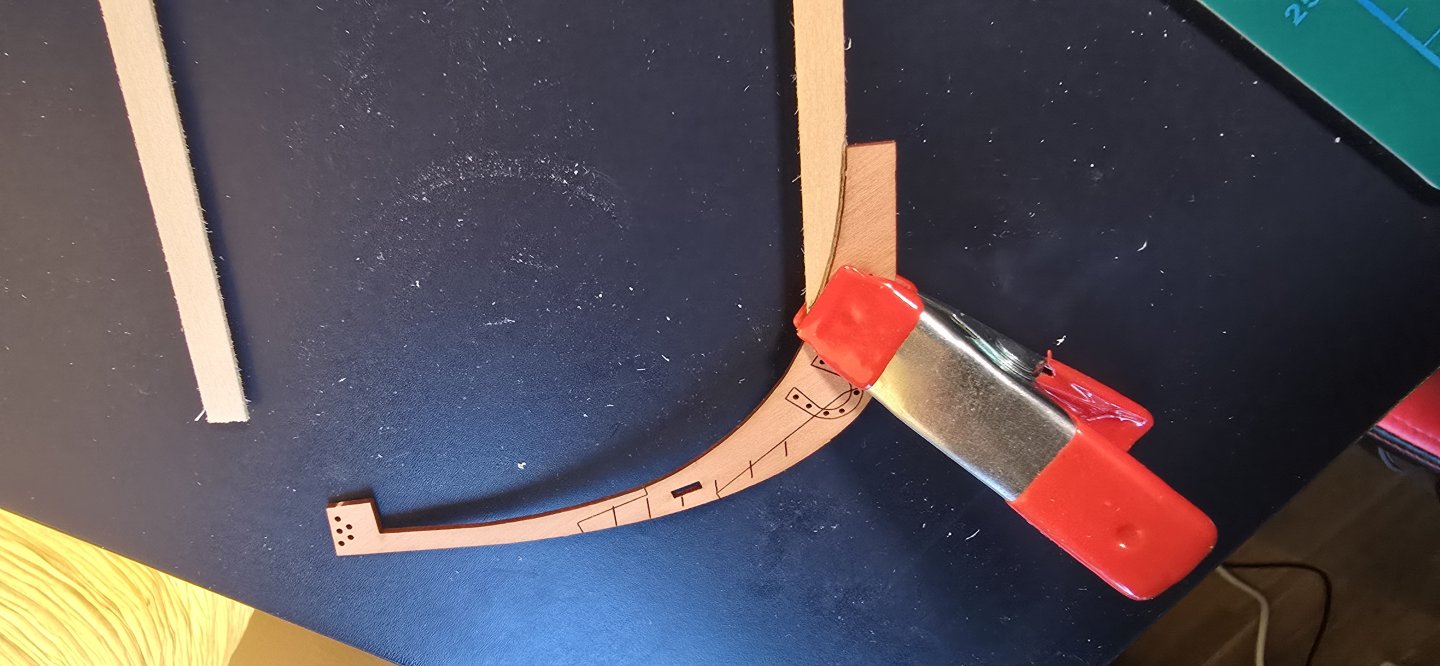
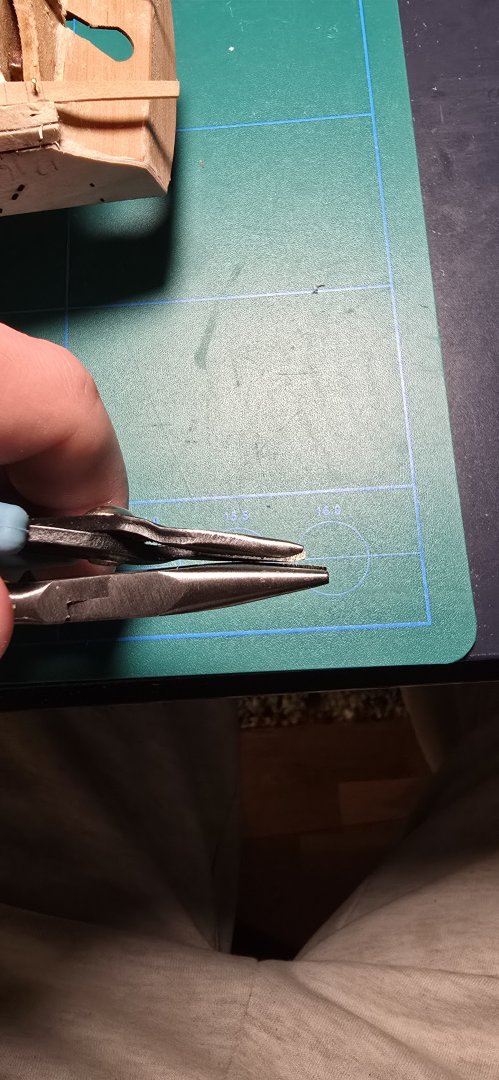
Hello So first planking ever done looks okay I think. Some gaps here and there though mostly by the bow are cause of the oversanded bulkheads 1-2. However I did the first couple of planks very tapered by the bow and some tapering around the stern. But as I kept going I thought that unless I wanted to use alot of stealers in the stern I should start to attempt to use as much full plank width there as I can. So thats what I did and I stopped tapering the stern area as I kept going. Only tapering if the plank would curve to much in a to tight space (Like where the last bulkhead meets the stern). I eyeballed the tapering alot over here and im not sure it was the right decision but I ended up with only 1 stealer on the stern. As for the bow I tapered pretty much all the planks there to some extent. Only tapered the top planks from bulkhead 5 however as I progressed down I started only doing it from the 4th or 3rd bulkhead. In the end I used 2 stealers per side, one by the bow and one by the stern. The bow one I had to do due to the last slot being only around 2.5mm wide. But I think the result from using the stealers was pretty good so Im happy with it. Also when doing the Garboard plank to get the right curvature I just clamped it together with the prow piece and drew a line that way I got a good curve on the plank and it matched nicely. Now I used pliers for driving in the brass nails but the pliers I had though small where not good enough. They were to wide so just a tiny bit of the nail was outside of the plier. Therefore when driving it in I had to take several new grips which often resulted in a kinked nail. And the needle nose plier I have even though it was small enough had the problem of having a ribbed grip. That meant that I often found my nails just going freely between the ribbed area. Going through some hardware stores in my town in search of a new plier with a smooth grip I came across this one. Very very tiny grip and I could drive in the nails in one go from all angles so this little tool helped alot. Other techniques I used was edge bending with a traveling iron like Chuck Passaro which worked like a charm. And after that I would set the inwards bending with the electric bending iron. Alot of tools but they made all this easier for me as a novice. All in all I am happy with the first planking though alot of things could have been done different, like sanding the bulkheads better, better tapering and better bevelling of the planks. I am a person that usually learns things the hard way so to speak so hopefully I learned something from this for future endevours.


- 129 replies
-
- 7
-
-
- vanguard models
- Sherbourne
- (and 1 more)