Nick 843
NRG Member-
Posts
88 -
Joined
-
Last visited
Content Type
Profiles
Forums
Gallery
Events
Everything posted by Nick 843
-
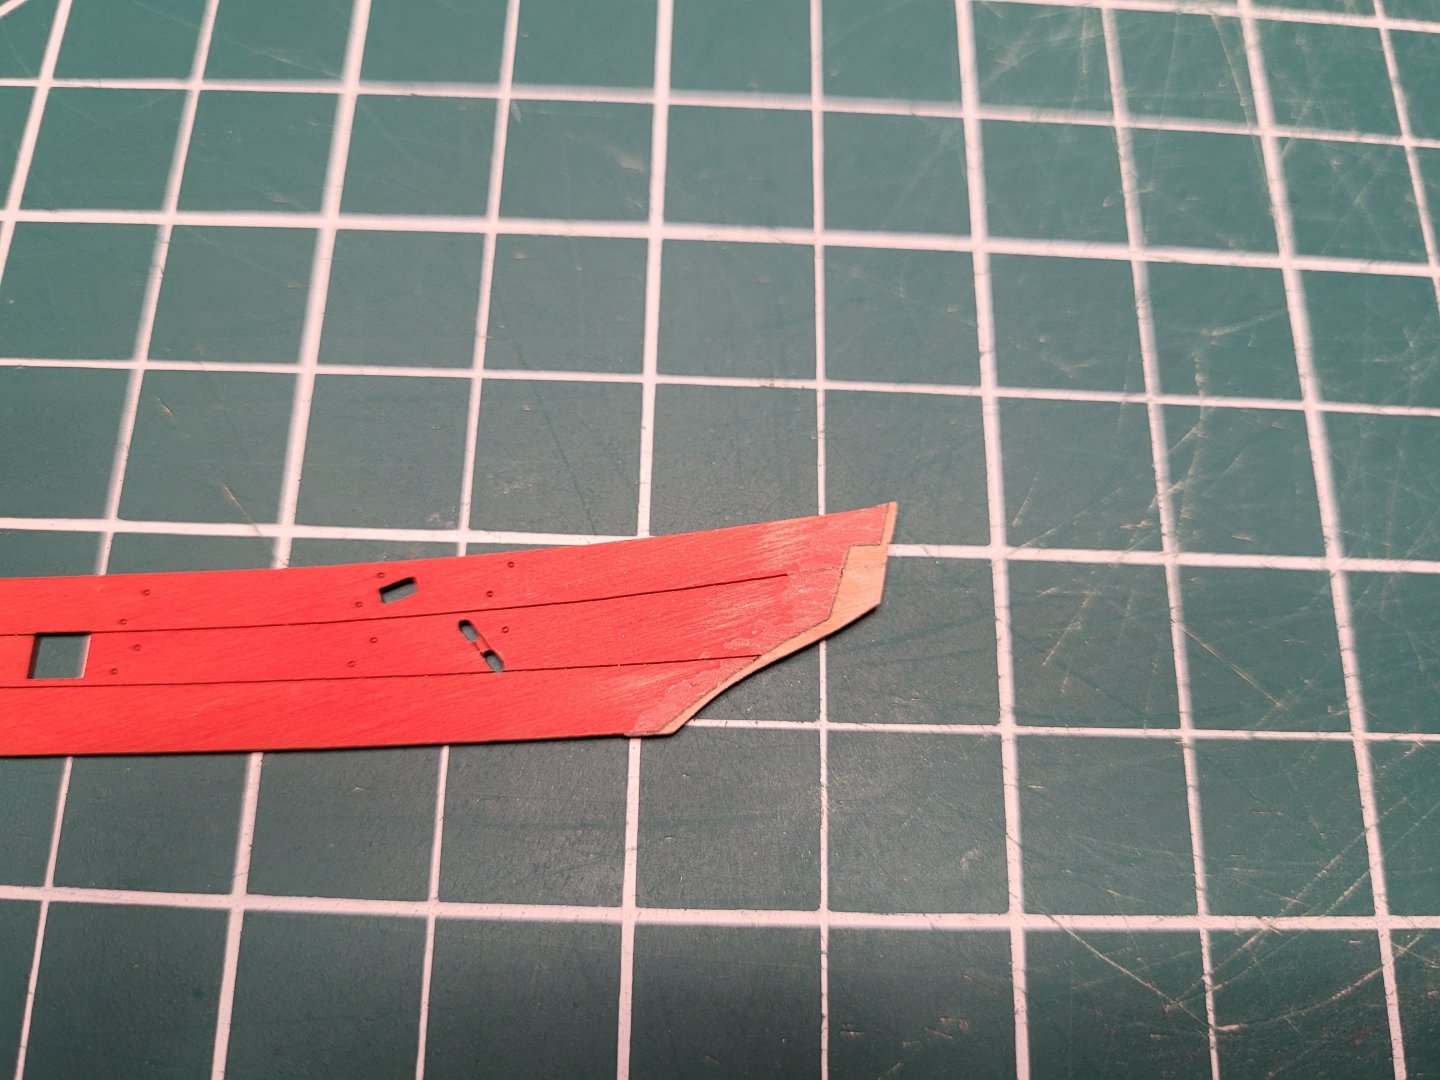
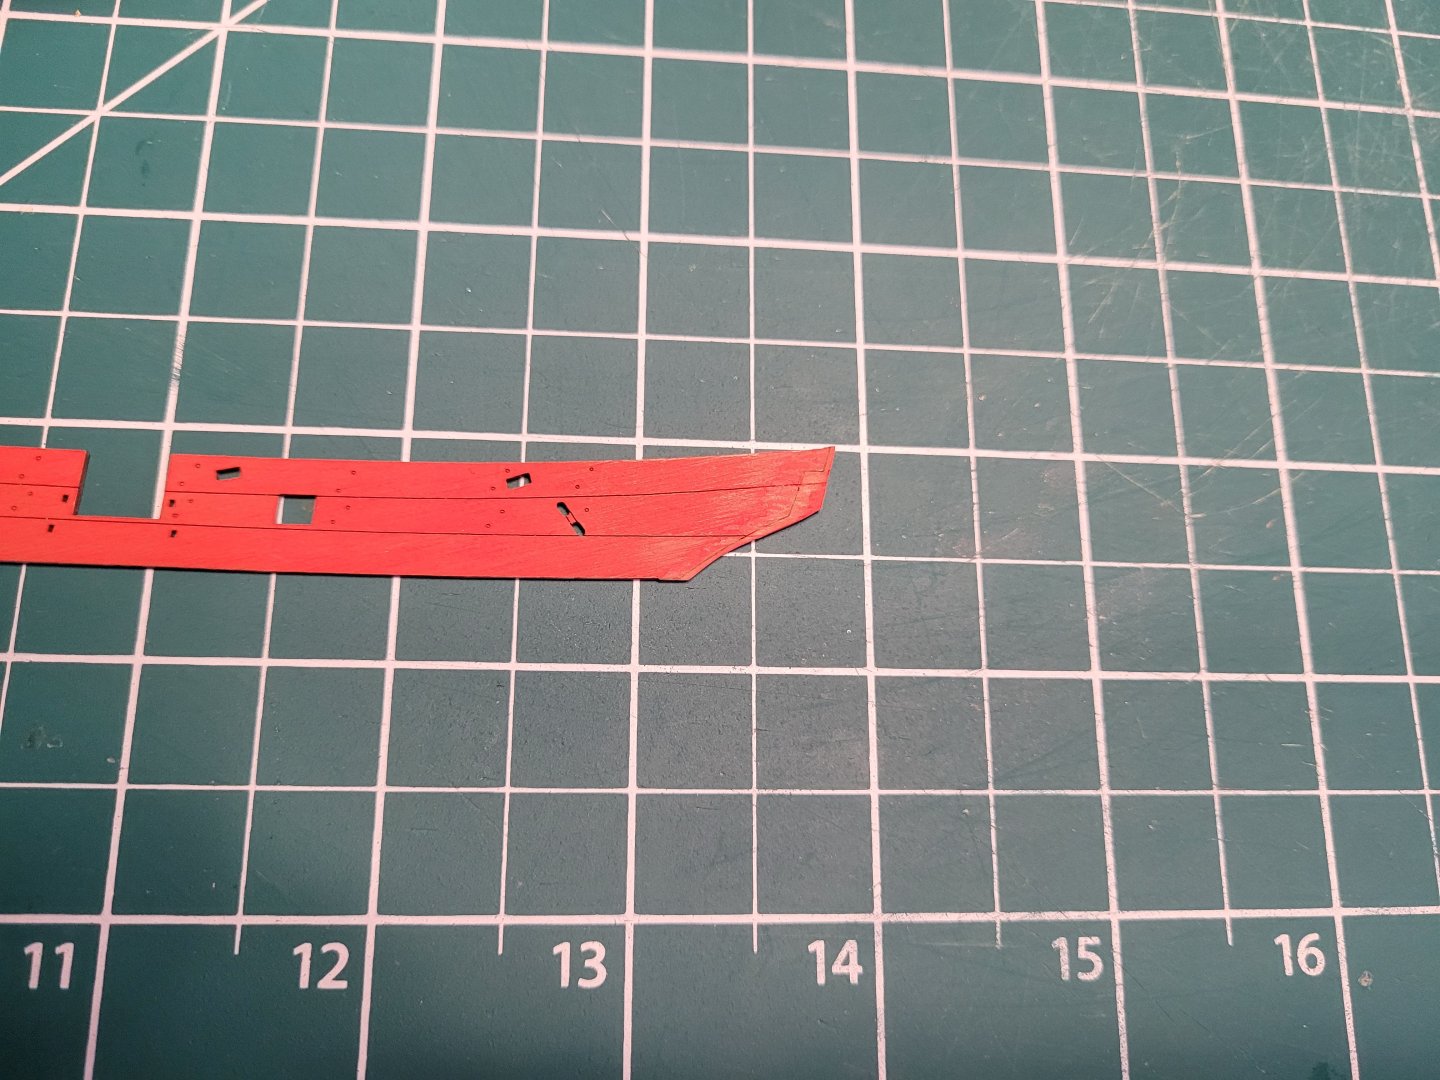
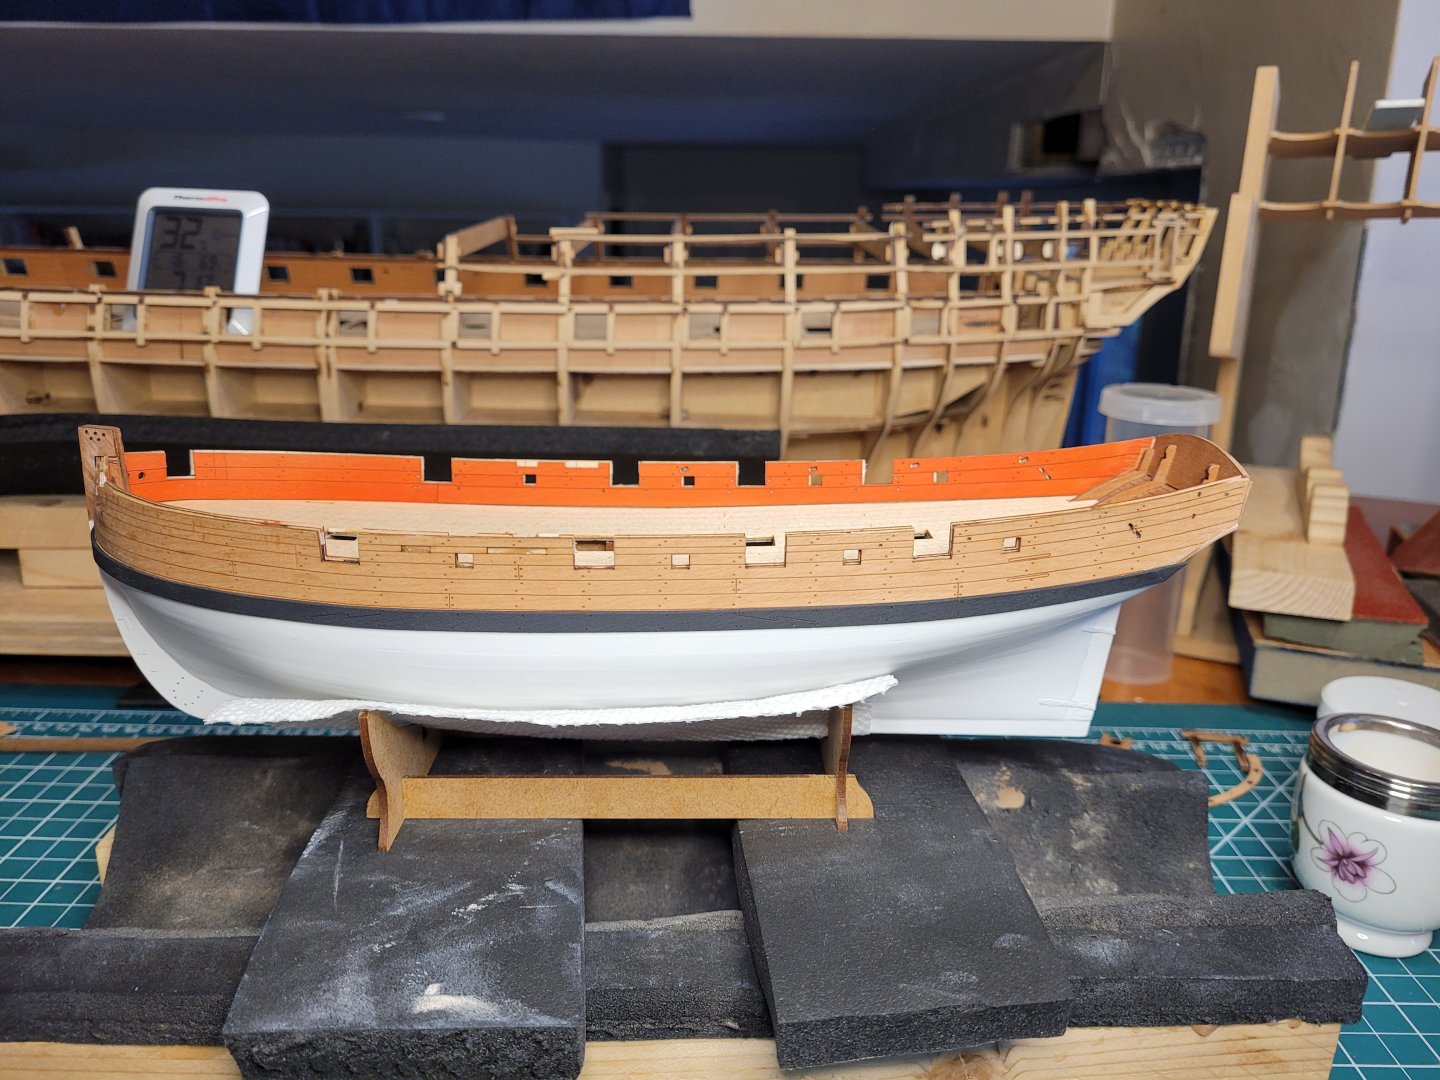
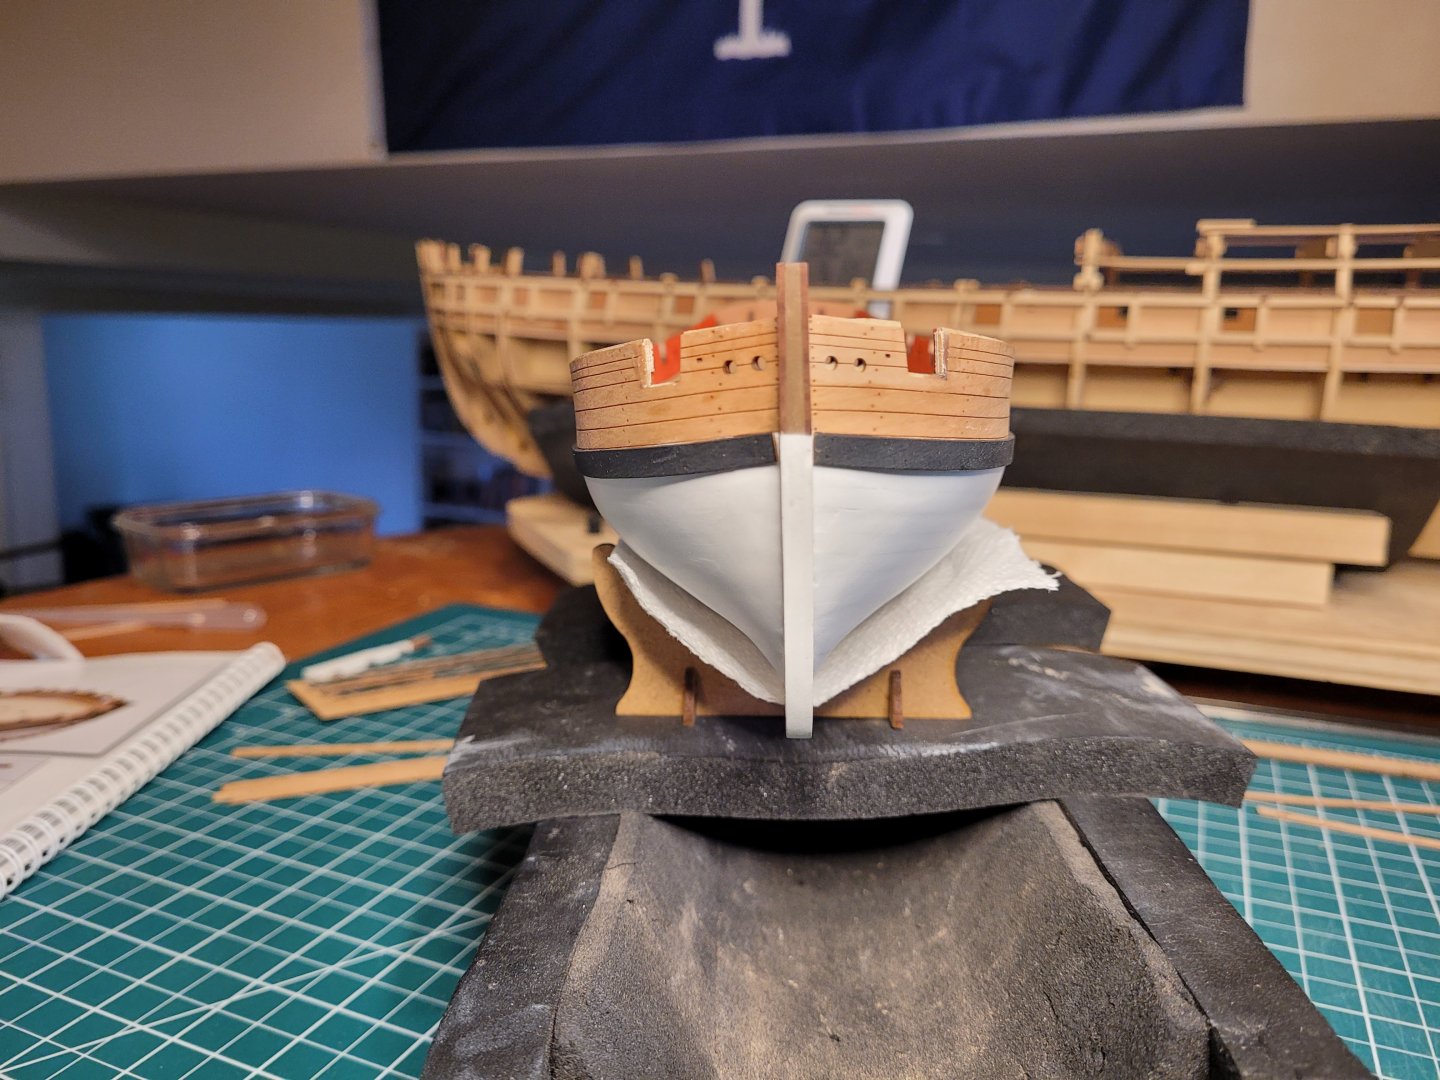
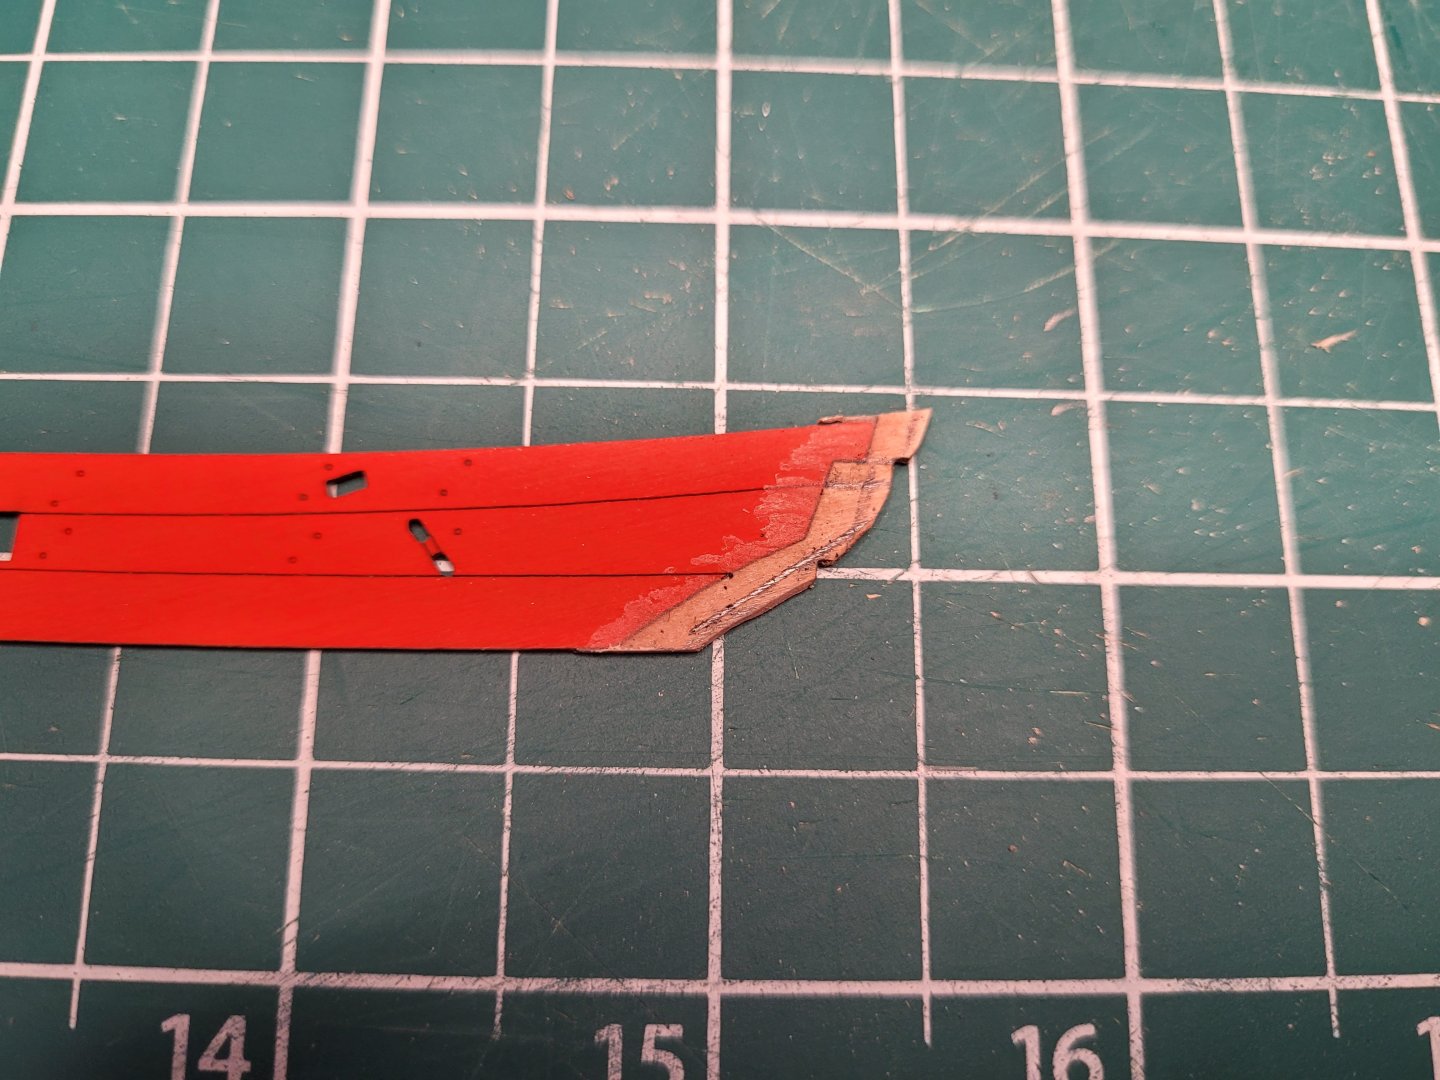
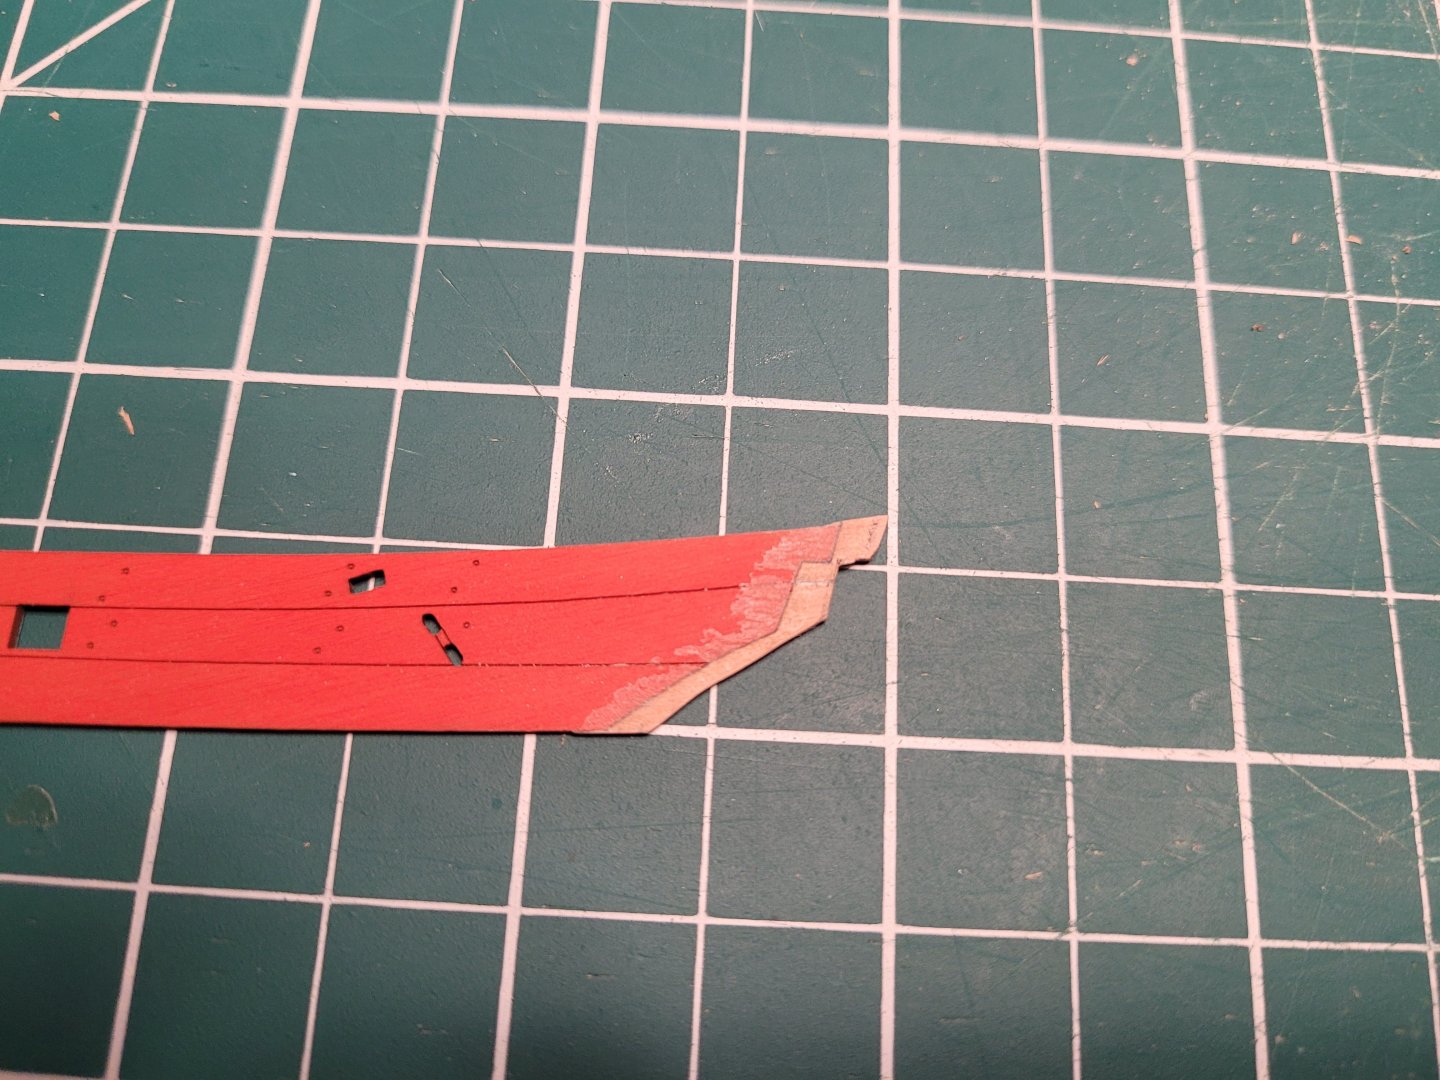
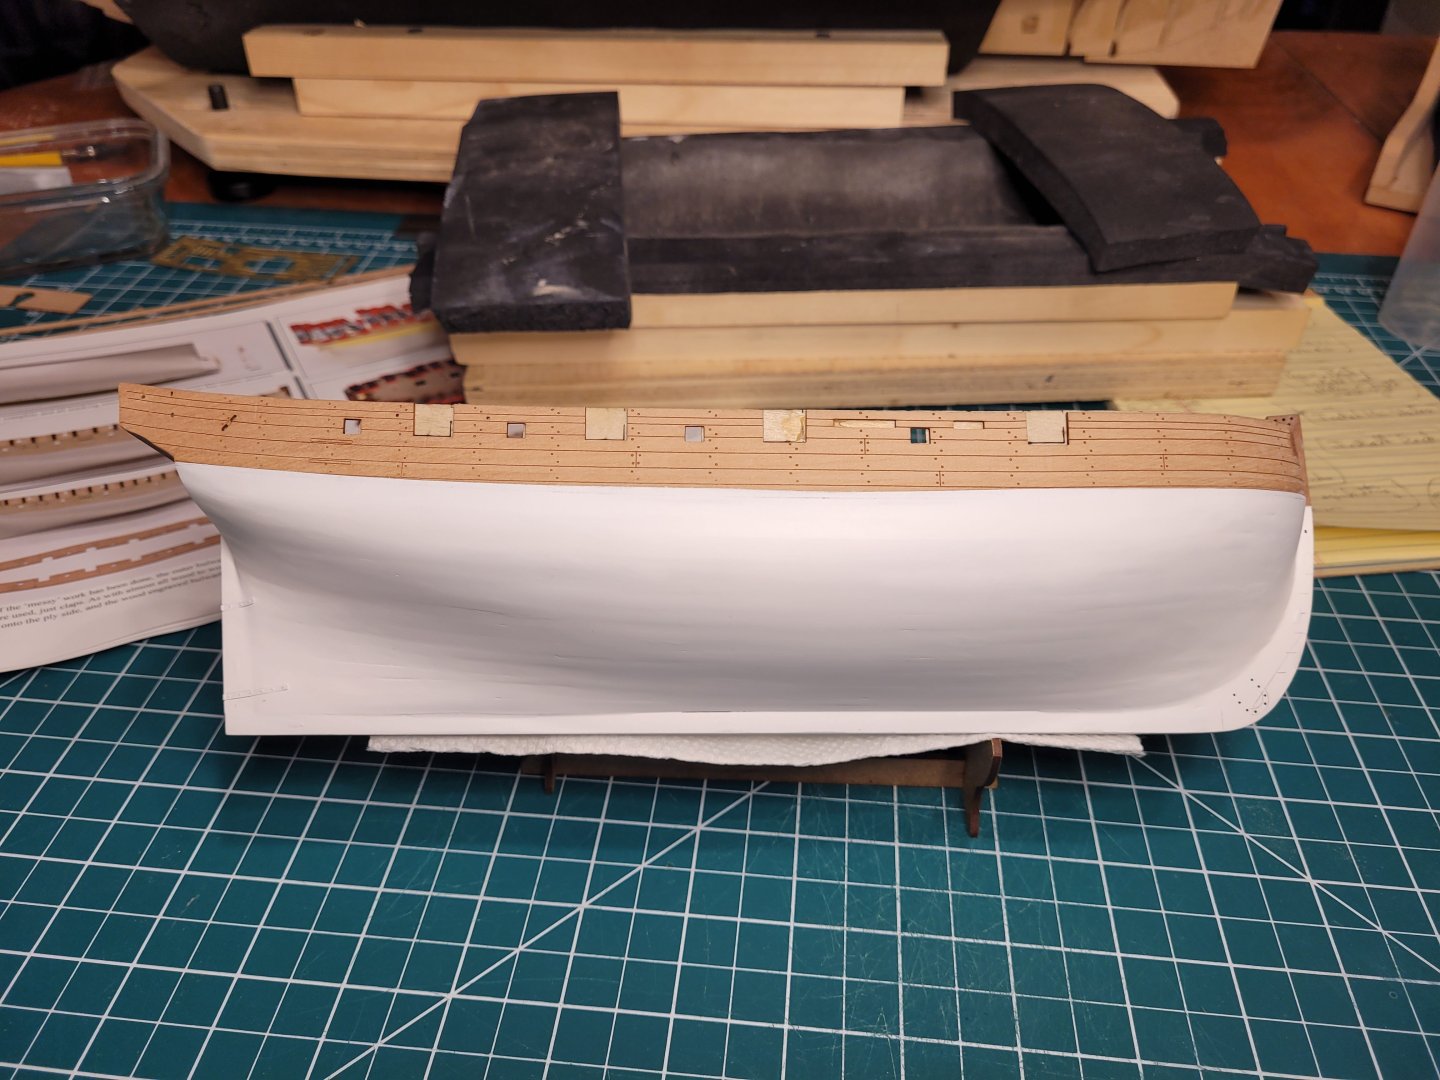
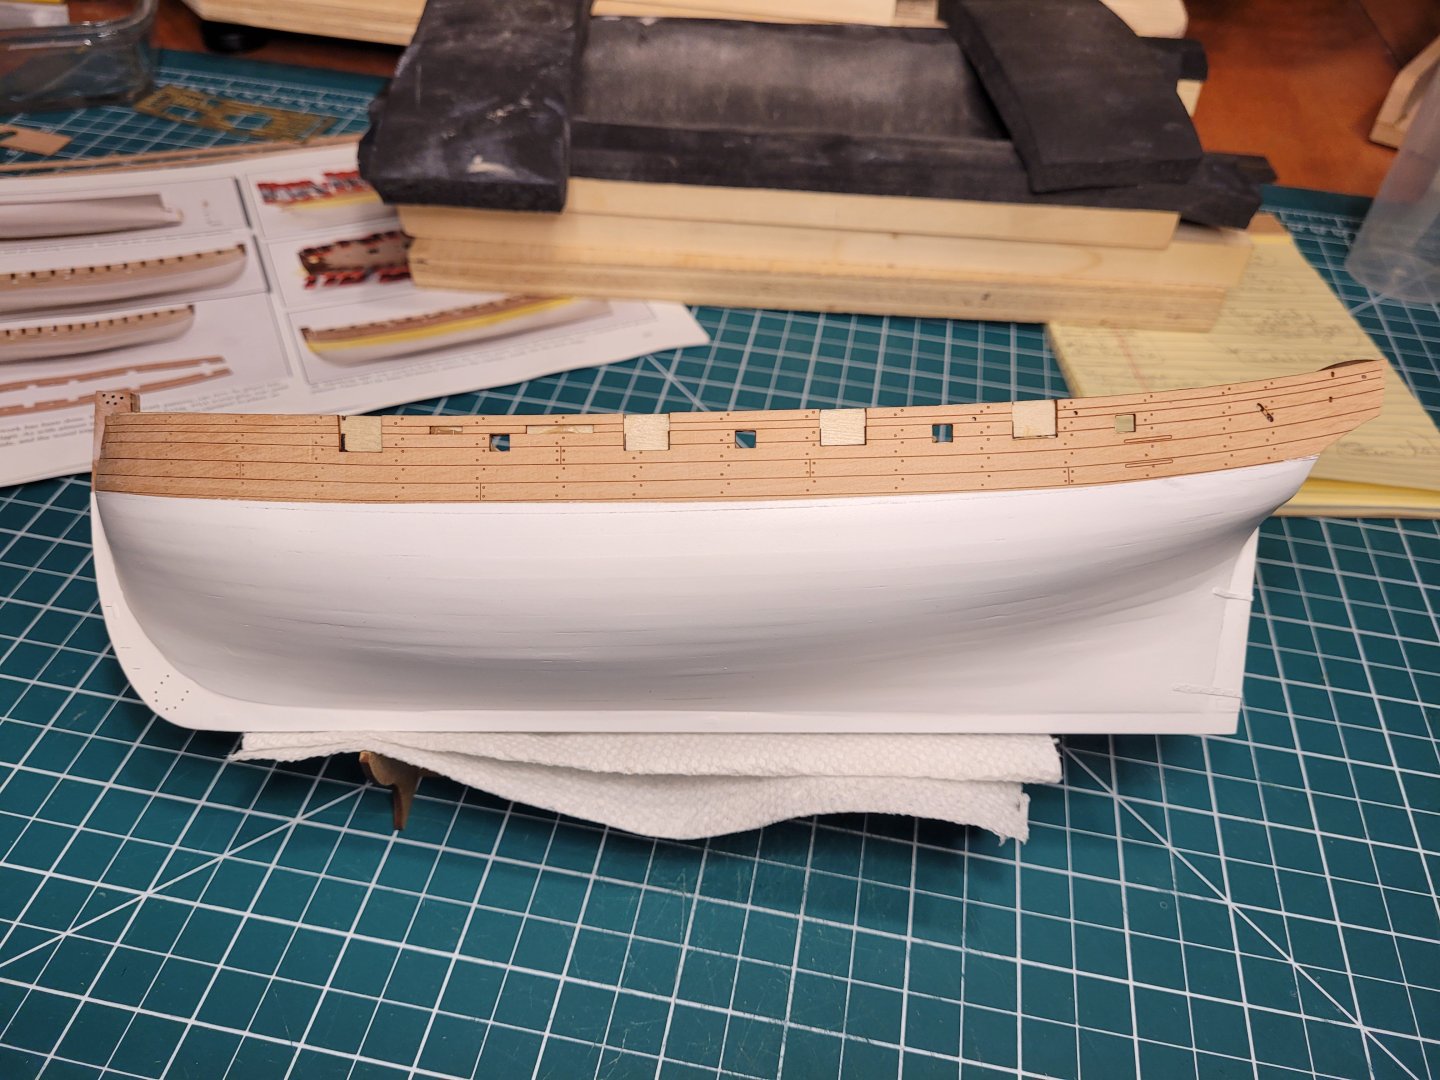
Well that fix worked pretty well. I carefully sanded down to final shape, cleaned off the glue residue, scribed out the etched lines as best I could, and painted. Glued in, it's not so noticeable. I've now glued on the other main wale and roughly cut out the gunports. There are a few little slip-ups here and there, but I'm pretty pleased with it. The red looks a bit orangey in the pics. Installing the main wales was kind of nervy, in part because I thought I was through with planking LOL. I decided to use CA; I just can't use those pins, they never go in right. I had pre-shaped the wale parts in the usual way, but I had to clamp them on a bit higher than the top line for them because I couldn't clamp down that far. I suppose that gave them an ever so slightly different shape, and on the starboard side one I should have backed off and re-shaped, especially the bit right at the stem, which wasn't curved enough. But of course I forced it down with glue on and luckily it held. It's a touch off but I'm not going to try to fix it. There's also a little bit of clinker effect on both just under the foremost gunports on each side, but again you can't really notice it when you're looking at the model normally, so best left alone I think. Except for the slight clinker, the portside wale wen down better as I did re-shape near the stem to fit better. Nick
-
Thanks all. I think this is going to work. The glued joint is good and without much excess. I took the "gross" down with the Dremel, now sanding sticks and so on. Trying to remember to be more and more careful/slow as I go and holding with fingers on the joint and as close as possible to the sanding so as not to stress the joint. Close enough here to stop with the Dremel. Closer in with some hand sanding. A test fit suggests ok on general shape. Now it'll be repeated test fits and sand a tiny bit, etc etc. Won't get anymore done today though as have to do some other stuff. Nick
-
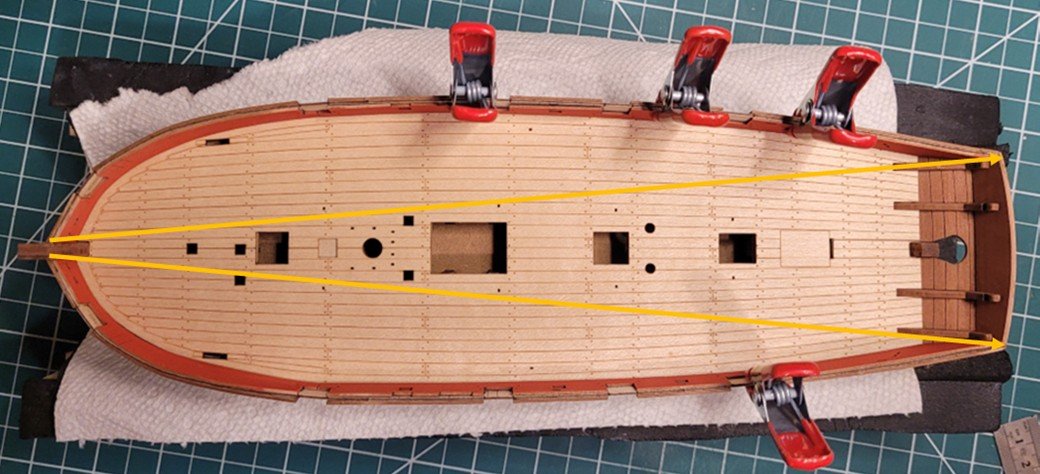
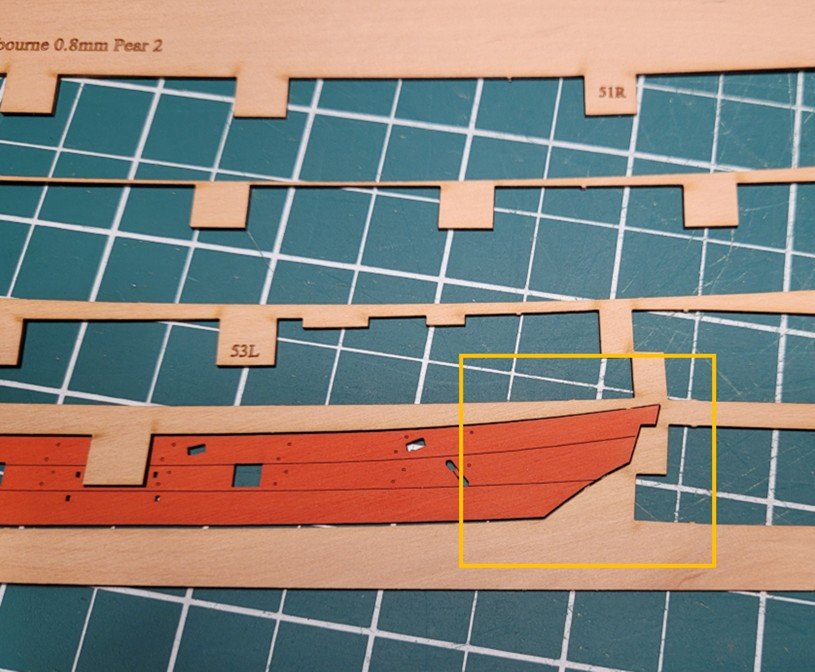
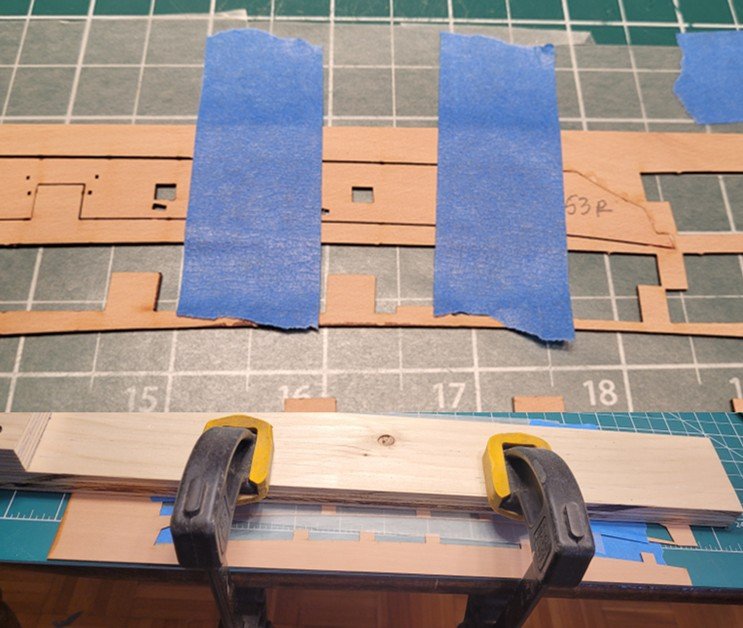
I ran into a little issue with the fit of the aft section of the starboard inner bulwark. Dry-fitting, I had a small gap at the stern end; it's only 1mm, but is plenty for the gap to show. The section lines up nicely otherwise, so I don't want to do a small insert at the section join, as that would throw alignment off imo. I measured from stempost corner to each quarter corner, and the starboard side measurement is indeed 1mm longer, so my starboard side is longer somehow than my port side. So my idea has been to try and tack on an extension to the stern end of the bulwark section, using the sprue form, so it will necessarily match, and then I'll just have to cut/sand the addition to match. So goes the theory anyway. So I've put down some wax paper underneath to prevent the glue from sticking everything to the cutting mat, put some glue on the sprue end, inserted the part and put some tape on to hold it as firmly as possible against the sprue end, some wax paper on top to prevent glue sticking to a board clamped on to hold it all in place. That was half an hour ago. Gonna leave it for at least two hours before taking a look to see if it's worked. Fingers crossed. Nick
-
I thought I'd add a note, having now used AK matt red and smoke black. First, I did thin 50/50 with water. Worked a charm. I think my previous (and very limited) lousy experience with AK must have been because I used ISO to thin, probably not bothering to check. Anyway, it thinned nicely and went on so smoothly, I'm gobsmacked. As to the colours, the matt red is really nice and imho looks right. It's a duller red as you know, unlike Tamiya flat red. I think the Smoke Black is really nice on the wales; it's also dulled from straight black, and looks to me to be closer to German Grey, although to my eye not quite so grey. Nick
-
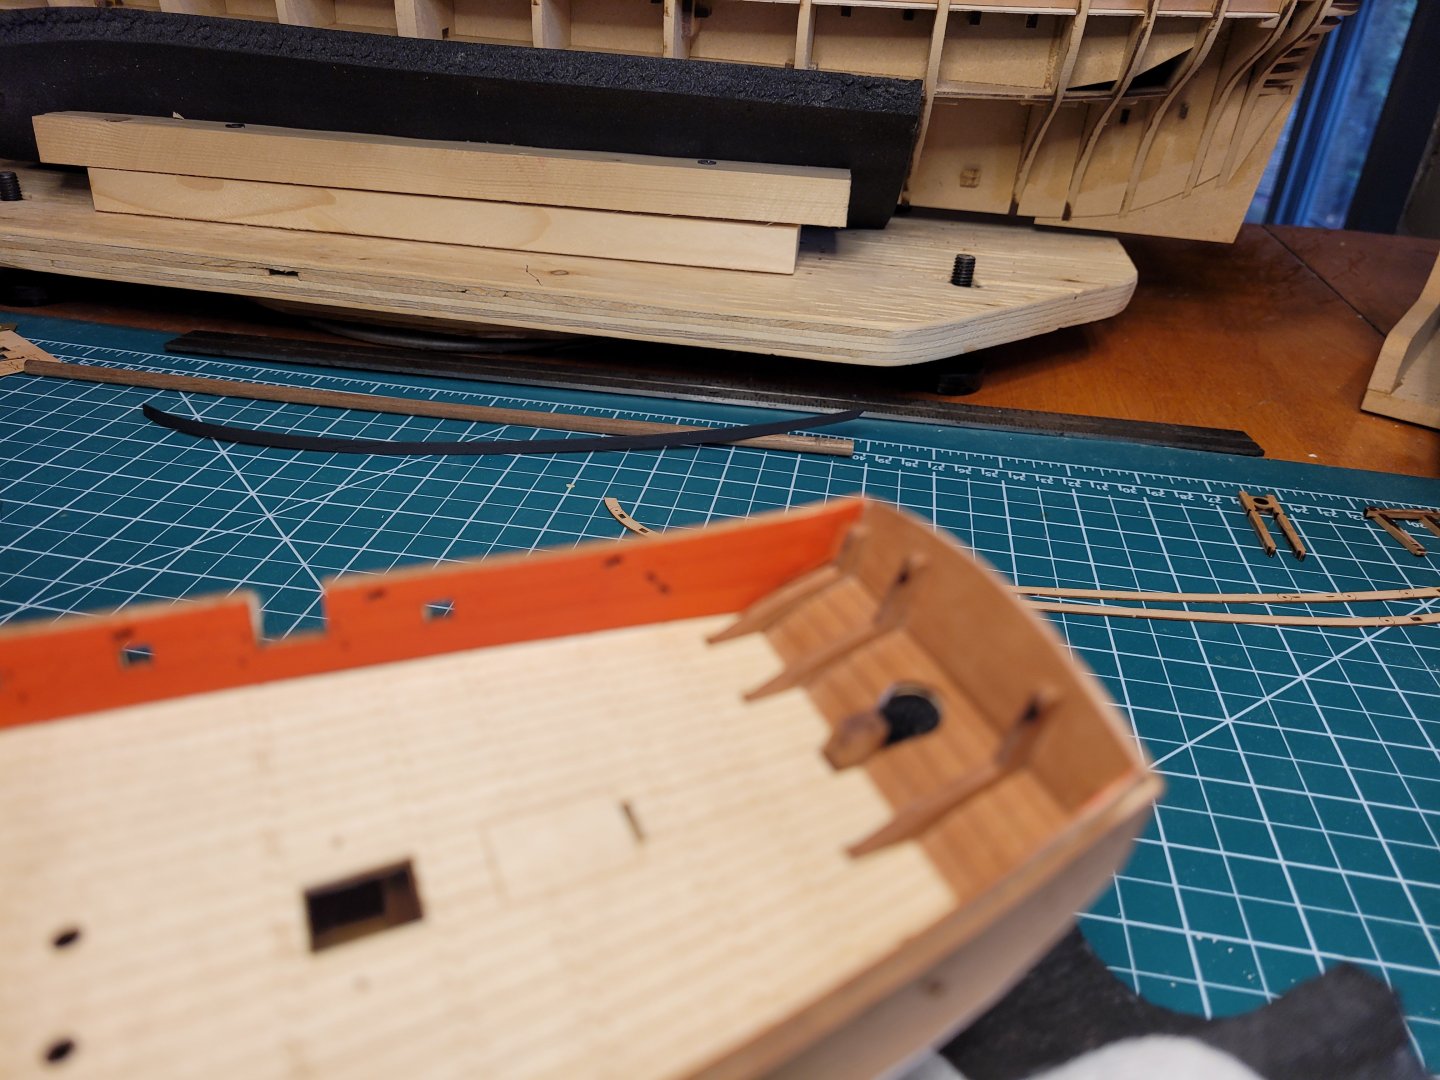
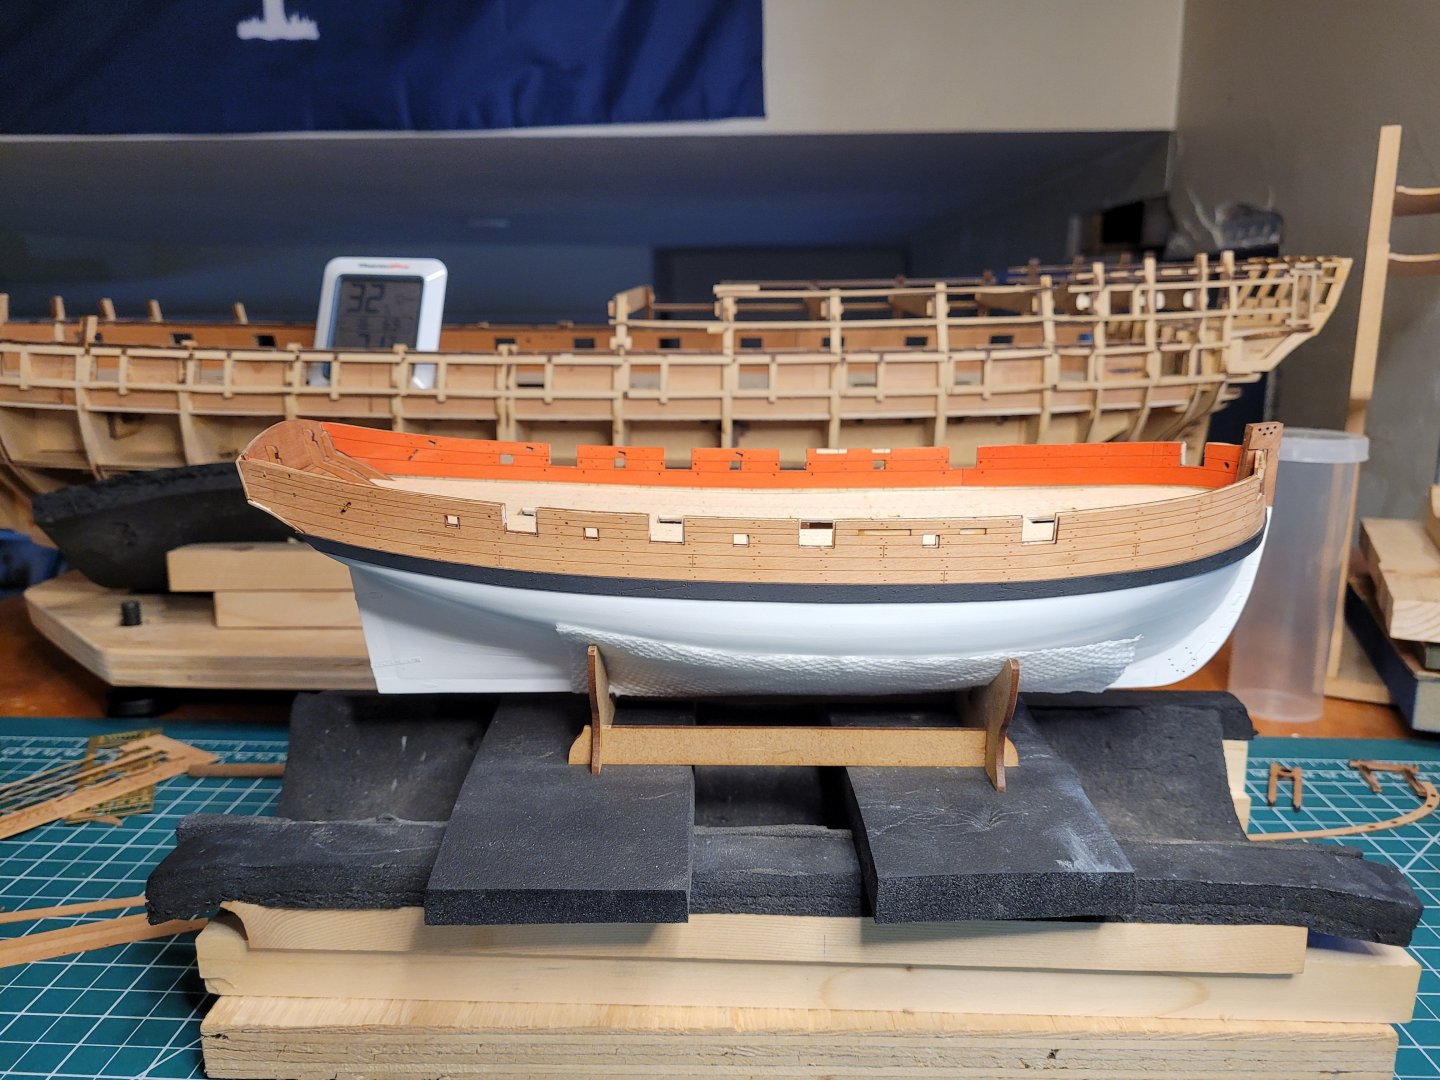
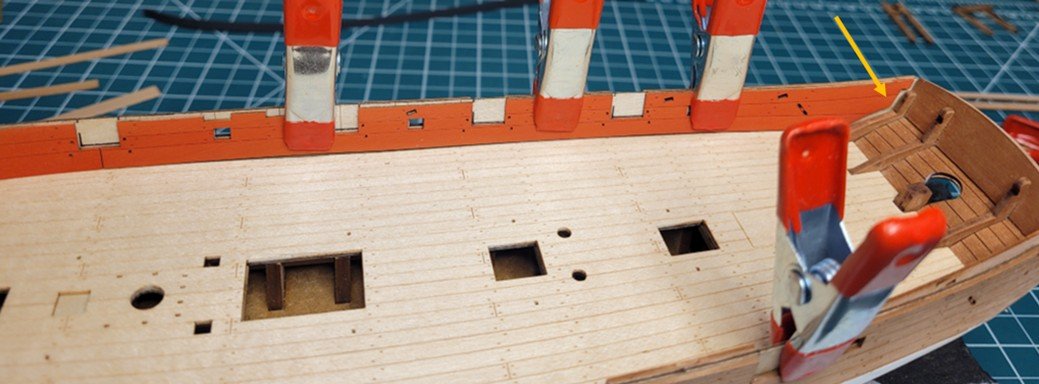
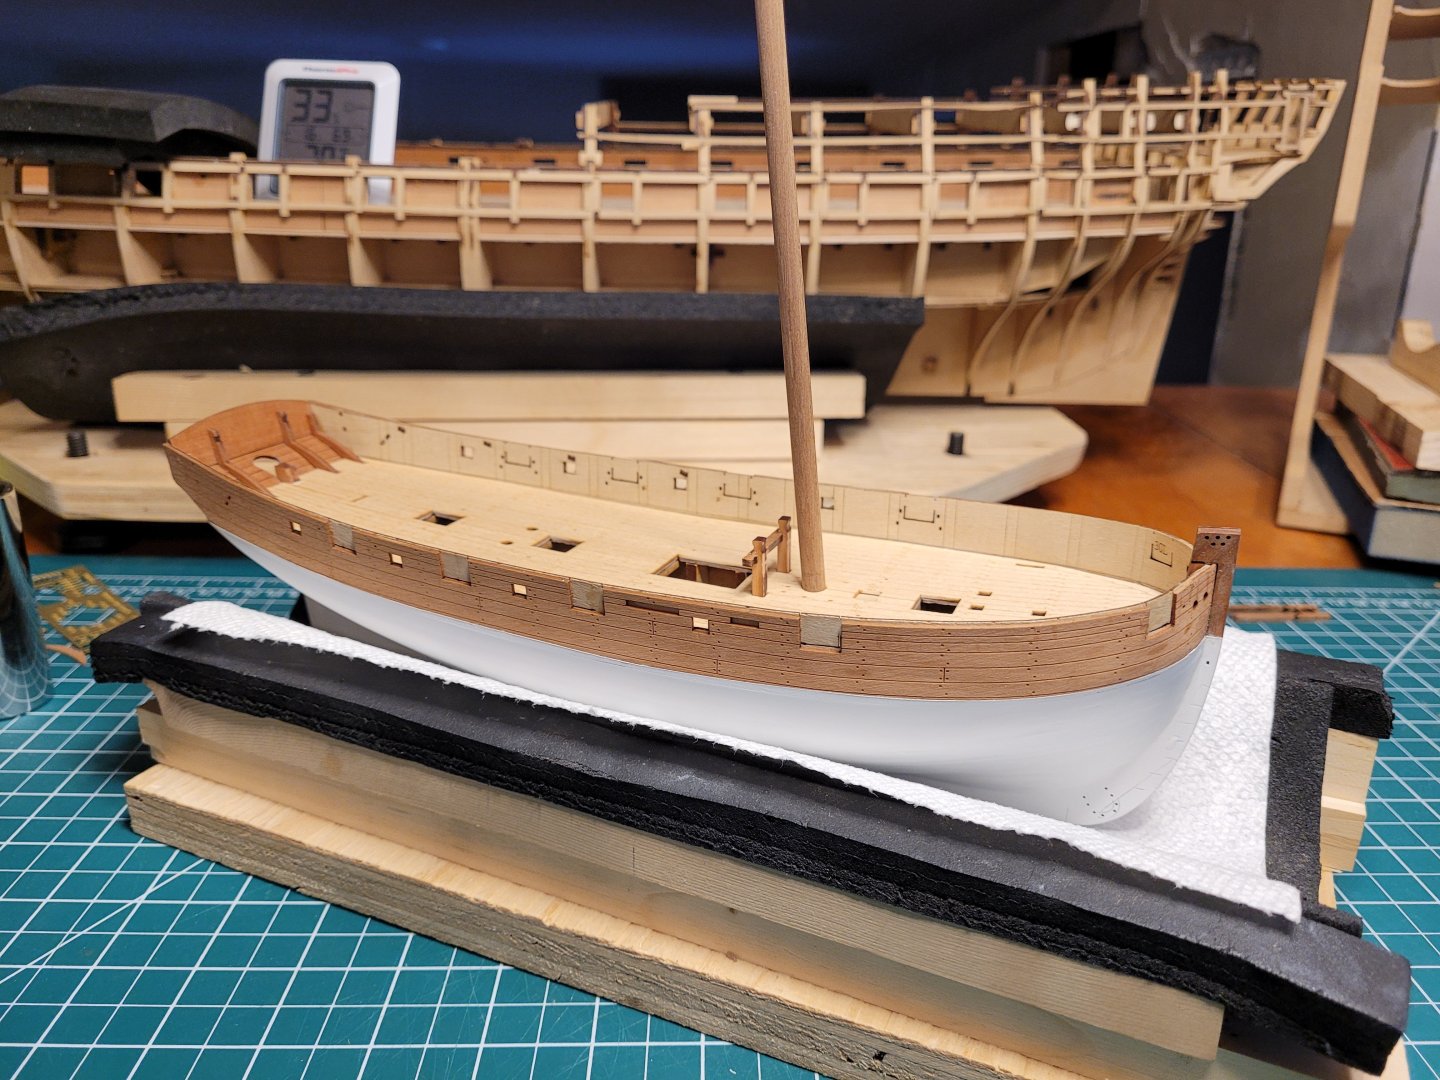
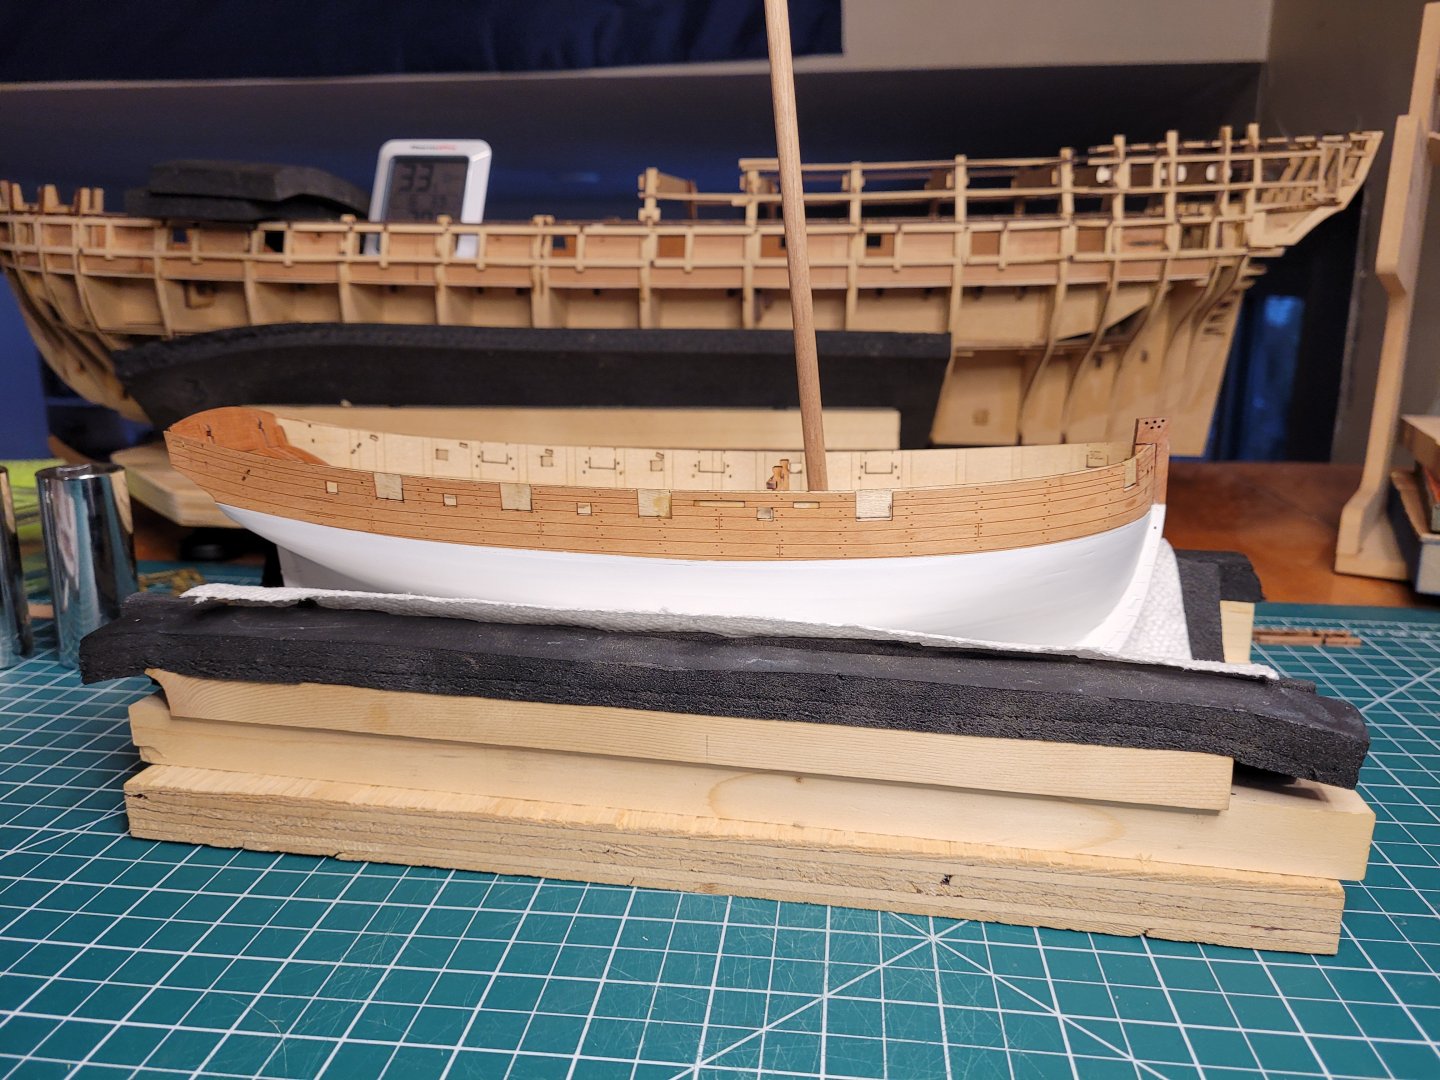
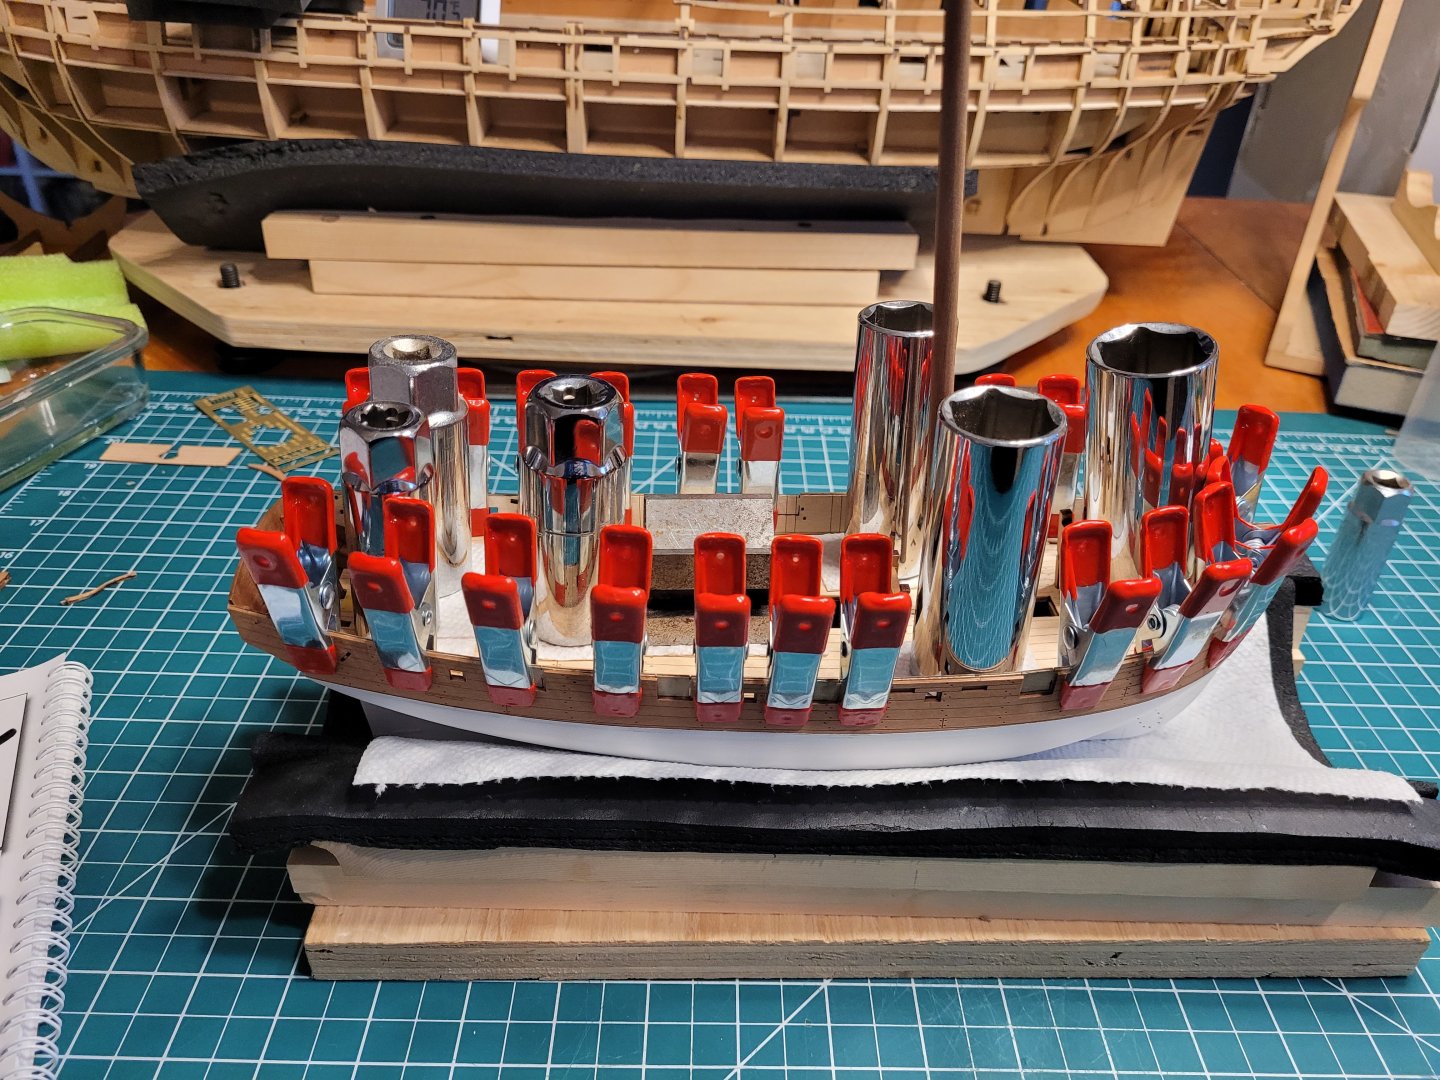
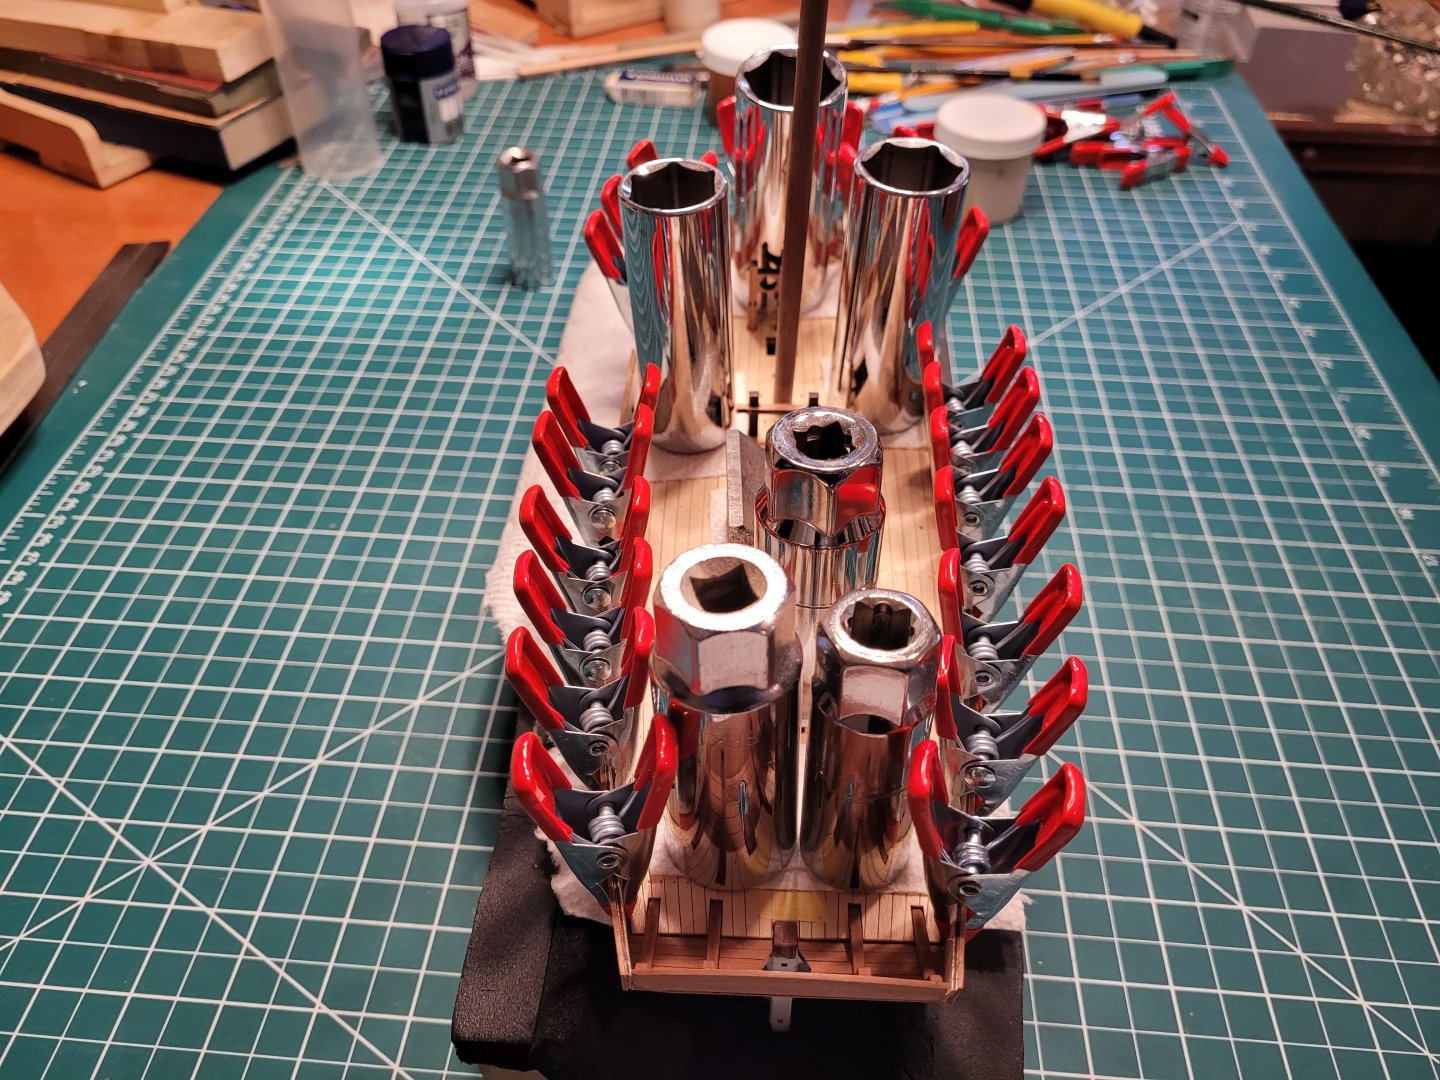
The deck is now down and just waiting on the glue to set fully in a couple of hours. The deck went in very nicely, just a bit of sanding on the notches for the stem and stern posts. I checked the fit dry a couple of times using the mainmast and the bowsprit and main bitts to make sure it all lined up. Then I put them in again after putting the deck down onto the glue to be absolutely sure it's all aligned. A couple of pics glued and with clamps and some weights while drying: Meanwhile, I've been multi-tasking since yesterday. The main wales are downstairs primed and ready for paint, as are the inner bulwarks. The tiller is assembled, sanded and ready for WOP. You can't really see in these pics, but the outer bulwarks have been WOP'd, also the inner transom area. I'll post a pic after the clamps and weights come off. I love what WOP does on pear, gives it a real nice tint. Nick
-
Been there done that LOL. Your build looks great. I'm next up to use the AK matt red; curious about your experience as I tend to have trouble with AK paints and use Tamiya 99.9%. Did you thin (I'm reading 50-50 recommended for airbrush), and by how much and with what? I look forward to your choice about the black. I'll be into black momentarily for the wales and so far have planned to use the AK Smoke Black as suggested in the Sherbourne instructions. Nick
-
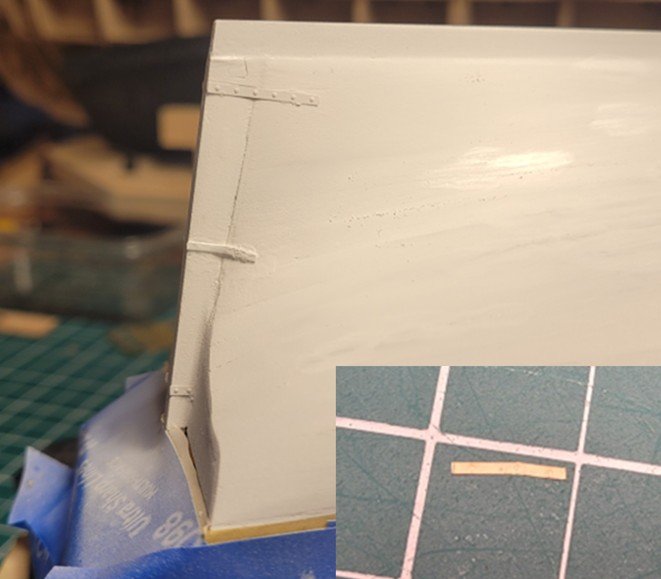
I've finished the hull painting,, even though it doesn't look especially different from the previous pics except I had to add the rudder and sternpost hinges. I think in retrospect that you could glue on the hinges at an earlier stage as soon as you're happy with the smoothing/sanding in the area of the stern. That might have avoided some minor grief by reaching earlier what was effectively a finished hull per the previous pics, but with the hinges in place. Instead of course I had to paint the hinges, which led to re-painting the hull, which led to ... etc. In some ways I could title this post "If It Ain't Broke, Don't Fix It" or "Leave Well Enough Alone". Spraying over the hinges and trying to blend it into the rest of the hull gave me areas where the paint was more or less thick. Where it was thick it was also too thick in places and too thin in others. The unevenness bothered me, and so began what sometimes seemed like an endless go-round of sanding in selected areas to reduce the thickness and then re-spraying to try to even it out. There were also a few stubborn spots with gaps or almost-bare wood that seemed resistant to filling or painting. Touching those up by hand gave me "bumps" which contributed to the go-round. Then at one point, I guess I was too energetic sanding near the stern portside and must have knocked off the middle sternpost hinge. I didn't notice until a bit later, so had no idea of the direction the part may have gone. Three or four searches later with a flashlight ... zilch; eaten by the carpet monster. So I made a new one from the PE sprue; it's a bit bent from trying to punch the bolts, but it is what it is. Anyway, irritation was minor, and mainly about having to repeatedly clean the airbrush. On to next steps; more later. Nick
-
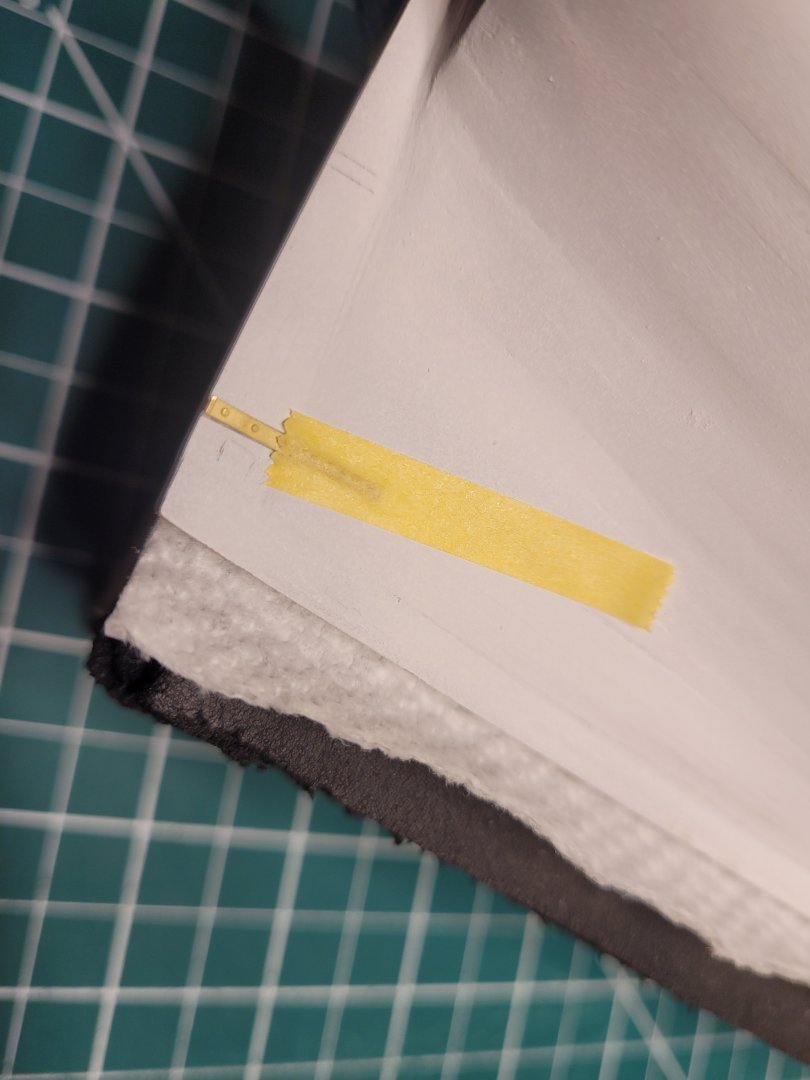
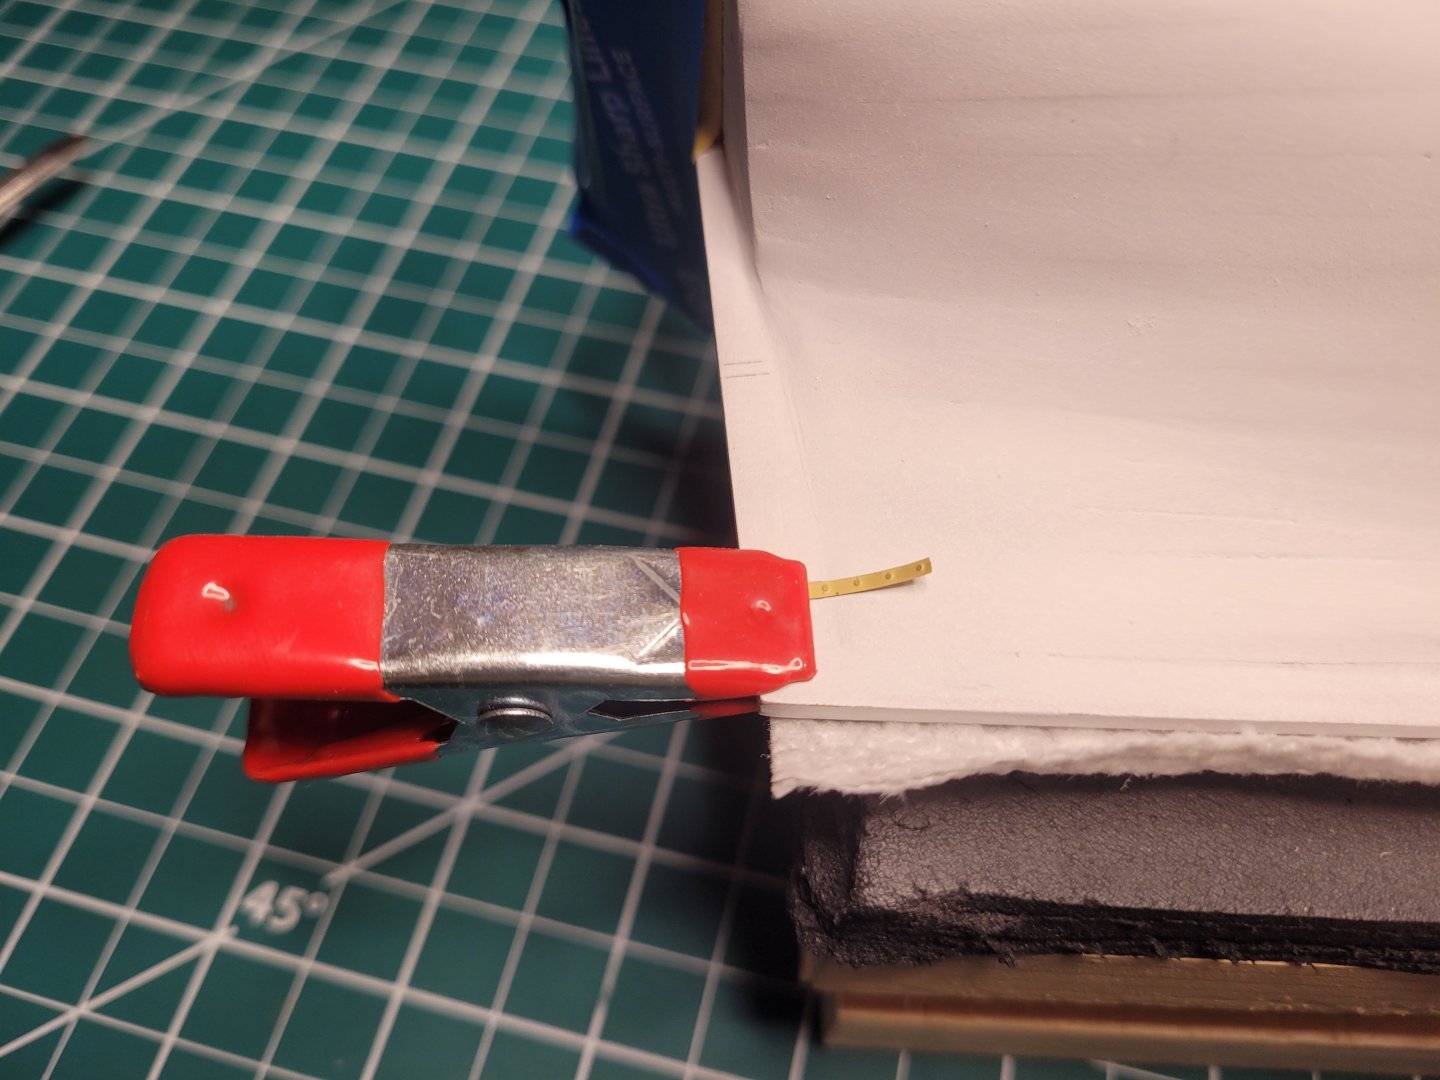
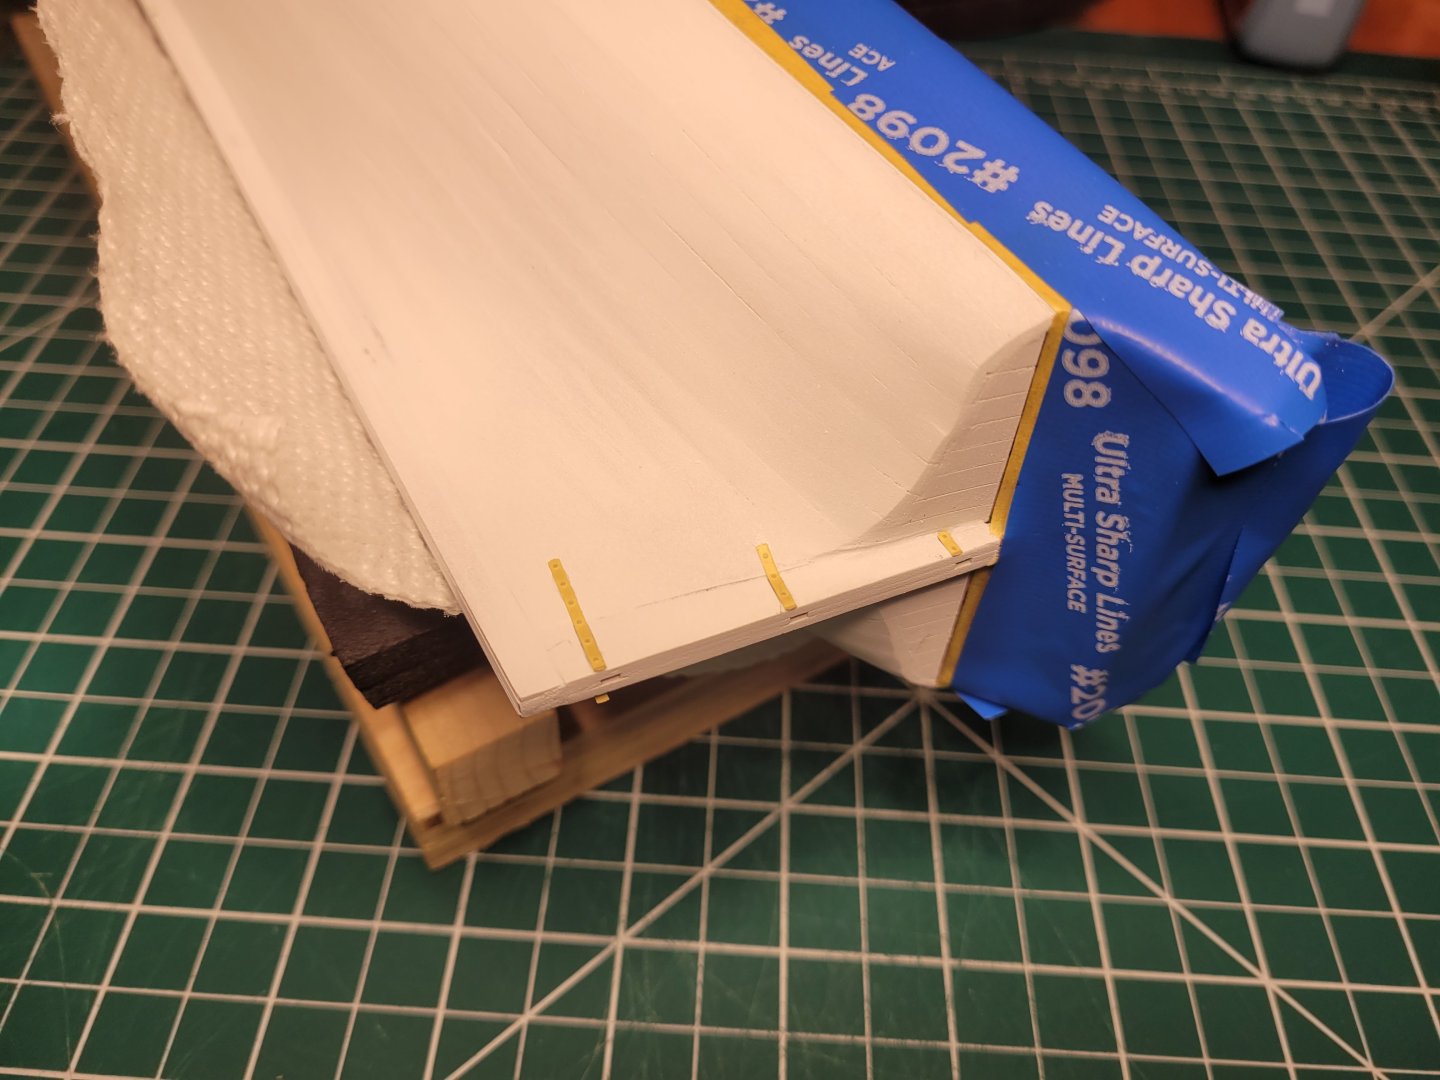
I'm finding as I say that picking up the PE parts with the wax pencil is a breeze, but getting an accurate placement is tricky because the wax pencil has just enough resistance to coming off that the part won't always stay where you want it, so doing it with glue is dicey. So I'm putting a length of masking tape on the part and then using that to get the right position and stick the tape down to hold the part in place. Then I'm putting a clamp on the other end and removing the tape, making sure to remove it starting with the end of the tape that's on the part to be sure not to move the part. Then I can gently lift up the exposed part, put some glue on and press it down. Then the clamp comes off and I repeat with the other end of the part. That's working well, although only for the lower two parts; there's just not enough space to do this for the upper part. So that's placement/glue with just the was pencil, which is a bit nerve-wracking, but one down ok and one to go. The rudder parts should be easy as it's not installed and is more accessible. I decided to use medium CA glue; the extra-thin is just too runny. I load up the microbrush, but smear off the glue so that there's a minimum left on the brush, and then apply it to the part or the hull. Nick
-
The wax pencils arrived this morning, and they're indeed excellent for picking up and placing those small PE parts. As LoydB says, I'm not seeing any residue to speak of, maybe just a hint, but also as LoydB says a wipe with ISO after gluing should clean them for painting. I've only done it once, but sharpening is a bit finicky. The wax breaks off in a regular pencil sharpener, so best seems to be to use a utility knife to sharpen carefully. Thanks again Loyd B for the suggestion. Nick
-
Many thanks both of you. I'll follow Nightdive's parts list; looks good on his photo. Palmerit: I was just going to paint these sternpost/rudder parts white as per the instructions and Nightdive's pic, and keep in brass for the rest. On the "rest", i.e. the depth markings and the horseshoes, I'm not sure if I'll try blacking them, or just paint. I've cleaned them first with alcohol; I wonder if that might make a difference with adhesion. I might experiment (ref Palmerit with primer/paint/clear; likewise prefer Tamiya to Vallejo) with dummy pieces from the fret and some pear leftovers. I also need to think/experiment about the glue. I was using medium CA for the second planking, which worked great. But I can see your point that it could be too thick for these parts. I might experiment with Tamiya extra-thin also. Thanks again. Nick
-
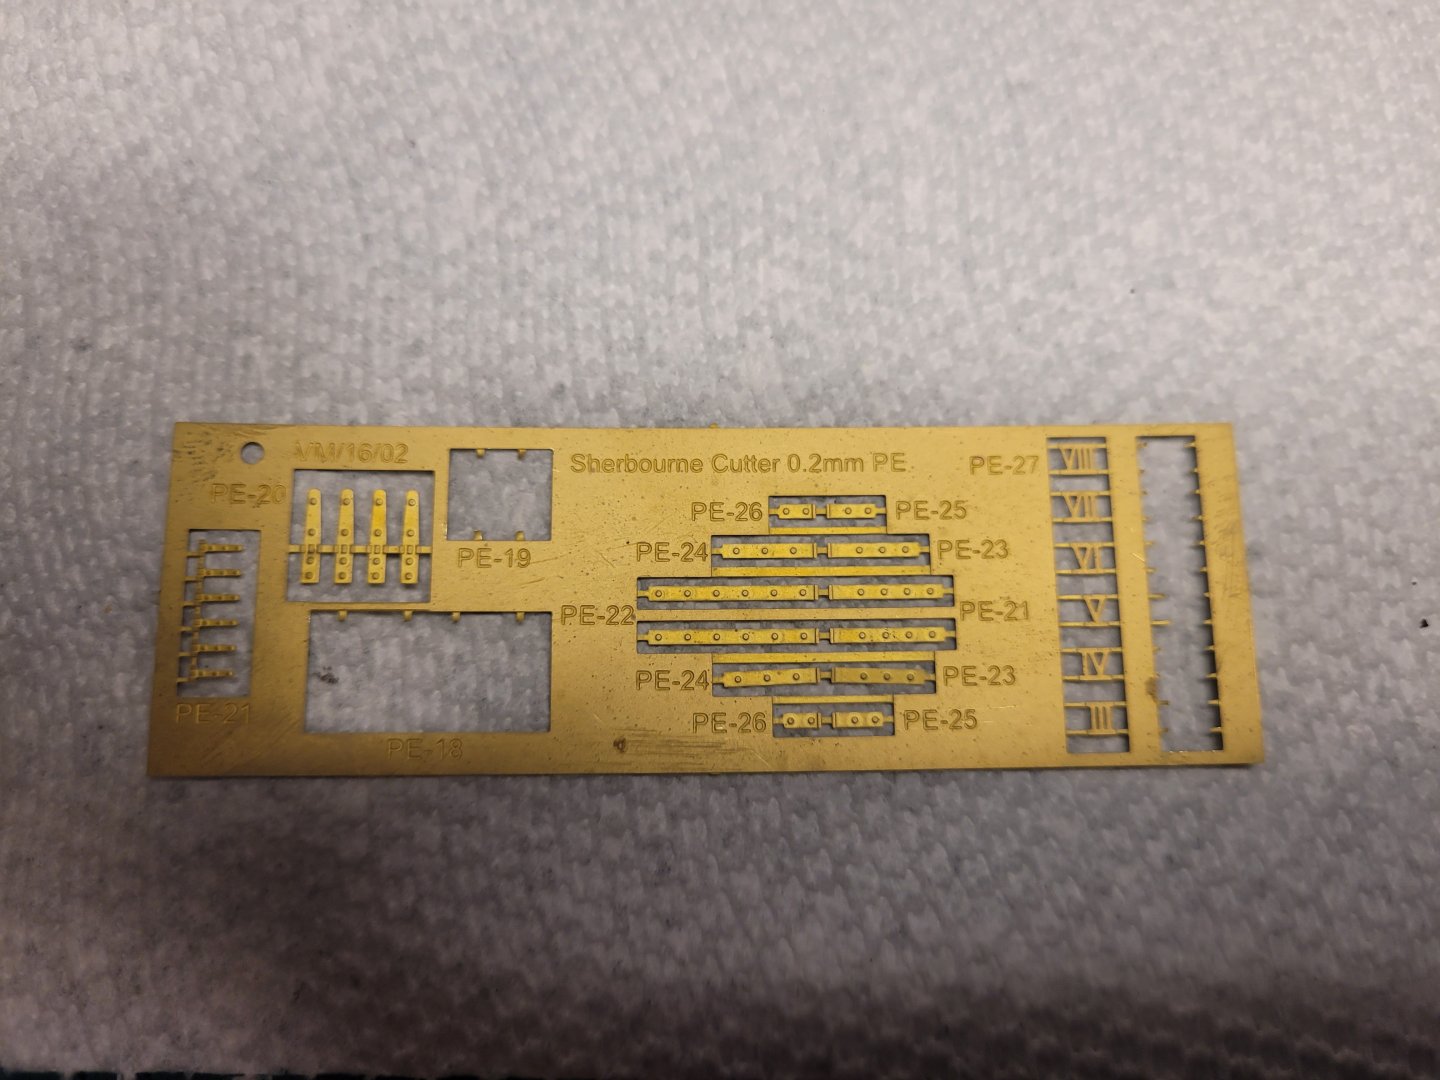
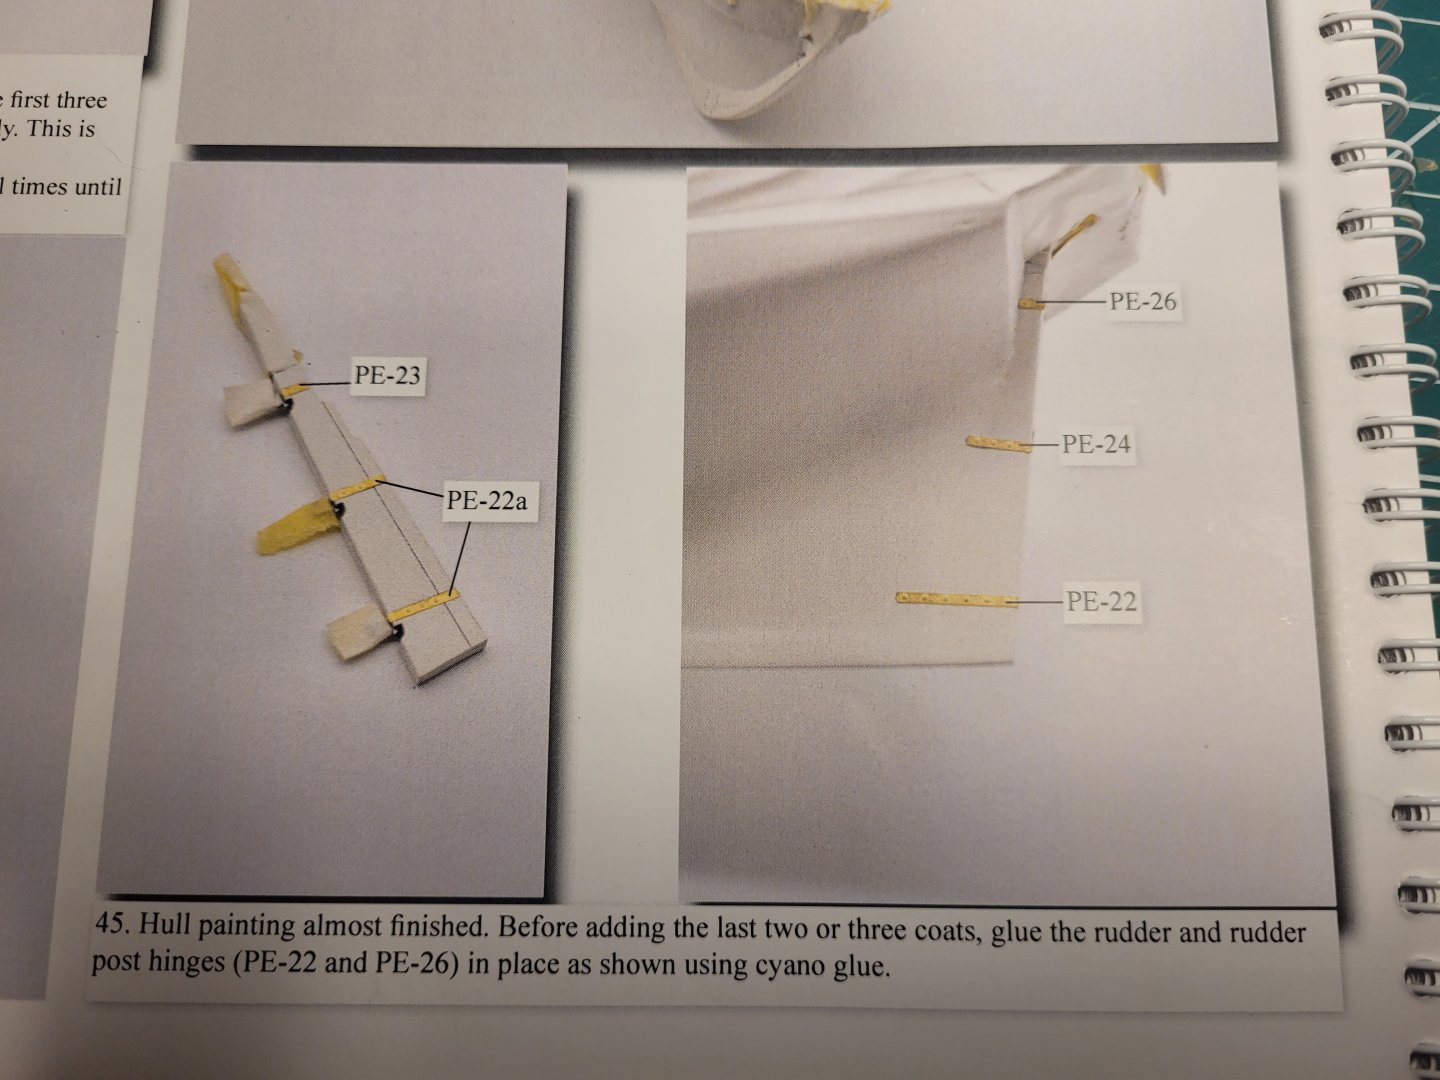
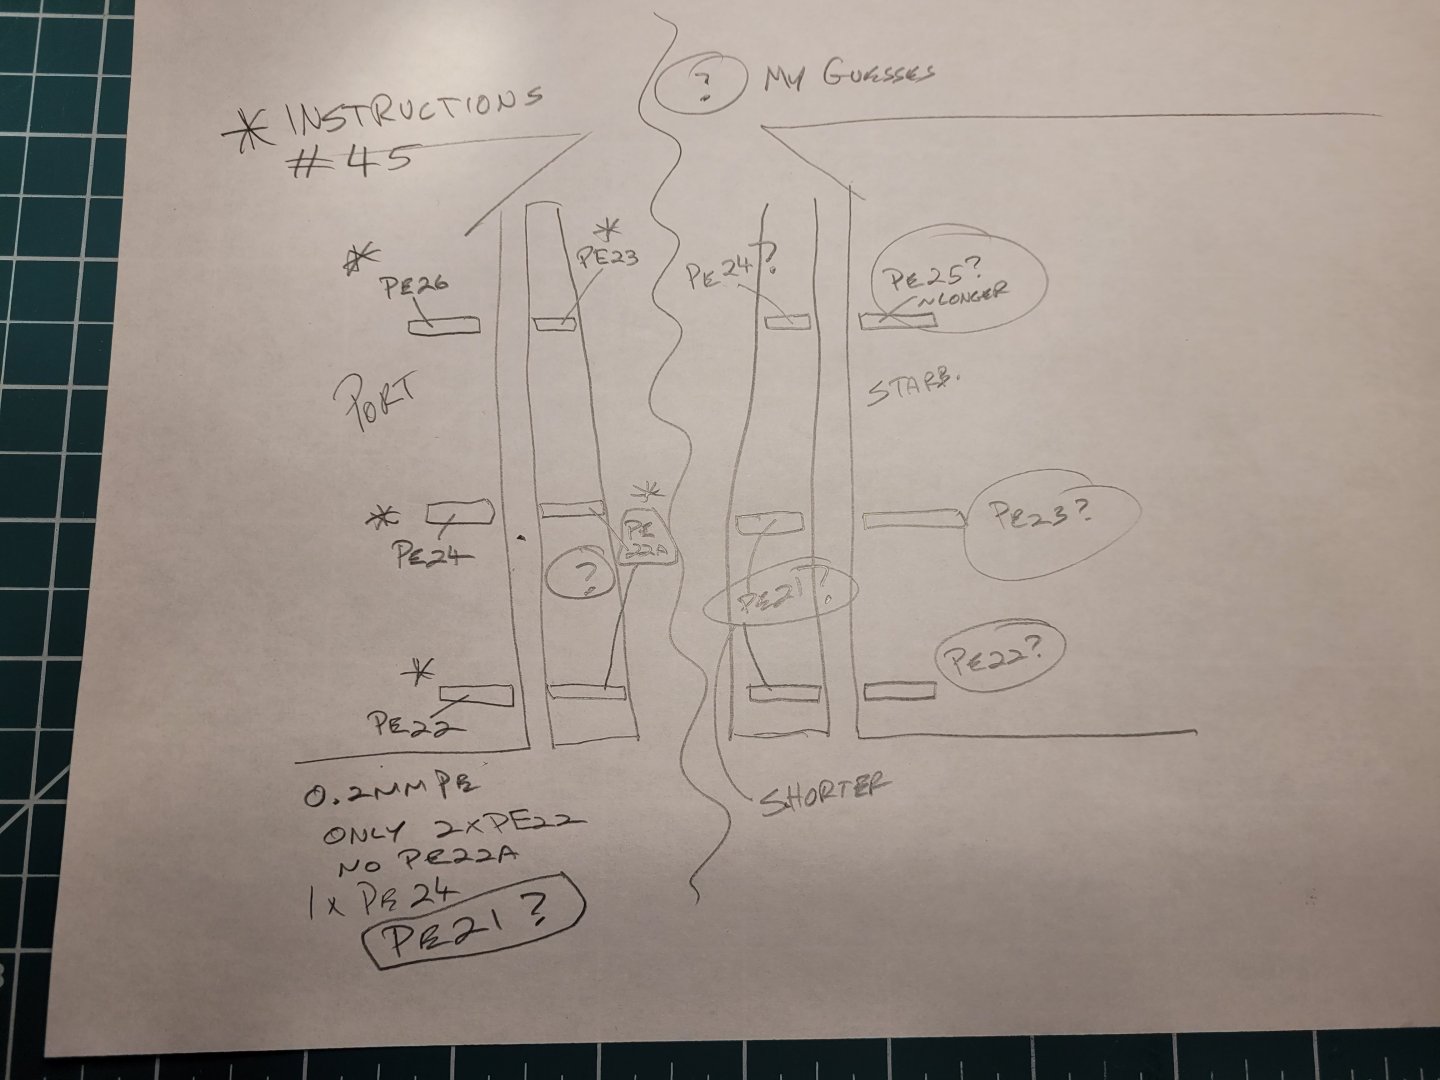
Darned if I can figure out the PE parts placement for the stem/rudder hinge parts. Others haven't mentioned it, I looked at 3 or 4 other build logs, and they obviously figured it out, so clearly I'm an idiot. So if anyone can help this idiot, much appreciated. The instructions pic below shows portside only. But even assuming the numbers match for starboard side, there's e.g. no PE22a and b. The PE fret below as well, also my lousy sketch of the parts portside per the instructions, along with my guesses so far what matches what starboard side. If anyone can straighten me out on this, much appreciated. Nick
-
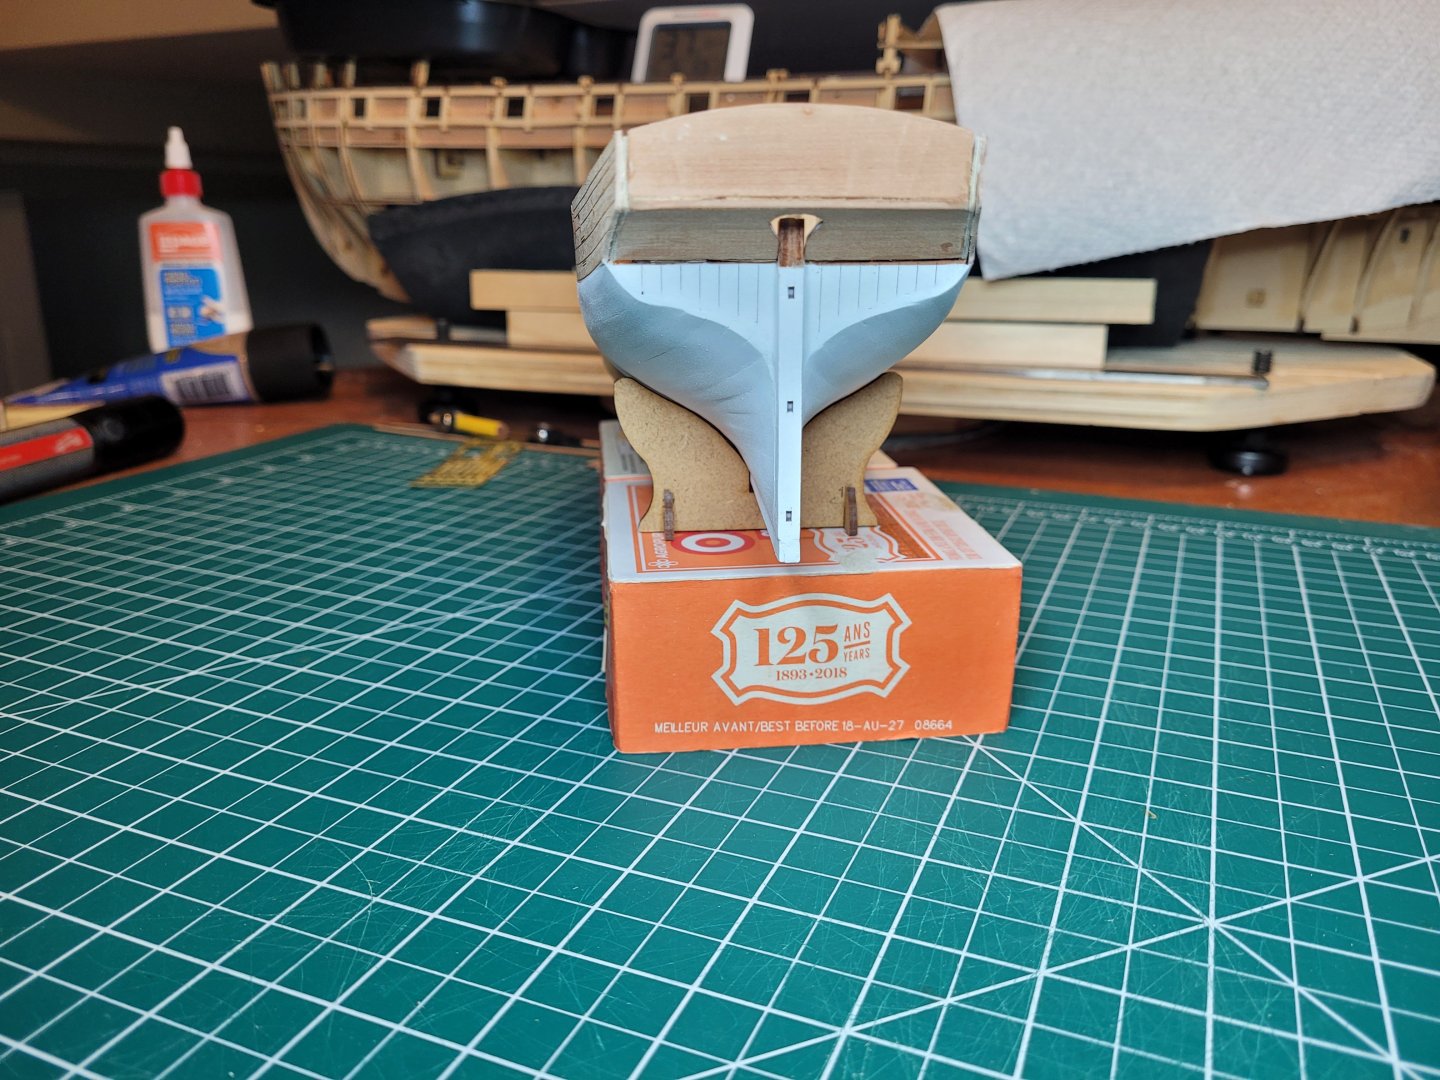
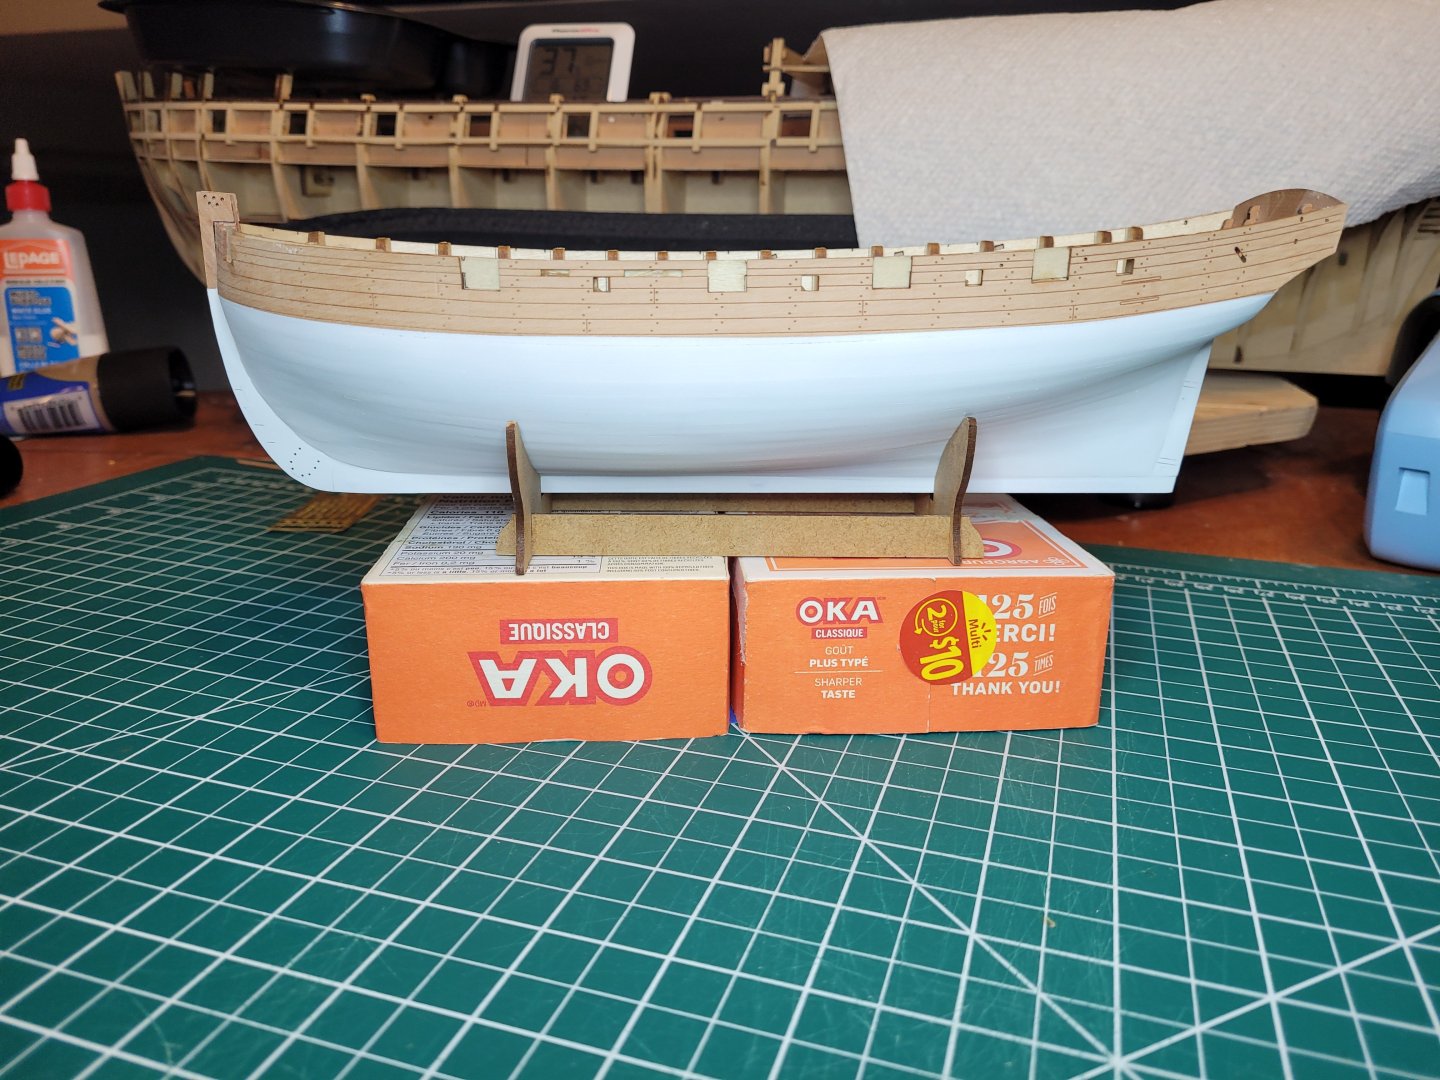
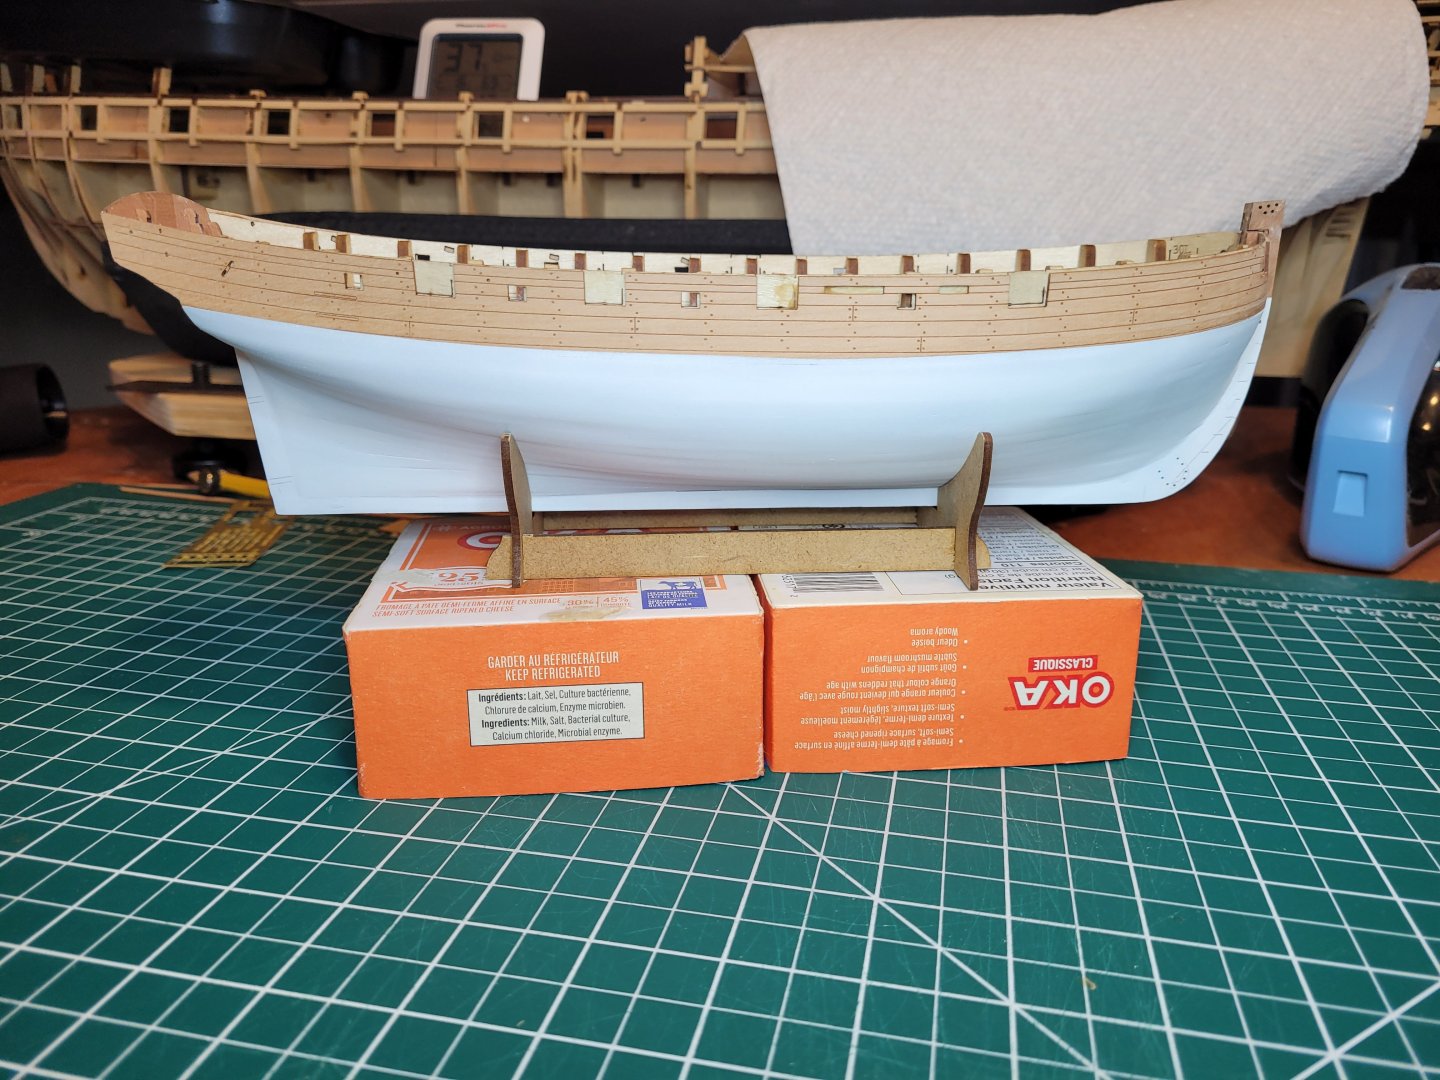
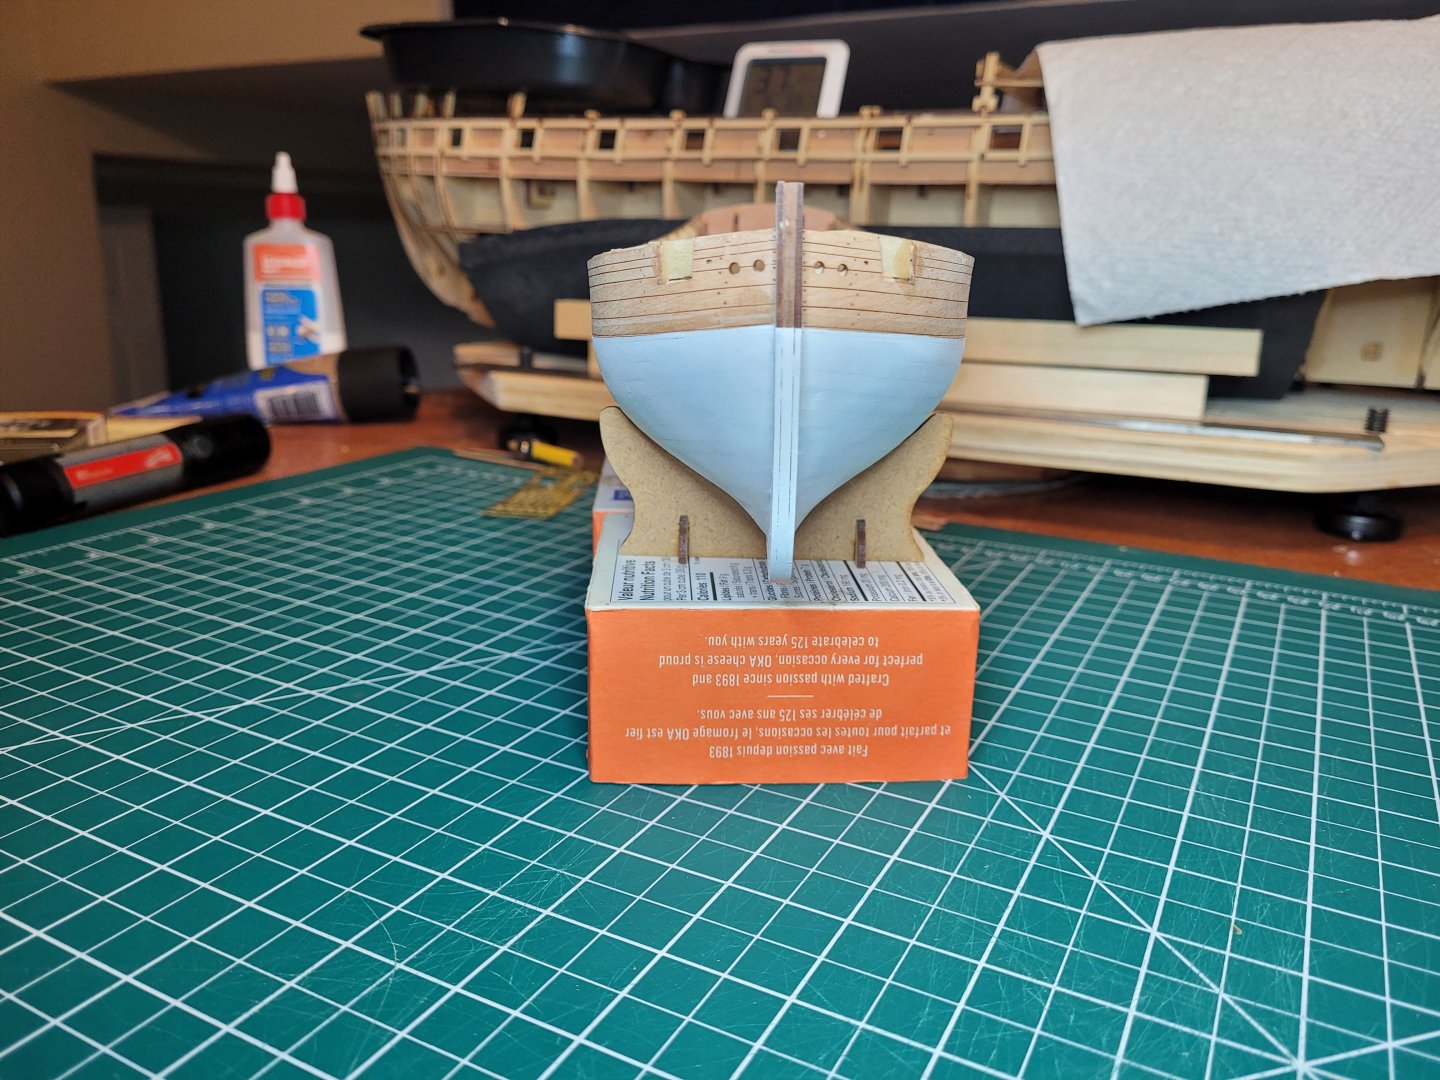
Painted. Some own questioning going on as to whether or not I should rework any of it, but it's growing on me as probably done. There's some variance in the coverage, and I'll appreciate any comments as I mull it over for the next day or so, but I'm tending to the idea that it's not worth remedial work. And overall hafta say I like it. One thing that worked out well was the masking which gave me a clean line. I am going to re-do the stem; I guess I overlooked filling those gap lines. Nick
About us
Modelshipworld - Advancing Ship Modeling through Research
SSL Secured
Your security is important for us so this Website is SSL-Secured
NRG Mailing Address
Nautical Research Guild
237 South Lincoln Street
Westmont IL, 60559-1917
Model Ship World ® and the MSW logo are Registered Trademarks, and belong to the Nautical Research Guild (United States Patent and Trademark Office: No. 6,929,264 & No. 6,929,274, registered Dec. 20, 2022)
Helpful Links
About the NRG
If you enjoy building ship models that are historically accurate as well as beautiful, then The Nautical Research Guild (NRG) is just right for you.
The Guild is a non-profit educational organization whose mission is to “Advance Ship Modeling Through Research”. We provide support to our members in their efforts to raise the quality of their model ships.
The Nautical Research Guild has published our world-renowned quarterly magazine, The Nautical Research Journal, since 1955. The pages of the Journal are full of articles by accomplished ship modelers who show you how they create those exquisite details on their models, and by maritime historians who show you the correct details to build. The Journal is available in both print and digital editions. Go to the NRG web site (www.thenrg.org) to download a complimentary digital copy of the Journal. The NRG also publishes plan sets, books and compilations of back issues of the Journal and the former Ships in Scale and Model Ship Builder magazines.


