PAckerman
-
Posts
20 -
Joined
-
Last visited
Content Type
Profiles
Forums
Gallery
Events
Everything posted by PAckerman
-
I would say go for it if you like the look. I know I do and wish I was a little more meticulous when adding them to my sherbourne, but I have had to take them out for one reason or another.
-
Looks awesome!
-
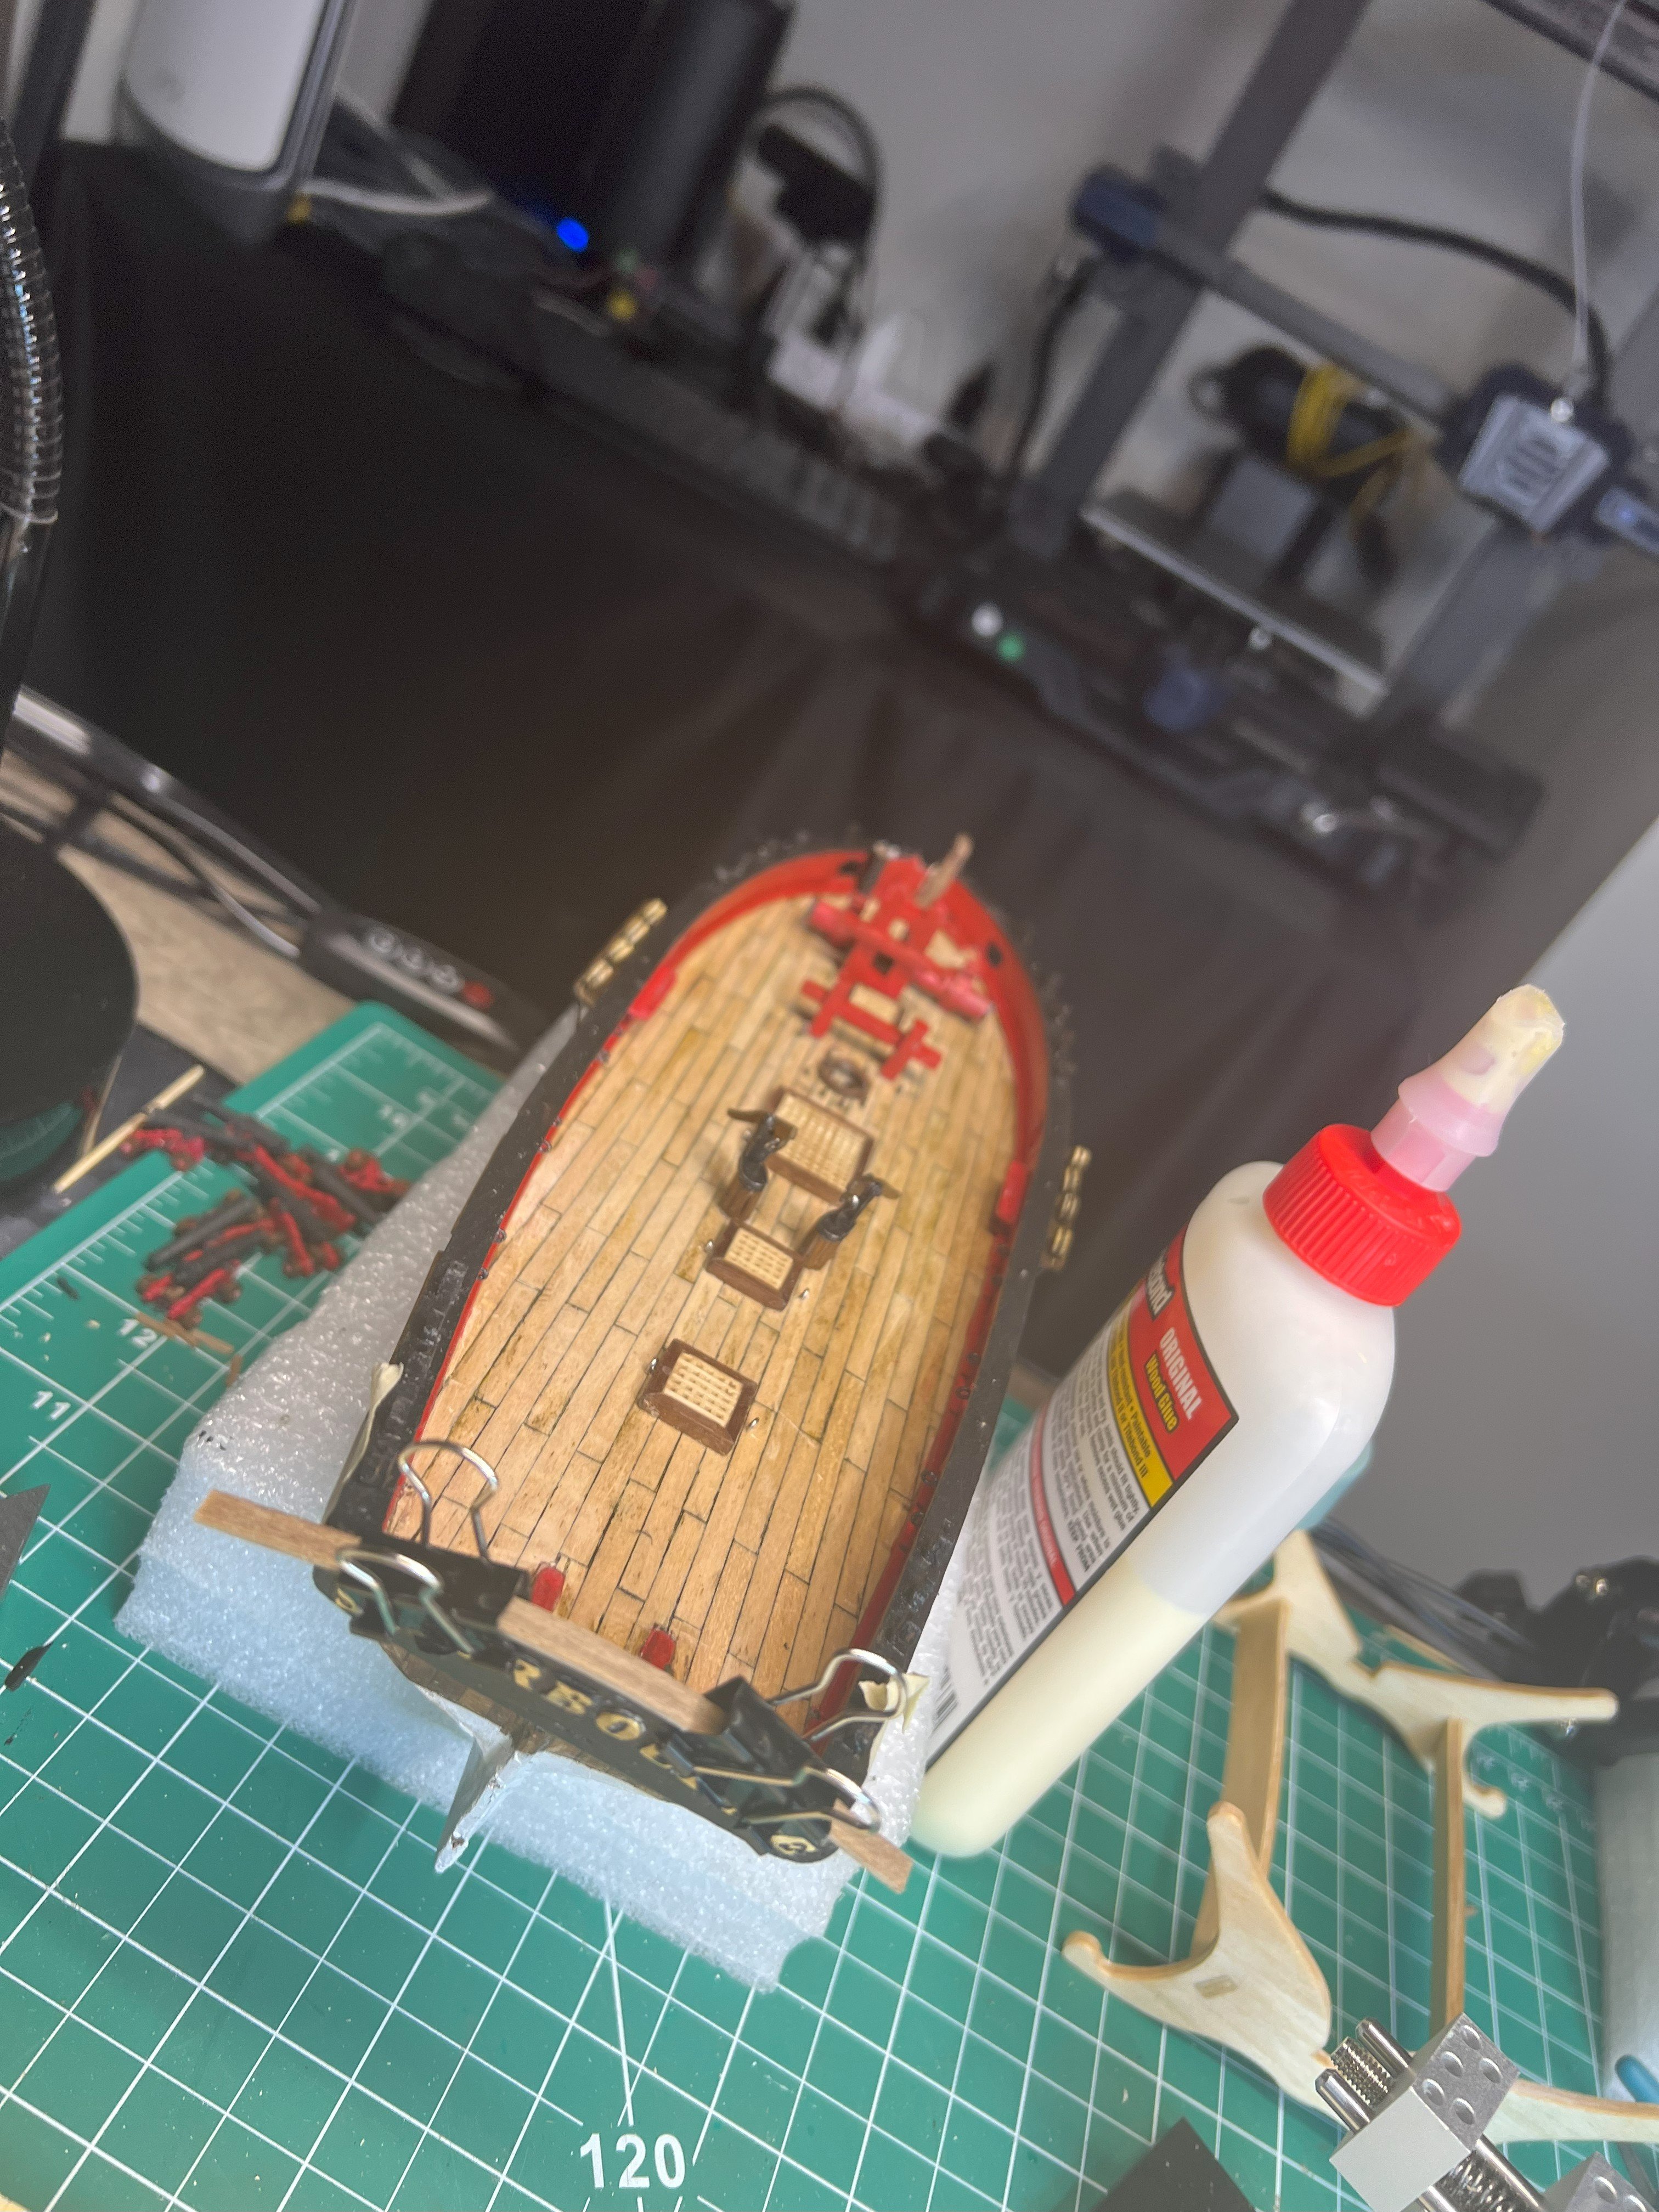
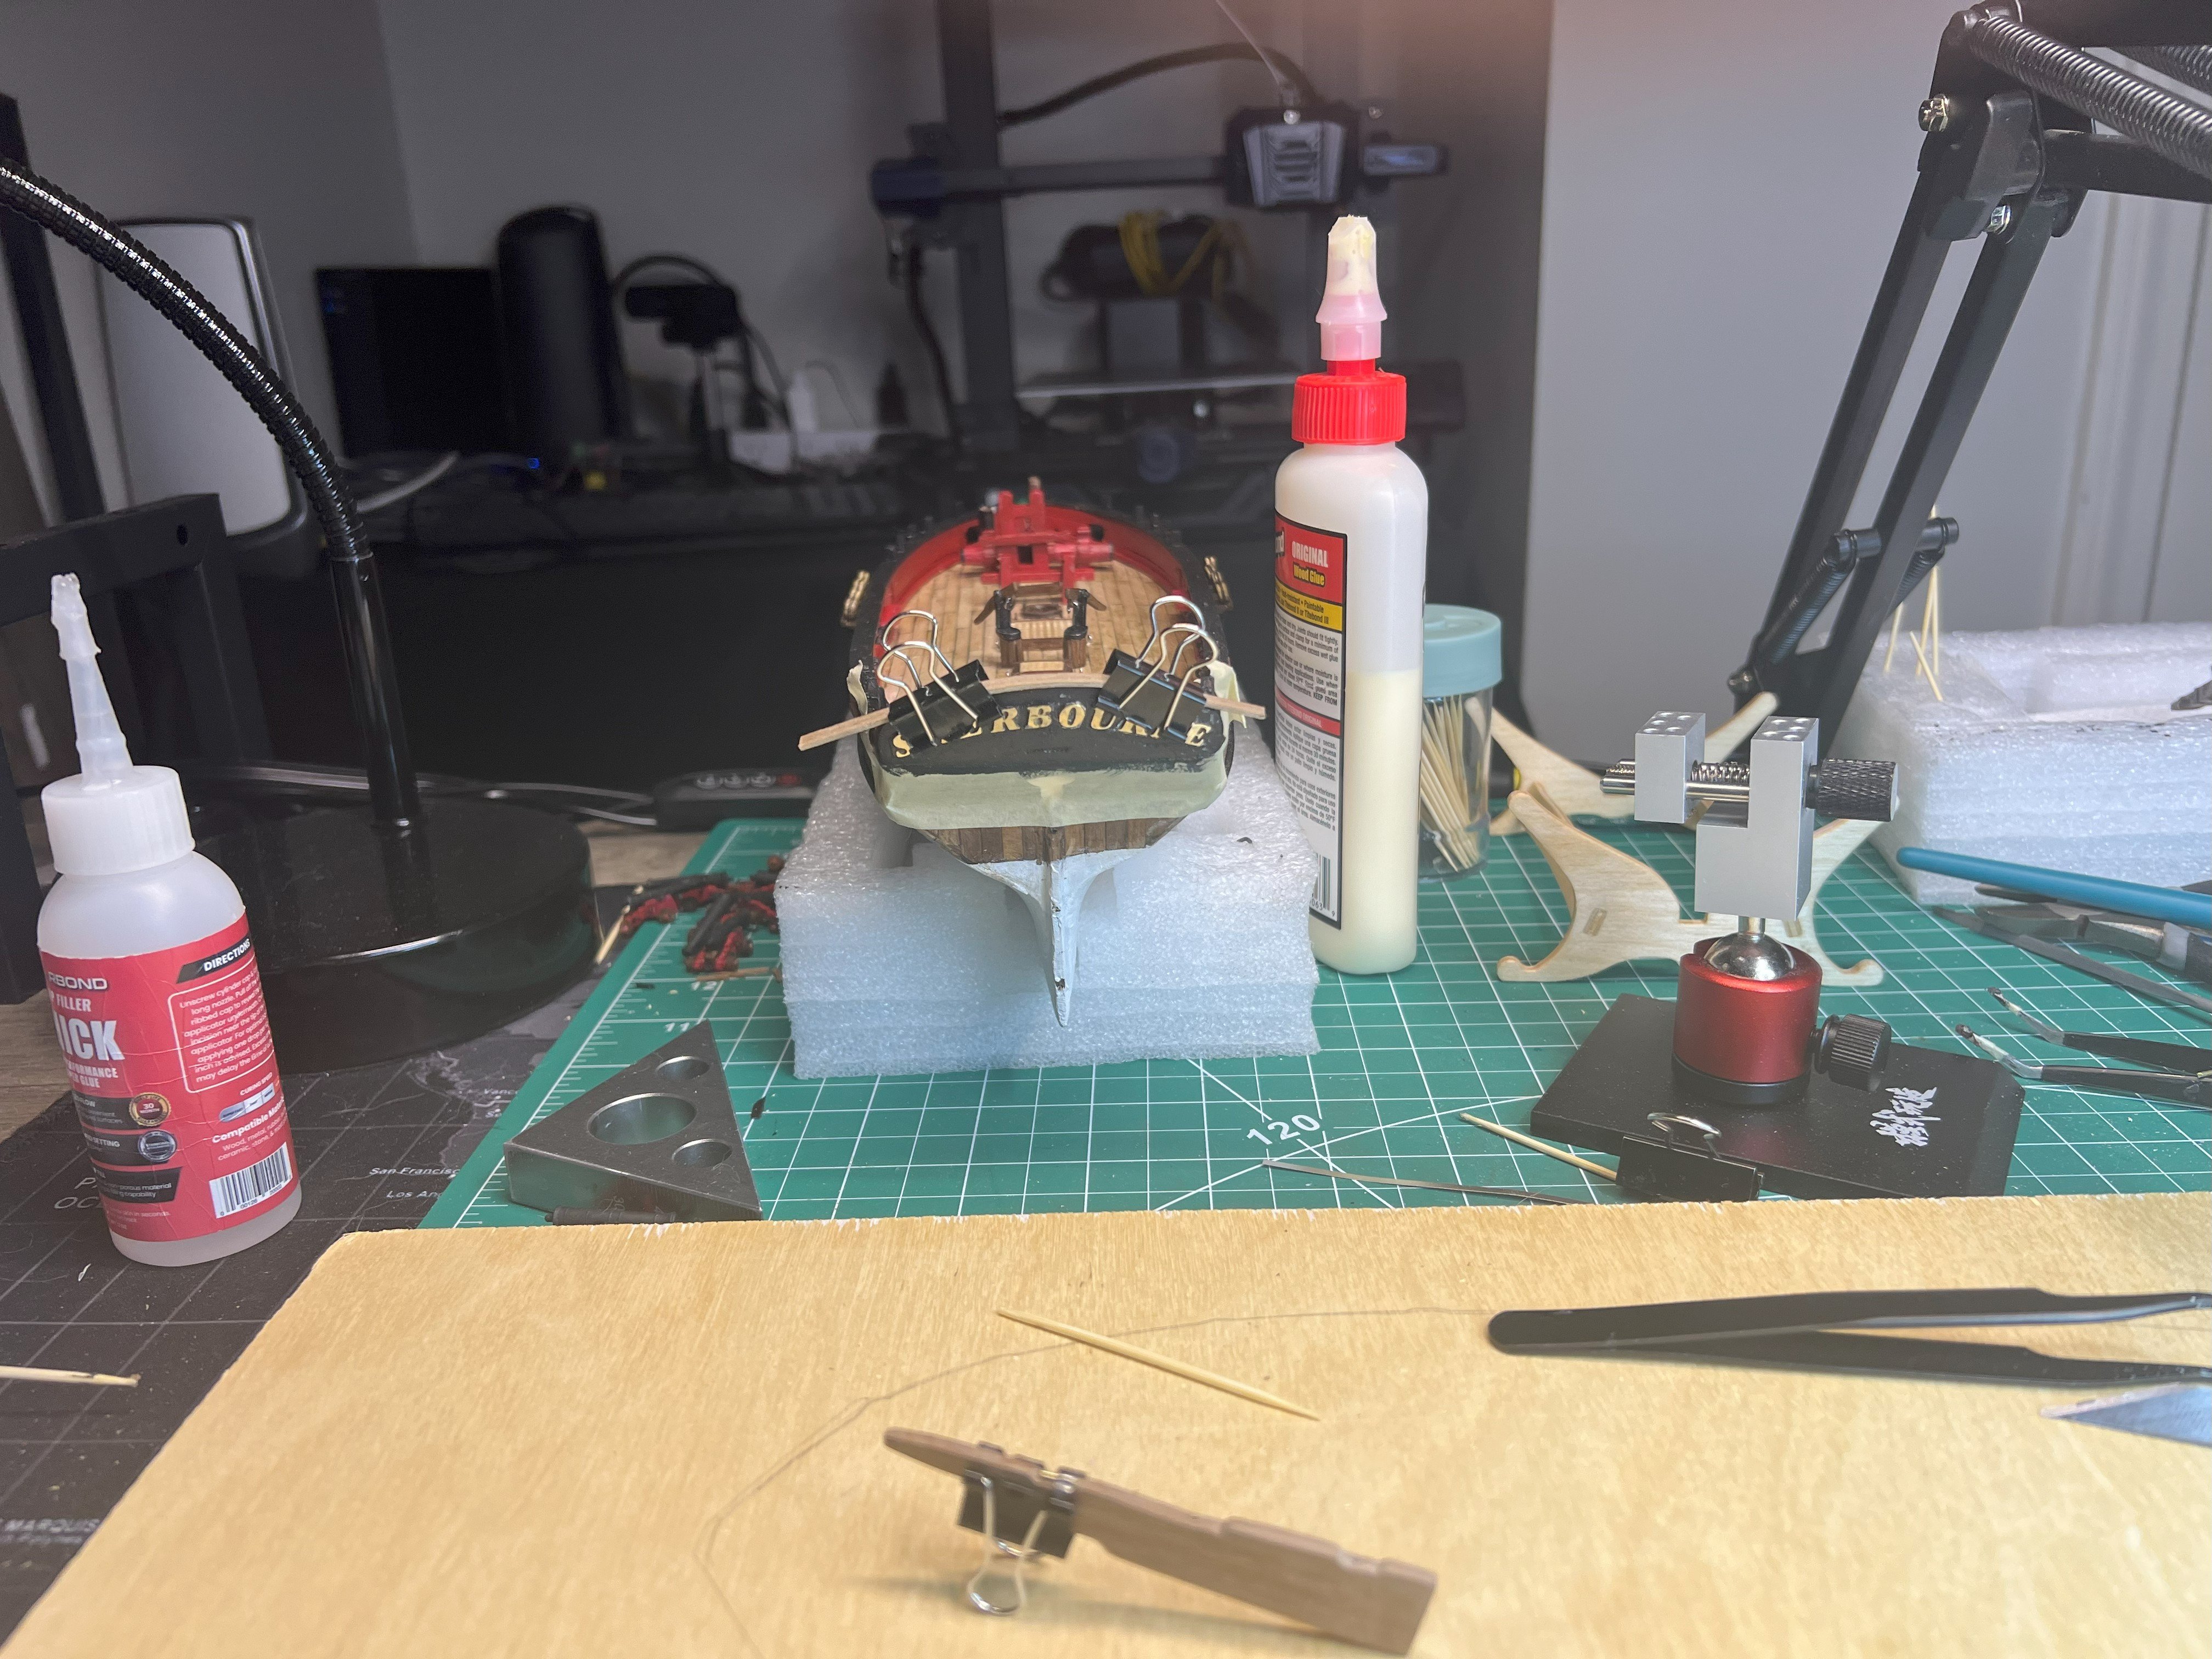
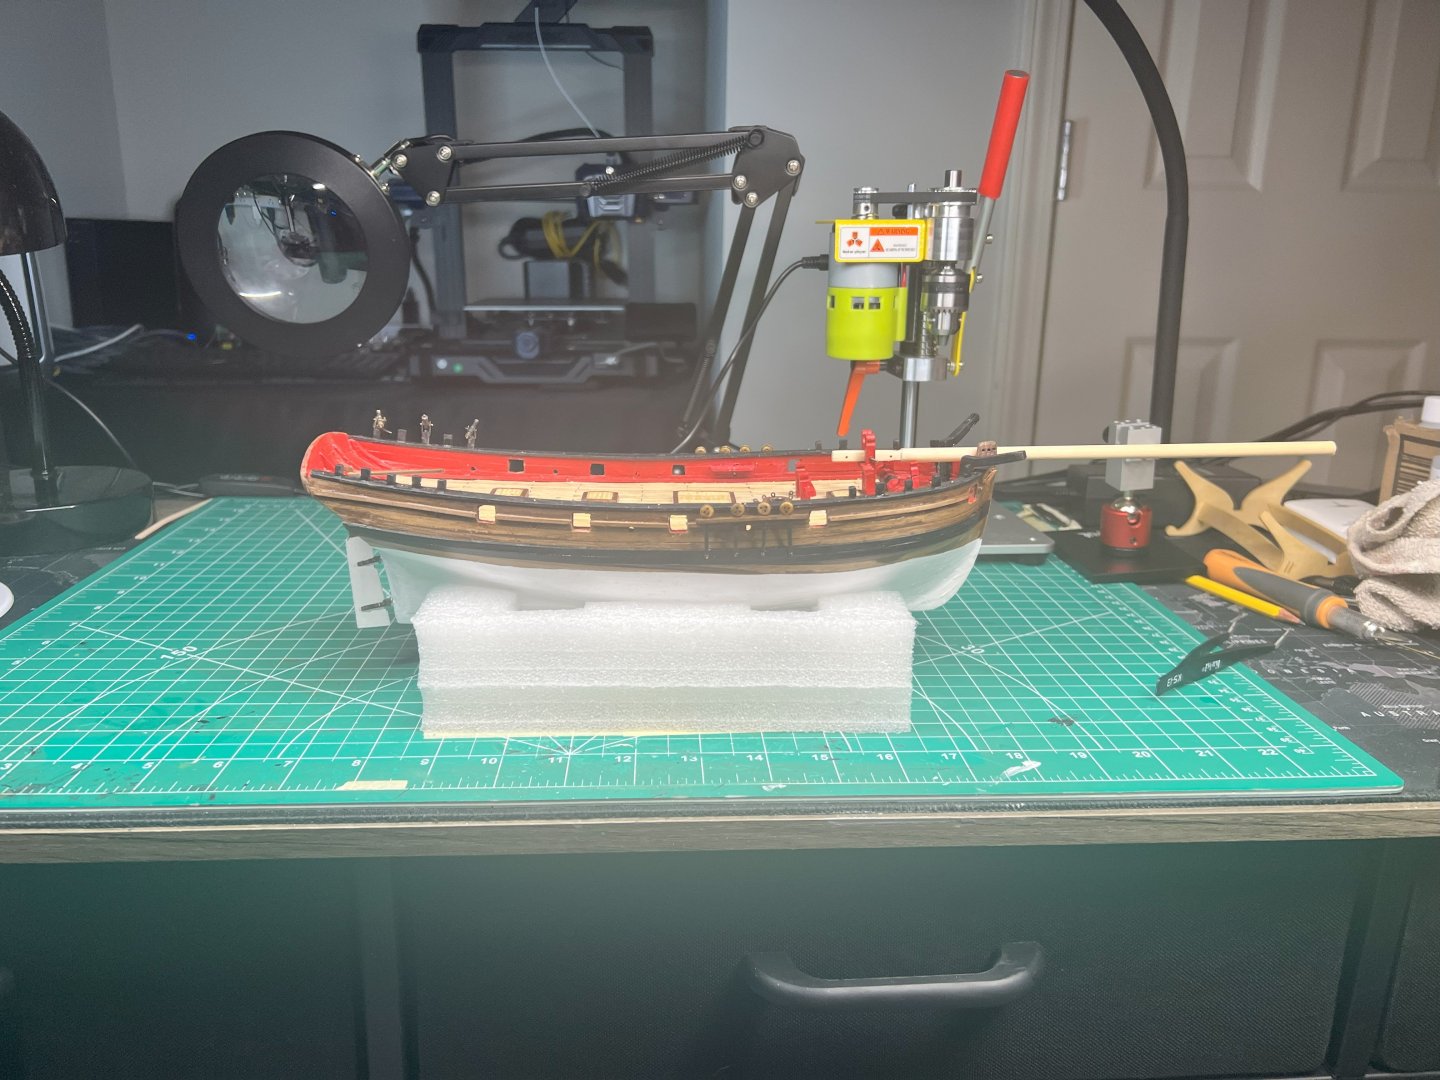
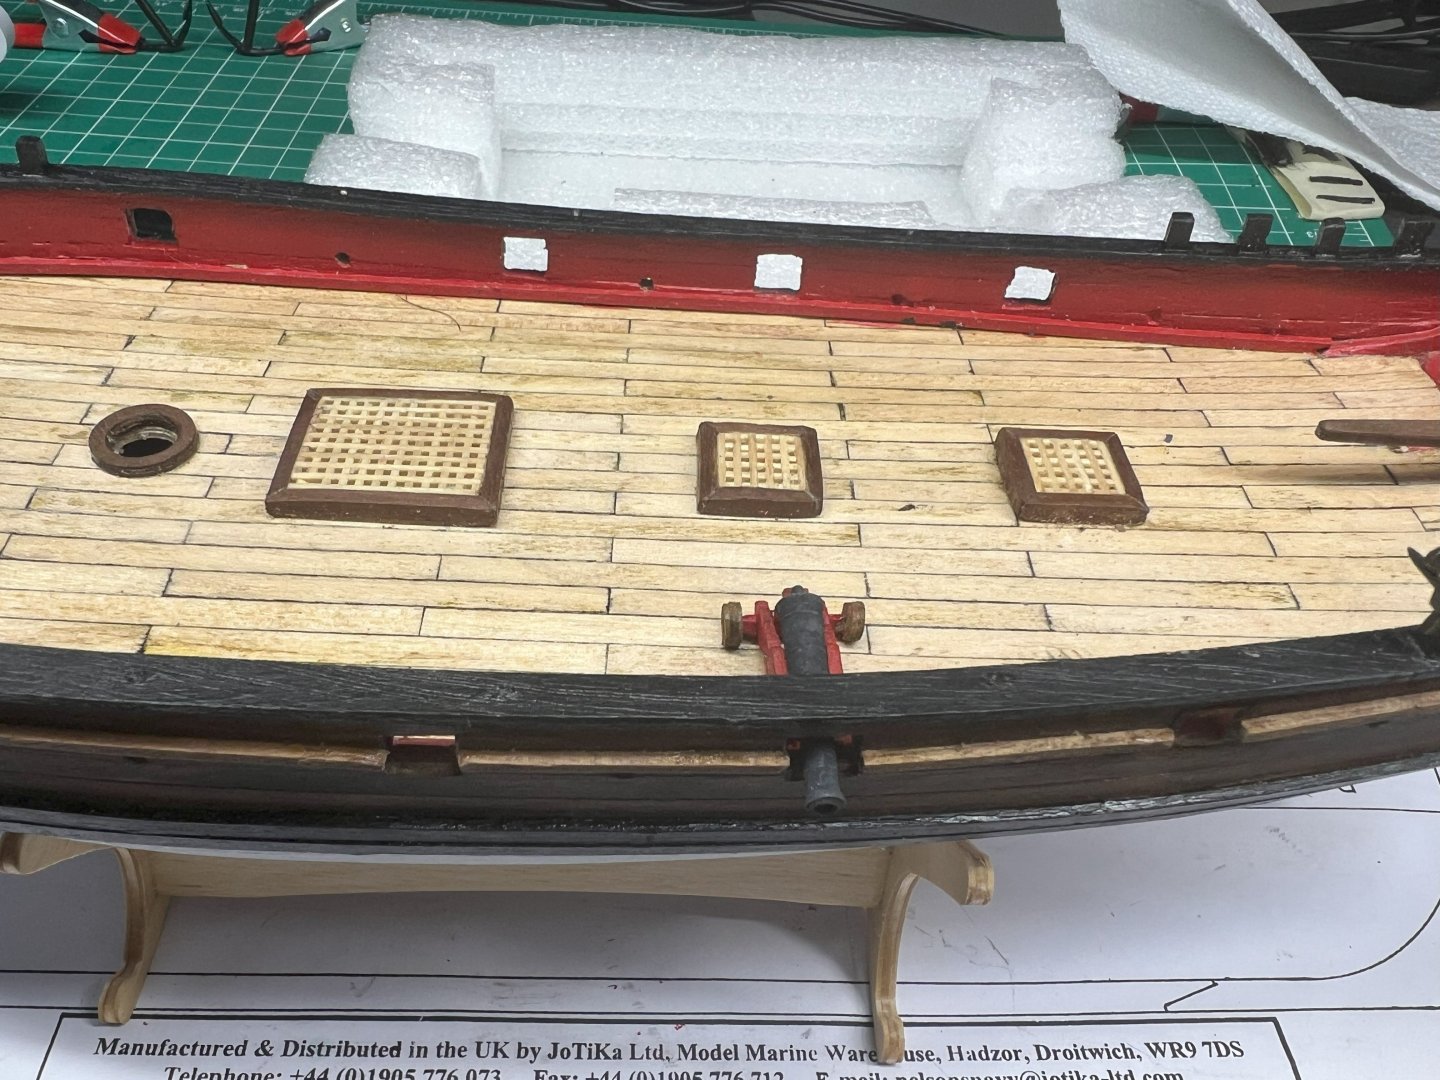
Its been a crazy week and only getting a couple hours at most during it. Been in the shipyard today and after some pondering, I was not happy with some of the looks so I am redoing a few things. Rework of the rudder mainly, but also on the letters for Sherbourne. They were not aligned good enough. Swivel guns were not to my liken either so I yanked them off. I will decide what to do with them later. Anyway, I made some progress since the last time I posted and the images are below.


-
Looking good! Following intently.
-
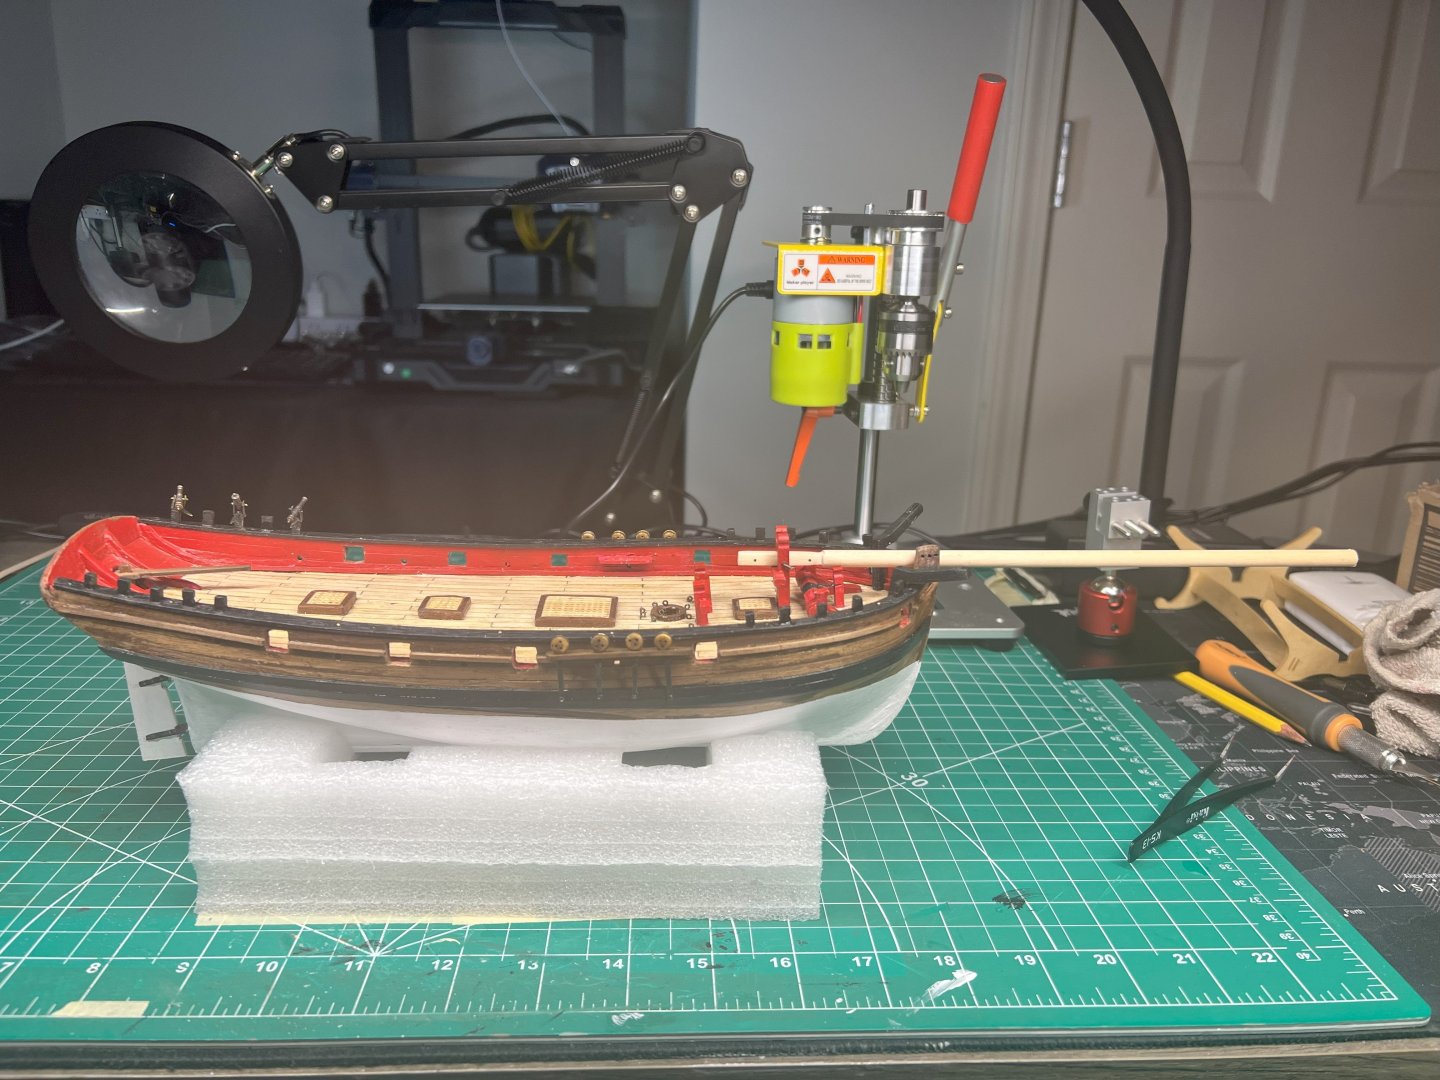
Thank you. I looked over your images and others extensively. It is helping me out. I wasn't able to make large amount of progress, but have been working on some smaller finer detail items. I should expect little progress now. Anyway. Thanks to the opinions. I went with them. I reversed that and built a few smaller parts. I also learned to make the photos smaller. Hope this works.

-
You are correct. I am still learning some of the names. I was looking at it all day and I was thinking the same thing. its tight. It only helps with the look a little bit, but is not functional. Thank you both.
-
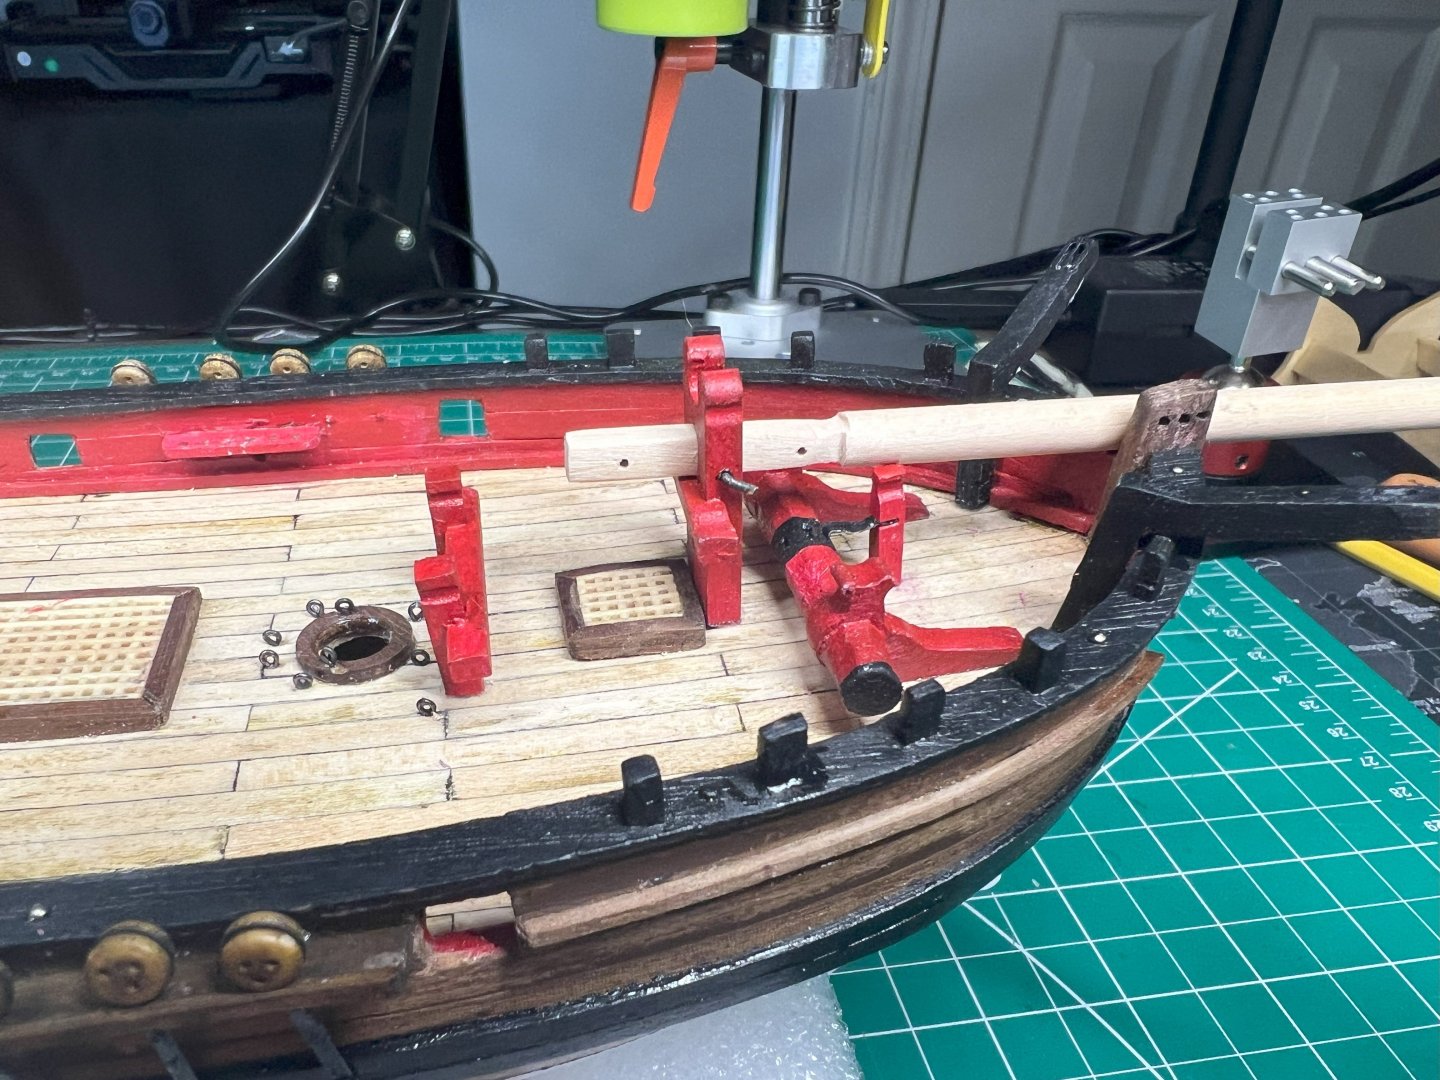
I am looking for multiple opinions/points of view - I added trim out in the back gunport - it was not in the plans, but I feel it gives it a better look, but I also put the cannon in the one without the trim out and it too doesn't look bad. Which do you prefer? Some may say its only my opinion that counts, true, but I value others.


-
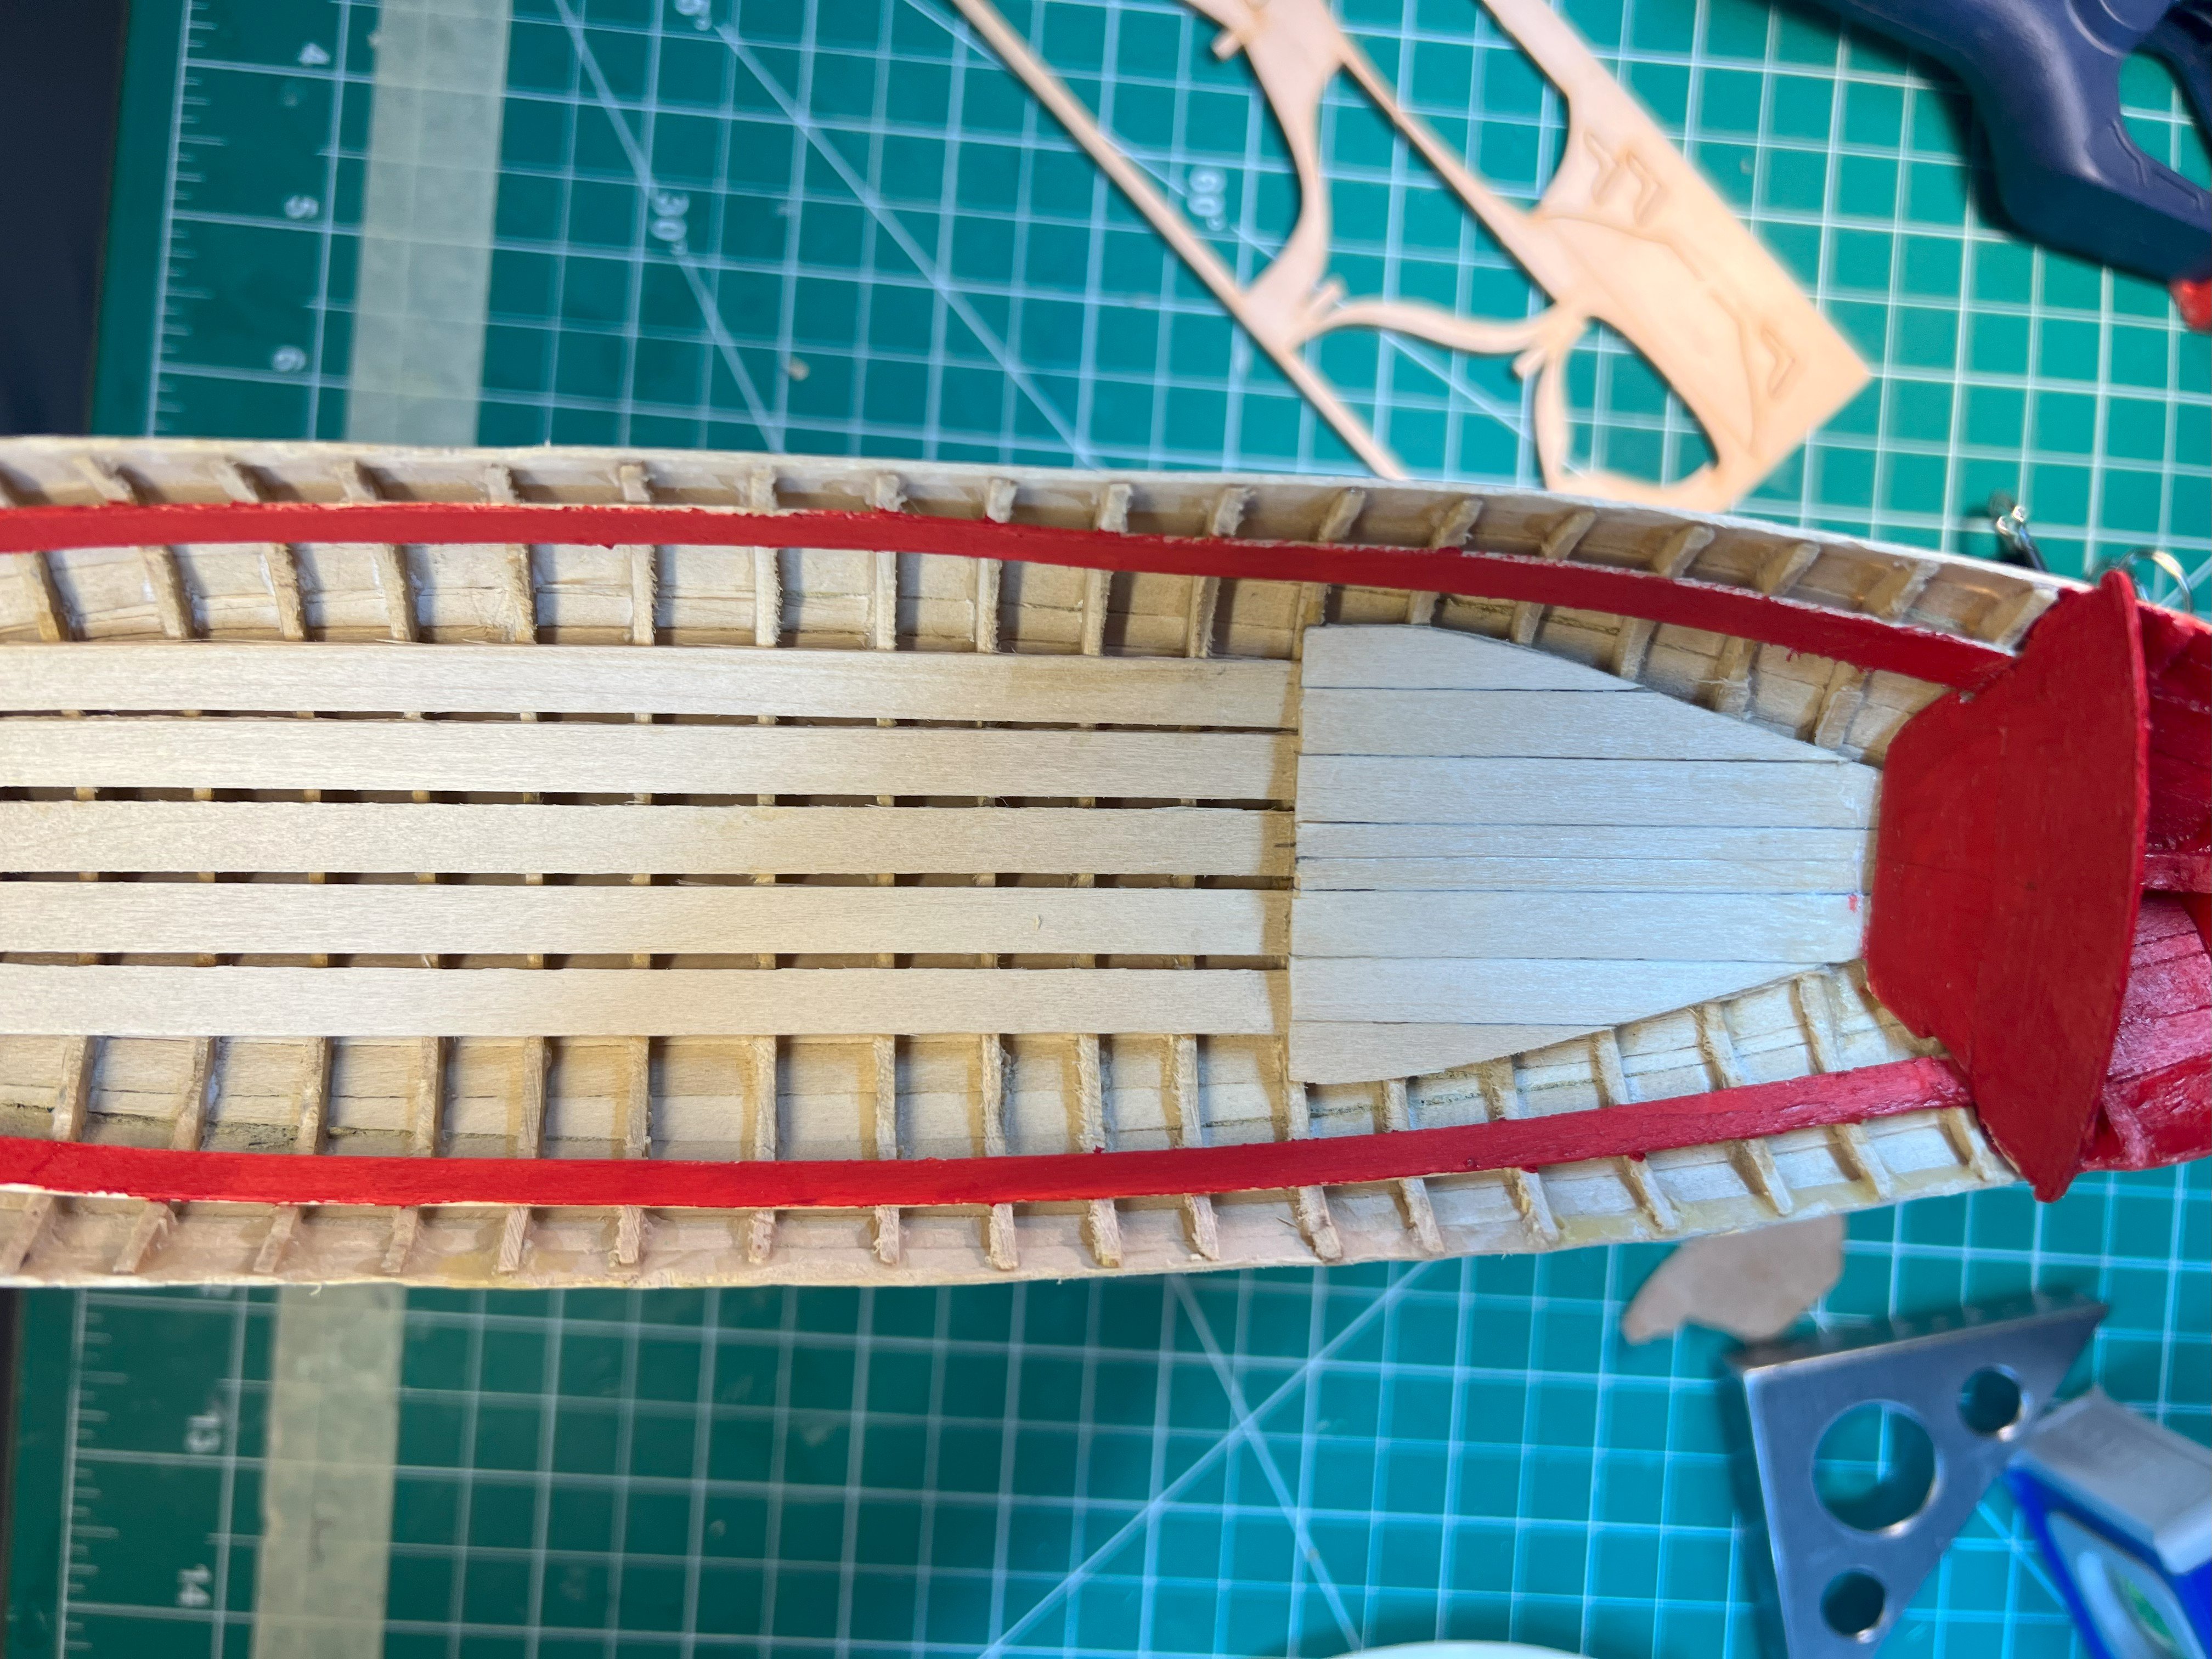
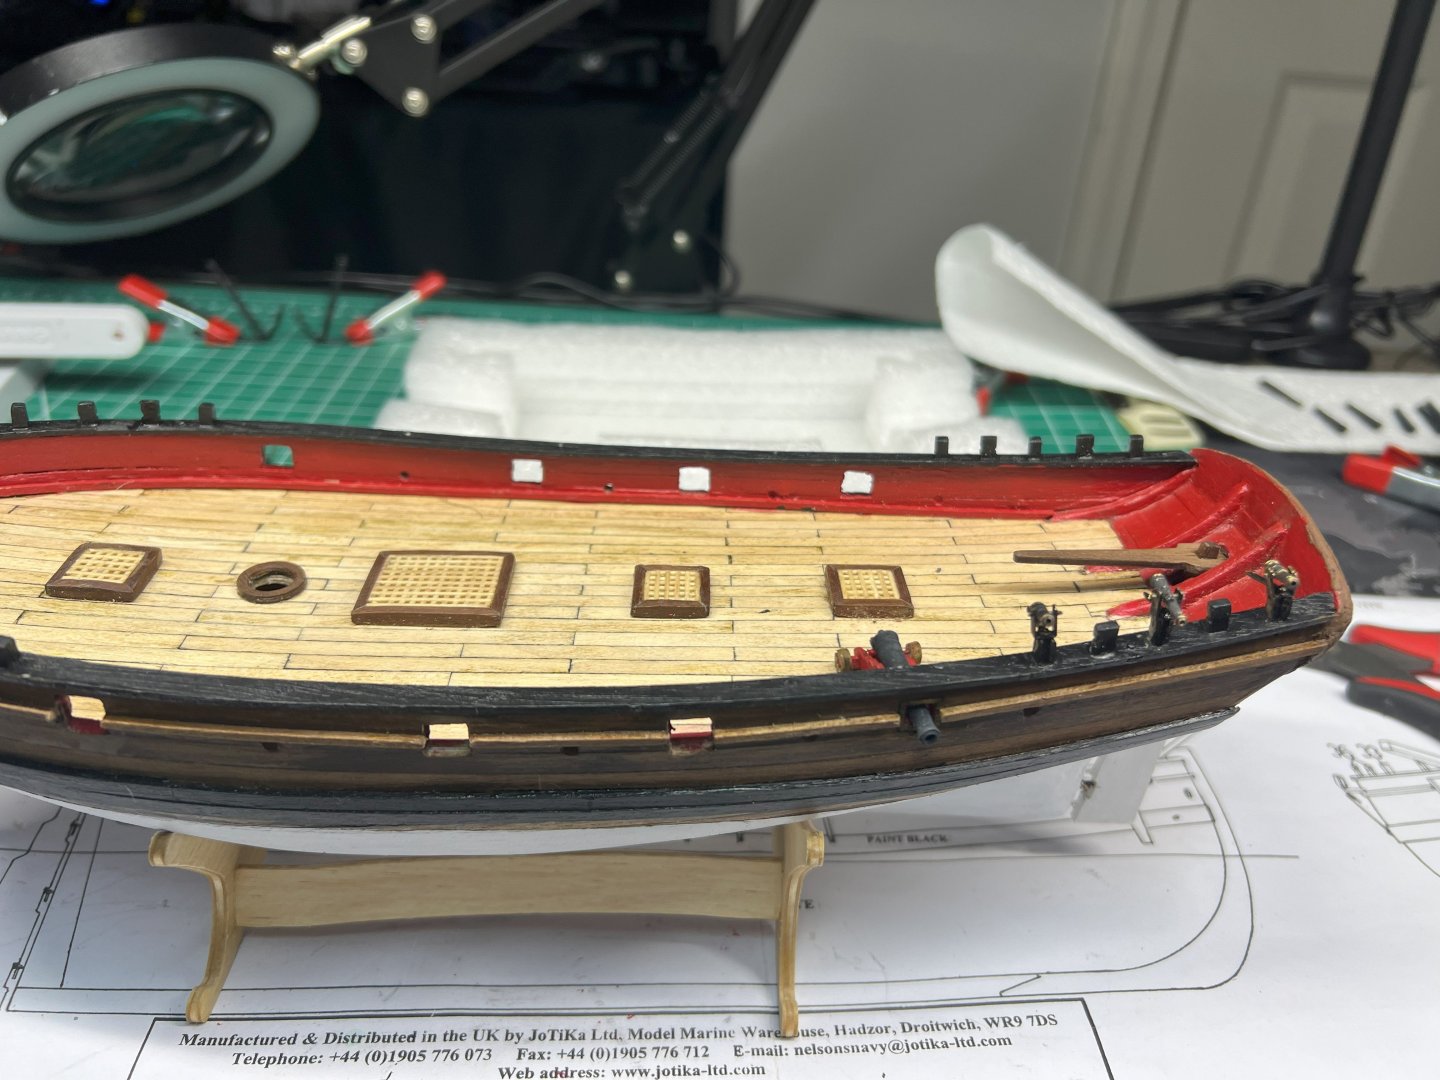
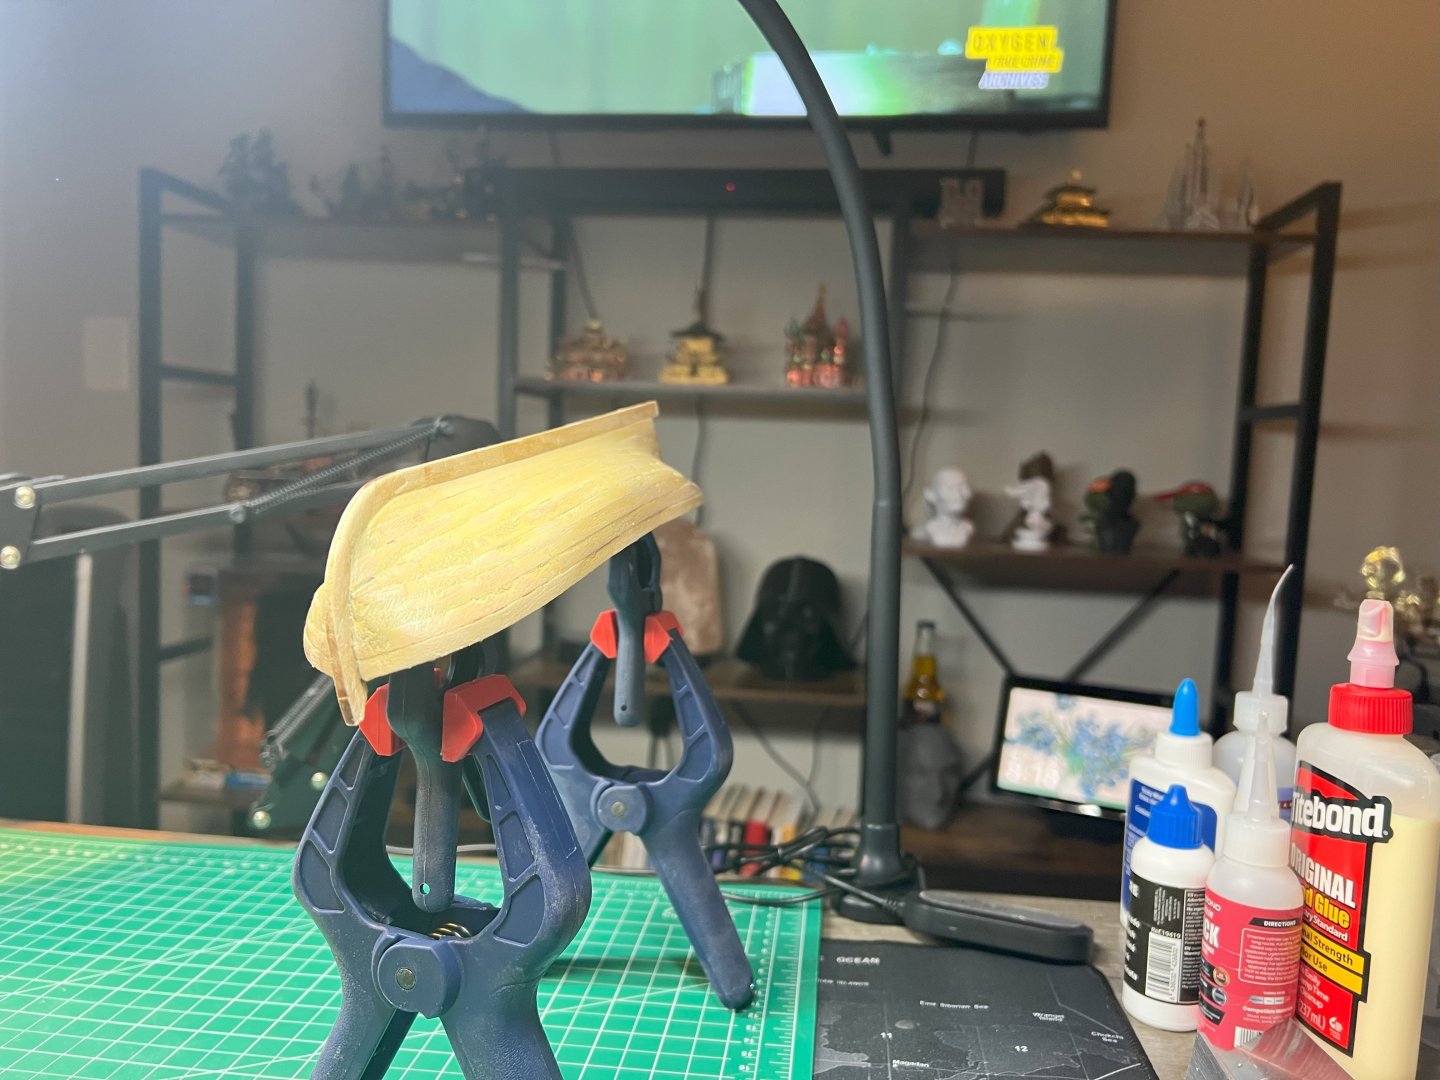
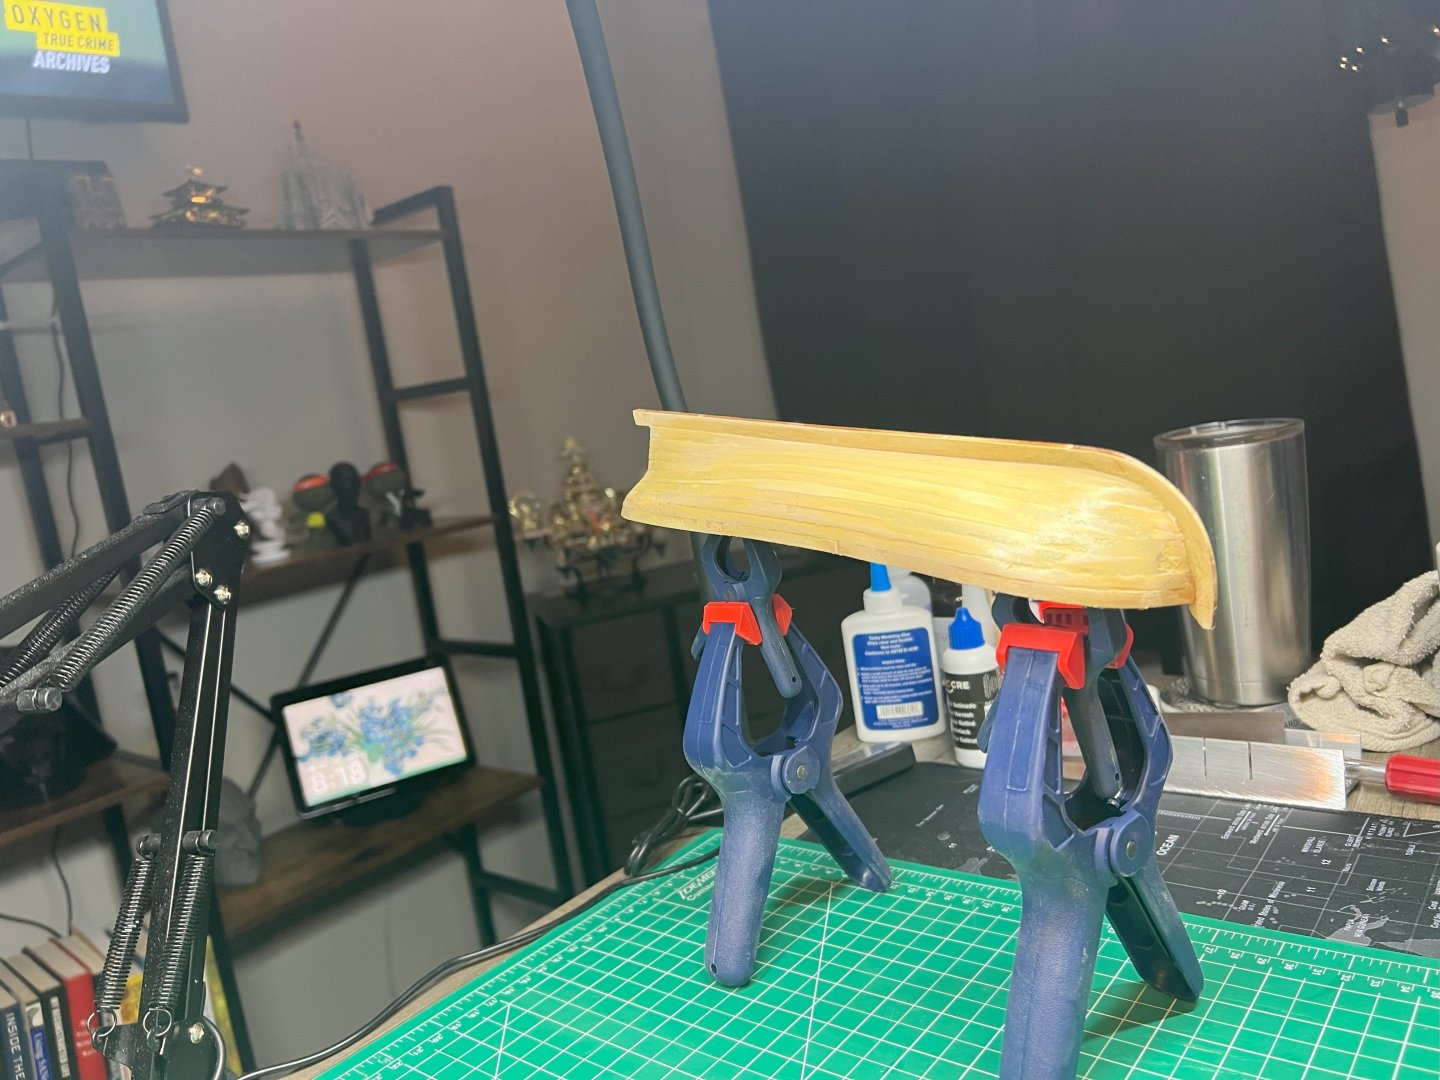
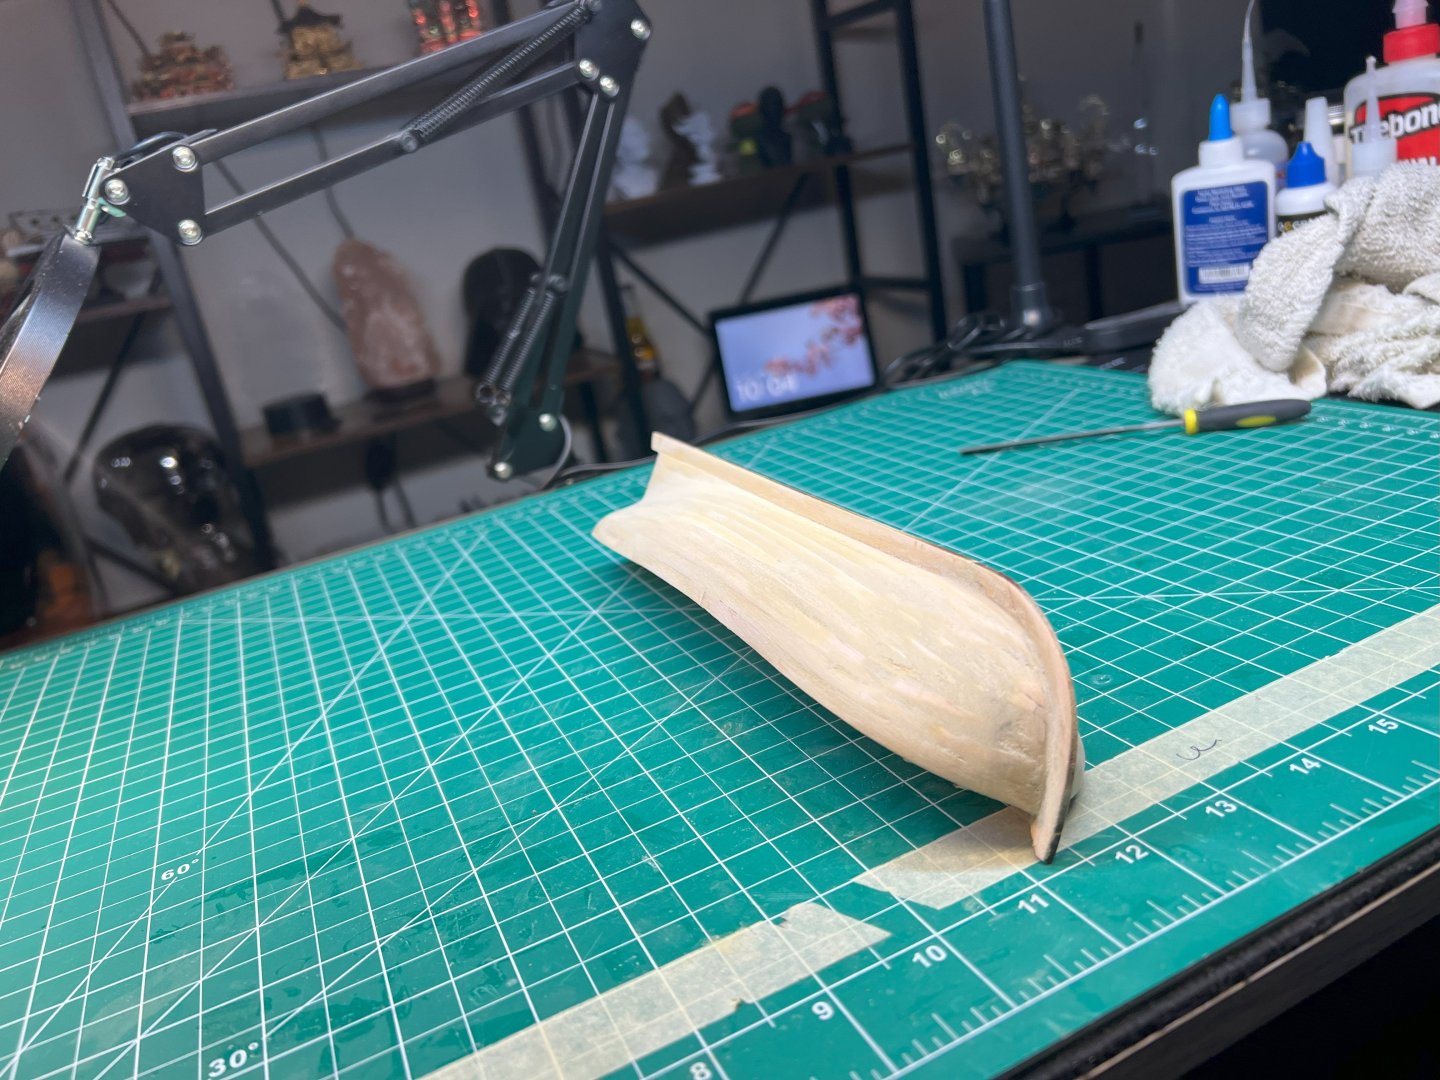
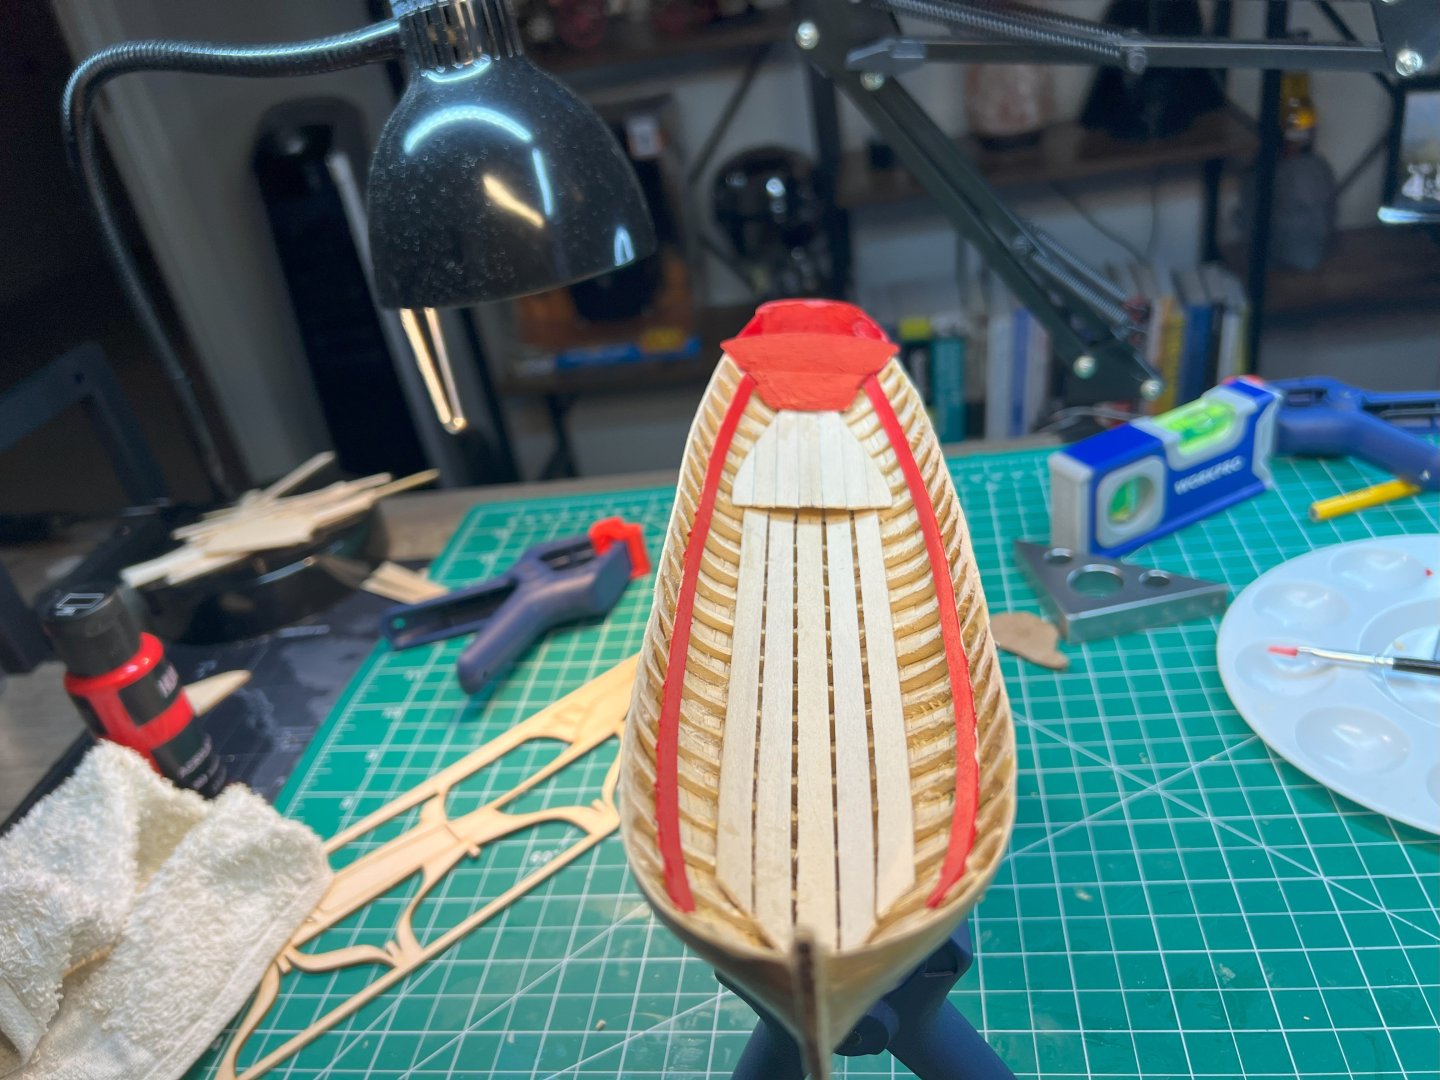
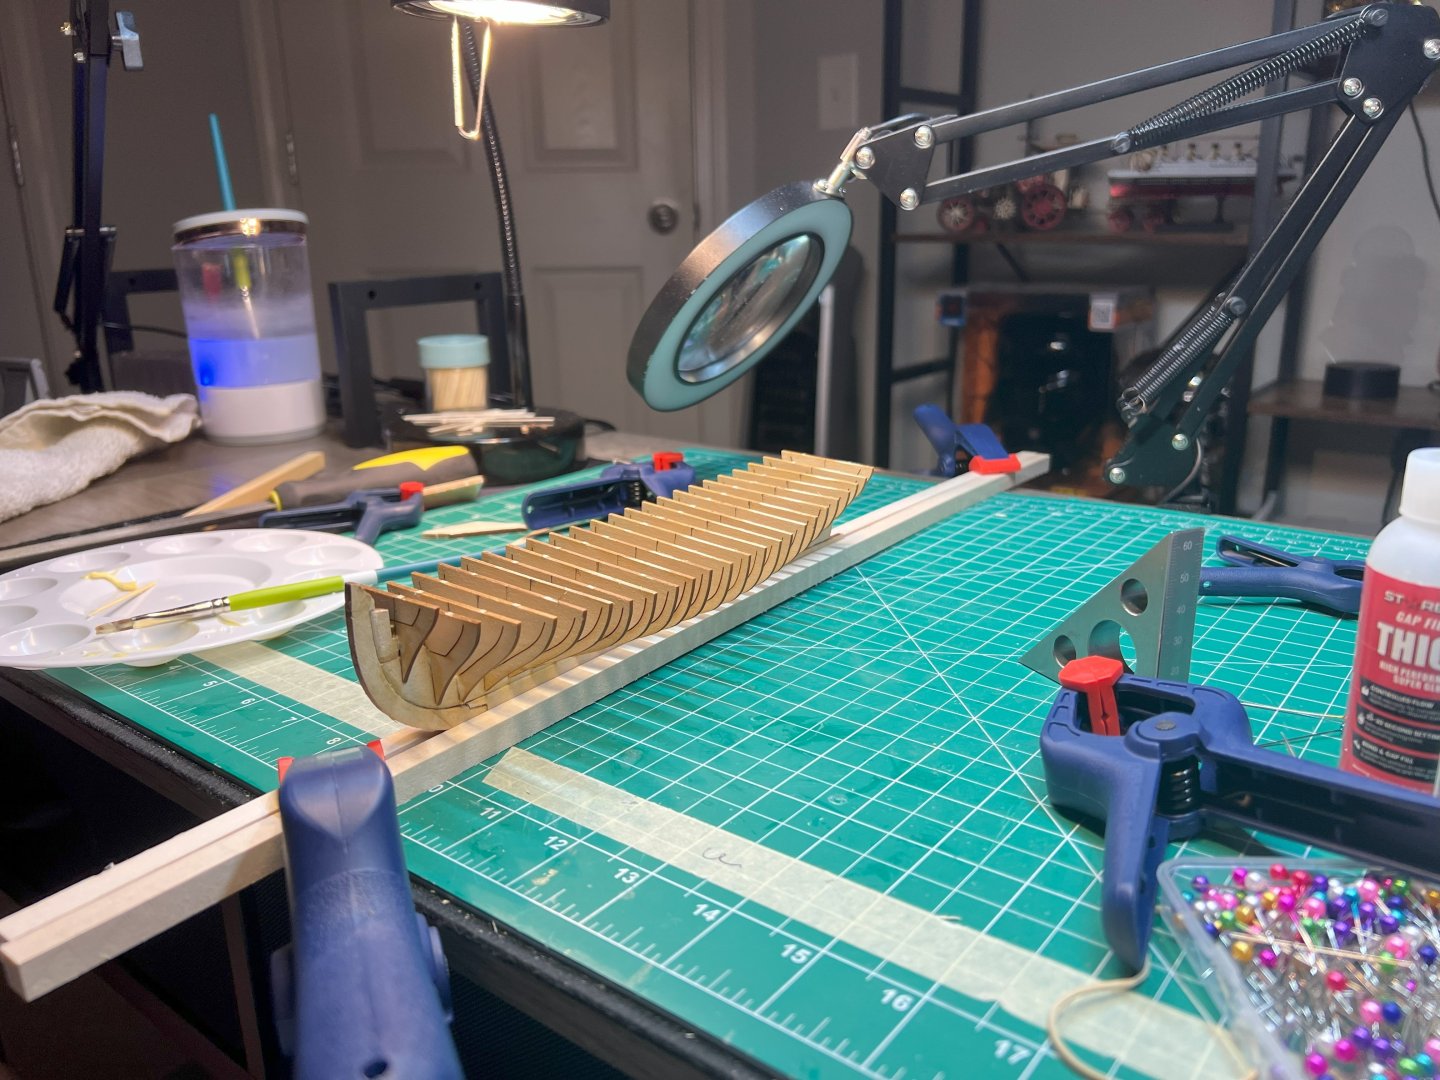
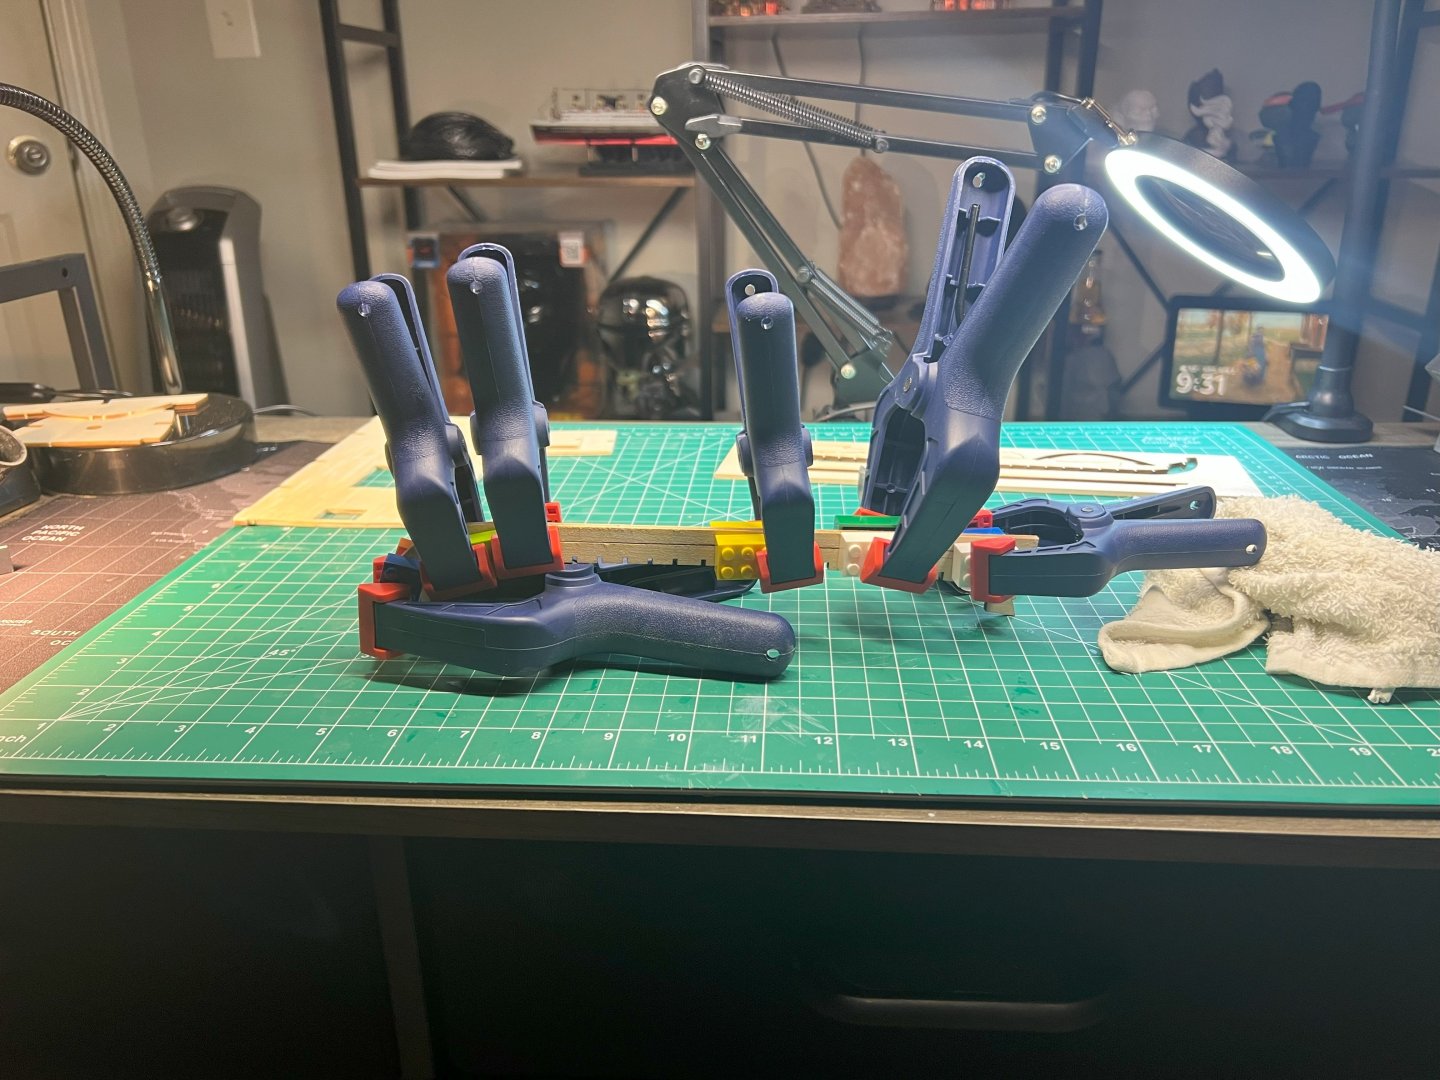
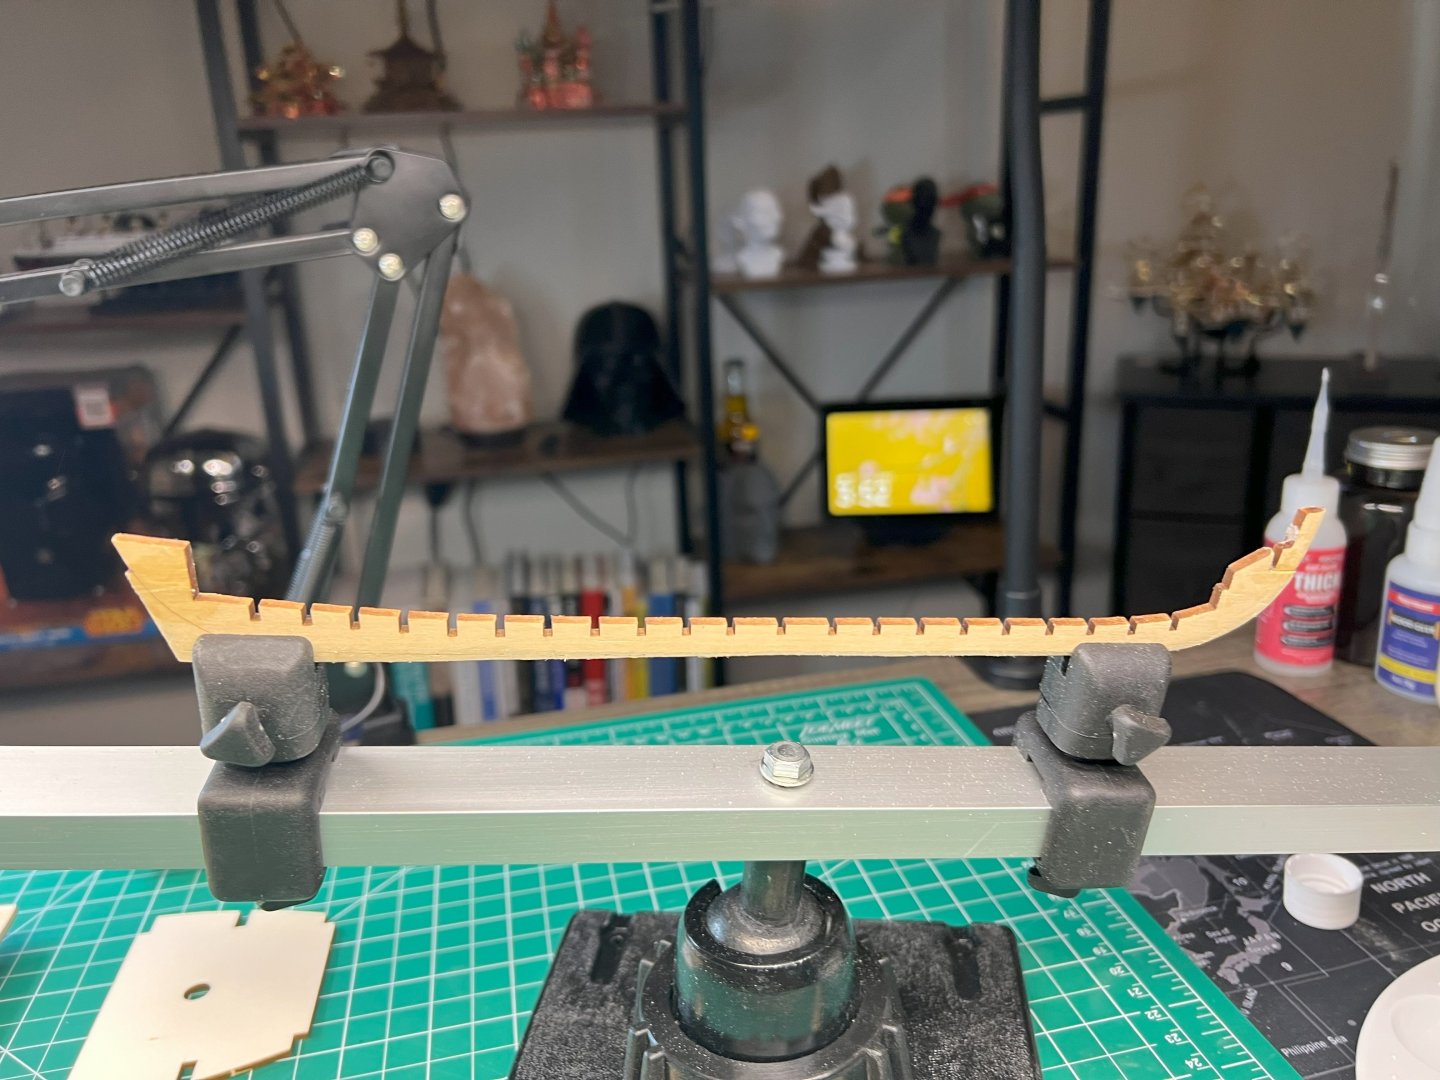
As stated in my Pinnace post, I started a HMS Cutter Sherbourne. I have made some good progress on it after a couple months or so. I have slowed way down now that I am working the very fine details and getting ideas. I really wished I got the Vanguard of this model. The materials would have been better for some of the parts that I want to do more fine details. But overall, this one is not bad either. So, as always started putting together the frame using lego and 1,2,3 block. Thanks to the person that answered me on that they were. Love using them. While working on that, I was working on shaping the two gun-port Balkwarks. Placed the gun-port balkwarks into place and clamp overnight. Also, I shaped the hull getting it ready for first planking. Ok, time not to be a chicken and start the 1st planking taking my time and remembering to let the plank naturally lay this way you get a better fit. I did some shaping using water and clamping into position. Time for second planking. Took even more time on this one. I believe it took over 1.5 weeks about 2 - 3 hours. Was really taken time shaping and let glue dry before moving on. Now, I started working on the inside. I even added an extra piece in there to help transition the inside of the bulkwarks and the decking. a baseboard if you will. Well, that about catches this build up. I do have some more progress, but I did not take pictures yet. Such as the Main wale and the posts on top of the upper cap. Anyway, time to get back to the shipyard.


-
That is a very beautiful ship. Can't wait to watch this build and continue watching on yours @scrubbyj427
-
Thank you both for the kind words. That small, flimsy wood was hard to work with. So, it was difficult to handle. Had lots of "touch ups." I have done tons of research on wood ship modelling. Bought a few books around key areas, IE. planking. I have also been through this forum extensively learning. You all are great folks that help out everyone. Its great to see. I did plastic models many years ago and recently been dabbling in Metal models. This was my very first wood model.
- 12 replies
-
- 2
-

-
- English Pinnace
- Model Shipways
- (and 2 more)
-
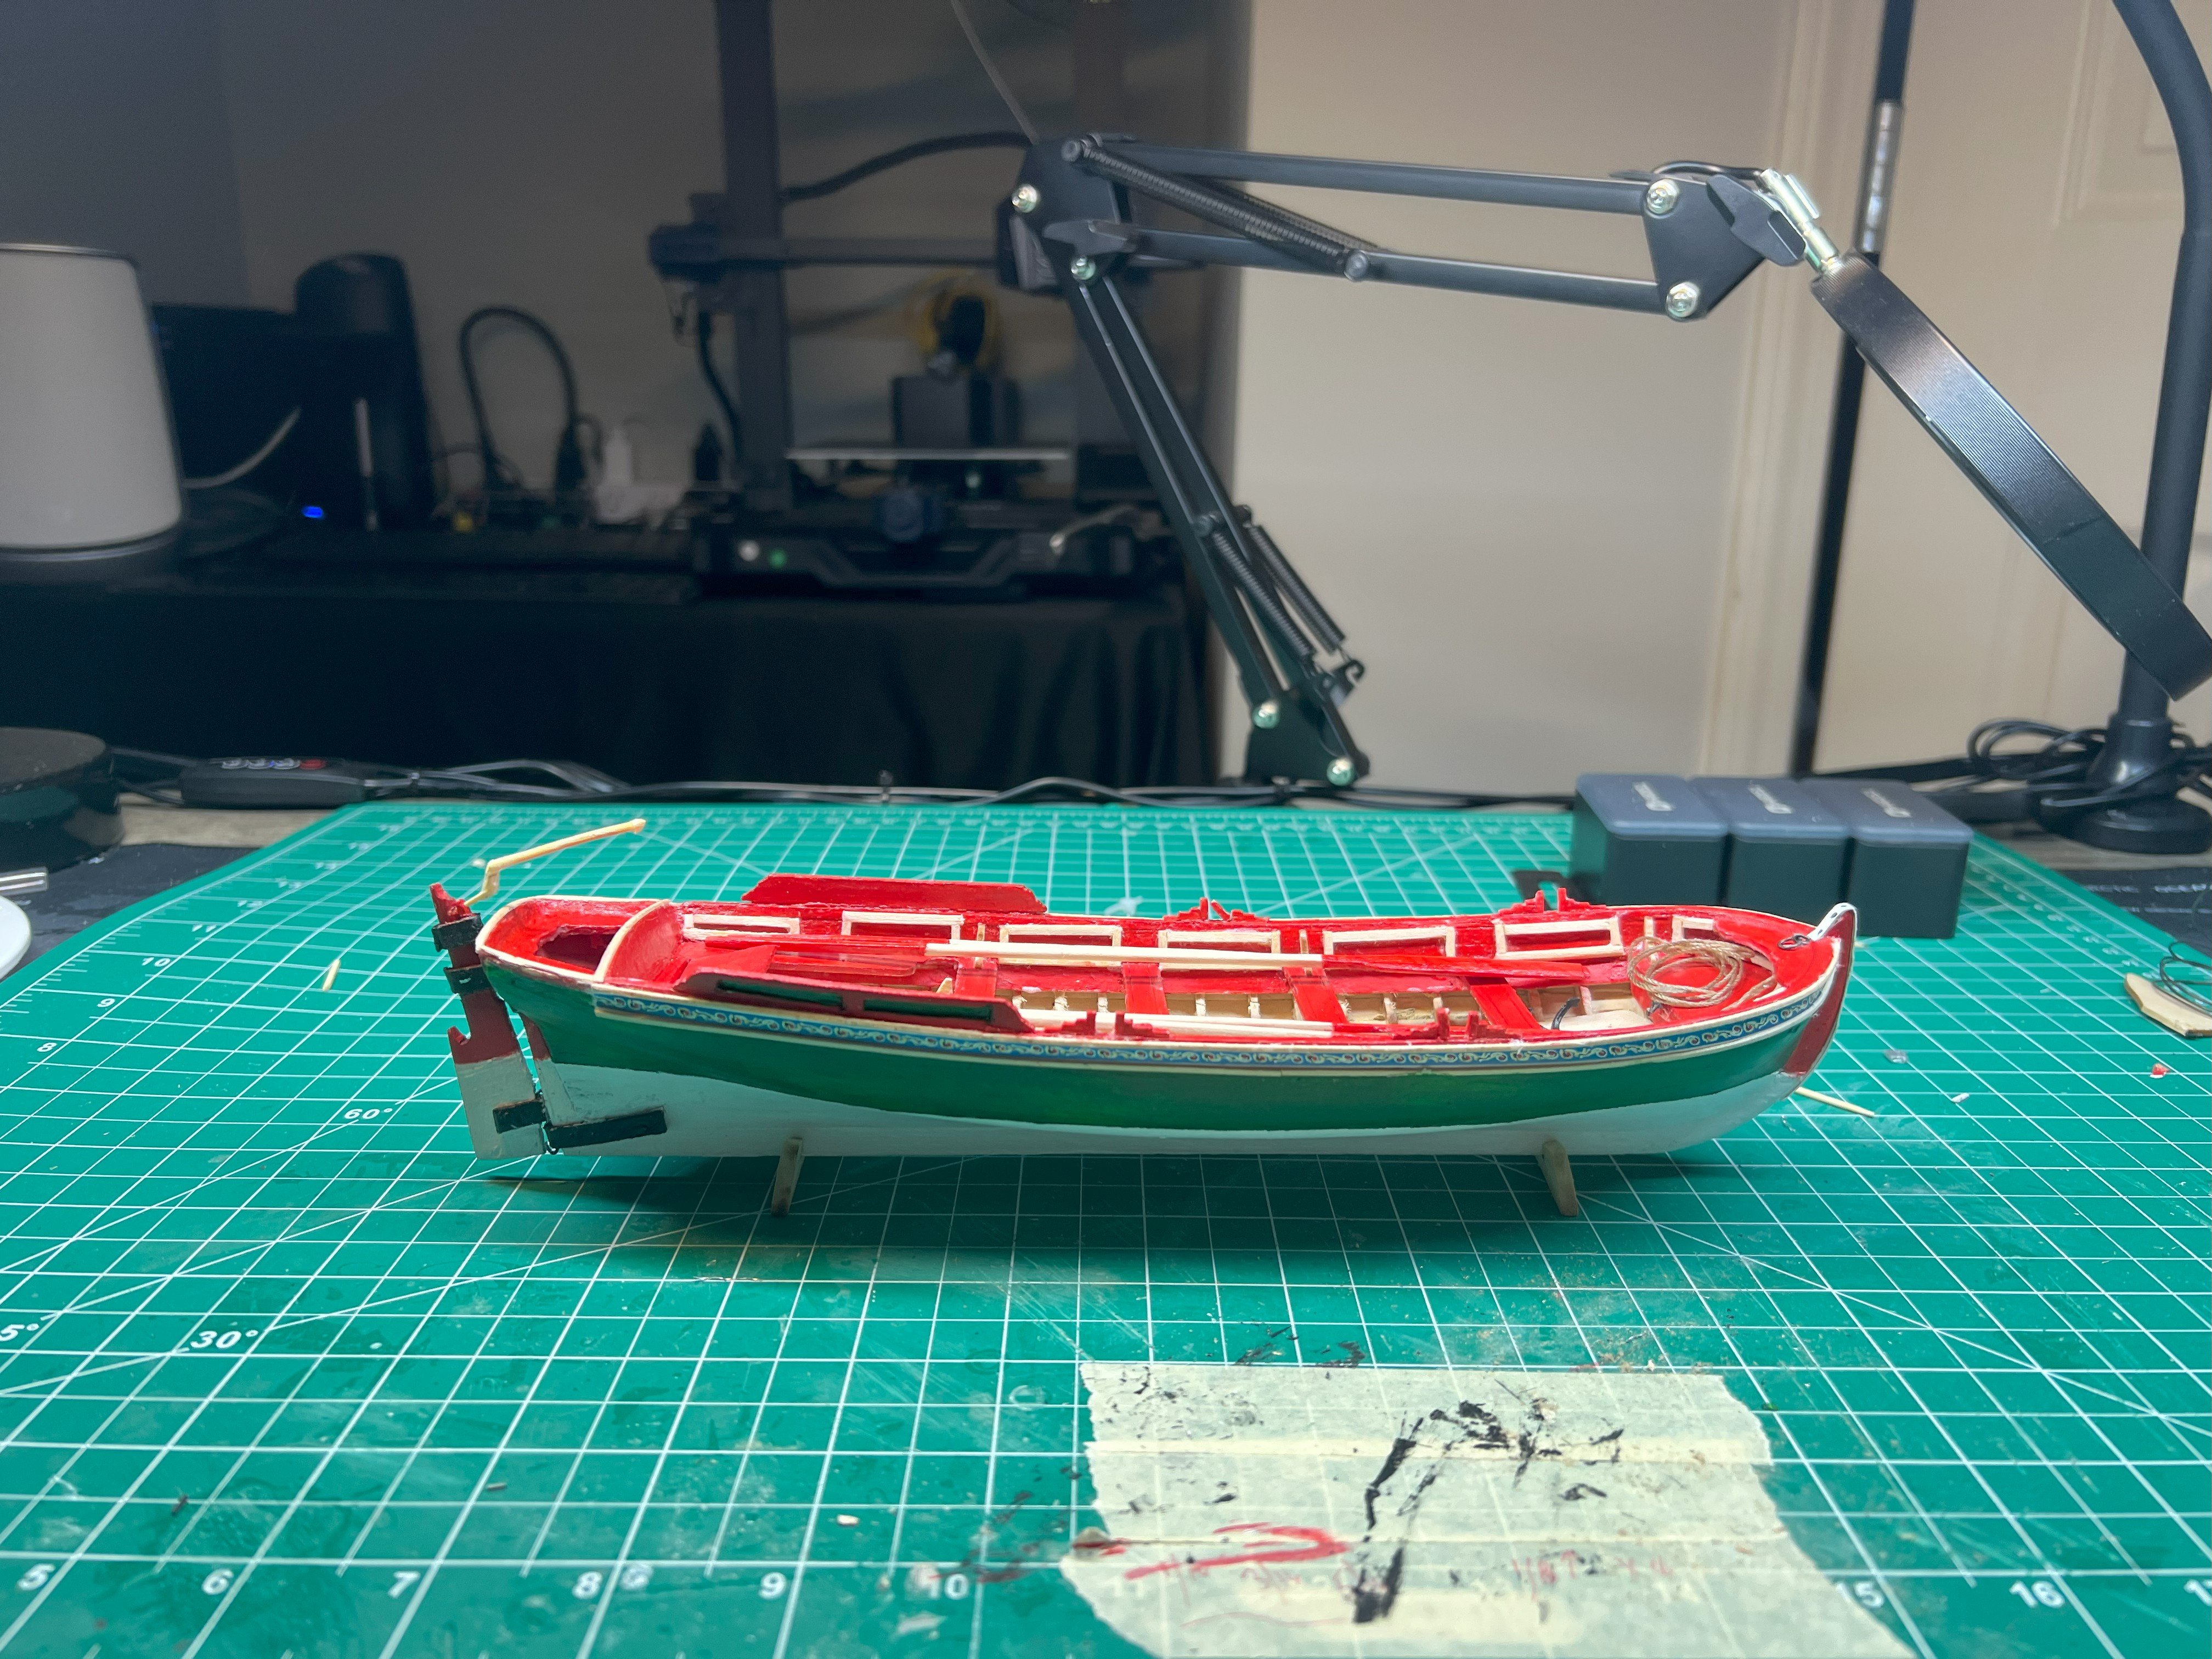
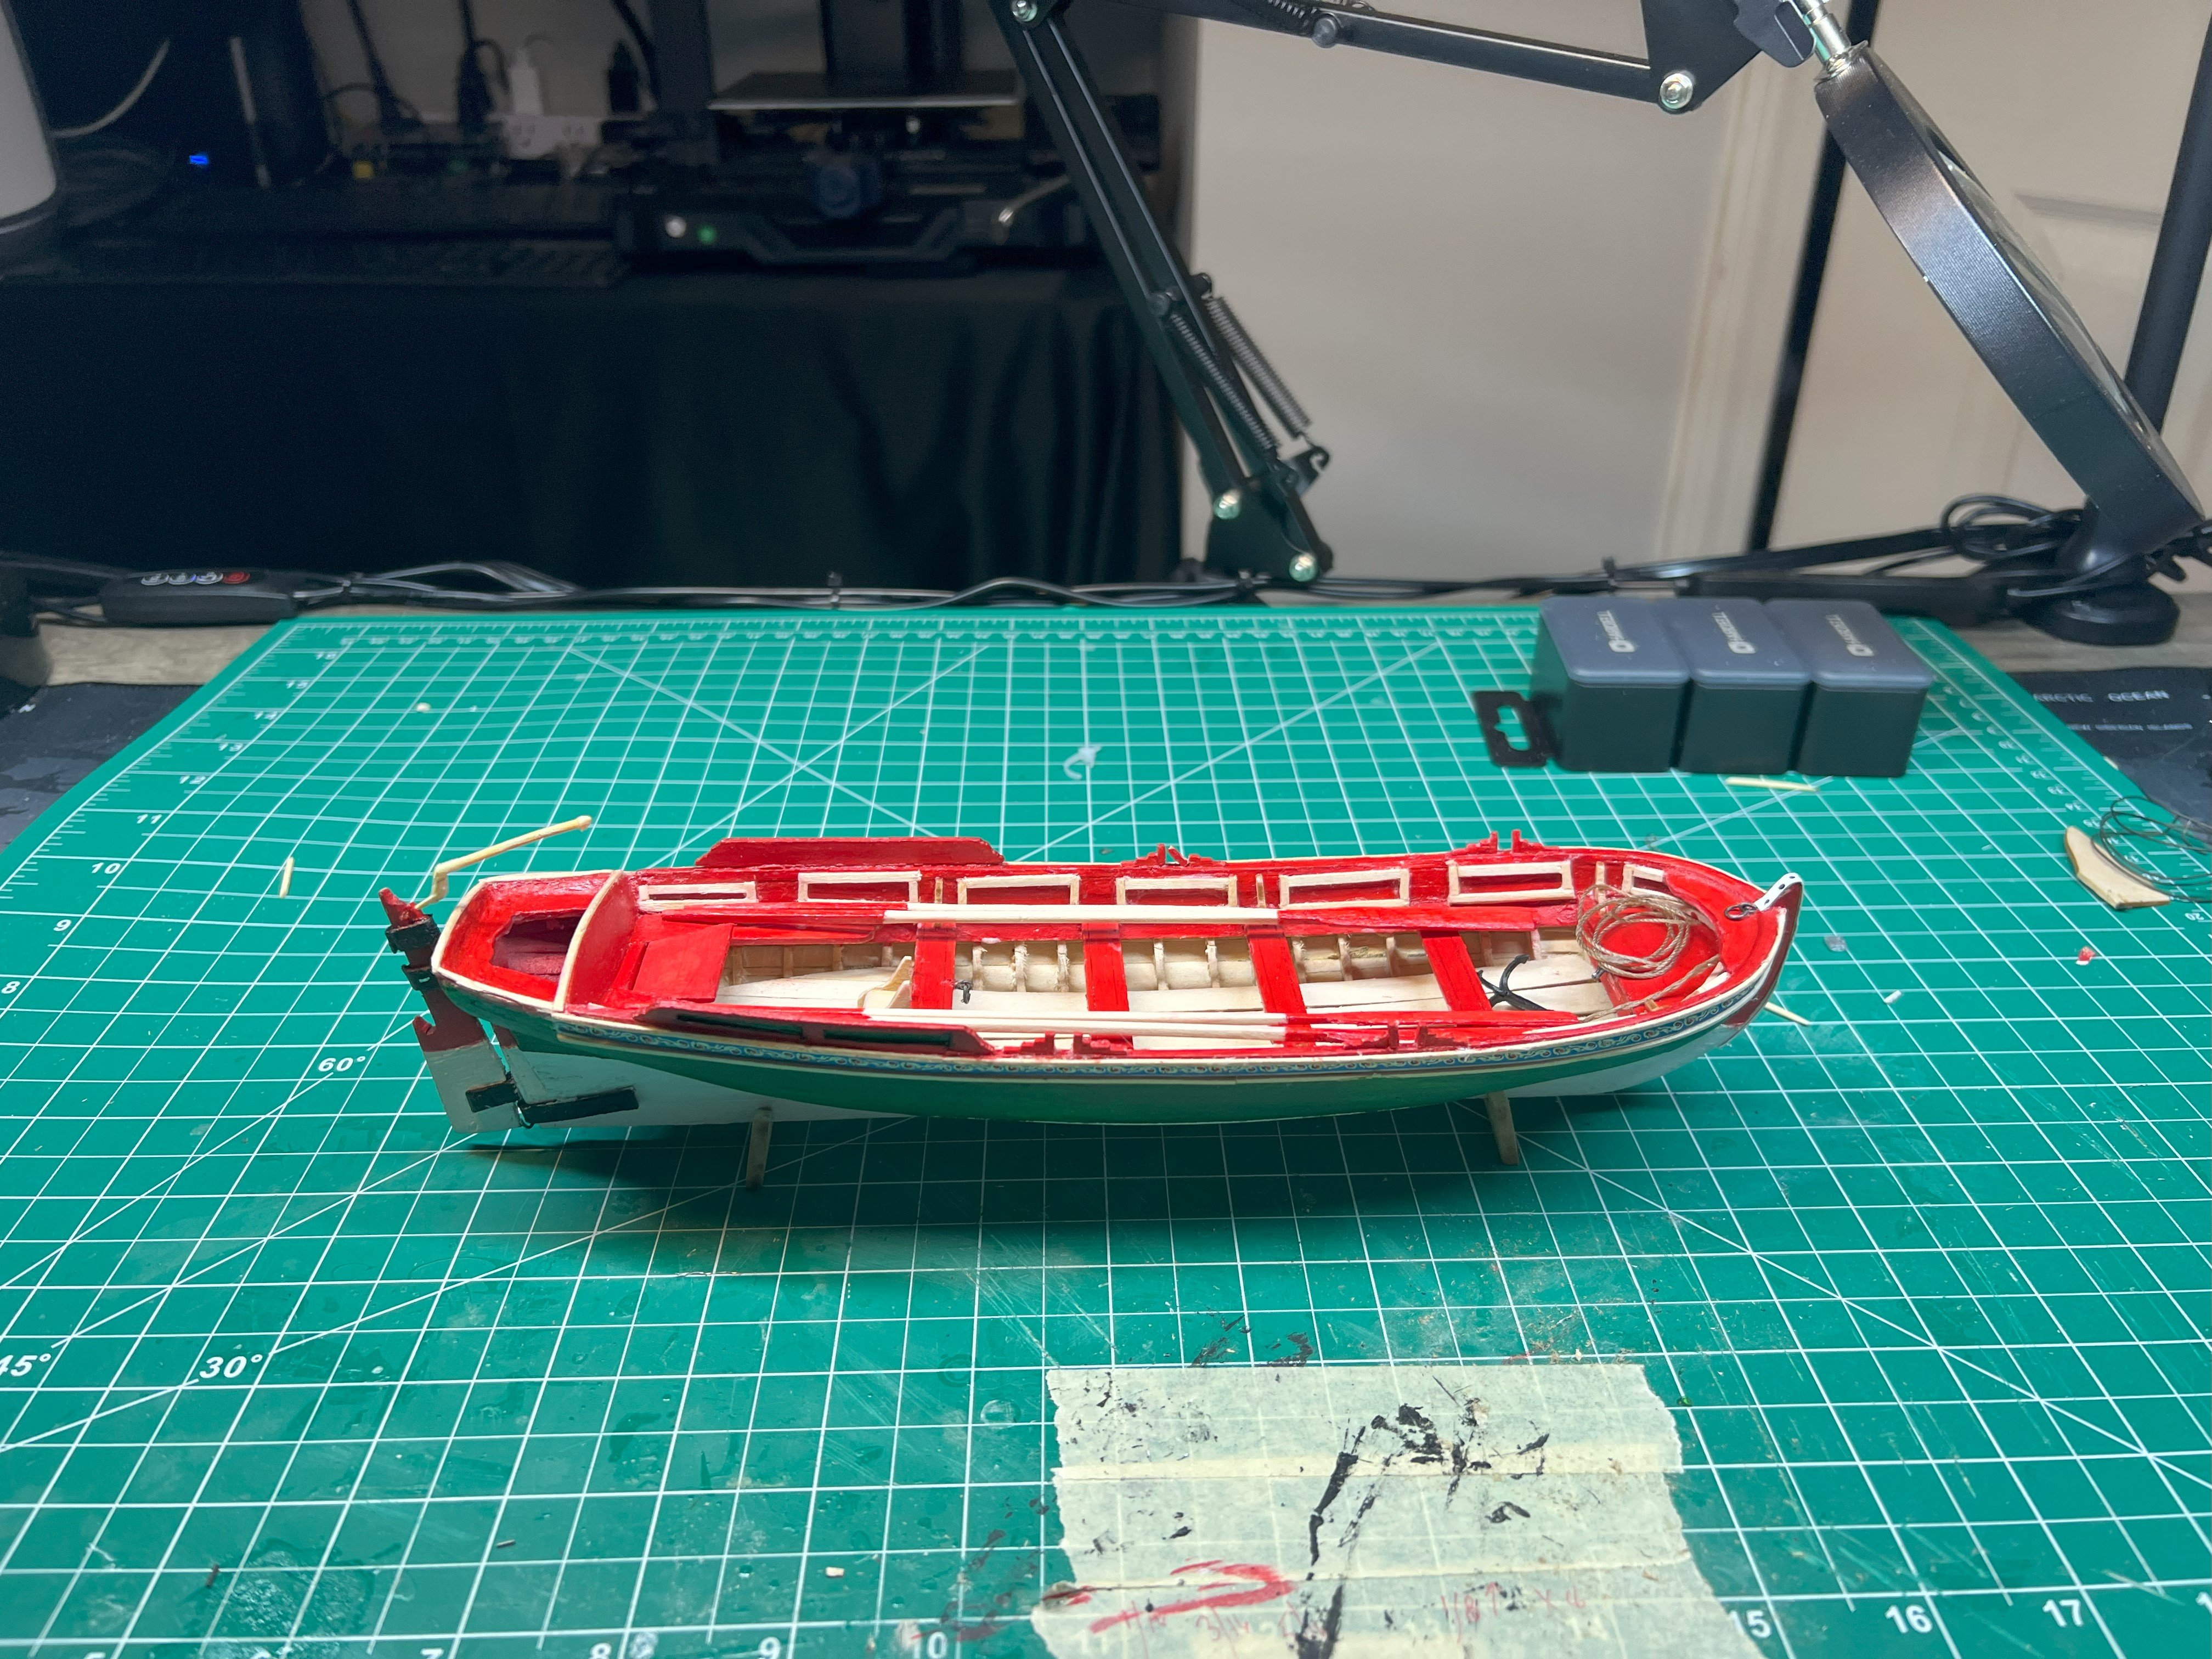
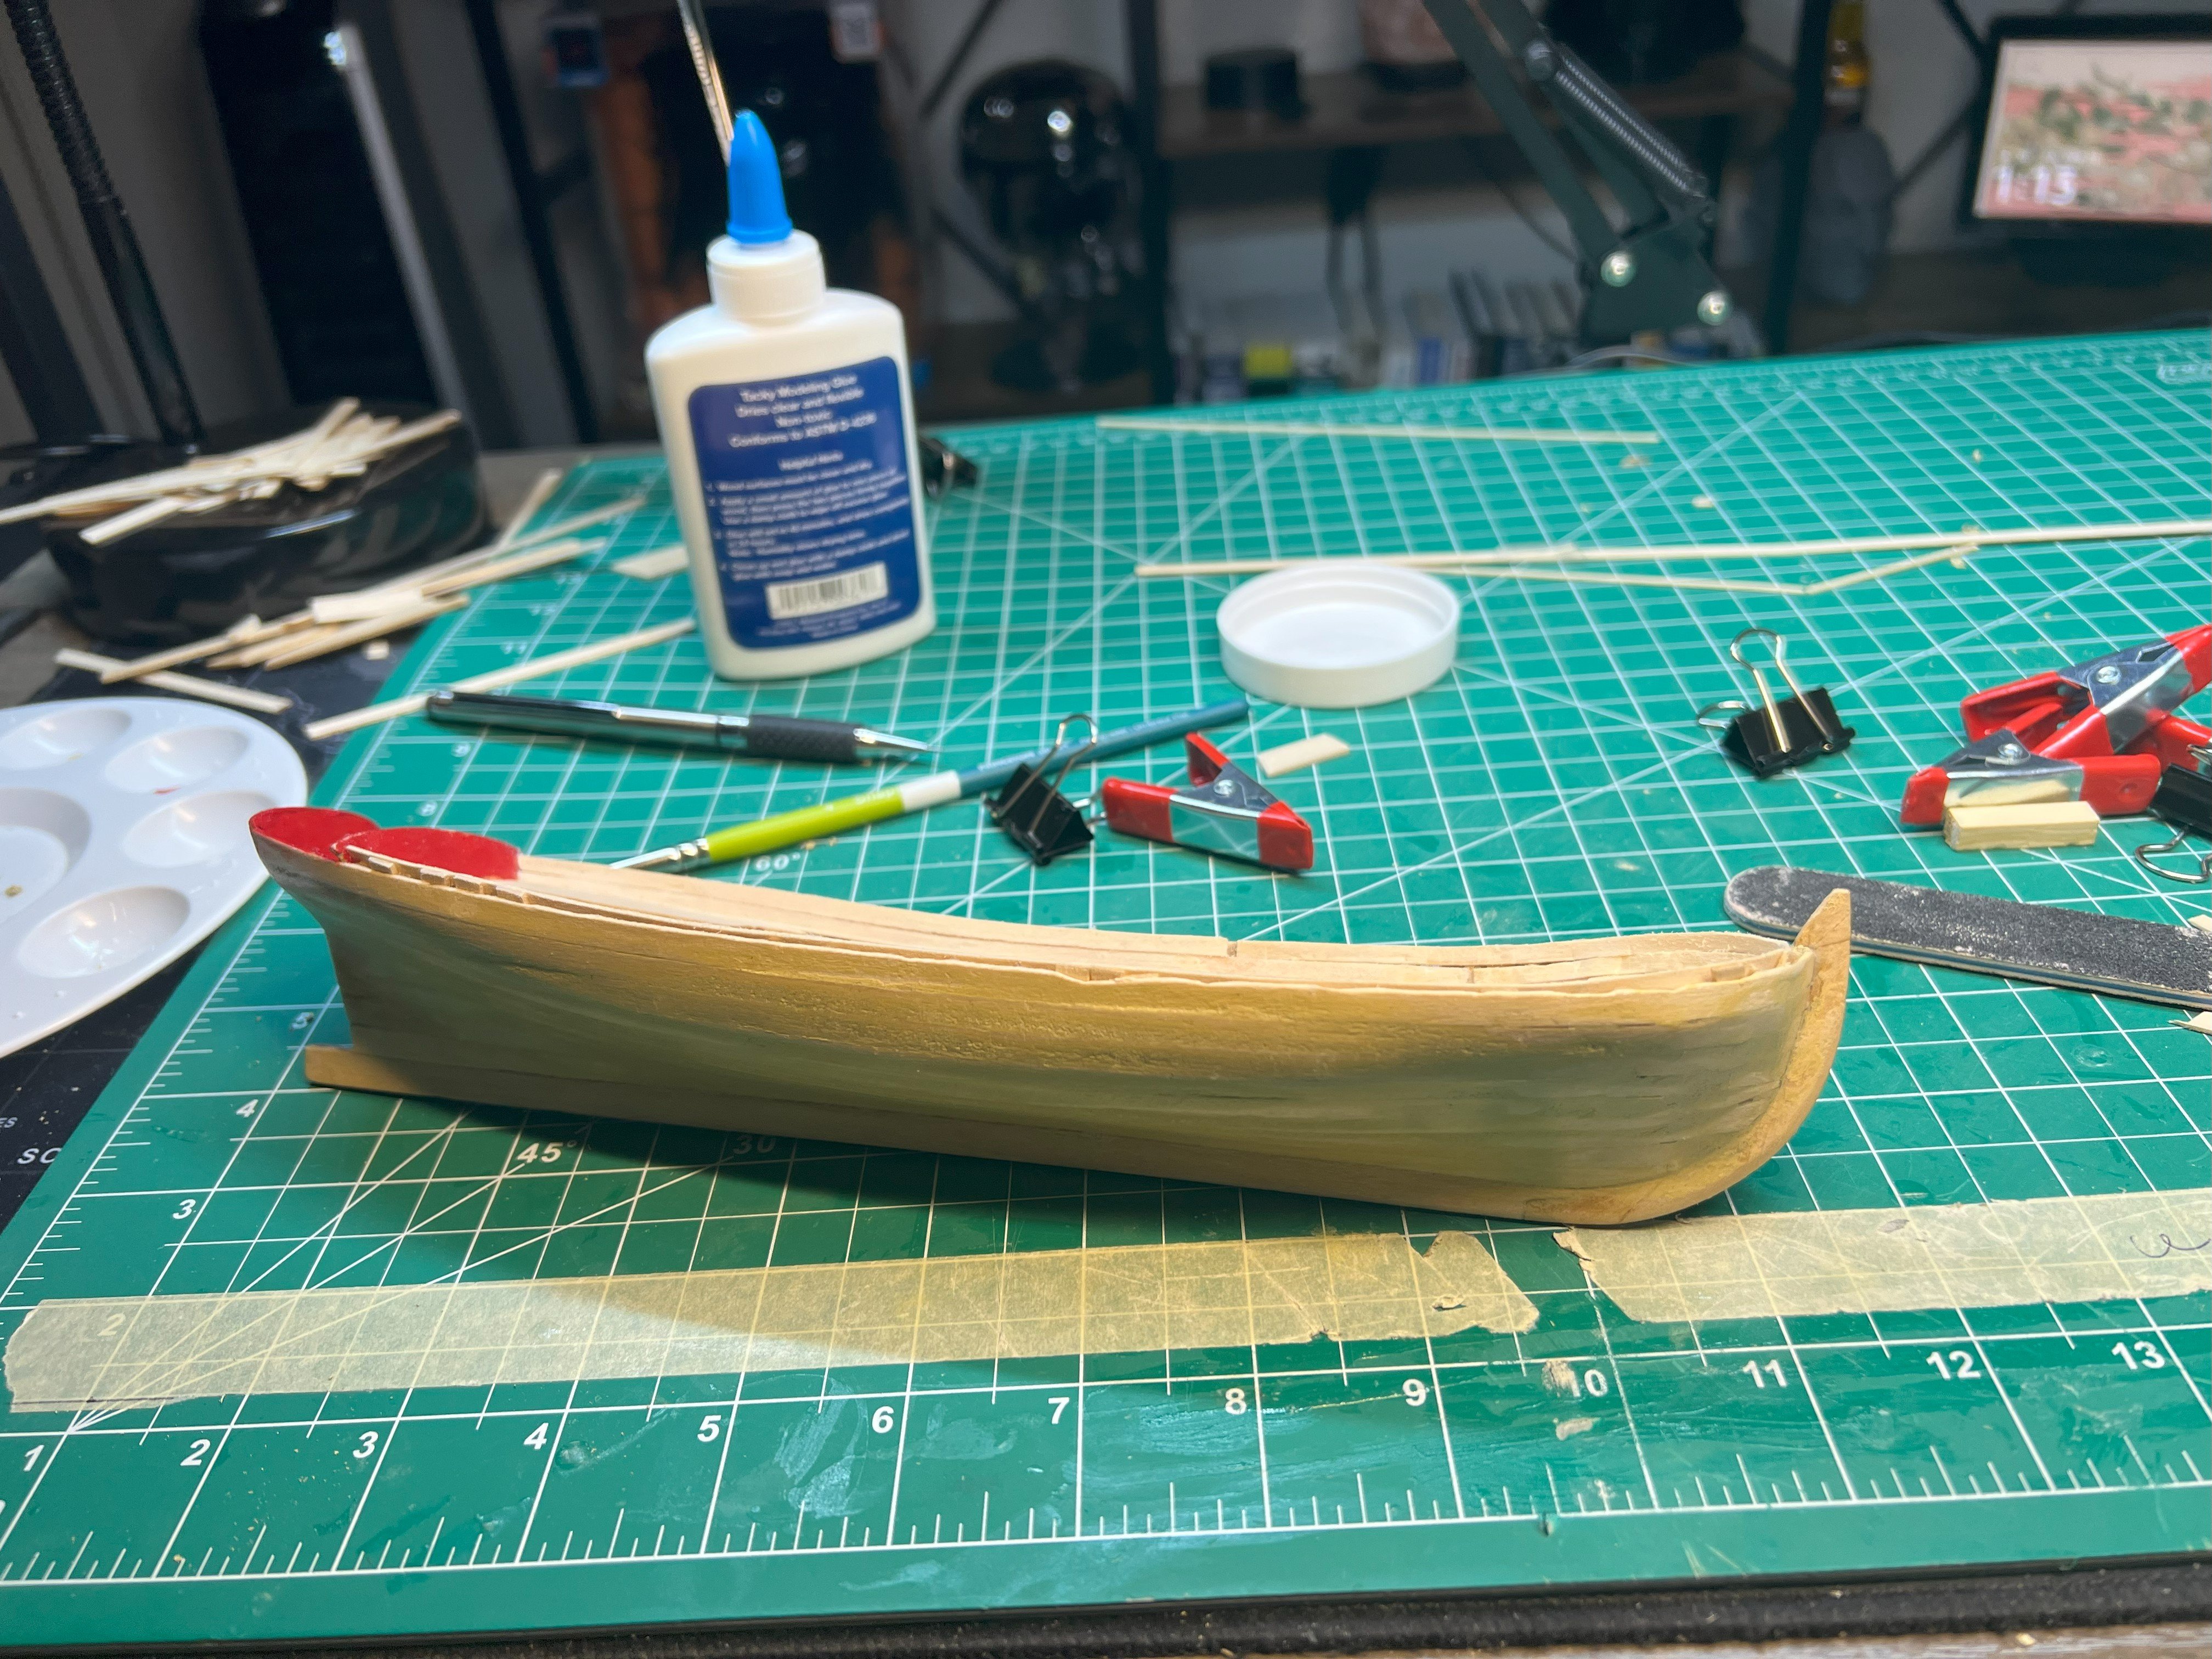
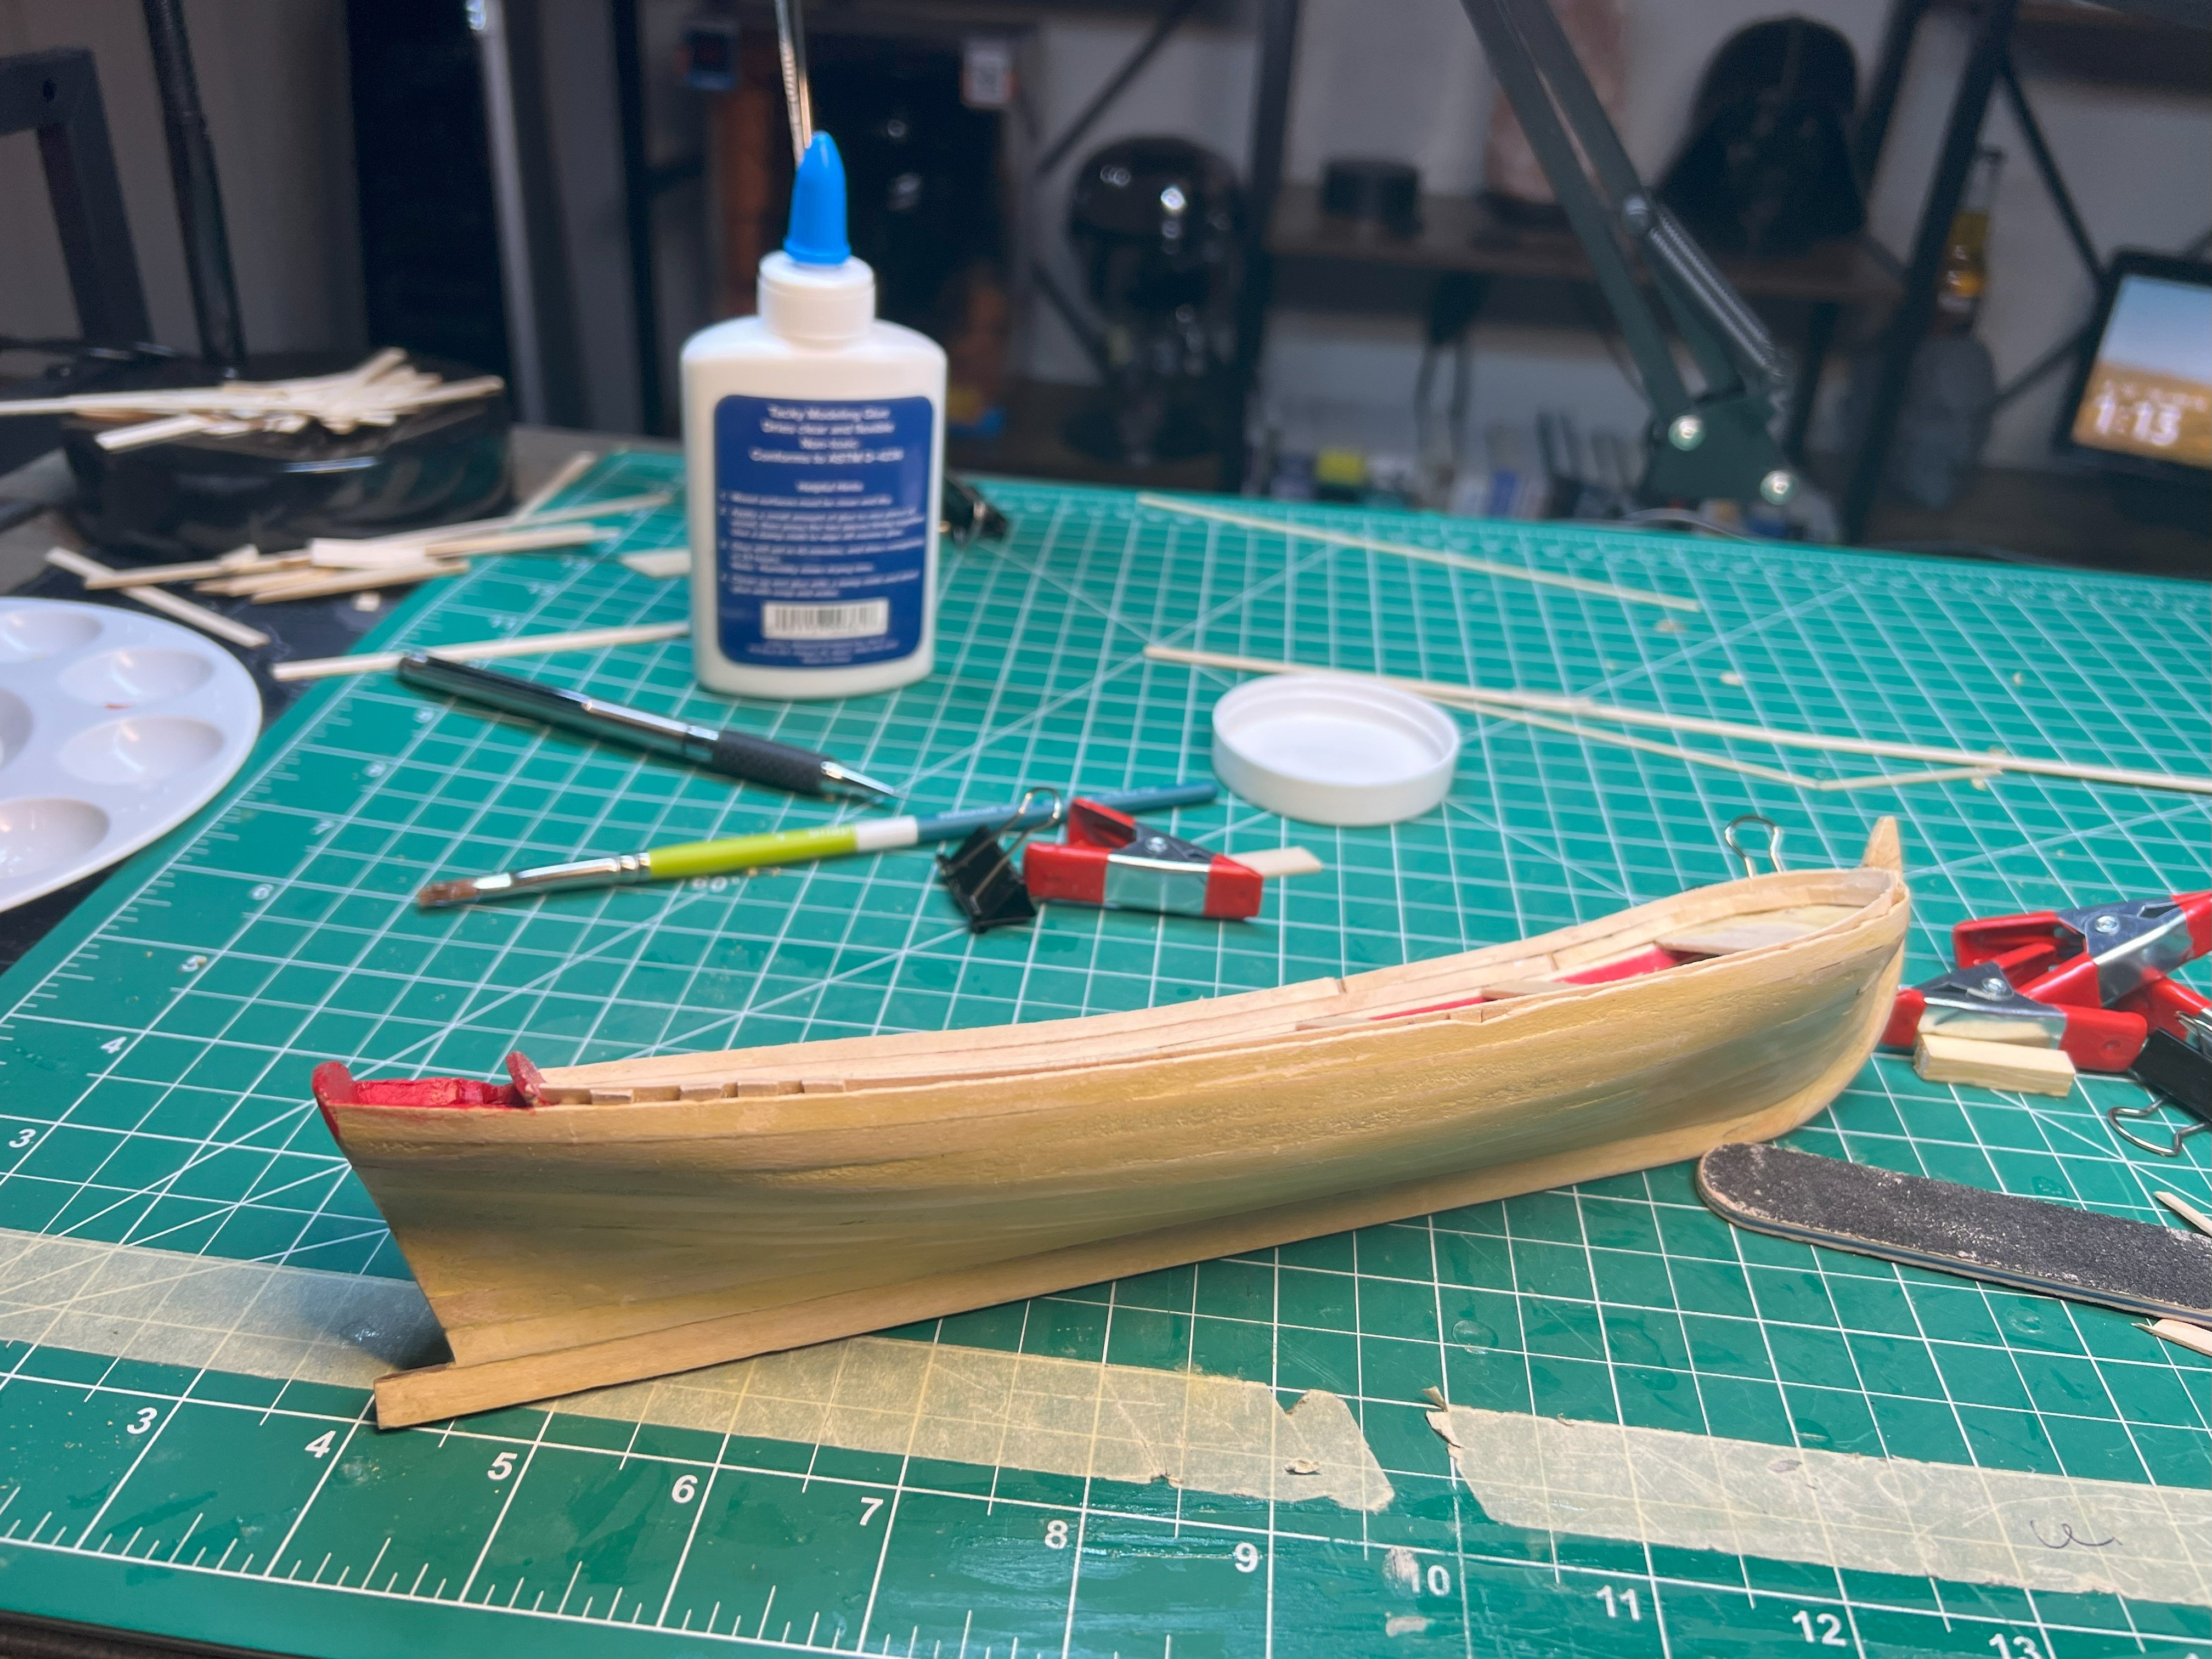
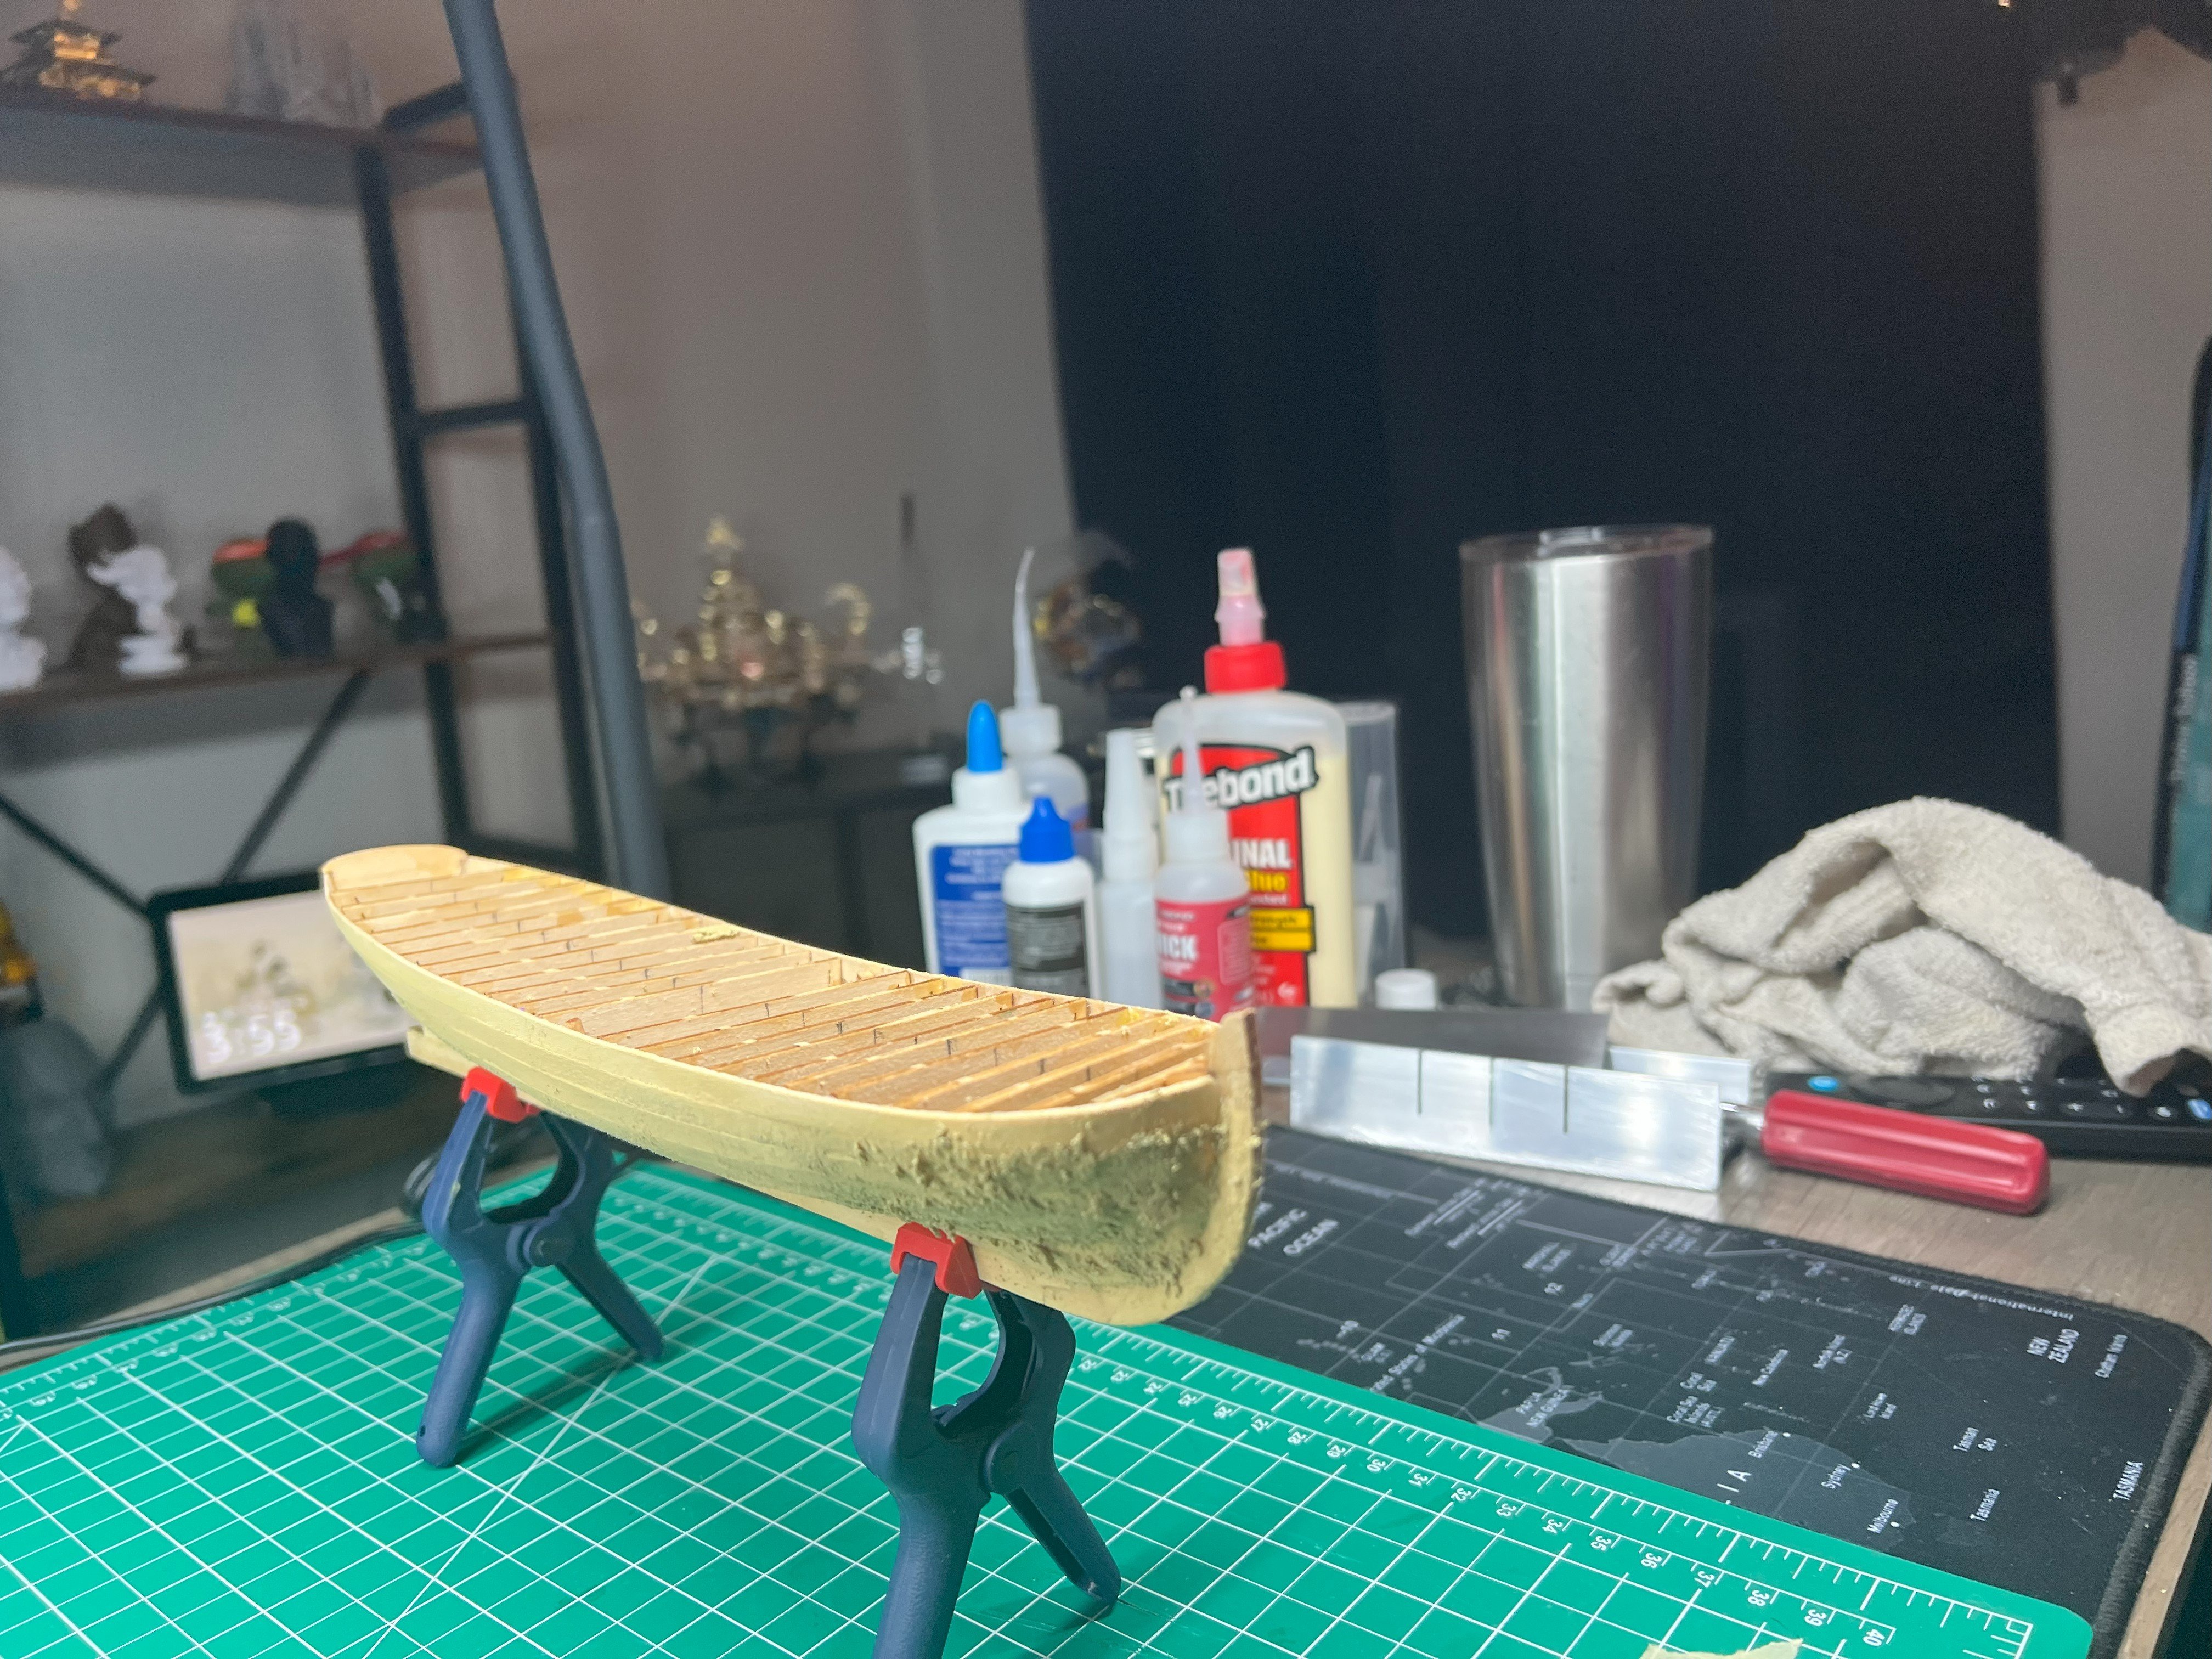
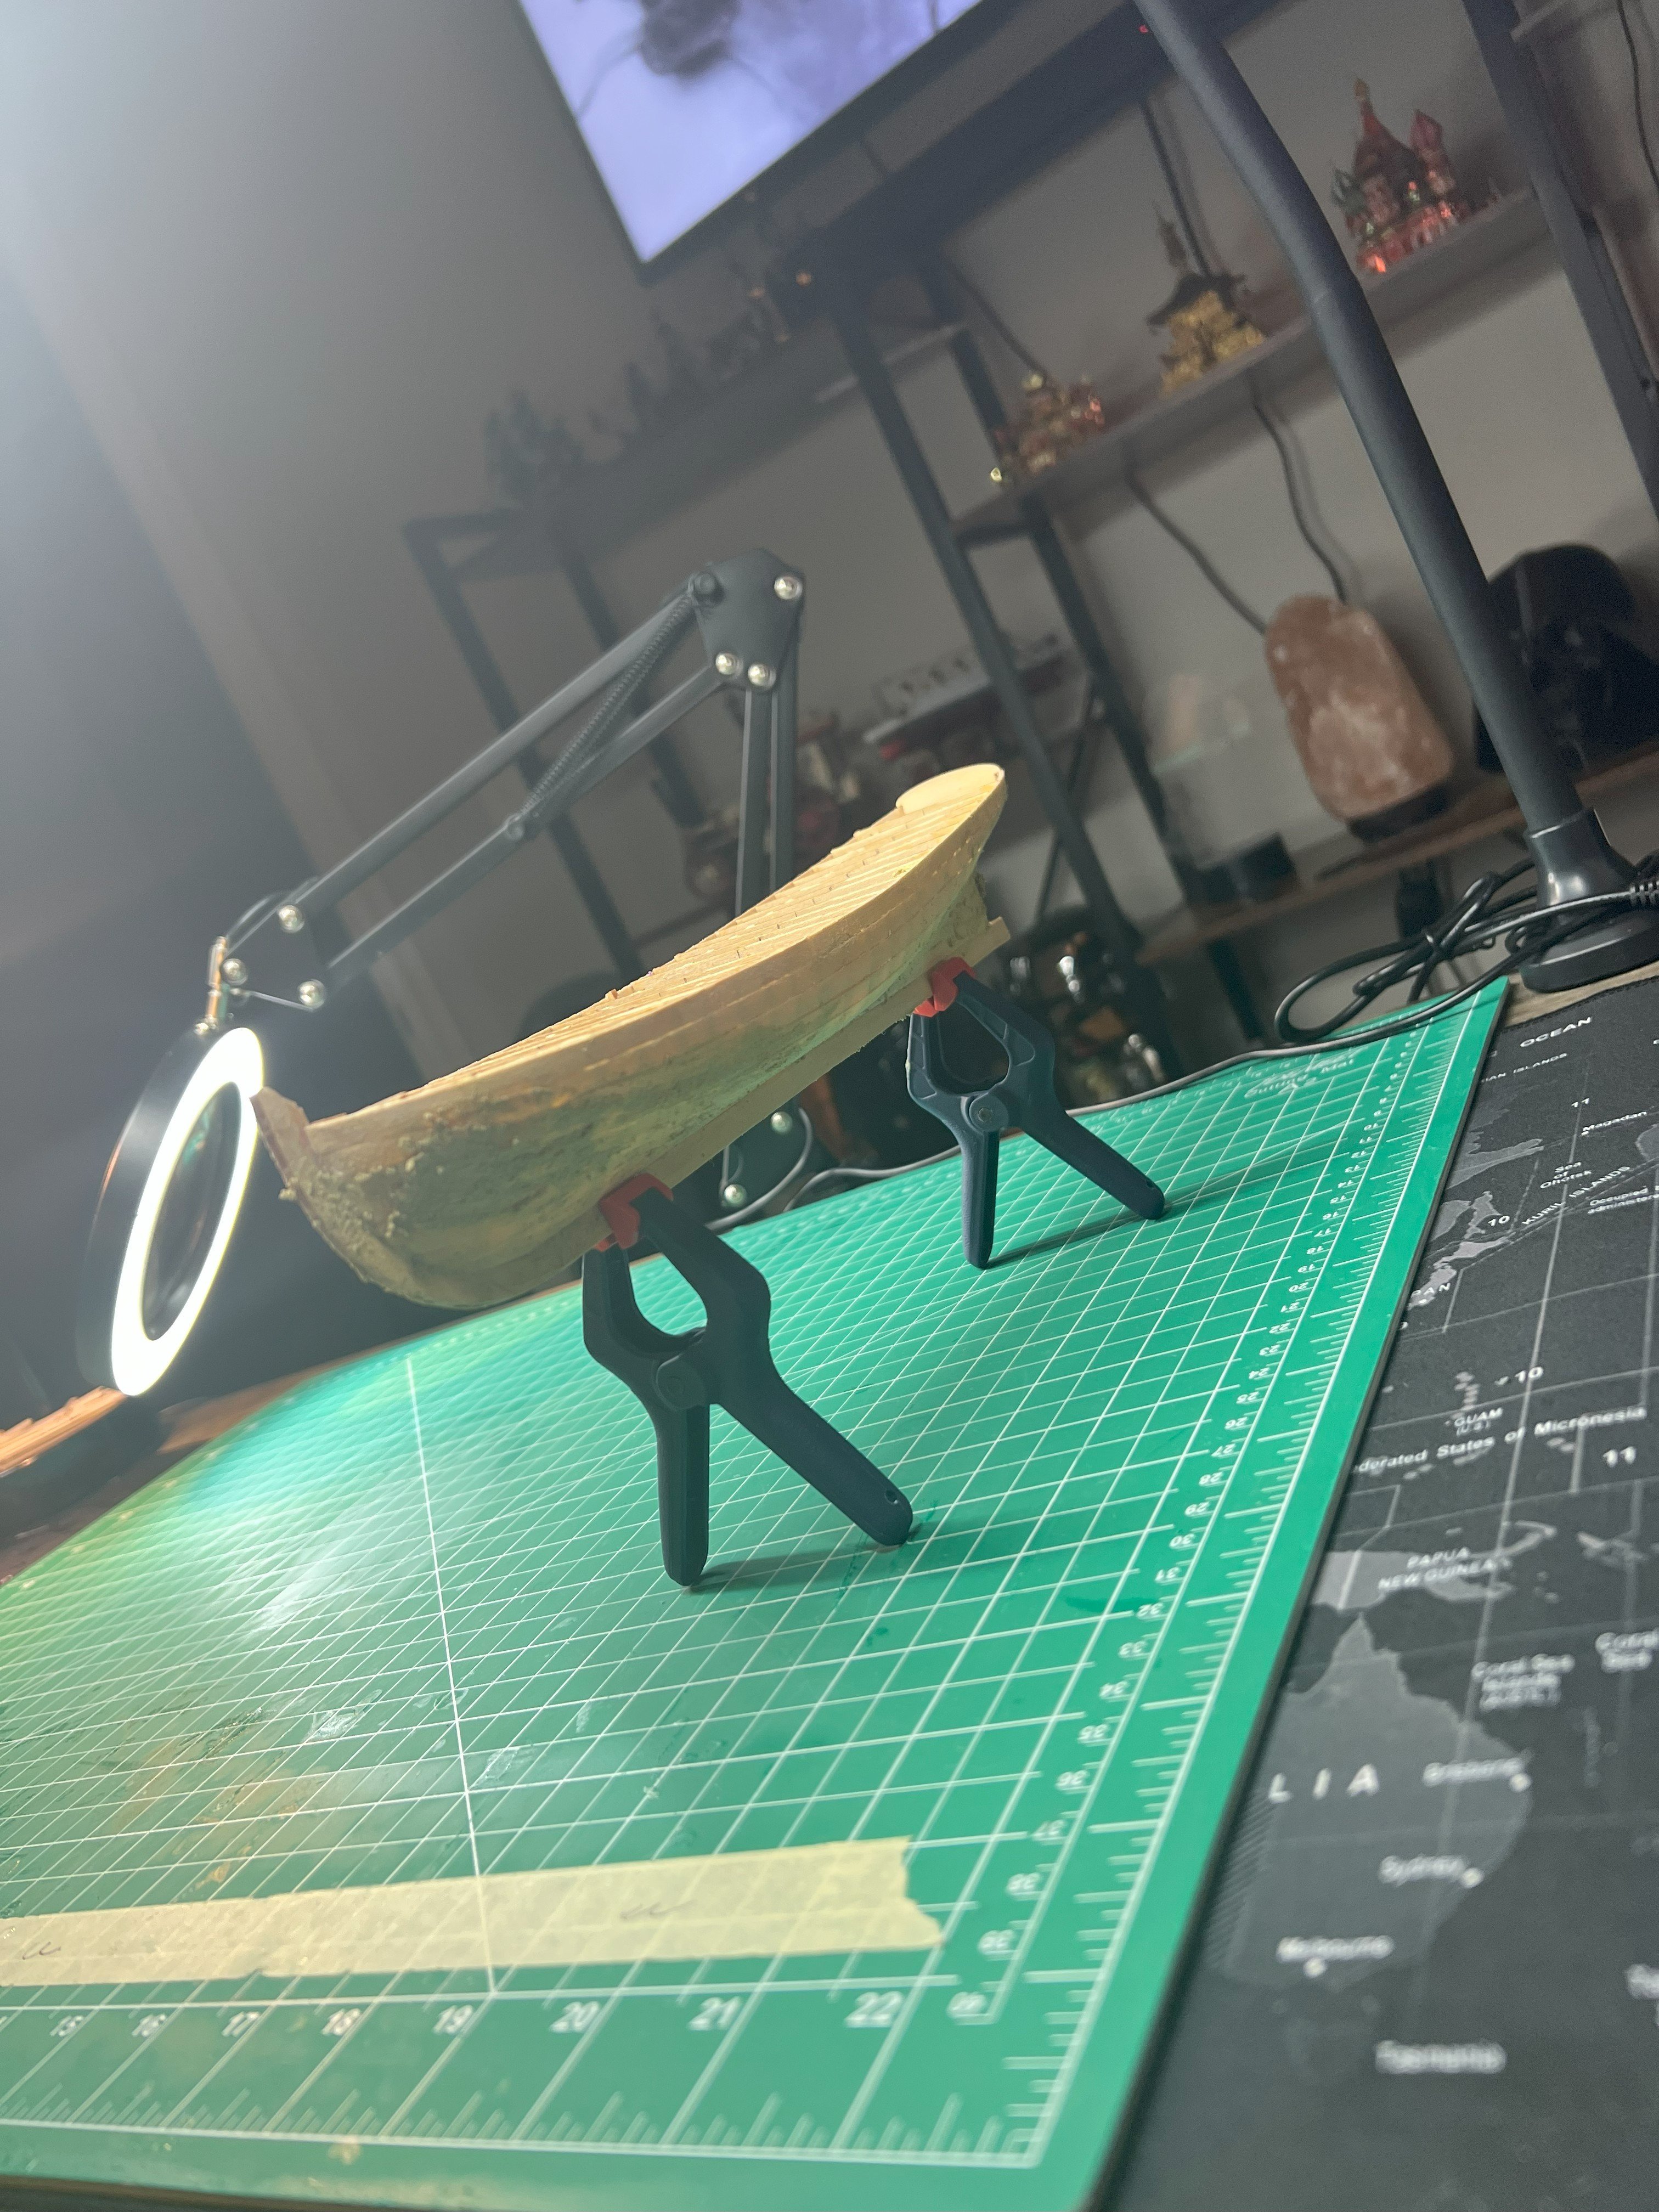
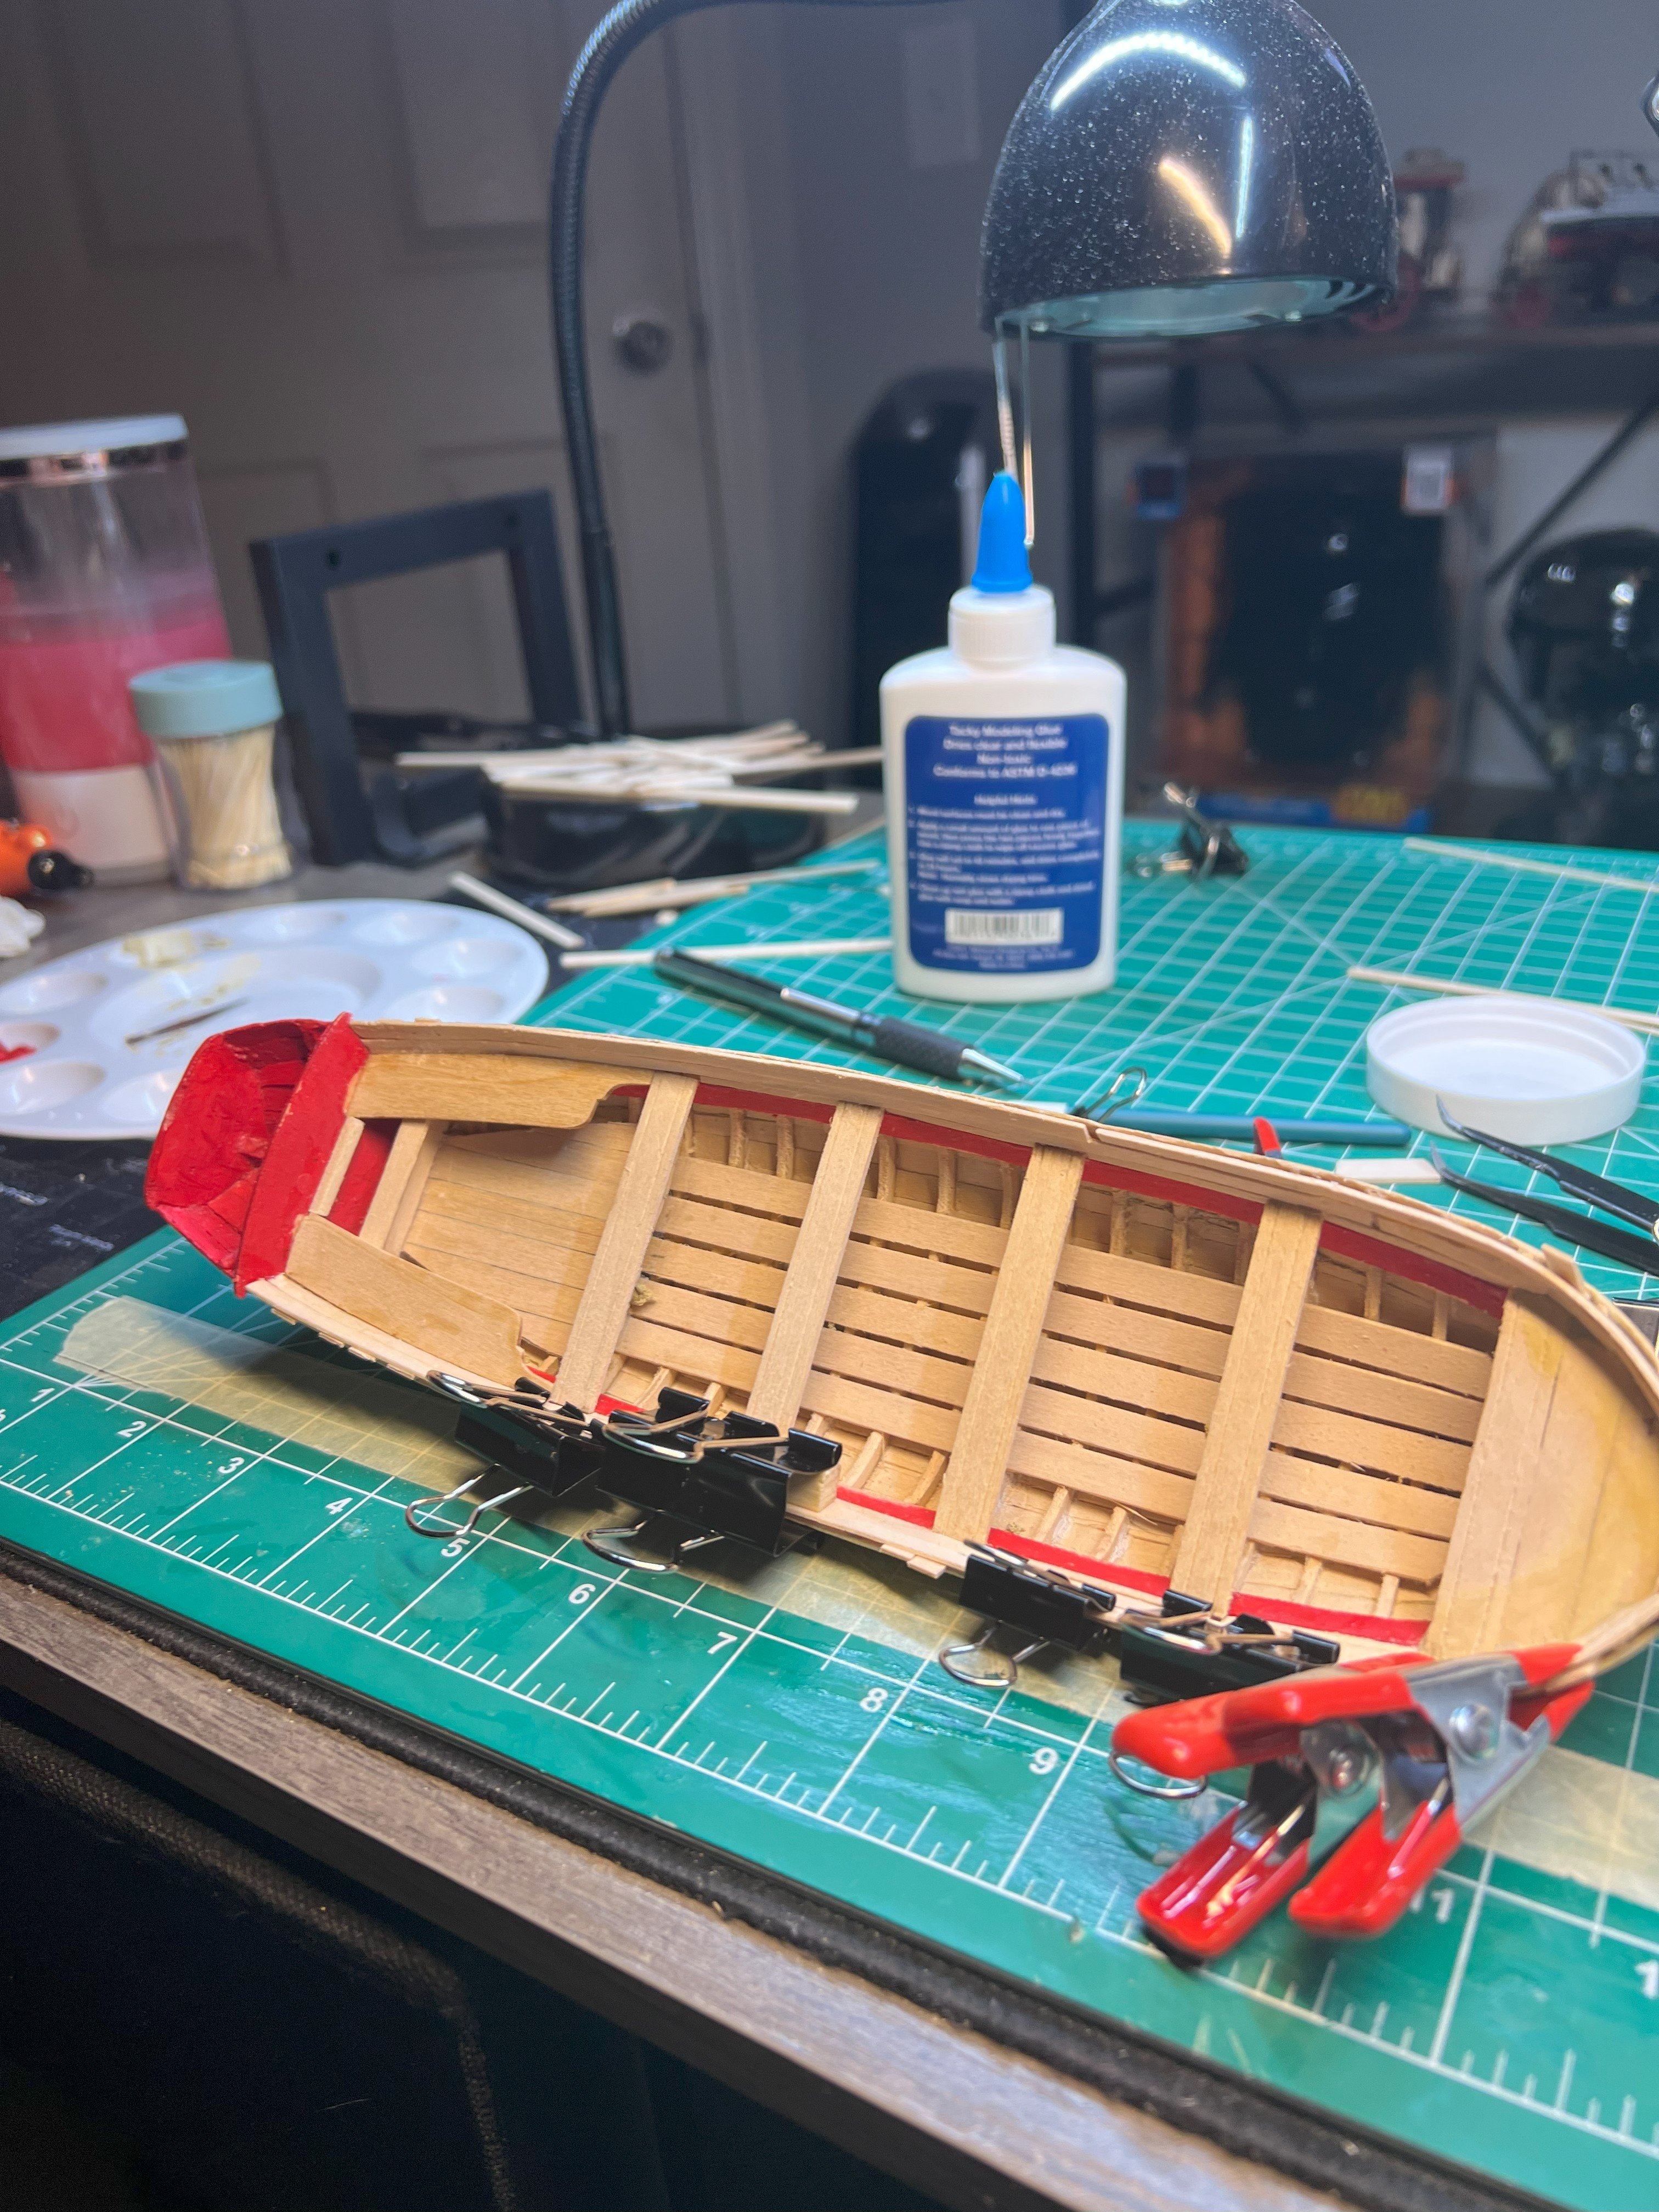
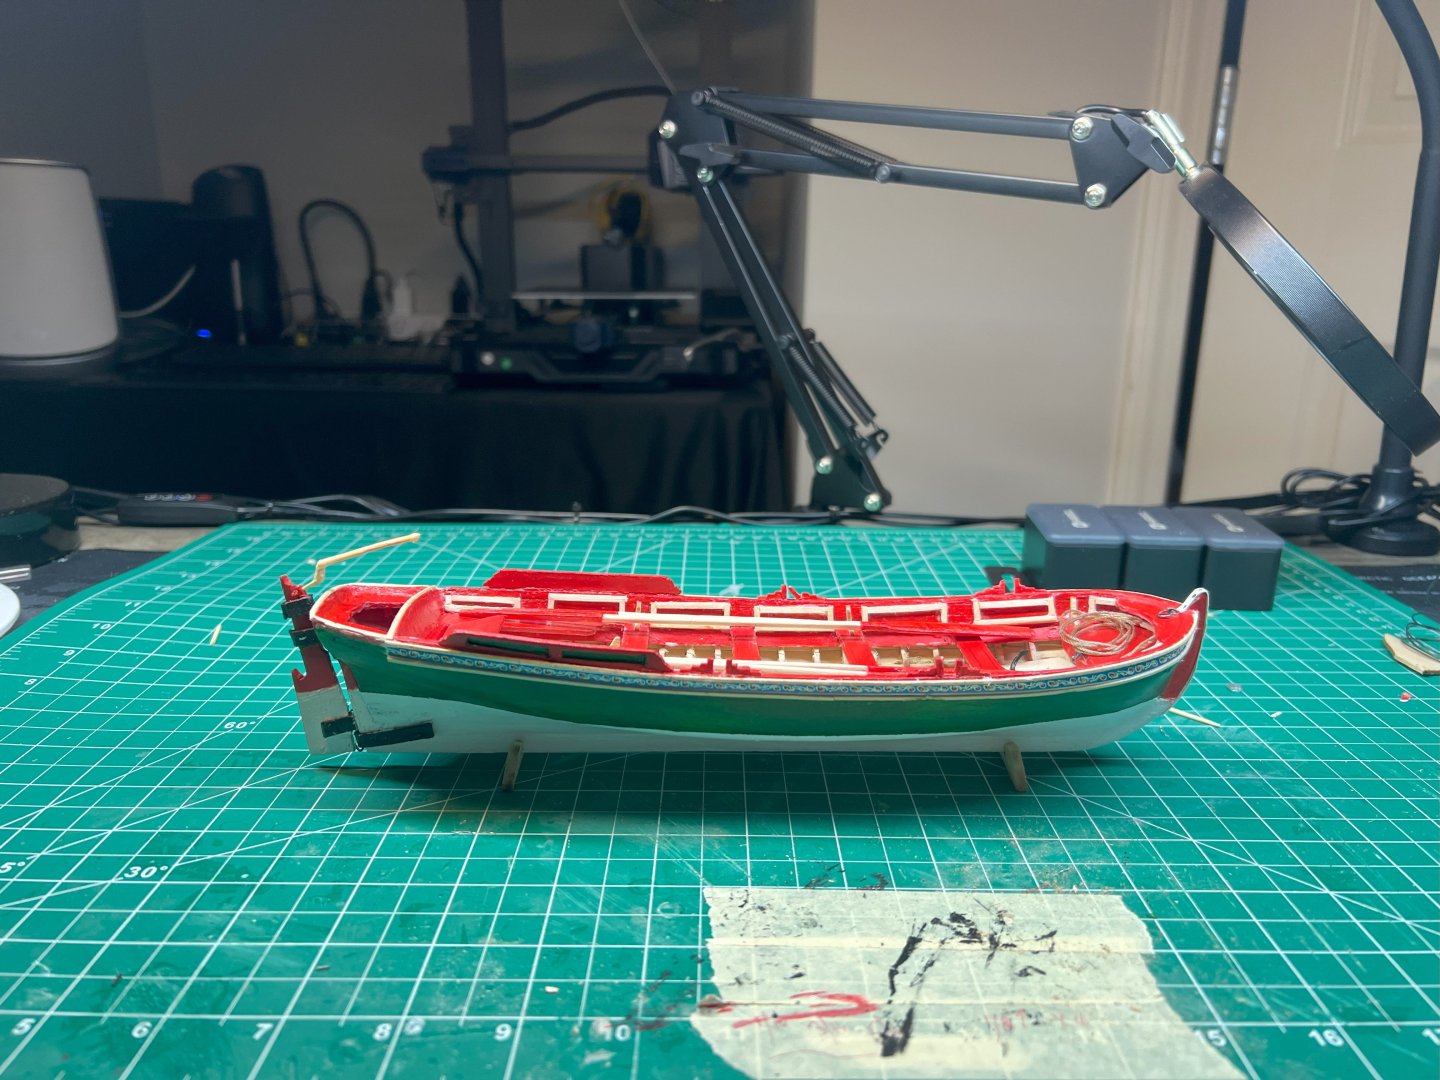
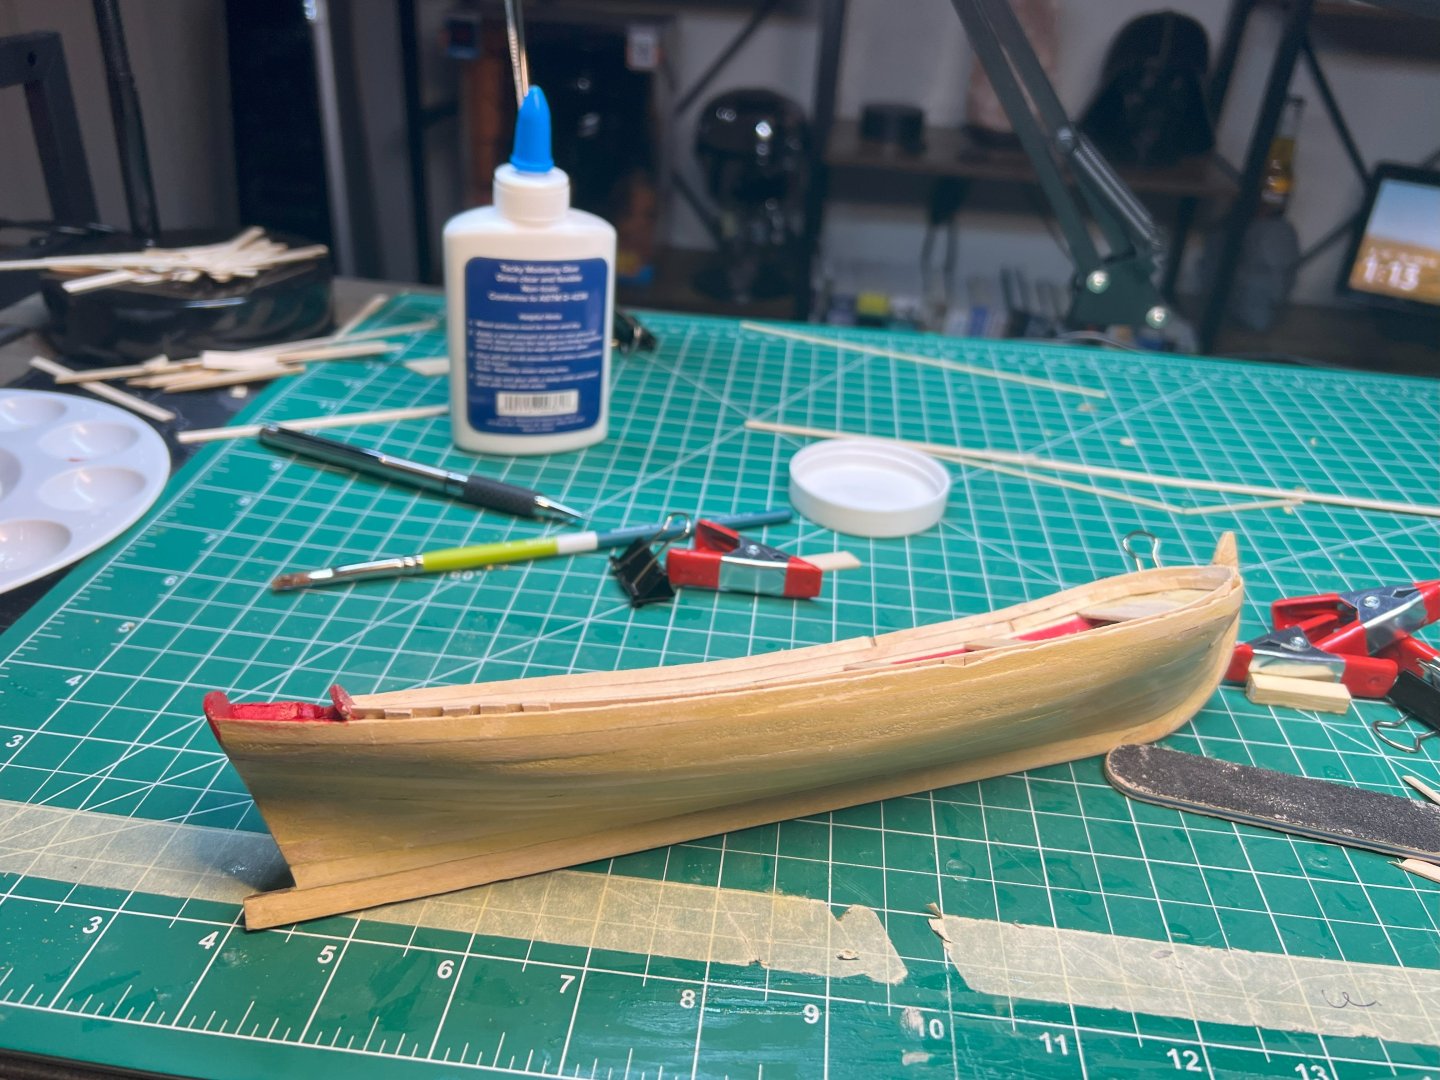
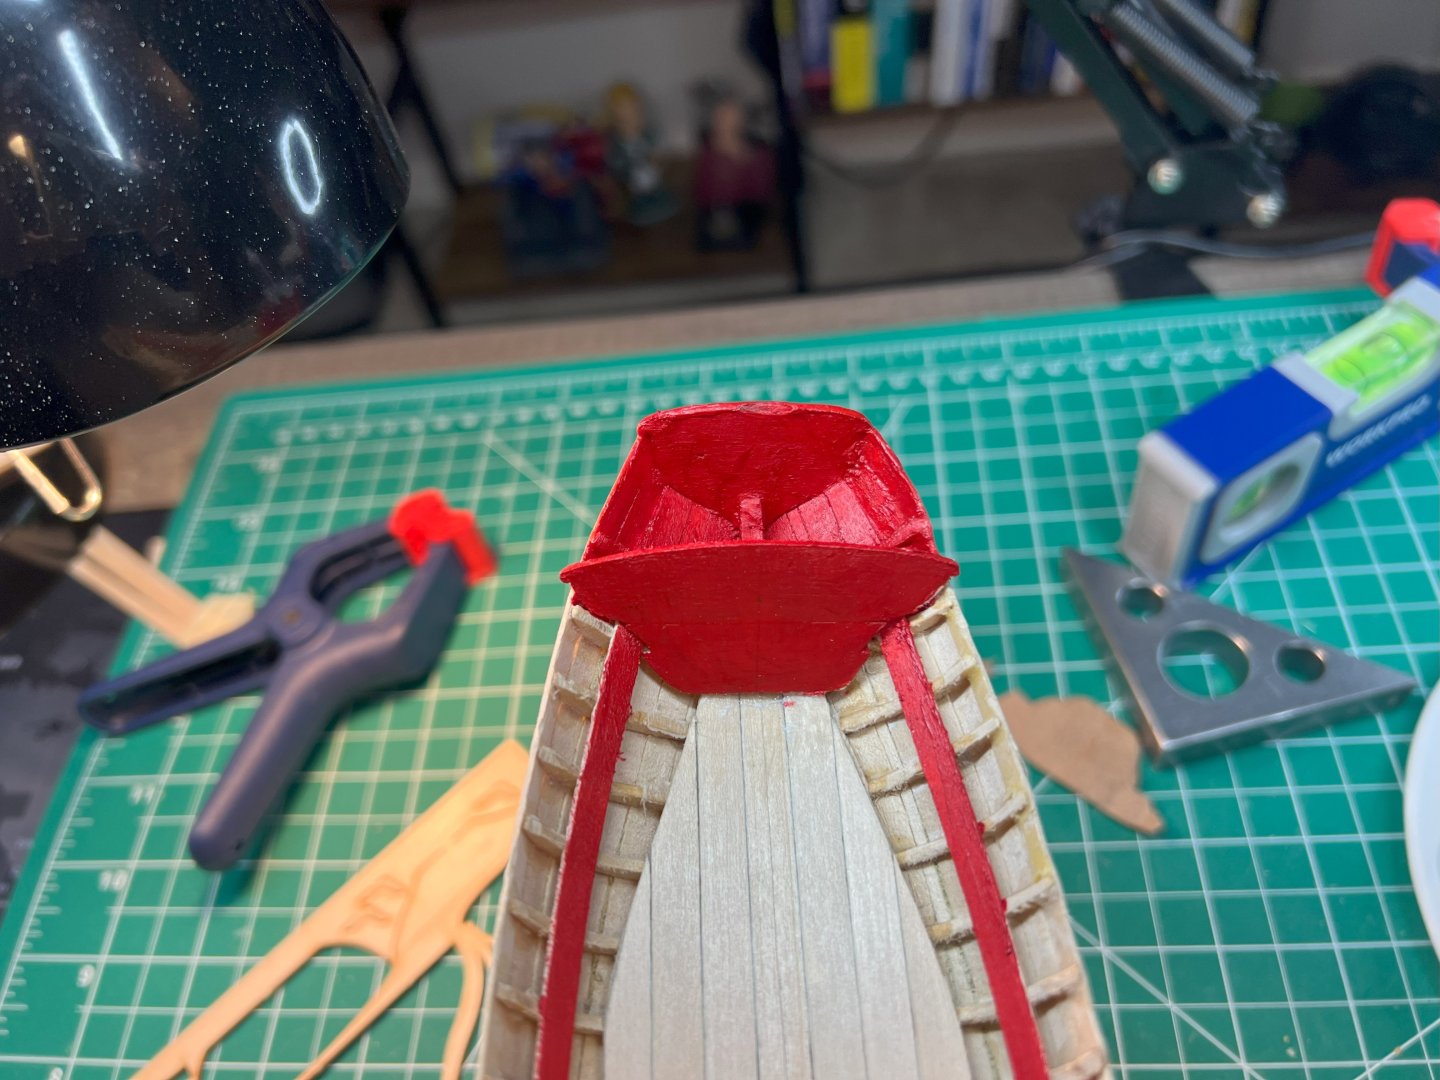
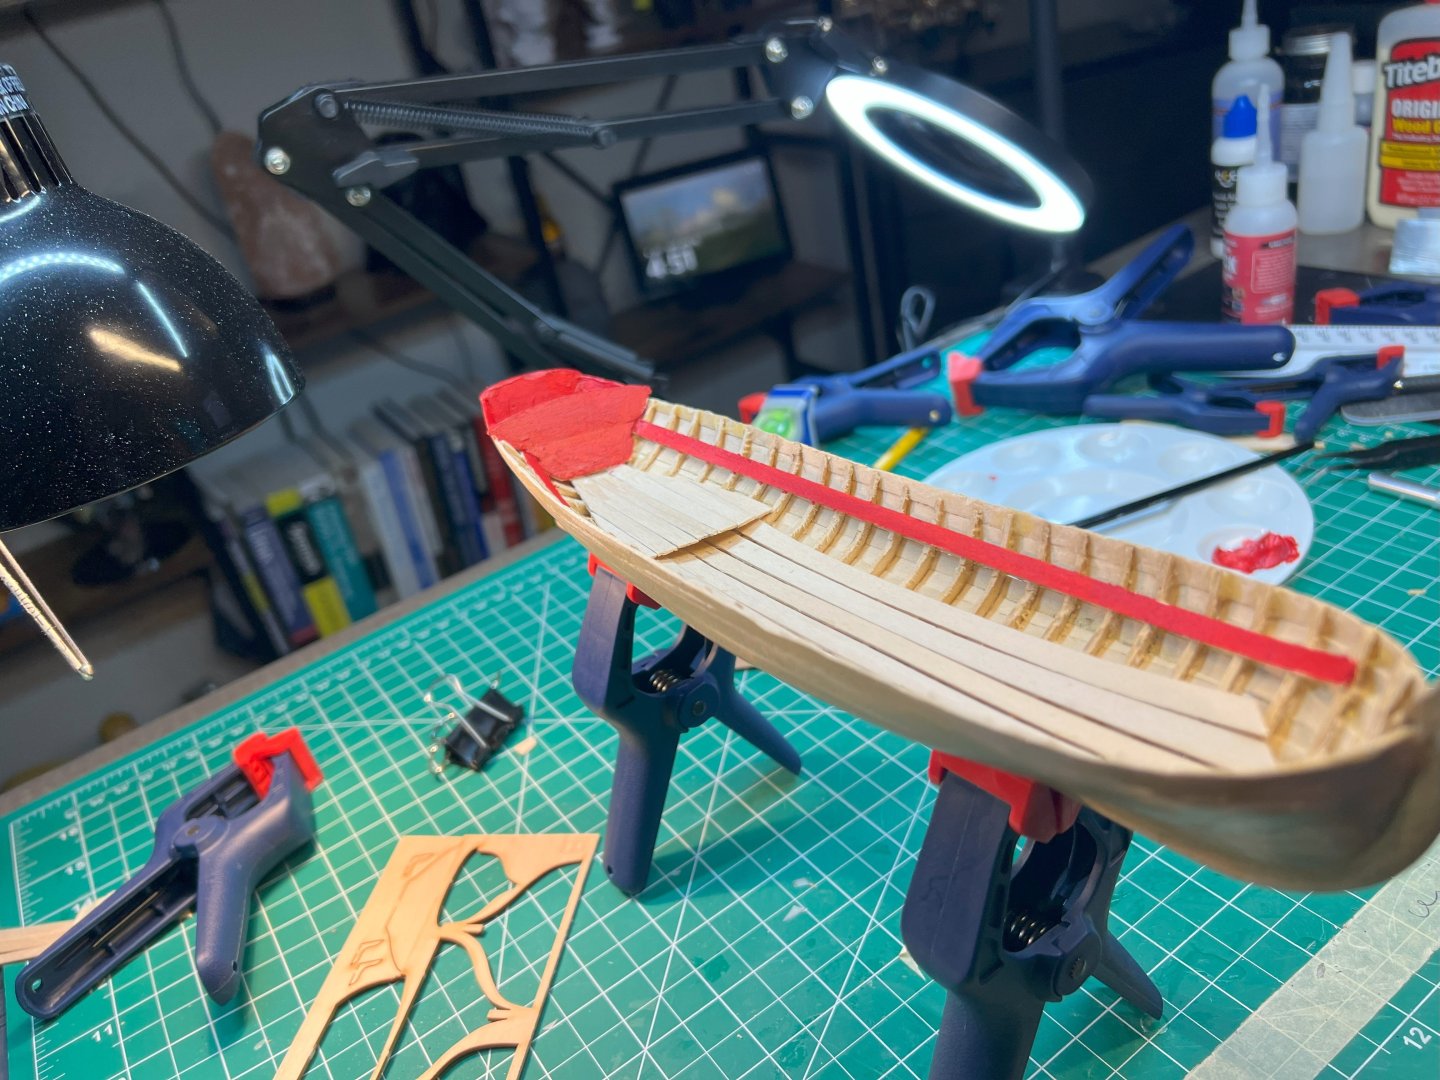
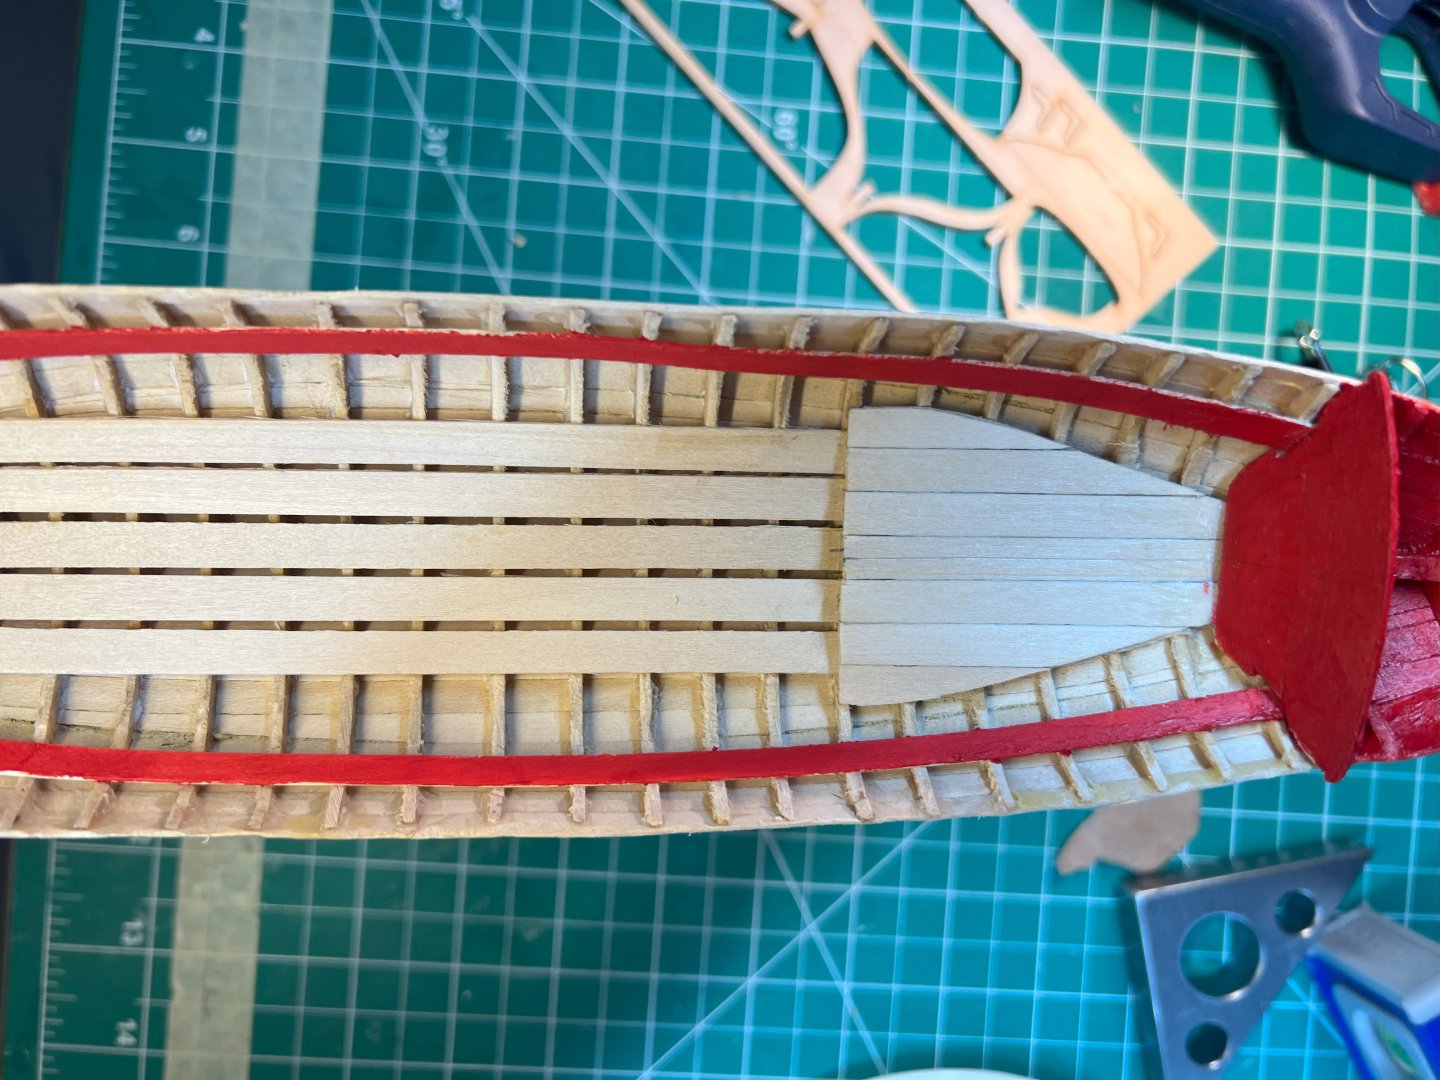
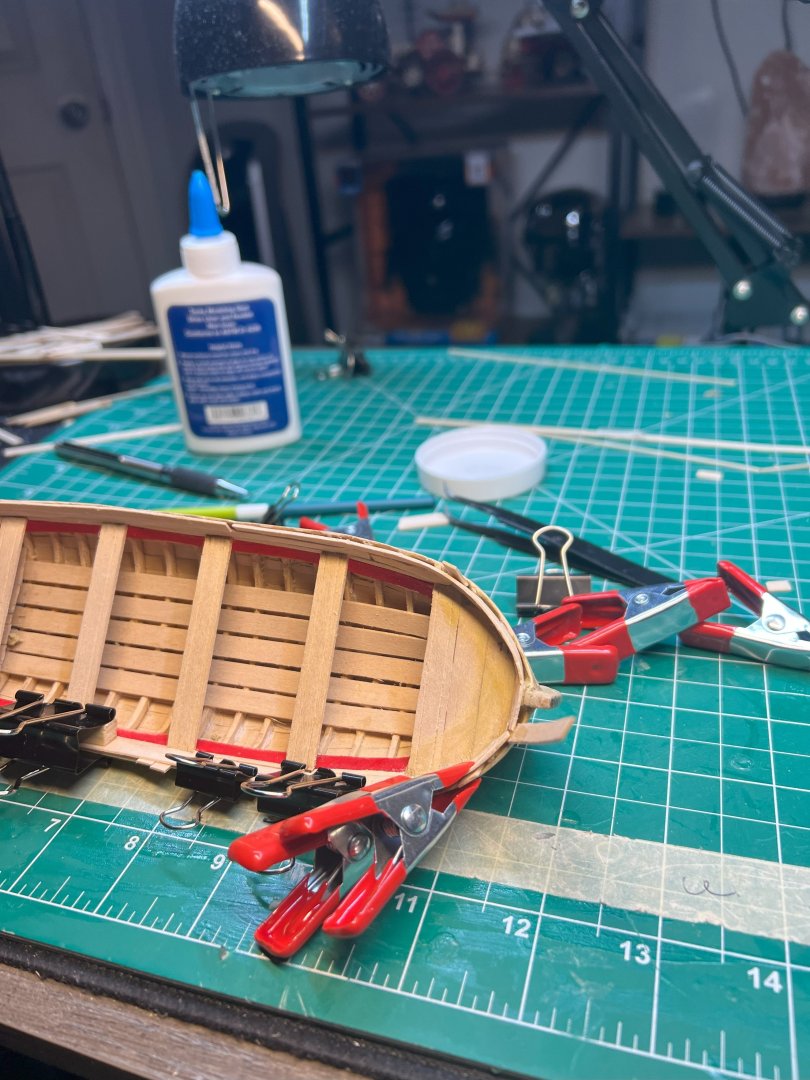
I had issue with my phone being able to connect to my computer so I could download pictures. I was in the shipyard working on the Pinnace and also started the HMS Cutter Sherbourne. I have been really enjoying the wood craft. I was able to take out some of my ape hand mistakes and come out with a semi decent hull. Inside was ok, but once I started putting some of the inside parts and detail, it came together. Not sure what happened here, but I was building and forgot to take pictures. But it has been FINISHED and below is the final. I will try to work on getting the post for my new build. I know, yet another Sherbourne. I really love this one. I believe it is coming out much better that this one. However, I did learn a lot with the Pinnace, and its a bigger build with less fragile parts. My ape hands don't come into play as much.


- 12 replies
-
- 5
-
-

-
- English Pinnace
- Model Shipways
- (and 2 more)
-
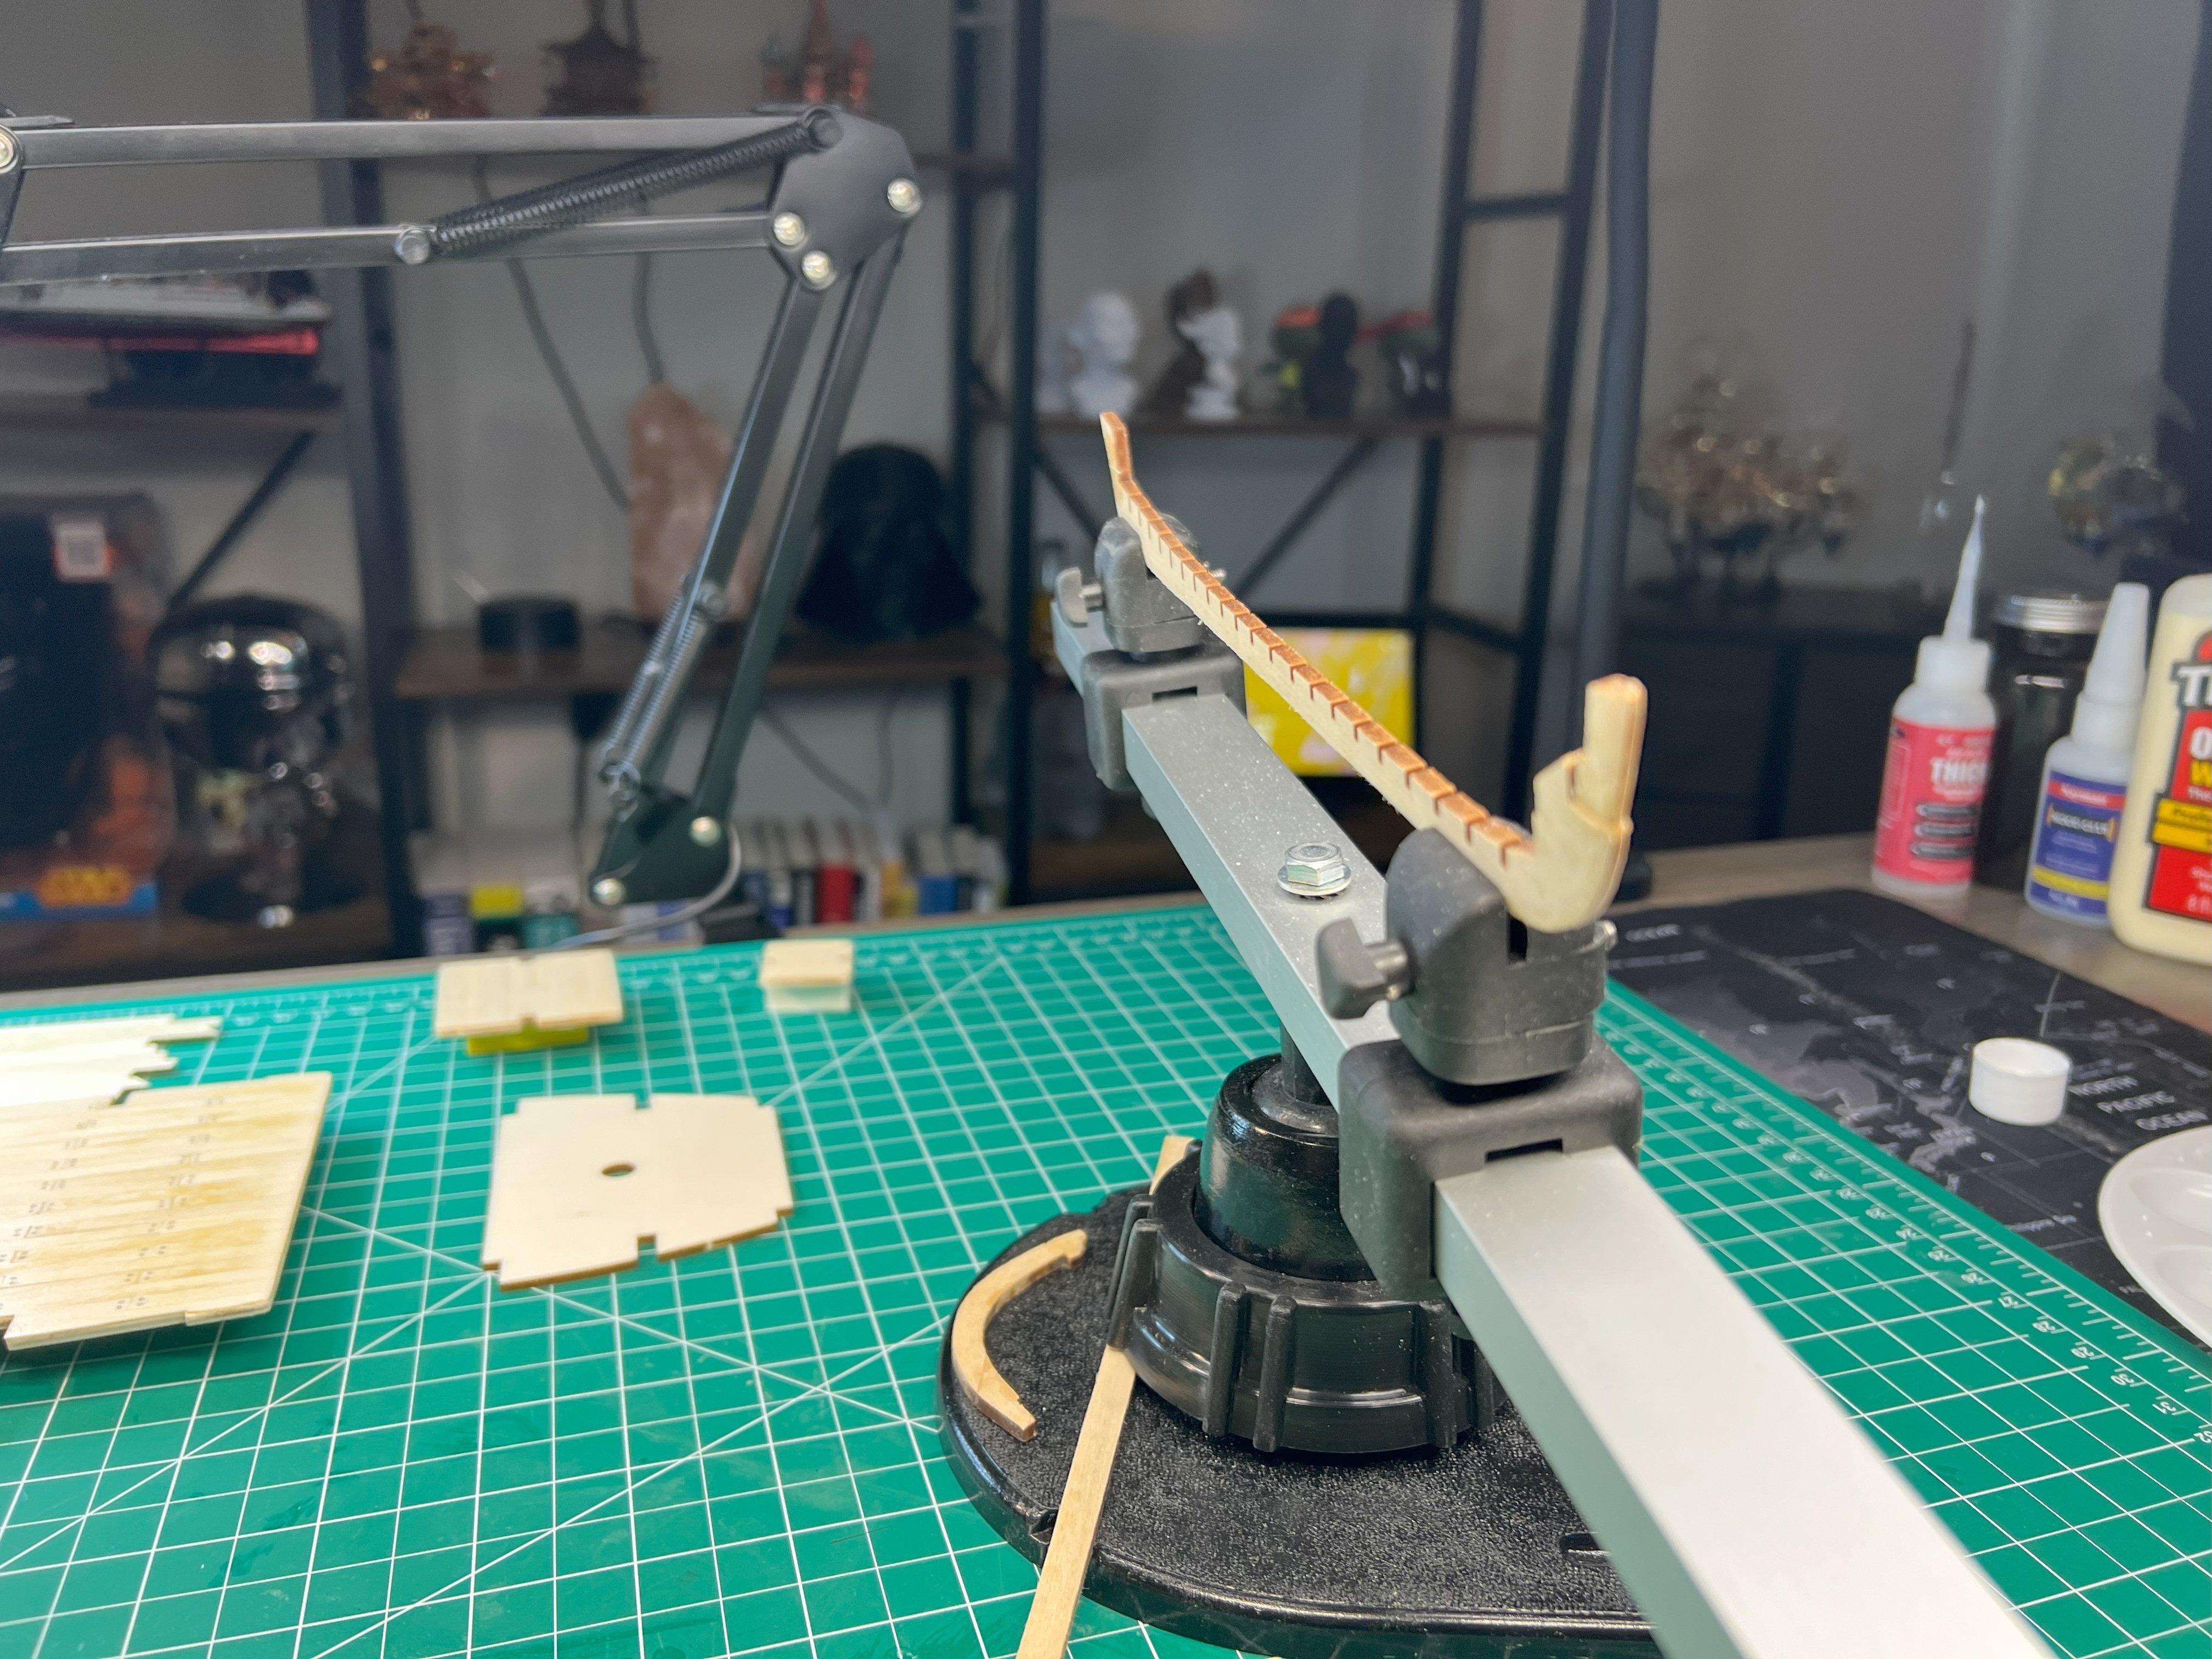
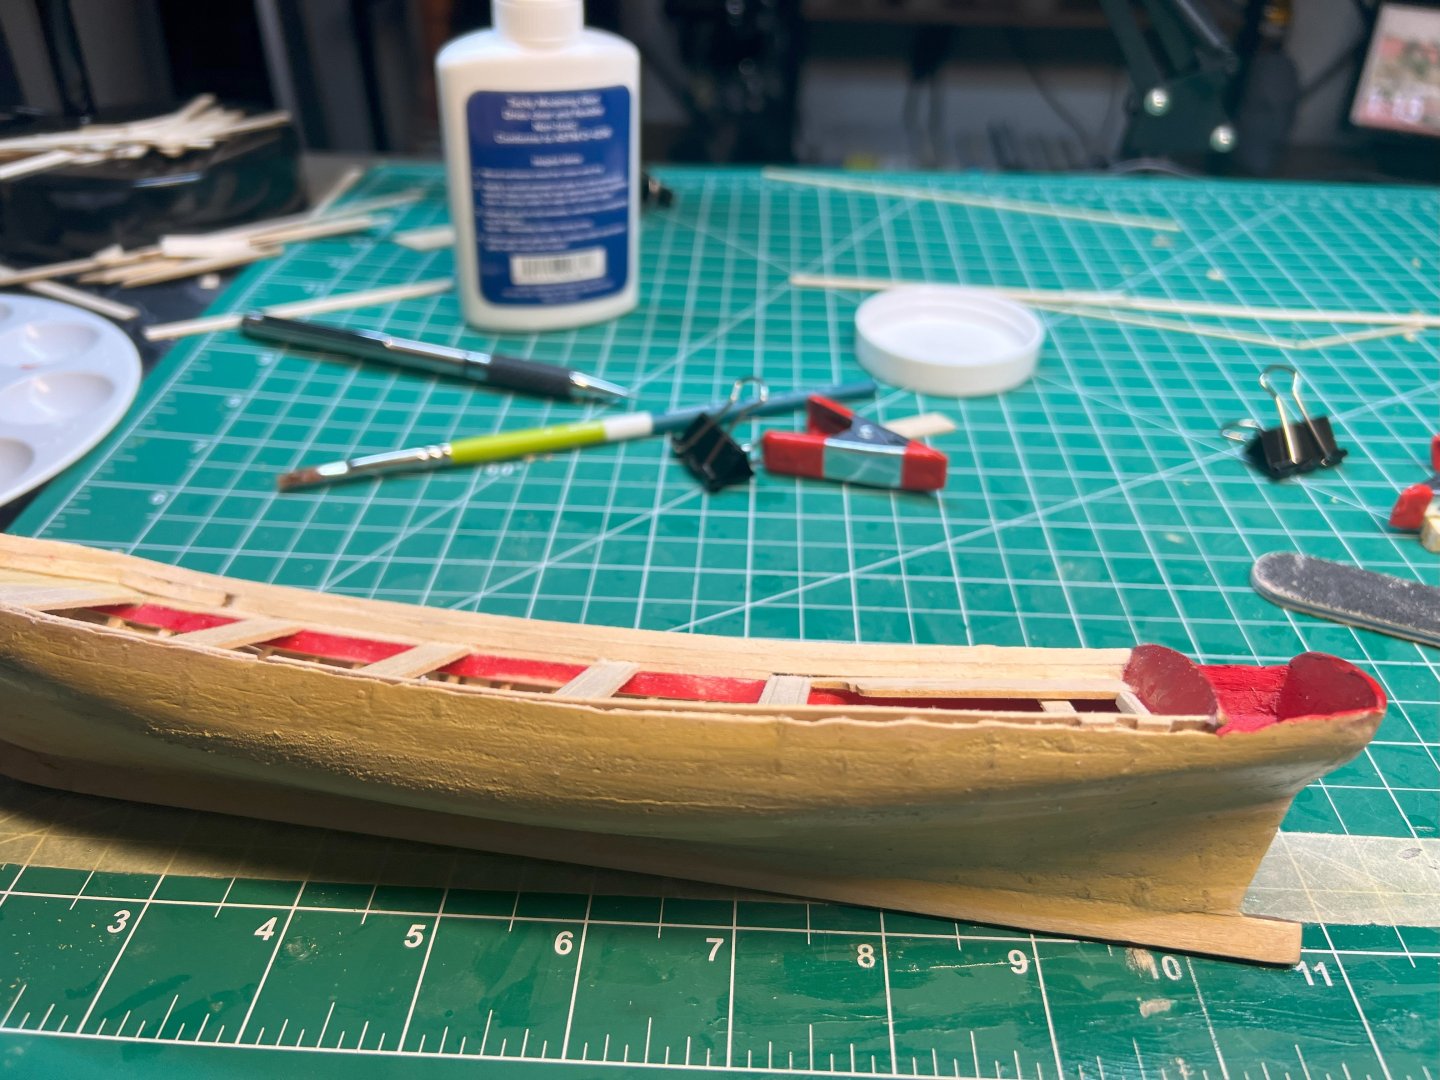
I have not given up. I have been busy with work and haven't gotten around to uploading photos to the computer. I have made progress, though I believe my misfortune with misalignment and my big ape hands, I have caused more work for myself trying to make things look good. Anyway. I have photos below of where I am. I am currently working on the cap hoping to be able to take more bad adjustments out.


- 12 replies
-
- 8
-
-
- English Pinnace
- Model Shipways
- (and 2 more)
-
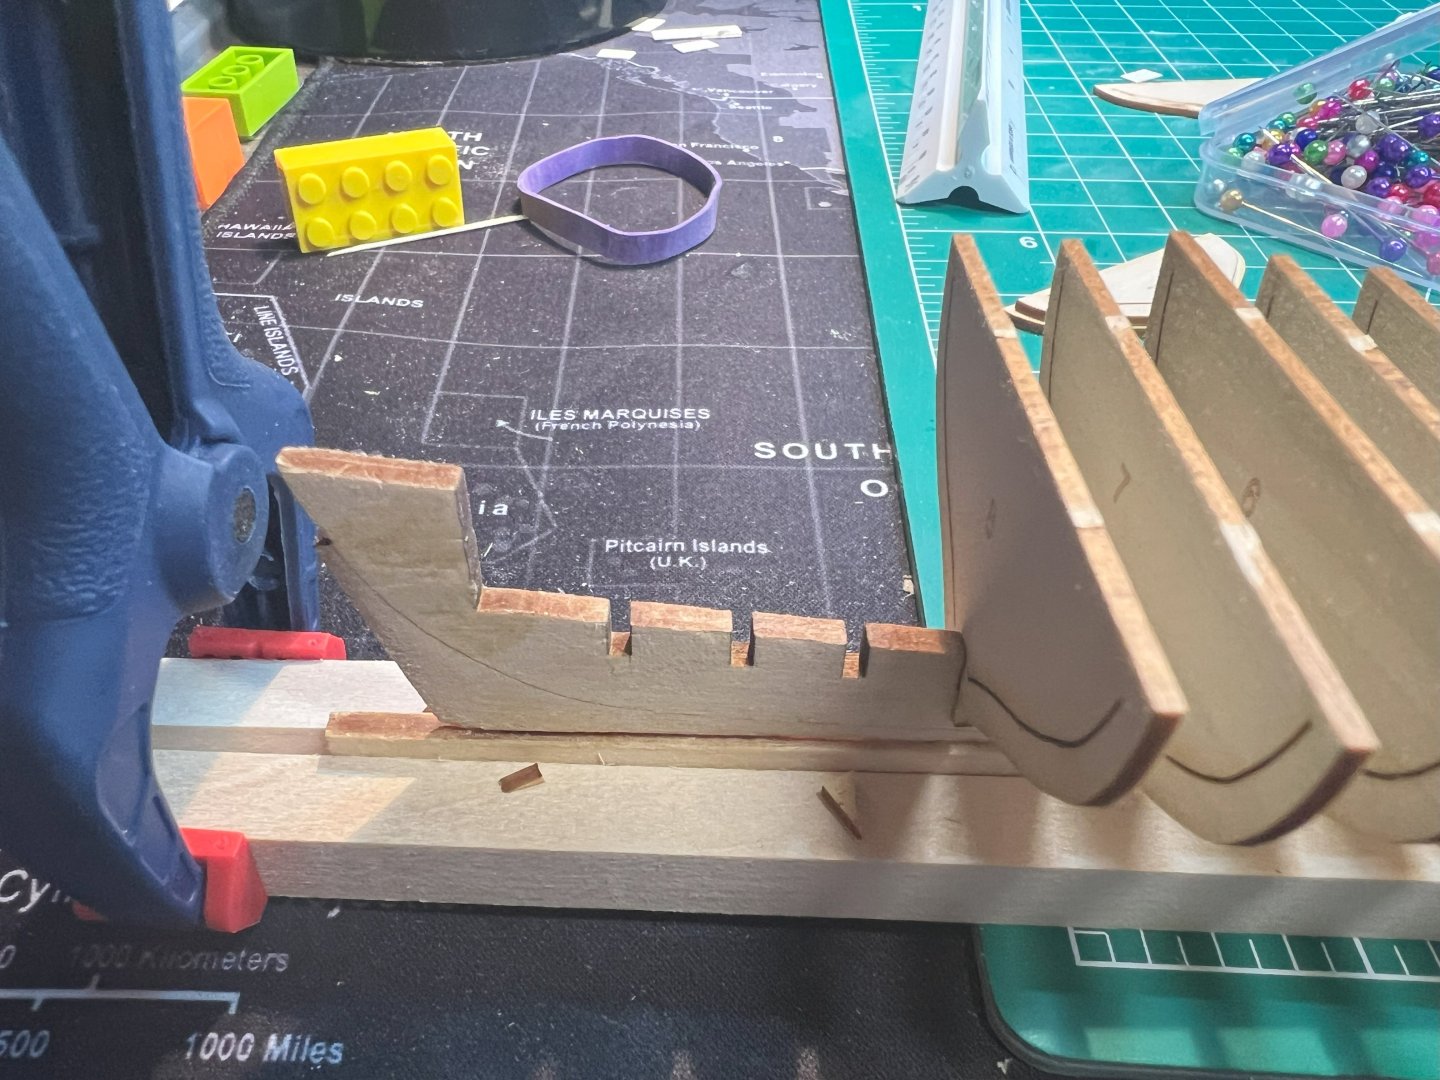
Thanks. Yea there was one or two that moved. Not to mention with the repair to the false keel - its a little tilted. There was one Bulkhead that was higher than it was supposed to. I will have photos later, if I can get anymore work done with it other than a few repairs to hope to help further down the build.
- 12 replies
-
- 1
-
-
- English Pinnace
- Model Shipways
- (and 2 more)
-
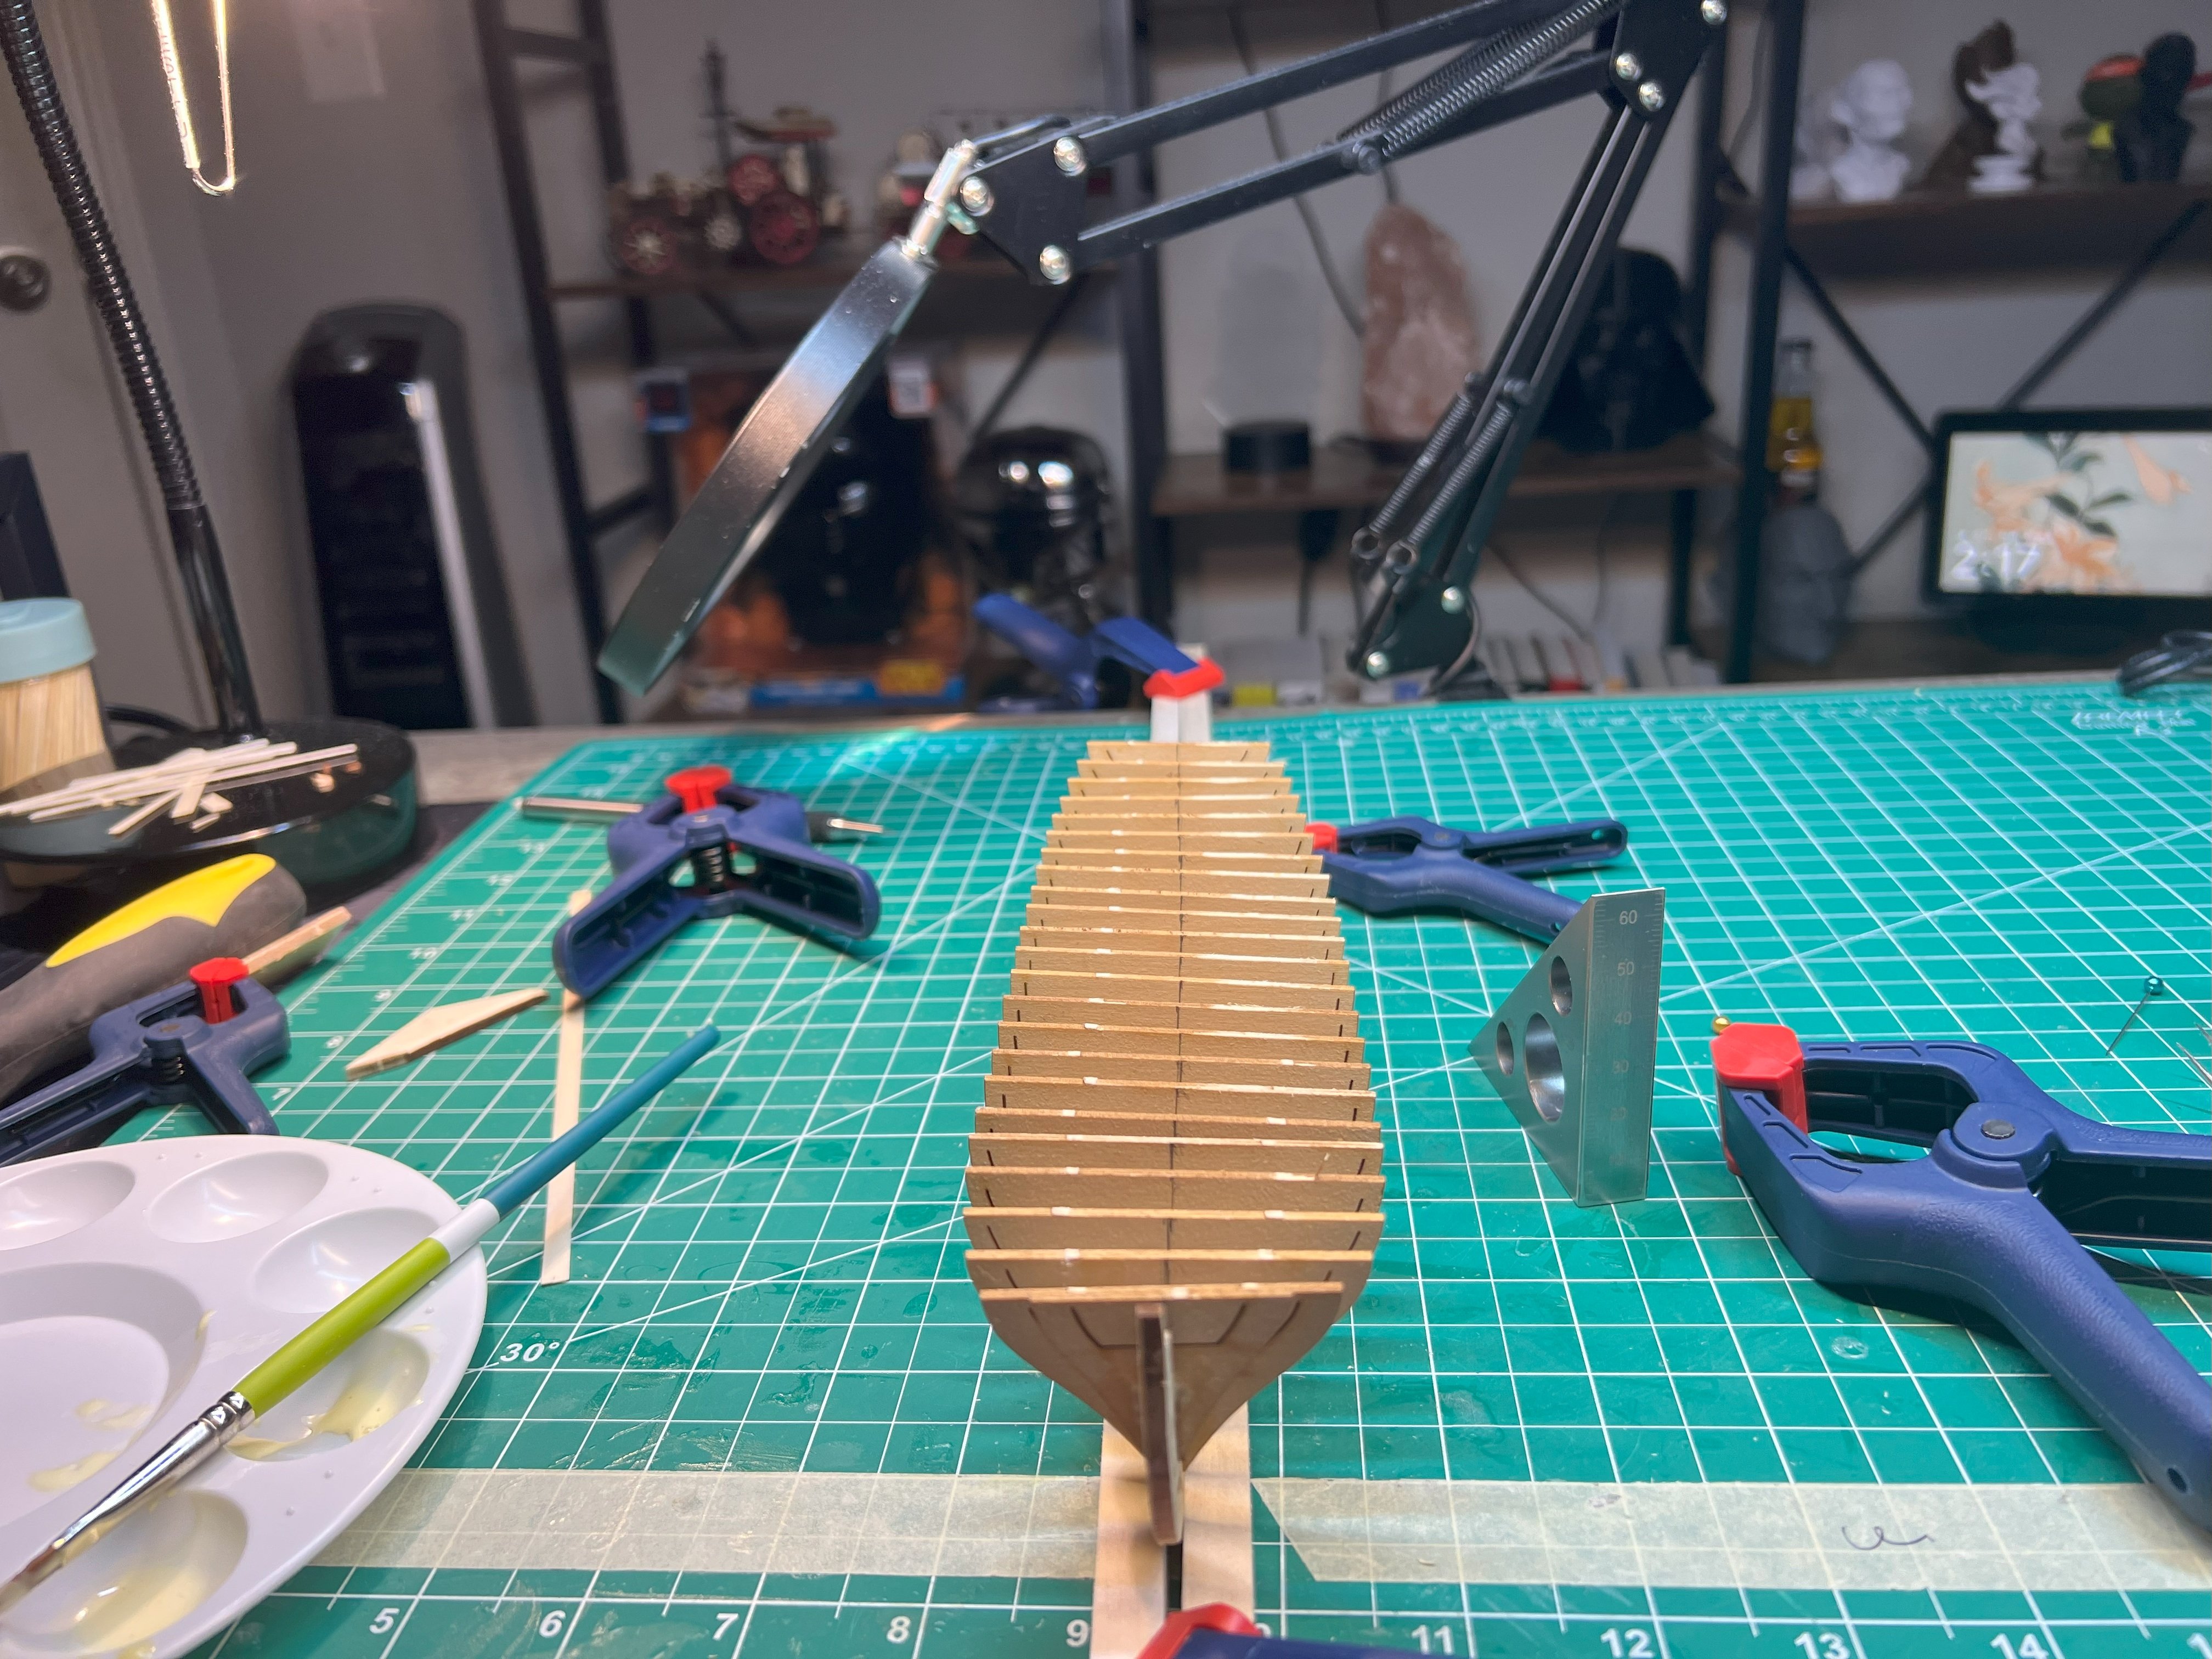
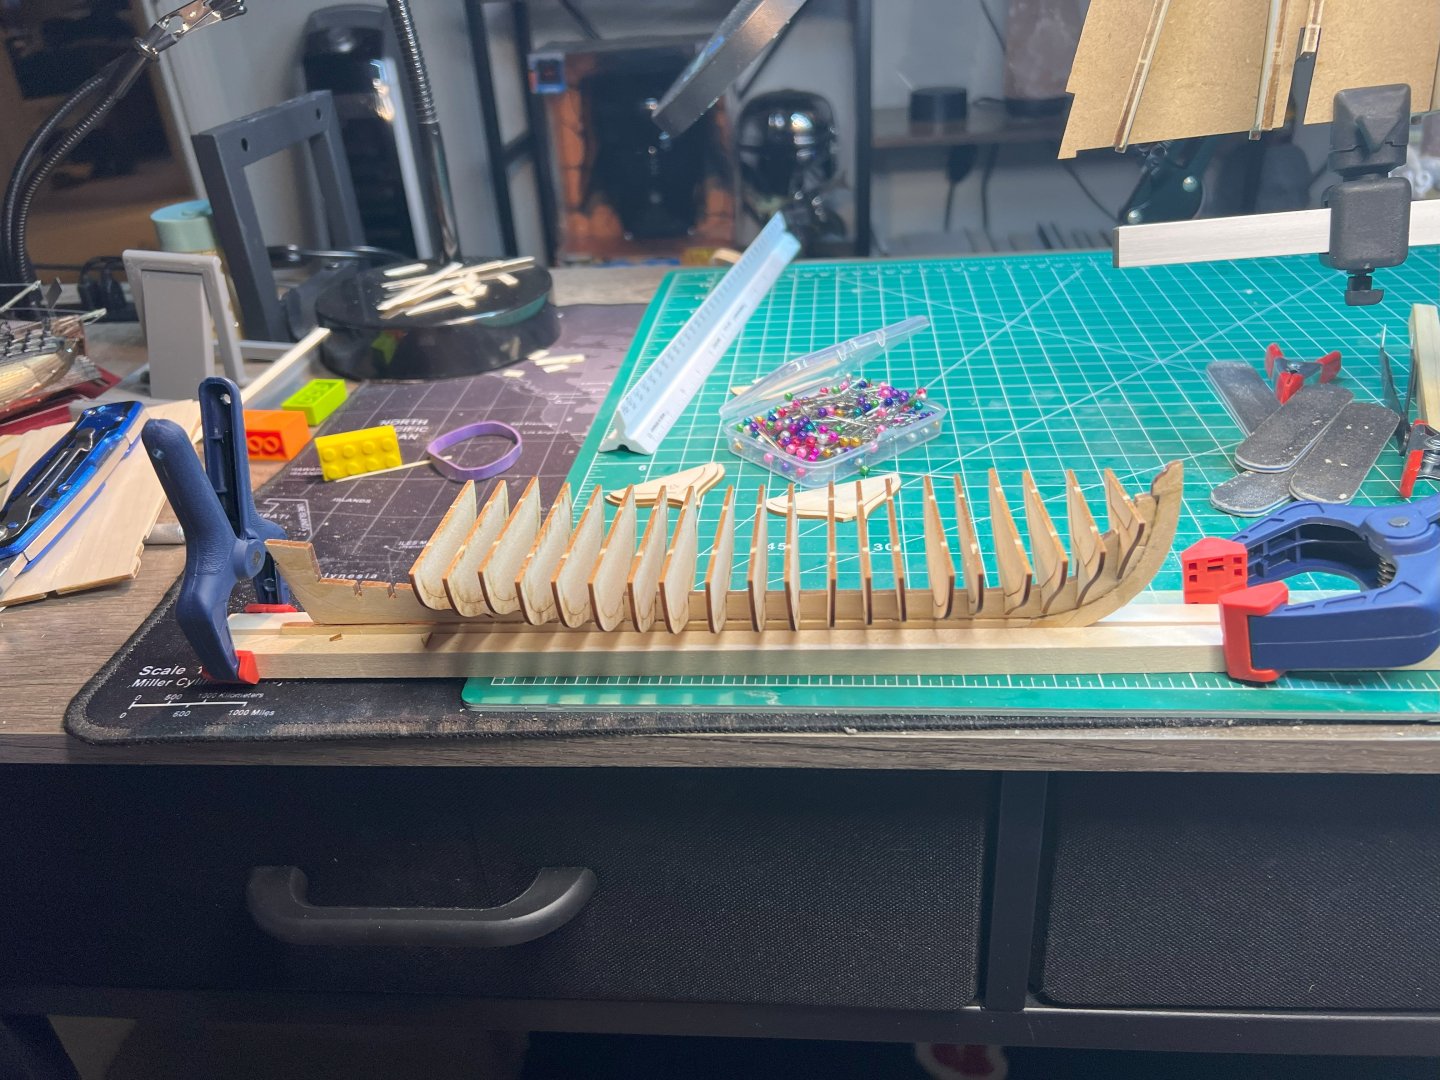
Made a little bit of progress. I have been busy and not able to do much as I wanted to. But I did get the bulkheads on and now waiting for the glue to dry. I believe I will start with securing the Bulkhead to fair the hull tomorrow.


- 12 replies
-
- 2
-
-
- English Pinnace
- Model Shipways
- (and 2 more)
-
Nicely Done. I have a question. I have seen that metal block with all the thread holes in several logs. What in the heck is that? I was looking for a couple and I am completely stumped. Regards
- 16 replies
-
- 1
-
-
- dory
- Model Shipways
- (and 2 more)
-
Thank you for the information @JacquesCousteau - I was able to see that I was not using my eyes. I did what you stated for the photos, but nothing happened. It was because the photos were .HEIC. Thought I changed them, but apparently - nope.
- 12 replies
-
- 1
-
-
- English Pinnace
- Model Shipways
- (and 2 more)
-
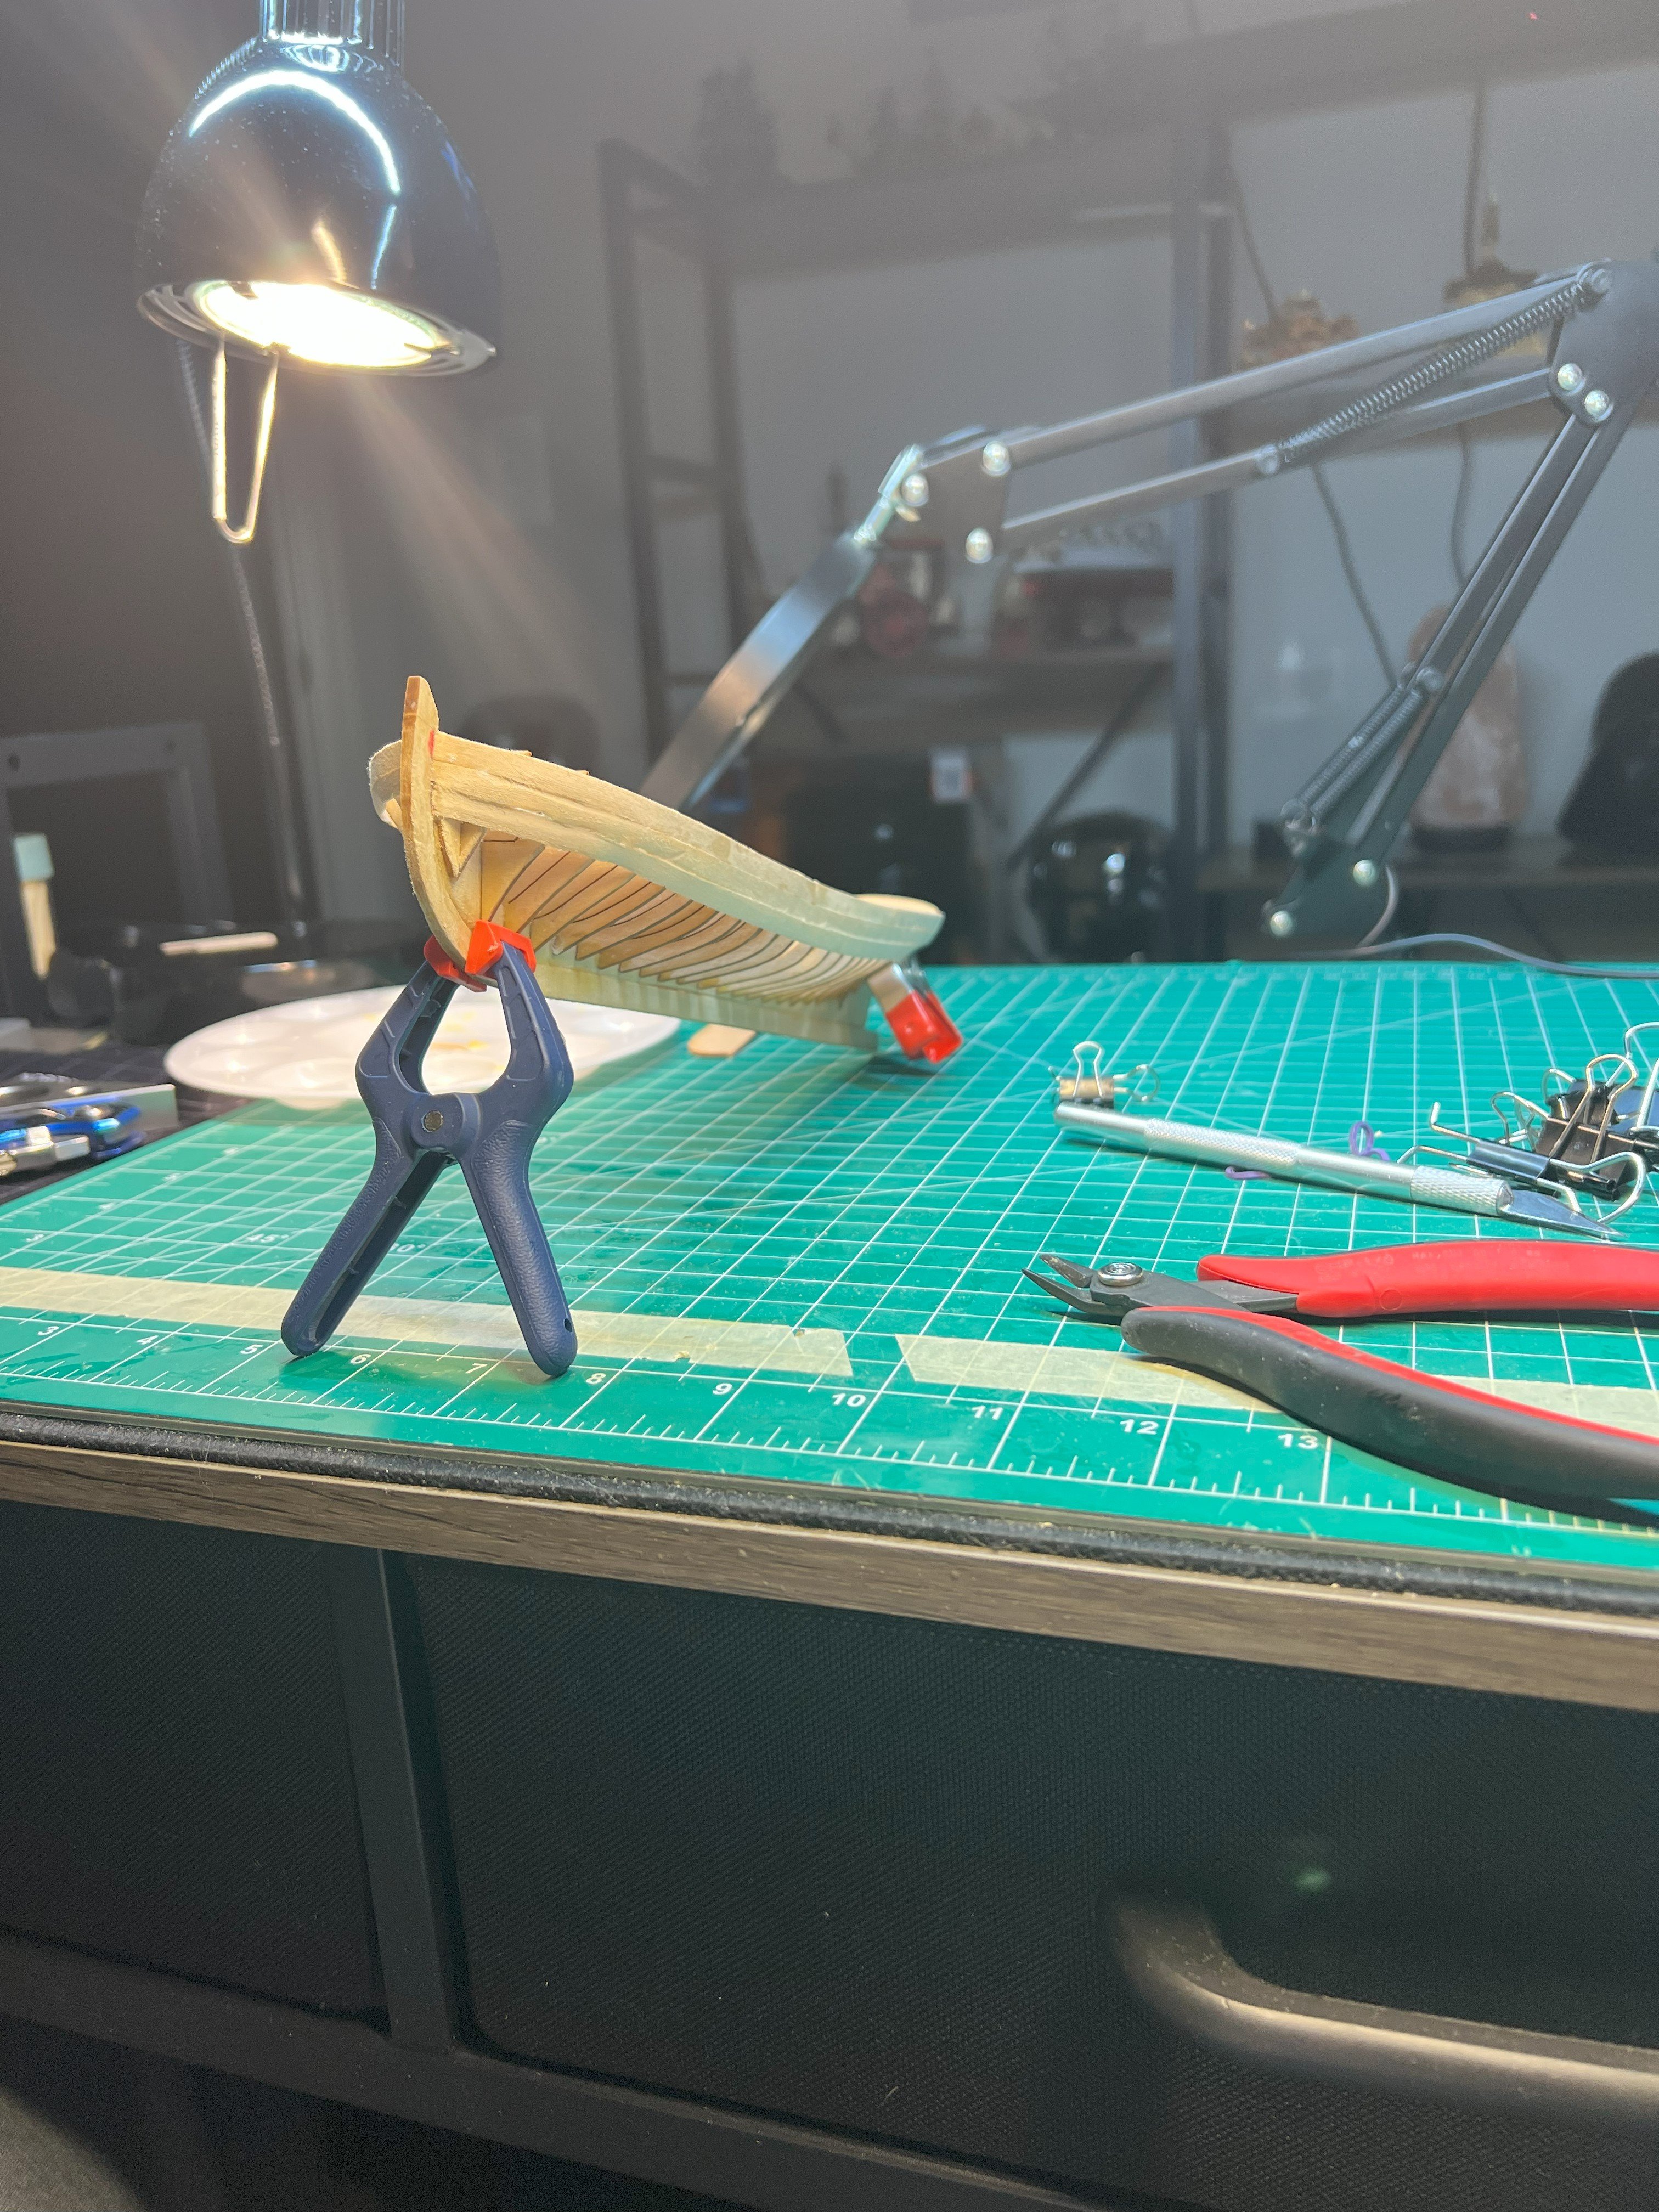
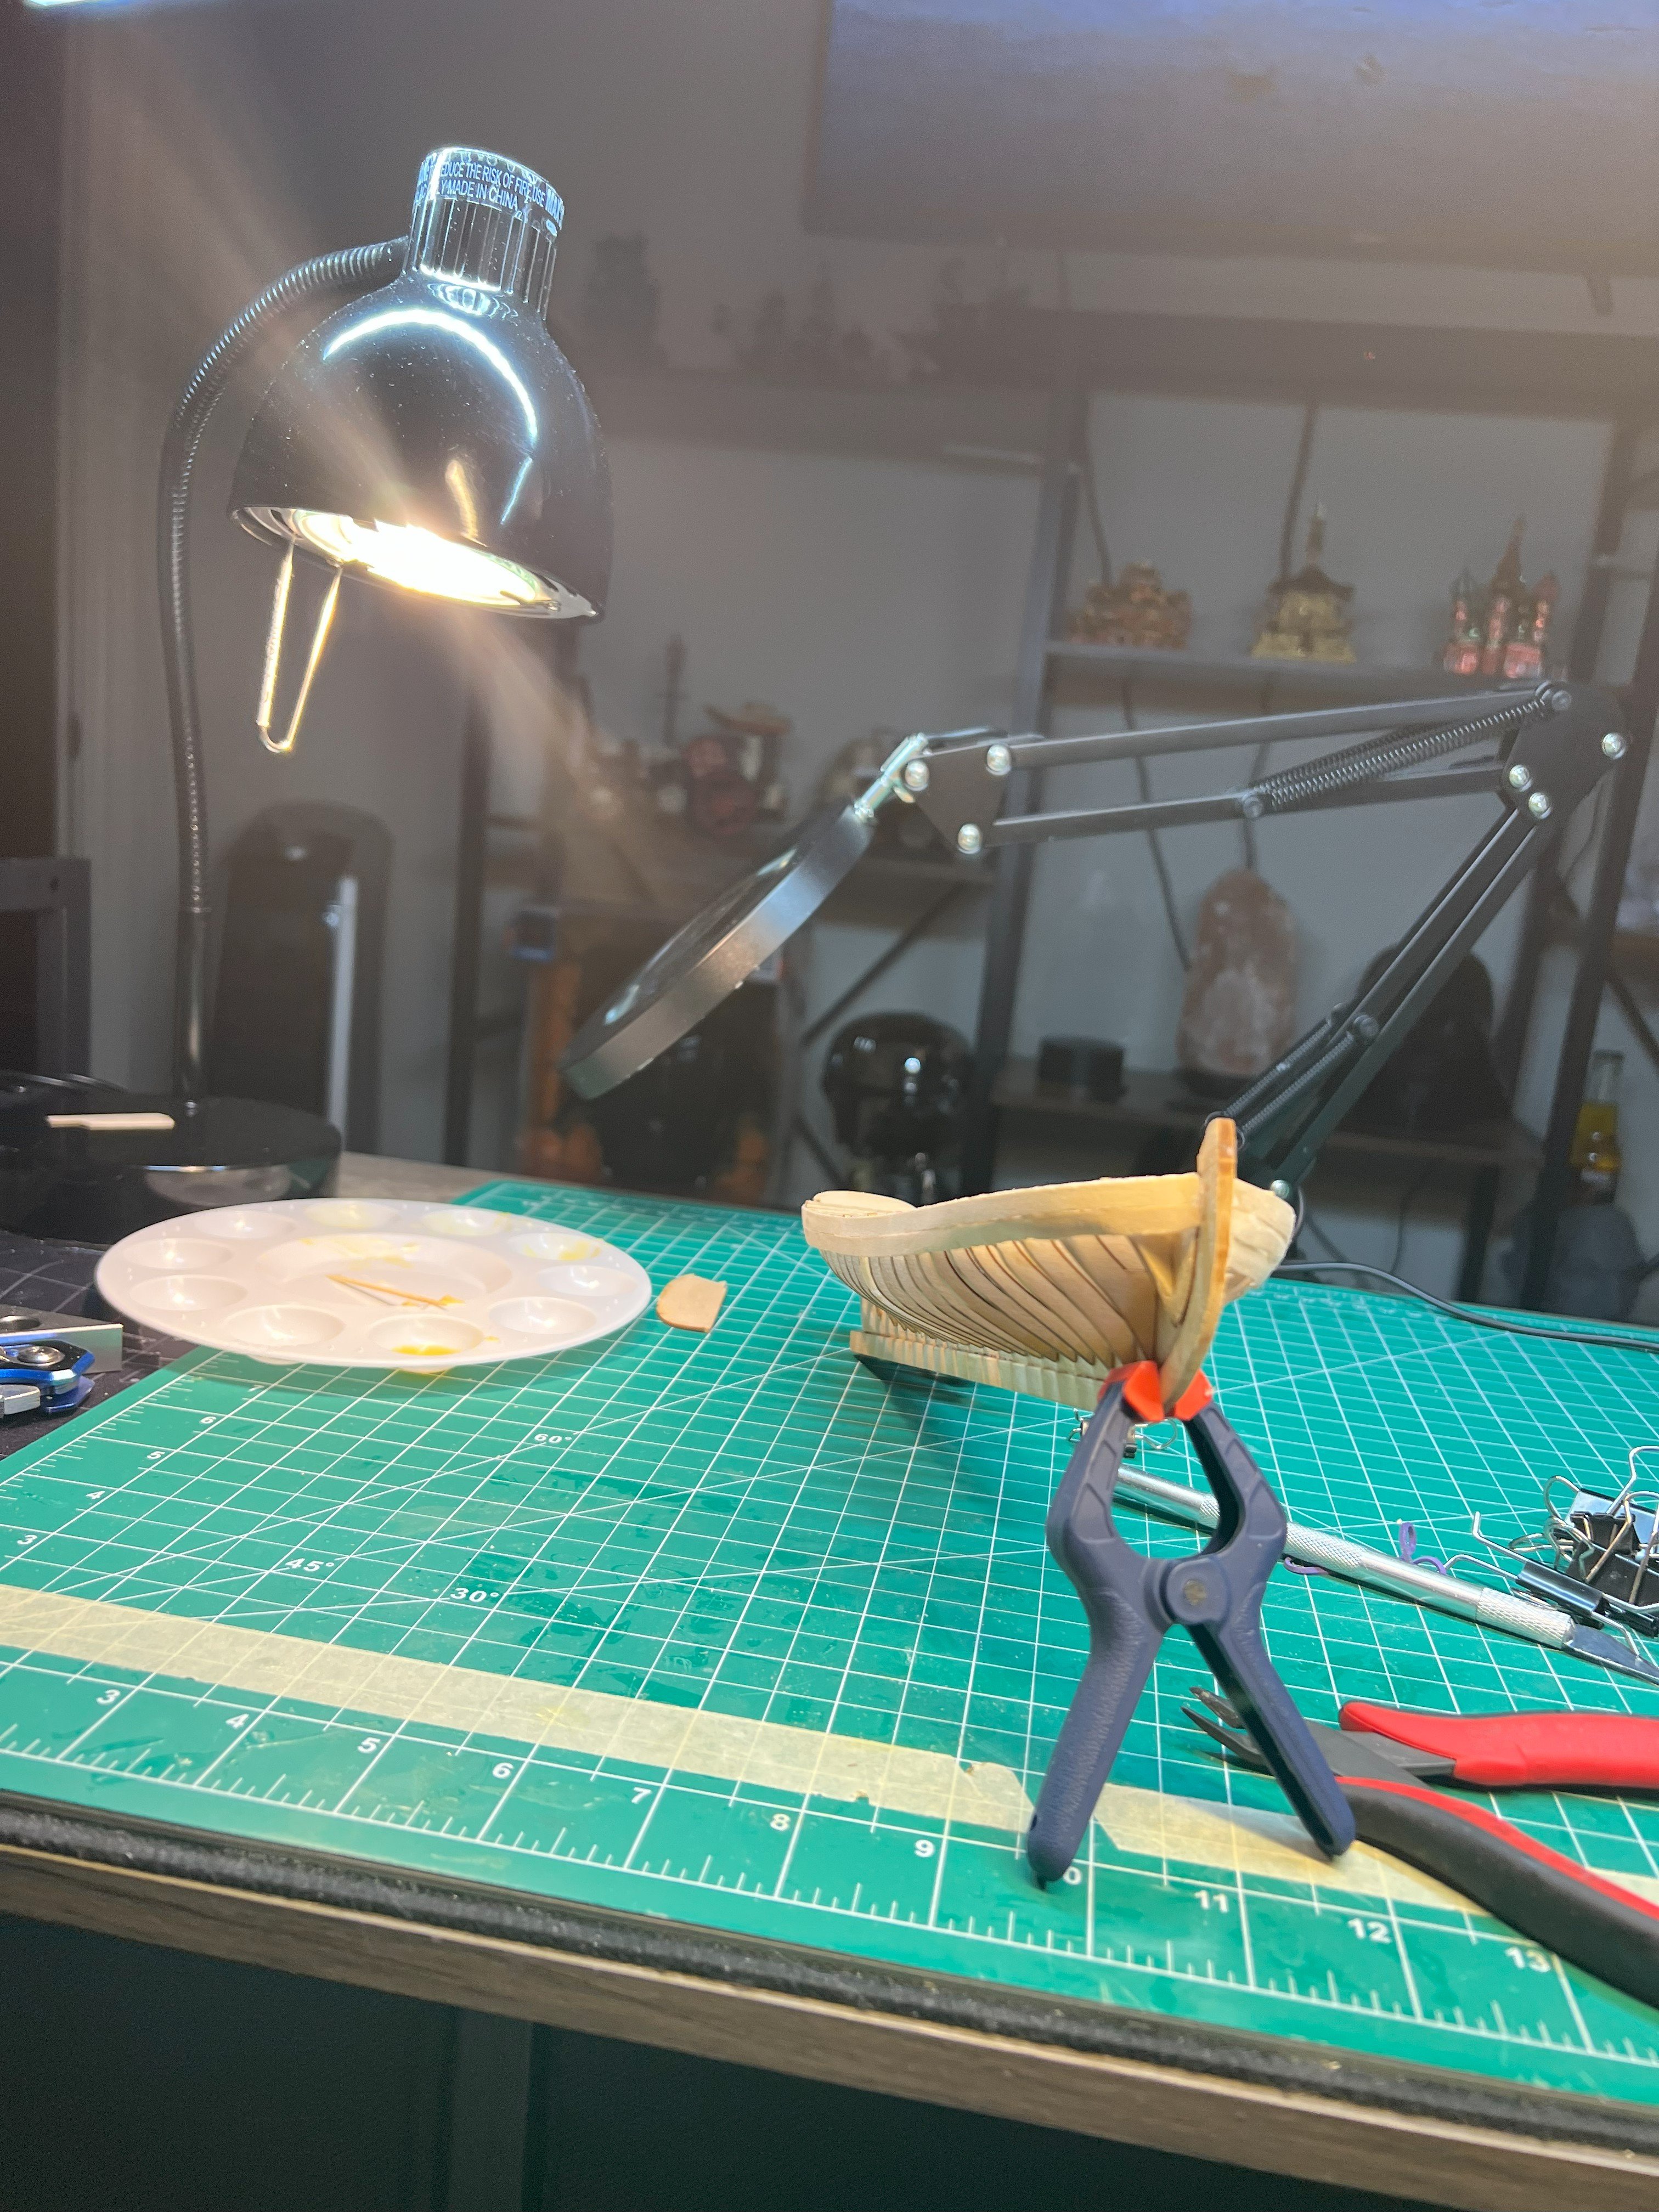
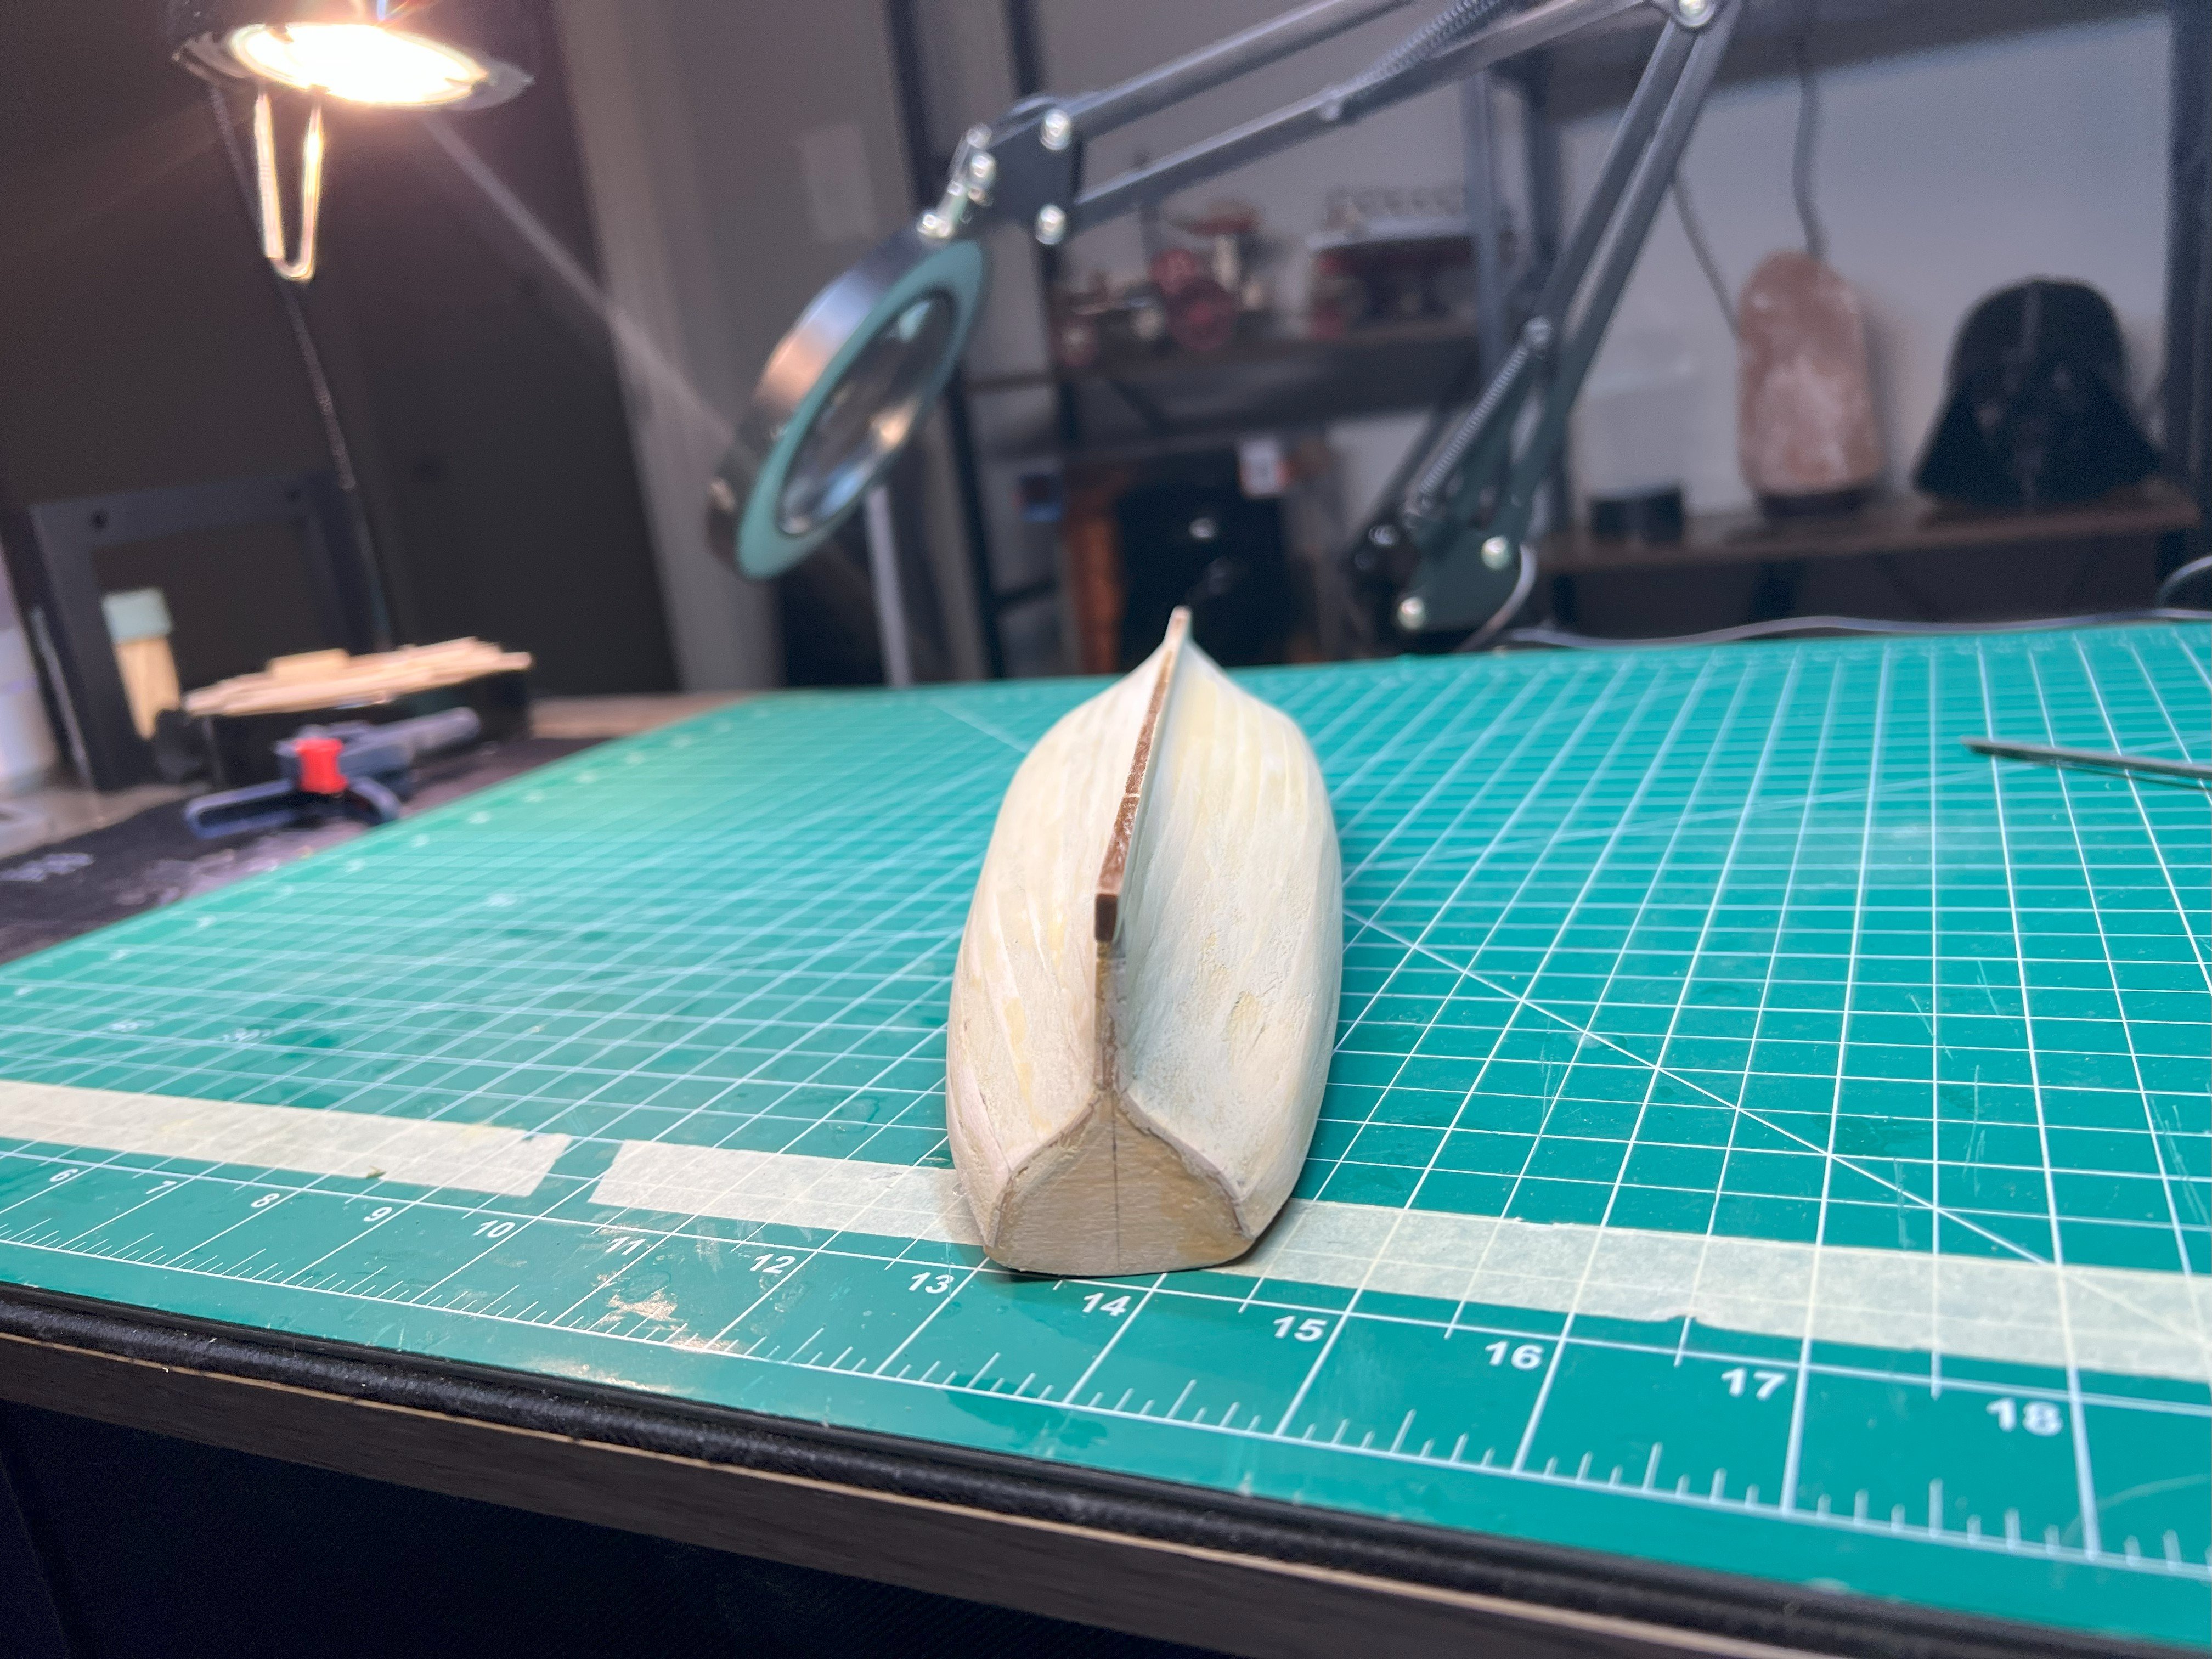
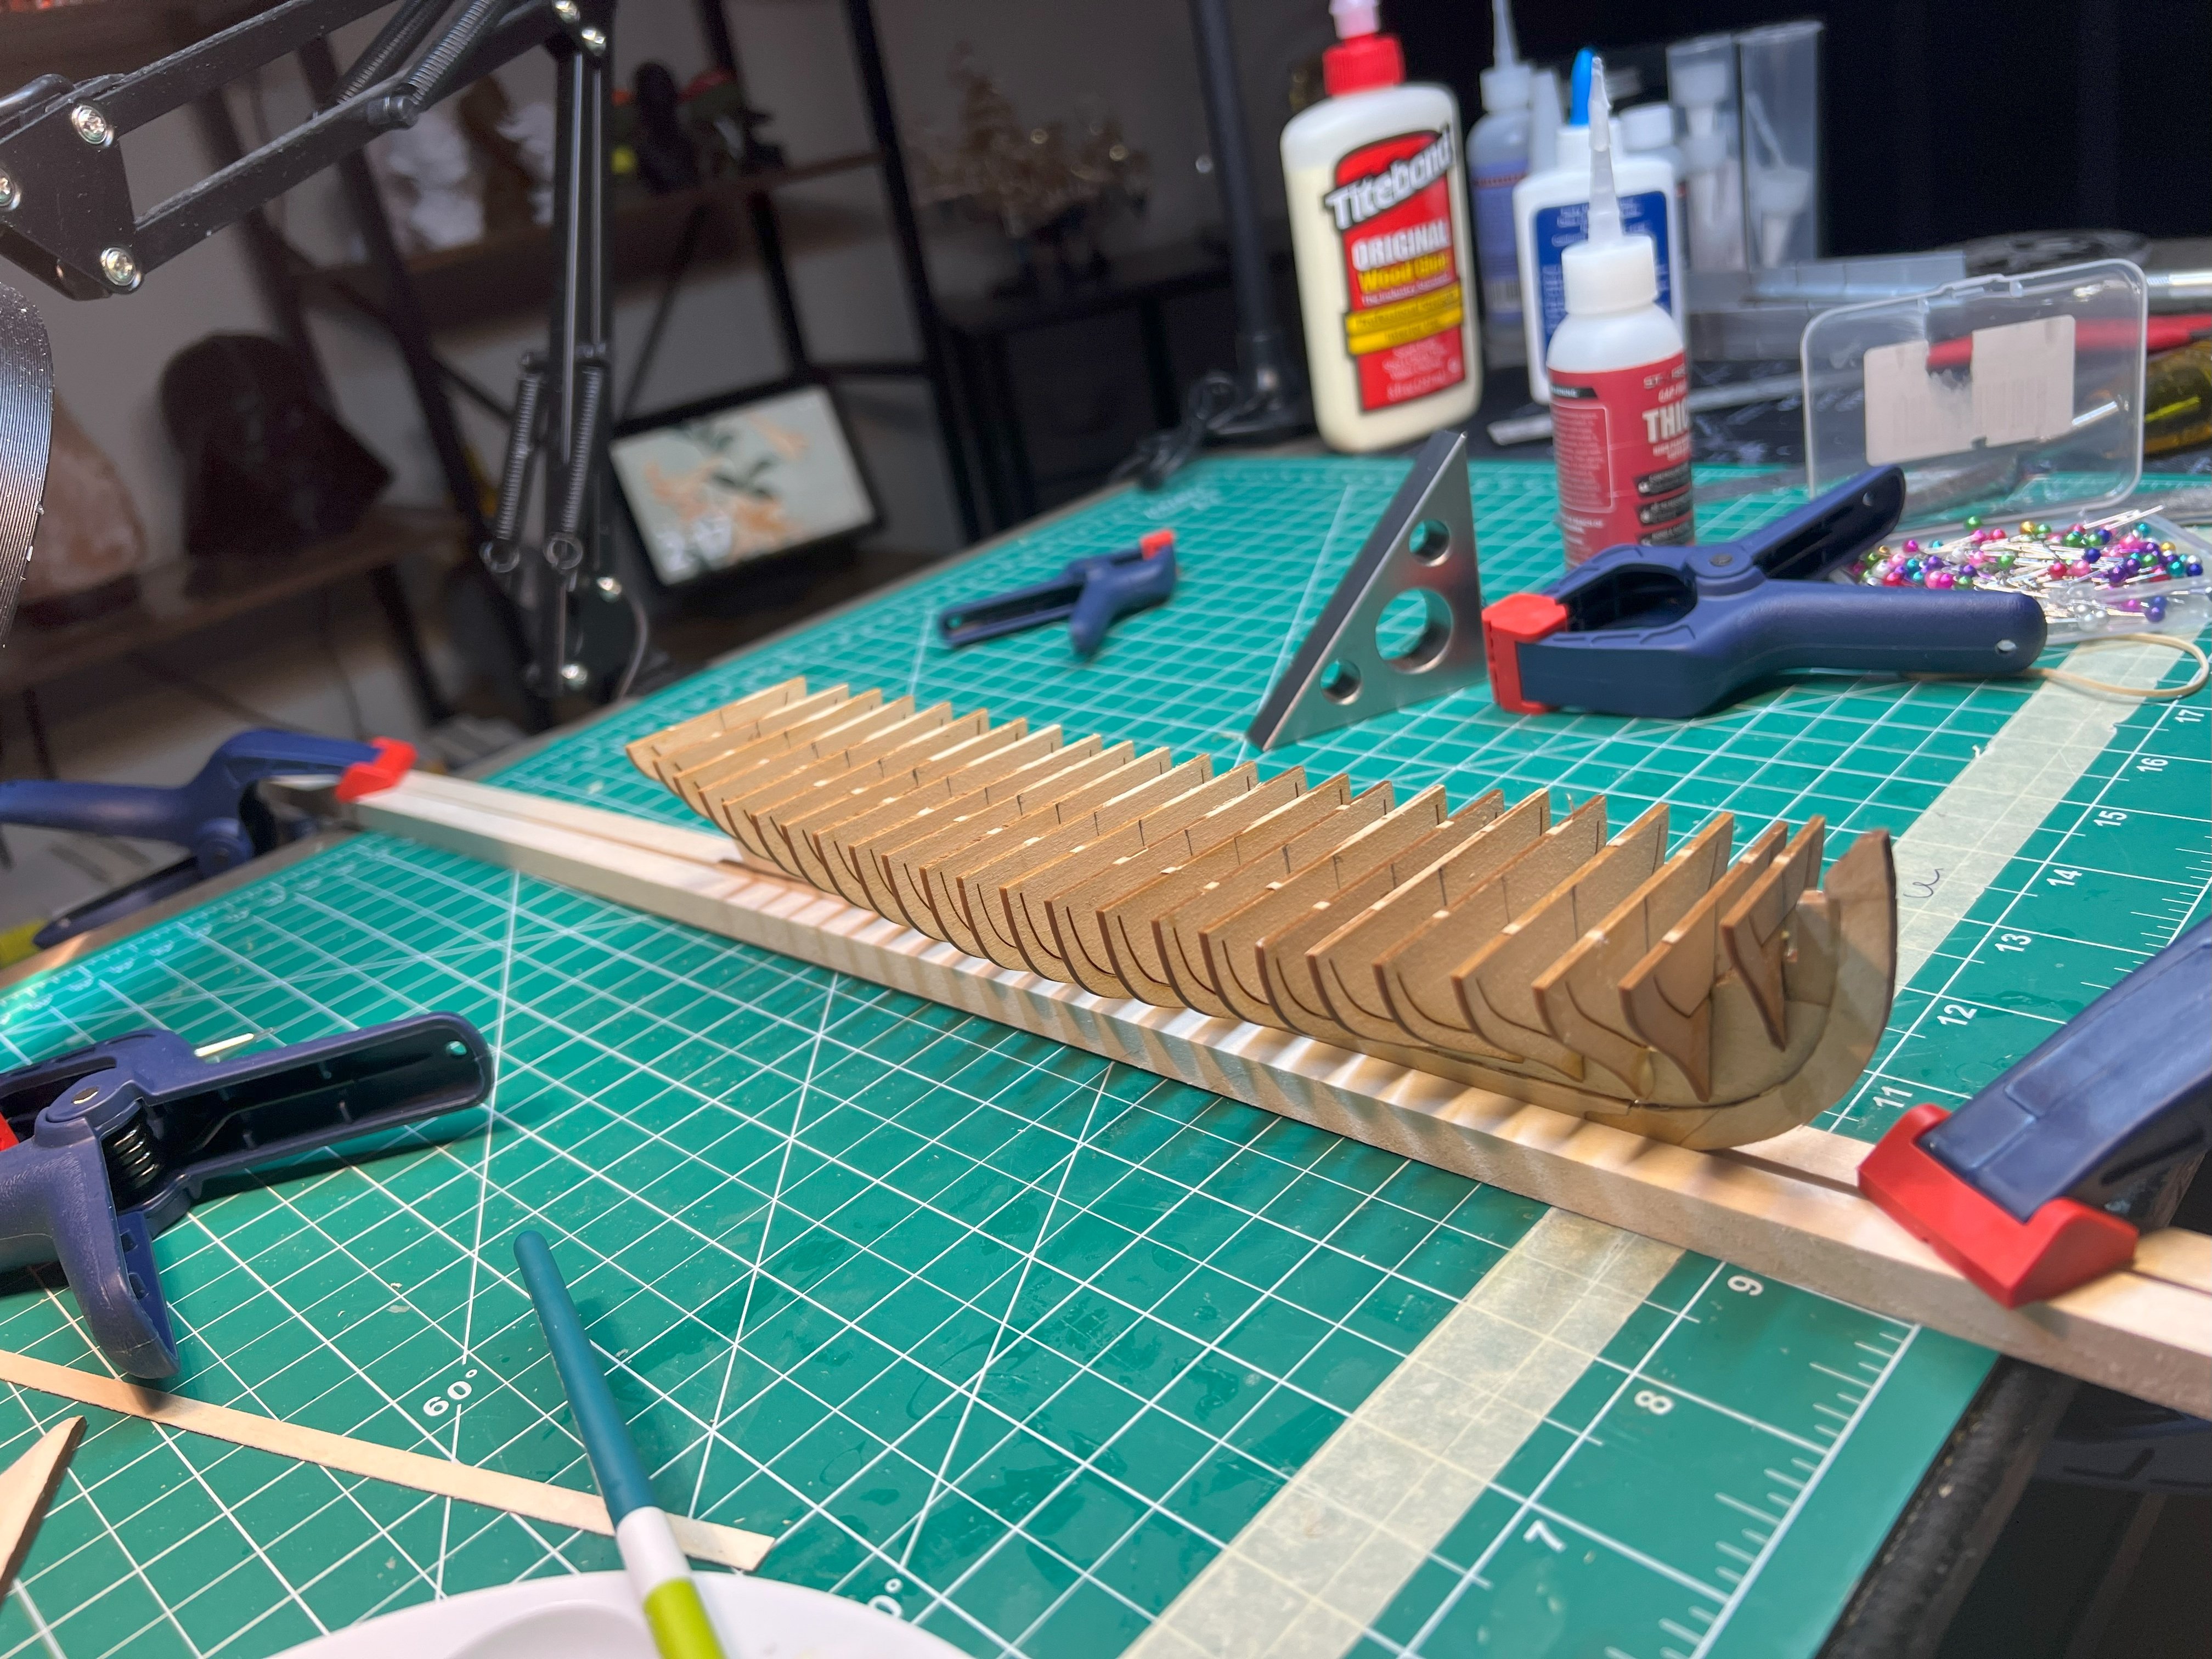
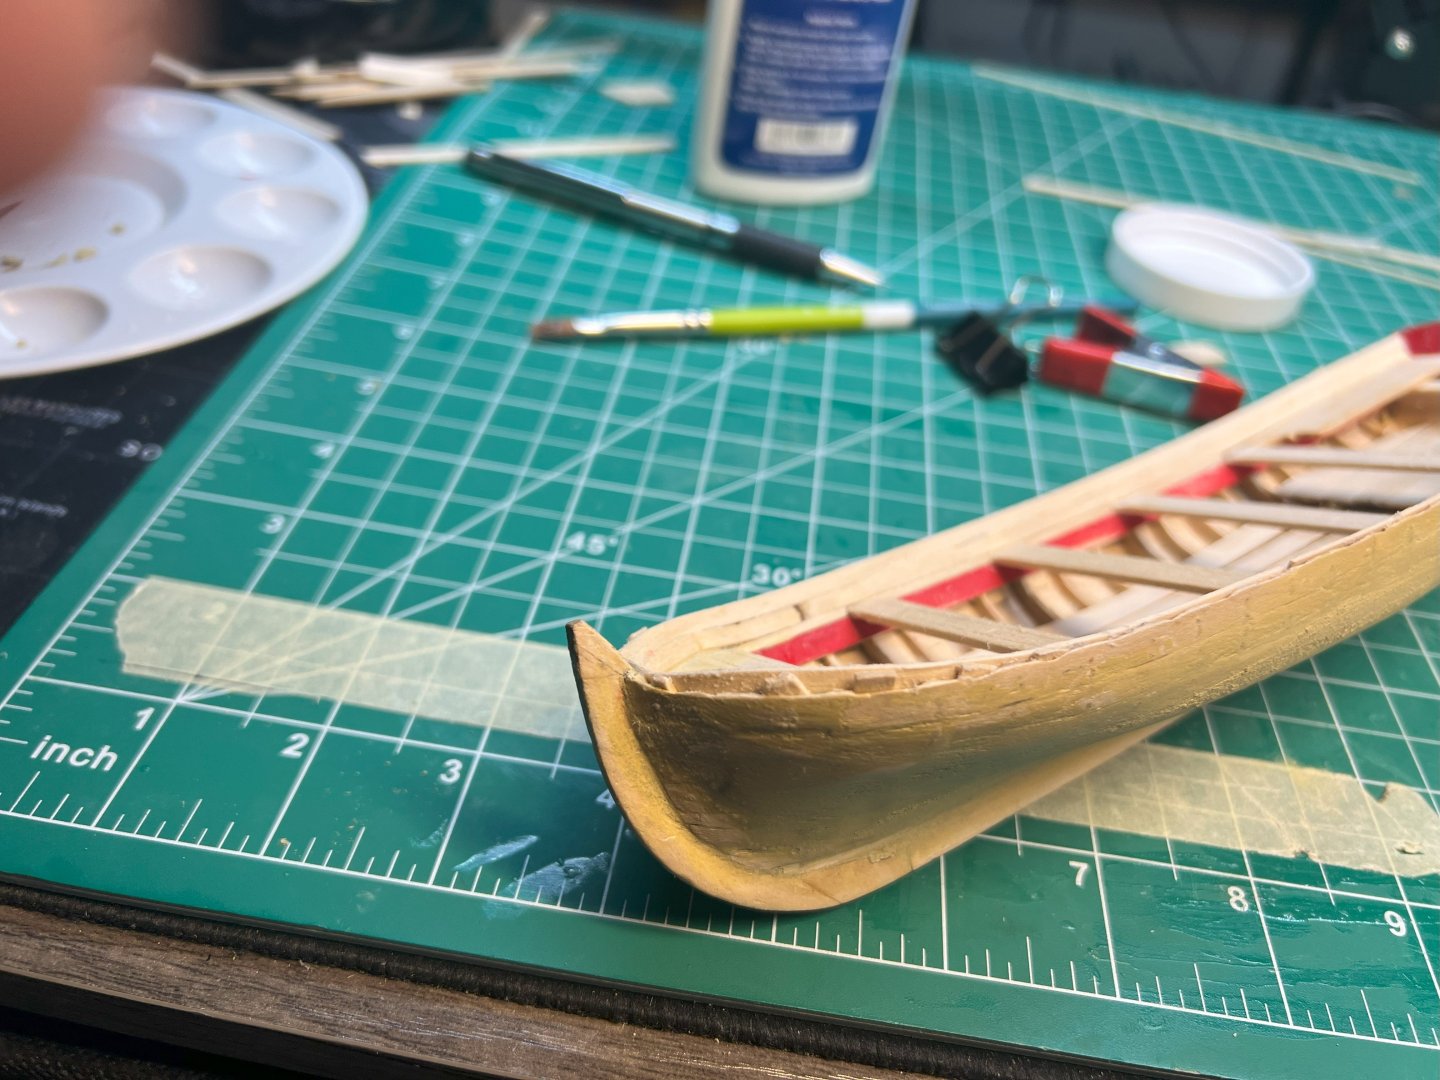
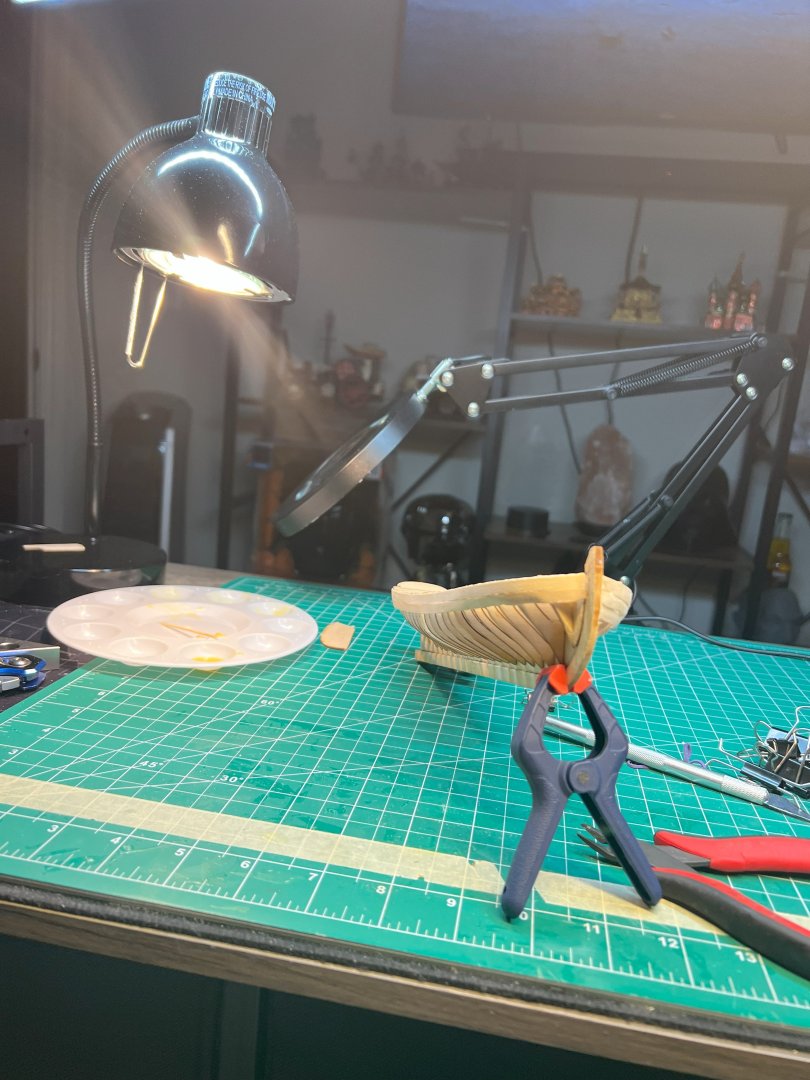
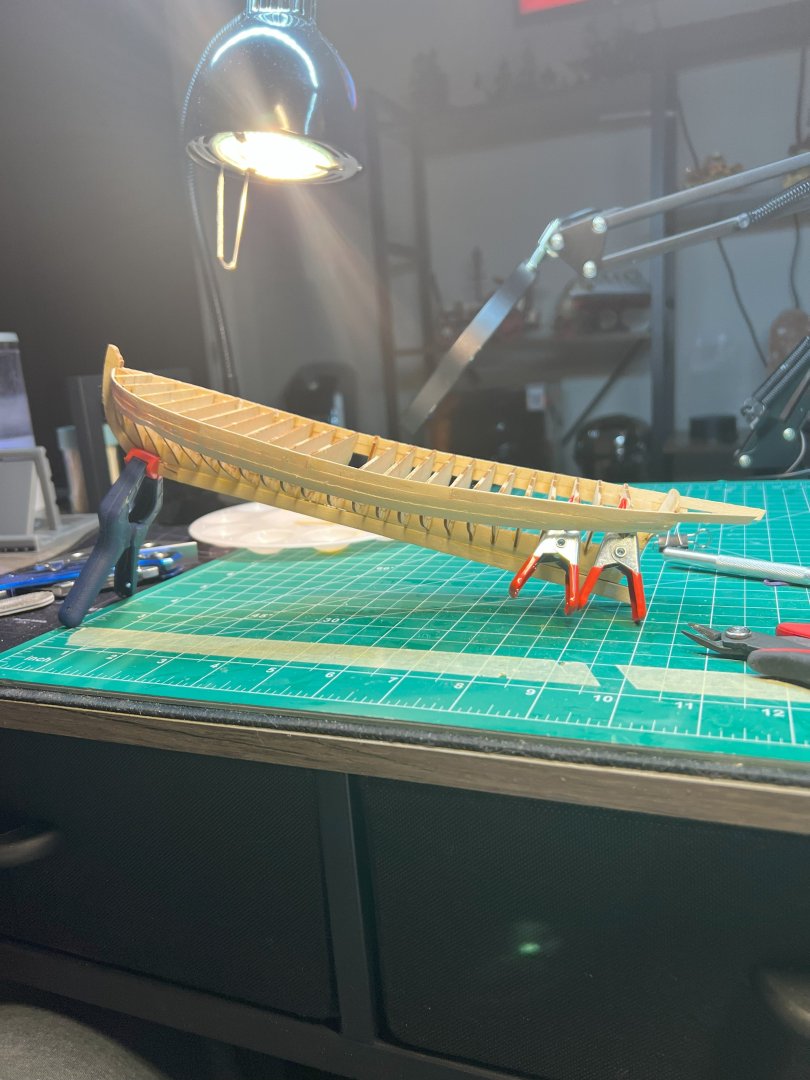
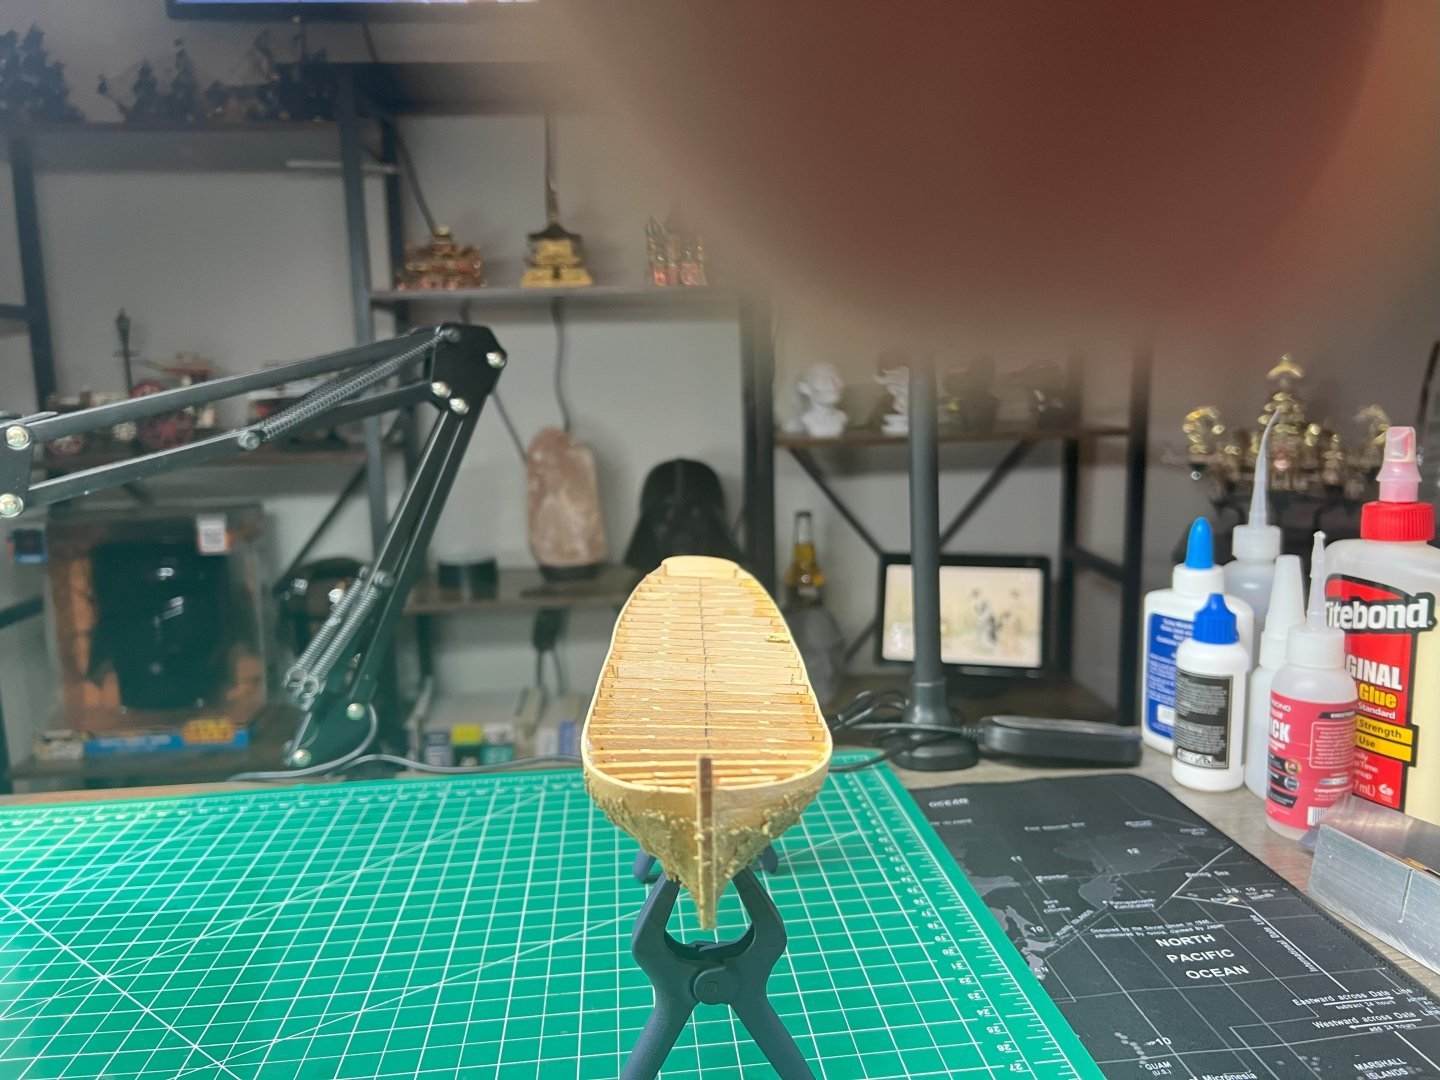
Progress has been steady, albeit slow. Over the past few days, I found myself primarily focused on repairing the damage caused by my less-than-delicate hands. Basswood, as I've discovered, doesn’t stand much of a chance against them. It seems I need to either refine my touch or explore more durable woods for my projects. I managed to repair the false keel as much as possible, filed the bearding lines, and dry-fitted the bulkheads. However, there’s still more work to be done, as the fine, hair-thin points at the ends snapped during handling. I also spent some time working on another boat project, though that one remains a work in progress as I build up my skills. If you have any advice on how to better control my less-than-gentle grip, I’d greatly appreciate it!. Also, how do I get the photos in here right? Apparently, I am stumped Regards, Paul.

- 12 replies
-
- 3
-
-
- English Pinnace
- Model Shipways
- (and 2 more)
-
Here goes nothing! This build will be my first for wood models kits. I am looking forward to it, however, I have already made a few rookie mistakes even though I read and researched and read more. 1) I didn't completely read ahead and went to gluing. Well, the inch deep gash on my finger taught me this lesson the hard way. Knife wound trying to get the part apart. 2) Basswood is VERY fragile - I broke the false keel in two places. Trying to get them back perfectly so it does not screw up my lines. 3) I feel I am going slow, but apparently, maybe not. Its a marathon, not a dash. Anyway, I will get pictures for the build shortly. I have some, but I do not have them on the computer yet for uploading. Other Builds: OCcre - Black Swan is one that I have been tinkering with. The instructions are way vague on this one. I am super slow with it at the moment and will be more on the Pinnace. Need more research and skill for that one. Goals: HMS Victory - C. Mamoli Scratch Builds
- 12 replies
-
- 4
-
-
- English Pinnace
- Model Shipways
- (and 2 more)