Admiral Rick
-
Posts
474 -
Joined
-
Last visited
1 Follower

Recent Profile Visitors
1,096 profile views


-
 Admiral Rick reacted to a post in a topic:
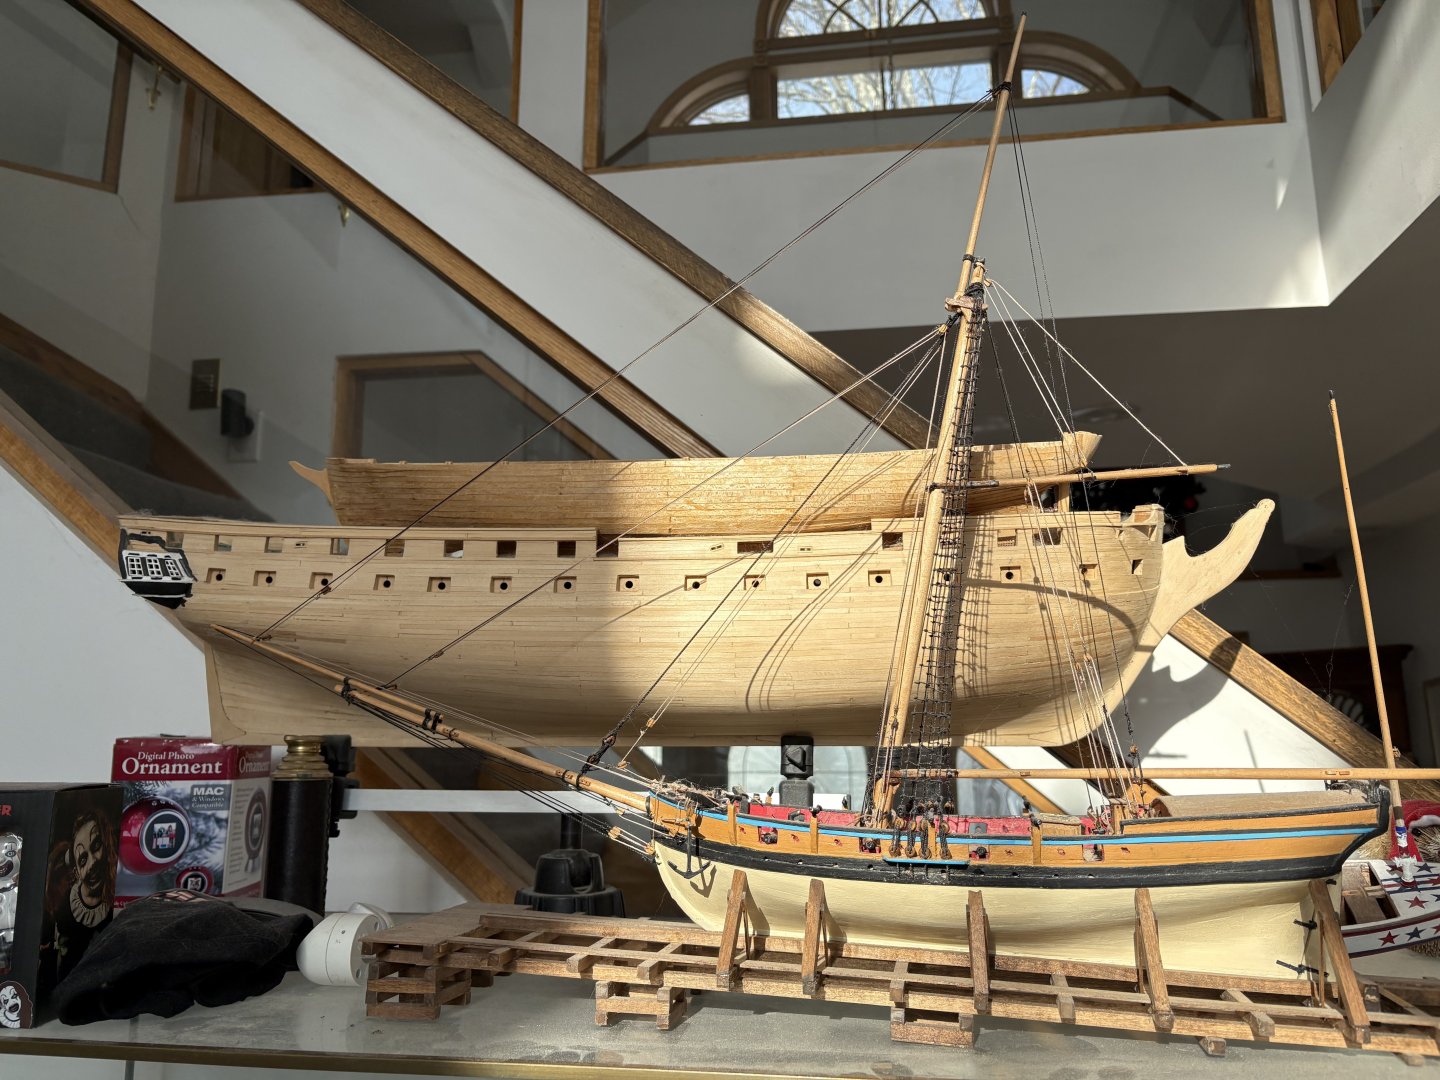
Bluenose by Admiral Rick - Model Shipways 2921 - Scale 1/64 - Canadian Fishing Schooner
Admiral Rick reacted to a post in a topic:
Bluenose by Admiral Rick - Model Shipways 2921 - Scale 1/64 - Canadian Fishing Schooner
-
Admiral Rick reacted to a post in a topic:
Bluenose by Admiral Rick - Model Shipways 2921 - Scale 1/64 - Canadian Fishing Schooner
-
GrandpaPhil reacted to a post in a topic:
Bluenose by Admiral Rick - Model Shipways 2921 - Scale 1/64 - Canadian Fishing Schooner
-
GrandpaPhil reacted to a post in a topic:
Bluenose by Admiral Rick - Model Shipways 2921 - Scale 1/64 - Canadian Fishing Schooner
-
GrandpaPhil reacted to a post in a topic:
Bluenose by Admiral Rick - Model Shipways 2921 - Scale 1/64 - Canadian Fishing Schooner
-
GrandpaPhil reacted to a post in a topic:
Bluenose by Admiral Rick - Model Shipways 2921 - Scale 1/64 - Canadian Fishing Schooner
-
TerryPat reacted to a post in a topic:
Bluenose by Admiral Rick - Model Shipways 2921 - Scale 1/64 - Canadian Fishing Schooner
-
DocTom reacted to a post in a topic:
Bluenose by Admiral Rick - Model Shipways 2921 - Scale 1/64 - Canadian Fishing Schooner
-
GGibson reacted to a post in a topic:
Bluenose by Admiral Rick - Model Shipways 2921 - Scale 1/64 - Canadian Fishing Schooner
-
 Looks great!! Getting close to finish. I actually enjoy planking but it makes me feel better to complain. I knew enough to put the USS CONSTITUTION aside when it started to get to me, but it did turn out well!

-
 Snug Harbor Johnny reacted to a post in a topic:
Bluenose by Admiral Rick - Model Shipways 2921 - Scale 1/64 - Canadian Fishing Schooner
Snug Harbor Johnny reacted to a post in a topic:
Bluenose by Admiral Rick - Model Shipways 2921 - Scale 1/64 - Canadian Fishing Schooner
-
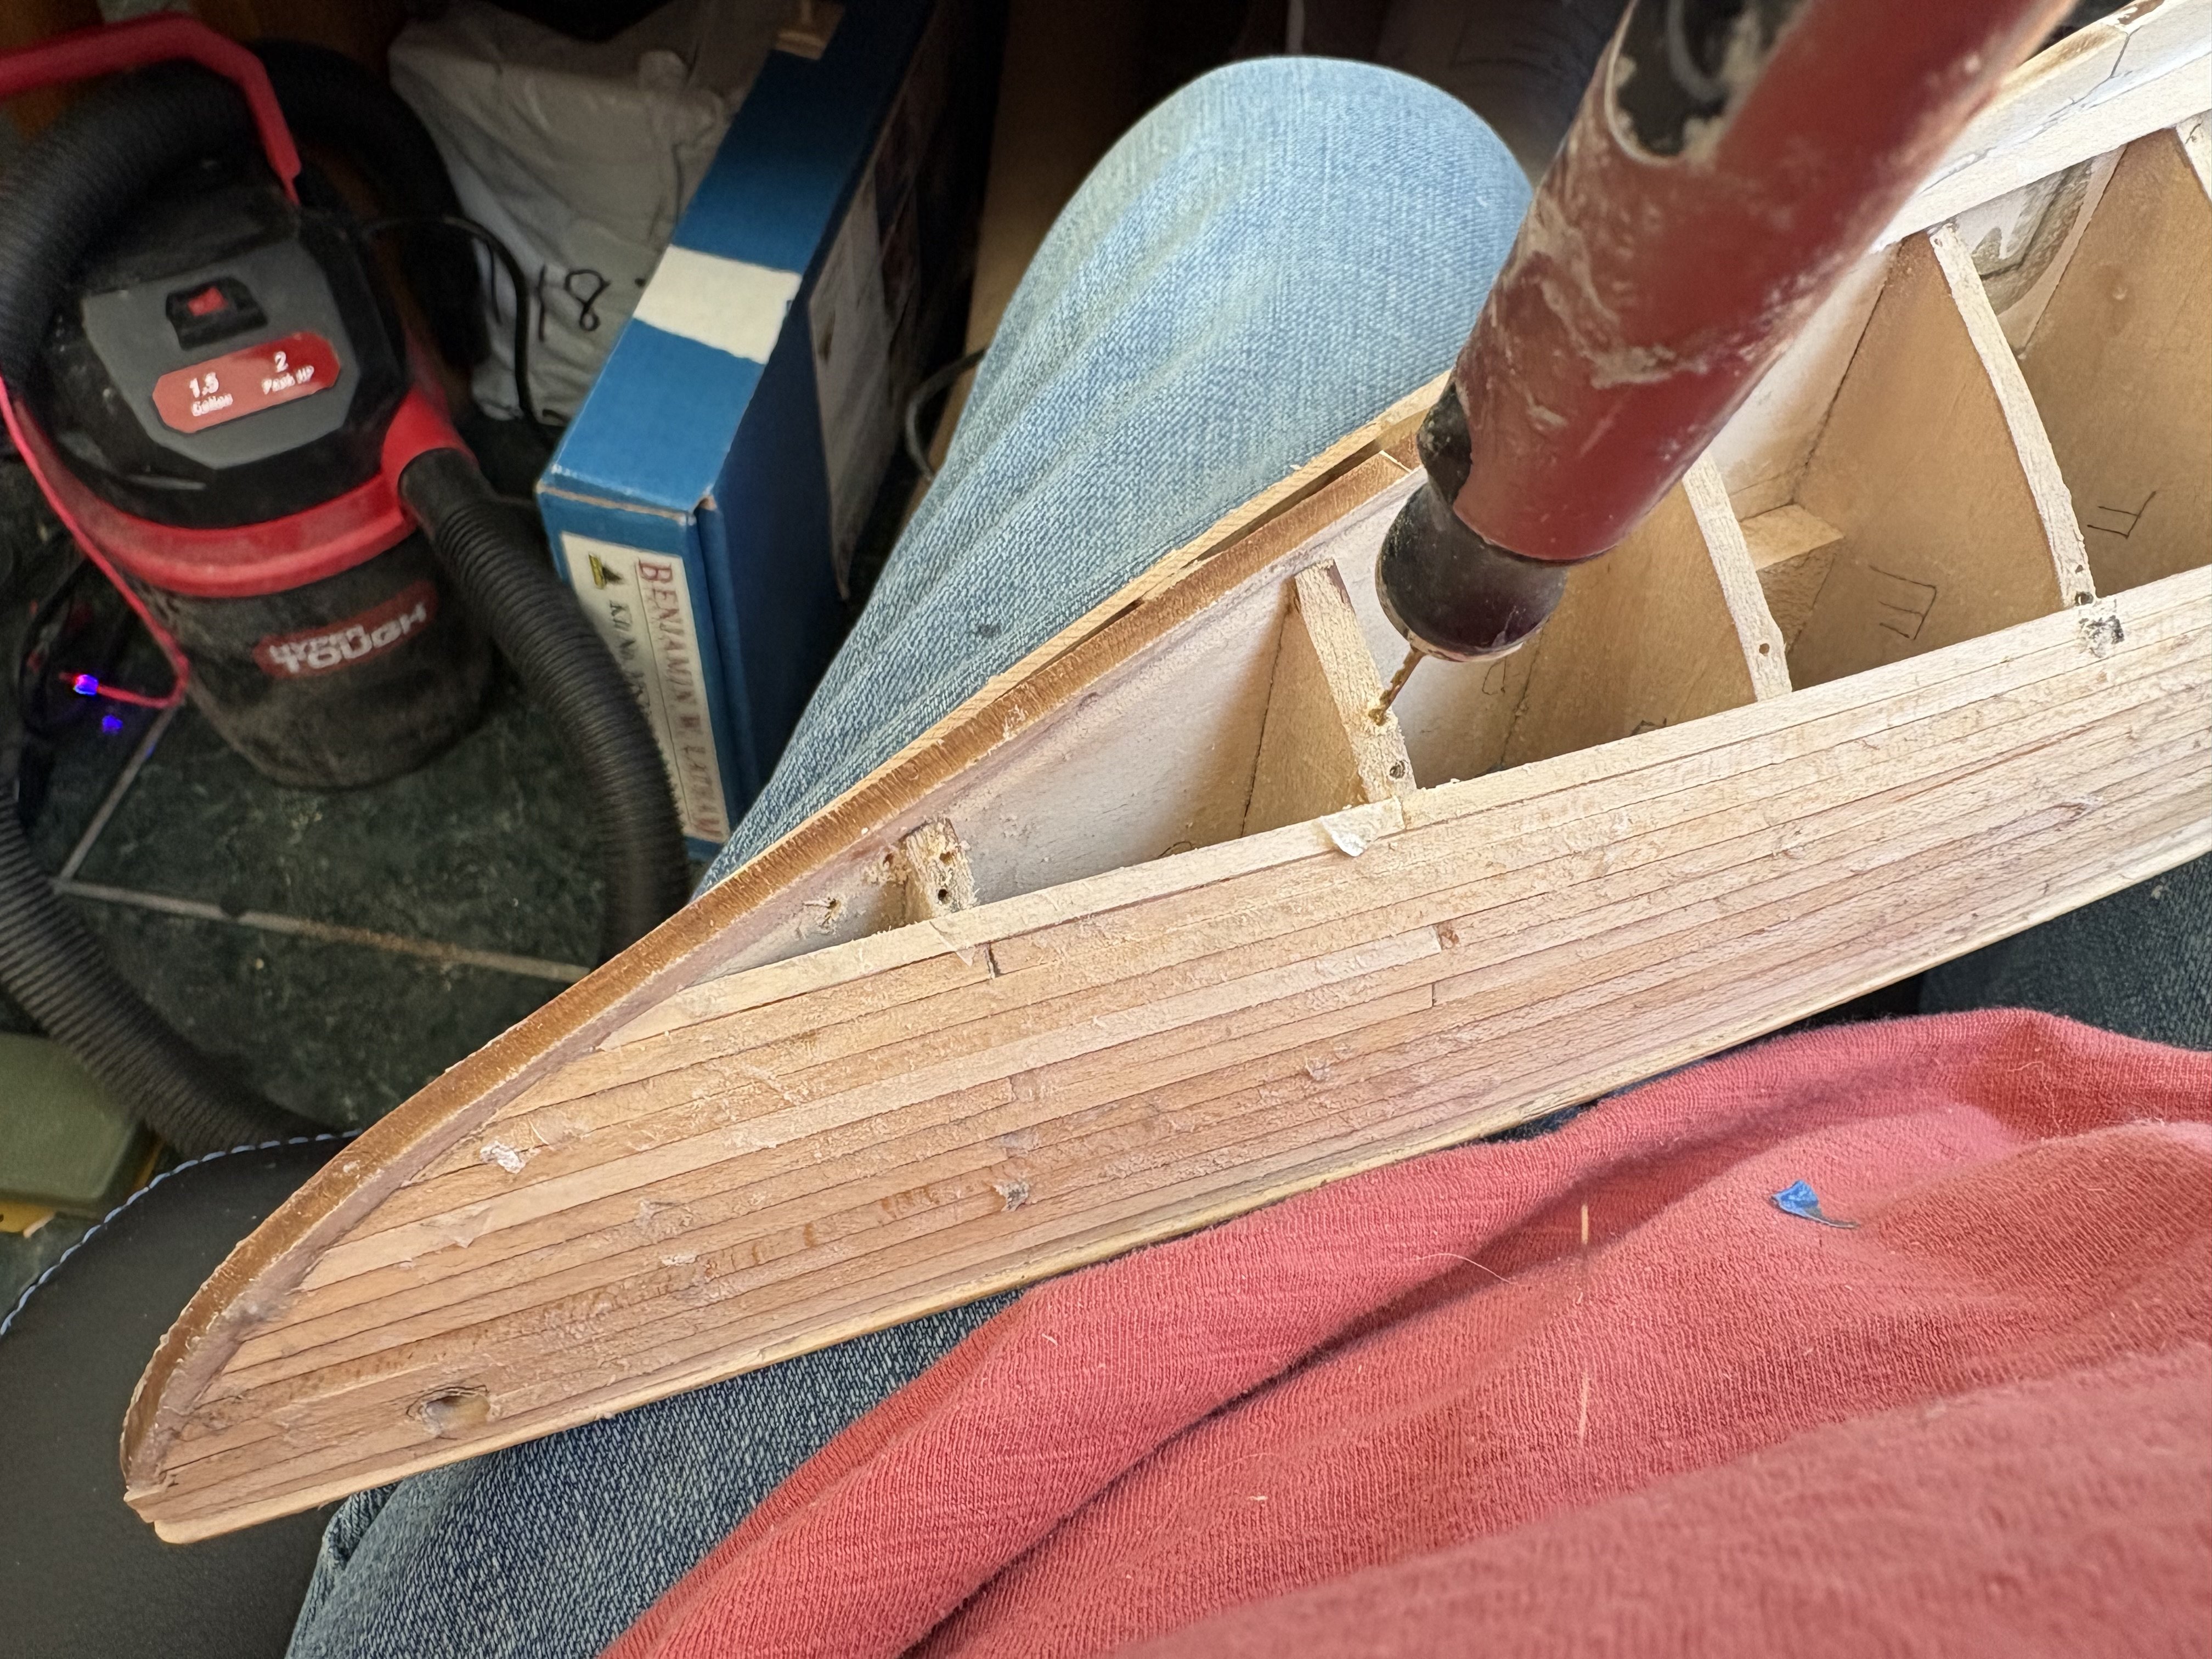
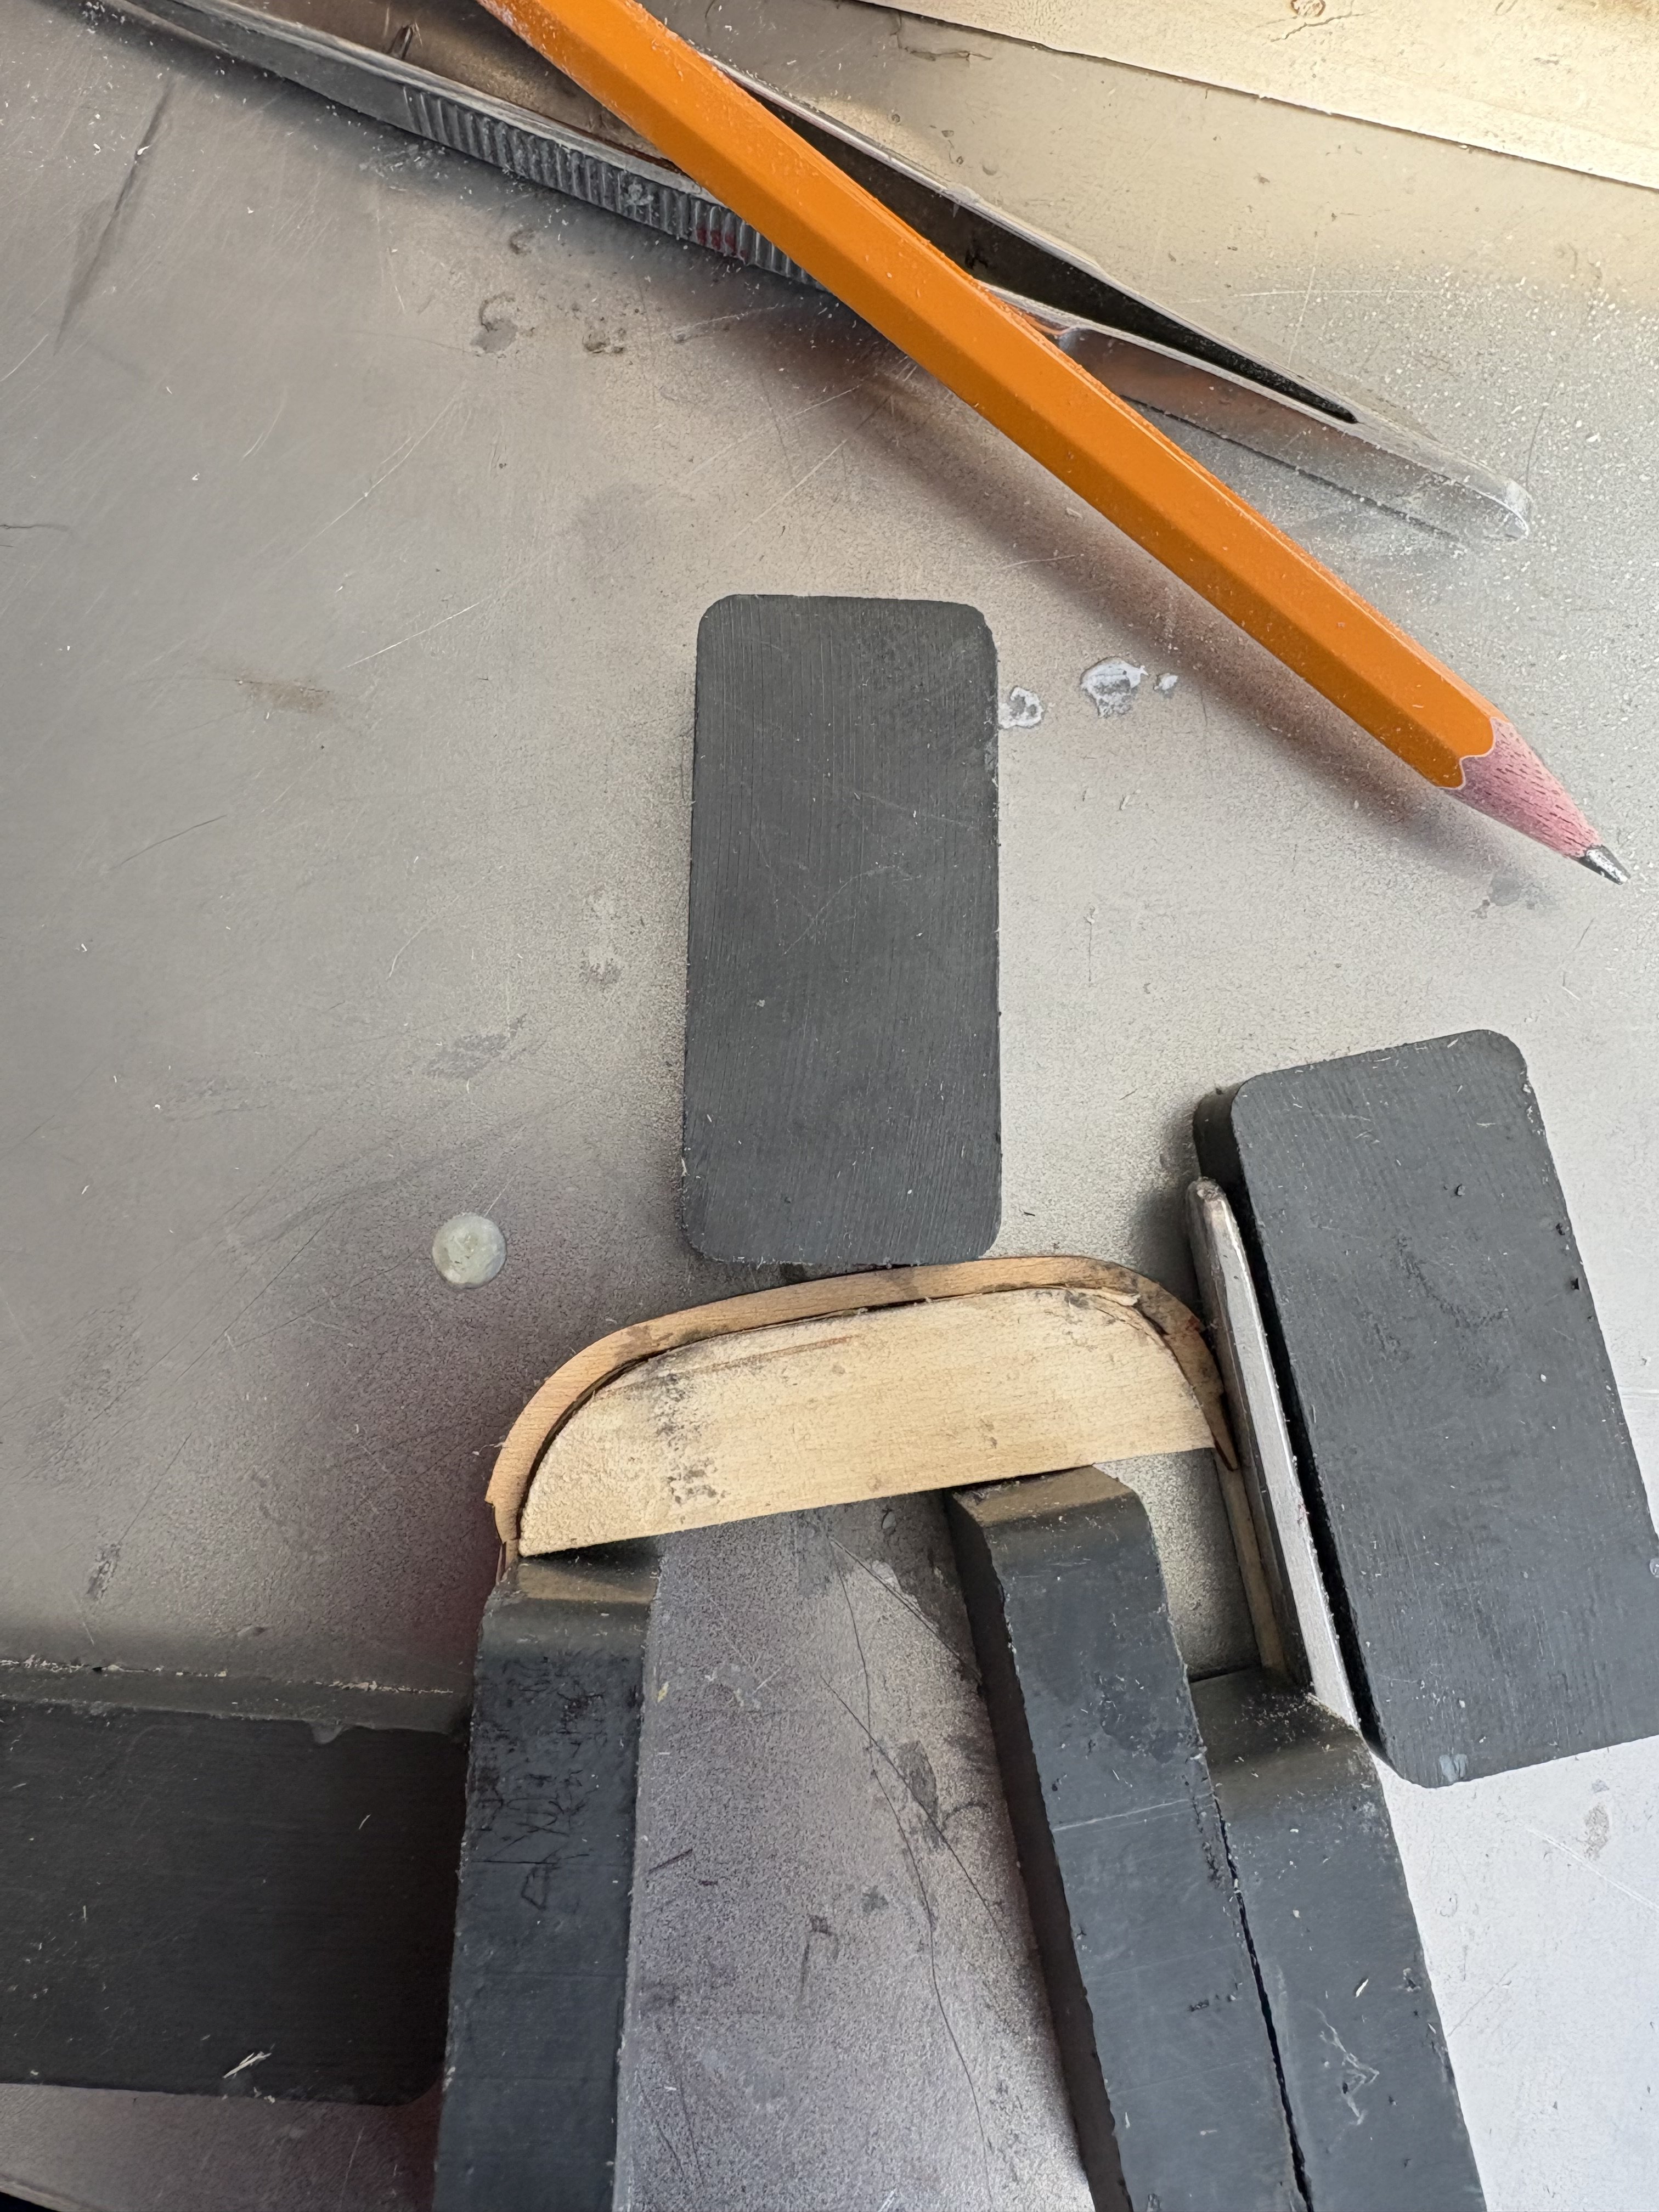
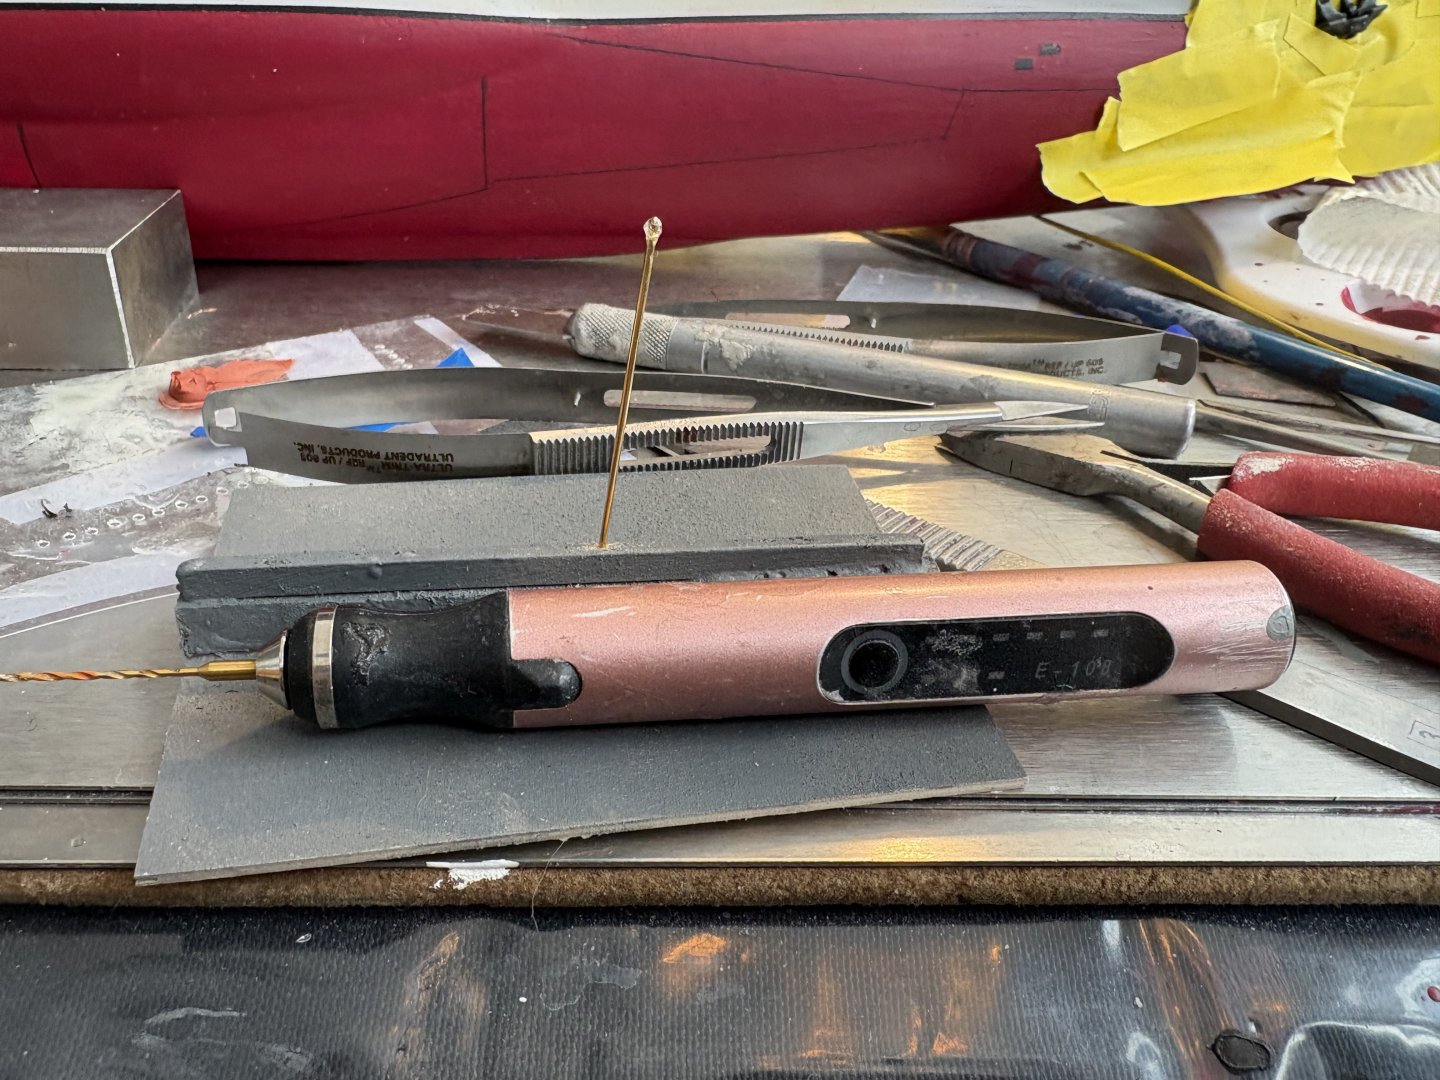
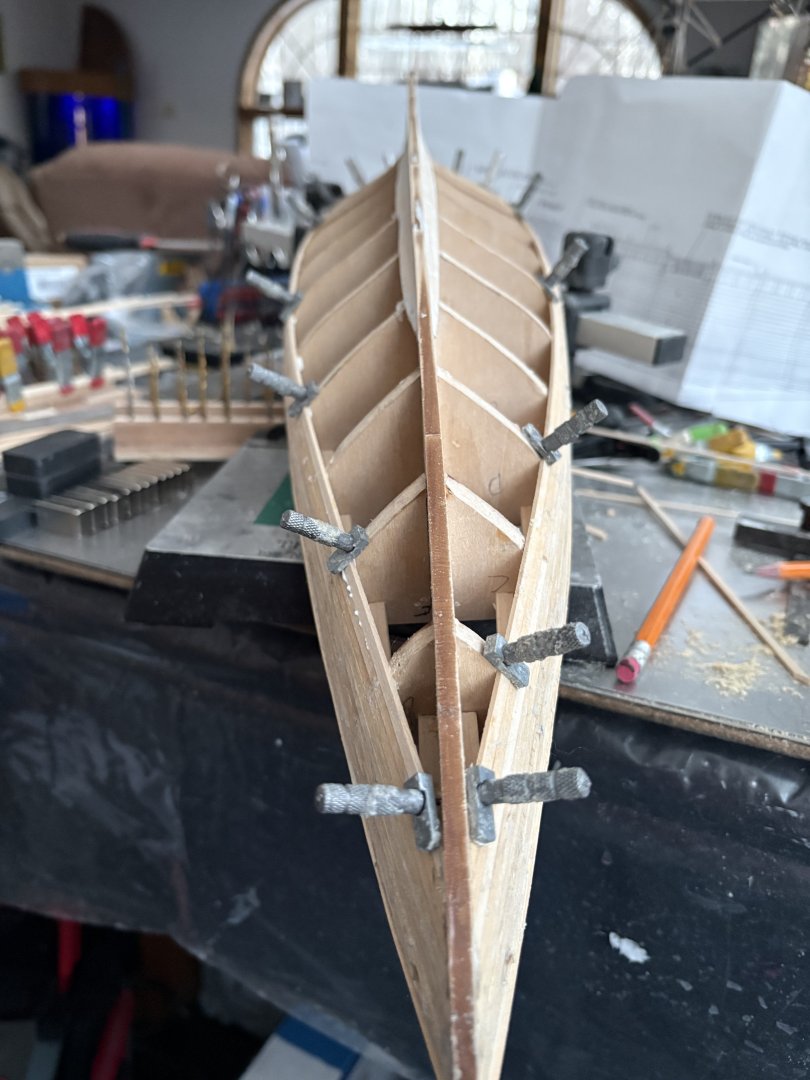
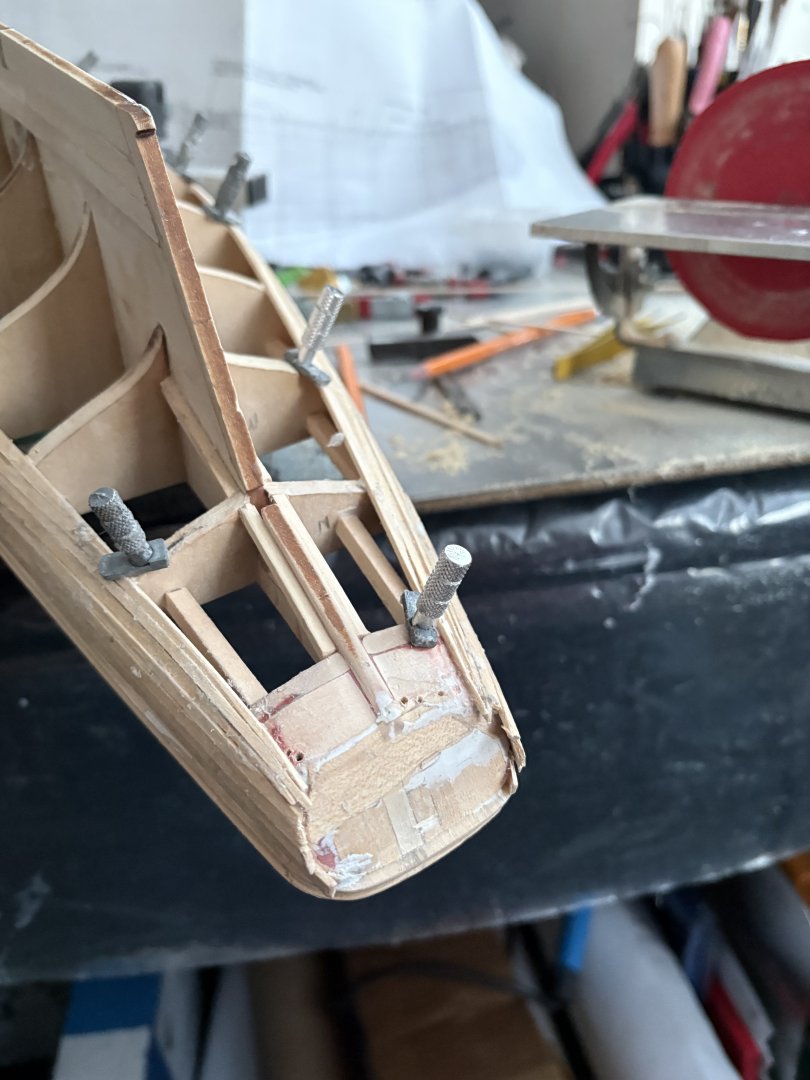
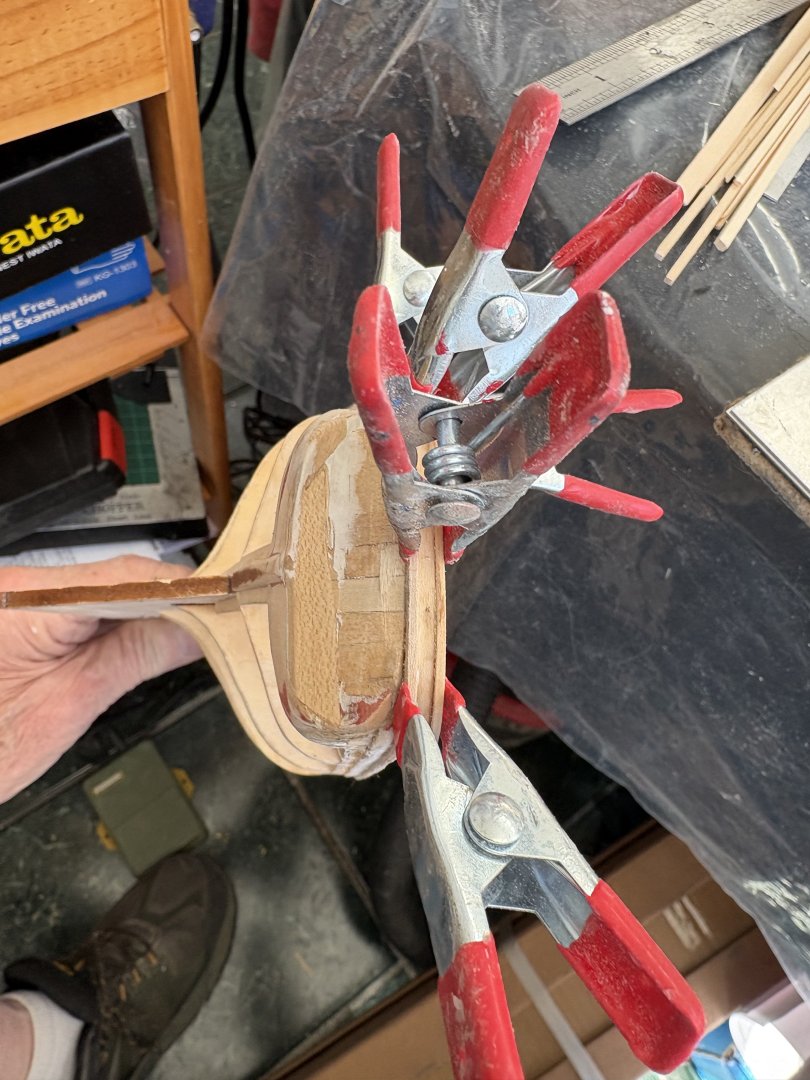
Greg you won’t be disappointed. If you don’t have one get a pen drill engraver on eBay. Make sure you get the one with the friction fit chuck for quick changing of drill bits. Starting the holes for the clamp screws with the drill is very quick and makes it very easy to place them exactly where you want them.
-
Greg DROP THE SIR it makes feel older than I really am 77 but a young 77 in my second childhood and enjoying every minute of it! I have mentioned in previous postings the best tool I ever bought was the $21 engraver. I use it 8-10 times or more every time I build. I have had mine for 4 years and it has never failed me. I use it to precisely drill, clean up dried glue around cemented parts, shape small parts with the 18 included diamonds and any else I can think of! By the way I built the Model Shipways USS CONSTITUTION and I think the amount of planking did me in. After I finished the planking it was time to copper the hull and I just couldn’t bear multiple more hours working in a straight line like planking so I put it aside. Also with the clamps you can work very fast I do one side then the other and by the time 5-10 minutes I finish the second side it’s time to quickly remove the clamps on the first and proceed with planking that side (AND VISA VERSA) Rick

-
woodartist reacted to a post in a topic:
Bluenose by Admiral Rick - Model Shipways 2921 - Scale 1/64 - Canadian Fishing Schooner
-
Admiral Rick reacted to a post in a topic:
Bluenose by Admiral Rick - Model Shipways 2921 - Scale 1/64 - Canadian Fishing Schooner
-
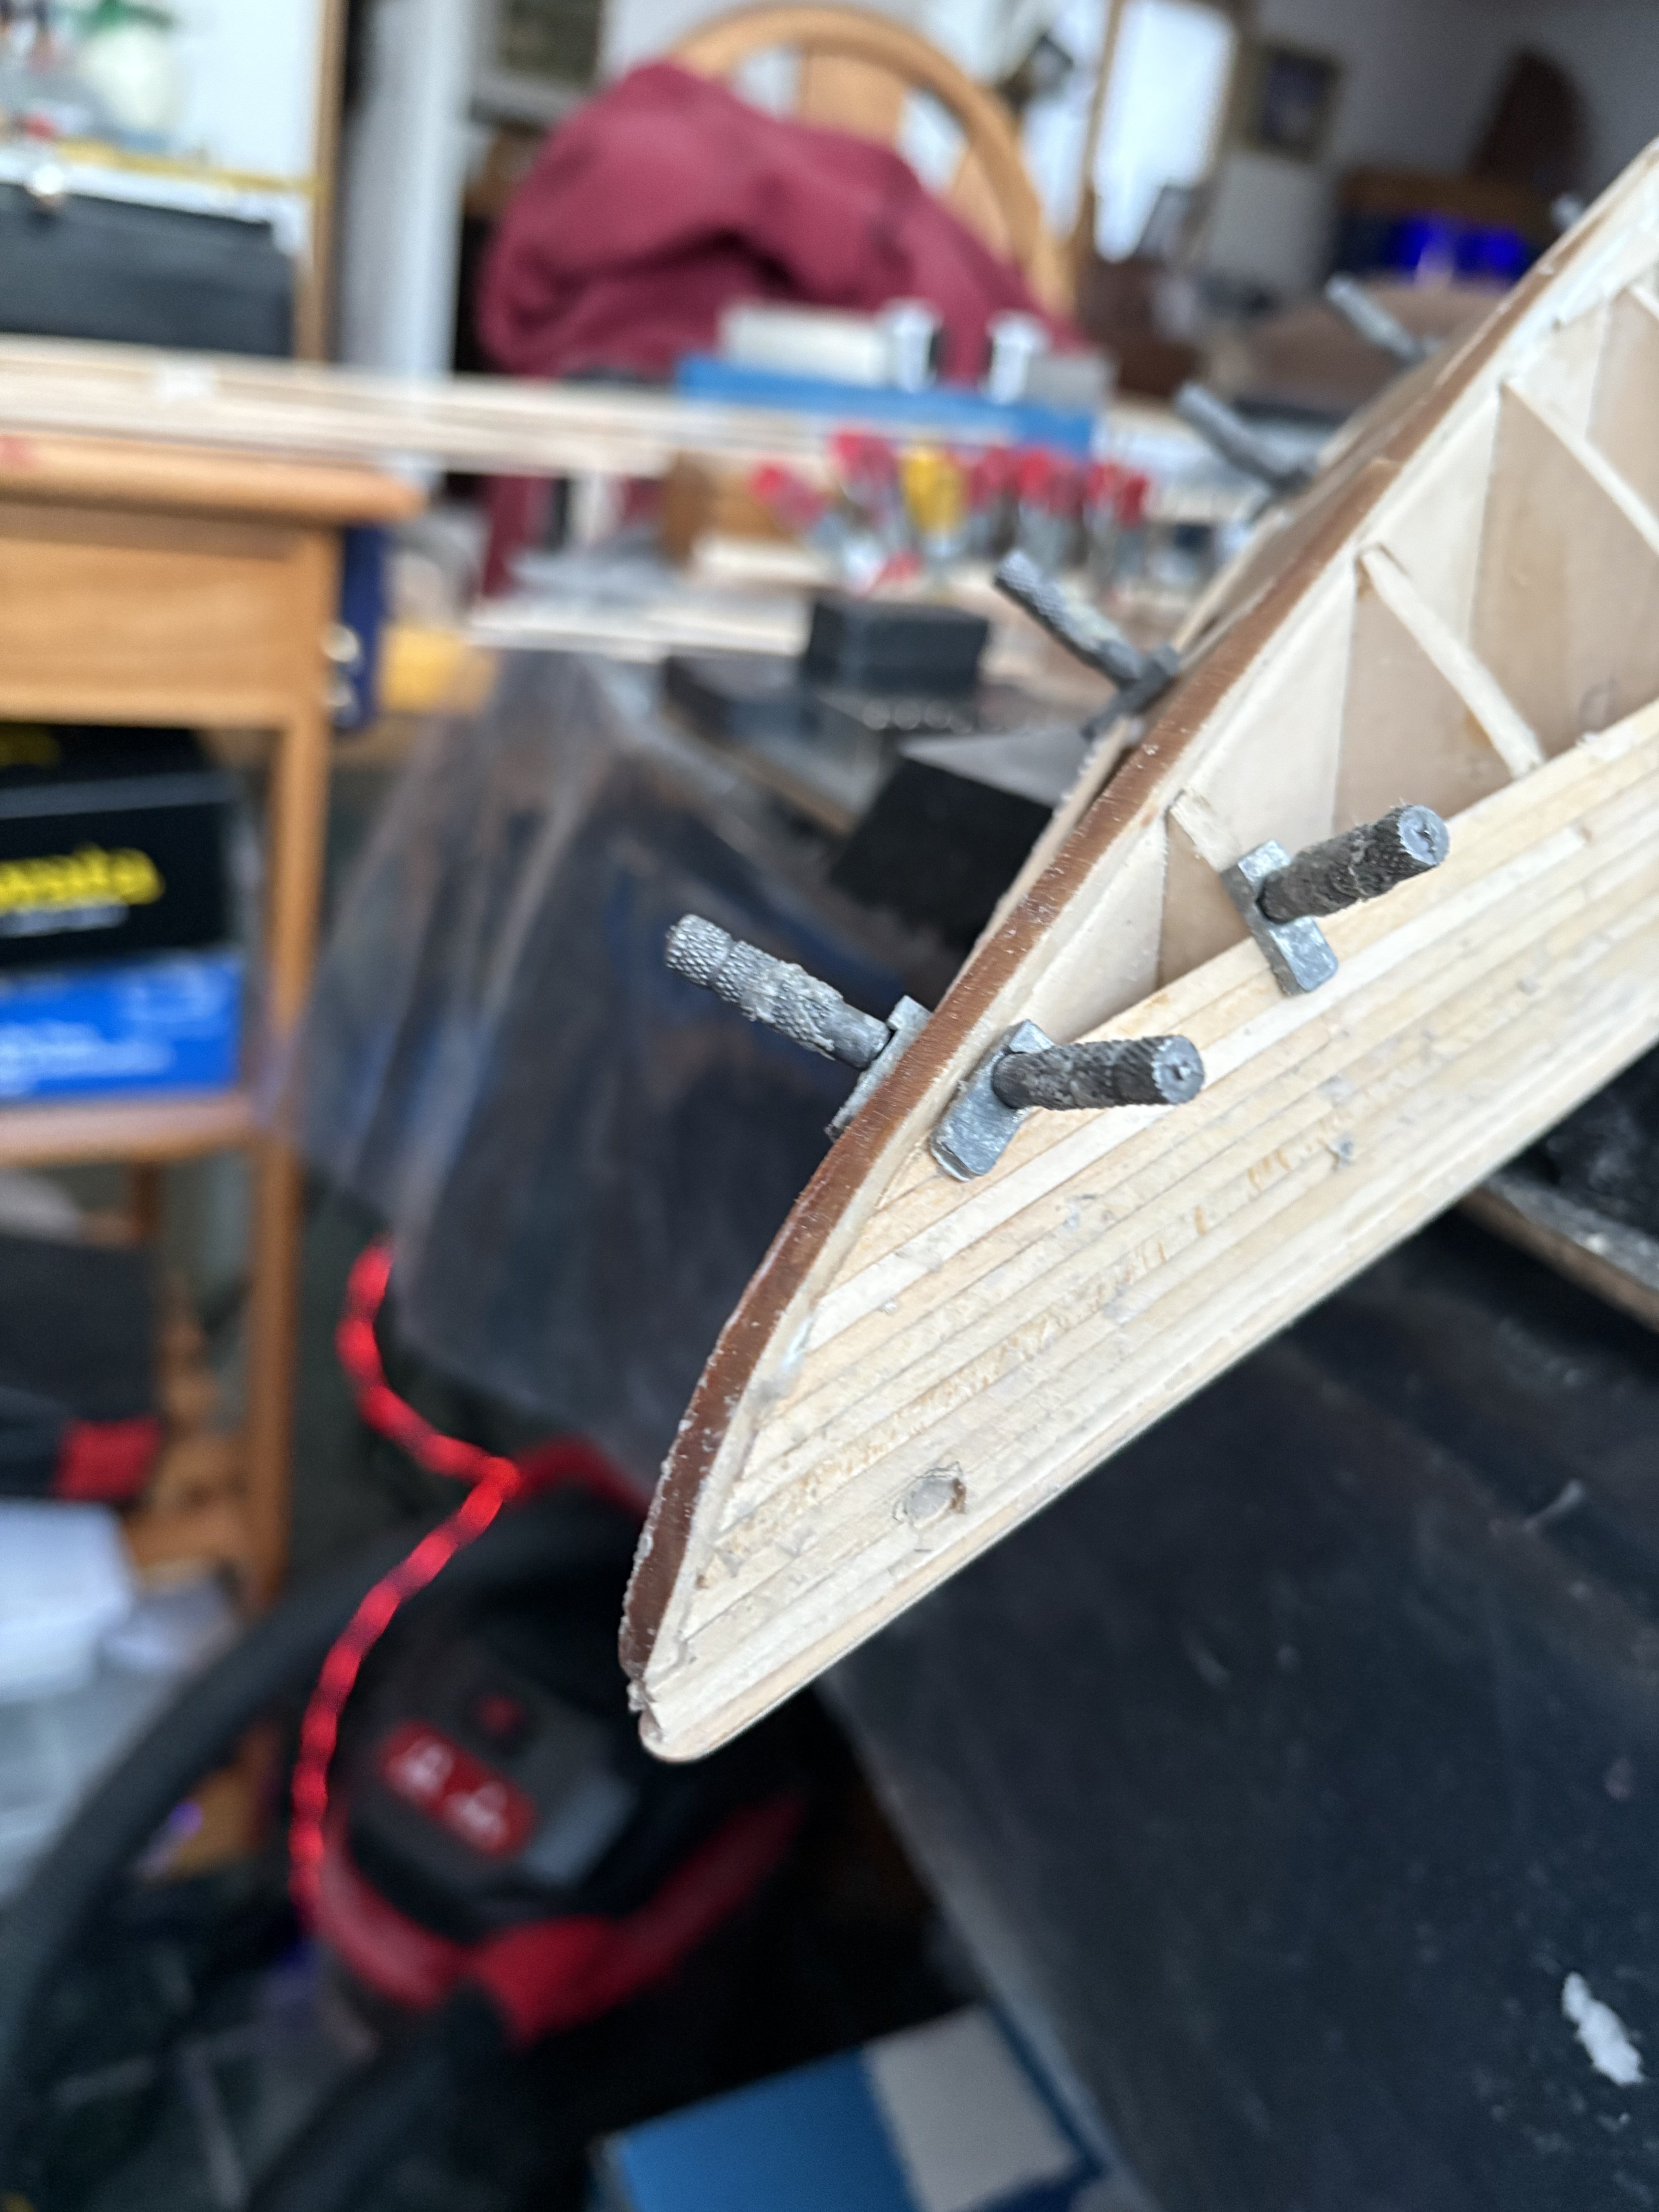
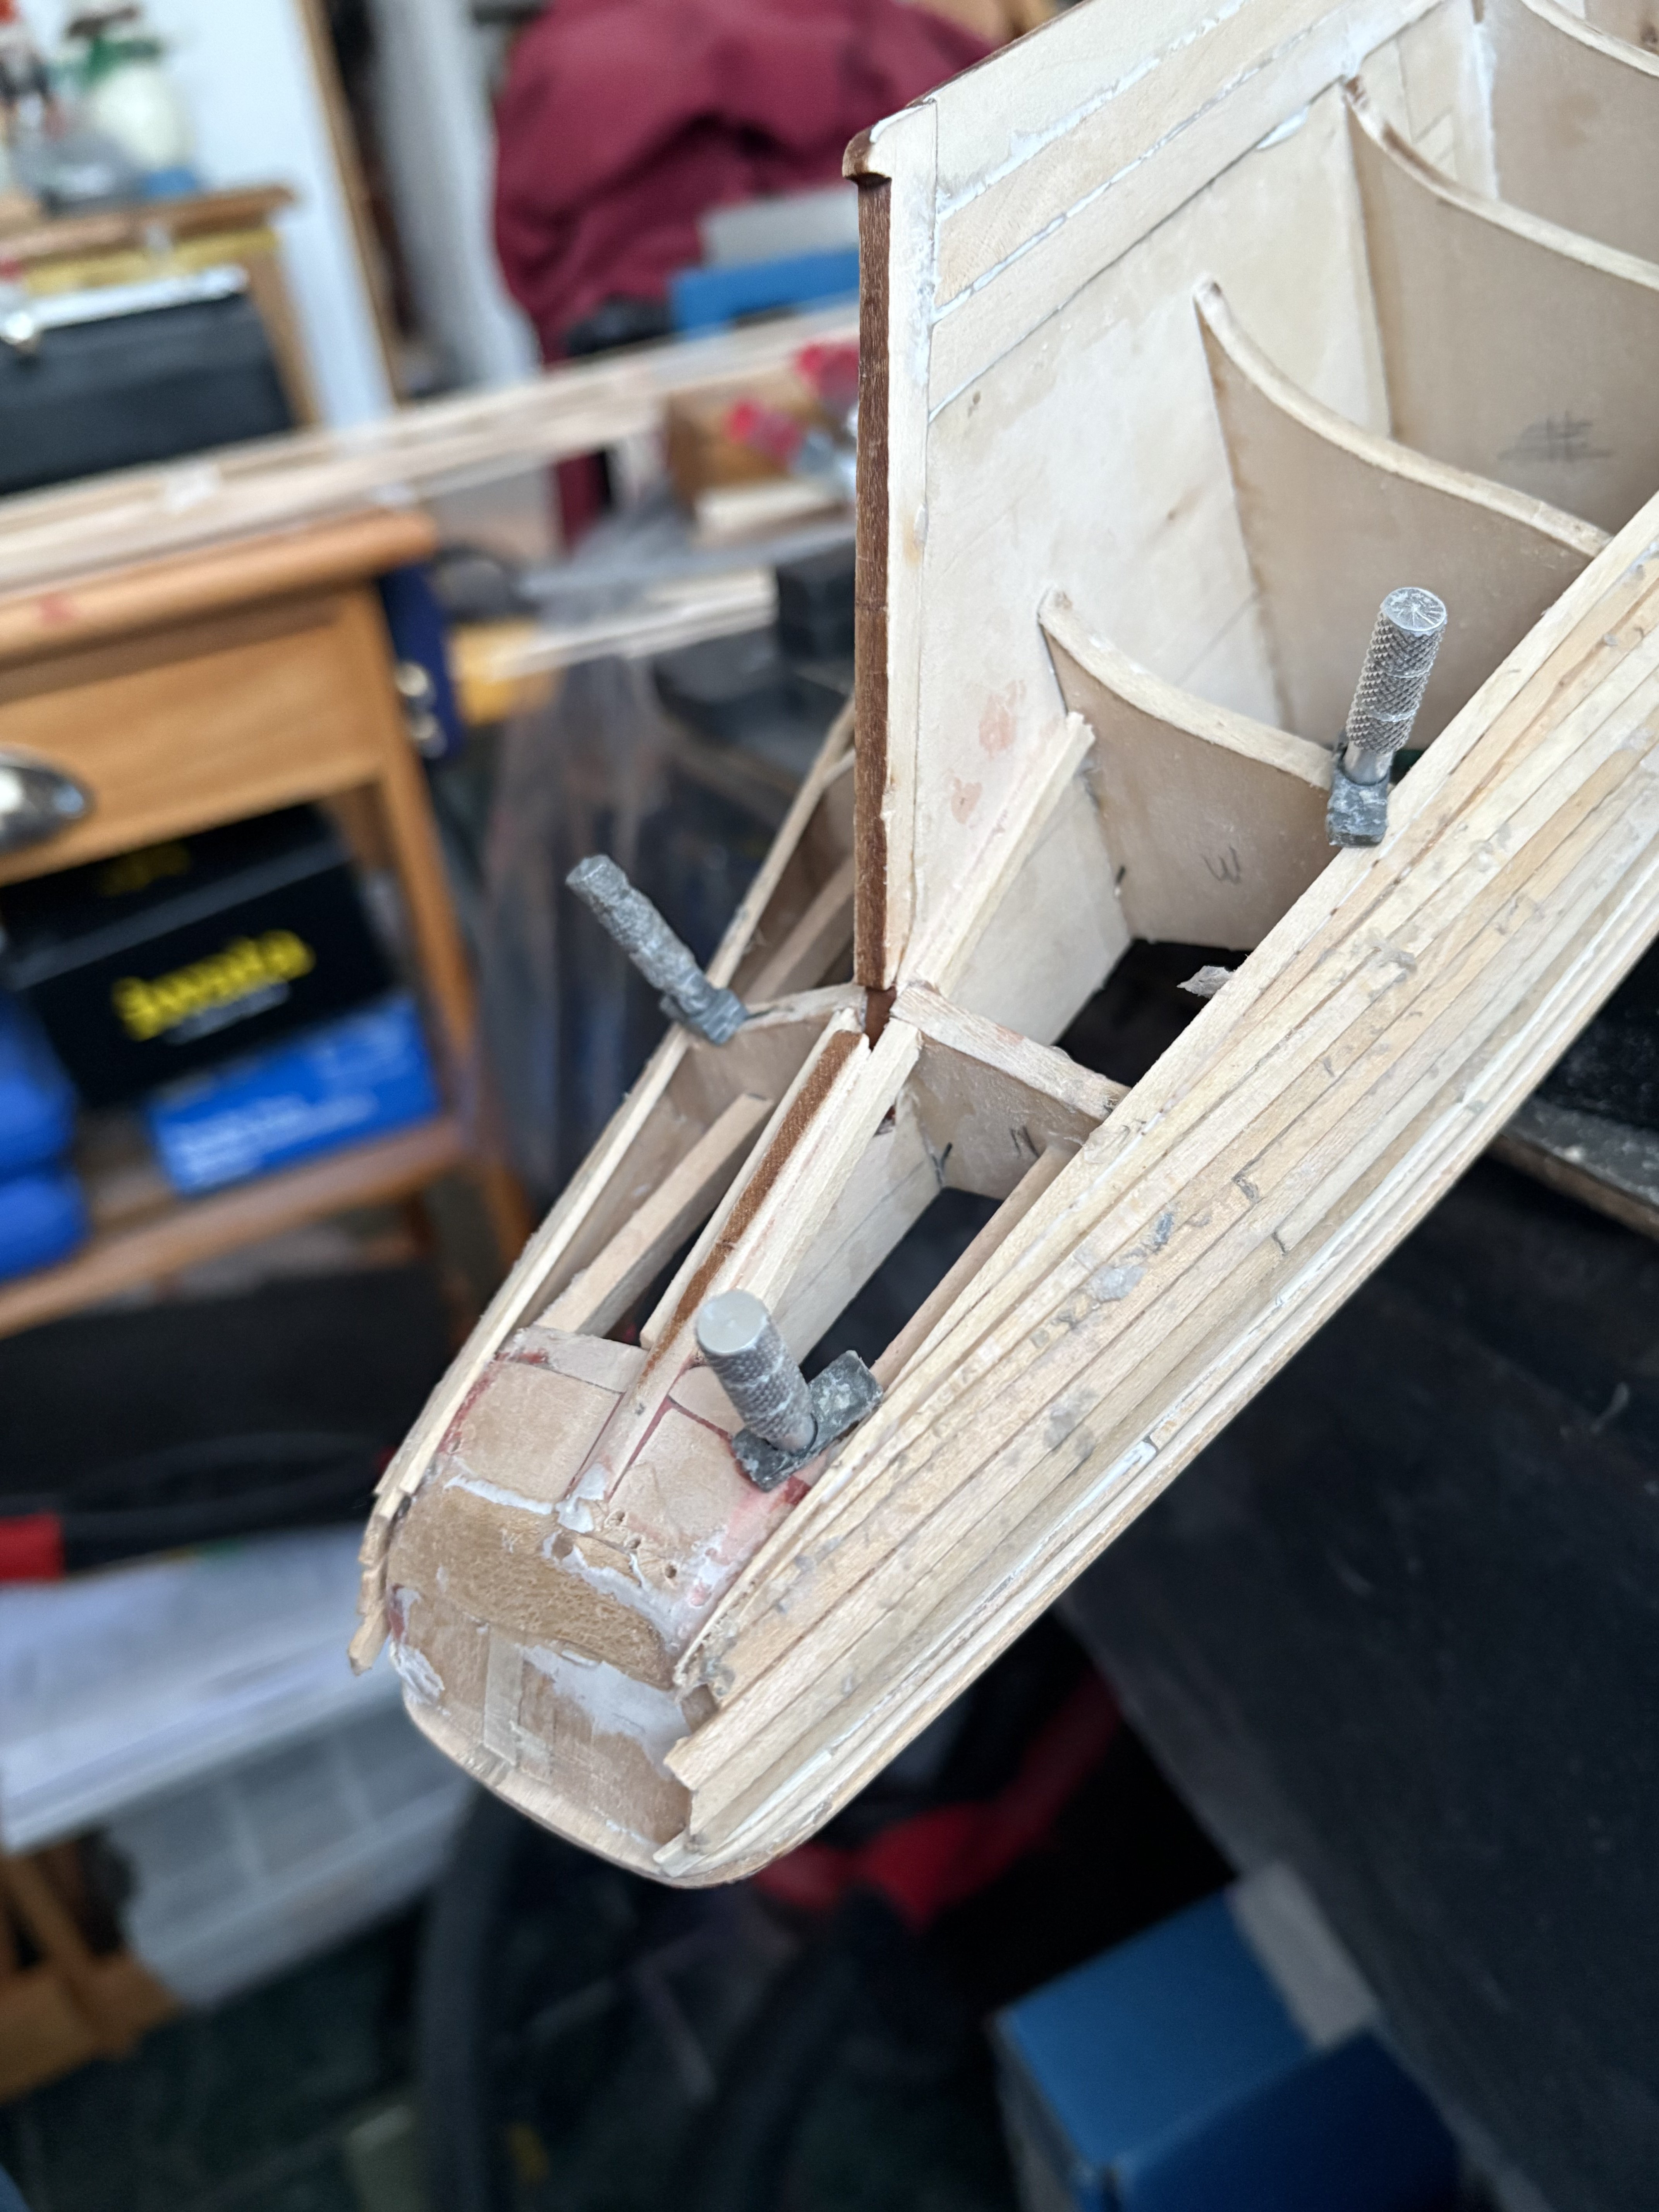
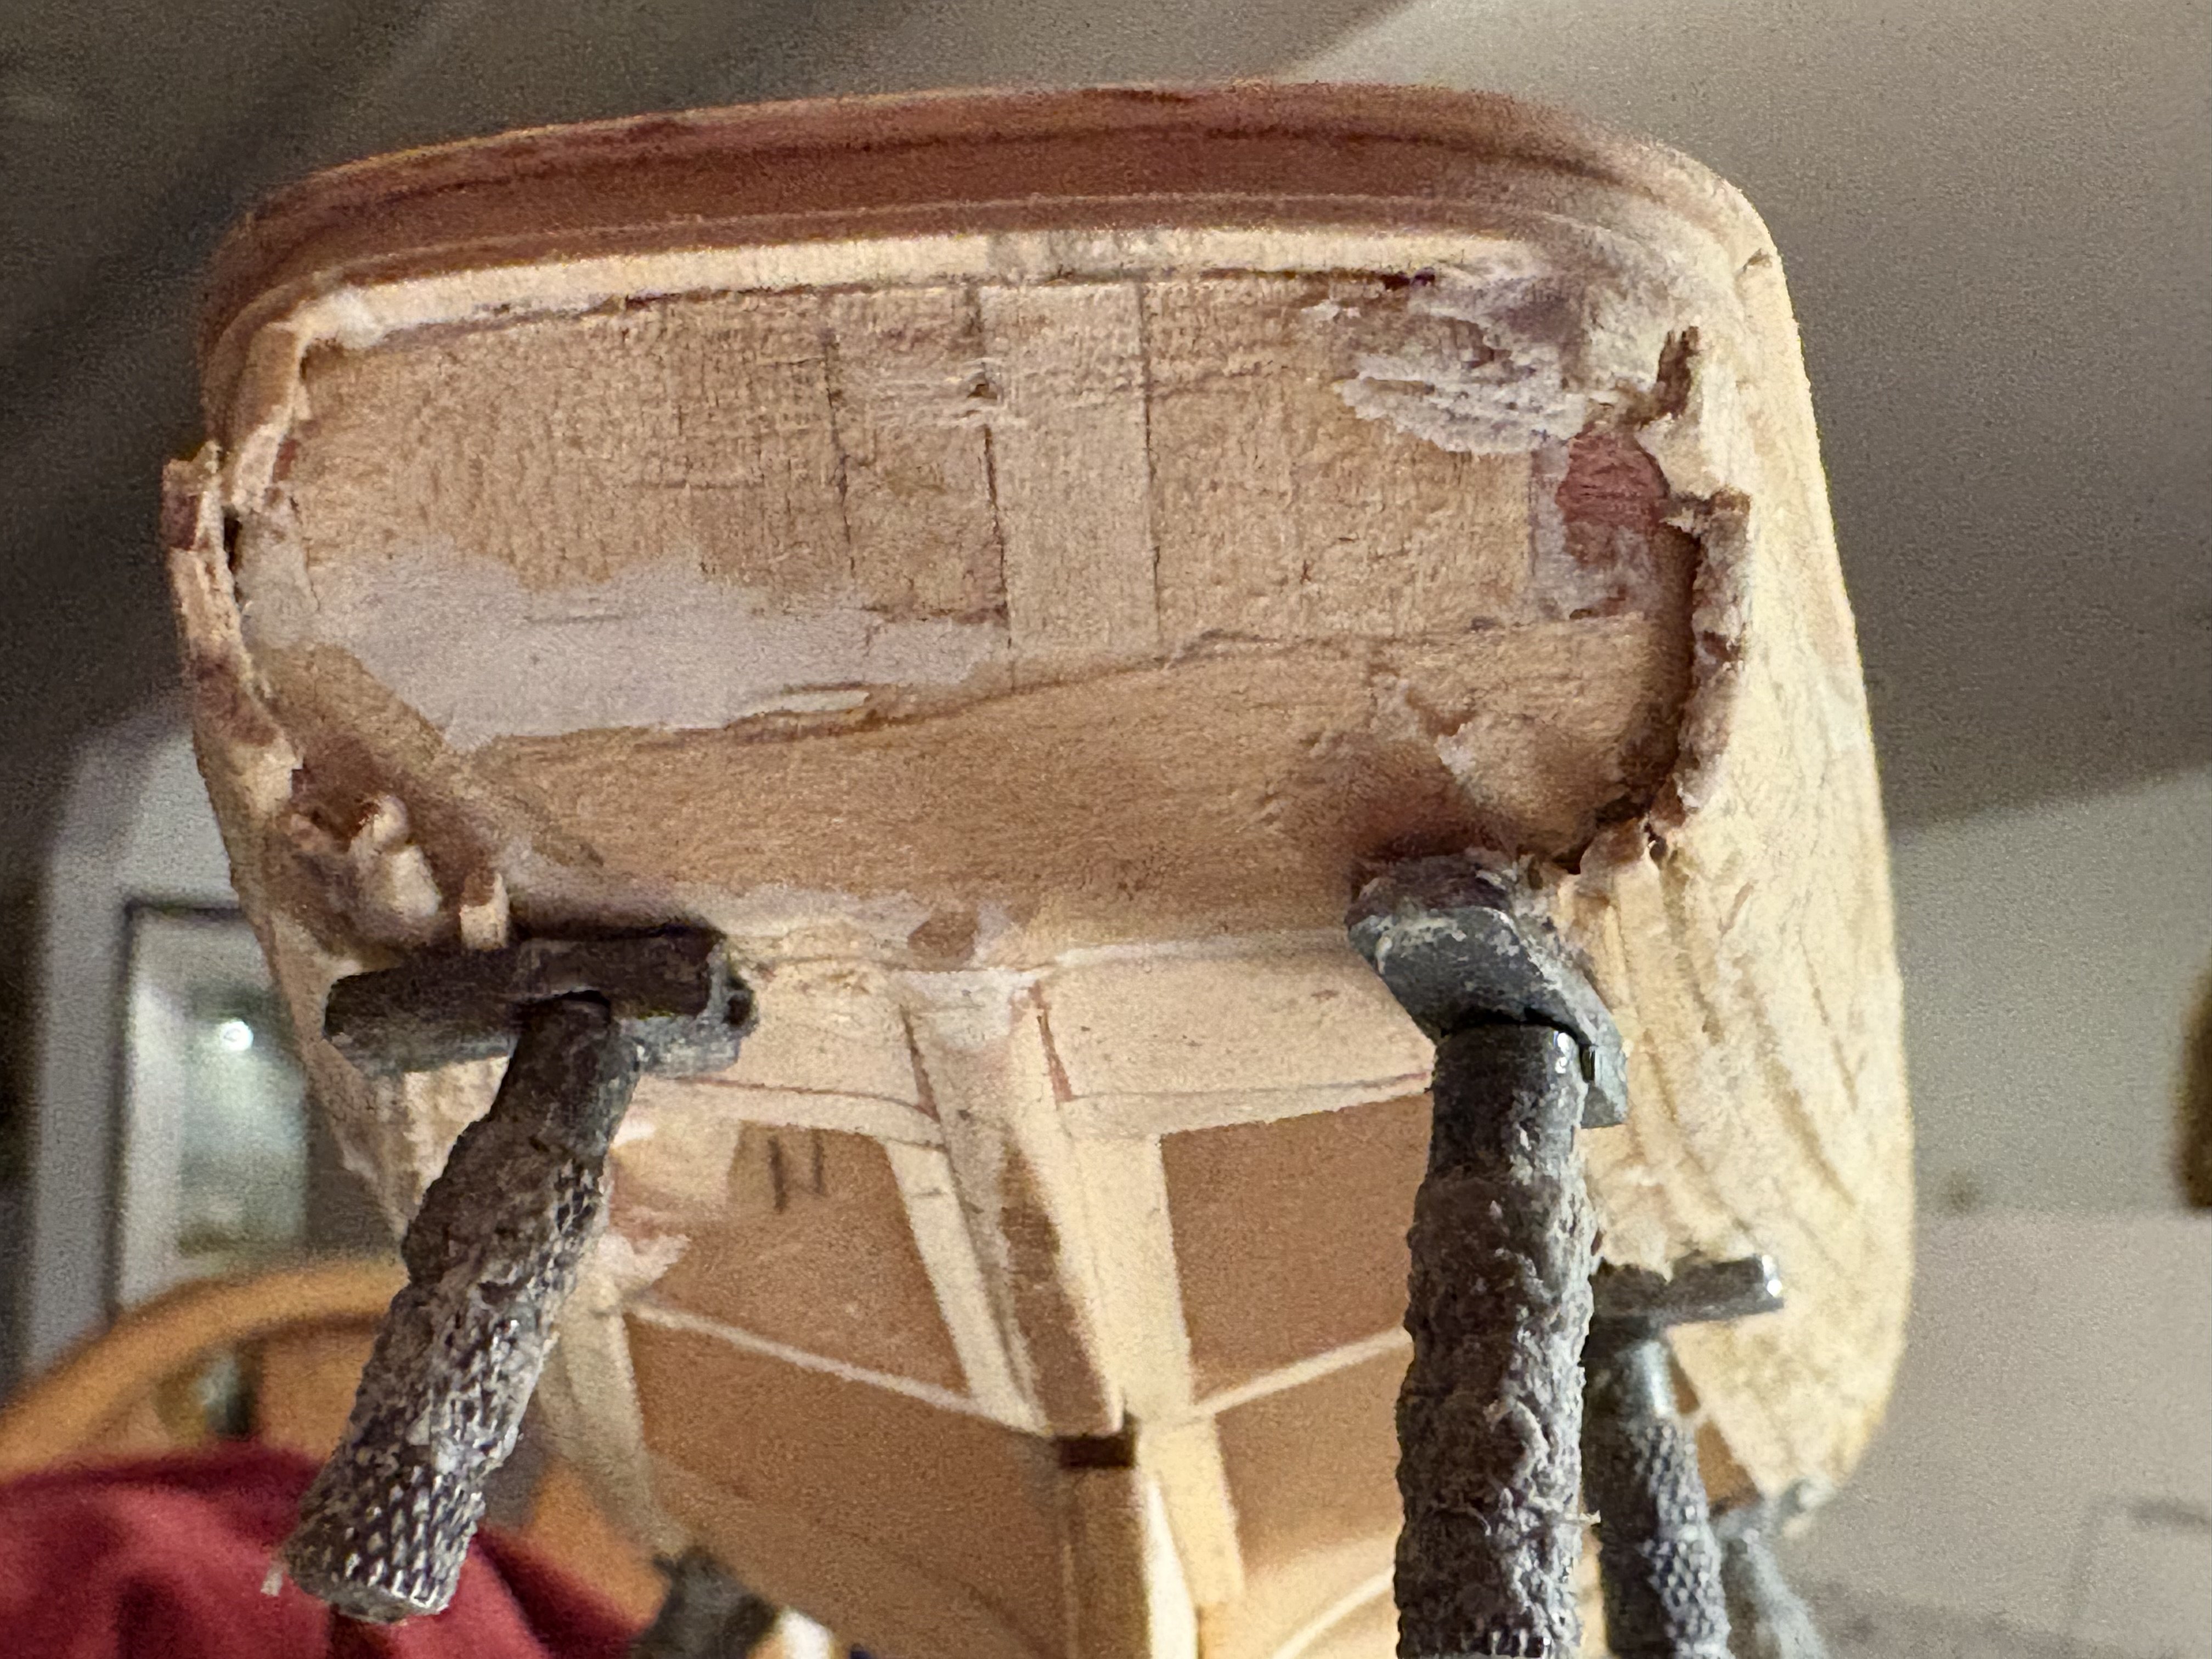
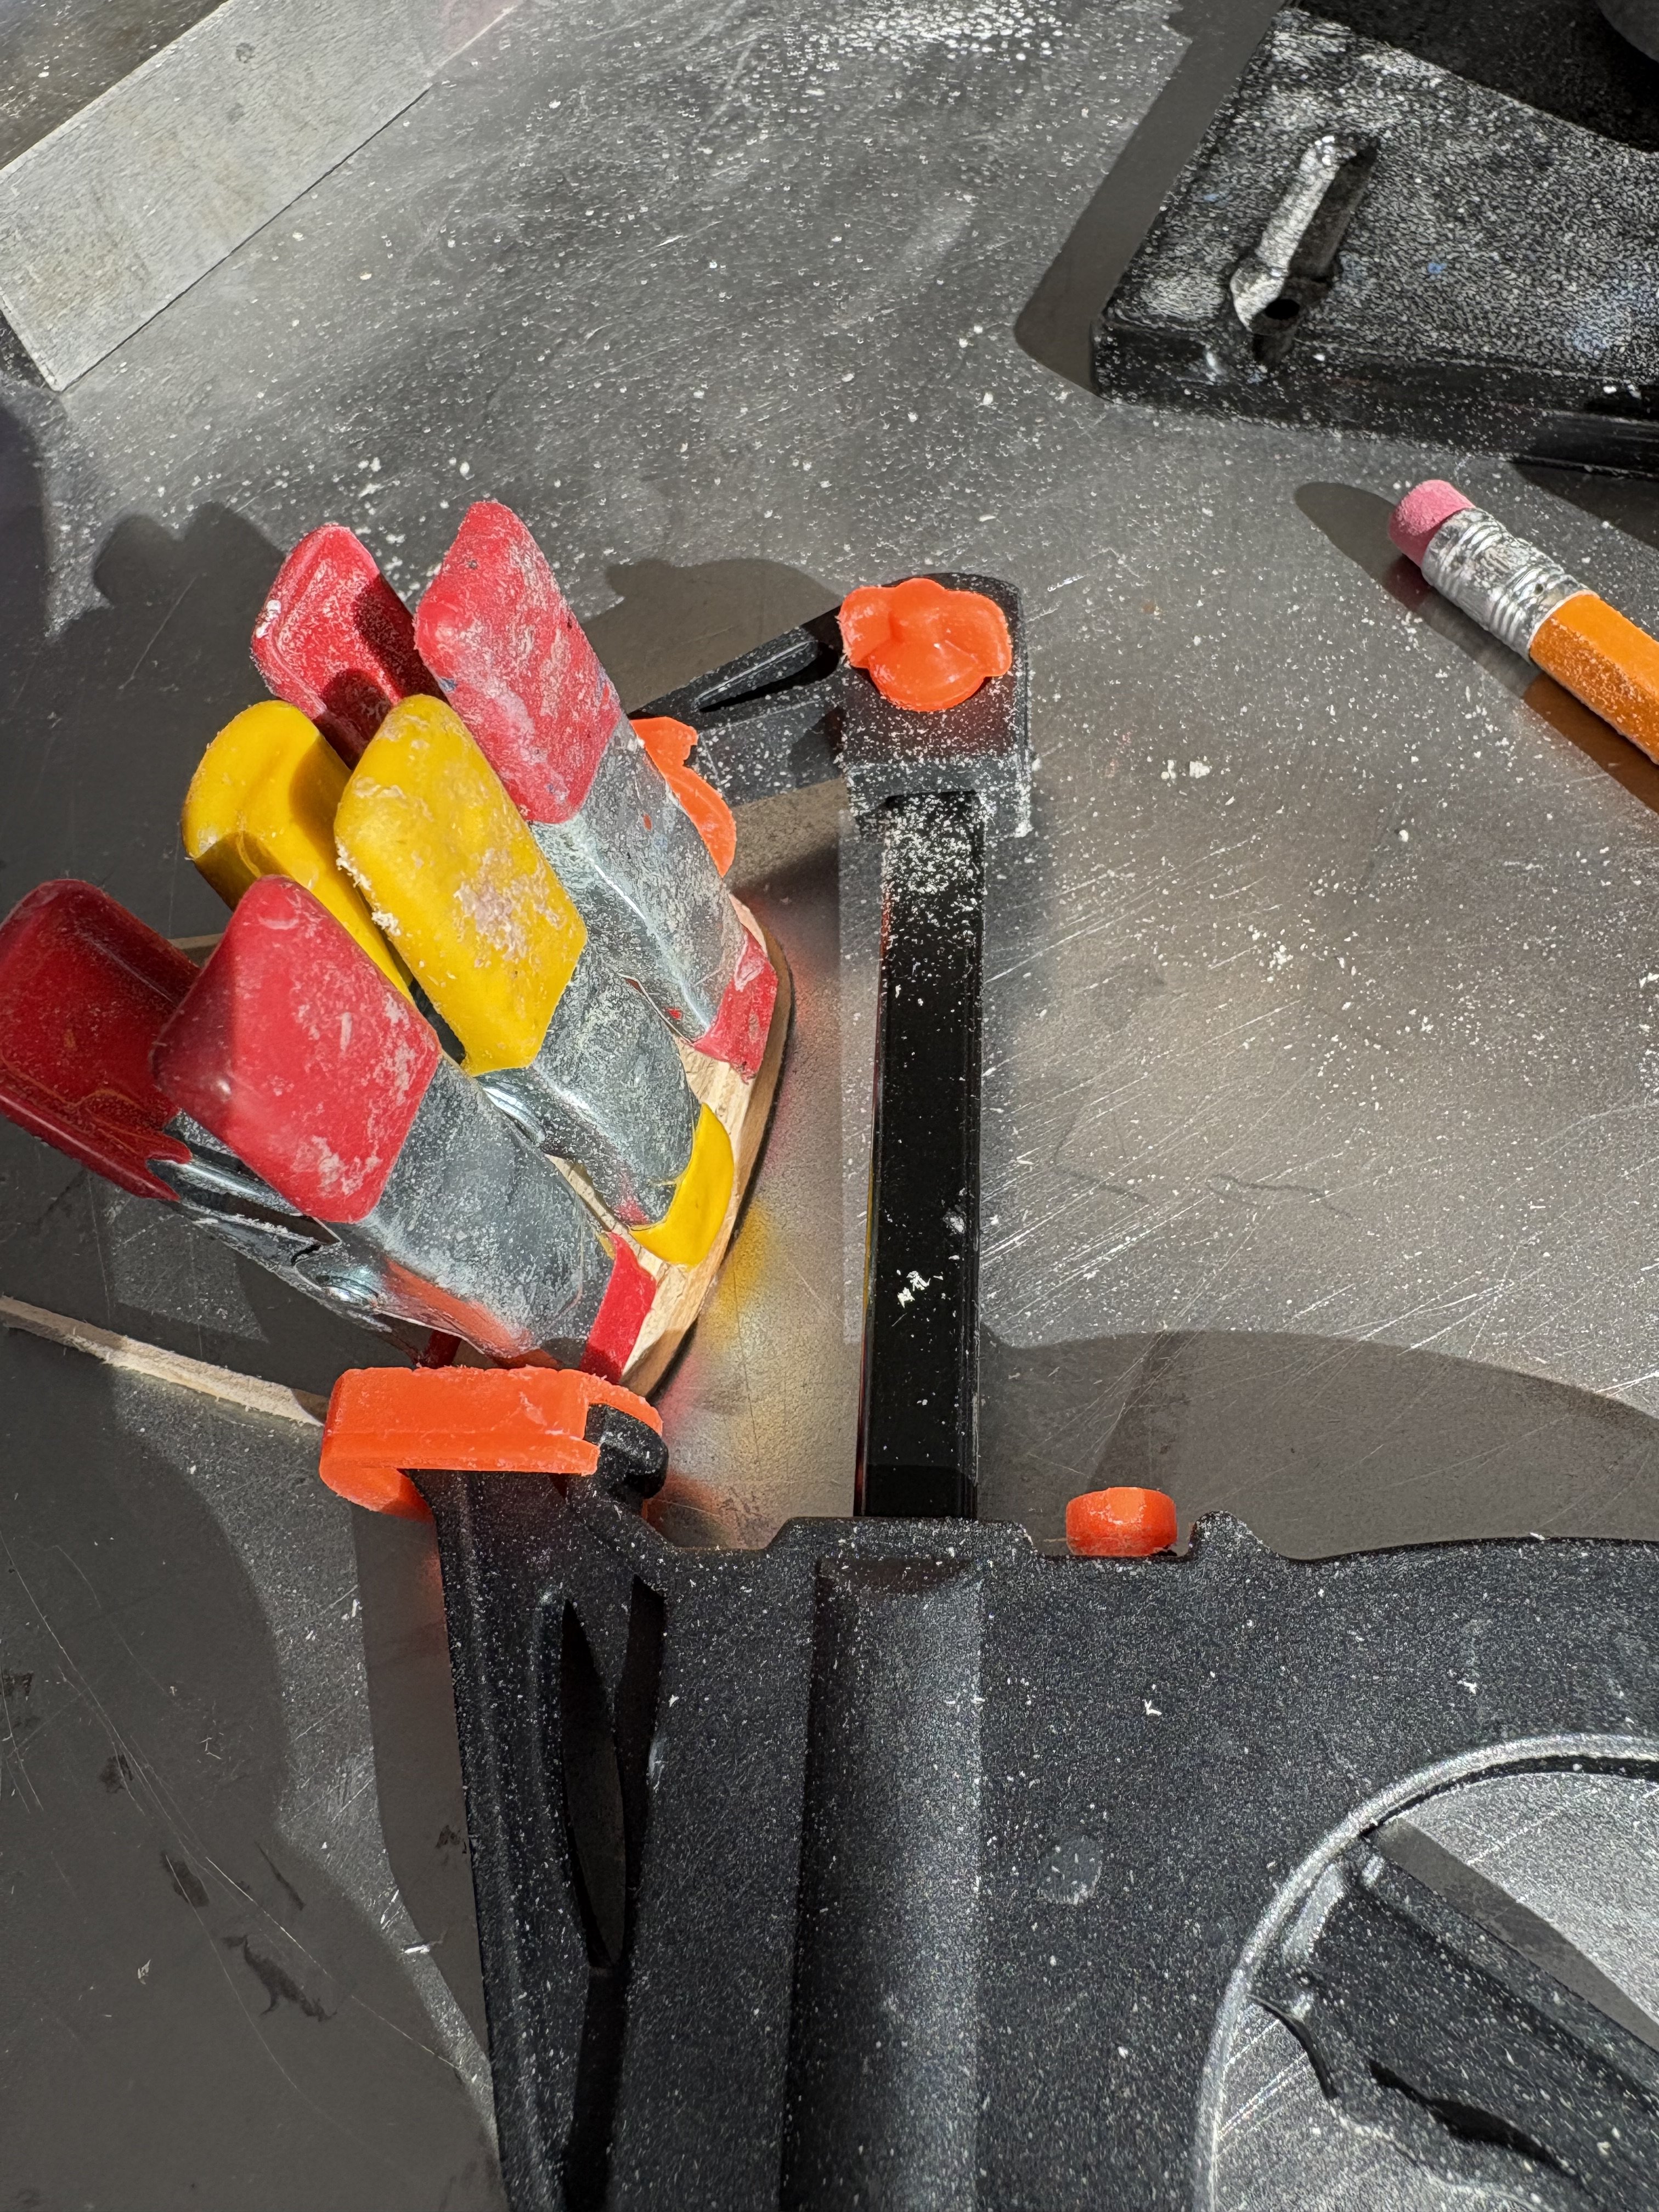
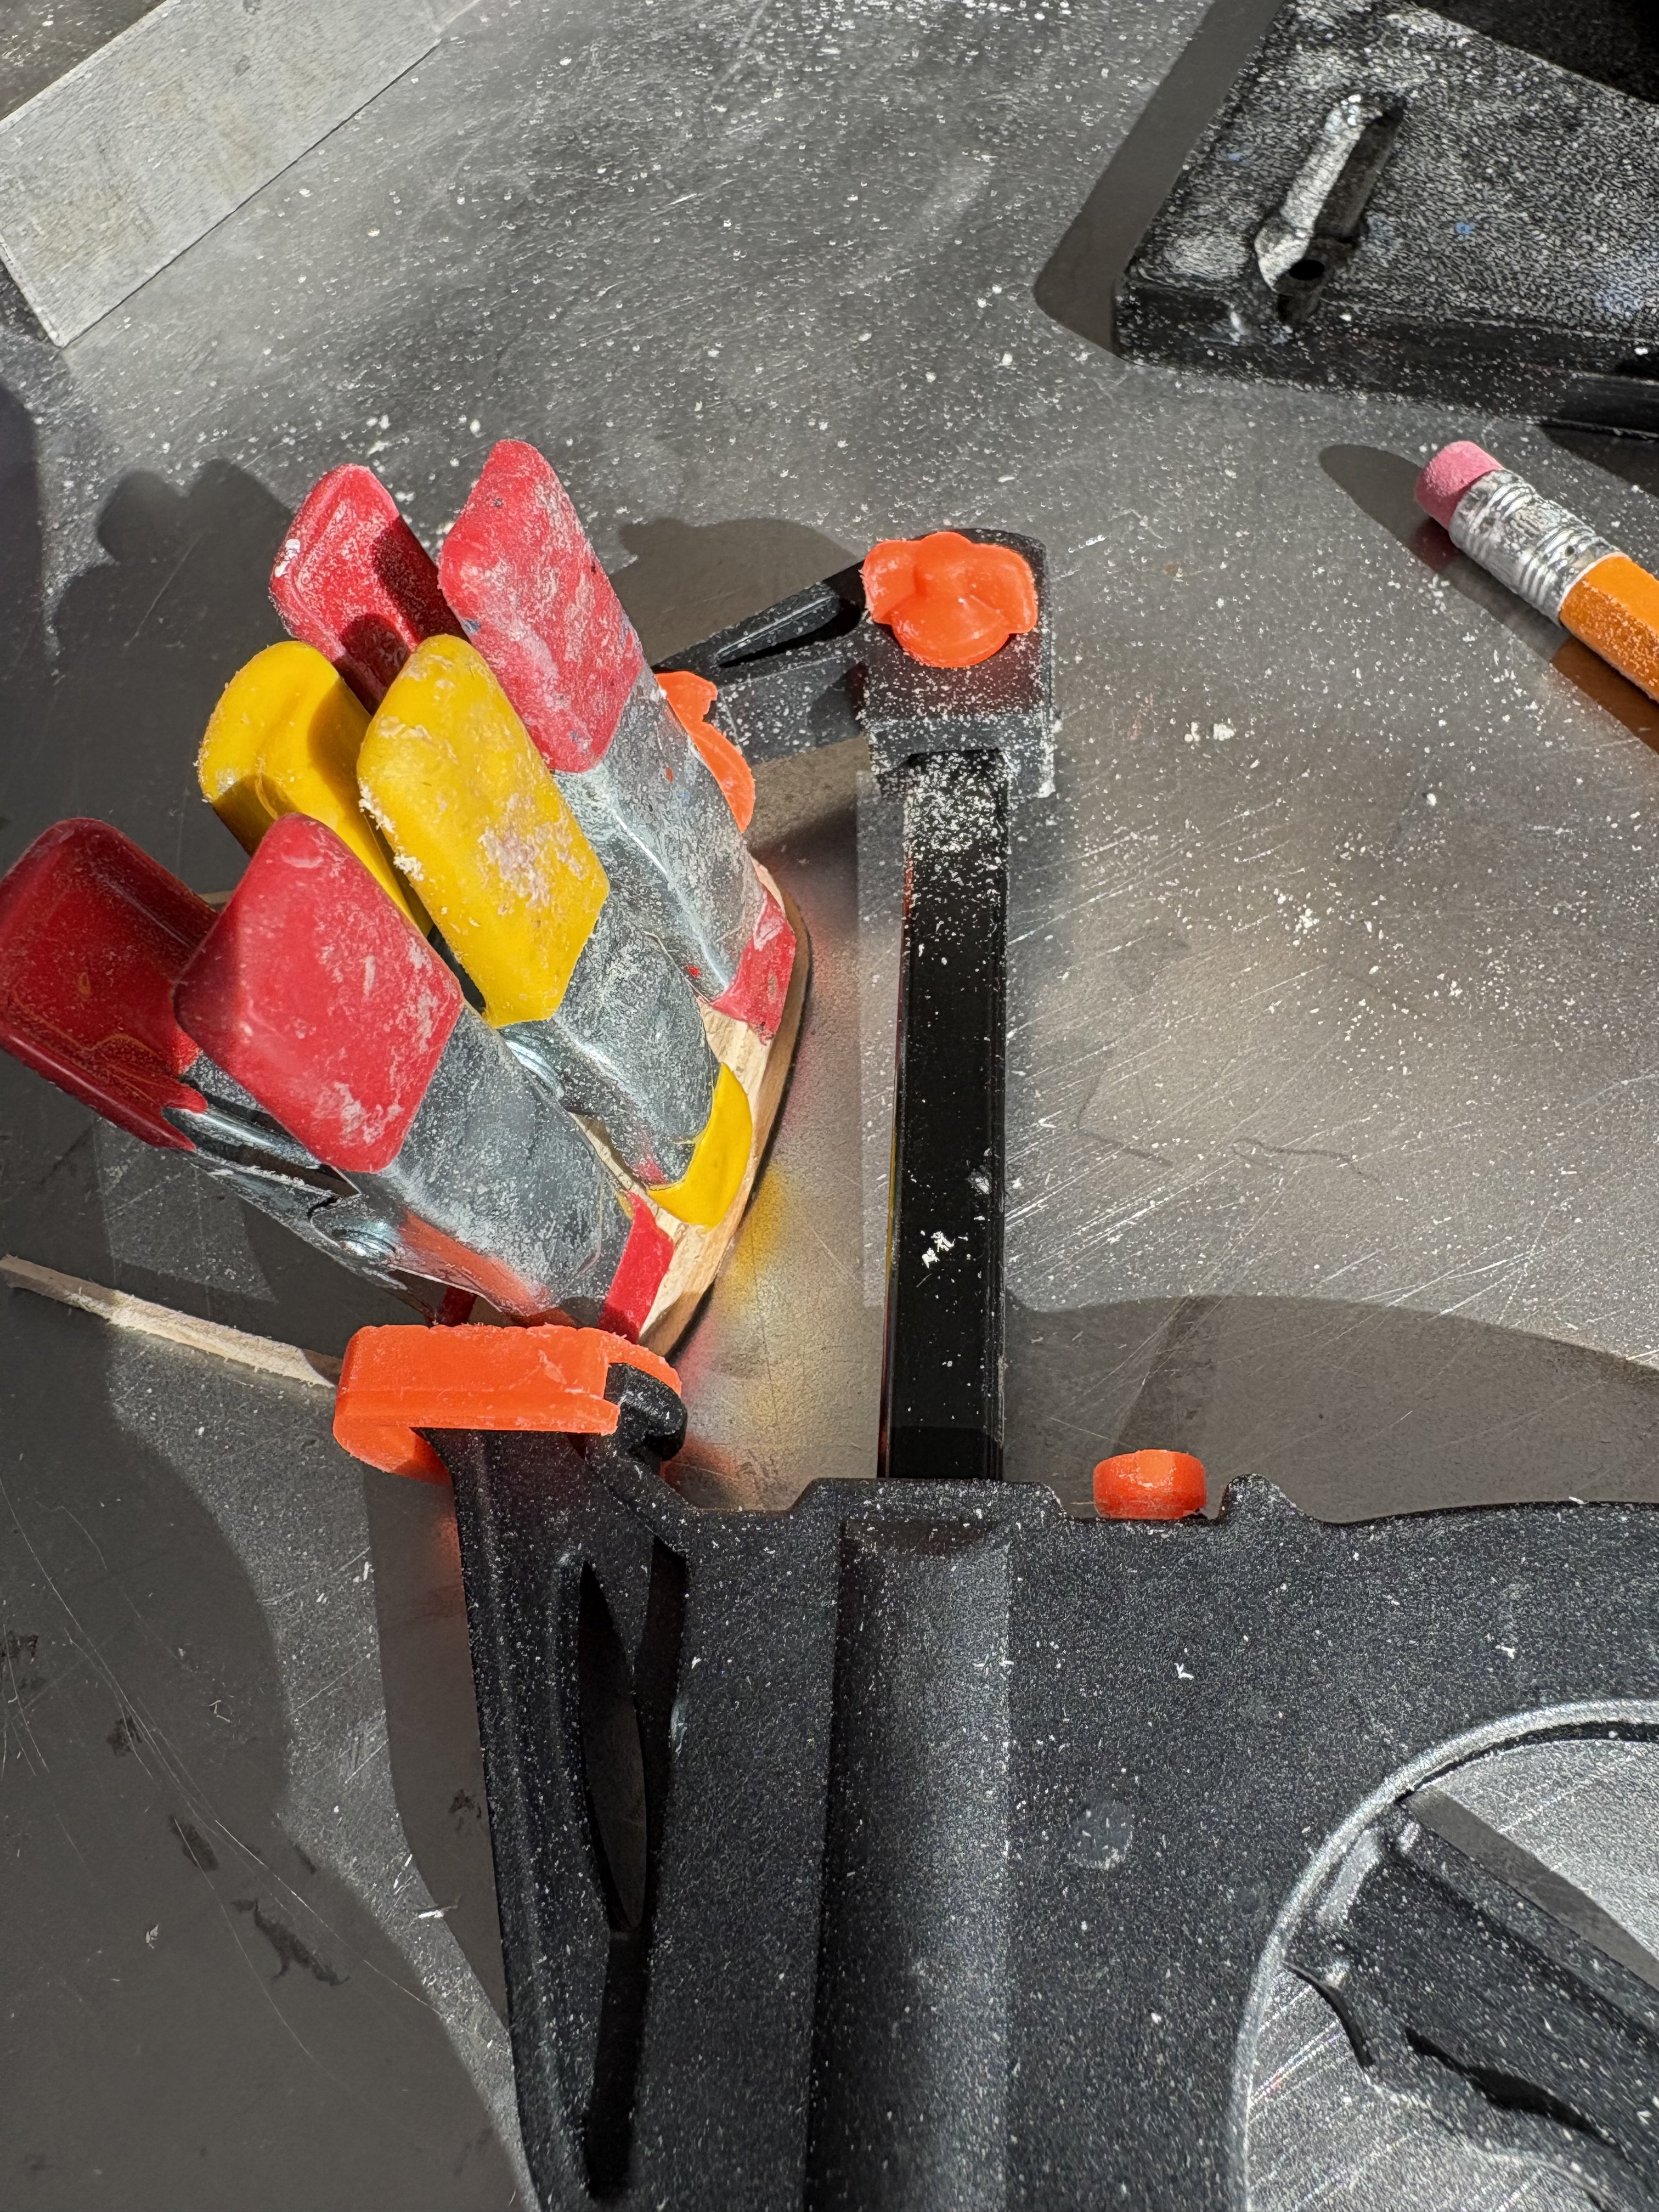
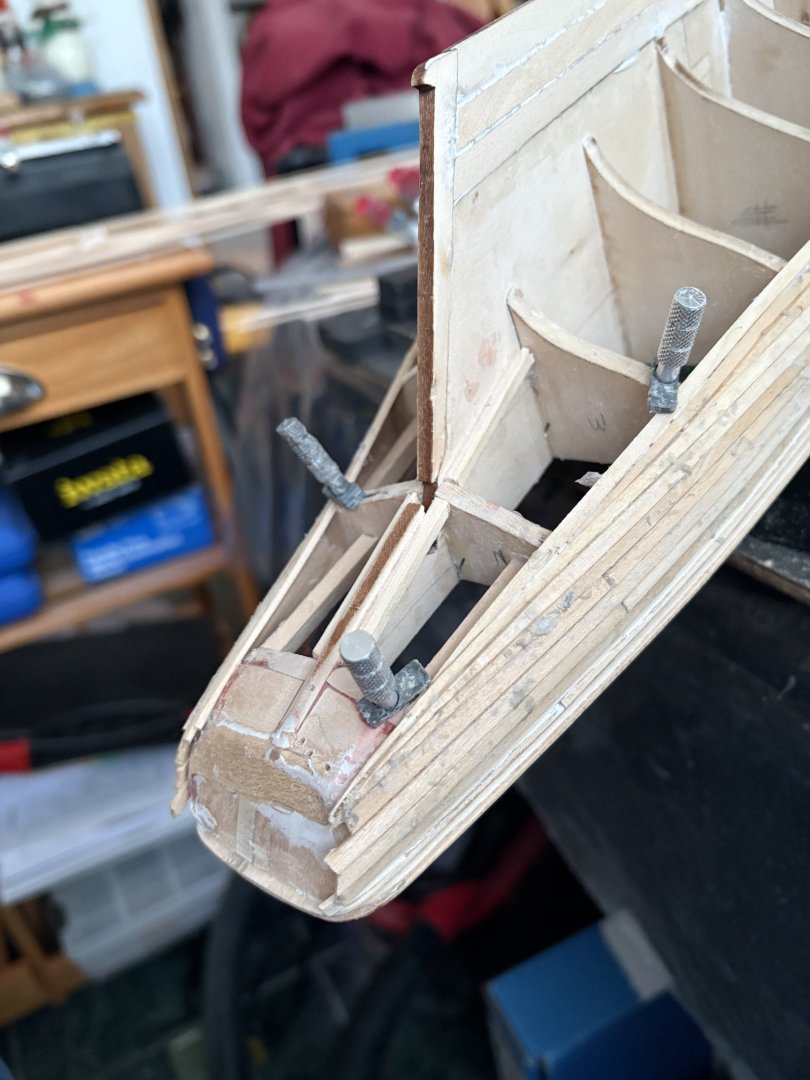
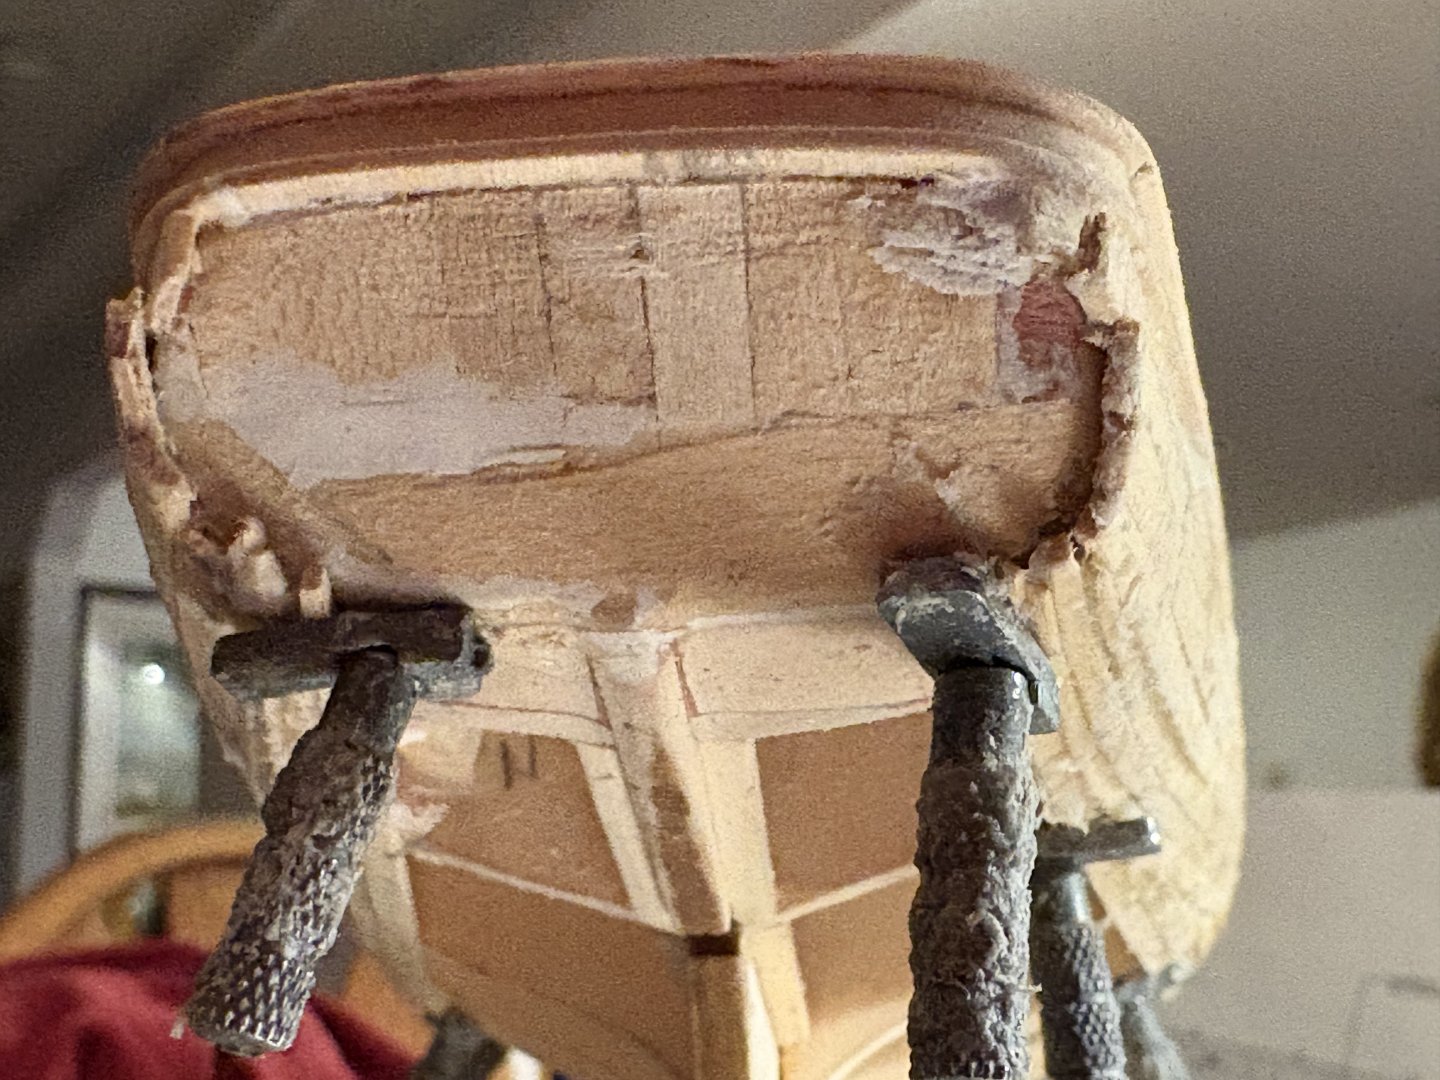
Greg I don’t believe in double planking unless you want a walnut finish or you are trying to hide poor planking. I never had problems with single planking and that’s what I always do. As far as the clamps I have been using them for about 15 years and I love them. I have tried other methods of holding planks and I was not happy with the results. They are called All-Metal Plank Clamps and are marketed by Micro Mark. I find that they will hold the planks very very tightly together and you can incorporate very tight longitudinal bends that would be hard to do with other methods. I use an engraver pen drill ($21)to start a hole in each bulkhead near where the plank will be placed then I place a line of Elmer’s White Glue along the adjoining plank then I position the plank and screw the clamps down until they are tight. It takes about 5 to 10 minutes per plank. I hoped I answered your questions Greg. All the Best Rick

-
TerryPat reacted to a post in a topic:
Bluenose by Admiral Rick - Model Shipways 2921 - Scale 1/64 - Canadian Fishing Schooner
-
Admiral Rick reacted to a post in a topic:
Spam in member message section?
-
Admiral Rick reacted to a post in a topic:
Spam in member message section?
-
Admiral Rick reacted to a post in a topic:
Spam in member message section?
-
Admiral Rick reacted to a post in a topic:
Spam in member message section?
-
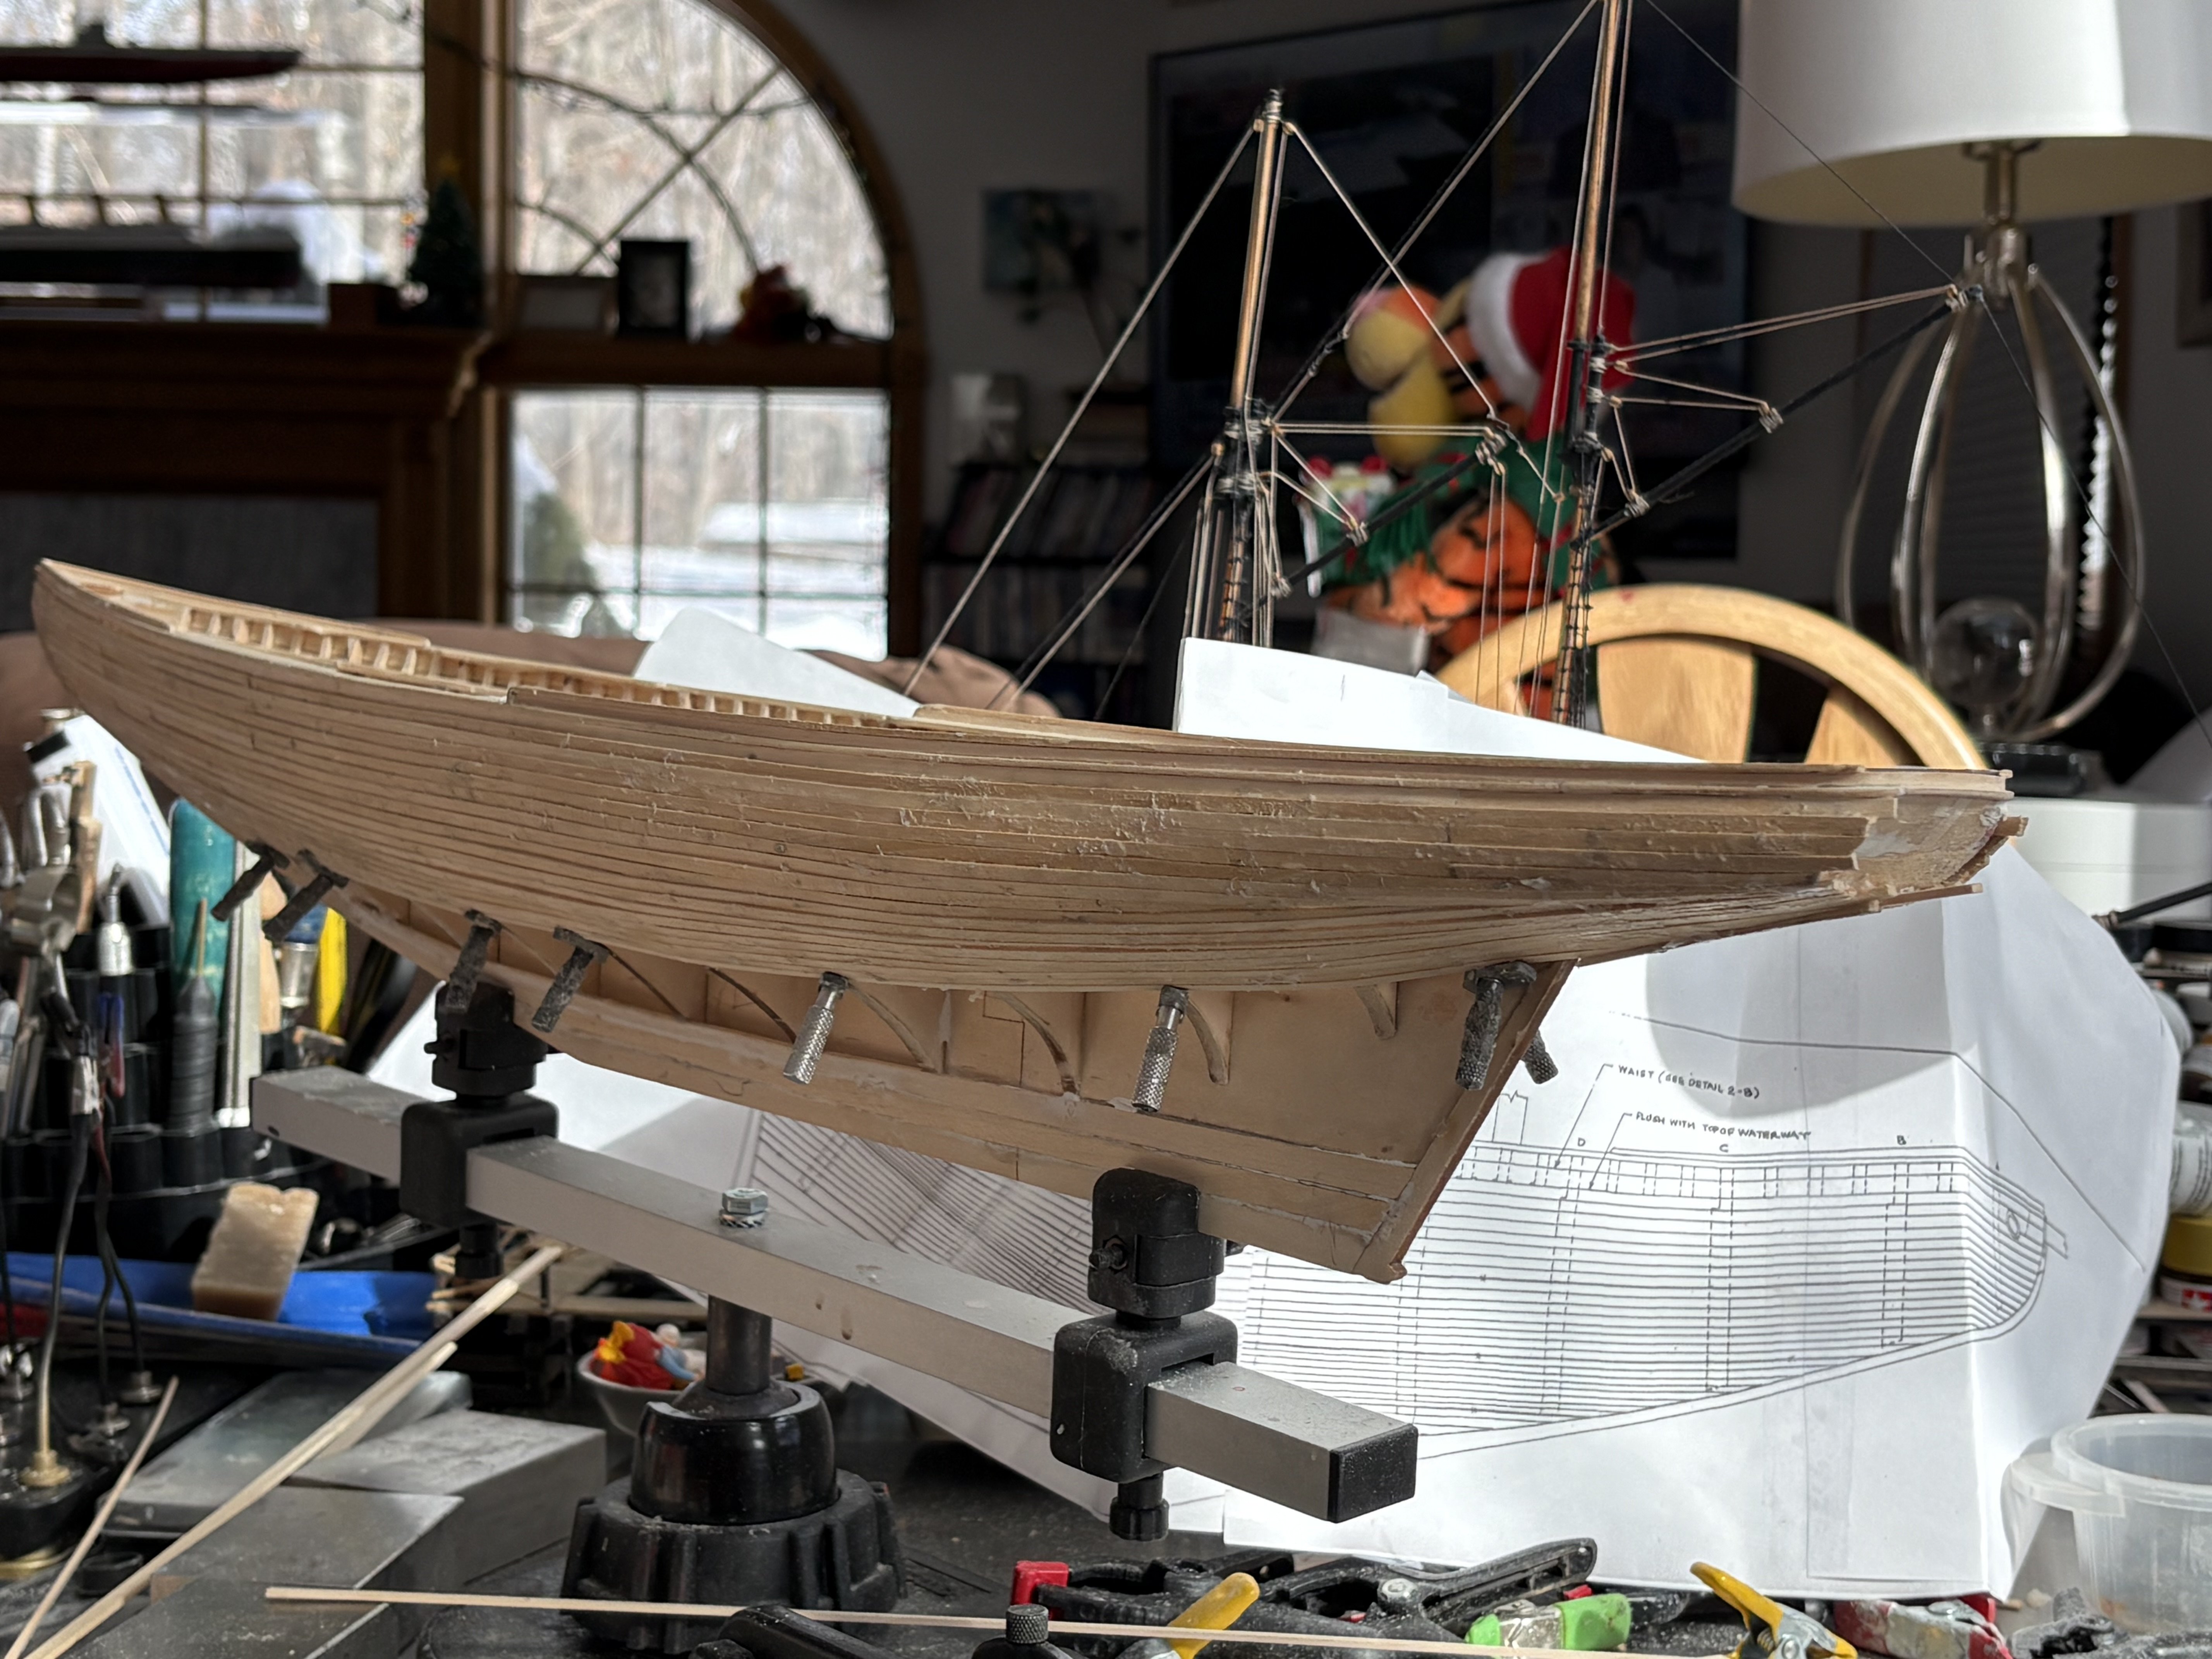
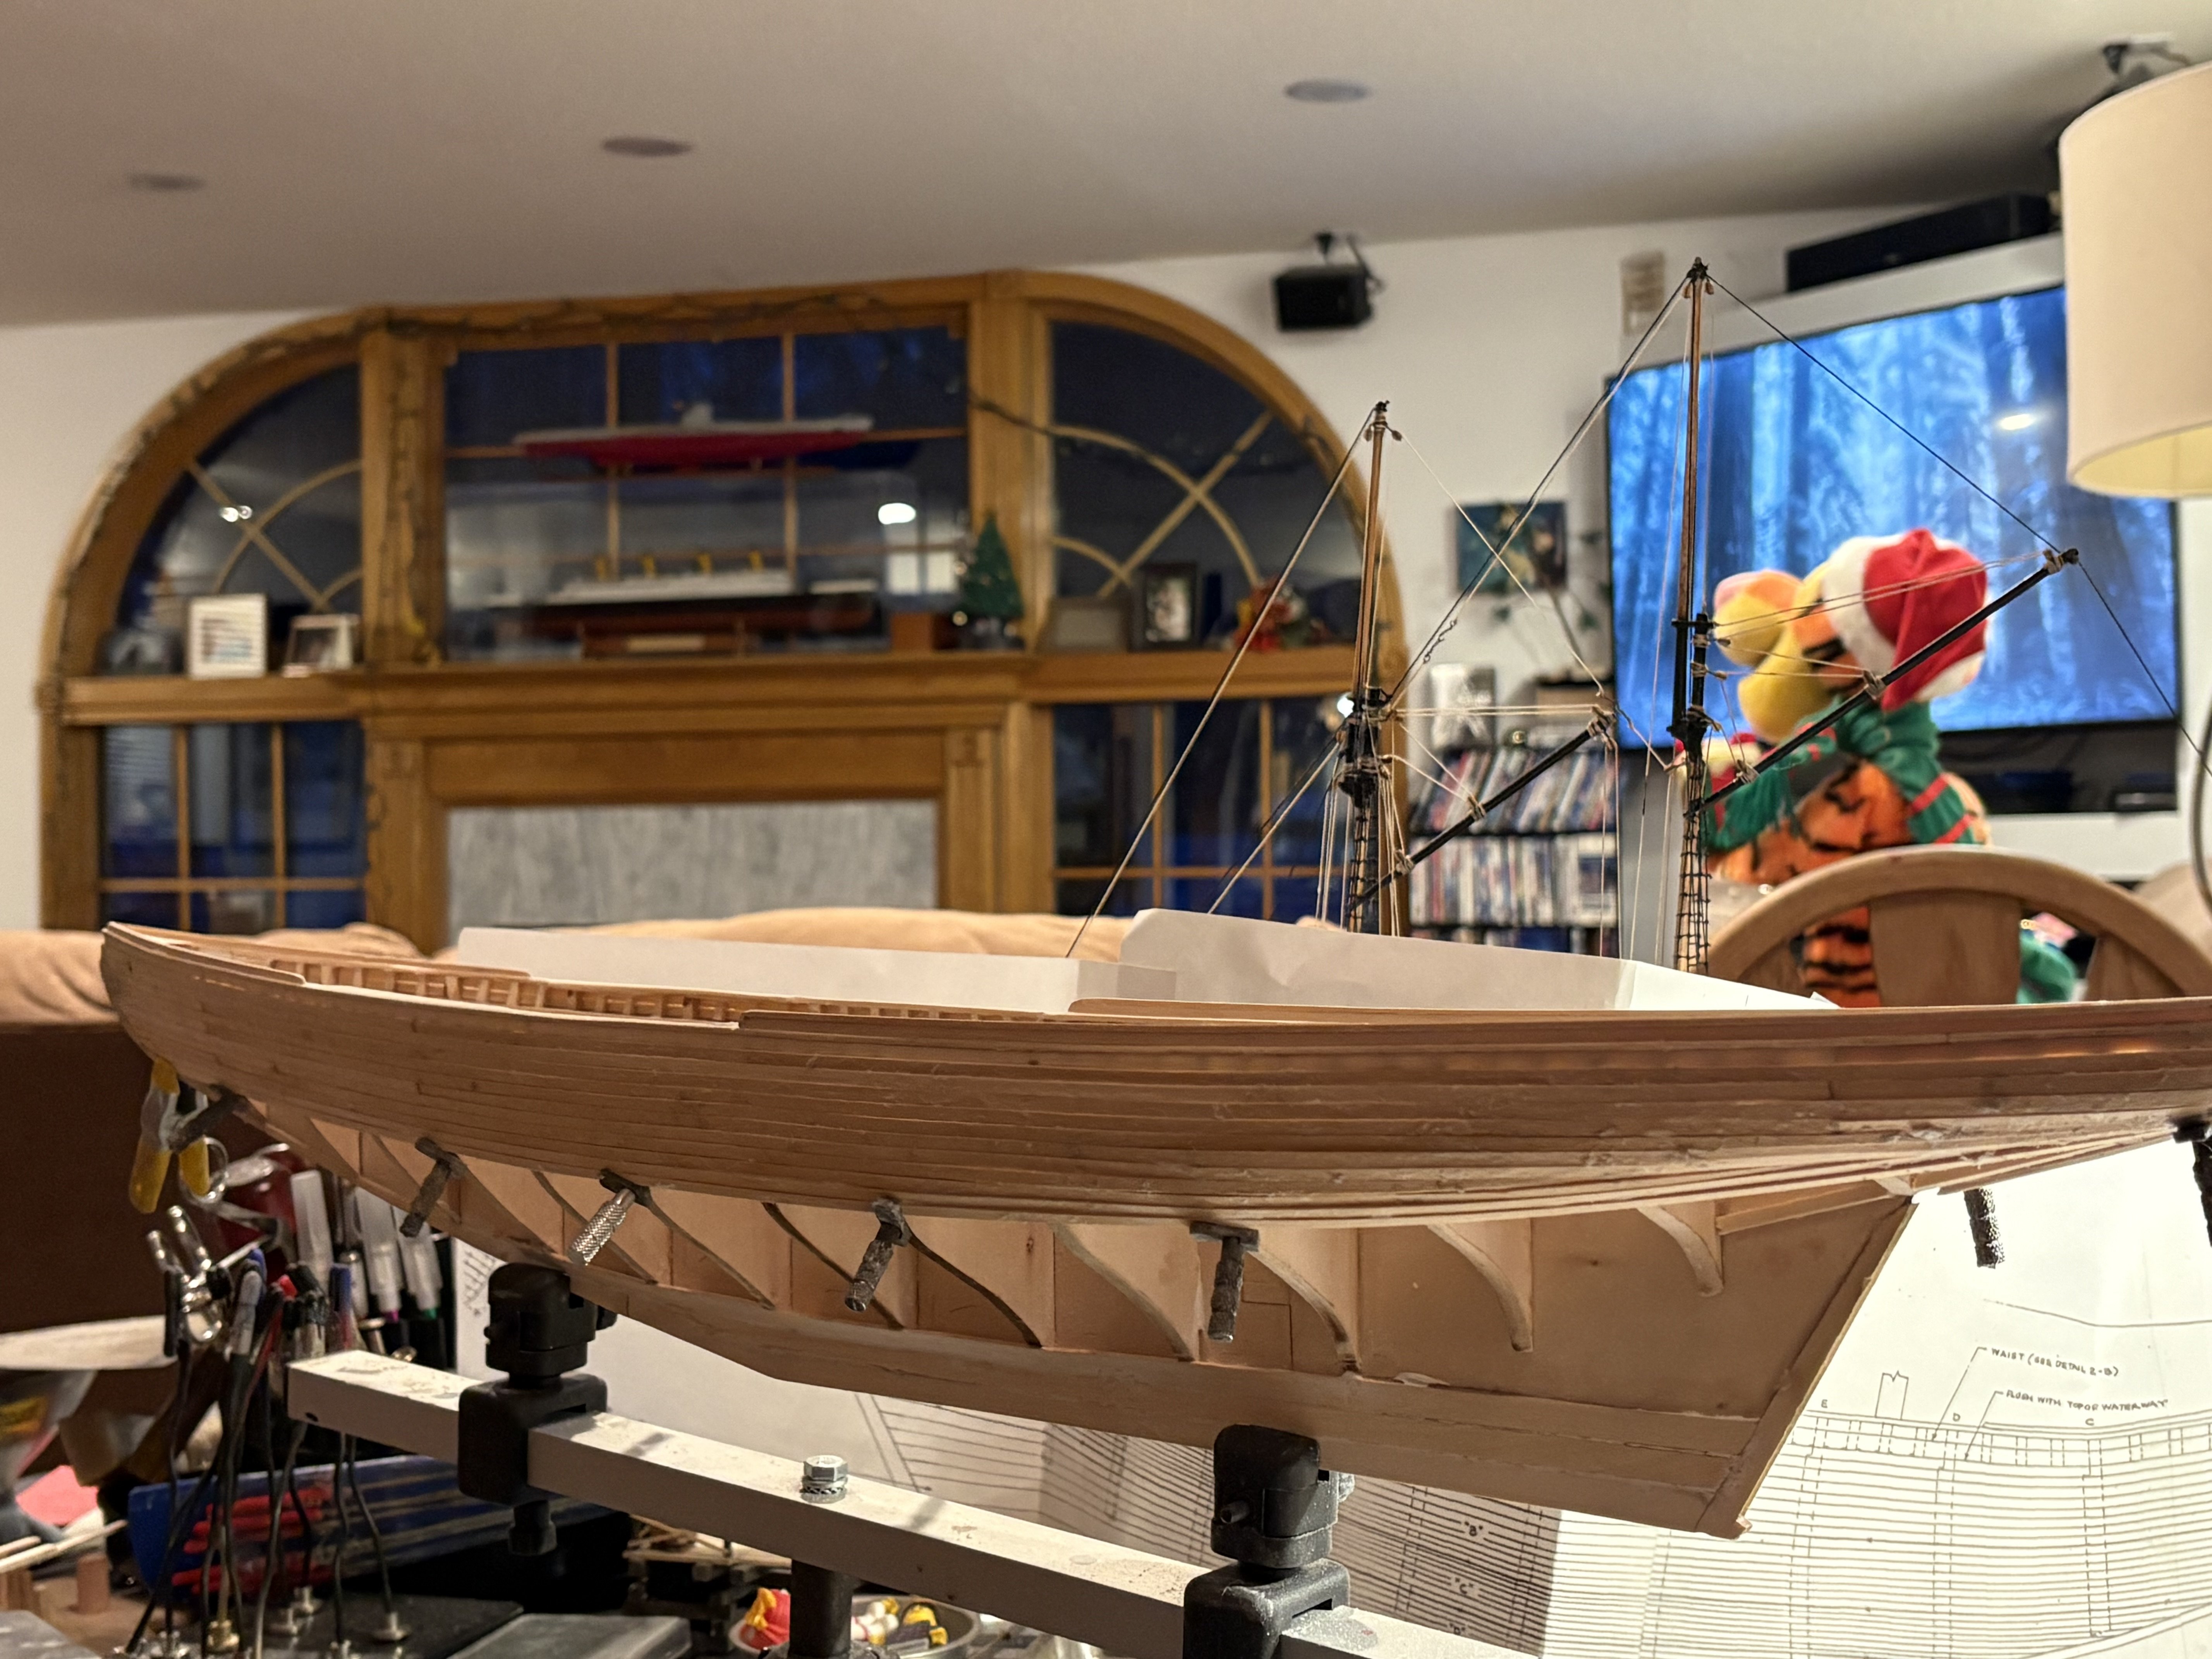
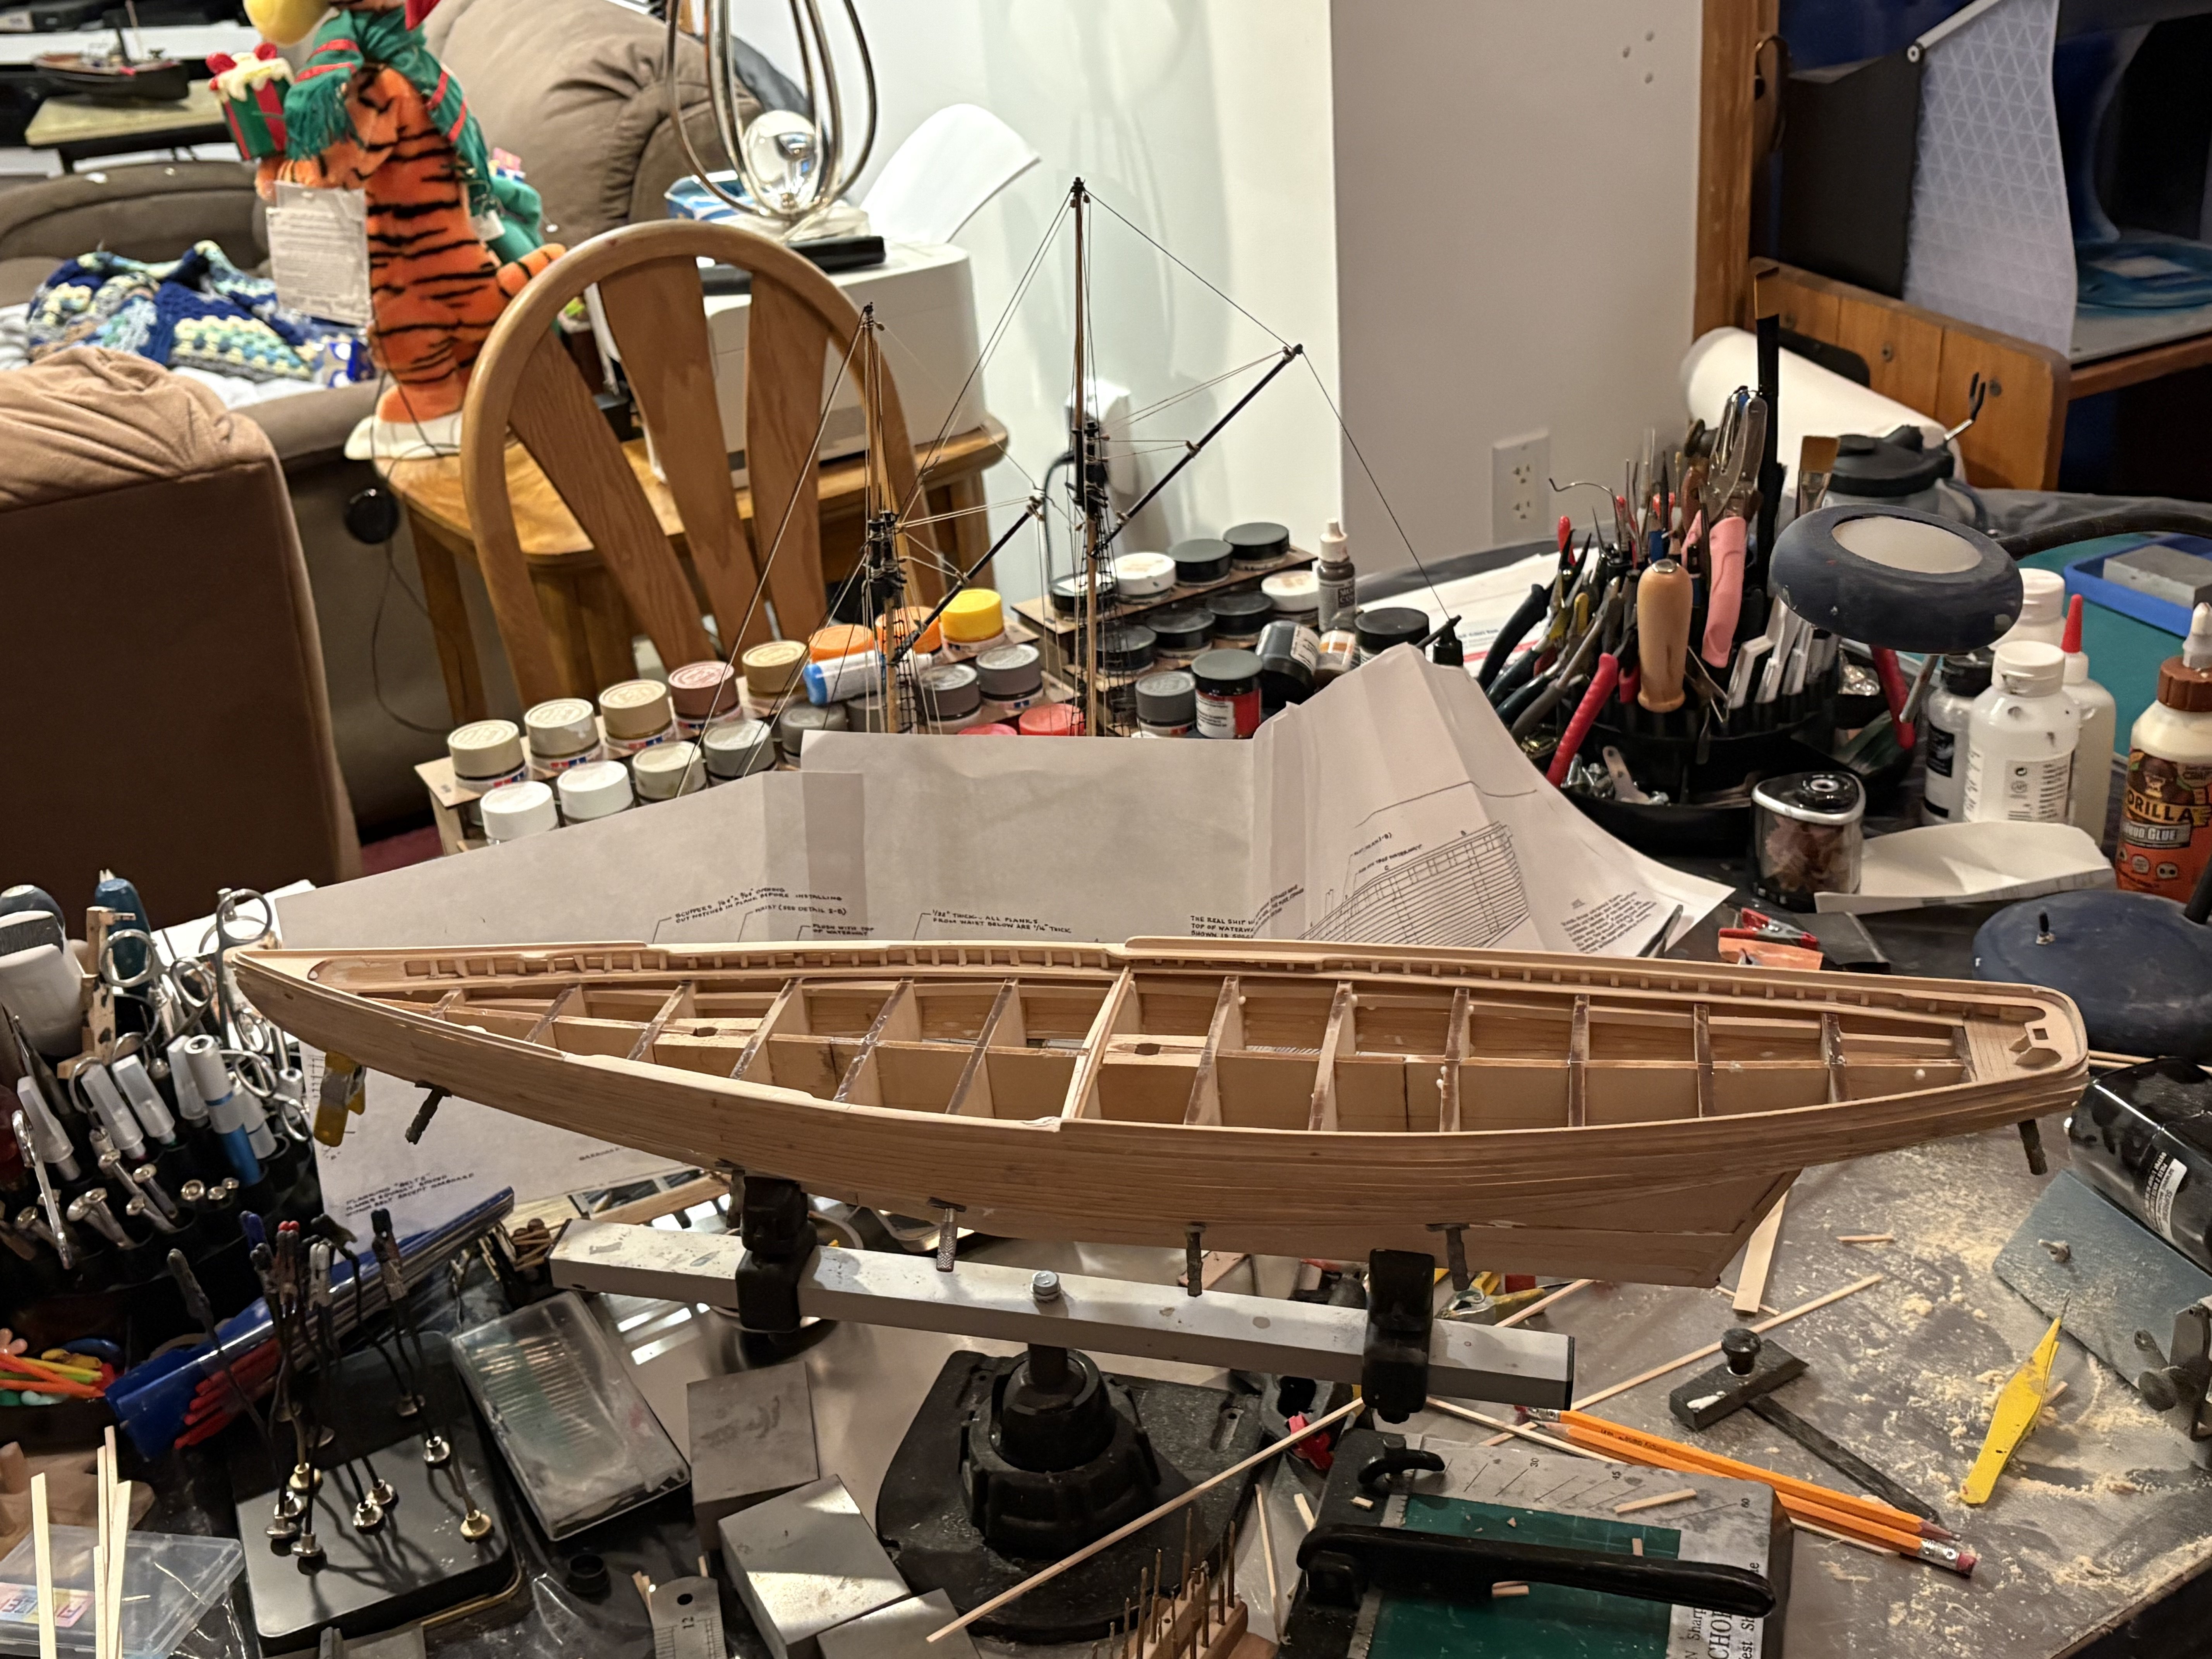
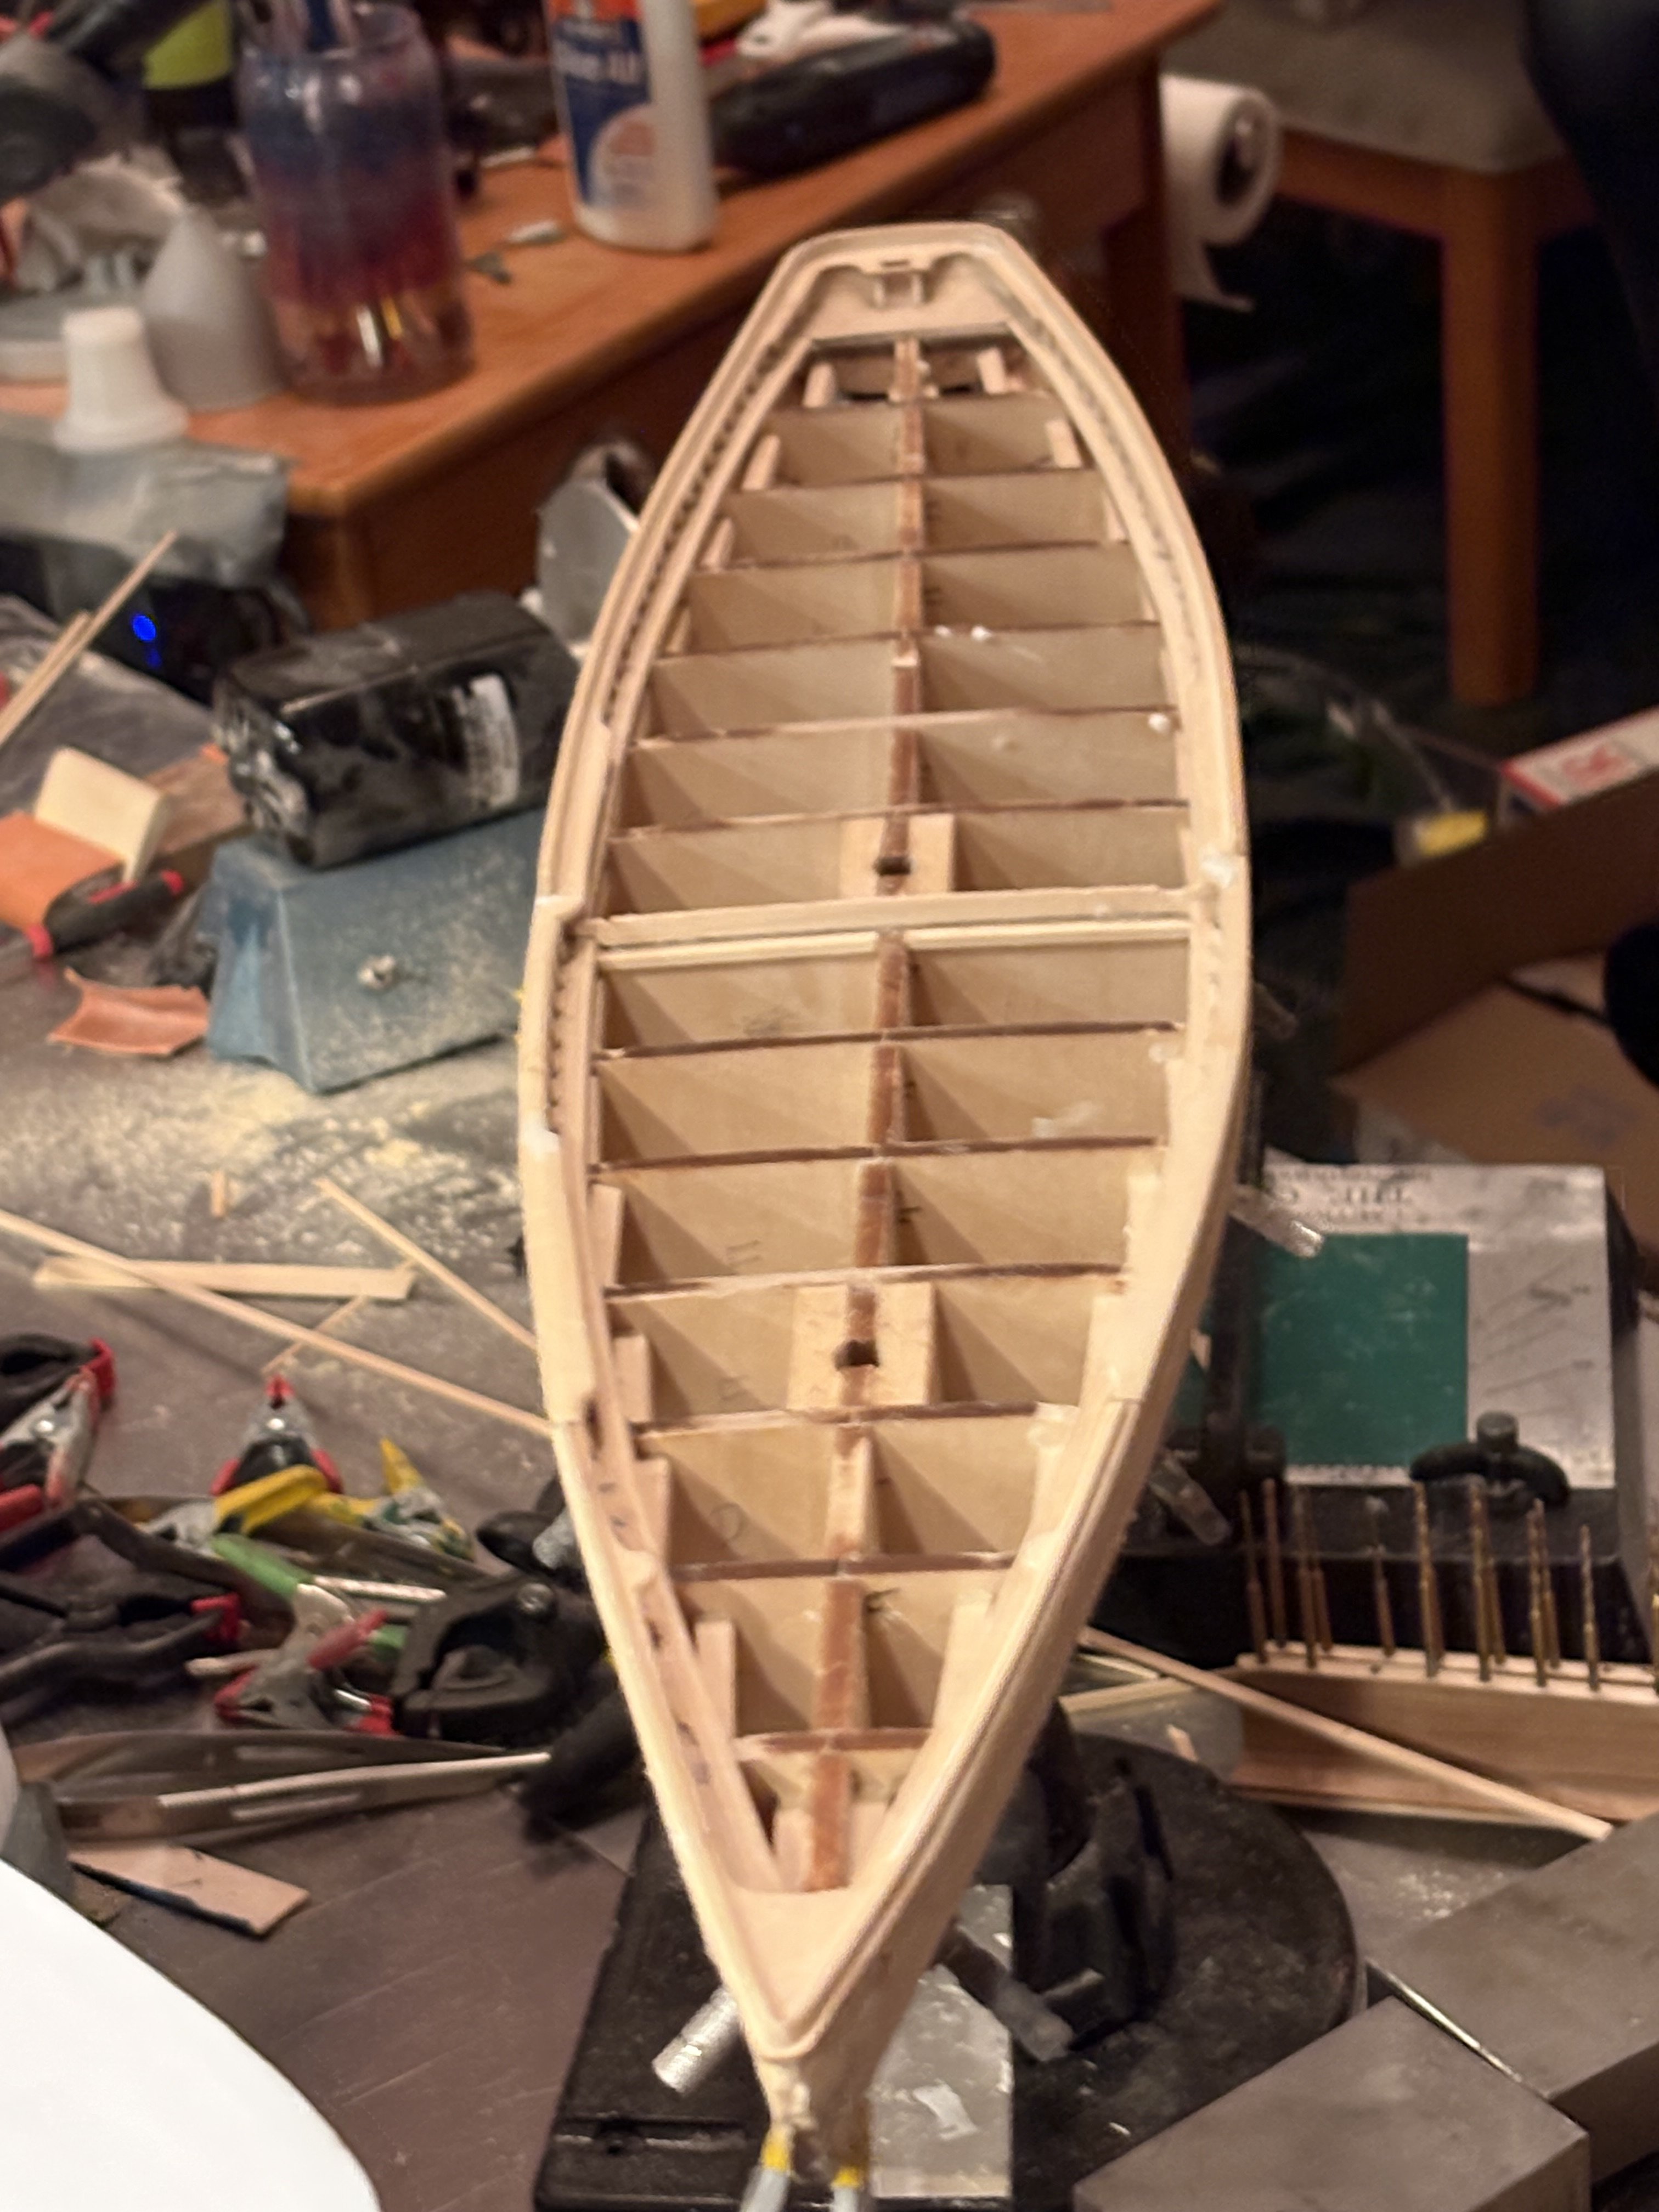
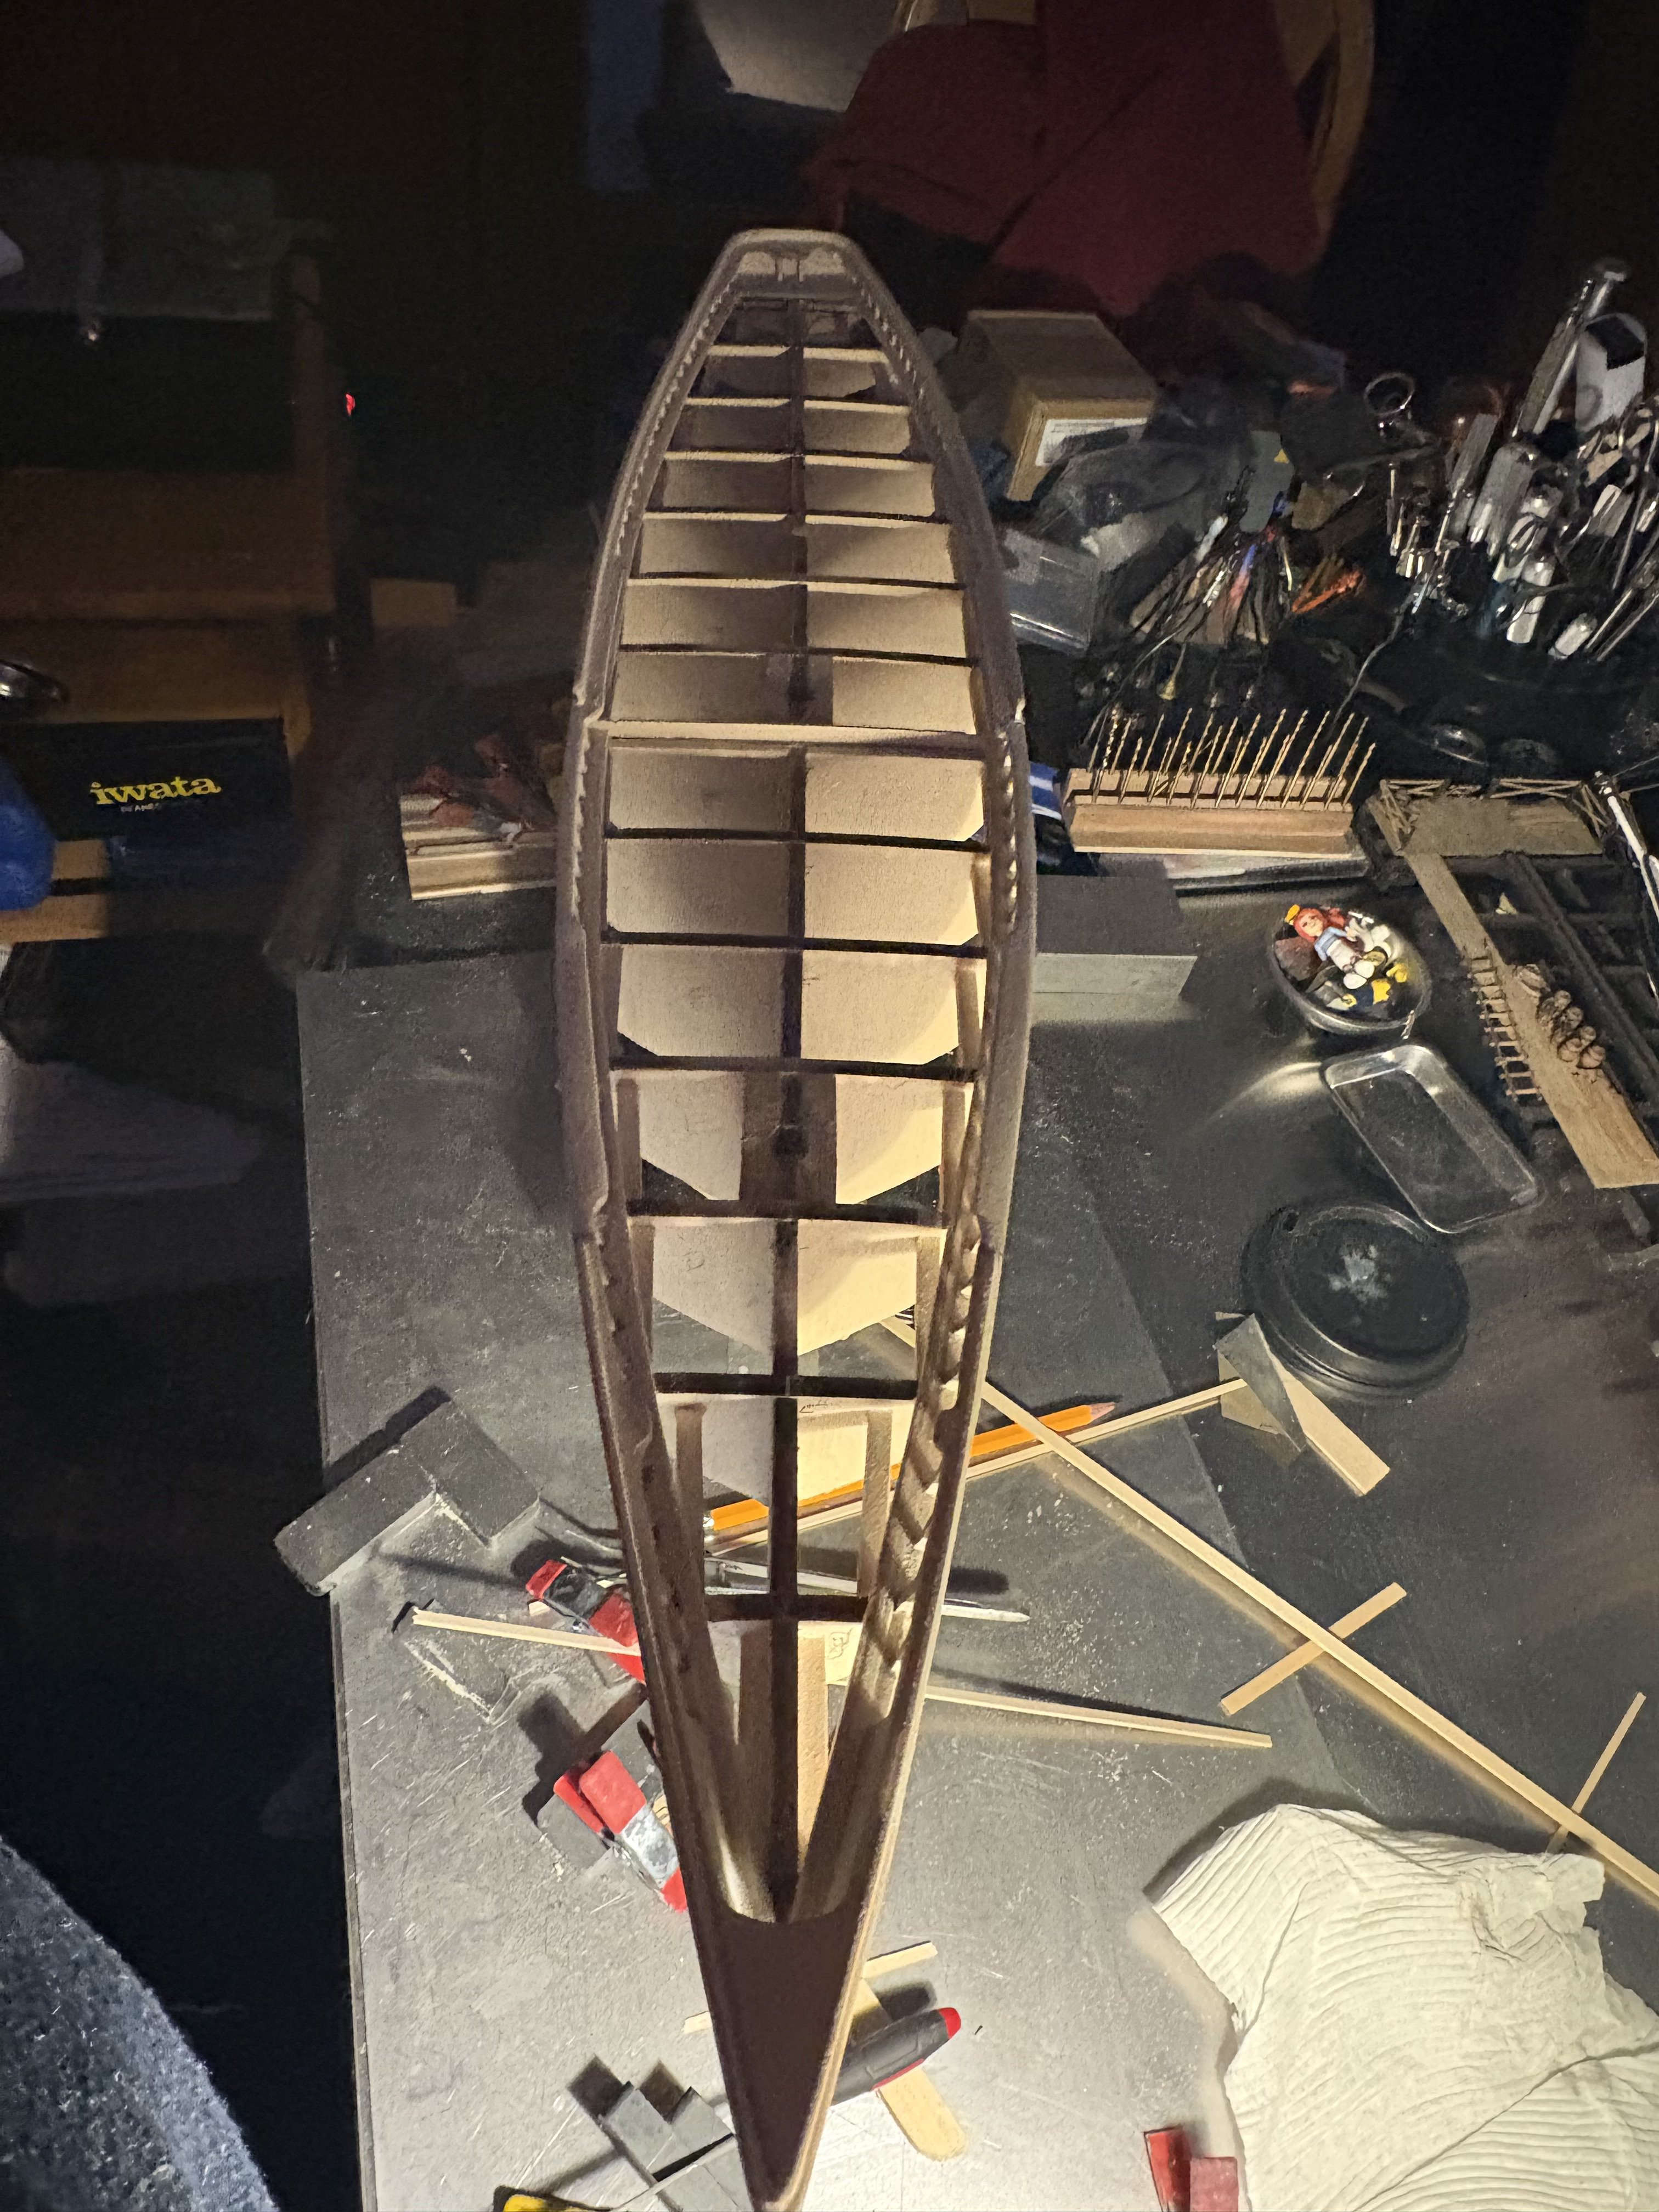
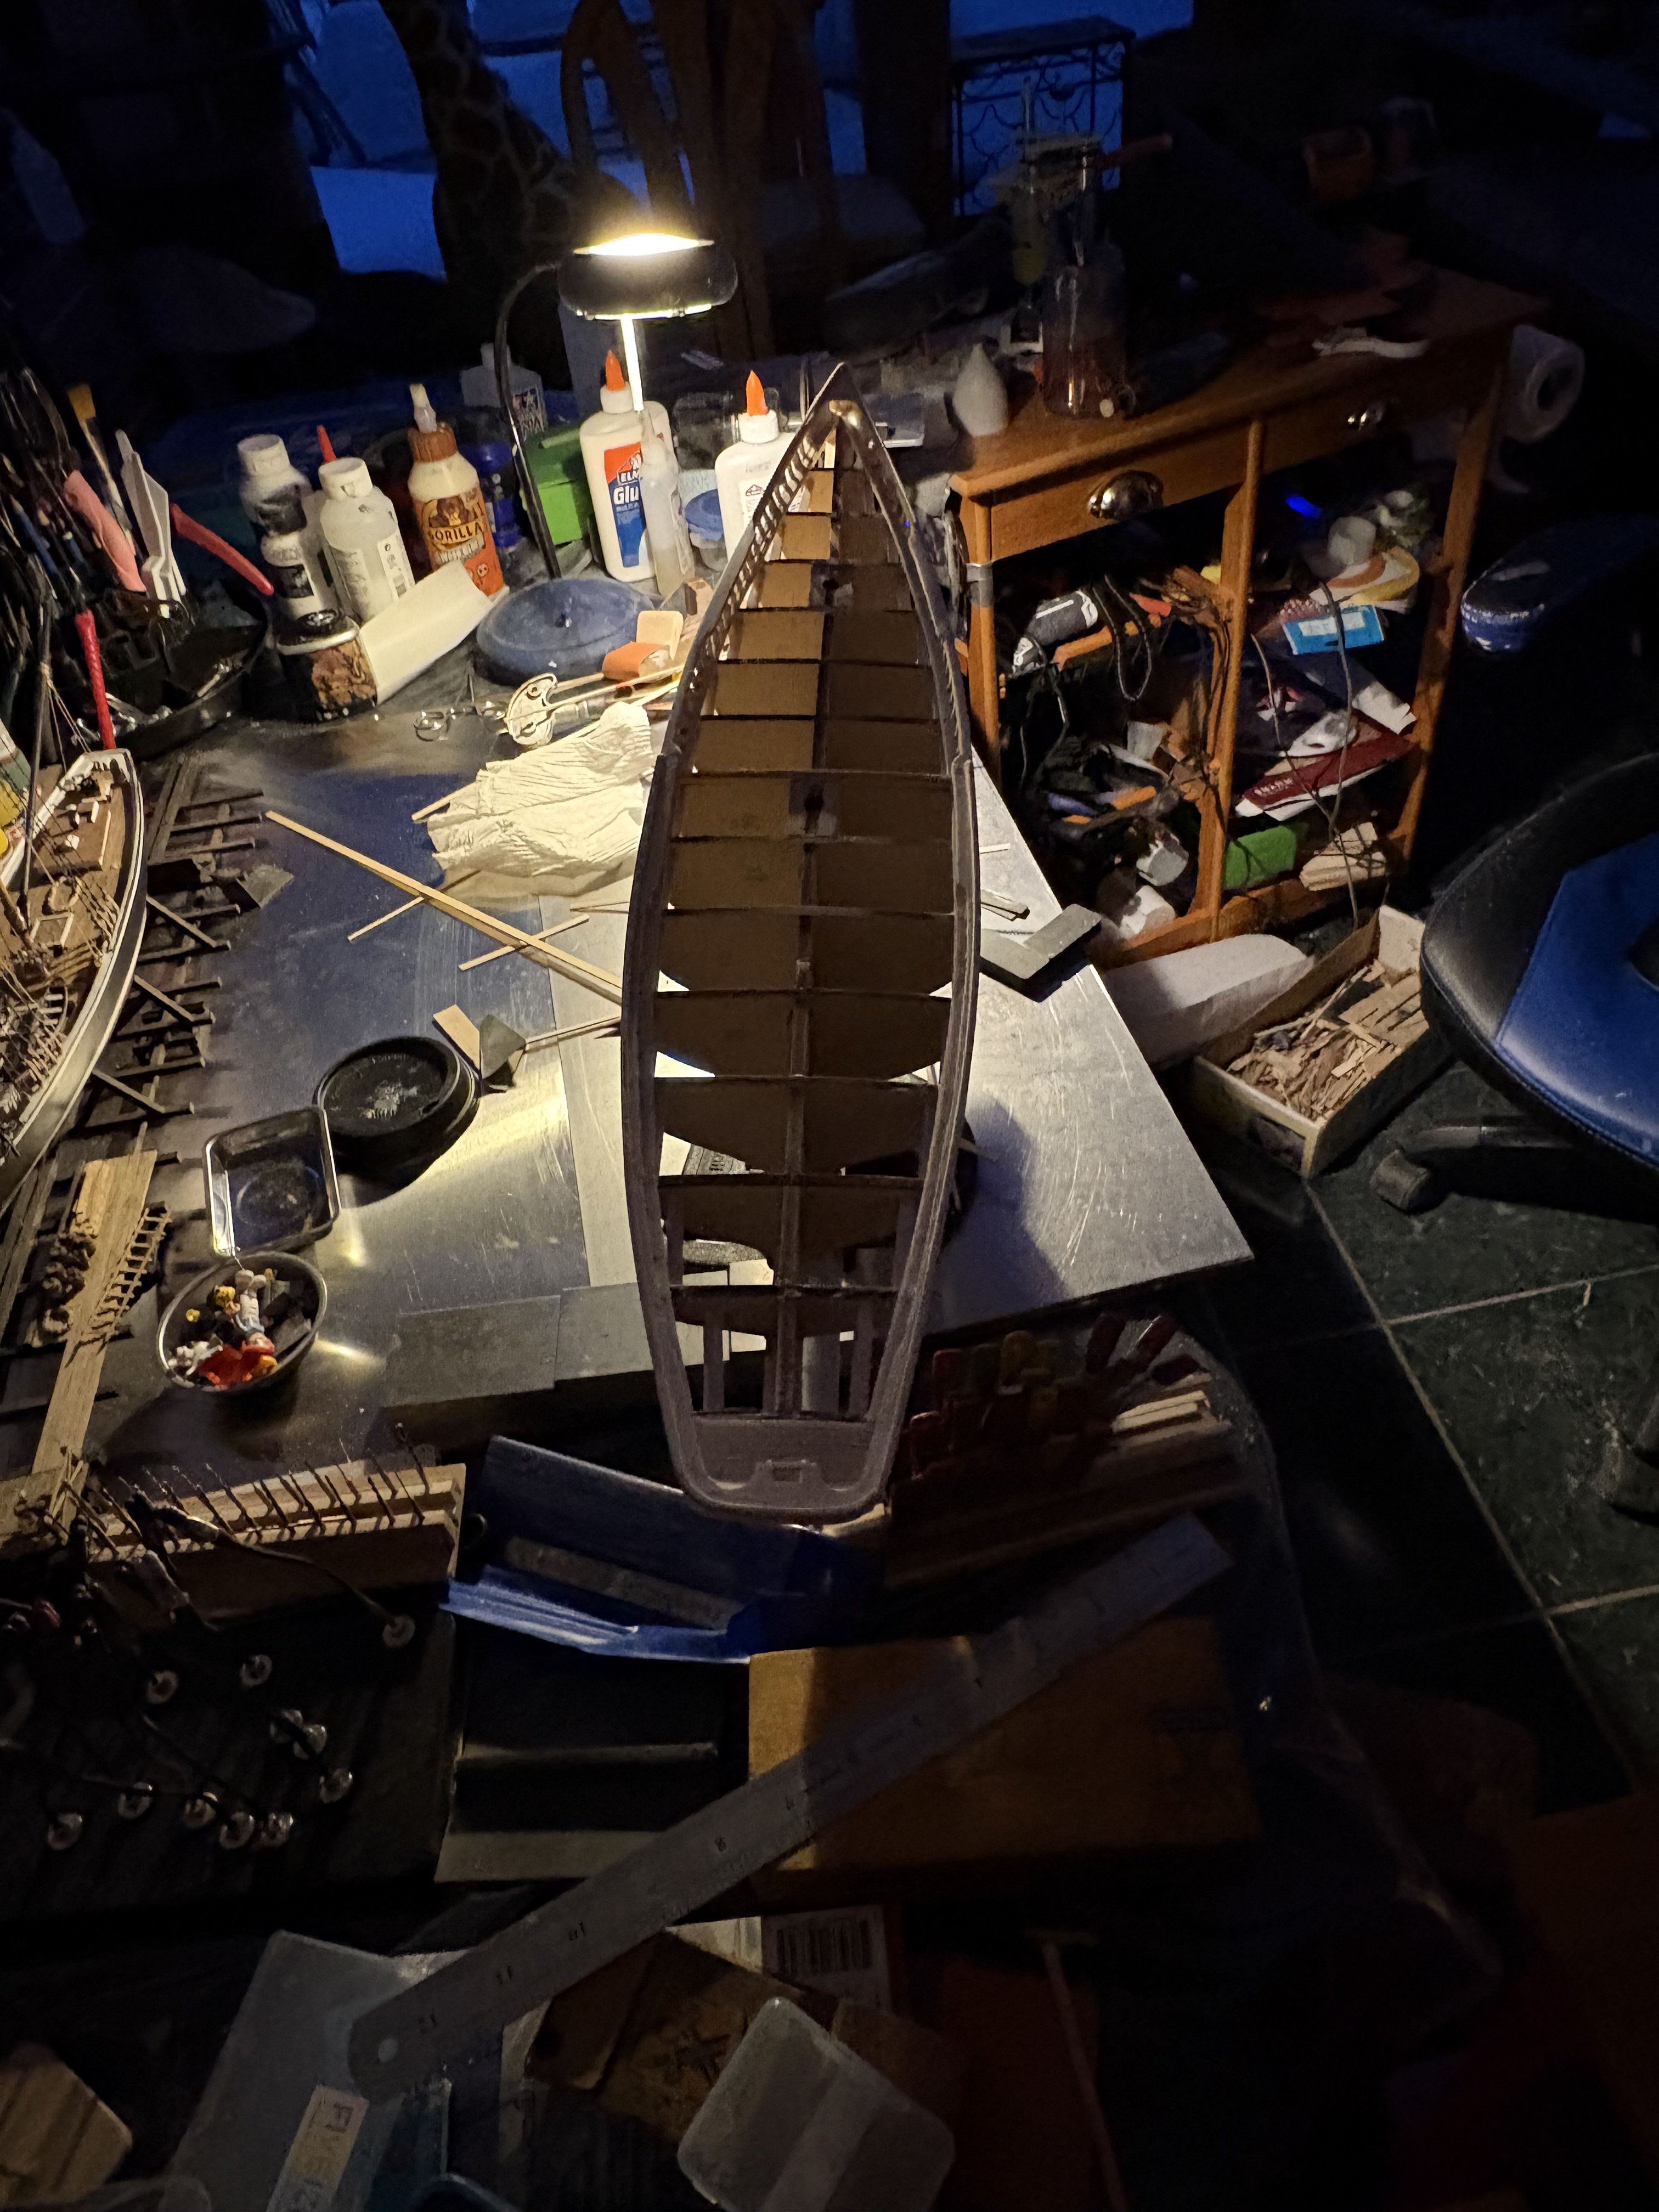
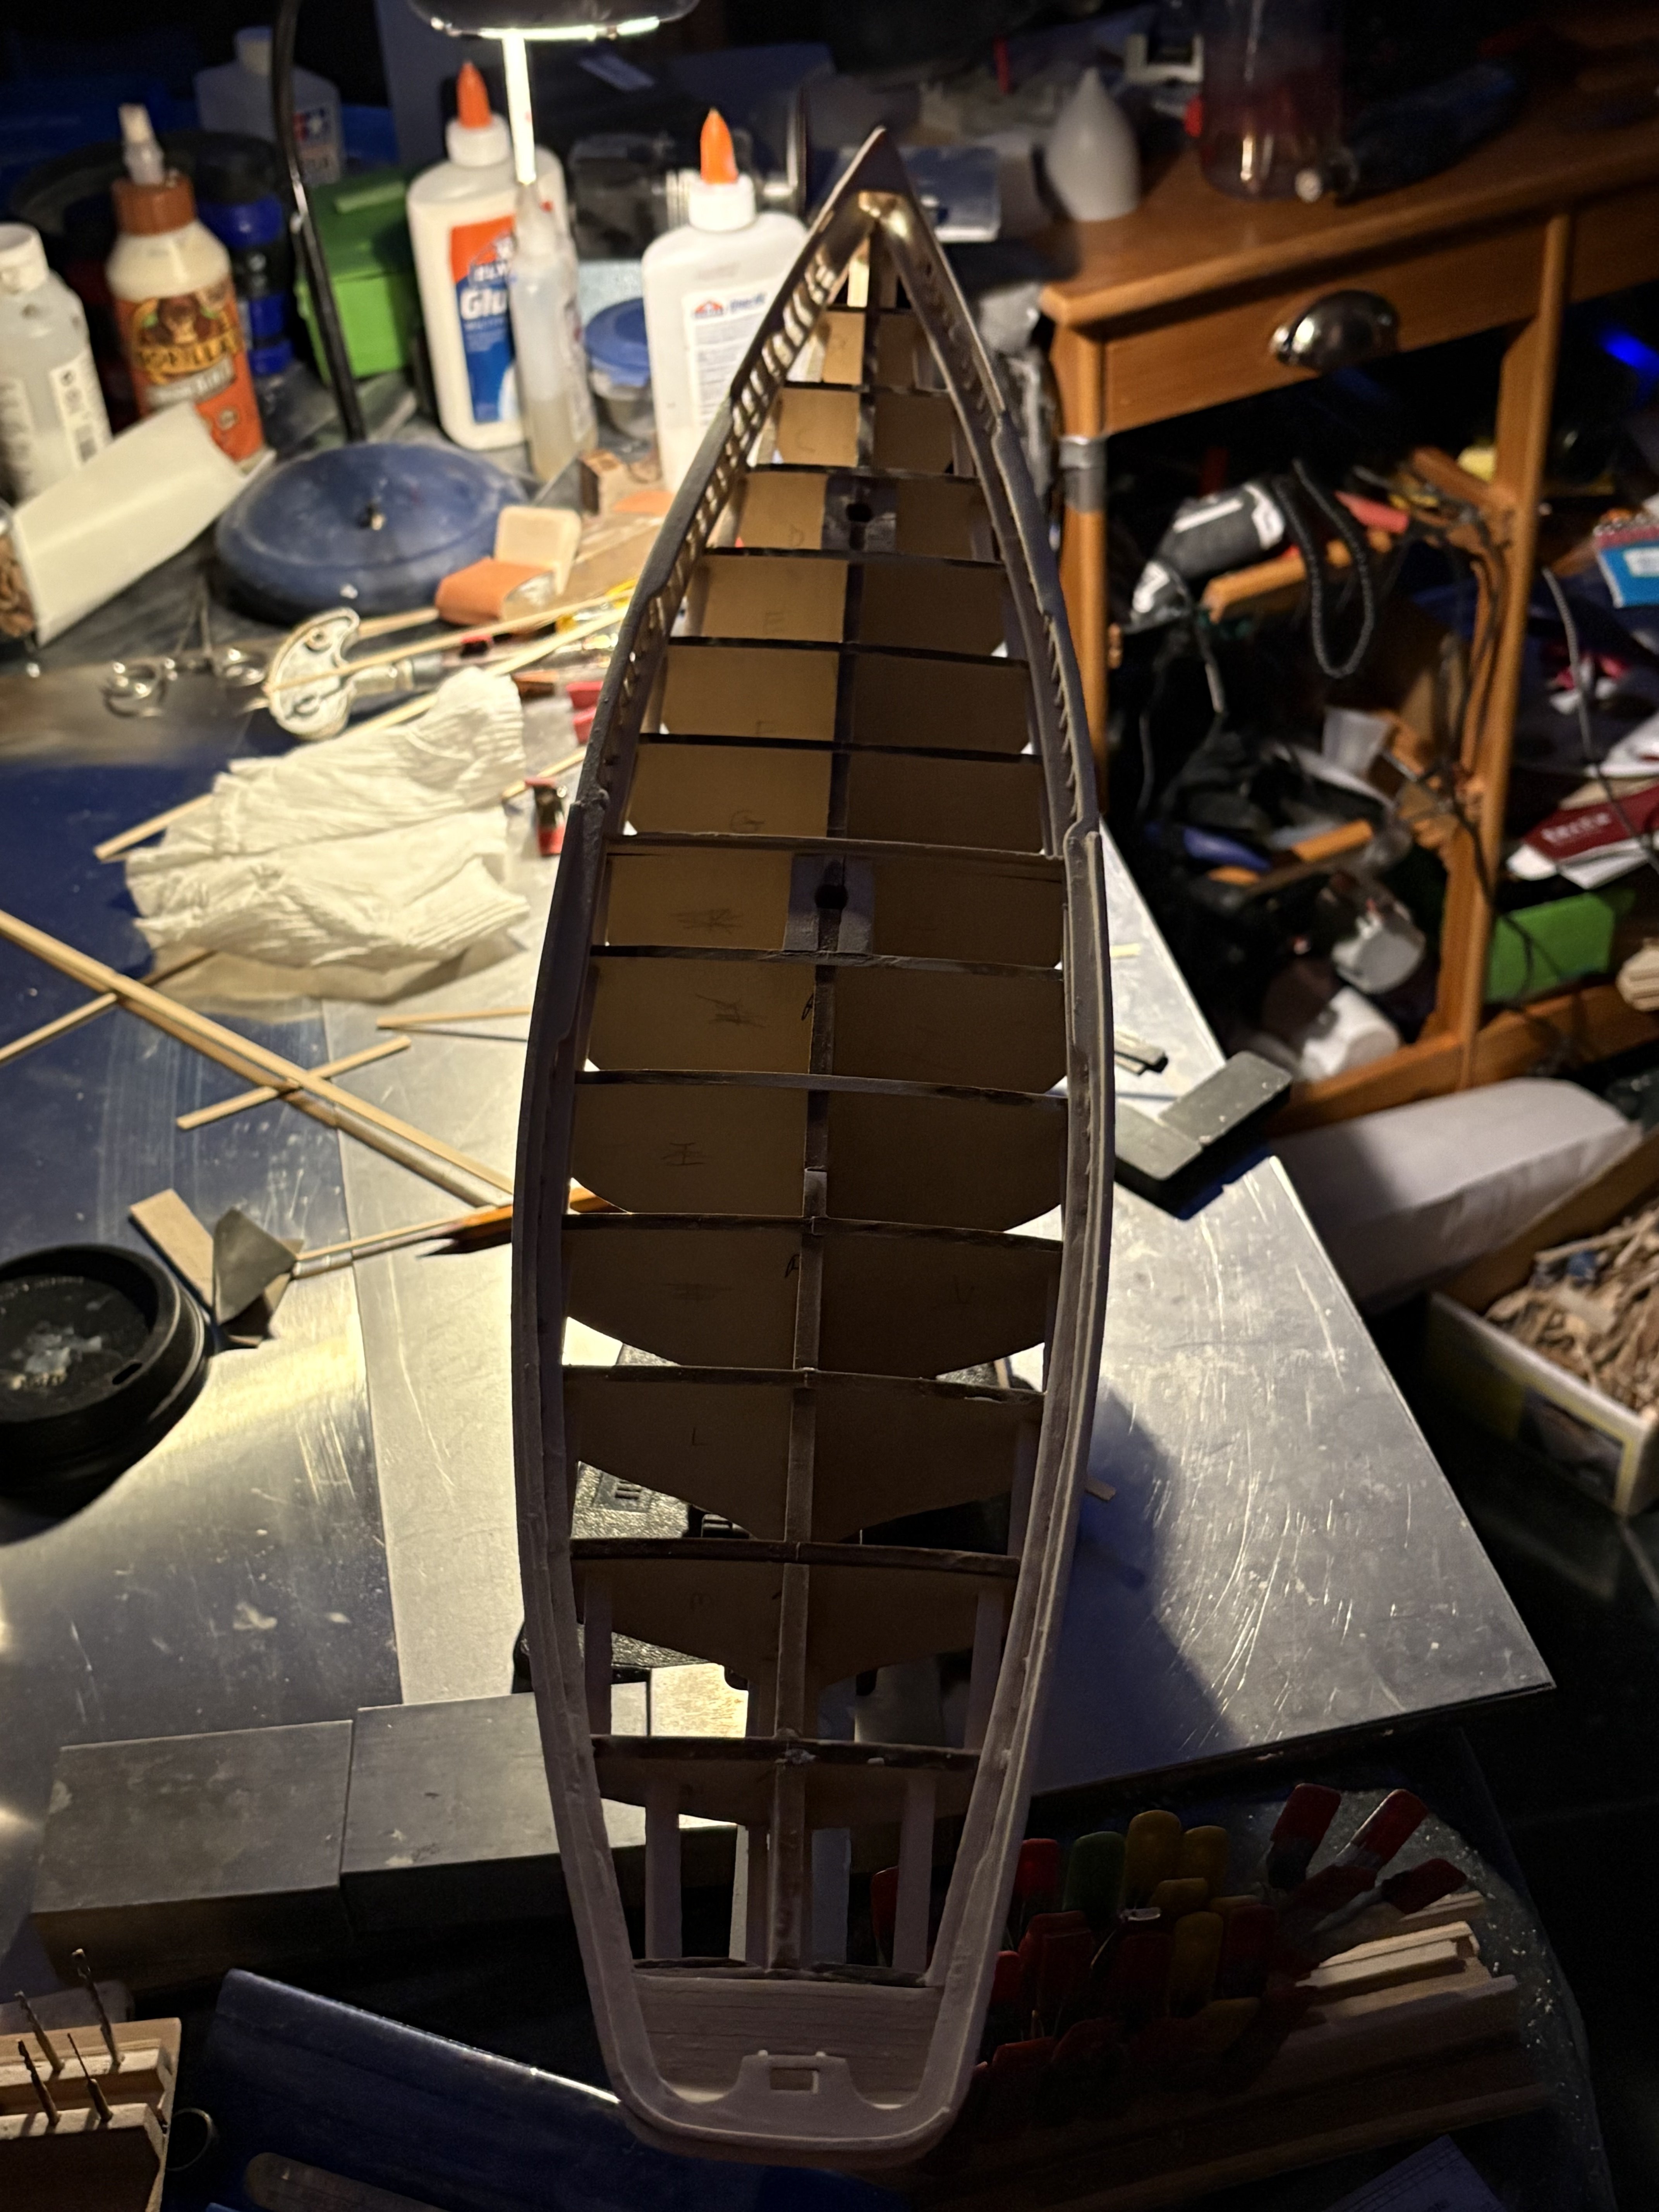
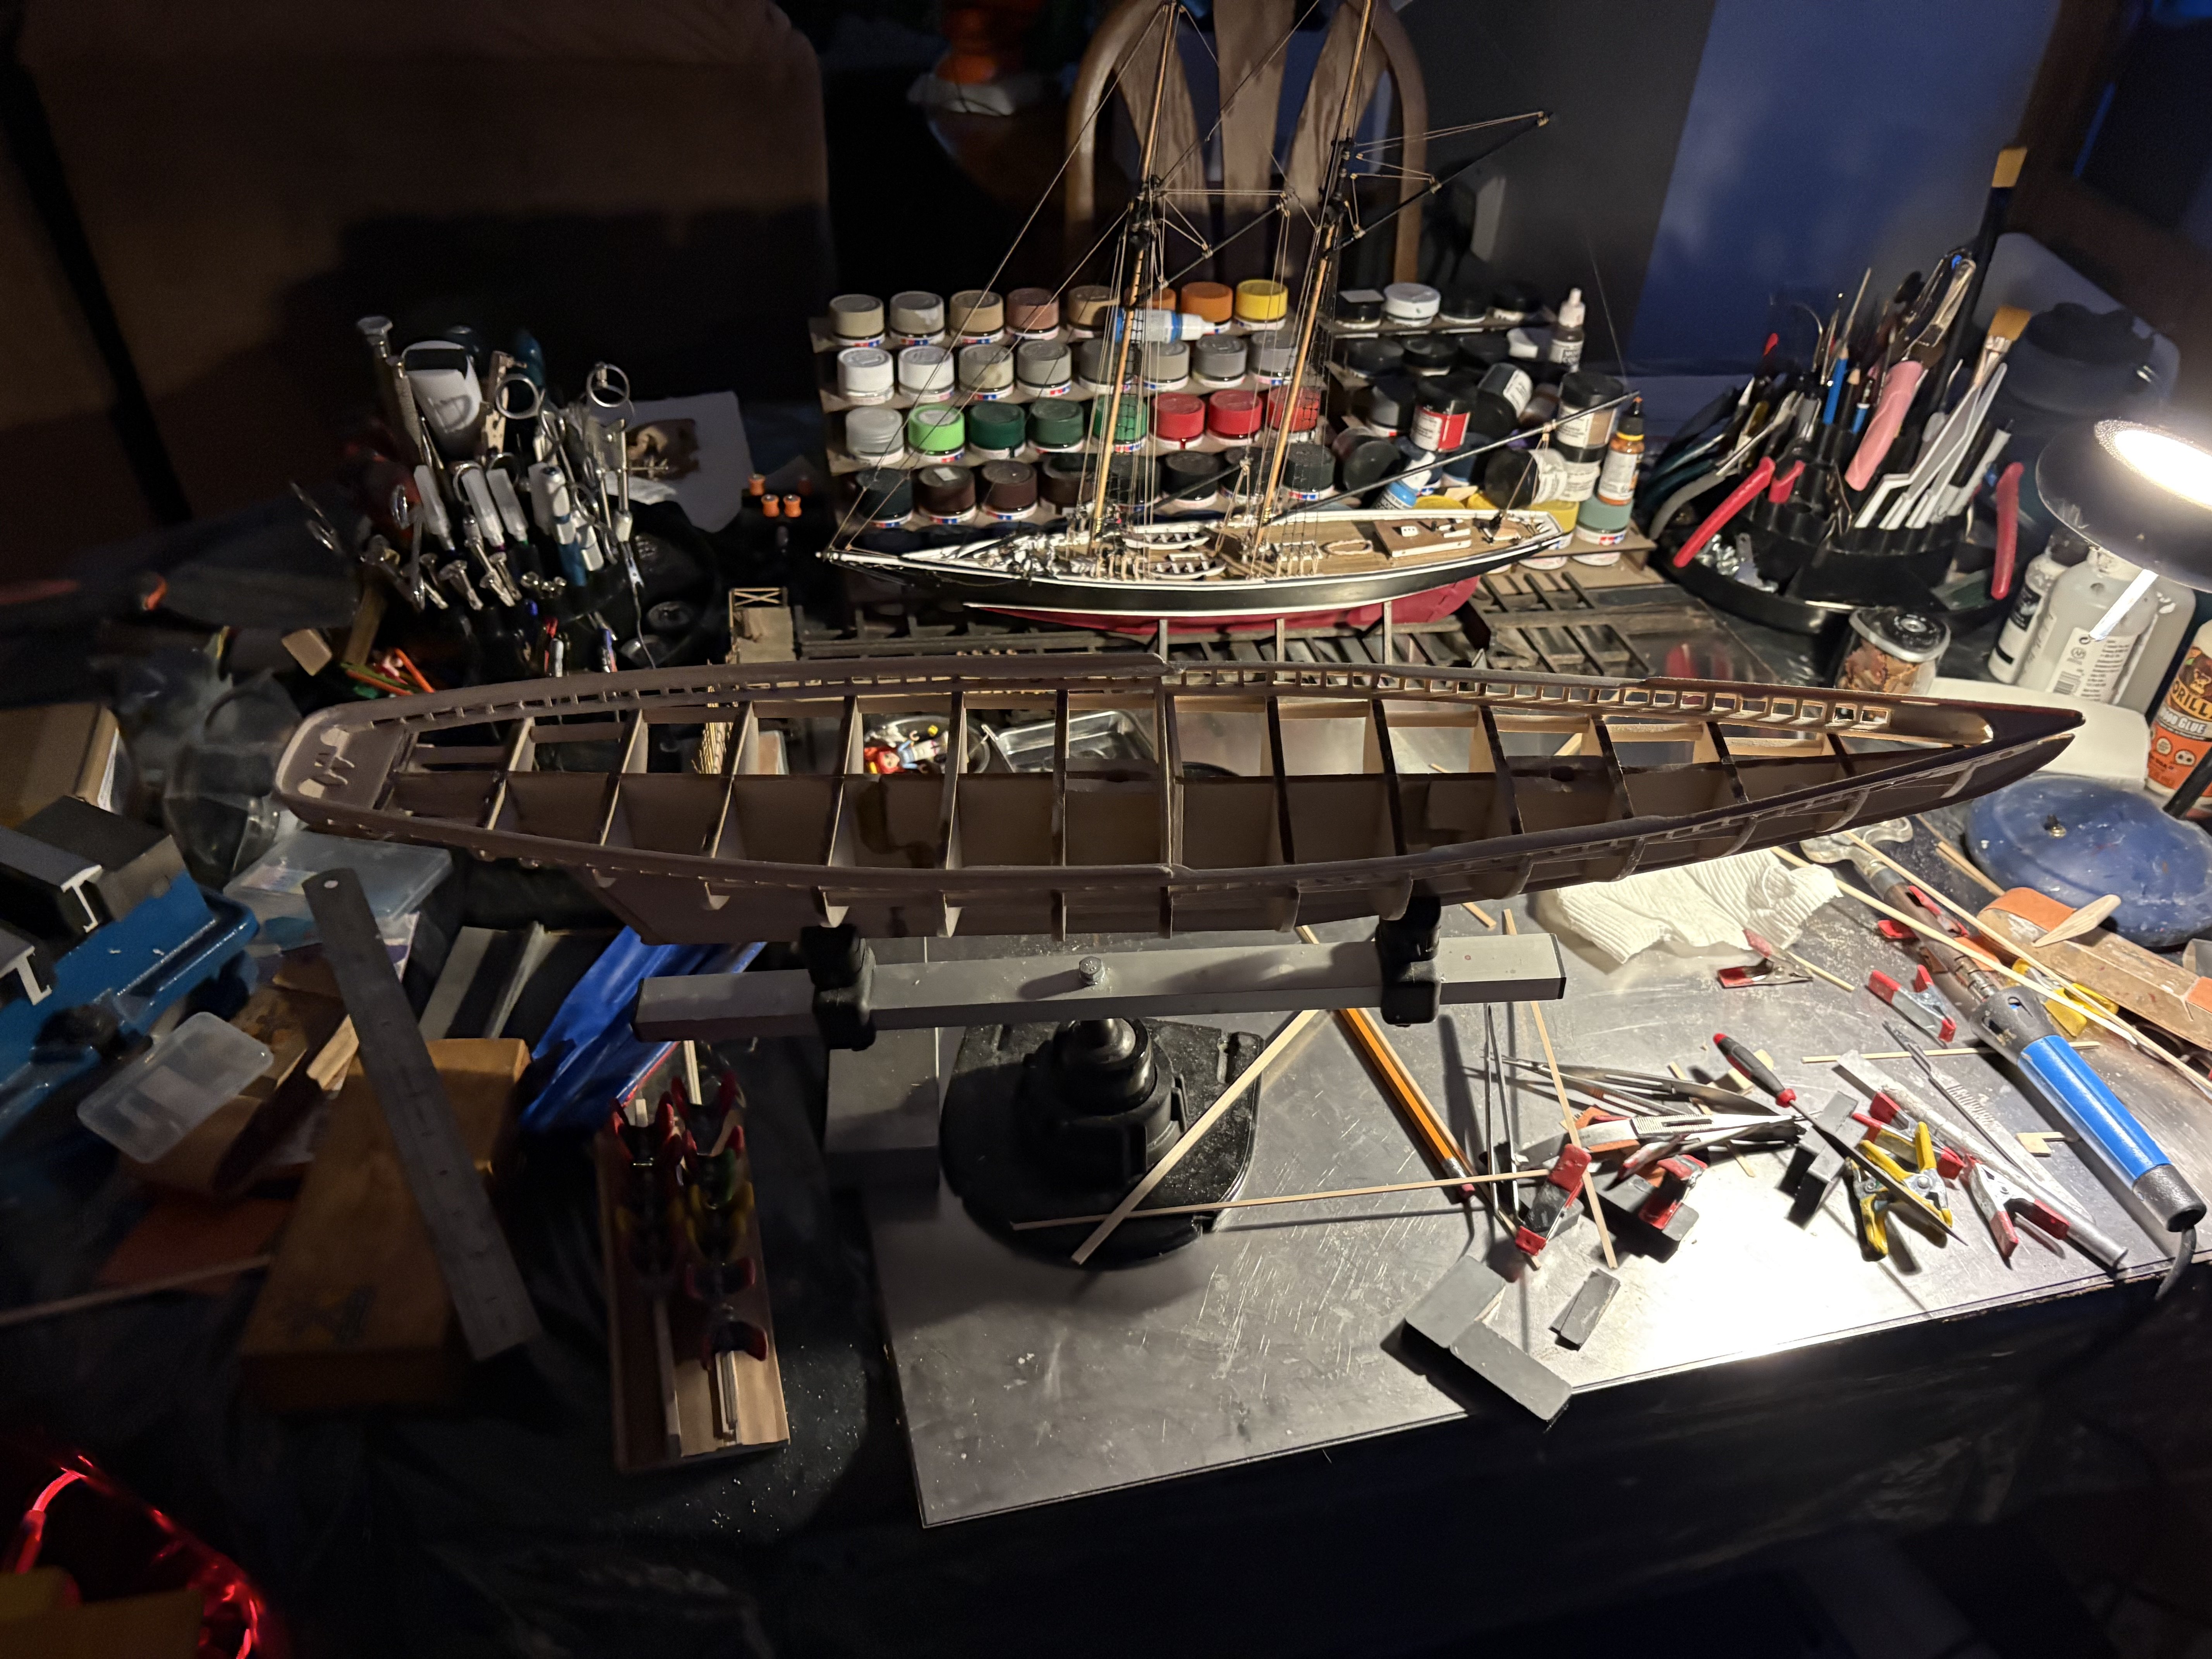
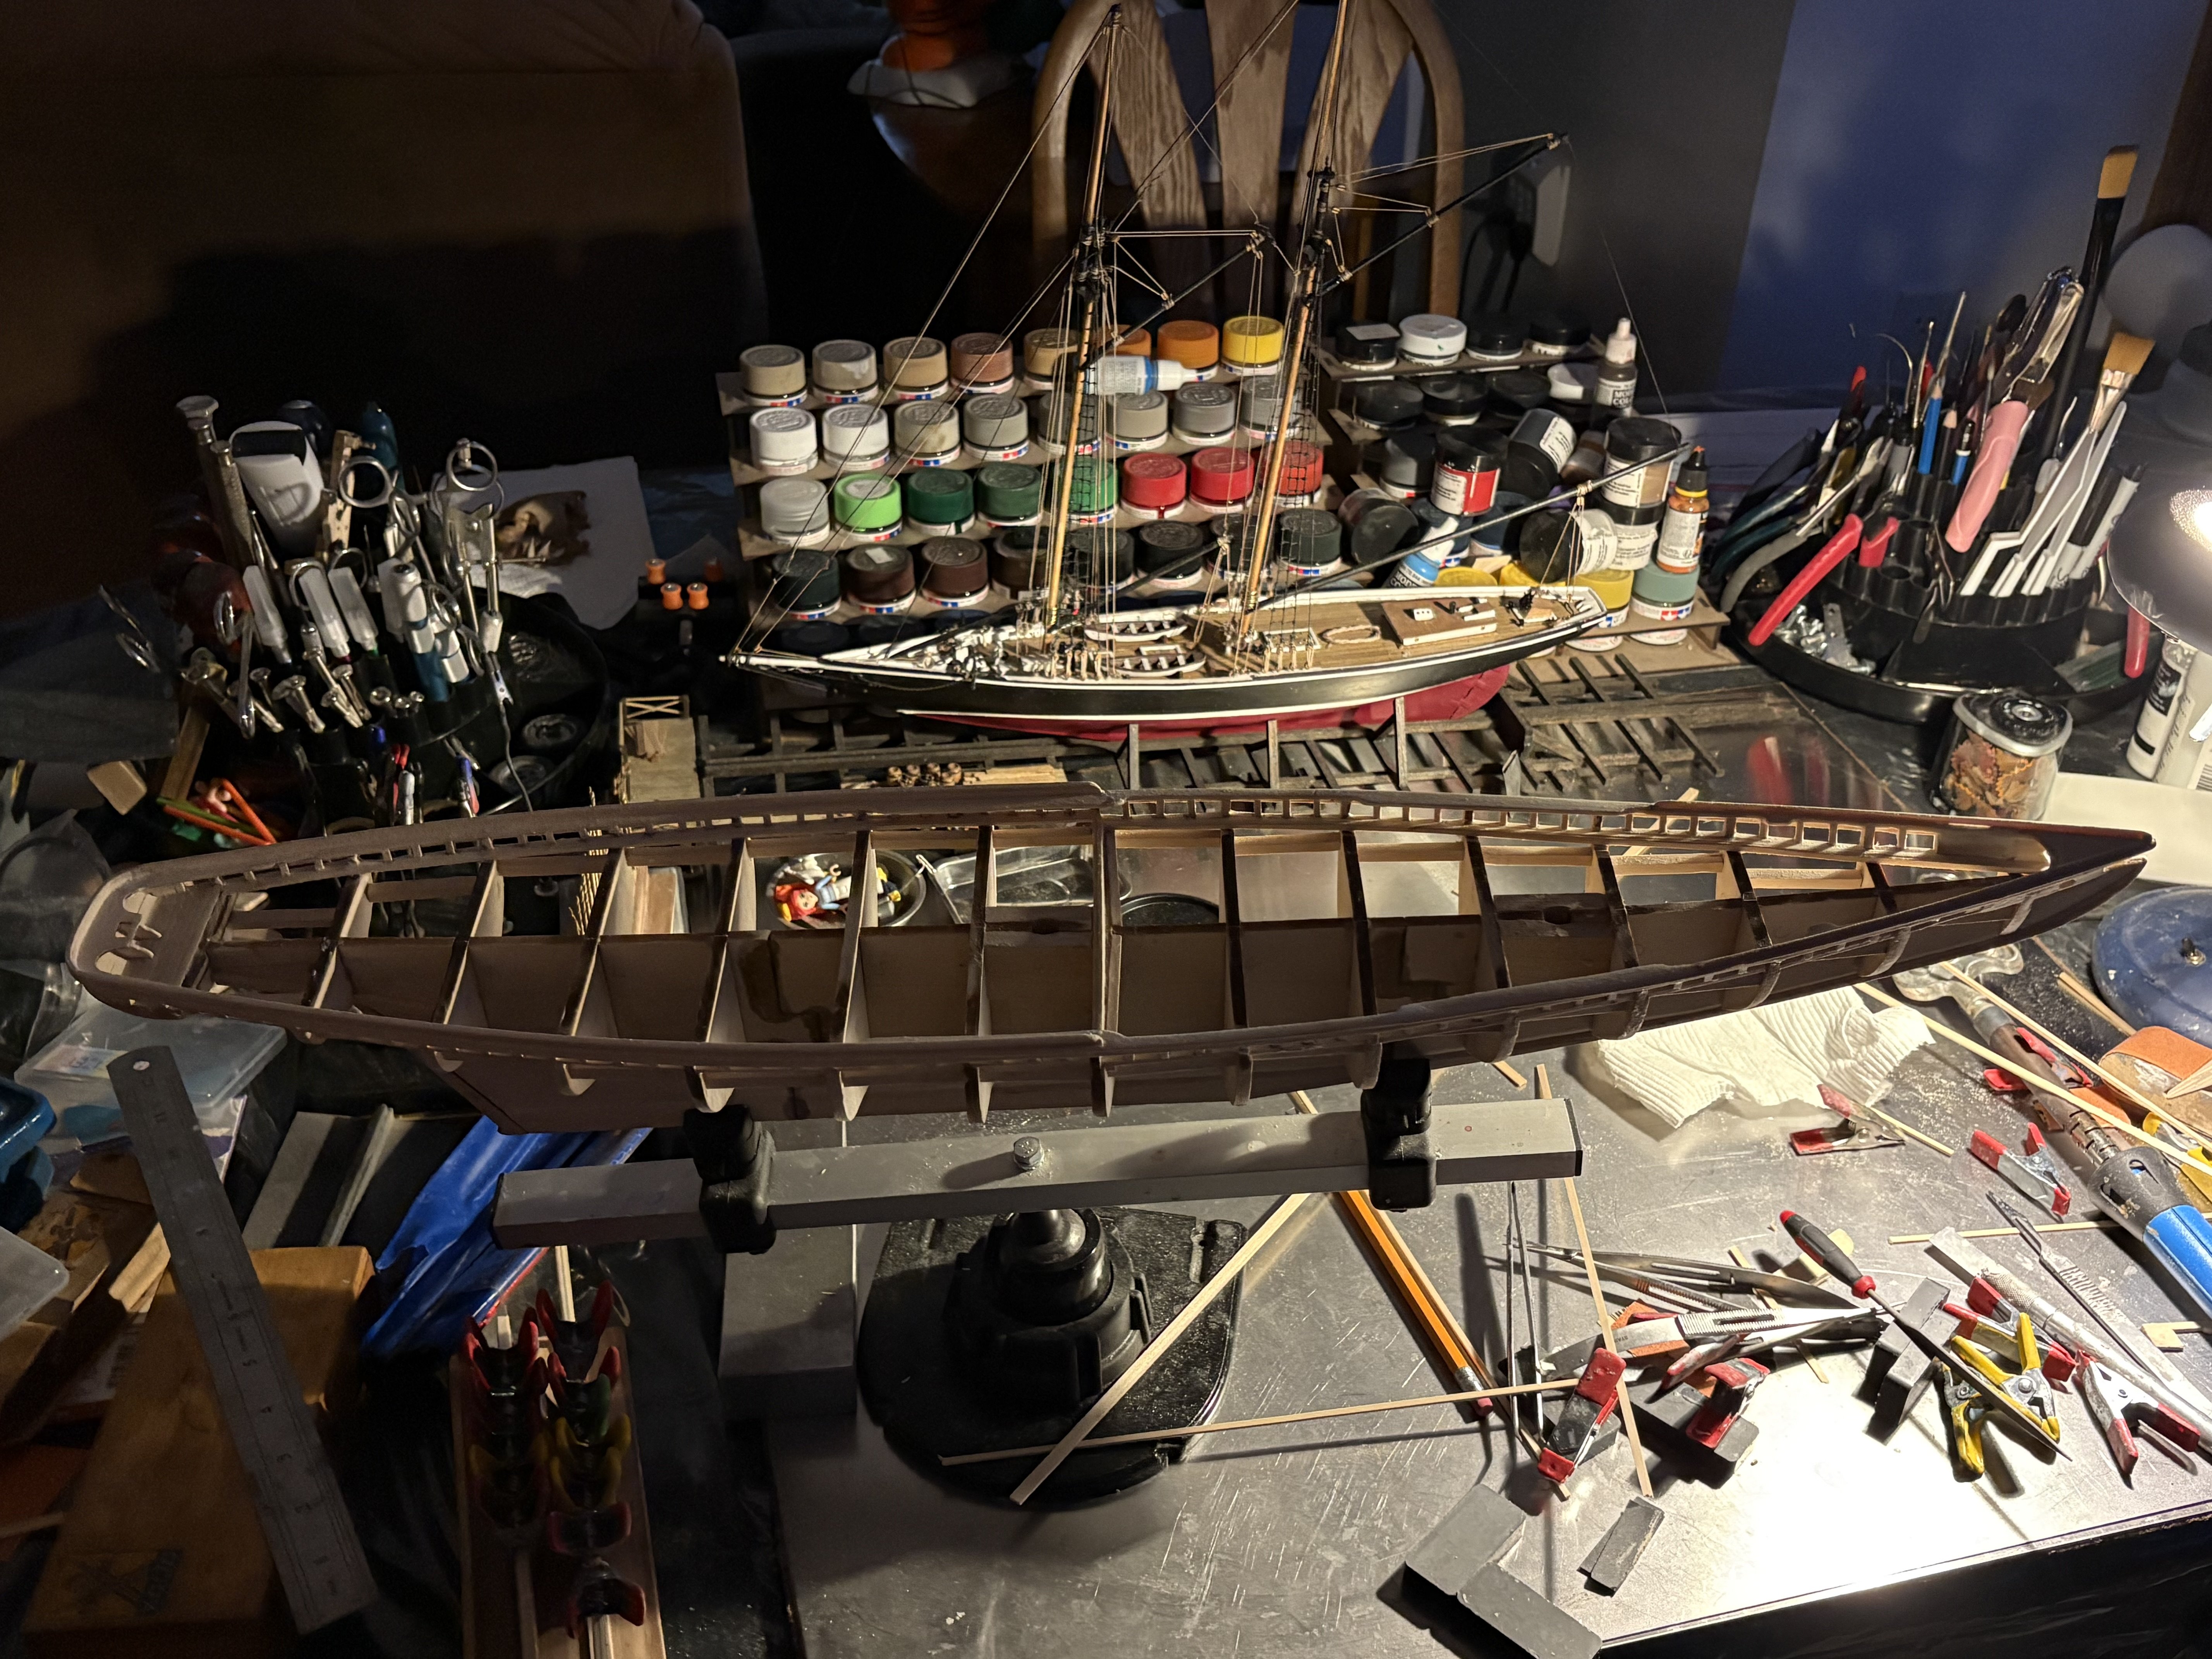
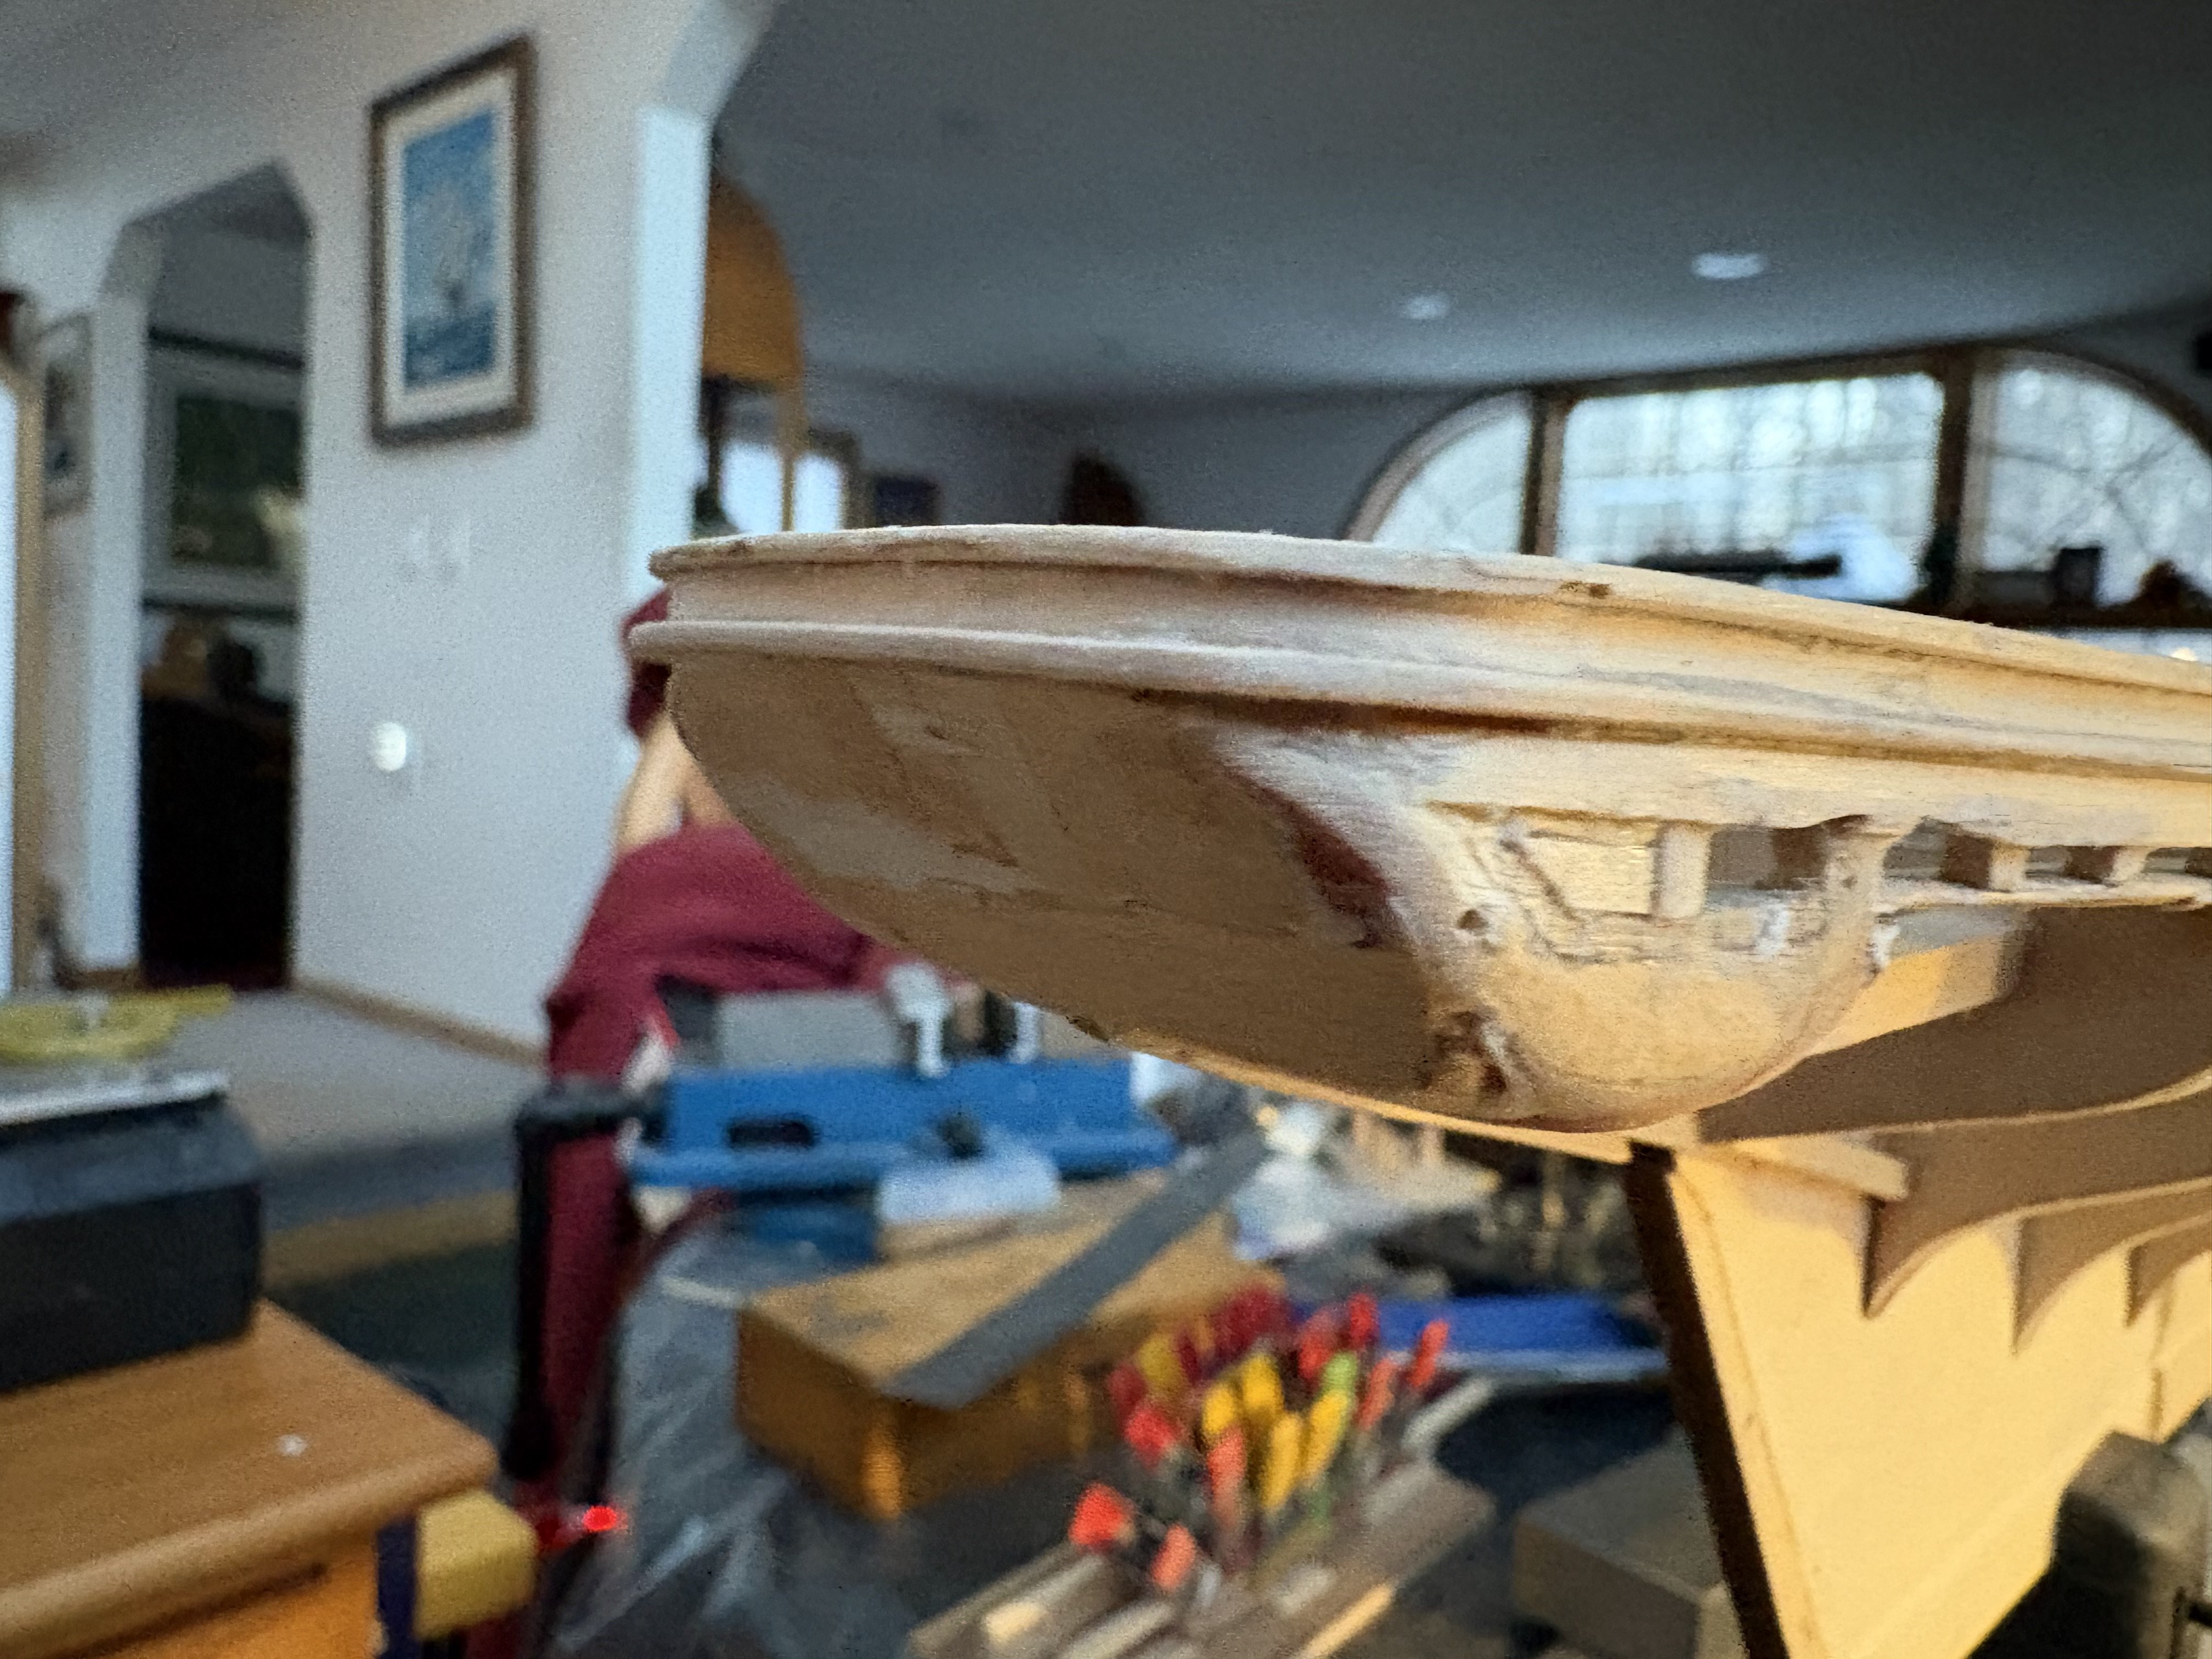
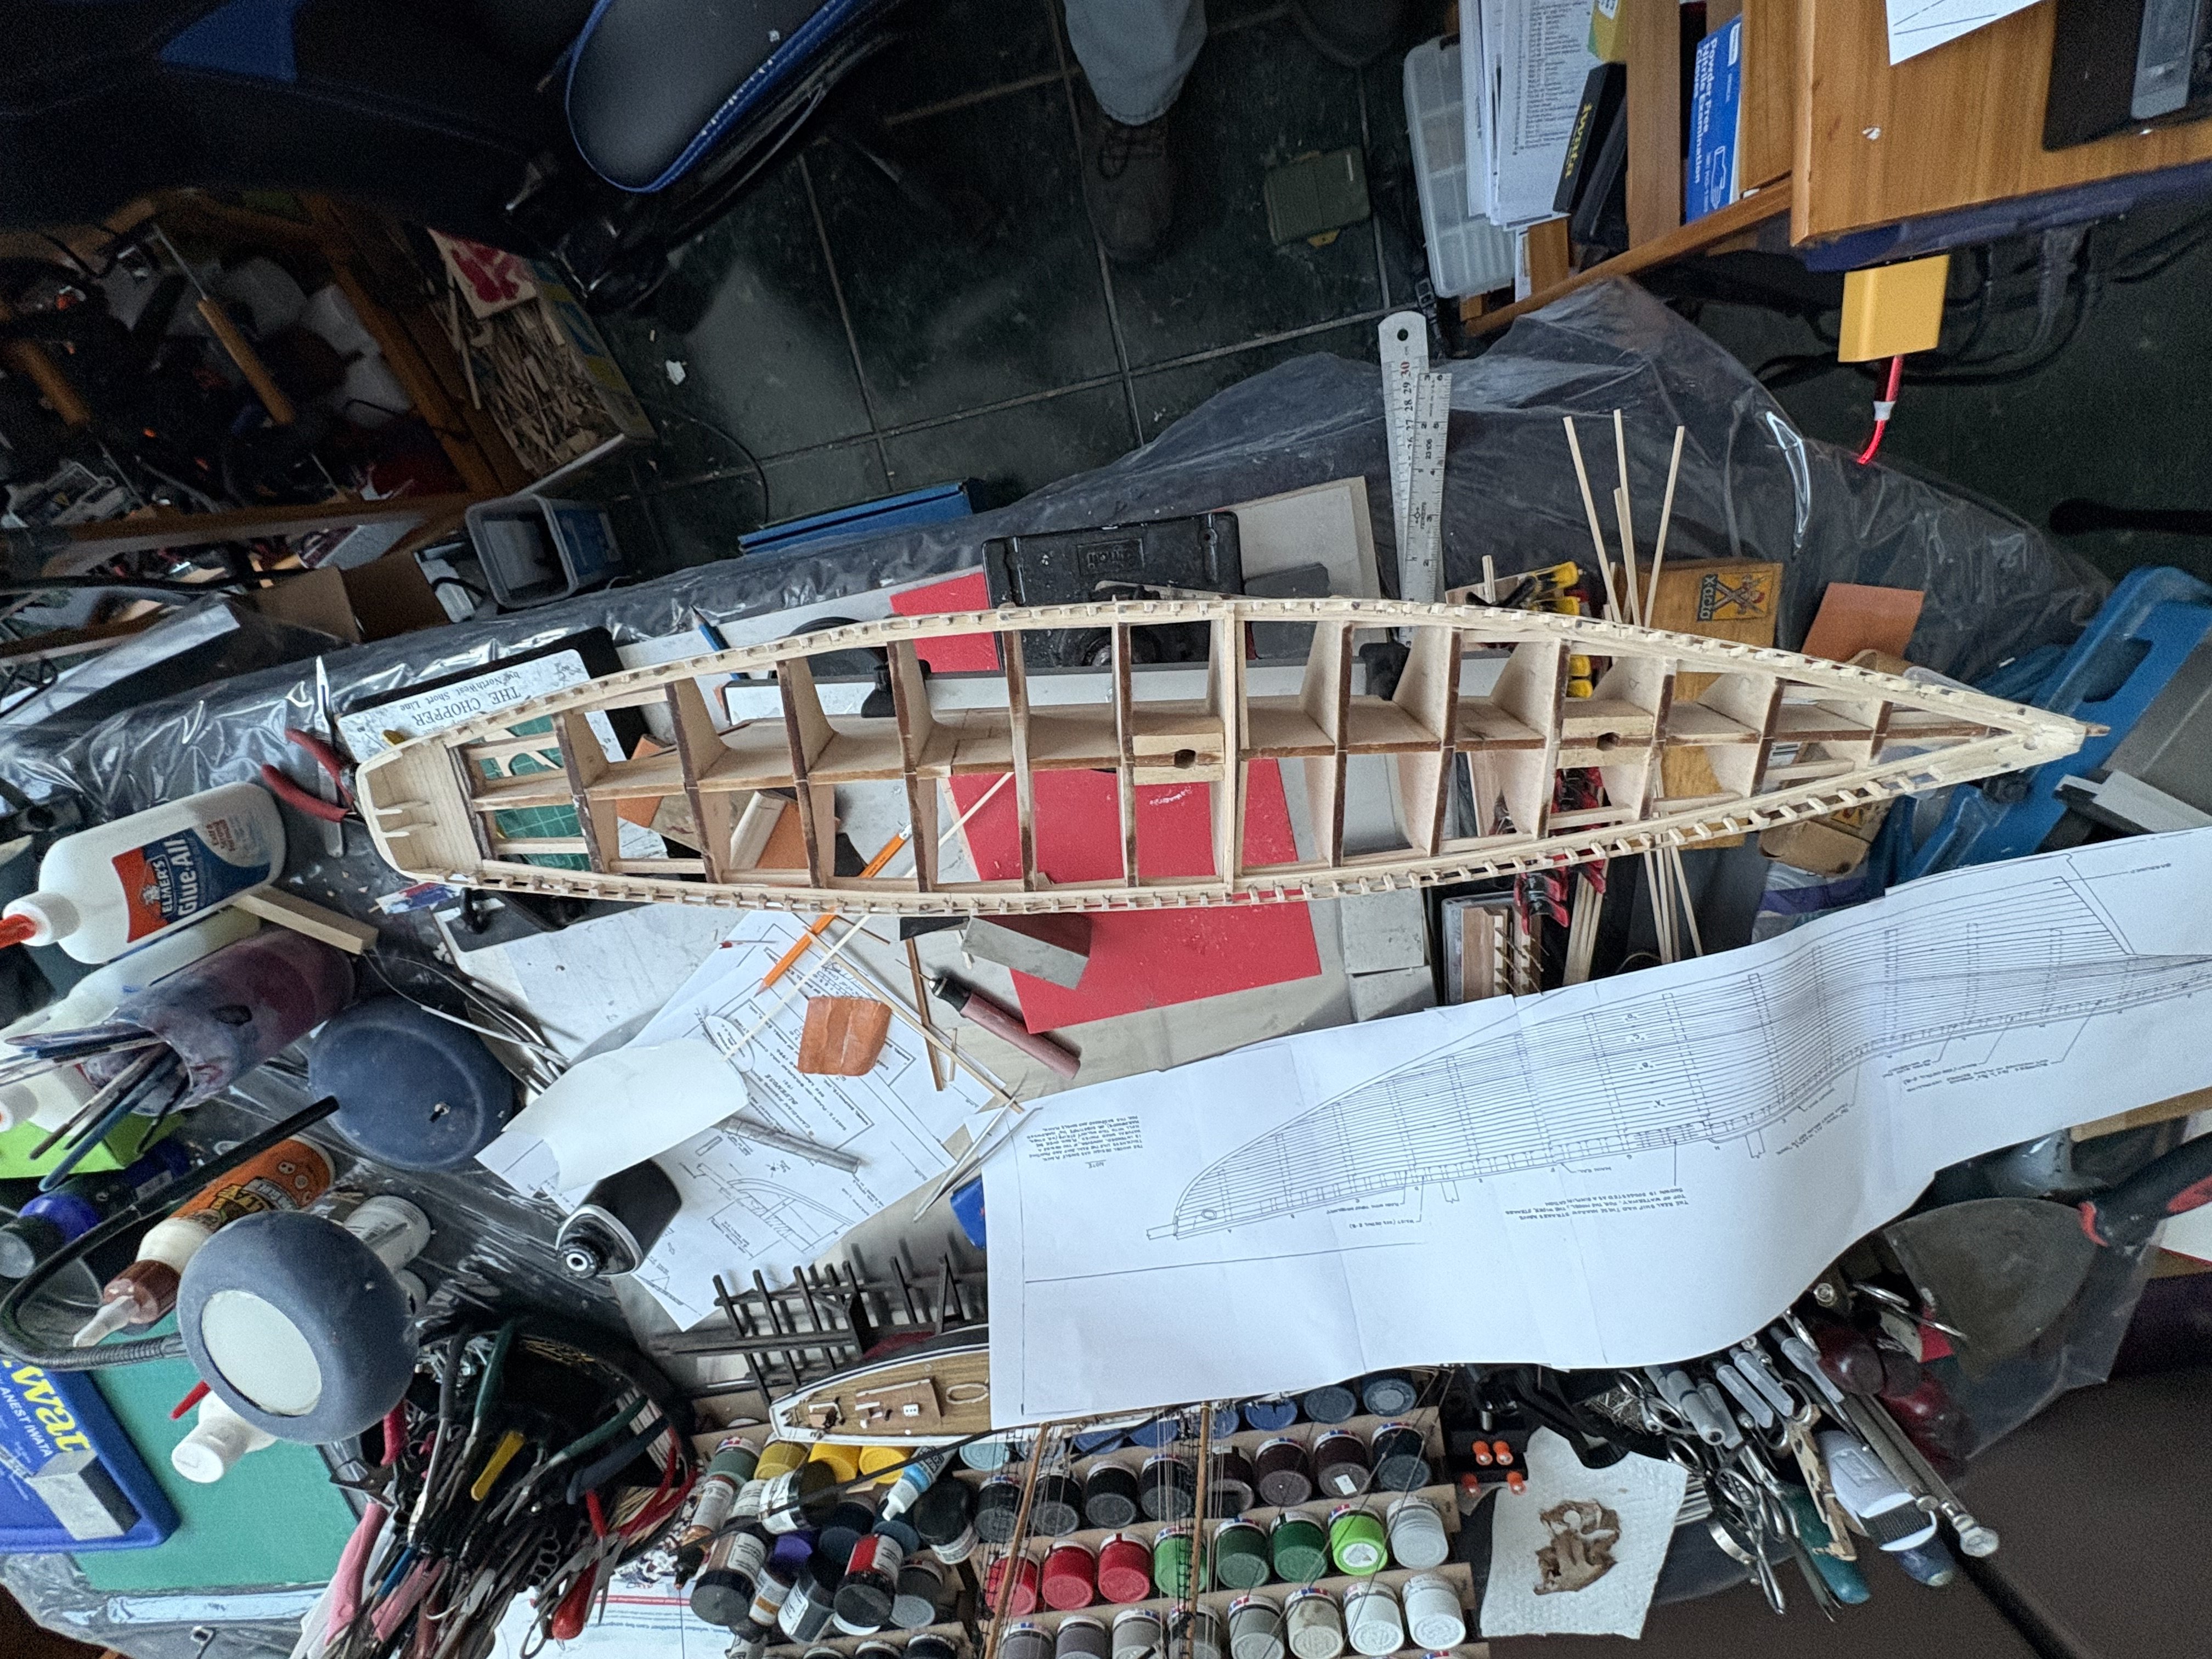
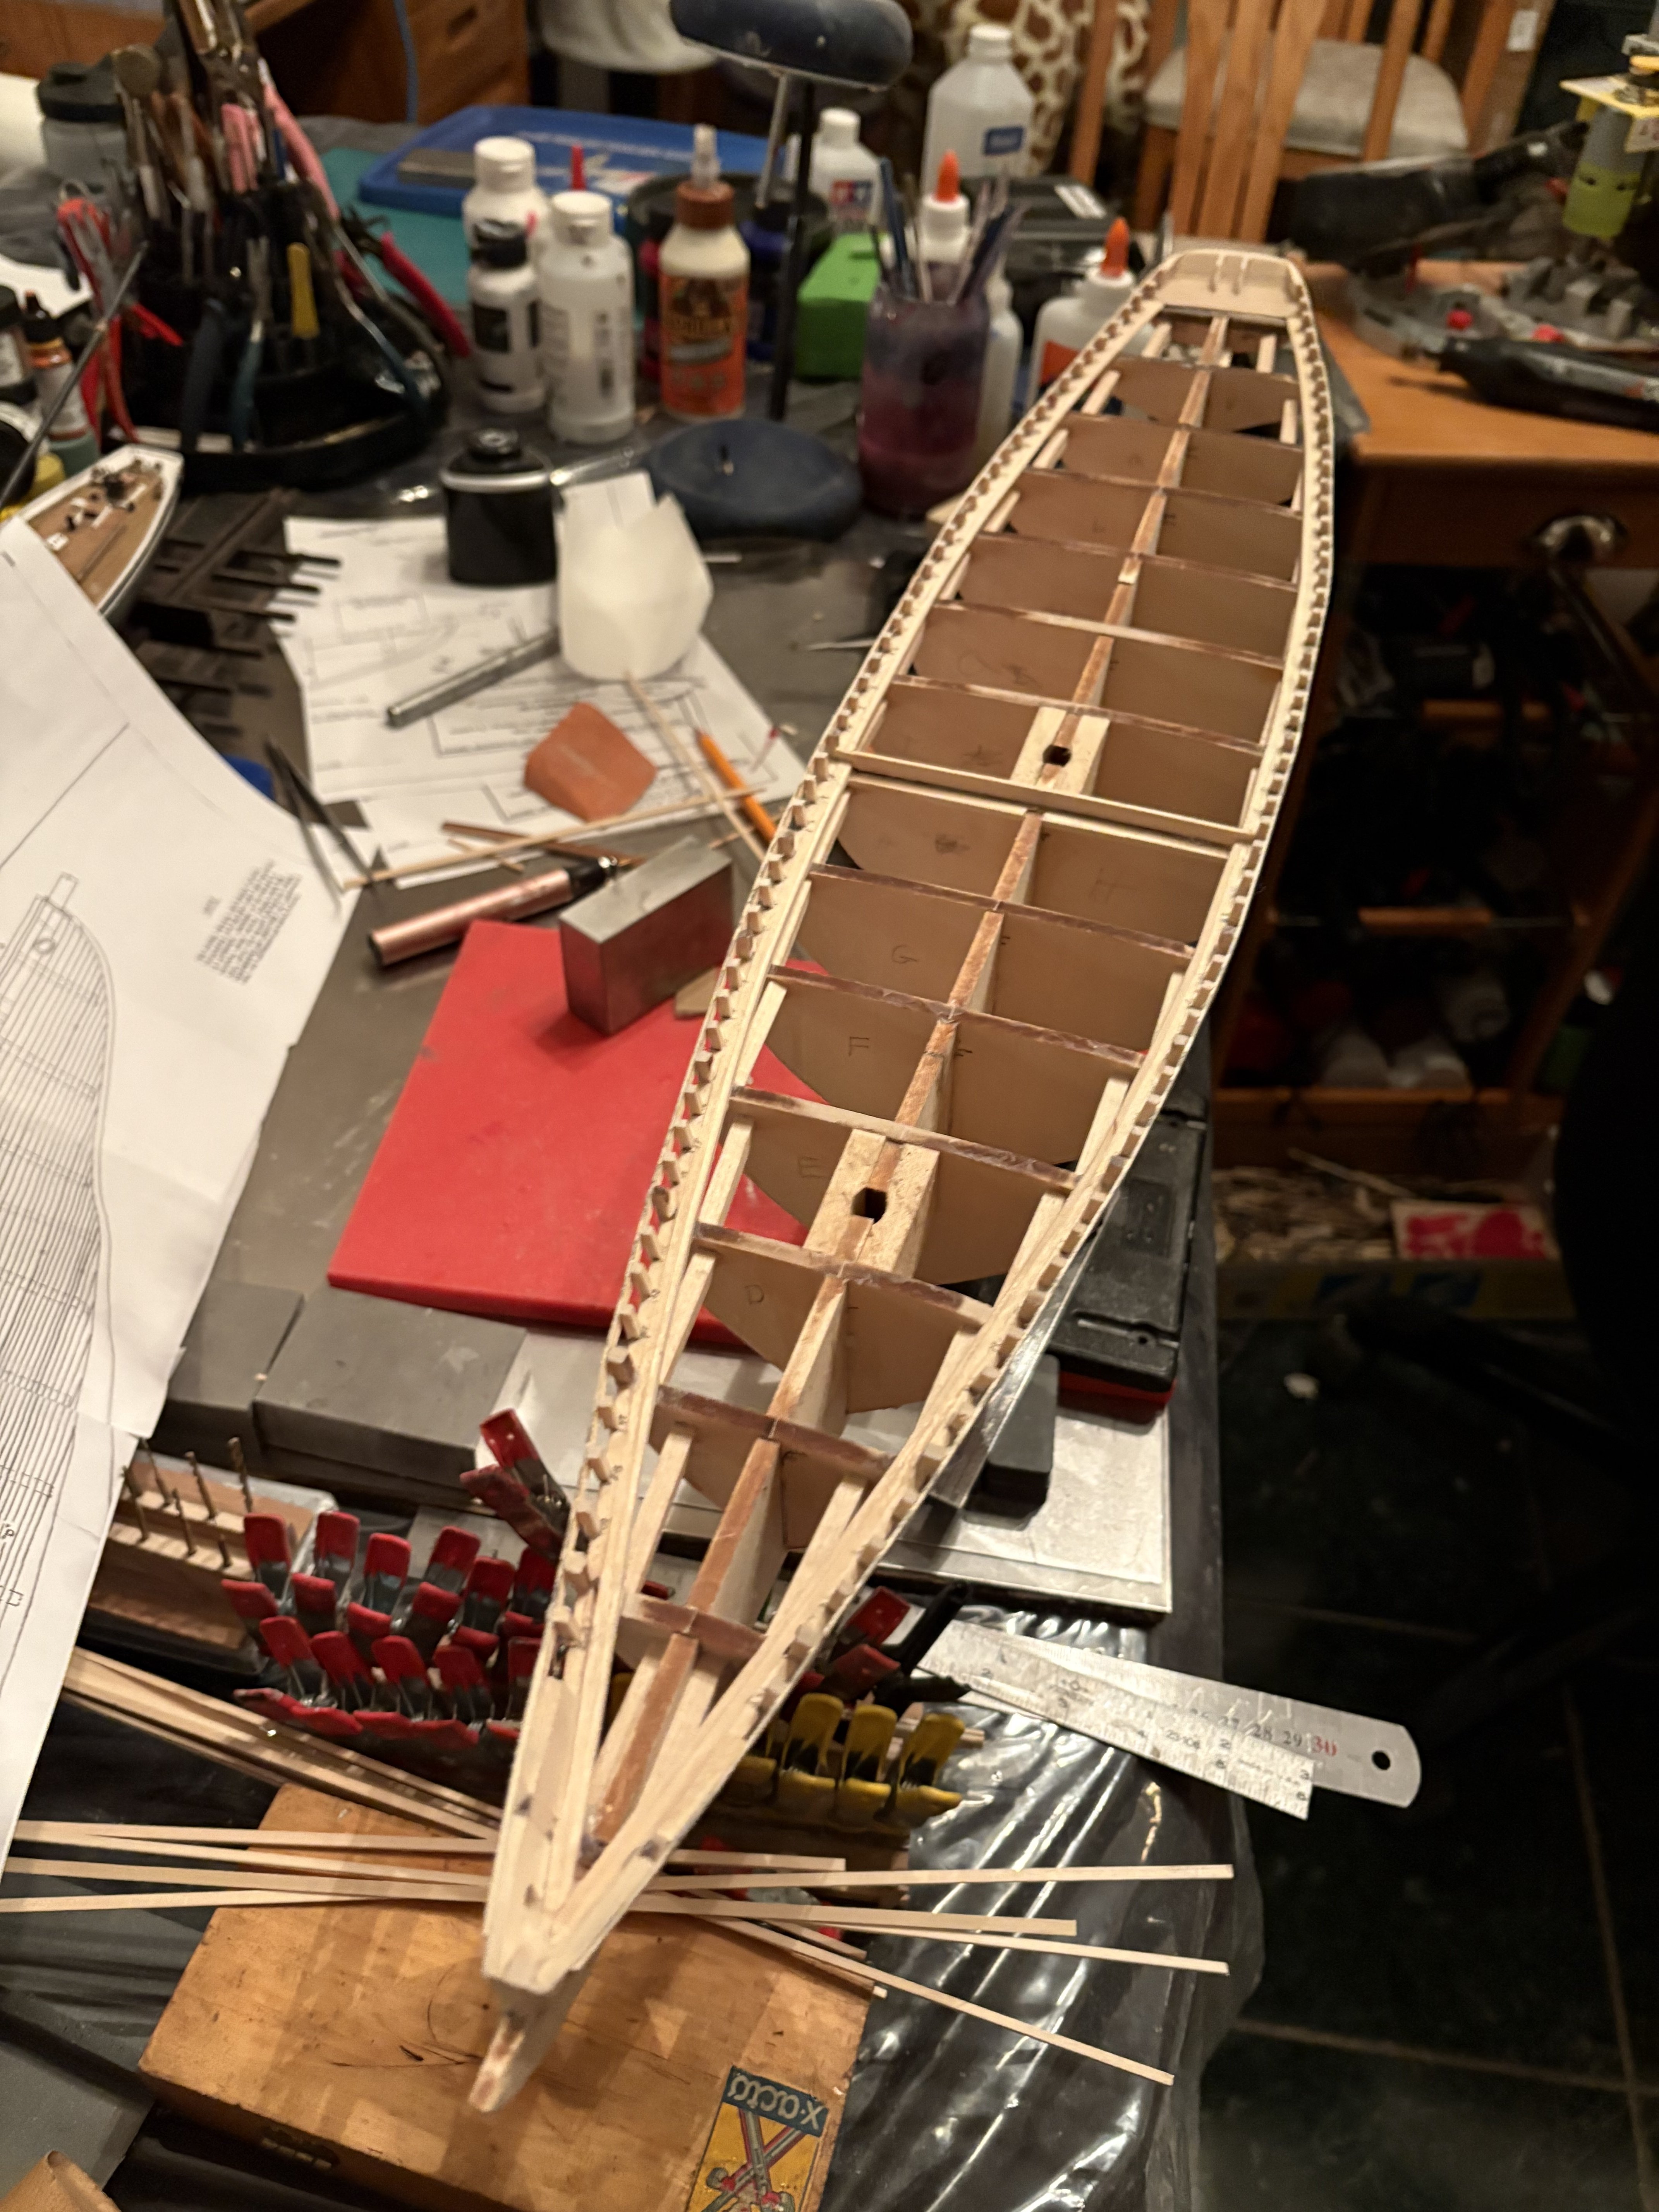
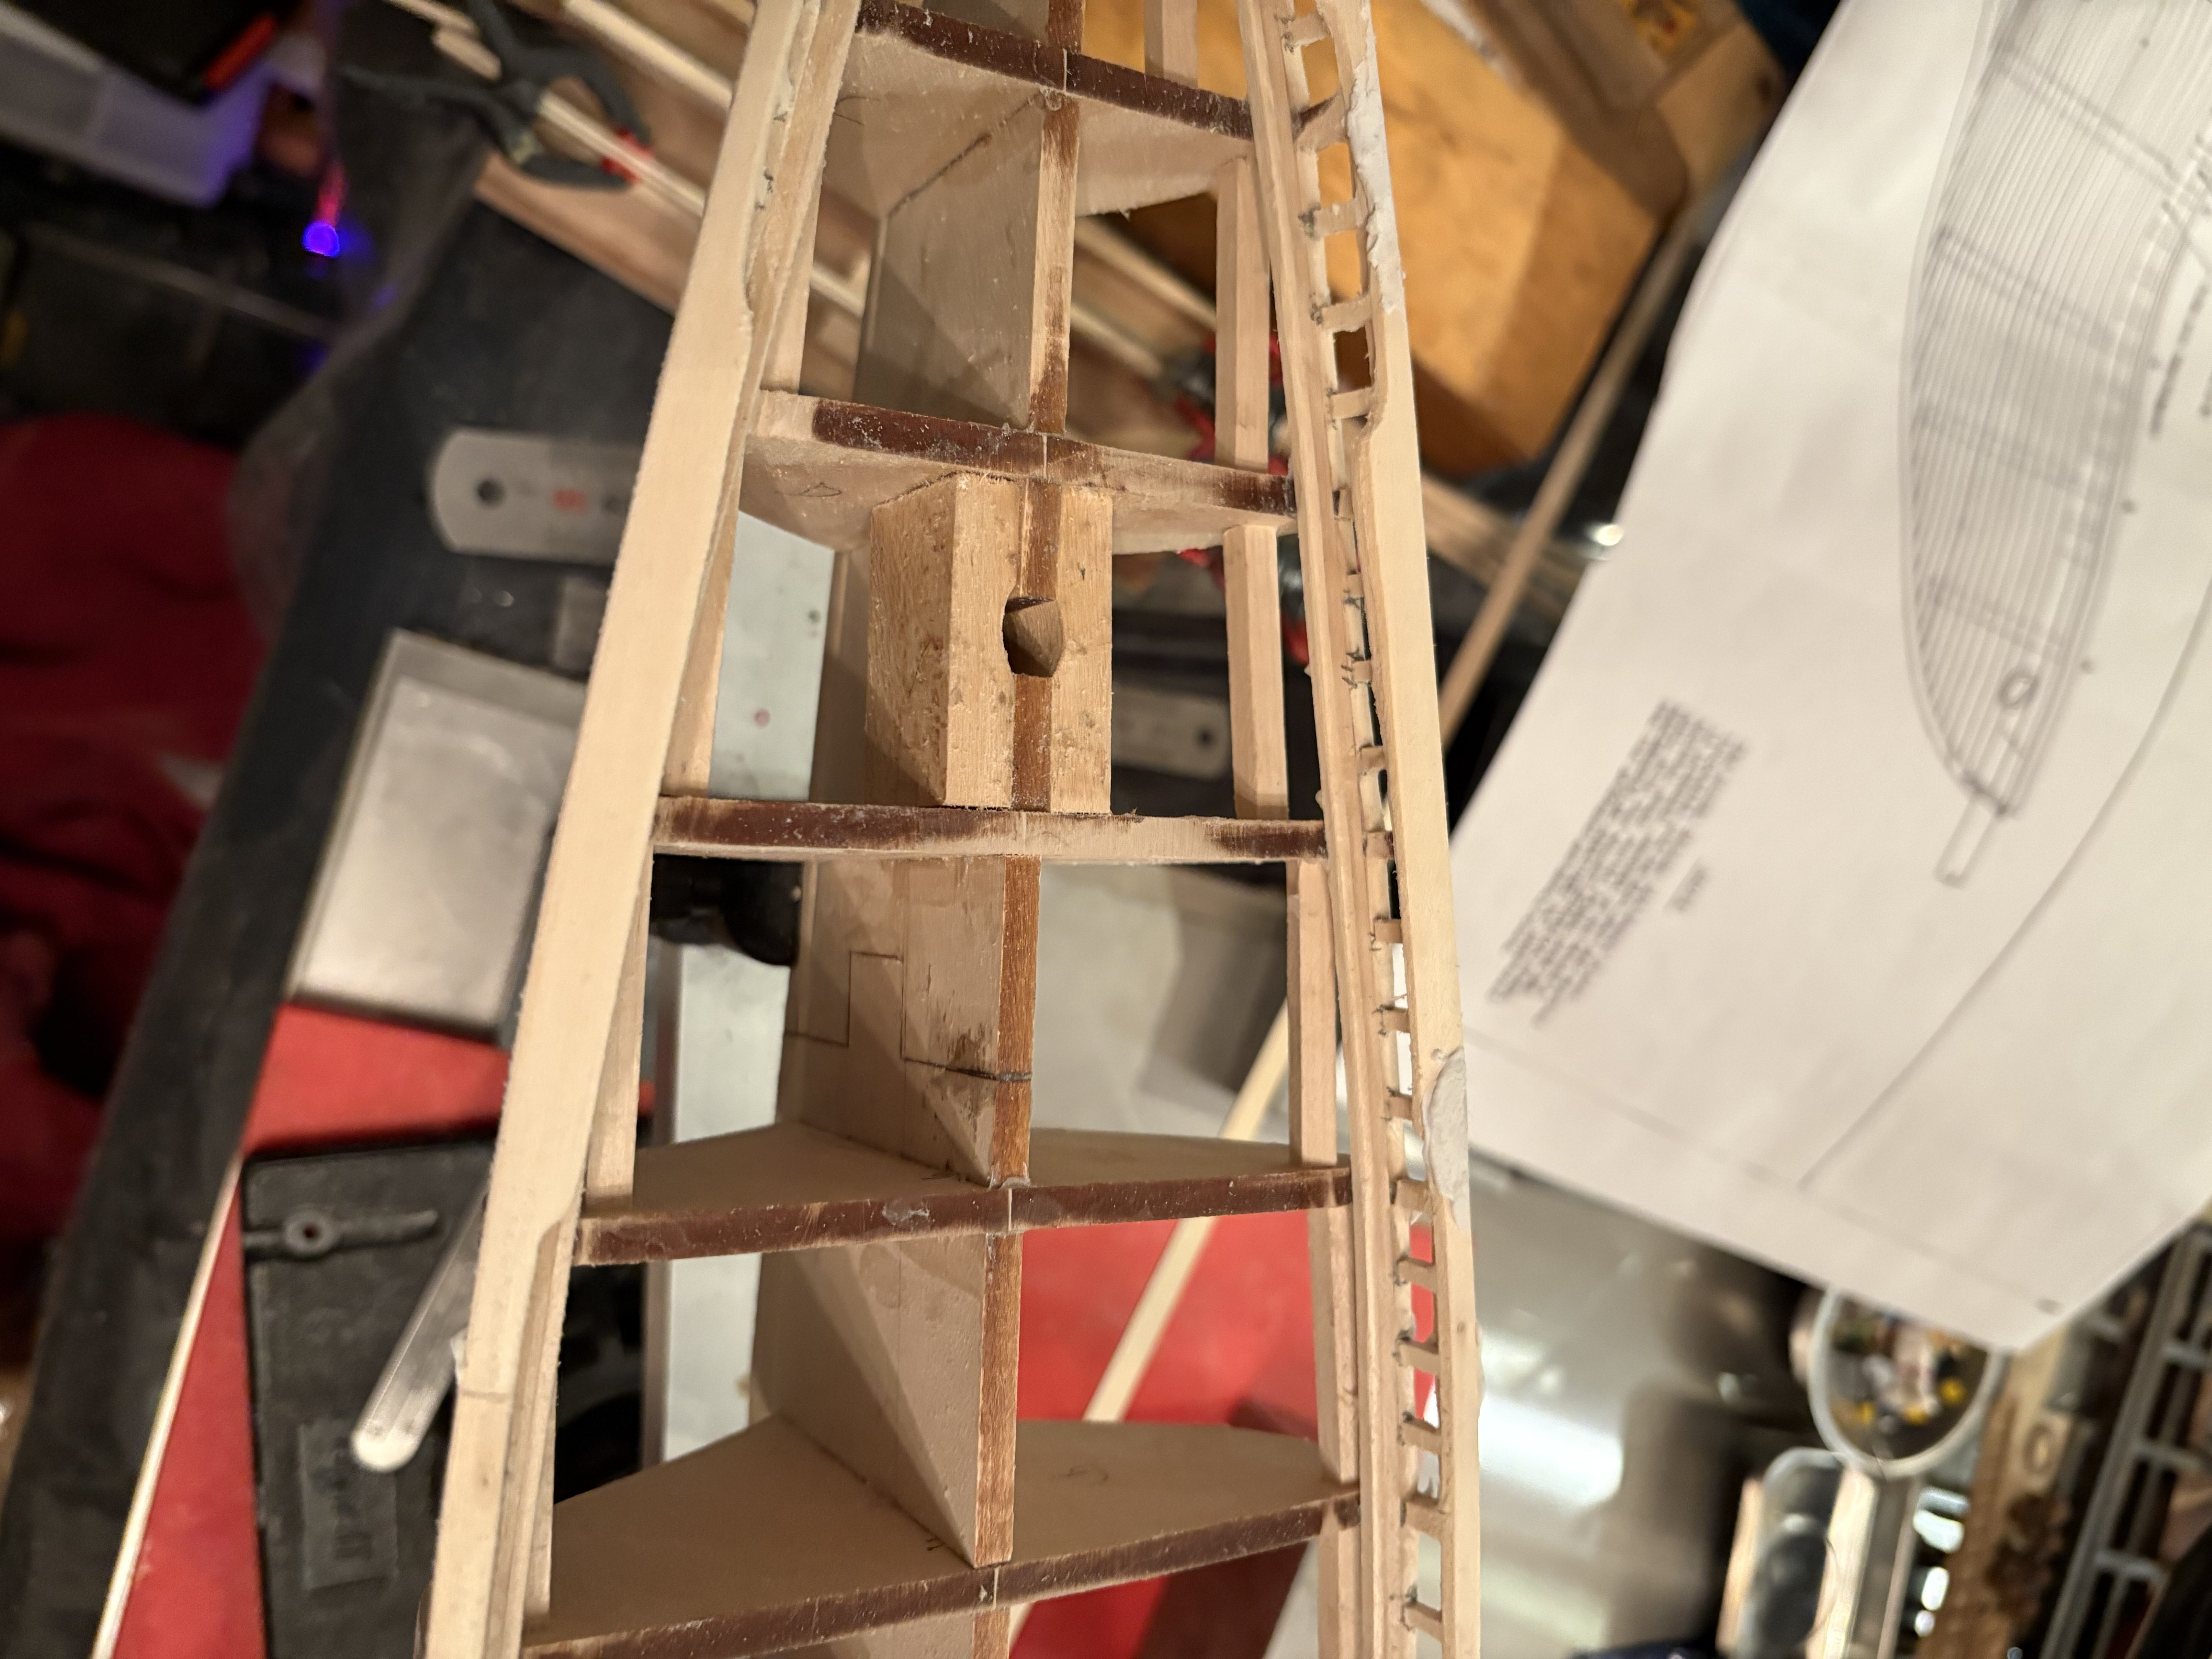
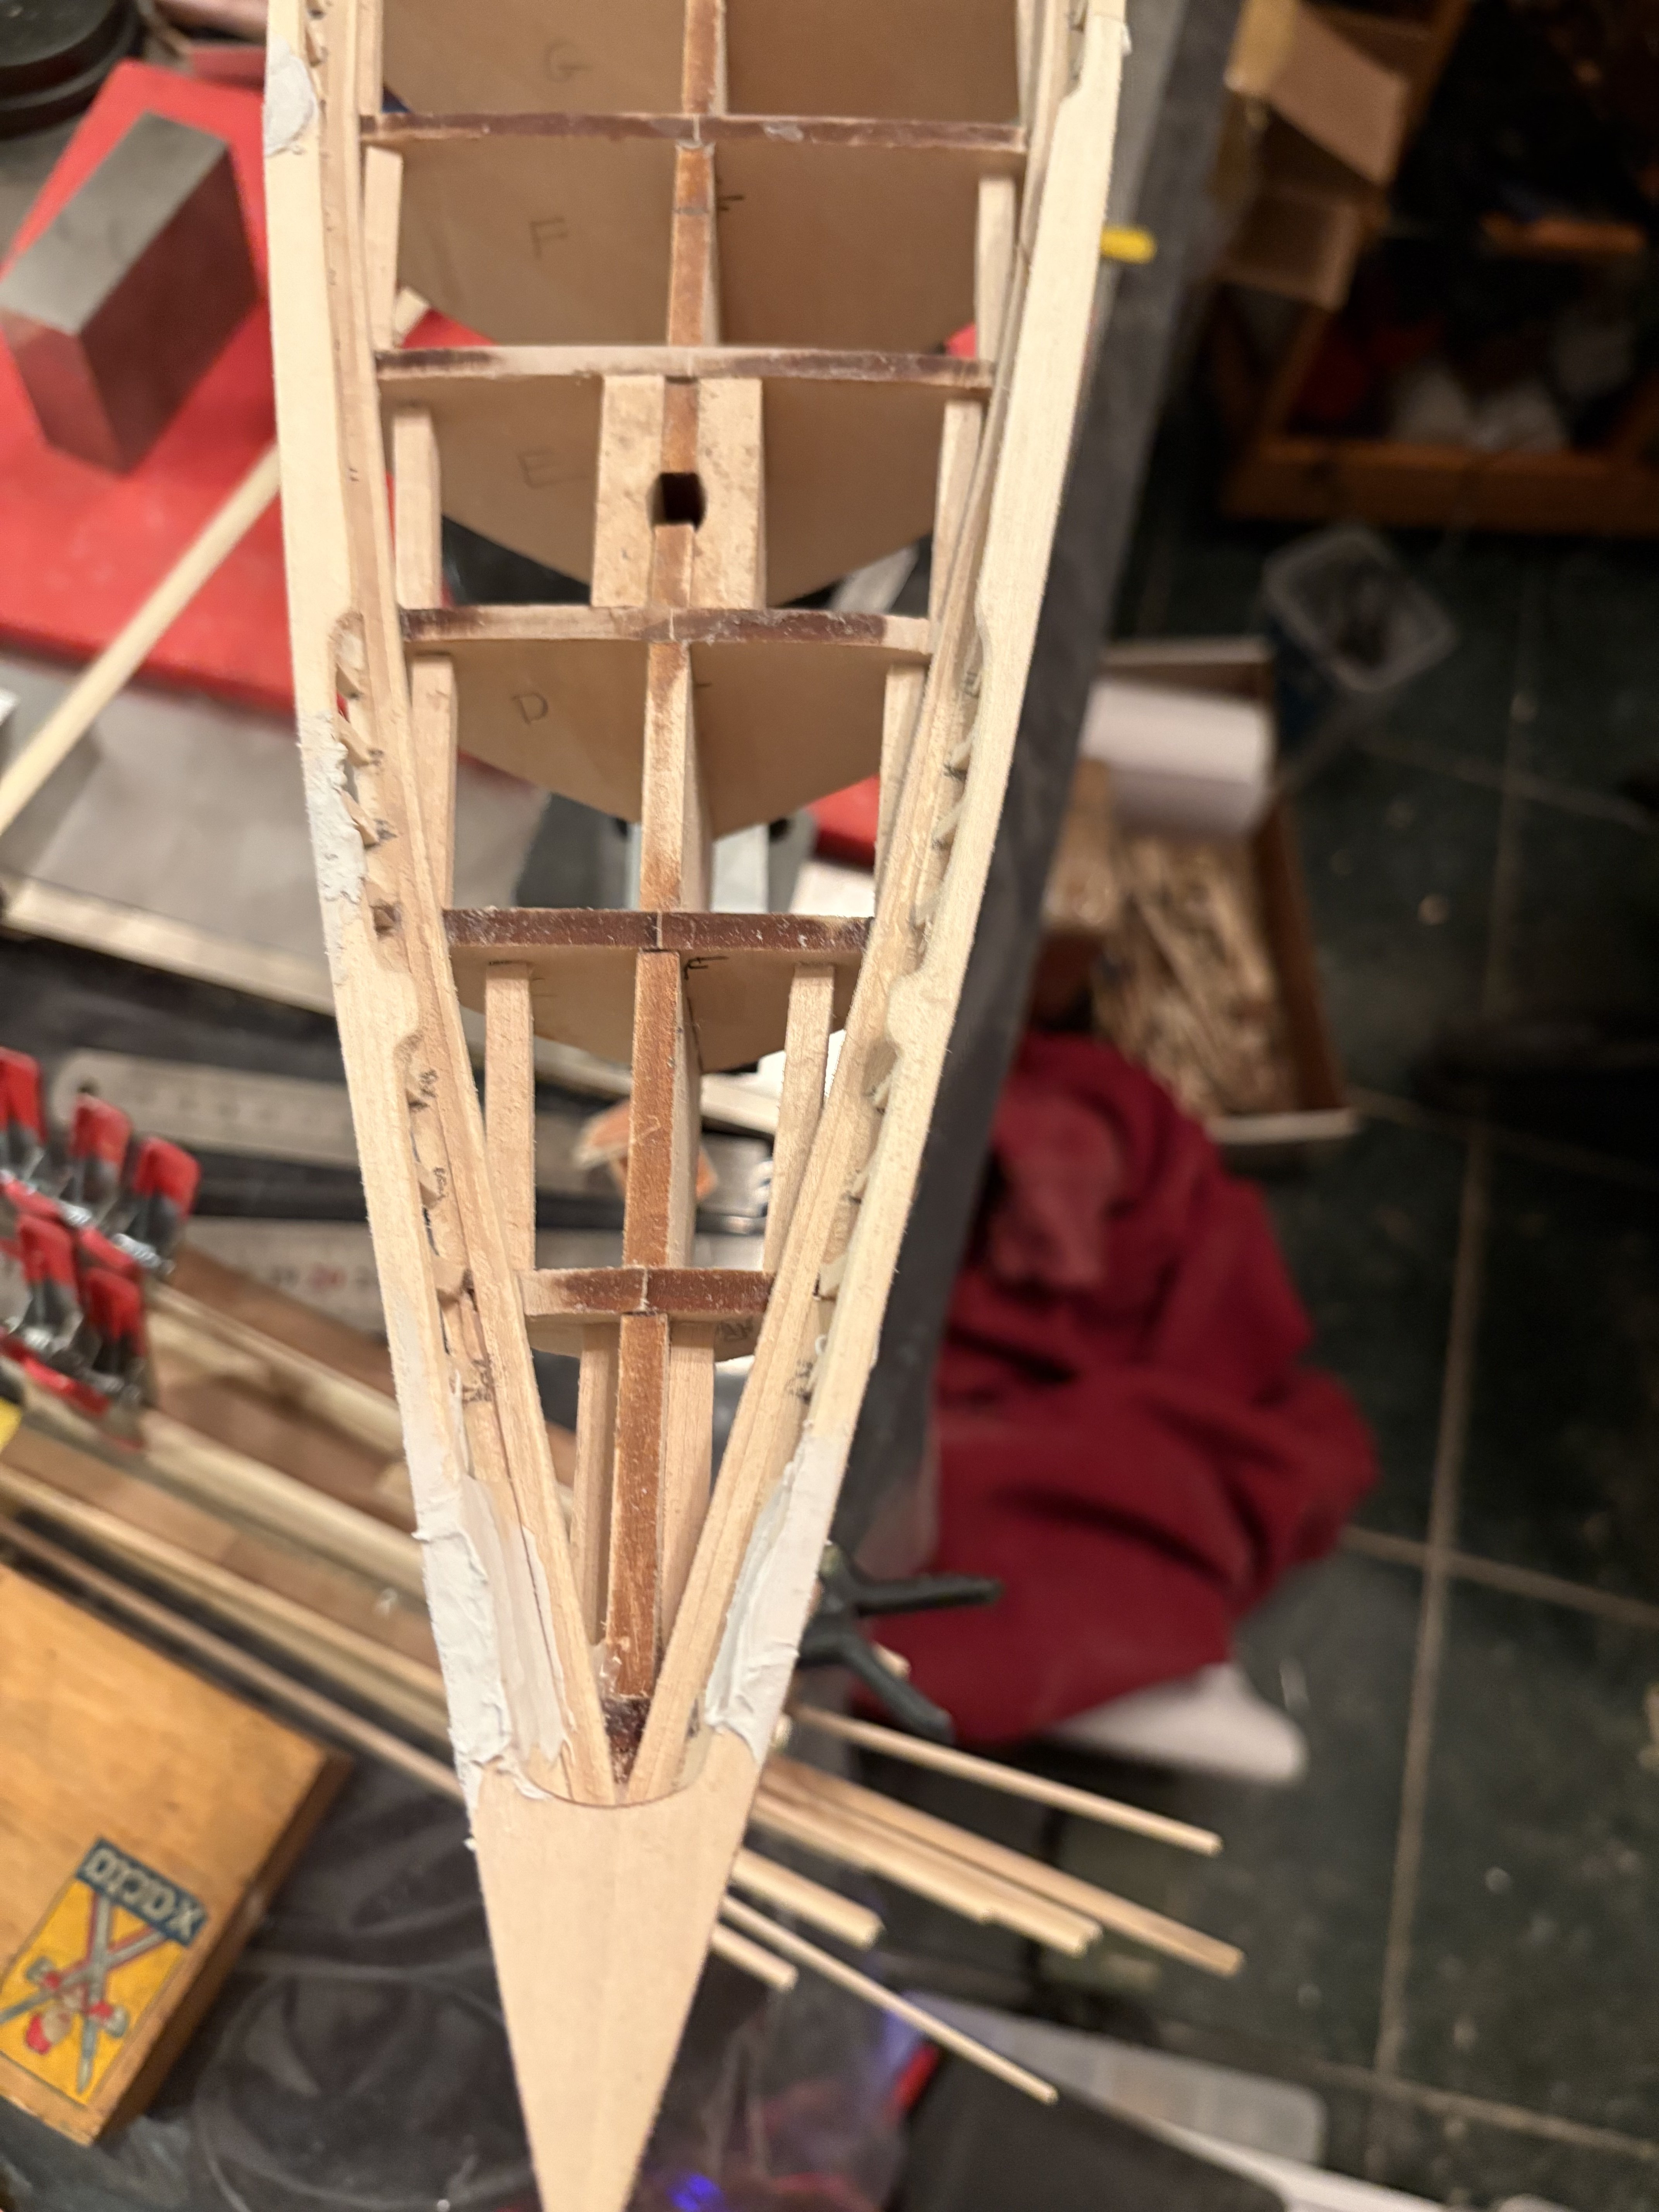
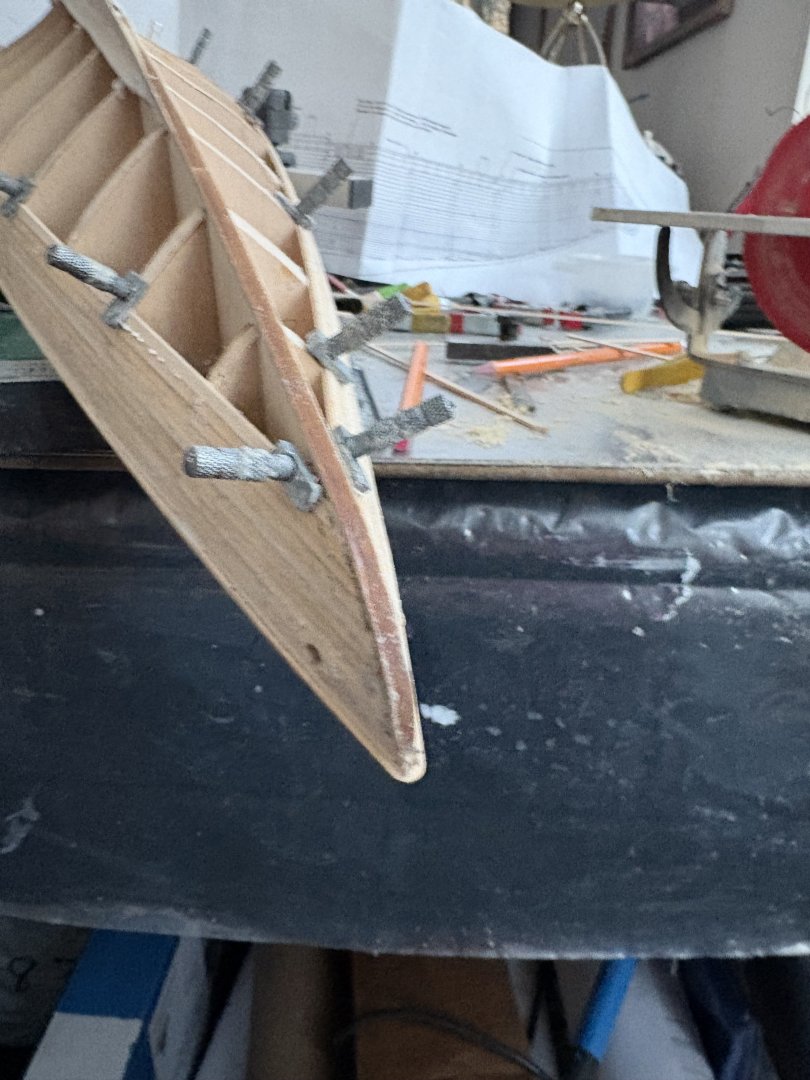
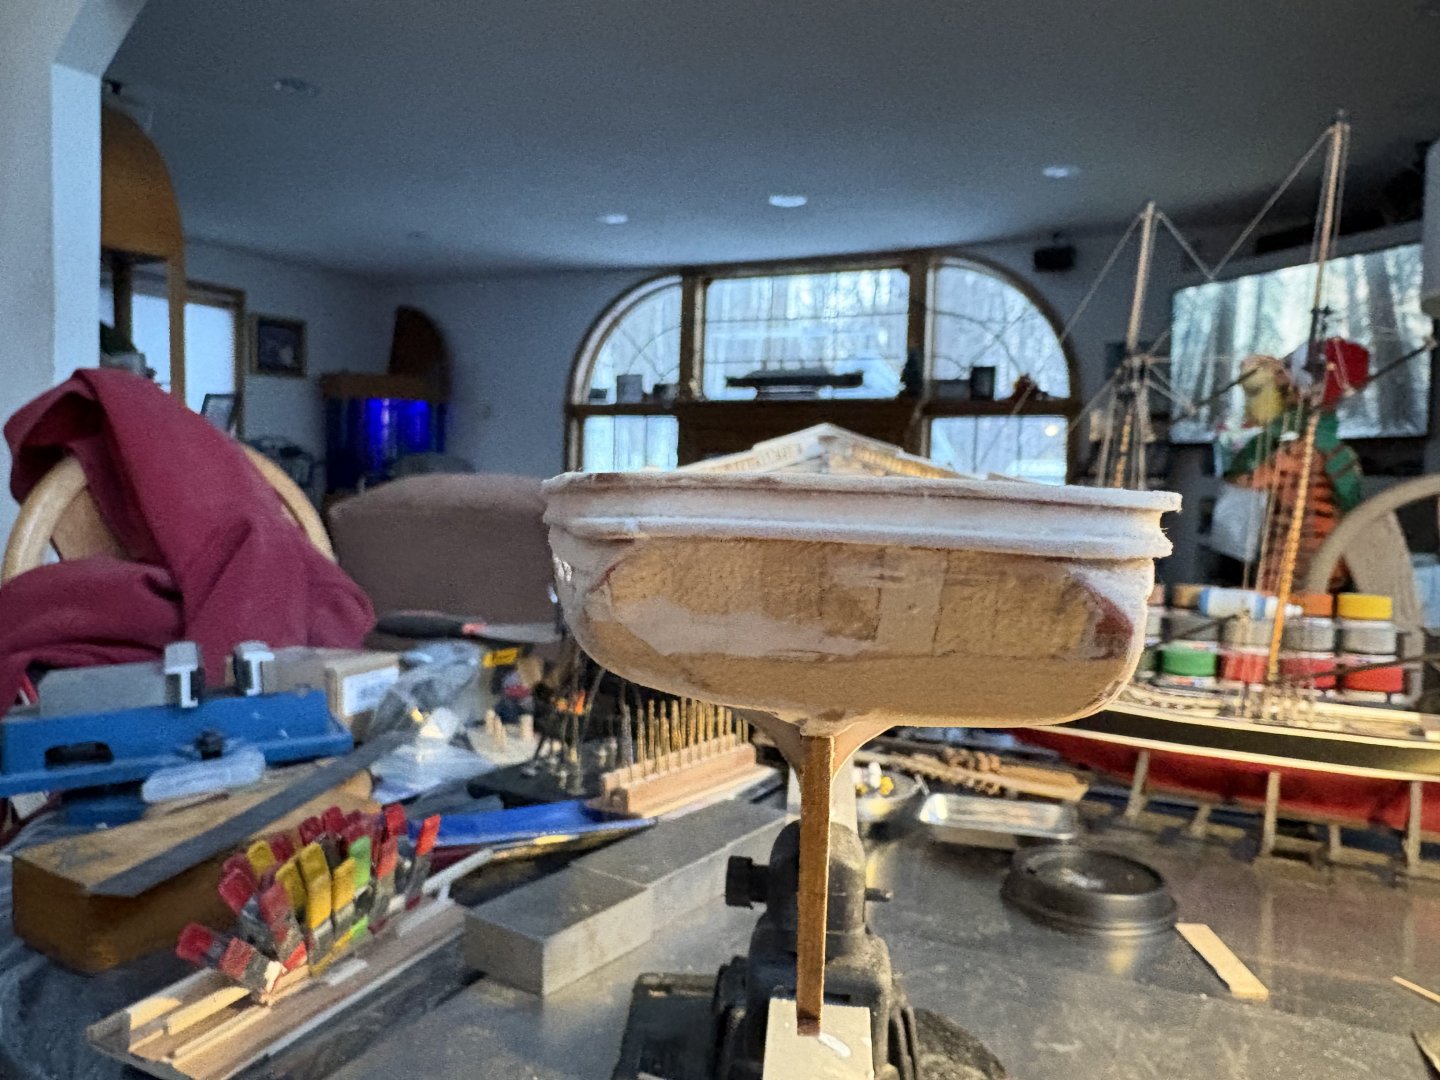
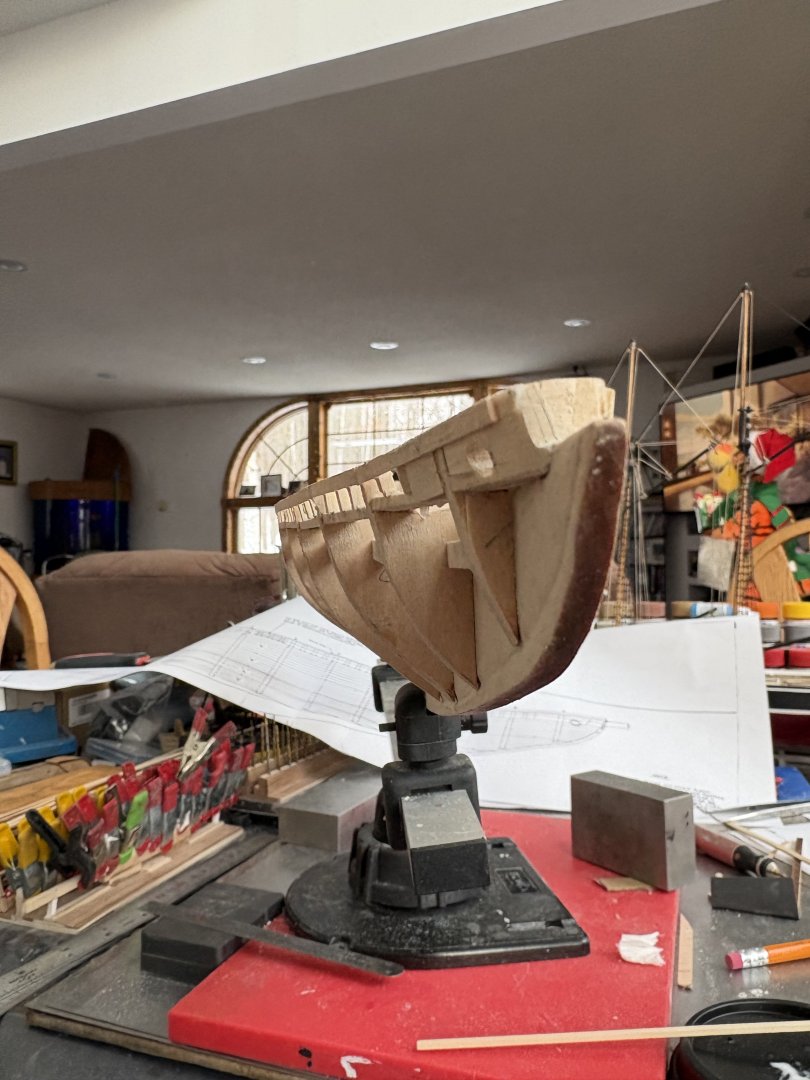
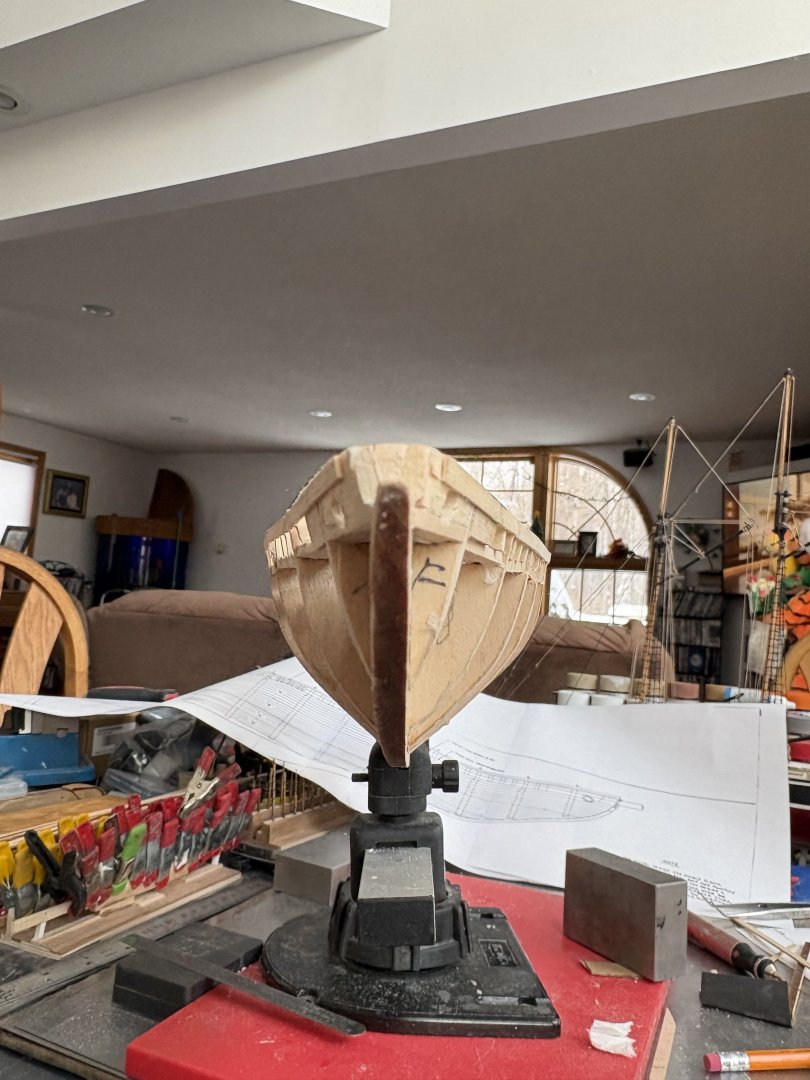
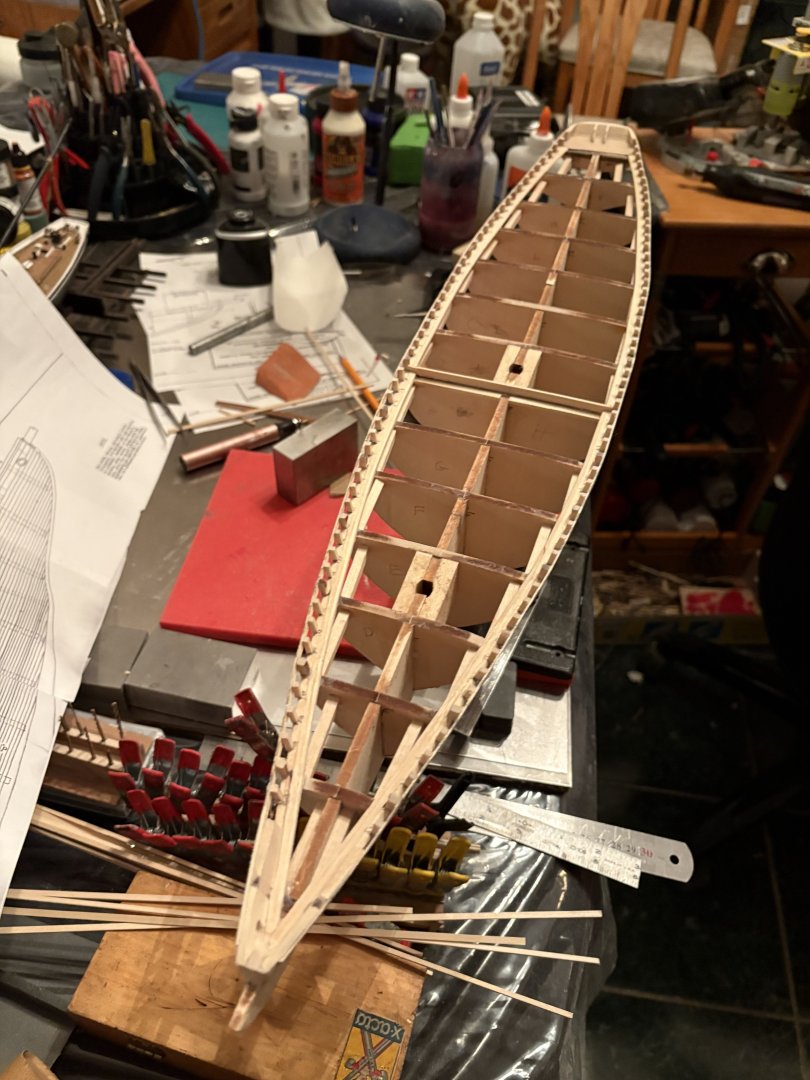
Today a boring day of planking. Got more done than I thought I would. Hopefully I will finish the planking tomorrow followed by sanding. Admiral Rick


-
Admiral Rick reacted to a post in a topic:
Norwegian Sailing Pram by DocTom - Model Shipways - 1:12
-
Admiral Rick reacted to a post in a topic:
Norwegian Sailing Pram by DocTom - Model Shipways - 1:12
-
Admiral Rick reacted to a post in a topic:
Norwegian Sailing Pram by DocTom - Model Shipways - 1:12
-
WELCOME LEARN PARTICIPATE AND ENJOY!
-
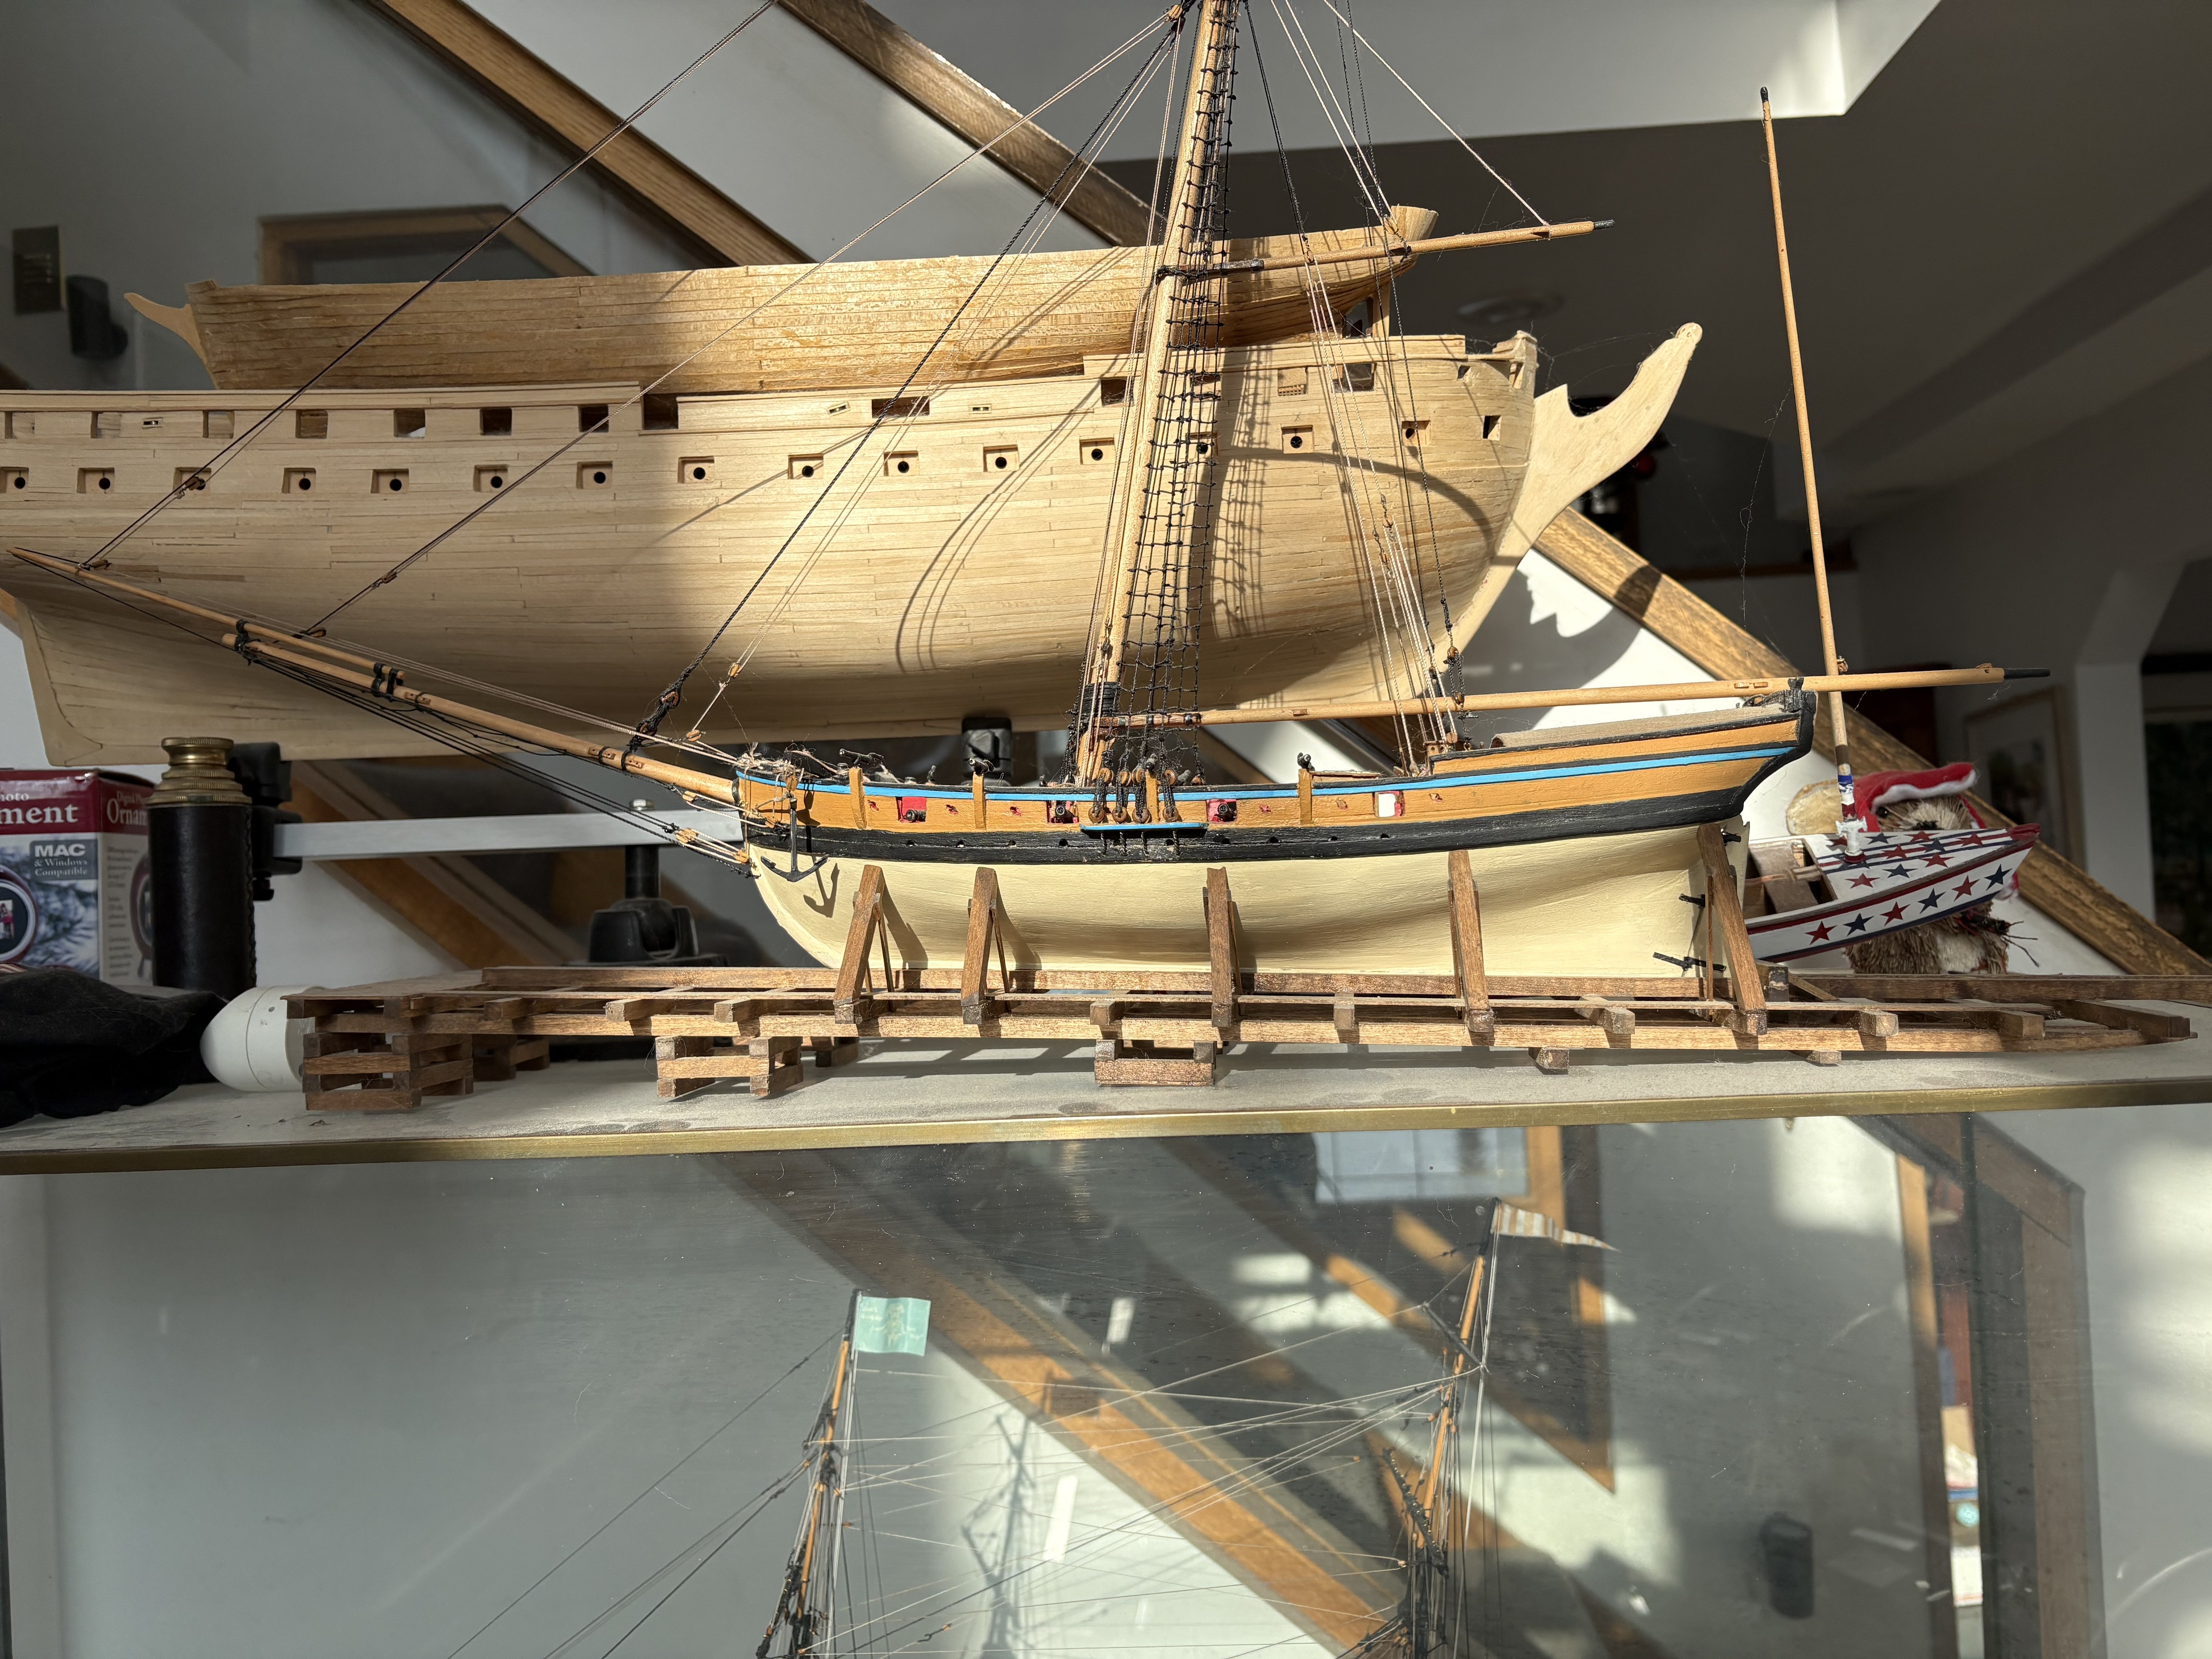
Just appreciate how much you have learned in such a short time and the skills you developed that you didn’t know you had and the true friends you made. I enjoyed following your build because it brought me back to my beginnings of model ship building. I had always built models but nothing like the USS NIAGARA. When I finished it I never in my life even graduating from dental school made me feel as great as I did that day. WHAT AN ACCOMPLISHMENT. Every time I walk by it I look at it with pride and when guests come to my house and see it and remark how astounded they are that I actually built it, it brings me back to the day I completed it. Just watch out because like drugs the dopamine surge will get you addicted! So get going and finish your model you are so close!!!!! Best Admiral Rick
-
Thanks Tom and Terry I hope I don’t disappoint you.
-
Tom you should be mighty proud of your accomplishment it looks great.
-
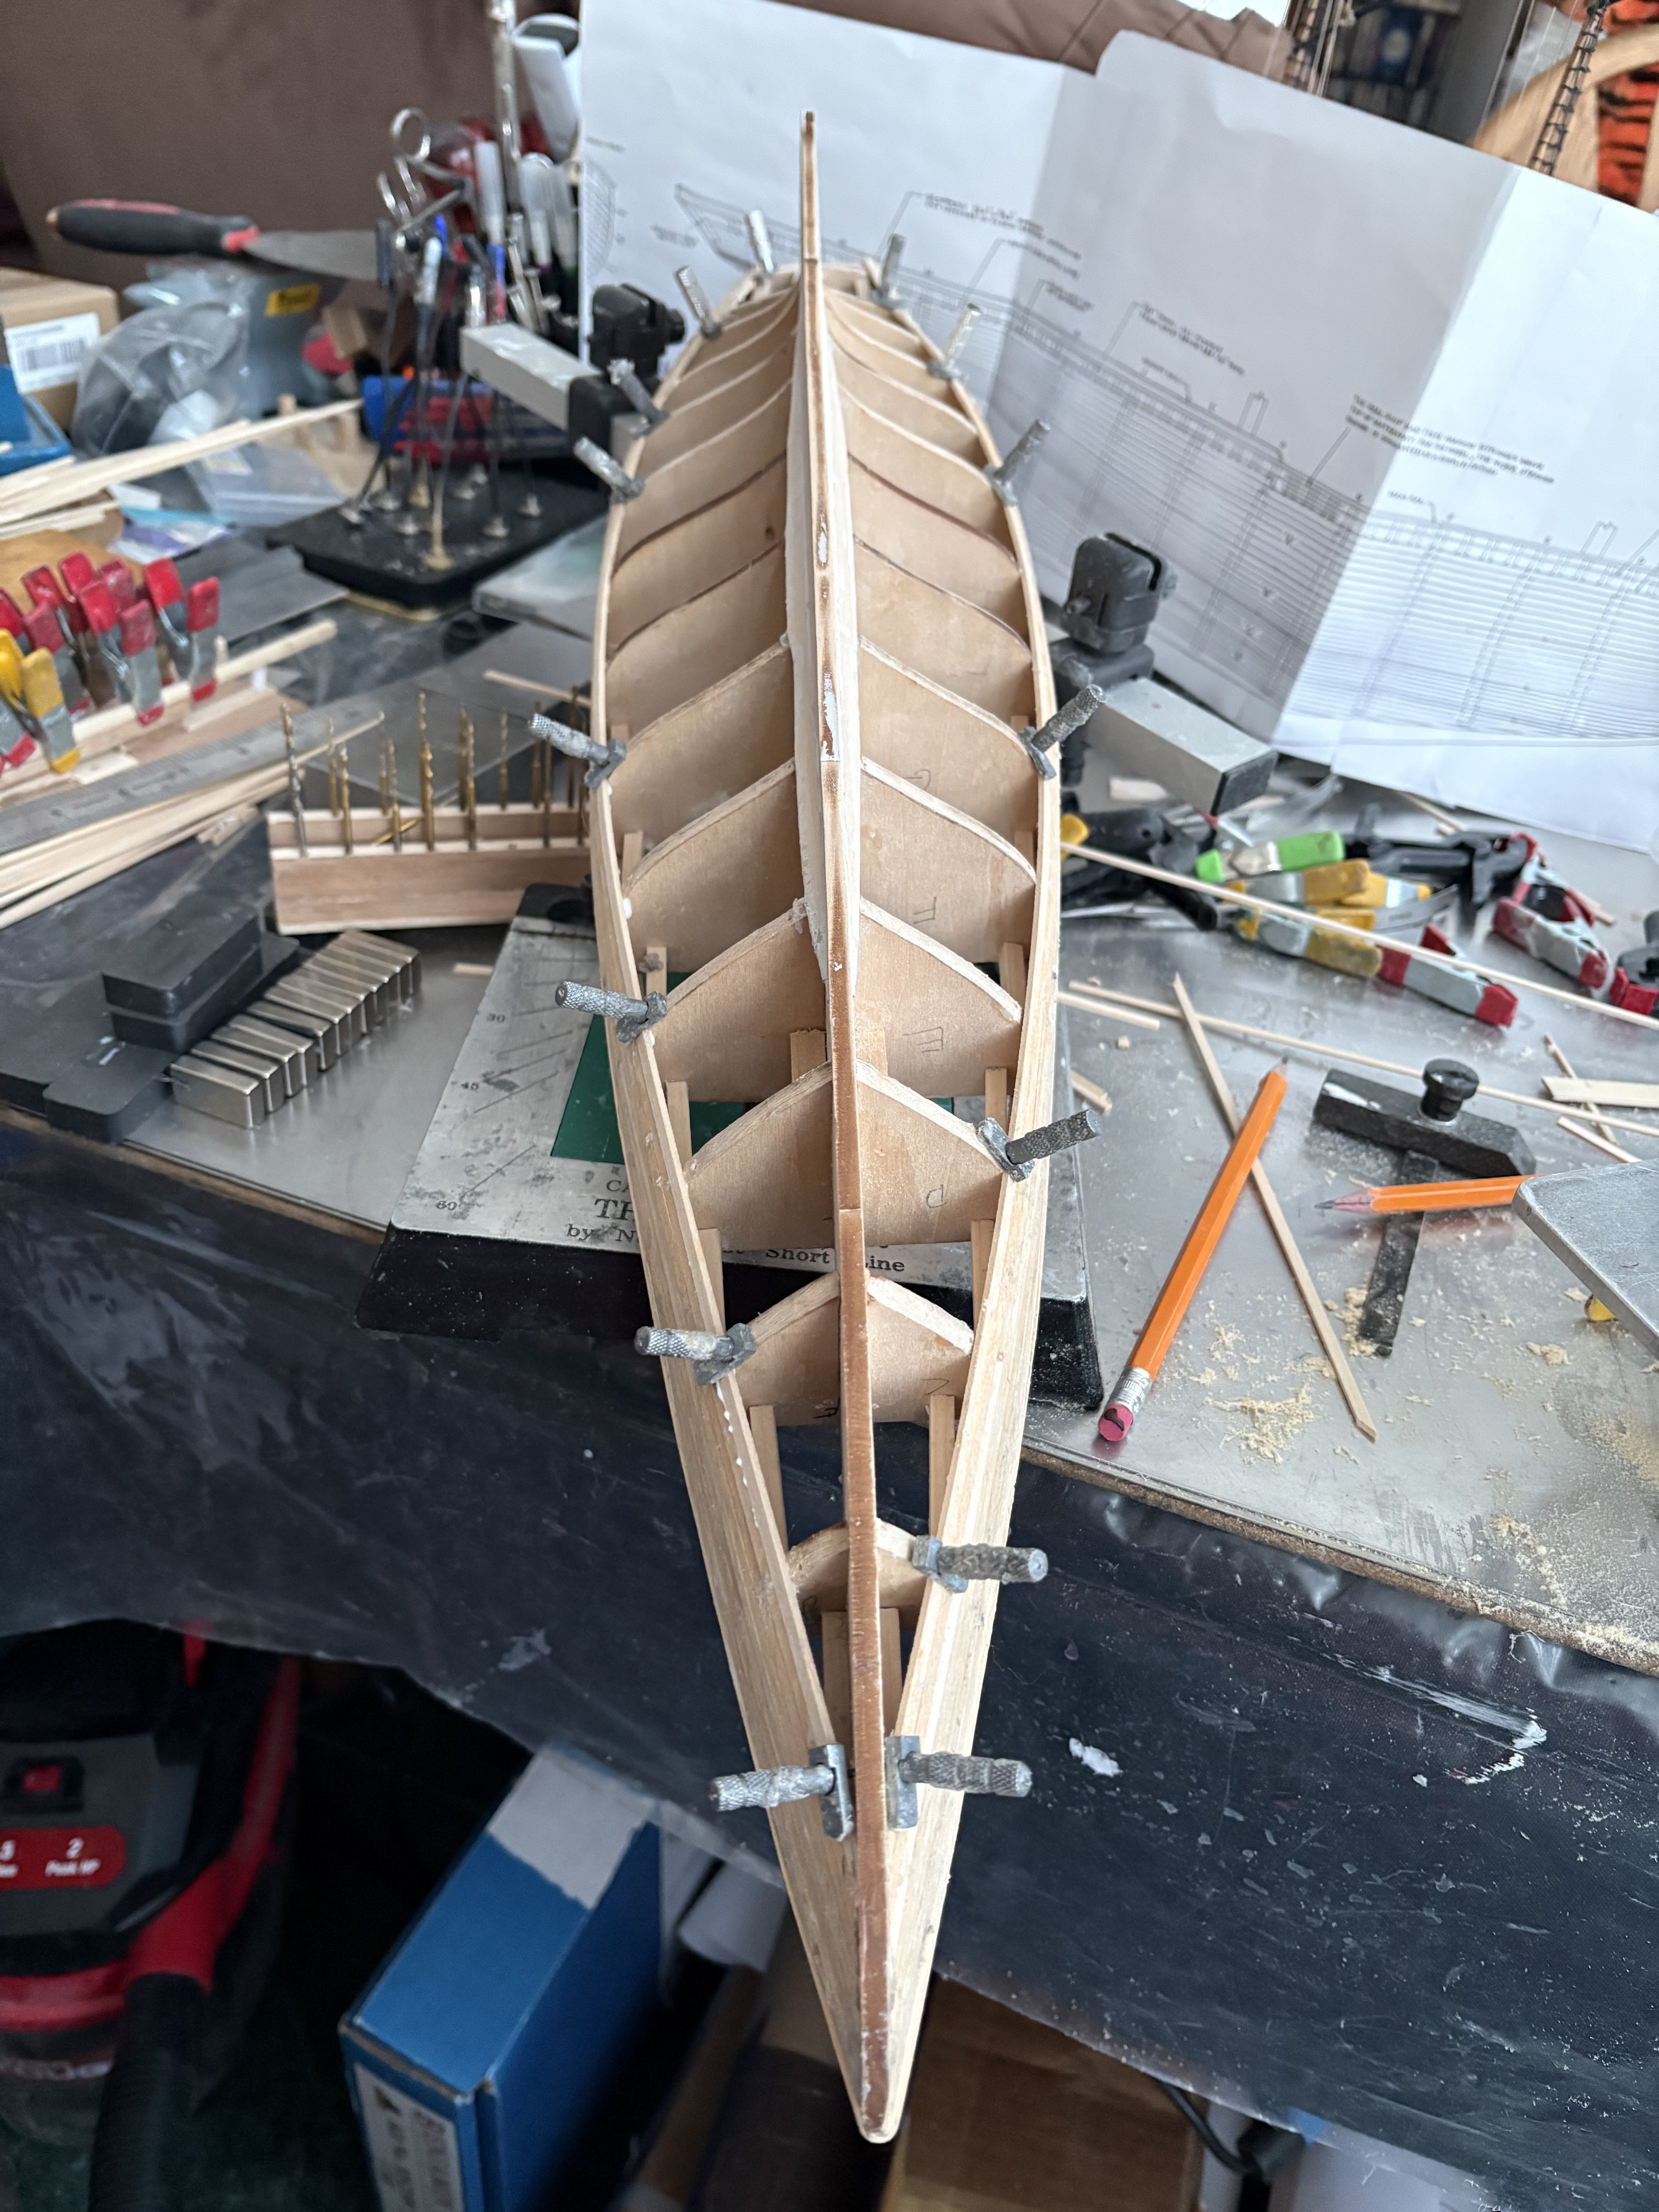
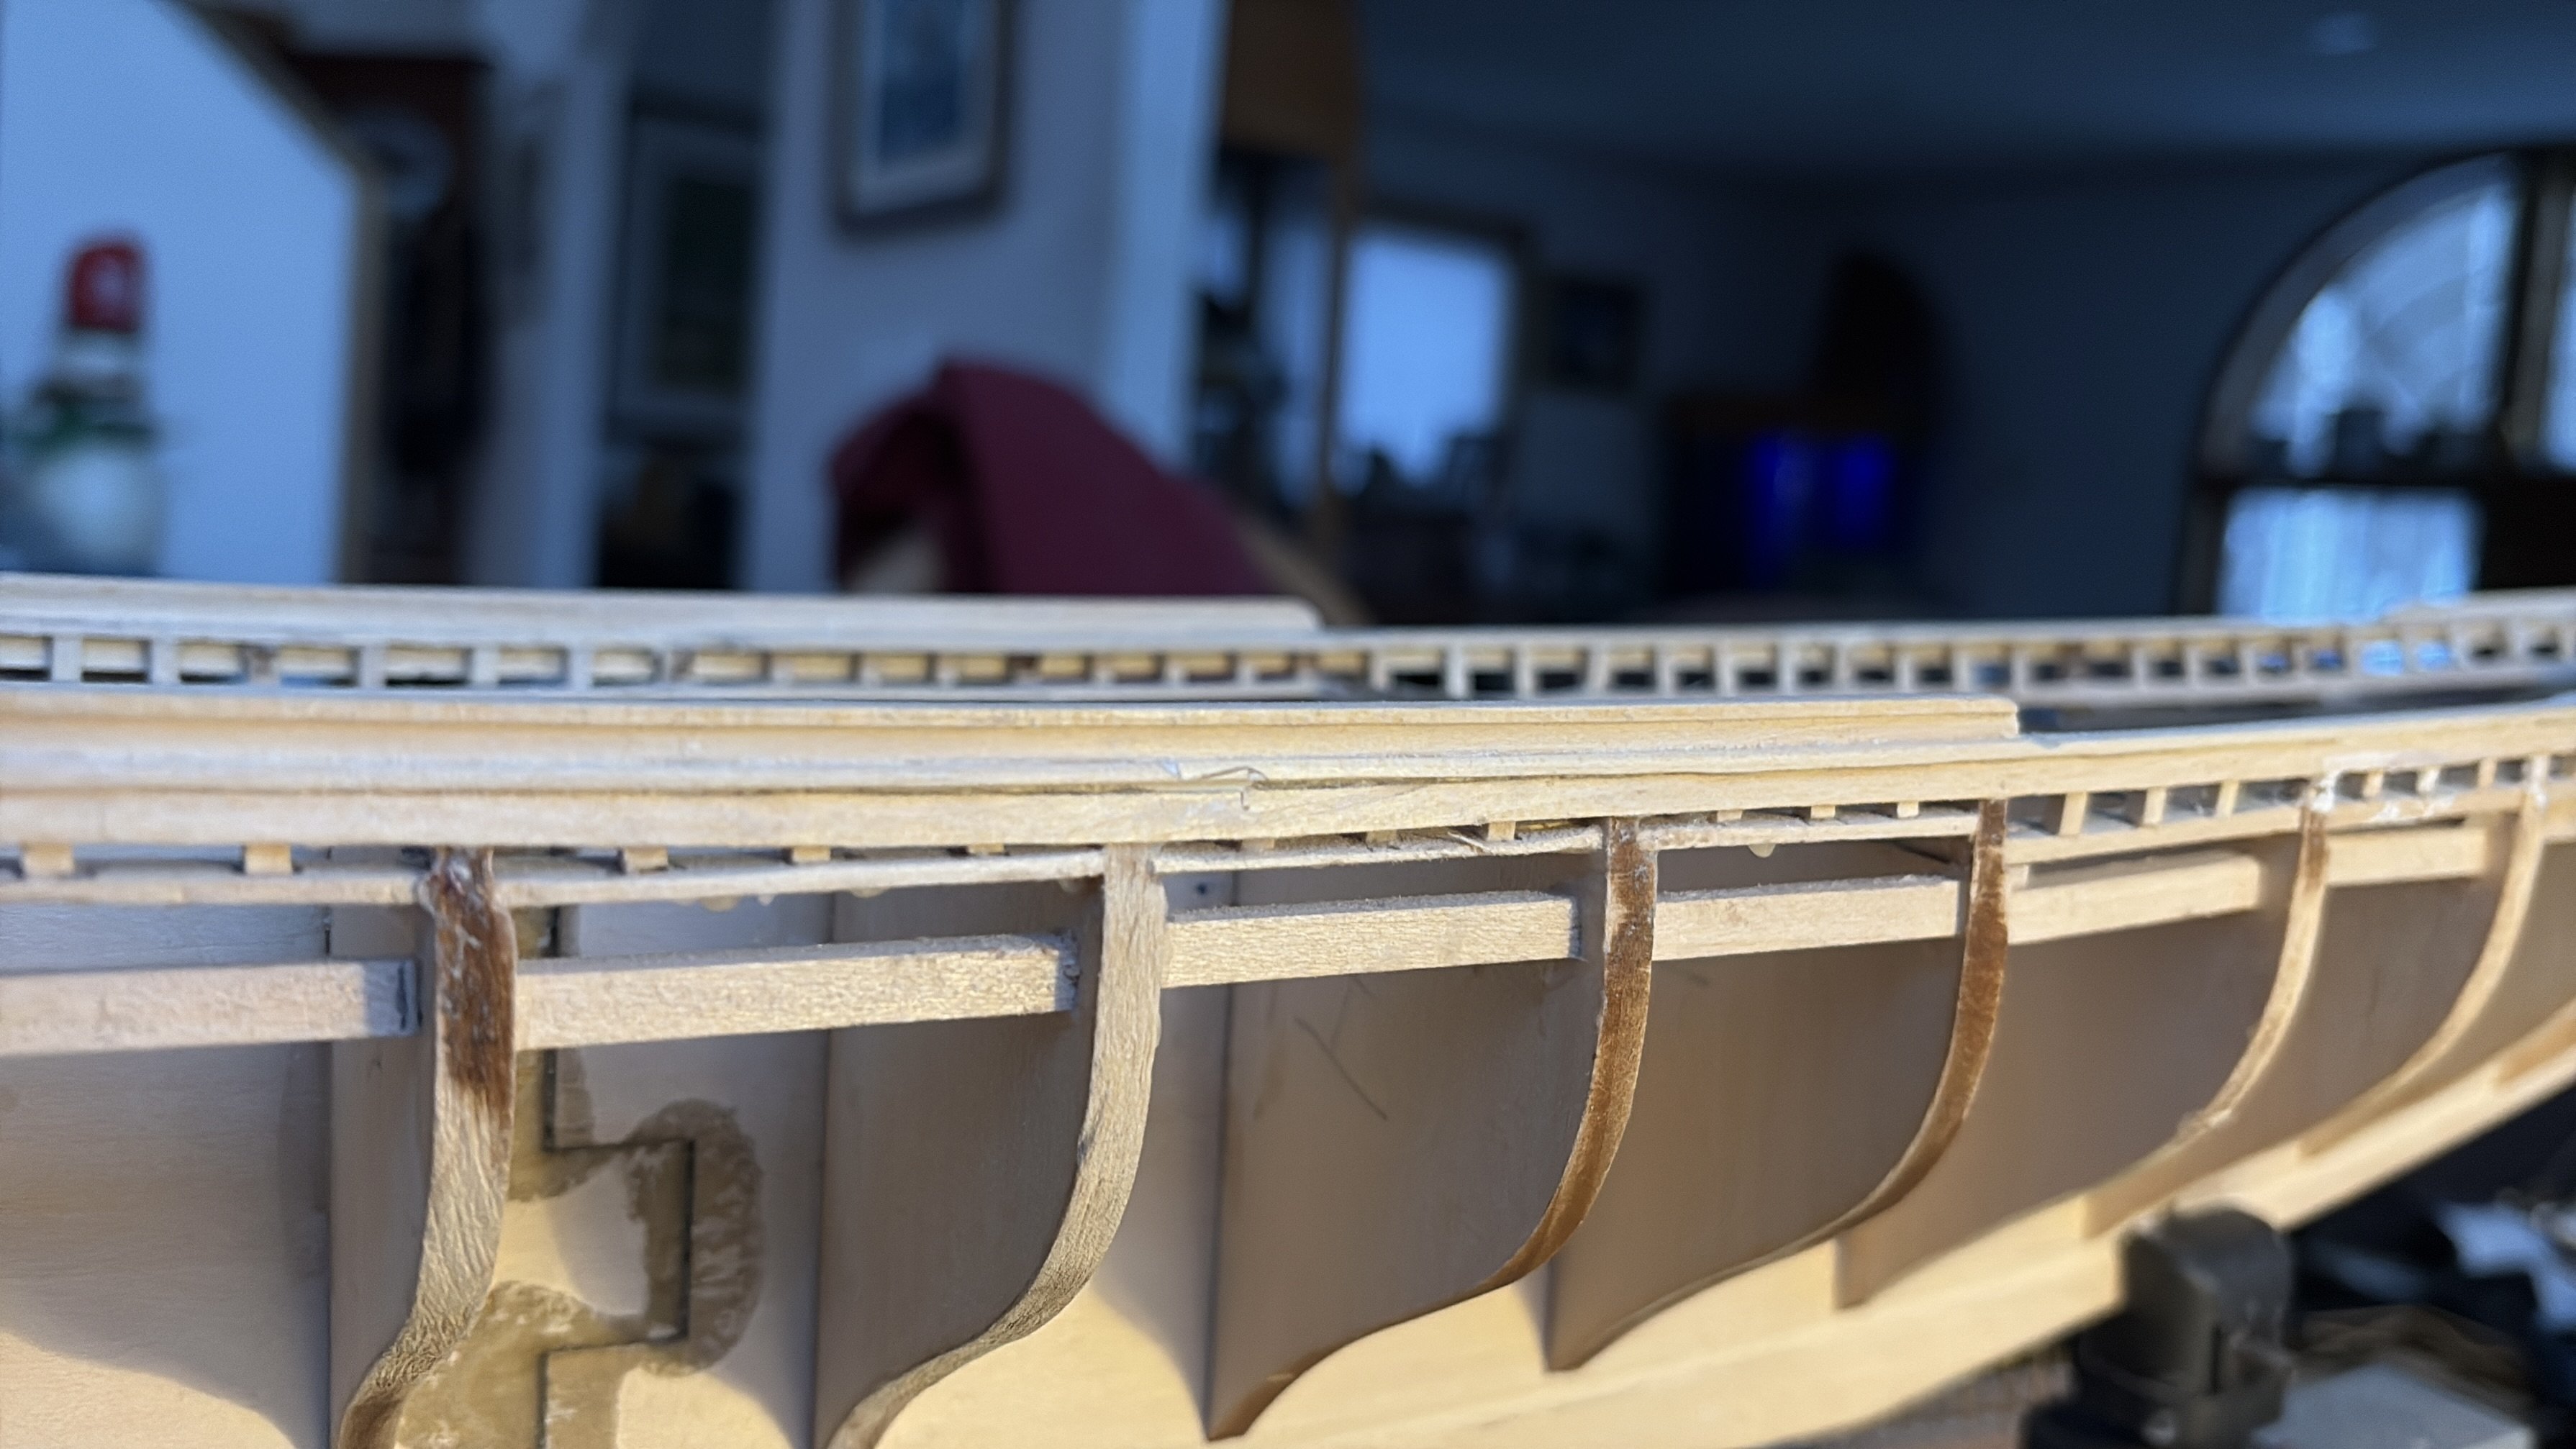
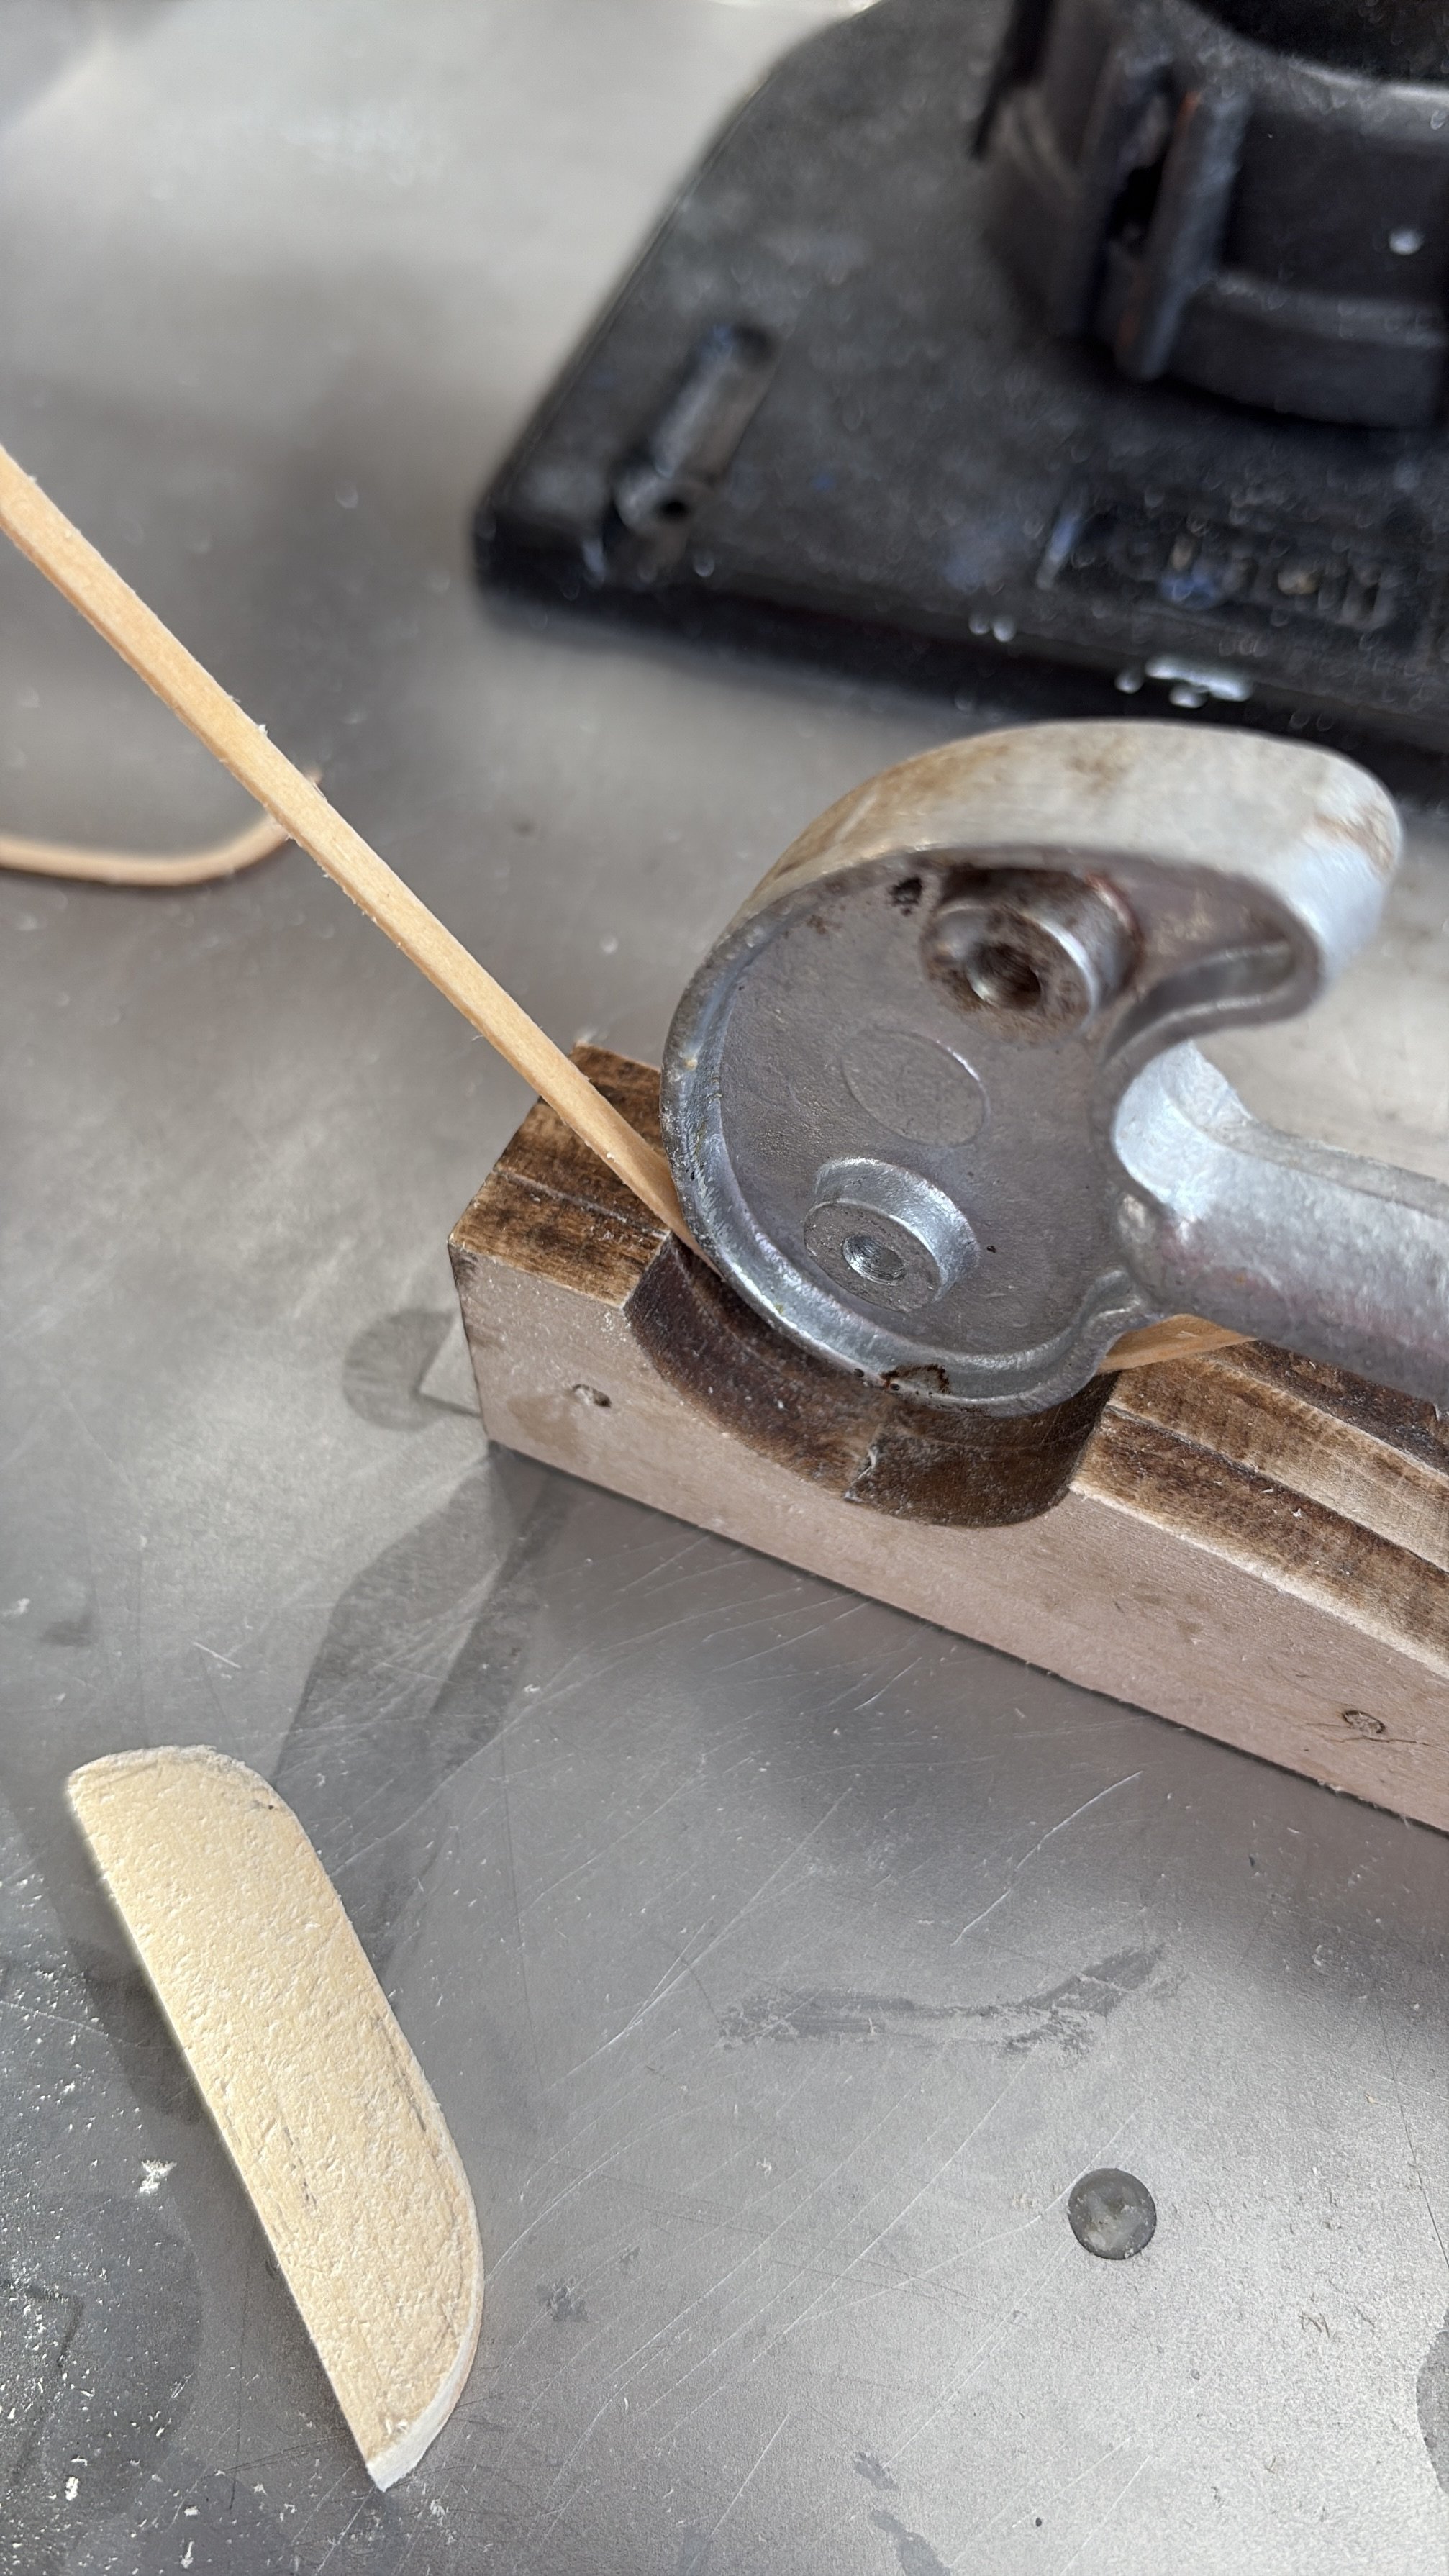
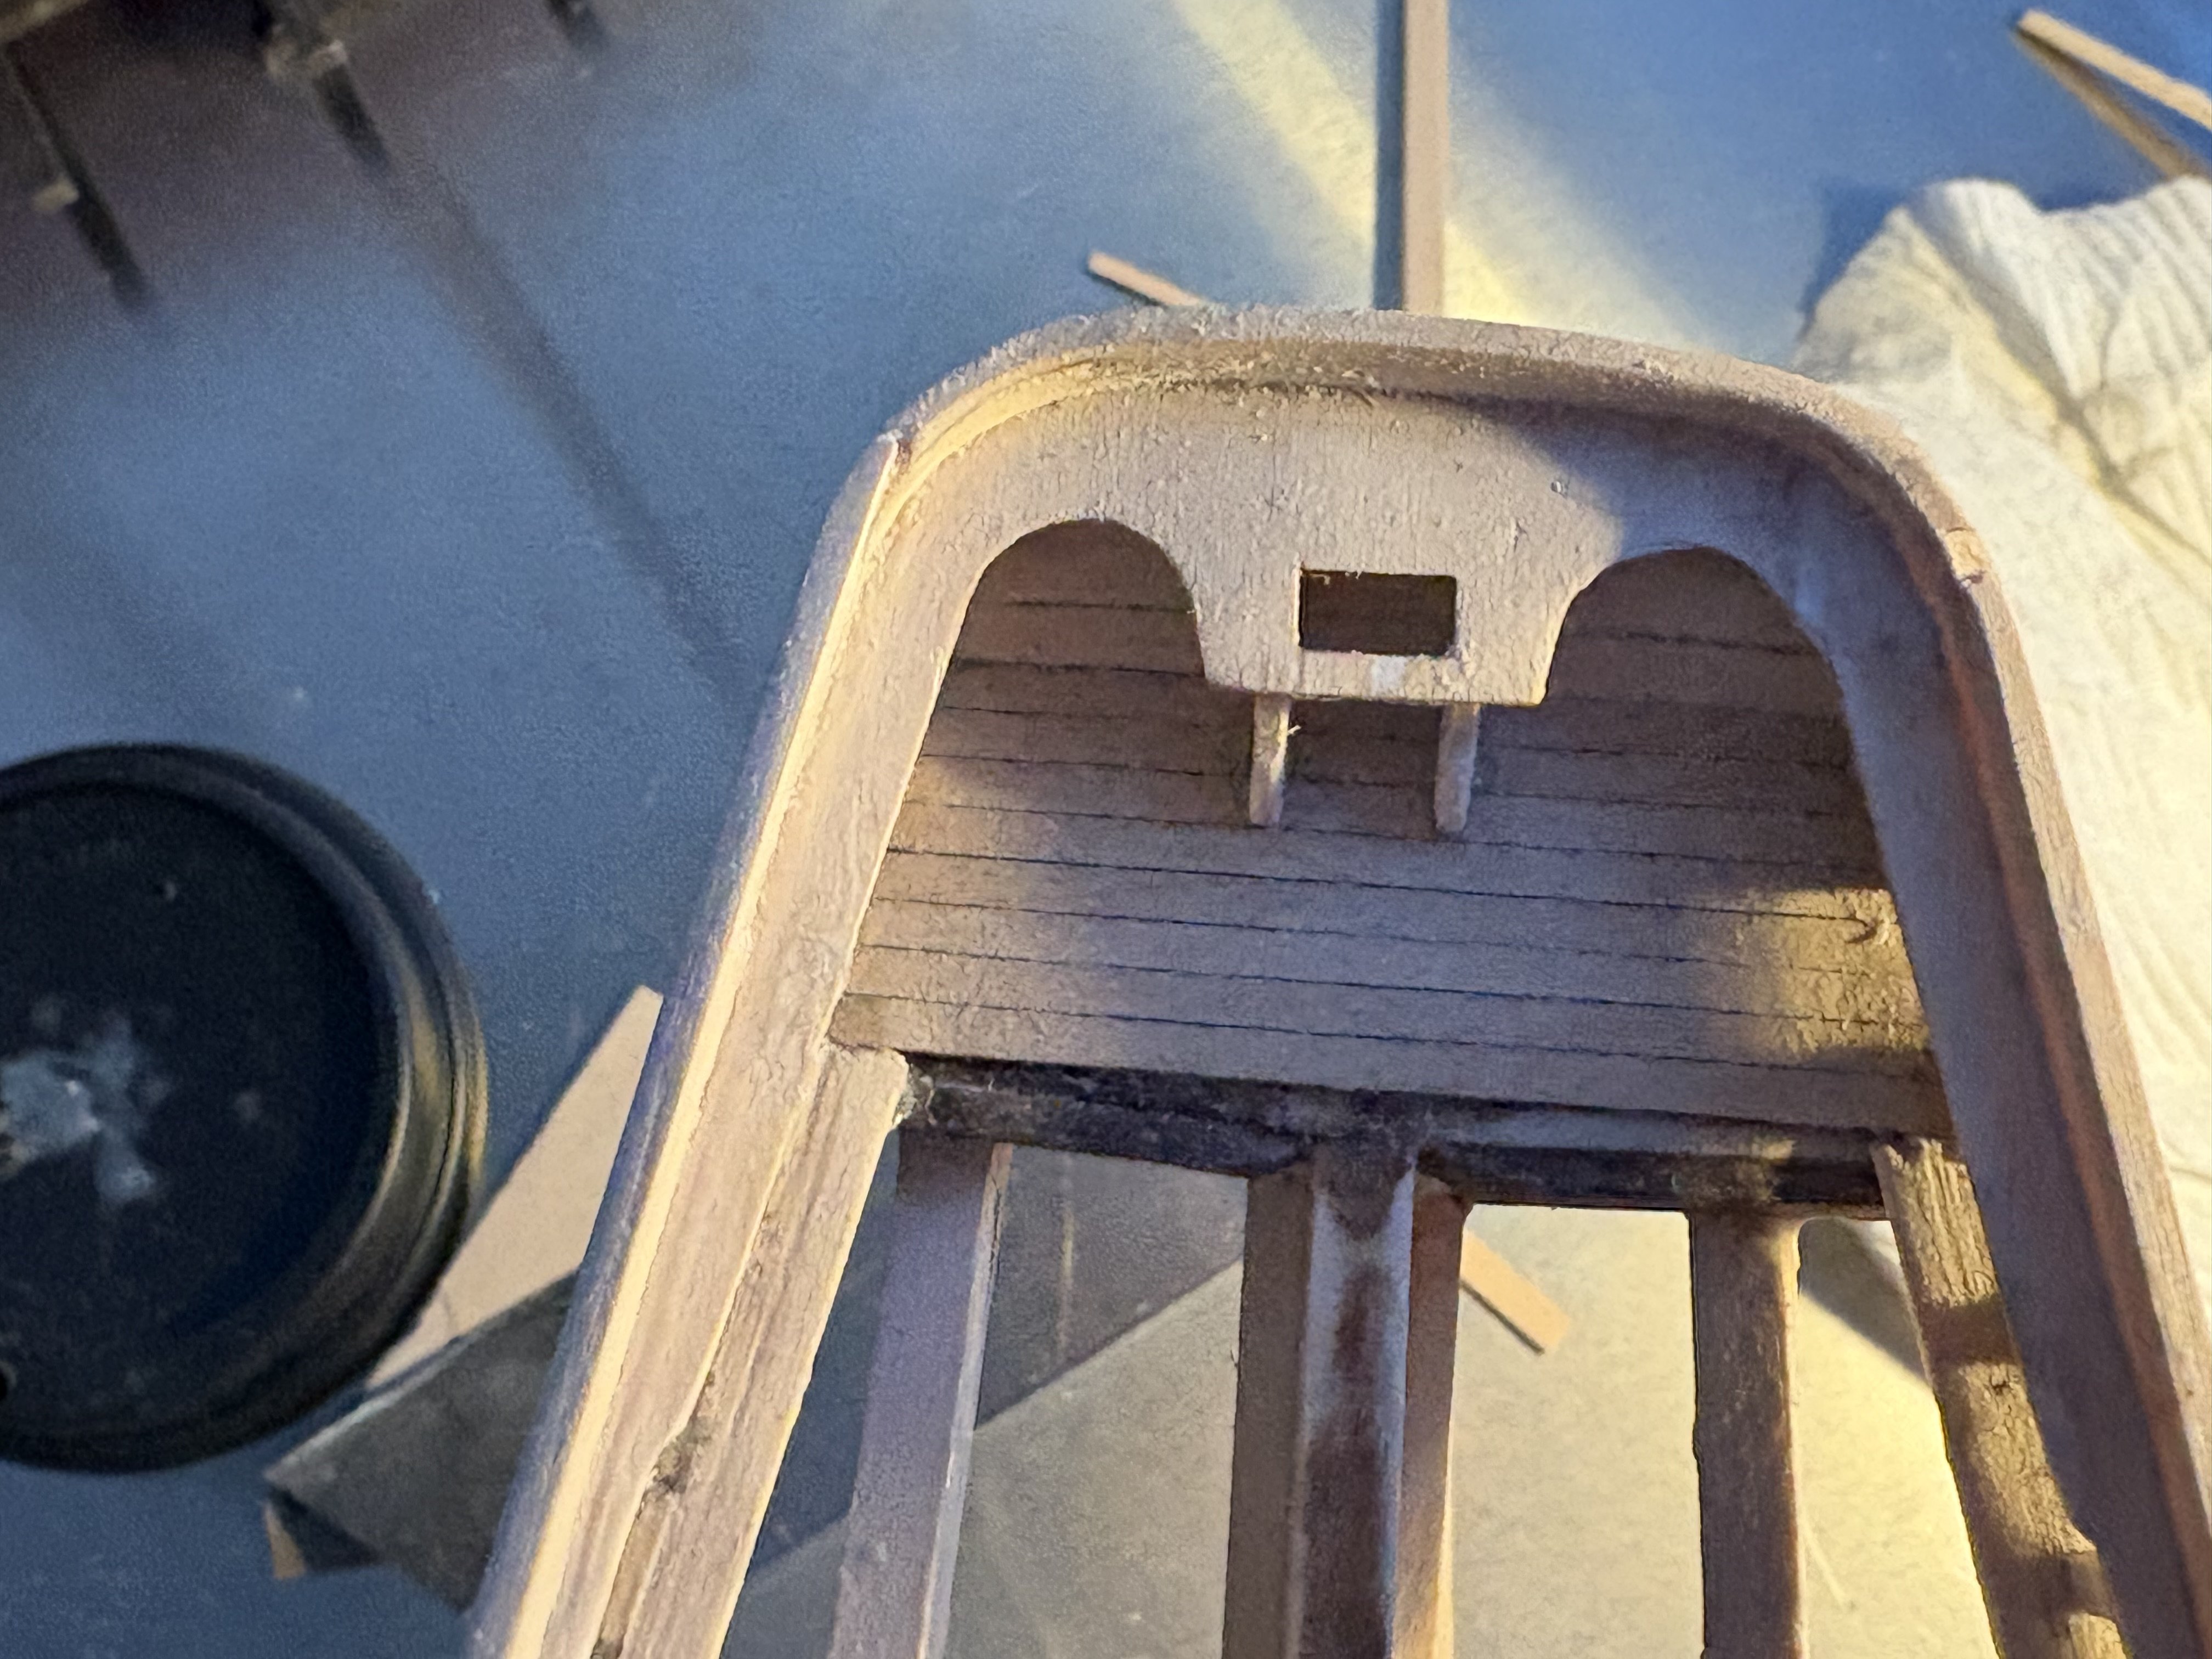
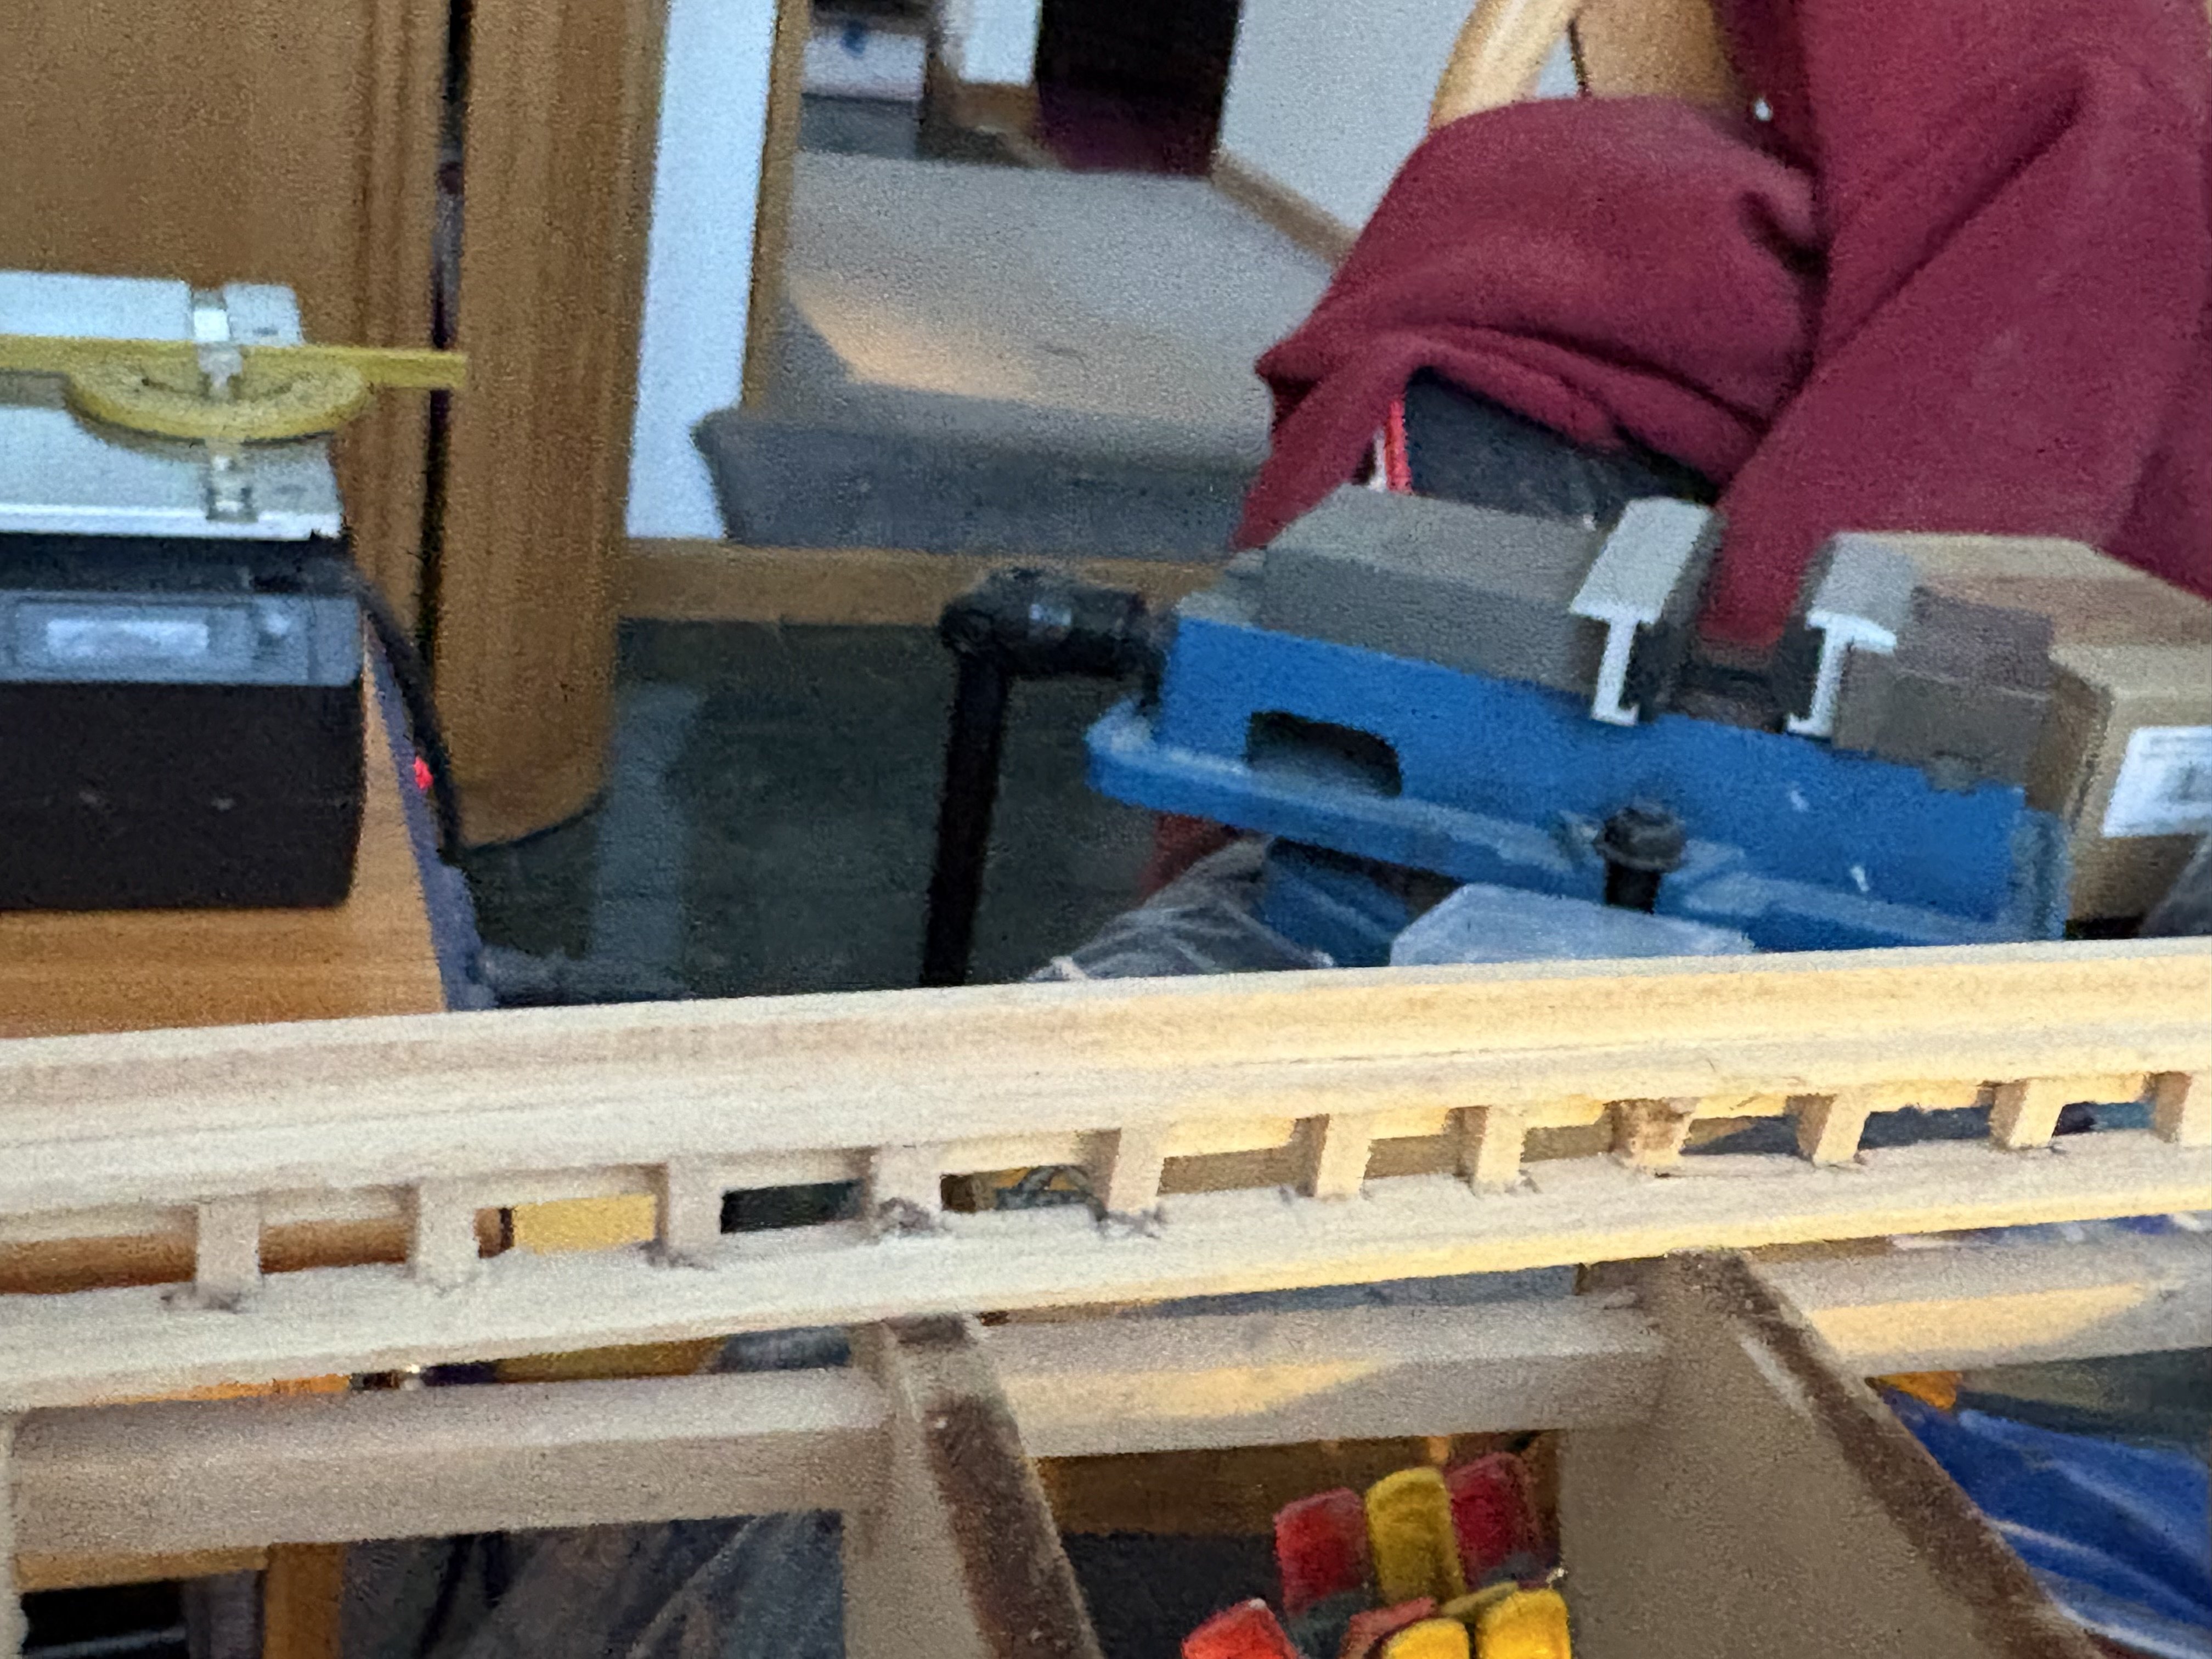
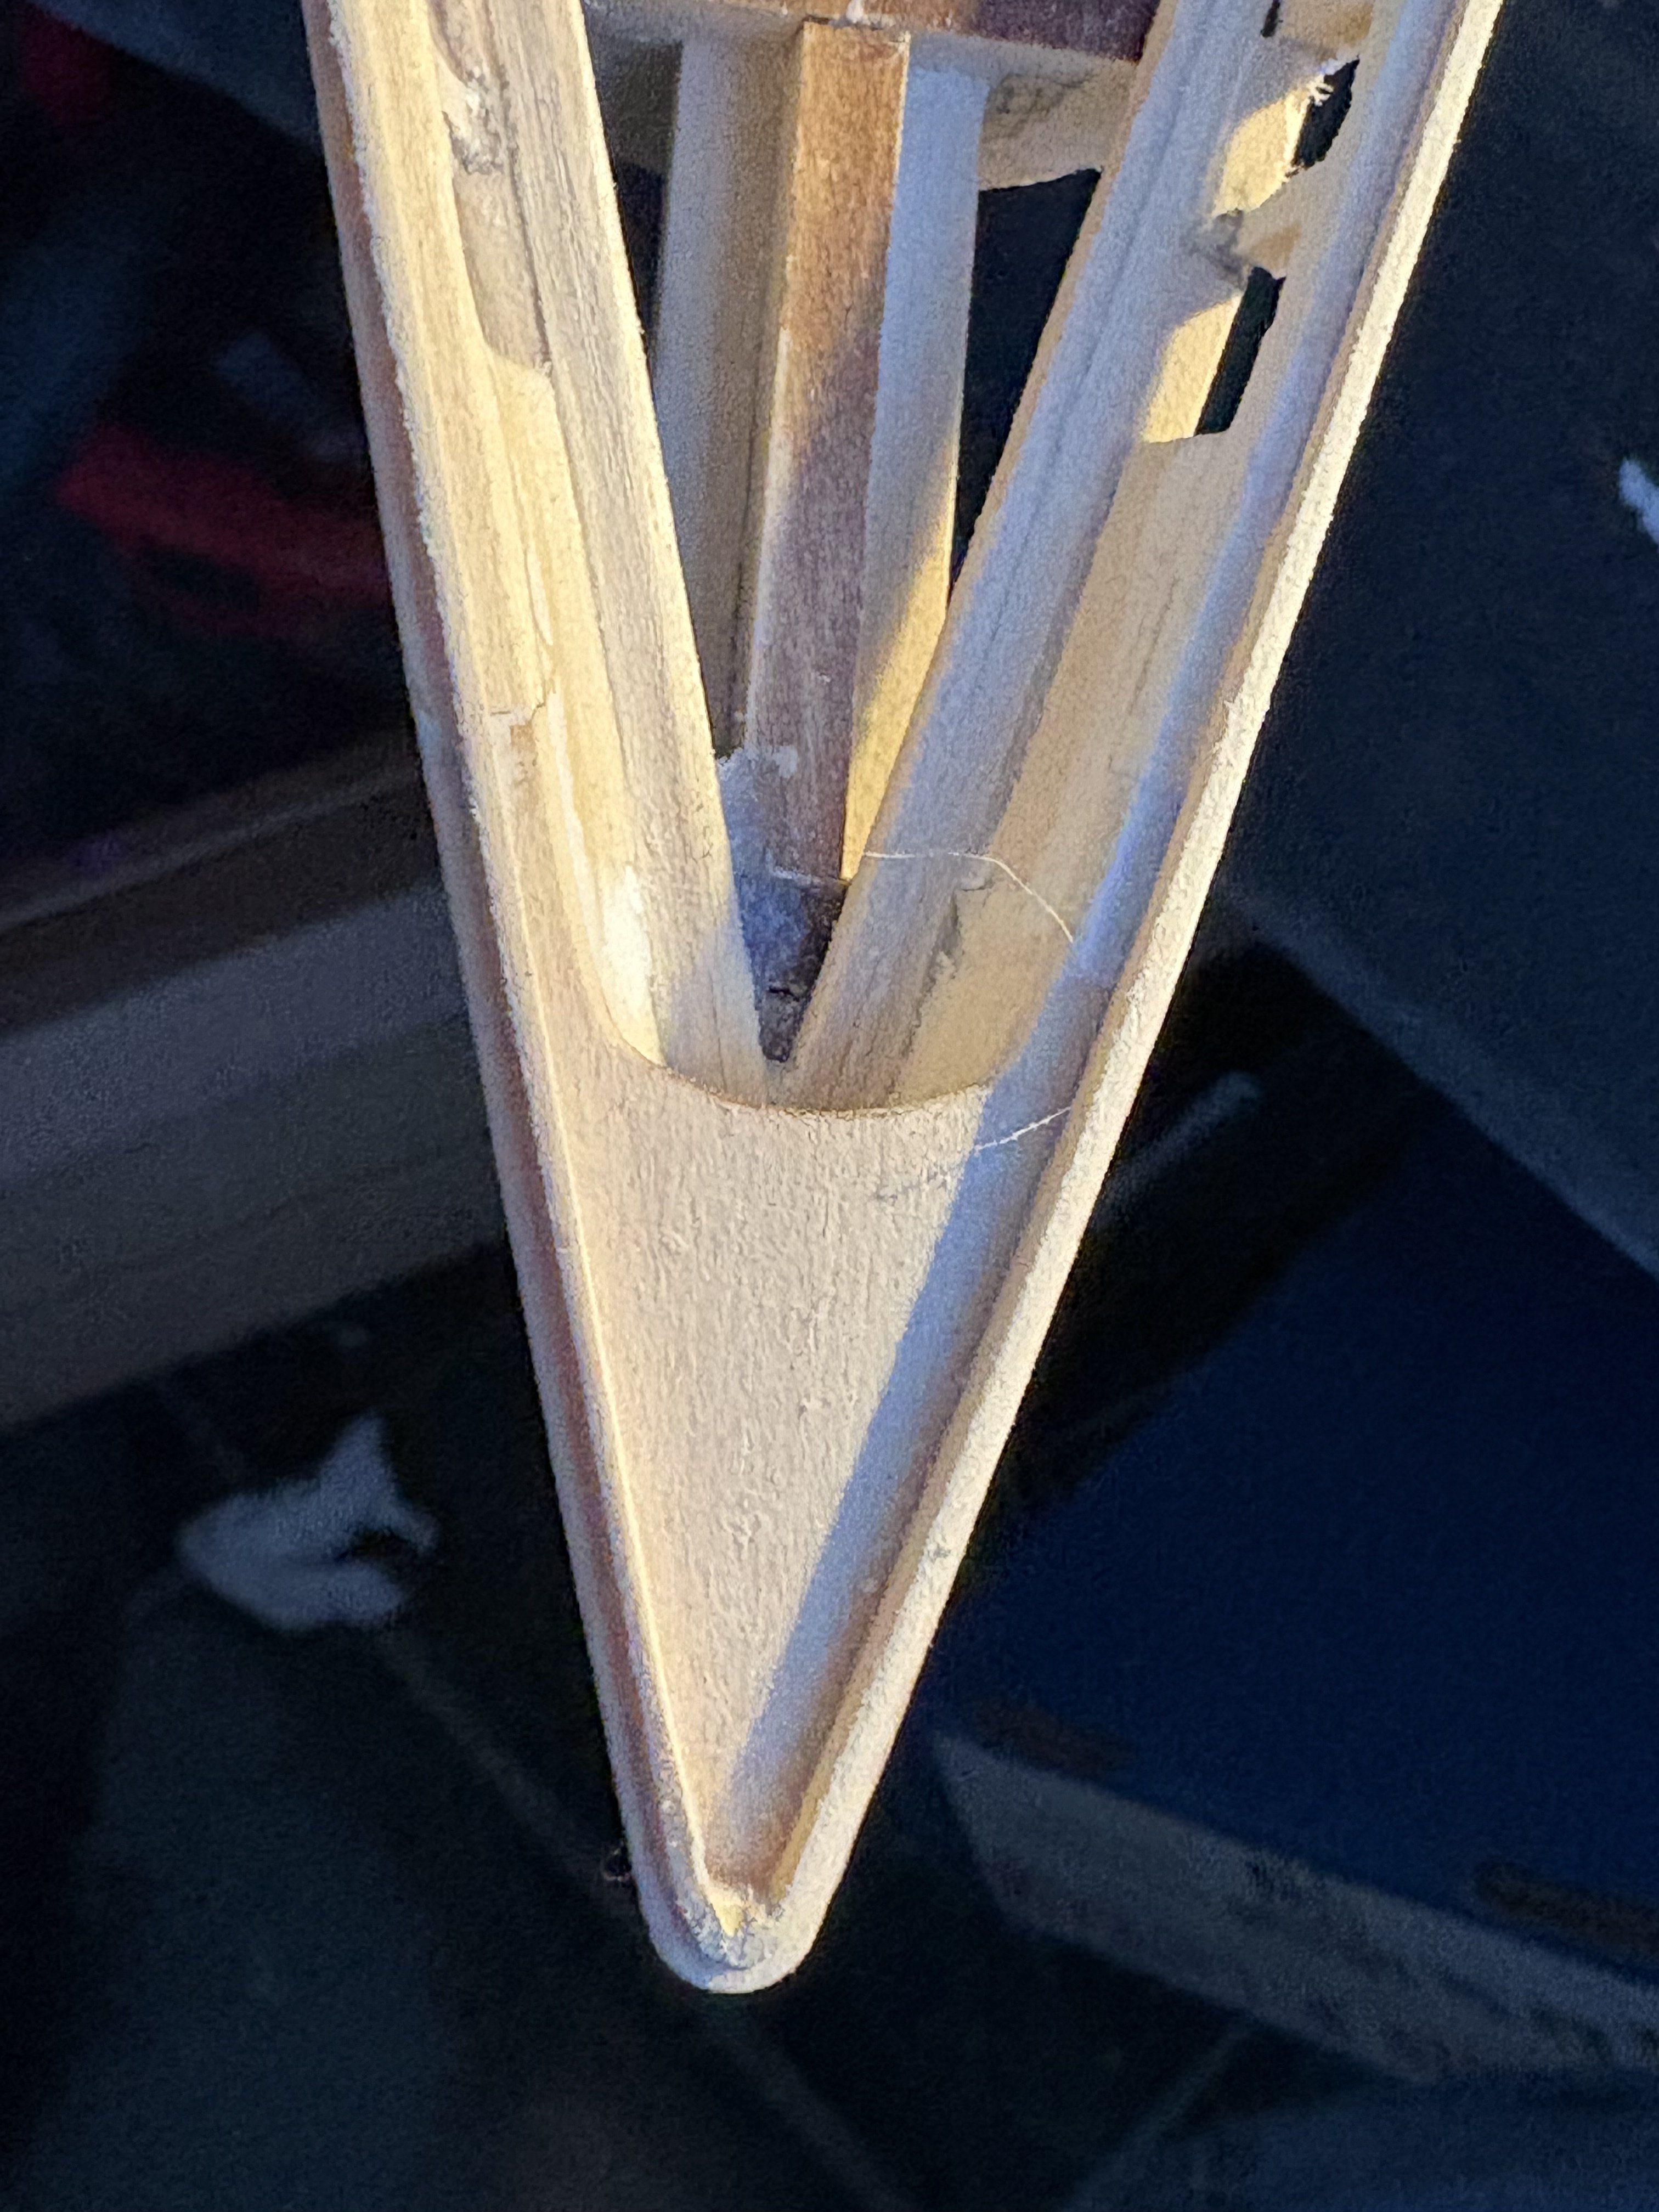
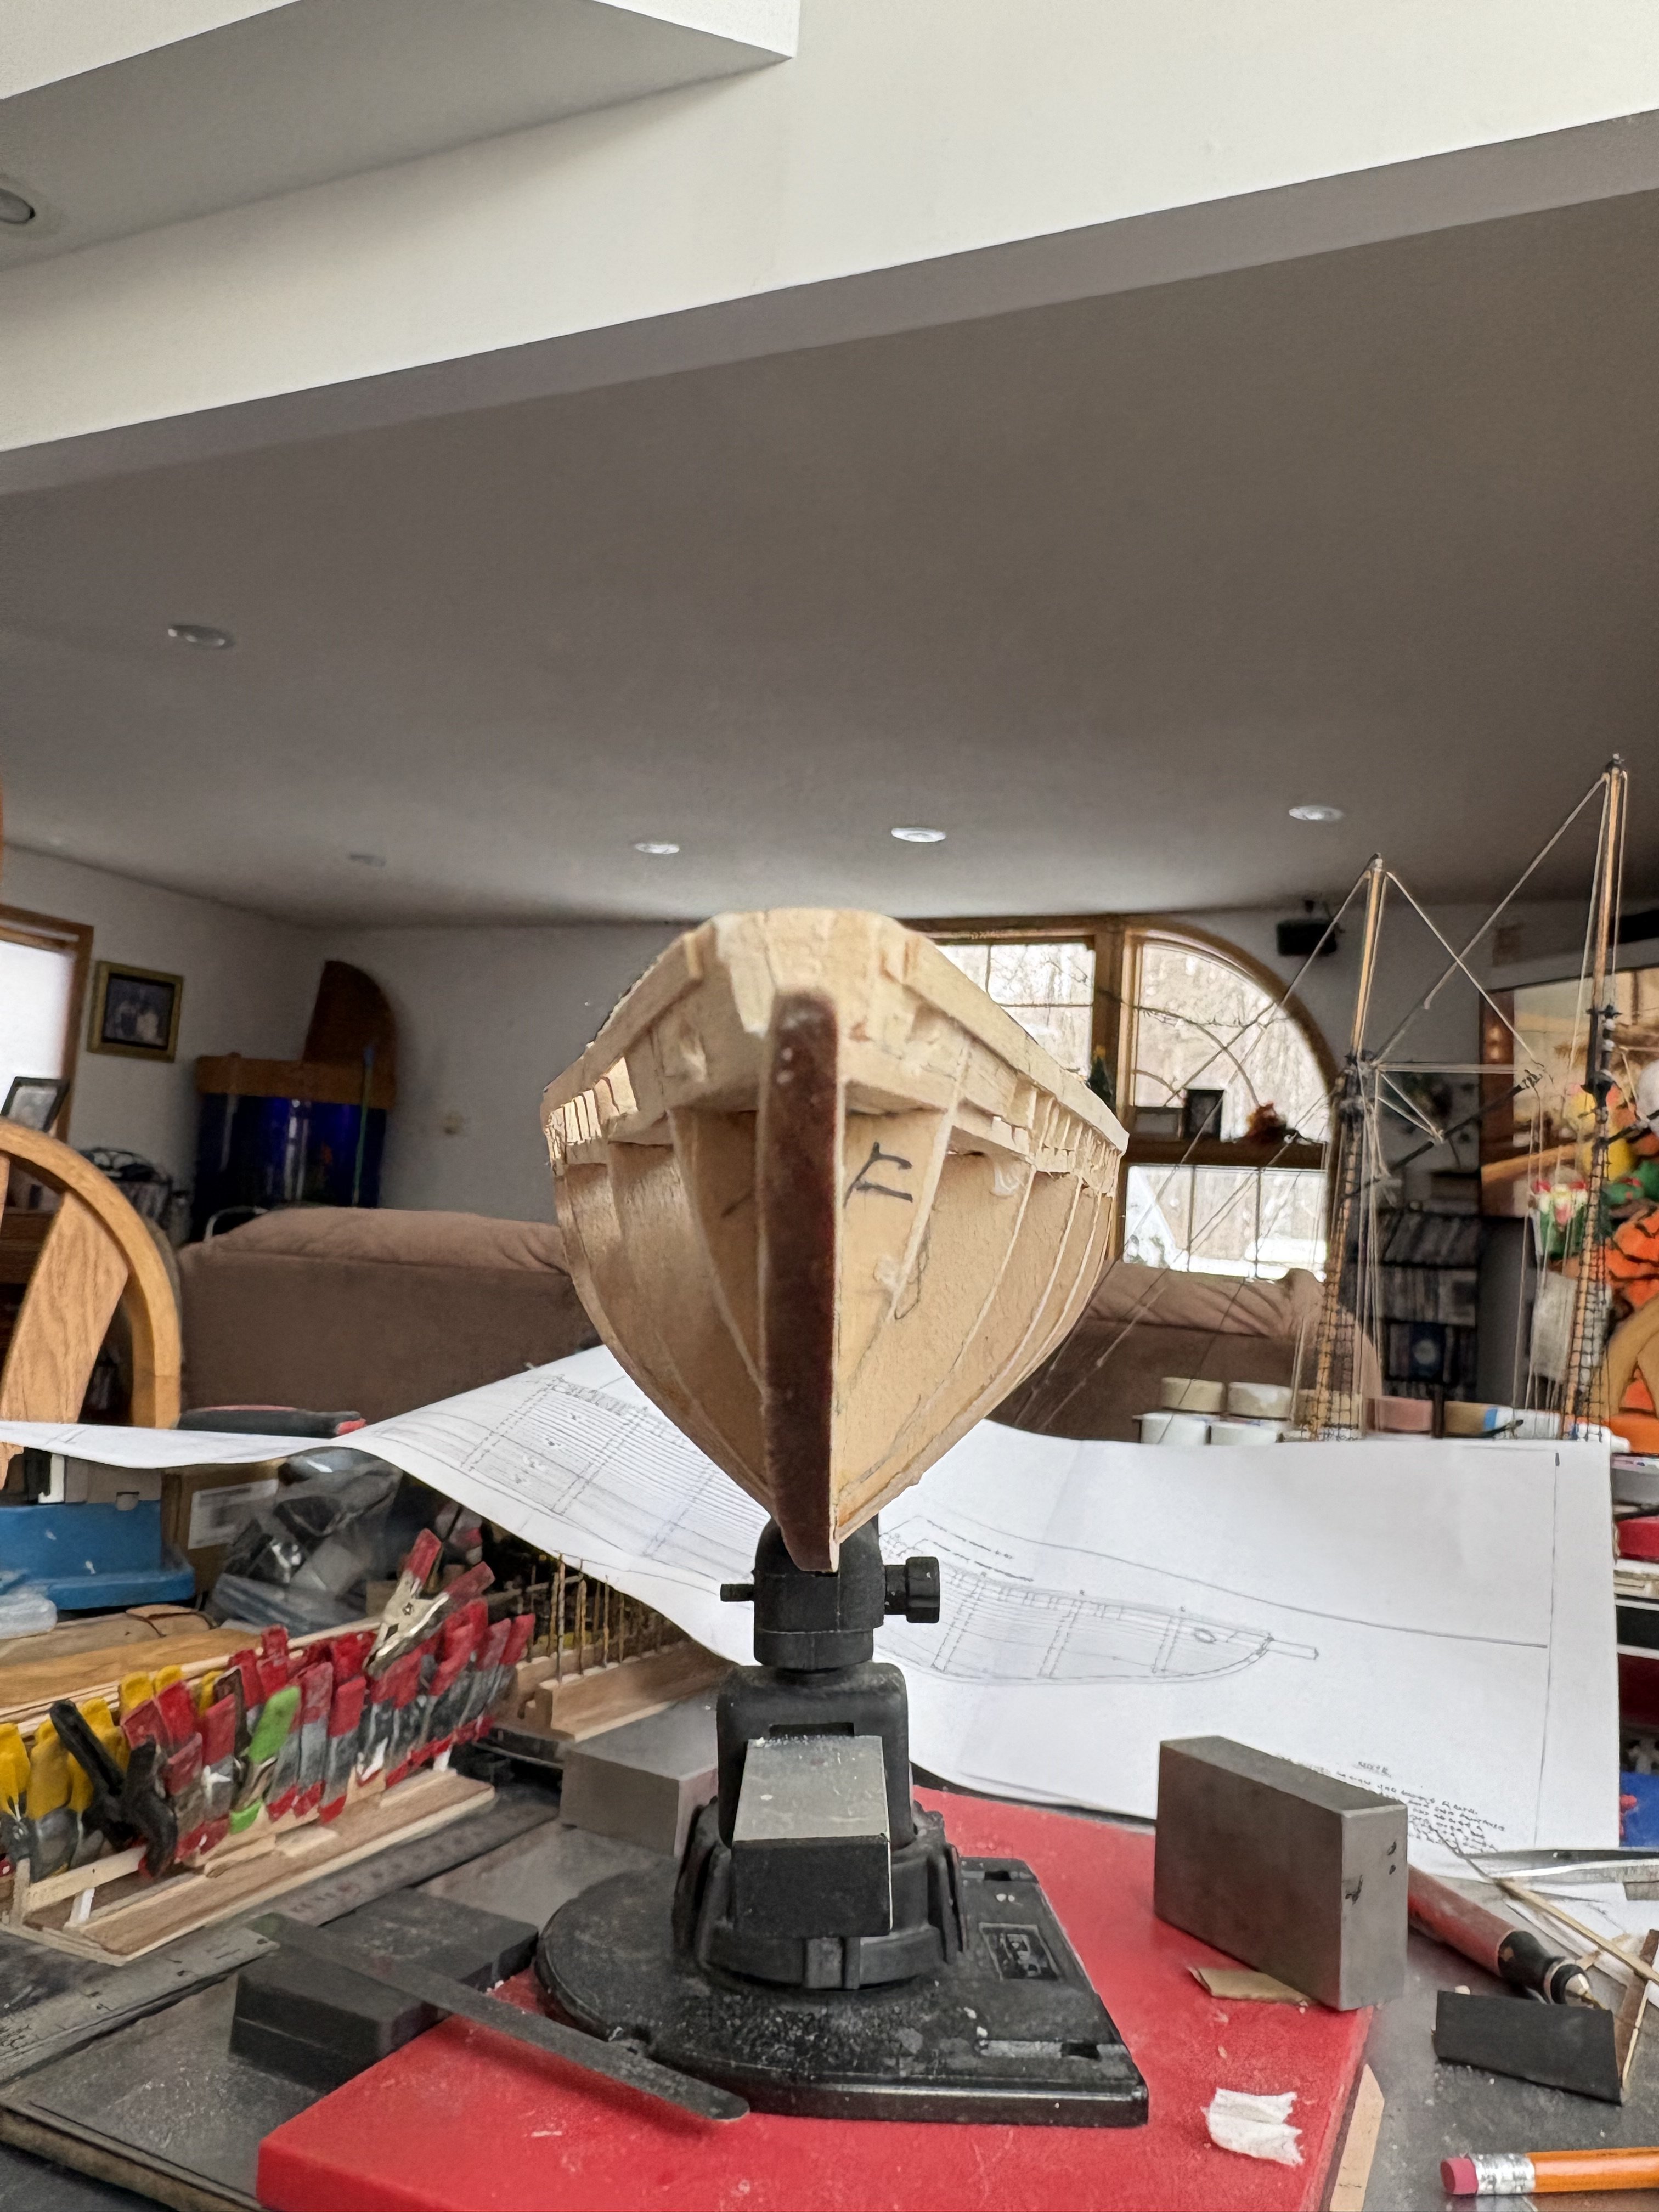
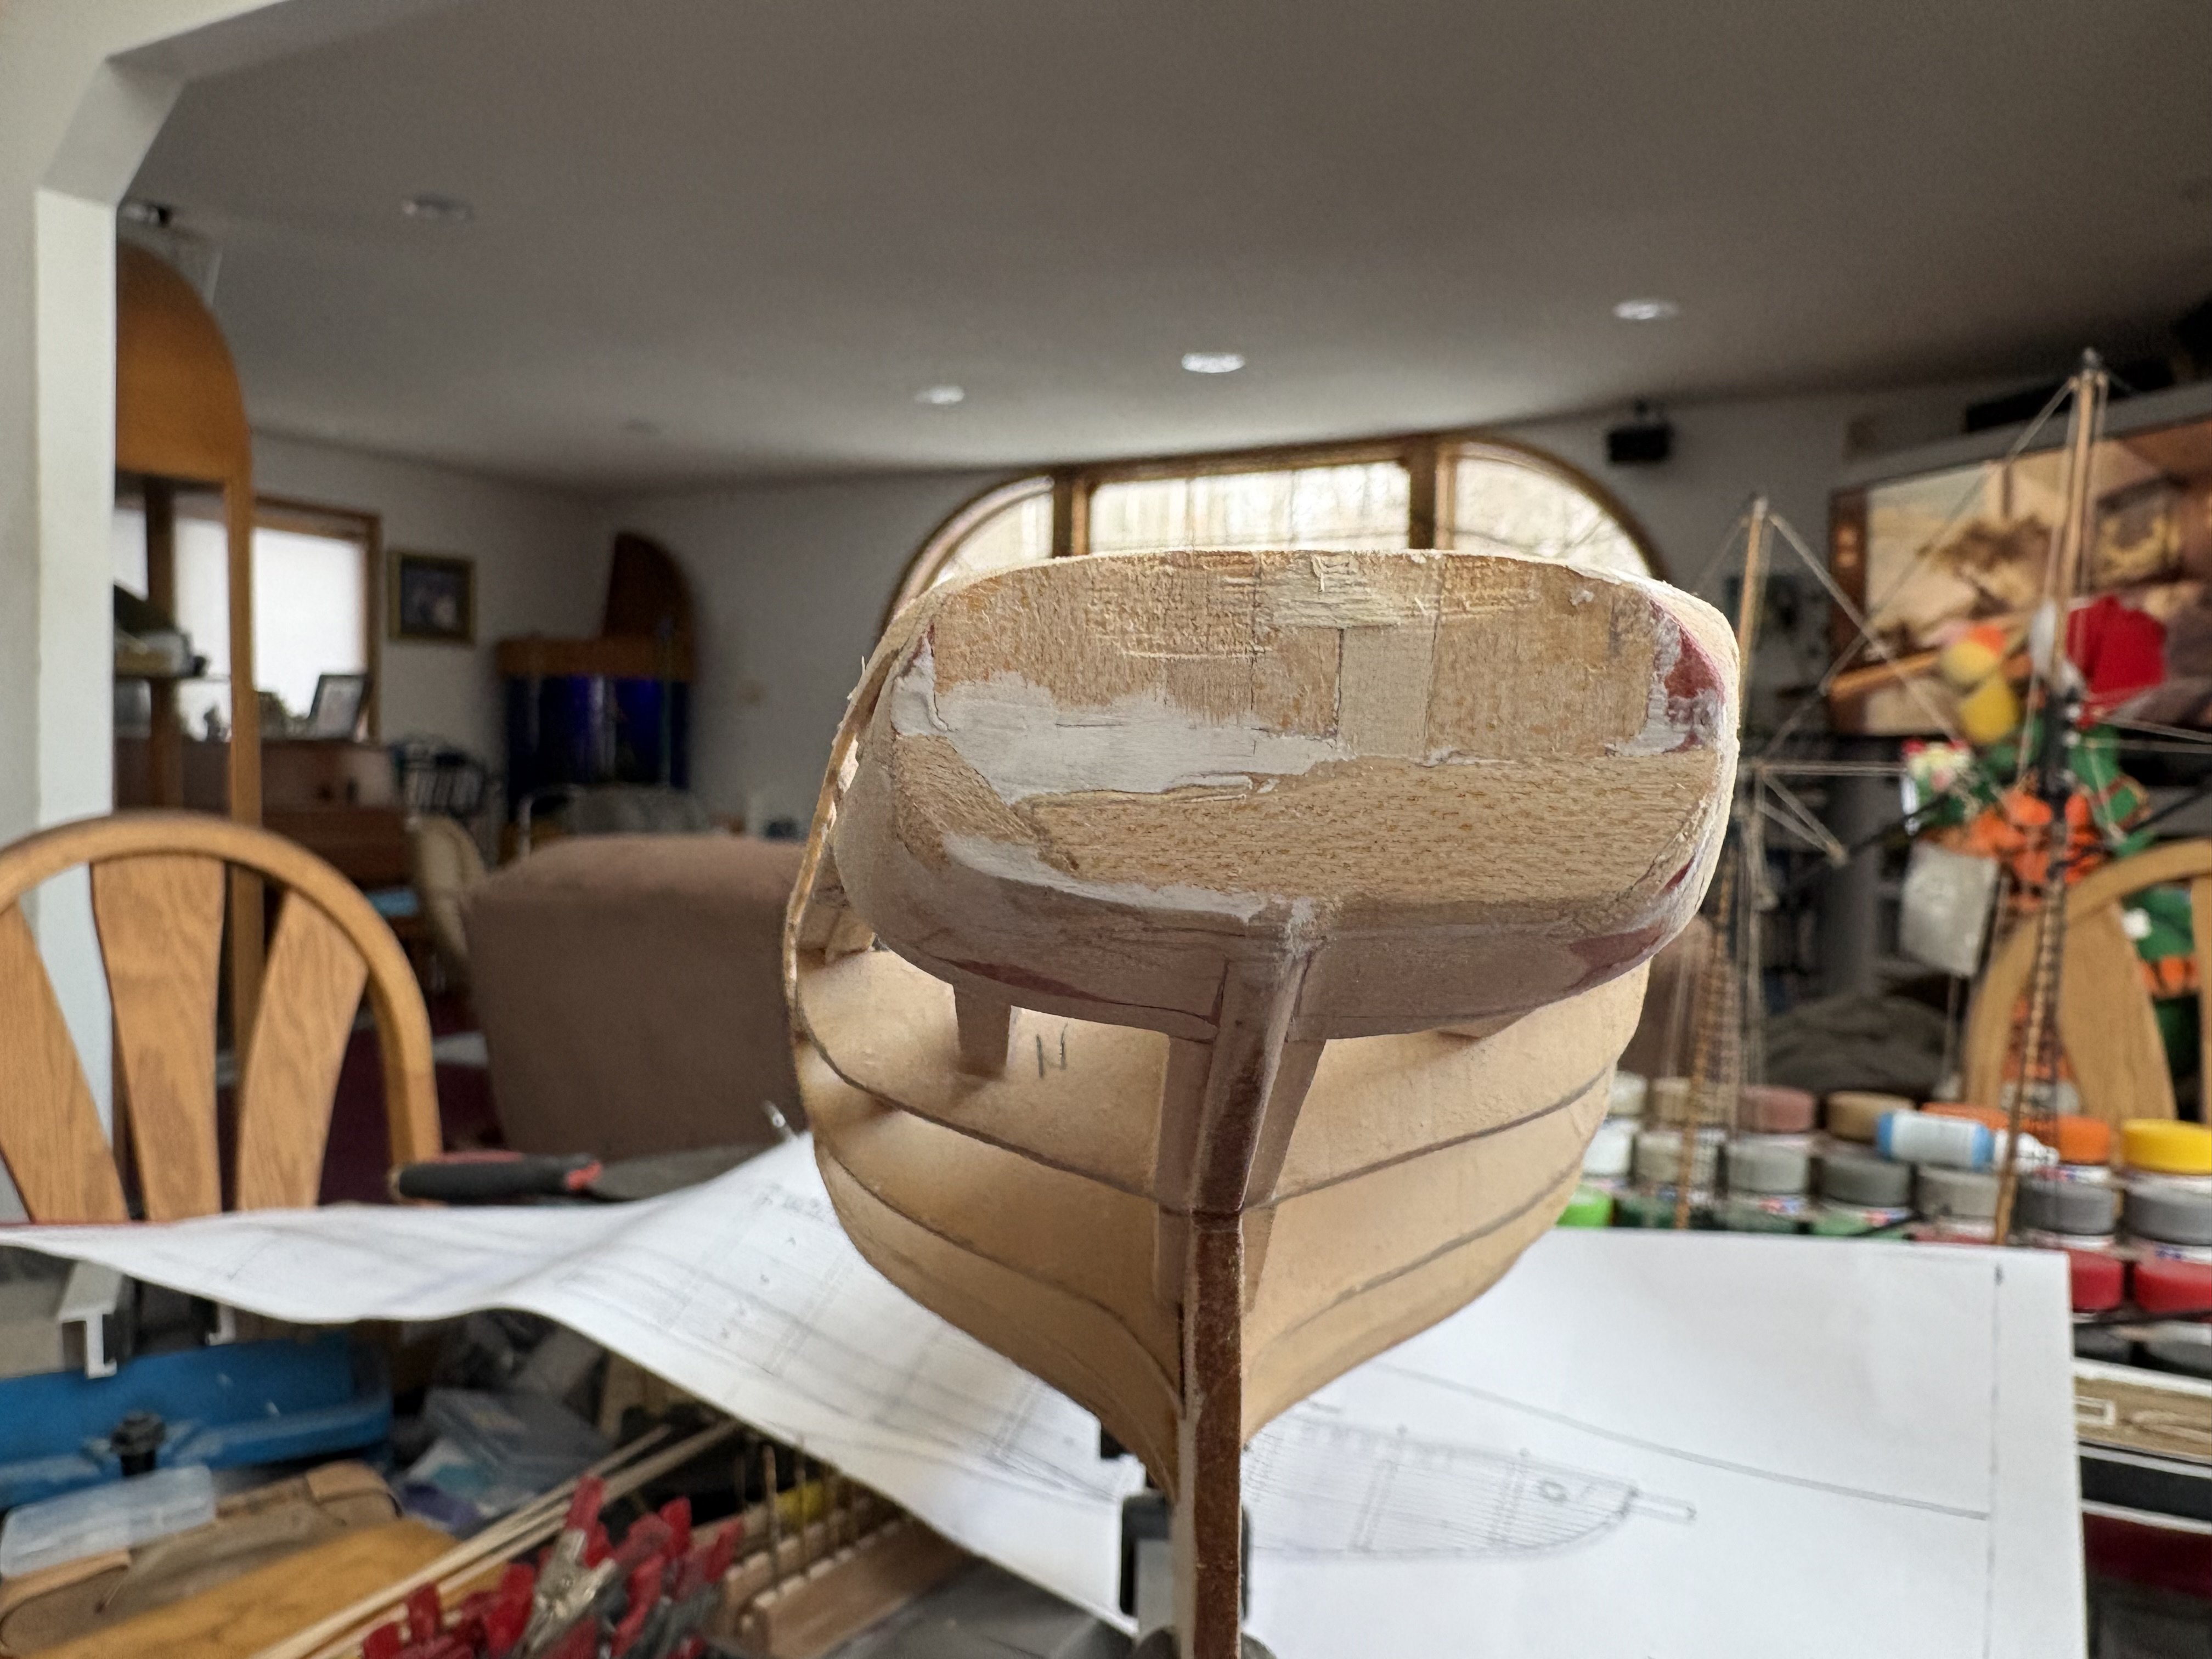
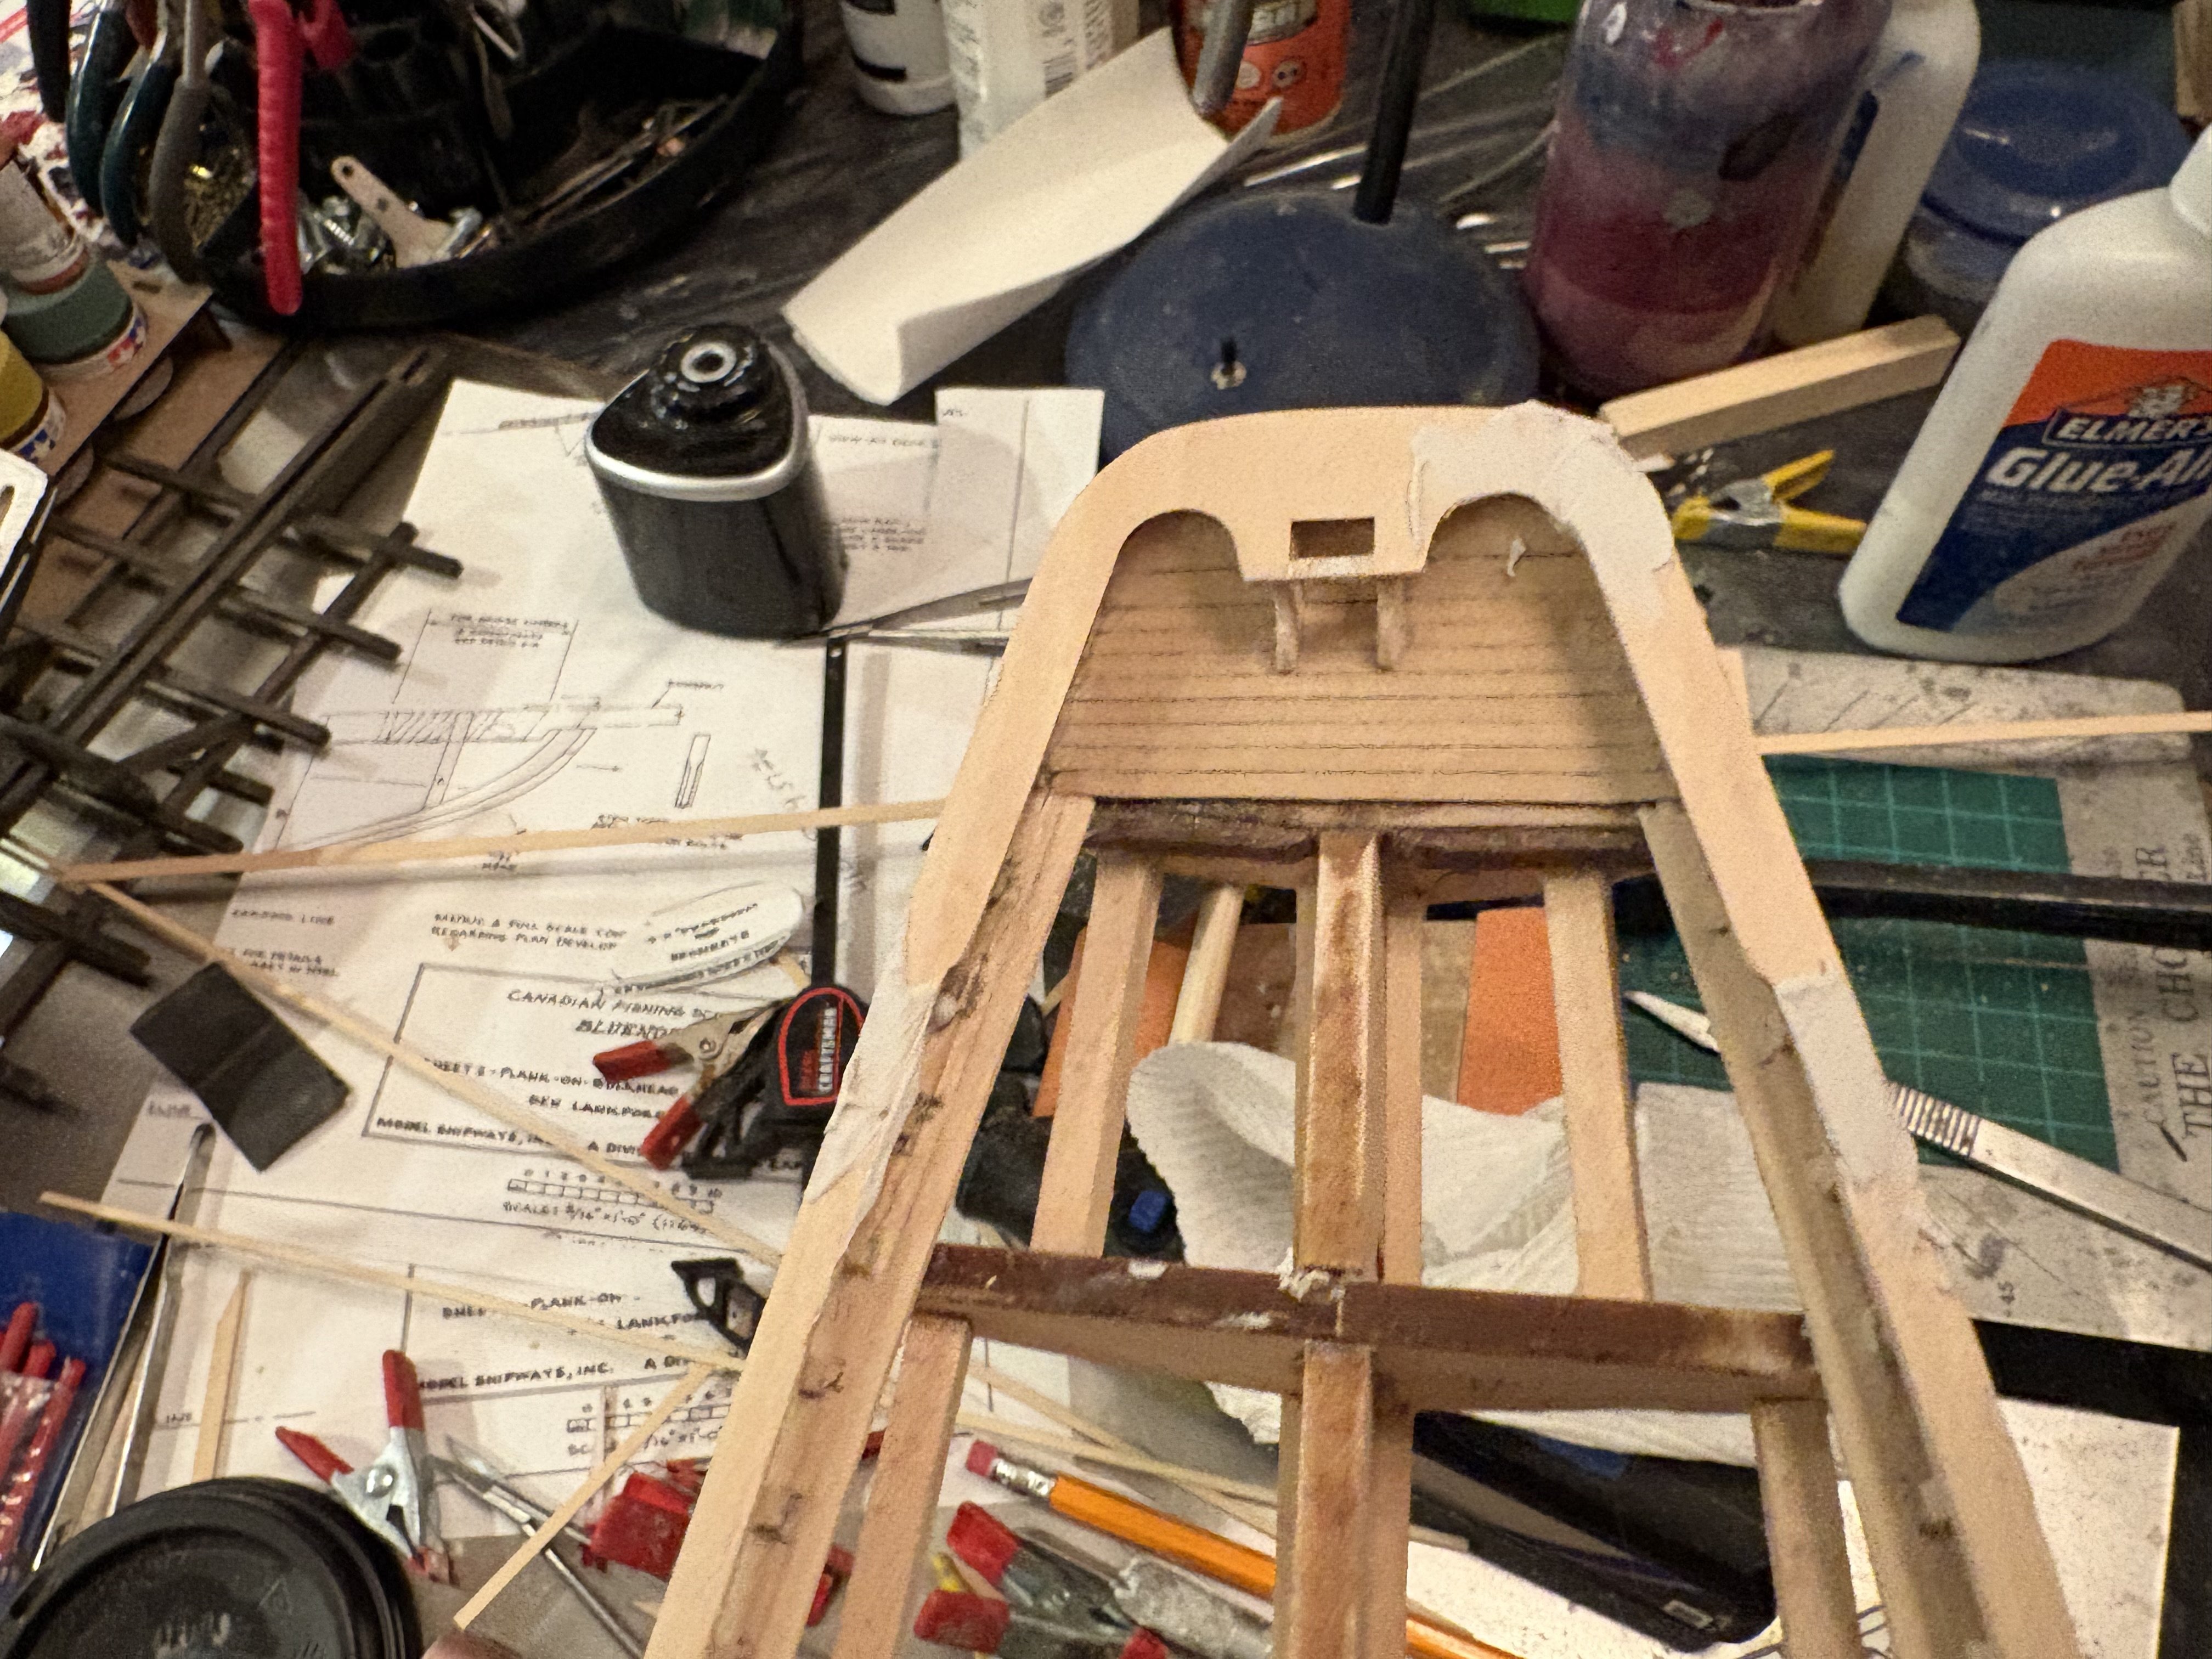
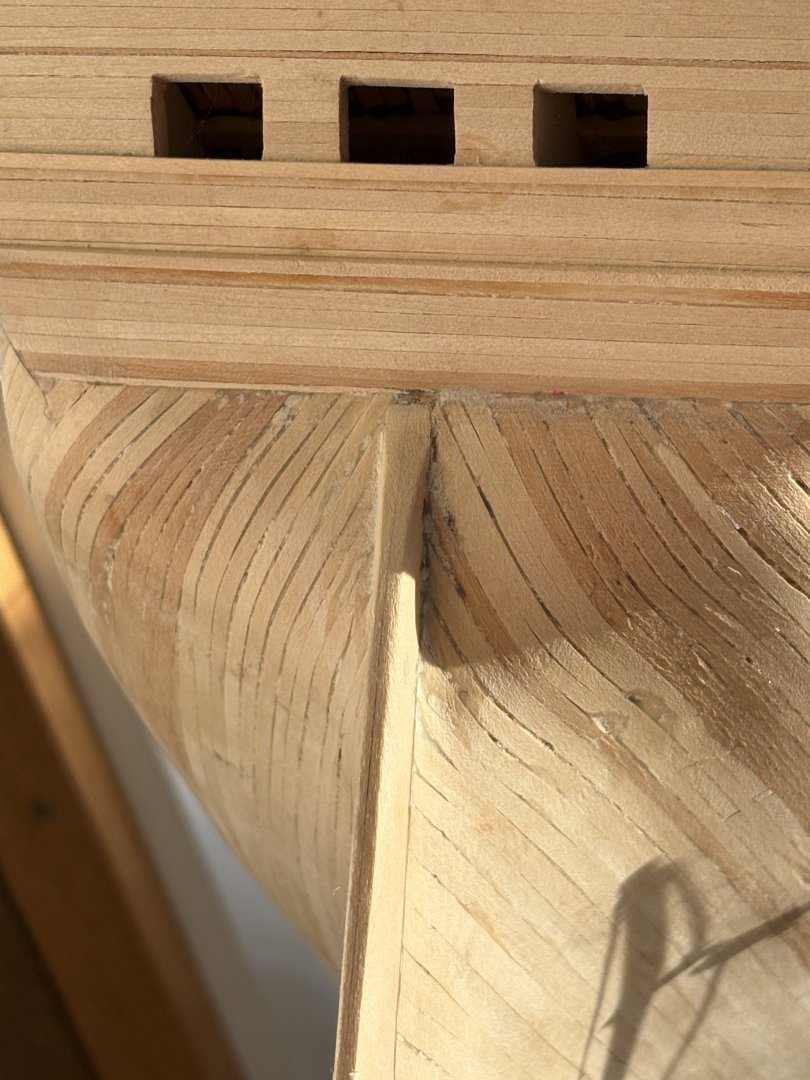
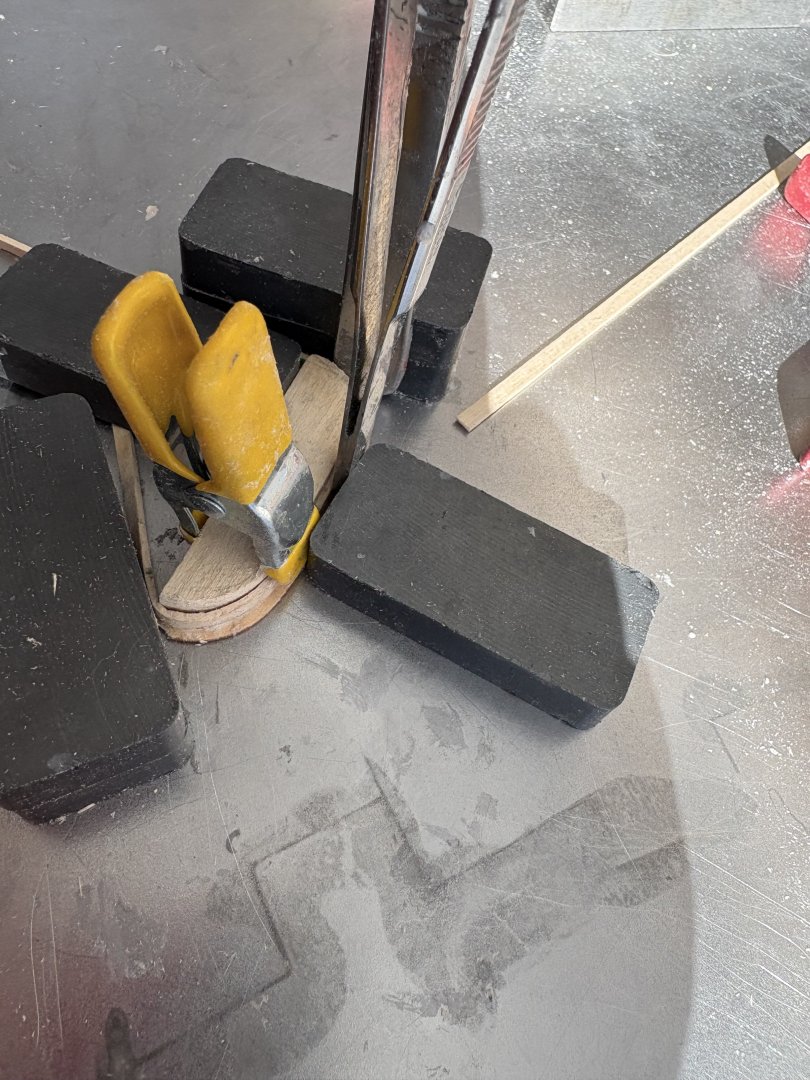
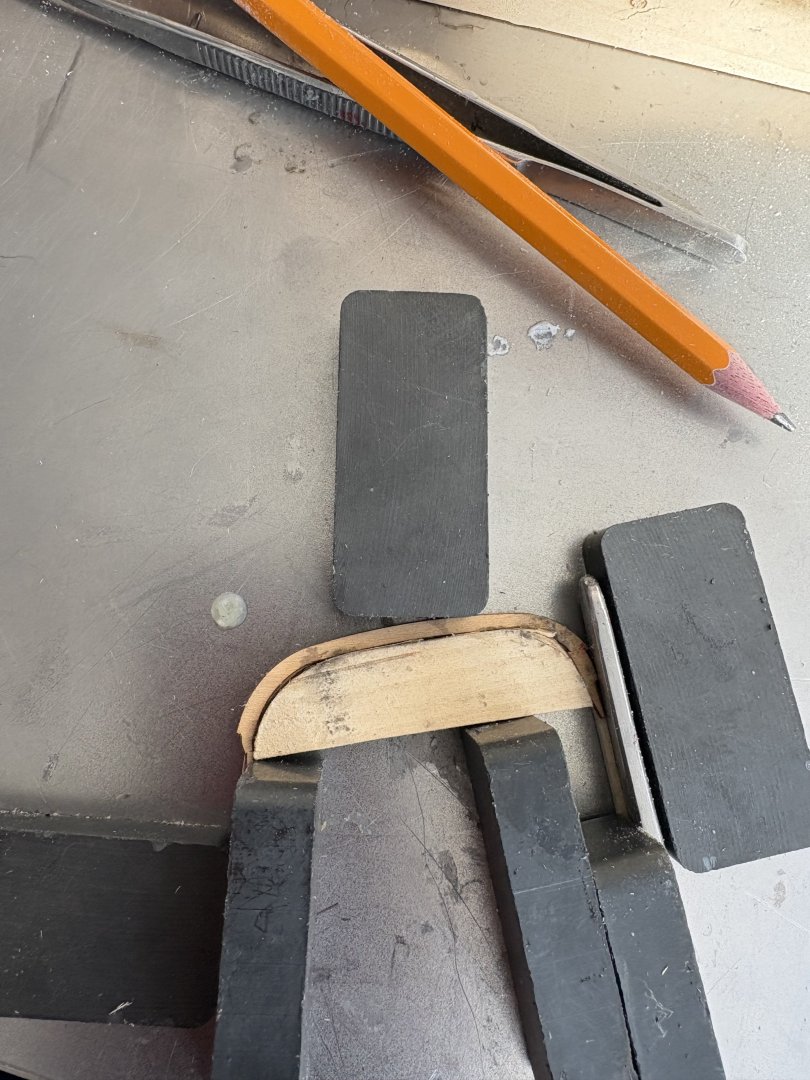
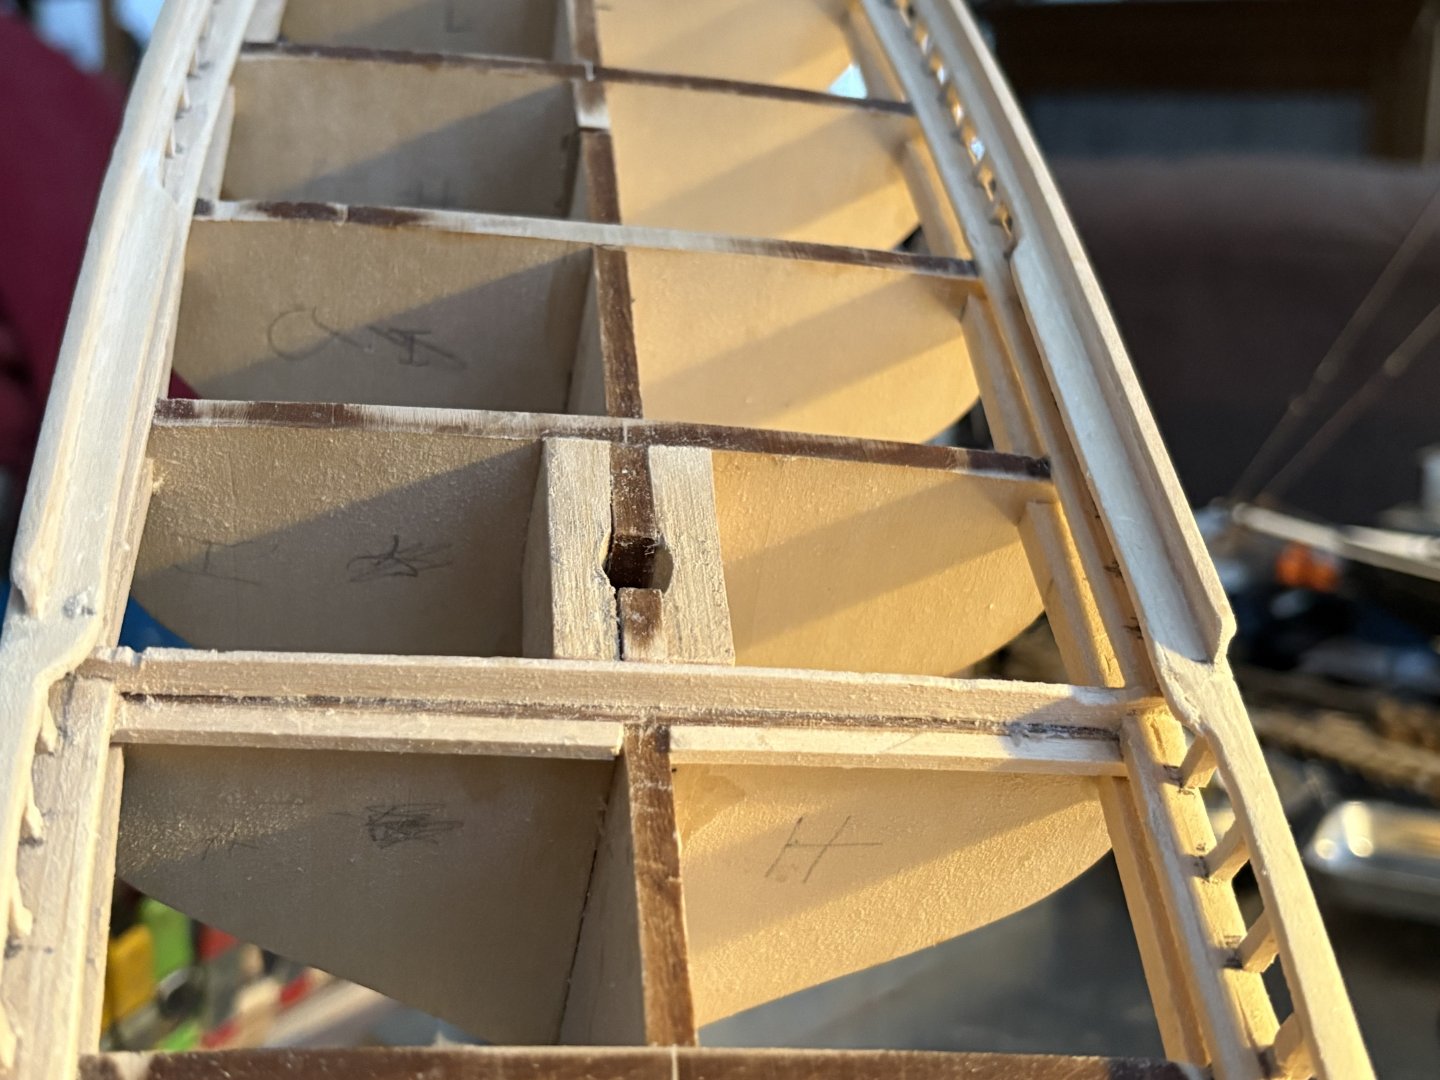
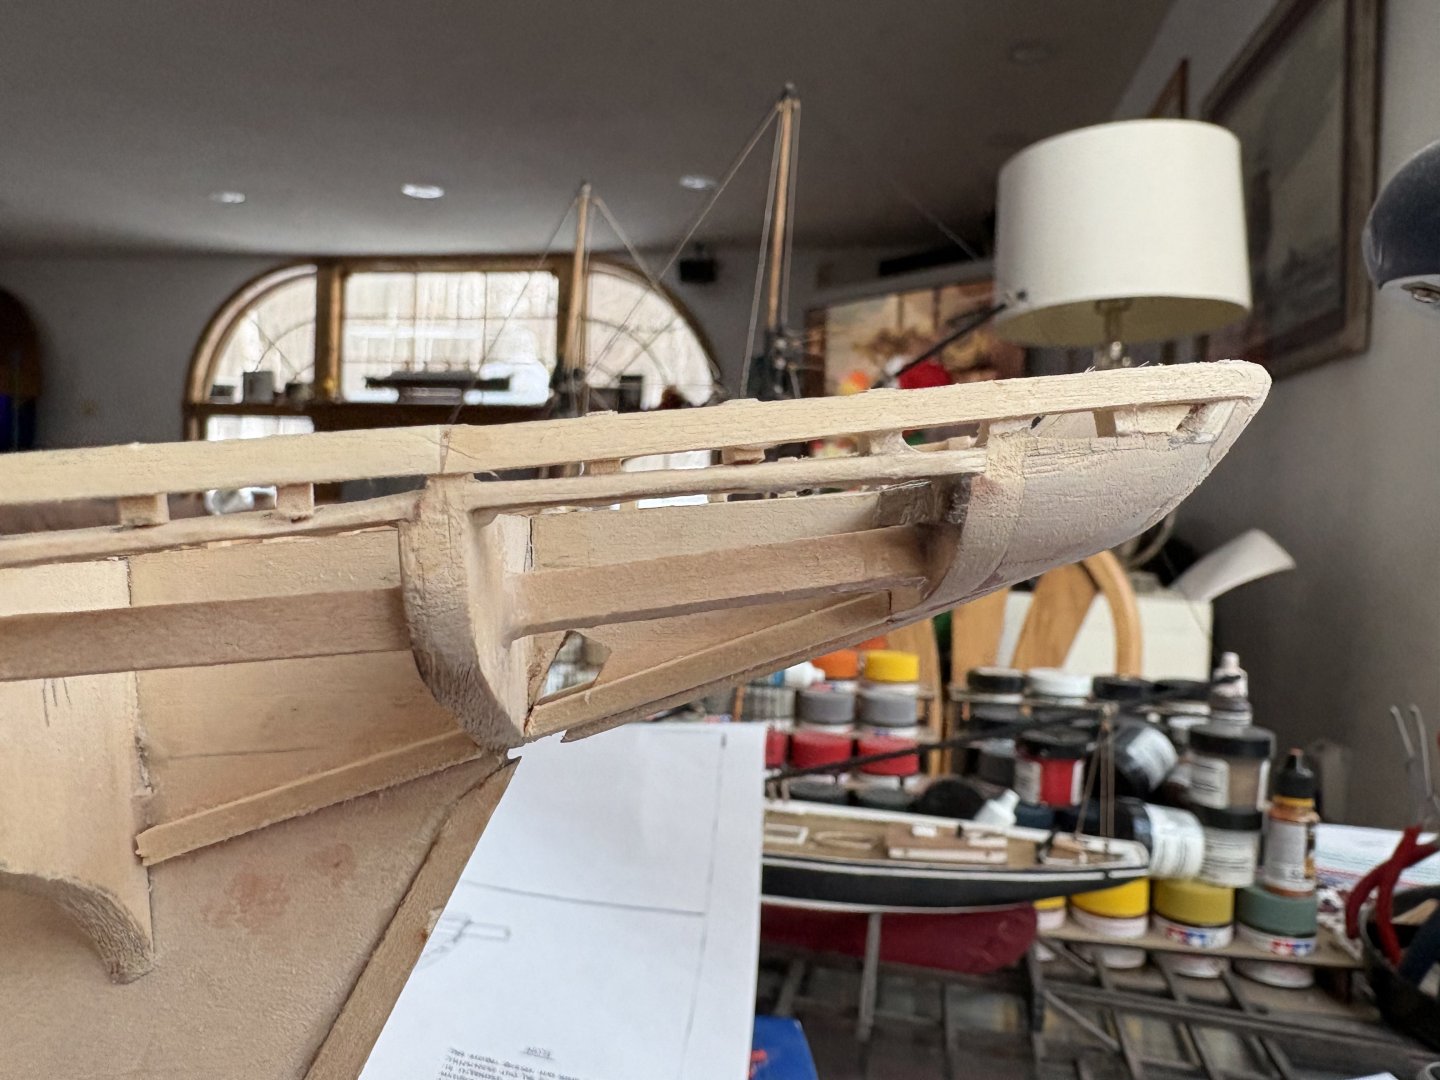
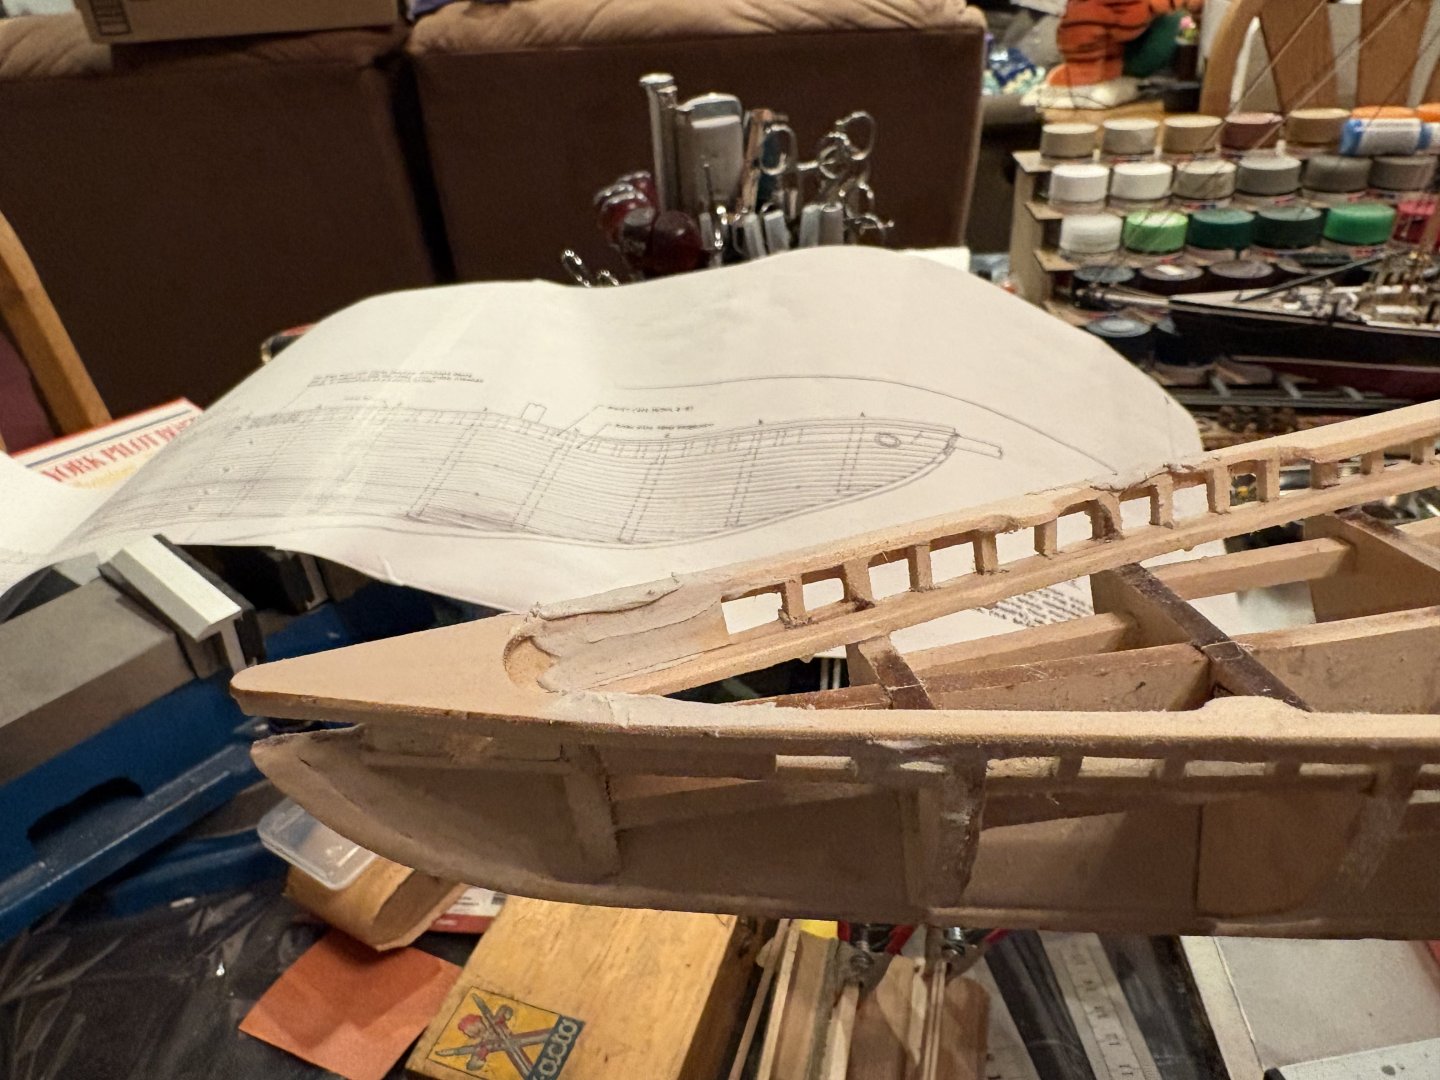
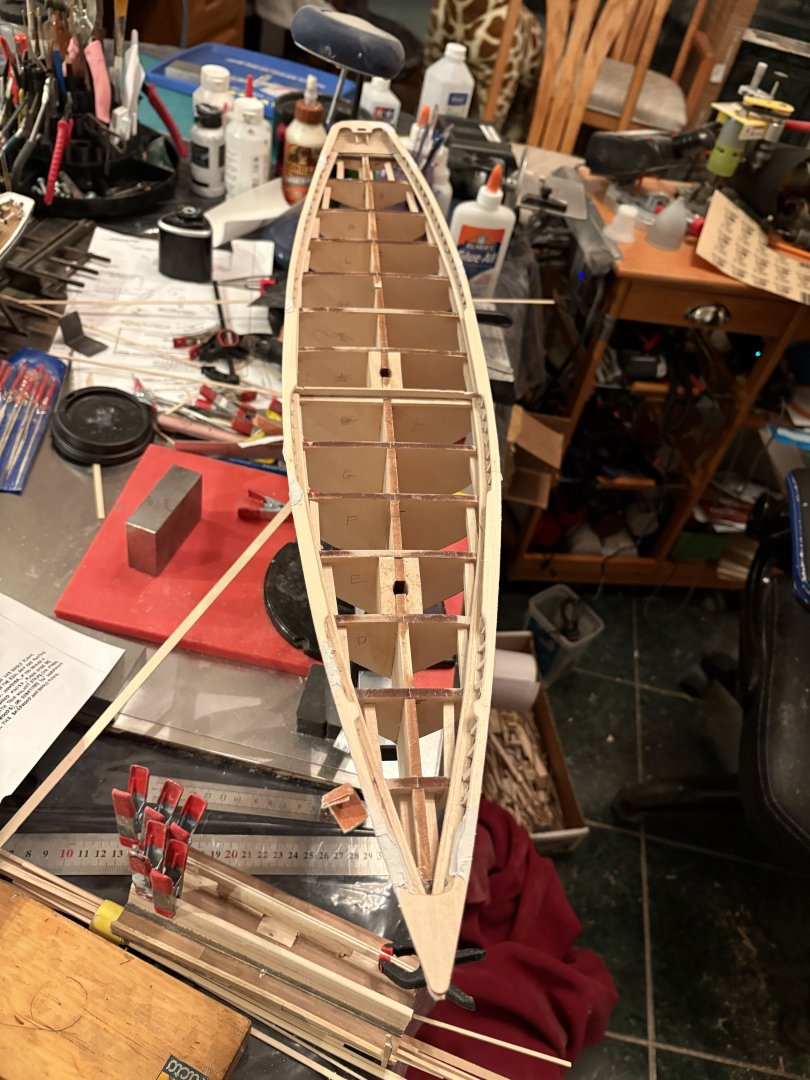
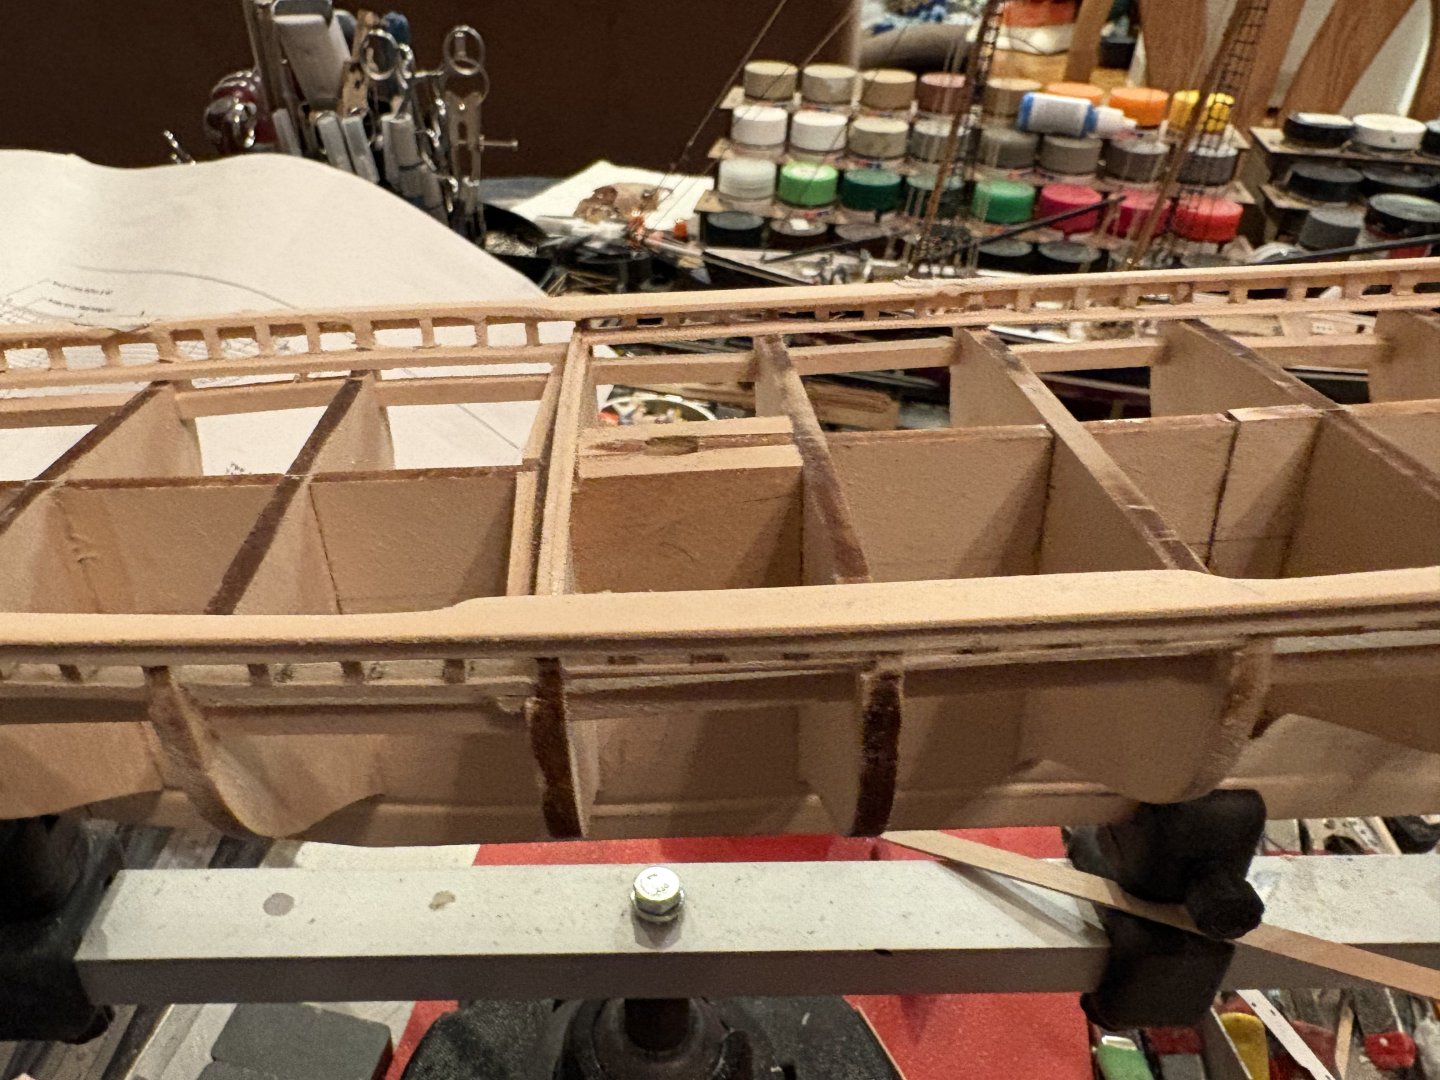
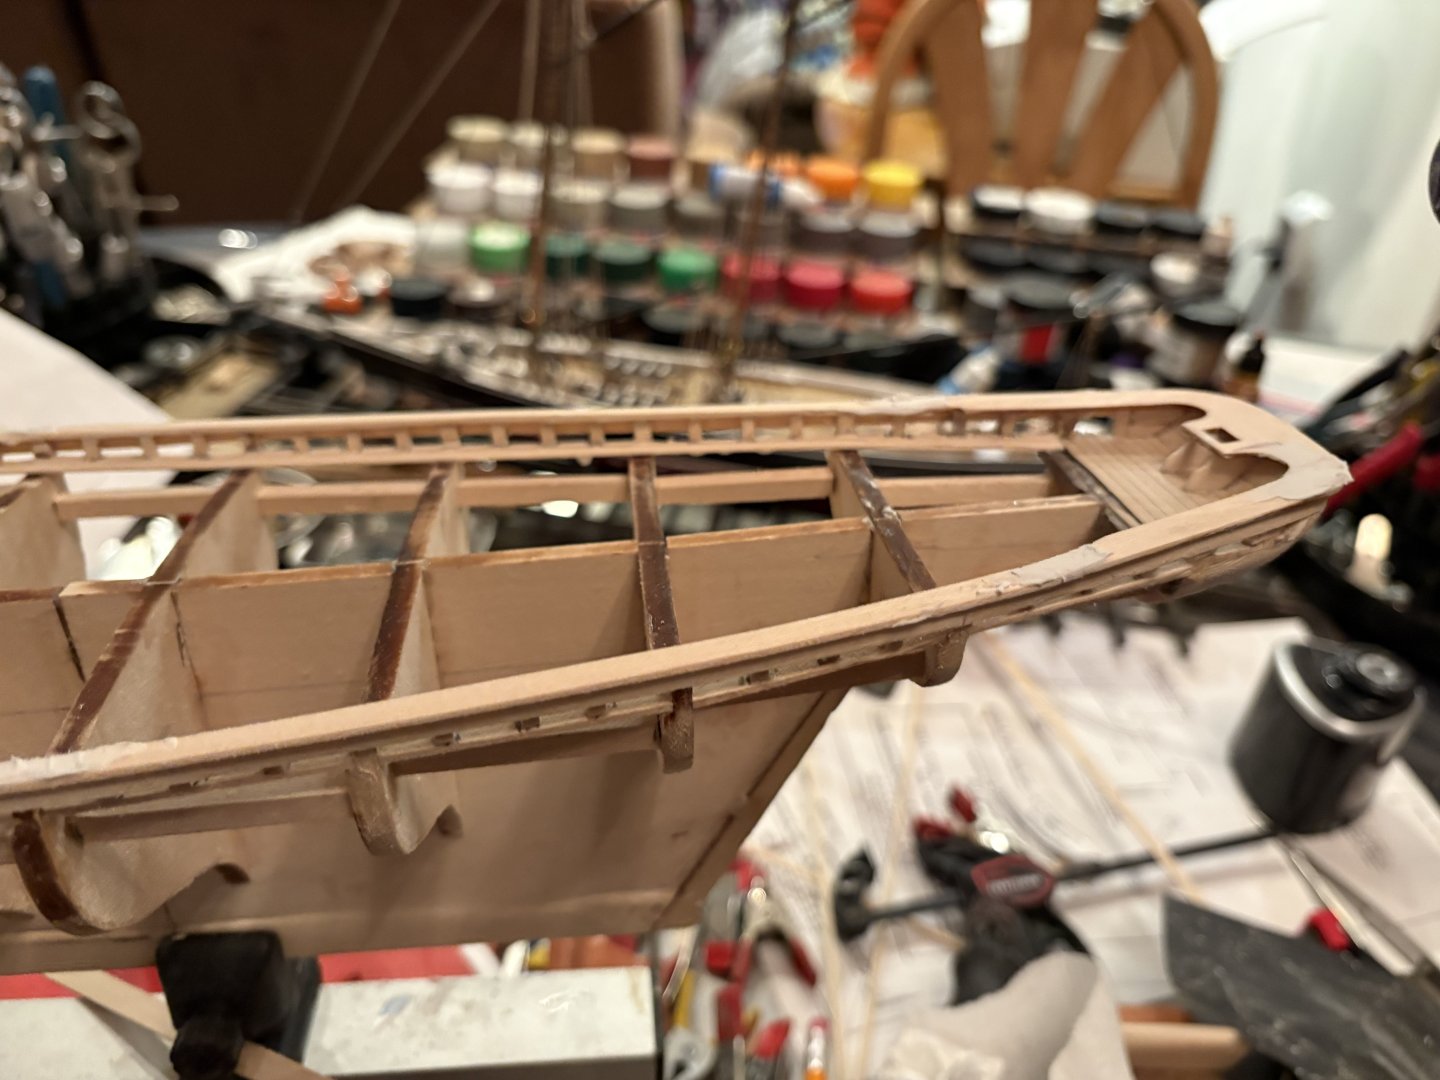
Today I finished the Monkey Rail in the stern and the Buffalo Rail in the bow. To make the Monkey Rail in the stern I fashioned a mold out of basswood that the laser cut stern rail would fit around then steam bent and cemented the plank to it holding it against the mold until the cement dried. Working on the steel plate surface with the magnets really aided holding the steam bent plank in positions that I would not have been capable of with regular clamps. For today everything went well and it was a rewarding day!!!!! Tomorrow I start the very boring process of PLANKING THE HULL that I have been dreading. All the Best Admiral Rick


-
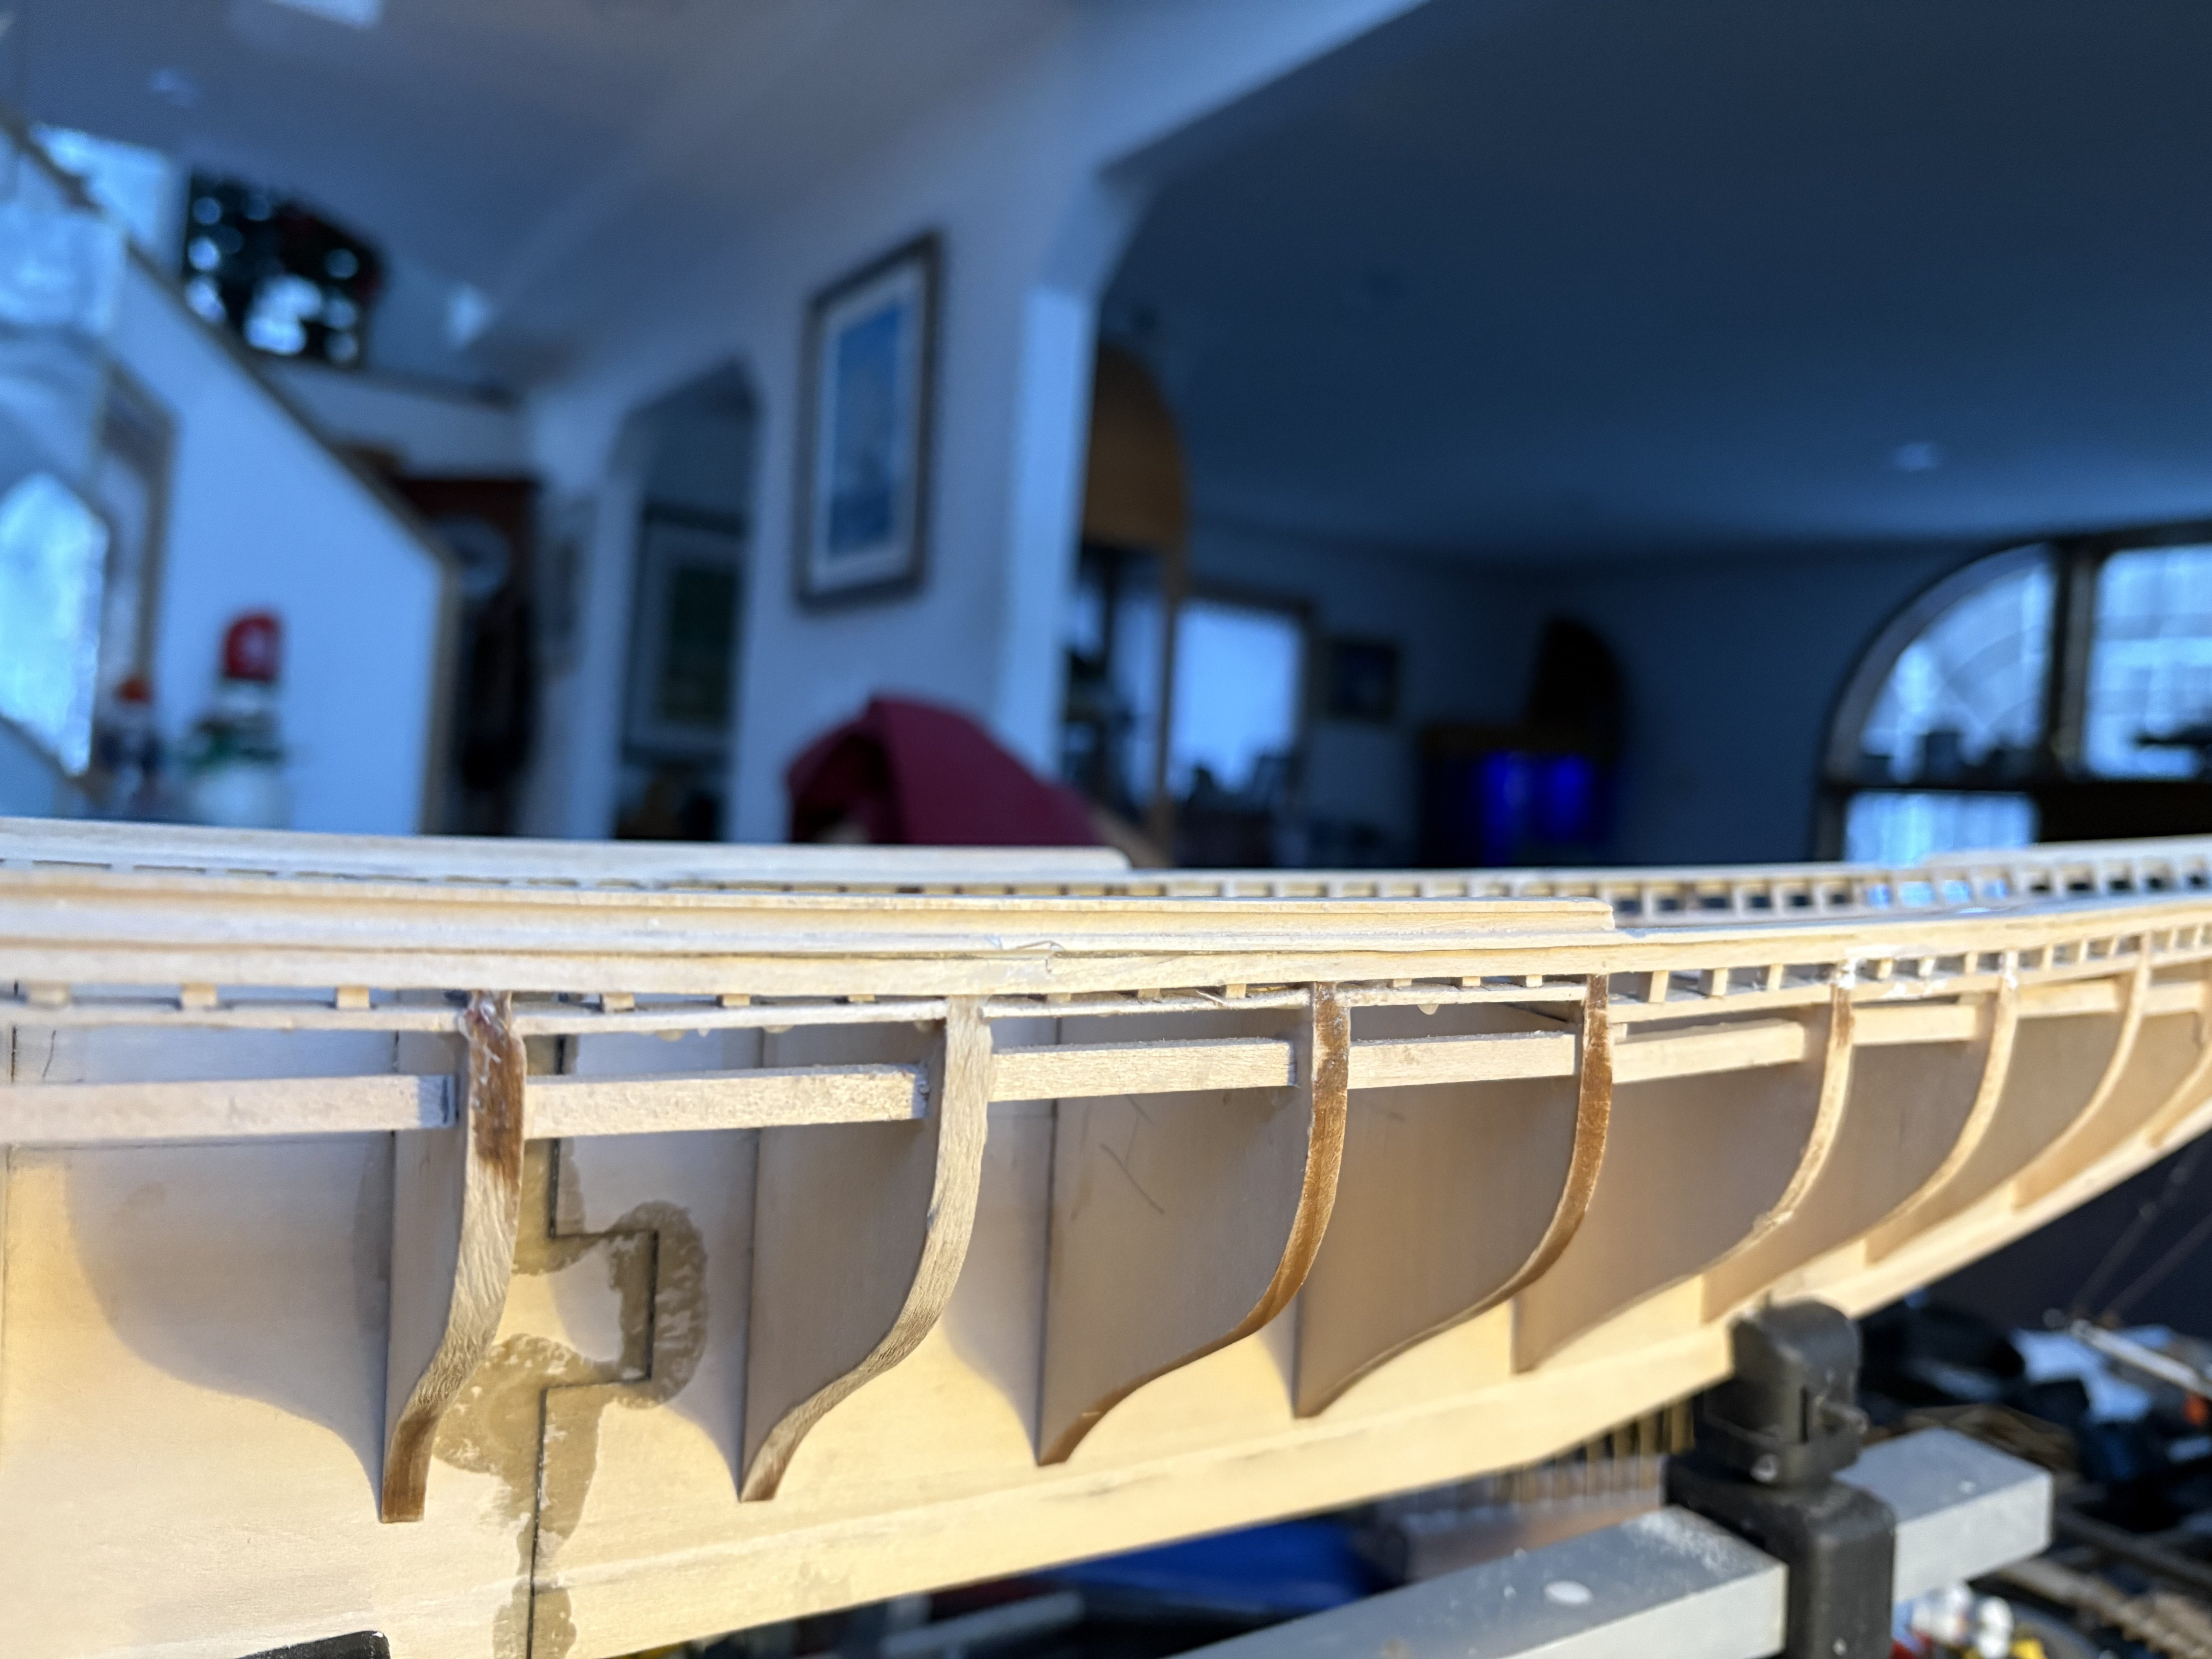
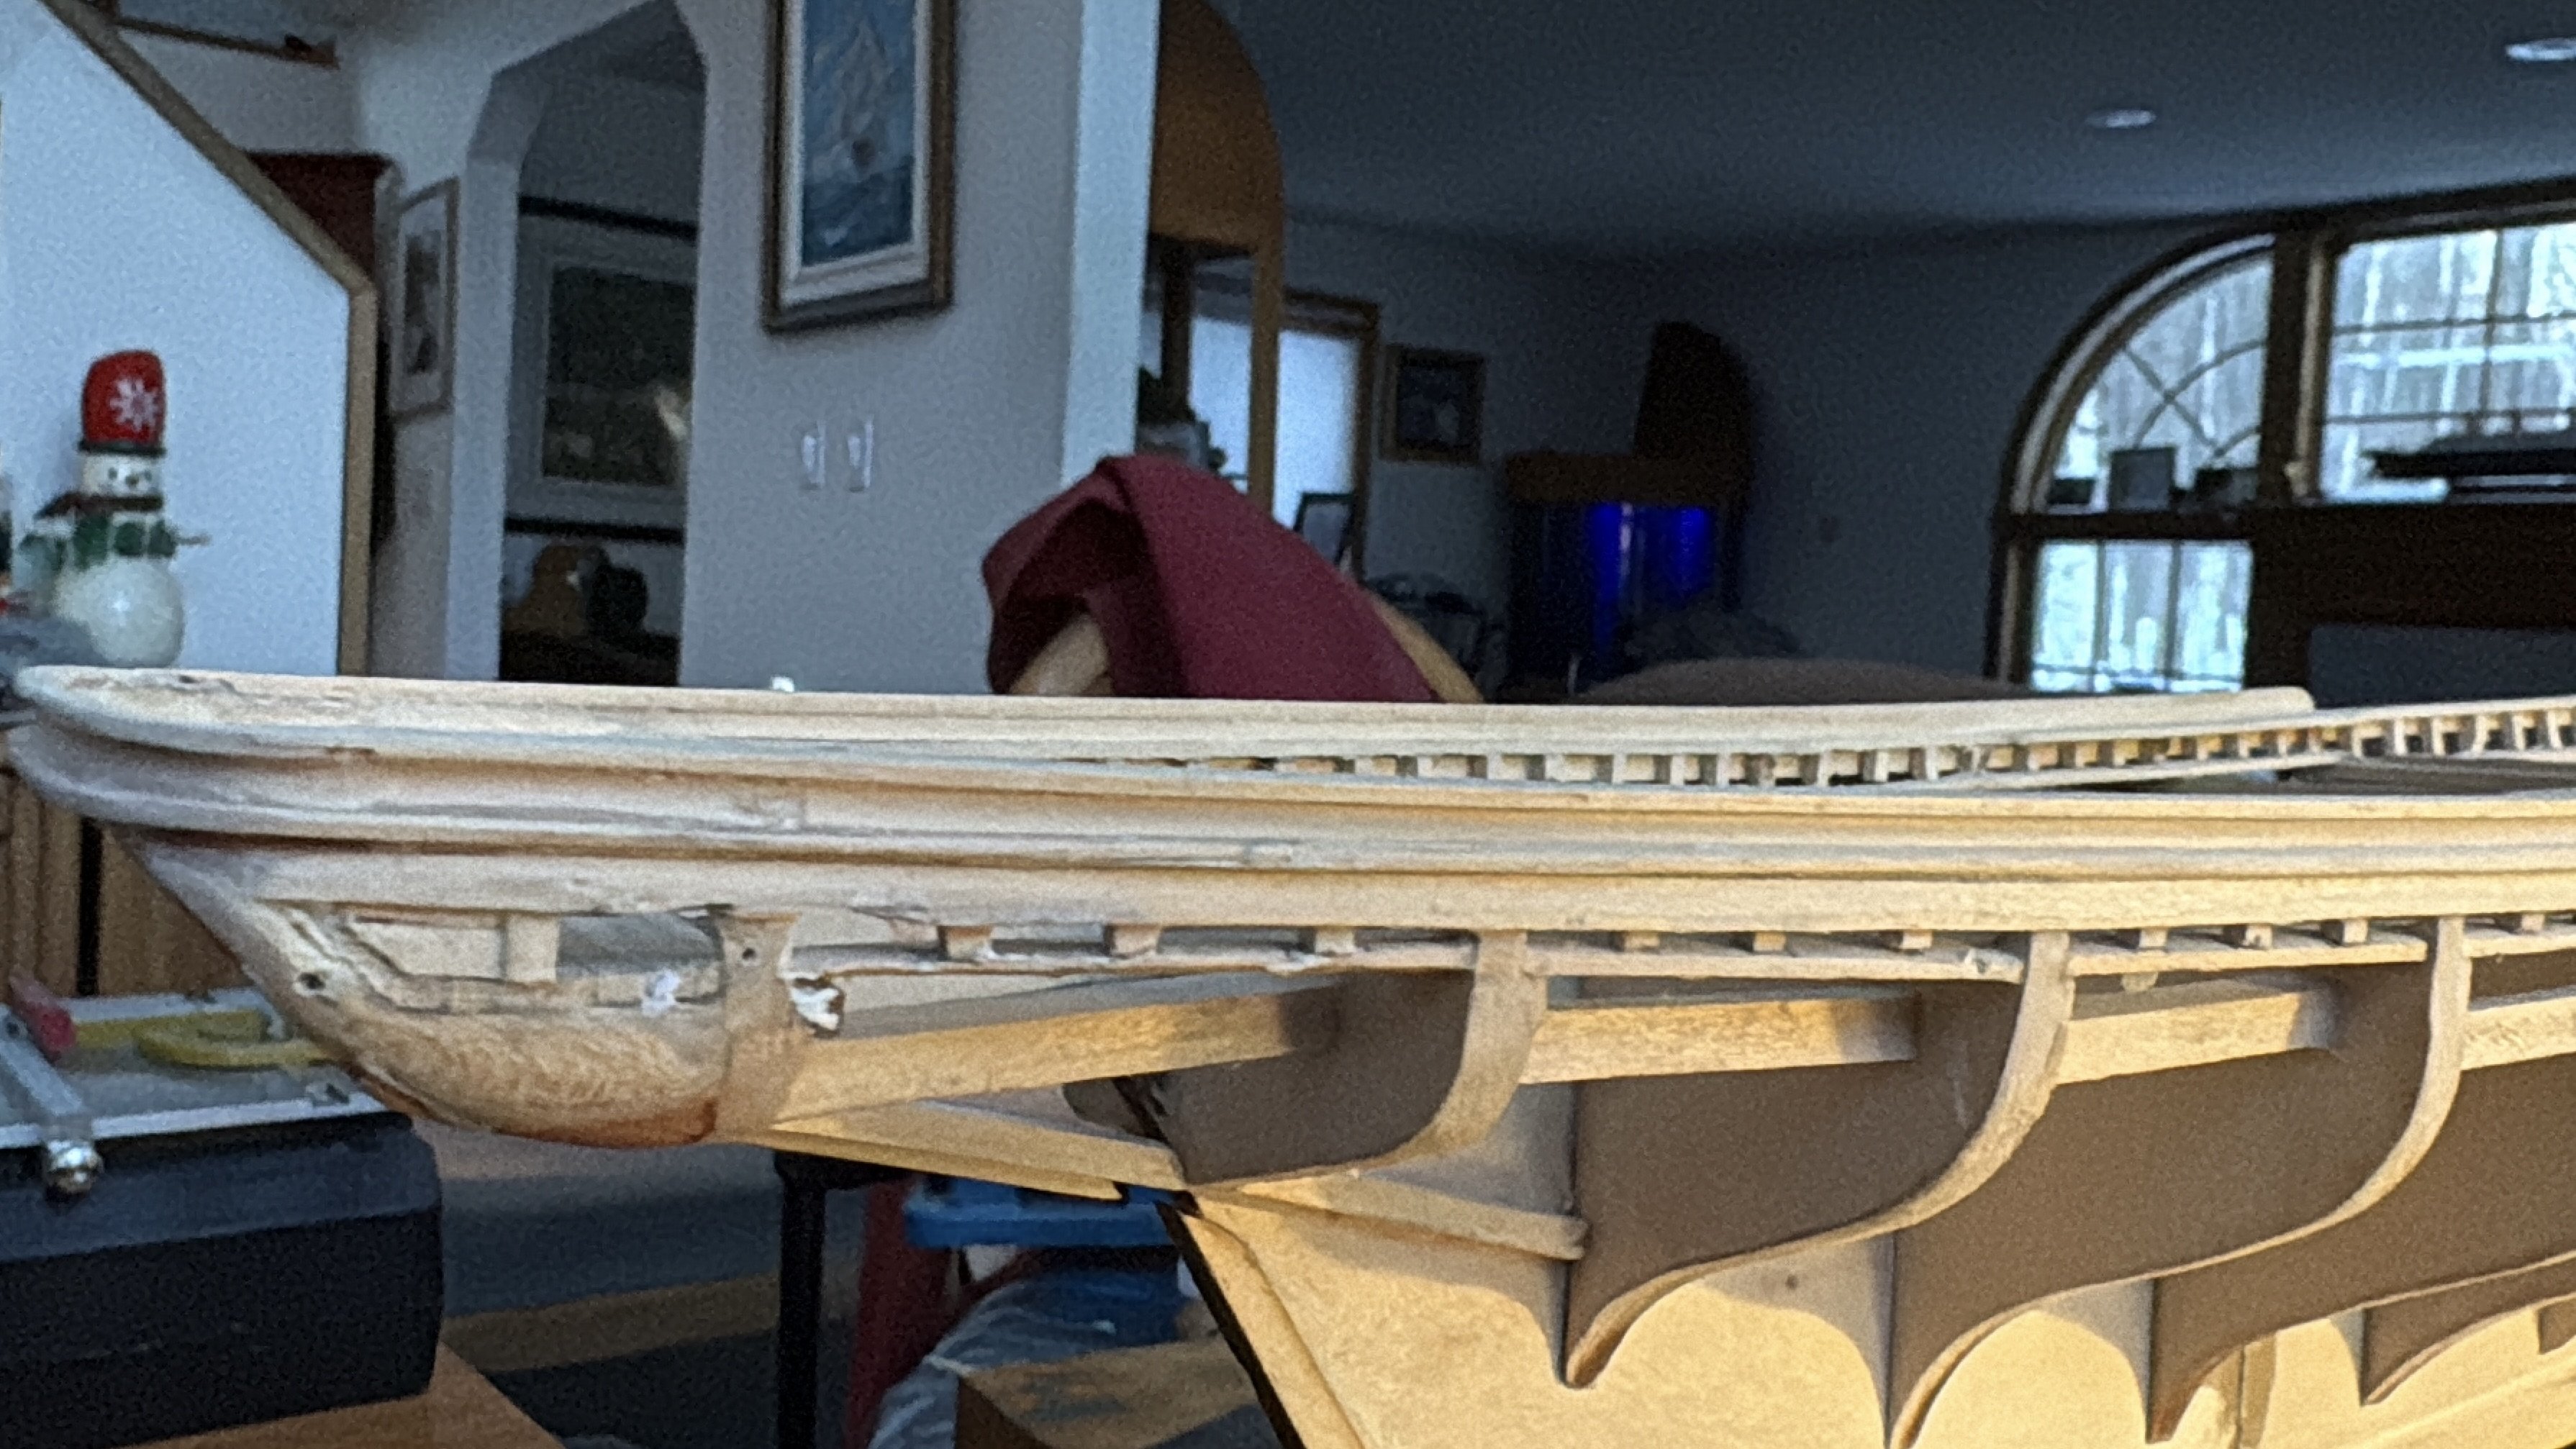
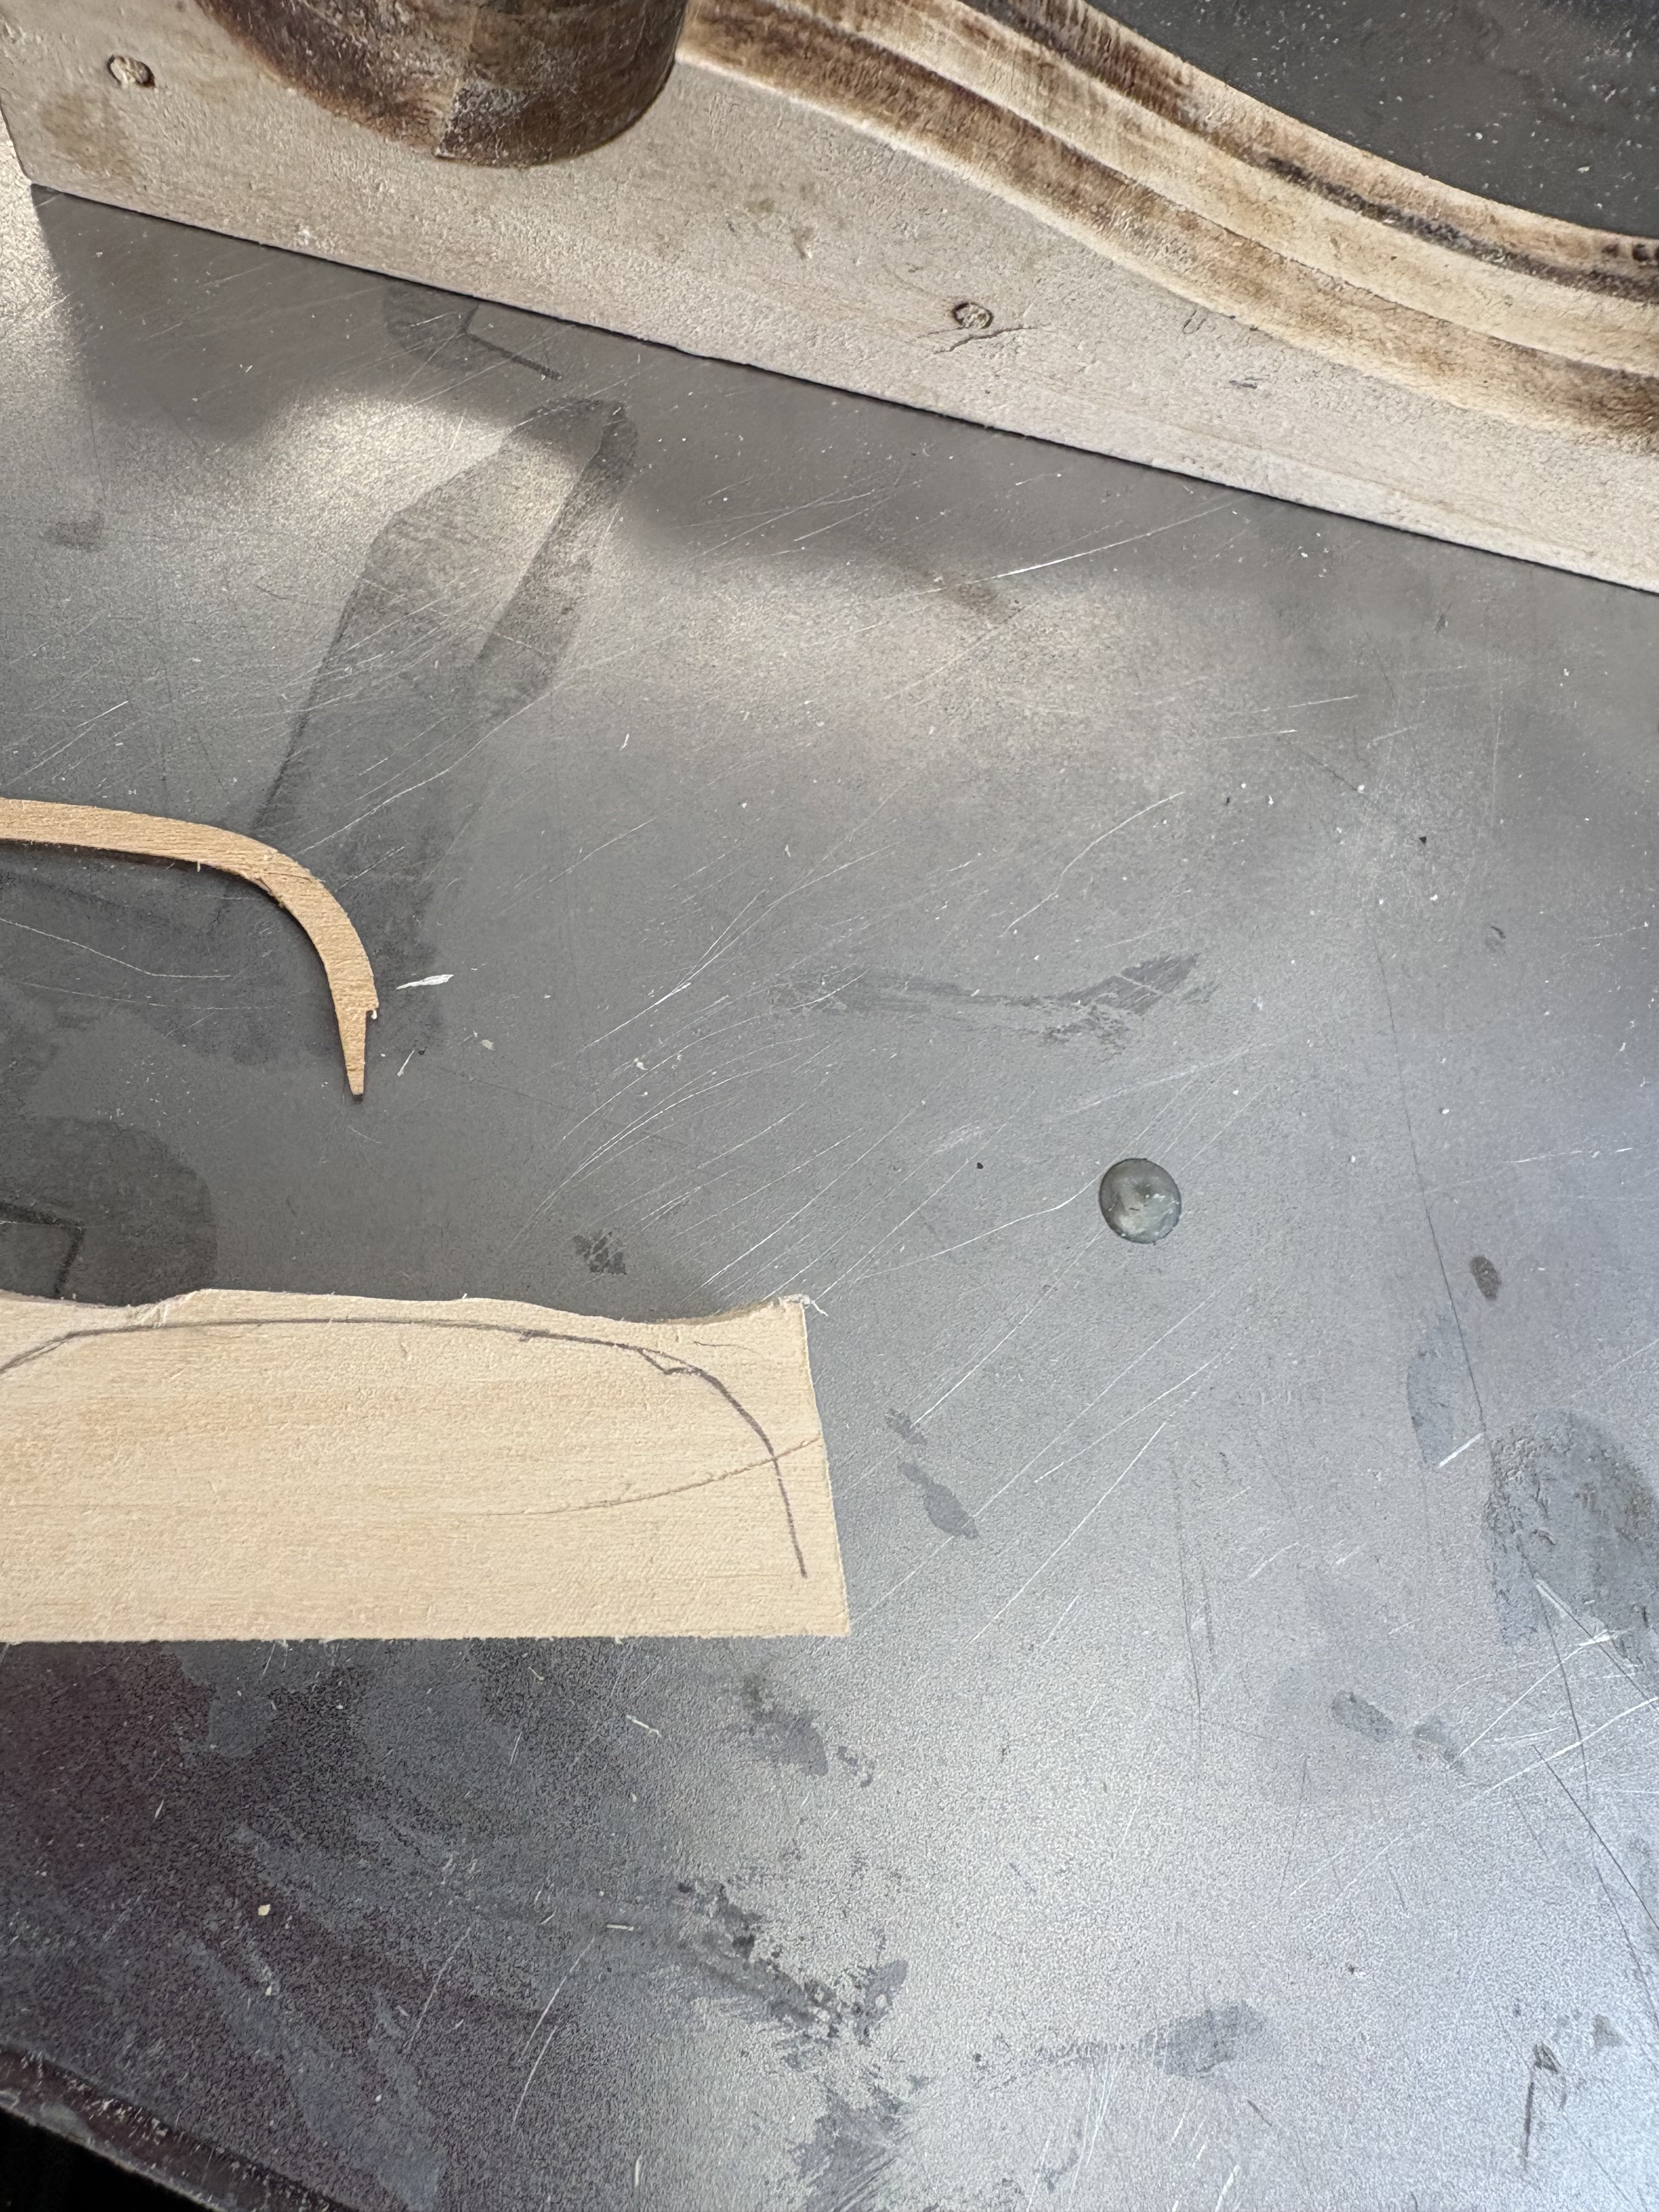
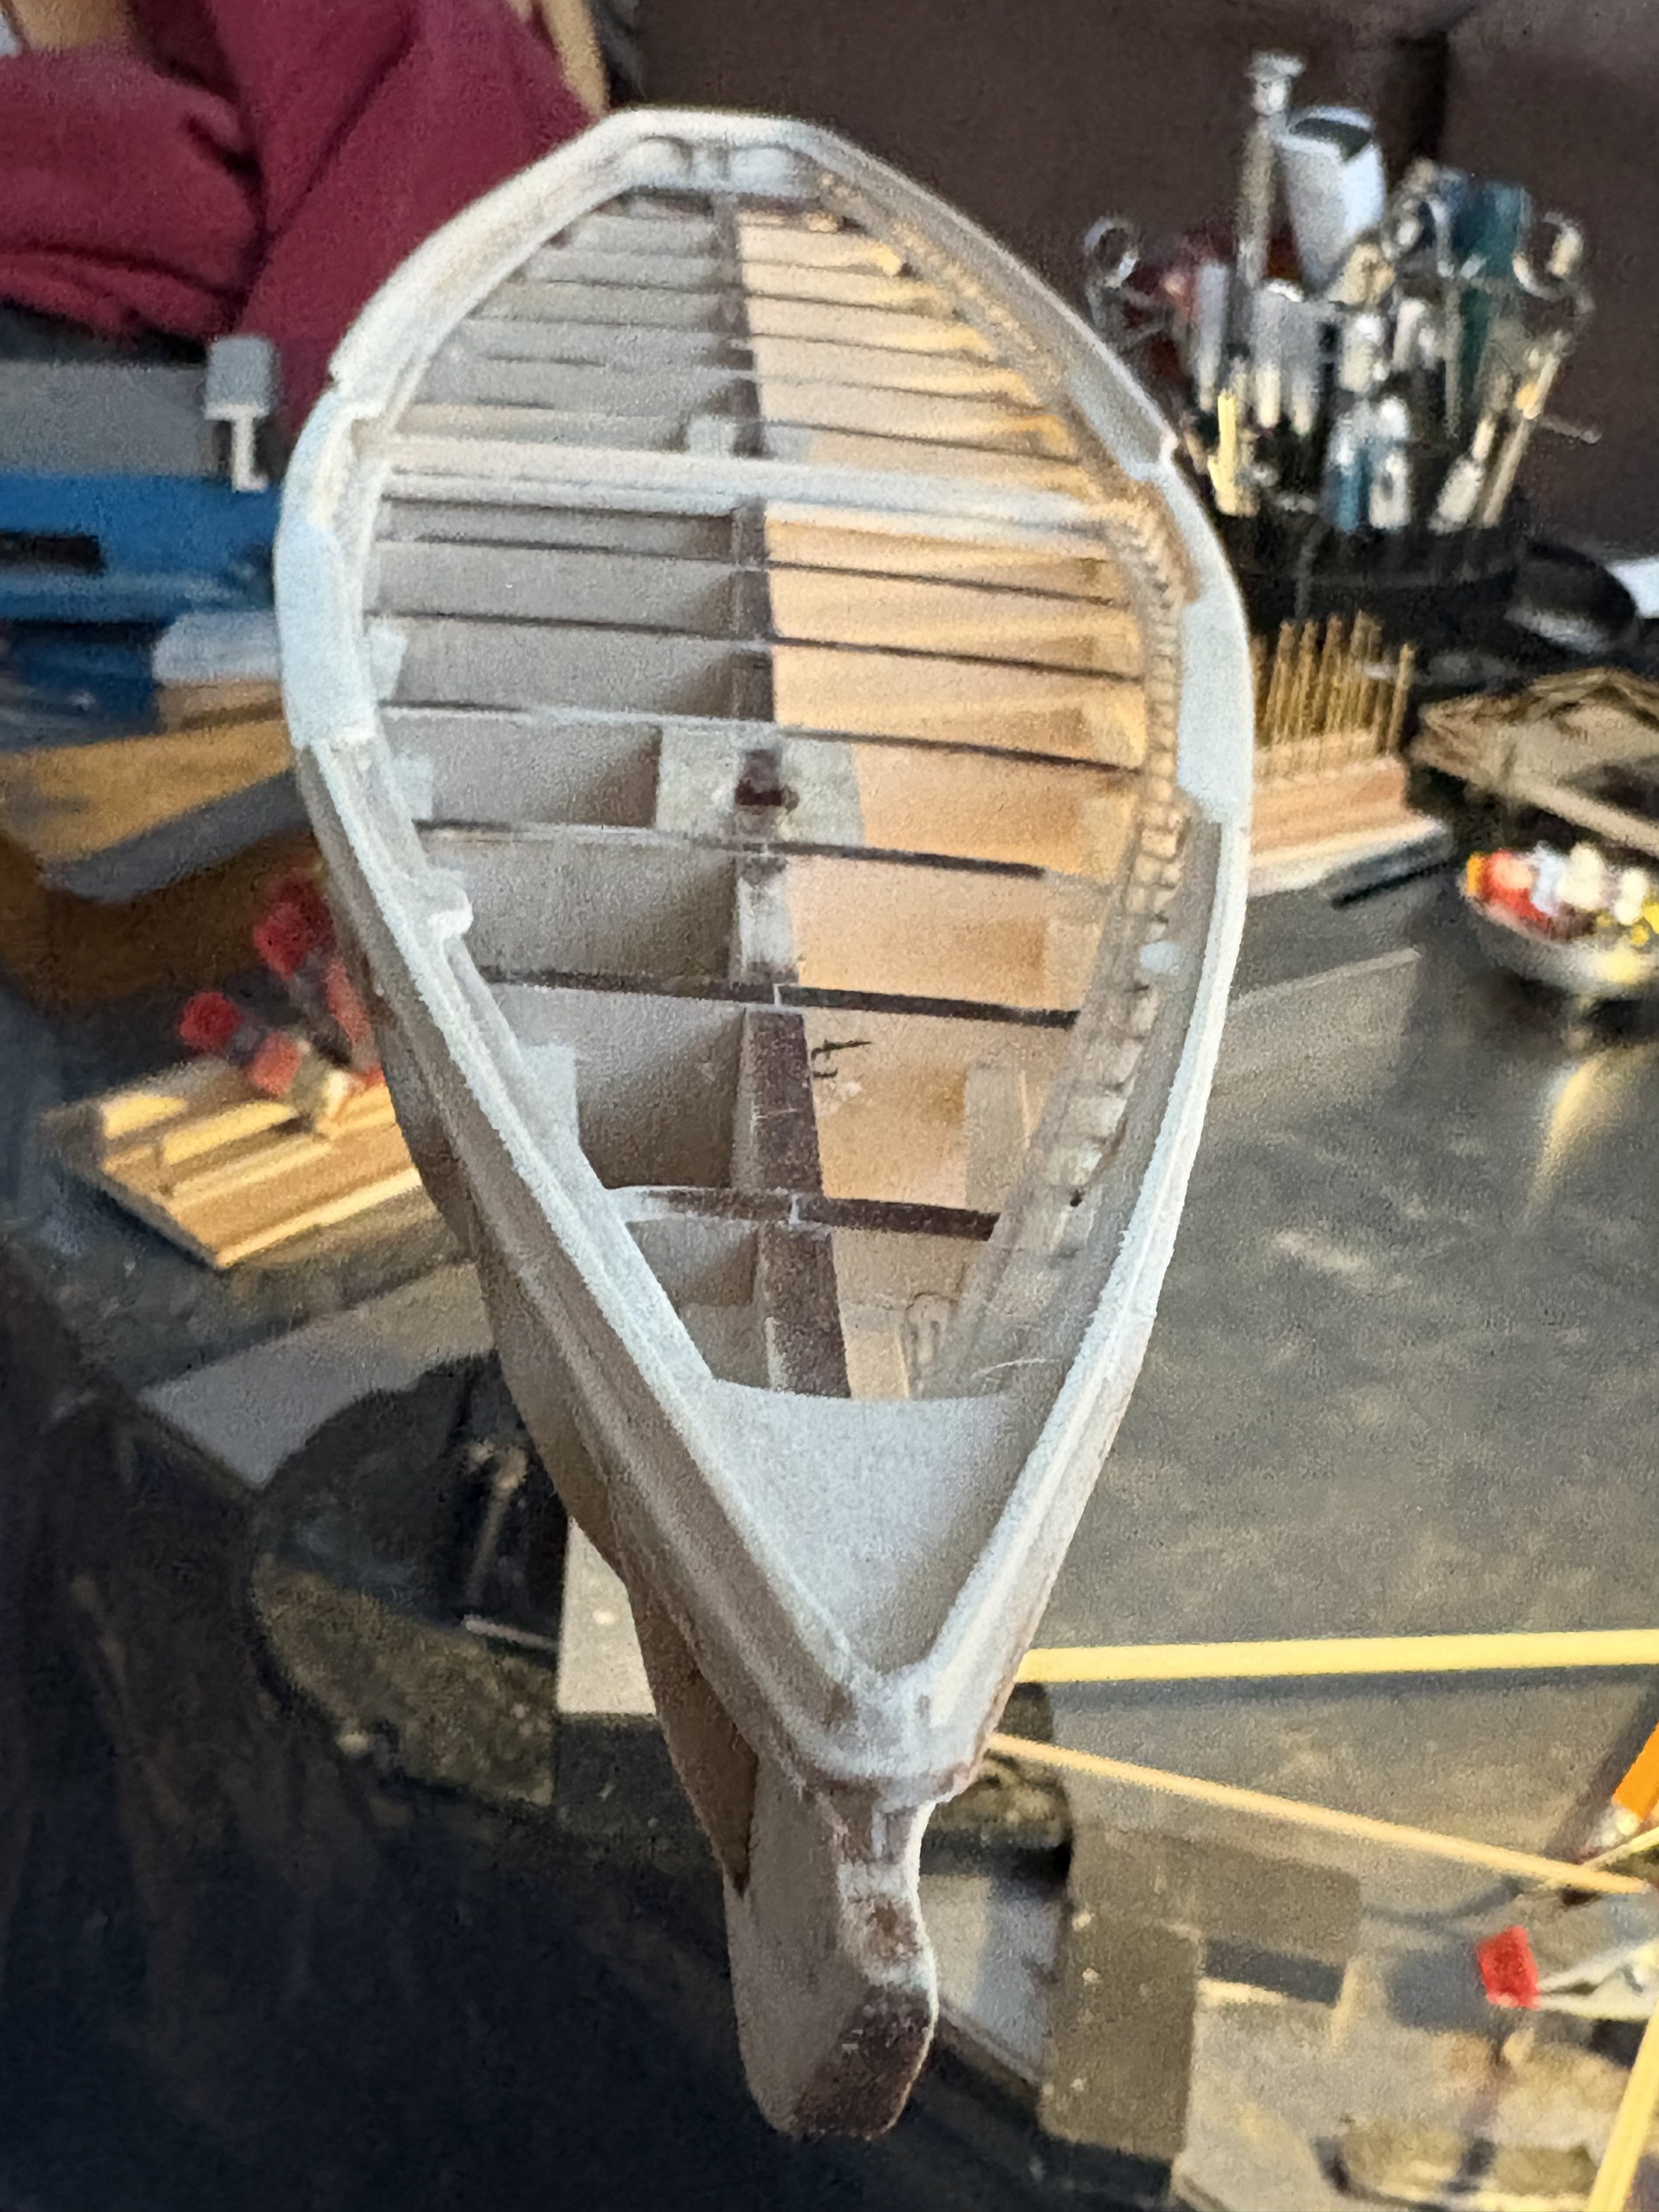
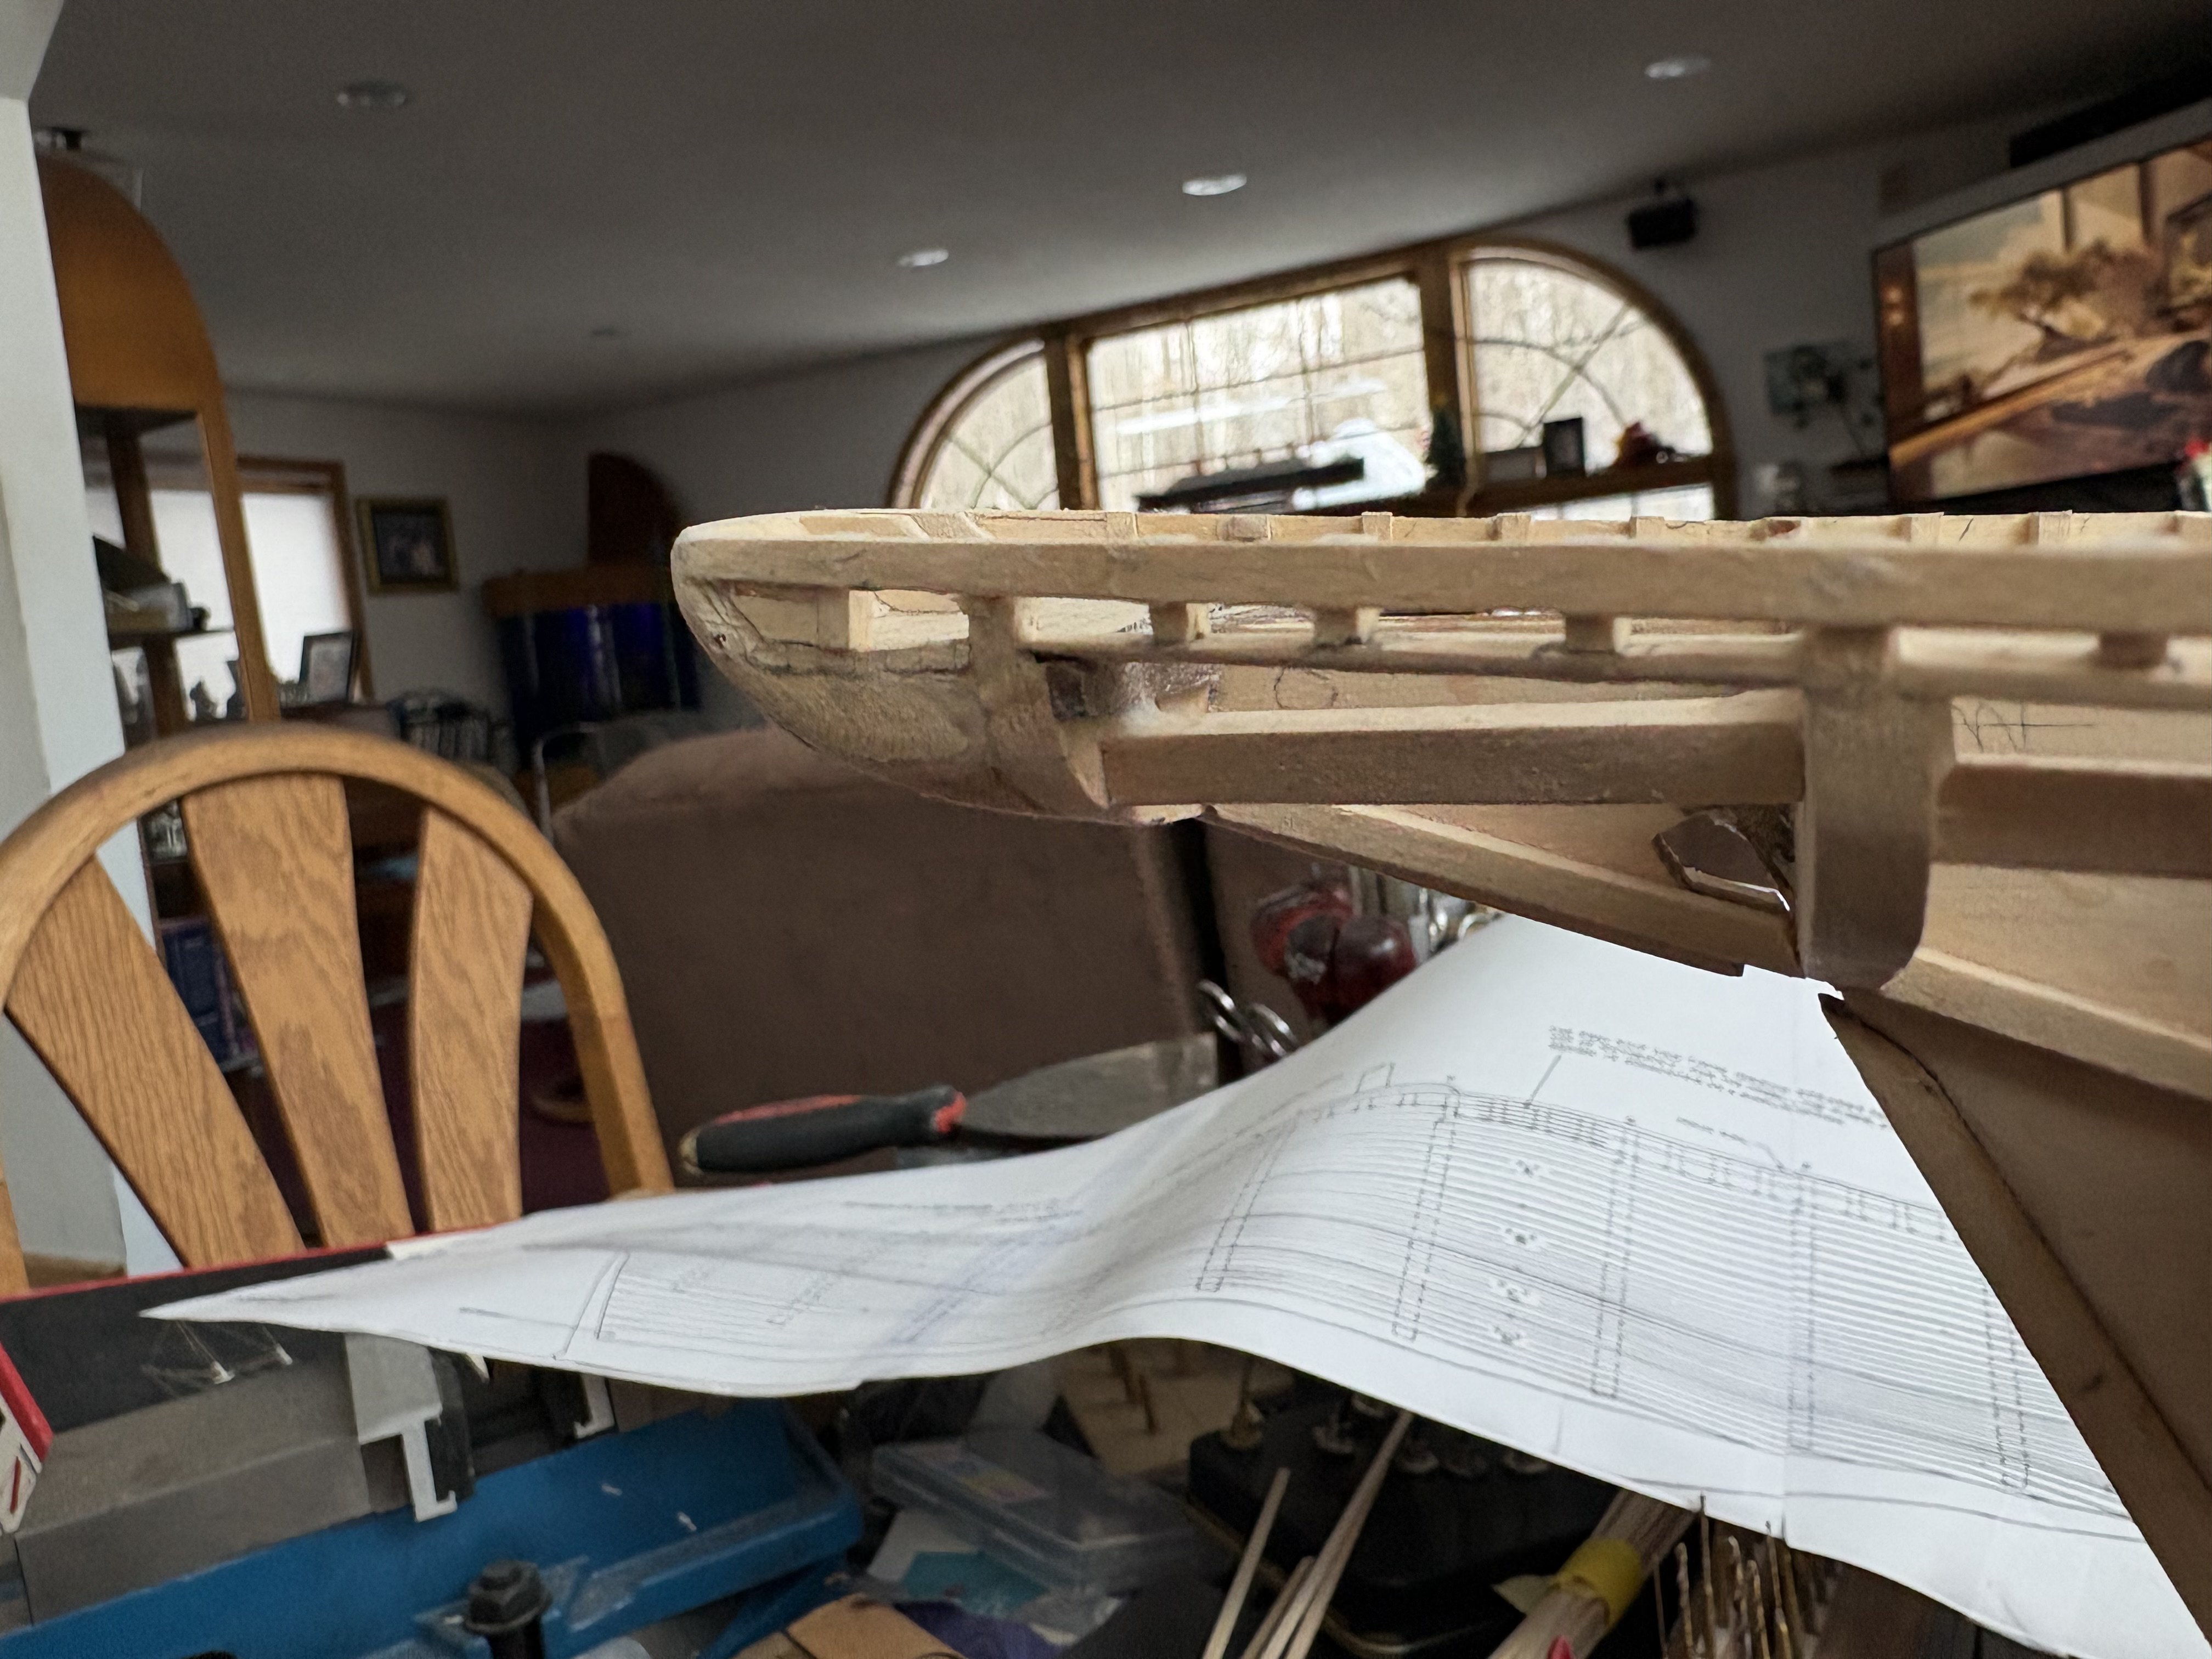
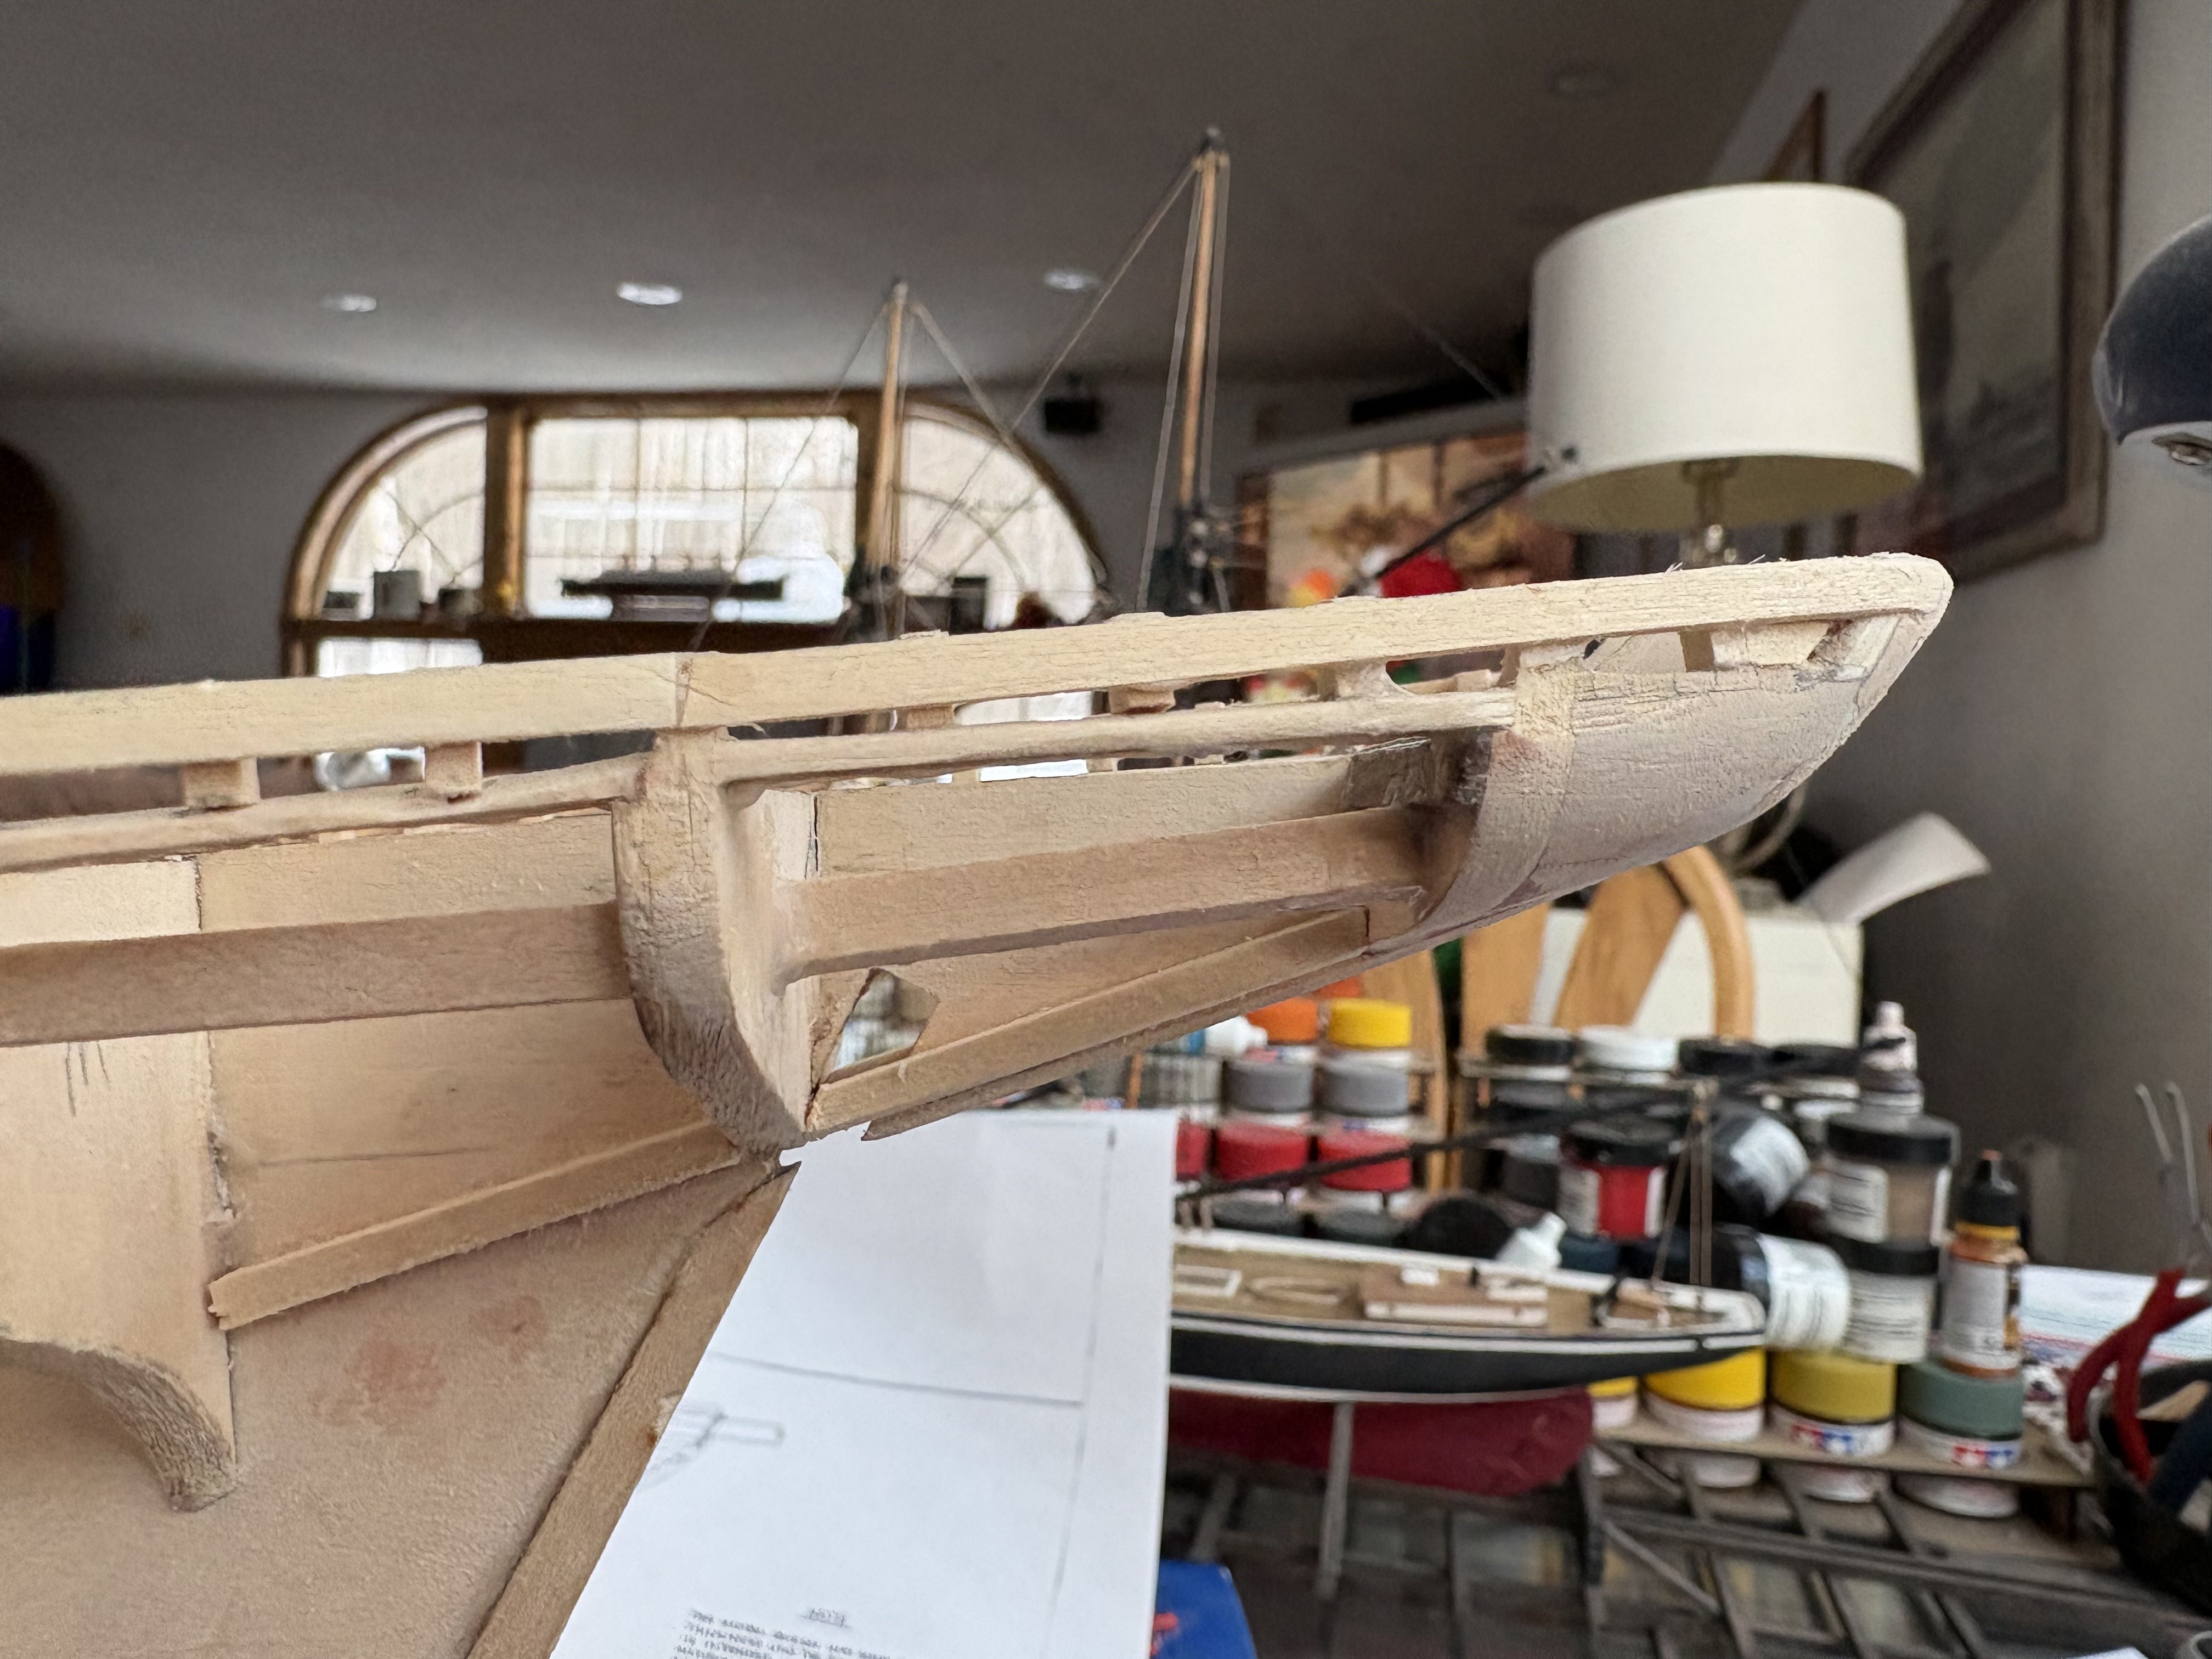
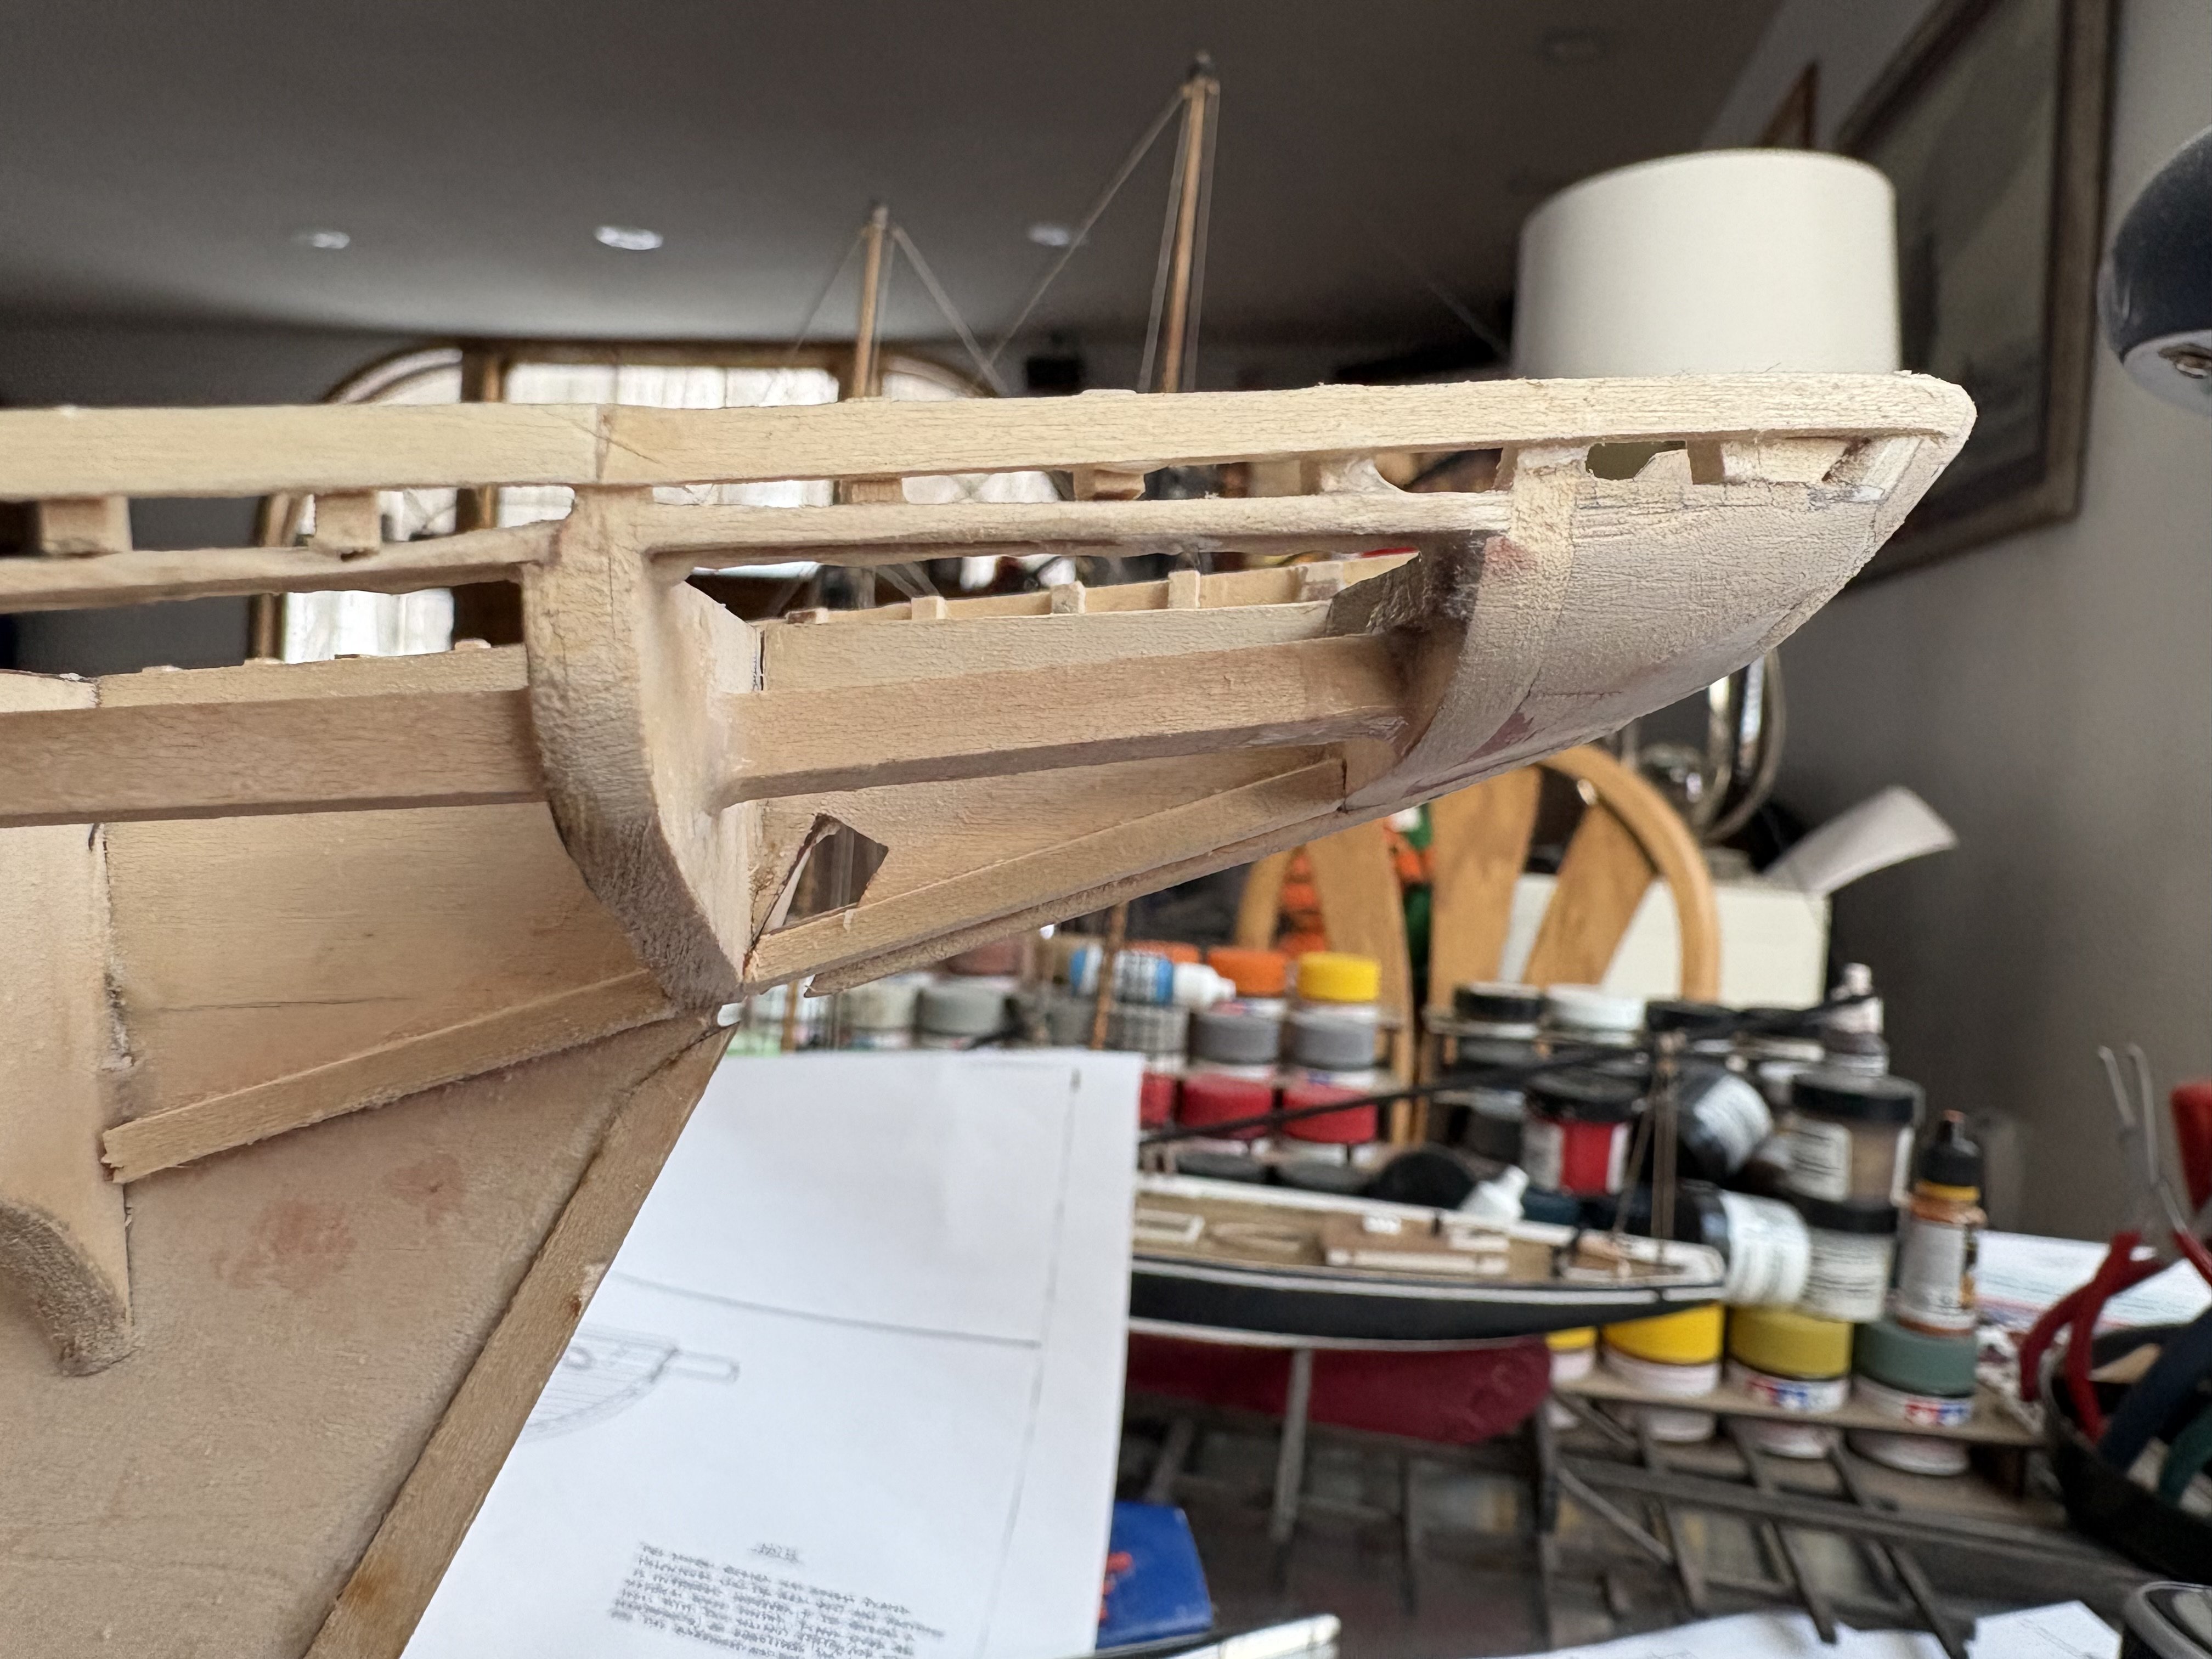
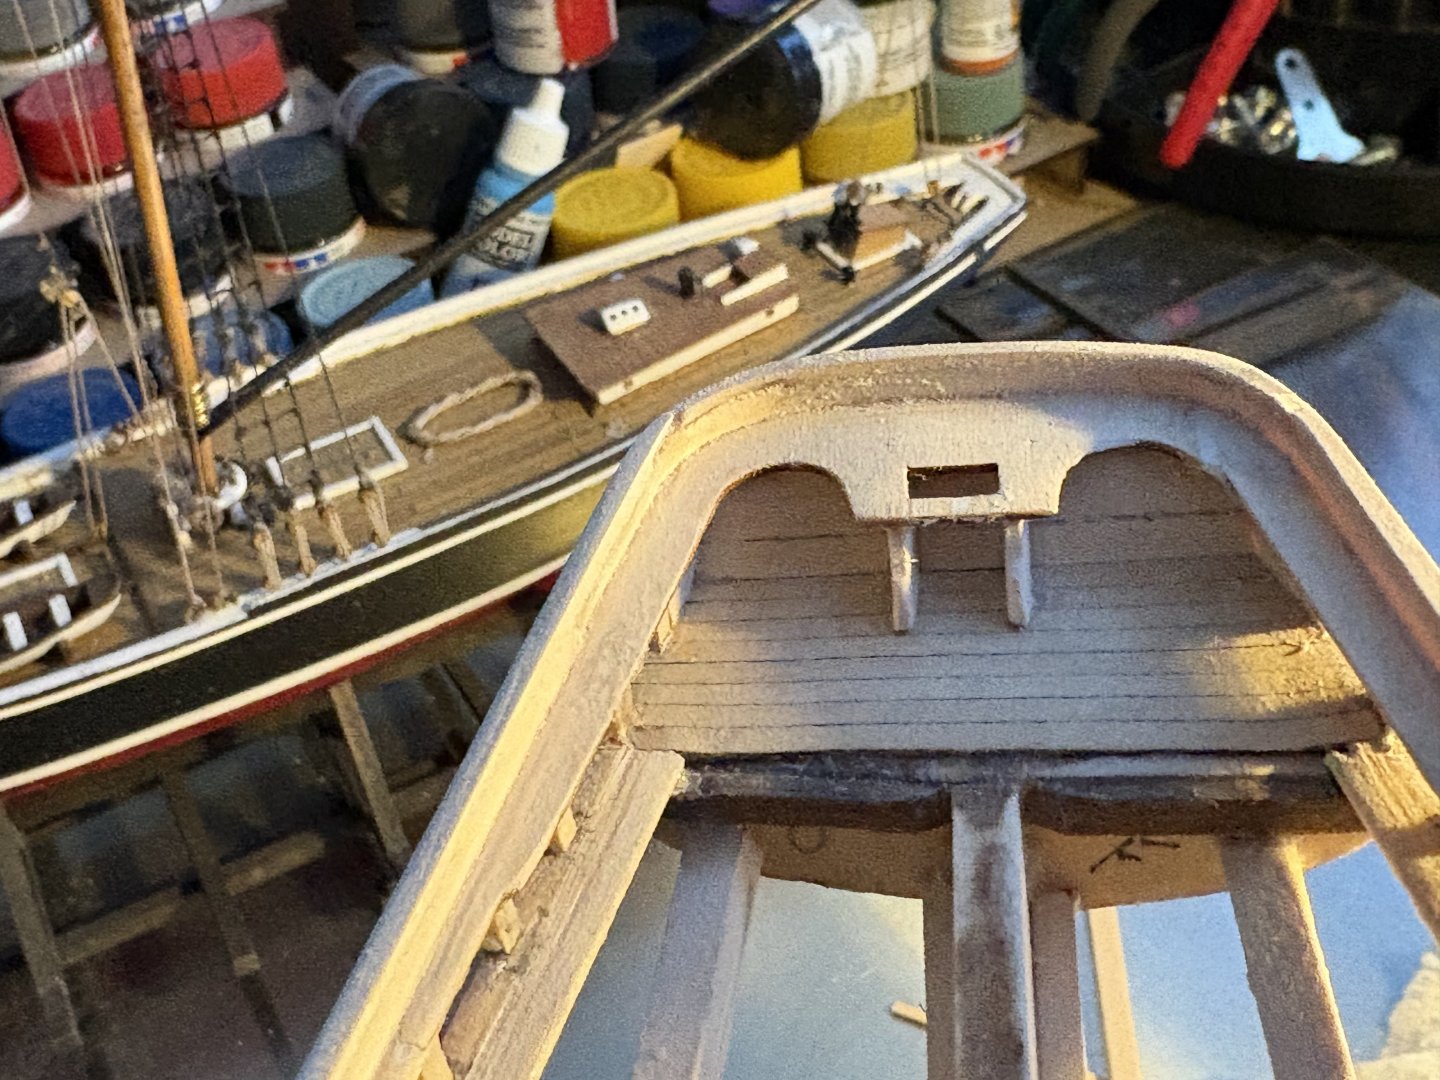
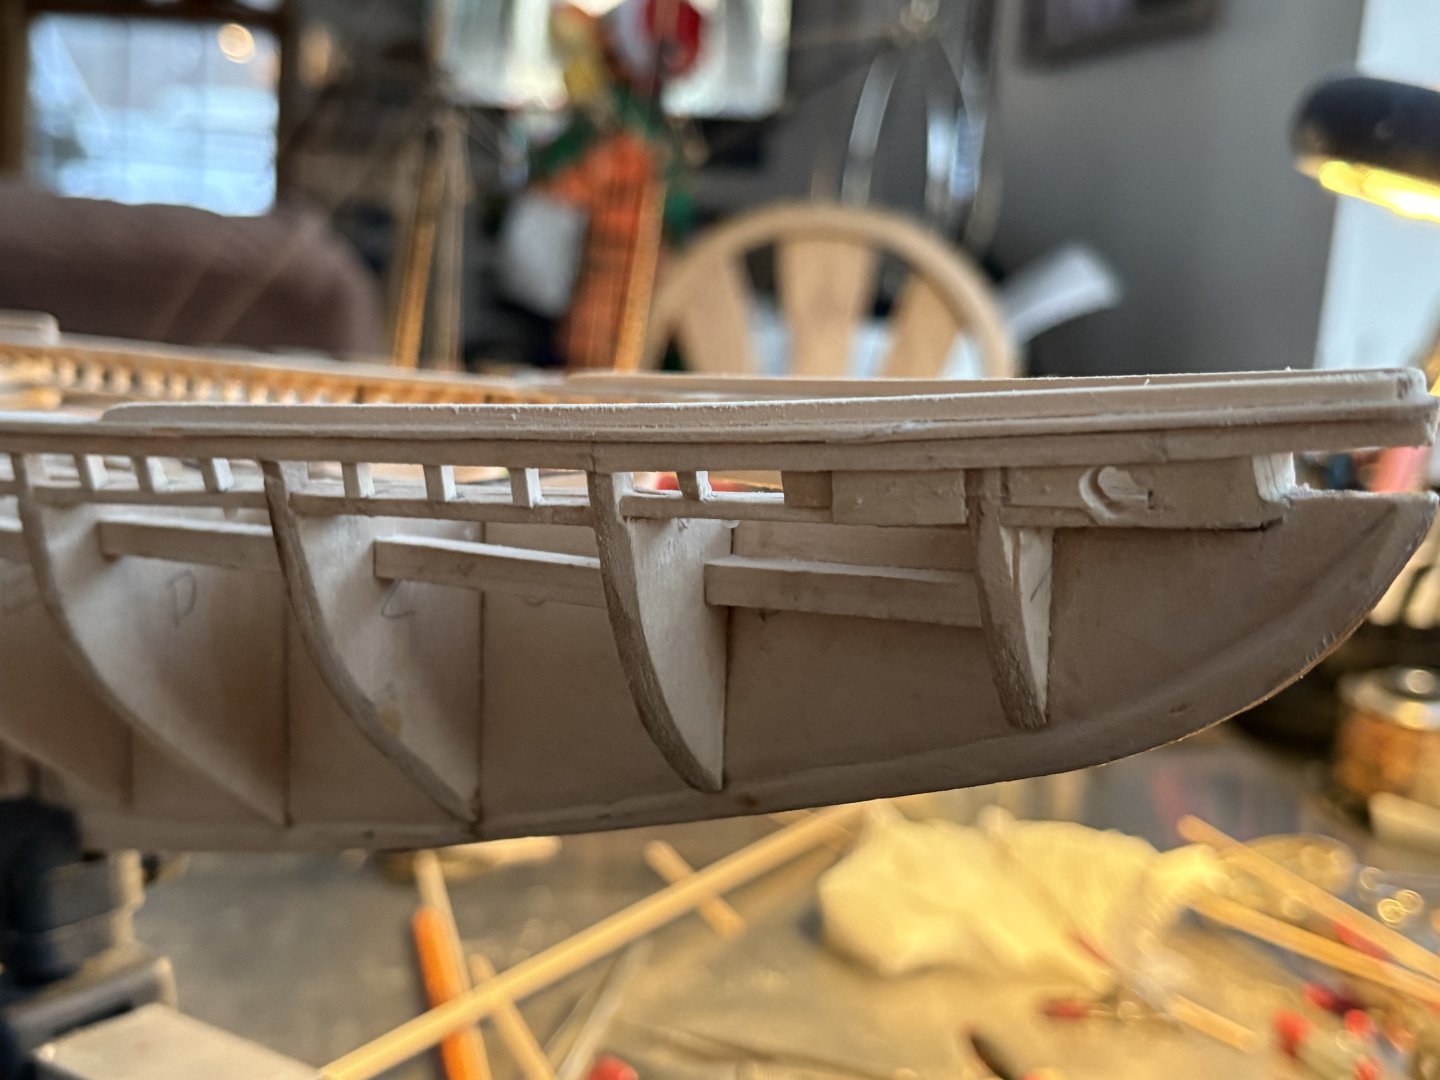
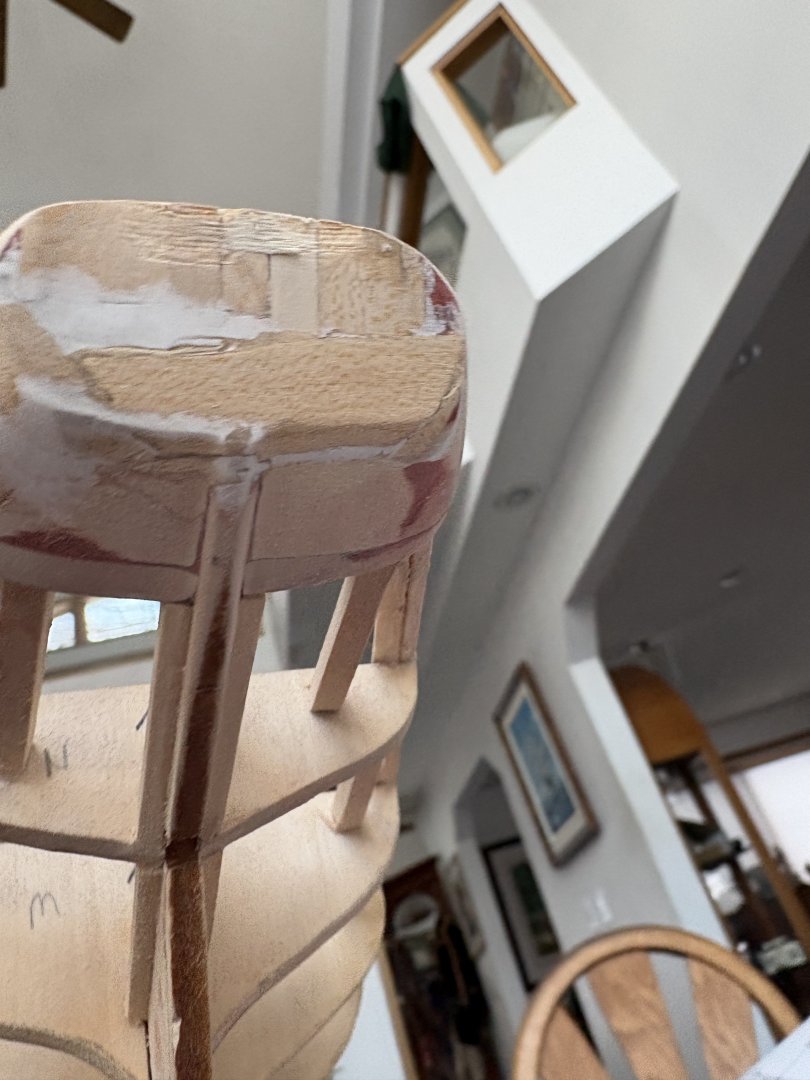
Yesterday I completed the main rail. It was pretty straightforward. I cemented th first plank to the bulkheads. Then I scabbed a 1/16” wide plank to the face of it so I could easily obtain my 1/16” overhang. To get the shape and location of the chain plates I copied the 1/1 plans then cut out the rail and laid it as a template on the wide planks cemented to the bulkheads and then traced the design in the plank. I used an arbor band in a dremel to remove as much excess wood as possible before the line then I hand sanded to the final shape.


-
Terry this is the kit he is making. He just had it laser cut This is the real thing. When I get it we are going to build it together in a joint log. I wish I had him laser cut 3 of them so you could have built one along with us in our joint log.


-
Endeavour is coming out great. Very impressive. I remember when you got it and your wife ? another kit and your son called you 2 kit Terry. When you build 2 at the same time you don’t get bored and it’s more fun. I am waiting for my son to send me the Whitehall Skiff he designed and had 2 kits laser cut. He might even market them if they turn out good. He made the kits because he plans on building the real boat. When he joined MSW he posted pictures of the boat which is made in Maine. He fell in love with it and decided to build his own. He is a very skilled woodworker along with being an architect and a contractor so 2 kits Rick will start his second kit. I usually have multiple builds going at the same time SO I DON’T GET BORED! and loose interest.