LJC
-
Posts
29 -
Joined
-
Last visited
-
 Canute reacted to a post in a topic:
Chesapeake Bay Box Stern Workboat by LJC - Wye River Models
Canute reacted to a post in a topic:
Chesapeake Bay Box Stern Workboat by LJC - Wye River Models
-
robert952 reacted to a post in a topic:
Chesapeake Bay Box Stern Workboat by LJC - Wye River Models
-
yvesvidal reacted to a post in a topic:
Chesapeake Bay Box Stern Workboat by LJC - Wye River Models
-
Harvey Golden reacted to a post in a topic:
Chesapeake Bay Box Stern Workboat by LJC - Wye River Models
-
ccoyle reacted to a post in a topic:
Chesapeake Bay Box Stern Workboat by LJC - Wye River Models
-
JacquesCousteau reacted to a post in a topic:
Chesapeake Bay Box Stern Workboat by LJC - Wye River Models
-
I have ordered some accessories for the cabin. In the meantime, I’ve glued the floor assembled the engine box and crafted a chair for the cabin. I’ve also primed the hull and installed the rub rail. Build time = 2.75 hours.

-
robert952 reacted to a post in a topic:
Chesapeake Bay Box Stern Workboat by LJC - Wye River Models
-
robert952 reacted to a post in a topic:
Chesapeake Bay Box Stern Workboat by LJC - Wye River Models
-
Ryland Craze reacted to a post in a topic:
Chesapeake Bay Box Stern Workboat by LJC - Wye River Models
-
Ryland Craze reacted to a post in a topic:
Chesapeake Bay Box Stern Workboat by LJC - Wye River Models
-
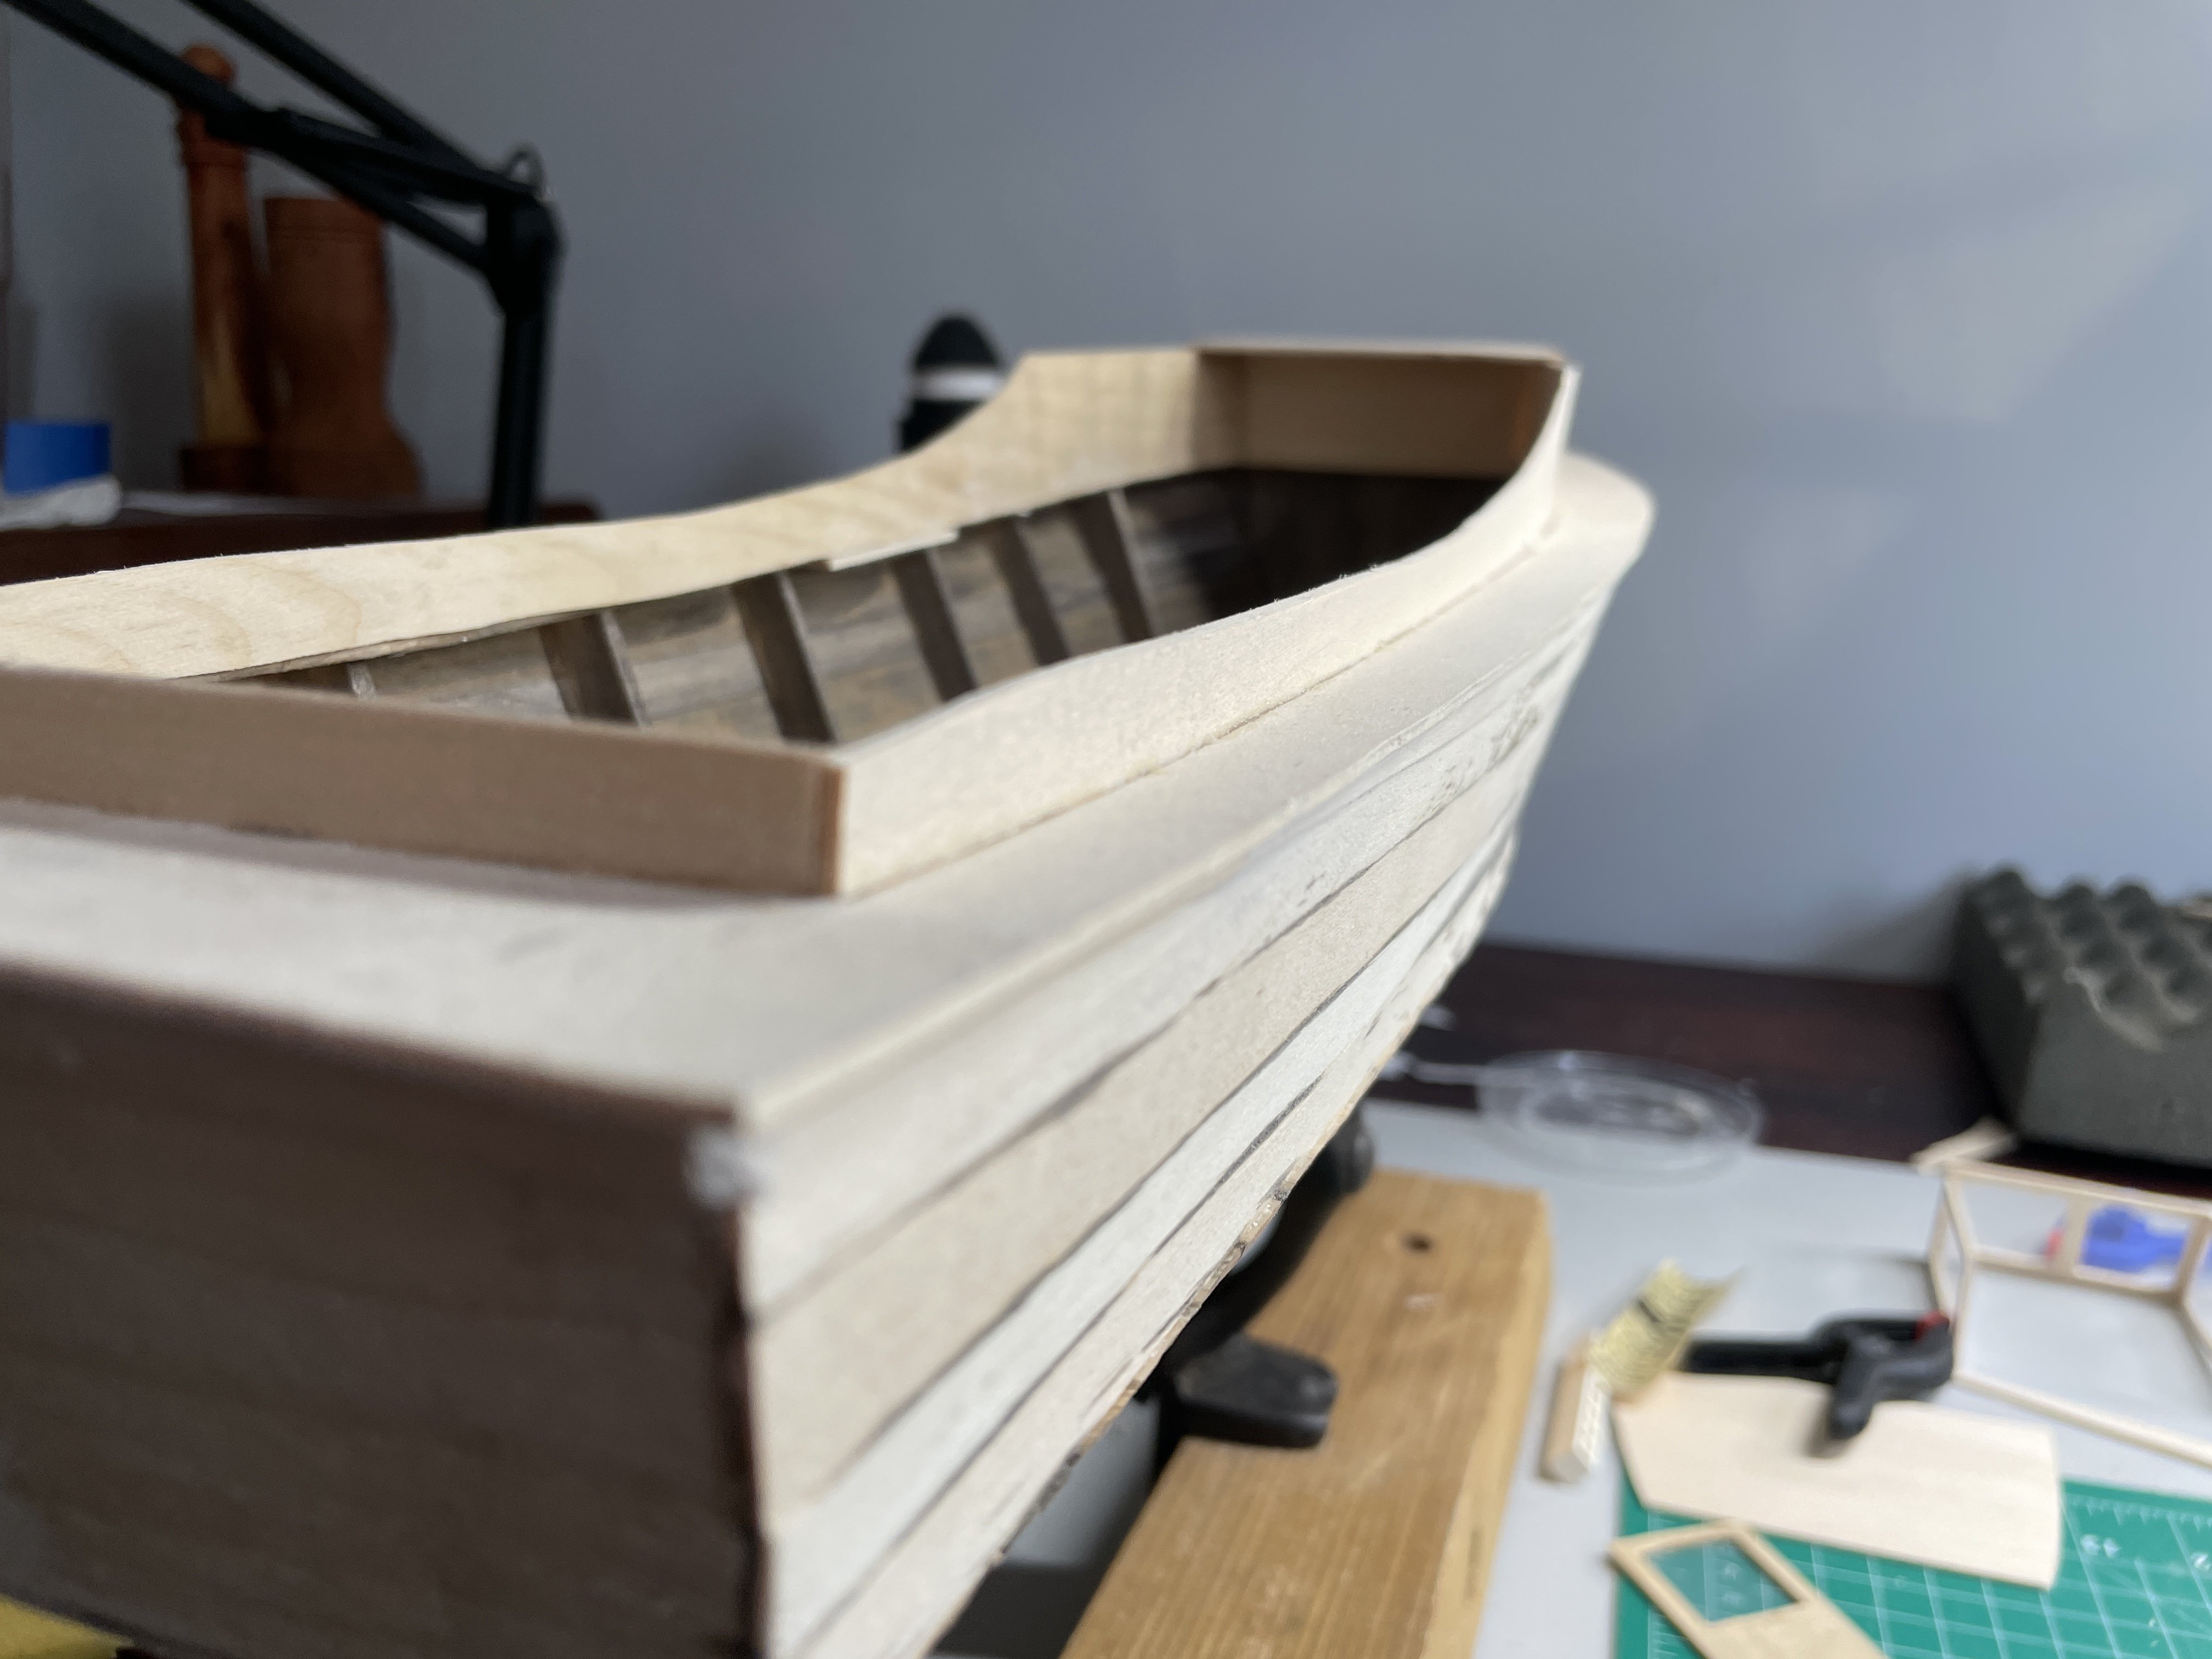
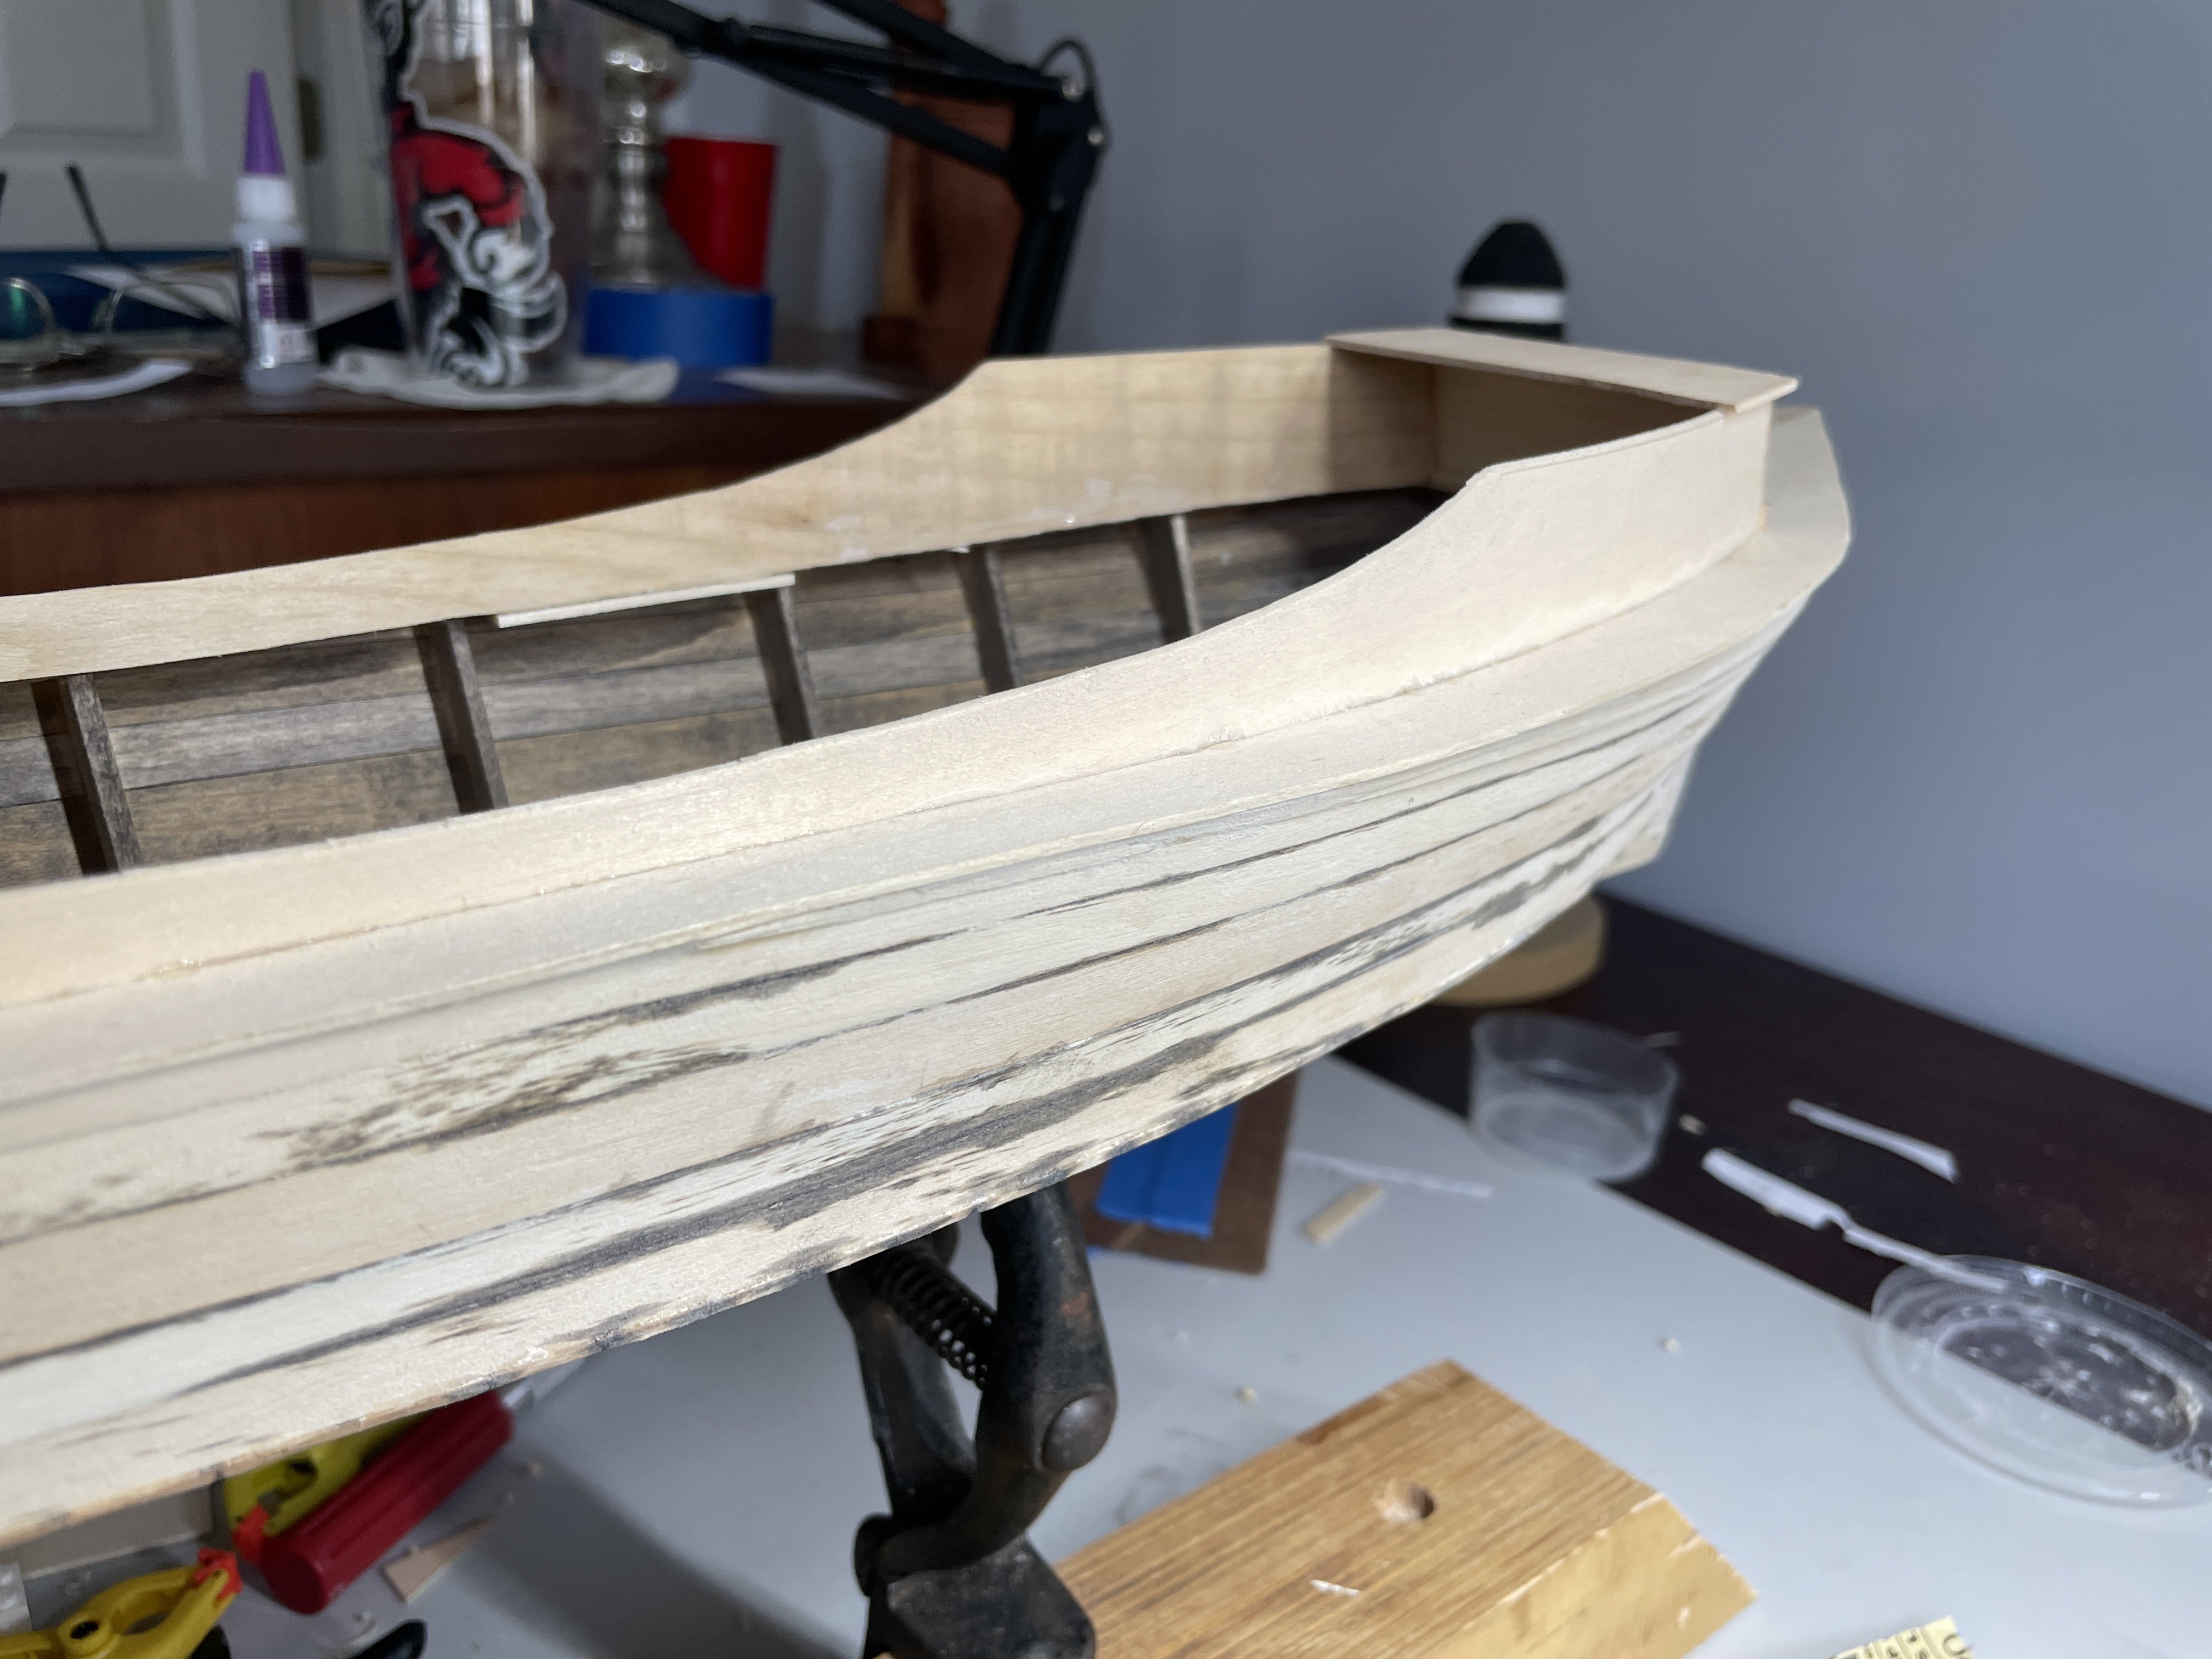
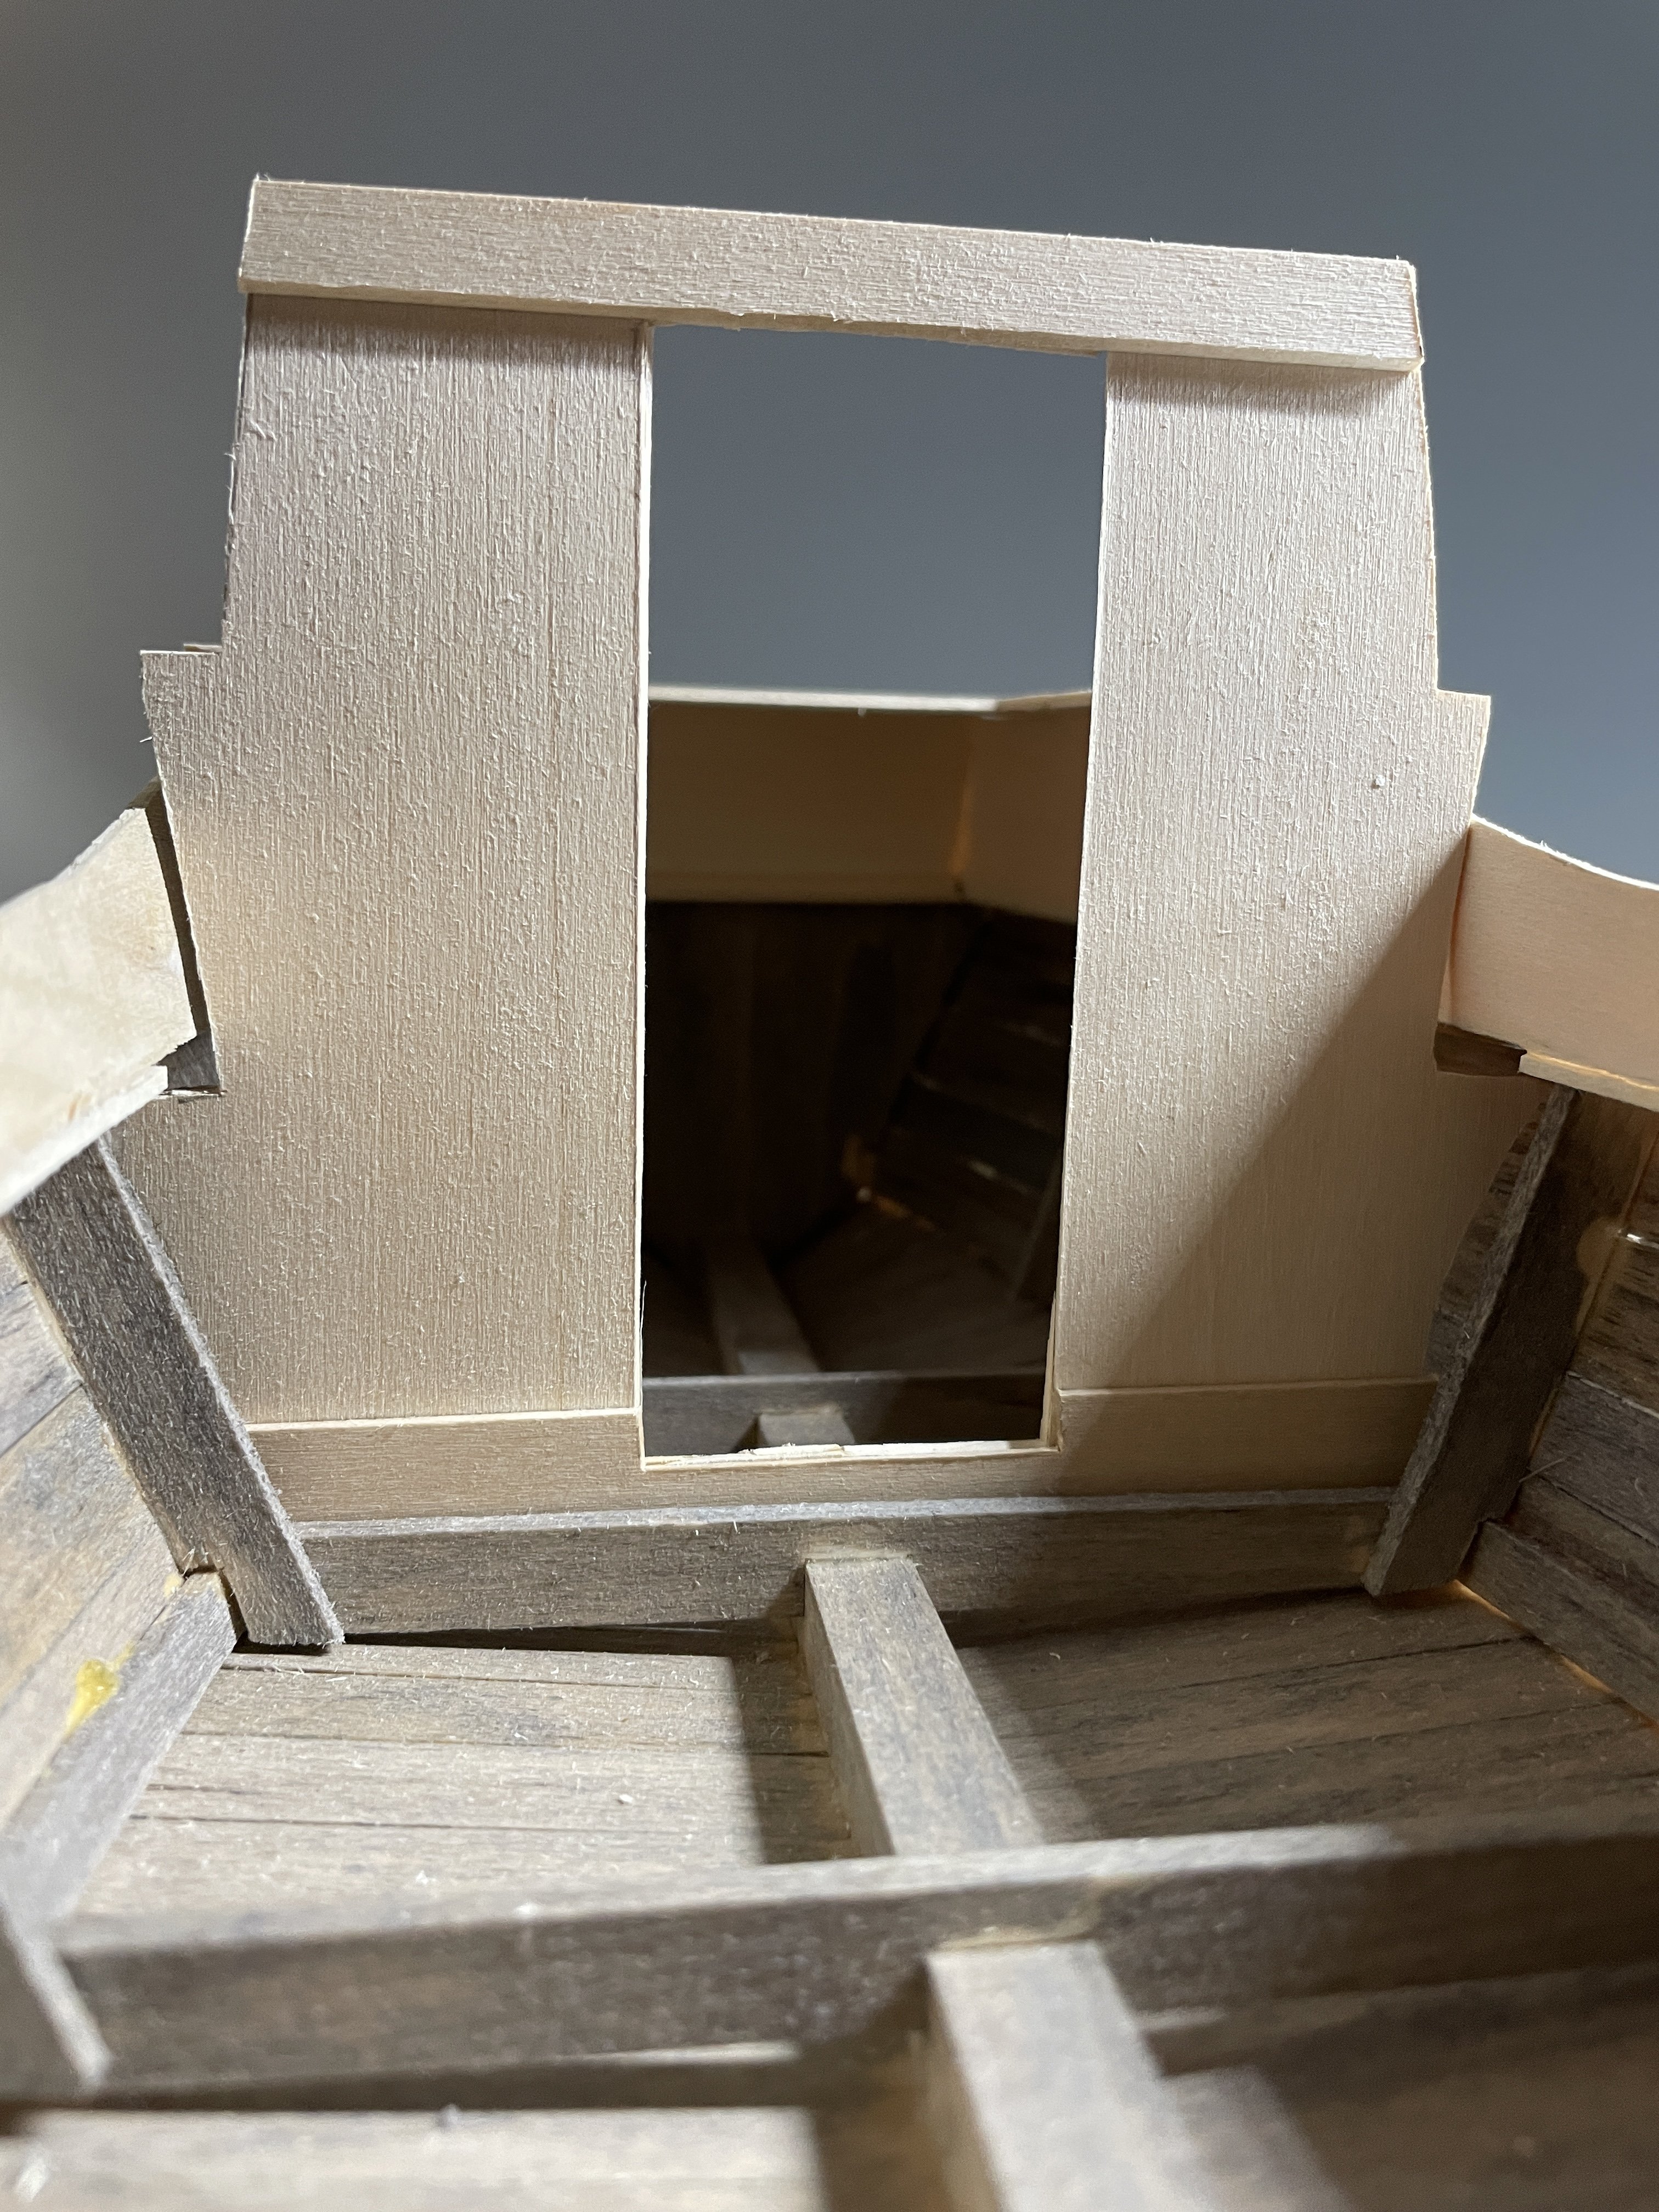
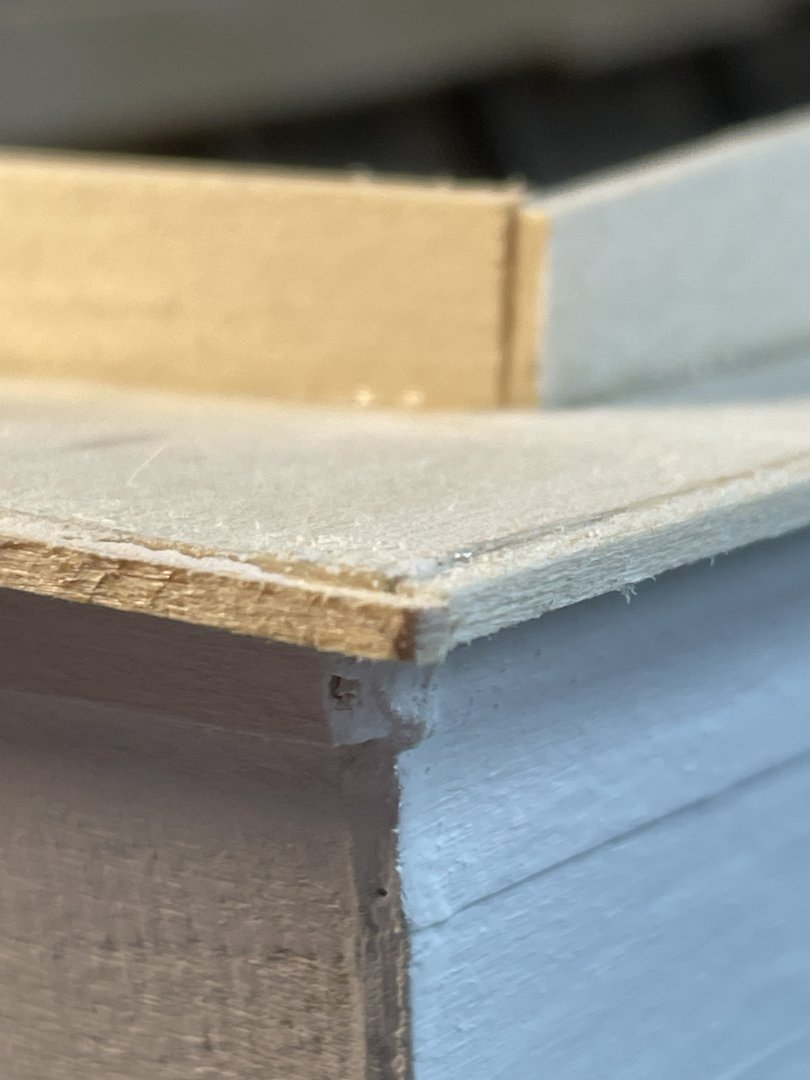
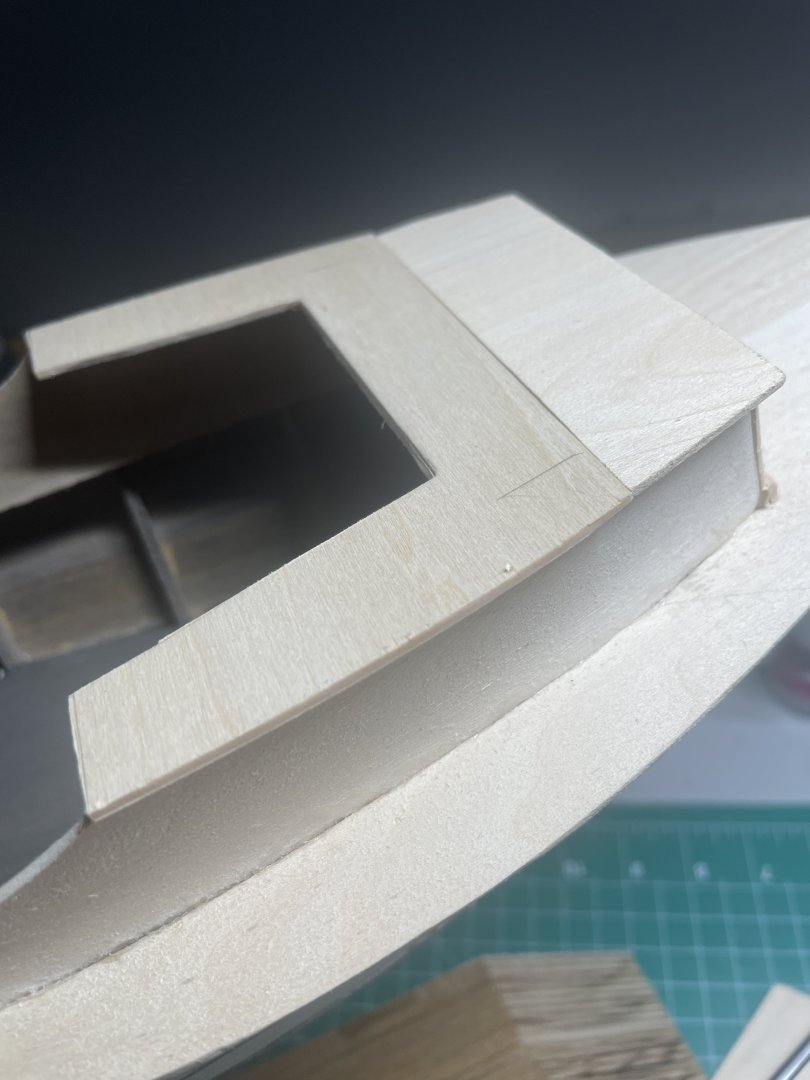
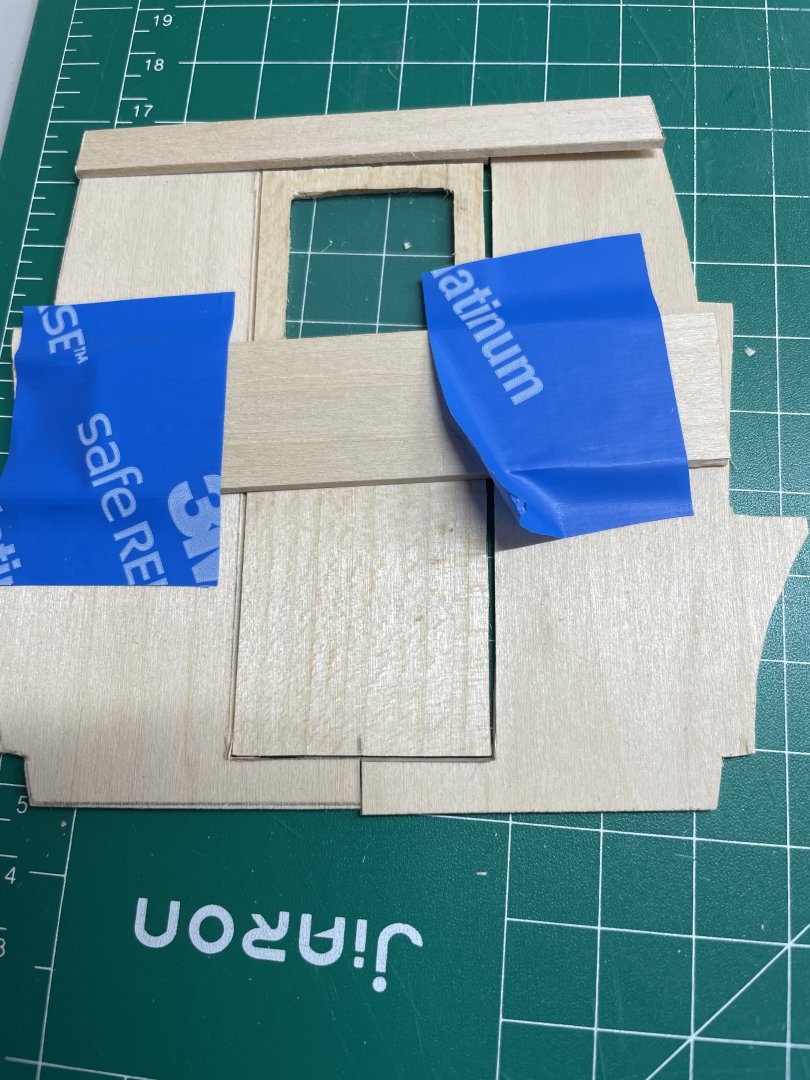
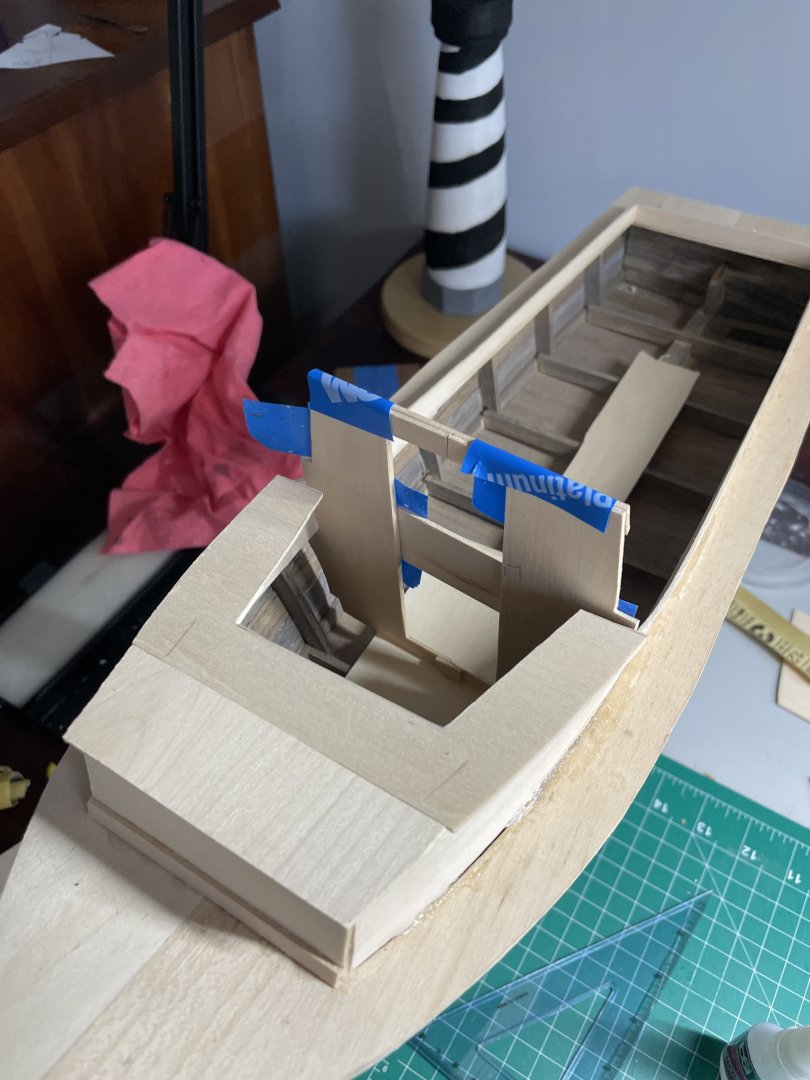
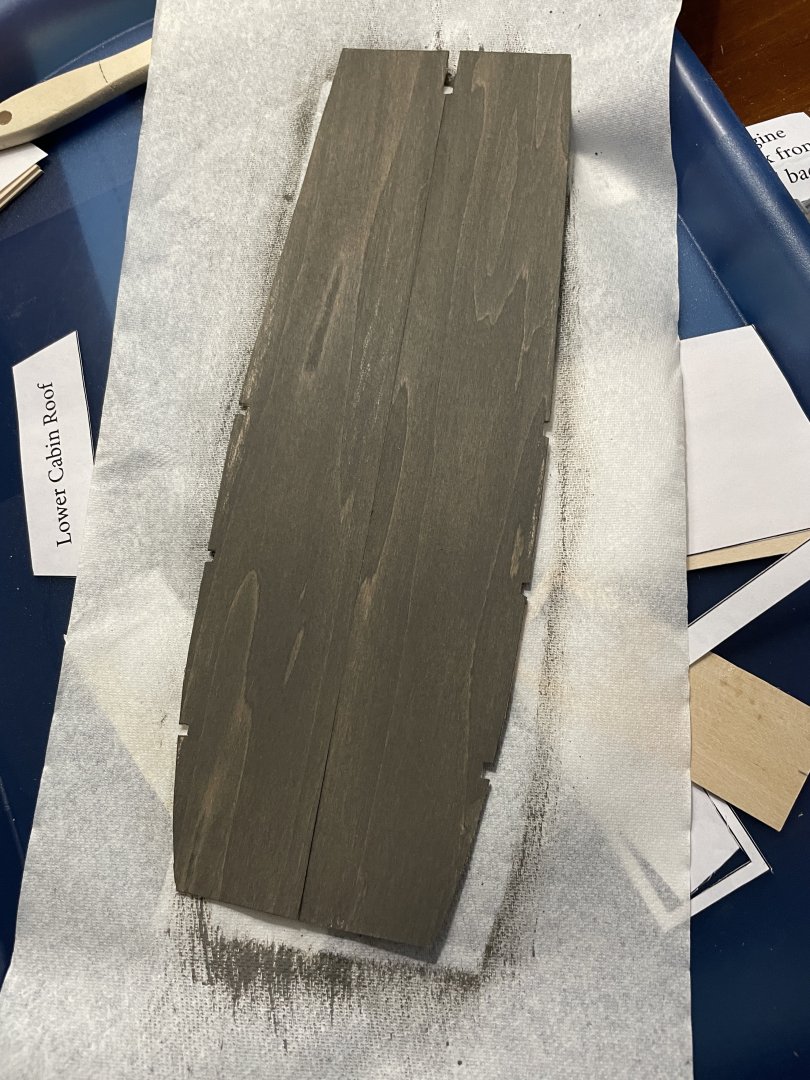
I prepared the cowling by soaking and shaping. I was concerned that trying to glue the cowling to a 1/16 inch thick deck board was gonna be next to impossible. I added support plates under the deck at the bow, stern, and on either side midship. It turns out that this worked OK – I could’ve used more support along both sides. Any overhang on the support can be trimmed flush with the cowling. I had to recut the lower cabin front to fit as the plans were too short. As an afterthought, cutting many of the pieces early may result in ill fitting situations although this is the first to short (several have been long). The lower cabin roof was installed. I needed to add to the roof in order to get back to the rear of the cabin and to have someplace for the front and side windows of the upper cabin to sit on. Had to make adjustments to the rear cabin on each side to fit the hull and cabin roof line. I assembled the rear cabin and decided to cut a space for the door out of the center. I added supports on the top and bottom of the rear cabin in order to join the two pieces together. Before I finish up the cabin, I need to decide on what accessories for the cabin I want if any. I’m thinking as a minimum a helm and seat in the cabin and also some pre-cut items for the deck. If that’s the case, I’ll have to find some to order before I complete the cabin build. Build time 4.5 hours.


-
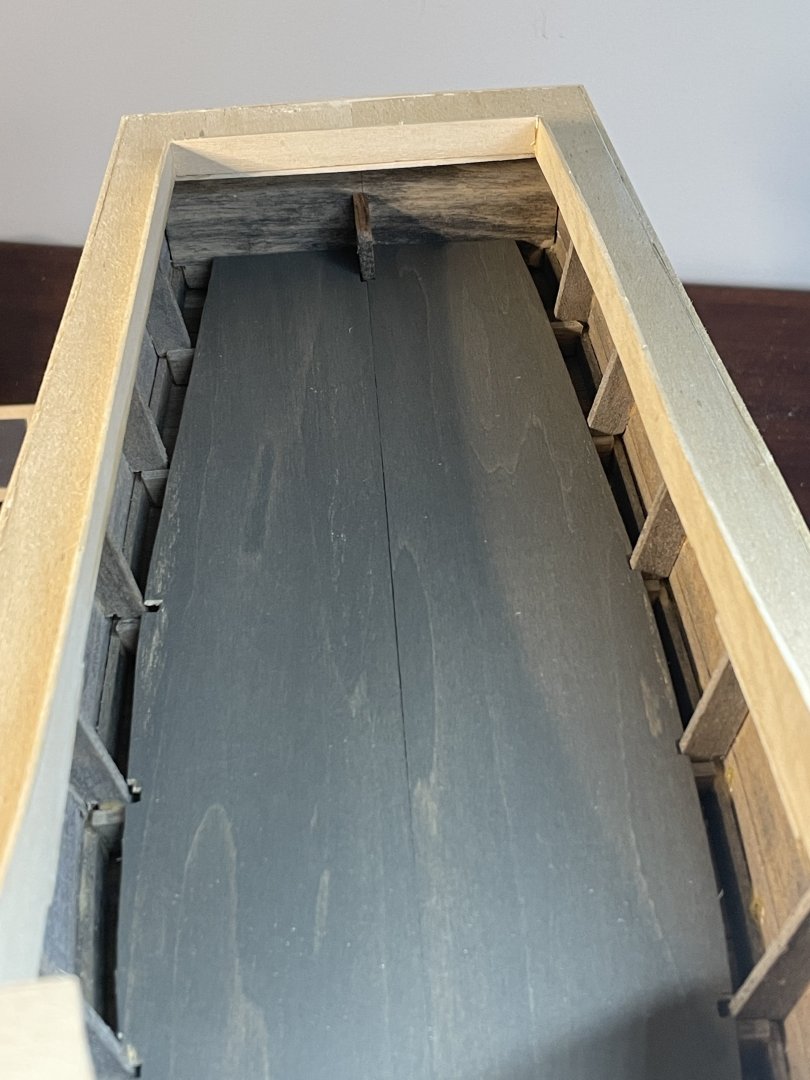
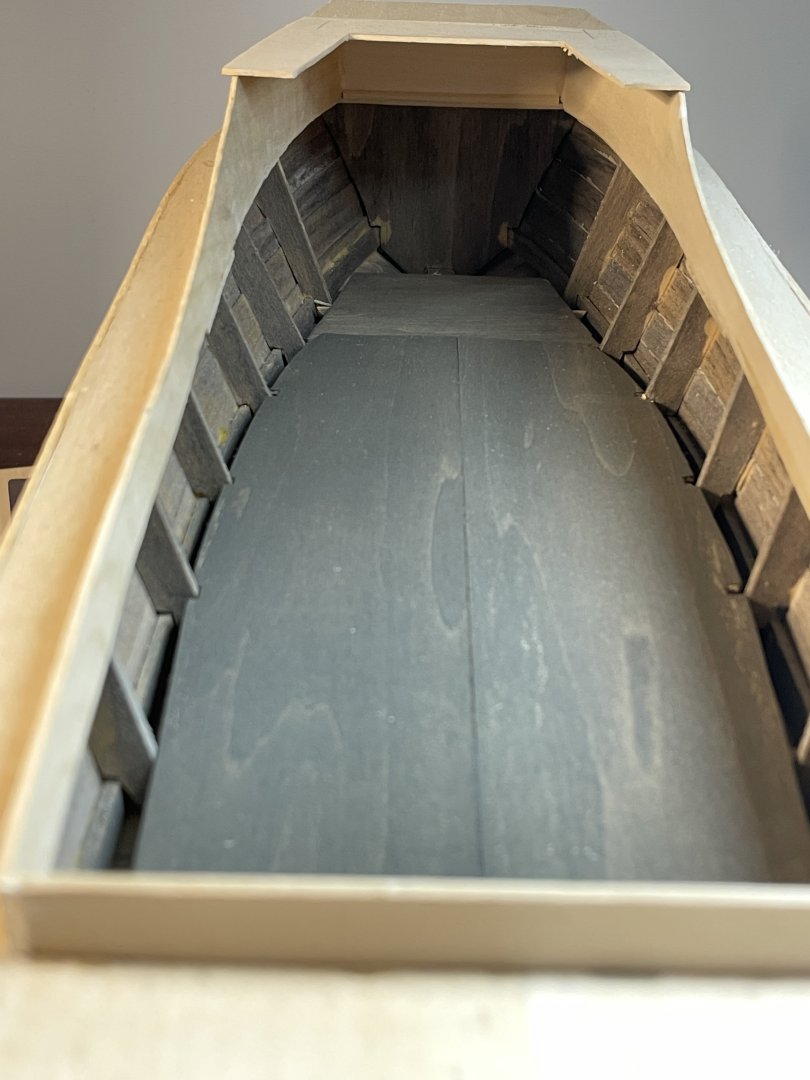
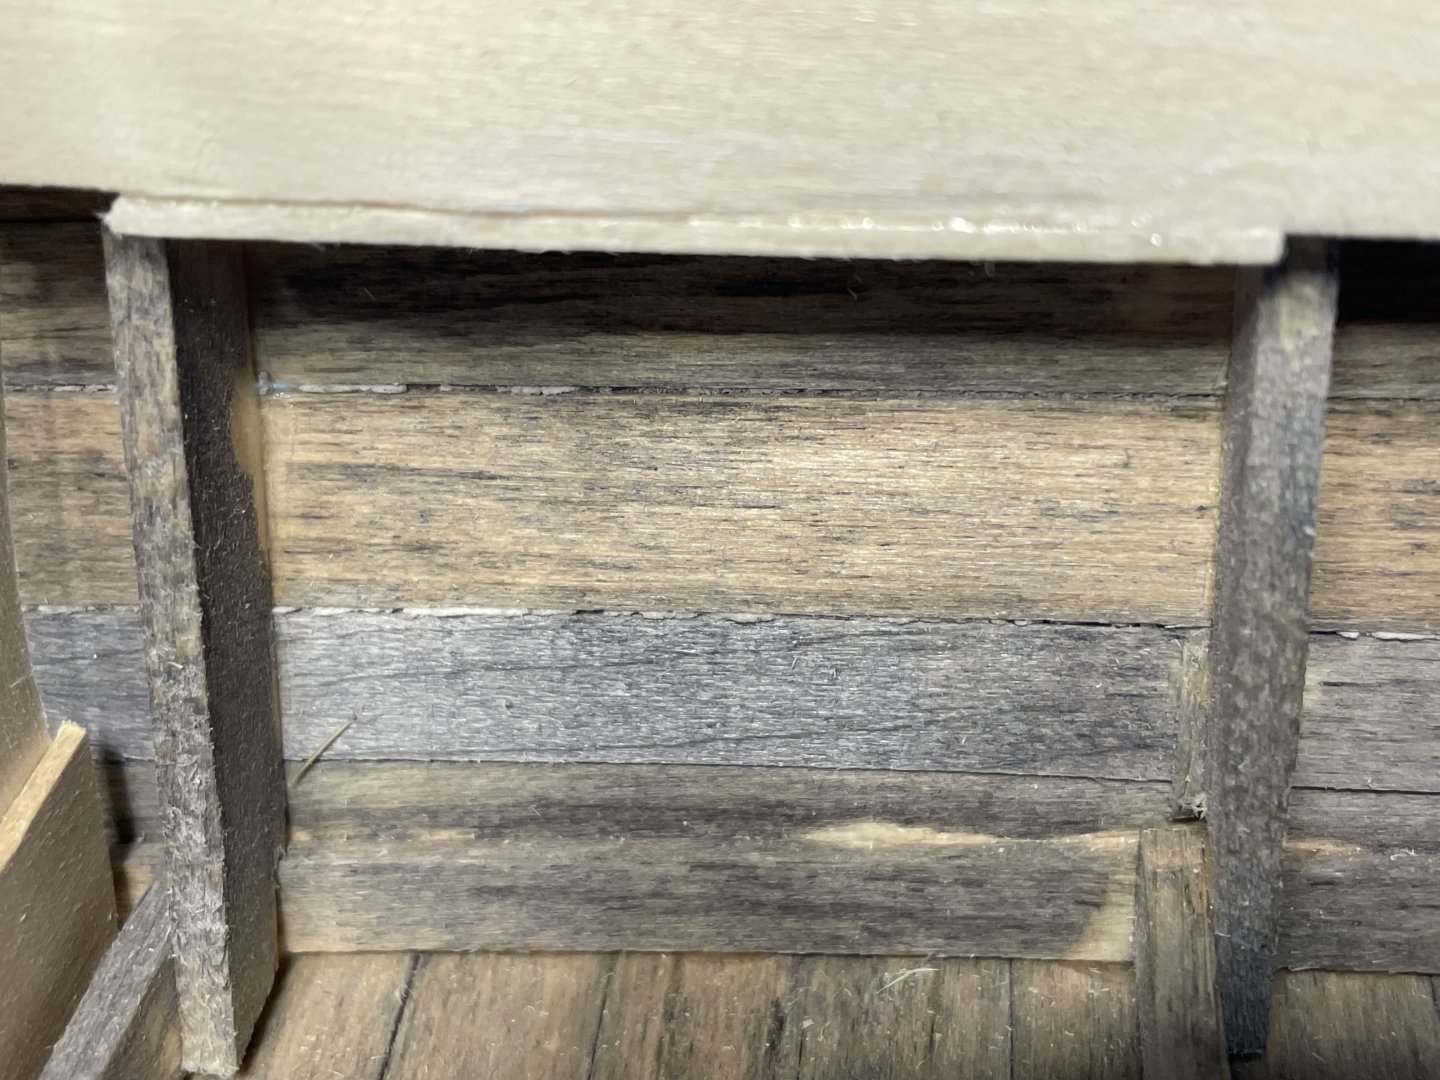
Next step is building the cabin. And looking at the instructions that’s all there was “build the cabin.“ Needing to have the cockpit floor installed before the cabin, I fit that and stained it using Graystone (General Finishes). I also stained the interior hull Aged Barrel (Minwax). I’ll need to clean up the bleed through on the outside of the hull. Build time 1 hour.
-
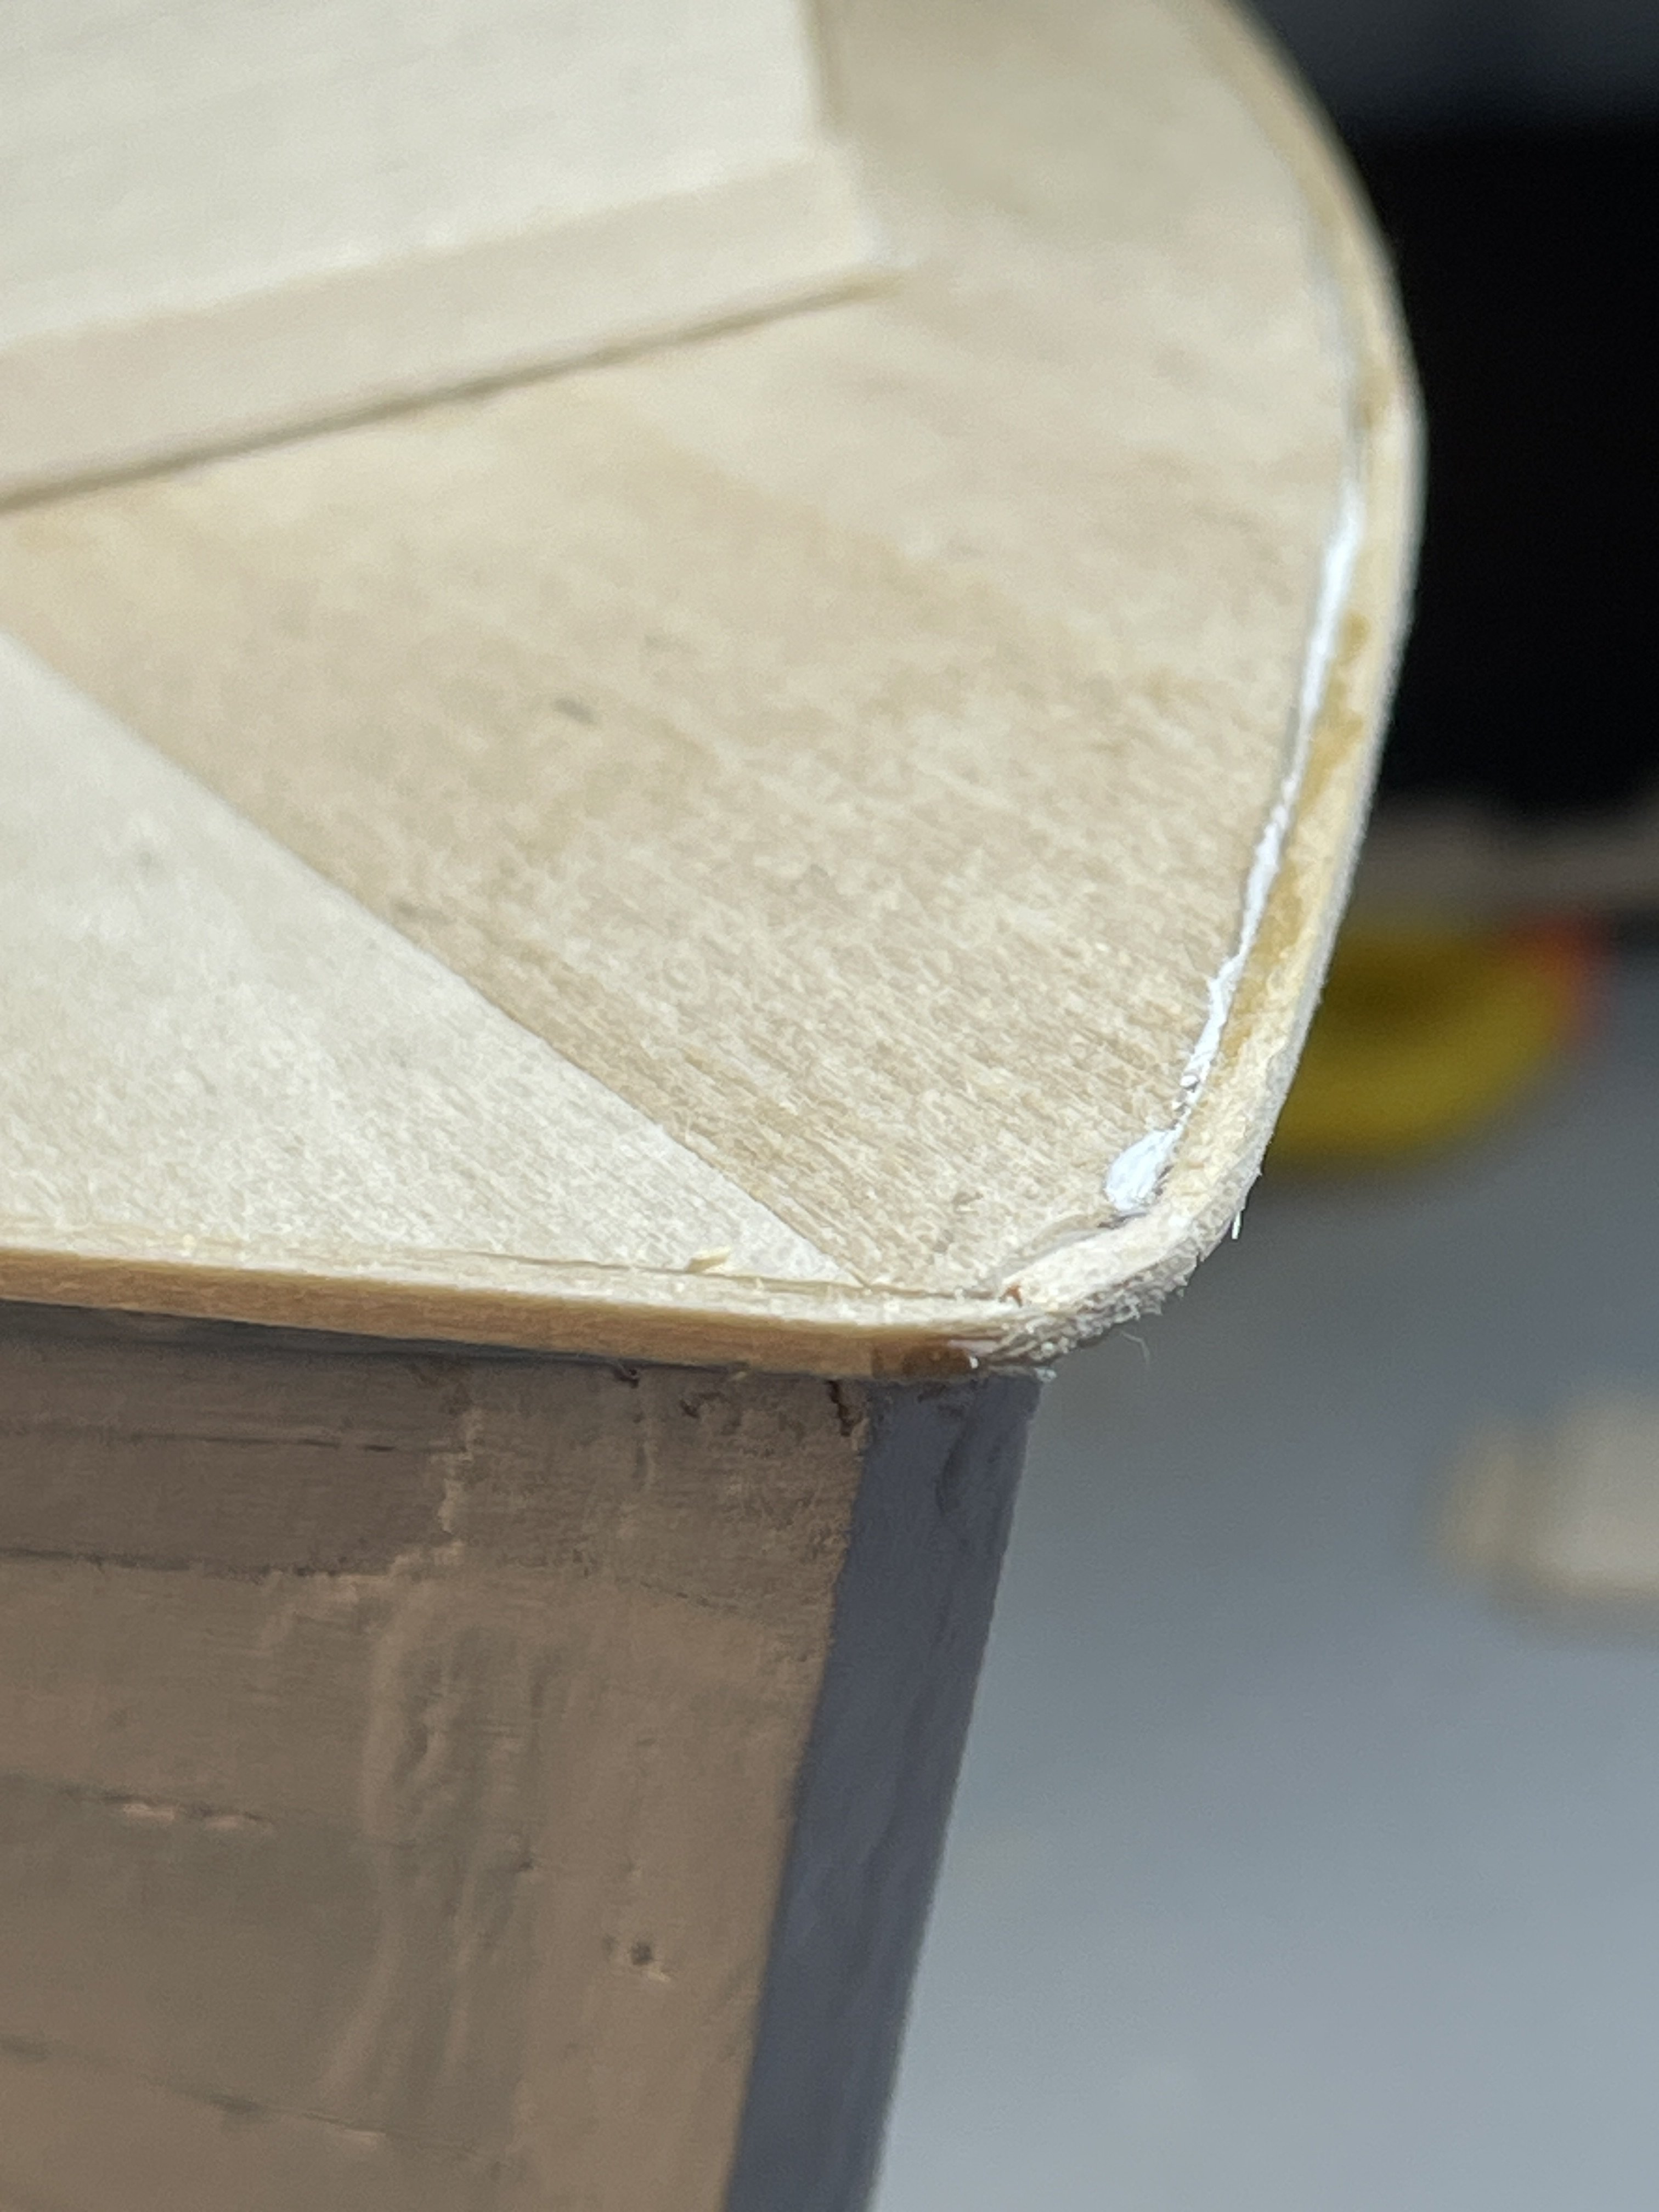
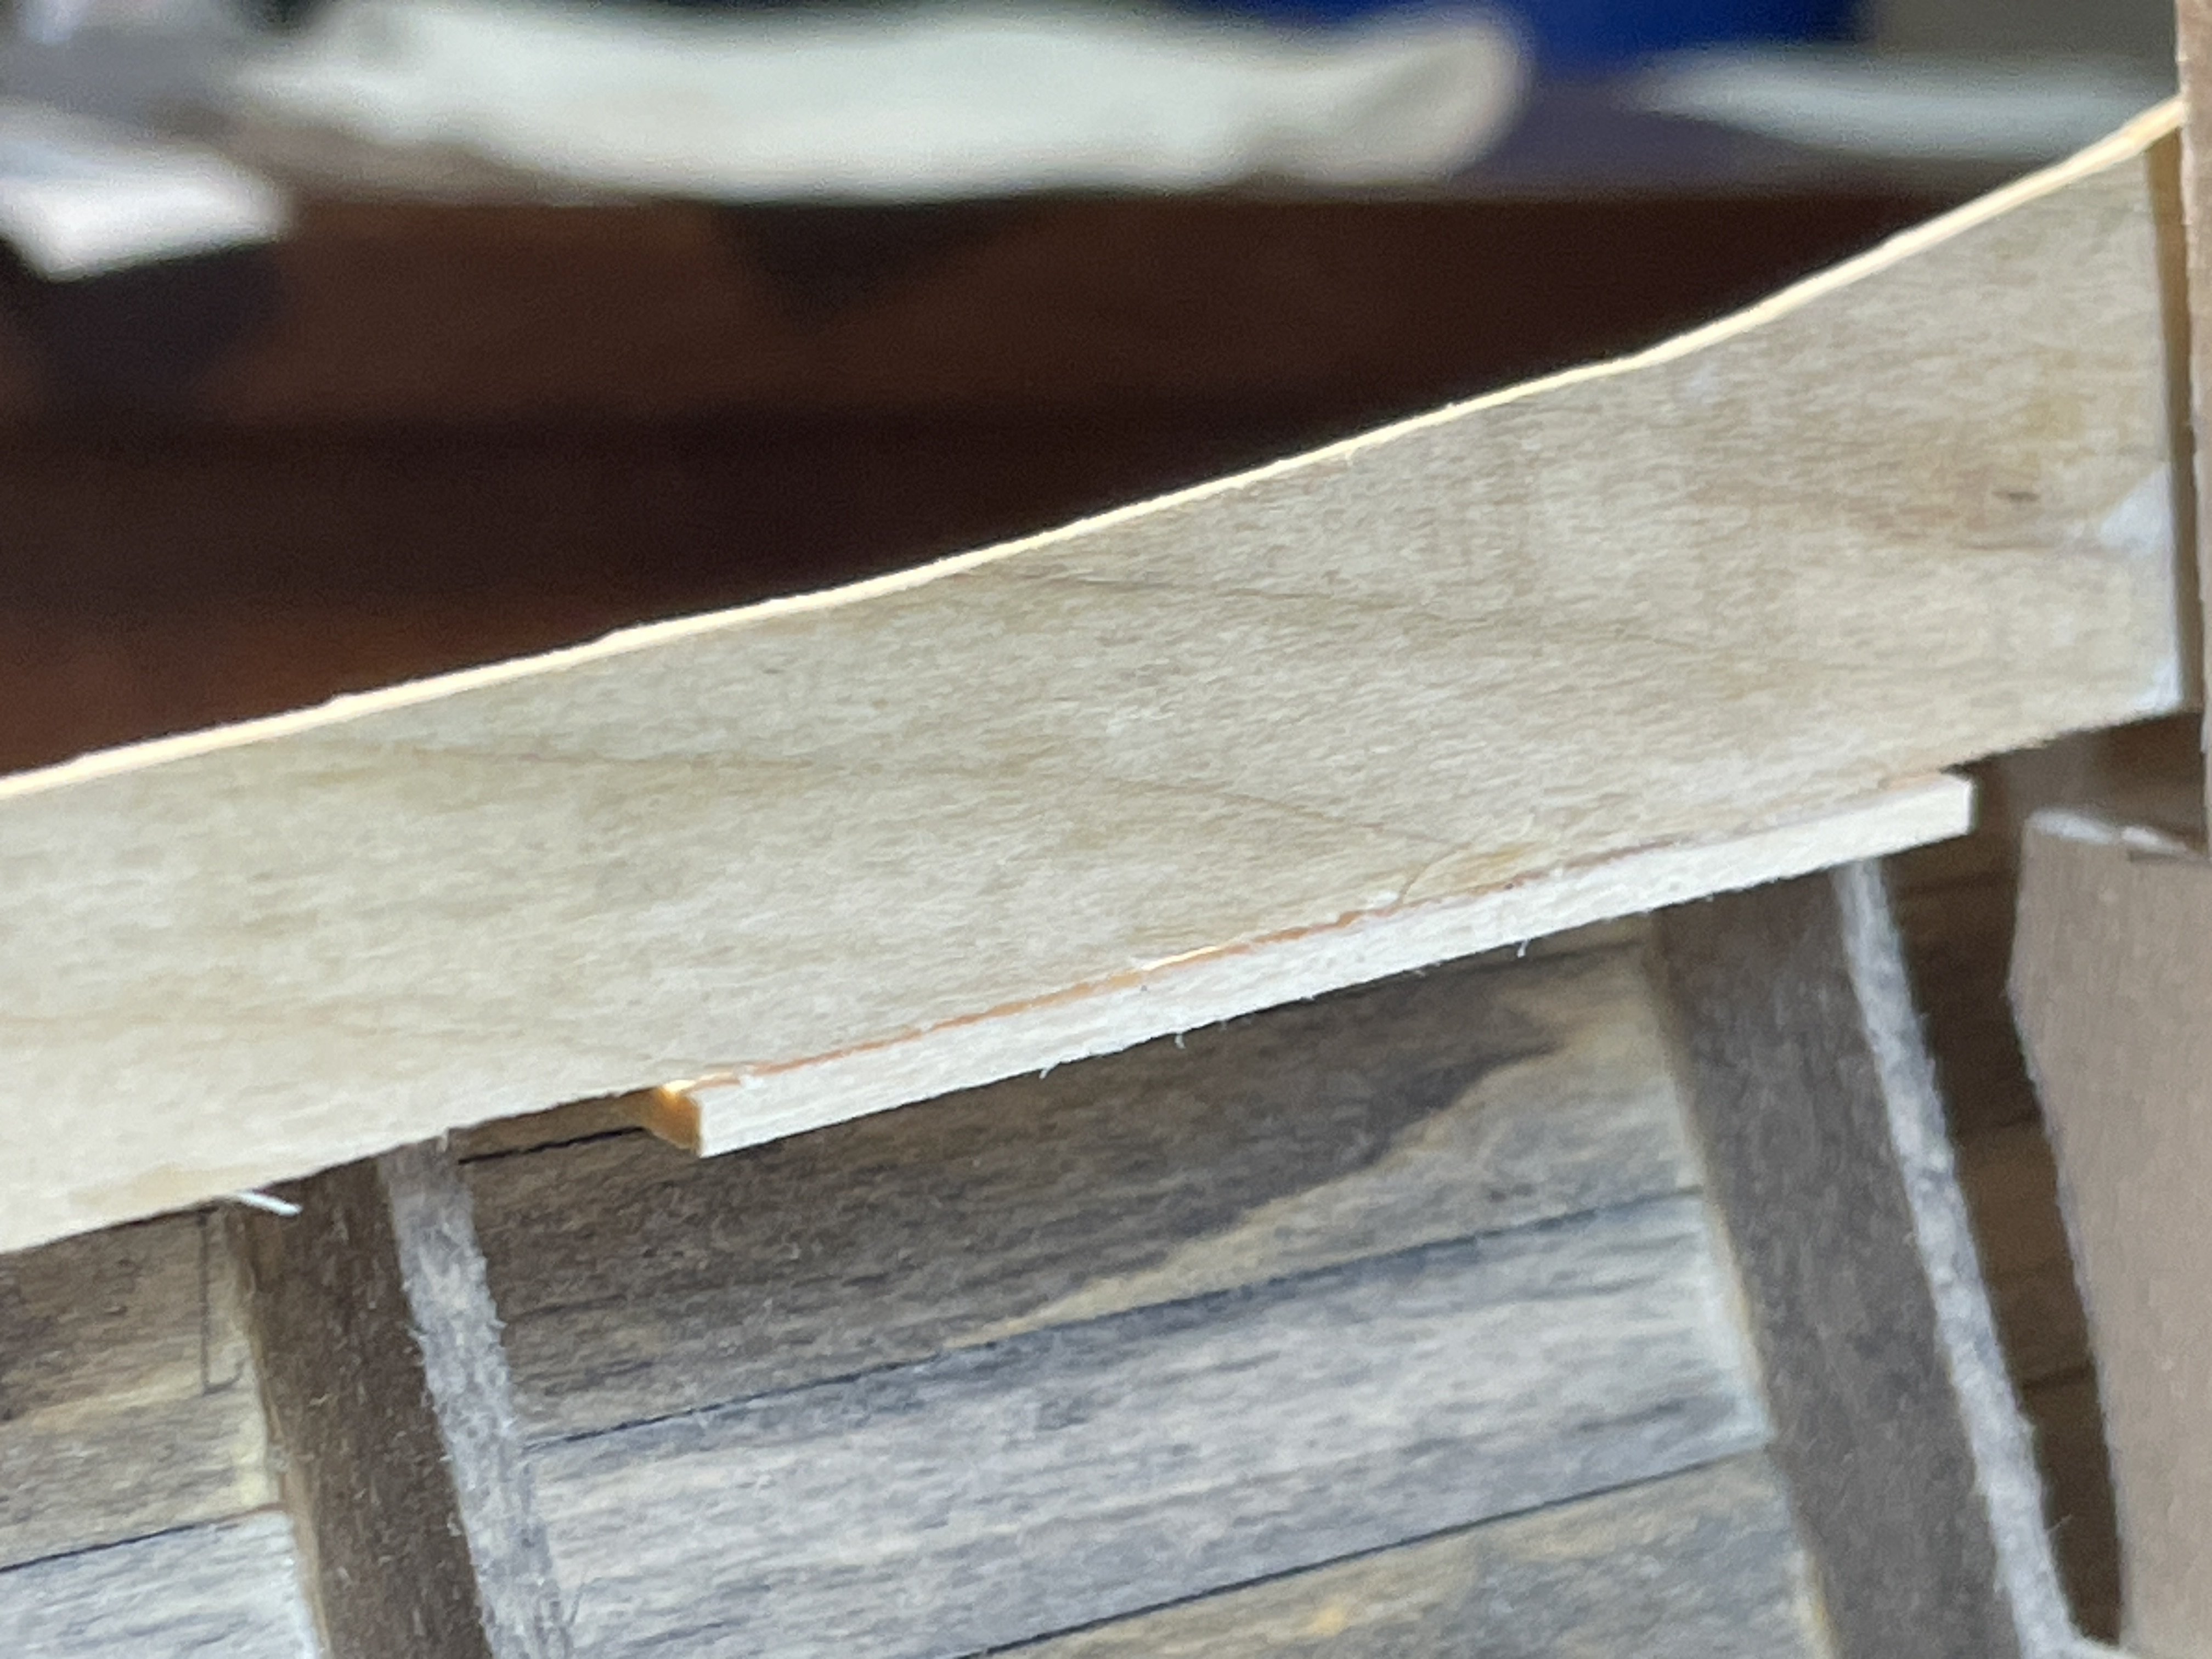
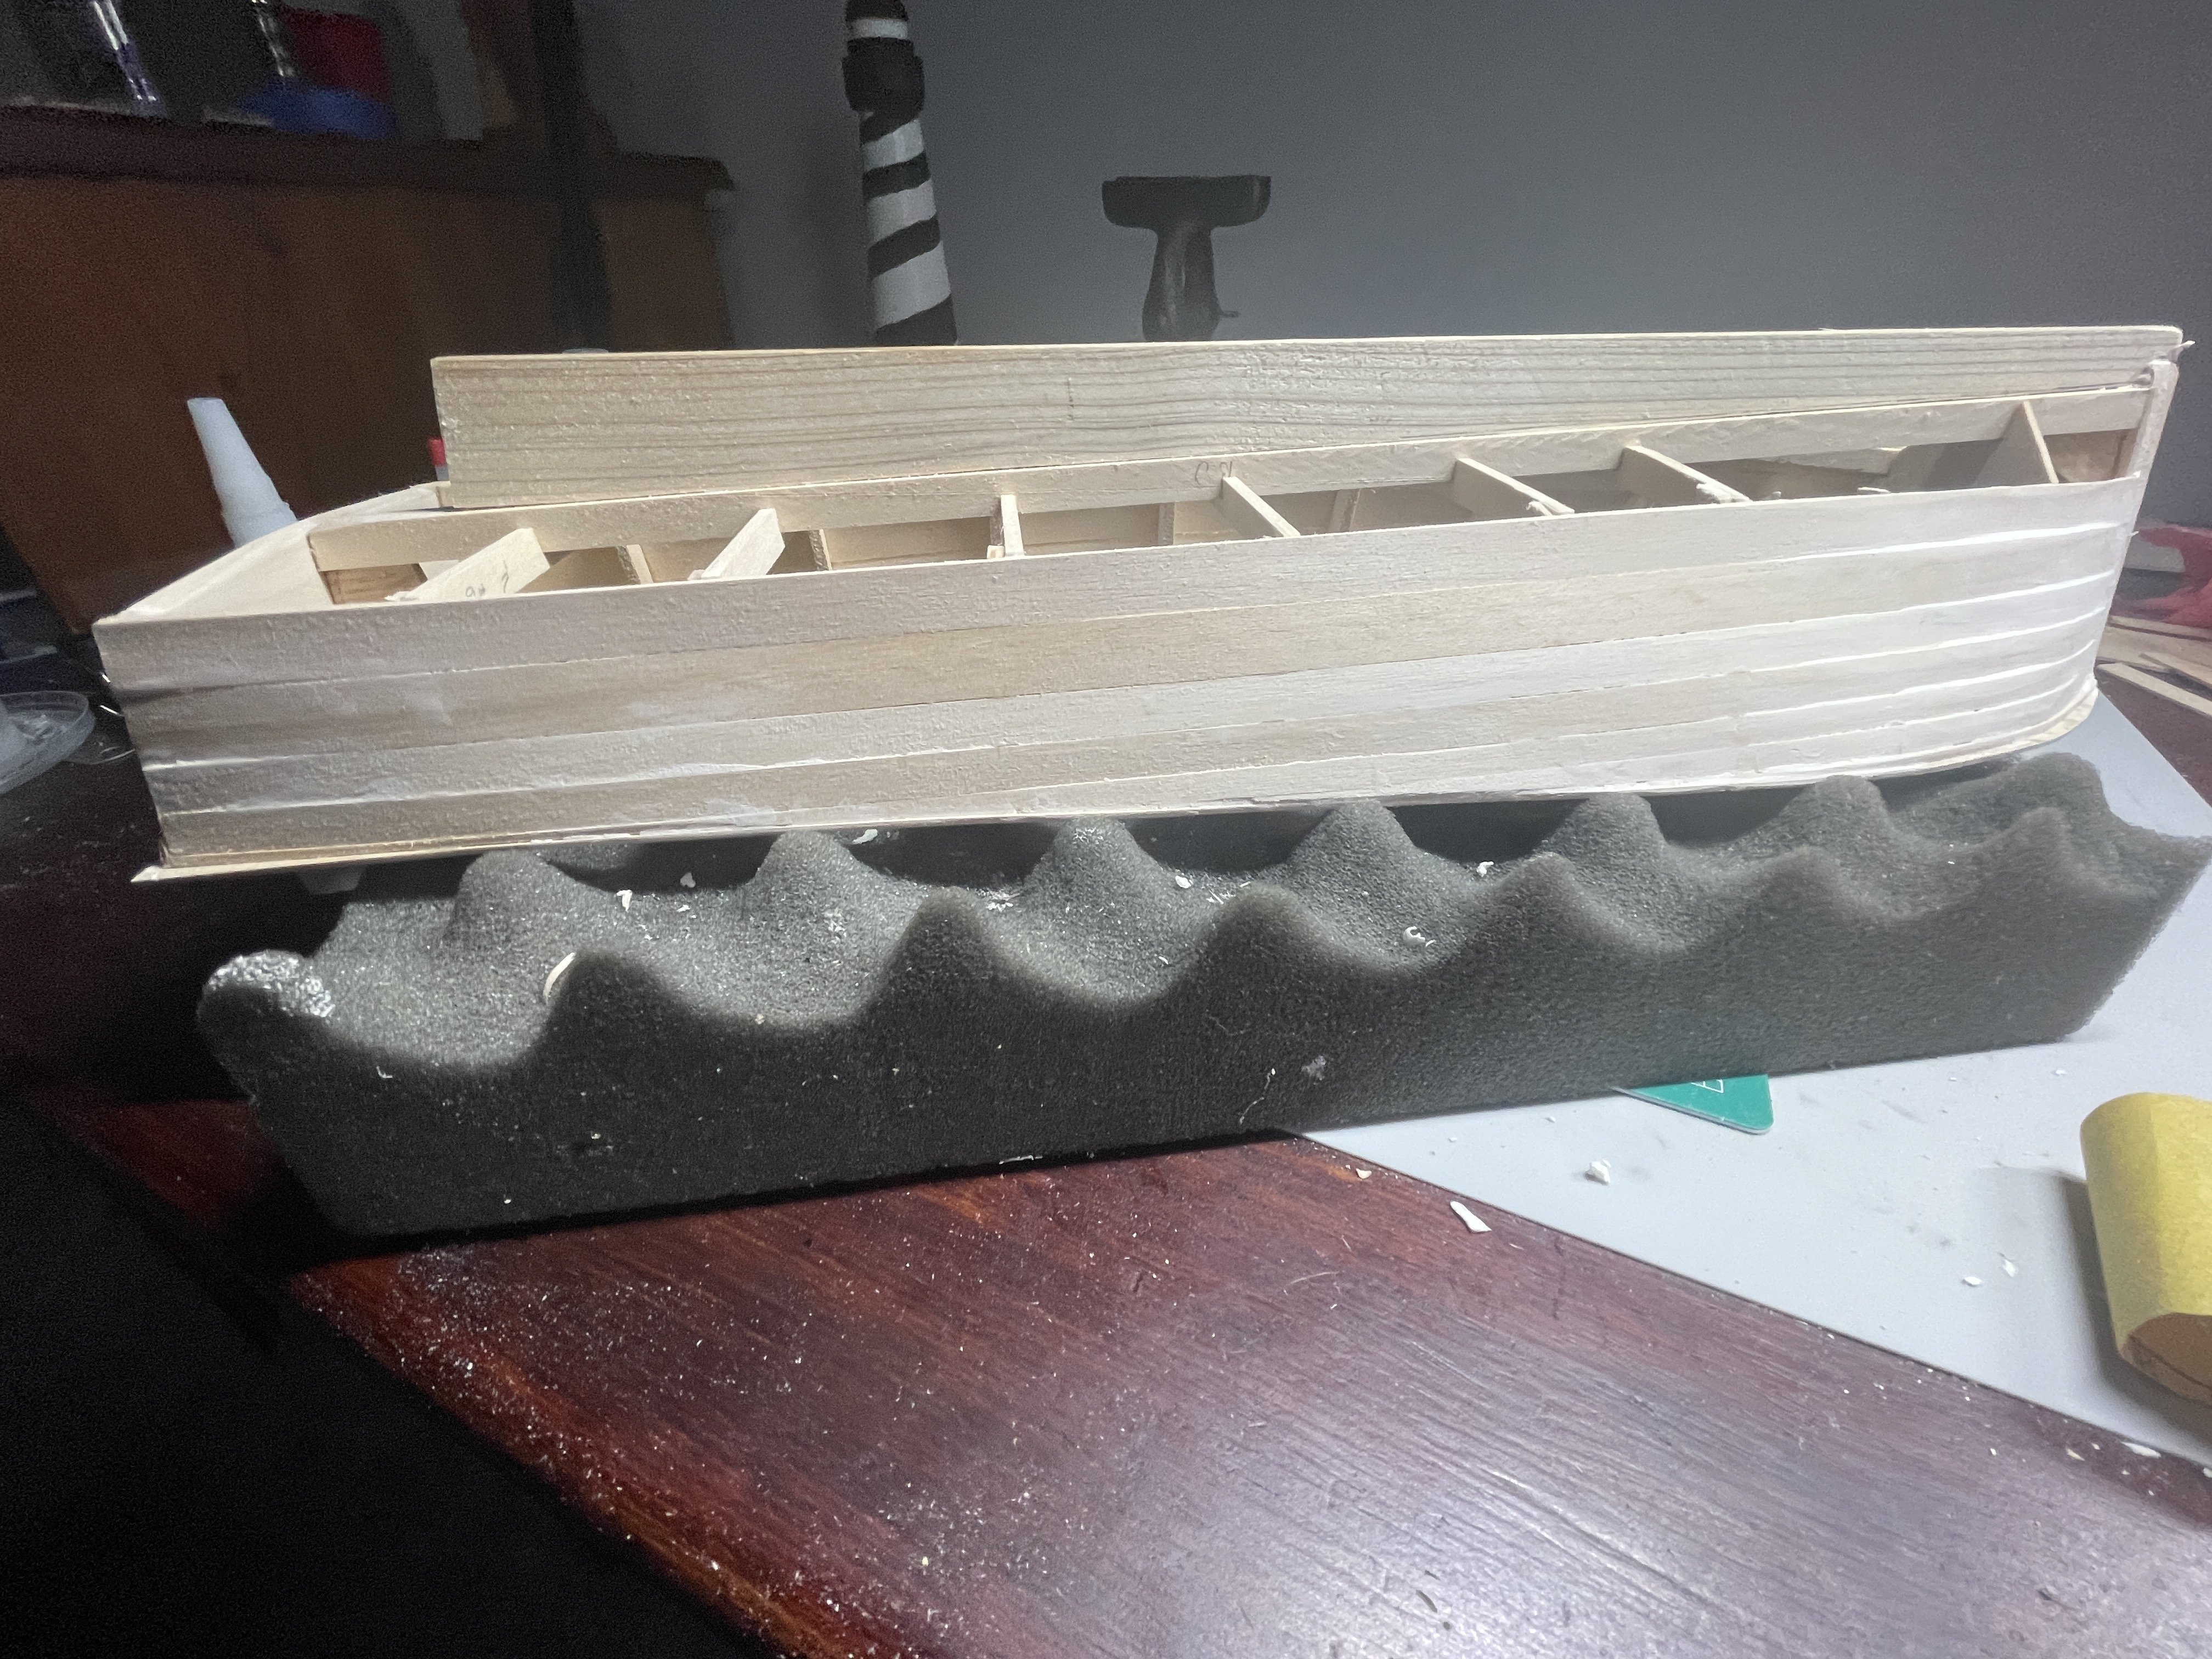
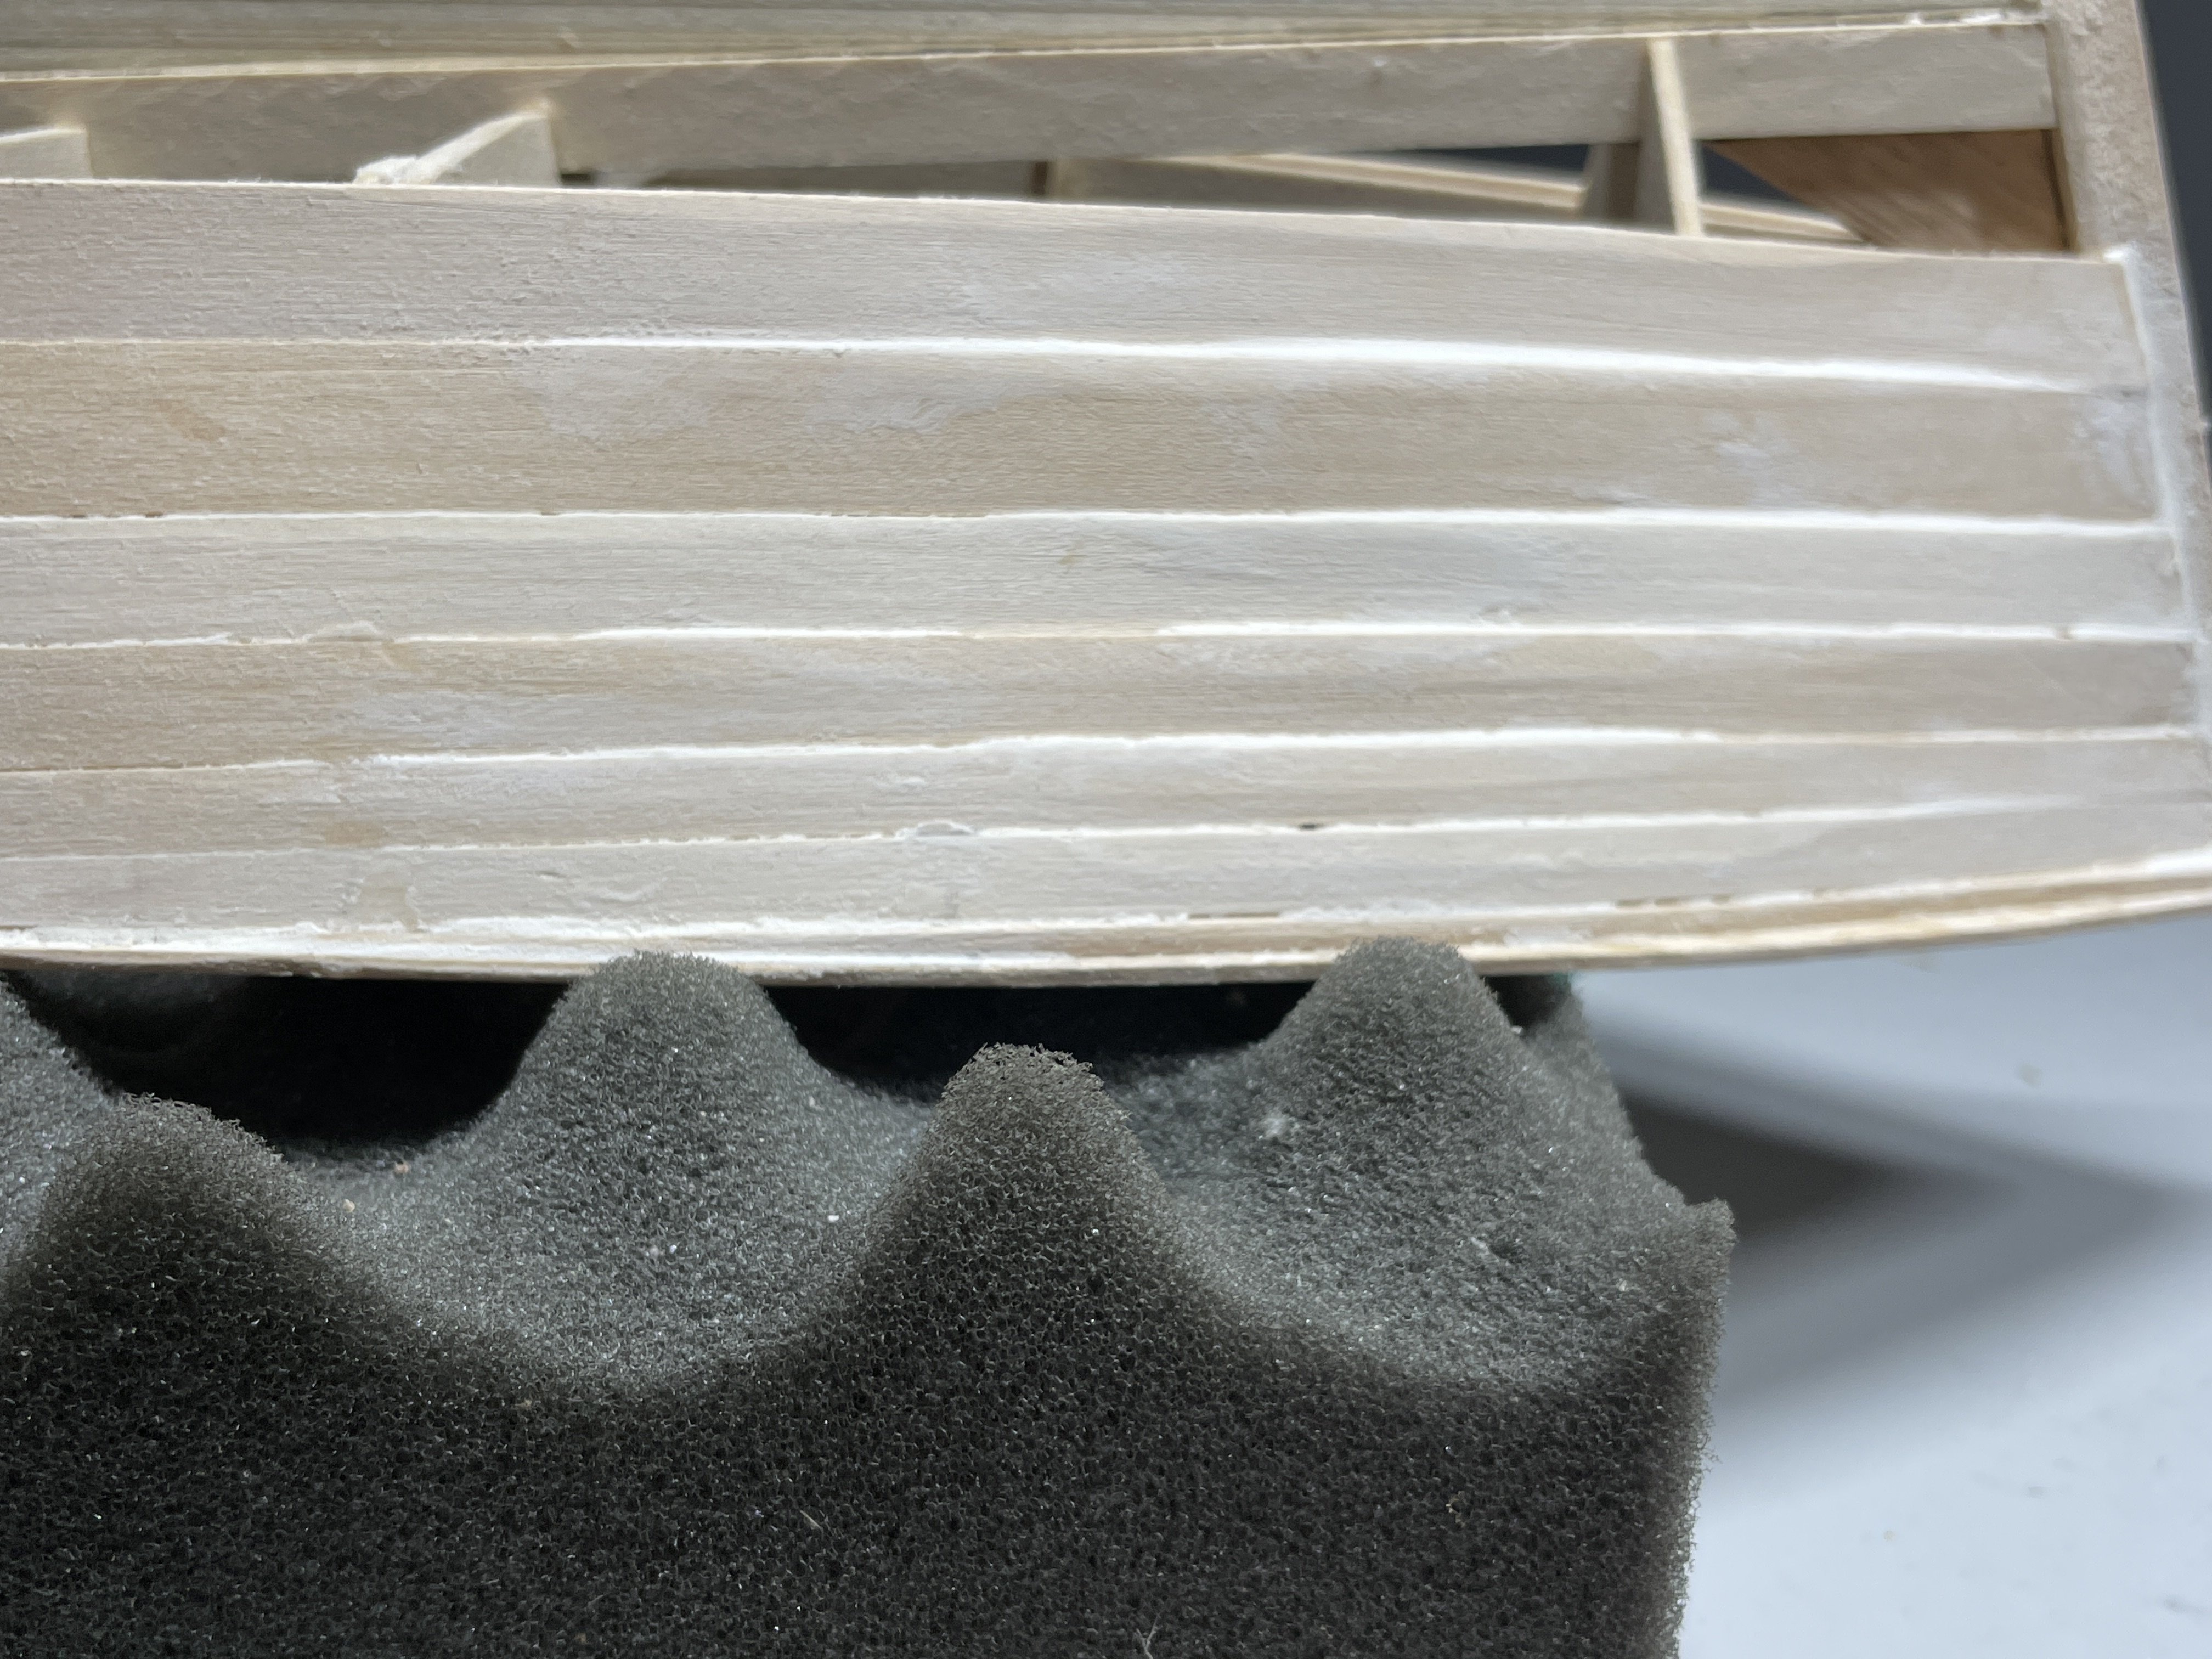
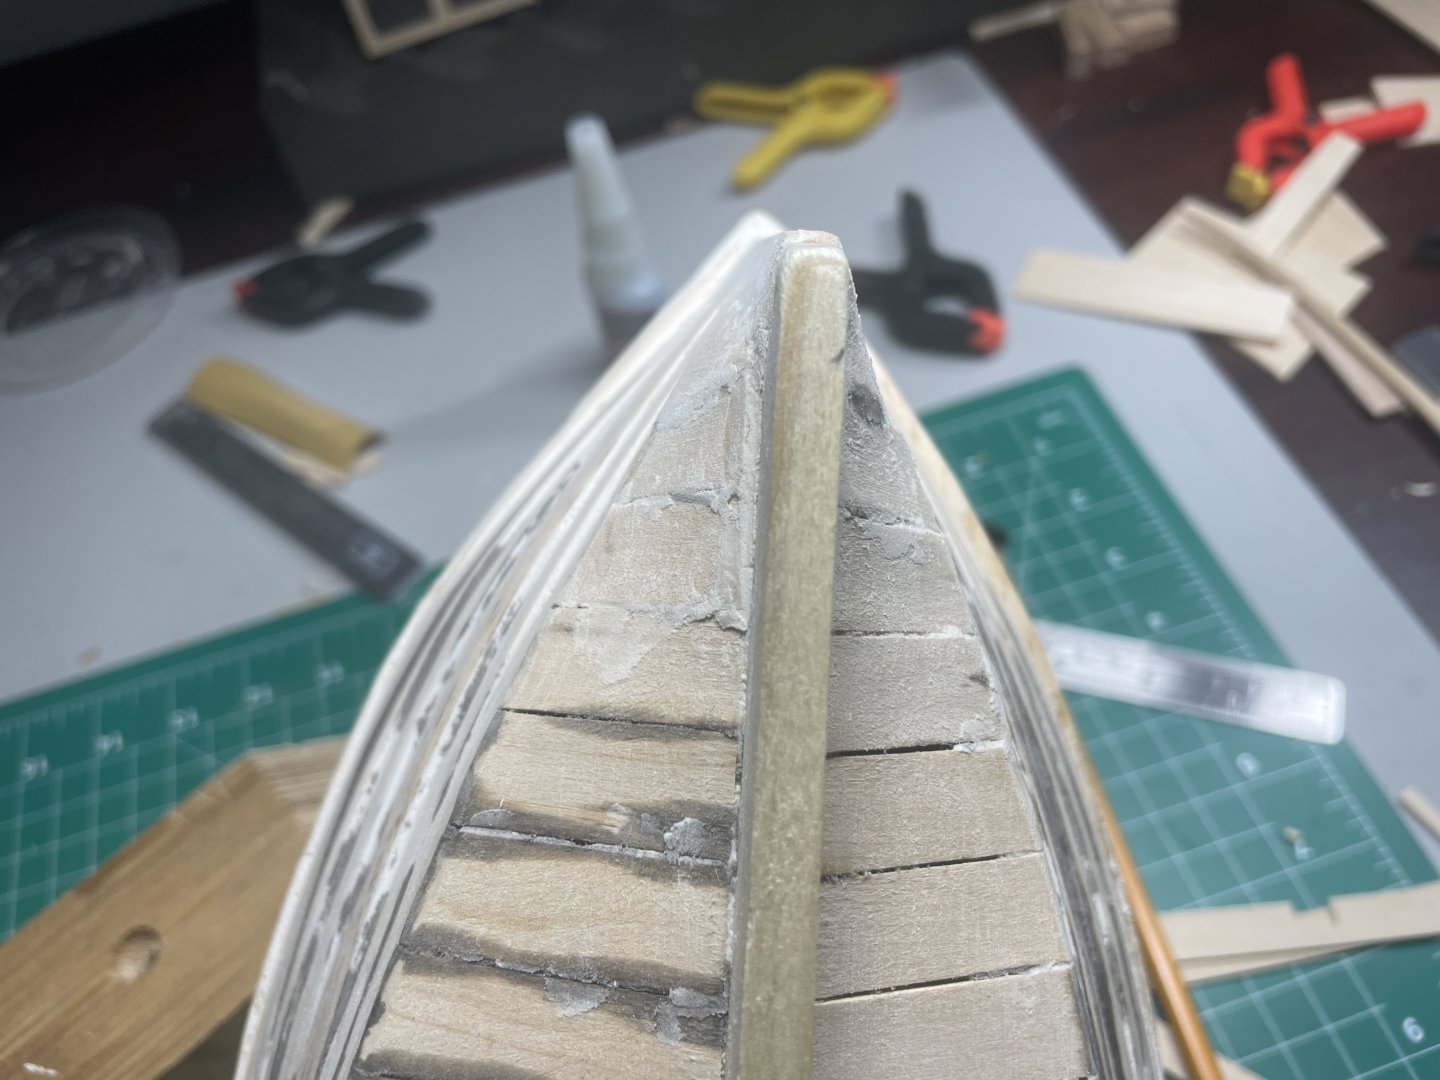
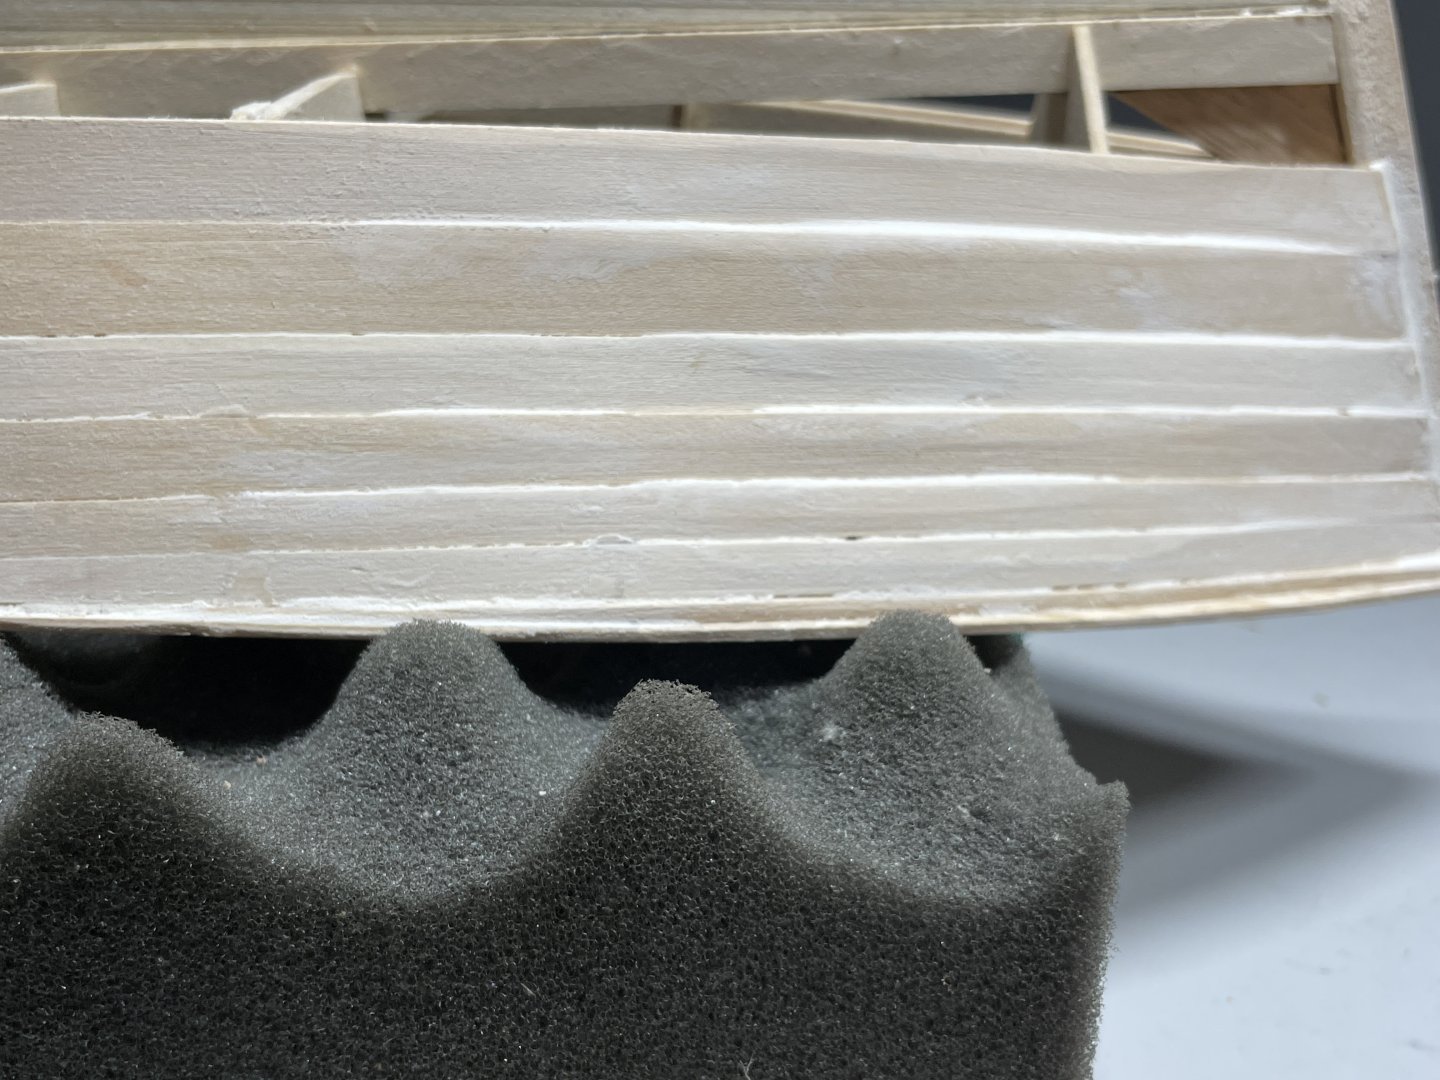
Installed final planks at the bow. These required soaking with a twist to fit properly. The last plank installed was custom fit from a wide piece of scrap. After sanding, I filled some gaps. More filler and sanding needed. Build time 2.5 hours.
-
LJC reacted to a post in a topic:
Chesapeake Bay Box Stern Workboat by LJC - Wye River Models
-
LJC reacted to a post in a topic:
Chesapeake Bay Box Stern Workboat by LJC - Wye River Models
-
LJC reacted to a post in a topic:
Chesapeake Bay Box Stern Workboat by LJC - Wye River Models
-
LJC reacted to a post in a topic:
Chesapeake Bay Box Stern Workboat by LJC - Wye River Models
-
LJC reacted to a post in a topic:
Chesapeake Bay Box Stern Workboat by LJC - Wye River Models
-
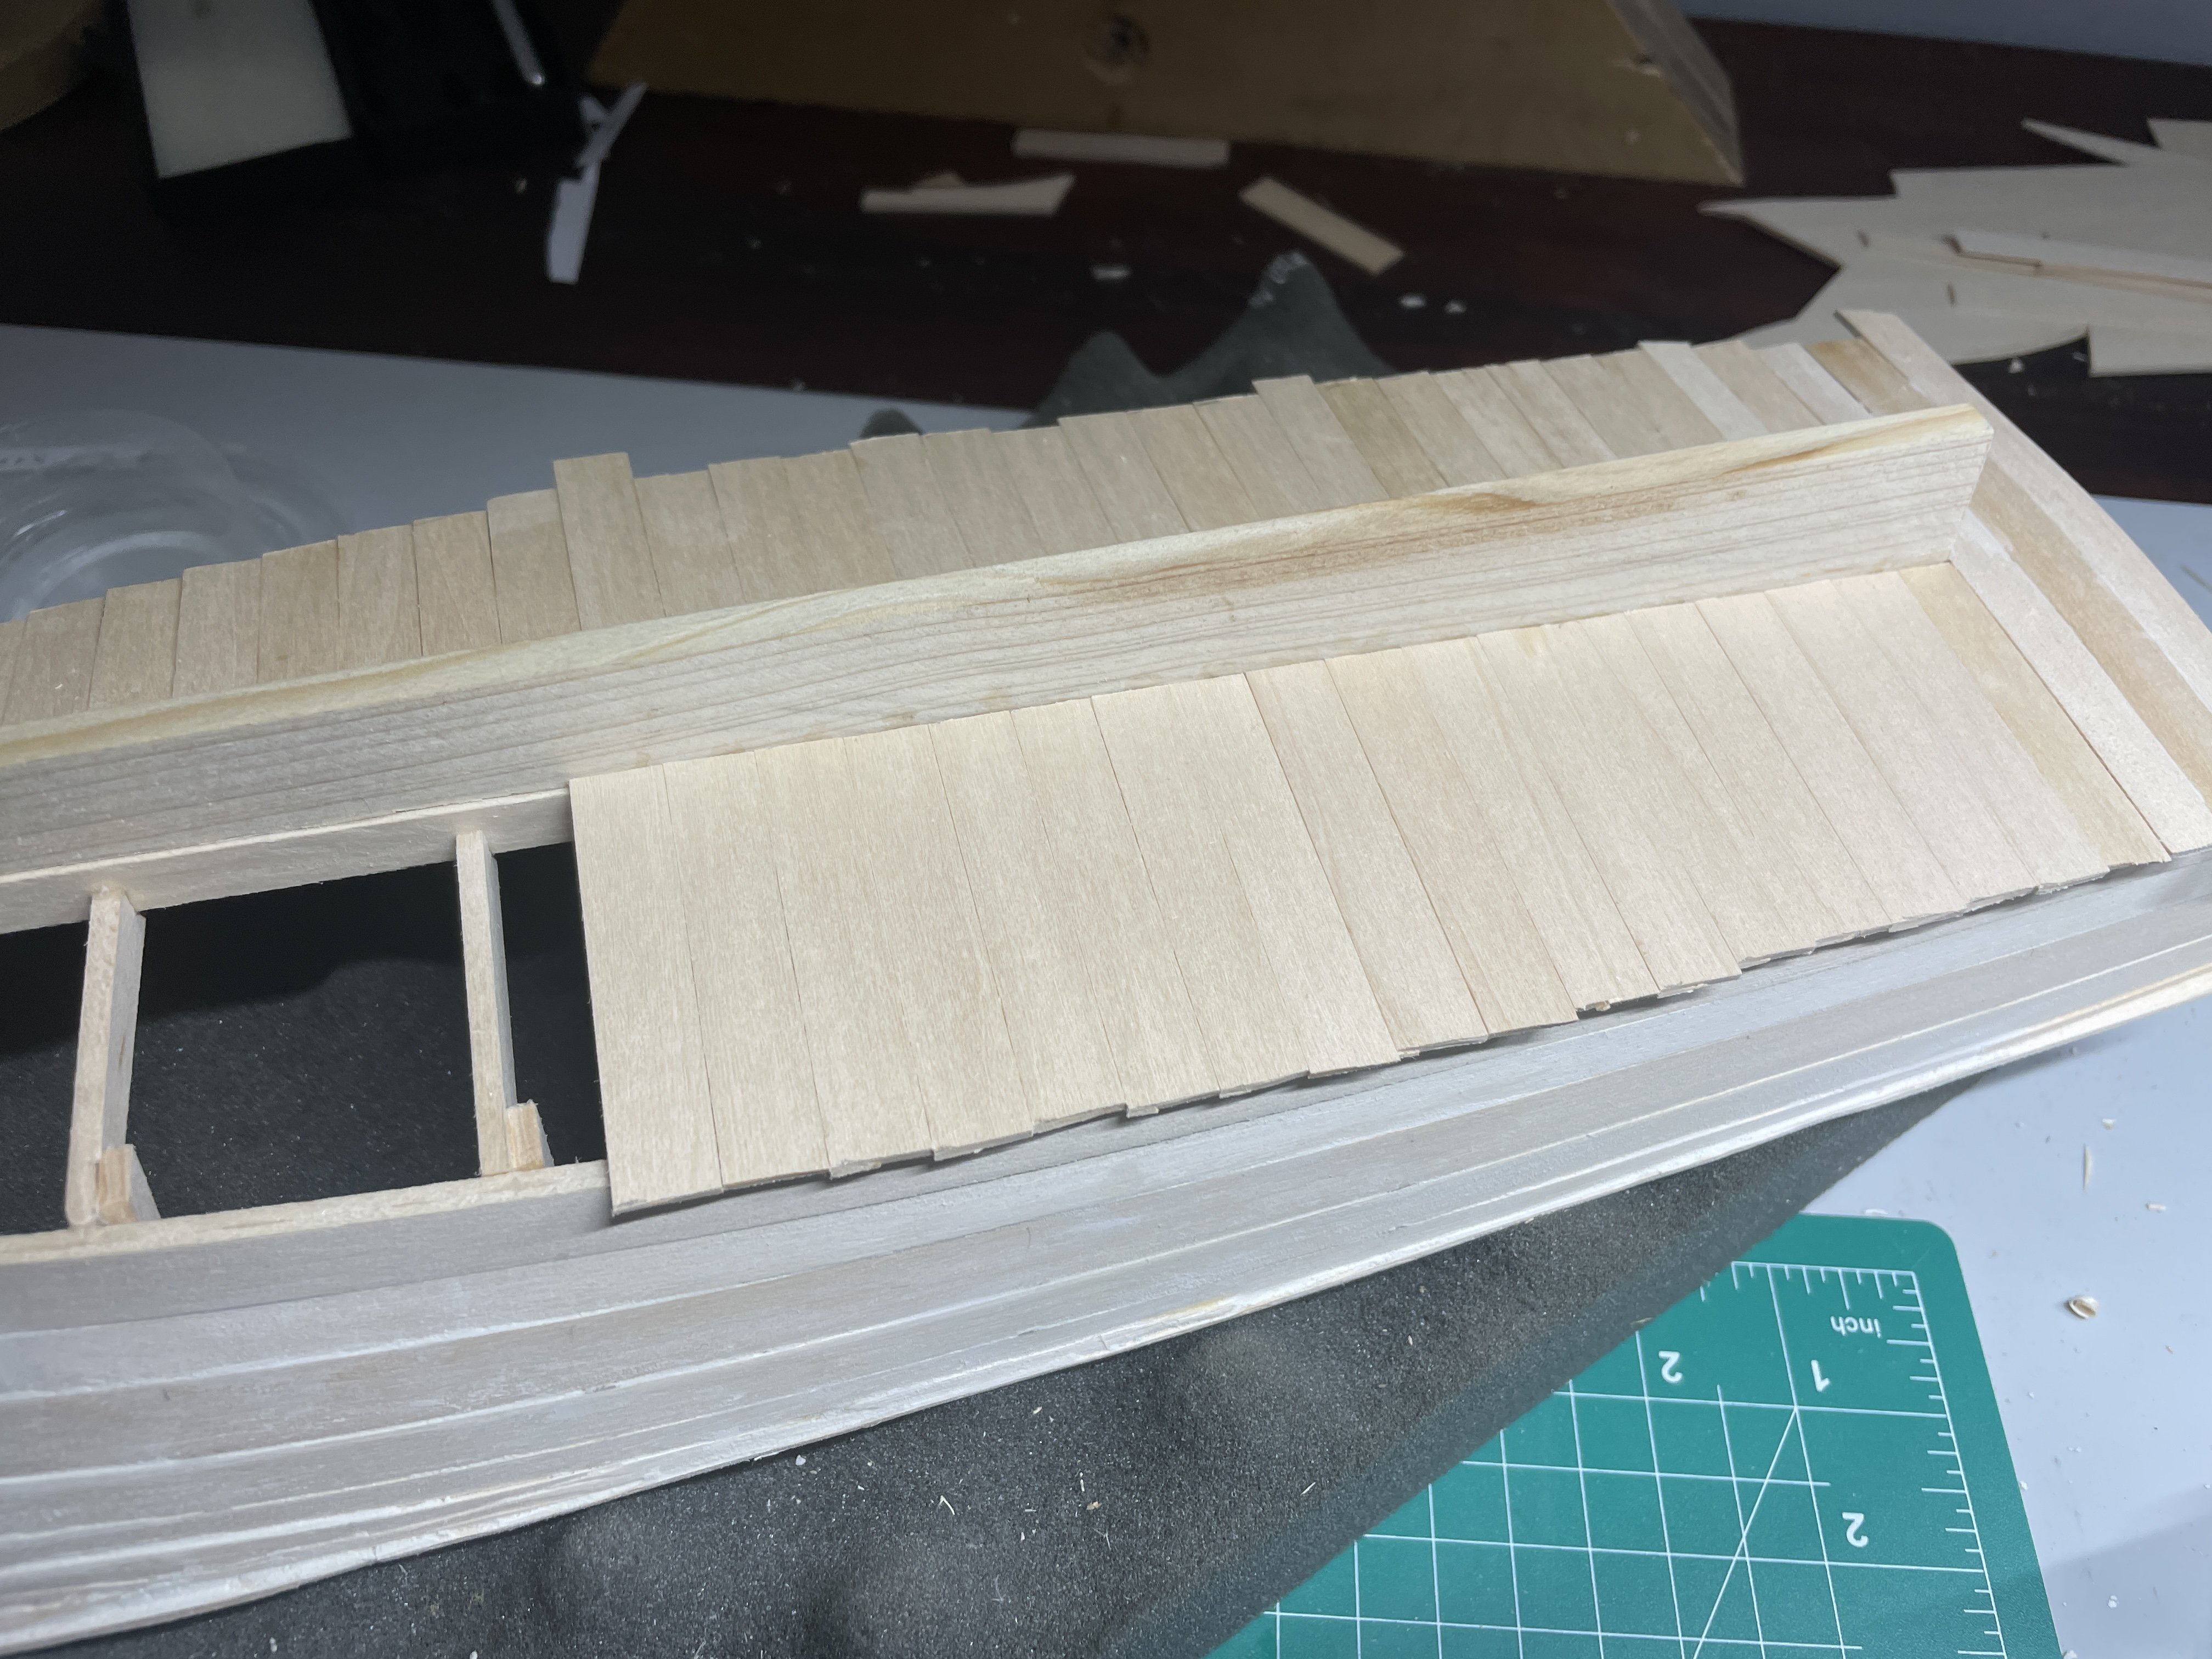
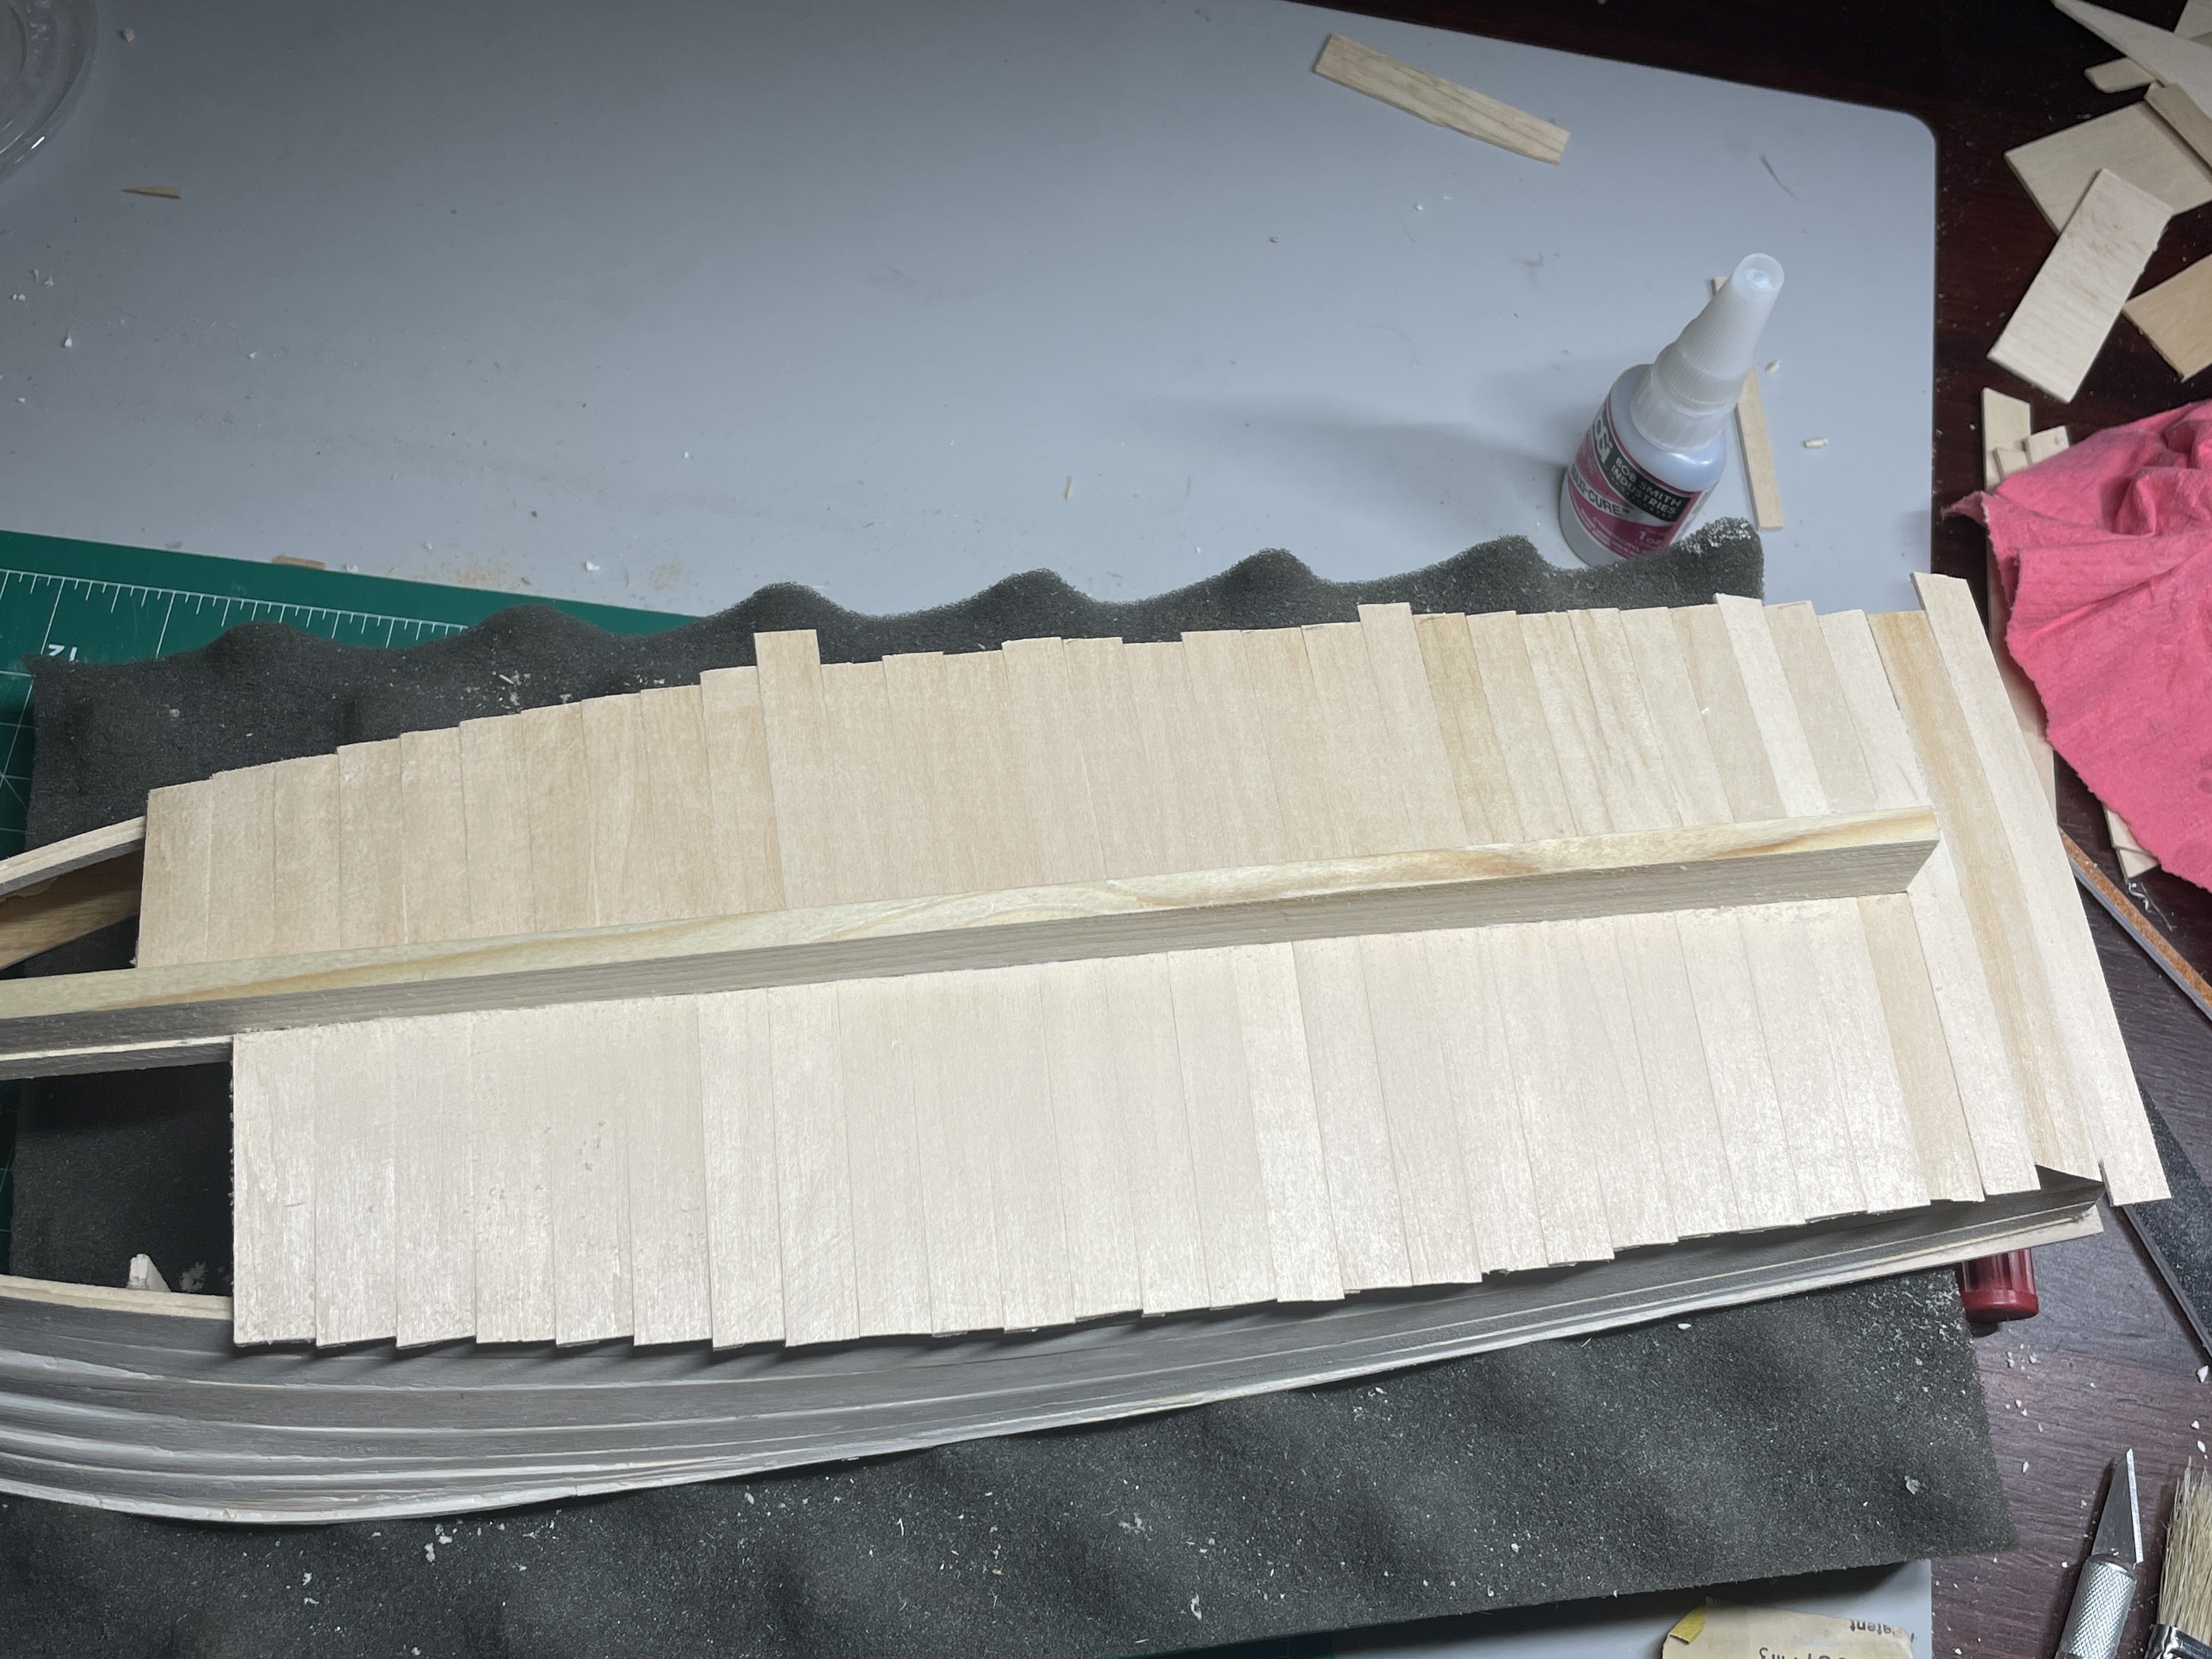
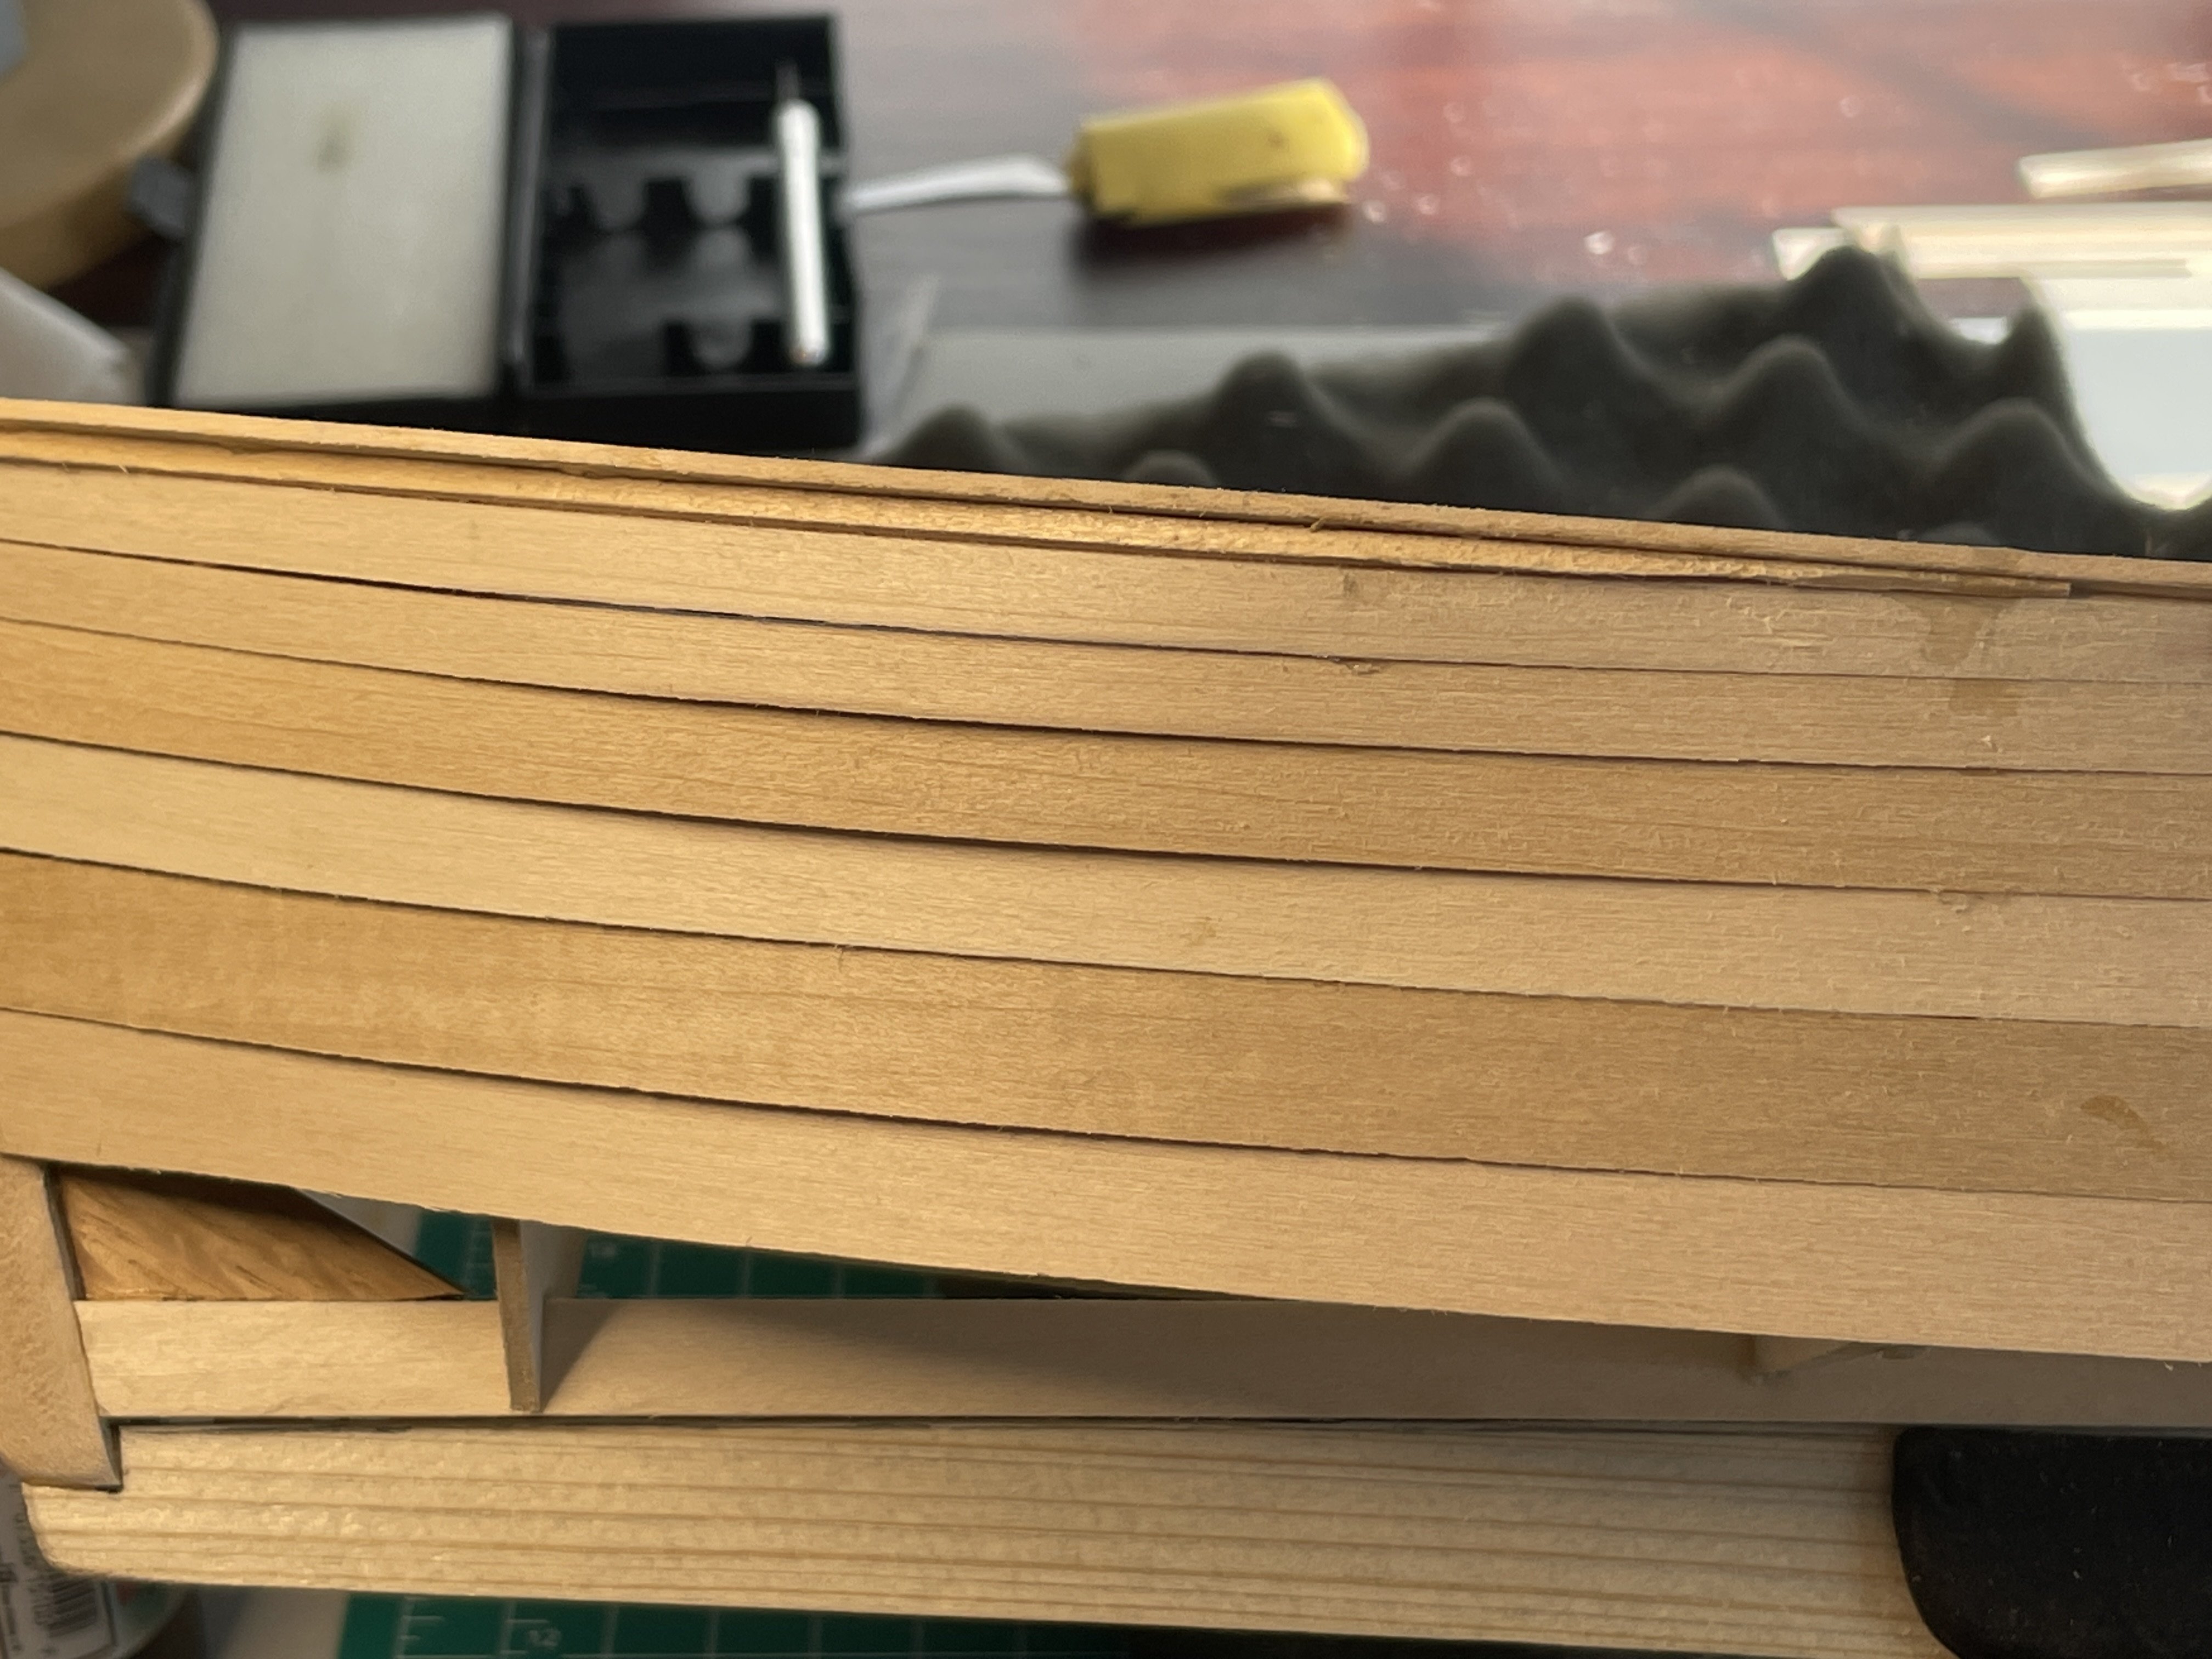
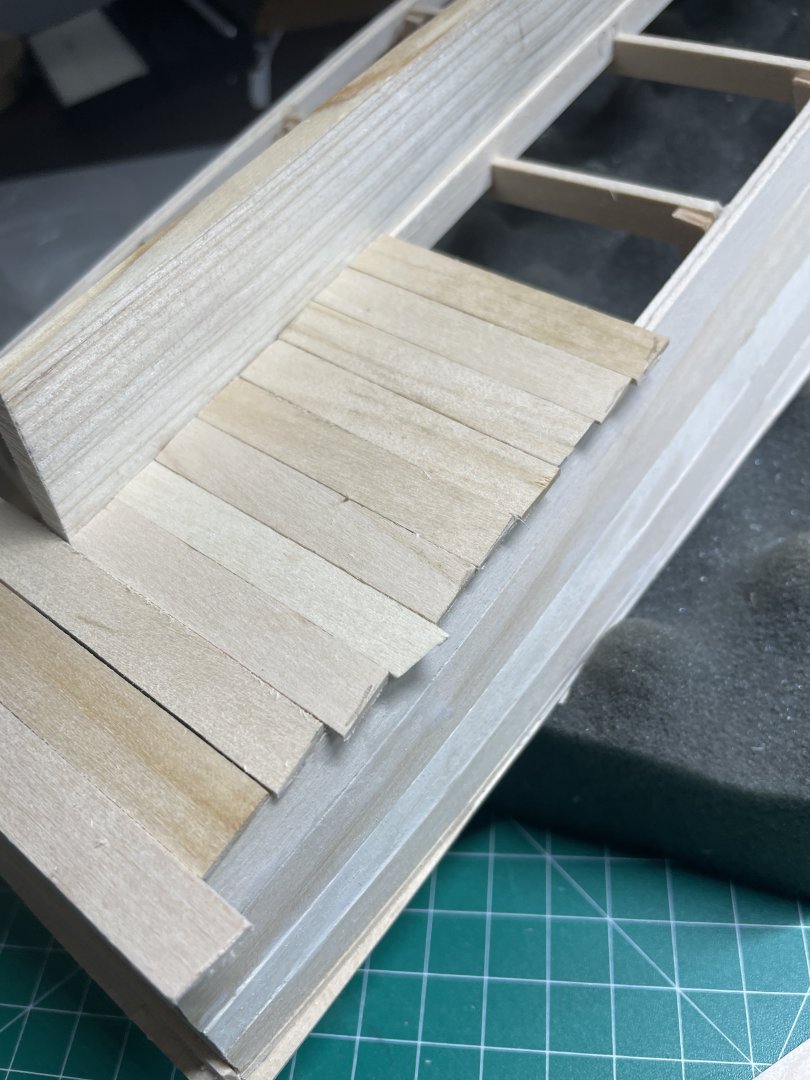
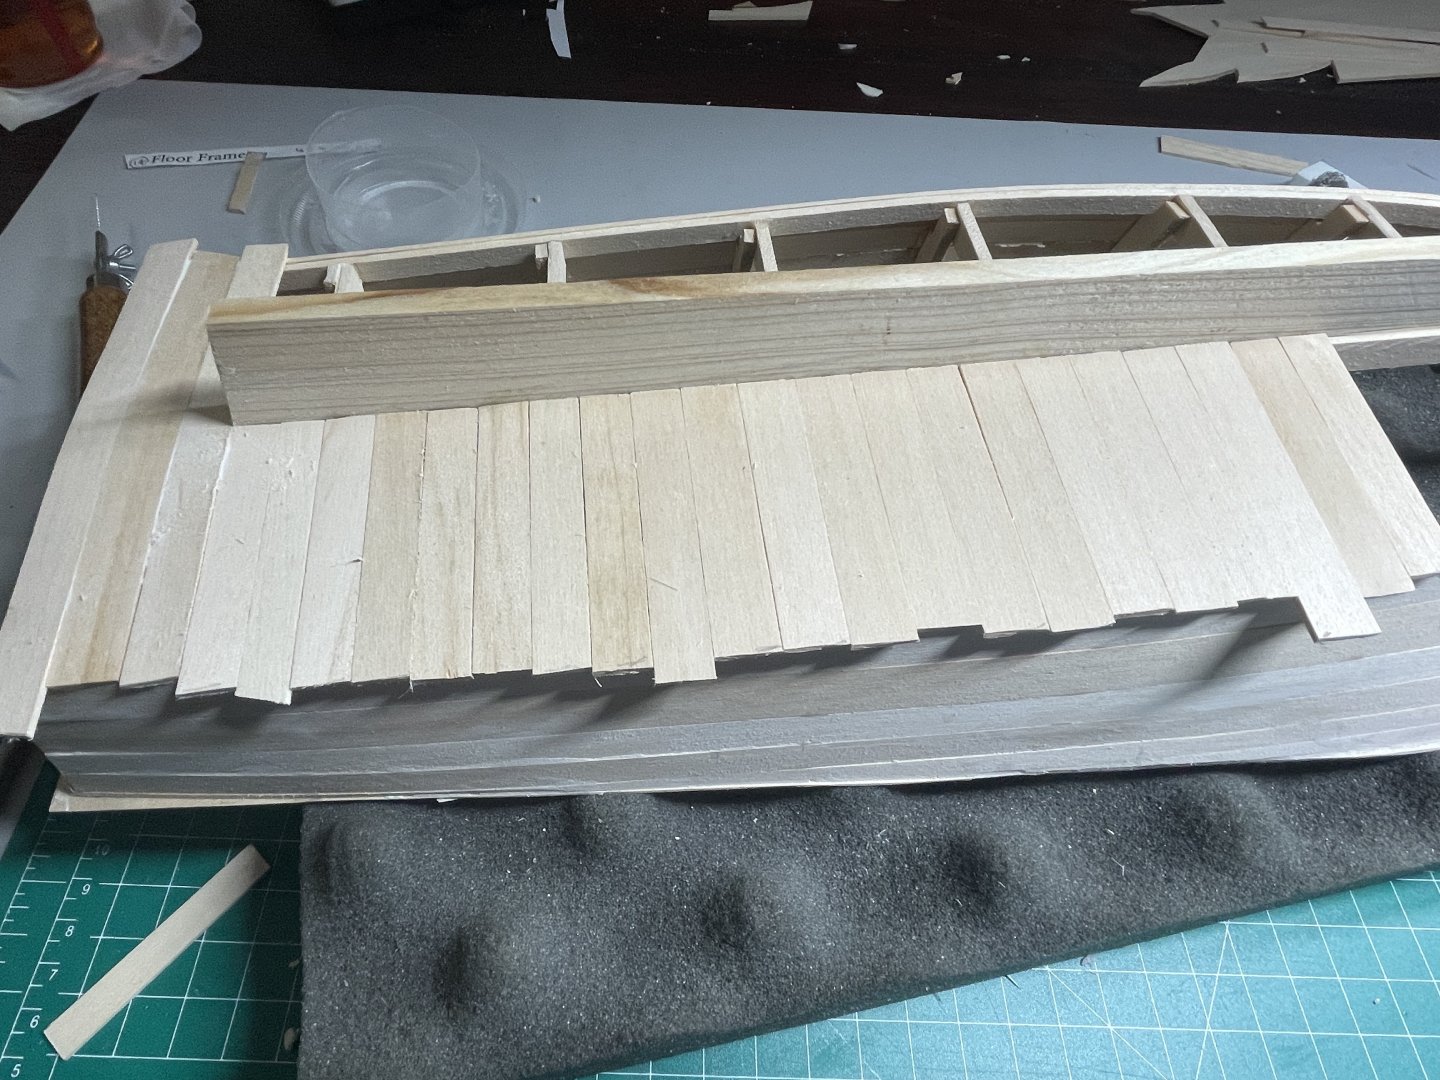
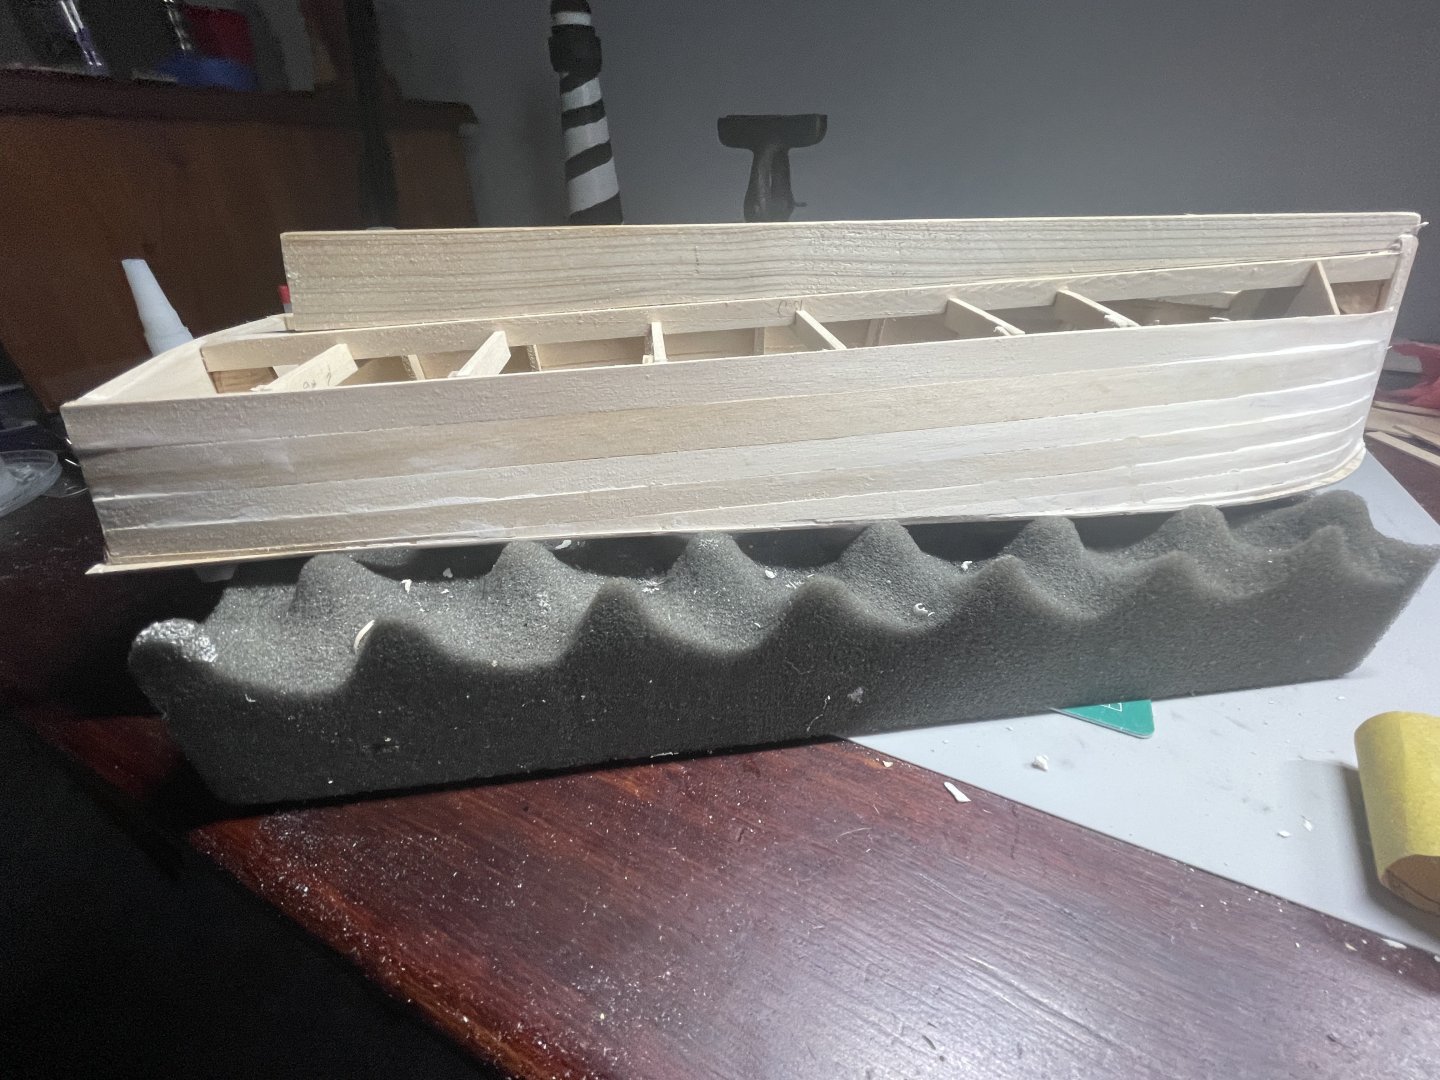
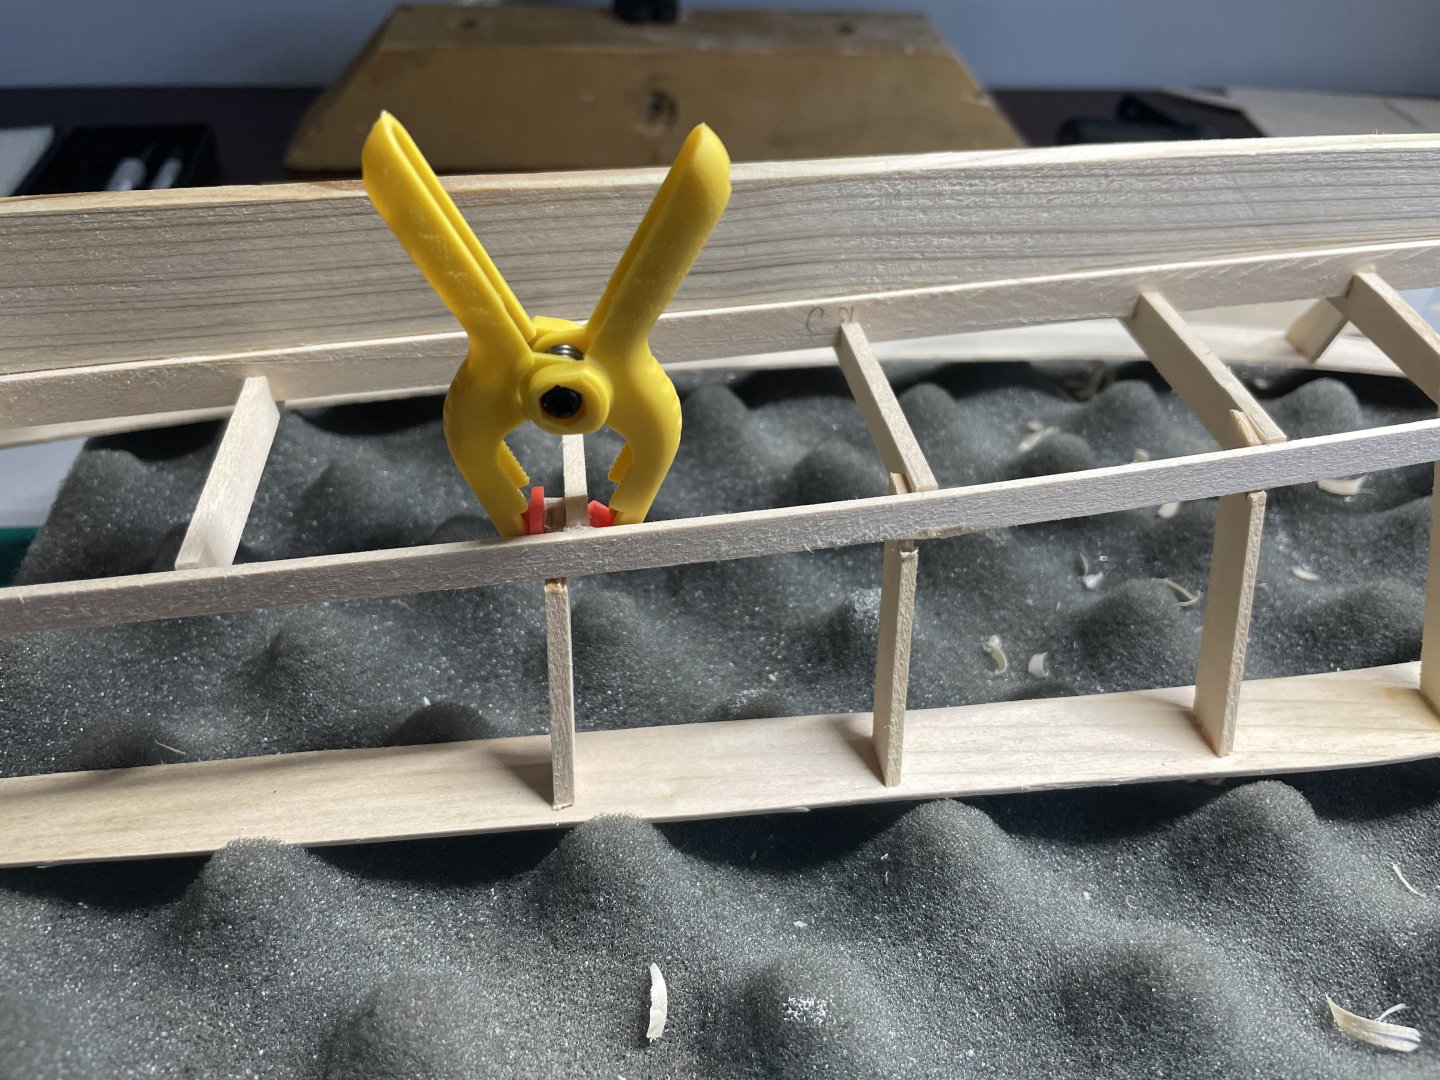
Individually fit bottom planks. Fitting planks for the bow will require soaking and shaping. I did that with 2 planks and it seemed to work. I’m pleased with how the bottom looks, hope it won’t be too hard to trim all the overhang. I don’t think it will need much filler. I’ll work on the bow next. Build time ~2.5 hrs


-
LJC reacted to a post in a topic:
Chesapeake Bay Box Stern Workboat by LJC - Wye River Models
-
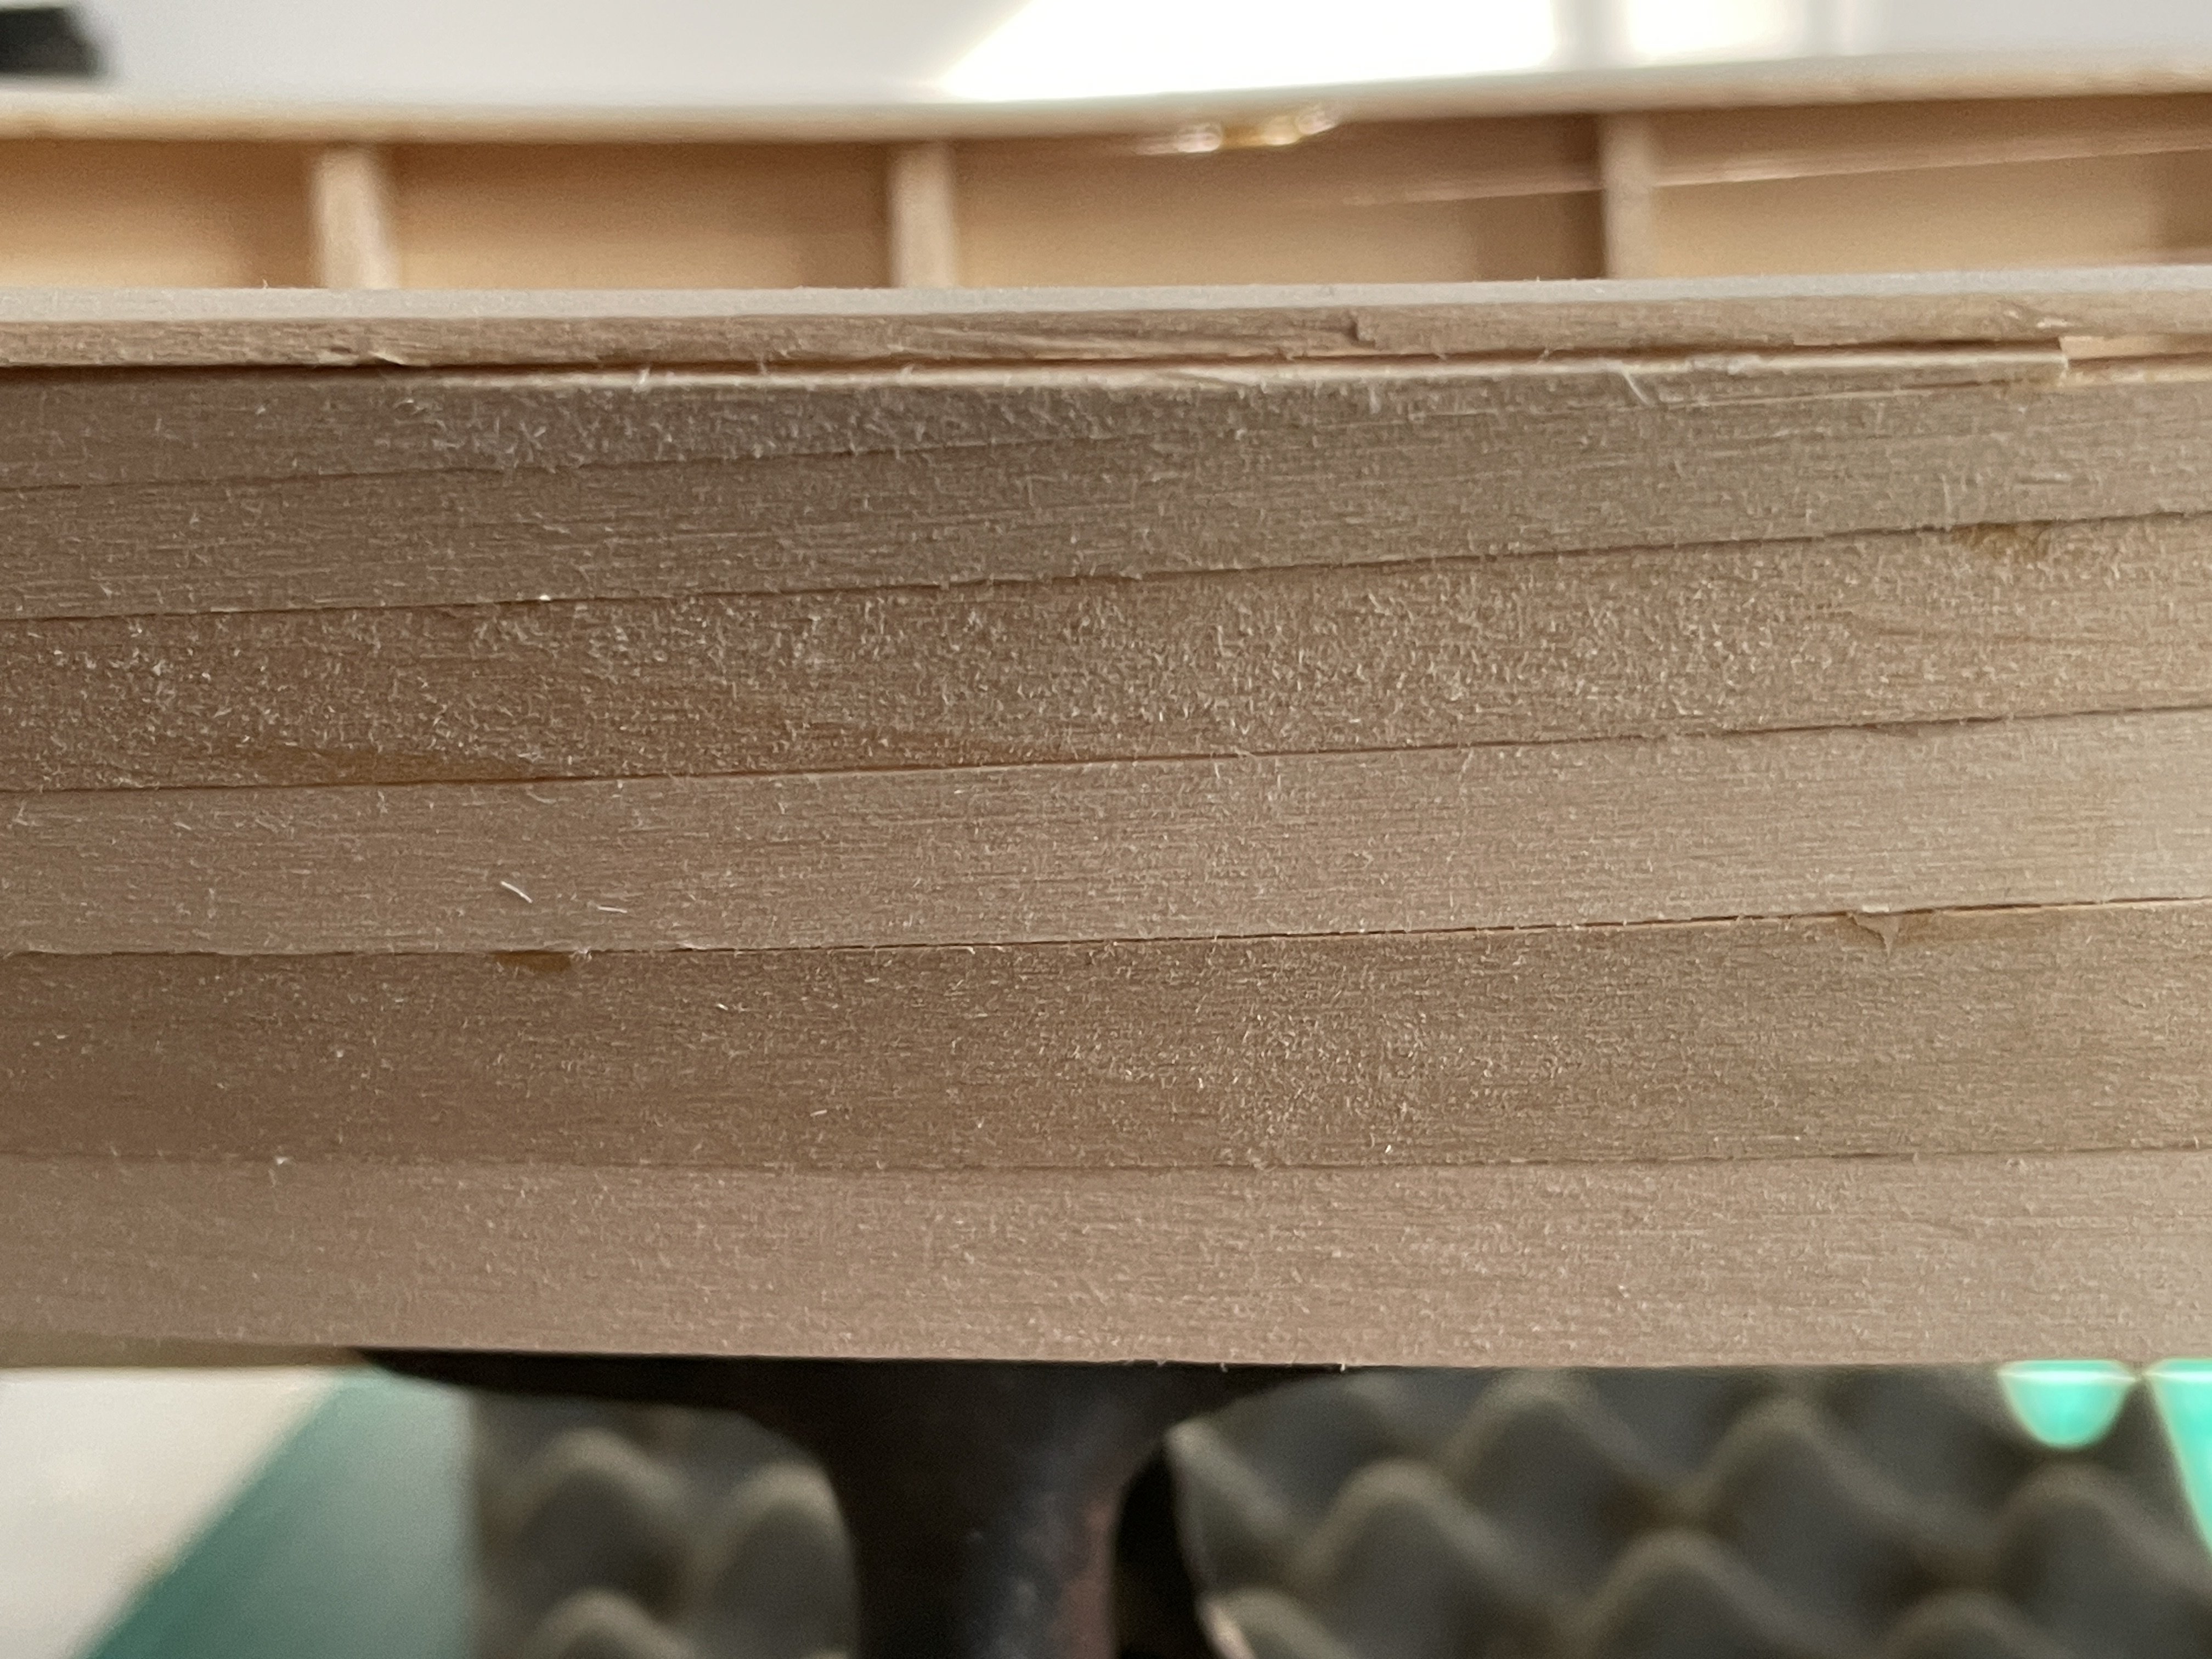
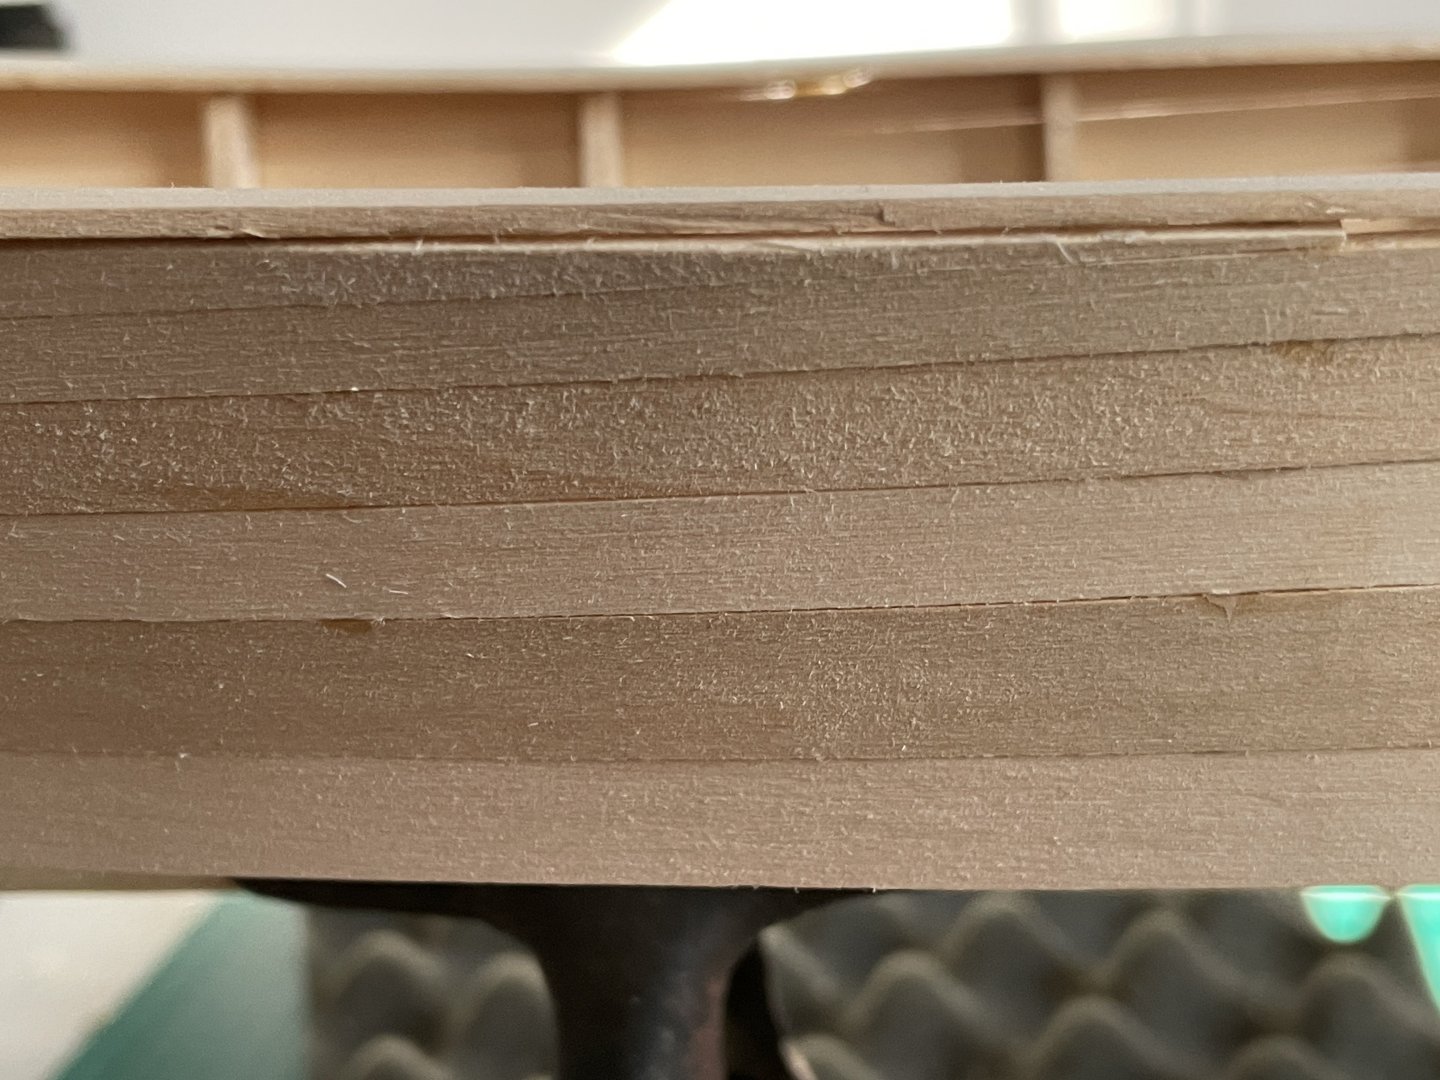
Sanded the hull in preparation for model filler. Filled gaps in planking and sanded. Build time ~1 hr
-
I finished installing hull planks using 1/8 inch strips cut down to fill the gaps. I’m not sure how much time to spend trying to cut strips to fill or should I just use model filler. Build time ~1 hour.

-
I finished installing hull planks using 1/8 inch strips cut down to fill the gaps. I’m not sure how much time to spend trying to cut strips to fill or should I just use model filler. Build time ~1 hour.
-
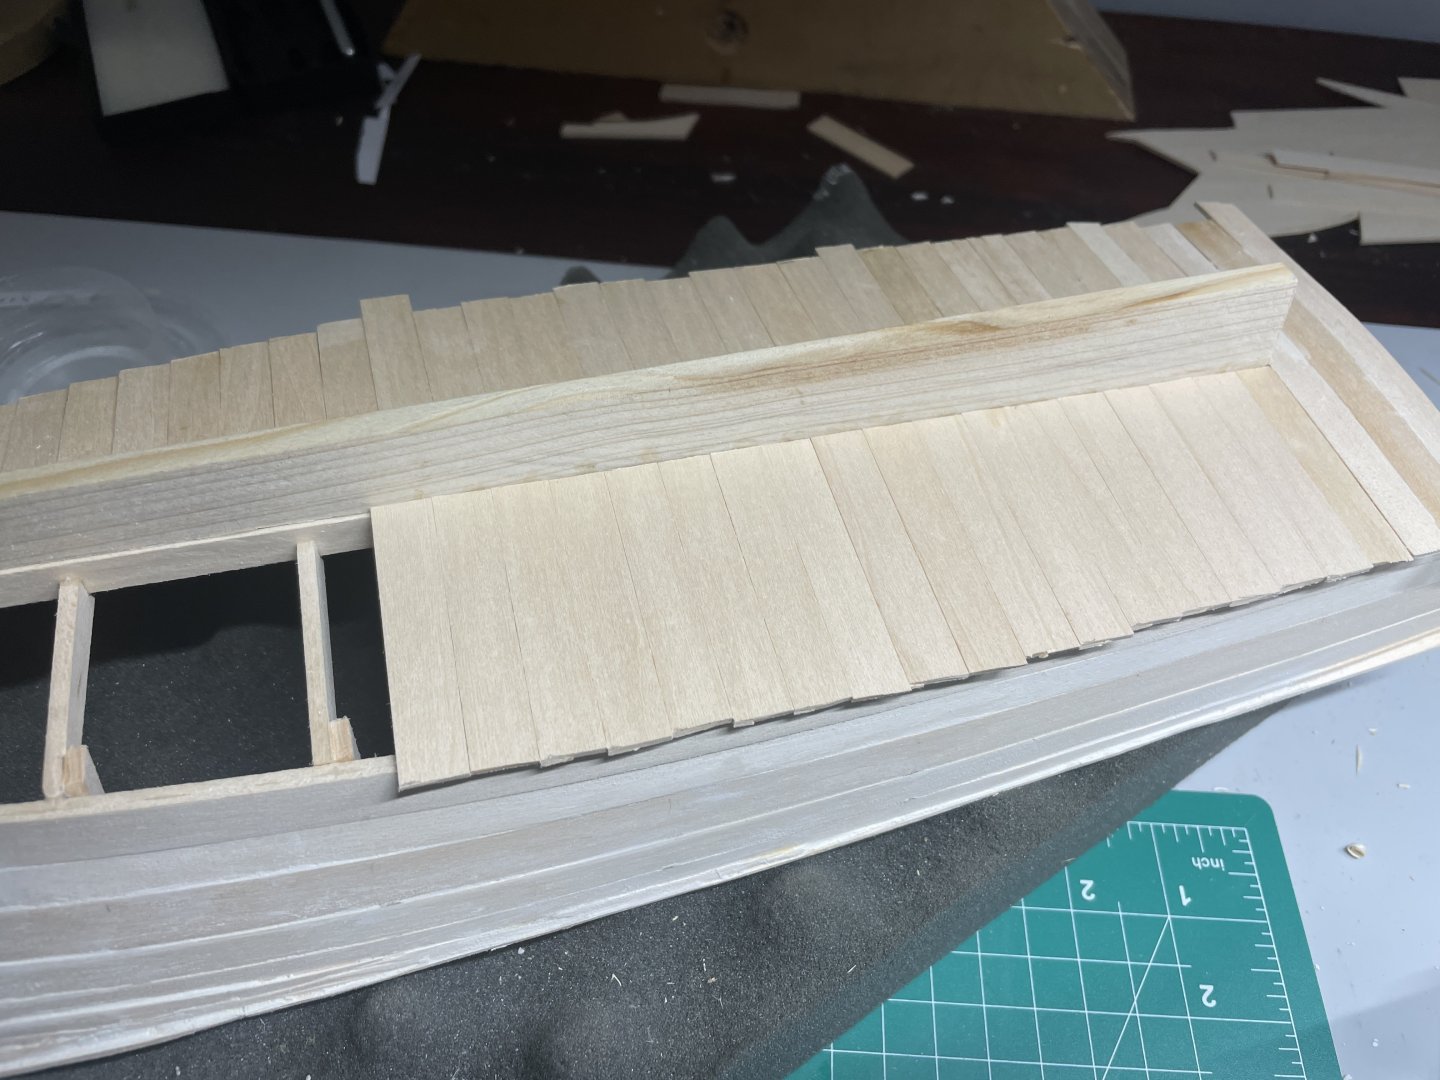
Continued installation of hull planks. Seams to be going ok. To finish planks will need to fill 1/2” at bow to <1\16” at stern which will take time to fit up. Some gaps will need to be filled. Build time ~2 hours
-
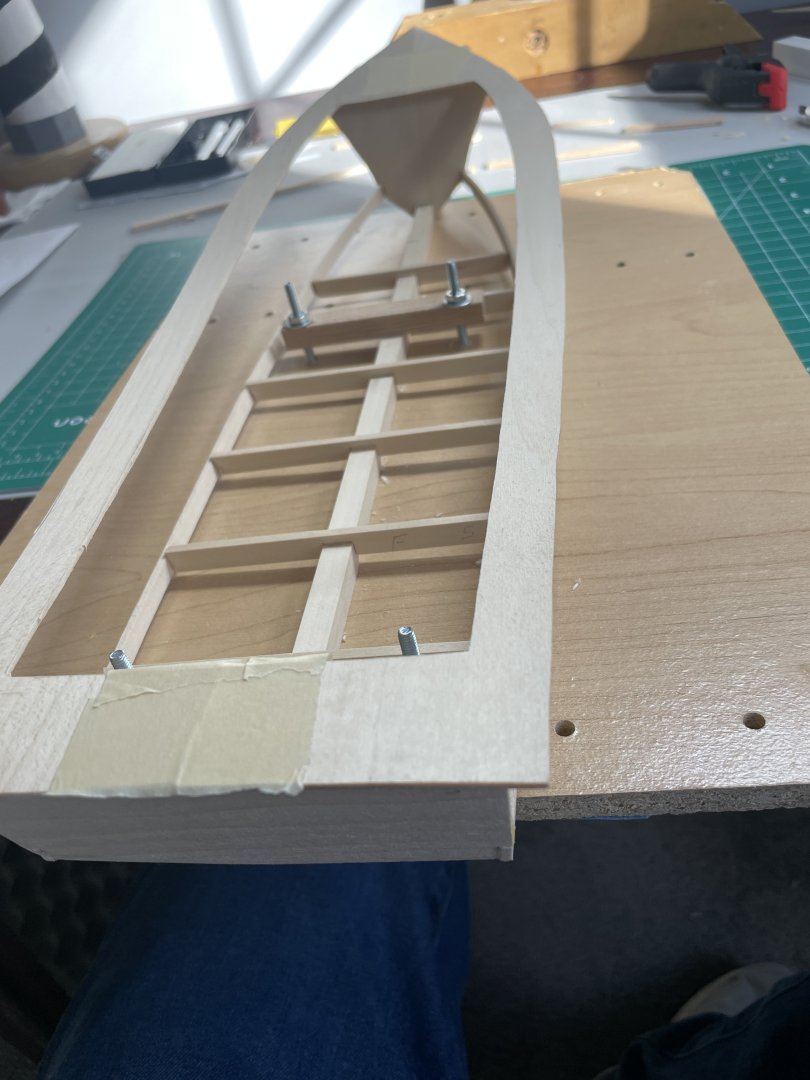
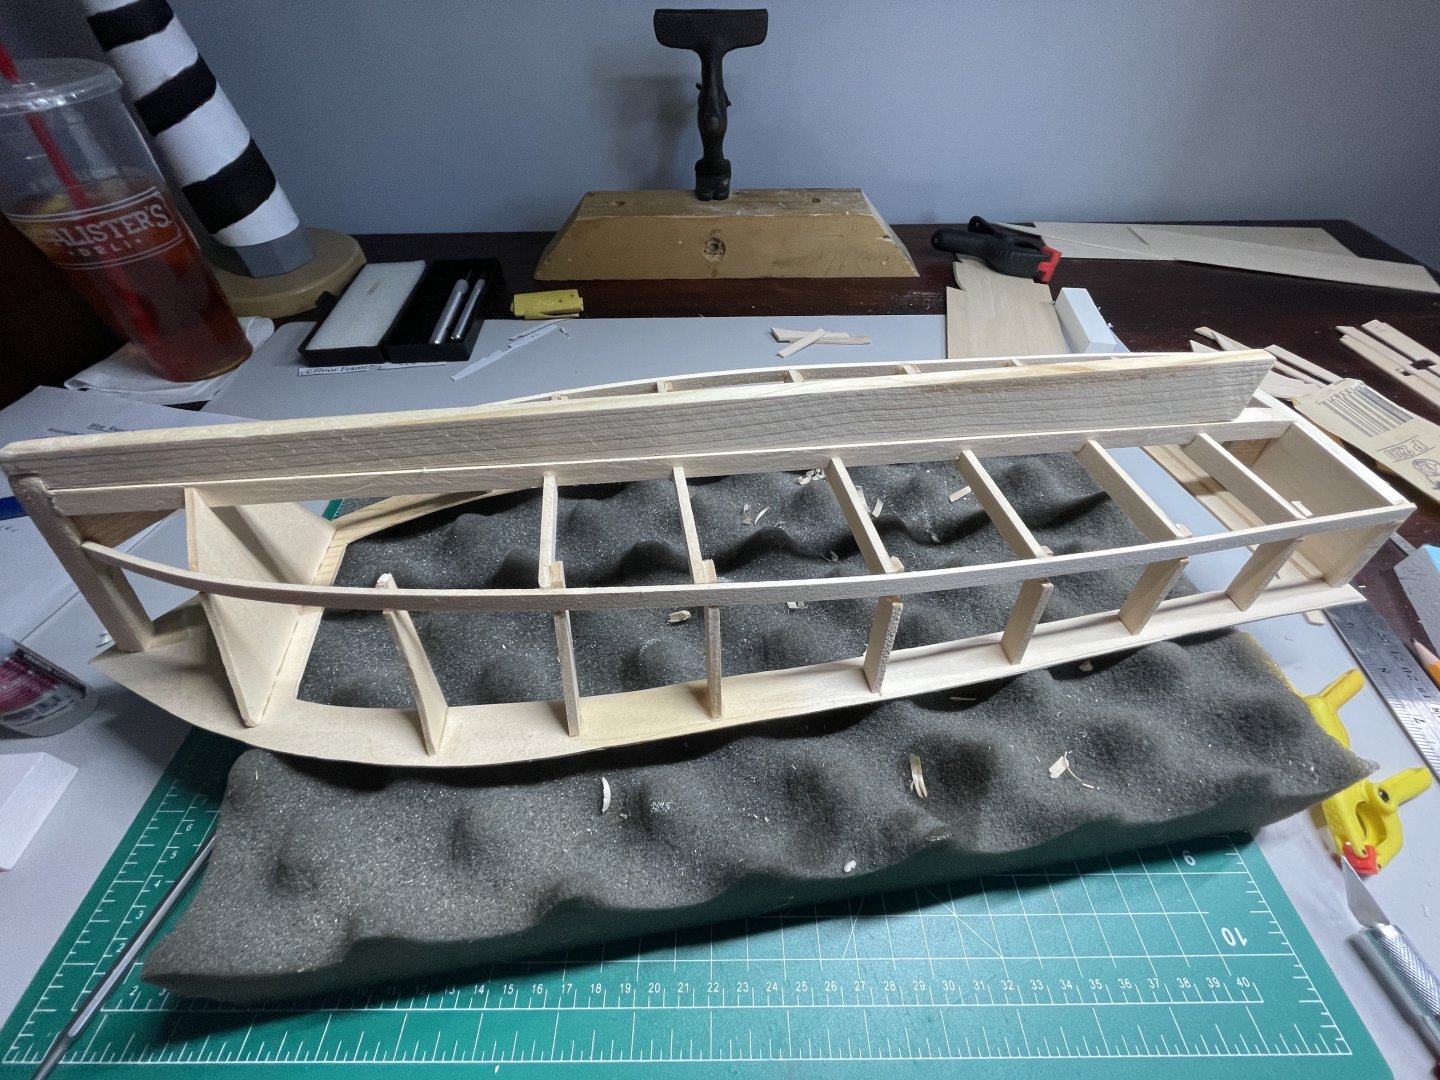
Cut floor frames for the other 4 members which had to be individually fit to the chine on the port and starboard side. Positioned and glued remaining frames to the keelson and chines. Several of the floor frames were high so were plained down so the floor will lie flat. Next, the 2 pieces of the deck were joined with a cross brace at the bulkhead and at the transom. Positioned and glued the deck to the bow stem, bulkhead and transom. Shaped the keel to fit flush to the keelson and glued. Cut and glued individual deck supports at each floor frame. The angle and position of these braces relative to the edge of the deck needs to be consistent so that when all planks are attached, their position relative to the deck is consistent. Installed one 1/2” hull plank to each side. In review of material provided, determined that 1/8” wide strips were provided instead of 3/8” wide. I will need additional 24” strips of 1/2” or 3/8” wide to complete the hull planks. Time for this build ~4 hours.
-
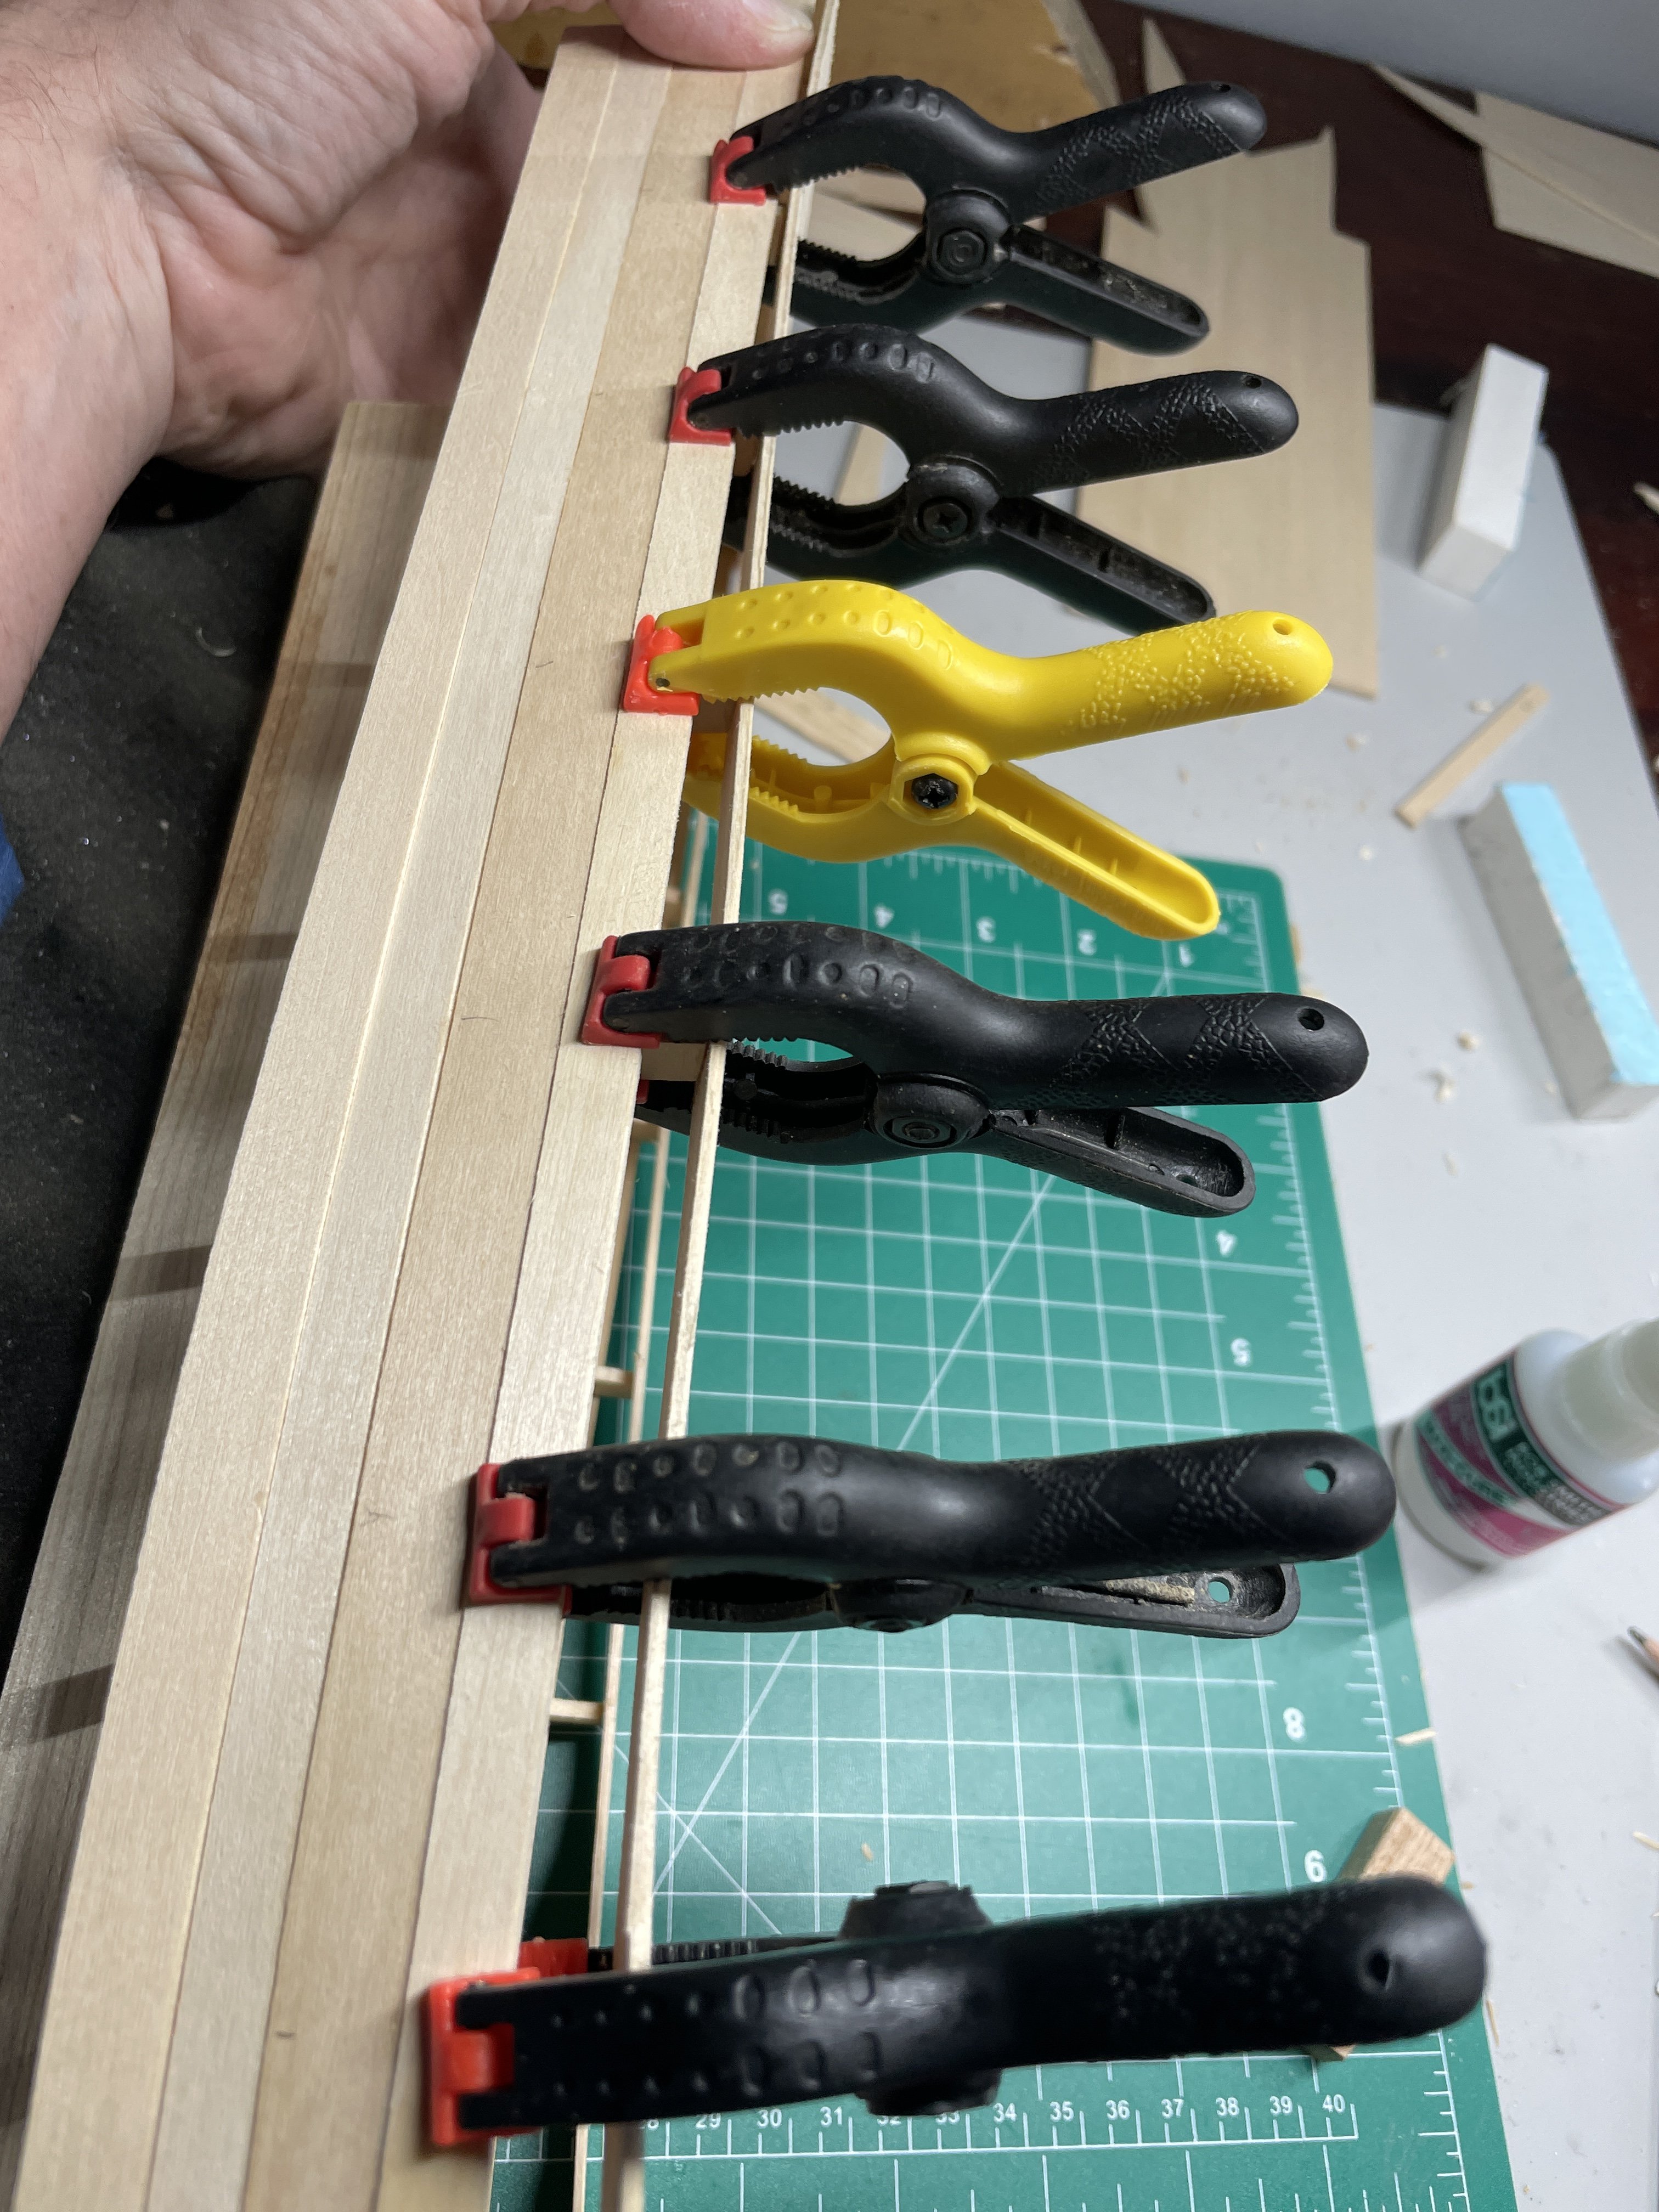
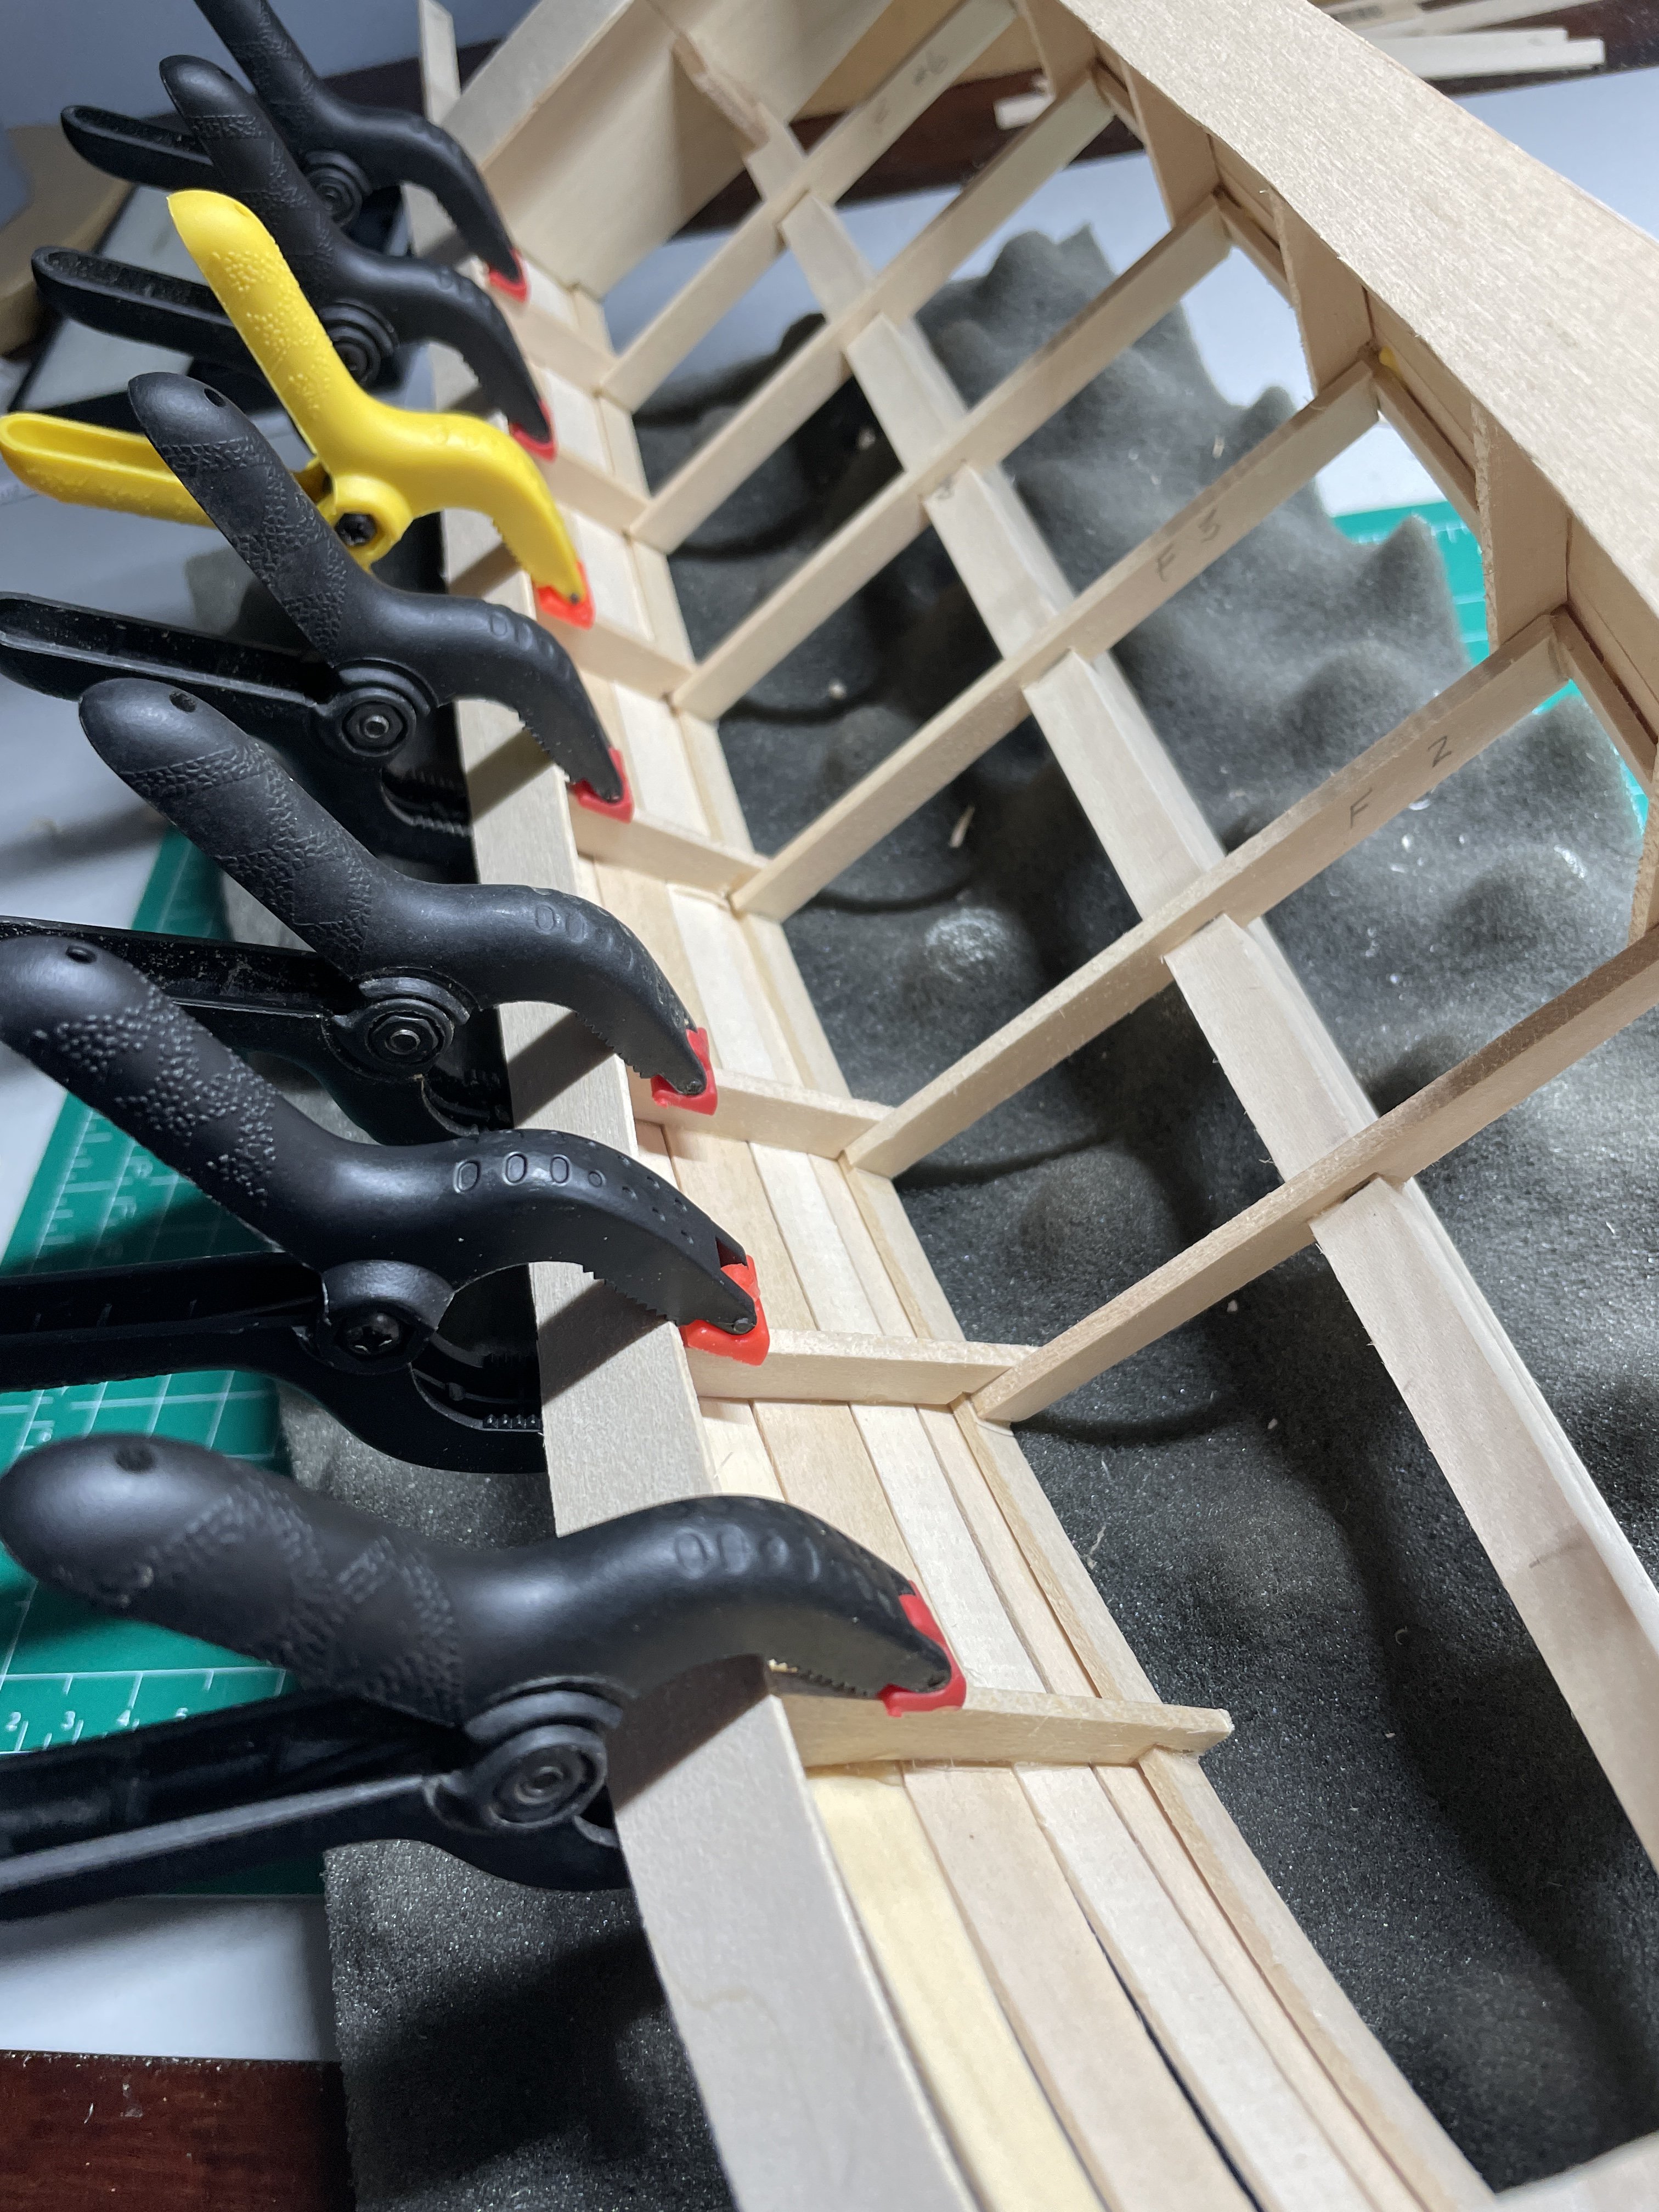
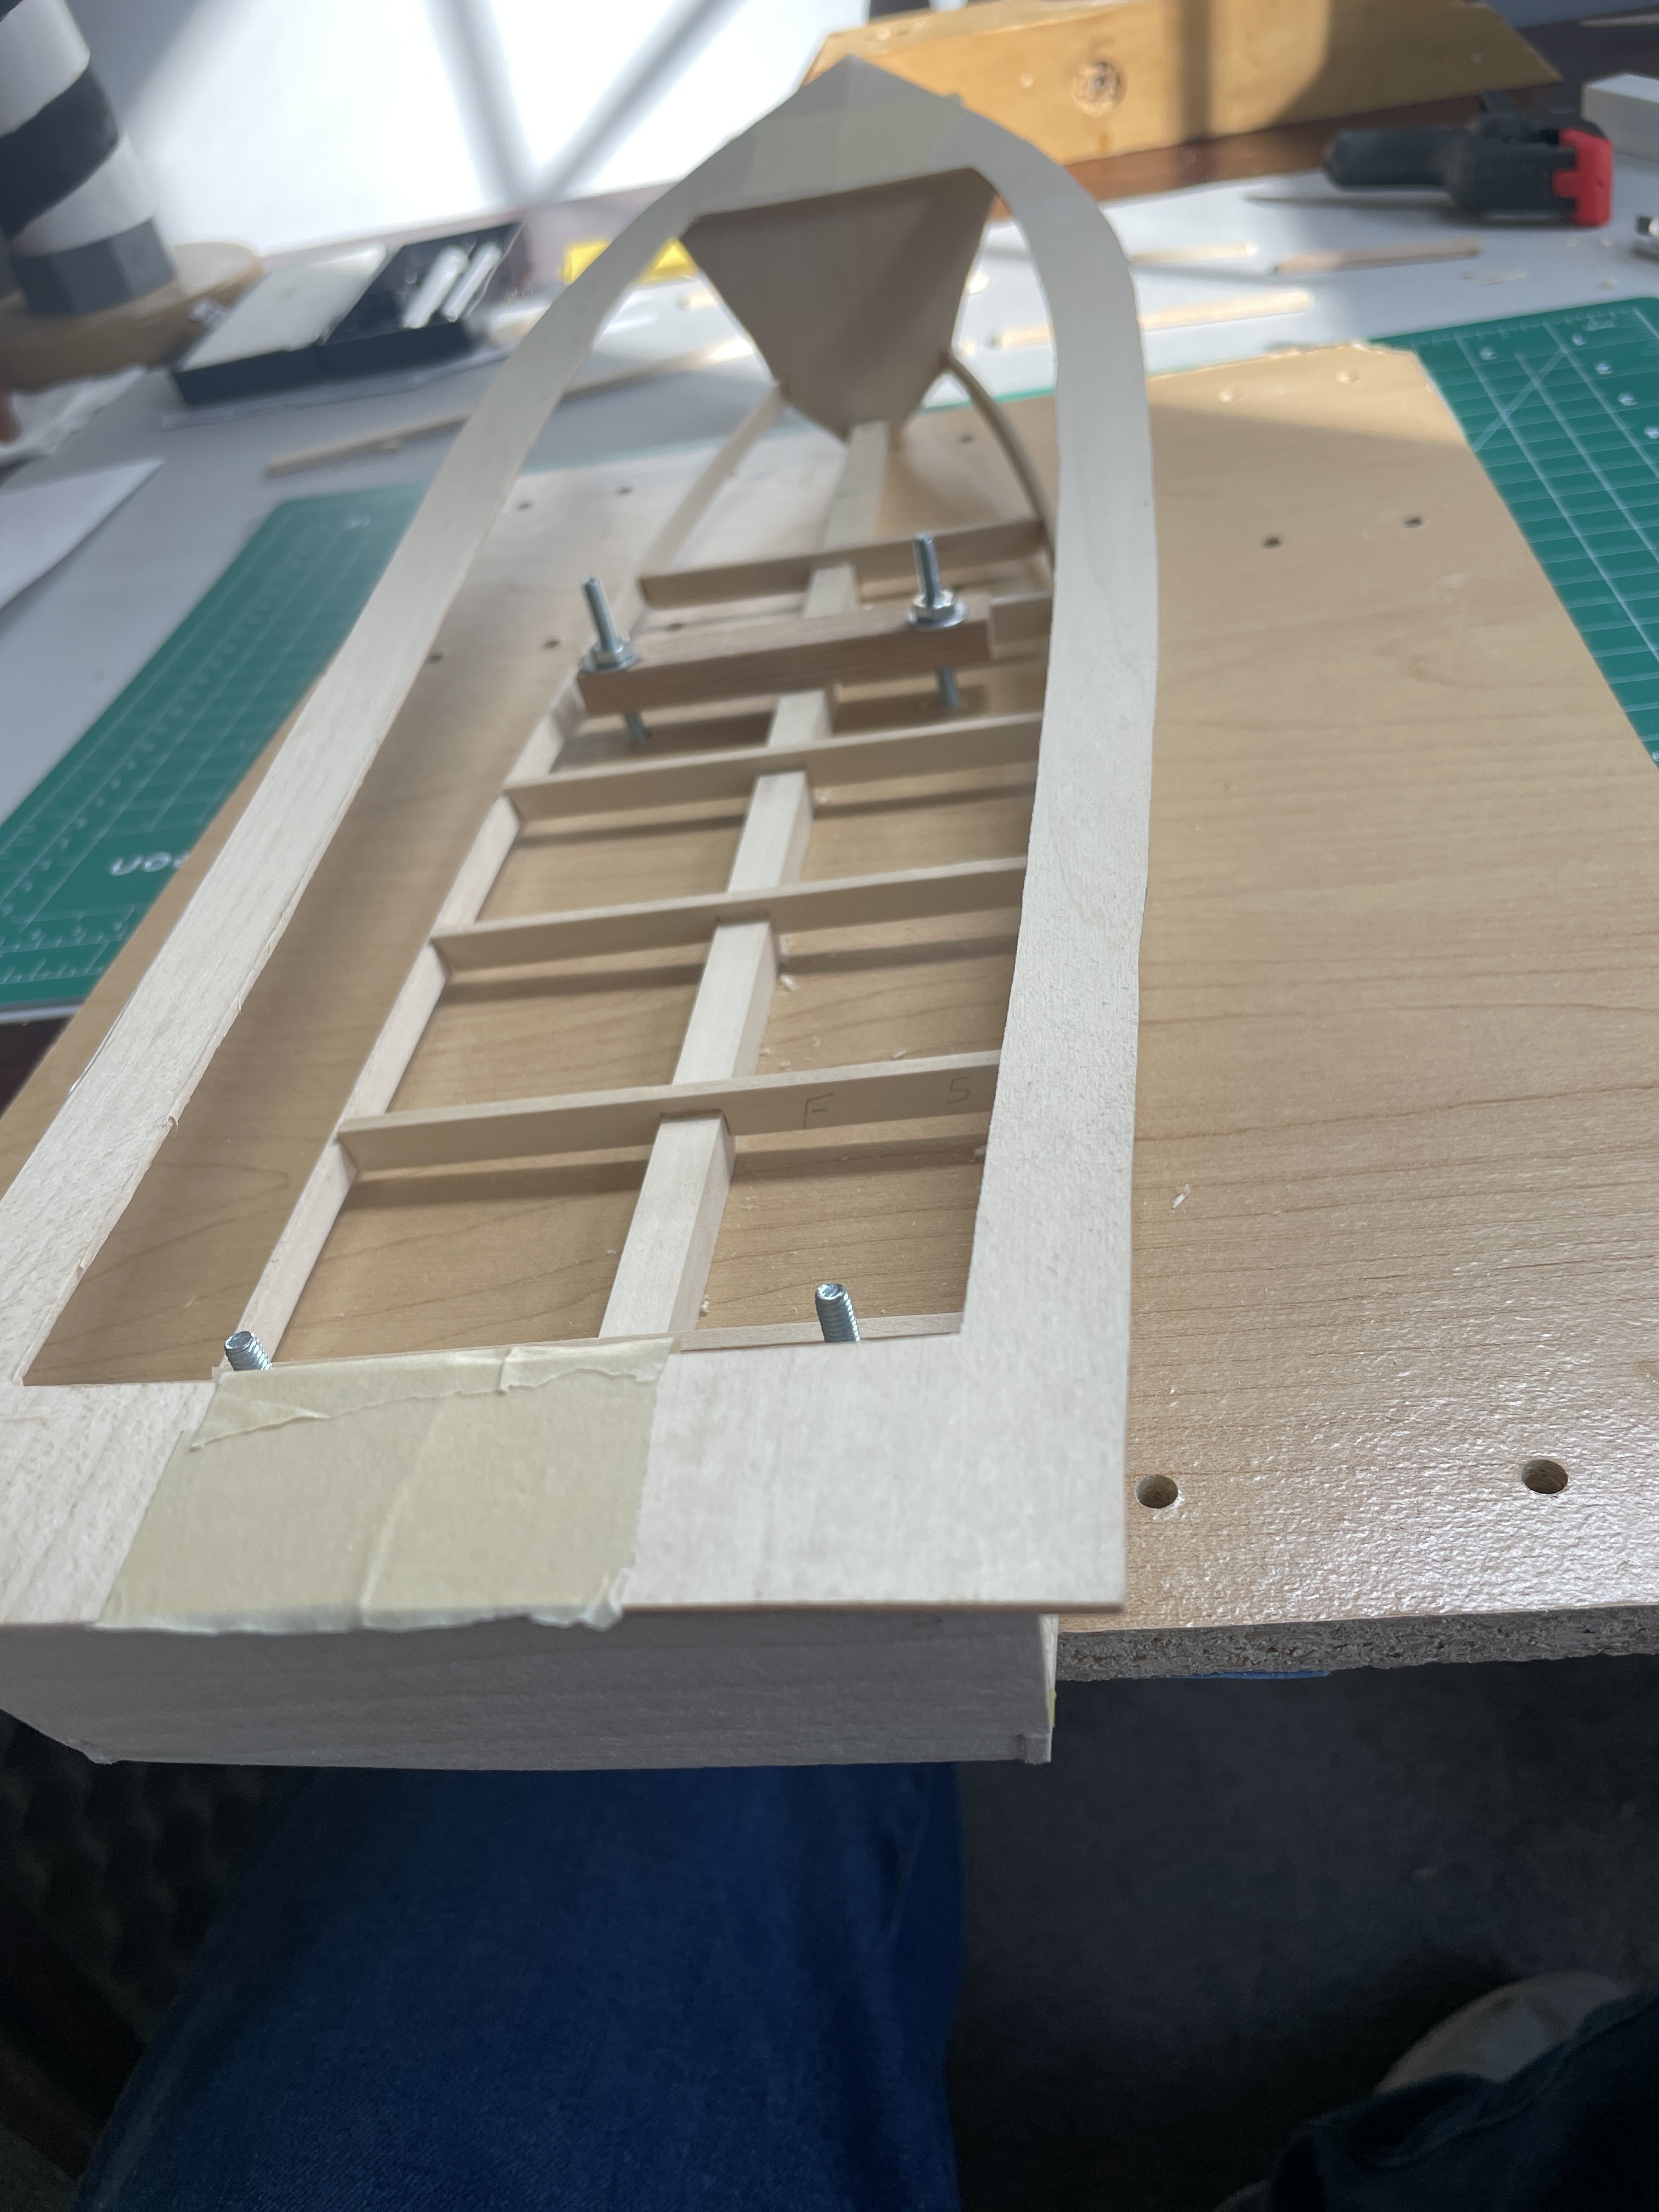
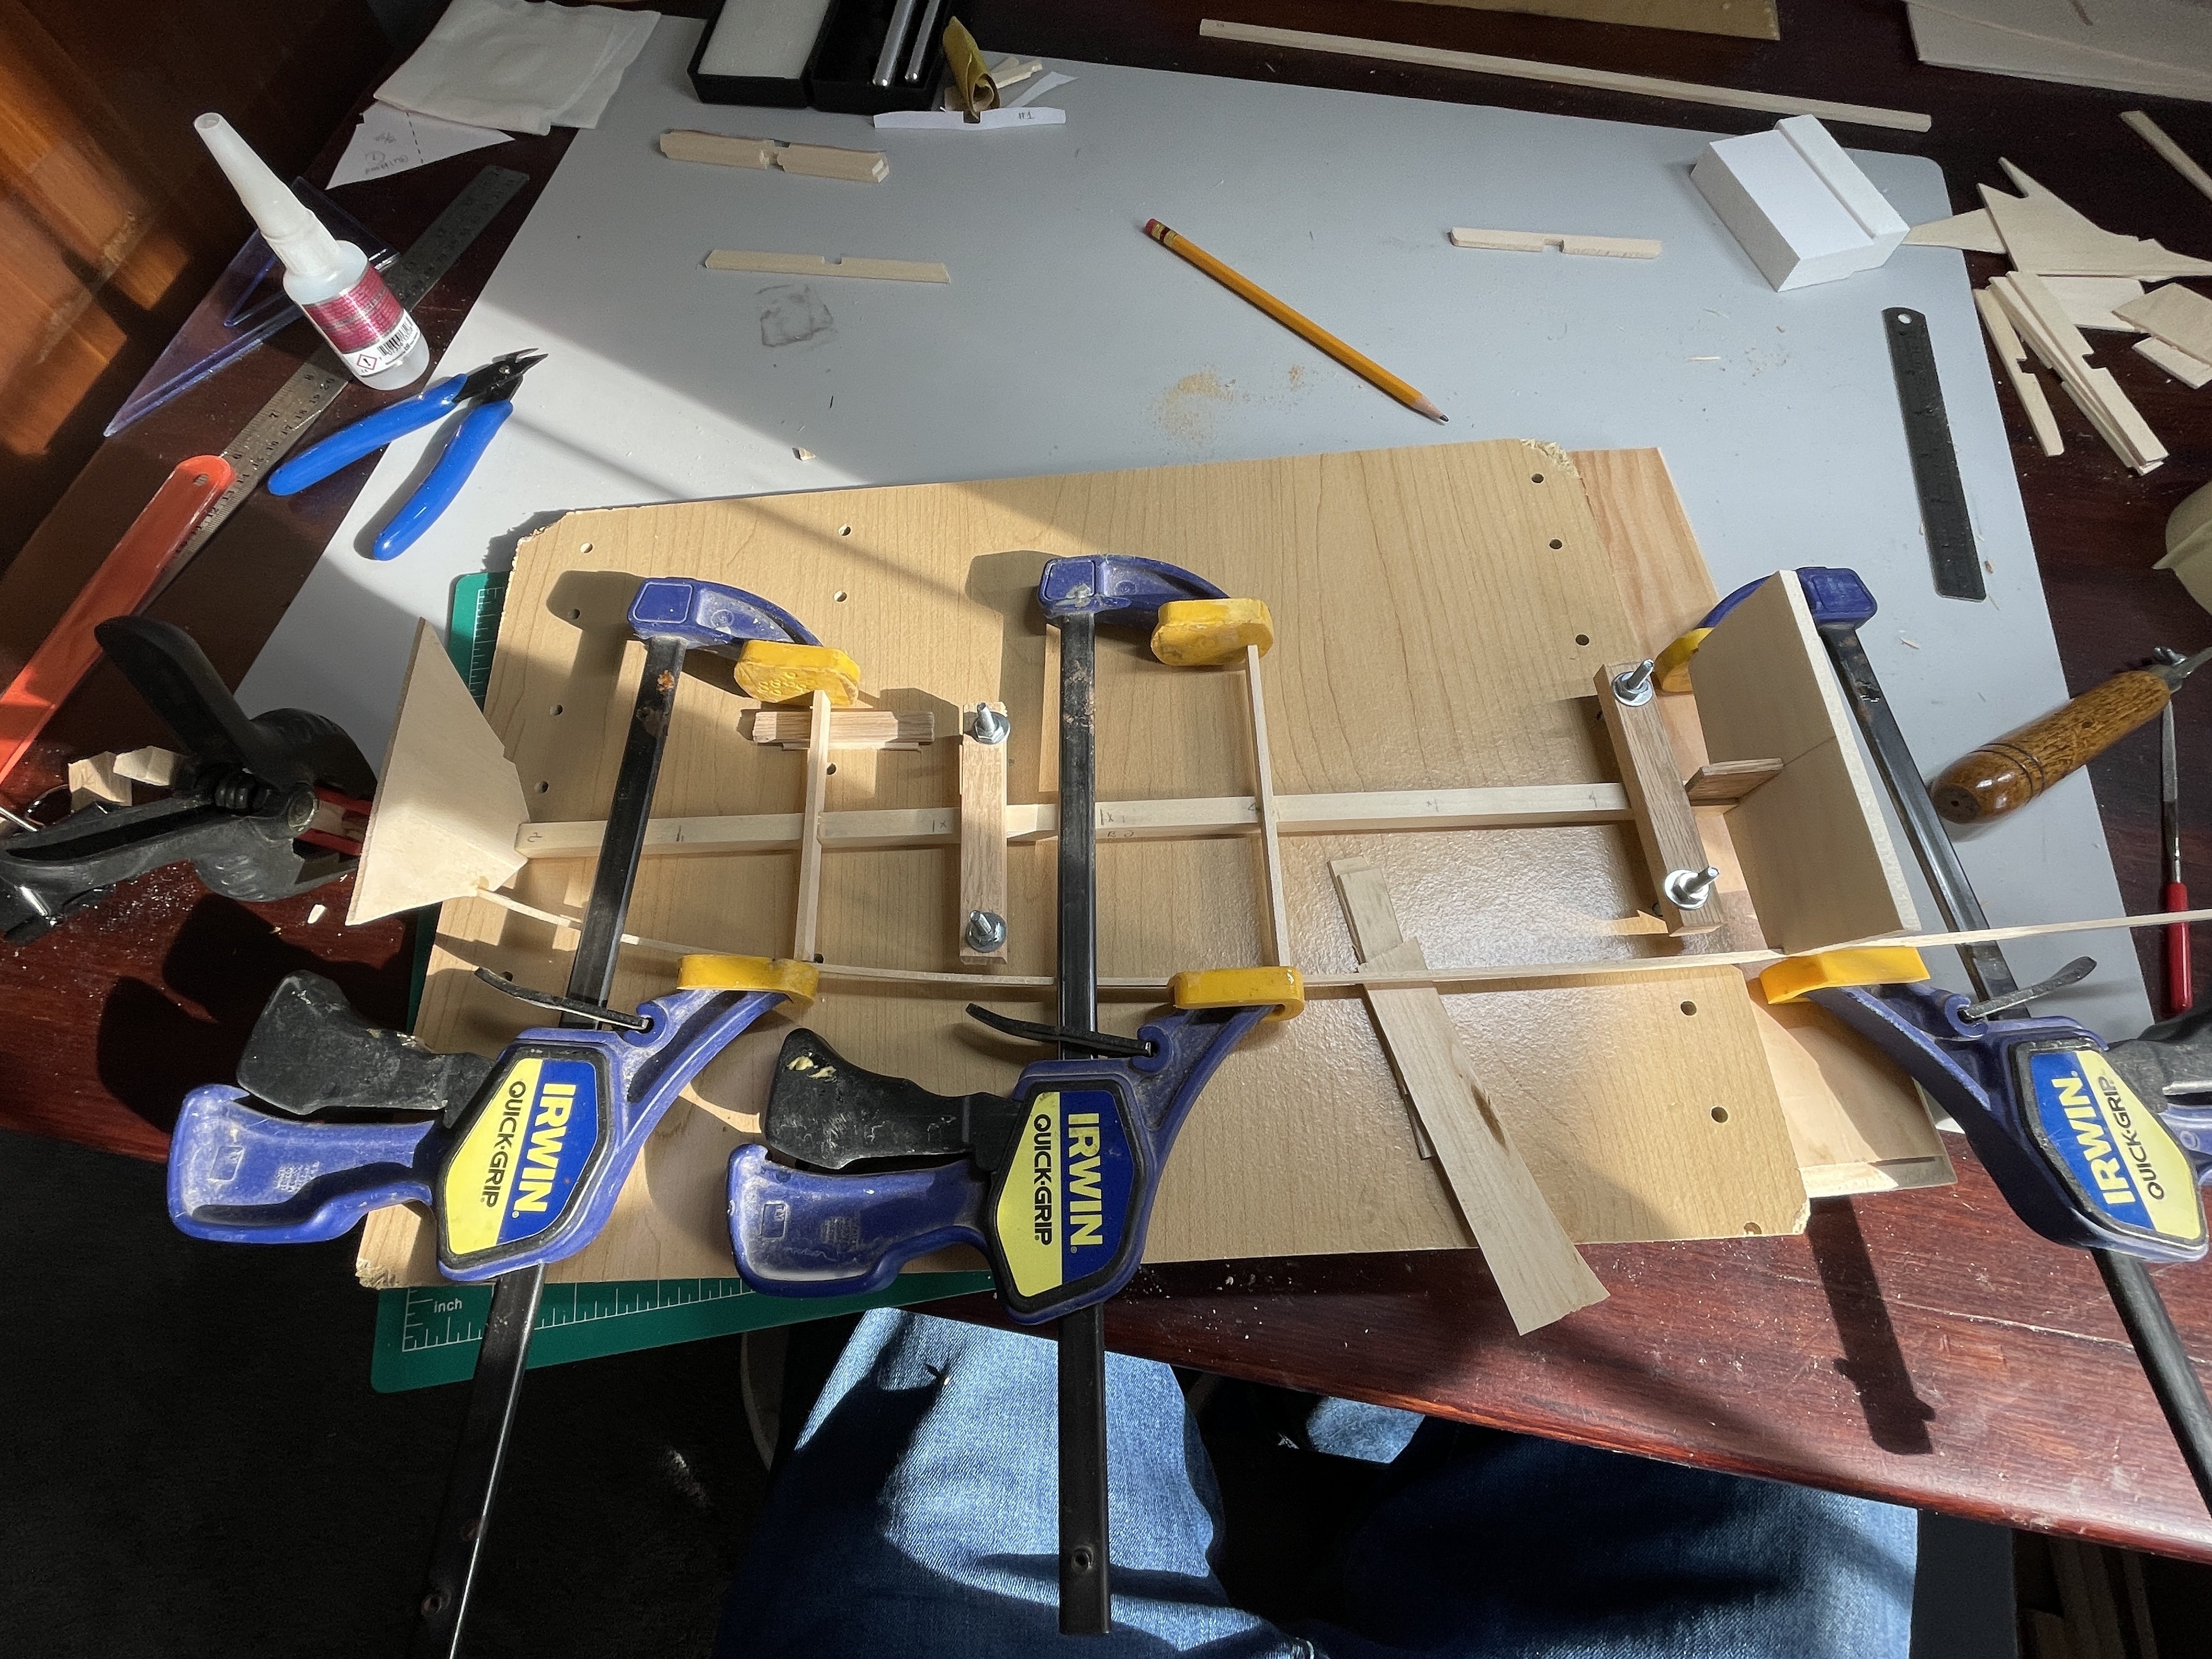
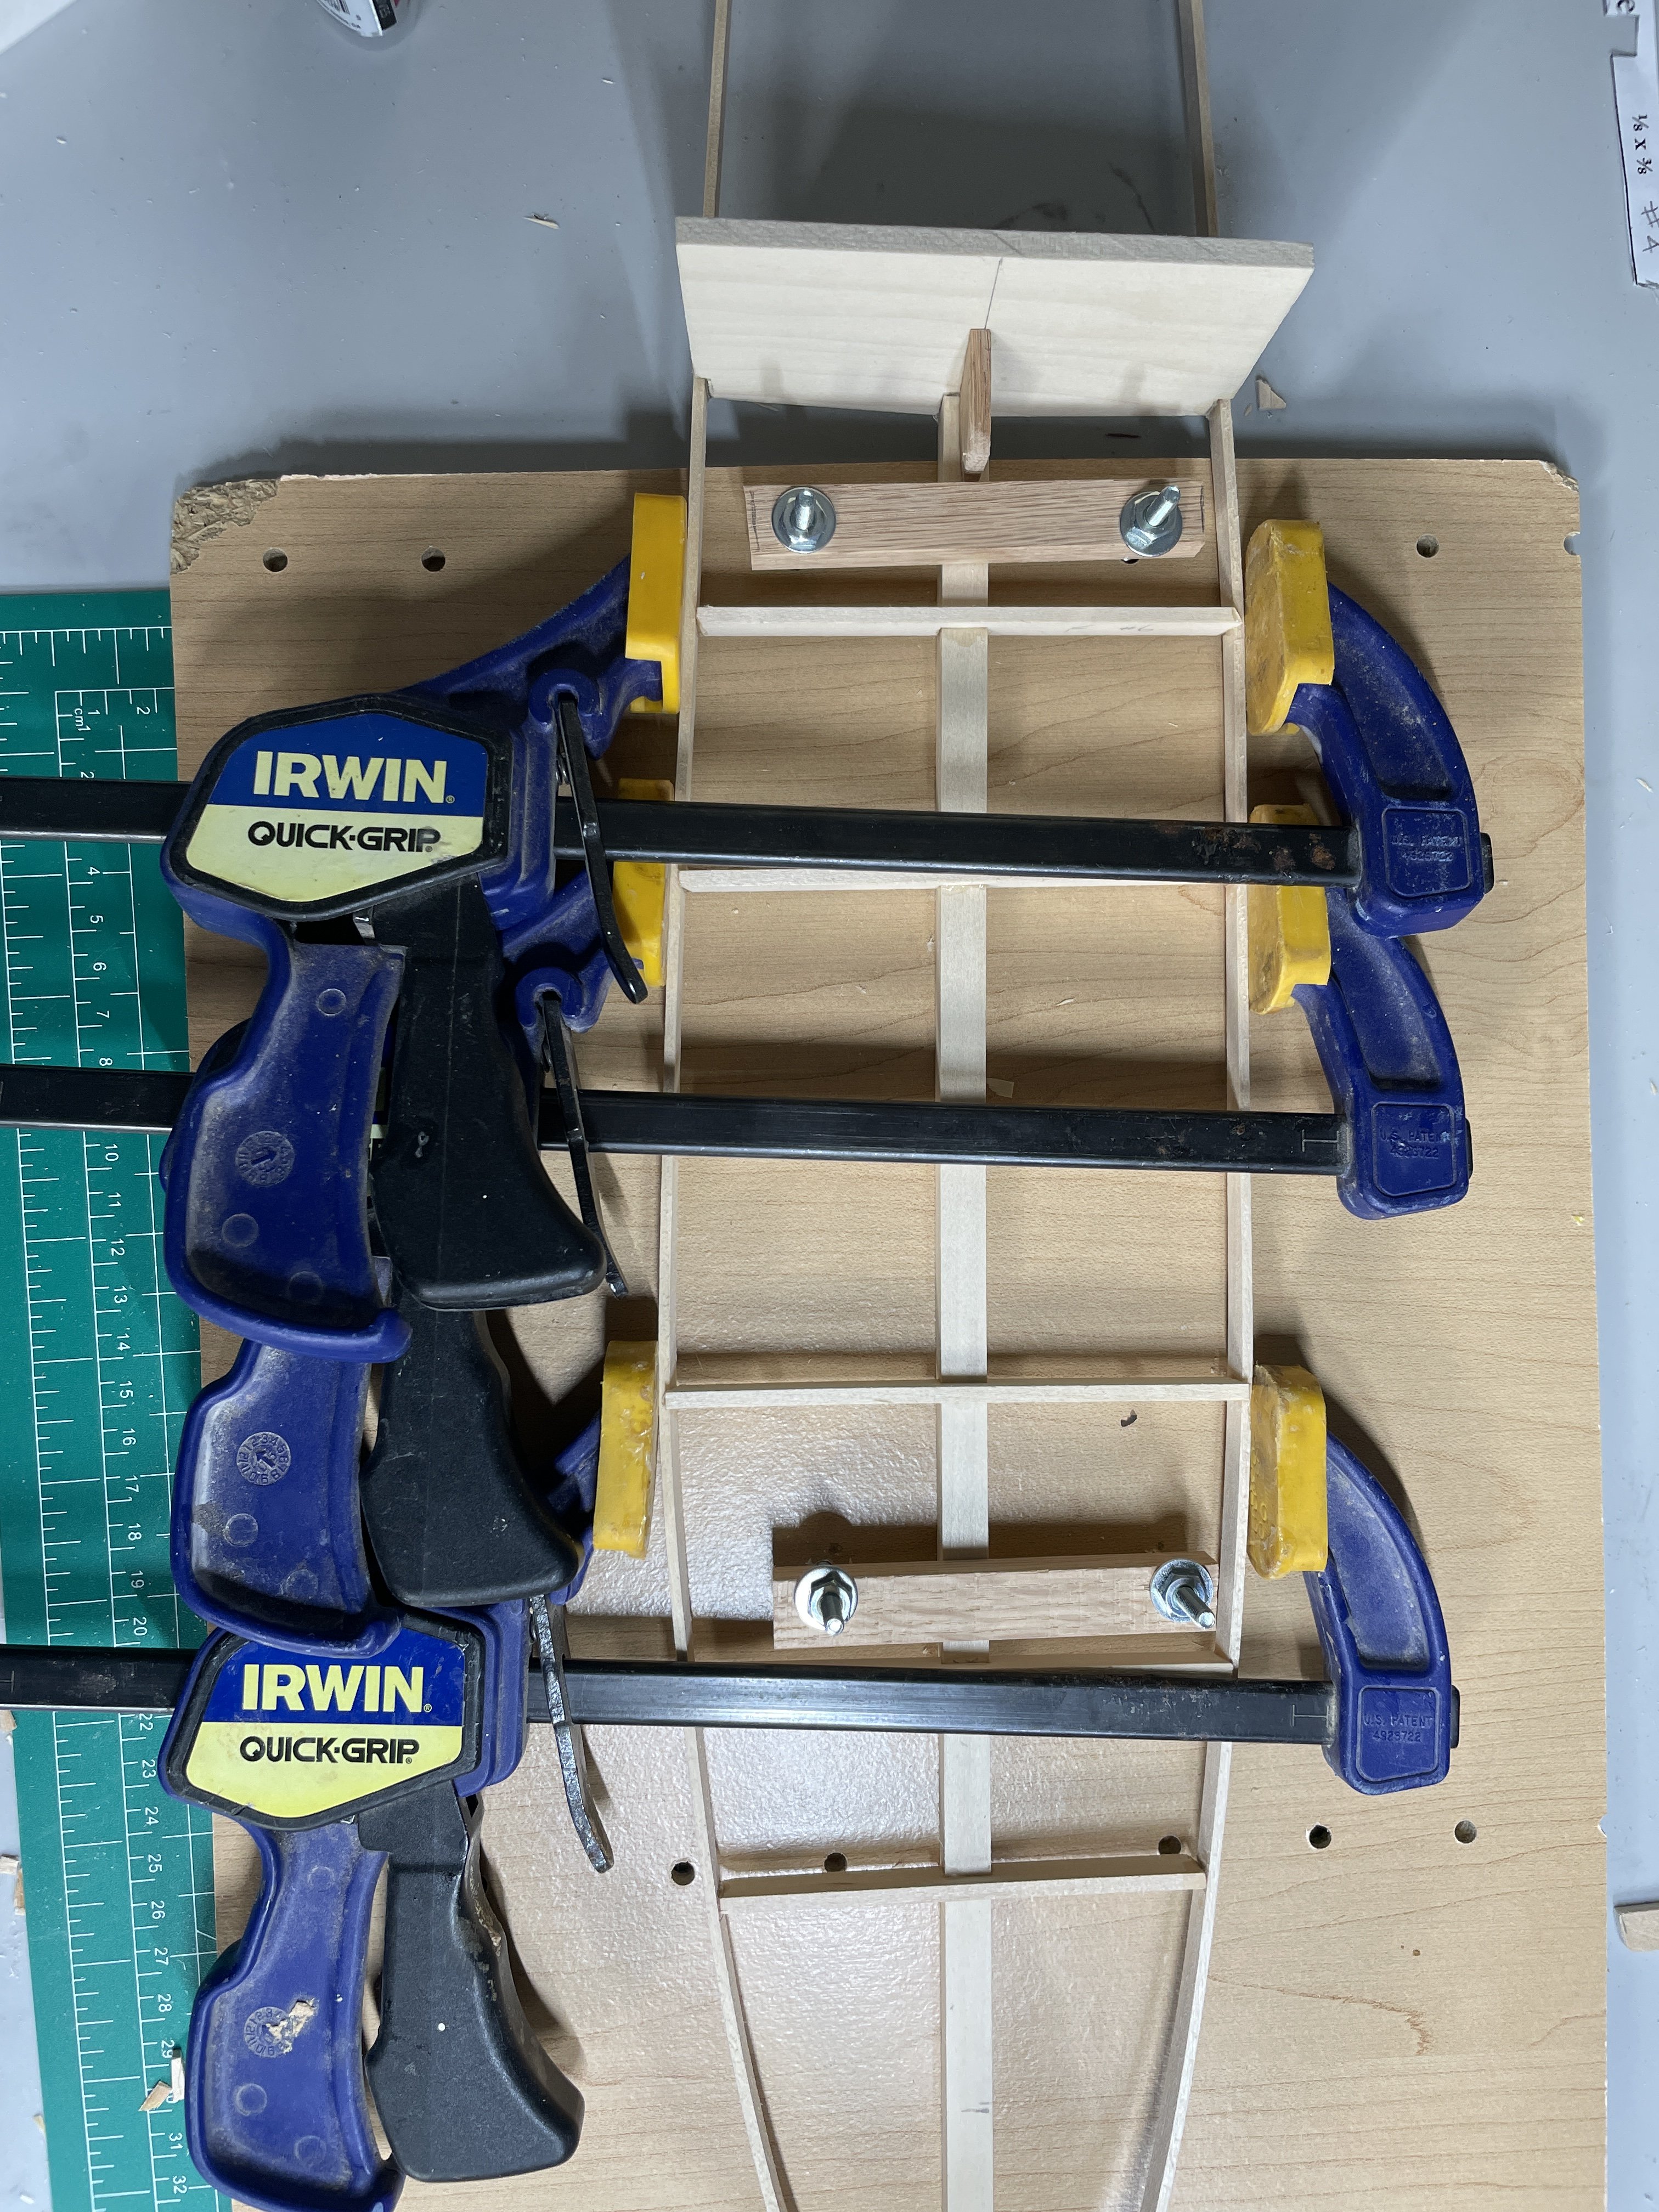
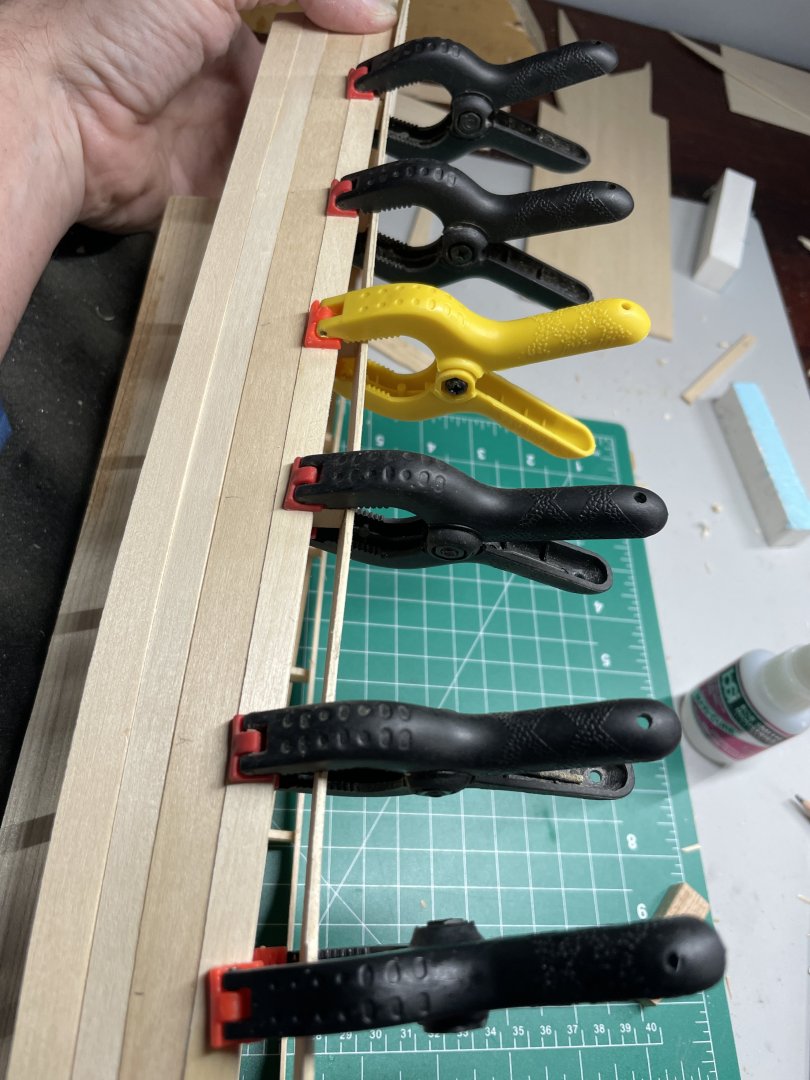
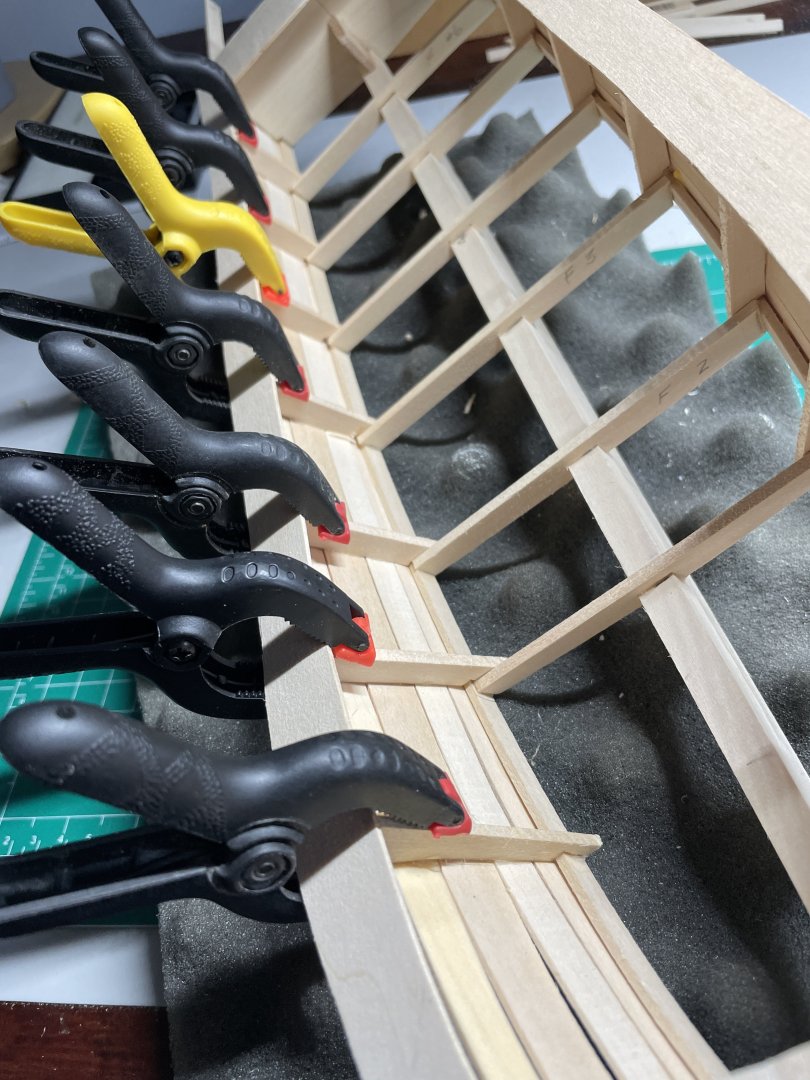
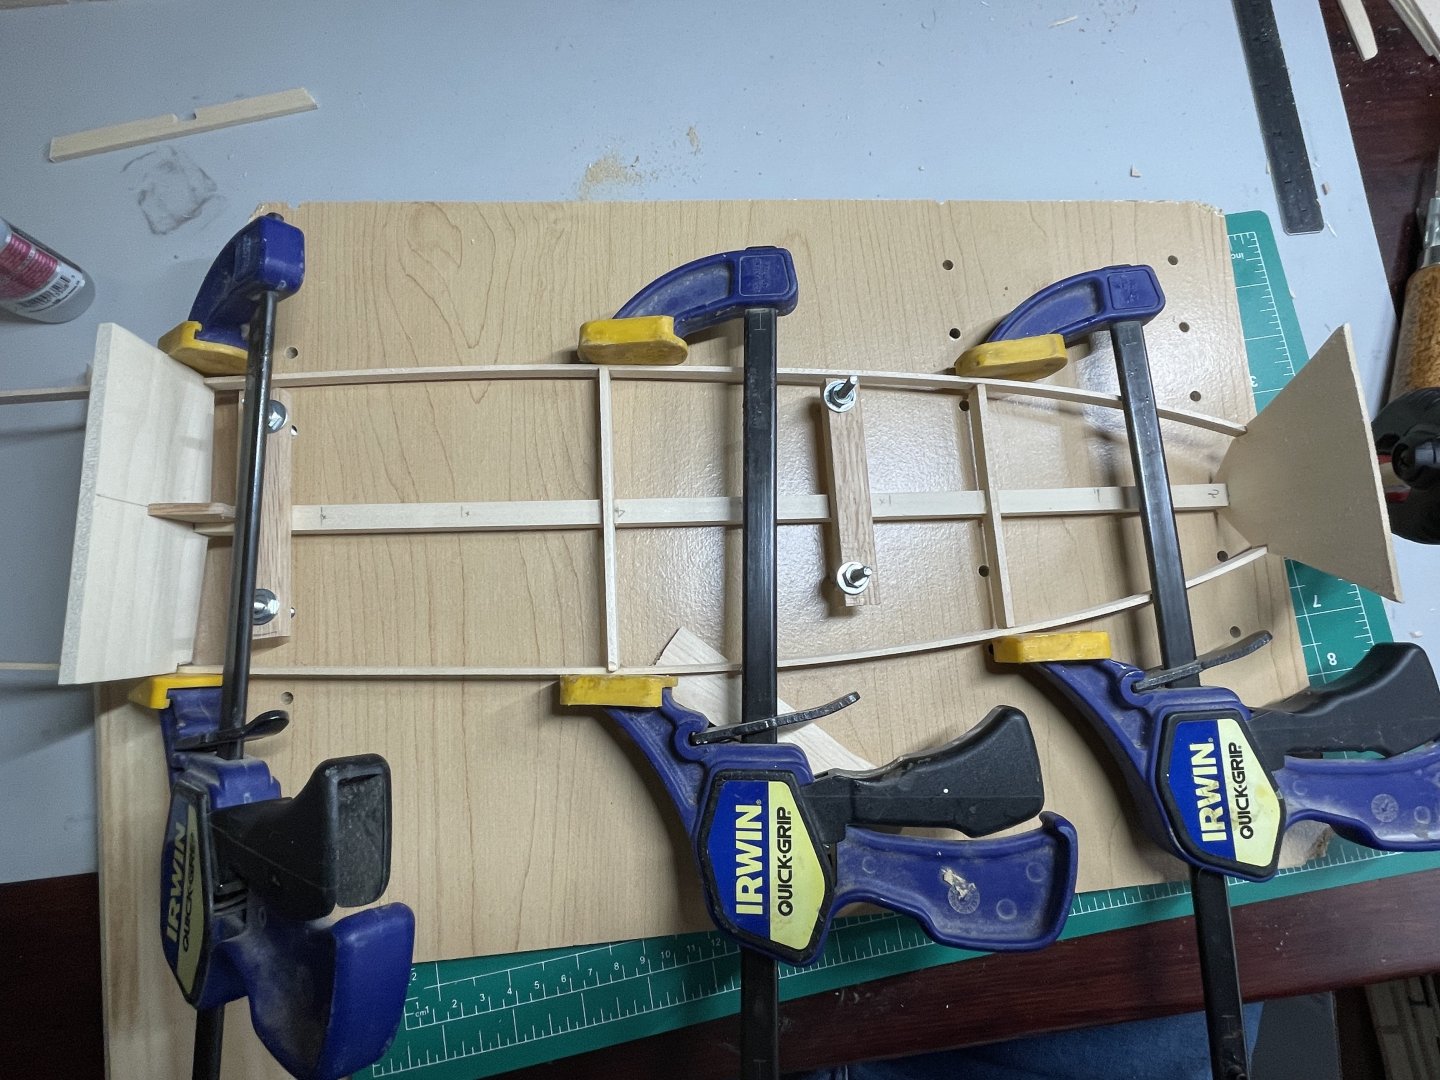
I built a table which allowed me to clamp the keelson for this part of the build. Installed the bow stem, bulkhead and the transom to the keelson. The plans called for floor frames number 1 and 4 to be installed first so that they align to the chine. I glued the chine to the bow stem, # 1 and 4 frames and the transom. Time for this build ~3 hours.


-
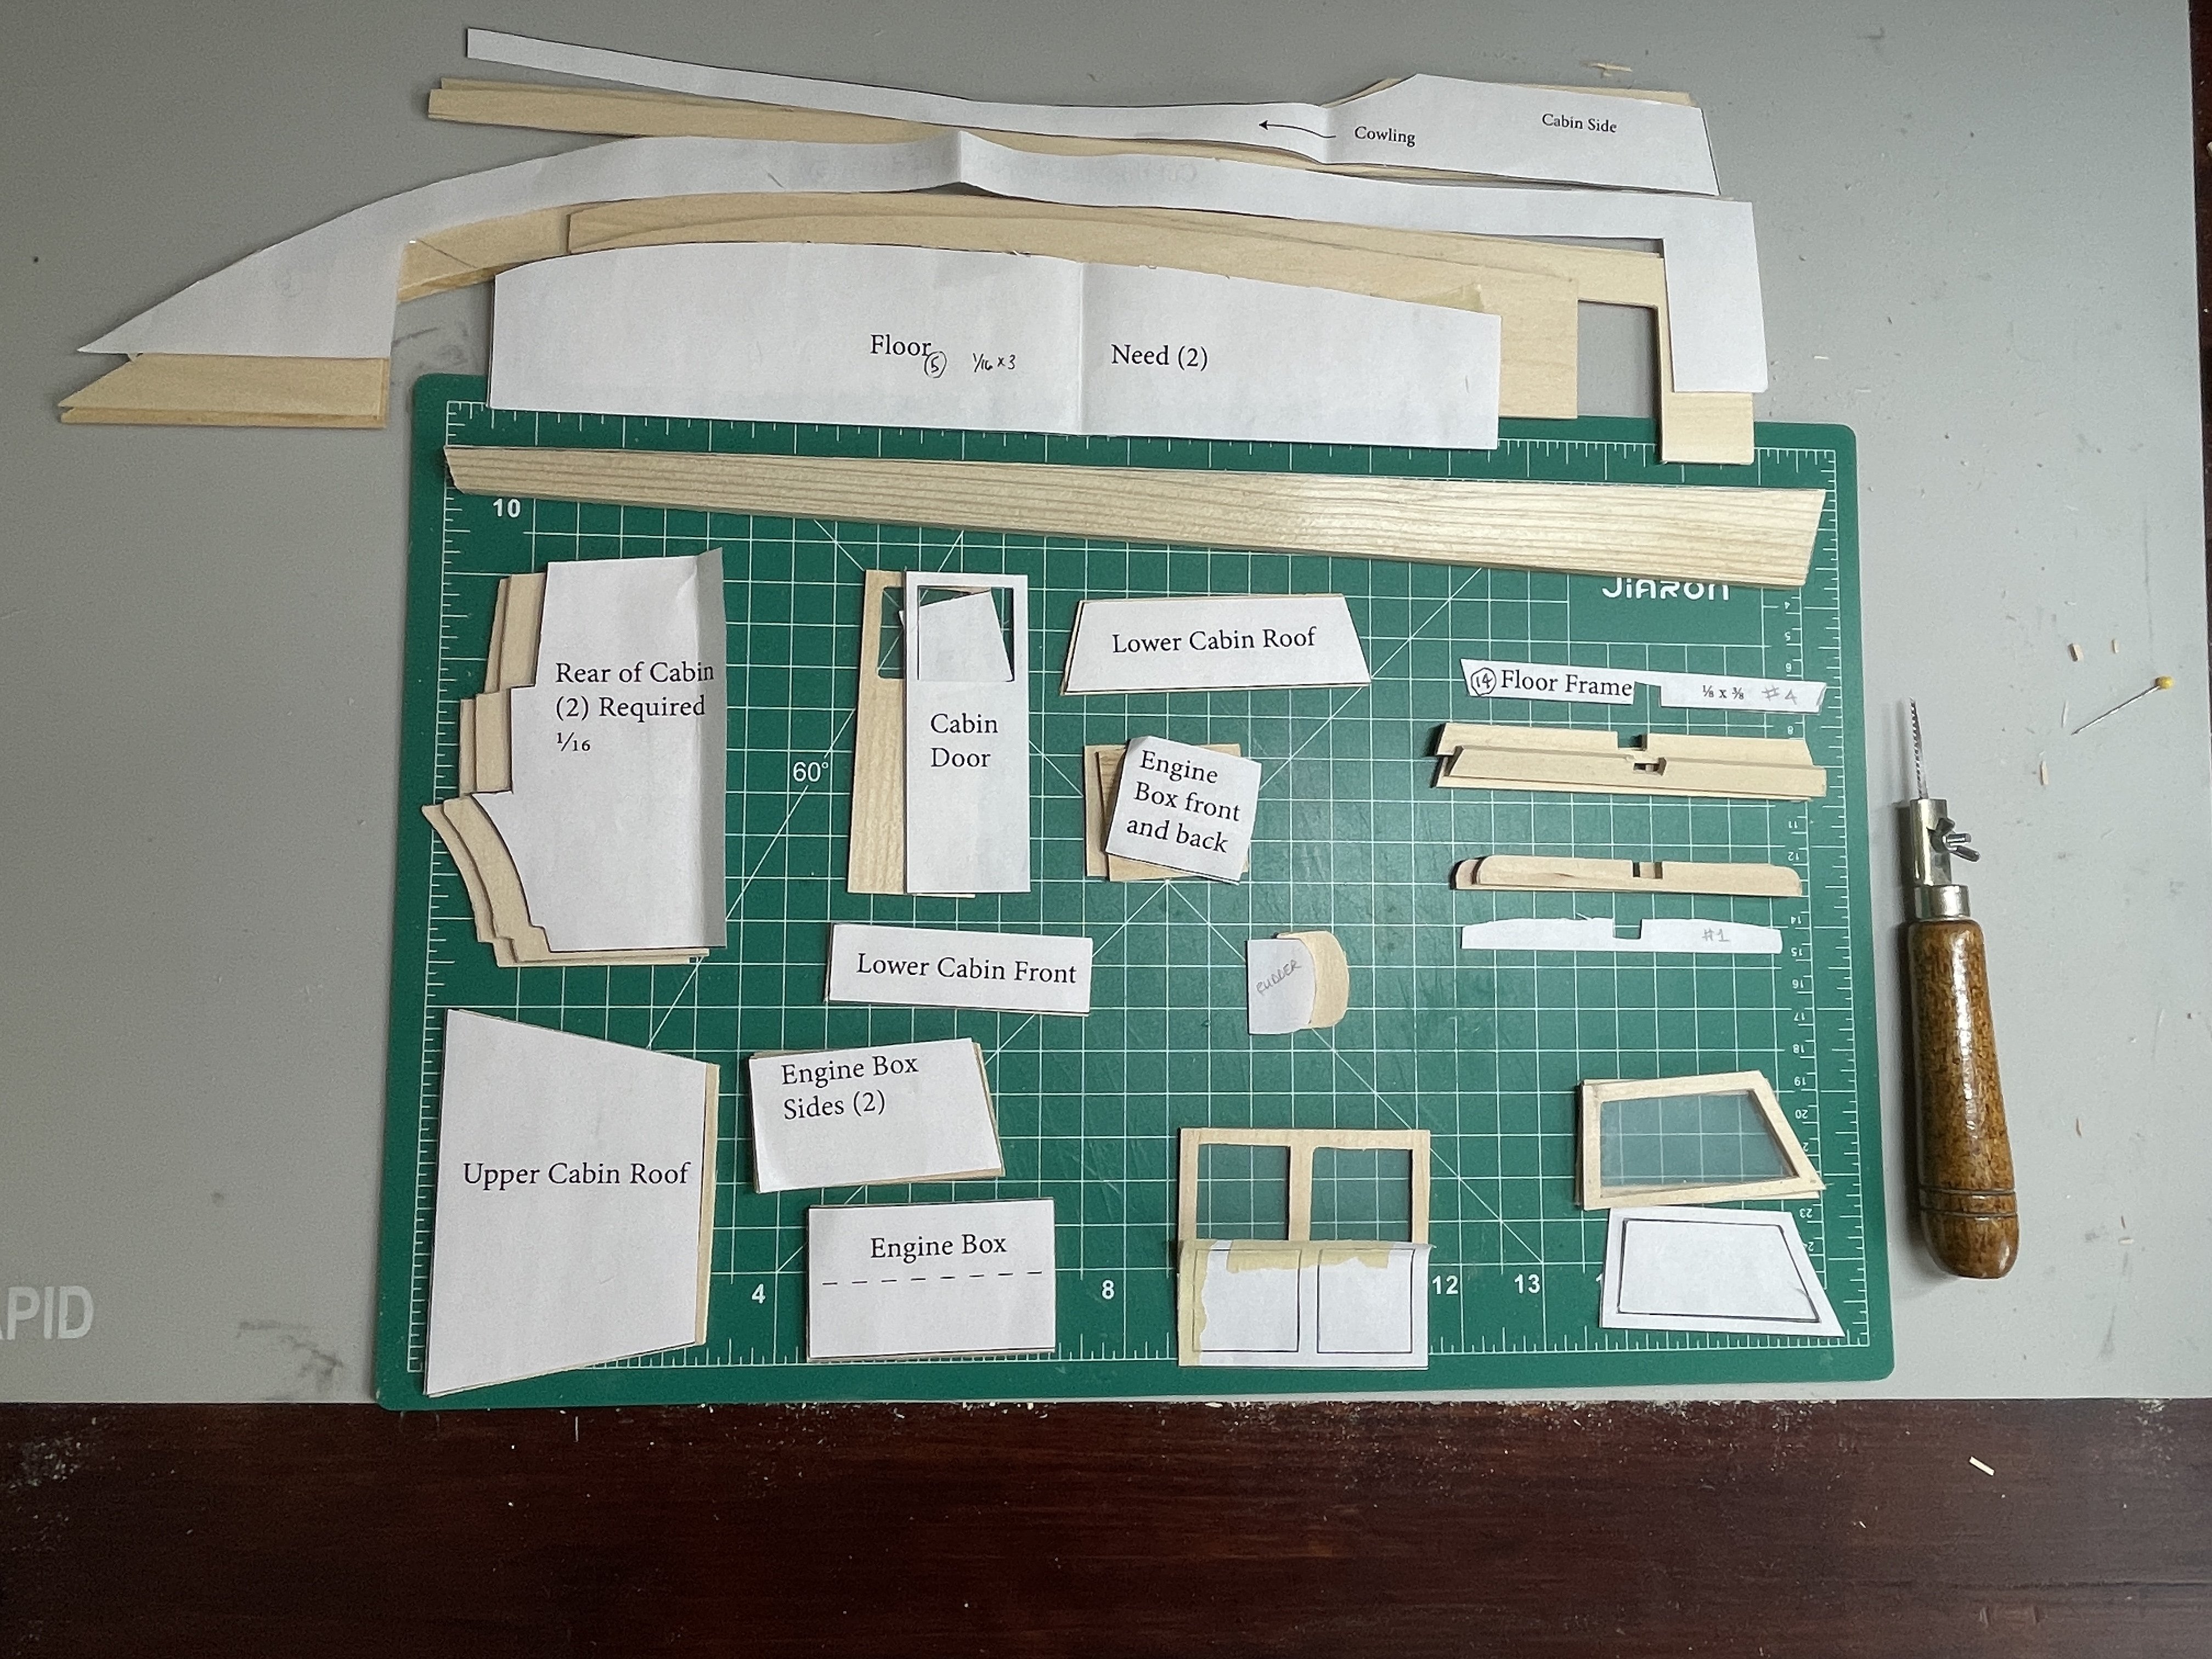
Using the drawings provided I cut out patterns for the build and crafted the cabin parts, deck, flooring, cowling, bulkhead, and hull frames. I installed plexiglass for the cabin windows. This took me about 4 hours.

-
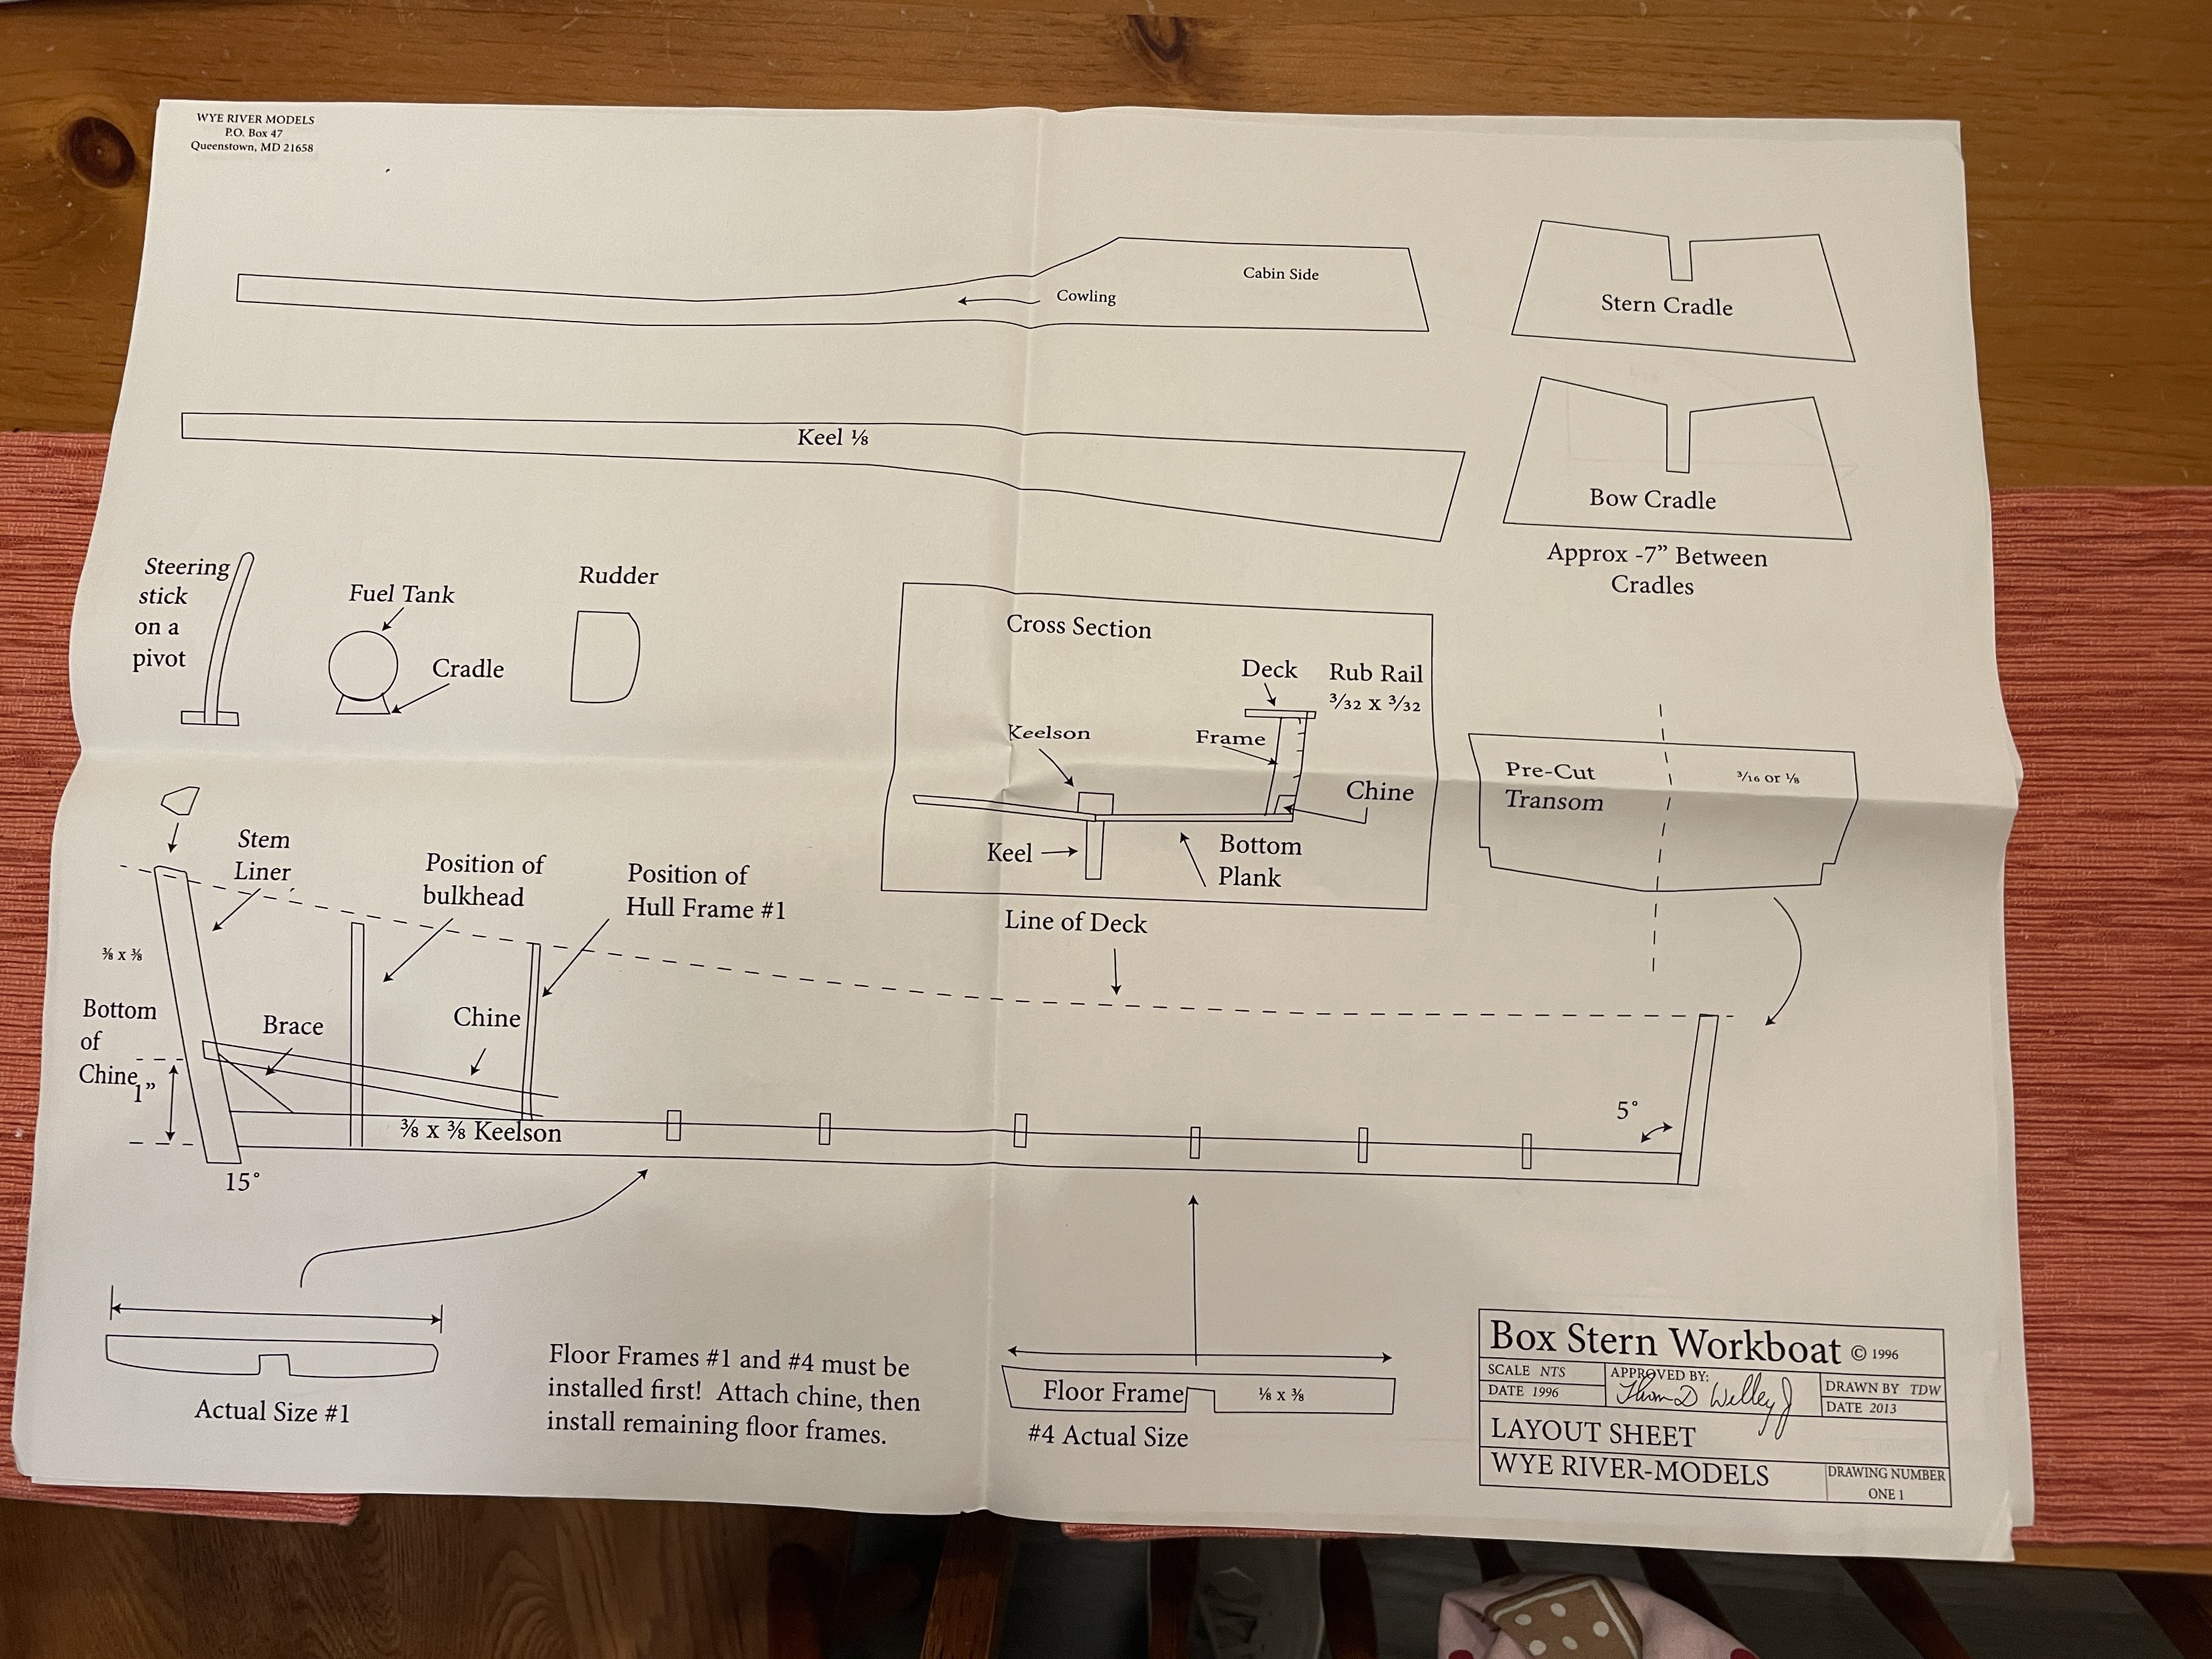
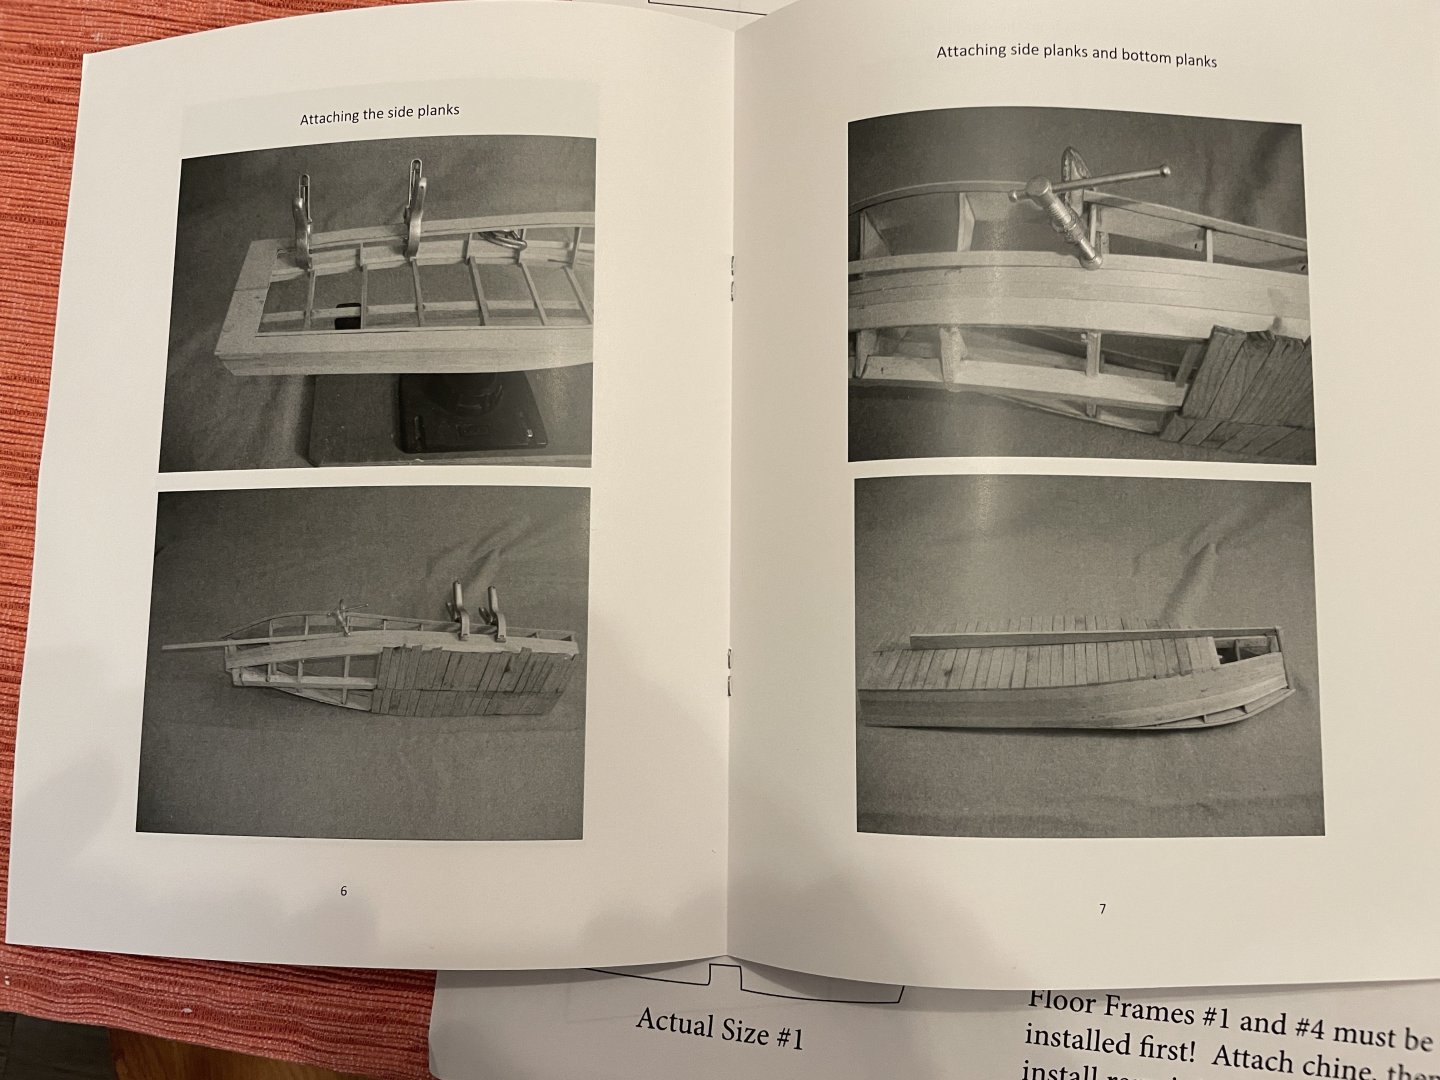
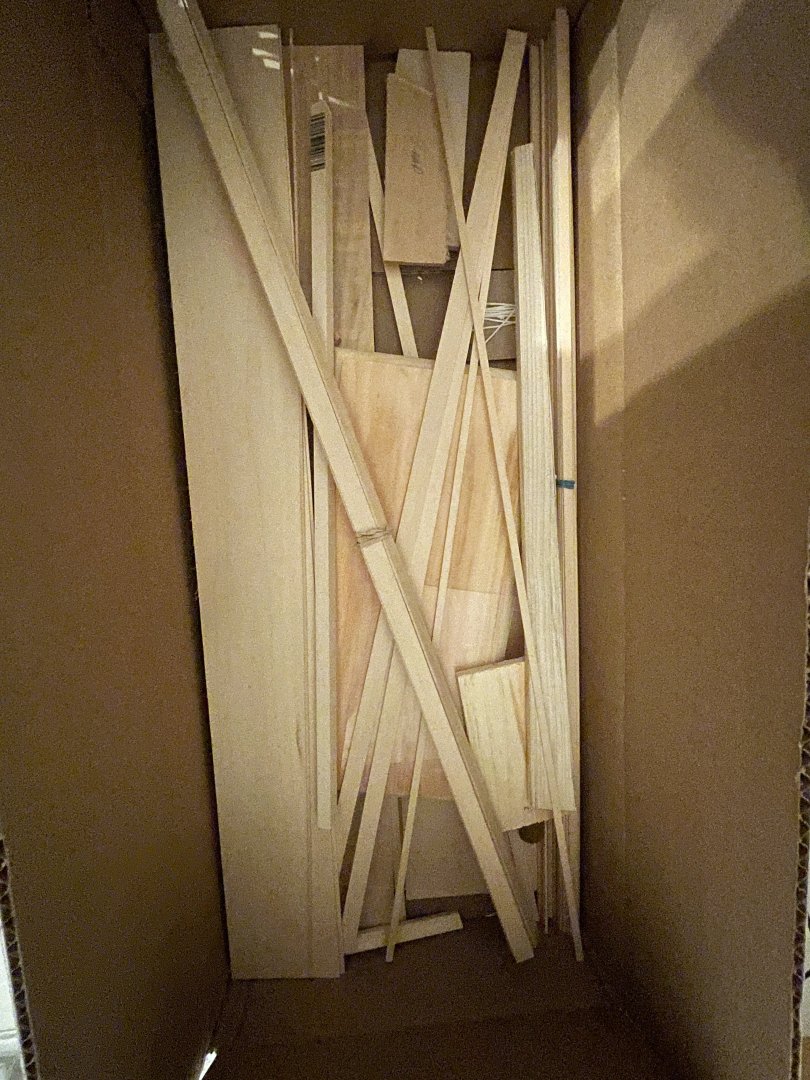
I saw this model and wanted to put it on my build list since these boats frequented Hampton Roads where I grew up. I also spent time on one of these boats that the Virginia Institute Marine Science chartered while we studied the changes that hurricane supplied freshwater had on the local rivers and Bay. Having some unexpected time off from my part-time job, I decided to start this model for my second build. I was a little concerned because I only saw one build log for the box stern and the log only documented part of the build. The kit arrived with an instruction manual (just pictures with no detail building instructions) and drawings along with a material list and supplies. I spent time reviewing the material list and handwritten changes to the list that didn’t jive with the material supplied. The material question was 1/16 x 3/8 strips of Balsawood, which is readily available so I don’t expect to have a problem. Review time ~1.5 hours

-
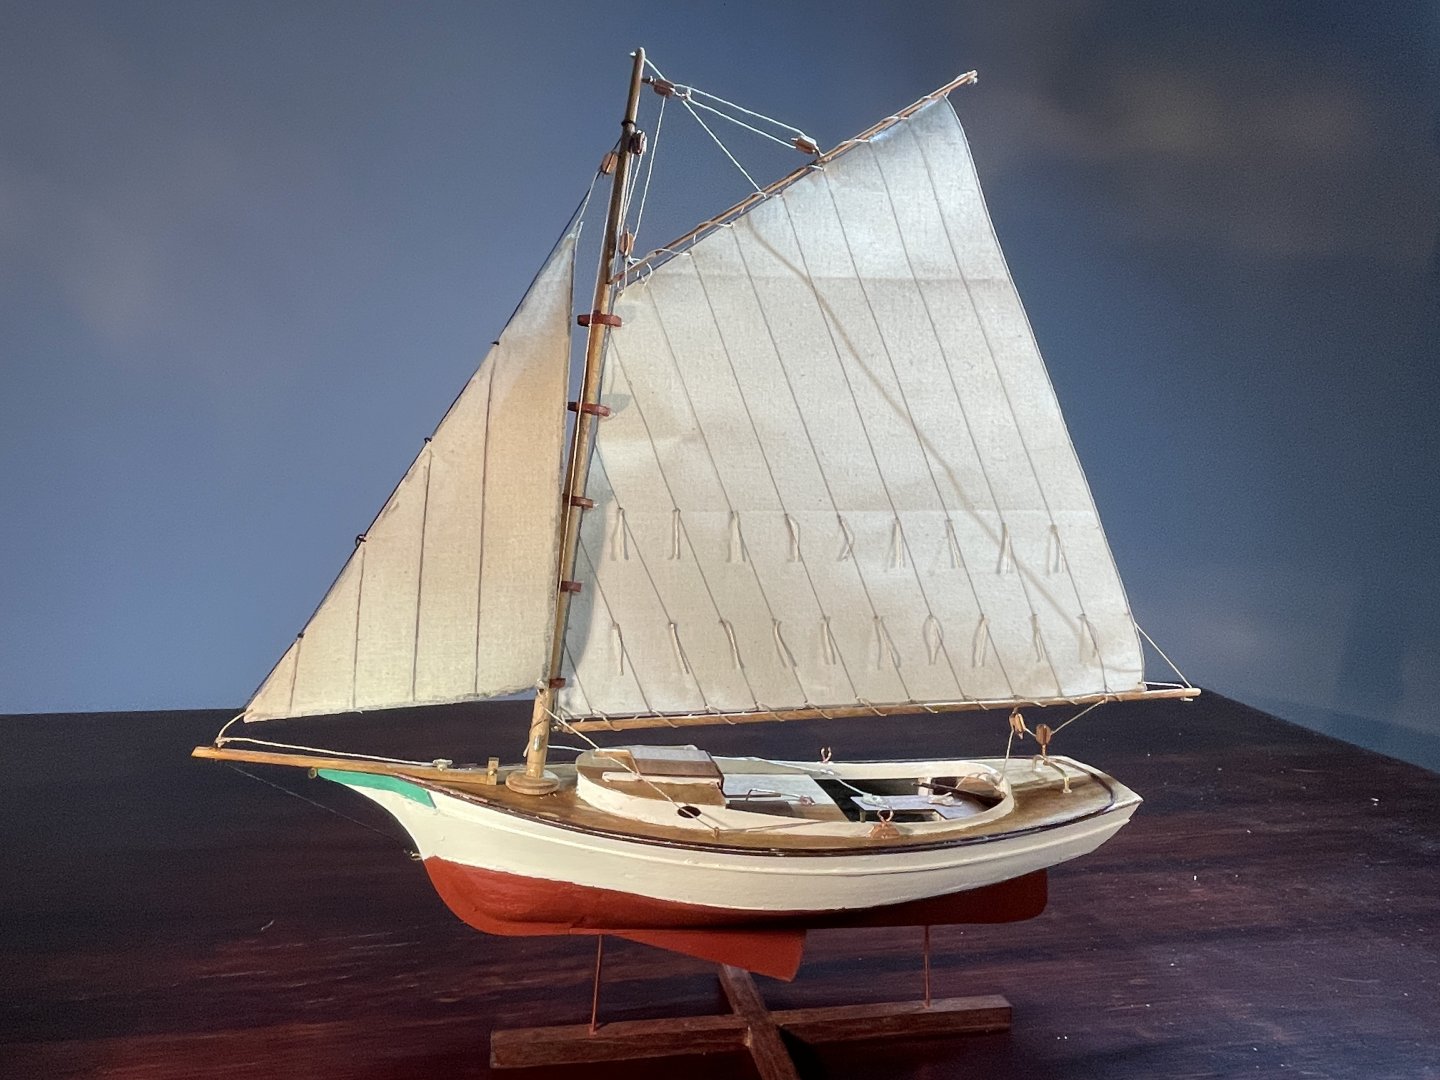
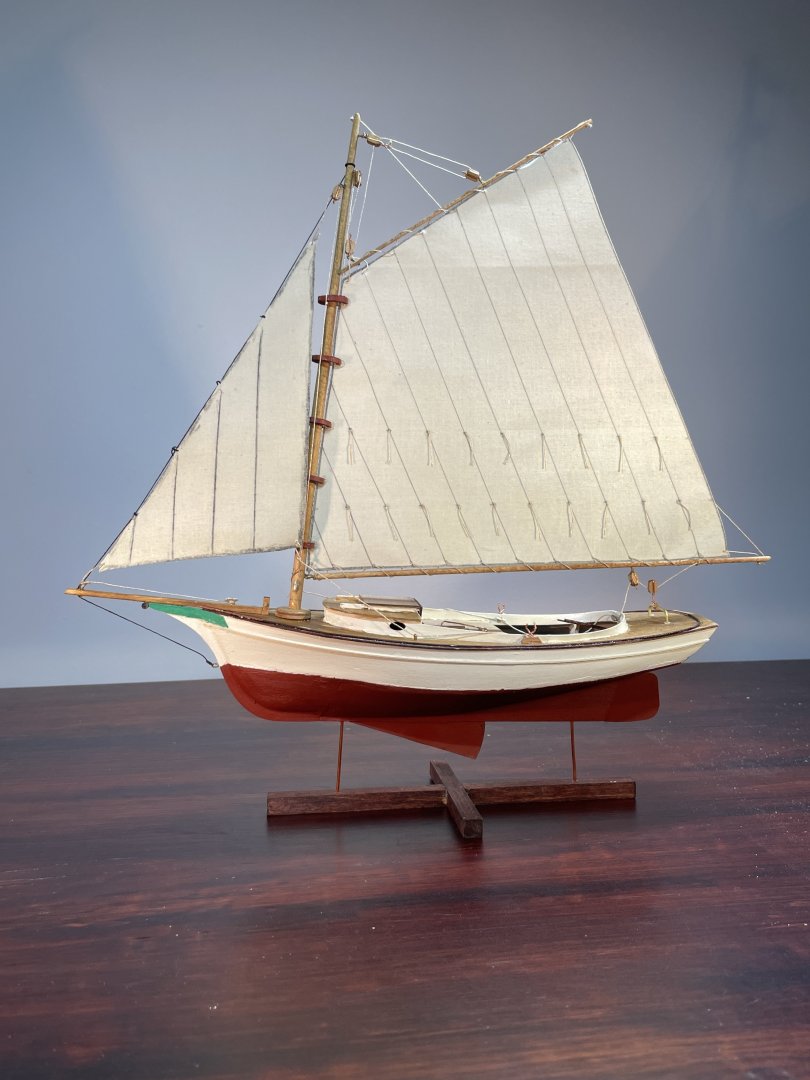
I’ve now finished the lobster smack and I’m pleased with my first build. Overall, my build time on this model was about 45 hours. I’m looking to order my next model and hopefully will do a better job of posting my build log as I go. Thanks to the many members who posted hints that help my build. Here are a couple of pictures of the final product.
- 18 replies
-
- 7
-
-
- muscongus bay lobster smack
- Model Shipways
- (and 1 more)
-
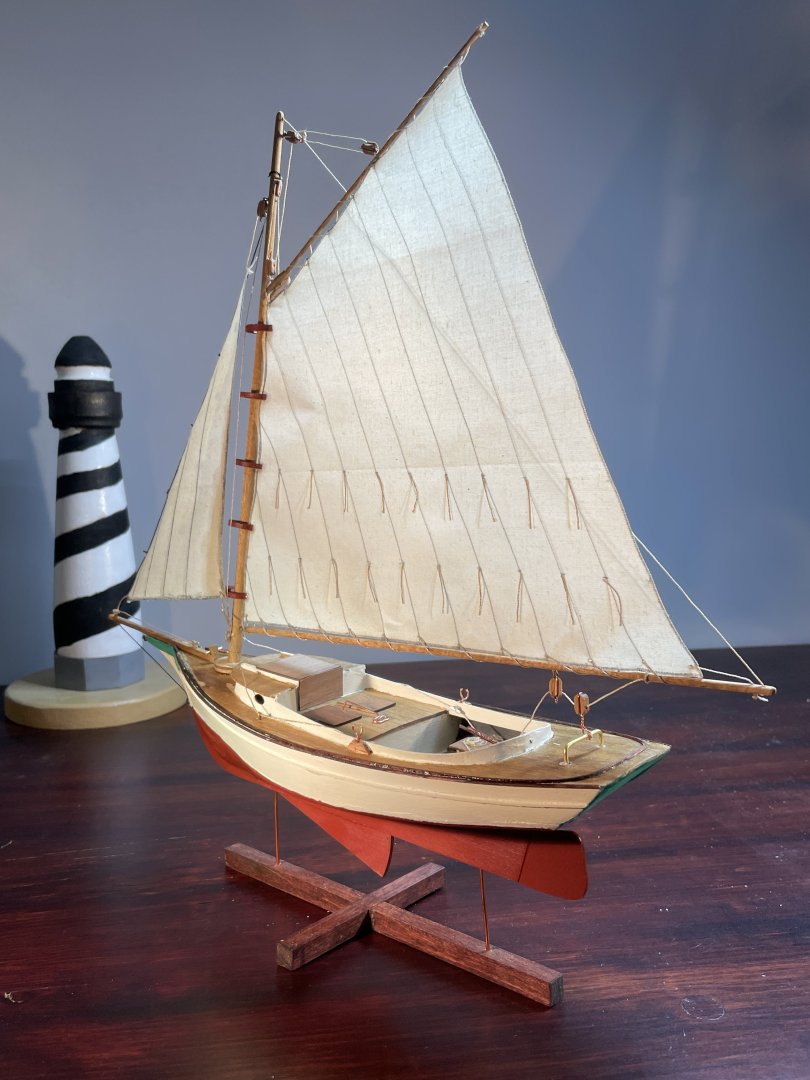
I tried several schemes to create coils for the jib line with little success. A search on model ship world got me to a jig that a member named Redshadowrider posted in message 326 on November 29, 2024. This worked well. Thanks.
- 18 replies
-
- 2
-
-
- muscongus bay lobster smack
- Model Shipways
- (and 1 more)