HOLIDAY DONATION DRIVE - SUPPORT MSW - DO YOUR PART TO KEEP THIS GREAT FORUM GOING! (Only 36 donations so far out of 49,000 members - C'mon guys!)
×


BRiddoch
-
Posts
357 -
Joined
-
Last visited
Content Type
Profiles
Forums
Gallery
Events
Everything posted by BRiddoch
-
 Thanks Paddy. Bob R.
 -
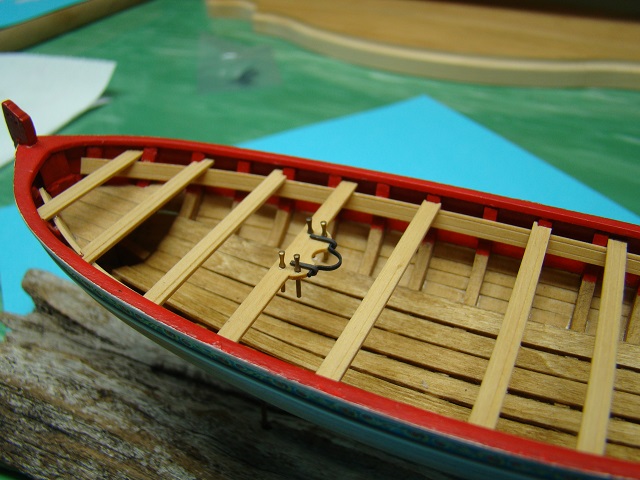
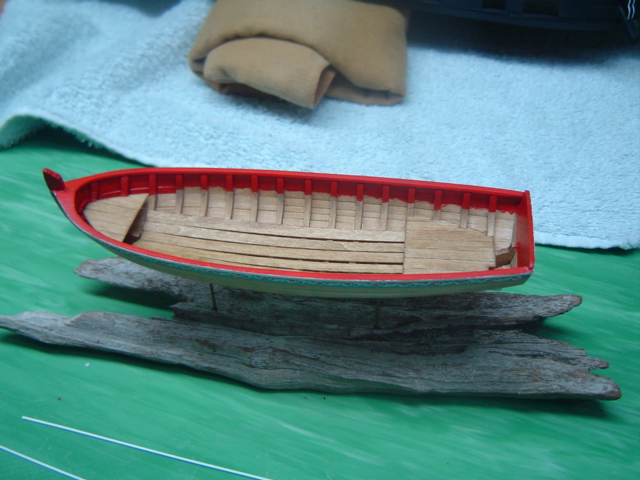
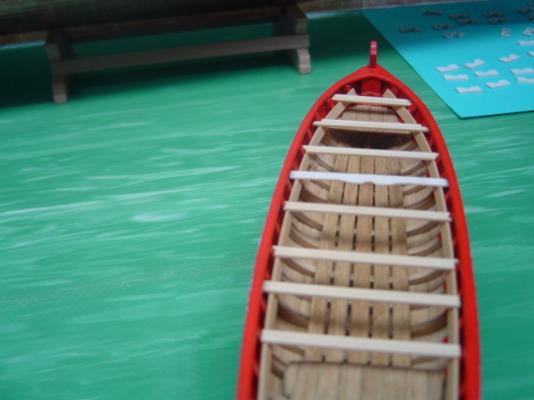
Hello all, Since my last posting I have completed the thwarts and have started working on the aft seats and locker. I used boxwood on all the thwarts. Again, this was done to get a clean line with the scriber. Bob R.


- 100 replies
-
- 4
-

-
- model shipways
- 18th century longboat
- (and 1 more)
-
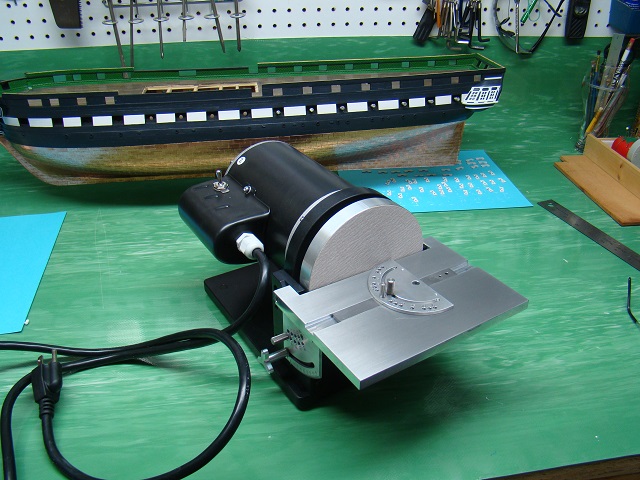
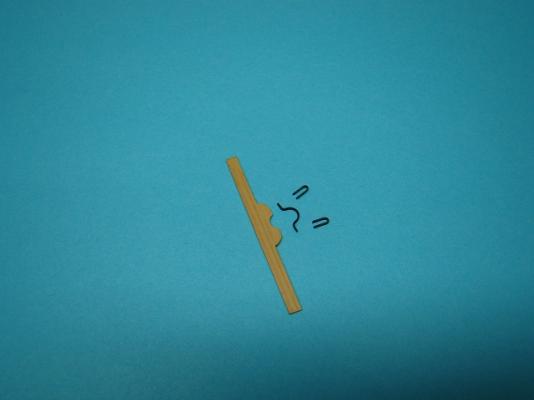
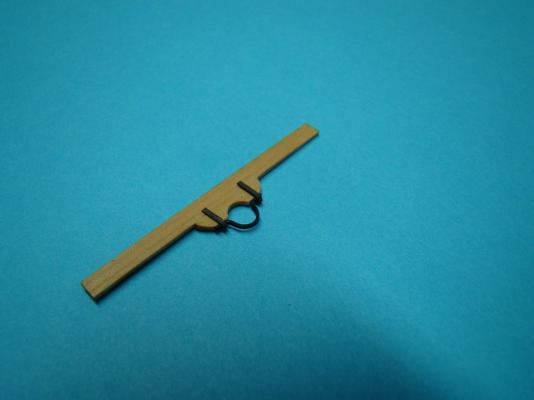
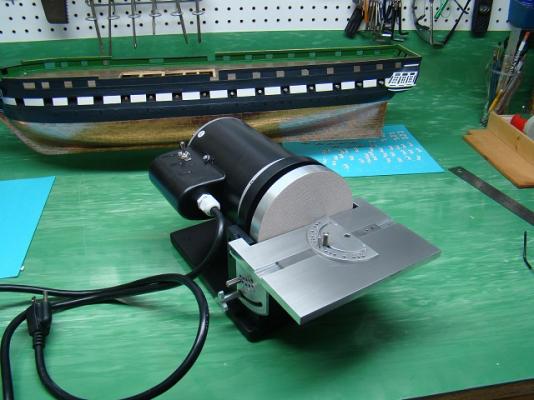
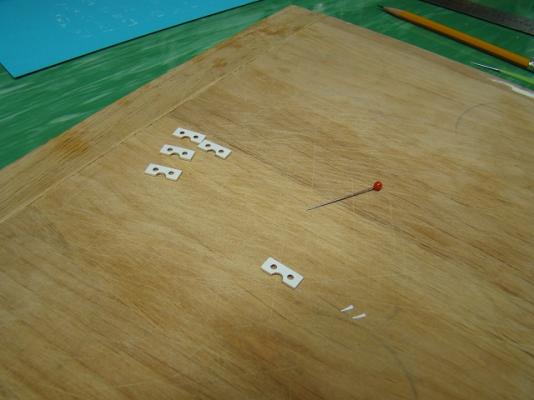
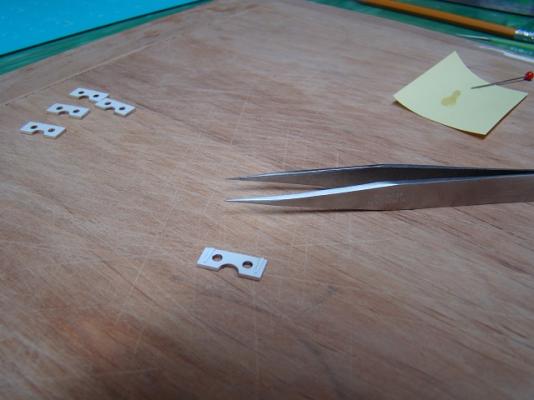
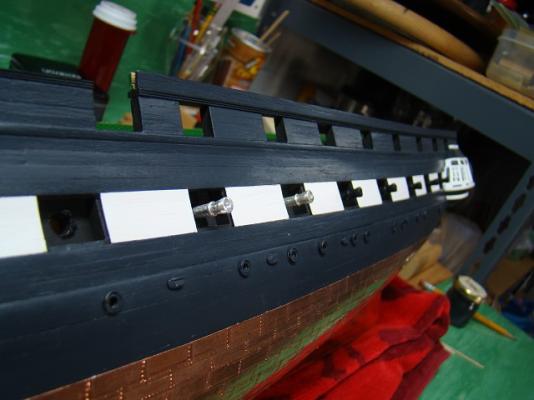
Hello all, It has been a while since my last post. Had a few family matters back east that required my attention. I'm home in San Diego now and back to building. While I was in Boston my new Byrnes Disc Sander arrived at home in San Diego. Nothing better that the anticipation of opening the box. Anyway, I am working on the Gunport lids. I am doing 7 at a time to break up the monotony. Small hinges are attached to the upper lids and painted white. False cannons are also added. Bob R.
-
Tom, the copper tape has a paper backing that you peel away with a really good adhesive. I did not use any other glue. Bob R.
-
Looking great cookster! Sorry I have not posted in a while. Dealing with some family business back east but I am heading back to my San Diego workshop today. Thanks for the compliments by the way. Bob R.
-
When I use filler I use Elmers Wood Filler. From the same folks who bring us Elmers Glue. It comes in a tube. Bob R.
-
Thanks Bob. I just can't deal with the basswood. I could not get a good groove. Bob R.
-
Thanks Mike. I am in Seattle for the week but looking forward to getting home and working on both of my projects. Bob R.
-
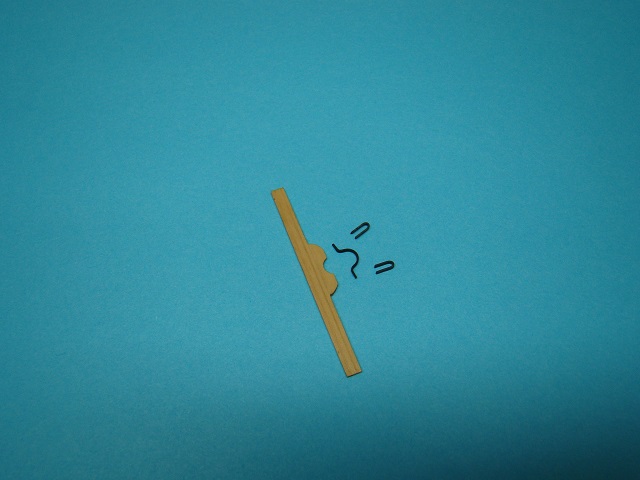
Added the strip below the frieze and the thwart supports. I used boxwood and was able to create a nice distinct groove. Bob R


-
Started working on Gunport lids. A couple of coats of Poly prior to painting. Bob R.

-
Thanks Frank and Mercdaddy. Bob R.
-
I am afraid I cannot speak intelligently on the properties of the tape or adhesive. Luckily I did not have the problem of "curl-up". I used a small piece of 3/16" x 3/16" basswood as a burnisher to press the tape down over both the wood and the lap over onto other pieces of tape. To date it still holds. I did not use a sealer as I am told that it tends to dull the appearance of the copper. Bob R.
-
That is my primary concern Geoff. I am building as she sits today but don't want to ruin the copper tape job. If I paint the stripe it will be with an airbrush. Bob R.
-
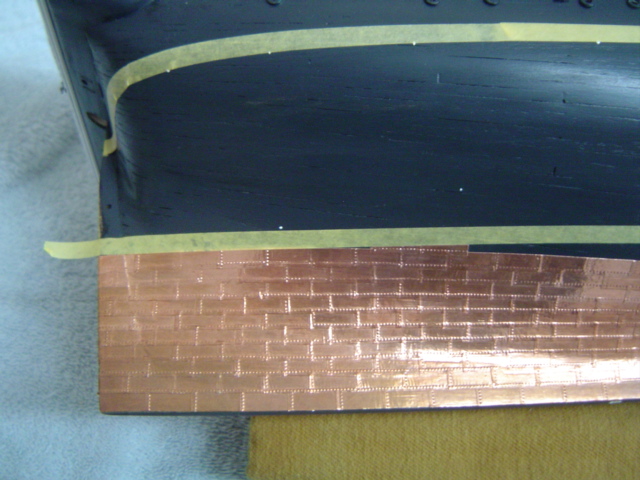
JSGerson, I don't know the life span of the copper tape, but I can tell you this, it certainly sticks. It is difficult to work with but I had no problems with it sticking. I think the key is surface prep. You also need to avoid touching it. Once I had a few dozen plates applied, I used Armor-All Glass Cleaner to wipe it down with a lint free cloth. Bob R.
-
Thanks all. I am debating whether to paint the iron red stripe or leave it be. Yes Chuck. I will spend a few hours on the longboat. Bob R.
-
I still have the bottom of the keel and the edges of the stem and stern to copper. Should take about an hour. Oh yeah...I will do the rudder now so it will patina evenly. Bob R.

-
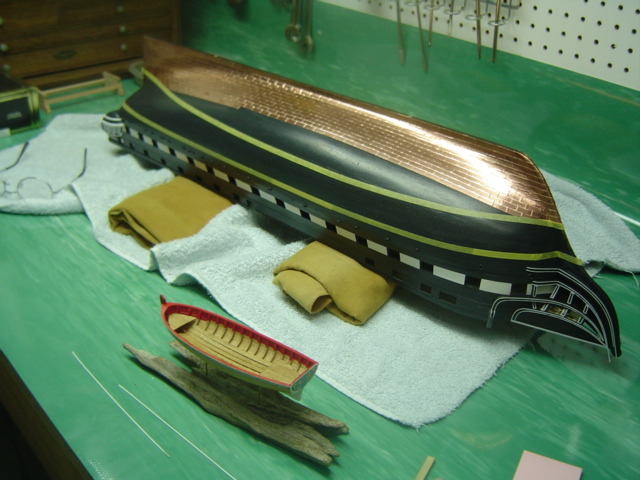
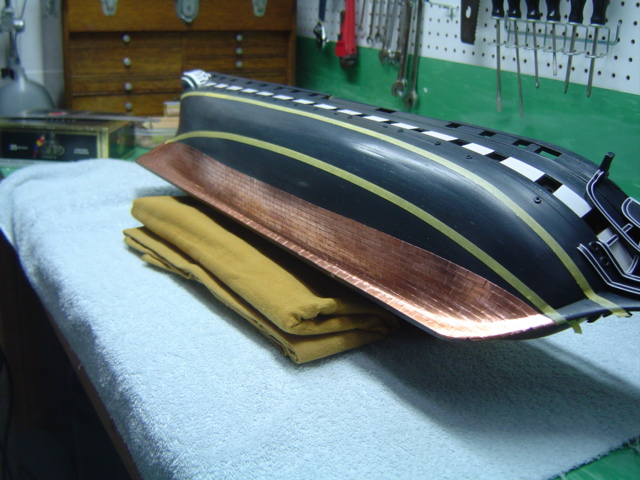
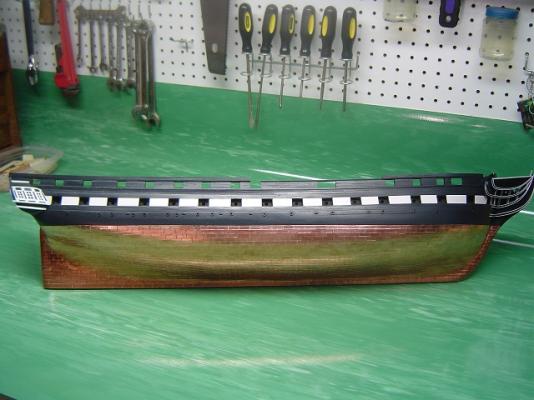
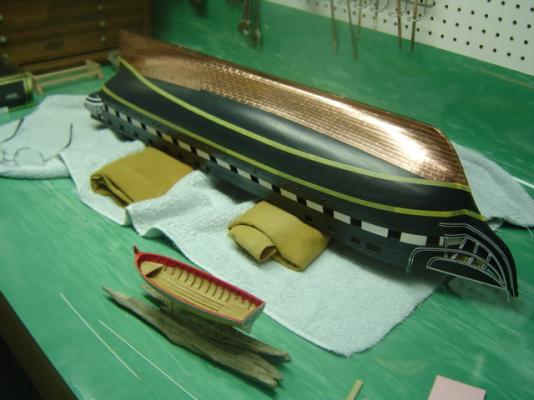
Finally finished the coppering over the weekend. Pics to follow later today. Bob R.
-
Looks great Mike. Looked even better in person. You should start a build log for the Fly. Bob R.
-
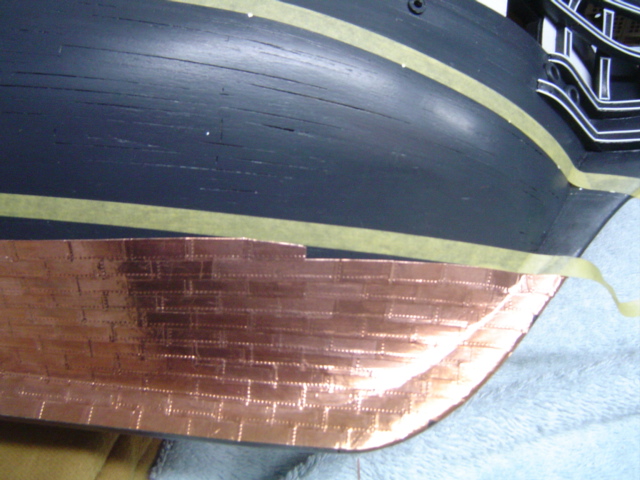
Thanks Jim. My problem seems to be on the approach to the waterline. Did you go with 2 rows at the waterline or 3? Bob R.
-
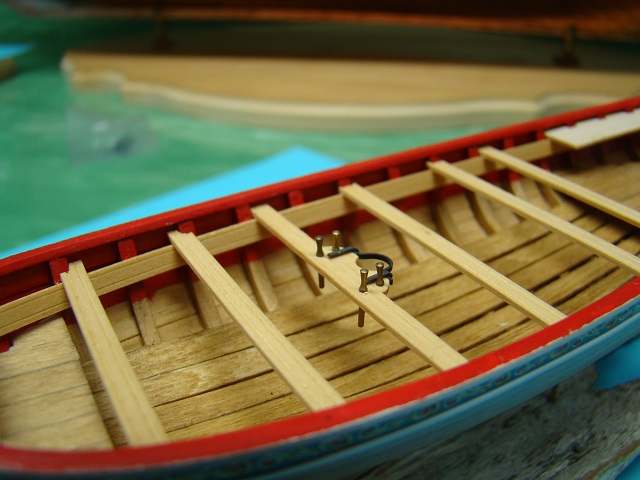
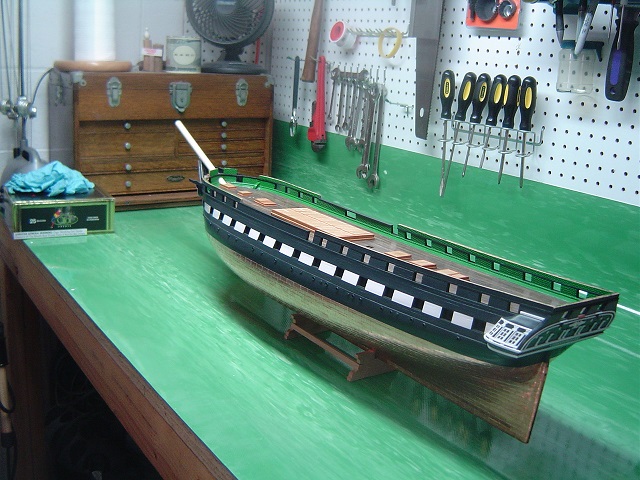
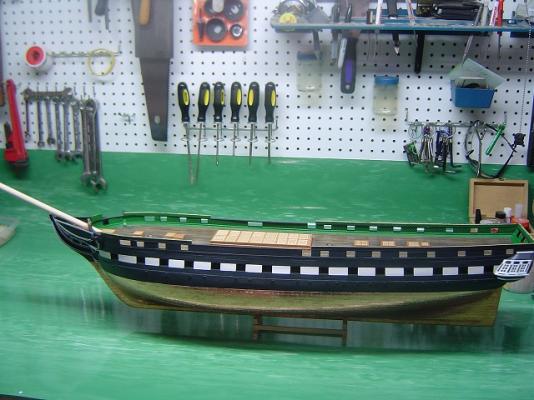
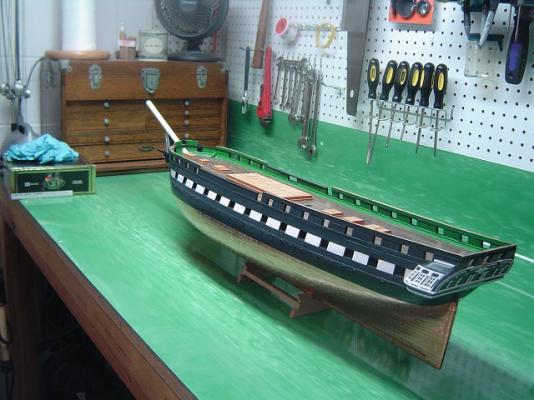
Installed the floorboards and platforms. Most of my modeling has been taken up by copper plating the Constitution. I will start catching up with the group. Bob R.

- 100 replies
-
- 2
-
-
- model shipways
- 18th century longboat
- (and 1 more)
-
Looks great Mike. Bob R.
-
Thanks Geoff...I'll do that. Bob R.
-
Looking great Jim!! You need to give me some tips on how you did your copper plating...Looks awesome. Bob R.
-
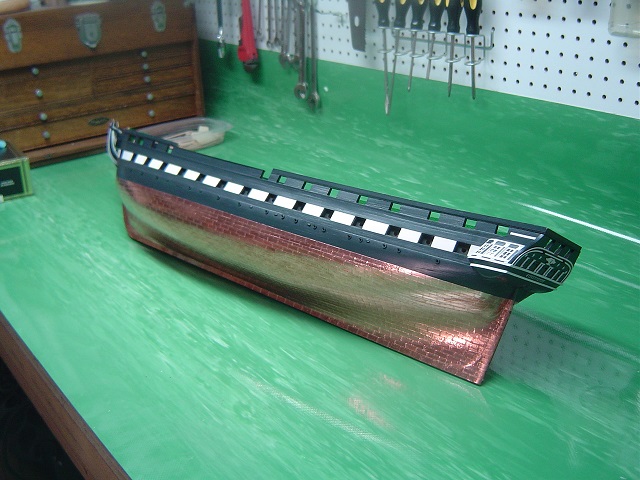
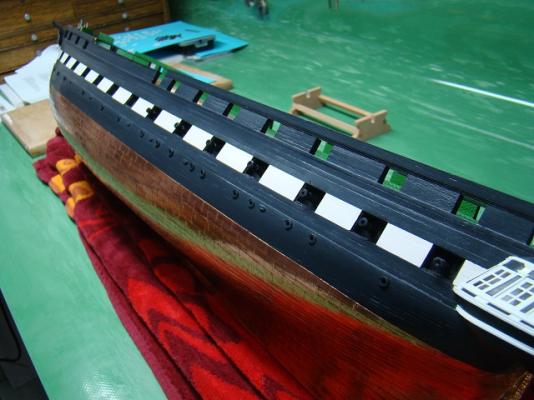
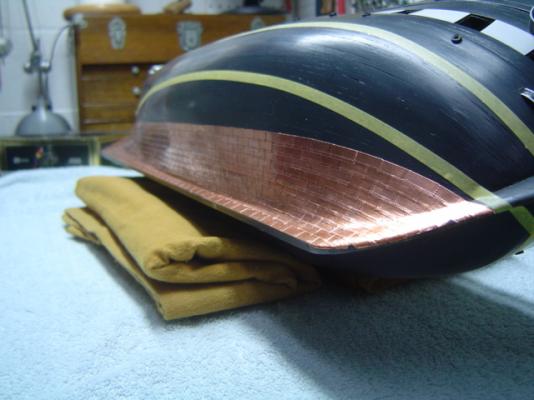
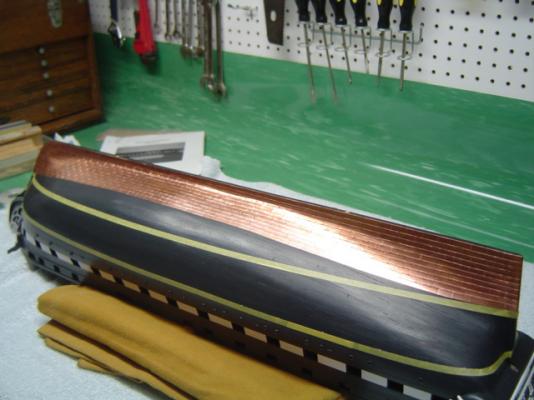
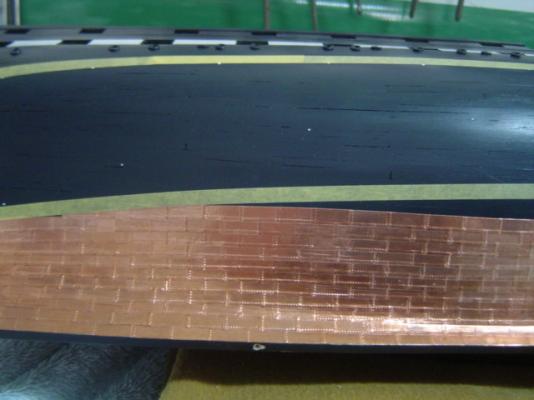
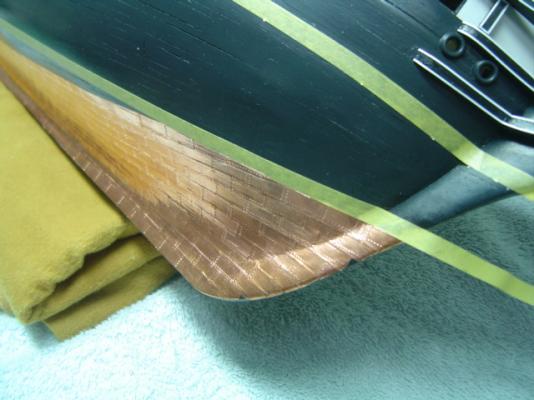
All, As promised, here are some pics of my copper plating progress. I have completed the first band on the starboard side. I brought the copper 10 rows up and ran a piece of tape from bow to stern parallel with the waterline. From there I filled in the middle area to bring the cooper even. Bob R.


-
I think it looks good Chuck. Bob R.