Sailcat
-
Posts
157 -
Joined
-
Last visited
Content Type
Profiles
Forums
Gallery
Events
Everything posted by Sailcat
-
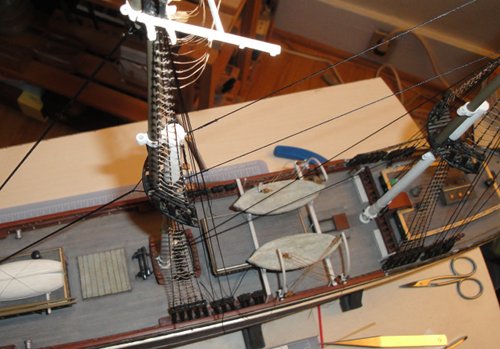
 Stays and Guys slowly being emplaced. The Fore mast portion of the rigging which was left until the Bowsprit was in place. Around here I started thinking, "It looks like a ship now."
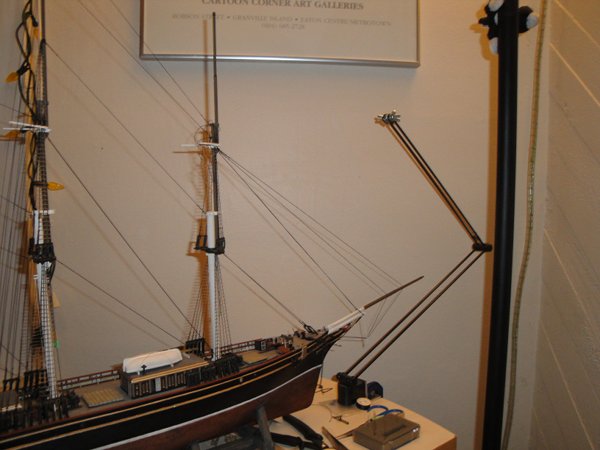


-
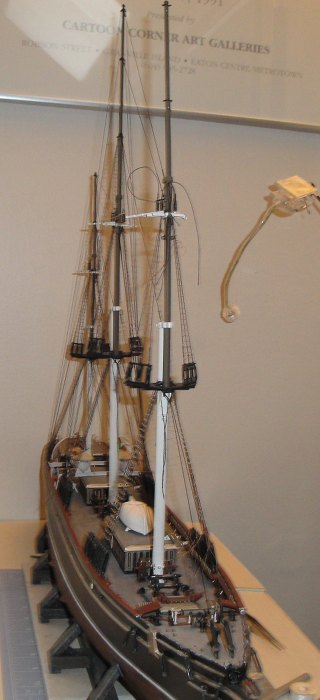
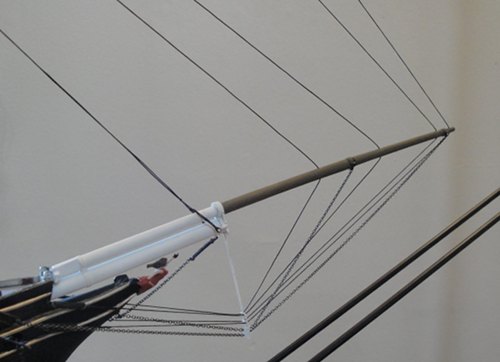
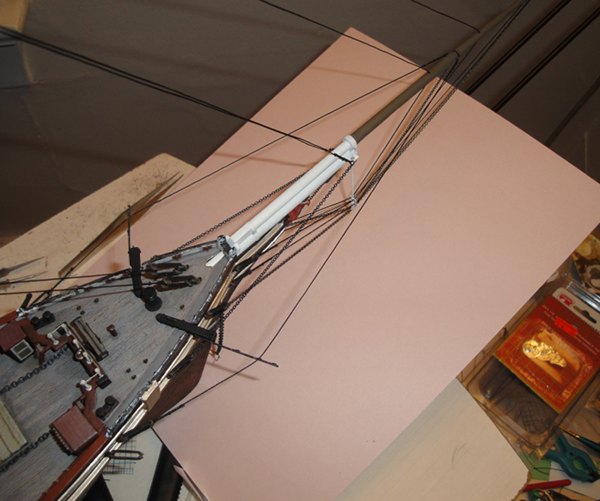
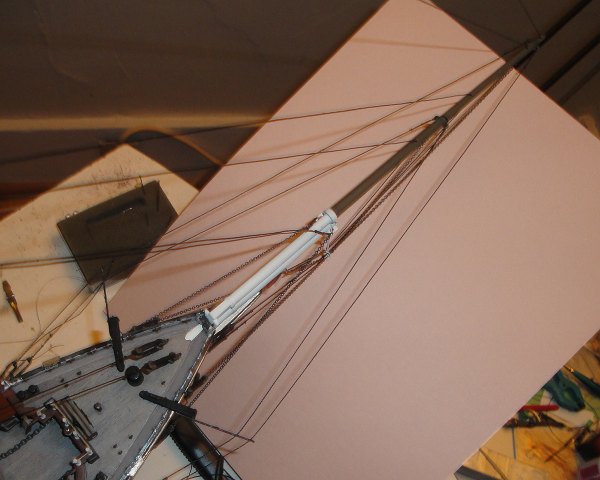
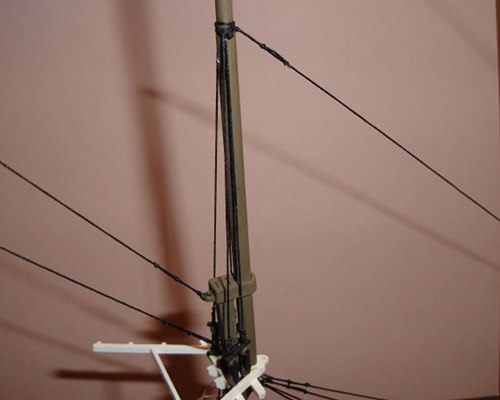
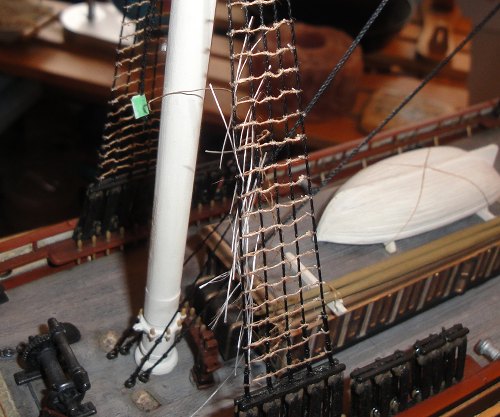
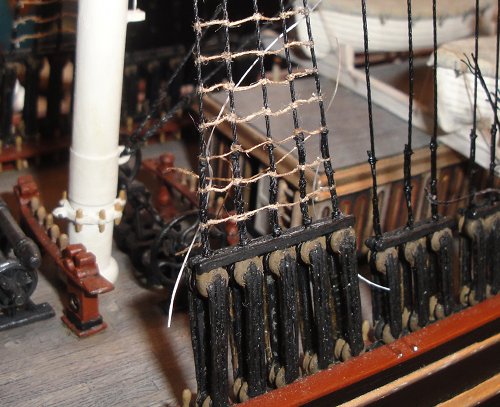
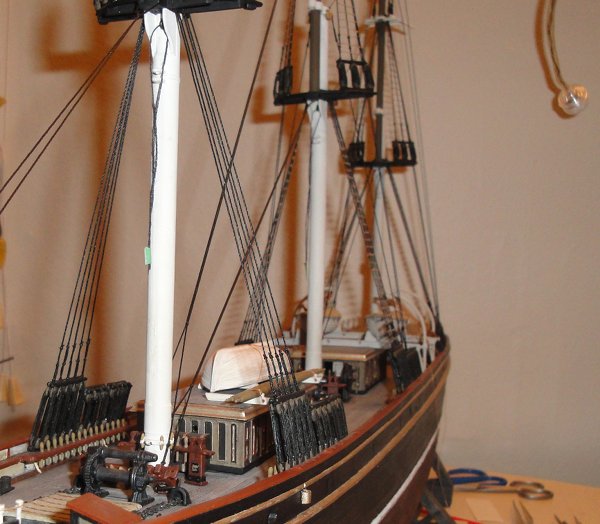
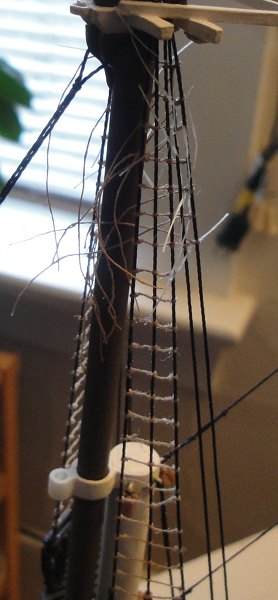
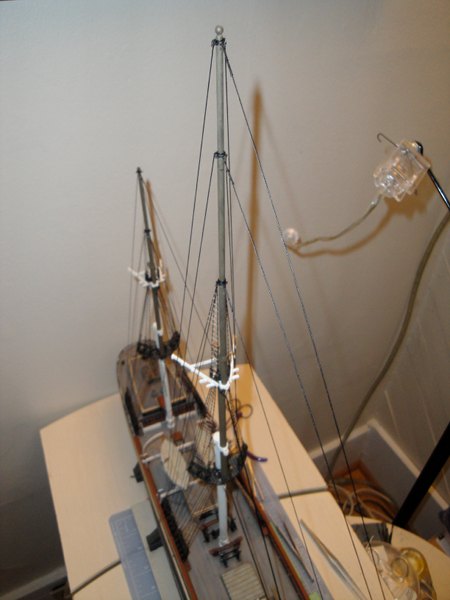
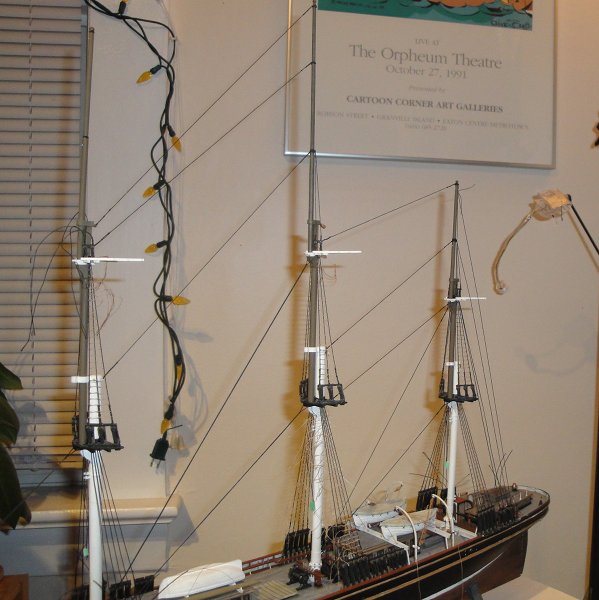
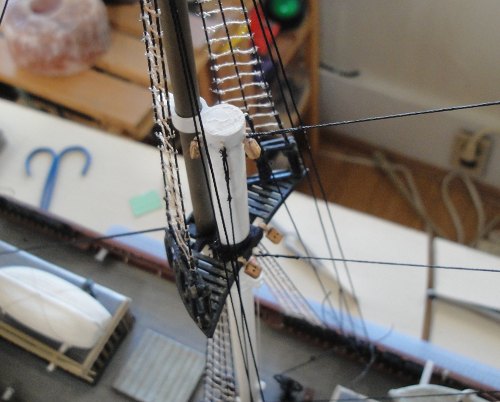
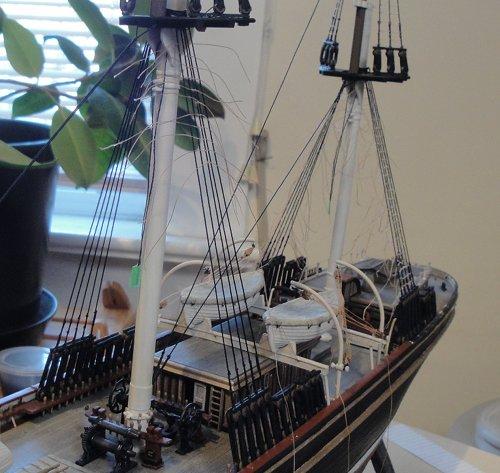
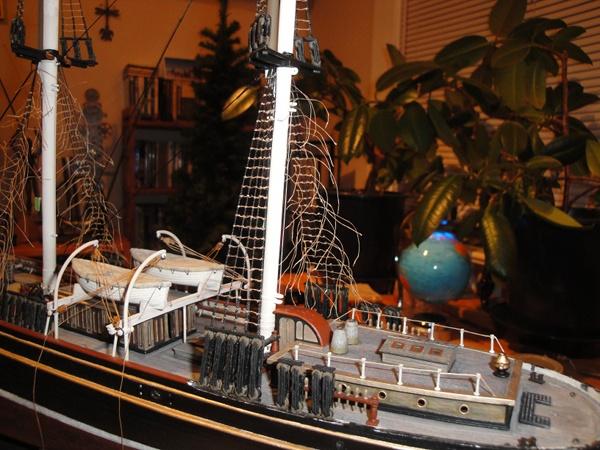
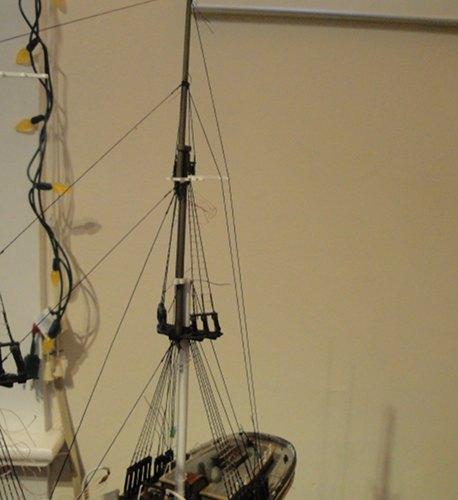
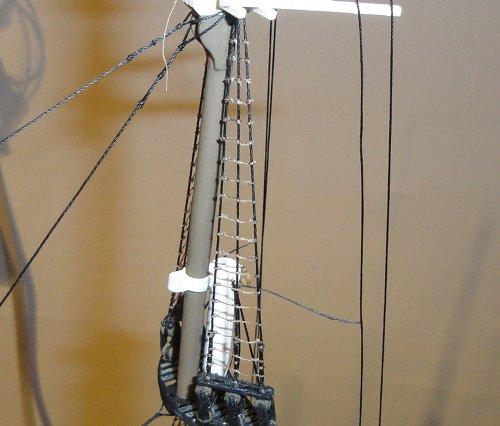
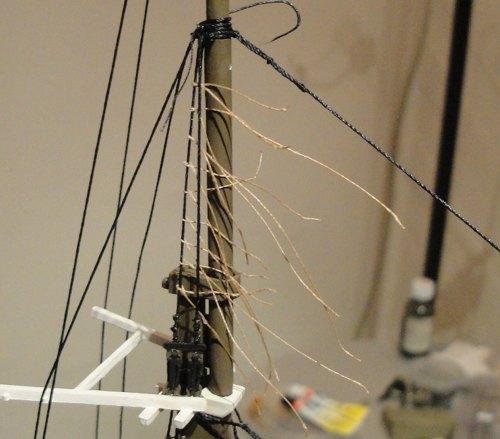
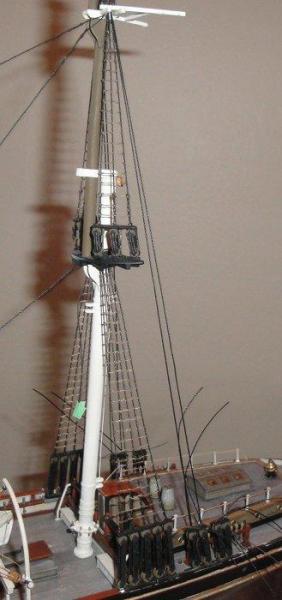
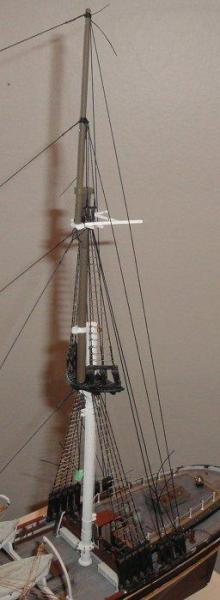
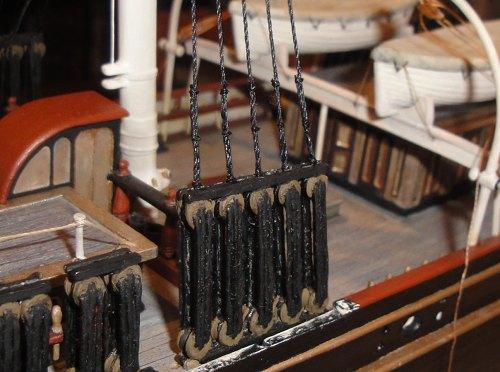
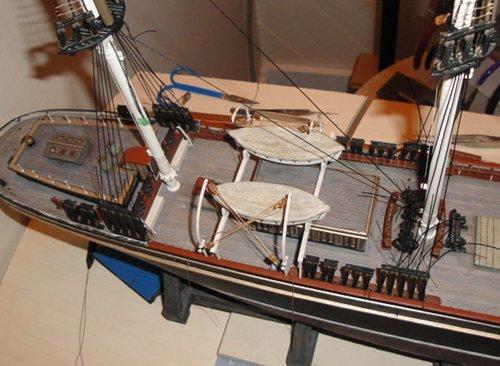
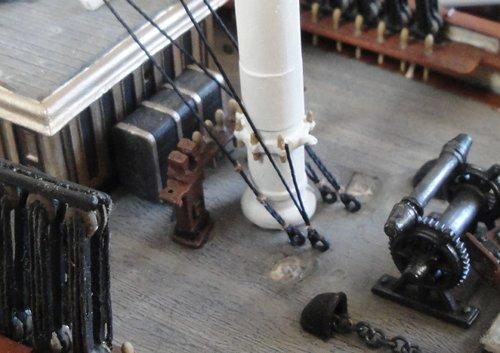
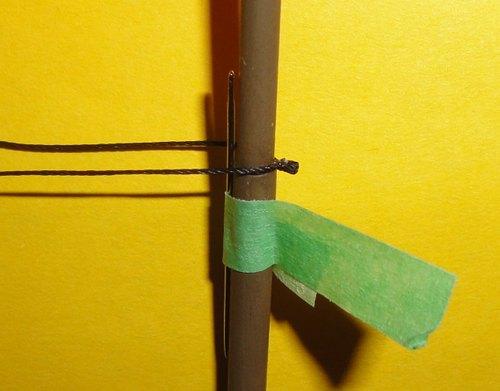
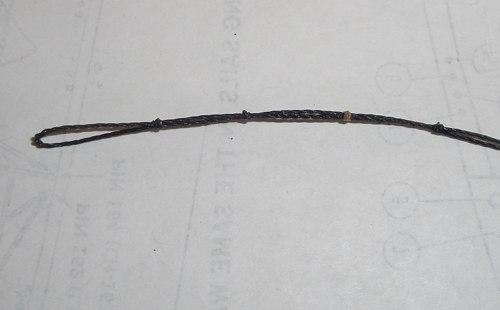
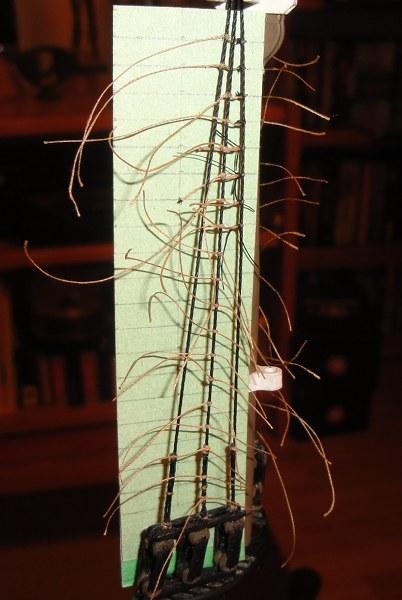
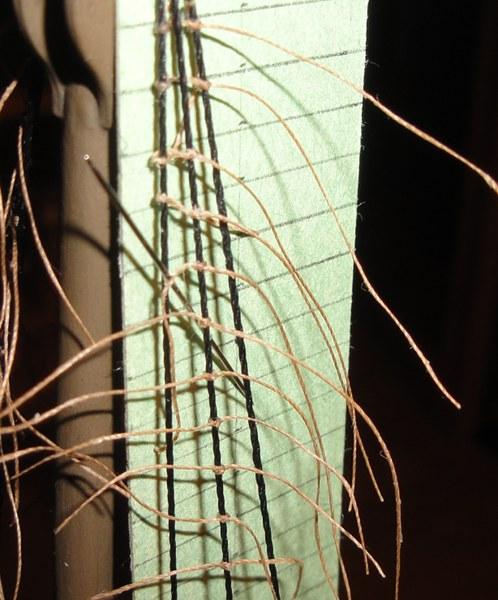
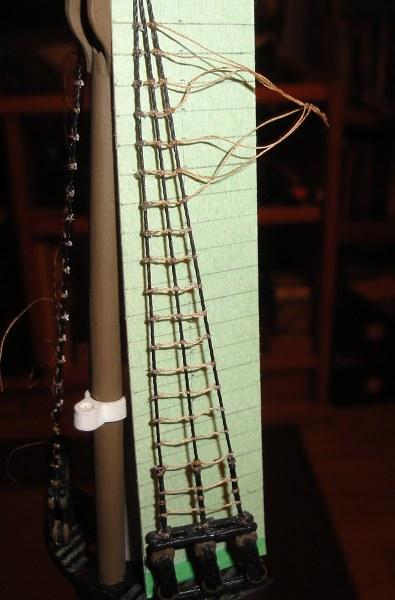
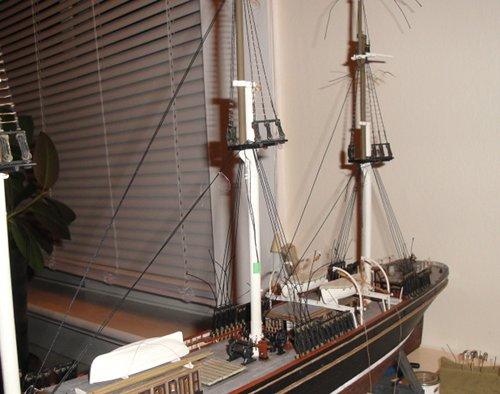
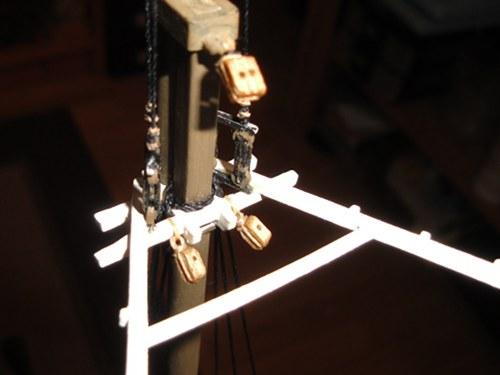
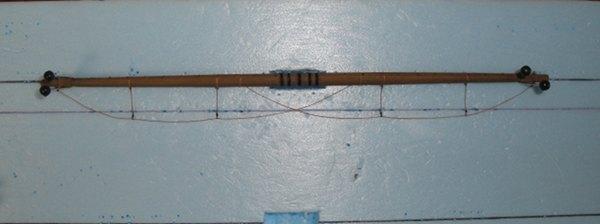
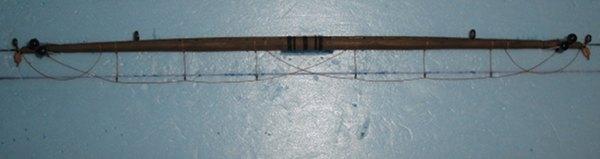
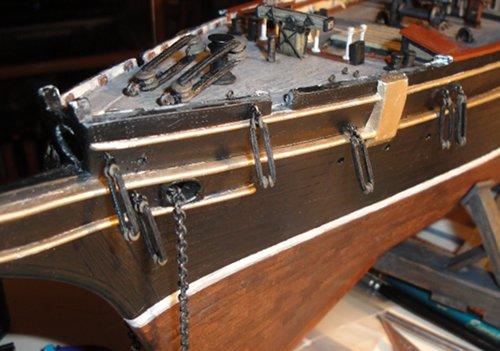
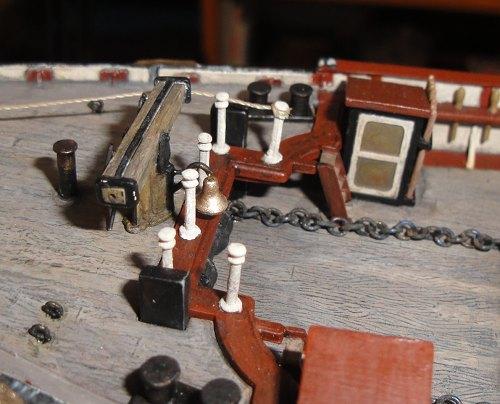
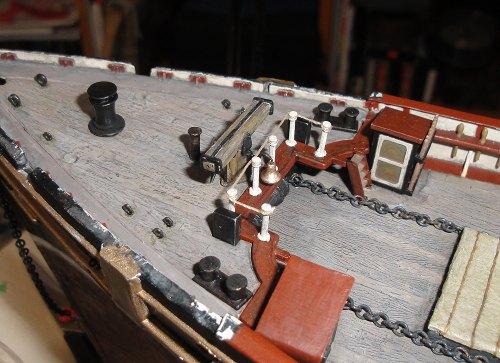
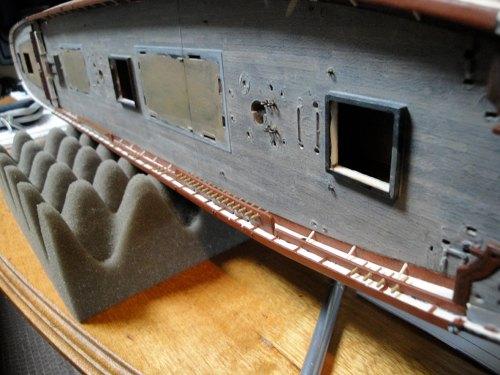
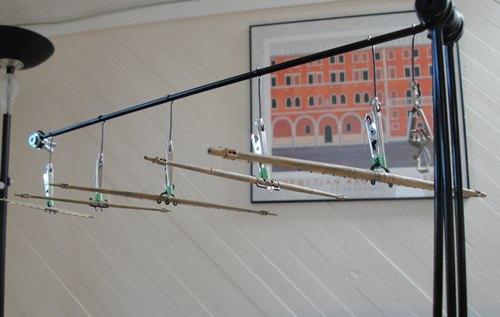
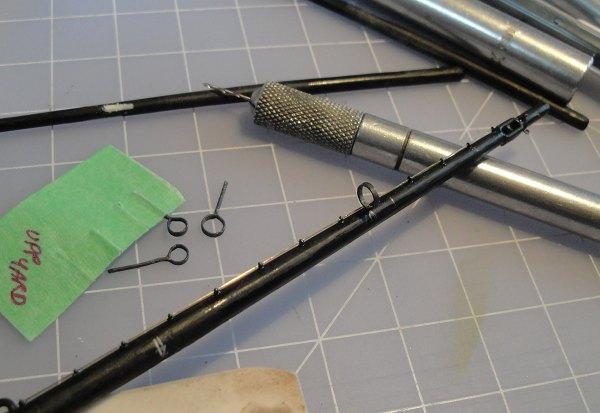
Ratlines - I referenced 'Danny's Method' and copied it as best I could. Because I haven't mentioned it before, the Ratlines are a thin waxed cotton thread tied with clove hitched and the ends are 'spliced' then seized with 'really thin' nylon. Finally the seizings are sealed with diluted PVA. After putting it off for as long as possible it became time to 'step' the bowsprit and start the rigging at the front of the ship. This is where the 'nervous sweats' began in earnest as the vulnerability of the ship suddenly jumped by a factor of ten or so ... Re-emplacing the forward Fife Rail which had been removed to facilitate attachment of the forestays. Catheads being emplaced. These were affixed with 2 part slow cure epoxy. A view of the dolphin striker/martingale before and after paint. The Dame finally finds her spot. Bobstay chain in place - here I 'recycled' an almost unmodified kit part (the 'bulls eye'). Forestays in place.


-
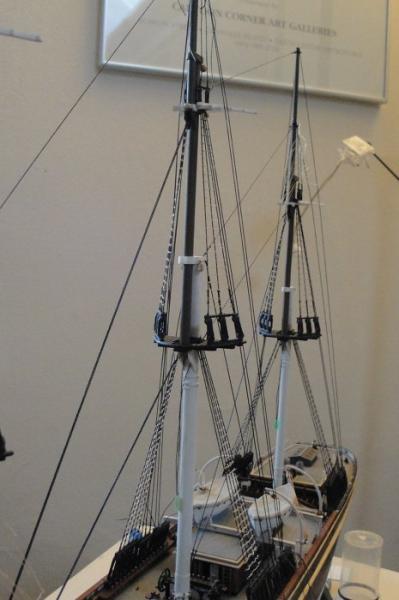
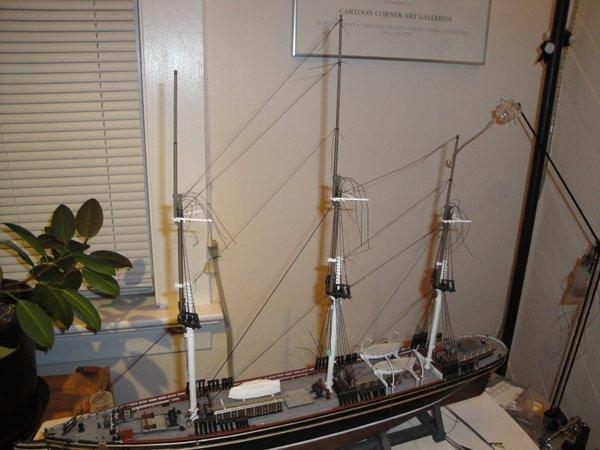
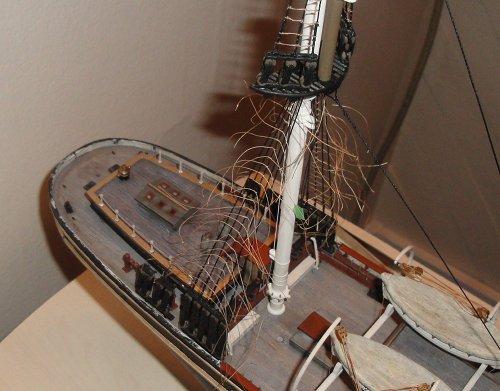
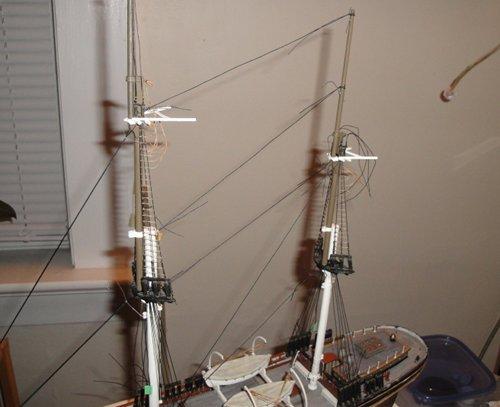
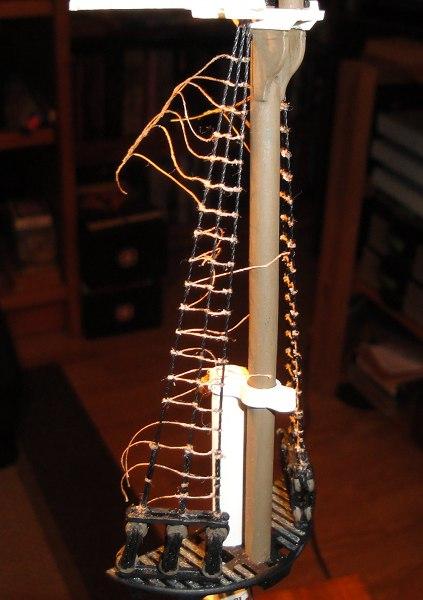
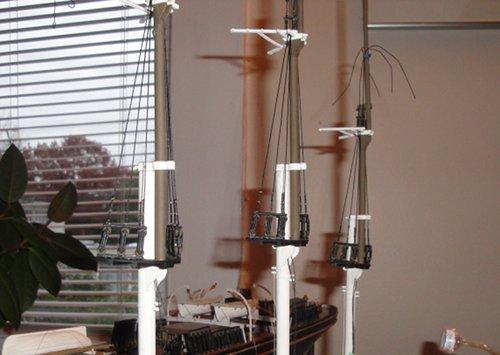
The progression of the Standing Rigging. Some close ups of the Mast Top and Cross Tree Ratlines being worked up. Further work ... a bit at a time ...


-
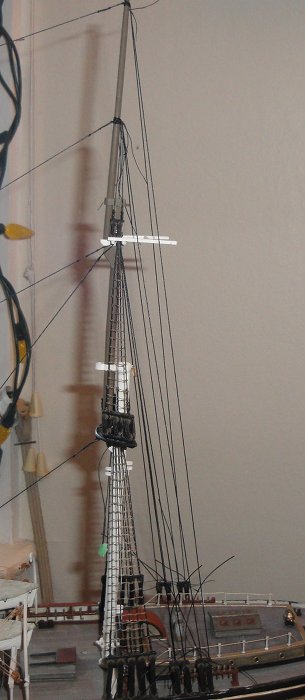
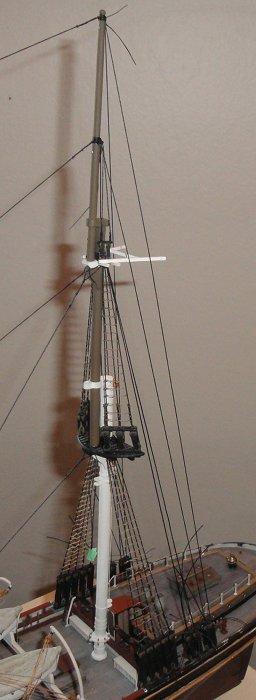
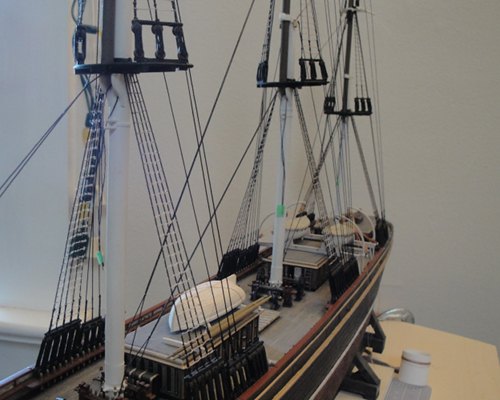
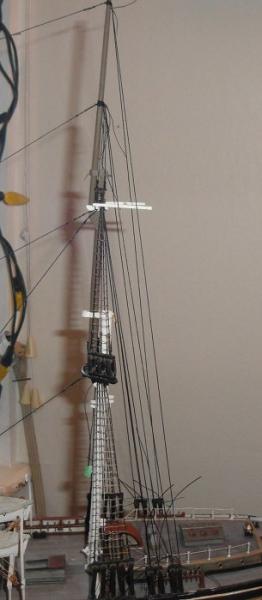
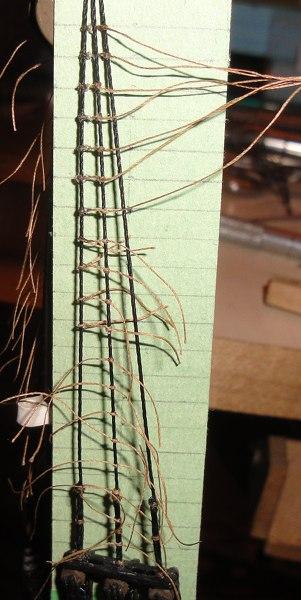
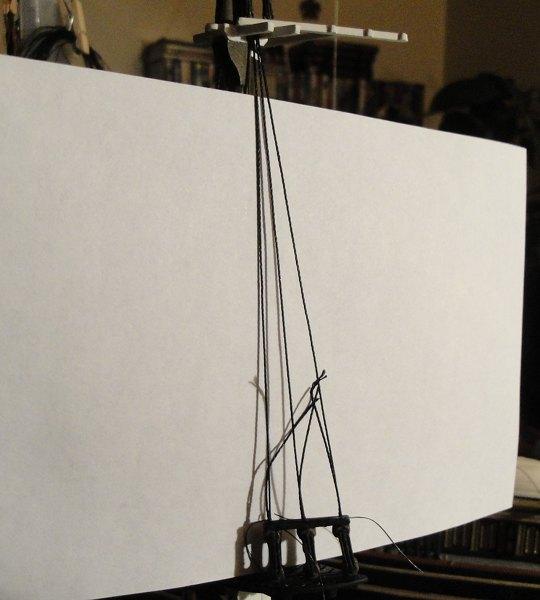
Popeye, Keelhauled and John - Thanks for looking in and for the support Keelhauled - I understand that the 'modern' application is as you described, however my perusal of old photos of the Cutty show that her backstays were indeed 'straight' rather then 'angled' so I chose to try and replicate that 'look' as best as possible. A 2 week hiatus due to 'stuff' ends with a touch of spare time. My back is still out so sitting for extended periods (like, say, working on the build) is still not quite possible but soon ... I'm now at the stage where I stare at the Dame and try not to forget all the stuff I was researching before the whole sciatica/slipped disc episode ... The Mizzen backstays in their 'straight' arrangement. Working on the Shrouds. Stays and Shrouds progressing. Some detail shots of the Mast Top and Cross Tree sections. Top down view.
-
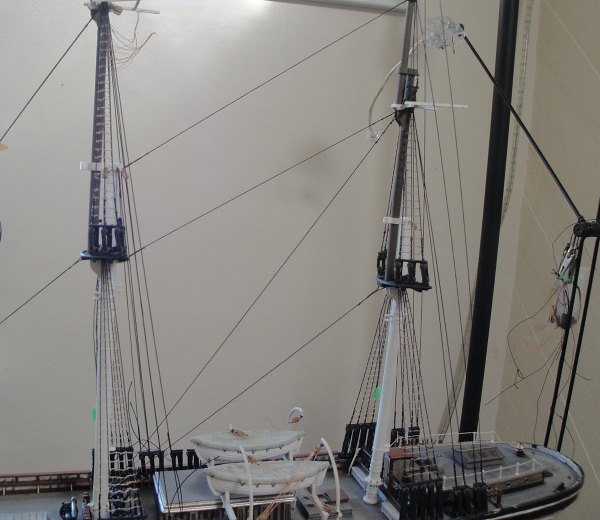
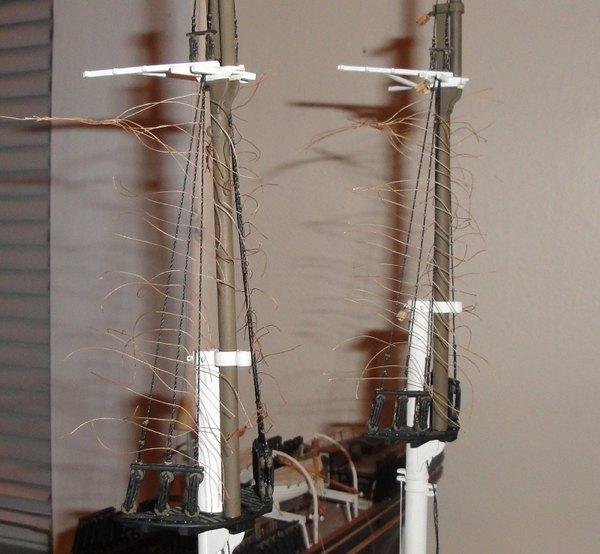
Shrouds and ratlines. The question of the backstays came up and I discovered that I should have modified the crosstrees. Too late at this point but the little 'tabs' moulded onto the parts didn't interfere. Although the 'real' rigging would not have had these 'angles' I have noticed in photos of the restored Cutty that her backstays are angled at the crosstrees. Irony ... Ratlines on the mast top shrouds. And ratlines on the crosstree shrouds. The 're-aligned' backstays. Looks much better when they're as straight as possible I think ...


- 237 replies
-
- 1
-

-
- cutty sark
- revell
- (and 2 more)
-
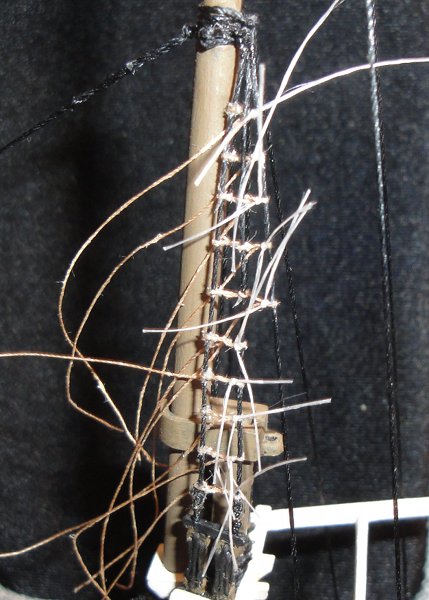
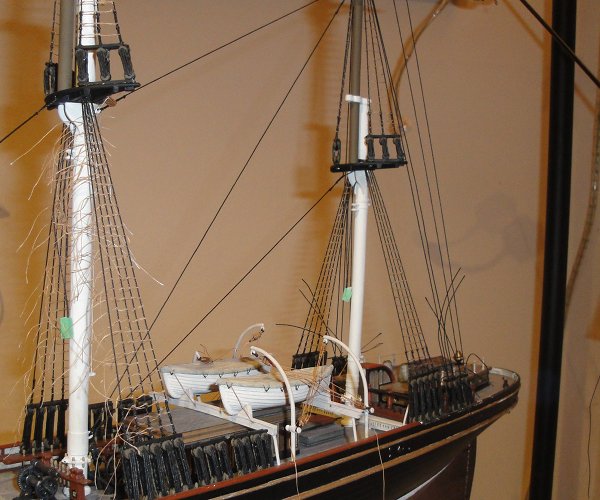
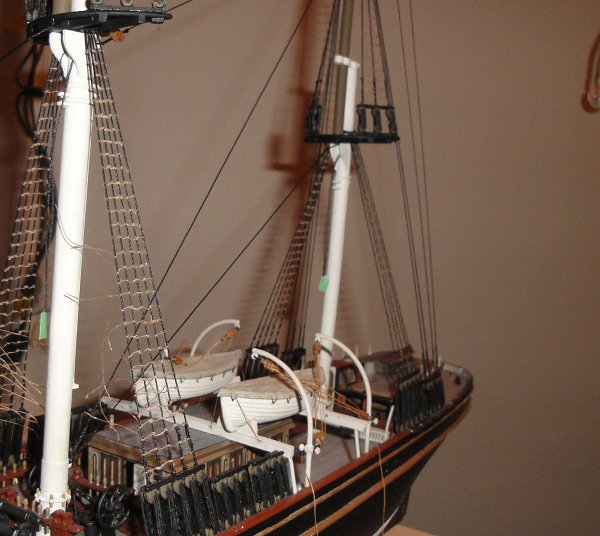
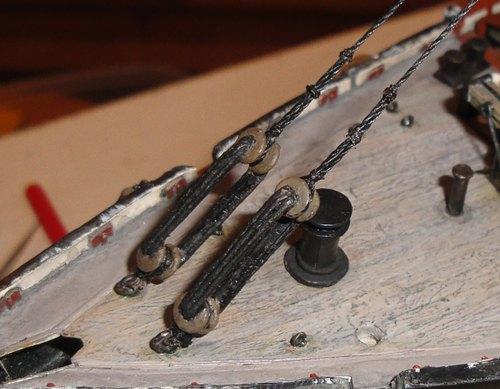
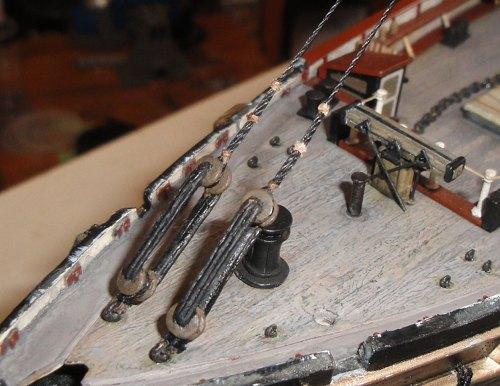
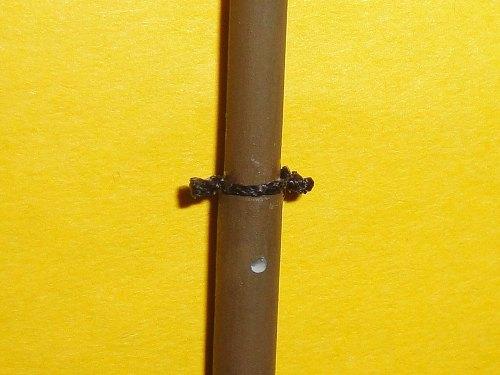
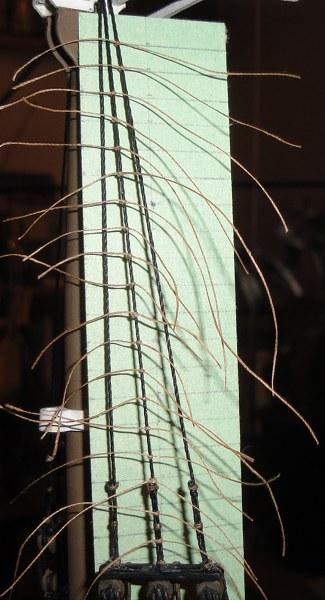
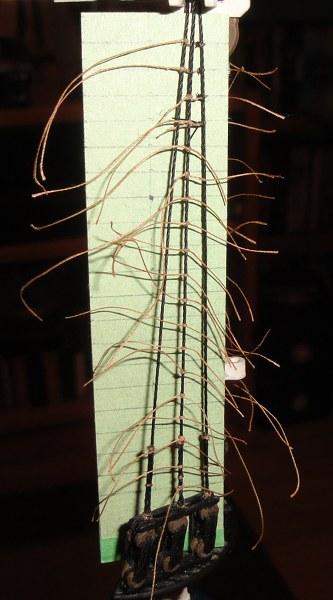
The seizings darkened to black. The method I chose after experimentation was to dilute PVA with black China Ink and water. You don't need much ink to make the PVA quite dark. 'Doubled' forestays joined with seizings. The number of stays grows. Please note at this point I have yet to 'step the bowsprit' because I was leaving that off for as long as I could due to logistical issues (read: I kept seeing myself snapping it off by accident). Close up of shrouds. I was quite pleased with the 'evenness' of the seizings. A couple of 'view shots' for moral boosting Attaching the crosstree shrouds. Again these were all 'cheated' - the rest of the shrouds were rigged in a more 'realistic' fashion. And the oh, so enjoyable Ratlines ...


-
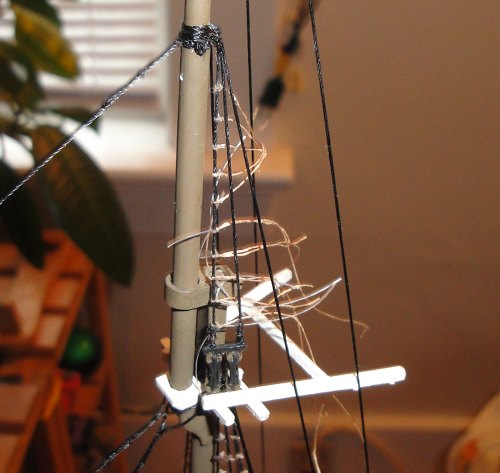
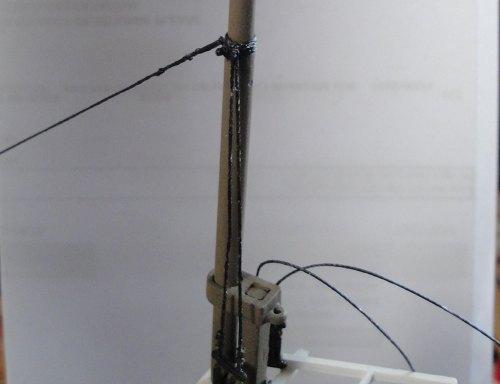
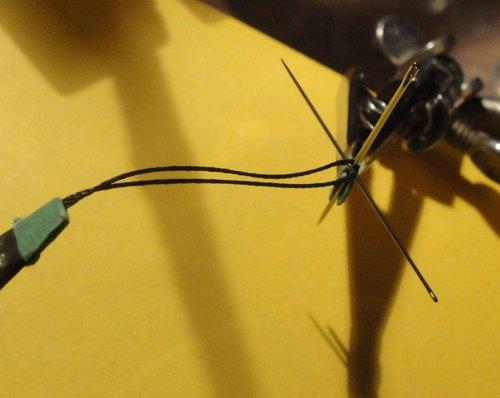
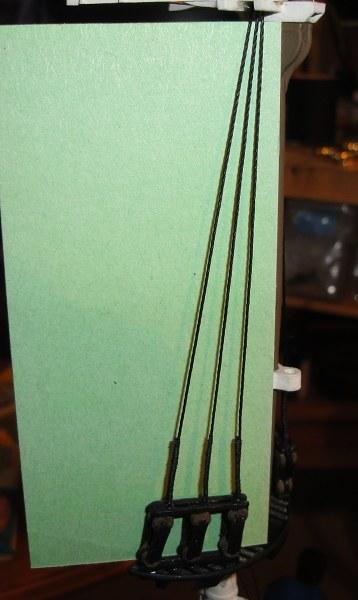
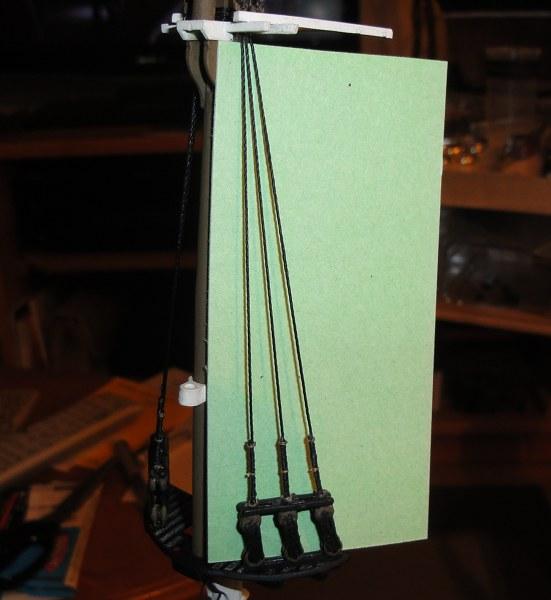
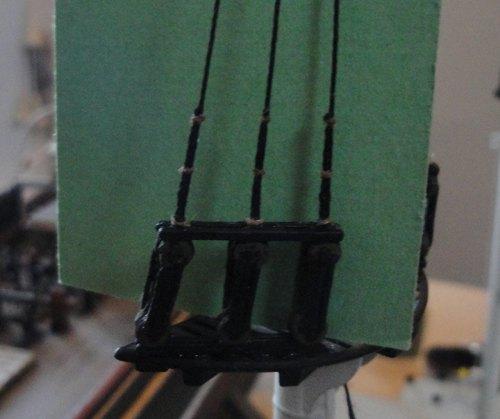
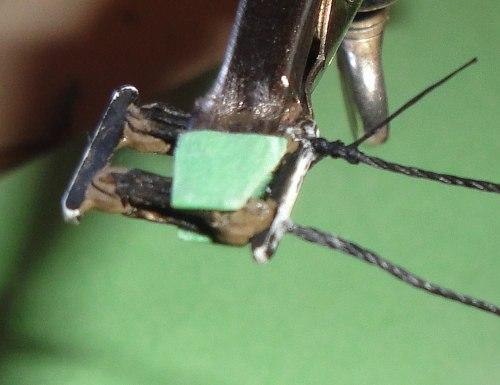
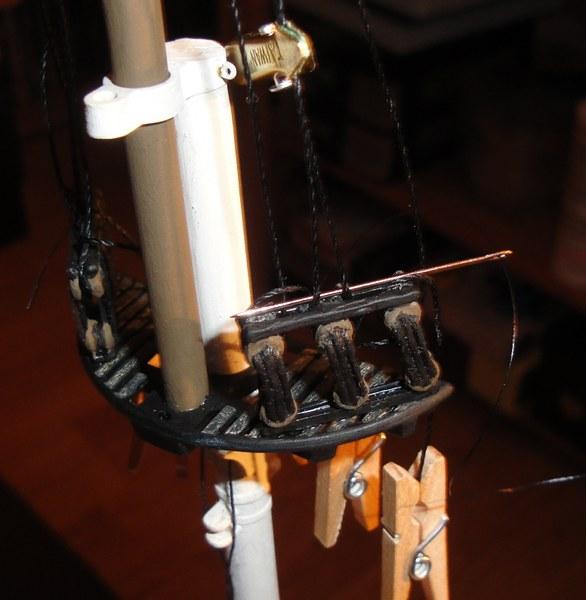
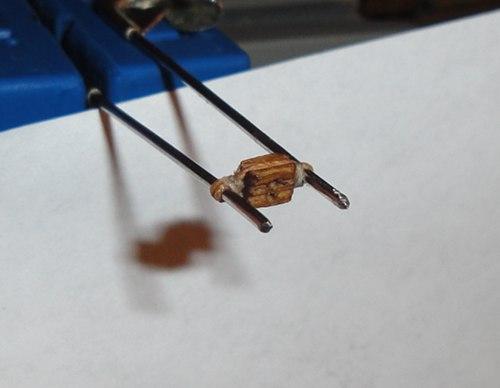
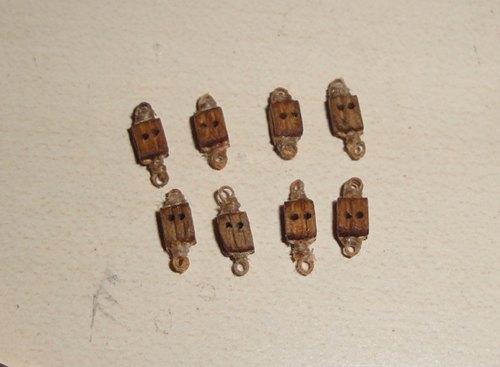
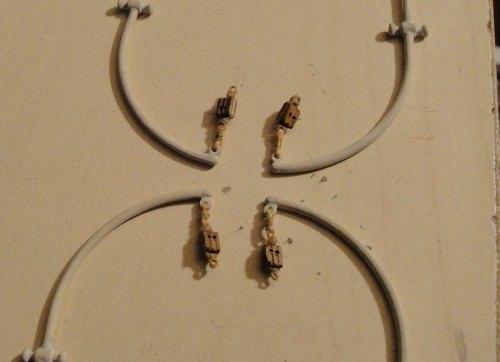
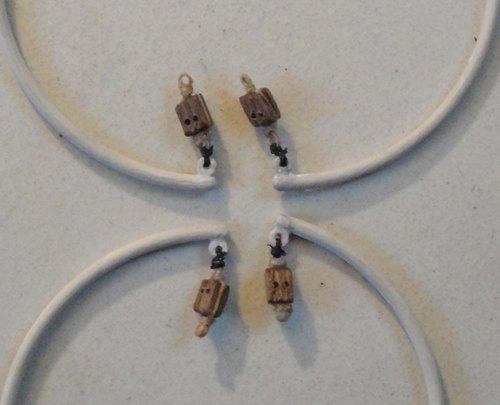
Popeye & Michael - Thanks for the kind words and encouragement Stays and shrouds start being added. Because the Cutty had steel cables instead of hemp rope I chose black nylon and because these were cables their diameter was thinner than it would have been with rope. Mast head strops. Instead of trying to replicate the 'real' method I came up with something that I felt would be 'close enough.' Step one was to 'seize an eye' on one side using a needle as the gauge. Secured the needle to the mast and I also secured the strop with a touch of CA, this helps simplify the tying of the second eye. The result ... ready for the lifts. More stays added. Colour experiments after discovering that seizings would have been black and not tan/brown.


-
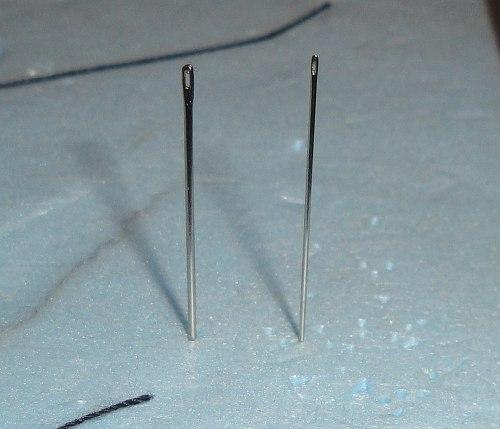
The method I used for the ratlines was the one detailed by Dan Vad in his Supply Build Log (indexed). One of the things I did to help me in the process was source out very thin needles. On the left is a 'standard' thin needle and on the right is a 'specialty' thin needle. Views of the progress ... kind of like stop motion ... Stays and lower shrouds being attached.

- 237 replies
-
- 1
-
-
- cutty sark
- revell
- (and 2 more)
-
The shrouds - I tried to do these as authentically as possible - you could say I felt 'guilty' over cheating on the crosstree shrouds. Attaching the blocks for later rigging. The adventure known as Ratlines begins.


- 237 replies
-
- 1
-
-
- cutty sark
- revell
- (and 2 more)
-
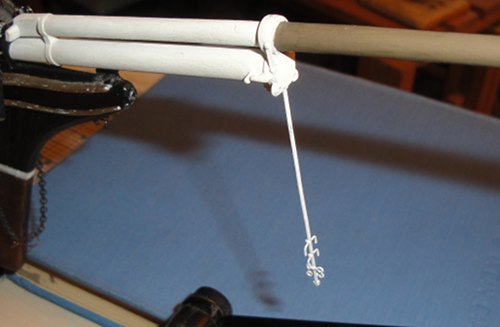
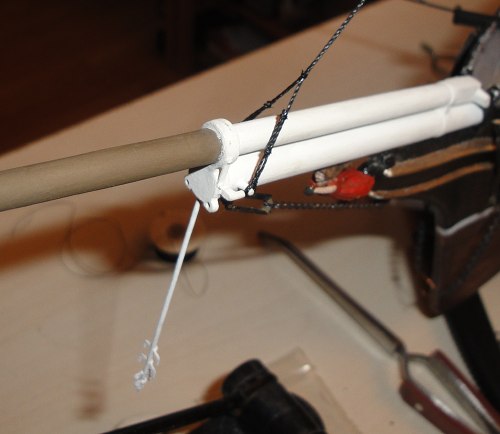
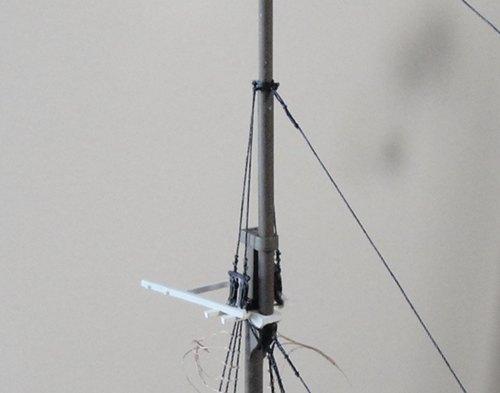
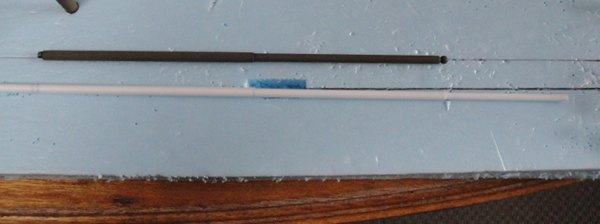
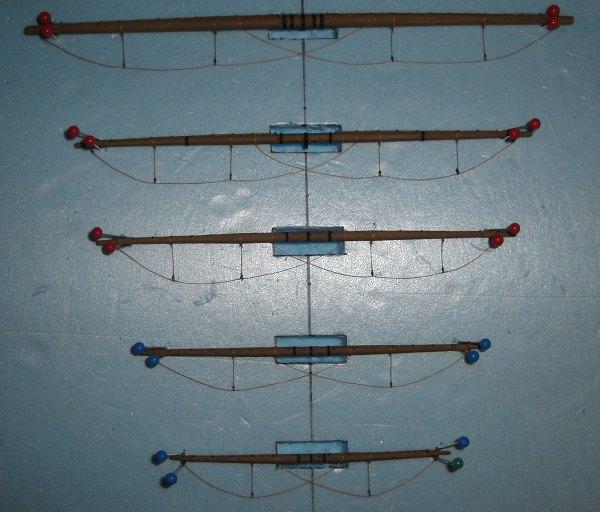
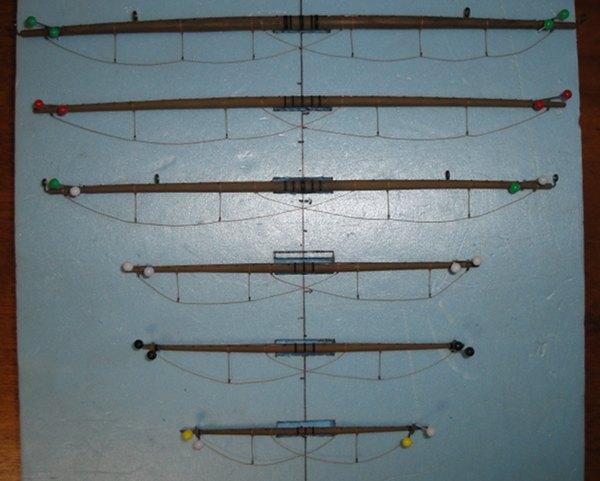
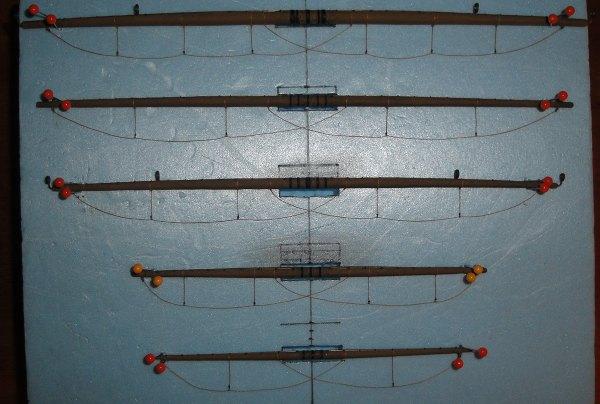
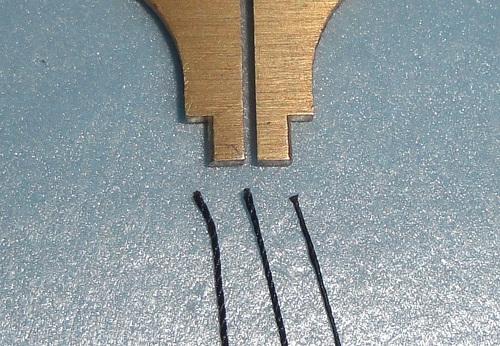
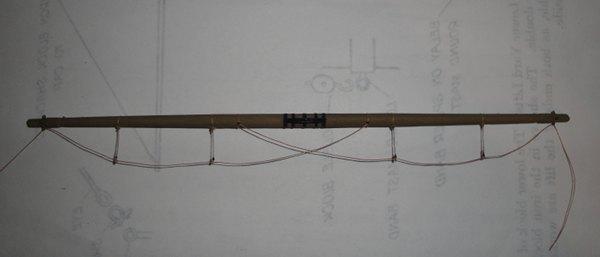
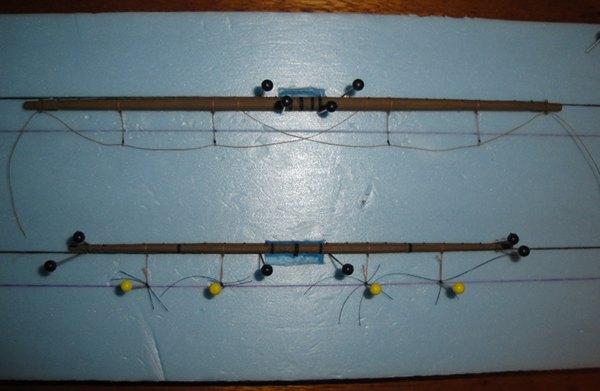
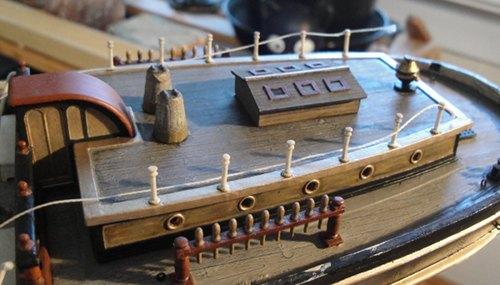
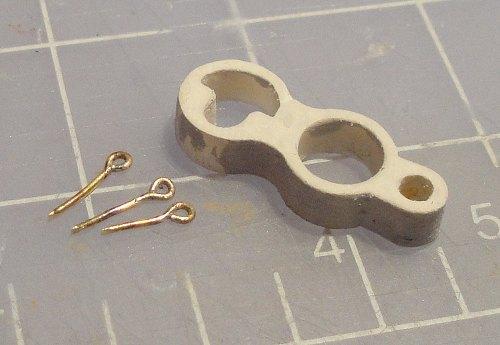
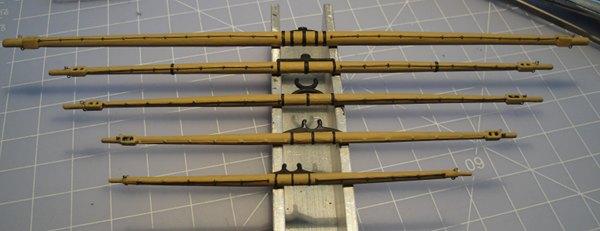
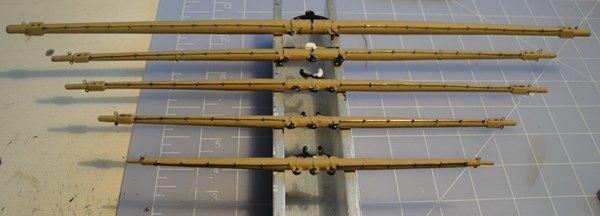
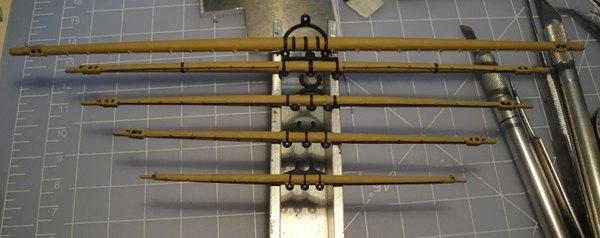
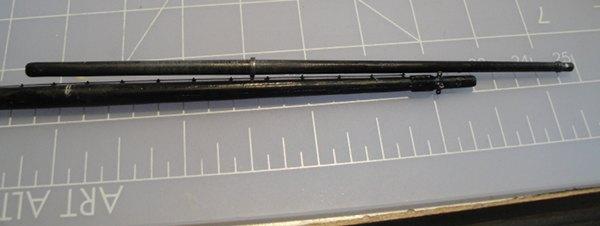
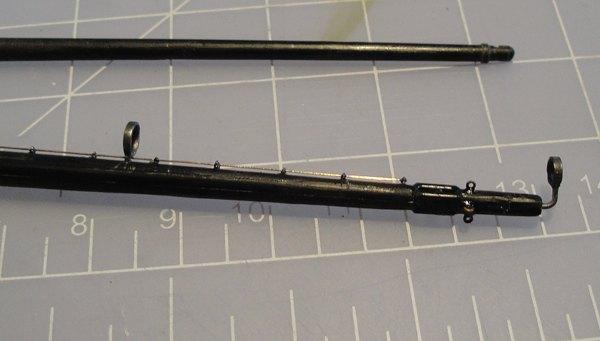
Earlier when I first fabricated the replacement masts I noted an error with the Main mast set. This is around the time I discovered that error which was basically that I'd completely forgotten the Skysail mast. So out comes the Evergreen plastic rods once more. Working the details for the deadeyes for the crosstrees. This is a total cheat in that I just glued the lines to the part and didn't create the 'proper' loop. The masts with the correct set for the Main mast. Attaching the crosstree deadeyes. Starting the standing rigging on the masts.


-
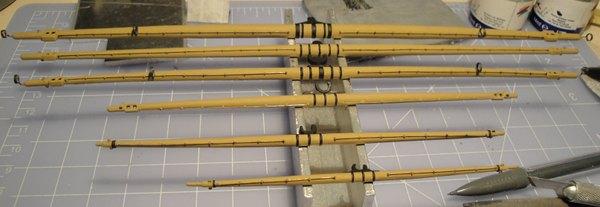
Continuing on with the footropes. After having done all that I realized that I'd mad the stirrups a bit too long, so I went back and started shortening them just a bit. A view of the 3 gauges of black nylon I was working with.
- 237 replies
-
- 1
-
-
- cutty sark
- revell
- (and 2 more)
-
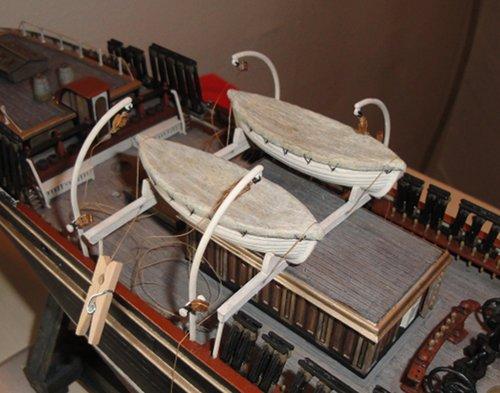
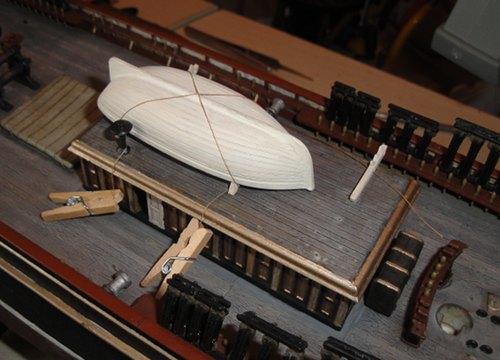
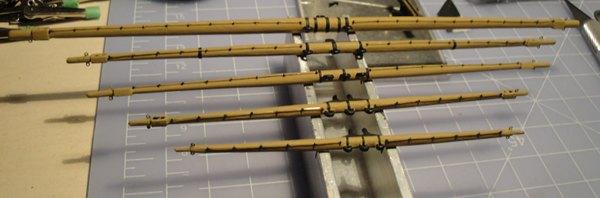
Kevin - Thank you for your kind words Attaching the 'lashings' for the boats. Beginning the process of the footropes for the Yards. There's a short video tutorial on how to do this which I referenced - someone on MSW probably knows what I speak of. The blue stuff is insulation foam sheet.


- 237 replies
-
- 1
-
-
- cutty sark
- revell
- (and 2 more)
-
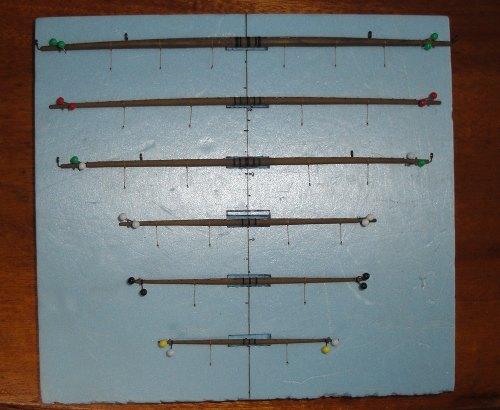
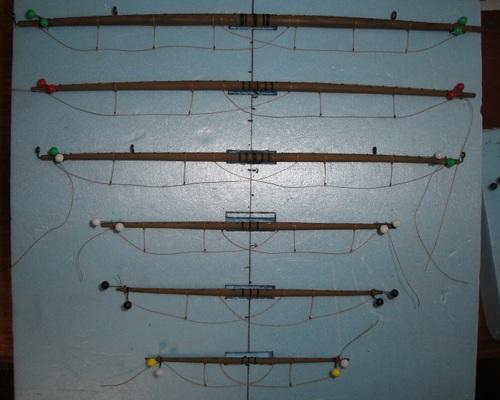
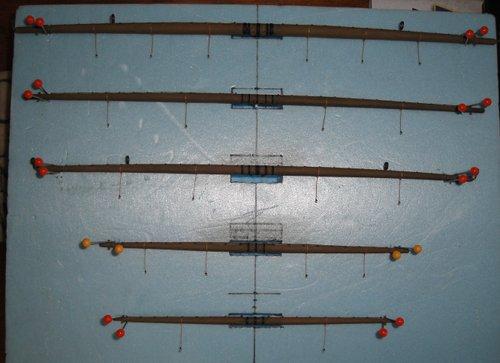
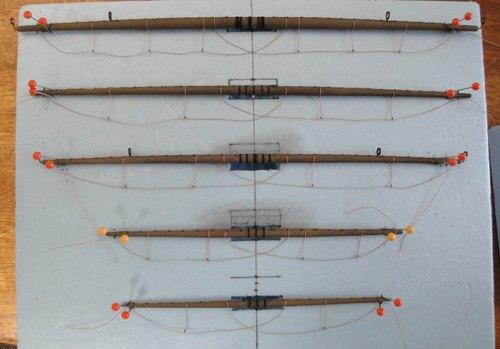
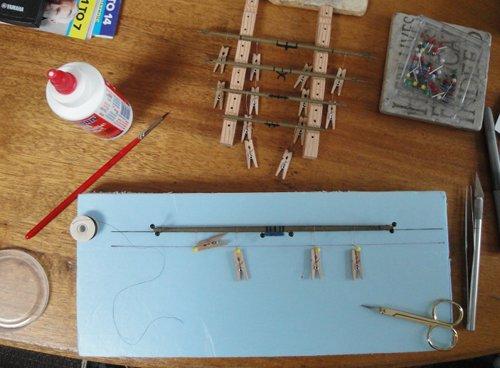
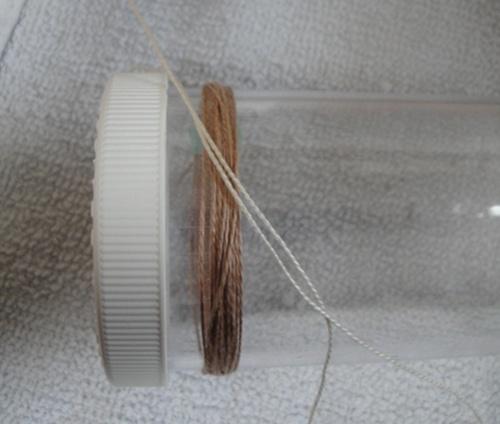
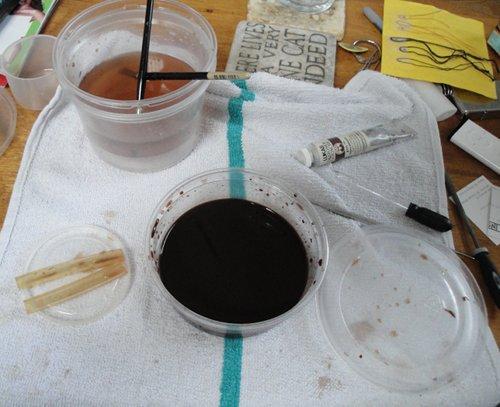
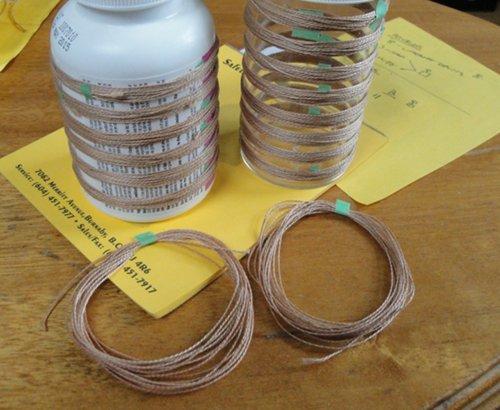
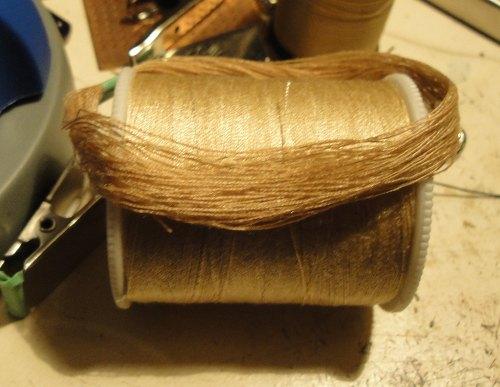
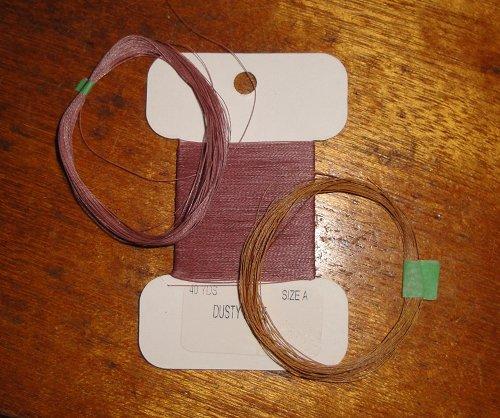
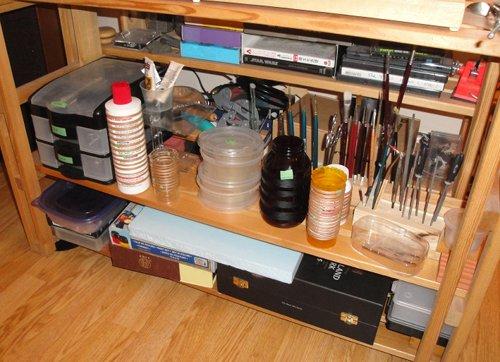
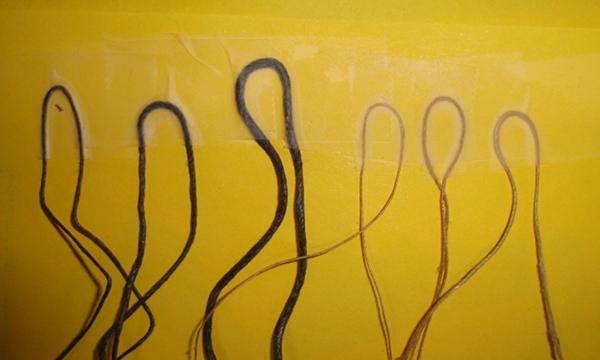
At this point I realized I could not put off the preparations for rigging any longer. Here's a view of the before and after dyeing process. The drying rack set up - I also cats cradled the living room for really long lengths. For the dyeing I used acrylic gouache and watercolour pigments - they took well on nylon. You can see how dark I made the dyeing fluid for this. The nylon cord for the standing rigging came wound on cards so I re-wound them to get out the kinks. From a lavender cord to something more like hemp rope. Storage area and workshop table view ... trying to keep it as organized as possible under the circumstances.


- 237 replies
-
- 1
-
-
- cutty sark
- revell
- (and 2 more)
-
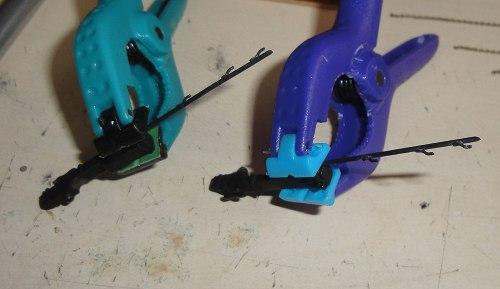
Affixing the deadeyes - for this I used 2 part slow cure epoxy to insure a very strong bond. Here's where I started learning how to set up the blocks - something else I had no previous experience with. Prepping the boat davits.


-
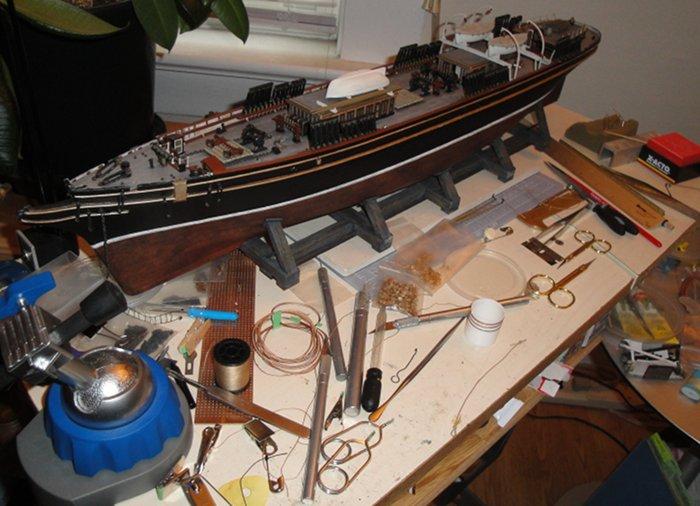
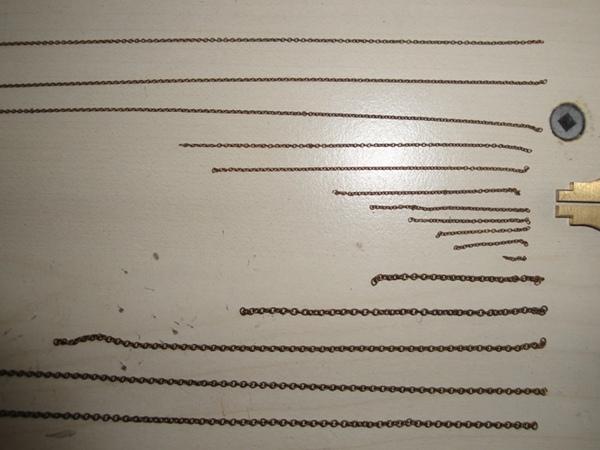
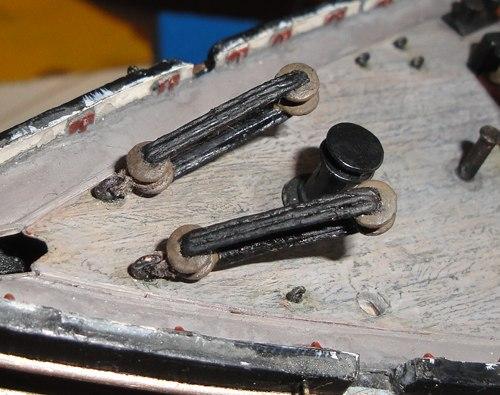
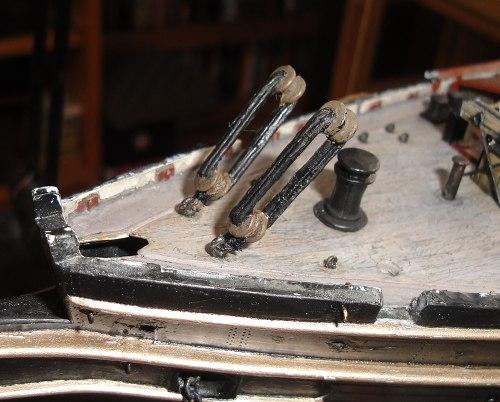
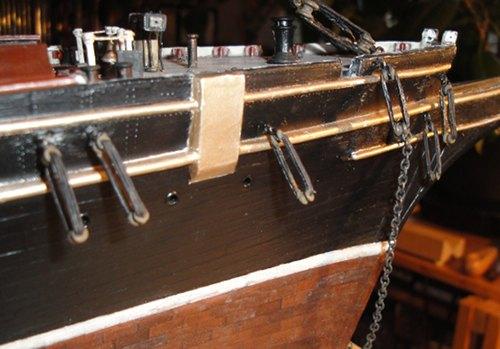
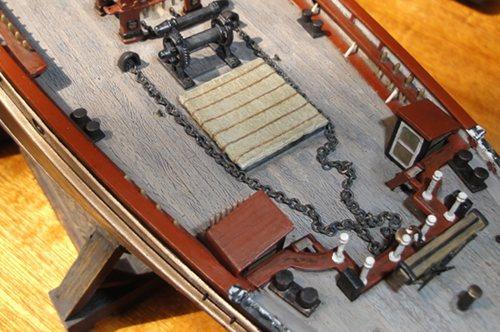
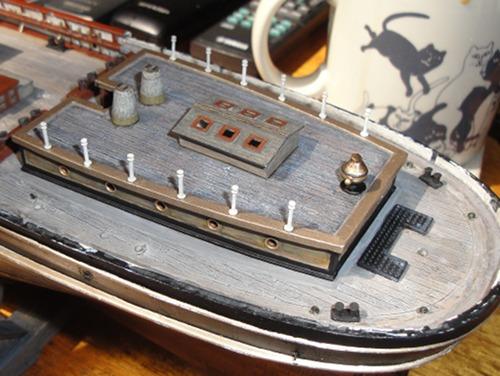
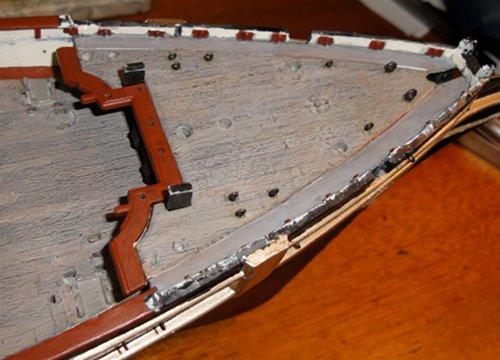
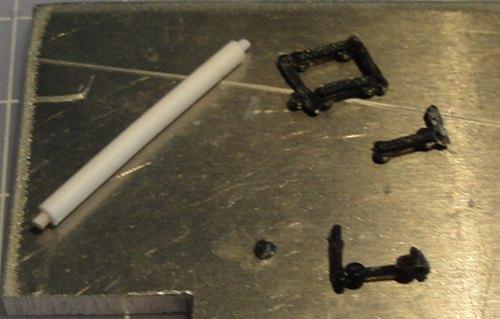
A view of the 'workshop table' and the disarray. The dolphin striker/martingale in place. Cathead whiskers affixed. The two different gauges of chain that came with the kit. And now begins the first steps of rigging - attaching the fore 'bulls eyes' for the stays. Removal of a fife rail in order to access the ringbolts for the stays. Attaching the 'bulls eyes' for the bowpsrit stays. Cleaned up and detailed spider bands.

- 237 replies
-
- 1
-
-
- cutty sark
- revell
- (and 2 more)
-
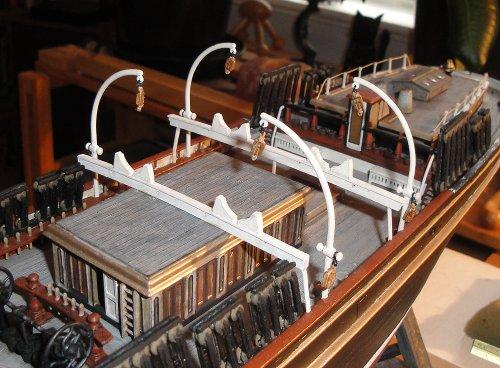
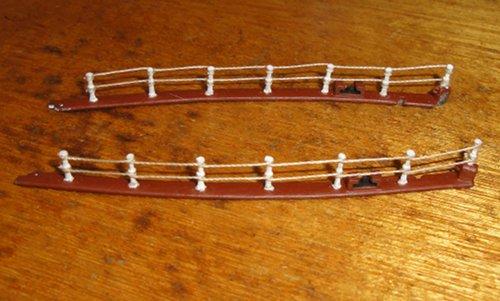
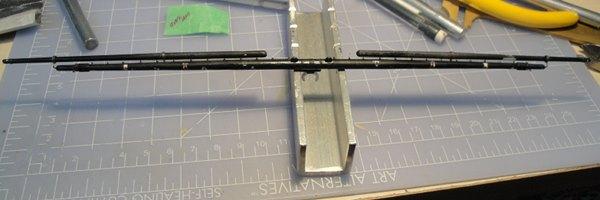
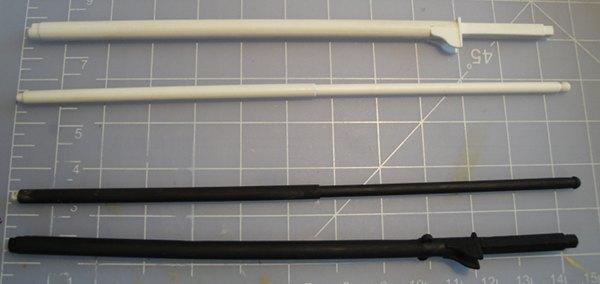
Yet despite the progress there is much left to do ... The bowsprit in process. Using thread for the railings - easier than brass wire as the 'posts' are plastic. The deadeyes modifed with the cheat I utilized. The various lines that came with the kit. The fore rails with thread lines attached (and these are still waiting to be affixed to the hull).


- 237 replies
-
- 1
-
-
- cutty sark
- revell
- (and 2 more)
-
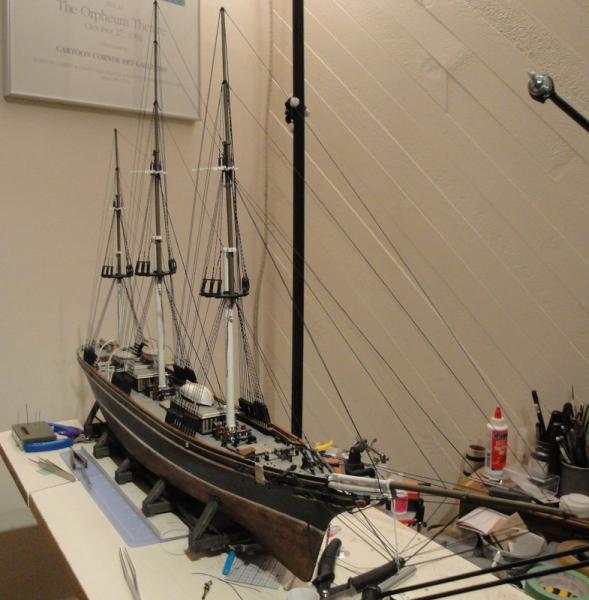
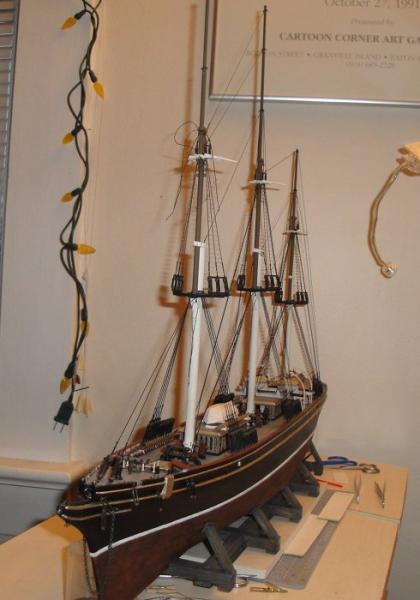
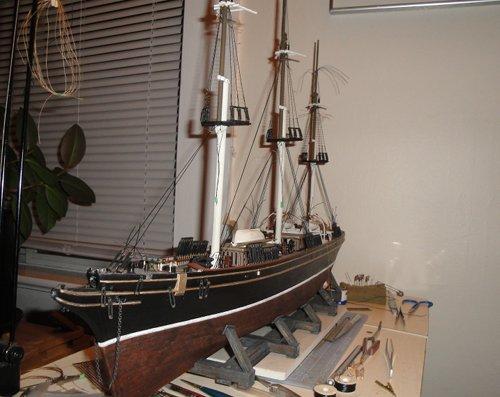
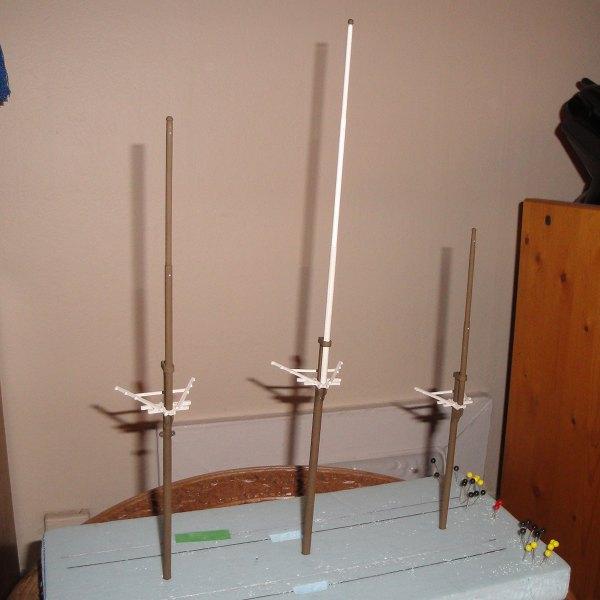
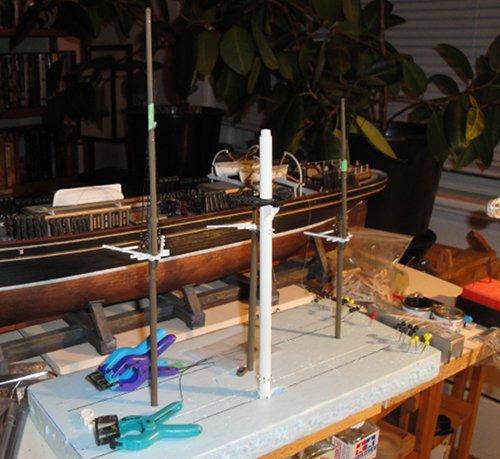
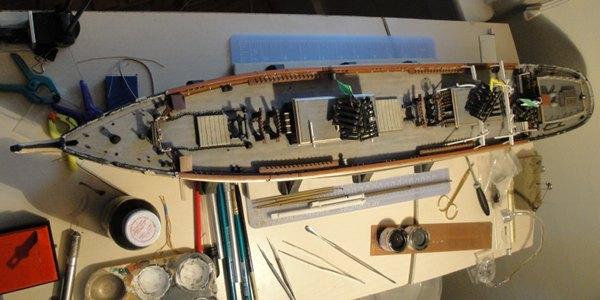
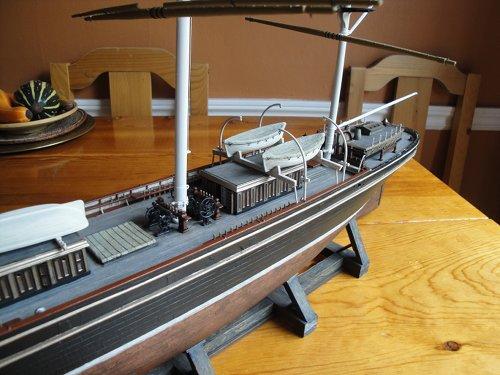
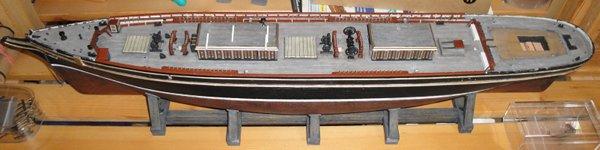
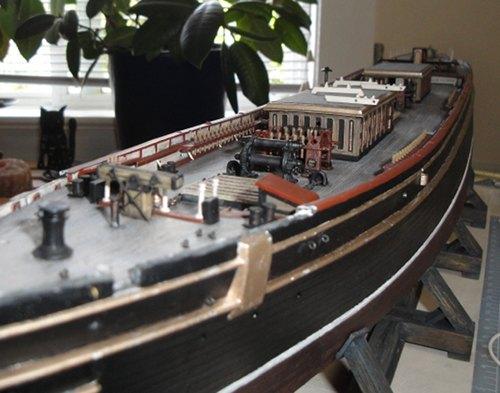
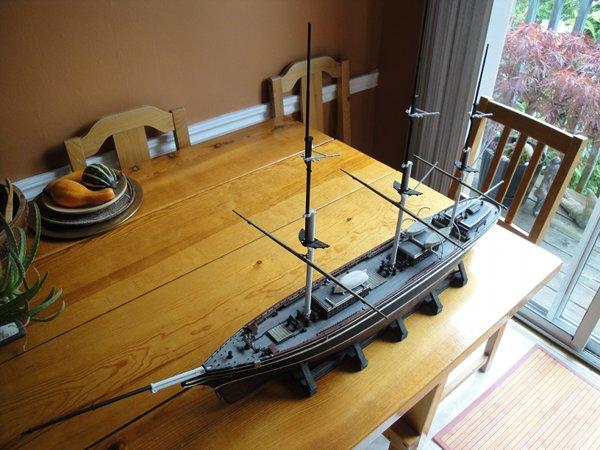
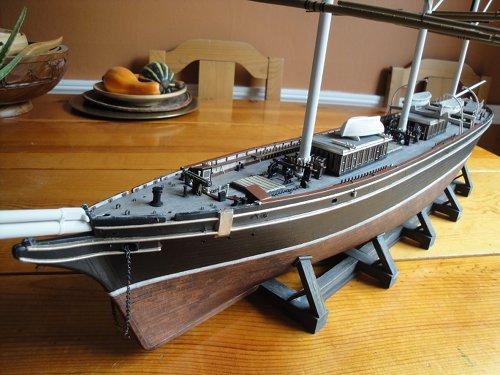
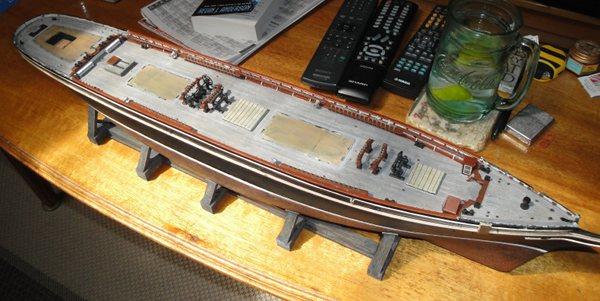
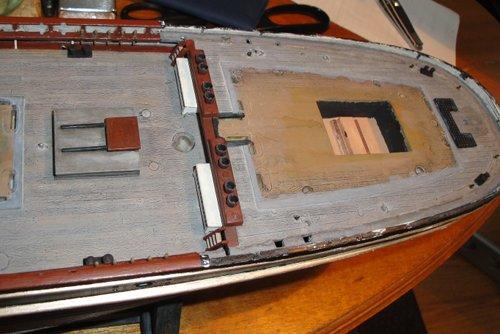
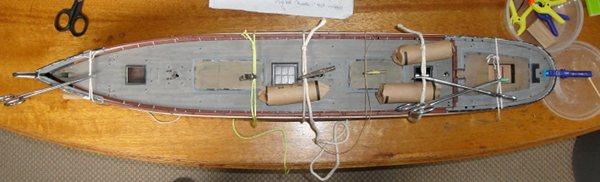
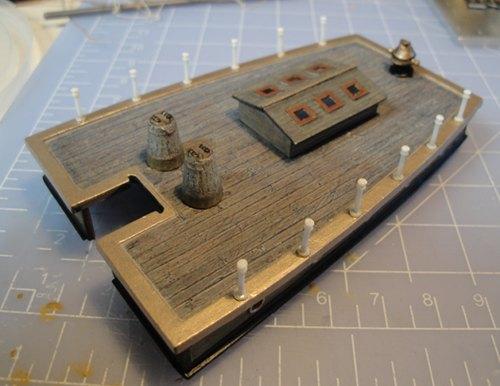
Finally all the 'little bits' I'd been working on for so long are being put in their proper place. Test fit of the masts - a kind of 'spiritual boost' for me.


-
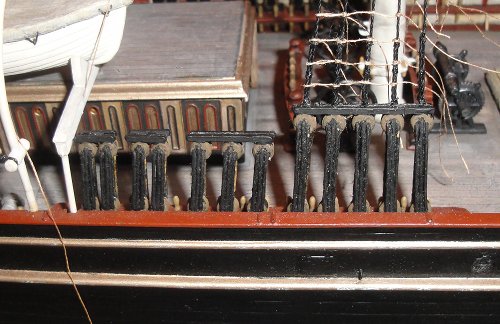
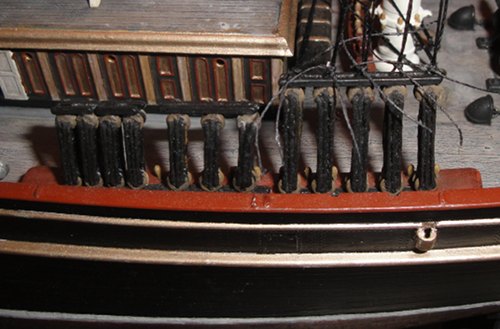
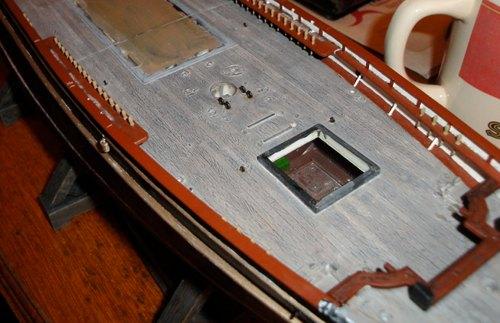
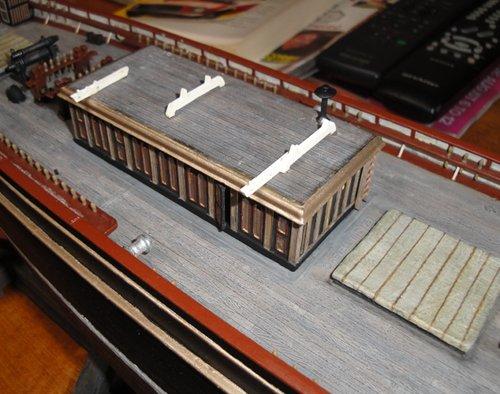
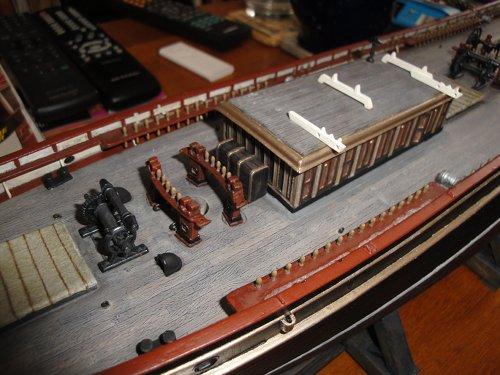
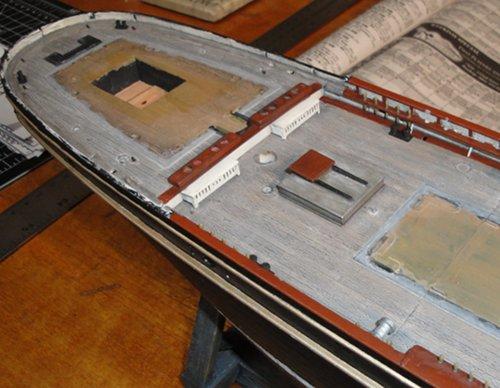
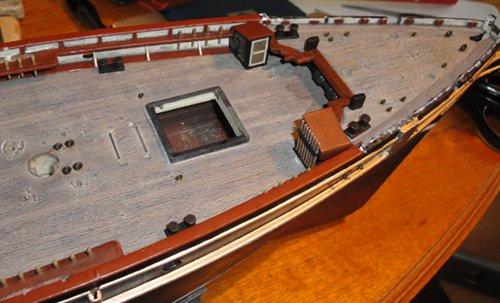
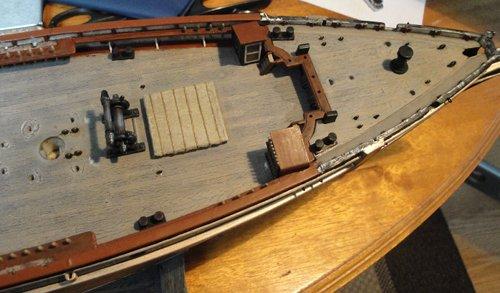
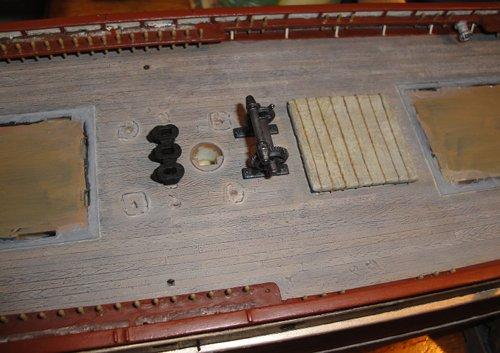
With the deck affixed the next steps are attaching the pinrails and deck structures. Around here the Dame started truly taking shape ... and I was confronted by how much more work there was still to do.


-
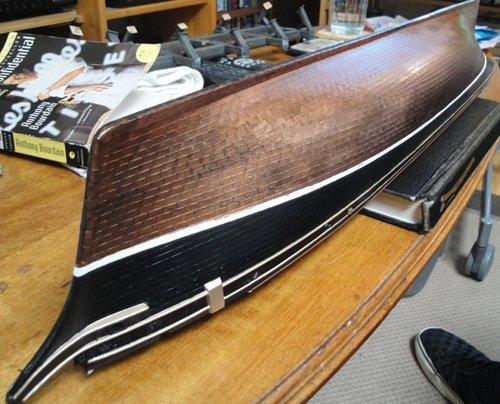
*edit* Figuerres - thank you for your kind words A view of the ballasting. Though I've been told it isn't necessary, I felt more comfortable with the additional weight. I used scrap hunks of thick steel rod, made 'grab rings' using 2 part epoxy putty and then secured them using 2 part slow cure epoxy. It might be a bit much I admit ... After the first 'overall' washes to 'stain' the copper I went back and started detail washes on portions of the plates themselves to give it that 'multiple repair/different alloy' look. Finally I get around to affixing the deck to the hull.
- 237 replies
-
- 1
-
-
- cutty sark
- revell
- (and 2 more)
-
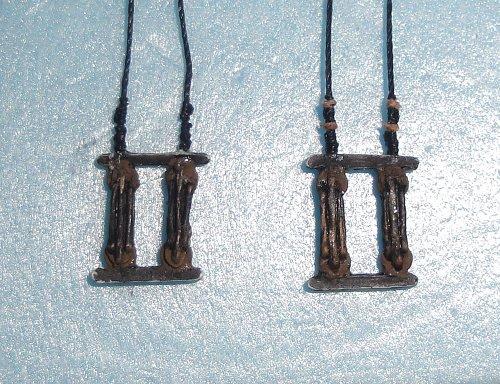
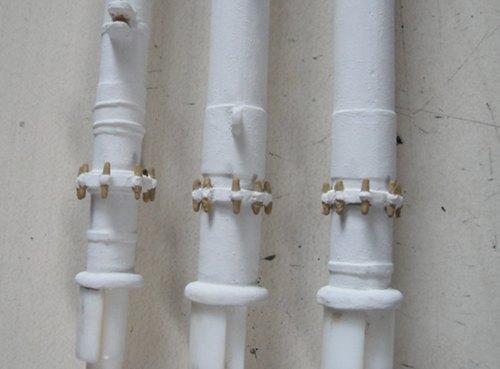
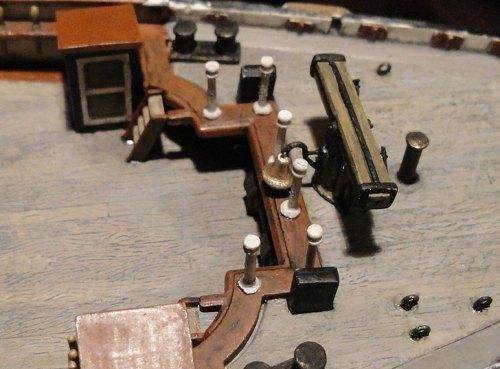
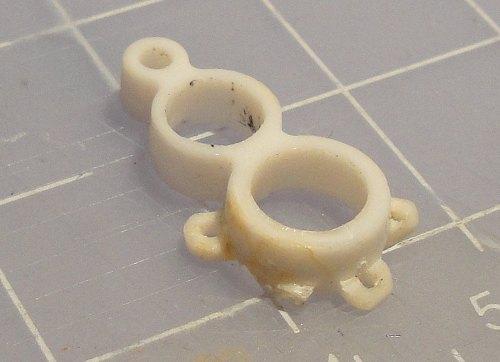
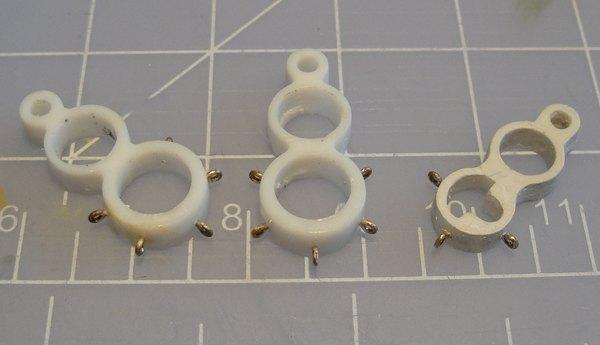
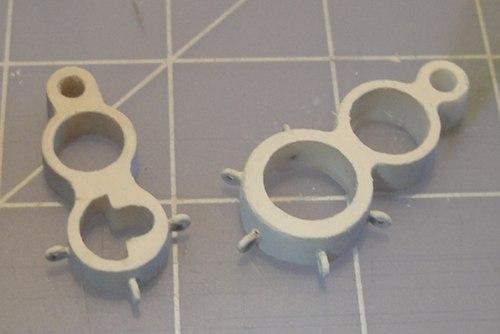
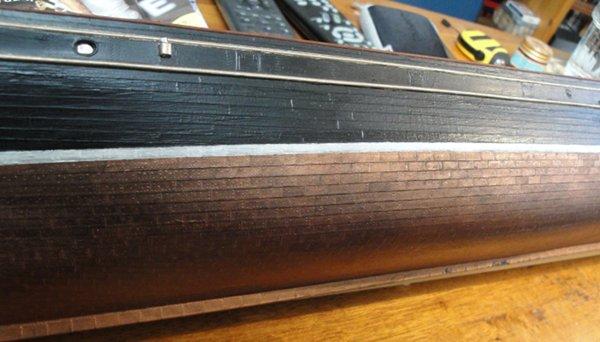
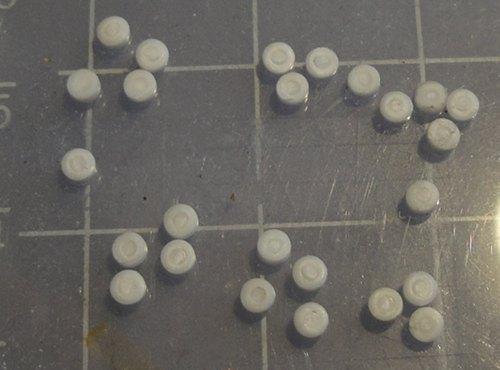
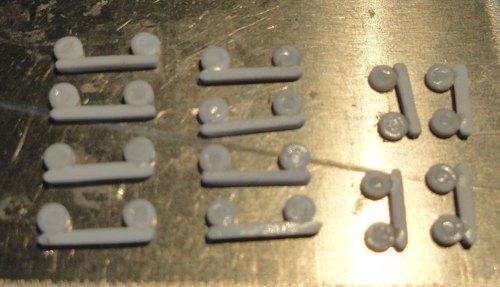
Onto the lower mast caps - detailing and modifying to be more 'realistic.' The little deadeyes for the crosstrees - instead of trying to be truly authentic I cheated on these. Here's a look at the cheat method - similar to how I cheated on the larger deadeyes. The little posts in place. After some discussion and study I chose to 'weather' the copper as if it has been in water and not in air, thus the oxidation is black and not green patina.

- 237 replies
-
- 1
-
-
- cutty sark
- revell
- (and 2 more)
-
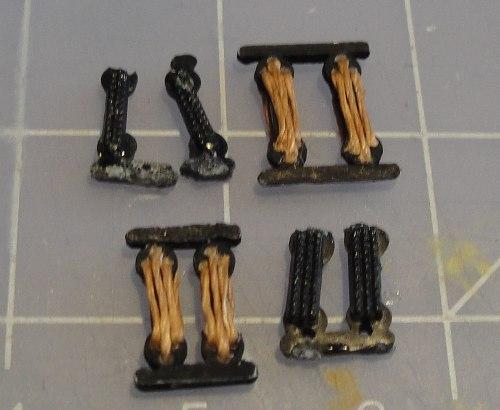
Marcus - thenk you for your kind words With the boom irons attached it comes time to paint the yards. Mast portions before and after base coat. The little deadeyes attached to the crosstrees were shattered so I fabricated some out of plastic. The mizzen mast and yards.


-
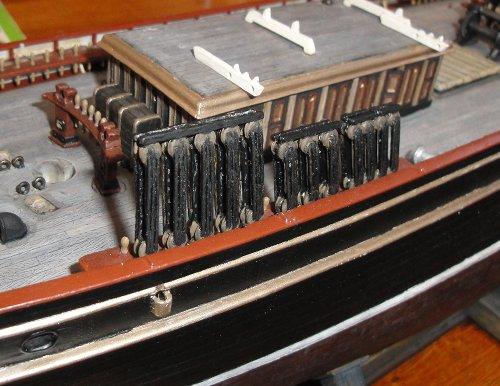
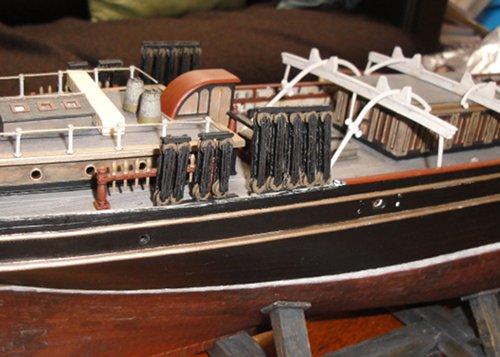
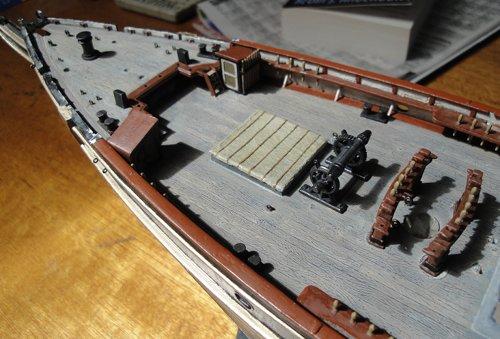
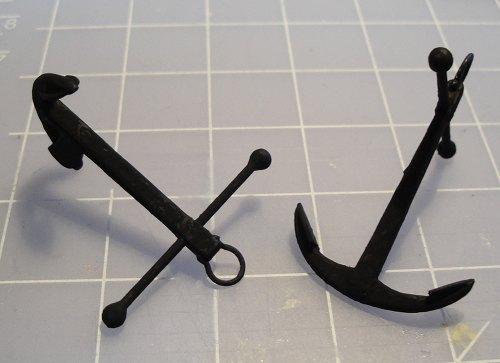
The anchors wouldn't have looked pristine so I used the technique of globbing excess amounts of Humbrol Metal Cote enamel, Gunmetal. This is the stuff that dries to a dusty matte then you polish it revealing a metal-like sheen. I allowed a cure time of several days. The Yard work continues - painting the Mizzen yards. Attaching the boom irons. Some good views of the jackstays as well.


-
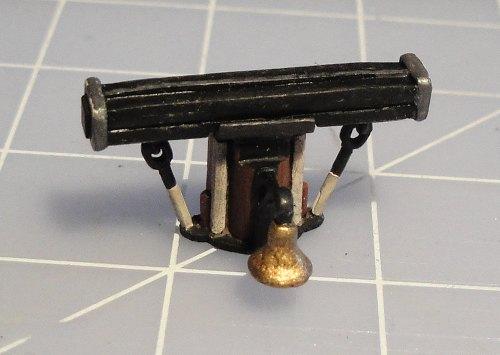
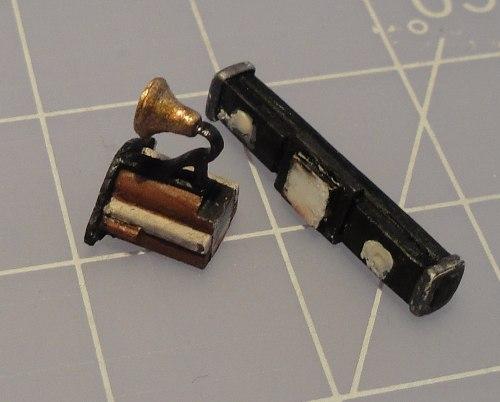
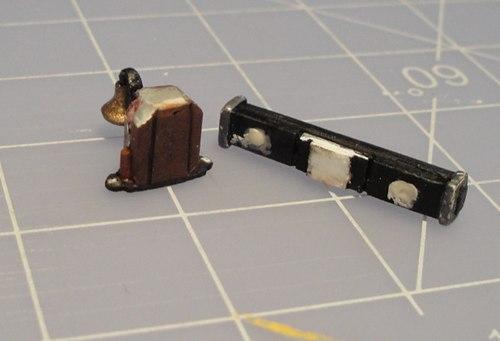
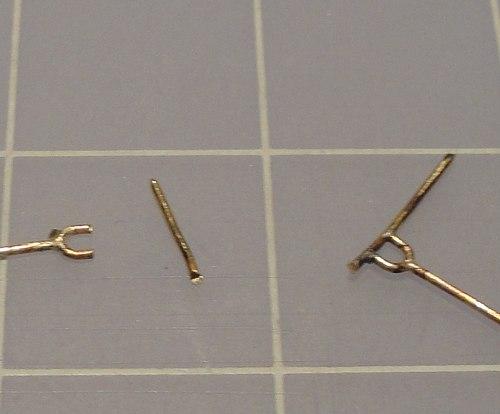
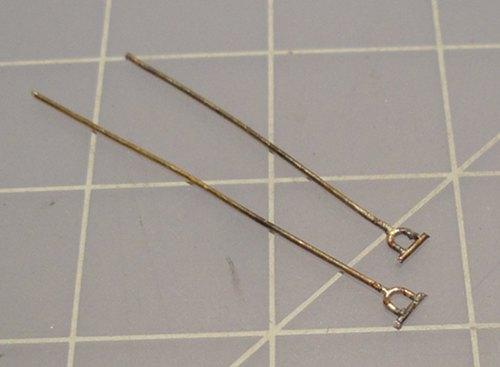
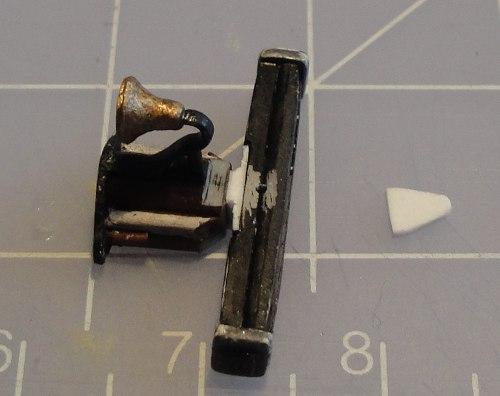
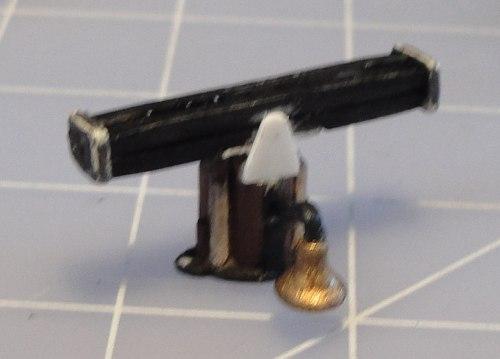
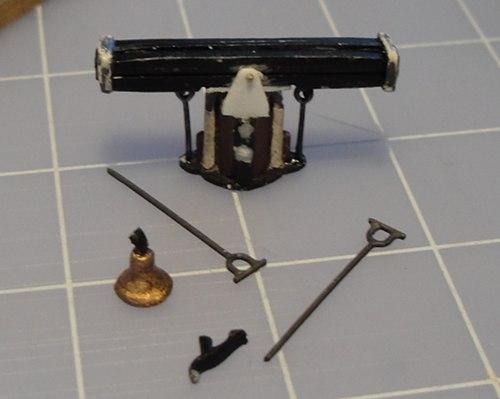
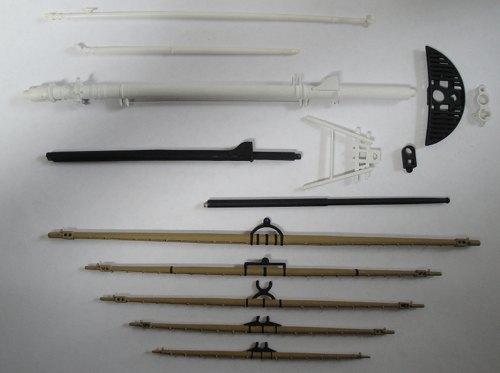
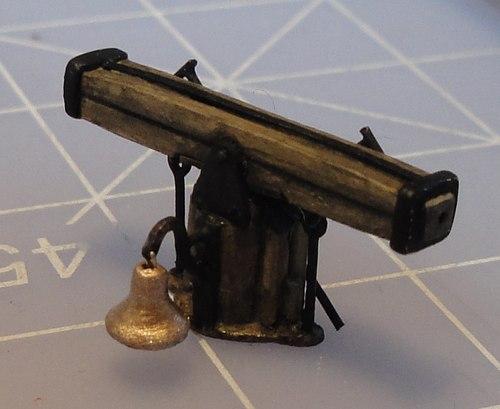
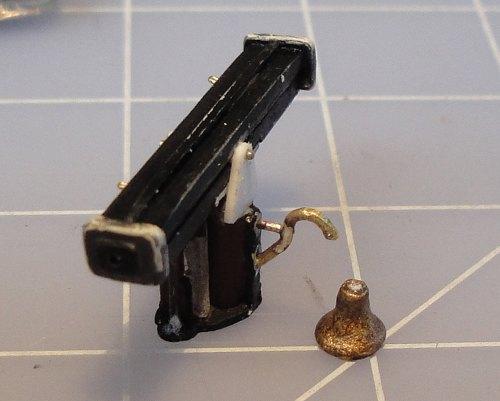
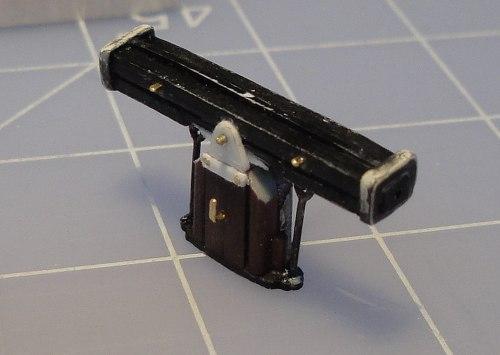
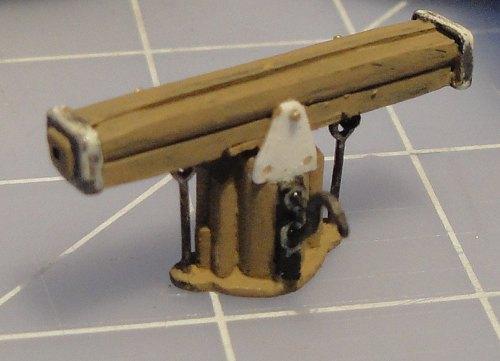
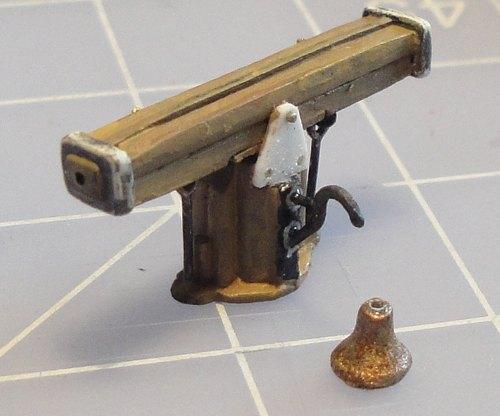
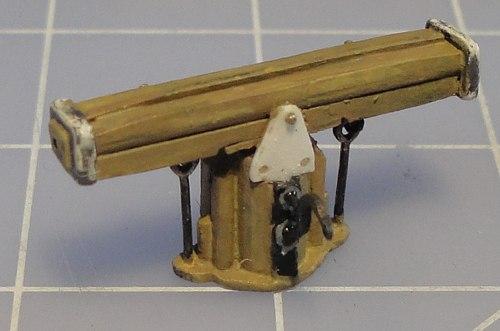
Lots of coats of 'thin' wash. Test fit of the bell, the little wire is the gauge used for the jackstays. Test fit of the handles. A few more minor tweaks during assembly.


-
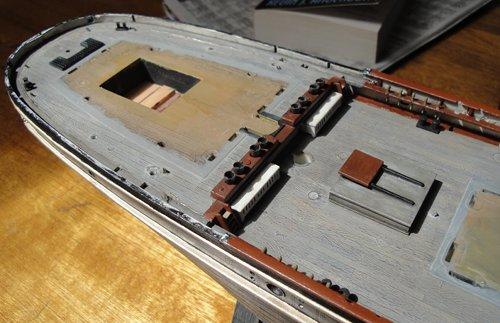
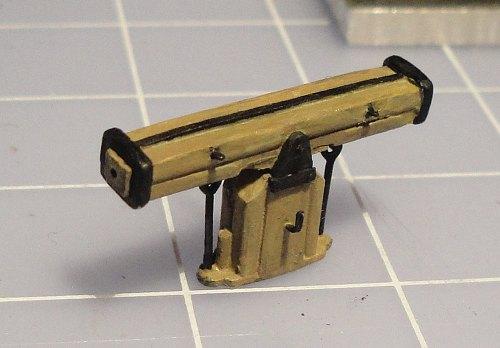
Along with style changes came the inevitable replacement of plastic components with ones made from brass wire. I kept the original bell, I still liked it. Base coats of colour applied.


-
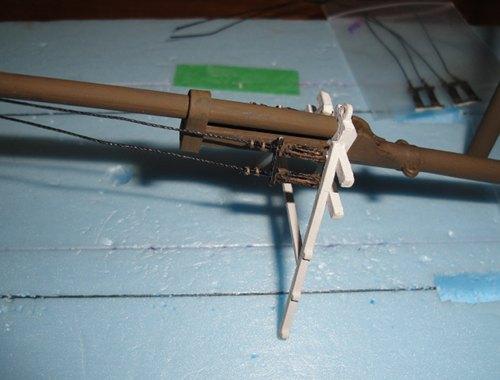
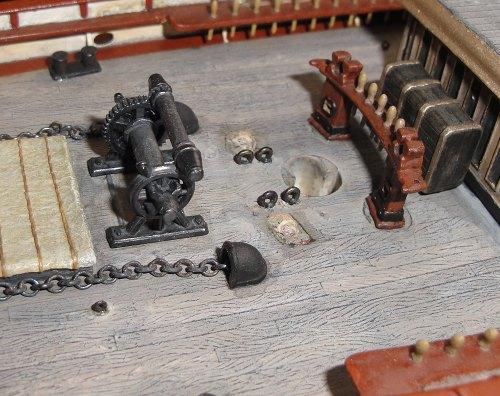
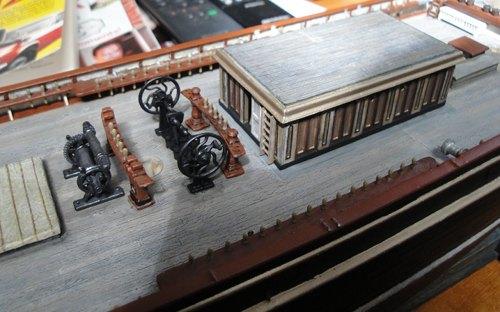
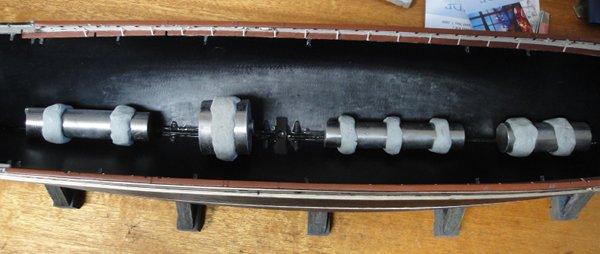
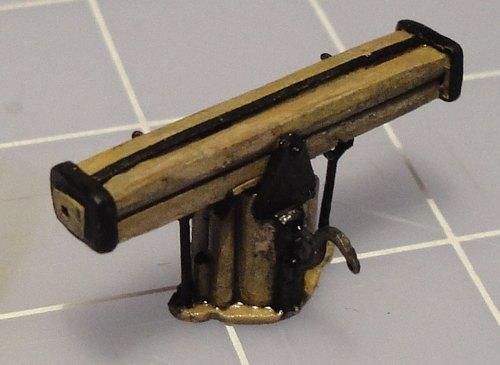
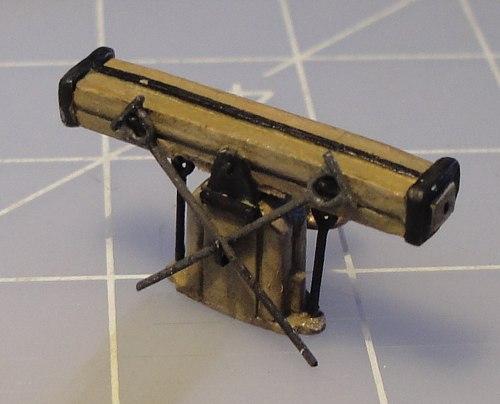
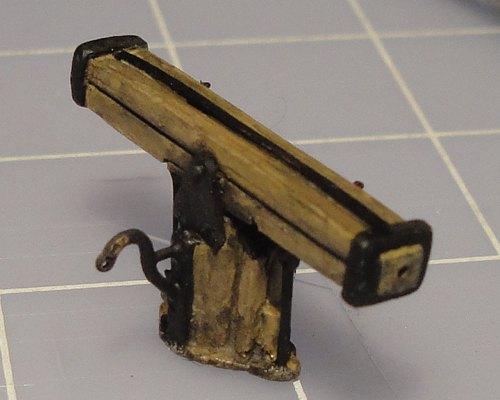
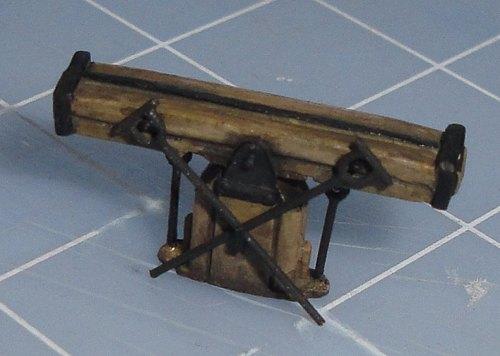
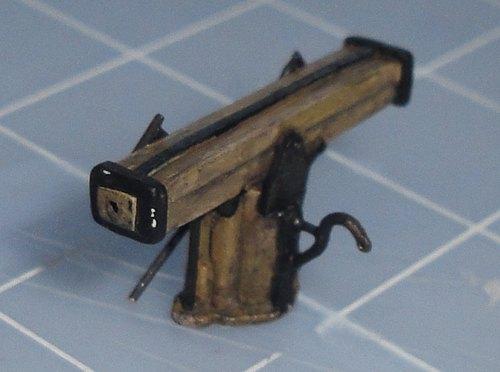
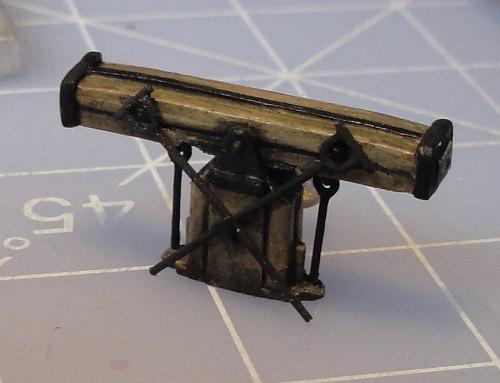
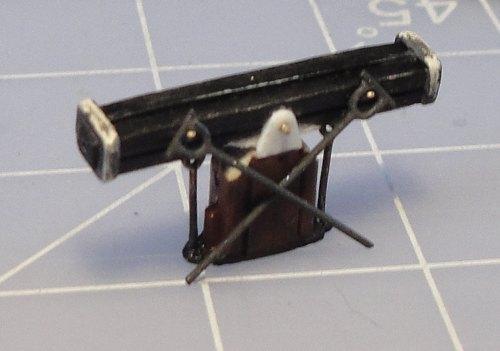
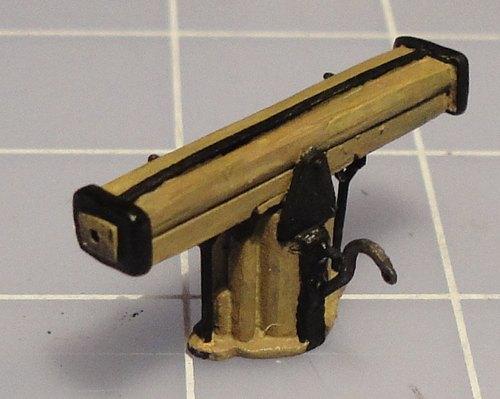
Back when I first fabricated the Windlass Pump I hadn't a clue what purpose it served. And although I didn't mind the look of the first attempt as I grew more familiar with the basics of a ship I started feeling a familiar urge. Thus another re-do of a previously completed part. The handles made from brass wire. The little touches to make it look more 'real'.