Sailcat
-
Posts
157 -
Joined
-
Last visited
Content Type
Profiles
Forums
Gallery
Events
Everything posted by Sailcat
-
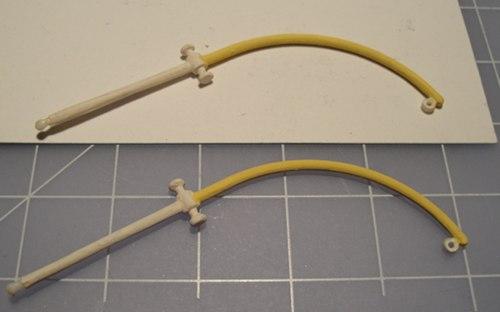
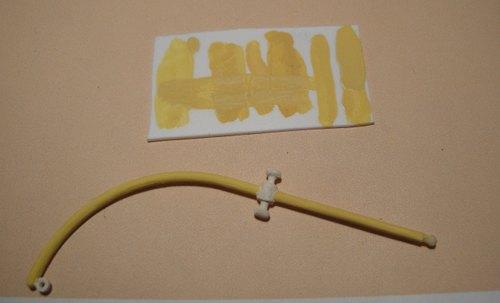
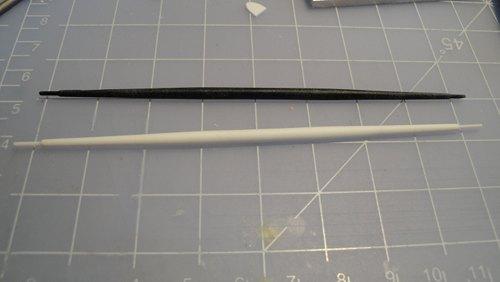
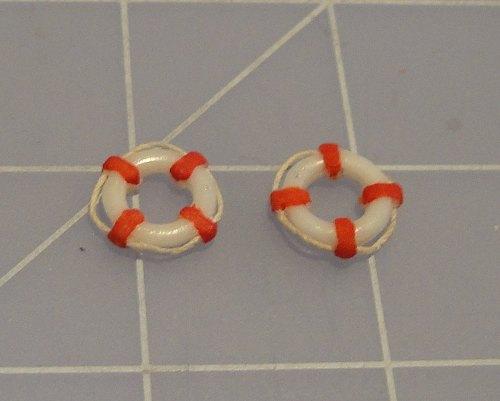
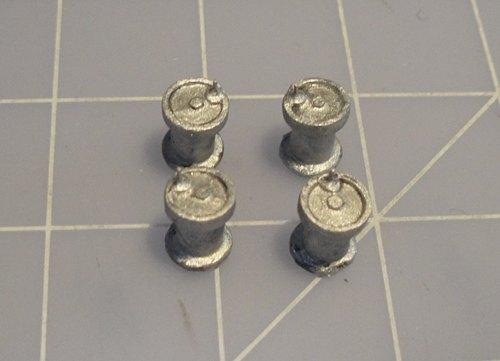
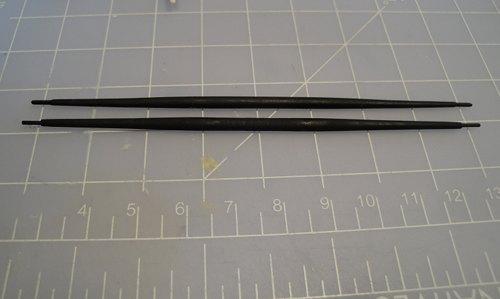
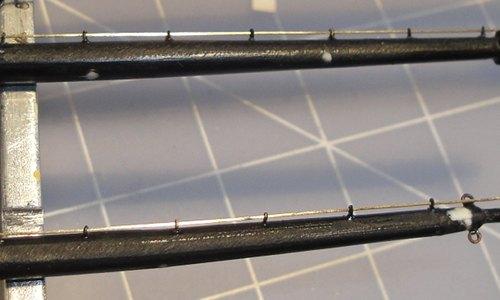
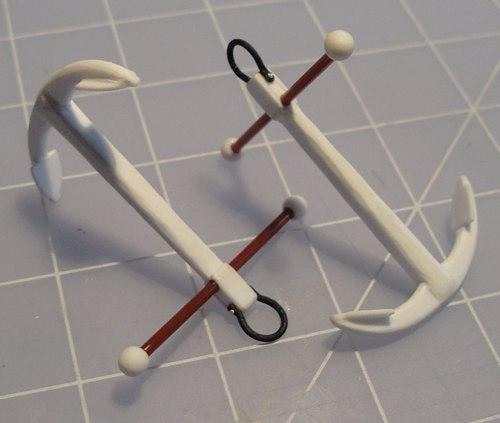
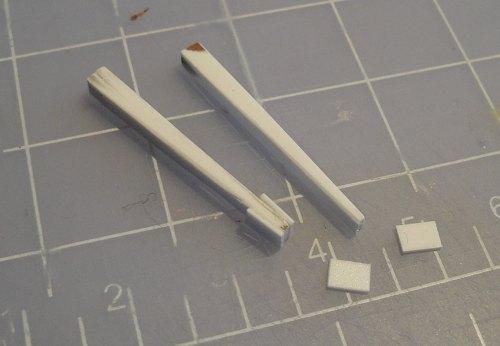
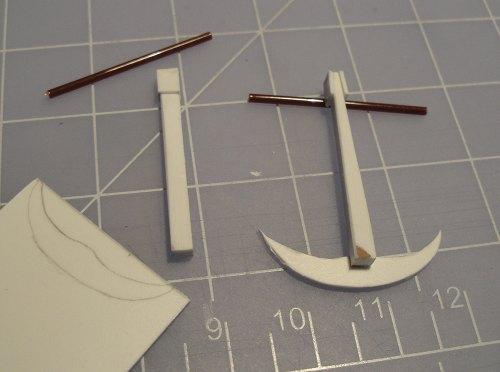
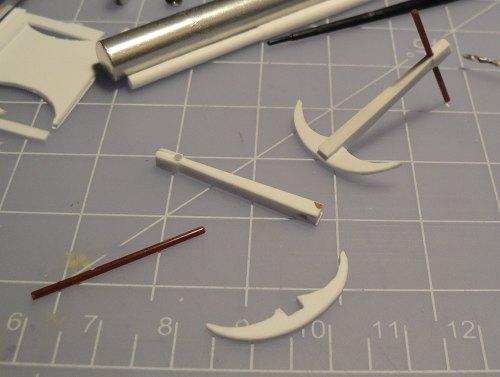
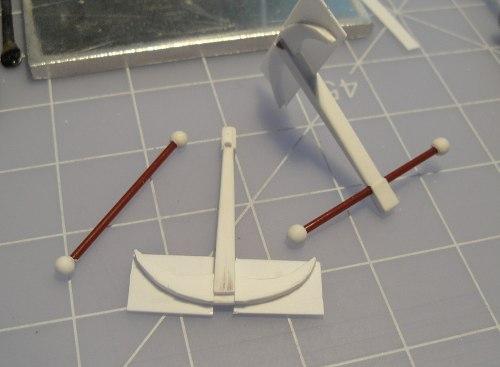
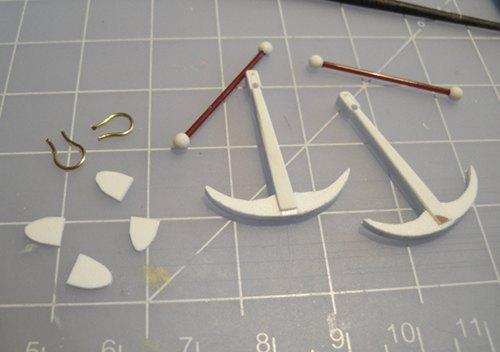
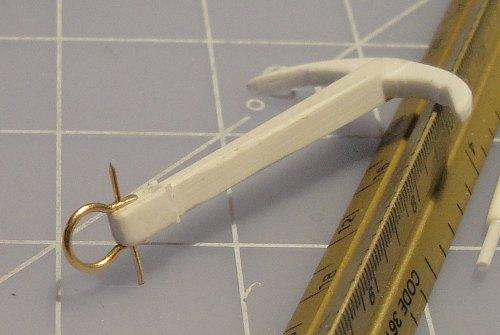
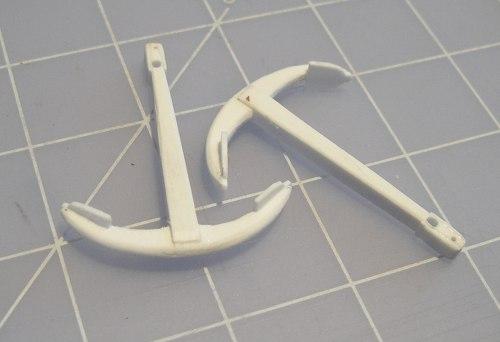
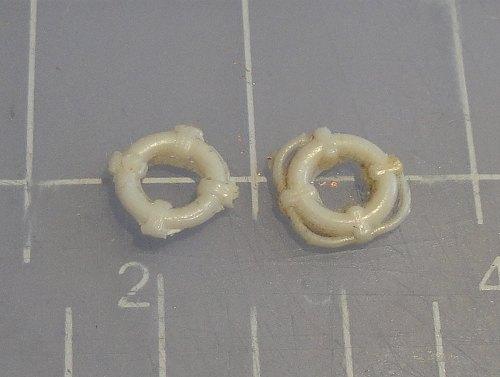
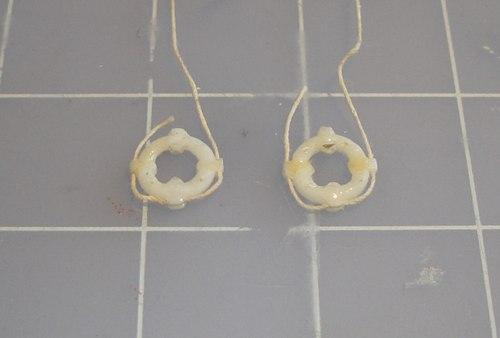
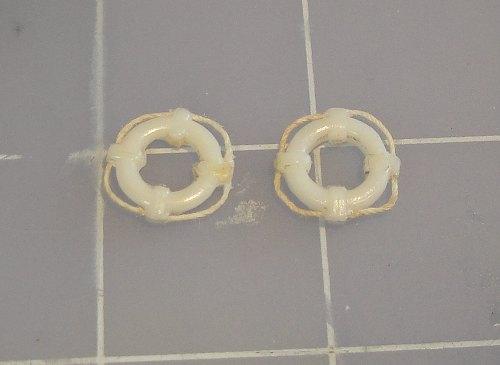
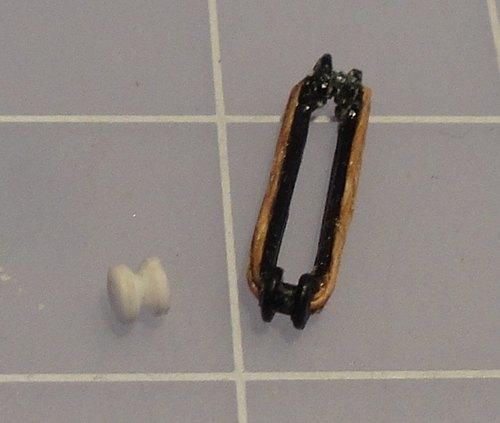
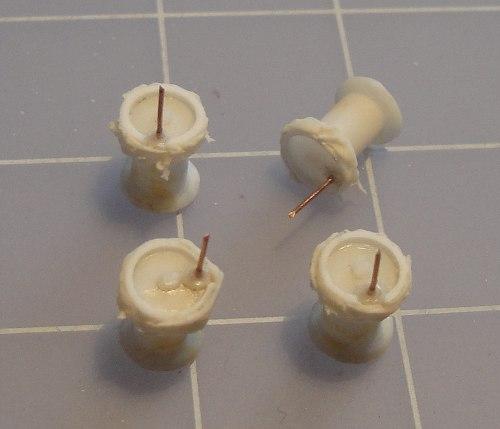
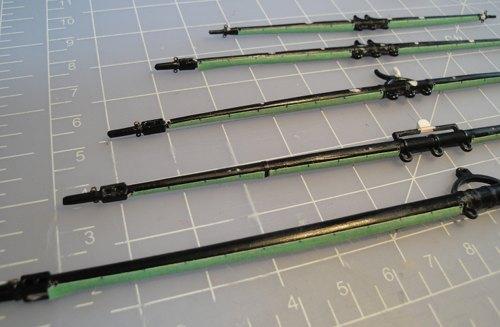
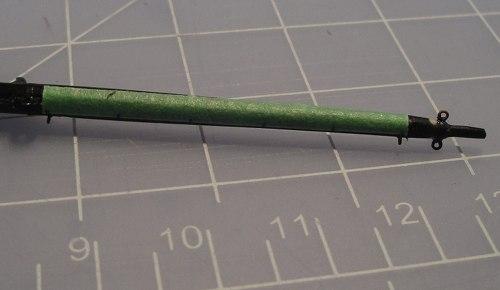
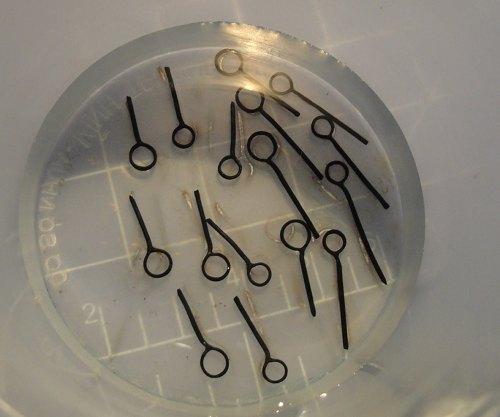
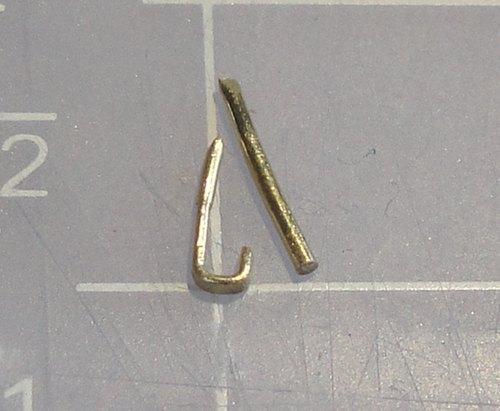
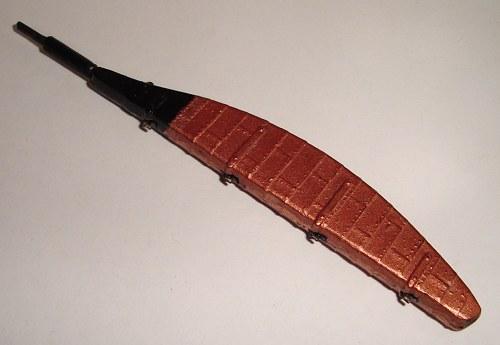
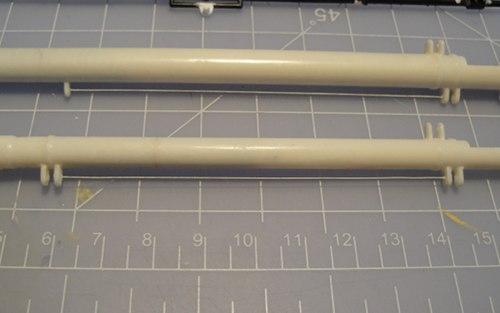
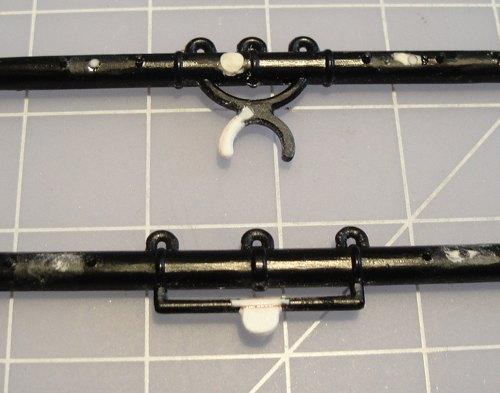
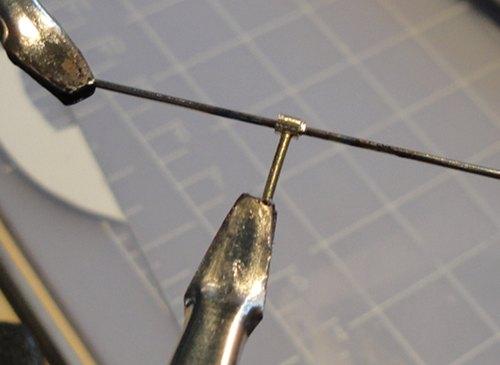
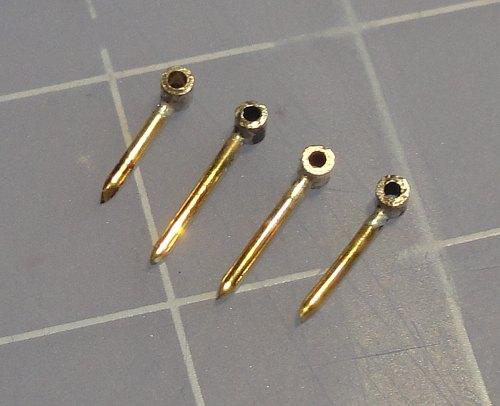
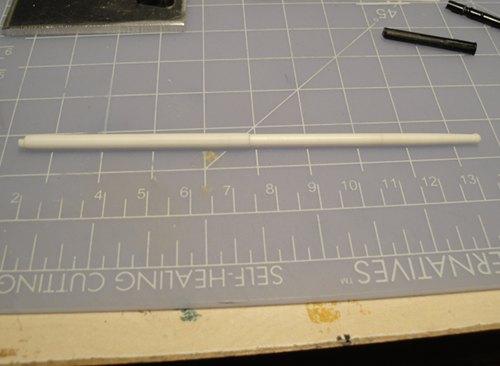
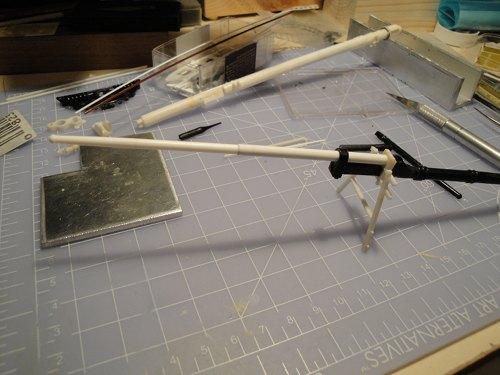
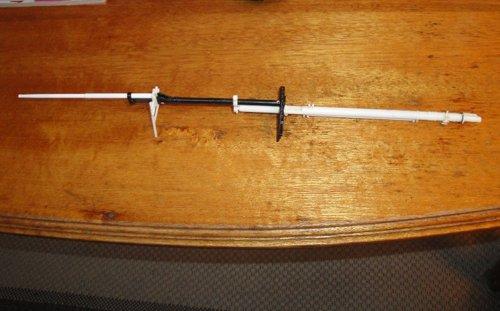
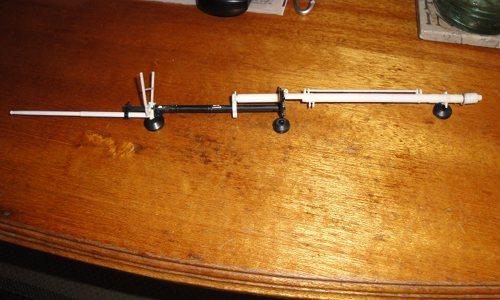
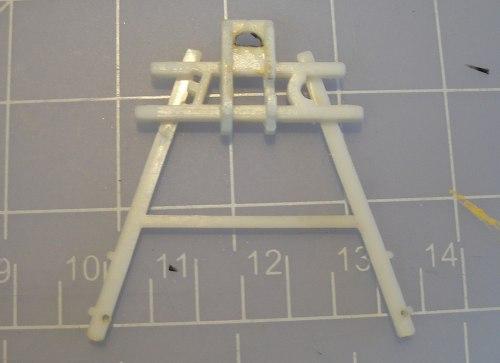
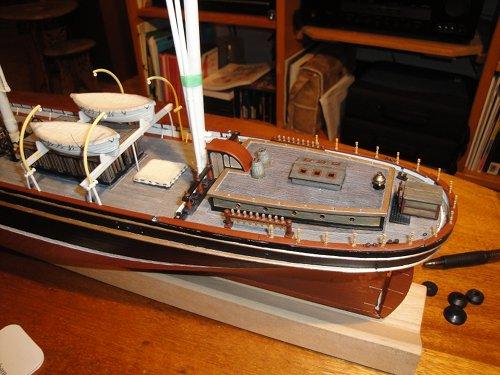
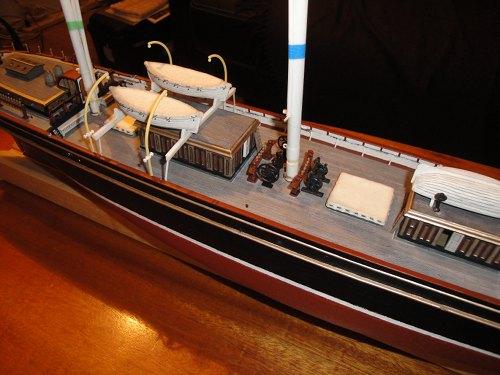
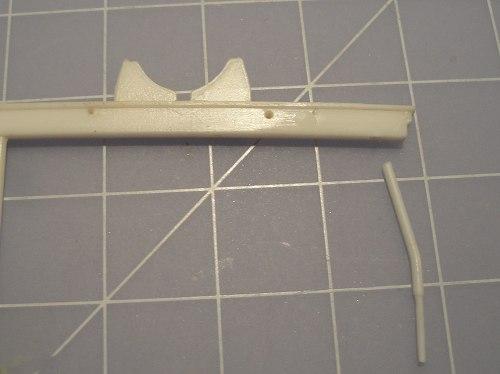
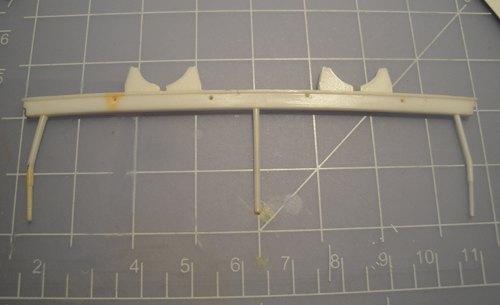
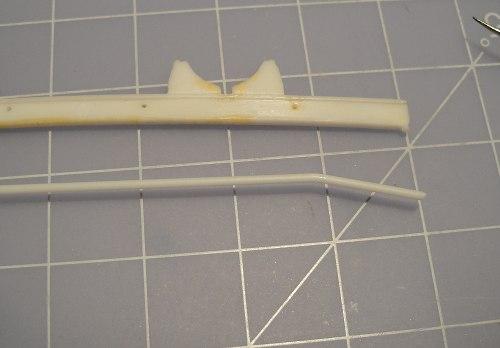
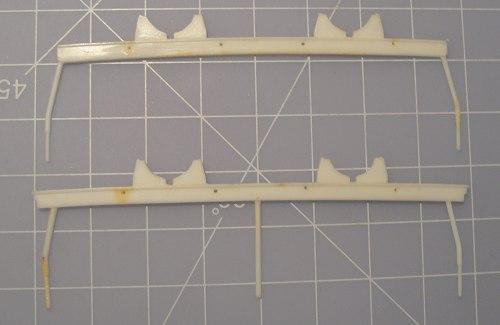
 The process of shaping the replacement spar. Flotation rings with traditional red stripes. Winches painted. The spars with base coat applied and test fit. The jackstays. Brass wire and 2 part slow cure epoxy. Anchors before painting.
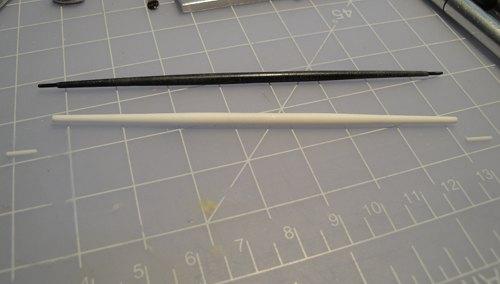

-
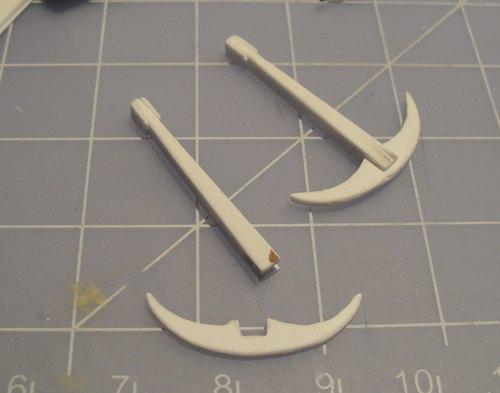
The anchors were gone so after consultation with fellow members I felt confident enough to begin fabrication of the replacements.

-
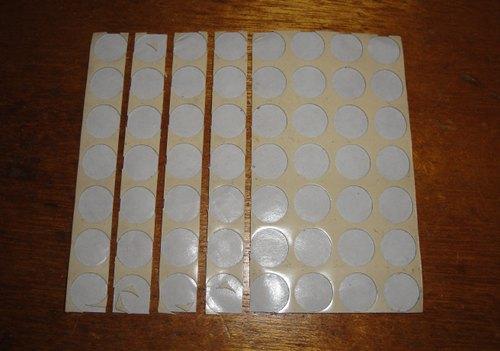
I remember this period of the build as being somewhat disarrayed - rather then focus on singular aspects I was jumping all over the place. For example, I was examining the flotation rings and thought that the 'rope' around it looked clunky ... It turned out I was missing a 'deadeye' (if that's what these are called, I've also seen them called 'bulls eyes') and so out comes the Evergreen styrene once again. The winches needed work ... in my opinion ... One of the spars that was stored on top of a deckhouse was missing. Measuring off the location of the eyebolts for the jackstays.


-
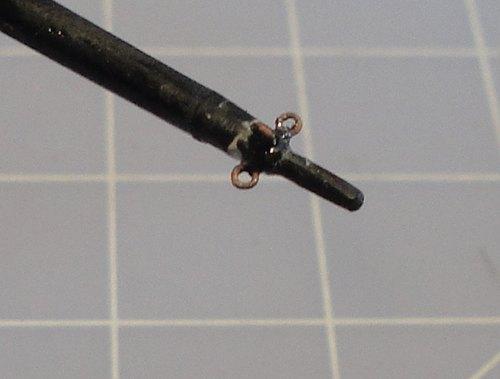
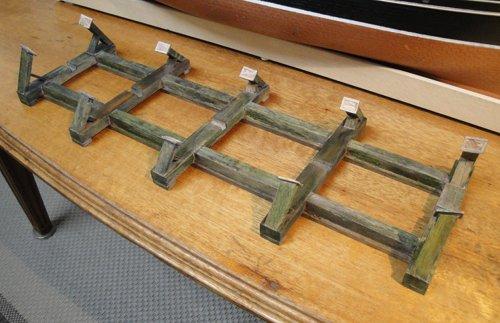
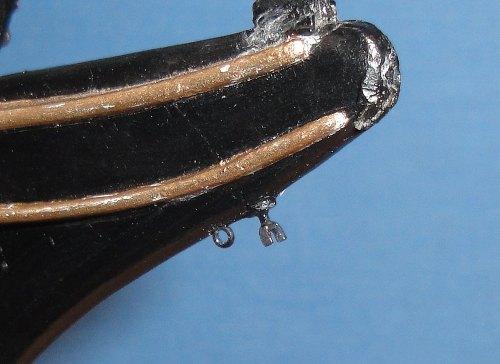
Thanks to some studious perusal of Masting And Rigging Of Clipper Ships And Ocean Carriers by Harold Underhill (from here on if I reference a book it's likely that one) I was able to start working on the modifying the Yards. Some more work on the Cradle - after additional effect coats, mostly drybrush, I lightly sanded so that some wood just showed. The work on the Mizzen Yards continues. The kit set up for the Stuns'l Booms was simply to glue them to the yardarms. After seeing the way others on MSW worked up their more realistic versions I chose to follow suit and fabricated boom irons. The simplest way I found was to take brass wire of a suitable gauge and flatten a portion of it then form the loop. I chose to 'shape' the brass before looping it, a file for the initial work but I found that 400 grit black sandpaper was very good for the finishing work. Then close the loop with silver solder. Blackening in process. If I haven't mentioned this before, I'm using JAX brand blackening, diluted about 1 part to 10 of water, and it's a 'brown-black' formulation, not pure 'black.'


-
Teeny, tiny bits being blackened. Back to the Cradle. Here is where I started the painting process. I'll try to remember the details but basically I laid down a diluted black undercoat using acrylic and then I threw all the rules out the window and started experimenting with oil, acrylic, gouache and enamel. The 'green' here is oil base rubbed on and then rubbed off and left to cure for a day or two. Went back in with 'Burnt Sienna' gouache and rubbed on lightly - notice how the previous oil base rub creates a blotchy effect. Unifying the colour with a thin coat of either dark grey or black acrylic. Weathering highlights added here as an experiment - better to call them 'mid-lights' as I was going to go over them some more. If I remember correctly I actually rubbed in some black China Ink, very carefully. 'Silvering' of the surface - dry brush with acrylic gouache. Partial removal of the silvering using very fine sandpaper. And here is another view of the rudder with the hinge details painted.


- 237 replies
-
- 1
-

-
- cutty sark
- revell
- (and 2 more)
-
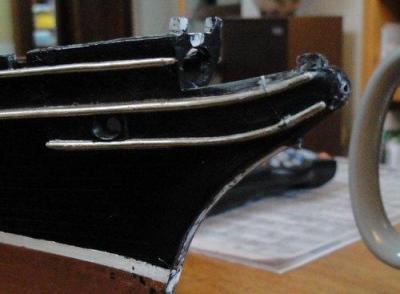
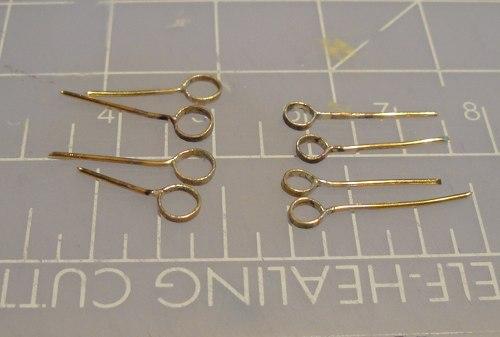
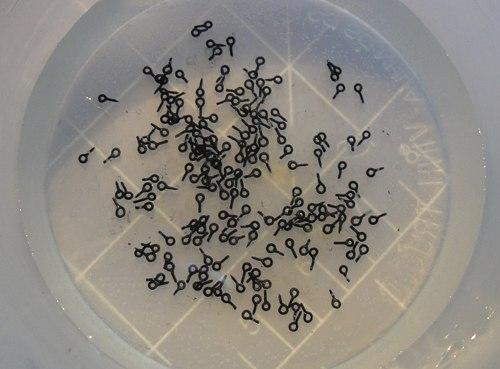
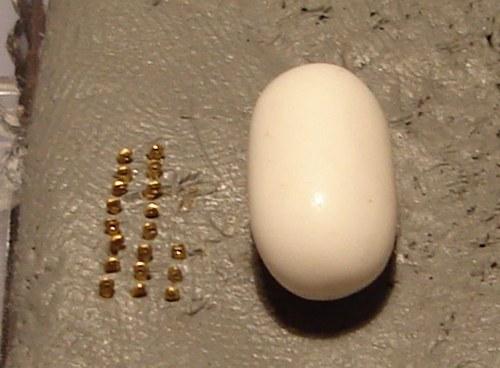
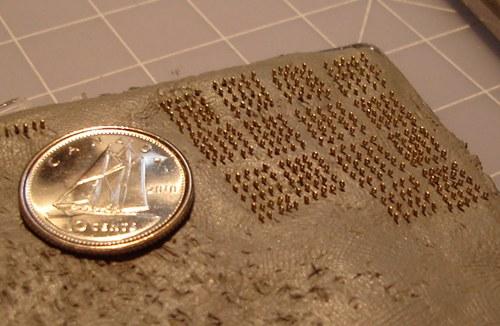
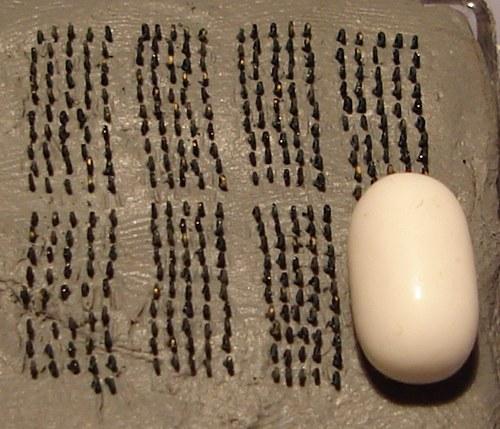
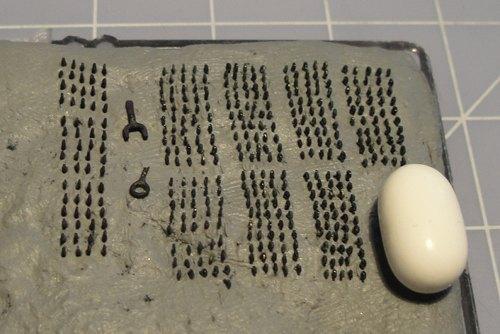
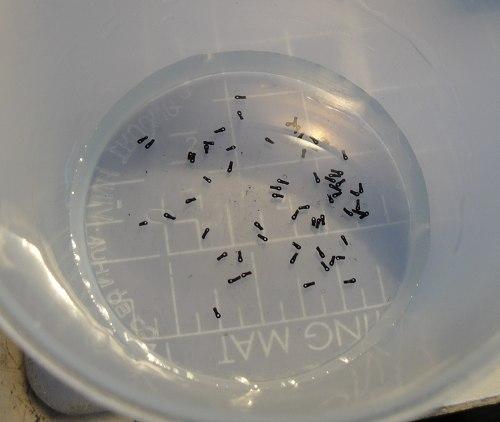
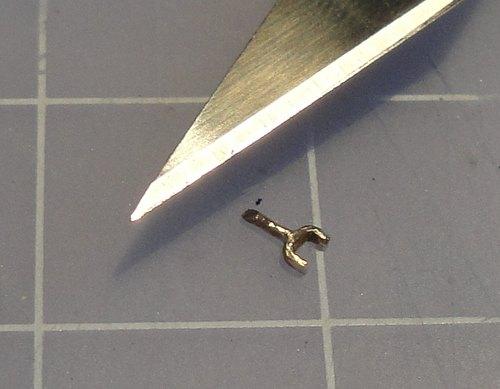
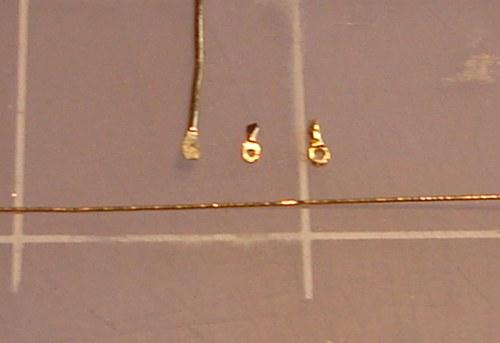
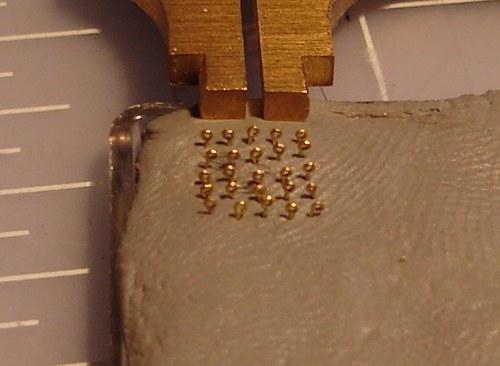
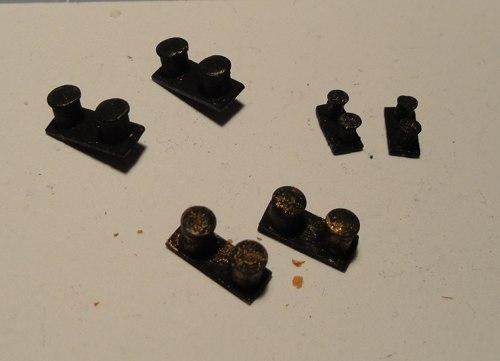
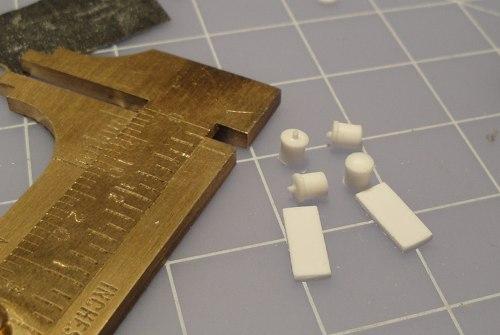
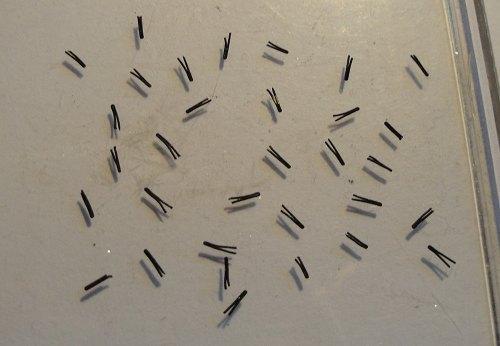
I forget who but someone on MSW was known for Really Tiny detail work and they'd post photos with a Tic Tac for scale reference. So following the lead of 'Mr. Tic Tac' I started including one myself. Production was good and for this I forgot to use the Tic Tac - instead there's a Canadian dime with the Bluenose (I thought it was appropriately nautical). After I blackened a batch I remembered the Tic Tac. The batch and a few accessories for the bow. Blackening the little bits. Fabricating a part whose name I forget but it is a 'guide' for the bowsprit rigging. The three sizes of ringbolts - large for the standing rigging on the deck, medium is the 'general use' and the small is for the jackstays on the yards. The part whose name I have forgotten in place. Slight modifications to the rudder.
- 237 replies
-
- 1
-
-
- cutty sark
- revell
- (and 2 more)
-
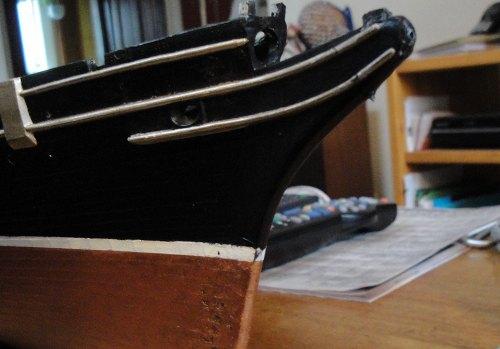
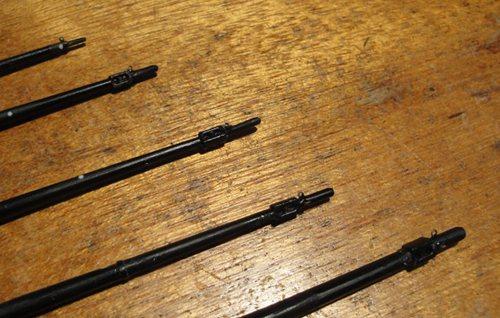
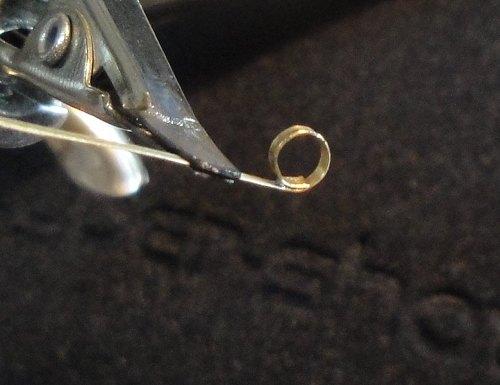
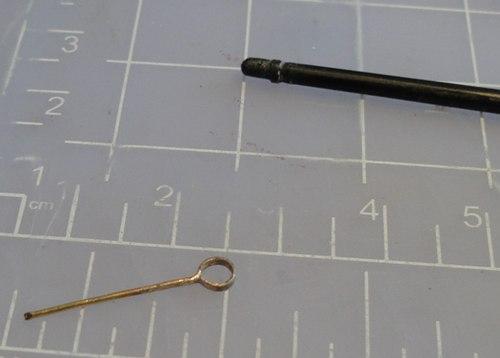
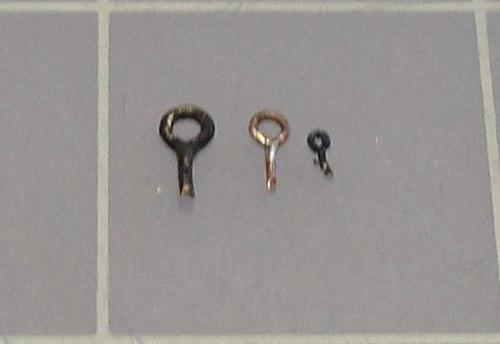
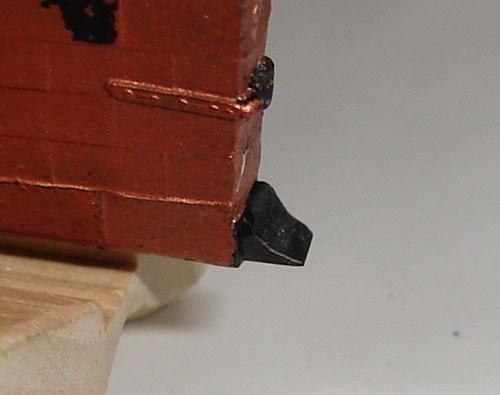
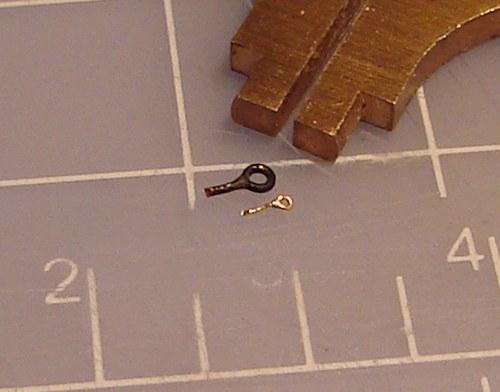
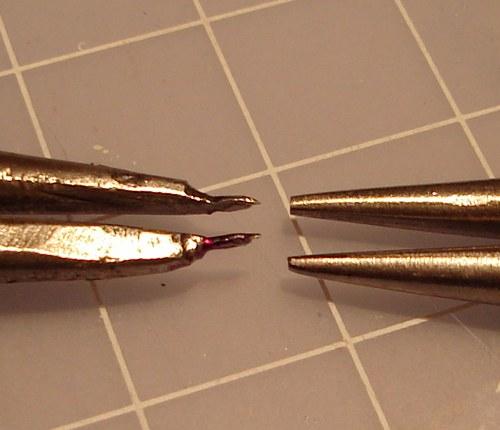
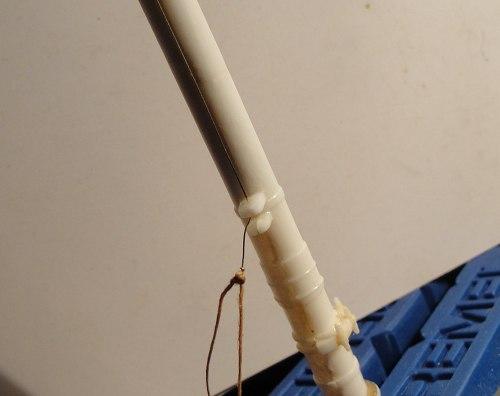
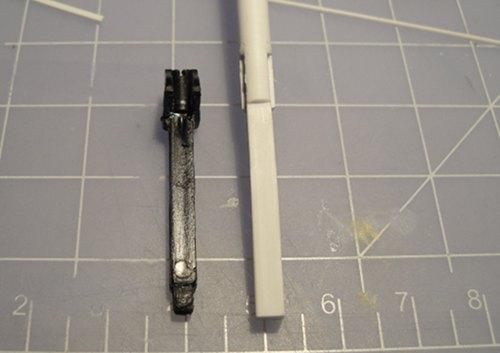
As mentioned previously the gap between the rudder and hull sparked some conversation. So the re-working simply involved 'sinking' the gudgeons into the hull and the pintles into the rudder for a closer fit. Adding the little 'tab' under the rudder. This was one of my more 'insane' choices in terms of kit bashing - the Yards as they came with the kit didn't have actual jackstays, only little plastic 'tabs' which were out of scale. So, I said to myself, why not make some jackstays out of thin brass wire? Comparison of a 'regular' ringbolt with the tiny ones I made for the jackstays - the caliper is set to 1 mm. On the left is the modified jewellers pliers I used to make the tiny ringbolts, on the right is the unmodified one. The start of the process ... need lots of these for the jackstays.


-
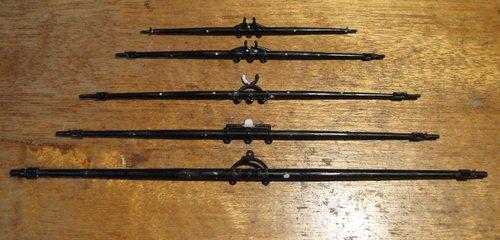
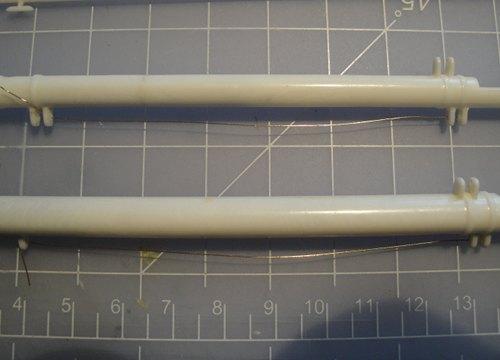
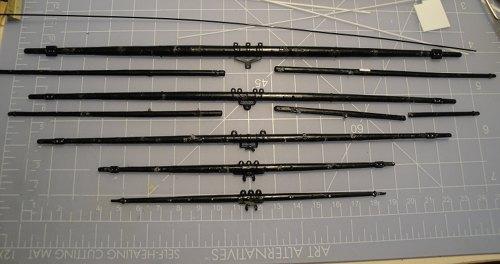
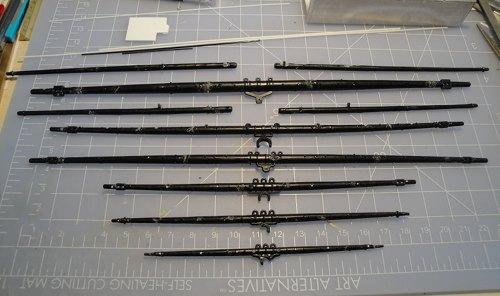
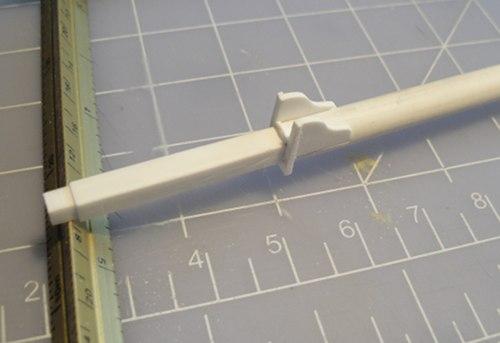
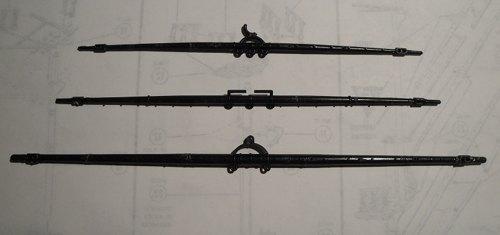
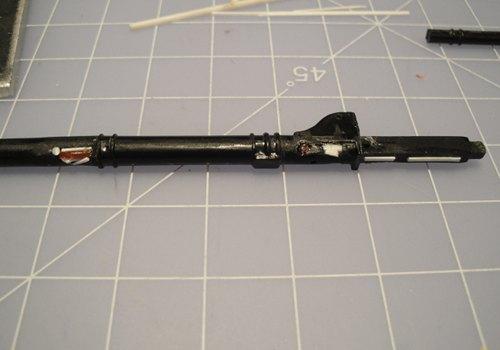
Mast work in progress. Two of the lower masts had jackstays but the kit moulded ones were far too thick for my liking so I re-worked them with brass wire to make them look more to scale. Repairs begin on the Yards - these are the Mizzen yards if memory serves. The Rudder 'hinges' being fabricated. The original kit version didn't have these so I decided to exercise my new found skills in brass soldering. Gudgeons. Pintles. Initial fit test - this was originally followed by a dialog on the gap 'tween rudder and hull and resulted in a re-working of the set up.

-
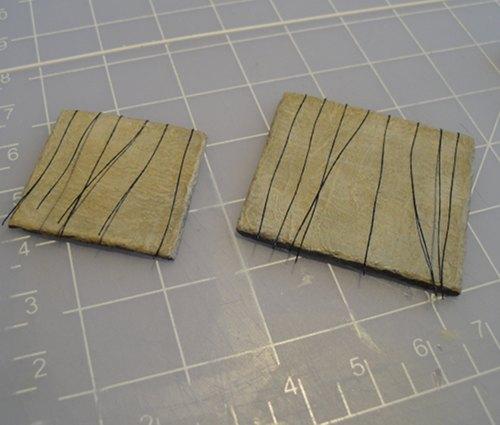
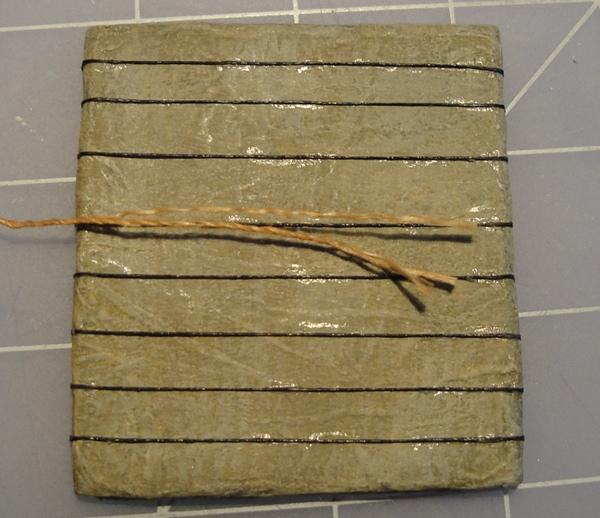
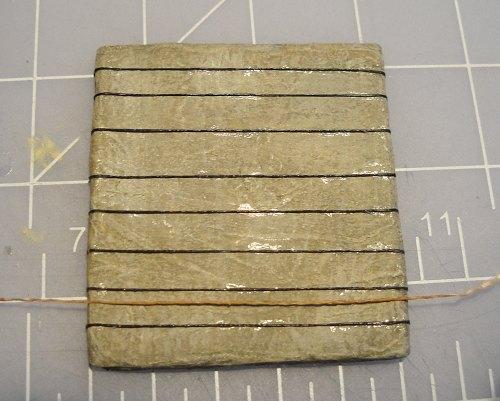
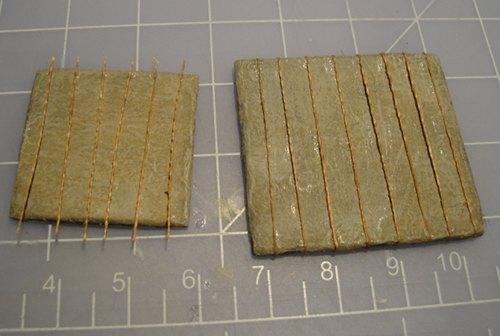
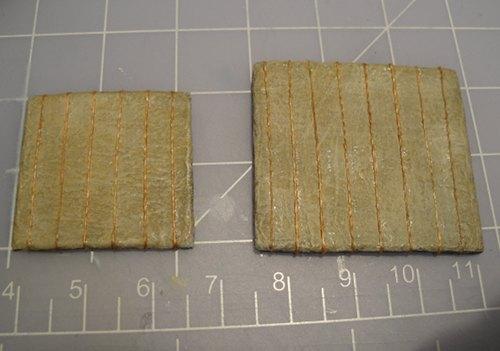
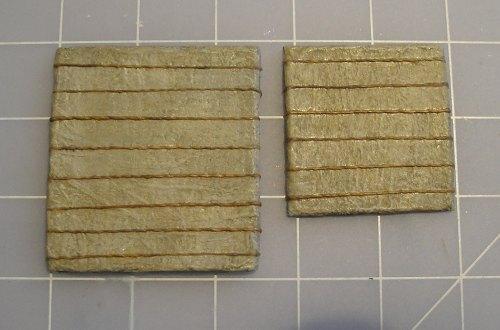
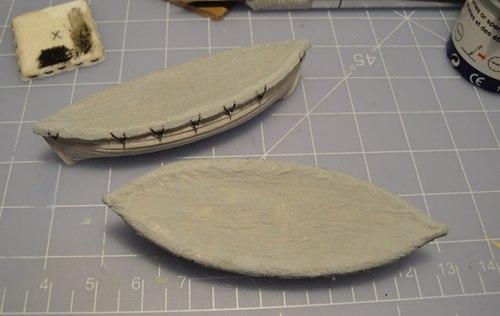
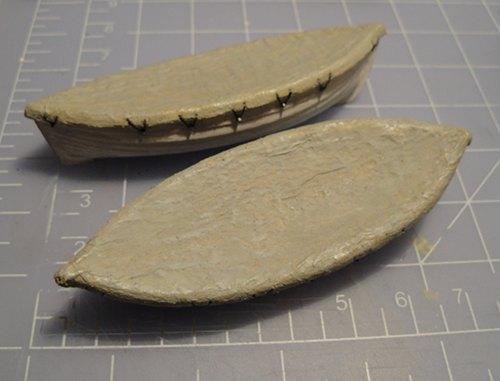
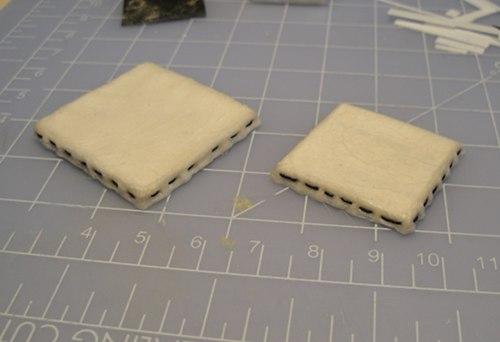
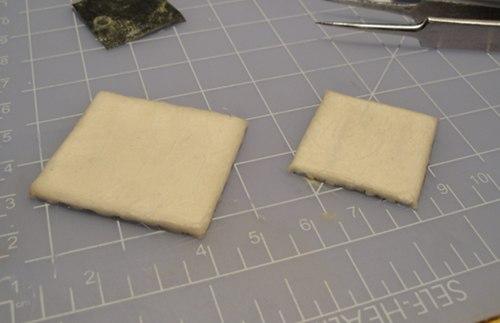
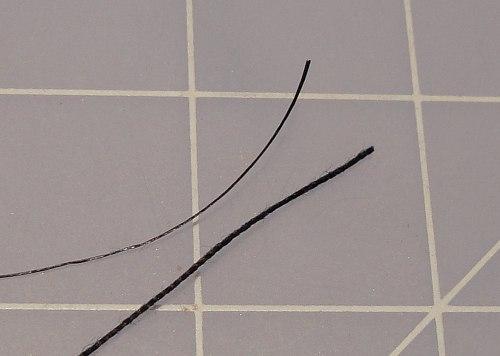
John, Popeye, Frank & Druxey - Thank you for looking in and for your kind words Here we look at the detailing of the 'canvas' hatch covers. I wanted to add the 'lashings' and went ahead with an attempt using black nylon thread. After being informed that the lashings would have been rope and that the black looked like steel cable I chose to re-do them with something more appropriate. Here's a larger image to show the method I chose, which was to de-strand a 'rope' coloured string to get the proper scale effect. A comparison of thread sizes. The thing about PVA is that you can correct or re-do without too much grief. And the final touch is to colour the threads to make them appear 'dirty and worn.'


-
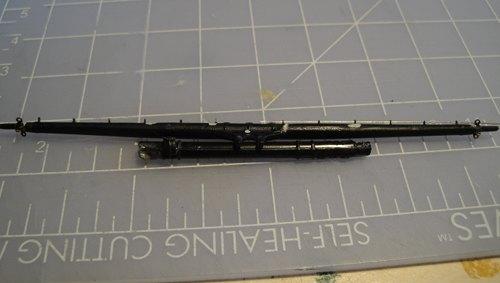
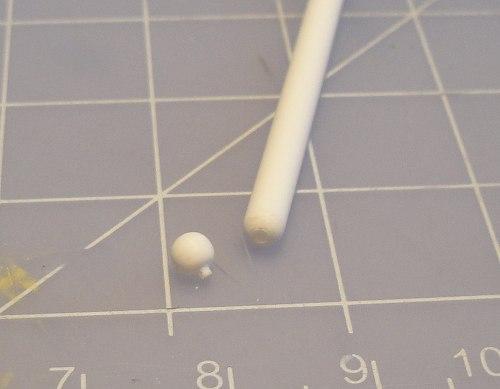
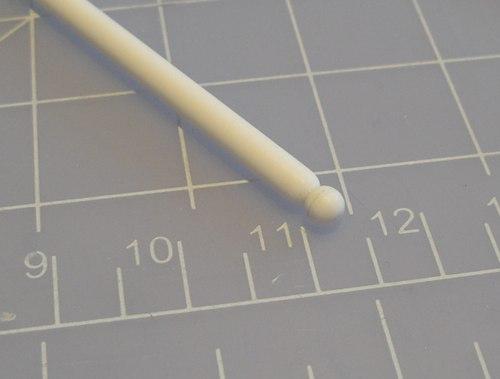
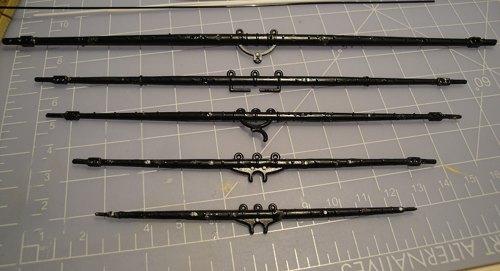
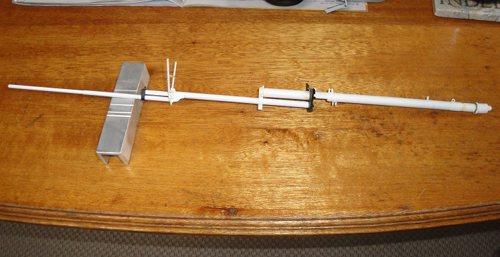
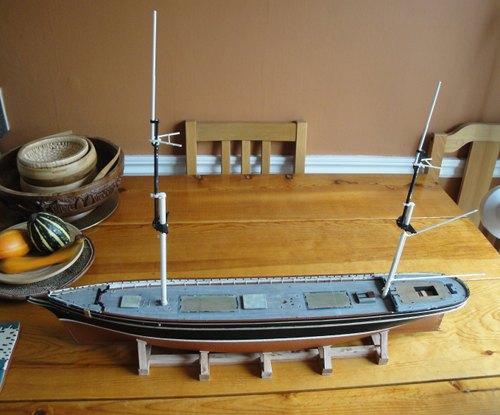
Last one for the evening. I'm still just getting these posted when I have a few minutes here and there. Soon I will be able to spend some more time and 'groom' the previous posts as well - as I'm doing this my recall of the process has been increasing. A little ball to cap the mast. It was 'hand lathed' on the end of a rod, again very monotonous but patience is it's own reward ... unless you get something that you'd hoped for as well. Mizzen Yards. A work in progress. Fore Yards. Main Yards.
- 237 replies
-
- 1
-
-
- cutty sark
- revell
- (and 2 more)
-
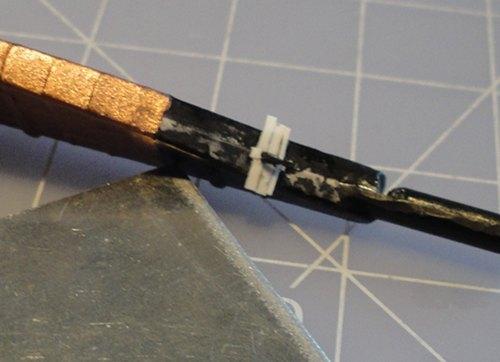
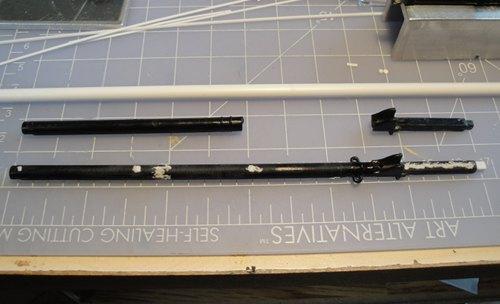
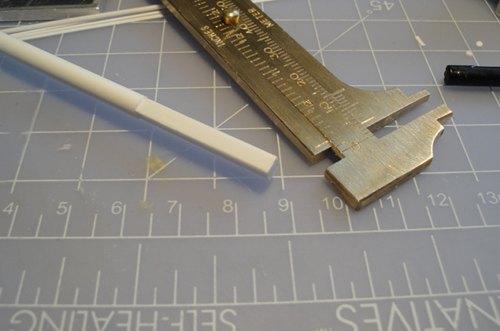
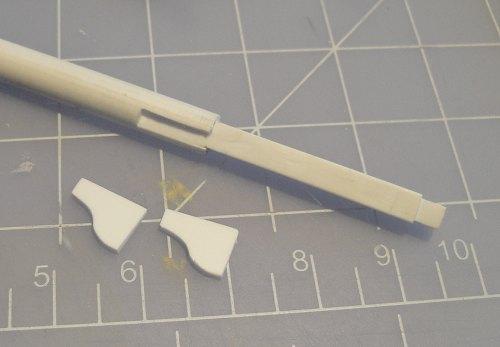
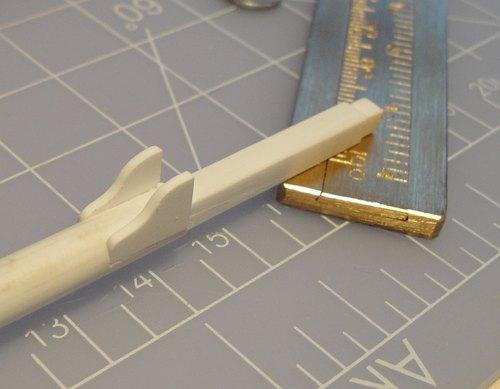
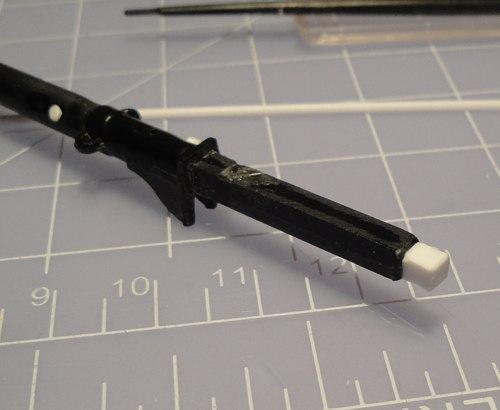
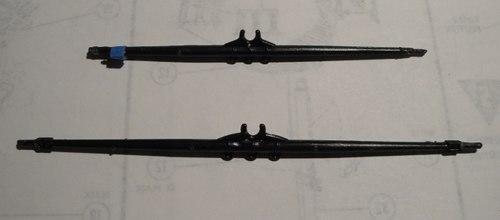
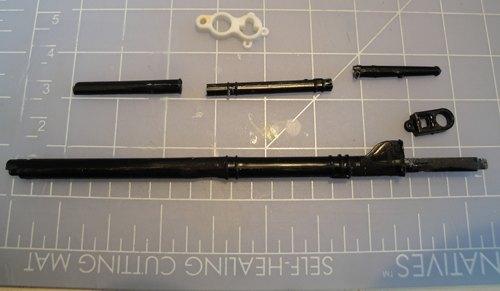
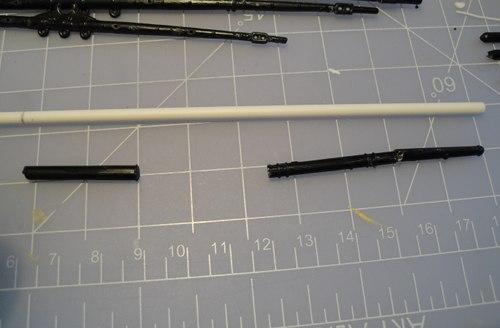
*edit* I apologize for any missed posts as I often forget to check back to see if anyone's posted while I've been doing the same. And thanks, Popeye The Main mast suffered the most damage and required fabrication of the Topmast as well as the Topgallant and Royal (and at this point the keen observer will not that I have committed and error which I will not realize for a while). So to begin with the Topmast I wanted to replicate the kit part and this required squaring off the top portion - to do this evenly I utilized brass calipers and 'planed' shavings off. I alternated with 90 degree turns to insure squareness and, yes, it drove me nuts but I stuck with it. Here's the start of the Topgallant and Royal mast. For sizing I was fortunate in that the Cutty's Fore and Main masts shared very much the same dimensions. Fabricating cheeks. Test fitting. At this point I felt a renewed moral imperative ... yeah, that's it ...

- 237 replies
-
- 1
-
-
- cutty sark
- revell
- (and 2 more)
-
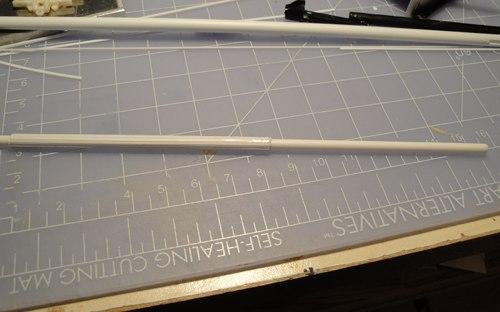
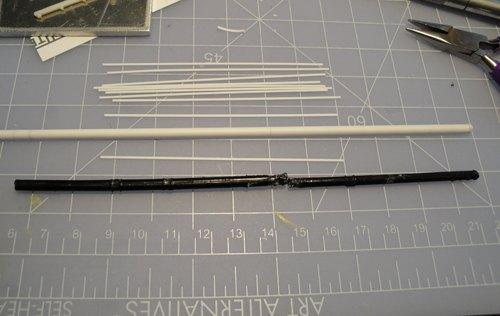
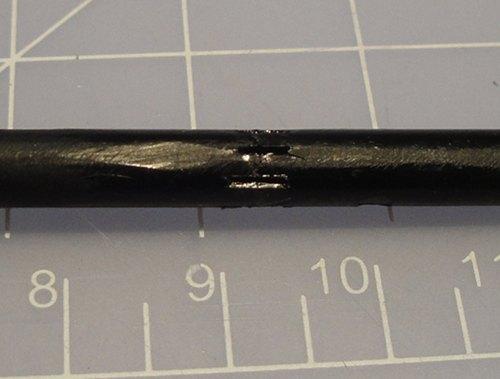
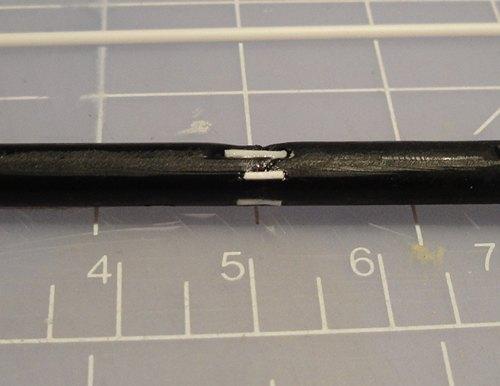
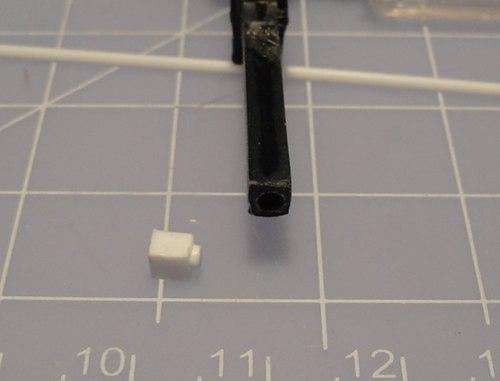
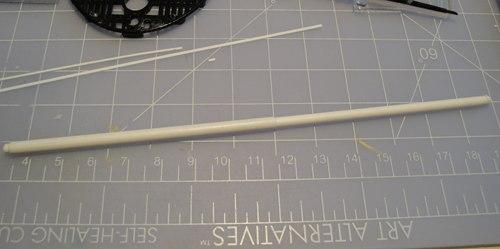
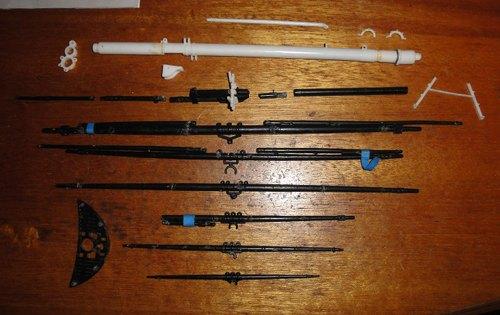
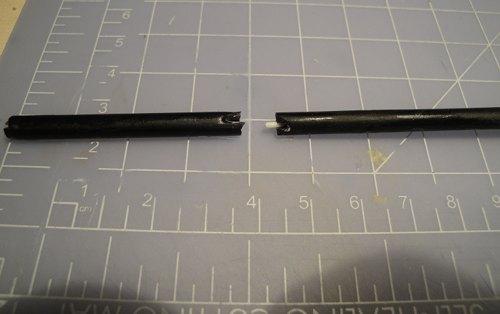
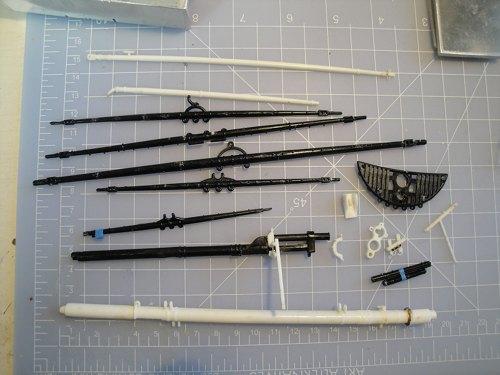
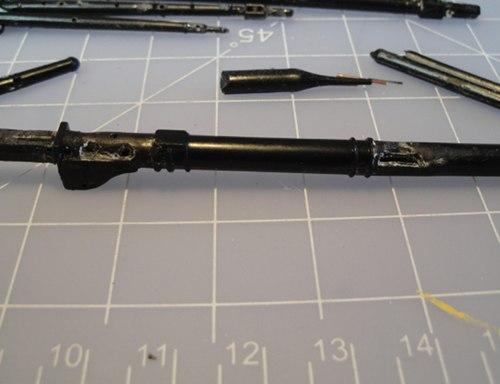
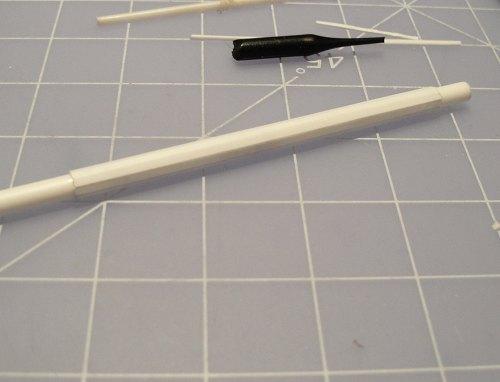
An assortment of plastic rods. Another Royal/Topgallant mast in process. Trying to 'reinforce' a break line. Replacement of a broken portion. Further progress on the Royal/Topgallant mast. Test fit of the parts. Just out of curiosity ...

- 237 replies
-
- 1
-
-
- cutty sark
- revell
- (and 2 more)
-
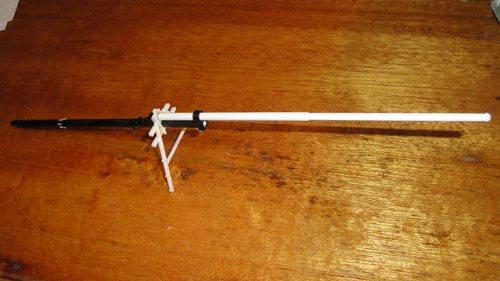
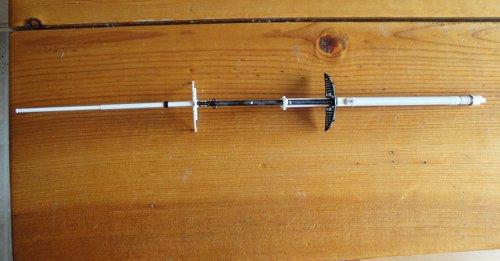
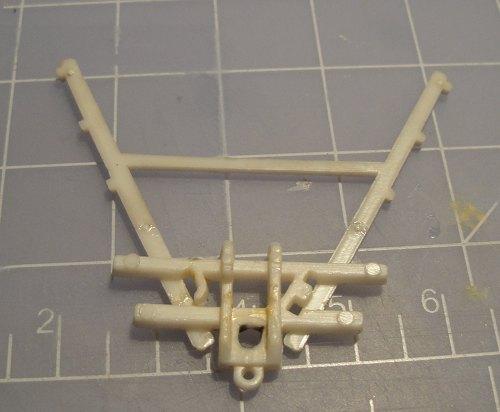
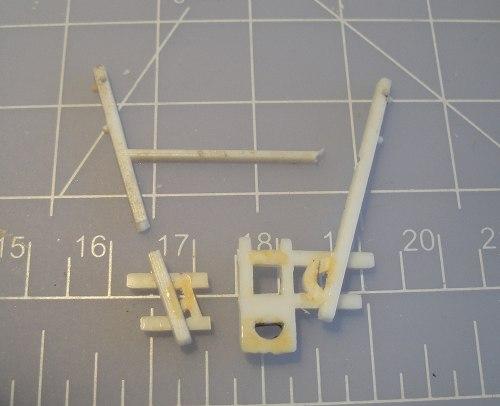
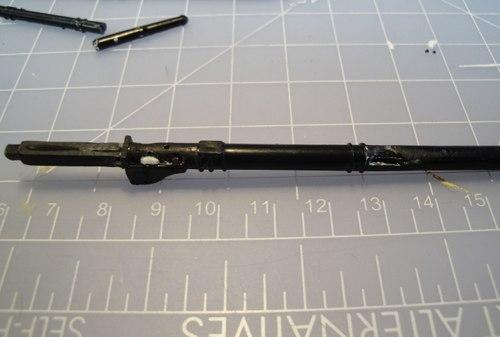
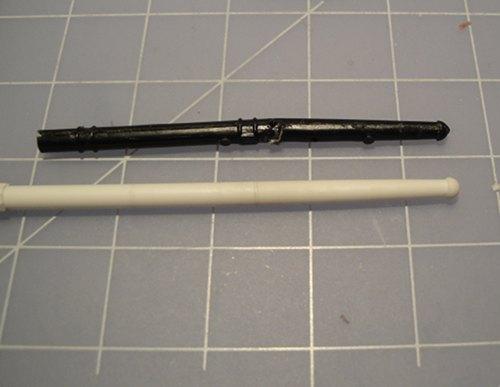
I think this is the Topgallant and Royal portions of the Mizzen mast. Test fitting of the parts. Starting to figure out the Yards. Sorting out which parts belong where. Break repair. Yet another crosstree.

-
Here's where I finally get around to dealing with the masts. Up to now I'd been ignoring them - but since there had been no midnight visits from the shipbuilding gnomes which only come out at night and build your stuff for you ... The crosstrees were broken but mostly there. Some of the masts were in really bad shape. Re-assembled crosstree. The overall damage to the mast portions was quite bad ... but there was also bad kit moulding to deal with. And of course there was the fabrication of replacement mast portions for those that were just too wrecked to salvage.
-
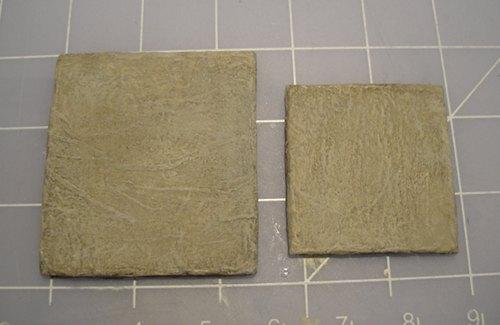
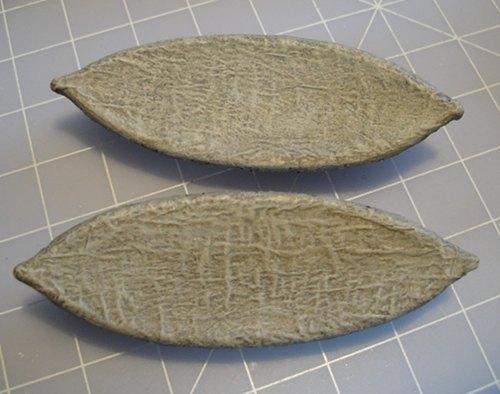
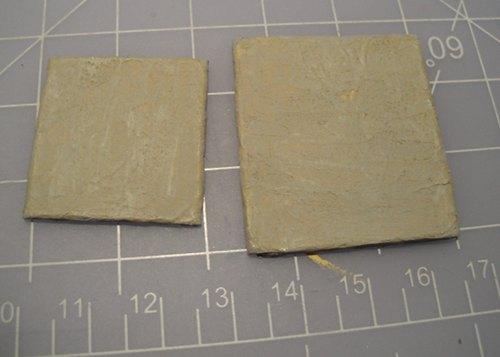
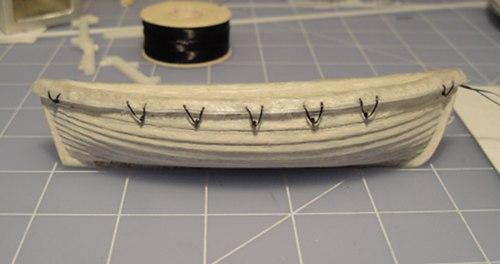
The thing about 'experimental' paint techniques is that the trial and error process seems to take forever. Because the 'canvas' is actually tissue paper and diluted PVA I chose to base coat them with Tamiya acrylic but for the top coats I used diluted enamel. The evolution of the look.

-
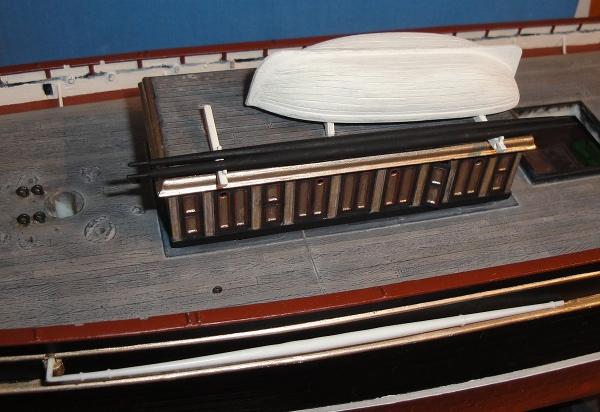
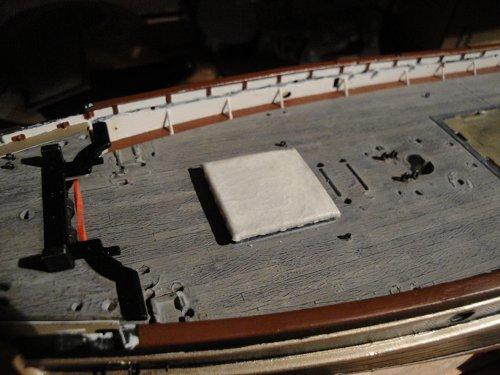
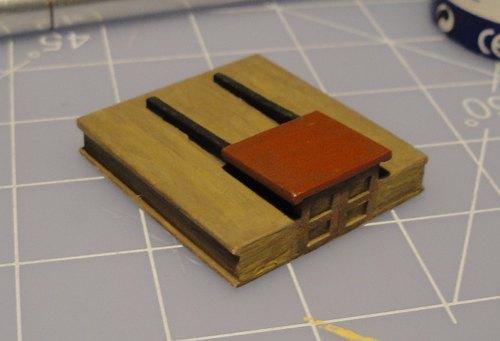
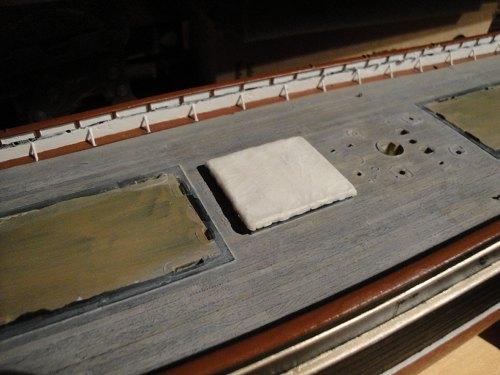
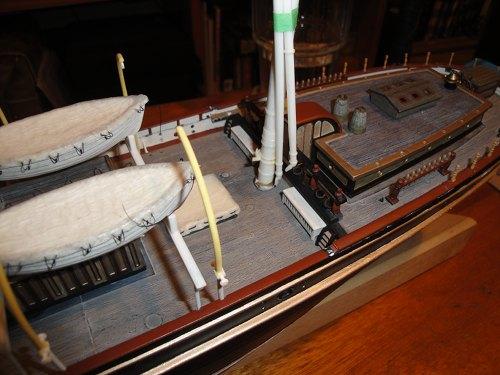
The look of the updated canvas hatch cover, previous post showed the midships, this is the fore. Time for colour. Following the multi-coat technique to achieve 'that look.' Starting in on making the 'canvas' look more like that. Since I has a 'spare' canvas hatch cover I used that for initial paint tests - you can see it to the upper left of the boats. Subtle changes that are hardly noticable but they're worth the effort.
- 237 replies
-
- 1
-
-
- cutty sark
- revell
- (and 2 more)
-
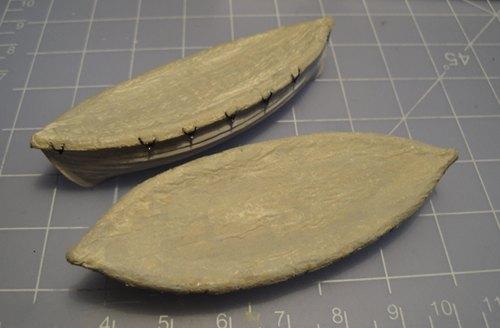
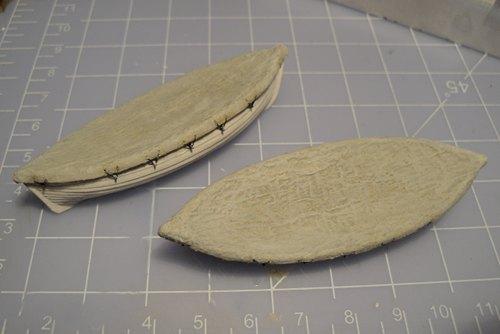
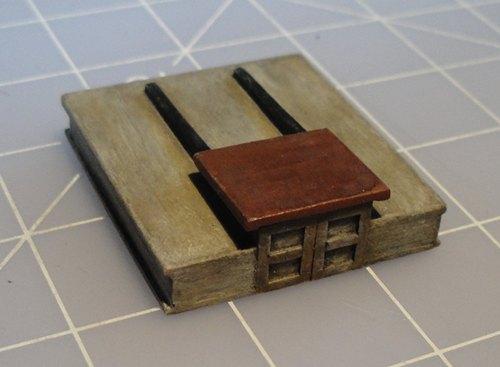
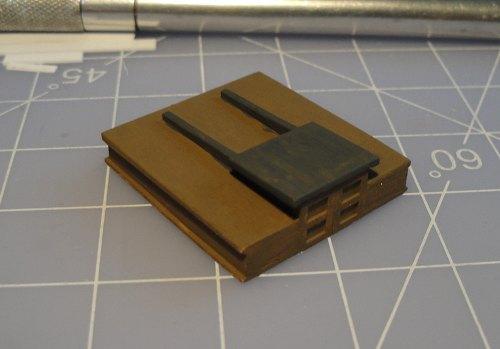
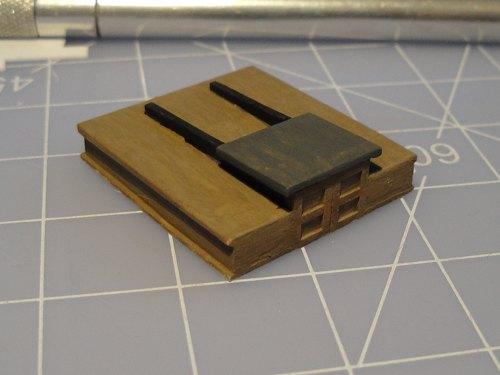
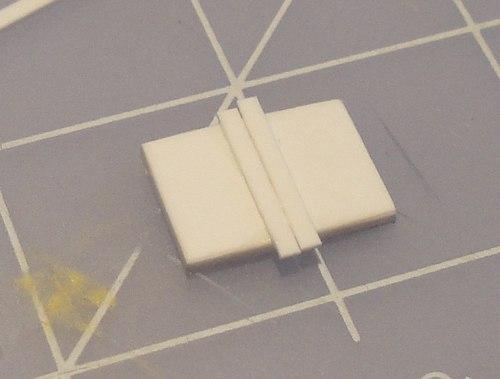
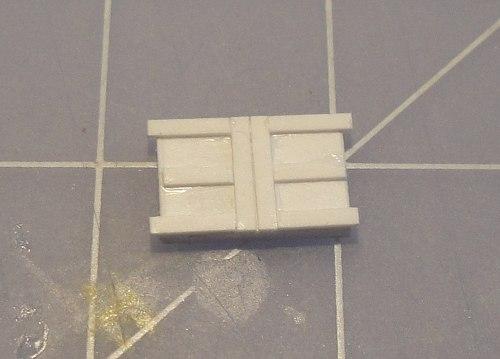
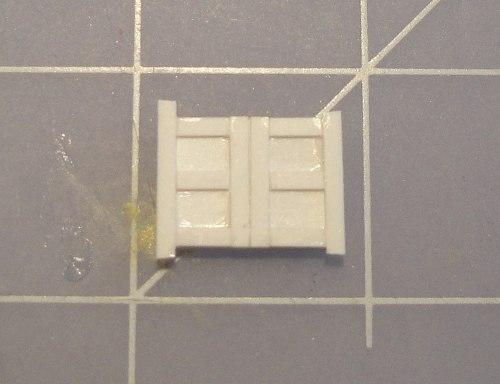
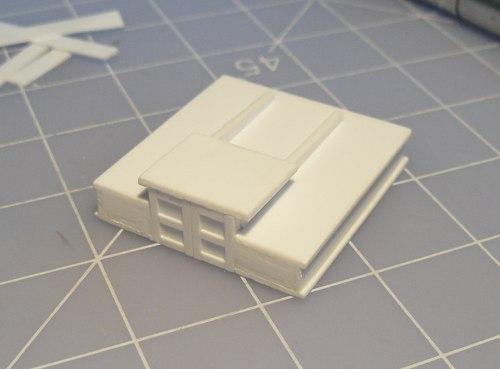
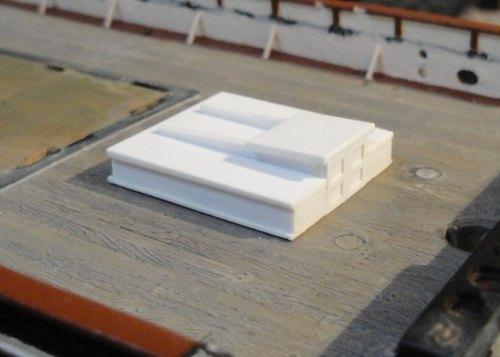
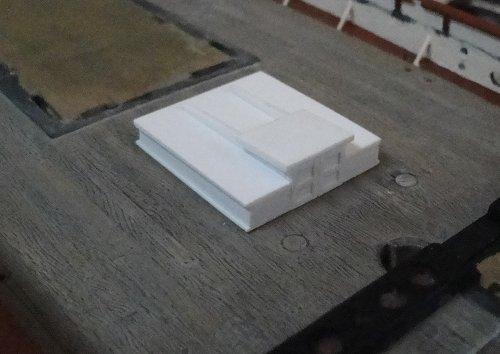
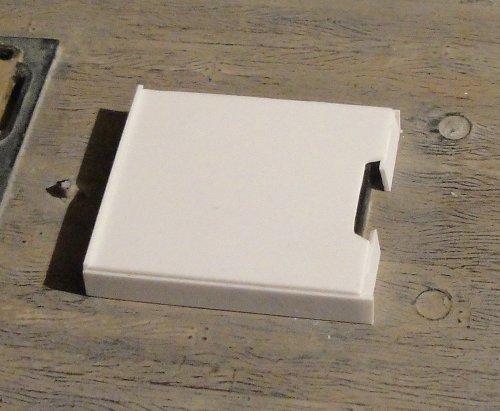
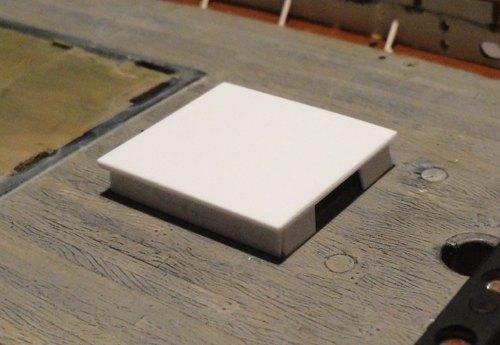
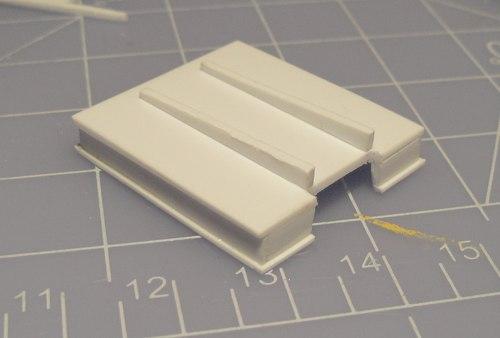
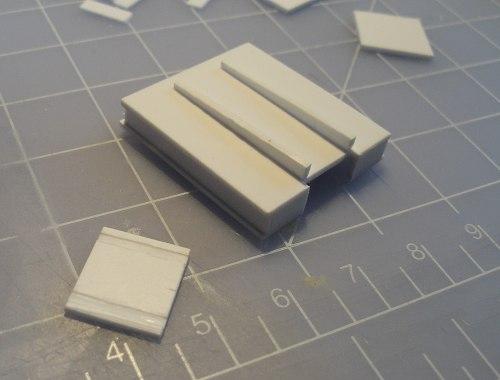
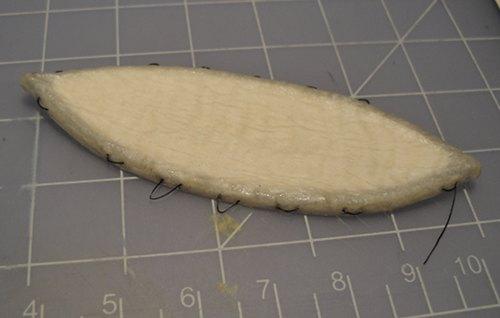
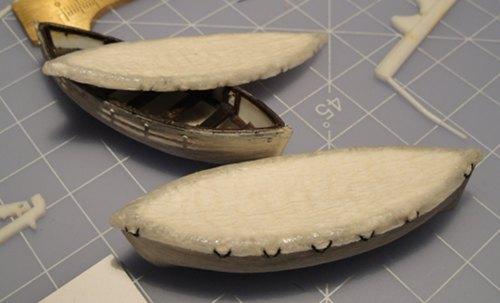
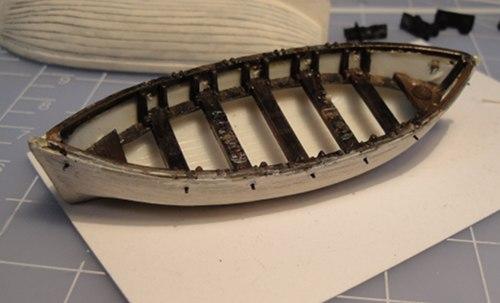
Continuing with the aftermost hatch cover. Making the 'doors' for the hatch cover. More or less ready for paint. Having re-done the lifeboat covers I thought about the look for the two canvas hatch covers and decided to re-do them as well. Here's the original result. I cut off a bit of the 'hang down' and re-did the 'lashings.'
-
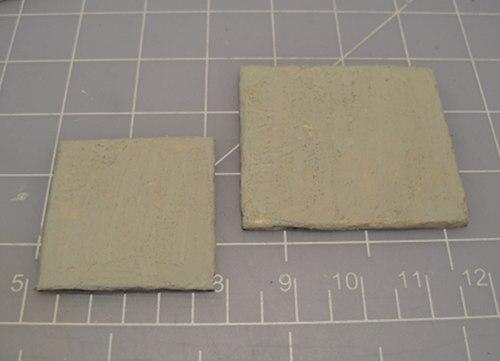
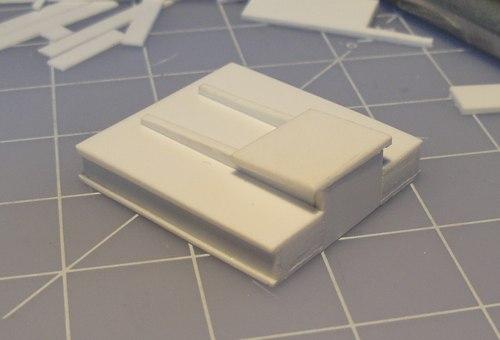
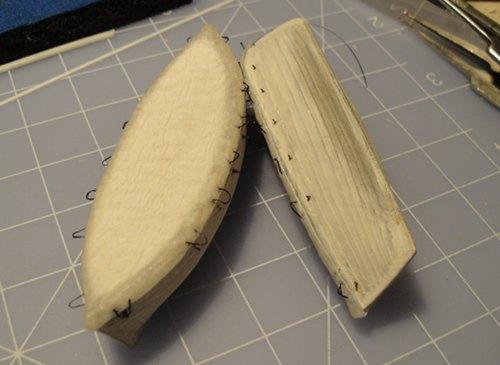
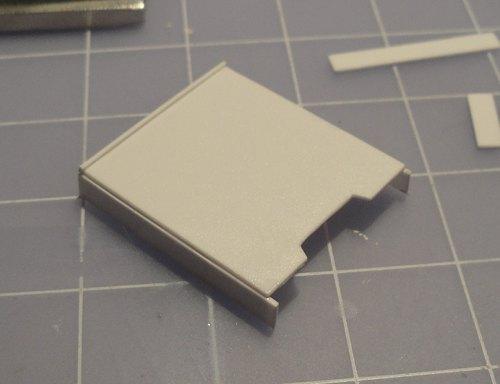
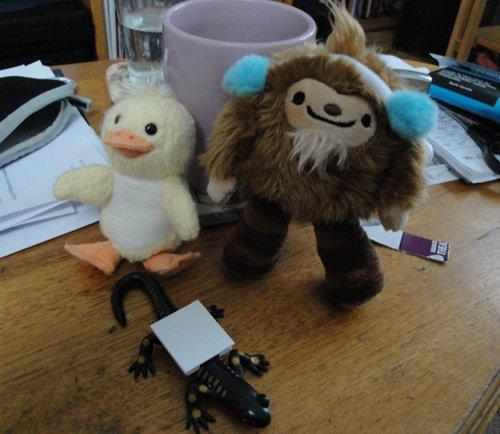
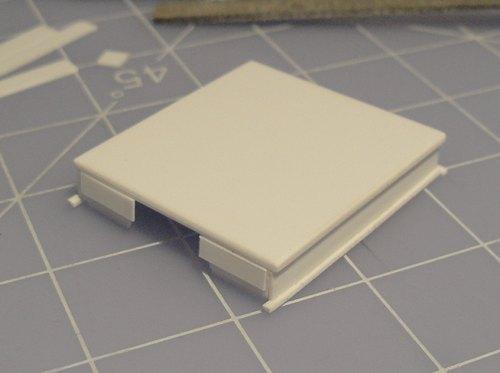
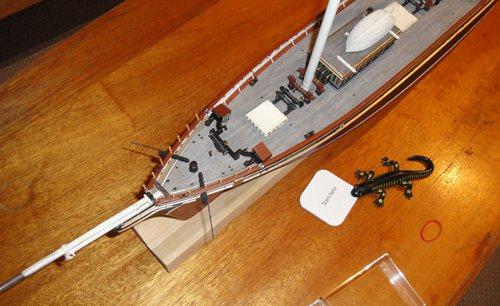
The updated boat covers awaiting final 'tie down.' So I had fabricated canvas 'hatch covers' for all three cargo hatches then discovered that the aftermost hatch had one of those 'access door' set ups - I forget the specific name. After a bit of research on the look I started fabricating the structure from Evergreen styrene. Here's a shot with some of my 'build mascots.'

-
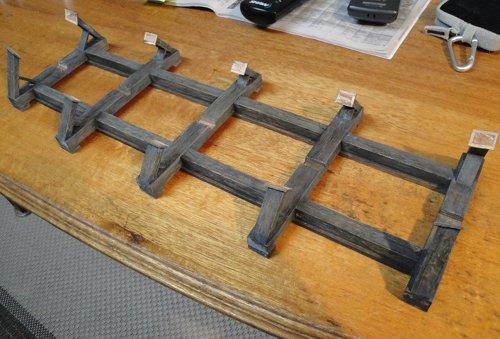
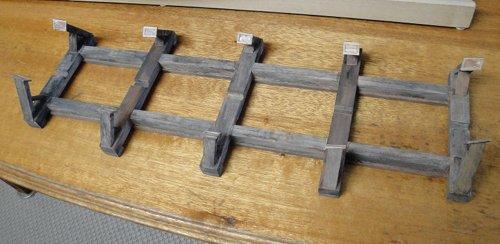
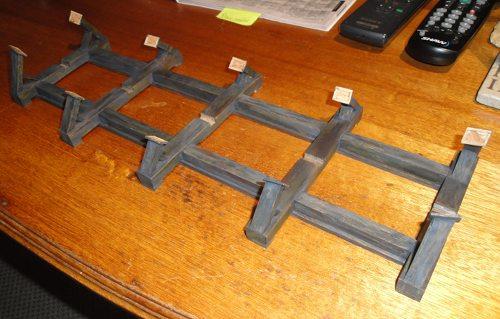
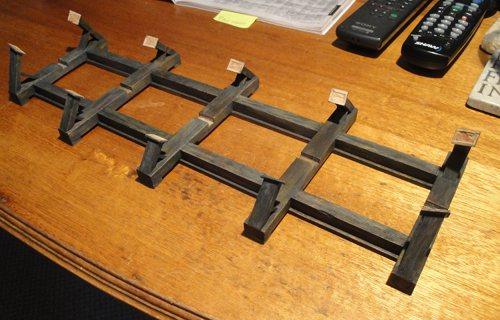
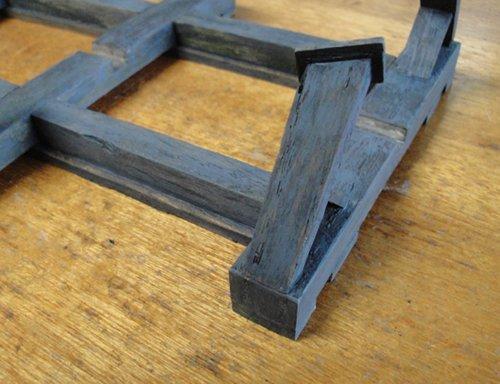
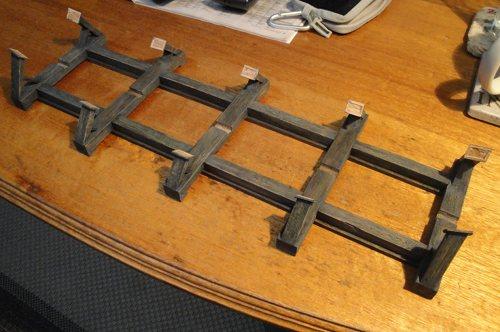
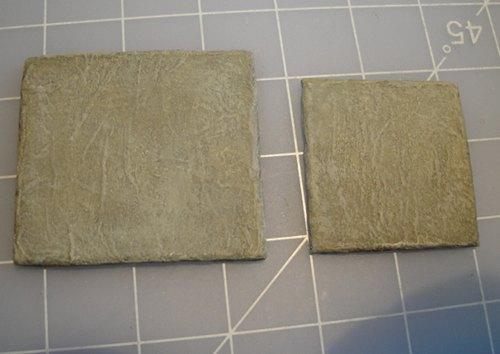
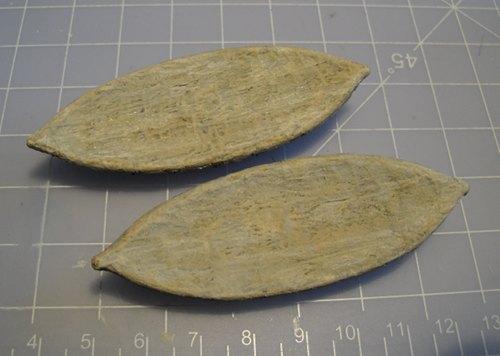
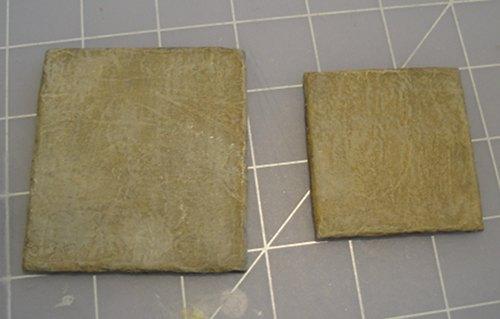
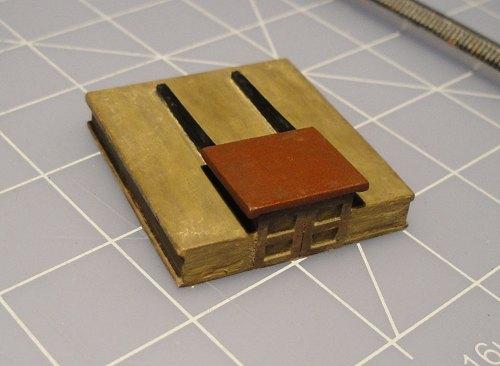
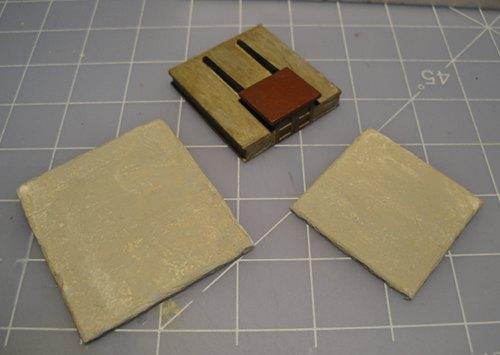
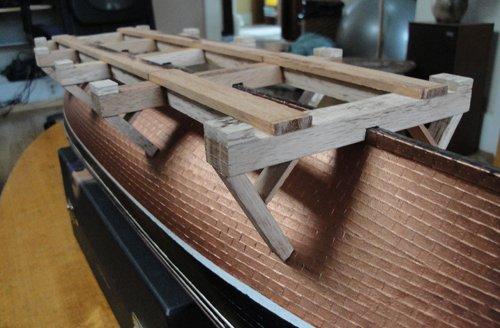
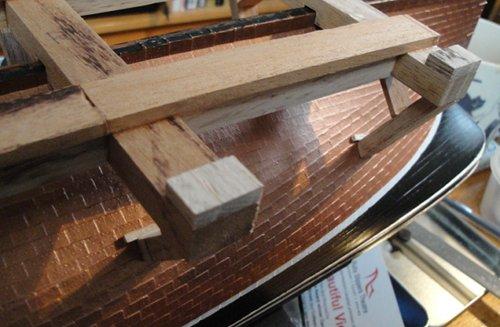
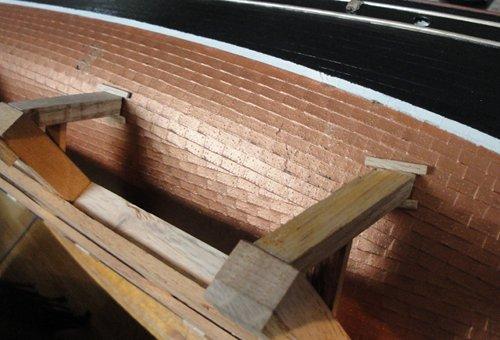
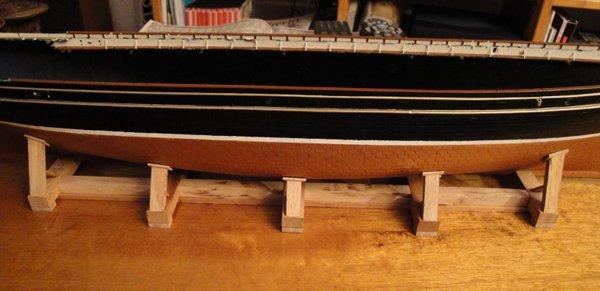
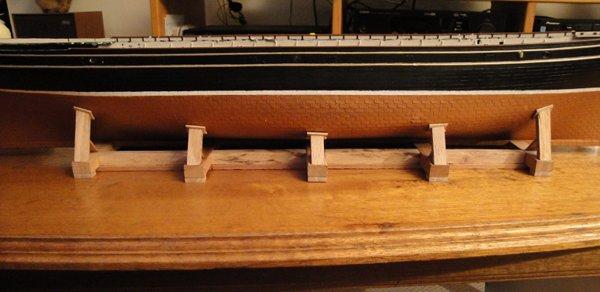
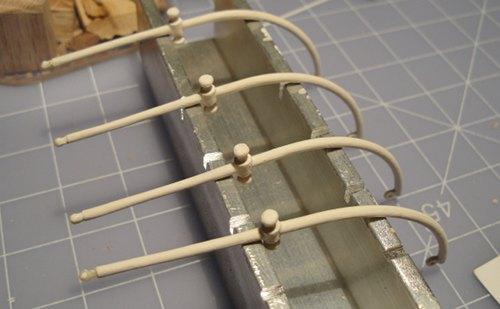
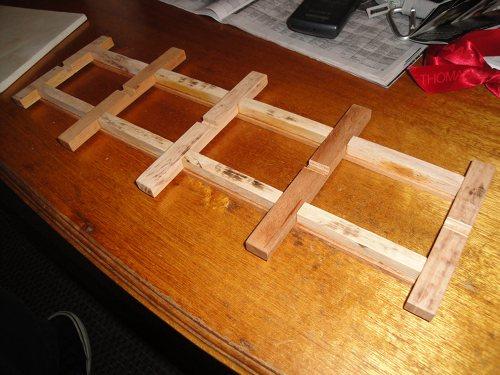
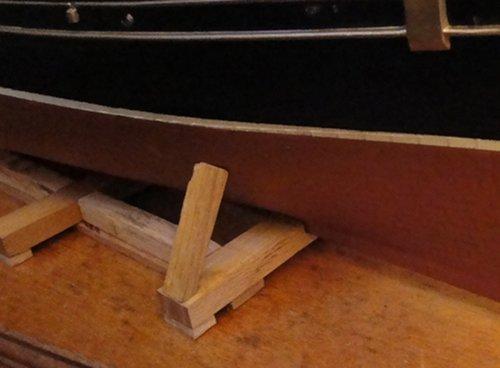
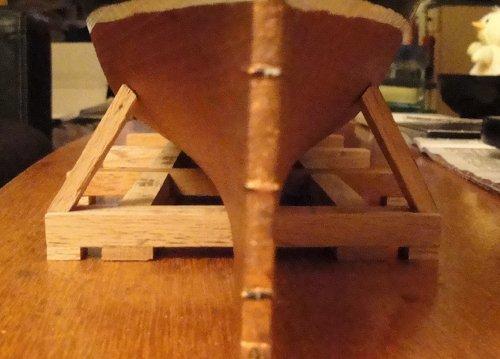
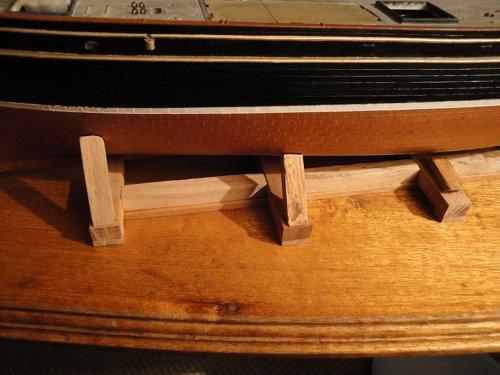
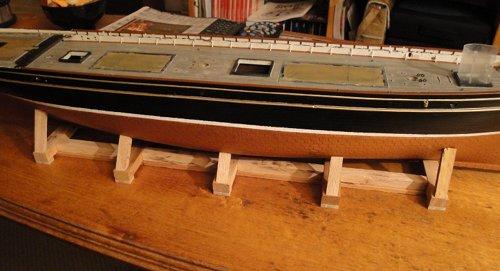
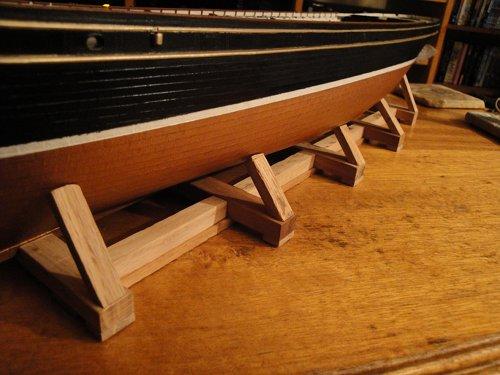
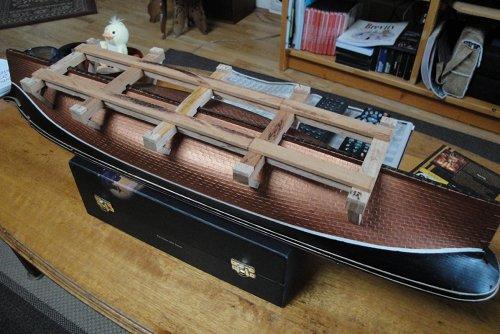
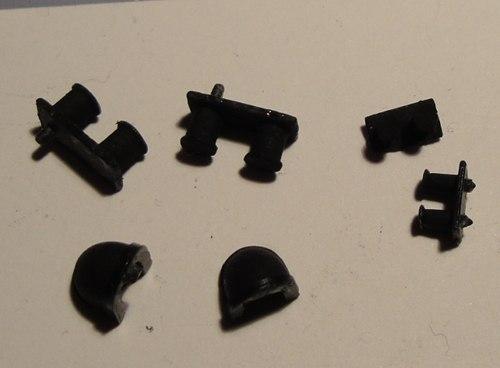
Continuing with the ship display cradle. Working on the colour of the bitts. Boat davits painted and drying. The 'cradle' for the longboat with guides for the extra spars. The boat cradles painted.
-
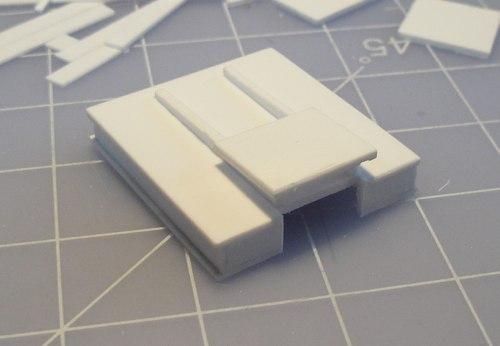
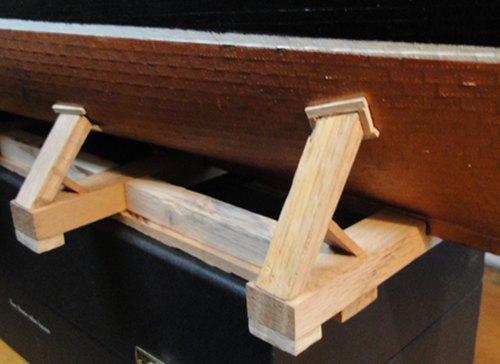
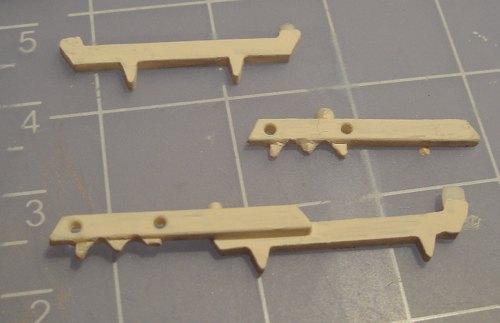
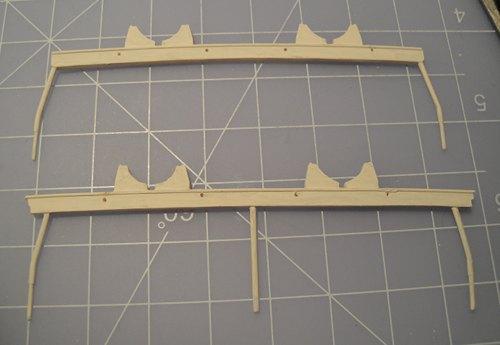
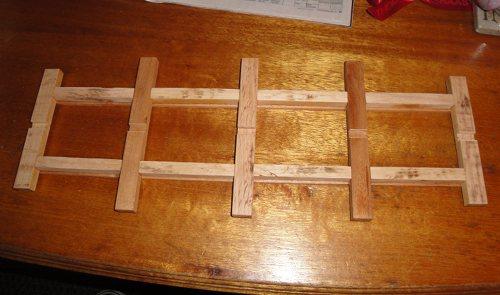
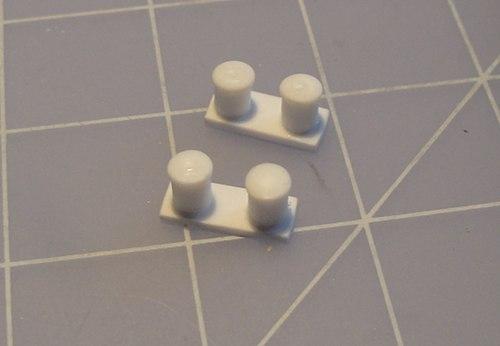
Scratch building some missing bitts. The beginning of the cradle for the ship made out of scrap hardwood I recovered.
-
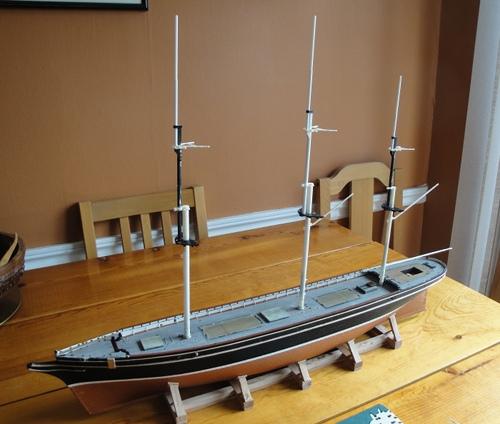
More of the re-do of the boat covers. Comparisons of the original thread and the thinner replacement. And at this point I dry fit a lot of the structures to set up a 'current state of affairs' shot.


- 237 replies
-
- 1
-
-
- cutty sark
- revell
- (and 2 more)
-
Popeye - Thanks for checking in And here we go with yet more ... These first few are of the repairs to the ship's boat cradles which sits atop the aft deckhouse. Here are the bitts and covers for the anchor chain holes... And here's where I decided to re-do the tiedowns for the boat covers.


- 237 replies
-
- 1
-
-
- cutty sark
- revell
- (and 2 more)
-
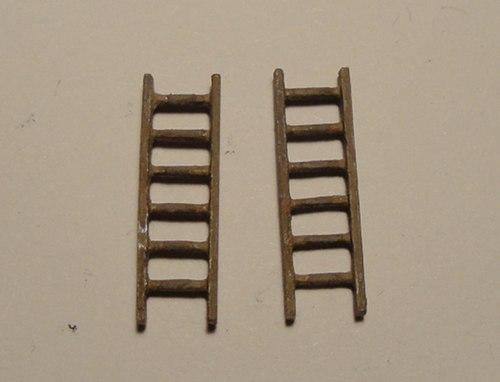
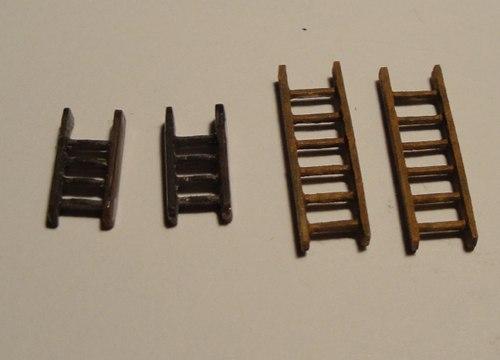
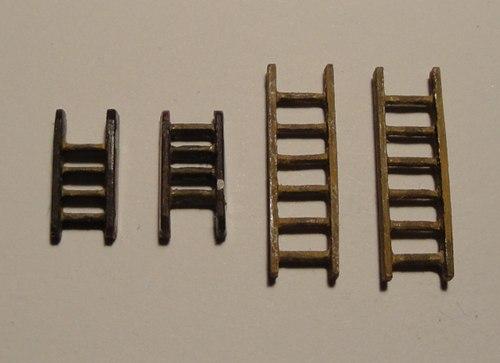
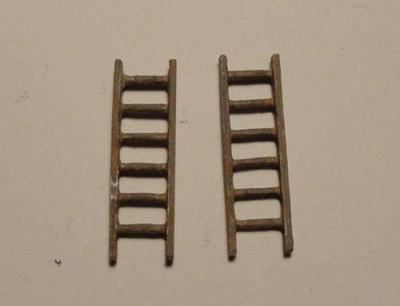
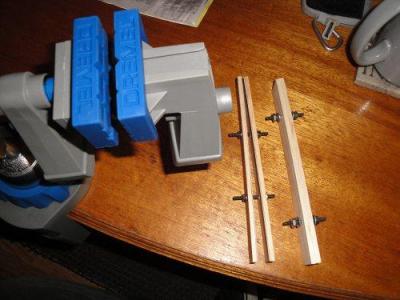
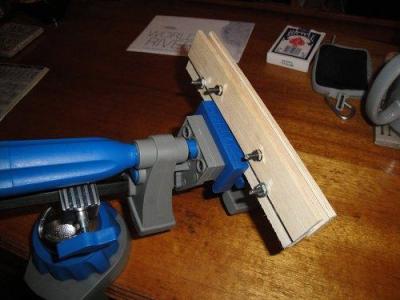
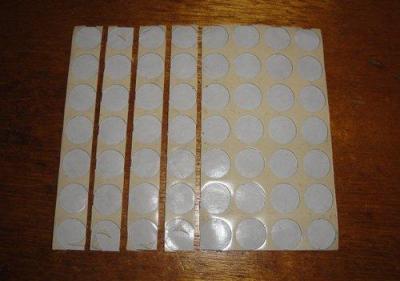
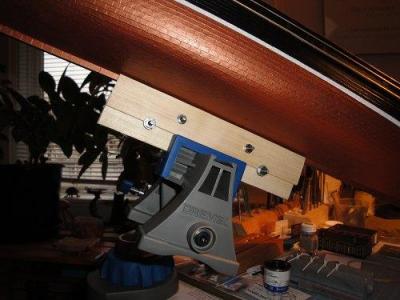
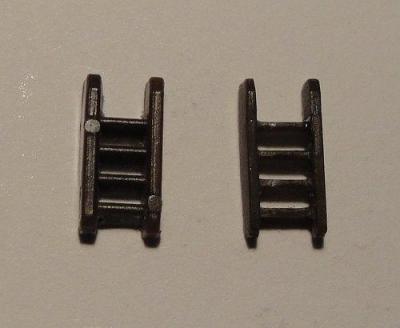
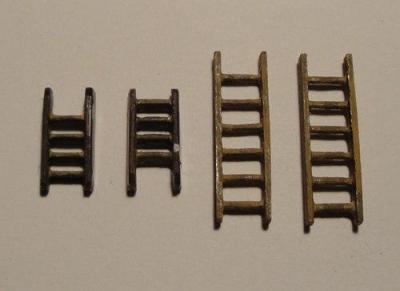
The ladders painted to look more like well worn wood. Further detailing and paint effects added. Though I didn't use it too much this home made keel clamp jig came in handy. The vise is a Dremel product, a touch expensive but very versatile. To prevent damaging the surface of the hull I used adhesive backed rubber - strips I cut off the remnants of this 'rubber pad' sheet. The clamp in action. These photos made me chuckle as I recalled the discussion around this colour - I think it was a Titanium base. Anyway, once all was said and done I was convinced that I should stick with white


- 237 replies
-
- 1
-
-
- cutty sark
- revell
- (and 2 more)
-
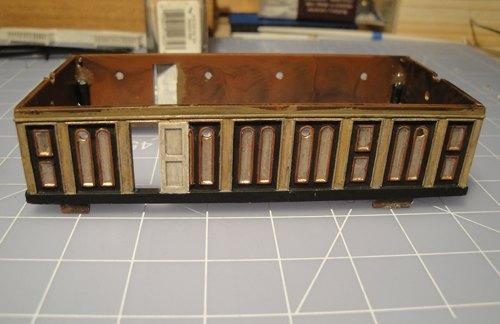
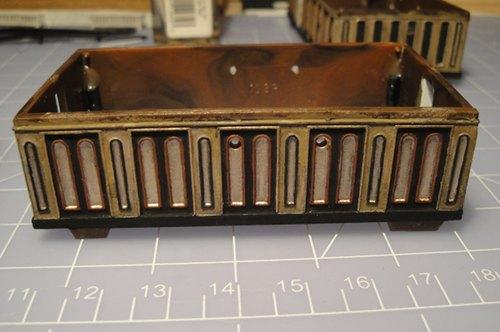
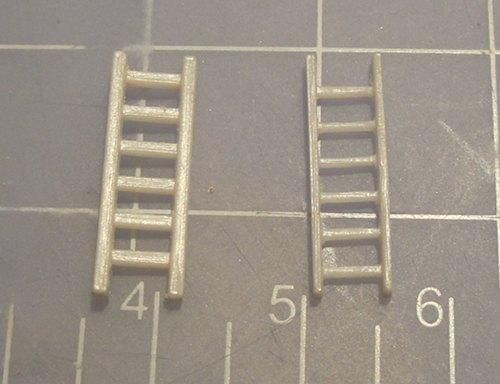
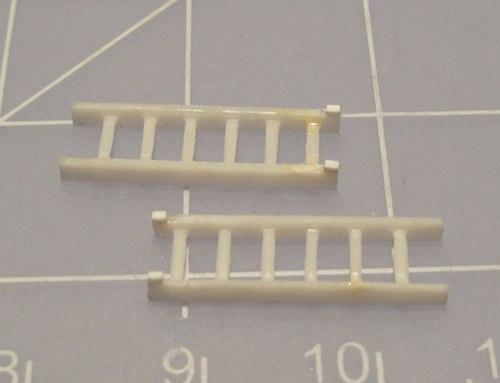
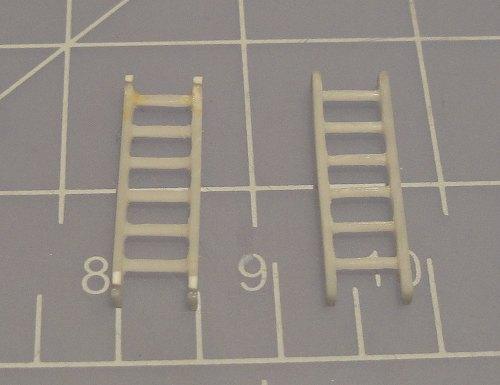
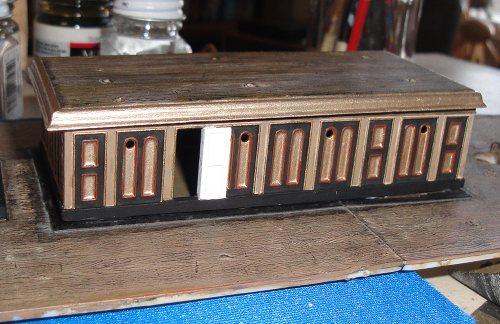
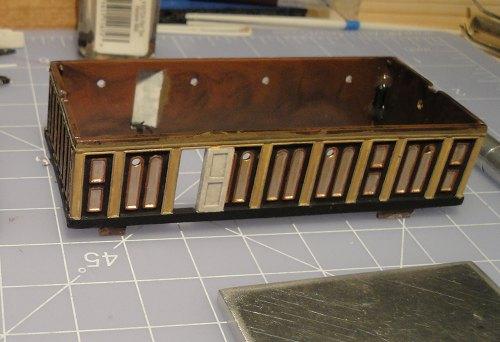
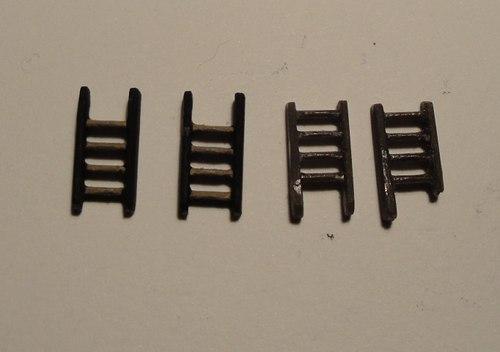
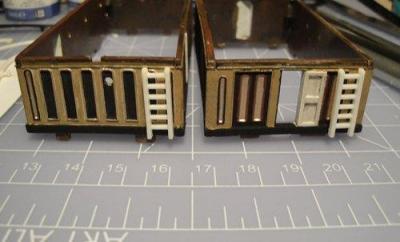
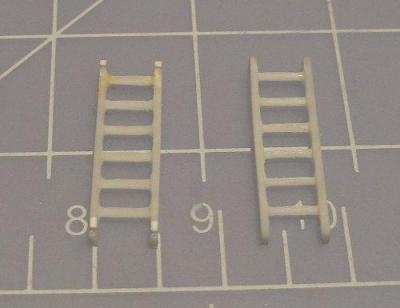
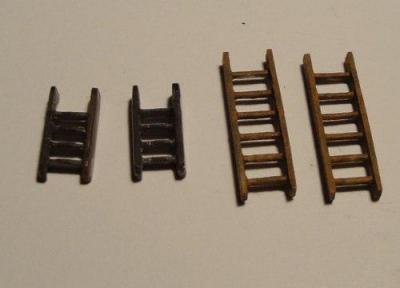
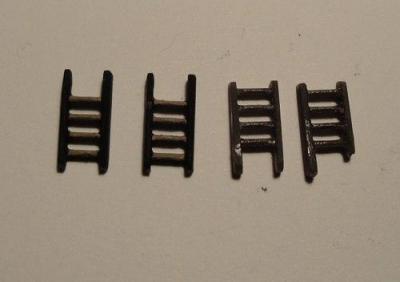
Now onto the cabins. The first thing which caught my eye was the ladders affixed to the sides to access the boats which are stowed atop them. As is the issue with many plastic kit parts these were out of scale so I decided to do something about it. The thinning process was simple scraping with an X-Acto #11 - endless, repetitive scraping ... Adding little 'tabs' to insure the ladders 'sat' properly against the cabin walls. The little stairs that lead from deck to quarterdeck. On the left is the original and the right has been 'scraped' to reduce it's silhouette. Painting the ladders and stairs. Detailing the cabin features. The aft stairs and the ones that led from deck to foc'sle.


- 237 replies
-
- 1
-
-
- cutty sark
- revell
- (and 2 more)
-
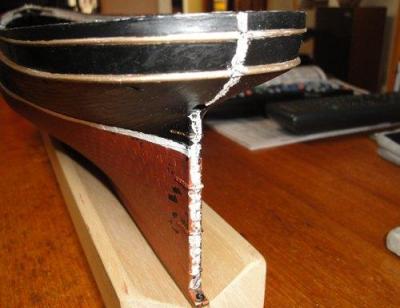
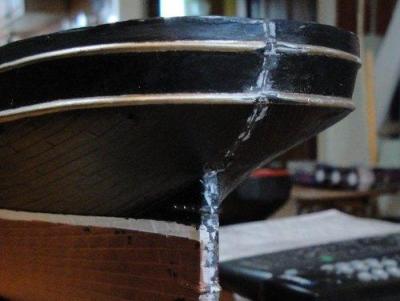
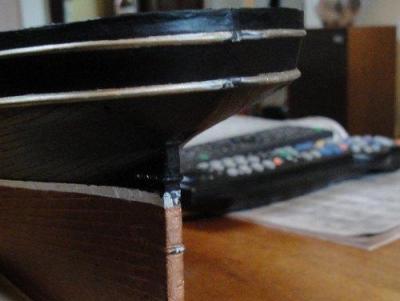
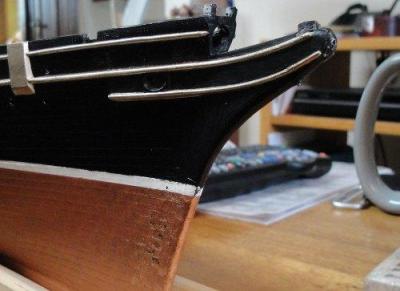
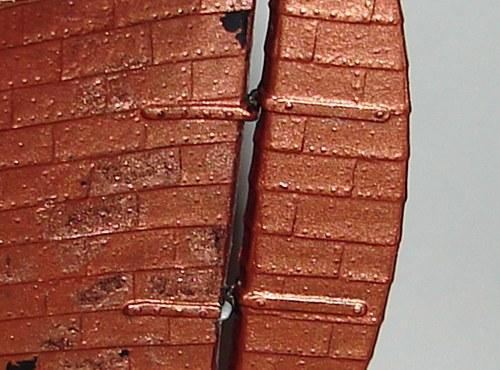
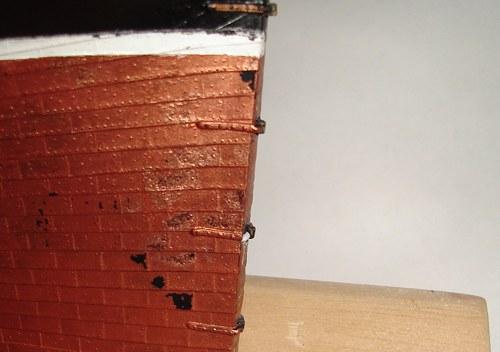
Now to deal with the seam in the hull halves. Initial putty application. Careful sanding and smoothing. Painting over the seam. Detailing added.