HOLIDAY DONATION DRIVE - SUPPORT MSW - DO YOUR PART TO KEEP THIS GREAT FORUM GOING! (Only 27 donations so far out of 49,000 members - C'mon guys!)
×


Jerry
-
Posts
1,753 -
Joined
-
Last visited
Content Type
Profiles
Forums
Gallery
Events
Everything posted by Jerry
-
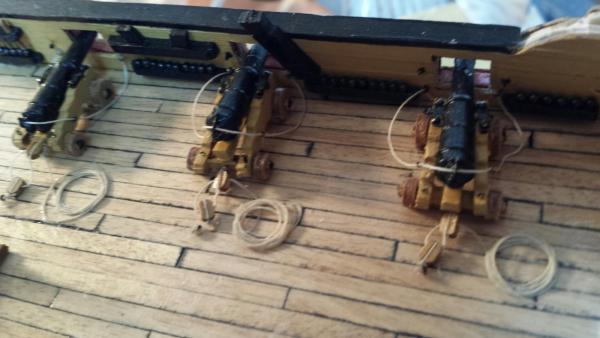
Hello, Daniel... Thank you for noticing my log. I know what you mean about the lonesome guns on the Forecastle deck and their skimpy ties. But when this model finally sits in a display case I don't think there will be enough motion to pry them loose. (Sorry for my poor sense of humor). I just followed the manual and its photos and tied these cannons as they were shown. I hope you will have more comments for me in the future as I sincerely appreciate criticism that will help me do a better job. Take care. Jerry
- 900 replies
-
- 1
-

-
- victory
- caldercraft
- (and 1 more)
-
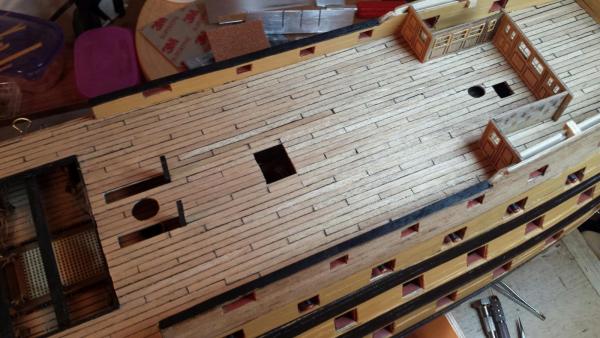
Good afternoon (Evening for some).. Well I'm back in business. I've been spending the past few days working on the deck fore of the Beakhead bulkhead and what follows are pics of my progress. It's perfectly obvious that one needs to be very deliberate in order not to miss something. Fortunately my good friend David, (Shipyard Sid) has been exceptionally cooperative and has shared his experience. For this I am very grateful. Some of the parts were extremely small and I don't believe can be assembled without the use of magnification. I use a lighted circular, magnifying lamp. It looks like the Forecastle carronade cannons are next.


- 900 replies
-
- 4
-
-
- victory
- caldercraft
- (and 1 more)
-
Hello Rowan. Nice to hear from you and many thanks for your compliment. So, I take it that you are a building the HMS Victory too. No need to worry; there are so many nice pople on this site that'll help you as you progress. There is no way that I could have gotten this far without the encouragement and help from others here on Model Ship World. Have you started your build yet? Are building the Jotika (Caldercraft) kit? If, so, are you panning to keep a log? I was hesitant at first about a log, but others, especially Shipyard Sid, got me started and I'm very happy that I did. Let me know where you're at in your build. If I can help you in any way, please let me know. Best, Jerry
-
Good afternoon, David.. So where are you with the clove hitches? Surely you must be at least working the Mainmast bnow. Thanks for your thoughts regarding my build. I finally received the replacement sheet of ladder sides from Cornwall Models so I can build another ladder for the main companionway that I dropped into the hull. So that's my next step. Have a very nice day, my friend. Regards, Jerry
-
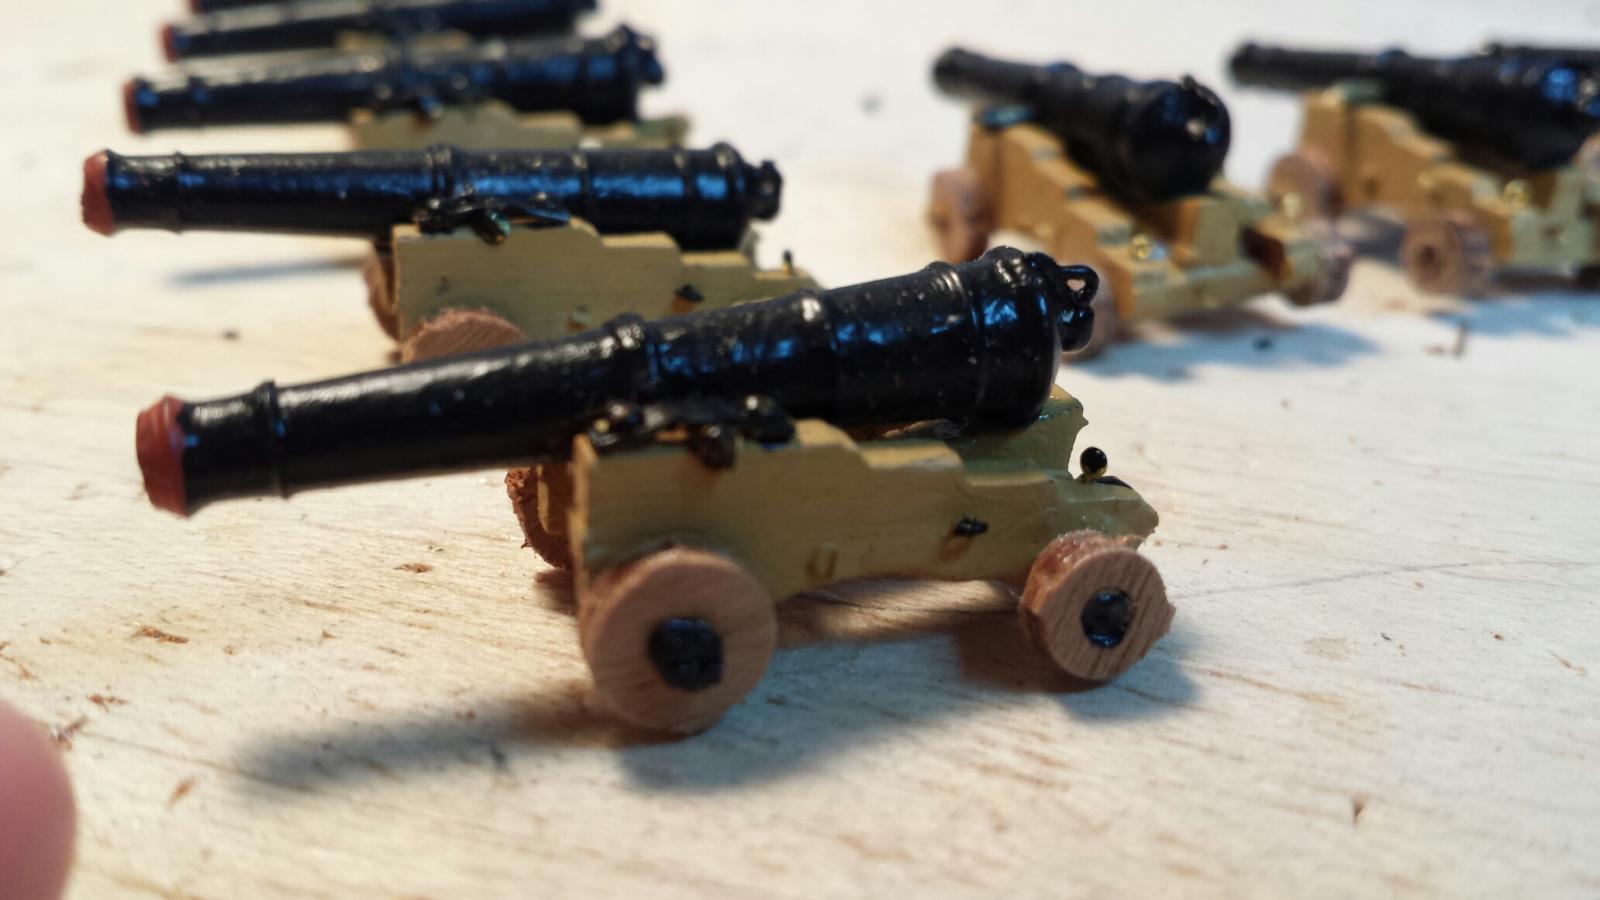
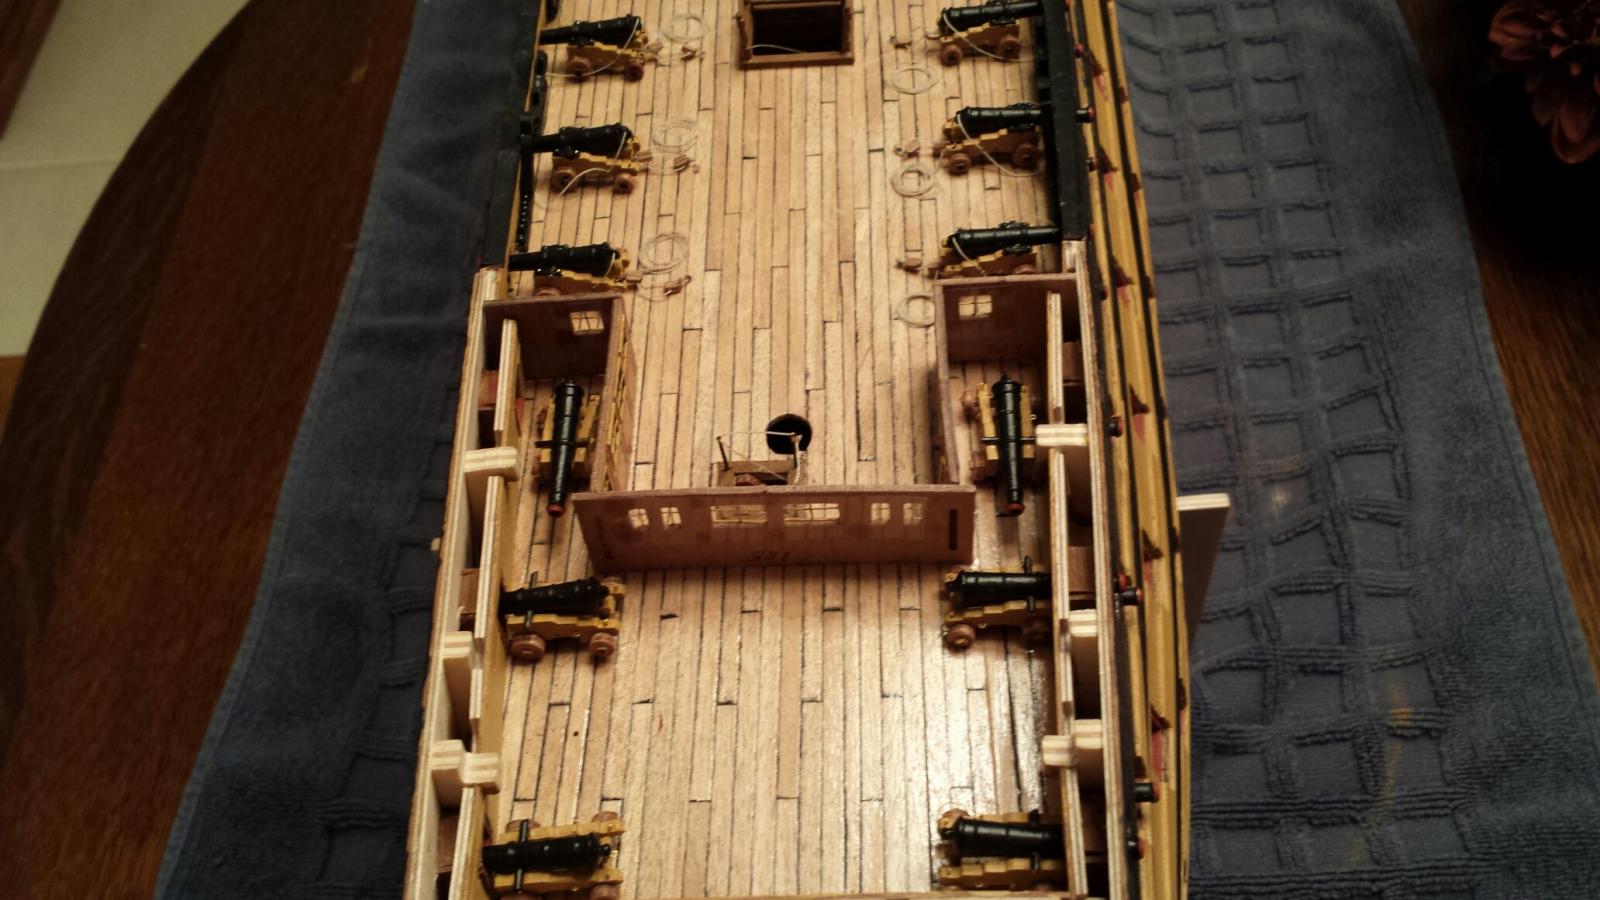
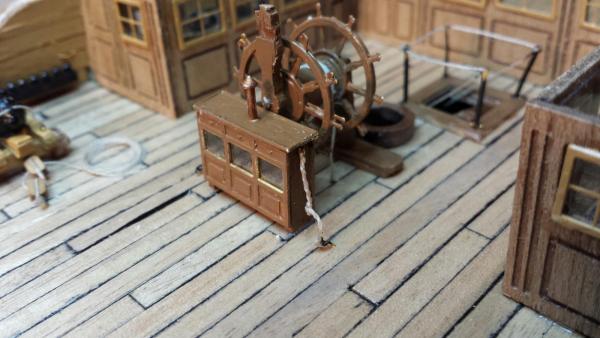
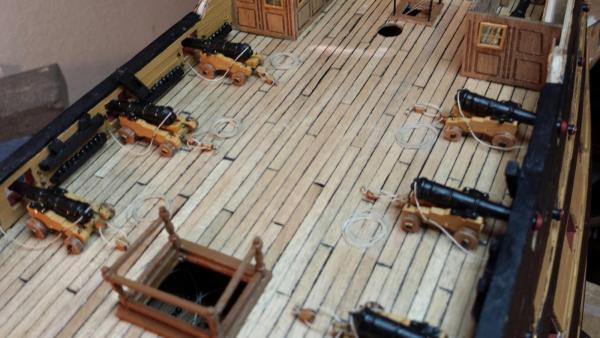
I hope everyone had a great weekend. I didn't do too much on Victory even though I didn't enjoy the football on Sunday. But today I got a bunch done and I'll let the photos speak for themselves. I'm really happy to know that i won't have to rig too many more cannons; just two more, I think....the carronades.. Well here they are:


- 900 replies
-
- 4
-
-
- victory
- caldercraft
- (and 1 more)
-
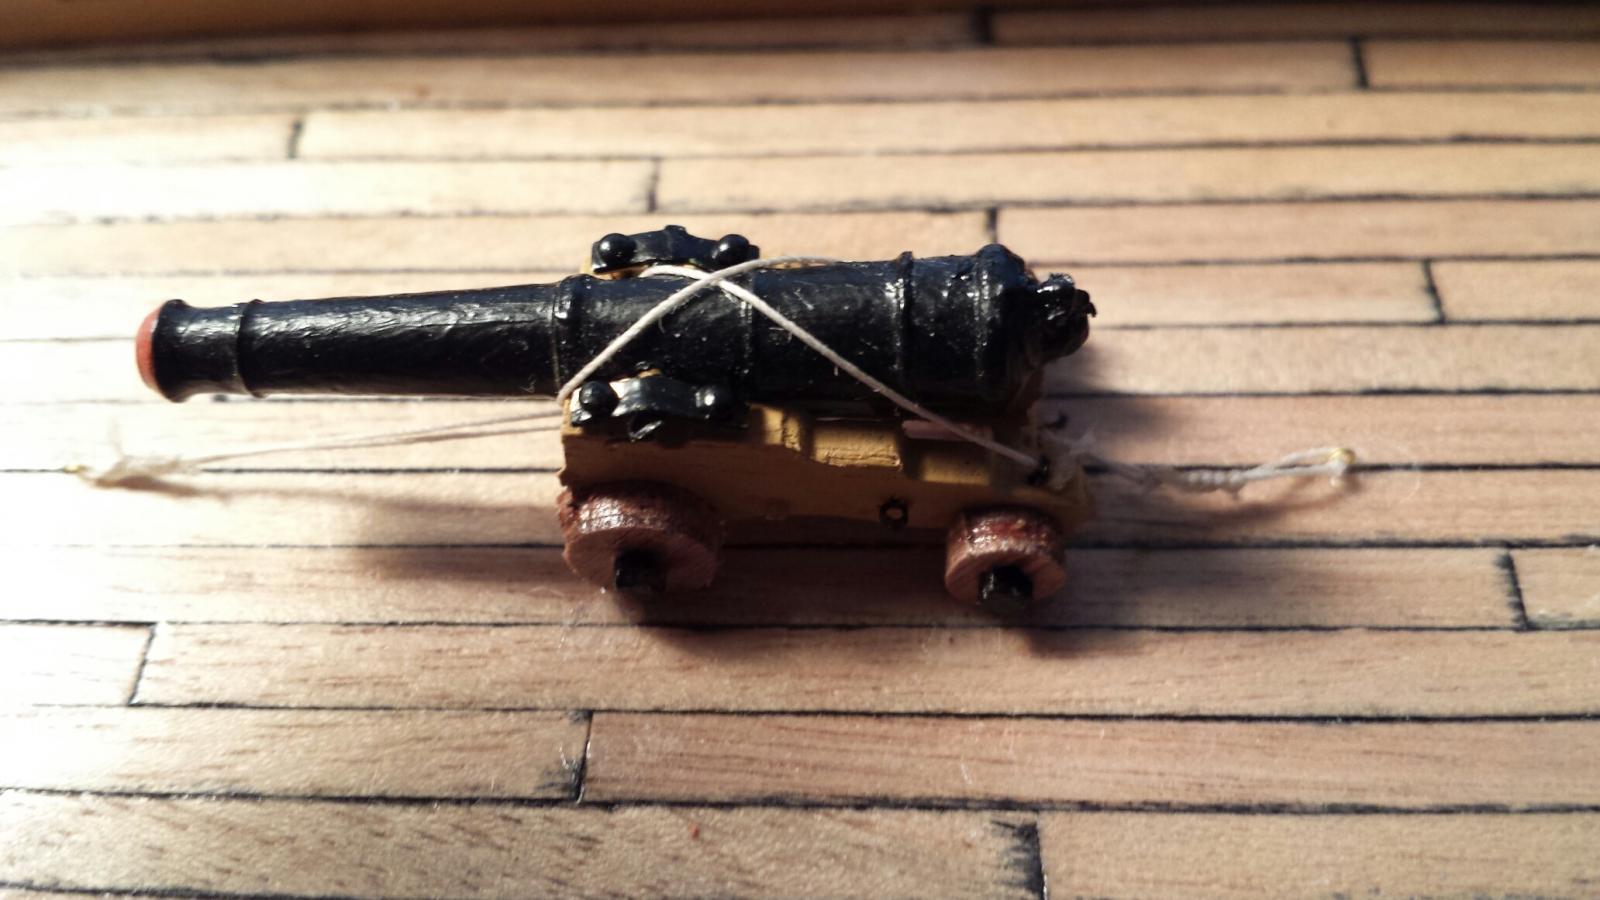
Hi Lawrence, Your welcome regarding the Chopper. Thanks for finding my "fun stuff" looking good. It is fun but as I mentioned before manotony is about to rear its ugly head again. Making the carriages was boring after awhile but it has to get done. Take care..speak to you soon. Jerry
-
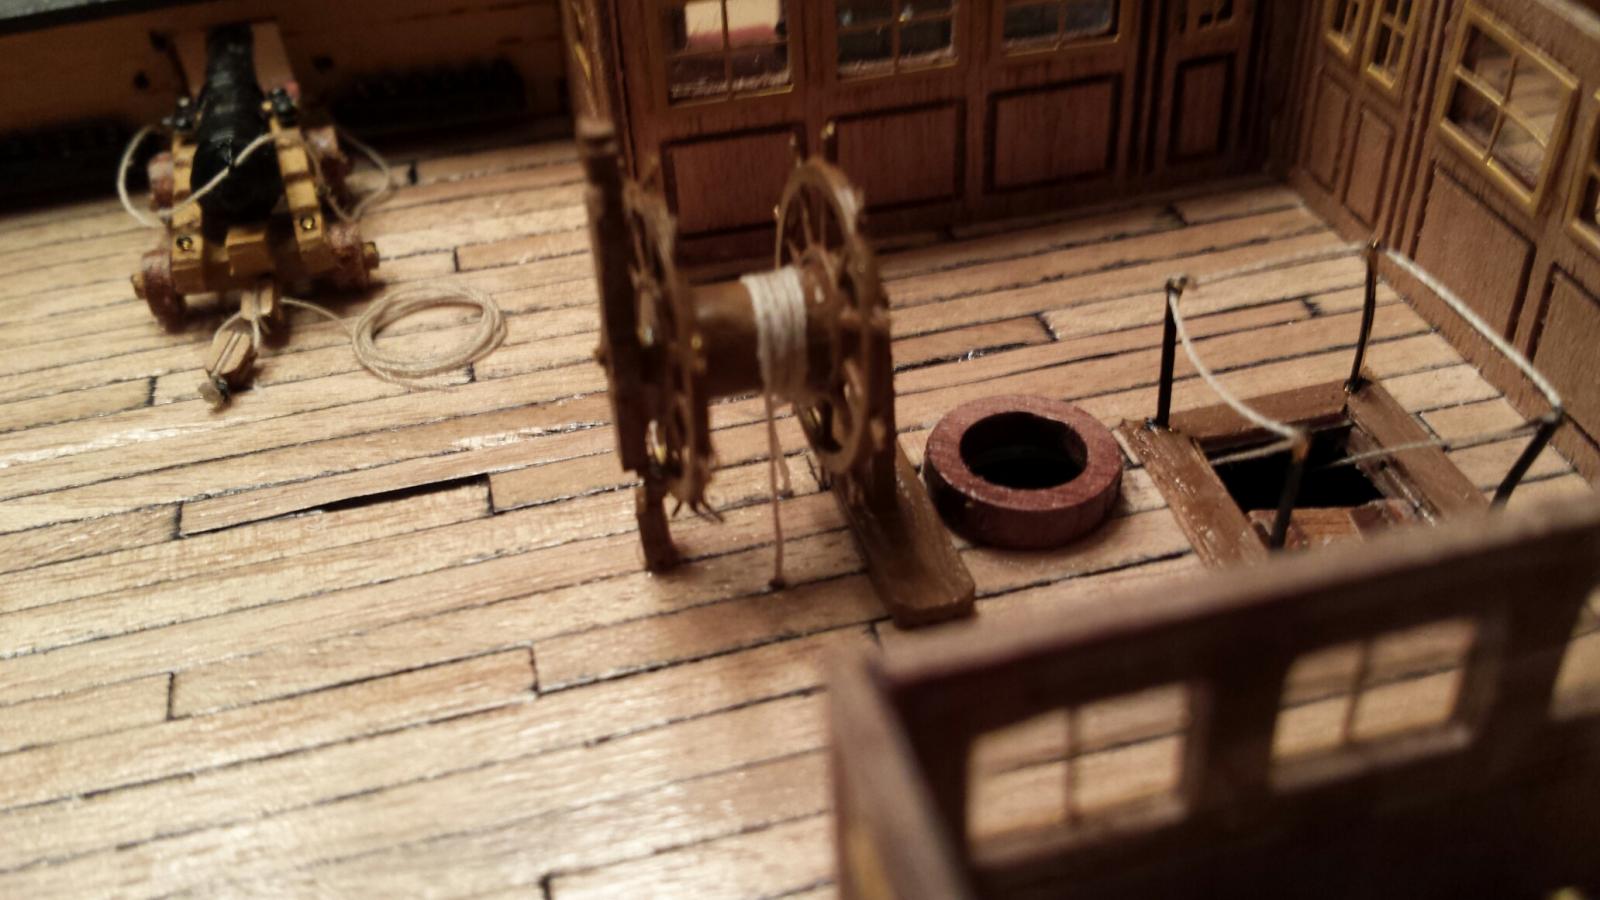
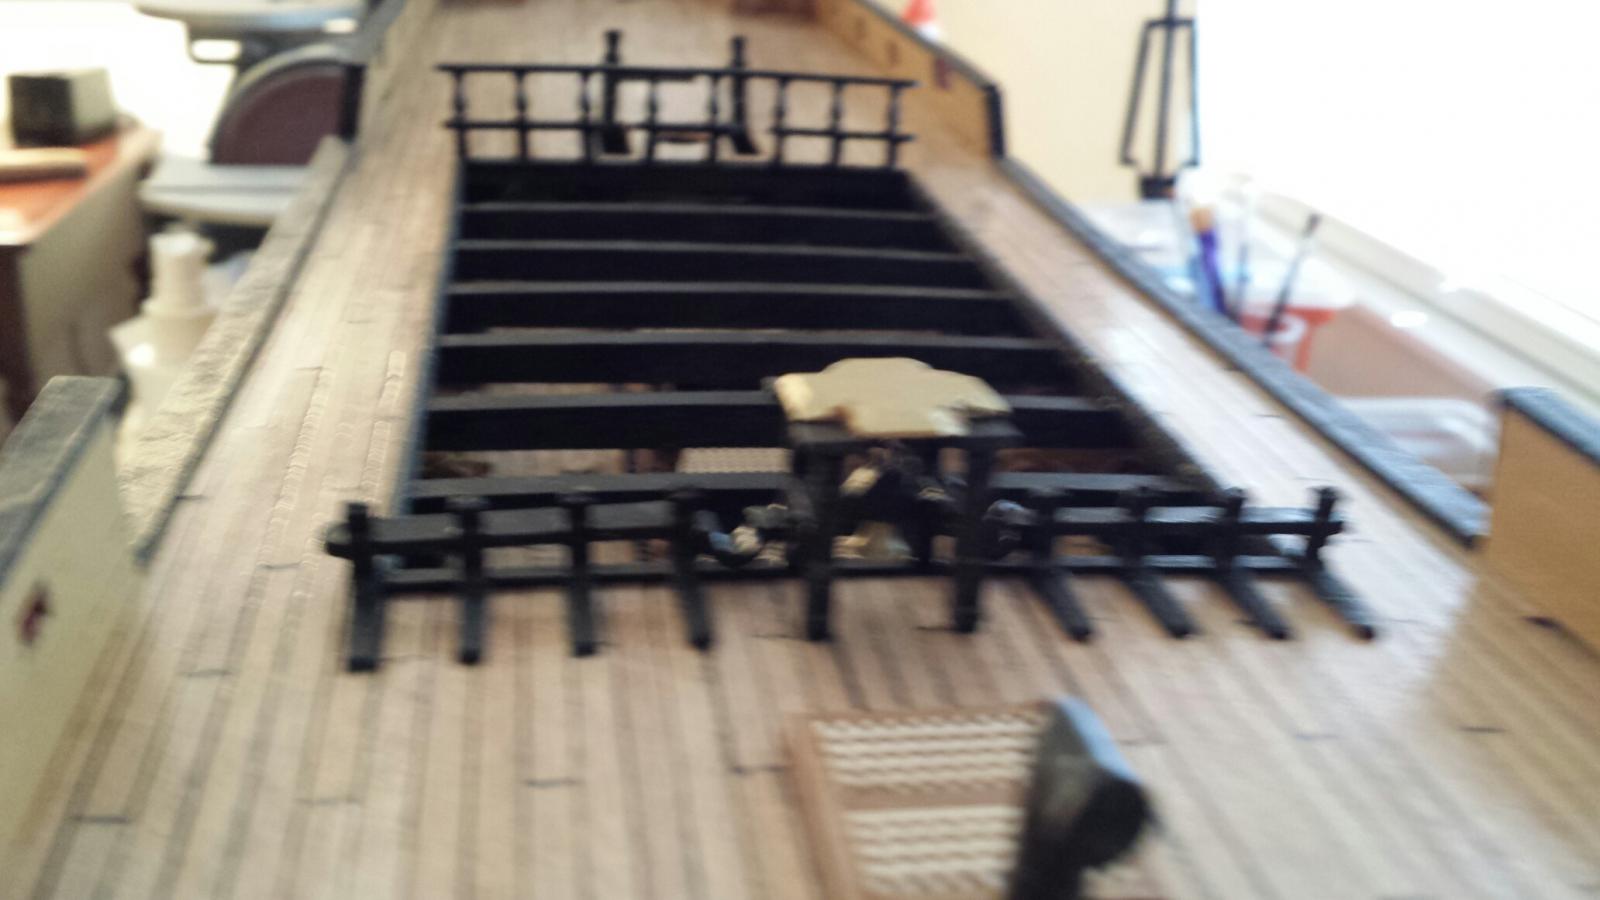
Another Saturday has come around and although the days are going by faster the progress has begun to slow down. It's getting harder for these nimbleless fingers to handle the microscopic parts these sadist kit makers have provided. In addition the old eyes I'm stuck with are beginning to rebel. Nevertheless I keep plodding on and have been able to provide some additional photos of where the construction of my HMS Victory stands. Kevels, Pinrails and Shot Garlands....what a choice of names. In any event that is what i have completed at this time and that is what the following photos disclose. After this it's back to cannons and carriages again as the quarterdeck and forecastle seem naked without them. Happy weekend everyone. Jerry


- 900 replies
-
- 4
-
-
- victory
- caldercraft
- (and 1 more)
-
Good morning, Lawrence..I appreciate your comments on my build. One thing about you, you always put me in a good mood first thing in the morning because of the nice things you say. Now about the chopper: There is no question in my mind that using a chopper correctly to cut your strip wood to size is more efficient and accurate than using a mitre box and razor blade saw. However, I also use the mitre box combo in certain situations. For example, I'd rather use the mitre box for cuts other than 90 degrees and when cutting strip wood wider than 5mm. When using the mitre box it is also important to hold the piece of wood you are cutting very tightly as it will have a tendency to slip. The chopper is capable of handling both of the forementioned operations but, in my opinion, the construction effeciency drops. If, for example, one needs to cut several pices of strip wood to the same size, just clamp one of the 90 degree "stops" that comes with the chopper in the right place and a number of cuts can be made without changing anything. Check that the stop hasn't loosened once in a while. Just picture making a hundred pieces of 4 or 5mm wide by 80mm long strips (for decking for example) using the mitre box as opposed to the chopper. I'm sure you get what I mean. I own the Chopper III which I bought from Northwwest Short Line, Box 1349, Hamilton MT 59840...USA. Their web site is www.NWSL.com and their telephone nnumber is 406-375-7555, fax 406-375-7559...email sales@0s0rail.com... When using this tool please be extremely cautious. I have cut my finger(s) at least three times during the current build cycle. I hope this helps. Please let me know if I can help further. Jerry
-
Hello David.. I don't kmow if he have Boy Scouts in the UK, but if they do you'll make a great Scout leader. No one around can teach how to tie a clove hitch knot better than you. I am definitely not looking forward to tying all those knots. I'm almost ready to take a break from Victory; my eyes are having a tough time lately. But you are correct. I have had a lot of help from some other guys, especially you and Gil. Take care, Jerry
-
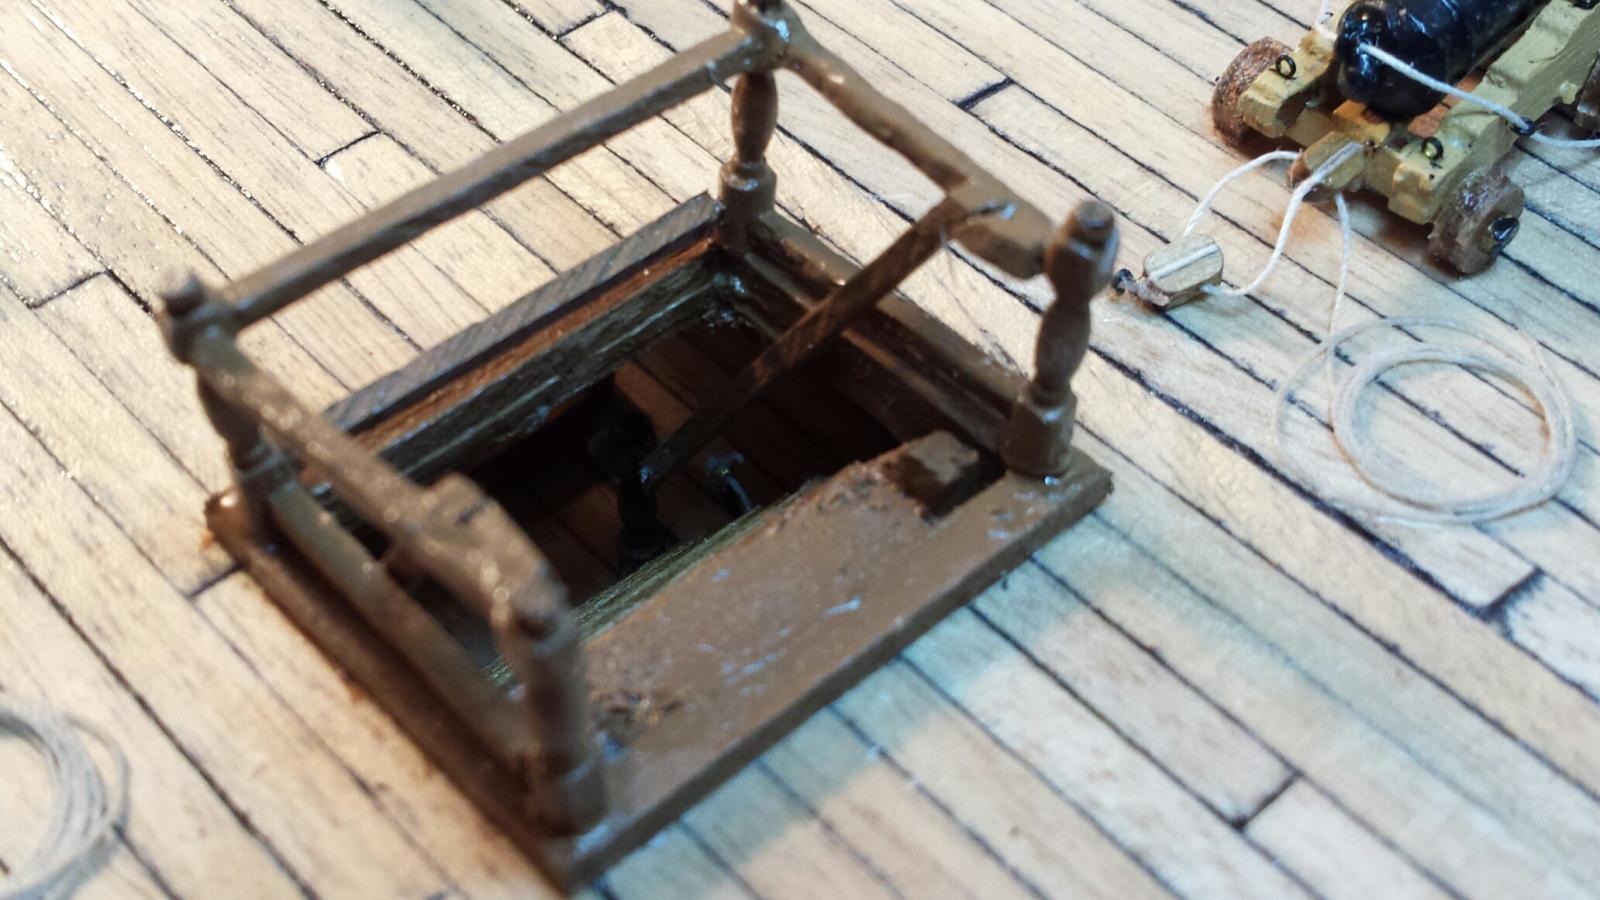
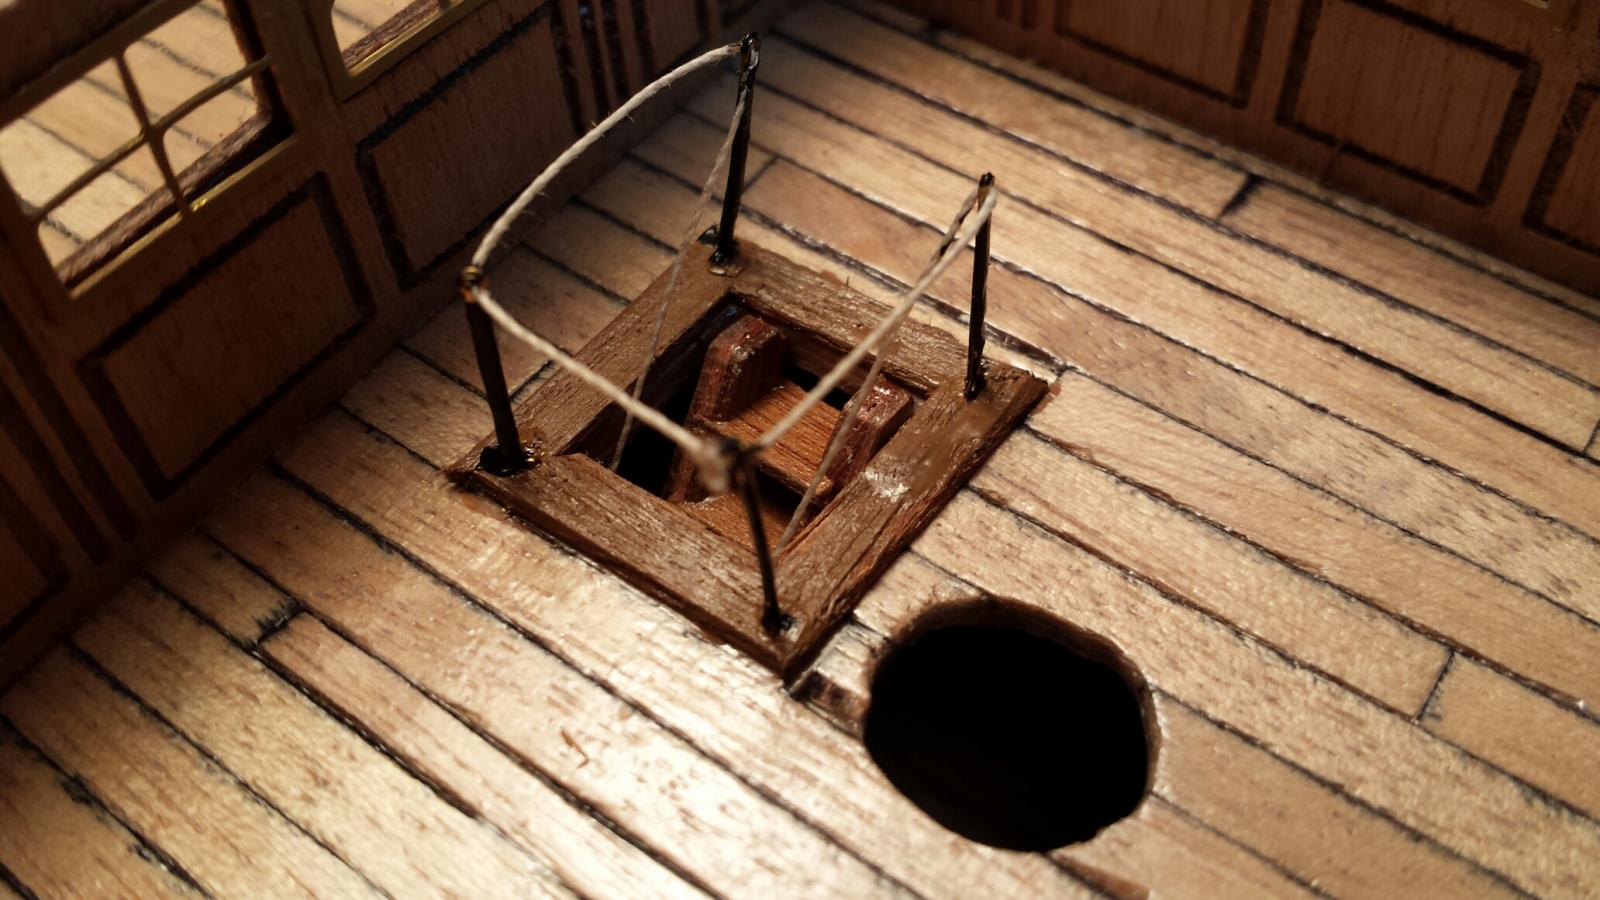
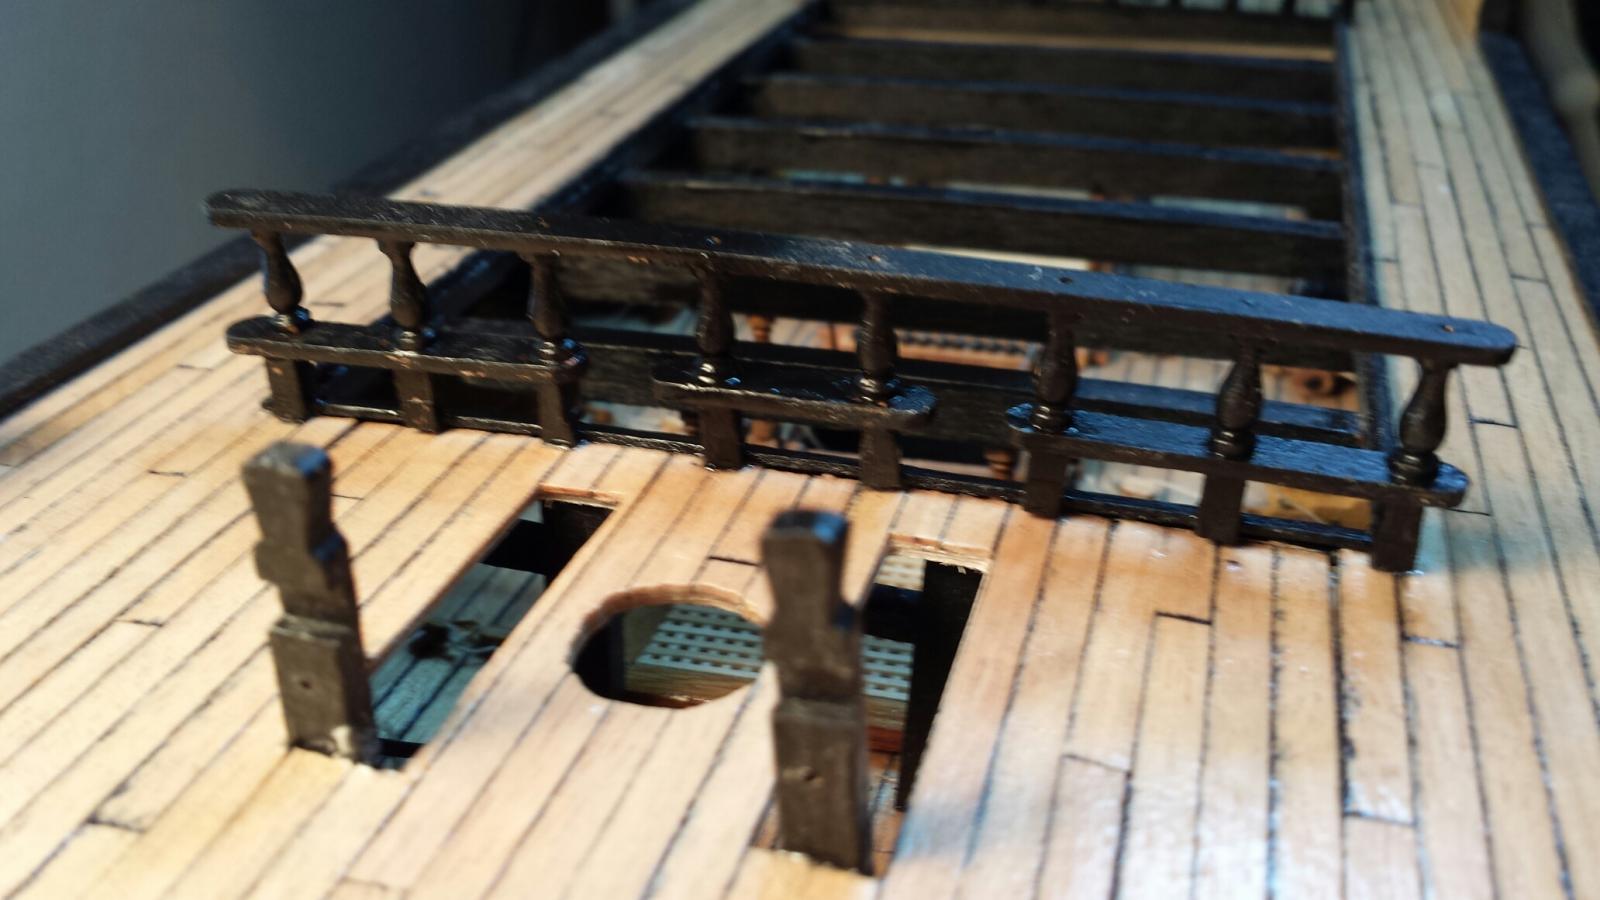
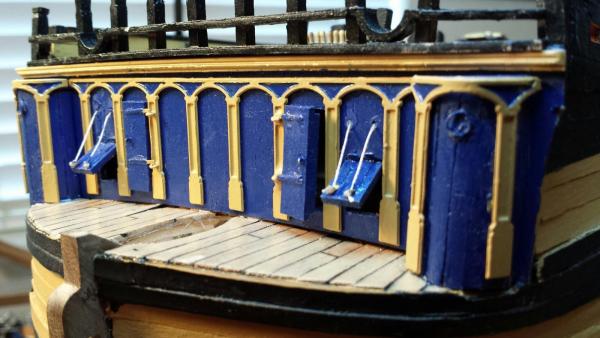
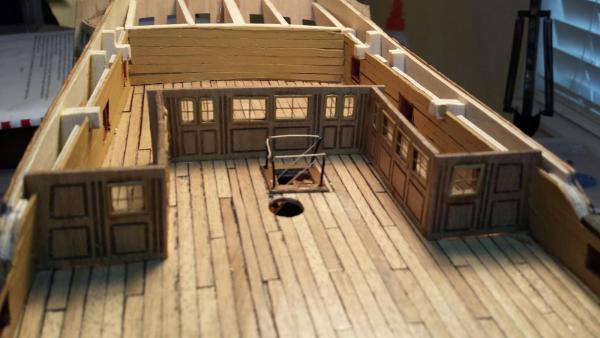
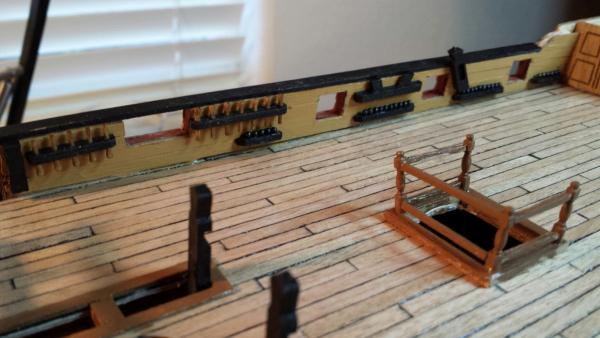
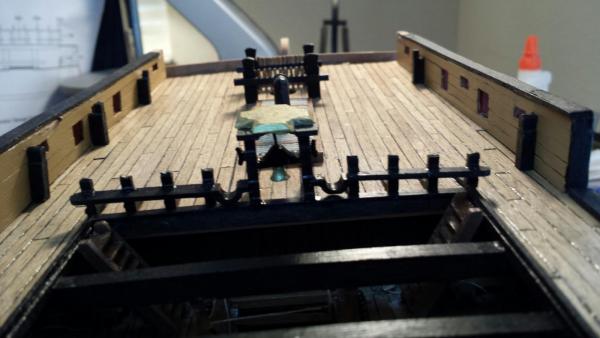
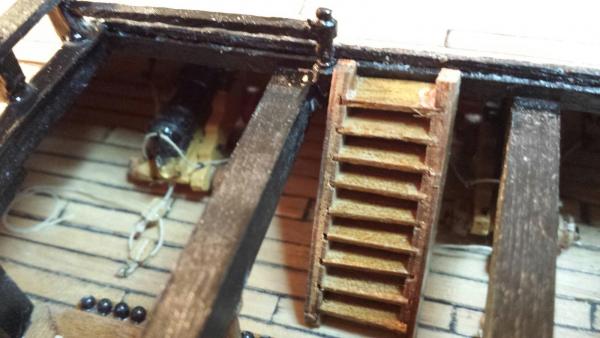
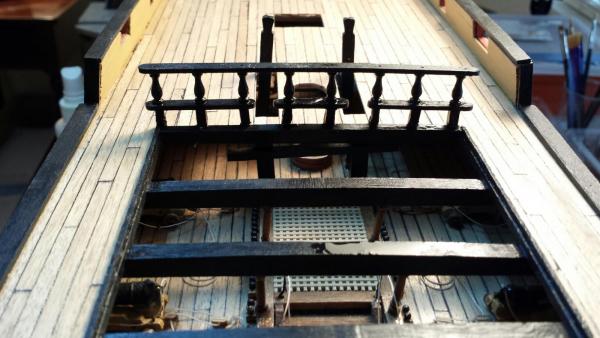
Another day, another litle bit..... Waist Ladders installed and Quarterdeck Riigng opening lined. What a bugger to line the rigging opening..But eventually i was able to work with the small wood again and the results are here; even was able to do 45 degree joints. The rail lines for the ladders will come later when the barricade railings for the skid beam opening is made safe (for the crew that is.) Tomorrow I will try and tackle the main Companionway. I left some lines attached to the stantions on the upper gun deck to use as guides for the wooden railings that need to find their way back to the upper gun deck stairway. I hope this works...Well, we'll find out tomorrow. Now it's break time and a little bit of on-line Texas Hold 'Em. Take care, Jerry

-
Good morning, Patrick and many thanks for your kind comments. I feel as if I'm really moving along now. Hope you have a great Sunday. Regards, Jerry
-
Thanks again, Lawrence.. But I must assure you that age is only a number. Sure I have my share of aches and pains. but I ignore them unless It's impossible to do anything. I think having been a profesisonal athlete during my very young years has helped my agility but it sure has played havoc on parts of my body. Have a very nice Sunday and I'll talk to you soon, I'm sure. Best to you, Jerry
-
Thanks, Lawrence. Today's difficulty was notching the bottoms of the 3x3mm pieces. I finally figured a method. I put the 6mm long piece in a vice and filed half the bottom carefully until I was 1mm deep. Then i realized that I could also cut a notch with my xacto knife. As I work more and more with "microscopic" parts I also realize that my eyes, indeed, are 81 years old. Enjoy the rest of your weekend. Jerry
- 900 replies
-
- 1
-
-
- victory
- caldercraft
- (and 1 more)
-
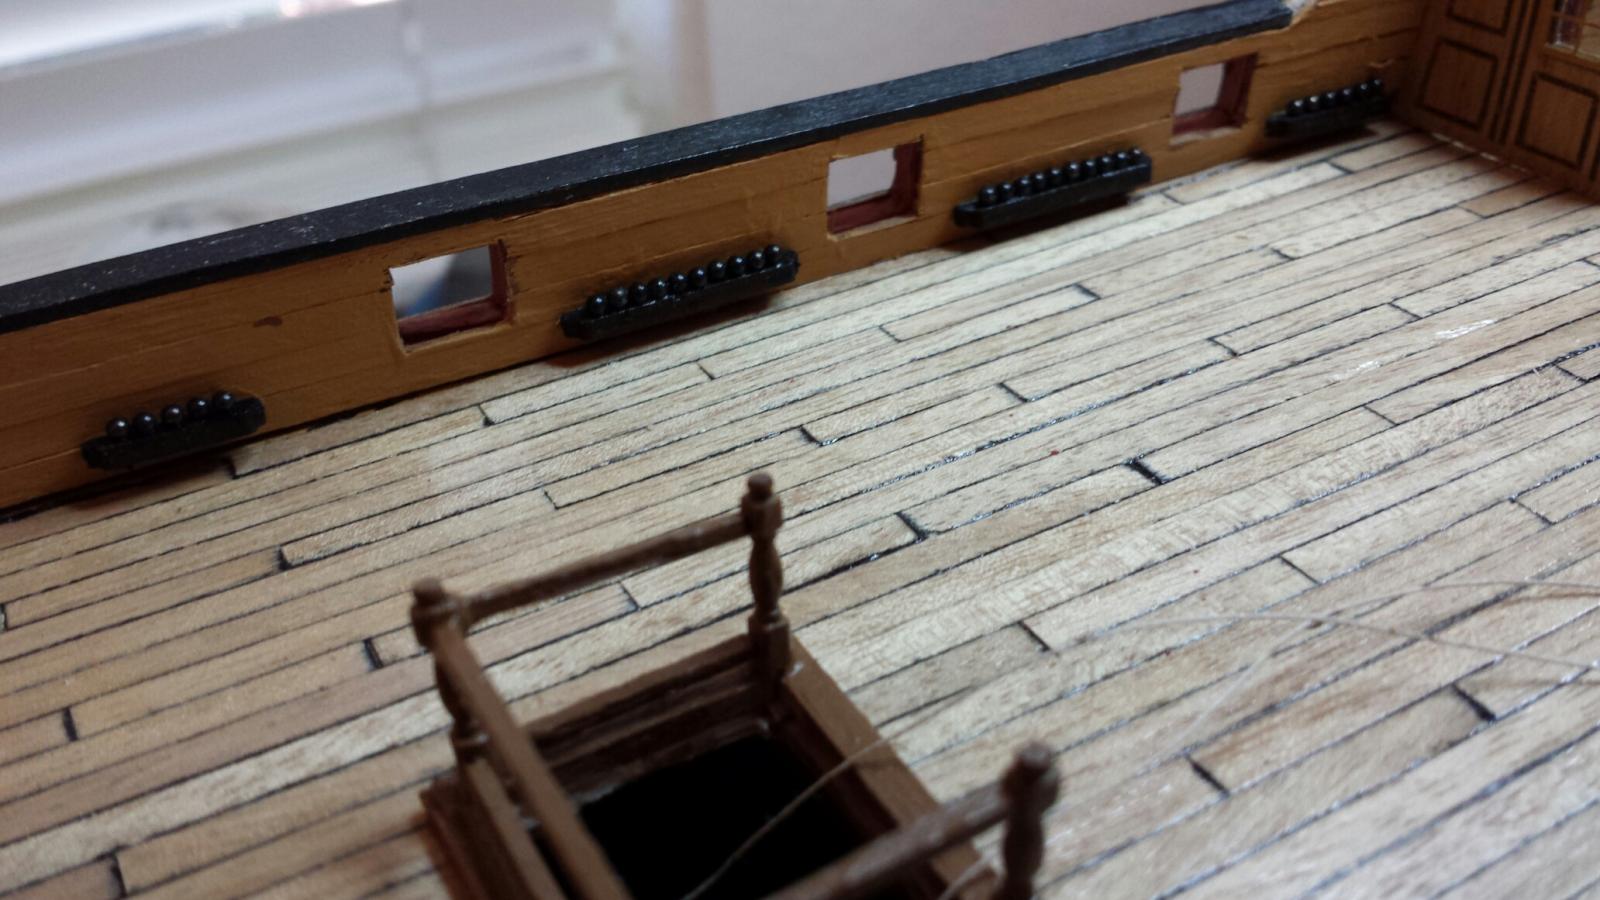
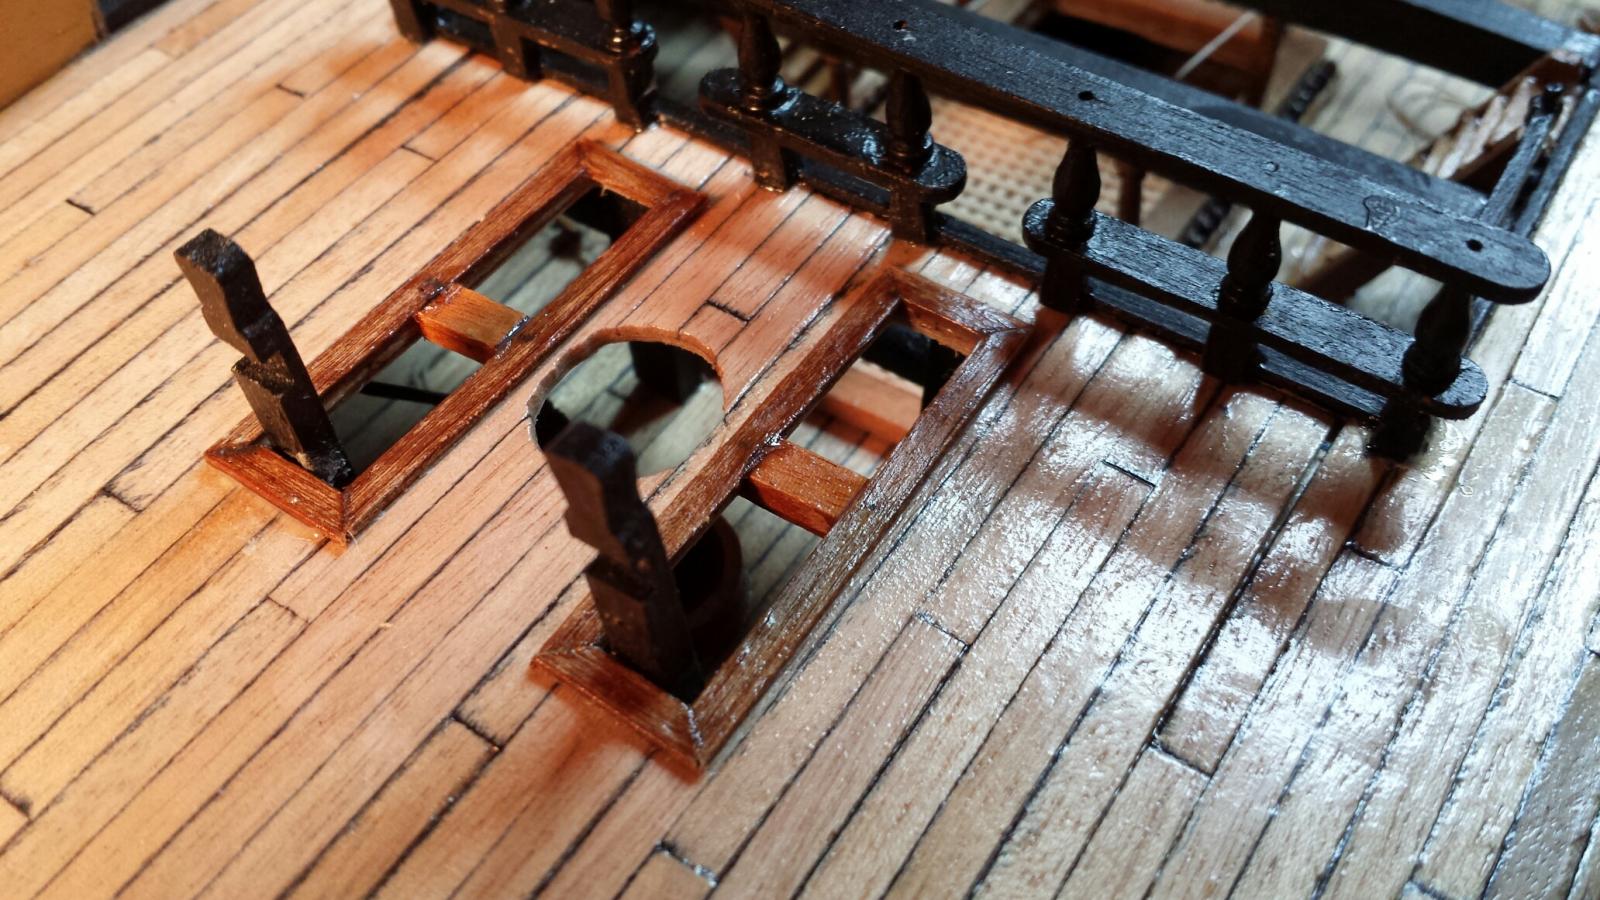
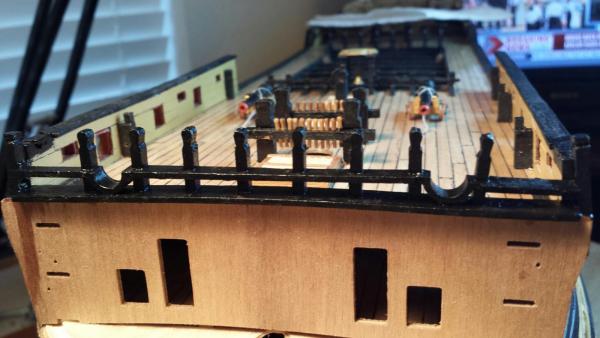
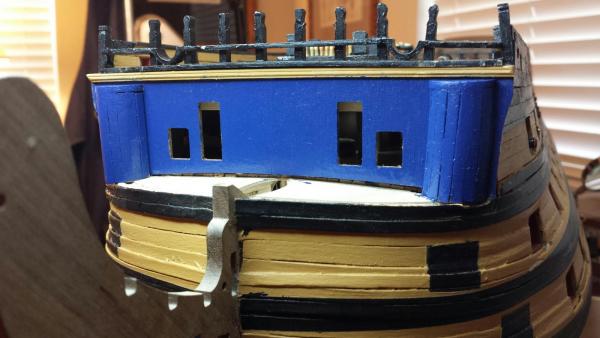
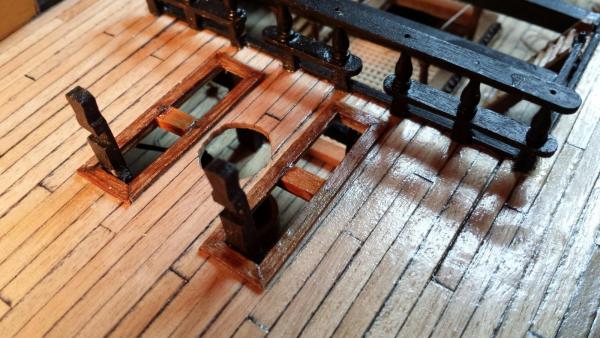
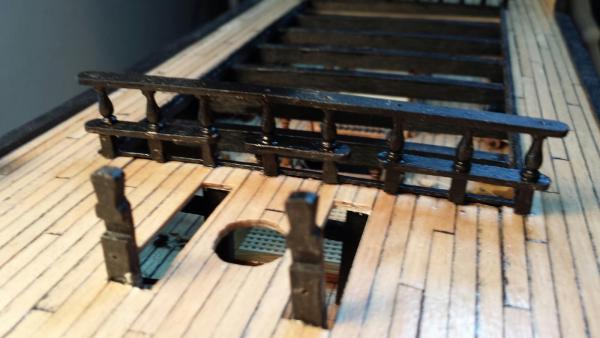
Happy Saturday everyone...Moving right along, here are some new photos marking my progress. I must say that the kit does have some flaws but I managed to conquer the mistakes and get a bit ahead. To be specific, when assemblong the Quarterdeck Barricade Aseembly the kit maker marked certain pieces with small holes in order to correctly position the supports and turned columns. They were way off so I glued the pieces and then realized that they were wrong. I removed the parts and reglued them in their correct spots. This unfortunately lead to some ugly glue joints and hopefully the good old black paint did a good cover-up job. Next, it's the waist ladders' turn to be made and properly placed. Have a great weekend everyone. Best, Jerry


-
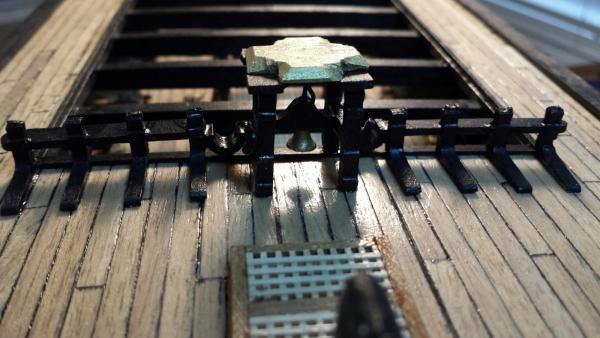
Good morning, Lawrence... Thanks for he threadnig tip. Actually, there's no call for threading the bell ringer so 'll just leave it alone. It's amazing to me how the maufacturer is able to produce a brass etched part witha hole so small in it. I'm guessing that the diameter of this hole is less than a quarter mm. Good to hear from you and enjoy your weekend. Jerry
-
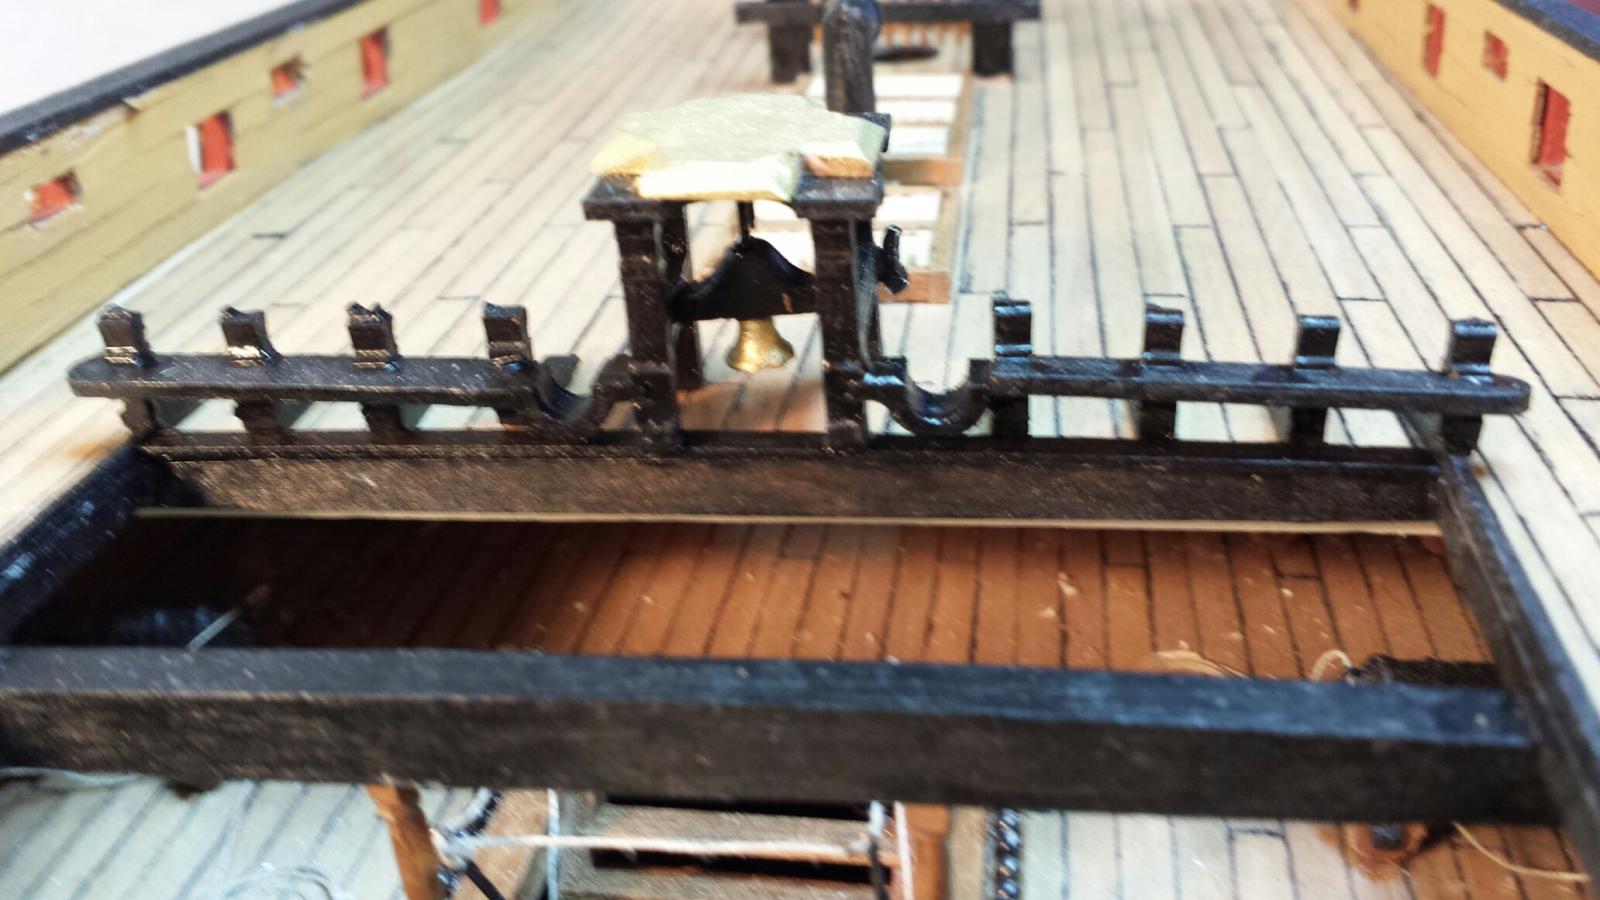
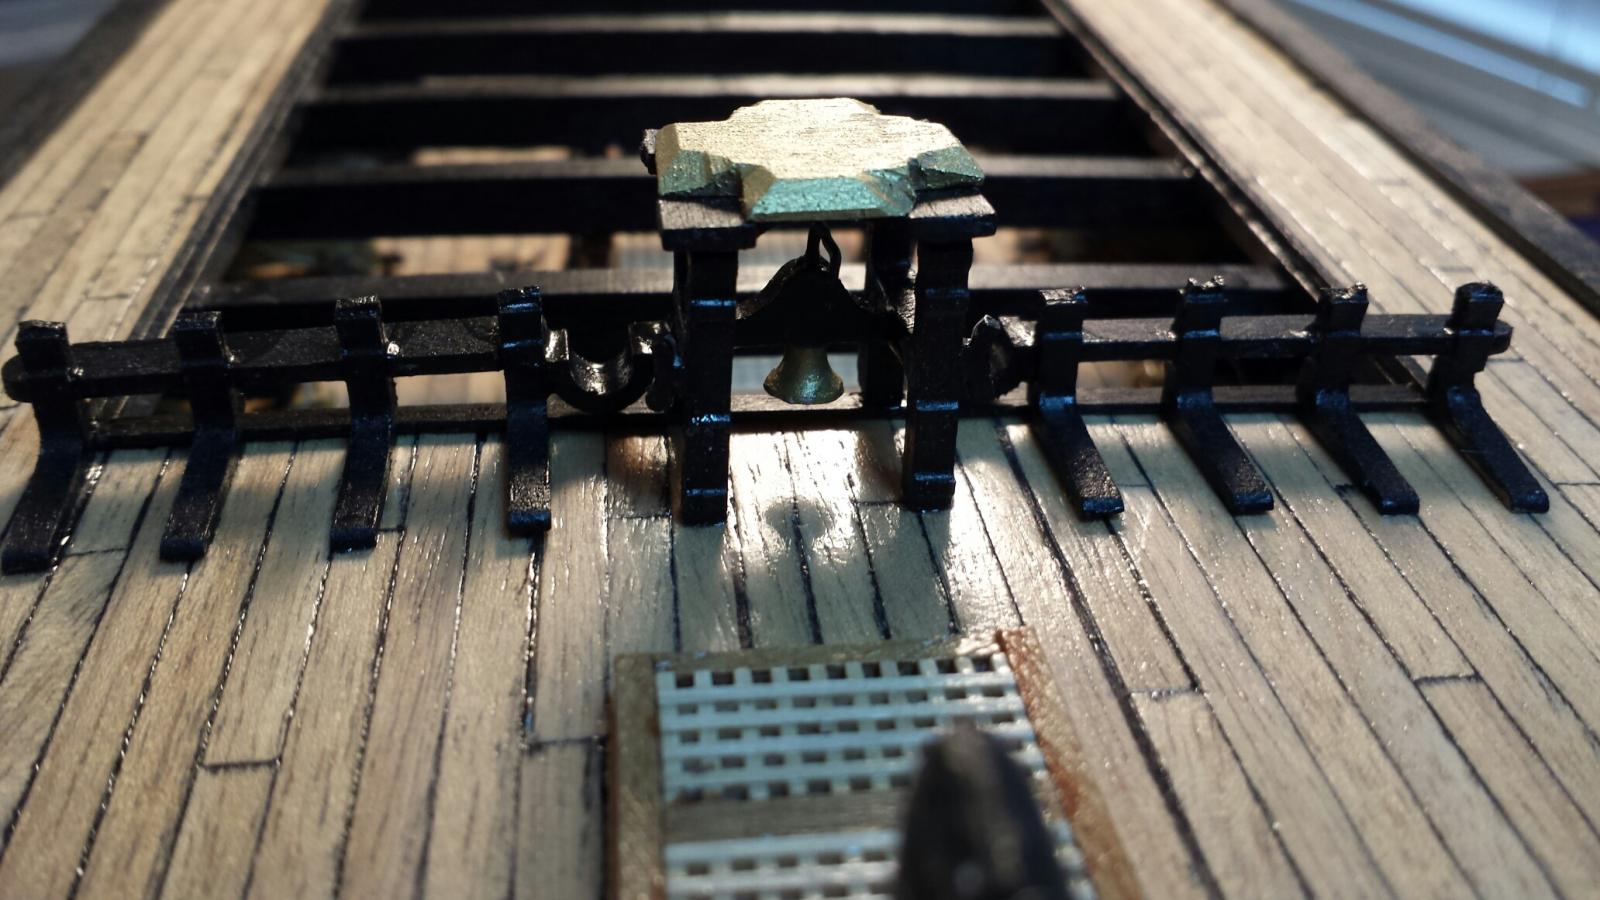
Hello Lawrence, Good to hear from you again and many thanks for your nice words regarding my build. It's been fun lately since I'm not feeling bored with repetition. However, I just finished 2 hours of frustration trying to find a cast lead part of the ship's bell for the belfry that's part of the breast beam assembly. I was about to give up looking when lo and behold I found it mixed in with a slew of other cast parts in a tiny bag (all the bags are tiny...thank goodness for my magnifying lamp.) Now I need to figure out how to make the darn assembly. The belfry handle has a hole in it for a line, I guess, that's so small in diameter I can't see it with my naked eye. I see it under magnification and I don't think it's large enough even for a sewing needle threader which is what I normally use for threding line. Anyway, all is well again so have a great evening and take care. Jerry
- 900 replies
-
- 1
-
-
- victory
- caldercraft
- (and 1 more)
-
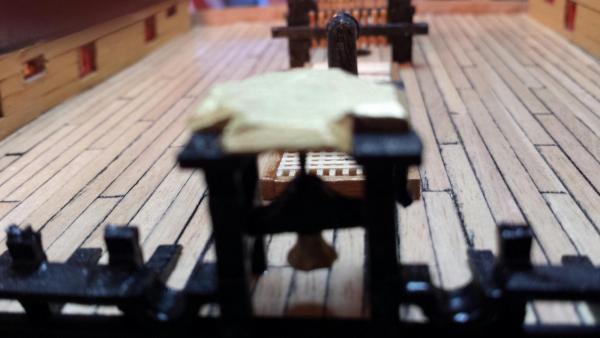
David, Although there is the expression,"Assumption is the mother of a screw up," You have assumed correctly that I'm headed aftwards. The belfry assembly shall be next and I will follow your suggestion regarding parts splitting. As I look into the kit box I wonder how I got anything done since there still seems to be about a thousand parts still available. Thank you for your compliment and happy clove hitching. Regards, Jerry
-
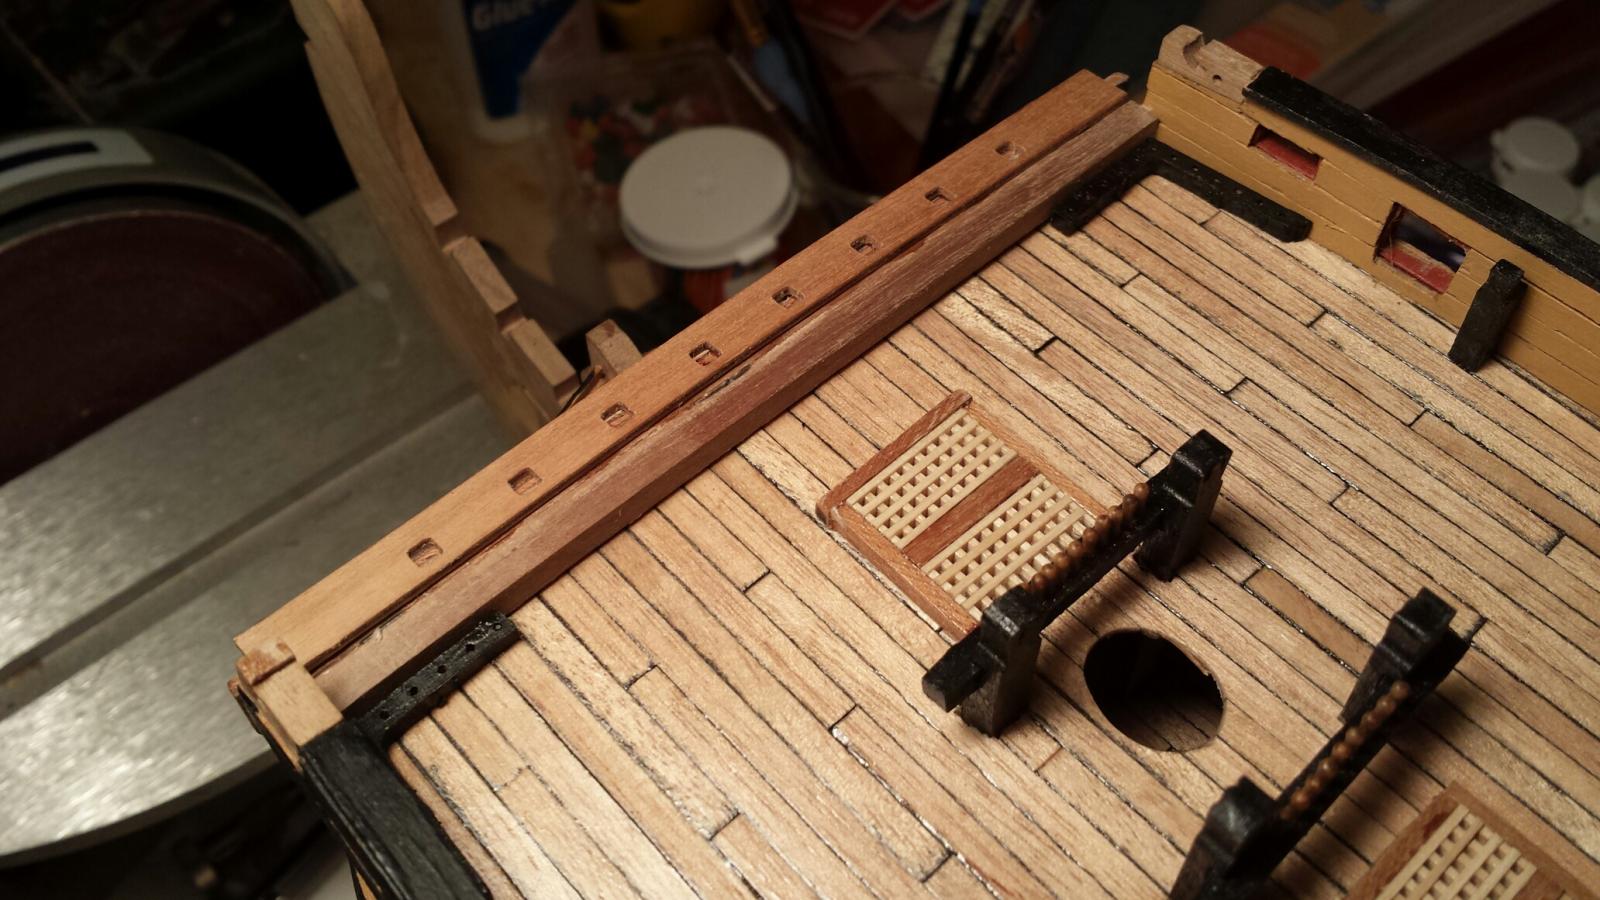
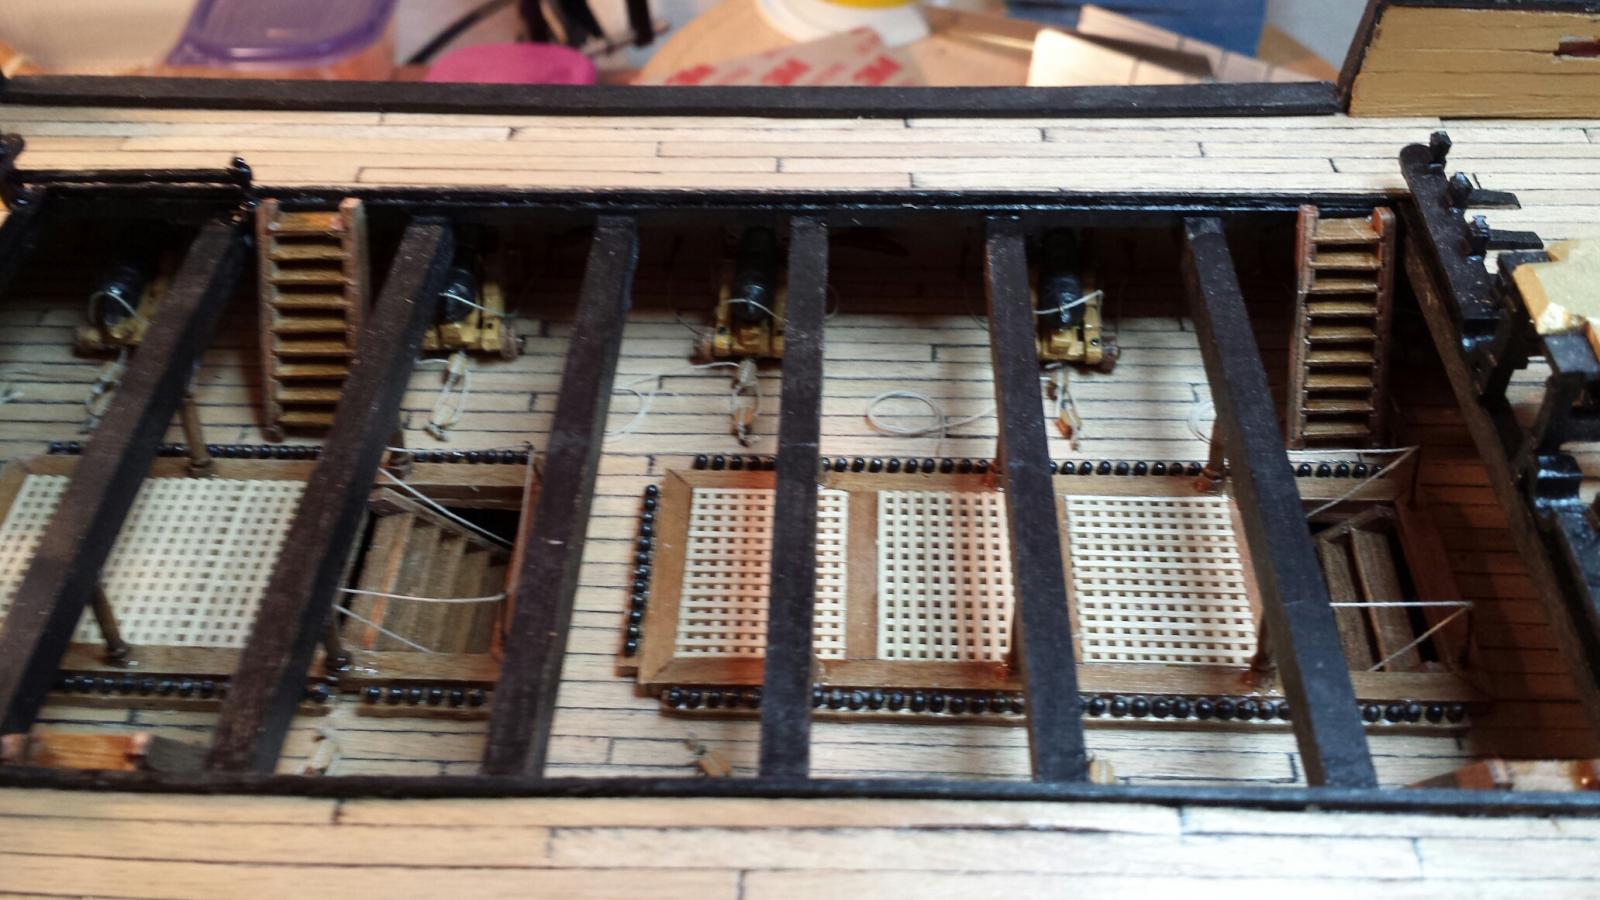
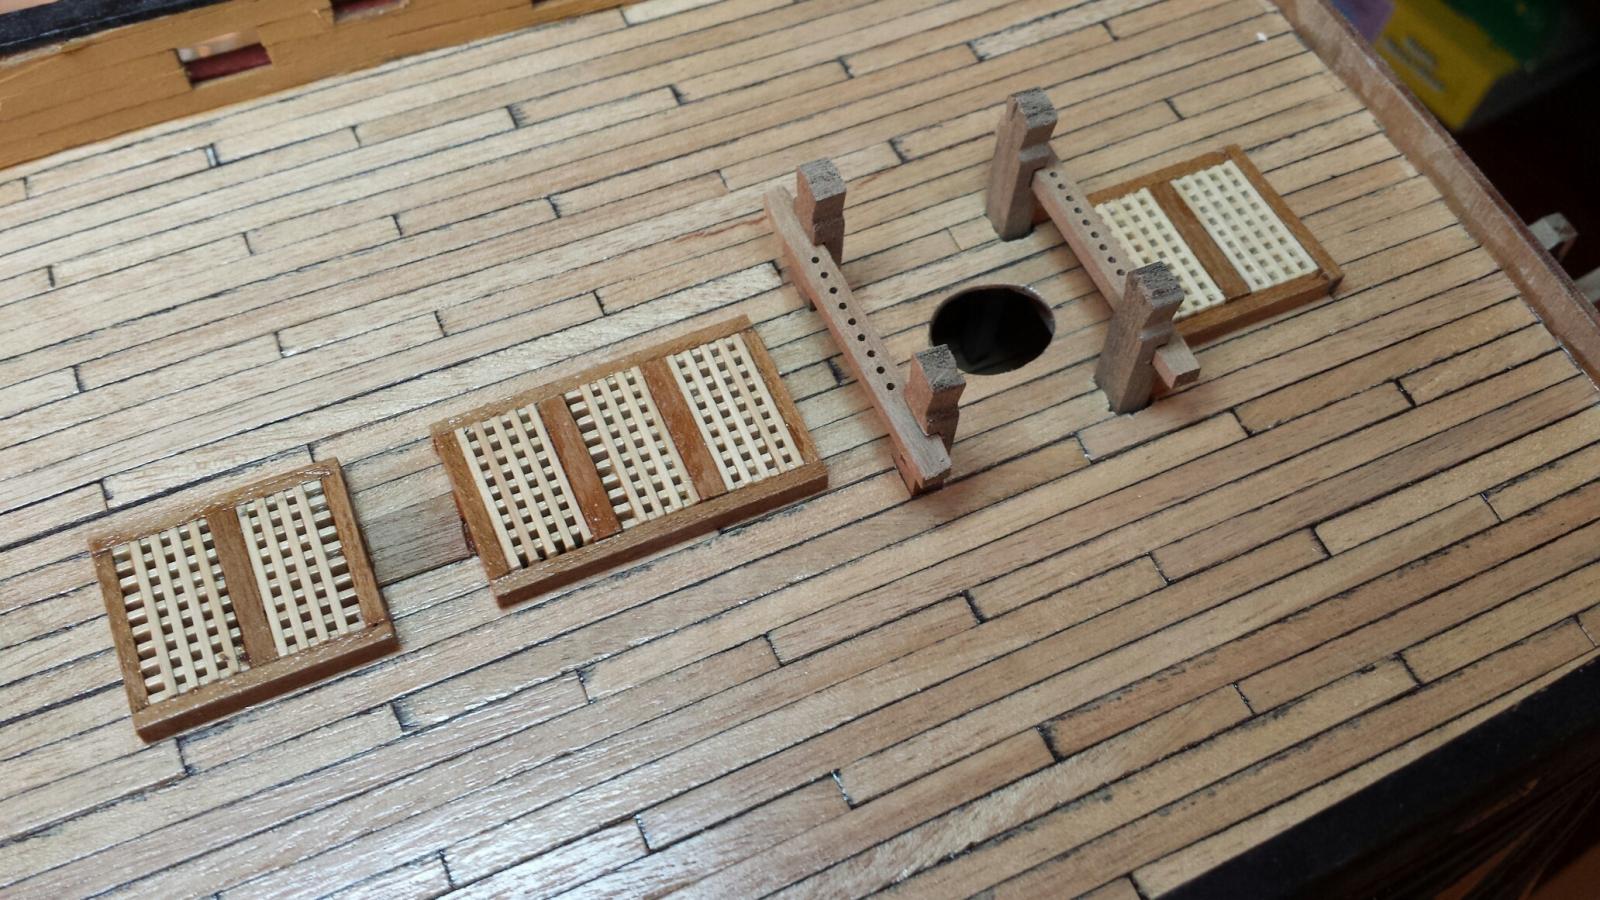
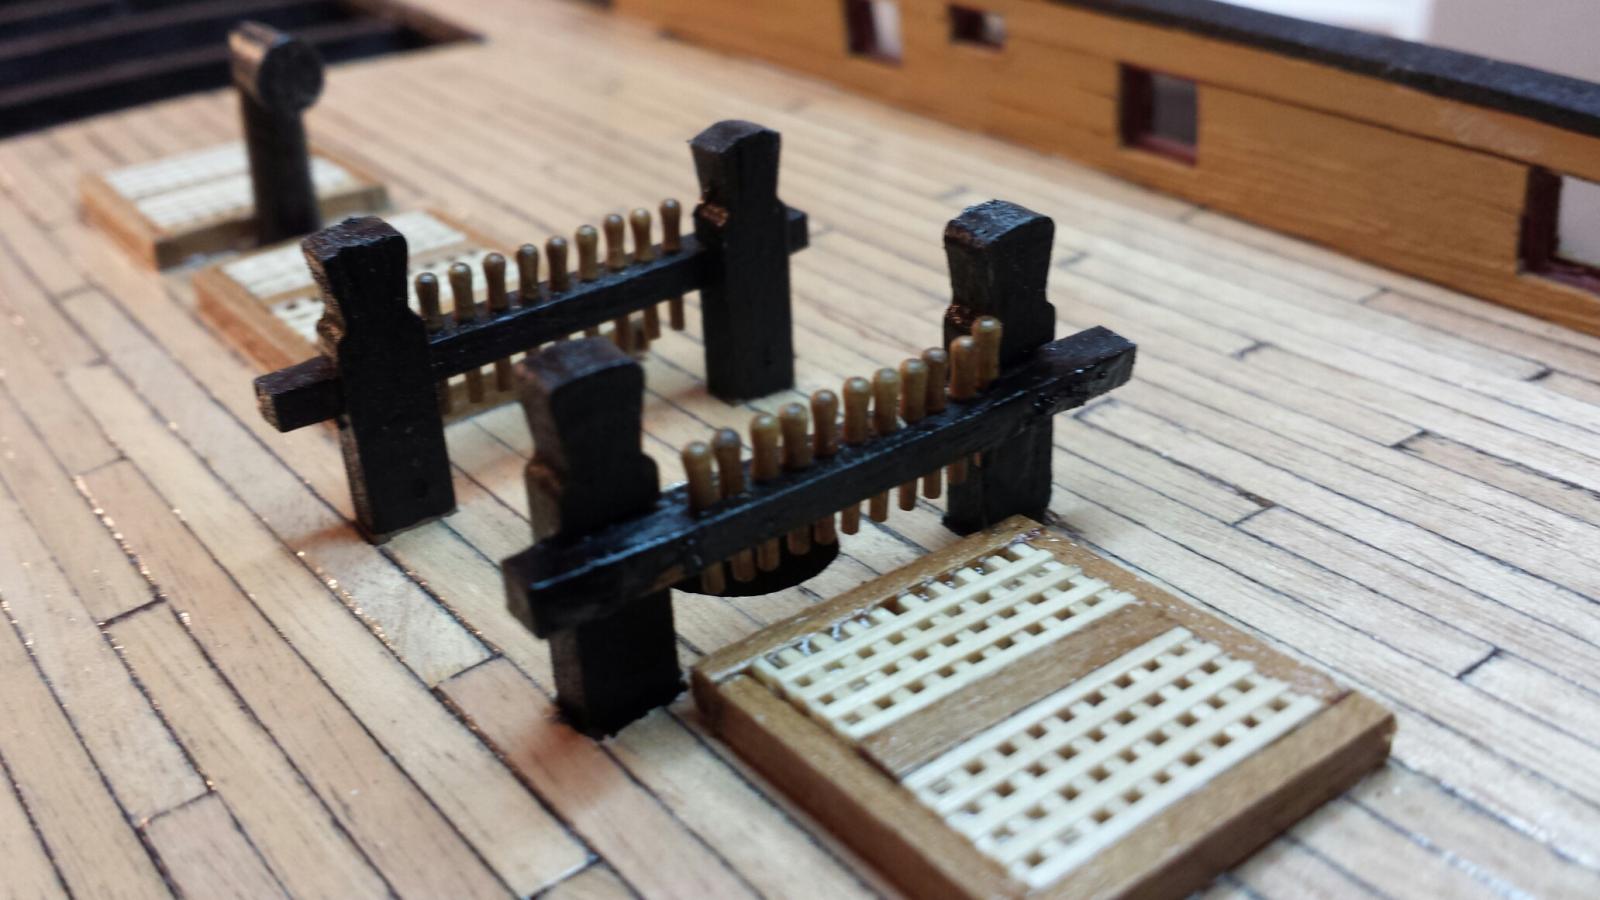
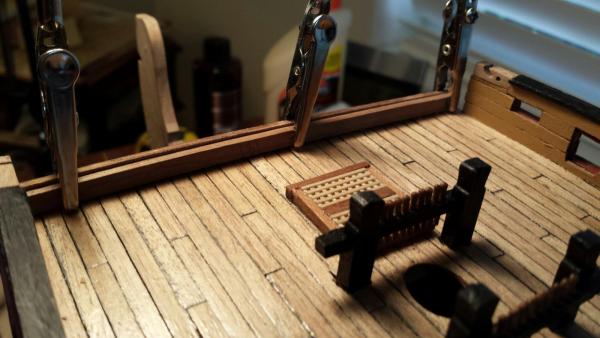
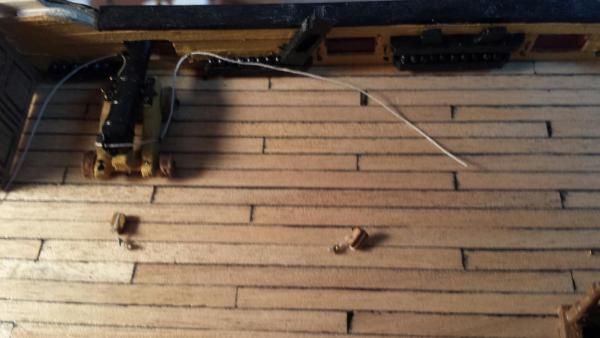
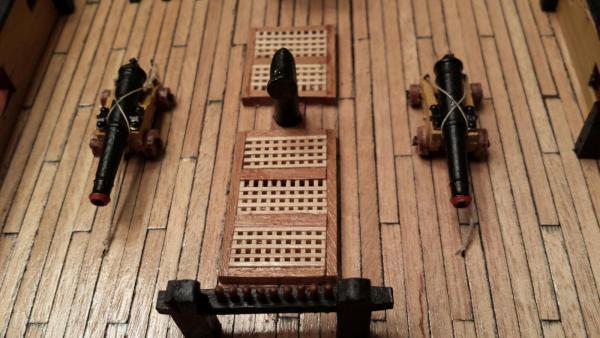
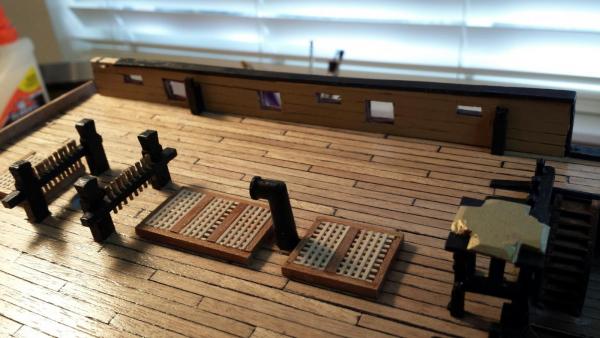
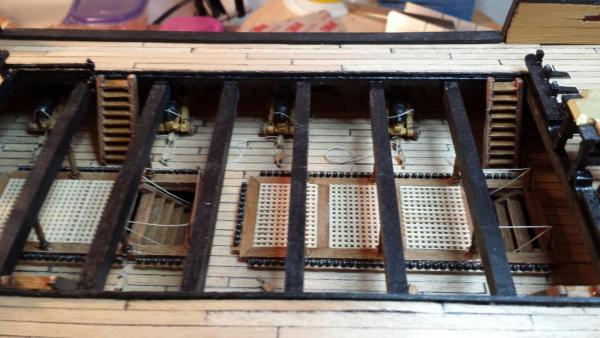
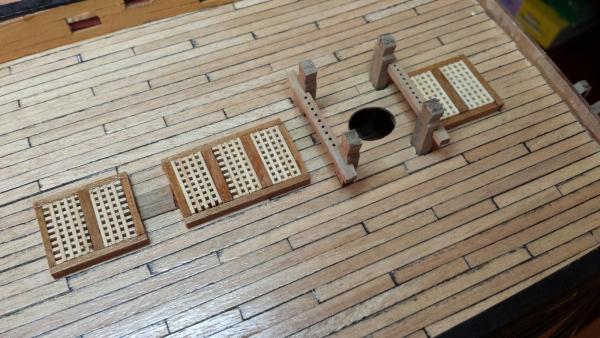
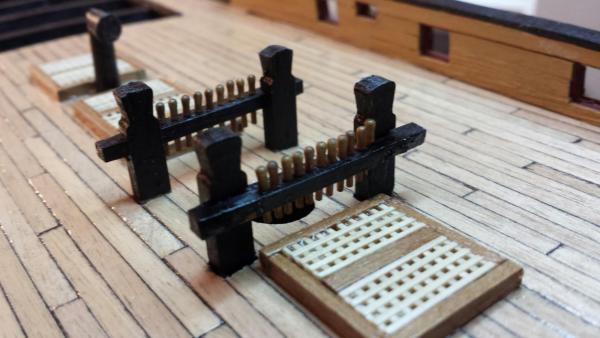
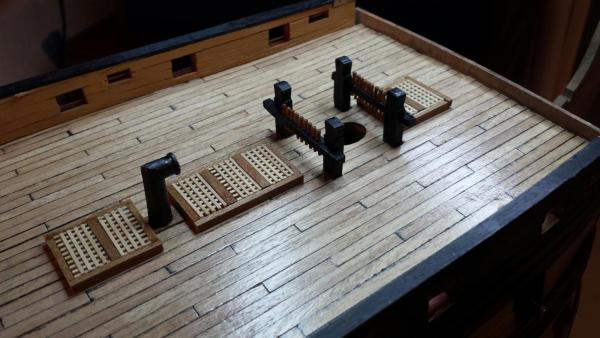
Just a little more progress to report here: The Forecastle Gratings have been consdtructed, varnished and secured as well as the kitchen galley chimney and the two bit pins with their belaying pins. A word here: The predrilled holes in the bits were slightly undersized so it was necessary to enlarge the holes with a #57 drill which provided a very snug fit. Because the fit was tight I found it unnecessary to glue the pins in. Although the bits and pins were painted black, I decided to leave the belaying pins their natural brown color.
- 900 replies
-
- 3
-
-
- victory
- caldercraft
- (and 1 more)
-
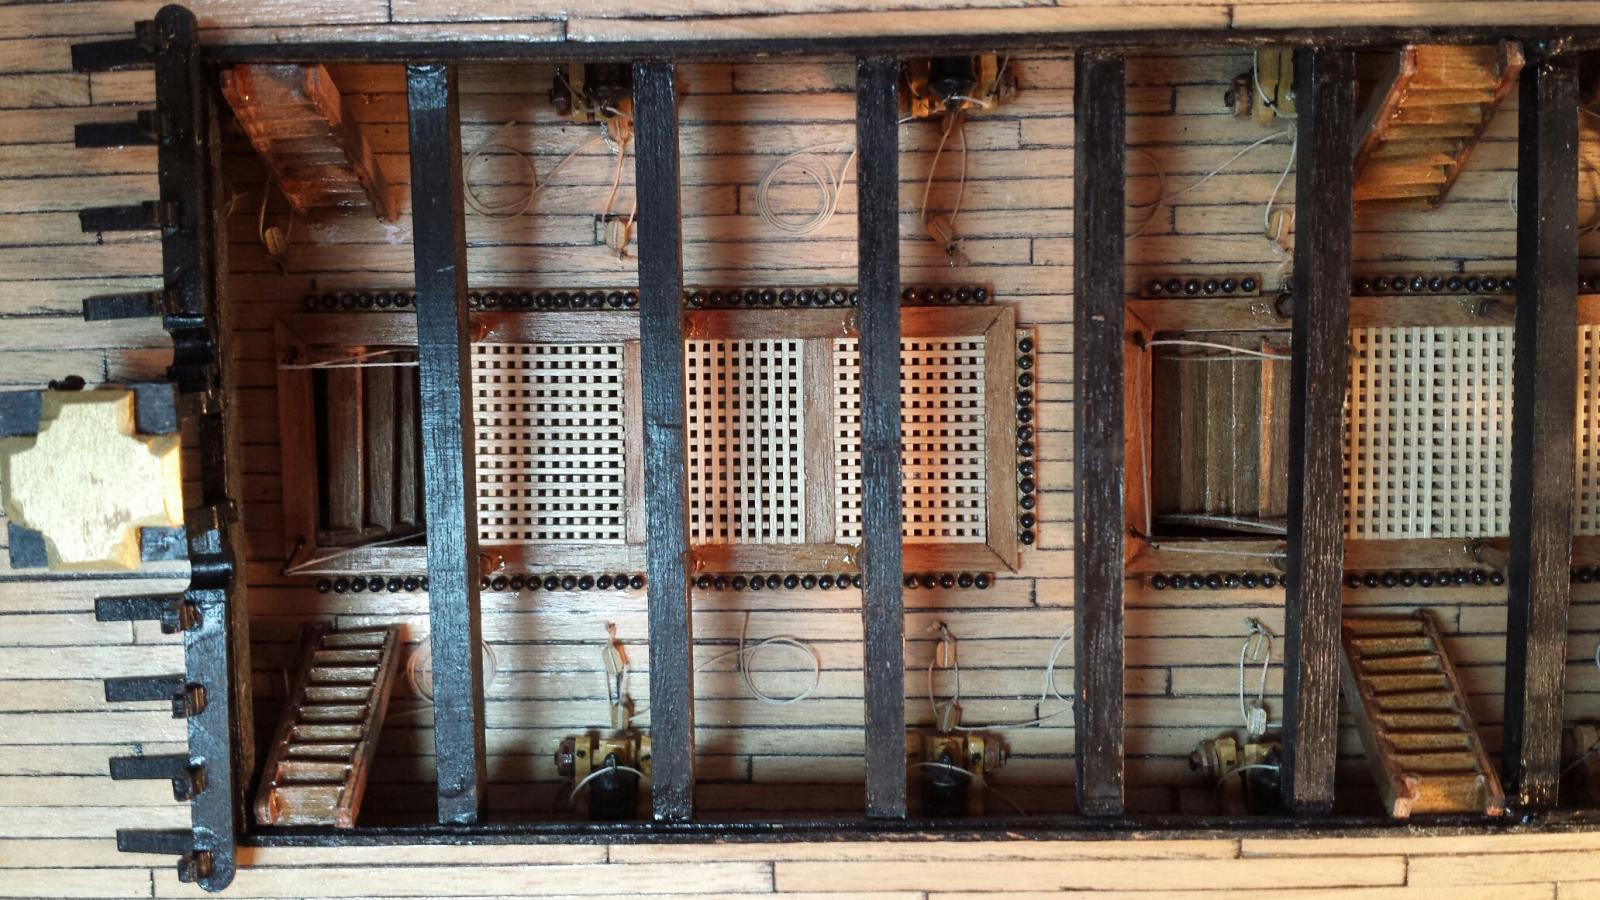
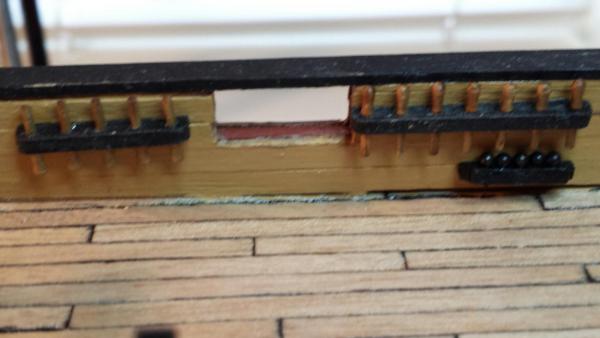
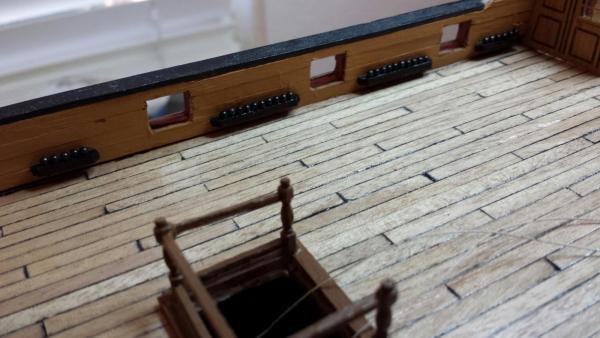
Hello David...I thought for sure if you were going to become bored buldnig your model you would have been bored a long time before now. Repetition: coppering the hull, planking the decks and more, building cannon carriages, Then there's lining the gunports, painting and could go on. Good luck on the rat lines; you are really getting there; your build looks great, Thanks for your nice words regarding my work. I had a real tough time when i started to line the qurterdeck gun ports. The 1X10mm strips that was suppled was extremely difficult to chop. And to make matters worse the wood would split as soon as I tried to place the cut piece in the gun port then I rembered the old trick about spreading a little CD cement on one side of the strip and that worked nicely. I'm building the 3 bow gratings for the forecastle and I forgot what a pain in the booty that was (is.) I made a change from the diretions and used the same 2x3mm stripping for the coaming as well as the divider strip in the grating. I also decided not to partially insert any of these grates into the hull as the manual says but will place them right on the deck'. I believe Gary did the same thing So I can now give you my first bit of advice...Your ship looks fantastic, don't get discouraged. regards,Jerry
-
Hey Lawrence.. I'm not sure that it's a good thing that everything will be seen from now on. I had a devil of a time getting the quarterdeck gun ports lined. The strip wood, 1x10mm walnut, kept splitting. Every time I cut a piece it would split as I tried to place it in the gun port. I rememebred an old trick: lightly spread some CA cement on it.... and that stopped the problem. Any way, I am now getting ready for the "fun stuff" as you put it and hope to have some pics fro you soon. Have a terrific day, Jerry
-
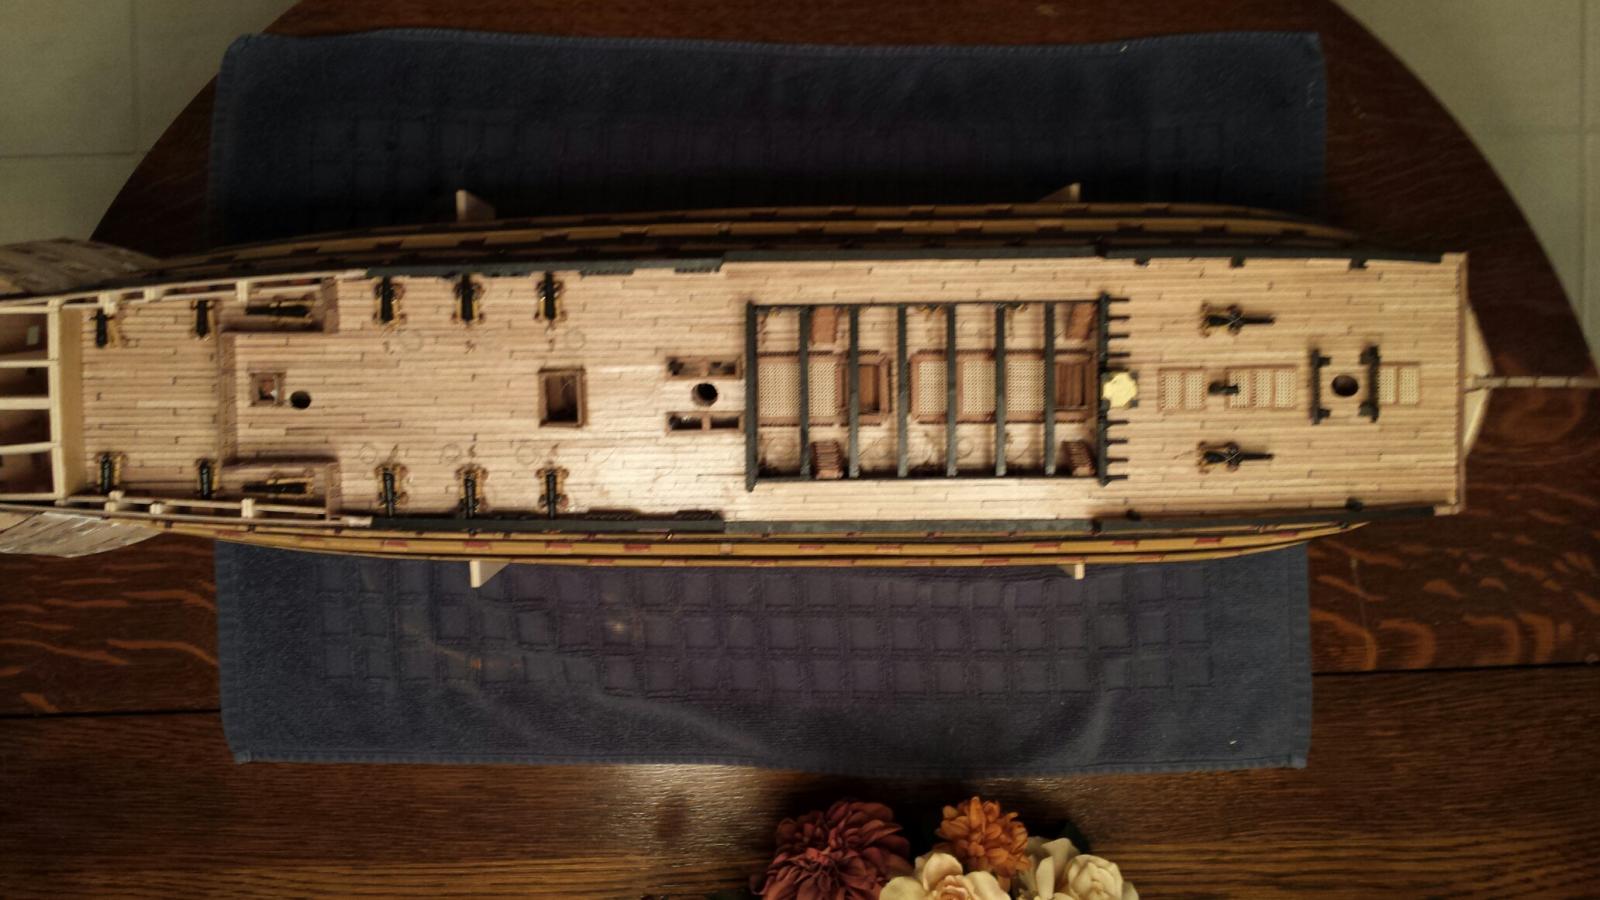
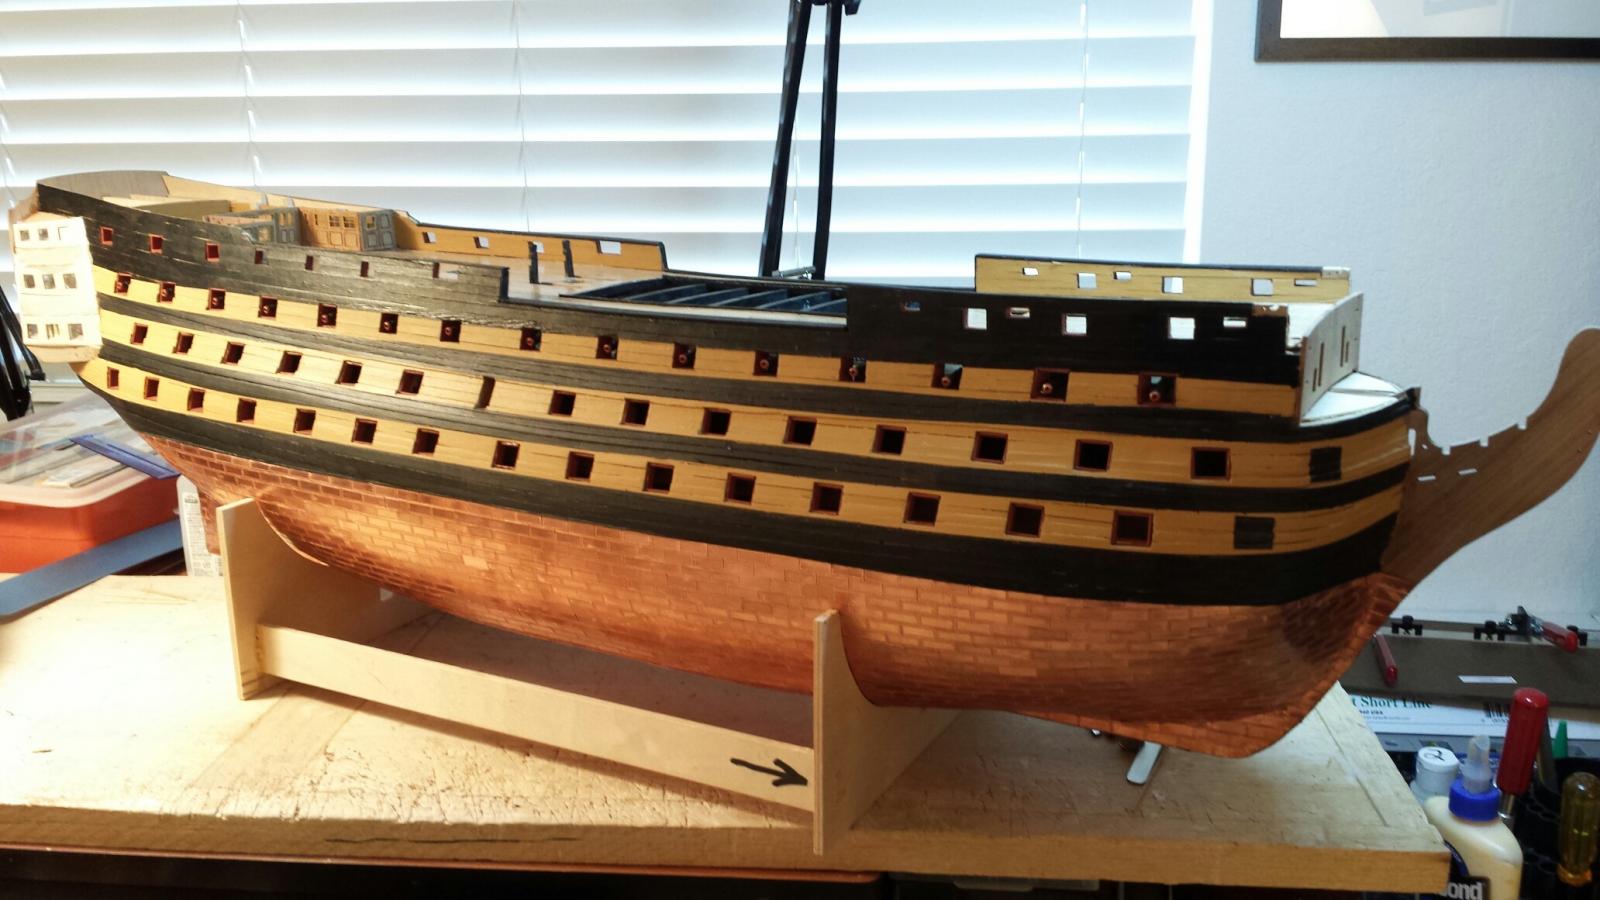
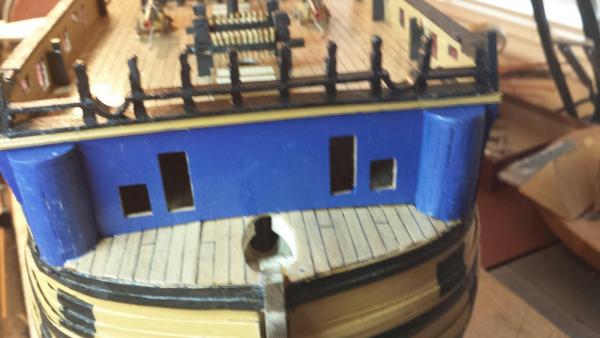
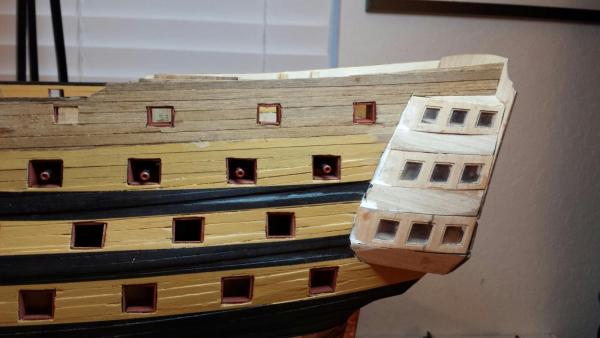
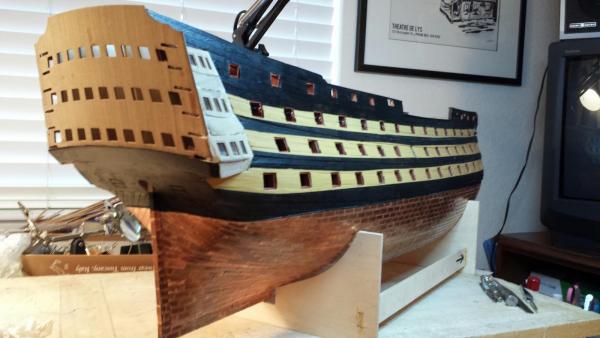
Good morning friends...Here are some of the latest photos showing where my progress is at. As you can see I have finished the quarterdeck, forecastle and waist capping so I decided to finish painting the hull as I prepare to embolish the quarterdeck. Now that I am a year older I expect my progress will slow down a bit. Regards, jerry

- 900 replies
-
- 4
-
-
- victory
- caldercraft
- (and 1 more)
-
Good afternoon David... Nice to hear from you and thanks for your wishes. Even if your certificate say "Made in England," and you ae getting rusty you seem to be doing very well. I was happy to hear from you as I was beginning to worry that you may have been under the weather as I hadn't heard from you for a while. However, I can understand your getting rusty since it must be wet and cold way up there where you live. I'm hoping to finish the final hull planking in the next couple of days and get on with the quaterdeck. Stay well, David. Jerry
-
Hey Wacko...Thans for the birthday greetings. I'm afraid you're going to have a tough conclusion to the baseball season if you're a Yankee fan. Domination has to end sometine. LOL. But don't think you're alone in misery....I'm a Mets fan, and that my friend is misery amplified. I hope you have a wonderful day. Jerry
-
Good morning Kevin...Apology accepted but it was totally unnecessary. Thanks for your thoughts and have a great day. Jerry
-
Hi Lawrence You are so nice to remember my birthday and doing so helped make today very special. Sunday afternoons are usually devoted to football during the season and today, birthday or not, was the first day of the new football season. I have a friend who has been coming to my house every Sunday for the past 10 years to watch TV with me and then stay for dinner. No boat building today; however, tomorrow I plan to go full blast on Victory and finish planking the port side of the upper hull. Once again I sincerely appreciate your thoughtfullness and look forward to our future correpondence. Jerry