Jerry
-
Posts
1,753 -
Joined
-
Last visited
Content Type
Profiles
Forums
Gallery
Events
Everything posted by Jerry
-
Hello Lawrence... Thanks for reading my latest post. I'm not sure if I understood what you meant but to set things straight there's a long way to go before the hull will be finished and the rigging begins. I expect to be working on the hull until at least the end of the year. The gun port lids alone will take a long time as I expect to do them as best as I can, The dummy barrels will also take time to paint them and get them installed into the hull. Any way, you are right about my psyche as i am excited since it feels as if I'm making some decent progress. And I'm sure you know that I appreciate the time you take to correspond with me and all the others that are following your log. I hope you have a very good night..Best regards, Jerry
-
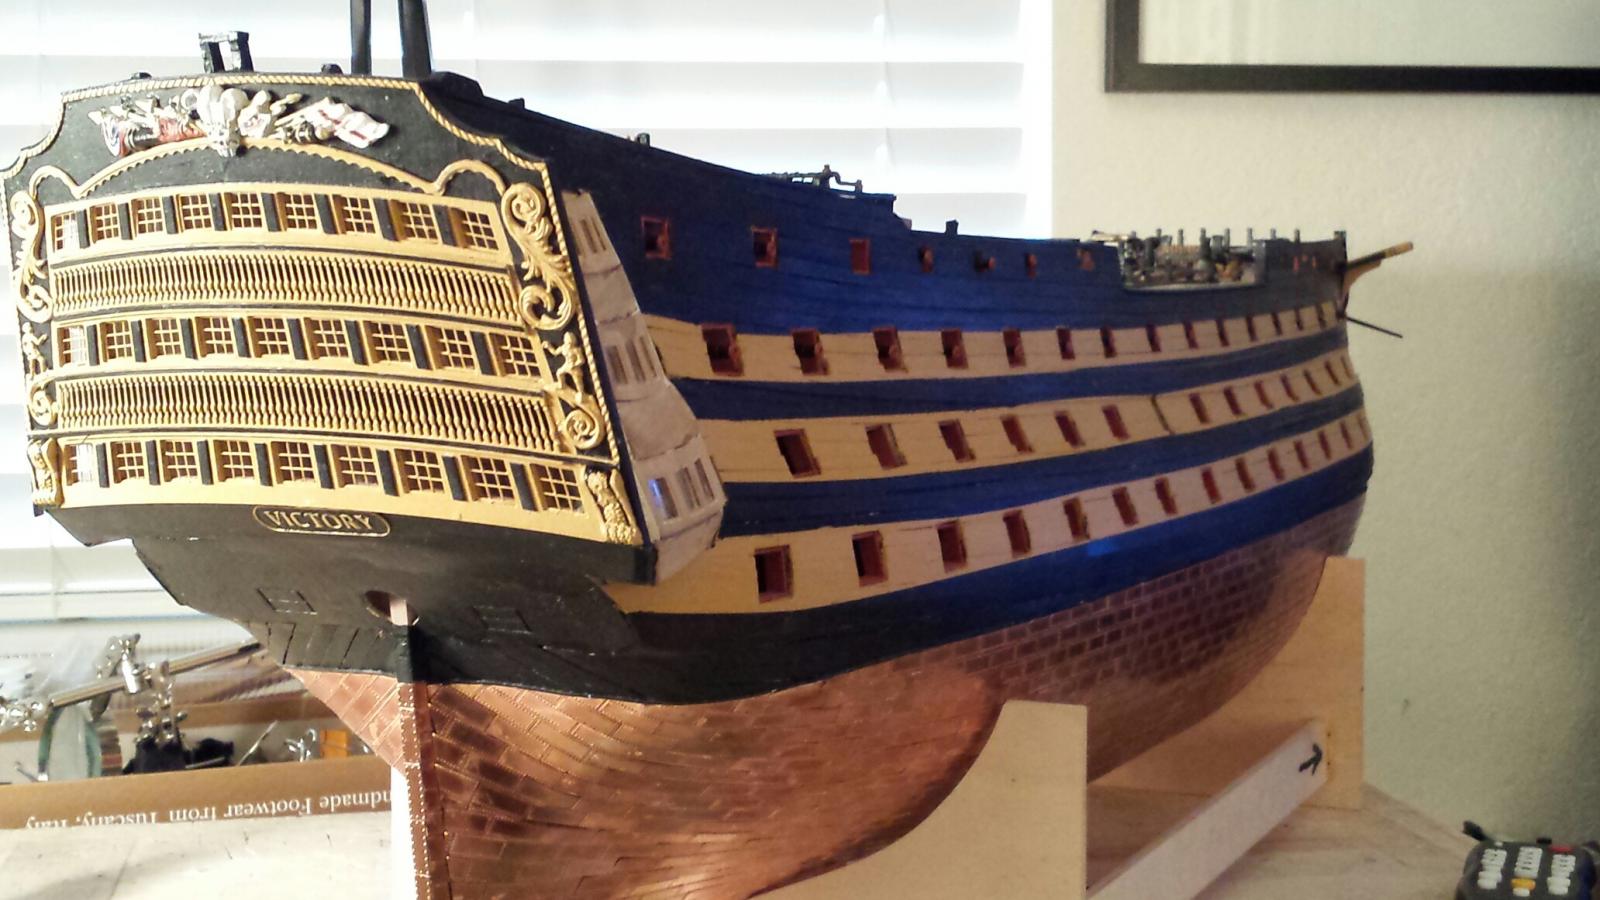
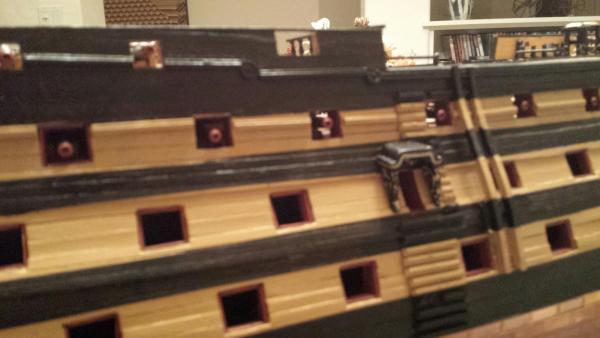
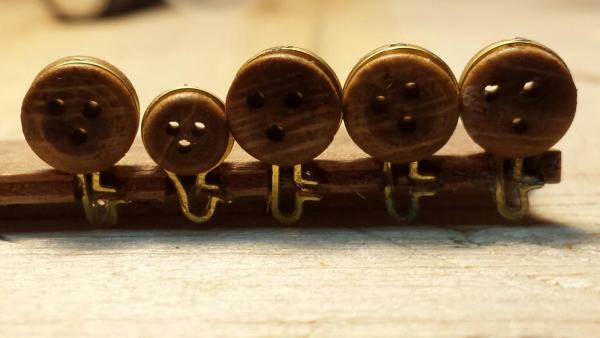
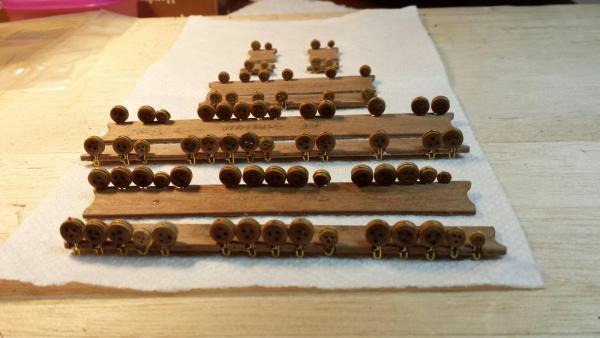
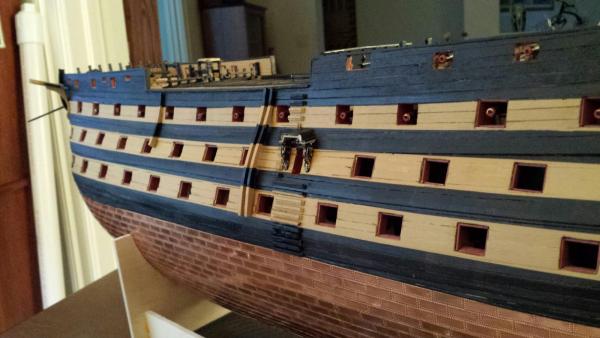
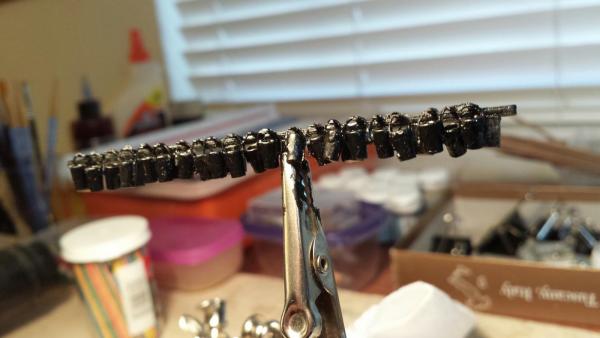
Good evening everyone...Here is an update on my progress. (Lawrence, I didn't wan to disappoint you. LOL) I have reached the point where all the channels have their deadeyes mounted. At my next work session I plan to paint the channels and deadeye black, mount all the black painted chainplates and then glue everything to the hull. There are channel support brackets that also will get placed once the channels are on the hull. As a side note, and I may be wrong, but at this point, no where in the manual is there mention of the channel support brackets. I noticed them on one of the plan sheets so I looked through the parts manual and found them listed there. Have a nice eveing everyone and thanks for putting up with my blabber. Please put your mouse pointer on photo for description. Thanks, Jerry

- 900 replies
-
- 1
-

-
- victory
- caldercraft
- (and 1 more)
-
Hi Mort. Thank you for your interest in my log. I hope you have found it useful n some way. My lamp is merely a circular flourescent lamp but works fine. I look through the magnifier practically all the time working on the model. During the past 8 months I have replaced the lamp once. My one dislike is that the fixture seems to want to swing slightly toward the center of its arc when moved to an extreme outside position. This may be from the tension on the electric cord; I'm not sure. I hope you understand what I mean. I found it by googling the internet and it is not expensive, about $30. I hope this has been helpful. Please let me know if I can be of further help. Best, Jerry
-
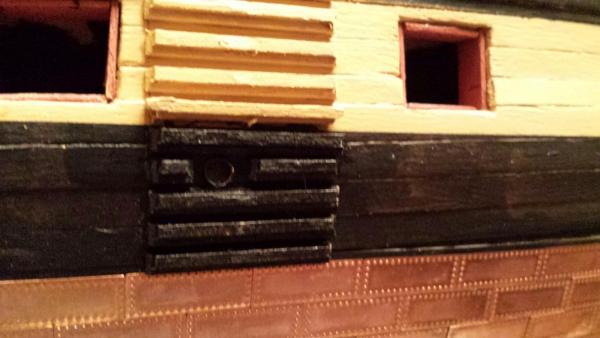
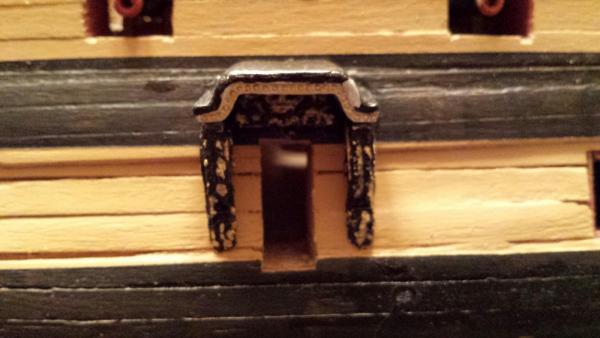
Good morning Lawrence. FYI here's a close up picture of the elm tree pump lining. Have a great day. Jerry
- 900 replies
-
- 2
-
-
- victory
- caldercraft
- (and 1 more)
-
Lawrence....So far there is one elm tree on each side of the ship. I hope this helps... JERRY
- 900 replies
-
- 1
-
-
- victory
- caldercraft
- (and 1 more)
-
Good night, David...And thanks for the photos; I know they'll come in very handy.I'll post photos of my progress with the deadeyes and strops when I start buiding them. I still have a lot of brass profile to do. Later amigo. Jerry
-
Lawrence. .Good evening...I believe you are referring to the circular object in the middle of the third from bottom step. If so, this is called the "elm tree pump tube lining"; other than knowing that, I have no freaking idea what it is altough if I had to guess, it's probably the end of a pipe that drains something out of the ship. The manual refers to these "ladders" as you call them as steps. So when I first read your note I wsn't sure which laddder you were referring to but now I know what you mean. In my manuall they are referred to as "the side entry steps." They may be called ladders in your manual so be it as it may. Believe it or not, the decoration pieces that you mention are never mentioned in the hull construction manual. They show on the plans but without any part numbers. I found them on the plans and traced them by checking all the pages of the parts manual. They have part numbers in this manual but the instructions never refer to them. As I mentioned before, there are lots of errors and omissions in the manual and plans and Caldercraft needs to make the corrections. Have a great evening and let me know if I can be of further help. Best to you, Jerry
- 900 replies
-
- 1
-
-
- victory
- caldercraft
- (and 1 more)
-
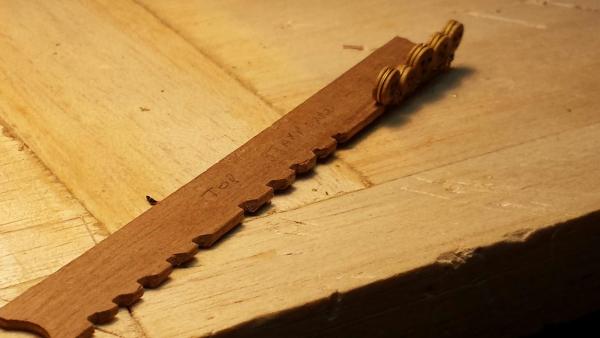
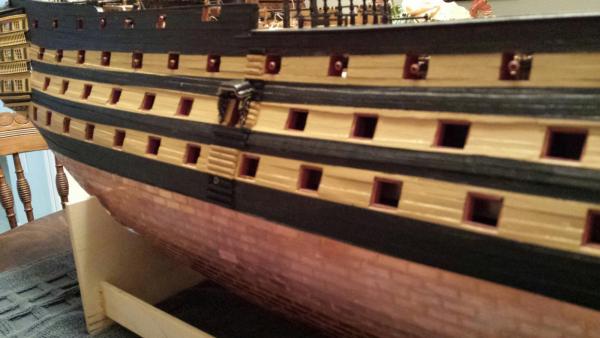
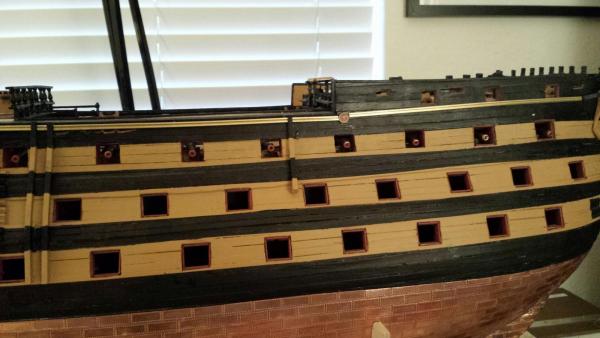
Good afternoon fellow model ship slaves.... I love every minute of it. I'm starting to add the brass profile trim as it was suggested to me by Shipyard Sid to do this before attaching the channels. After the channels are in place it will be almost impossible to do any touch ups under the channels as the chain lates aand their parts will be in the way. Here is were I am at, this afternnon:


- 900 replies
-
- 2
-
-
- victory
- caldercraft
- (and 1 more)
-
Hello Gil.. About 14 years ago, my wife and I cruised the Main, Rhine and Danube on a river cruise. The boat WAS the Amadeus II. I say was, because a couple of years later there was massive flooding on these rivers and the Amadeus II actually sunk. But the wonderful memories of this cruise will always linger. Nice to have you back and as mentioined before, I sinceely appreciate your fantastic log. Hope you are having a wonderful weekend. Regards, Jerry
-
Good afternoon. Lawrence... Your many compliments are making my head swell. STOP IT !.. Just kidding....Keep them coming. So today it's the steps and i think I'm going to paint the inside of the side entries. Red seems to sound ok. Talk to you later. But again, thanks for your many kind words. Jerry
- 900 replies
-
- 2
-
-
- victory
- caldercraft
- (and 1 more)
-
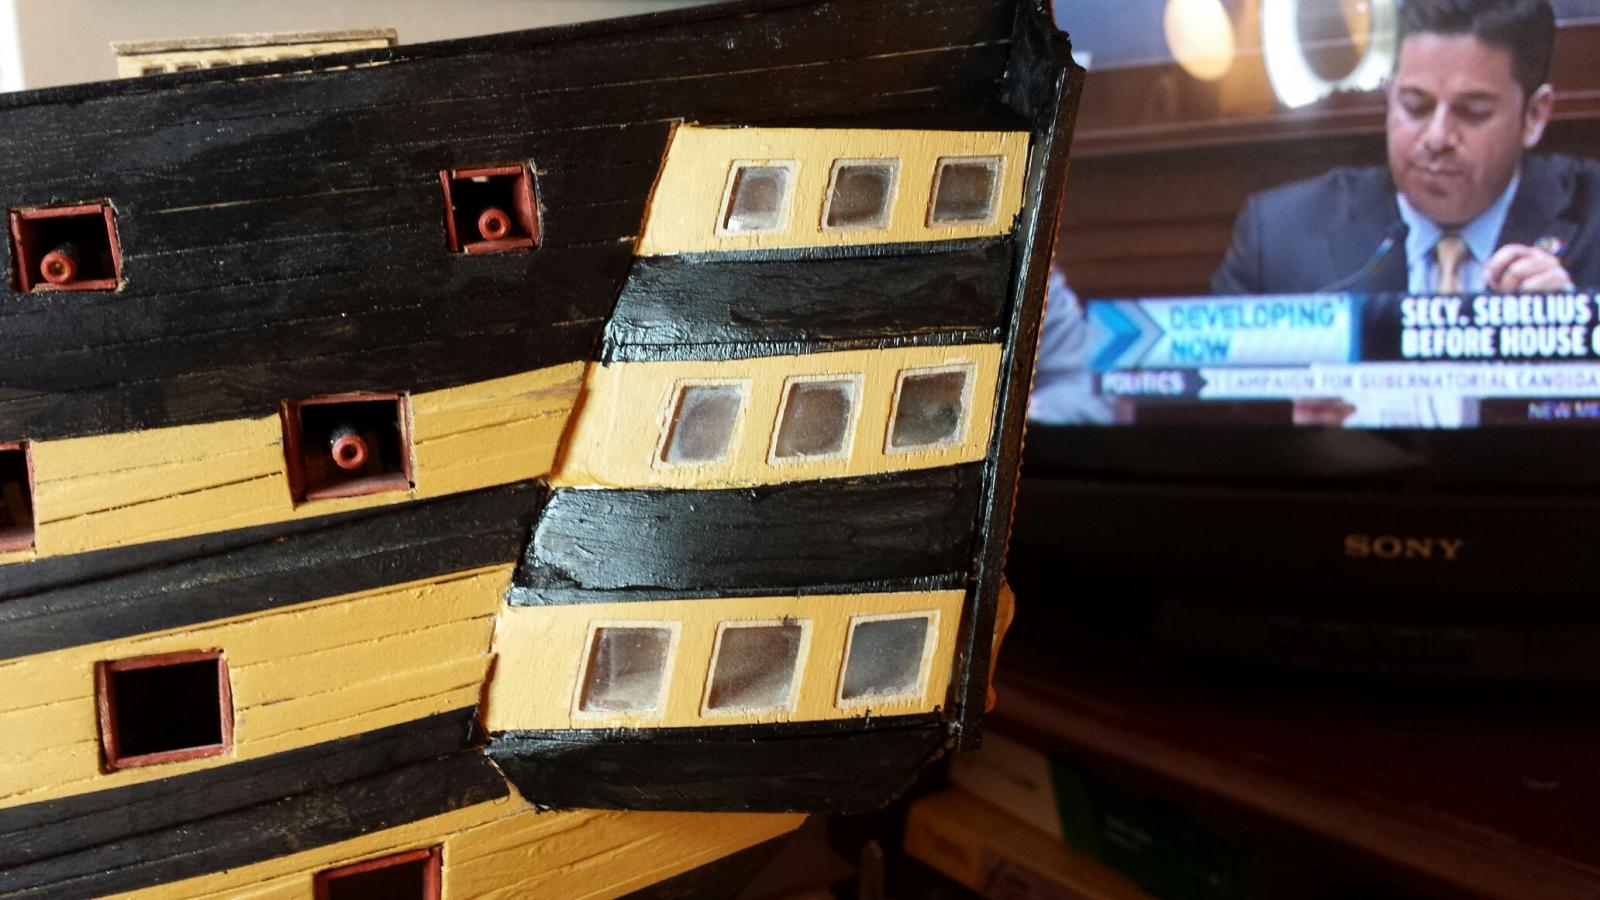
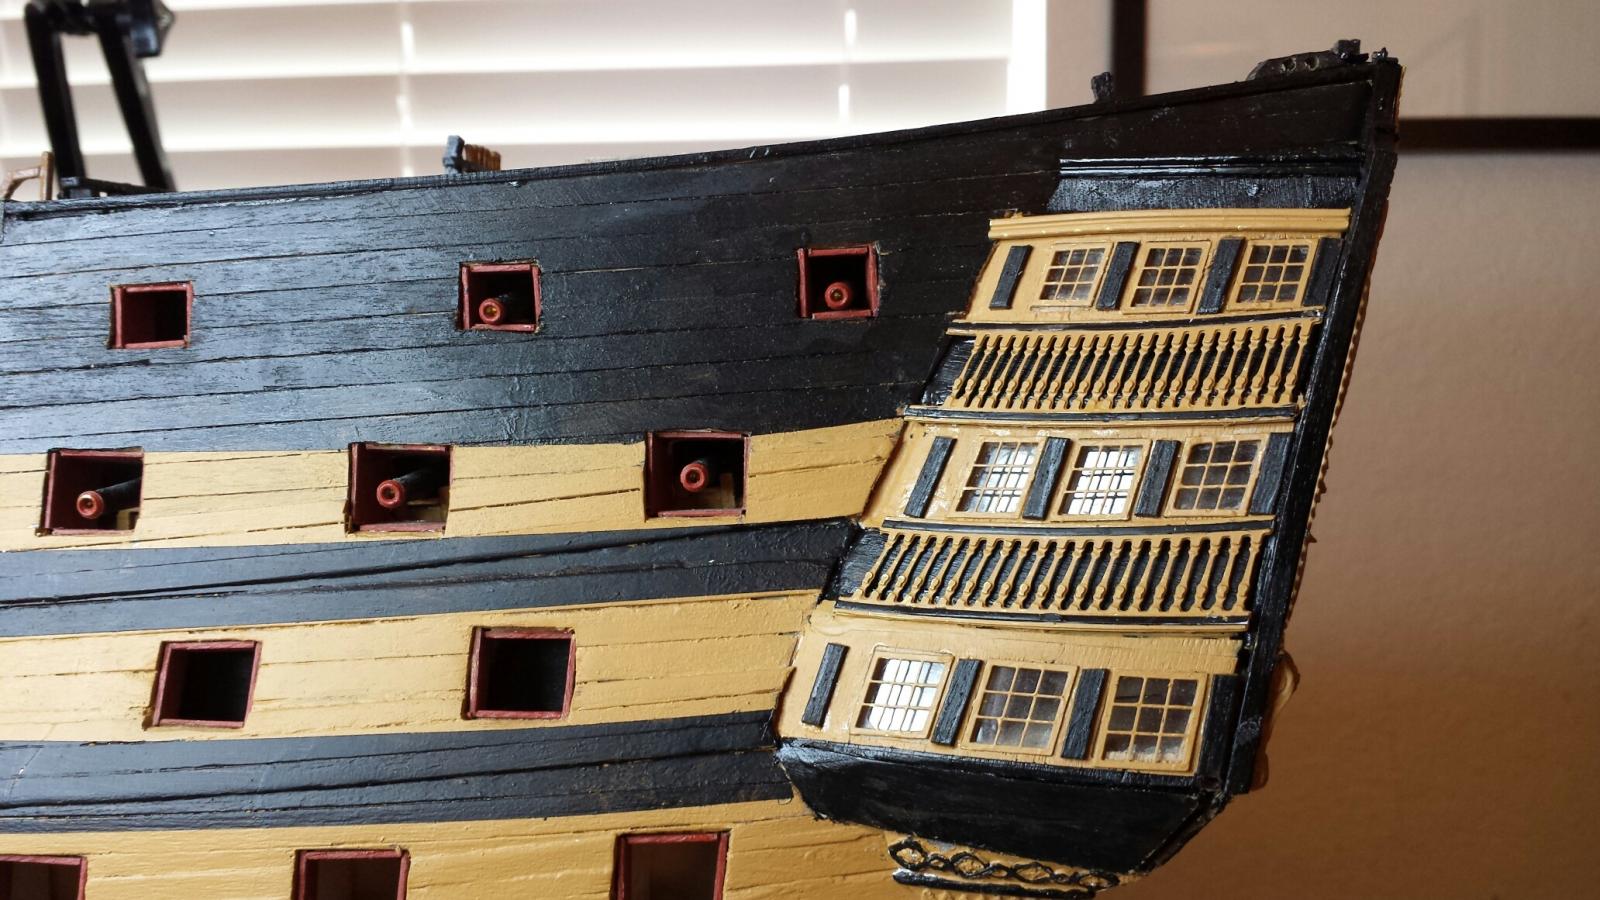
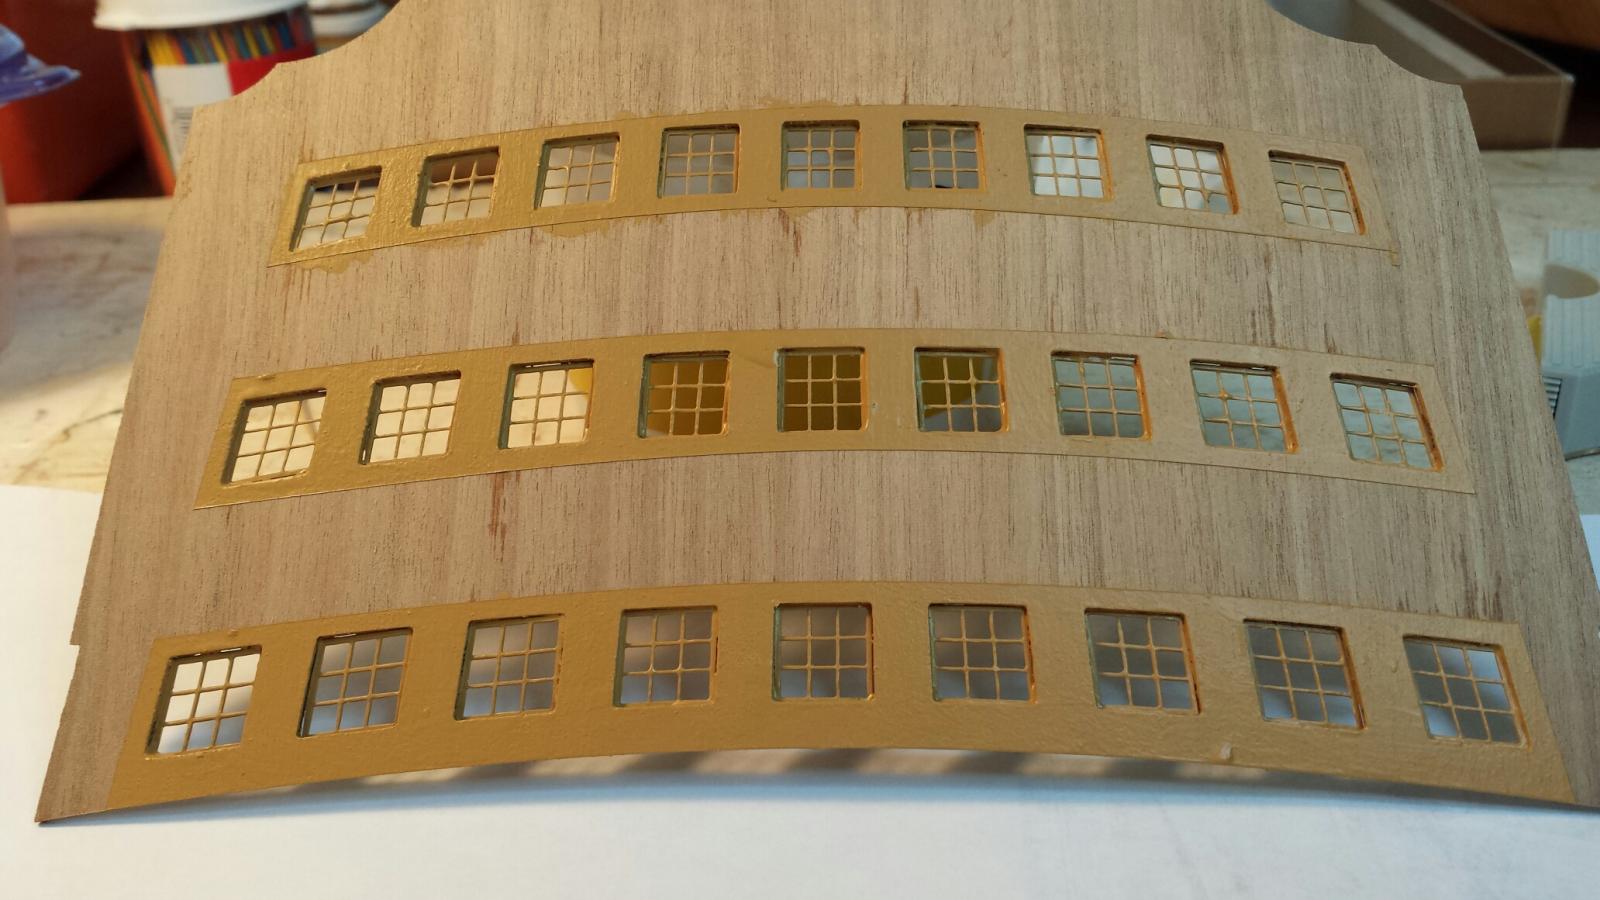
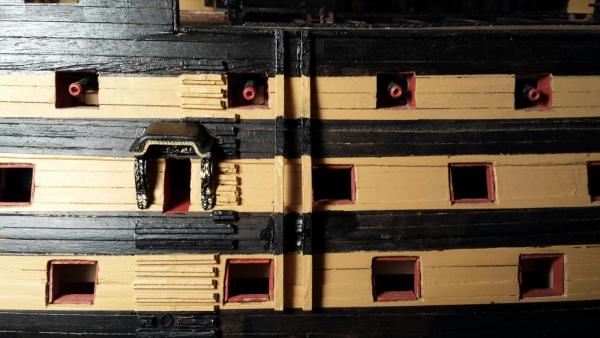
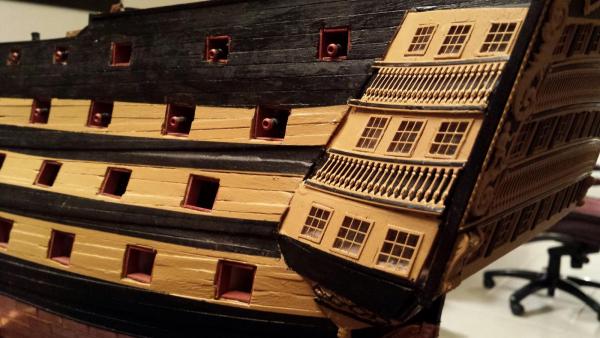
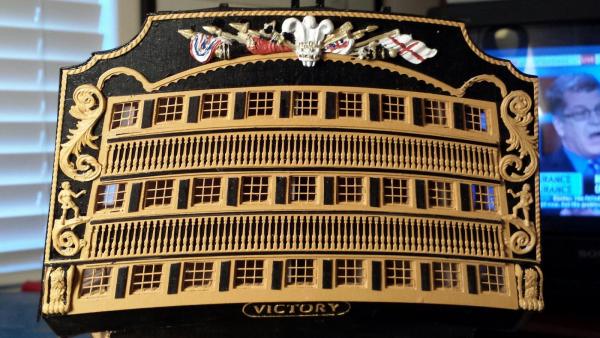
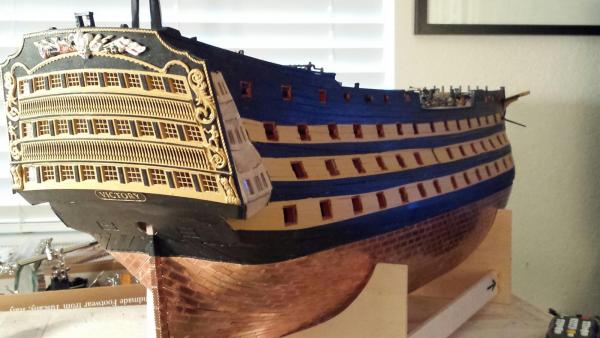
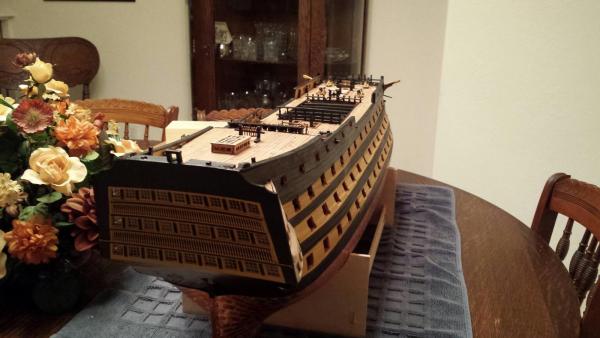
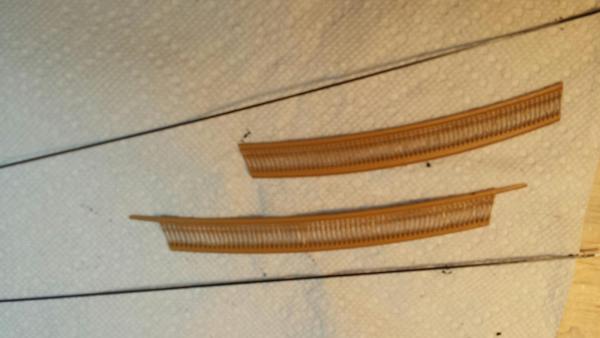
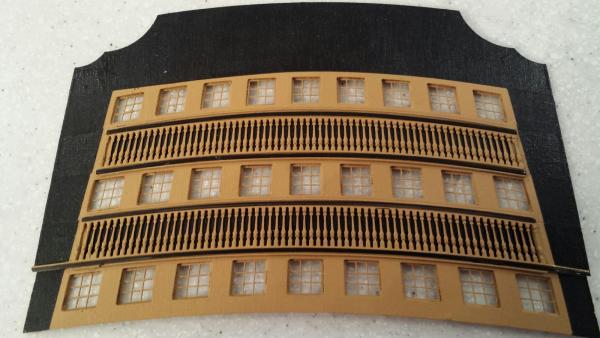
Good evening everyone. I was able to get some more work on my model done. The stern fascia (transom) is now completed, profiles and all. I had a small issue with running the top profile across the entire stern as the nameplate was installed a little to high. So, I made a decision not to remove the nameplate and to install this profile in two pieces. In addition the side entry ports are also installed. There are 24 steps on each side of the ship rising from the waterline to the quarterdeck. These steps are next in line to be painted and attached. So here are a few more photos of my build. I hope everyone has a great weekend. Regards, Jerry


- 900 replies
-
- 3
-
-
- victory
- caldercraft
- (and 1 more)
-
Good morning, Lawrence... I have almost completed the brass trim. I have some grinding to do and will use my dremel for that. There is plenty of touch-up and fillins to do . Thanks for your advice regarding gloves. The one thing you must remember when doing this metal work is to wear some type of eye protection. I'll be posting some pics pretty soon that'll show my progress with this stage of the build. Have a very nice day. Best, Jerry
-
Hi Lawrence. Its been fun but somewhat slower. I'm doing metalwork now so I'm trying to remember how to use my dremel. The brass profiles are a different type o fwork and that's what I'm doing. Thanks for saying hello. Later, Jerry
-
David...Thanks again for your remarks. I hope you are making some good headway with the rigging. I bet you'll be a happy puppy in a few days when you get past your current "hangup." Good luck, Jerry
-
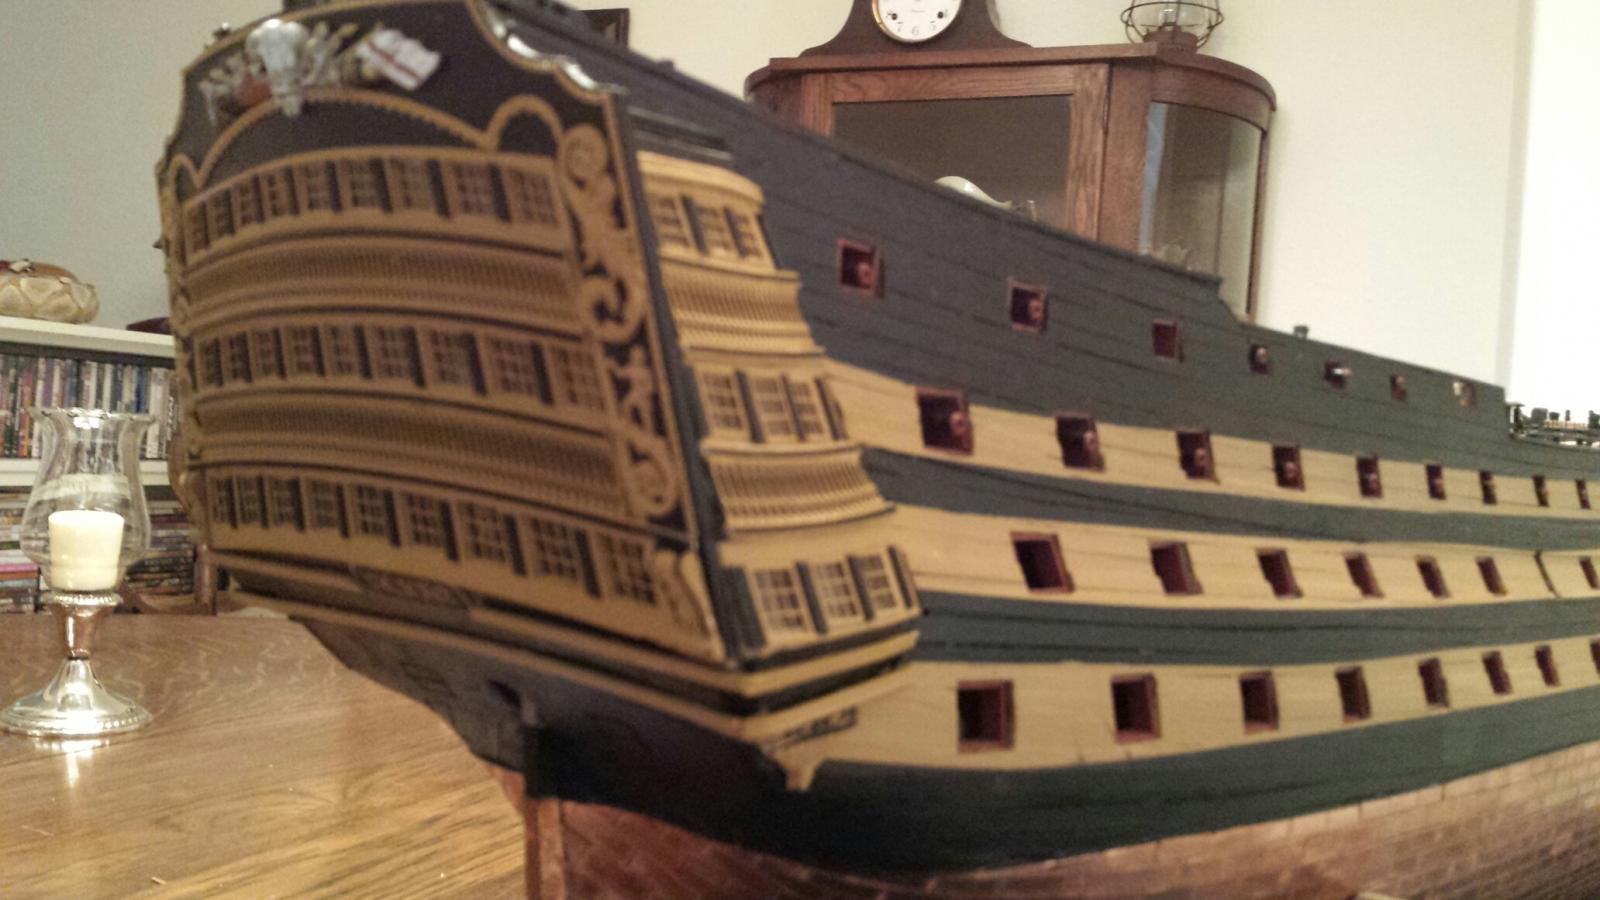
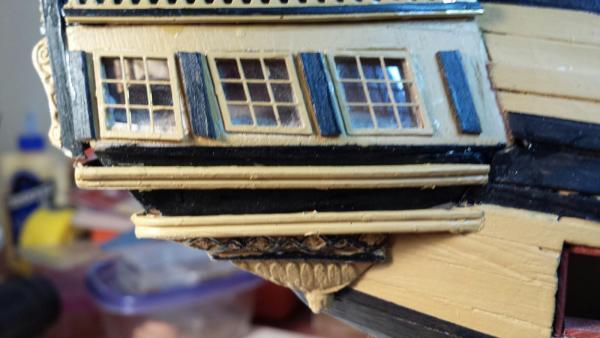
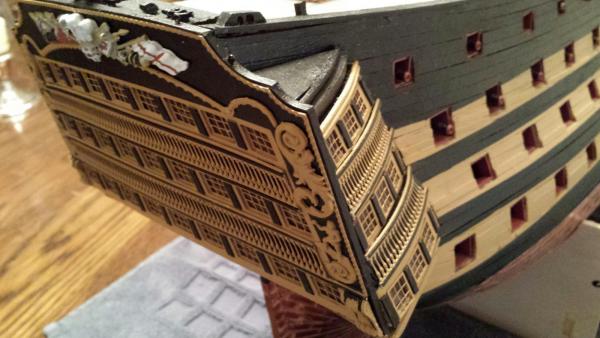
Hey Patrick...Thanks so much for the very nice thoughts on my Victory. It's true. as others have said, that when the stern decorations go up and the transom is decorated, it really begins to look like a ship. I left the hinges you mentioned off the build on purpose at the time the manual calls for their application as I didn't want to damage them. I expect to attach them pretty soon and to do some other steps that I purposely left off until later. Thanks for noticing that the hinges were missing. I also left off the Bow medalion and associated decor and decided to work on them today. Lo and behold, my kit was void of these parts and after a telephone call to the U.K. they are on the way to me. I'm trying to make some progress on the quarter galleries and find their construction more difficult than the transon since they have to be curved somewhat and trimmed a bit. I'm getting there. Again many thanks for your compliment and appreciated comments. Regards, Jerry
-
Thanks Lawrence...Tomorrow I'll take on the Quarters Galleries. I'm not too sure about the paint scheme on these quarters but I'm sure whatever I do will work out. Keep watching...and thanks again.. Jerry
-
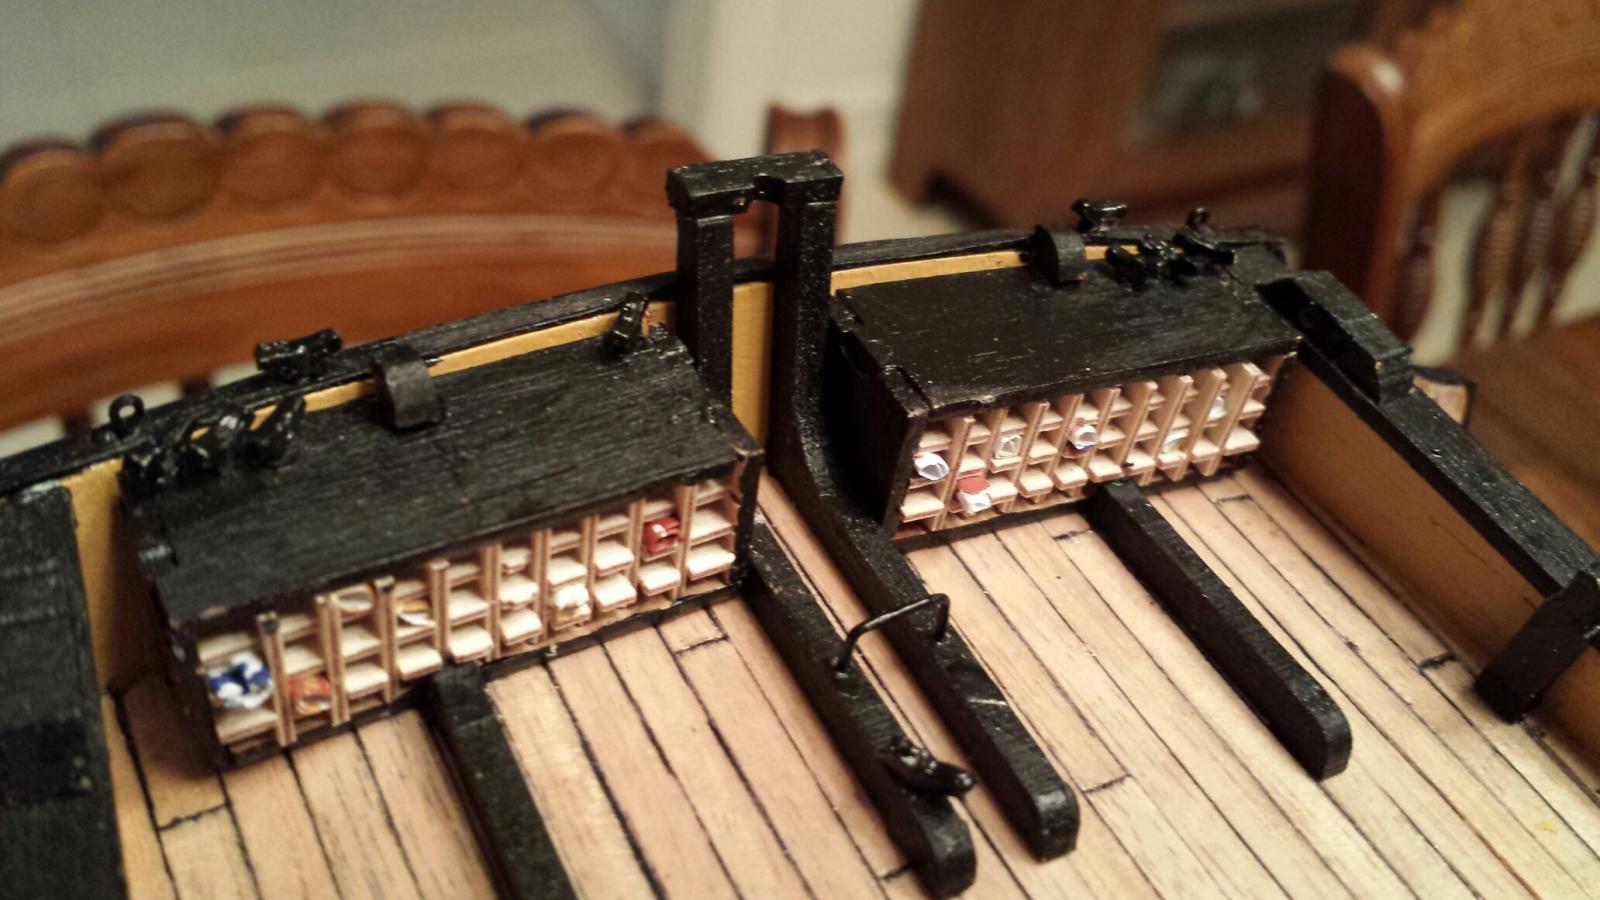
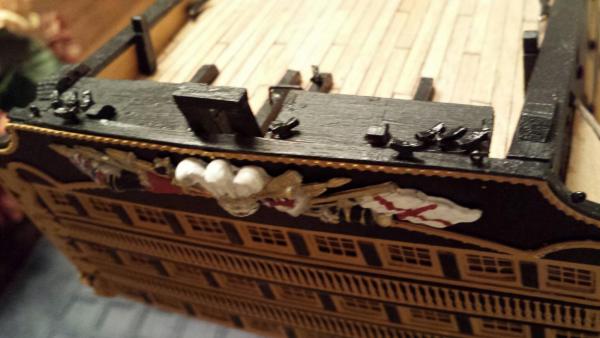
Okay, here's the transom. I ran into a problem with the small cleats to be attached above the flag lockers. There just wasn't enough room for them so I decided to put some on top of the locker close to where they would normally have been. I hope the lockers are secured strongly to the deck so that any rigging running to these small cleats won't lift the lockers off the deck. (Just kidding). Here's the latest: Jerry

- 900 replies
-
- 5
-
-
- victory
- caldercraft
- (and 1 more)
-
Good morning, (afternoon) Kevin.. Thanks for aking the time to send me a note. I wish you the best with your Bismarck Build and hope that you have an enjoyable winter working on this kit. Jerry
- 900 replies
-
- 1
-
-
- victory
- caldercraft
- (and 1 more)
-
Good morning, Lawrence. Just a note to tell you that I use Admiralty Paints. Thay are water based and dry very quickly. I get them from Cornwall Model Ships (where my kit came from) in the U.K. Have a great day. Jerry
-
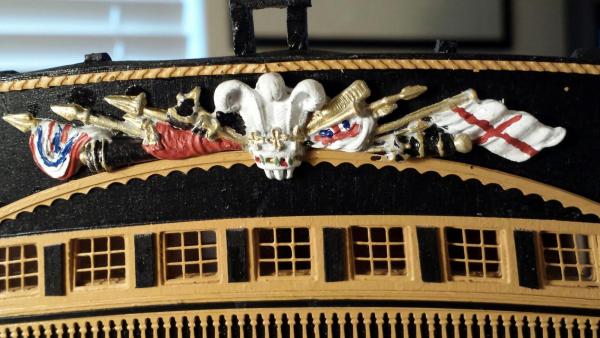
Lawrence....Don't be so cute...j/k...The Admiral said to tell you that the dining room table is for pictures only. However, I built my CuttySark on the dining room table in our previous apartment. This tab;e is an antique and no way can I build on it. I finished painting all the other figures and relishes that go on the stern. Luckily they're all one color, baby poop yellow. (yellow ochre). Tomorow I will have my coffee mug in one hand and paint brush in the other as I paint that multi color thing-ama-jig. (feather, flag, etc) I'm watching the world series and I don't care who wins. I guess you're a hocky fan being Canadian. I played hockey in college. We didn't have a varsity team, just a club but we played "clubs" from other schools. Have a great night... Jerry
-
Hello David...How's the knots coming along? Thanks for your very appreciated comments. So far the hardest thing for me was painting the VICTORY plate. It's amazing what one can do if ine puts his mind to it. I hope to finish the stern tomorrow. ahave a good night. Jerry
-
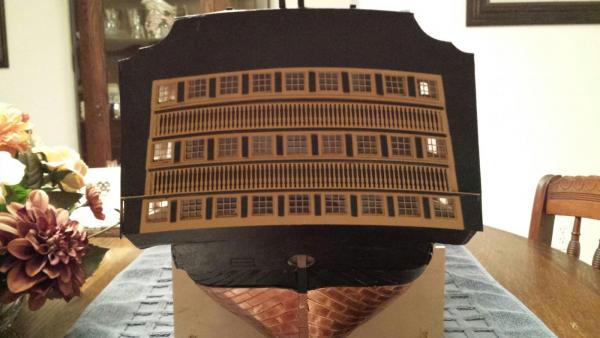
Hey Lawrence.. Thanks for the look see. I'm planning to "decorate" the stern tomorrow. I have to paint the big stern trophy of arms but after painting the "Victory" sign I think I'll be able to handle it. Here's the stern fascia mounted. Have a great evening, jerry P.S. I'm looking for a part that disappeared...I found it LOL

- 900 replies
-
- 4
-
-
- victory
- caldercraft
- (and 1 more)
-
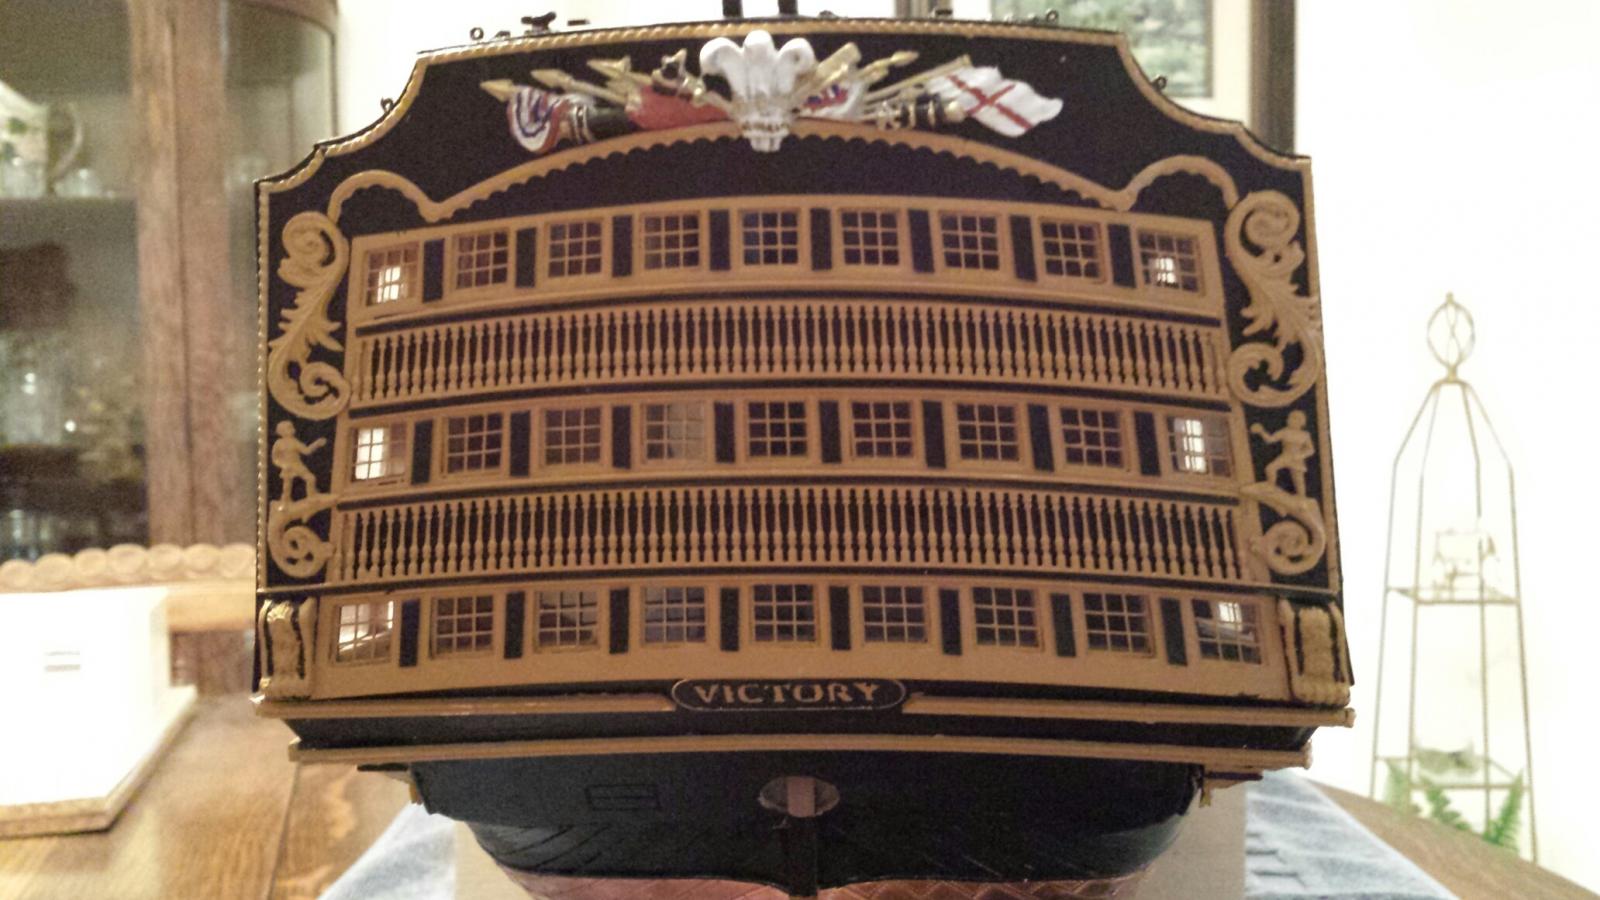
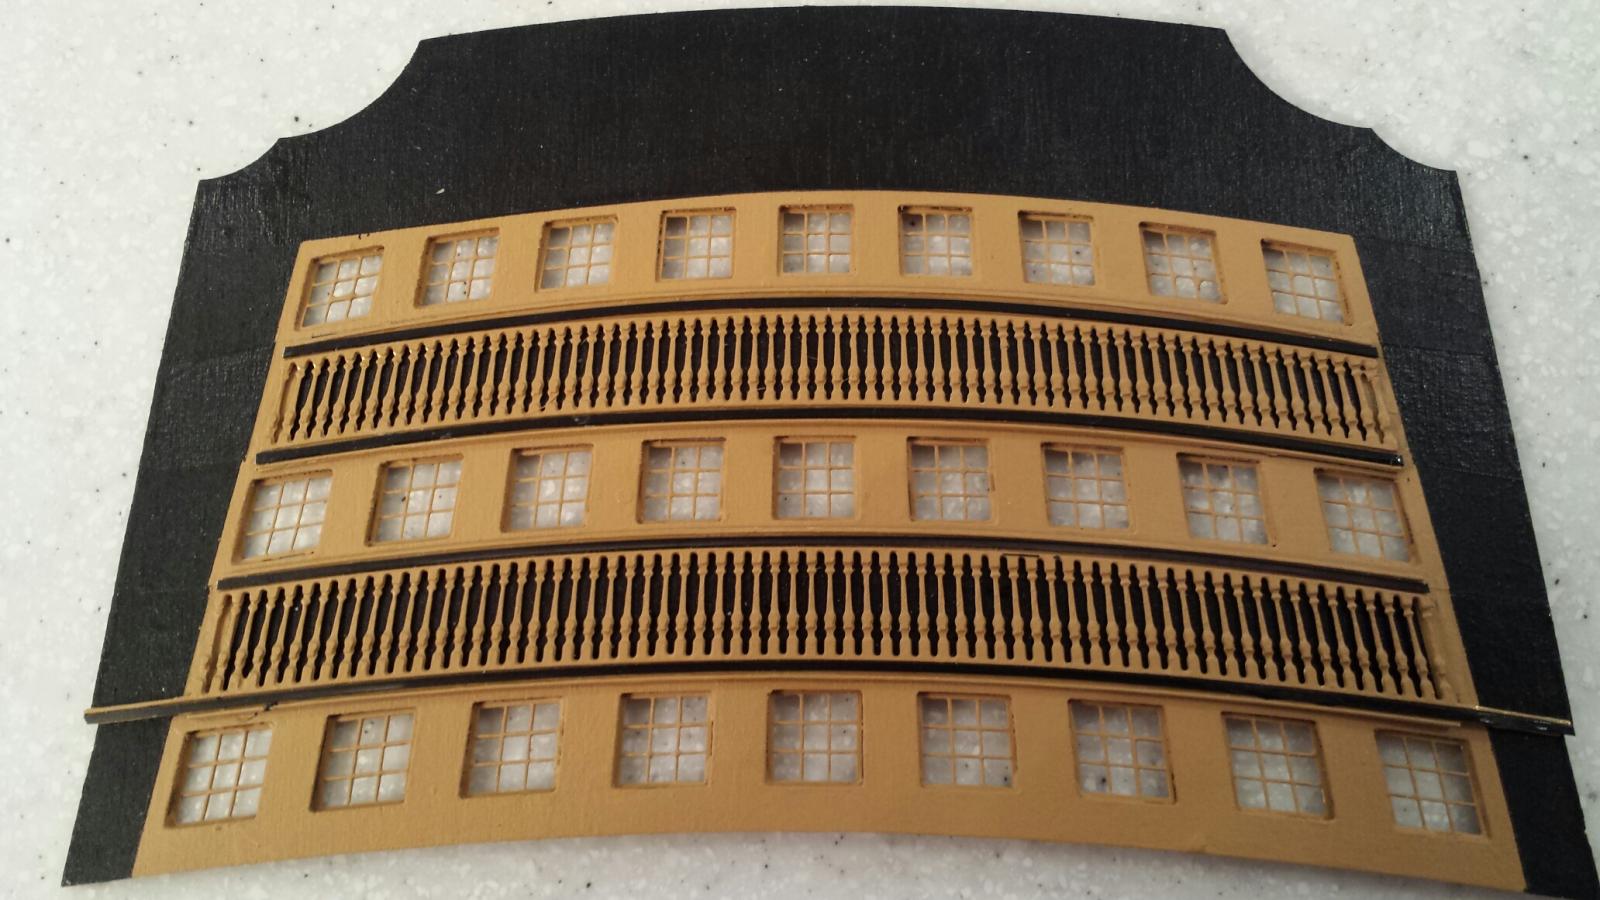
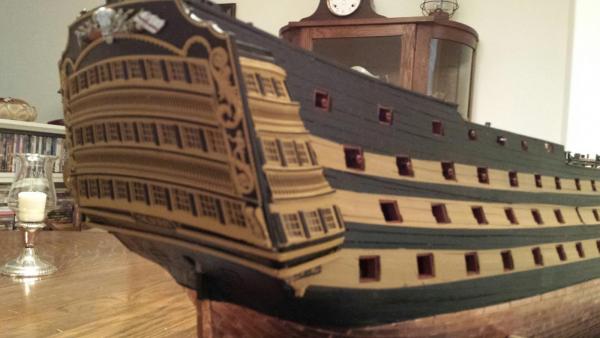
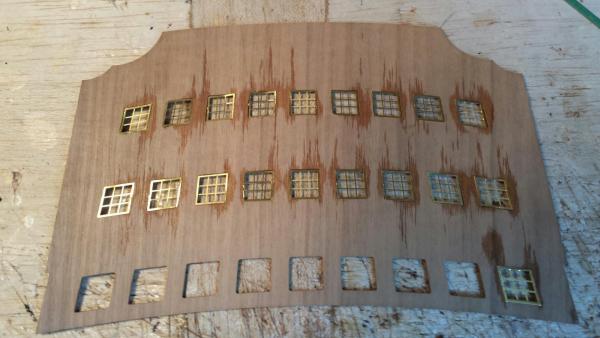
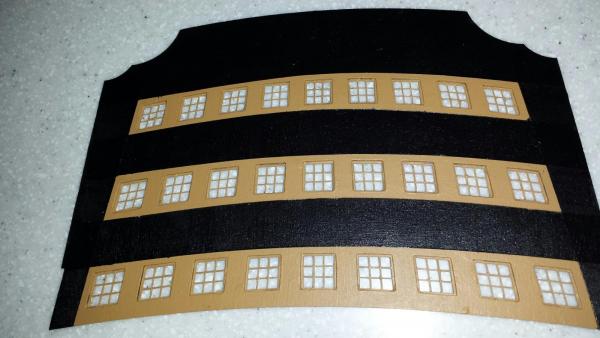
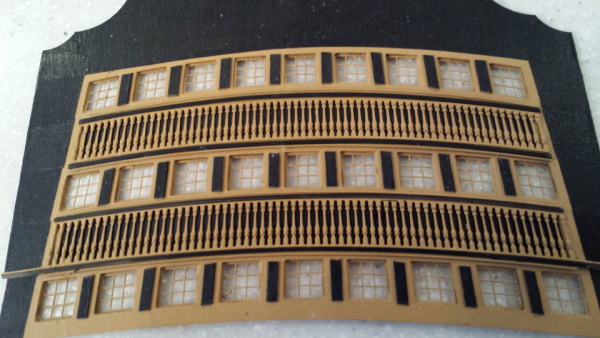
Progress is being made. As I mentioned before there are several construction steps that are not referenced in the manual or the plans. For example; the 24 black vertical trim strips on the stern fascia is never mentioned. If it weren't for MSW people who were able to explain this trim, I never would have known if this decoration was merely painted on or if it was three dimensinal (which it happens to be). Photos follow: Click on the photo for Description Thanks and regards, Jerry


- 900 replies
-
- 3
-
-
- victory
- caldercraft
- (and 1 more)
-
Tanks for your encouragement, Patrick. Now the fun really starts in building the stern fascia. I appreciate your visit and hope to hear from you again soon. Thanks, Jerry
-
Hi Patrick... I decided to visit your site and to see how you were coming along. Looks to me that you have everything under control. The hull looks terrific and the lines look perfect. I agree with you about the manual and instructions. As you progress further you will see that the manual leaves a lot to be desired. If it weren't for the wonderful people on this site i'd be stuck someplace and probably be doing something else rather than building this kit. Keep up your great work and stay in touch. Regards, jerry