


bhermann
-
Posts
535 -
Joined
-
Last visited
Content Type
Profiles
Forums
Gallery
Events
Posts posted by bhermann
-
-
-
Dave - glad to hear you caught the jumbo bail problem. I'm still not sure i have mine far enough forward to miss the traveler block, but it'll all work out somehow.
On my build the footropes are wire and the stirrups are black sewing thread. I did use an individual strand pulled out of some speaker wire for this. I don't know what the gauge is, but it looks thinner than the thread, I can't locate my source material at the moment, but I'll have a look around and see if I can get more detail for you. I am not completely happy with the result. Getting the wire shaped properly - and then maintaining that shape - was a bit touchy for me.
Bob
-
I like the contrasting colors you are creating with the wood. This looks like it will be fun to watch... and a model we don't get to see that often.
Bob
-
Rod - i don't know how I missed this one on MSW-1, but she sure is looking good. I love the way the bowsprit rigging came out. Getting those footropes to sag "naturally" is a pain in the butt - you did a real fine job there.
Referring back to your original post - when Neil Armstrong was walking on the Moon, I was building those paper LEM models you could get at Gulf gas stations - I must have had 10 of them around the house. When I get to my Flying Fish, I'll be sure to come to you for advice! Yours looks really nice - even after all the years.
Looking forward to following this as you progress - thanks for sharing.
Bob
-
Jim - it's good to hear you are getting back to it. Sounds like you've had a bit of a rough road - hopefully all is turning to the good now.
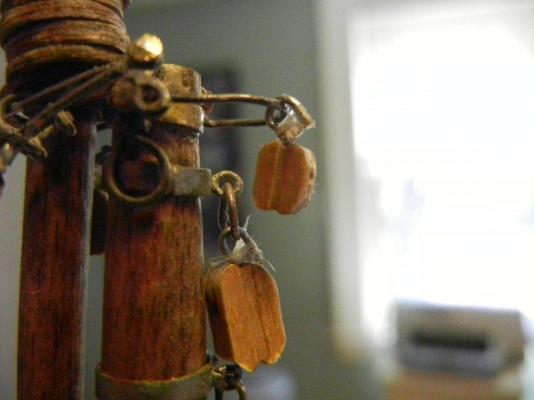
So no one will think I am slacking completely, I attached the block for the staysail throat halliard to the spring stay bail. I must remember to keep it on the port side when I get around to attaching the stay, as it belays to a pin on the port side of the foremast saddle.
Bob
- tasmanian and fnkershner
-
 2
2
-
-
Hi Dave and Floyd - I made my first step in preparing for the sails.I picked up some HB graphite pencils and a sharpener. I am not keen on folding over the edge of the sail and sewing because I think the bulge made by triple folding and sewing through it would be too much for the scale. The plan shows the edging on the sails to be a little less that 1/8", which would scale up to just under 8 inches on the real thing. I was thinking about getting some 1/4" tape and folding it over the edge so it comes up 1/8" on both sides, but Floyds post has me thinking that if I could find 1/8" iron-on seam tape and just use it on one side, that might be better. I could also use it for the reef bands.
I feel a bit cheated that I have lost all reference to both your logs - in Floyds case, all three logs (the LSS, DDM, and MSW-1 versions). If either of you were to post details of your experience as a guide, say in the Masting and Rigging forum, I would read them avidly!!! (and I'm sure I wouldn't be the only person interested.)
Bob
-
Thanks for the info, Russ. I am going to follow the plans on this one, as I have no contradictory evidence - and few (if any) of the photos on the Nova Scotia archive pages show mast-top detail at all. I think it's safe to write this one off as a regional difference.
Keith - the two materials feel very similar in thickness. The pillowcase is a little more translucent than the sheet material, another reason for me to go with the sheet. I nave considered using modelspan, or silkspan, but photos I have seen of those materials seem even more translucent. My feeling is that opaque is the better way to go here, all else being equal.
Bob
-
That is some clean looking work, Stelios, especially at that scale. Thanks for sharing.
Bob
-
I found the rigging for the fishermans staysail in a detail on plan sheet 5 - along with a note that describes how the sail is lowered to the deck to change sides. I guess I had the right idea, now I just need to execute on it. The throat halliard runs through a block hooked to the spring stay bail and the tack has a pendant with a fairlead that the throat halliard runs through. I think I can handle this! I may become a sailor yet! There is no indication whether the hook is moused or not. I think it would be to keep the whole thing from dropping to the deck when working the sail.
Bob
-
Jack - You found one of the keys early on - read, re-read, study, compare, dry-fit... all needed steps to a successful build. I'm glad to hear you've gotten some interest from your granddaughter - I'm hoping mine will come along someday... but there's time.
Don't worry about your kit looking different than Jeffs - he actually built the 1:64 Model Shipways original - I'd be surprised if it looked just like the 1:100 kit re-marketed from AL

Bob
-
Thanks for stopping by, Blue Ensign, and for your kind words. She does have some lovely lines, sometimes I catch myself just sort of staring, and dreaming of being on board.
On to the sails - I have to select my cloth. First up is a piece of fabric that was donated by a quilting friend.

It has some things going for it in my book. To me, it "feels" right - like miniaturized canvas should feel. It also seems to have a tighter, more even weave. And finally, there is more than enough of it to allow for some experimentation and goofs.
Second choice - an old pillowcase donated by my sister-in-law.

It is softer than the first sample. It doesn't have as much "body" to it. Getting enough of it for a full set of sails would be tight with very little room for error. I suppose I could ask if she still has the other one.
Finally, the two side by side:
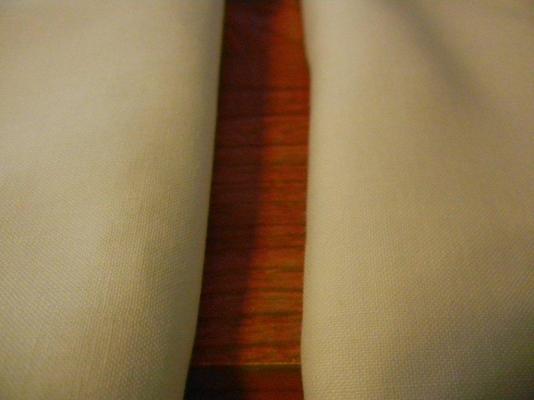
Number one is on the left. I am still thinking about the fishermans sail. I get the impression that the sail was lowered to the deck to switch sides and I think I know how the head is rigged to accomplish that. I am still a bit fuzzy on the foot - if it is indeed called the foot (the "tack" maybe?). If I can work out that detail, I may go ahead and add the sail.
Bob
-
That is a real effective method to solve what is real problem to do with the kit-supplied pieces. Way to think originally, Jay.
Bob
-
David - wow, two builds at once. You really are living on the wild side now. This will be fun to watch.
Bob
-
Thanks for the kind words, folks. I guess I'll be heading out to the office supply shop for a mechanical pencil and some #2HB lead - whatever that is! I'm glad the posts are useful - it's nice to be able to give a little back to this forum for a change.
Keith - it's good to hear that you are considering Bluenose for a future build. She has some really nice lines and goes together pretty well.
I hope Captain Walters would be proud - he certainly was an accomplished skipper - to say the least.
Bob
-
Gil - I remember this post from MSW-1. It was my introduction to your log, and a nice way to do splicing, which I have been trying to emulate ever since. From that point on I was quietly following your log in detail. I recall thinking at the time that it was very difficult to tell the pictures of the model from those of the real ship - and I'm still having trouble. Thanks for re-doing the log and for continuing on. I will continue to watch and learn.
Bob
-
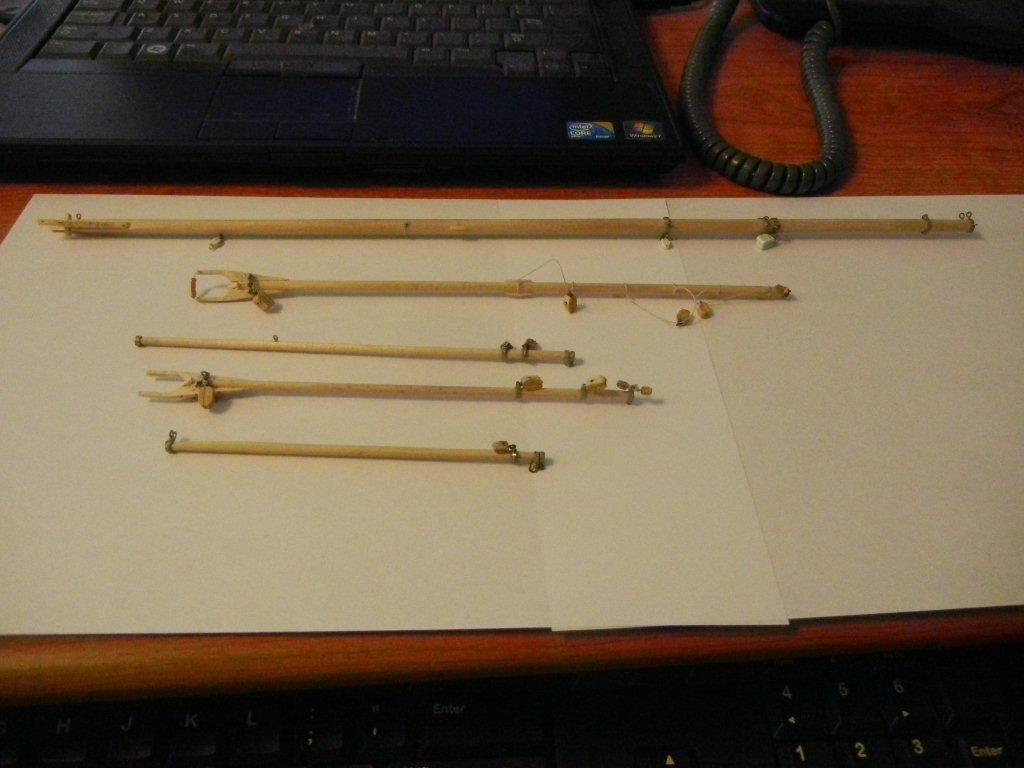
OK I guess I'd better 'fess up. I compared the spars against the plans and it looks like I have everything ready to go. I guess it's time to get off the dime and get moving on sails and rigging.
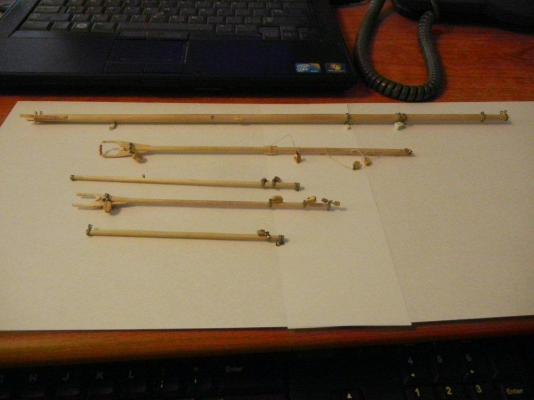
From front to back: jumbo jib boom, foremast gaff, foremast boom, mainmast gaff, mainmast boom.
Now to decide which of the cloth samples I'm going to use - old pillow case or old sheet.
Bob
-
Hi Jack, and welcome to the growing fleet of Bluenose builders. We are a friendly bunch and will follow along, helping where we can, and always giving encouragement. I look forward to watching your ship come together.
My wife and I were out your way about a year ago, staying with friends in Scottsdale. It was our first visit to that part of the country and we were impressed by all we saw and did. Amazingly different from the Northeast!
Bob
-
Thanks for posting... Emma is on my list of potentials and it's nice to see another log I'll be able to follow if it happens.

Bob
-
Robert - that is some very impressive work on the cannon and carriages. Their rigging looks nicely scaled as well. I hope to be able to produce this level of detail someday - in the meanwhile, I appreciate what you share here. The ropewalk setup looks intriguing as well. Do you have any full length shots of it in use?
Bob
-
Wilbar - I don't know that it is the best, but I used "Patch 'N Paint" filler on my Bluenose hull and acrylic paint over it. I live in an old house with 90+ year old plaster and I have used it on the walls over the past ten years. It dries hard, sands smooth and holds latex - and acrylic - paint very well. I can post a picture of the container if you'd like.
Bob
-
That is some very crisp work, Jay. She is coming along beautifully.
Bob
-
Dave - that's a nice simple jig - and it certainly does the job well. Looking forward to your log resumption.
Bob
-
Marc
I'm sorry to hear of your troubles. Take the time you need to heal - the build (and those of us watching it) will be here when you are able to get back to it.
Bob
- keelhauled and Seahorse
-
2


US Brig Syren by rvchima - FINISHED - Model Shipways
in - Kit build logs for subjects built from 1801 - 1850
Posted
Rod
Spell check isn't a feature of the Forum, it is something that needs to be enabled in your browser, and how to do it is dependent on which browser you are using. Check out this topic for some more information:
http://modelshipworld.com/index.php?/topic/534-spell-check-and-measurment-converter/
BTW - I agree with Russ. The stand looks really good - I like the reasoning behind using oak..
Bob