-
Posts
15,993 -
Joined
-
Last visited
Content Type
Profiles
Forums
Gallery
Events
Posts posted by popeye the sailor
-
-
thanks Andy........this hobby breeds insanity.......but I'm too far gone to know
 I'll come up with something, I'm sure!
 -
see what happens when I get too much sawdust flying........I miss great builds like this! the last I heard, was that you tabled the greek vessel and was thinking of another build.......I guess I don't get out much. I'll have to read it completely, but what I saw so far is superbly done.......that's one bid girl your working on........cripes the sawdust must be everywhere by now! I'll be looking on from here on out.....great job so far

-
great work on your ship.....the cannon rigging is especially nice. the deck is very well fitted out....great work!
-
Only Andy............the wipers again! man, the last time you mentioned that, I almost got sent to the rubber room by the admiral! to make matters worse......if I did one boat.........I'd have to do them both...that's six wipers!
I'll get right on it !

thanks everyone for the good comments........I'm really surprised! I made the wipers for the M&M fun ship......yea, the admiral accused me of prolonging the build on her.......but when she had it in her hot little hands, she was a very happy camper! that's a really cool wiper Michael......you better save that one for your BIG build
 at this scale, I won't go that elaborate.....but I think I can make the to look like they have rubbers on them. I'll look into it........it is doable
  the build{s} is far from being finished at the moment........still more to go.
thanks again for all the good words.........it makes all the crazy stuff I think up, all worth wile. your ideas are priceless as well!

-
nice bit of progress Andy......I tend to agree with you, but for those of us who don't have a lathe......well, we have to make do
 I'll look forward in seeing the complete mast tree. so far, it looks real good.
-
thanks john

all prints are wiped prior to installation Augie......but I can't seem to get away from the dust particles.
this clear cello didn't come with the kit. some cello {looking through it} shows distortion of what your seeing through it.....this stuff gives a very clear view....I think that's the cool part
 that's also the nice thing about this window maker, it dries clear and disappears.....but I did take a thin strip of the cello material, and scraped the excess that oozed out along the edges. thanks for the good word Daniel
 -
thanks for the good word David......this is what I had to do, to get back on subject...LOL! I seem to be paying more attention to the Denny-Zen though........there's more to do. I'll get to the Phylly C soon enough. thanks for looking in

-
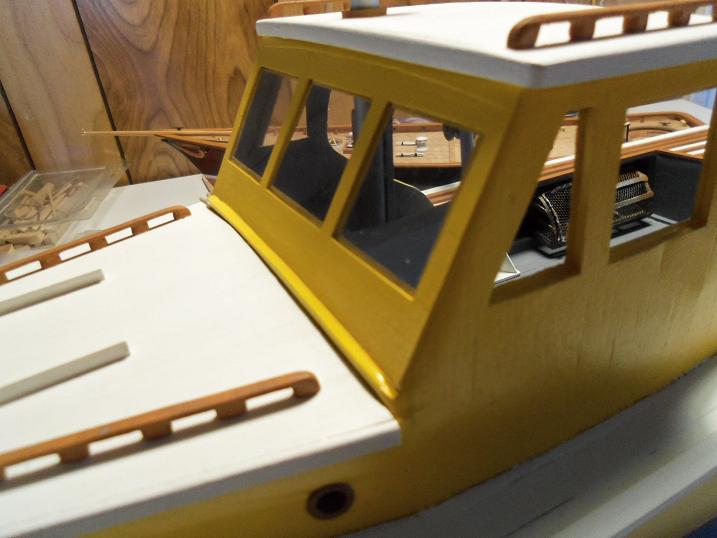
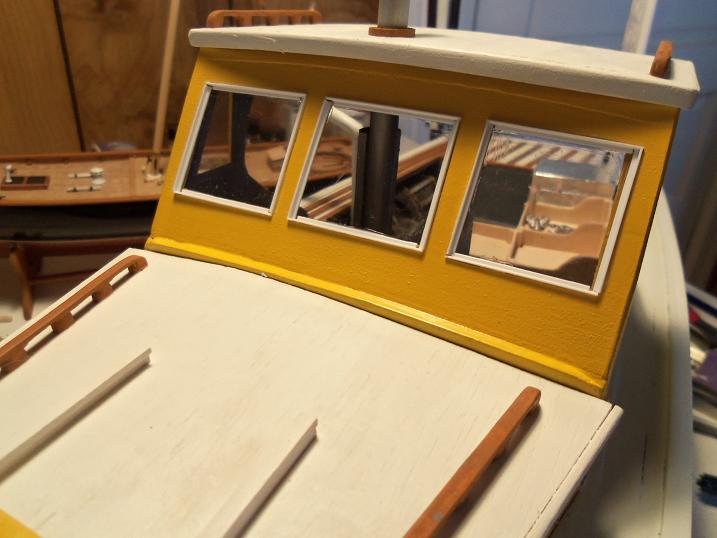
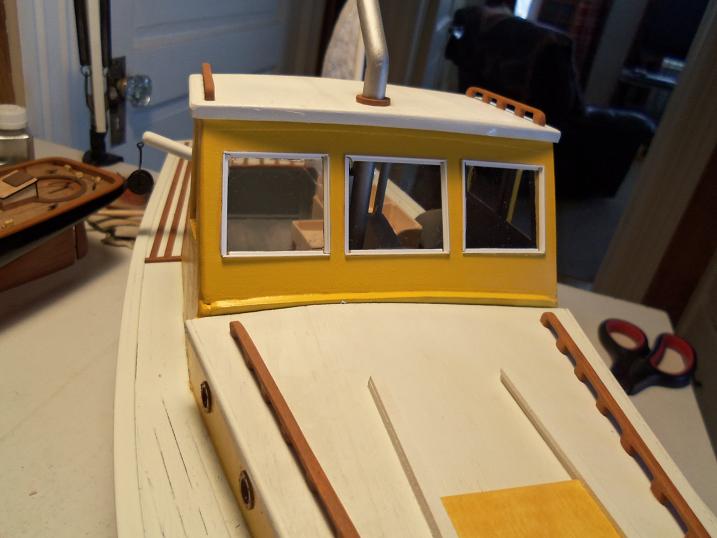
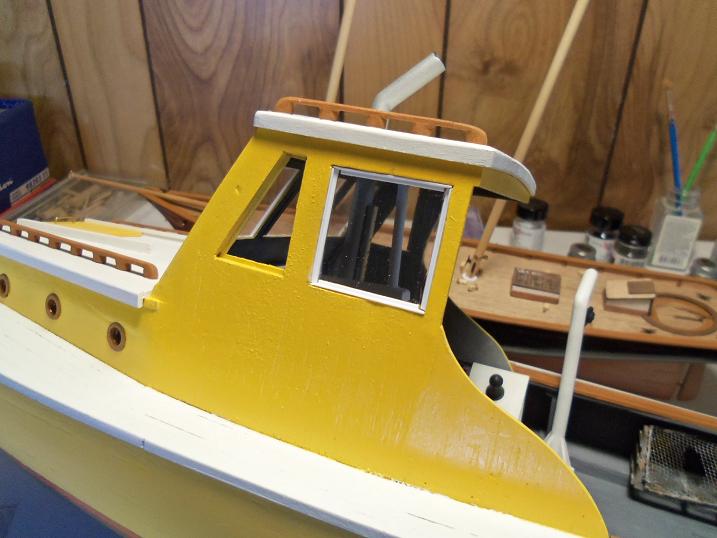
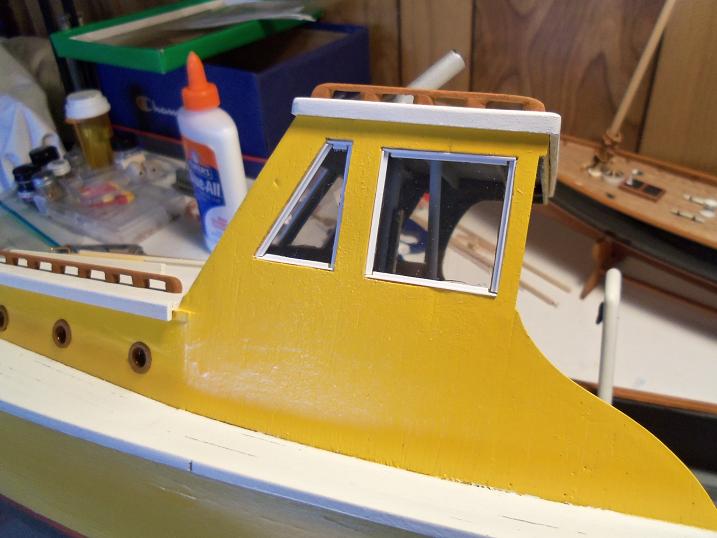
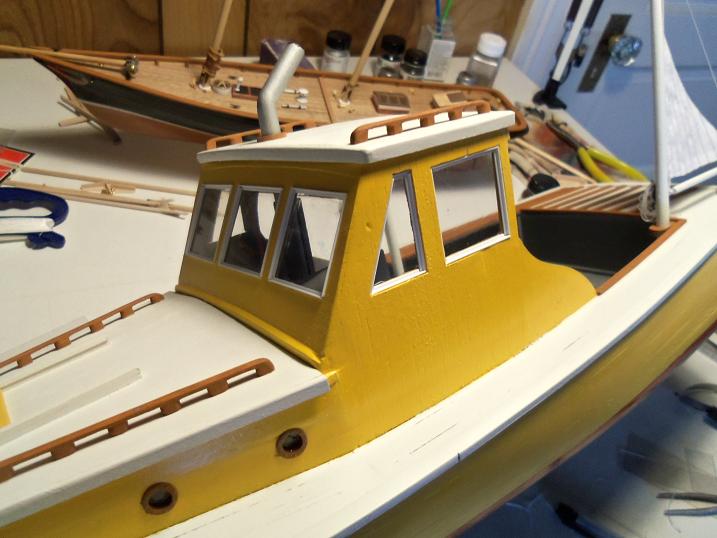
I have some progress that I did yesterday......it's not complete, but here is what I have. the windows need to be put it......these can be done from the outside. it's hard to see them, but the front windows are there.
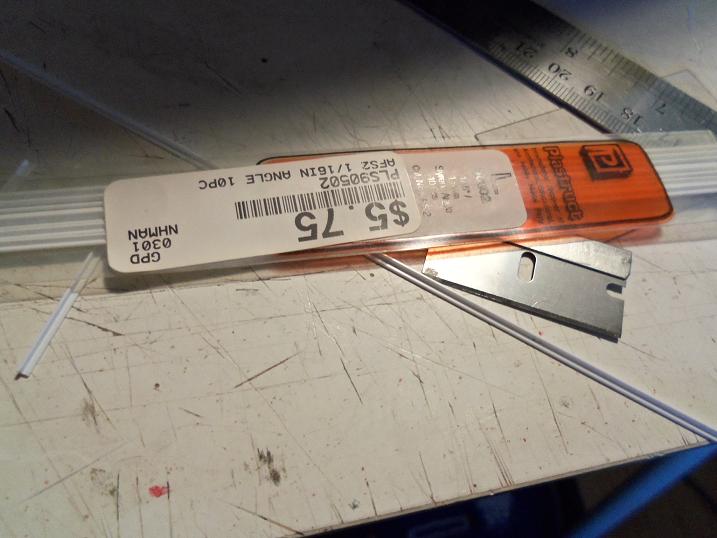
to trim out the frames, I'm going be using angle molding.......I have some quarter round stuff, but it didn't look good.
the bottoms and tops needed to be notched to accept the side moldings
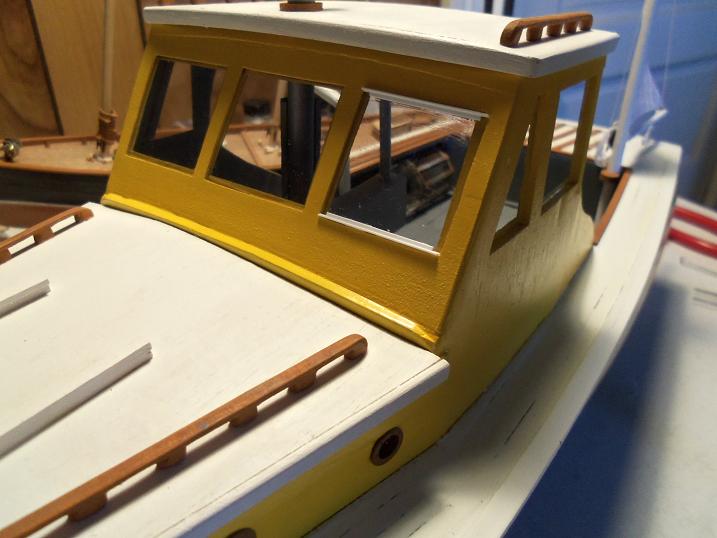
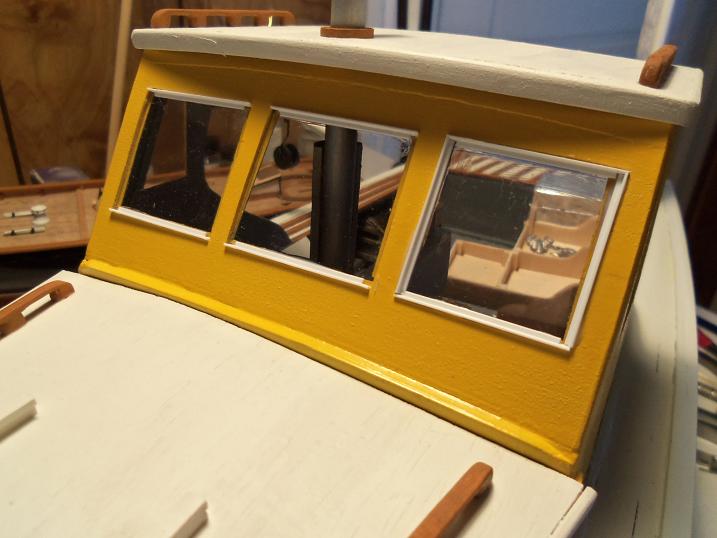
as the molding were run top and bottom, the sides were cemented in. I used the window maker to do this......it won't cloud the cello.
the port side windows were next
the starboard window is a single window, tirangular like the one on the port side. I will squeeze that one in the nest session I get into.
-
thank you Sjors and Bob..........there's more that needs to be added to it.....but i'll get there

-
she's looking great kats........you take care of yourself.....back problems are not good to ignore. My admiral is disabled due to back problems.....I know how you must feel. do a little at a time........don't rush. don't worry about forgetting stuff......by now, it's engrained into your memory......that is, if the ship isn't already built in your mind
 always a treat to see!
-
of course I'm here phil.......I'm drawn to that wood grain you got going
 ....especially the ship's boat you made....... very nice indeed! I'm also gald you put in some pictures of the bottom hull paint......that came out real nice as well. yea, it's a pain........but it will bring you up to speed......I finished putting in the Gothenborg about a week or so ago........now I can't wait to get back to her I have to order some deadeyes for her....once I do that, I'll be ready to continue.
I'll be keeping an eye out for your progress

-
very tiny......and nicely done! mini you must come in handy for this.........great job!

-
Yea, I know John.......that little problem still plagues me. I've been looking around for others.......the cost of these little guys is astounding! I may have an idea though......I'll see if it pans out. if not, I'm afraid these will be the only props to grace the deck.
thanks for looking in...and the good word!

-
thanks Mobbsie and Anja. I got my new keyboard......man, what a difference! as the wicked witch said:
"you have to approach these things slowly........or you'll break the spell" it is looking like I might have a couple of builds out of the way, by the time I get back to her. I'll keep you imformed

-
thanks Mobbsie.........almost there!

-
thanks everyone! I really appreciate the good word.
I plan on four that will be at different stages on the sheer skids....and one that will be tucked under the sheer in a compartment. I have to get back to making the doors for the other ones. to look at other boats....every inch of space is geared for making money. thanks for looking in Mobbsie

that one is just a tad different Wayne, but that just goes to show the small differences from one to the other. these are cool seeing that they can be done any way you want
I think a smaller cooler could be shoved somewhere Carl

thanks for the good word Augie

thanks Mario........I can only work on one at a time......and I can remain busy while paint or glue is drying

-
that's a beautiful ship Alex.......I love the lap straking you did.......really makes that hull pop! very very nice!

-
thanks Patrick.......this is probably the main reason why I have so many builds lying around.......I hate waiting for paint or glue to dry. I have to keep busy. more updates soon.........thanks again guys!

-
hey Patrick.......I think you read my mind.......or I read yours hee......hee.........heee!
thanks Wayne.....that's what I thought when i saw the stuff in the bin.....it's amazing some of the things yiou can find there. I even found a package of hinges......someone tore the package. I've been correcting the mistakes in my typing......believe me......this really boots!
-
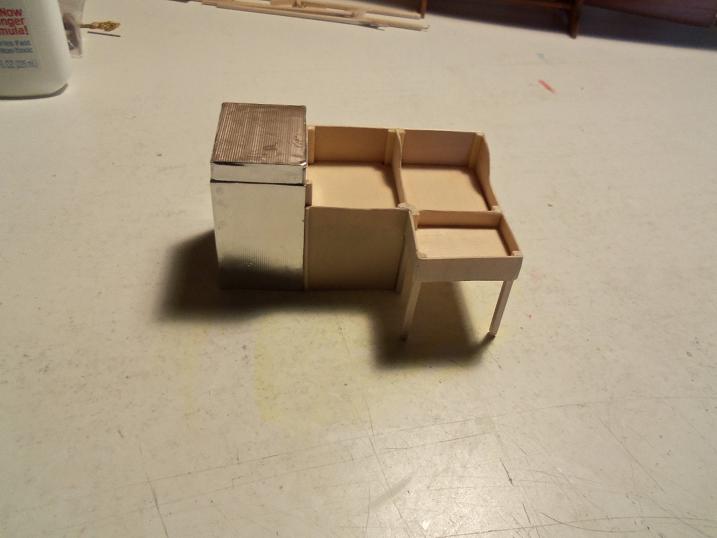
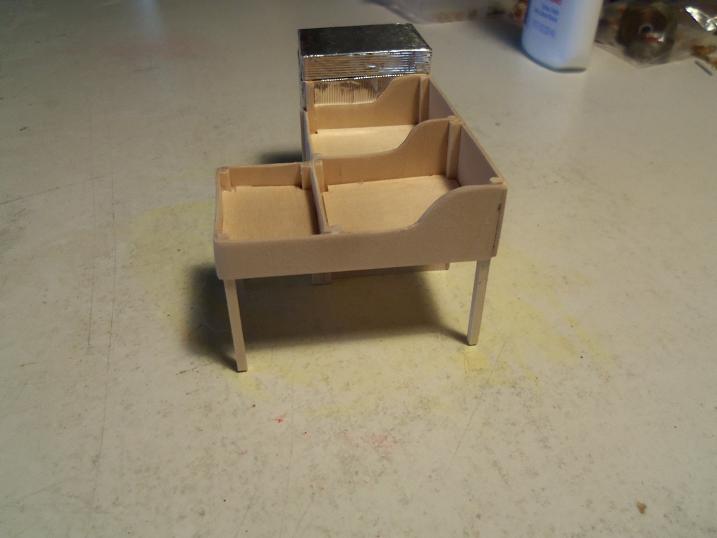
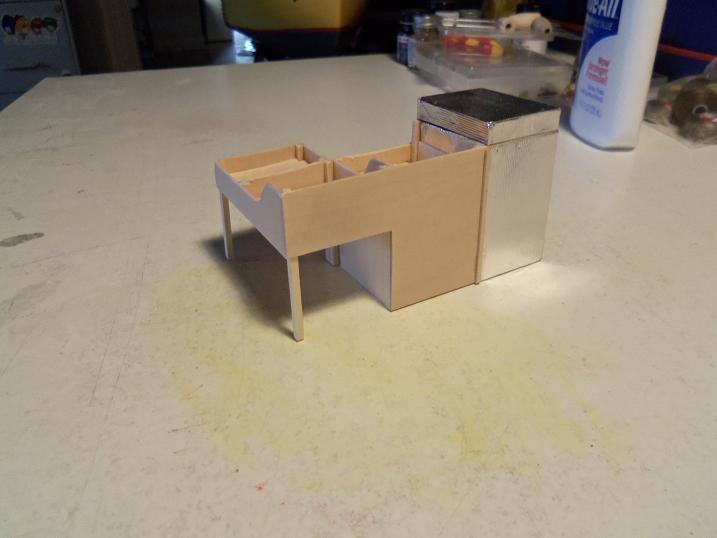
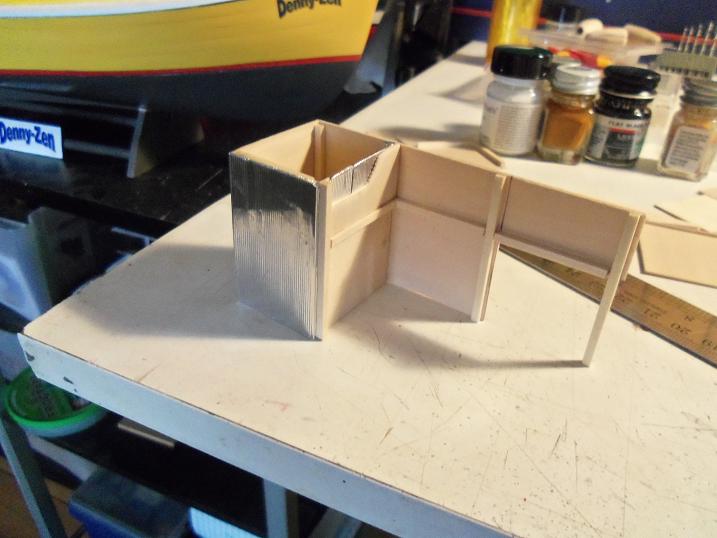
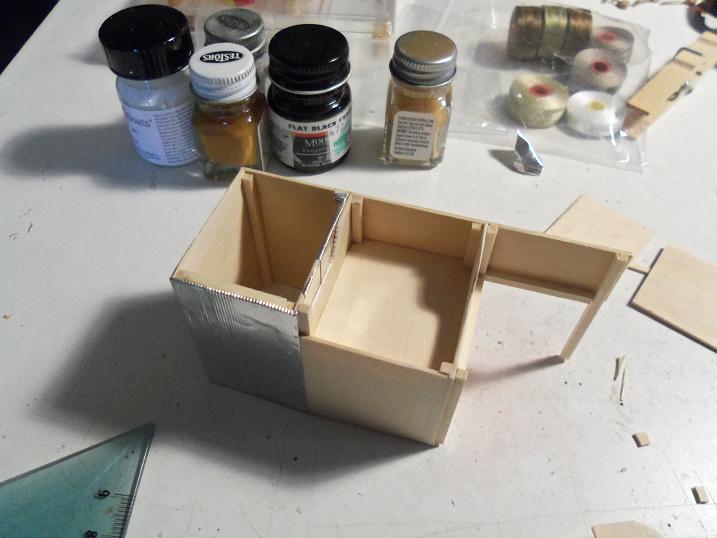
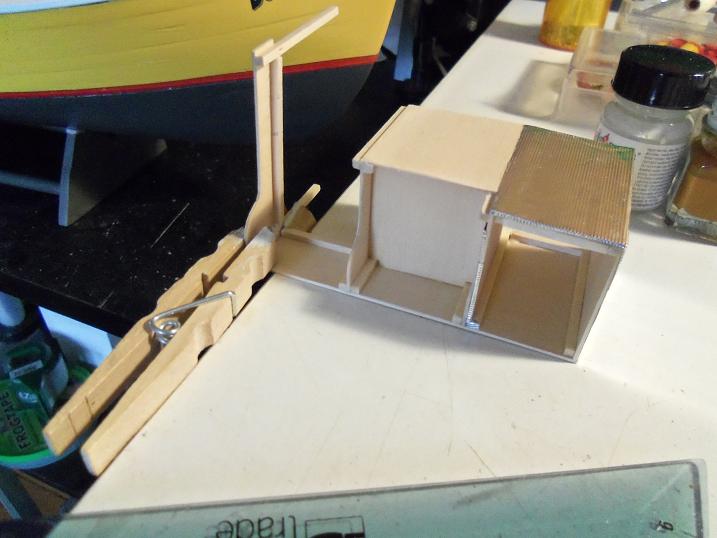
I hurried up and got the other part together for you. the cover was completed, and sanded. then it was covered with the aluminum and cemented in place.
then, the 'L' section of the table was finished
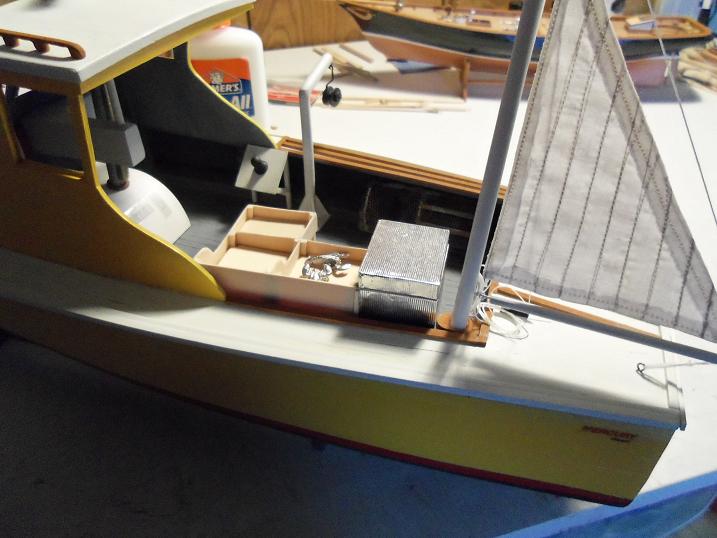
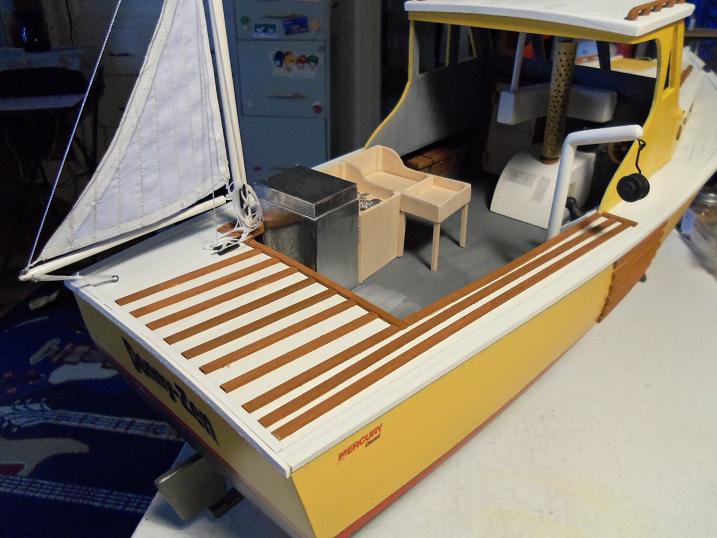
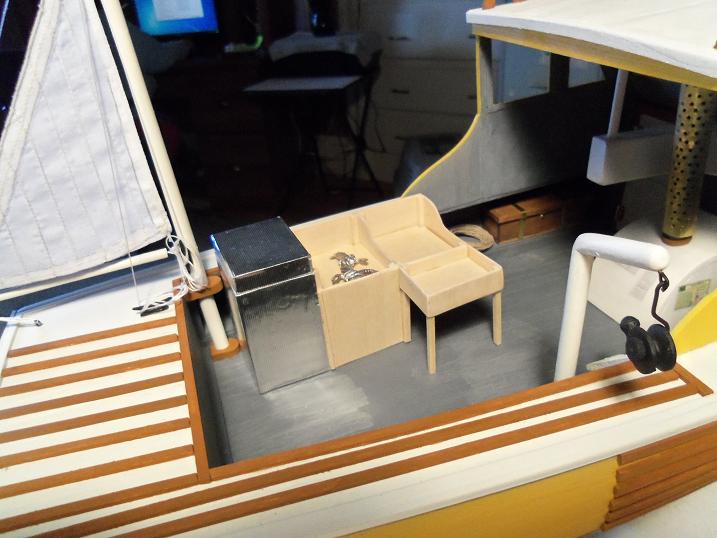
so, here it is......dry fitted in place. I have to make a few things for it still, but the main part of it is complete.
no.........it's not leaving the table just yet! ahhh, now that I have him back in my clutches again.....I have a couple more aspects, I think I will work on. more updates soon

-
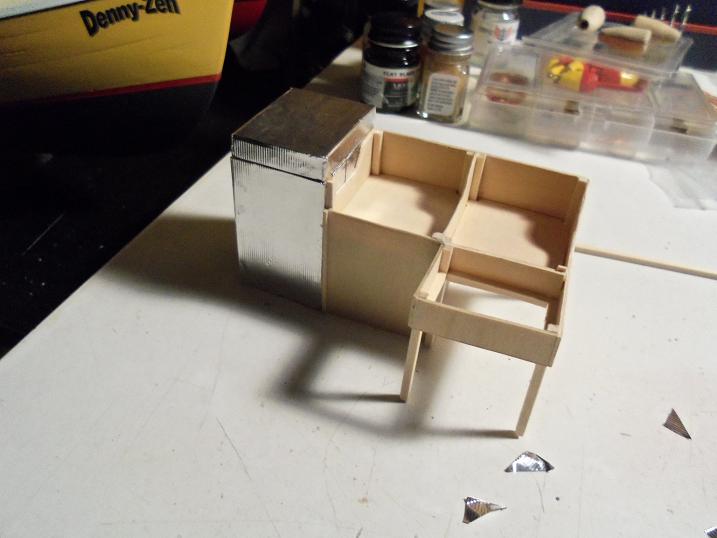
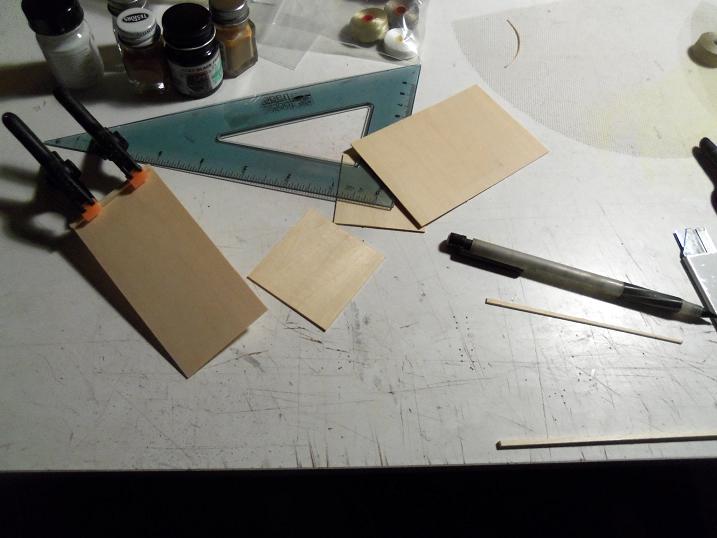
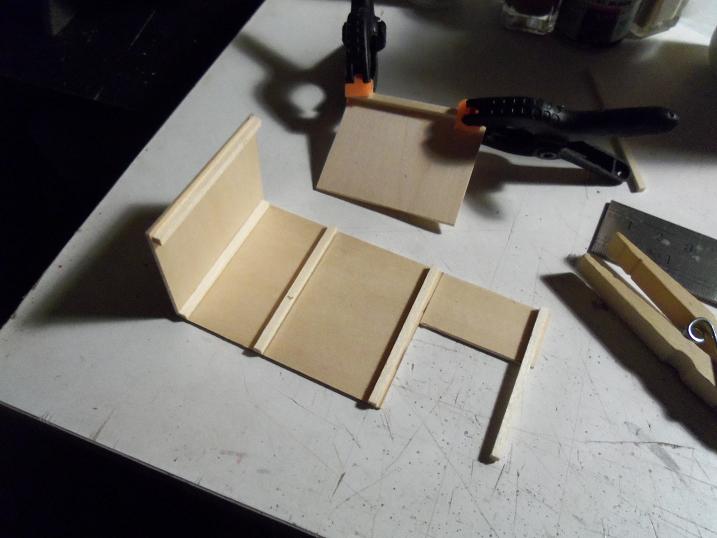
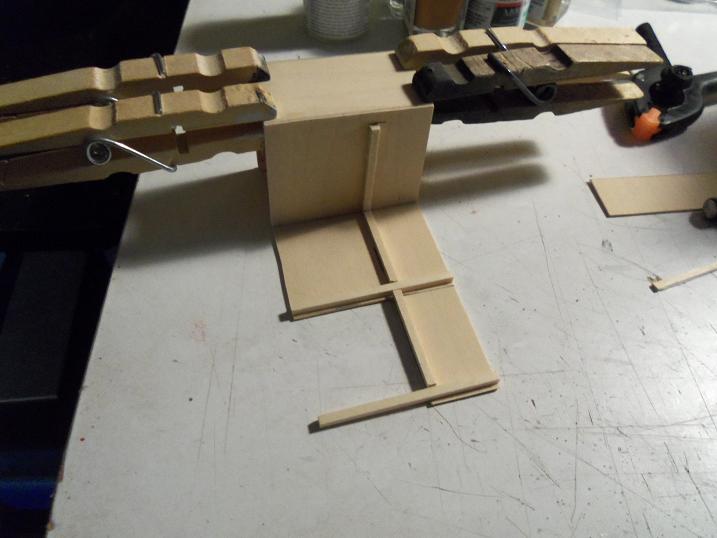
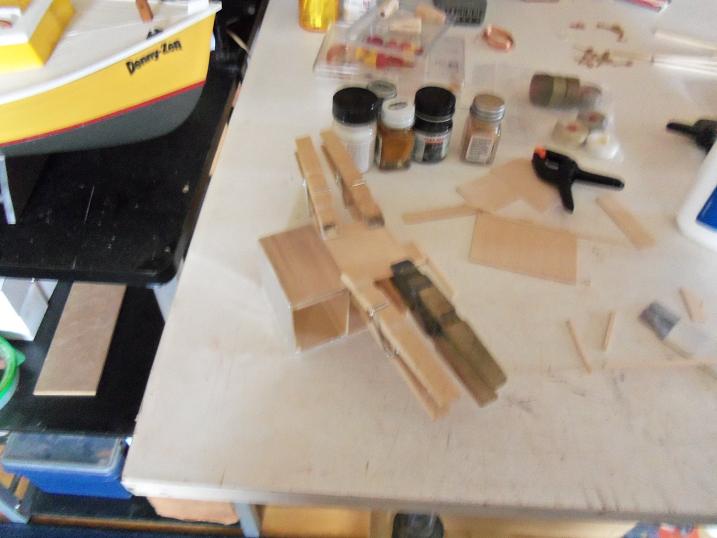
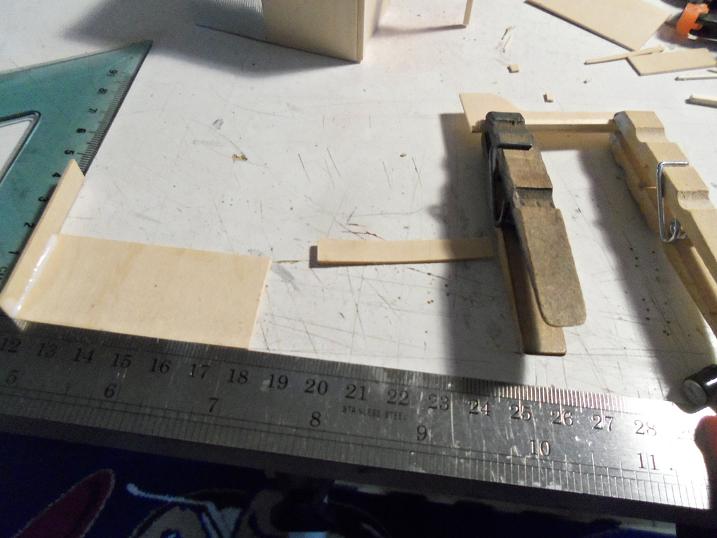
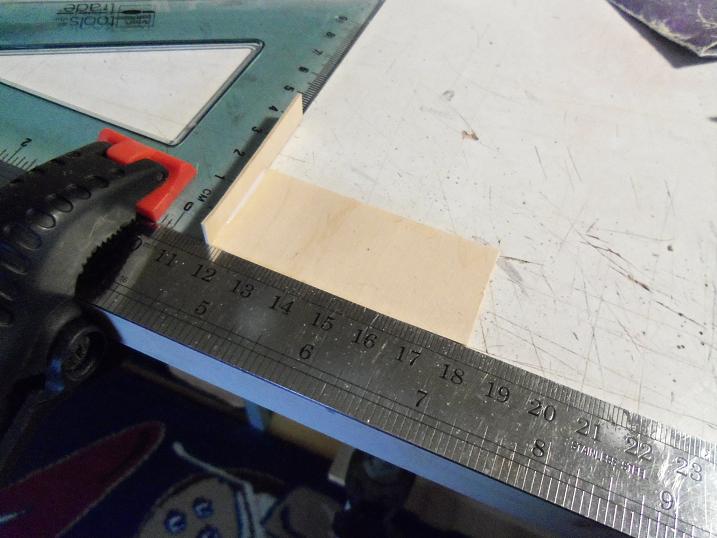
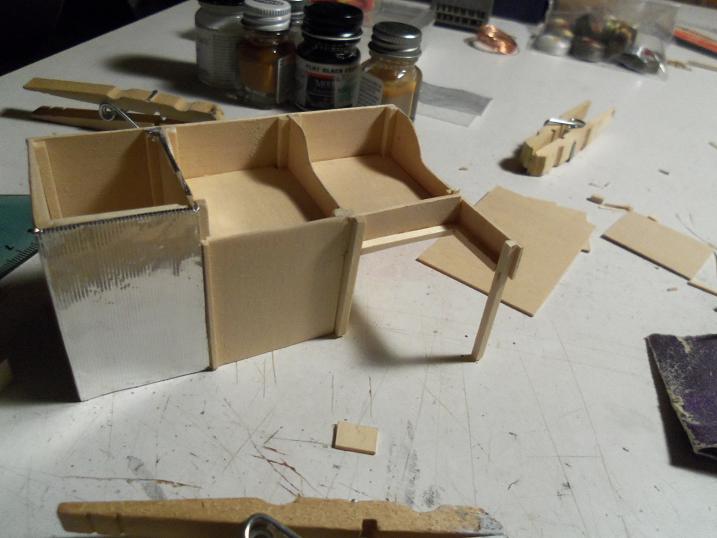
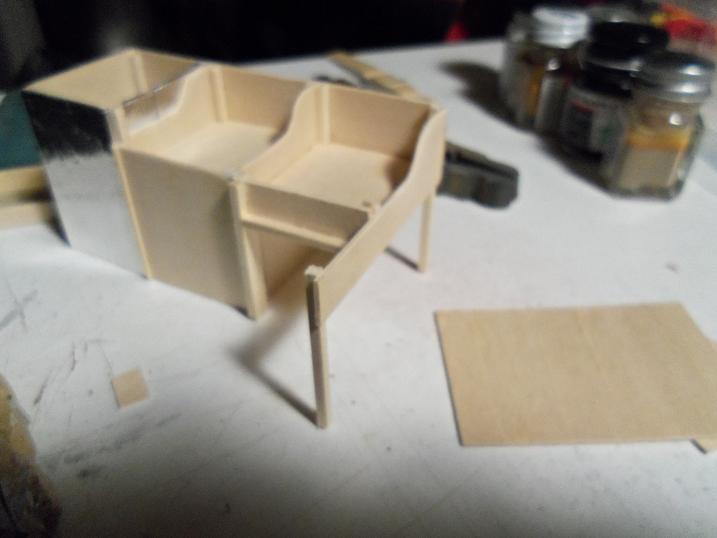
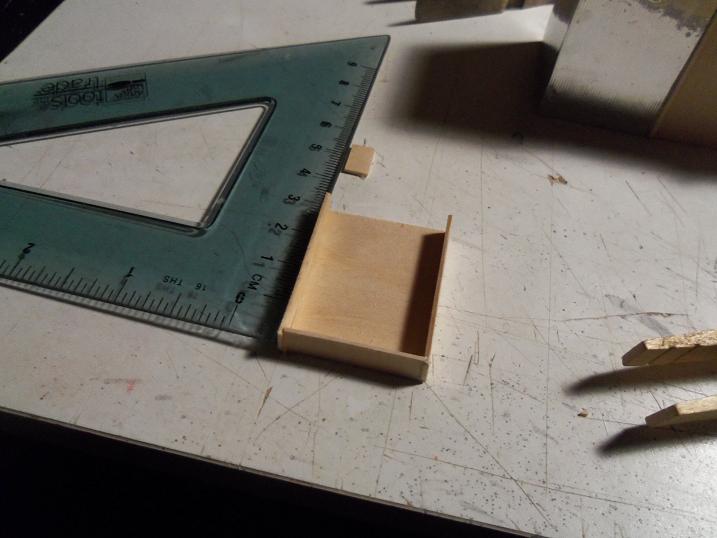
this update is on the sort table. I have the majority of the assembly in this session......there is more to come. I wanted to do it as simple as possible, but as I was making it......well, it kinda snowballed. it started by making the back and left side, using 3/32 square stock to create the locator tabs and legs
then a divider wall was made, and the front face for what is to be the cooler for the catch.
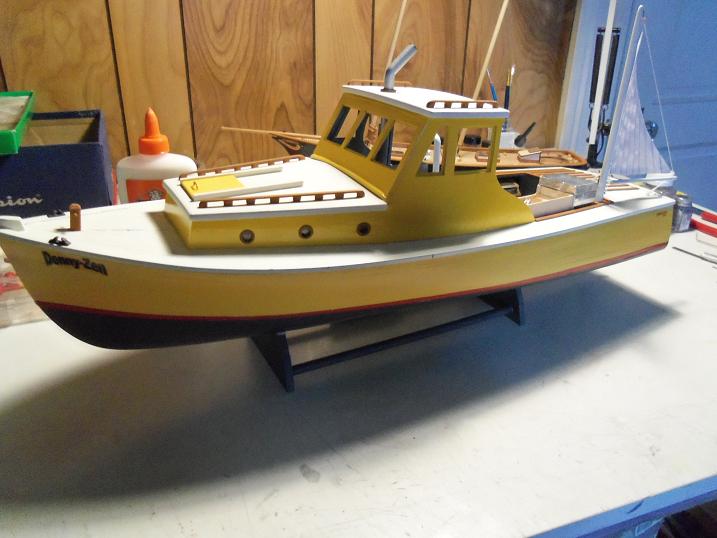
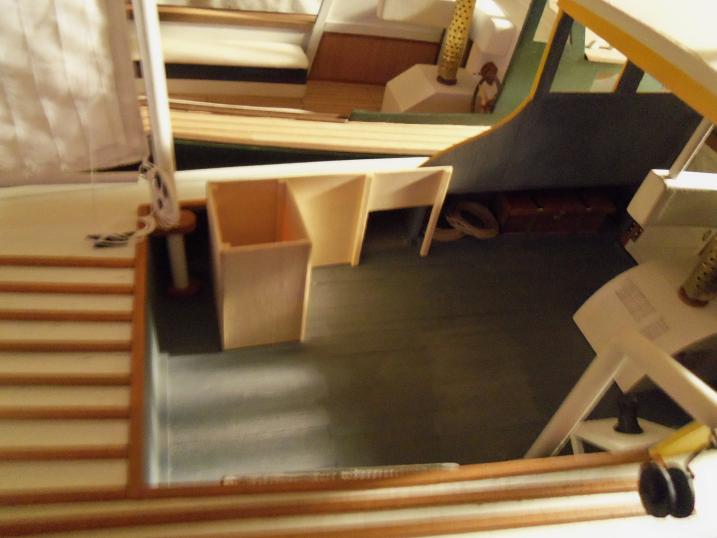
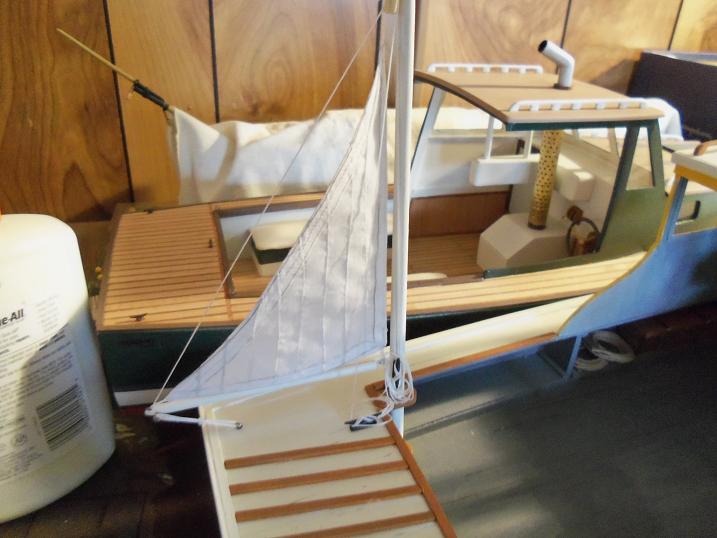
I was curious to see how it fit......I measured it in the beginning.....but I was still curious. I also trimmed and finished off the sail.....I was going to lash it to the mast further, but I think it's fine just the way it is
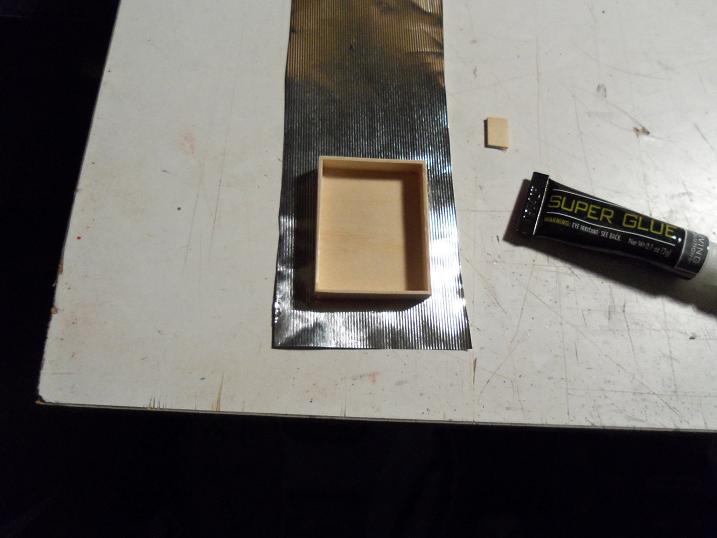
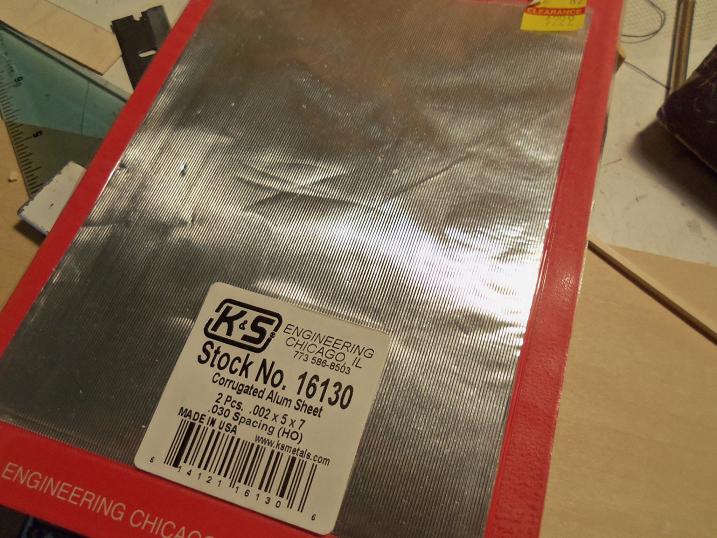
I bought this a while ago.......I was looking in the clearance bin at the craft store, and I found a couple packages of corrigated aluminum for model train layouts. this stuff is .002 x 5 x 7 .....and the .030 corigate spacing is suitable for HO trains. I will used this to cover the cooler. I got them for half price, because they were damaged.....small scratches and slightly bent.
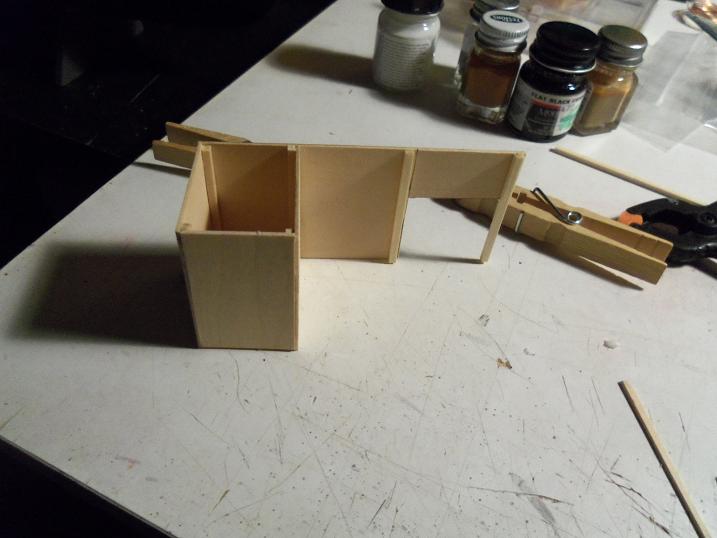
more work was done to the second bin, as well as the cover for the cooler.
the bottom was cemented in the second bin. this is to be an 'L' shaped piece of furniture, and the right hand side was made up.
one more side to go on the cover......then it can be sanded and covered in the aluminum as well. as mentioned, there is more. I had to get the admiral's computer up and running, so there is a bit of a break here. the computer she was using is gone now.......headed back to the store. as mentioned on my Gothenborg build, I had to give up the keyboard I was using, because it belonged to that computer. it's been a real pain to do this update on this crappy keyboard.......hopefully she will come home with a new one for me. perhaps I should register with Model expo in antisipation

-
thanks Sjors.......I promised an up date......just a minute.....

-
like I said......keep your fingers crossed. right now, I'm using a really crappy keyboard........I had to give up the keyboard I was using because it belonged to the other computer. everything sticks on this one.....even the spacebar ! this morning I set the other computer up and did a total recovery on it. now that it's back to factory specs, it's going to go back to the store. now I have to get another keyboard, but I don't need anything special. I'm sure I can find one cheap enough.......don't think it will be a factor. .....but keep 'em crossed anyway!

-
yepper.....me too Bob! I'm doing a few things to the Denny-zen at the moment and doing the small things to this one while things are drying. thanks for the good word.








Maine Lobster Boat by popeye the sailor - FINISHED - Midwest Products
in - Kit build logs for subjects built from 1901 - Present Day
Posted
thanks Sarah