


Adrieke
-
Posts
1,625 -
Joined
-
Last visited
Content Type
Profiles
Forums
Gallery
Events
Posts posted by Adrieke
-
-
thanks for the comments geoffrey,John and David
i am pleased with the result

in the mean time i have also worked on a way to get the stairs finished. i love basswood so flexible
thats my goal for the next weekend then finish and install the stairs
-
i think its more a case of a lazy worker. also i believe they dont count the parts but weigh them
-
thanks for the vote of confidence David . it has helpded
i tried the overlapping John suggested and knew straight away it didnt look right to me
after measuring the shutters grinding the beveled edges off on both sides still would not have been enough and as Josh siad i would end up with a long shutter between windows
the only option left was the one i rejected at first because too much hasle/work
i had to reposition some of the windows. after careful observation the best way was to reposition the windows next to each door and move them closer to the door.
first i had to remove the already installed windows. luckily except for one i had only pushed them in as they fit snugly so that didnt take too long
i also had to remove some of the planks and add a 1.5 mm thick strip of wood on the side furthest away from the door
i tried to work too quickly and ended up with too much gaps between planks and window so i removed it all and started again
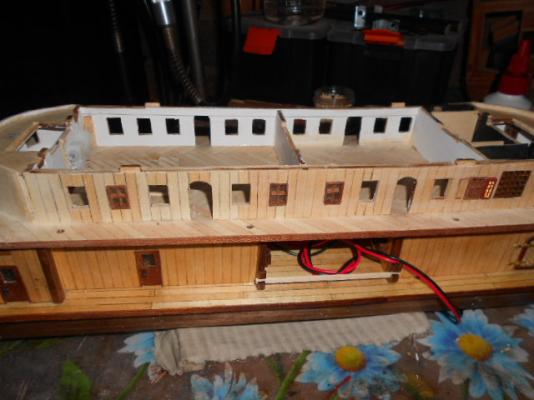
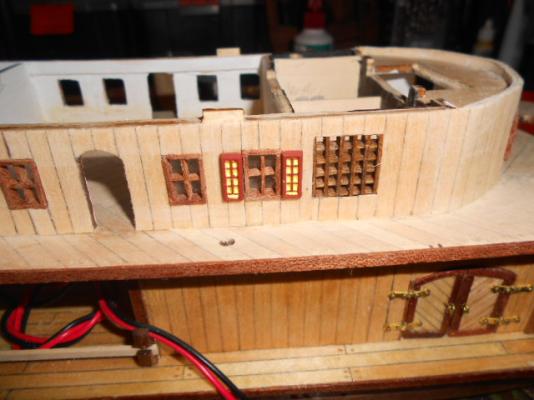
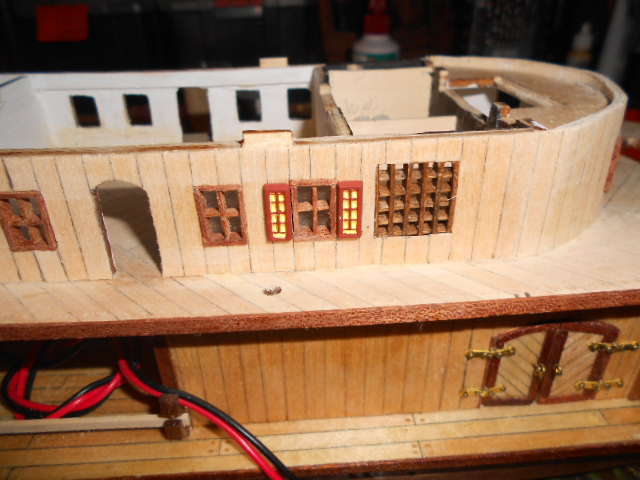
and here is the end result :

i noticed on the pic i had scraped of some of the brown paint on one of the shutters so i ll need to do a bit of retouch there
i have now installed al the strips so i could paint them white on the inside.
tomorrow i can work further on filing the repositioned holes to the right sizes, reinsert the windows and replank
-
HI Sjors
yes the step by step pictures are pretty good but my mind tells me i need to be thorough and read the text too just in case i miss something important
i have plenty of time and will do a few photos at a time during my lunchbreak at work
-
thanks Dave
welcome but you l have a bit of a wait before the build will startso far translated up to foto 4 (of around 200)
i l be speakign spanish soon (ai caramba)
i will save this in a document in case anyone ever builds this model again
-
ok so far good response from the seller after i send the list
no english translation . so i have started on translating myself . i ll need to borrow a few monks of Sjors to help me with that

-
wow Danny you are fearless
. anybody want to invent a drill that drills at 90 degree angle 
-
i have tought about that but i would need to cut into the frames because i have installed them sticking out about 1 mm.
my idea is to grind of the taperd side where it sits against the window.
-
thanks for the comments Wim,John,Sjors and Dcironfist
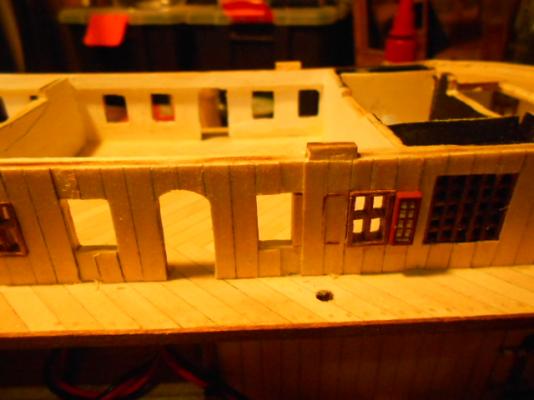
although i have run into a bit of a problem
if you look closely on the picture wiht the shutters you will notice that there is not enough room to put the shutter next to it
first i couldnt think why then it dawned on me that the orginal metal windows where smaller then the holes. about 0.6mm on all sides
that translates into 1.2 mmm. i made the windows to just fit the holes leaving only about 9 mm between windows with the shutters each being just over 5.1 mm.
the only option i got is to grind of about 0.6 mm of each shutter
-
dont feel bad John. from what you say you are already well on your way to get it all back right
-
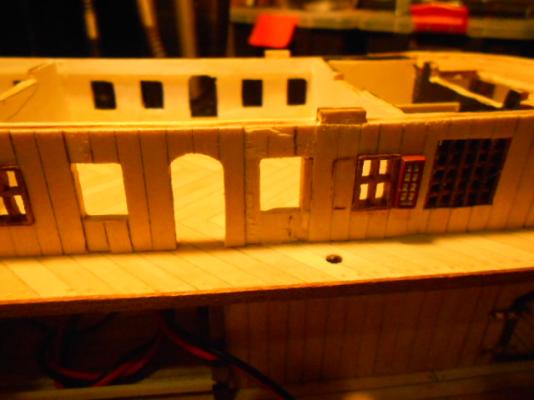
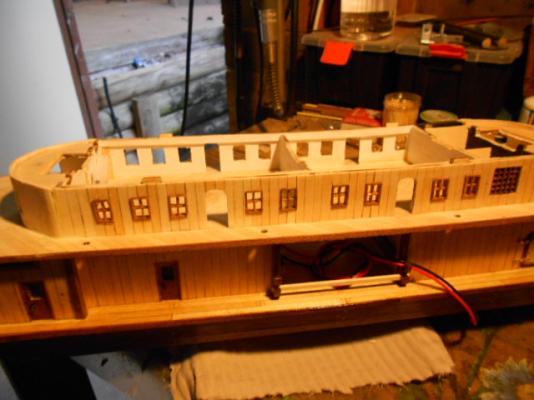
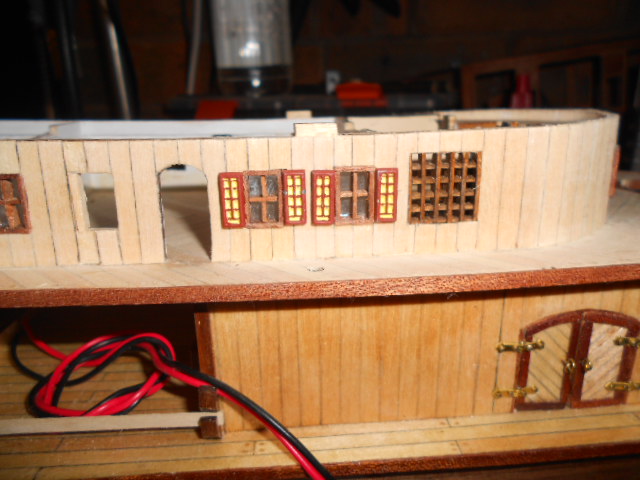
well i didnt finish the windows but i feel like i did do a lot
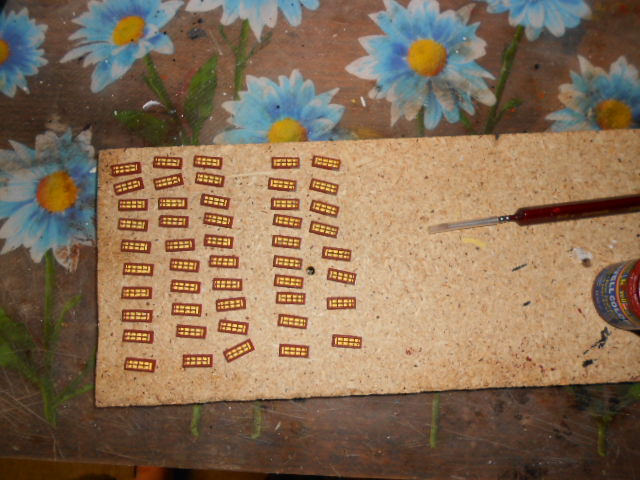
first the painting of the windows shutters is almost done

i have also started installing all the windows on one side and also 1 at the front
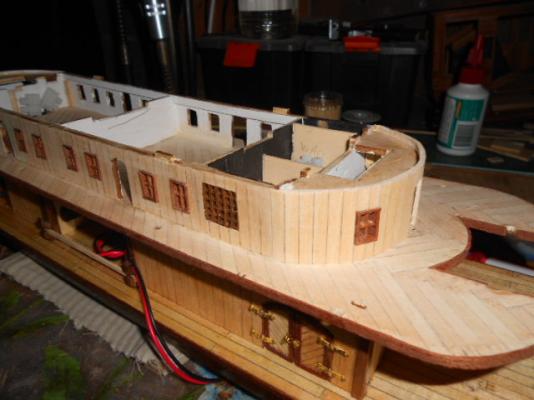
finaly i tried out the windowshutters on one window to see how it looks
i suspect i ll be working on the planking and windows of the 2nd deck stateroom the rest of the week
-
hi John
sorry to hear about your mishap. but i am sure you ll be able to make it all right again
as Wim already confirmed it is curved. while the stateroom itself is straight. another AL mistake
thats why i have refrained from working on the 3rd deck stateroom til i have the deck glued down and i can start to establish the curve in the 3rd deck
-
very nice John
can i ask why you did not put the stove in ?
-
after 2 days of counting and drooling over the Gorch Fock i am now back to window making
hope to have them finished this weekend
-
-
hi Sjors
thank you but i have OcCre website and email address if needed
the box was sealed in plastic and the 3 plastic boxes wiht parts inside where all taped shut too.
i guess i was lucky to get a box that was assembled by someone that couldnt count too wel

-
wel so far half of the kits i have bought had parts missing but this is definately the worst
i wil first try through the seller . give them the opportunity to show how good their customer service is
as i will not start this build for awhile i can wait for the parts no rush at all
-
sorry to hear that Terry
good luck with making your own
-
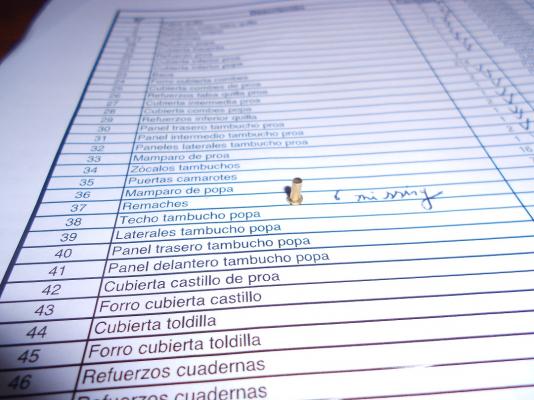
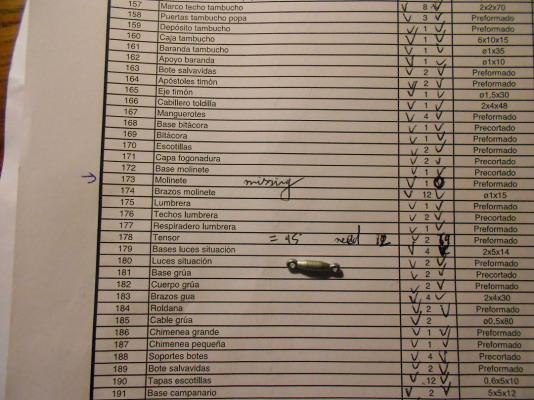
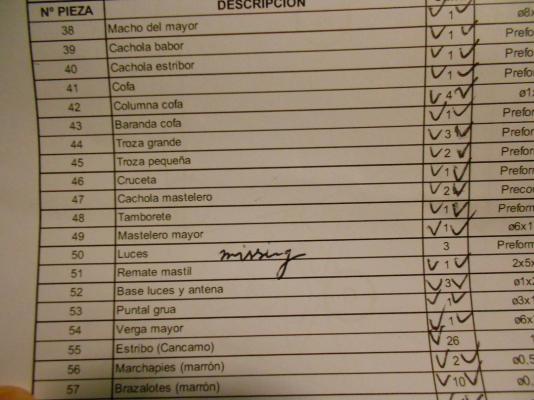
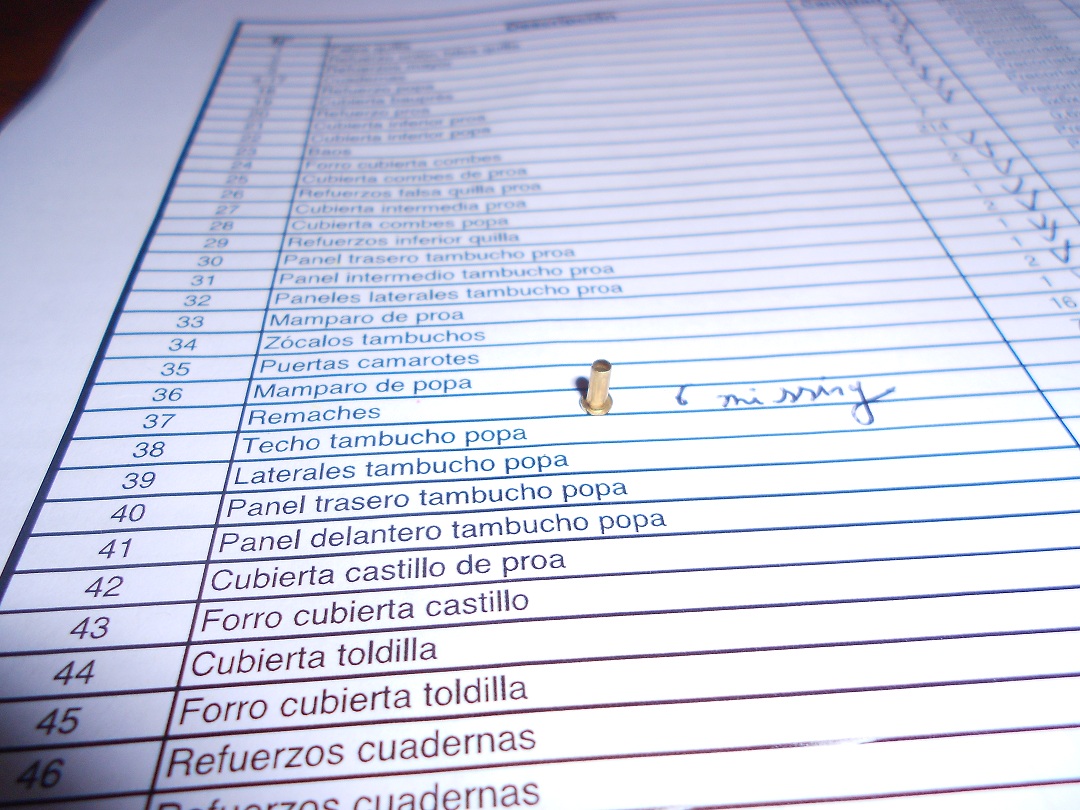
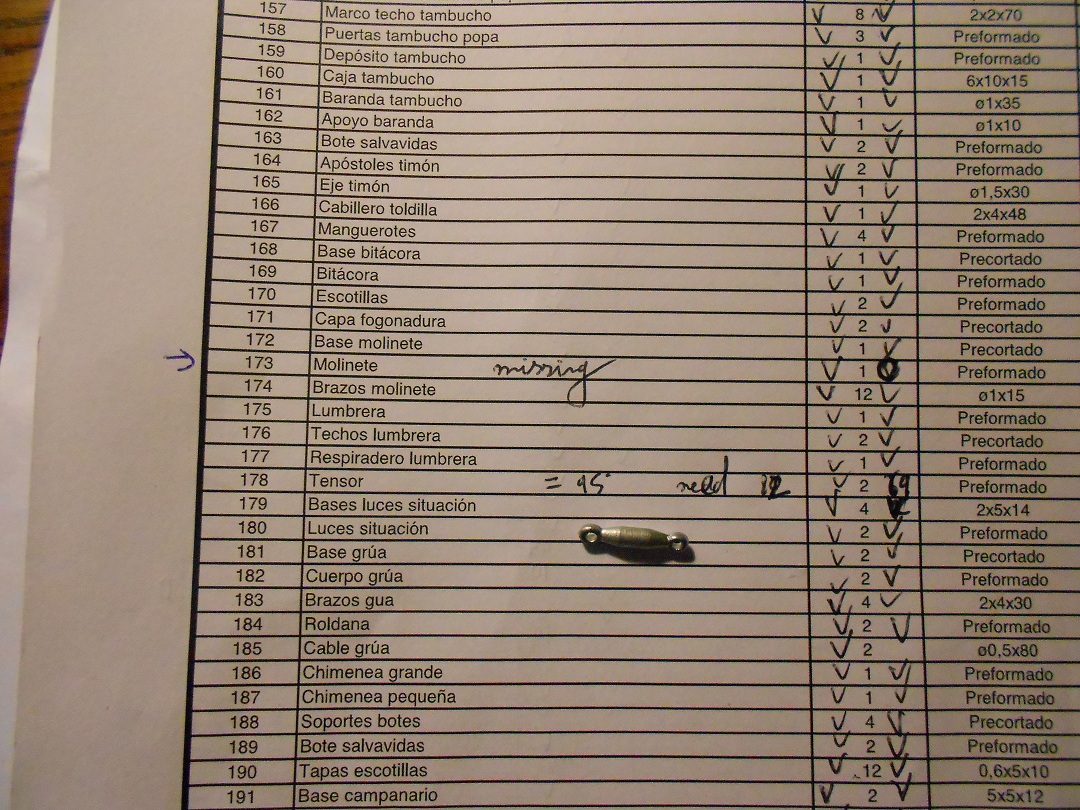
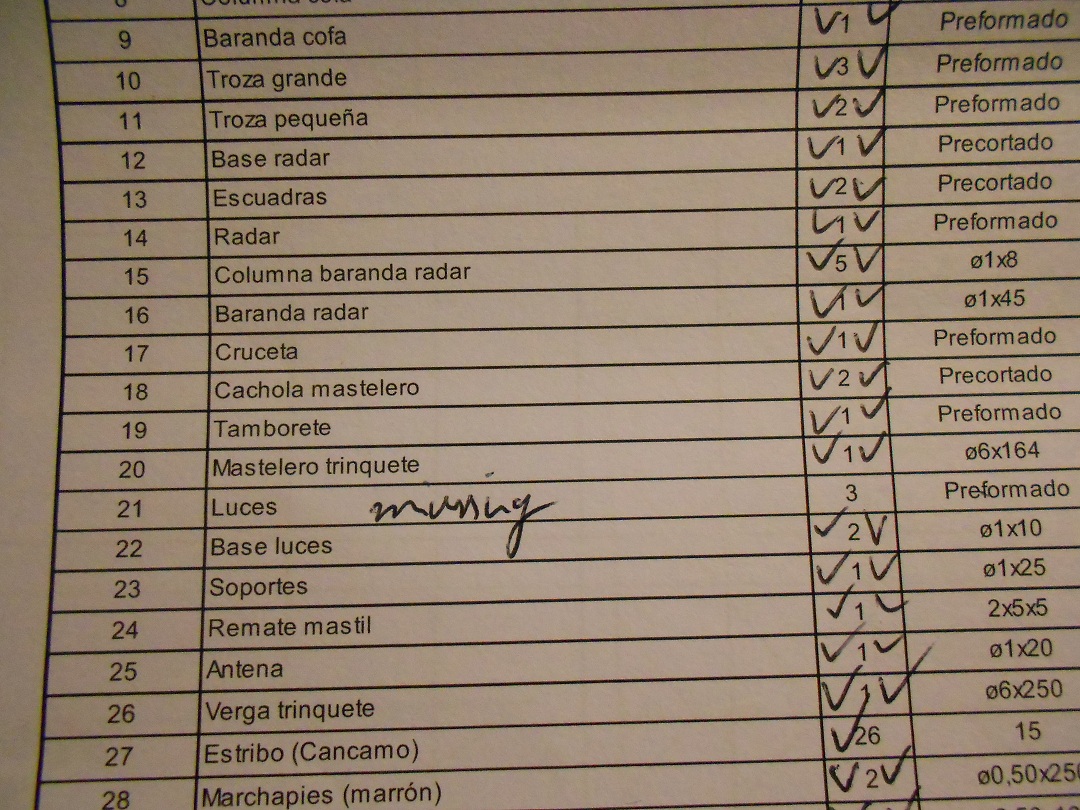
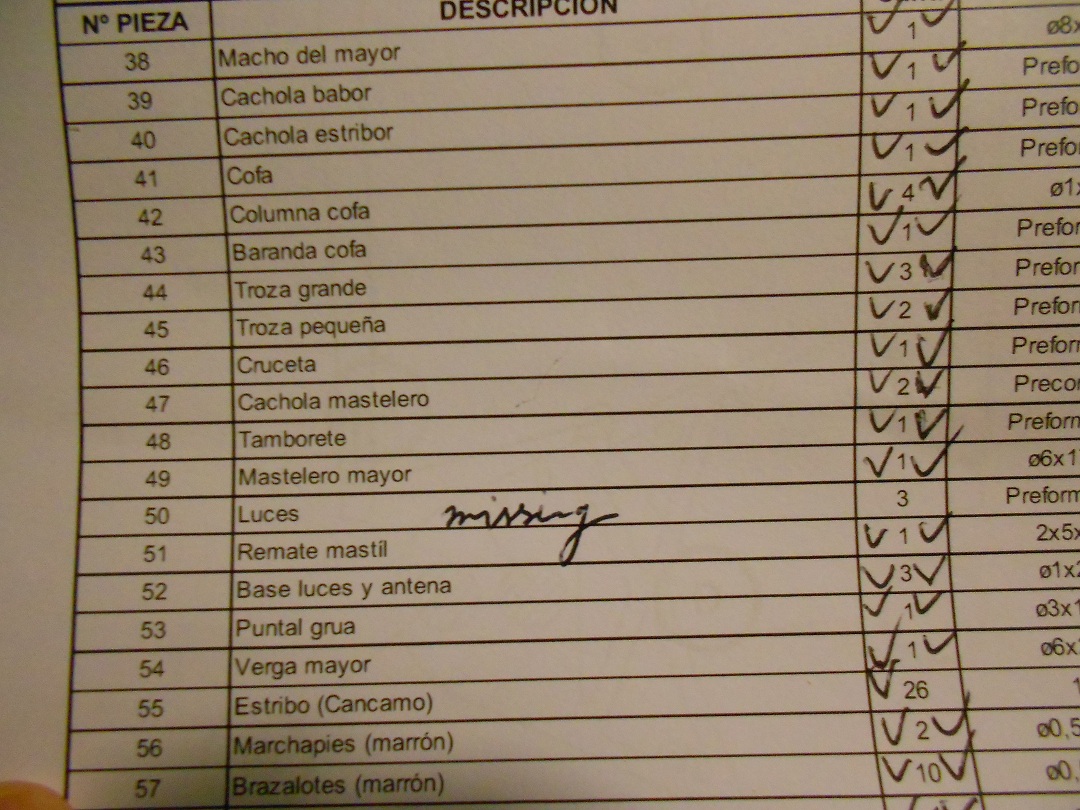
well i finished counting and i am actualy disapointed that so many parts are missing
here the list
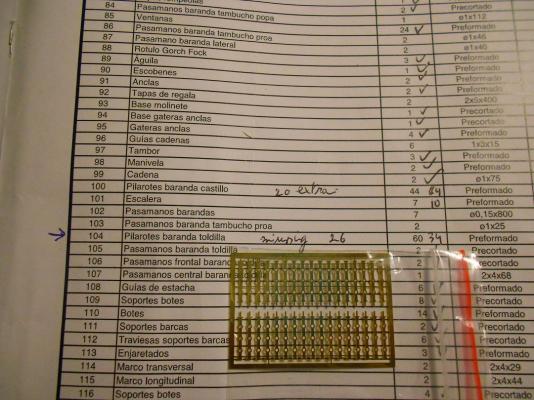
1) part 37 remaches (rivets) 100 needed only 96 included
2) part 104 pilarotes baranda toldilla (Railing pillars poopdeck) 60 needed only 34 included
3) part 173 molinete (kapstan ?) is missing

4) part 178 on hull plans and 95 on rigging plans Tensor (tension ) 82 needed only 69 included
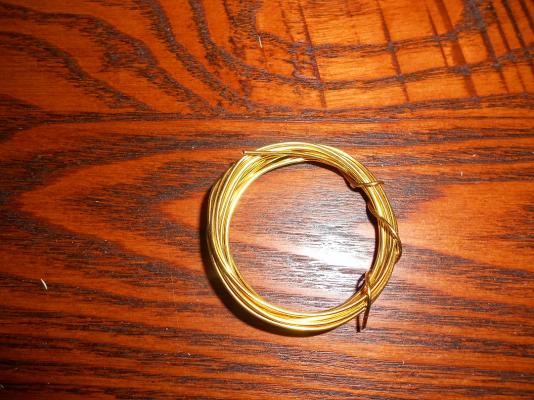
5) brass wire 1mm diameter 1800mm needed only aproximately 1500 mm included

6) part E cuadernal (double blocks) 30 needed only 23 included
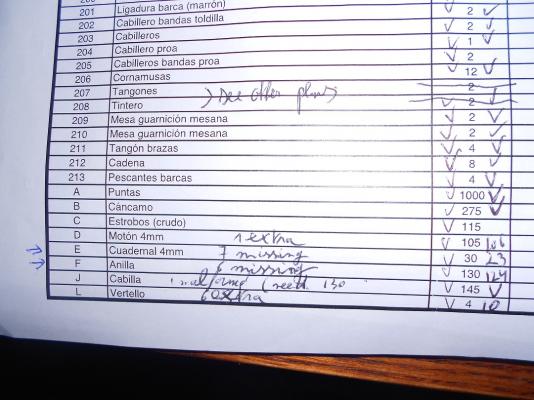
7) part F anila (ring) 3 mm diameter 130 needed only 124 included
8) part 21 on rigging plans luces (light) 3 needed none included
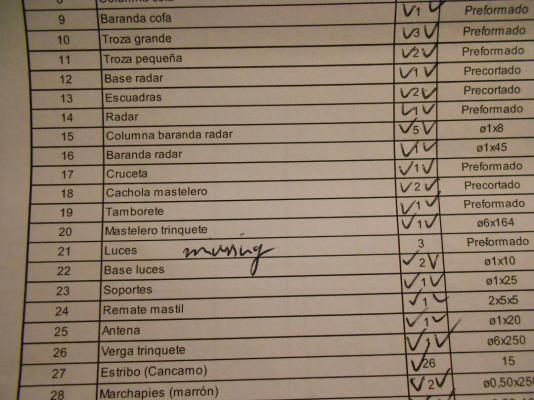
9) part 50 on rigging plans luces (light) 3 needed none included
-
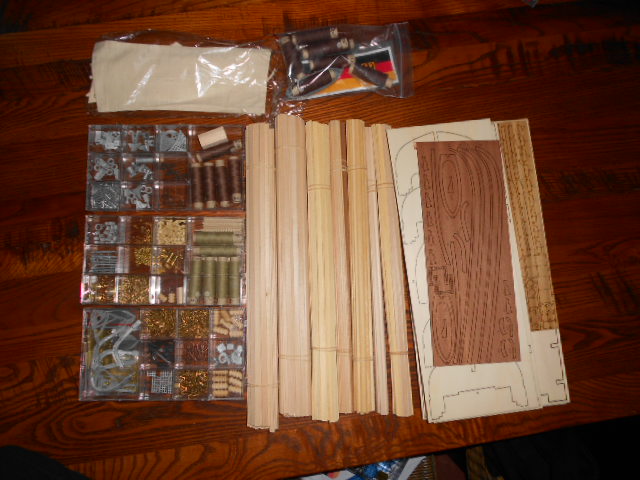
welcome mark
all the contents laid out

-
Tony
i am sure Garward will answer but i think after yuo drilled as many nails as you can you just cut off the top of the wood at the depth you drilled too then they wil automaticaly come out or you push them out leaving the piece of wood will all th holes in it
-
he is just checkign to see if the water is deep enough to dock his fleet
-
your suit is ready Sir John
-
il get some blankets too


King of the Mississippi by john46 - FINISHED - Artesania Latina - scale 1:80
in - Kit build logs for subjects built from 1851 - 1900
Posted
not sure how you are going to proceed but this is what i would do. fix up the stateroom glue it all back on the deck and the ventilation openings .
wet the ventilation windows dowels at the bottom and clamp it down so that you get a bit of bend in it aftyer drying
the ventilation windows assembly has some wood parts to hold her in place. place a strip of 1 mm of wood on the bottom of it.
then when yuo glue her in place you need to push in a bit before it clicks in place and she should the curve nicely
its something i am goign to try (without glue) so i cna remove the top part i f necessary to fix the lights