HOLIDAY DONATION DRIVE - SUPPORT MSW - DO YOUR PART TO KEEP THIS GREAT FORUM GOING! (89 donations so far out of 49,000 members - C'mon guys!)
×


coffeebeans
-
Posts
69 -
Joined
-
Last visited
Content Type
Profiles
Forums
Gallery
Events
Everything posted by coffeebeans
-
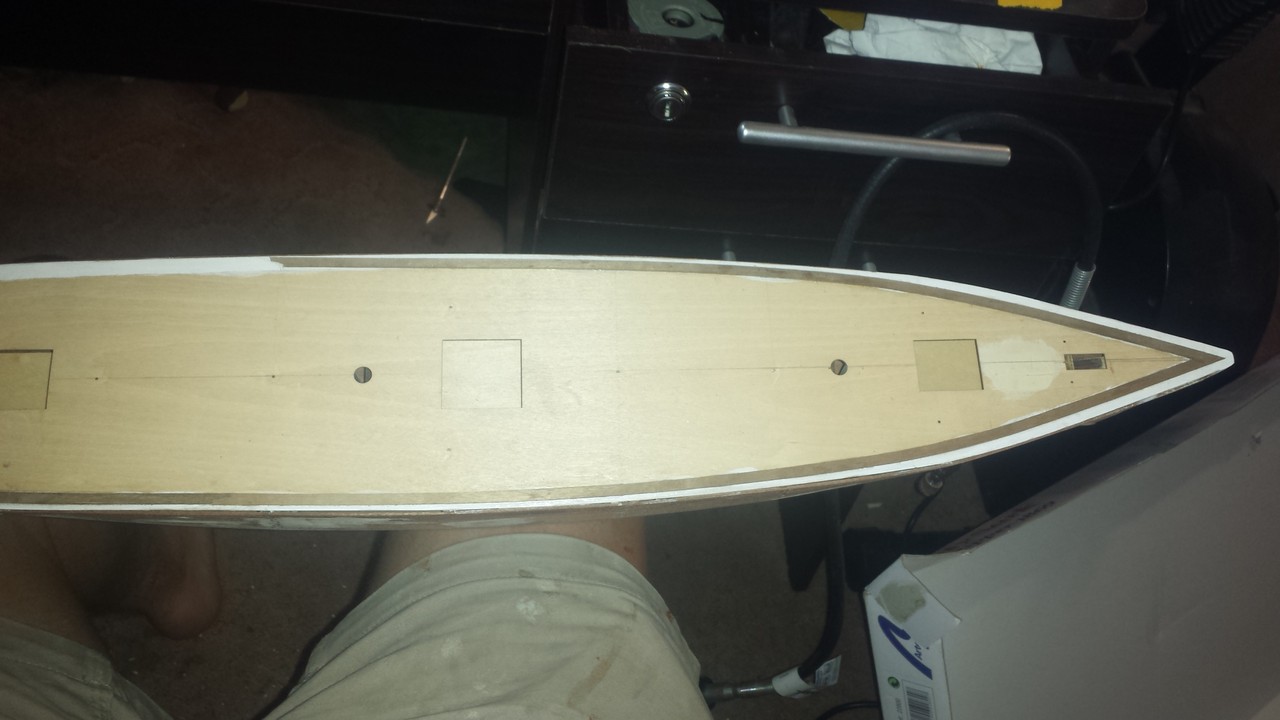
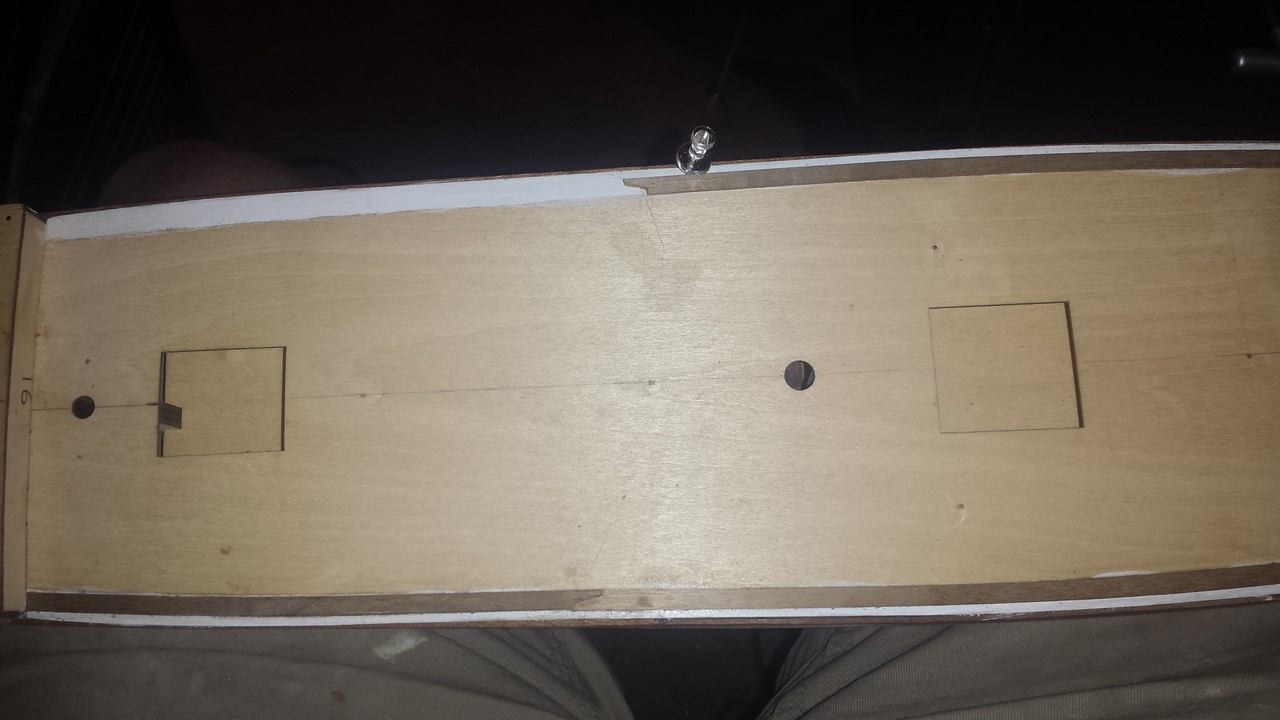
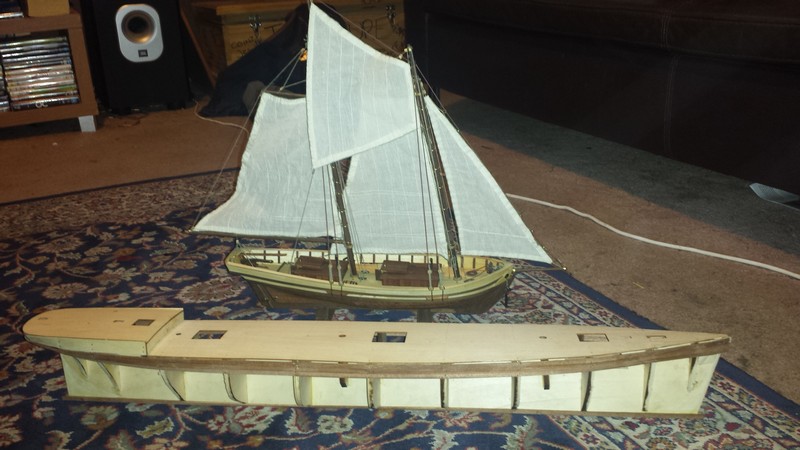
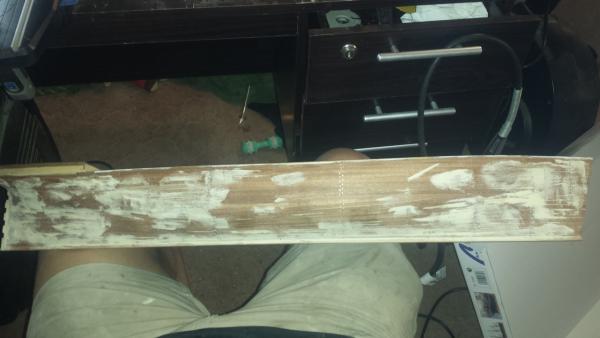
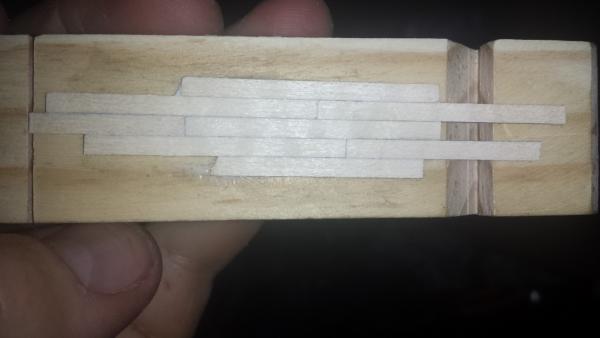
 Quick update on some work done over the week. Filling the hull, managed to get a good angle on the keel with lots of sanding and some filler also early deck progress. Either i have misplaced the 1x4x500 walnut strips supplied in box, or they were just left out but luckily i had had some 1x5x500 walnut strips i got online to use as the waterway border, it narrows the waterway a bit but it will do the job.


- 121 replies
-
- 1
-

-
- cutty sark
- artesania latina
- (and 1 more)
-
gday alberto my instructions say ©2009 but the front of the box has ©2013 on it. sorry for the halt in the log also, its been a bit too hot here in australia to keep building after work... planning on getting the decks sorted this weekend. Thanks Luca
-
Thanks Bob, yeah it is a pretty nice kit but im afraid my planking skills aren't quite up to a single planking standard as of yet :S that's the main reason for the plating and paint, also i wanted to try my hand at coppering seeing just how much 'FUN' everyone has doing it. looking back i probably should have sourced a cheaper timber for the hull and used the nice stuff for a scratch build, actually kicking myself i didn't now... I am having lots of fun putting this one together so ill keep hammering on, looking forward to some deck work next week!
-
thanks Ollie, yeah i think i will probably keep using it. how did it hold up when you sealed it? any leaching? and what did you use an oil or varnish? Thanks Luca
-
Hi bob, just looking over the deck portion of your log, just wondering is the style you have layed the deck on the poop deck a trait of the original before rebuild? also what have you sealed it with. Thanks Luca
-
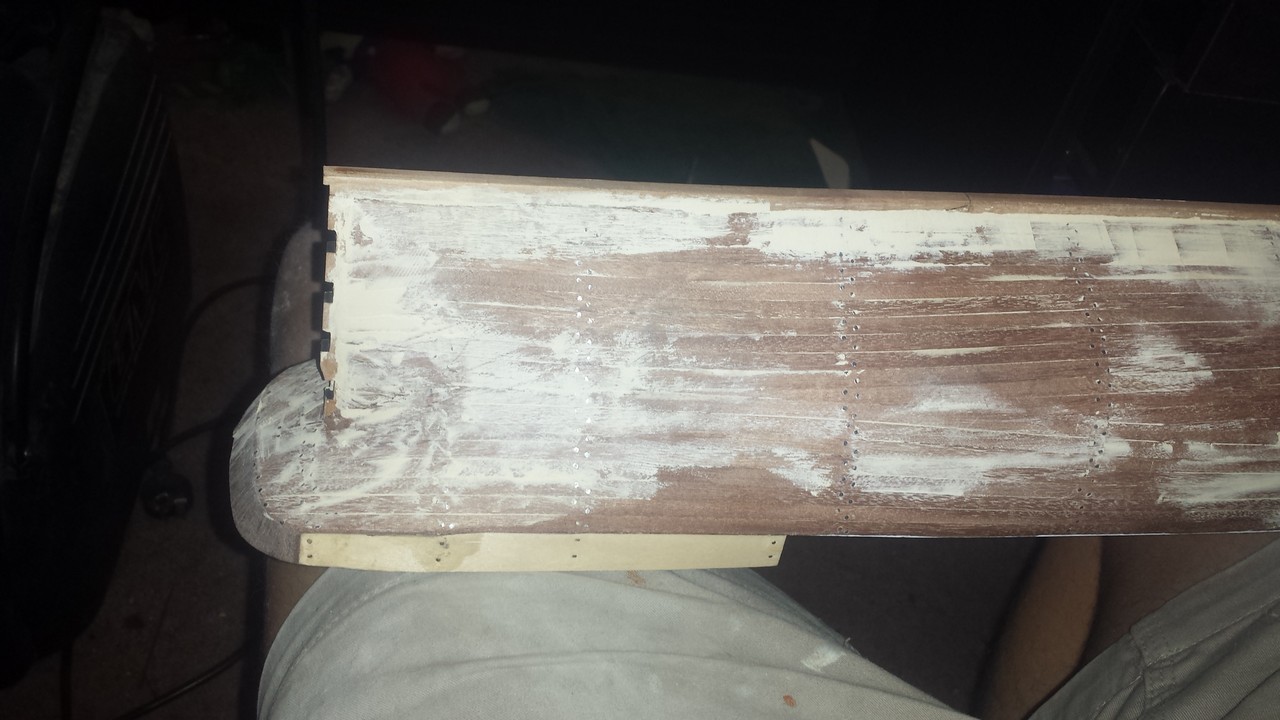
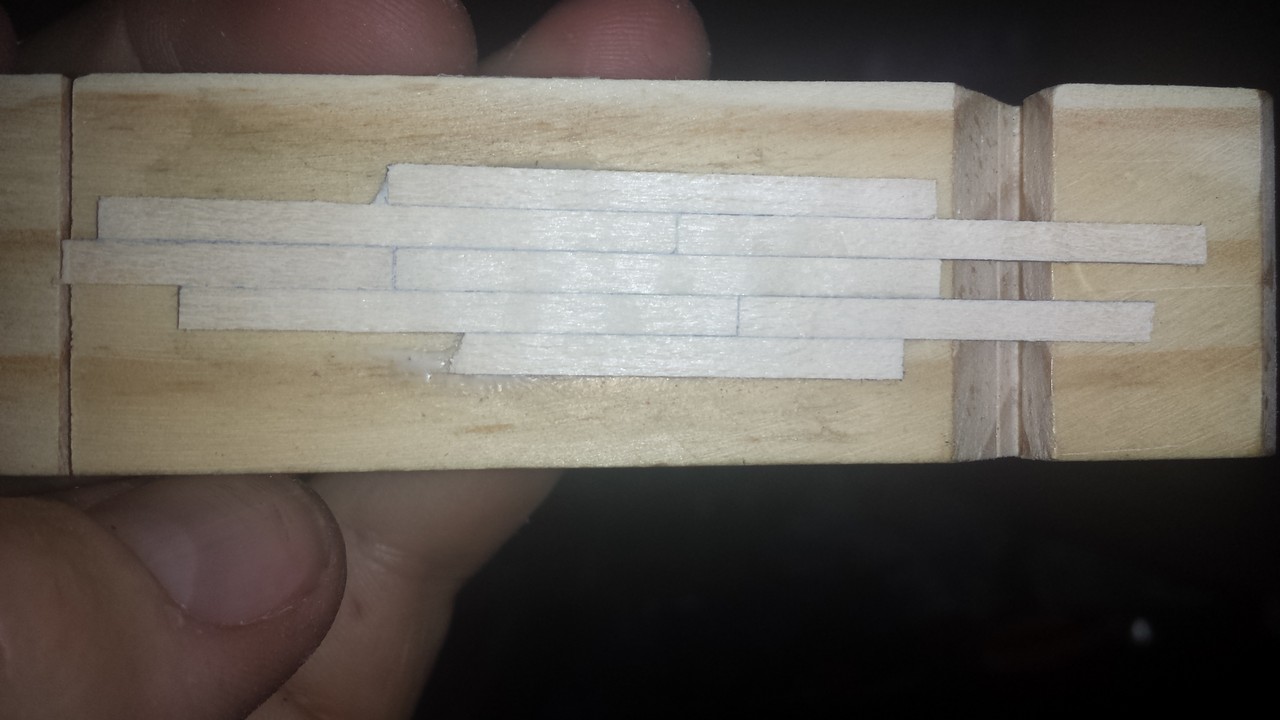
testing some caulking effect on the deck planks, I think i like it being a little more discrete grouped together and using a 2b pencil on one side and one end to "caulk" before sanding after
-
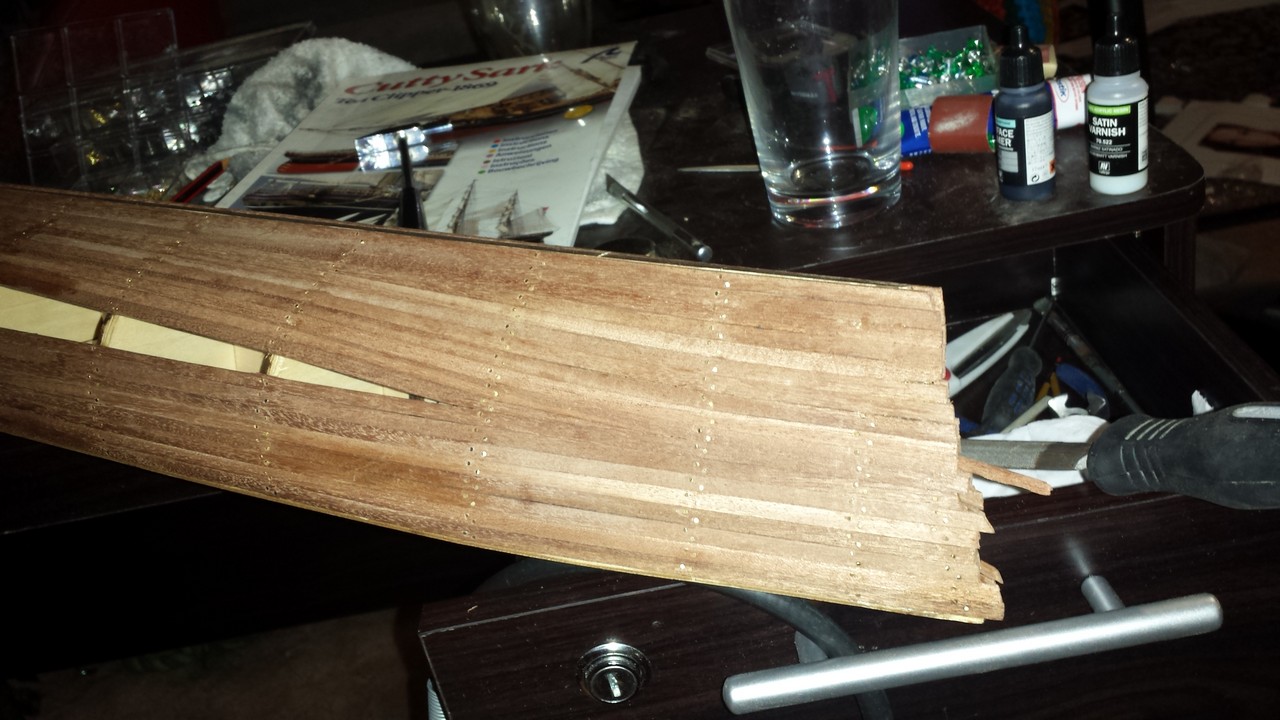
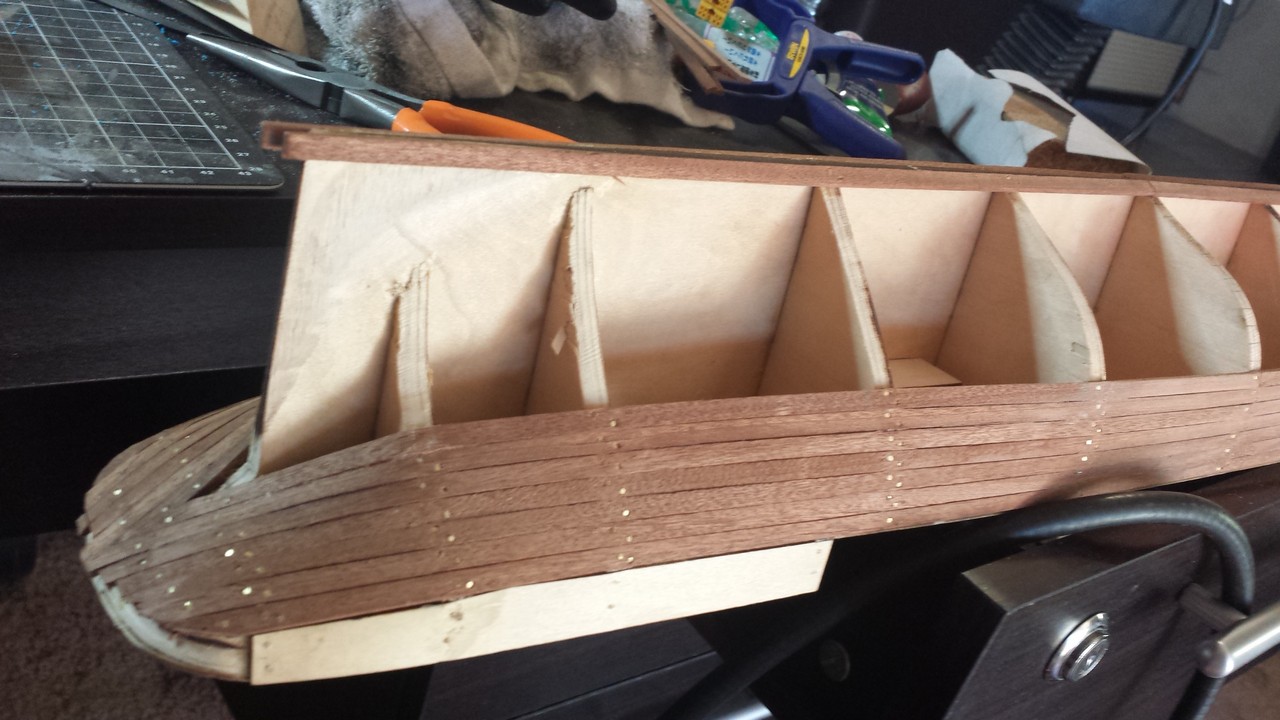
i know some will probably be cringing at my planking method used here, not using stealers or tapered planks for the ends but not much will be seen after paint and copper plating is done. that being said ive heard copper plating can be quite a task, any tips before i jump in head first?
-
Thanks Daniel, had a look through and will take note on my other builds. I will probably get a really nice high quality kit next, or even scratch build and implement all proper building techniques possible on a scale model. the only reason ive done it this way on my ship is because that's how the instructions specify it and i don't really want to stray from them too much due to future fittings they have worked to fit it that way.
-
Bugra, had a look through those files, just what i needed!
- 121 replies
-
- 2
-
-
- cutty sark
- artesania latina
- (and 1 more)
-
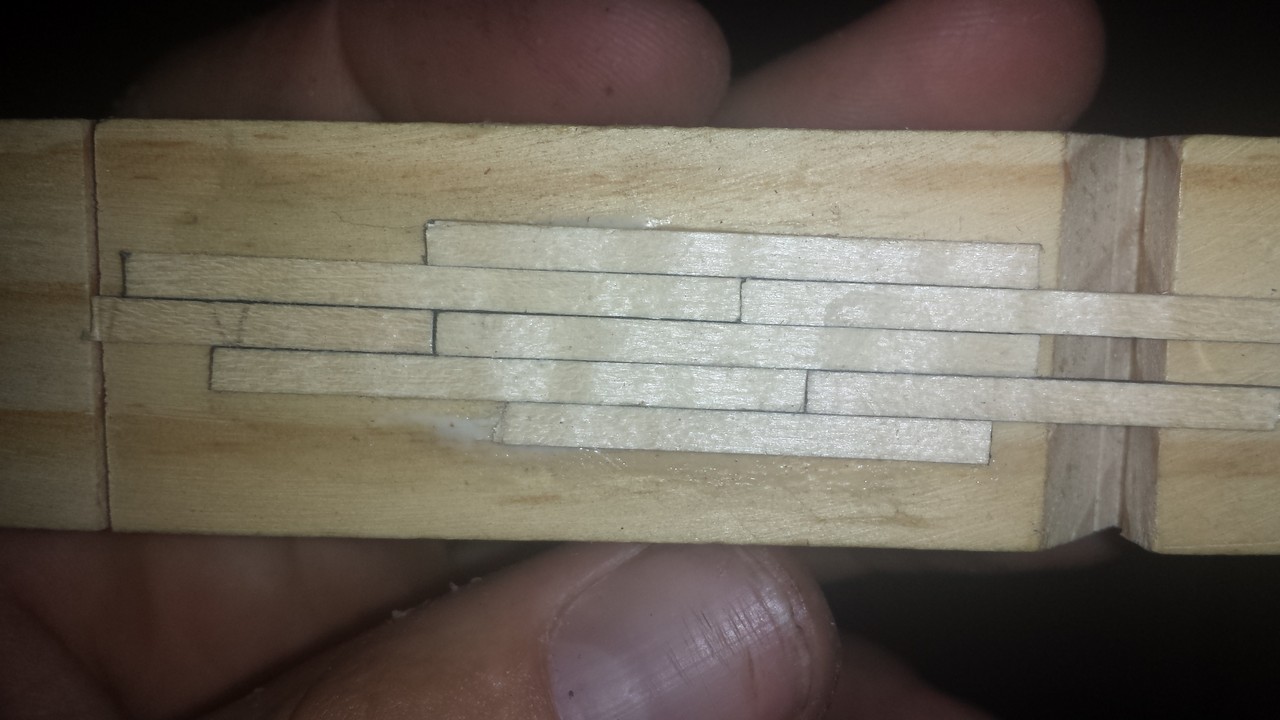
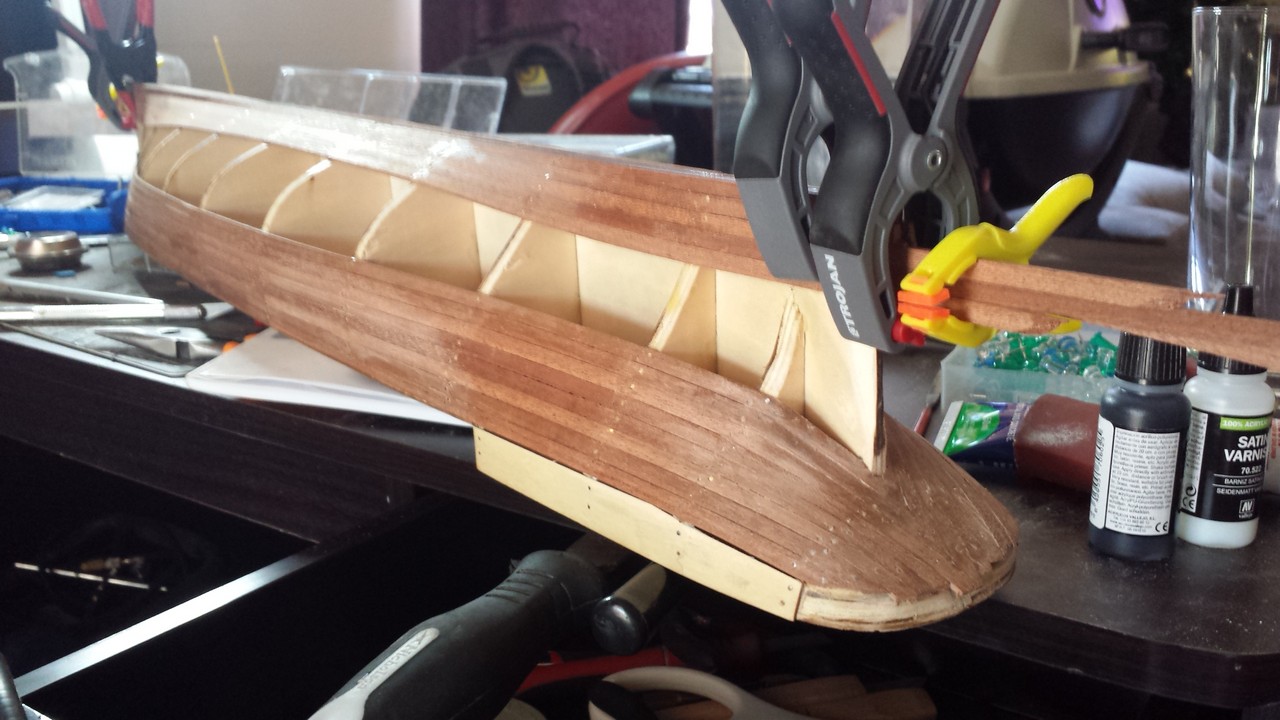
getting there... i know its probably not the most authentic method of planking but only the waterline up will be seen


-
you are right Nenad, the rebaited keel is the right way to do it, im just cheating a little...and yeah hopefully have them up in no time . thanks bugra, those are going straight to my documents.
-
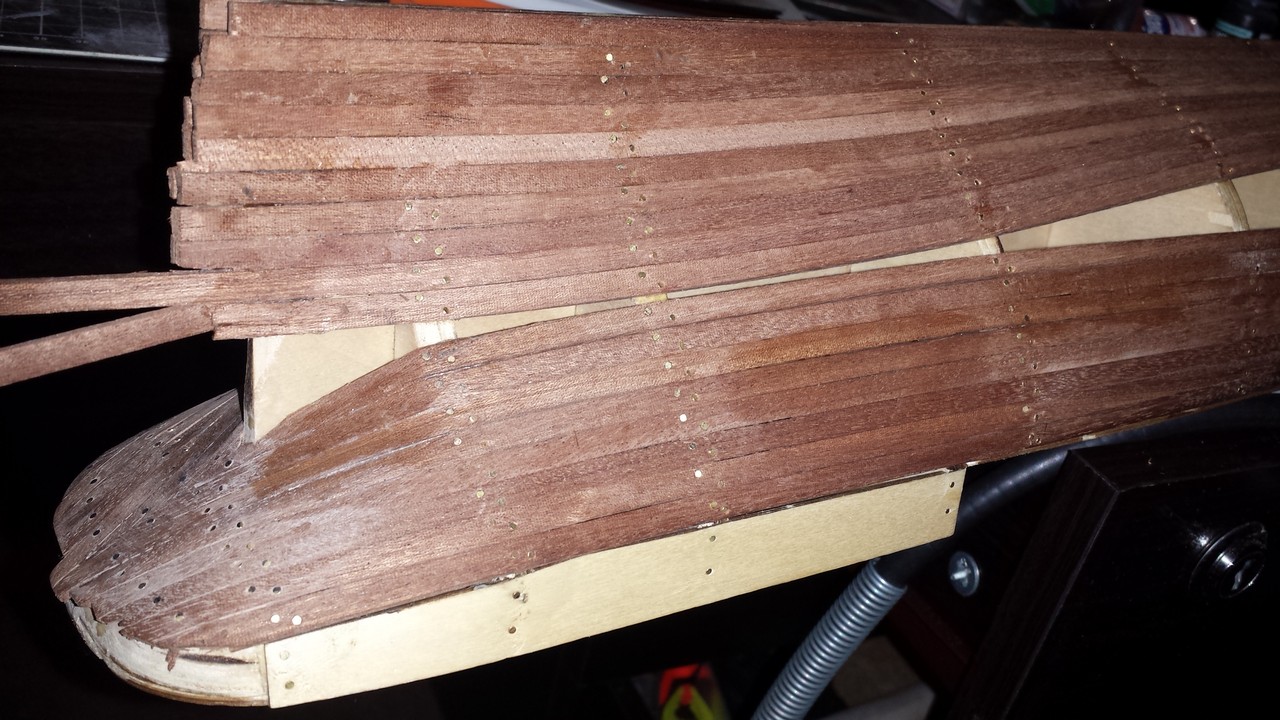
Nenad, the below waterline finish isnt realy critical with my build as i plan to copper plate it and right now the timber is set up in a way i could of done either of the two options, the keel sits nicely in the gap there and is the same width as the ply keel and the rasped ends+planks.
-
gday Casey, that is the Cutty sark on display in Greenwich, London

-
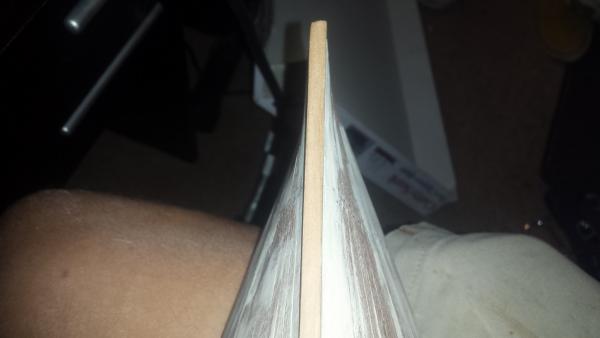
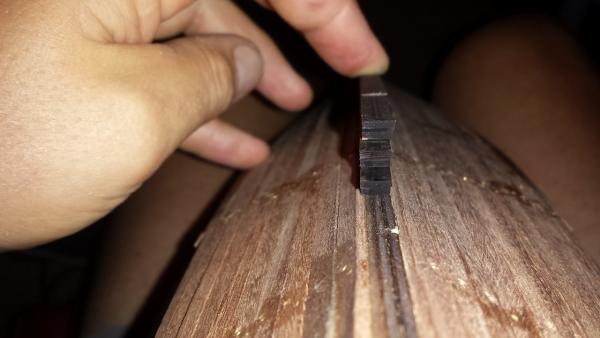
ive found some pictures and they seem to say its more an acute angle going into the keel rather than smooth transition or the rough angle the plans indicate. also does anyone have a good source for copper plates that resemble these with the flush rivets rather than the exaggerated ones i have? needs to ship to Aus.
- 121 replies
-
- 2
-
-
- cutty sark
- artesania latina
- (and 1 more)
-
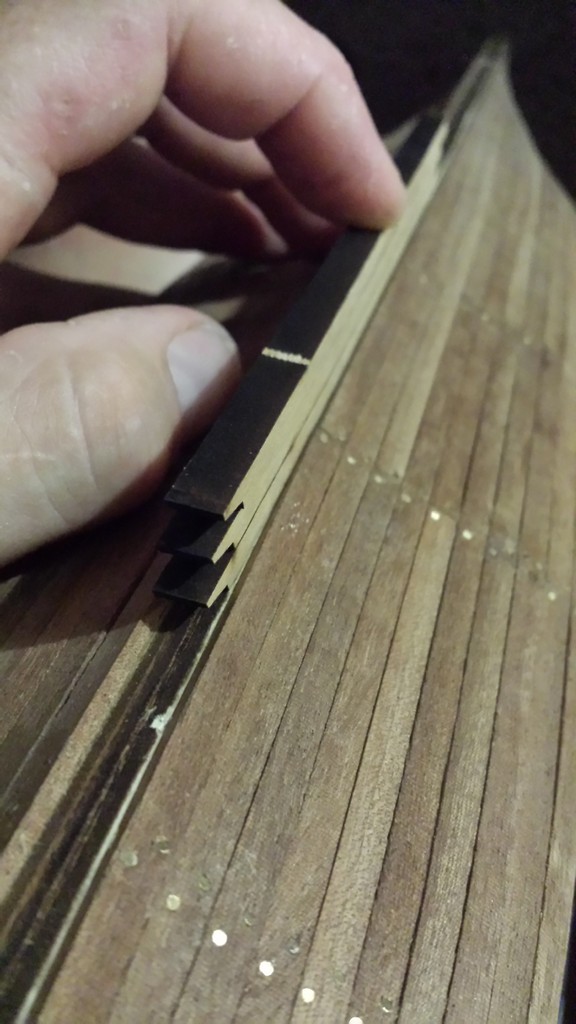
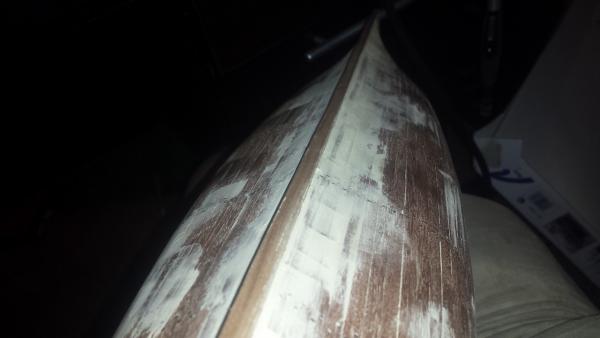
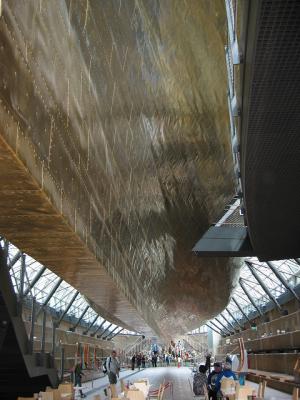
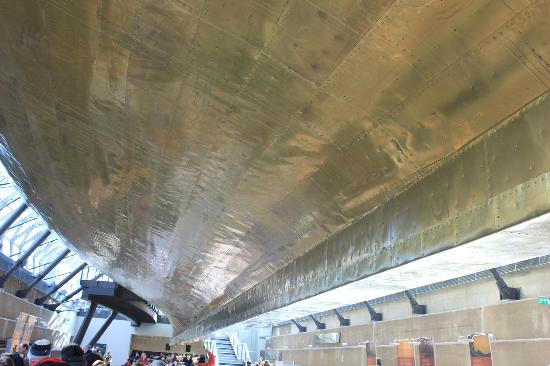
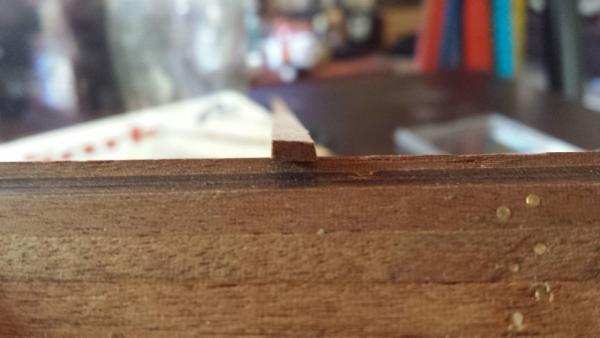
Thanks Bugra also Thanks Daniel will look at getting a set of those plans, And Nenad, i see what you mean with with the cut of the stern, i spent a while investigating what way to do it but ended up using the keel upright angle and cut the block flush to the existing angle, there will probably be some adjustments to molds and fittings in the future but i think it should be alright. anyway back to planking! its been pretty smooth sailing so far, a couple weak spots in a couple strips but nothing too major. to plank with minimal gaps im chamfering the planks with my dremmel tool also does anyone have a good shot of the underside of the actual ship? the pictures in the book seems to show a stepped transition where as im thinking it would be molded smooth into the false keel, any suggestions? heres what i mean


- 121 replies
-
- 4
-
-
- cutty sark
- artesania latina
- (and 1 more)
-
Hi bob, looked through your log and will be taking some notes for my cutty, great work!!!
-
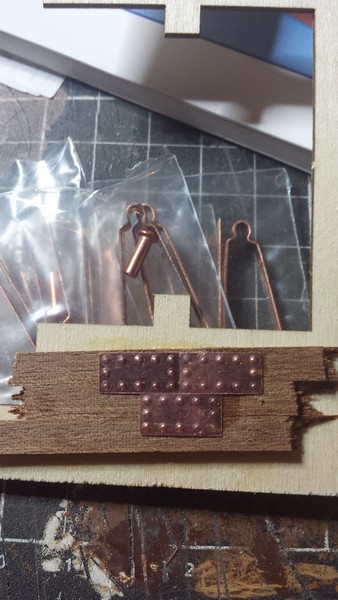
Thanks Bob, should help sourcing some plates. any opinions on the exaggerated rivits on the plates or is it more so personal preference? to overcome more accuracy issues ive found and purchaced these two books anyway more work on it this evening, any tips on securing planks inbetween frame spaces for sanding stage? or this pretty much the best way? Luca.

- 121 replies
-
- 1
-
-
- cutty sark
- artesania latina
- (and 1 more)
-
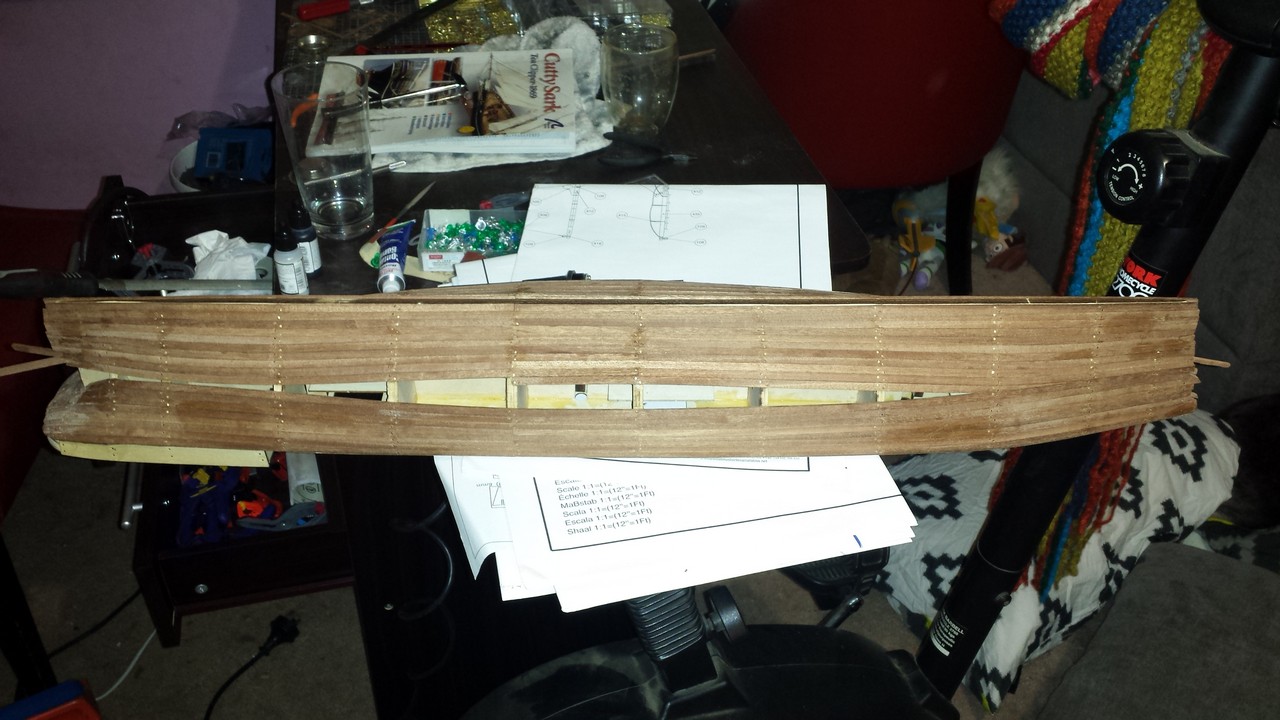
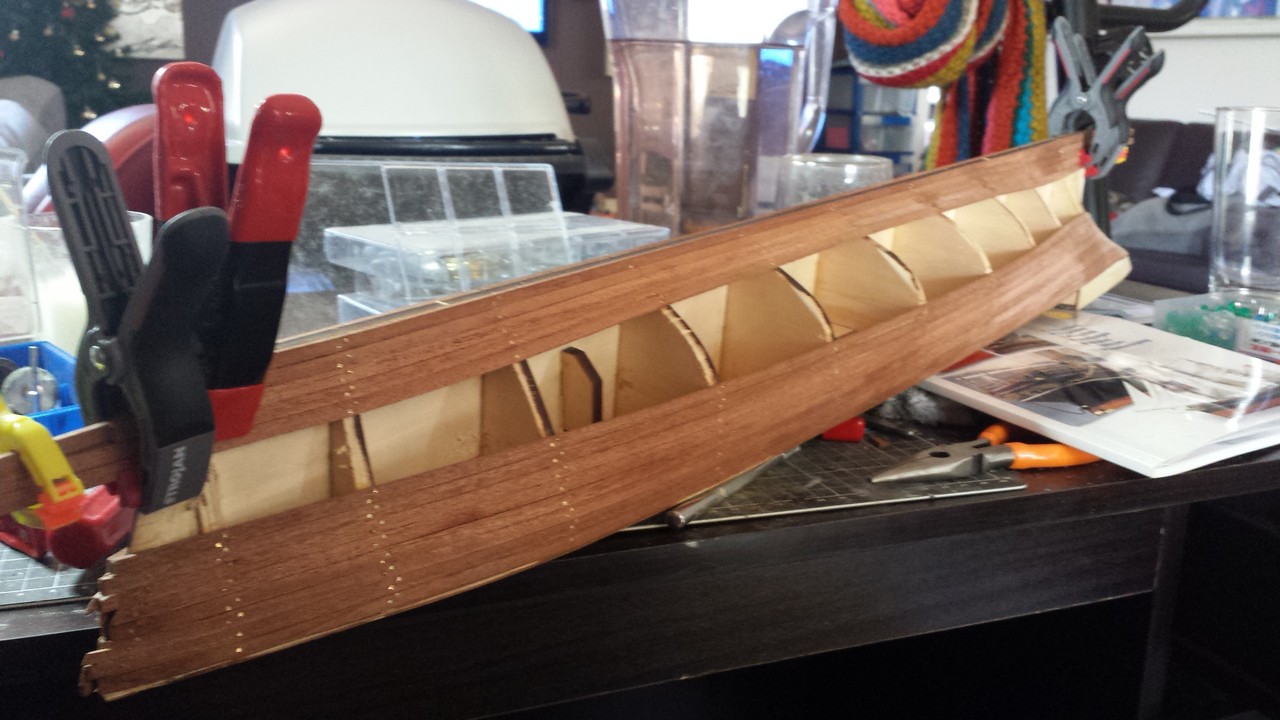
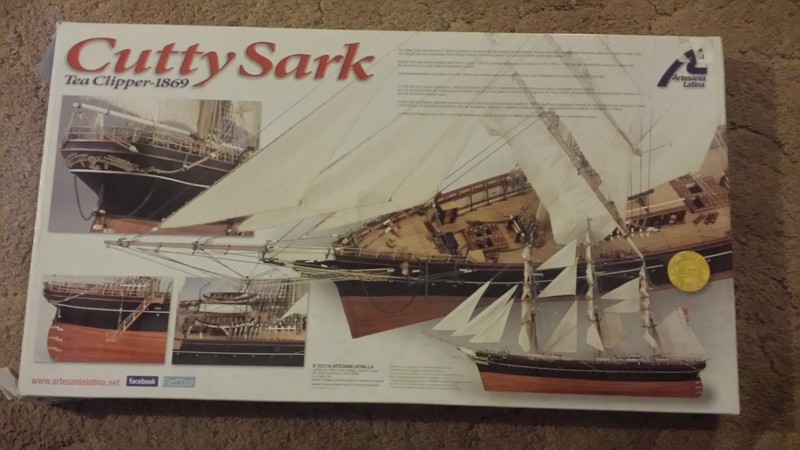
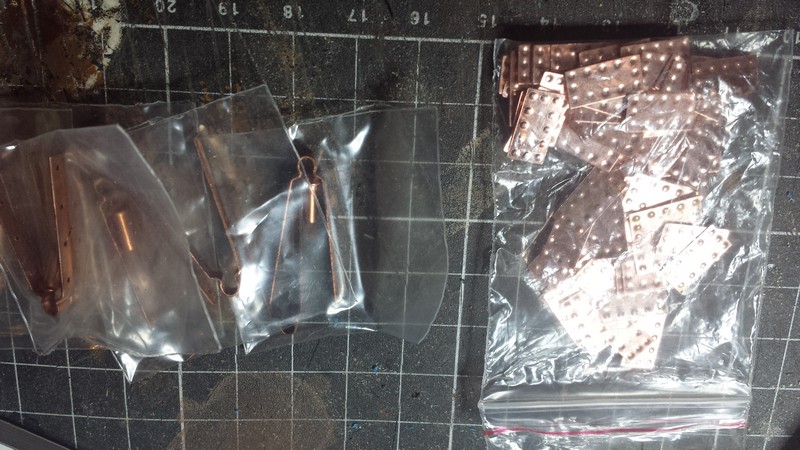
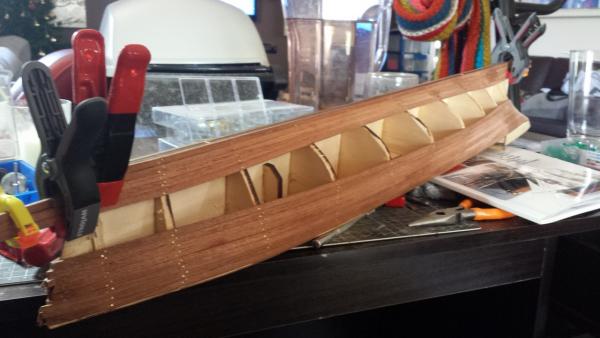
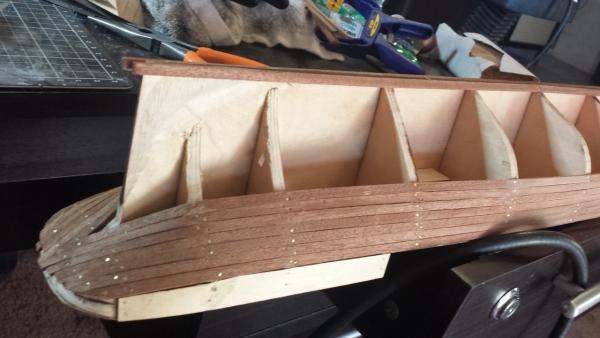
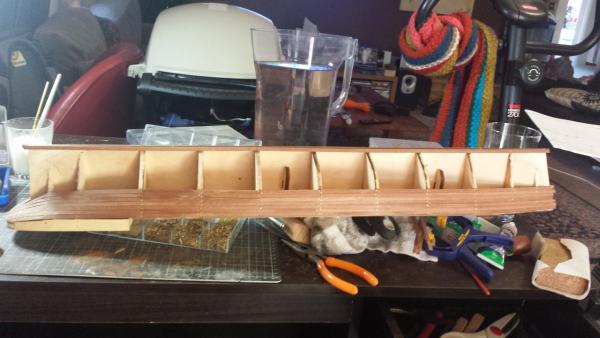
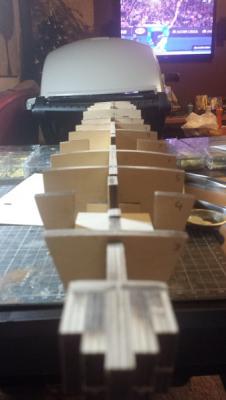
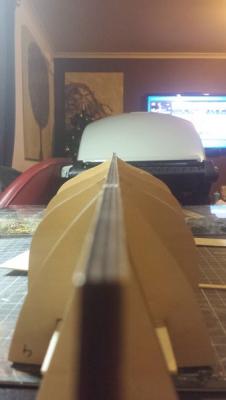
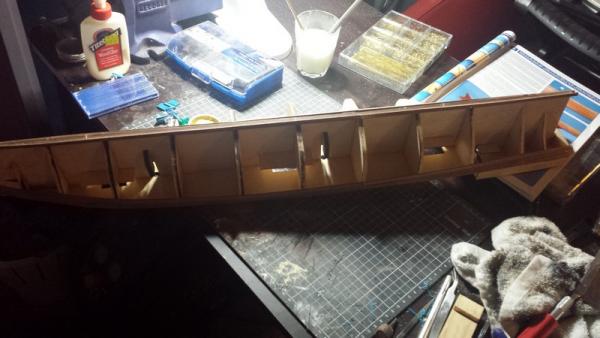
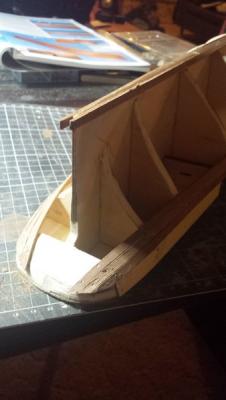
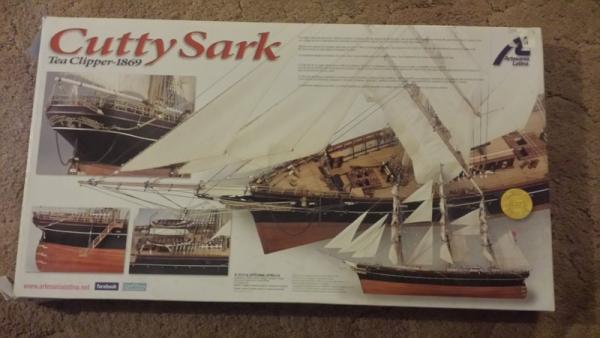
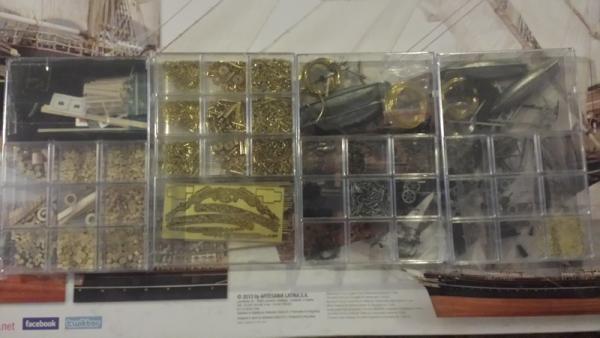
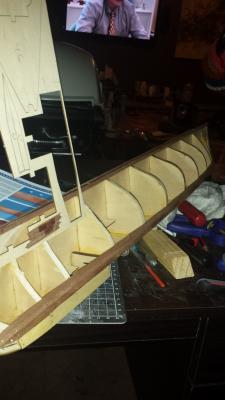
Gday all, this will be my second build but first log, wasn't really sure on posting one for the first through my baby steps, seing all the amazing builds her got me a bit intimidated... I have come to realize from seeing how helpful the input can be from other members, to improve my techniques and general knowledge of the ships, it will be very beneficial for me to post one for this build. i received this kit as a (very hinted towards) Christmas present and have been upgrading my workspace ever since to accommodate building it after gluing all the frames into the keel i noticed a kick in the stern, i tried to steam it out best as posible and rasp more off the effected side starting to glue and nail on the hull planking is an experience seing as this is my first single layer ship, i will be coppering the waterline and painting above so it wont be too bad i purchased copper rudder hinges and 100 copper plates to test from modelshipyard, but am a bit unsure to the exaggerated rivet heads on the plates and am up to sugestions or a correction, also would anyone have what would be closest to correct dimensions for the plates, im unsure that i got the right ones :S


- 121 replies
-
- 4
-
-
- cutty sark
- artesania latina
- (and 1 more)