HOLIDAY DONATION DRIVE - SUPPORT MSW - DO YOUR PART TO KEEP THIS GREAT FORUM GOING! (89 donations so far out of 49,000 members - C'mon guys!)
×


coffeebeans
-
Posts
69 -
Joined
-
Last visited
Content Type
Profiles
Forums
Gallery
Events
Everything posted by coffeebeans
-
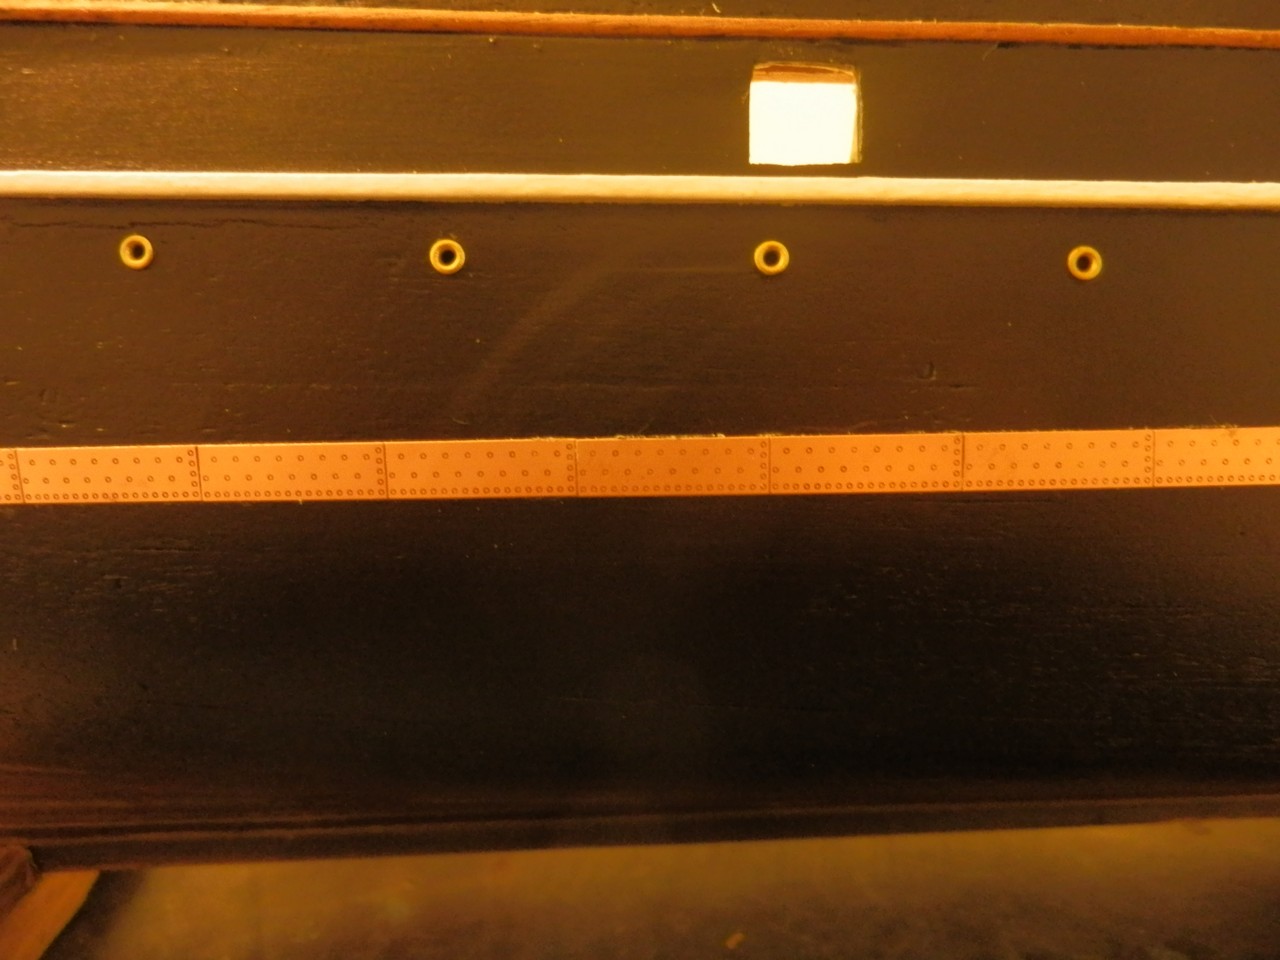
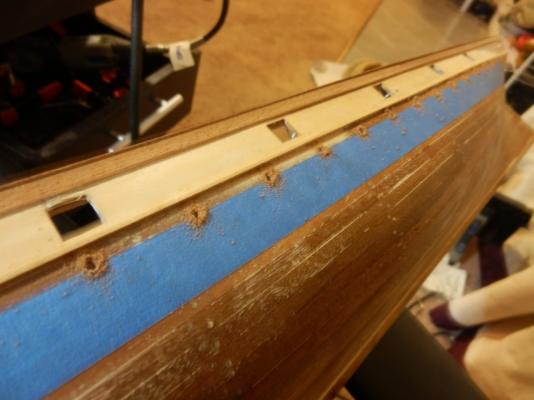
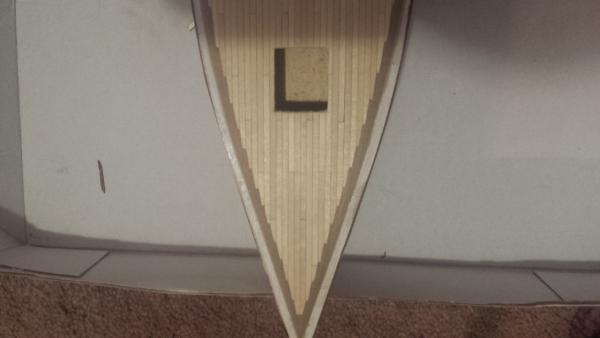
 quick question, what would the preferred layout of the tiles be? would it follow the same pattern of this picture? i am unsure of what would be right for the cutty. also this is my first coppering attempt, any help or tips would be much appreciated! thanks Luca
-
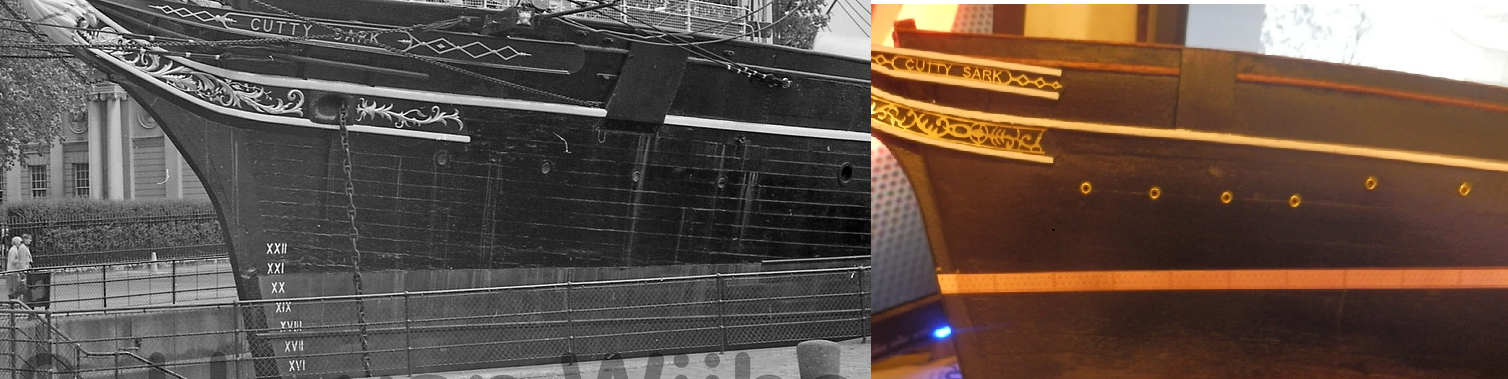
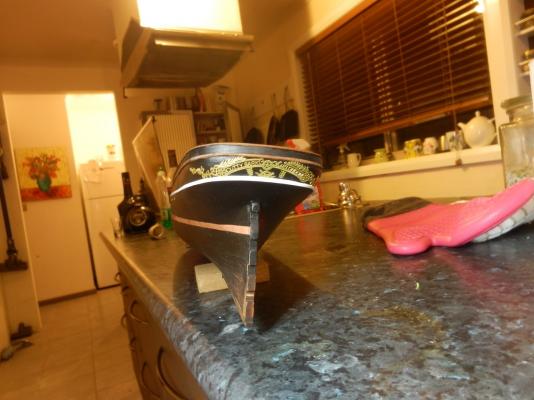
ive done a little cropping to get an idea of how close it is. as shown some of the preformed ply pieces like the name plate and the beak aren't exactly right in the kit making it seem a bit off but im thinking of just going for it.

- 121 replies
-
- 1
-

-
- cutty sark
- artesania latina
- (and 1 more)
-
I reckon ive nutted it out Lou, ive been looking through all pictures i could, especially your onedrive, and it looks to be alright. this AL kit is more so on the 'stylized' side than 100% accurate replica ,what i am wanting to achieve on future models. Next kit i buy or even scratch build i will research a bit more and spend a bit more where it counts, any ideas of good kit brands? I have heard caldercraft is quite good, but Amati fittings are from what i have seen, quite accurate. Thanks luca
-
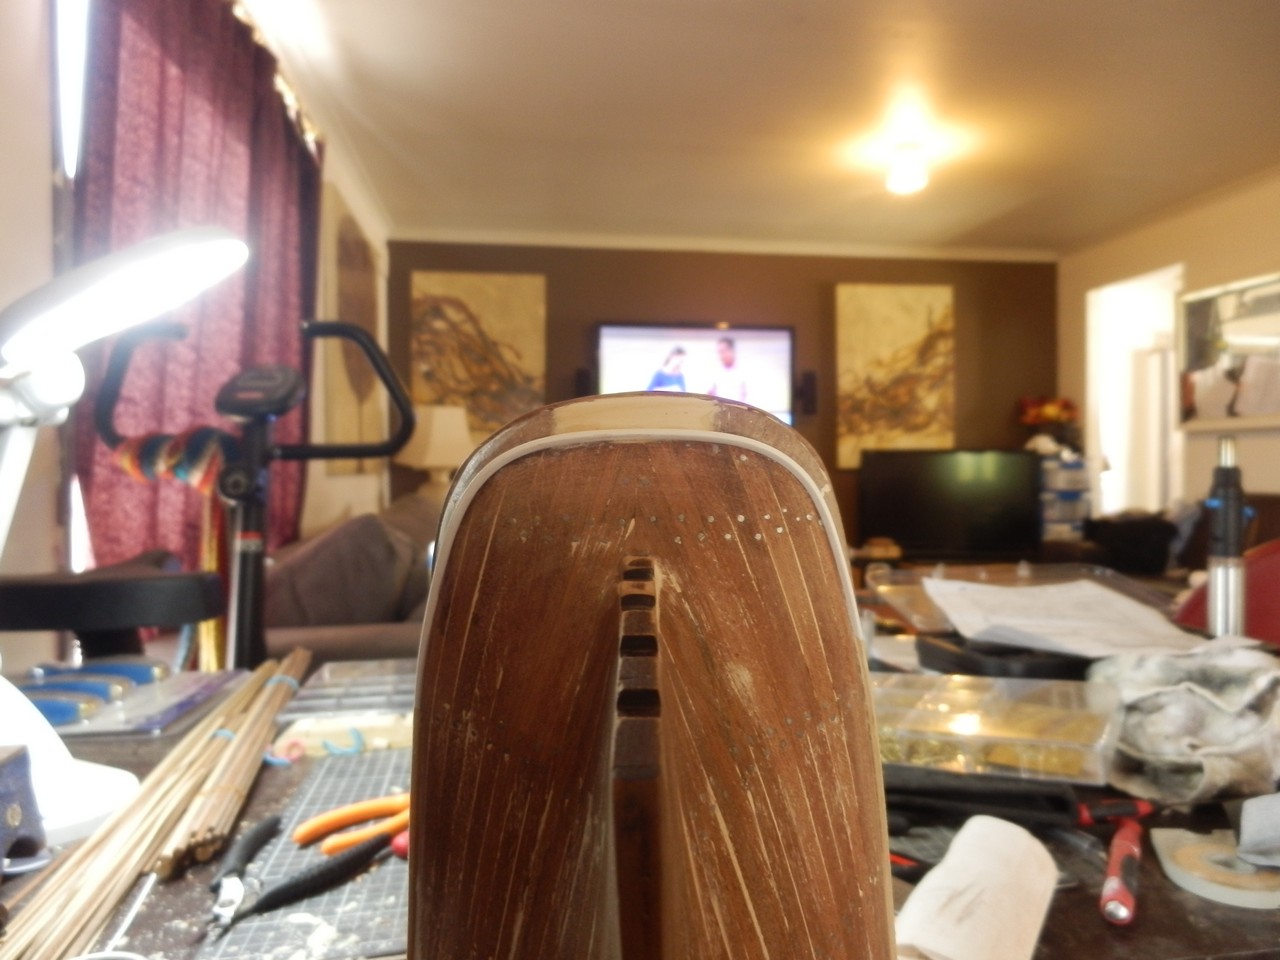
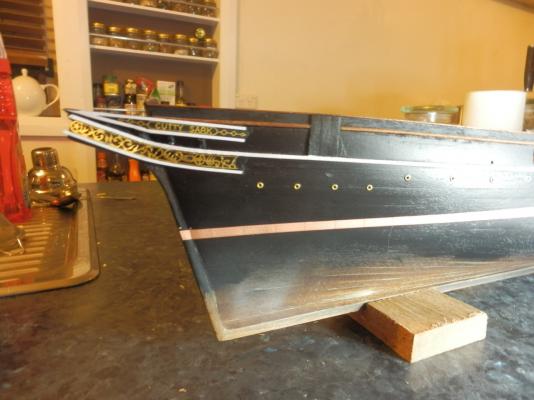
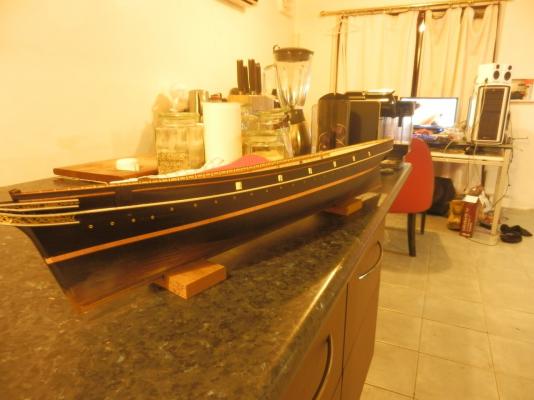
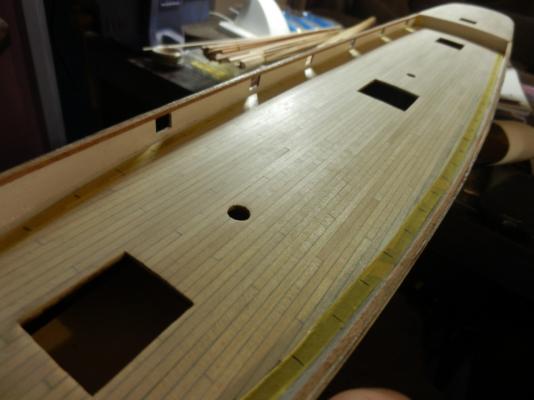
Thanks all for the kind words. Bob, same felt here. I defiantly wouldn't have got this far by now without everyone's help and helpful build logs to get inspiration. And yes Alistair, onto the much anticipated coppering! First off i feel like an idiot, i may have wiped the SD card of the camera unknowingly. Luckily only losing a small part of the build, but still wasn't too happy... all i could salvage was one photo of drilling the port holes anyway this is the stage i am at now. Paint is down, with some touch ups needed, photo etch parts glued into place and also started with the first run of copper plates. the copperline instructed by the kit felt to me to be way too low, opinions on where it is now before i get too ahead of myself? Thanks Luca

- 121 replies
-
- 3
-
-
- cutty sark
- artesania latina
- (and 1 more)
-
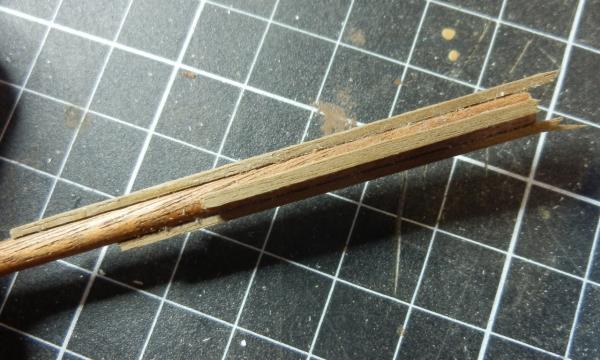
Haha yeah it is a bit off, i only really noticed it a quarter of the way through, the problem was I thought just cutting mass strips at 5inch would work rather than slowing down and marking it all out on ply, I didn't think it would really matter back then, but of course I nearly lost sleep over the damn thing... Lucky the caulk isn't as dark, it should be drowned out with all the fittings Luca
-
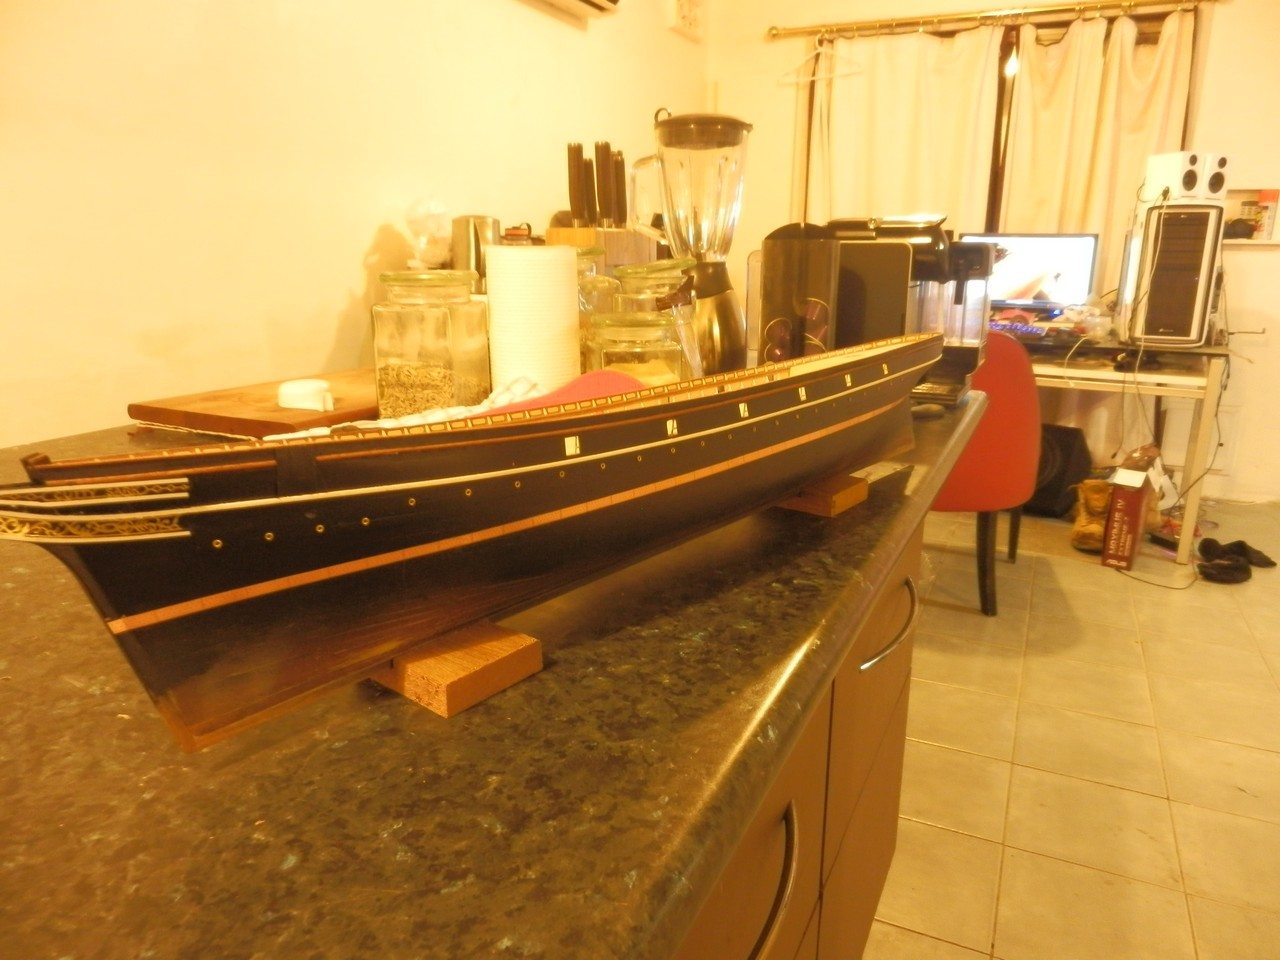
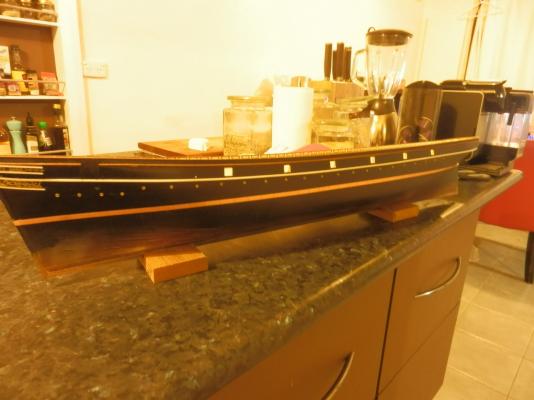
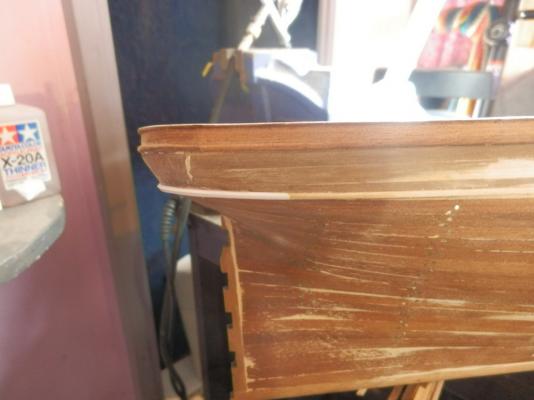
Hi Ronald. yeah the server for the site apparently had a glitch so i will have to reload my pictures again, will get onto it soon hopefully. also a quick update. first on the list was finishing off the railing. The kit instructed to use 1x3 sapelli, which i thought wouldn't be thick enough, but used it anyway. the upside was it was realy easy to shape to the curve, also it dosnt look too out of place there. Next I tackled the rub rails. main problem with this was the bend at the stern, and limited material i had left for it. Luckily i planned way ahead by buying the same dimension of styrene moulding. This made making the curve a breeze. I had seen this done on another log somewhere here, cant exactly remember where sorry

- 121 replies
-
- 4
-
-
- cutty sark
- artesania latina
- (and 1 more)
-
Thanks guys for all the kind words, they really kick me on in this build. hmm it seems my first two pages of pictures have vanished. would anyone have a quick fix for this, or do i just have to reload them?
-
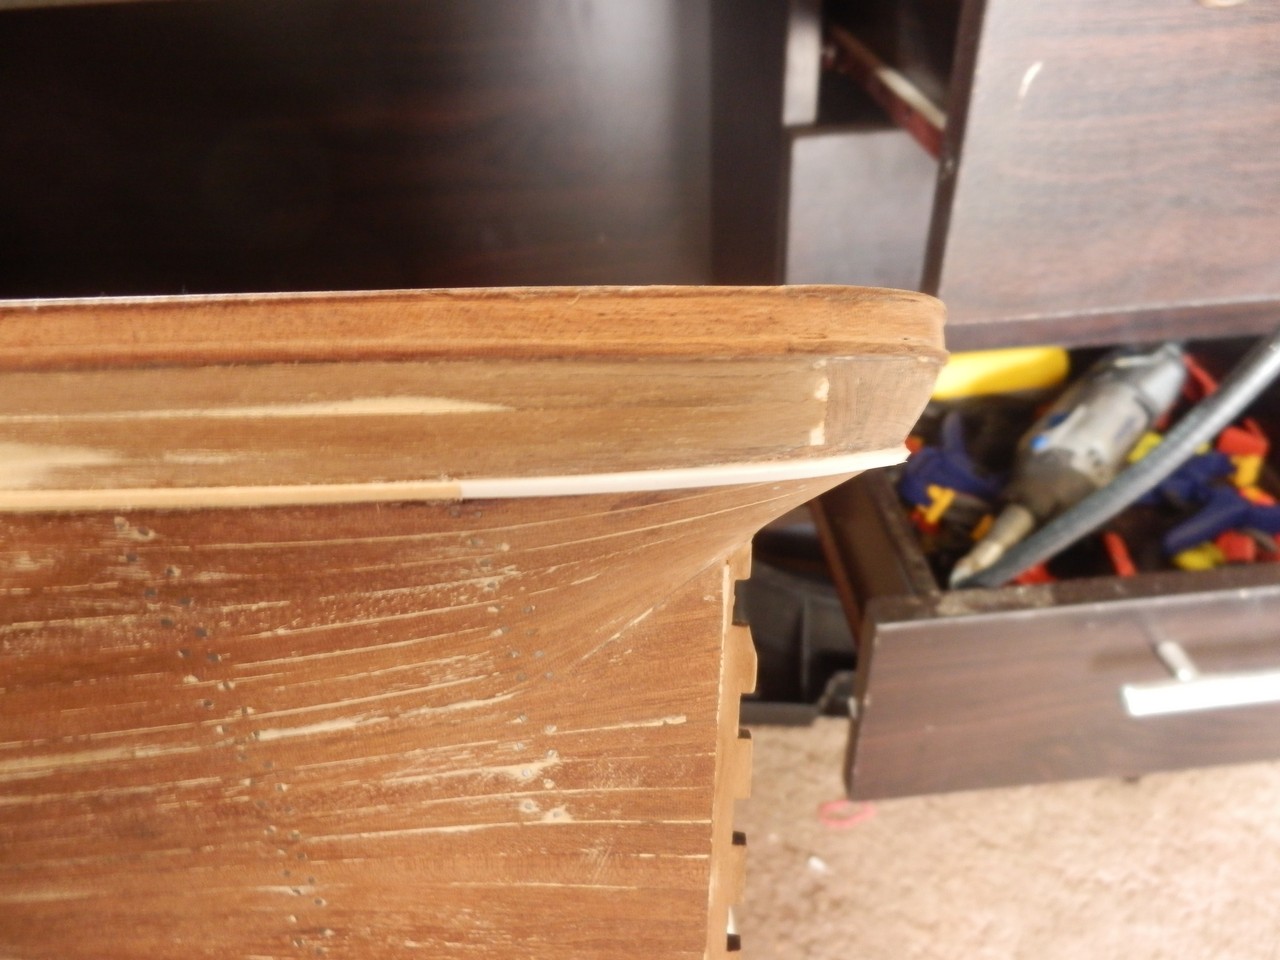
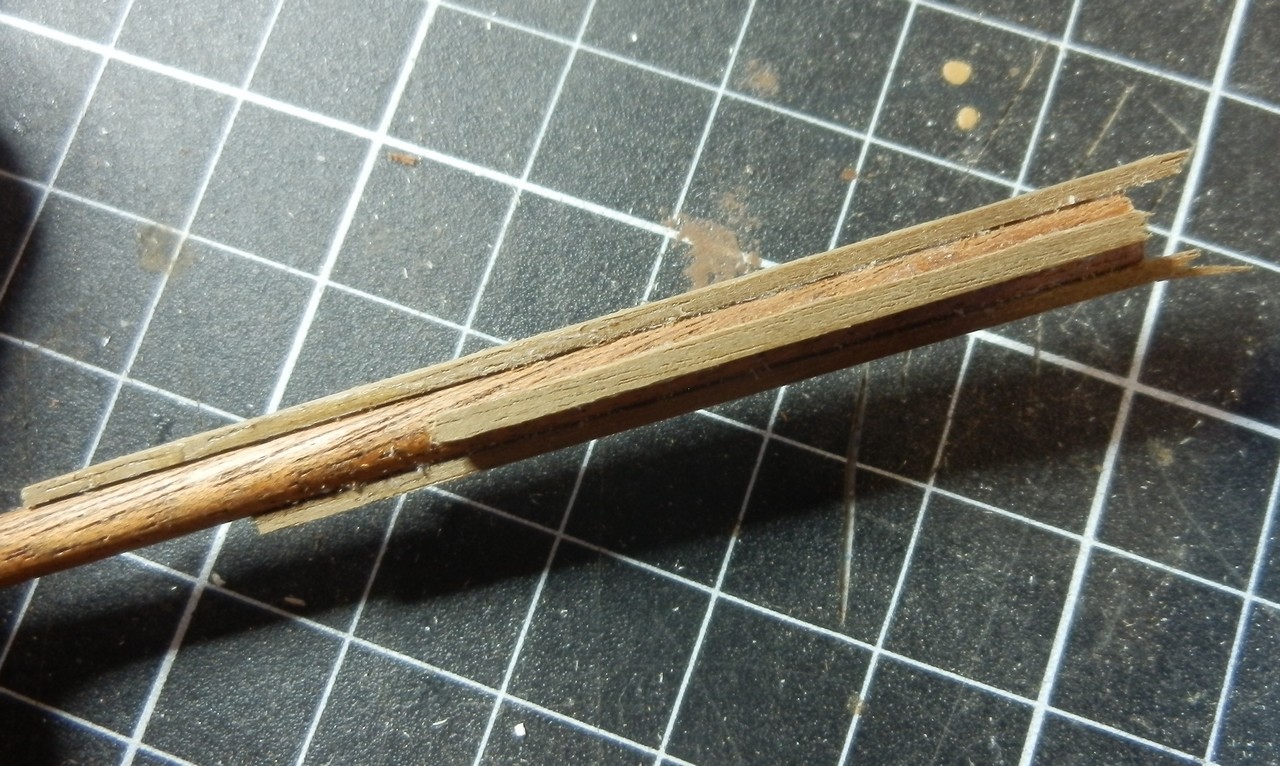
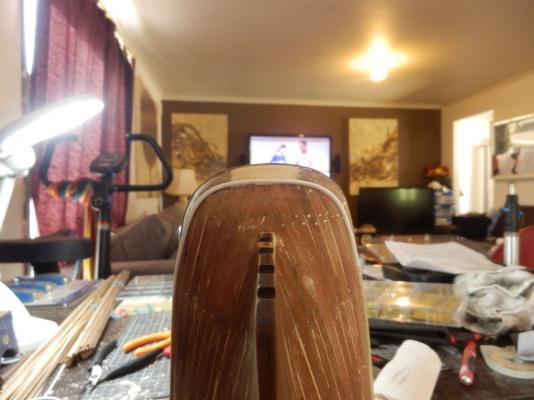
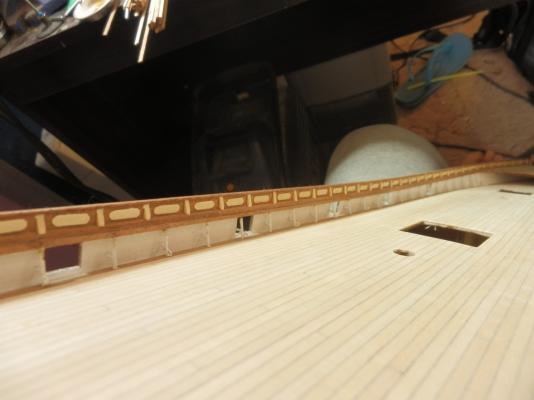
Onwards with the build, and onto the side rails and embellishments first off the list was the troublesome stern part of the kick board, the angle needed was tricky to get with the provided sapelli, the grain of almost all strips were to an angle rather than ripped straight, meaning any attempt at bending ended up with it flaking out at the bend. Finaly, after about 5 attempts i had one i could work with from then on it was fairly easy sailing here it is blended in now for the uprights, these were spaced at 14mm the 'embelishments' took a fair chunk of time to make, and i wasn't too keen on them protruding from the sides, but this was just a case of what the kit called for, also i am awear that they dont continue around the stern on the actual ship but the kit instructions pictured them to


- 121 replies
-
- 6
-
-
- cutty sark
- artesania latina
- (and 1 more)
-
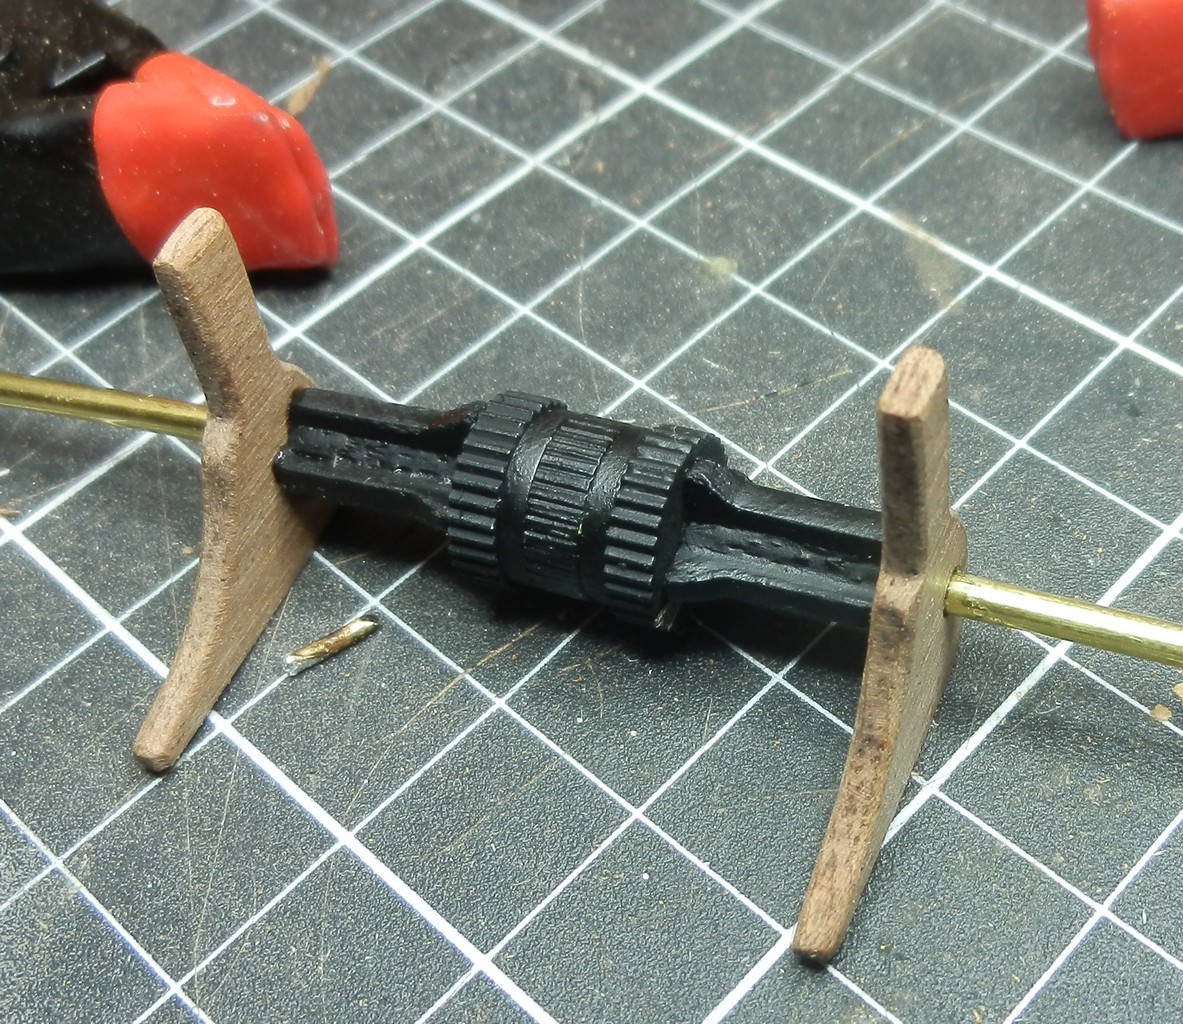
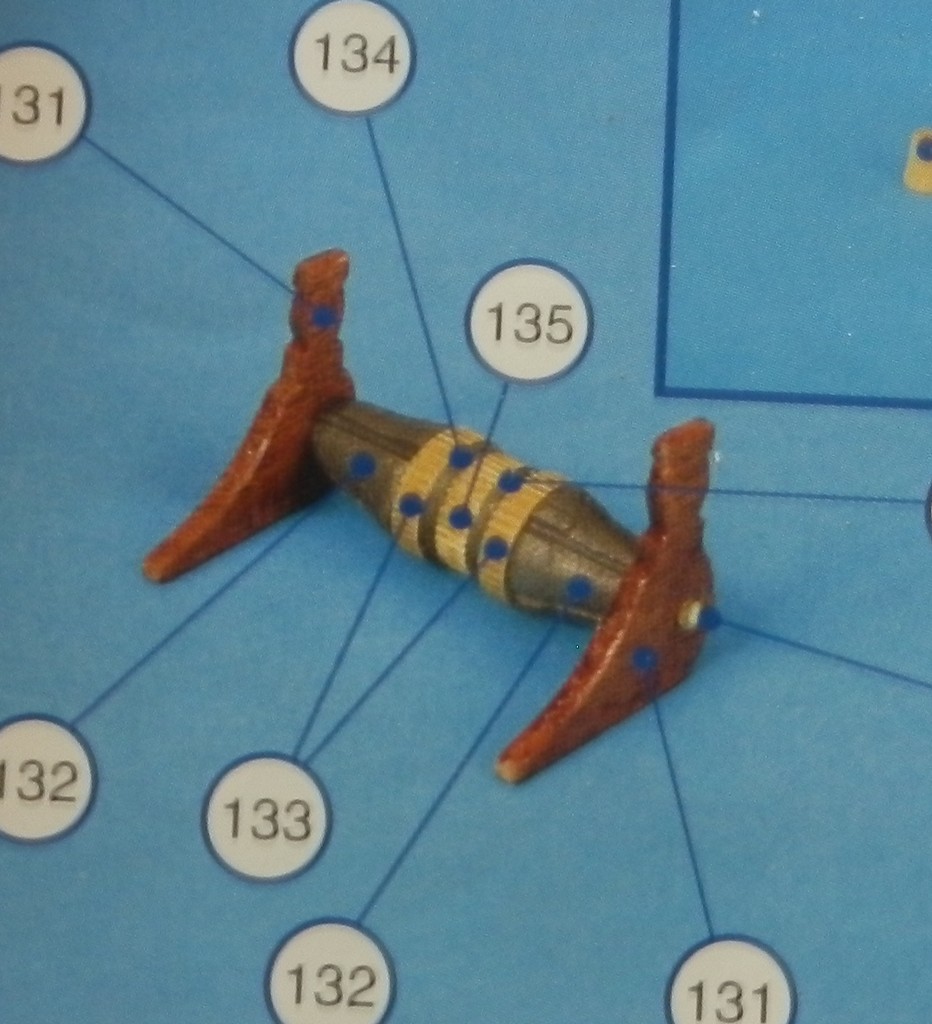
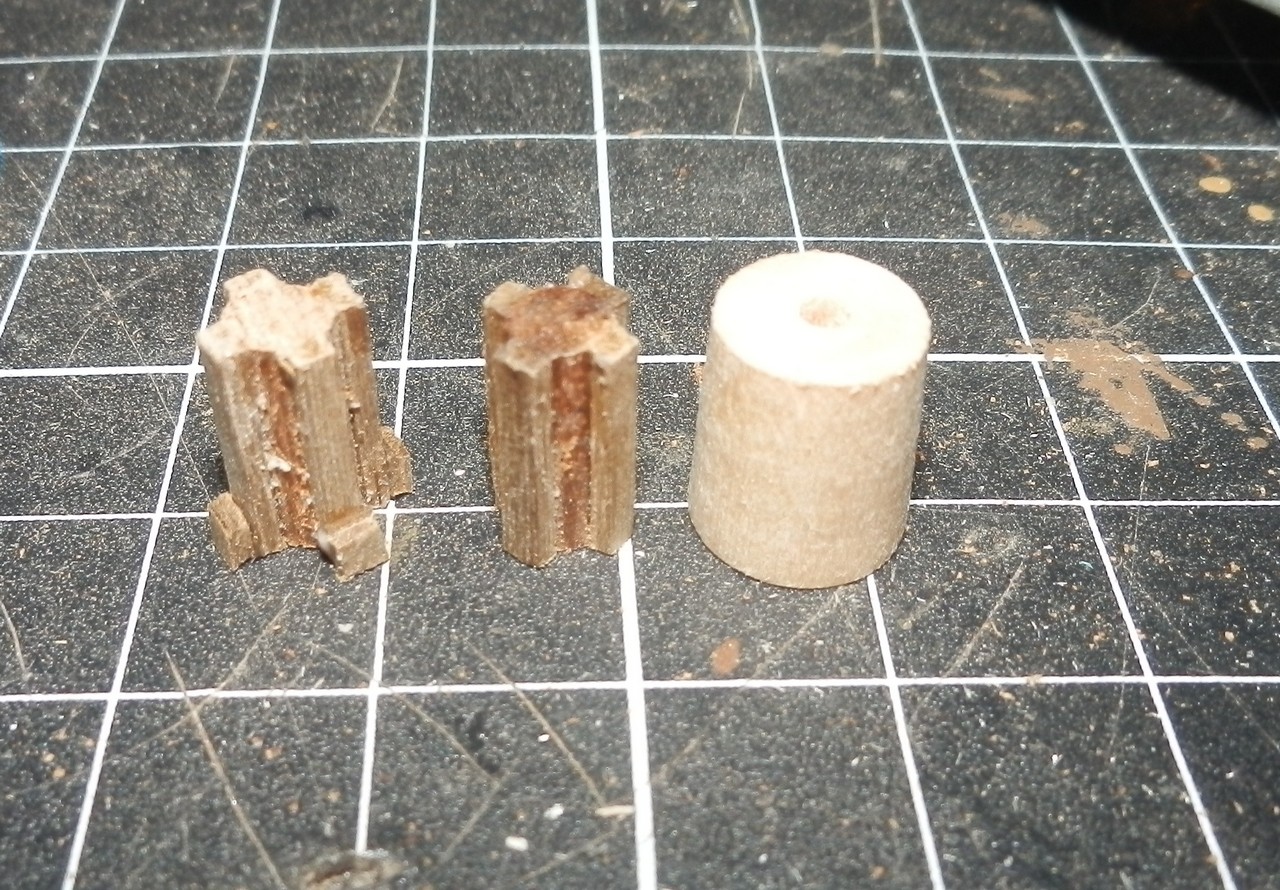
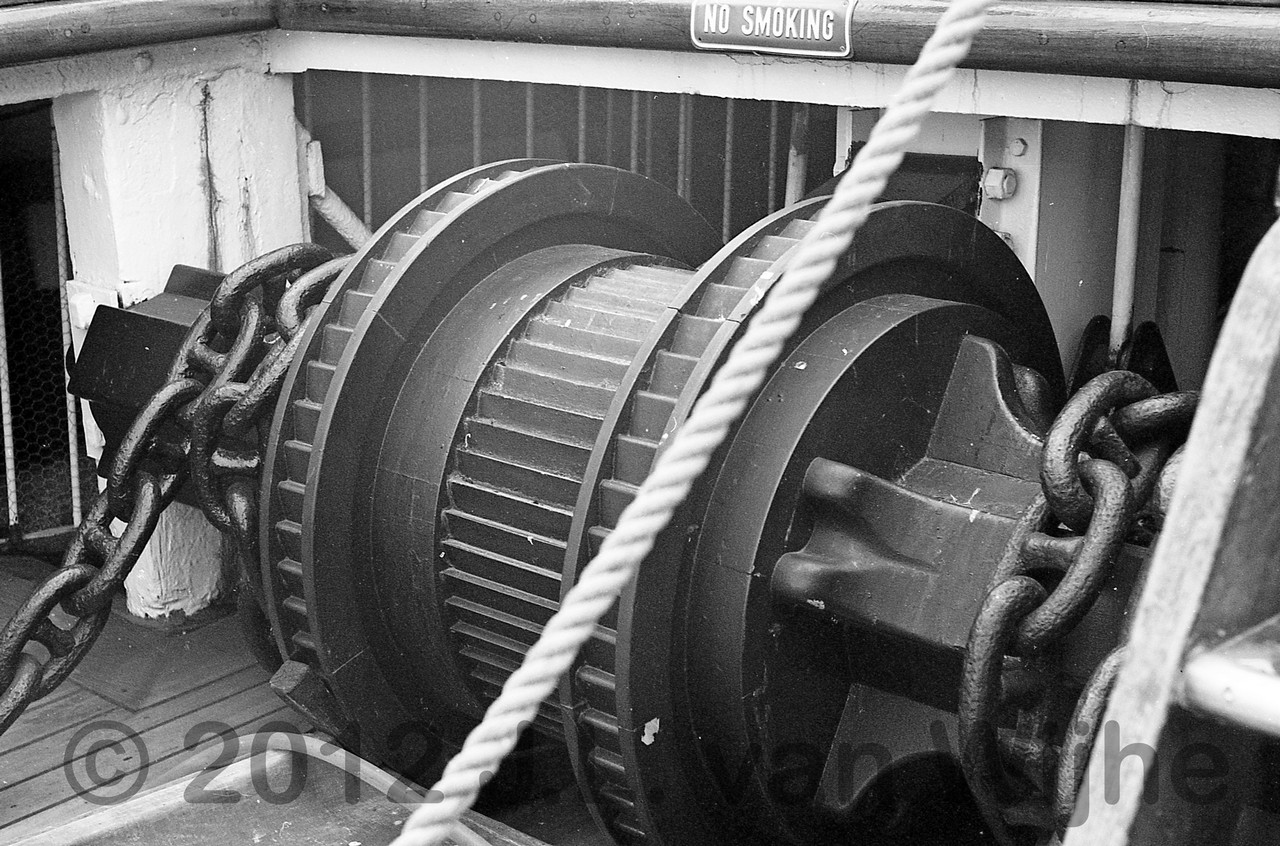
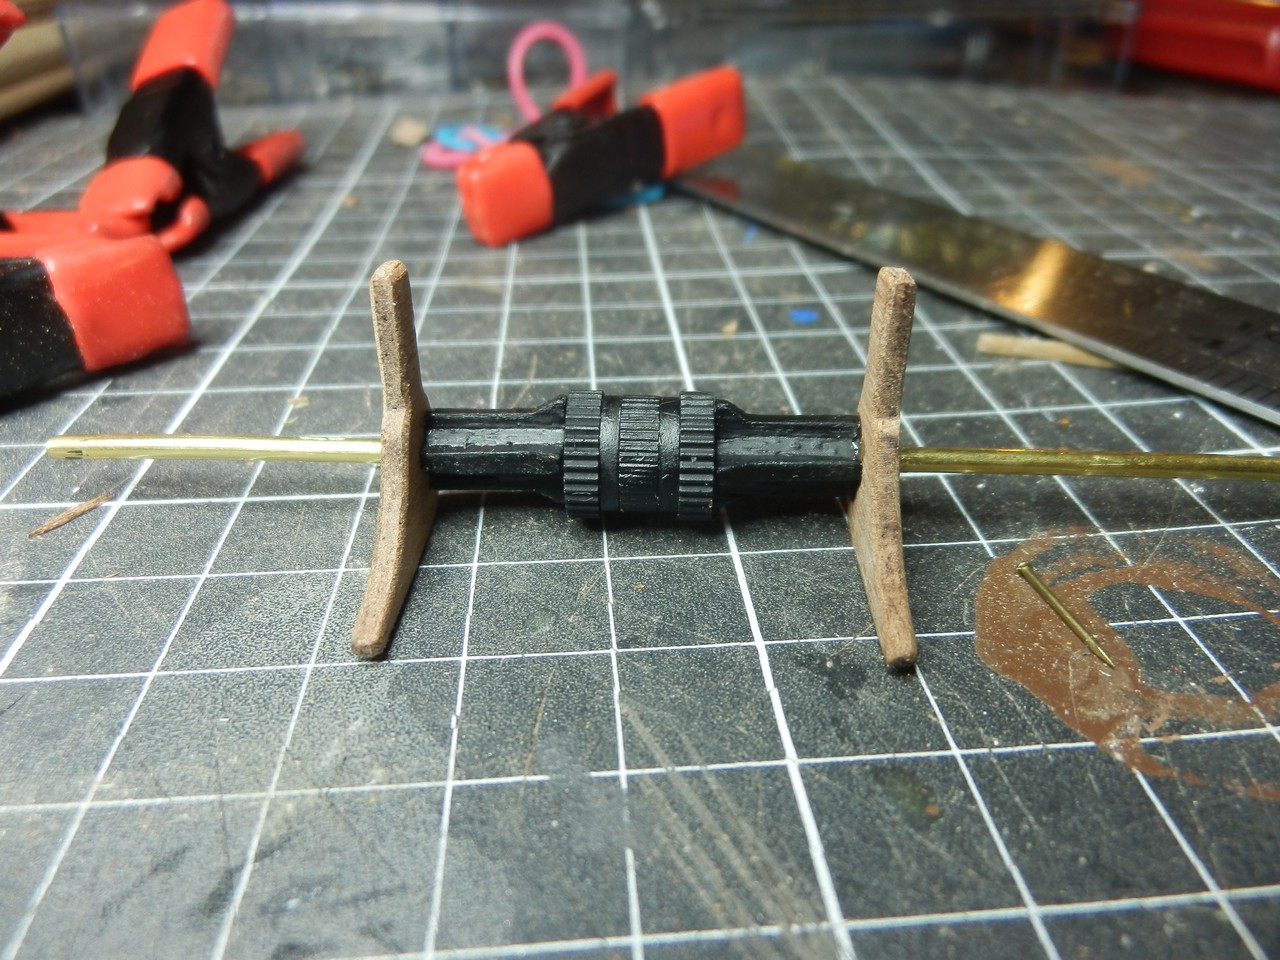
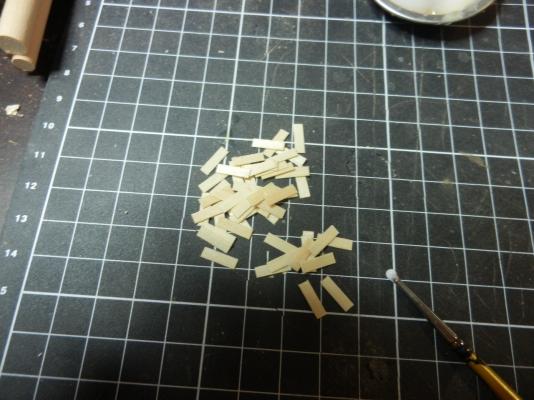
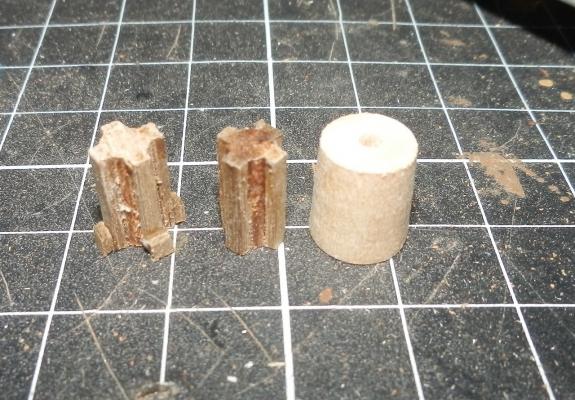
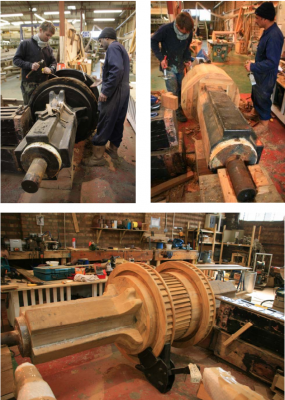
While glue is drying on the gunwales, i thought i might start on some of the deck hardware, but was instantly halted. first on the list was the windlass. the materials provided in the kit were ok but i wanted to get it a bit more realistic. this is what would have been if i followed the plans. The toothed wheel, brakes and spacers were alright, just the drums were off as shown in the pictures from the rebuild and from Lou's Onedrive page to start i took a piece of spare dowel and attached strips of 2x1 evenly around it. then cut to length and just a small square was glued to the ends which would later be carved to shape. here is the comparison to the original drum last of all everything got a coat of primer and matt black, then everything was assembled on a Ø2mm axle


- 121 replies
-
- 6
-
-
- cutty sark
- artesania latina
- (and 1 more)
-
Straight into the gunwale covers, using provided 'sapeli' timber i soaked the strips in water for about an hour before clamping into place
- 121 replies
-
- 4
-
-
- cutty sark
- artesania latina
- (and 1 more)
-
Cutty Sark by NenadM
coffeebeans replied to NenadM's topic in - Build logs for subjects built 1851 - 1900
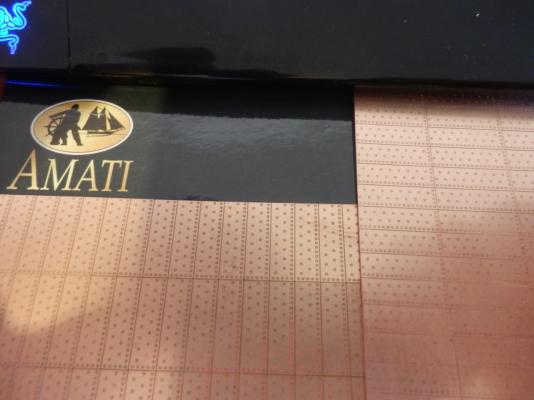
geez im glad i went with the amati plates now, much more like them
- 4,152 replies
-
- 2
-
-
- cutty sark
- tehnodidakta
- (and 1 more)
-
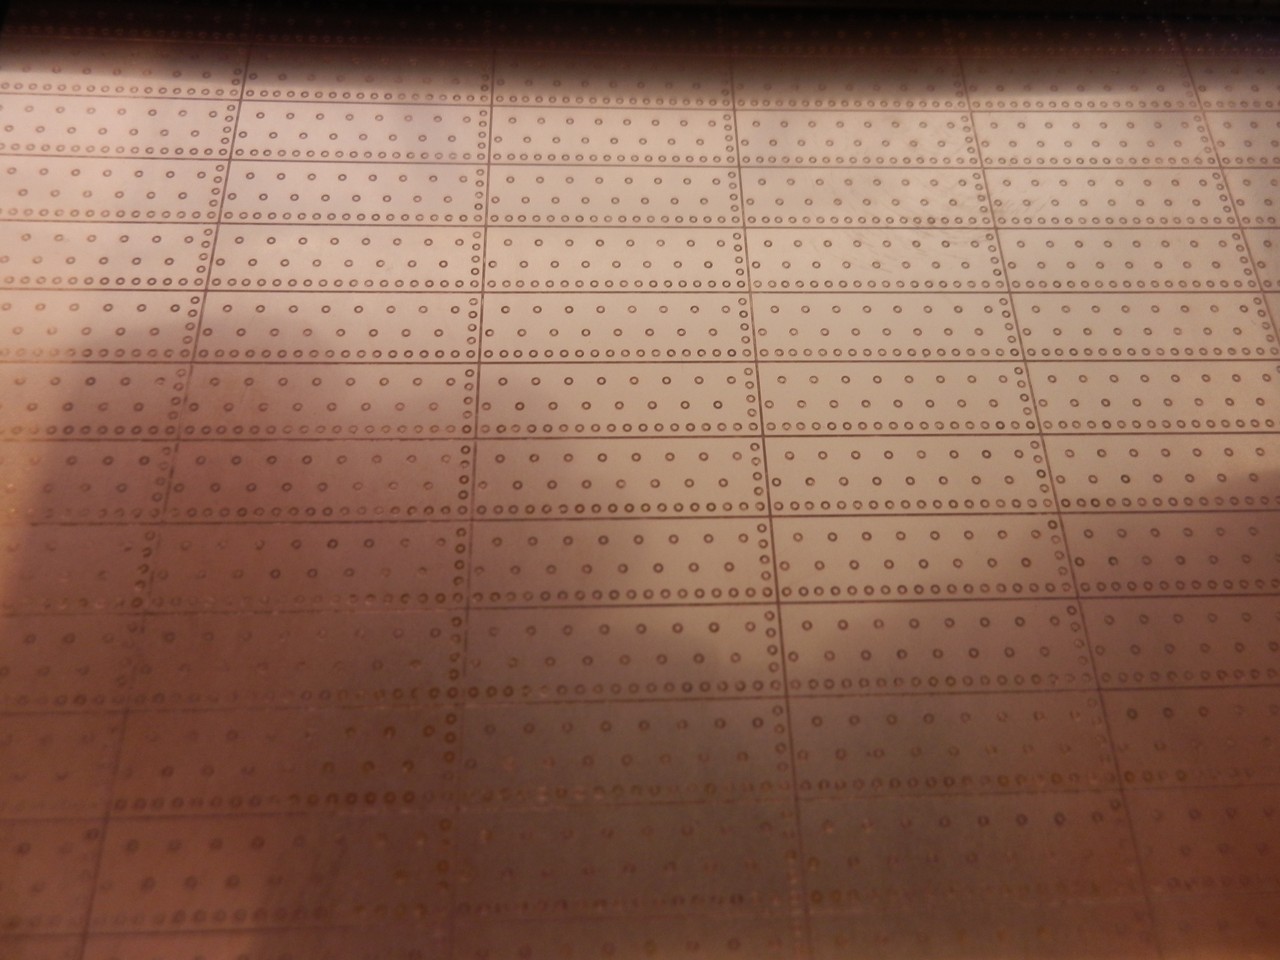
Sorry i didnt see your post before Nenad, i got these Amati photo etched sheets shipped from http://www.cornwallmodelboats.co.uk/ for about $31(USD) for 518 tiles (port and starboard sheets), they were the closest to my scale in that style that i like more so than the single tile, I dont think anywhere stocked them here in Australia, so i had to pay that bit extra for postage but i reckon it will be worth it
-
yeah i am a bit unsure if i will age it or have it all shiny and new, Haha and i think ill give urine a miss. But i am keen to see various results of aging methods and might make my decision then. Also i am to determine and label which are the port and starboard sheets, should only take a google search Might i add very nice build you have there, i feel i have to be a lot neater in what i do looking at logs like that. i wish i could stop getting frustrated at being on a task so long, and start rushing towards the end. i guess it will come in time but from what i have heard about coppering that wont be any time soon...
-
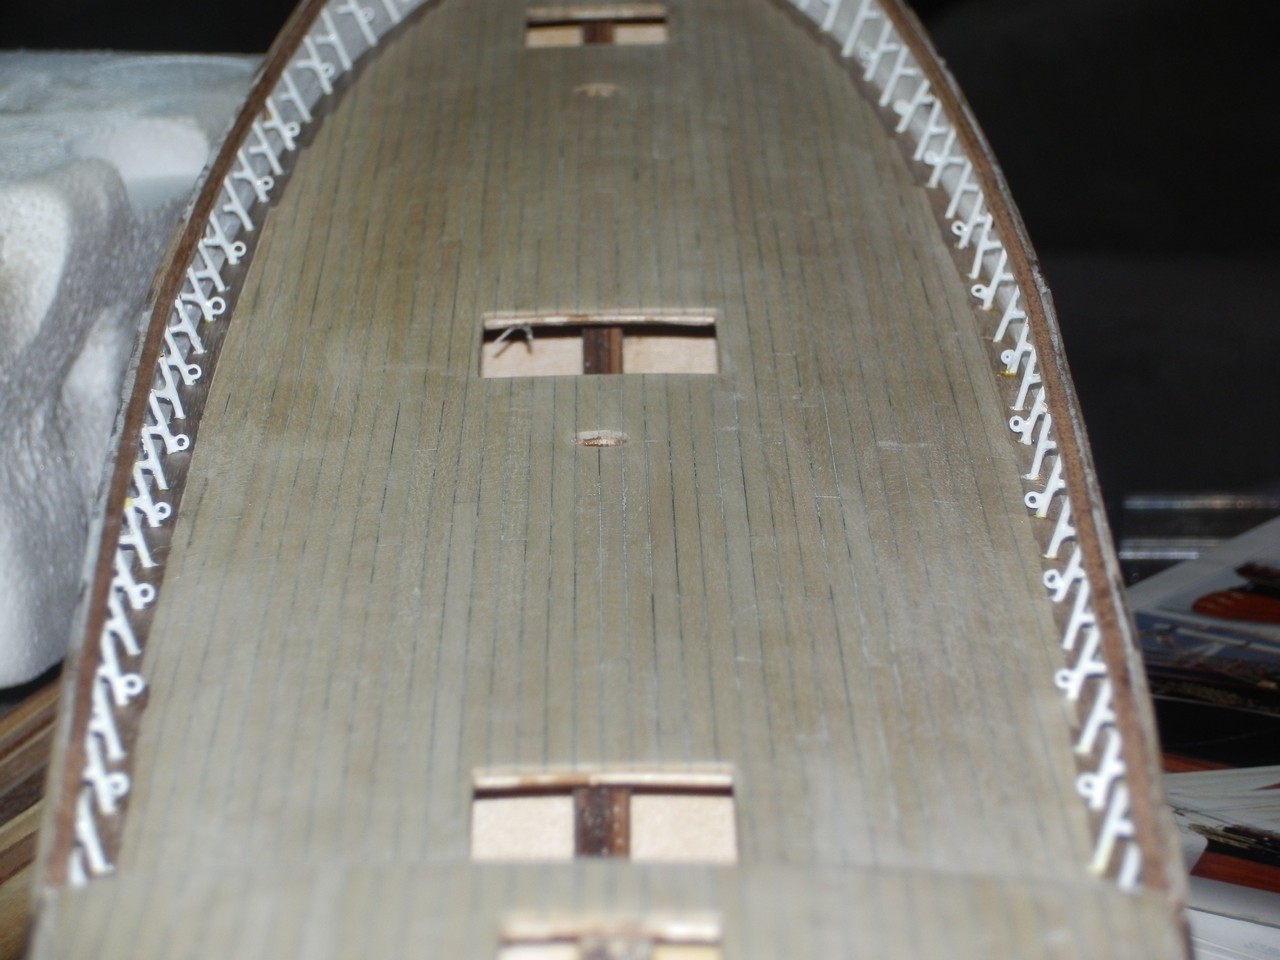
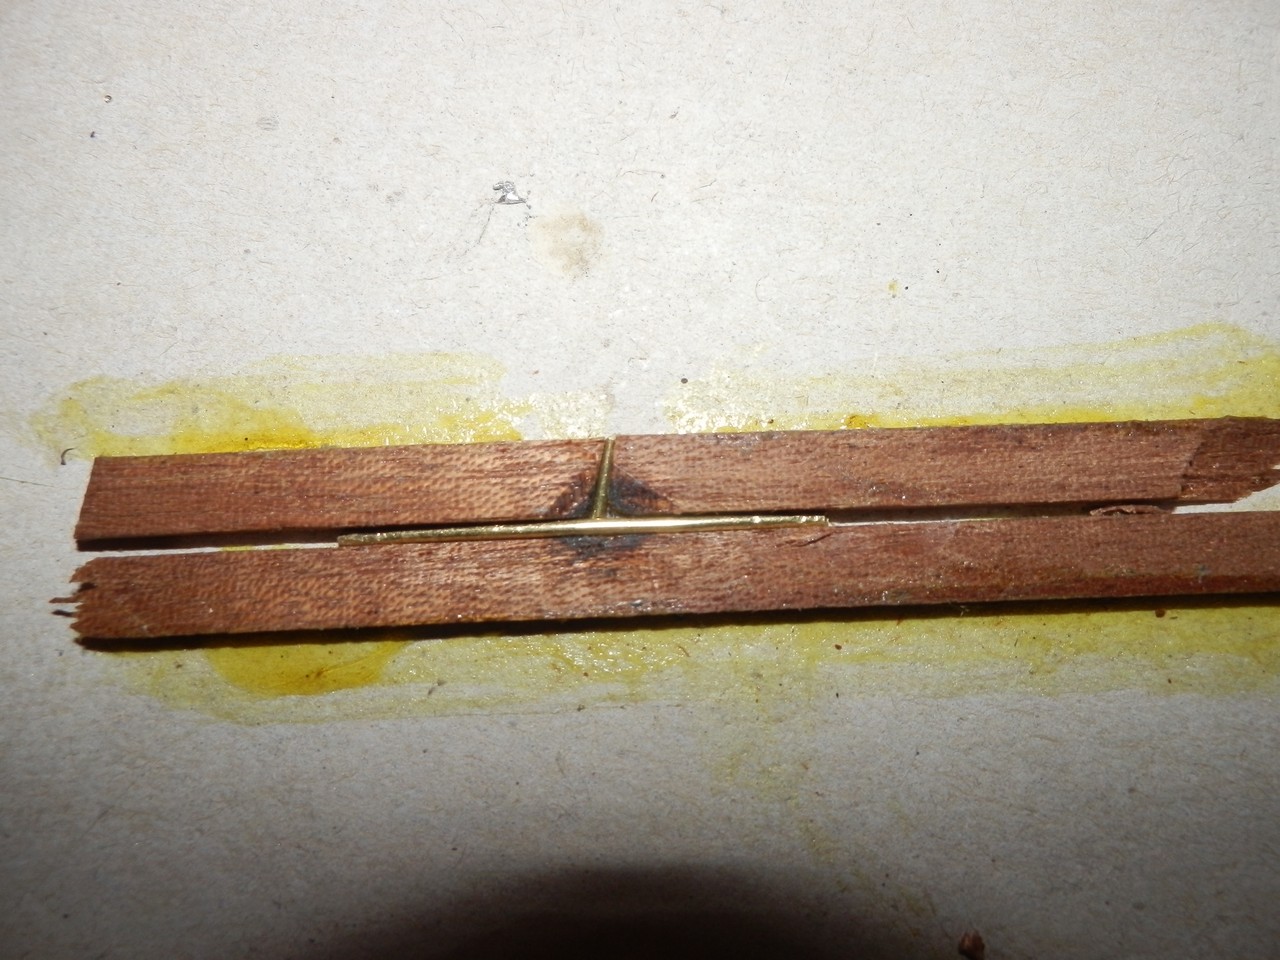
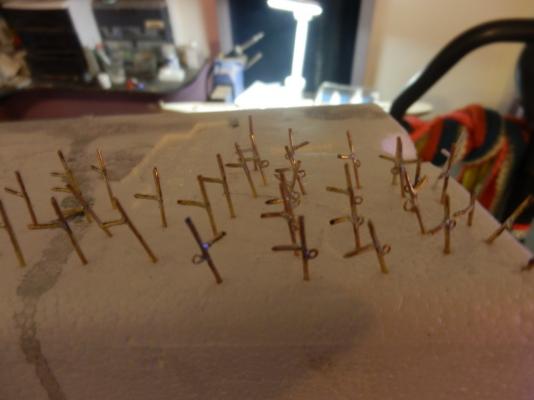
FINALLY SOME PROGRESS!!! just finished the stanchions, and opted just for the alternating ringed and standard stanchions. Pretty happy with the result but some touch ups are defiantly needed. Now onto the Gunwale covers, trimmings and bumper, and eventually painting and coppering. Also here was my production line for the stanchions started with cutting brass to 'close enough' lengths and placing them,flux and a small bit of solder into groves set for the stanchion angle after hitting it with the torch ready for paint After a metal primer and 3 coats of gloss acrylic


- 121 replies
-
- 6
-
-
- cutty sark
- artesania latina
- (and 1 more)
-
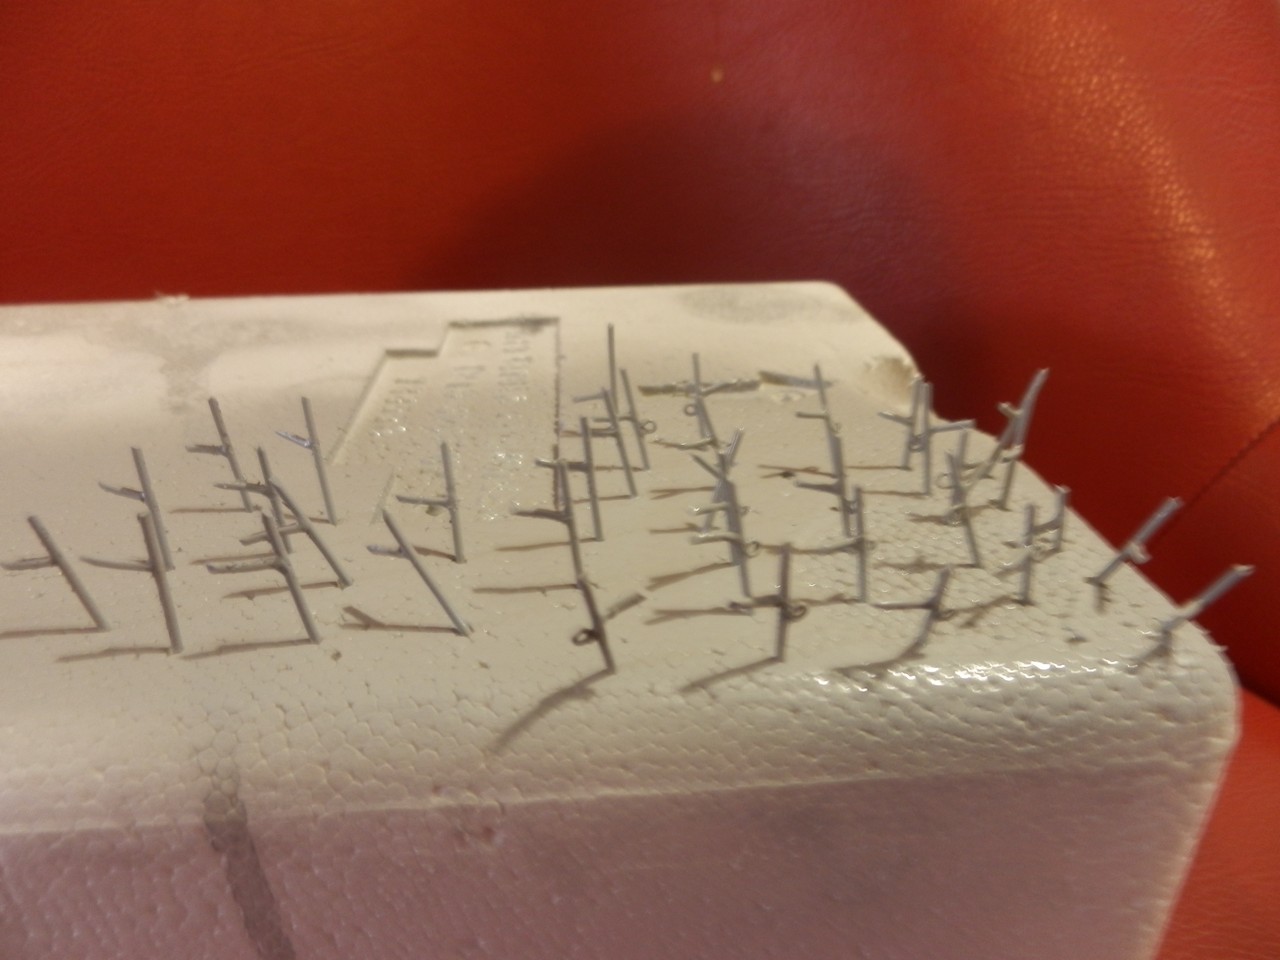
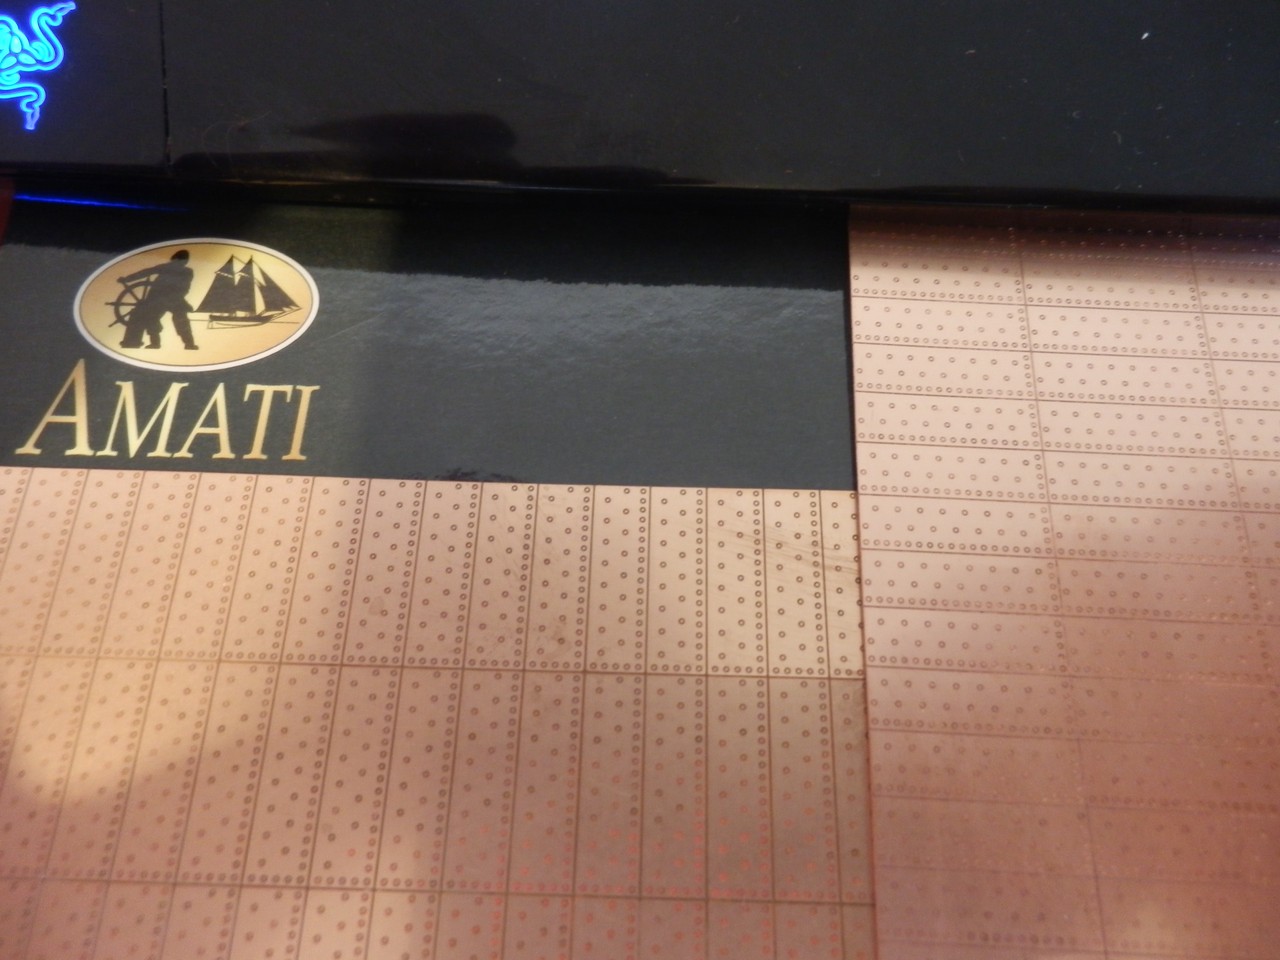
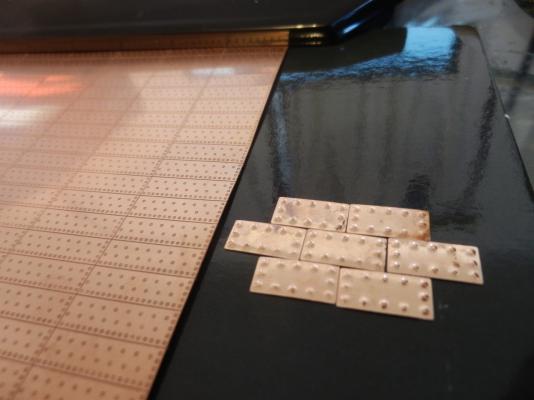
small update, just received some of my photo etched copper plating sheets with more on back order. i am really happy with the way they look compared to my other option, also using it in strips rather than one by one will be handy only problem is the scale isnt 100% but not too worried here are the two options next to each other, wasn't too keen on the over exaggerated nails on the individual plates

- 121 replies
-
- 2
-
-
- cutty sark
- artesania latina
- (and 1 more)
-
Jeez didn't know there were so many builds of the cutty, shame so many have been halted maybe indefinitely
-
thanks Lou, just saved me half an hour scouring the web may i ask where you find these item specific pictures, cant seem to find them anywhere or just searching for the wrong things :s (EDIT)- i just remembered Bugra linked me to your construction pages, very informative thanks!.
-
Thanks Bob, I have done a bit of electrical soldering before but never anything like this, its a bit of a task but hopefully they turn out alright. I have also been watching your log and tossing up whether or not i should have a go at those freeing port covers, might have to add another couple weeks to the build :S
-
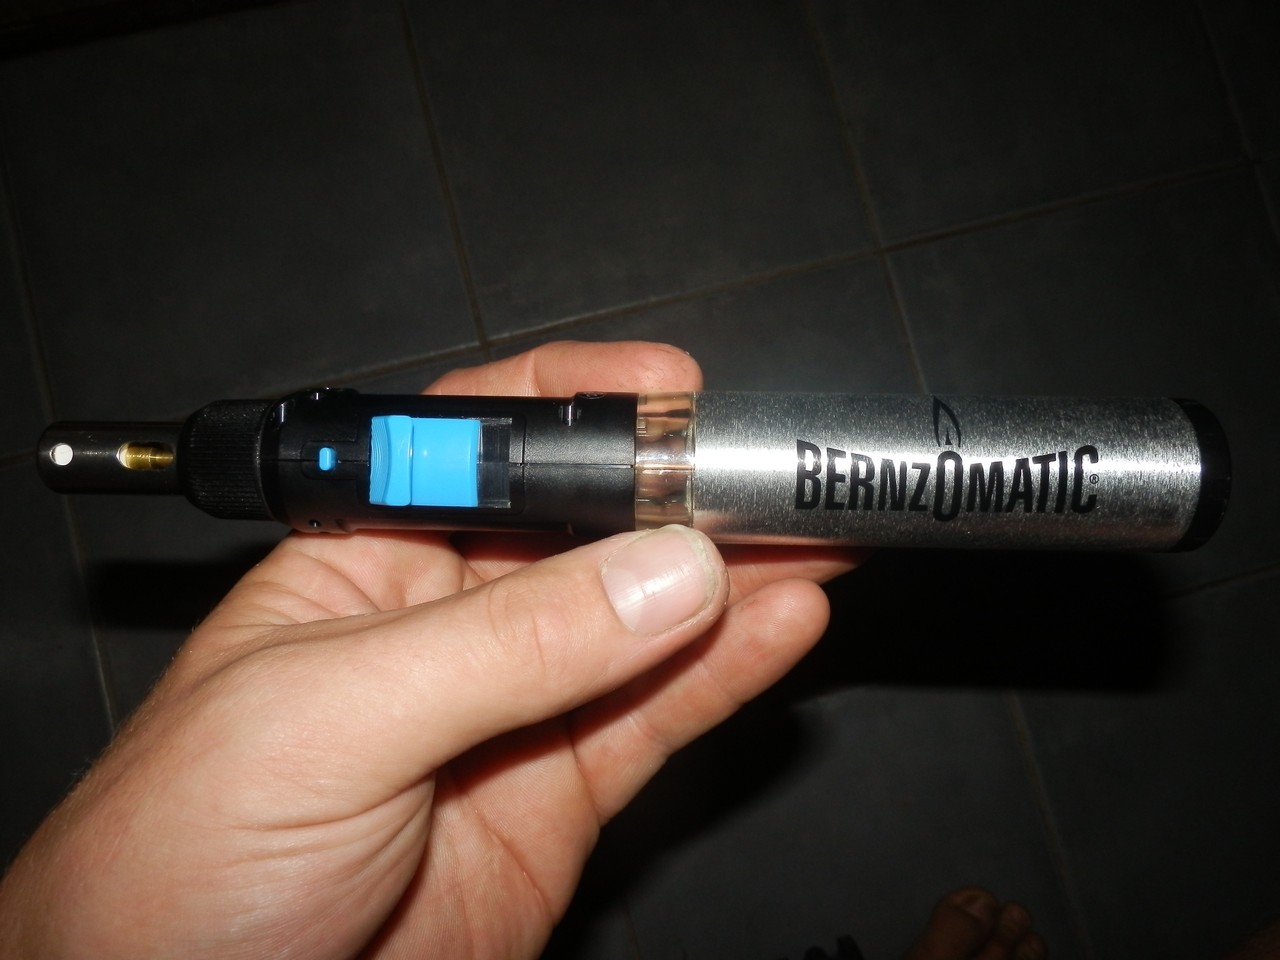
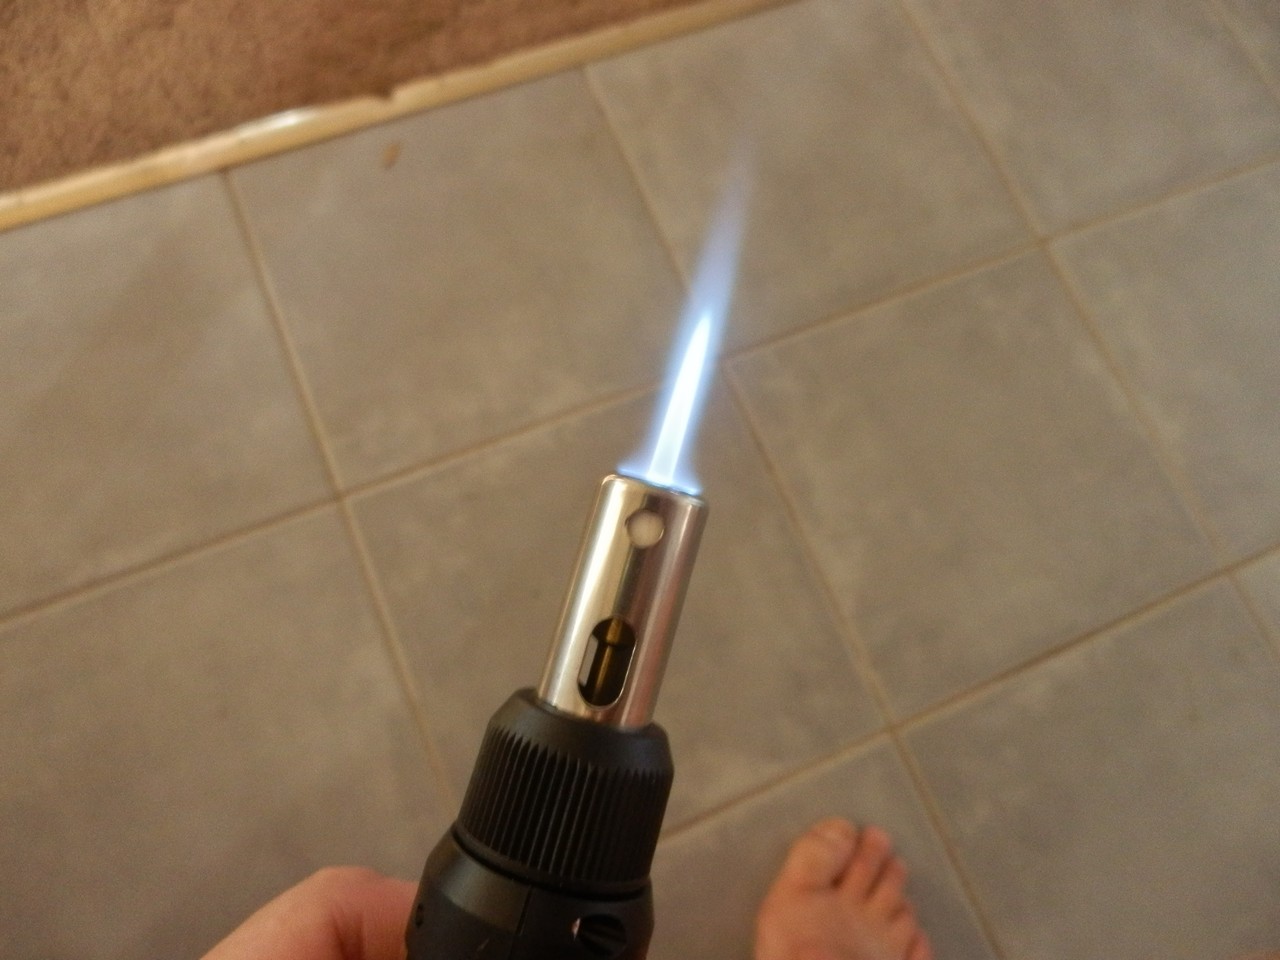
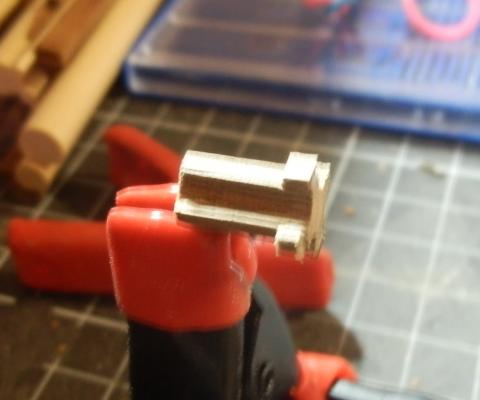
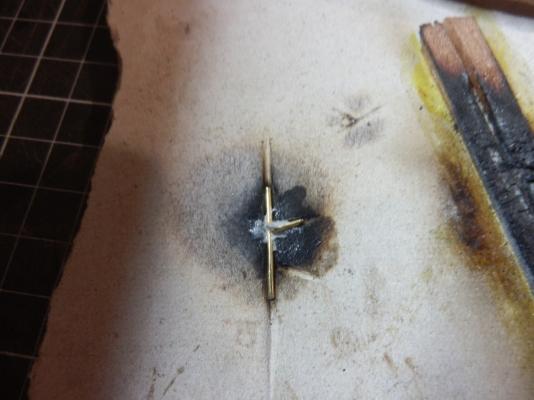
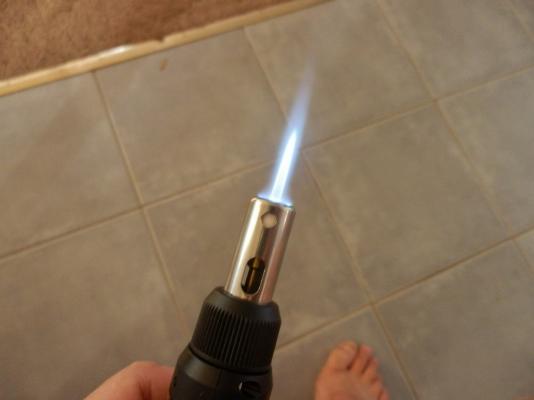
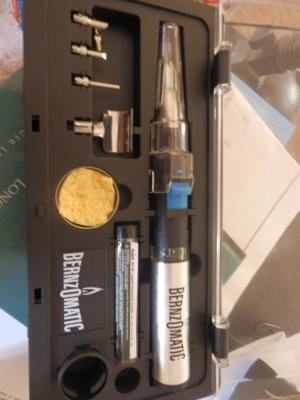
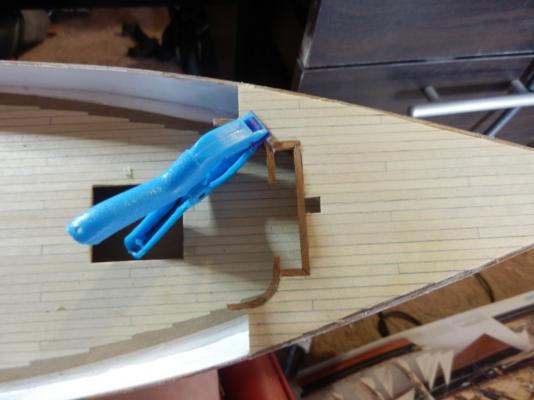
first off i tried just an ordinary soldering iron but it wasnt as accurate as i wanted so i went out and bought a mini blowtorch kit which comes with soldering tips also, but i just use the naked flame. still a bit new to soldering so advice would be awesome. here are some pics of the torch

- 121 replies
-
- 1
-
-
- cutty sark
- artesania latina
- (and 1 more)
-
Jeez mate the ship looks unreal, and the candle light is genius. Keep up the good work! Luca
- 803 replies
-
- 2
-
-
- colonial cutter
- modellers shipyard
- (and 1 more)
-
yeah by the looks of that i might just use plain stanchions near the mooring ports, from what ive read no where indicates where the double ringed or the 2 cleated stanchions are located. a bit more research is needed before i go too far i think
-
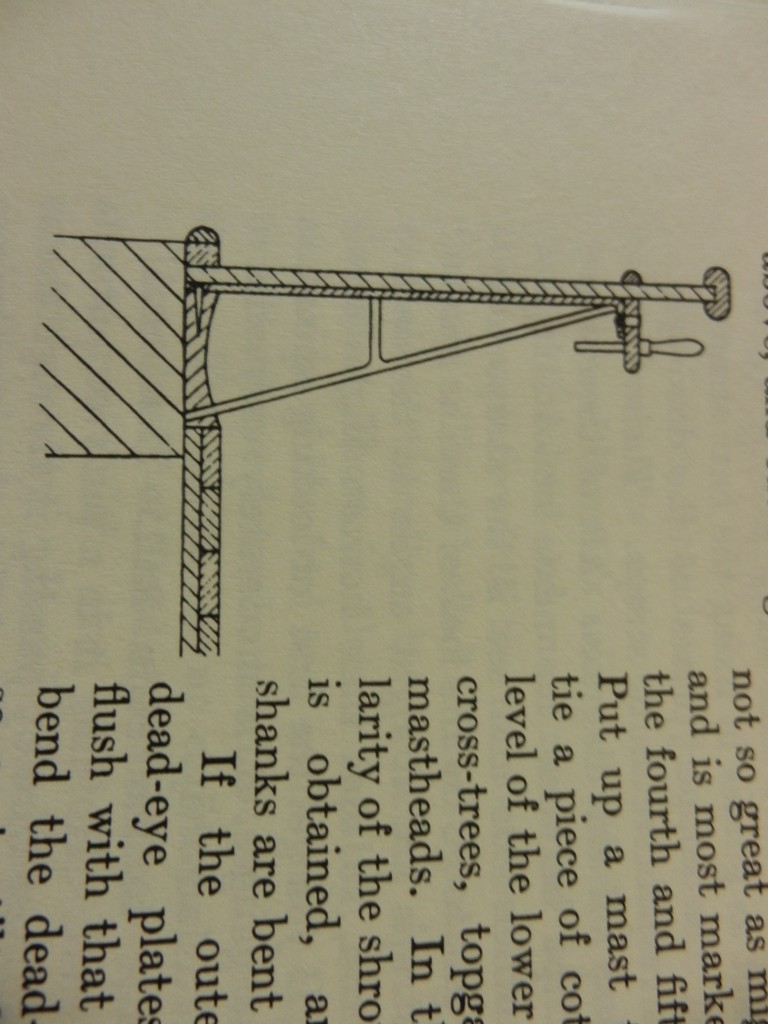
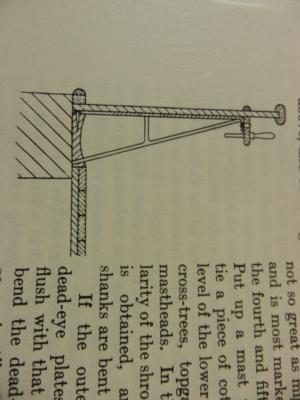
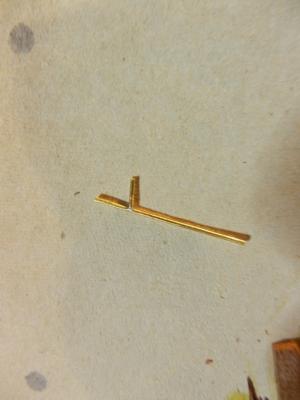
thanks Ollie and Nenad. Yeah im trying a few different ways to make rings small enough but have a strong enough hold on the solder. I've found wrapping some 0.5mm around a drawing pin gave a good sized ring, big enough to work with, small enough to not look over-sized. Its all a bit fidely but i think putting in the time will pay off. Also doing a few cleat ones as well, but not entirely sure where the bent stanchions are exactly located. In the book by c. Nepean Longridge They are described as "On the fore side of the after mooring port, and on the after side of the fore mooring port". im thinking it might be the "oval shaped portholes" that they have said to drill in the bulwarks near the poop and the forecastle, Here is a pic of some test ringed and cleat stanchions

-
Looking good dragzz! id say it will be a fair while before i attempt a victory, looks pretty intense! Luca
-
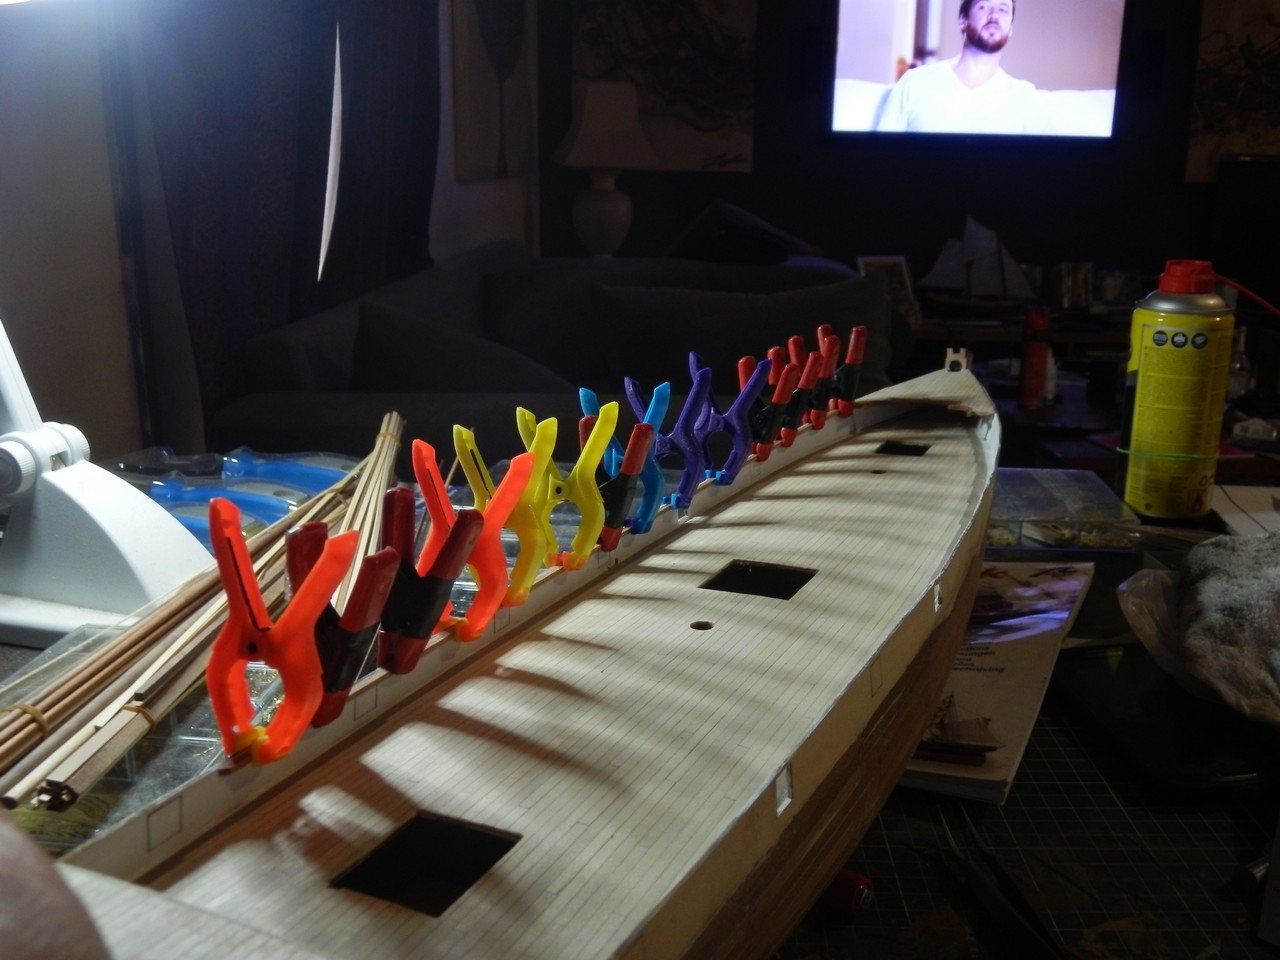
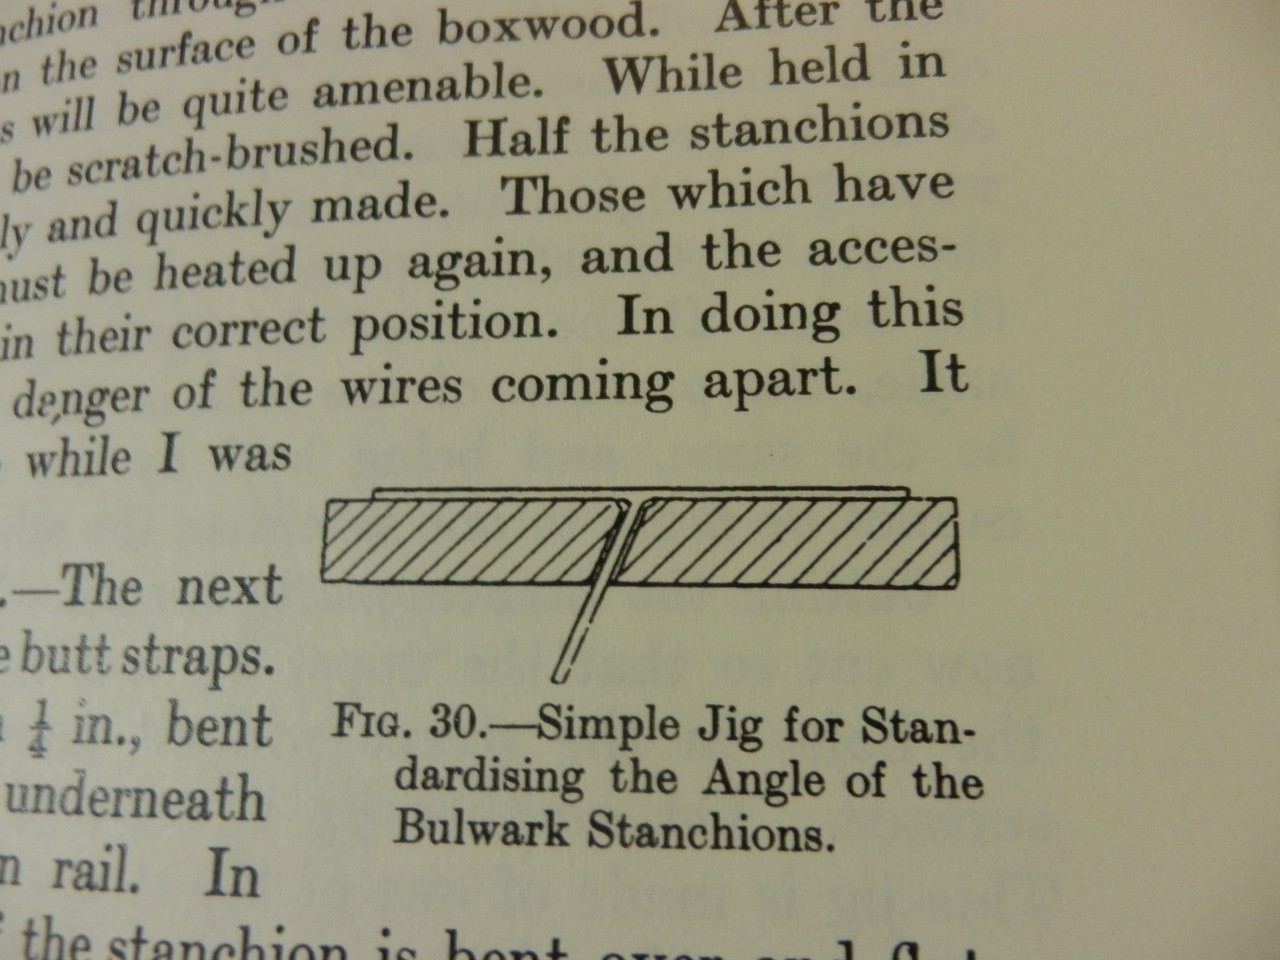
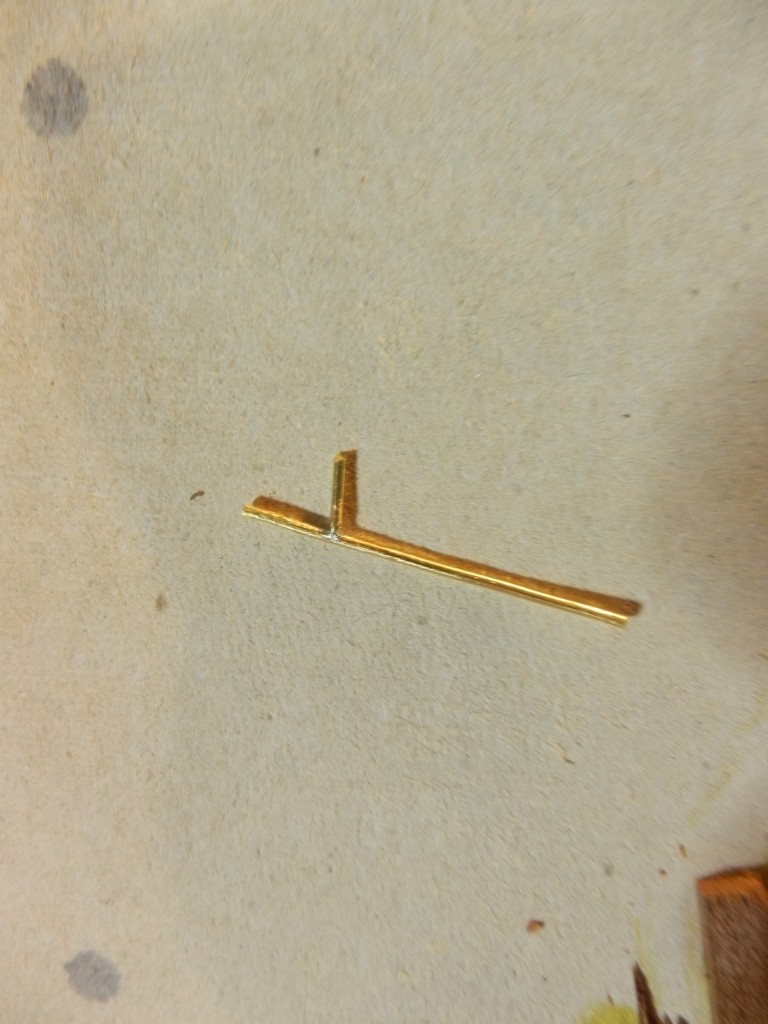
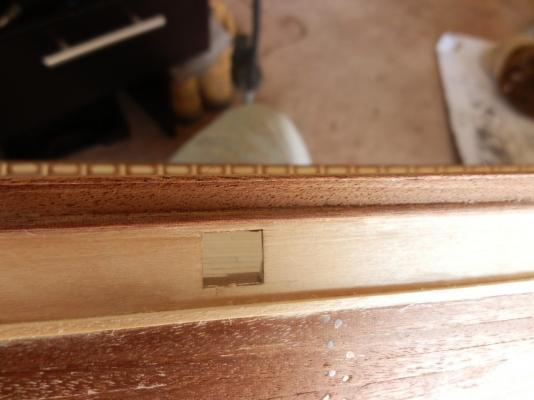
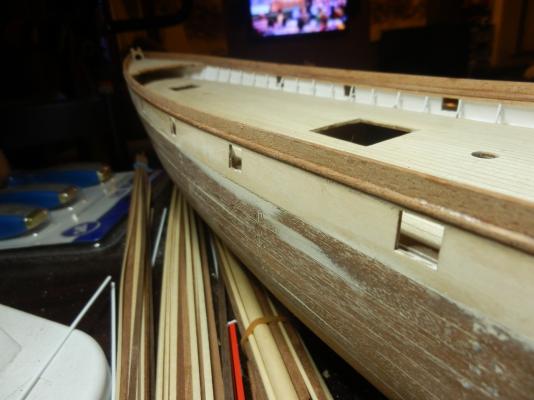
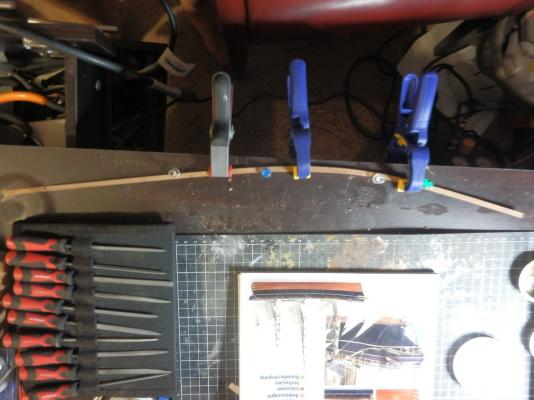
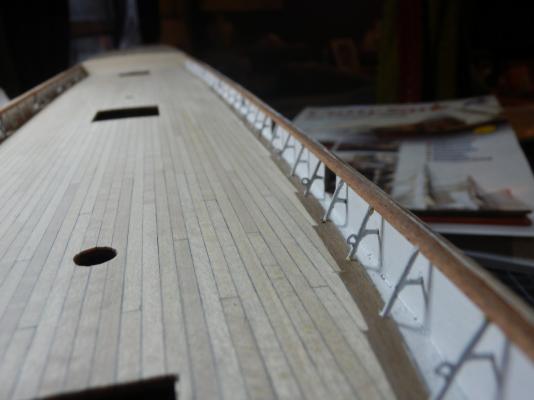
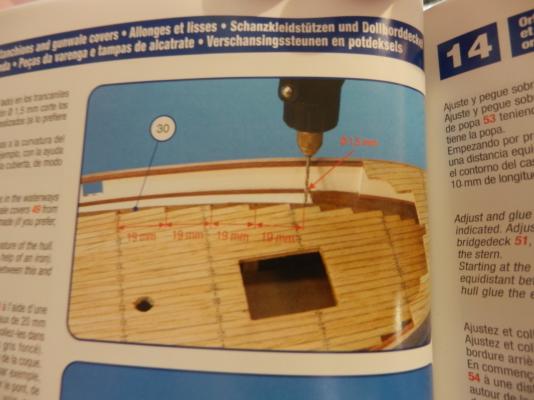
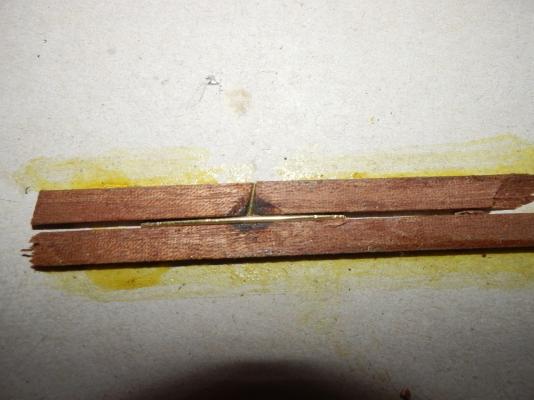
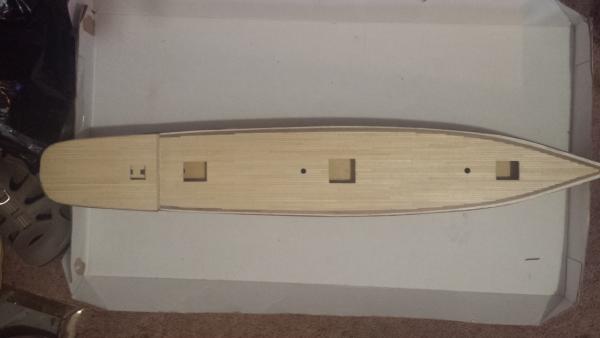
Hi all, had a little break from building, but back in action now, also taking some advice from nenad to slow down my work and not rush it which has id say amplified my enjoyment of the hobby. To start off again i attached the bulwark 'strengtheners' and fitted the forcastle deck trimmings. The bending of the extreme curvature needed for the trim was a bit of a pain, but with a couple attempts of soaking and heat bending it turned out pretty well. early stages of the trim All sanded CLAMPS!!! also since last post finished the deck fully On to the bulwarks and stanchions. the marking out is explained fairly crudely, im thinking something must be lost in translation. with no starting point indicated in the instructions, i squared from the front of the bow hatchway and marked out 19mm spacings on some masking tape lining the waterways. also no angle or distance from inside of bulwark given for the stanchions so im doing just what looks right. now for making the stanchions and 'special' stanchions themselves, i have made a jig ito hold the brass for soldering and hopefuly it will give me a pretty uniform result. heres a test one i made and filed back, pretty happy with the result, only 51 more to go :S (this is still long and needs to be trimed also)


- 121 replies
-
- 3
-
-
- cutty sark
- artesania latina
- (and 1 more)
-
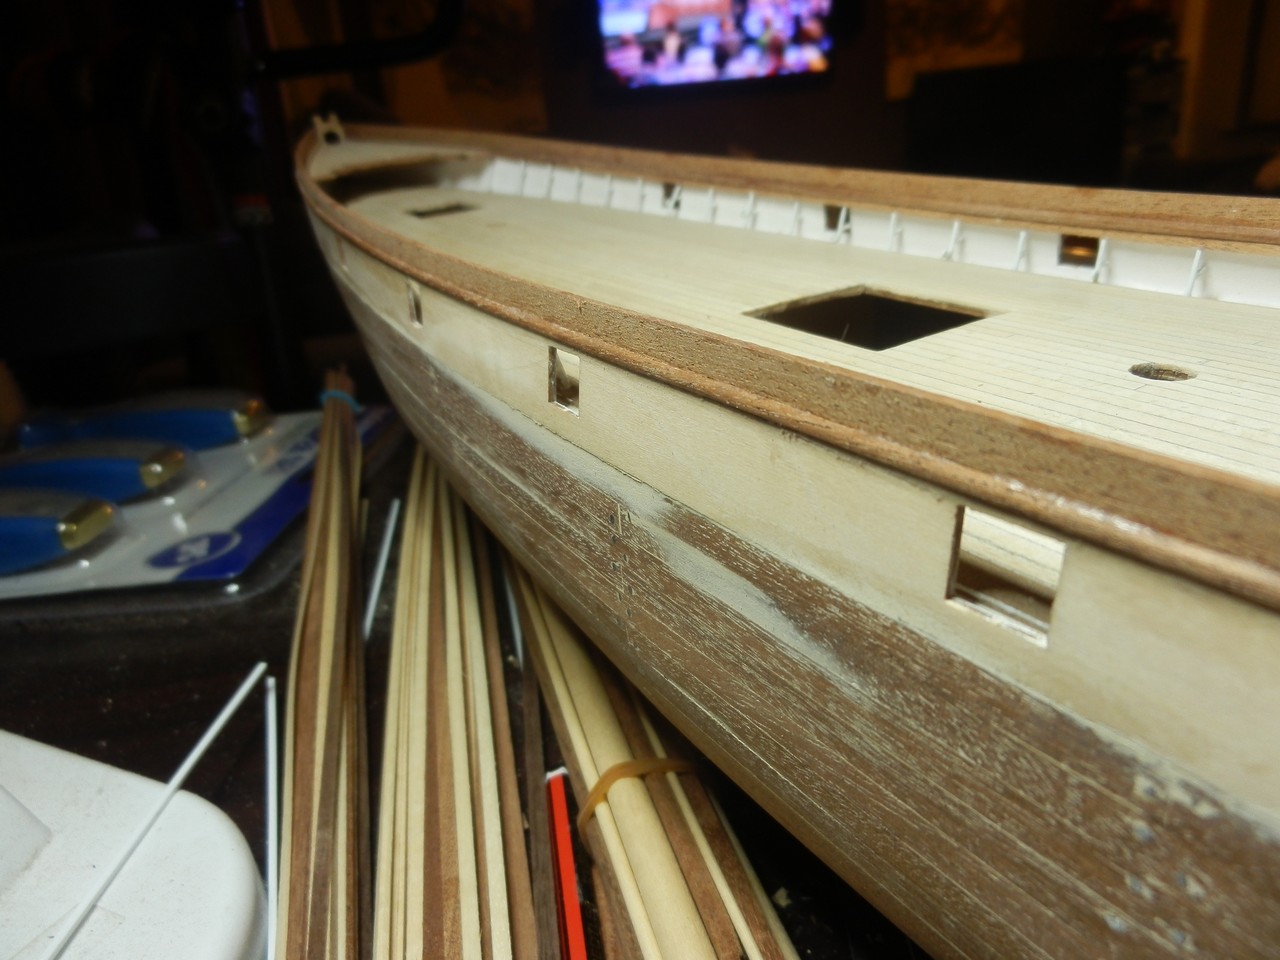
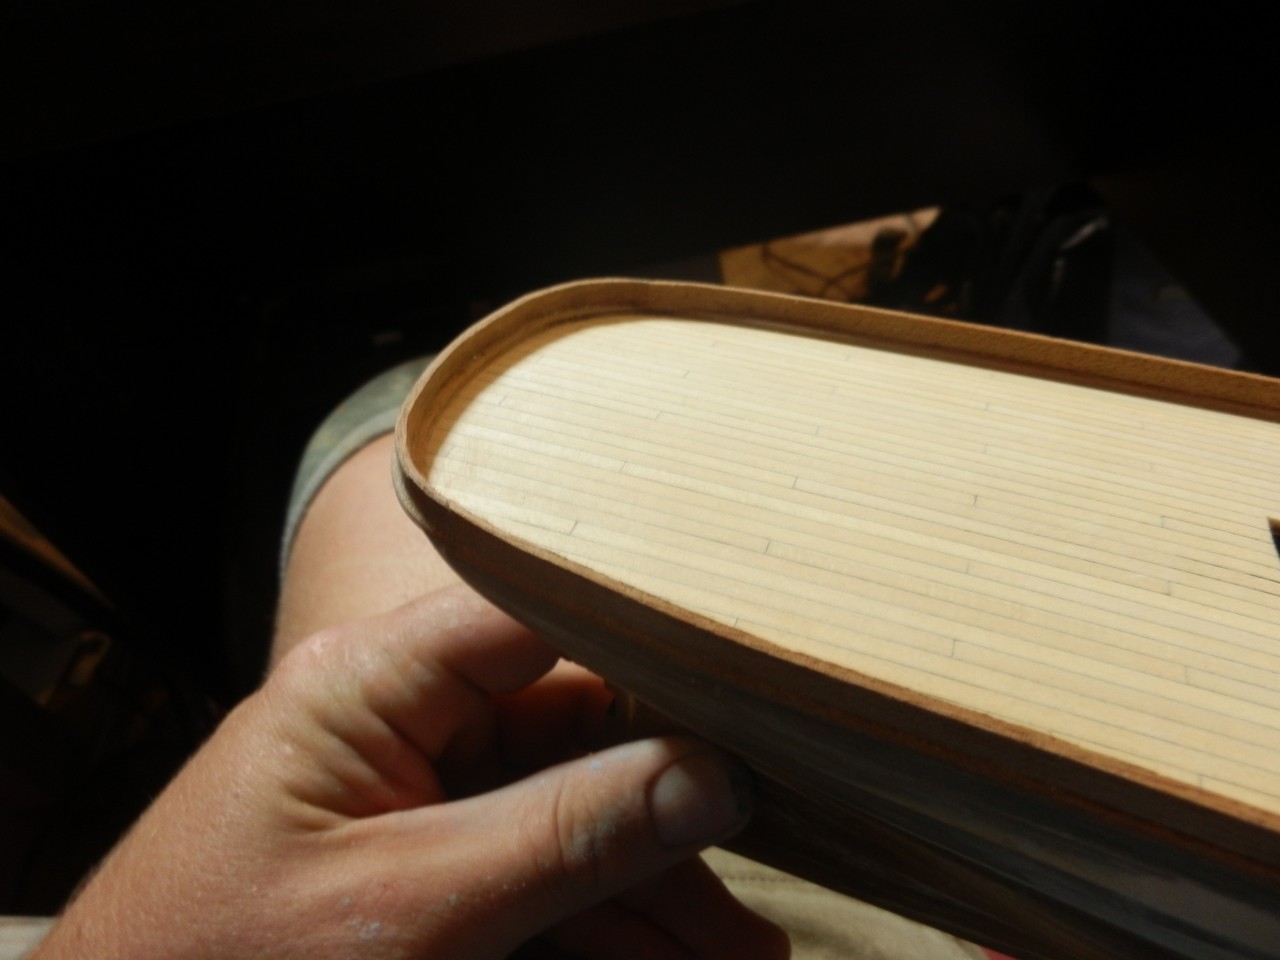
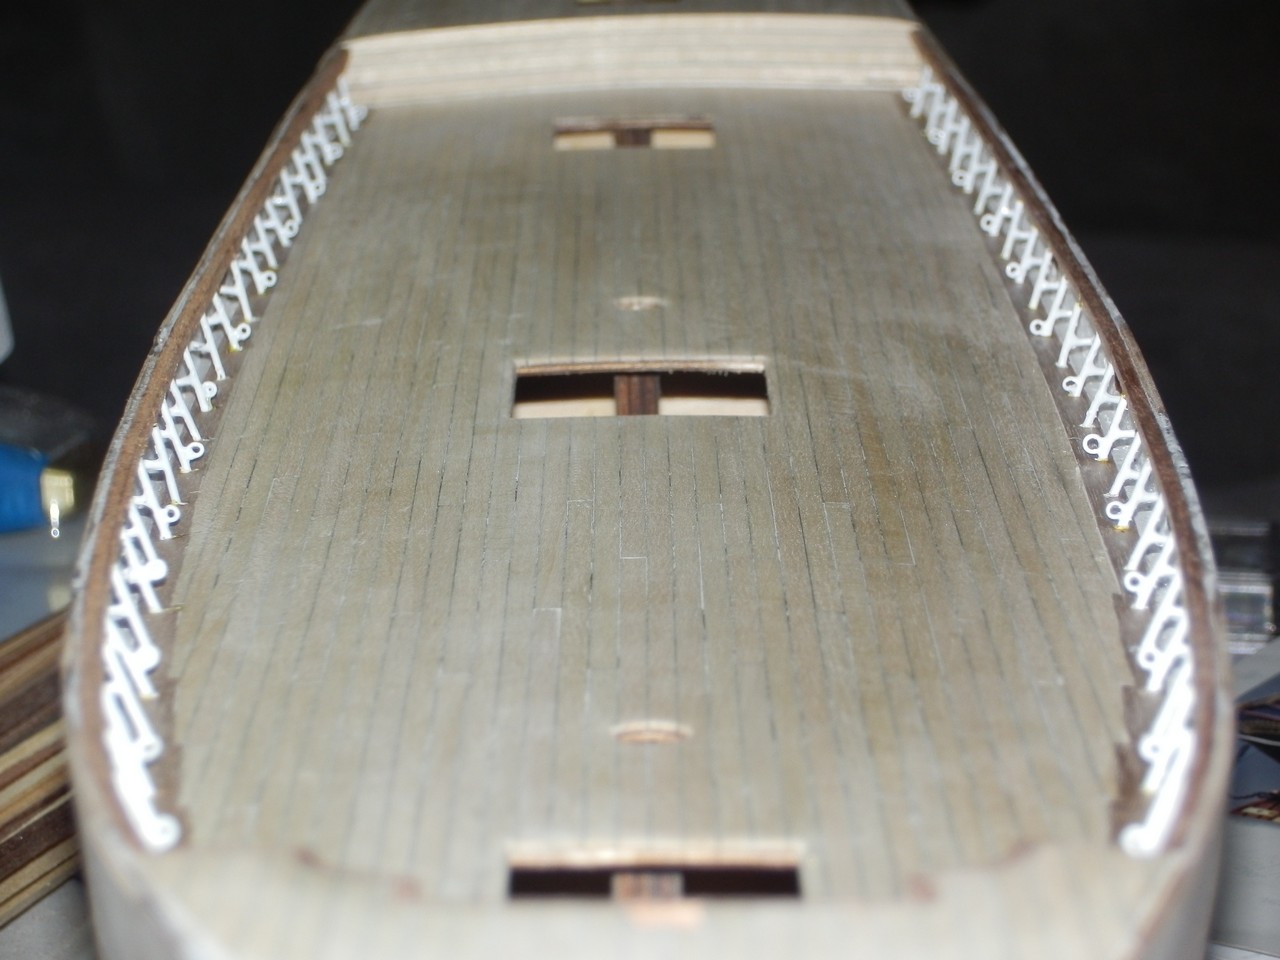
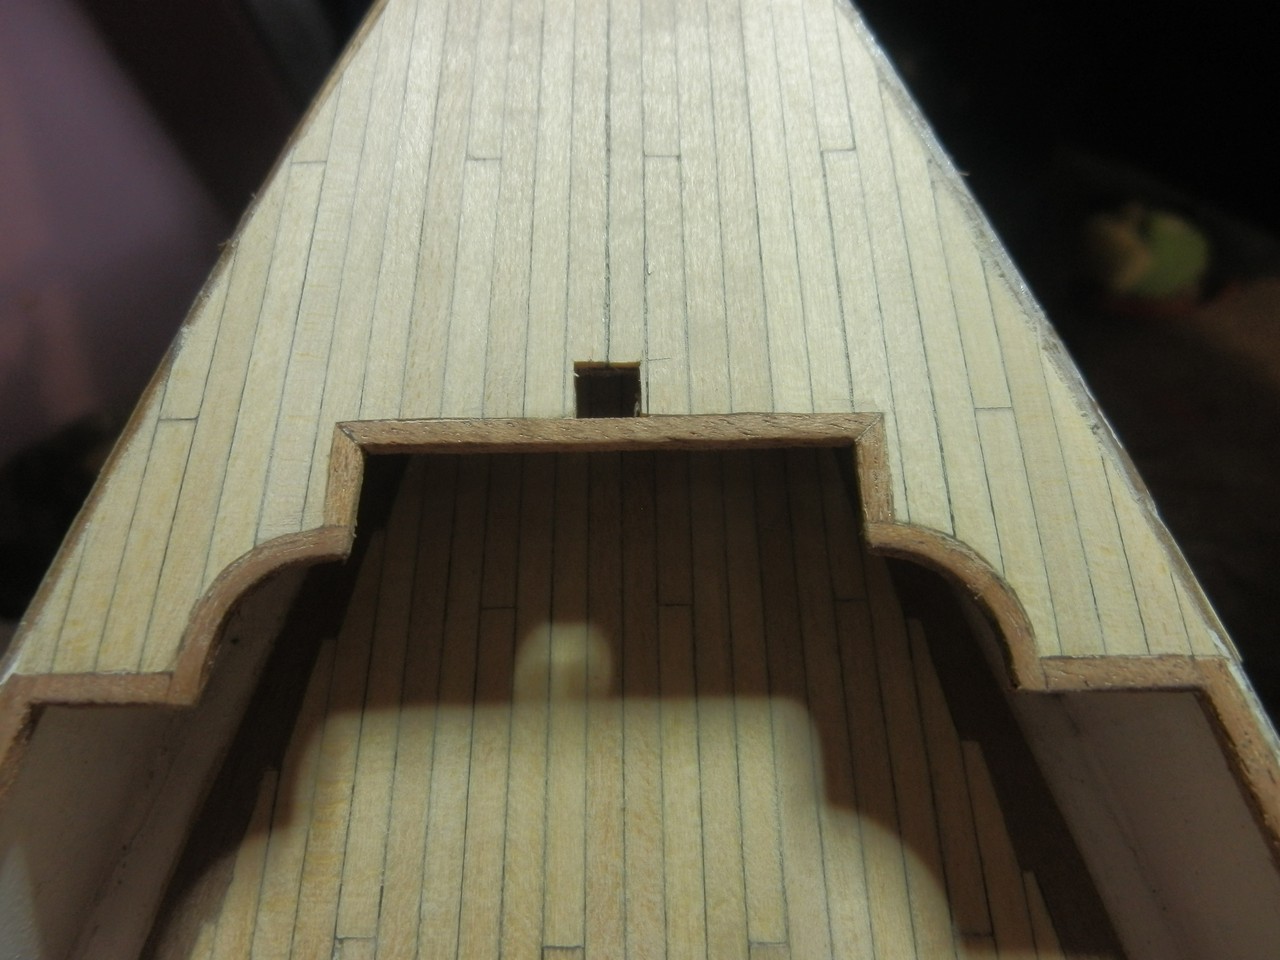
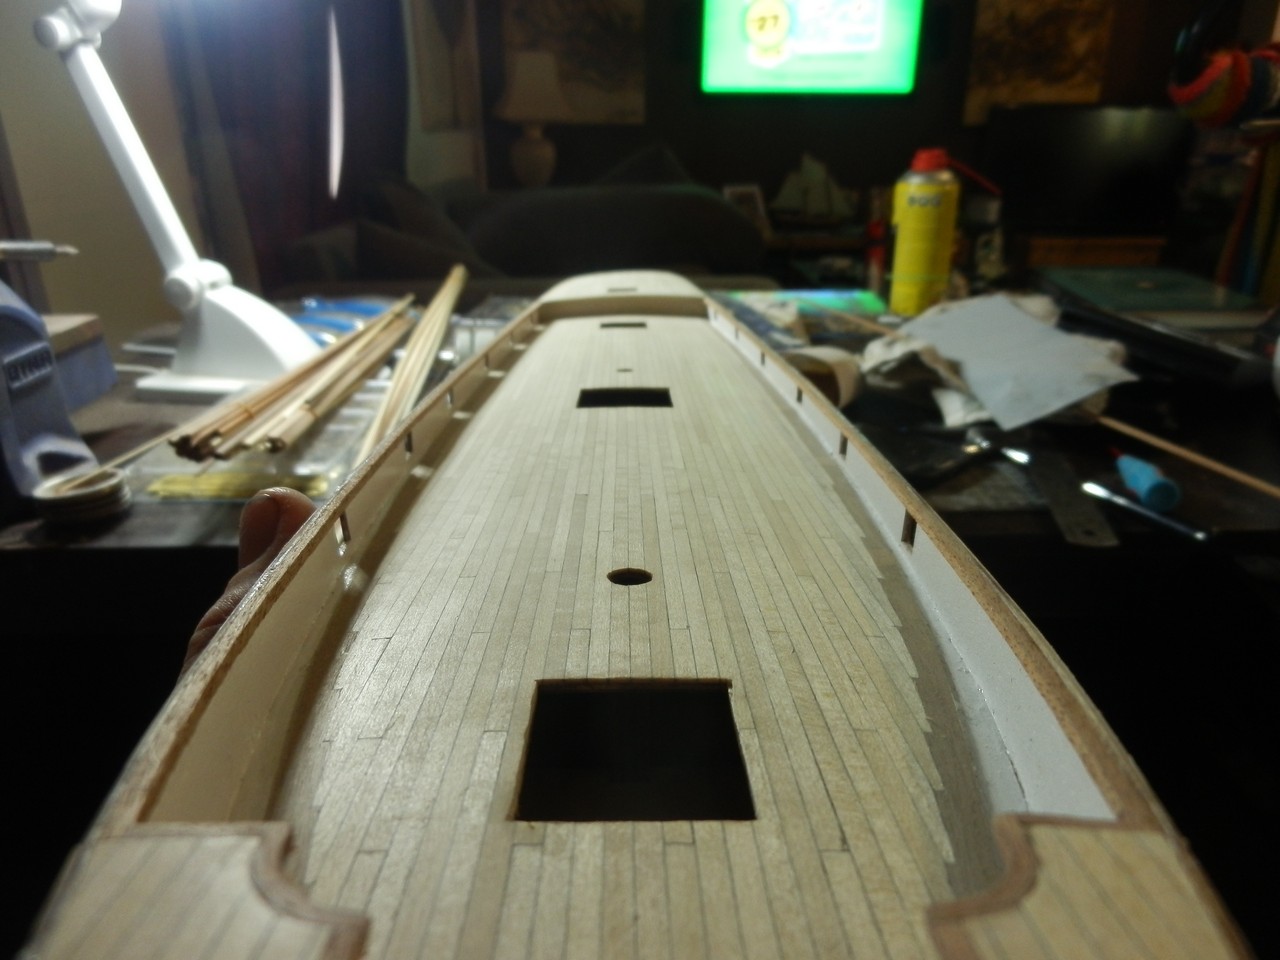
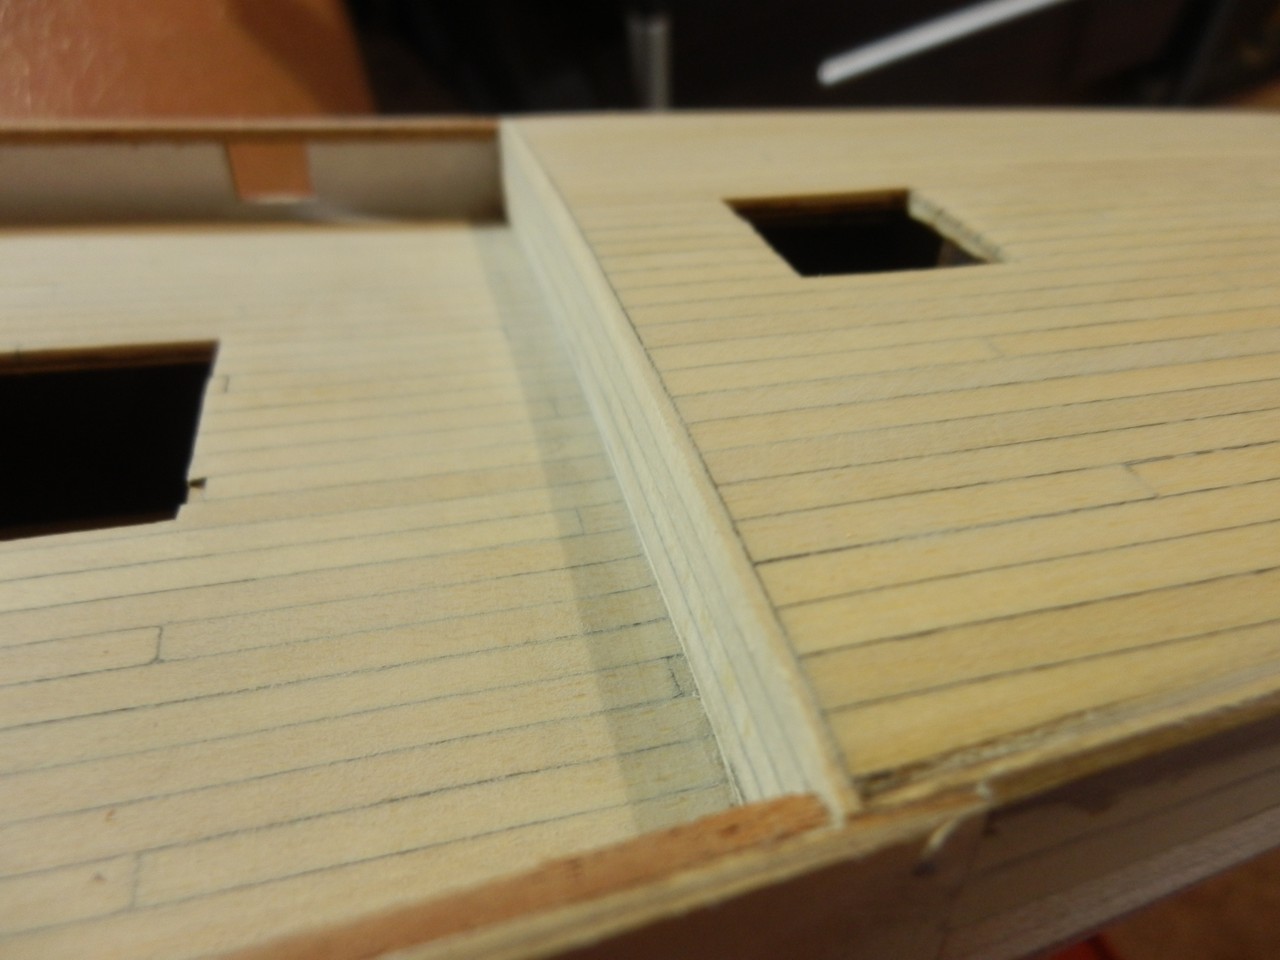
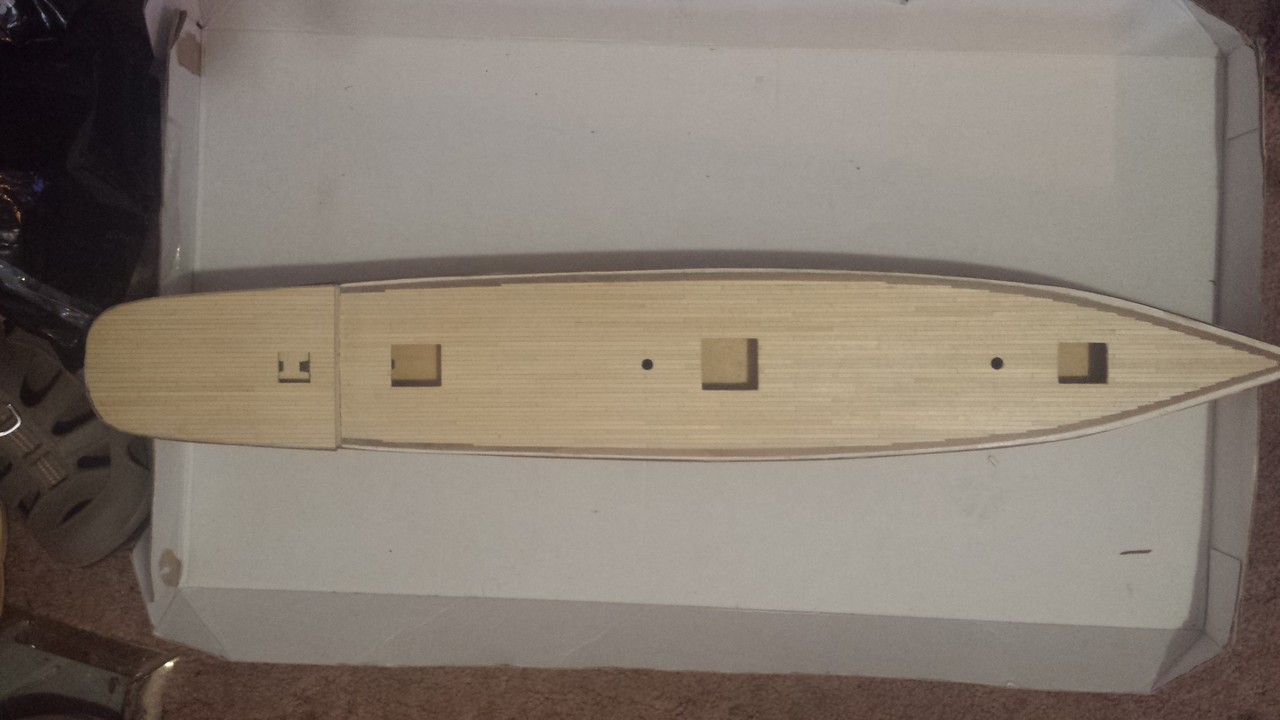
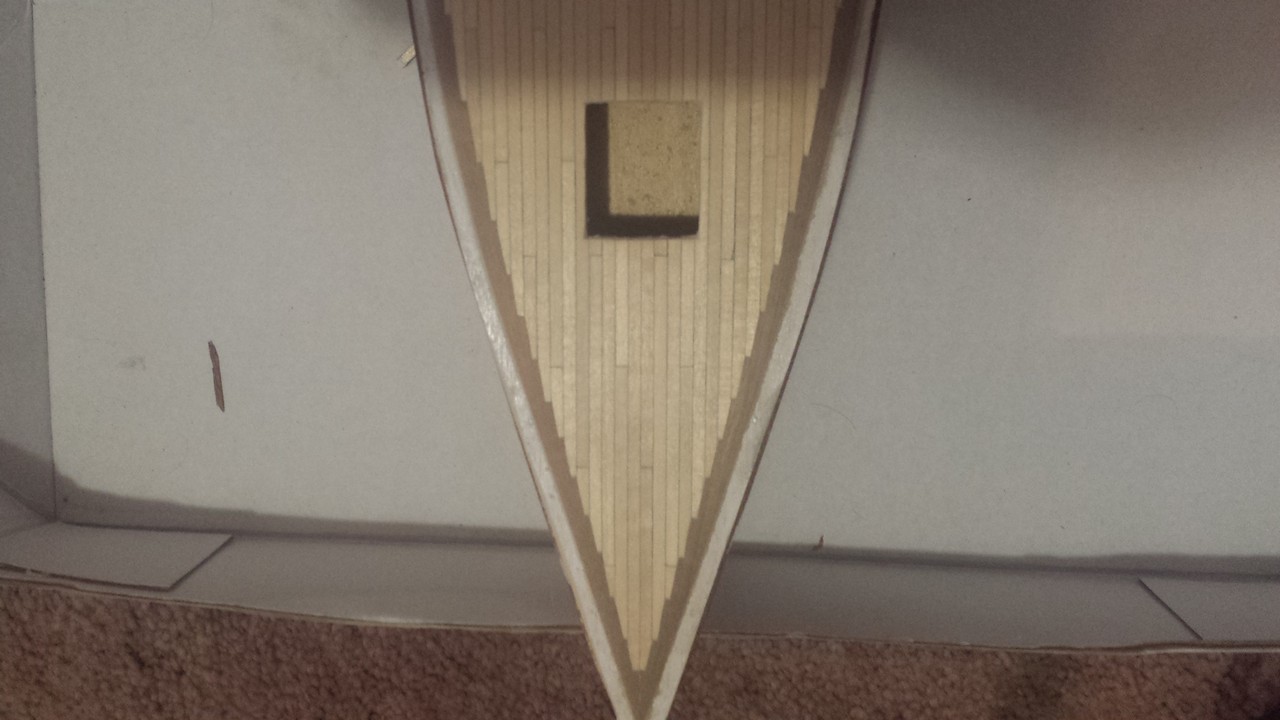
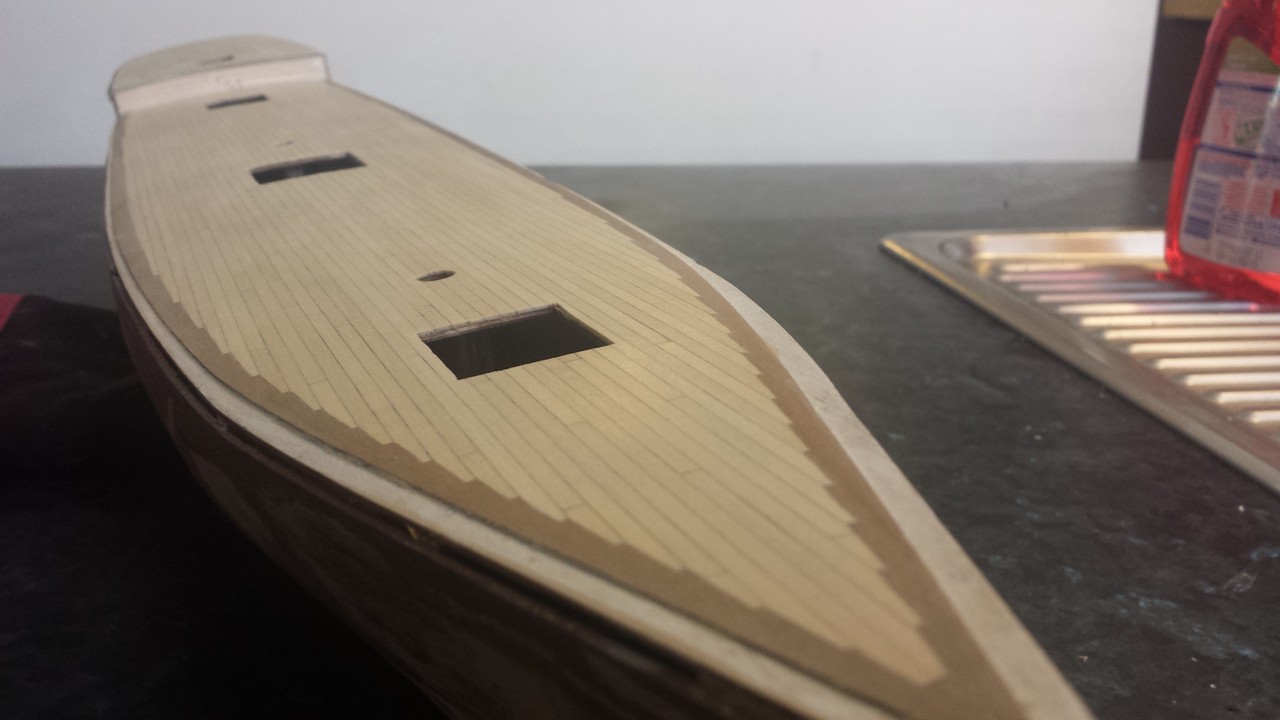
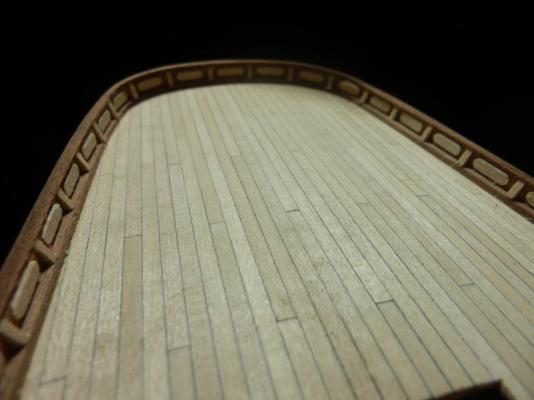
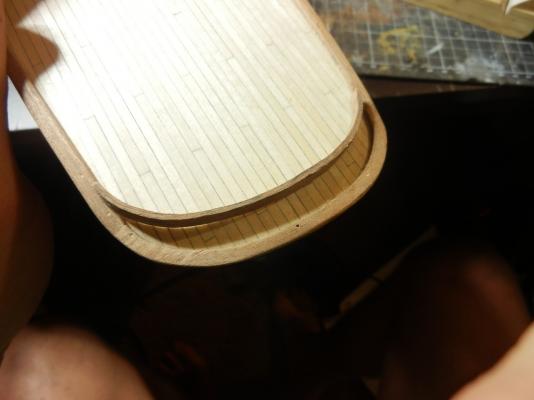
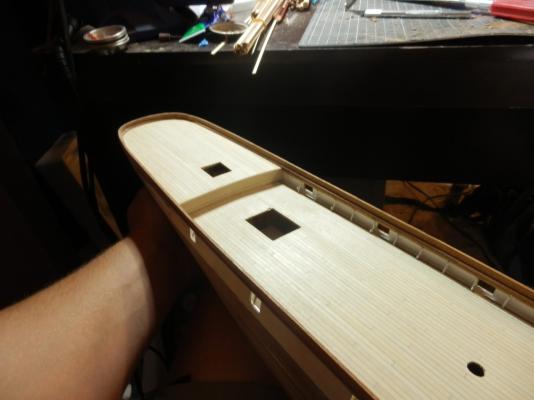
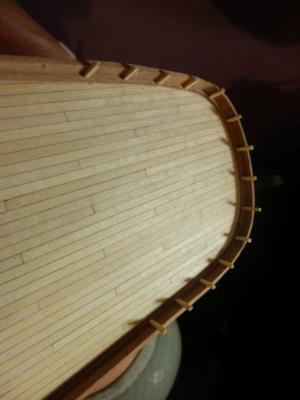
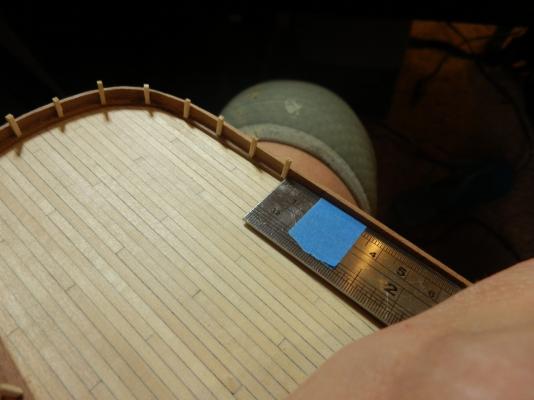
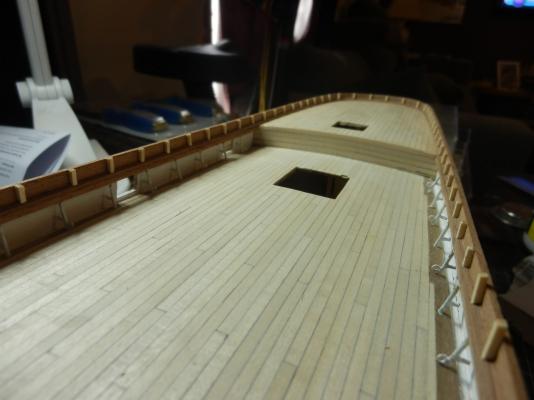
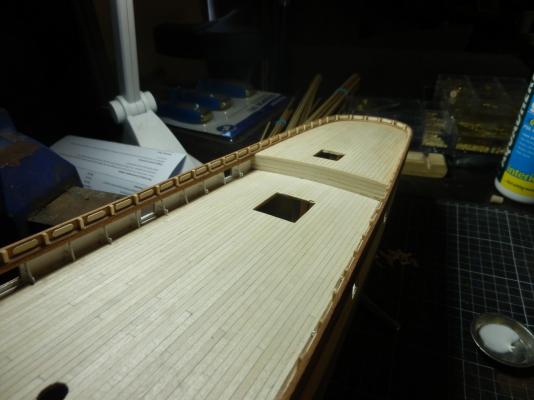
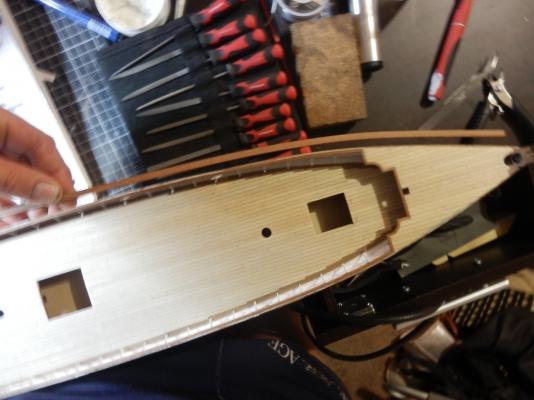
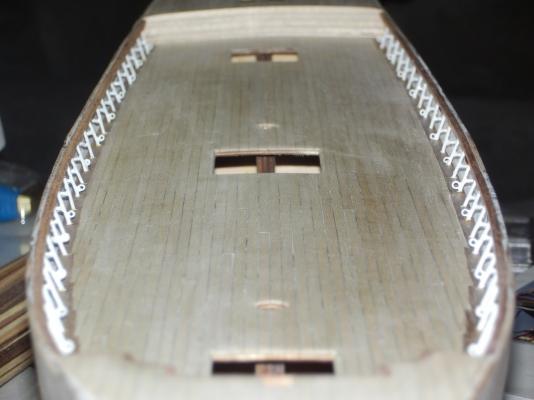
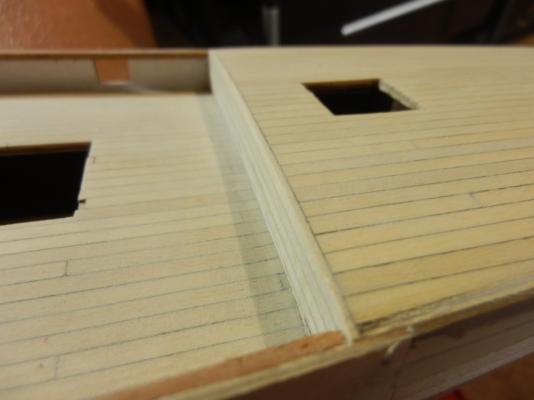
bit of a lapse in my posts due to a big week at work but finally got the deck down! this was my first attempt at "jogging" the timber also the 52413 spacing. the final product turned out pretty good, the jogging was fun fitting it in place, but some of my spacing did get a bit wayward :S not too noticeable seeing its only really on two lines and will mostly be hidden with the wardroom. Also a question about peoples preferences on deck sealing, swaying towards just a satin coat as is but i have heard wax could also be the way to go, opinions?

- 121 replies
-
- 6
-
-
- cutty sark
- artesania latina
- (and 1 more)