Dfell
-
Posts
251 -
Joined
-
Last visited
1 Follower

Recent Profile Visitors
4,377 profile views


-
 Tim Green reacted to a post in a topic:
Saucy Jack by Dfell - FINISHED - Vanguard Models - 1:64
Tim Green reacted to a post in a topic:
Saucy Jack by Dfell - FINISHED - Vanguard Models - 1:64
-
Dfell reacted to a post in a topic:
Ranger 1864 by palmerit - FINISHED - Vanguard Models - 1:64 - Barking Fish Carrier
-
 Dfell reacted to a post in a topic:
Ranger by Dfell - FINISHED - Vanguard Models - 1:64 - A Barking Fish Carrier
Dfell reacted to a post in a topic:
Ranger by Dfell - FINISHED - Vanguard Models - 1:64 - A Barking Fish Carrier
-
AJohnson reacted to a post in a topic:
Ranger by Dfell - FINISHED - Vanguard Models - 1:64 - A Barking Fish Carrier
-
AJohnson reacted to a post in a topic:
Ranger by Dfell - FINISHED - Vanguard Models - 1:64 - A Barking Fish Carrier
-
AJohnson reacted to a post in a topic:
Ranger by Dfell - FINISHED - Vanguard Models - 1:64 - A Barking Fish Carrier
-
AJohnson reacted to a post in a topic:
Ranger by Dfell - FINISHED - Vanguard Models - 1:64 - A Barking Fish Carrier
-
AJohnson reacted to a post in a topic:
Ranger by Dfell - FINISHED - Vanguard Models - 1:64 - A Barking Fish Carrier
-
AJohnson reacted to a post in a topic:
Ranger by Dfell - FINISHED - Vanguard Models - 1:64 - A Barking Fish Carrier
-
AJohnson reacted to a post in a topic:
Ranger by Dfell - FINISHED - Vanguard Models - 1:64 - A Barking Fish Carrier
-
AJohnson reacted to a post in a topic:
Ranger by Dfell - FINISHED - Vanguard Models - 1:64 - A Barking Fish Carrier
-
AJohnson reacted to a post in a topic:
Ranger by Dfell - FINISHED - Vanguard Models - 1:64 - A Barking Fish Carrier
-
Dfell reacted to a post in a topic:
Ranger by Dfell - FINISHED - Vanguard Models - 1:64 - A Barking Fish Carrier
-
Dfell reacted to a post in a topic:
Ranger by Dfell - FINISHED - Vanguard Models - 1:64 - A Barking Fish Carrier
-
Dfell reacted to a post in a topic:
Ranger by Dfell - FINISHED - Vanguard Models - 1:64 - A Barking Fish Carrier
-
Dfell reacted to a post in a topic:
Ranger by Dfell - FINISHED - Vanguard Models - 1:64 - A Barking Fish Carrier
-
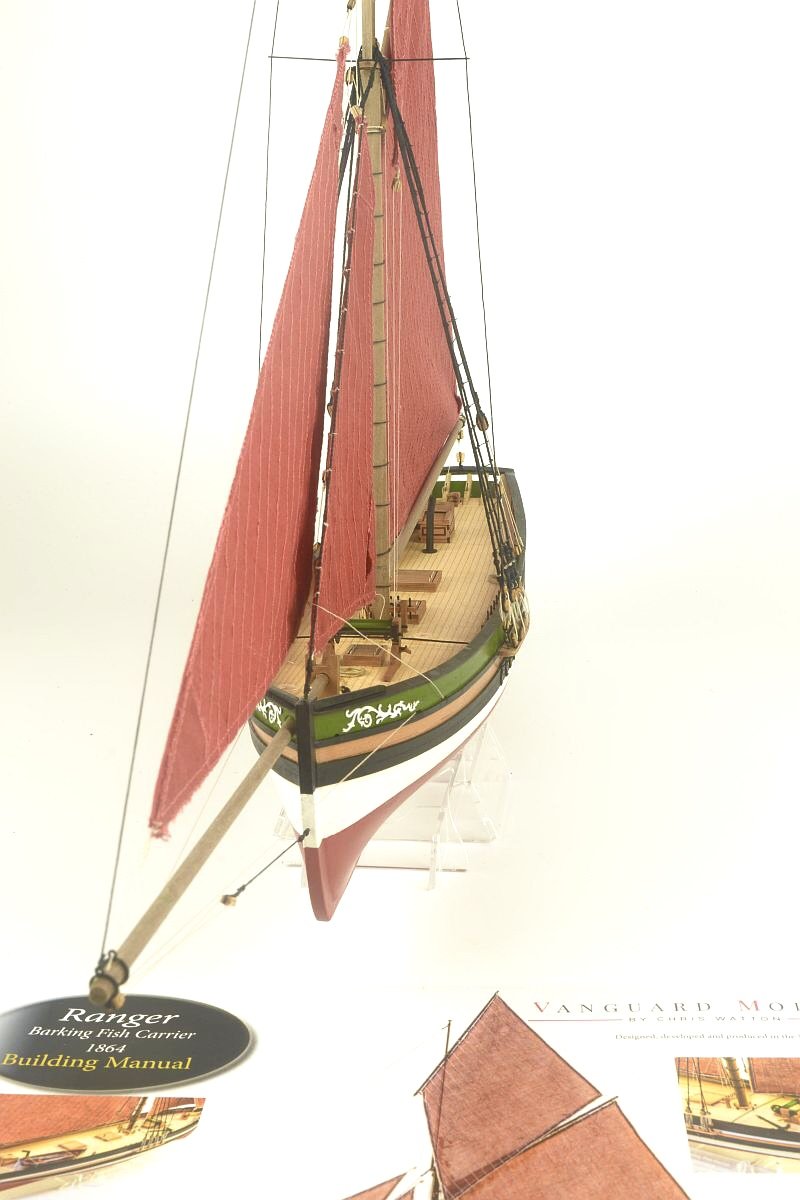
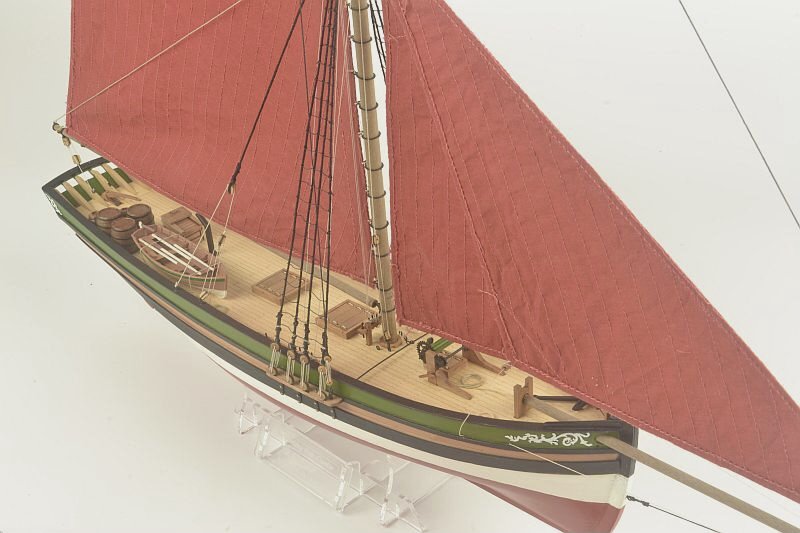
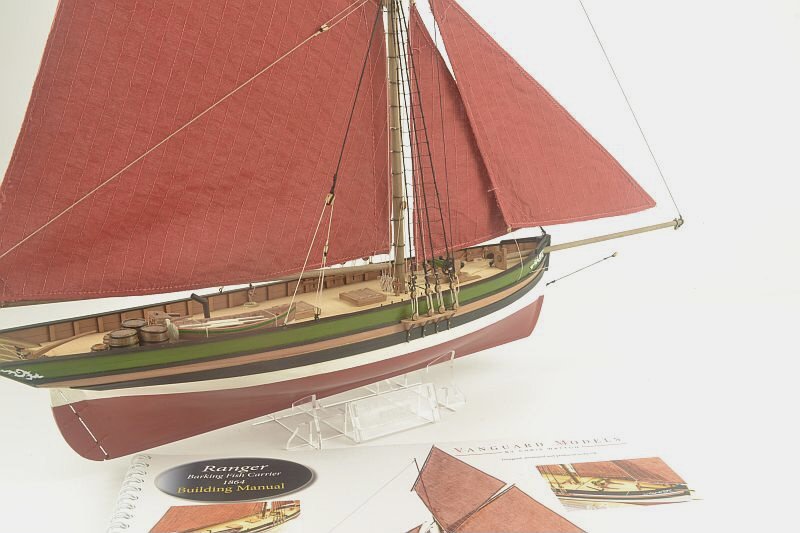
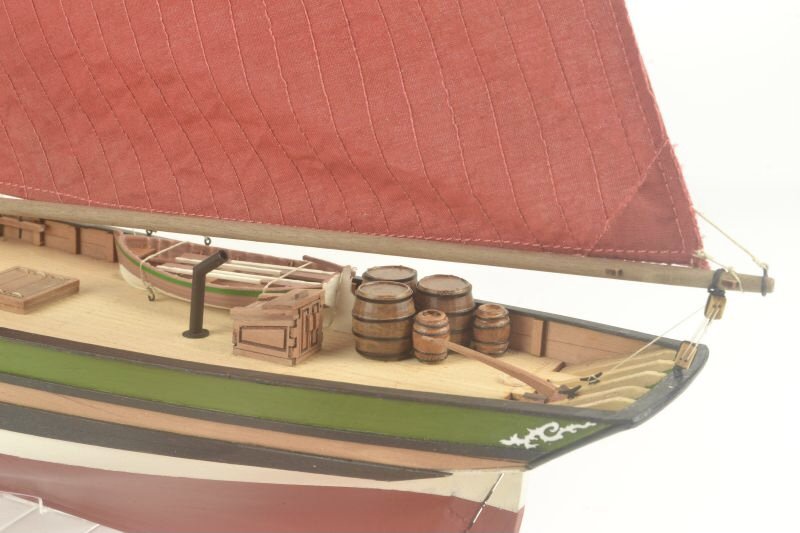
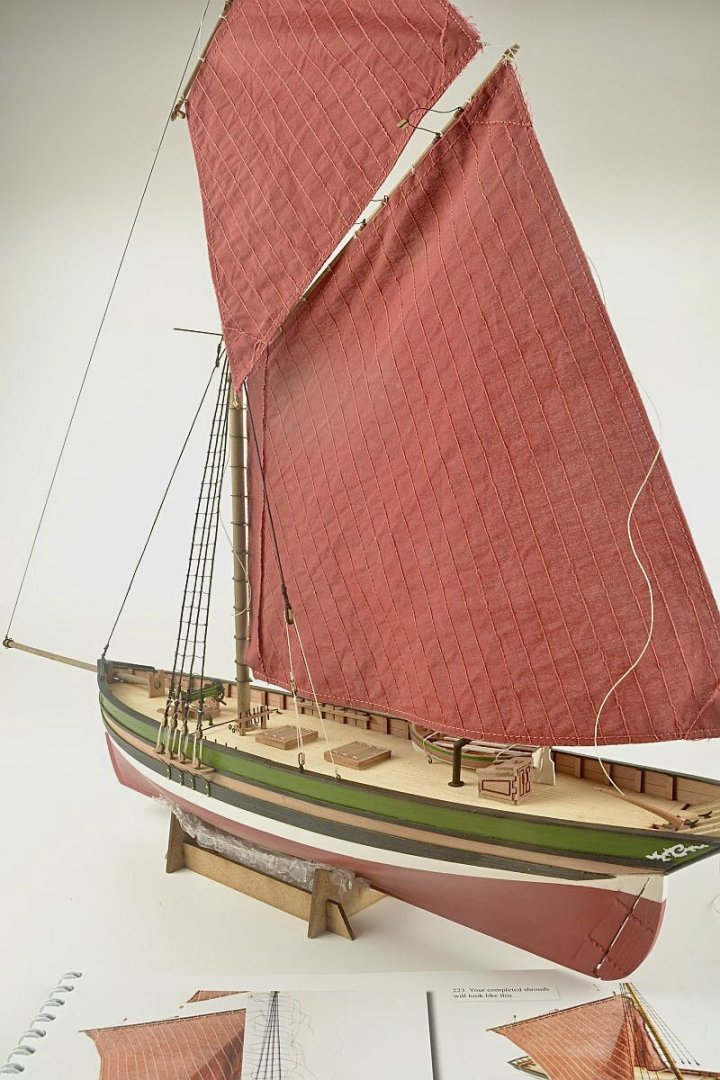
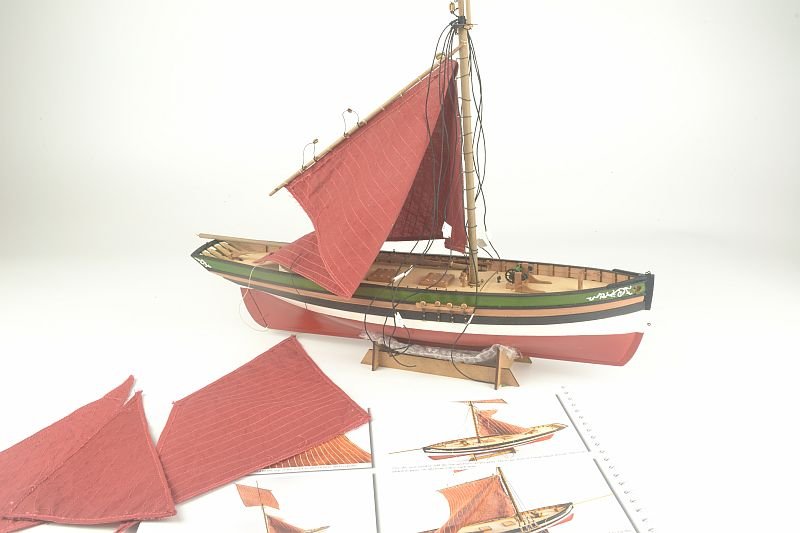
Hello - Ranger now completed. Sails all rigged, rope coils etc, barrels and now sitting on the Perspex stand. The name plates on the stand were difficult to fix on - very tight. One plate slightly split - not very noticeable fortunately. Thank you all for looking and the ‘Likes’ Regards Doug


- 18 replies
-
- 8
-
-
- Ranger
- Vanguard Models
- (and 1 more)
-
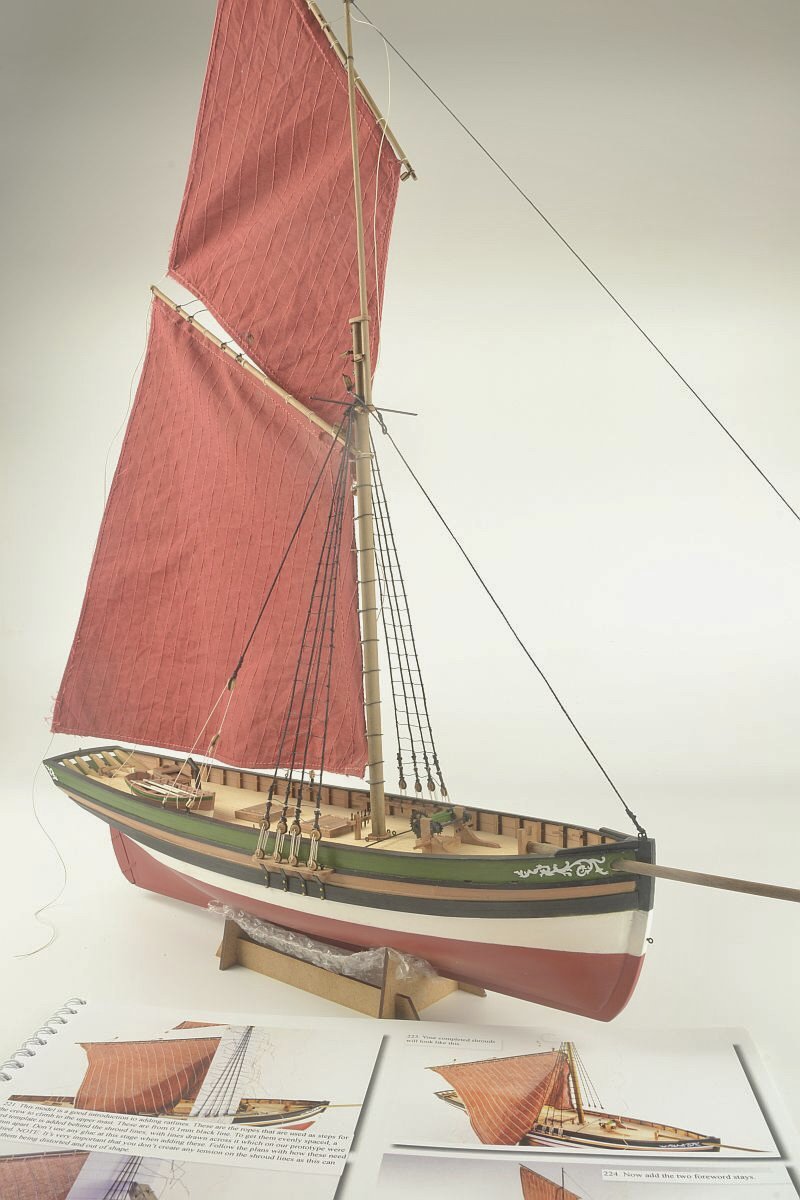
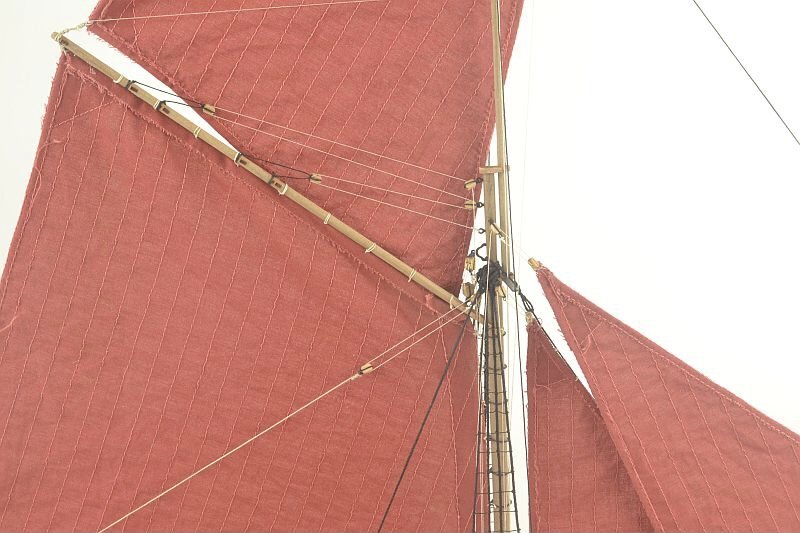
Hello - getting there. Shrouds / Ratlines / Stays etc done. The Yard / Gaff / Boom have been shorten a tiny bit due to sails shrinking from the dyeing process. Thank you for looking and the ‘Likes’ Regards Doug

- 18 replies
-
- 8
-
-
- Ranger
- Vanguard Models
- (and 1 more)
-
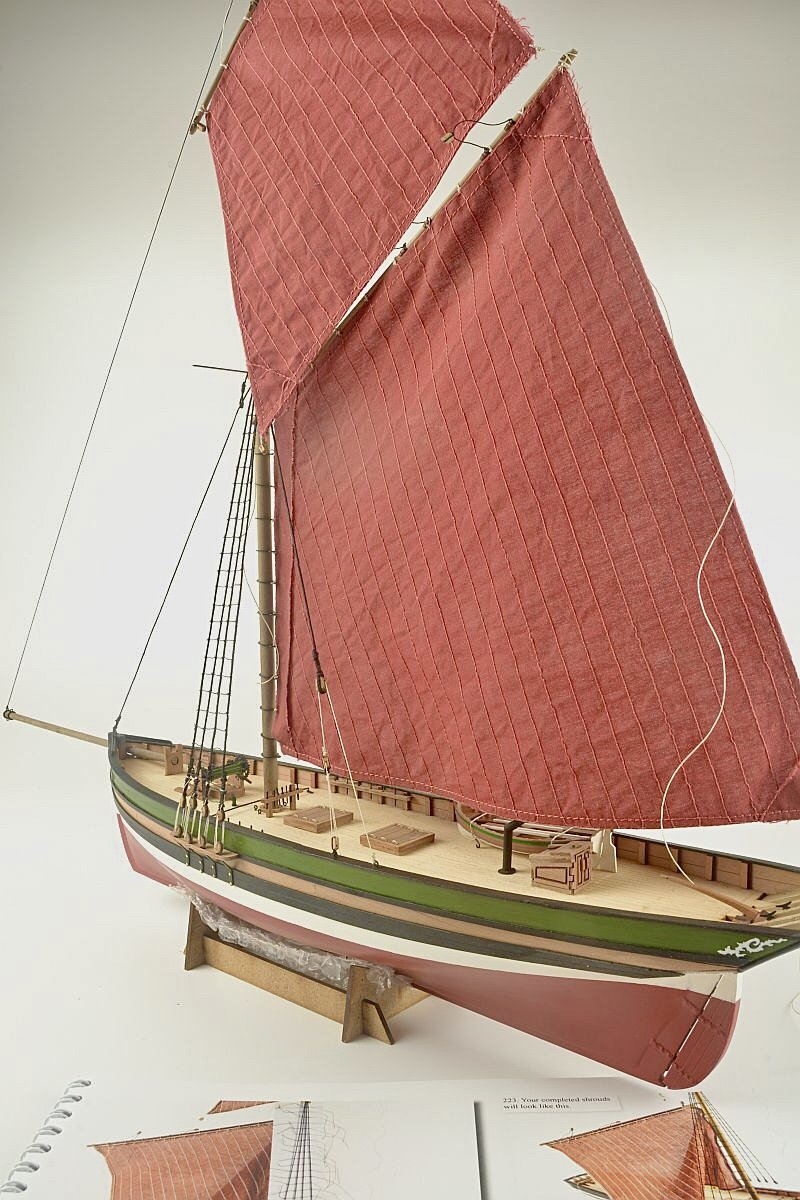
Hello - a small update. Sails all dyed using Rit cocoa brown and scarlet (equal mix of each). Wanted a deep red to match the bottom of boat. The Main Sail secured to Yard, rings added and fitted to Mast. Doing the Shrouds before fitting the Top Sail unlike the instructions. Thank you Doug
- 18 replies
-
- 9
-
-
- Ranger
- Vanguard Models
- (and 1 more)
-
Dfell reacted to a post in a topic:
Ranger 1864 by palmerit - FINISHED - Vanguard Models - 1:64 - Barking Fish Carrier
-
Hello palmerit - all looking quite colourful. Think you may have the rack behind the mast the wrong way round and this may be a problem at a later stage. Regards Doug
- 133 replies
-
- 3
-
-
- Ranger
- vanguard models
- (and 1 more)
-
Dfell reacted to a post in a topic:
Ranger 1864 by palmerit - FINISHED - Vanguard Models - 1:64 - Barking Fish Carrier
-
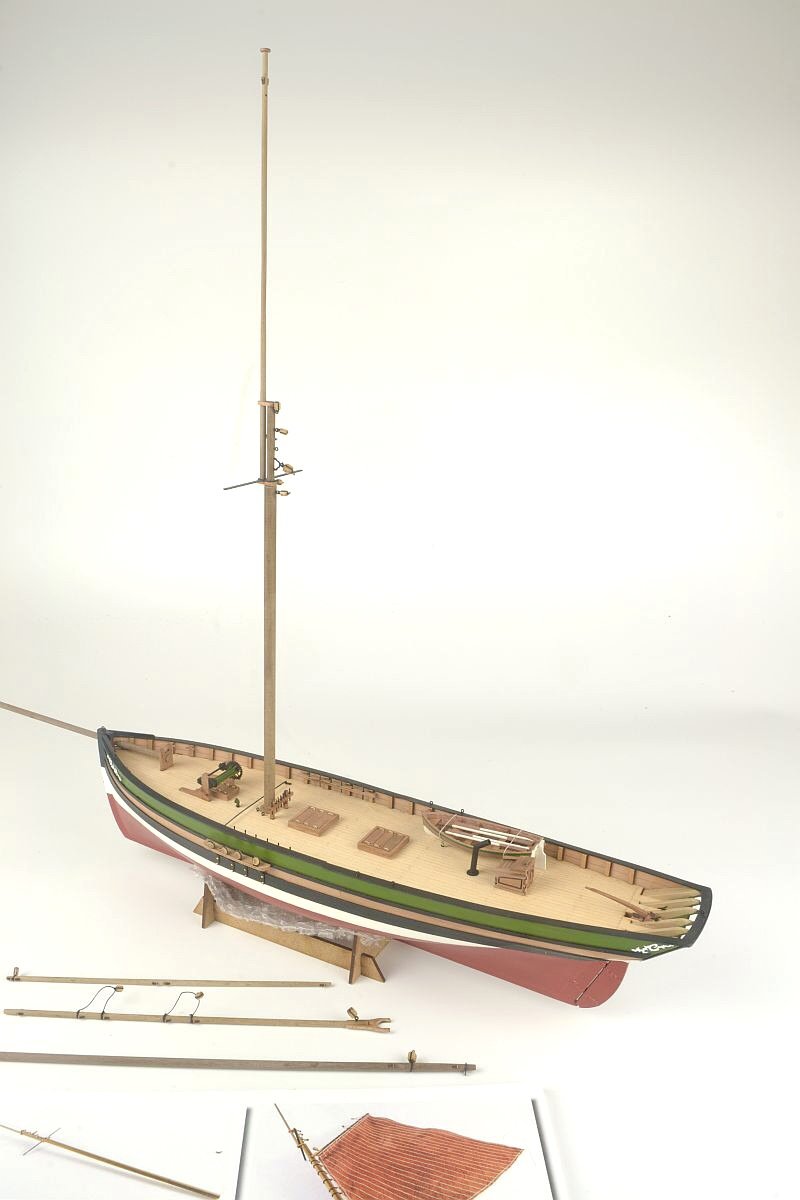
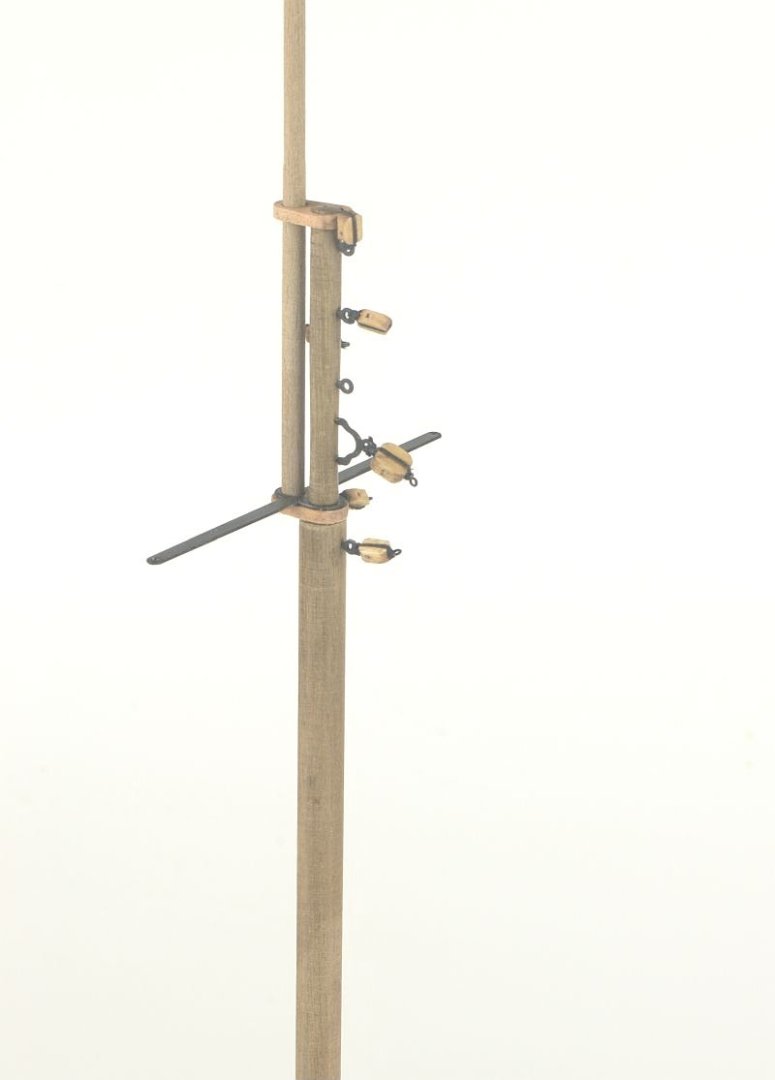
Hello - small update. Main mast shaped / assembled with various eyebolts / blocks Must refer to plans for what blocks and where as the illustrated instructions book has blocks on all eyebolts which does get corrected later on in the book. Main Gaff and Boom plus Yard all shaped and ready with blocks attached etc. Sails next I guess. Again thank you for looking. Doug


- 18 replies
-
- 8
-
-
- Ranger
- Vanguard Models
- (and 1 more)
-
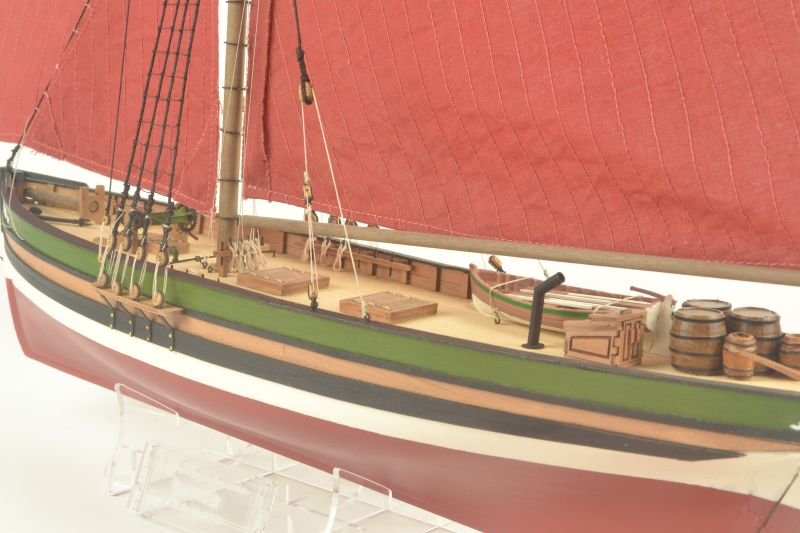
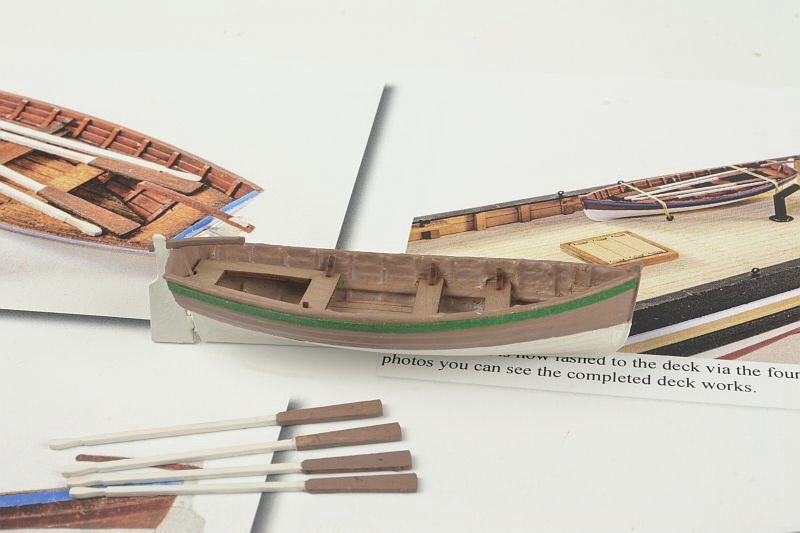
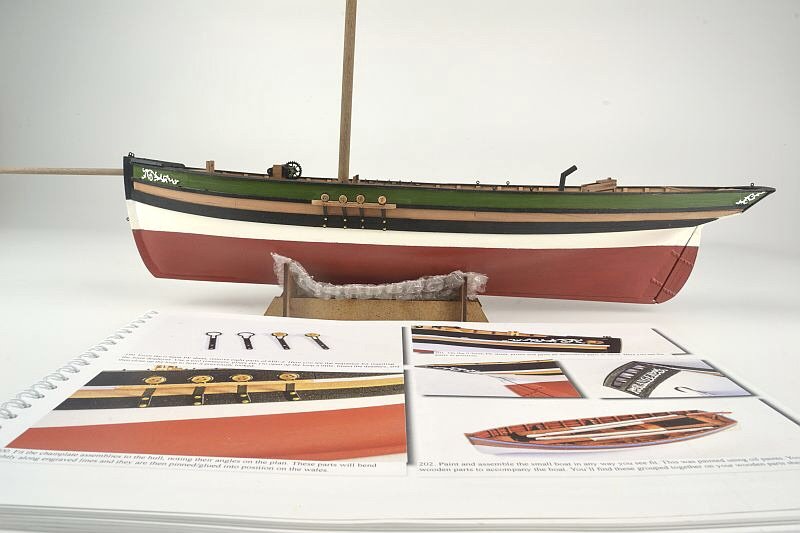
Hello - Channels / Blocks / Chain plates all fitted in place plus decorations. Small boat assembled and painted. The green stripe is tape. The small boat roped down as instructions. Thank you for looking and again the ‘Likes’ Regards Doug
- 18 replies
-
- 11
-
-
- Ranger
- Vanguard Models
- (and 1 more)
-
Dfell reacted to a post in a topic:
Saucy Jack by Dfell - FINISHED - Vanguard Models - 1:64
-
Dfell reacted to a post in a topic:
Saucy Jack by Dfell - FINISHED - Vanguard Models - 1:64
-
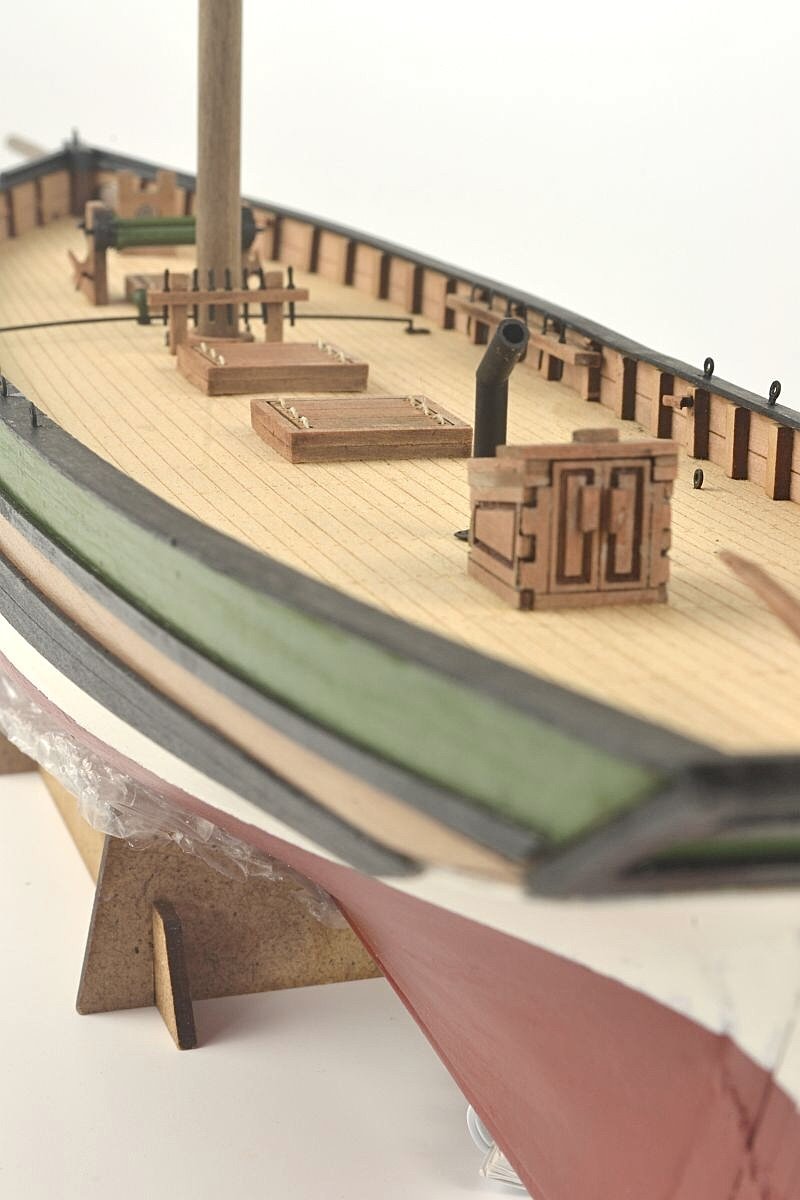
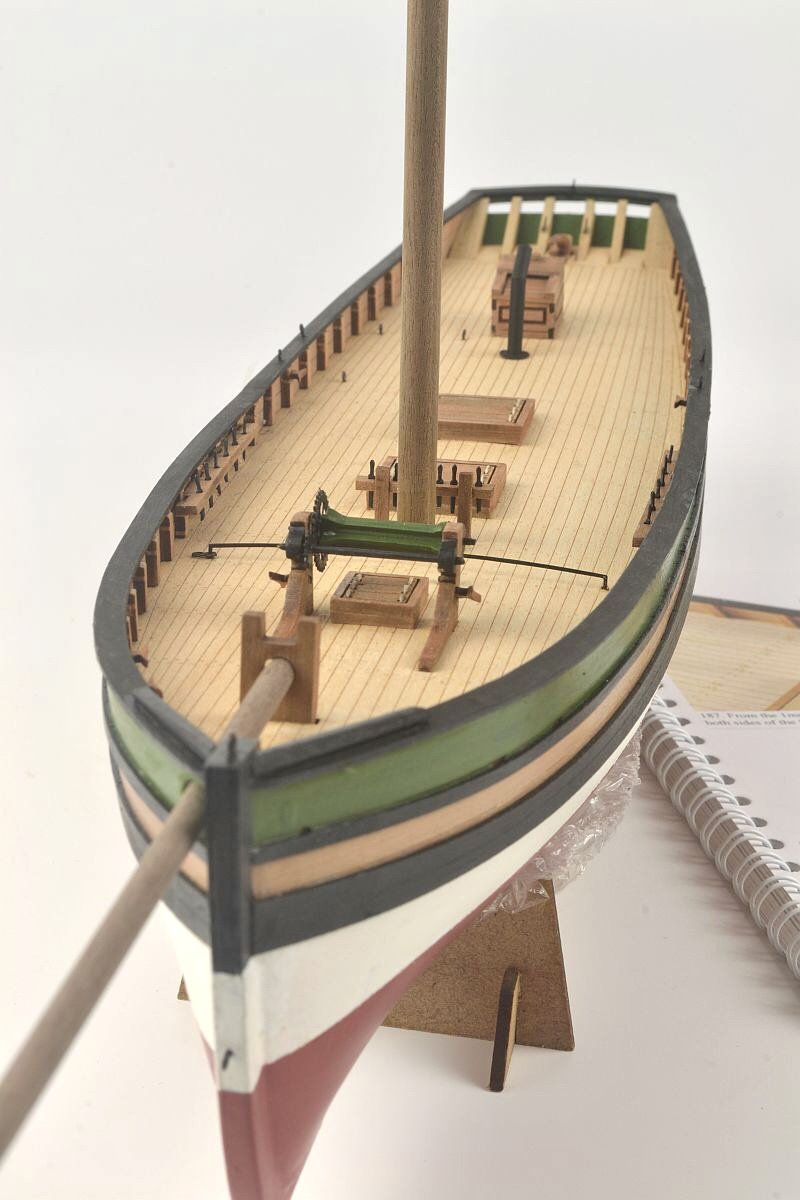
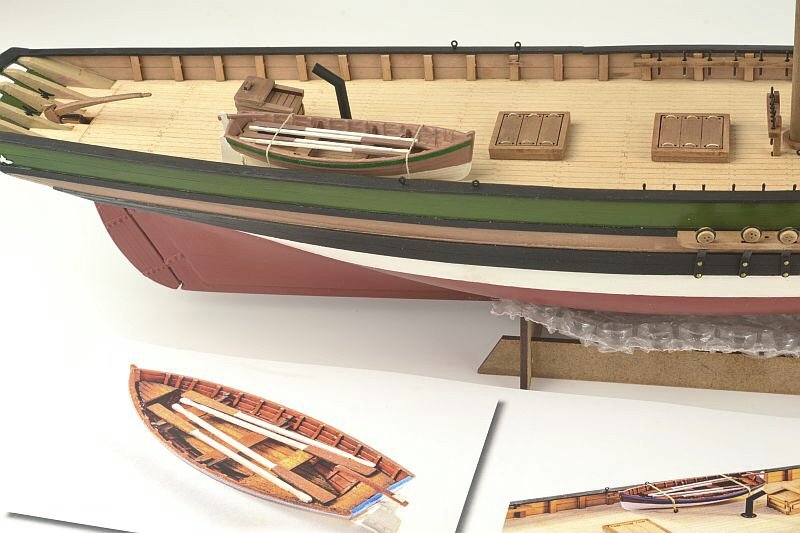
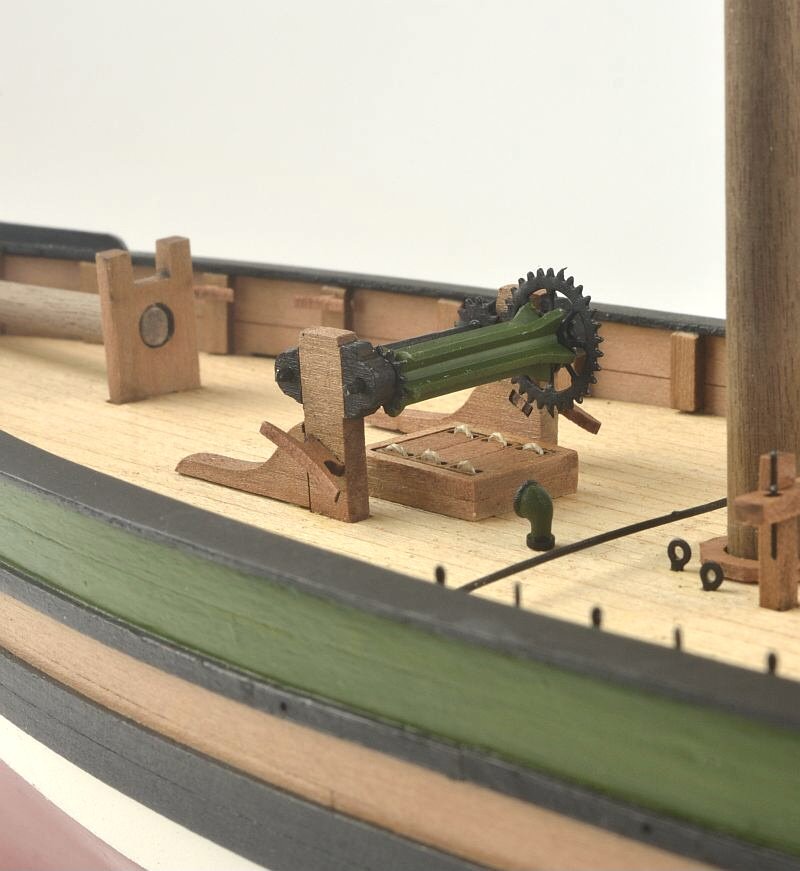
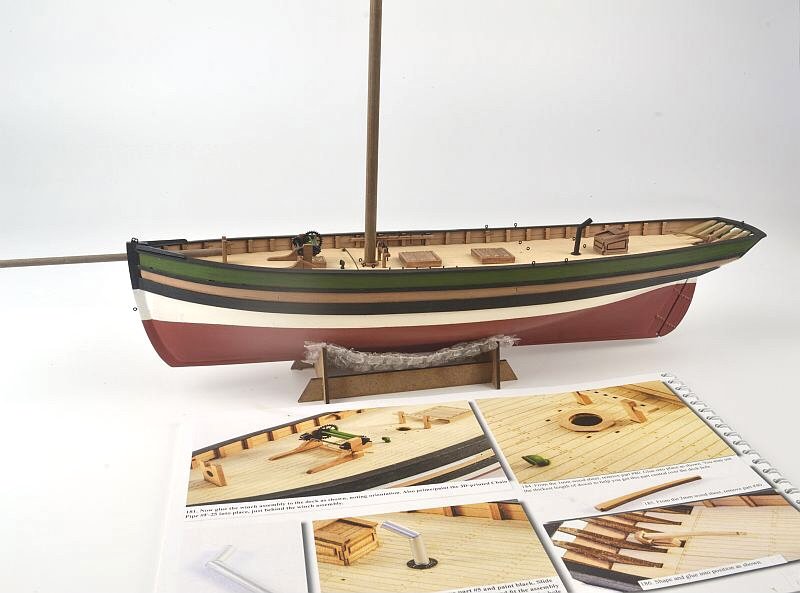
Hello - further progress. All bits and pieces that are for the deck installed along with the Bulwark Capping Rails. The winch / cleats / hatches / tiller / stove pipe etc A close up of the Winch Overall view Thank you for looking Regards Doug


- 18 replies
-
- 11
-
-
- Ranger
- Vanguard Models
- (and 1 more)
-
Hello palmerit - not sure if this would help I did mine in either 2 or 3 pieces and not one long length. This helped me to get either end good. Also sanded the top edge at an angle so it fitted neater / tighter to the one you’re butting up to. Guess you won’t know how good / bad things are until you give it a sand. All the best Doug
- 133 replies
-
- 4
-
-
- Ranger
- vanguard models
- (and 1 more)
-
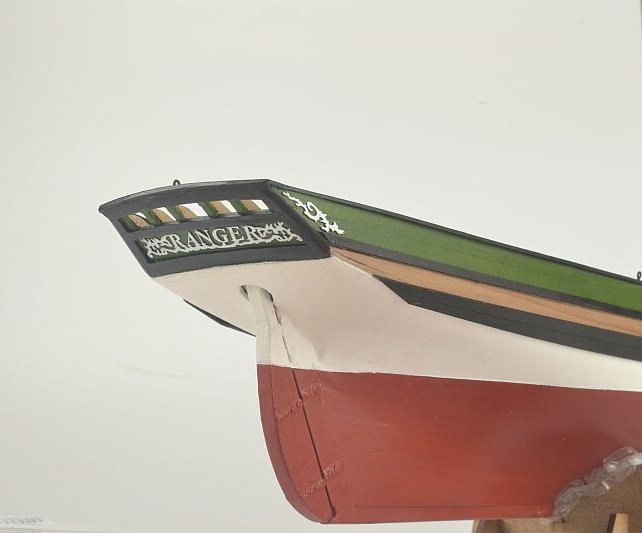
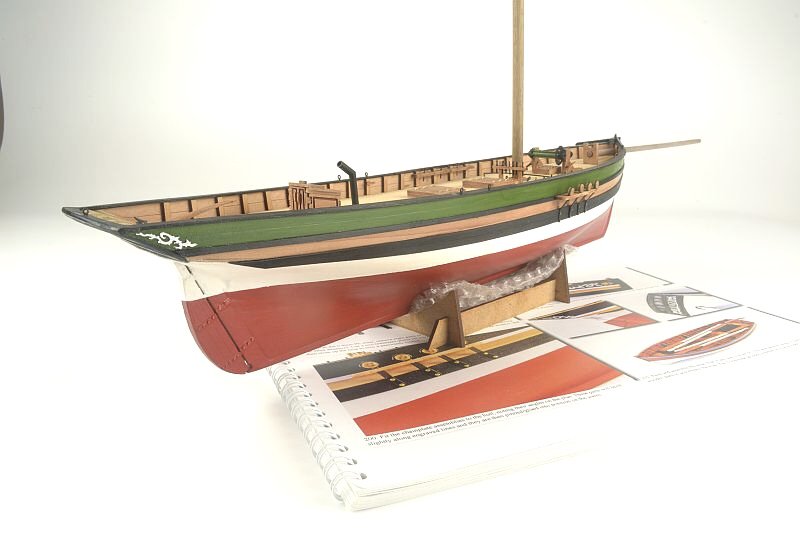
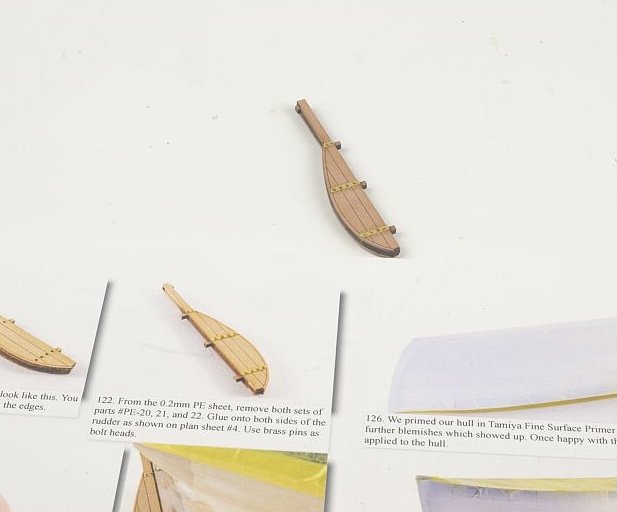
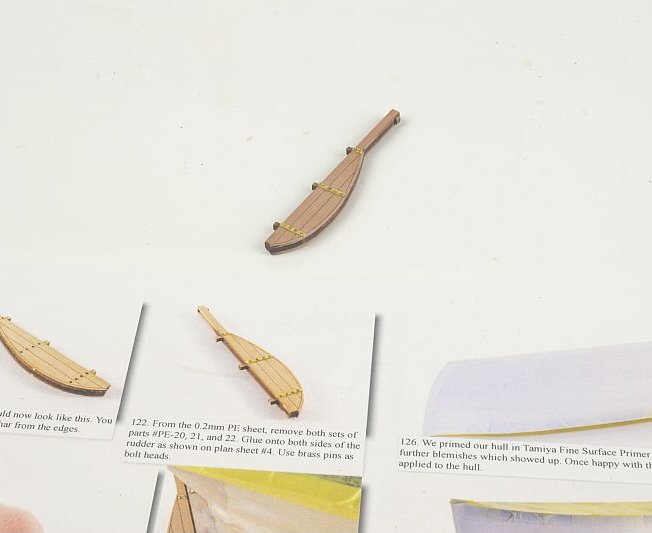
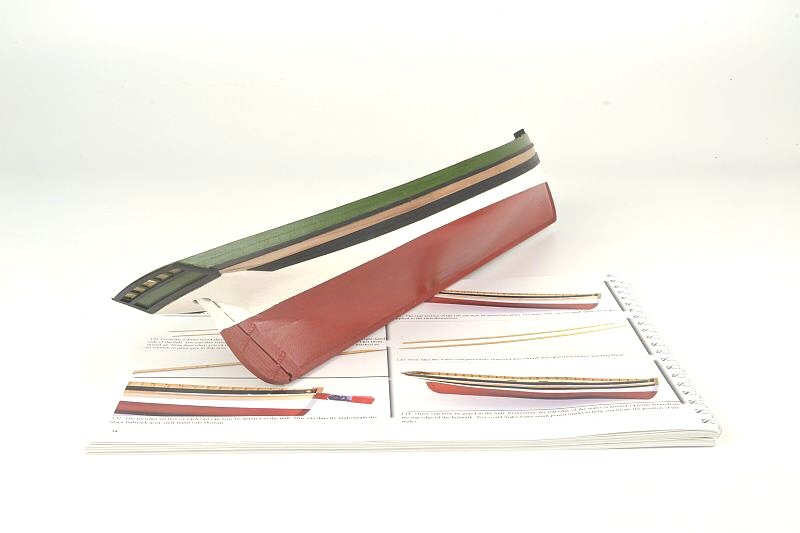
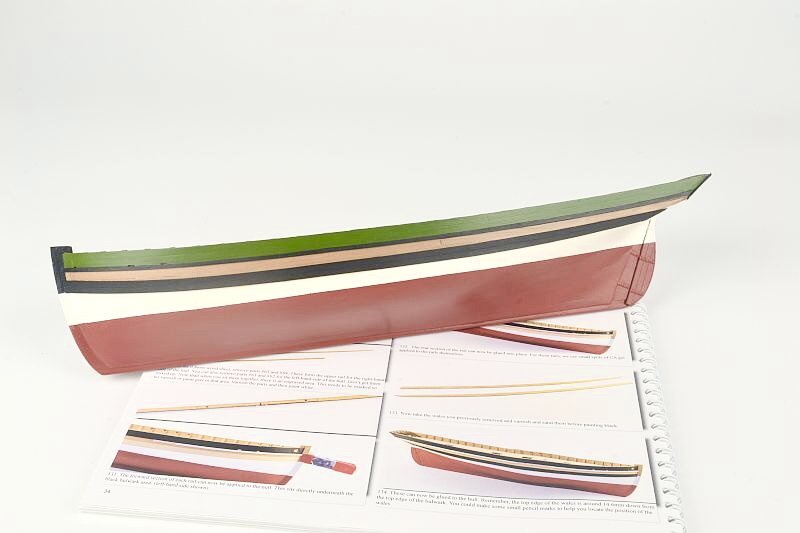
Hello - a lot further on, various stages completed. The rudder with its 3 layers laminated and the brass hinges with brass pin heads for bolts added. The hull was sprayed with an undercoat with a filler and then Matt white. The red oxide sprayed on the lower half. Sorry missed taking a photograph of this stage. Next stage was adding the Wales having painted them black before gluing them on at the height as instructions. Same with the rails - have gone with a different colour scheme. Thank you looking and the ‘Likes’ Doug
- 18 replies
-
- 9
-
-
- Ranger
- Vanguard Models
- (and 1 more)
-
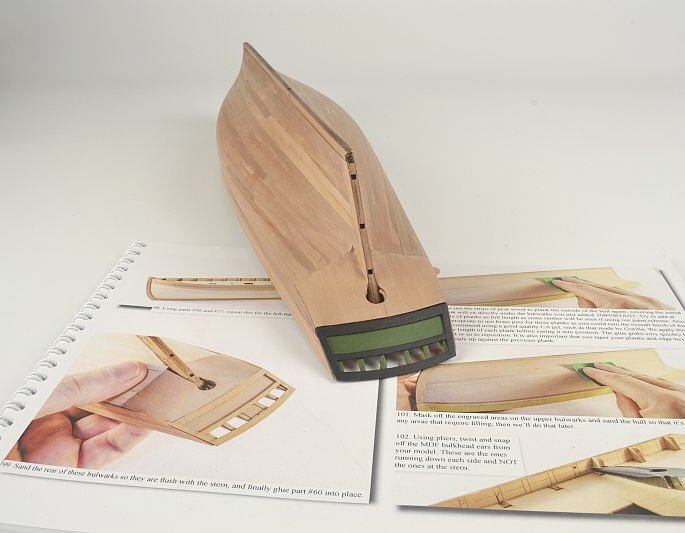
Hello palmerit - I stuck a block of thick foam to the deck so the hull could be turned over while working on the sanding of the hull thus protecting the fragile stern section. Doug
- 133 replies
-
- 4
-
-
- Ranger
- vanguard models
- (and 1 more)
-
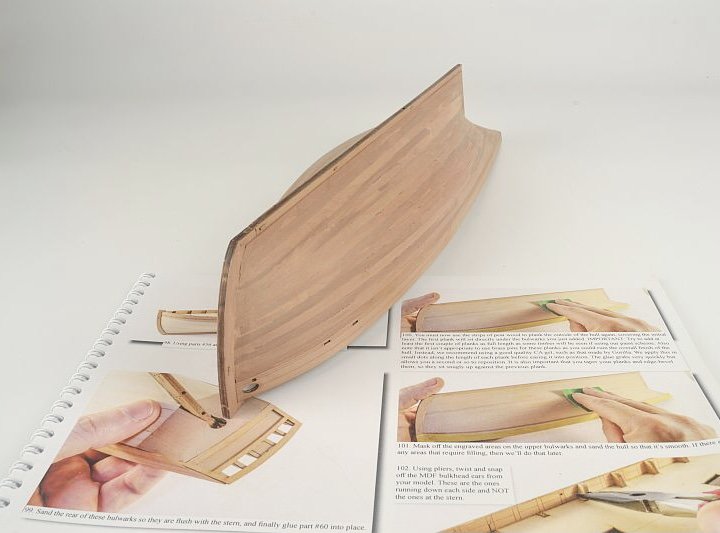
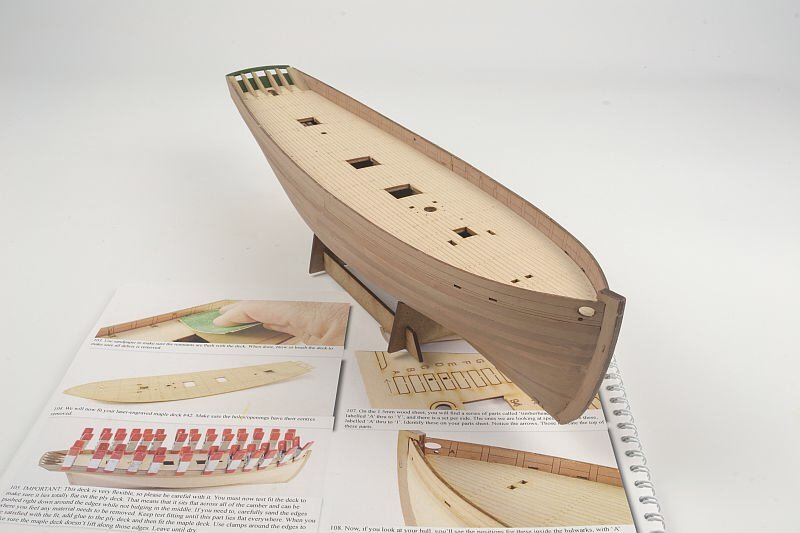
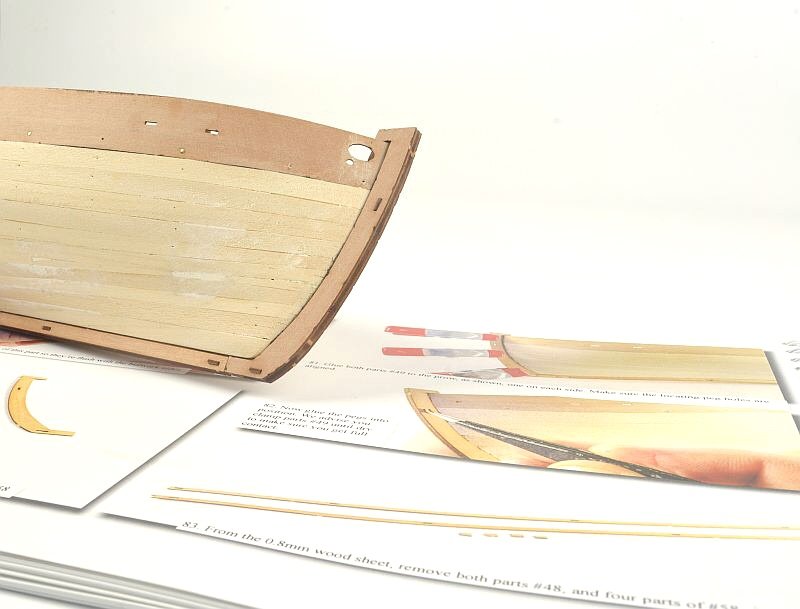
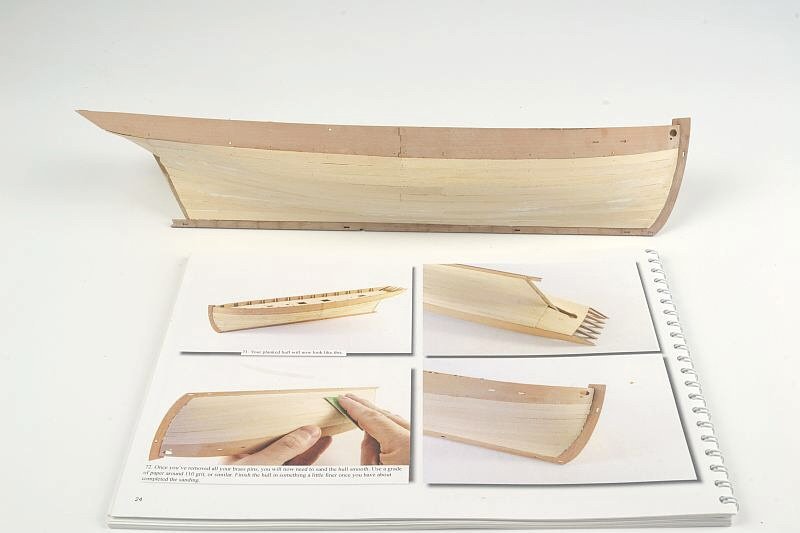
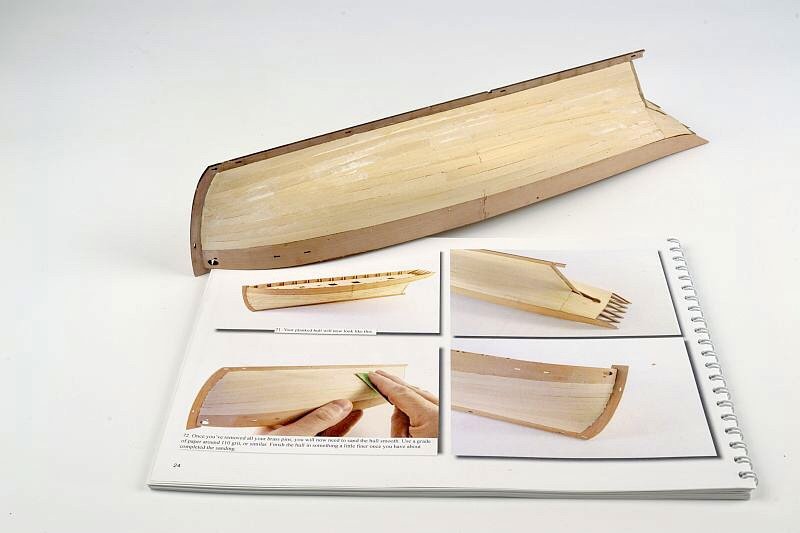
Hello - Second planking completed. Just as well most of it gets painted over. Ply deck fitted into place - no problems. The Bulkhead ears were snapped off with pliers as instructions. Thank you for looking and the ‘Likes’ Regards Doug
- 18 replies
-
- 8
-
-
- Ranger
- Vanguard Models
- (and 1 more)
-
Hello palmerit - yes it’s a little difficult right on the end. Used as you have done with strips of wood and where I can the pins at an angle. Did not use super glue. Good luck with it. Regards Doug
- 133 replies
-
- 4
-
-
- Ranger
- vanguard models
- (and 1 more)
-
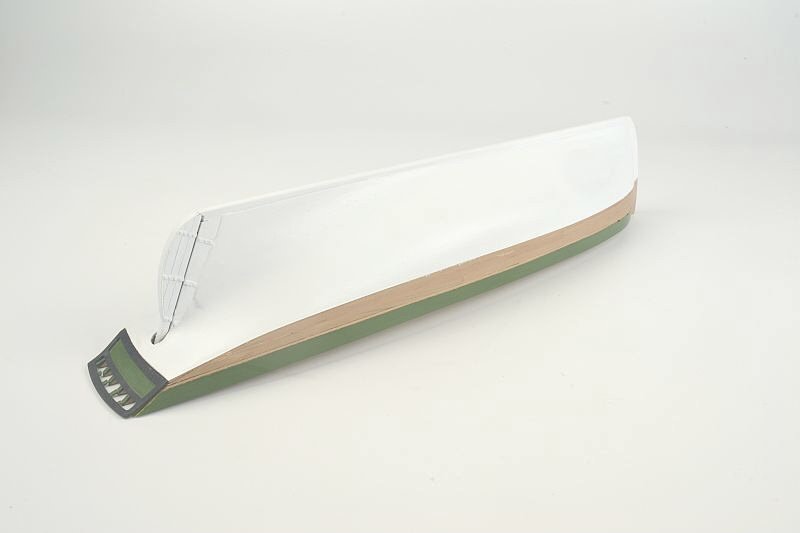
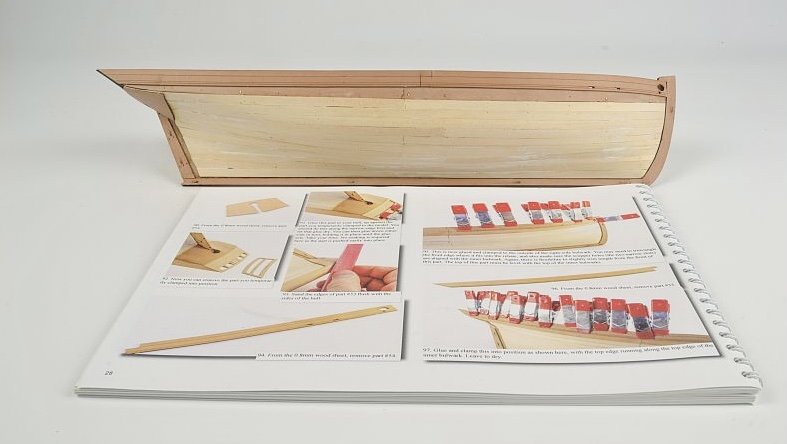
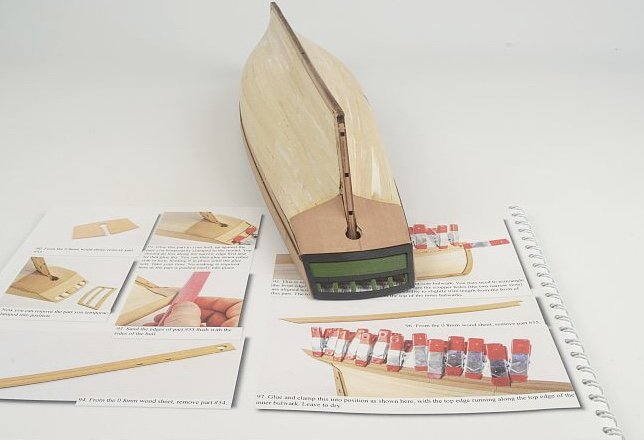
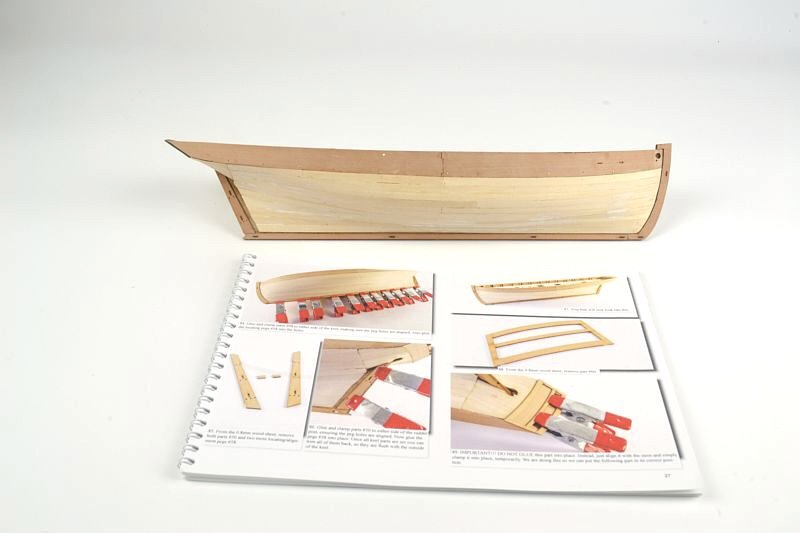
Hello - small update. The outer layers of the Bulwarks added along with pieces on the Stern. The lower piece unfortunately when picking it up snapped in two so obviously not watching what I was doing. I found glueing this down not by what the instructions said but first clamping the piece in the centre of the top edge first and then once dry clamp either side in the middle. Again once dry glue and clamp the edges. The second planking next 😕 Thank you for looking and the ‘Likes’ Regards Doug
- 18 replies
-
- 7
-
-
- Ranger
- Vanguard Models
- (and 1 more)
-
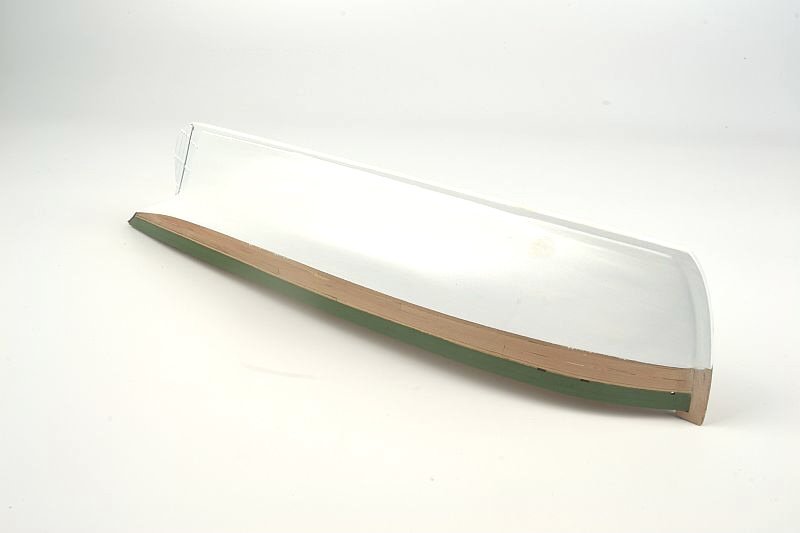
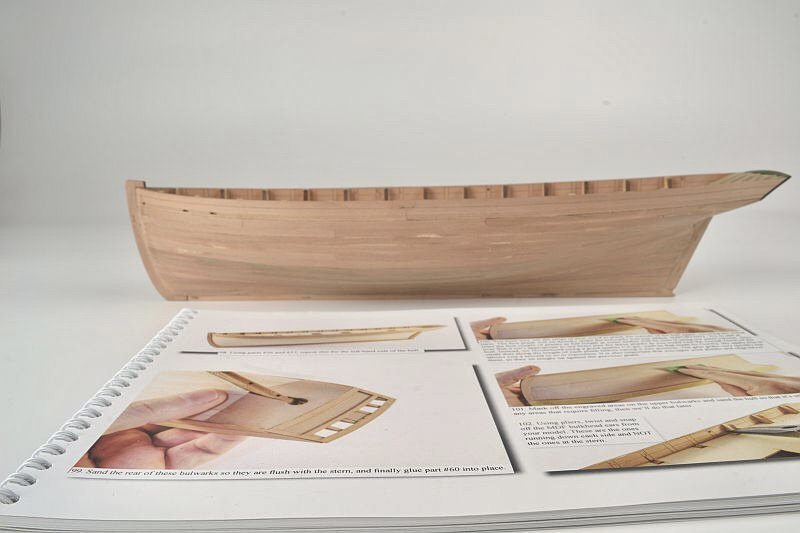
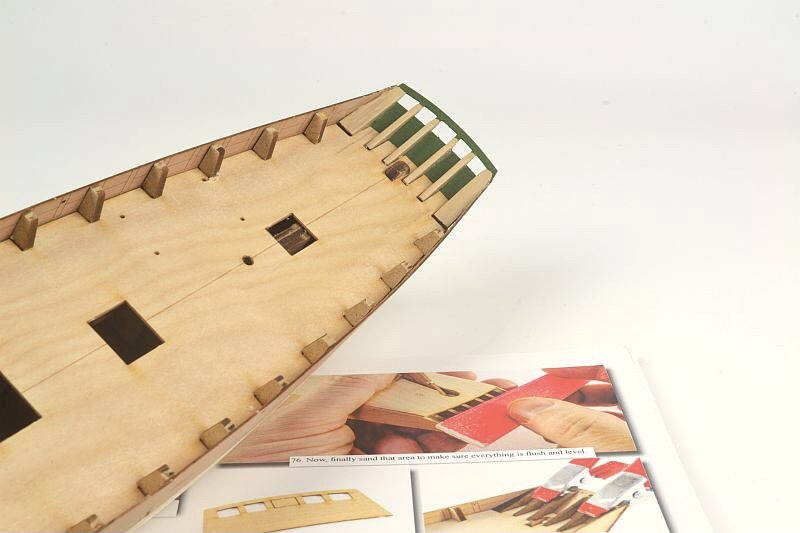
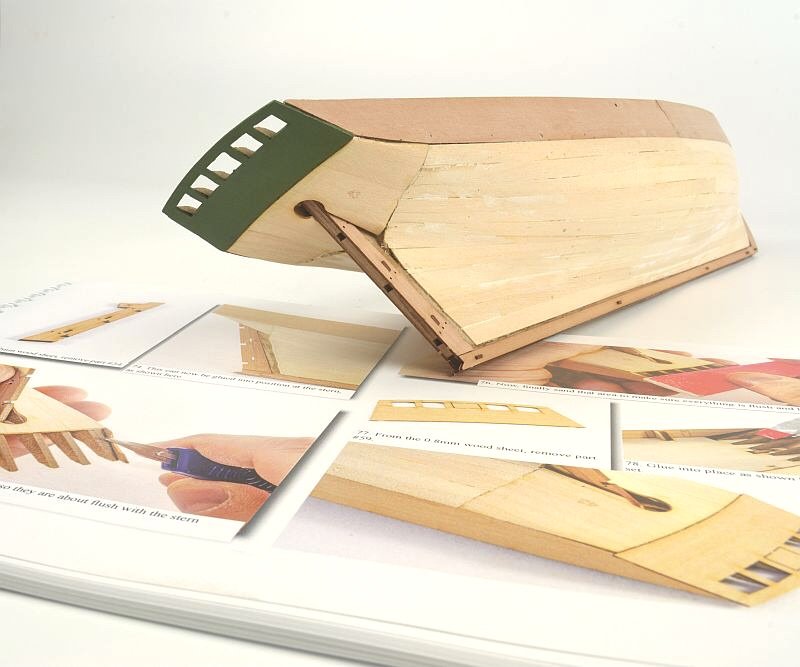
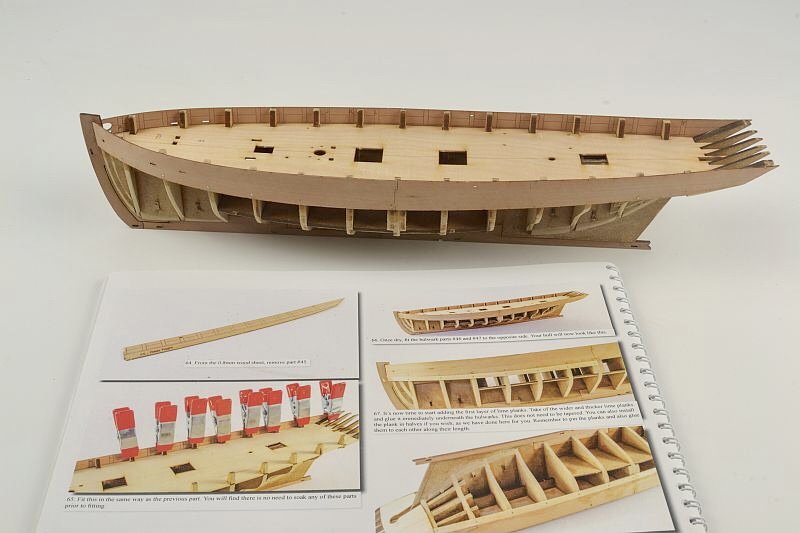
Hello - further steps forward. First planking completed. Starting to feel / look like a boat now. The next series of photographs show the Rudder Post plus the upper Stern section (painted) having been added along with the other parts that make the outer skin of the Keel, all pegged. It’s good to see another Ranger being built - not many of them on this site. Thank you for looking. Regards Doug
- 18 replies
-
- 10
-
-
- Ranger
- Vanguard Models
- (and 1 more)
-
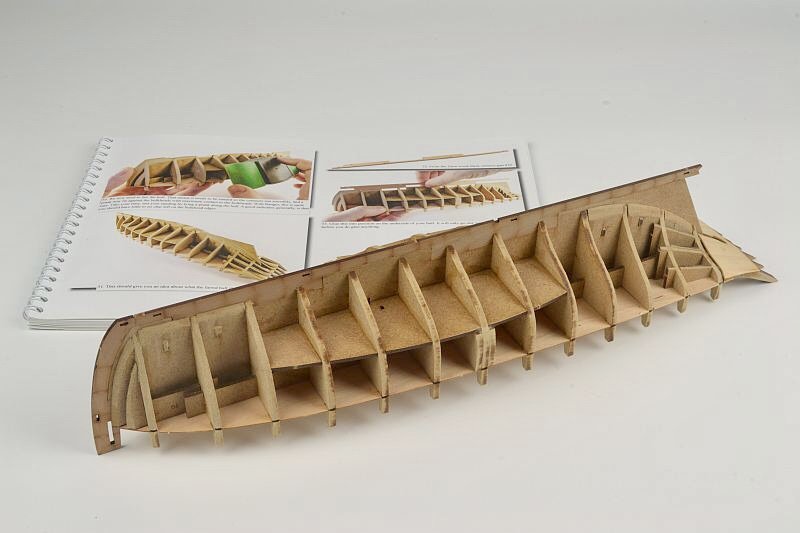
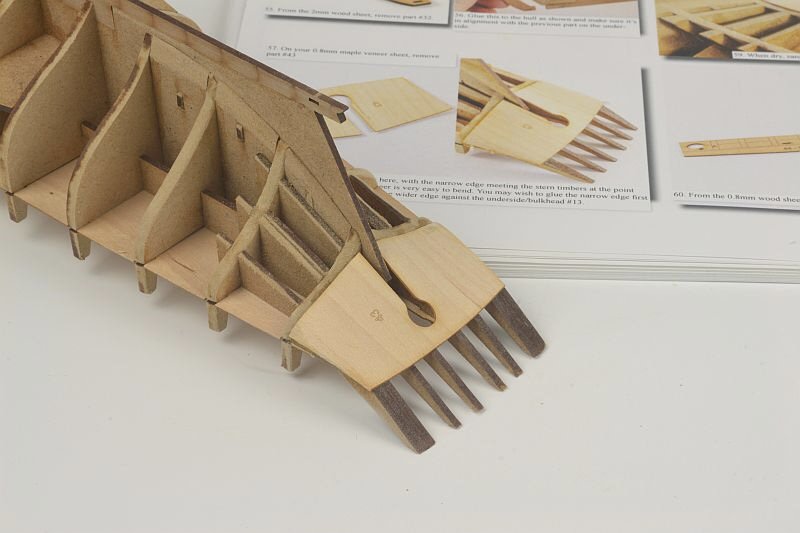
Hello - further steps forward. Extra pieces added to stern (sorry - no photo) and then the Bulkheads etc were sanded to allow a smooth run for the first planking. Then the two parts of the Keel were glued on plus the maple veneer piece at the stern. 4 side pieces glued on / pinned into place. First planking next to do. Regards Doug
- 18 replies
-
- 8
-
-
- Ranger
- Vanguard Models
- (and 1 more)