HOLIDAY DONATION DRIVE - SUPPORT MSW - DO YOUR PART TO KEEP THIS GREAT FORUM GOING! (Only 68 donations so far out of 49,000 members - Can we at least get 100? C'mon guys!)
×


Foultide
-
Posts
81 -
Joined
-
Last visited
Content Type
Profiles
Forums
Gallery
Events
Everything posted by Foultide
-
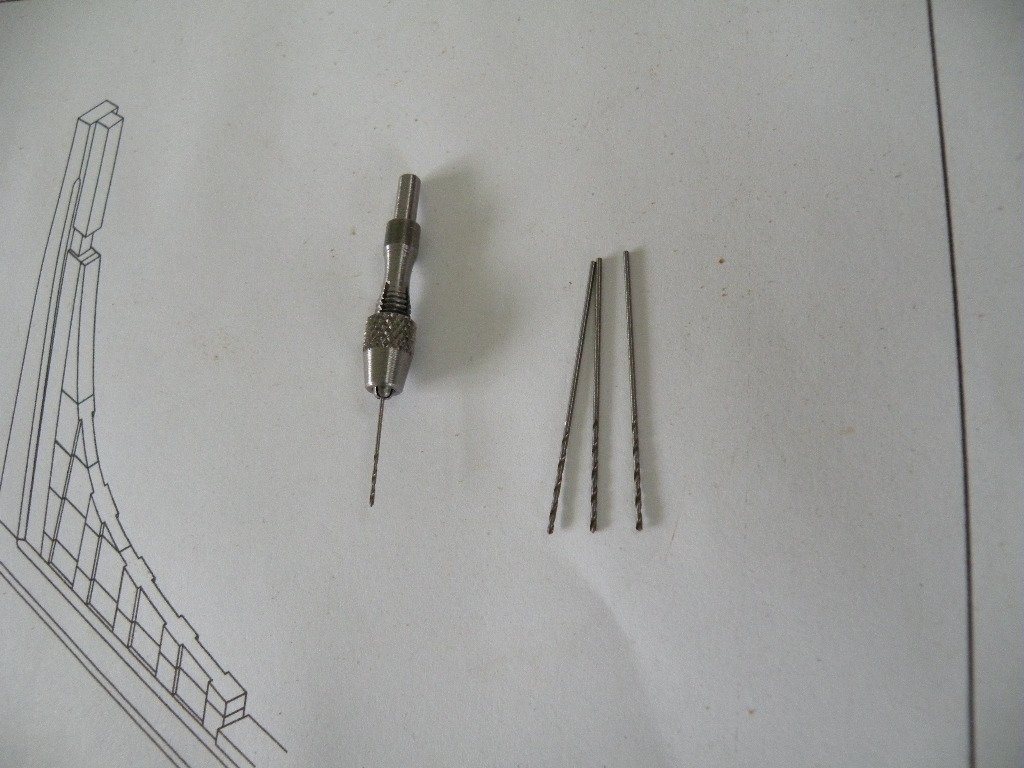
I found this on line at a hobby supply outlet. Fits into the drill press chuck making for quick changes and accurate holes.
- 5 replies
-
- 12
-

-
Thanks guys!
-
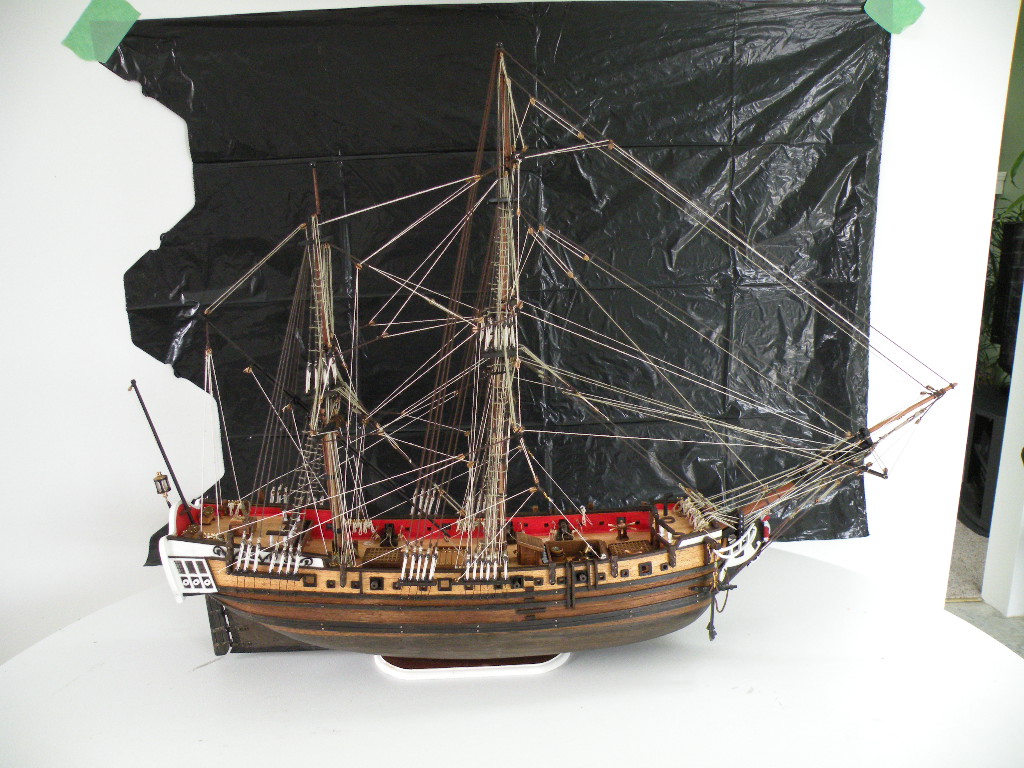
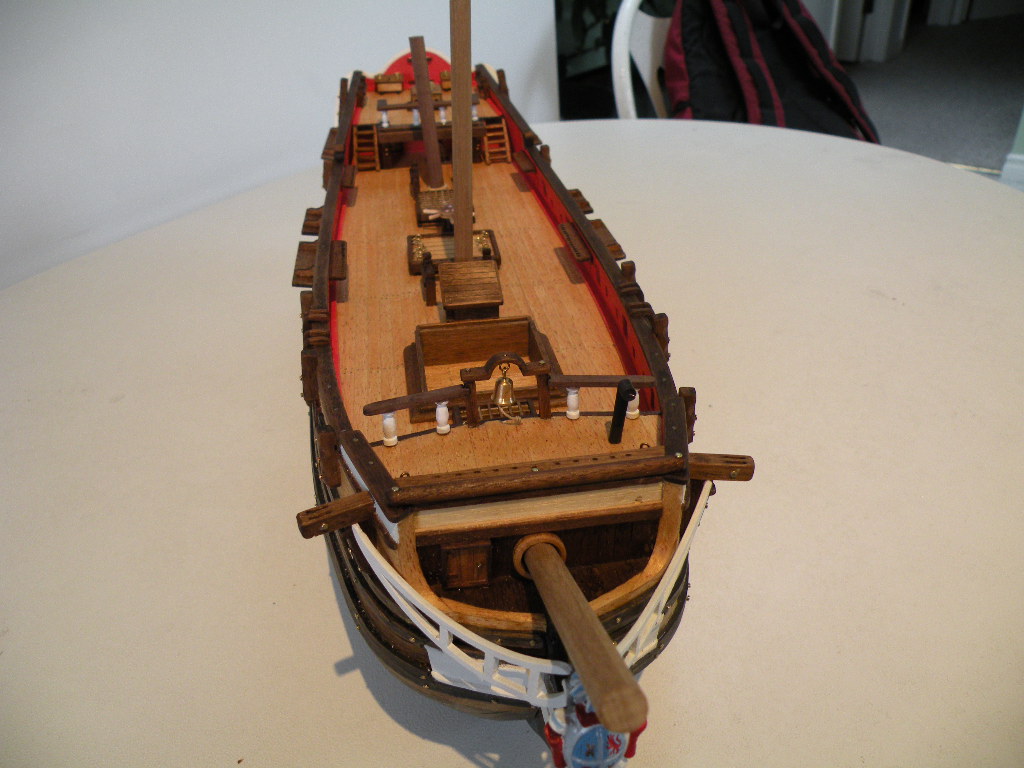
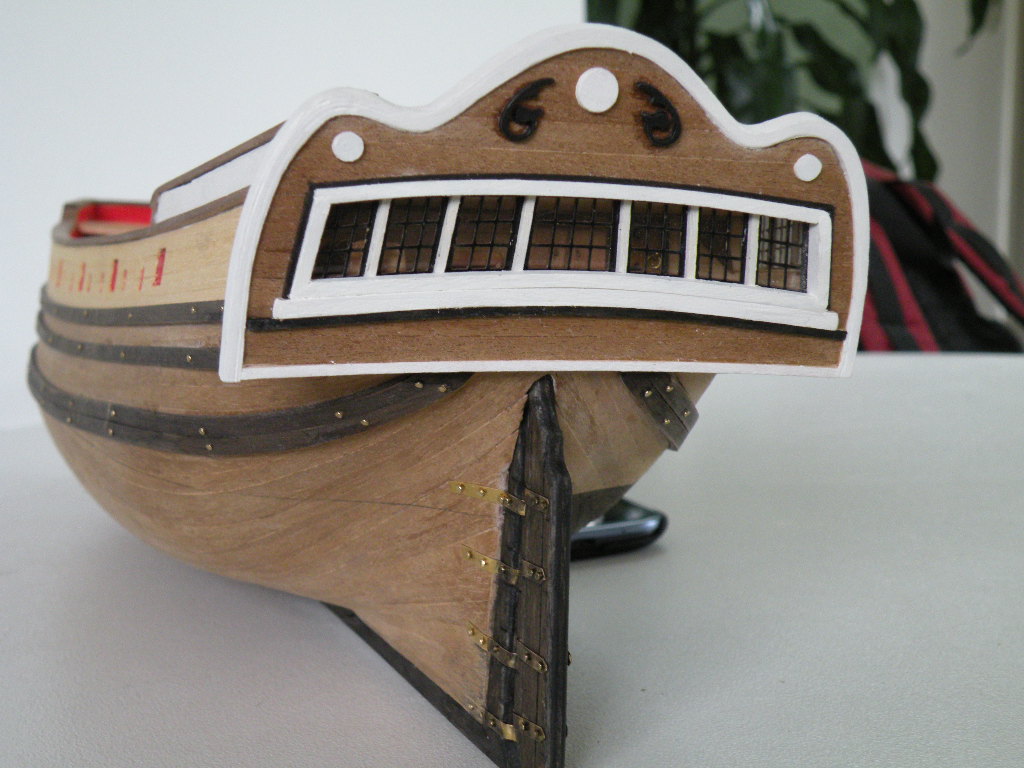
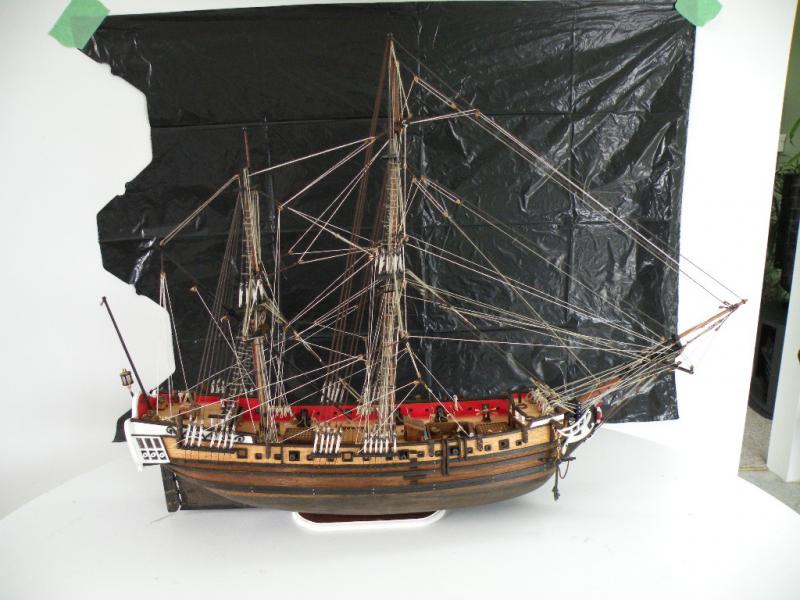
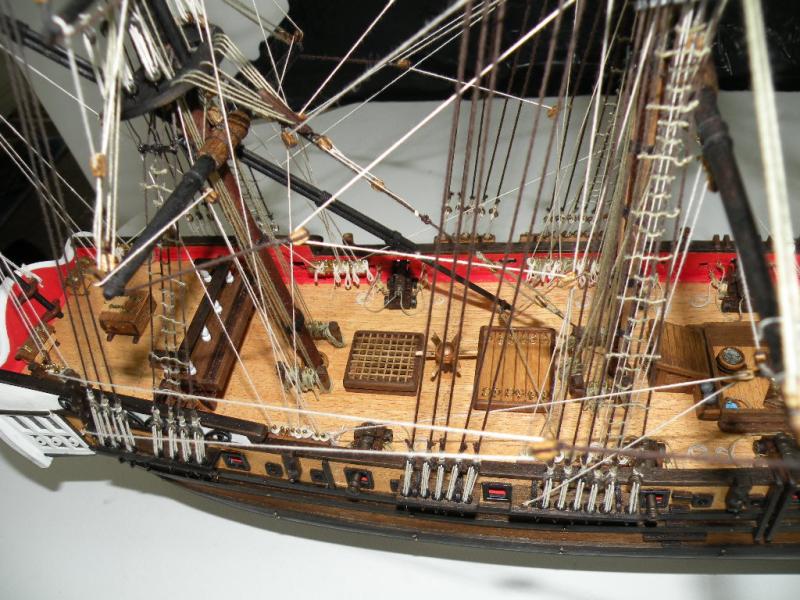
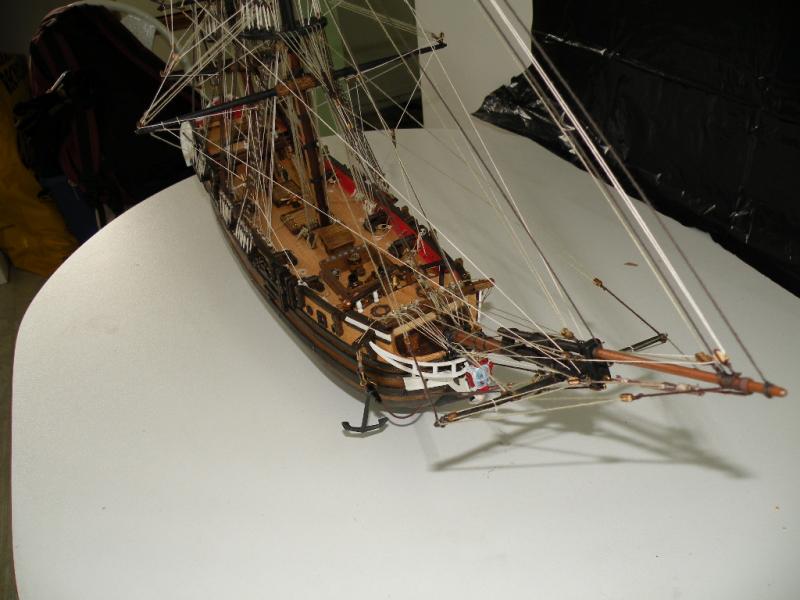
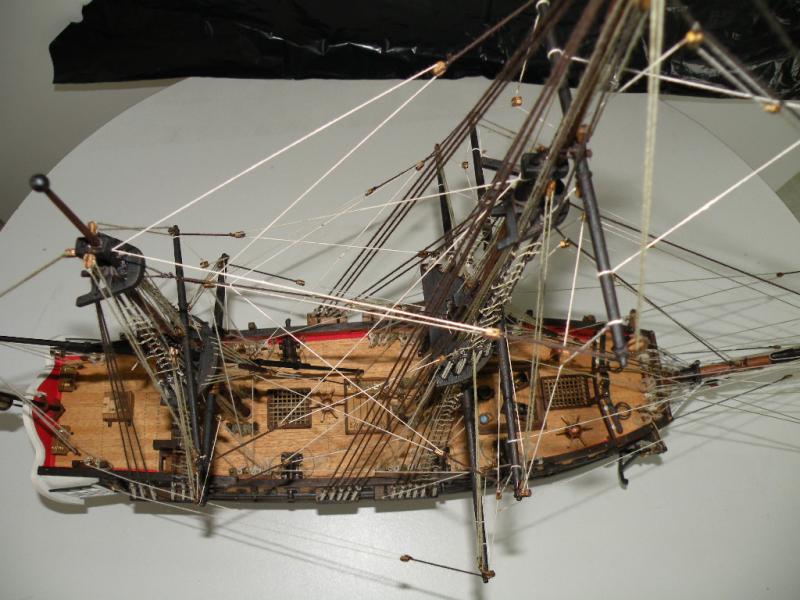
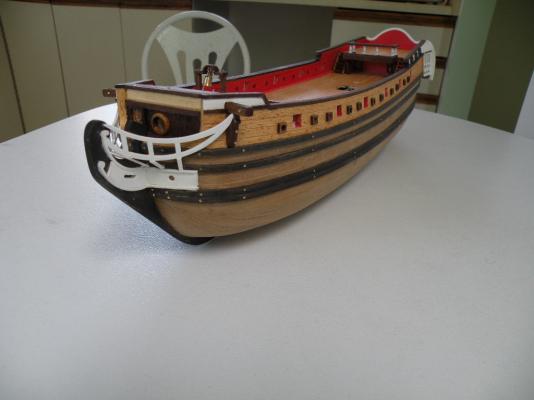
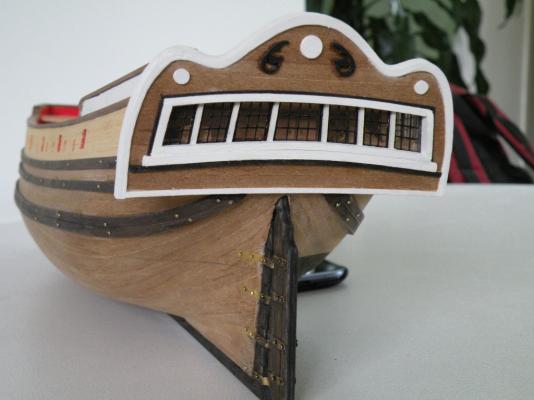
Been awhile since I've was last here but the ship was just completed. Missed a few things I should have done and took a few liberties along the way. Over all very satisfied with the way it turned out so here are some pics of the ship. Pardon the fancy back drop.


-
Basketball, hockey, cycling,baseball,work.. Hard to find time to get into the ship room. Here are some up date photos....


-
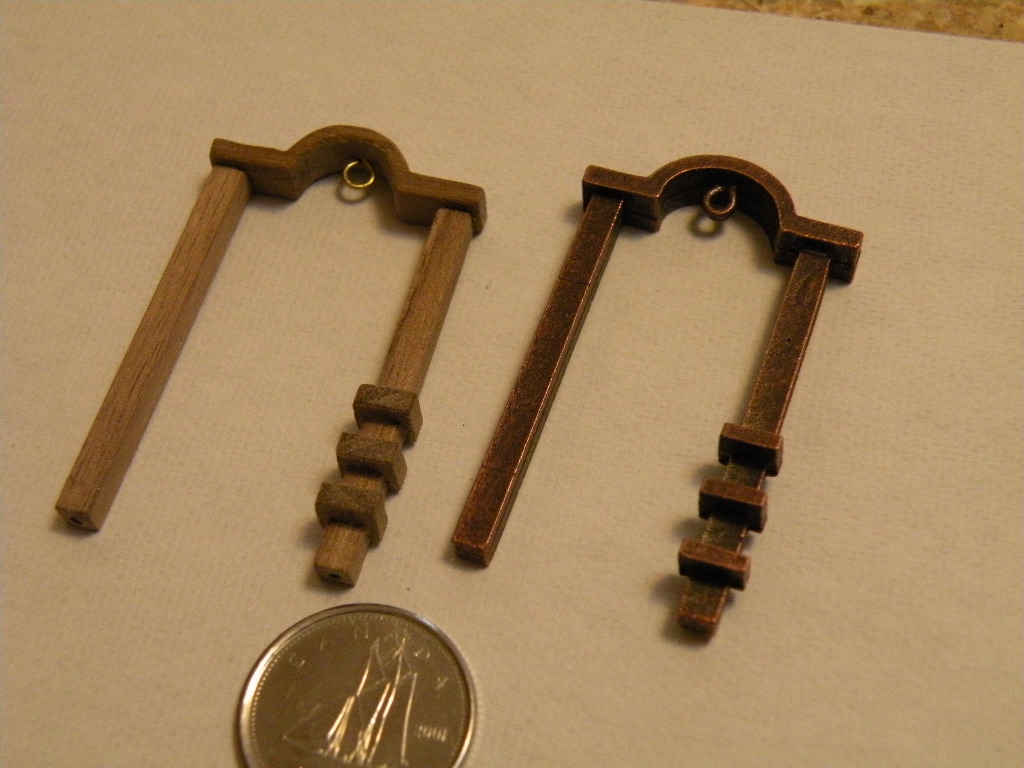
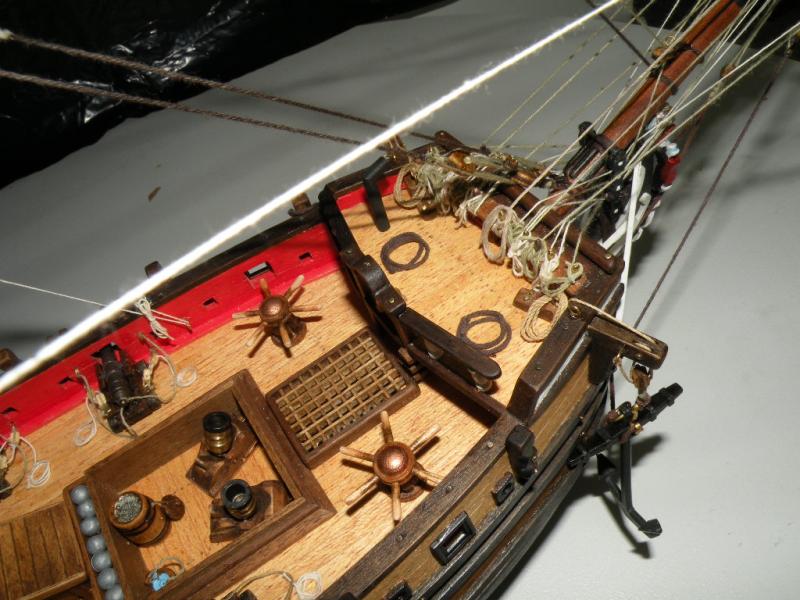
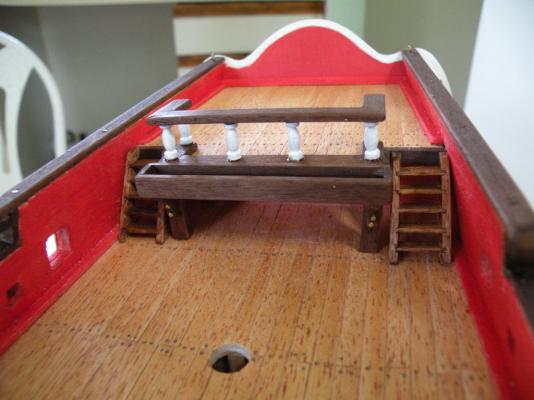
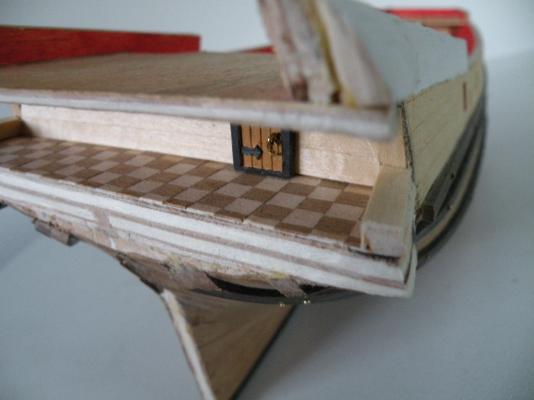
Tales from the ship yard.. I did the two sides in different styles. They both look O.K. you can be the judge. Vote for your favorite. I went for heavier posts under the rear upper deck and the support under the Anchor davits, added some structure under the front upper deck.The posts and a wall. The sweeper port covers were also an add in, the gun port framing will added in soon.

-
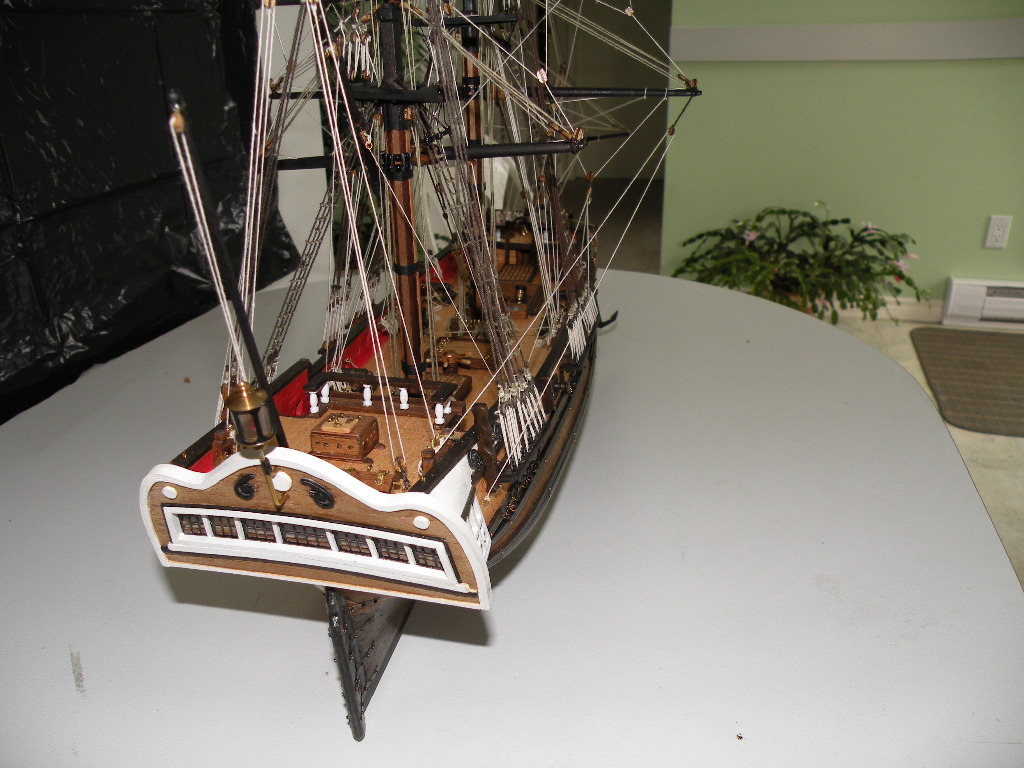
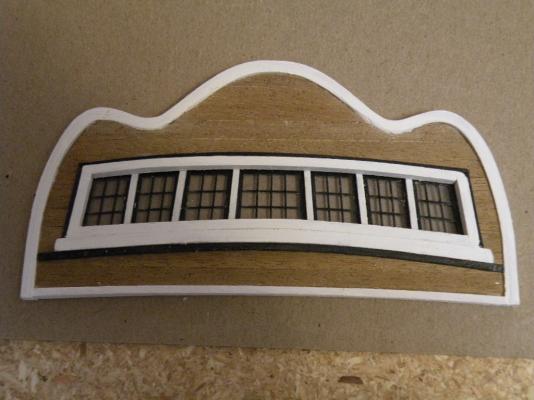
Hi Schnu, The ship side is the orginal ply wood piece and on the out side I used a piece of balsa and planked it. I should have built in a curve when I glued it togeather but I forgot and ended up making the stern of the ship flat which nearly took me into the rudder space....yikes! The top and bottom of the Gallery windows are blocks carved down to fill the spaces the metal decorations would have occupied.
-
Hi Schnu, you are right the plans for this ship do not give much information. There is lots of rigging info to be found on this sight and plenty of advice.
-
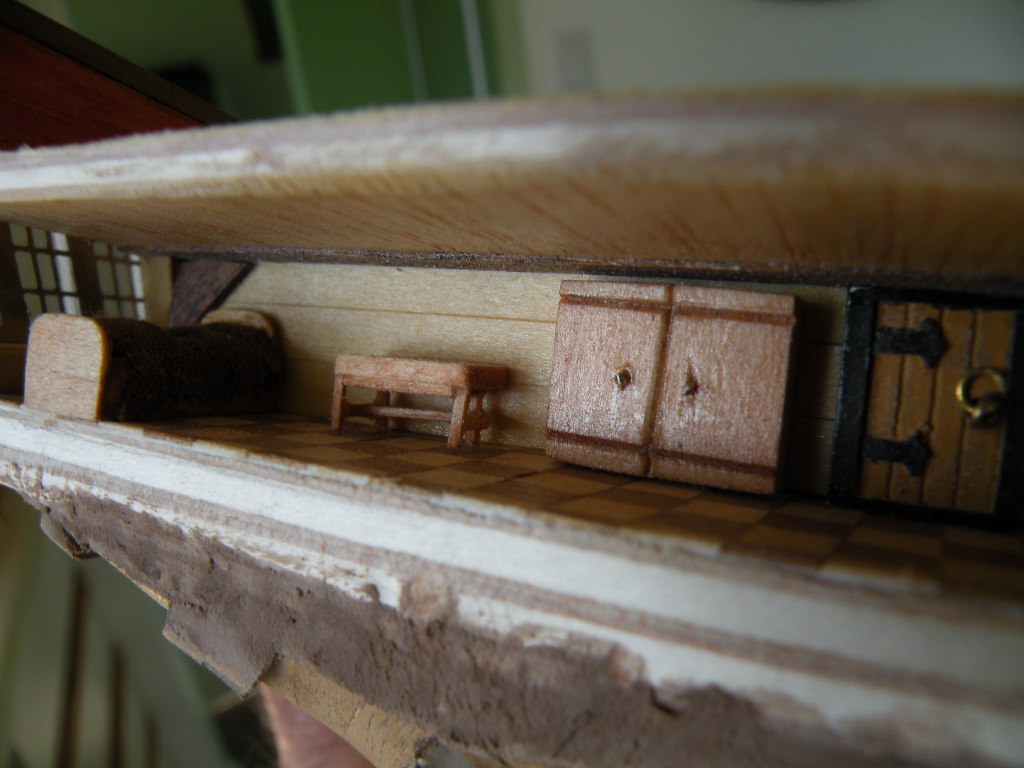
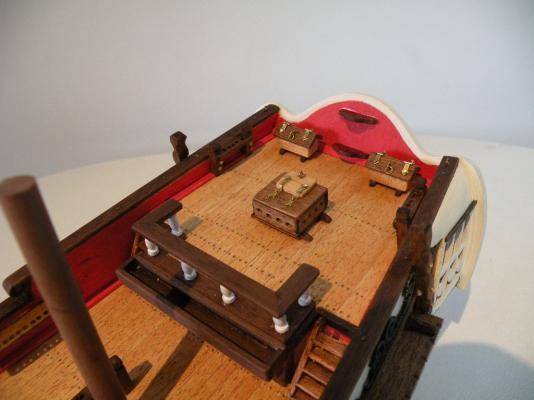
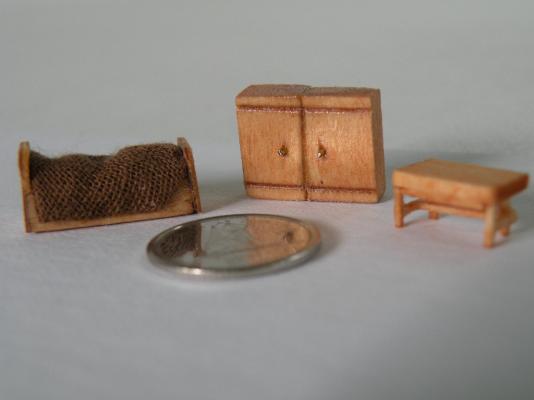
I decided to furnish the rear quarters, As the stern will be a little hard to see into I didn't go crazy. I have stained one side below the water line not sure if I like it so I have left the other side alone for now. I'm thinking I may even do one side different from the other, turn the ship around and get a whole new look...

-
Hi Schnu, I've looked at your build coming along, I have the same kit as you do but I have completely redone the stern. I wanted to replace the metal and this is the way it worked out. I hadn't thought of those platforms as steps, i tihink you might be right there.
-
Thanks Capt. Steve and thanks for the likes, So far with the exception of a small drill all work has been done by hand and 3 different pairs of glasses....
-
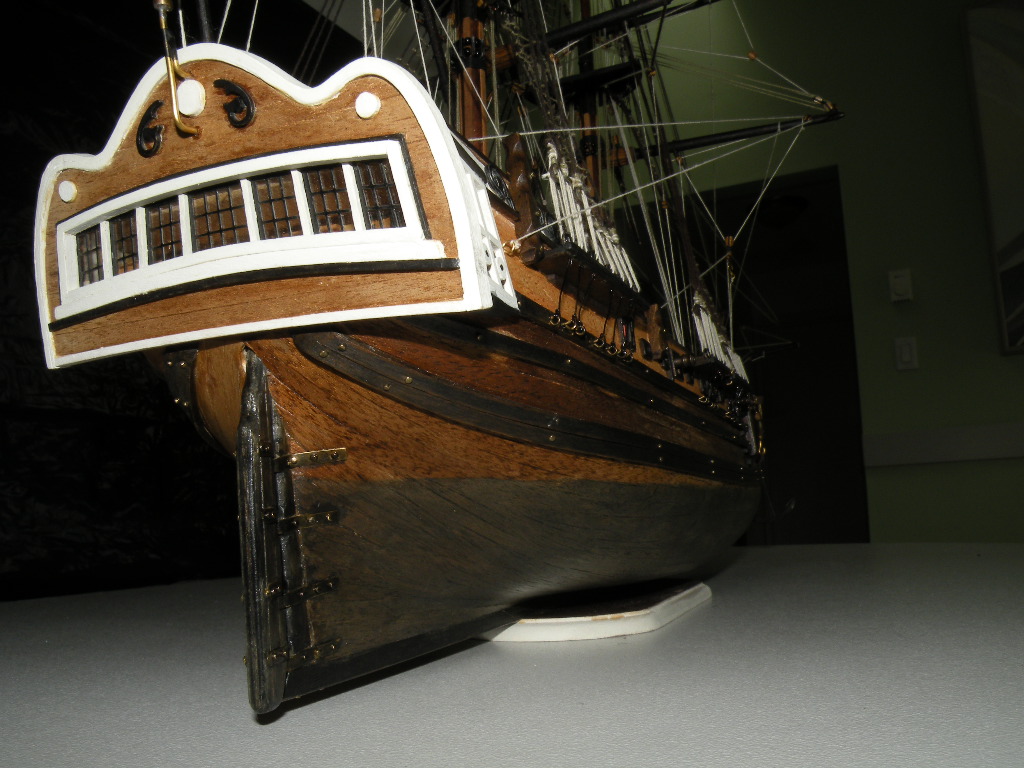
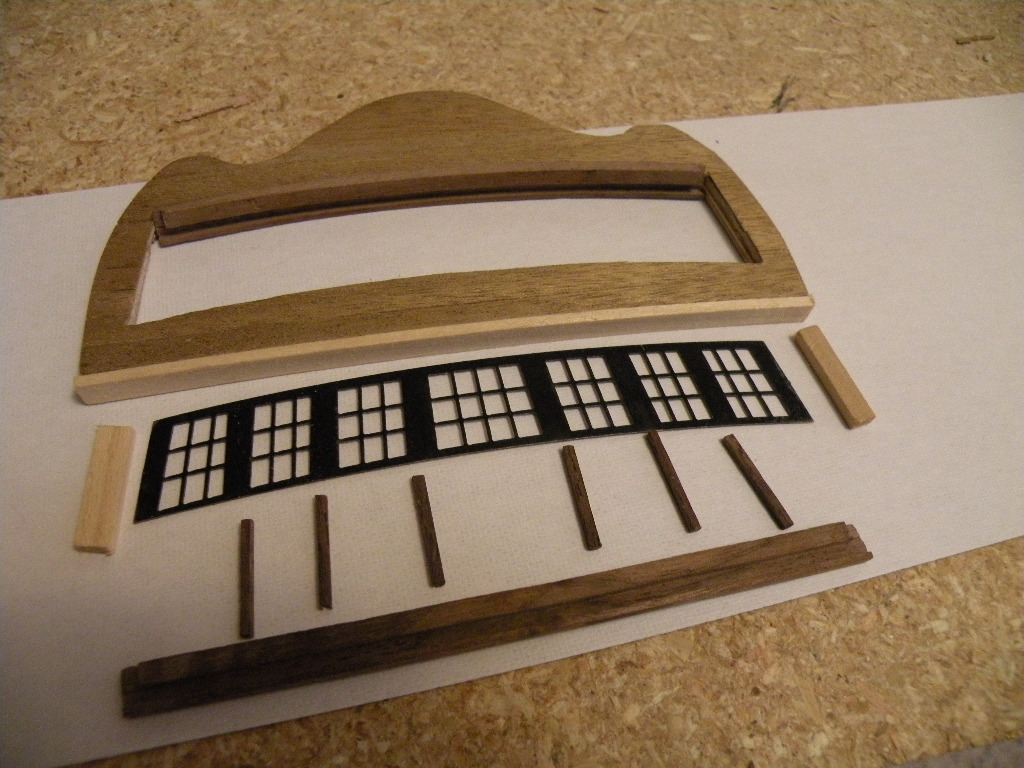
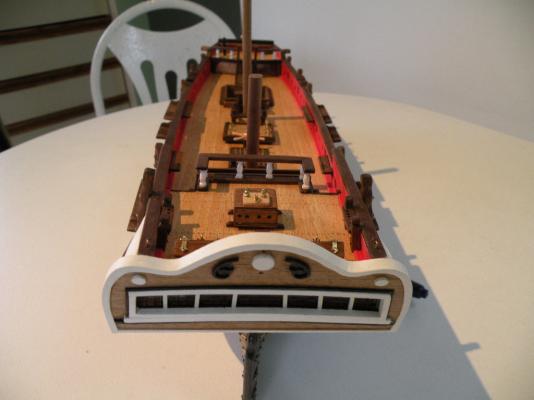
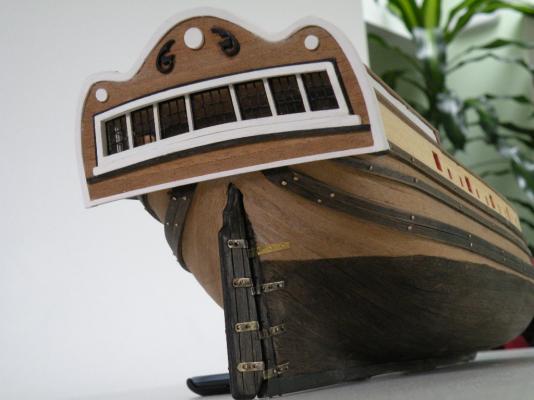
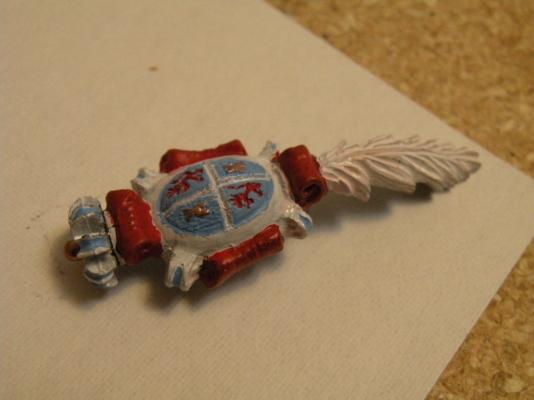
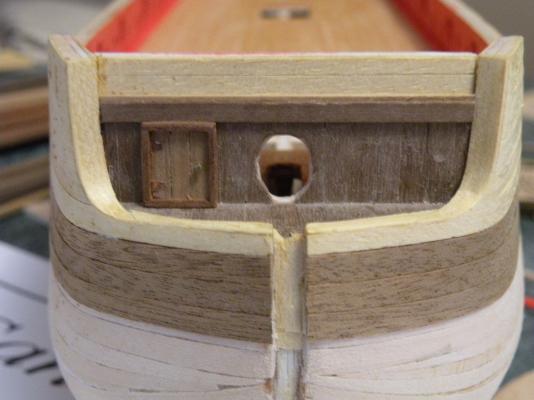
Here some pics of the upper stern.It has been completely bashed. I had to lower the window frame to line up better with the Quater gallery windows and the upper deck was in the middle of the windows. I may build up the Captians cabin haven't decided yet, the scale is wrong but then this kit wasn't ment for this kind of creative destuction.... After many trail and errors I failed to bend the capping for the top of the upper stern so I tried to laminate what I wanted, worked out fairly well. Used the metal part as a mold. I would make "male and female" presses to sandwitch this togeather, next time. I will add some adornments to match the windows and bow. The figure head is painted and ready to go.


-
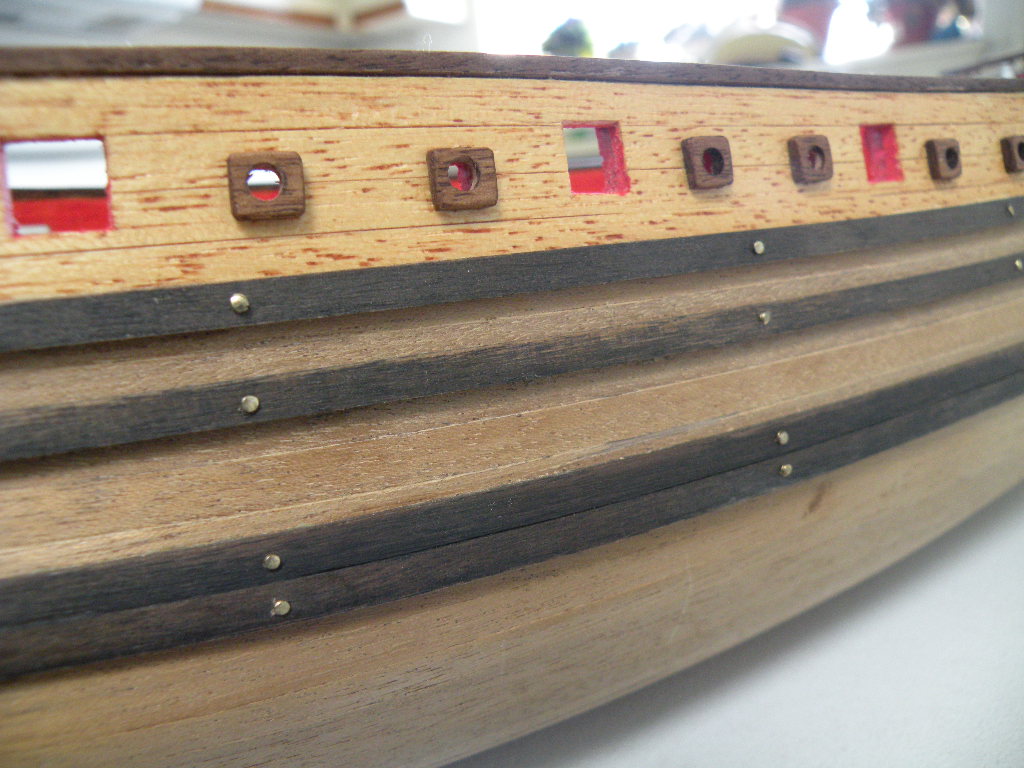
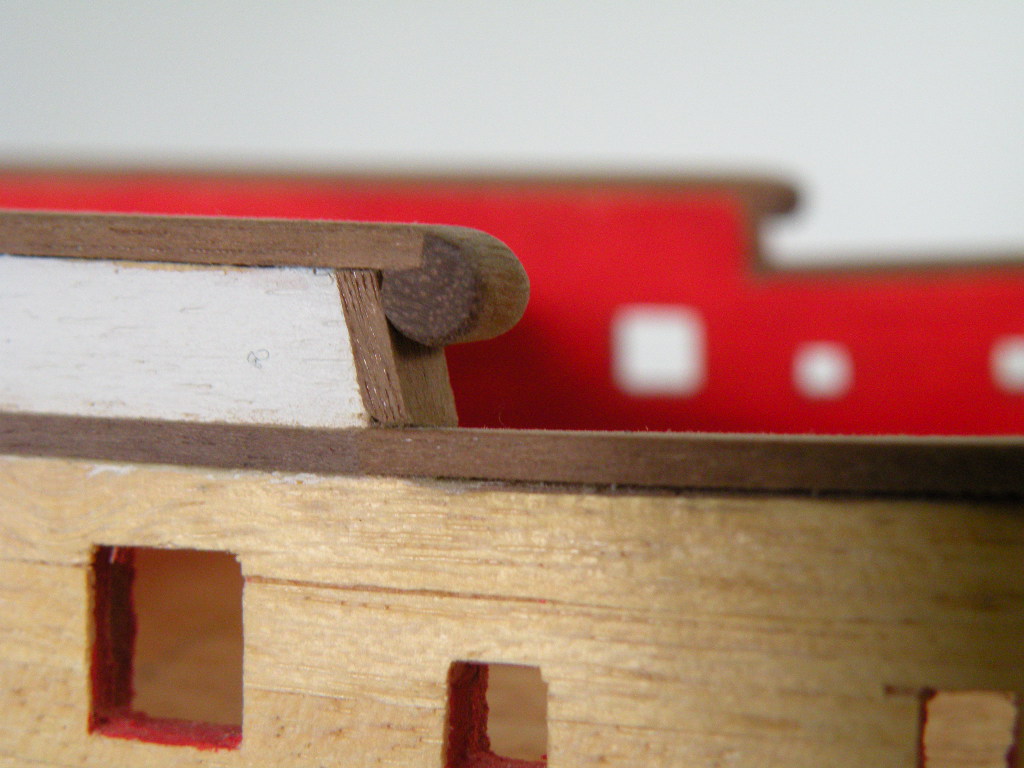
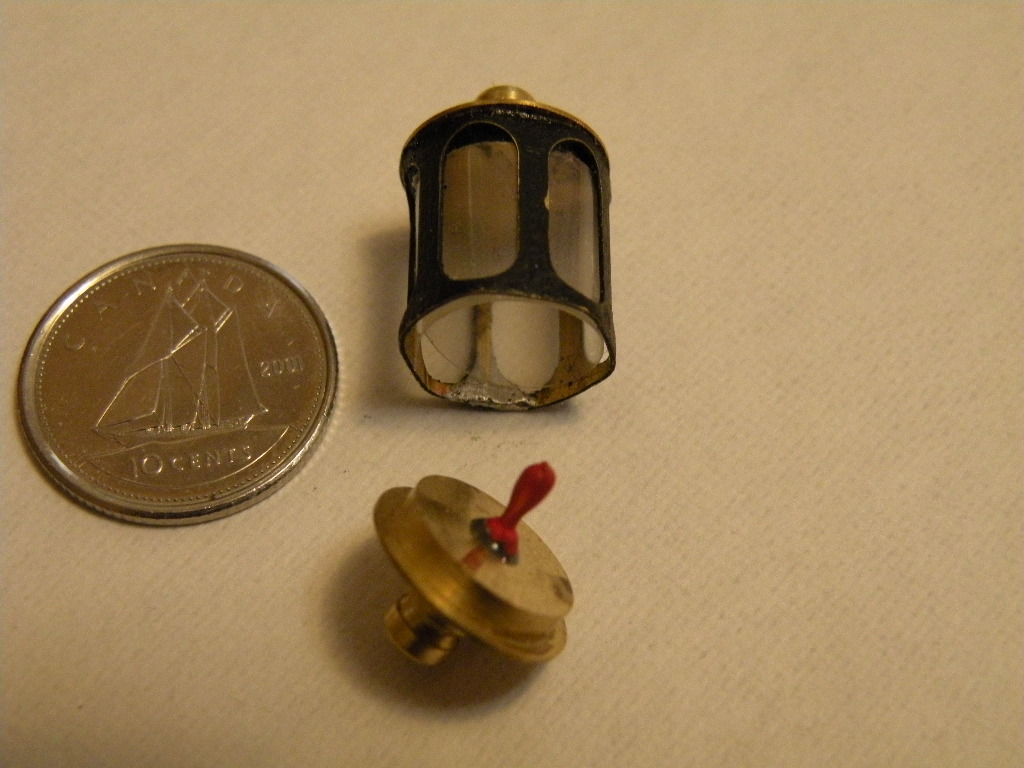
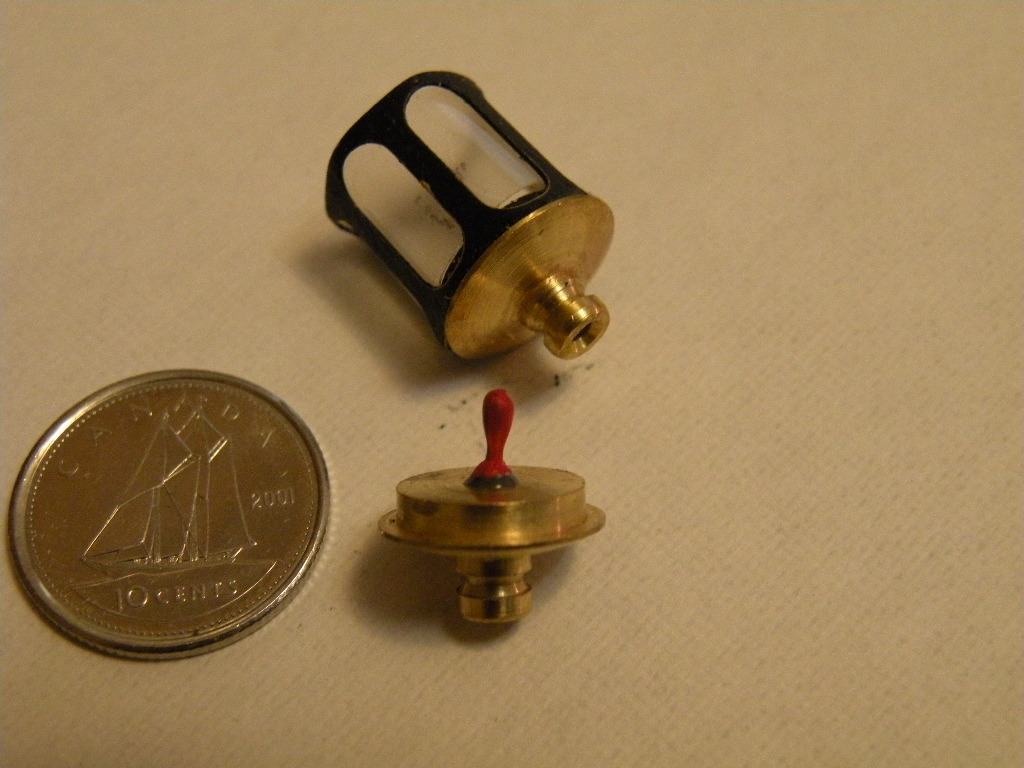
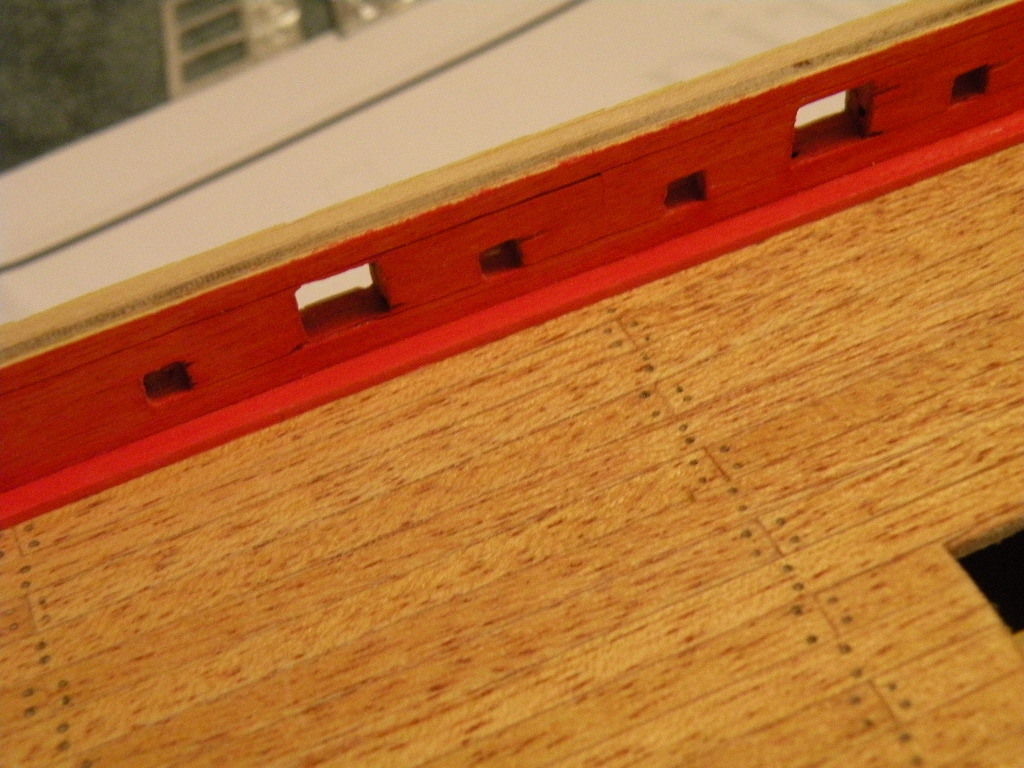
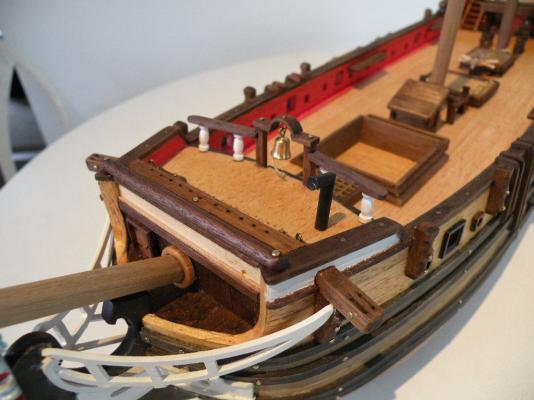
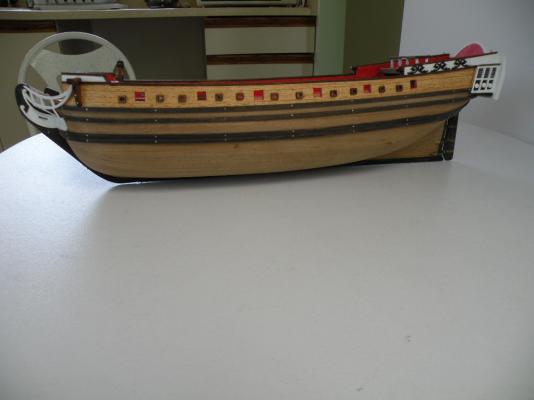
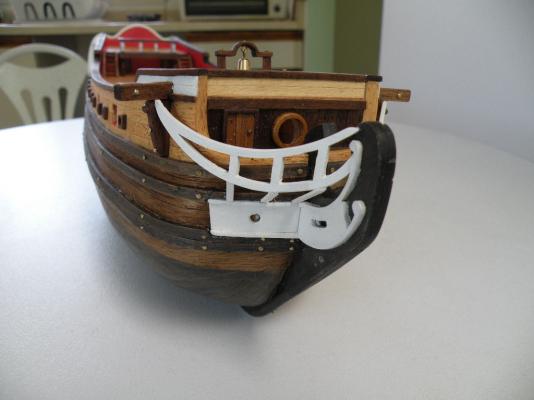
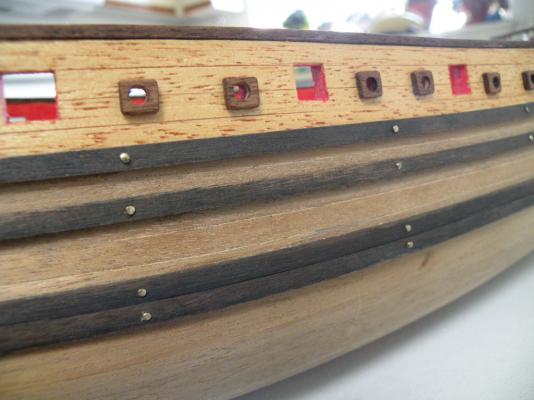
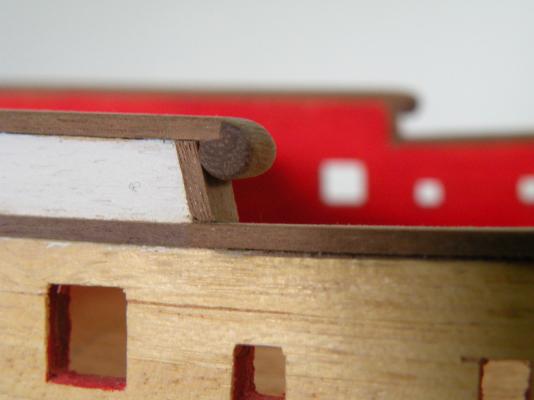
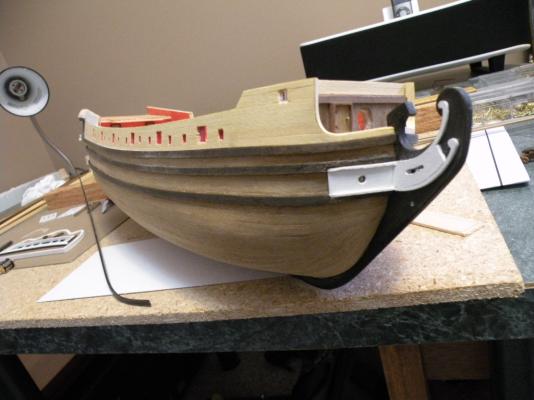
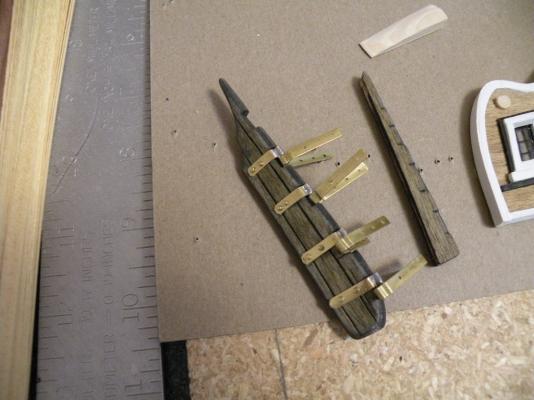
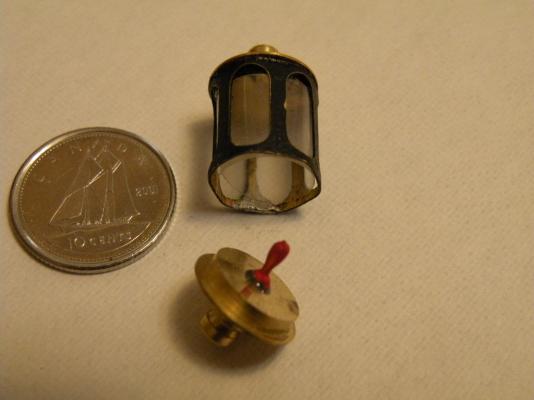
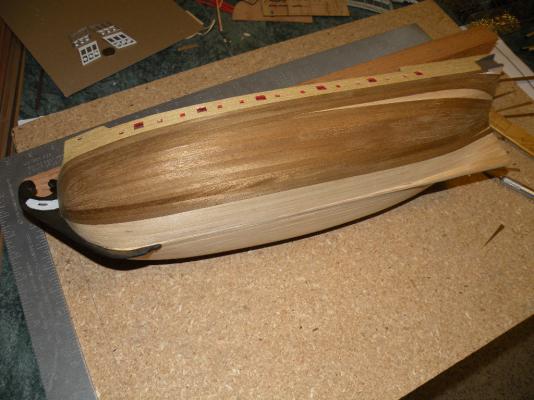
Time for a little up date, Hull is now complete and three of the rubbing strakes on one side. The Bucklers and Stern Battens are on. The hindges are on the rudder awaiting mounting to the keel. The stern lantern is assembled, I used an old belaying pin to act as a "Light"


-
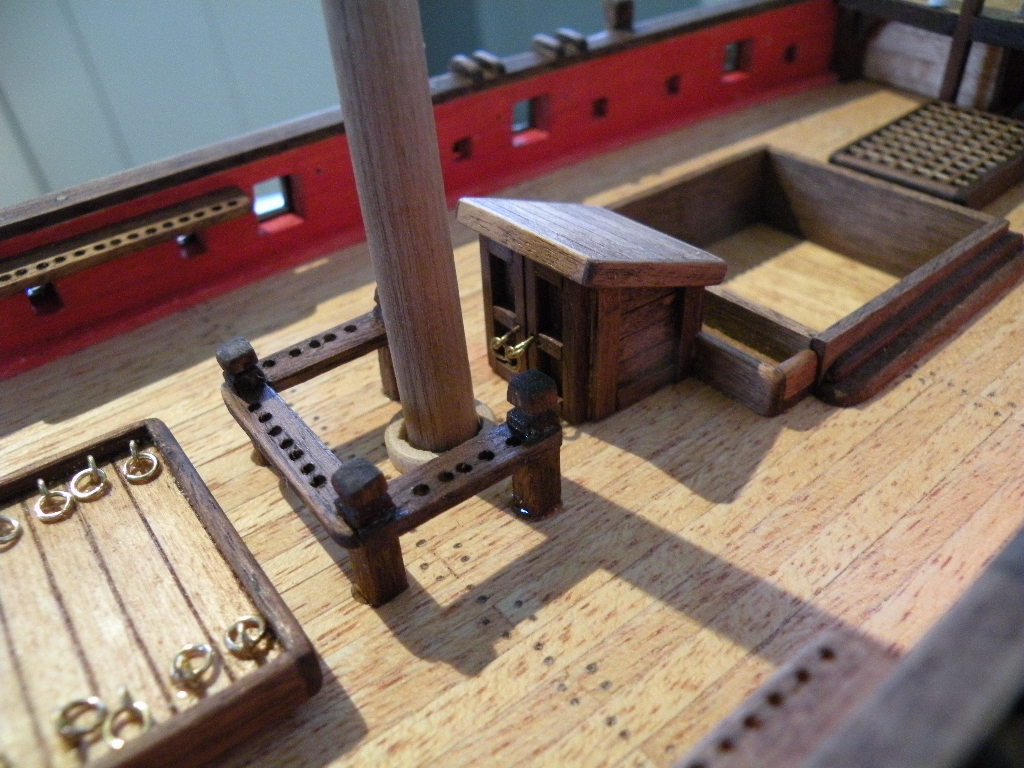
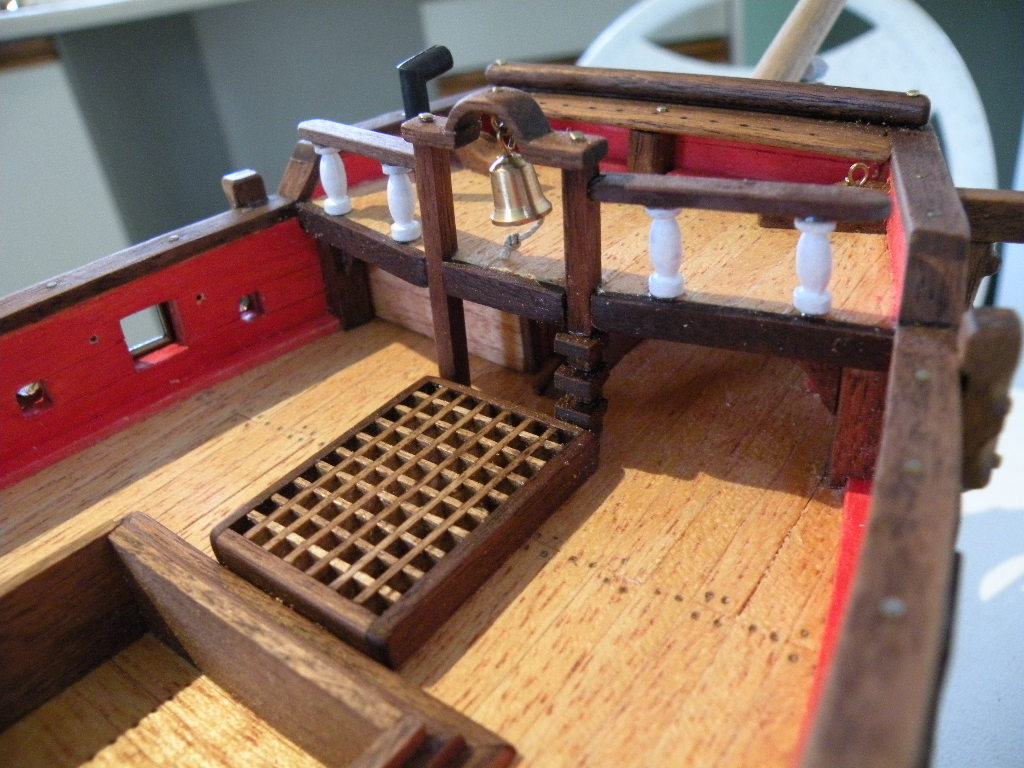
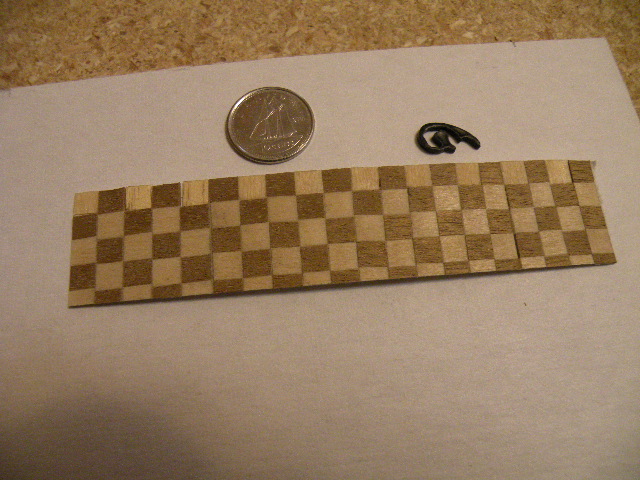
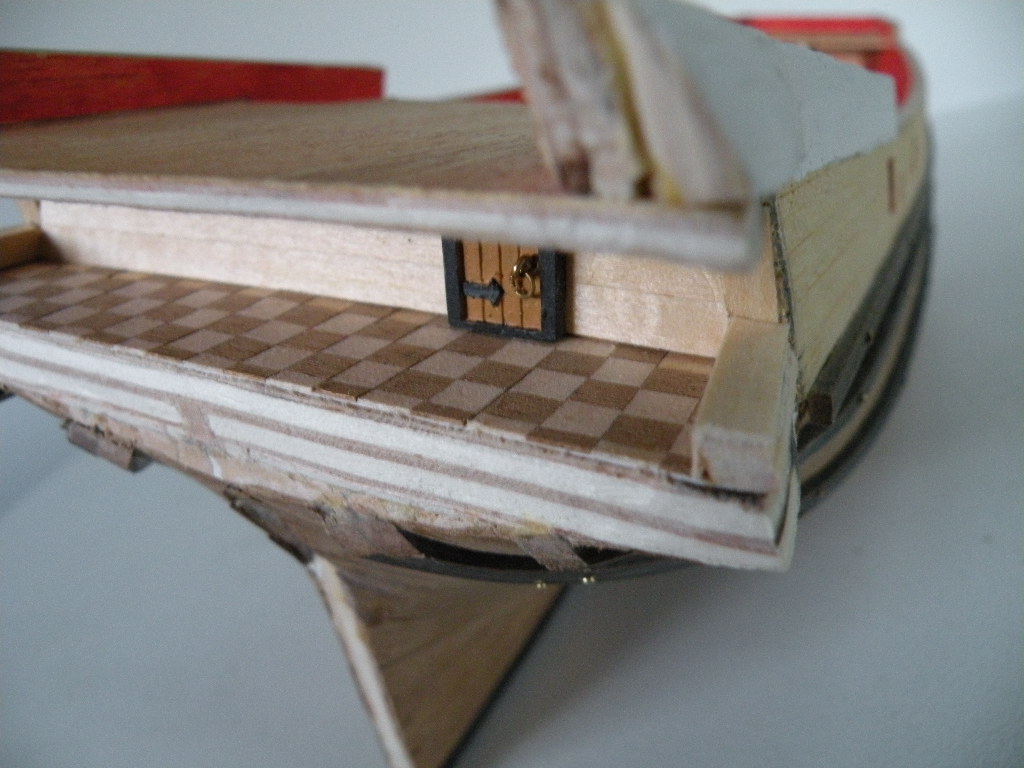
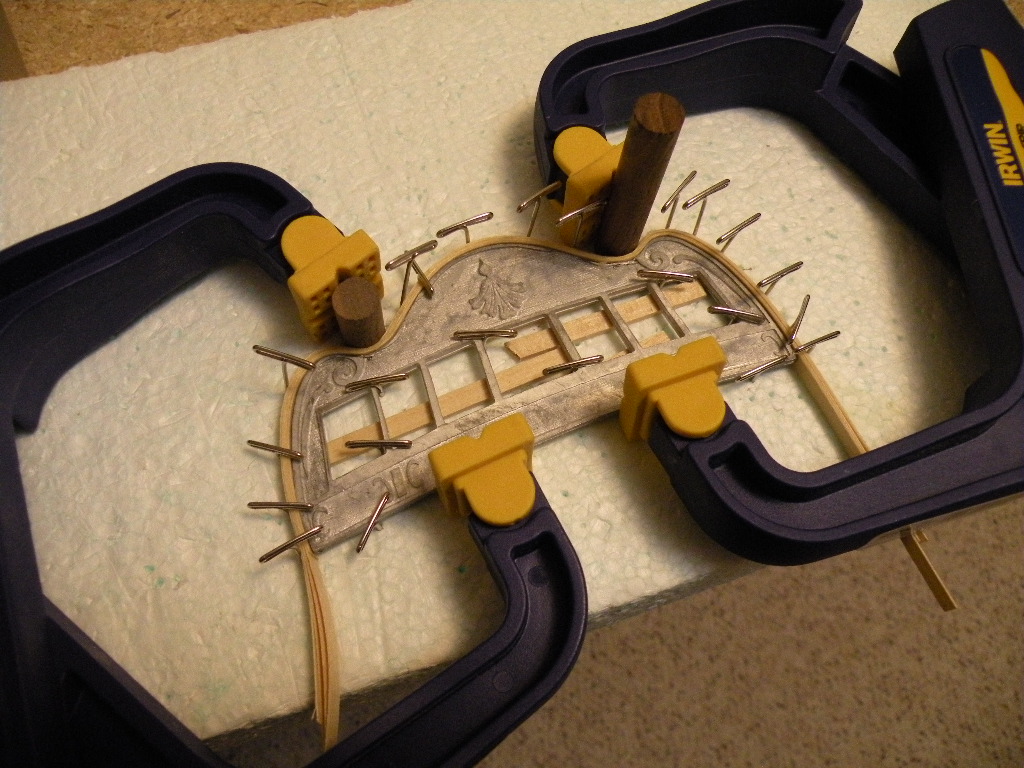
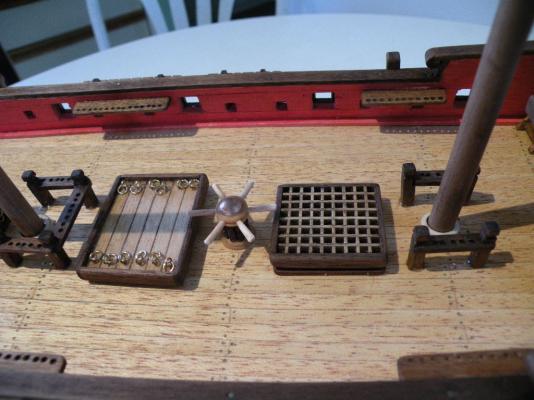
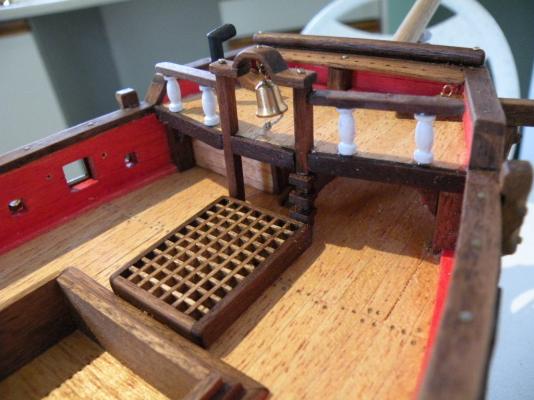
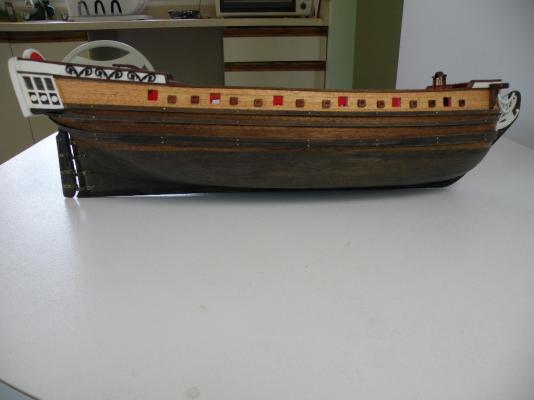
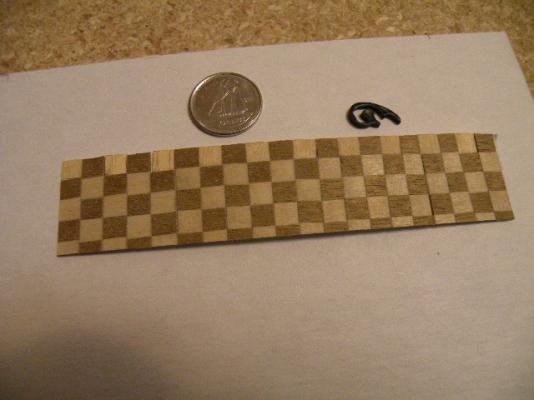
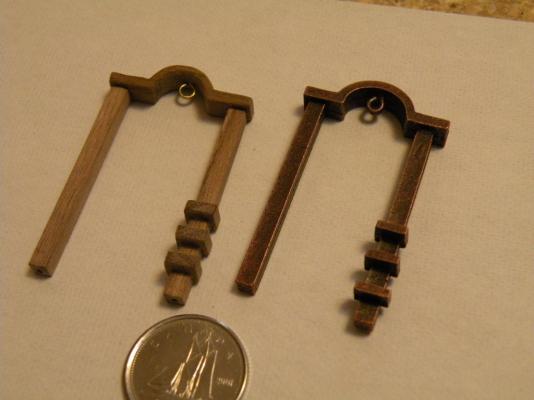
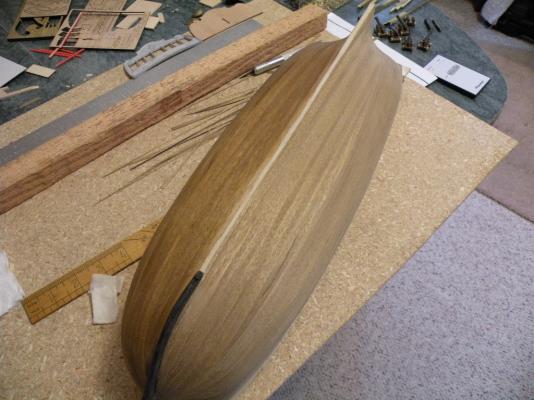
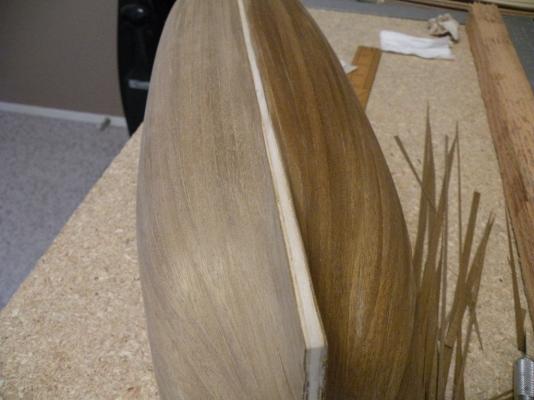
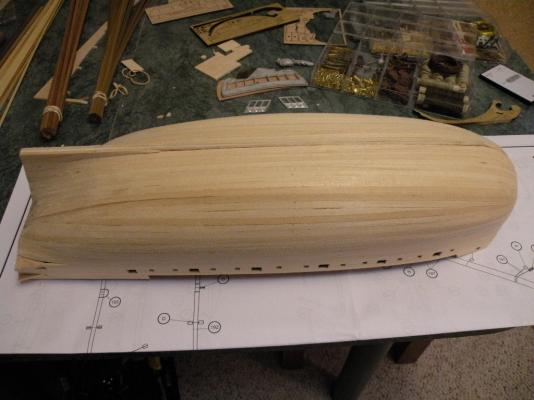
Some more progress to report. Hull is second planked and sanded to 150, these show one side wet, exposing any missed glue stains. I've recreated the bell tower to wood. Any one know what the shelf things are on the one post?

-
slow go time, more artistry than planking.
-
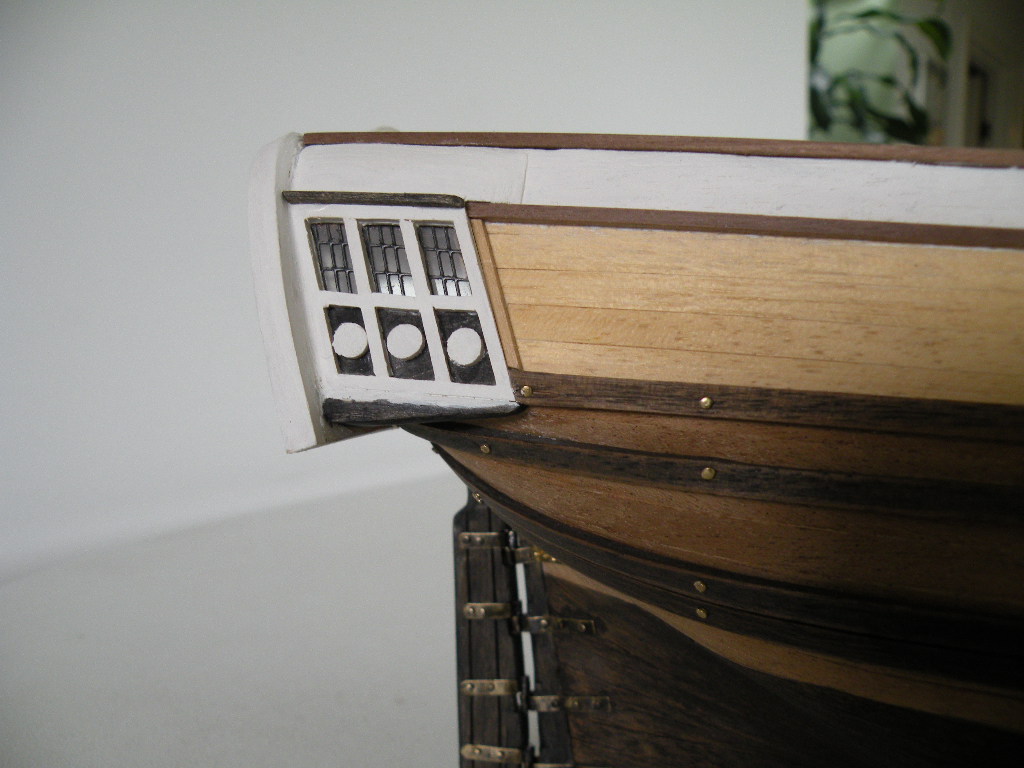
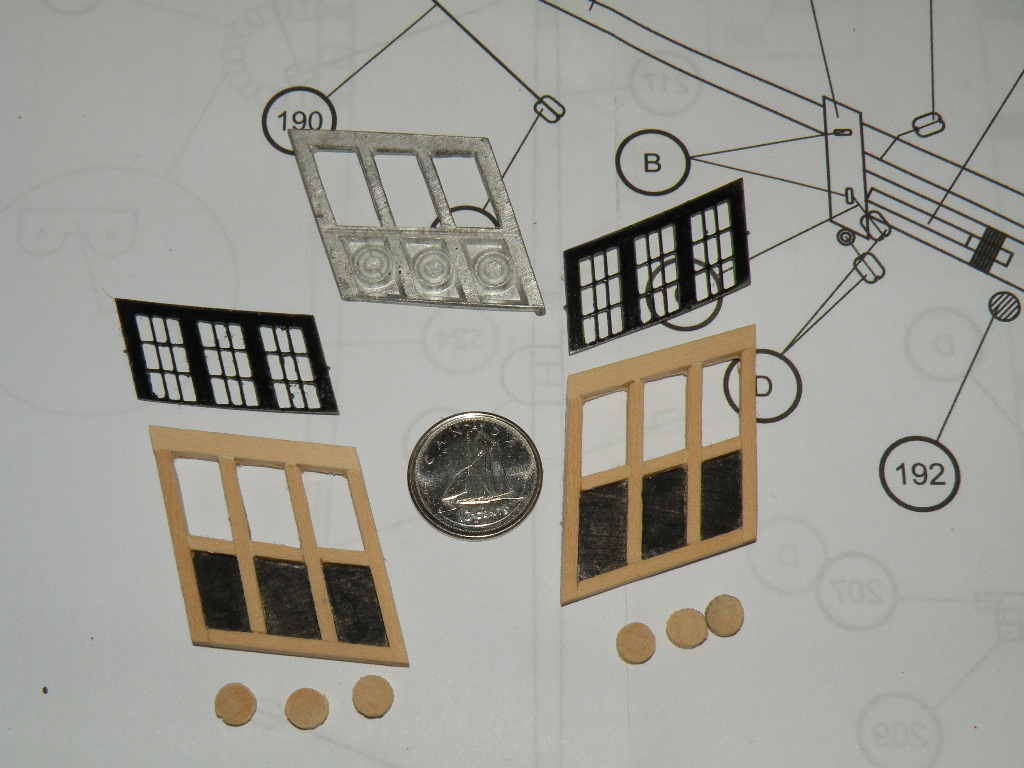
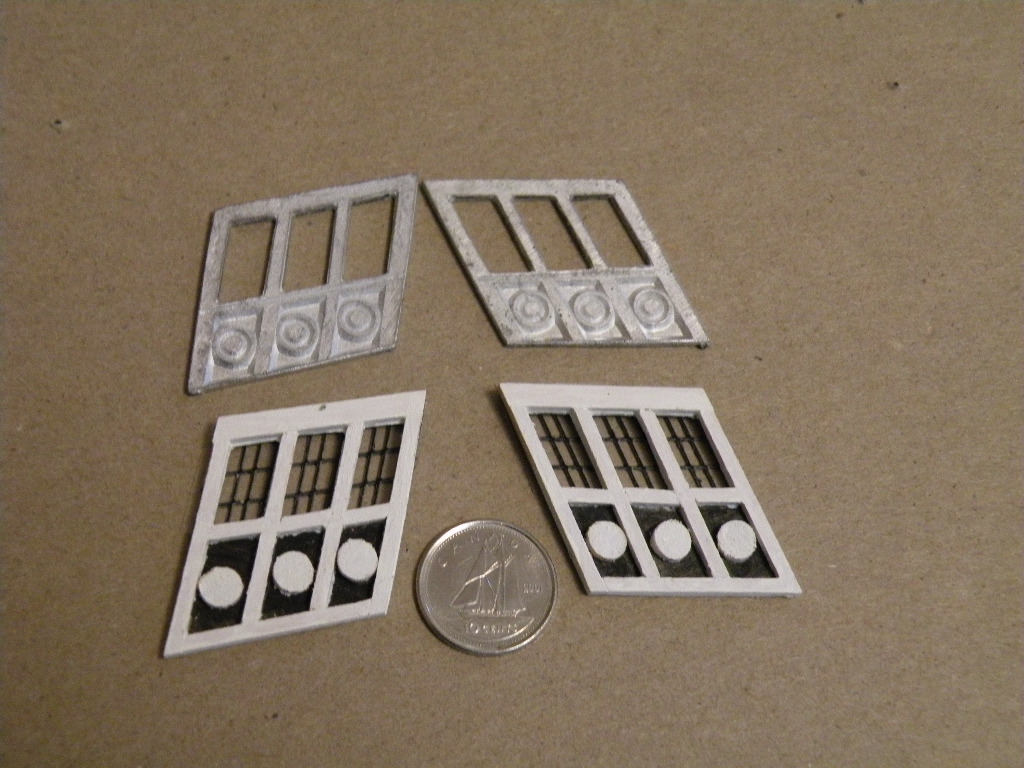
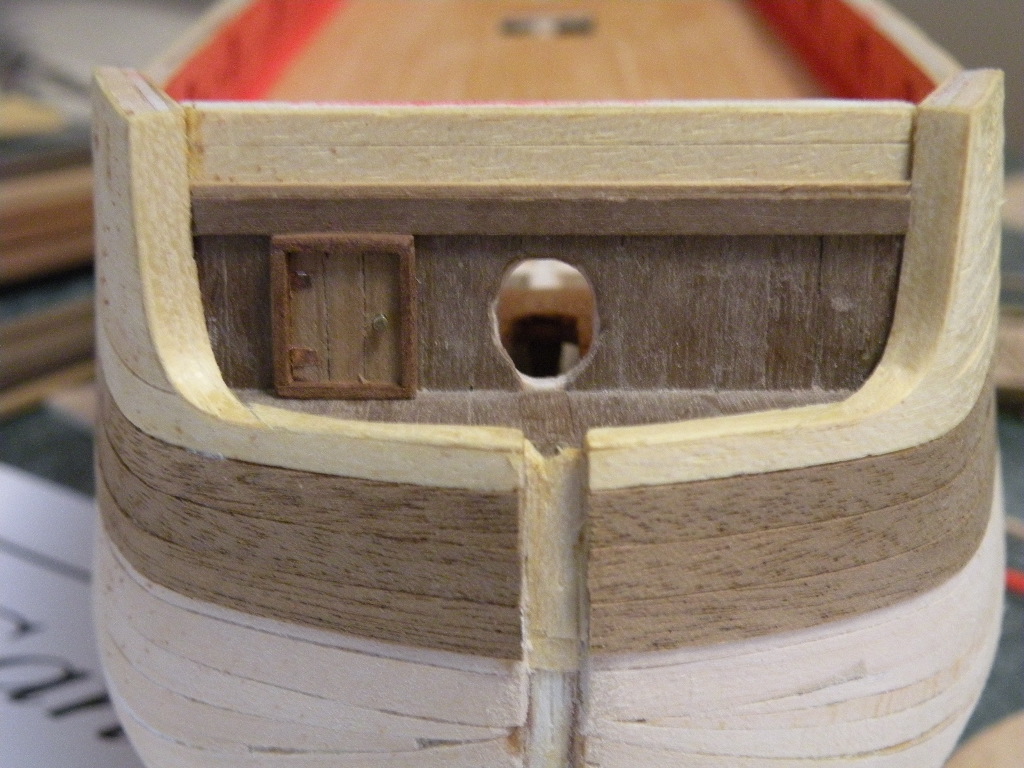
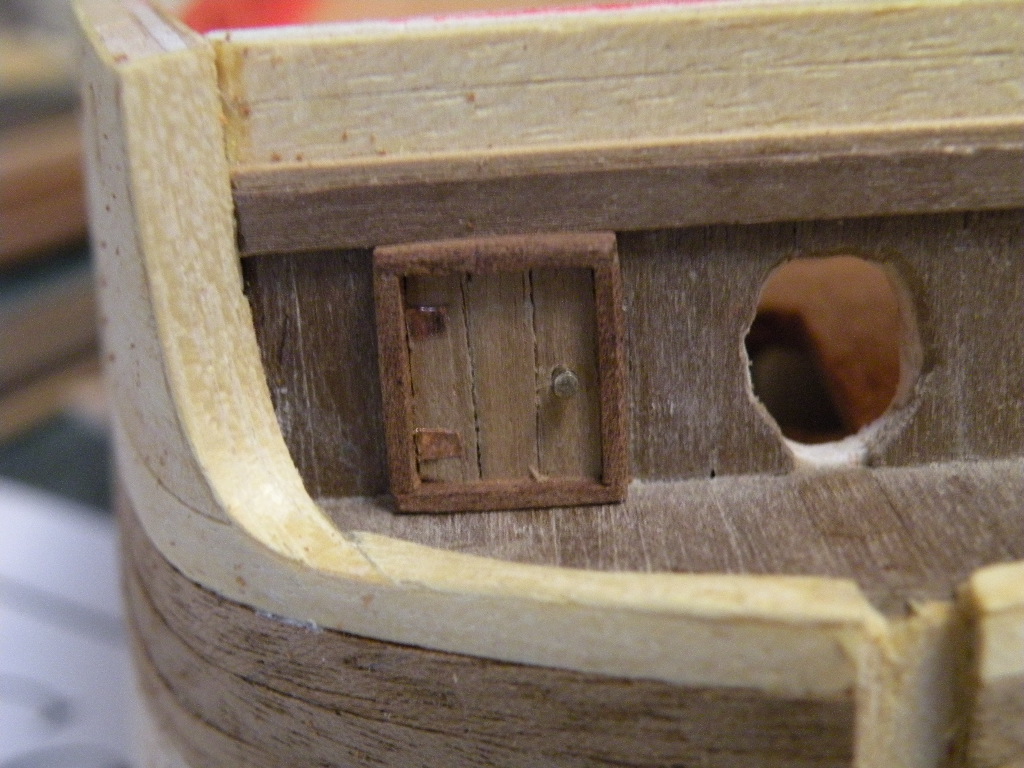
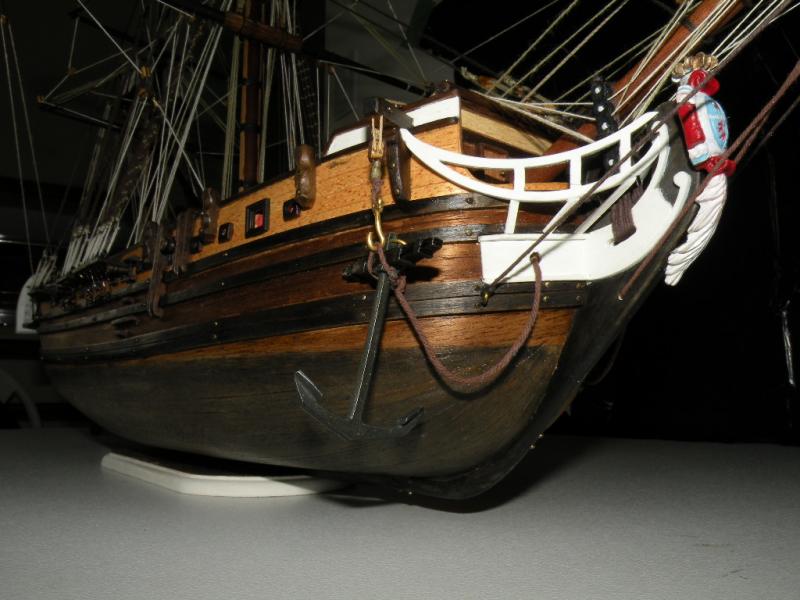
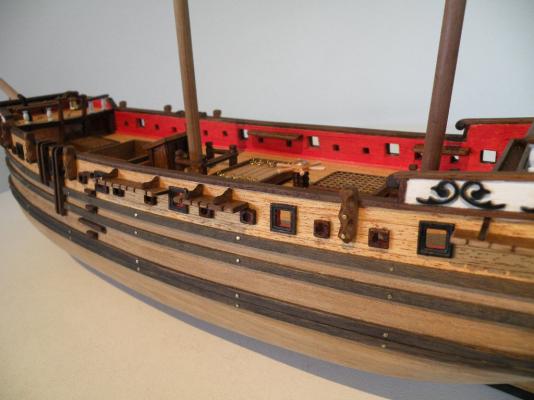
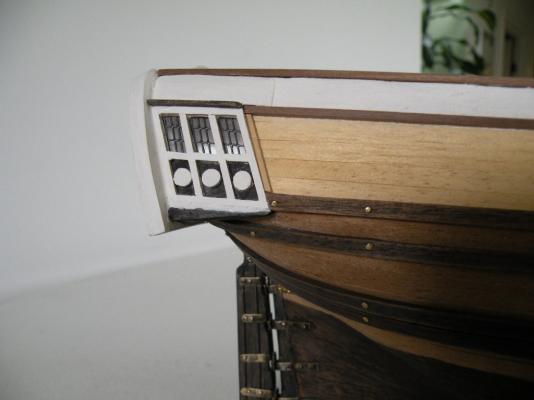
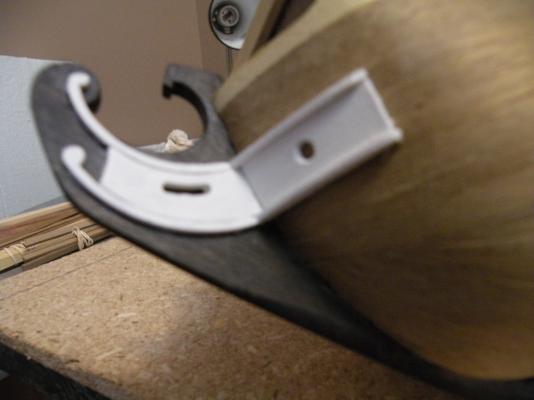
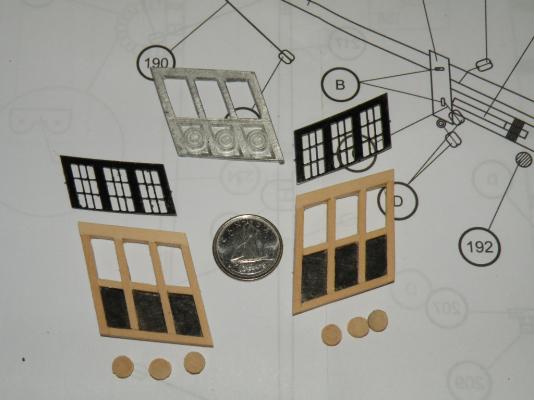
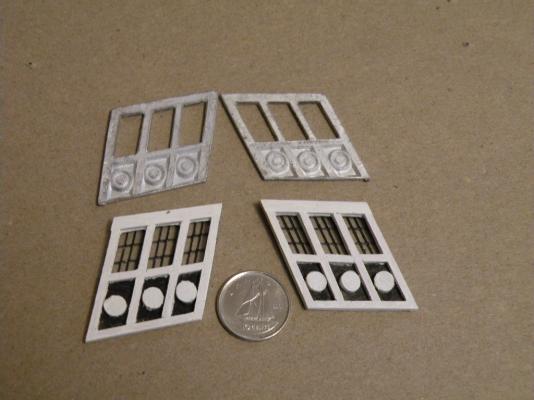
Not liking the "metal" Quarter Gallery windows I built them with wood and painted them in the final colors. Also the water boards are in and a view of the bow with the door also "not metal" in and some walnut to up grade the looks.


-
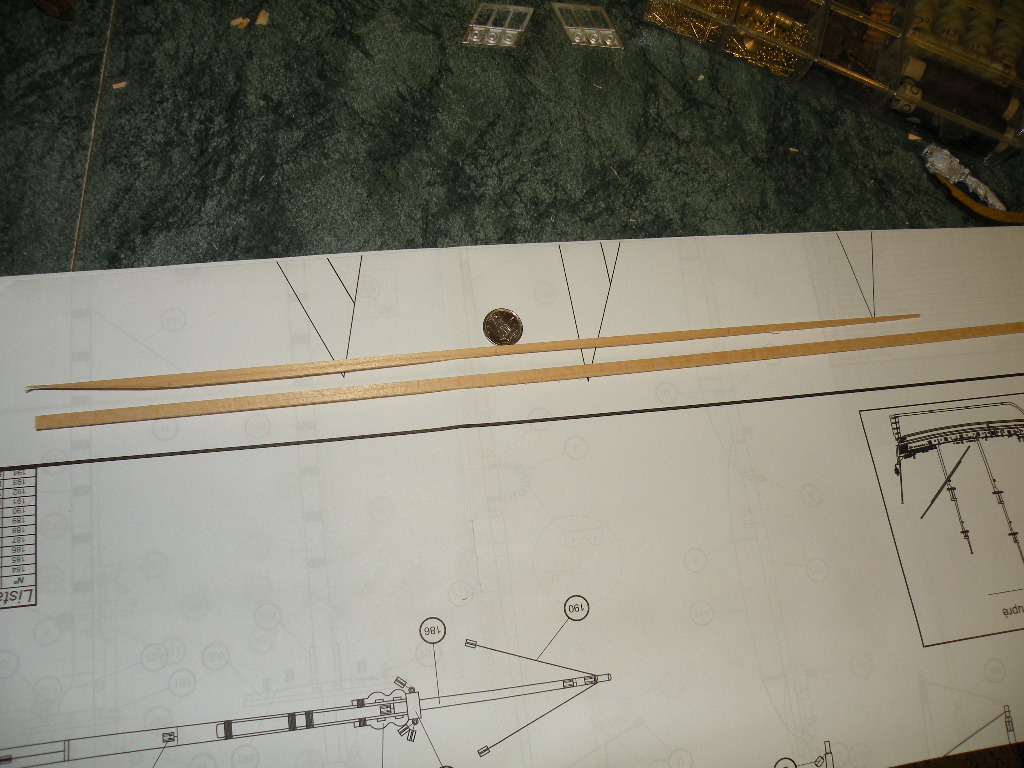
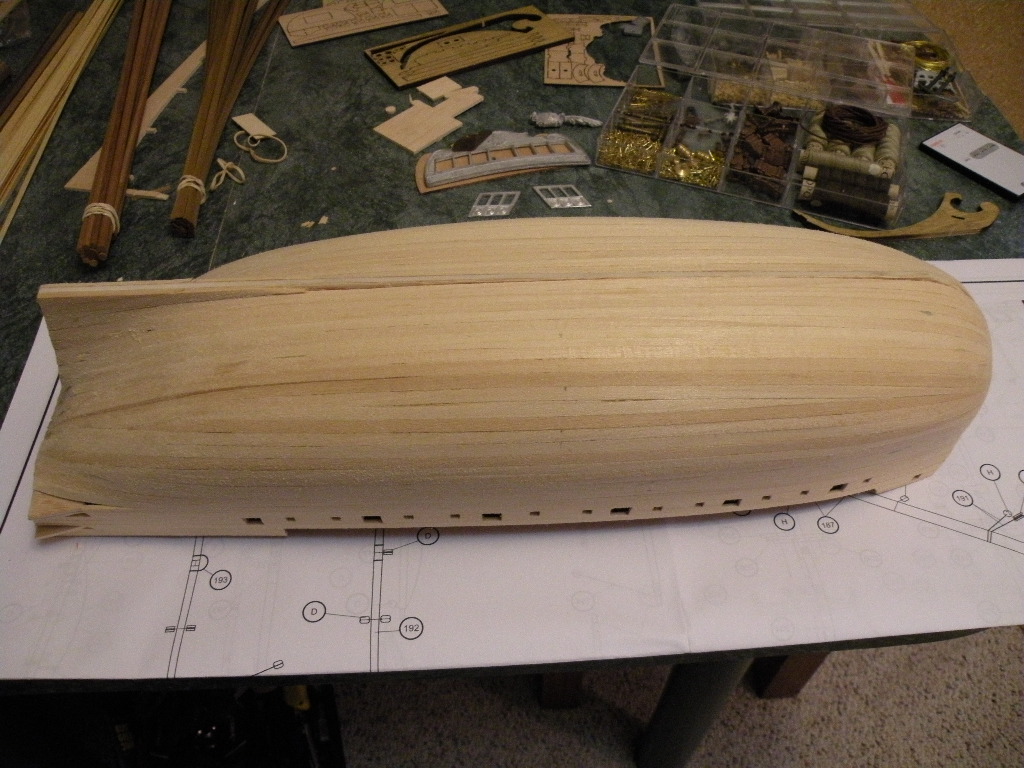
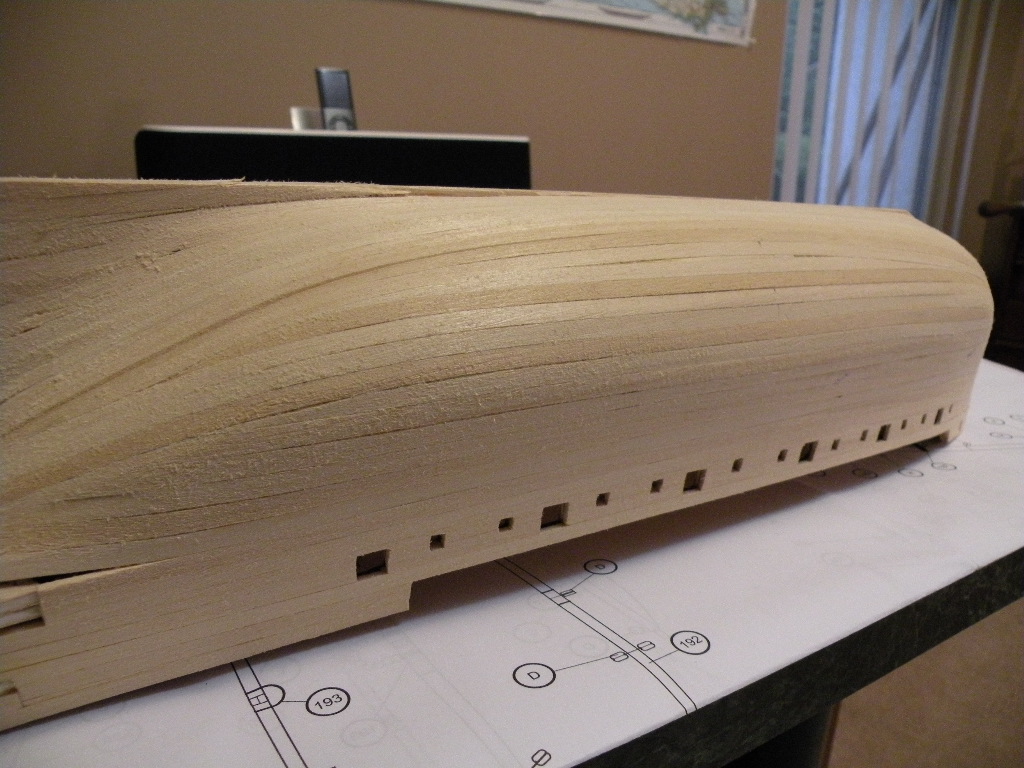
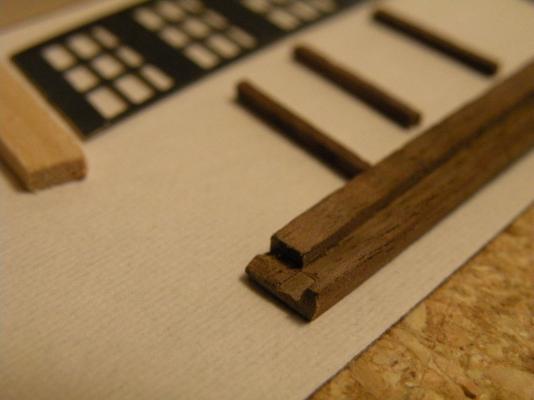
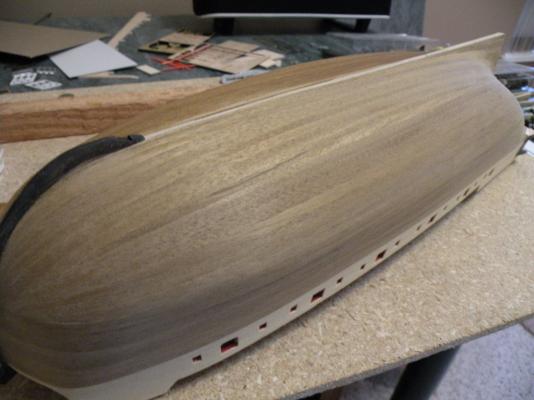
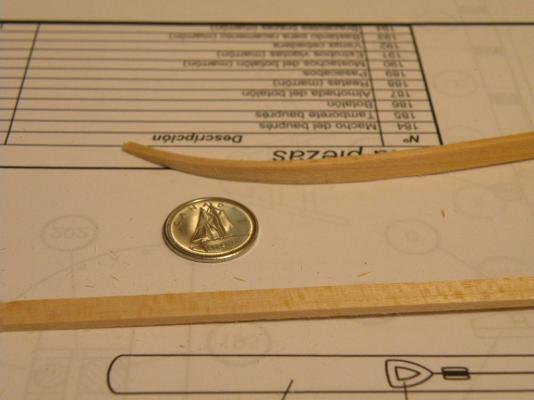
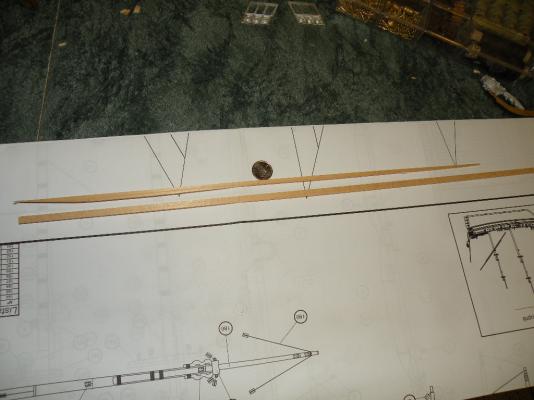
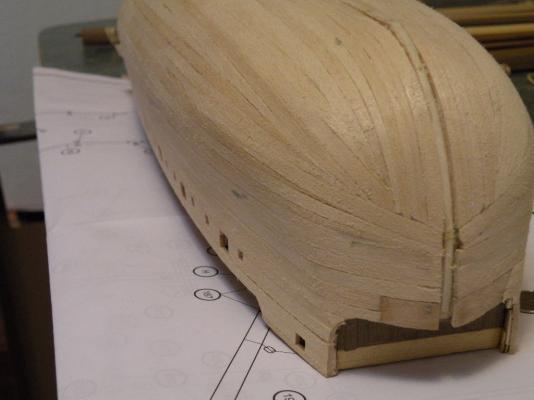
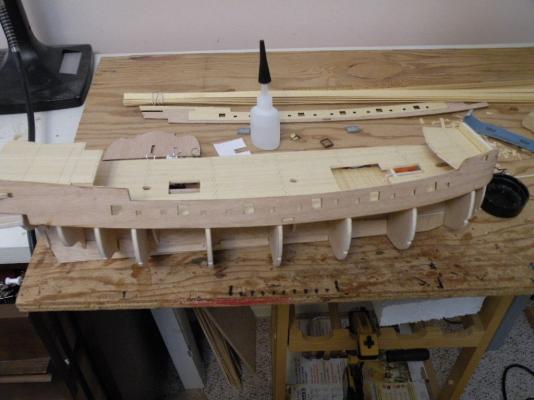
Here is the hull first plank and rough sanded. Turned out well only a small amount of filler. Threw in a pic or two of a plank tapered and bent.


-
Thanks Hamilton, I like adding that personal touch and rebuilding what you can adds a little spice. I'll hop on over and check out the Dois Amegos I almost picked that one. Perhaps next time.
-
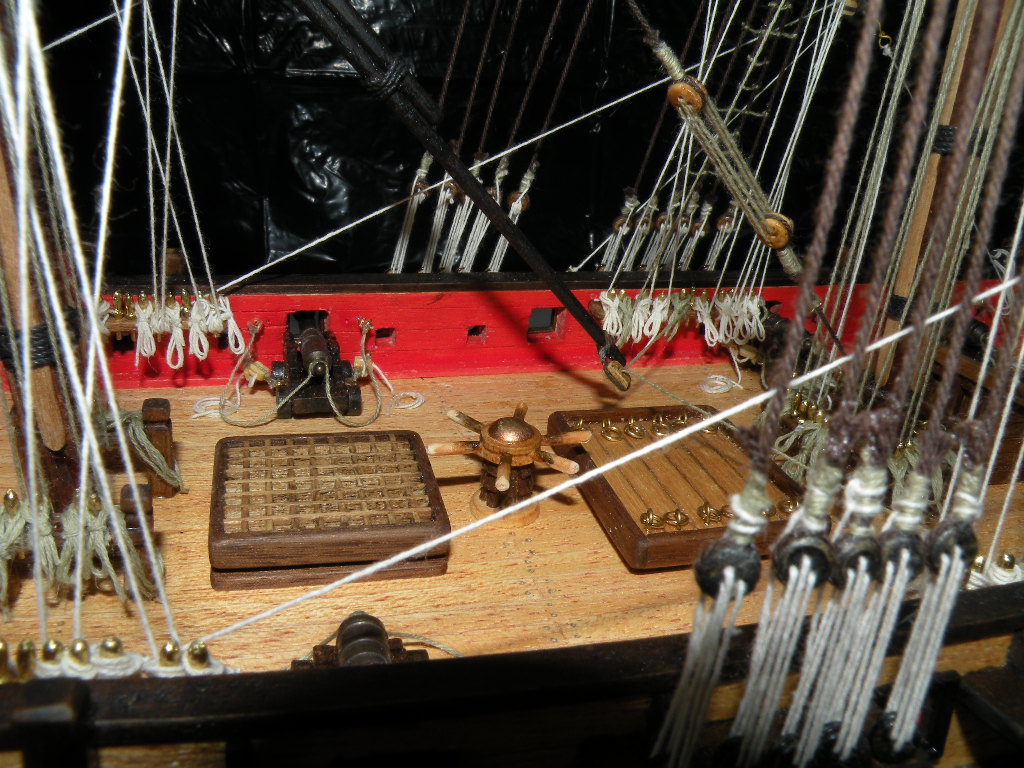
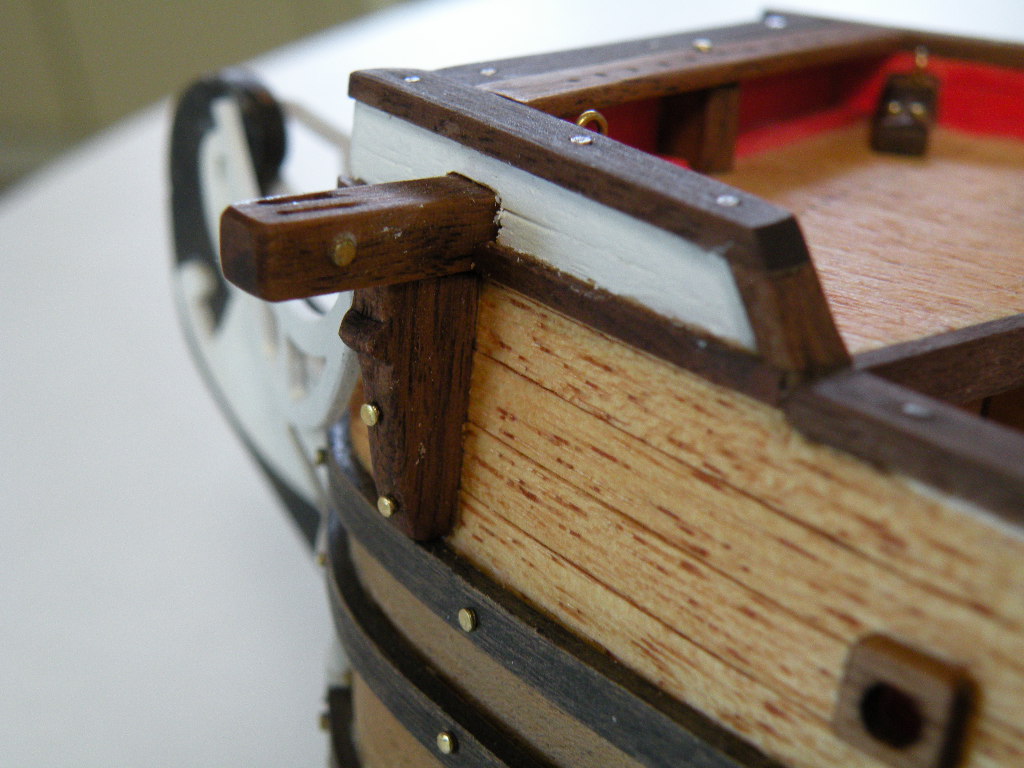
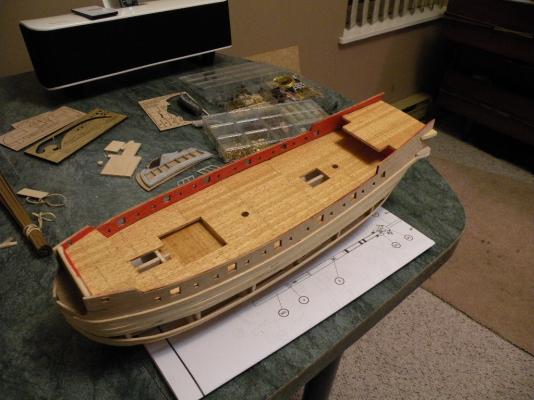
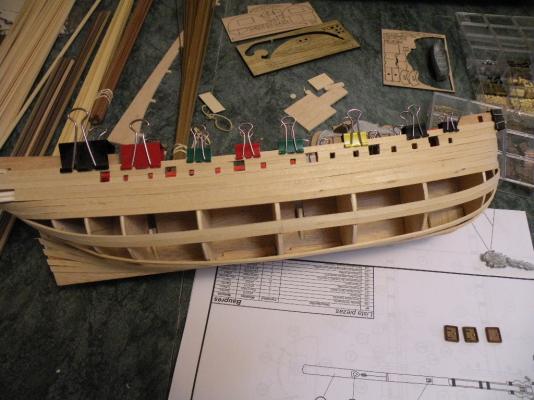
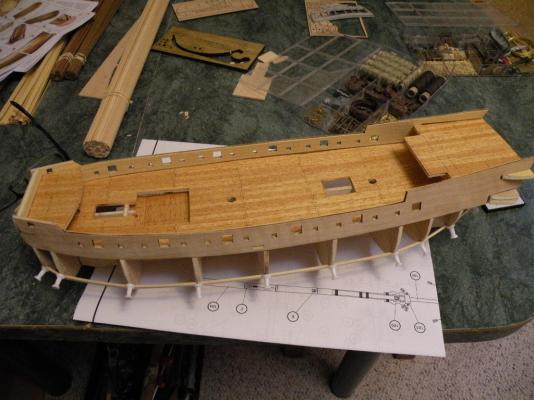
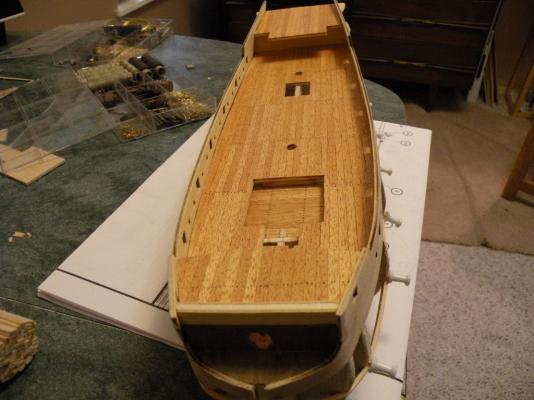
A few more pics, getting harder to stop and take pictures.... I planked the inside of the bulwarks and used a thin paint to try and accent this

-
Here's a few mor pics. It's been raining here pretty much none stop so progress has been good.


-
Thanks Monkeyman, I'm not looking for historical acuracy. not much chance of my ships going to a museum so I do this for fun and intertanment. In the end I'll build my Candelaria not "the candelaria" Your right though there isn't much extraordinary with this kit but it wasn't really expencive ether. Cheers
-
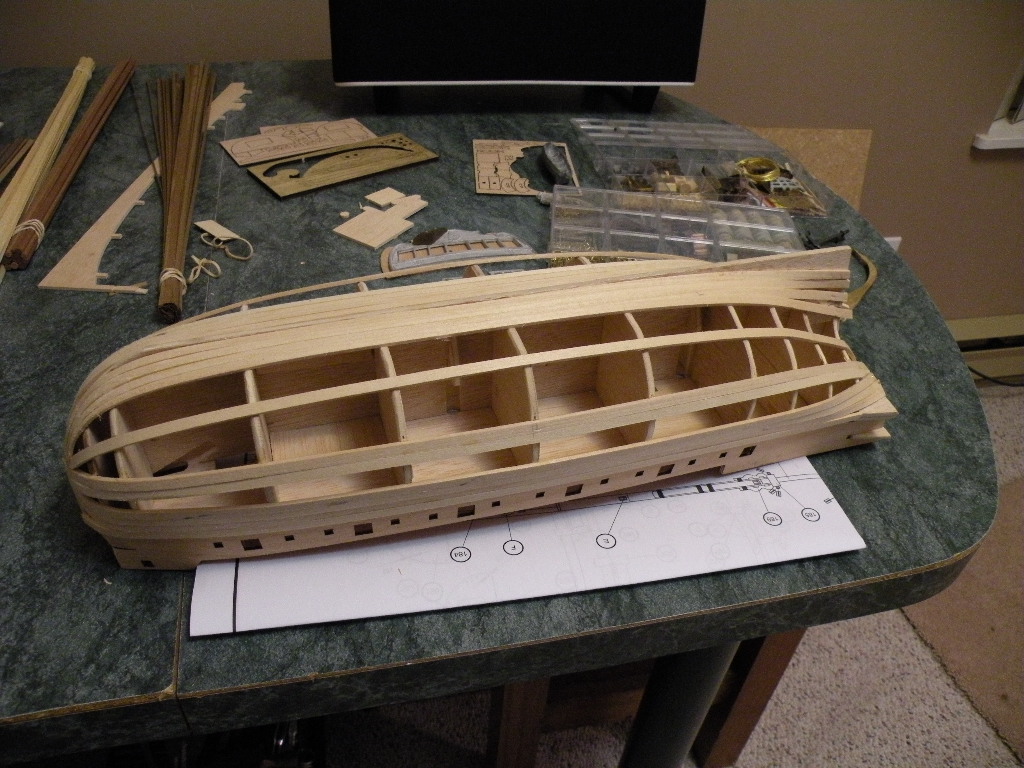
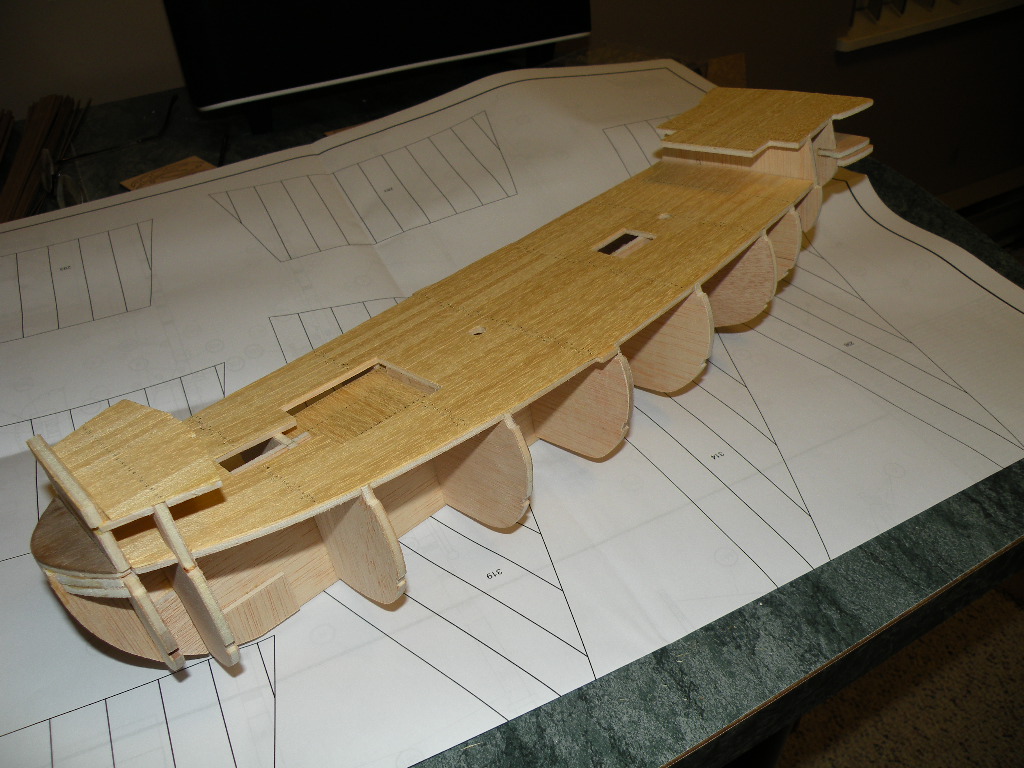
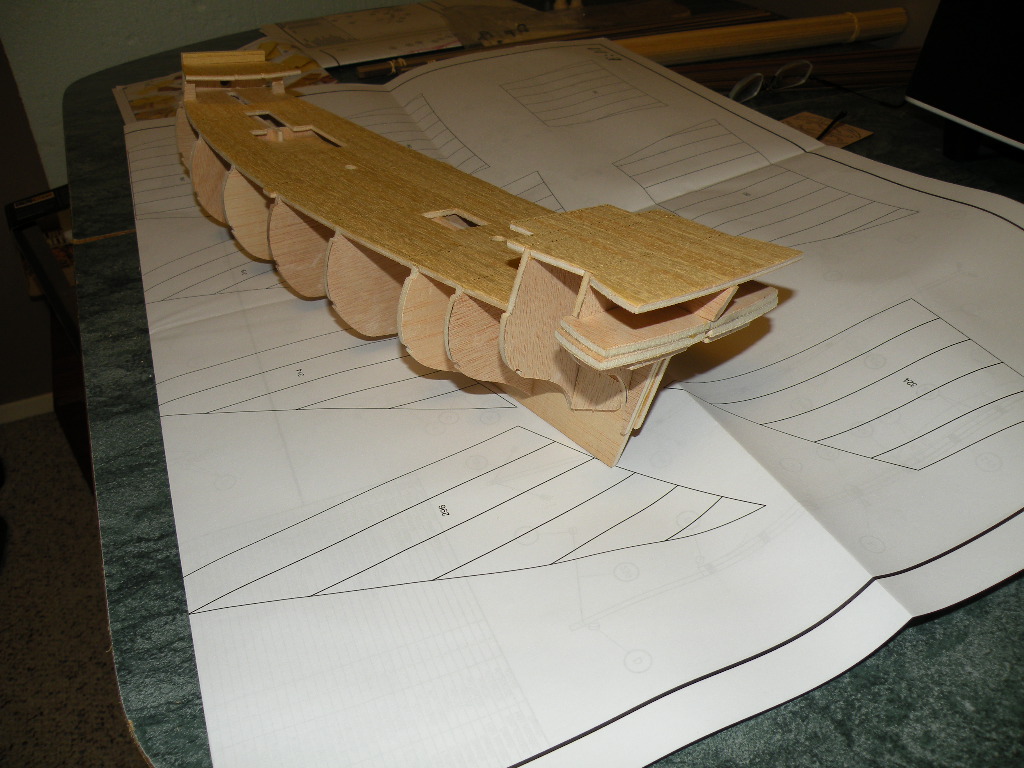
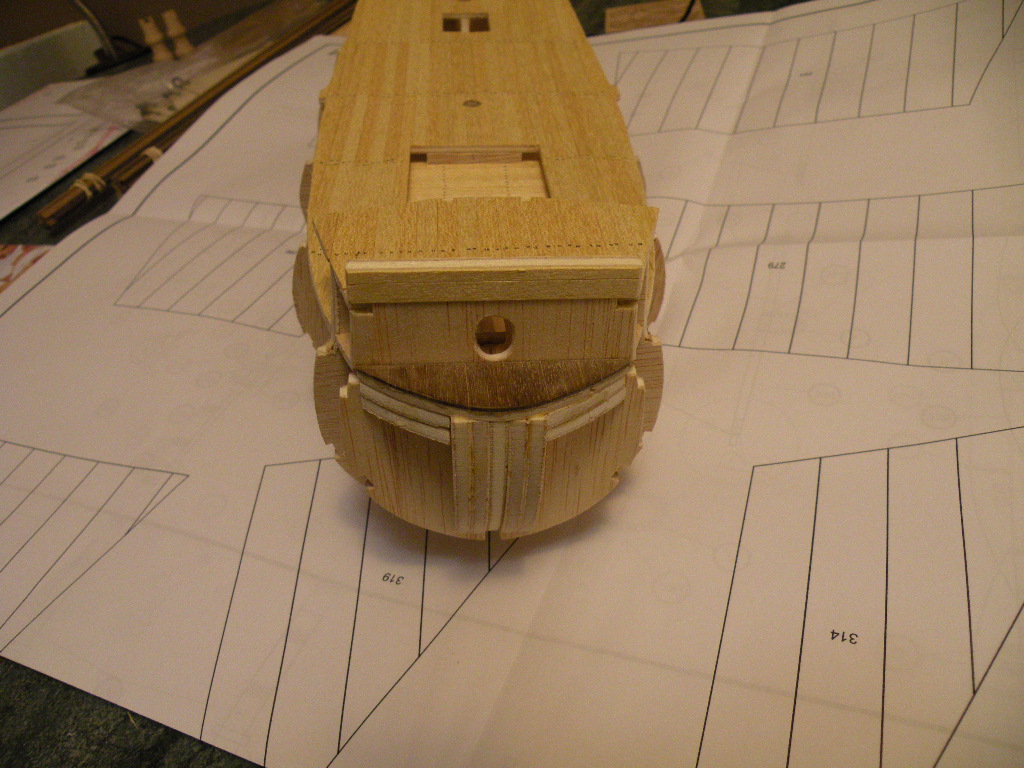
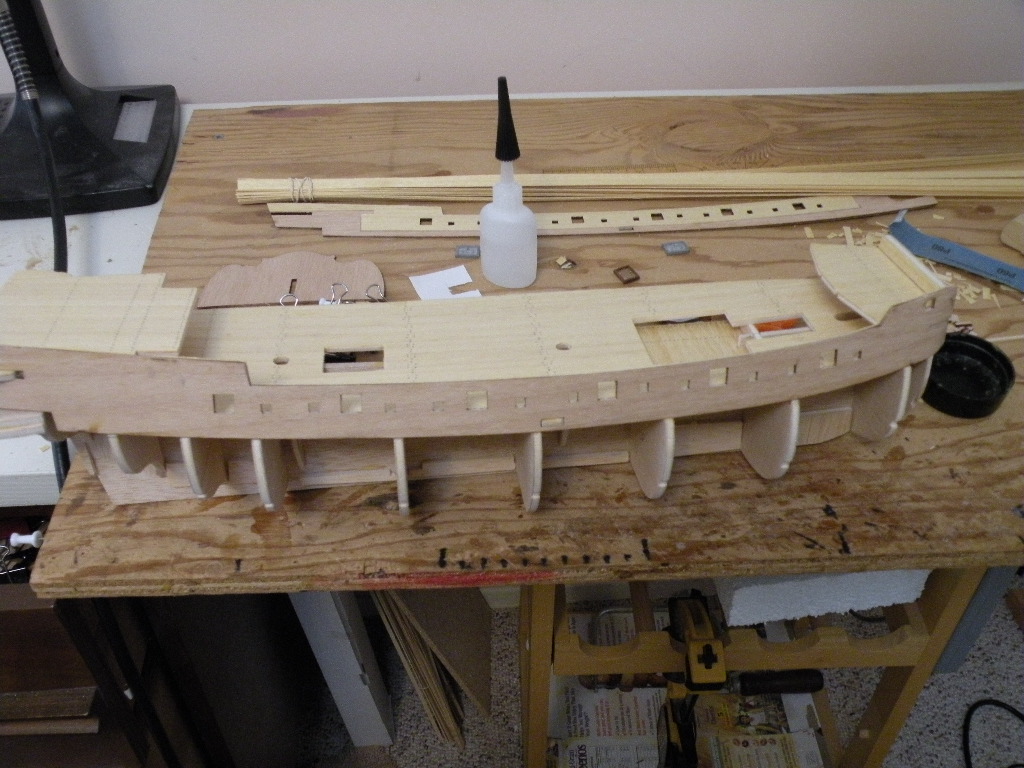
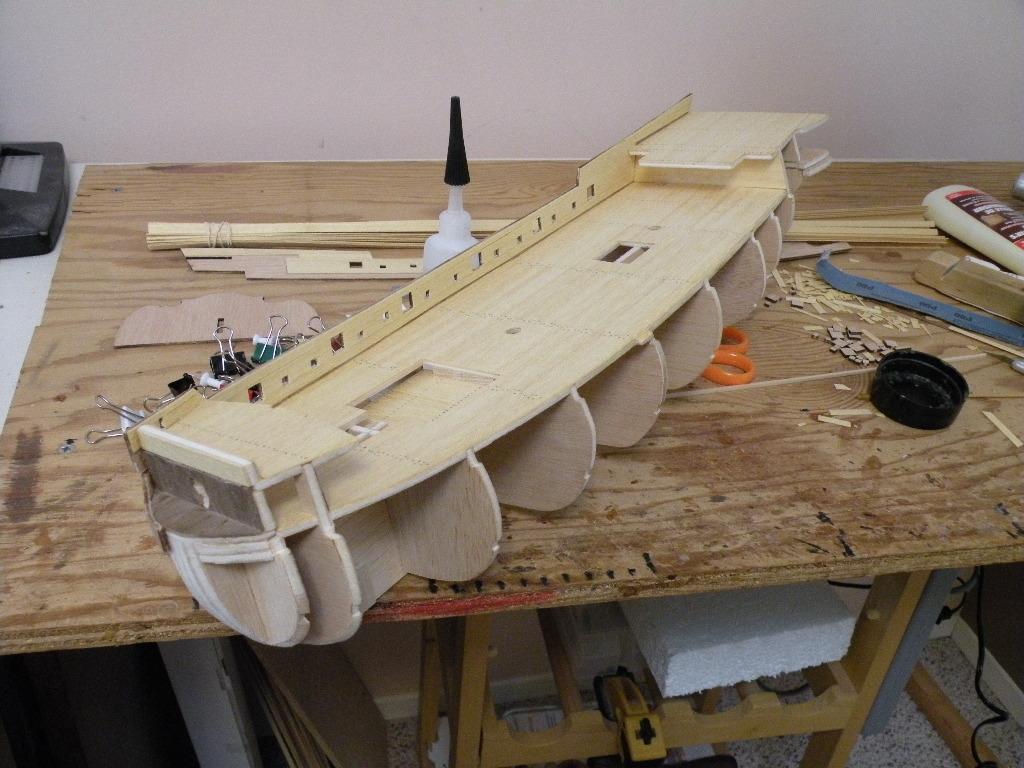
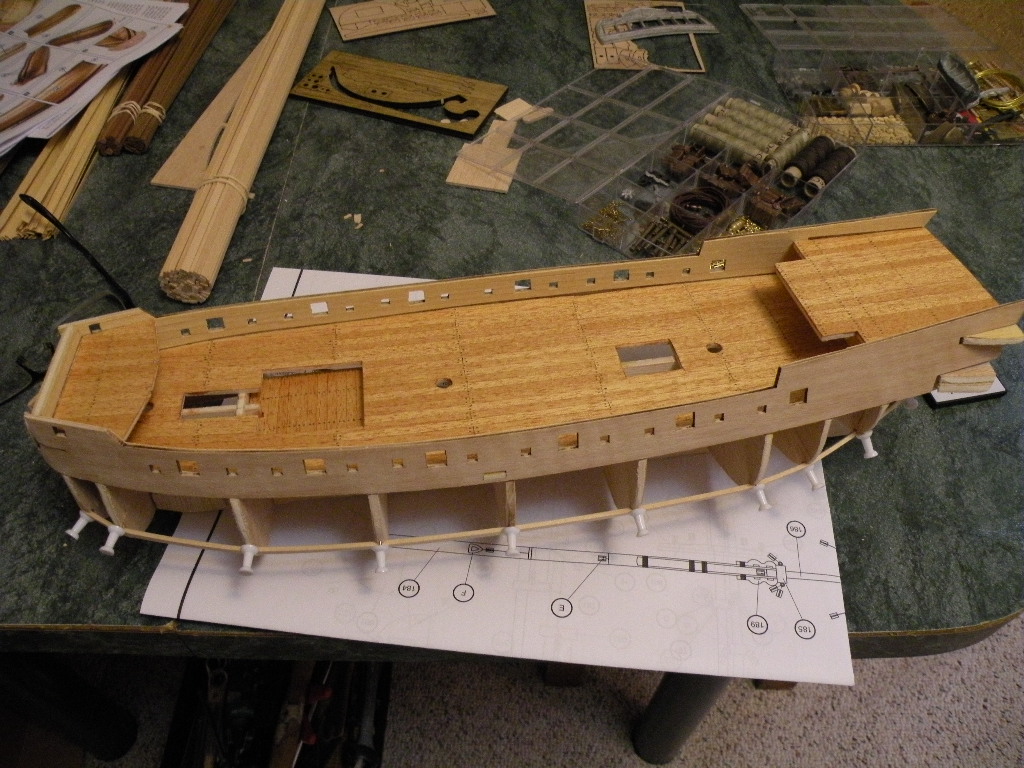
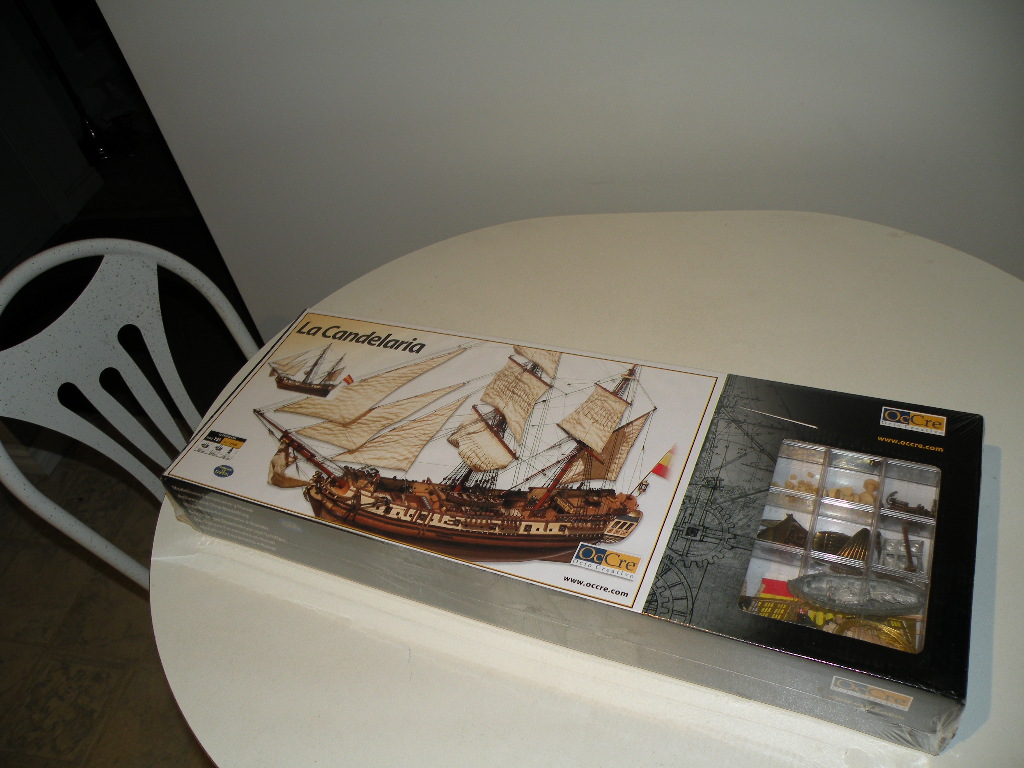
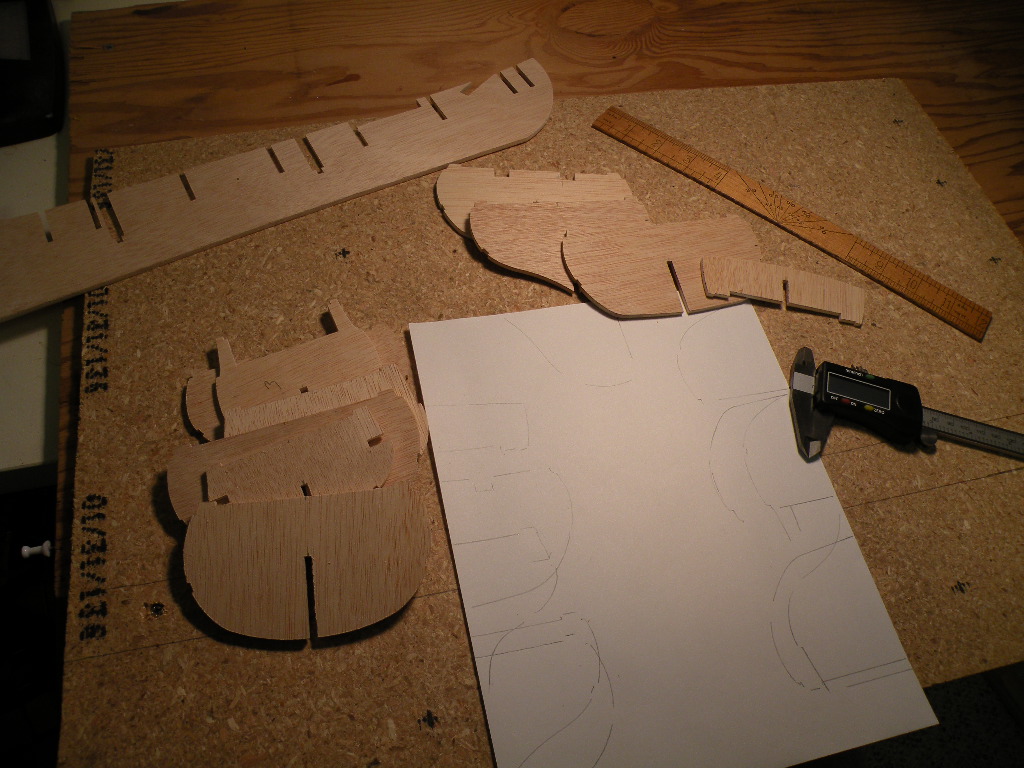
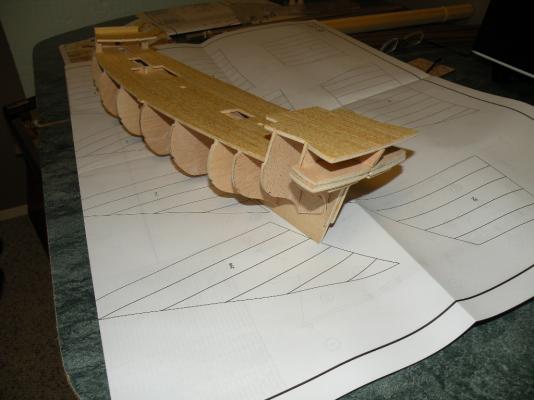
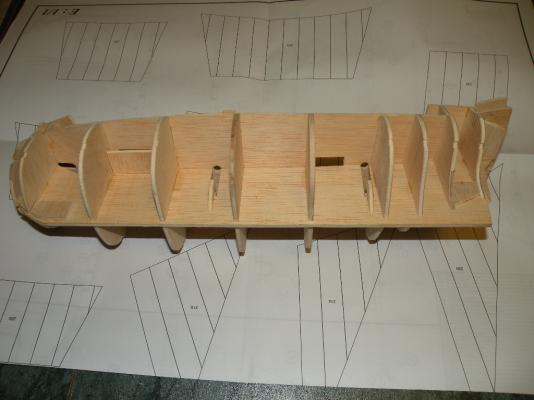
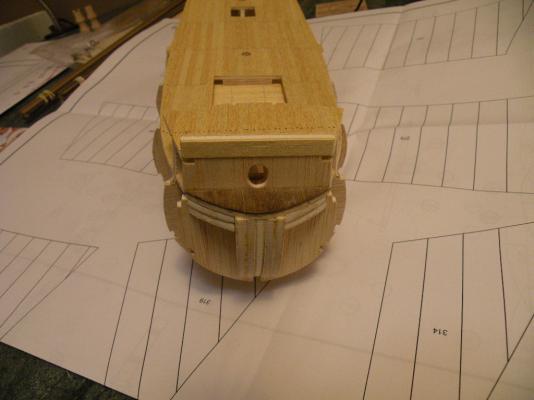
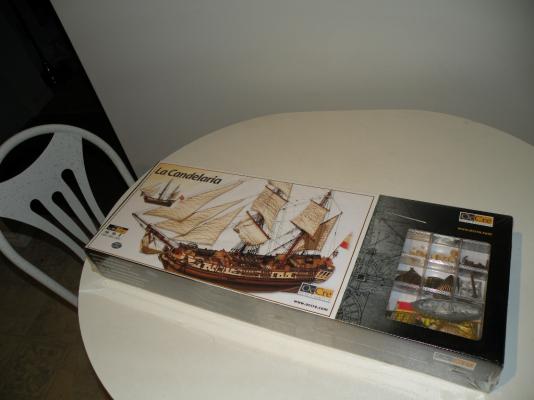
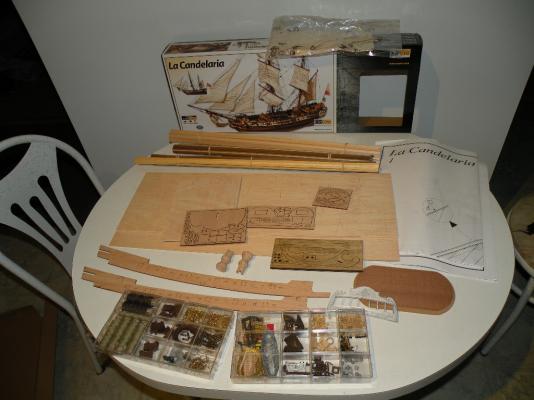
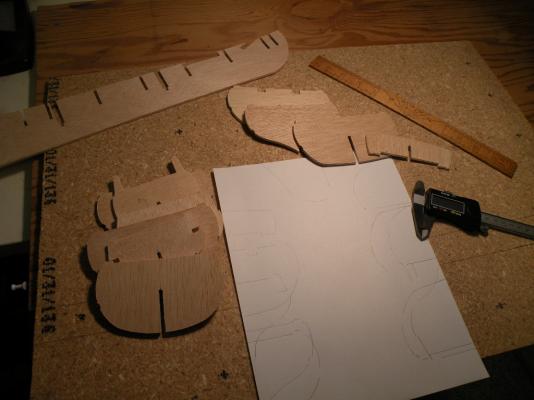
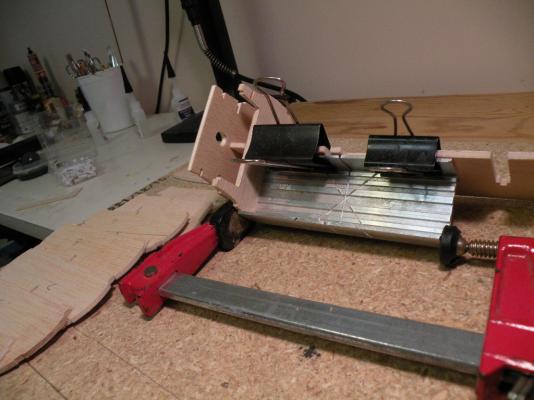
After finishing my last project, Curtis-Jenny Bi plane, it was time to get back into the ship yard. I've chosen The La Candelaria, I think this is my first OcOre kit so looking forward to see how it goes. Heres a few pics to get started. The required unwraping and inspection. First glance and things look good,a few to many metal bits, I'll try to fix that as I go. A quick check on symmatry and things look good. Using a miter box to square things up....
-
The ending of one leads to the beging of another, Nice piece of work. so much to learn!
- 153 replies
-
- 2
-
-
- royal caroline
- panart
- (and 1 more)