HOLIDAY DONATION DRIVE - SUPPORT MSW - DO YOUR PART TO KEEP THIS GREAT FORUM GOING! (Only 20 donations so far - C'mon guys!)
×


StuartC
-
Posts
91 -
Joined
-
Last visited
Content Type
Profiles
Forums
Gallery
Events
Everything posted by StuartC
-
 Good Afternoon Everybody, I'm finally back after a short 4 year break, ratlines finally done, on with the rest of the fixed rigging.
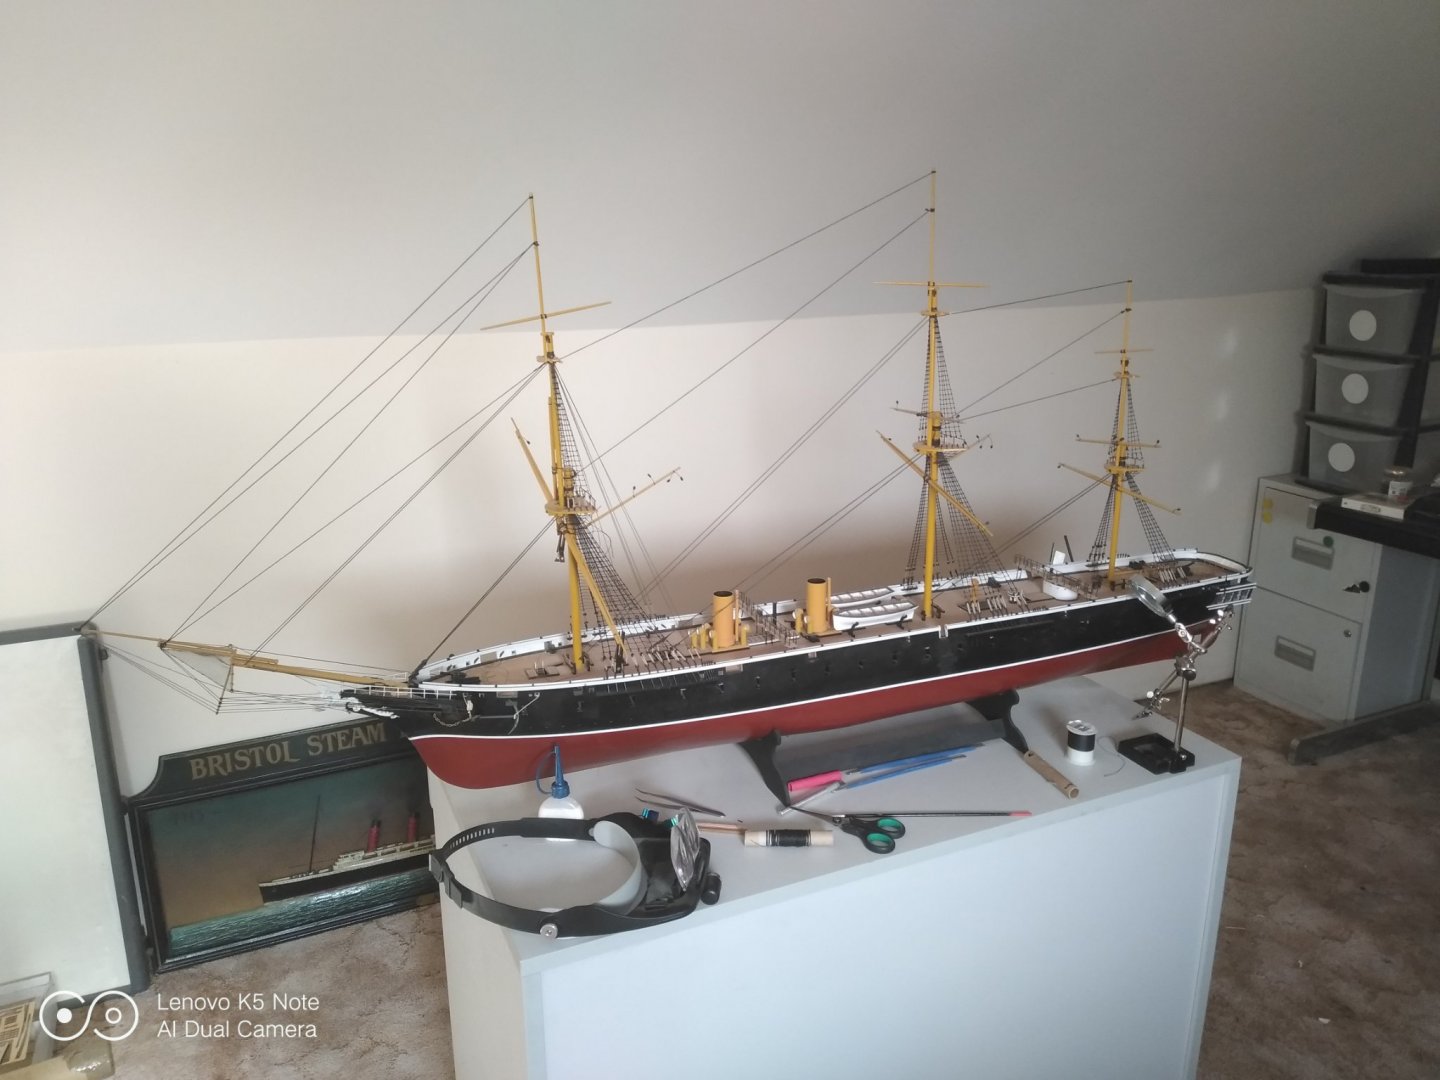
-
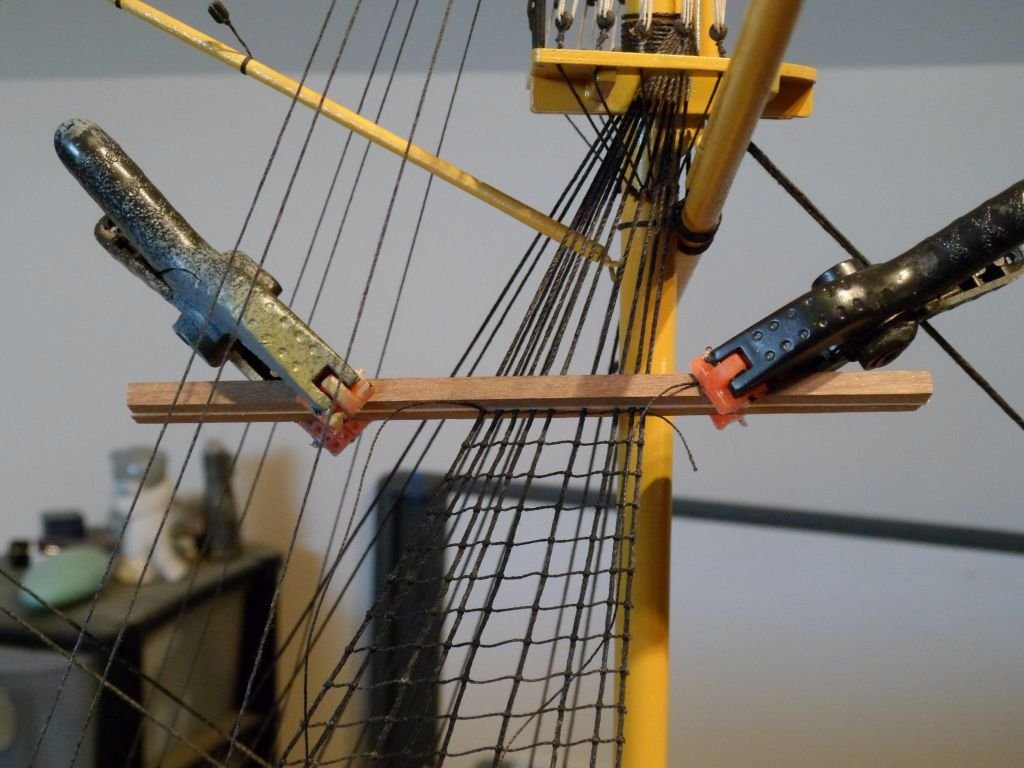
Taking a break from the ratlines to say a "thank you" to whoever suggested this method for clamping the shrouds and getting even spacing, so much easier to control. Stuart
-
Hi Phil, Just caught up with your build, she's coming along really well Cheers Stuart.
-
3 months since my last post but still s l o w l y making progress. When people say you need patience with this hobby they ain't joking
-
Hi all, thanks to everyone for the kind comments and likes. I thought that this was a suitable time to post a latest progress shot as tomorrow is the third anniversary for this build. As you can see I've made some inroads into the standing rigging and I'm currently working on the dead eyes. A tip for anybody doing this one in future would be to leave the gun port covers until the rigging is complete as I've managed to knock about 50% of them off so far. Finally a Happy New Year to you all
-
Hi All, Finally managed to get some time and finished stepping in the masts. I think this may be the fourth time I've said this but here we go again, "On with the rigging", I hope I start this time.
-
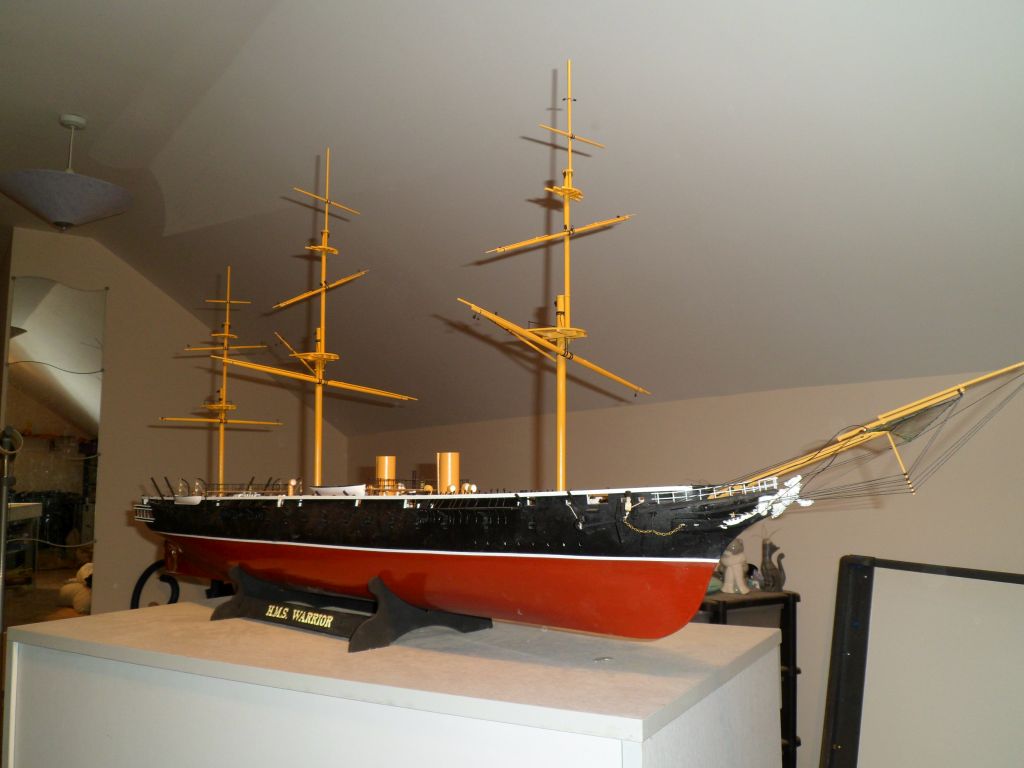
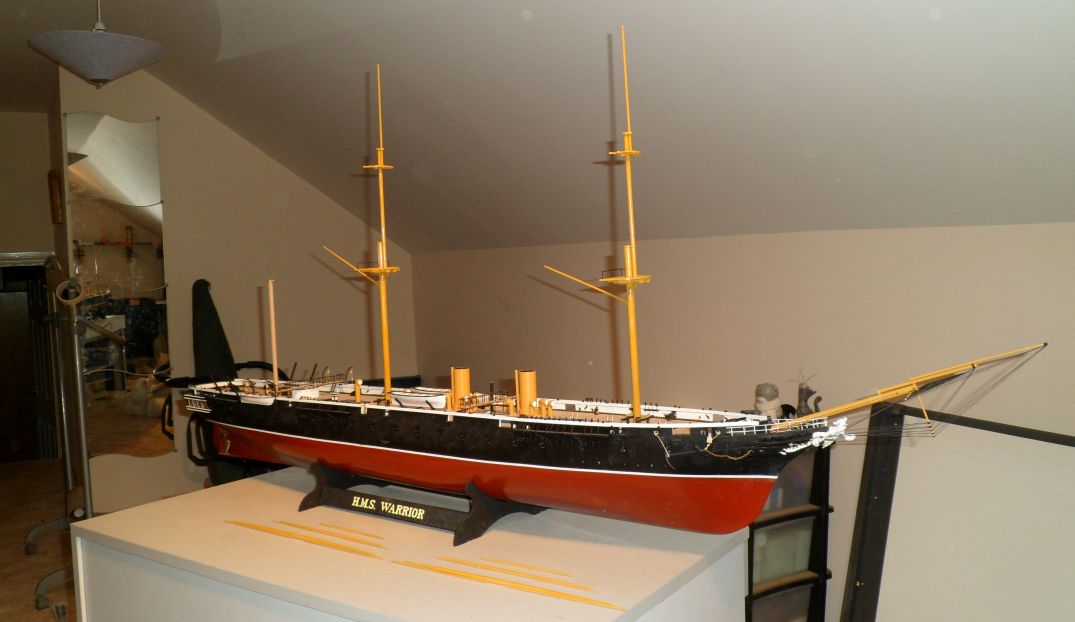
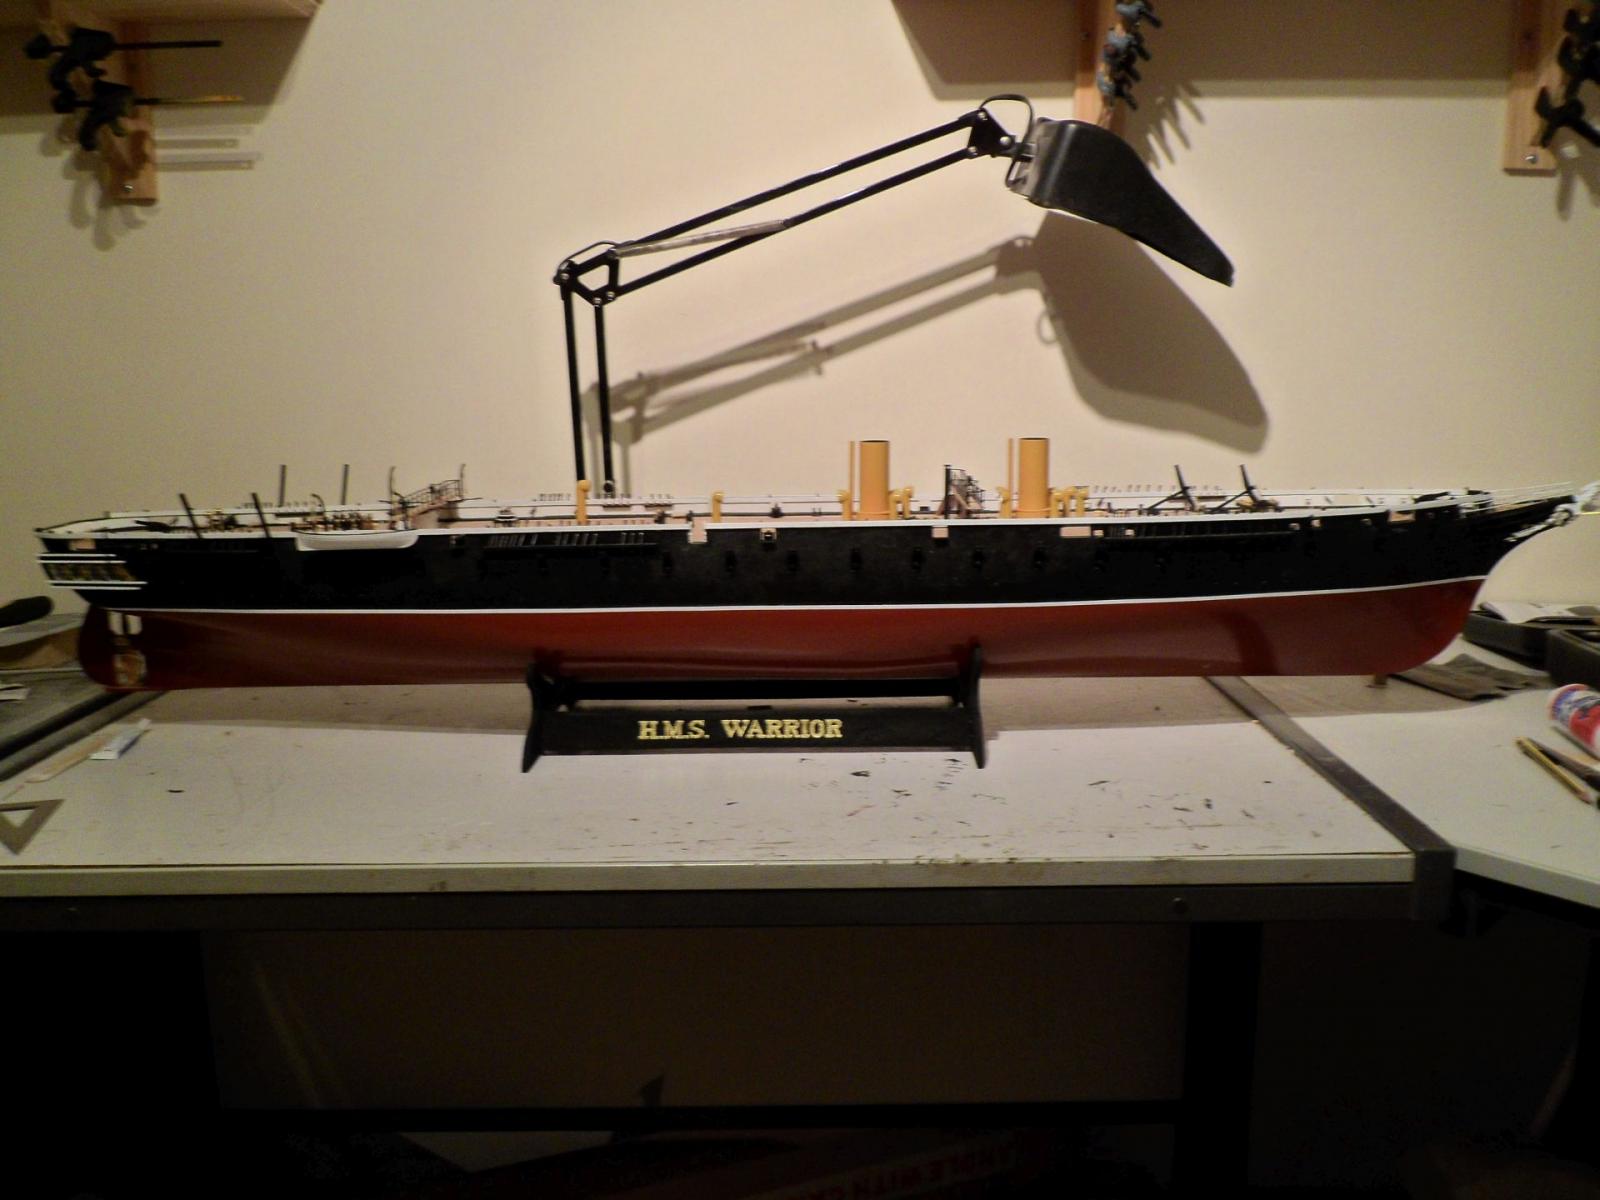
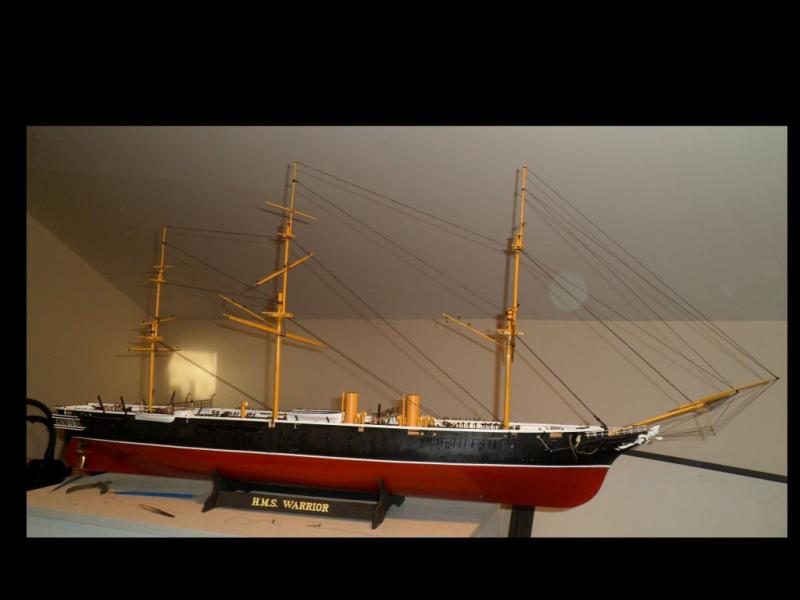
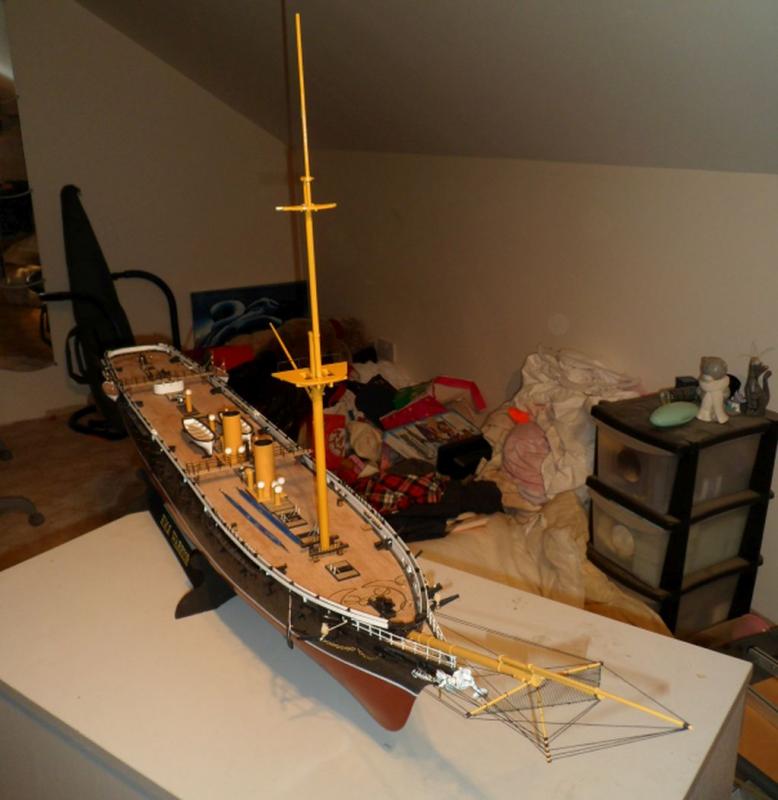
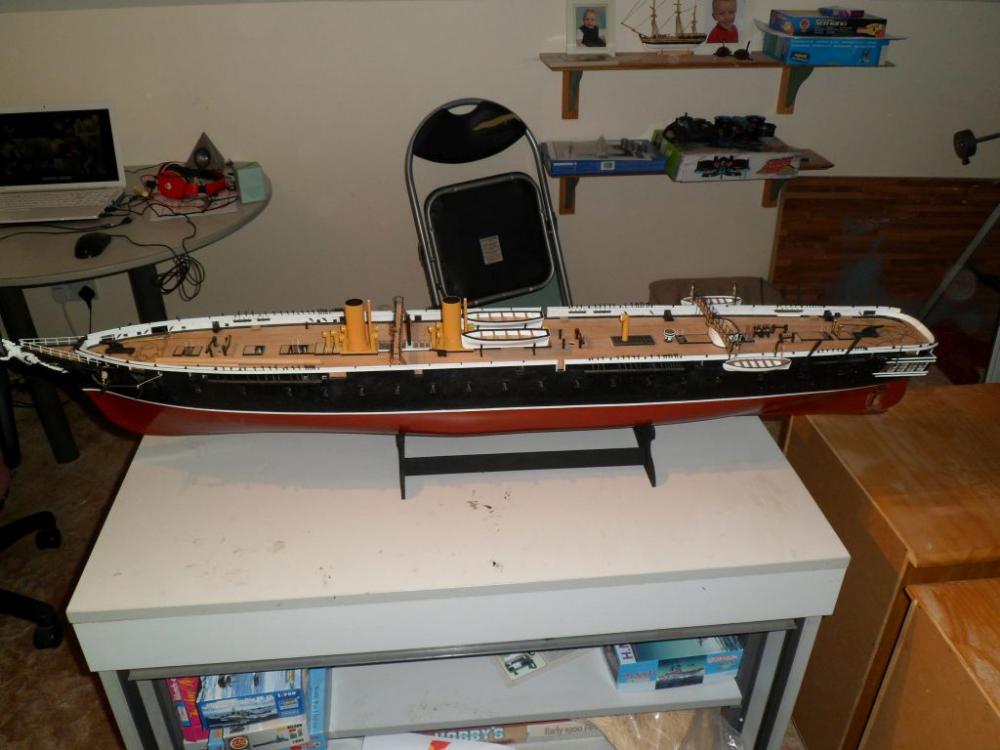
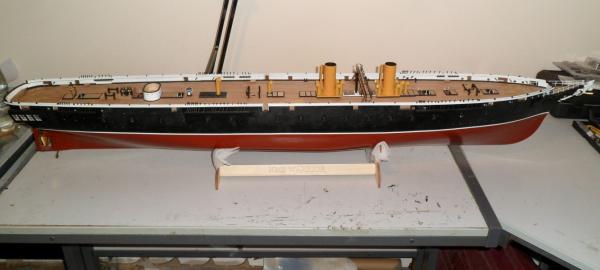
Cheers all for the likes and comments . Latest full view with the main mast slotted in and mizzen started. Getting to the point where I can see the finishing line now. Which reminds me I must get round to making a cabinet for her soon.

-
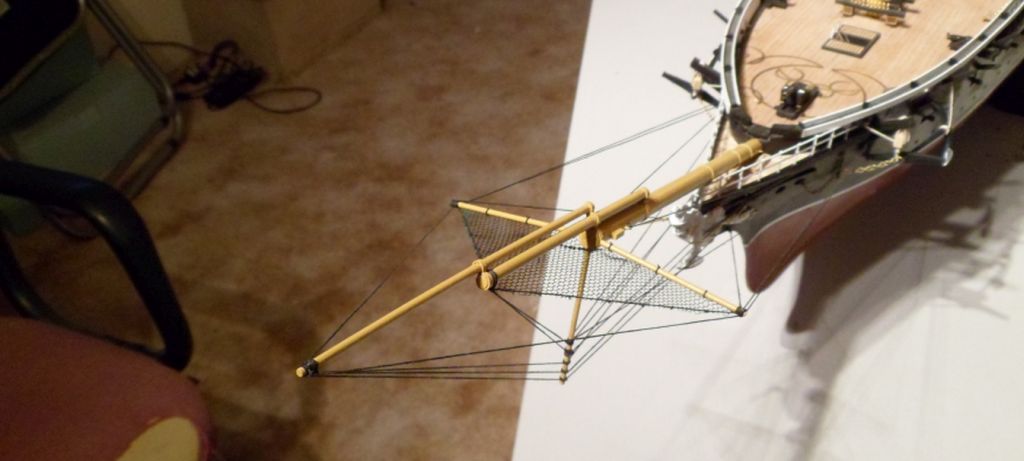
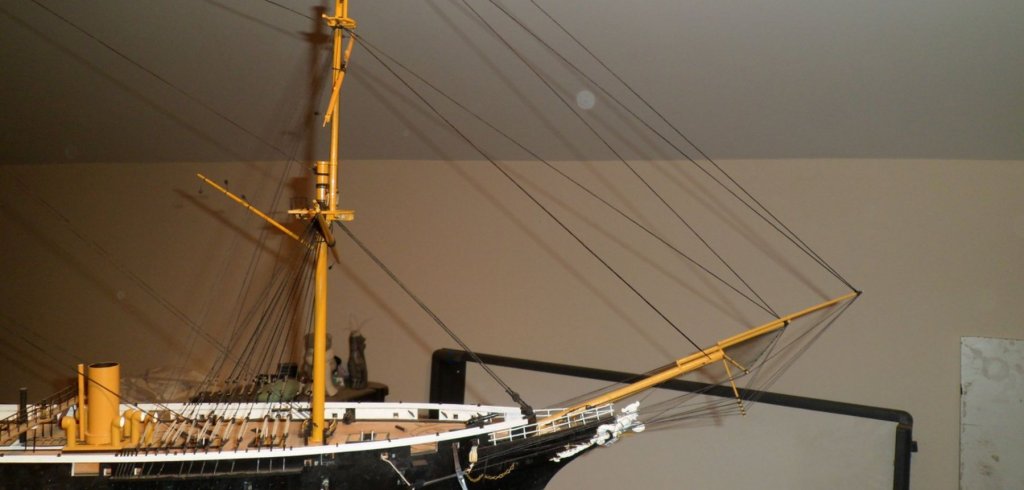
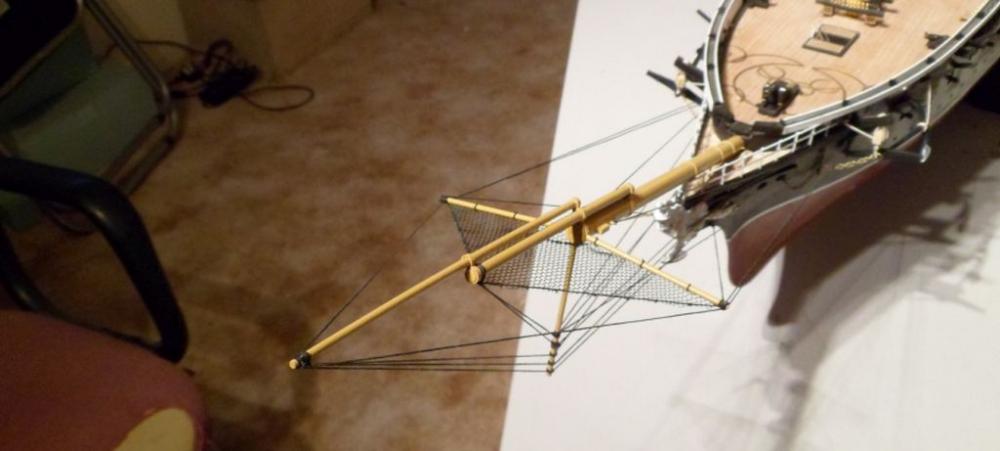
Hi, As always thank you for the comments and support. Latest update is the Bowsprit is now rigged as far as I can at present, so I'm now well under way with the Fore mast, and the spars are drying in their new colours. I find this part of the build one of the most rewarding, as you complete each stage you can see a significant change.
-
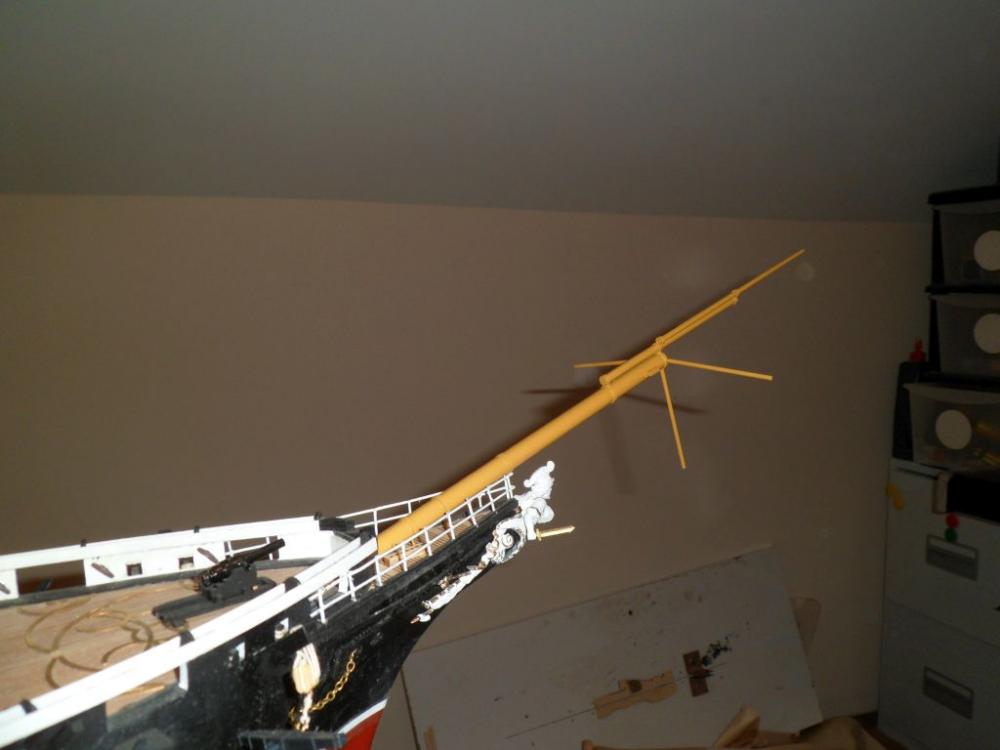
Going through a bit of a growth spurt at the moment. Bowsprit secured in place, now for some rigging.
-
Ok people, This is where I am now, anchors in place, boats in place. Bowsprit started
-
Hi all, Thanks to the usual people for the comments, they are always appreciated. With reference to my last post and the "Only the anchors to go comment", I missed two little things ( ships boats). As per usual I completely underestimated how long these were going to take, after all they are only small... what a mug they are taking for ever, anyway here's the progress
-
Hi Dennis, You never cease to amaze me. I have one in progress with another year of work to go. You have a regular shipyard going, do you have a time machine or a box of extra hours stashed away. Keep it going.
-
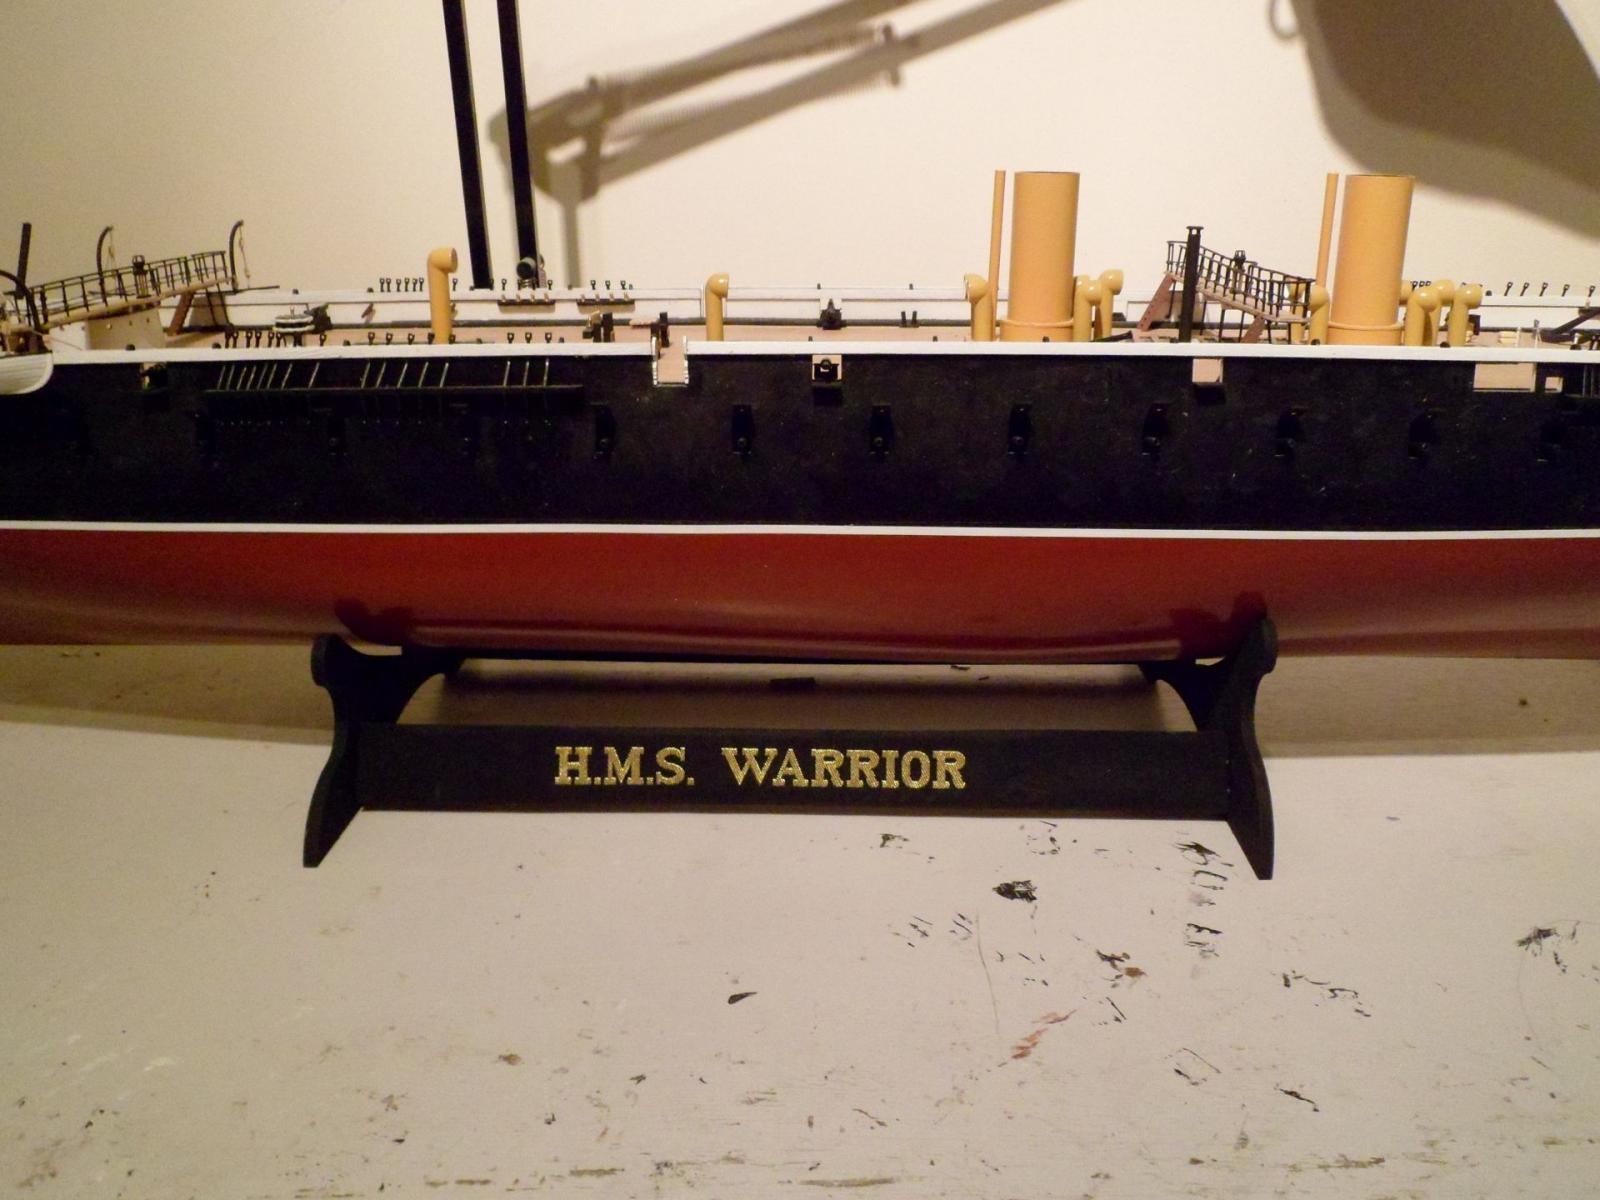
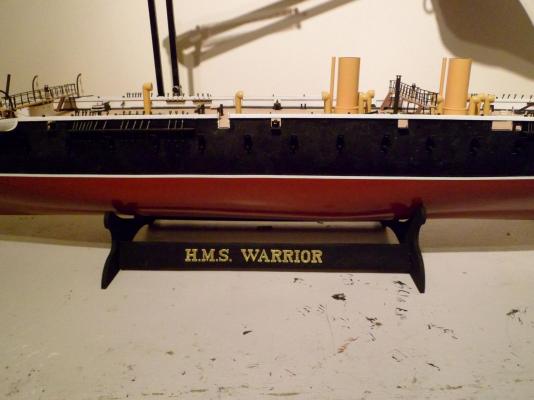
Hi All, Decided to take a break from the small stuff and complete the stand. I decided to use a cap tally for the name plate as my freehand painting would not be up to the job, and I'm really pleased with the result. Just the main anchors to go and I can start on the masts

-
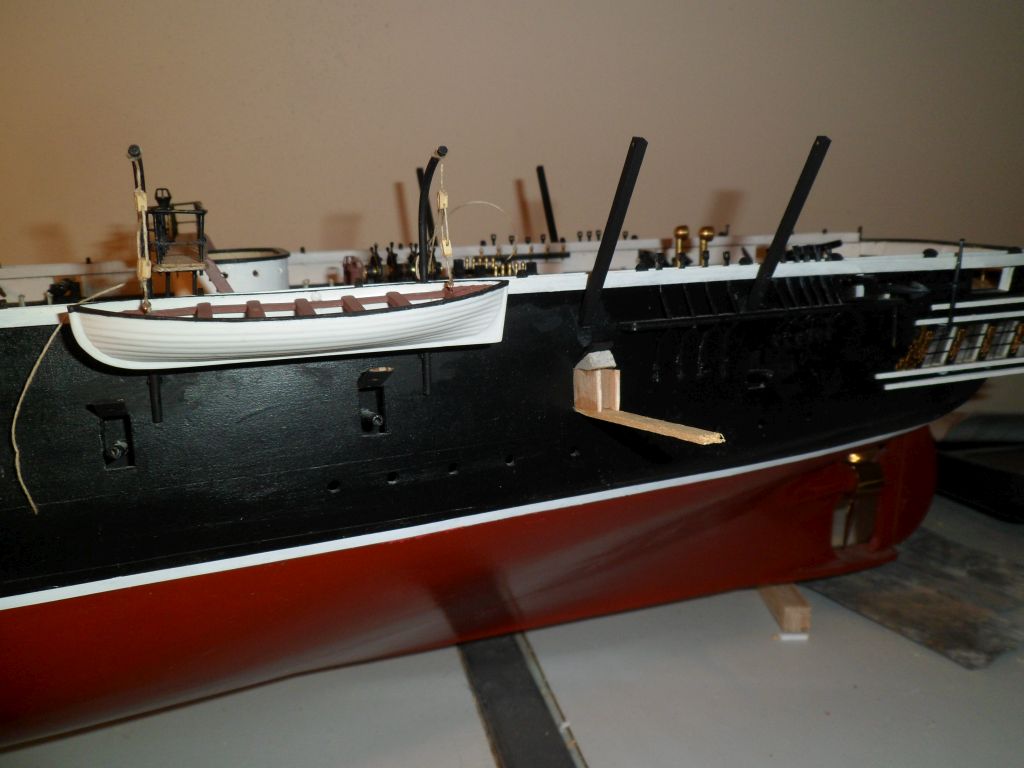
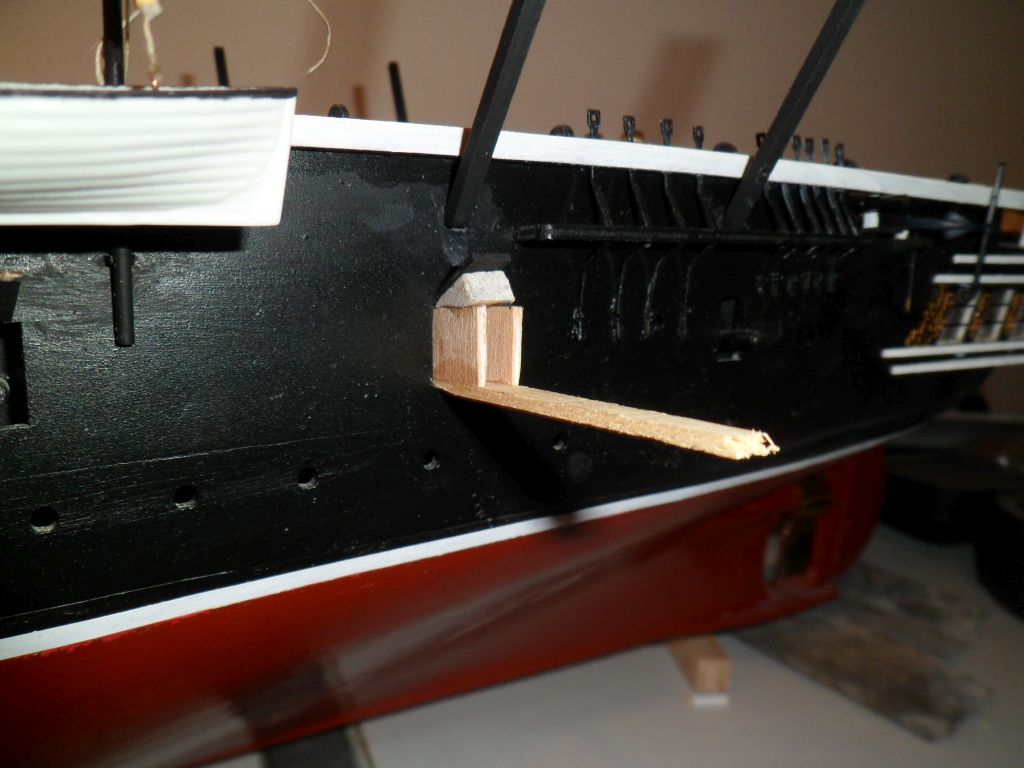
Evening all, Thought I had better give an update as it's been a while. I'm now in the process of mounting the boat davits and the gun port lids to the port side. As part of the lid mounting I made a jig to hold the lids in place whilst the glue dries, and it's worked fine.

-
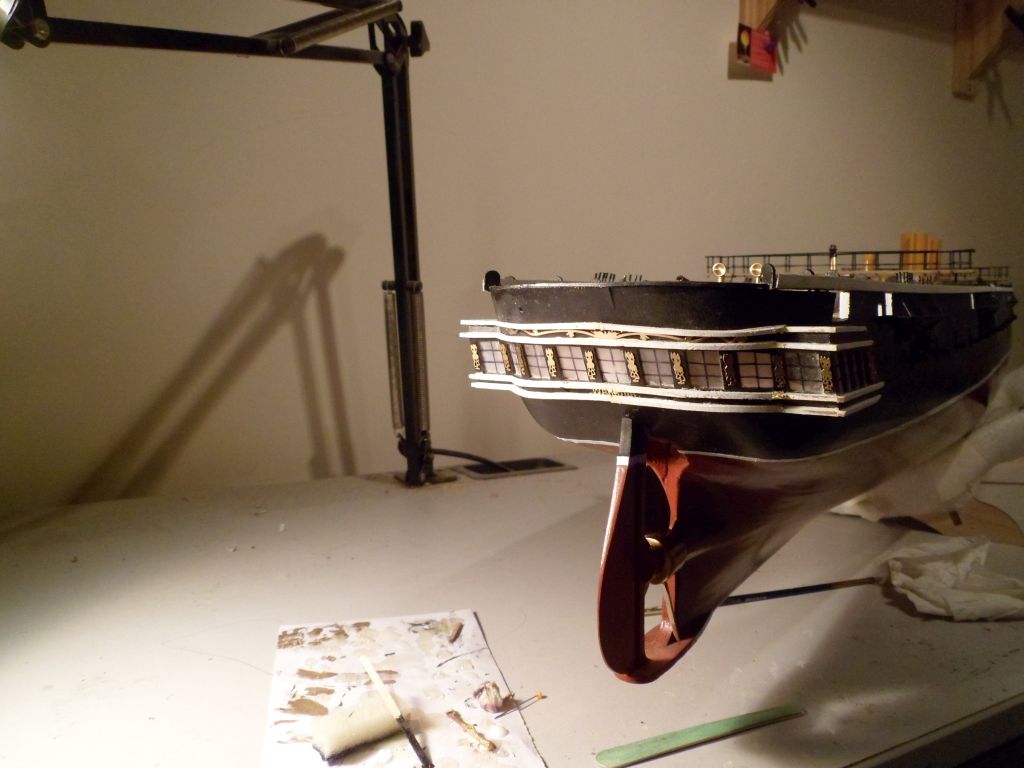
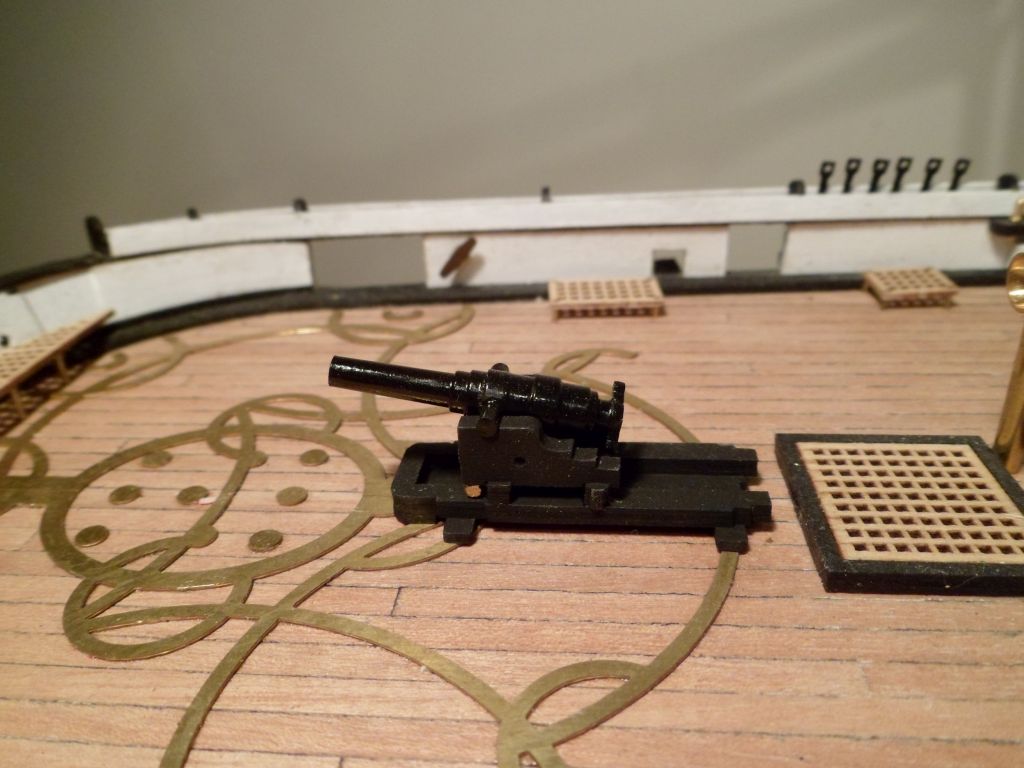
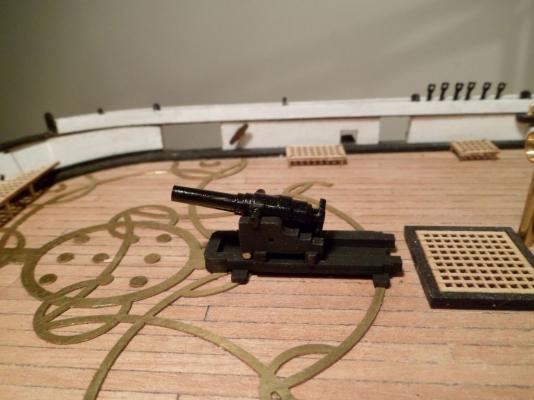
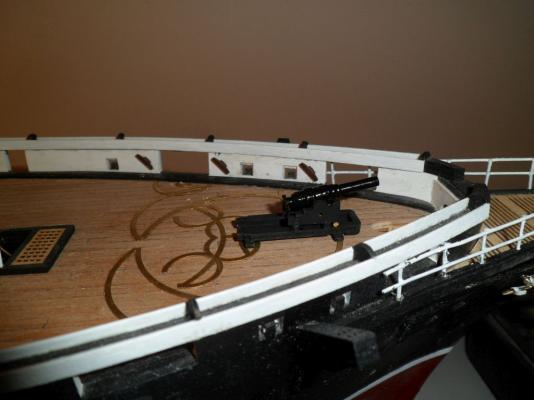
I've been out of the country a fair bit recently, but I have finally got the final parts of the stern decoration in place. There is still quite a bit of tidying up to do, but while I have been waiting for the filler to set I started on the upper deck cannons. A belated Merry Christmas and Happy New year to all.
-
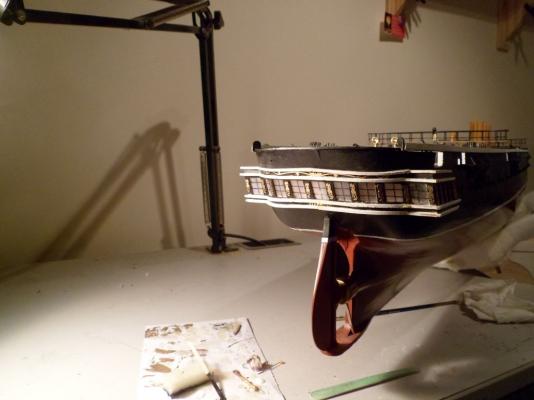
Finally home long enough to make some progress. In this case it is the start of the stern decoration.

-
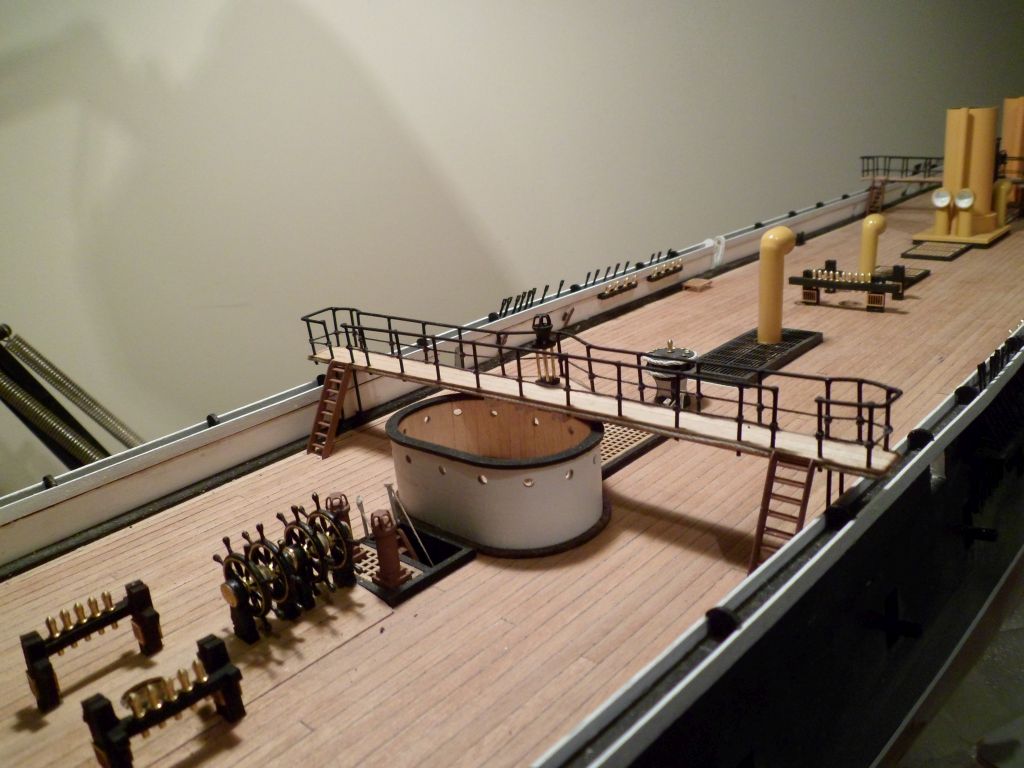
Aft bridge in place, and that is this particular part complete for the time being. Now it's on to the stern decoration and rudder.
-
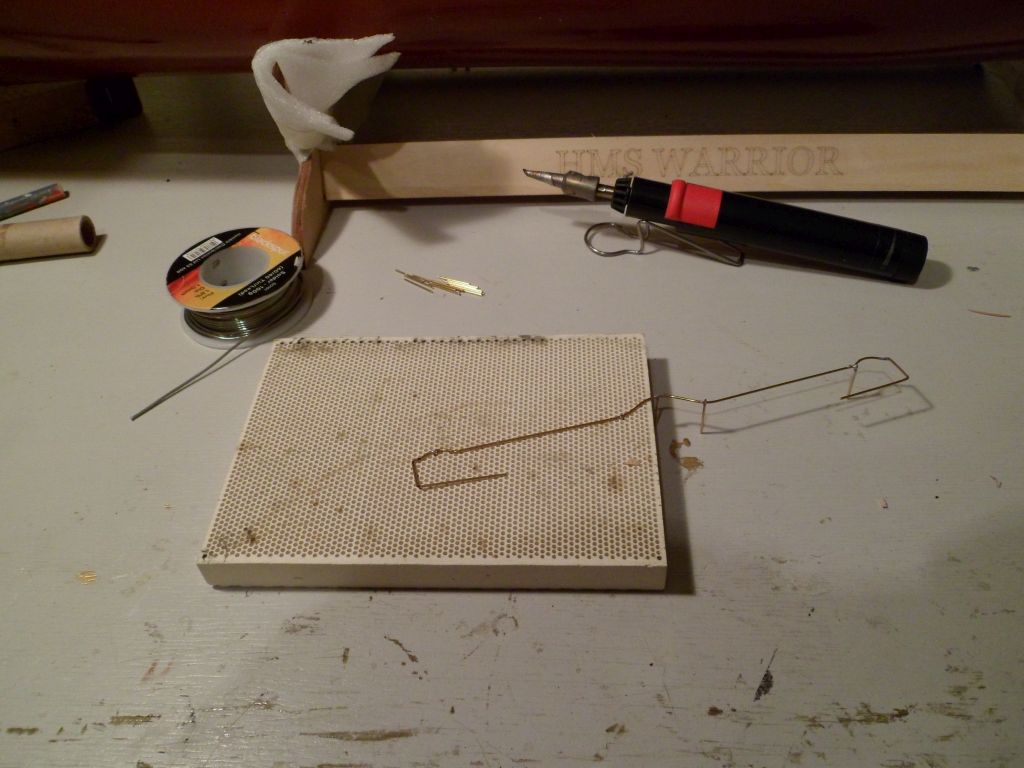
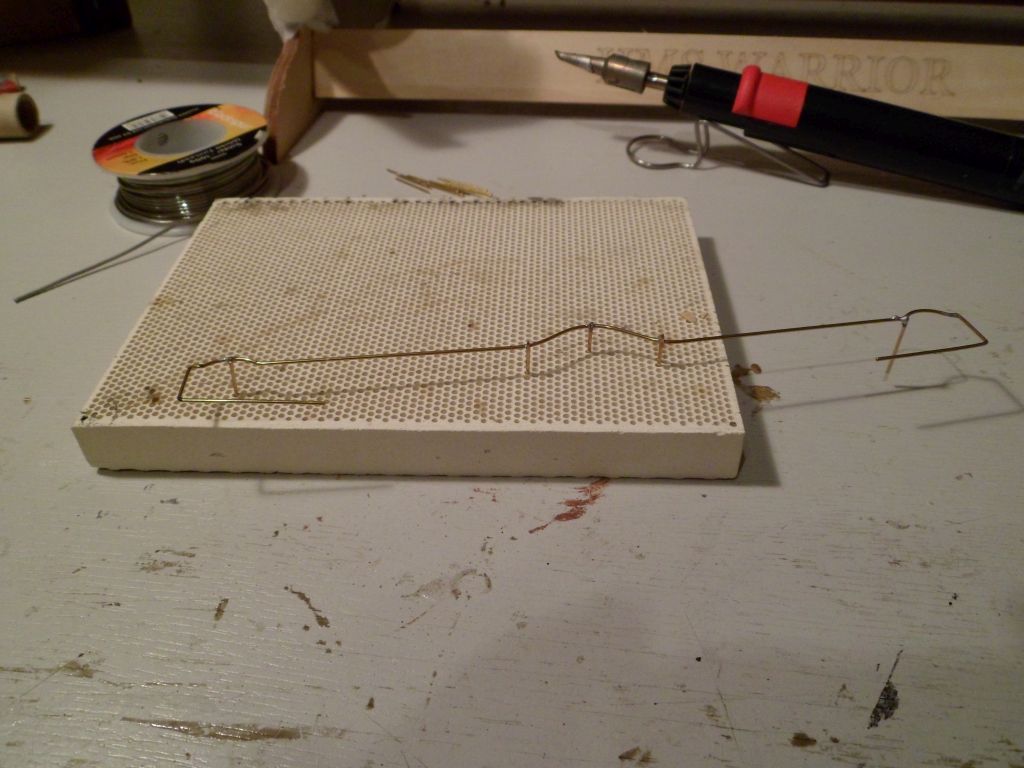
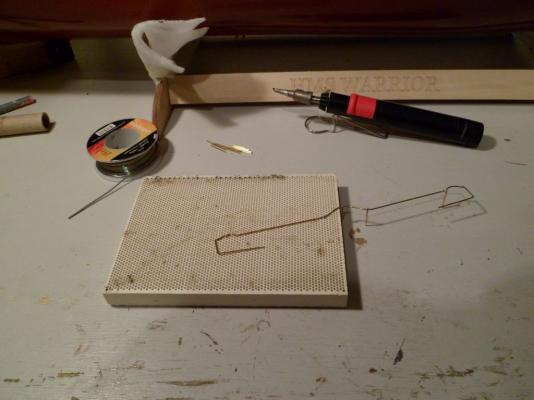
Just thought I would share what I'm using for the construction of the bridge guard rails, It's called a Jewellers Honeycomb Soldering Mat, and is absolutely invaluable in this task.

-
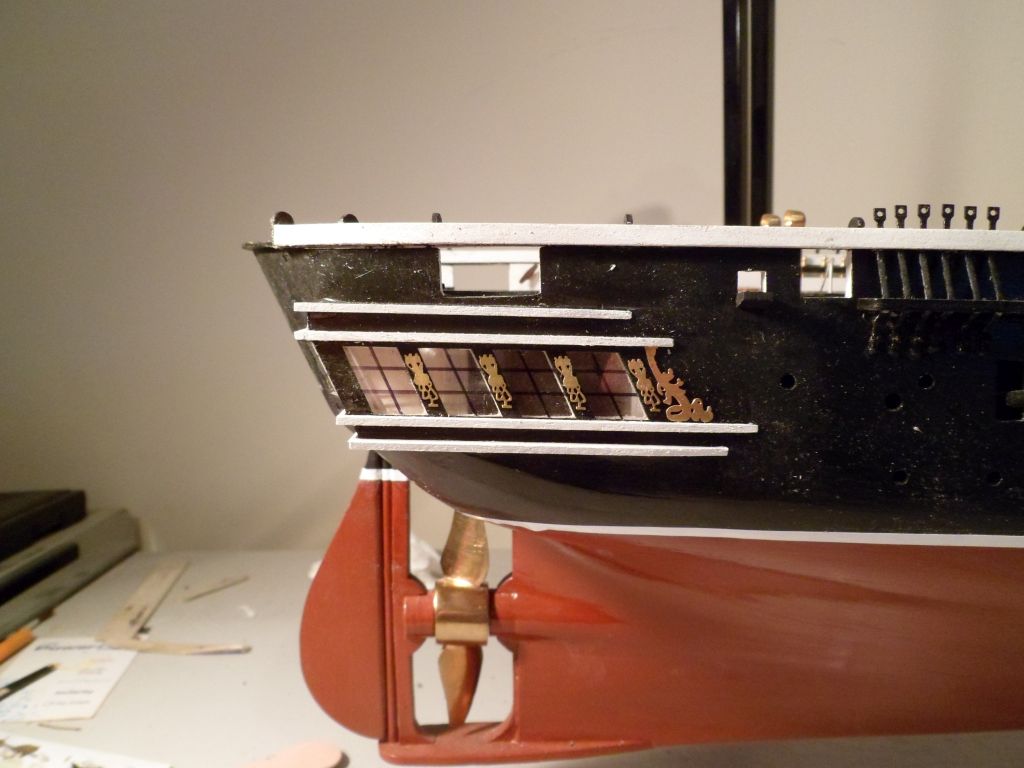
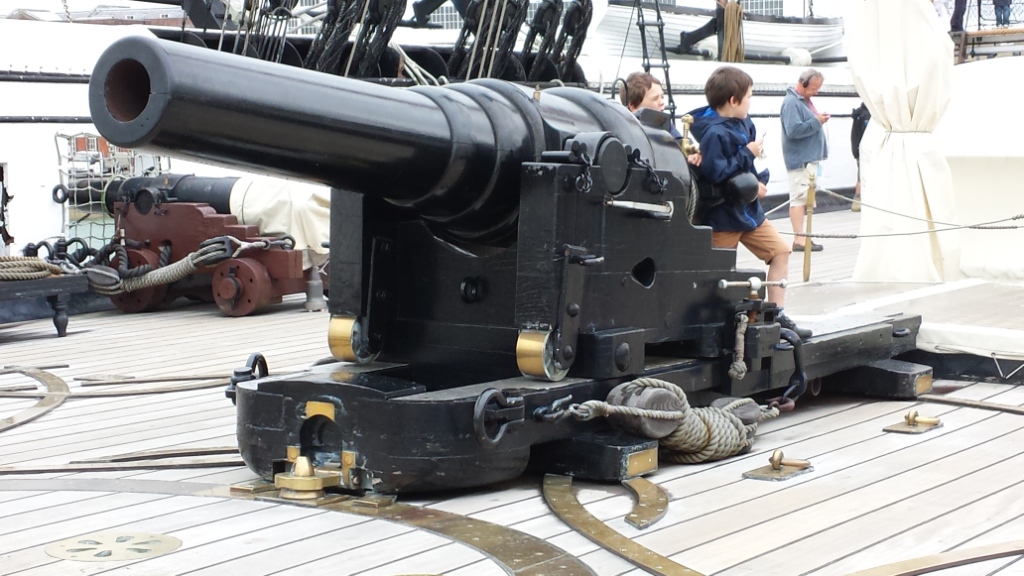
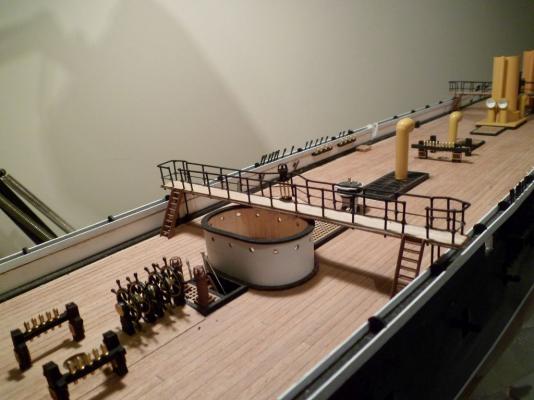
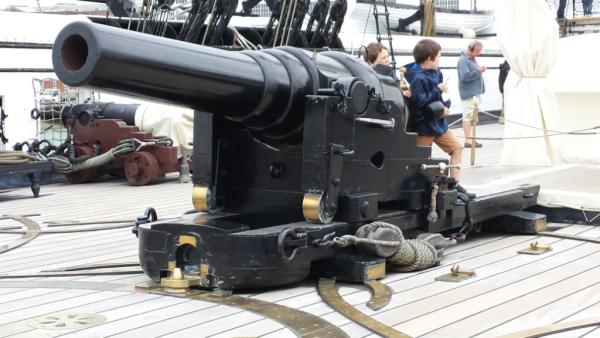
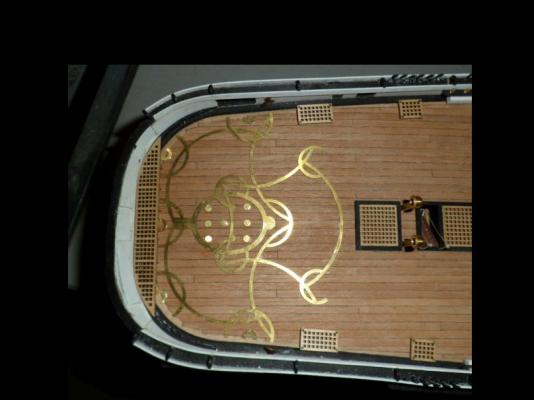
Thanks to one of the lads on here who has visited the Warrior. A picture is better than a thousand words. But I must add the brass runners really do give a nice look to the deck.
-
Hi matey, Sad to say "been there, done that" which is why I ended up pinning them. If I remember correctly I used a 0.8mm drill, in a pin vice ( I think that is the correct name), which if you are very careful (and lucky) just fits. I will admit with a few of the plates, I did break out through the side, but you can carefully bend the plate back into shape. I also ordered brass pins (nails) from Cornwall model ships. Finally when I pinned them I also re-glued them with super glue, which got them to stay in place. The advantage of the hull being black is that it hides an awful lot of sins once it is touched up. Unfortunately I did not find a quick way of doing this task, but as I keep on discovering, be patient, if you try to rush you muck it up. Hope this is of some use. Good luck and stick with it.
-
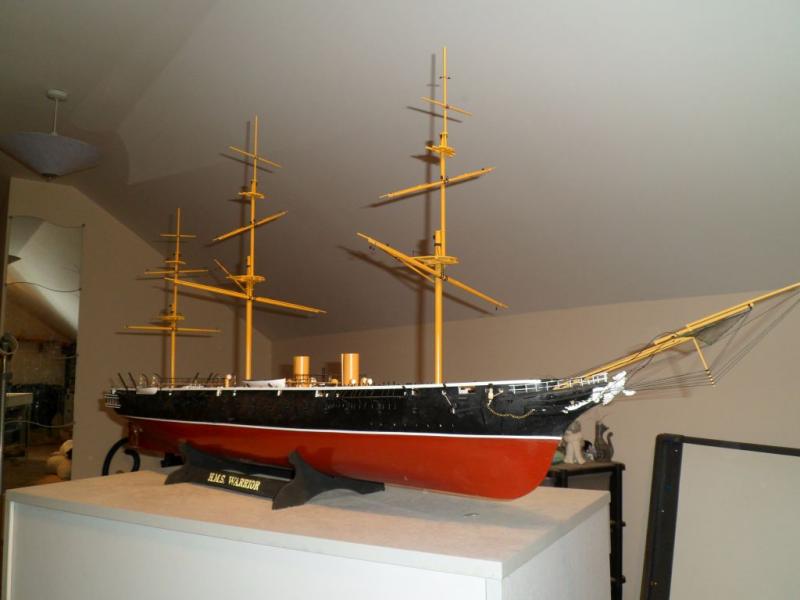
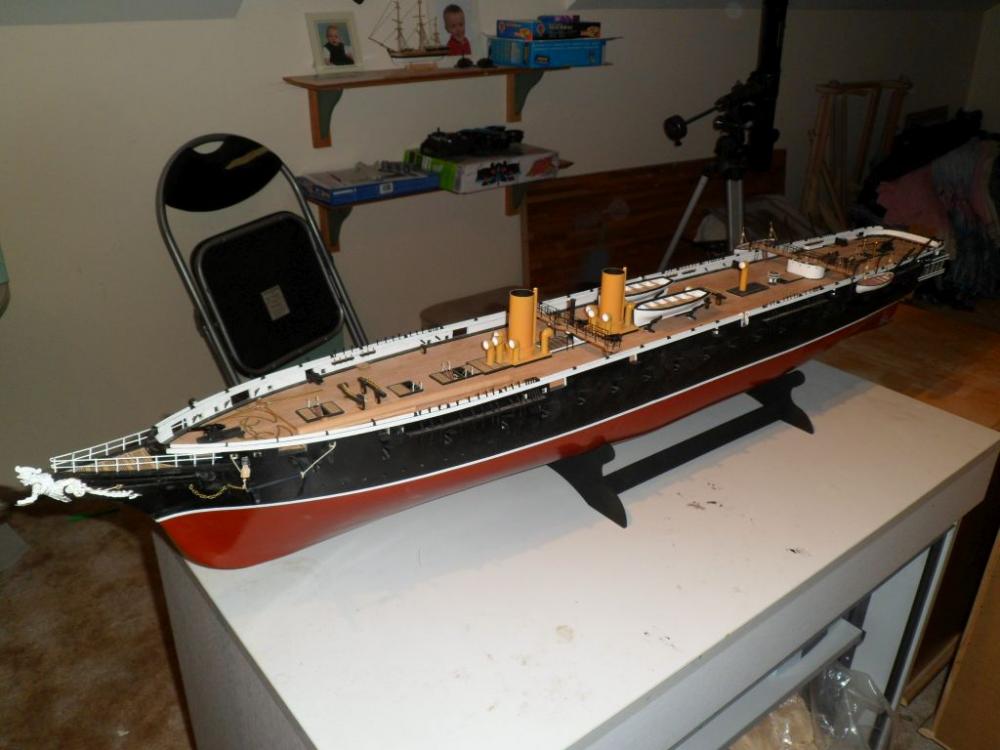
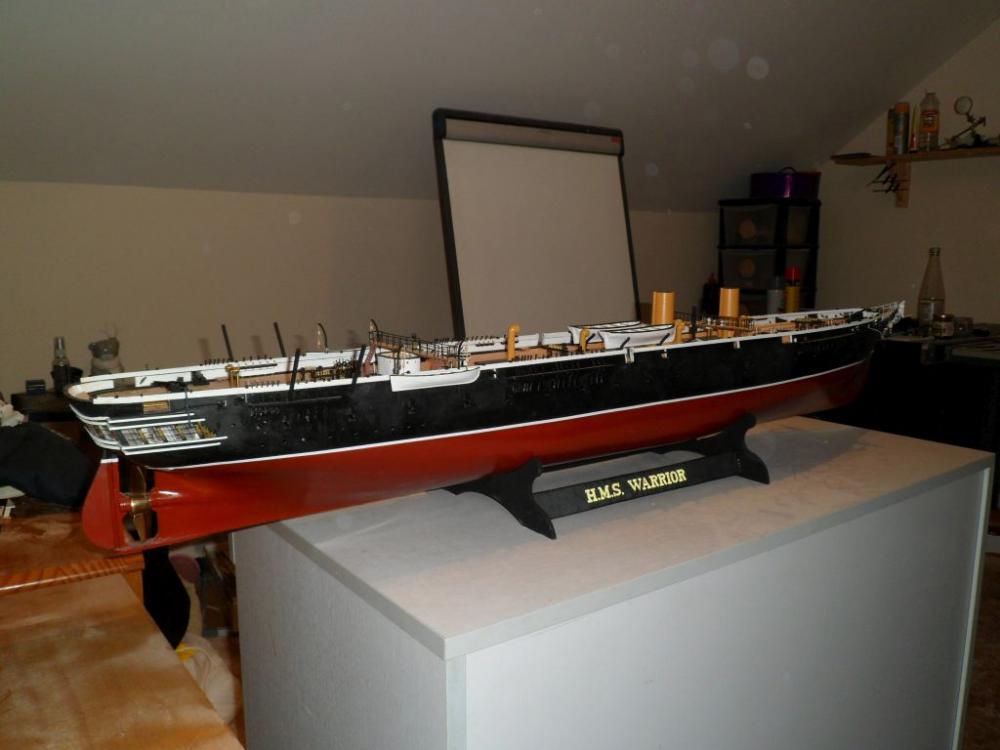
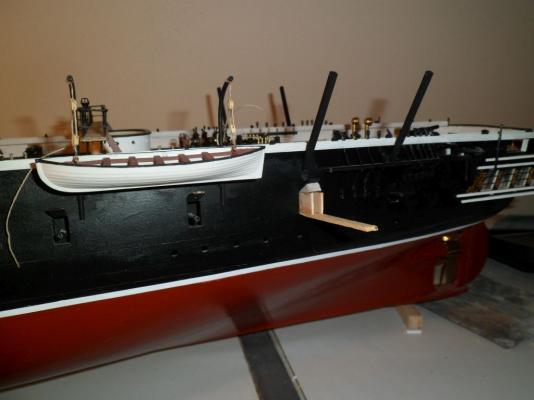
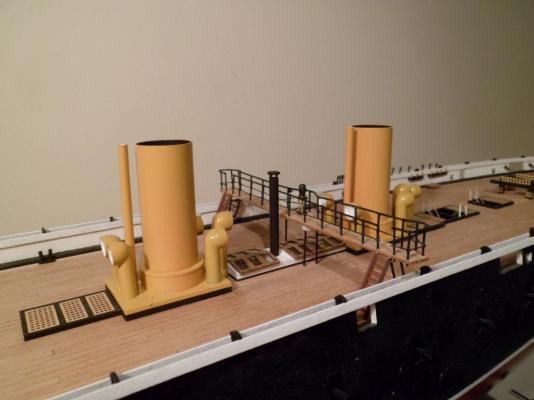
A quick burst of energy, and the stern brass runners are in place with a few other bits. Just the Aft bridge to go in this section of the build. Also it's been a while since I have posted a full view, so here's the latest. Cheers
-
Evening all, This is the latest step, the fwd bridge is now in place. It's taken a few goes to get this right, but I think that's pretty standard for this hobby.

-
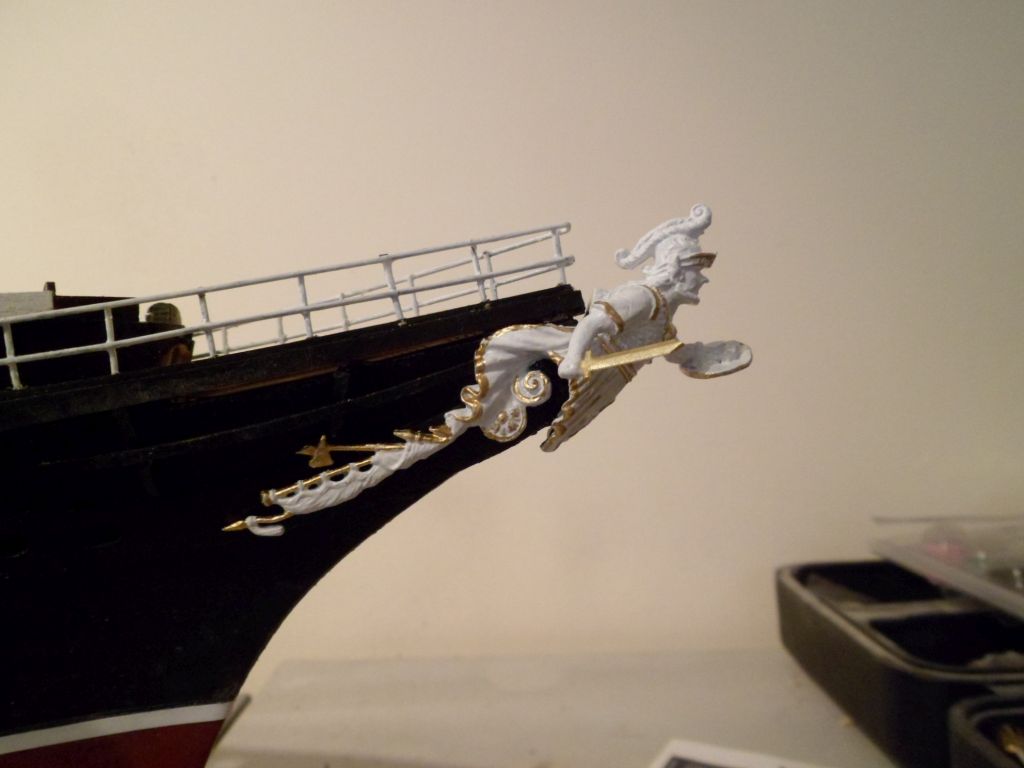
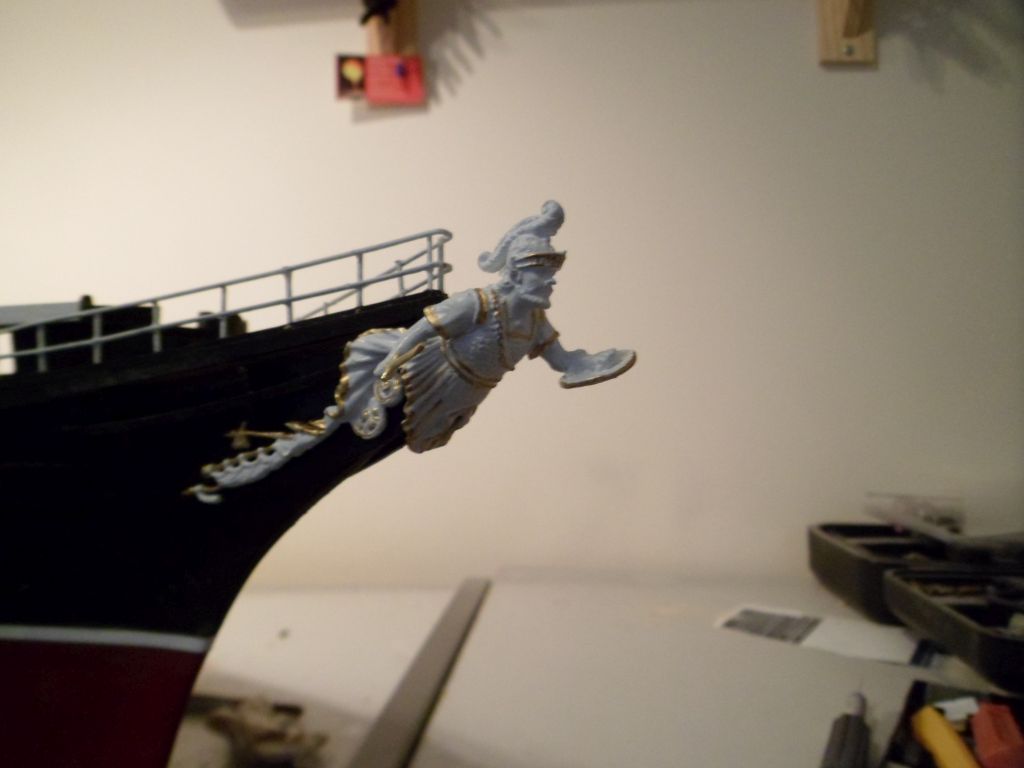
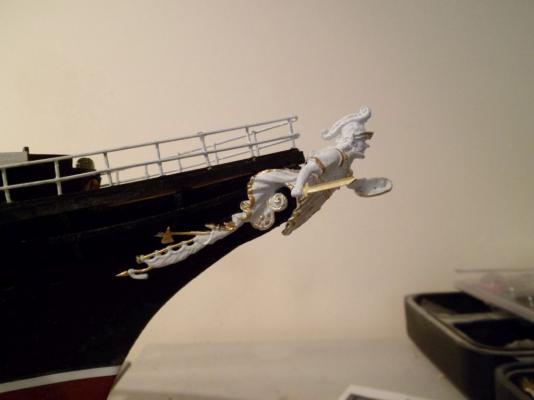
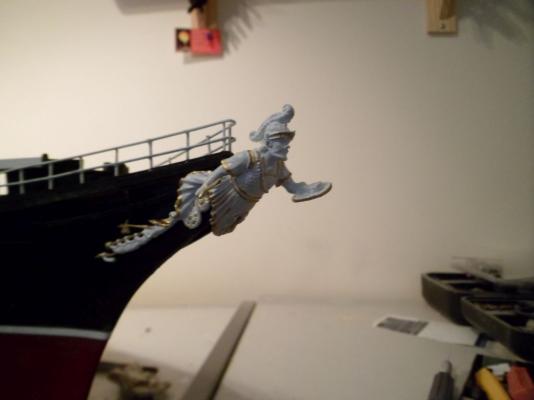
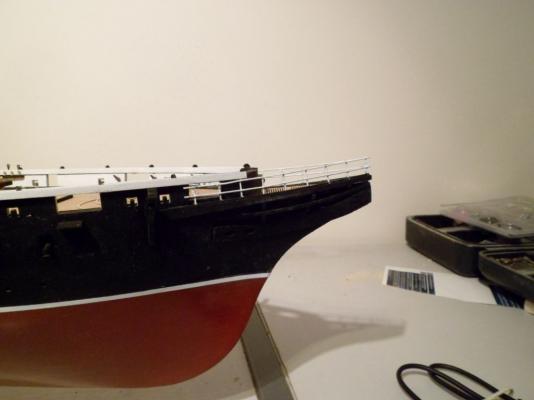
Evening all, Finally back in the country long enough to do something, and chose the figurehead. So here it is in place. Cheers
-
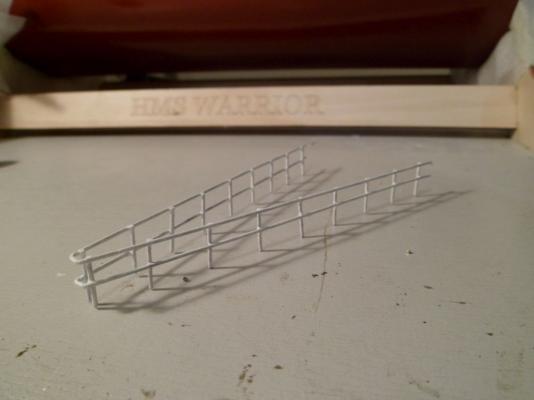
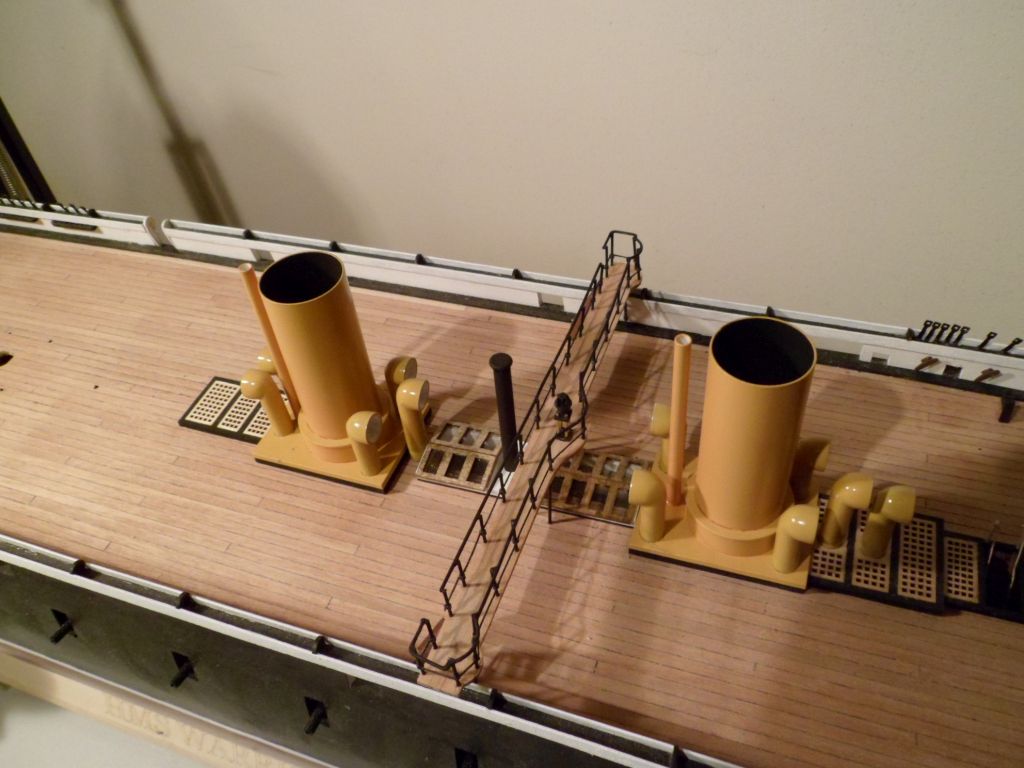
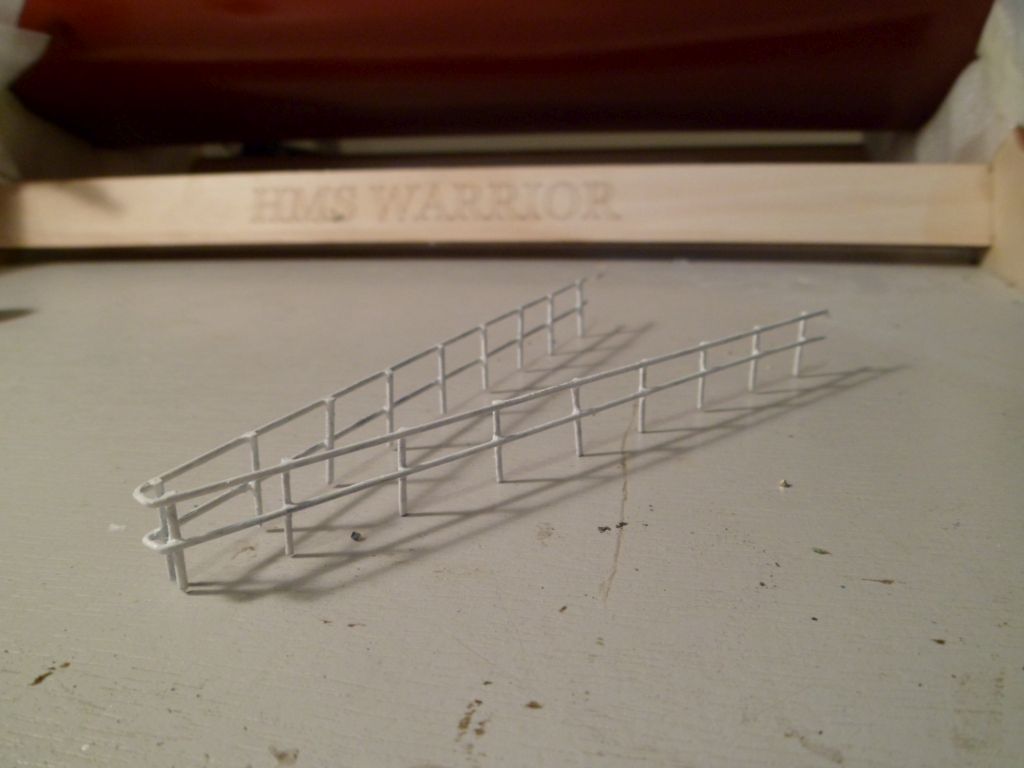
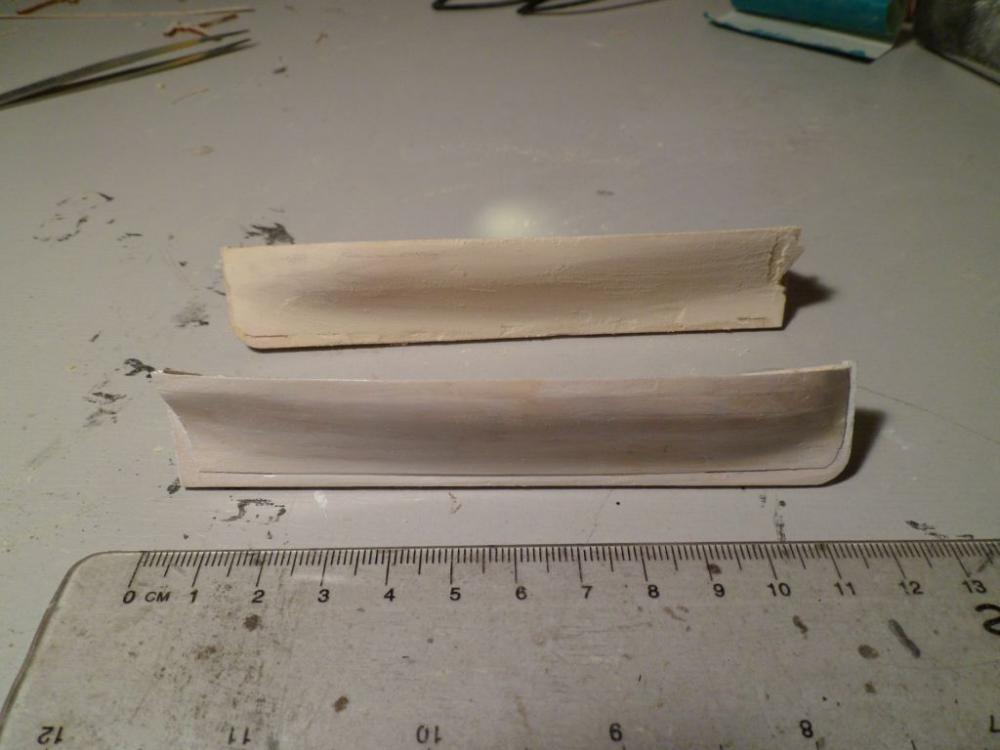
Hi All, Final installment of the guardrail saga. As you can see I've finally put the rails in place, a tip if your heading for this bit, do as the instructions say and do the guardrails in two parts. Making it would have been easier, and installation a breeze. Having said that if it was easy it would be boring

-
Guard rails finally ready to be fitted