RMC
-
Posts
933 -
Joined
-
Last visited
Content Type
Profiles
Forums
Gallery
Events
Everything posted by RMC
-
Hi B.E. Thank you very much for your help. I've ordered the lathe, the extra bed and the 4-jaw chuck. I'll see if I need anything else later. I only recently realized you are building the Pegasus. What a wonderful job you're doing. Your log, and those of AEW and Fakejohnbull (Mitsuaki - it's such a shame his log has been lost ) have been enormously helpful. All the best Bob
-
B.E. Joy. One of the Australian suppliers has given me a price of A$69 for the extra bed. He also asked if I wanted chisels and chucks. I presume there is a chuck supplied with the lathe. I note that on his website that there is a list of accessories including a 3 and a 4 jaw chuck. Are the chisels and/or either of the chucks worth getting? I had in mind simply tapering the dowels with a rasp or sandpaper. Any advice would be welcome. Bob
-
B.E. Thanks for the clarification and for all your trouble. An Australian supplier got back to me and after I explained your second email, promised to contact Proxxon. He thought using the spare bed to extend the overall length of the bed to be a wonderful idea. I'm just waiting now to see what price they wish to extort for both the lathe and the extra bed. It may be cheaper to order the whole lot from Axminster. There, I presume I'll avoid your VAT and certainly our GST. Regards Bob
-
George: thanks for that. As I said, I know nothing about lathes and I presume the headstock is the support at the end of the bed.? B.E. I have tried Axminster with no joy so far. There is no response for Part PRO00016 nor for various combinations of 'replacement bed for micro lathe DB250' nor Part270202-31. I have also contacted two suppliers in Australia with the same key words (none of them are listed on their websites) and am awaiting for replies. Your photo certainly suggests the larger bed would be ideal. Just a note on progress - I have finally finished the yellow 'stripes'. It took five coats of paint to give a good finish. I will wait a couple of days to make sure the paint is completely dry before masking ready for the black. I am quite apprehensive about effectively masking all the decorations and especially around the steps.
-
Hi B.E. Thanks for your reply. I'll follow up your advice. Regards Bob
-
I am beginning to think of making the masts and yards as separate projects to do when I am away from home. I have been looking at small woodworking lathes and it seems that the Proxxon DB 250 is a good one and not too expensive. The problem is that the centre-distance is only 250mm and many of the masts and yards of the Vanguard are far longer than this. I know nothing about lathes. Is there a way of turning longer masts/yards with this machine? Any advice would be welcome. Bob
-
Hi Arthur I suspect I would have fallen for the stanchion trick on the upper stairs. Thanks for the reminder. Bob
-
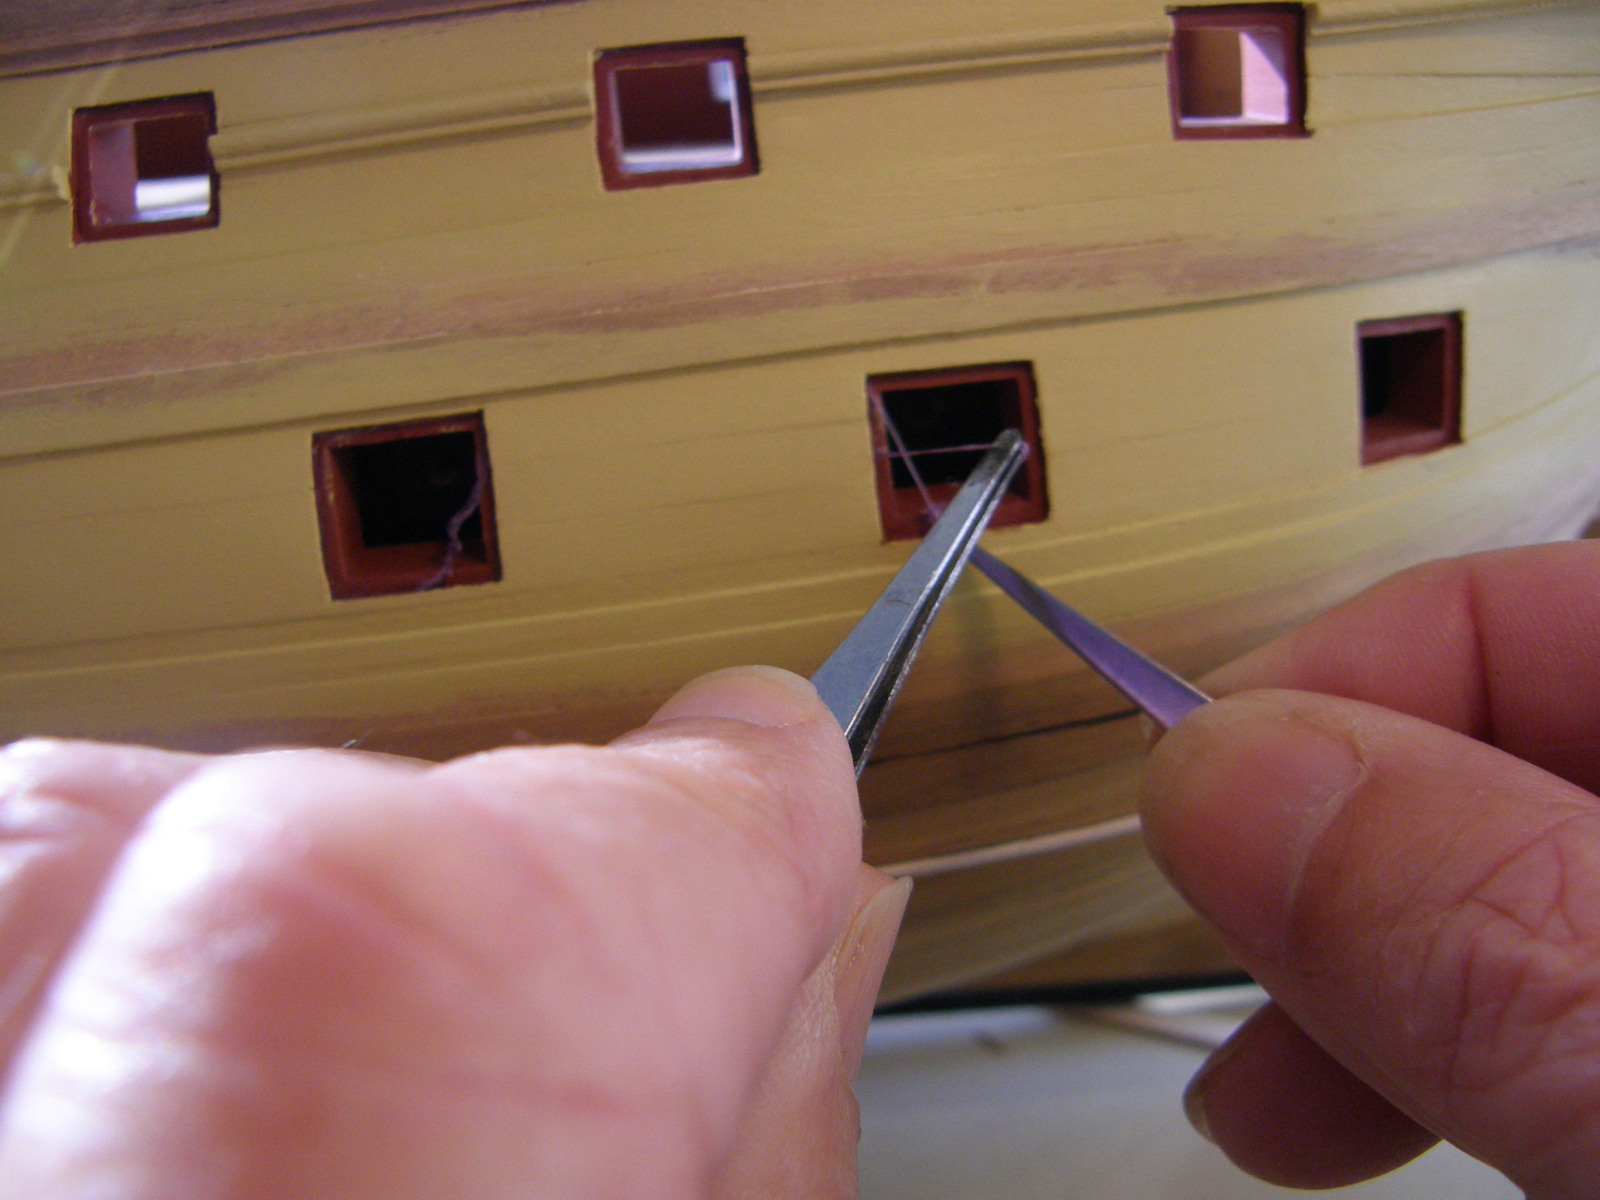
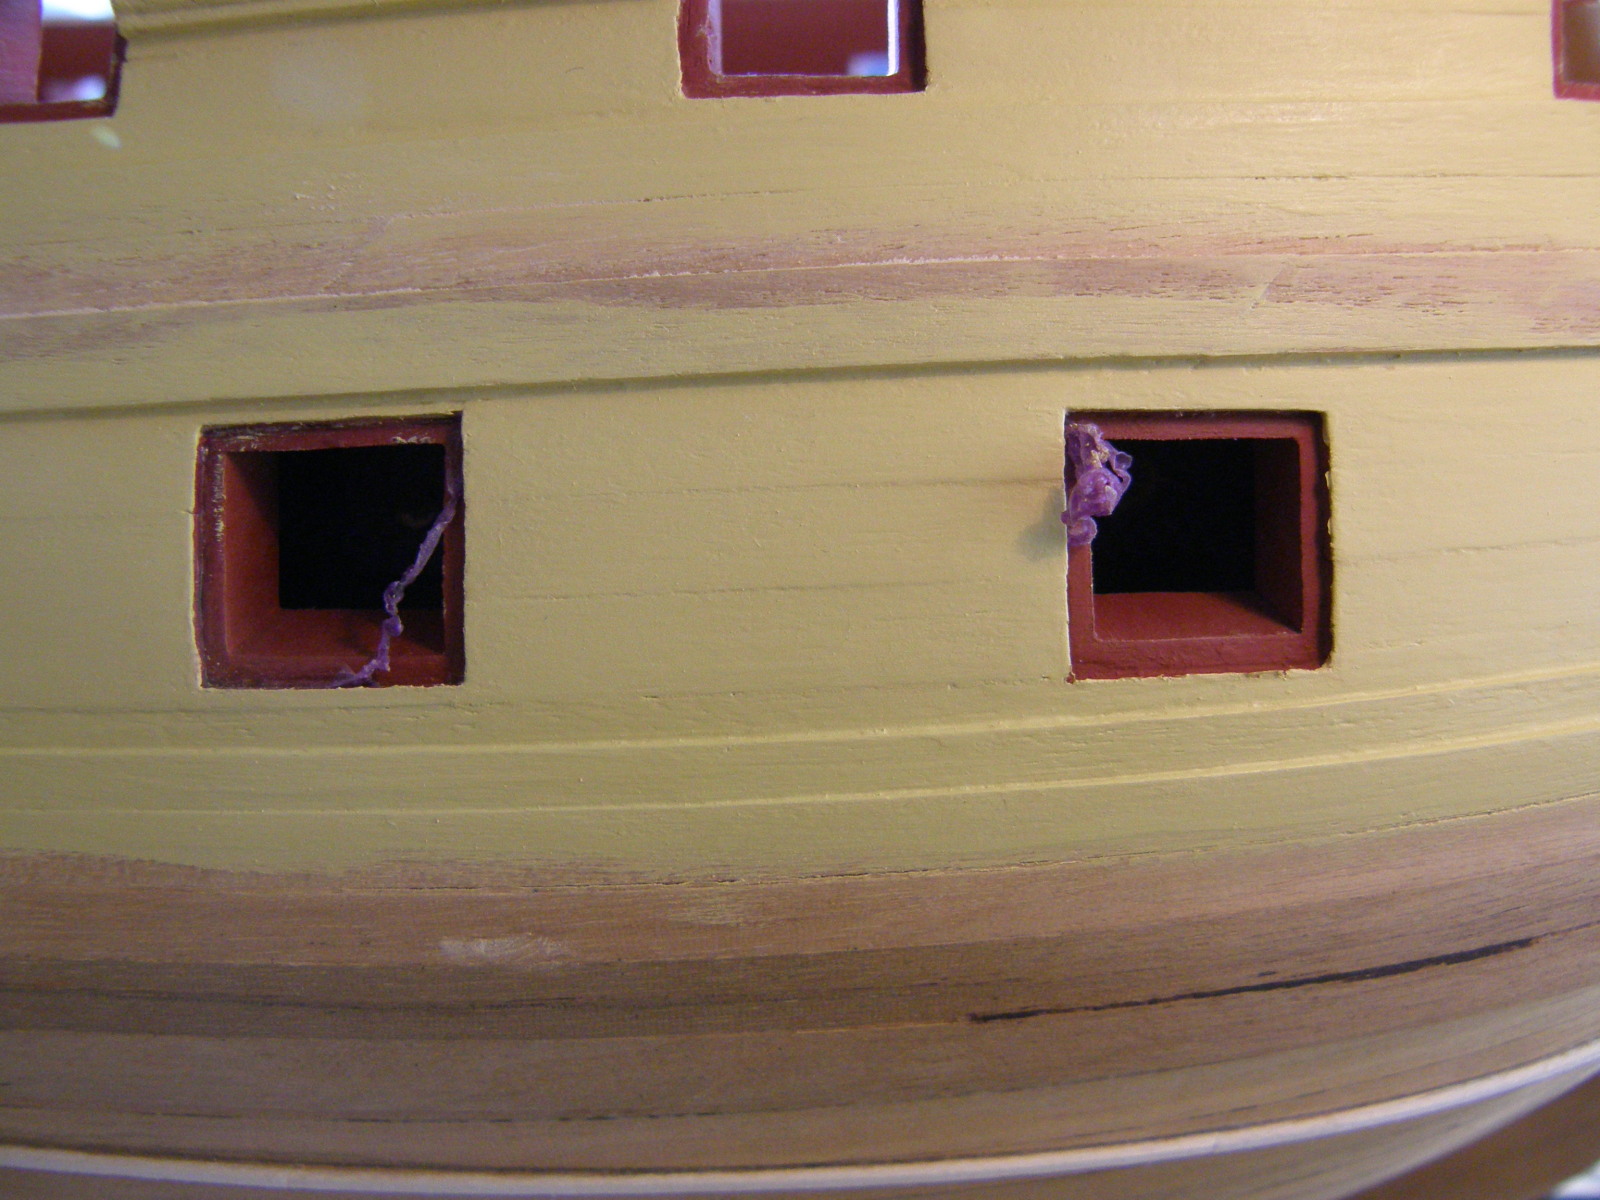
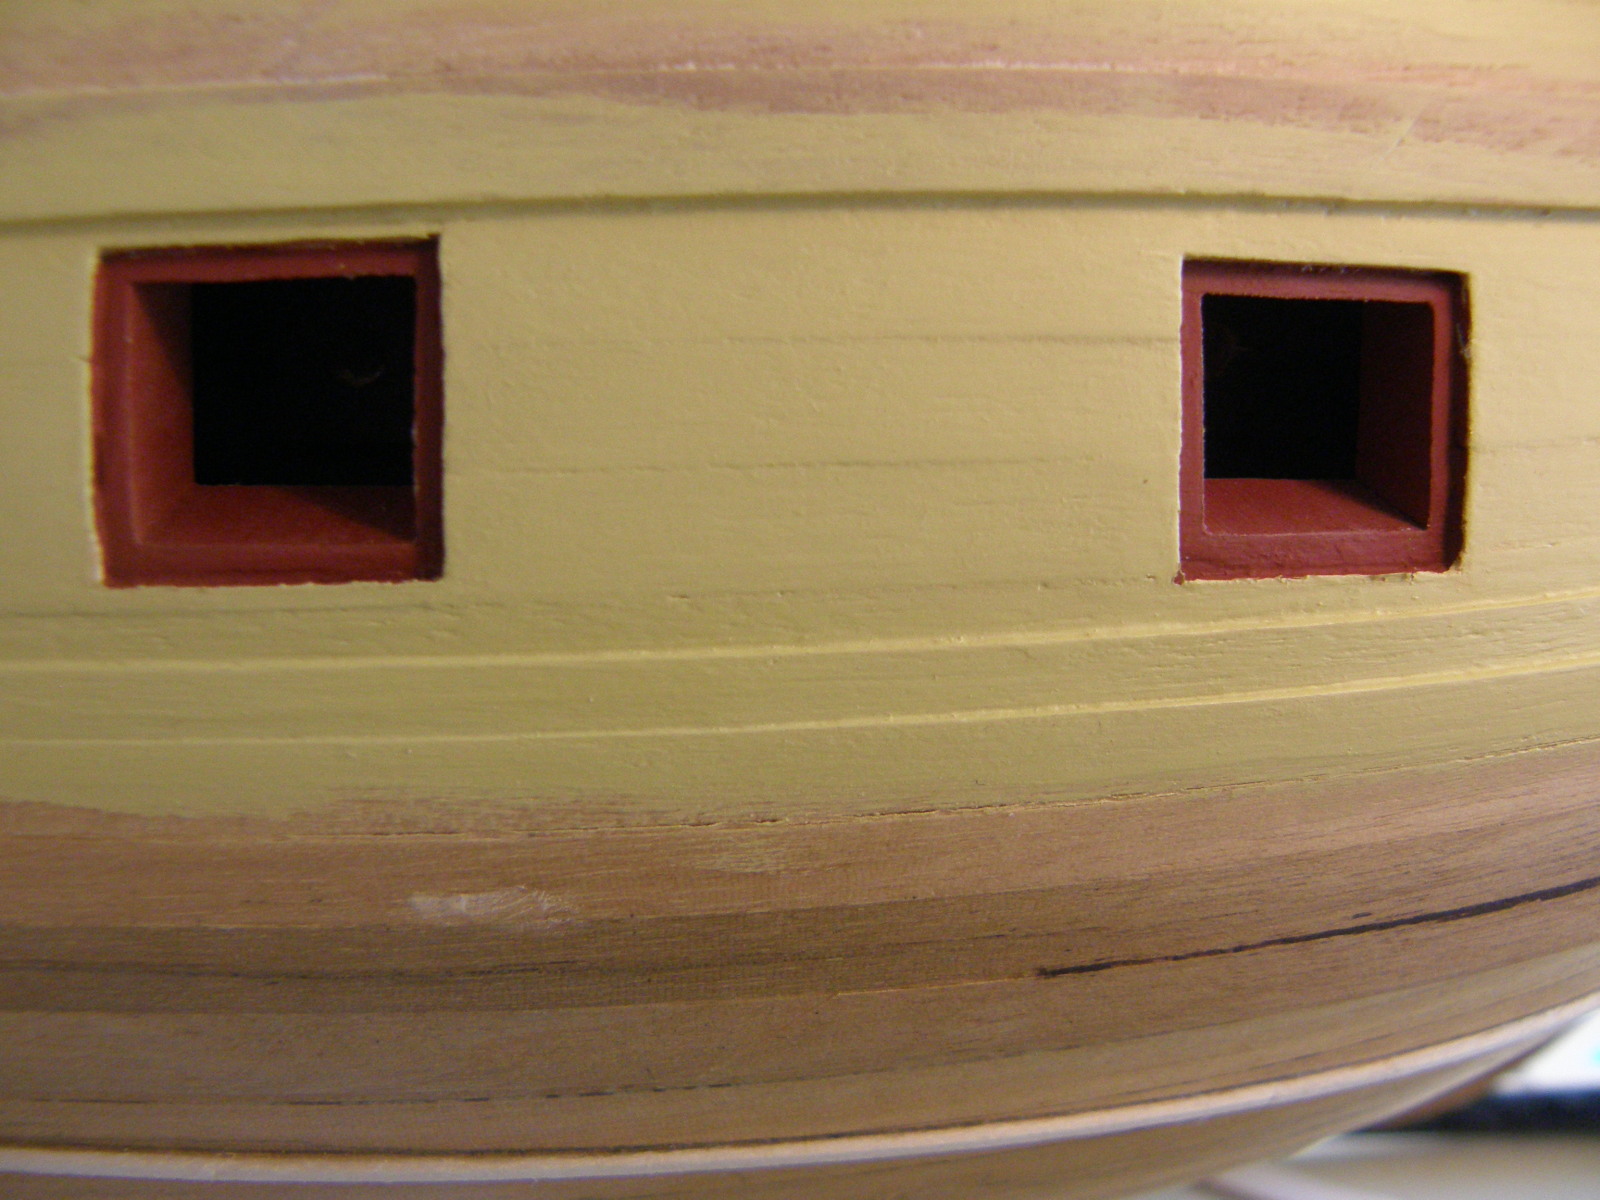
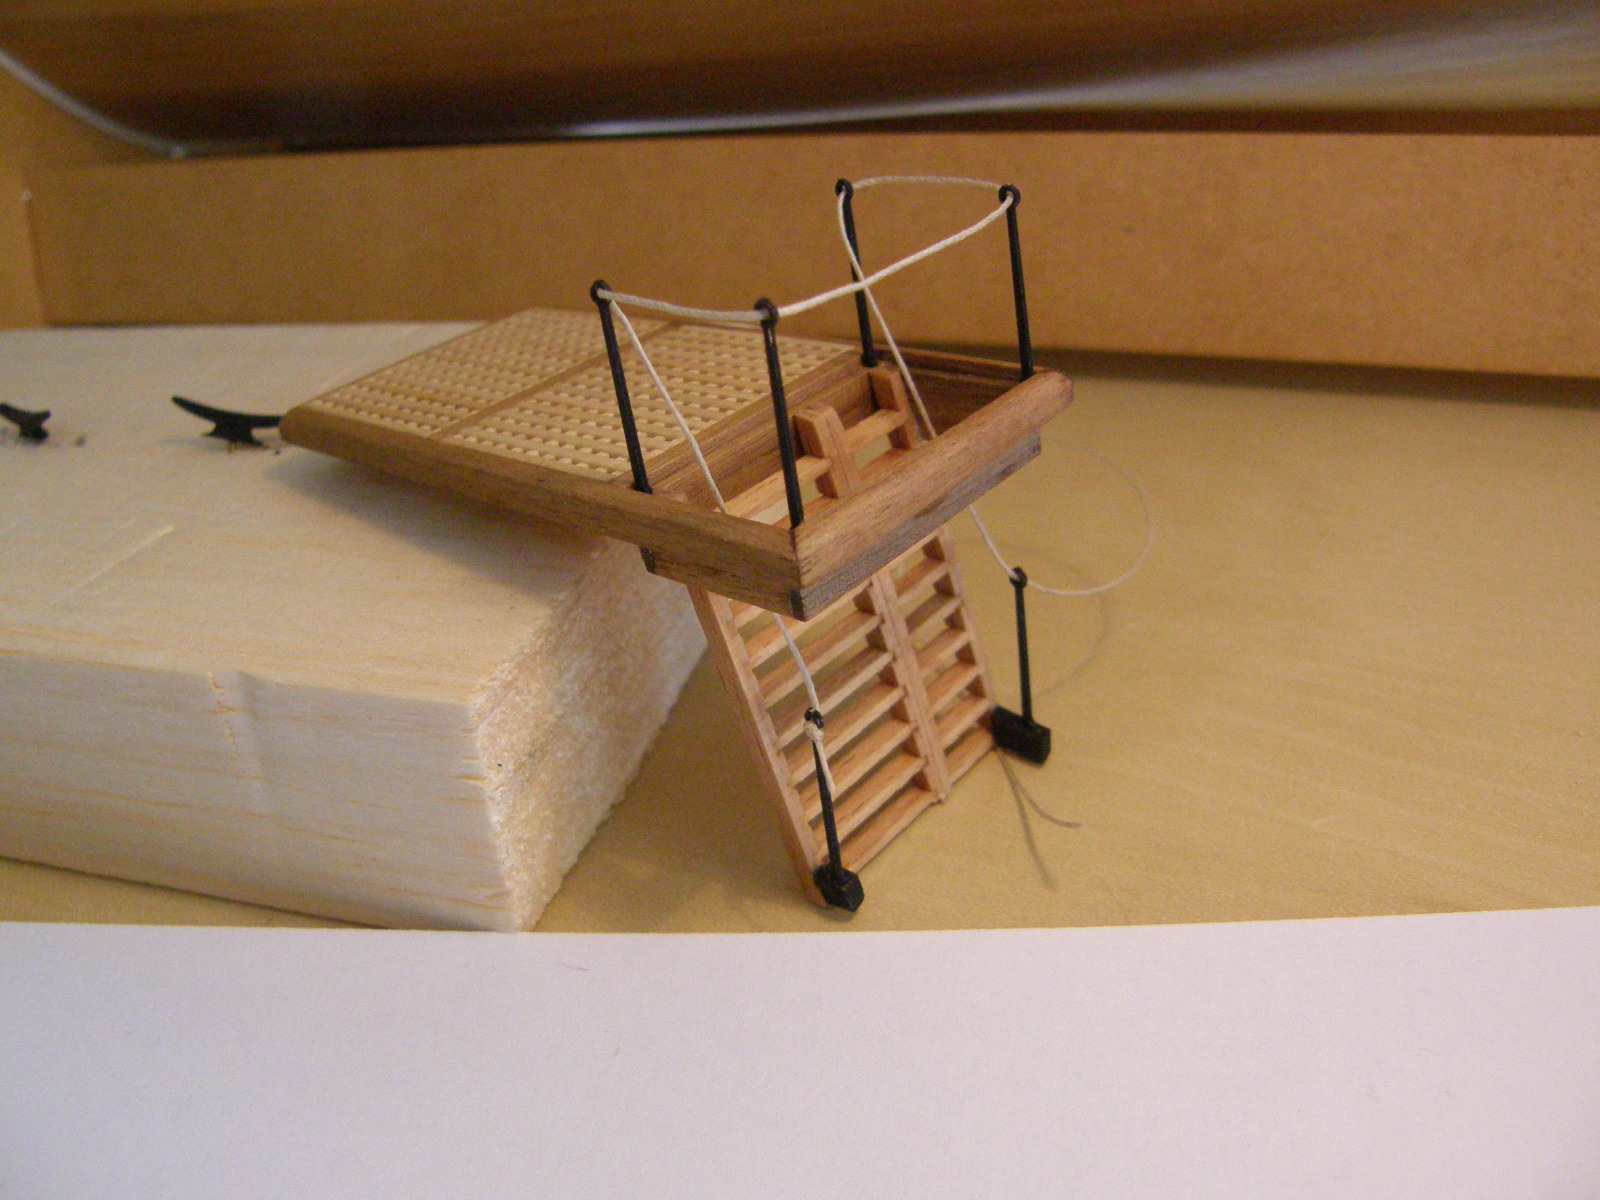
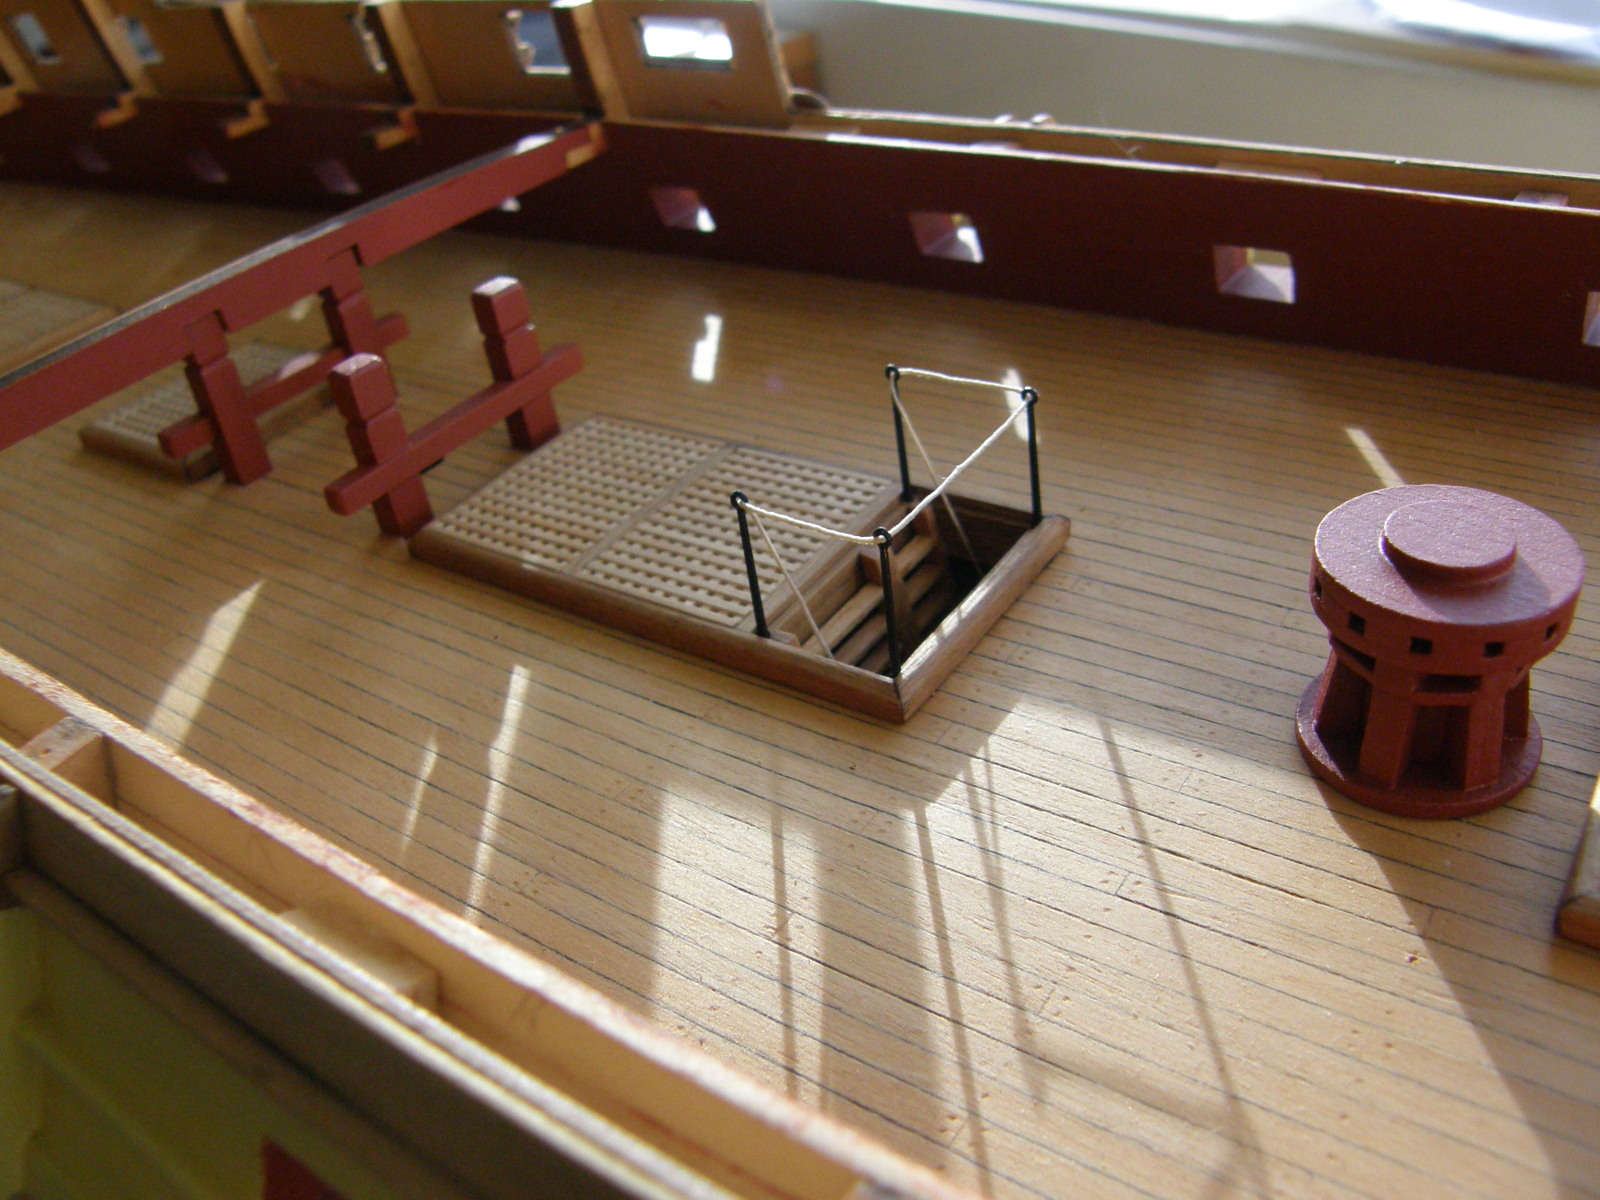
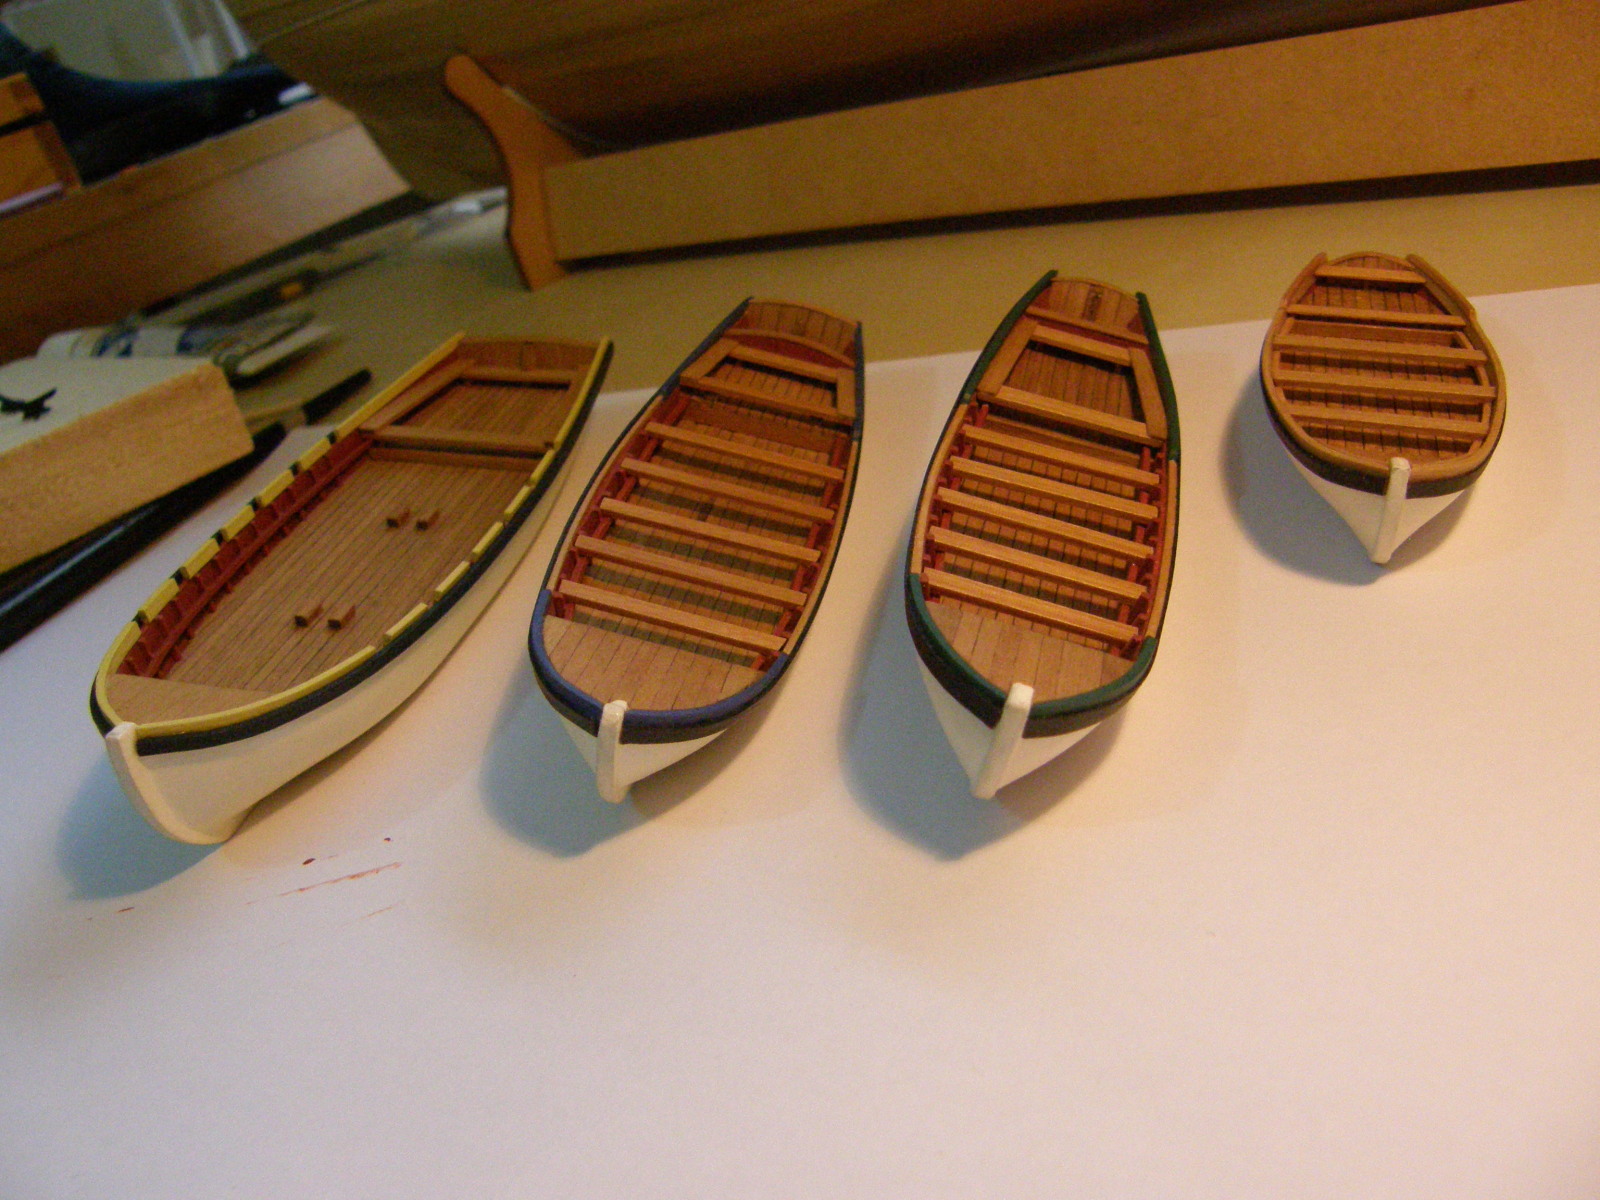
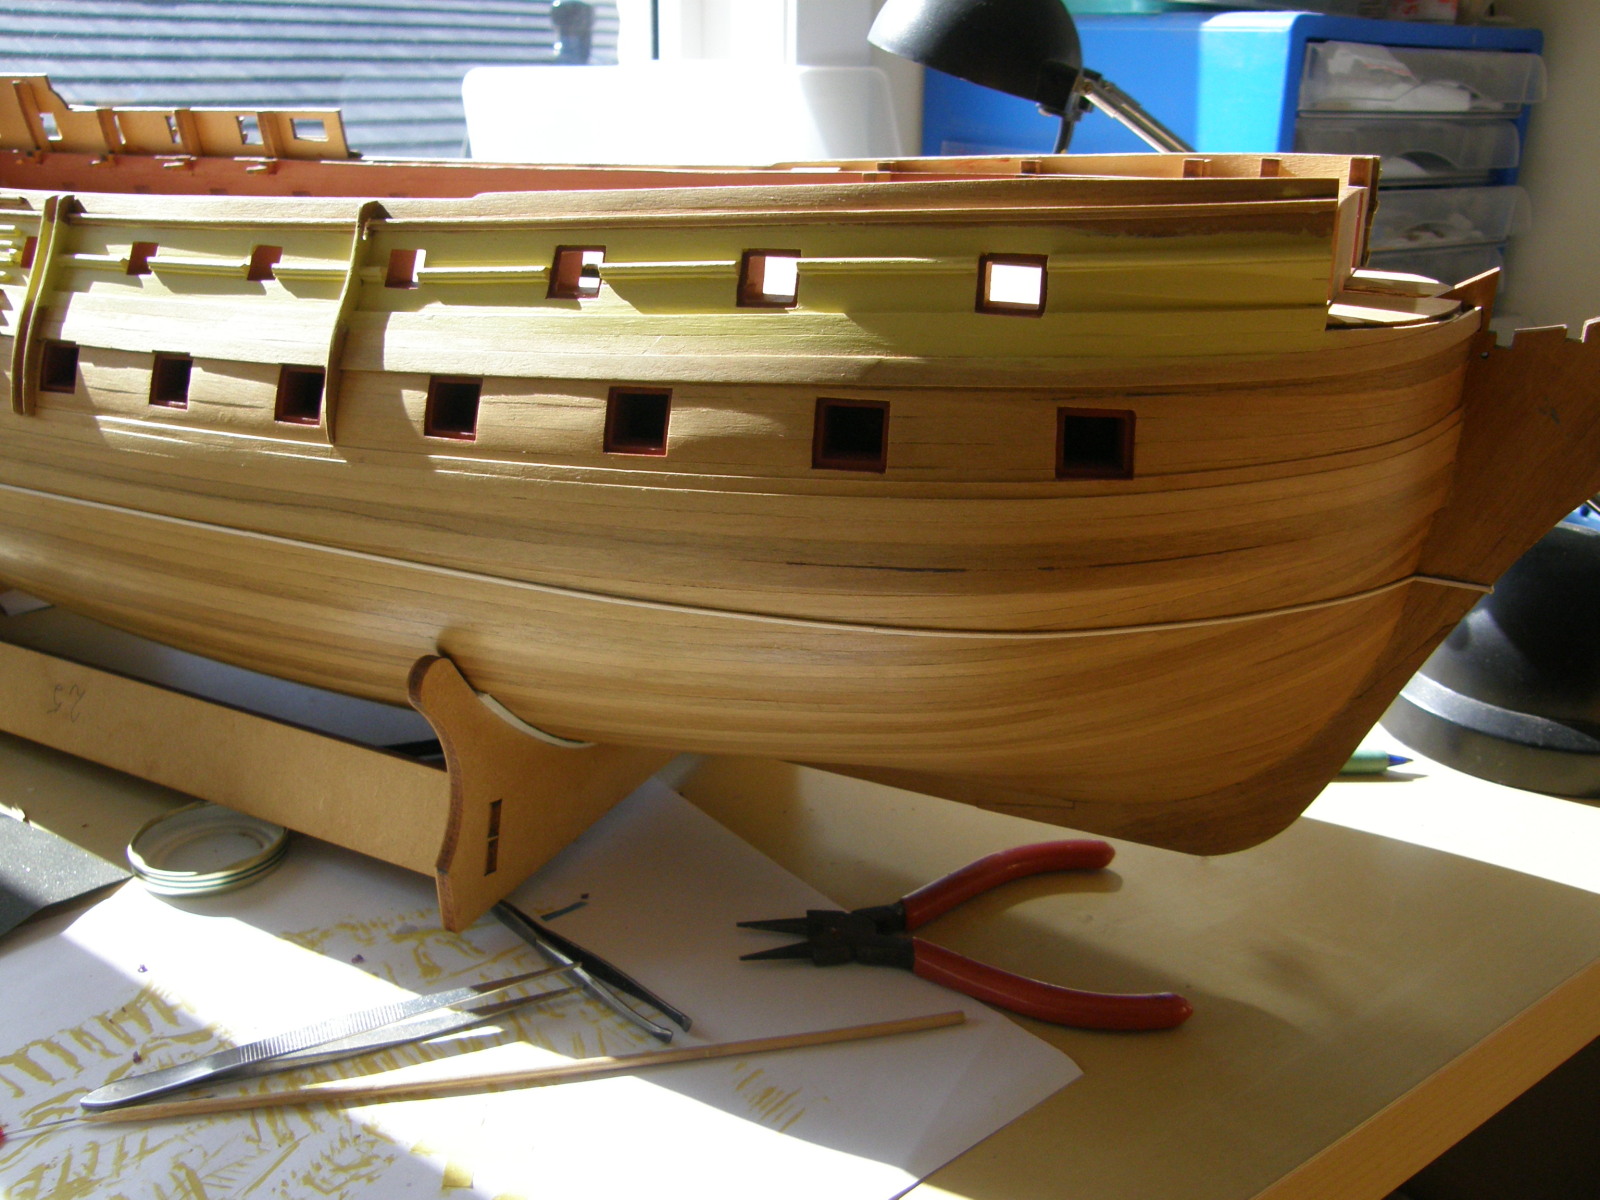
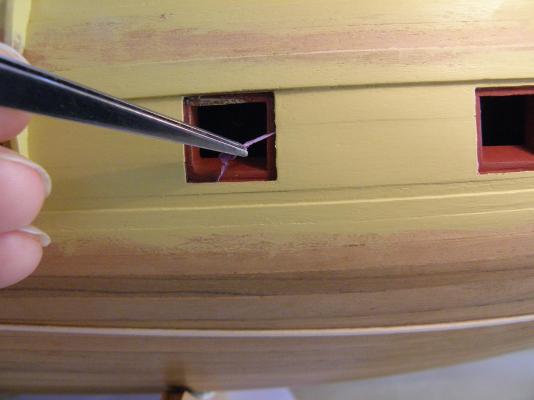
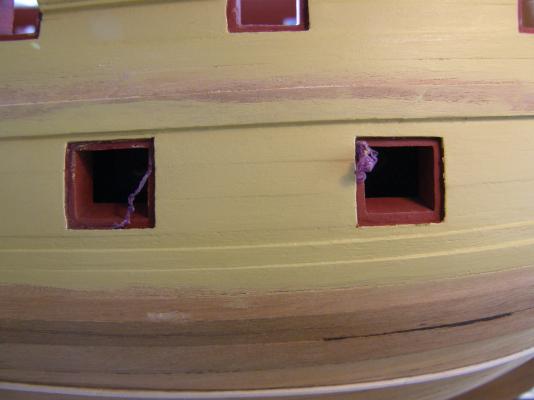
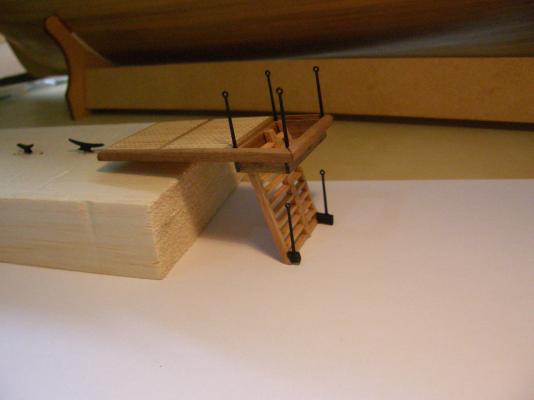
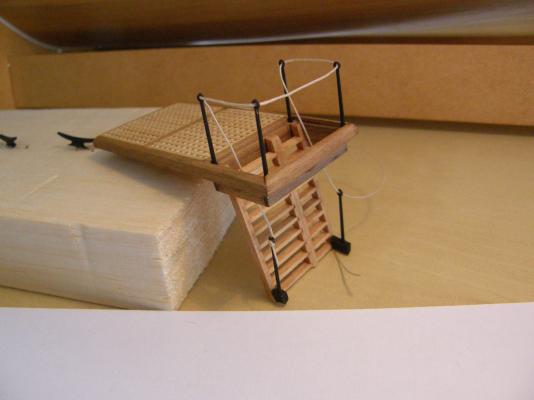
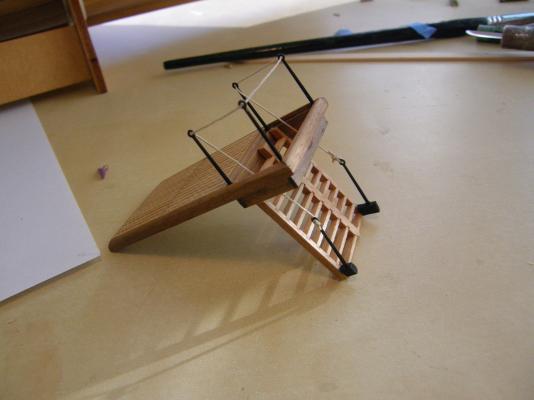
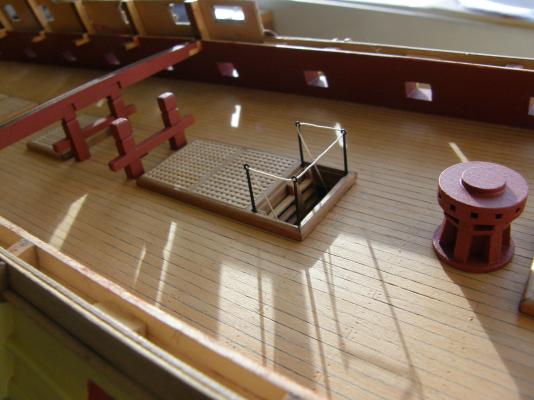
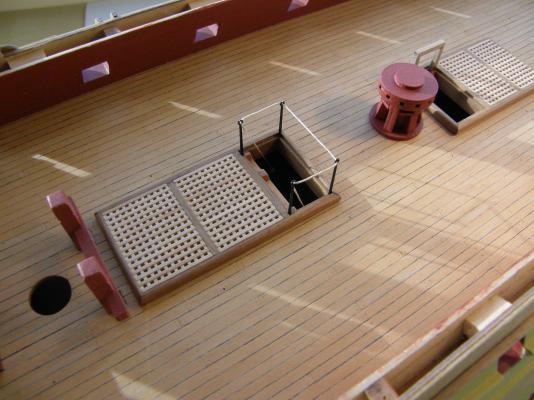
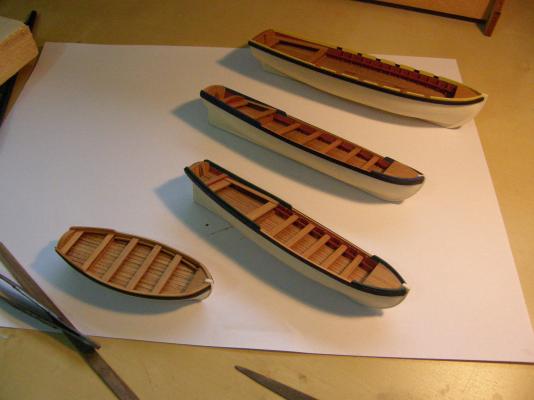
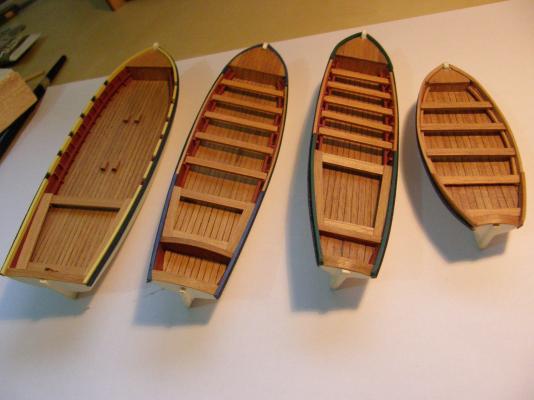
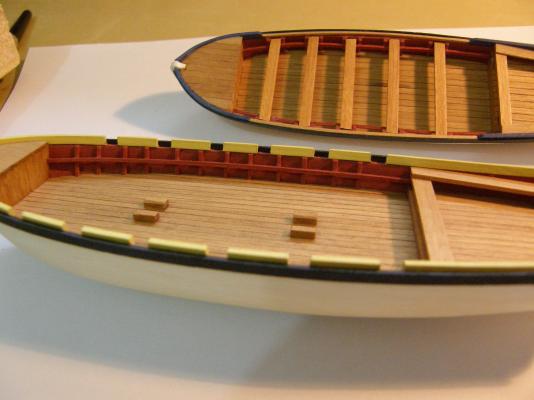
I have been painting the yellow 'stripes' for what seems like weeks. The Humrol paints need 4 to 5 coats, sanding between coats, to give a good finish. Each coat needs at least 24 hours to dry properly for sanding (800 - 1200 grit). I have used Humbrol maskol for the first time. Once you get the knack (put it on quite thickly), it's very effective, though I missed some bits, so there are a few minor paint marks on the gunports. The stuff must be taken off after 3 days - I cheated and left it on for 4 without ill effect - but given the number of coats required and the time needed, the time limit is a bit of pain. The following pictures I hope will give you some idea of how the stuff looks when you take it off. The painting has not yet been touched up. I have now finished the roudhouses, painted (there's still some masking tape shown in the picture) and attached the decoration. I made a mess of the gundeck stairs - put them at too steep an angle and I have one 'half' of the stairs bigger than the other. For some inexplicable reason I left them as they were when I glued them to the hatch. Moreover I didn't make provision on the lower deck for the stanchions (I know I am not alone in that). But I did come up with a solution to all but the problem of the badly divided stairs As you will see I tacked on two pieces of previously drilled wood to the bottom of the stairs. Fitted all the stanchions and the rope - and so the whole assembly is complete and ready to fit whenever it is least likely to be damaged. The picture showing it on the ship shows it dry-fitted. Finally, for those who may be interested, here are the ship's boats that I completed some time ago.


- 949 replies
-
- 12
-

-
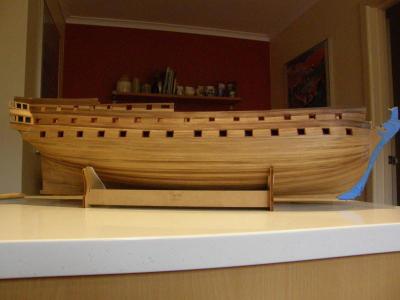
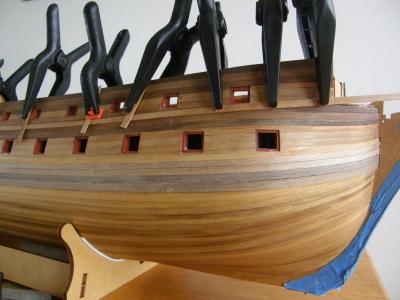
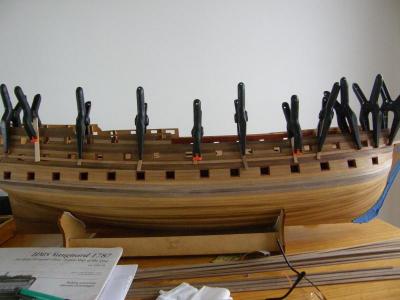
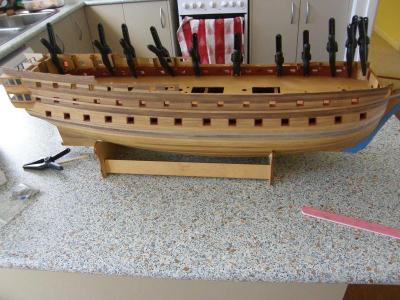
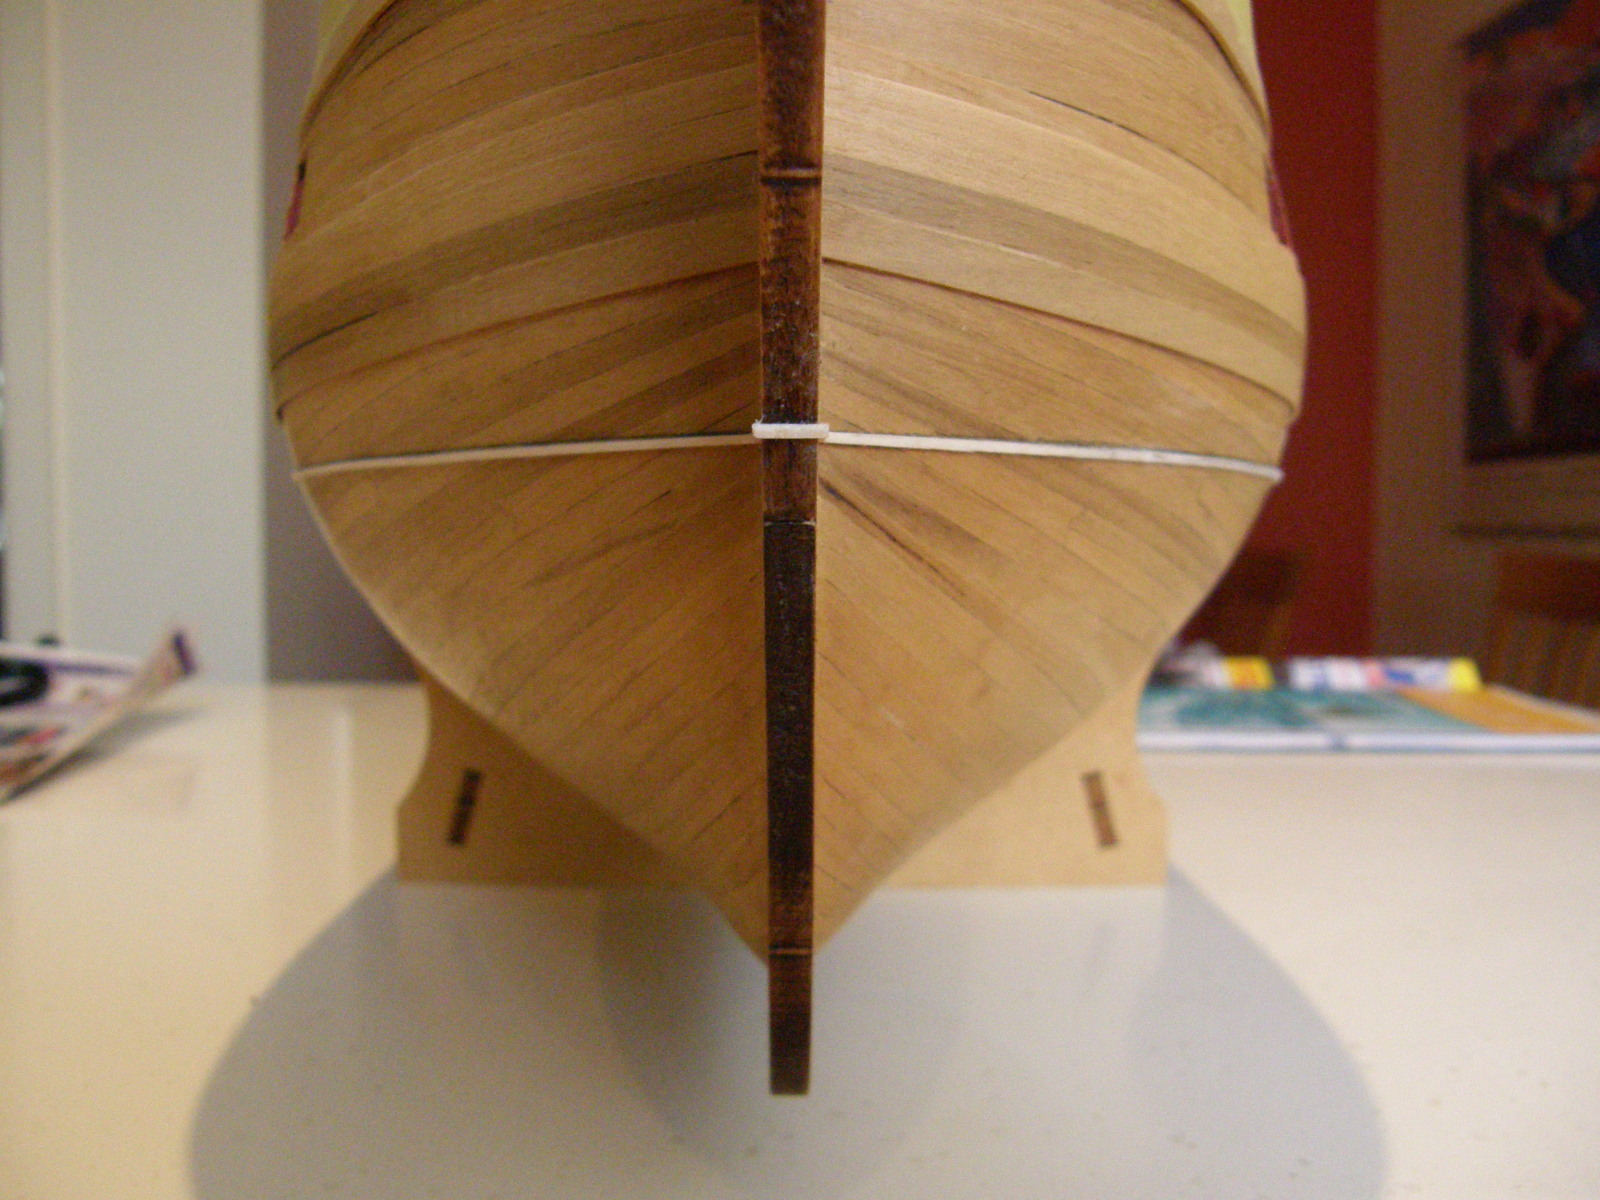
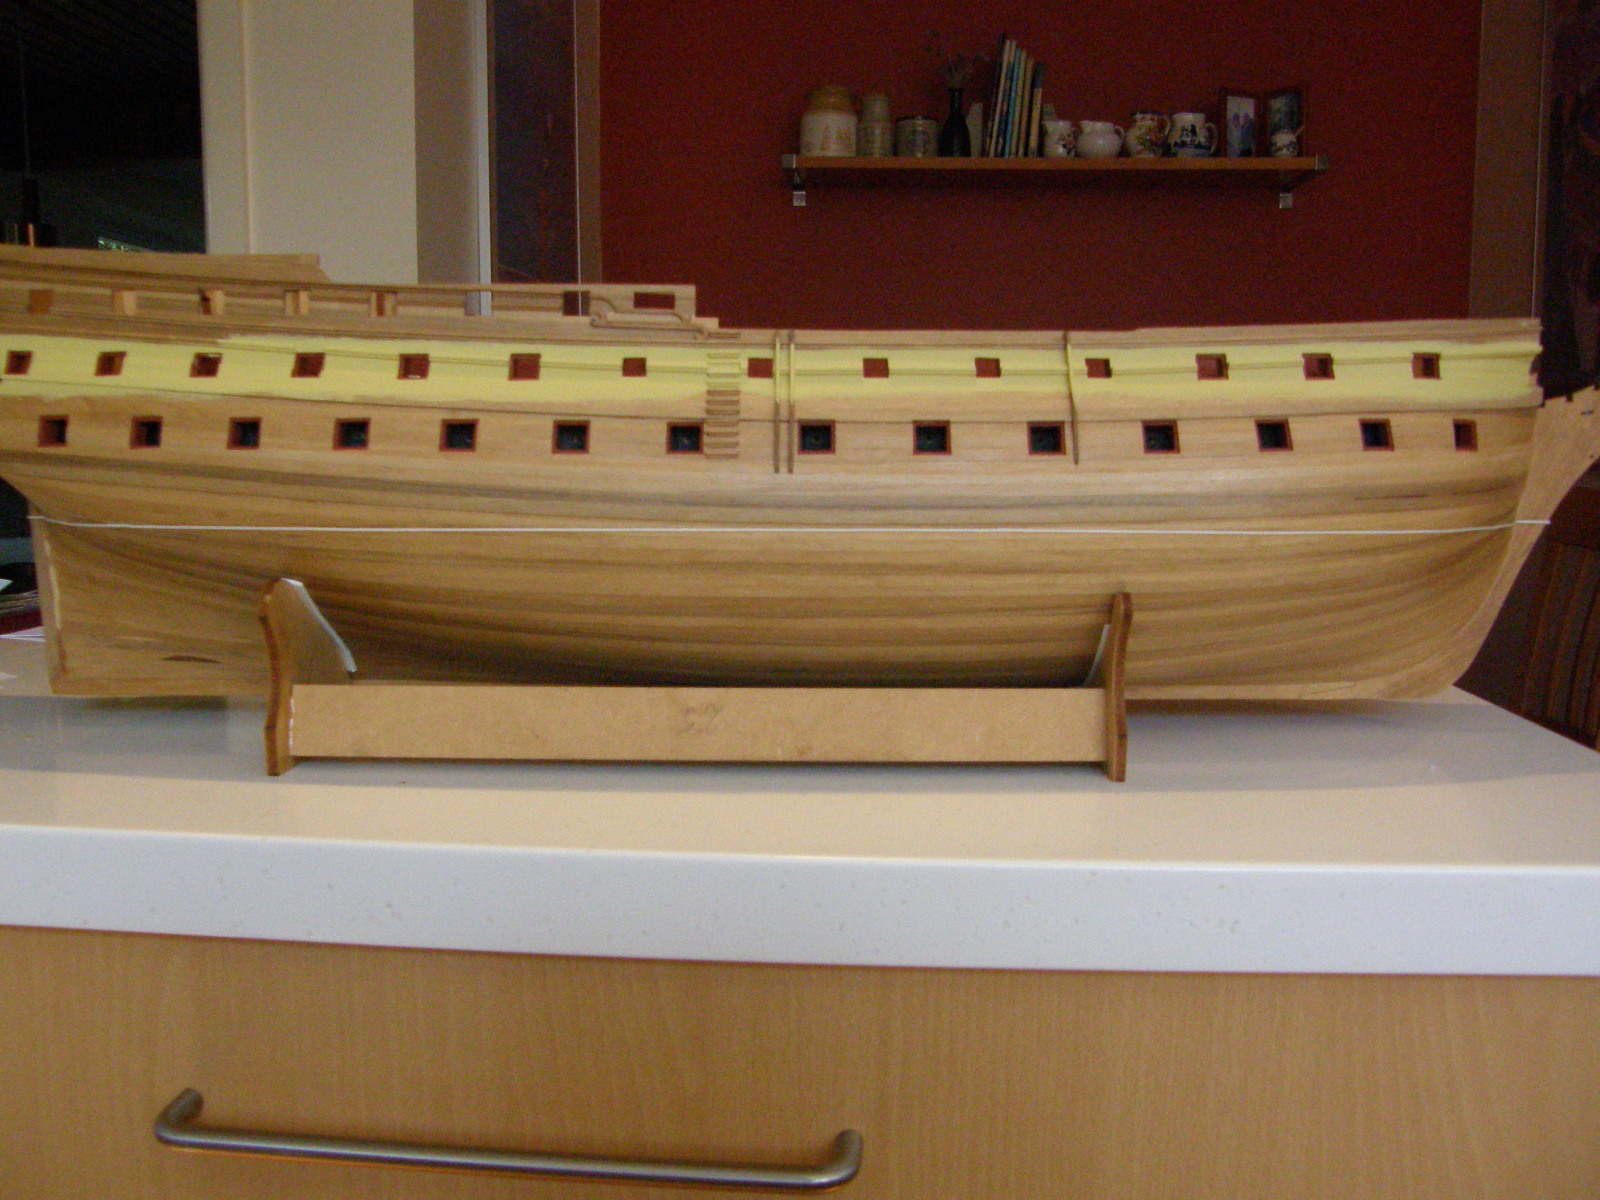
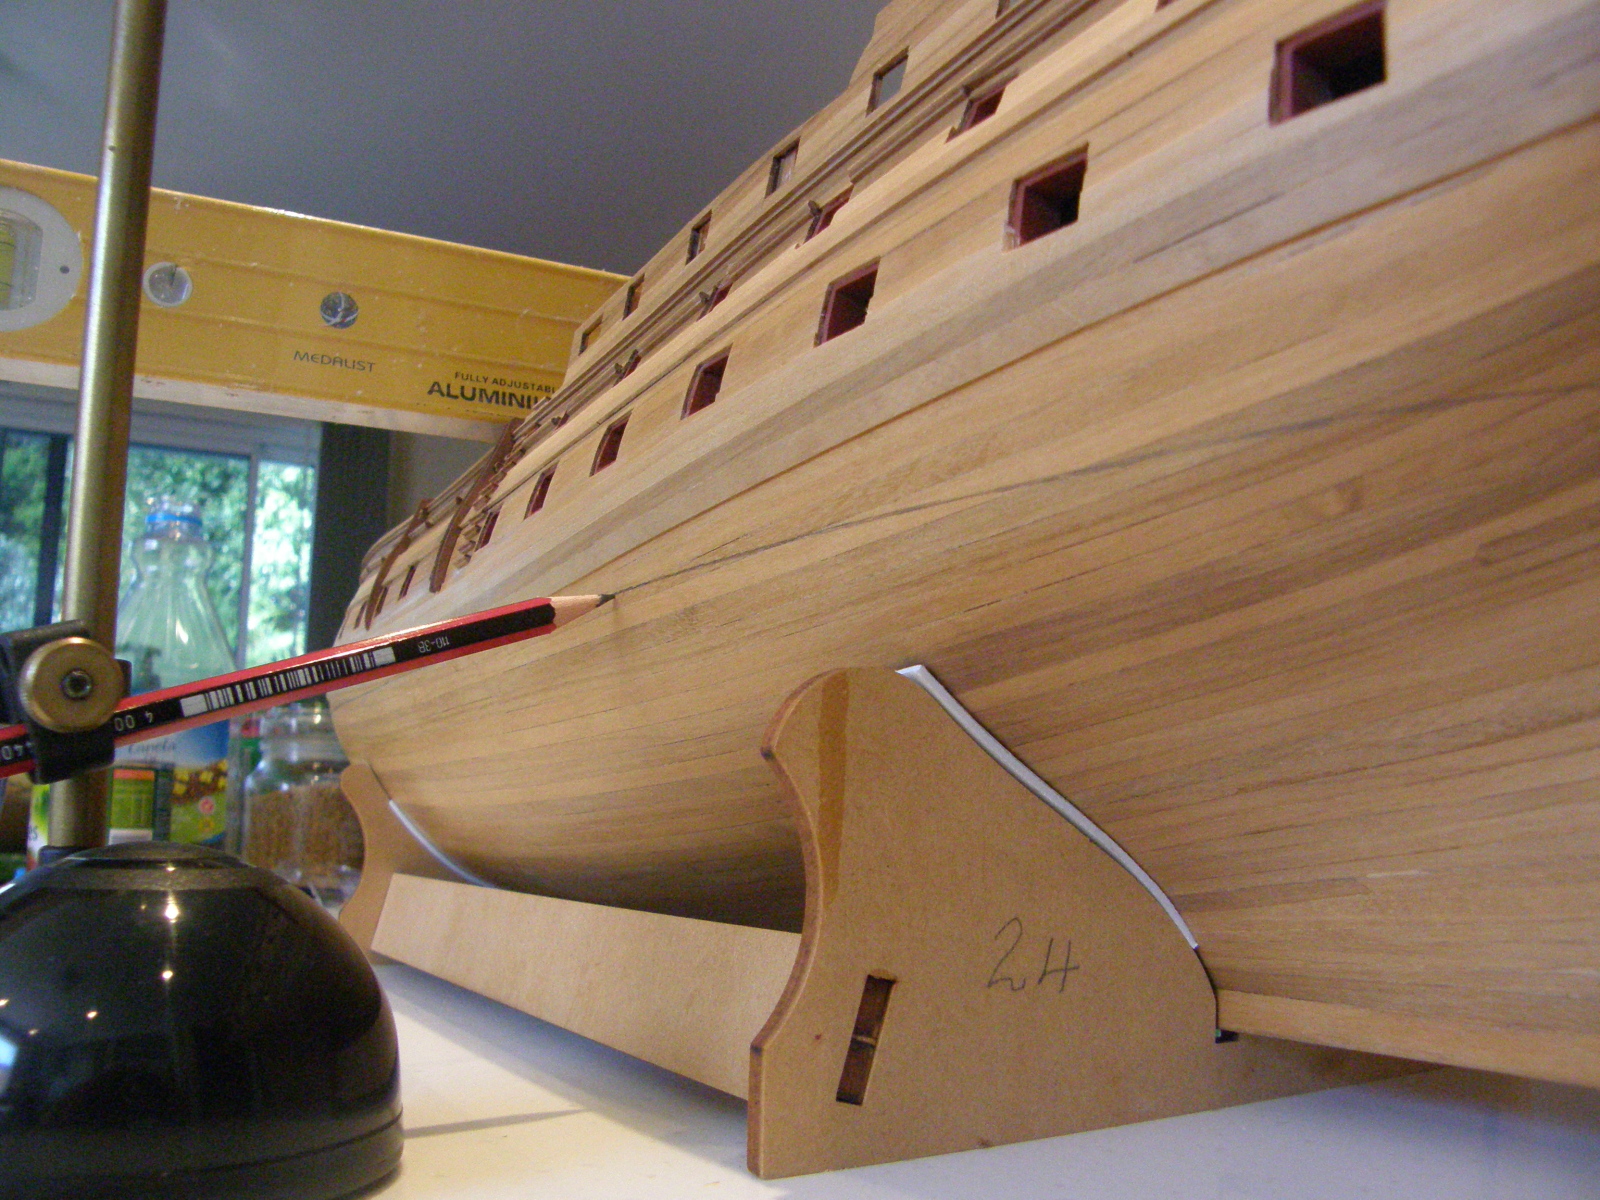
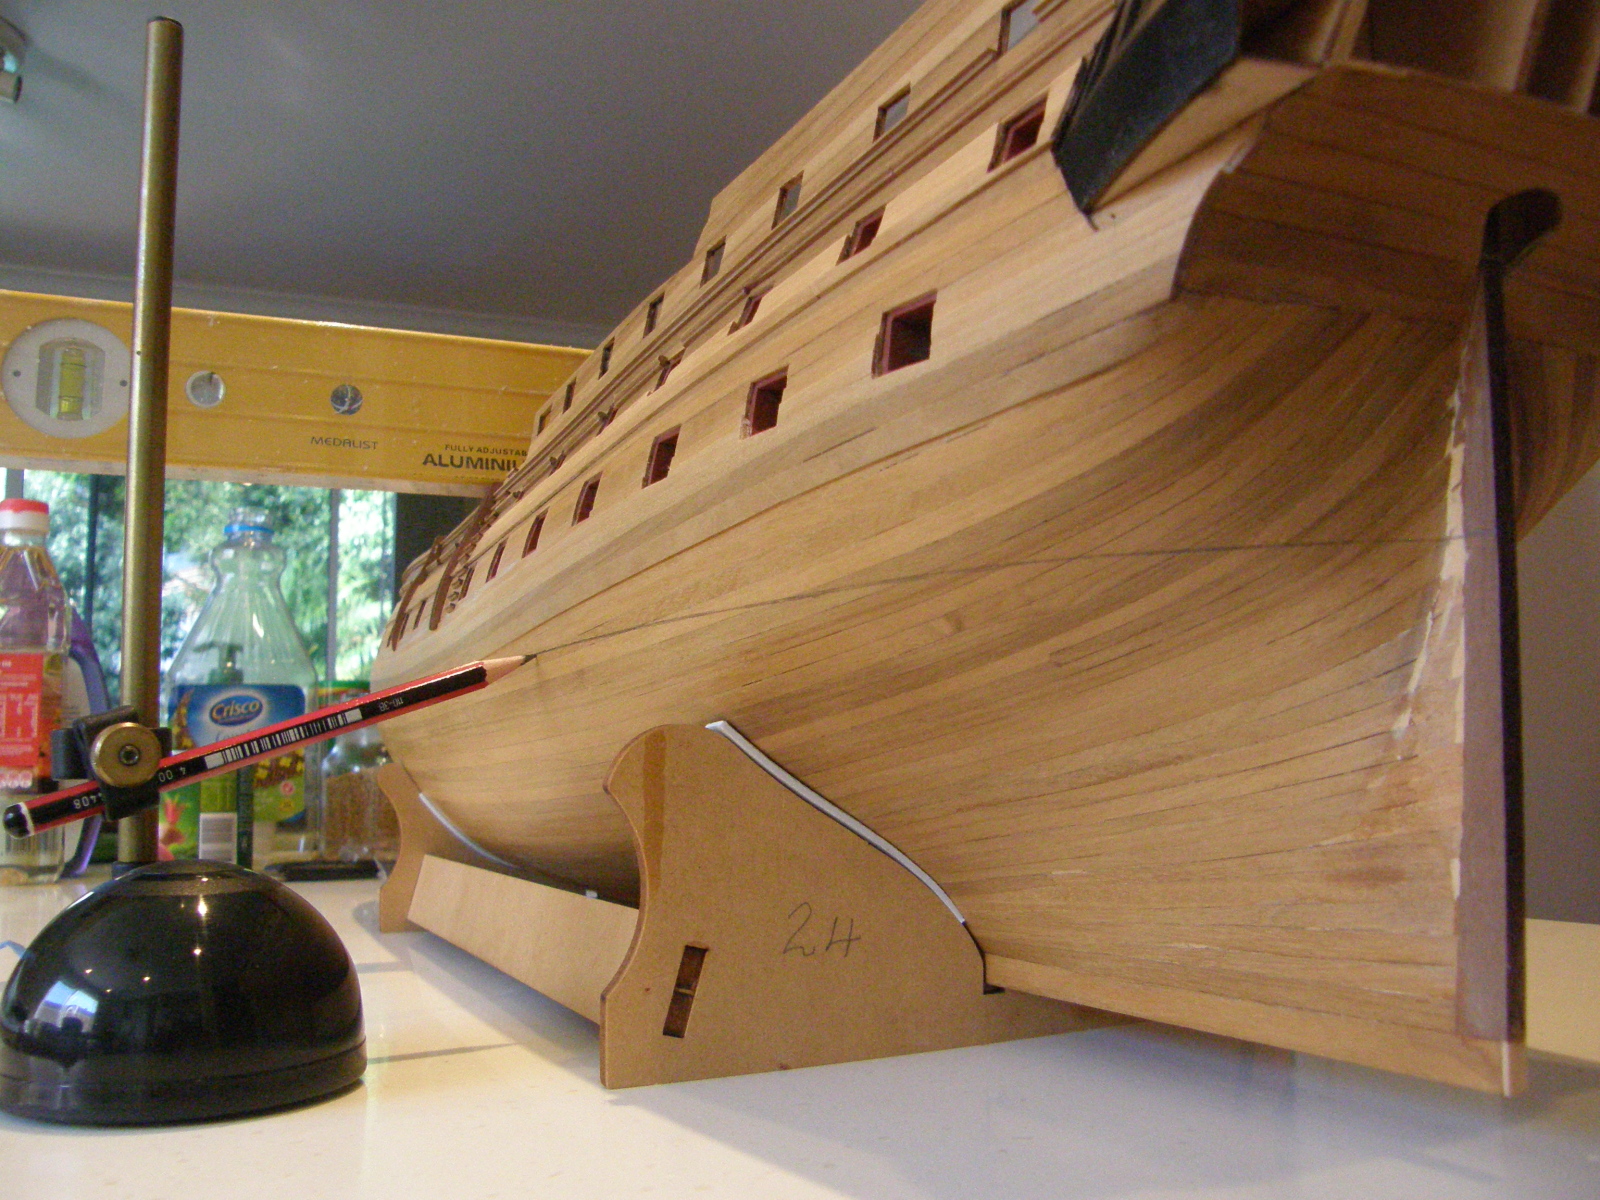
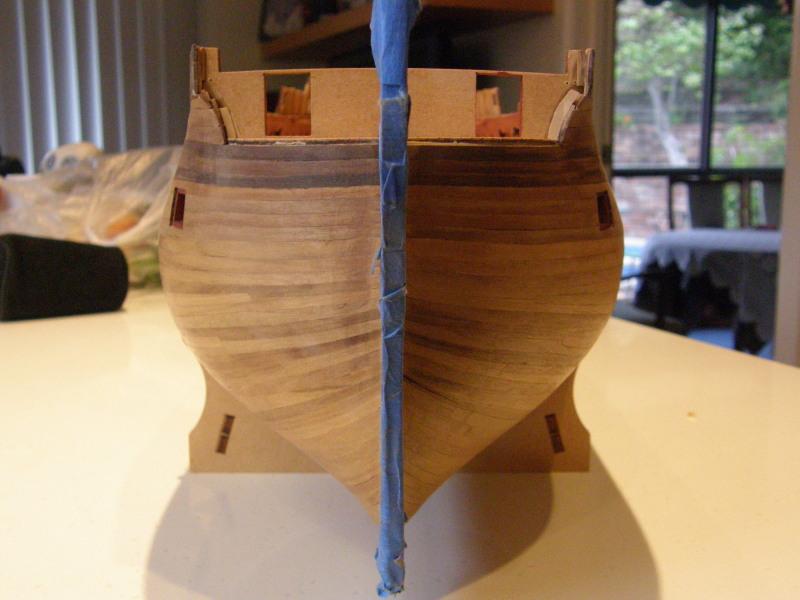
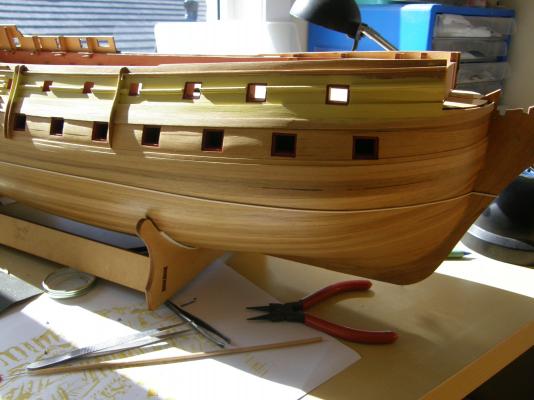
I have just lost a post in the ether. I accidentally hit the right mouse button and that was that. So here I go again. I have completed putting on the waterline battens. I used lime wood as it is flexible and, as it is light coloured, shows up any mistakes. With a few adjustments here or there it has come out quite well. As some of the curves are quite tight it was easiest to put the battens up in pieces making the joins wedge-shaped to make them unobtrusive. The battens will be painted black later so that any minor blemishes should (I hope) disappear. I have put four coats of yellow over the upper gundeck ports, sanding between each coat. It took a week as the Humbrol takes about 36 hours to dry sufficiently to sand.


-
Hi Arthur Just got back. We've had some amazing weather over the last couple of weeks and I'll post a photo of the huge seas taken from our place. It may give some idea of the conditions these ships had to face every so often. I've put three coats of yellow across the gun ports of the upper gun deck. I have found that it needs a full day for the Humbrol paint to dry sufficiently to sand back (I've used 800 and 1000 glass paper). It's very awkward around the steps and the skid beams (thanks for the tip on the all-black colouring), and it looks as if another two or three coats of yellow will be needed to give a really good finish. Did you use an airbrush? I'm thinking of doing the matt black with a spray can of ordinary enamel so I can cover all the paint work with Estapol ( a type of clear matt polyurethane). I found out after buying the Humbrol varish, that it is unsuitable for spraying over enamel. The Maskol did a fairly good job but I'll still have to do some touching up of the gun ports. As well, you can only leave the Maskol on for no more than 3 days so I'll have to do the masking again.
-
The Nelson checker. I'm concerned about how I can get nice clear boundaries between the black and the yellow, particularly over some of the decorative moldings. I will use Tamiya masking tape. I've used it in the past and it works well. I've also bought some Humbrol Maskol which I haven''t used before - so here's hoping. I'm off for a few days down the coast south of Sydney and I'll put the yellow on while I'm down there.
-
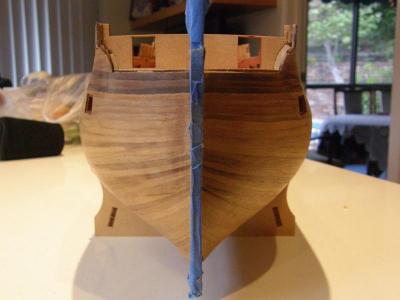
My comments on the first few pictures I have just posted have apparently disapeared into the ether. The first three show marking out the water line using an Amati marker (good but expensive and probably not good value). The other picture is a piece of decoration which has been carved to provide more depth (copied/inspired by Arthur (AEW) than the flat and unrealistic ply as supplied. As well the pictures have gone up in reverse order. Very odd.
-
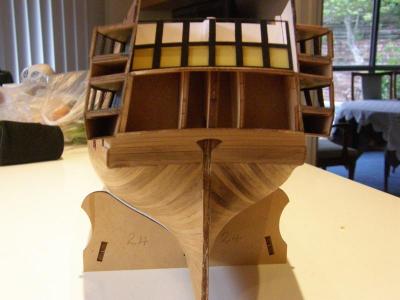
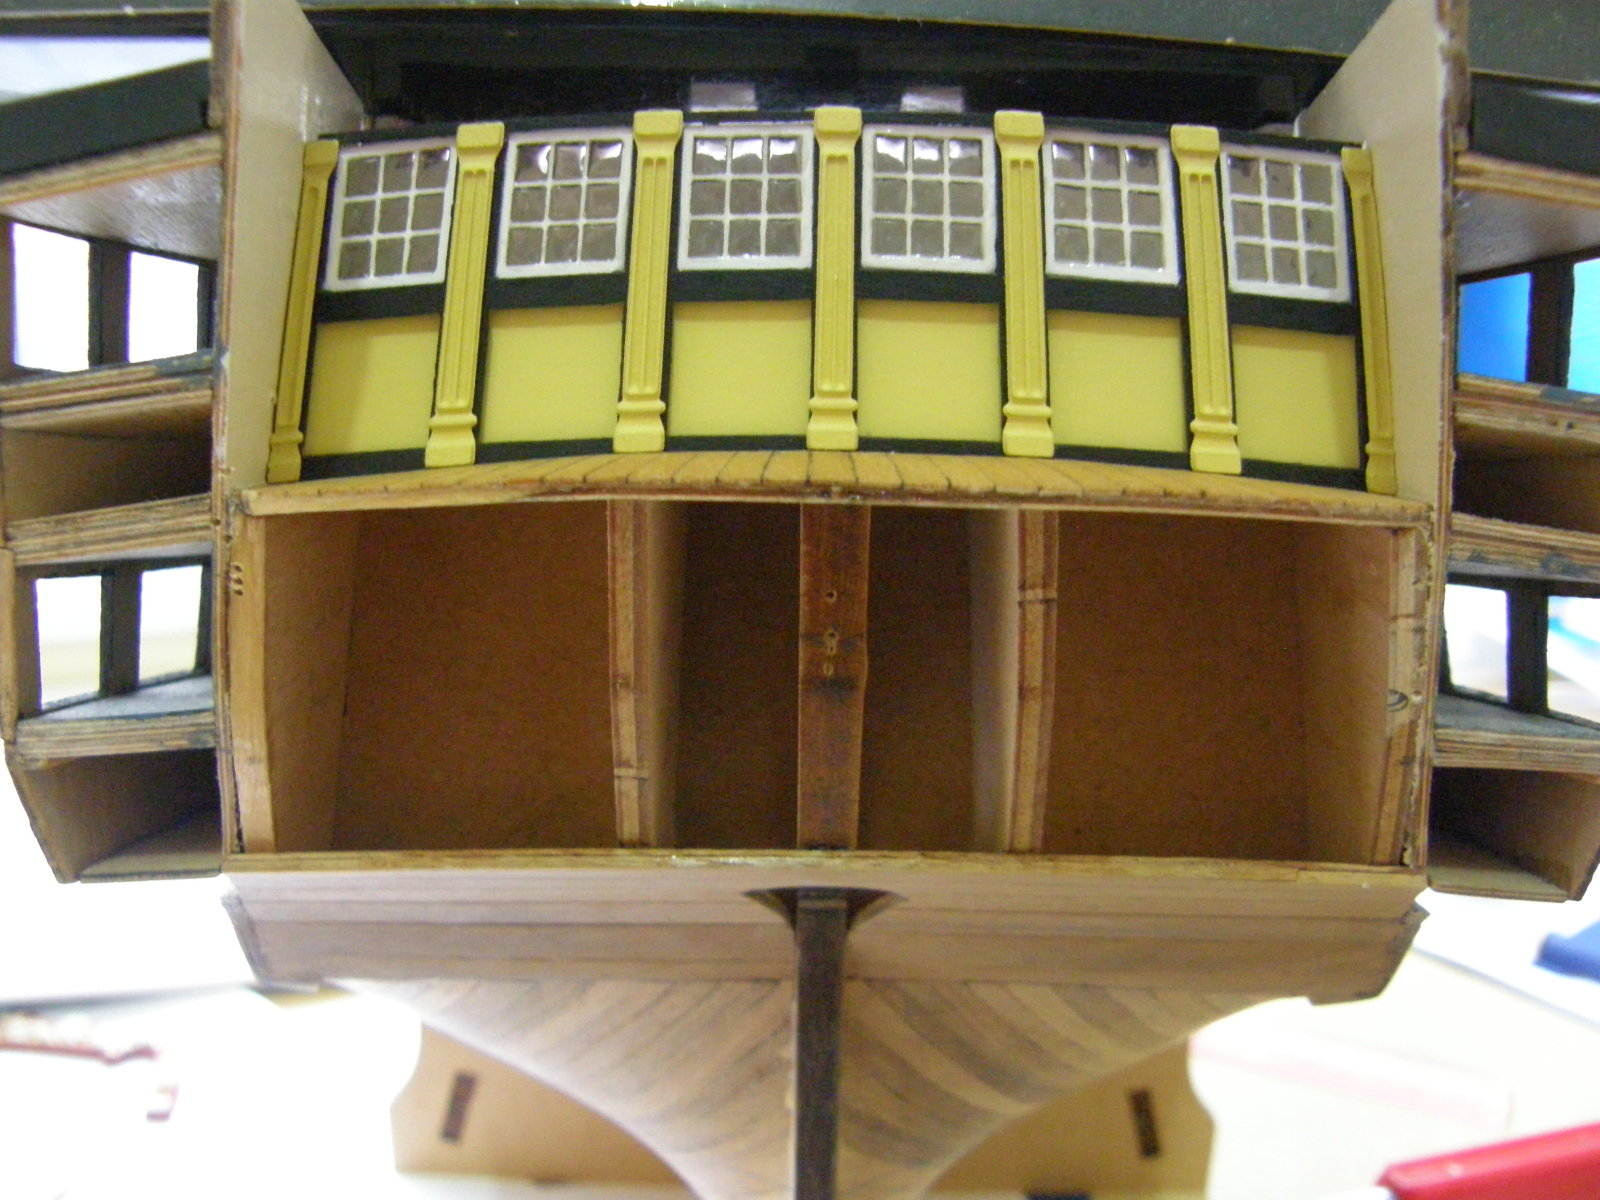
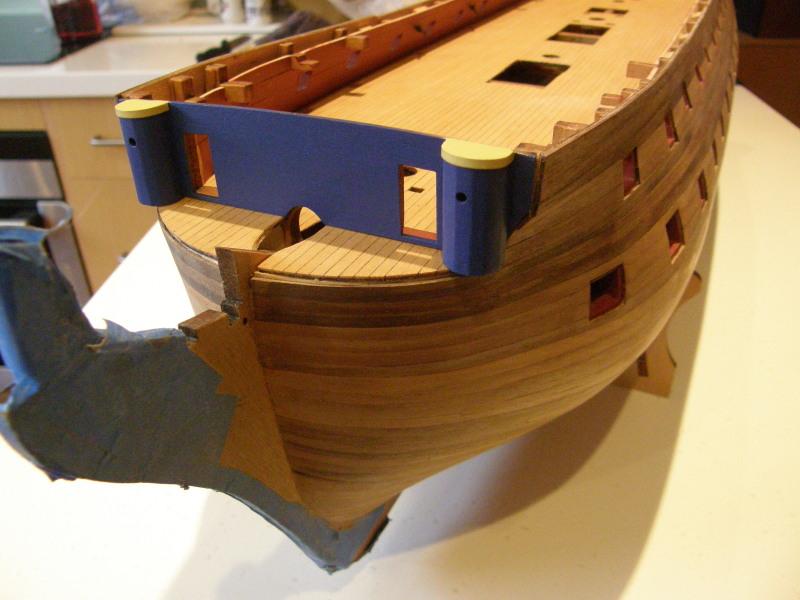
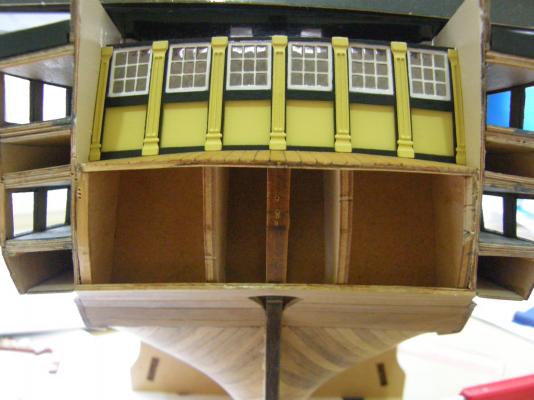
I have finally completed and fitted the screen bulkhead assembly. The 'glass' turned out well. The two pillars closest to the sides need to be trimmed a little (about 1/2mm ech ) to fit which was a bit awkward. Incidentally I have found Super Glue Gel (CA) is ideal for positioning pieces of decoration. It doesn't run, and a few small drops applied by a pin gives you time to position the piece. In Australia you can get it at Bunnings (Selleys Quick Fix in a small green tube) or ZAP Gel at hobby shops. For most other things I now use slow setting (it's still fairly quick) CA (either ZAP or Delta with the yellow labels). I have now decided to paint the hull before coppering the bottom. I will follow Arthur's method in layng the plates with the vertical nail impressions towards the stern and the horizontal impression towards the bottom.


- 949 replies
-
- 15
-
-
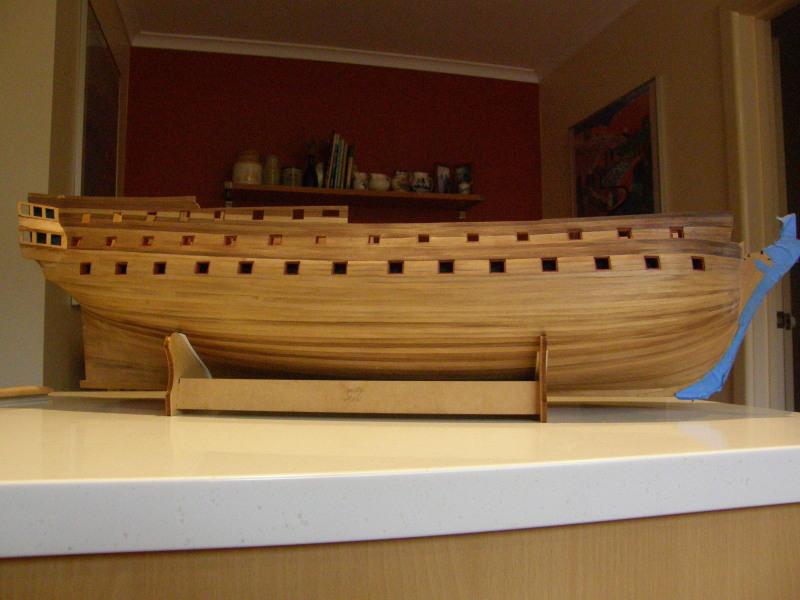
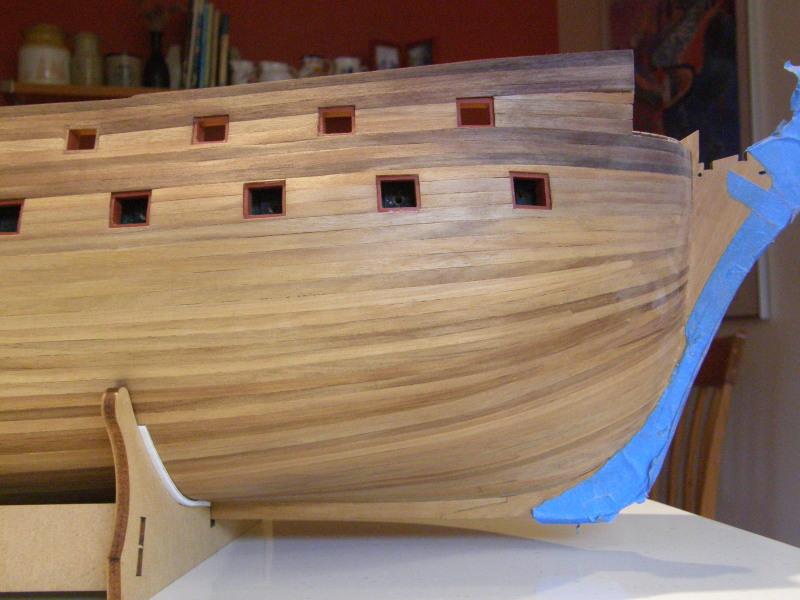
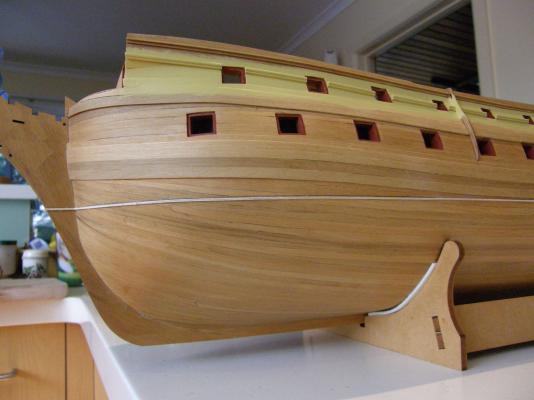
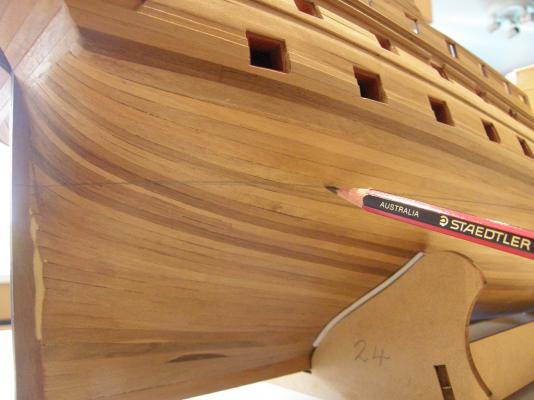
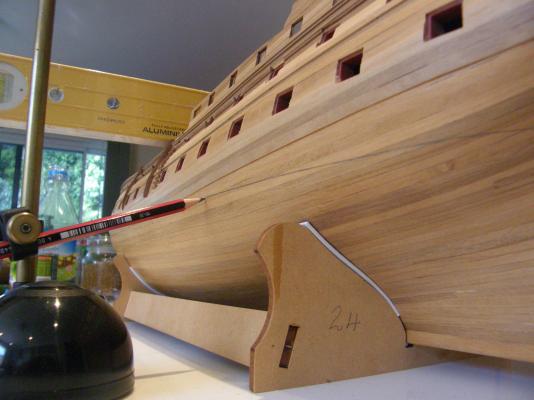
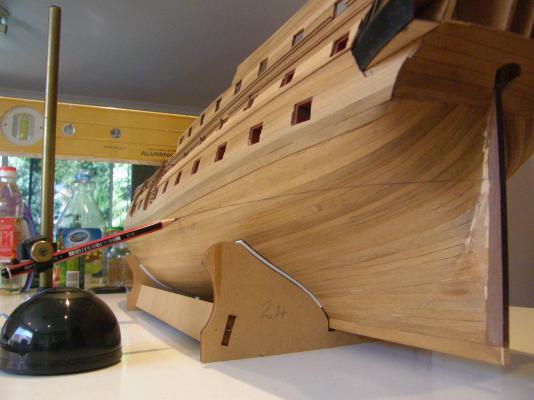
The wood is wallnut I wasn't too pleased with its quality. Much of it still had milling marks, there were some knots, and there was a wide variation in colour. I tried to match the colours of the strips on both sides of the model. It turned out well, but as I will paint it, it was probably a waste of time. Looking at it now, it does seem a shame that the timber will be coverered with paint. Thanks for your interest. Bob
-
When adding the photos I put them in the correct order, but in looking at my post they are all over the place. I have no idea why.This one seemed to get lost in the shuffle.
-
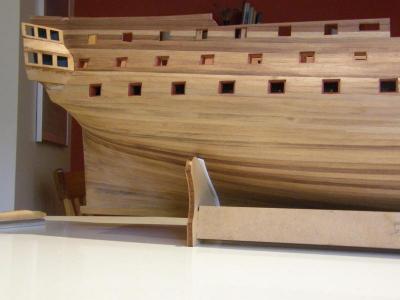
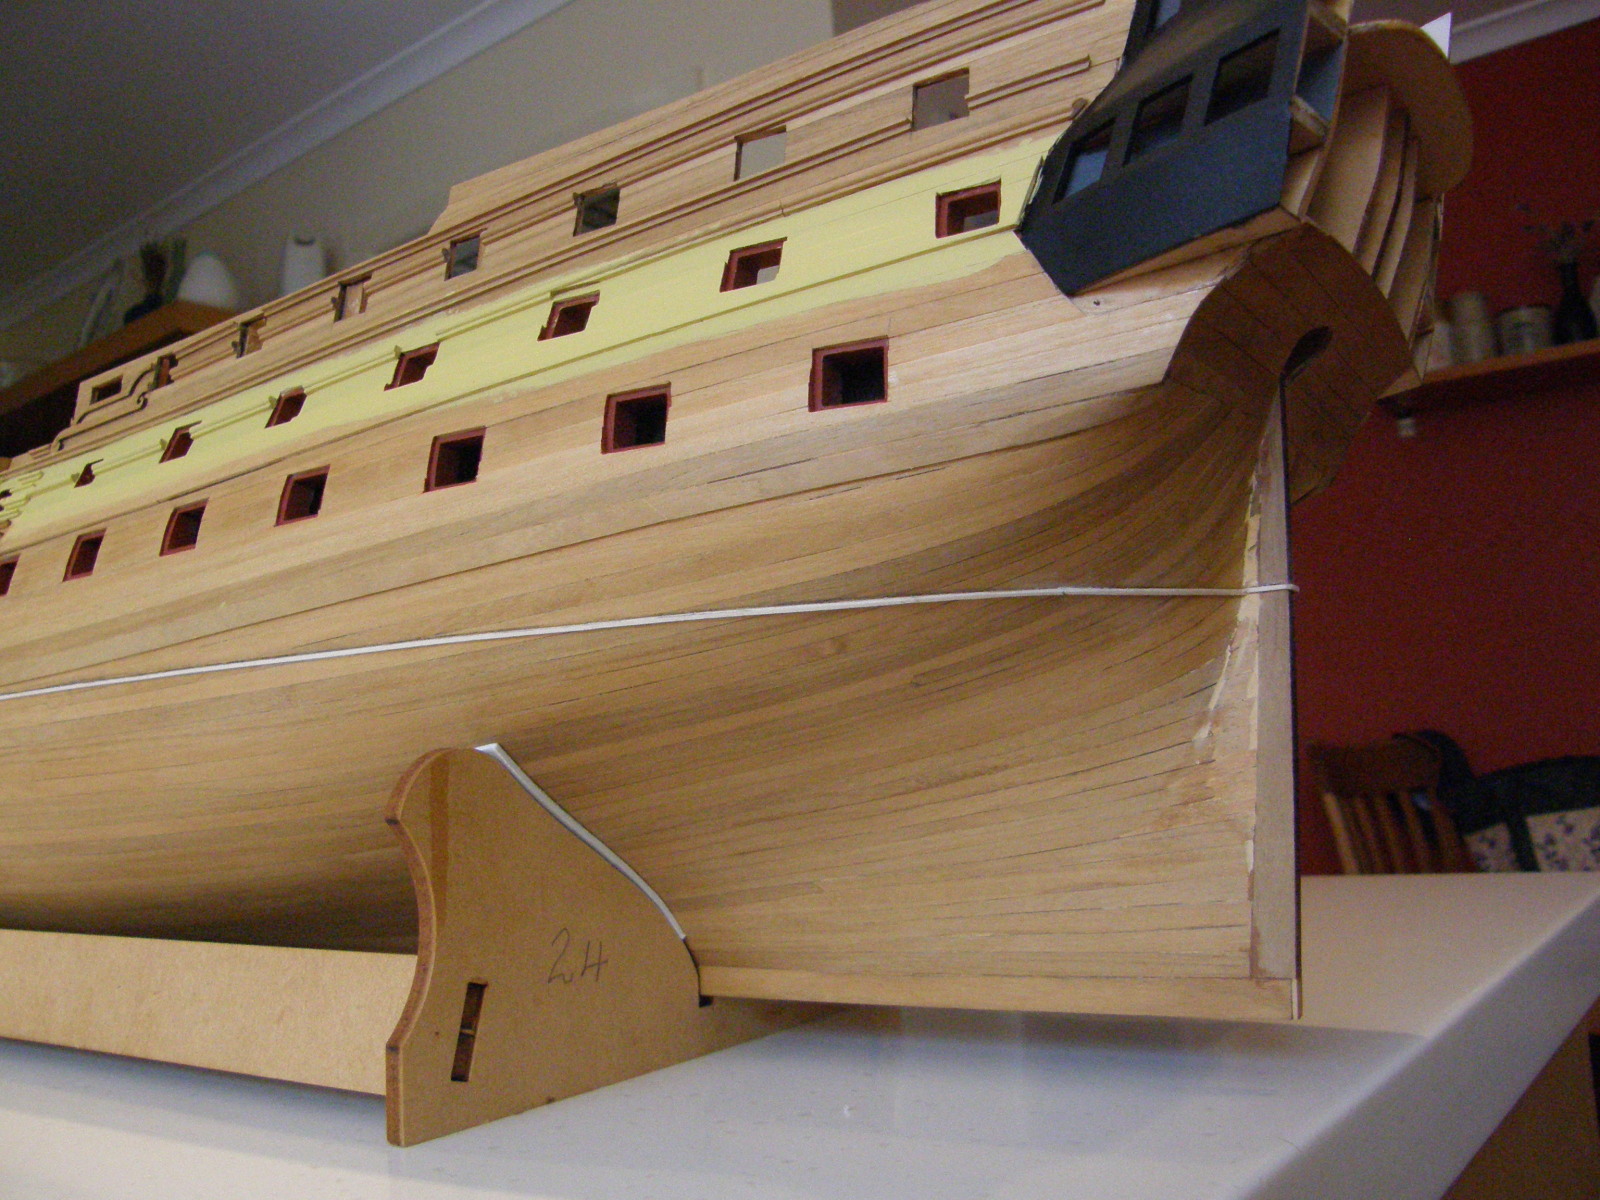
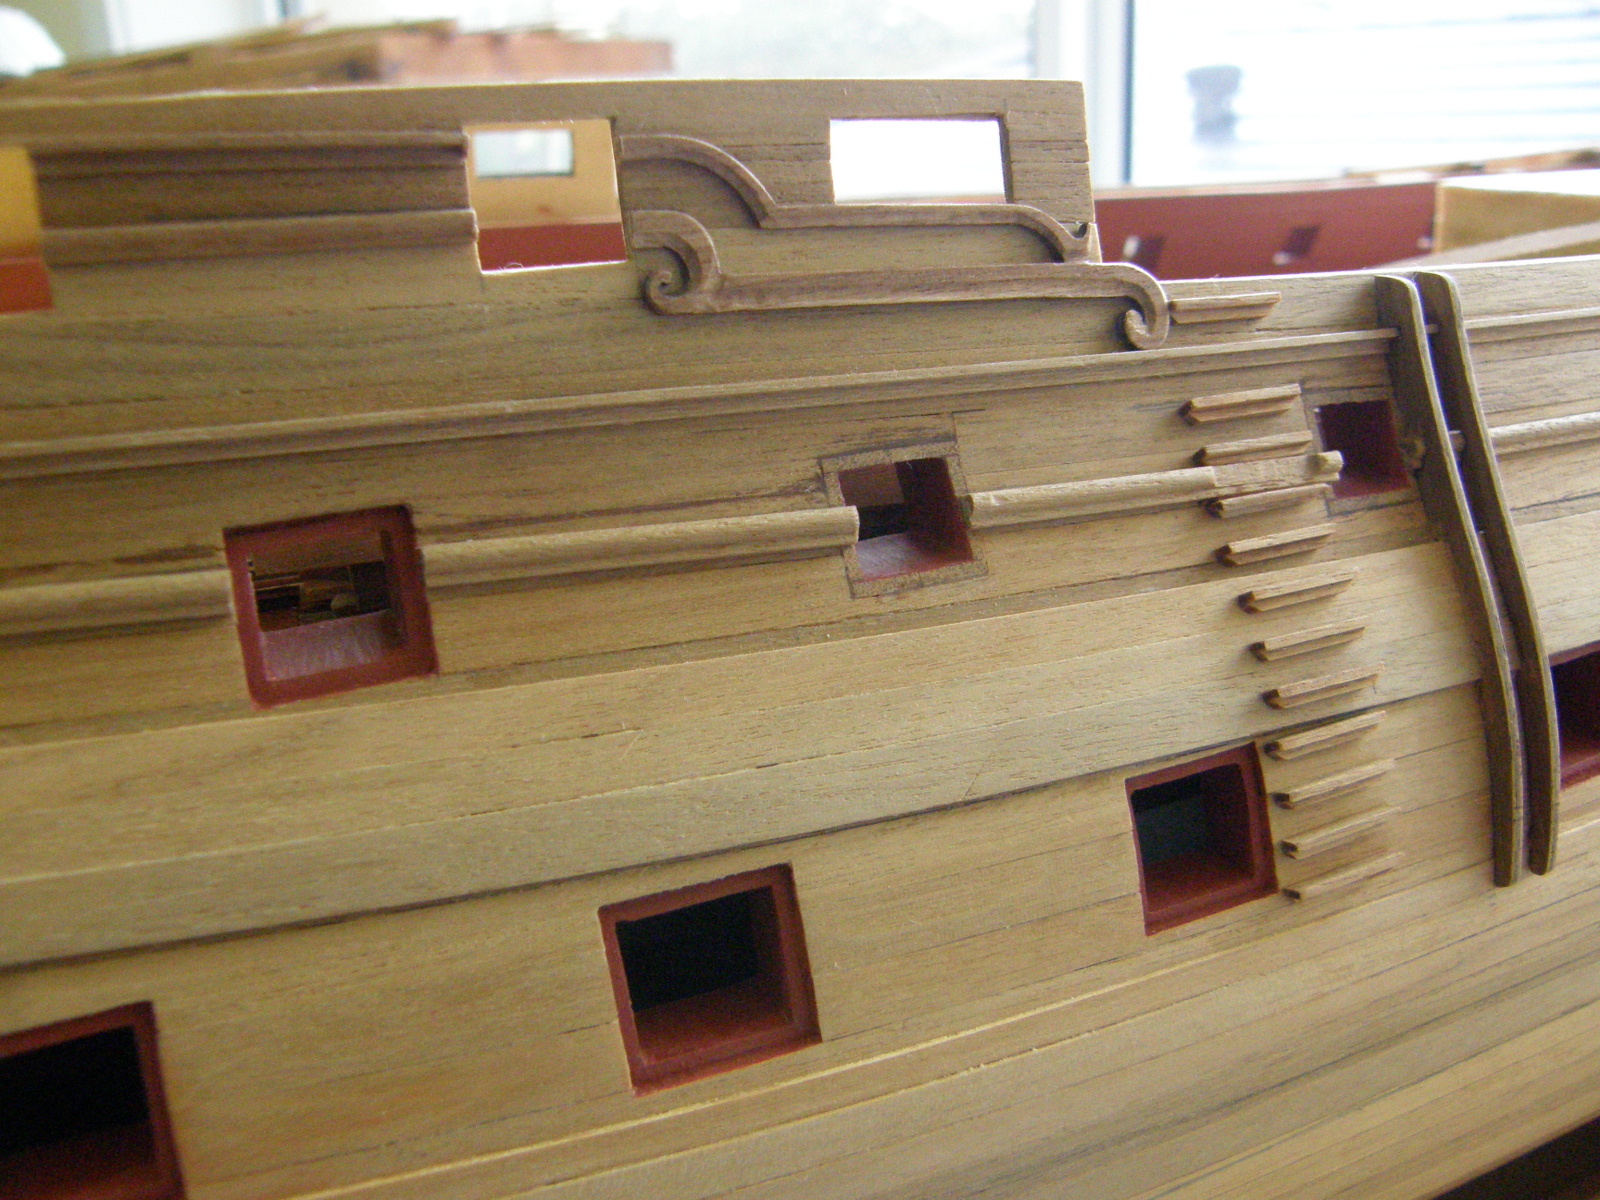
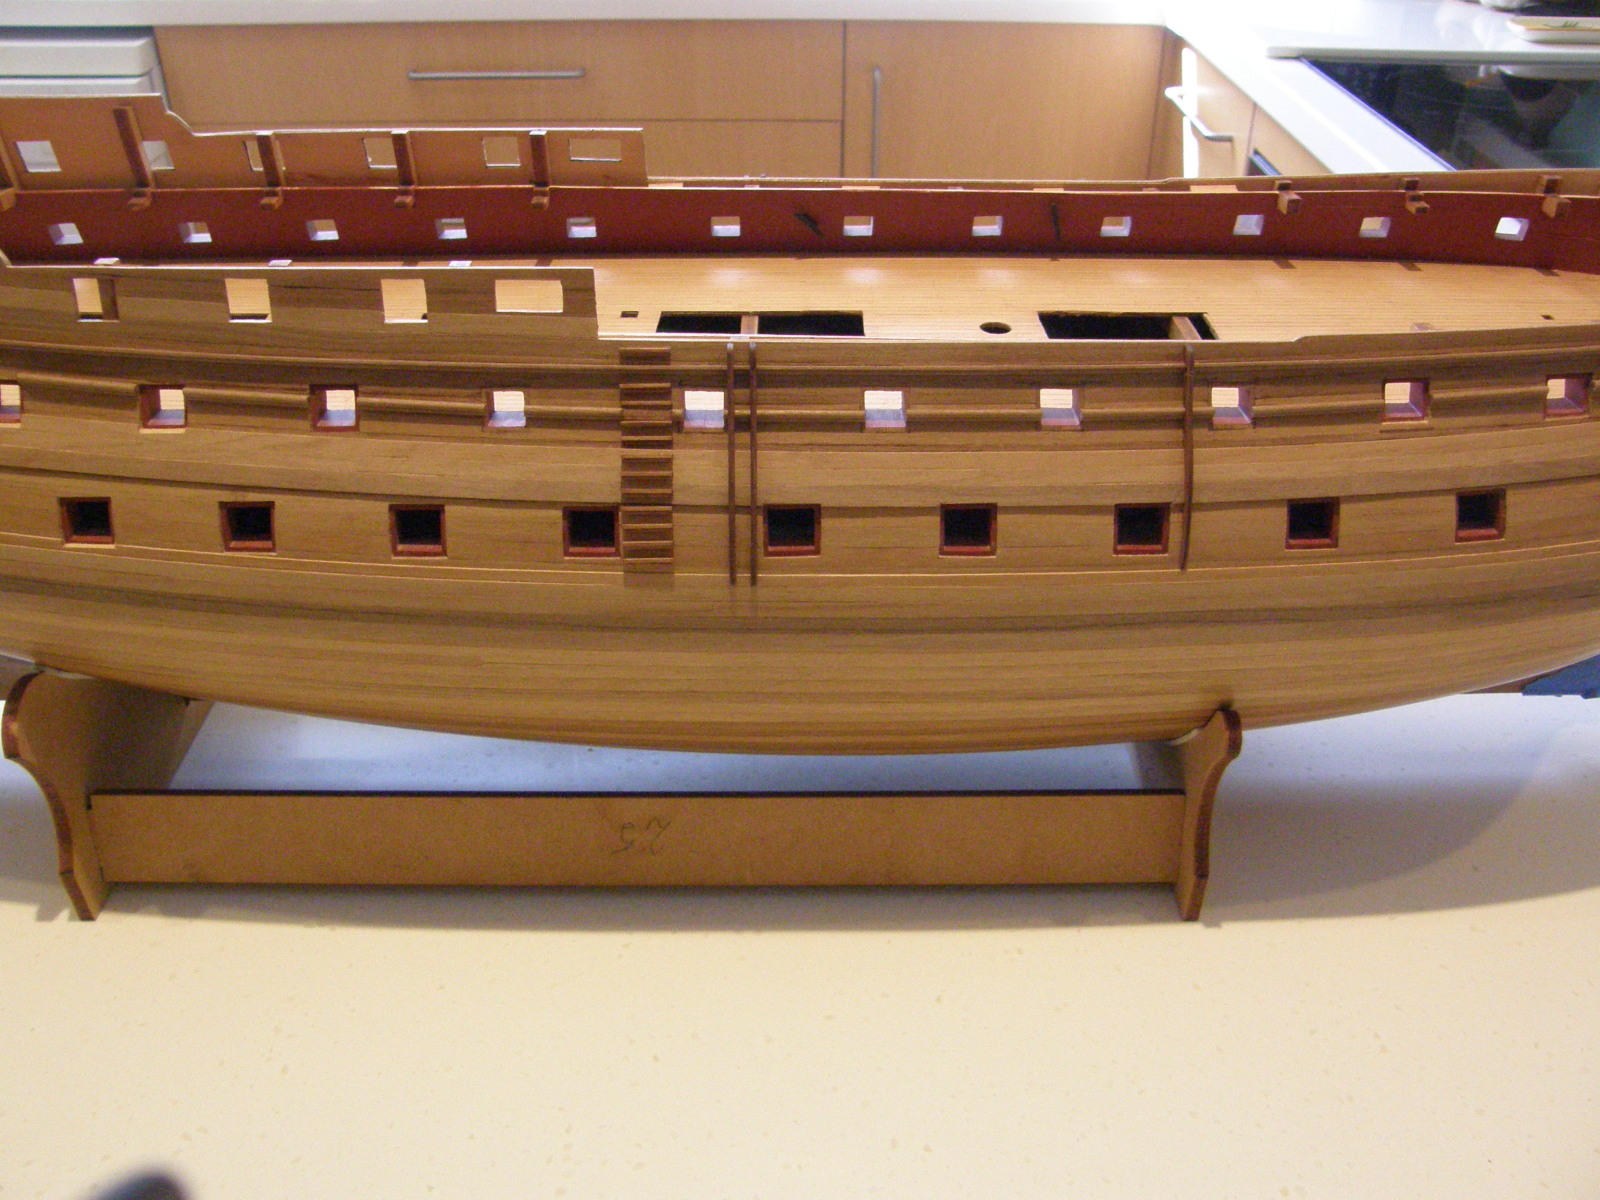
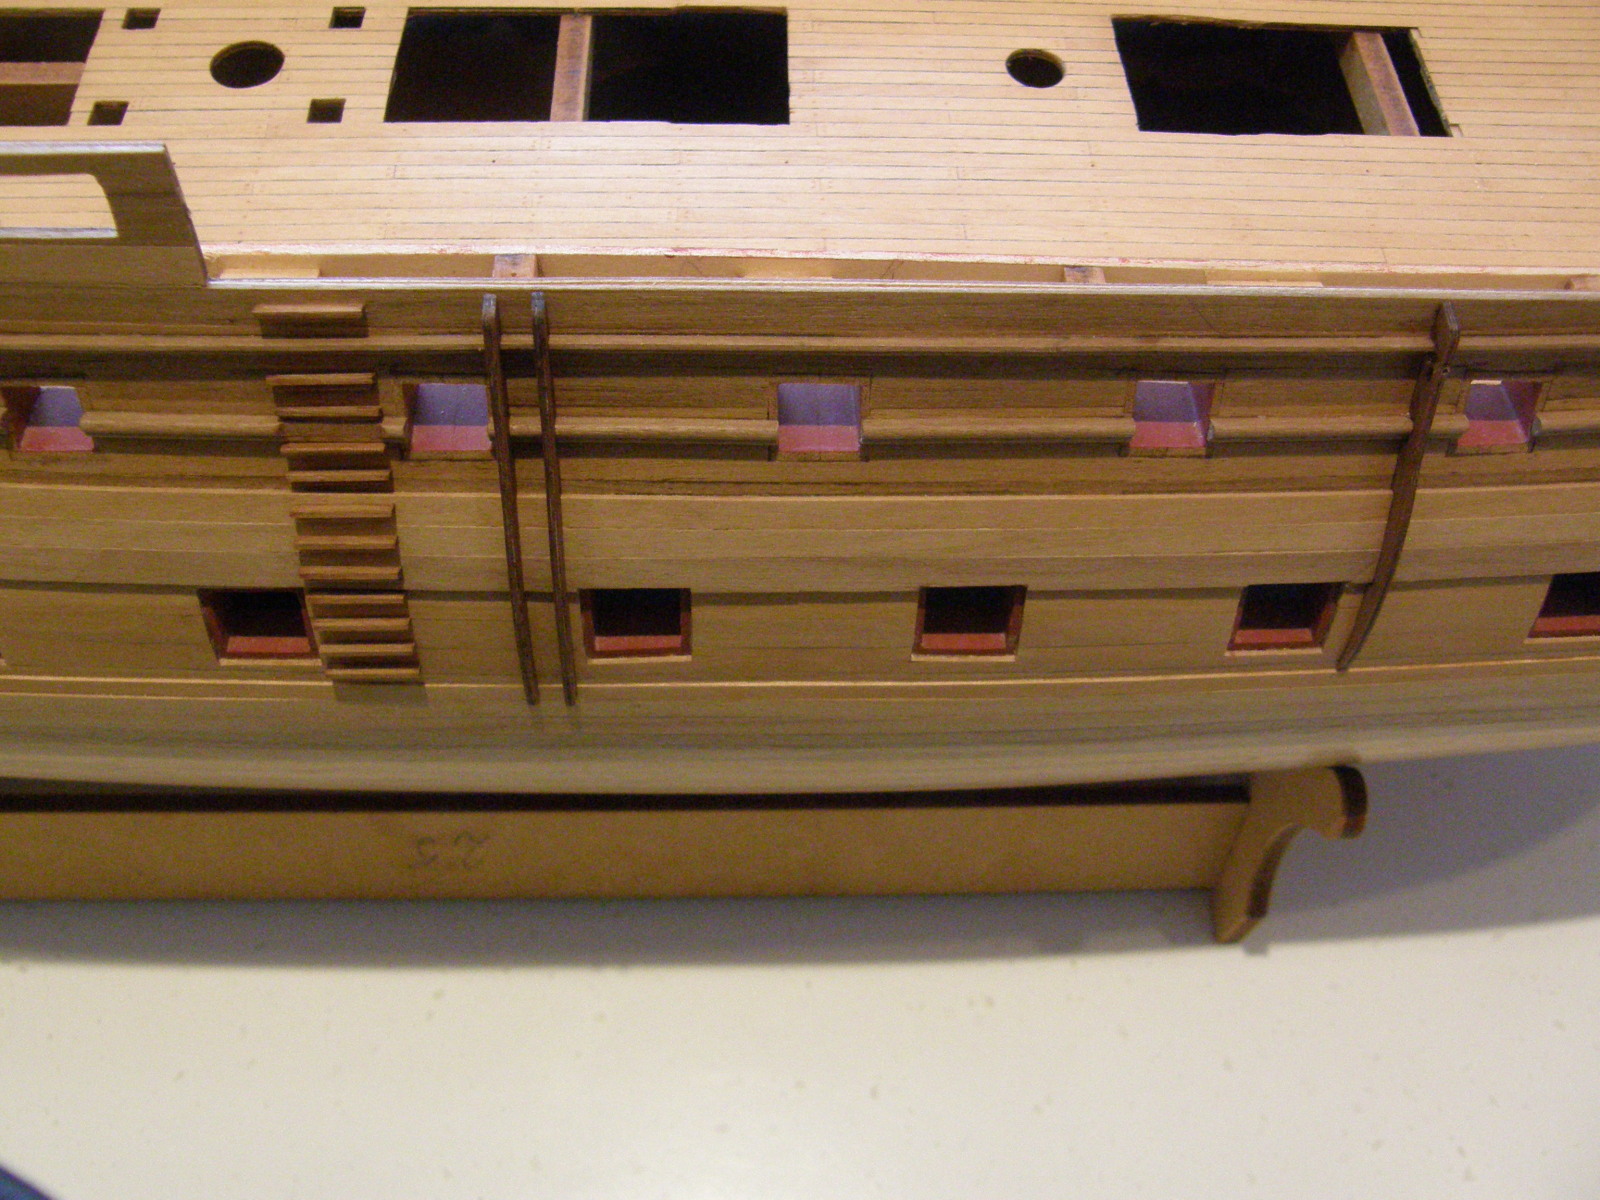
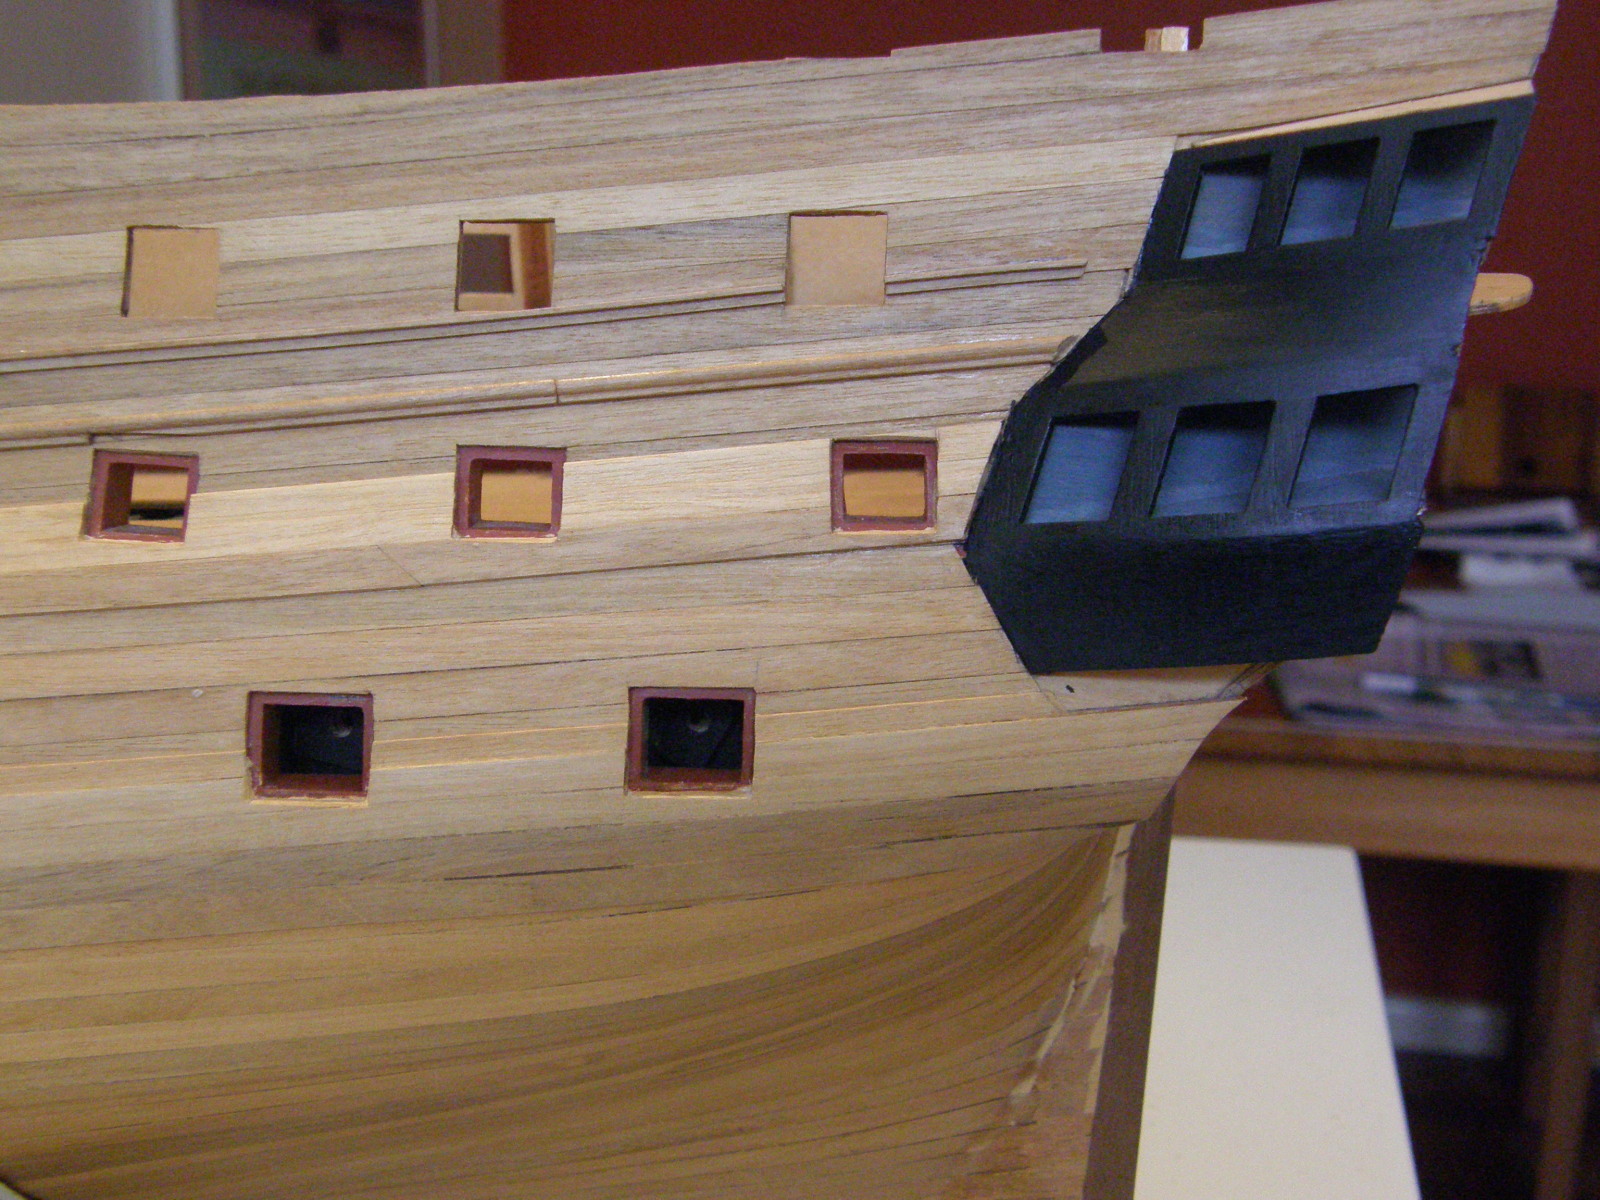
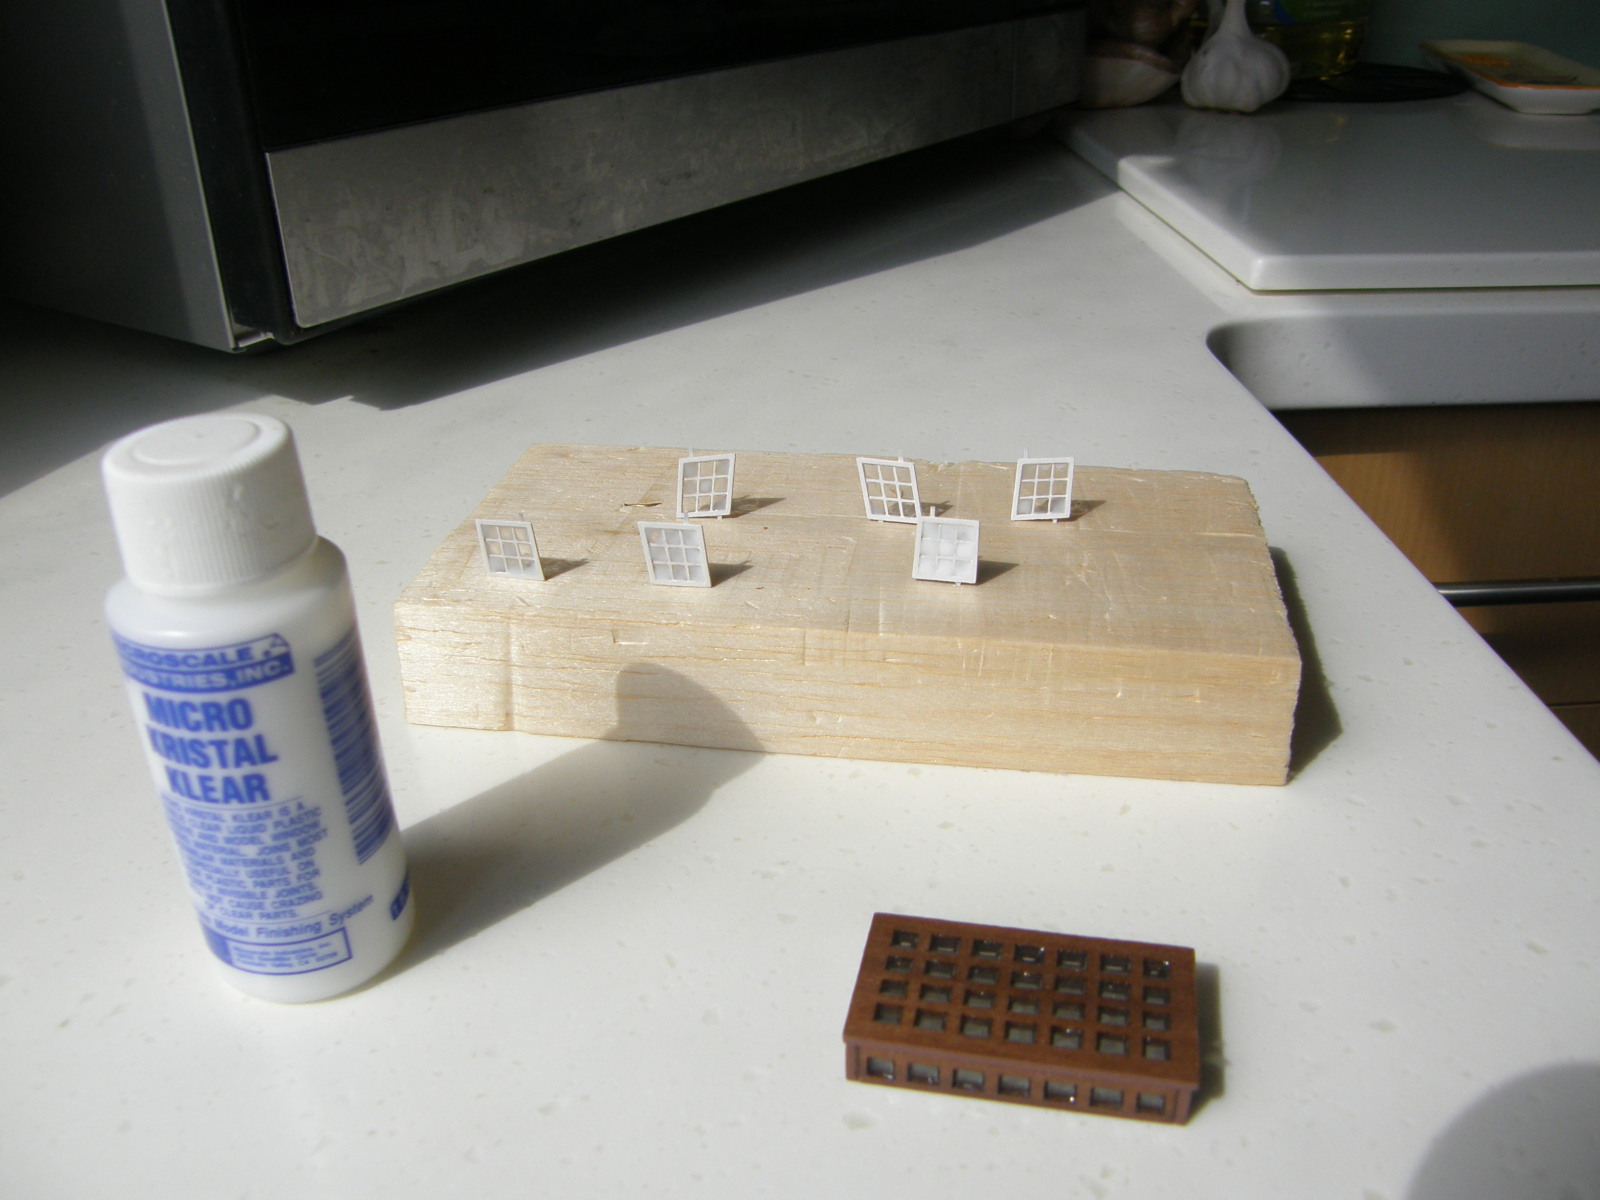
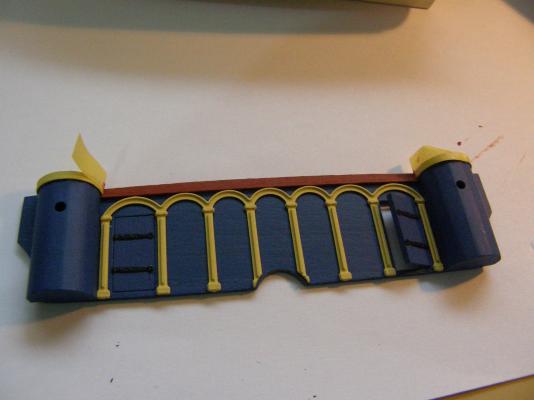
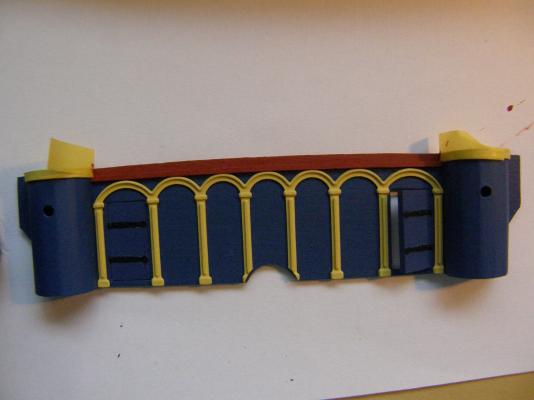
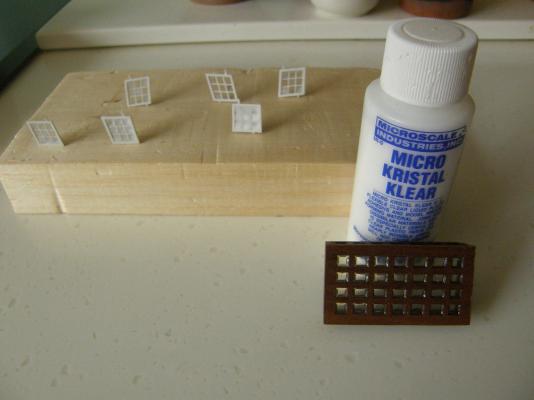
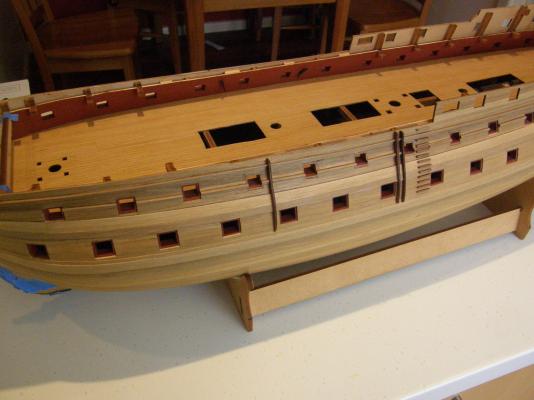
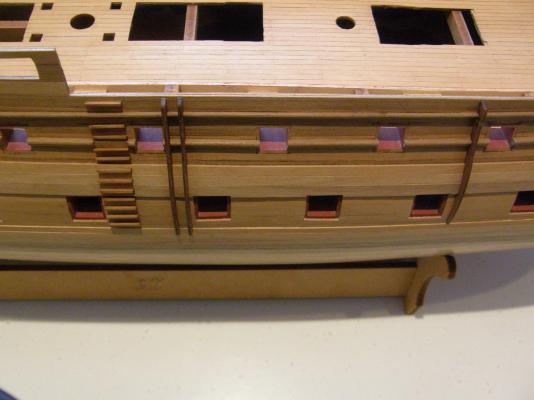
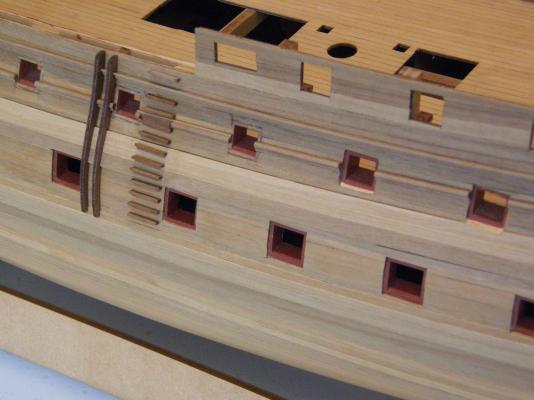
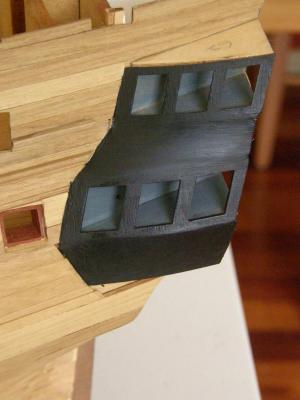
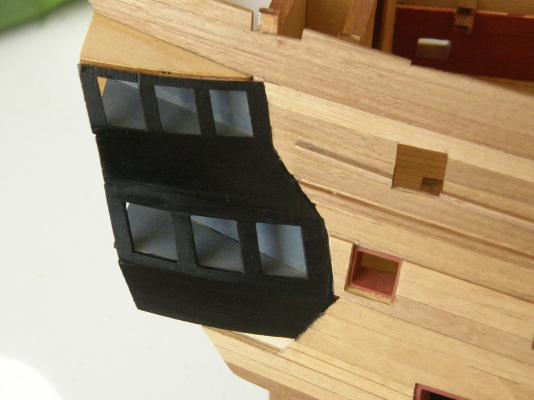
I have finally got around to finishing the second layer of planking, the wales and the decorative strips.The next few pictures show the steps and the decorative strips. I am not all that happy with the steps. Looking at the plan (too late) I realised the steps are superimposed on the decorative strips. With hindsight I should have cut the strips leaving space for the steps.Here are the quarter galleries. They need a couple more coats of matt paint.I have decided to try Kristal Klear for the windows. The windows pictured show some in the process of drying (showing white). Once dry, they become completely clear. It takes a bit of time to get the knack, but the results seem to be really good (so far).


-
Thanks for your reply. Yes, I stirred the paint with a piece of 3x1mm timber strip. At this stage it's not really a problem as the black paint on the side galleries will be mostly covered by decoration. I guess I will use the satin for a couple of coats and if I don't like the effect, put a couple of coats of matt over it. I will then put 2 or 3 coats of matt estapol over that and hope that it turns out acceptably.
-
I don't know about others, but I don't find the new website very user friendly. Perhaps it's just me. I would really like some advice concerning my question regarding satin Vs matt paint.
-
1. I have not looked at my log for a while, but it seems as if some photos have been lost. Has anyone else had this problem? 2. I am now painting the side galleries (I will be updating the log in the next few days) and am using Humbrol satin black as suggested in the kit instructions. The colour seems to me to be too shiny. I am now considering using Matt black instead. Has those who have used the satin found it satisfactory?
-
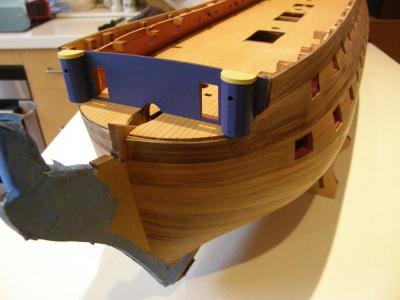
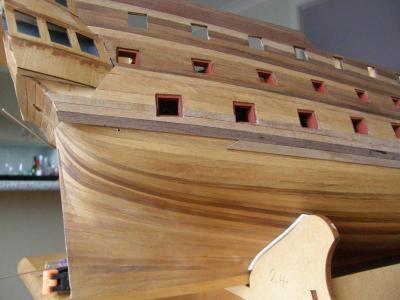
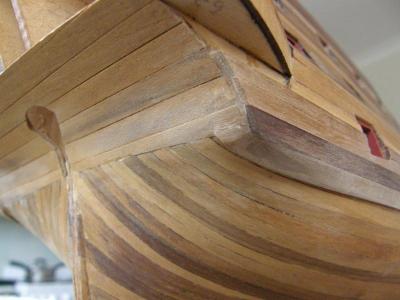
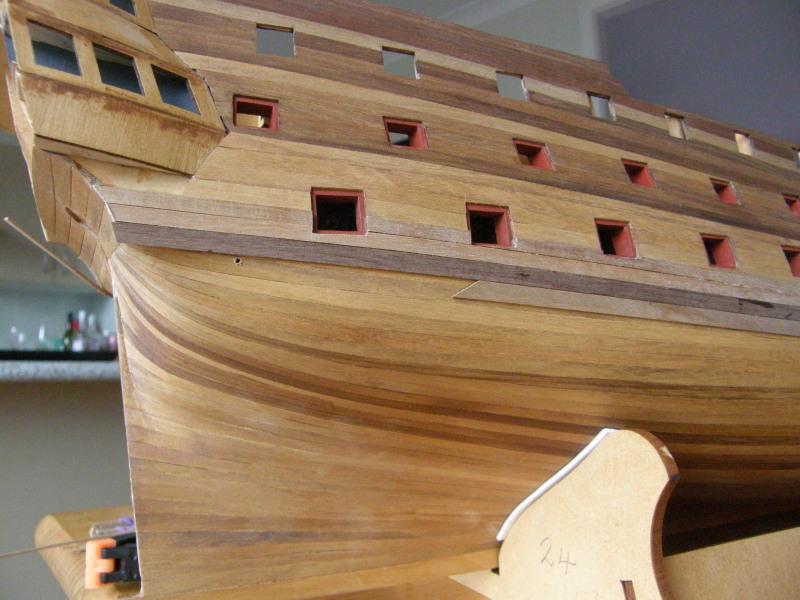
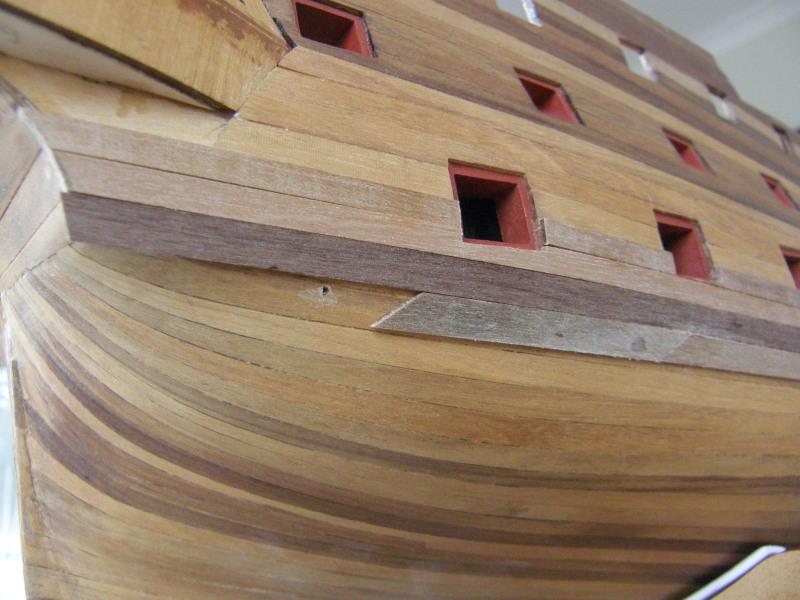
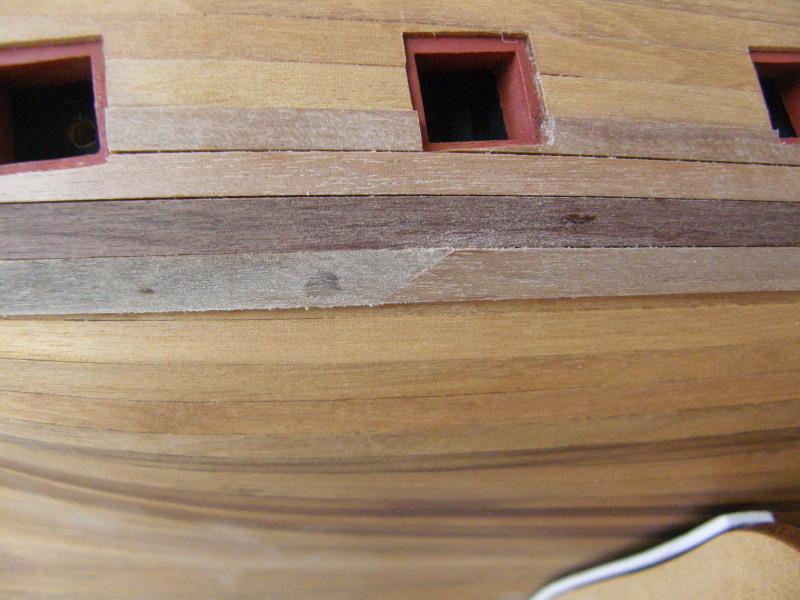
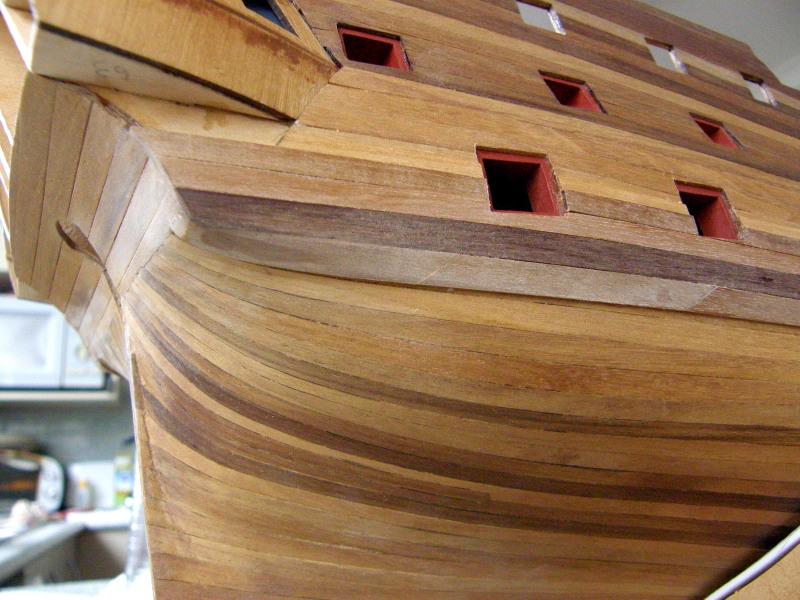
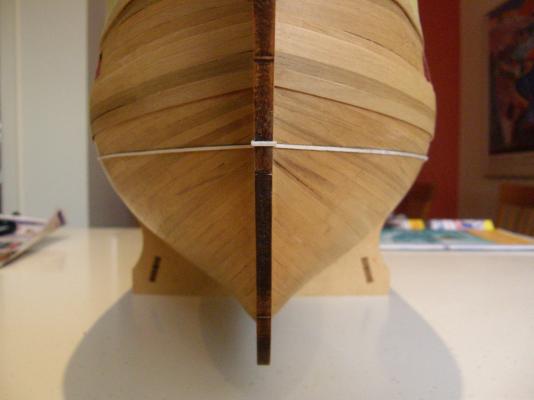
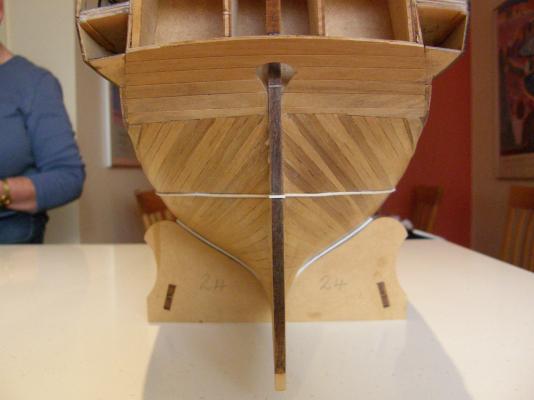
It's certainly a shame that all of the data has been lost. It was a wonderful resource. I still have some of the photos of my progress on the Vanguard and I will try to put these up now. I have just competed the wales and the first of the decorative strips (above the top wale) and I will post these when I get a chance. I have just looked at this post and the photos have apparently gone up in reverse order. As well I was only able to load 9 files to the post, rather than the 10 that was advised elsewhere. The new format will take some getting used to. I hope my next attempt will be a bit less chaotic. I have tried to add some more photos with comments and have tried to preview the added post. I'm afraid it looks like a dogs breakfast. I'm going to submit it and see what turns up. It is VERY frustrating. This photo and the two below show my solution to the placement of the last timber strip to the main wale. Here is the stern view of the completed main wale. Starting the top wale. I first soak the first strip for a couple of hours, then clamp it in the correct position, leaving it overnight. This gives the correct curvature, I then glue it to the model complete and then cut the holes for the gunports. The remaining strip can then fitted easily below the first.