Search the Community
Showing results for tags 'Americas Cup'.
Found 4 results
-
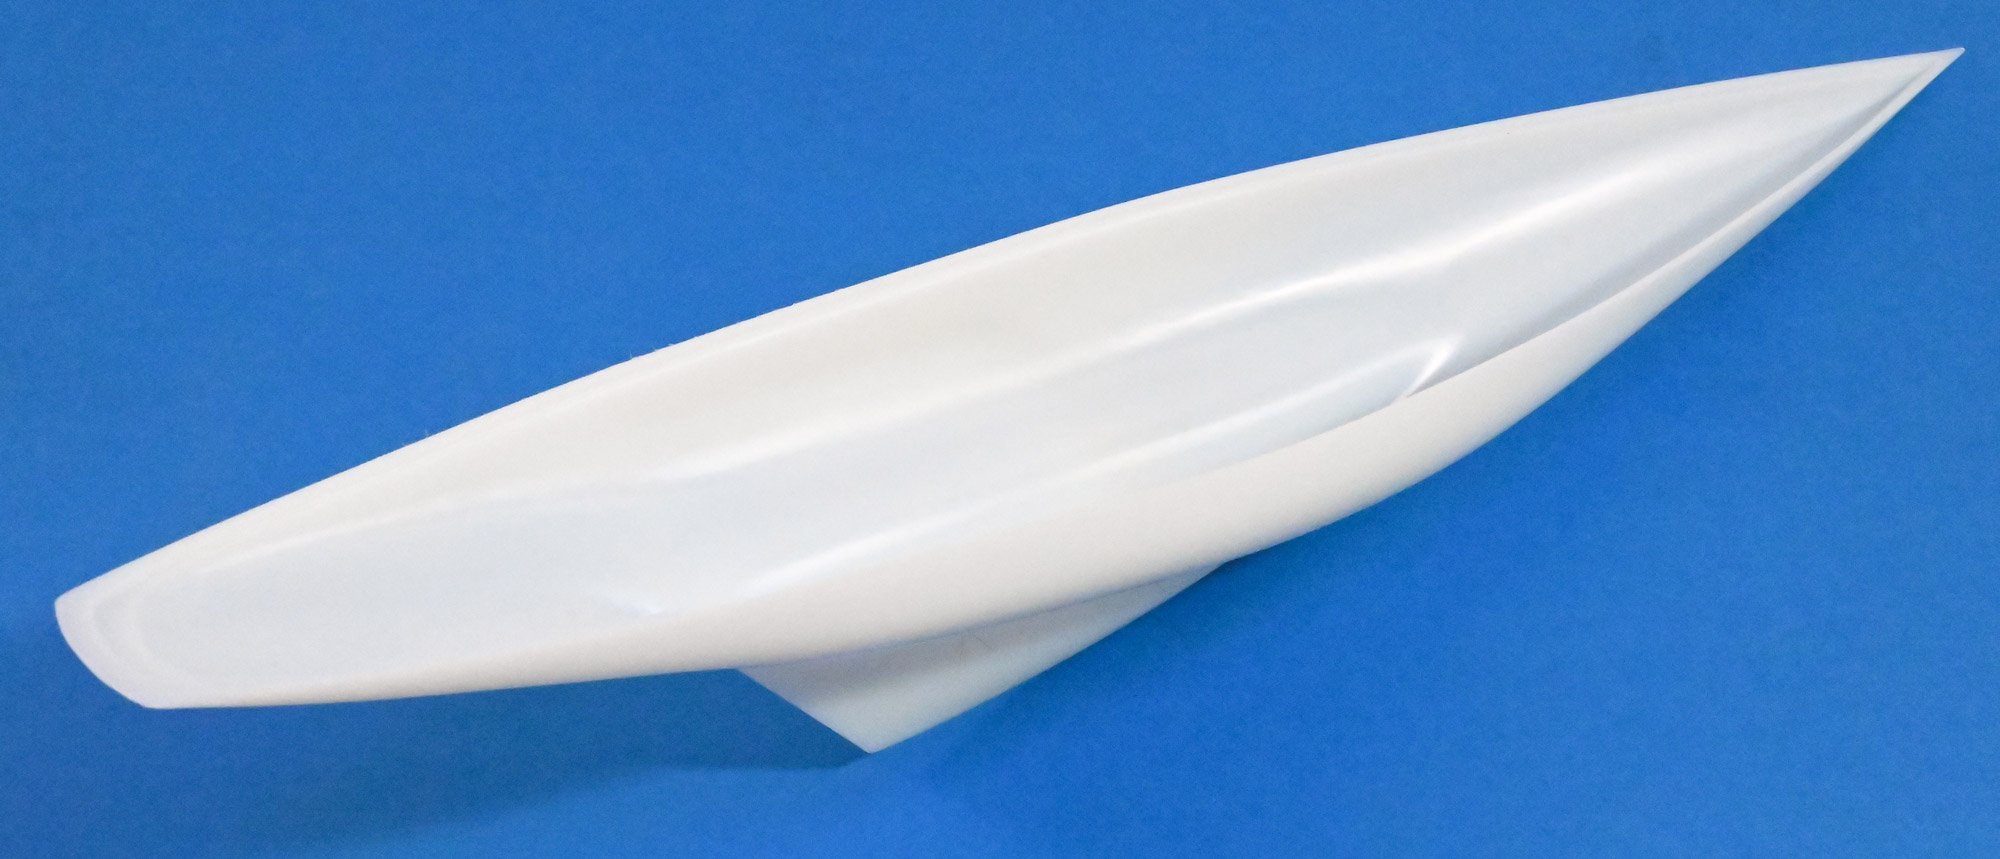
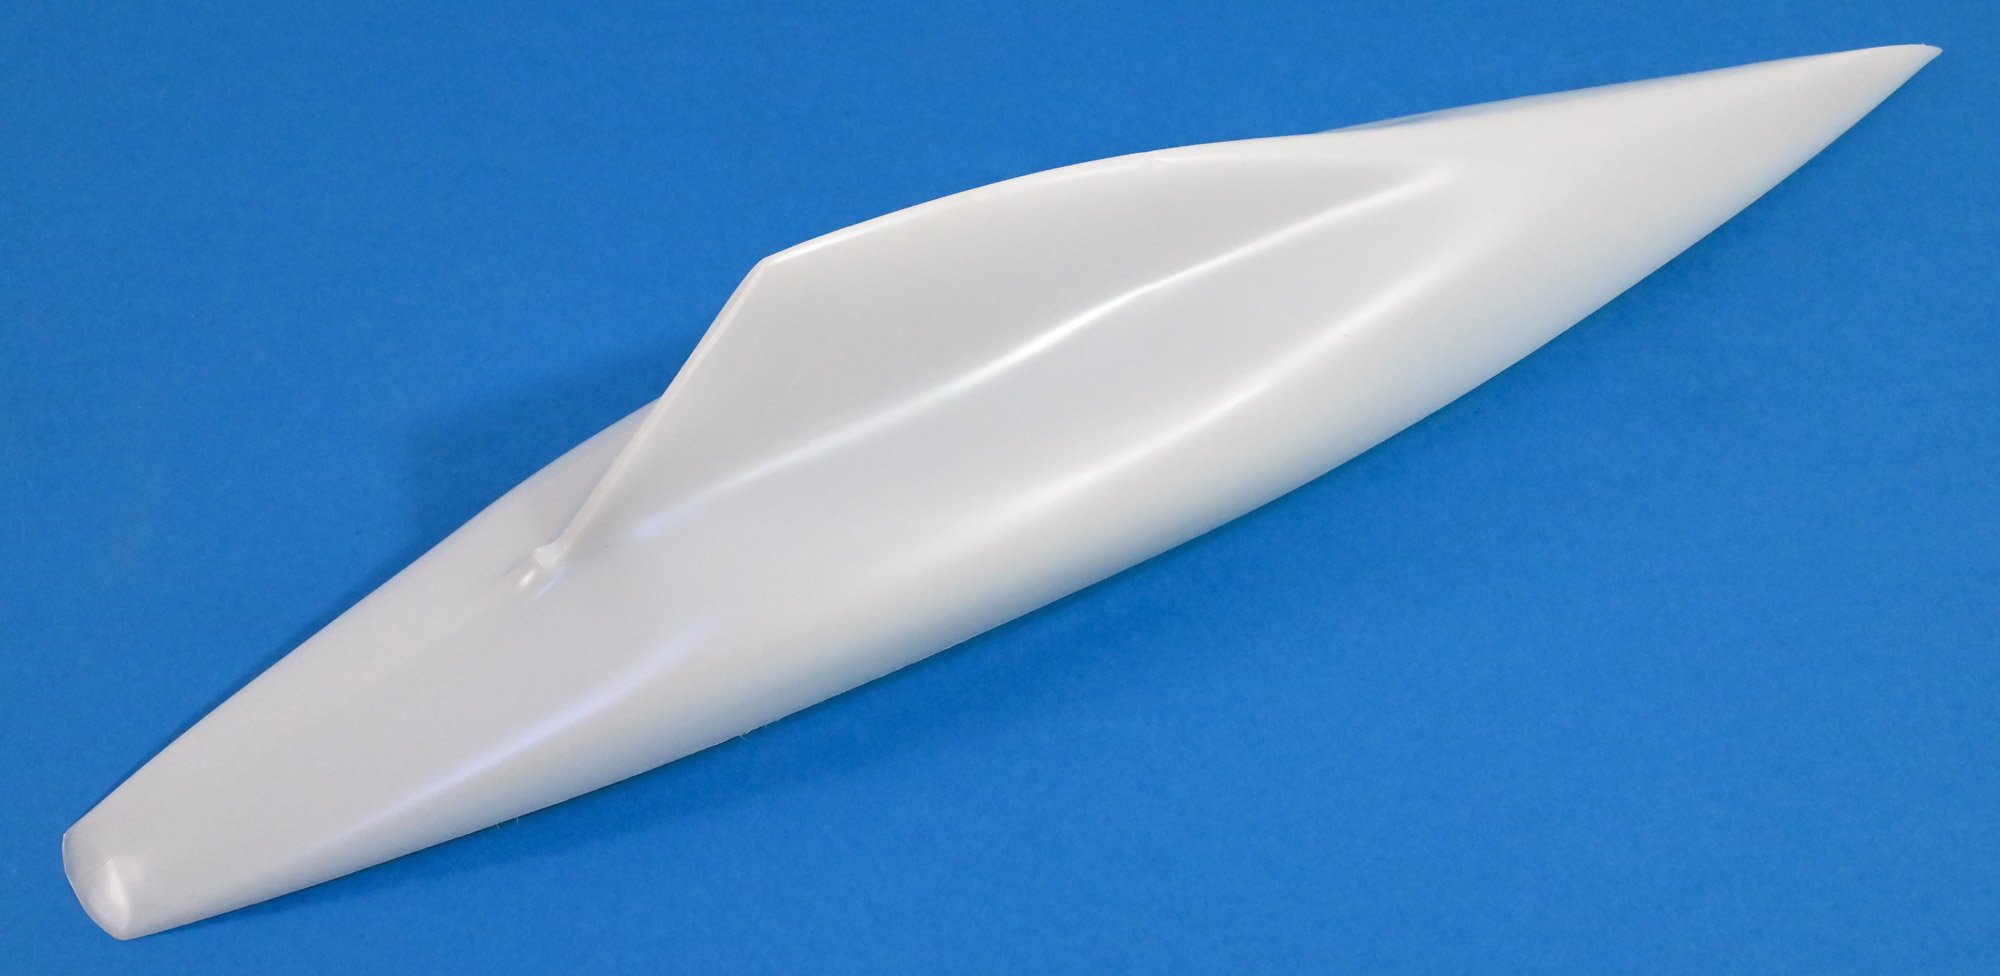
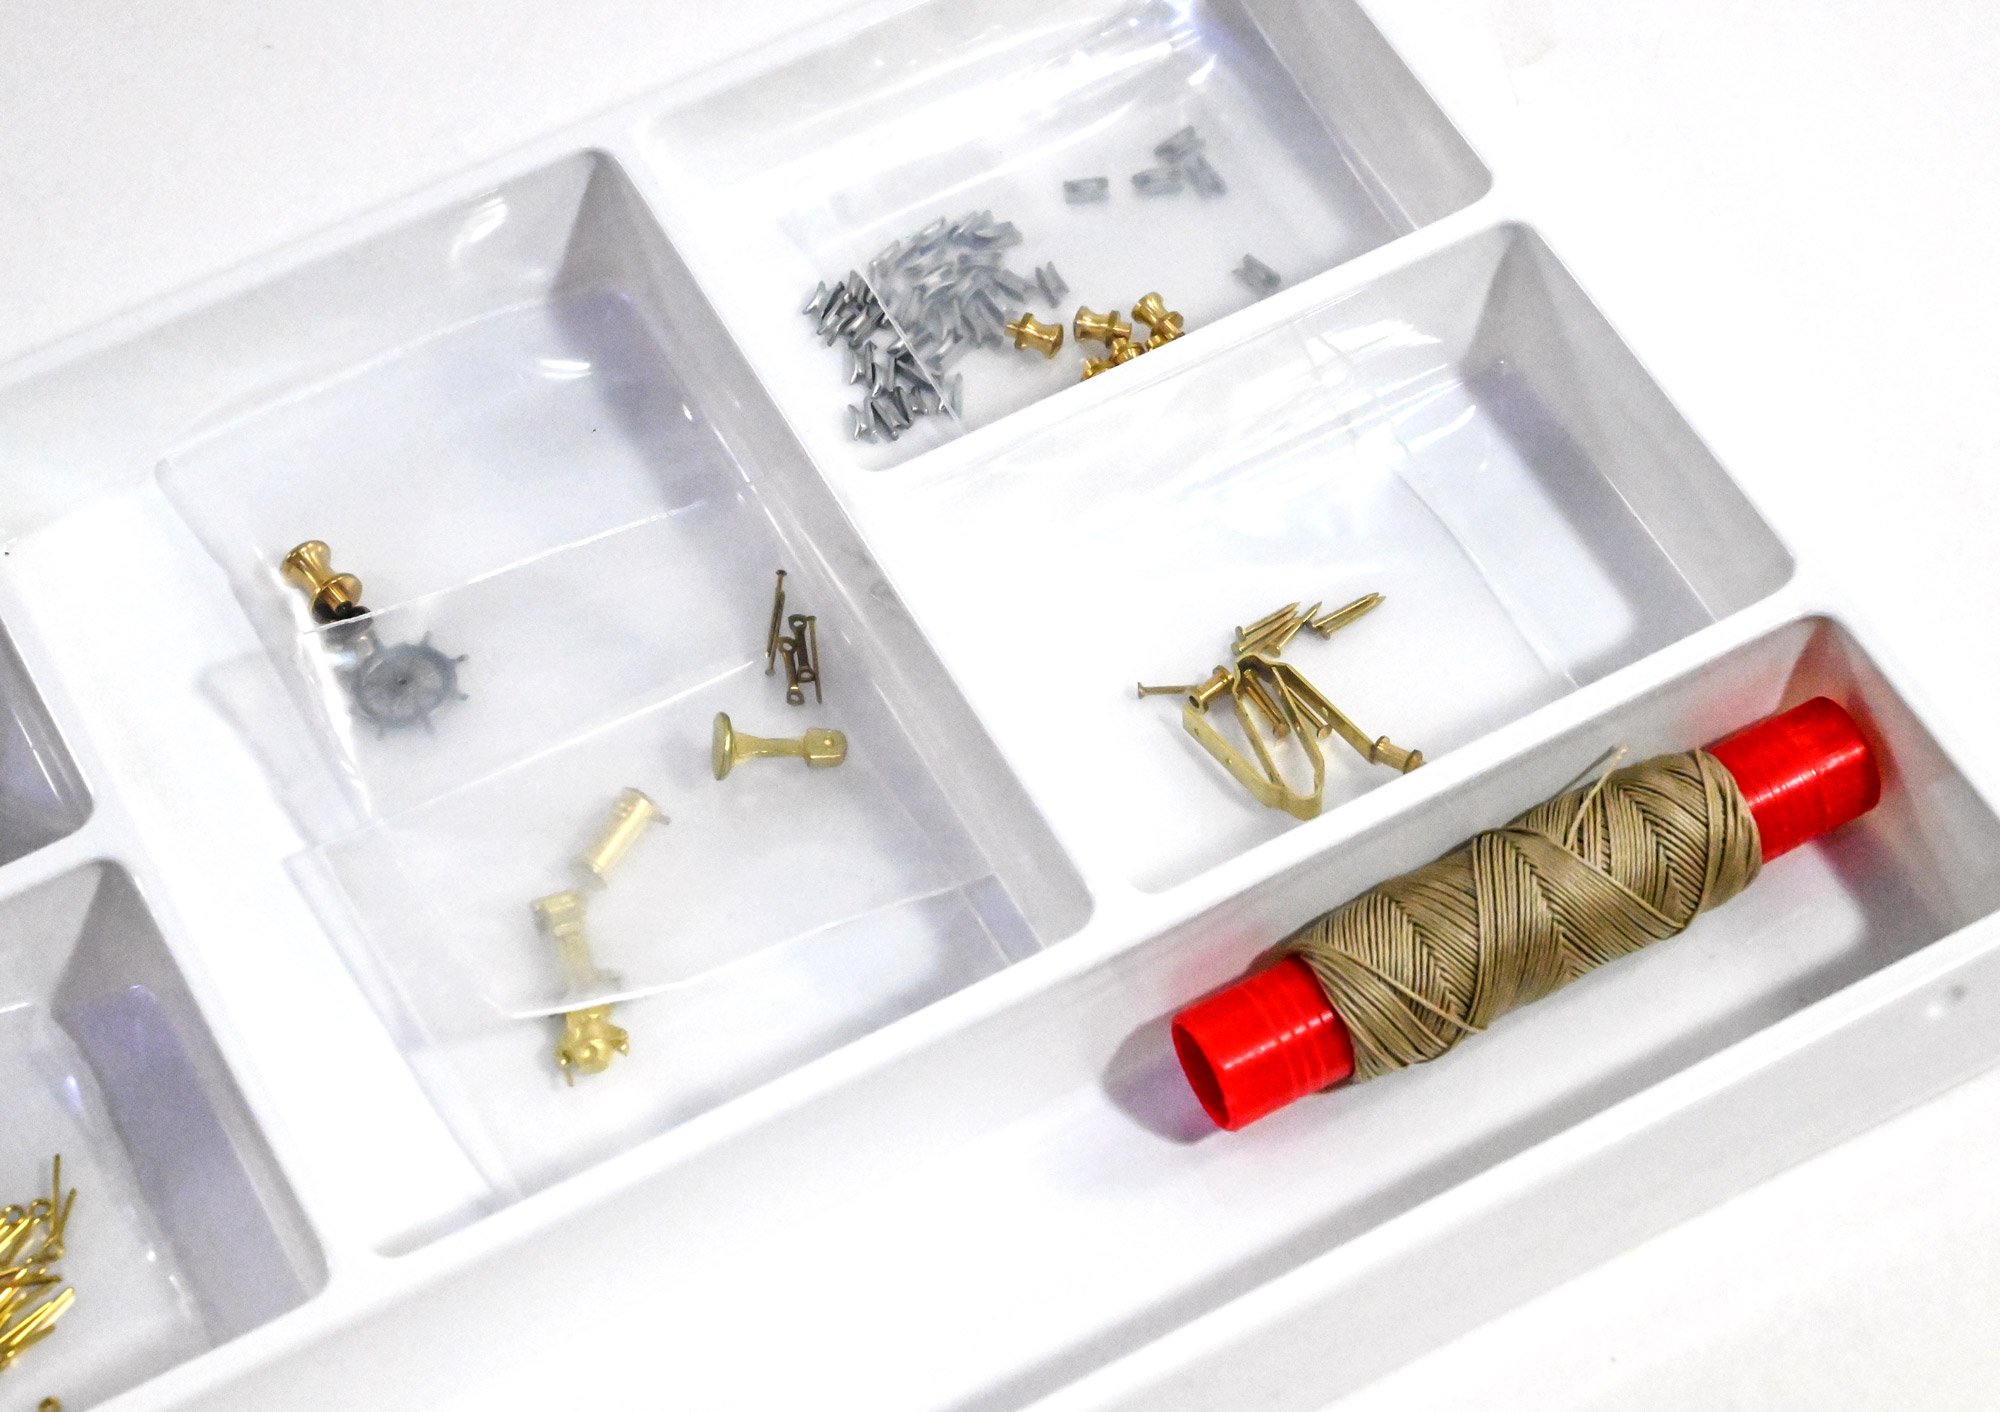
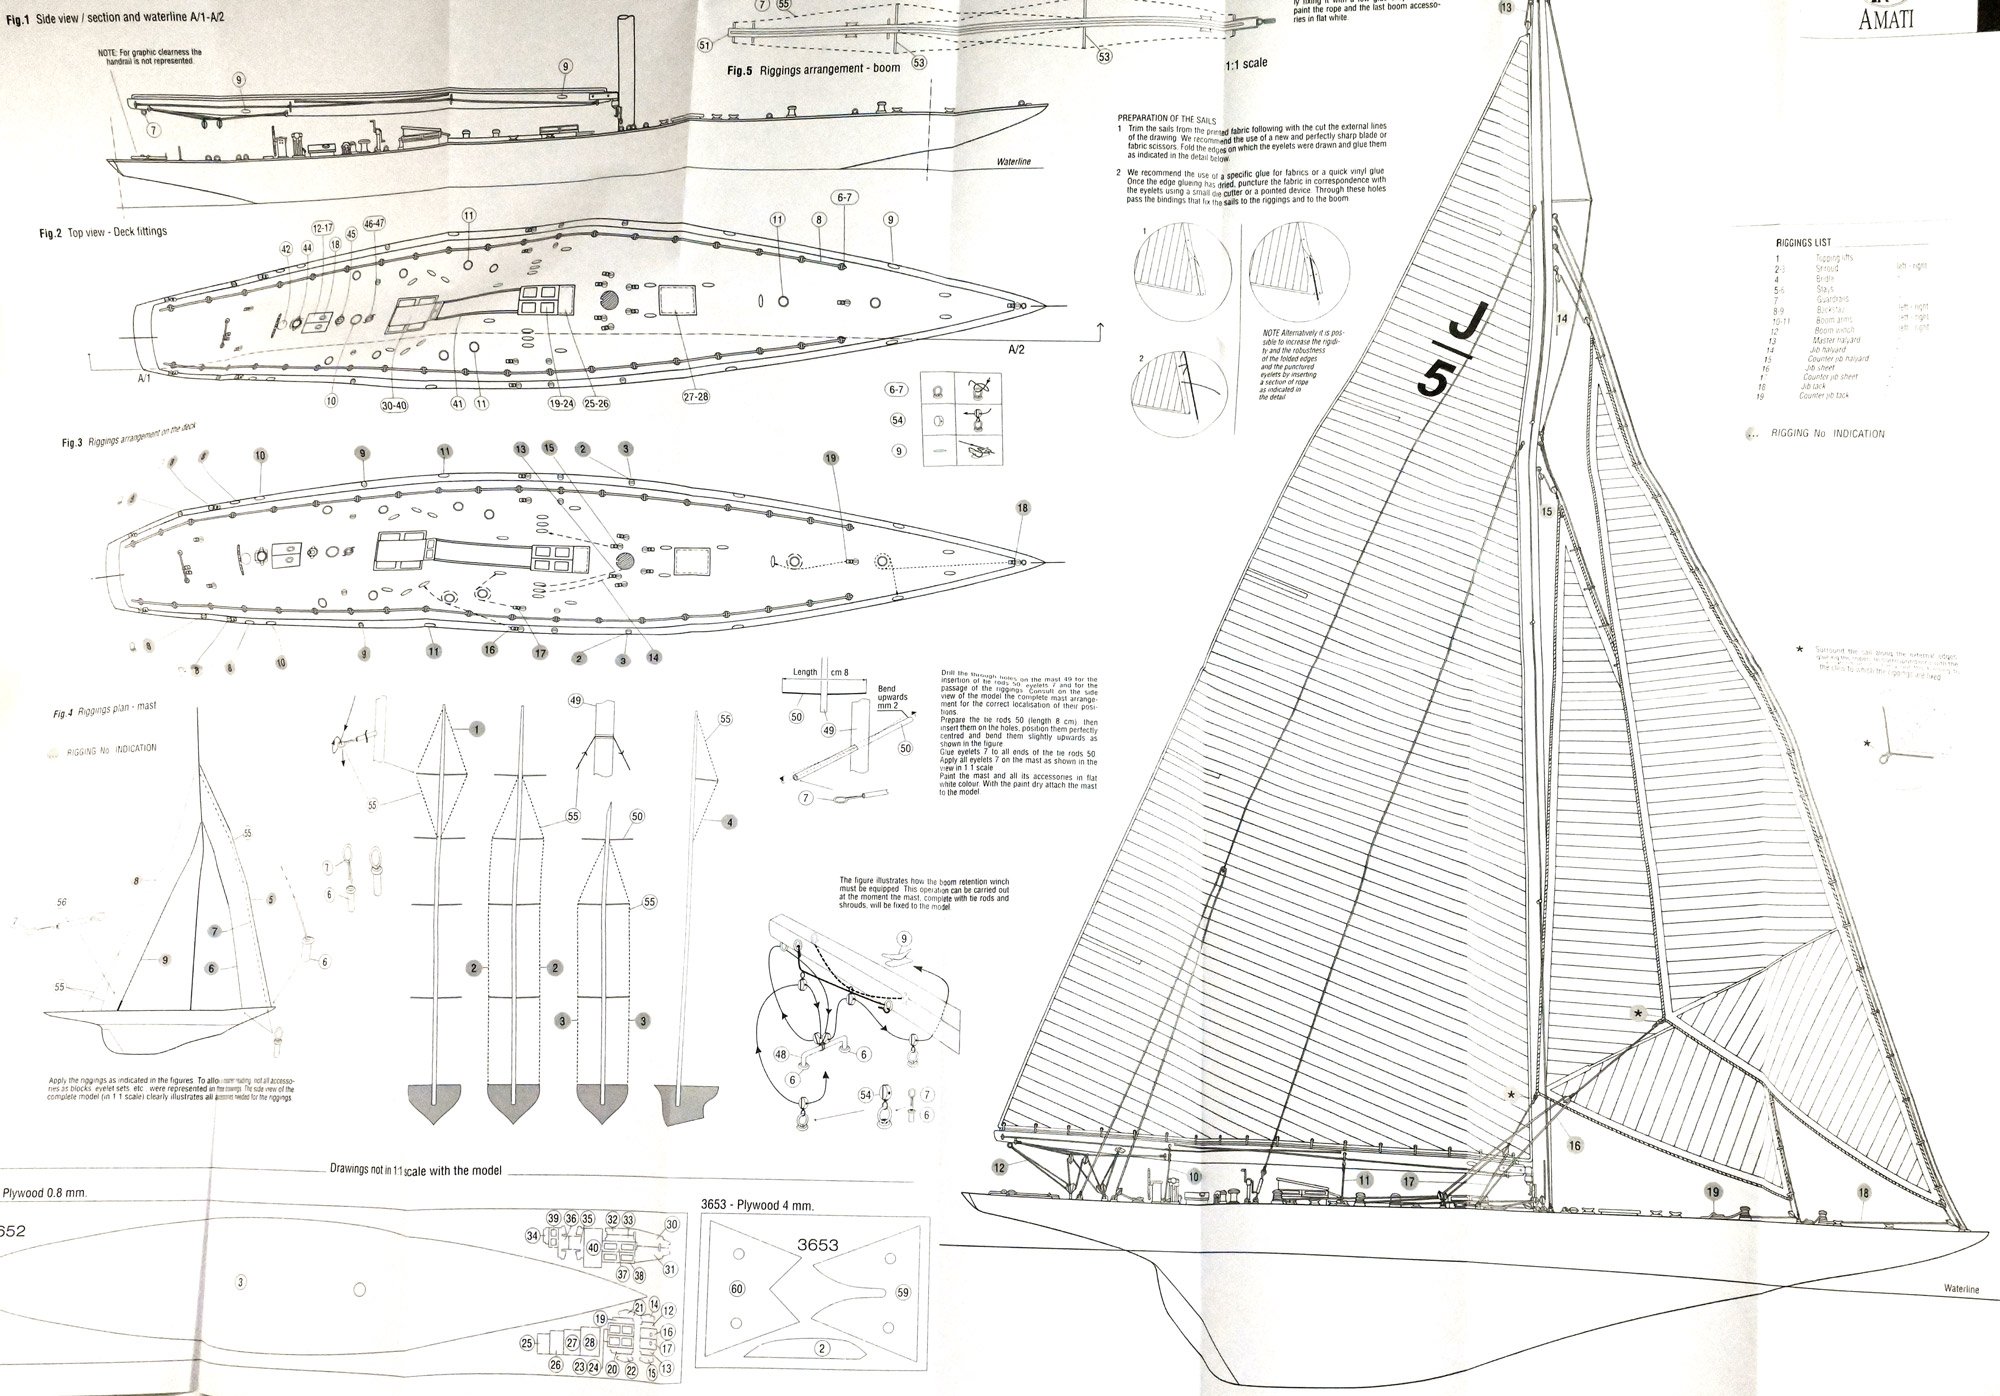
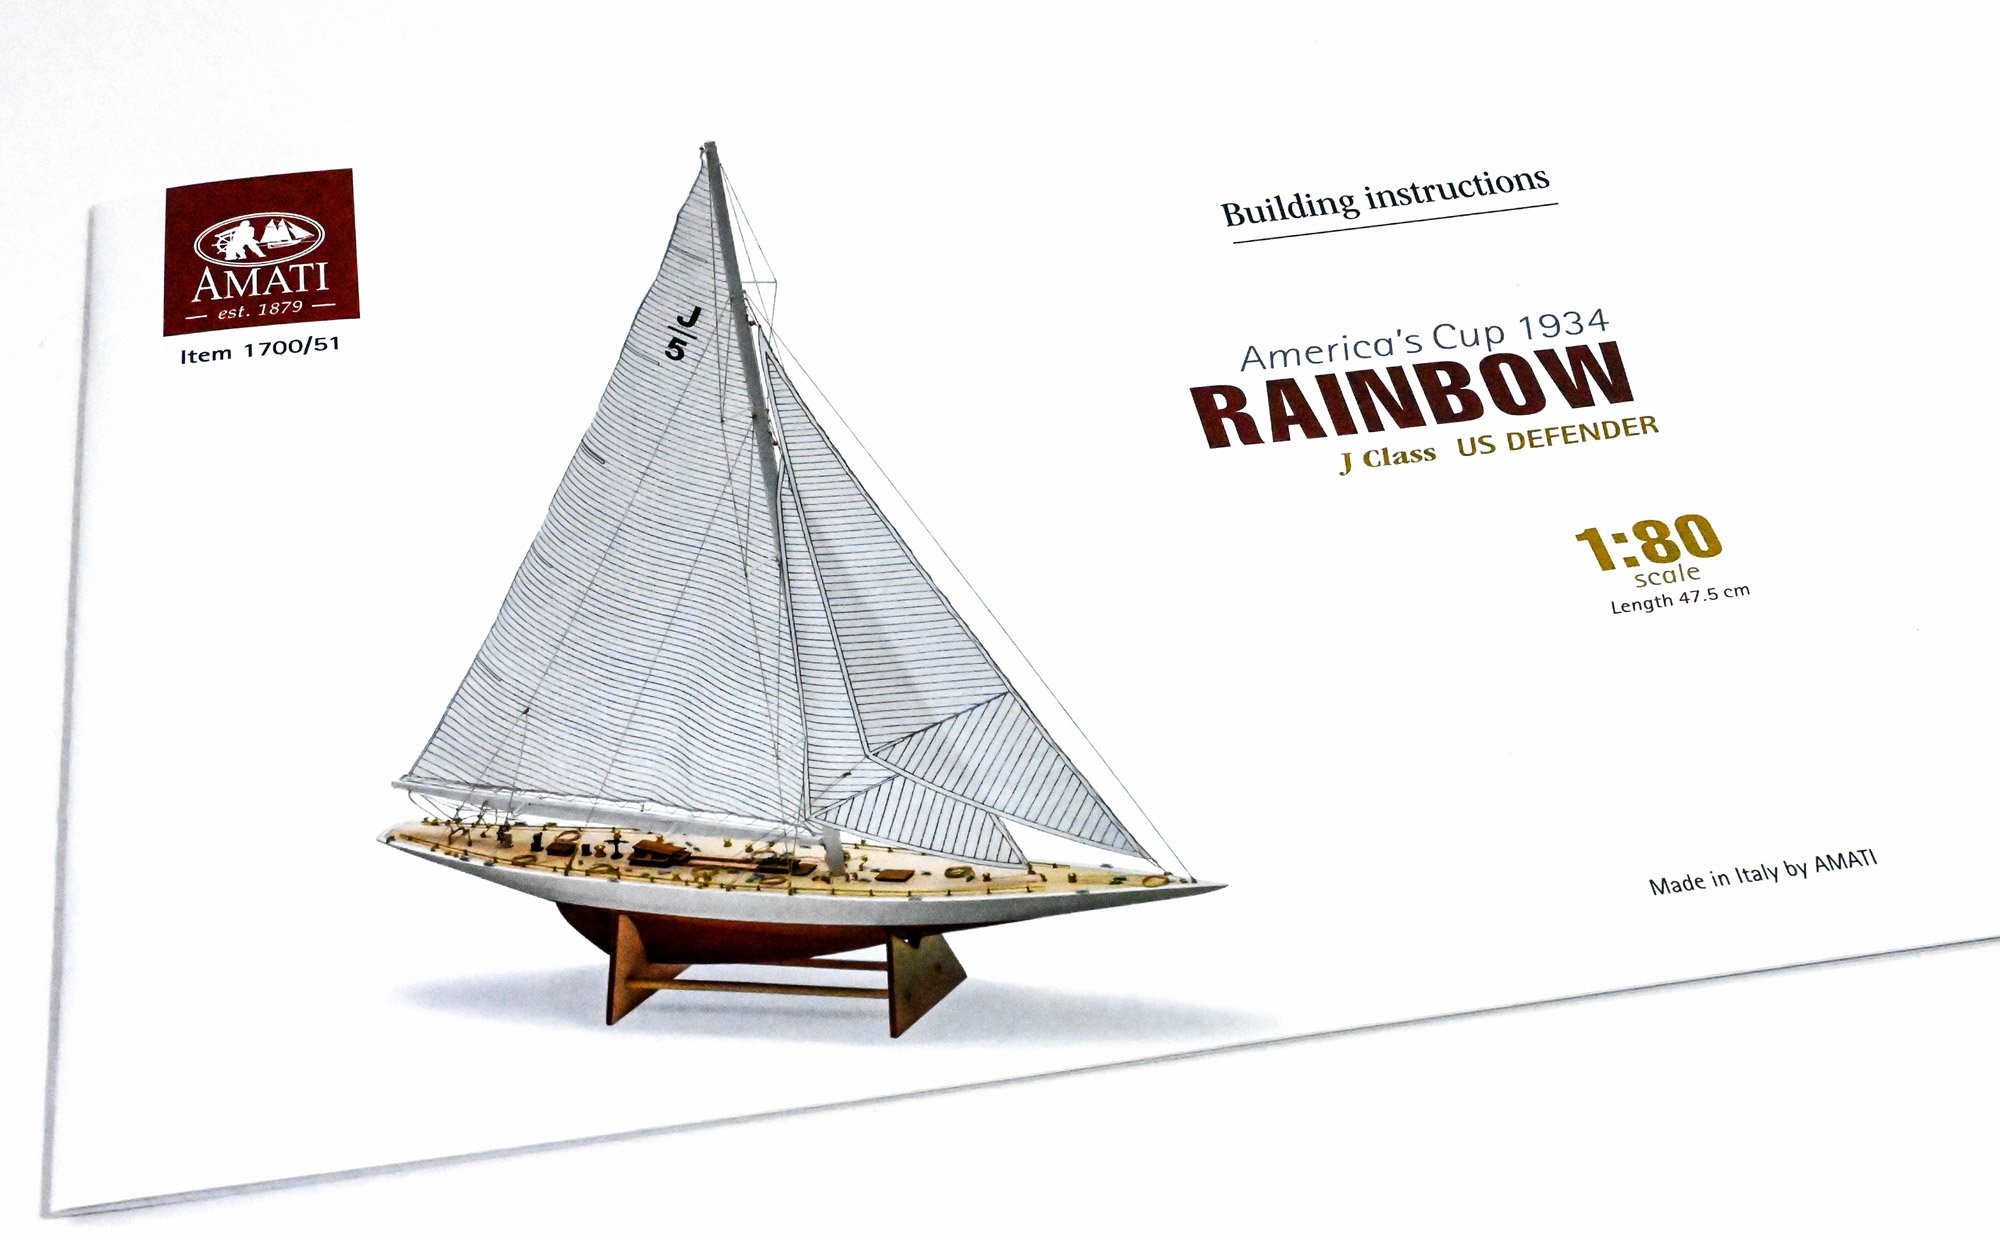
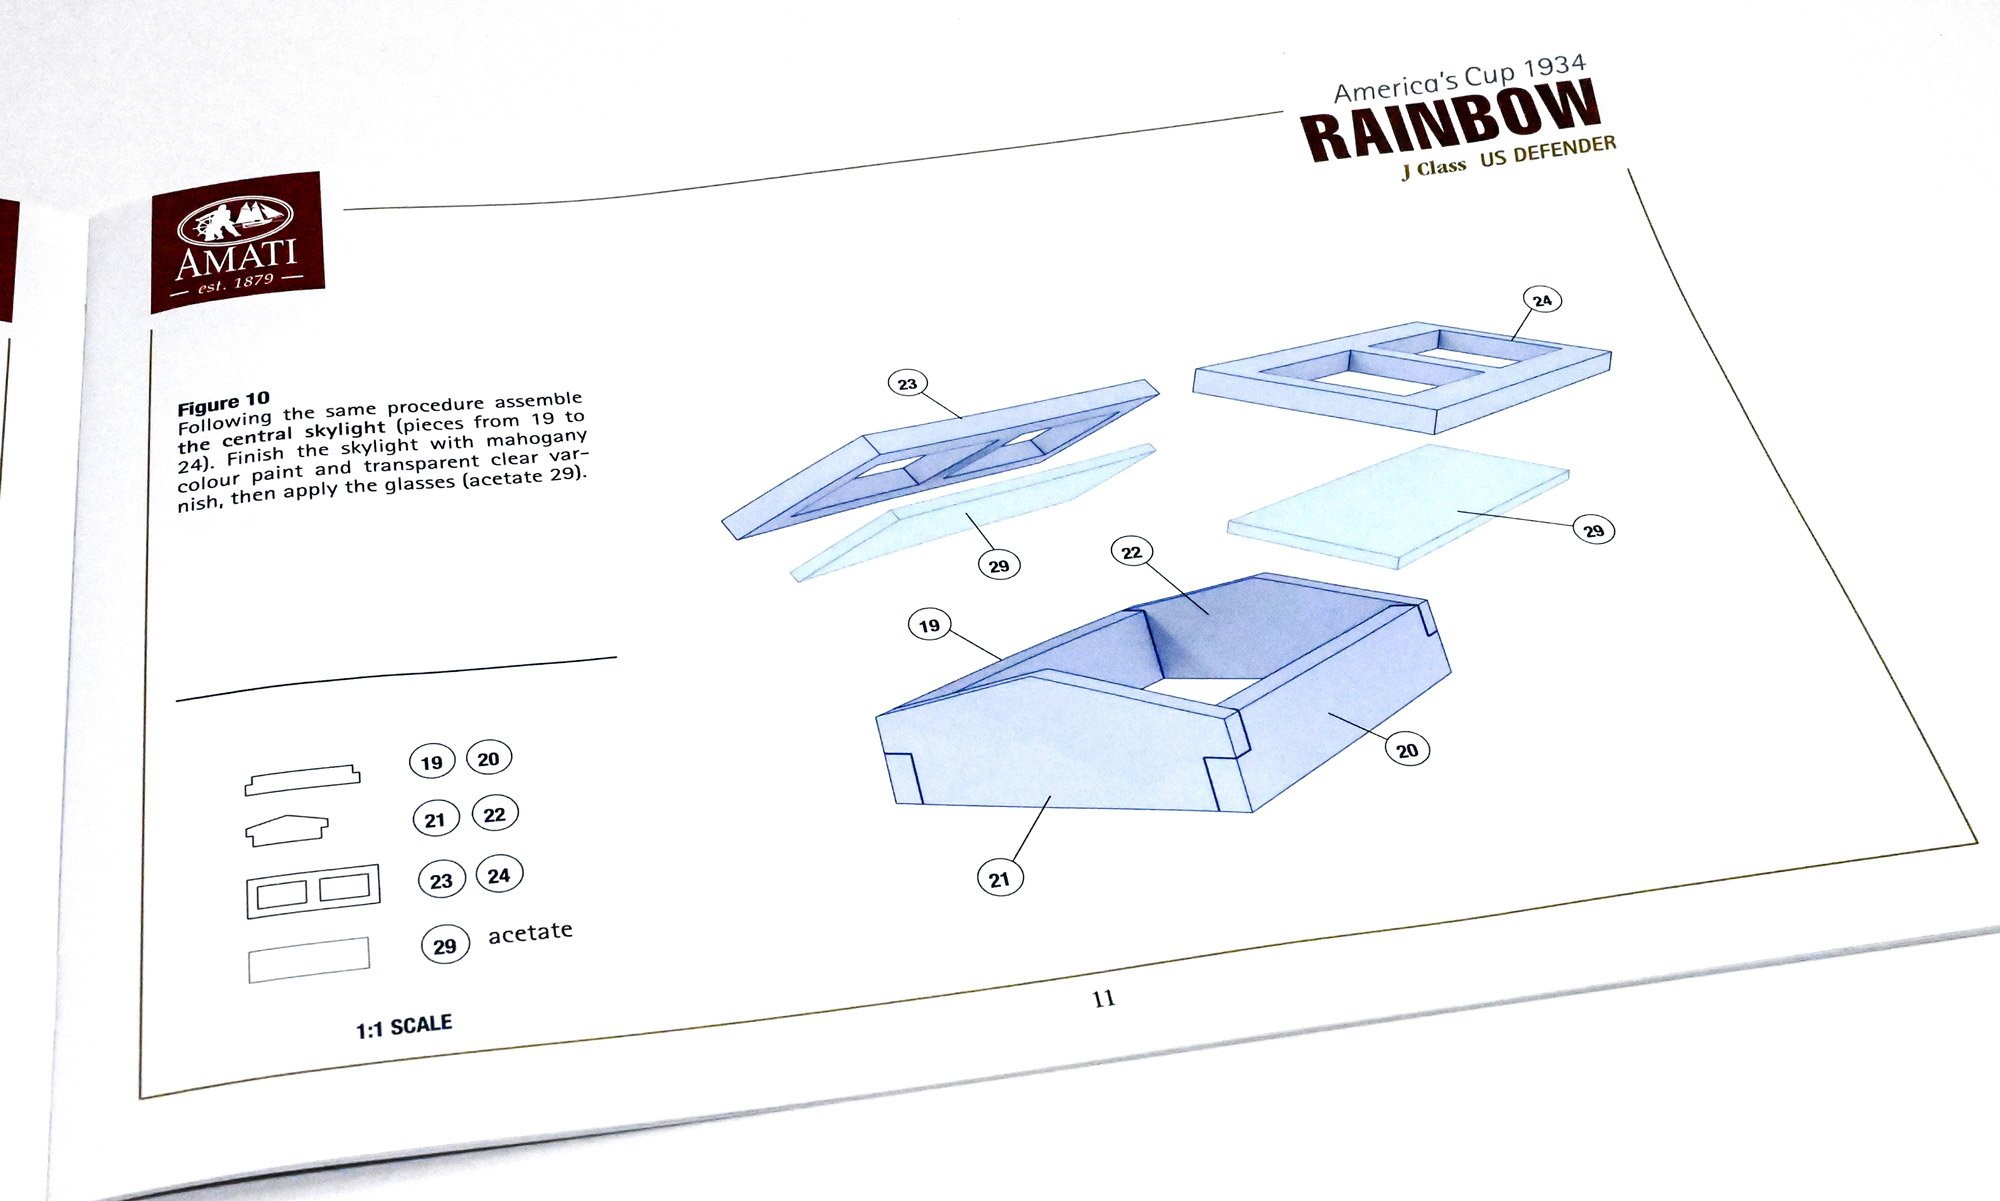
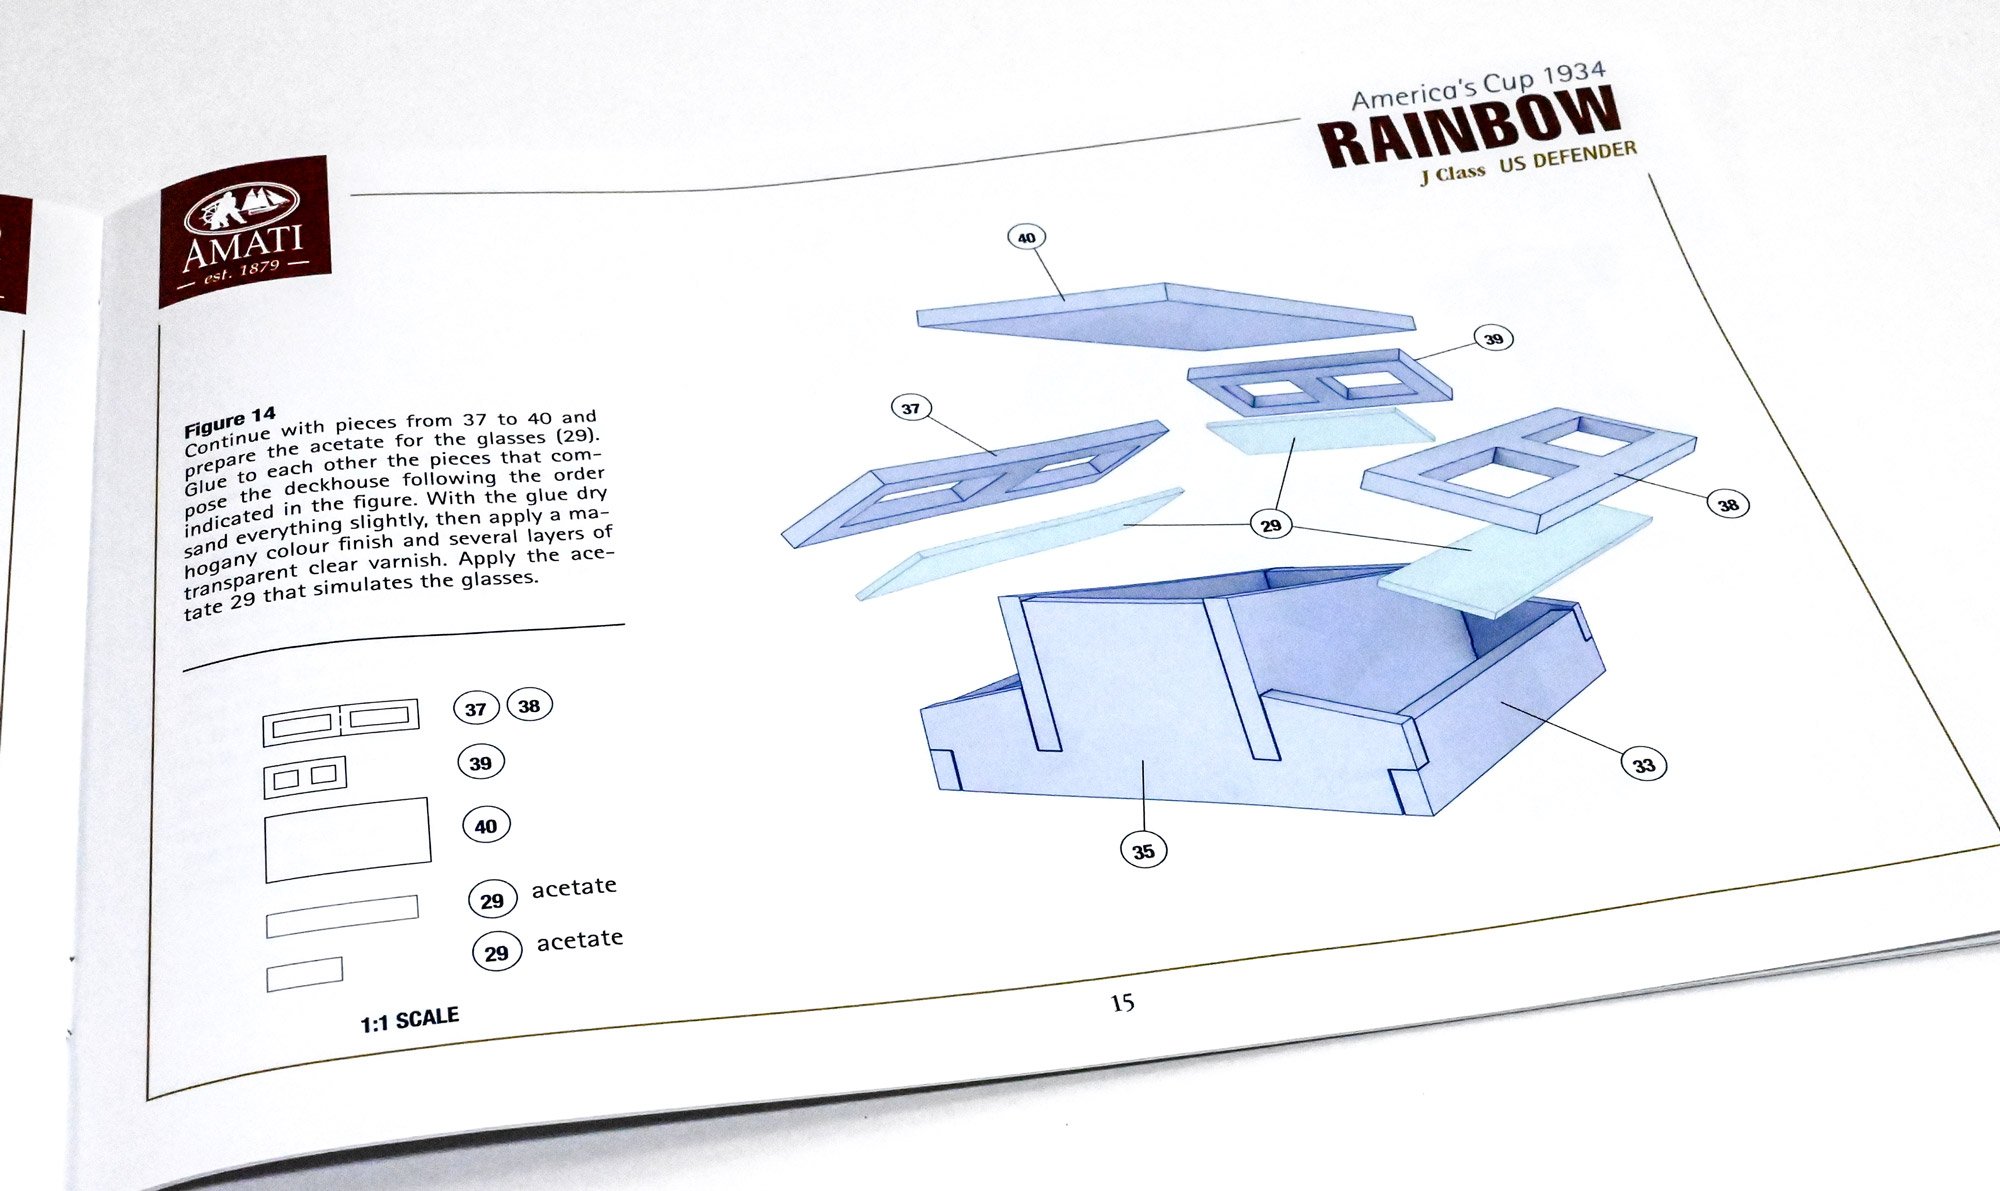
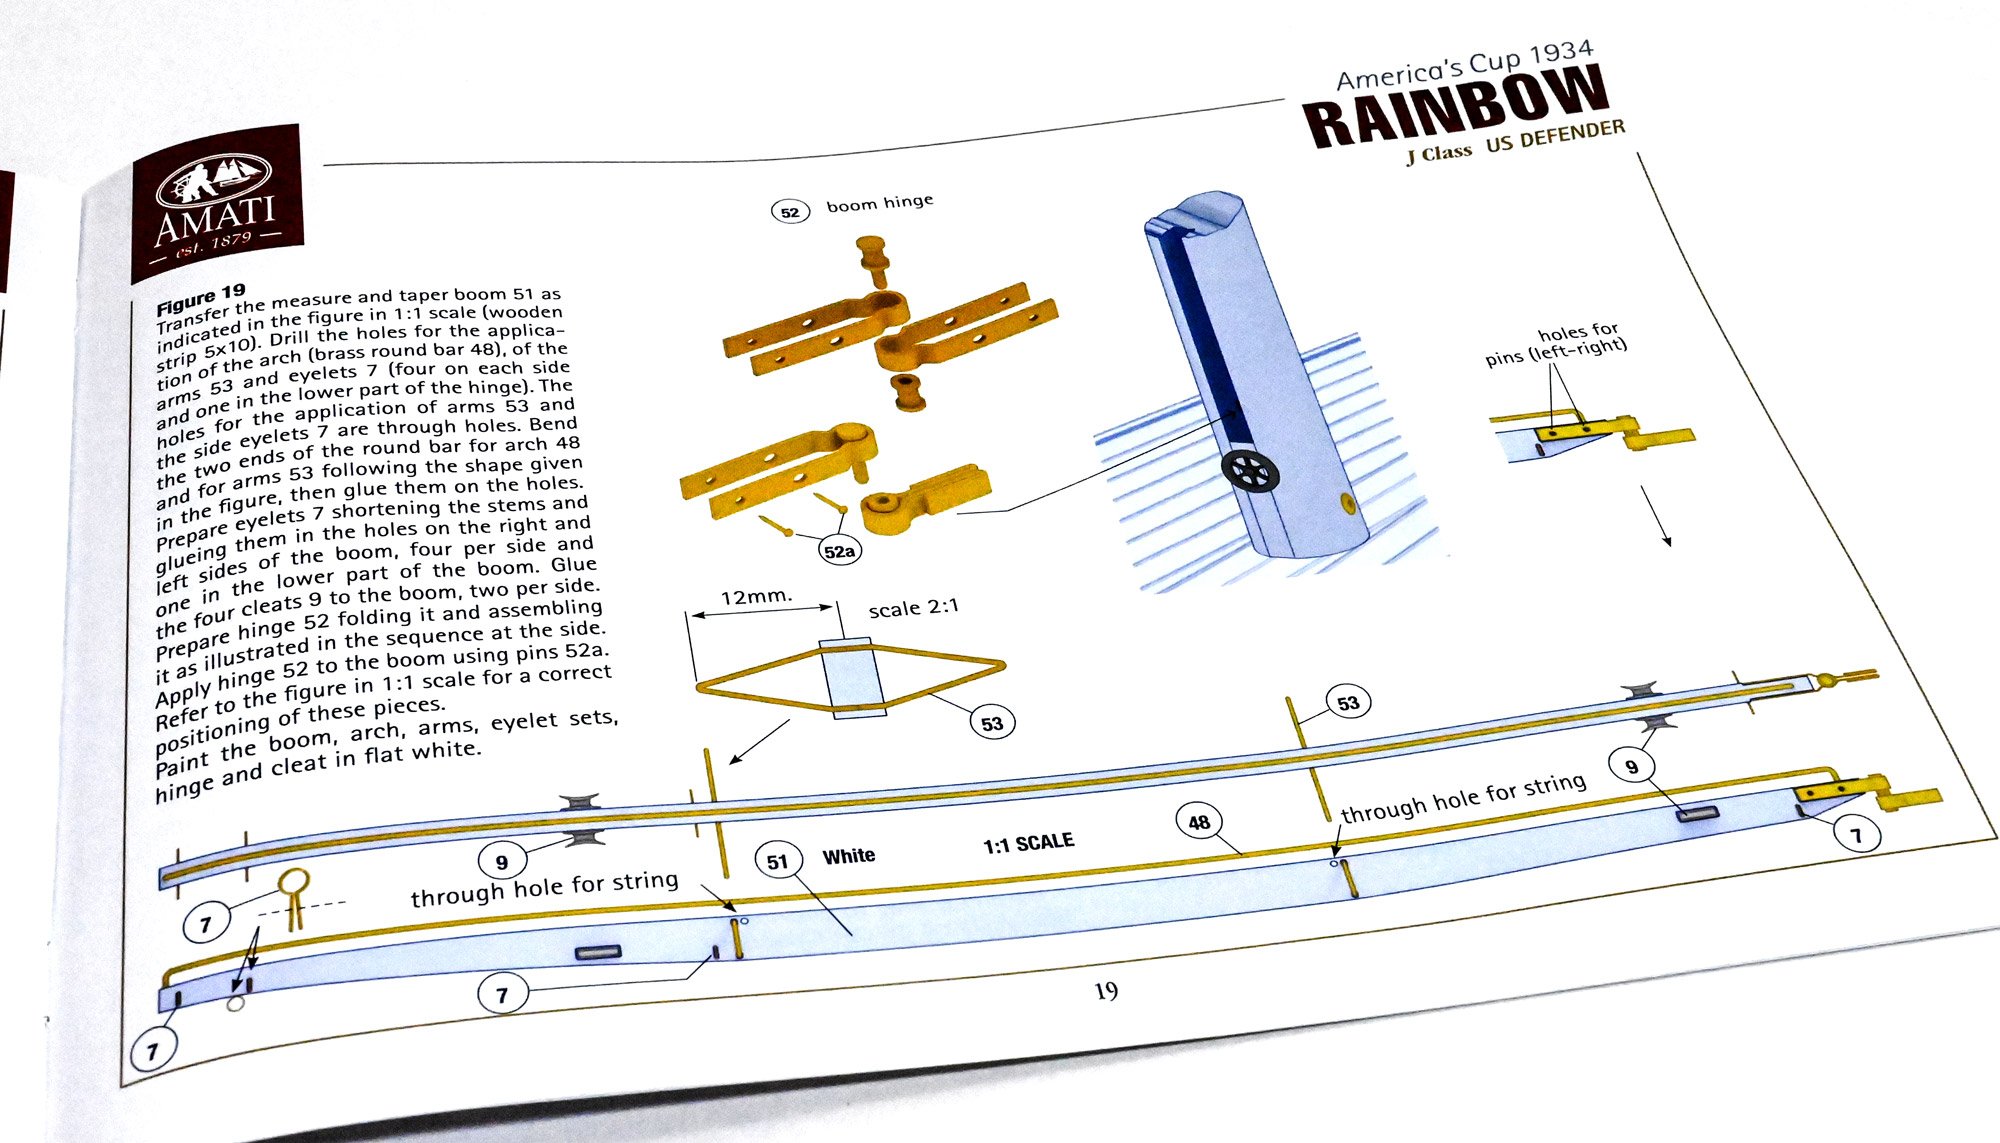
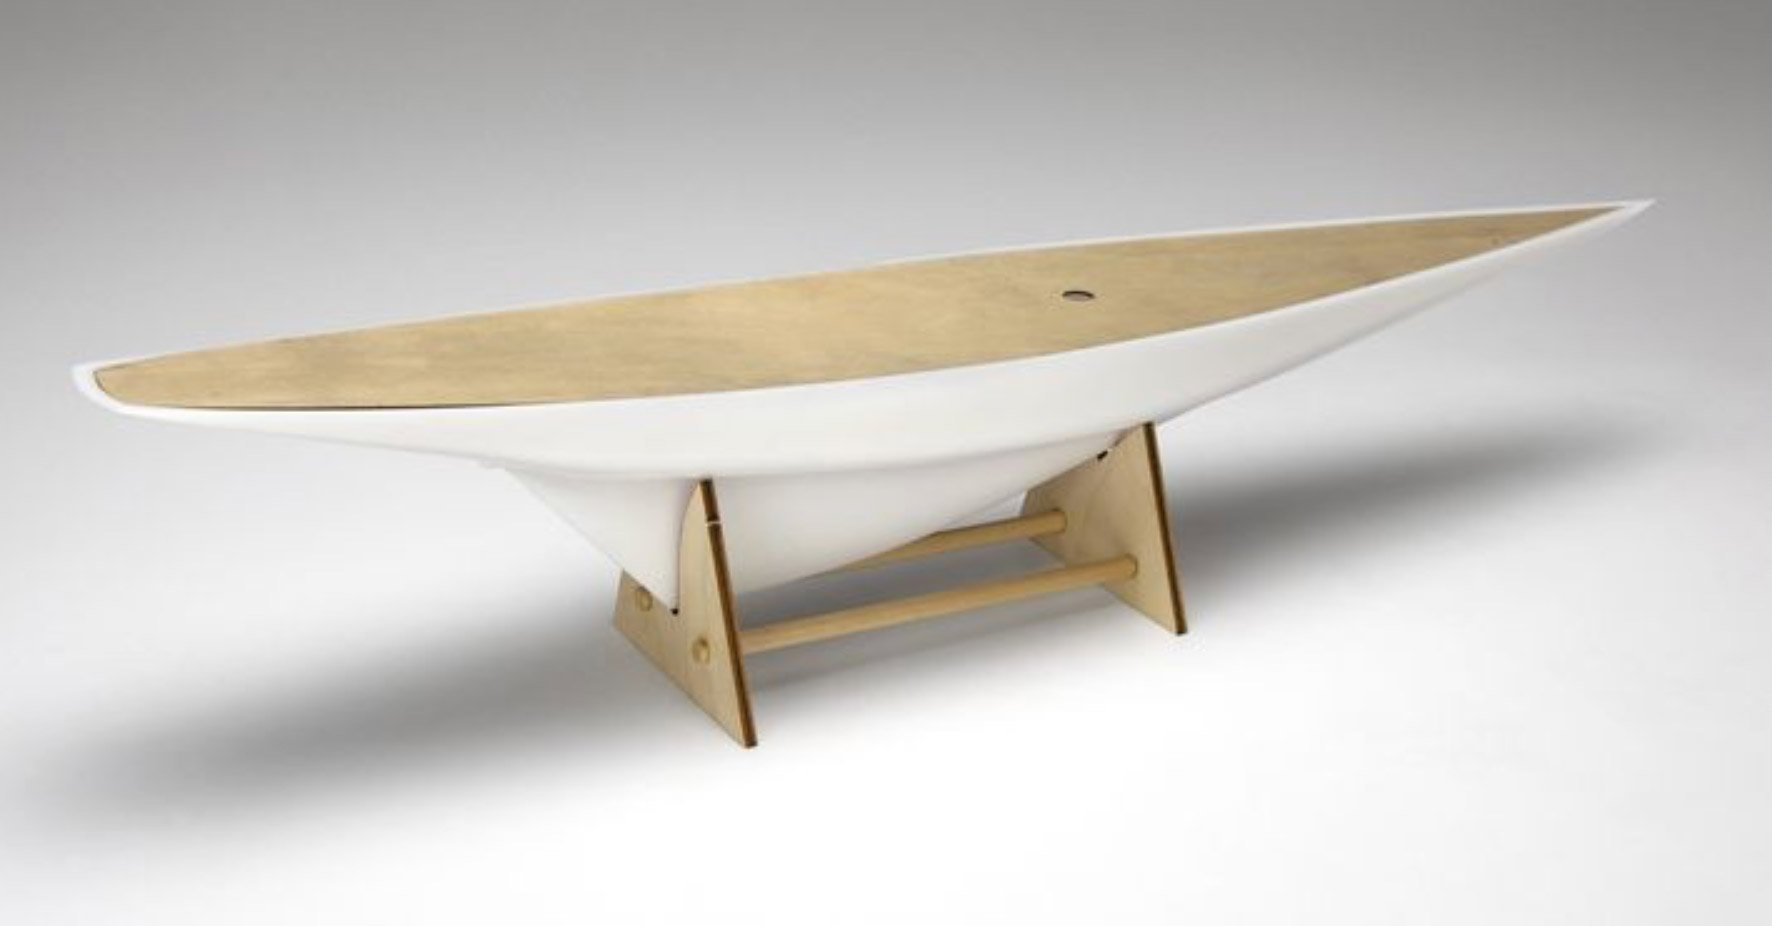
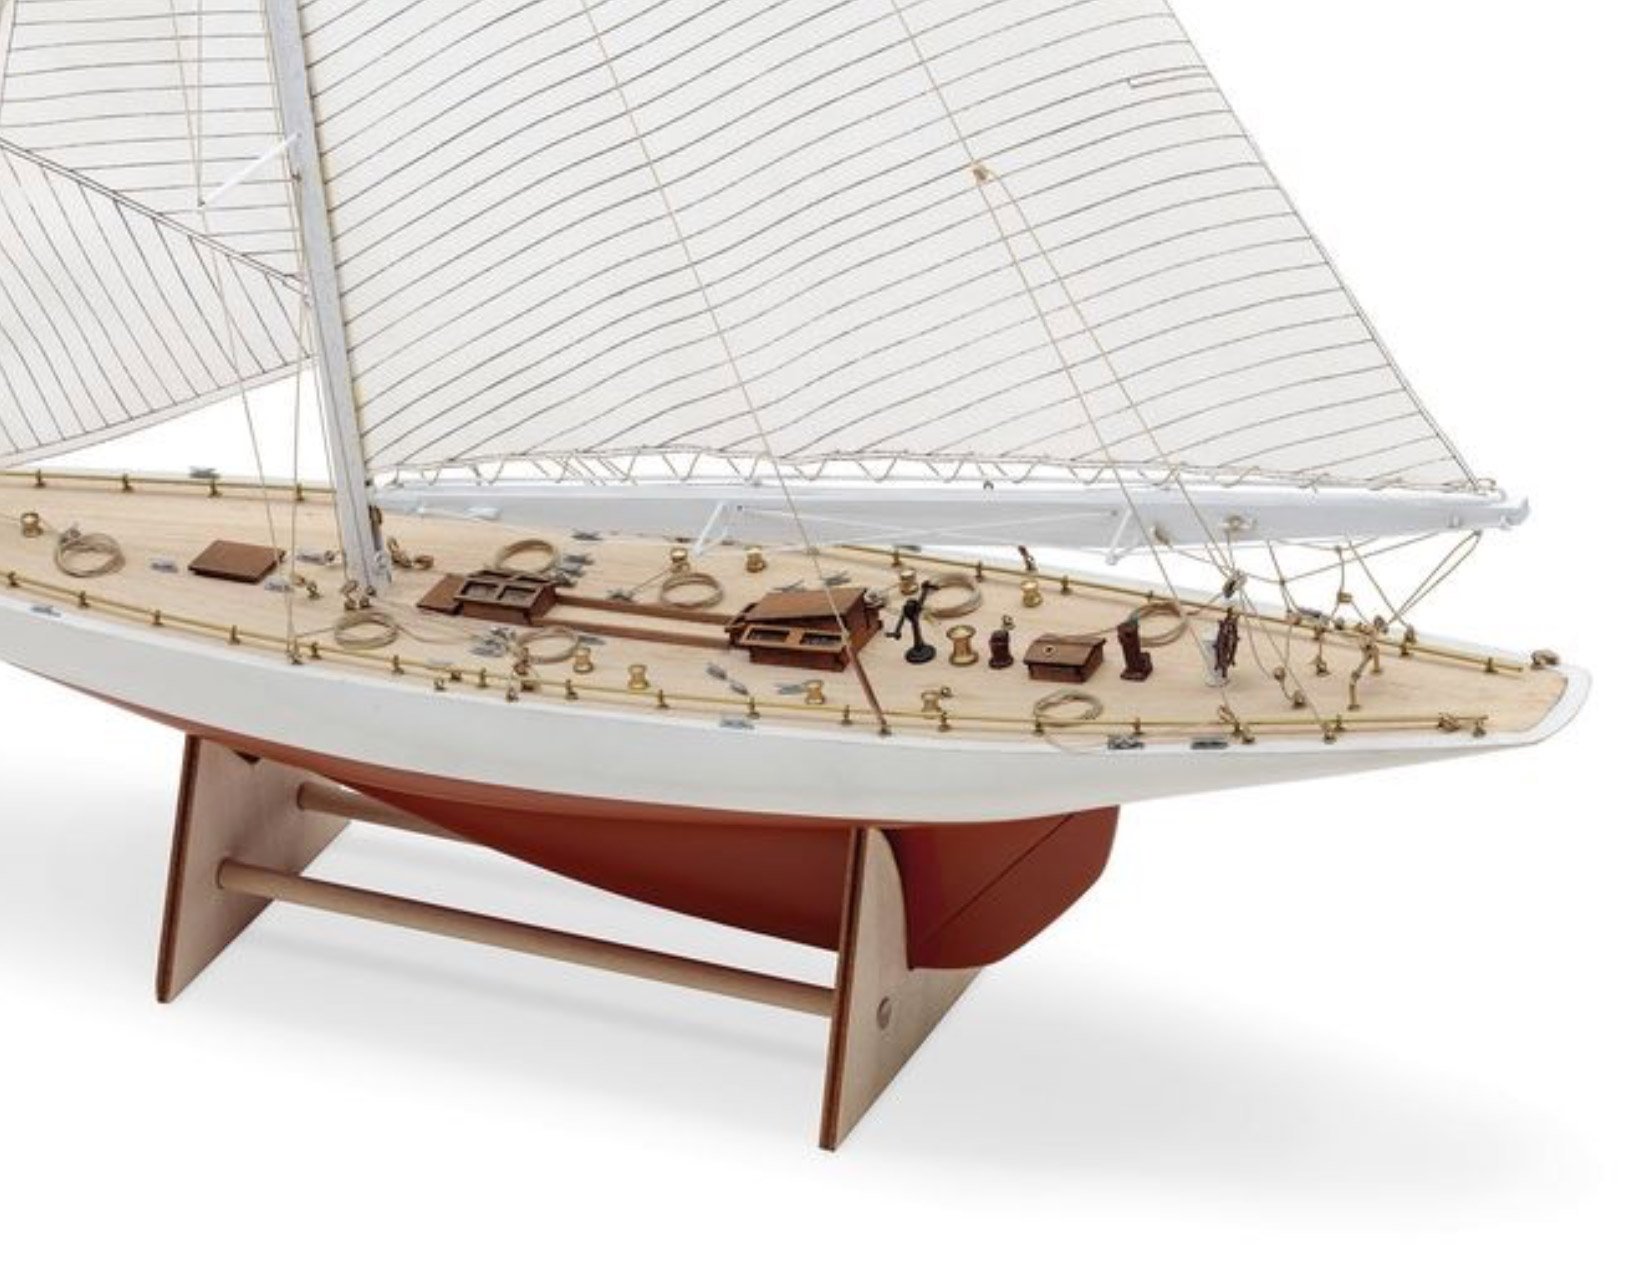
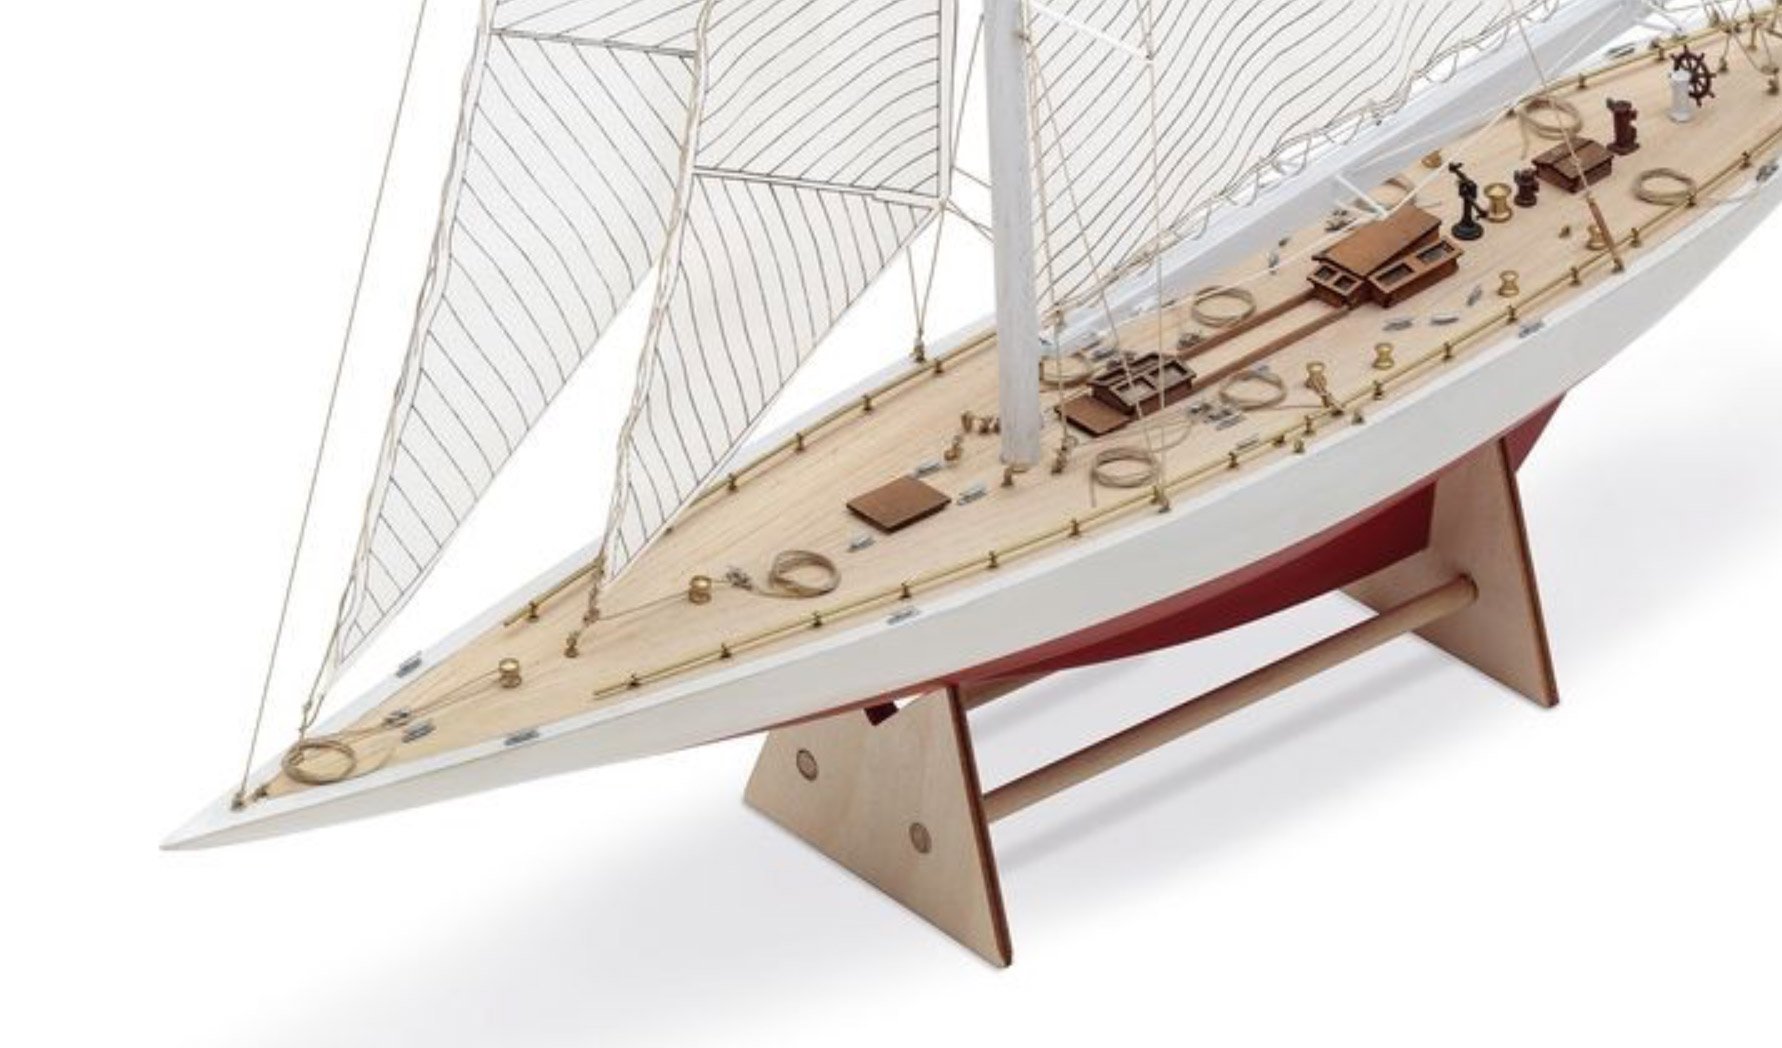
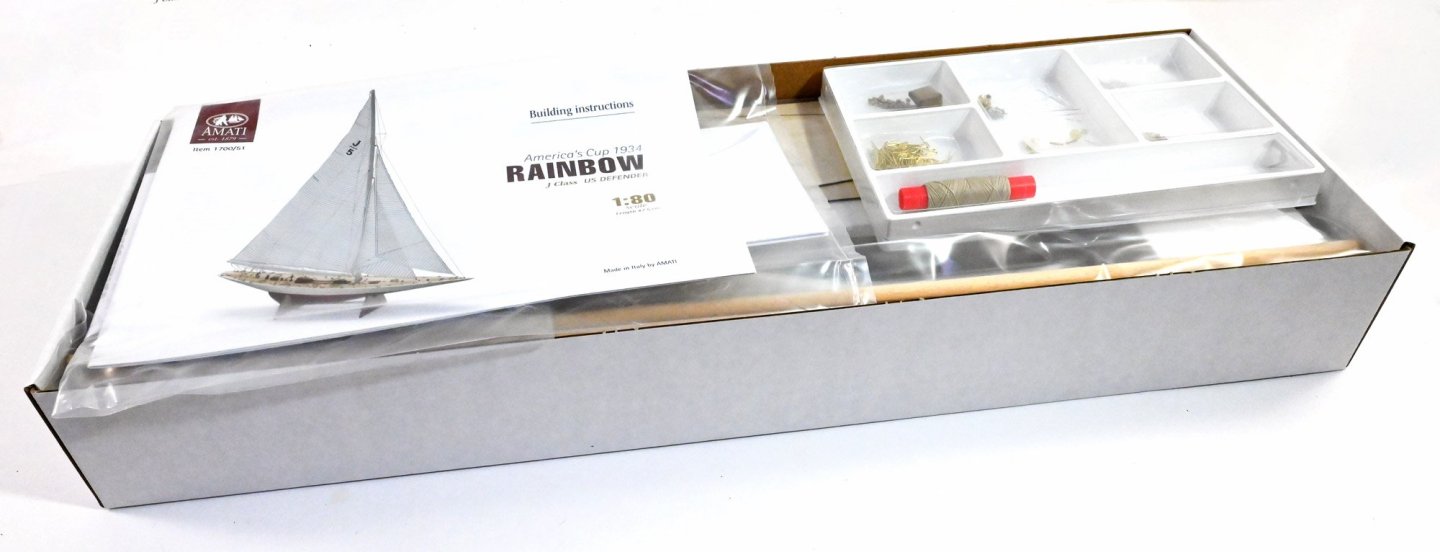
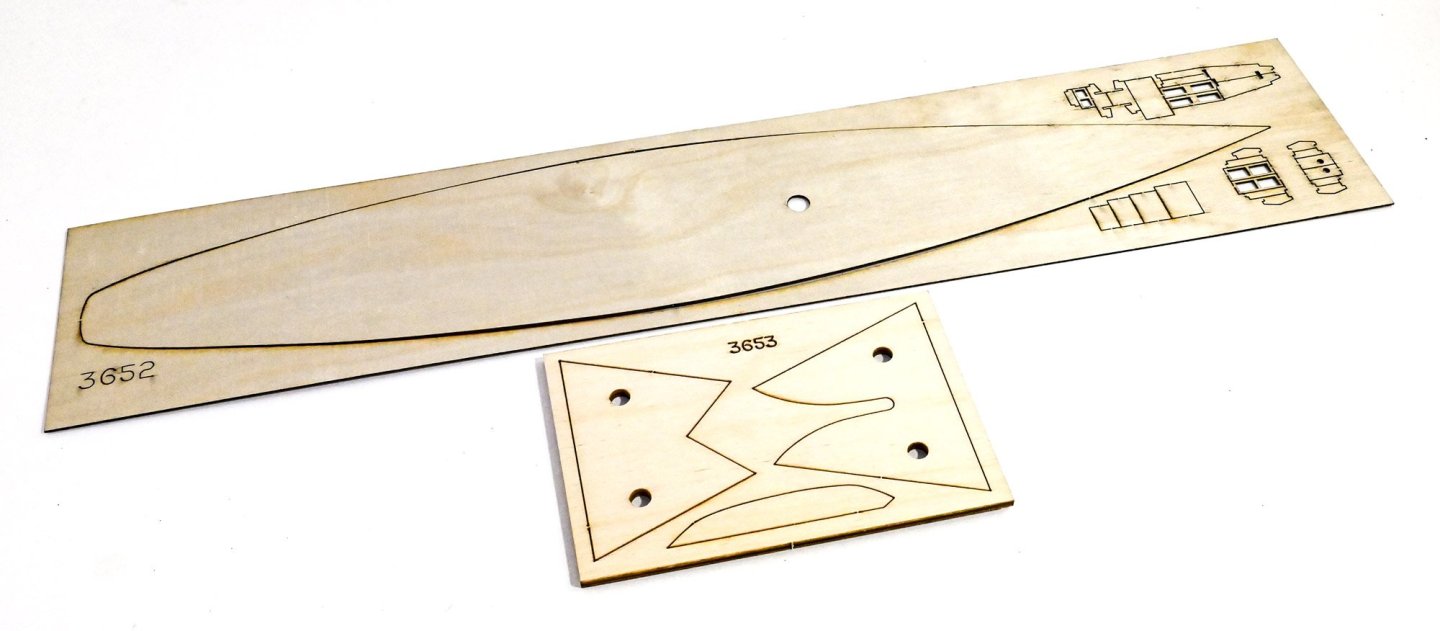
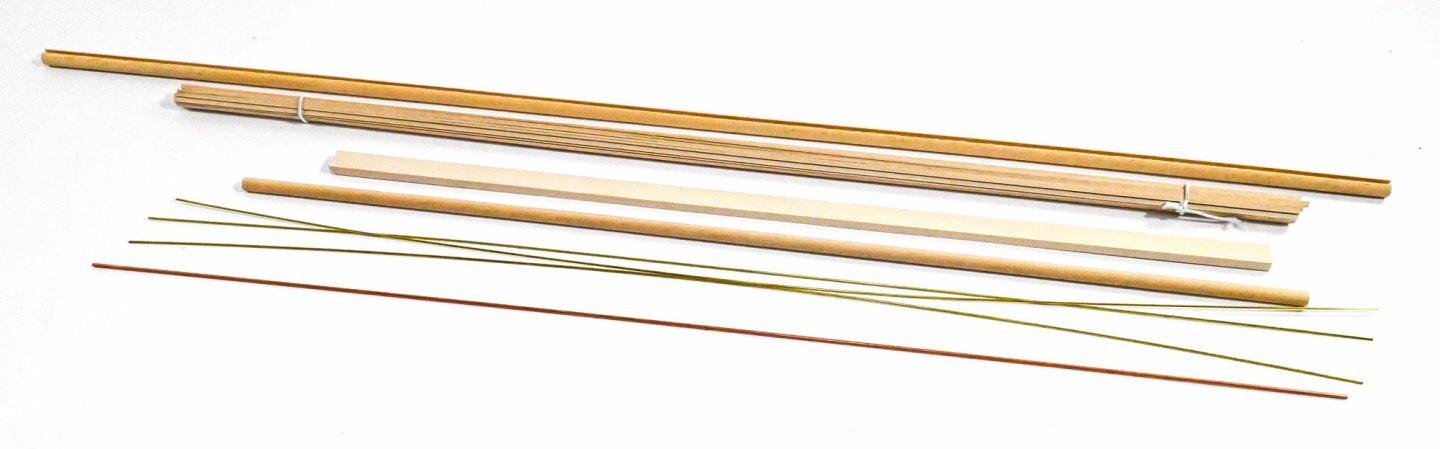
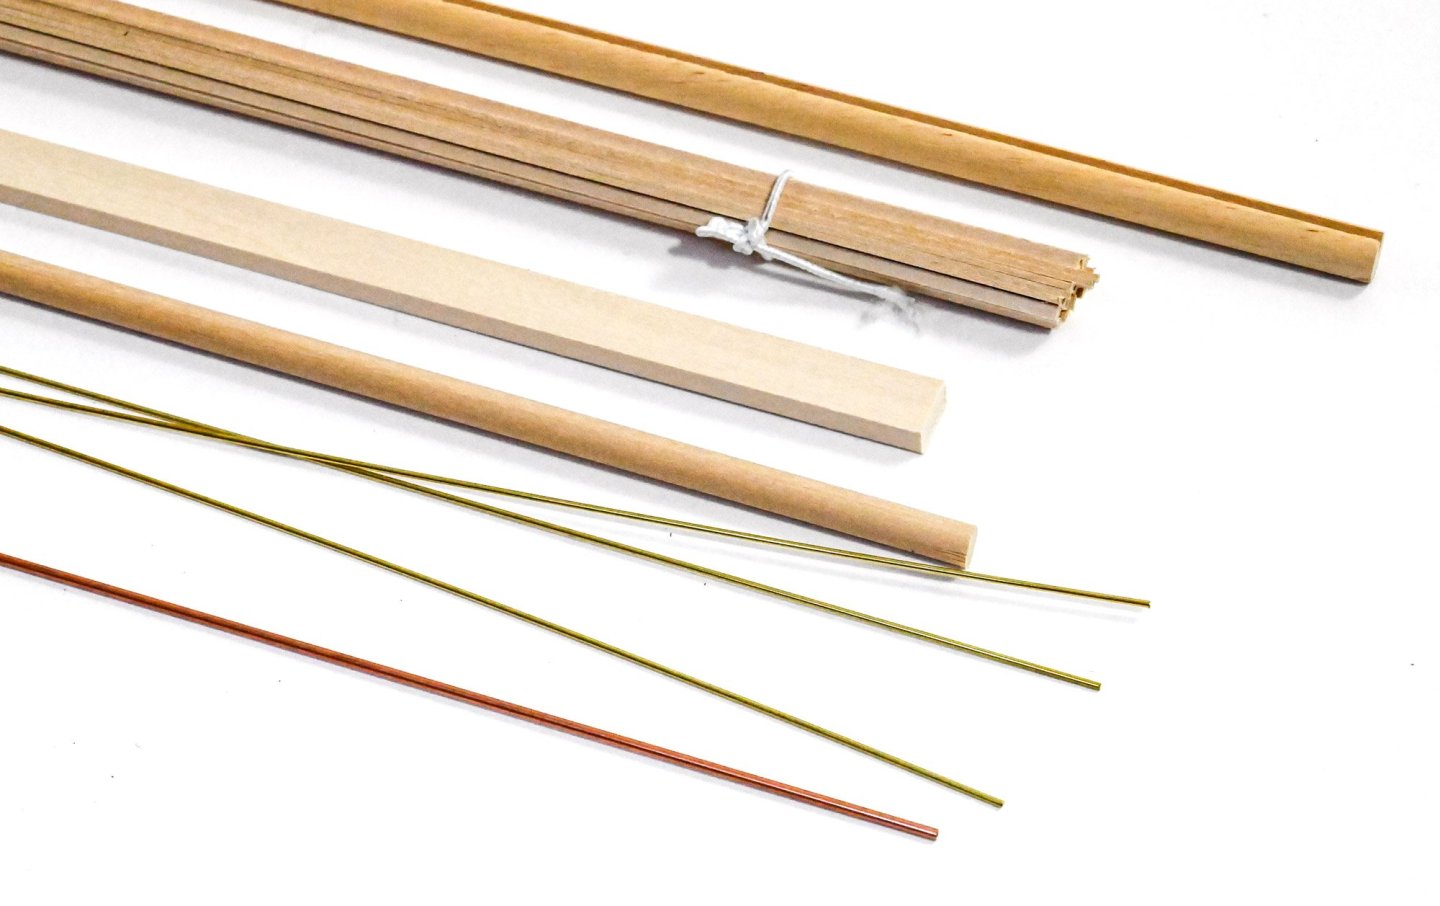
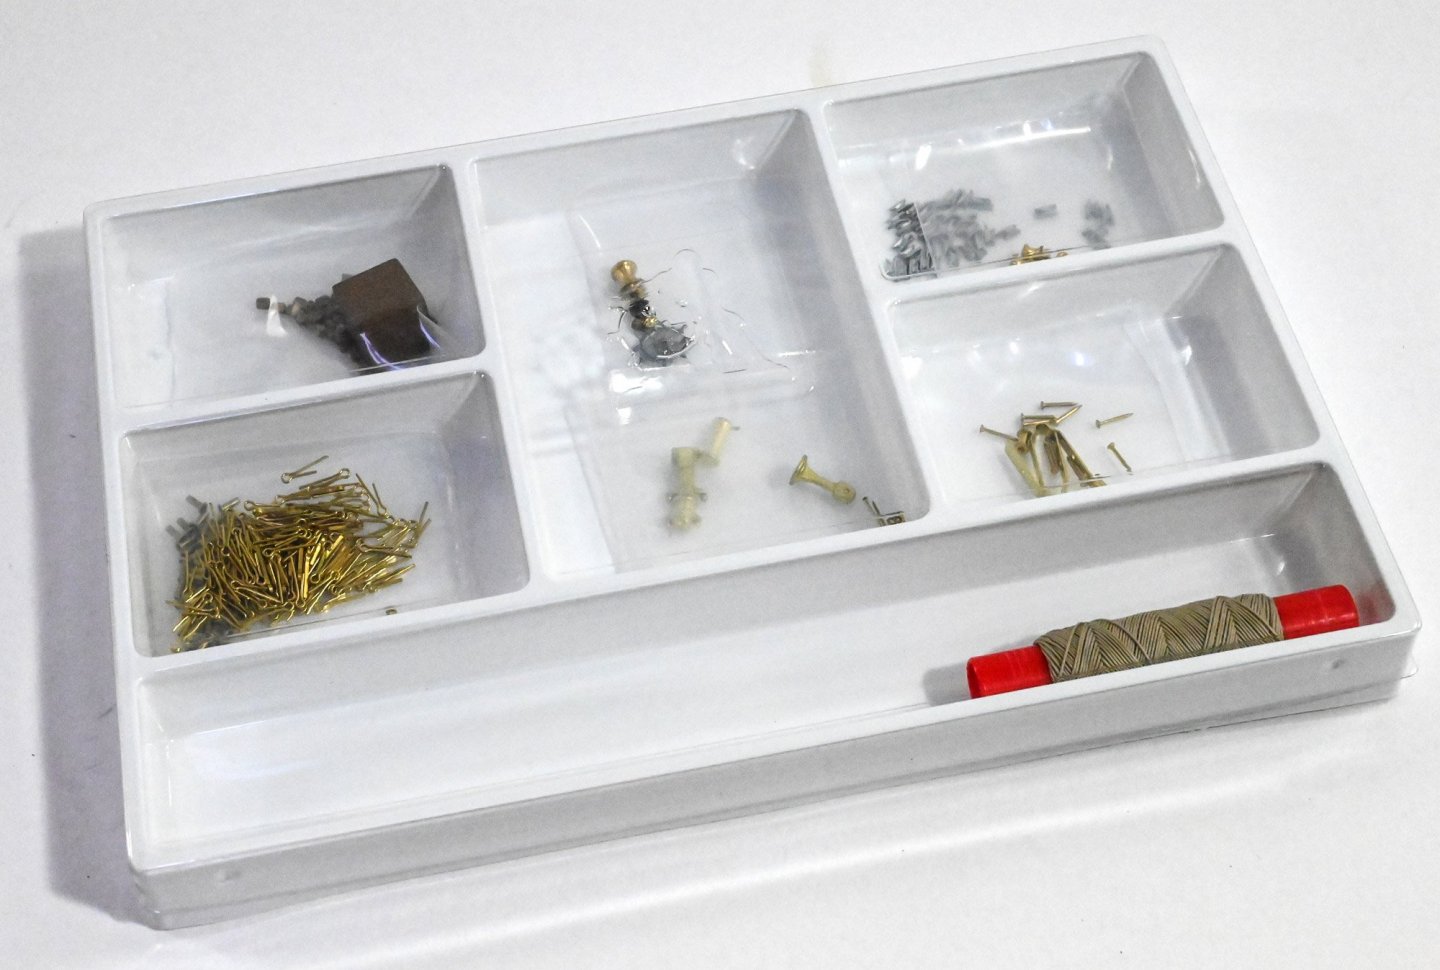
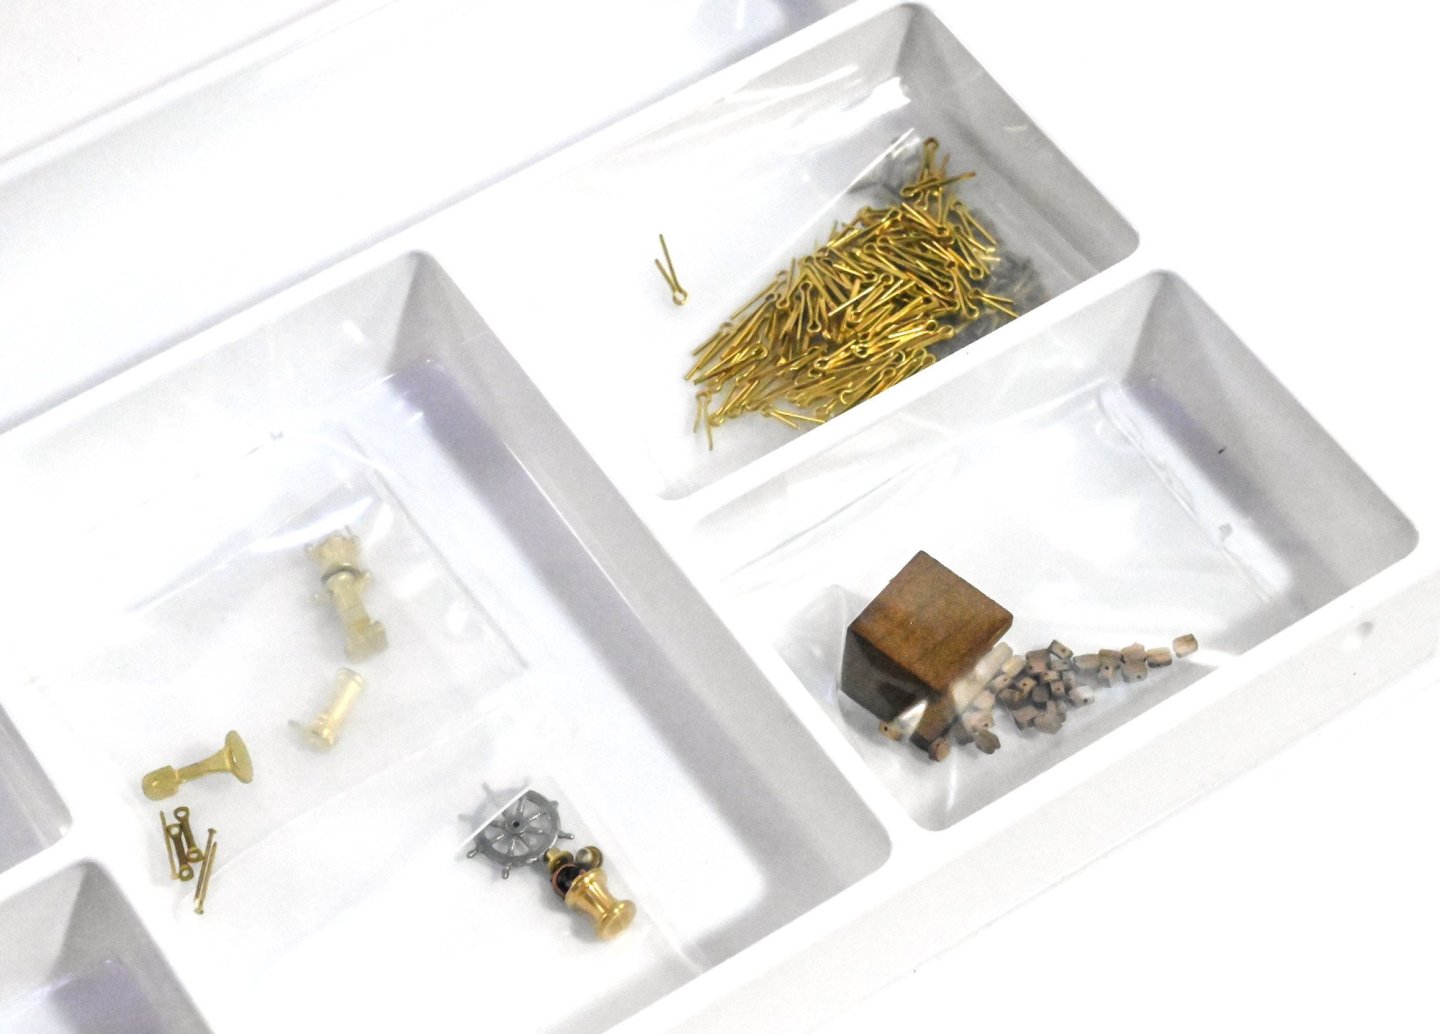
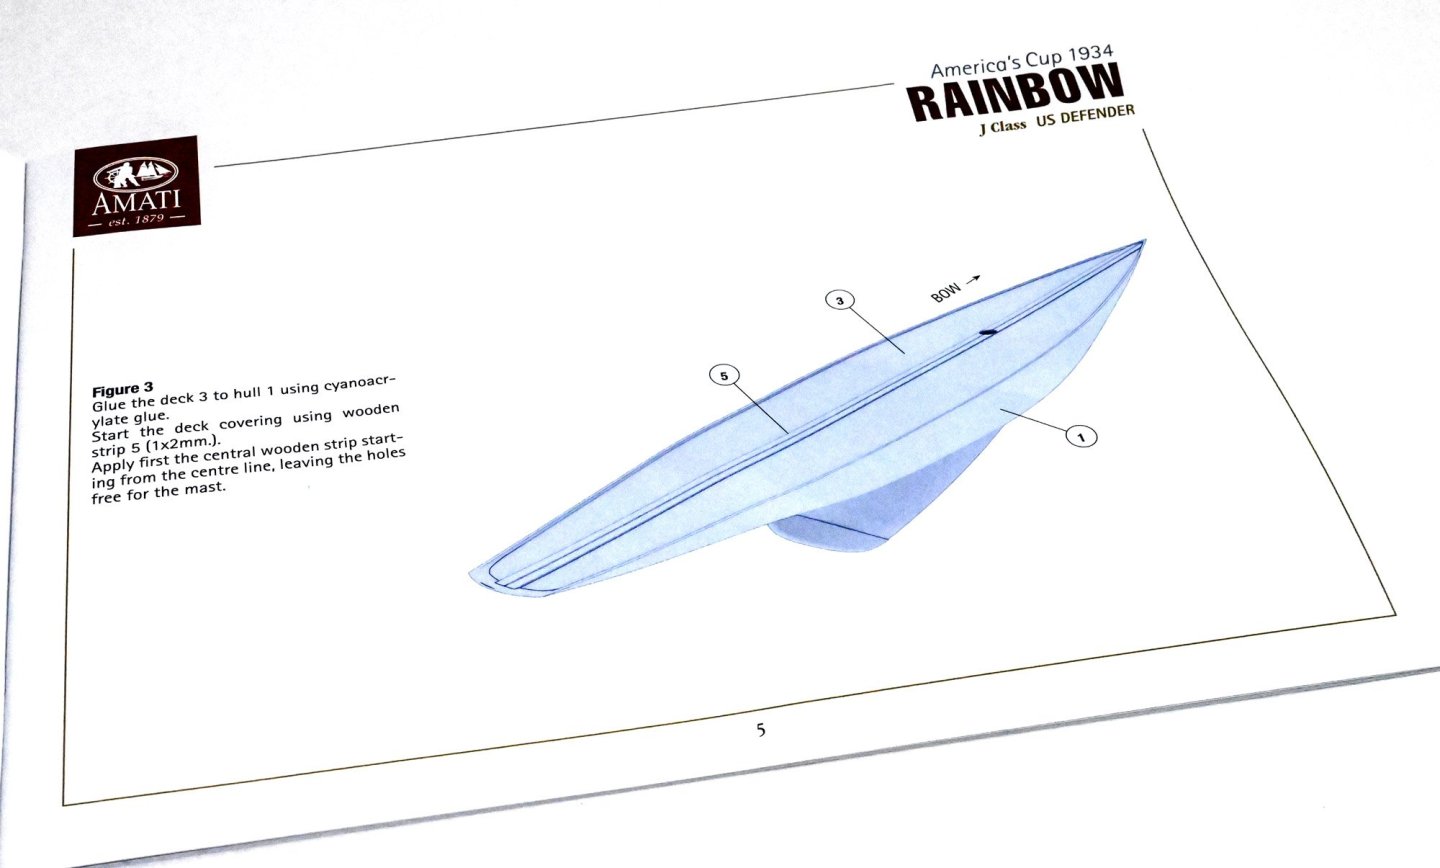
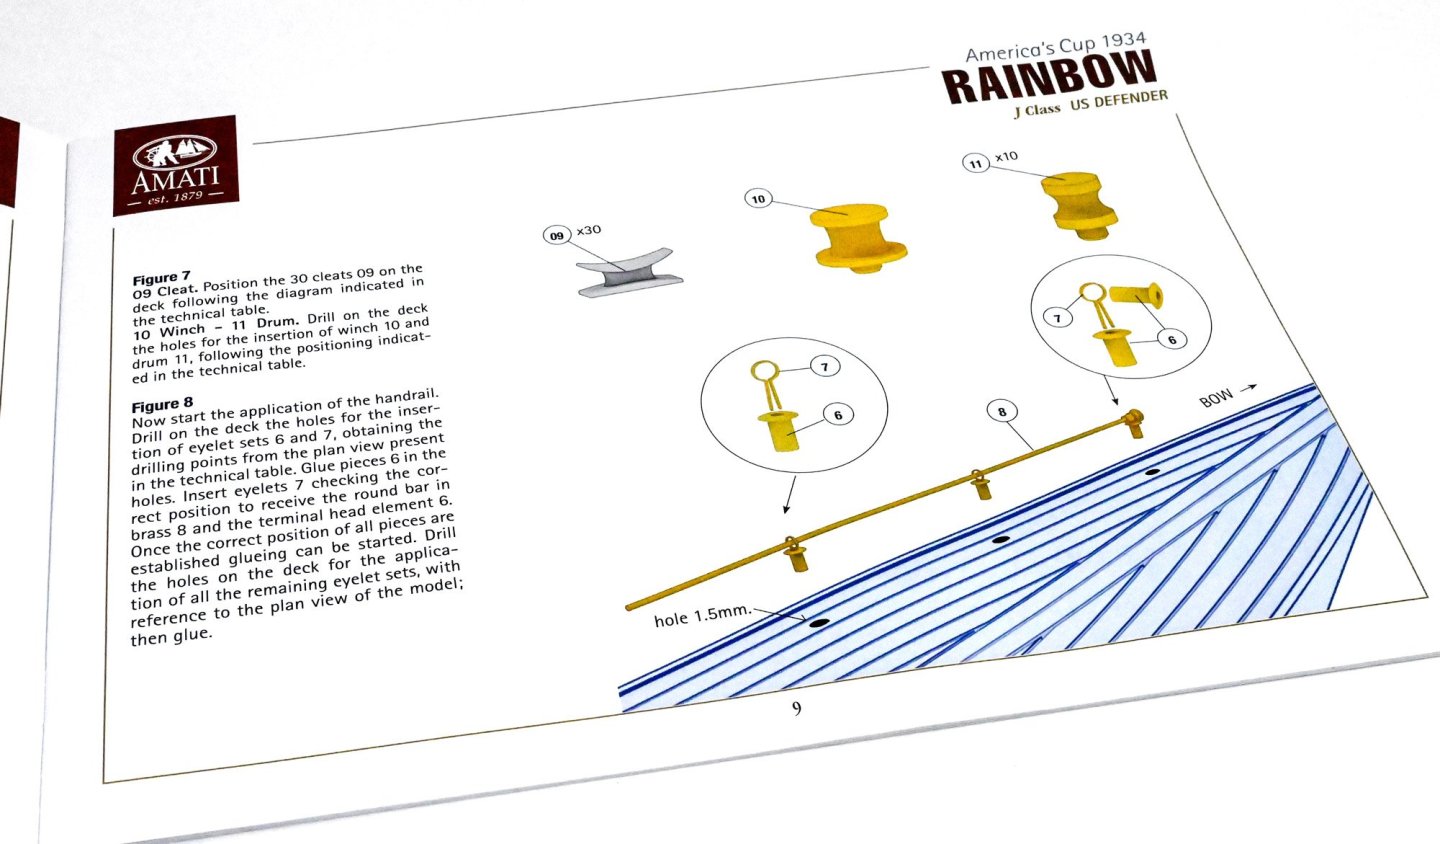
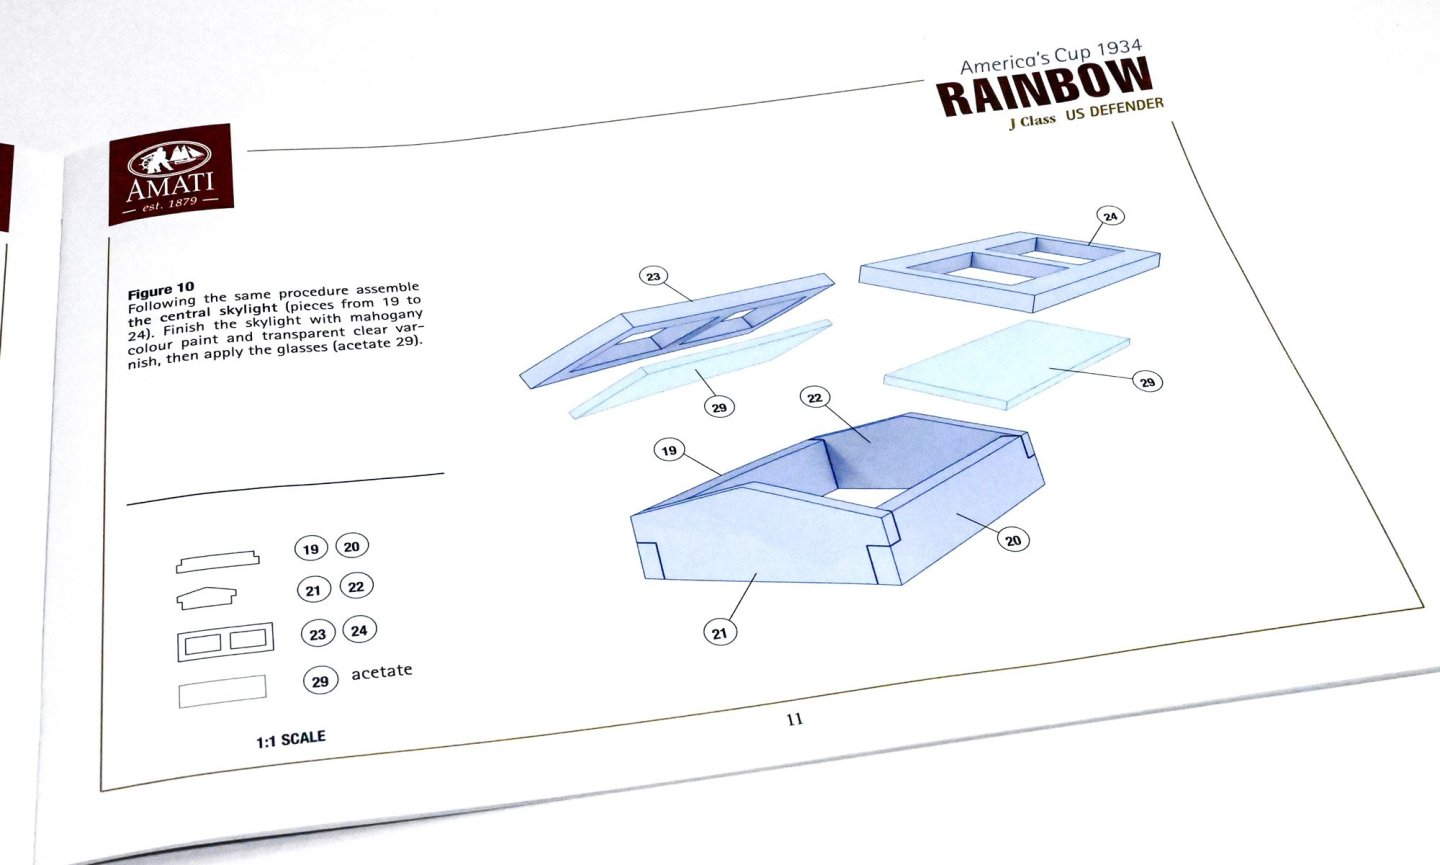
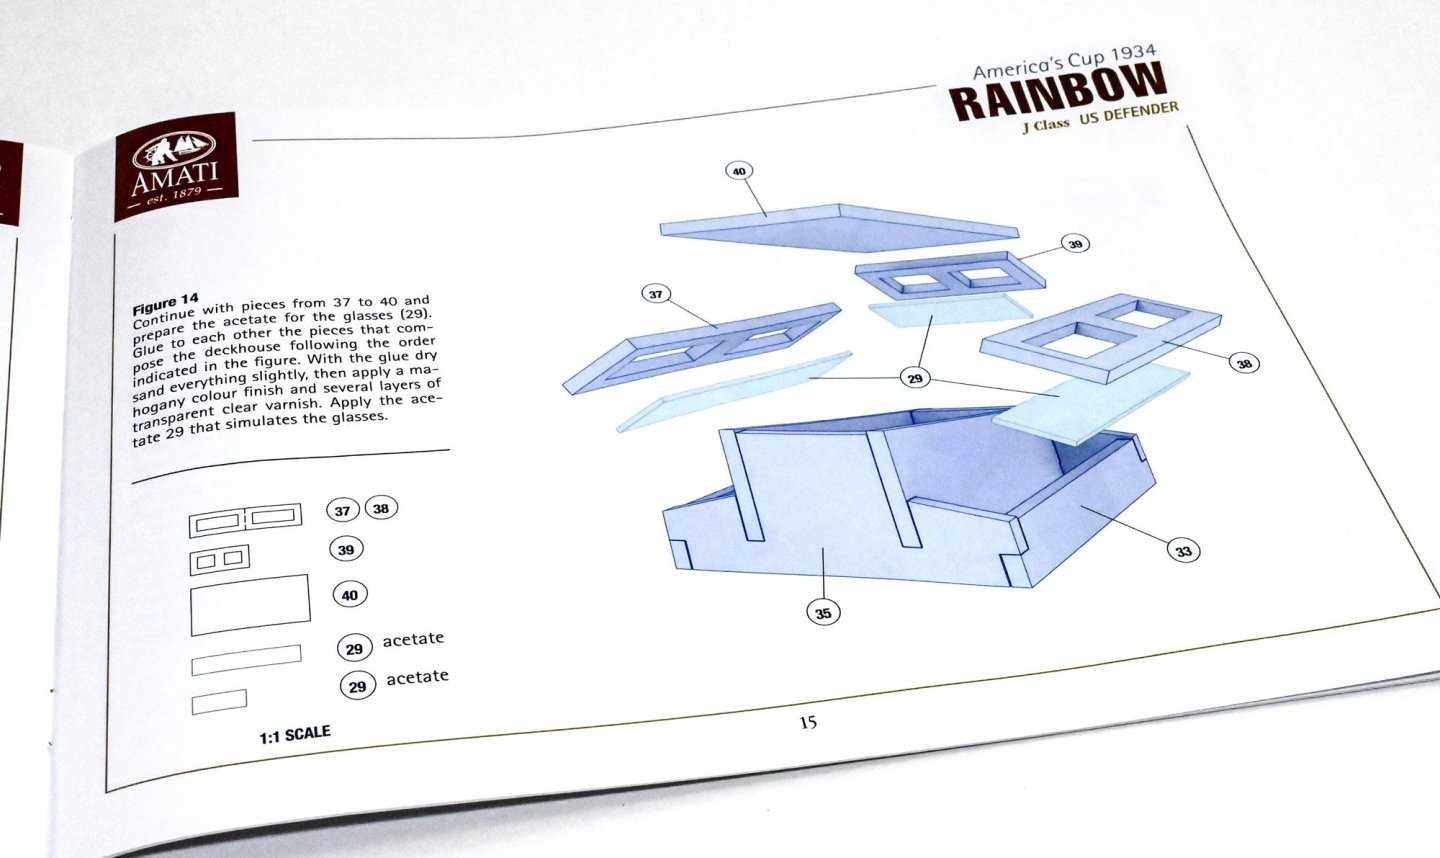
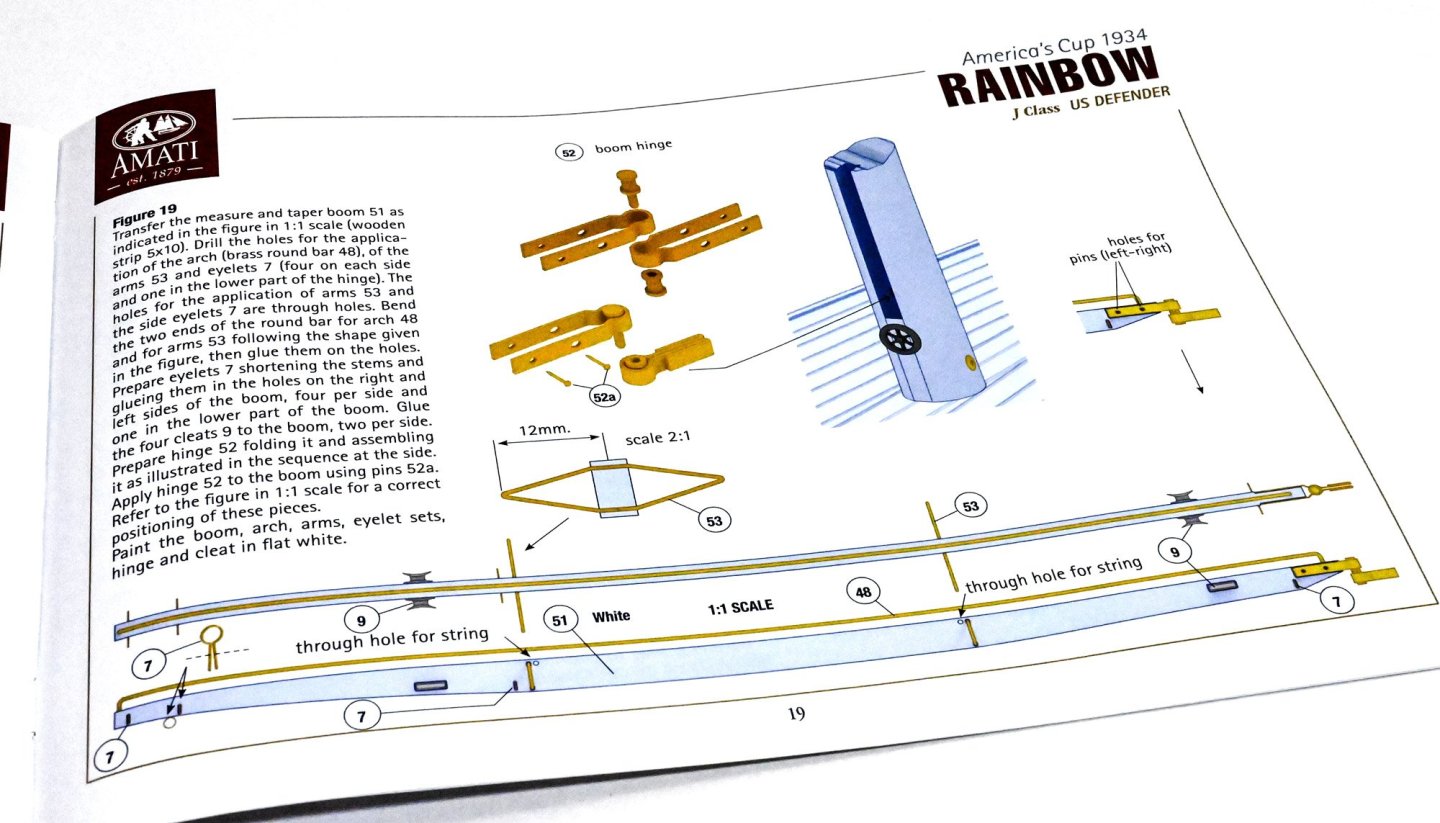
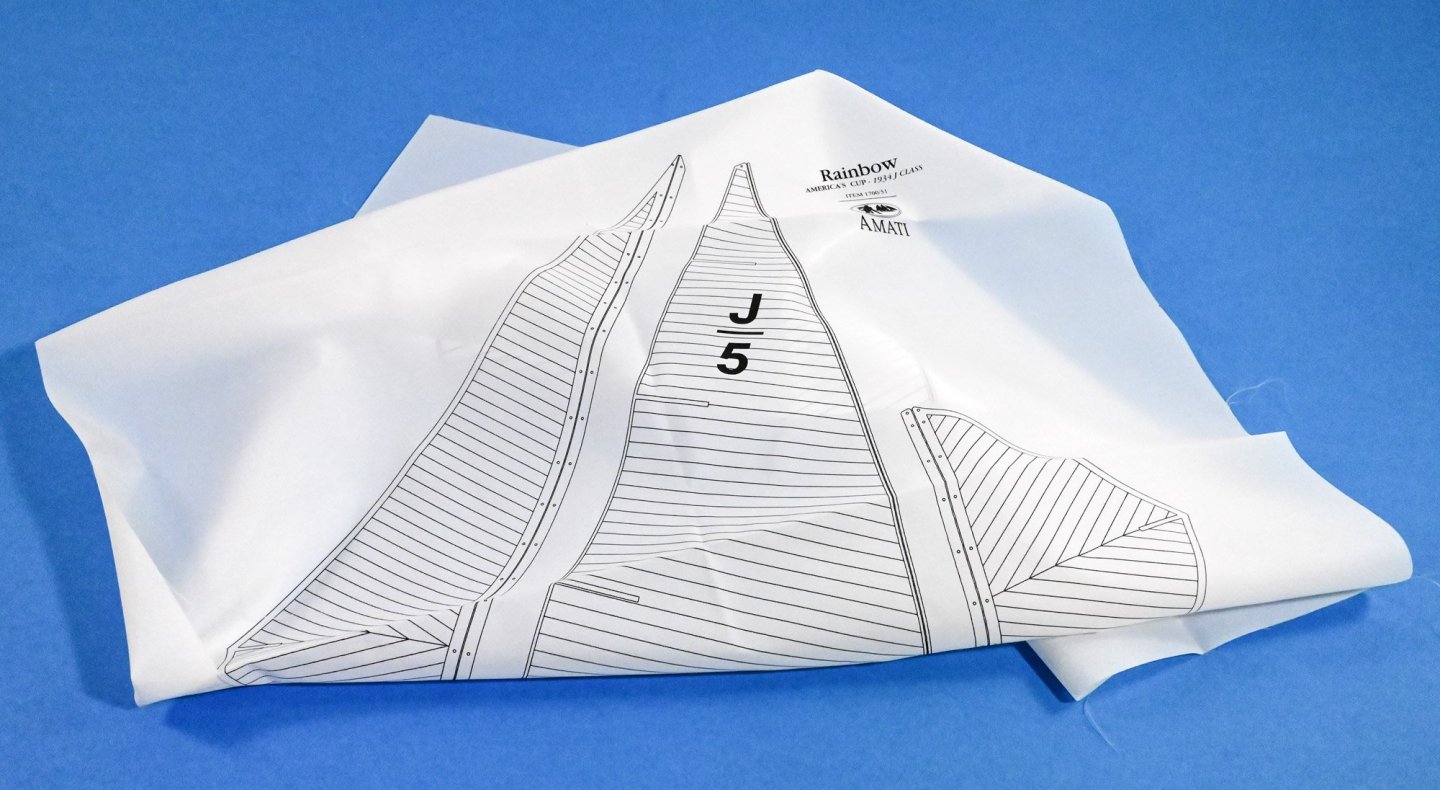
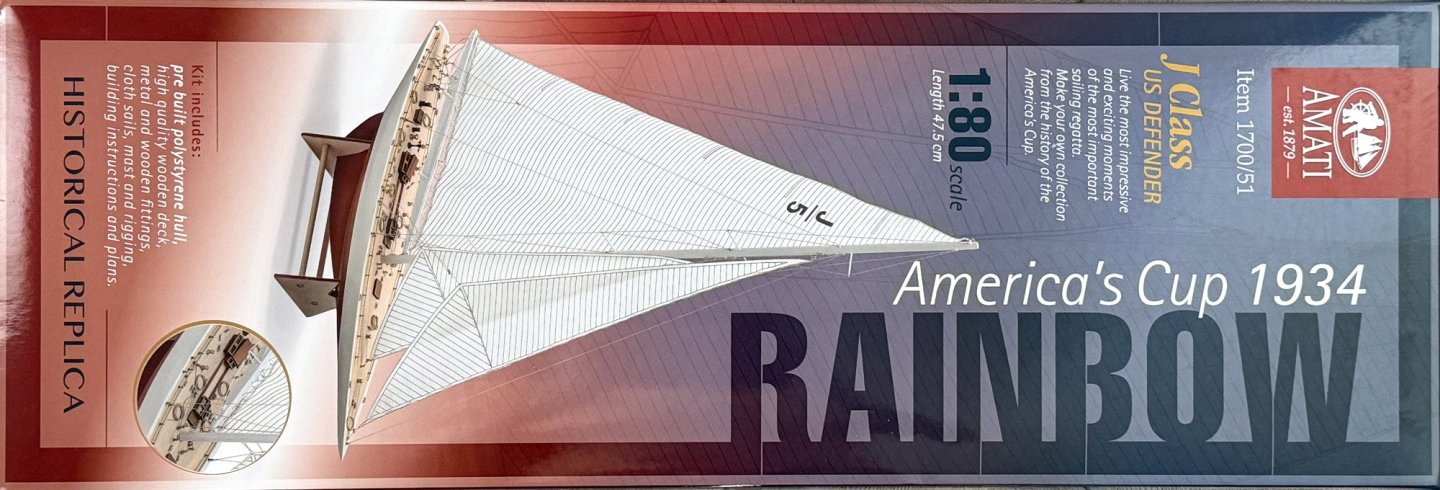
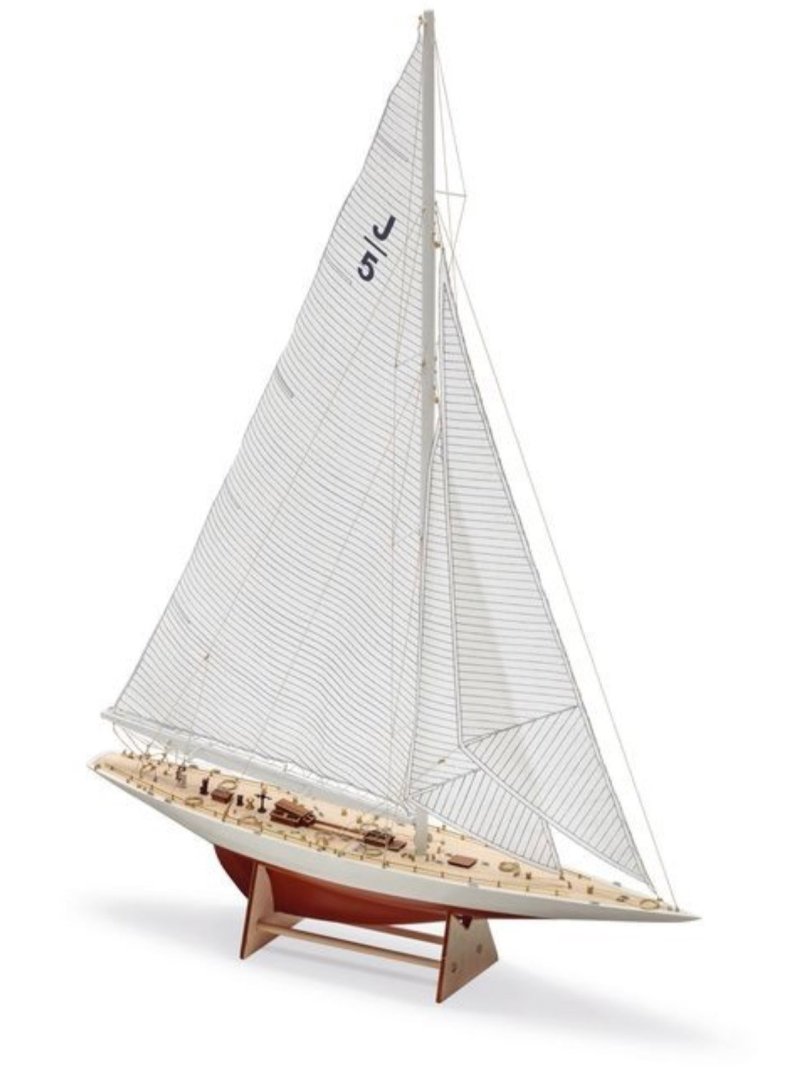
1:80 Rainbow – America’s Cup 1934 Amati Catalogue # 1700/51 Available from Amati for €78,69 History Rainbow was a J-class yacht built in 1930, and successful defender of the 1934 America's Cup. It was ordered by Harold Vanderbilt and designed by William Starling Burgess. Rainbow was scrapped in 1940. (from Wikipedia) The kit Amati’s Rainbow kit is packed into a sturdy and glossy lid-opening box with a photo of the completed model on the front, plus an important dimension stating that the model has a length of 49.5cm. Curiously, for a tall yacht, the height isn’t given. For your info, the model height (taken from the plan sheet) is approx. 67cm tall and 8.8cm wide. This model is also supposed to be suitable for RC. Under the lid, all of the components are elevated by the packing that holds the single-piece, white styrene hull. The moulding of this looks nigh on perfect with a totally smooth finish. No internals are provided for this if you wish to go RC. You’ll need to fathom motor and shaft mounts yourself. For most of us, that doesn’t matter. The rudder is a separate wooden part. The hull is well packed so that it can’t move about whilst in the box. Two sheets of ply are included. These are actually the only timber sheets in the whole kit! The main sheet contains the single-piece deck with superstructure and mast openings. This will need to be planked. There are straight planks which run centrally, but then you need to begin the next phase of planking from the outside edges, working towards the centre. The beauty of this deck will be in the fitting out. On this sheet, there are other parts which are used to build up the various superstructures such as the central and stern skylights. The second, smaller sheet contains the fore and aft display stand parts and also the yacht’s rudder which needs to be shaped. This yacht will need some glazing and this clear sheet is provided for this purpose. There is a nice bundle of strip material in this kit, from the slotted/milled mast, though to deck planking etc. A small quantity of brass and copper is also included. I have to say the timber quality is excellent and very nicely milled/cut. A single tray of fittings is included, with everything packed into bags within. This includes cleats, portholes, eyelets, drums, winch and arm, wheel, binnacle and rigging cord etc. Fittings quality is up to Amati’s usual high standard. One plan sheet is included with the main drawings at 1:1. Whilst the instruction booklet deals with all things to general construction, plus some other elements such as rudder wheel etc, the plan is what you need to refer to for fittings placements, masting and adding sails and rig. White sail material is included. This has all of the yacht’s sails printed on it. You will need to carefully cut these from the sheet and then finished before fitting. A colour manual is included. This covers all the main stages of construction, and some of those which are best illustrated in 3D instead of in plan form. All illustrations are very clear, with the specific parts shown in plan form, adjacent to the 3D illustrations, complete with part numbers. These numbers can be referenced from the plan sheet. Conclusion If you like graceful hull lines, but hate planking, this is for you. Even if you need a quick but satisfying ‘between projects’ build, then this could hit the mark. There aren’t too many parts to this build, by both nature of kit design and also due to the vessel herself. Once you’ve planked that ply deck and fitted to the hull, it’s very much a fitting out project. The quality of the plastic hull is excellent, and you’ve got a real nice base onto which you can then add paint. No plank lines to fill and rub back endless times. She’ll look great in a custom-made acrylic case too, and the kit itself is very reasonably priced. My since thanks to Amati for sending out this kit for us to look at on Model Ship World. Check your local dealer for availability. If unable to purchase via dealer, dead onto Amati to buy directly, via the link at the top of the article.


-
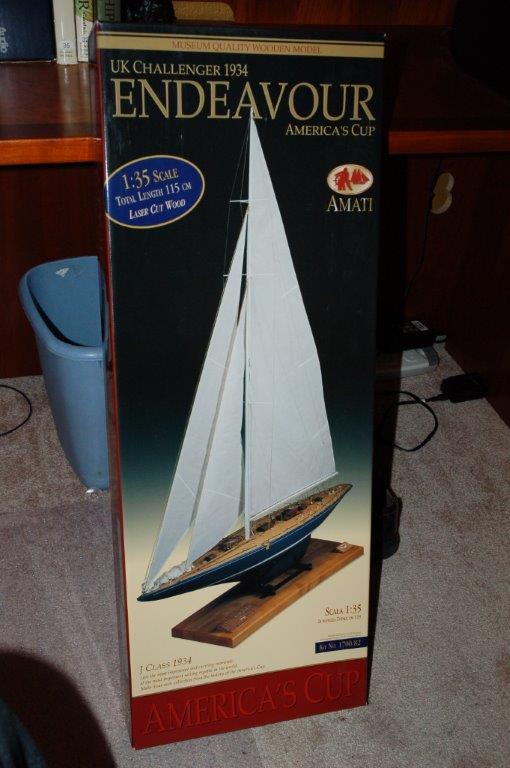
 A new beginning to an old project. I acquired the Amati Endeavour around 2005, let it sit for awhile and then started it, only to drop it again after minimal progress. Here is the kit box. Got the bulkheads installed, deck base added, and started mast tapering (seen on the grooved board I used to keep it straight over the years). Sorry for the messy area, but the desk will need to be cleaned of model railroading stuff before I restart this project! lol btw - The tools alone were "almost" worth the cost of the kit. Used several of them over the years for other modeling tasks!
 -
 Well when you are getting frustrated with your current project there are only a few choices on what to do: 1. You could continue on. From My experience bad things happen in this situation 2. You could burn the model and give up 3. Or you could just put it away for a bit and turn to another project. The only downside of this is the evil stares from the admiral. and she says "Another project?!!" Elsewhere on this site there is another log of this wonderful kit. Seeing that build reminded me what was on my shelf. One thing led to another and now you will see the results. Being a huge fan of America's Cup I just had to have a nice kit of a famous boat from that series. I think this is one of the most beautiful boats there is. So without Further ado I give you the Endeavour!
- 80 replies
-
- 4
-

-
- Americas Cup
- Endeavour
- (and 1 more)
-
 And so my first ever build and build log, (pics to follow shortly!) Open opening the box, it's surprising how flat pack evrything is! although teh quality looks great, ot sof very small metal components and the wood look decent quality. Instructions are in Italian, which for a moment threw me, untill I found the corresponding English translation sheet. In fact instructions are great, lots of diagrams and lots of step by step instructions. The kit comes with a hammer, sanding block, vice, tweezers, and a detailed sanding pen tool, and I have to say teh quality is surprisingly good. For a first timer like me, this is superb. One thing that has struck me is the cloth sail material provided. It has stitch lines printed on, which, though useful, I think will look a bit rubbish on the model. Is this normal, or is it normal to just use this fabric as a guide and go out and buy some other blank linen type fabric? I'm jumping teh gun here as the sails are pretty much one of the last steps but thought I'd ask! First task is sanding and shaping the boom.....