-
Posts
181 -
Joined
-
Last visited
Content Type
Profiles
Forums
Gallery
Events
Everything posted by Von_Kossa
-
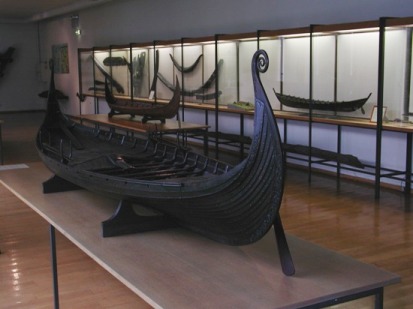
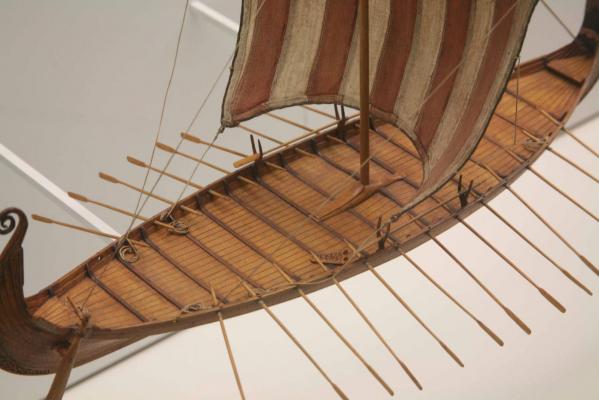
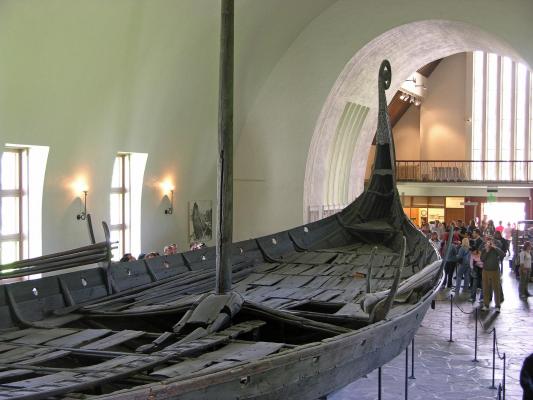
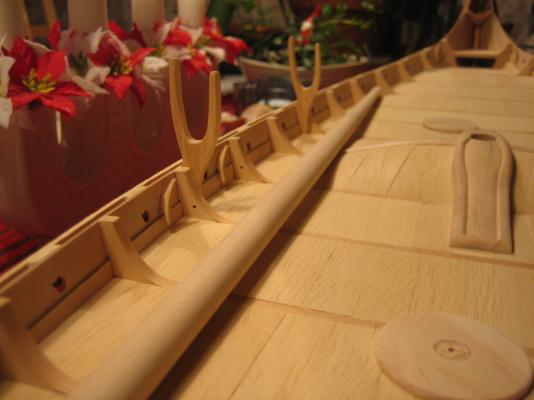
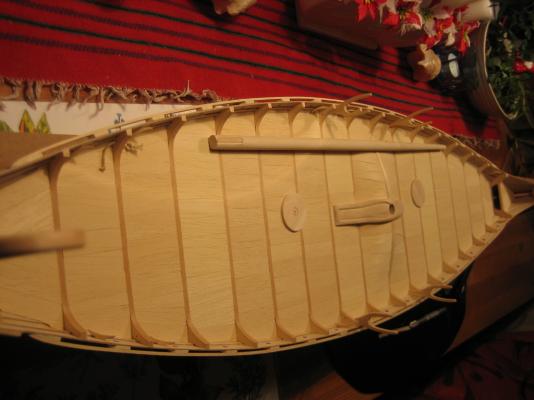
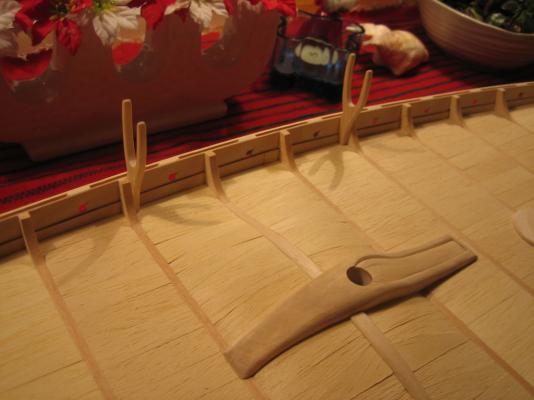
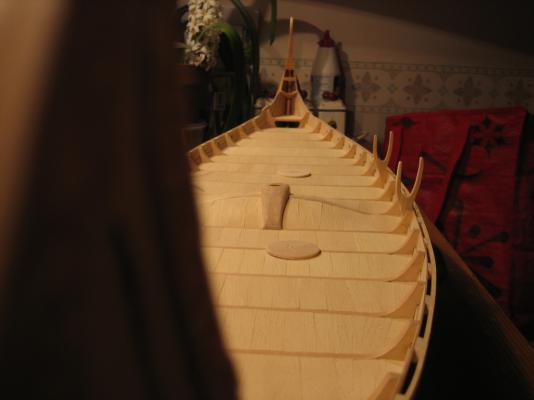
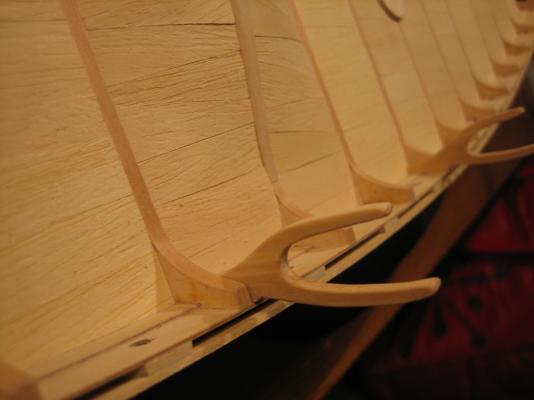
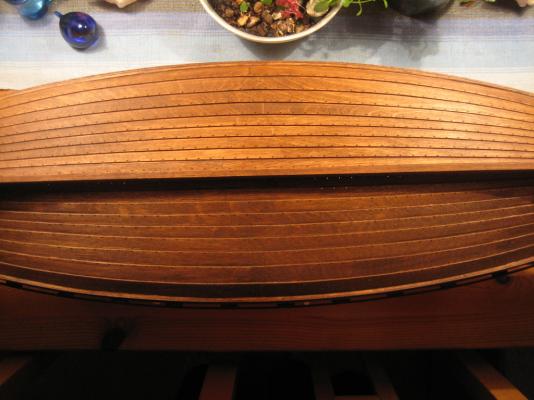
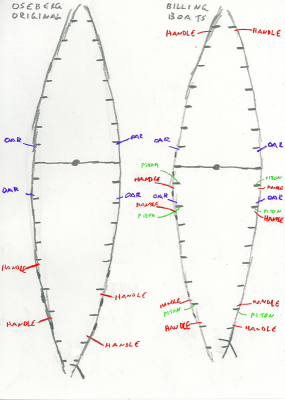
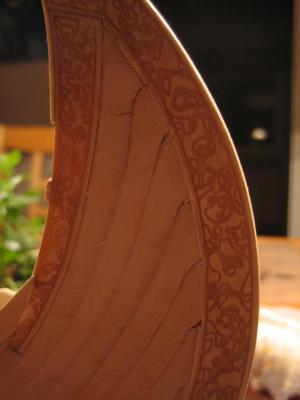
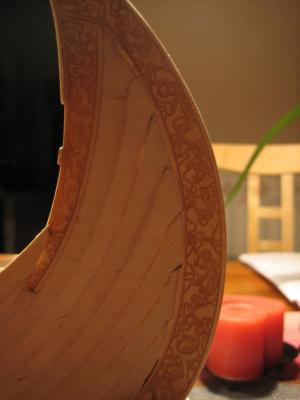
Short answer: Yes, but probably different on the original, this is very unclear to me how the bump were on the original and despite heavy research i have failed to get a definitive answer. Long answer: I have seen two models in museums in Sweden, one from pictures in Munich, Germany and one from a museum in Bergen, Norway. Plus i have seen videos from a Oseberg replica. They have all the positive formed bump like my ship, only difference is the size of the bump. Picture from Bergen. Picture from Munich. And now to the problem, the original resting in Oslo also have the bump skeleton construction seen here. But notice that the bump is negative and not positive. It "falls" from the beginning. The thing i don´t understand is why do all the competent model makers in different museums around the world always construct the bump positive. Notice that it doesn´t fall from the beginning like on the original. So why didn´t i do like on the original? I failed to envision in my head how i should have laid out the planks against the negative bend. So i fell for the group pressure... Excuse me for my bad english, i hope you can understand me.
-
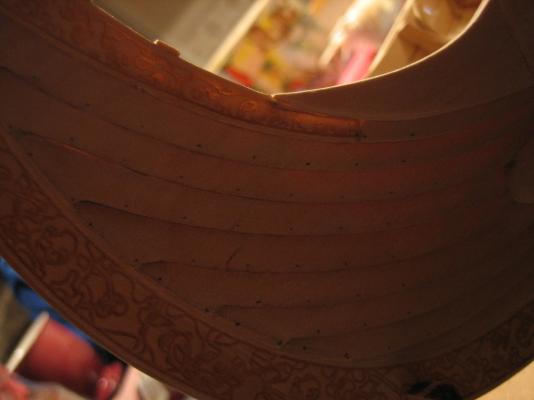
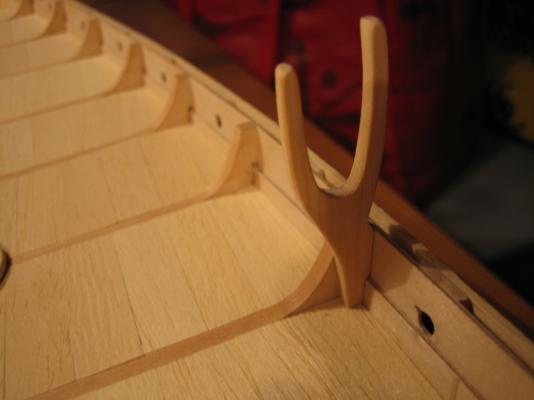
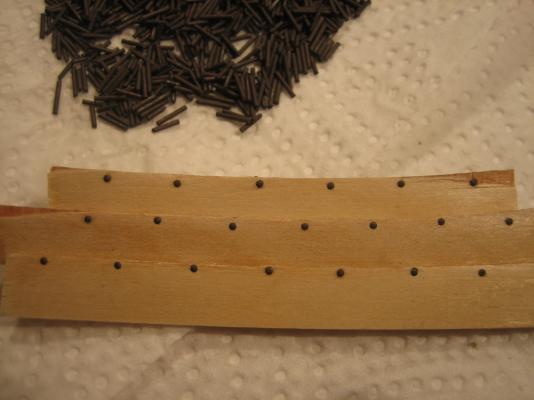
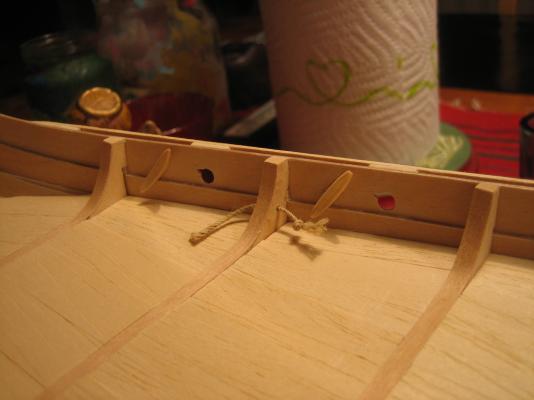
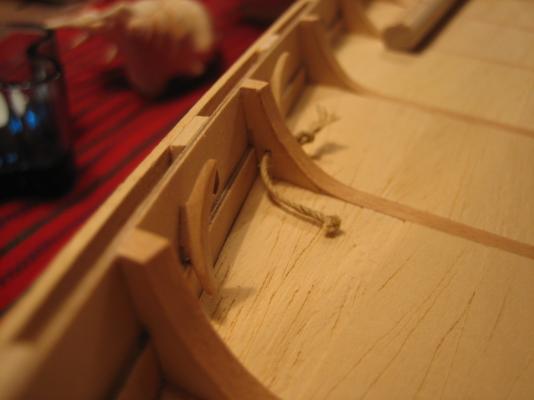
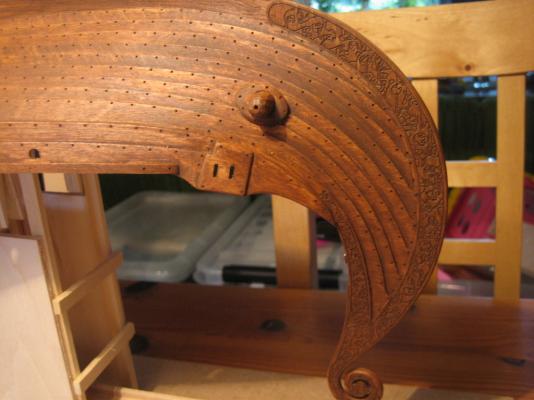
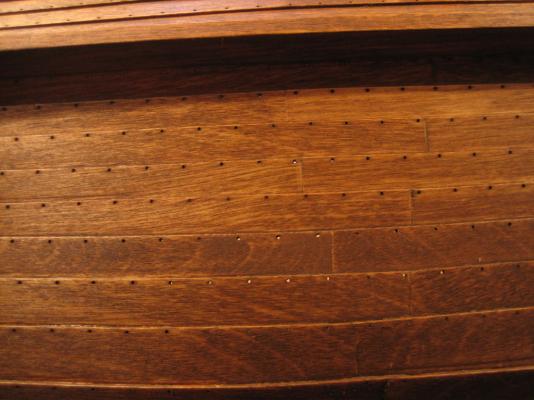
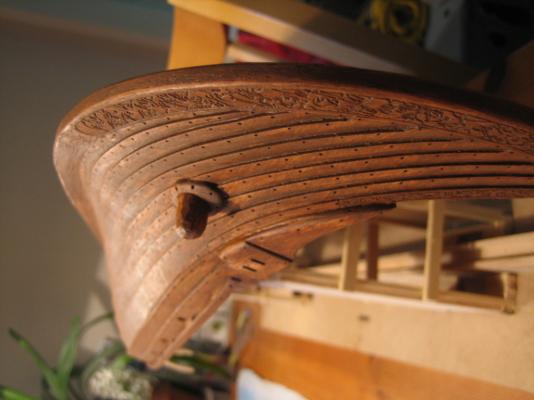
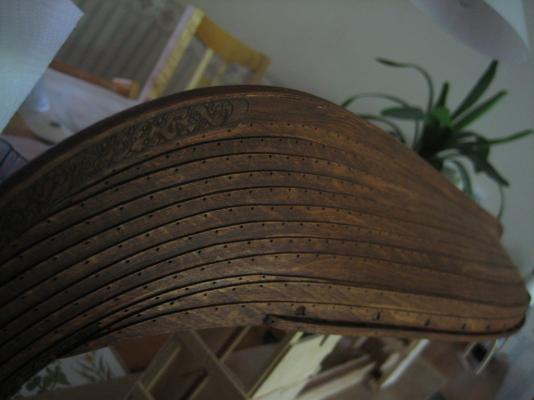
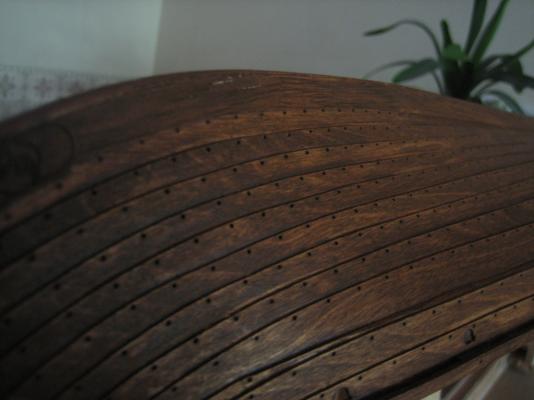
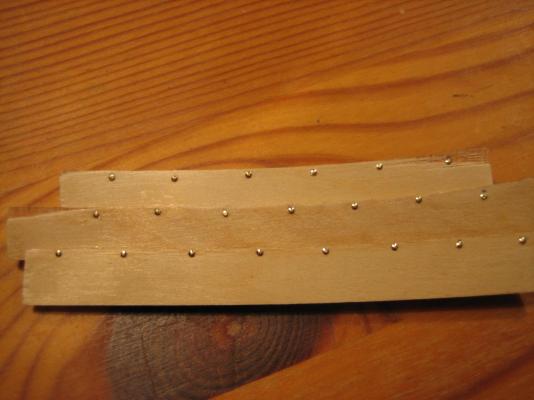
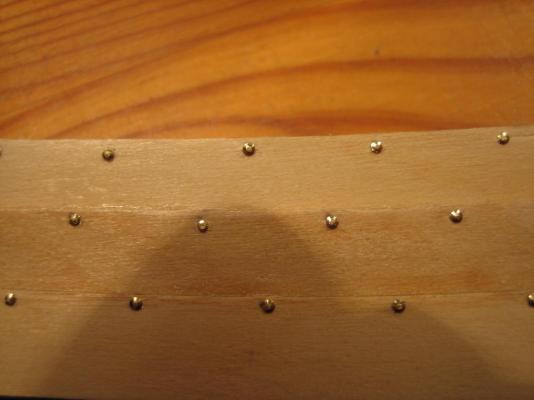
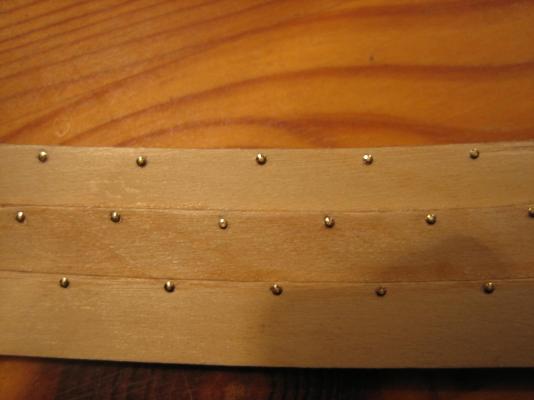
And what is this? If you look carefully you will see small drilled holes for the ropes holding the sail in the future. And now you think... Is the man so mad that he shows pictures of some drilled holes? And the answer to this is, well, yes. Because it took an ETERNITY to drill these holes because they weren´t drilled before the assembly of the ship. It took hours just to drill one hole with the weird thing i constructed to even be able to drill the holes. I had to turn the drill with a small nipper one quarter of a turn at a time. So this is a warning to anyone building this ship in the future, drill the holes before its to late.
-
Found this information regarding poly coating. Seems like waterbased poly is preferred if you use oil based stain. "Stains. If you plan to stain your wood, a trick that I learned, before you stain anything, rub it with denatured alcohol. This gives you a very good idea of how the wood will appear when a clear finish is applied. If you stain with a oil based product and then apply a oil based finish, there is the slight possibility that the color will "pull", that is lighten in some areas and darken in other areas. This is because the carries for the sealant is lifting the color from the same carrier that the color used. The way to avoid this is to use a water based color and oil based finish or the other way around."
-
Hi again! About the poly, did you use water or oil based poly? I have read about people using water based poly on oil based stain getting strange results, like the stain wiping of. Sounds scary.
-
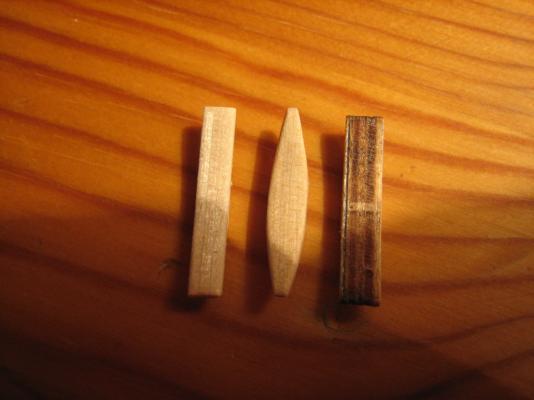
The oars is something i have not worked on in a long time, probably i will remake them. How will you construct them?
-
Thank you Jack. But not as great as your stained ship. It´s a beauty. I haven´t thought about this with grit at all, thanks for the warning... It seems like we have the same standards for sandpapers, and I think I for the most of it have used 180. I will have to check this later. For choice of stain brand i will use Zar, because it is the best brand i can find here in sweden. I will also go the oil stain way. For the moment i think i will test: Walnut or Modern Walnut Teak natural Black Walnut Dark Mahogany
-
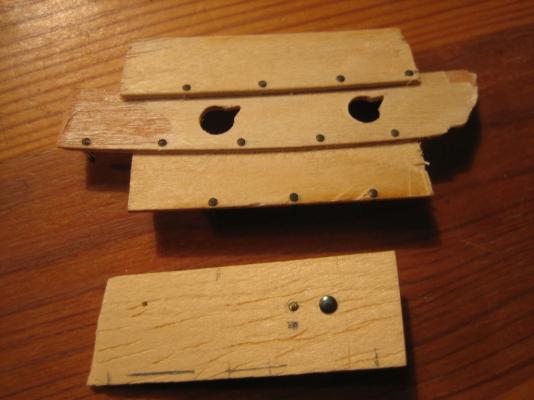
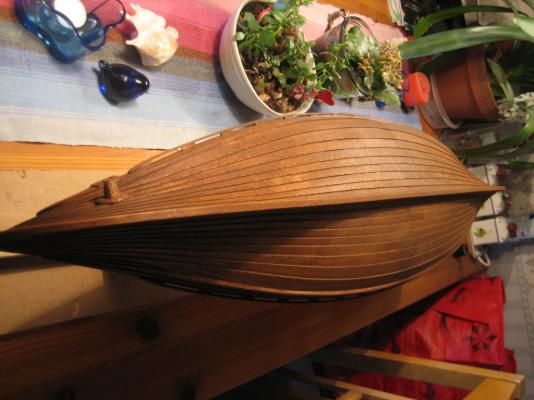
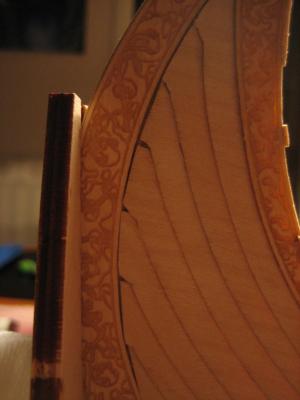
Thank you, and i really mean it. I needed to hear this now because i really think my build sucks. The closer i get to the staining process the more i see all the faults, all the glue spots, all the faults all over it. I have started to fill in the holes between the ornaments and the planks. Because i never sanded it down before i attached the ornaments. As you can see here for example: This is what i have achieved so far.
About us
Modelshipworld - Advancing Ship Modeling through Research
SSL Secured
Your security is important for us so this Website is SSL-Secured
NRG Mailing Address
Nautical Research Guild
237 South Lincoln Street
Westmont IL, 60559-1917
Model Ship World ® and the MSW logo are Registered Trademarks, and belong to the Nautical Research Guild (United States Patent and Trademark Office: No. 6,929,264 & No. 6,929,274, registered Dec. 20, 2022)
Helpful Links
About the NRG
If you enjoy building ship models that are historically accurate as well as beautiful, then The Nautical Research Guild (NRG) is just right for you.
The Guild is a non-profit educational organization whose mission is to “Advance Ship Modeling Through Research”. We provide support to our members in their efforts to raise the quality of their model ships.
The Nautical Research Guild has published our world-renowned quarterly magazine, The Nautical Research Journal, since 1955. The pages of the Journal are full of articles by accomplished ship modelers who show you how they create those exquisite details on their models, and by maritime historians who show you the correct details to build. The Journal is available in both print and digital editions. Go to the NRG web site (www.thenrg.org) to download a complimentary digital copy of the Journal. The NRG also publishes plan sets, books and compilations of back issues of the Journal and the former Ships in Scale and Model Ship Builder magazines.


