Von_Kossa
-
Posts
181 -
Joined
-
Last visited
Content Type
Profiles
Forums
Gallery
Events
Everything posted by Von_Kossa
-
 Thanks. Some pictures just for the sake of it.
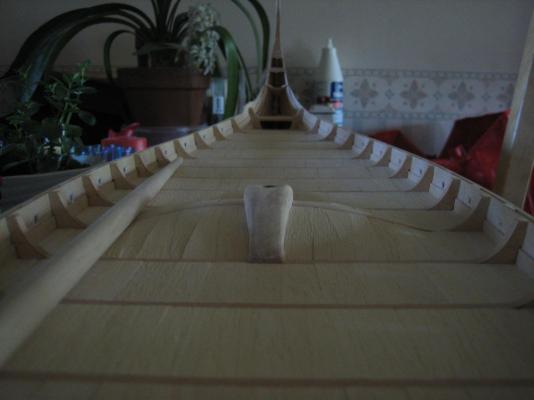
-
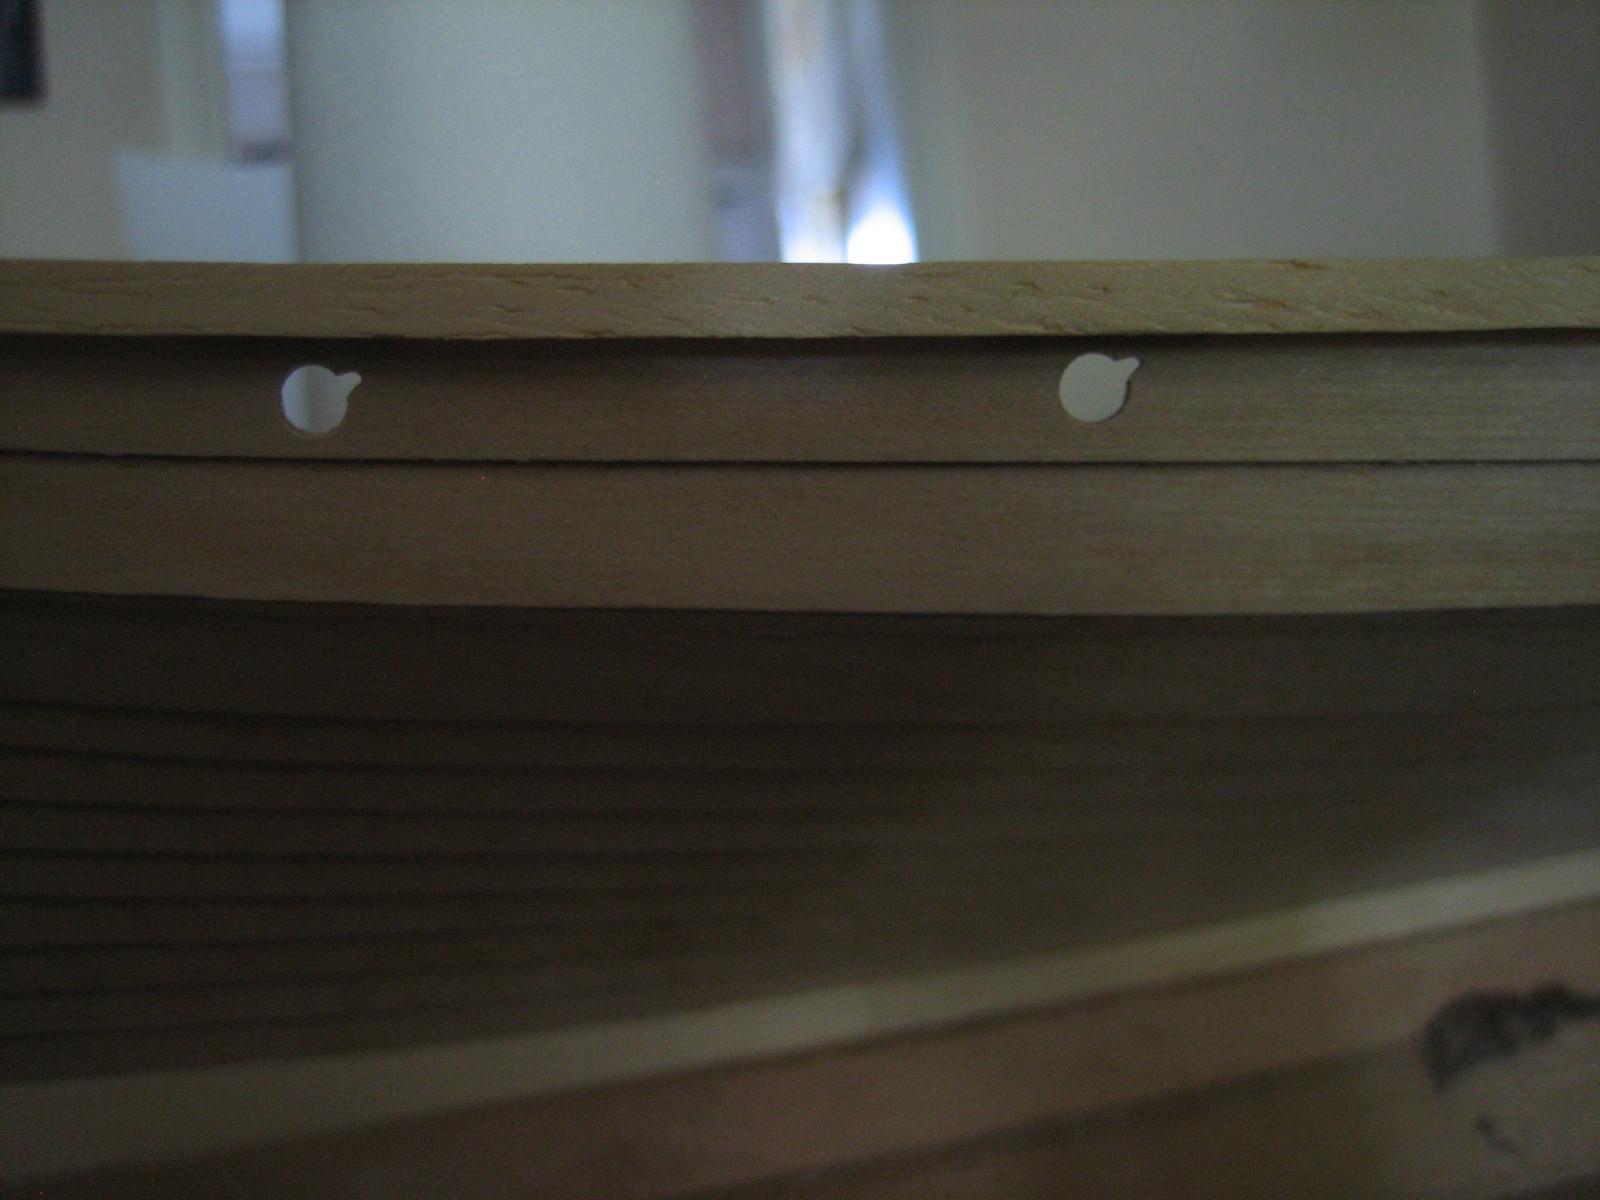
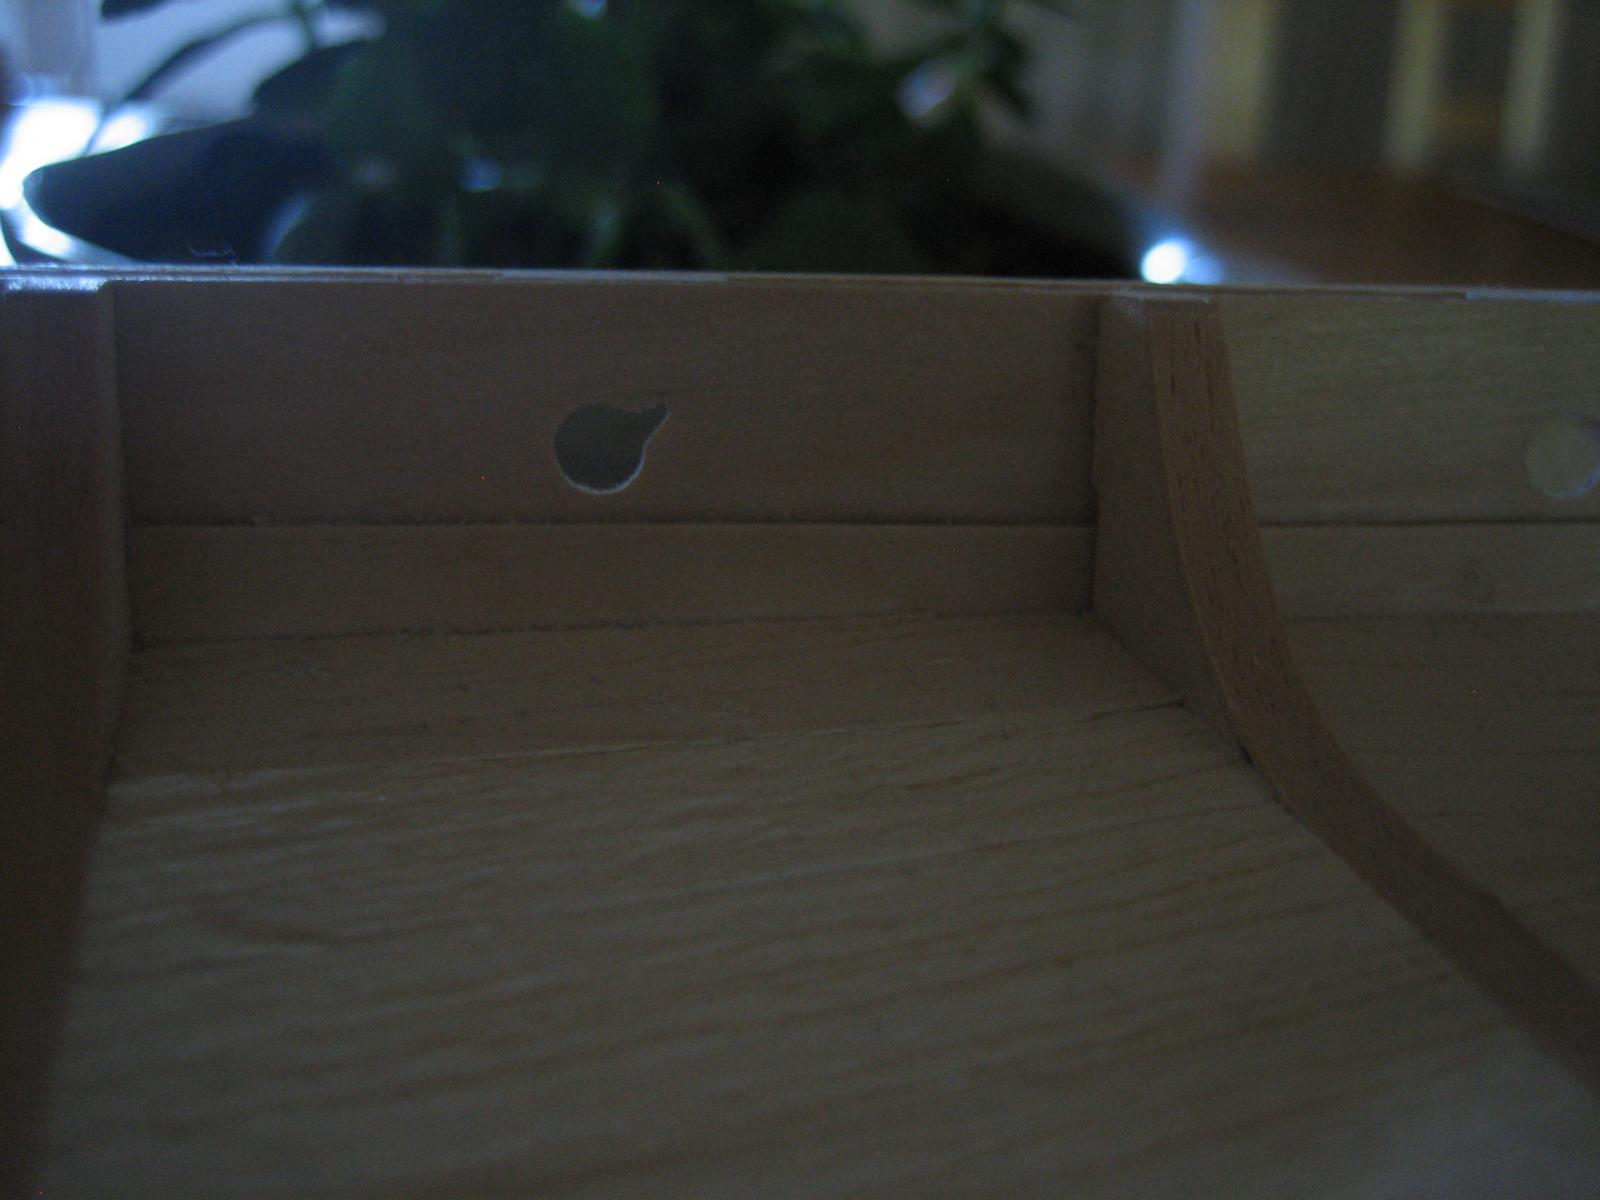
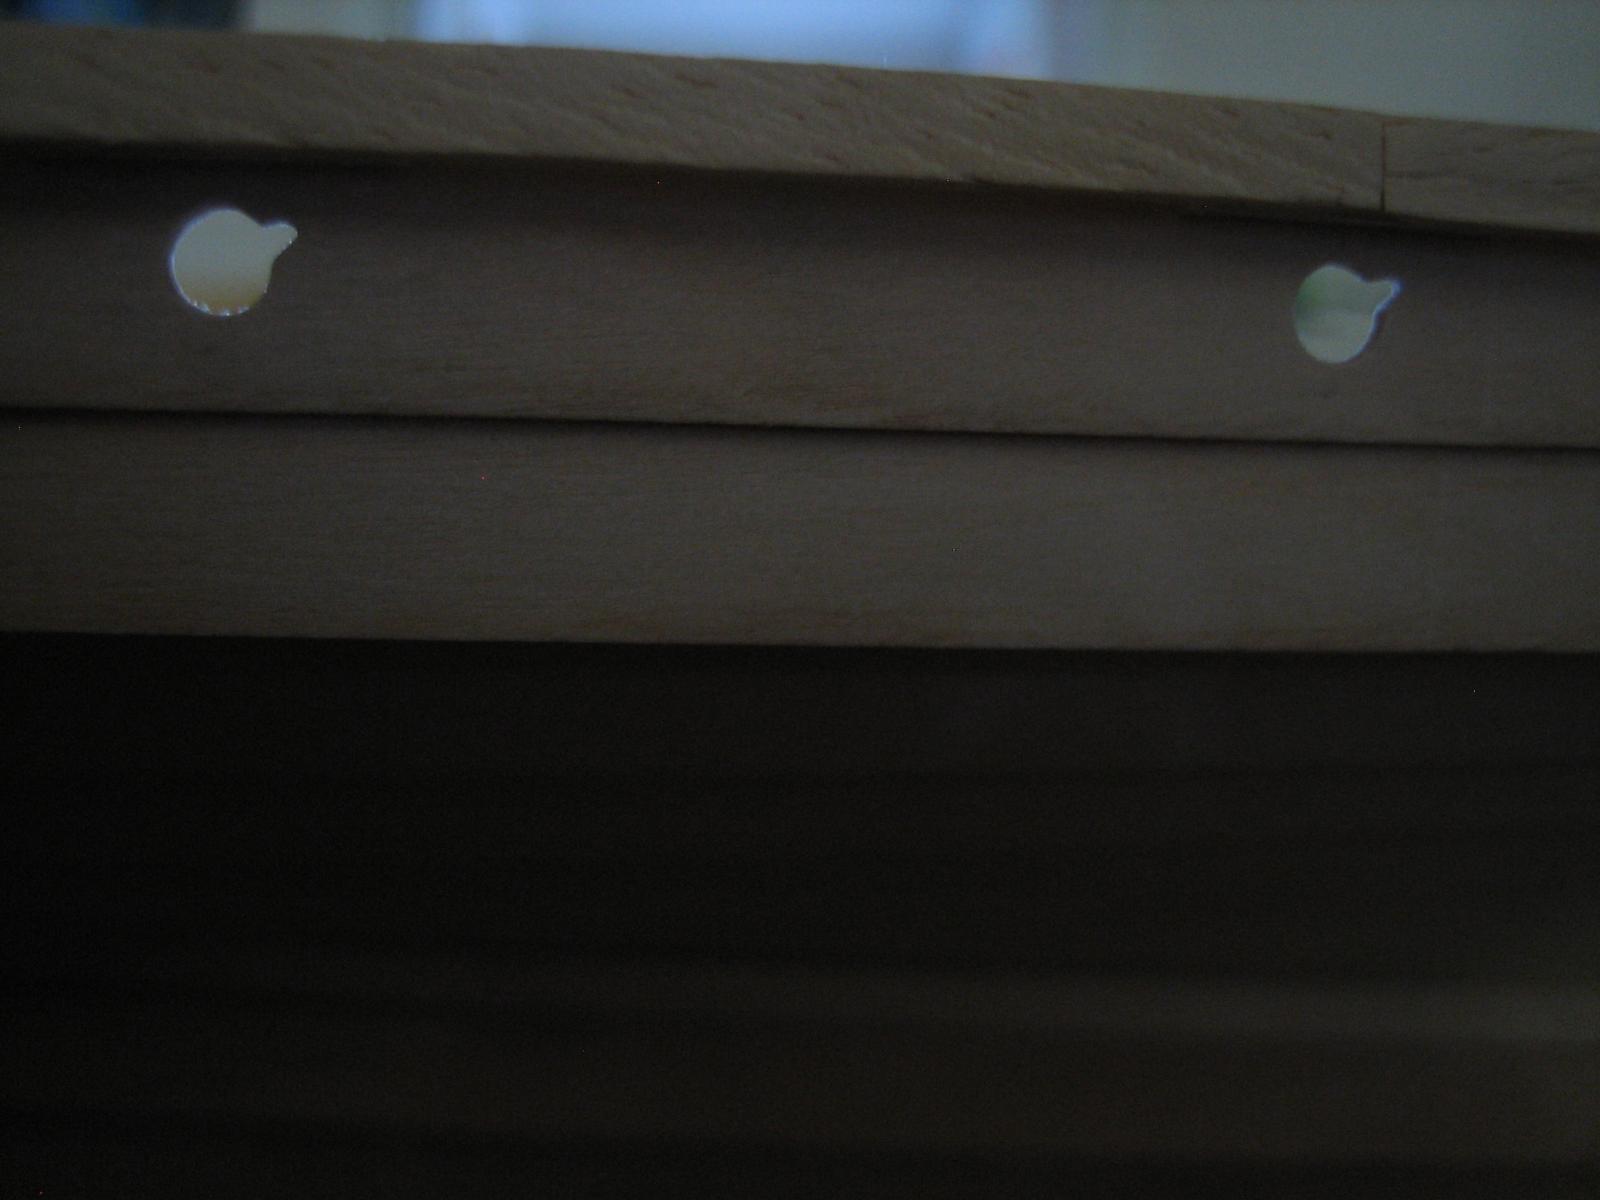
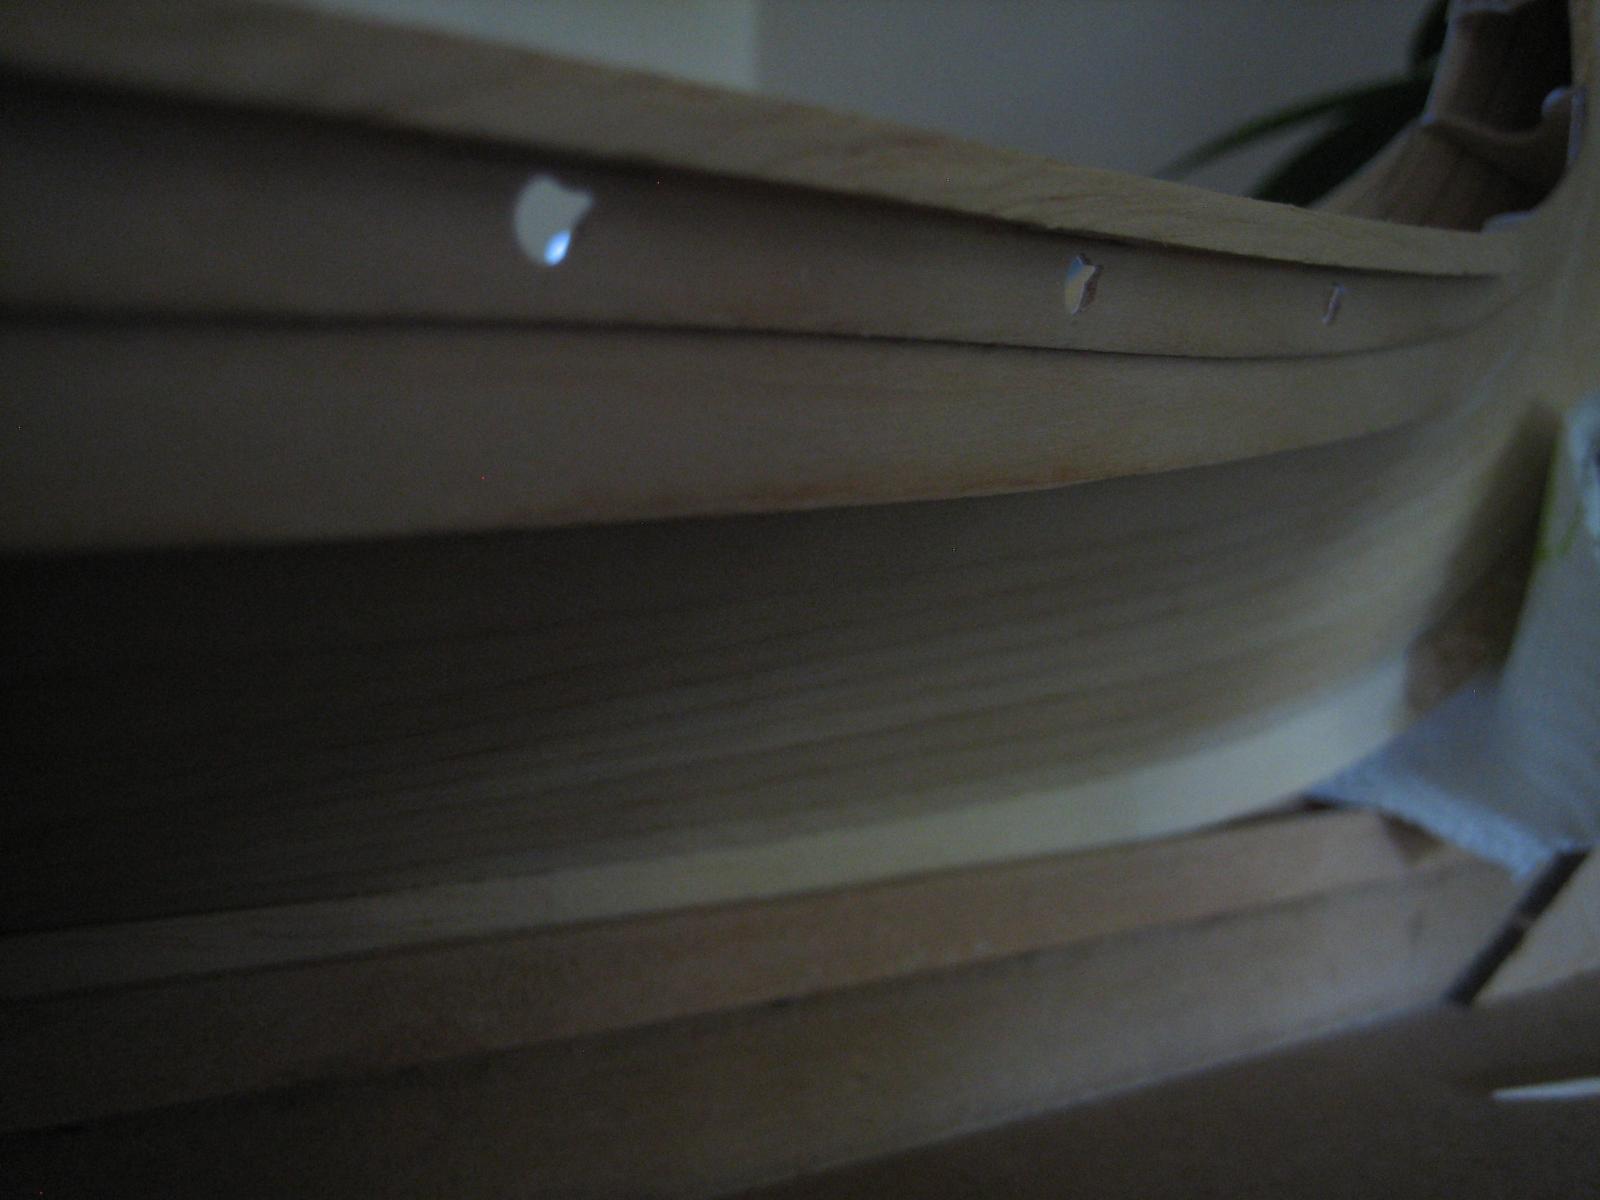
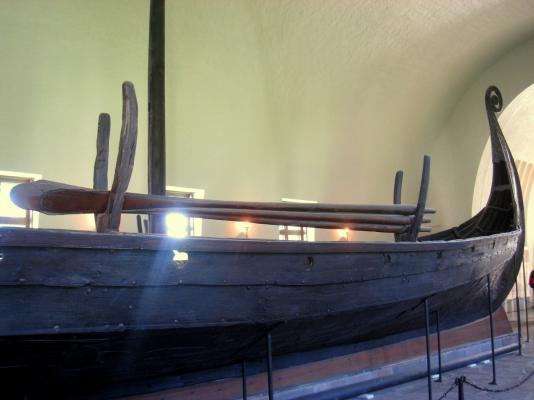
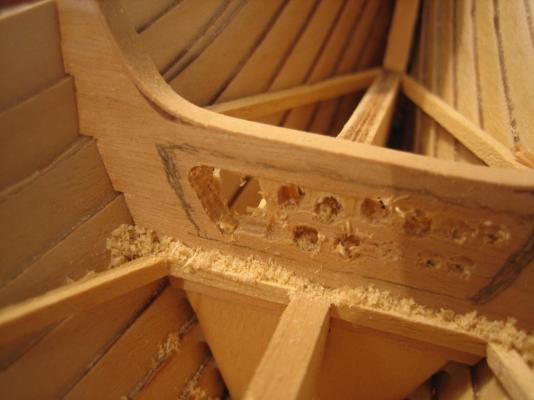
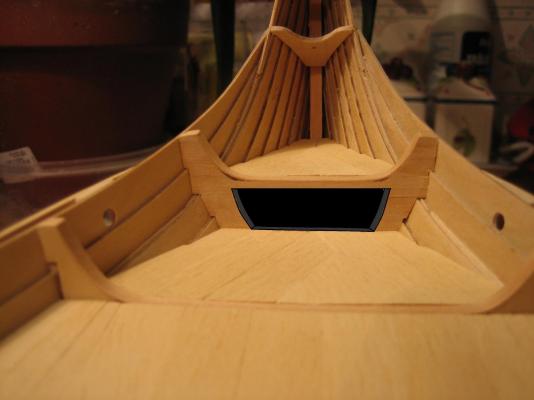
The oar holes of the Oseberg ship had cuts in them so the sailors could attach the oar from the inside without risking falling into the ocean or dropping the oar into the ocean. Byt the way, for others researching this, on some sites it is claimed that the oar holes had shutters to prevent water from leaking in. It is correct but this was found on the Gokstad ship, it had the oar holes much lower than the Oseberg. I have finished this, will post results later, one of the things which i could have done better was the shape of the cuts, mine became triangular because of the tool i used but the cuts are more rektangular.
-
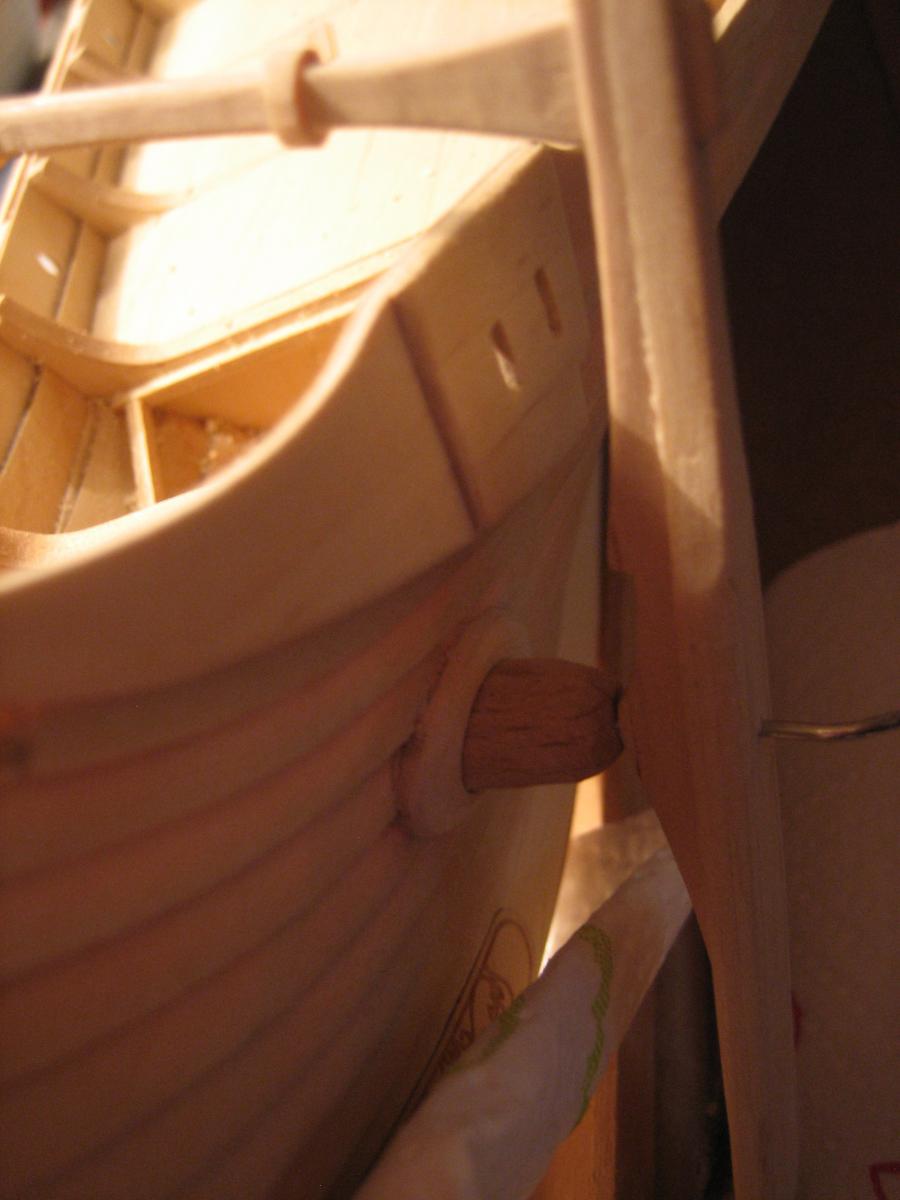
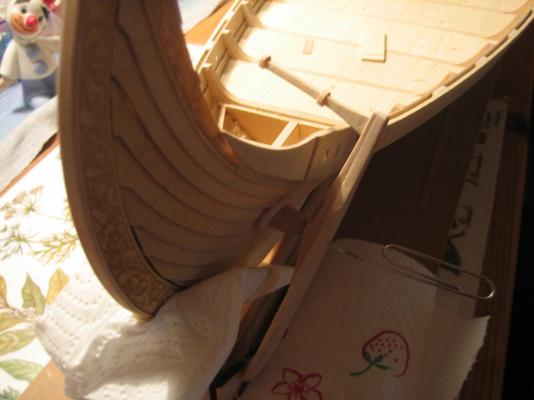
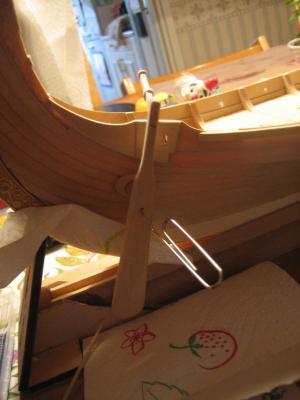
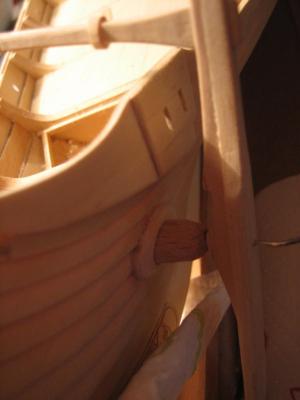
Some tests with the rudder attachement.
-
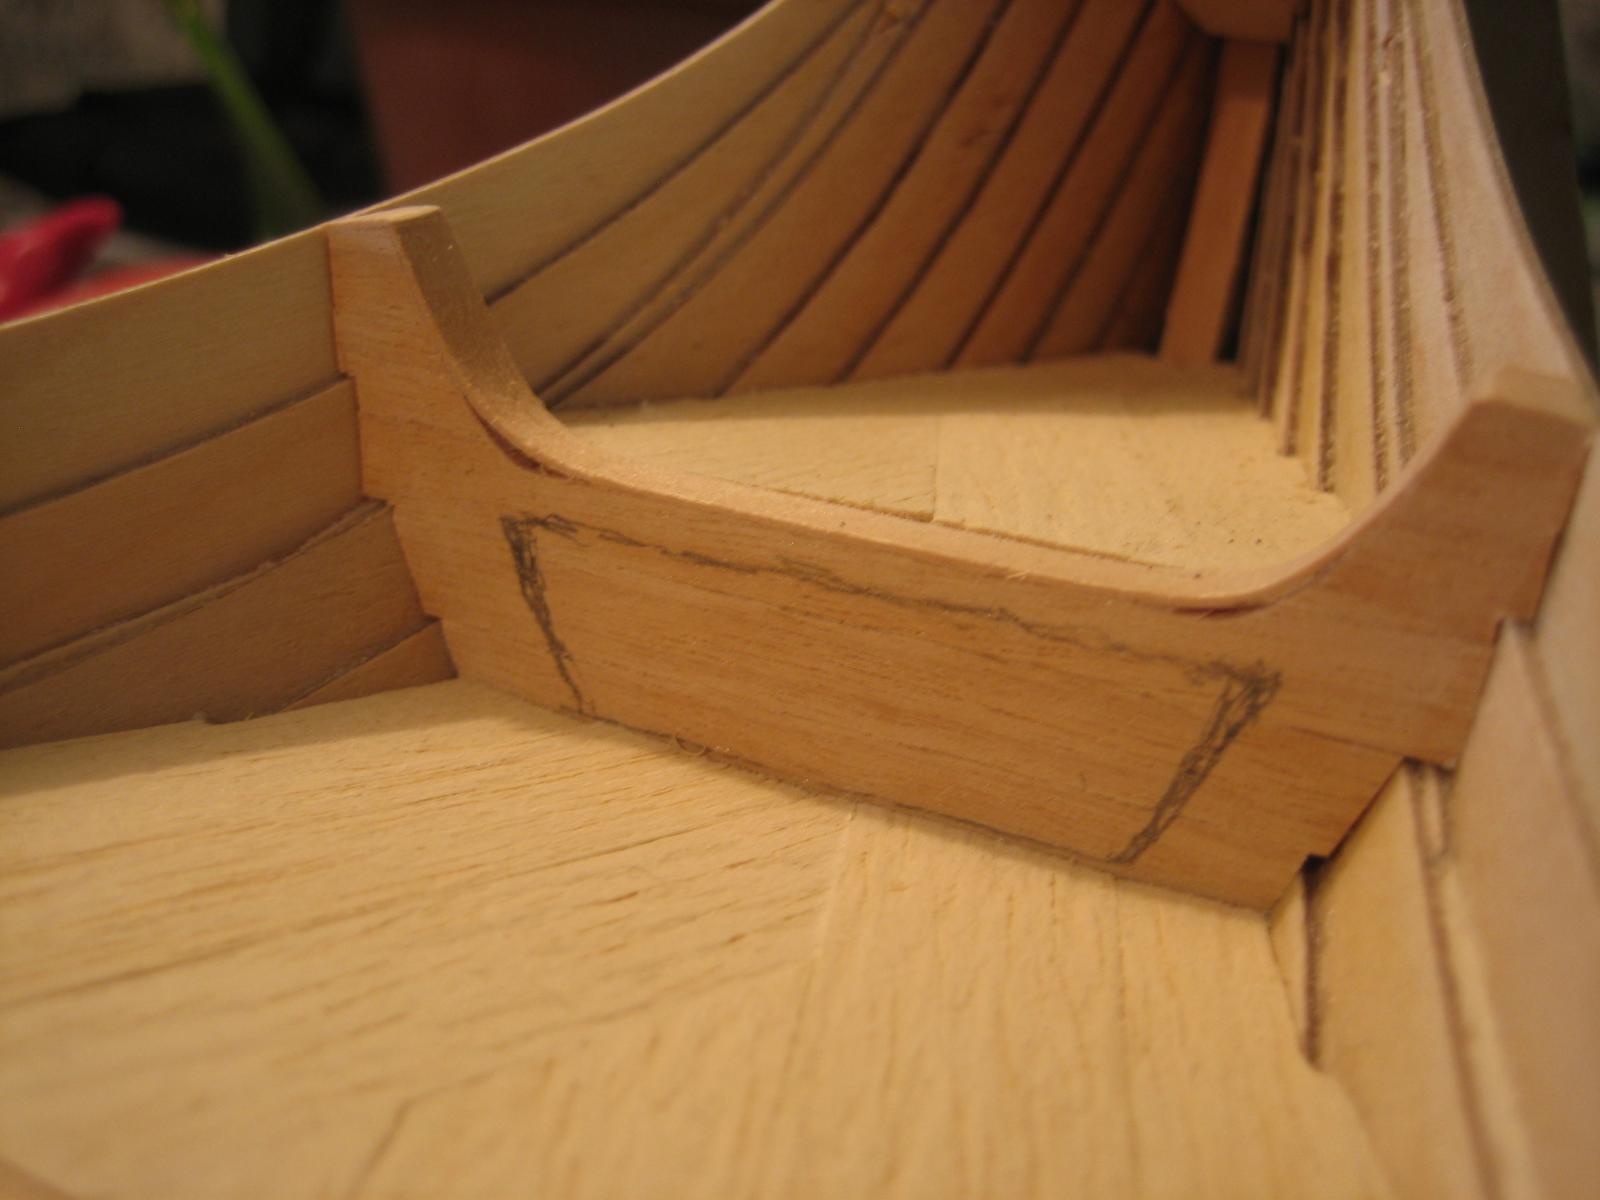
Update, finally finished with the "holes".


-
Thank you. I have not even decided if i want the ship light or dark yet. This, Wipe on Poly, what is it? Some sort of plastic cover?
-
Hi! Did you use water based or oil based stain? After the staining process, should you protect it with enamel paint? And finally, what stain did you decide for in the end? I am running out of things to hide behind, soon i must stain the ship. Scary.
-
But is this really a problem? The nail types and sizes on the oseberg are really varied sizes. Oh well, i will find out, I guess. I am having a big problem constructing or finding a wide angle knife, how did you solve this?
-
Yes probably. The amount of nails will be the same as Jack but if i want the nails in correct scale i will have to make them myself, and that will take some time. If i can figure out how to make them.
-
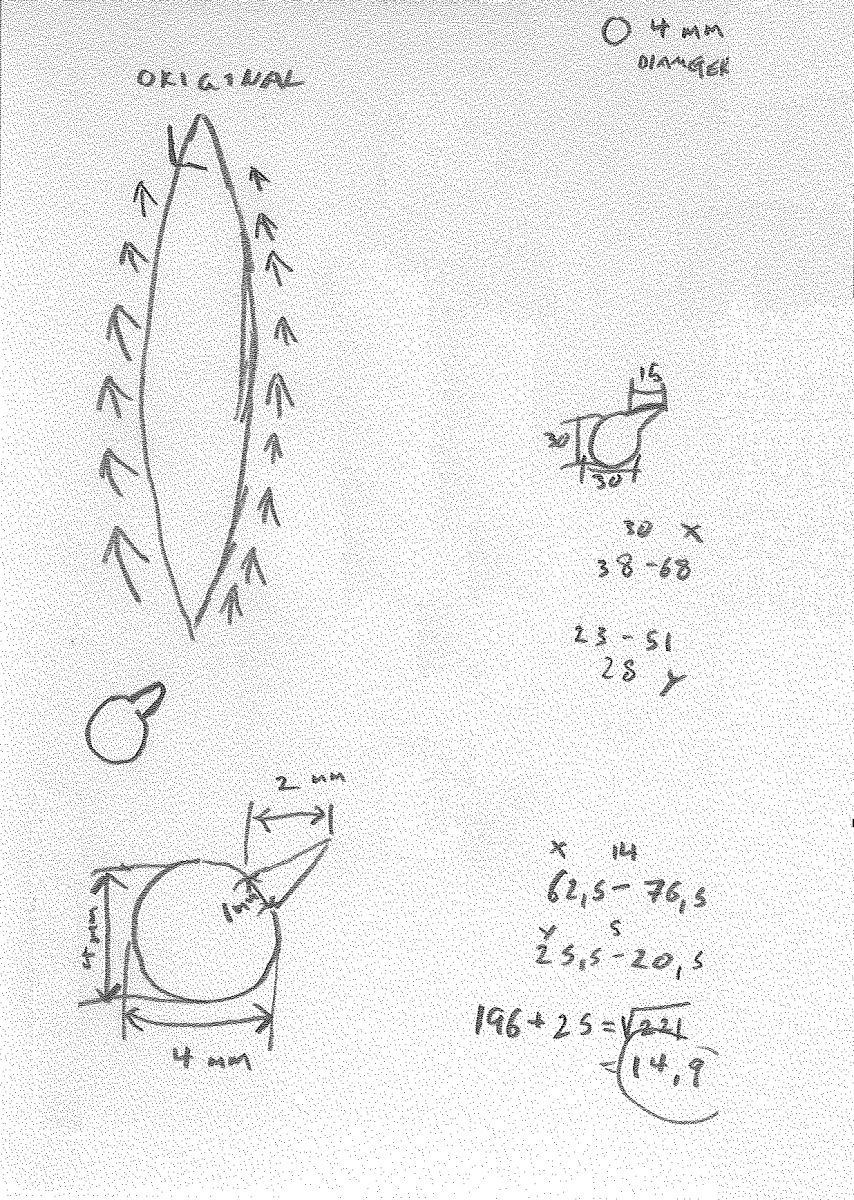
This is a reminder mostly for myself. After some non sciencetifically measuring i think that the nail head size diameter in 1:1 is ~25 mm. That would make the head size around 1 mm in size.
-
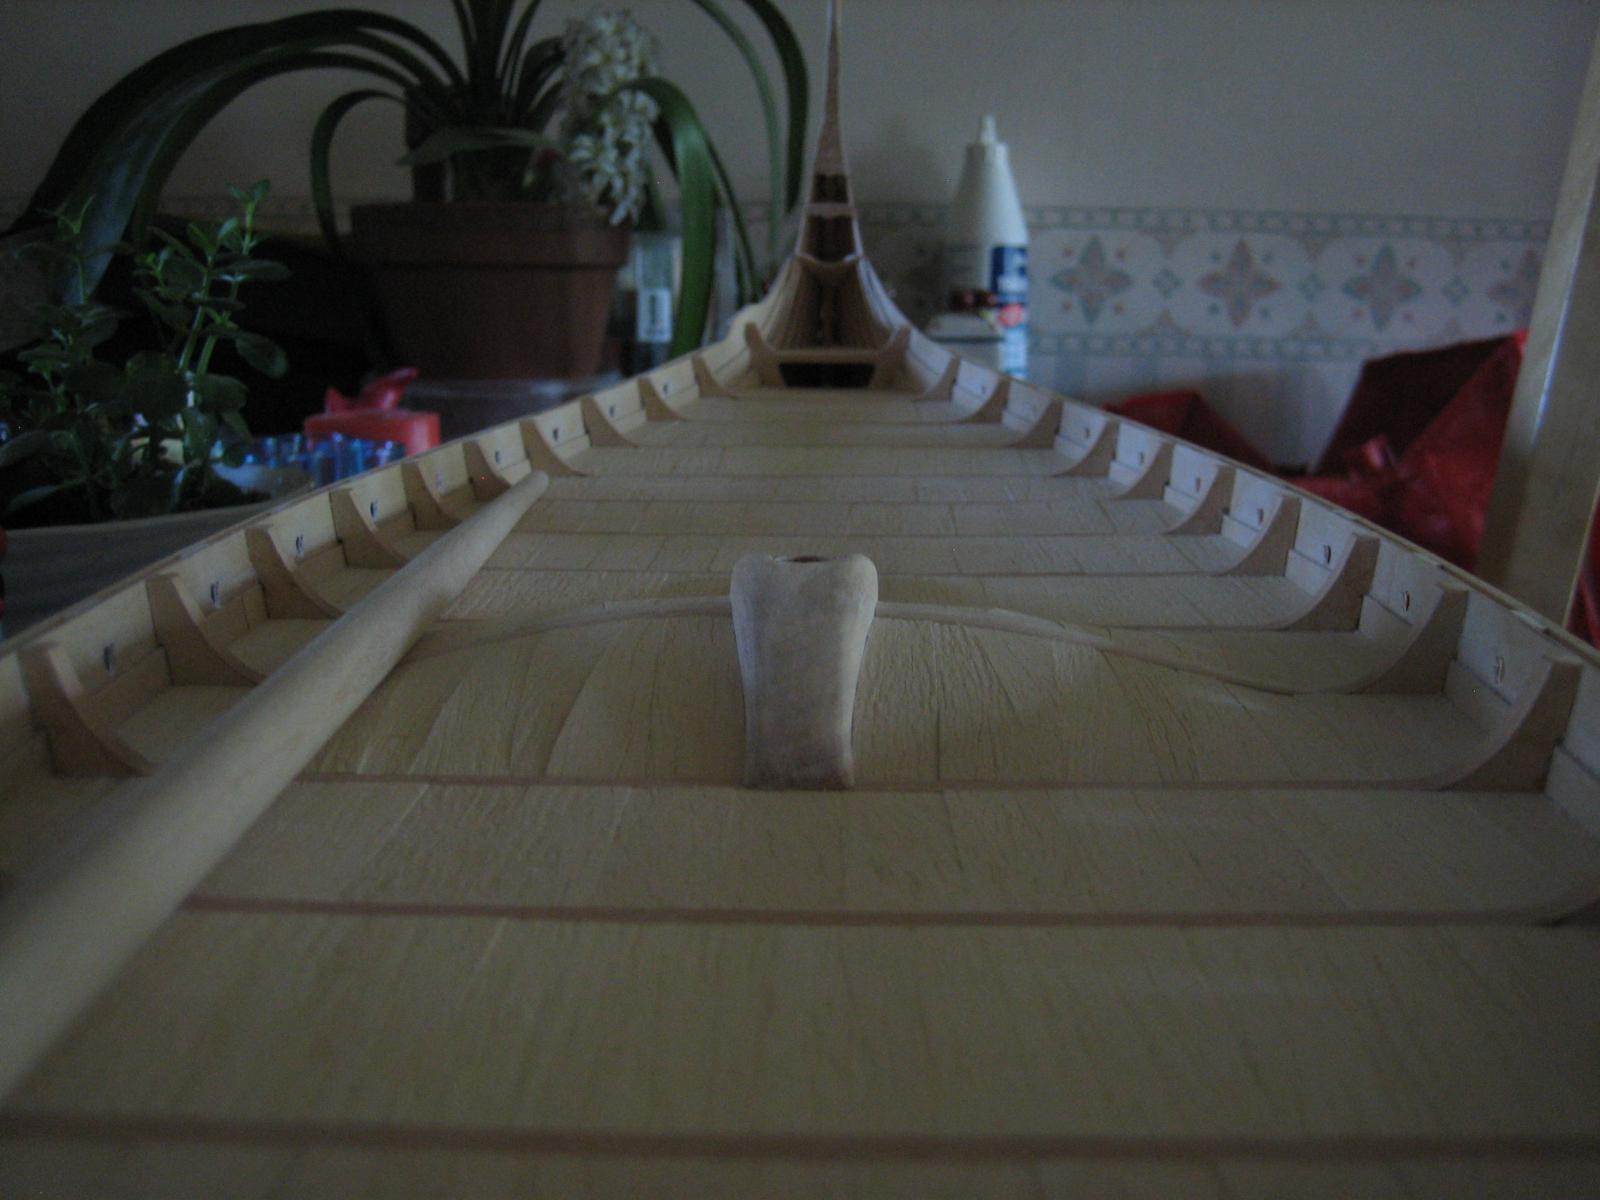
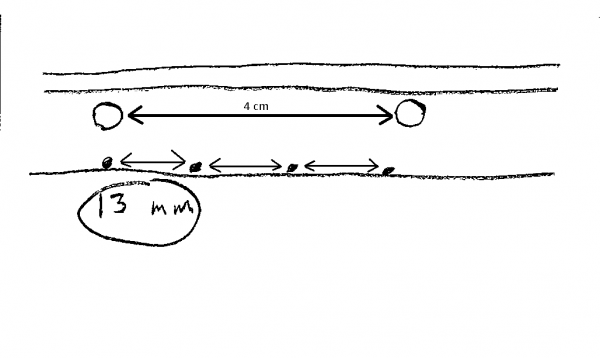
Regarding nails. Looked into the distance between the nails on the oseberg, besides being very chaotic in placement, the type varies between square rivets or nails with rounded heads, i guess they took what they had when it was built. There exists threads and loose information about the scale 1:1 ship has a ~20 cm space between the nails. If it is correct it would make the spacing in the BB kit to 8 mm between the nails assusming you have the correct scale on the nails. I tried to make out the spacing by comparing this picture with the model. In this case it would make the spacing 13 mm. But then i discovered that this only seems to be true with the rail (the two upper plank rows). Study this picture and you can see that the spacing is smaller on the other rows. To conclude this ranting i think i will be doing the following if i decide to join the nail circus: 1. Make the spacing on the two rail rows 12 mm. 2. Make the spacing on the the rest of the ship 10 mm like Jack Panzeca.
-
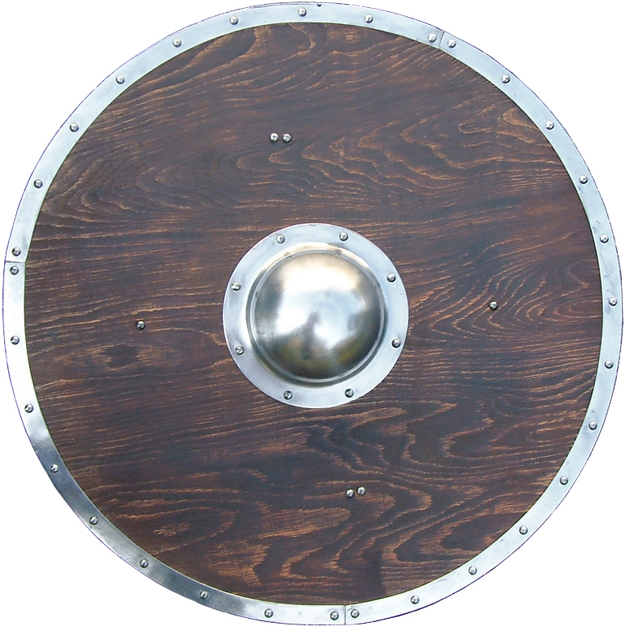
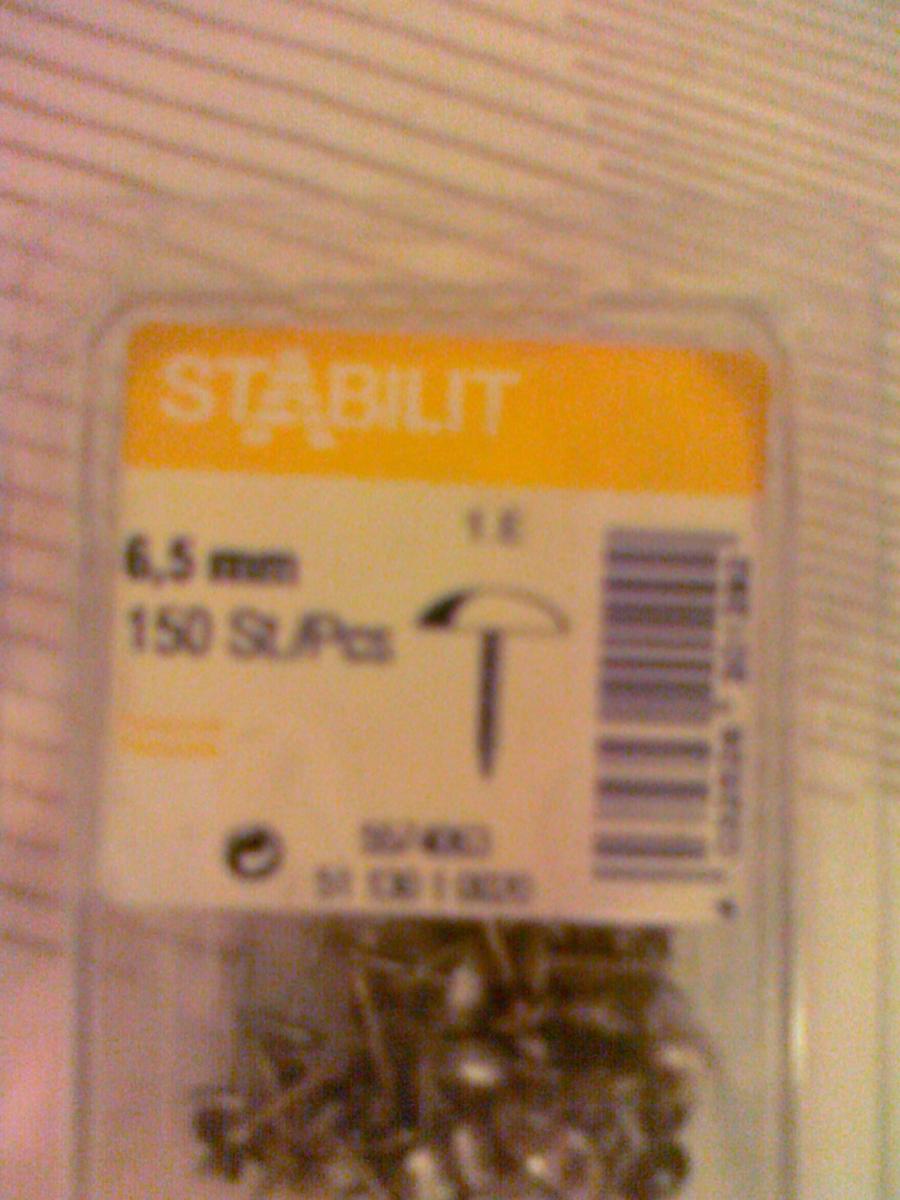
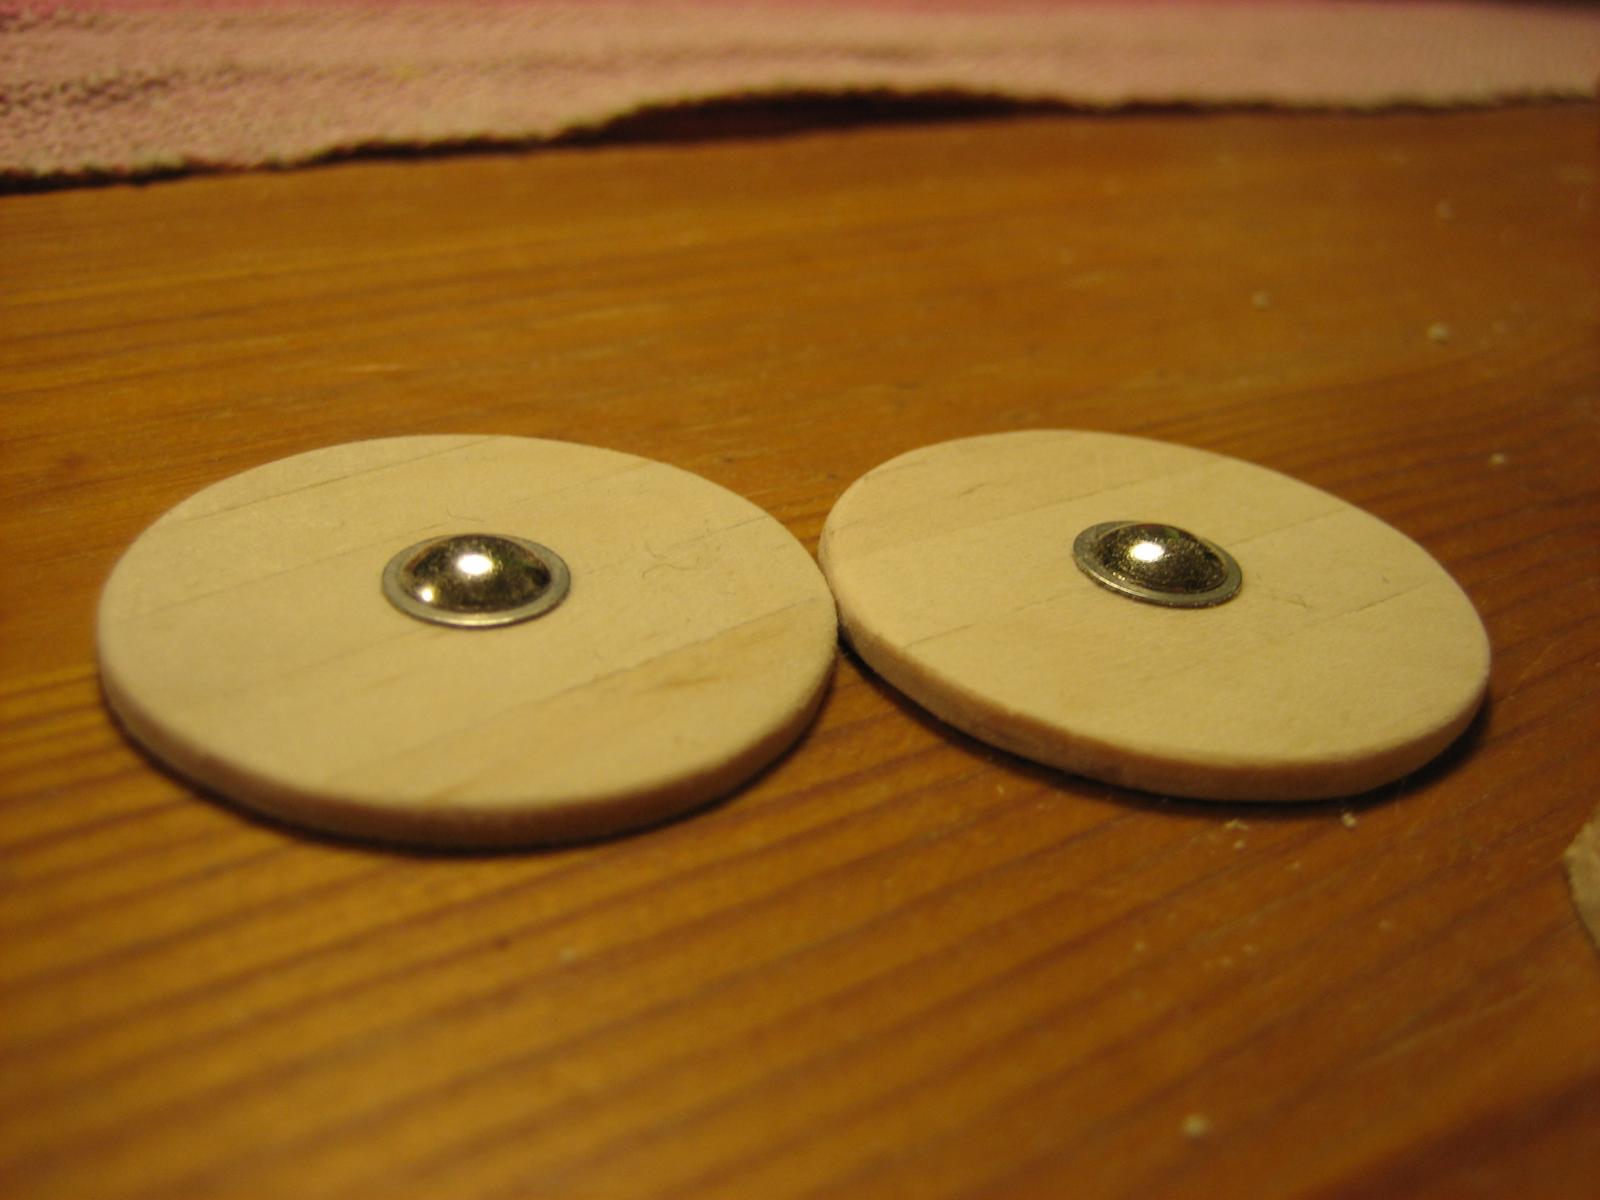
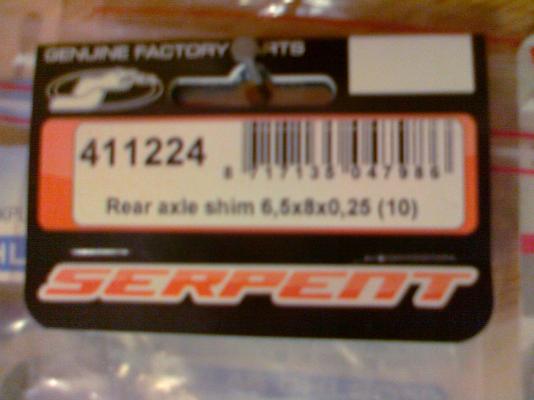
Hi! In my case it is not soon enough, i have a tendency to get stuck. Viking shields had a very distinct look. As you are probably aware by now. A typical shield buckle looked like this: So i ordered this and this, i took the photos this morning with my mobile before going to work, looks like sh*t but it works. As you can see i first bought a furniture nail with a diameter of 6,5 mm, bought here in Sweden in Bauhaus. But the ring around it was still missing. So after some serious digging i finally found my ring in a german hobby webstore. It was very difficult to find a shim that would fit and have the correct scale. But finally i found Manufacturer: Serpent, Article number: 411224, Rear Axle Shim, 6,5x,8,0,25. And the result looked like this: Thanks. Thanks again. I will have to look into this...


-
Making small nails with round head
Von_Kossa replied to Aleksei Domanov's topic in Metal Work, Soldering and Metal Fittings
Brilliant! Thanks so much. -
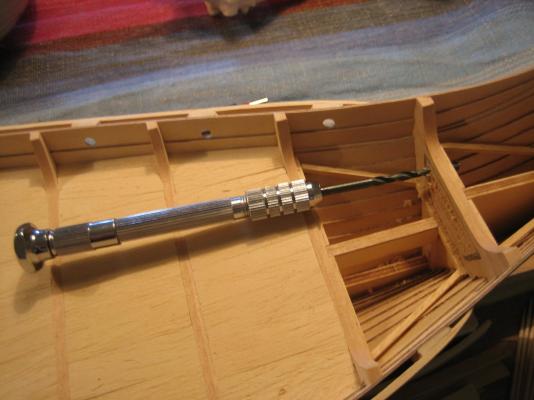
Up and down as with everything in life. My one action so far is one drilled hole for the rudder, and i did it wrong, so it took over a hour to correct it. I suck at this. Nails for the shield? Amati 4134/57, they had a diameter of 0.8 mm and therefore had horribly large heads, totally unusable. I didn´t know that you could blacken brass, so maybe i will try this nail thing again. How exactly did you do the blackening? I have found four billion different ways on the Internet, rather confusing... You did good by the way. The spacing between the nails you name on the original ship to be 20 cm, were did you find this information? I have a vague memory about it being 40 cm, but i am probably wrong. The head size of your nails, they are usually not printed, do you know it? 1mm or something like that? Lots of questions, i hope i am not pestering you too much.
-
Good day, May I ask, exactly what brand, article number, lenghth, and diameter the nails are? A wild guess, Amati, 4134/10 brass, 10 mm, 0,7 mm in diameter? First time i log in here in 2 months, i can see you have been busy lika a bee. Good work, good progress. I hope everything is well with you. I have not touched the boat since beginning of june, thinking about starting again.
-
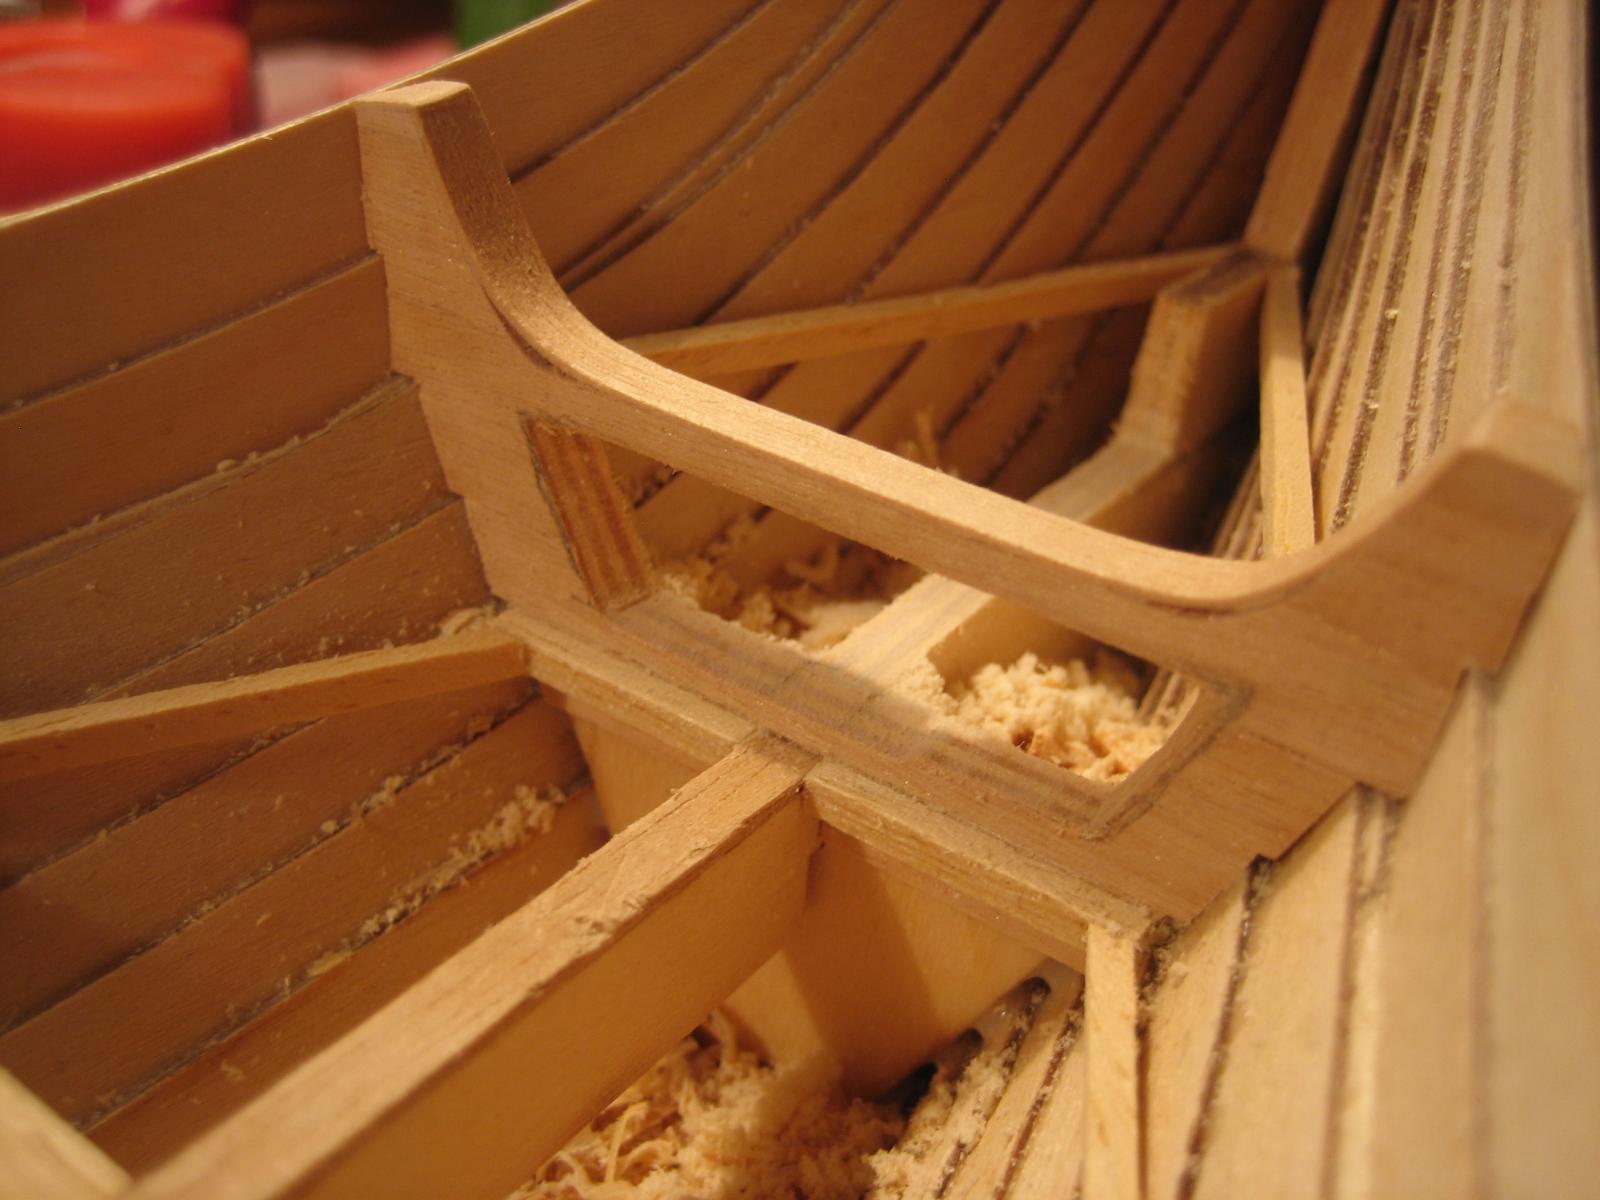
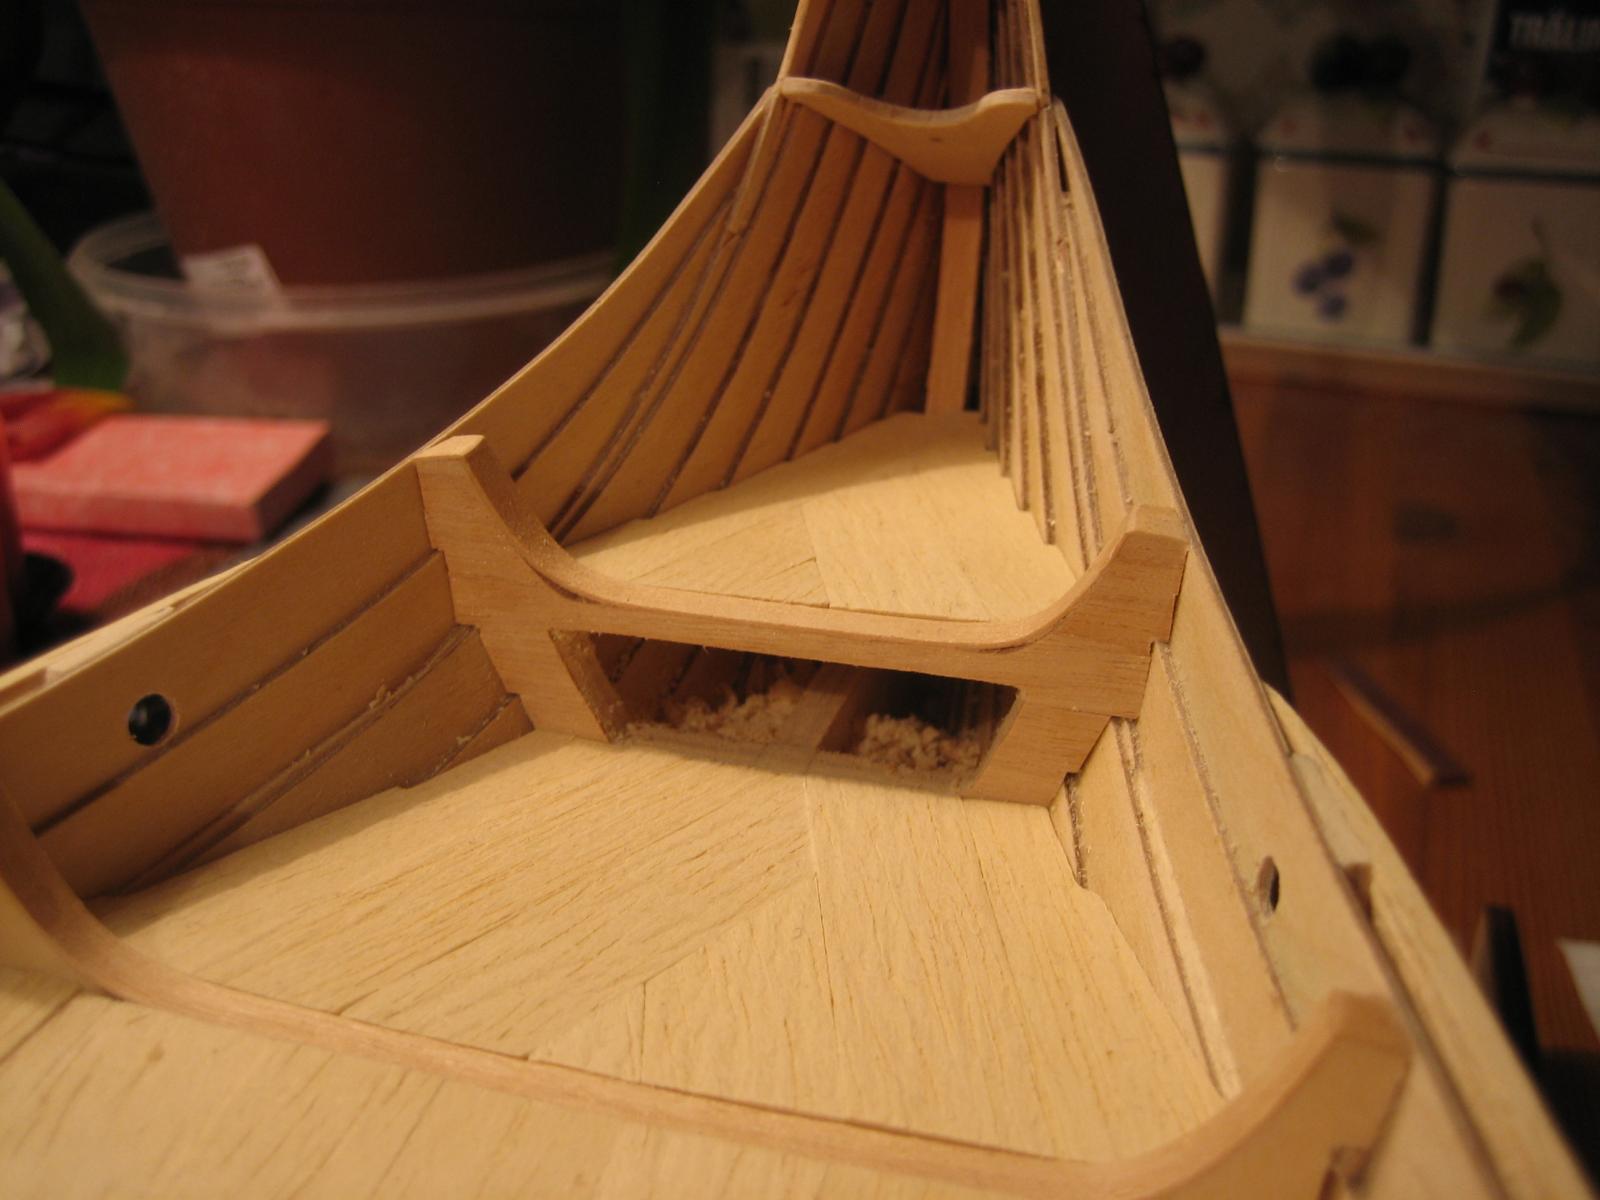
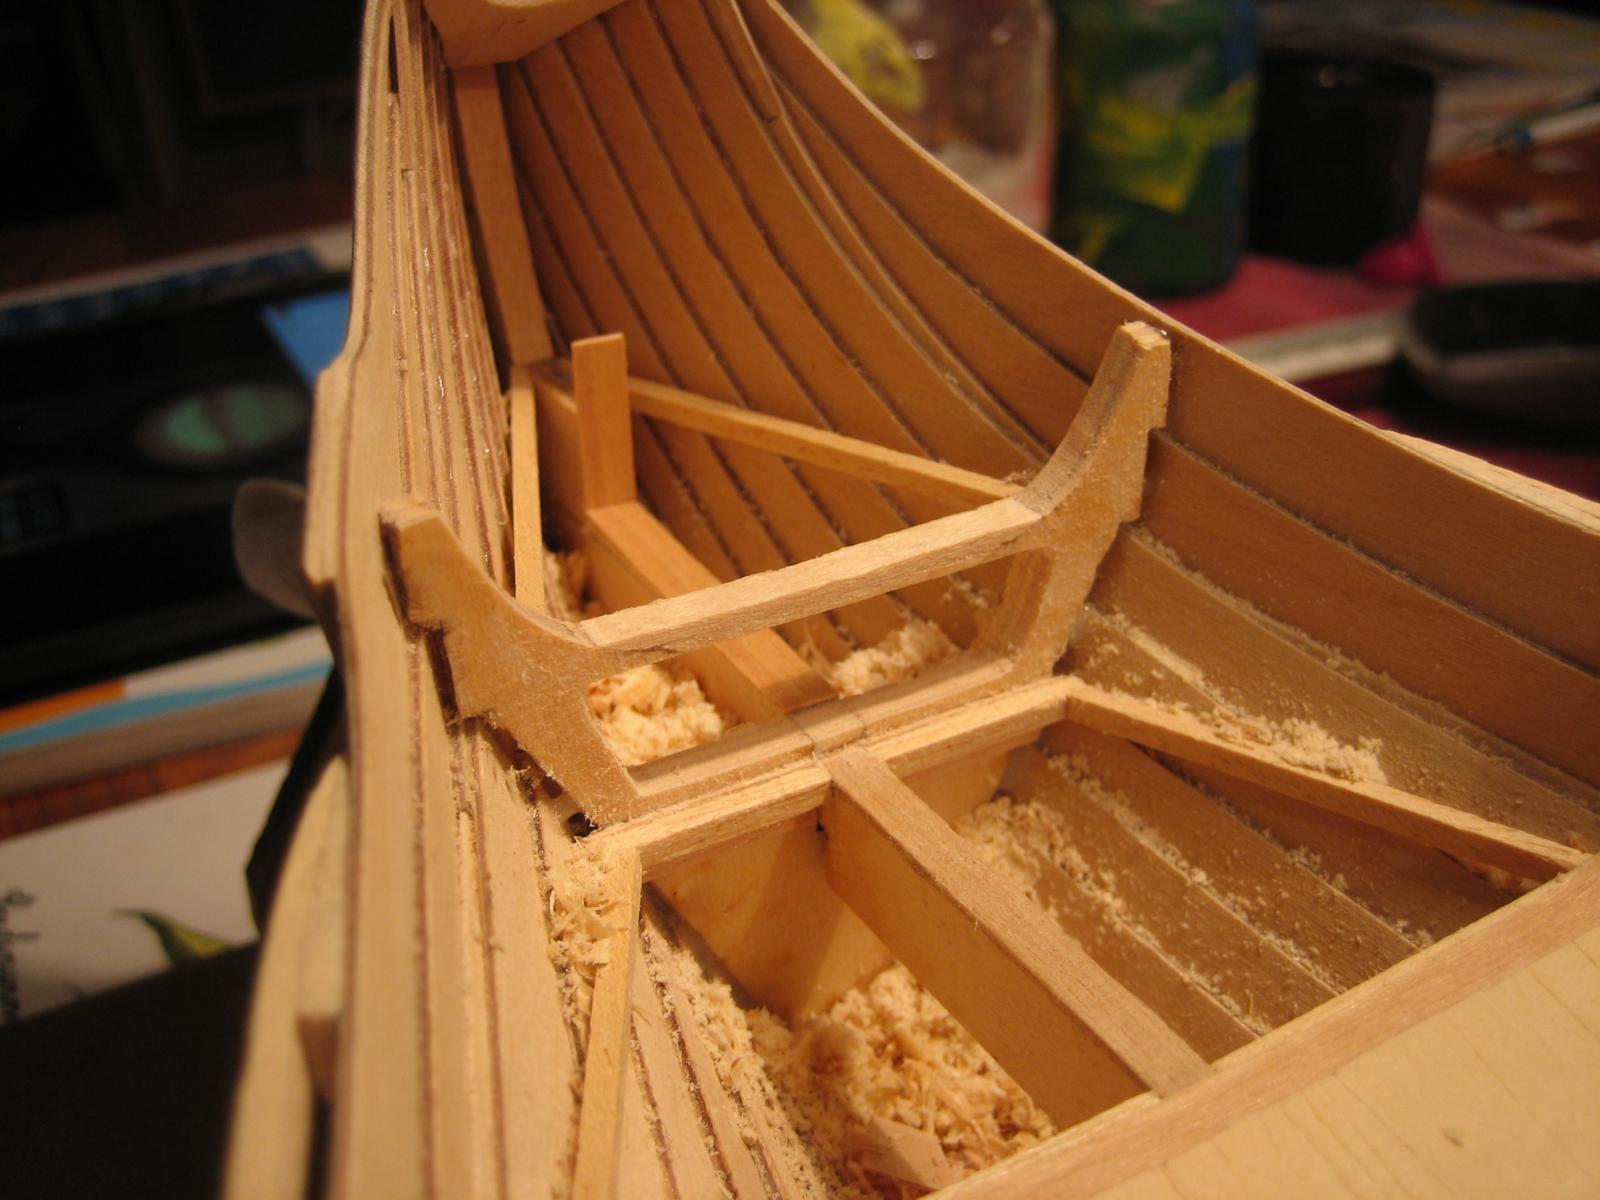
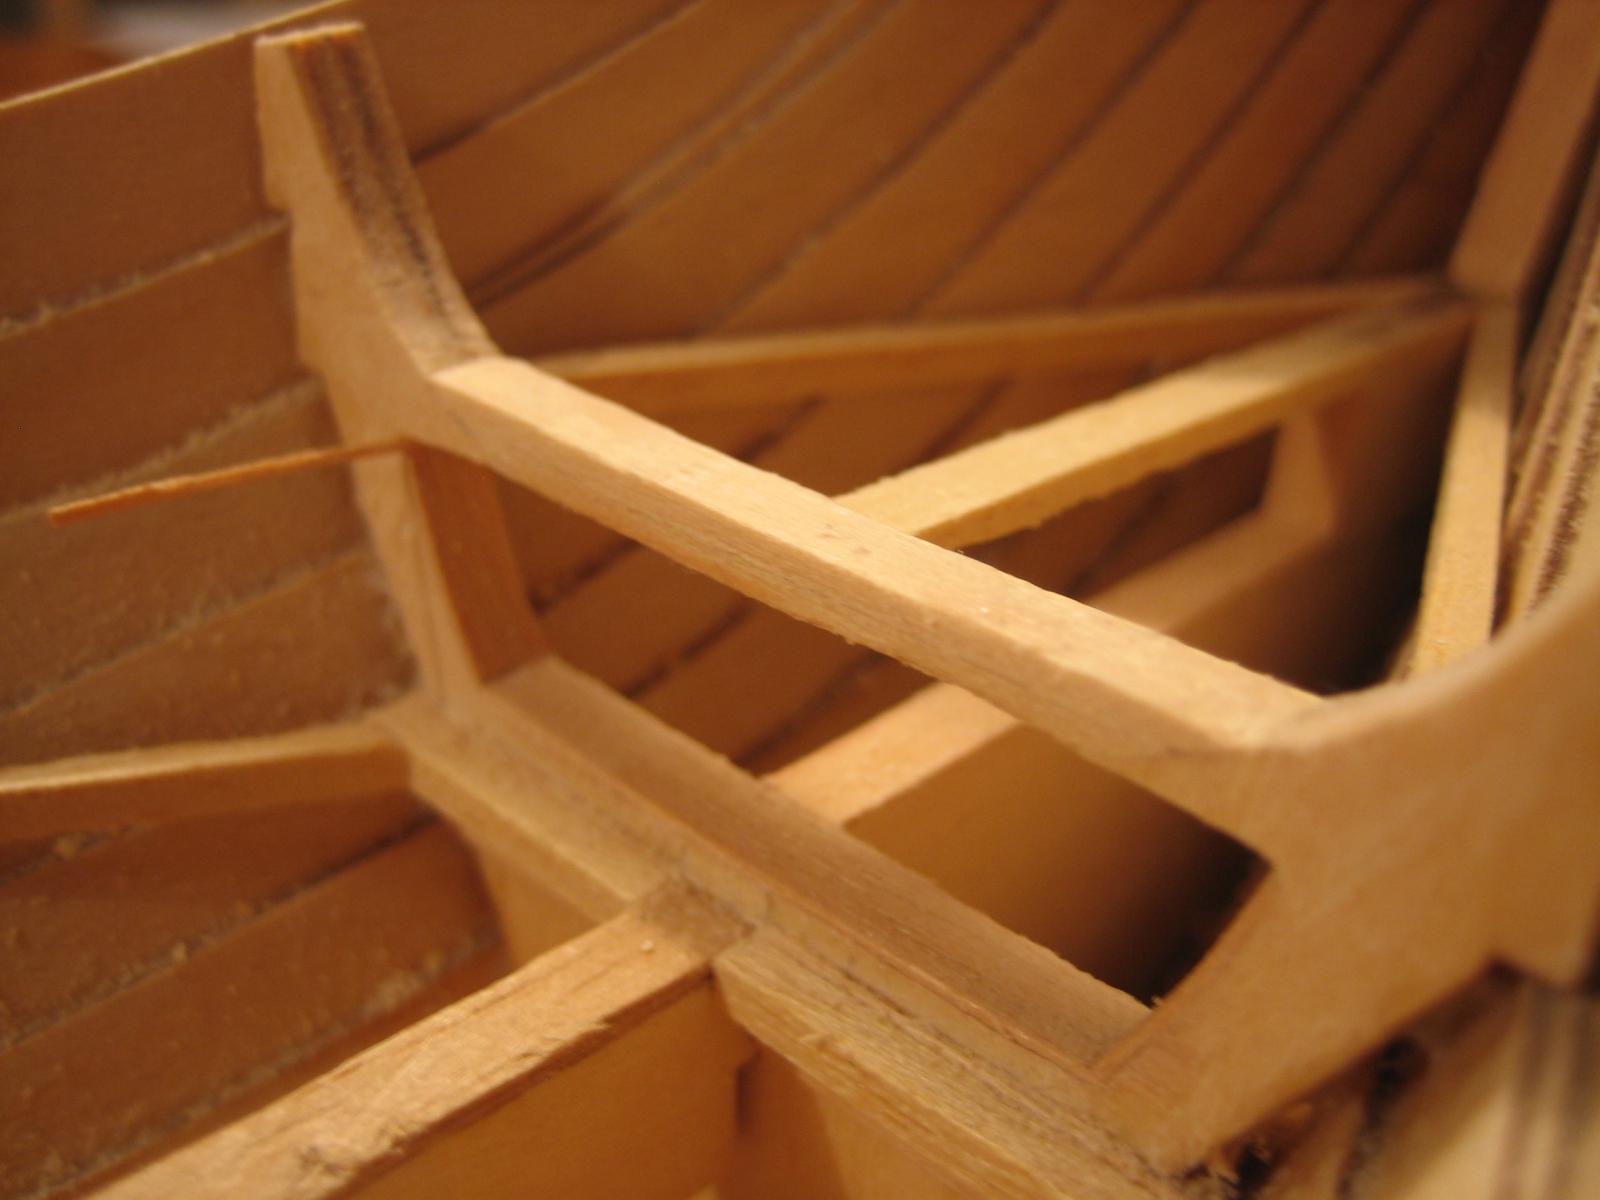
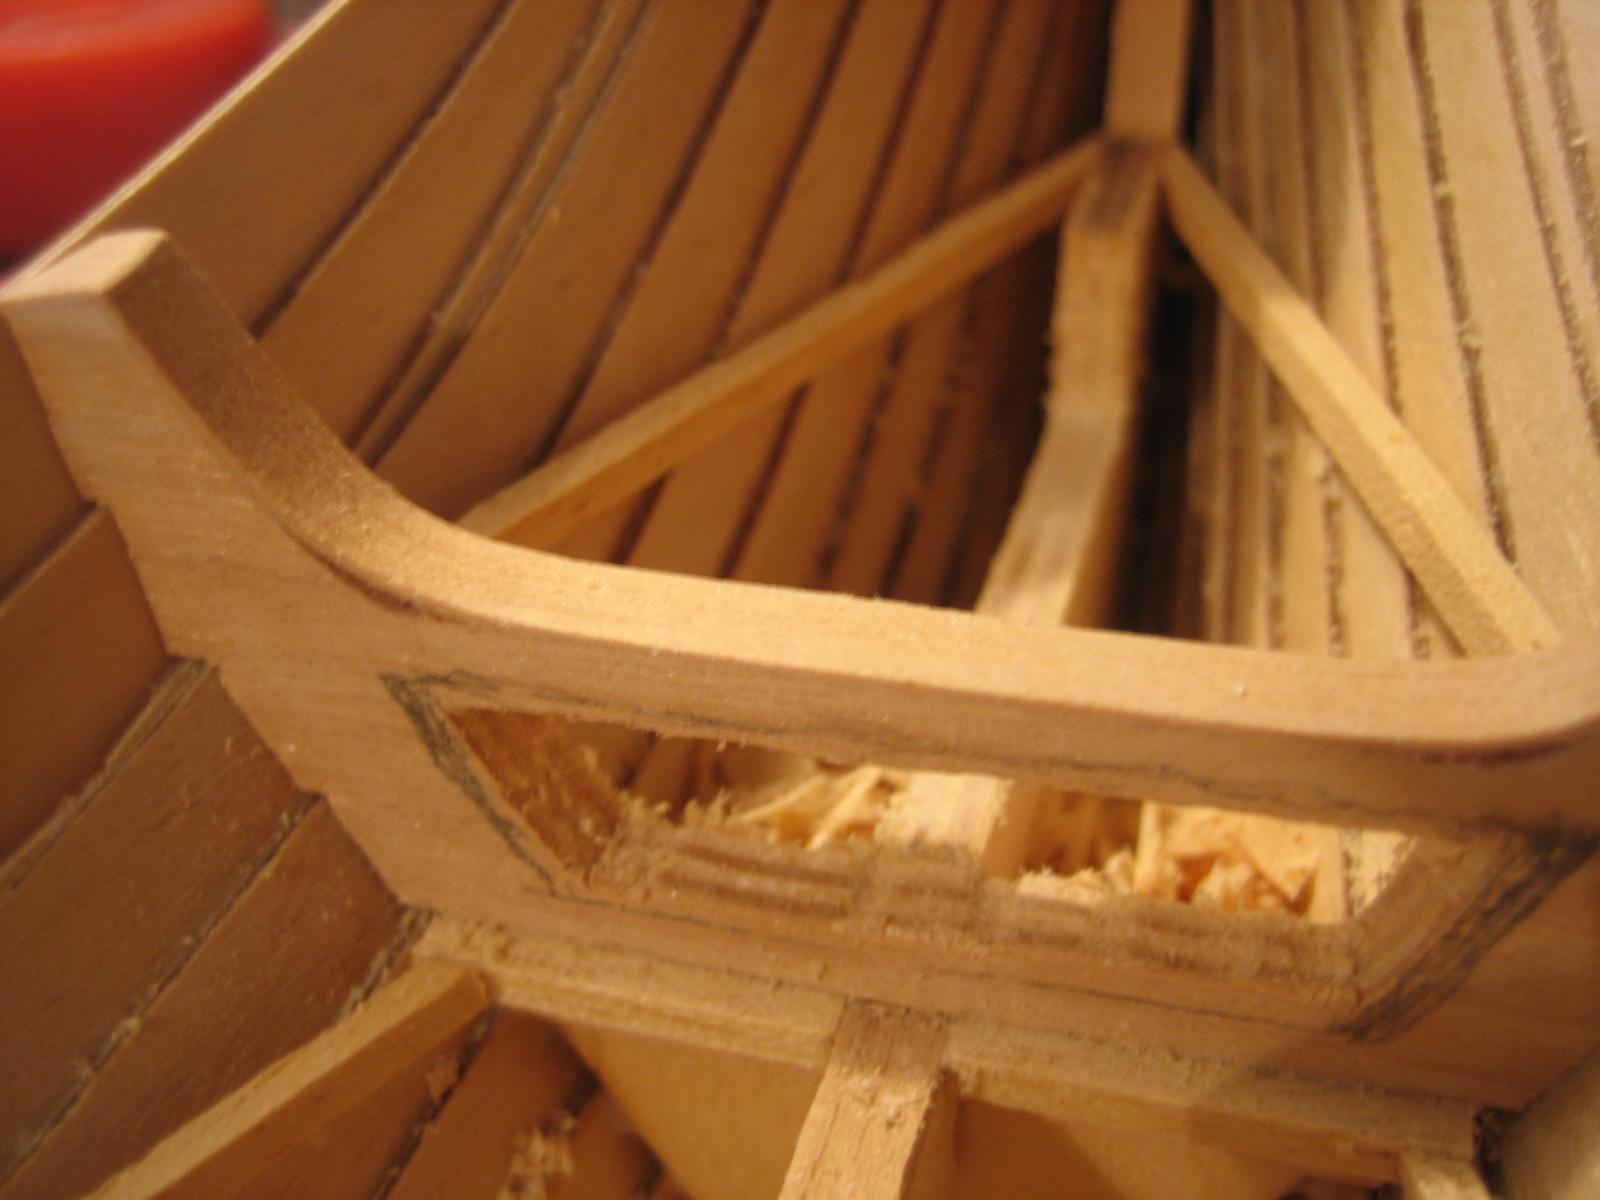
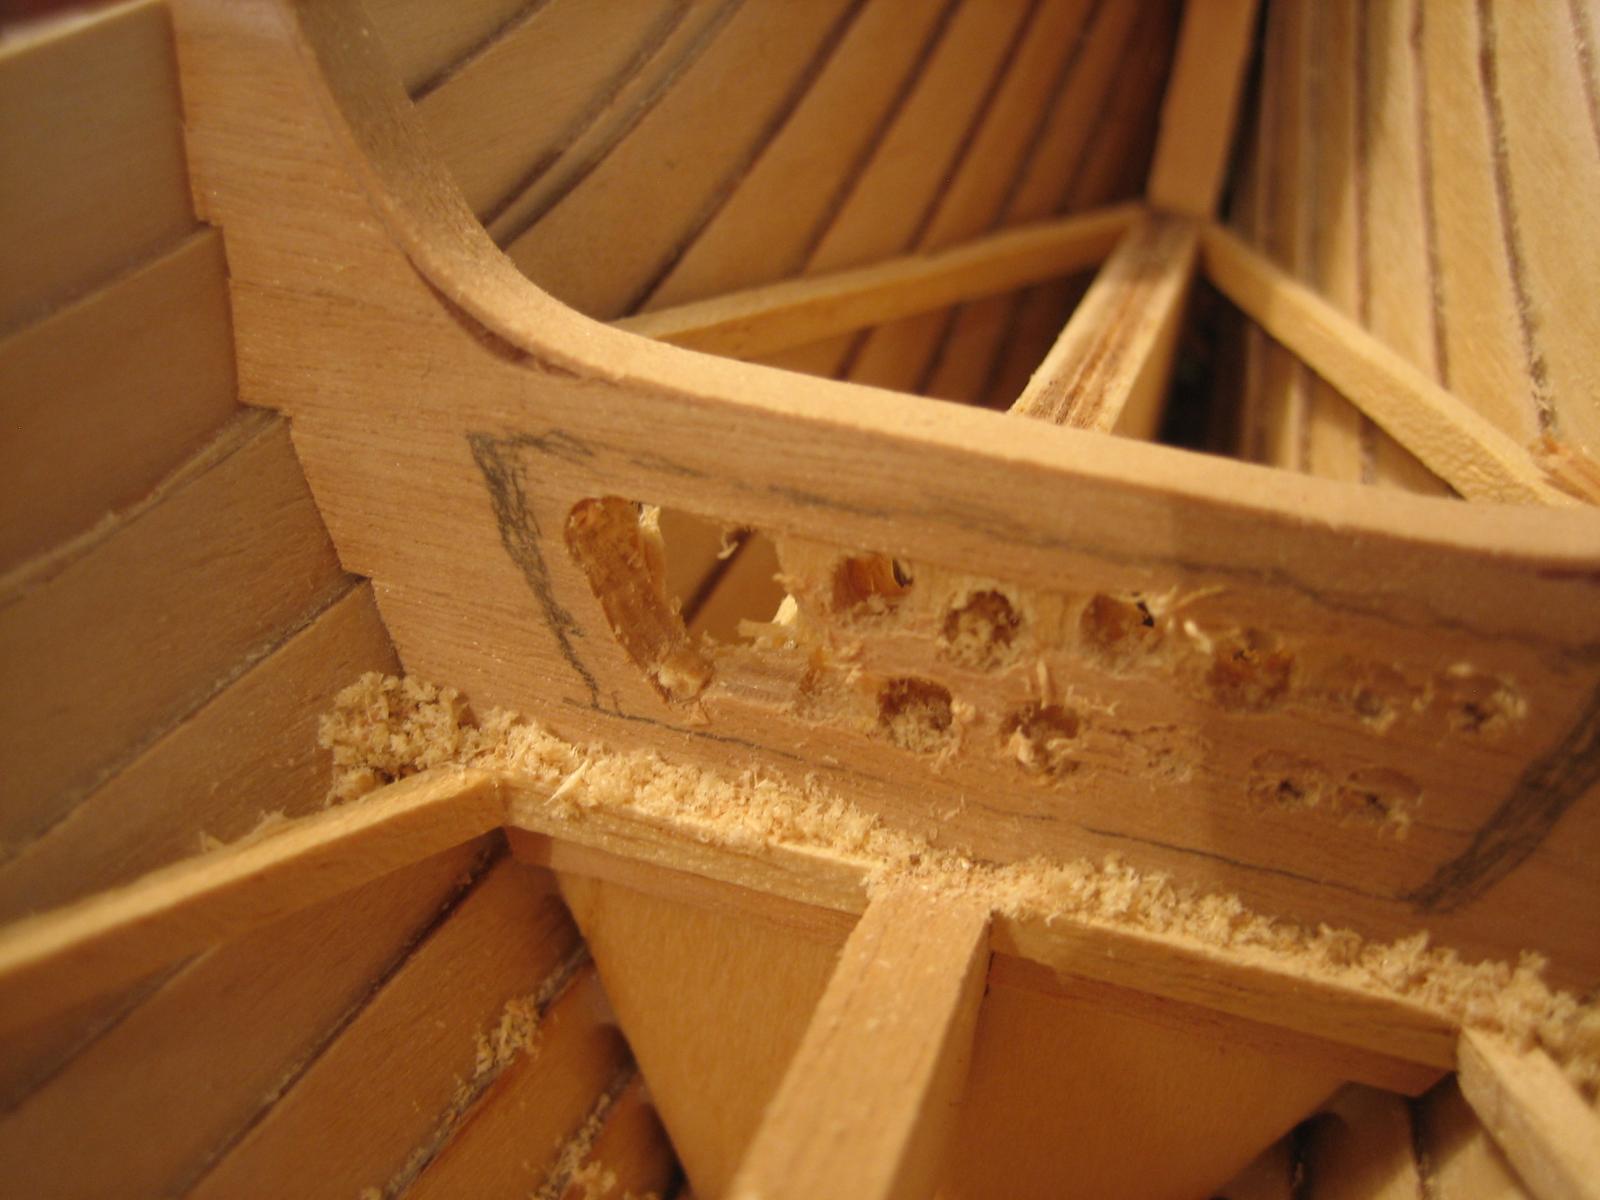
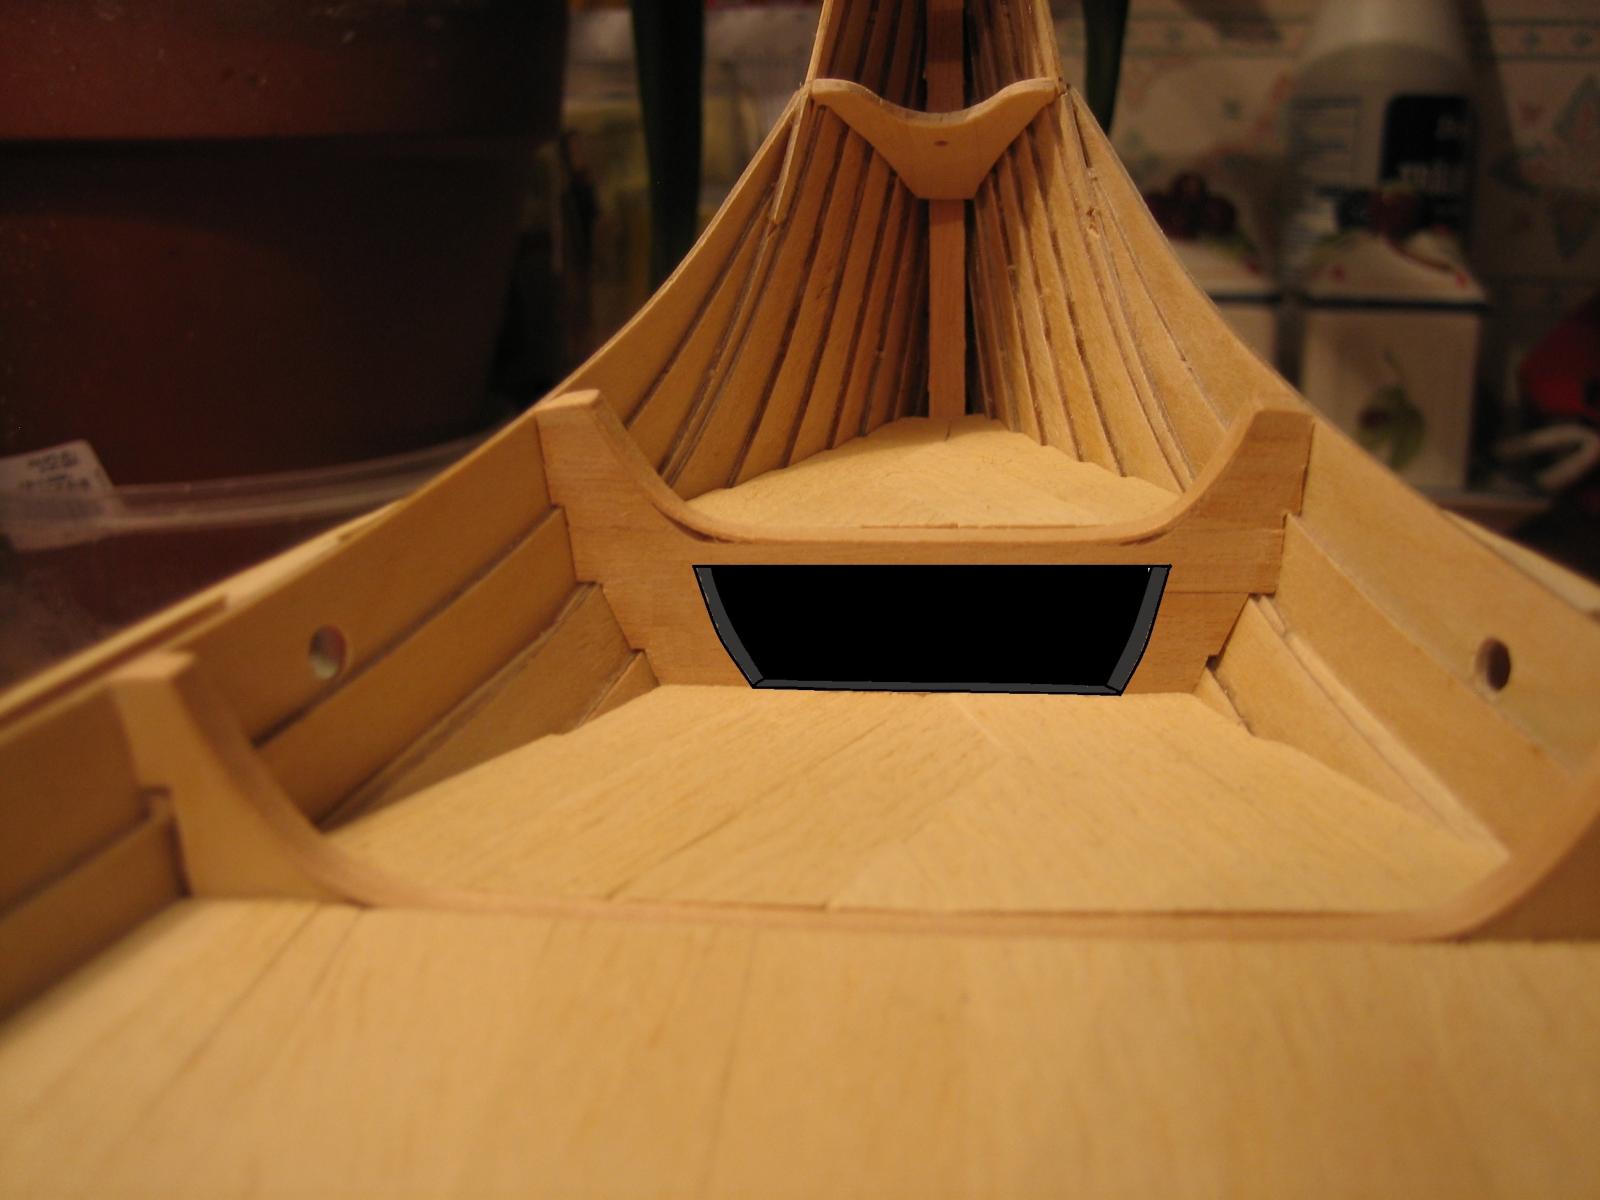
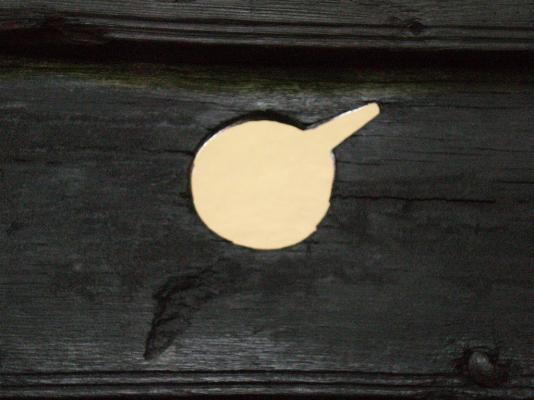
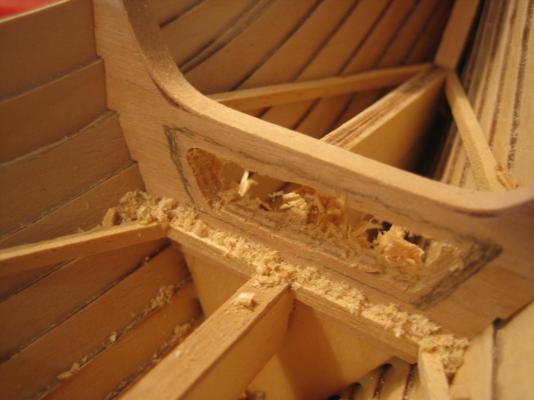
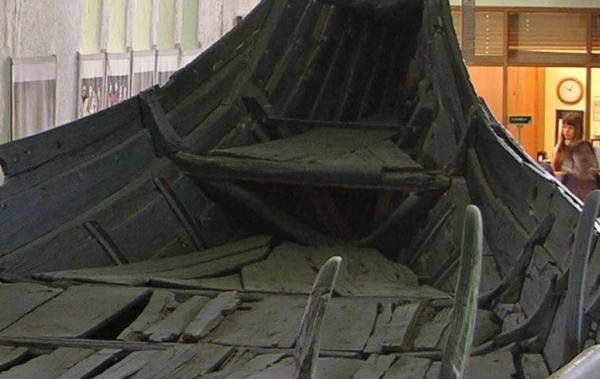
That was the tricky part, first i tried to drill down into the plywood from the top, did not work very well. Then i. Took the. Razor and grinded the plywood to pieces.finally i used sandpaper and a funny looking razor which is shaped like the ones you clean windows with but much thinner. The. Vikings? The floor tiles are loose on the real ship, propably used the space for storage, but it should also be easy to scope out the water if you have access to the lower compartment.
-
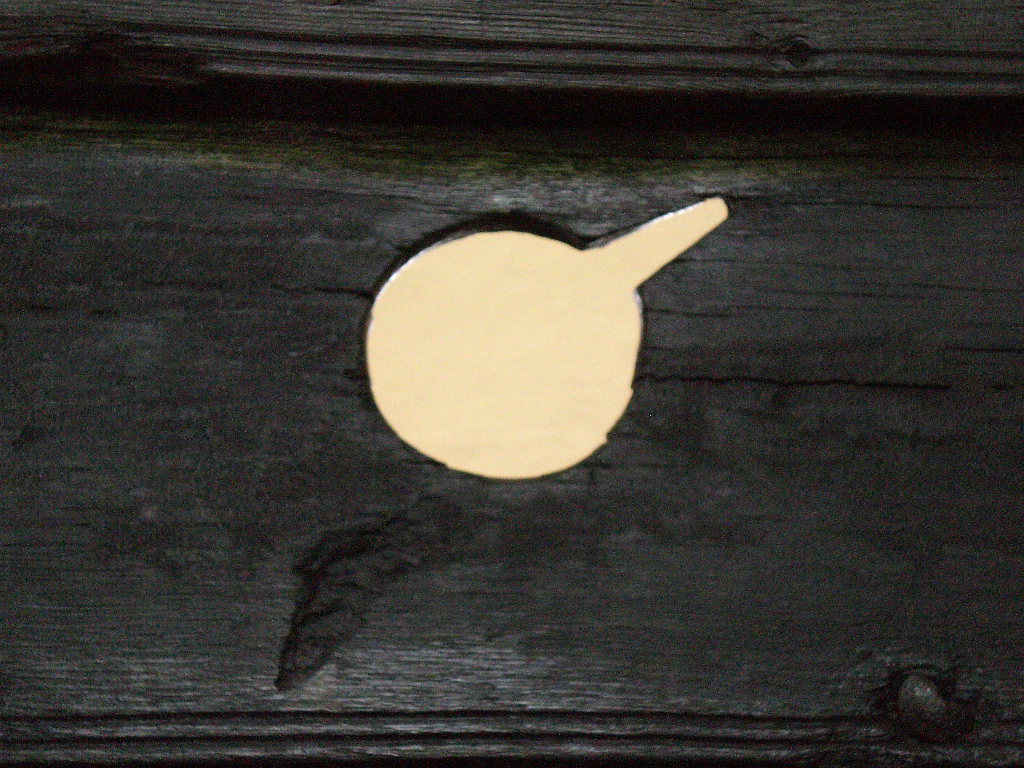
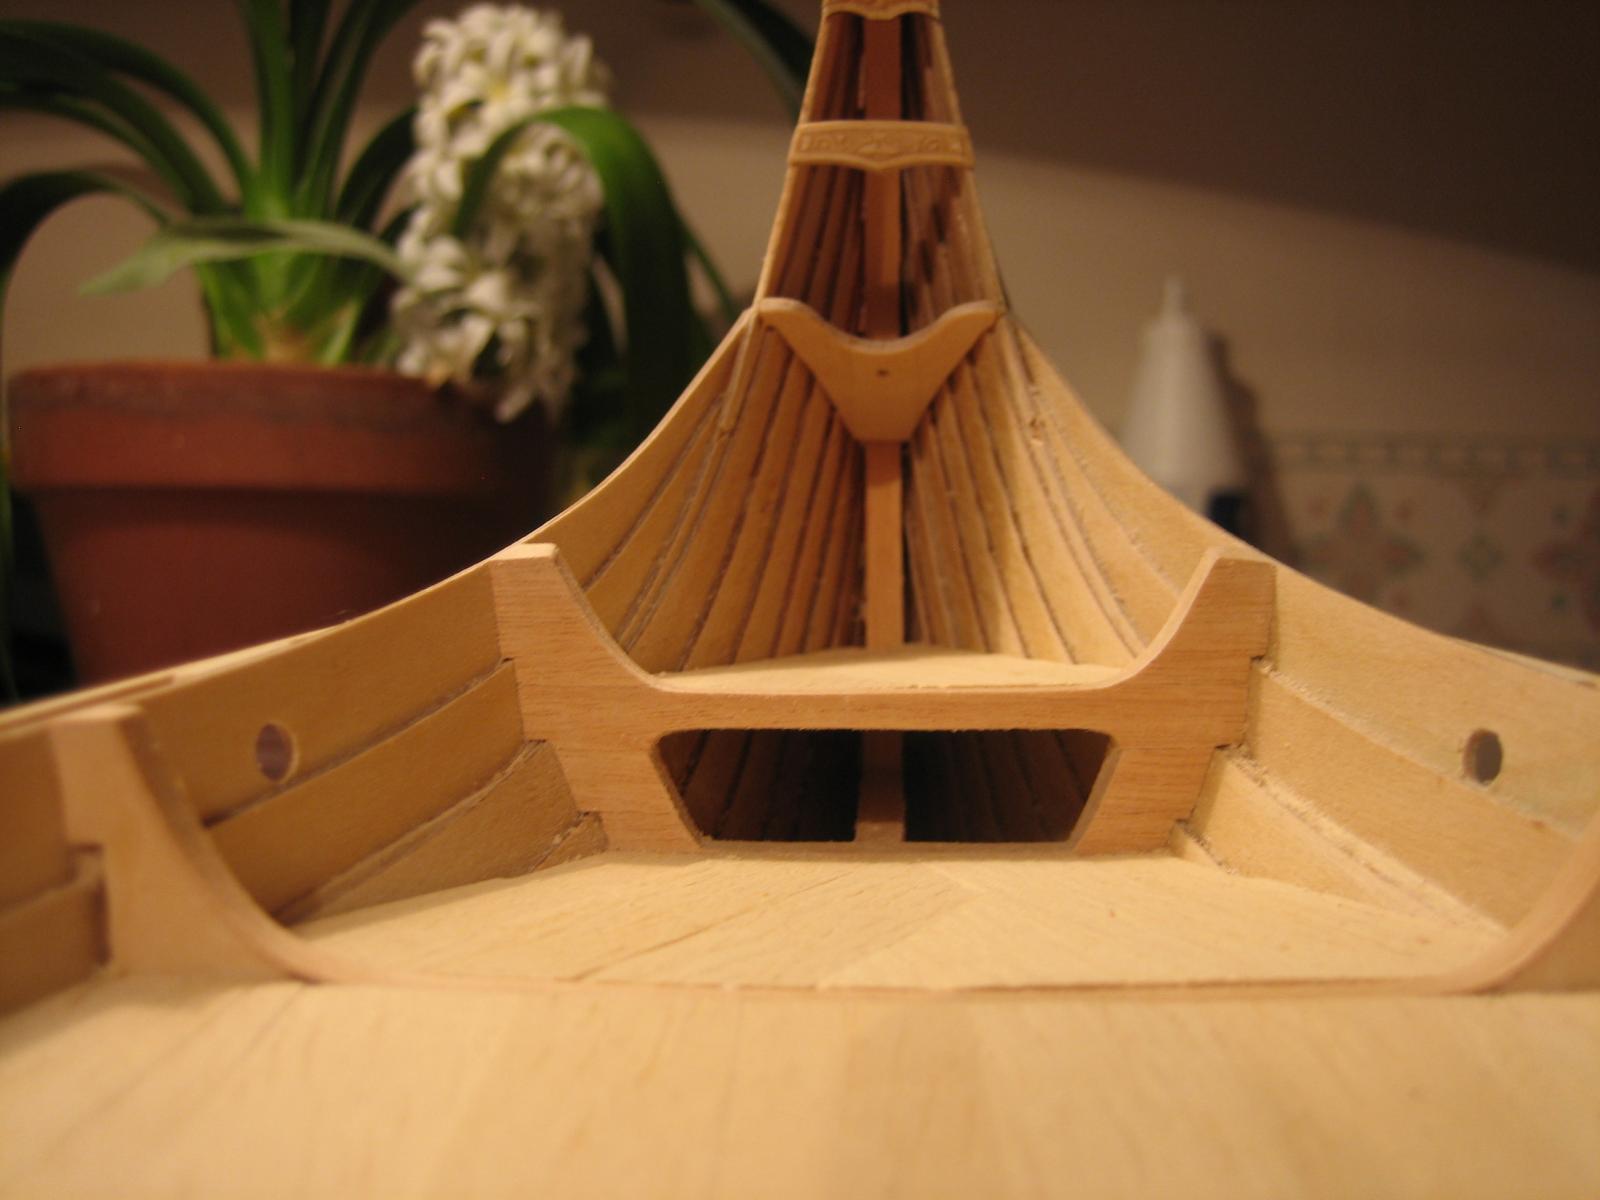
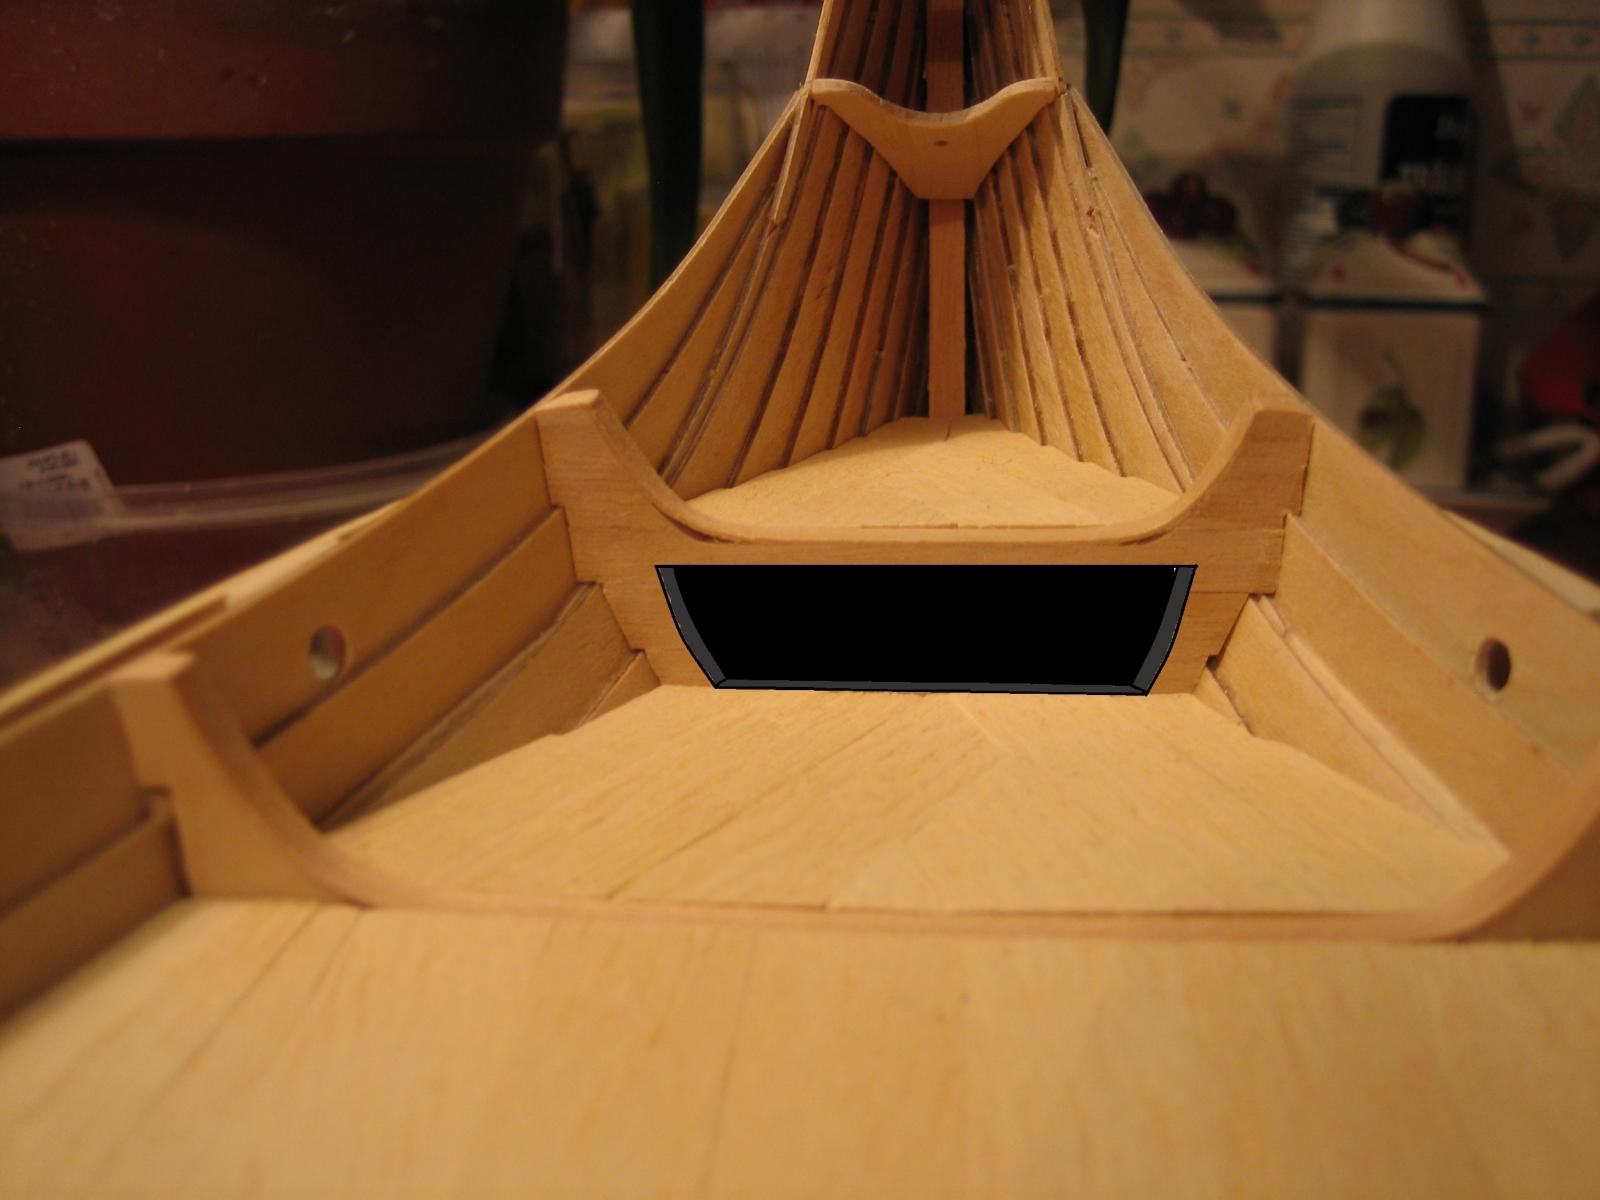
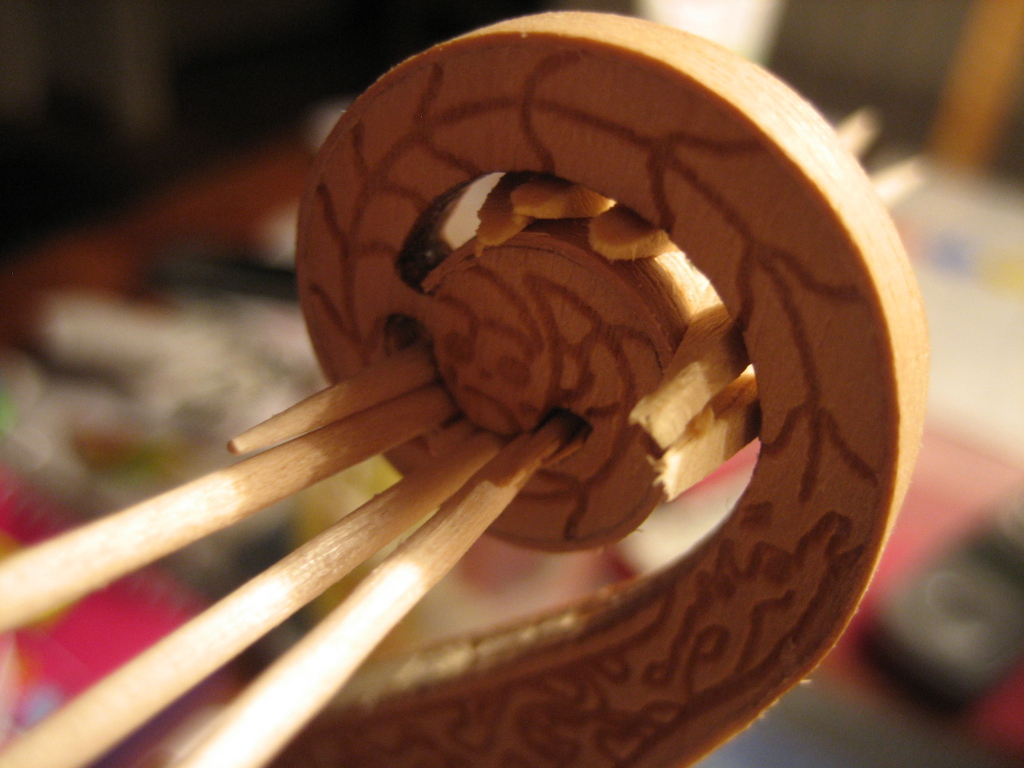
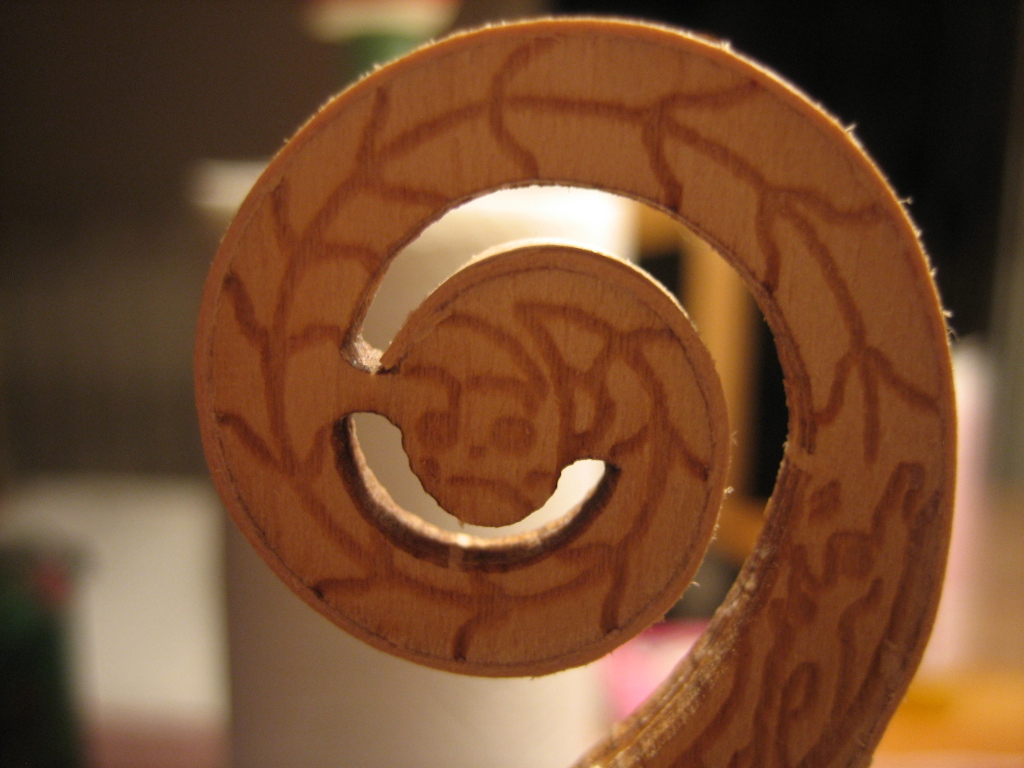
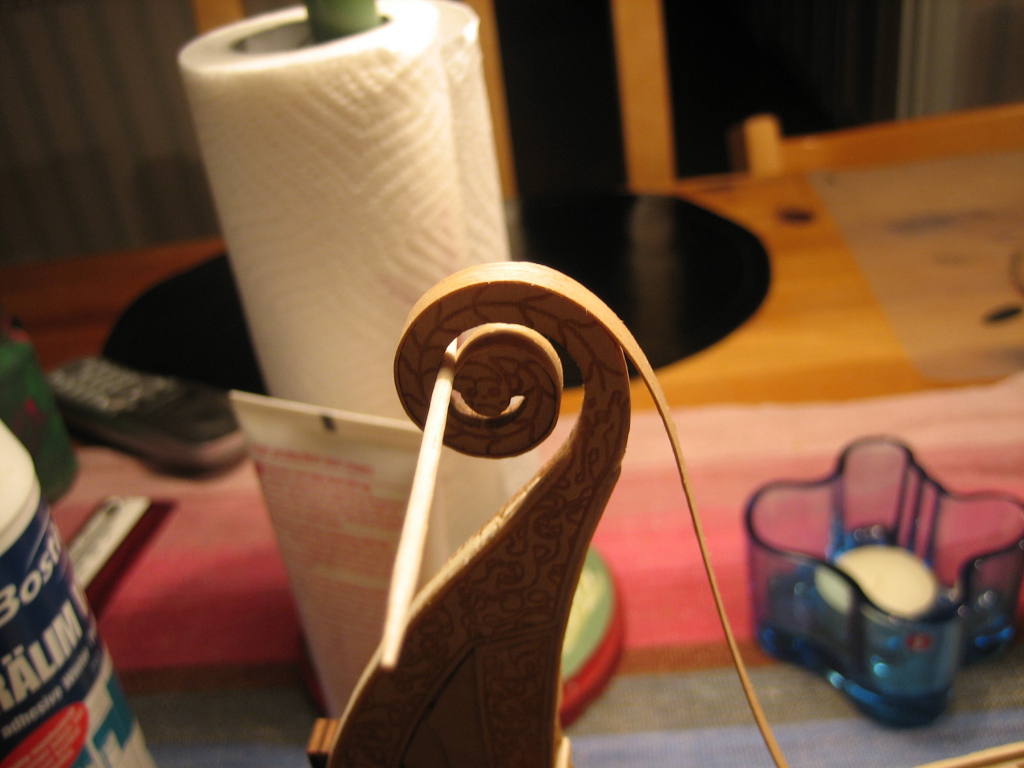
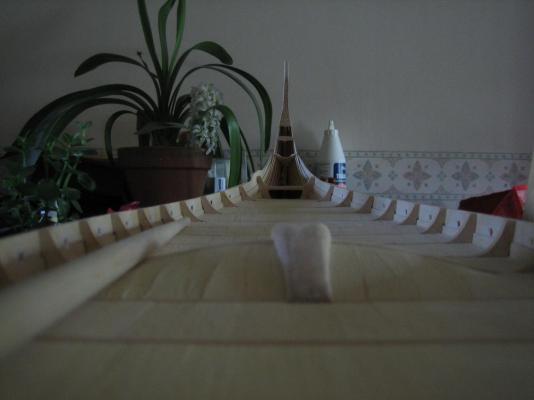
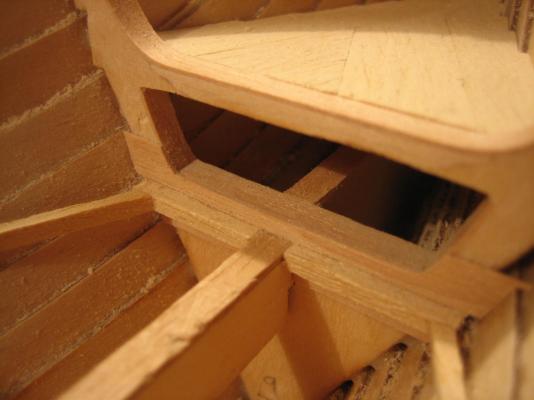
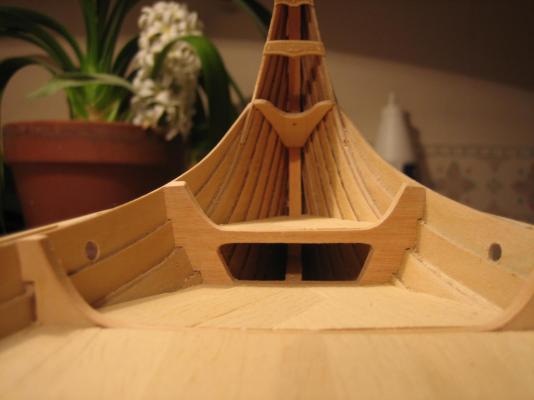
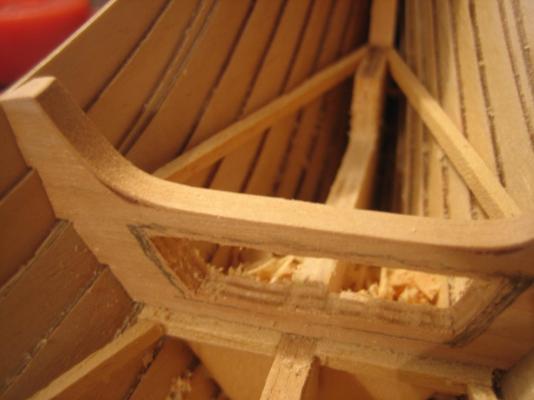
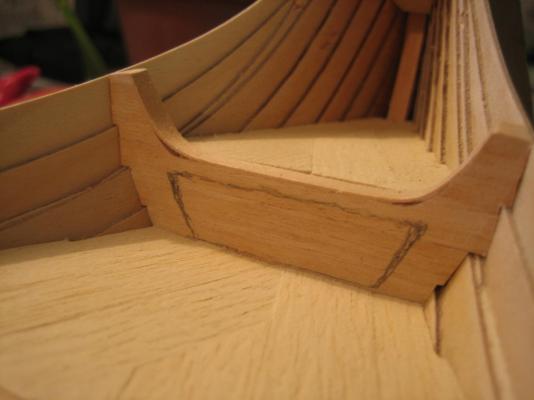
First work with the hole in the front. Feels like i am completely destroying the boat. Children, do not try this at home!

-
Hehe sounds like you are having real fun with the planking. You are not forgetting to look real close on the interesting mast fish construction and it's planking while you are at it, are you?
-
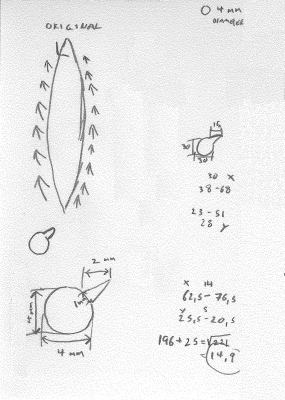
More experimentation, adding these pictures mostly for myself for now. Need to be able to access these from the internet.

-
Yes, but not for me... That is, if not Jack does something about this, then i will have to reconsider.
-
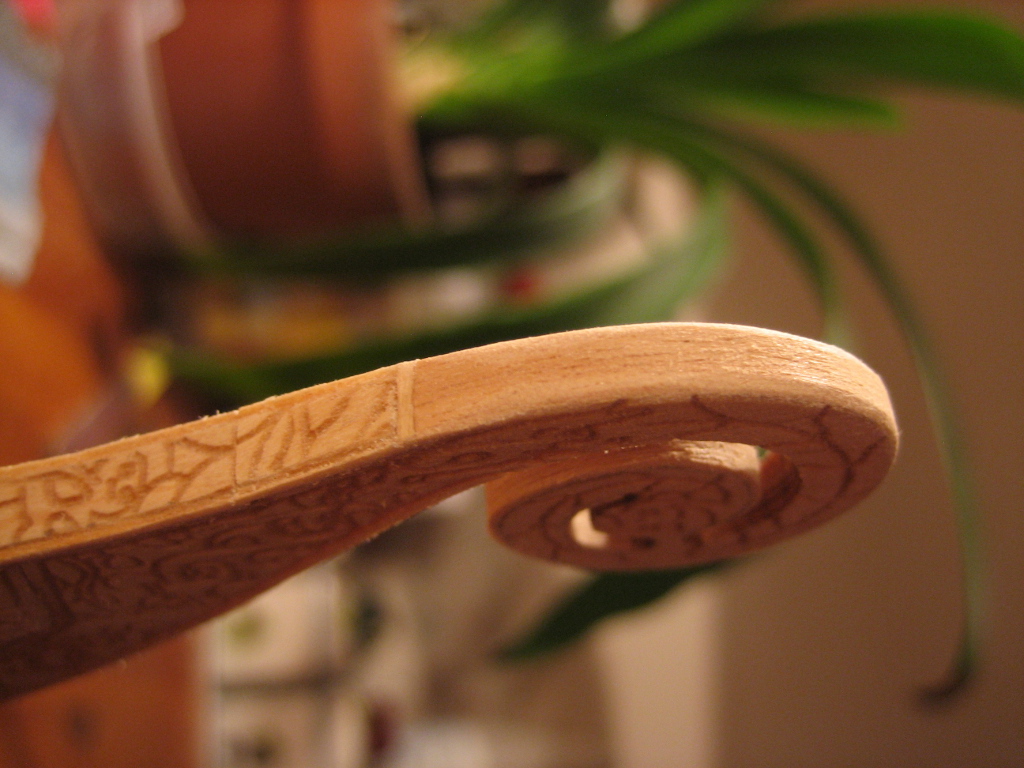
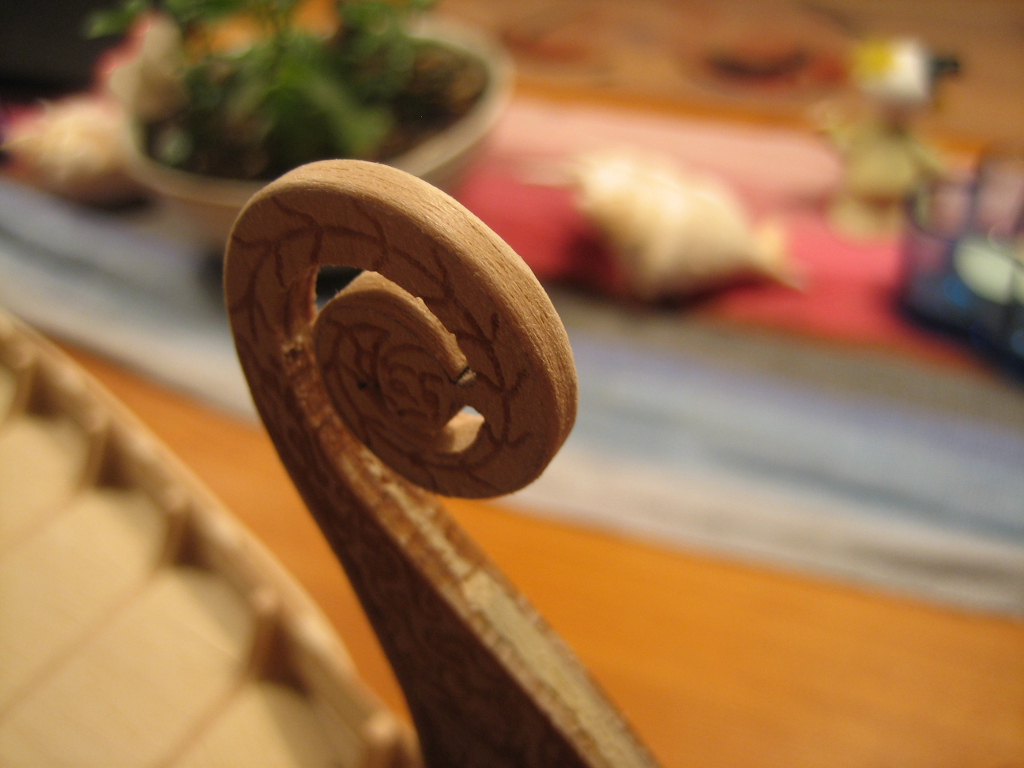
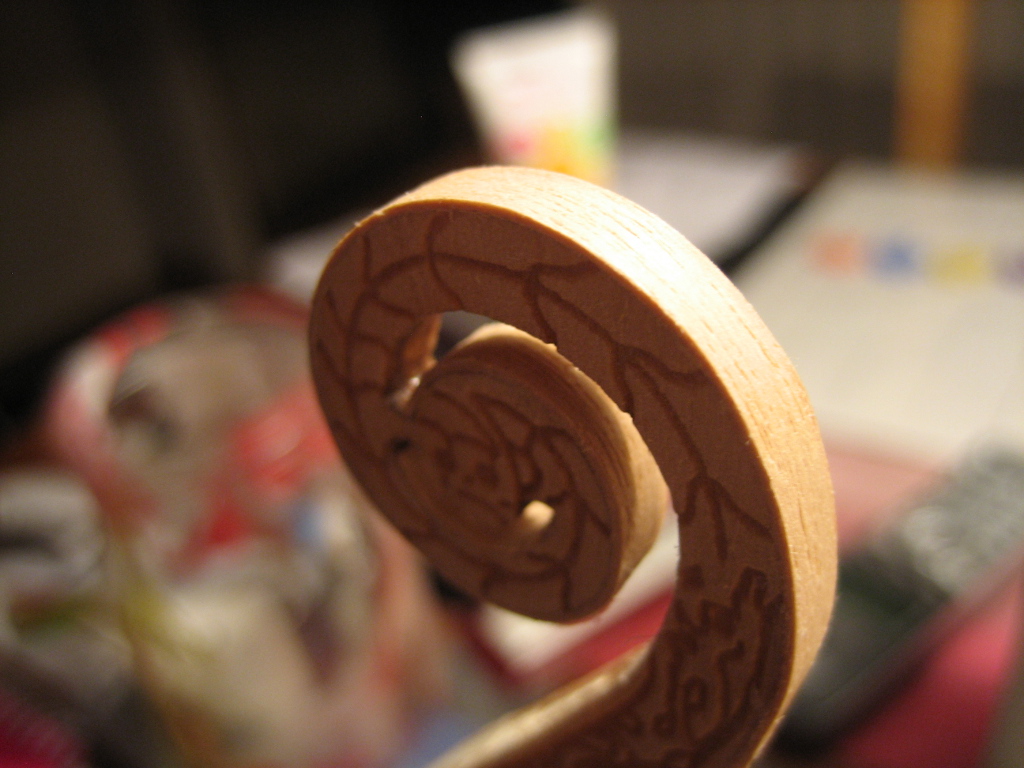
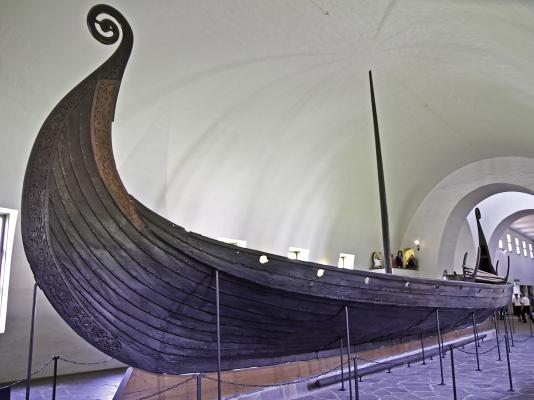
Regarding the scroll work i found a little detail on the real ship i had not noticed before, on the front scroll work it is a dragon snakes head like on our model, but on the rear scroll work it is only the dragon snakes tail, but on our model we instead have to dragon heads. it is to hard to change the rear head into a tail so i will let it be, but it is an interesting detail.
-
Thank you very much Nils. After watching your own builds i can only say that i stand in the shadows of a true master. Most impressive.
-
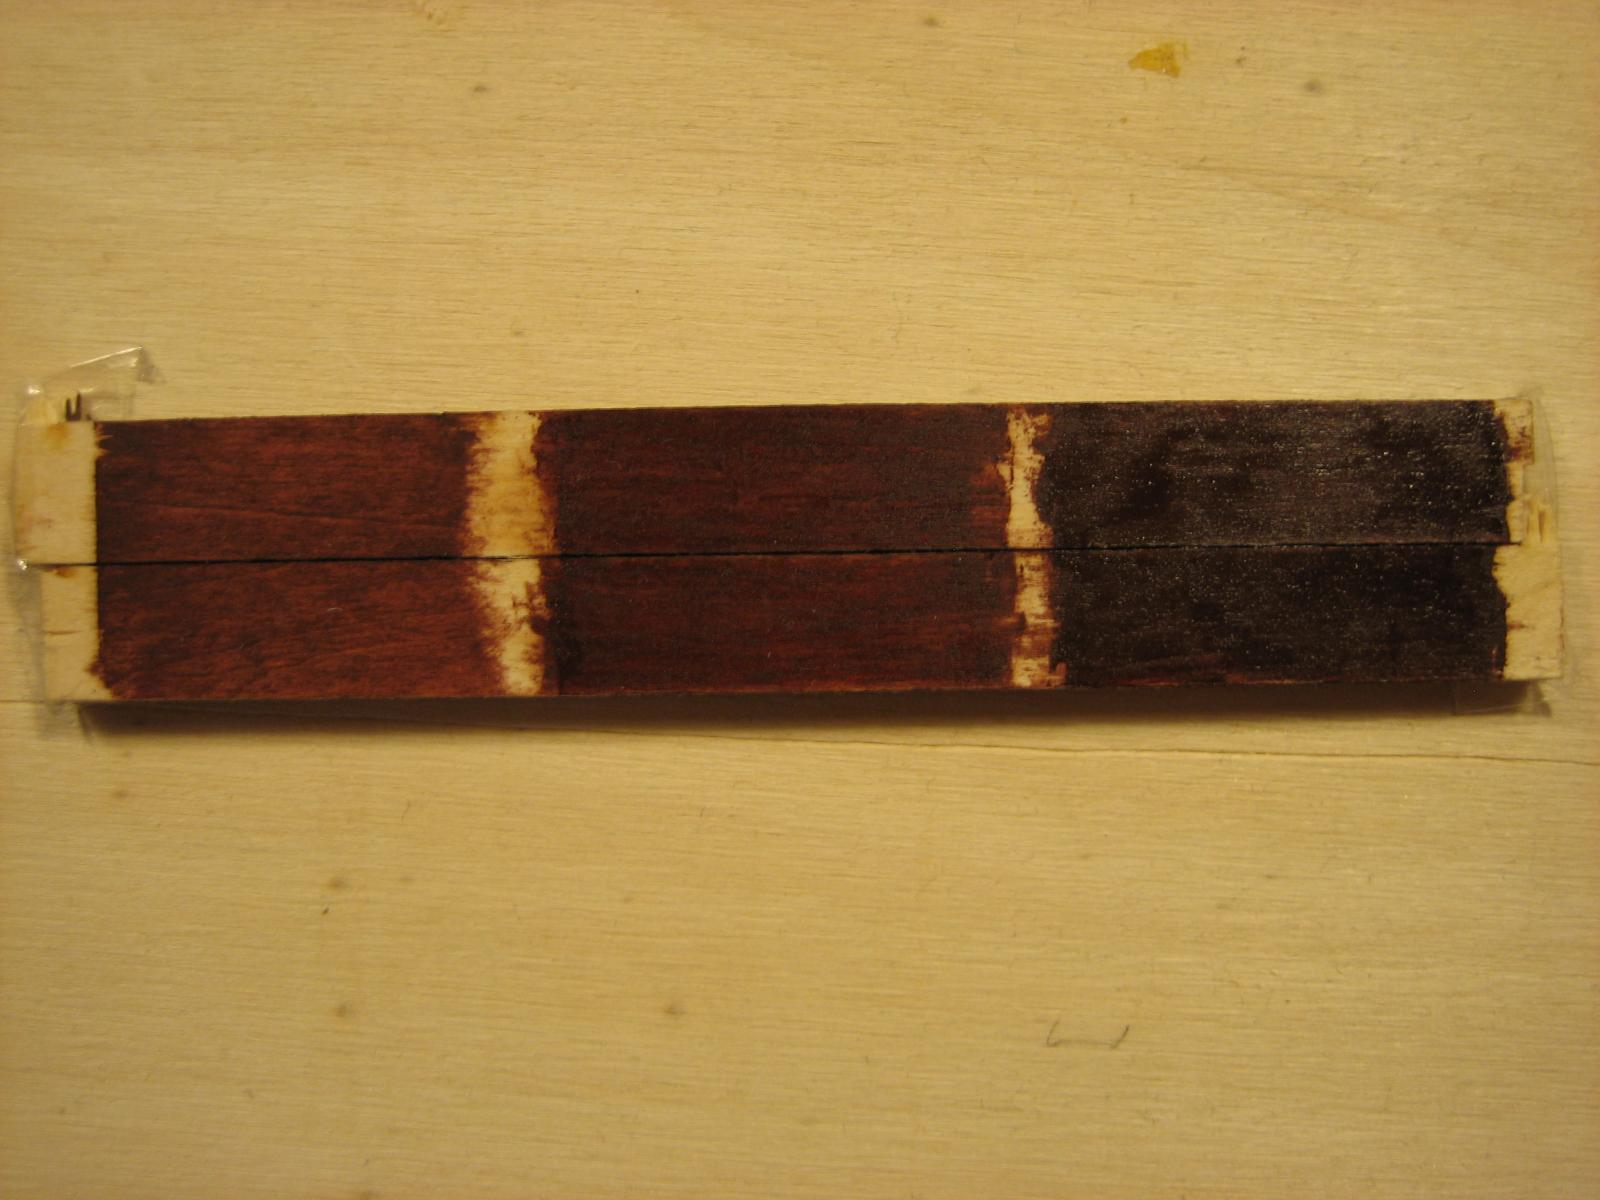
This is a test piece i made with 3 layers of the same stain. I´m thinking about the one in the middle, two layers.