HOLIDAY DONATION DRIVE - SUPPORT MSW - DO YOUR PART TO KEEP THIS GREAT FORUM GOING! (83 donations so far out of 49,000 members - C'mon guys!)
×


threebs
-
Posts
297 -
Joined
-
Last visited
Content Type
Profiles
Forums
Gallery
Events
Everything posted by threebs
-
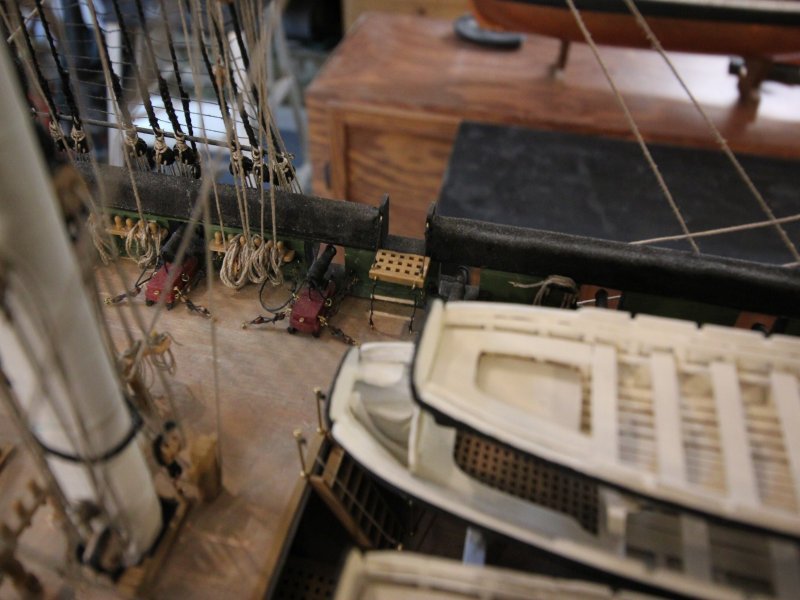
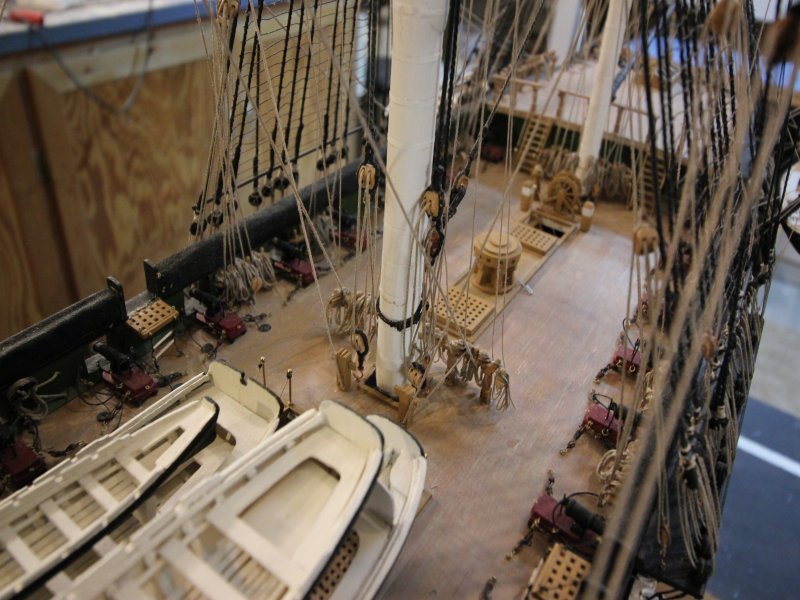
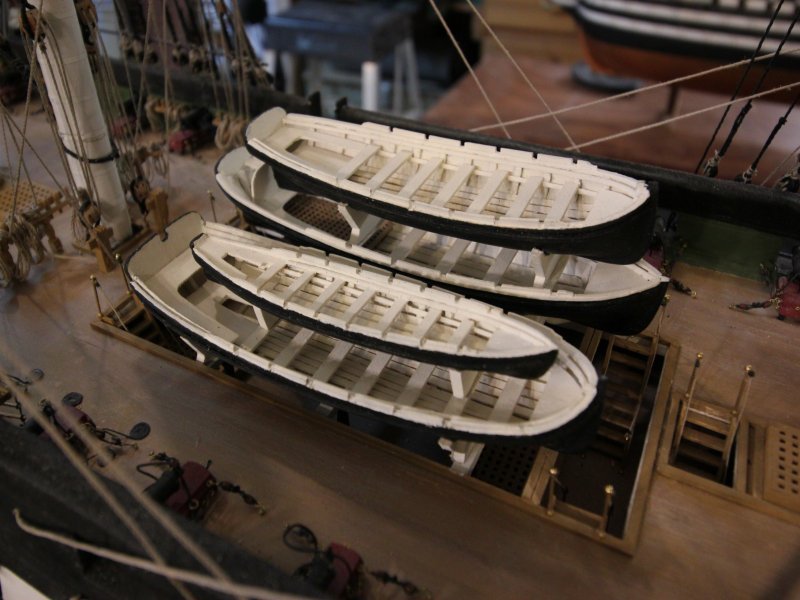
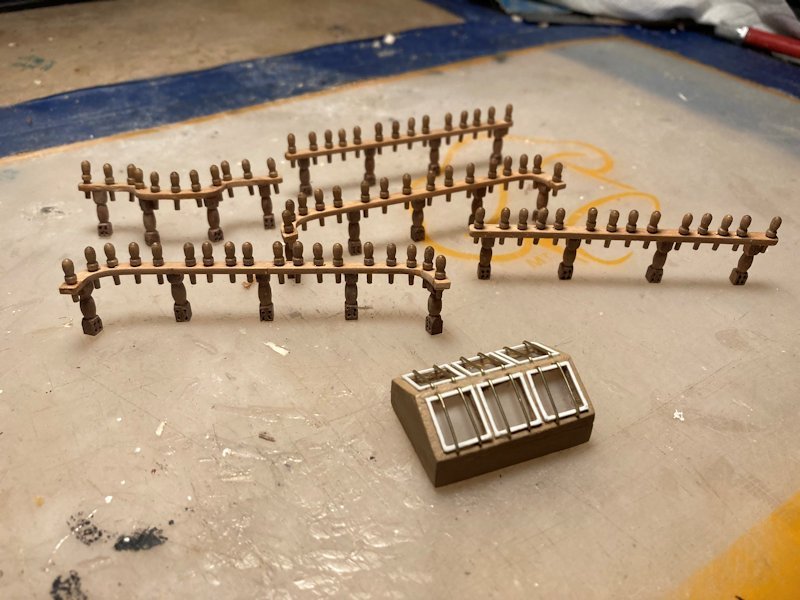
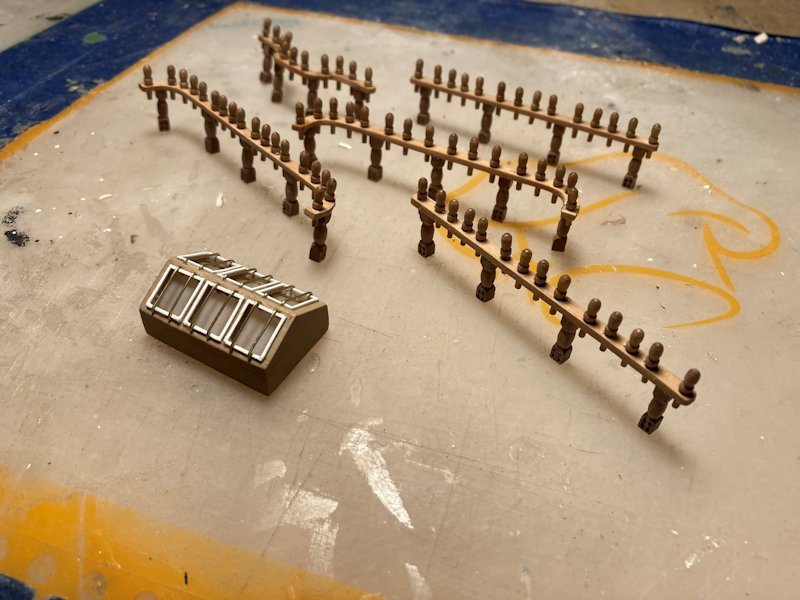
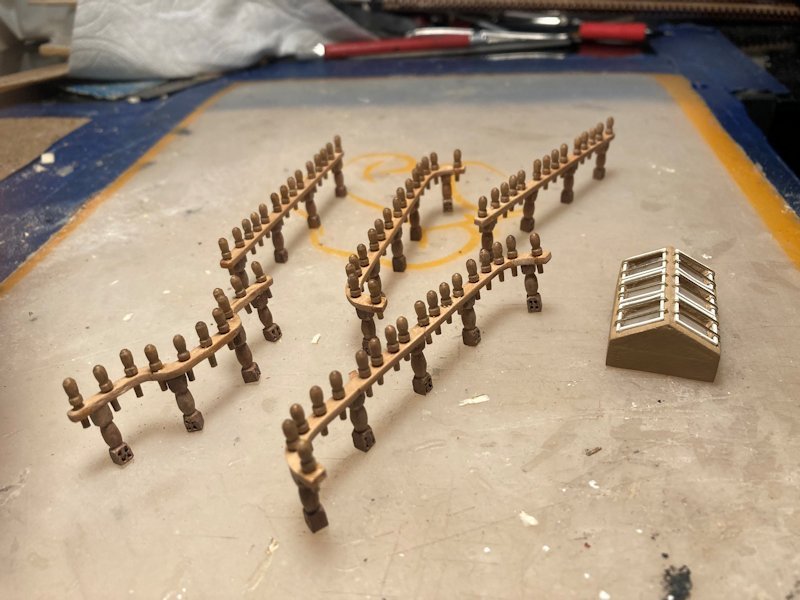
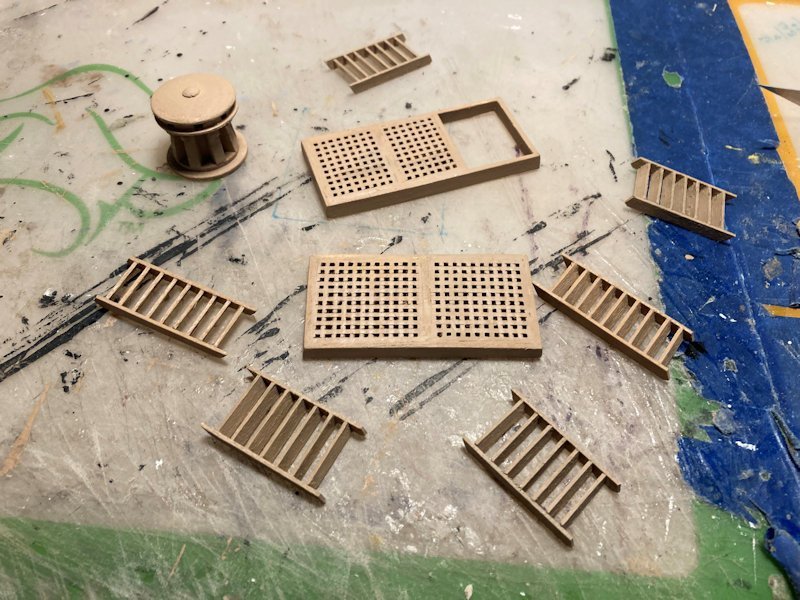
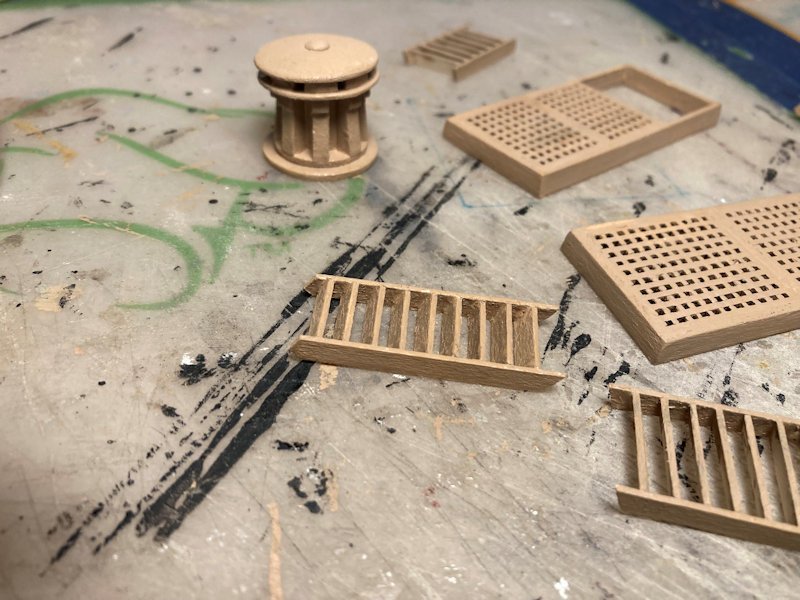
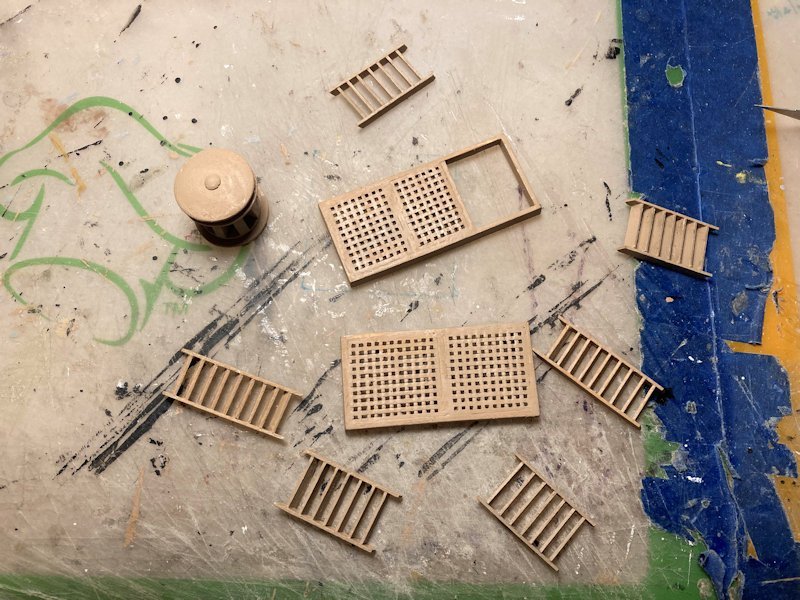
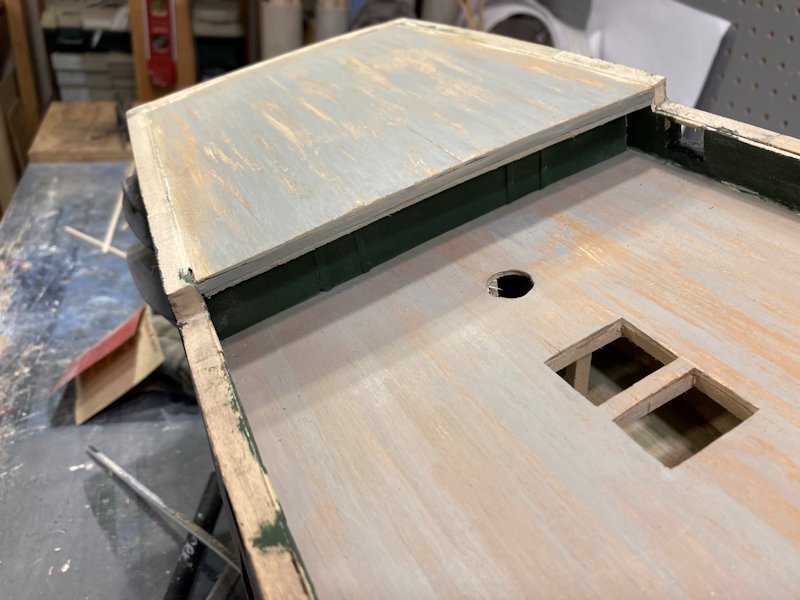
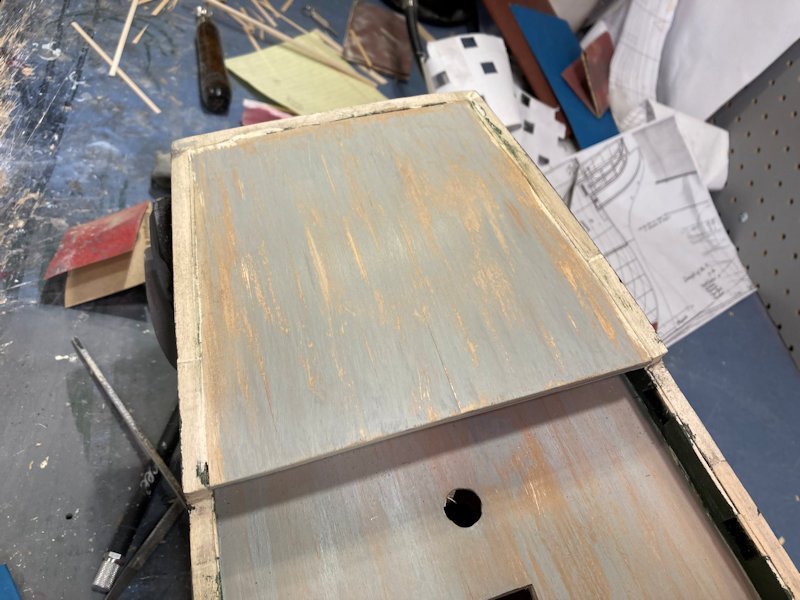
 Progress on the deck furniture.
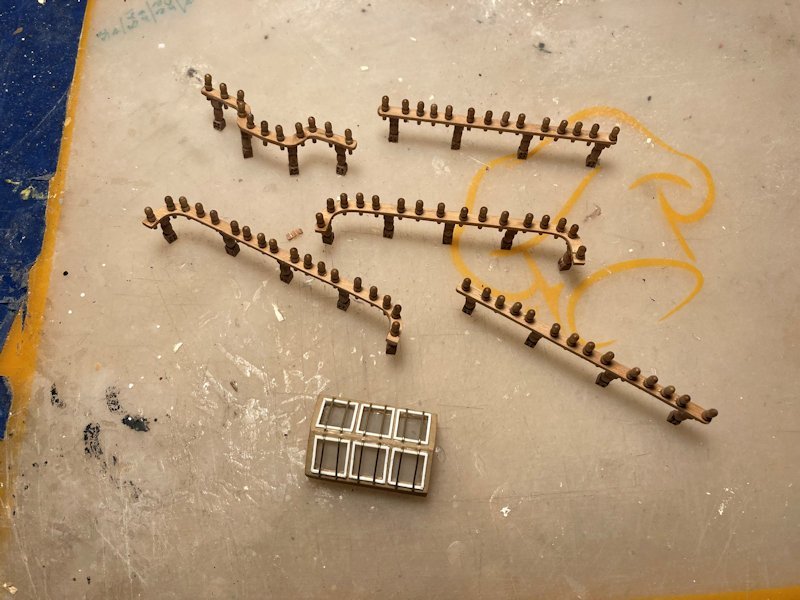

-
Thank you, always nice to see comments.
-
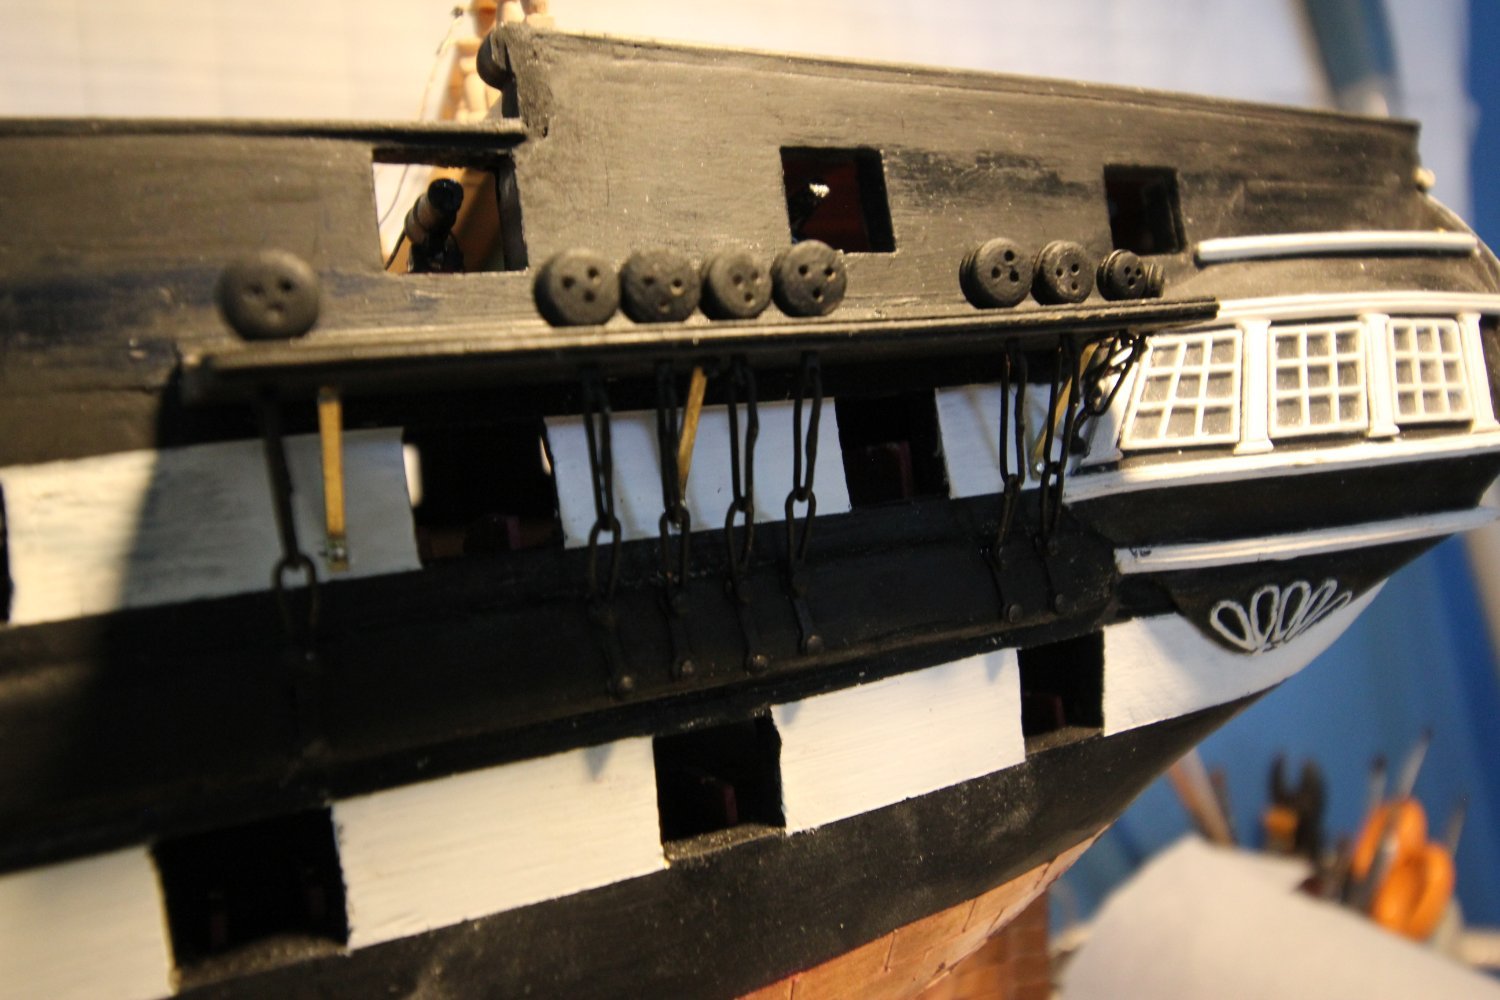
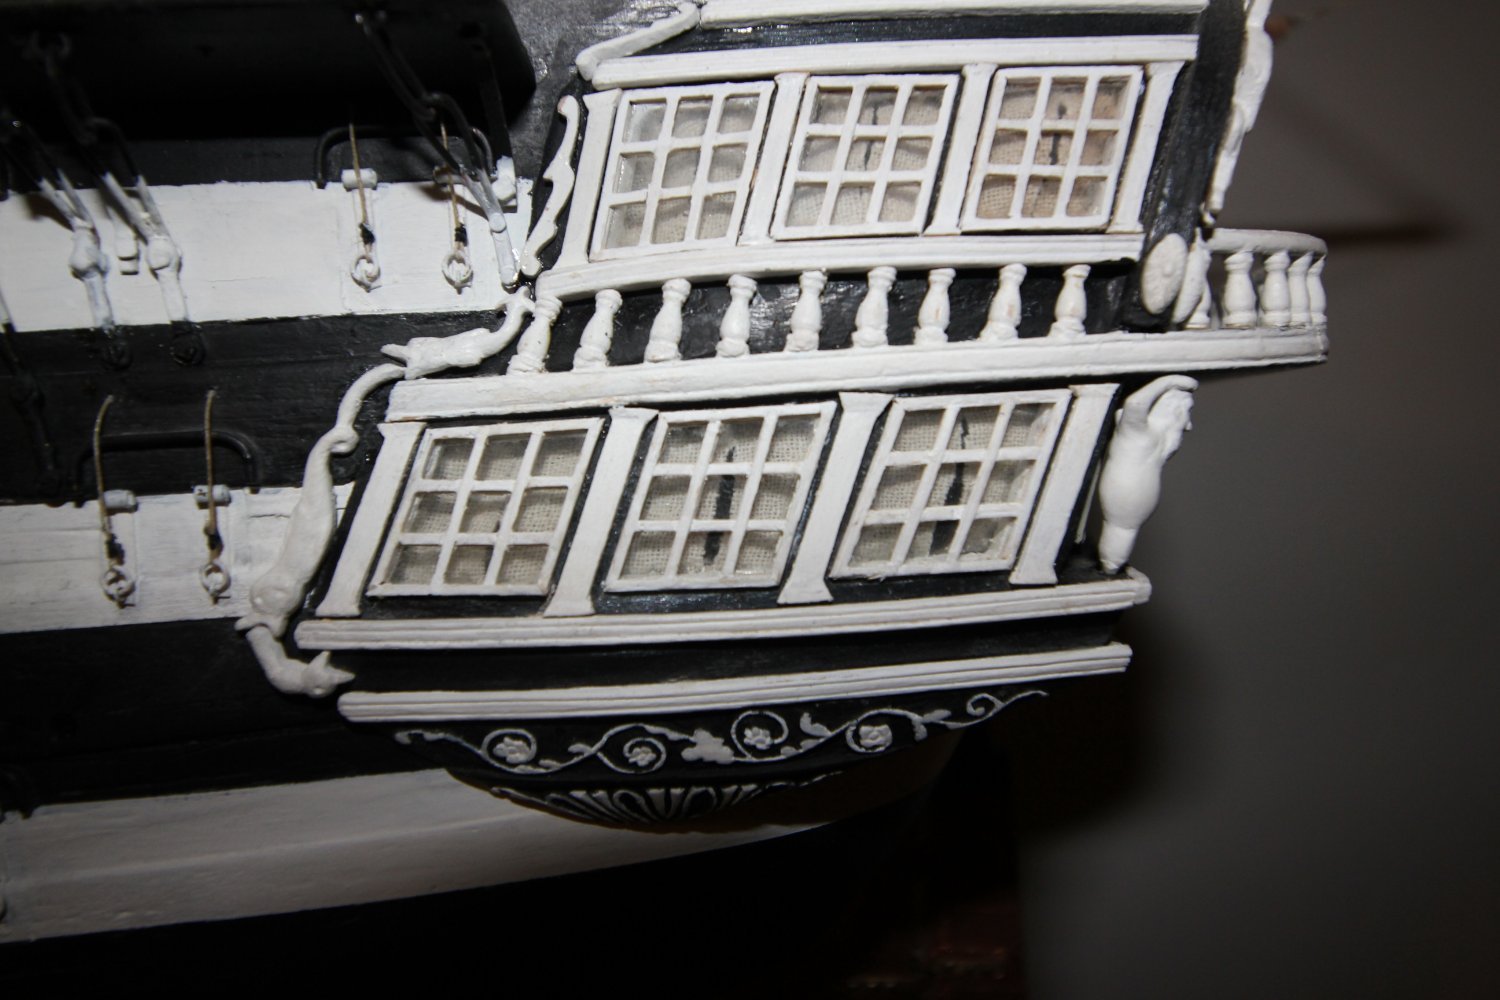
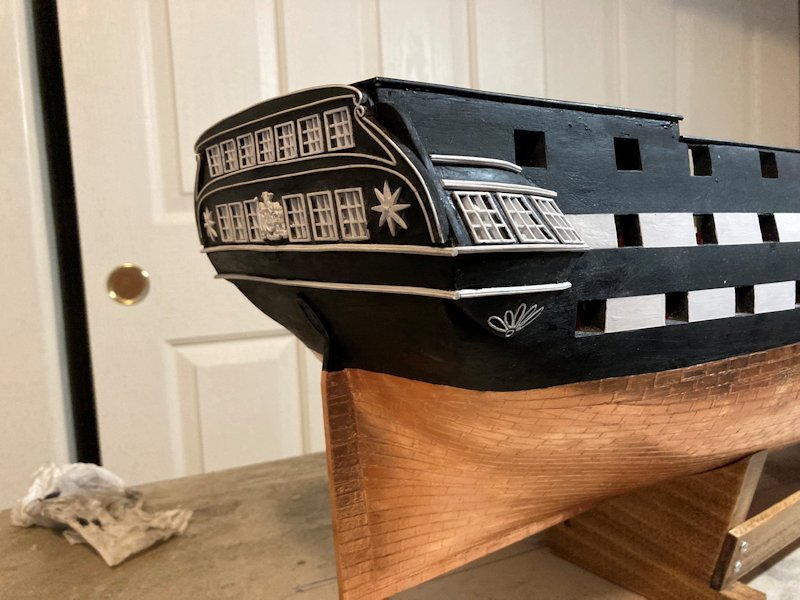
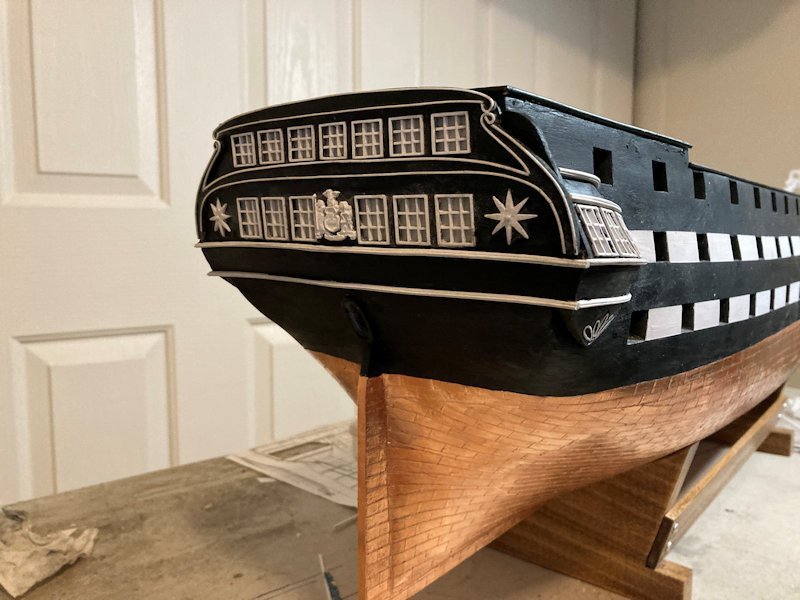
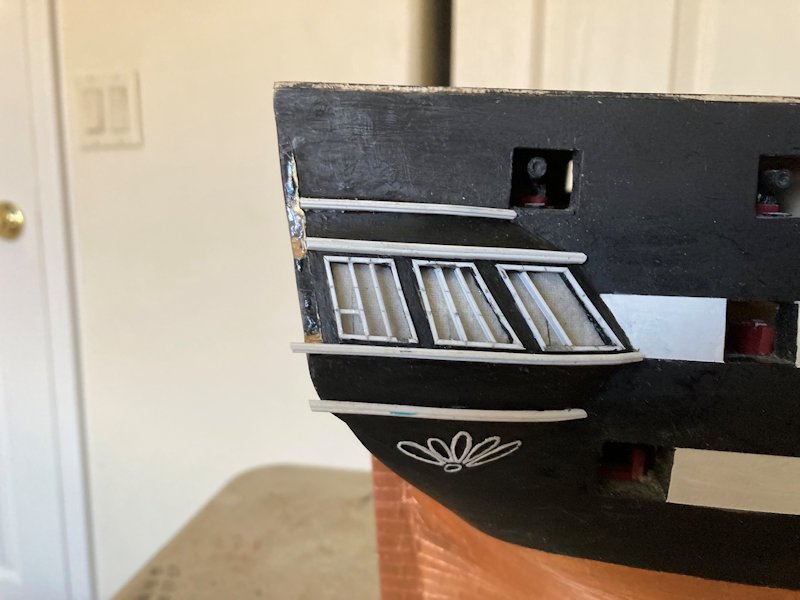
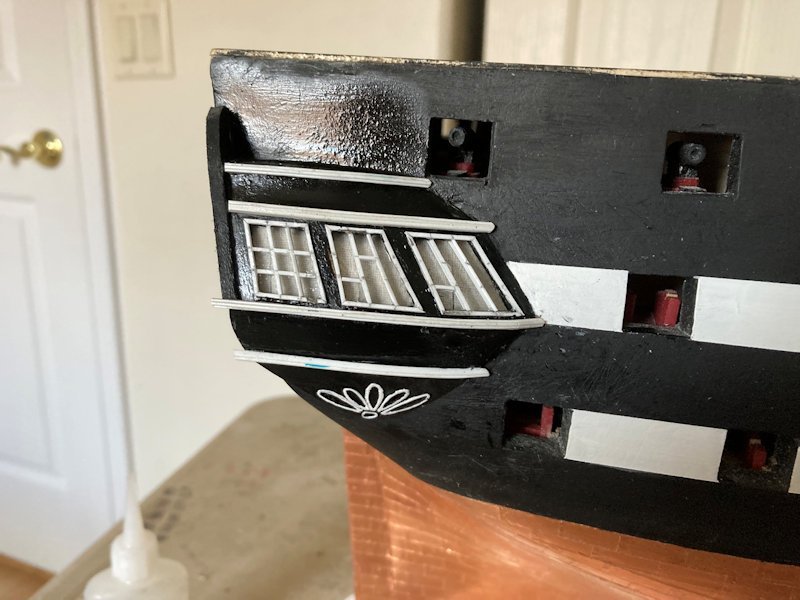
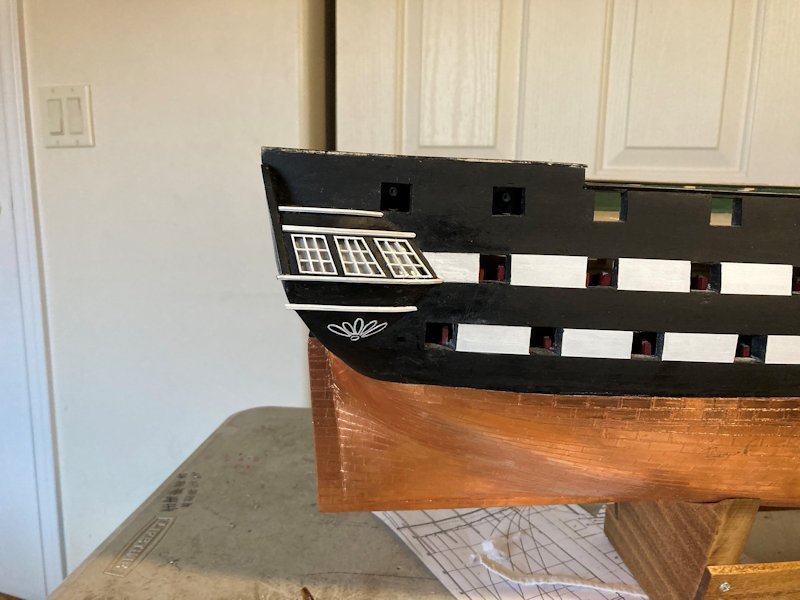
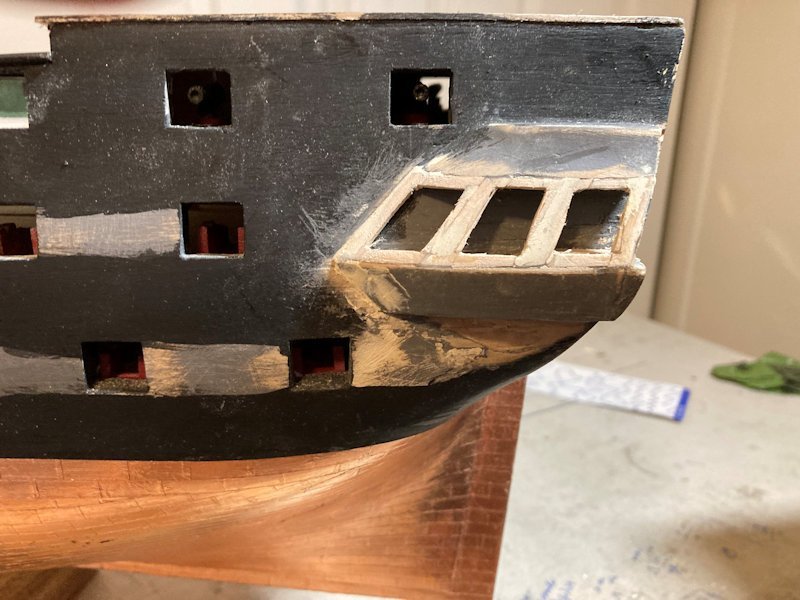
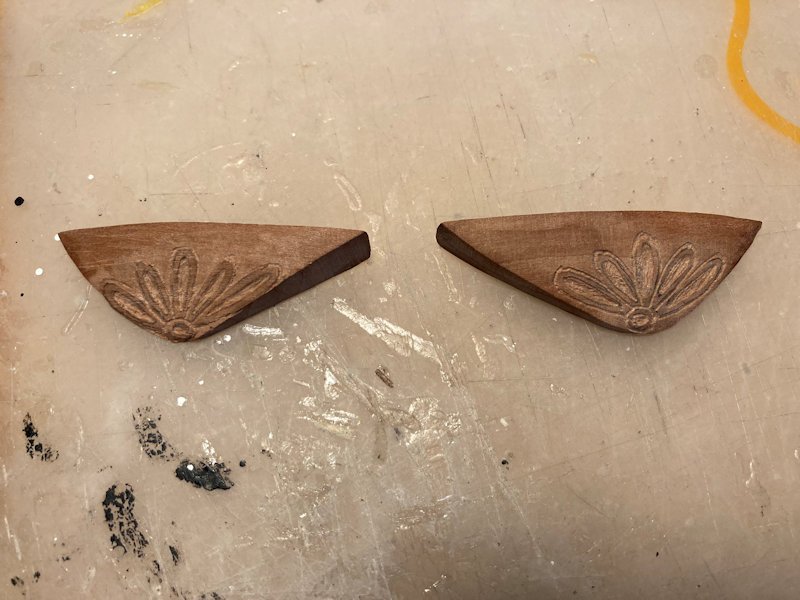
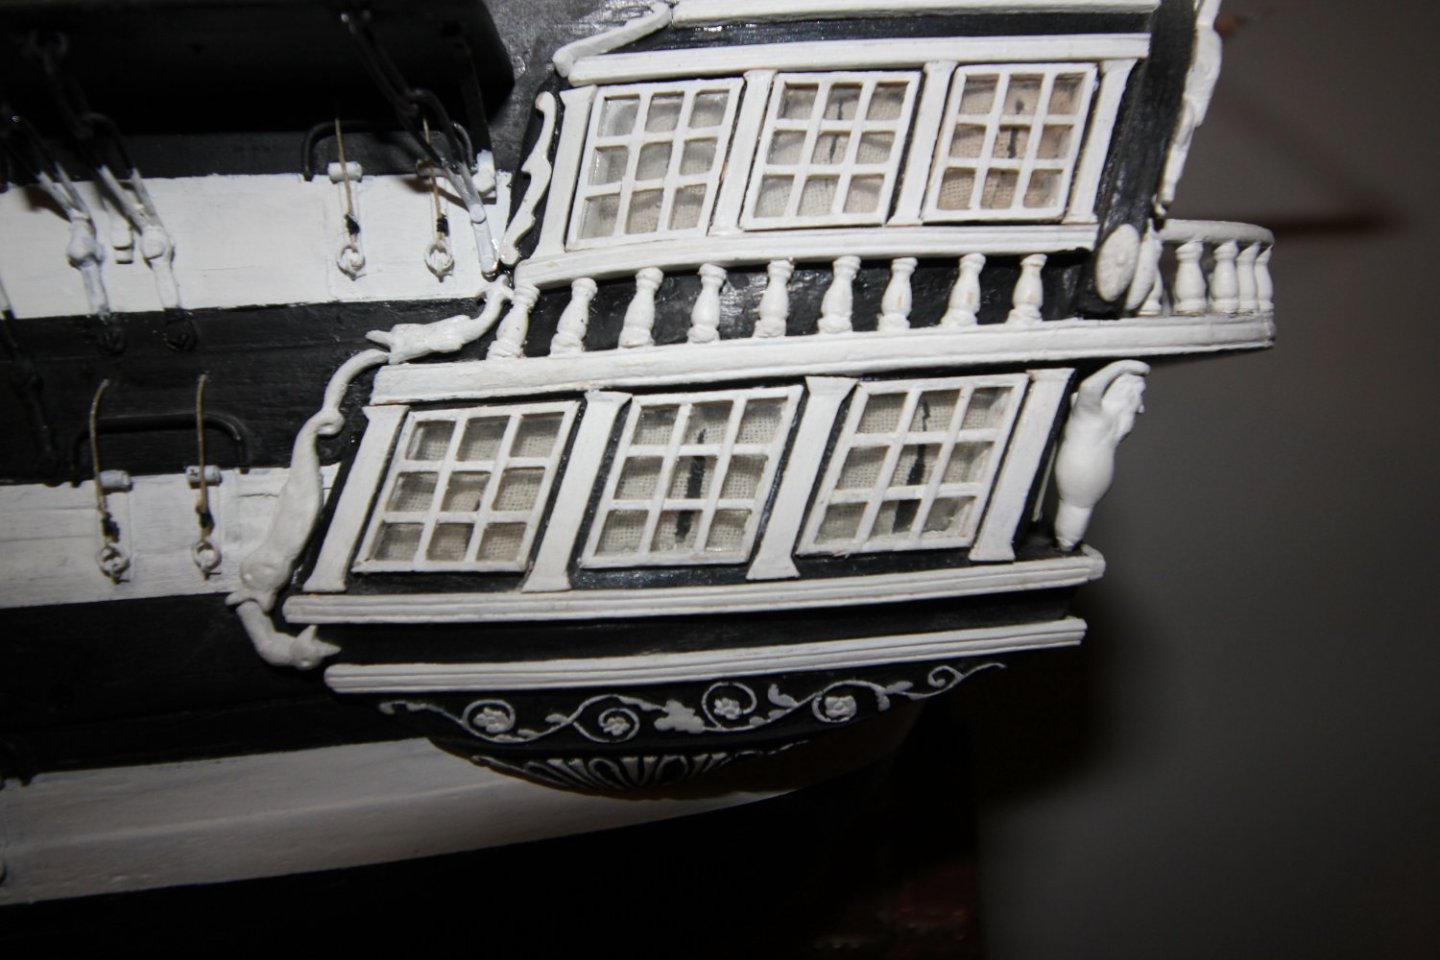
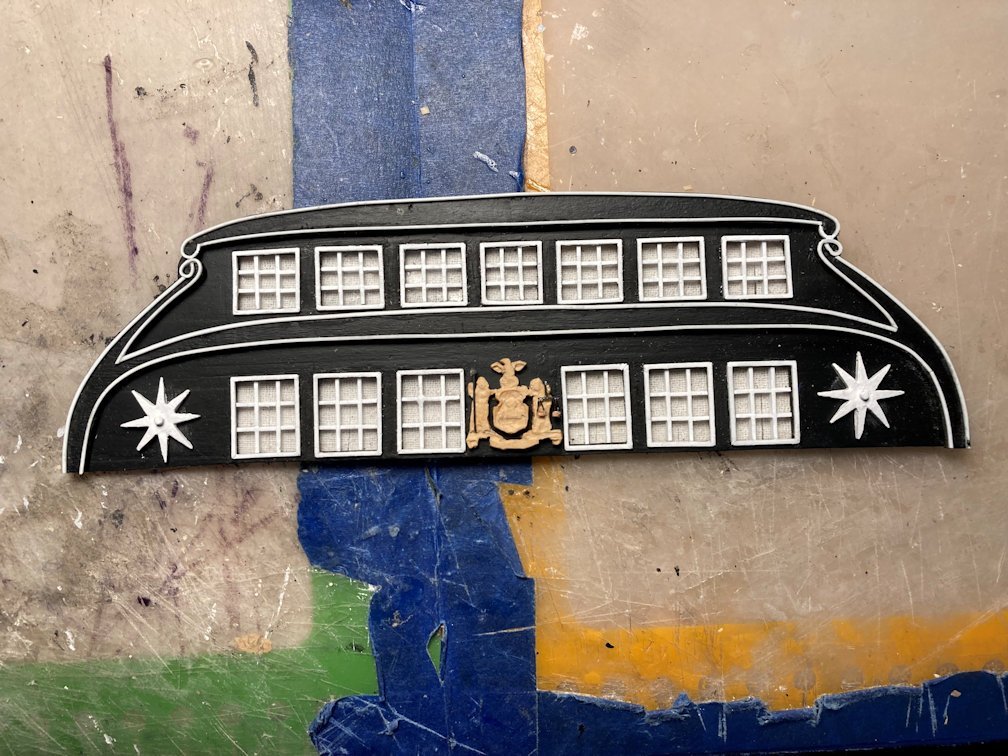
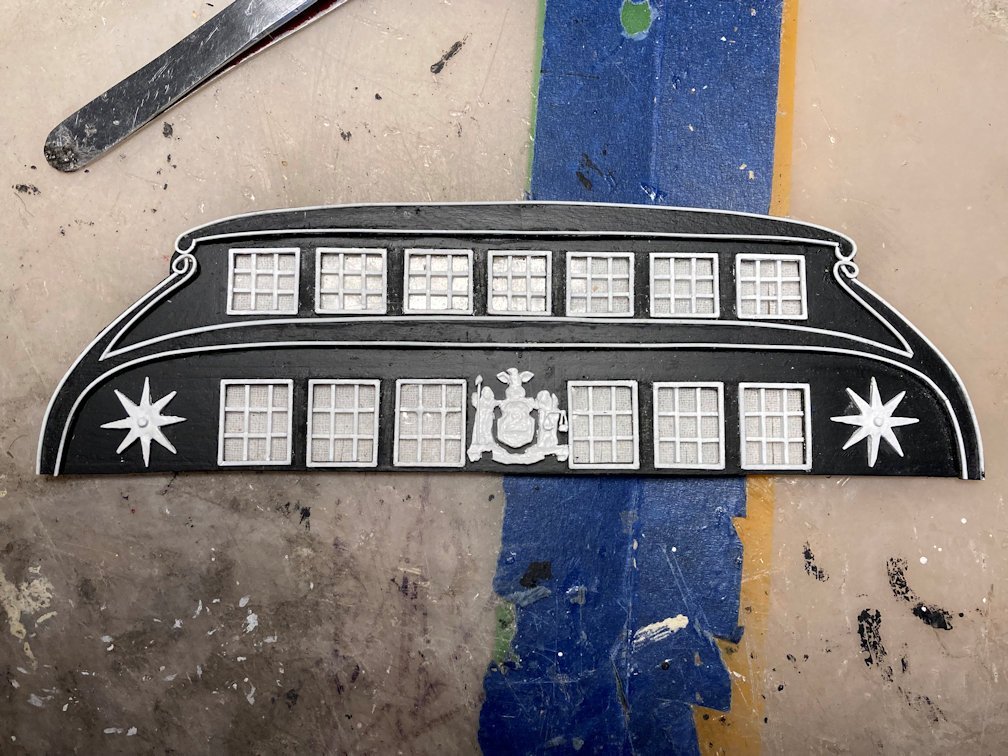
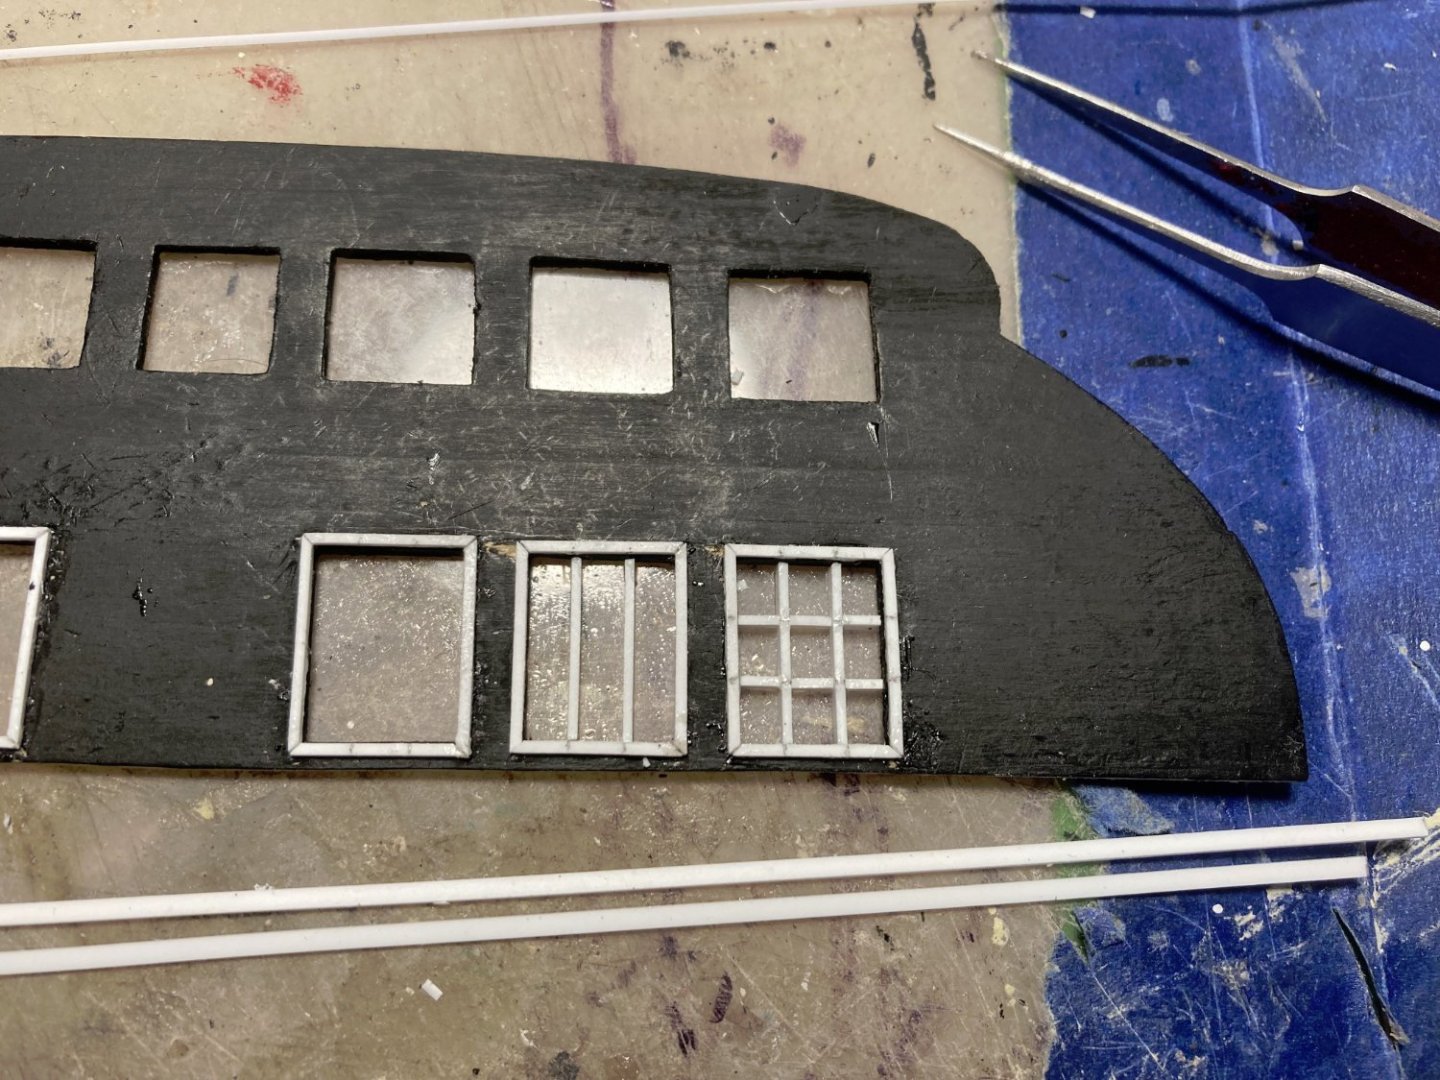
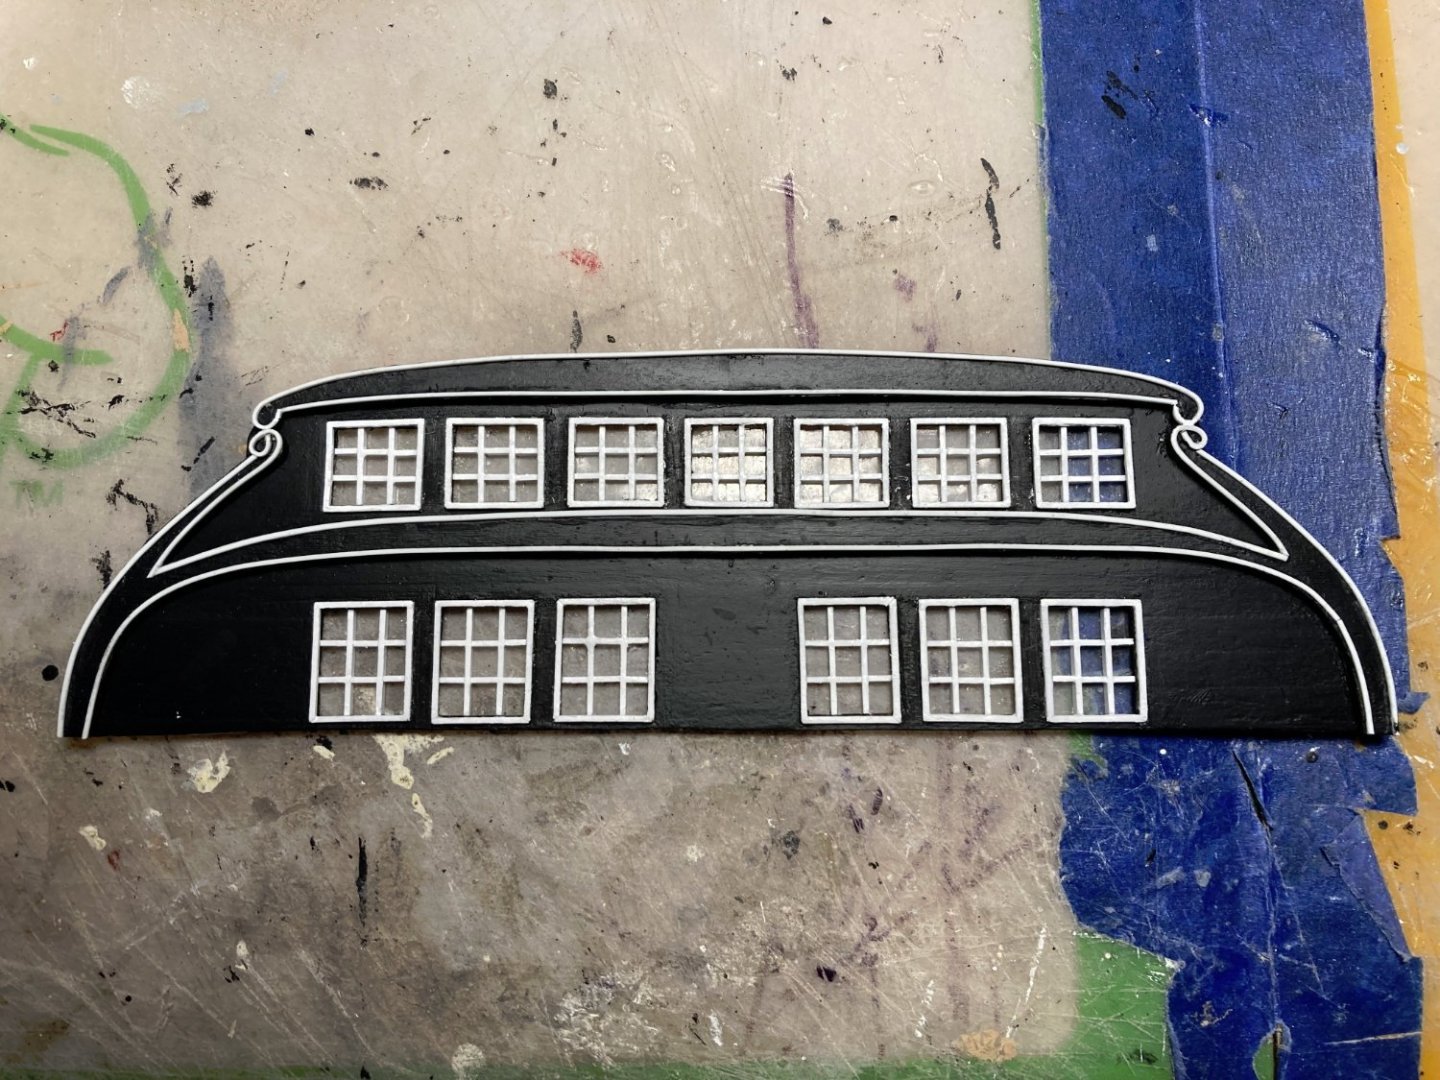
Quarter and stern galleries are pretty much done. Only a few tweaks here and there yet.

-
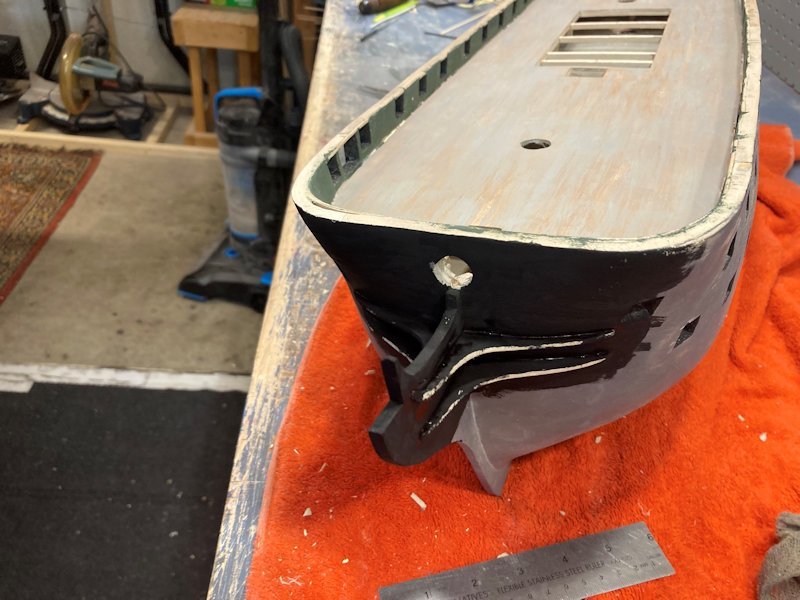
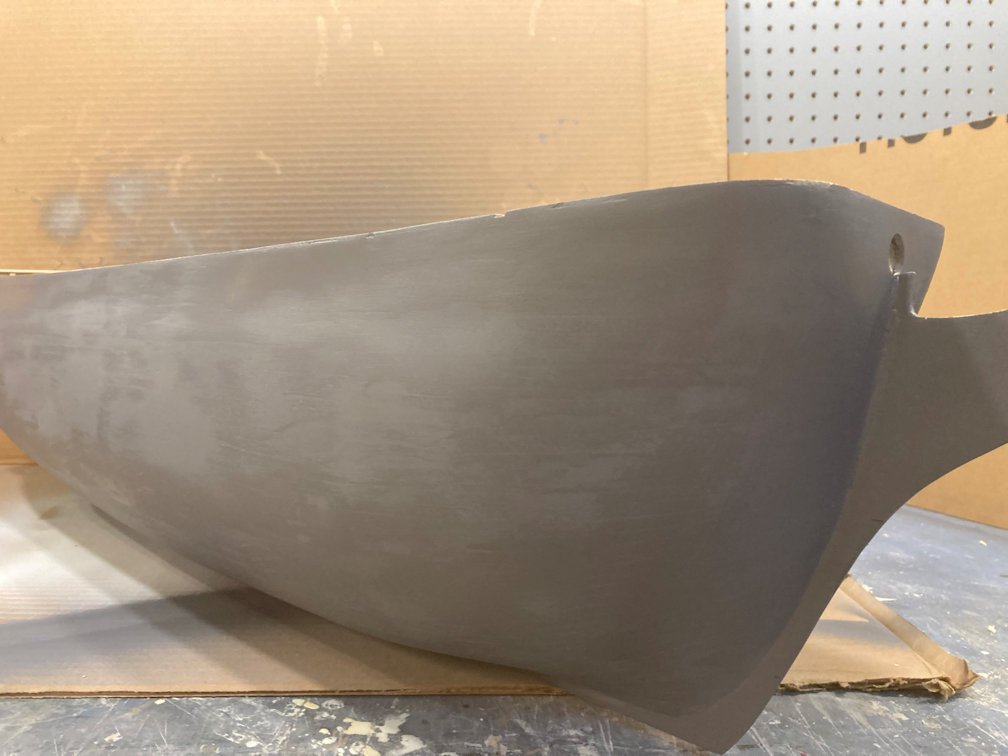
More progress on the New York
-
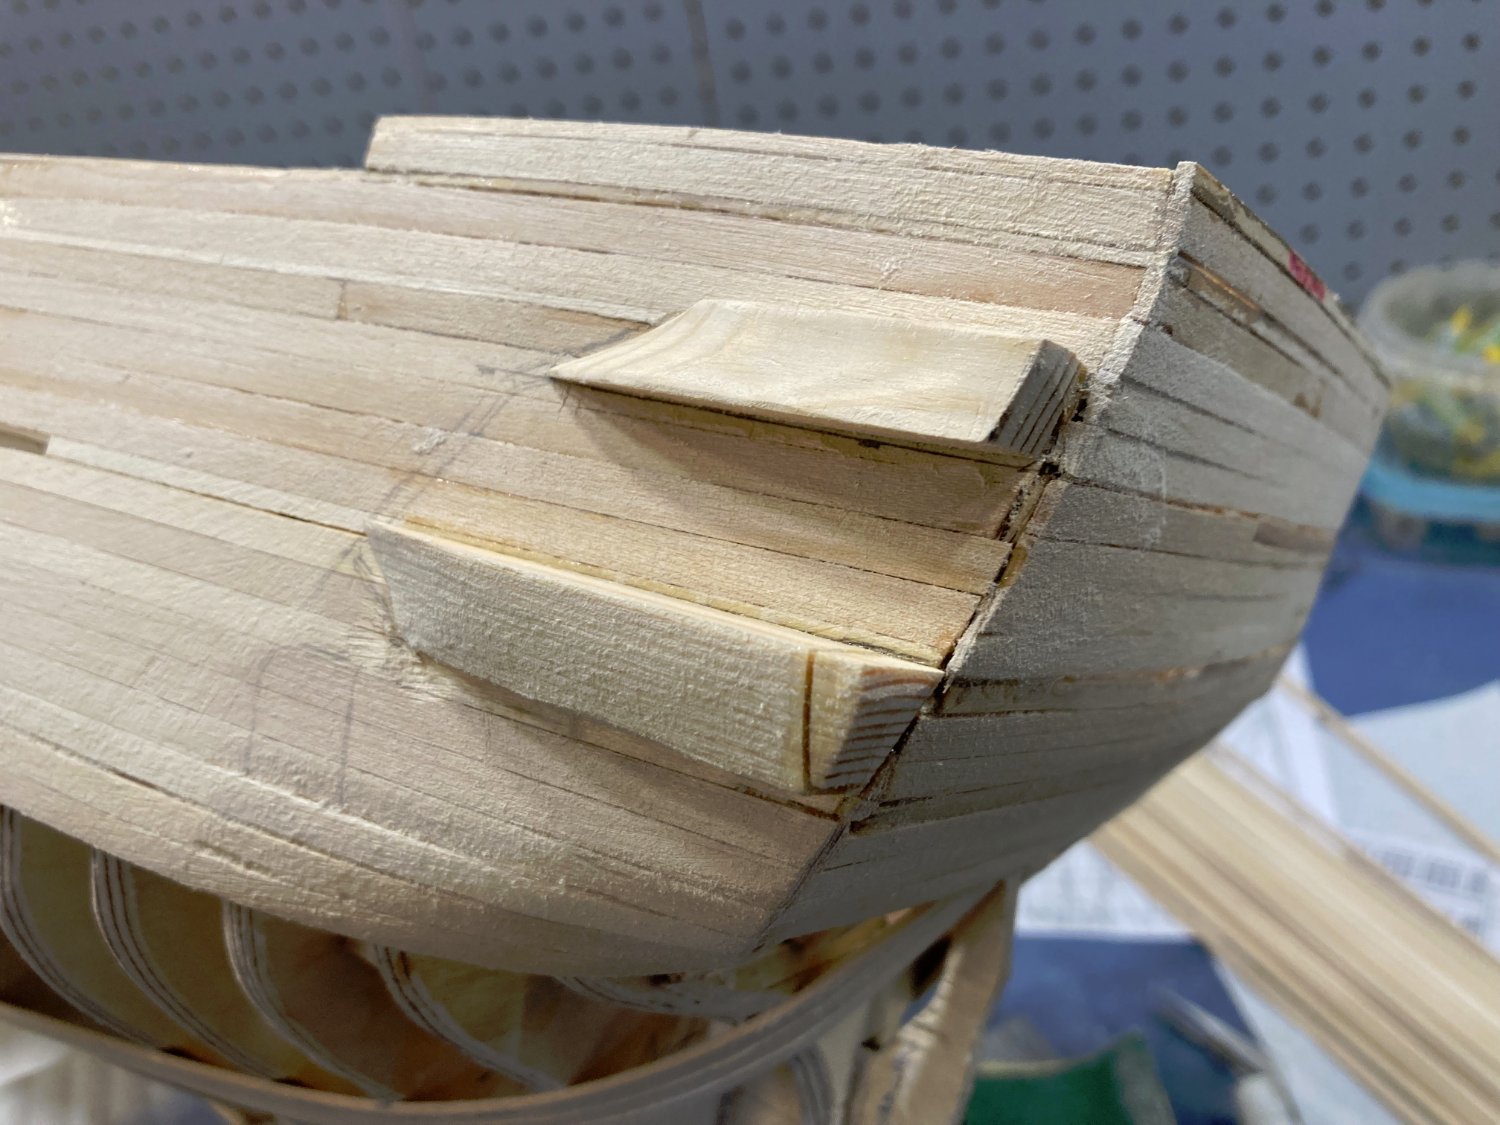
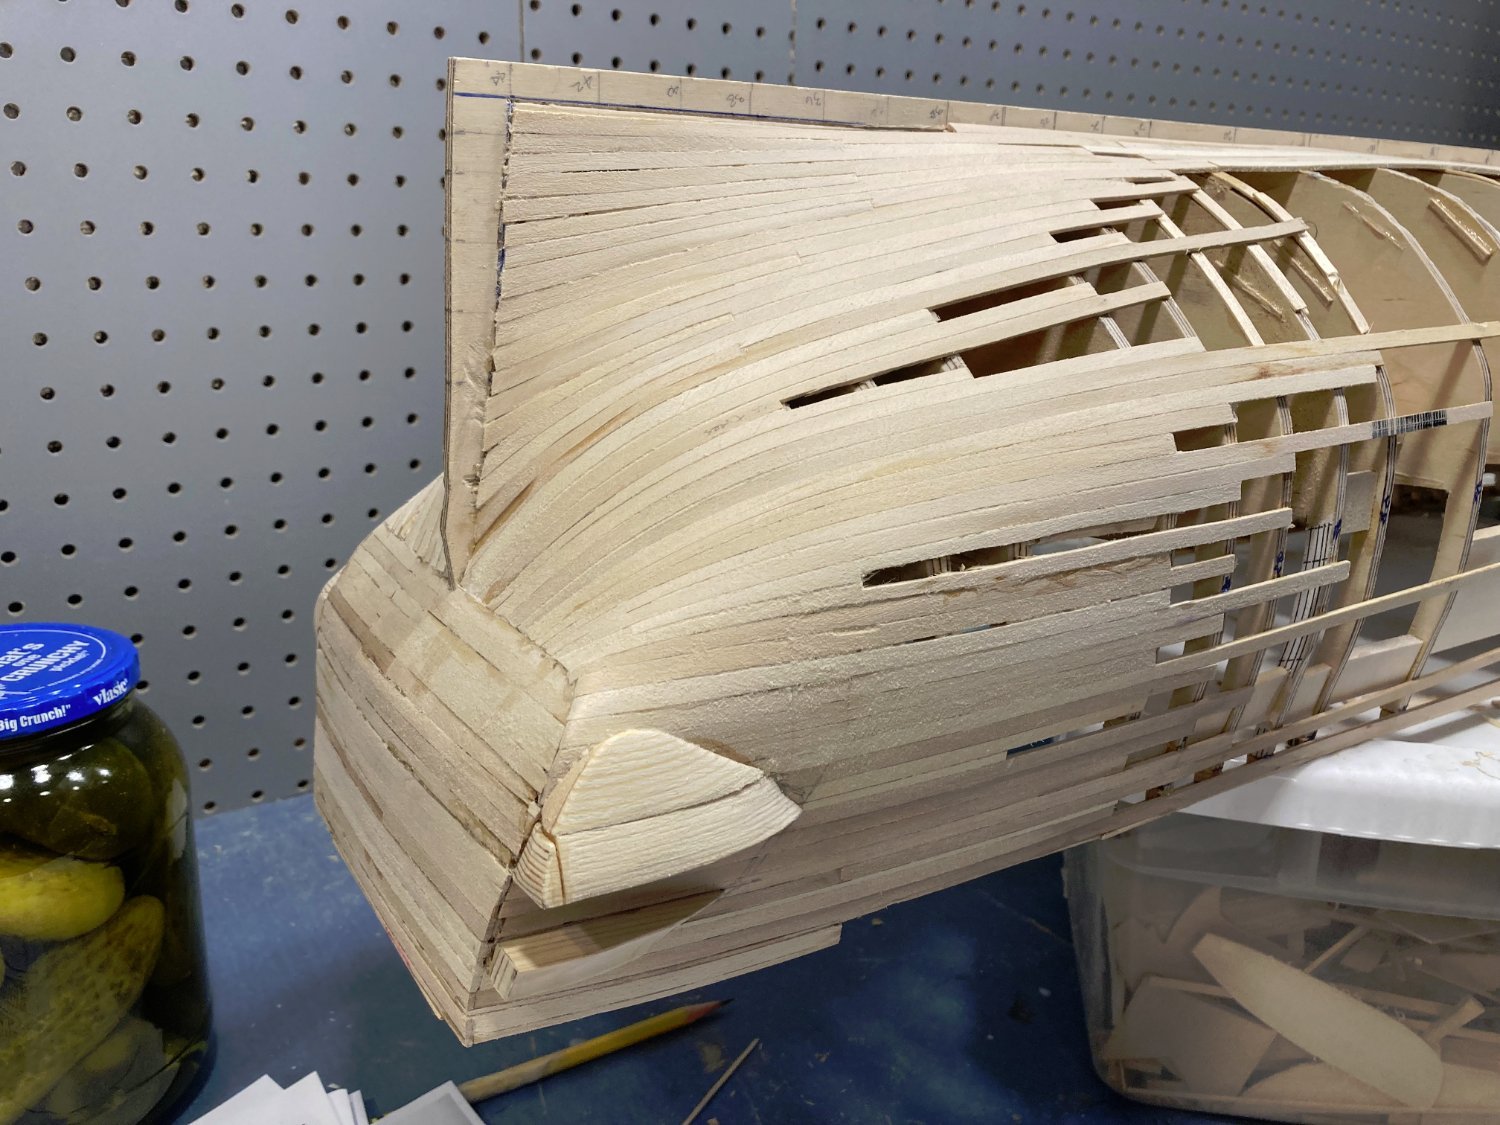
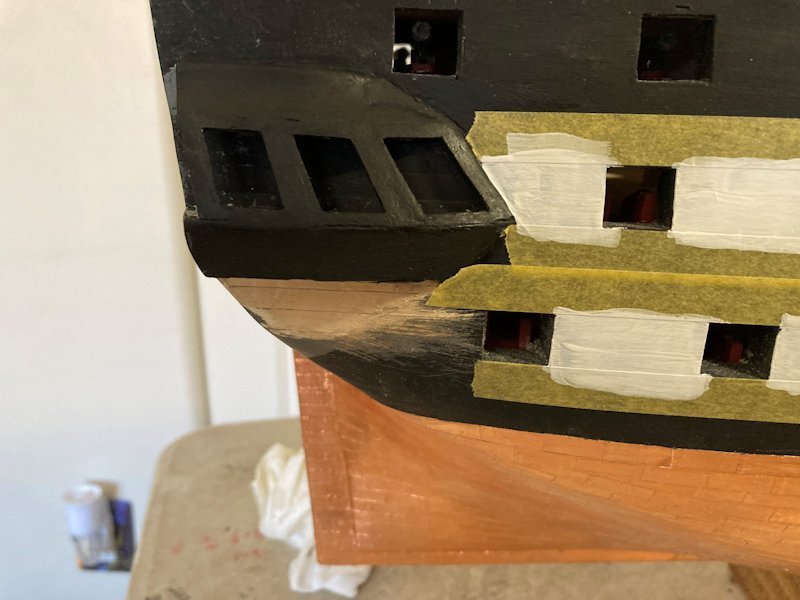
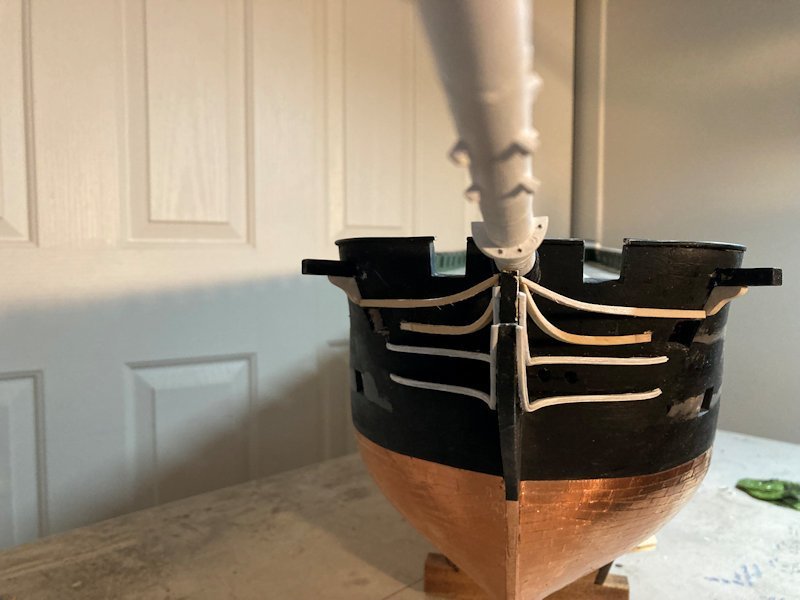
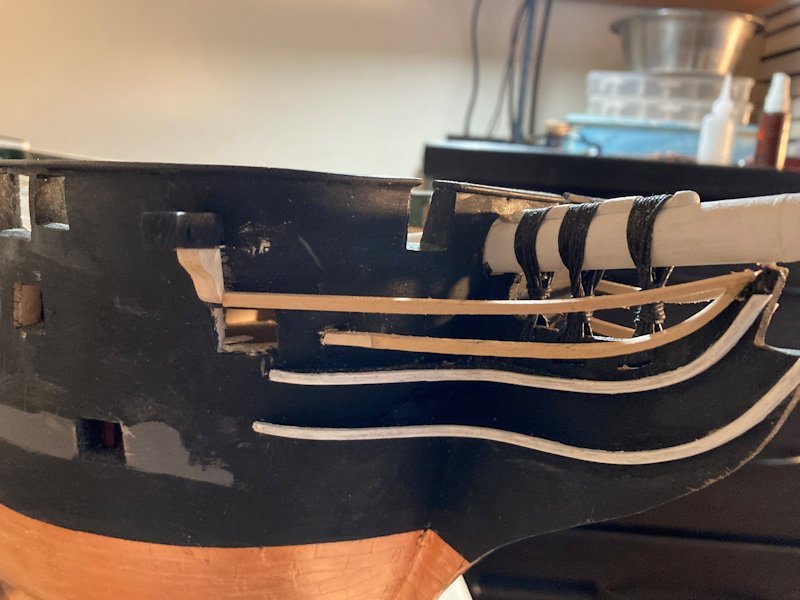
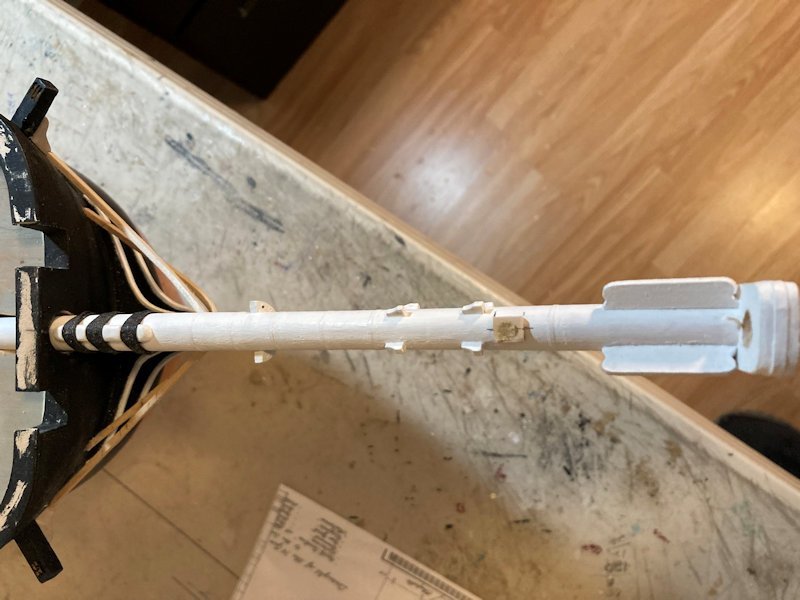
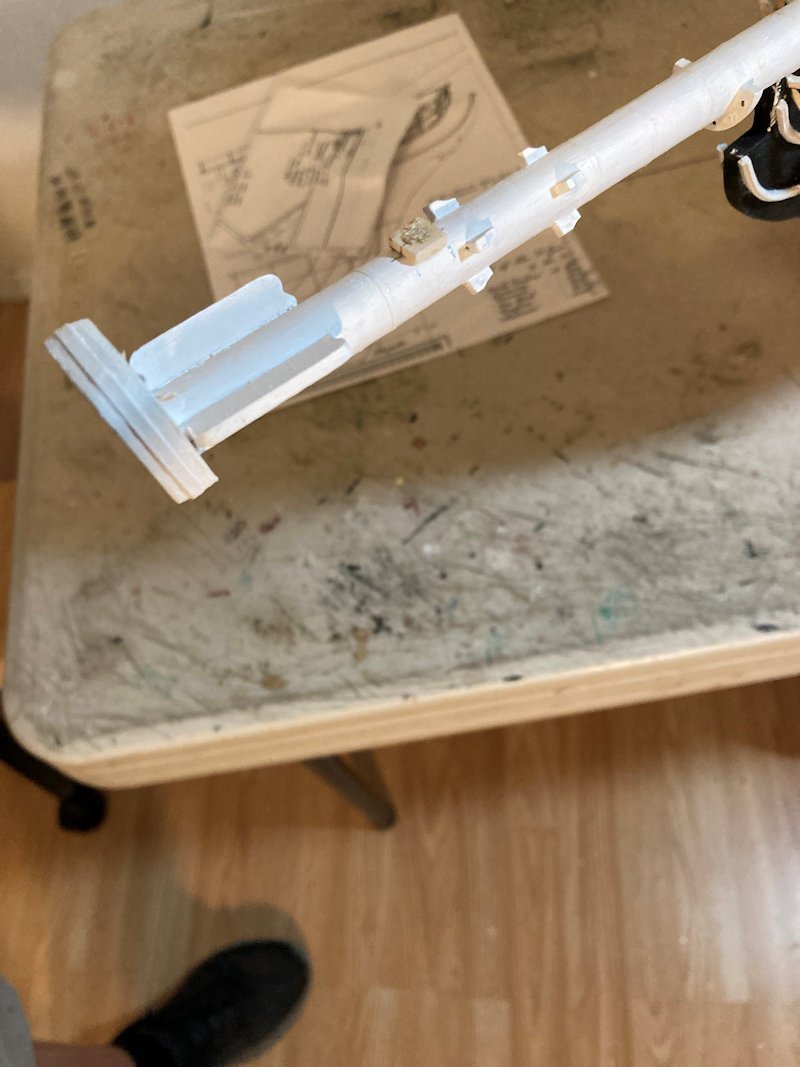
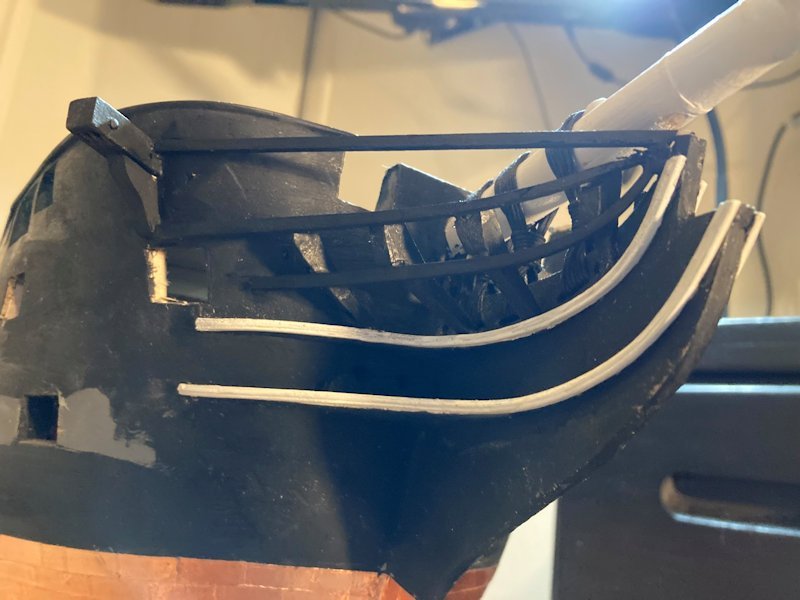
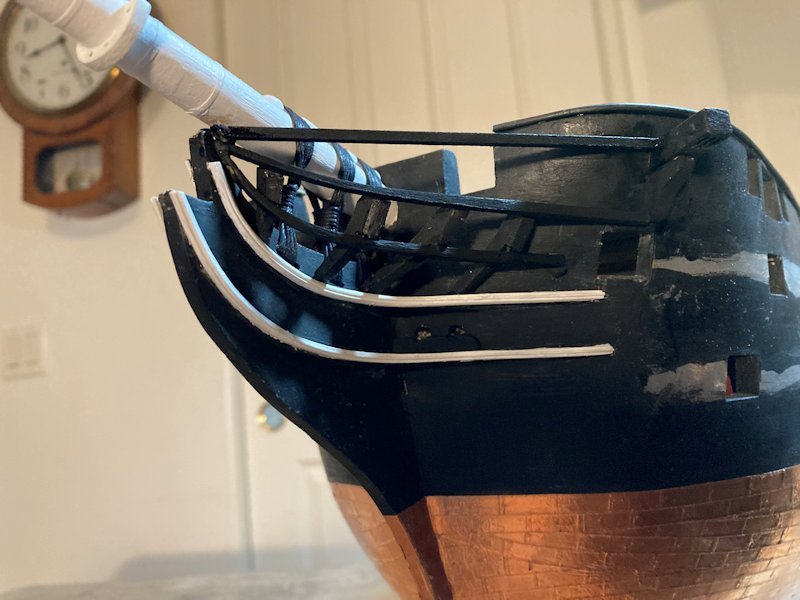
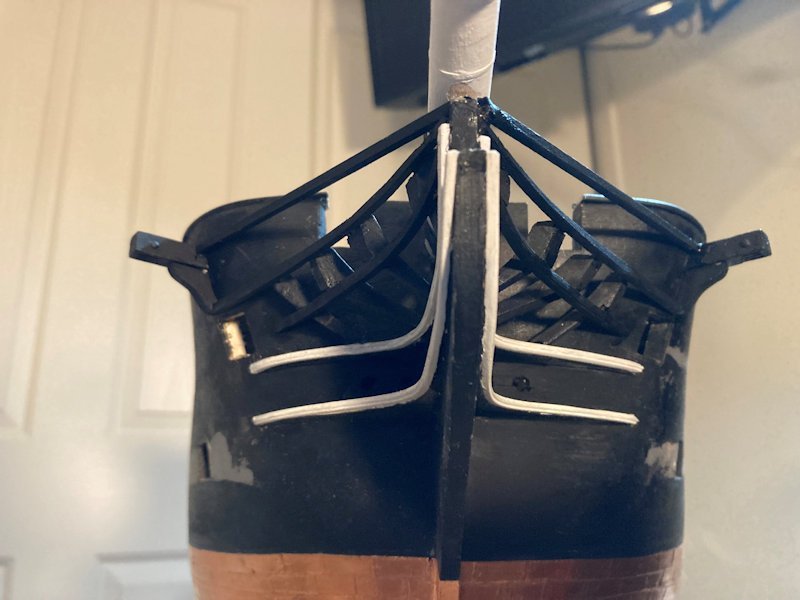
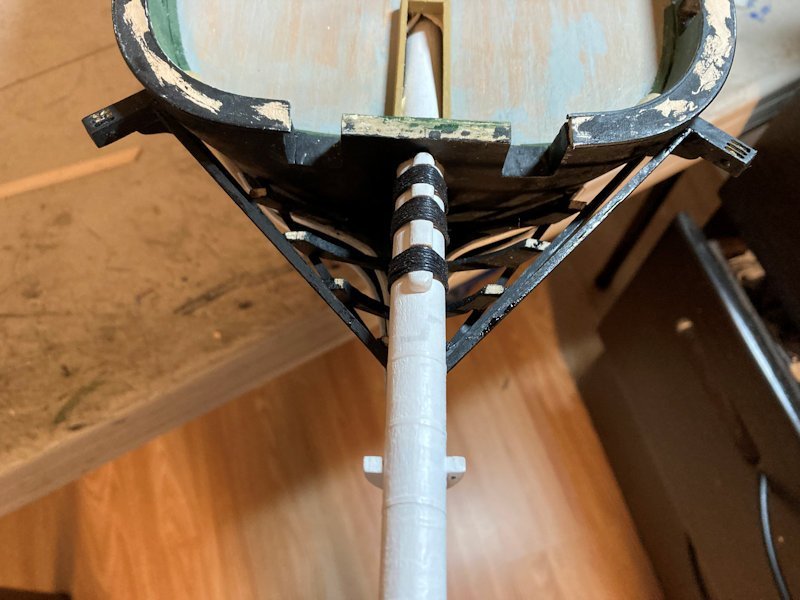
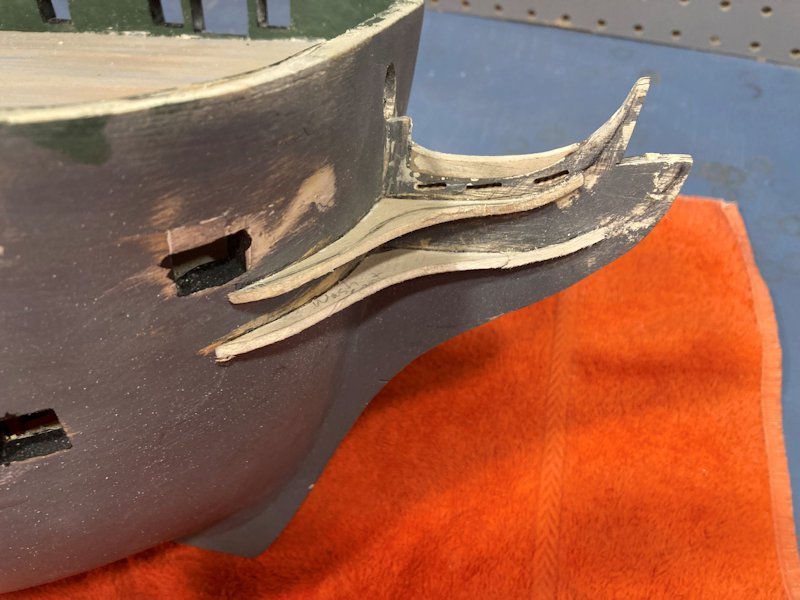
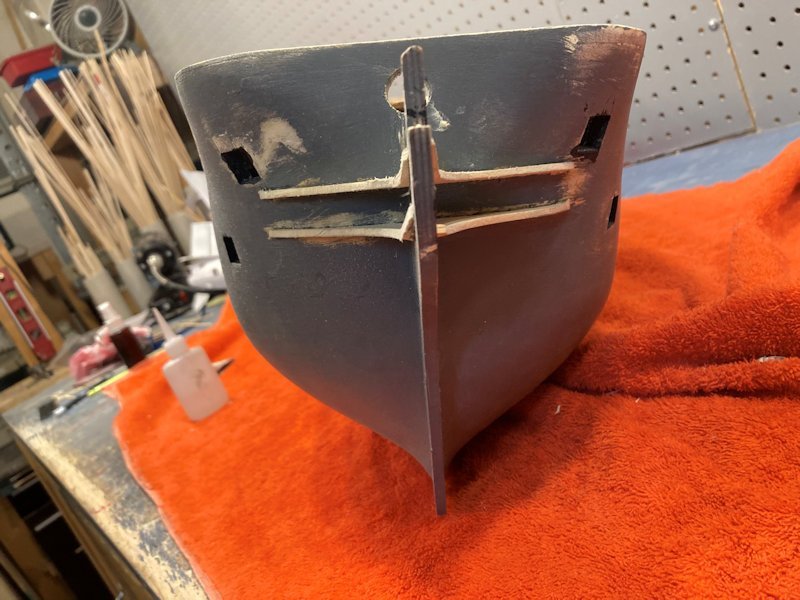
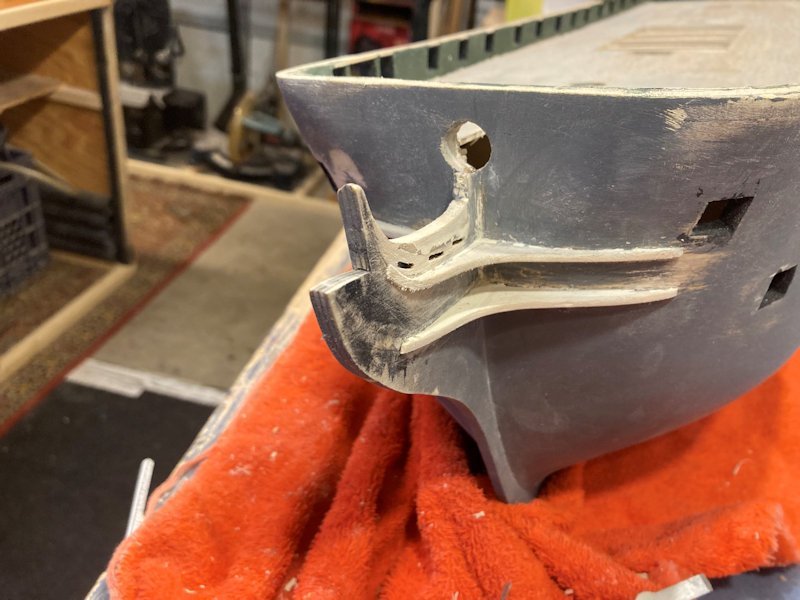
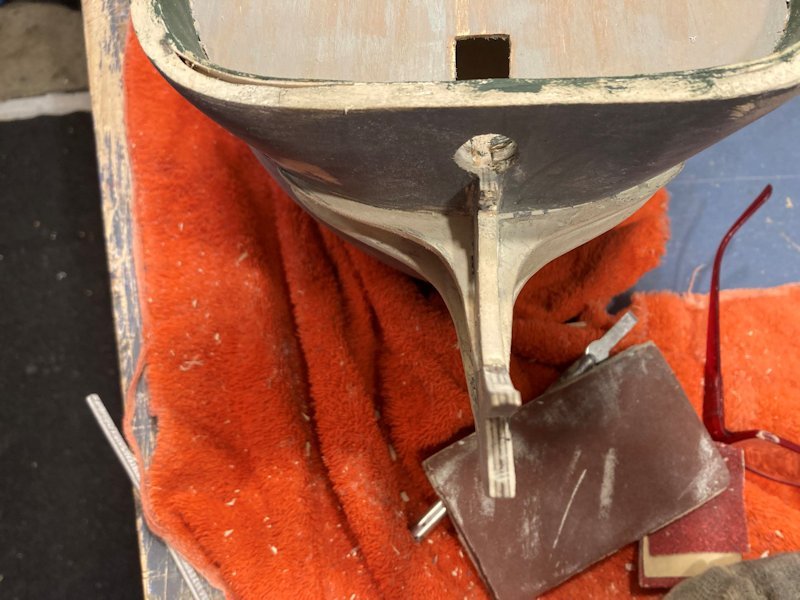
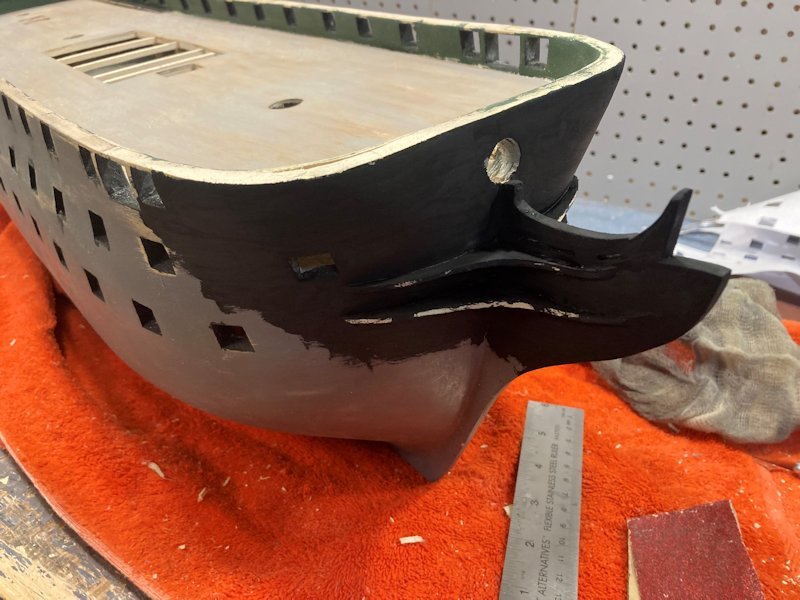
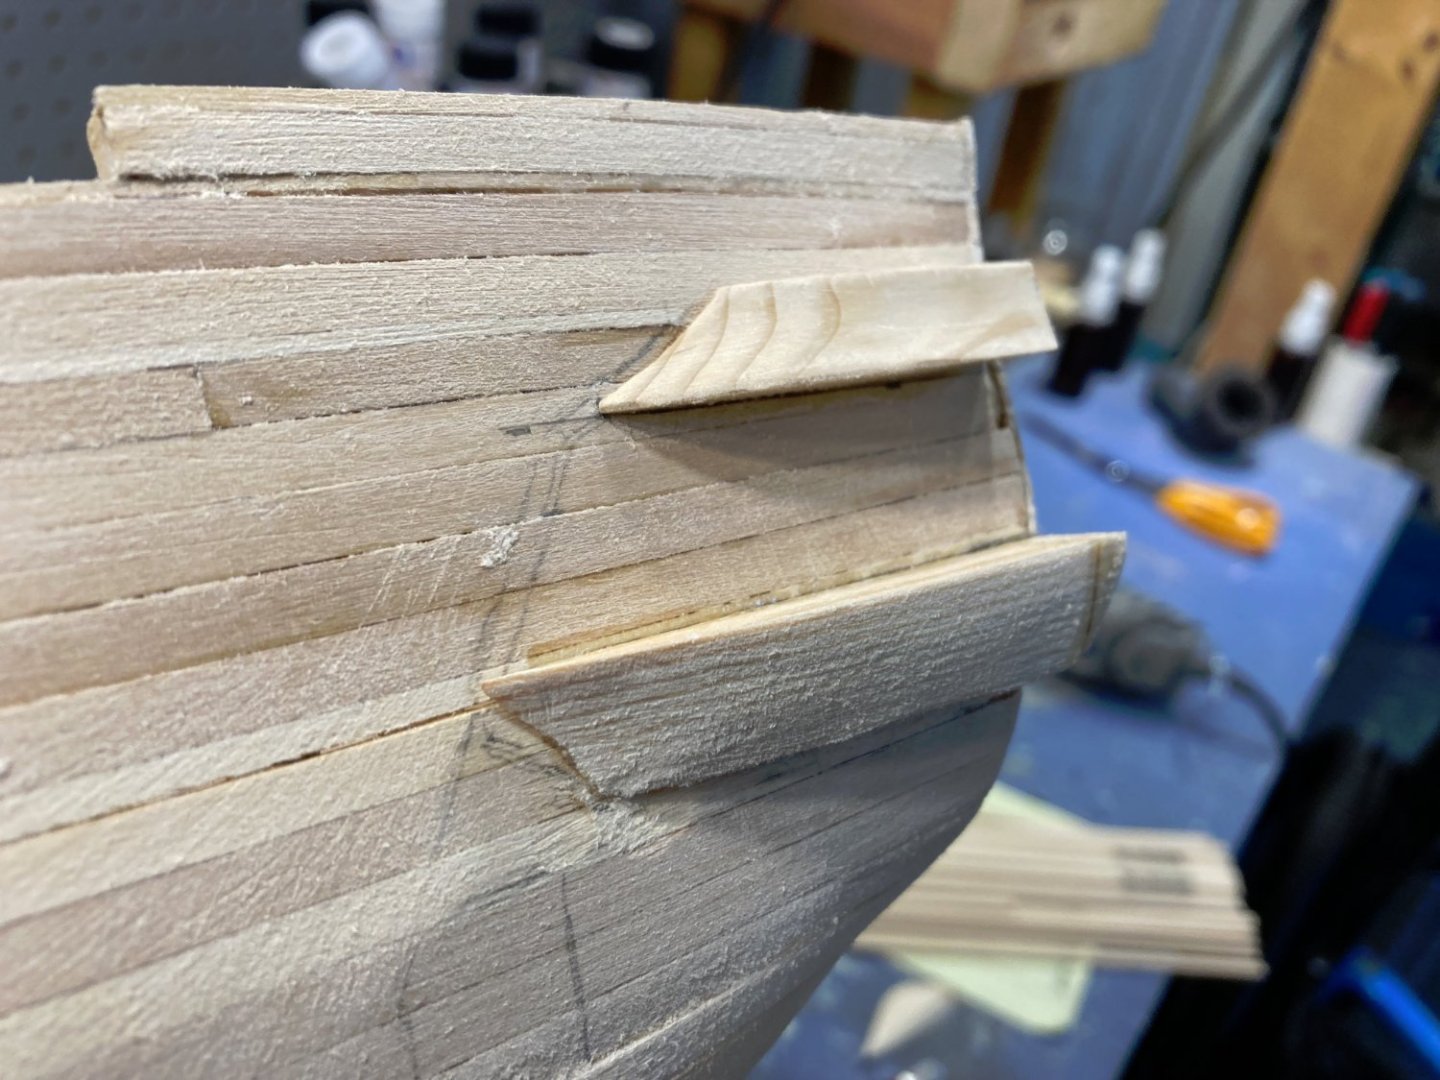
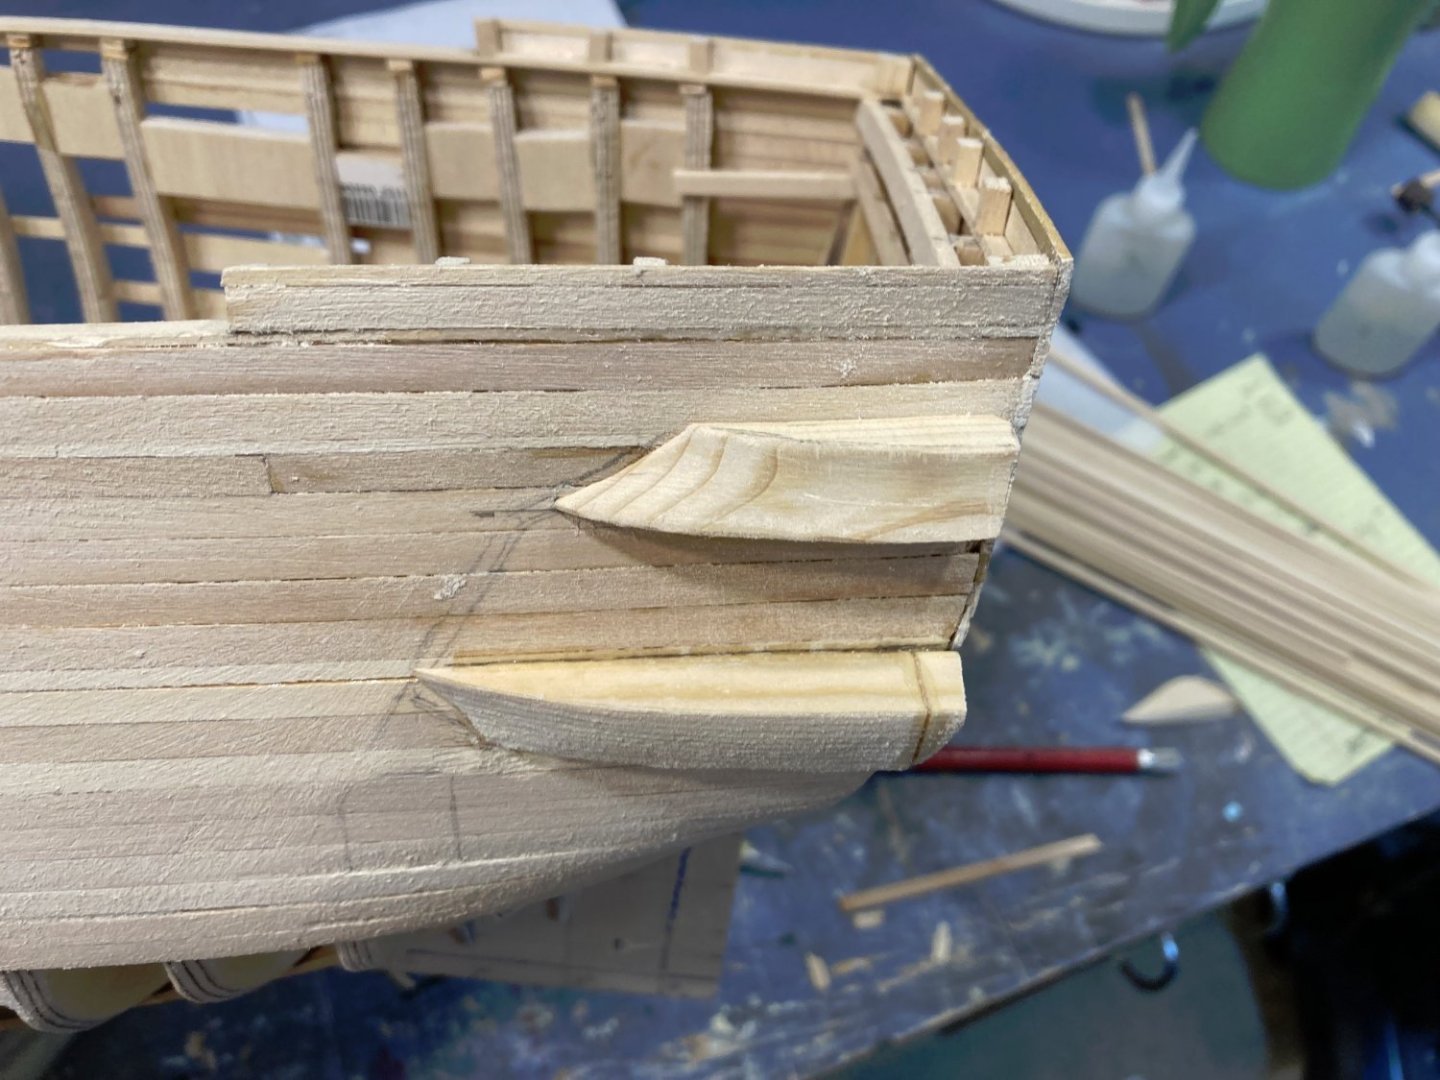
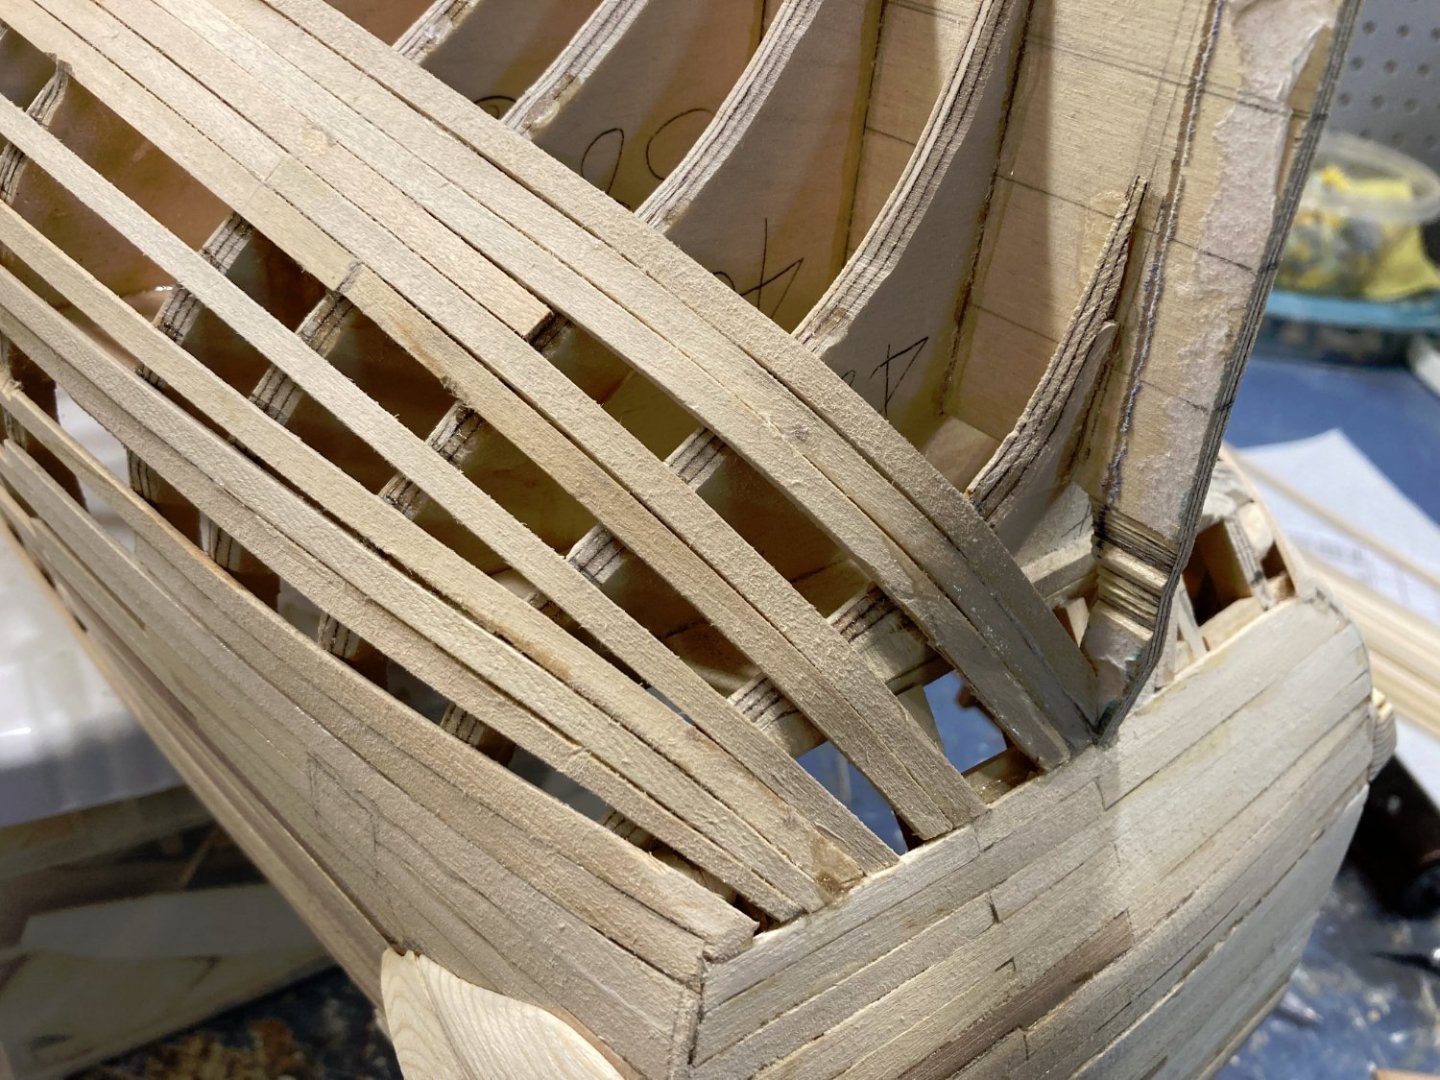
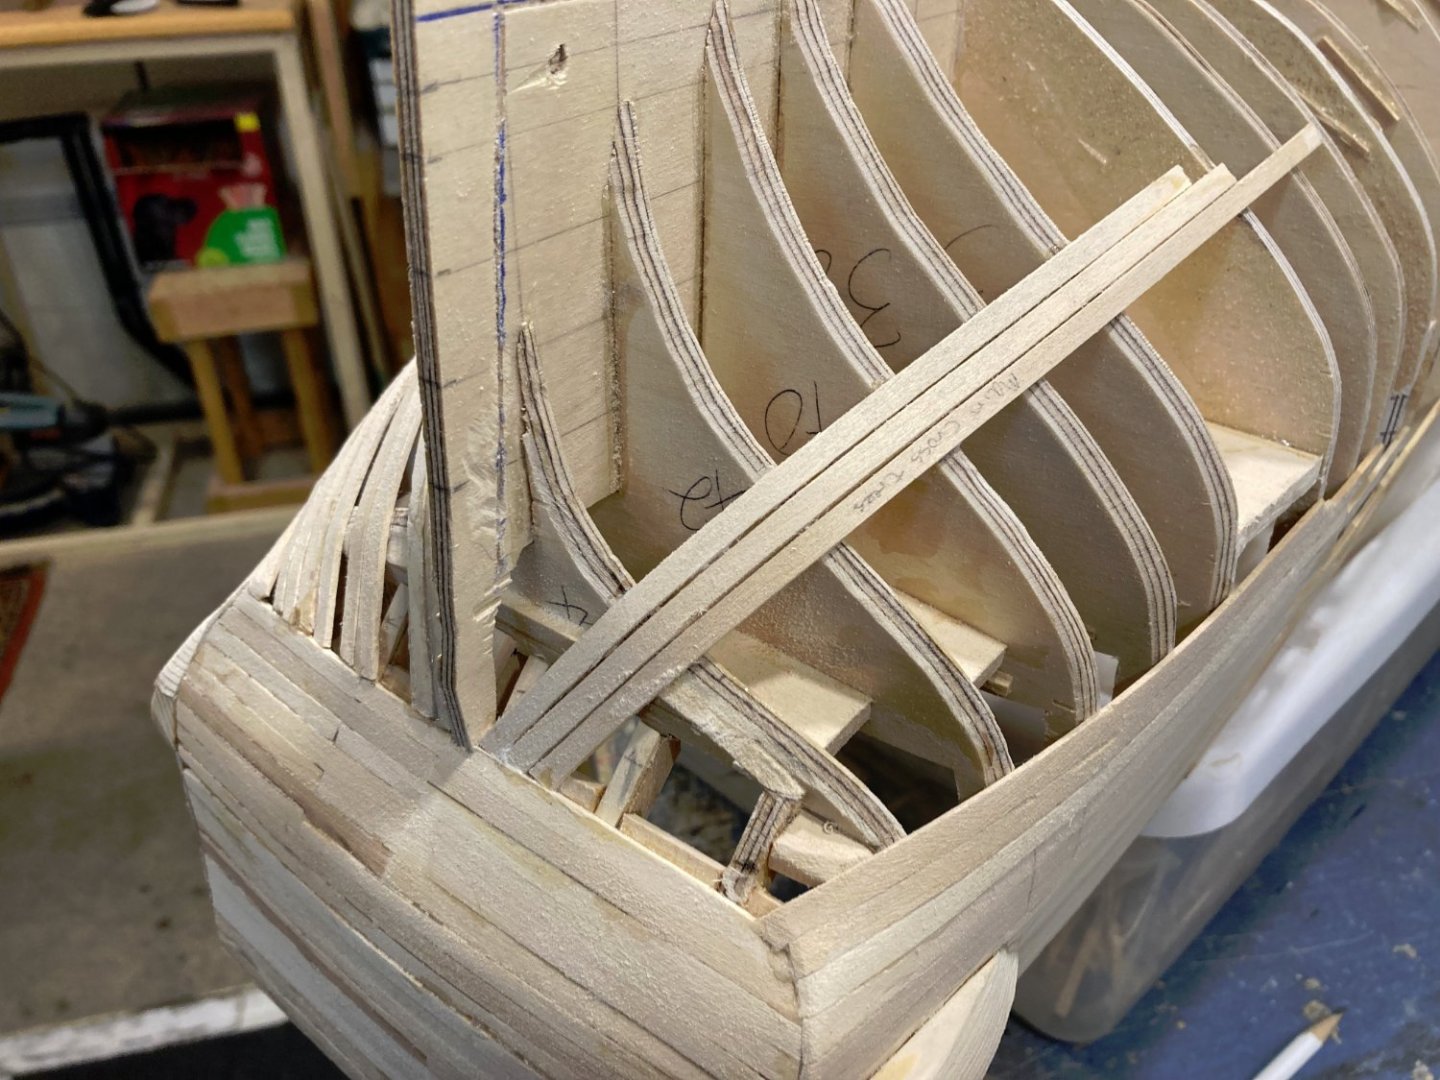
Work on New York's bow is coming along. I was not happy with the angle of the bowsprit so I re positioned it.

-
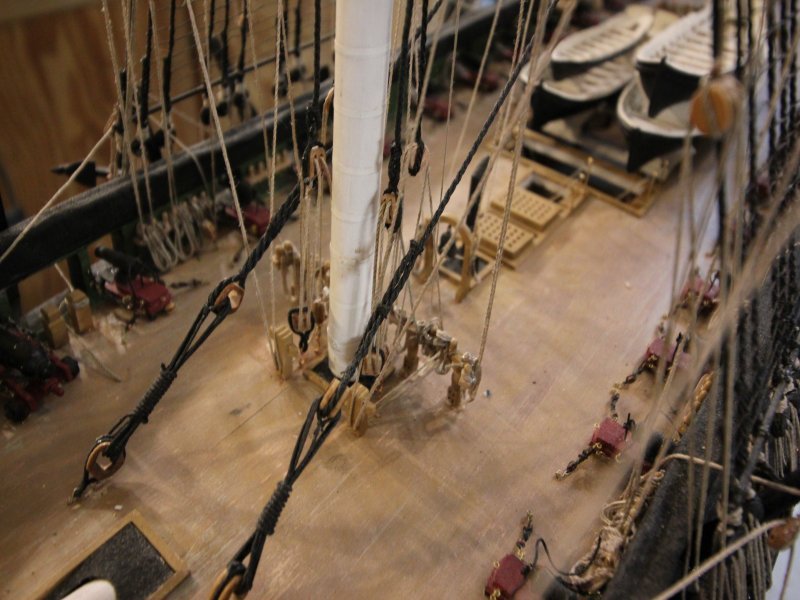
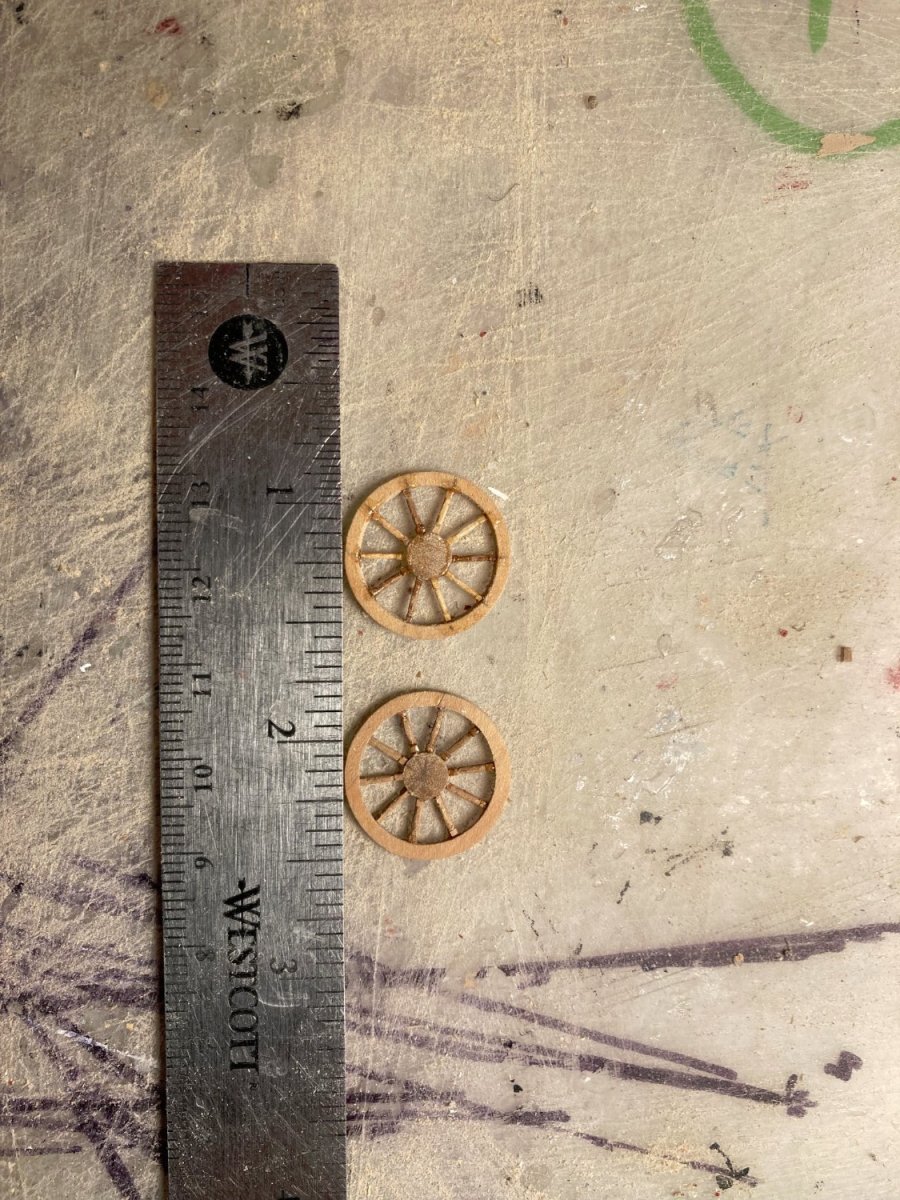
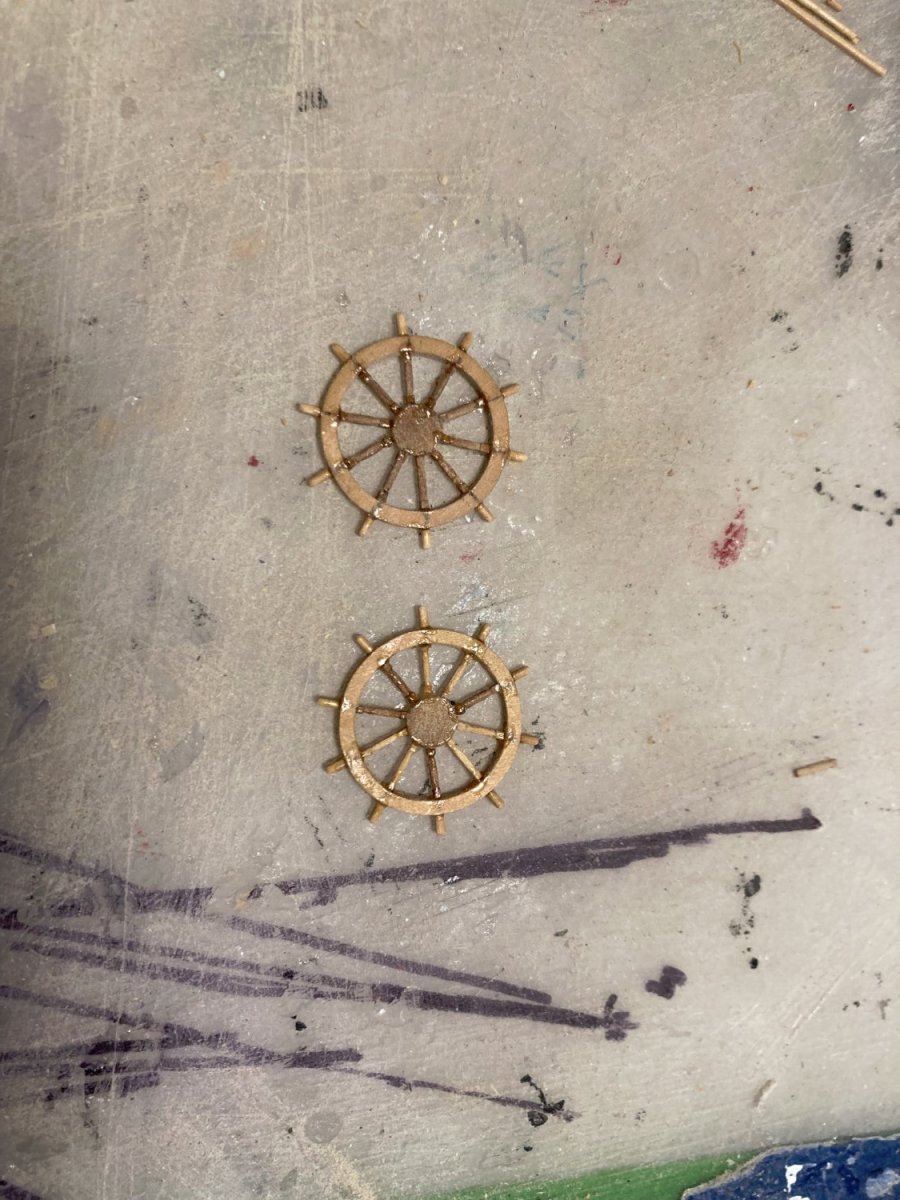
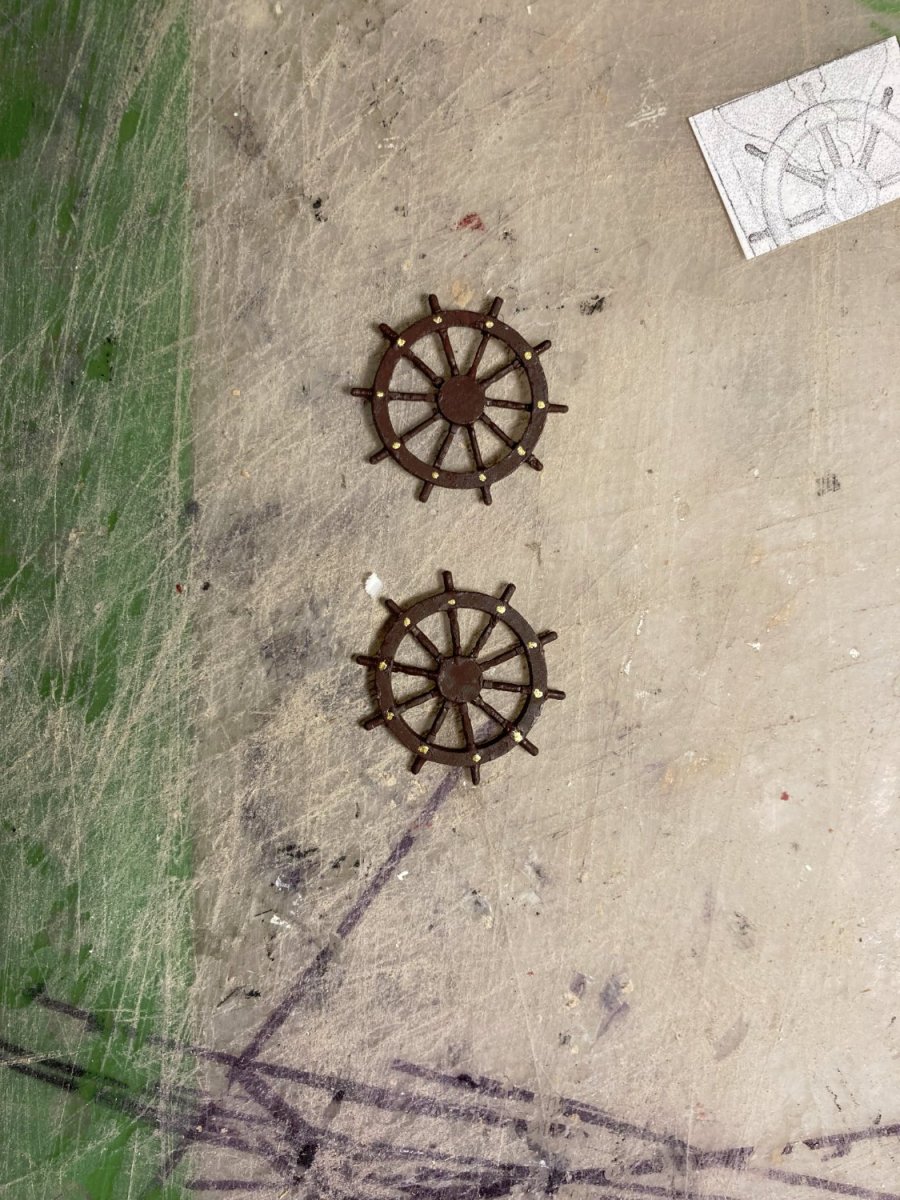
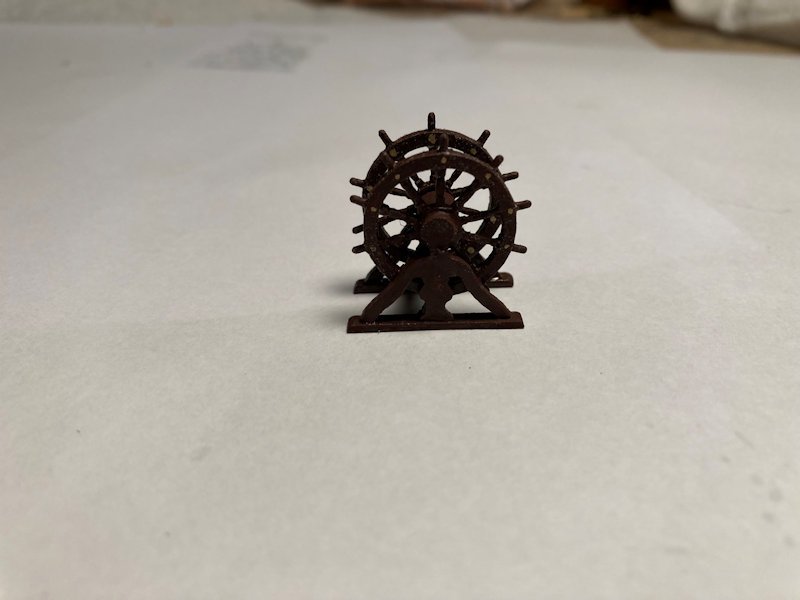
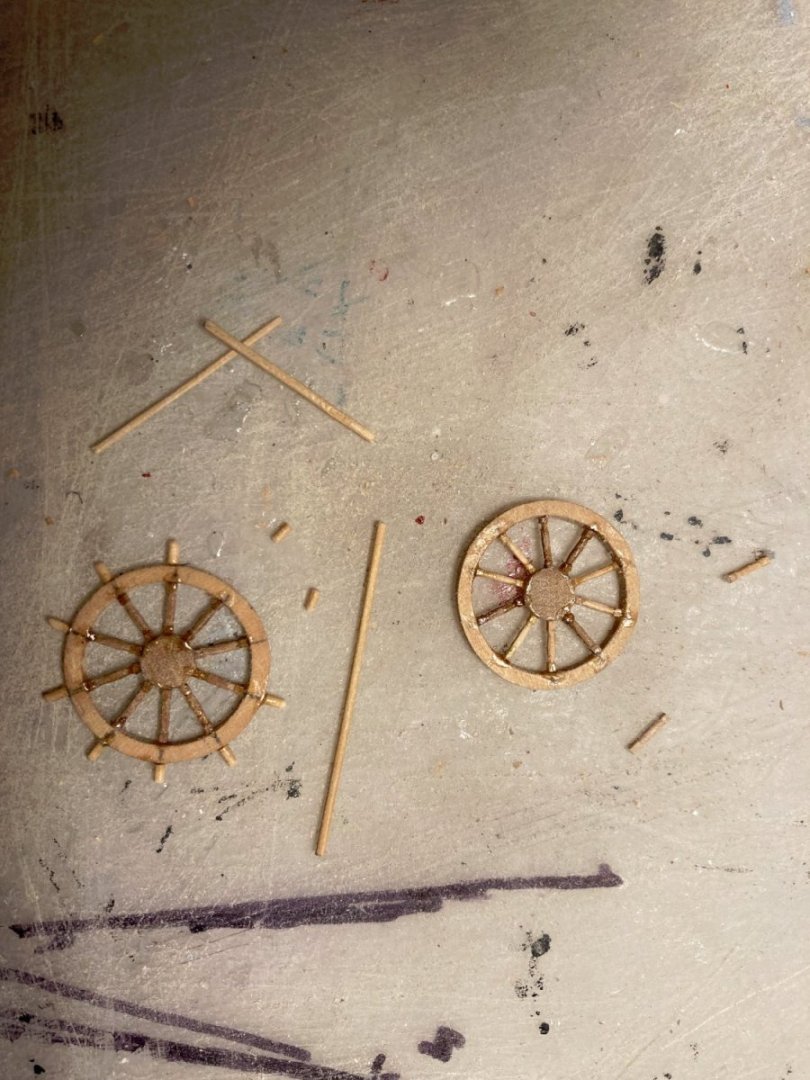
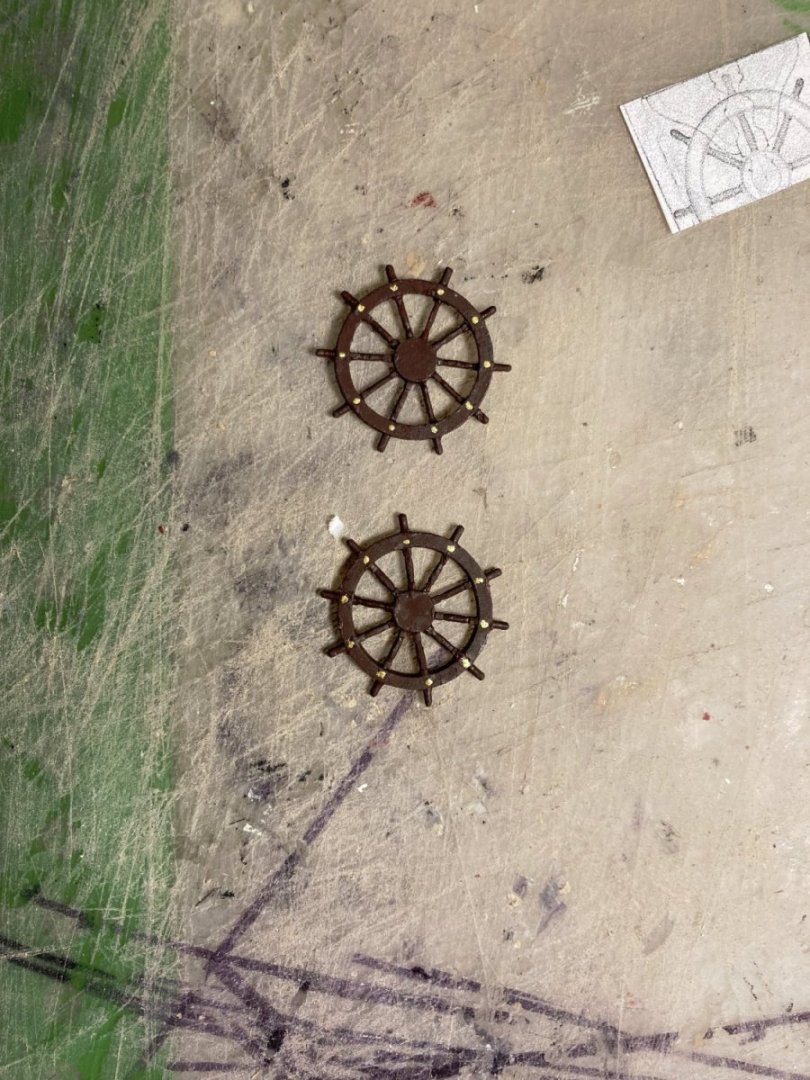
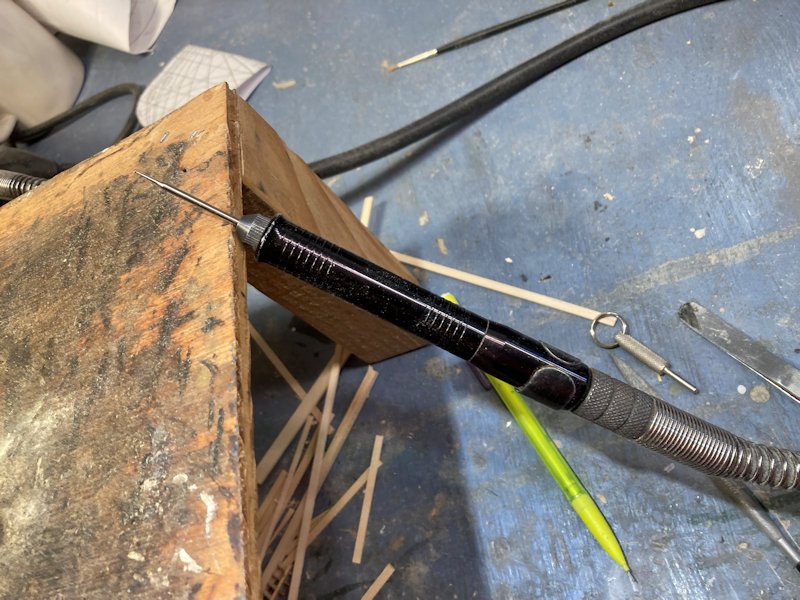
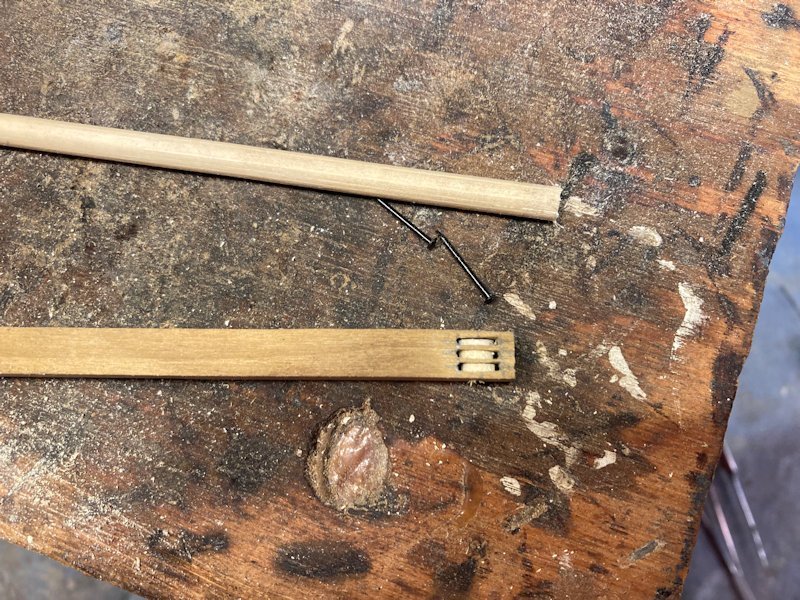
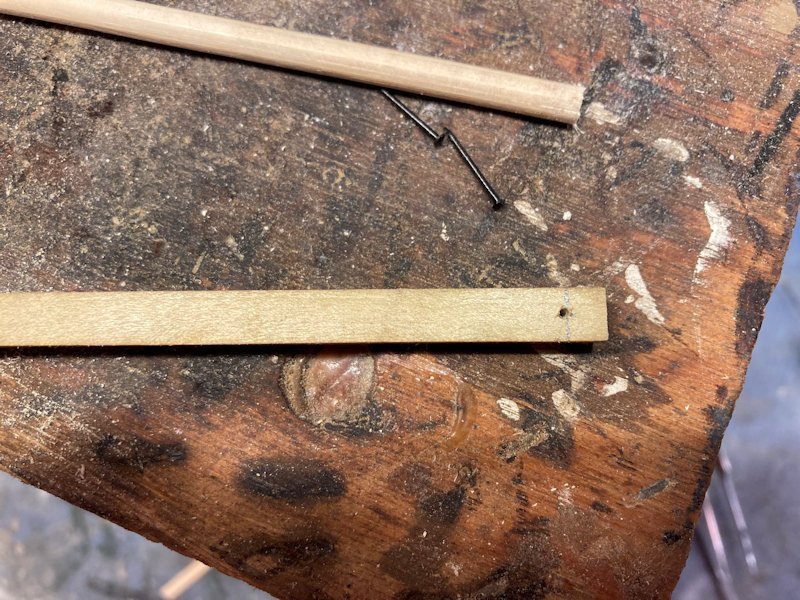
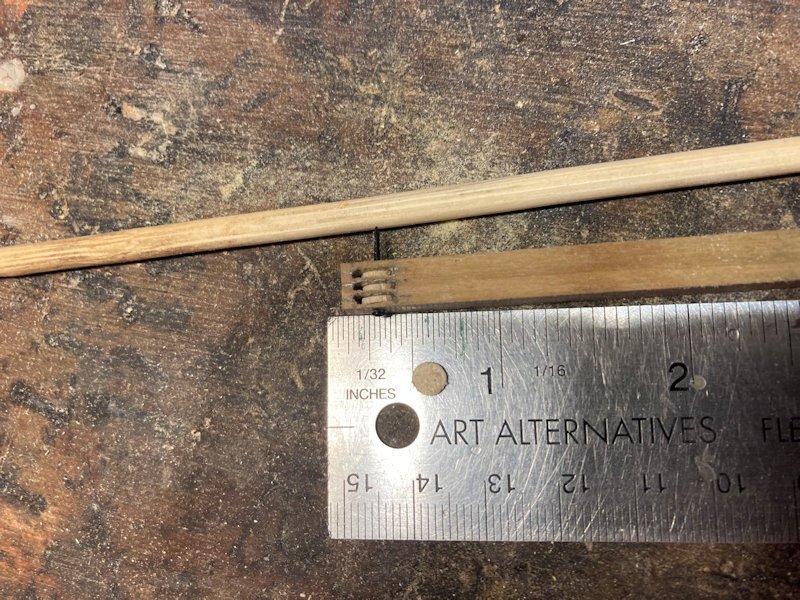
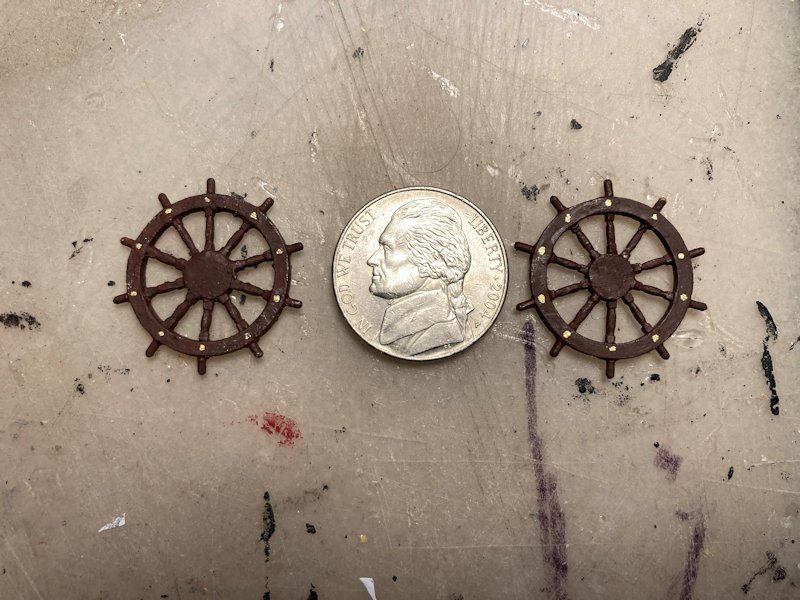
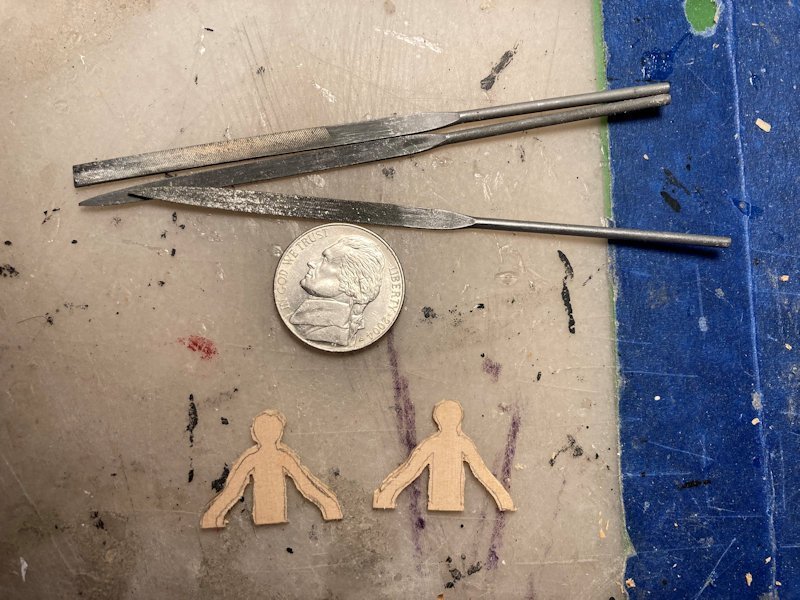
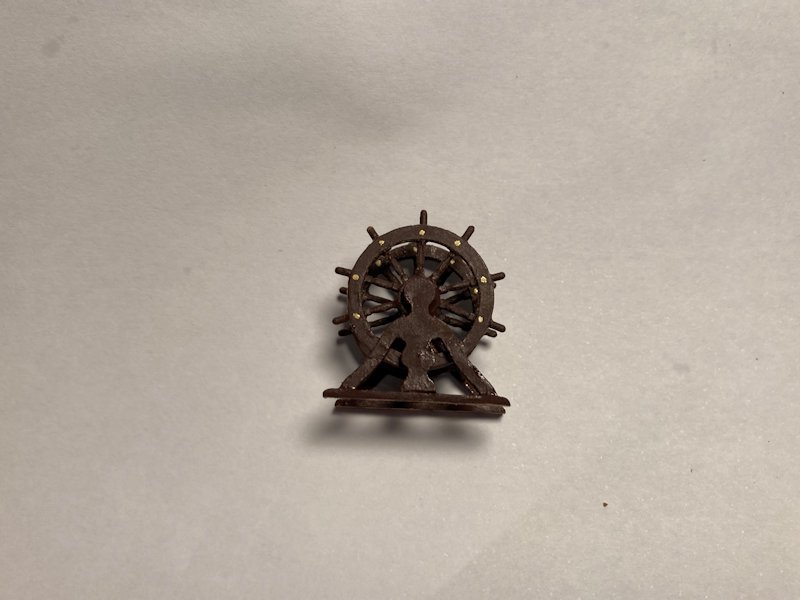
Here are some photos of various stages in the ship's wheel build.


-
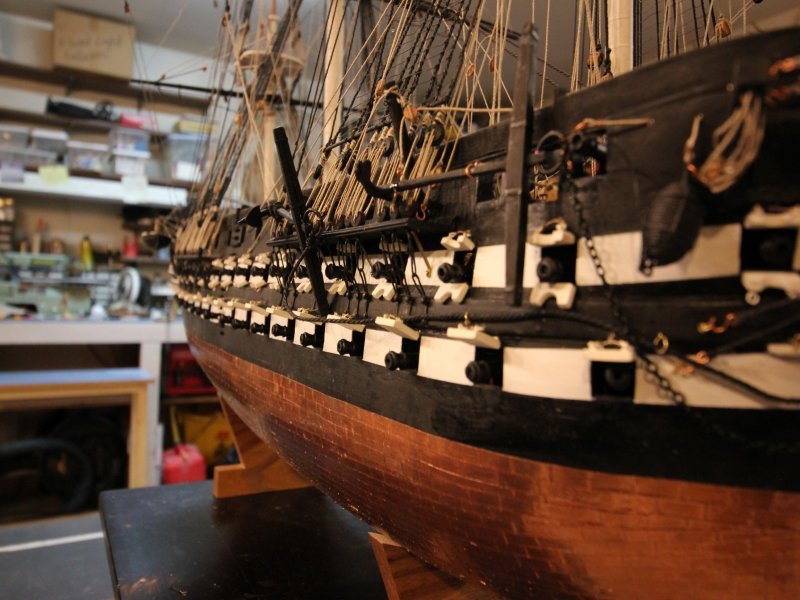
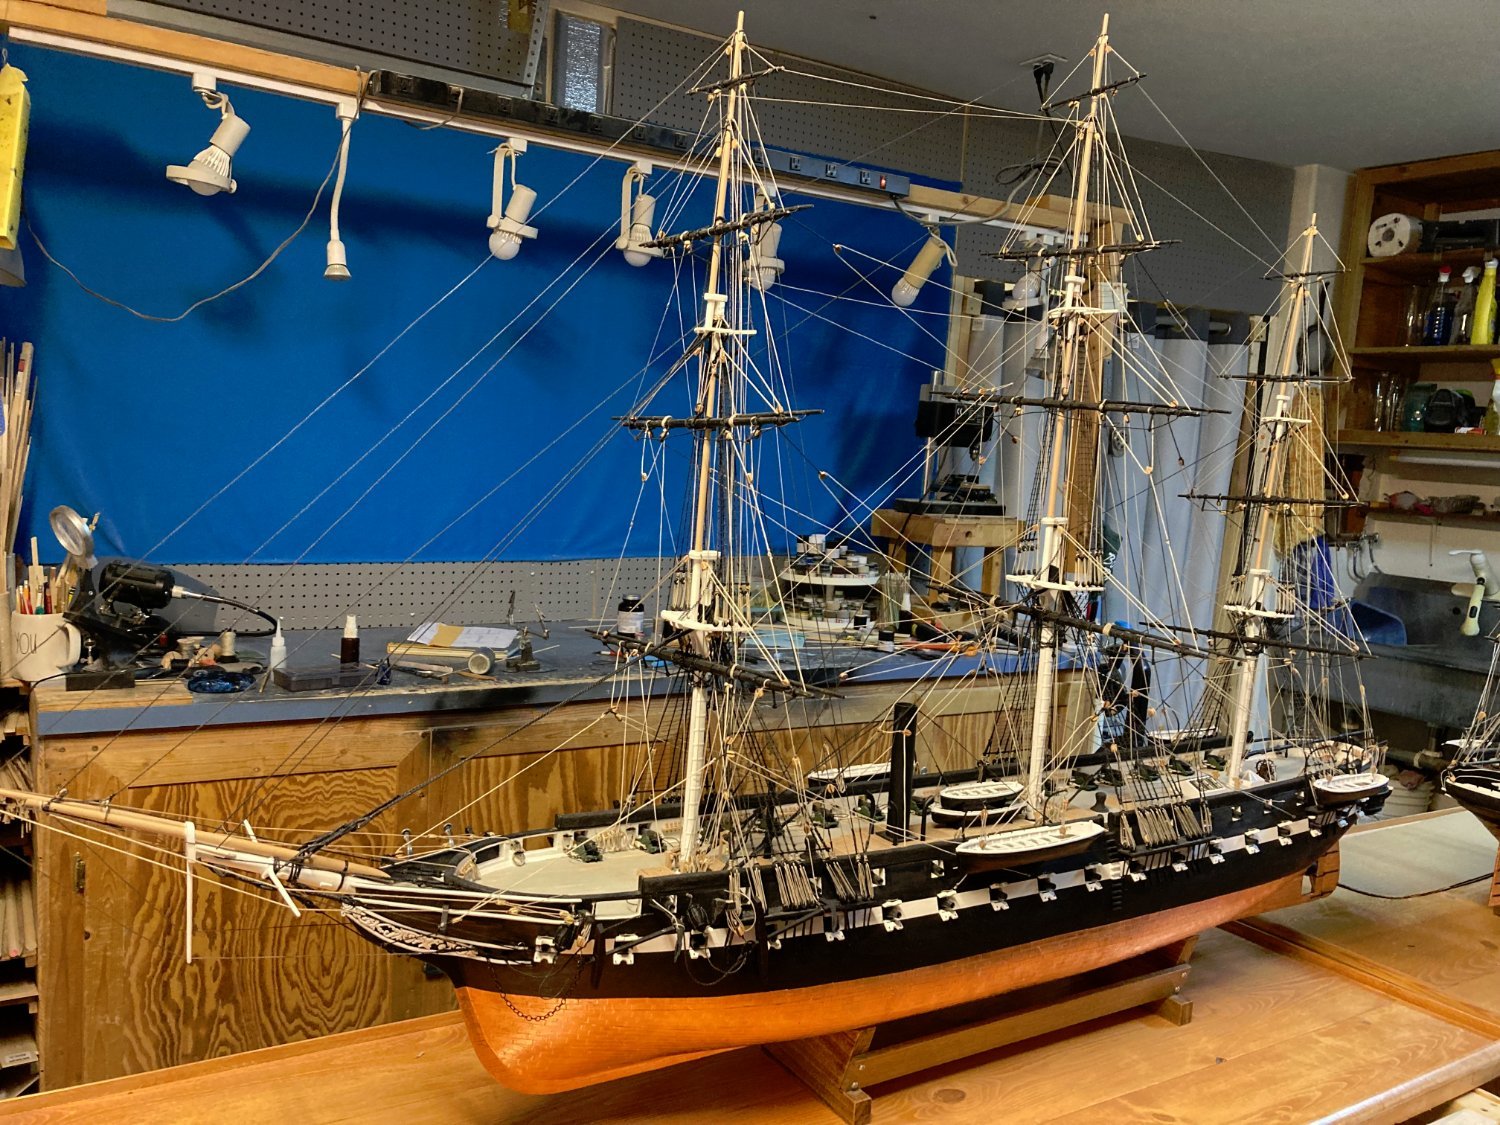
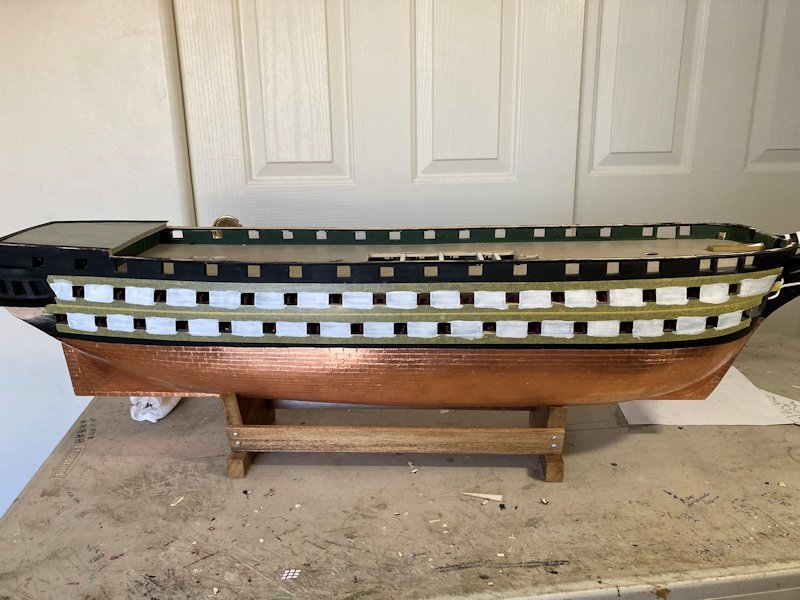
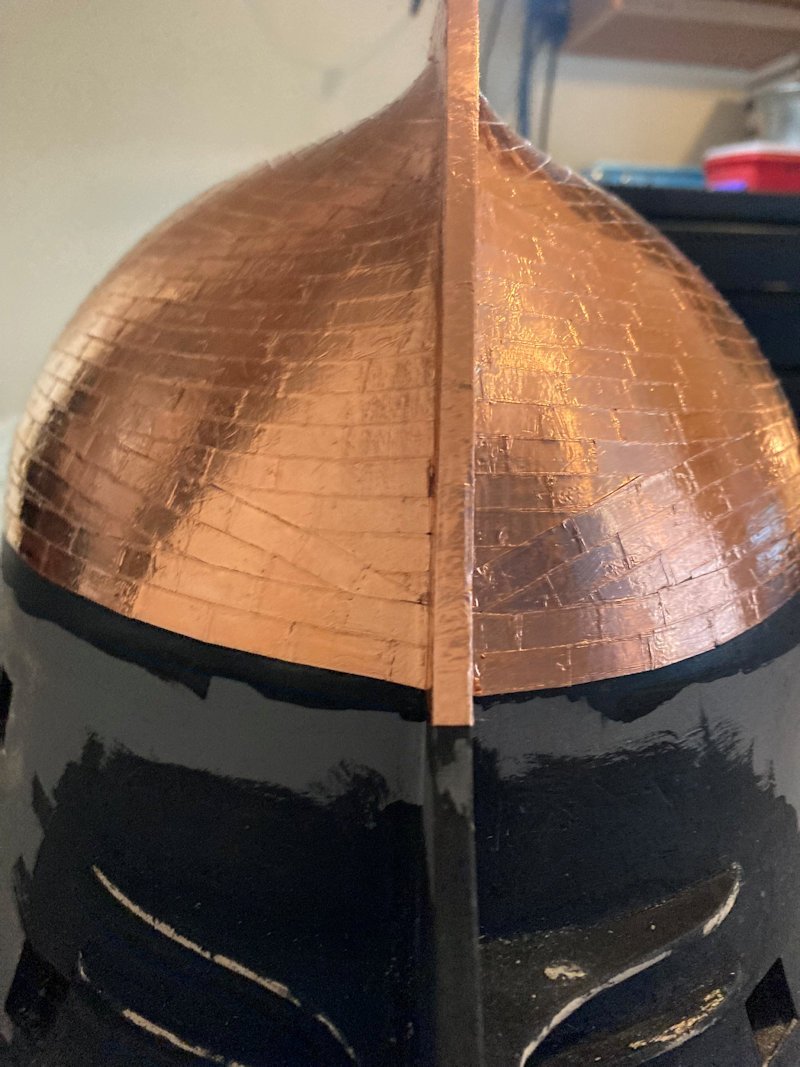
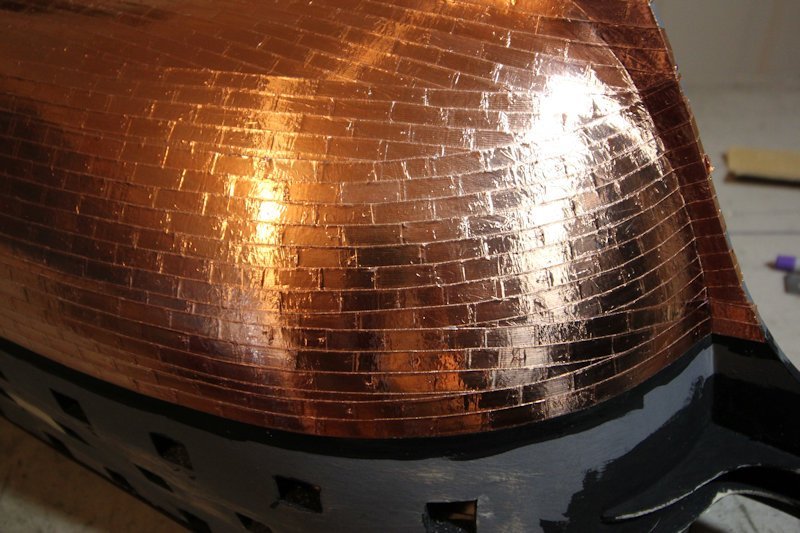
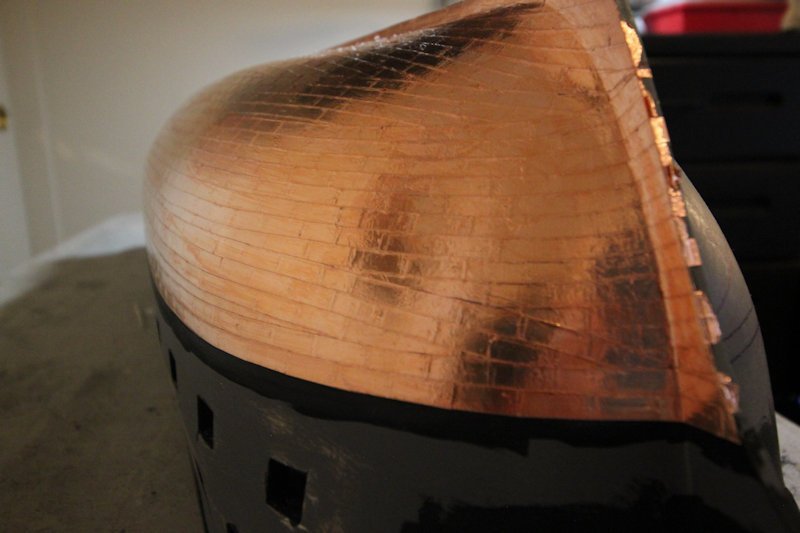
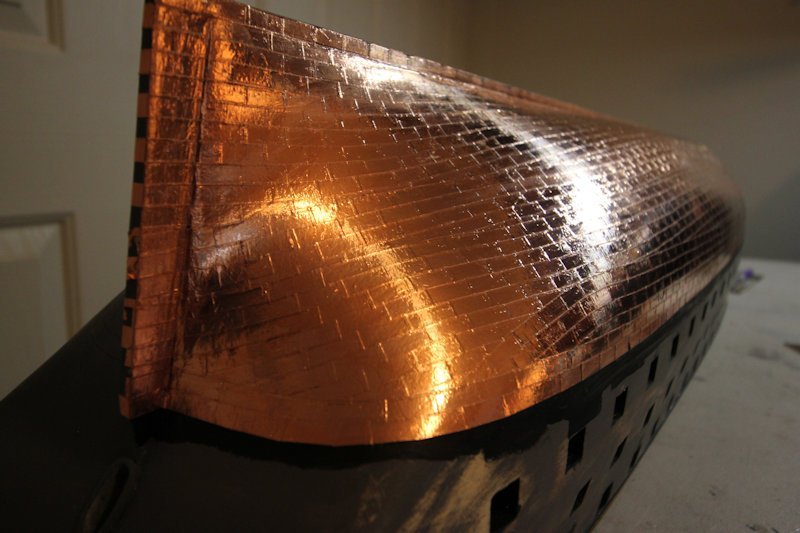
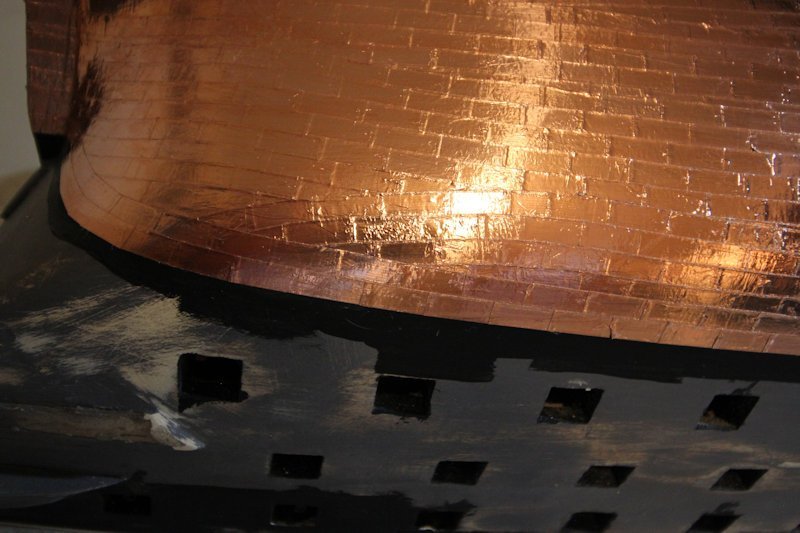
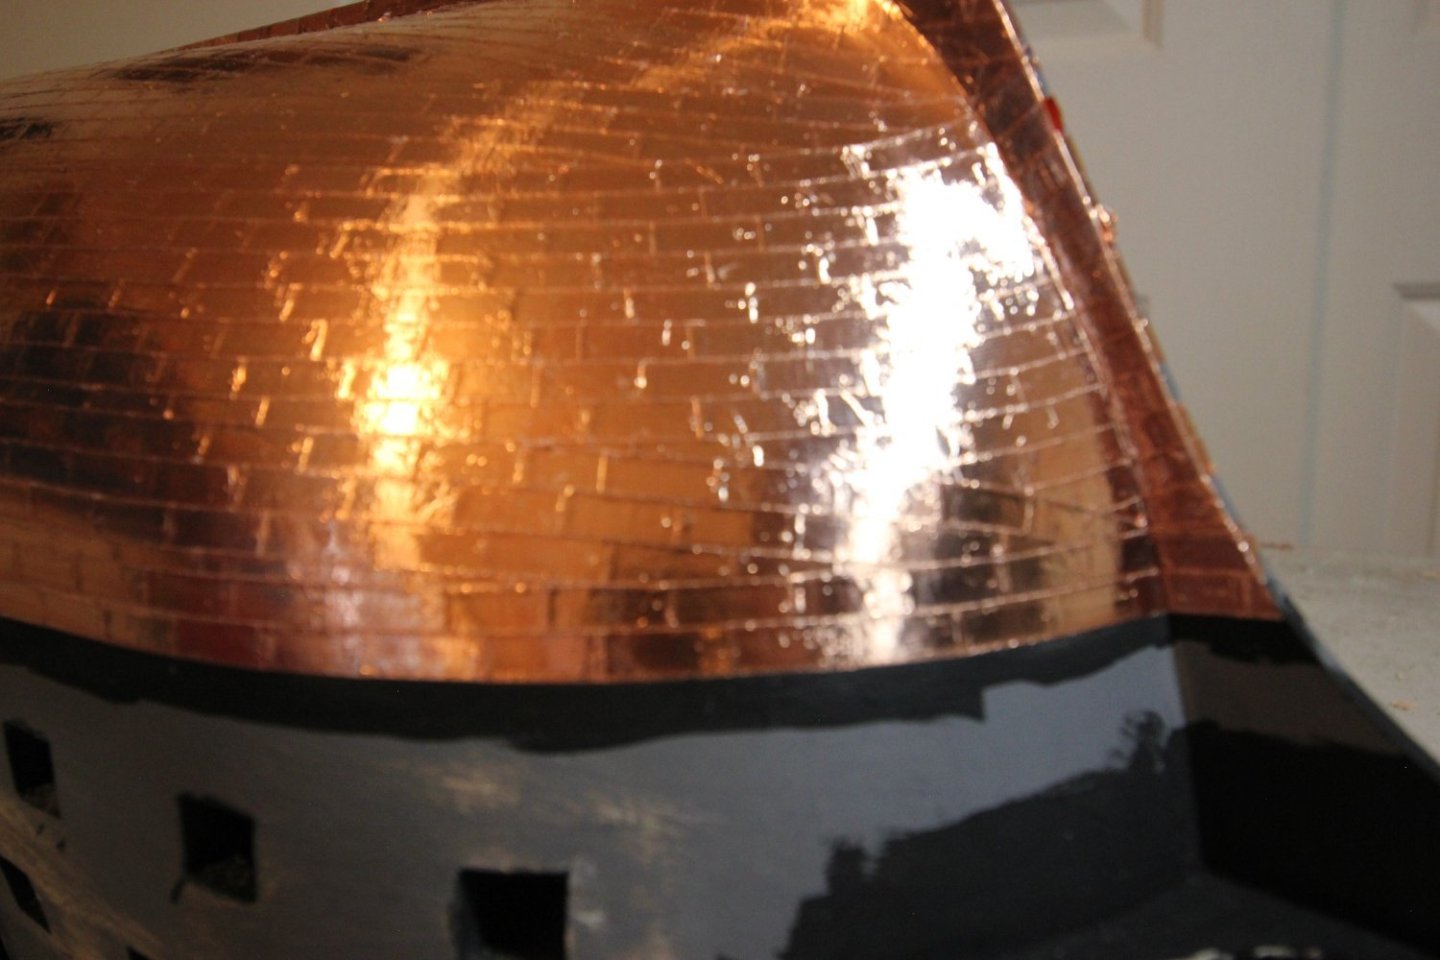
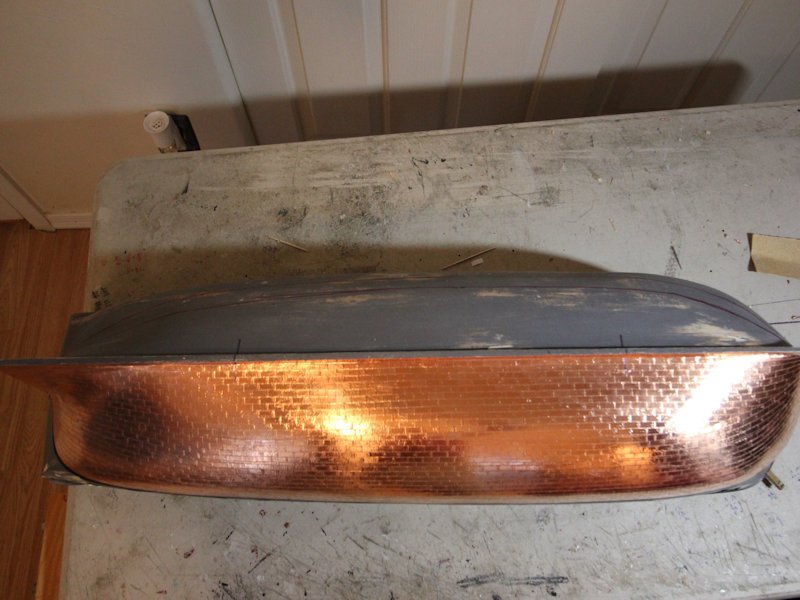
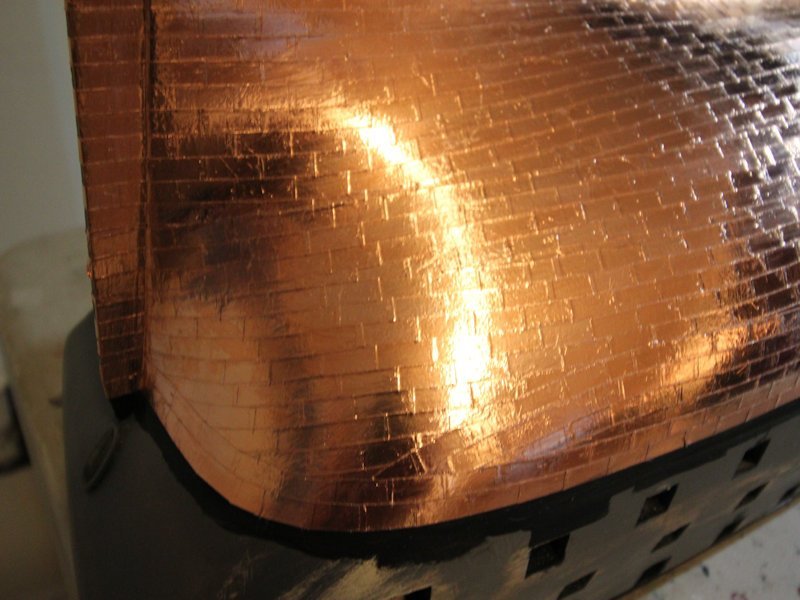
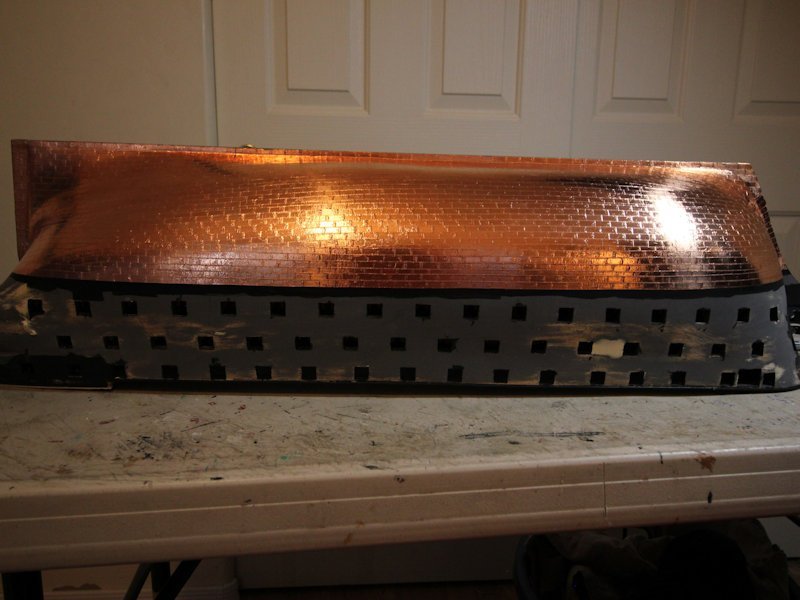
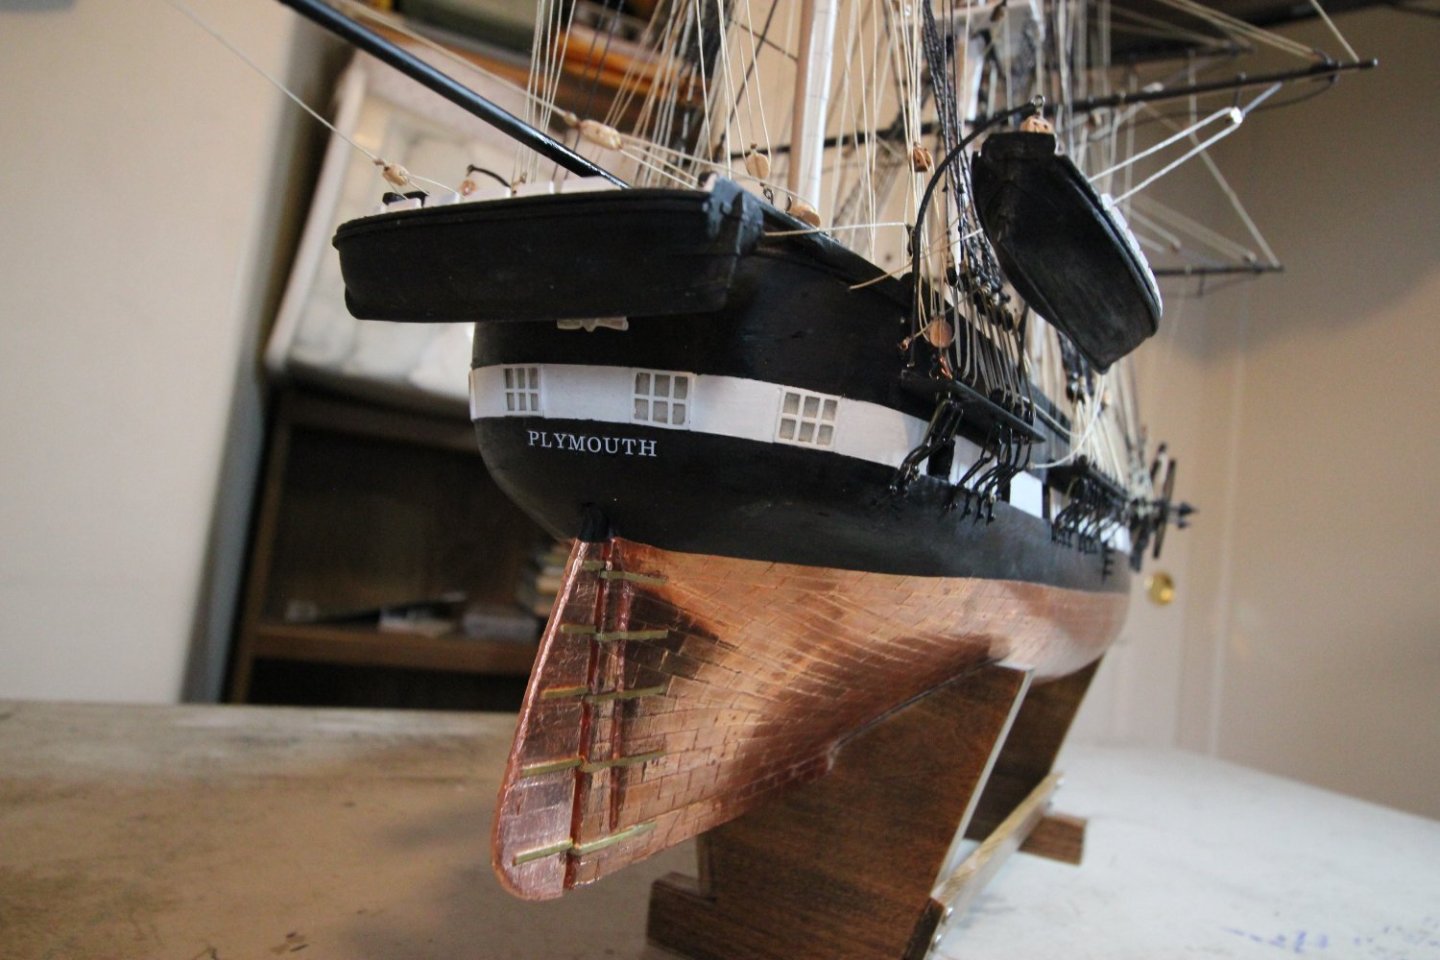
Hooray! Done with the coppering on the New York!
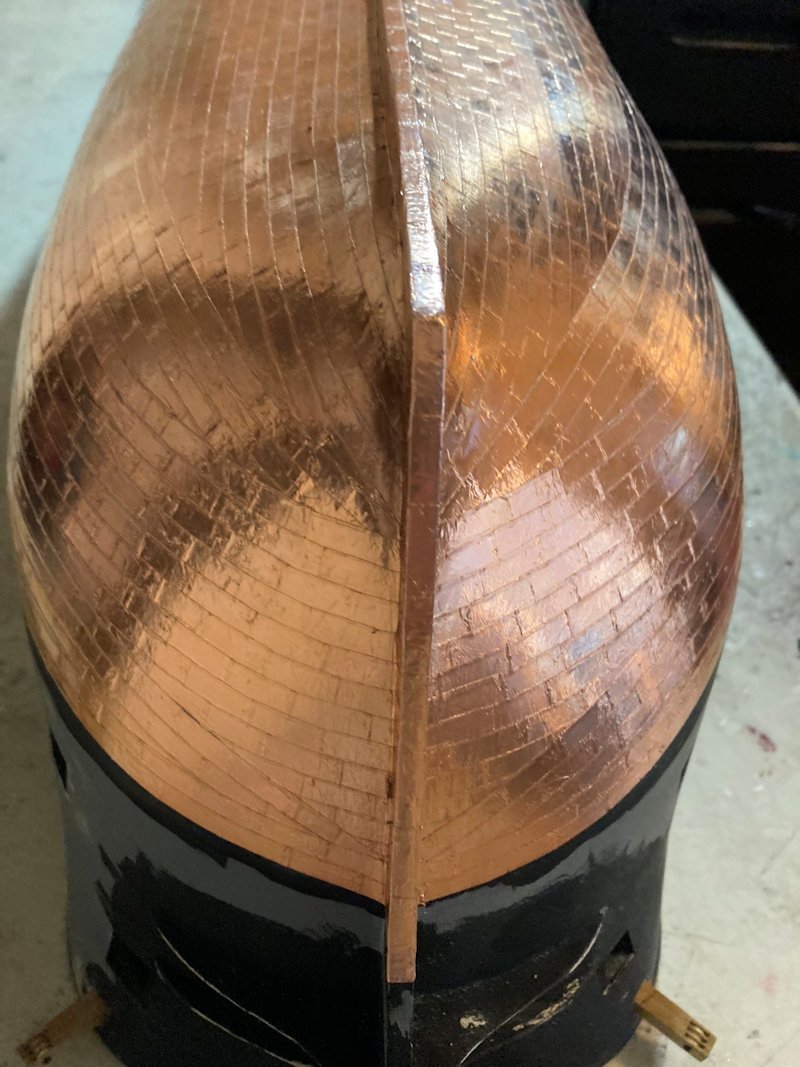
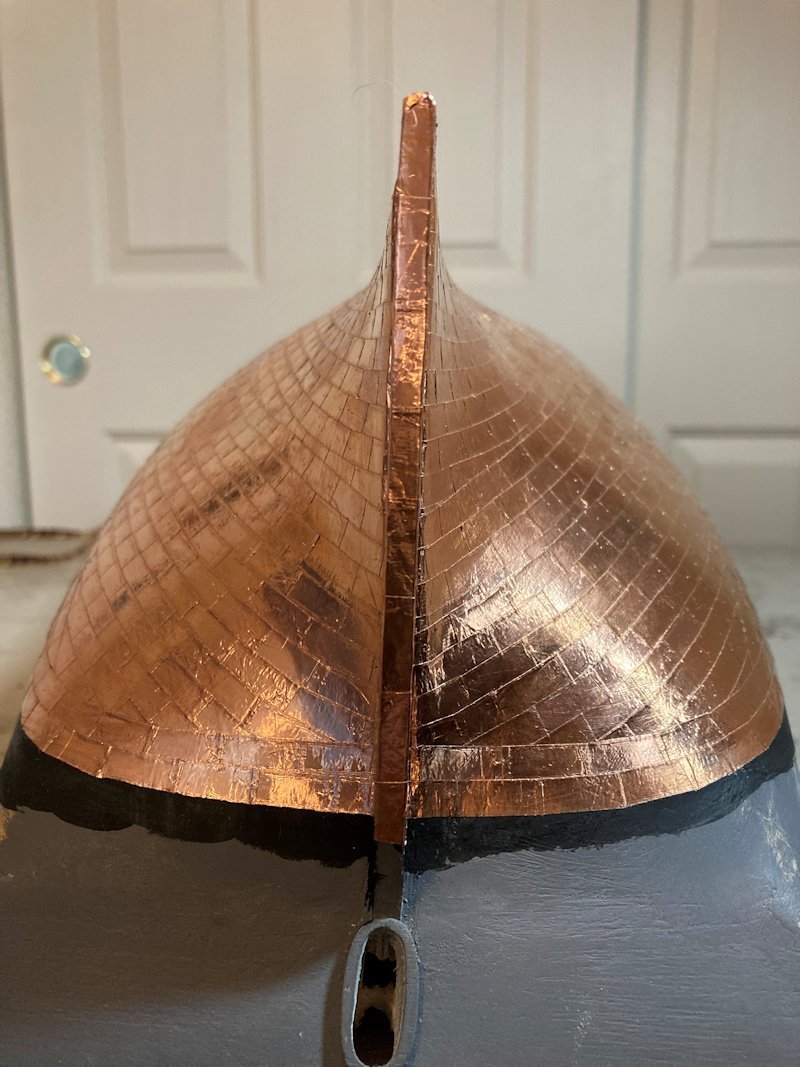
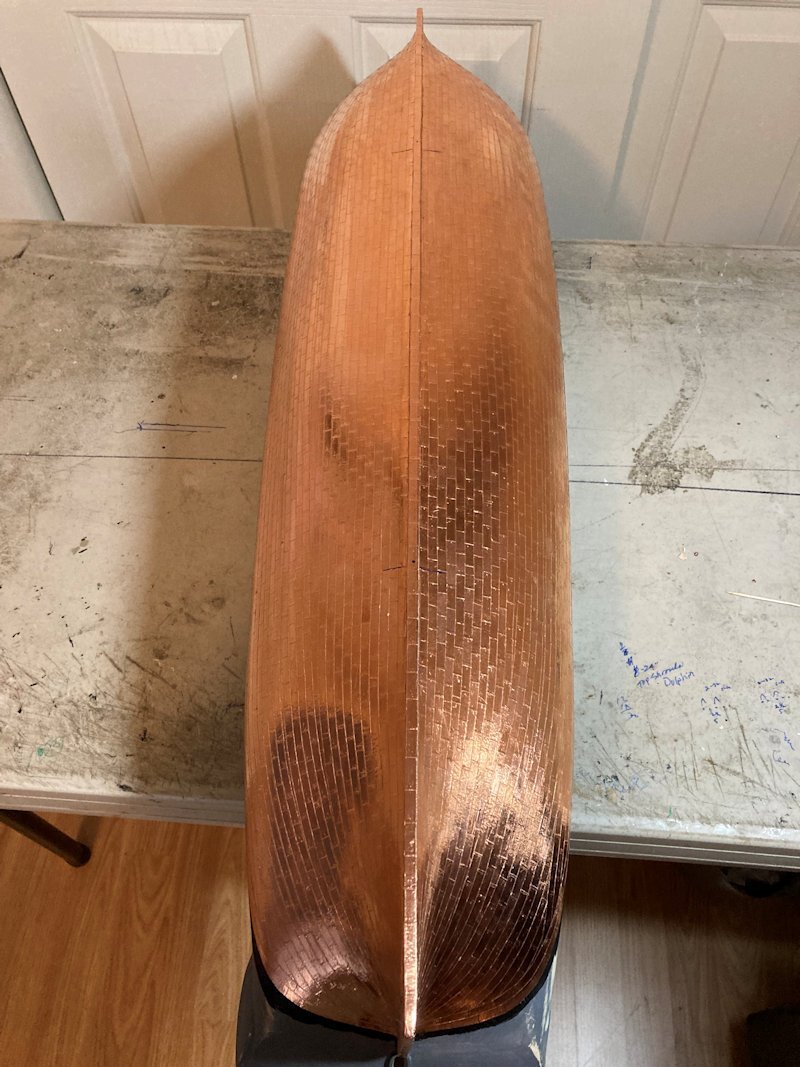
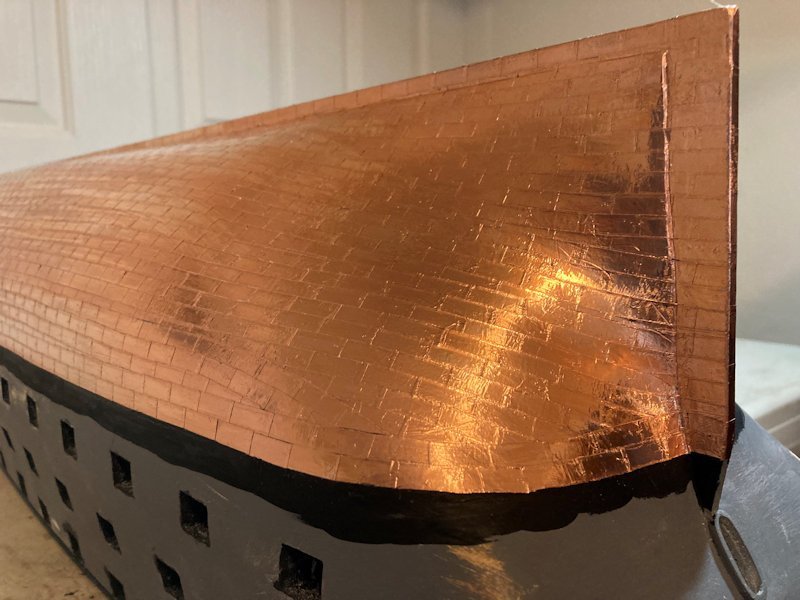
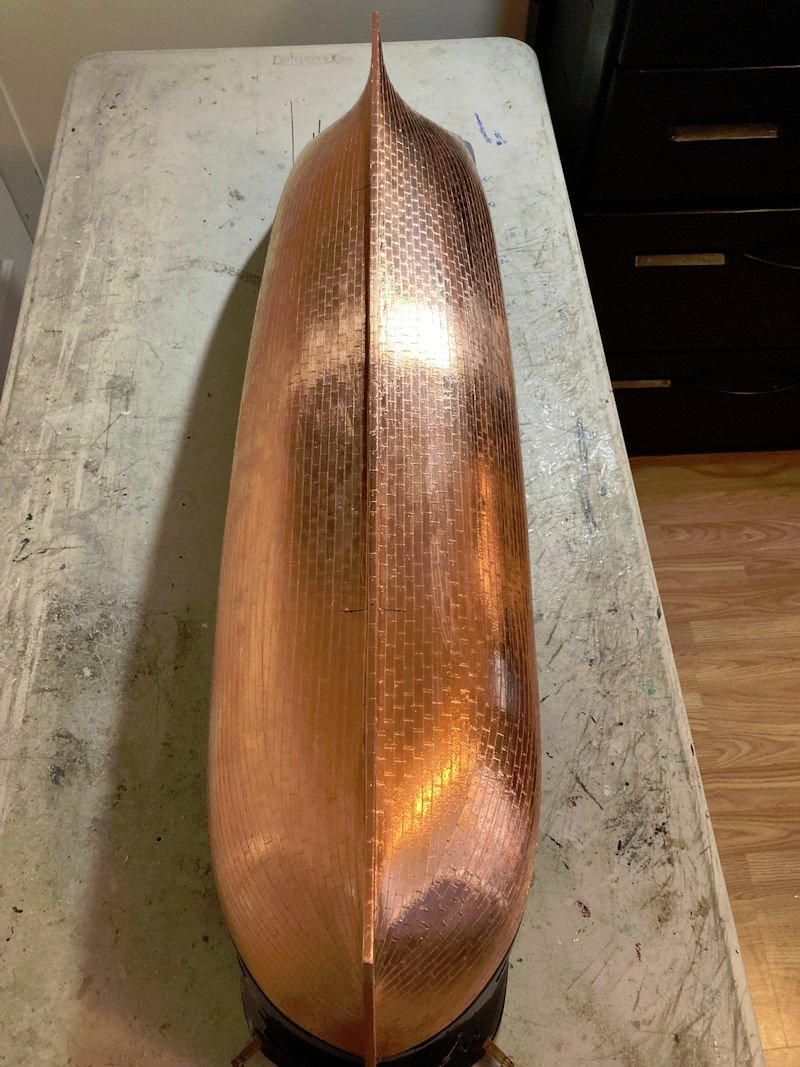
-
I have just finished putting copper "plates" on one side of the hull on my latest ship model, the New York. 60 hours over 14 days to do this about 1500 individual pieces. Now, on to the other side! Groan!
-
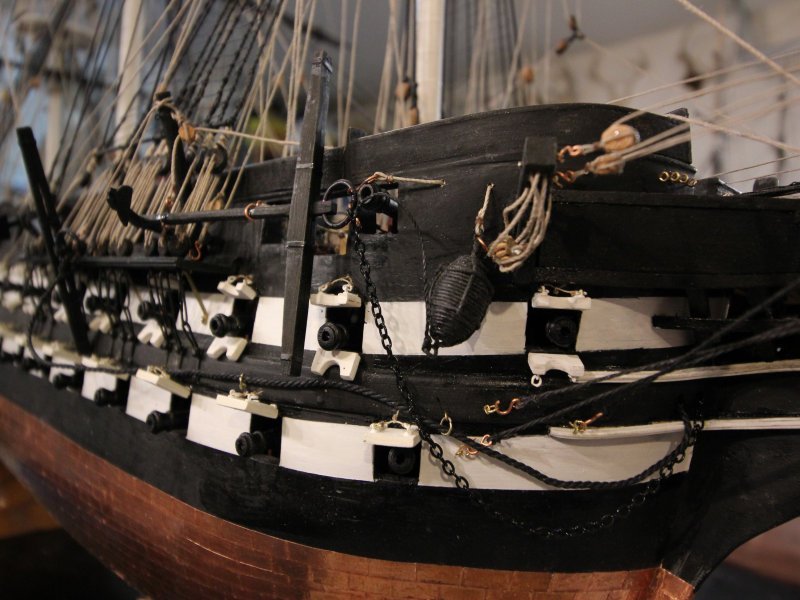
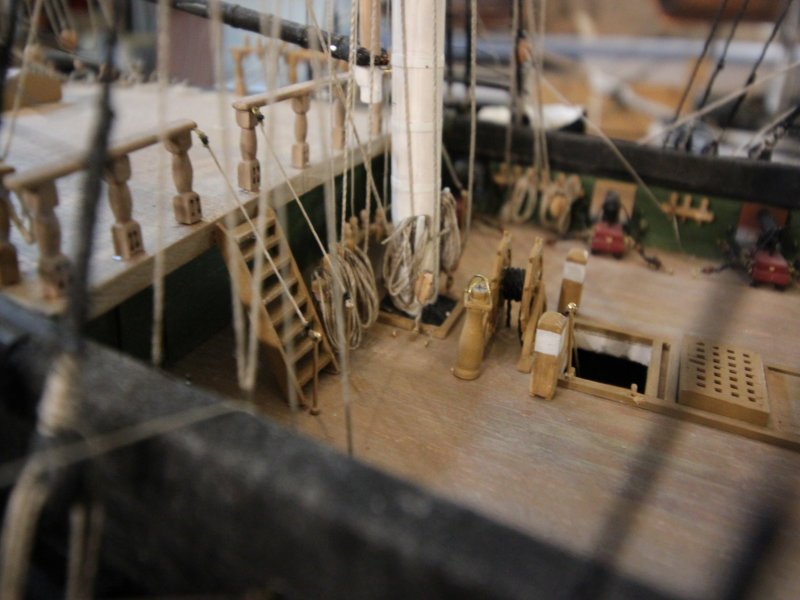
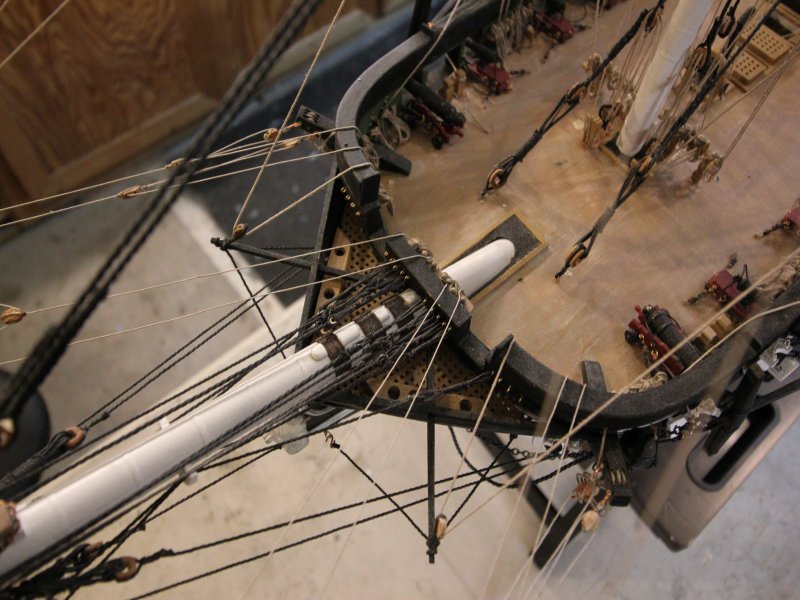
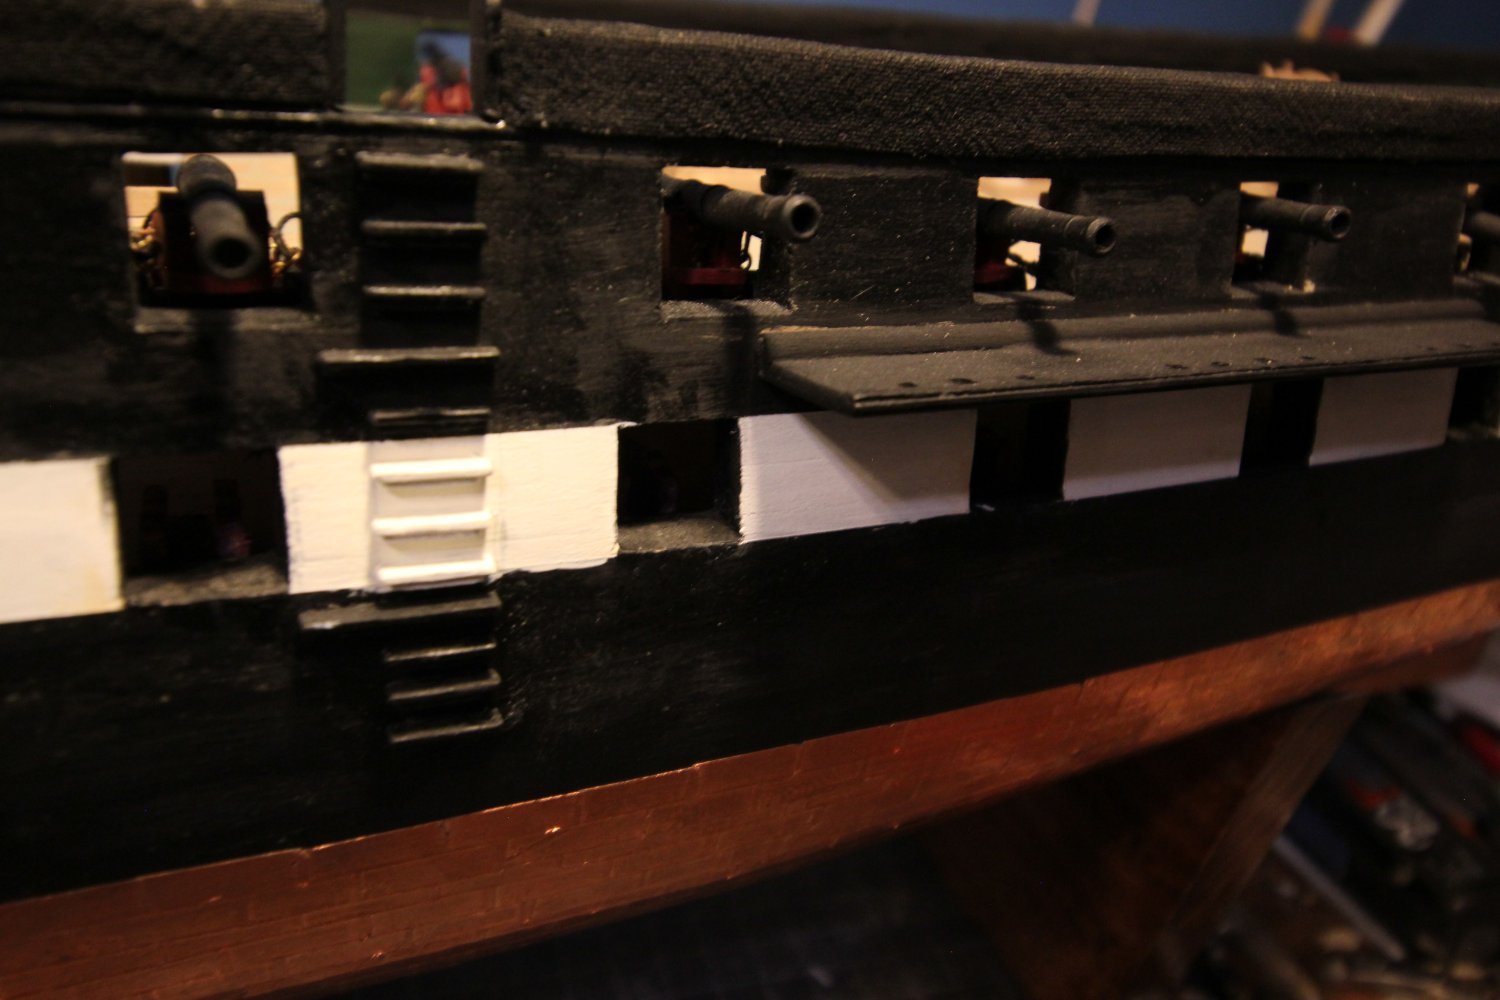
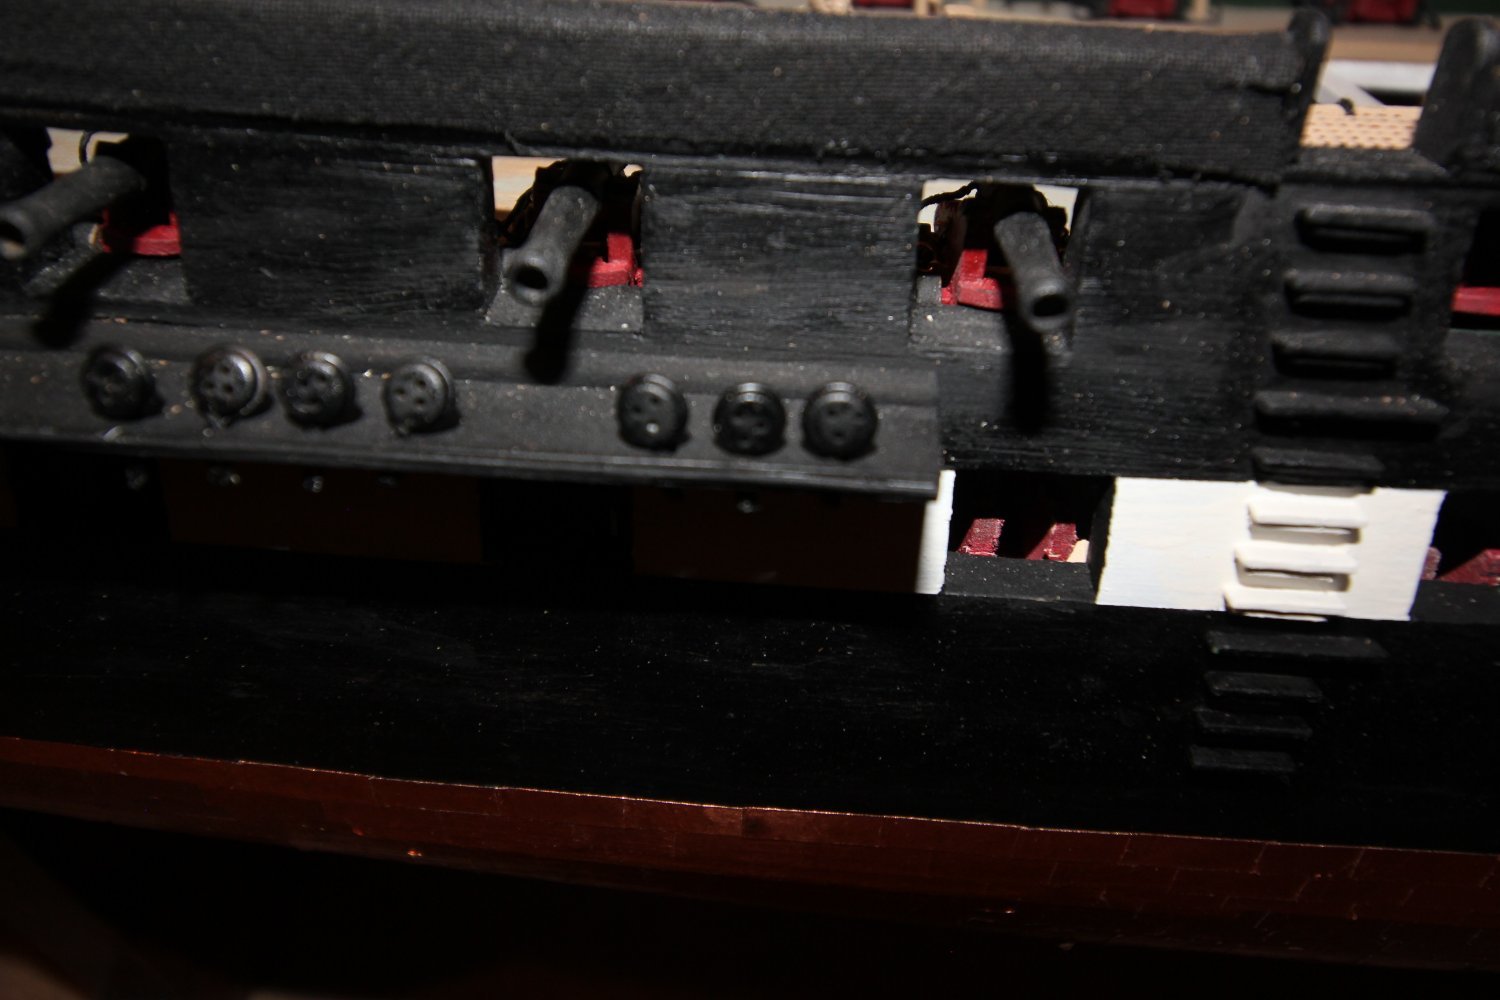
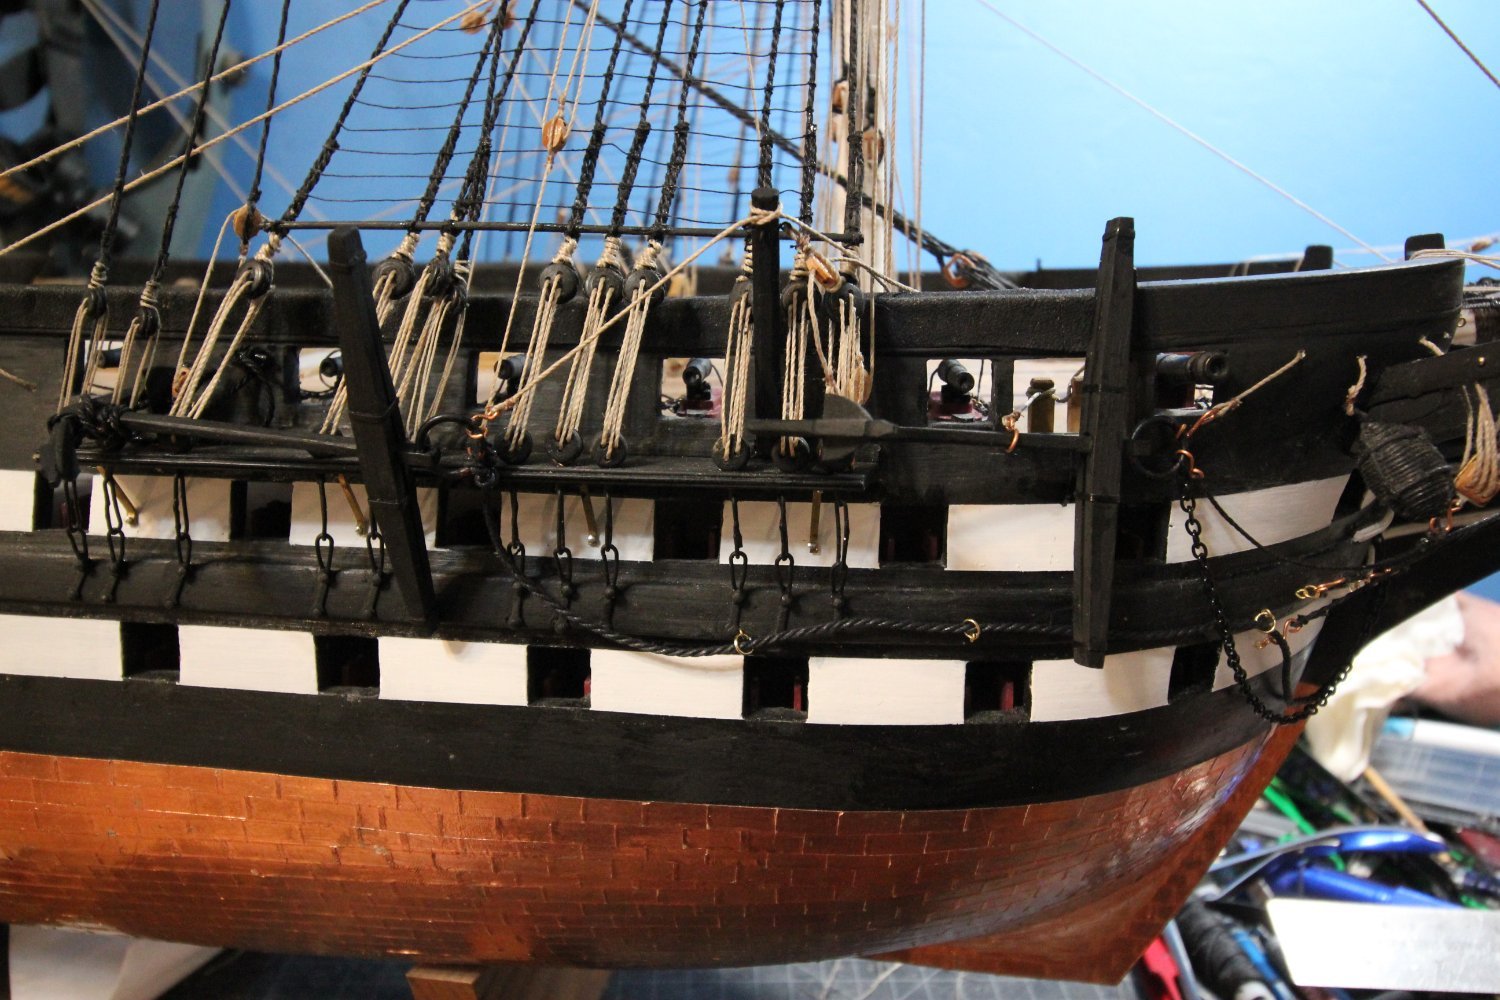
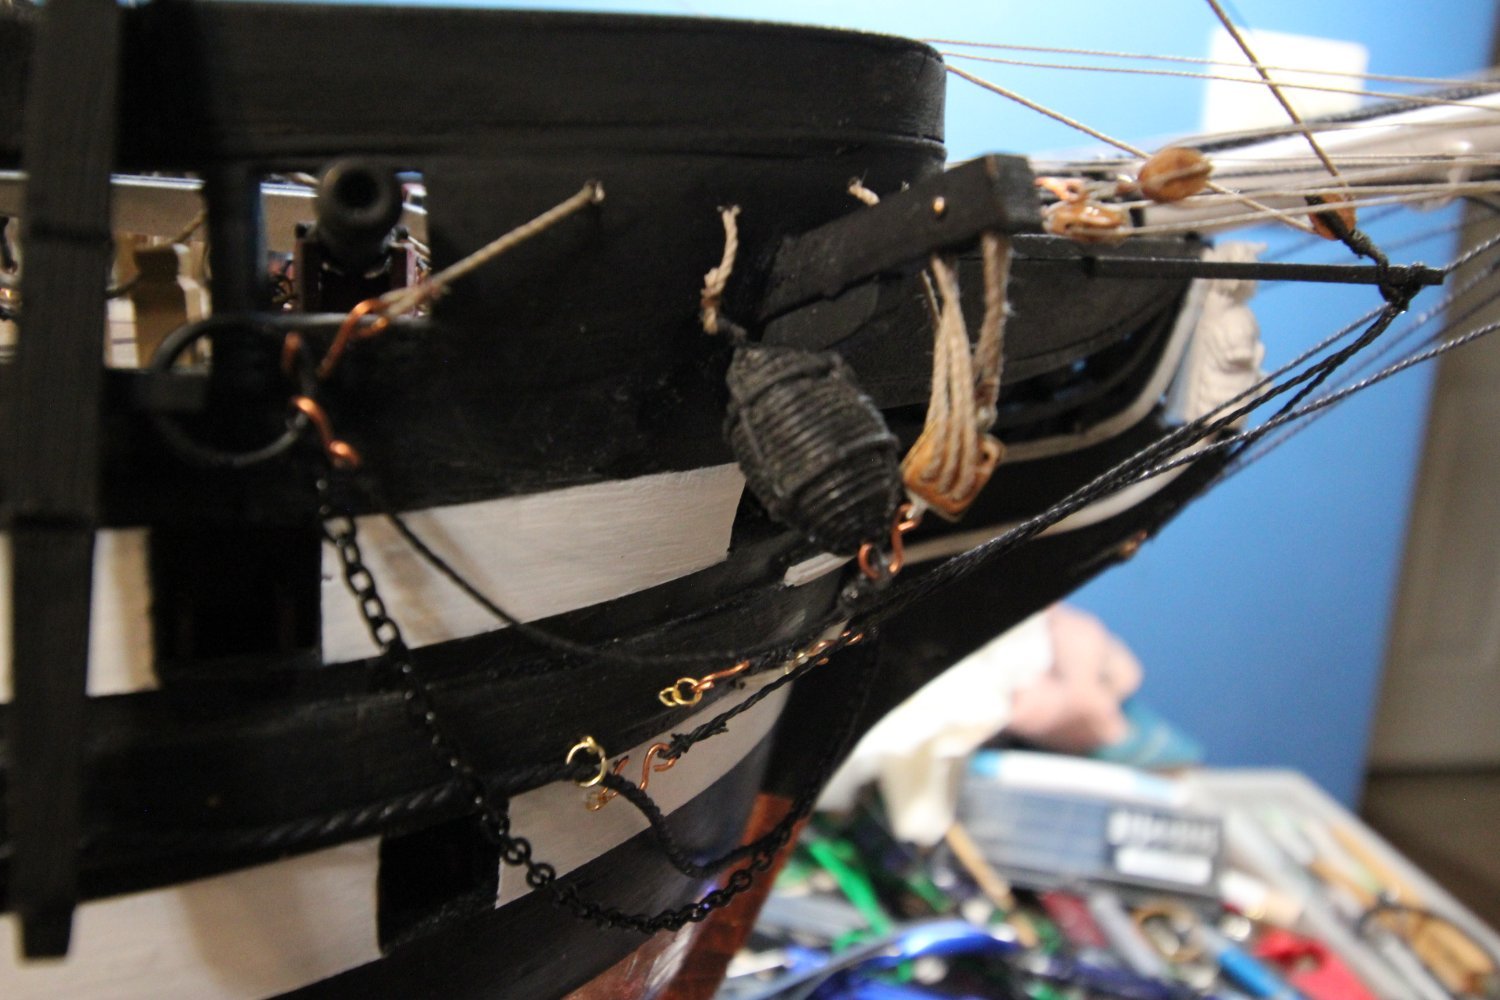
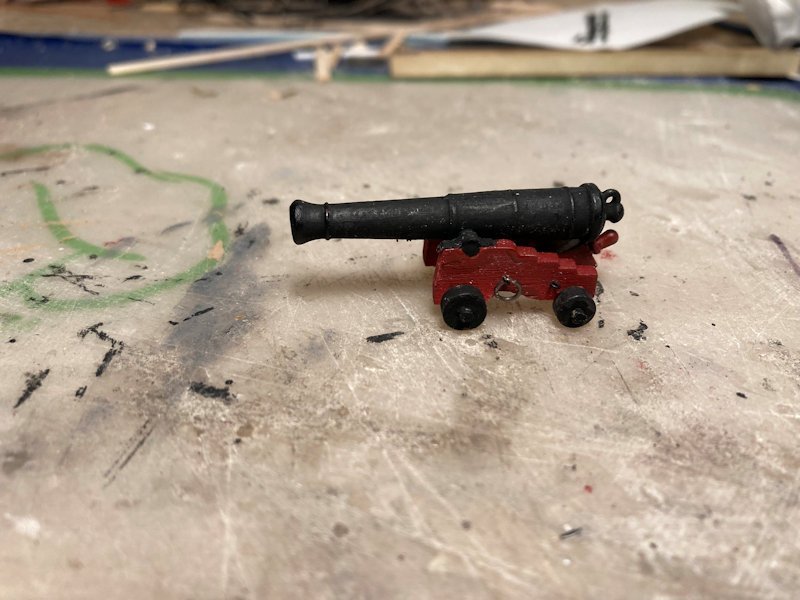
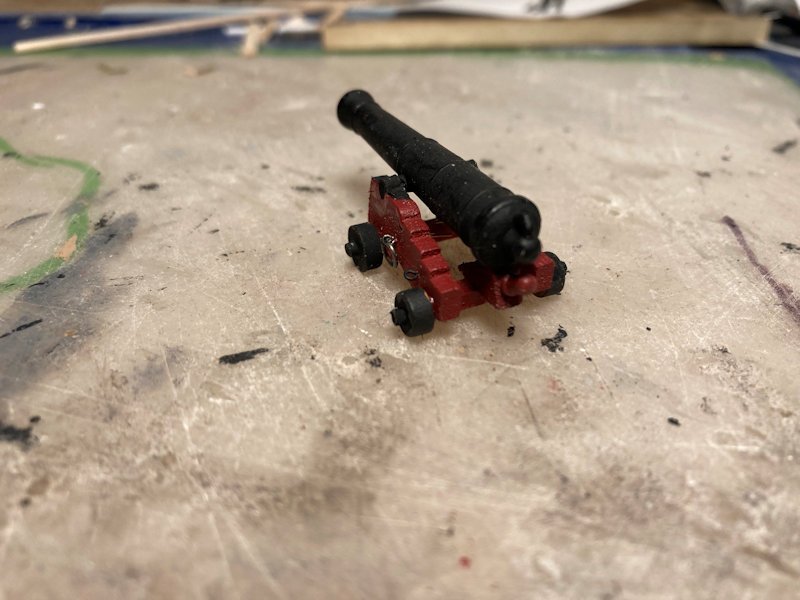
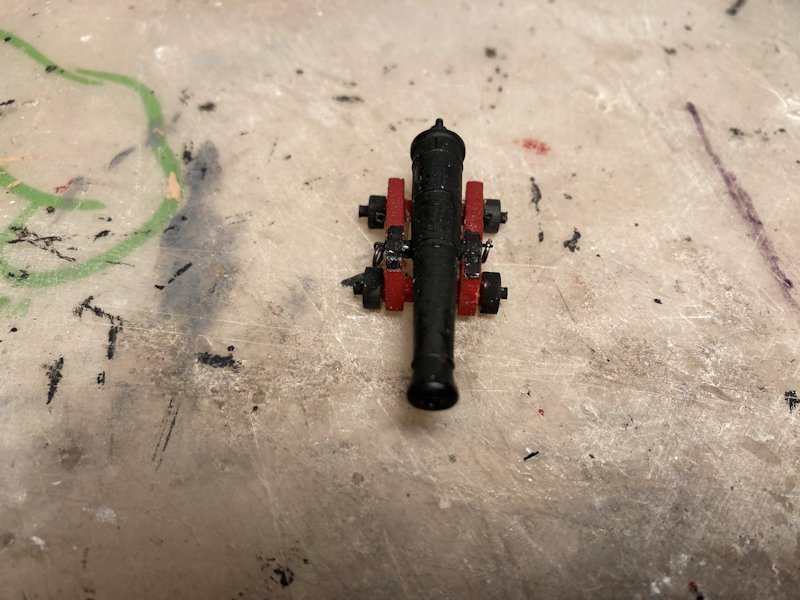
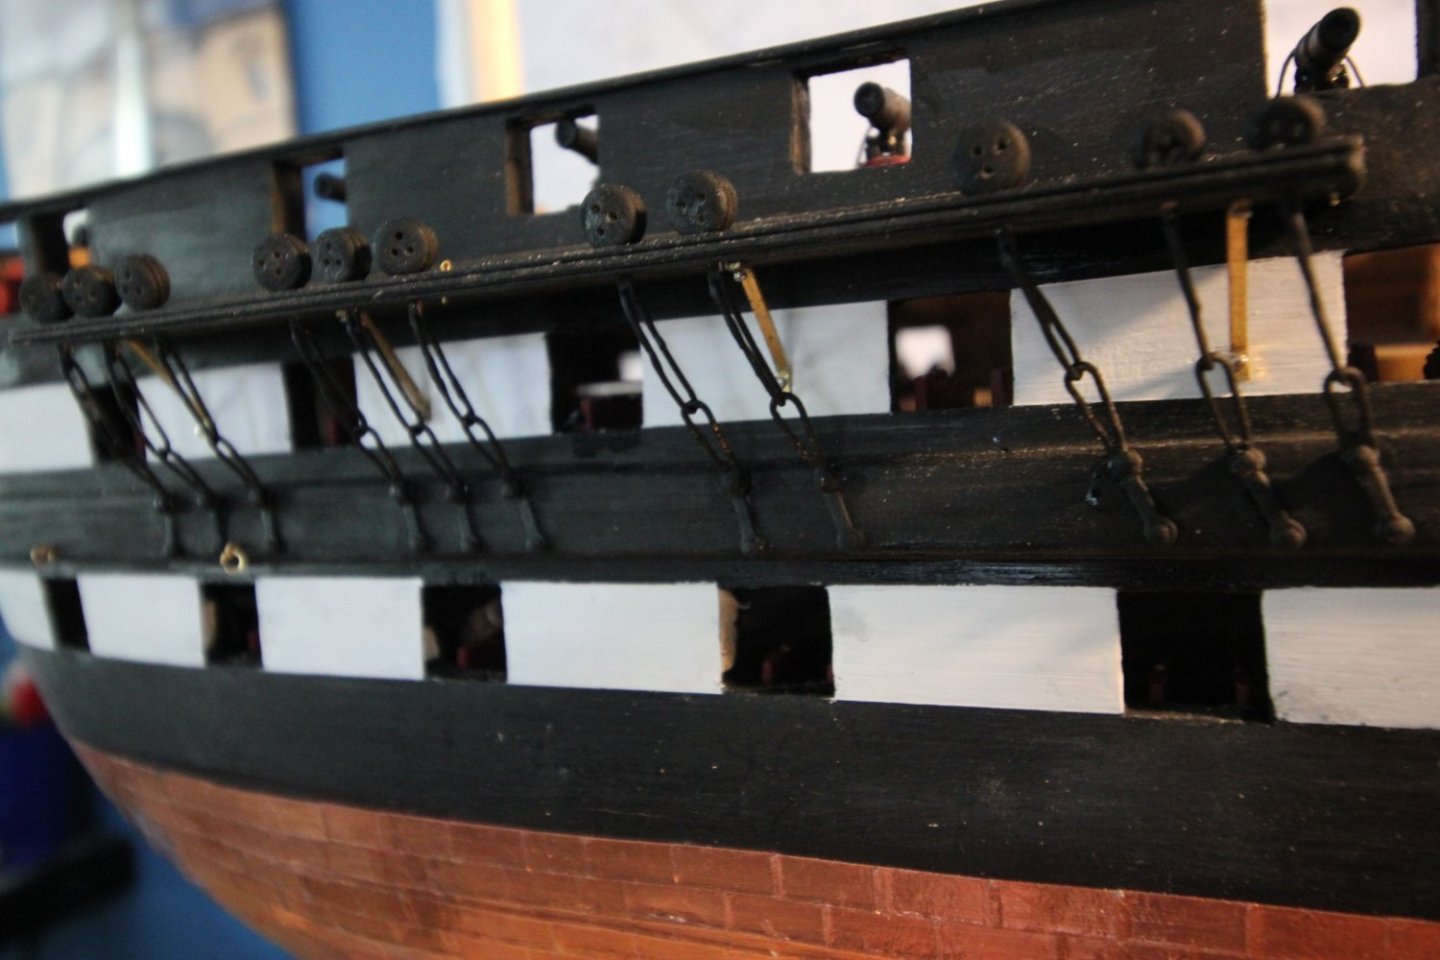
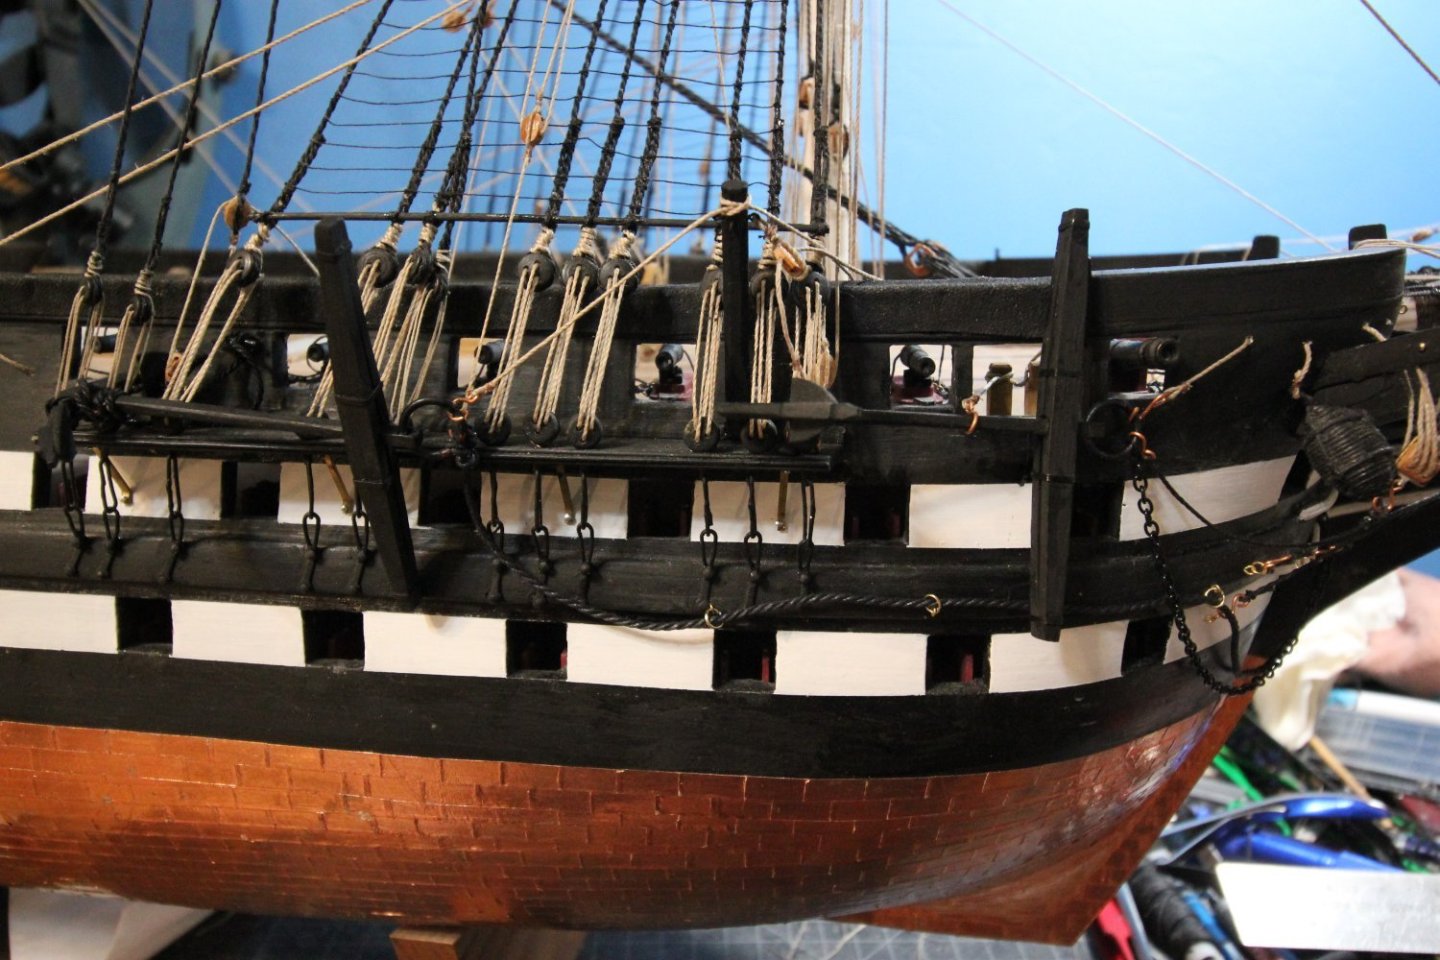
I worked at several different areas on the New York over the past week or so. Here are some photos of it. The pulley's on the cat head are the only ones I actually make. 32 pounder bow chasers.


-
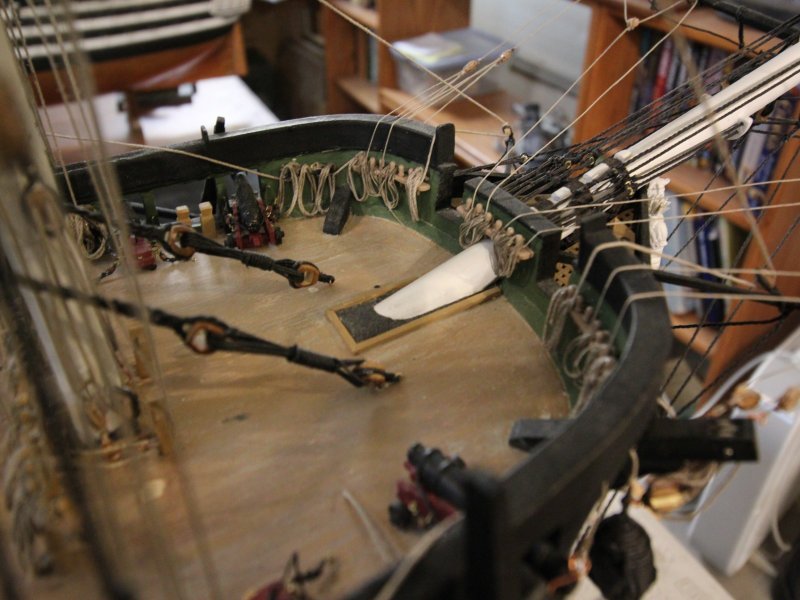
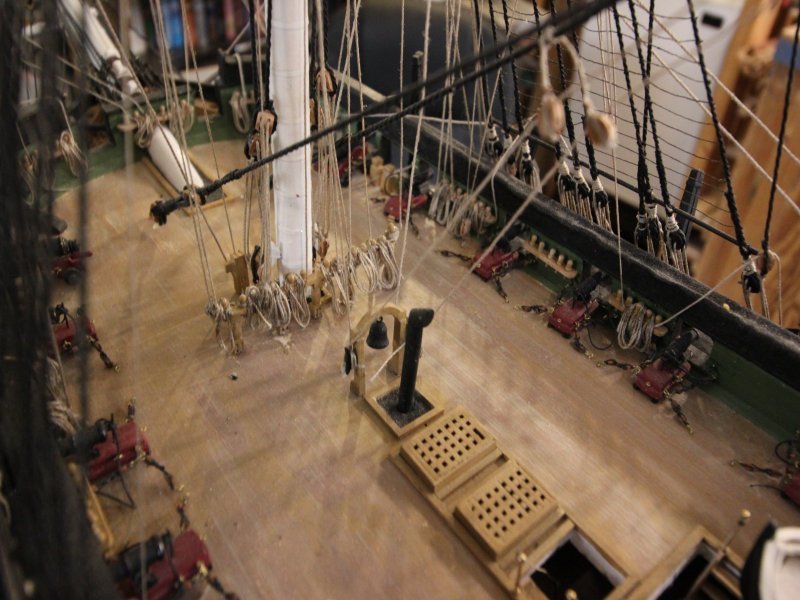
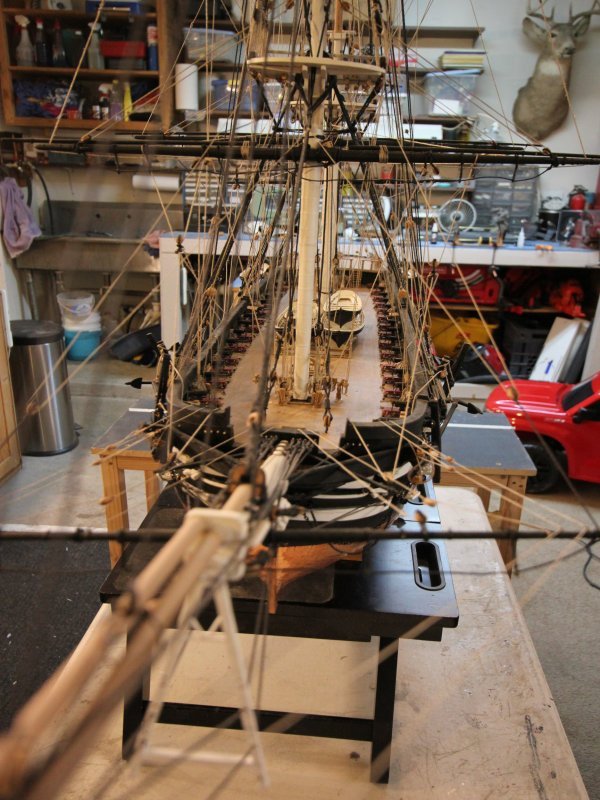
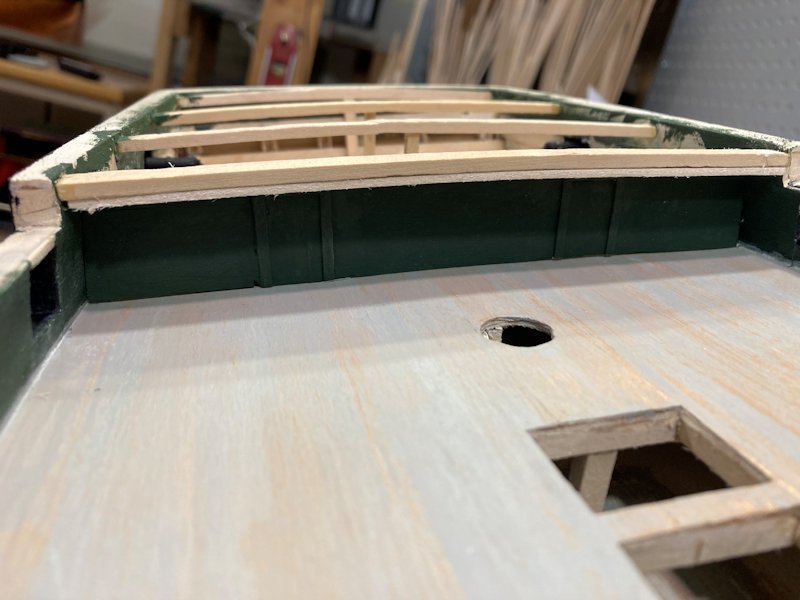
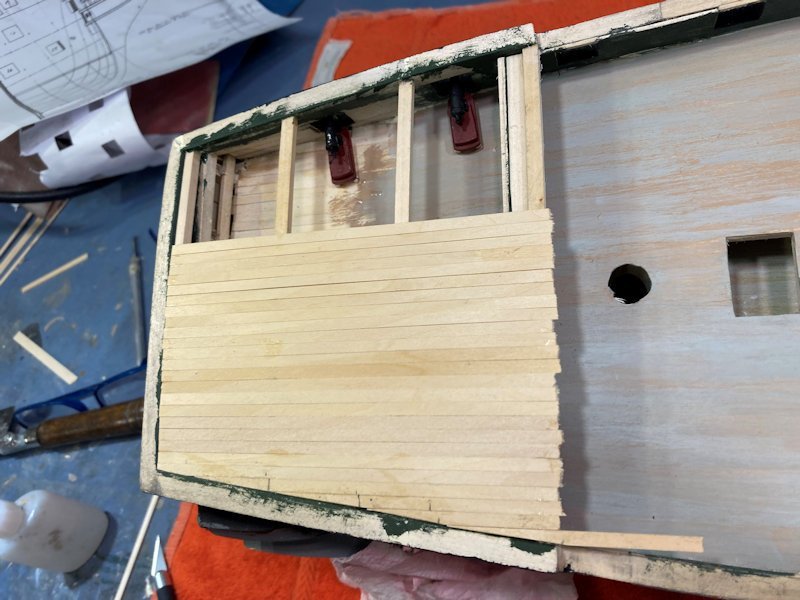
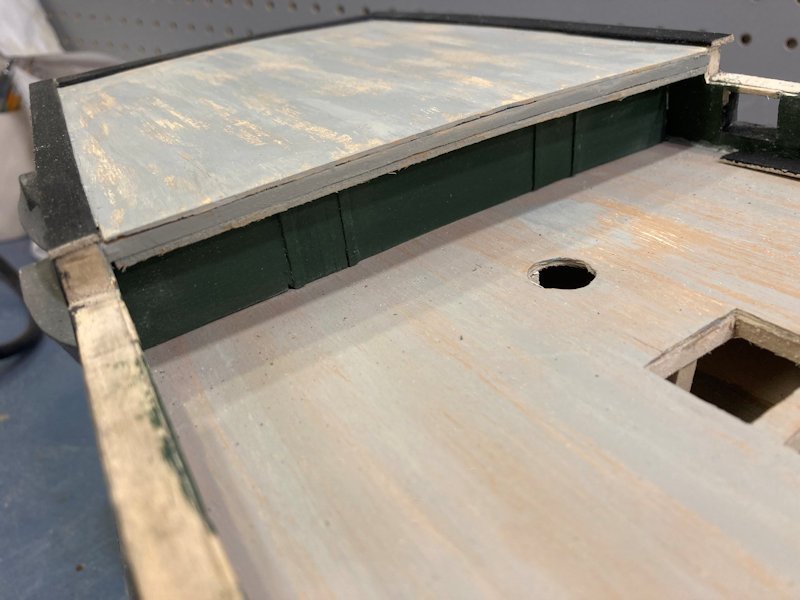
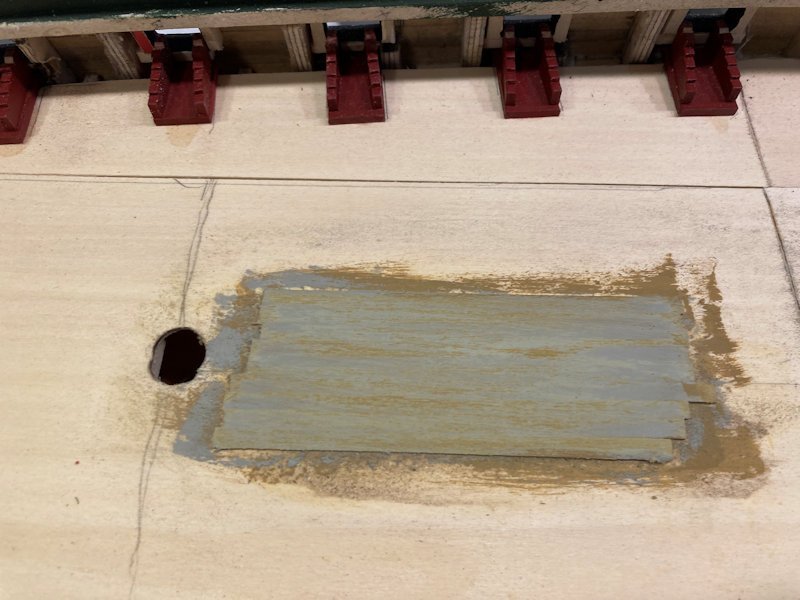
New York's spar deck is planked and weathered.
-
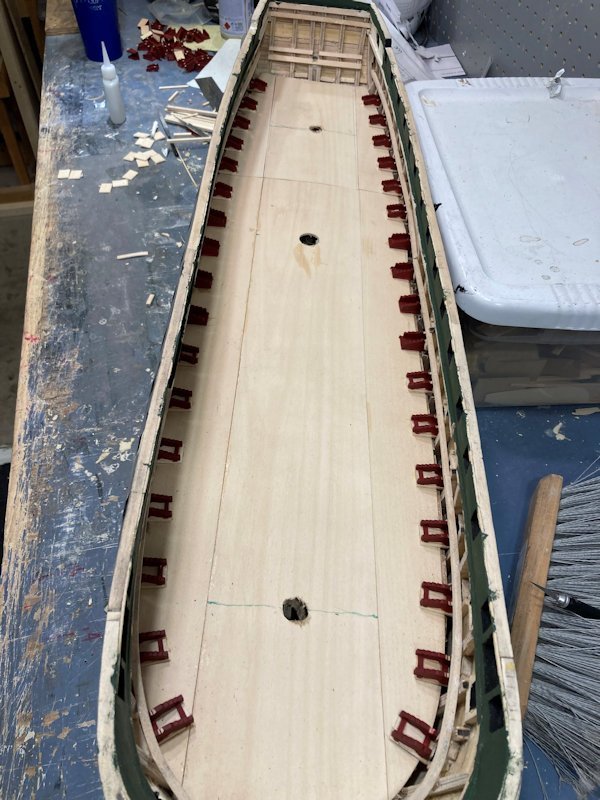
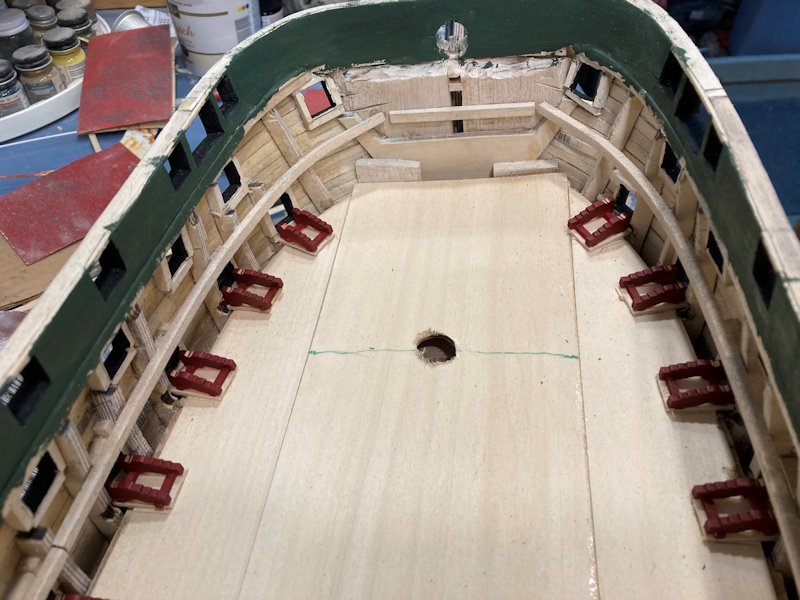
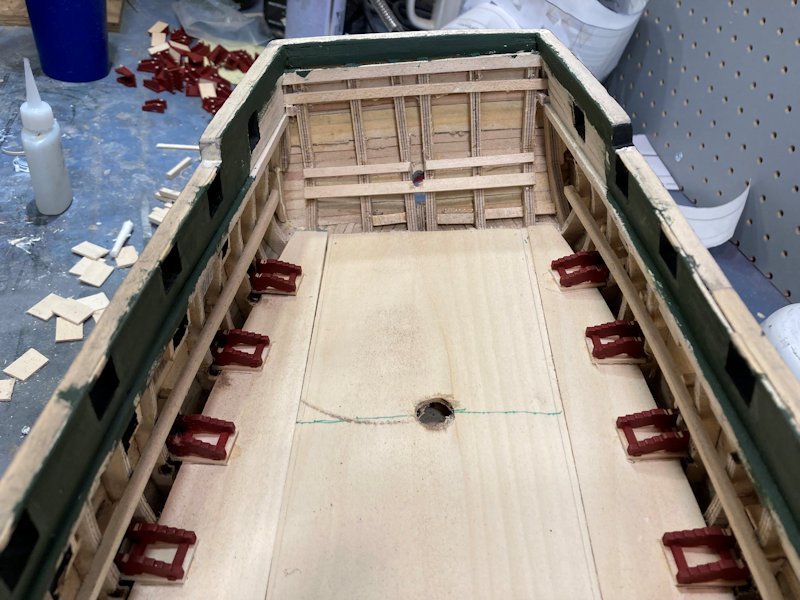
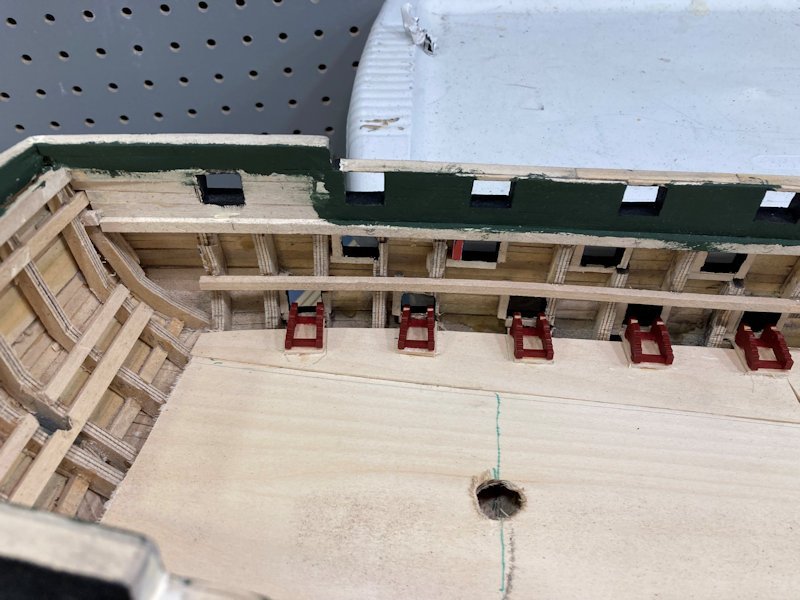
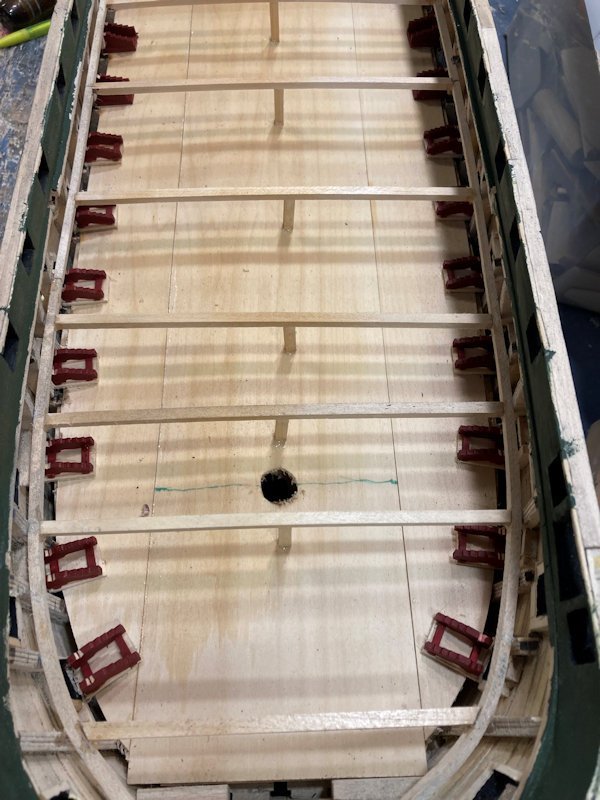
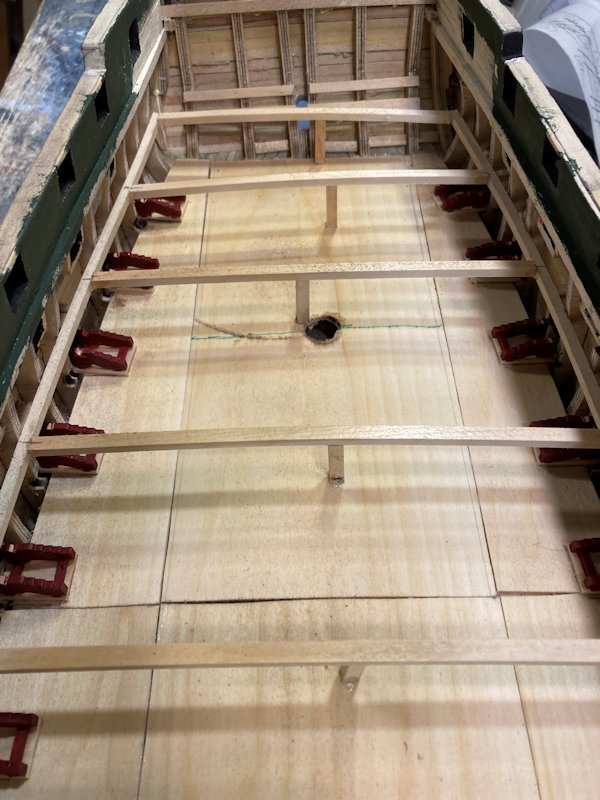
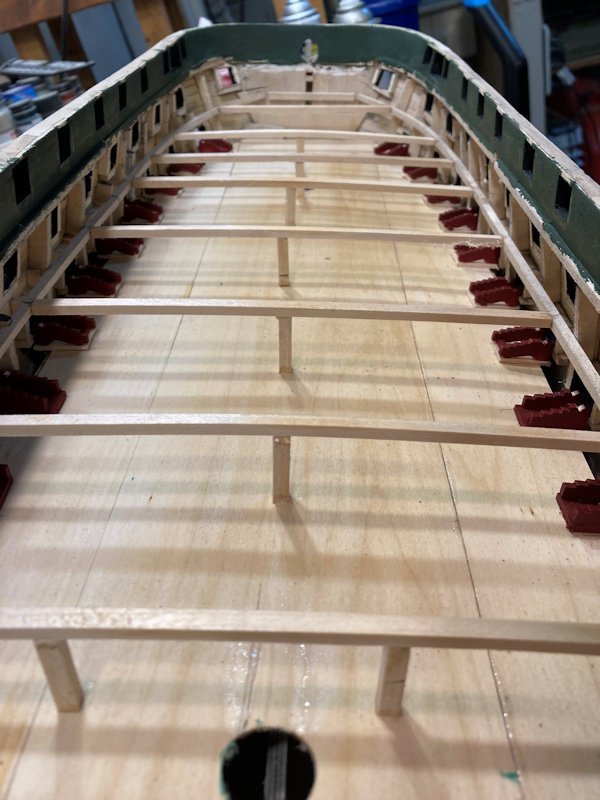
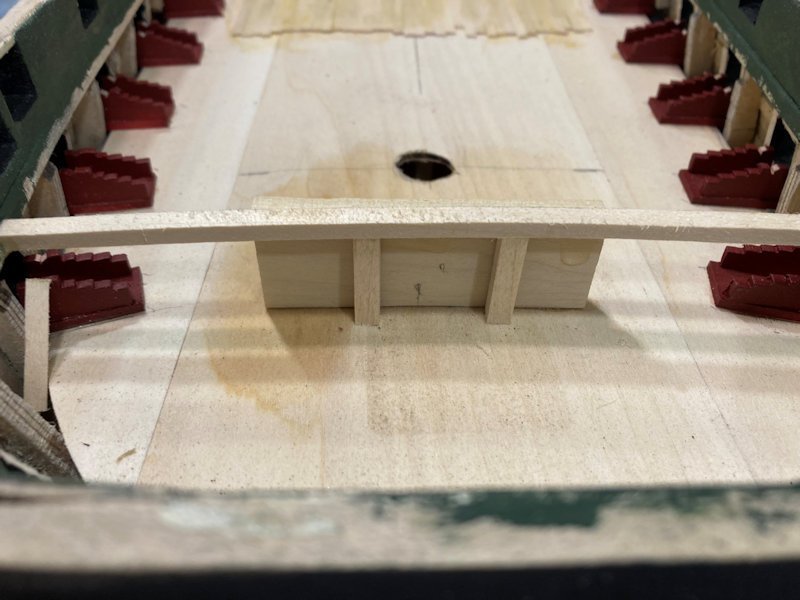
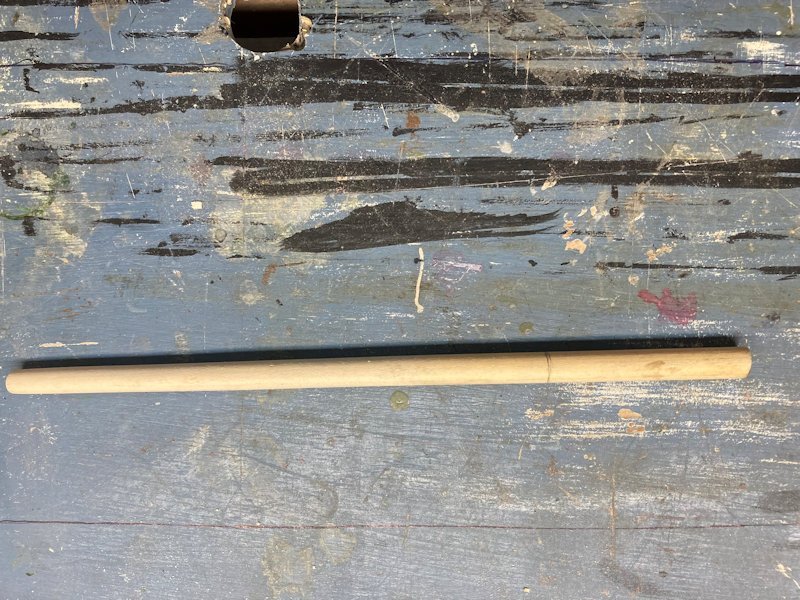
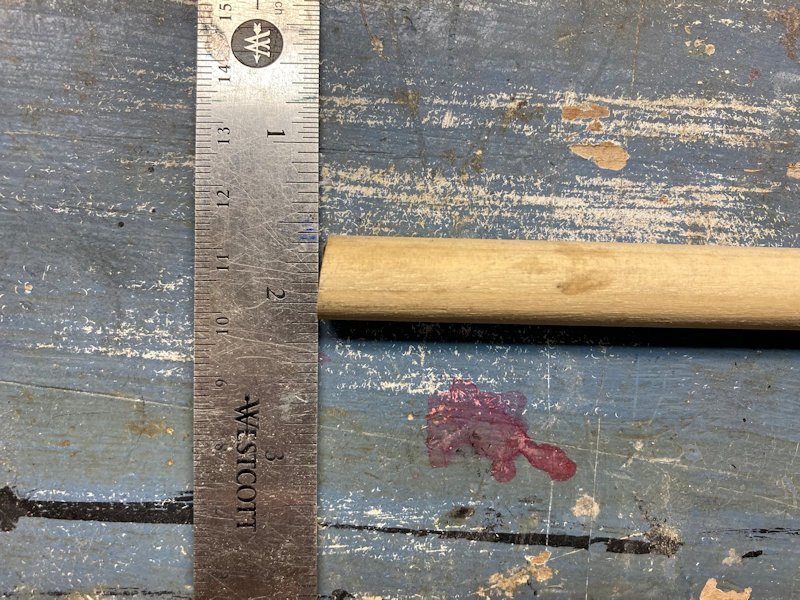
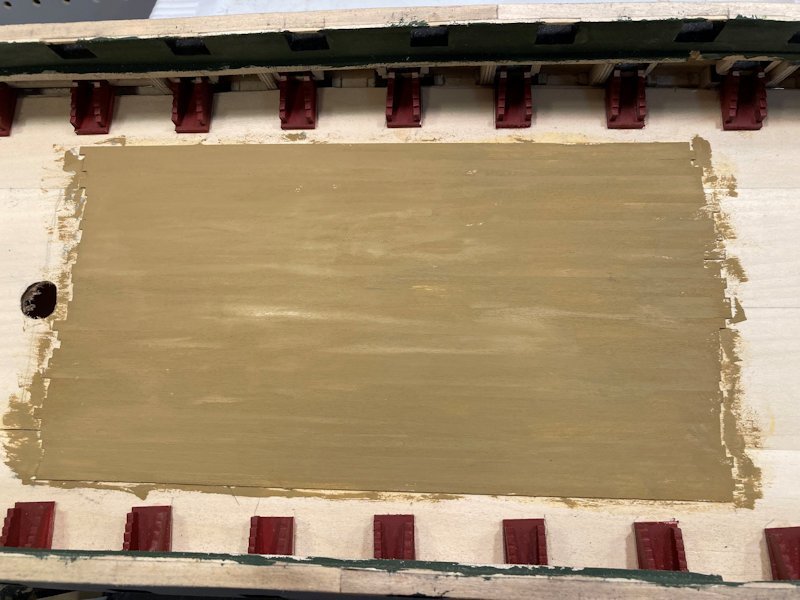
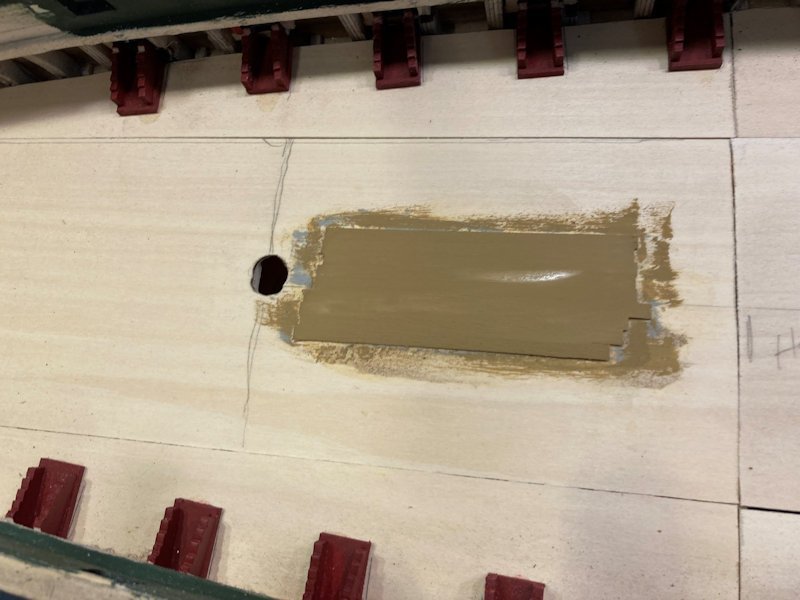
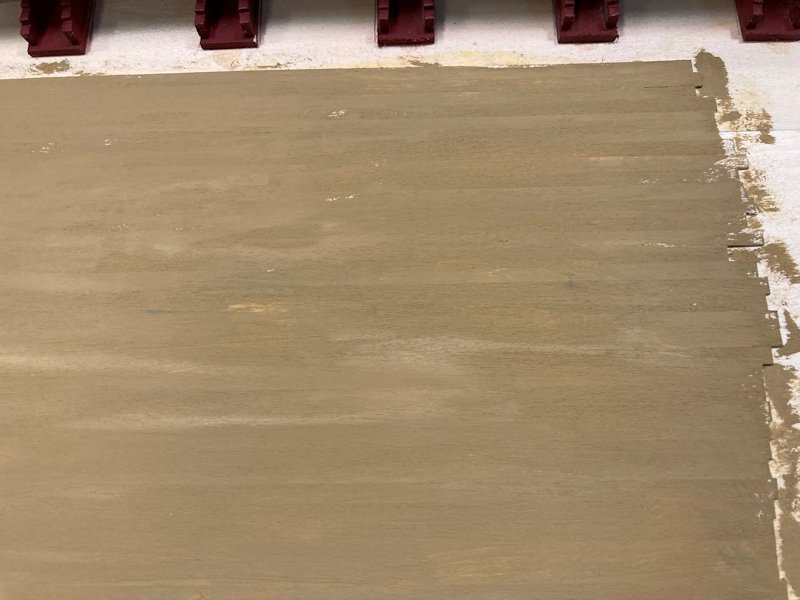
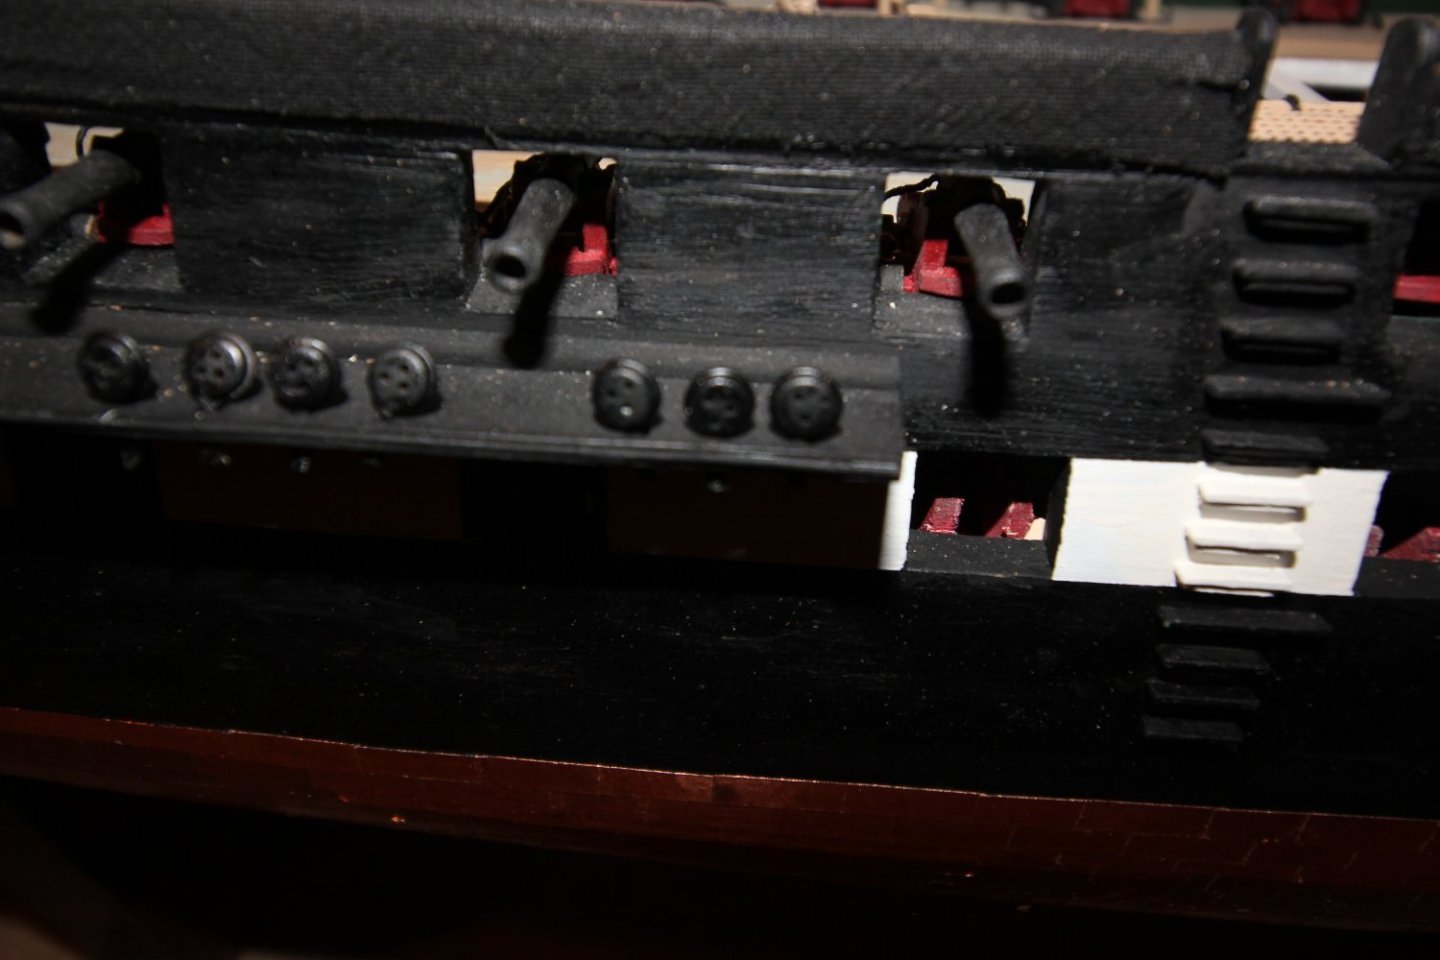
Both lower gun decks are in as are their gun carriages. Bow sprit base is made as is the bowsprit itself. Main gun deck is planked only where it might be seen through the main hatch and ladder openings in the spar deck. The procedure for weathering the planks is shown. After the and gray are well dried sand lightly with 220 grit and 400 grit varying the pressure to bring out the tan.


-
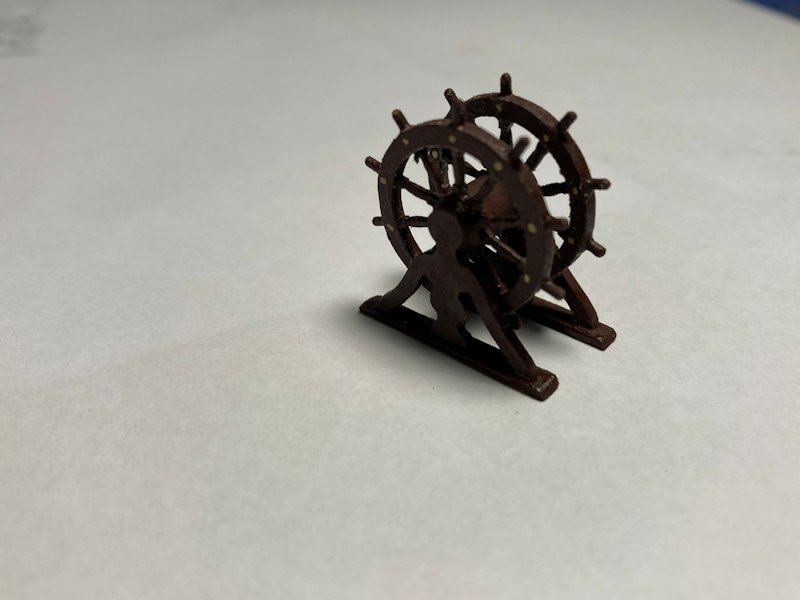
Ships wheel is done.


-
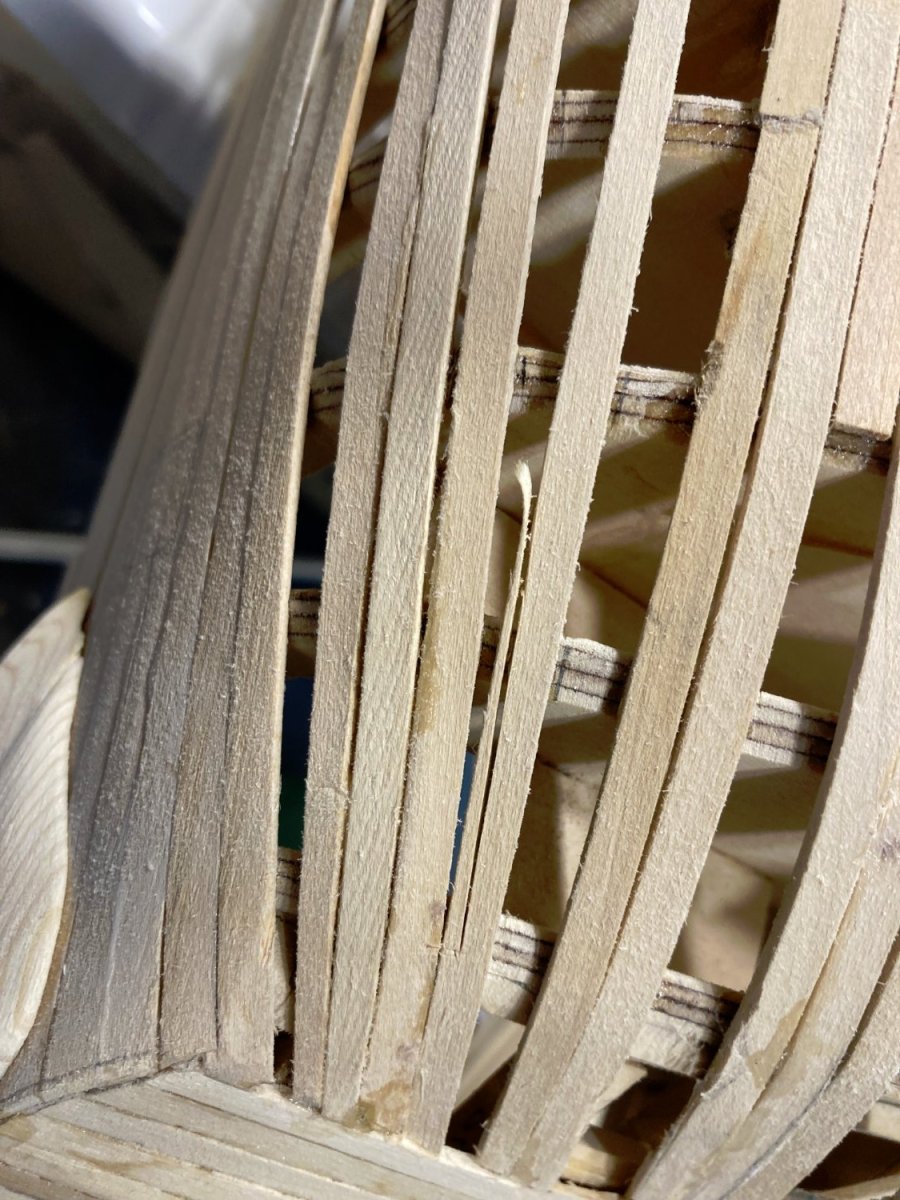
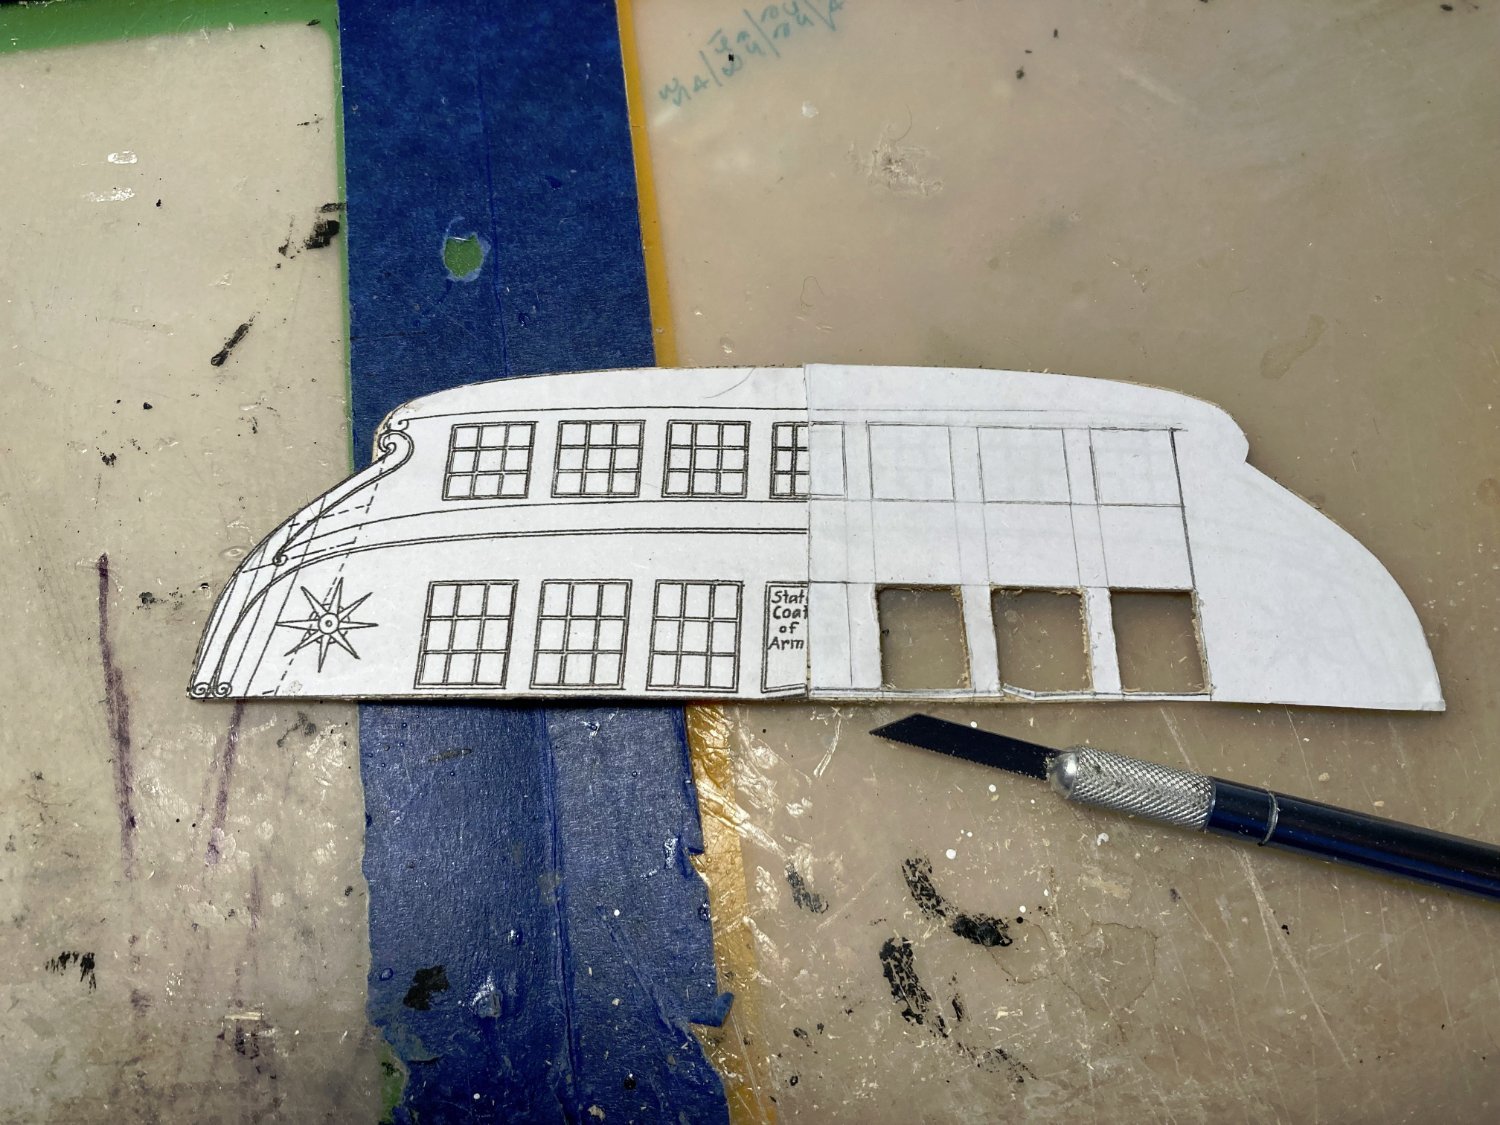
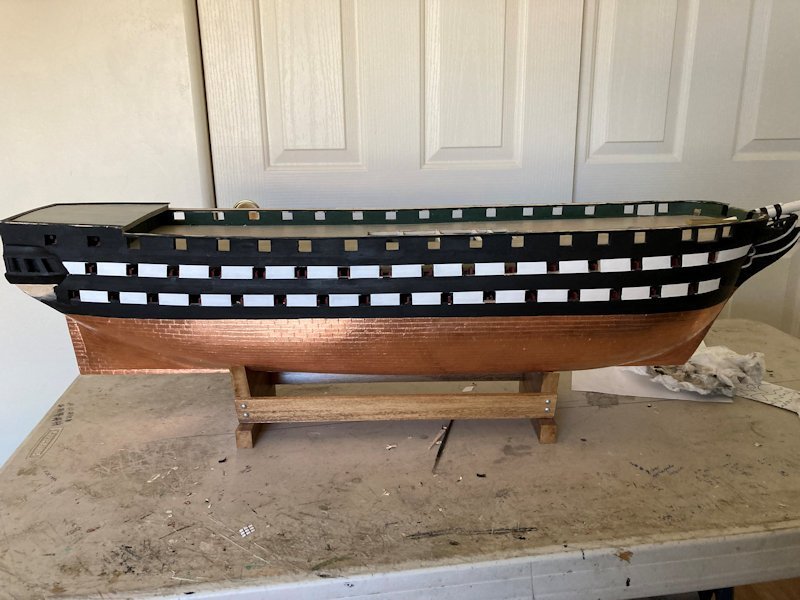
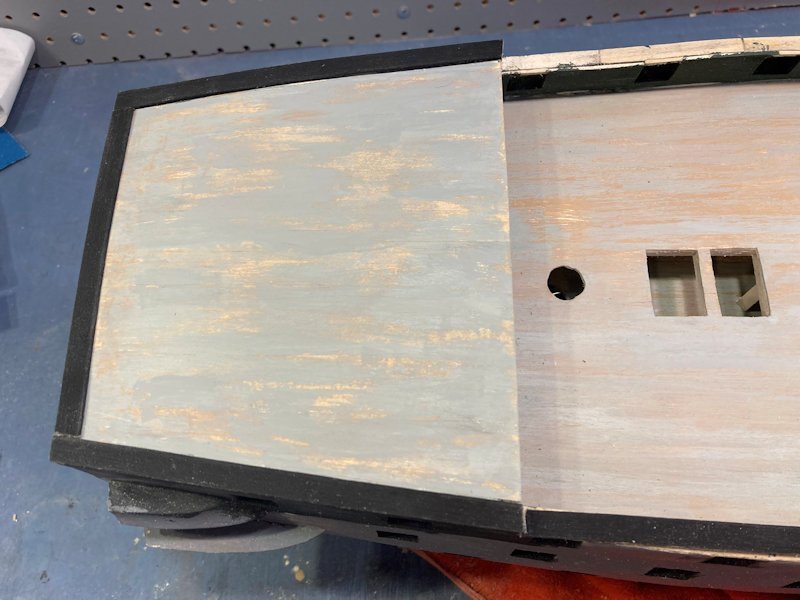
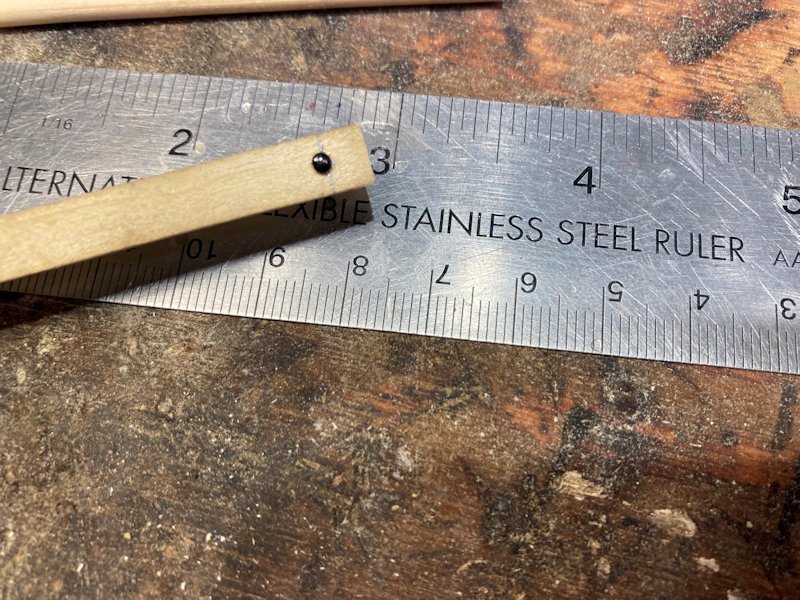
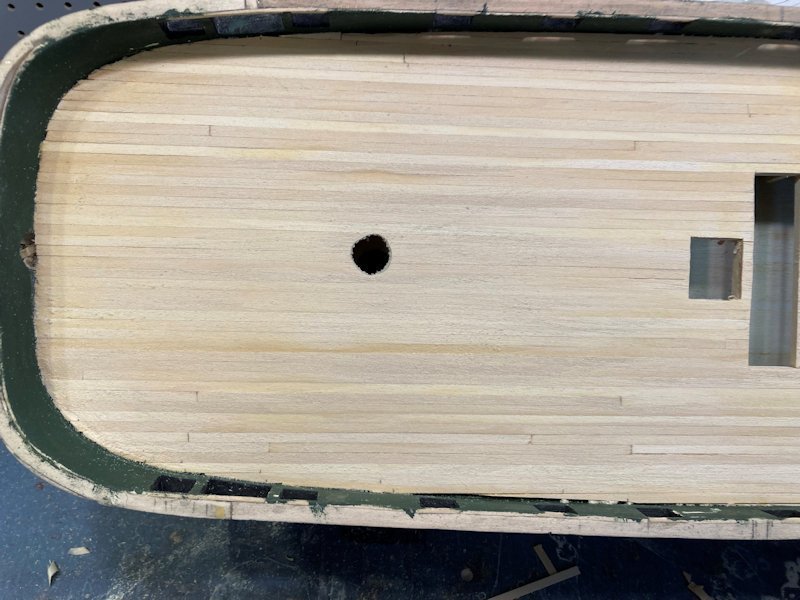
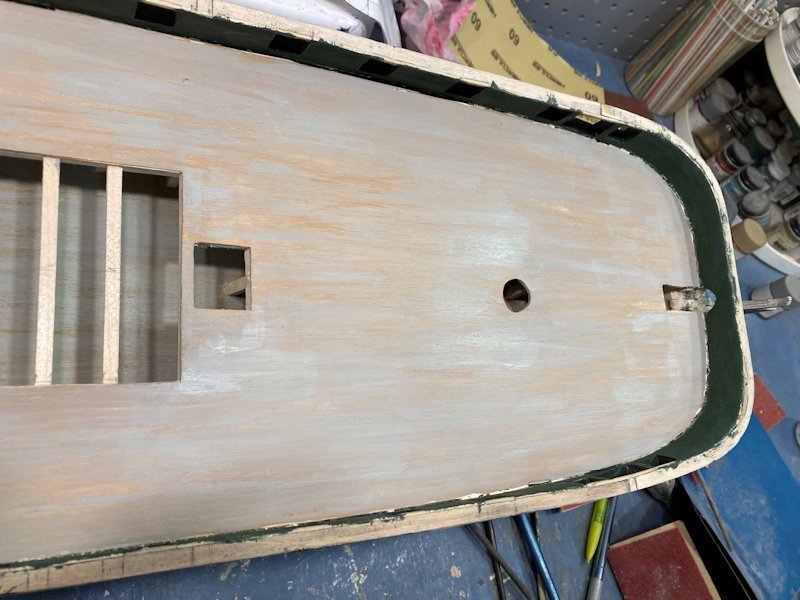
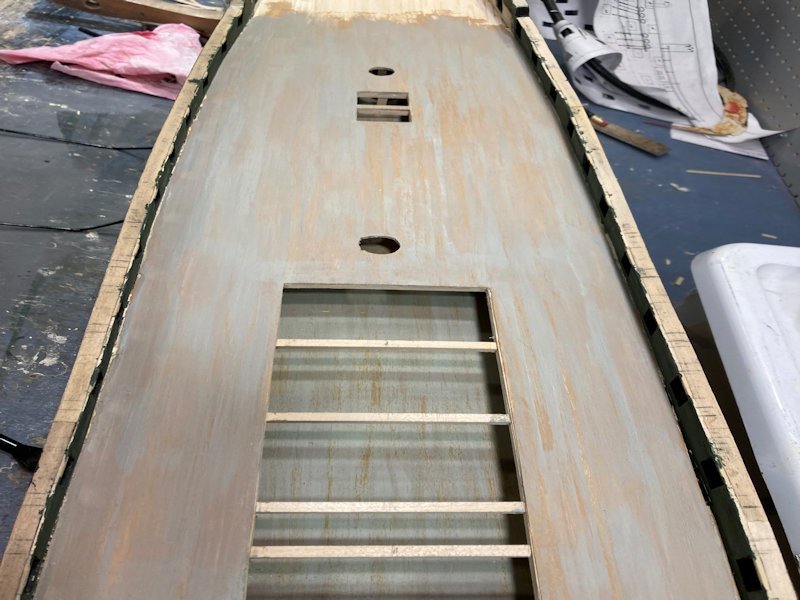
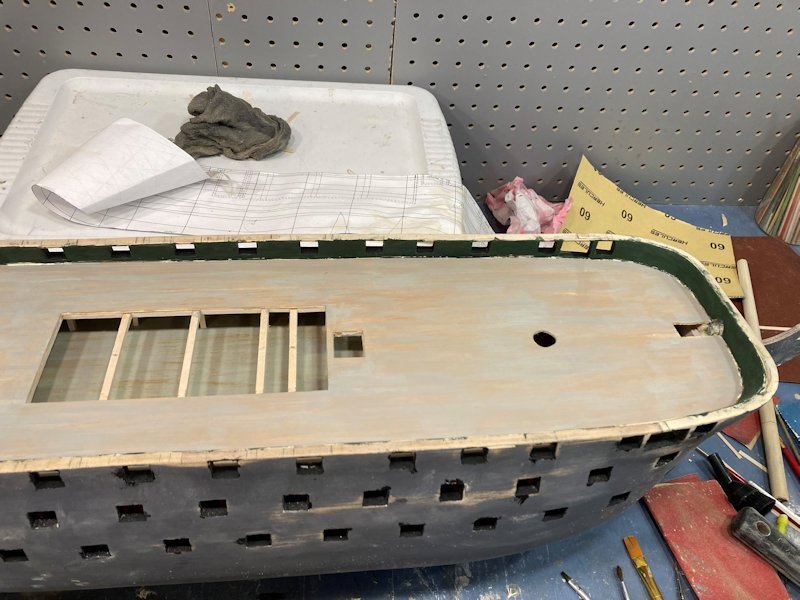
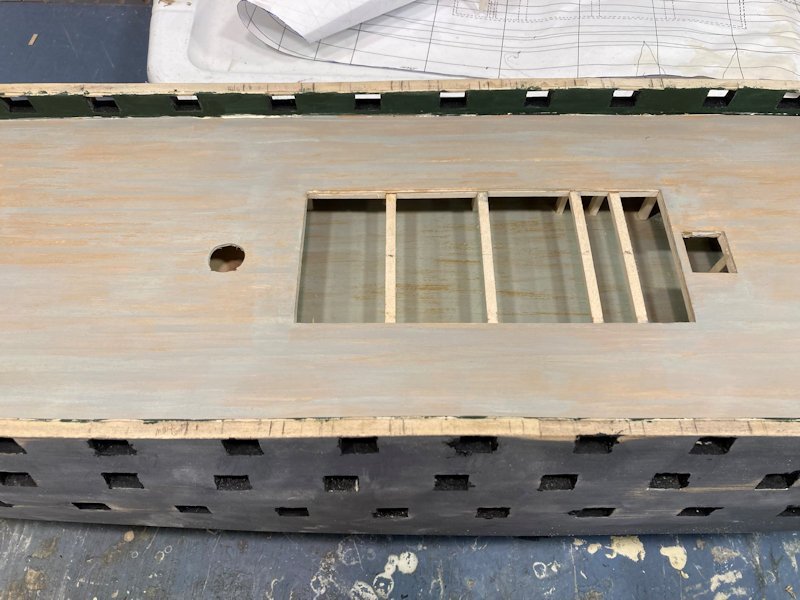
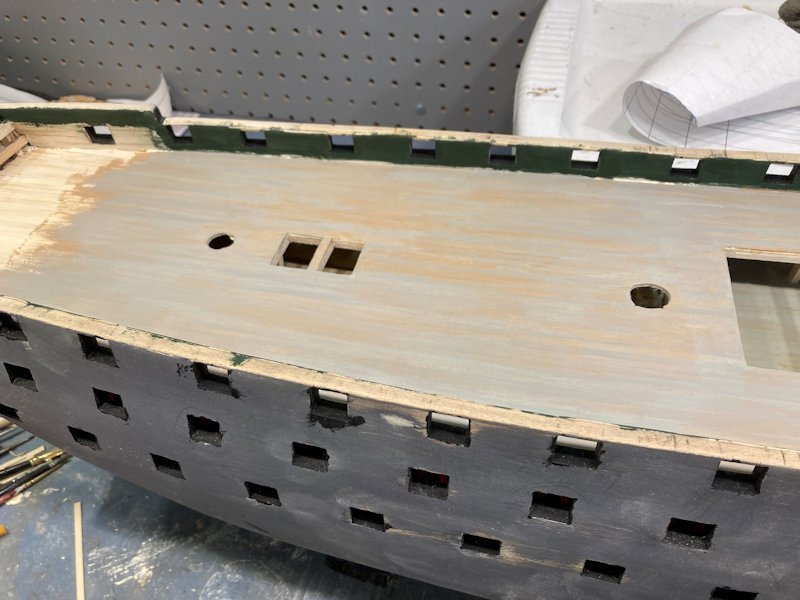
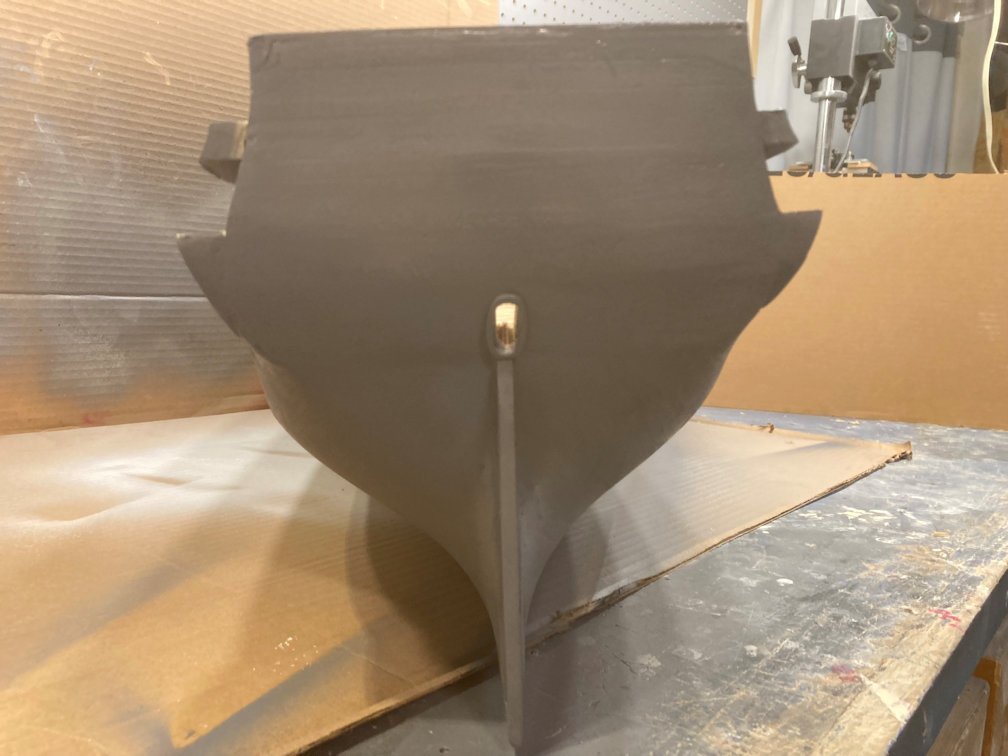
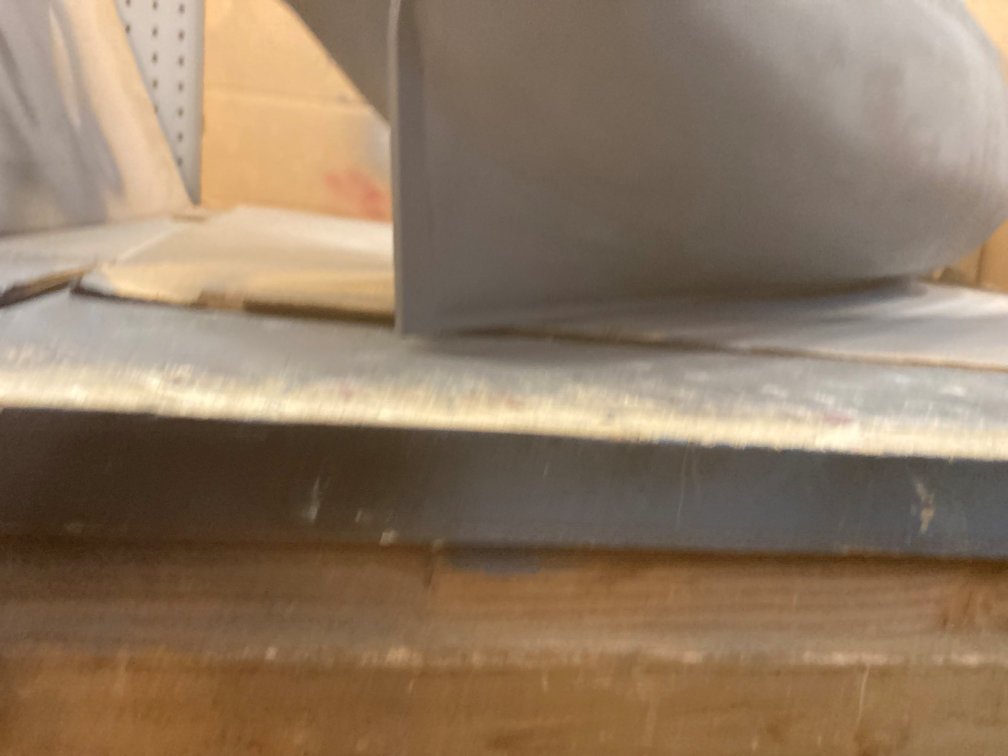
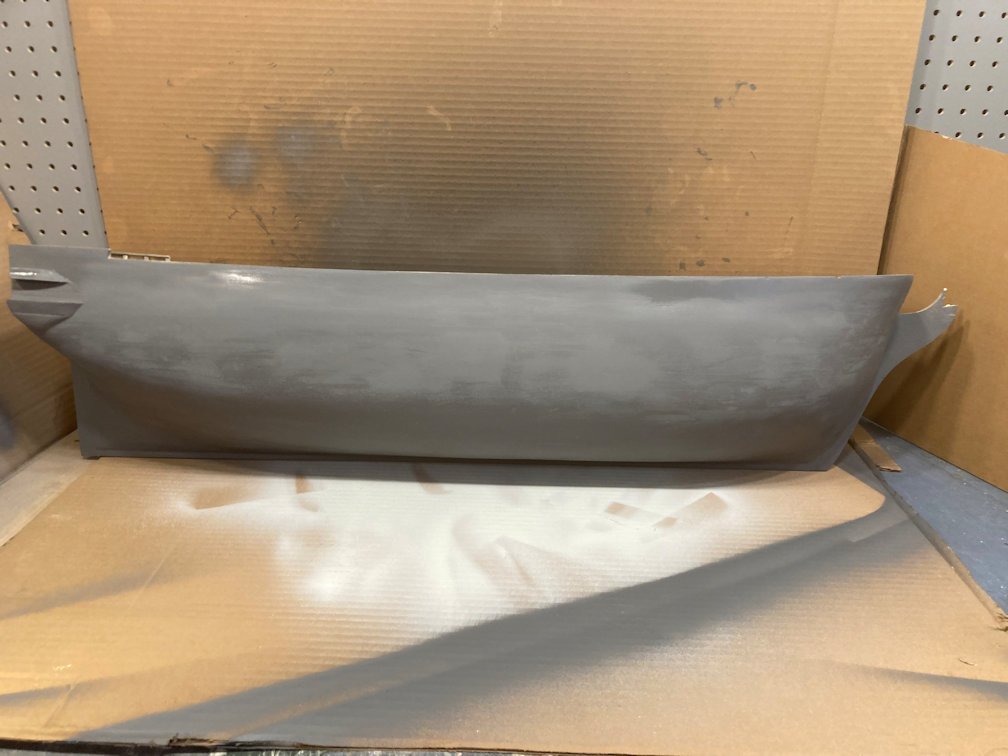
New York has it's first light coat of primer. I use gray so I can draw the cannon ports on with pencil and see them easily to cut out. The garage is around 90 degrees so the paint will dry fast. The bowsprit and rudder holes are in. I will copper the bottom once the gun ports are all cut out and framed. The gray primer actually reacts with the adhesive on the copper tape so it sticks really well! A few were somewhat leery at my hull planking methods. I hope this result quells some of their doubts.

-
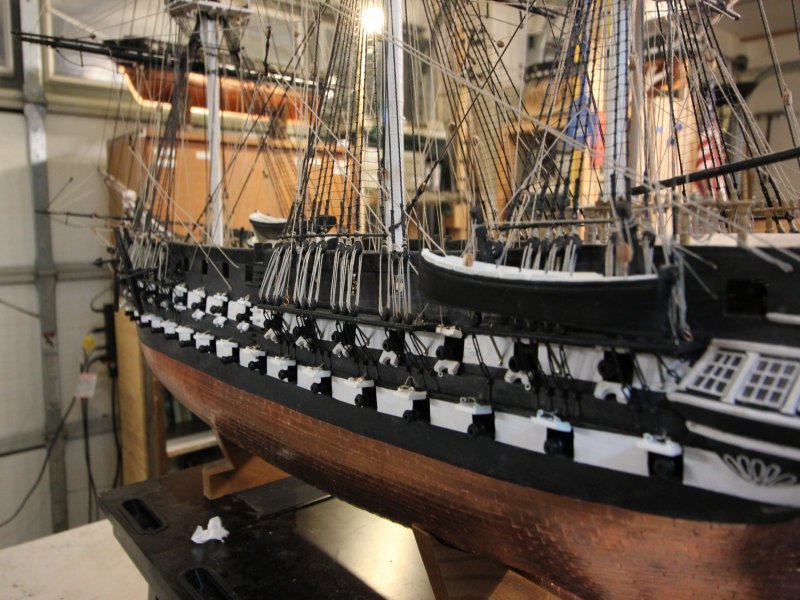
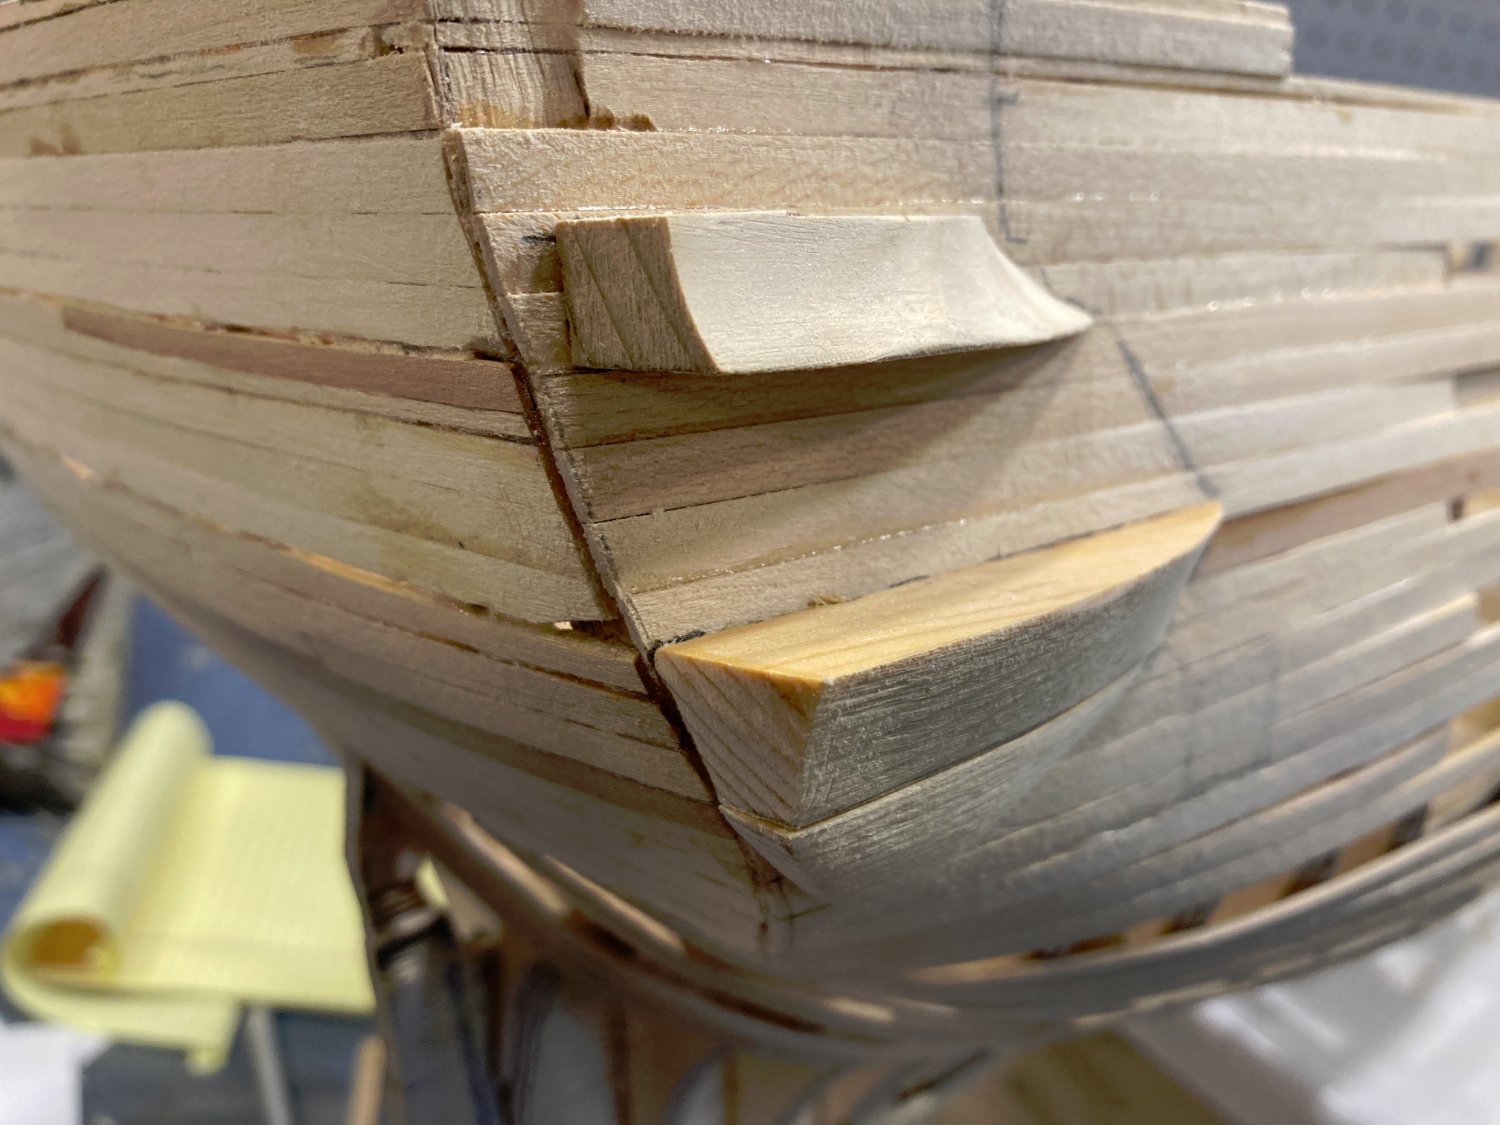
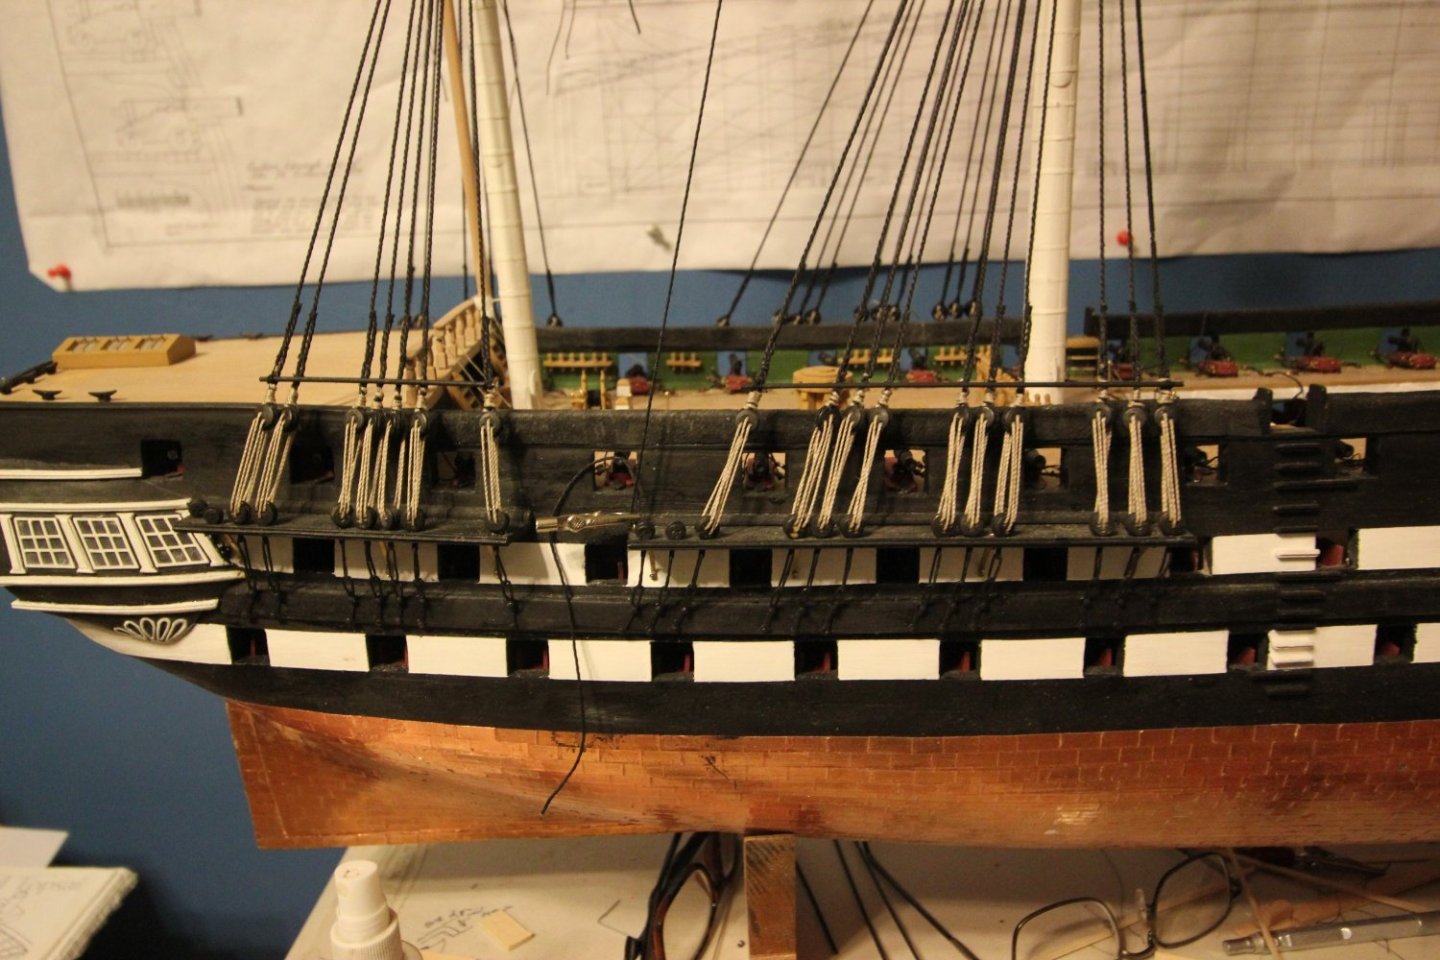
The plans are from the Smithsonian Institute. I do not really need a planking tutorial. My goal is to cover the bulkheads, period. The bottom third is coppered, between cannon ports, chain wales, and all the other items on the hull, once it is painted a few coats of flat black almost none of the planking can be seen anyway. Here are a few photos I selected randomly of some of my other "hulls" for you see what this ship will look something like.


-
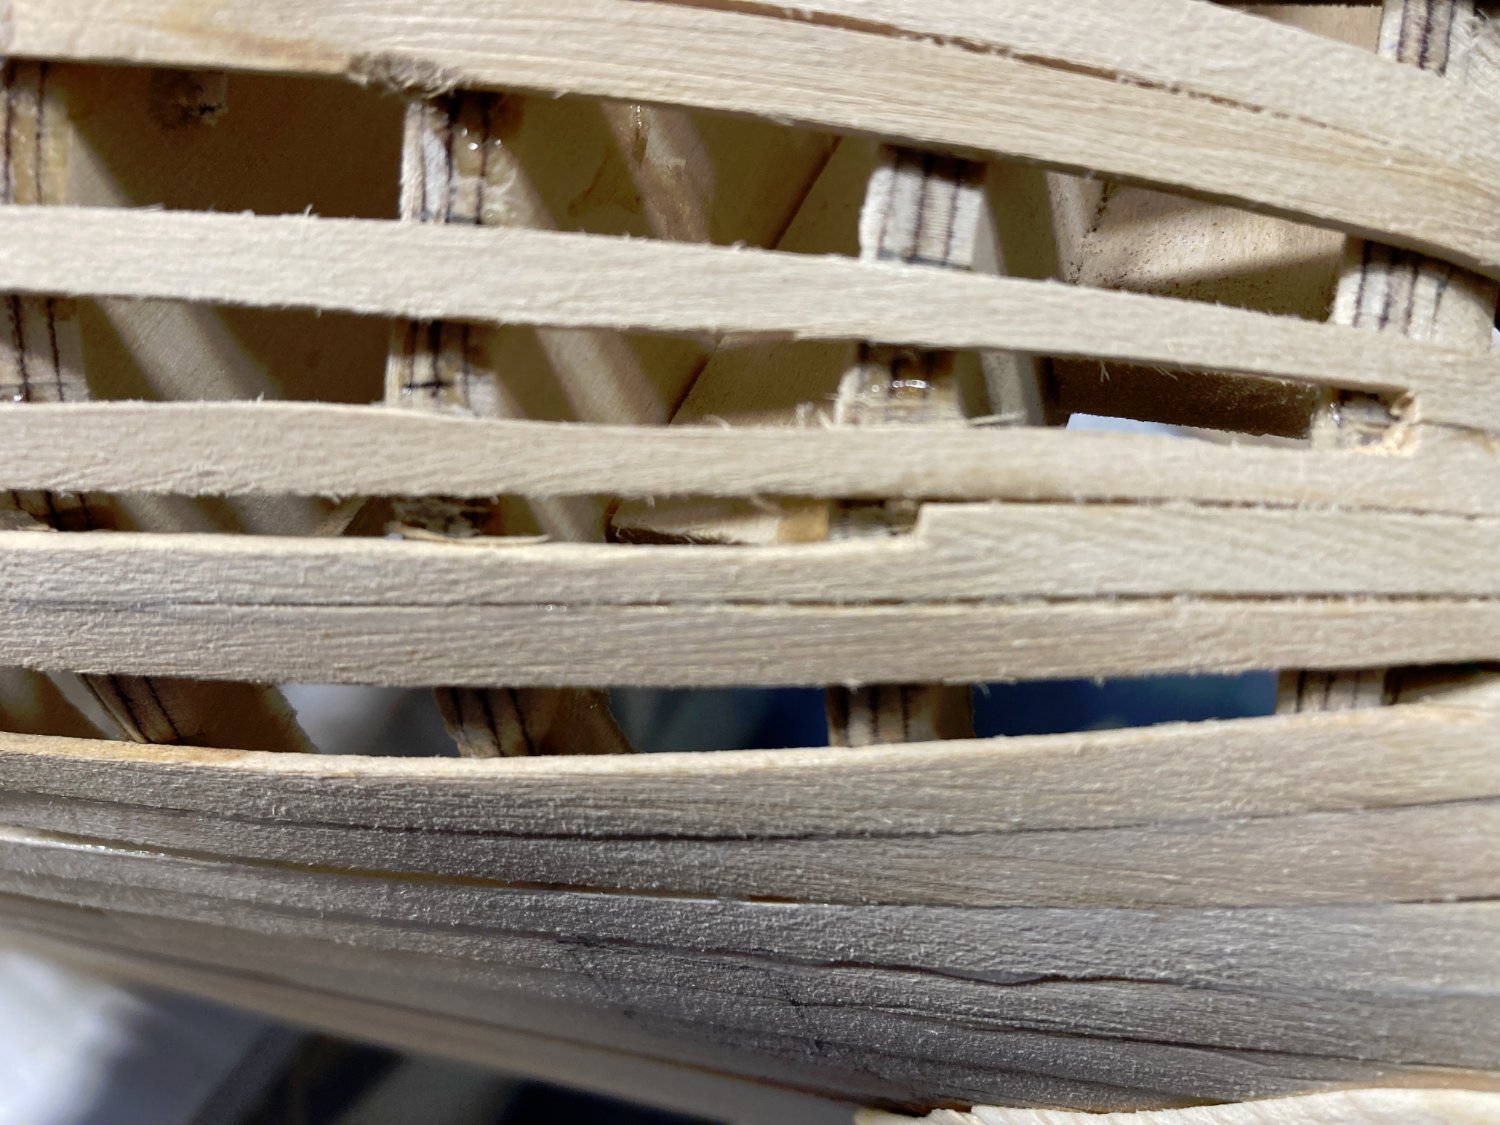
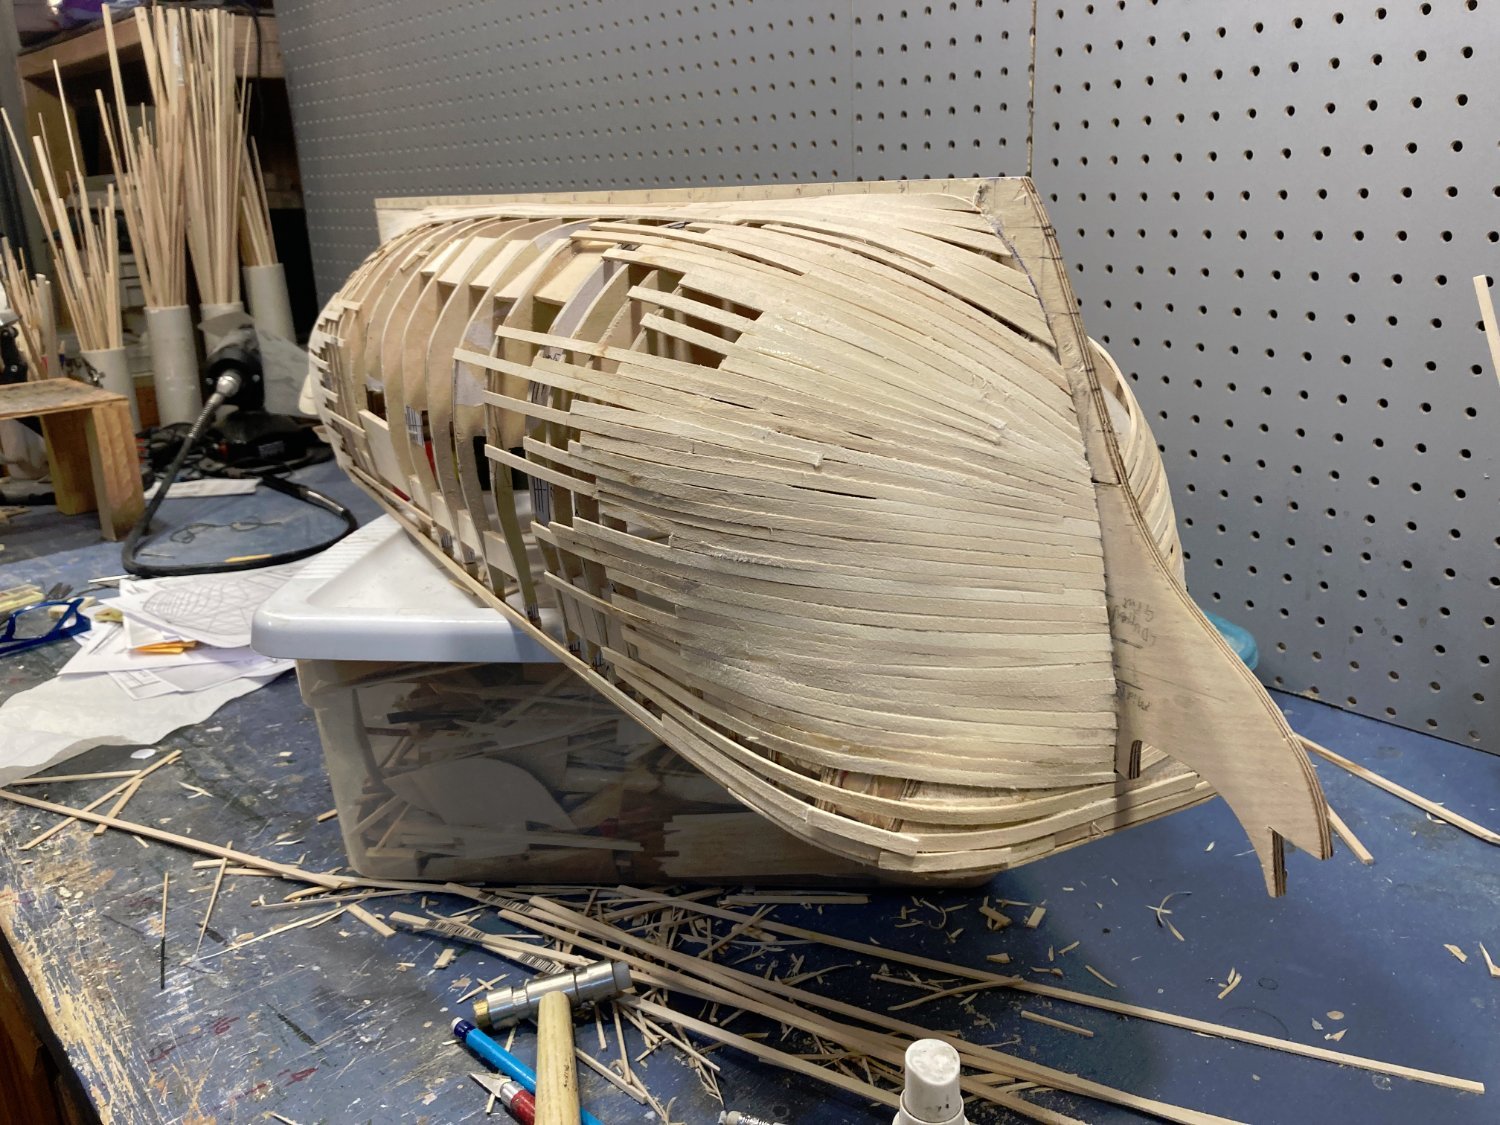
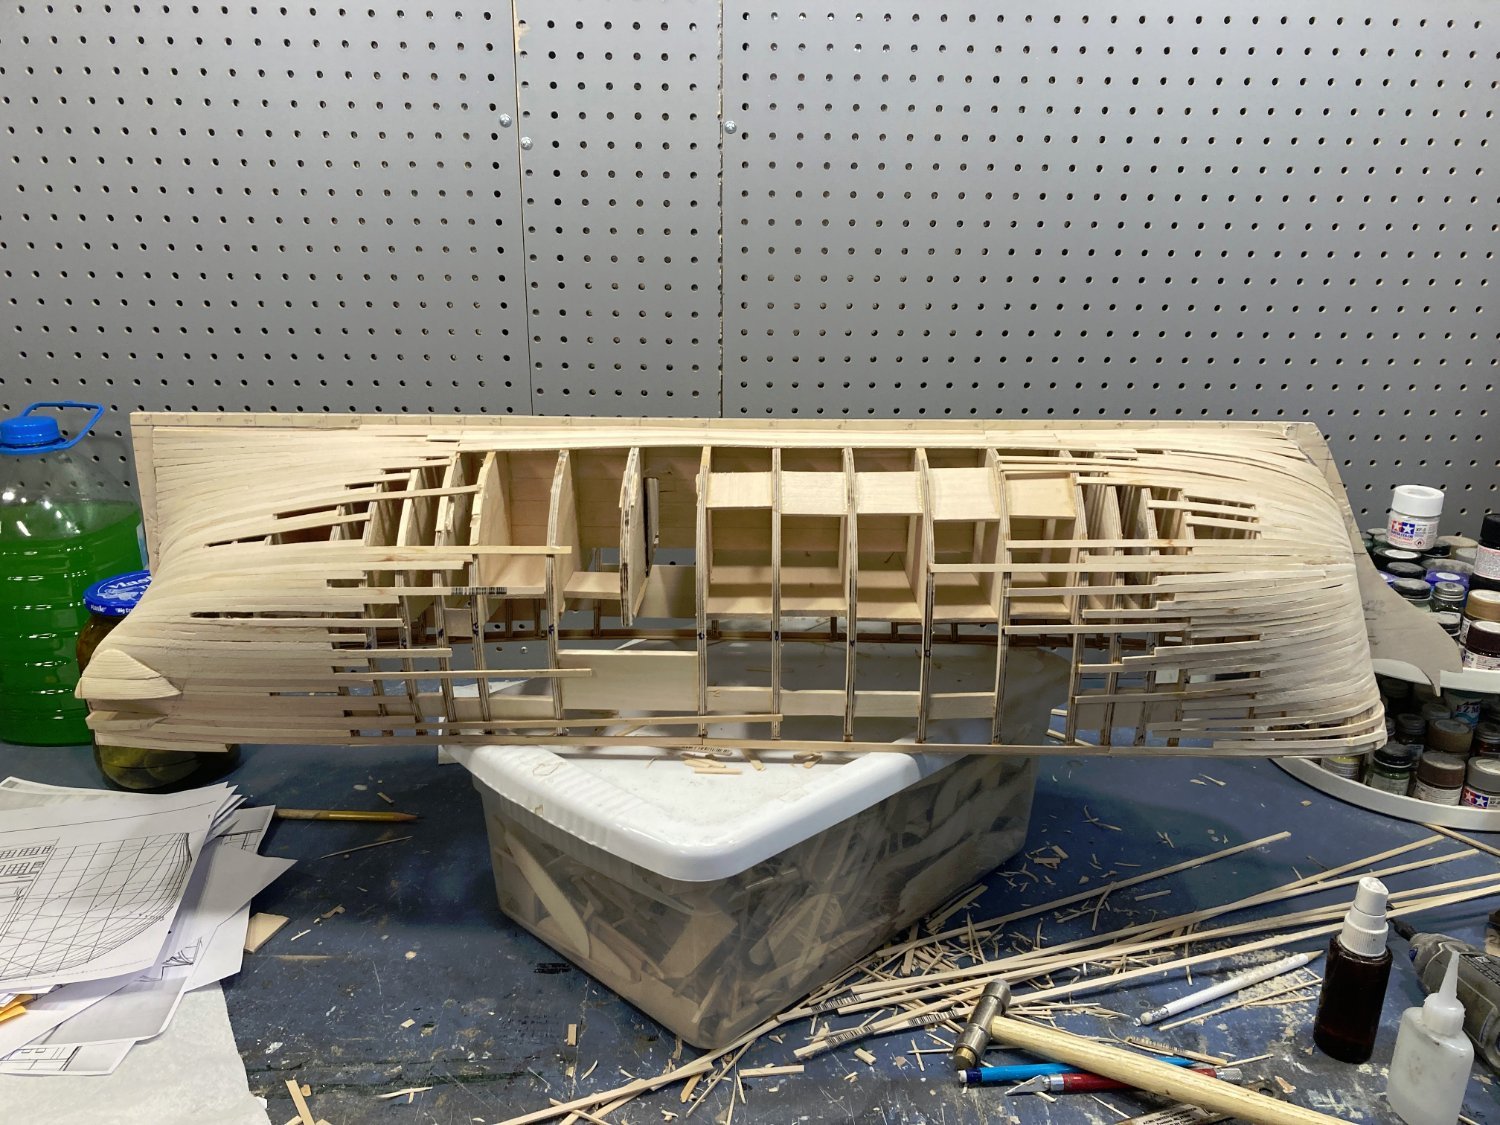
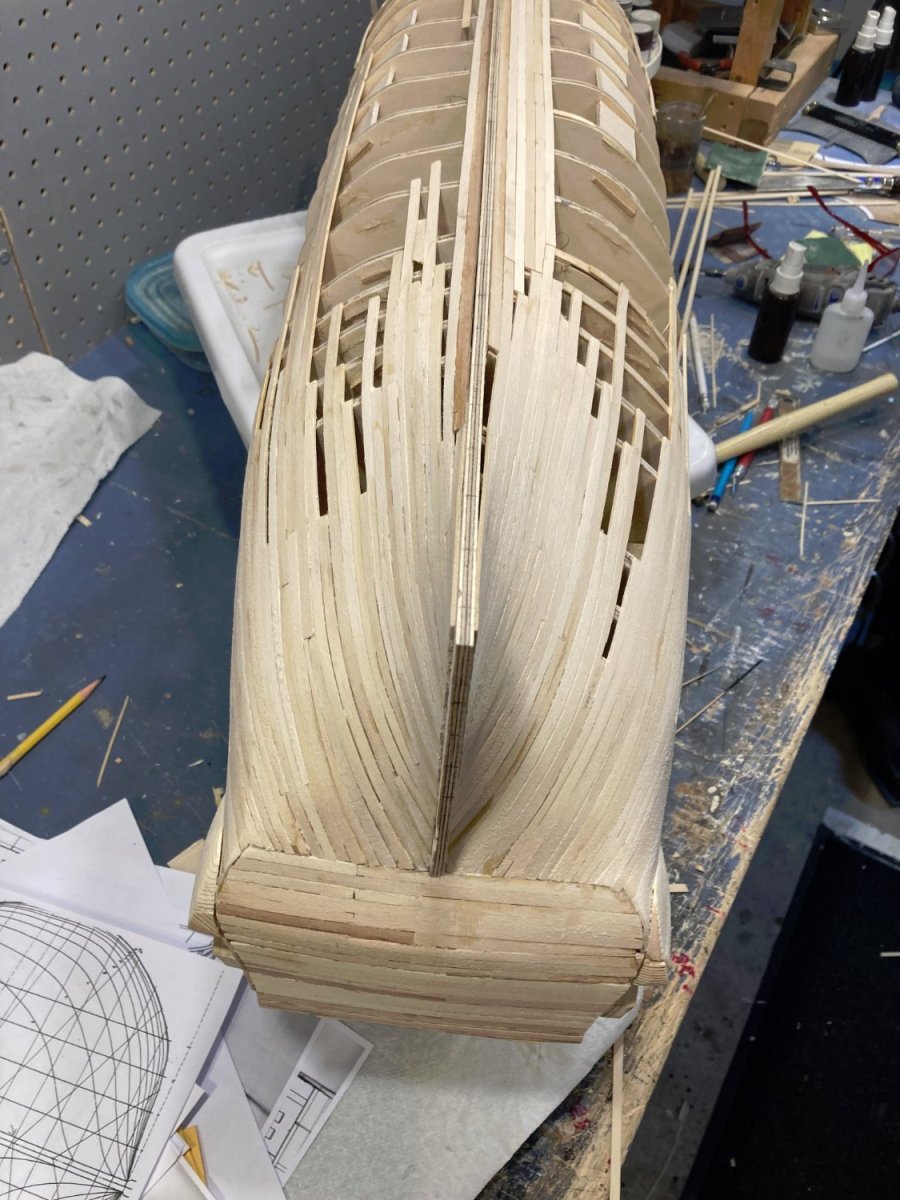
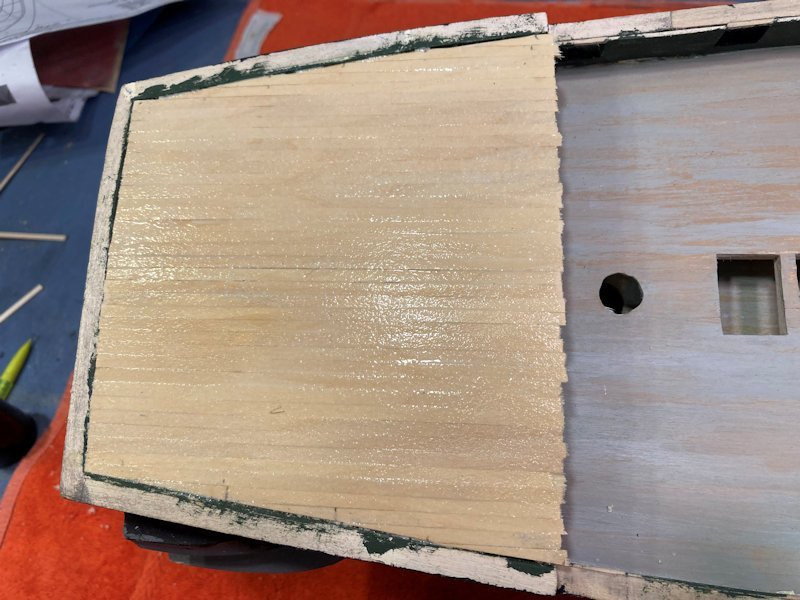
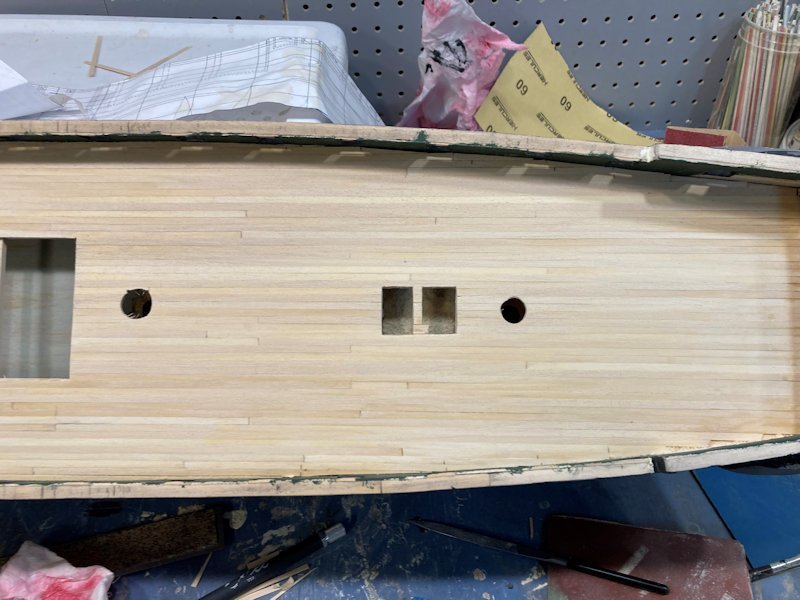
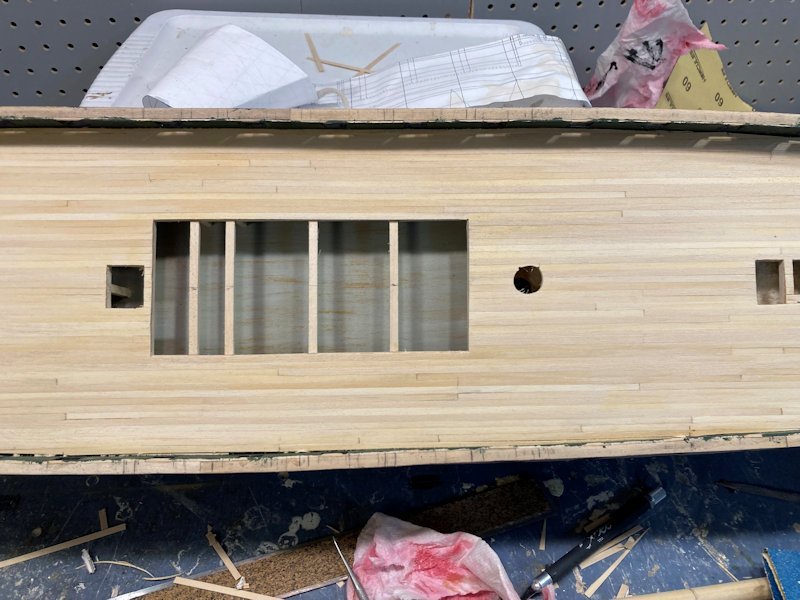
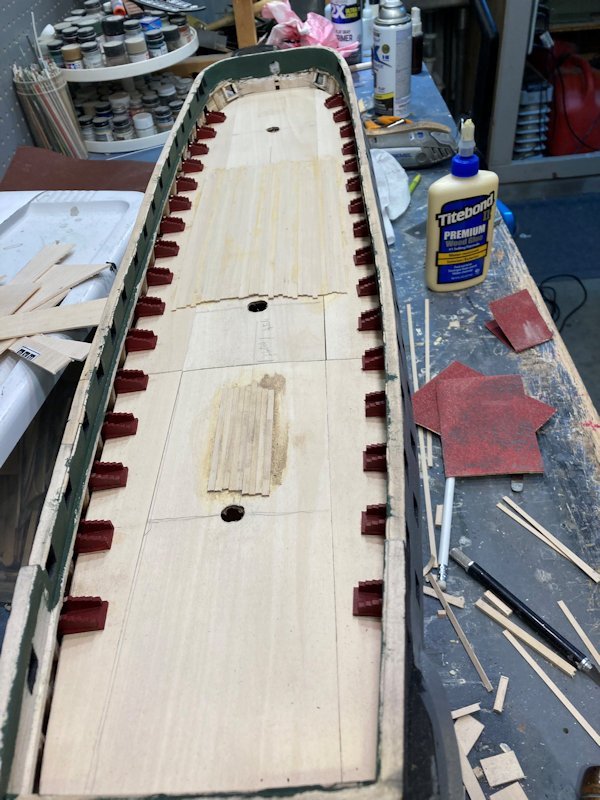
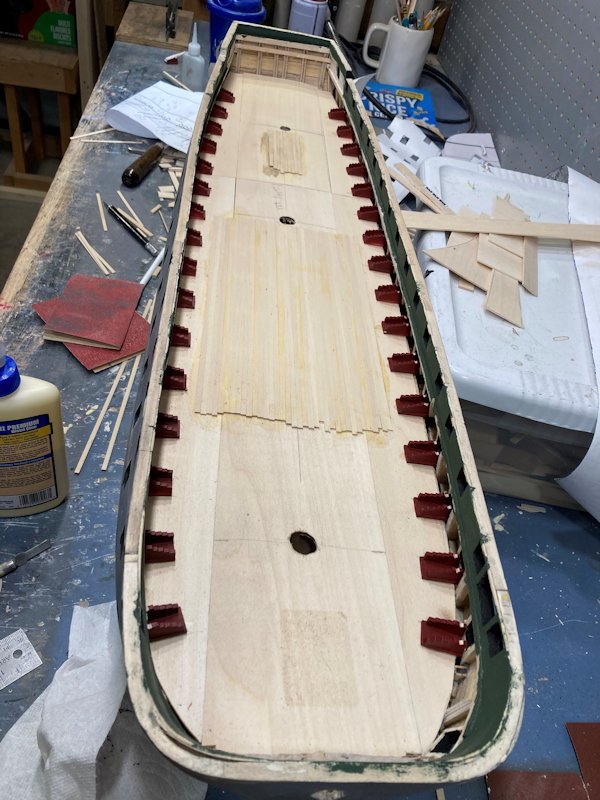
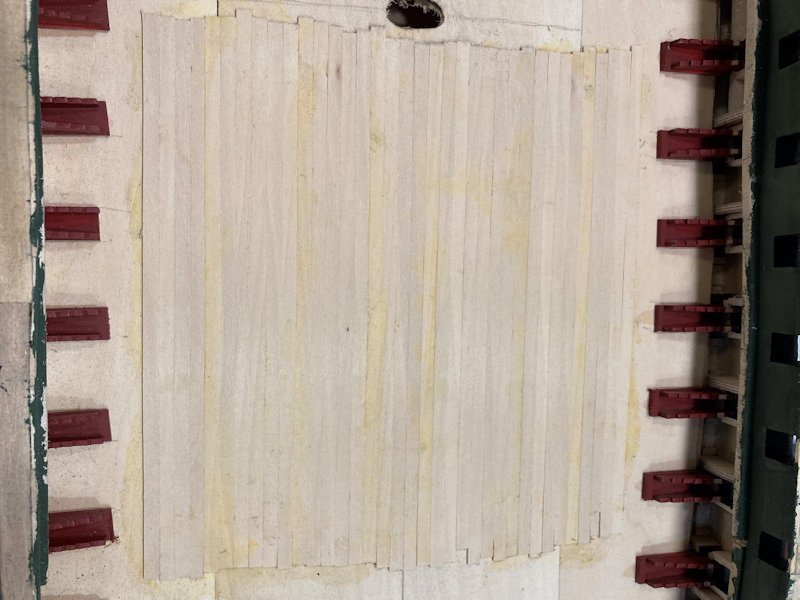
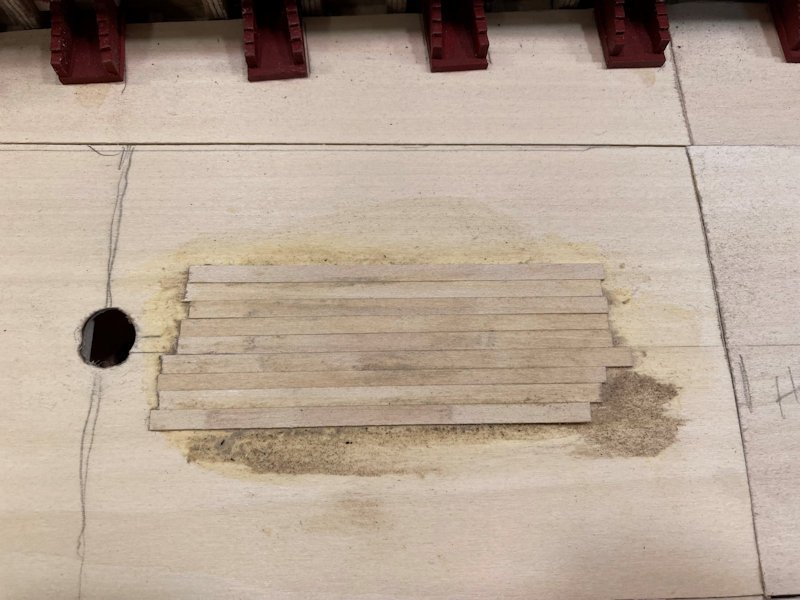
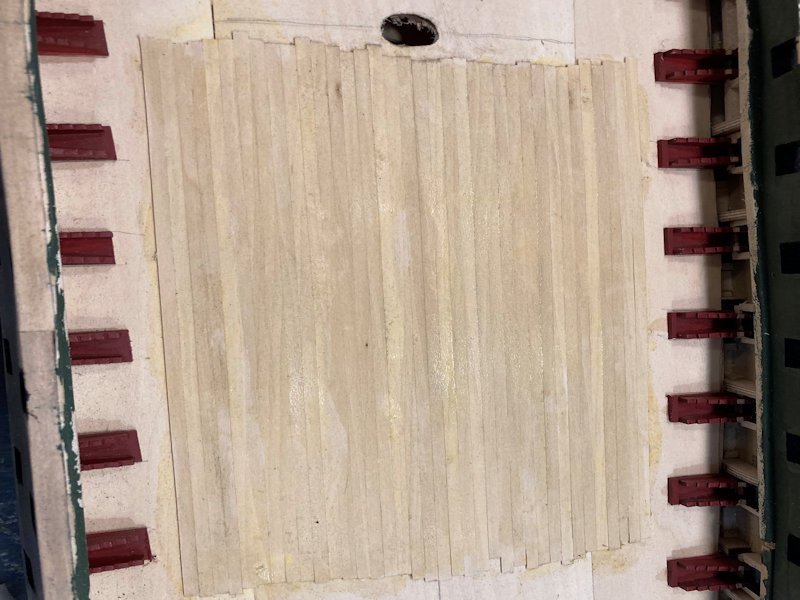
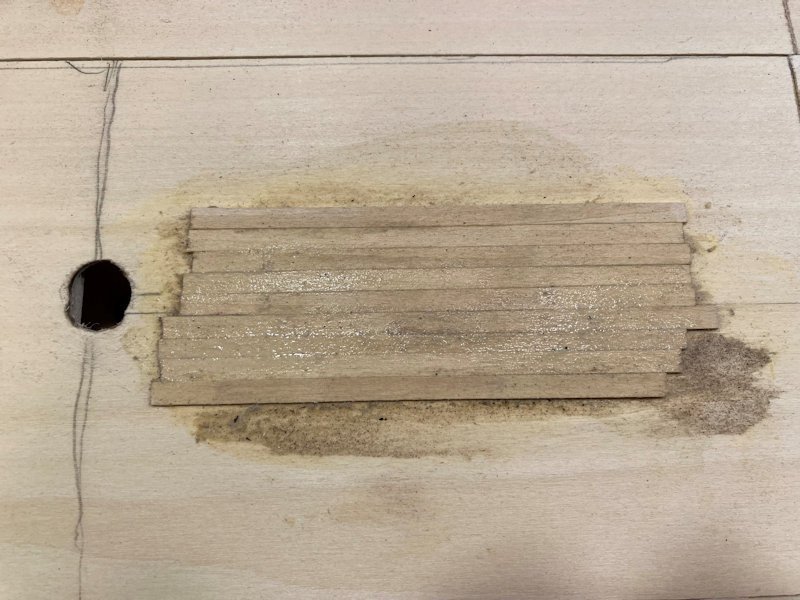
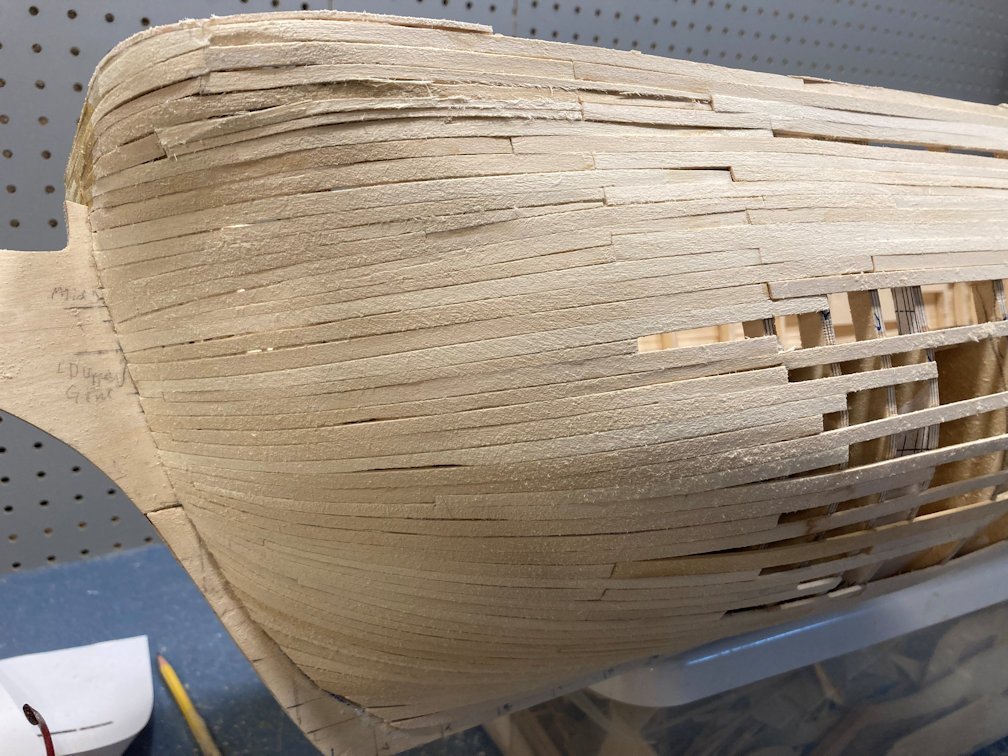
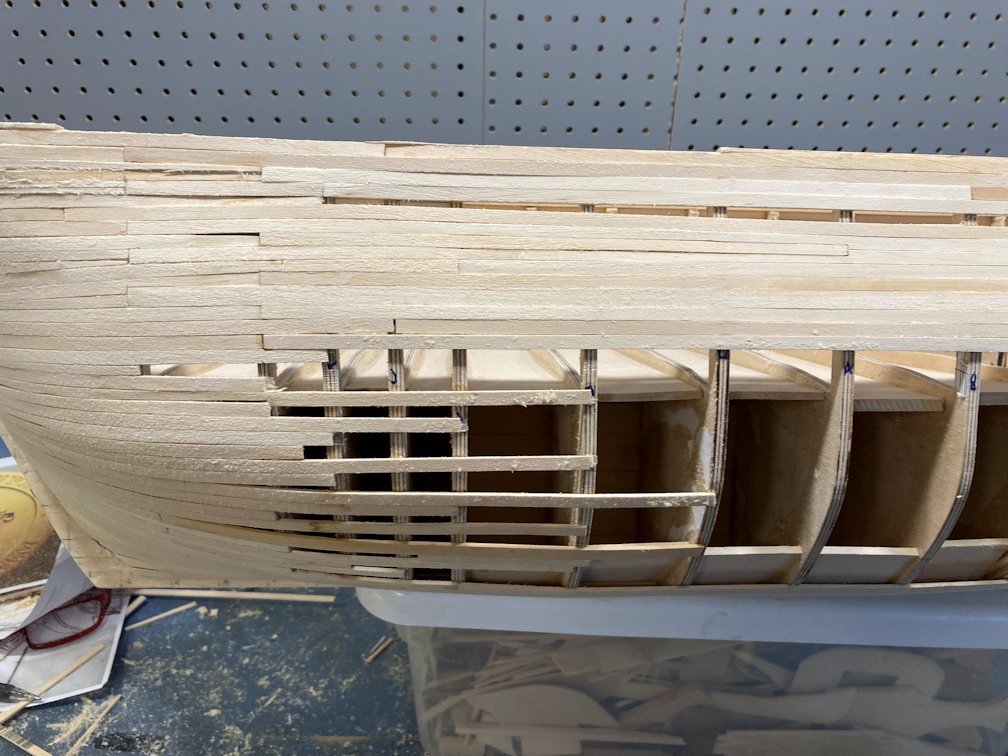
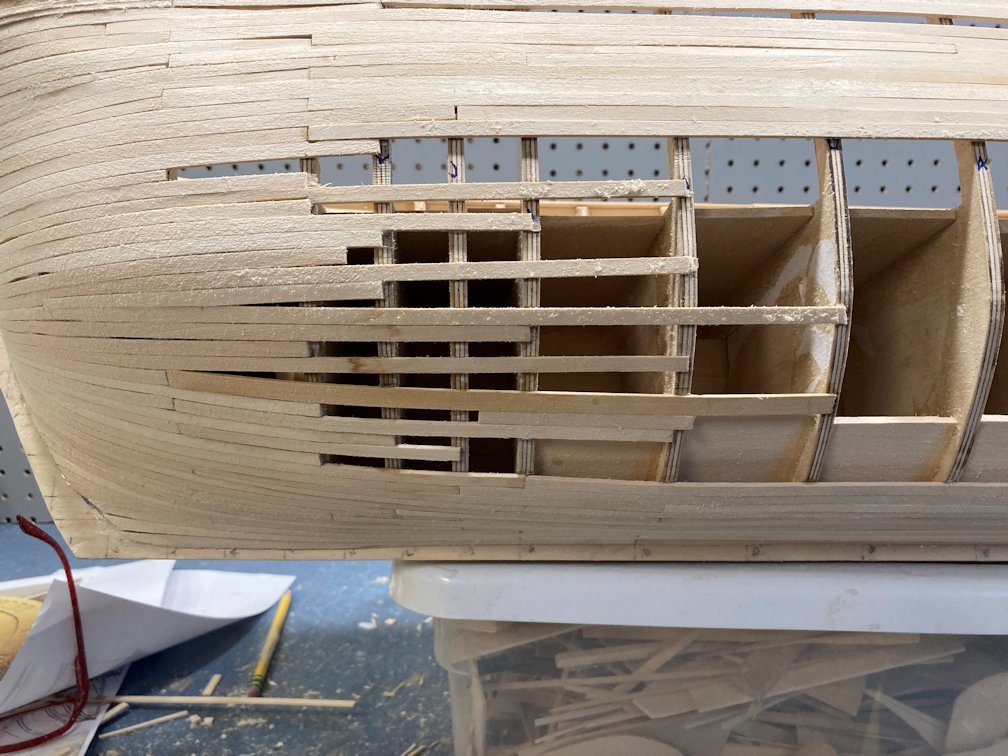
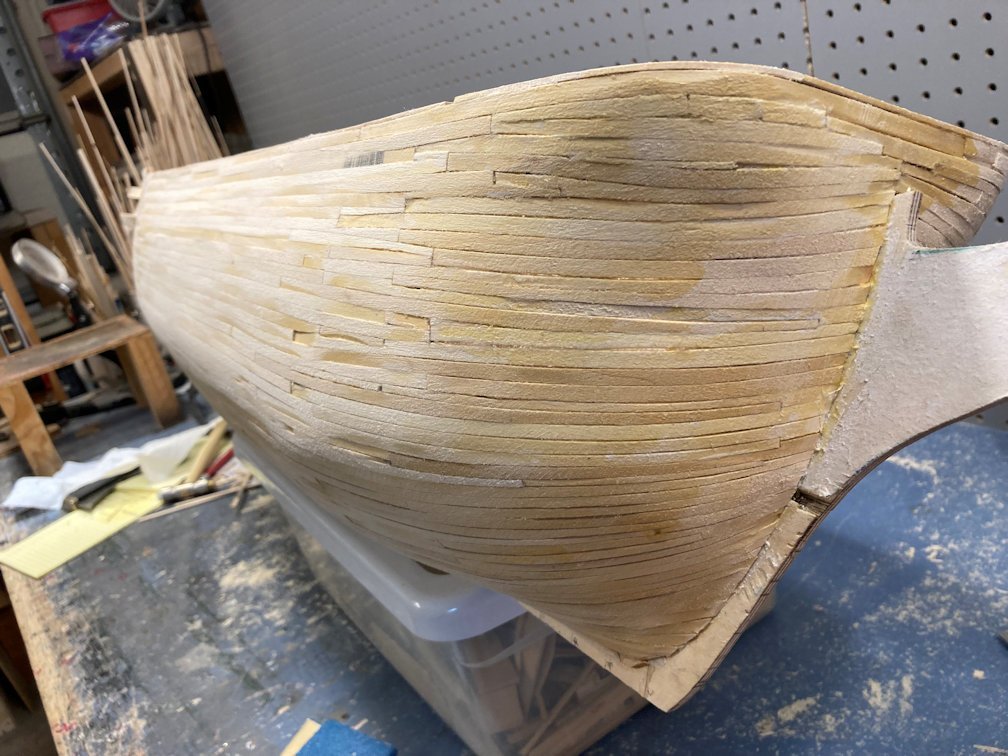
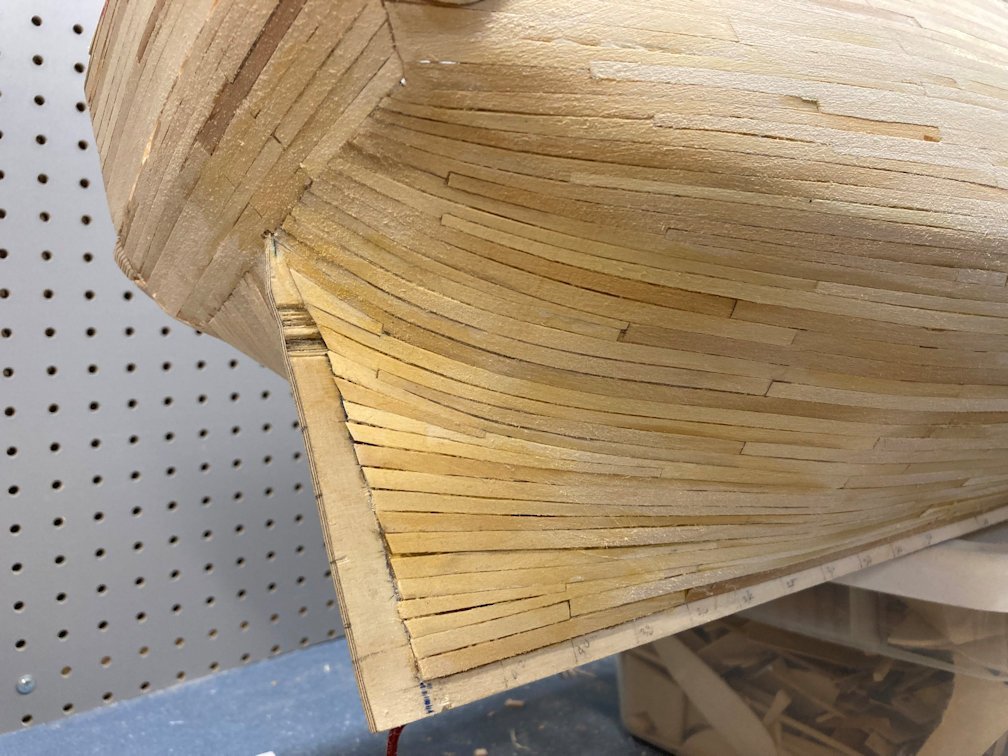
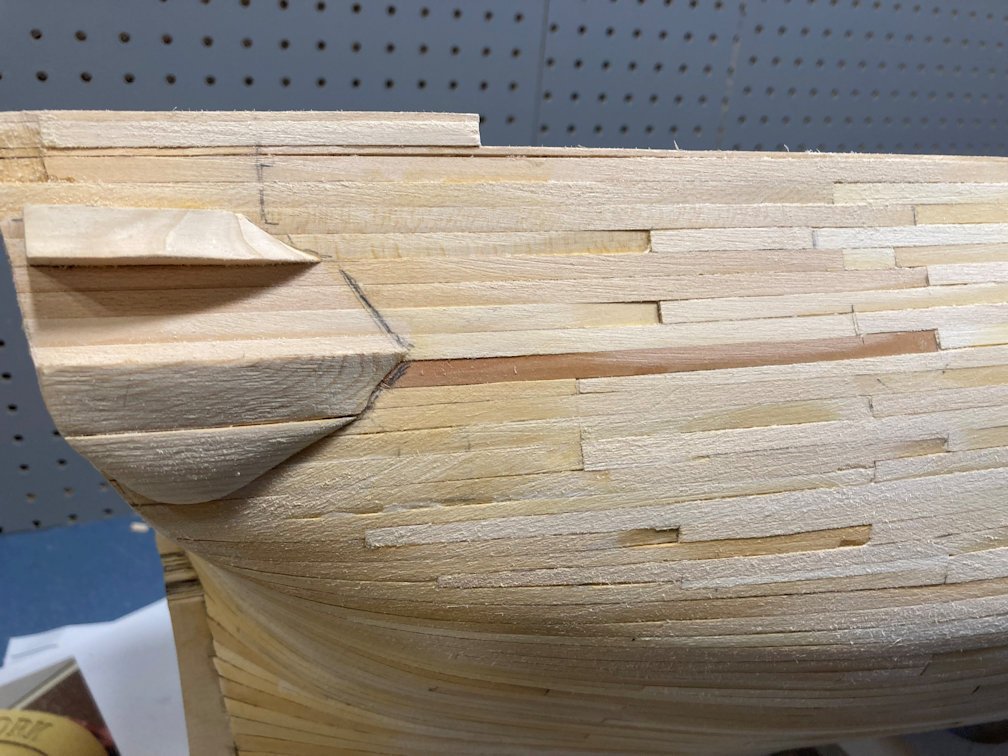
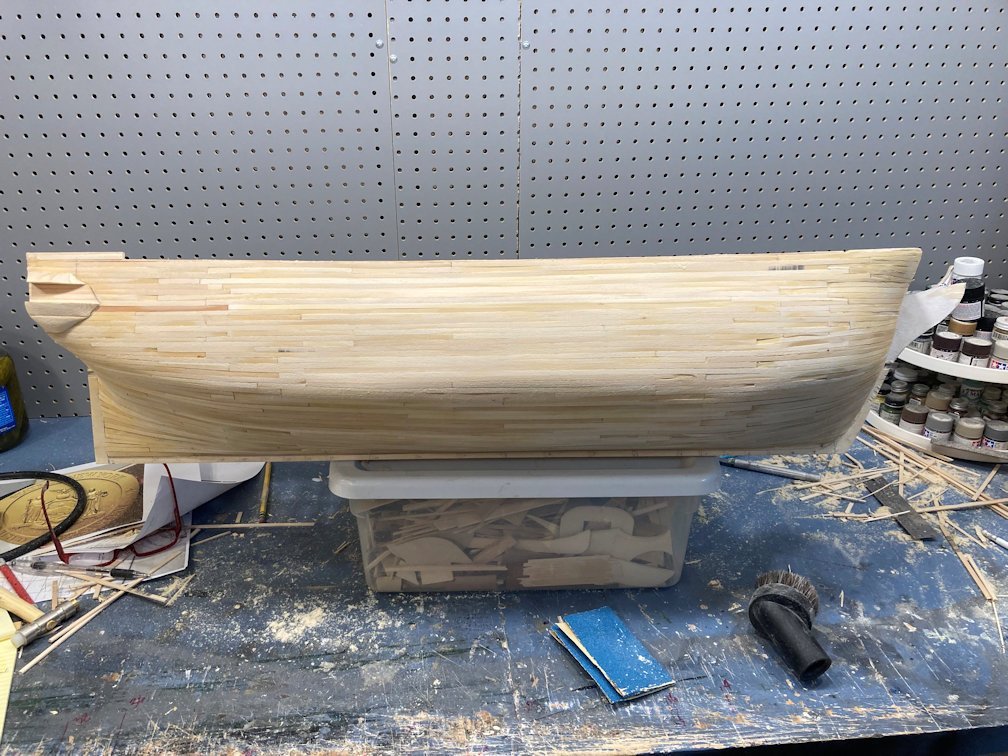
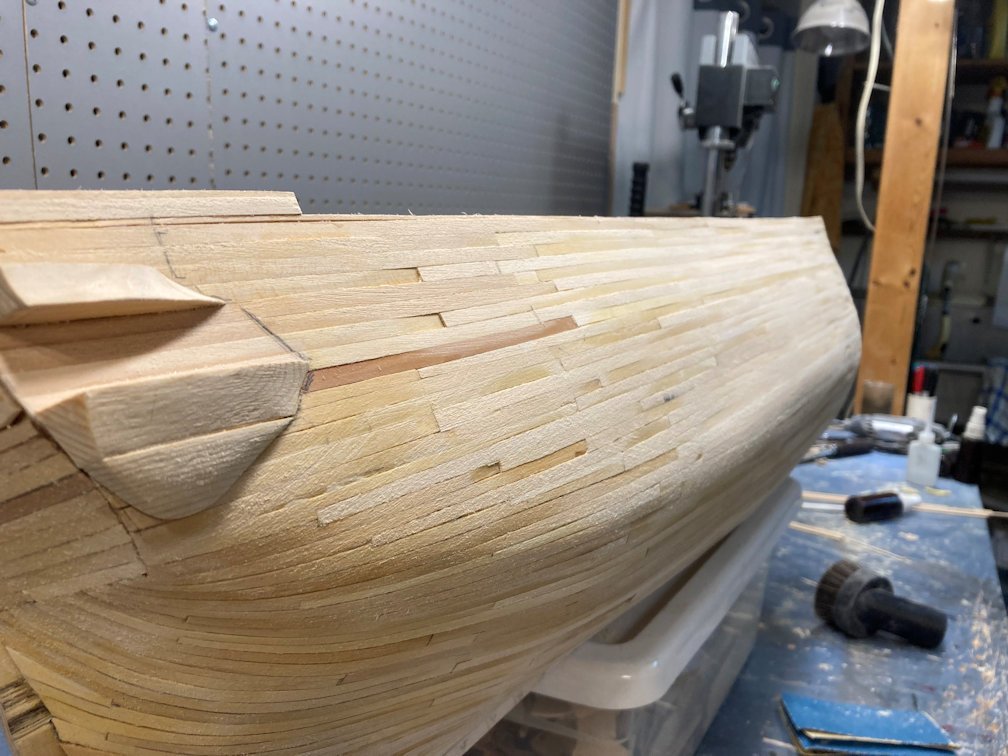
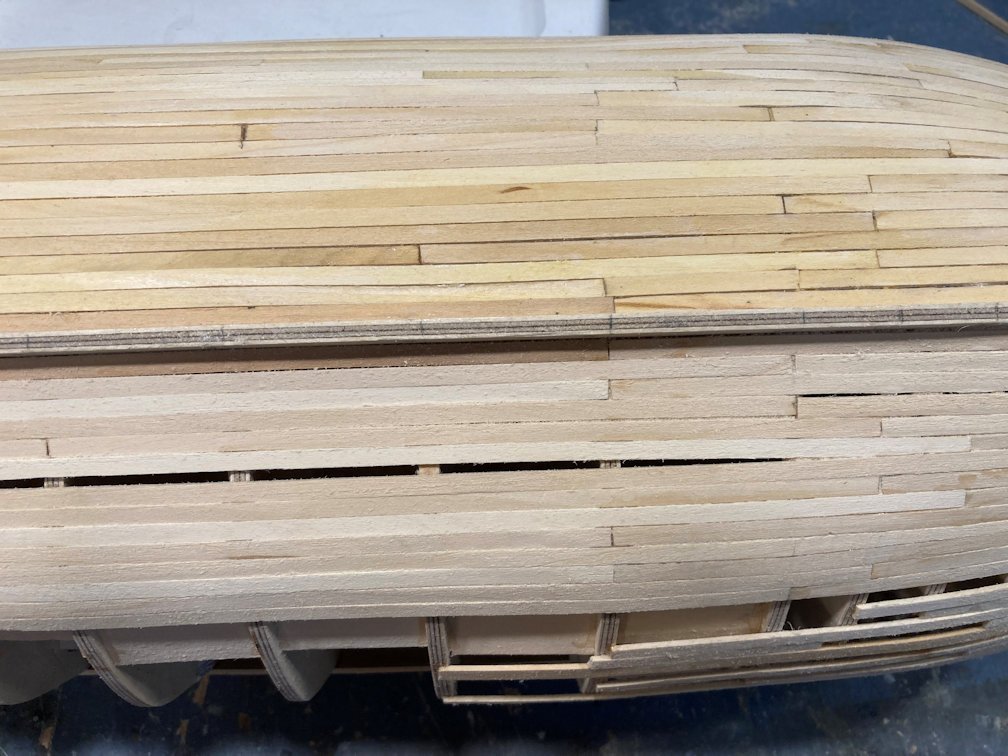
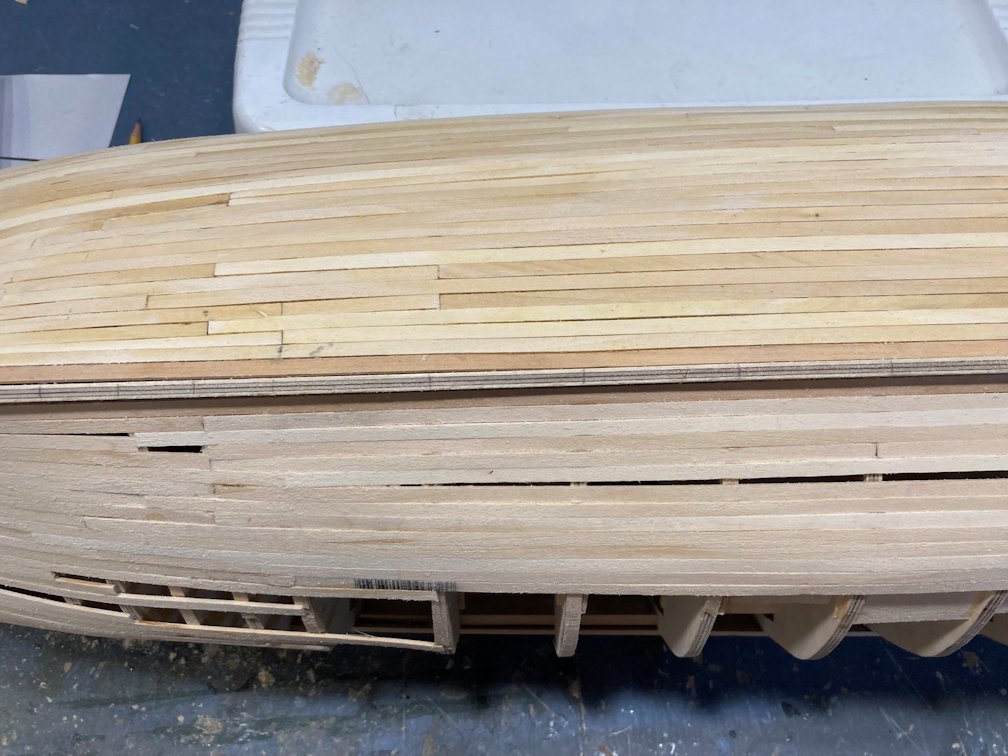
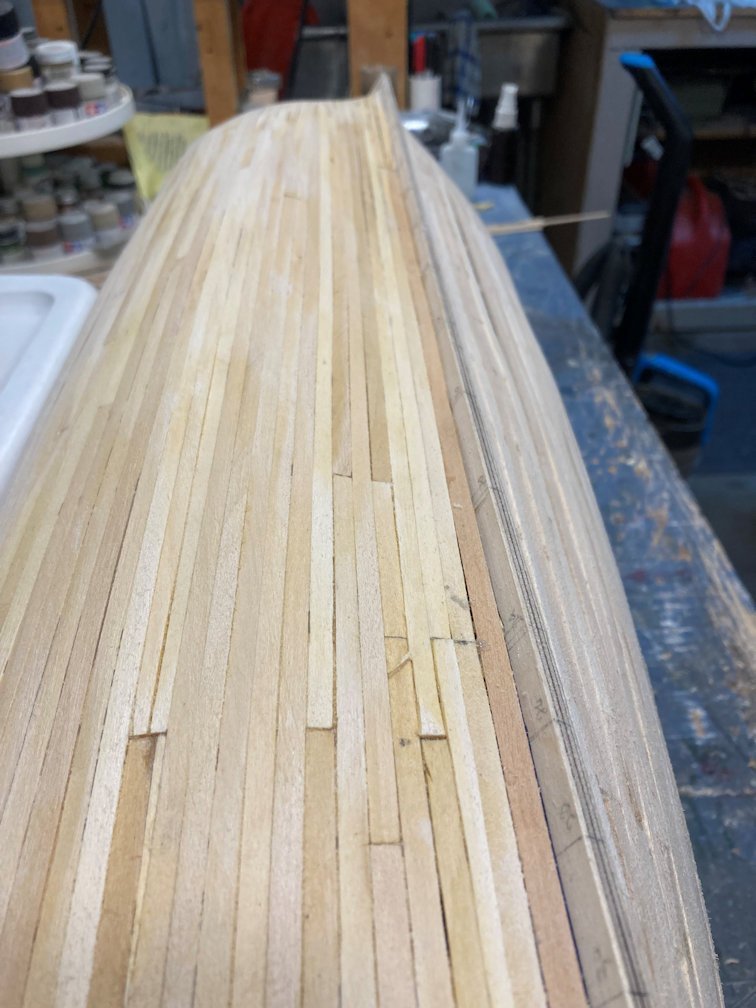
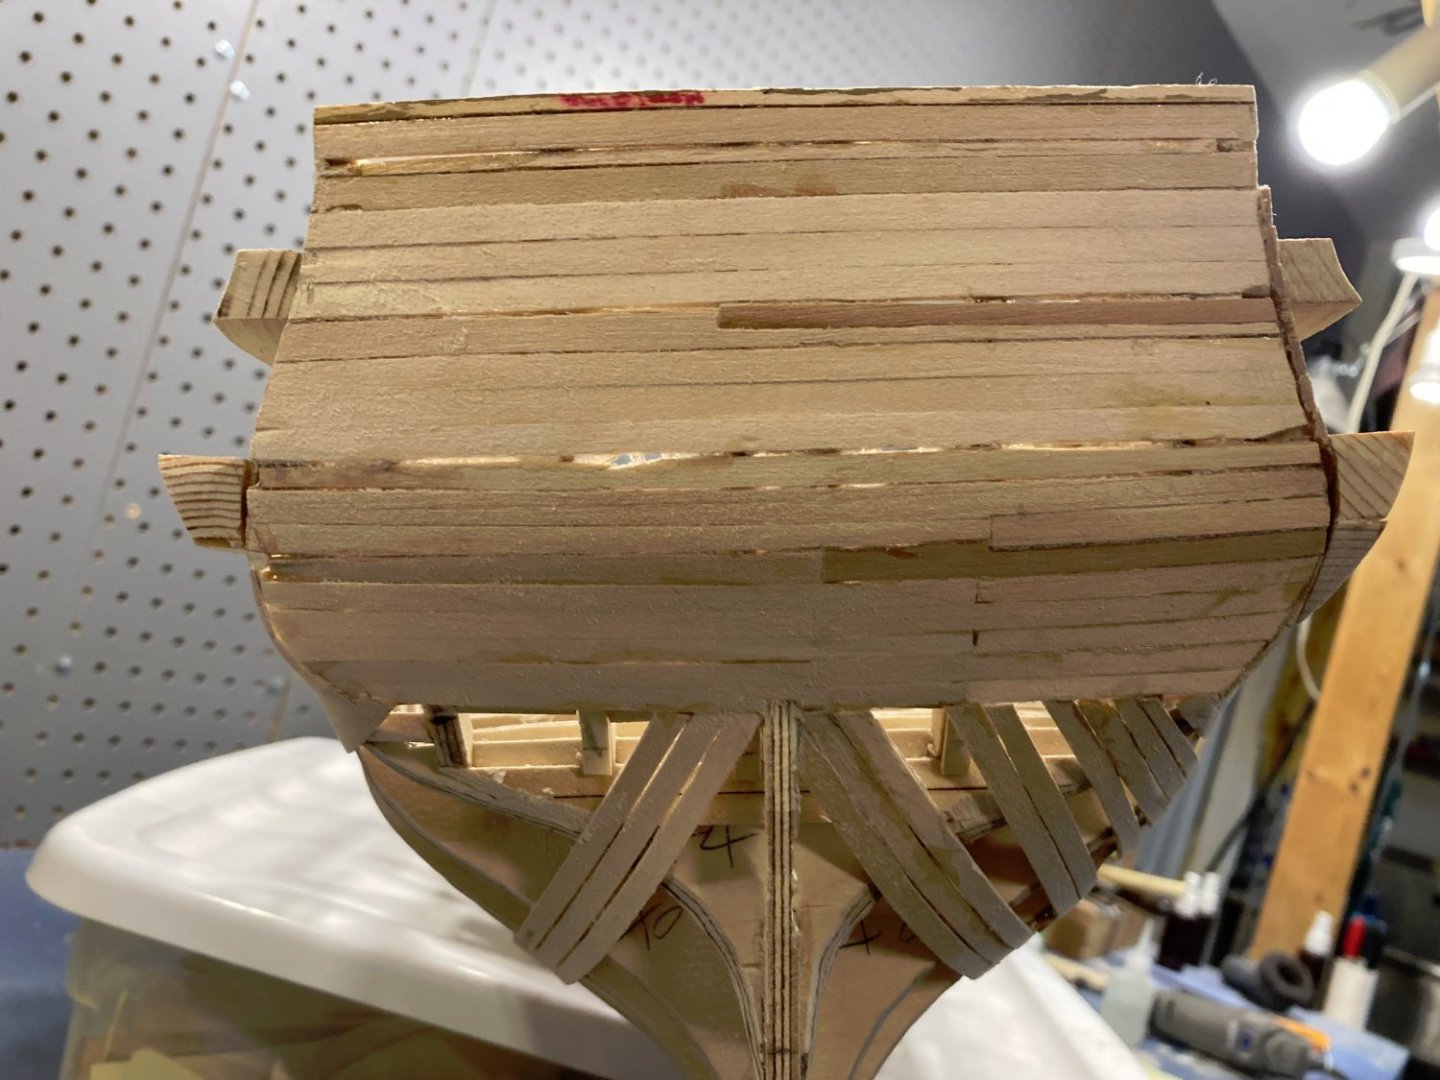
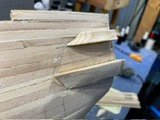
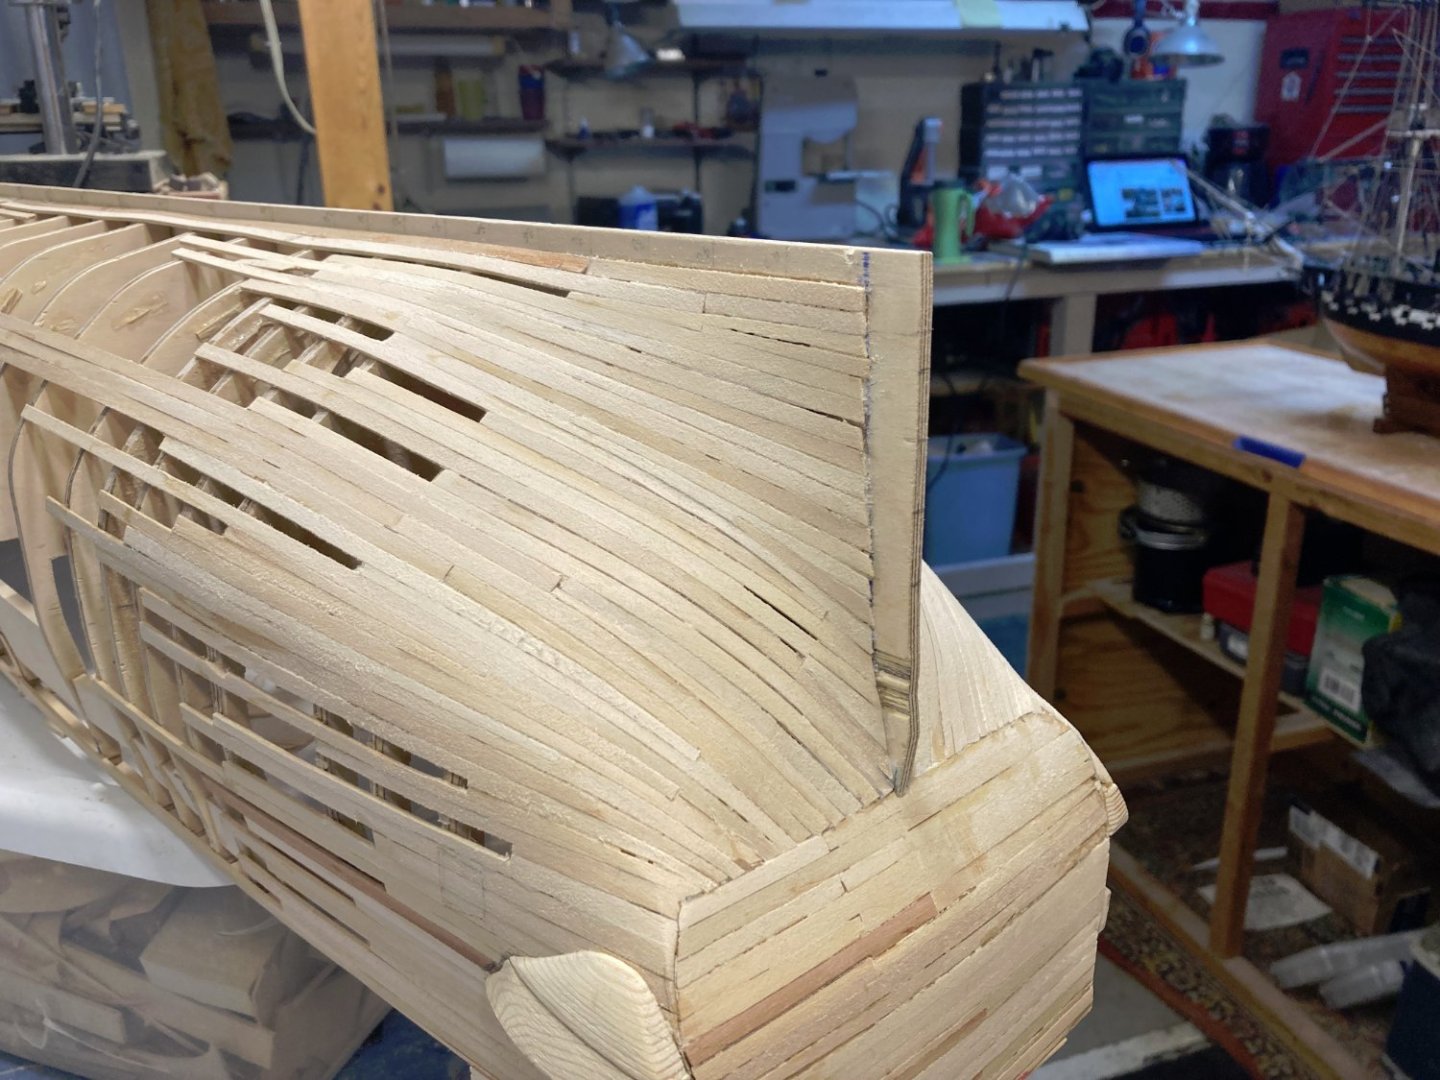
More progress on the New York. One side is planked "painted" with diluted wood glue to seal the seams where I did not super glue them. The yellowish color here and there is the wood glue. I did some rough sanding as well. It will need another glue coat to get the seams I missed the first time. And, as you can see, the other side is almost done. Maybe another week and I can give it a coat of epoxy wood filler. In two weeks I should be able to prime the hull.


-
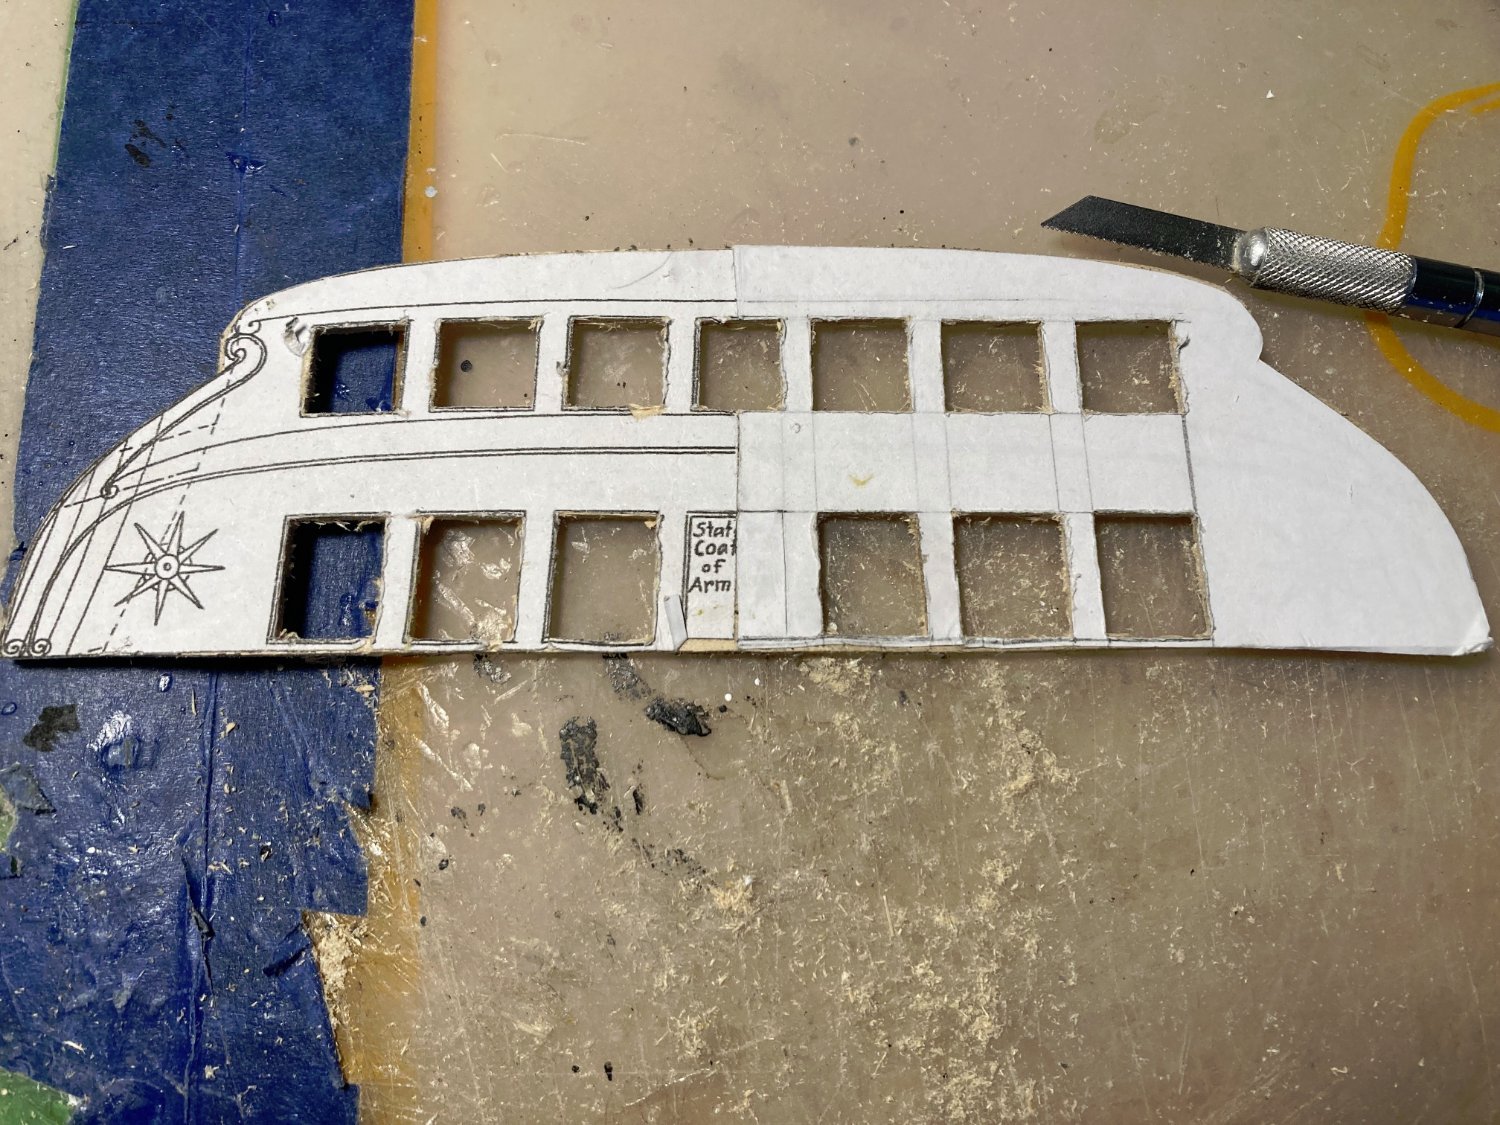
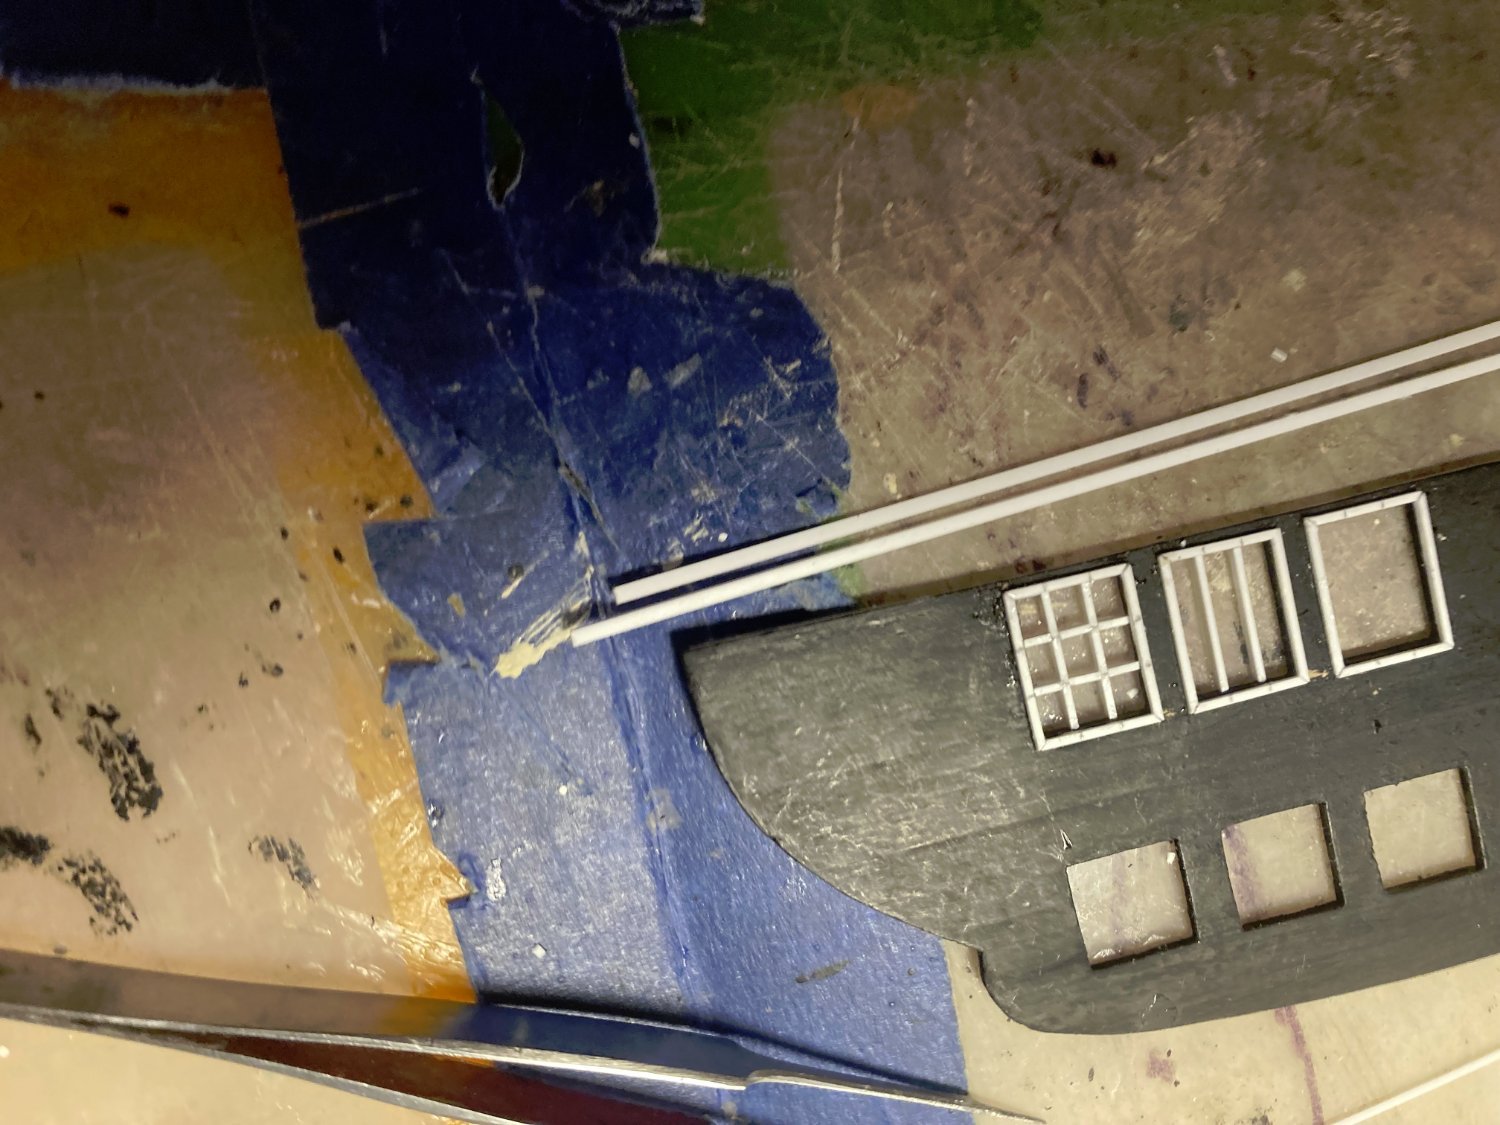
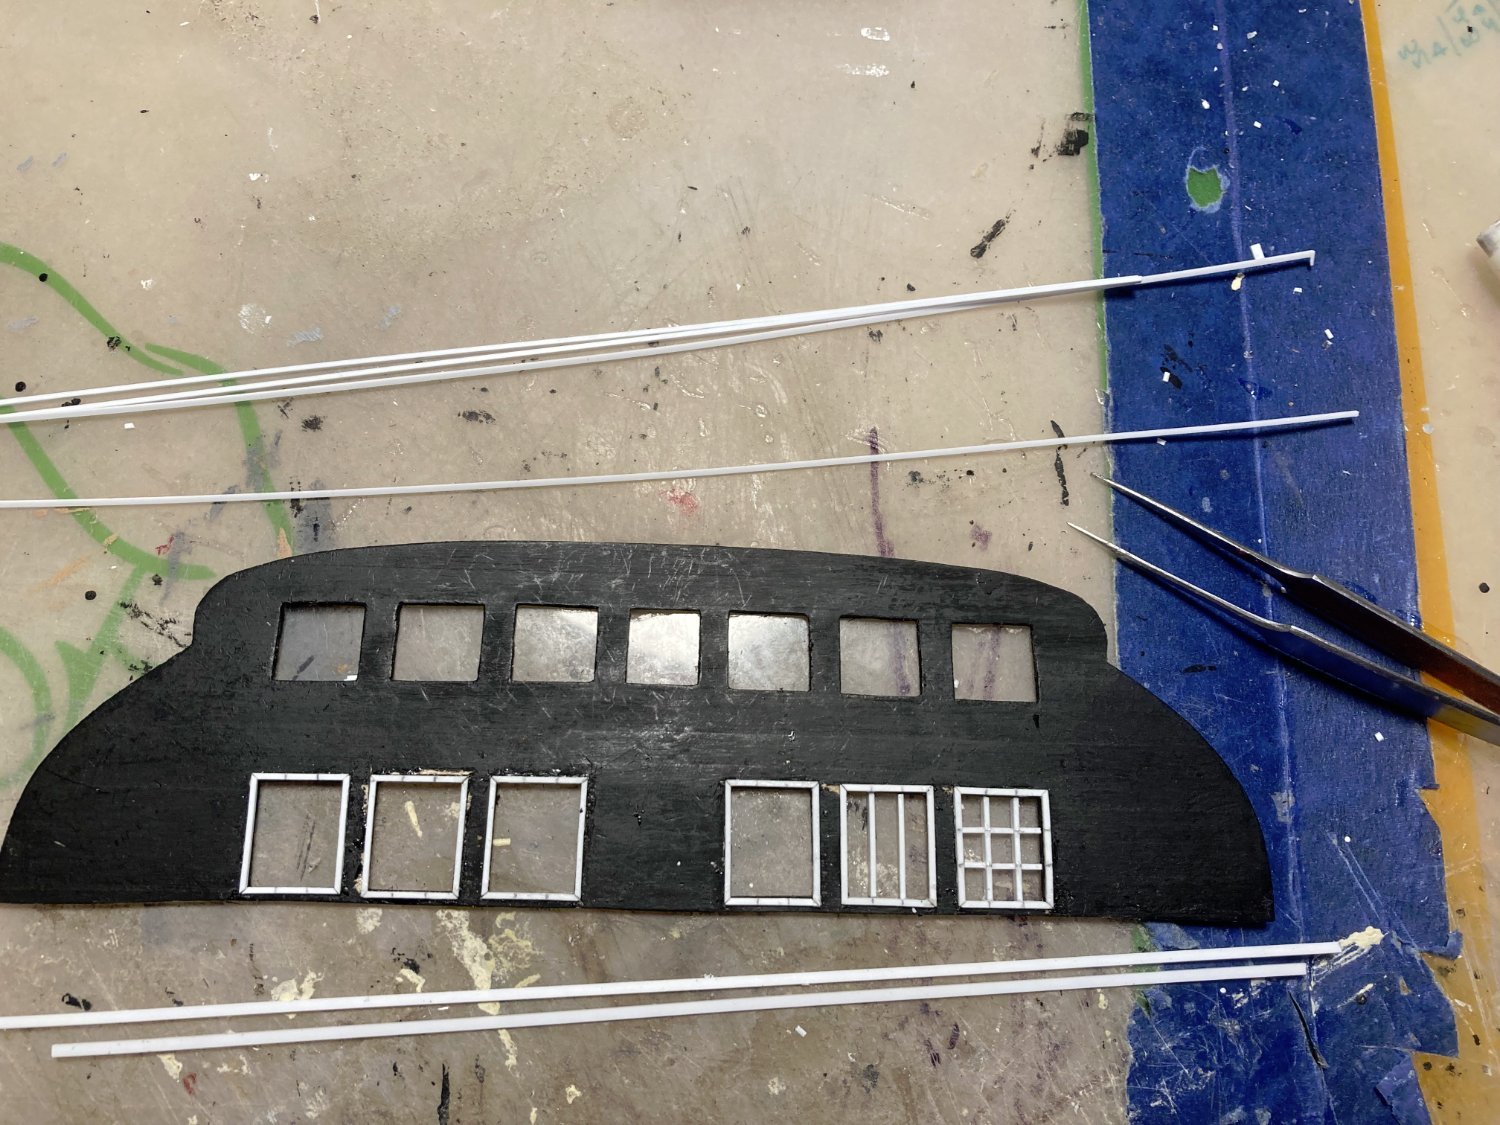
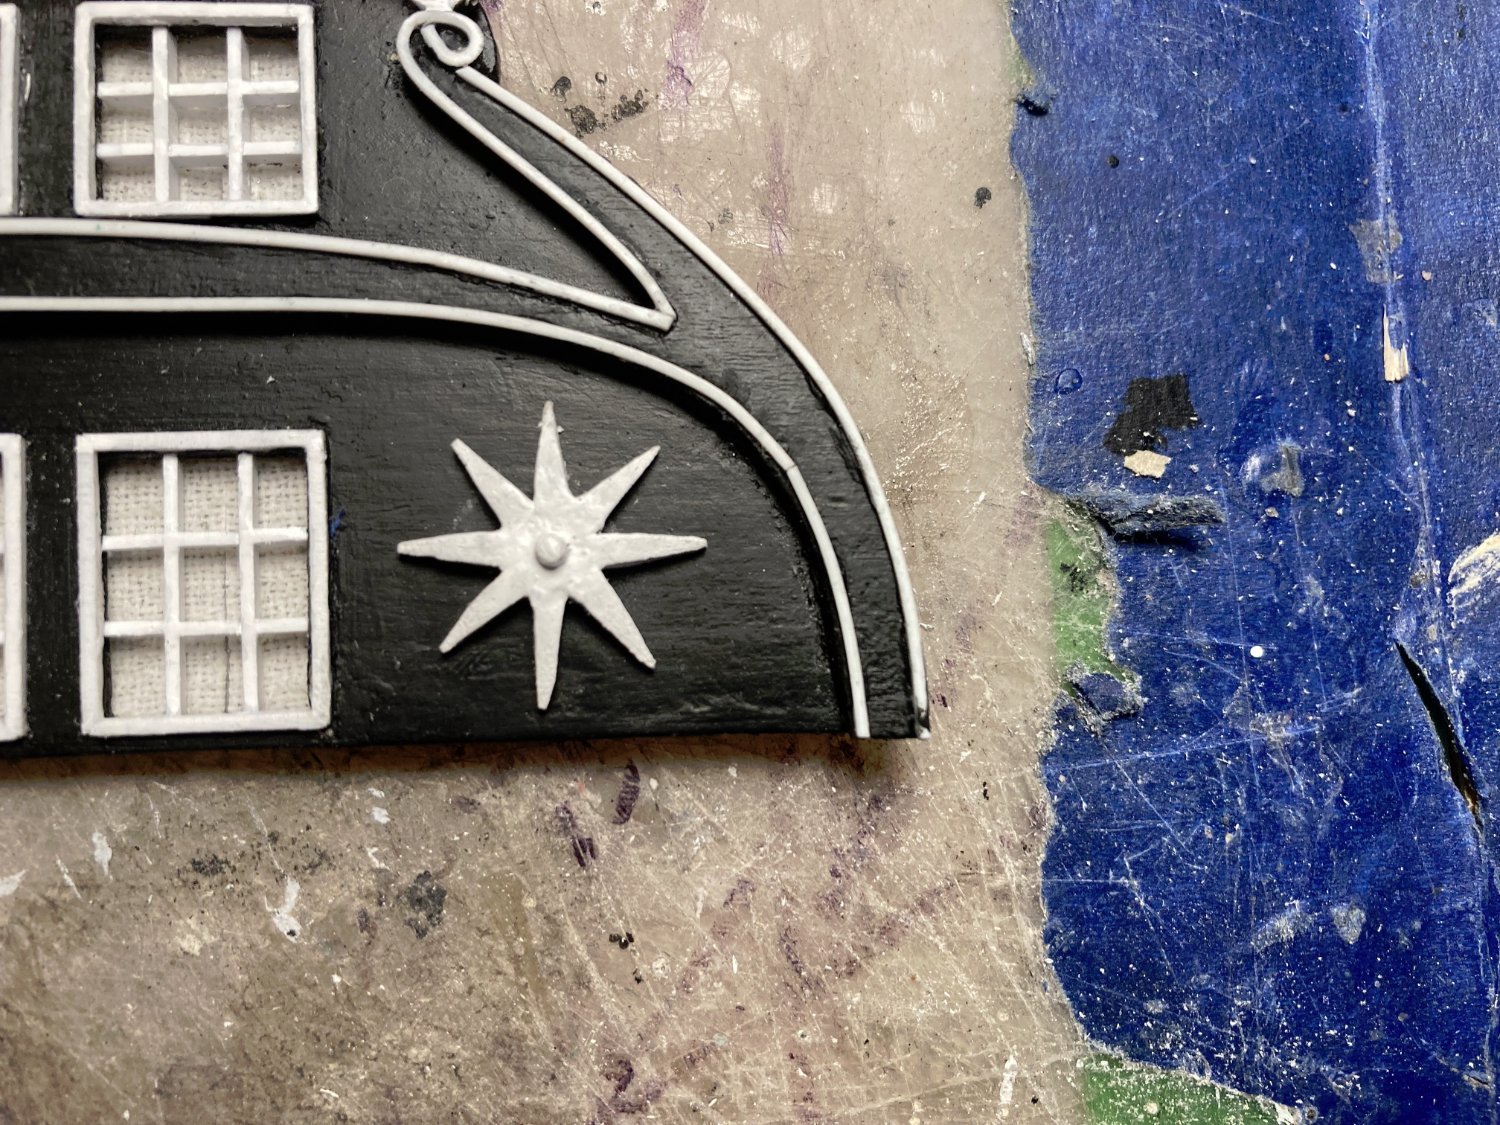
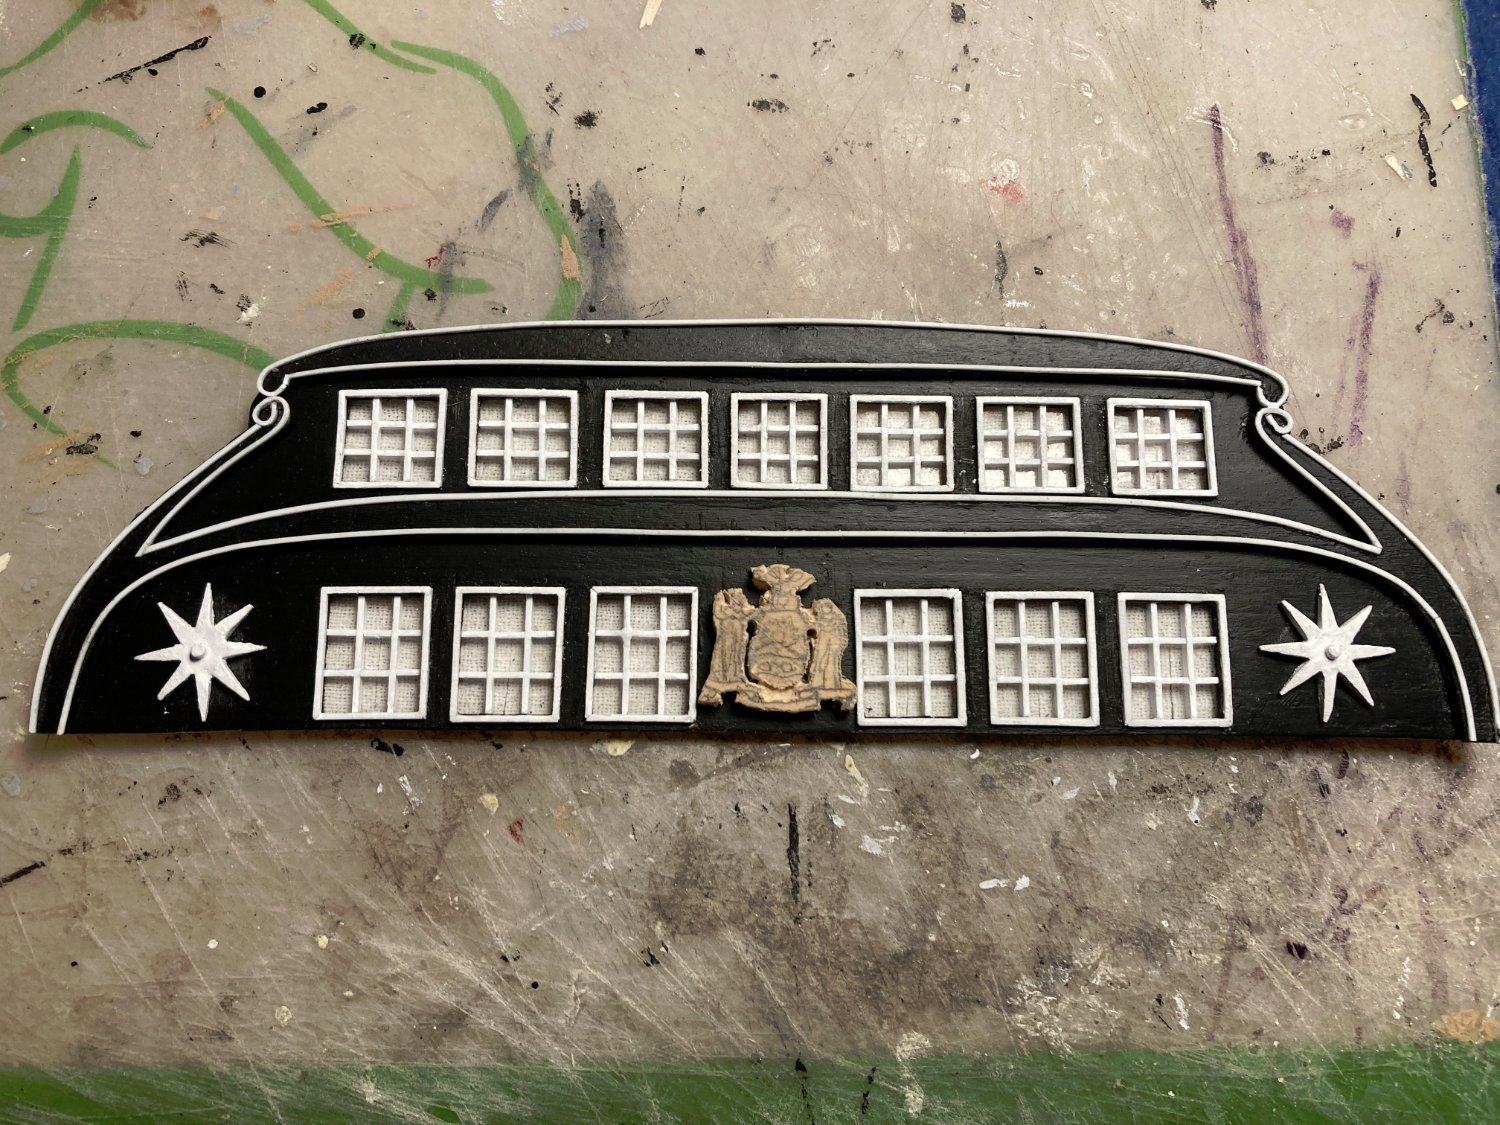
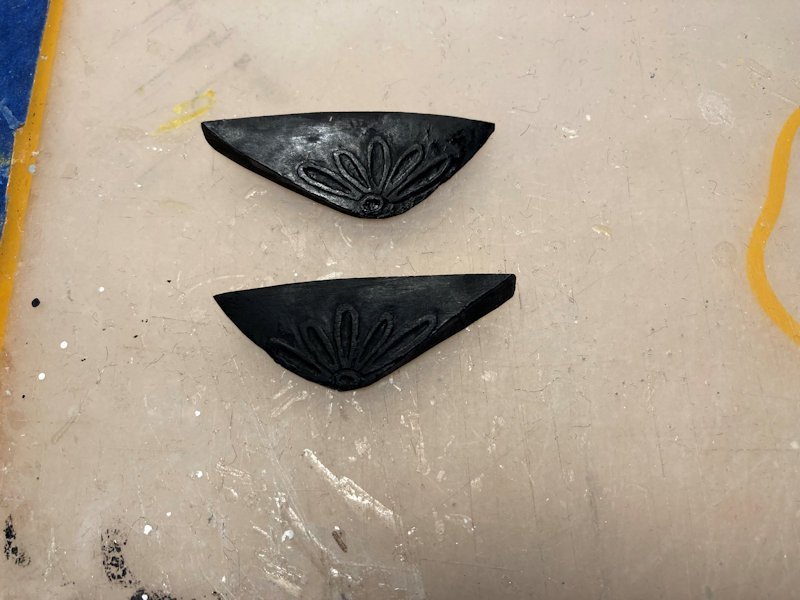
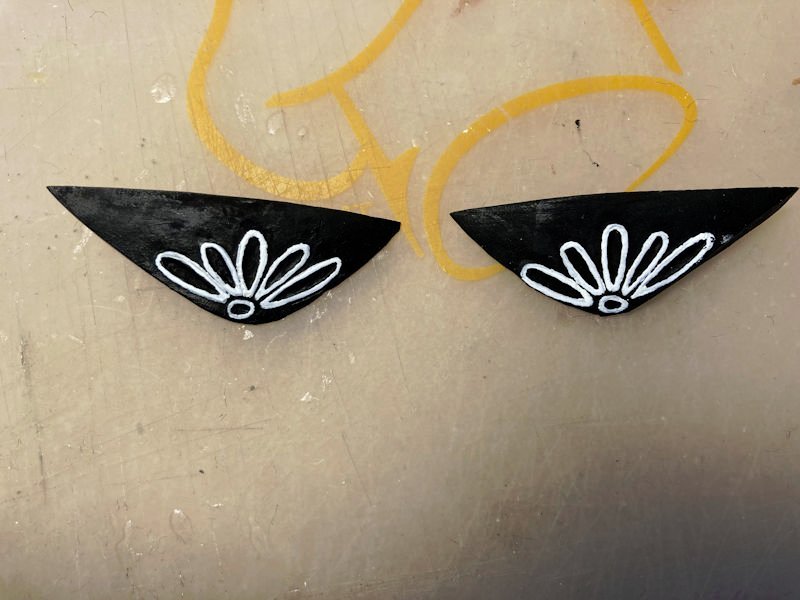
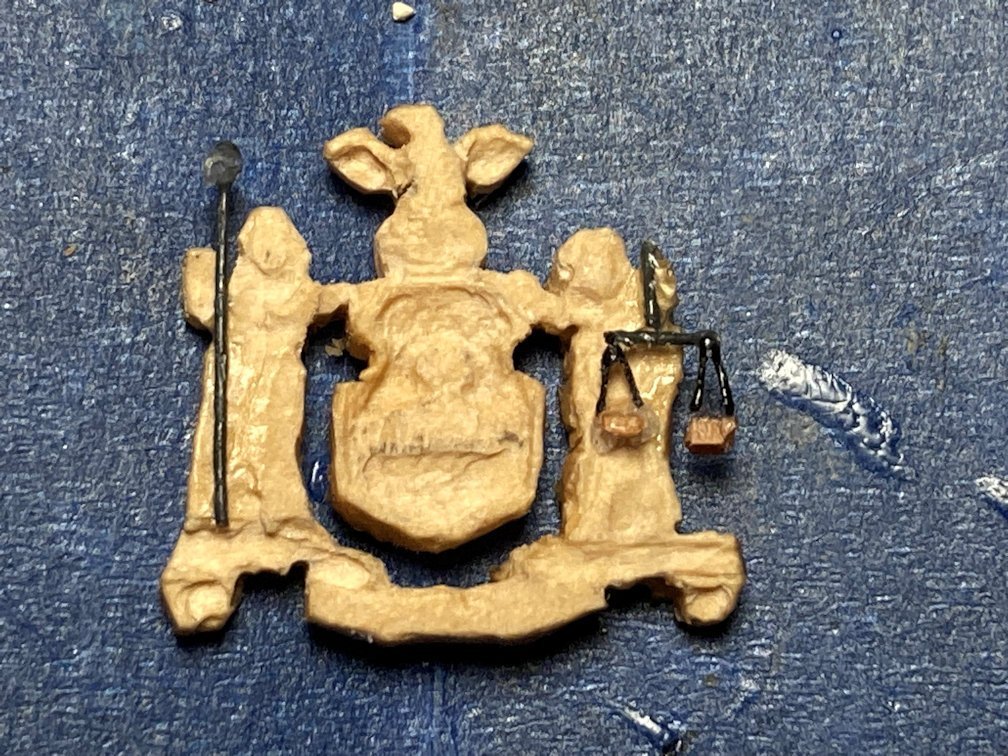
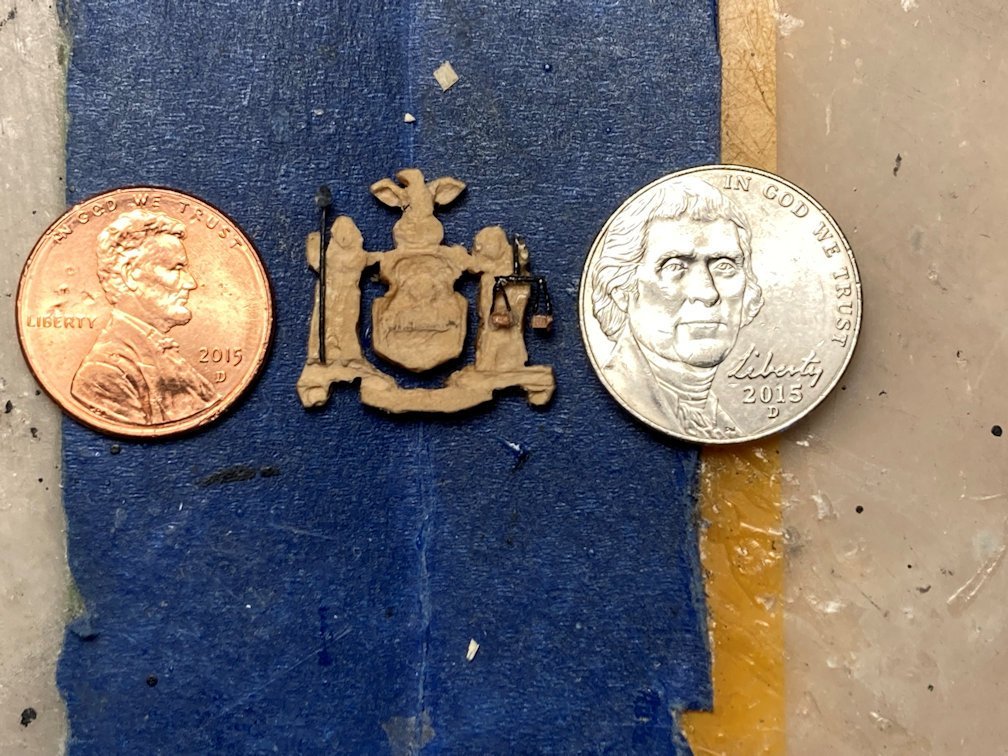
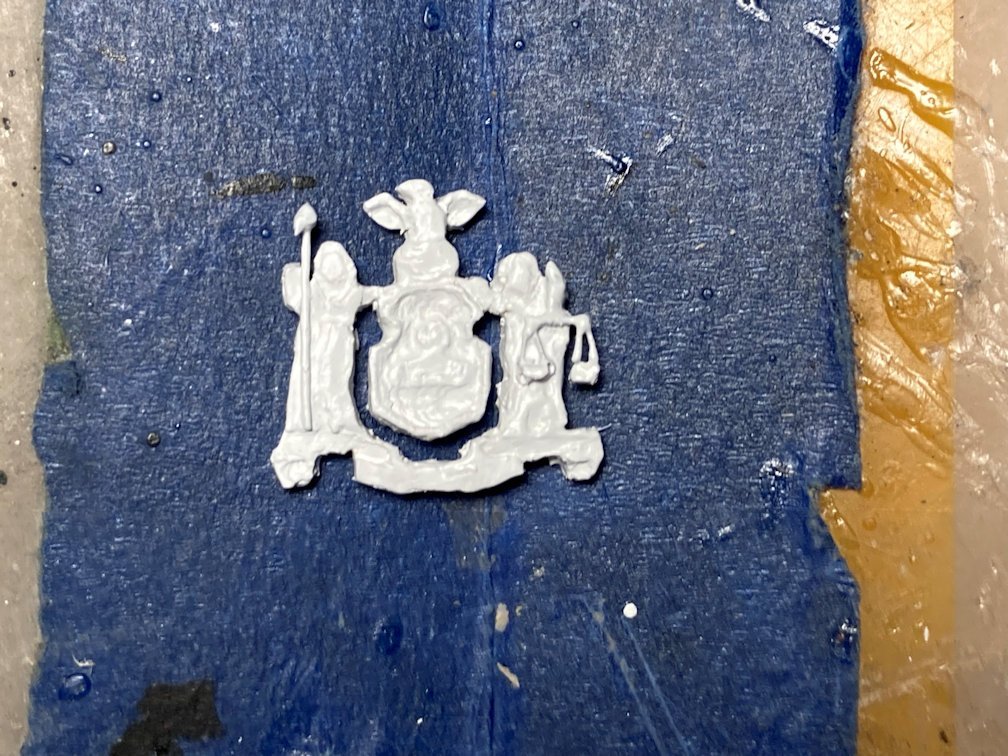
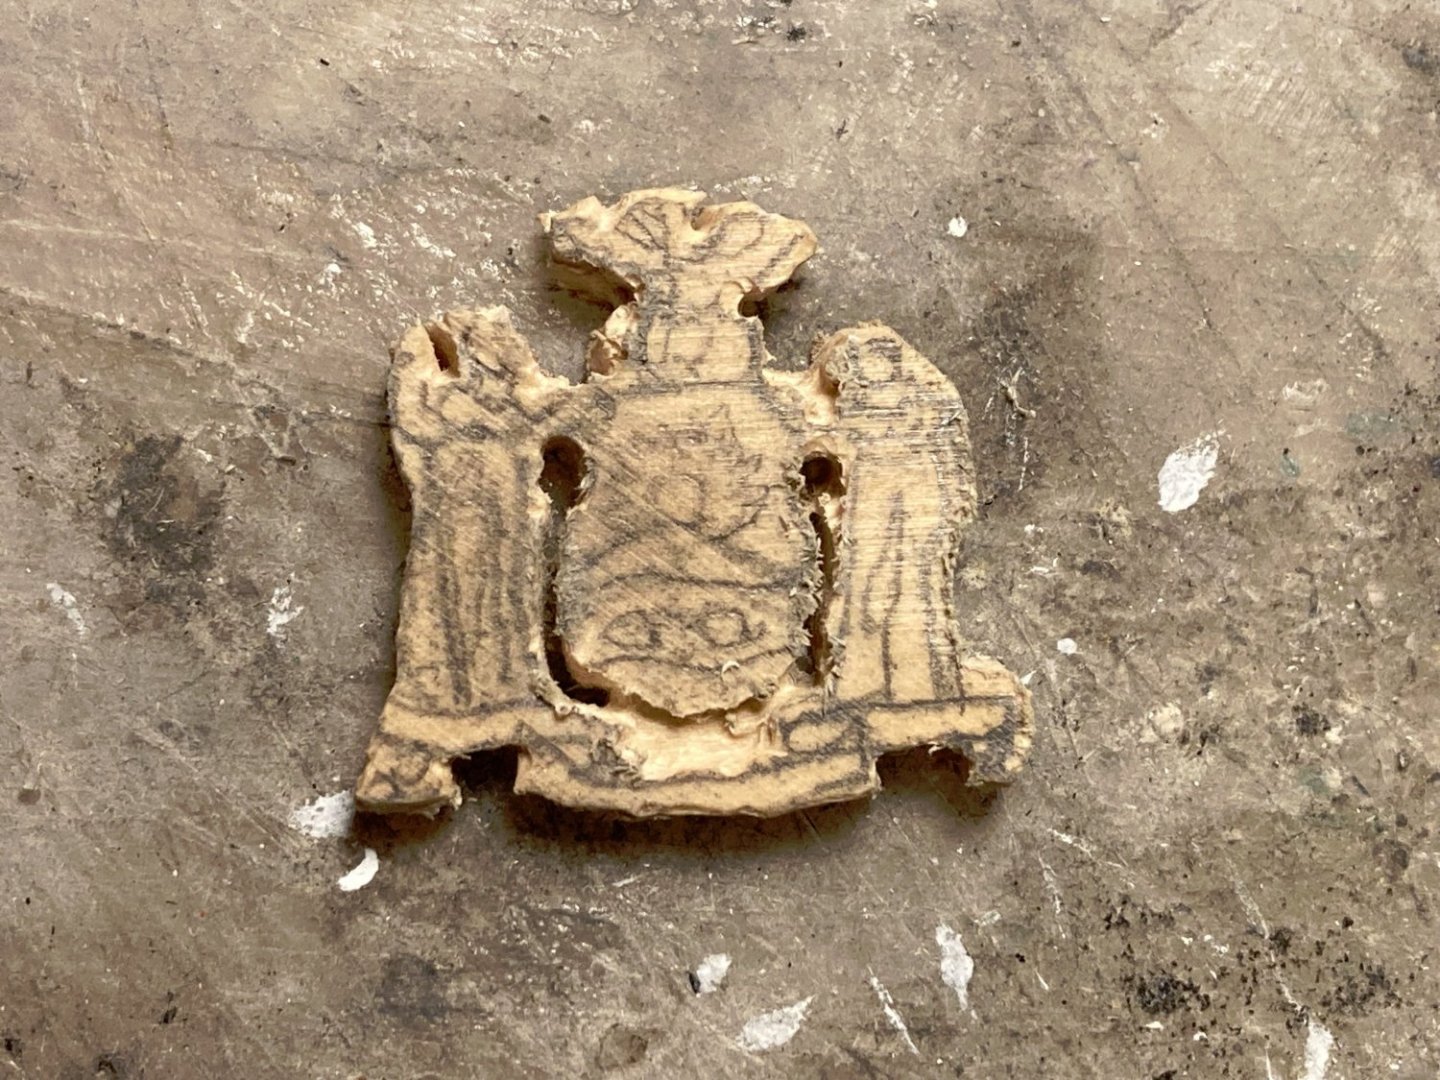
New York Great seal about as good as something this small is going to get. (for my skills anyway!)
-
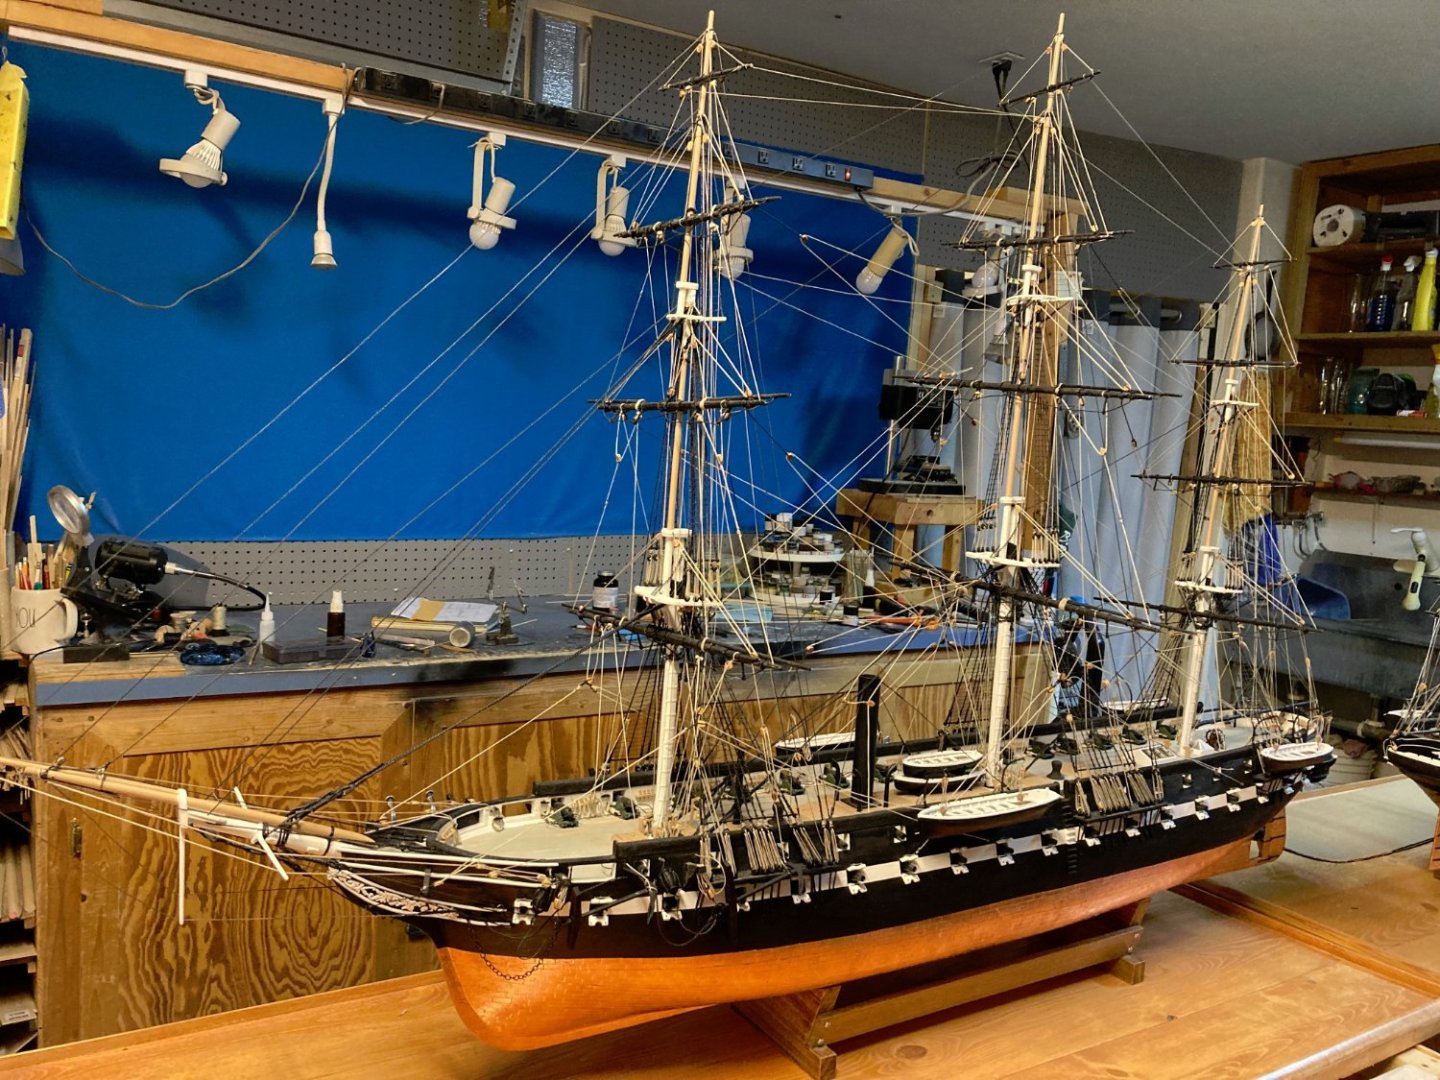
I did the Merrimack before this, 16 months to build
-
The 74 gun New York was never finished. She remained on the stocks until her destruction in April 1861 along with 10 other ships at Gosport (now Norfolk) Harbor. Research seems to indicate that she was being razzeed in preparation for conversion to a Steam Frigate. This build will reflect as she might have been had she been completed and launched.


-
USS Merrimack 1855 by threebs
threebs replied to threebs's topic in - Build logs for subjects built 1851 - 1900
Once you try it is just as hard to keep at it. -
USS Merrimack 1855 by threebs
threebs replied to threebs's topic in - Build logs for subjects built 1851 - 1900
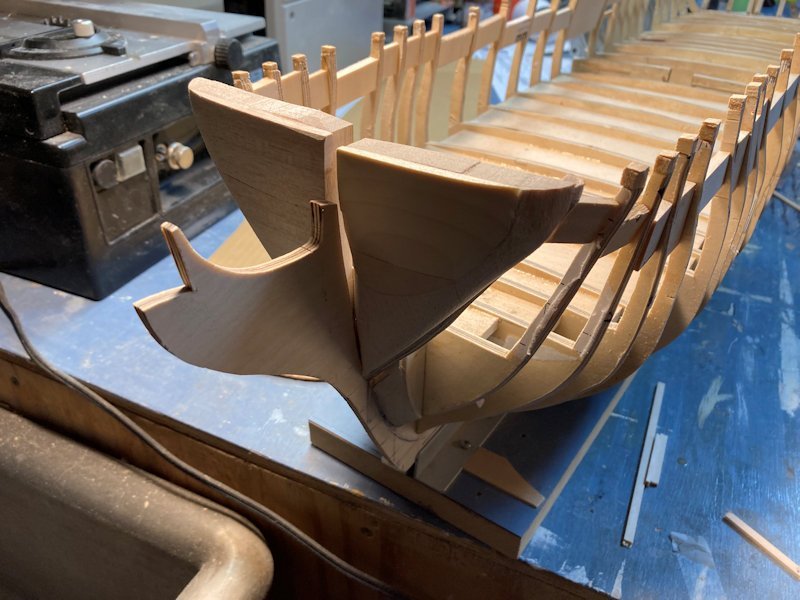
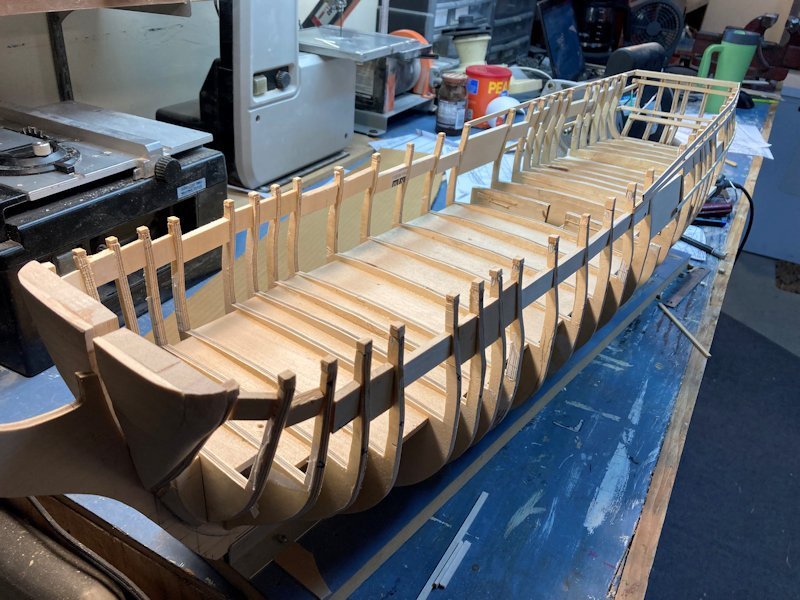
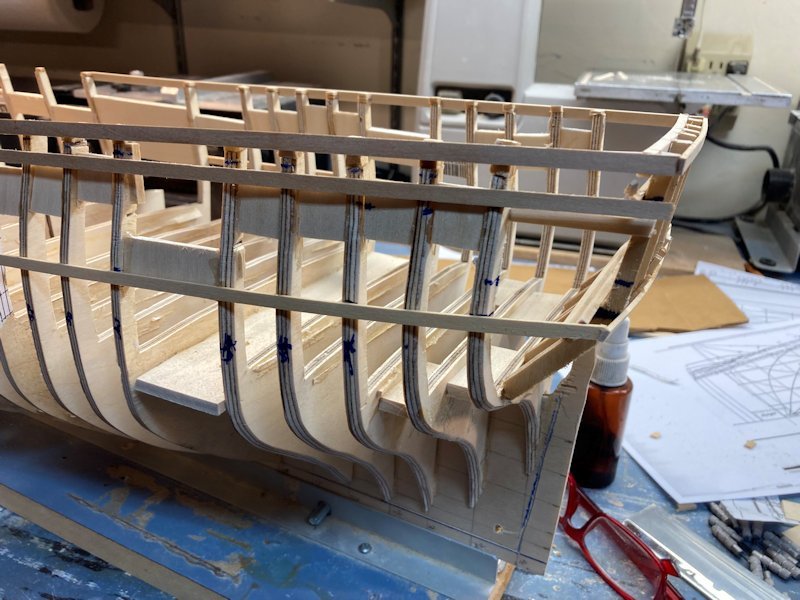
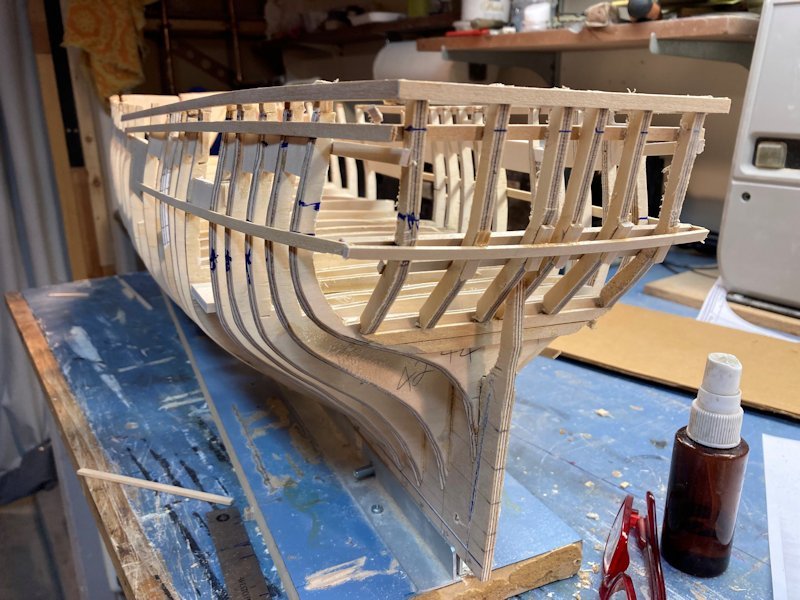
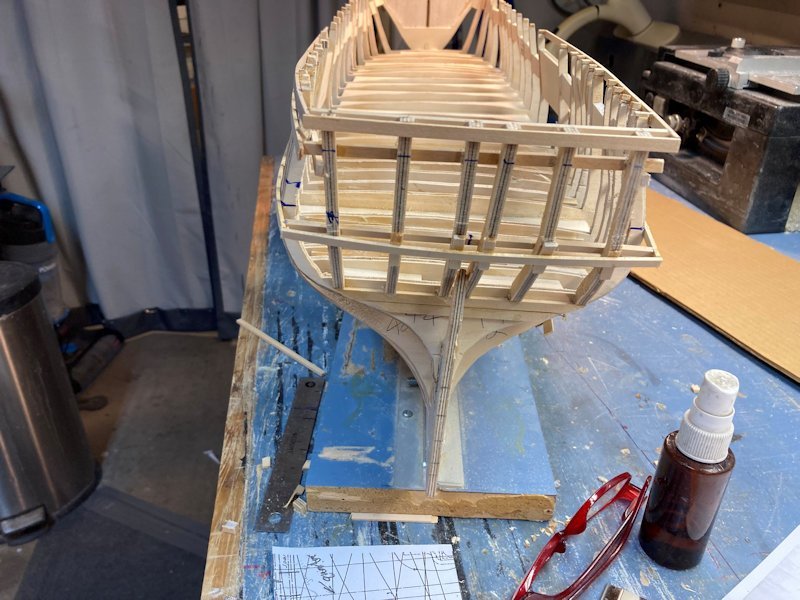
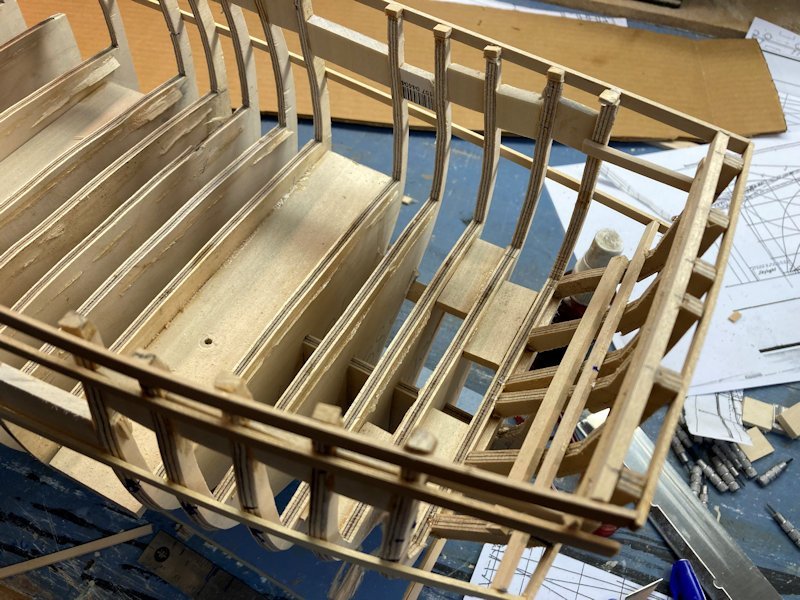
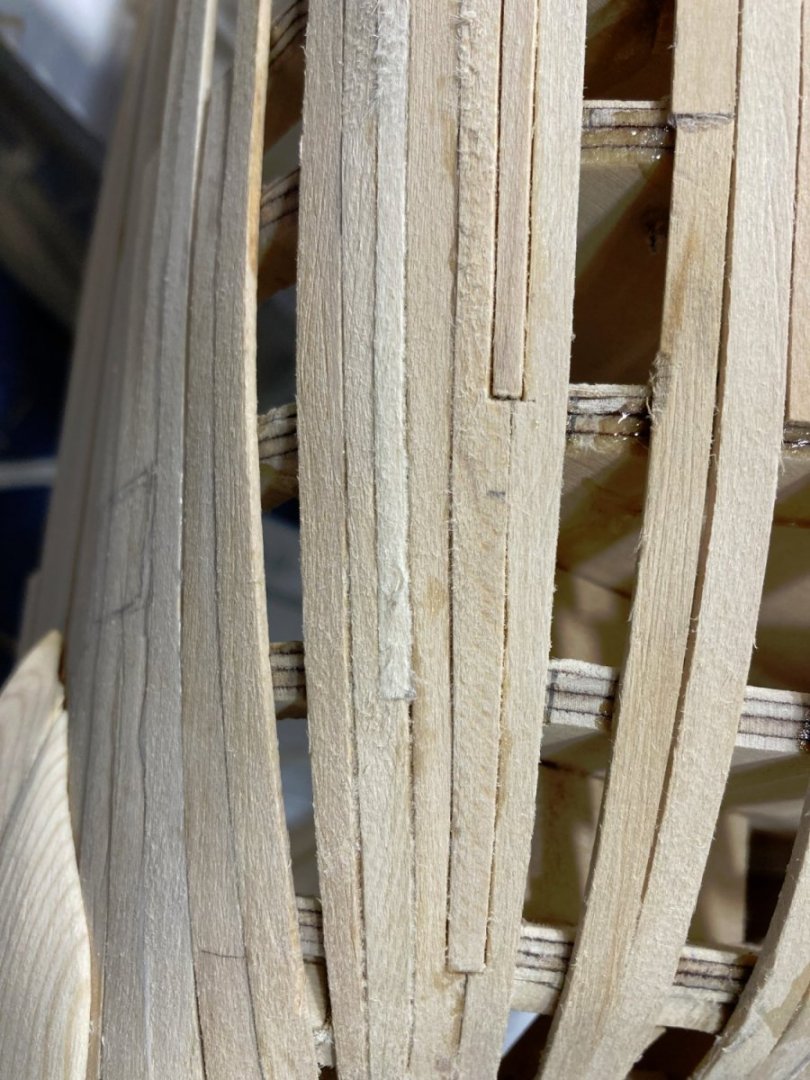
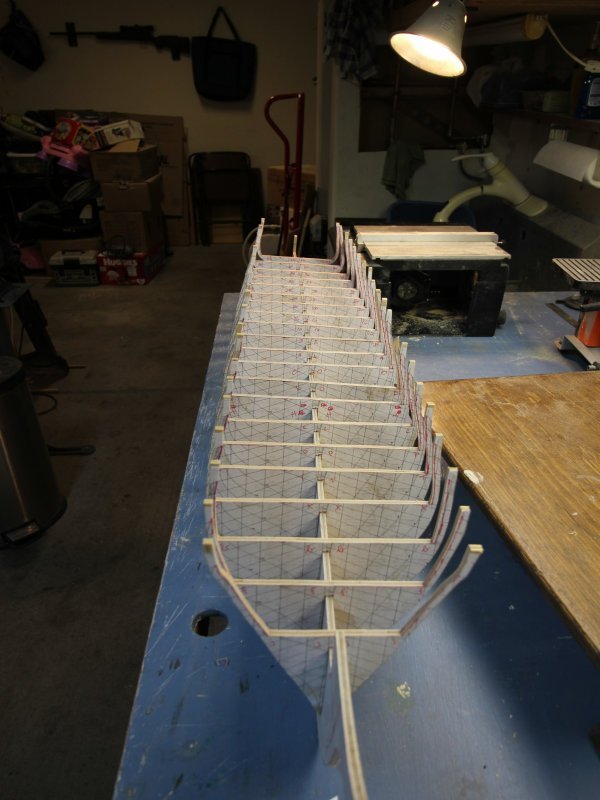
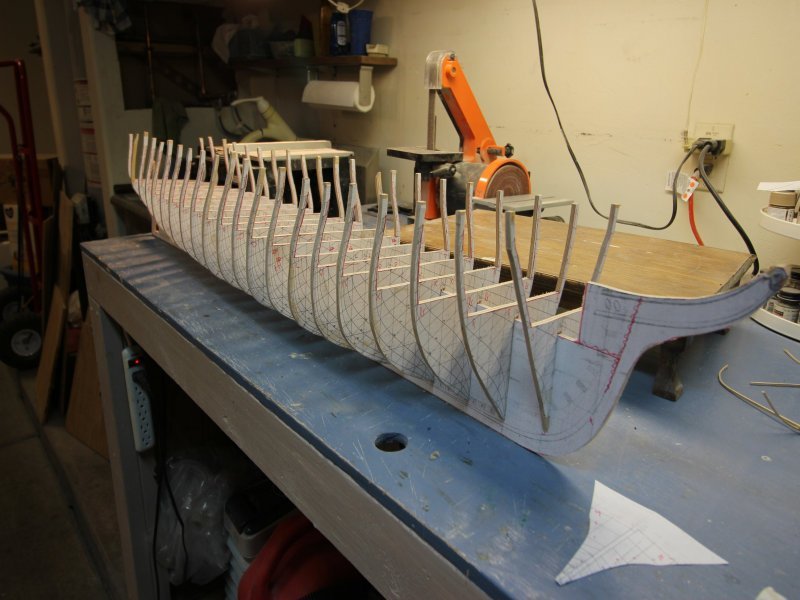
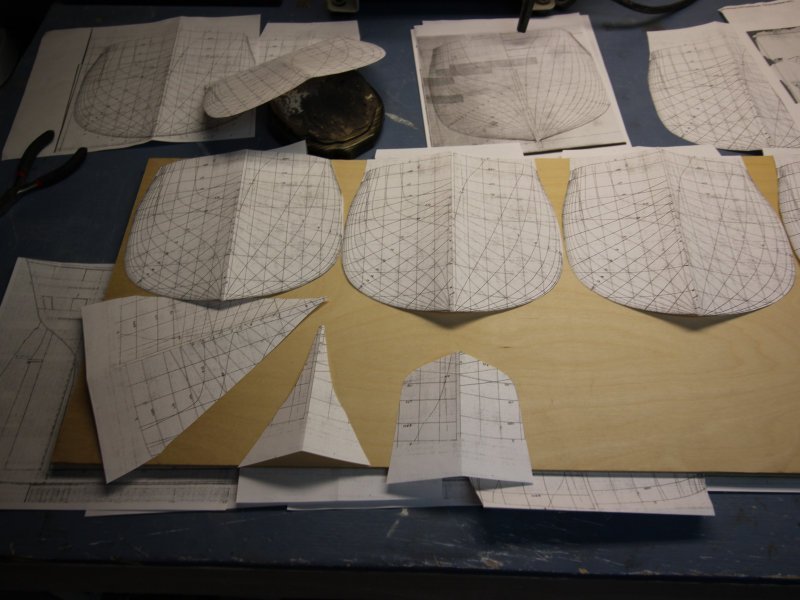
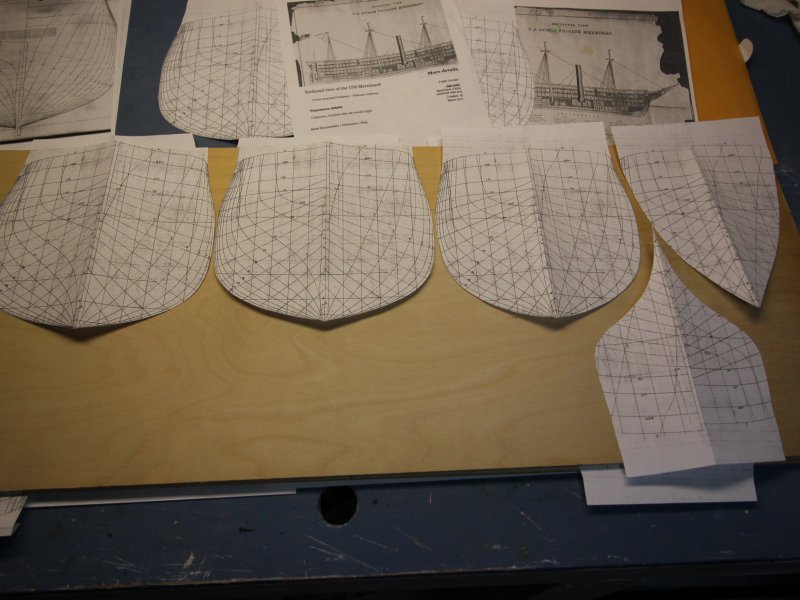
All of the bulkheads are cut and shaped. It maybe awhile before I post again as I need to carefully square and align the bulkheads. Also, because this is such a long ship, I will need to re enforce the keel at the bottom of the bulkheads to prevent warping. And at the sheer between bulkheads to strengthen and prevent the warping of the bulkhead upper hull side frames.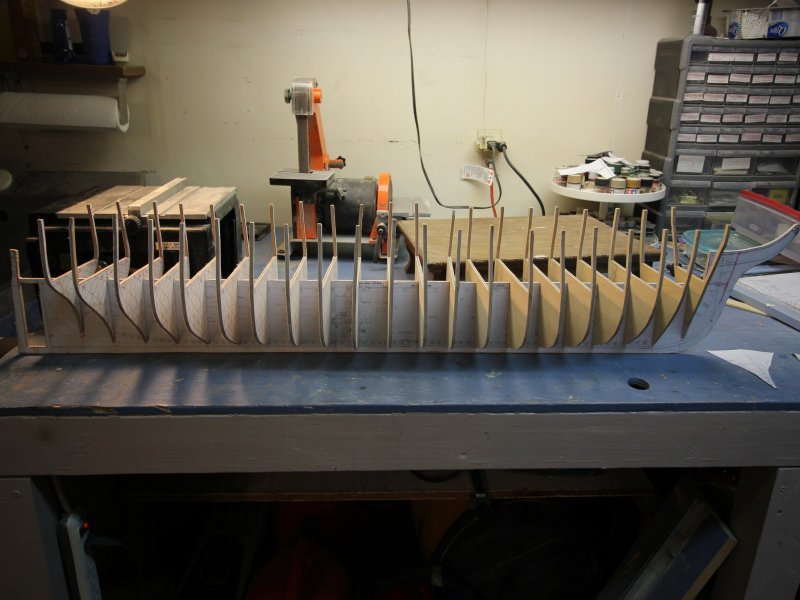

-
USS Merrimack 1855 by threebs
threebs replied to threebs's topic in - Build logs for subjects built 1851 - 1900
got all the plywood I need for the bulkheads and keel today. I will begin slowly cutting and shaping them over the next few weeks, starting tonight. -
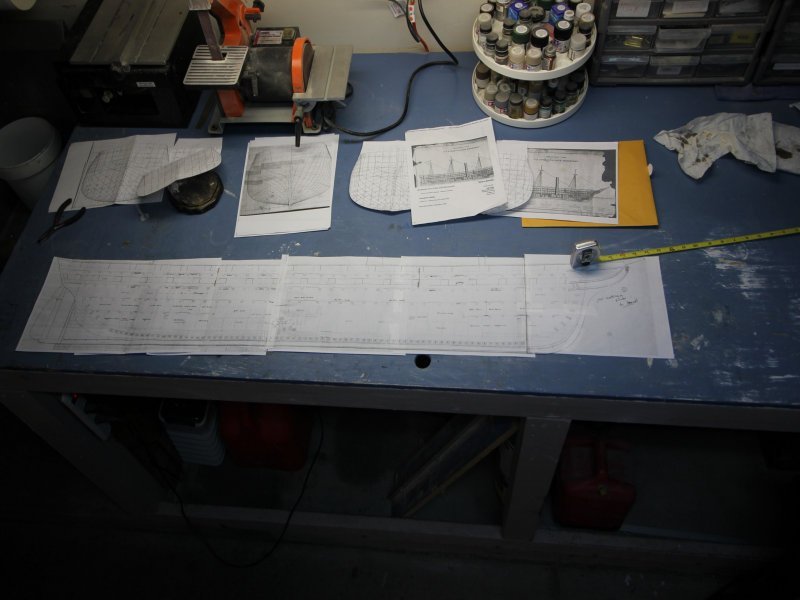
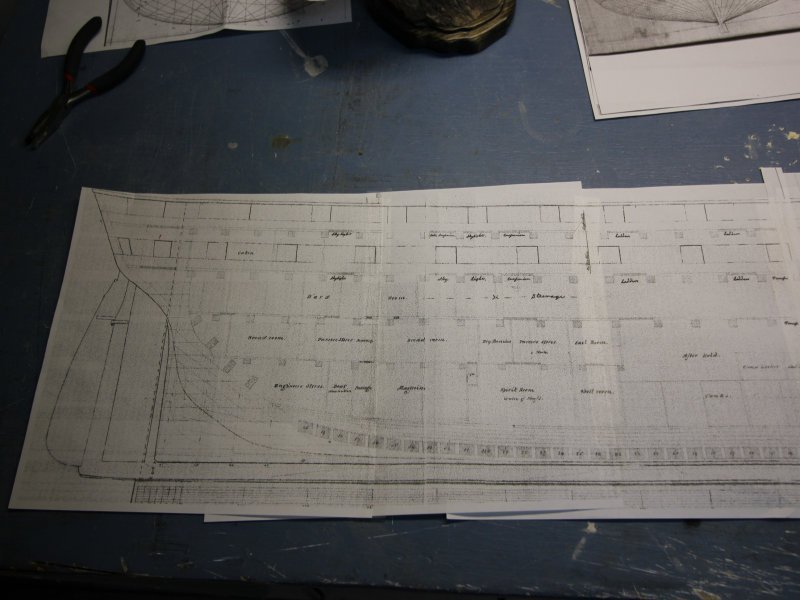
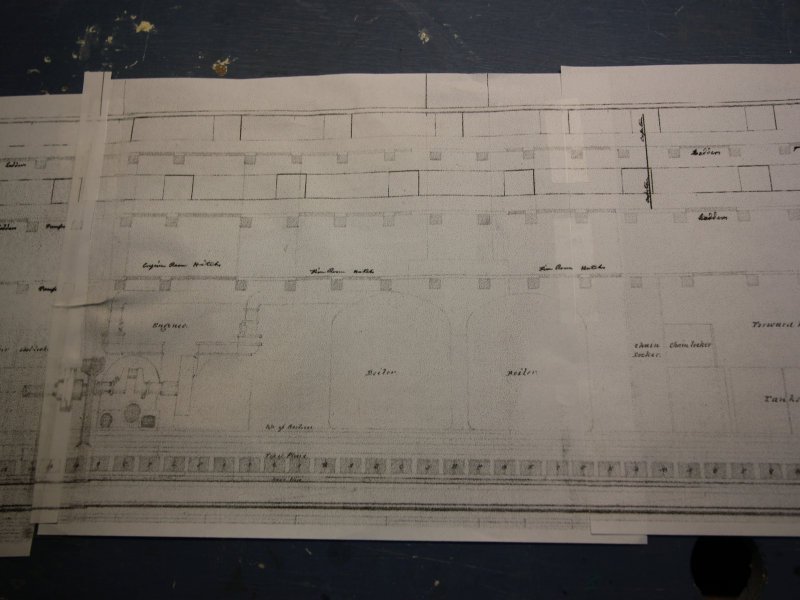
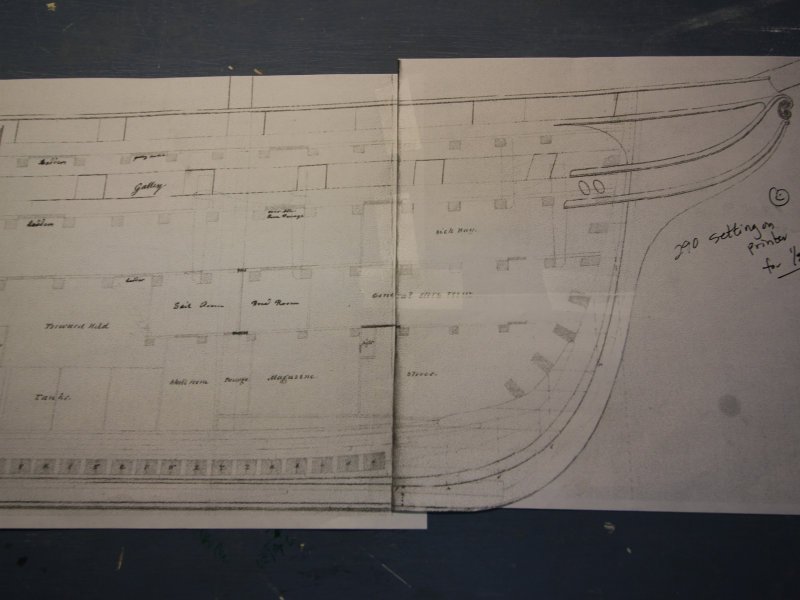
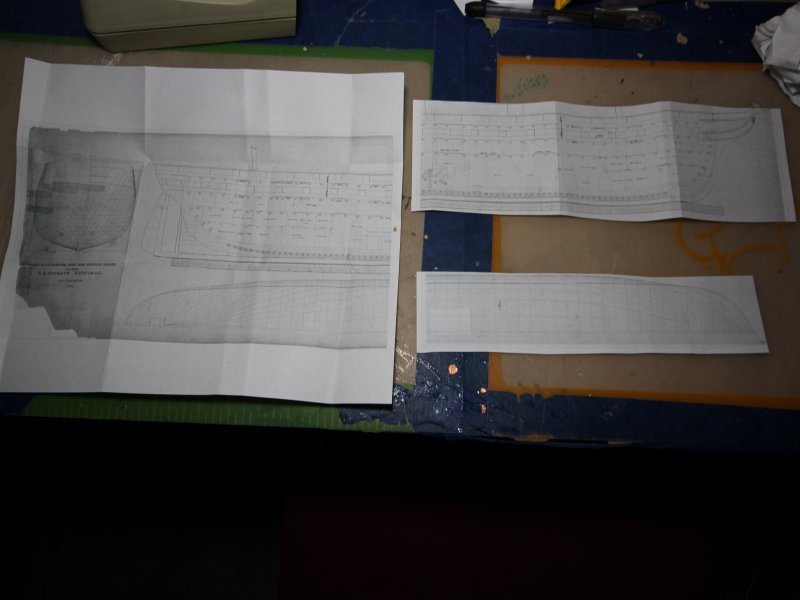
I am only posting to get this thread started. I just got a small set of plans for the Merrimack from the national Archives. I used my printer to blow them up to 1/72nd scale. They, along with a spar deck plan a member sent me should be enough to get me going. I am in the middle of 4 other builds, the Columbia, the Raritan, the Plymouth, and the Dolphin, so, it will be awhile be for I do any cutting of the bulkheads.
-
Welcome to this site. Great resources here. I am from Fargo, North Dakota originally moved to Vail, AZ when I retired in 2005. I am familiar with the D L area and the Baudette area. I fished both areas frequently.
-
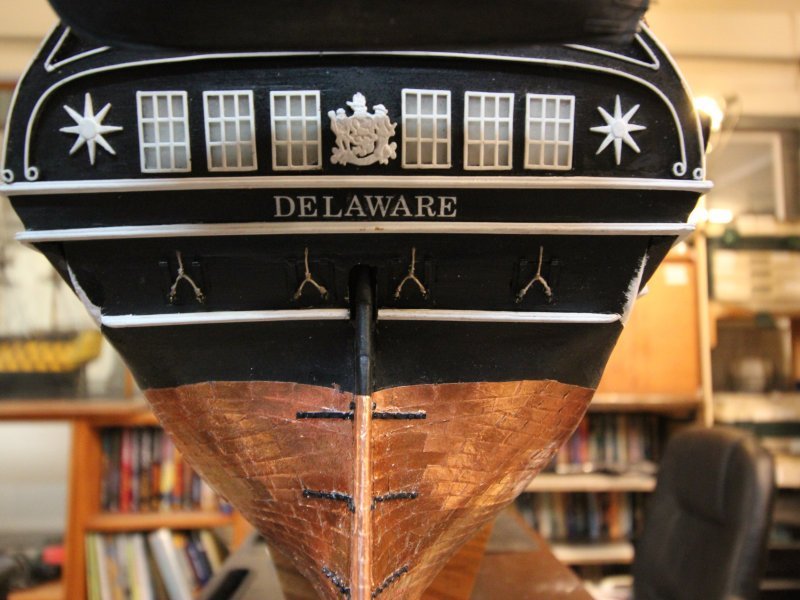
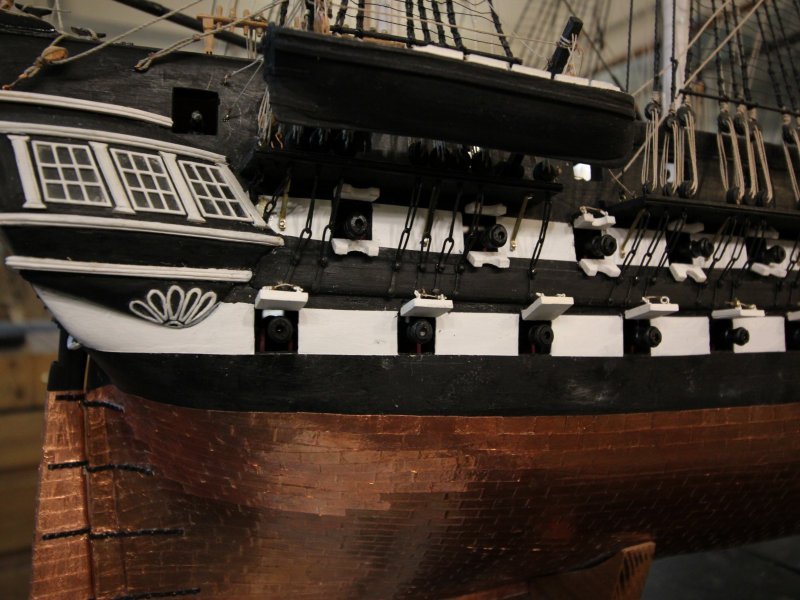
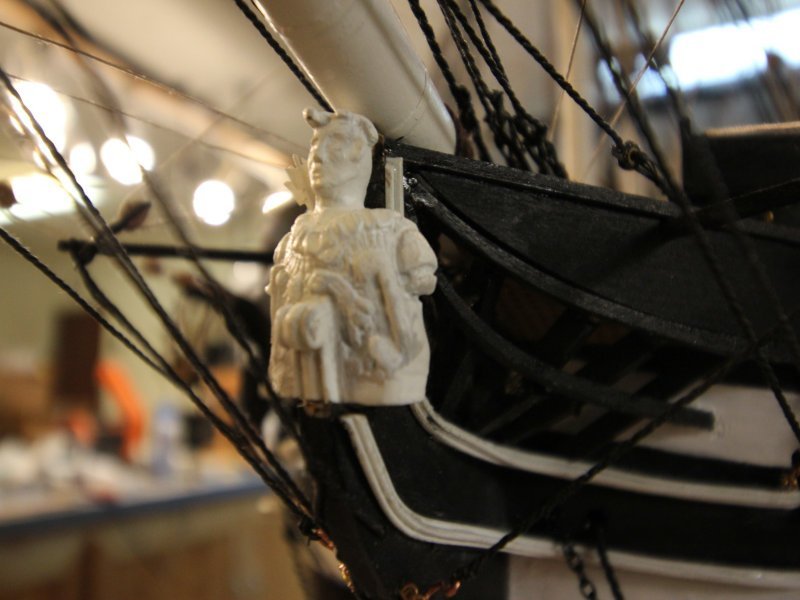
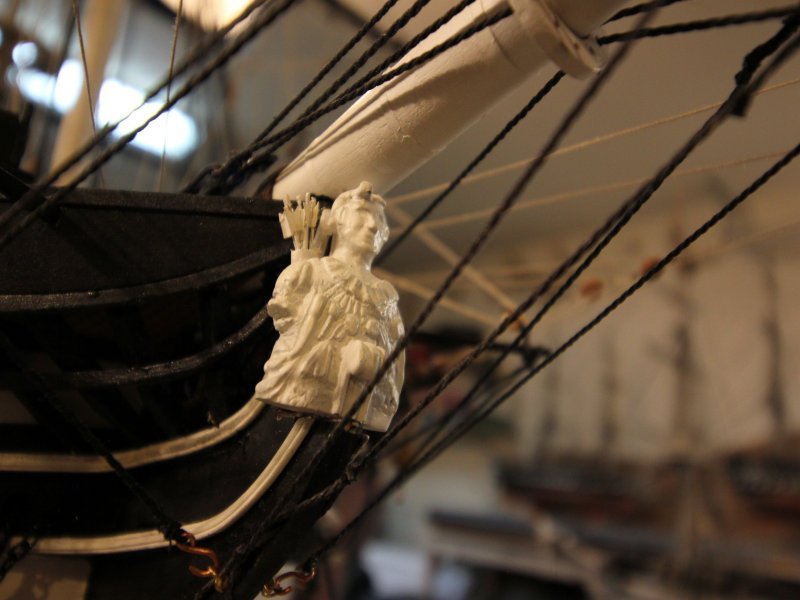
USS Delaware 1817 by threebs
threebs replied to threebs's topic in - Build logs for subjects built 1801 - 1850
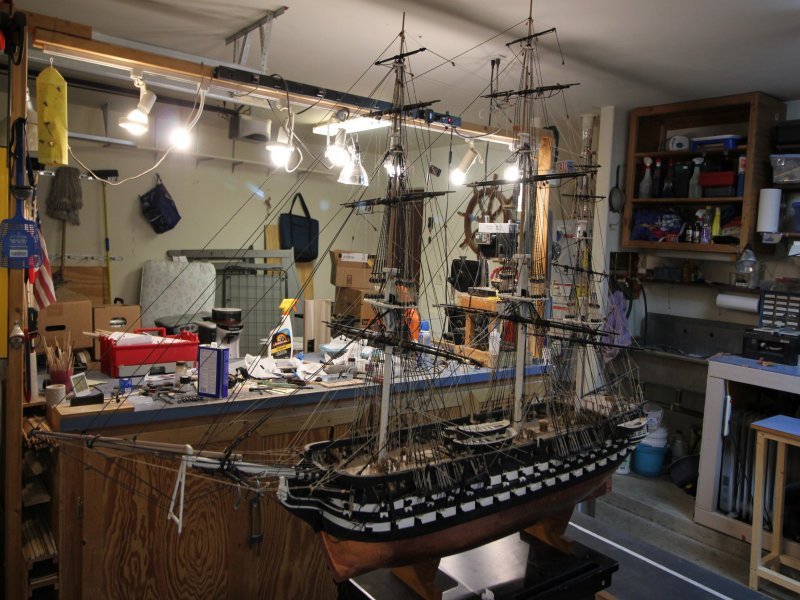
I keep them in my garage. Working on cases for them slowly.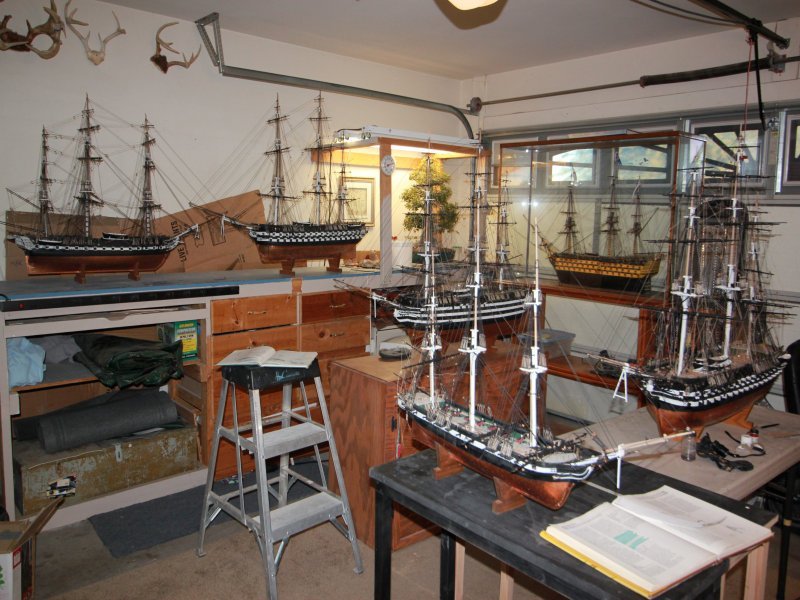
-
USS Delaware 1817 by threebs
threebs replied to threebs's topic in - Build logs for subjects built 1801 - 1850
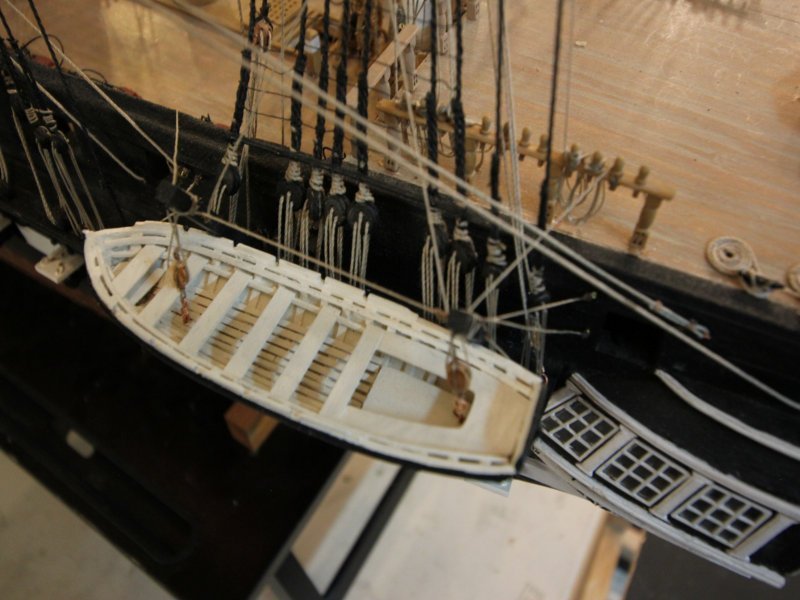
The USS Delaware scratch built in 1/72 is 99.9% done. I will need to go over it closely a few more times to touch up paint here and there. Add a few more rope coils to the ship's boats tie off pins. Touch up the coppering and smooth it down where is has curled up from handling.