-
Posts
1,268 -
Joined
-
Last visited
Content Type
Profiles
Forums
Gallery
Events
Posts posted by jack.aubrey
-
-
Monday May 11th, 2009New additional images, with more details about the deck viewed from the bottom side. The colour difference is very evident, but I think that, later, there will be a lot of things (packages, barrel and something else) on this deck that will probably hide this problem, or, at least, will decrease its visual impact. Anyway, wood is wood and the nature plays its role also on the colour of the same wood . .
01 Cross%20Section%20Santisima%20Trinidad/P1050546.jpg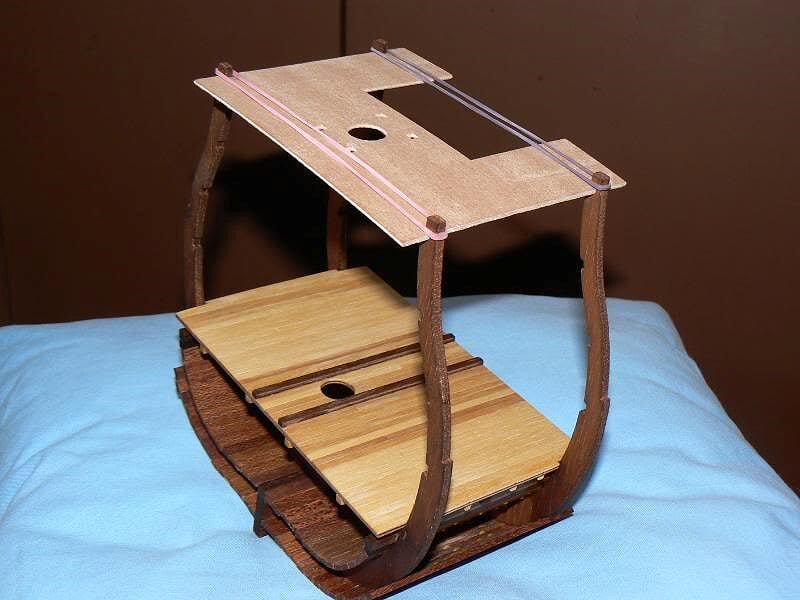
What I like much is the work on the lower part of the deck, simulating more realistically the deck beams. These last four images show these little customizations . .
A view from the poop side . . .
02 Cross%20Section%20Santisima%20Trinidad/P1050547.jpg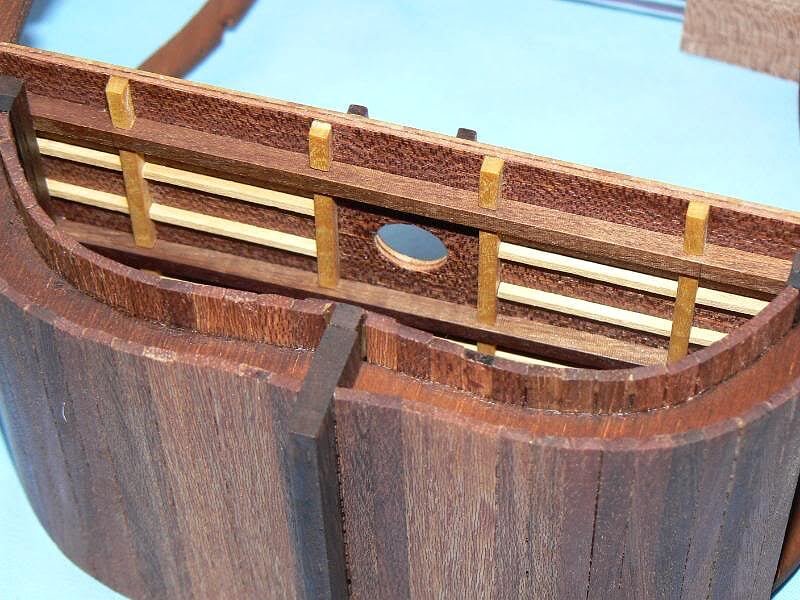
And from the bow side . . .
03 Cross%20Section%20Santisima%20Trinidad/P1050548.jpg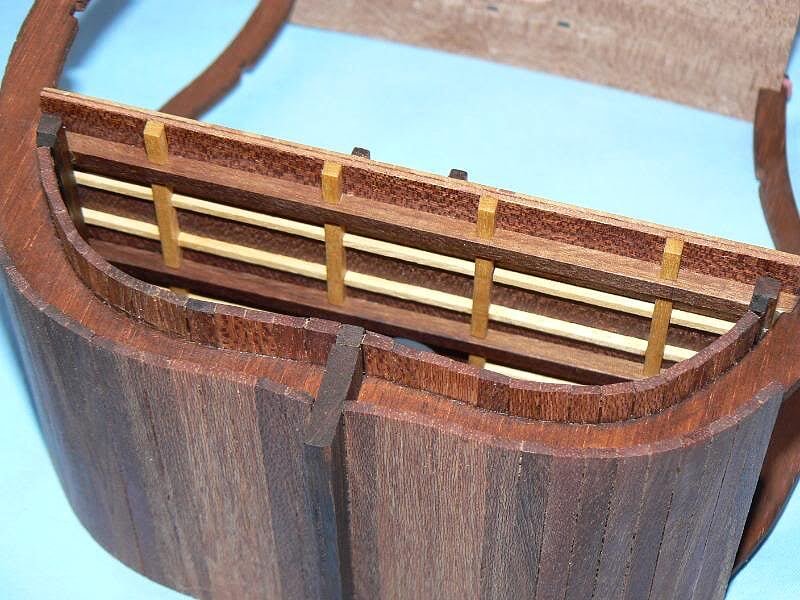
A partial attempt to take a macro . . .
04 Cross%20Section%20Santisima%20Trinidad/P1050549.jpg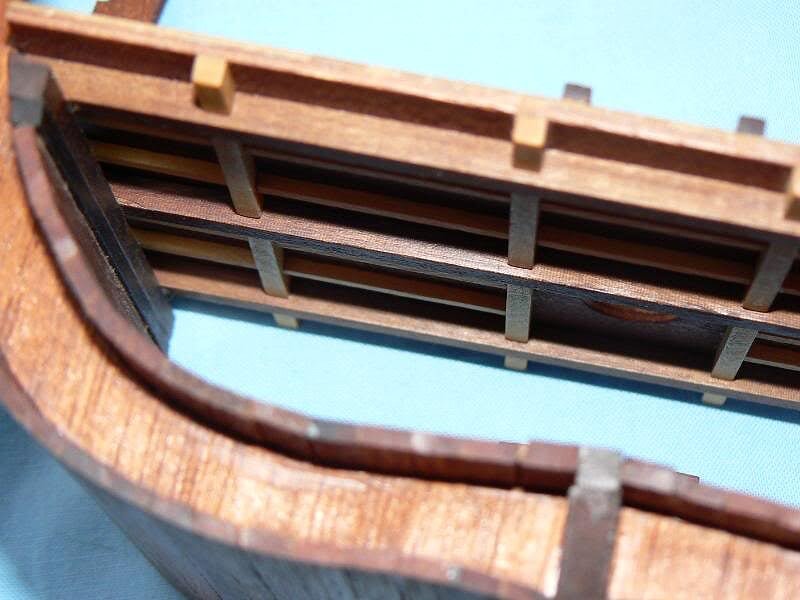
And last a more traditional view . . .
05 Cross%20Section%20Santisima%20Trinidad/P1050550.jpg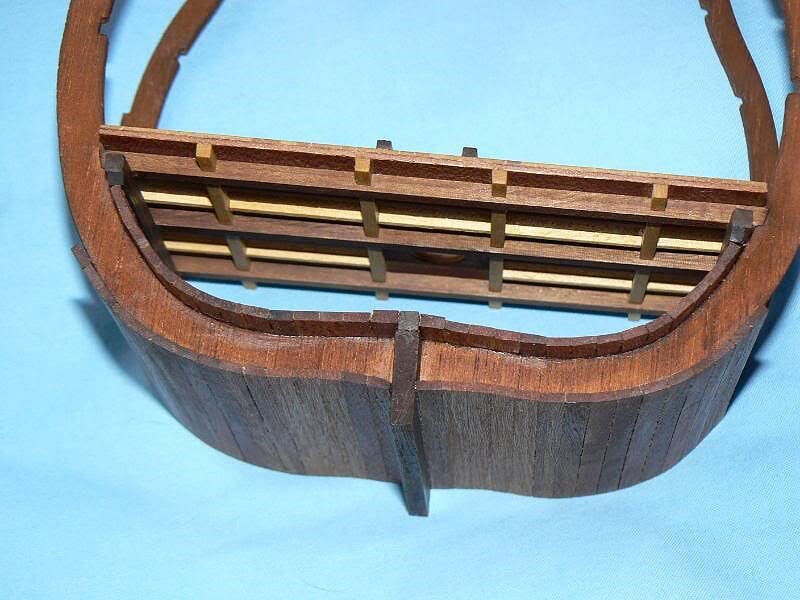
That's all for today, now I will go further with the next deck. Cheers, Jack.Aubrey -
Sunday May 10th, 2009
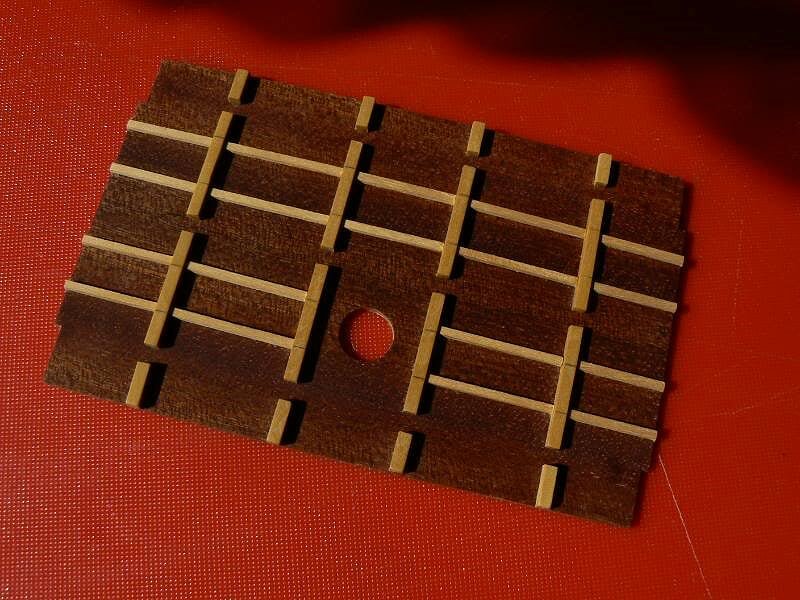
Now it's time to further continue this modelwork by building its first deck, the lowest of this ship. The raw pieces are 1) a precutted ply representing this deck and 2) same strips of fair wood 3x1mm.
For the deck planking I have selected a pattern that will repeat every three stripes. At the end I leveled the deck with sandpaper. The colour of these stripes of wood, provided by the kit manufacturer, is really "random" . . I installed them without regarding to their colour and the result is not the maximum . .
01 Cross%20Section%20Santisima%20Trinidad/P1050541.jpg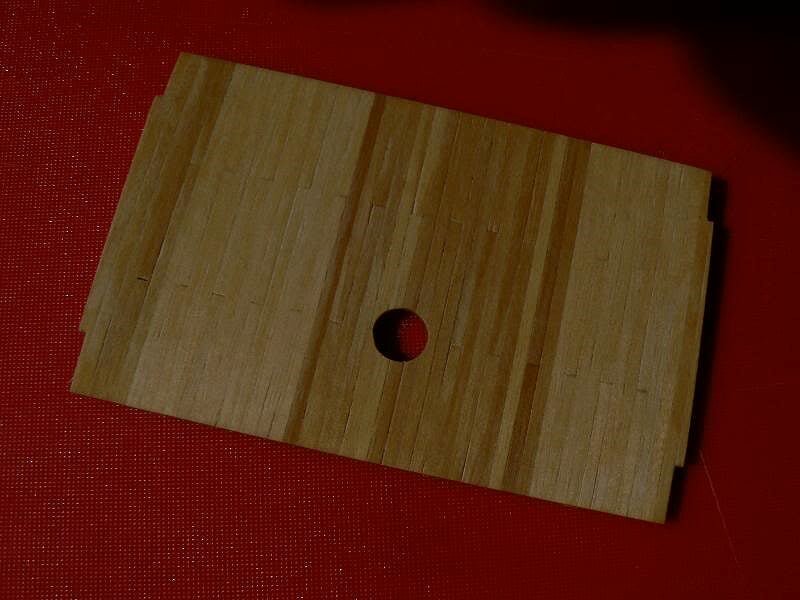
02 Cross%20Section%20Santisima%20Trinidad/P1050542.jpg
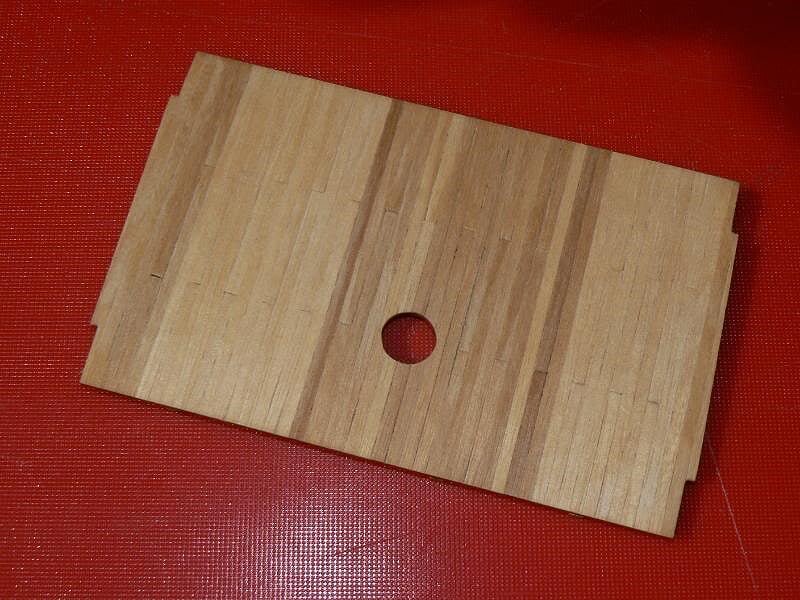
Before mounting the deck above the three beams already in place, i decided to reproduce a more realistic situation below the planking. The real things were not so simple as proposed by the kit.
The result of this "customization" can be seen here below . .
03 Cross%20Section%20Santisima%20Trinidad/P1050543.jpg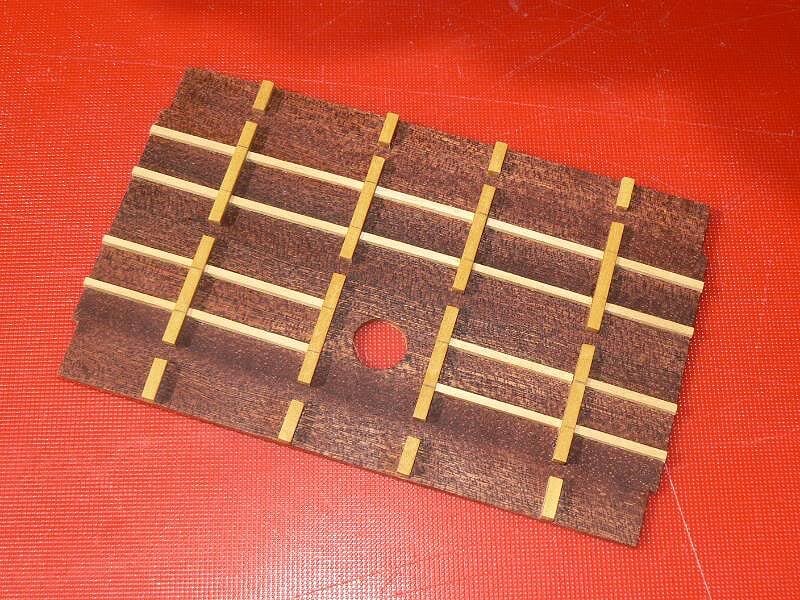
04 Cross%20Section%20Santisima%20Trinidad/P1050544.jpg
On Monday 11th I have also definitely installed this deck in place . .
05 Cross%20Section%20Santisima%20Trinidad/P1050545.jpg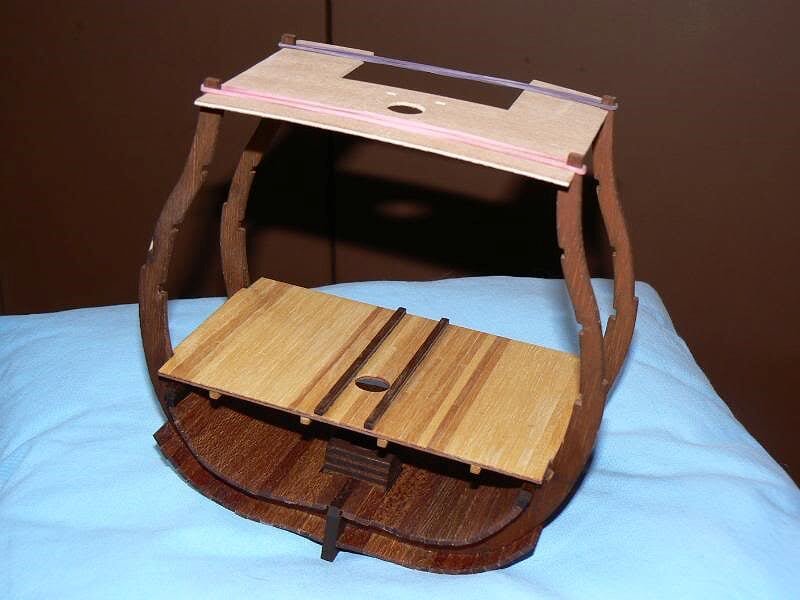
Cheers. Jack.Aubrey -
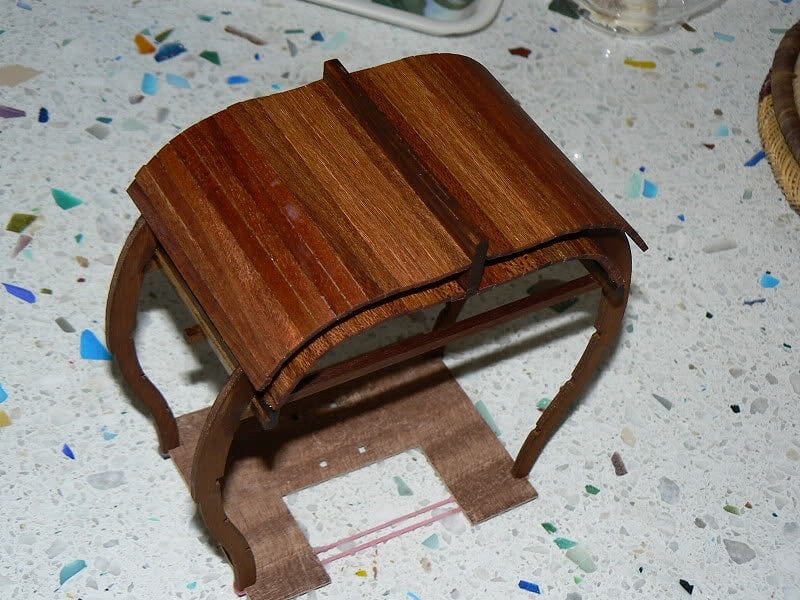
Two additional images to better appreciate the chromatic result of applying this oil . .
01 Cross%20Section%20Santisima%20Trinidad/P1050539.jpg
02 Cross%20Section%20Santisima%20Trinidad/P1050540.jpg
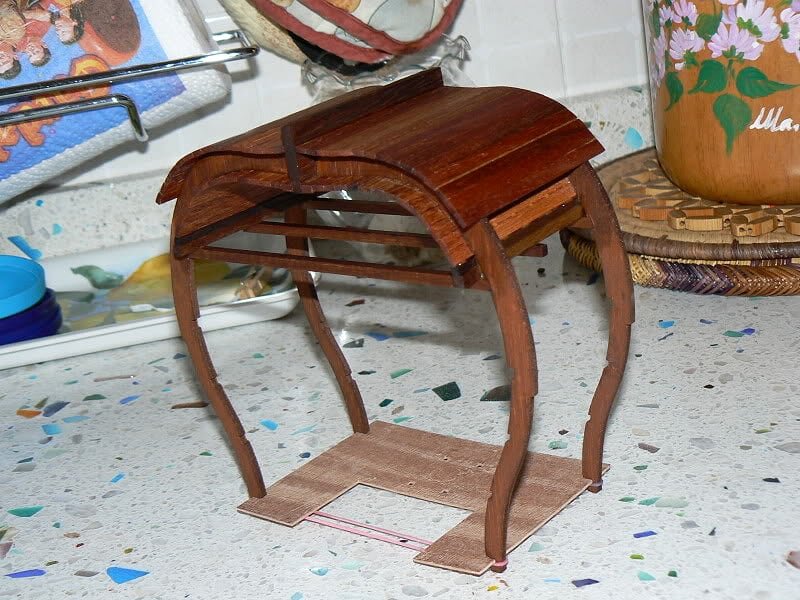
See you next time, Jack.Aubrey -
Friday May 8th, 2009
I definitely use the kitchen to build this model. It is a bright room and generally I work just after lunch. My wife is happy because I help her to clear the table and I'm happy because she is happy . .
Let's start with the first image where there are two products: on the left side the aliphatic glue I'm using and on the right a new entry, at least in this project. It is an oil for wood, available clear and also coloured. I use the clear one instead of the various kinds of enamels, wood fillers, acrilic, poliurethane and so on.
01 Cross%20Section%20Santisima%20Trinidad/P1050534.jpg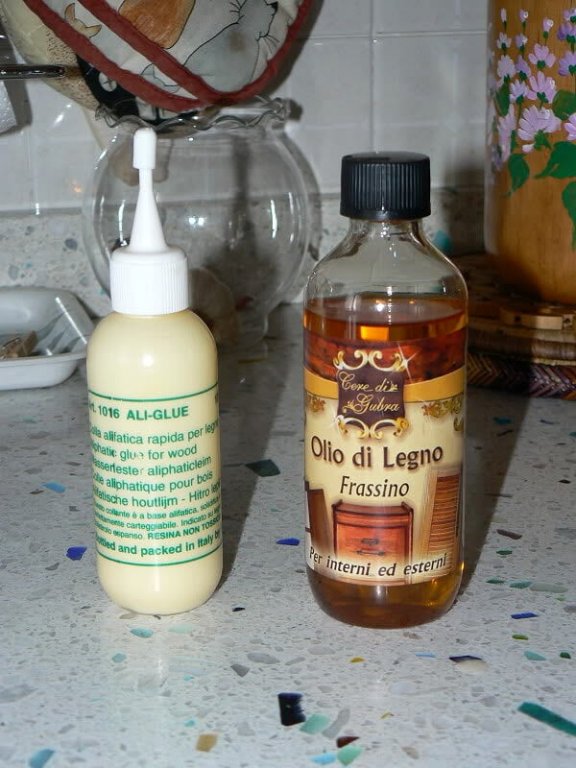
To apply this oil I use a brush of medium size and, when it is absorbed by the wood (+/- after 1 day) it is perfectly dry and matt. I think it is a real alternative to painting.
It is obvious that the surfaces must be properly prepared with sandpaper and removing traces of glue that may interfere with the oil absorbment. The result from its usage is that the wood takes a very nice, natural colour. This happens in a particolar way on dark woods but I used it also on fair woods, like beechwood or boxwood.
The main advantage by using this oil is that the pores of the wood are not closed and you can use the aliphatic or the vinyl glue after its usage without any kind of problems. And this is a great thing . .
02 Cross%20Section%20Santisima%20Trinidad/P1050536.jpg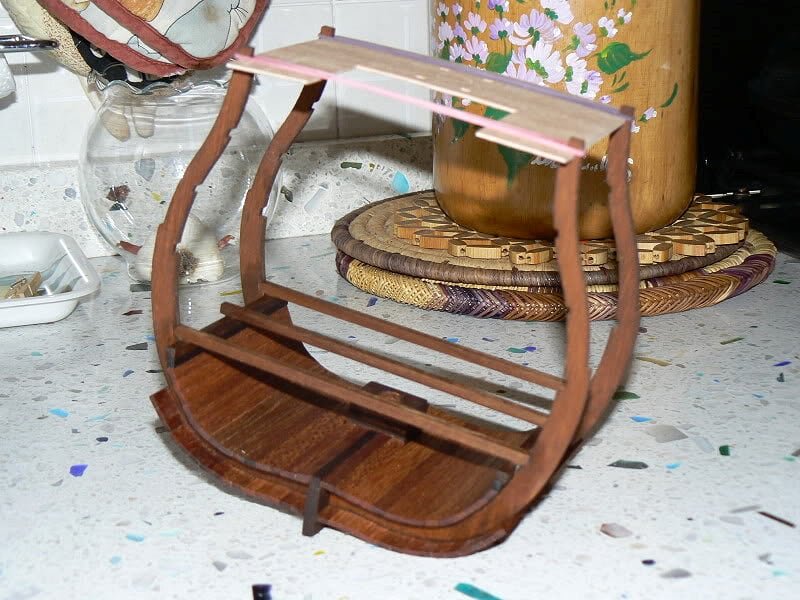
03 Cross%20Section%20Santisima%20Trinidad/P1050537.jpg
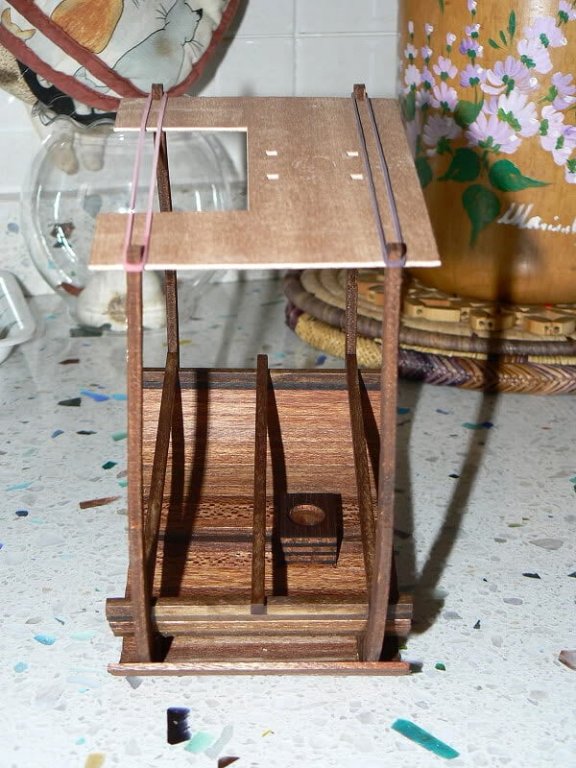
04 Cross%20Section%20Santisima%20Trinidad/P1050538.jpg
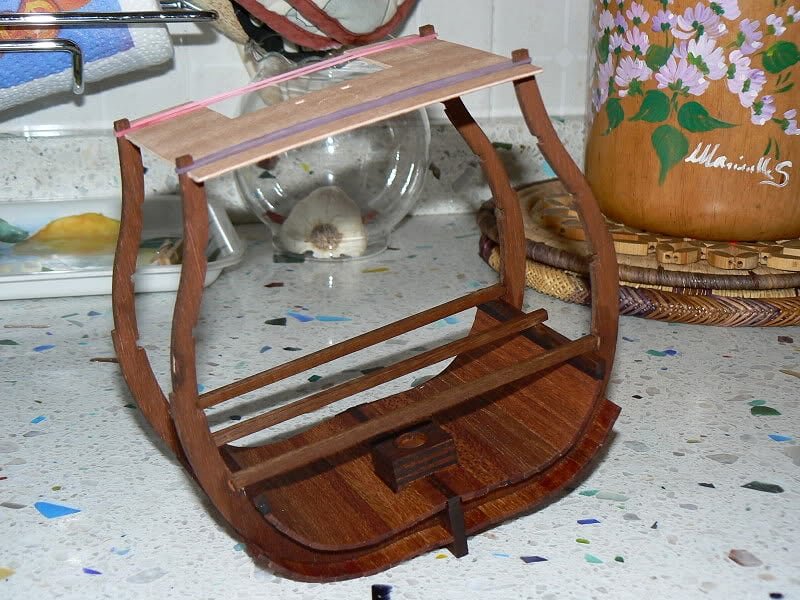
I have added some few planks on the external side, now it is at the same level of the internal planking . .
I have also installed, following the instructions, a third beam.
Now I'm working to prepare the hold deck. -
Saturday October 30th, 2010 - Doors & Windows - Part 2
Once finished the single elements I cannot resist to see the result on the model . . . also because I spent an entire week to build them. So, as soon as they became available, I installed them. Here below how they appear once applied on the model.
04 P1060995R.jpg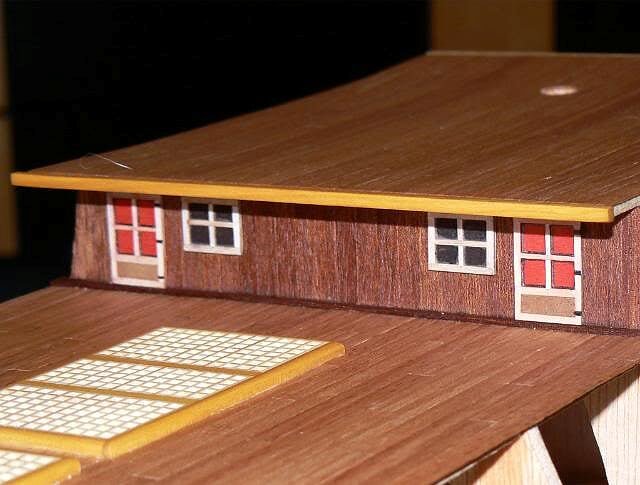
05 P1060996R.jpg
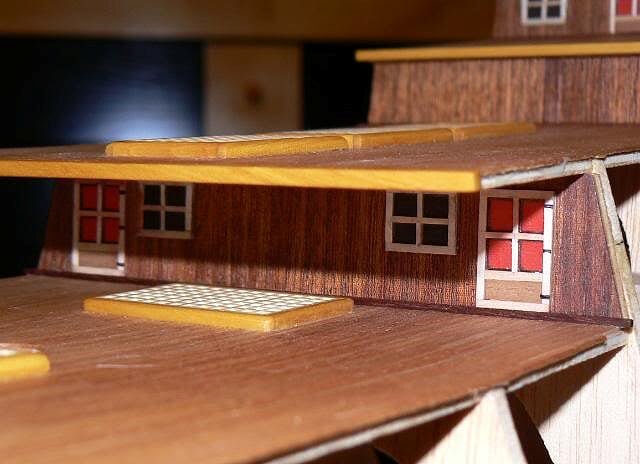
06 P1060997.jpg
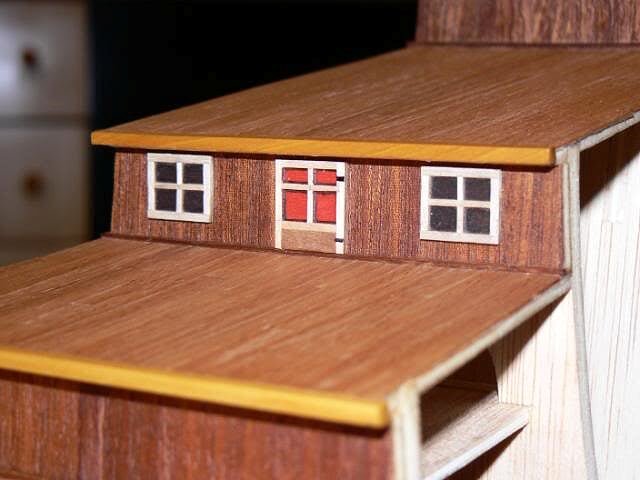
Something is still missing and I need to think to handles and joints, but It's a great achievement for me . .
Here below some news in the bow area . . the beakhead bulkhead.
07 P1060998.jpg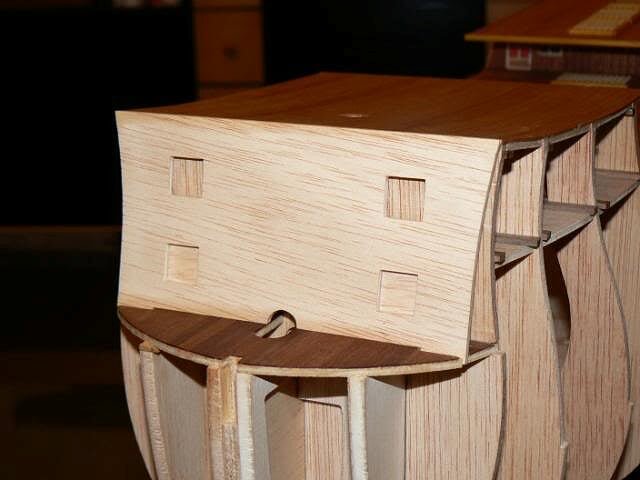
Cheers. Jack. -
Saturday October 30th, 2010 - Doors & Windows - Part 1
As I disclosed, while I was waiting to receive additional material to start working on the hull sides, I began to study an alternative solution to the doors and windows supplied with the kit.
First I had to realize that there are several versions of these elements (i.e DeA, Mantua, Lusci and the famous model in Paris by Talleron)
With the structure anyway setup in my Soleil I wasn't able to made them as in the Paris' model, it was too late, so I decided, in lack of precise documentation, to inspire to Mantua's plans, but not 100%. There is no historical evidence but . .
In the first image in this message, taken with a scanner, I have inserted the outline that I choose for these elements on the various decks. Above the outline there is a semifinished piece from which I obtained some final elements, that are the doors and the windows. There are two kinds of doors and two kinds of windows. Windows are single and double. The semifinished here shown is for single windows.
01 PorteFinestre2R.jpg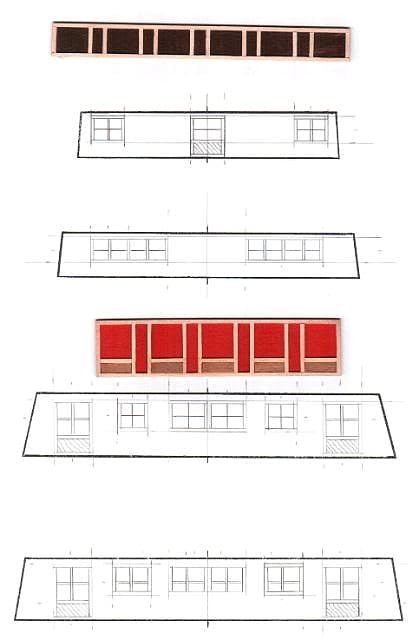
Here below a zoomed view of the semifinished. It is made with bitch ply of 0,4mm. thickness. The base is coloured before installing the frames, made with the same ply. External frames are 1,5x0,4mm. while the internal (not yet visible here) are 1x0,4mm.
To obtain these strips I used a home made jig as spacer.
02 PorteFinestre1R.jpg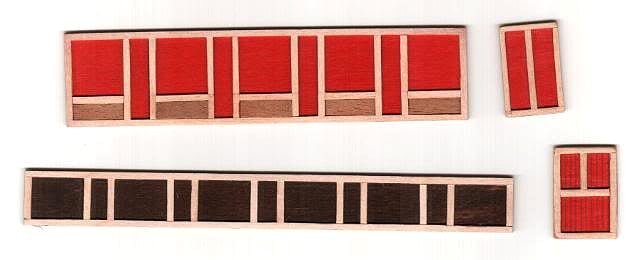
Here below the semifinished of the double windows.
03 P1070001R.jpg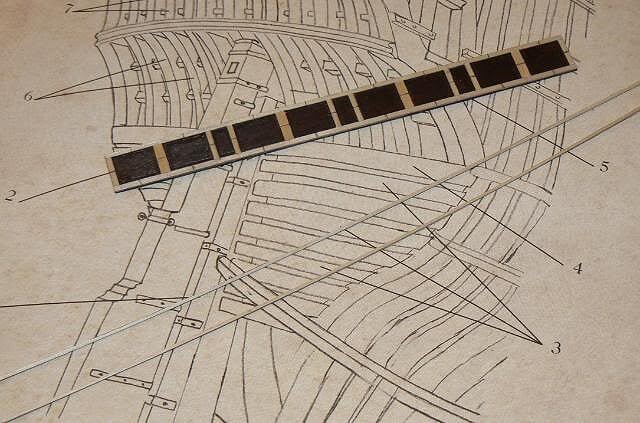
to be continued . . . -
May 6th, 2009 - further small advancements
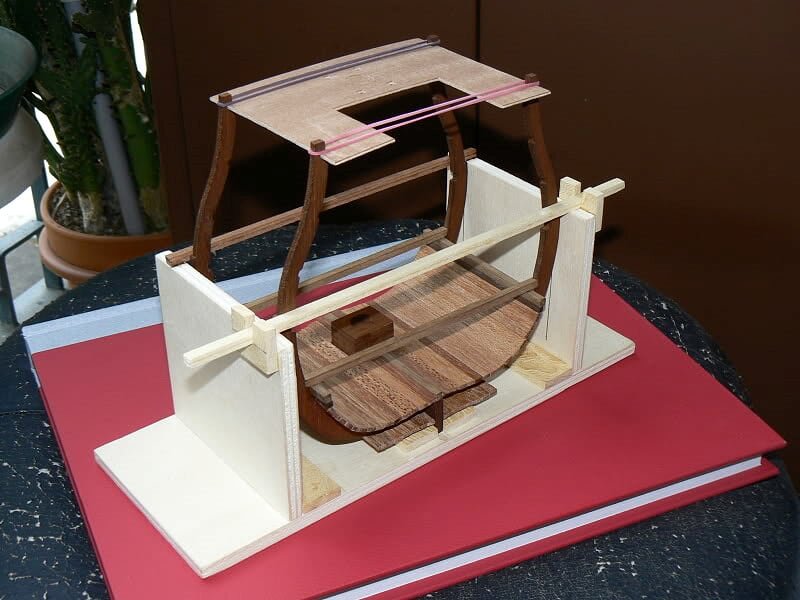
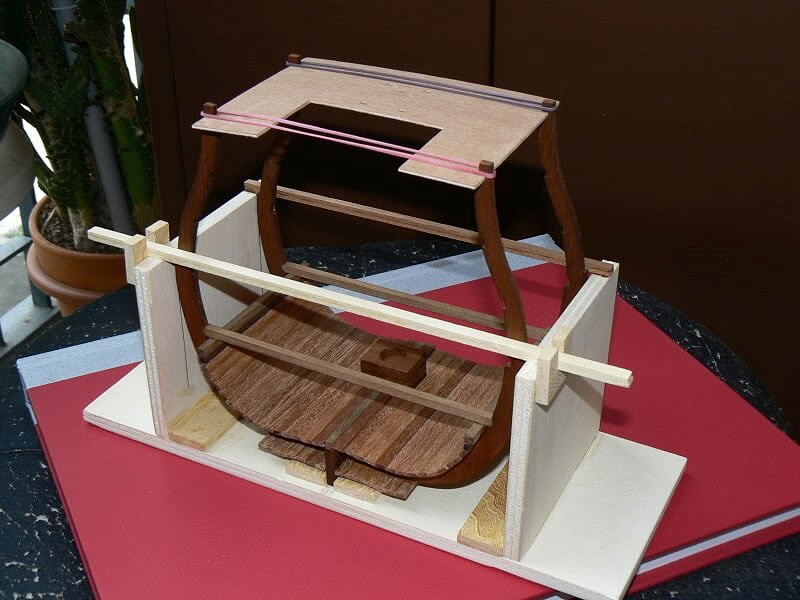
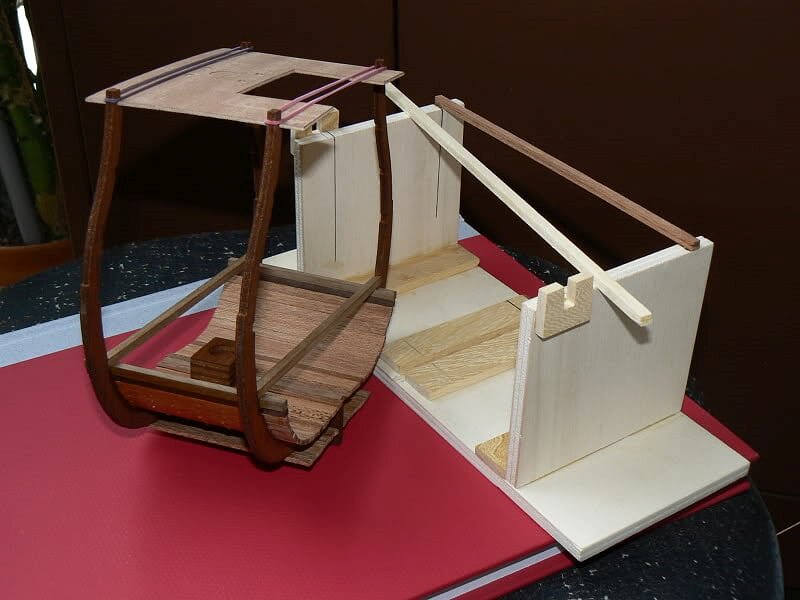
First let me speak about the changes I had to do on the basement. This because I discovered it was not possible to remove the model once I installed some pieces of the inside planking.
By difference with other images you can sort out the changes I made: this changes allow me to extract the model when I want.
Now let's see the new things: I have built the woodden block where the main mast will stay, after I started to install the outside planking, starting from the bottom near the keel upwards. At this point there are seven planks installed outside. This task was done with the model extracted from its base.
Last I have finished the planking inside the hull reaching the first deck, the hold.
01 Cross%20Section%20Santisima%20Trinidad/P1050528.jpg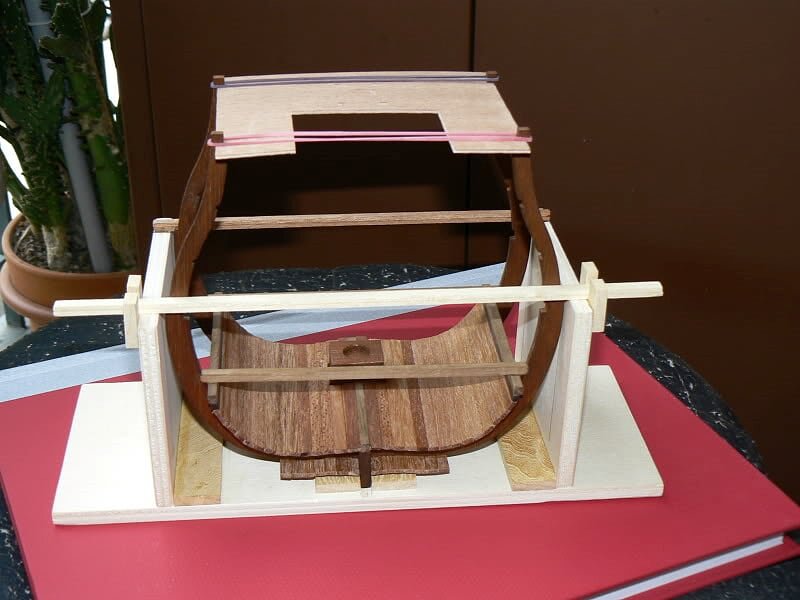
02 Cross%20Section%20Santisima%20Trinidad/P1050529.jpg
03 Cross%20Section%20Santisima%20Trinidad/P1050530.jpg
04 Cross%20Section%20Santisima%20Trinidad/P1050531.jpg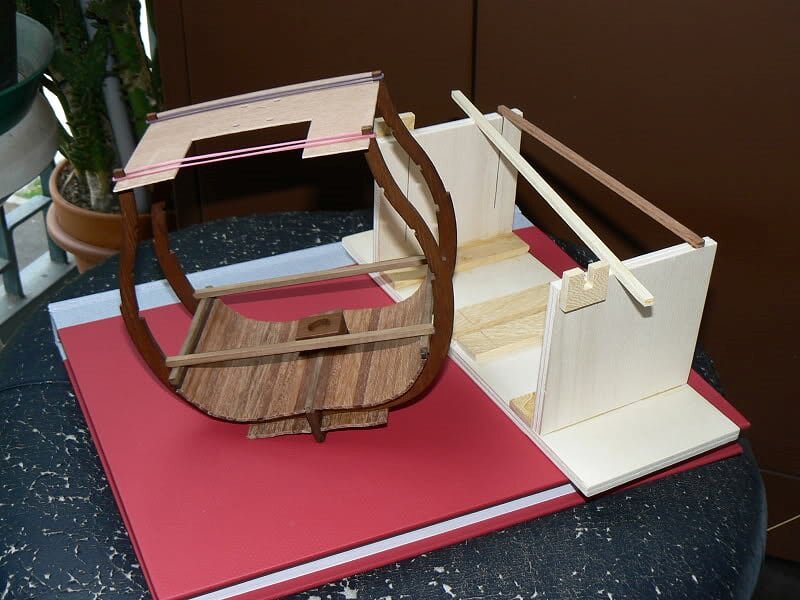
05 Cross%20Section%20Santisima%20Trinidad/P1050532.jpg
See you next time, Jack.Aubrey -
Saturday October 23rd, 2010 - Gratings
One task planned in the building instructions for issues 18-25 is the construct and the installation of some gratings, on the upper gun deck and on the quarterdeck.
The only change I made was the wood used for the frames: instead of walnut I used boxwood.
Here below are shown the gratings I build and I have then fixed in place . .
Gratings installed on the upper gun deck:
01 P1060990.jpg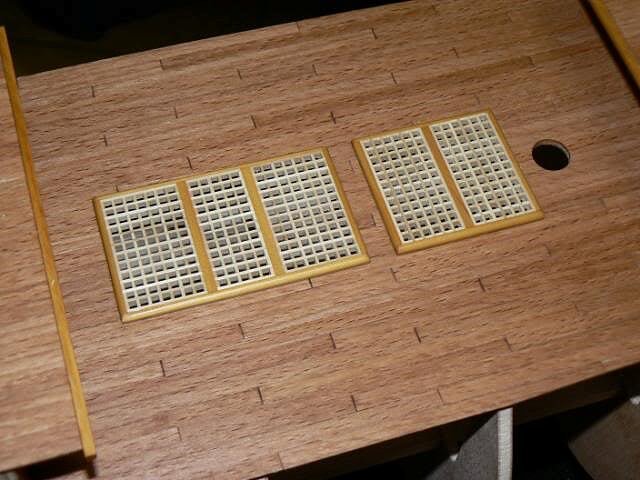
Gratins installed on the quarterdeck:
02 P1060992.jpg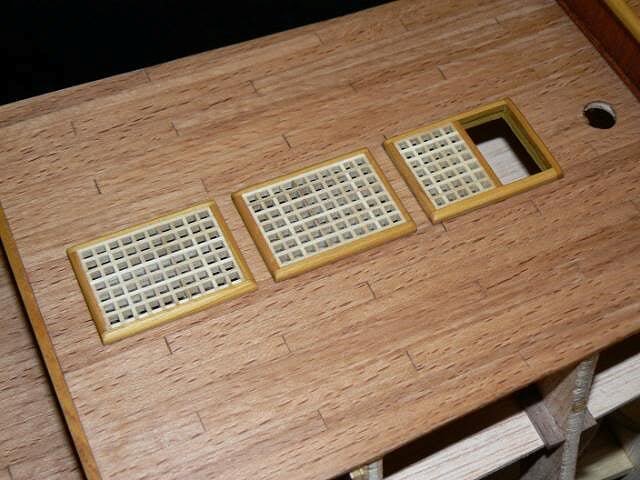
An overall view:
03 P1060993.jpg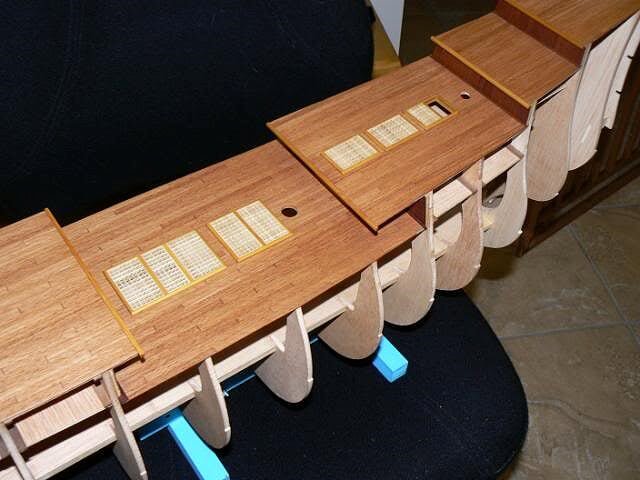
With this further work I have completed the material I have, but, in order to continue, I decided to build the doors and the windows that will be installed in the vertical walls between the decks. Having no ideas of the layout of these doors and windows I based my work on Mantua Models plans, just for reference. I'll show in the next messages.
Cheers, Jack.Aubrey -
Additional images of the whole ship hull. I have to recognize that it is huge and bulky , , I'm a little worried where I will find the space at my home to keep it, if I will succeed to finish it. I'm thinking to alternative finishing ways . .
01 P1060967.jpg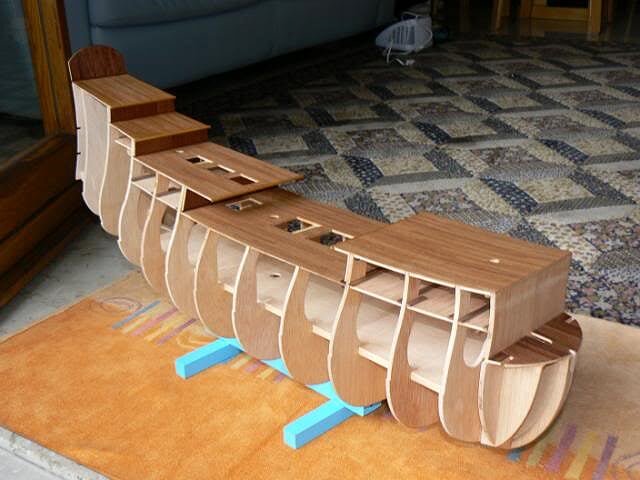
02 P1060968.jpg
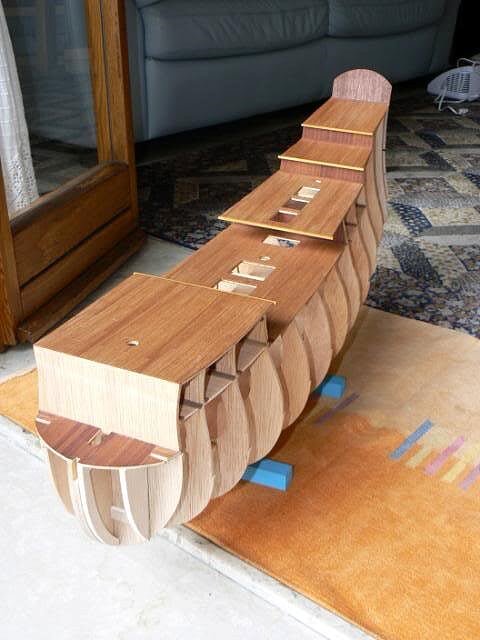
03 P1060969.jpg
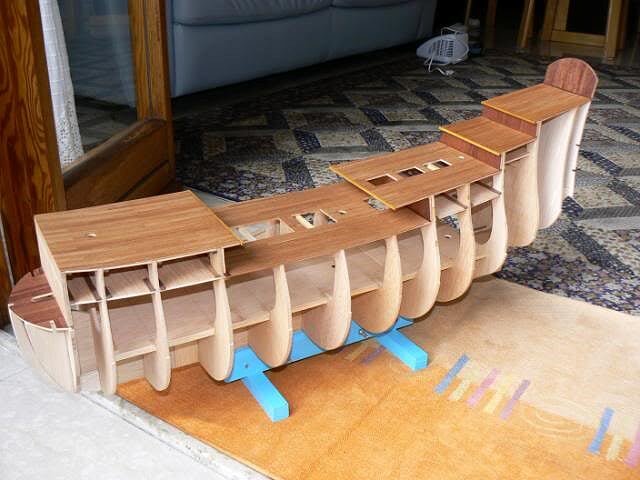
04 P1060972.jpg
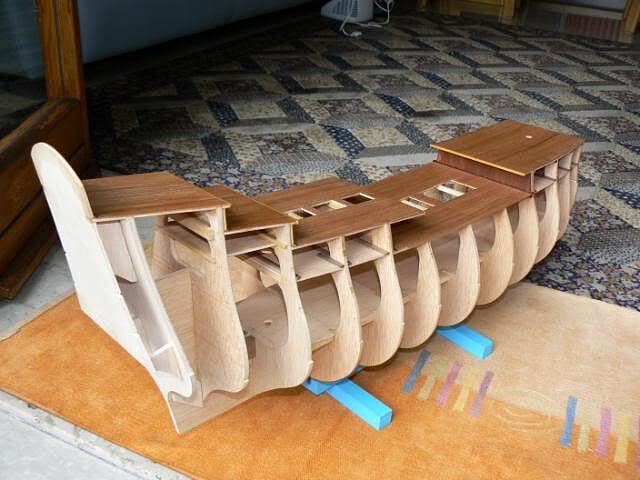
05 P1060975.jpg
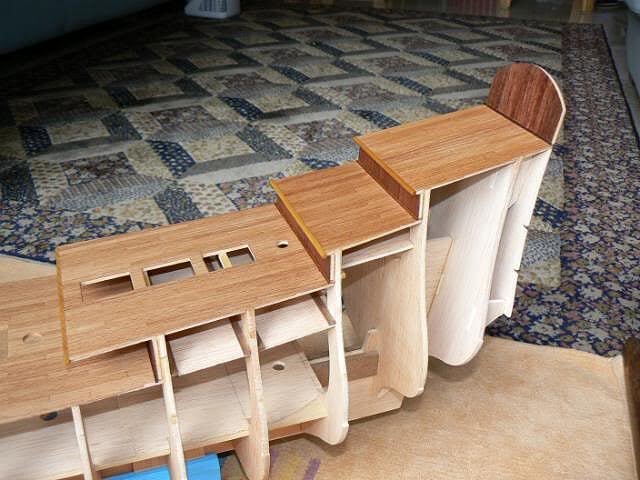
Kind regards, JackAubrey -
Friday October 15th, 2010 - Some new material is finally arrived, shipyard restarted
I finally received the no. 5 and 6 packages (issues from 18 to 25) and I immediately restarted the work on my Soleil Royal. I have put in an idle state my work on the dutch privateer Dolphyn (Corel). It may be I will open also for it a build log in the future.
With the new material I was able to complete che hull skeleton, by installing the last two bulkheads and the last poop deck. Again I have to recognize that the material distributed is of good quality, specifically regarding to the precision of design and cutting.
Again I followed my instinct of shipmodeler instead of following the building instructions, these instructions are good but it is possible to work better.
Here below some images of the poop area just finished . .
01 P1060973.jpg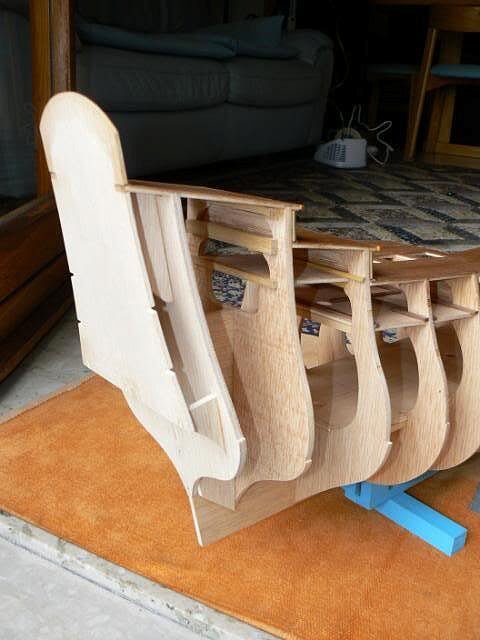
02 P1060974.jpg
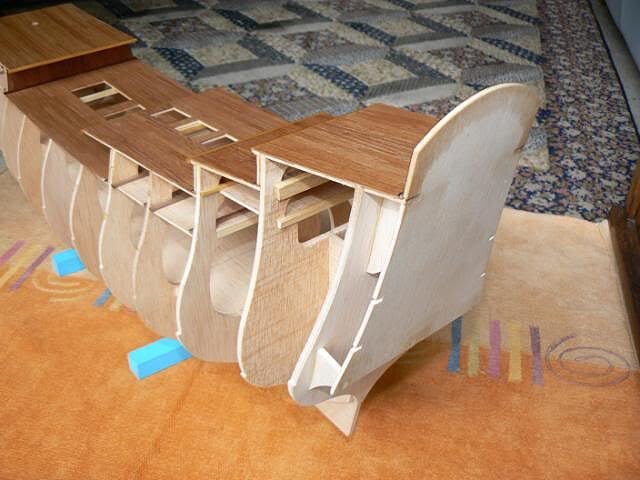
03 P1060968R.jpg
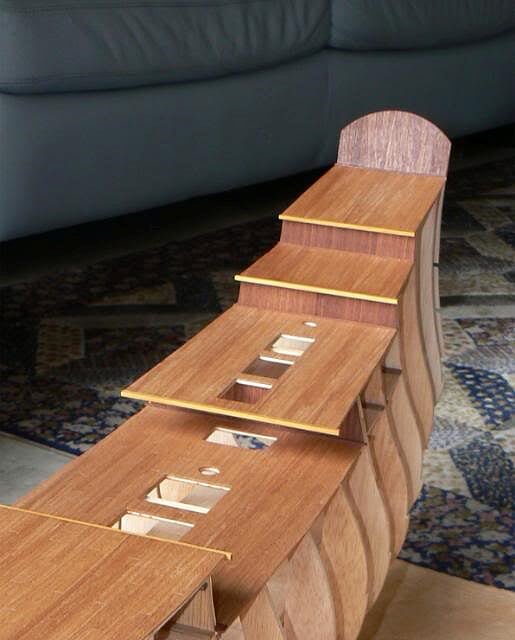
04 P1060970.jpg

05 P1060971.jpg
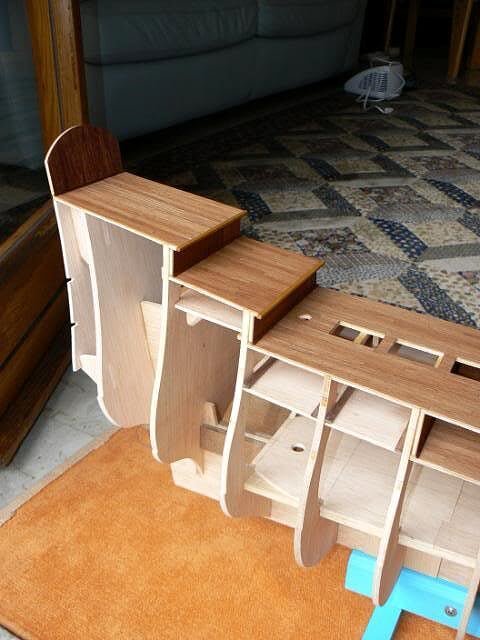
Kind regards, Jack.Aubrey -
Friday August 6, 2010
This week was spent in the vain waiting of new material from the kit manufacturer. I have used all the material I have and, if nothing arrives, I will suspend this shipyard. I will not become an unemployed ship modeler because I have another model that I use to fill my dead time but . . .
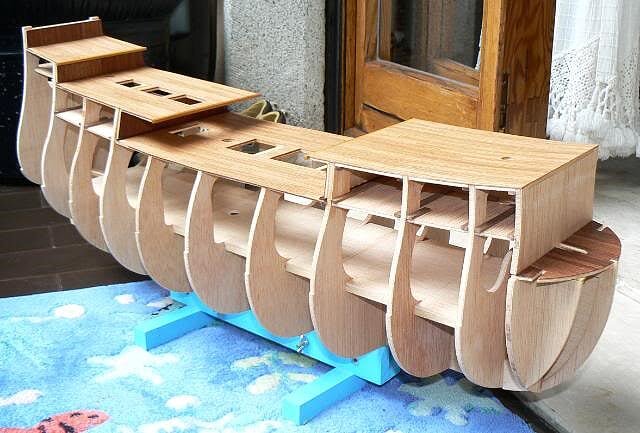
I have made some enhancements to the original project, by using some boxwood as finishing of the decks, well visible in the images.
01 P1060609R.jpg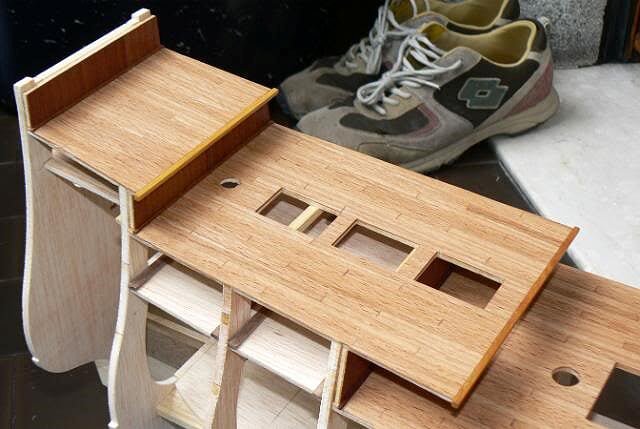
02 P1060610.jpg
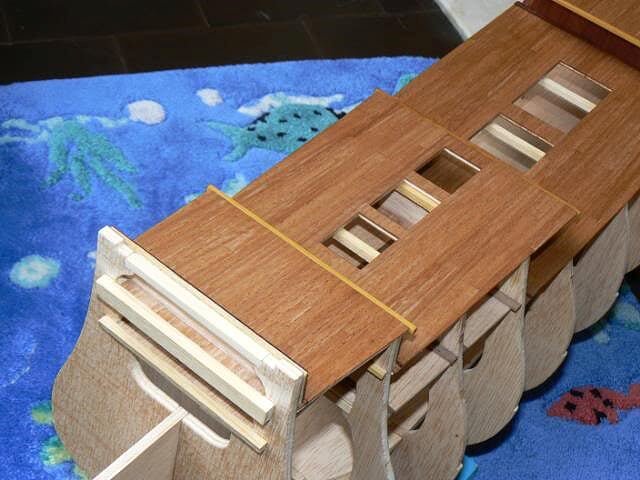
03 P1060611R.jpg
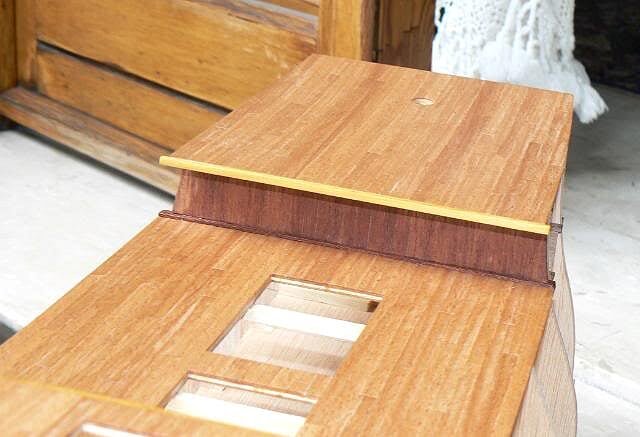
04 P1060608R.jpg
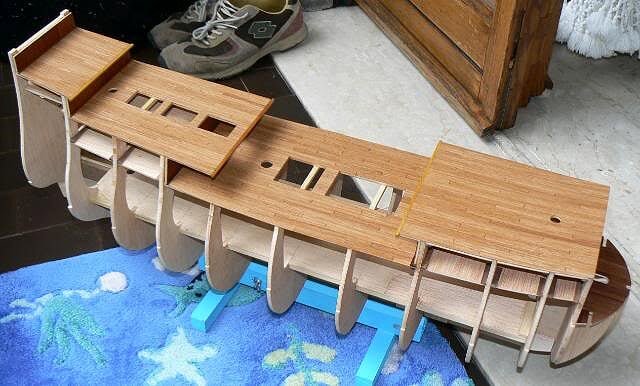
05 P1060612R.jpg
As you can imagine reading my last messages, there are some problems with the shipments of the weekly issues and the bad news are that it is not possible to understand who is the guilty party: italian mail service or De Agostini ? In doubt, the result is, anyway, that I'm not receiving what I need to continue . .
Cheers, Jack.Aubrey -
Jack, what kit is this/ and did it have a picture of the completed build on it?
The kit comes from De Agostini, more precisely from a weekly collection of booklets made up, if i well remenber, of 160 issues.
As I wrote in my first message the collection allows you to build two models:
- the entire model of this mighty ship
- the cross section
I didn't complete the first (I sold it to a friend before installing the masts) because in that period I lost the location of my workshop, so I started and completed the second: I didn't need too much space to work so I was able to do it at home . .
Kind regards, Jack.
-
Last image of the previous set . .
06 P1060606R.jpg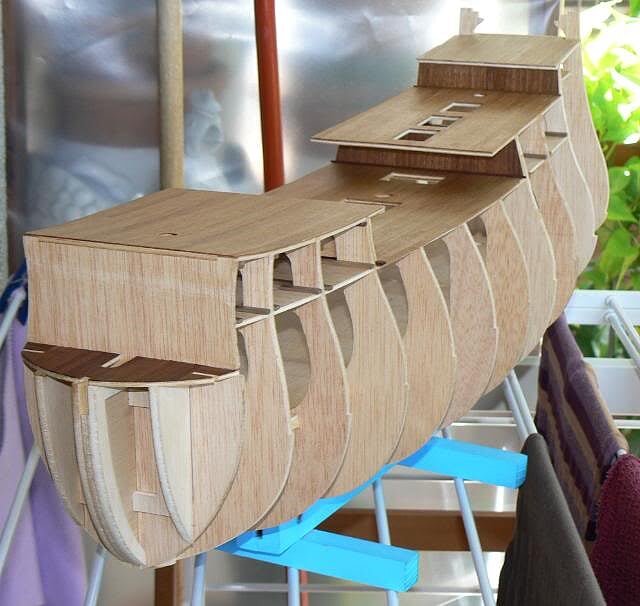
-
Sunday, August 1st, 2010 - Decks again . .
After a pause due to lack of pieces to work on, I restarted by installing two new decks in the poop area. The quarterdeck is not yet 100% finished. All the other decks are treated with oil for wood. At every new coat of oil the colour of the wood becames better (at least this is my sensation).
01 P1060601R.jpg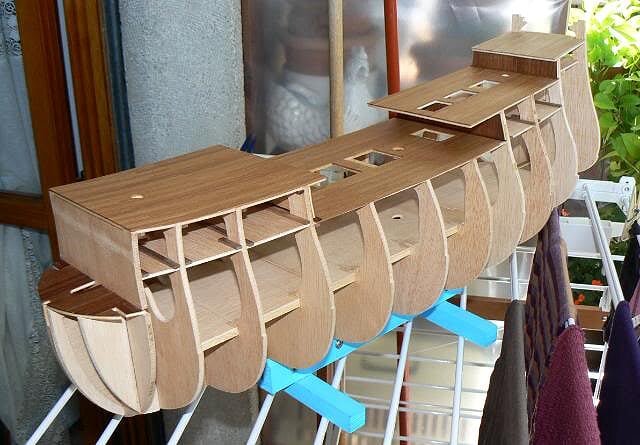
02 P1060602.jpg
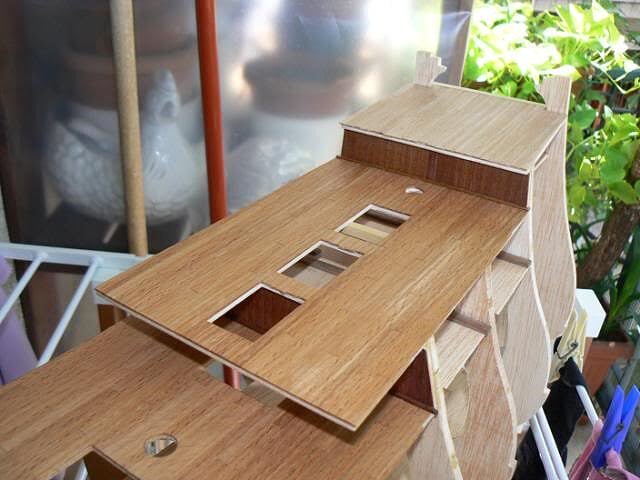
03 P1060603R.jpg
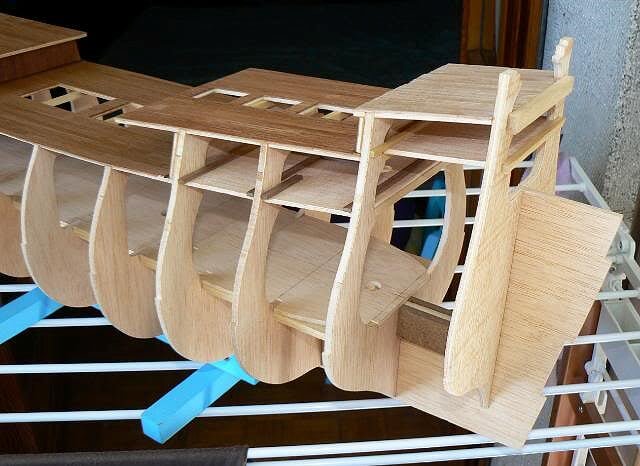
04 P1060604R.jpg
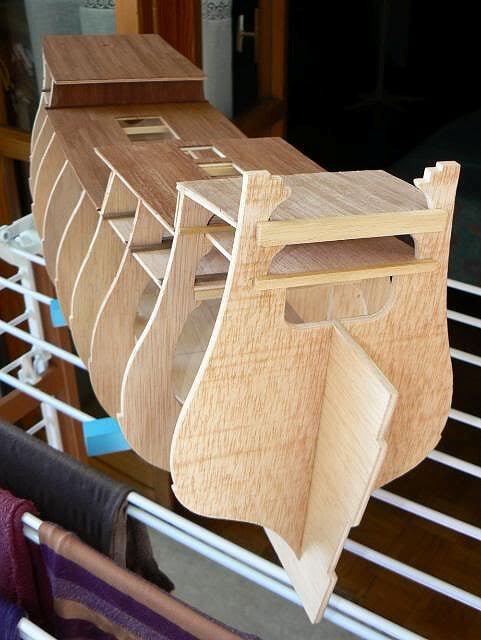
05 P1060605R.jpg
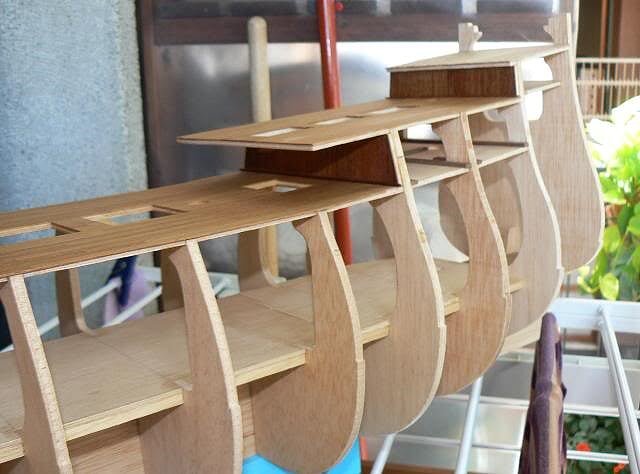
-
May 5, 2009
The crop of the keel distributed with the kit was not right, so I made a new one; on it I have fixed the two frames.
Then I started to plank the inside of the hull, using pieces of mahogany of 5x2mm.
01 Cross%20Section%20Santisima%20Trinidad/P1050523.jpg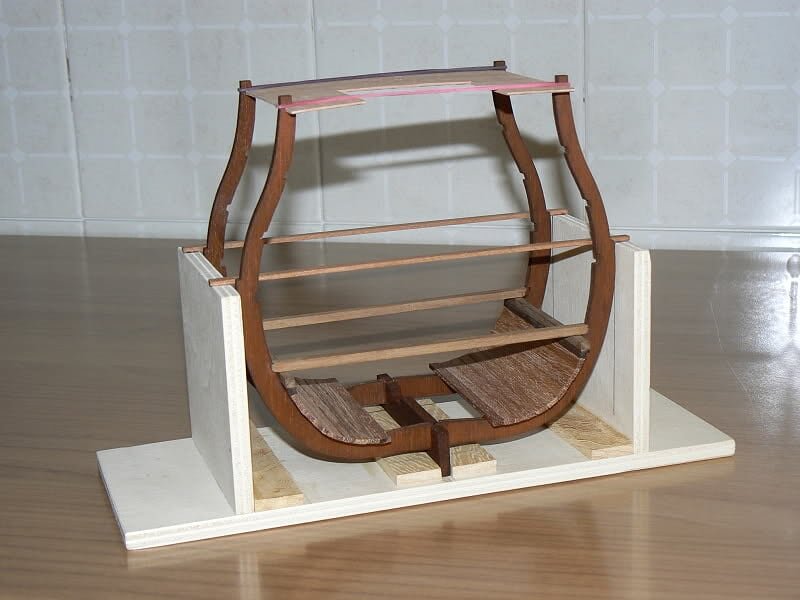
02 Cross%20Section%20Santisima%20Trinidad/P1050524.jpg
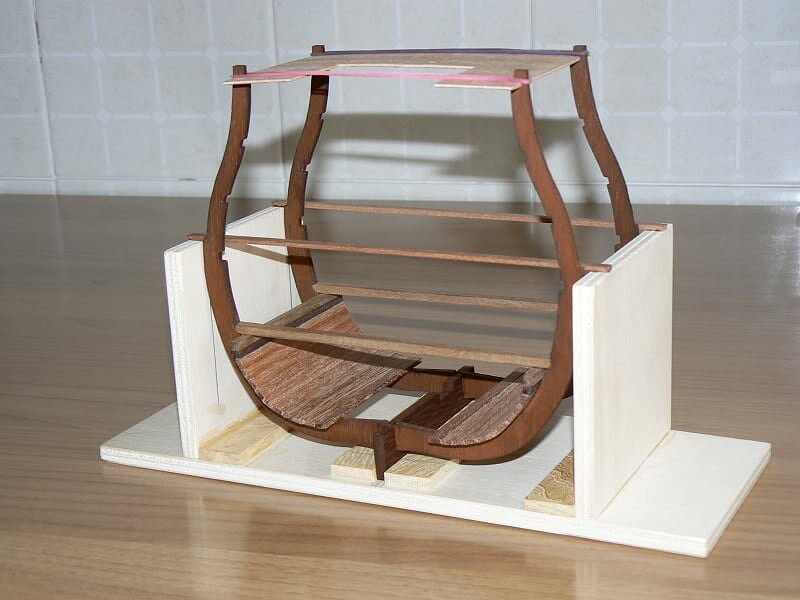
Here below the "phantom" of this model without the basement used to mount it. It's very weak, in a particular way in the upper part. It must be managed carefully, at least until the internal and external planking will reach the right position to ensure enough strength.
03 Cross%20Section%20Santisima%20Trinidad/P1050525.jpg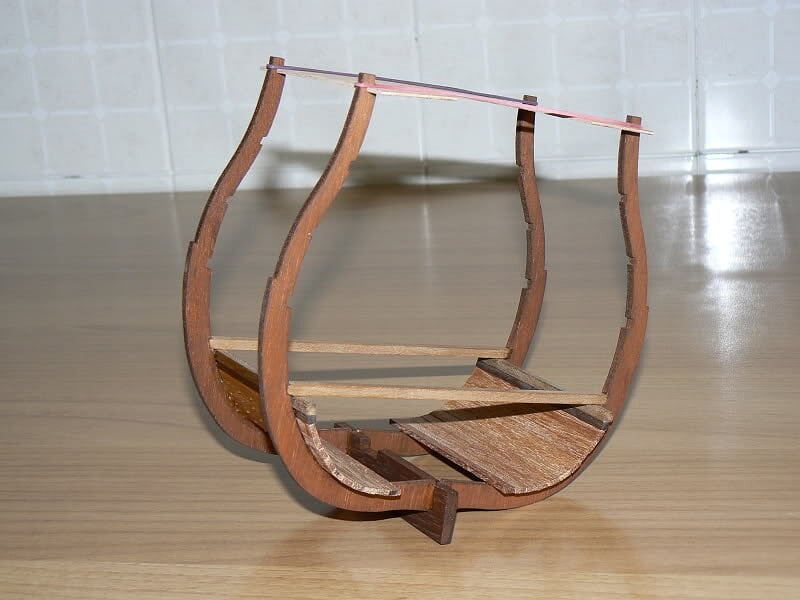
04 Cross%20Section%20Santisima%20Trinidad/P1050526.jpg
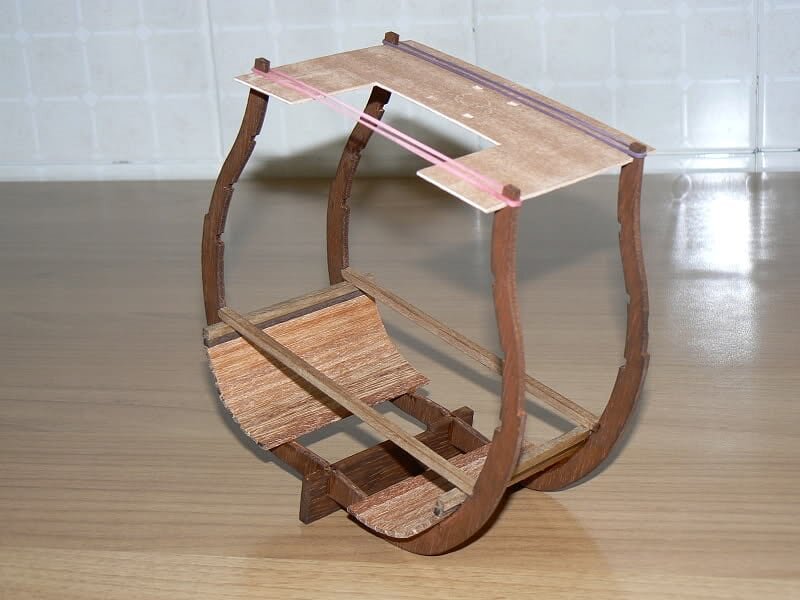
That's all, see you next time, Jack. -
Additional images showing the frames installed on the basement from other views. Now its time to glue them . .
01 Cross%20Section%20Santisima%20Trinidad/P1050519.jpg
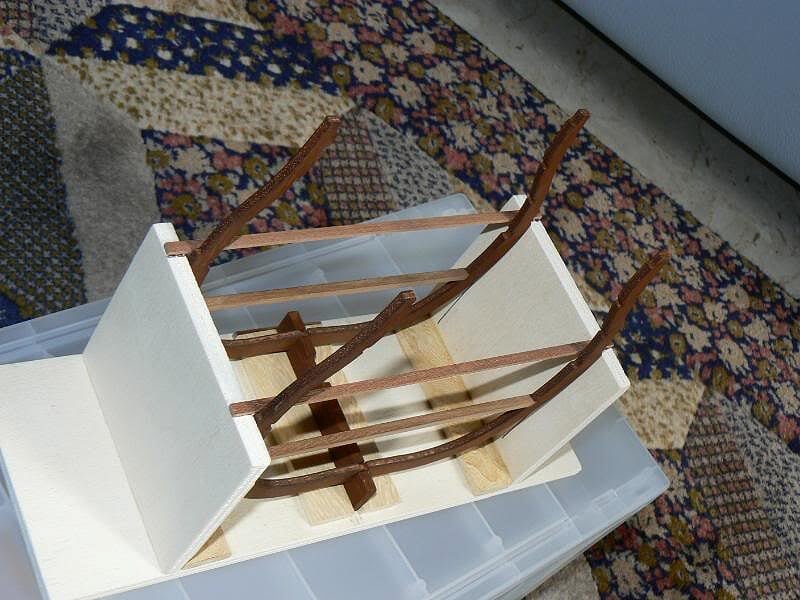
02 Cross%20Section%20Santisima%20Trinidad/P1050520.jpg
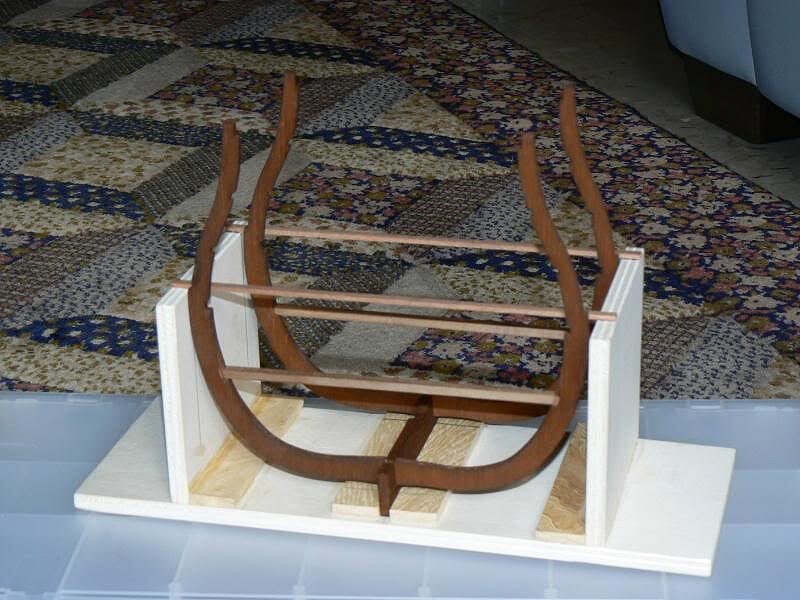
03 Cross%20Section%20Santisima%20Trinidad/P1050521.jpg
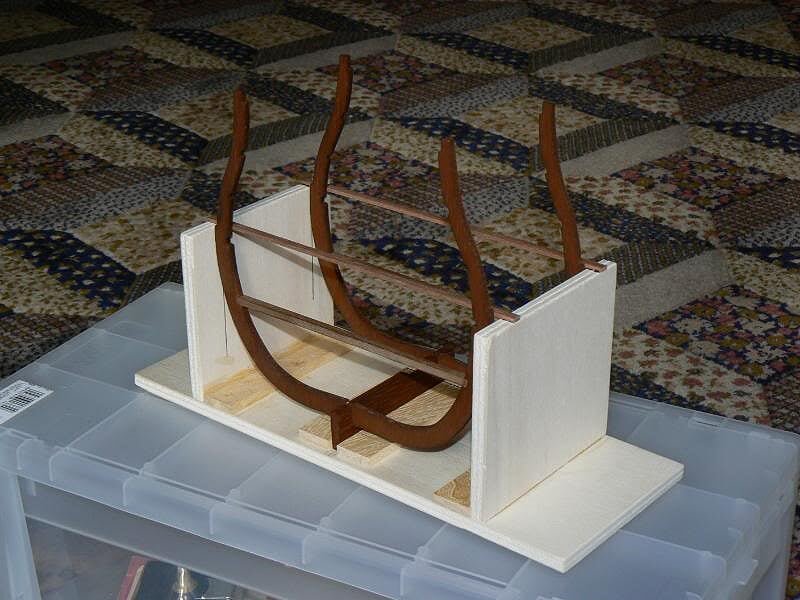
See you next time. Jack.Aubrey
PS: my first experience with the aliphatic glue is positive. It works in a very similar way of the vinyl and it is quite fast to grip and dry. I slightly changed the basement. As soon as possible I will show these few changes . . -
Tuesday July 27, 2010 - Another deck near poop
Within the 15° weekly issue there is another bulkhead to install (n° 11). I decided to reinforce a part of the keel near this bulkhead to avoid risks.
01 P1060588.jpg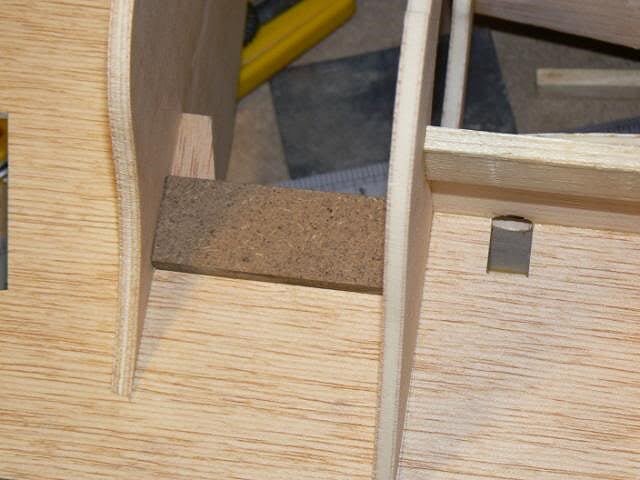
But the main task is the installation of another deck above the upper gun deck. This deck partially hides a portion of the upper deck.
Fisrt I have installed the ply pieces before planking them, installation made with some reinforcements where I judged useful.
02 P1060589.jpg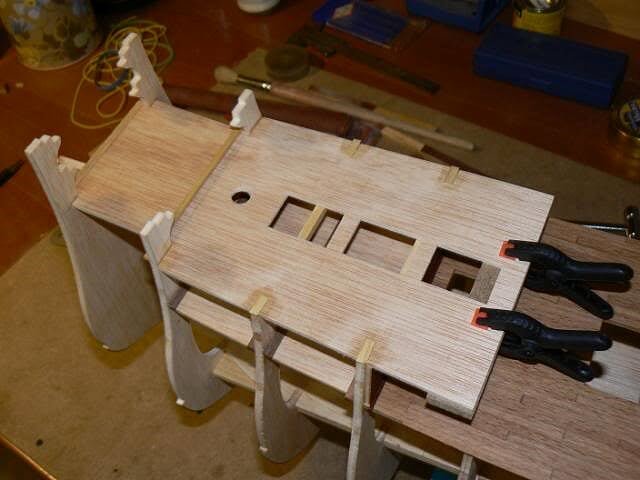
03 P1060592.jpg
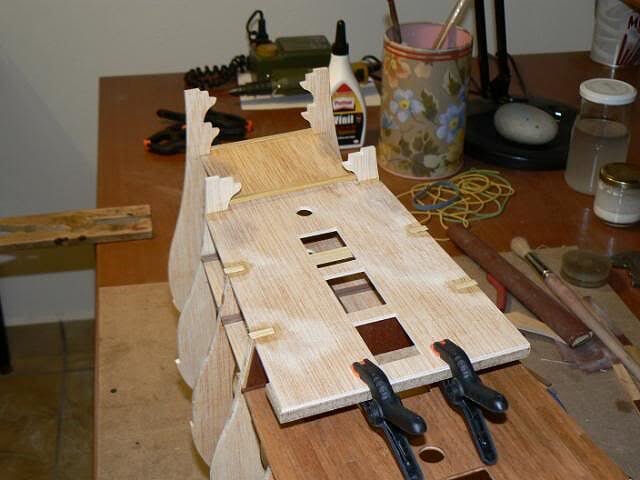
Here below all of you can see some of these reinforcements.
04 P1060590.jpg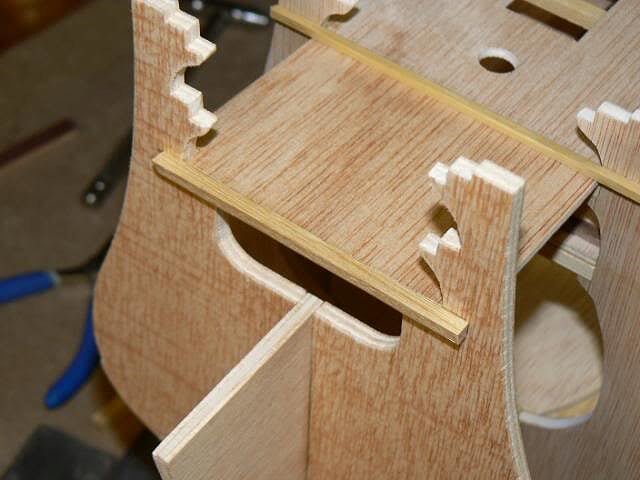
05 P1060591.jpg
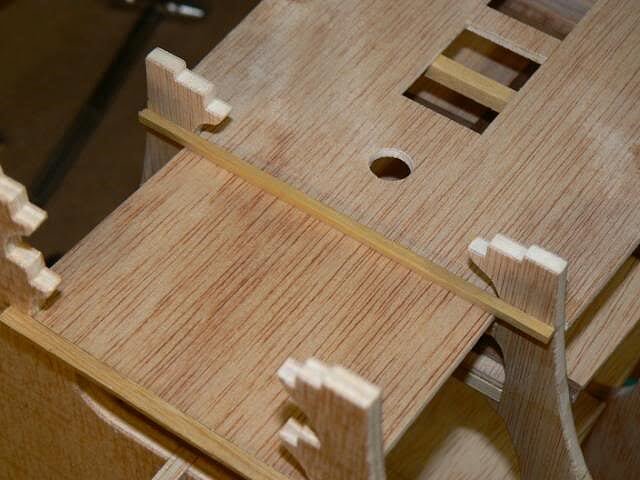
Once finished this quite simple installation I began to apply the deck planking, using the same beechwood of the other decks. When the work related to this task will be finished I'll post new images.
As I wrote some message above, I'm trying to put into each message very condensed comments to let me able to describe as quickly as possible the past activities on this model. If anyone has questions, or wants to discuss more in deep some topics, I will be honoured to answer him or to explain more in deep some tasks.That's all for today, Jack. -
First of all I needed a basement that allowed me to mount perfectly aligned the two frames. I built the one shown in the first two images.
01 Cross%20Section%20Santisima%20Trinidad/P1050516.jpg
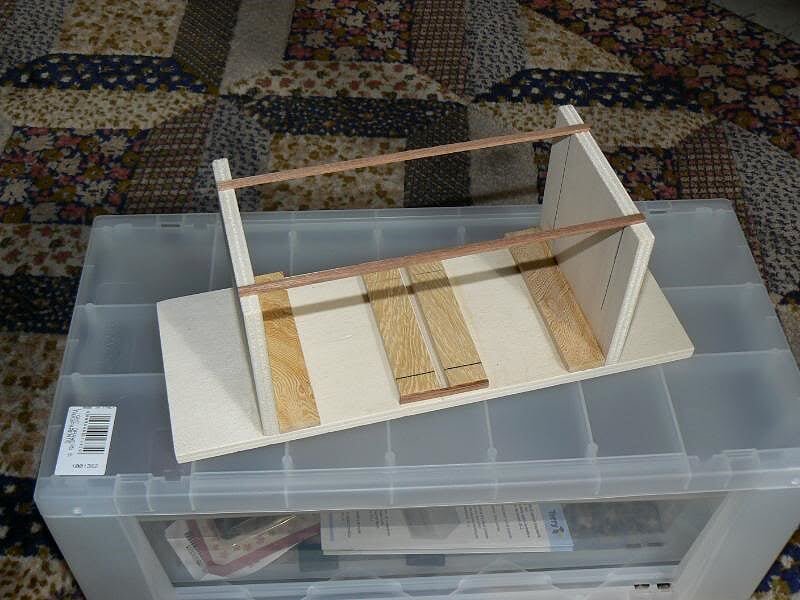
02 Cross%20Section%20Santisima%20Trinidad/P1050517.jpg
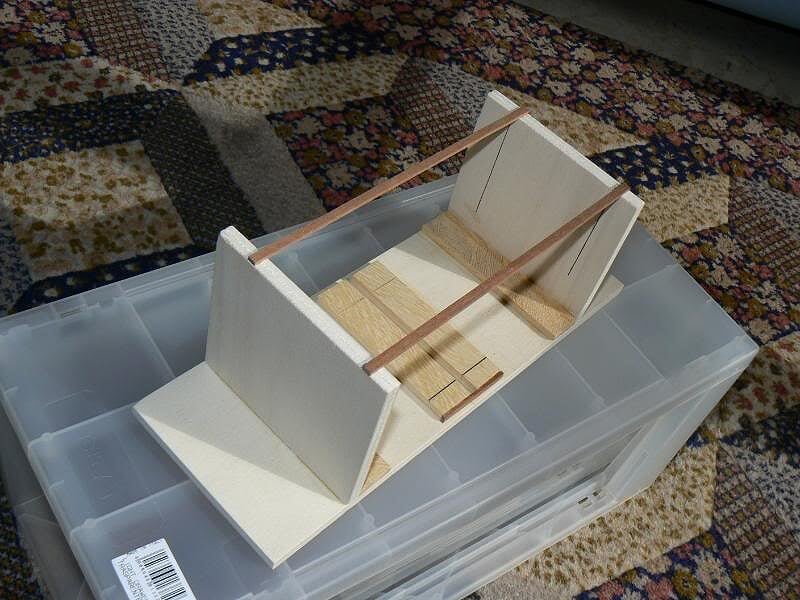
Here below you can see how it should work. The frames and the keel are simply positioned, not yet permanently.
Kind regards, Jack.Aubrey
03 Cross%20Section%20Santisima%20Trinidad/P1050518.jpg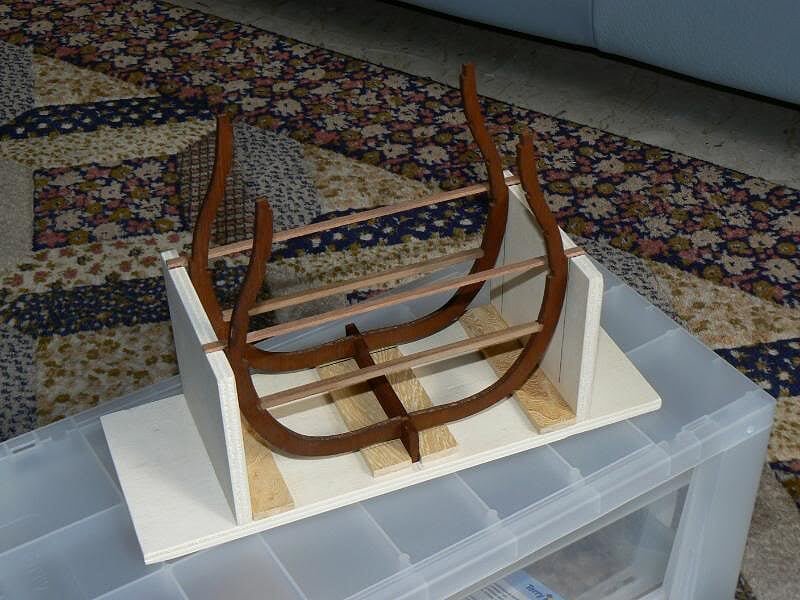
PS: For this project I decided to use the aliphatic glue, instead of the vinyl. -
On May 3, 2009 I officially started to build the Santìsima Trinidad's Cross Section.
It is the second part of the De Agostini collection made up of 160 weekly issues in which you build A) the entire model and later
 the Cross Section.
It seemed me quite simple to build and I thought to follow with due diligence the kit instructions. This was my first cross section and I didn't want to take any risks.
In that period of time I had another project still active: the Armed Launch 1803 by Panart and it was in concurrence with this one.
I published the images of the finished model of the armed launch on the gallery here: http://modelshipworld.com/index.php?/gallery/album/210-armed-launch-1803/At that time I didn't have a workshop where to progress my models so I was working at home, on the kitchen table . . each time i started something I had to put out everything and at the end put away everything . . heartrending !!
That's all for now, cheers, Jack.Aubrey.
01 Cross%20Section%20Santisima%20Trinidad/P1050512.jpg
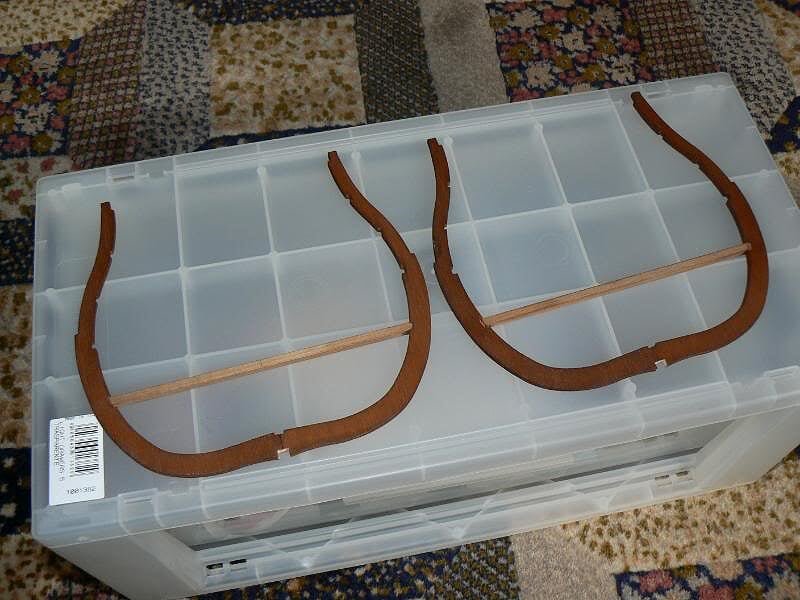
02 Cross%20Section%20Santisima%20Trinidad/P1050513.jpg
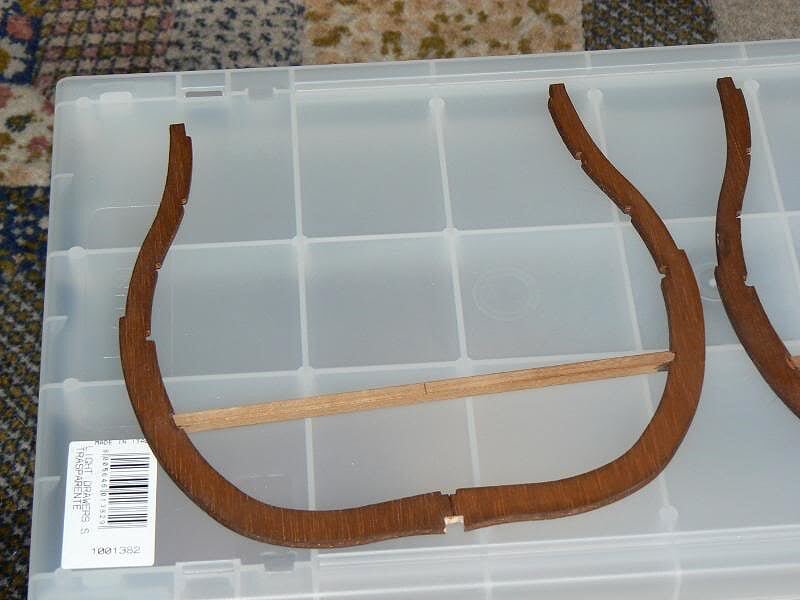
03 Cross%20Section%20Santisima%20Trinidad/P1050514.jpg
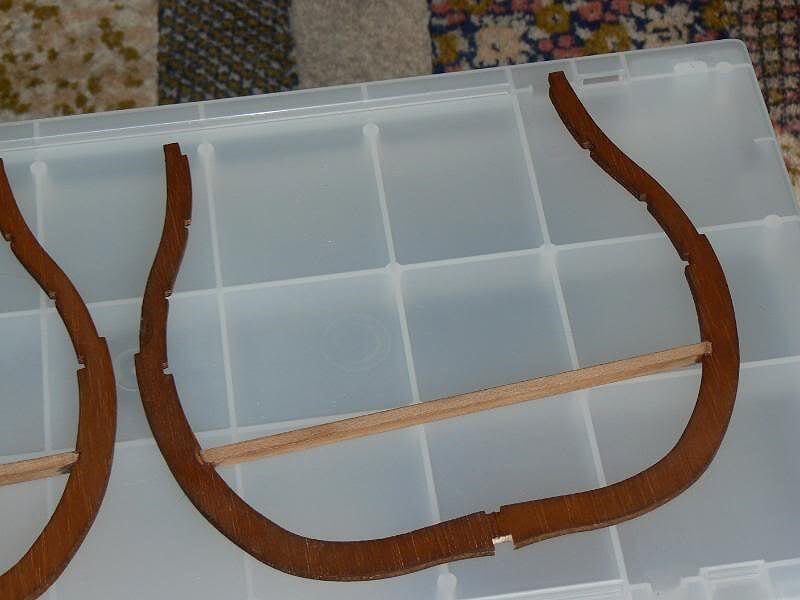
-
Saturday July 24, 2010 - New updates
With the issue n° 14 were distributed new pieces to complete the upper gun deck.
The new components are pre-cutted without any defect.
Once installed, without problems at all, the ply pieces of the upper gun deck I completed the deck planking. I remember that for this planking I use laths of beechwood 4 x 1mm. A final refinement with sandpaper of different grain and the final coat of oil and the work is done.
Here are three new images of the first two decks completely planked.
01 P1060577.jpg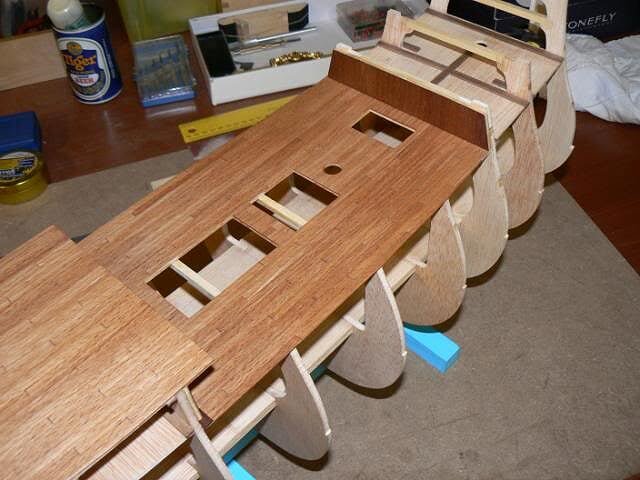
02 P1060578.jpg
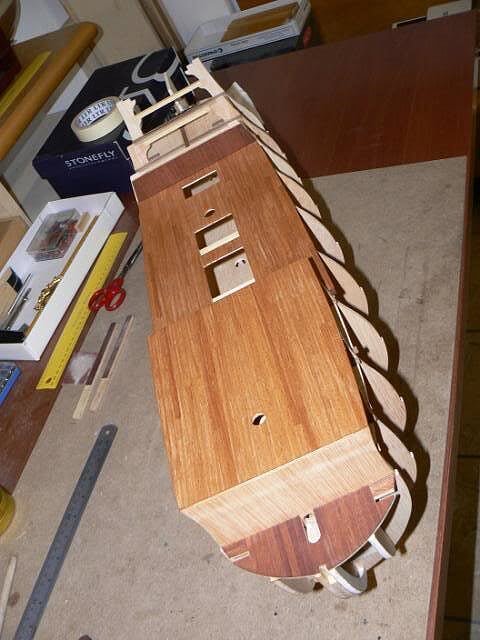
03 P1060579.jpg
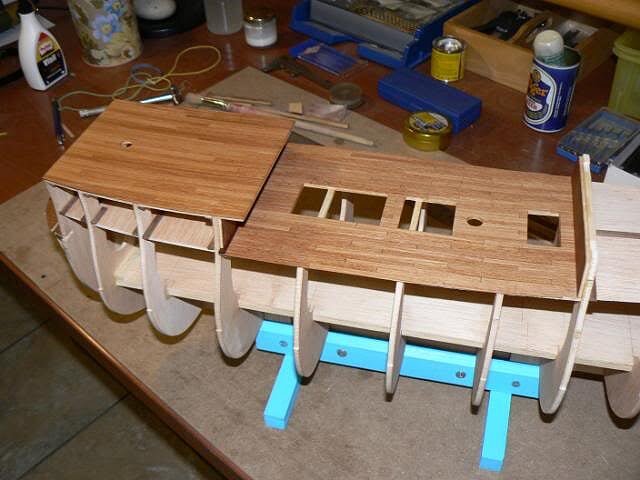
Kind regards, Jack.Aubrey
-
Here follow other photos of the Soleil Royal hull skeleton. The wicker basket has tasted the claws of my two cats . .
01 P1060252.jpg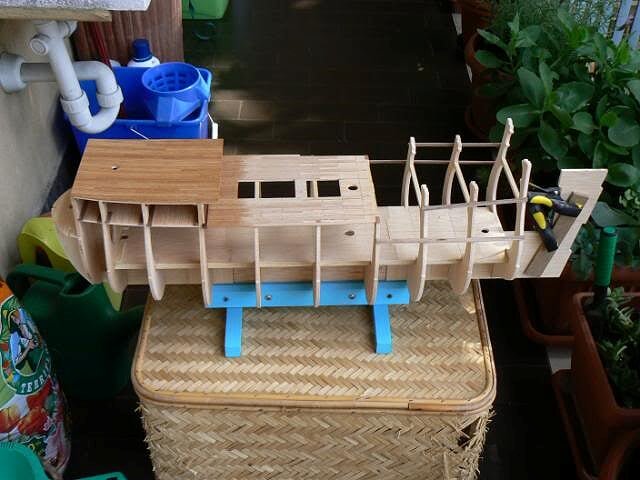
02 P1060253.jpg
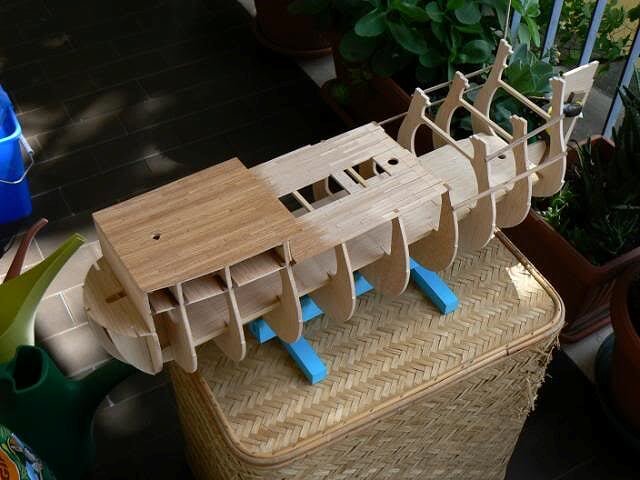
03 P1060258.jpg
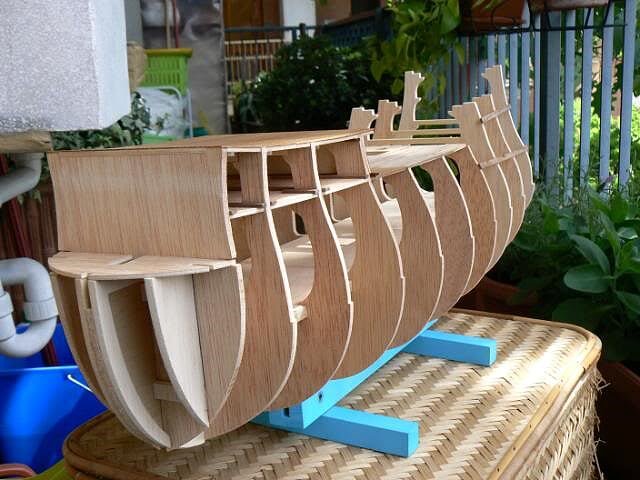
04 P1060259.jpg
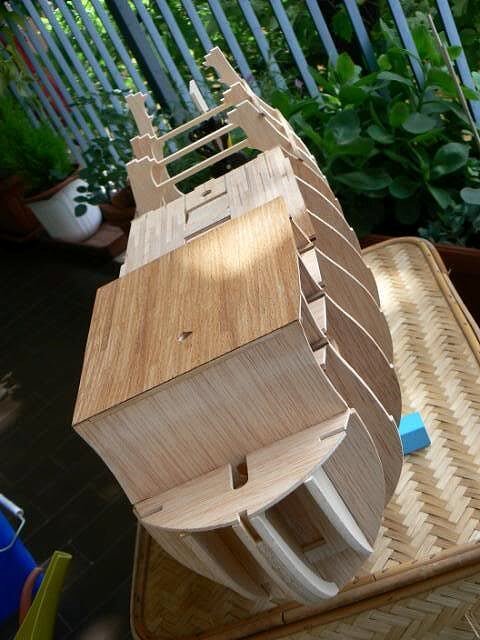
05 P1060260.jpg
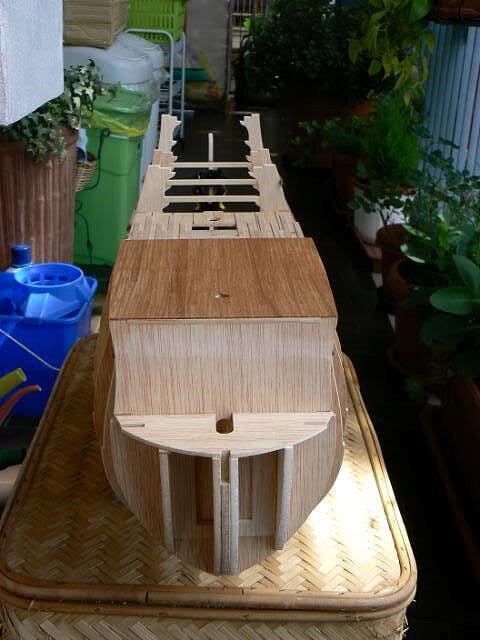
Cheers, Jack.Aubrey -
Saturday and Sunday, May 15-16, 2010
New pieces added to the hull: the last piece of the false keel and three new bulkheads.
01 - P1060250.jpg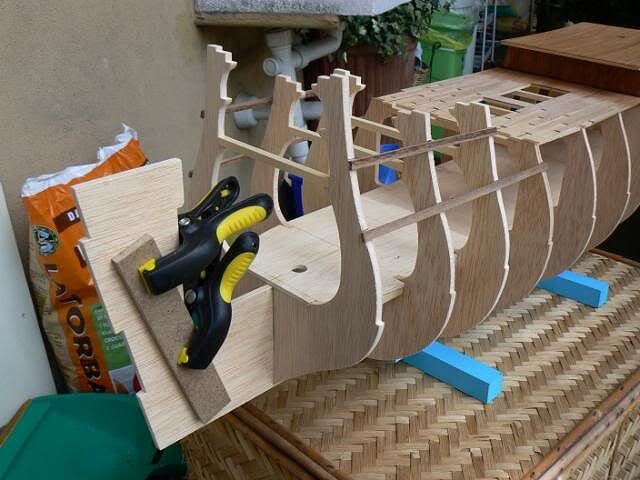
I connected together the three new bulkheads with some laths of hard wood to avoid crashes. They will stay in place until I will install the last piece of the upper gun deck
02 - P1060251.jpg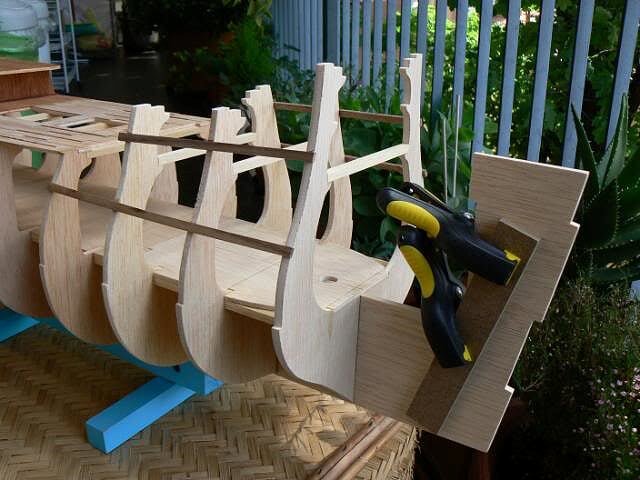
A couple of views of the false deck from poop . .
03 - P1060254.jpg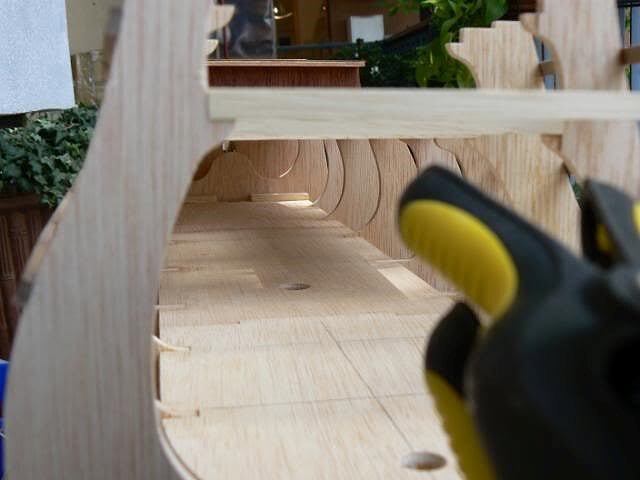
I have also checked the hull alignment after the installation of the three new bulkheads . . . it's right !!
04 - P1060256.jpg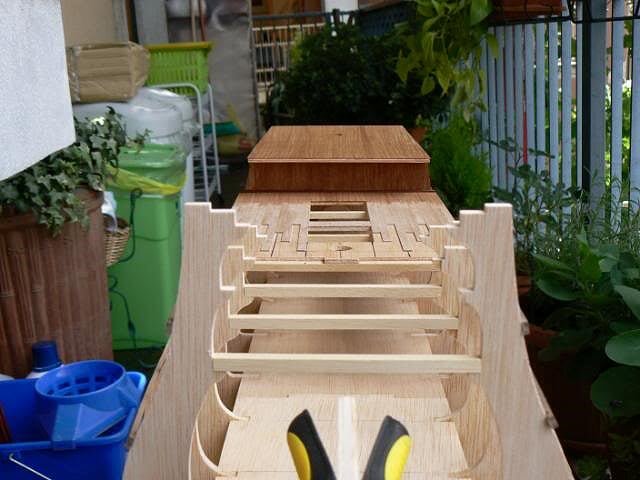
Last, a removable reinforcement of the keel with clamps, always with the objective to avoid crash problems during the handly manipulations . . note also a new keel clamper.
05 - P1060257.jpg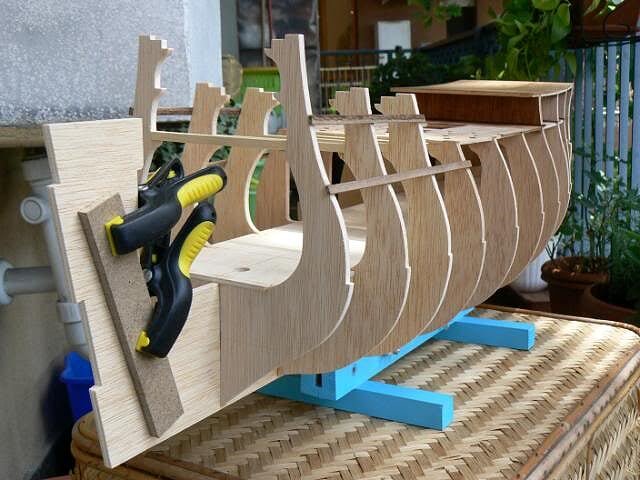
Kind regards, Jack.Aubrey.
-
Thursday and Friday, May 13-14, 2010
Additional activities on the forecastle, now fully planked . . I spent 5-6 hours to plank the forecastle, to level it with sandpaper and to apply a coat of oil for wood to see the deck in its final appearance . .
01 - P1060245.jpg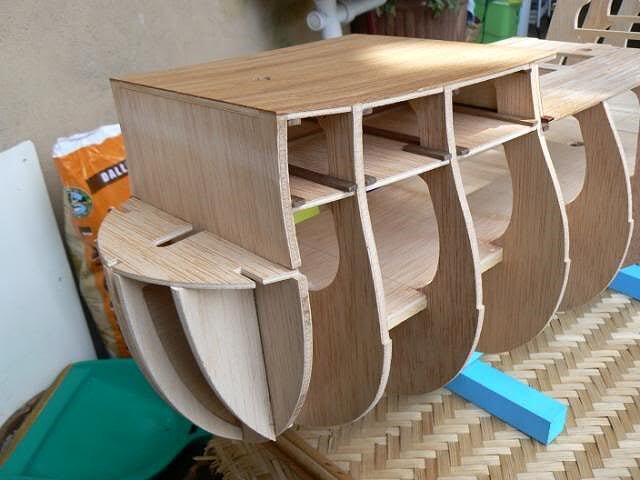
02 - P1060246.jpg
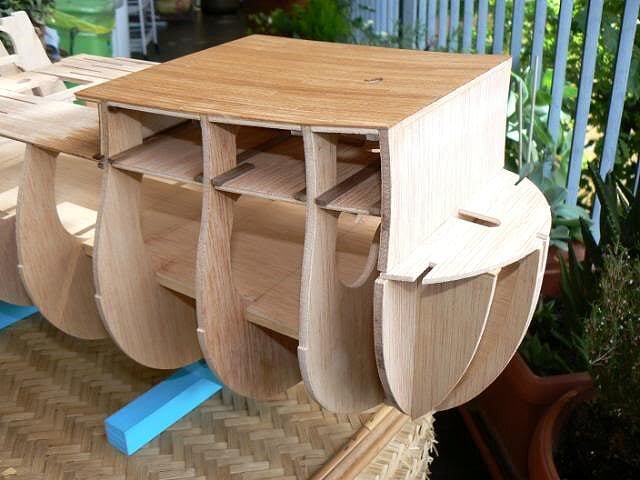
I applied a coat of oil also on a half of the upper gun deck, just to show you the colour difference before and after the treatment with my oil.
03 - P1060247.jpg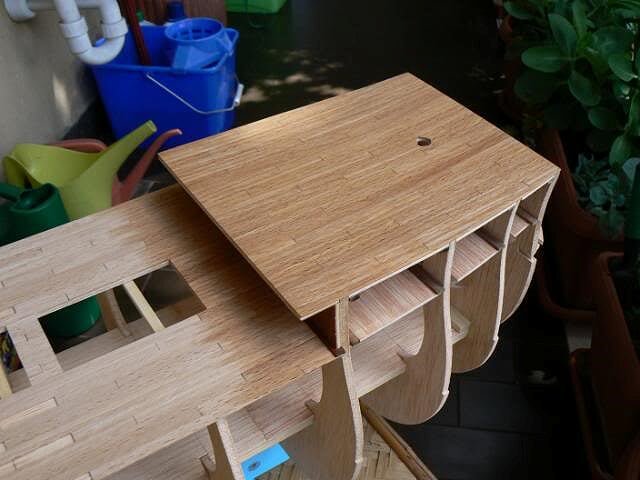
04 - P1060248.jpg
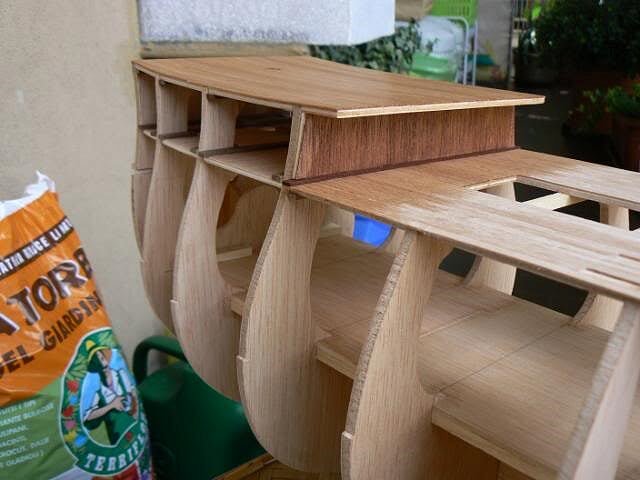
I think this difference is perfectly visible in the next image . .
05 - P1060249.jpg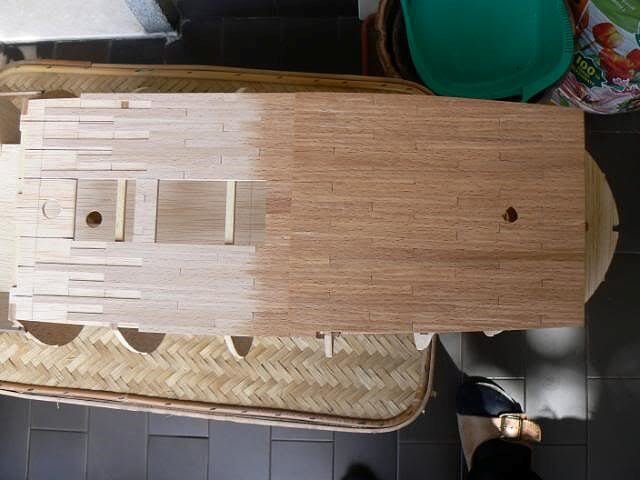
Cheers, Jack. -
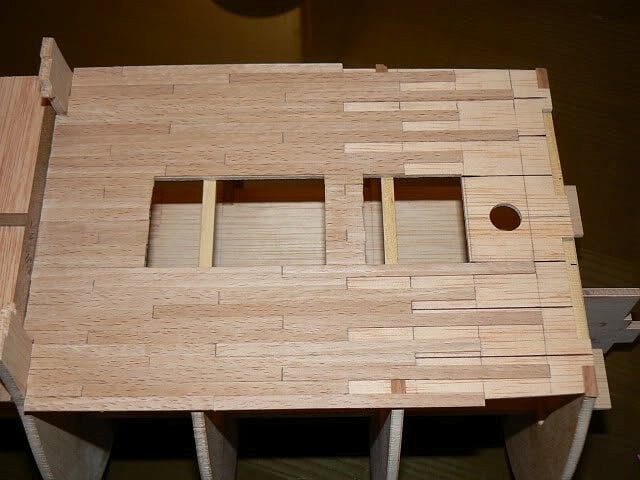
Saturday and Sunday, May 8-9, 2010 - Deck planking
New progresses: instead of using for planking the deck the material provided by the kit manufacturer, I have used some laths I had that have a thickness of 1mm instead of 0,5. The main difference resides in the kind of wood I used for this activity: these laths are of beechwood. I preferred its colour to the other, more yellow for my preferences.
Here below three images of the work done. There is a great part of the hull still missing so I had to leave the planking infinished until I will receive new material in the next weekly issues.
01 - P1060242.jpg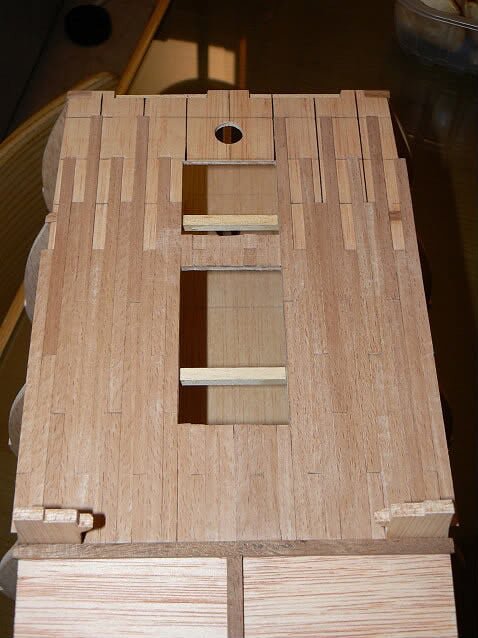
02 - P1060243.jpg
03 - P1060244.jpg
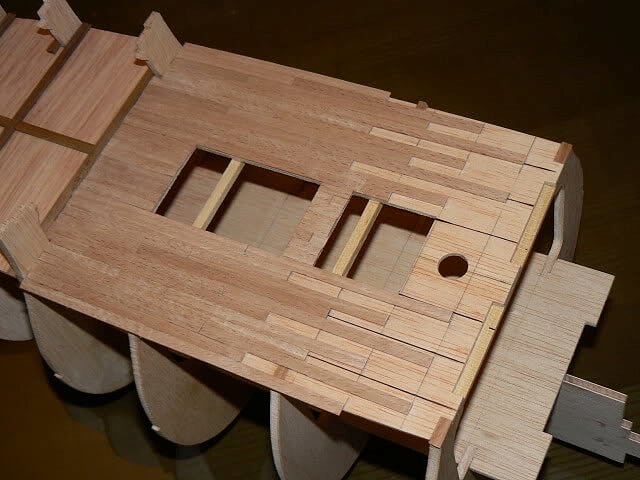
I used the vinyl glue for this task and I cleaned the glue in excess with a wet microfiber cloth.
Cheers, Jack.Aubrey


Le Soleil Royal by jack.aubrey - FINISHED - De Agostini - Scale 1:70
in - Kit build logs for subjects built from 1501 - 1750
Posted · Edited by jack.aubrey
After having at last terminated the work on the ship decks (. . for now . .) and having finally available all the pieces needed I started to work on the hull sides. In practice at this point the hull structure is complete and the next activities will go towards the external plaking.
Before the planks there is some other work to do, and this is the matter of this and the following messages.
What I have now to do is to mount on the upper side of the hull some pieces made with ply of 1.5mm thickness where there are pre-cutted the gun ports. Before mounting them is necessary to finish their sides with sandpaper and small files.
Given that these pieces can be weak, in order to be able to reproduce them in case of breakage, I made a photocopy of all of them . .
As glue I used the aliphatic glue but I helped myself also with some brass nails. It is obvious that all this work was not done in a sigle day, I spent five days to reach this result.
Here some images of the work done.
Left side near bow . .
01 P1070008.jpg
Left side near poop . .
02 P1070009.jpg
Right side near bow . .
03 P1070010.jpg
Right side near poop . .
04 P1070011.jpg