jack.aubrey
-
Posts
1,268 -
Joined
-
Last visited
Content Type
Profiles
Forums
Gallery
Events
Everything posted by jack.aubrey
-
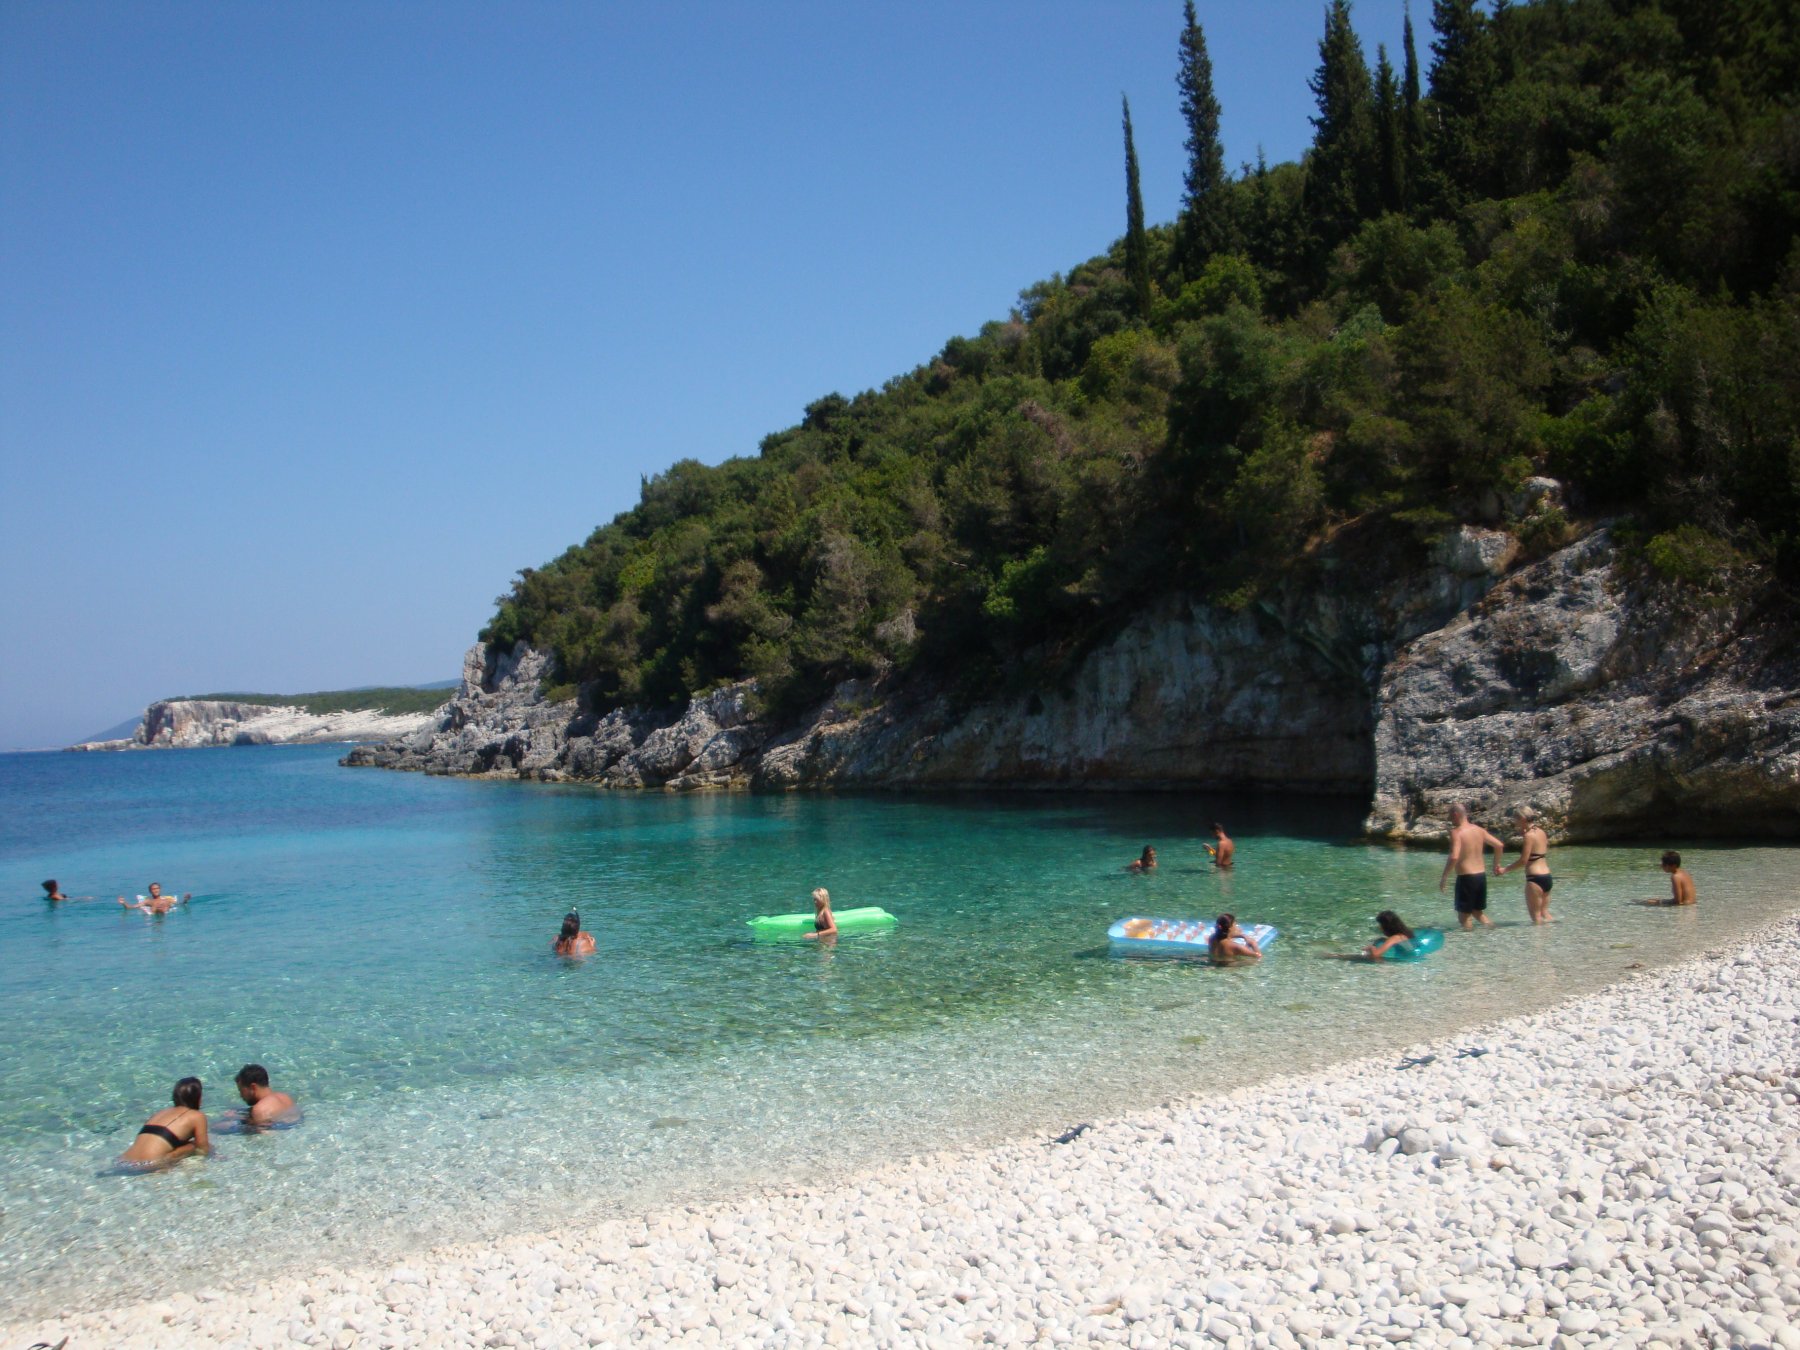
 Regarding the pebbles beach, I can imagine that in the Netherlands may be quite uncommon but here in the Mediterranean Sea we have a lot of them . . As old good swimmer I prefer them vs sandbeaches because in general the water is always clean and deeper and you may appreciate 100% snorkeling and swimming. Anyway, thank you for the comment. Jack. Regarding your question, I recognize you are right . . It's not a good idea to leave a boat on a windy beach with the sails on !! I discussed the matter with friends time ago and cannot disagree. But I decided to proceed this way anyway because there are some right things in it: imagine a temporary situation when you let the sail dry while working on discharging your boat. With a bit of imagination. Thank you again for the comment. Jack.
- 174 replies
-
- 2
-

-
- gaeta falcata
- marisstella
- (and 1 more)
-
Wednesday, August 30, 2017 - Finished These four pictures show the finished project, under its plexiglass cover . . Due to reflexions and low light the photos are rather poor, but they still make the idea of how the whole complex appears. Now the adventure is really over. A further batch of more detailed images, as my customary, will follow soon. A warm greeting, Jack.Aubrey. 01 20170830_103511.jpg 02 20170830_103500.jpg 03 20170830_103450.jpg 04 20170830_103439.jpg
- 174 replies
-
- 9
-
-
- gaeta falcata
- marisstella
- (and 1 more)
-
Tuesday 29 August 2017 The display case setup continues . . Still a few days again . . 01 20170829_104314.jpg 02 20170829_104326.jpg 03 20170829_104349.jpg 04 20170829_104358.jpg 05 20170829_104530.jpg 06 20170829_104541.jpg 07 20170829_104548.jpg 08 20170829_104652.jpg
- 174 replies
-
- 9
-
-
- gaeta falcata
- marisstella
- (and 1 more)
-
Monday 28 August 2017 I'm working on the display case base . . In particular I'm preparing the so-called "beach". To hold the small pebbles of the Elba Island beach called "200 steps" I used vinyl glue, laid abundantly on the wood basement. The work is not yet finished because I think it is better to make another layer of this sandblast and then apply the larger pebbles individually. . I now have two new sizes . . Interesting experience. We will see how the situation evolves. See you soon, Jack. 01 20170828_171348.jpg 02 20170828_171355.jpg 03 20170828_171503.jpg 04 20170828_172334.jpg
- 174 replies
-
- 3
-
-
- gaeta falcata
- marisstella
- (and 1 more)
-
Many thanks for your positive comments, friends . . Saturday, August 26, 2017 I put inside oars and a couple of accessories, just to understand that much of the material I prepared will be better if positioned on the (future) beach . . The next images will show the model inside its display case . . probably by the end of next week, bye, Jack. 01 20170823_120506.jpg 02 20170823_120513.jpg 03 20170823_120529.jpg 04 20170823_120536.jpg 05 20170823_120541.jpg
- 174 replies
-
- 9
-
-
- gaeta falcata
- marisstella
- (and 1 more)
-
Thank you very much, Yves, for your comment; thanks again, Jack. Wednesday, August 23, 2017 I've finished with the last rigging details, like the rope curls at the ending tips of the running rigging. With this last activity, the model by itself is truly over . . Now only the display case is missing in order to close the shipyard. 01 20170823_115552.jpg 02 20170823_115600.jpg 03 20170823_115616.jpg 04 20170823_115621.jpg 05 20170823_115651.jpg 06 20170823_115847.jpg 07 20170823_115854.jpg
- 174 replies
-
- 10
-
-
- gaeta falcata
- marisstella
- (and 1 more)
-
Thanks Yves for your very positive comment, thanks again, Jack. Tuesday 22 August 2017 Other new images . . 01 20170822_121116.jpg 02 20170822_121124.jpg 03 20170822_121130.jpg 04 20170822_121140.jpg 05 20170822_121337.jpg
- 174 replies
-
- 9
-
-
- gaeta falcata
- marisstella
- (and 1 more)
-
Tuesday 22 August 2017 At this point the model is practically finished . . Now I have to prepare and apply the rope curls to add realism to the edges of the running rigging and then there is nothing left to do. In the next days I'll focus on the setup of the displaycase basement, according to the idea I described some time ago (rocky beach, various accessories left on the beach, etc.) Soon, Jack. 01 20170822_121019.jpg 02 20170822_121033.jpg 03 20170822_121049.jpg 04 20170822_121101.jpg 05 20170822_121110.jpg
- 174 replies
-
- 10
-
-
- gaeta falcata
- marisstella
- (and 1 more)
-
Friday, August 18th, 2017 The commissioning is in progress . . 01 20170818_121149.jpg 02 20170818_121210.jpg 03 20170818_121200.jpg 04 20170818_121423.jpg The rudder installed e working fine . . 05 20170818_122632.jpg See you soon, jack.
- 174 replies
-
- 10
-
-
- gaeta falcata
- marisstella
- (and 1 more)
-
Thursday 17 August 2017 Having finally finished all the various detail components, yesterday and today I was able to begin working on the masts and its rigging. The pictures below show the work done so far . . far from being near completion. However, the goal is behind the corner, maximum another week, then it will be time to setup the beach of Comiso on the displaycase . . See you soon, Jack. 01 20170817_121338.jpg 02 20170817_121400.jpg 03 20170817_121416.jpg 04 20170817_121526.jpg 05 20170817_122911.jpg 06 20170817_122929.jpg
- 174 replies
-
- 11
-
-
- gaeta falcata
- marisstella
- (and 1 more)
-
Tuesday 15 August 2017 I almost finished the buckets !! Now it just miss the painting of the brass handles with "gun metal" and they're over. Today my wife did a very good job with sails that are almost finished . . I need now only to hold the wire knots with a drop of glue. Two photos of the buckets where you can see also a small detail of a sail. 01 20170815_183303.jpg 02 20170815_183341.jpg Goodbye, Jack.
- 174 replies
-
- 7
-
-
- gaeta falcata
- marisstella
- (and 1 more)
-
Considerations about the sails of the Gajeta . . The Gaeta (Gajeta) Falcata (Falkusa) seems to be a very versatile boat. We learned how this boat can be used with two hull configurations, one with high sides, optimized for sailing and one with lower sides, most suitable for fishing with nets. But its versatility also manifests itself in its sails. Let's think about them. The following image shows three Gaeta configurations, from left to right: a- sails with "high" main sail; the main sail is very high, probably suitable with light winds; b- sails with "low" main sail; the sail is not triangular and mounts a beam even belo c- no masts/beams and sails; configured with low sides suitable for fishing; the rudder has been removed. 01 Falkusa-1_zpswokpwsjz.JPG The following image shows a Gaeta in configuration type (a); for my taste this is the most beautiful and majestic. And here we can also look at another variant: the double jib, interesting . . 02 Velatura Alta 01.jpg Here below the boat is in the configuration type (b): lower sail, jib fastened half way on the bow beam, although we have seen that it can be fastened on the top of the bow beam. The main sail may seem triangular but seems to be rolled on the lower beam and for this reason doesn't look like in the image 01 . . 03 Velatura Bassa con Tangone.jpg Here are other images with an apparently "low" sail but with a real triangular shape. Images 04, 05, 06 and 07. Let's say this is a new type . . we'll define Type (d); obviously this is another sails configuration !! 04 Velatura Bassa 01.jpg 05 Velatura Bassa 02.jpg 06 Velatura Bassa 03.jpg 07 Velatura Bassa 04.jpg For now I have not found more configs, but it's not said that they do not exist. For reasons related to the size (height) of the plexiglass cover for the showcase, although my preference goes to the sails type (a), I decided to adopt the configuration type (d). The kit features pre-sewn, well-made sails. Unfortunately they are for the configuration type (a) and to transform them into sails type (d) there is some work to do: the main sail needs to be ex novo rebuilt. But here some problems arise: I do not have the same fabric and so I should also redo the jib; but I'm also a dud with the sewing machine, so the result could be bad if not worse. So ? Simple, I will install the original jib and the main sail tied to its beam as in the images below . . With this solution I just need to cut the big sail to the right extent and the game is done; once rolled on the beam its wrong shape will no longer be visible . . Hyper-pragmatic solution . . See you next time, Jack. 08 Alla fonda 01 09 Alla fonda 02 10 Alla fonda 03
- 174 replies
-
- 7
-
-
- gaeta falcata
- marisstella
- (and 1 more)
-
Italian Boats of the Adriatic Sea
jack.aubrey replied to jack.aubrey's topic in Nautical/Naval History
Last images. Cheers, Jack. 06 Gaeta Falcata 06 07 Gaeta Falcata 07 08 Gaeta Falcata 08 09 Gaeta Falcata 09 -
Italian Boats of the Adriatic Sea
jack.aubrey replied to jack.aubrey's topic in Nautical/Naval History
Tuesday, August 8, 2017 I finished to restore the images that disappeared thanks to Photobucket. . Now they are (or rather the conditional would be) all visible as before. I would be grateful if you would like to report any anomalies in the visualization of images, maybe via private message. Thank you. Jack. I've added other unpublished photos. . 01 Gaeta Falcata 01 02 Gaeta Falcata 02 03 Gaeta Falcata 03 04 Gaeta Falcata 04 05 Gaeta Falcata 05 Continua . . -
Saturday, August 7, 2017 Today I finished restoring the images that disappeared thanks to Photobucket . . Now all are (or rather the conditional should be) visible as before. If you discover some problems, please let me know via private message. Thank you. Jack.
- 170 replies
-
- 3
-
-
- gokstad
- dusek ship kits
- (and 1 more)
-
Friday, August 4, 2017 I built six boxes . . Then I'll decide where I'll install them. Now I could build some buckets, of different shapes. 01 20170804_112519.jpg 02 20170804_112601.jpg 03 20170804_112626.jpg See you soon, Jack.
- 174 replies
-
- 4
-
-
- gaeta falcata
- marisstella
- (and 1 more)
-
Thursday, August 3rd, 2017 I'm working on many small details with little to show individually: rudder hinges, mast support, crates for fishes, painting of the "falke" sides, etc. The only things worthy to be seen at the moment are the outside paintwork, now black and the crates for the fish, to which I am still working. This is the prototype: measurements mm 30 x 20 x 15. 01 20170803_112657.jpg Below the hull with the "falke" painted in black . . 02 20170803_103257.jpg 03 20170803_103303.jpg 04 20170803_103310.jpg
- 174 replies
-
- 2
-
-
- gaeta falcata
- marisstella
- (and 1 more)
-
Important notice: I'm trying to recover the images lost thanks to fu.... Photobucket (). I've a lot of work to get the final goal, anyway be patient that I'm sure to be totally successful. It's only a matter of time. Cheers, Jack.
- 170 replies
-
- 2
-
-
- gokstad
- dusek ship kits
- (and 1 more)
-
Saturday 29 July 2017 I started some tasks for sailing equipment. Let's begin with the mast, wedged in the keelson and embedded in a half-rounded niche of a seat. Here, of course, it's just positioned. Then we have the boom that will house the jib. 01 20170729_114432.jpg 02 20170729_114444.jpg 03 20170729_114423.jpg Here, instead, the antenna for the triangular sail. This boat features two types of triangular sail, one high and one lower. Because of the height of the display case, I chose the sailing with the lowest antenna. It was a tough choice but I think it's necessary. 04 20170729_114829.jpg And now let's come to the showcase basement of our model. Although the support provided with the kit is nice and original, I had in mind a kind of presentation like the image 08 20160924_110111.jpg, in my opinion very realistic. Then the base of the case is ready to contain this kind of bed made of stones/sand. With this in mind, I asked my daughter, Silvia, who went on holiday to Elba Island to "steal" (I remember that it is not allowed by law) sand and gravel from a couple of Elba beaches . . Now the stolen material has to come in my hands. For now I release some images of the showcase base . . 05 20170729_114331.jpg 06 20170729_114337.jpg 07 20170729_114342.jpg 08 20160924_110111.jpg Regards, Jack.
- 174 replies
-
- 8
-
-
- gaeta falcata
- marisstella
- (and 1 more)
-
Friday, July 28, 2017 These days I've done a lot of work on this model, but unfortunately I don't have adequate pictures to show. So I just show these three images where you can see the original support provided with the kit. Anyway I have a somewhat different kind of presentation in my mind . . I will explain it as soon as possible. So I'll meet you soon. Regards, Jack. 01 - 20170728_122508.jpg 02 - 20170728_122521.jpg 03 - 20170728_122557.jpg
- 174 replies
-
- 4
-
-
- gaeta falcata
- marisstella
- (and 1 more)
-
Important notice: I'm working to recover the images ransomed by Photobucket . Today I've recovered the complete page #1 of this log. With the exception of post #5 and #22 that I cannot edit 'cause I'm not the owner, all the images in this first page should be visible. In order to be sure everything is OK may I ask you to inform me if there are still some problems with the images in that page ? I had to set some permissions in the system where I store the images (Microsoft OneDrive) and I prefer to be sure all problems are solved before continuing. If you get some problems please send me a private message so we don't fill with stuff this log. Thanks in advance, Jack.Aubrey.
- 174 replies
-
- 1
-
-
- gaeta falcata
- marisstella
- (and 1 more)
-
Wednesday 19 July 2017 Completed, with the latest details, the hull, inside. 01 20170721_111025.jpg 02 20170721_111041.jpg 03 20170721_111052.jpg Friday, July 21, 2017 Built the oars on Thursday, today I did some color 'cause all clear walnut was a bit too serious !! 04 20170721_111121.jpg 05 20170721_111126.jpg 06 20170721_111135.jpg Regards, Jack.
- 174 replies
-
- 8
-
-
- gaeta falcata
- marisstella
- (and 1 more)
-
Important notice: I'm trying to recover the images lost thanks to fu.... Photobucket (). I've a lot of work to get the final goal, anyway be patient that I'm sure to be totally successful. It's only a matter of time. Cheers, Jack.
- 174 replies
-
- 1
-
-
- gaeta falcata
- marisstella
- (and 1 more)
-
Further images . . 01 - 20170715_162715.jpg 02 - 20170715_162740.jpg 03 - 20170715_162913.jpg 04 - 20170715_162929.jpg 05 - 20170715_162936.jpg 06 - 20170715_162729.jpg
- 174 replies
-
- 7
-
-
- gaeta falcata
- marisstella
- (and 1 more)
-
Saturday, July 15th, 2017 The hull practically finished. Now, only minor details are missing, and a final black paint coat on the outside. Next planned activity: building the oars. My starting point is a nice walnut stick 7 x 7 mm. I'm thinking about the right procedure to make them. Regards, Jack. 01 - 20170715_162949.jpg 02 - 20170715_162644.jpg 03 - 20170715_162634.jpg 04 - 20170715_162606.jpg 05 - 20170715_162626.jpg 06 - 20170715_162617.jpg
- 174 replies
-
- 9
-
-
- gaeta falcata
- marisstella
- (and 1 more)