Dullregard
-
Posts
7 -
Joined
-
Last visited
Recent Profile Visitors
426 profile views


-
 Tom- The pictures are great! Amazing detail work. They'll be a great help. Thanks again. Bob
 -
Thanks for that Tom. I'll have a look and will probably have a good few questions before I put glue to wood. -Bob-
-
 Dullregard reacted to a post in a topic:
HMS Beagle by Dullregard - Mamoli - 1:64
Dullregard reacted to a post in a topic:
HMS Beagle by Dullregard - Mamoli - 1:64
-
Just checking in. I'm busy going through Anatomy of the Beagle and other sources, checking measurements, finishing inventory and arranging the work station. My plan is to use the Mamoli instructions as a base line and use outside references to fill in the blanks. I think the only way to get 100% accuracy's to build from scratch. For my first one, I'll be happy to have it look something like a boat.
-
aliluke reacted to a post in a topic:
HMS Beagle by Dullregard - Mamoli - 1:64
-
egkb reacted to a post in a topic:
HMS Beagle by Dullregard - Mamoli - 1:64
-
egkb reacted to a post in a topic:
HMS Beagle by Dullregard - Mamoli - 1:64
-
The instructions and parts inventory are printed right on the plans (such as they are) in a size that can’t be read with the naked eye. So, with magnifying glass in hand I’m in the act of transcribing or scanning all of them, translating the Italian as I go. It’s a major pain, but I’ll be thankful for it down the road. (NB: If anyone out there wants to try the same model, I’d be more than happy to share these with you.) Doing this forces me to meticulously go over the entire build before I glue the first frame; also, if an instruction’s unclear, I go through the plans and clarify the instructions as best I can. I’m typically a ‘Damn the instructions, full speed ahead!’ kind of guy, so doing it this way hones my patience. This may take a while. Cheers, Bob
-
Alistair- Anatomy's on the way. I'll pick up Mr. Darwin's Shooter, and a new copy of The Voyage of the Beagle, next week. Cheers, Bob
-
Dullregard reacted to a post in a topic:
HMS Beagle by Dullregard - Mamoli - 1:64
-
Dullregard reacted to a post in a topic:
HMS Beagle by Dullregard - Mamoli - 1:64
-
Dullregard reacted to a post in a topic:
HMS Beagle by Dullregard - Mamoli - 1:64
-
olliechristo reacted to a post in a topic:
HMS Beagle by Dullregard - Mamoli - 1:64
-
HIPEXEC reacted to a post in a topic:
HMS Beagle by Dullregard - Mamoli - 1:64
-
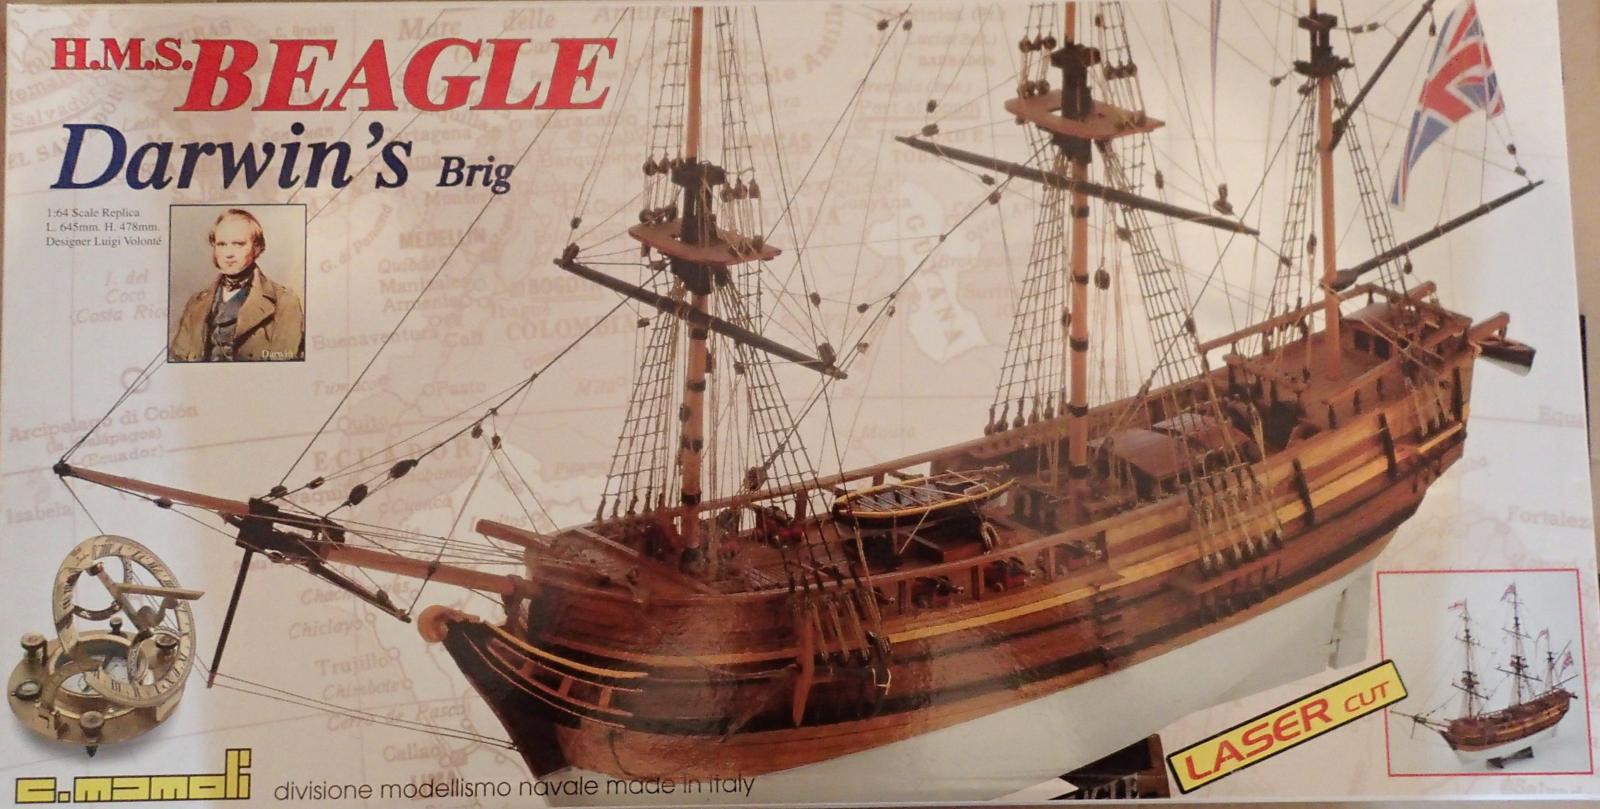
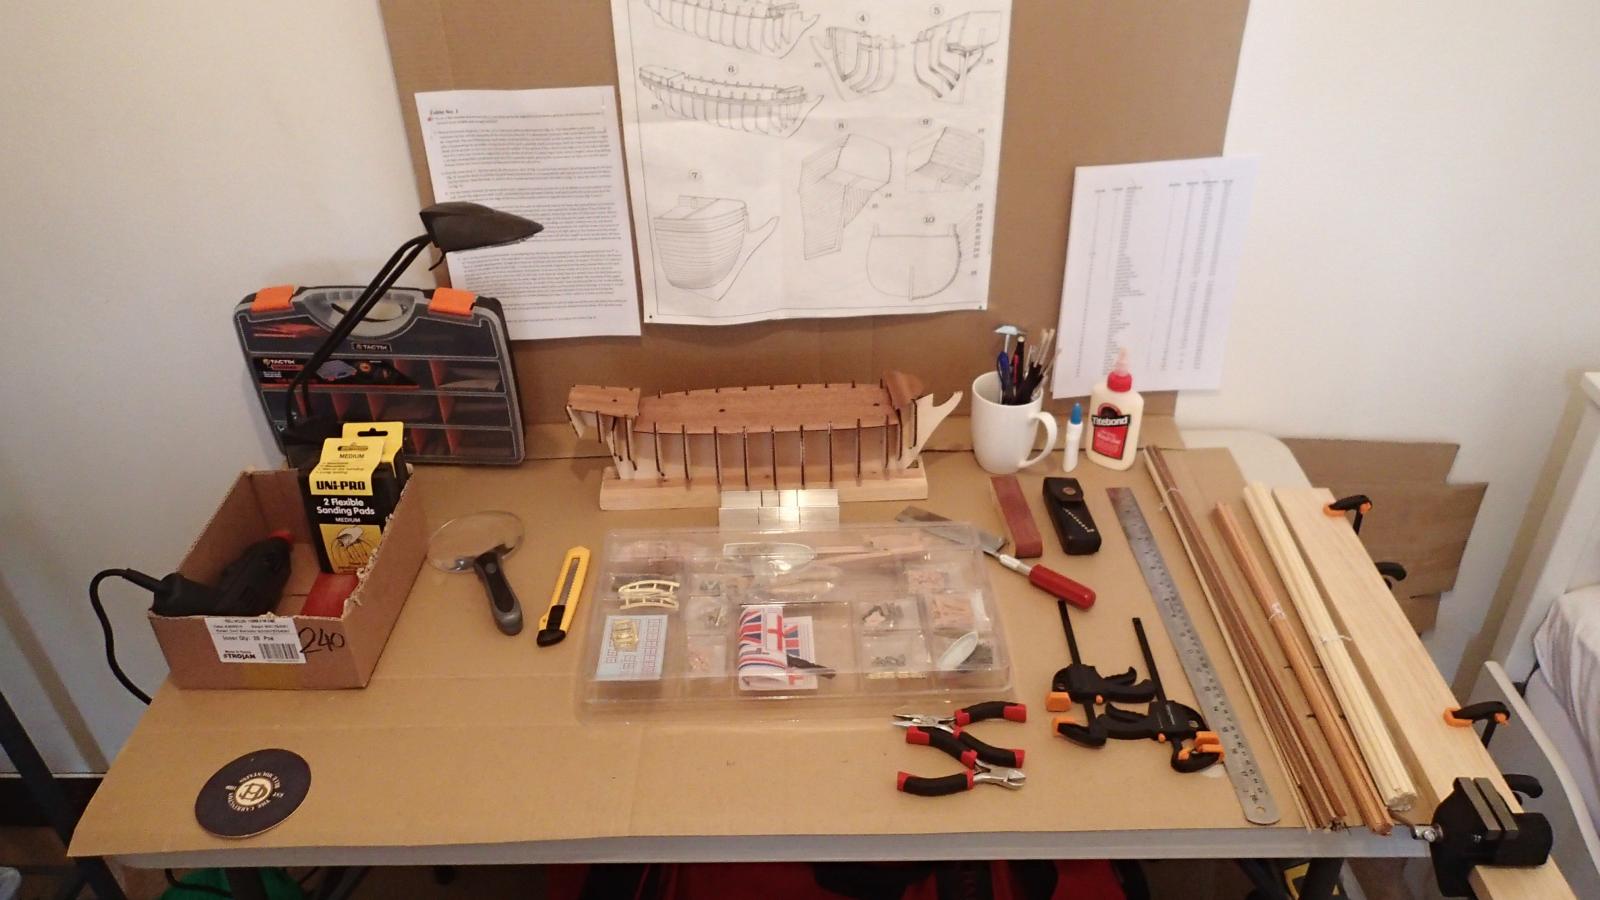
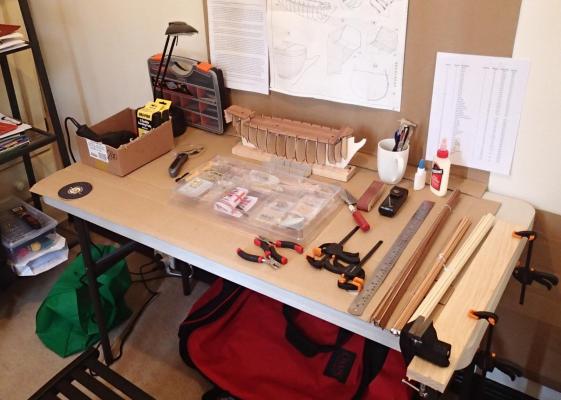
G’day all- I thought I’d start off with photos of the end product and my workstation. I really should have gotten into this hobby when we were in NZ with three spare rooms and a huge garage, though this should serve. My commentary may get a bit wordy, but I’m really keen on documenting everything, because I’m sure by the time I start my second model I will have totally forgotten the start of this one. So far I’ve broken out all the laser-cut pieces, being sure to first cut, at least partially, through the remaining connections from both sides with my X-acto, so as not to splinter the laminations. I put together a keel holder with a bit of board I had around and a length of 5x15mm lath, which I cut into two pieces just shorter than the base and a good bit longer than the keel. I drilled through one end of the first lath, into the base and screwed it down. While holding the lath firmly against a straightedge, I drilled the other end and screwed it down. I then cut a thin bit of scrap off the keel form (to allow room for me to us my Dremel and screwdriver without bumping the keel) and clamped it between the two laths, along with a sheet of printer paper, so as not to make it too tight. I made sure to clamp with the substitute keel between the jaws so the second lath didn’t bow out in the middle. Then I screwed down the second lath at both ends and the middle and added a middle screw to the first. Then I dry-fitted the frames and decks to the keel. Look, a boat.


-
Dullregard reacted to a post in a topic:
USS Constitution by Hipexec - FINISHED - Constructo - 1:82
-
Dullregard reacted to a post in a topic:
USS Constitution by Hipexec - FINISHED - Constructo - 1:82
-
Dullregard reacted to a post in a topic:
USS Constitution by Hipexec - FINISHED - Constructo - 1:82
-
Dullregard reacted to a post in a topic:
USS Constitution by Hipexec - FINISHED - Constructo - 1:82
-
Dullregard reacted to a post in a topic:
USS Constitution by Hipexec - FINISHED - Constructo - 1:82
-
Dullregard reacted to a post in a topic:
USS Constitution by Hipexec - FINISHED - Constructo - 1:82
-
Nothing to post yet, I just wanted to set up the topic so it'll be ready when I am, probably in the next day or two.