HOLIDAY DONATION DRIVE - SUPPORT MSW - DO YOUR PART TO KEEP THIS GREAT FORUM GOING! (Only 24 donations so far out of 49,000 members - C'mon guys!)
×


Harvey
-
Posts
73 -
Joined
-
Last visited
Content Type
Profiles
Forums
Gallery
Events
Everything posted by Harvey
-
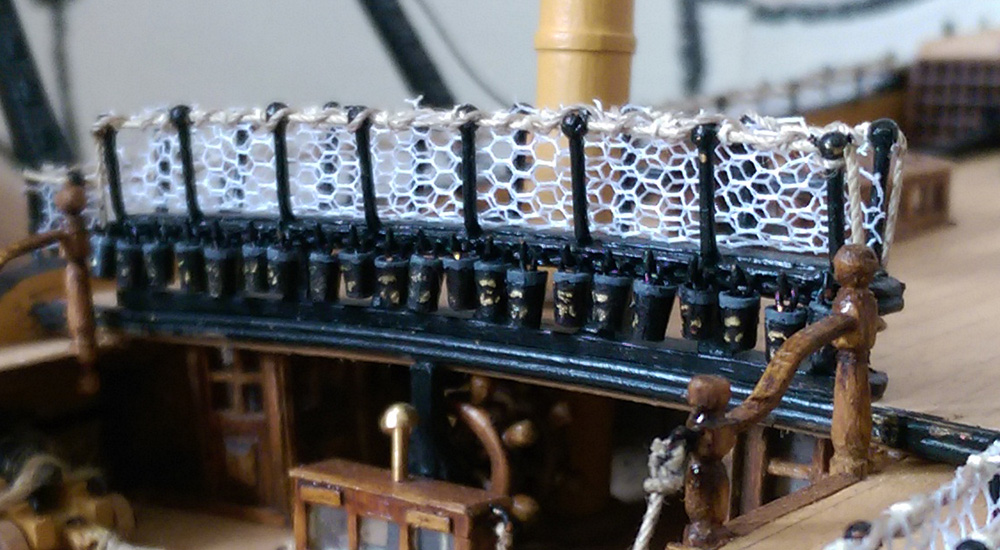
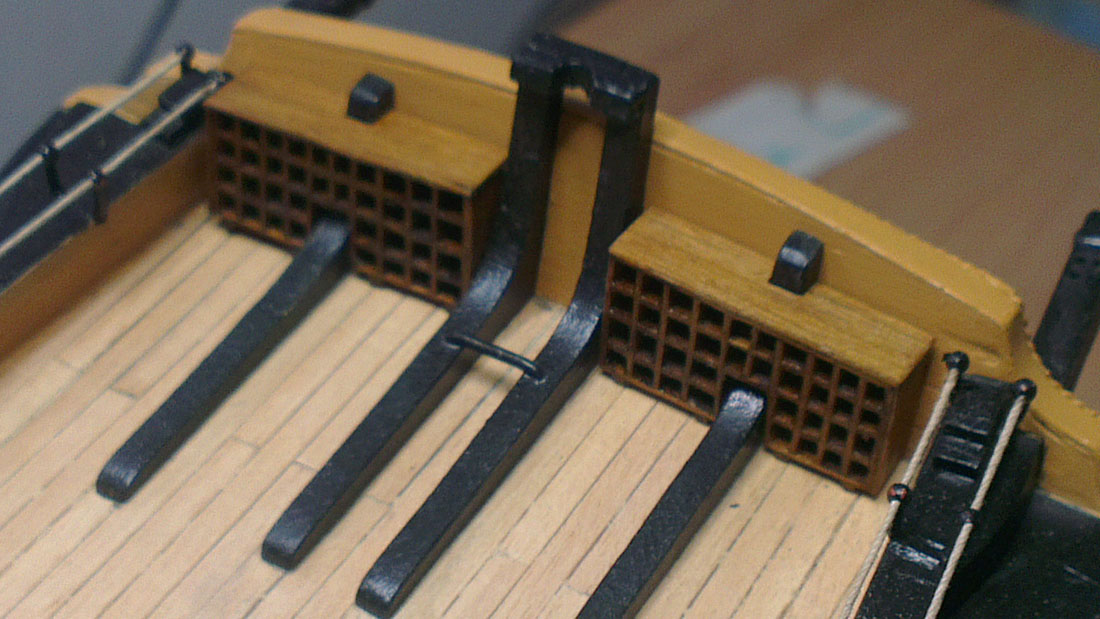
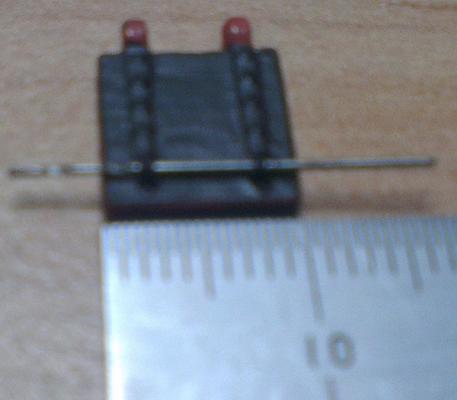
 Hi Just started to modify the pin racks because l did not have enough belaying points see above picture.
 -
Hi I decided to remake the pikes the last ones were a bit rushed and did not look right.
-
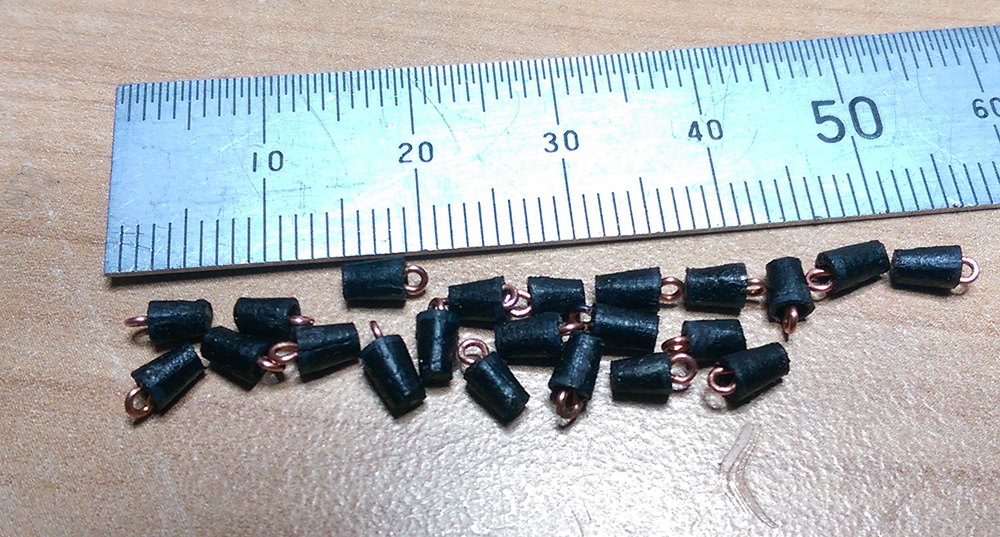
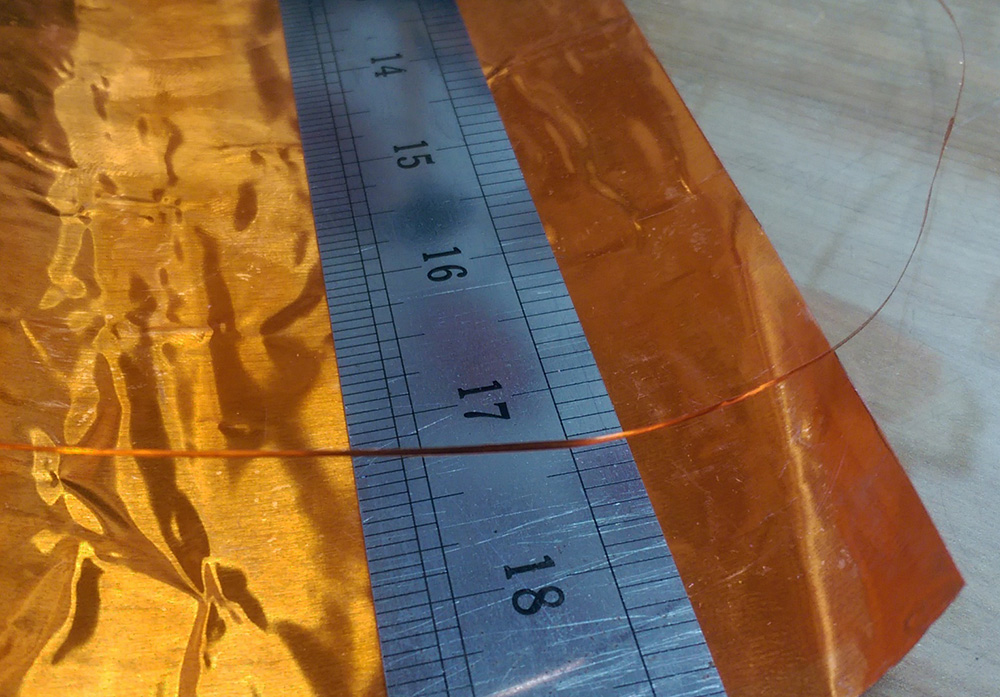
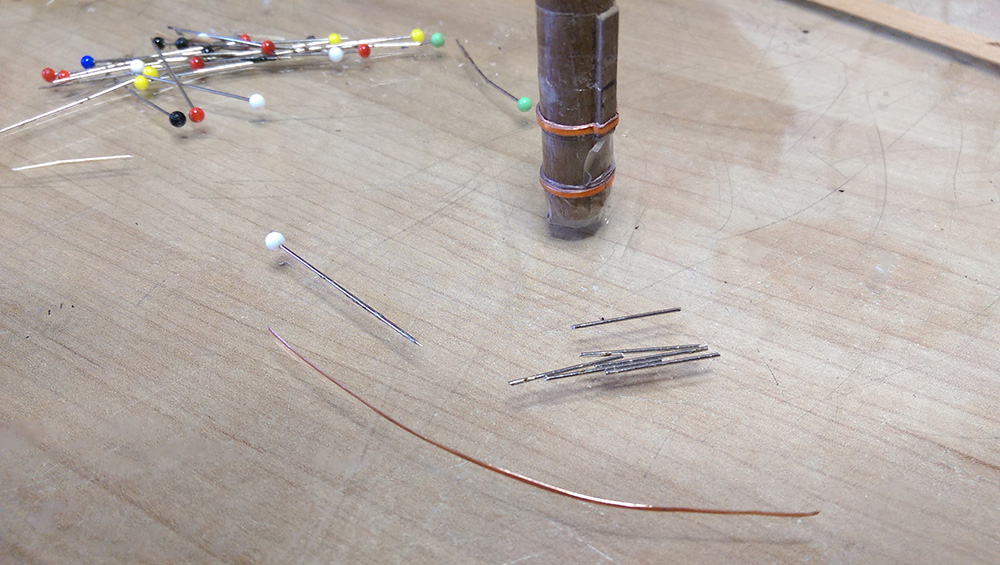
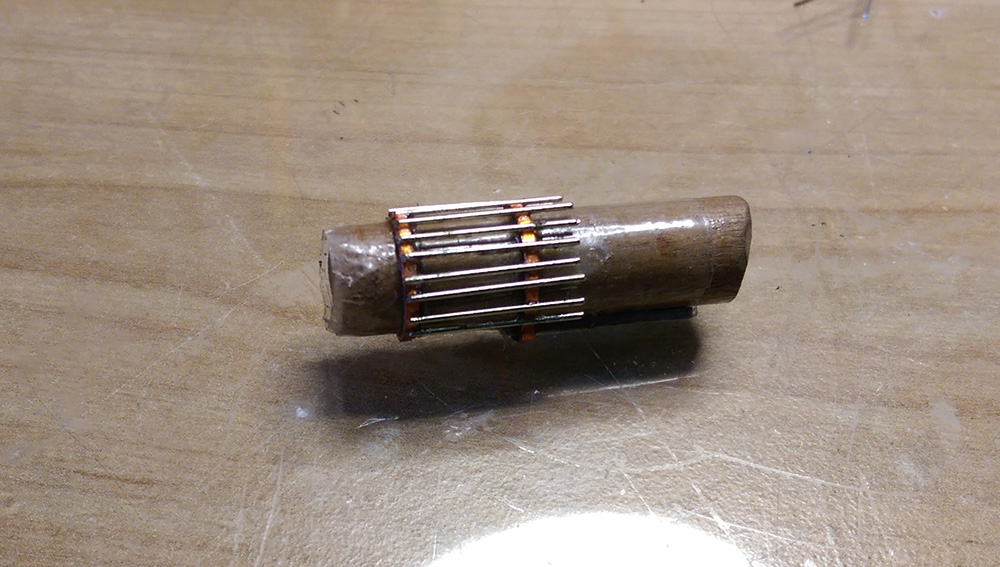
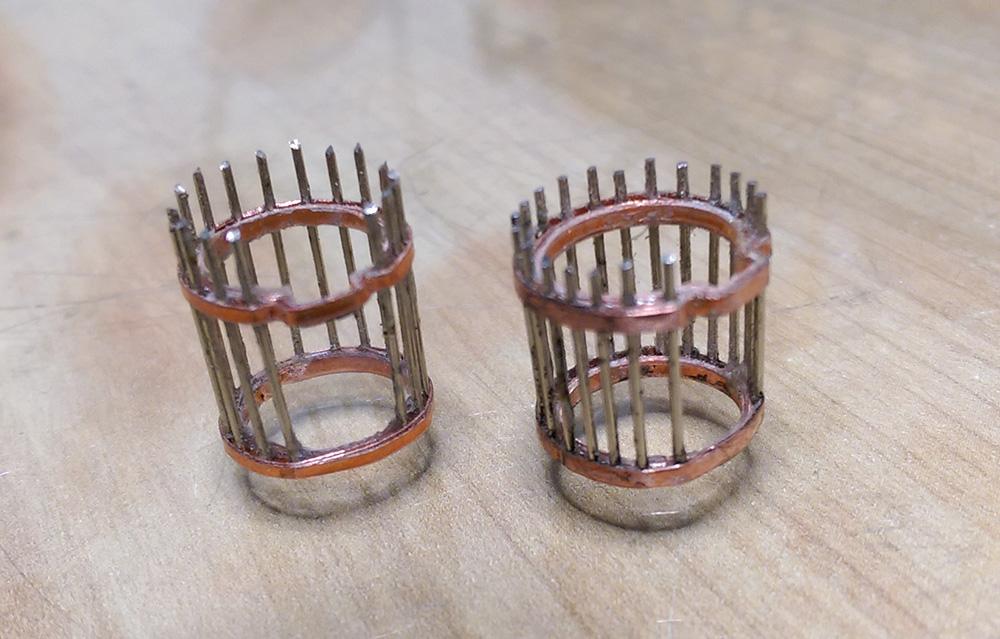
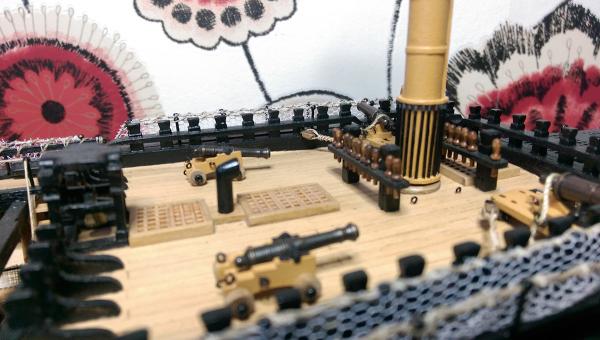
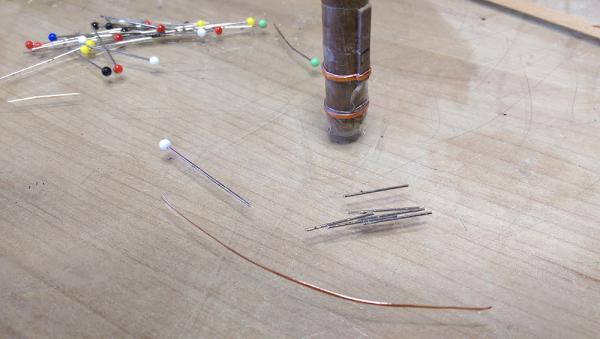
Hi After a long break hopefully I can put some more time into building again. The boarding pike rack failed at cutting the mast rings out of wood so came up with a different way First cut some thin strips of copper Then made a dummy mast and wrapped it in clear tape so the bands can be removed then wind some copper round gluing as I go Then I made the pikes with cut down pins, wished I took more time to make better pikes still might yet because in the finished picture they don't look so good. Give two more turns of copper gluing with super glue and remove from the dummy mast. I have also made some fire buckets put up some pictures later

-
Hi Thank you for all of your very nice comments and likes a bit of encouragement goes a long way thank you again. The deck fittings and bowsprit had to wait because I forgot about the netting, after cutting up one of my daughter’s dresses for the net I started. First I used some clear glue to fix the netting in place then fine cotton to tie the netting then I coiled rope around the top of the netting to make it more secure. Still 50/50 about whether it looks right also I was torn between black and white netting


-
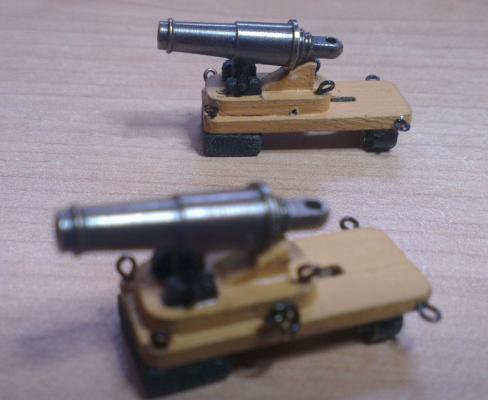
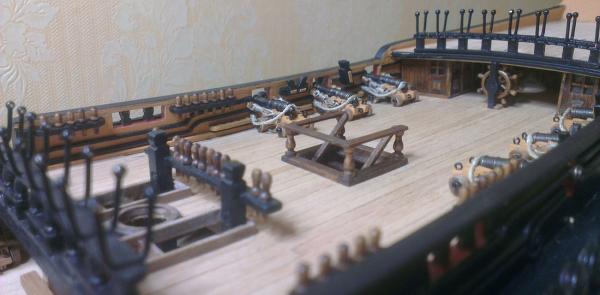
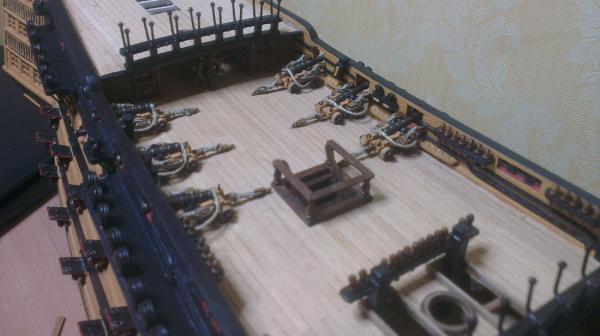
Hi It has been a few weeks since my last post .But since then I have had a ship yard move which involved decorating, before I was in a little cubbyhole under the stairs with bad light now I am under a window which has much better light.(my building might improve now I can see what I am doing) But anyway the lanyards are finished. Also made the flag lockers still thinking about putting in tissue paper for flags or to leave them as they are. Made a start on the carronades, I still need to put on some deck fittings like cleats and cannon ball racks, but I am getting an overwhelming desire to start working on the bow and rig in the bowsprit so fittings might wait. which one will win deck fittings or bowsprit answer next post

-
Welding a broken bandsaw blade. Bad idea?
Harvey replied to qwerty2008's topic in Modeling tools and Workshop Equipment
Hi Might be of some help http://www.shakerovalbox.com/finished/BandSawBlades.pdf -
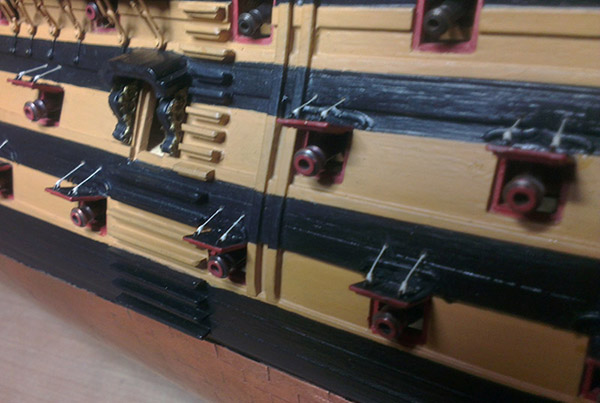
Hi When you look at the Corel gun port lids for the first time it seems impossible to fit any lanyards. However, you can just about drill a 0.5mm hole; this was done before I started this build log and if I remember correctly some holes in my fingers as well because it was done by hand with a pin vice. I thought I would add this to show it can be done. I first fitted a ring to the port lid but I chose to fit the lanyards without because I think it looks better Ok that's the starboard side done, now for the port. See you at the end of the lanyards.

-
Hi I would use blacken it as I painted mine and the paint keeps flaking off, forever touching up. Nice build so far
-
Hi If you need any close up pictures of of my build just let me know, or if I can help in any other way please let me know good luck
-
Hi dragzz The kit must be the older kit as it came in a blue and white box I bought it about 20 years ago, been building on and off, it was put away for about 15 years. Then I was not happy with how it was going so completely stripped out the hull as you can see in my first picture on the log and started building from the AOTS book. and much research on the net I only live 55 miles from Hms Victory and never been on board but have visited the dockyard.
-
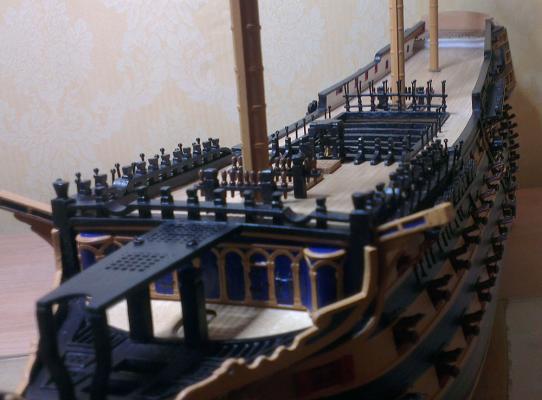
Hi Finally finished the hammock cranes bit of a pain to make and a milestone out of the way, All that is left to do is to add rope and fix the netting, must finish some deck fittings first. The next job I keep putting off is the lanyards on the gun port lids because once done it will be hard to touch up the hull painting which I have never really been happy with.
-
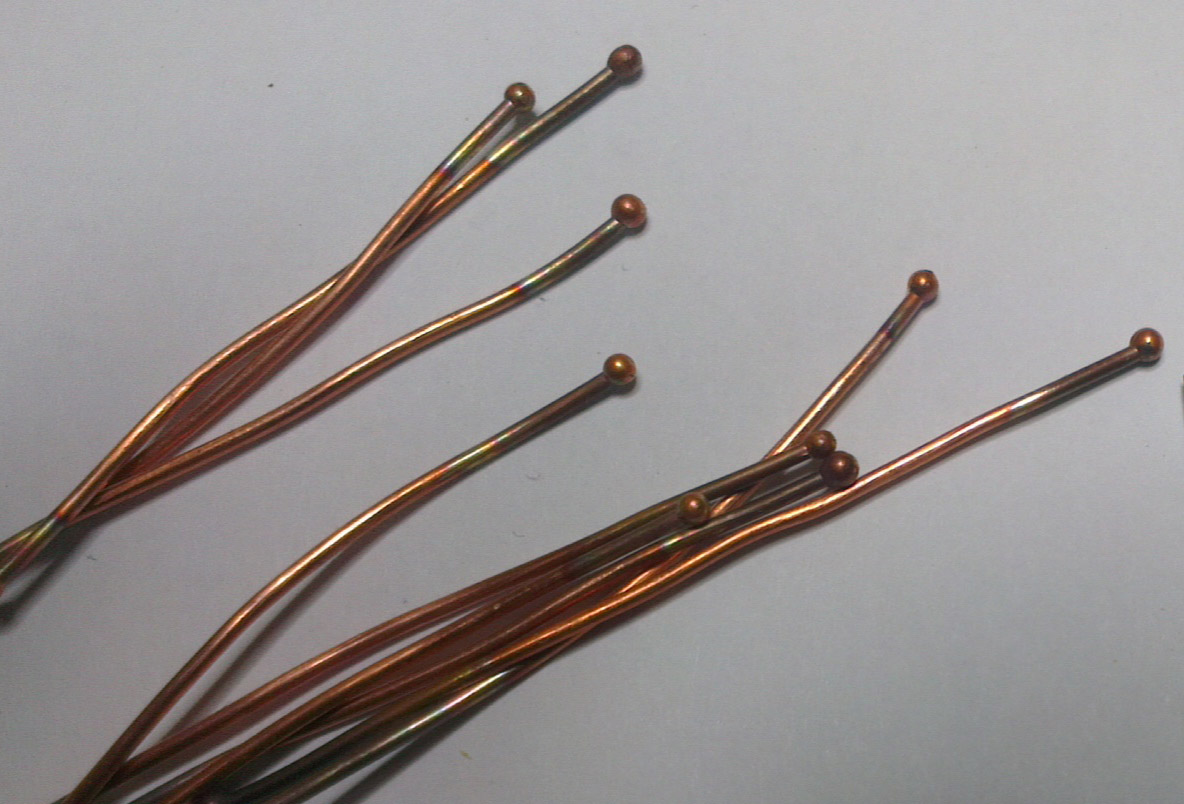
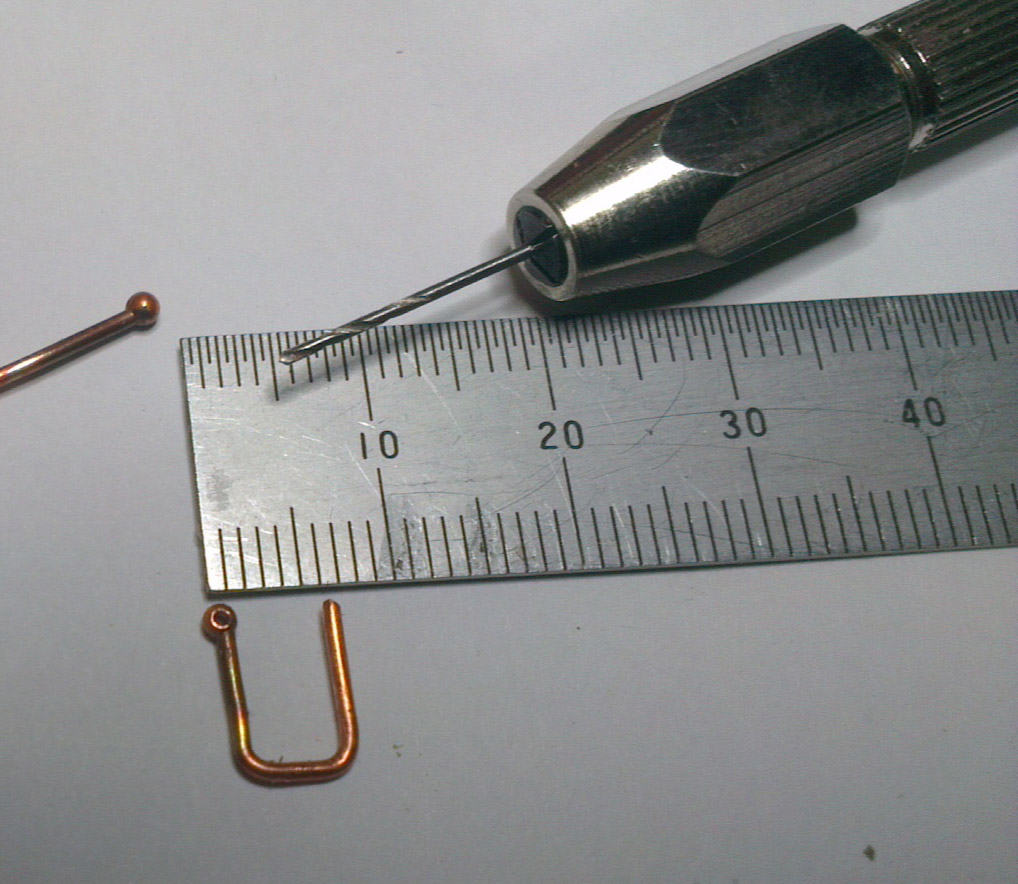
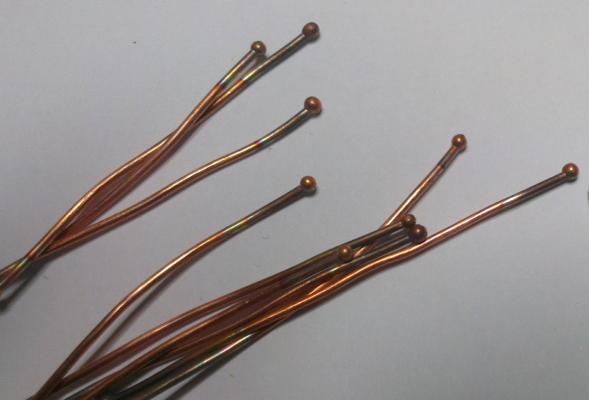
Hi The making of the hammock cranes You do not get all the cranes needed to fit all the netting in the kit, and the ones you get are all one size so buying more was not an option. As I have already fitted some, I had to make some that looked the same with a 2mm ball on the top, Could not find any brass balls locally so soldering balls on was out, So being a welder by trade I used copper, by stripping electrical wire I found .97mm copper wire and to get the ball on end of the wire I used a TIG welder by holding the wire upside down and setting the welder to about 40 amps DC and pulsed the foot pedal the copper will naturally want to ball. I did not get any pictures of the welding but as I have more to make I could, let me know. Next is to drill 0.8mm hole for the rope Fitted on the upper deck Now I have to make the ones on the quarterdeck and poop deck. Post more soon

-
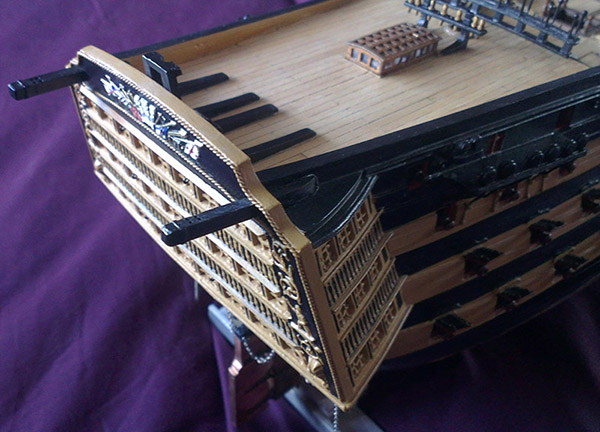
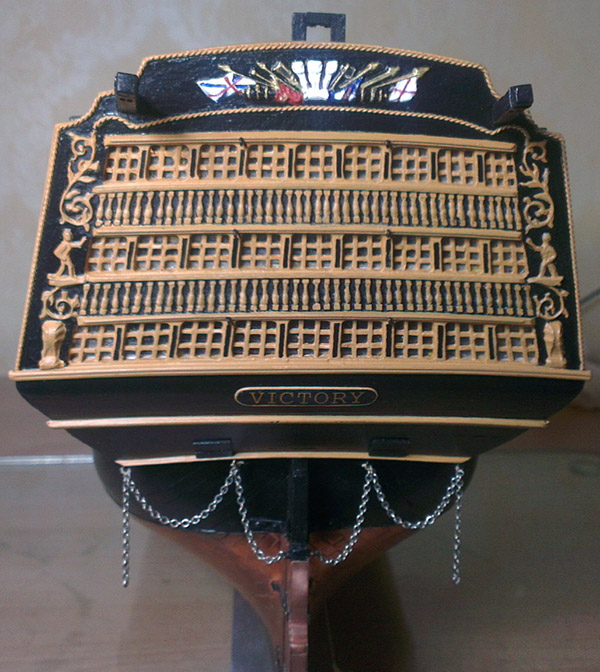
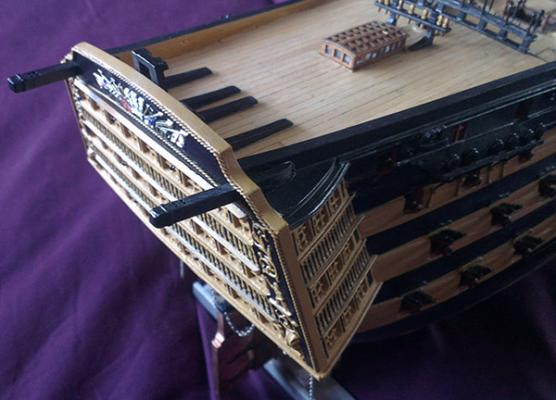
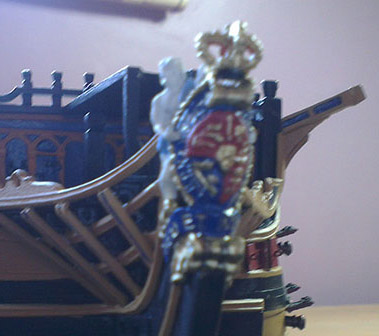
HI I thought its about time I do a quick update; it seems I have spent a long time building and not getting anywhere Fitted the knees and finished painting the stern Also fitted the emergency steering chains, But I might change the chain for smaller link chain as it doesent look right. Have you spotted the mistake yet, not by me although i must have made many. but the decoration on the stern is back to front like a mirror image post more soon

-
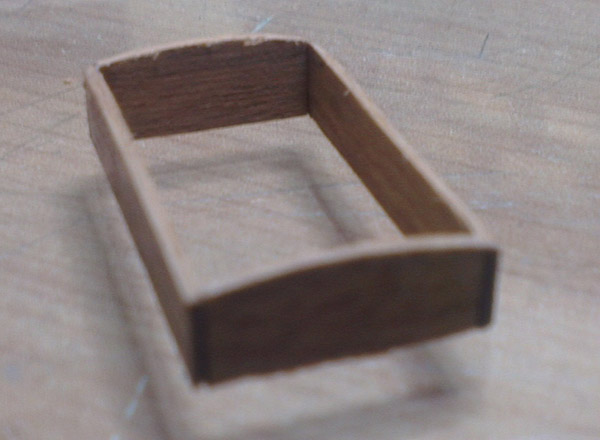
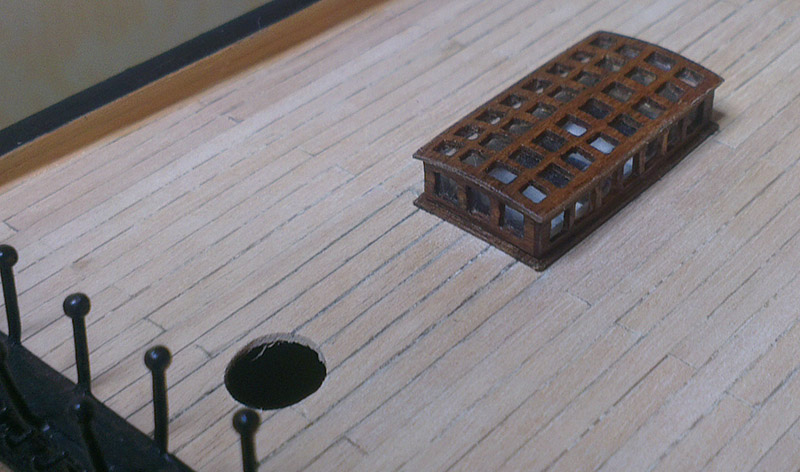
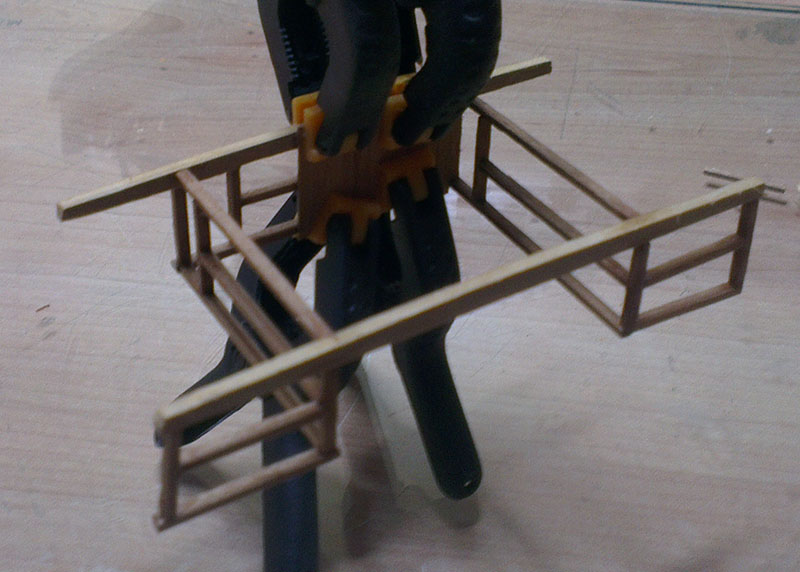
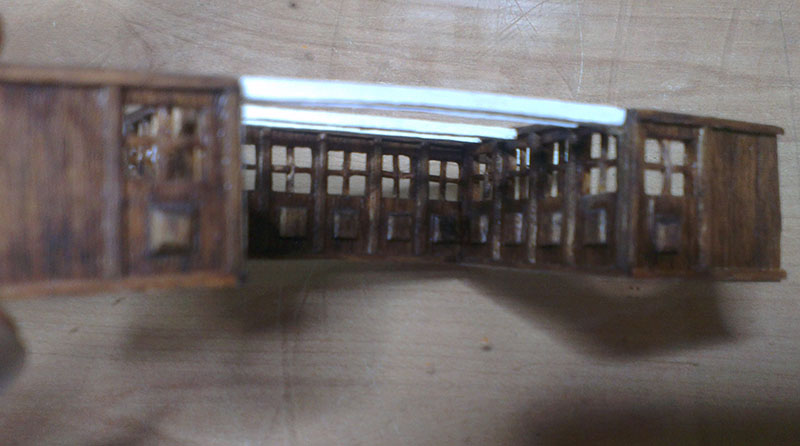
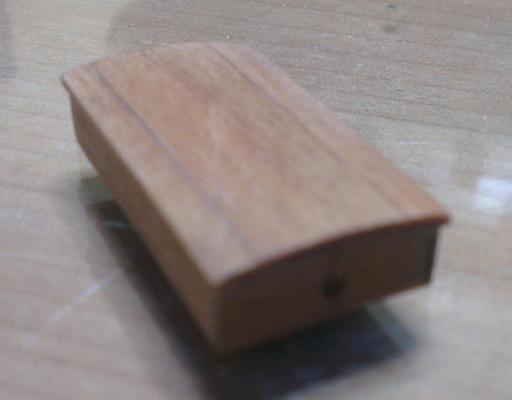
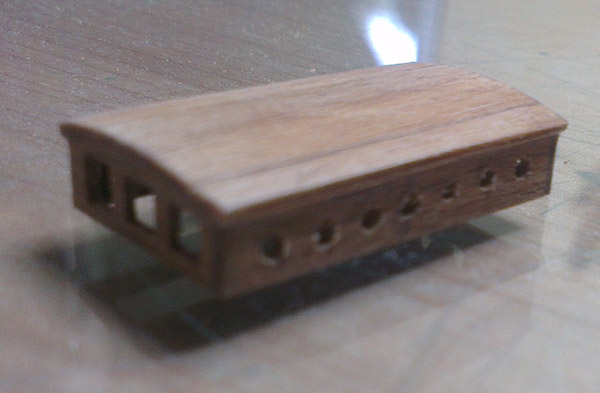
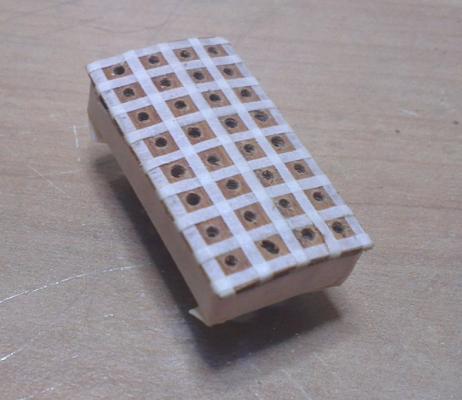
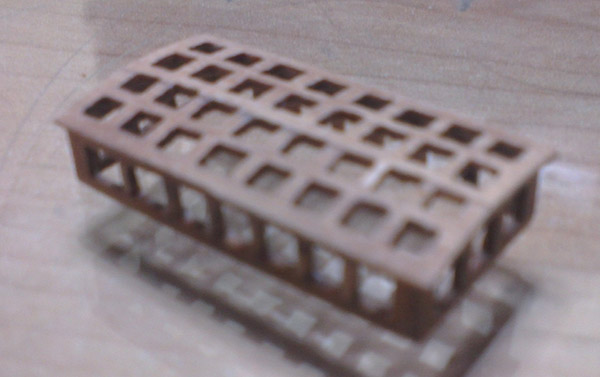
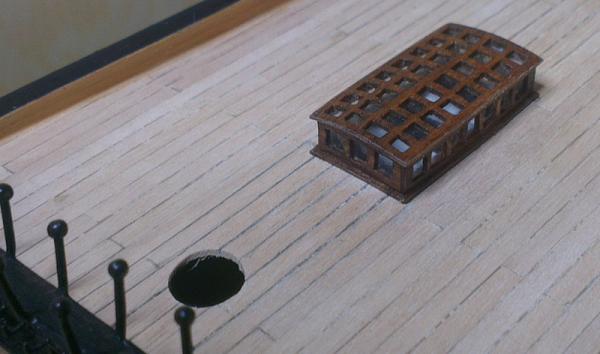
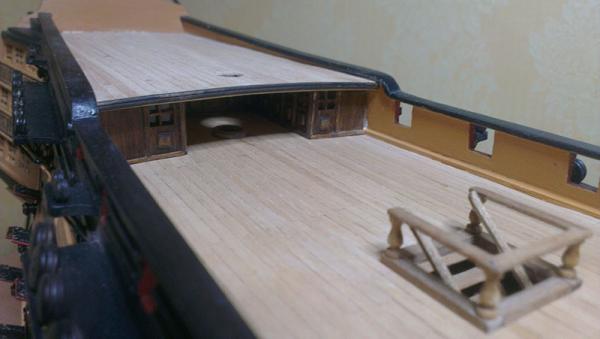
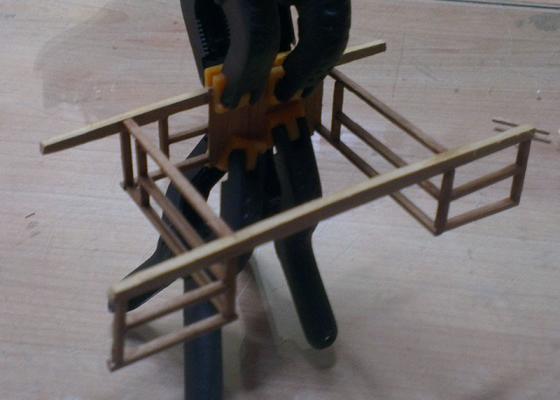
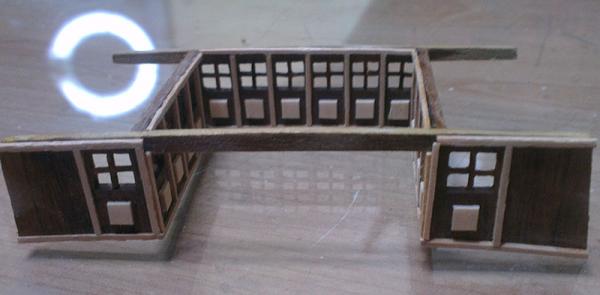
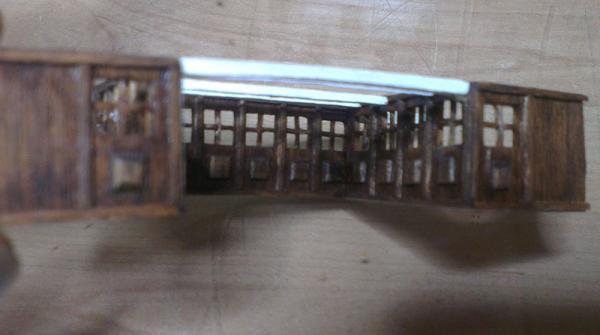
Hi The skylight Started as a basic frame Laminated the top two layers of wood with CA to help stop the wood from spliting when I file. Drilled for the windows around the sides and then filed out. Next I used masking tape to outline the top windows, drilled and filed to the right size I used wood stain to colour, and for the glazing acetate sheet. The finished skylight on the ship If anybody has any questions please ask.

-
Hi Just some update pictures The binnacle has been fitted I have painted the figurehead looks good on the ship, now going to store for fitting much later
-
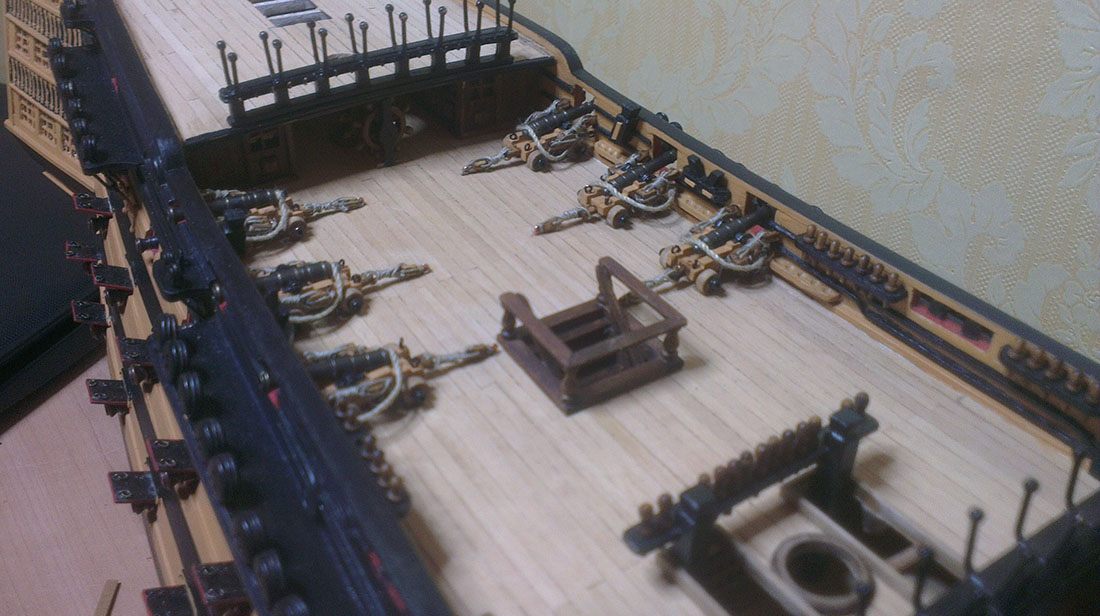
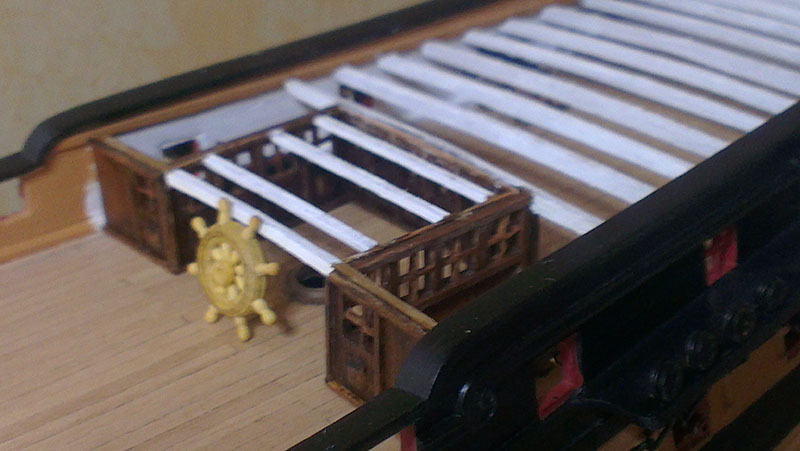
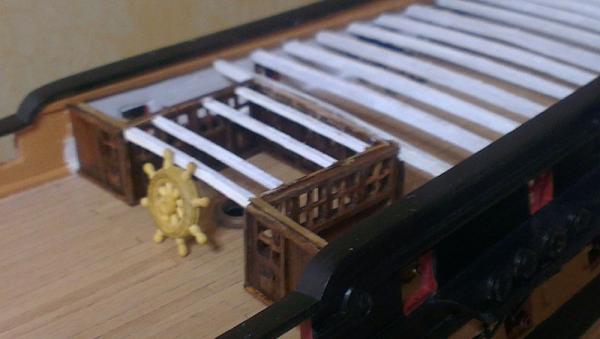
Hi Just a quick update to the build I made the ships wheels because the ones that come with the kit were too big. I was going to post pictures on how I made them, but a hard drive crash put an end to that, I lost a lot of data. As you can see, I have been building on the quarterdeck. The bulwarks are complete but I still need to finish rigging the gun carriages and after that, the next part to make is the compass binnacle, ladders up to the poop deck and possibly the sky light. Not much more to add at the moment, if you have any questions or want to see a different picture view then please ask.
-
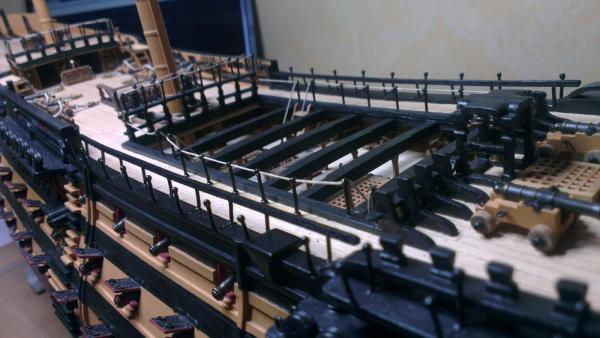
Hi This is just a quick update to the build. After putting in more deck beams the planking of the poop deck went ok. I still need to clean the sanding dust and give the deck a coat of varnish. Next, I will do the sky light. and the rail with the hammock cranes. Do not know how to do the fire buckets because on a scale of 1:98 they will be very small I do not want to leave them off If anybody has any idea please let me know.

-
Hi Started work on the cabins, made a basic frame and built it up from there. I did make a mistake by putting in an extra door on each side, but managed to modify so all is good. A little wood stain and a coat of varnish to finish off and all that is left to do is the glazing. The next problem is the ships wheels, the ones that comes with the kit are too big and i can’t find any smaller ones so looks like i will have to make some. If anybody has any questions then please ask.
-
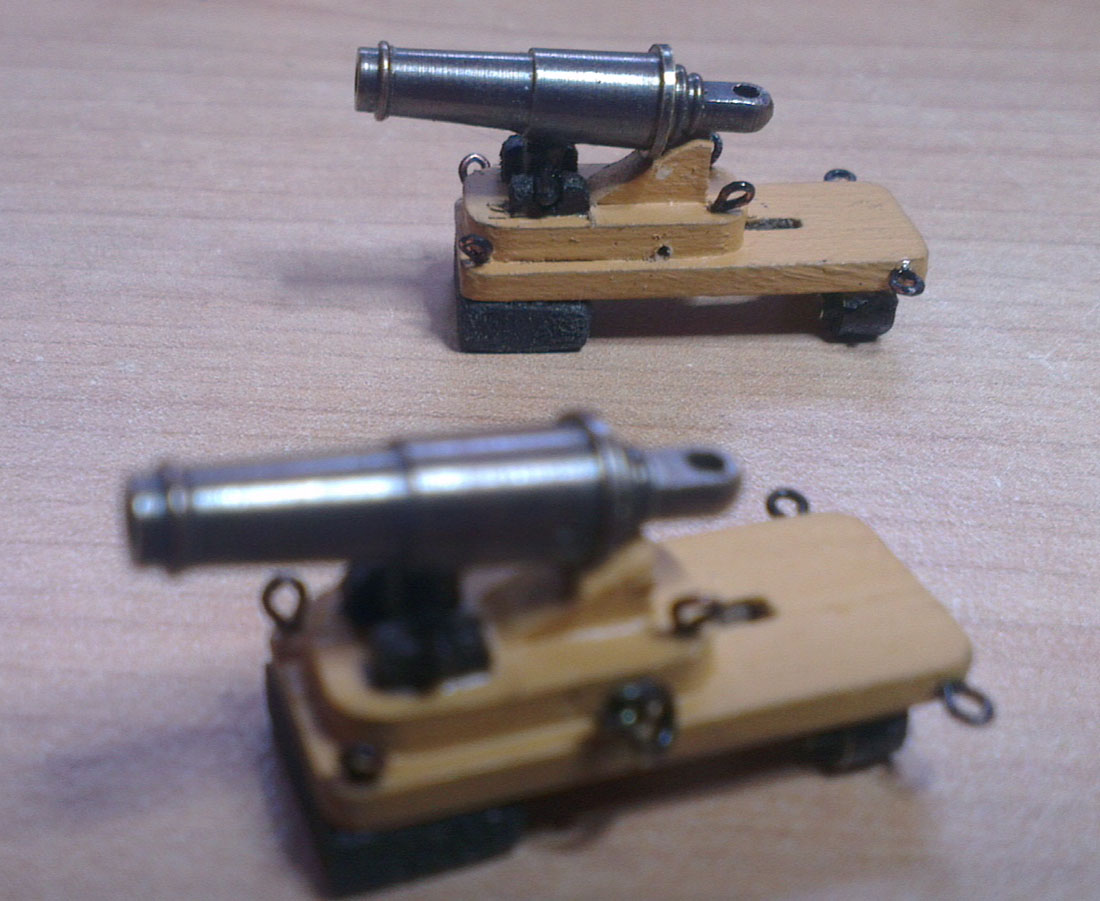
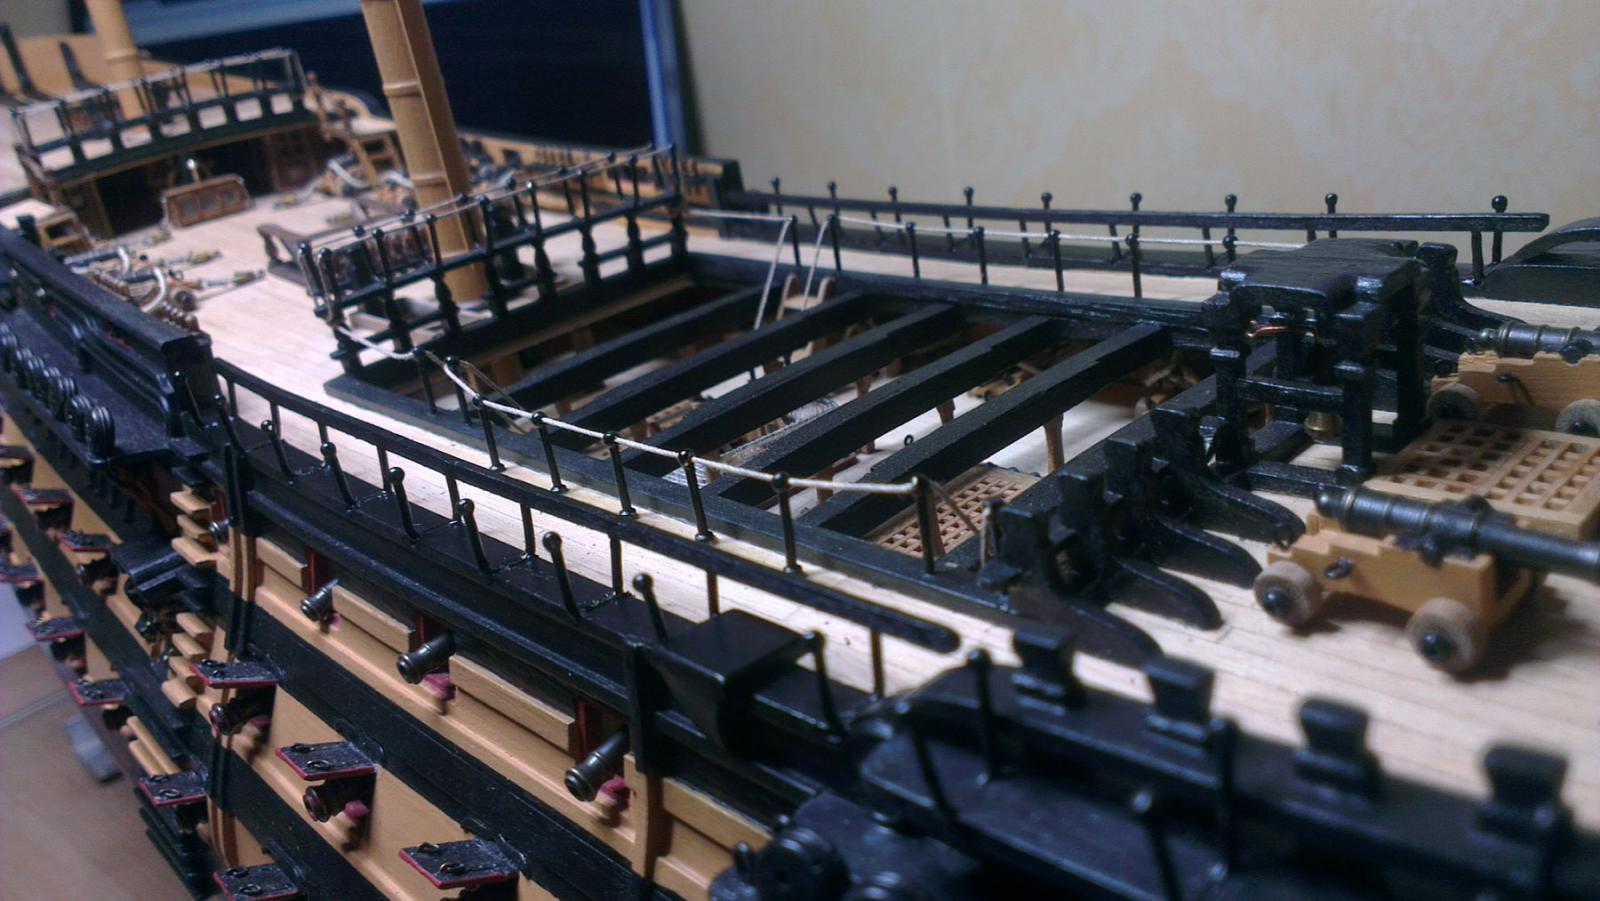
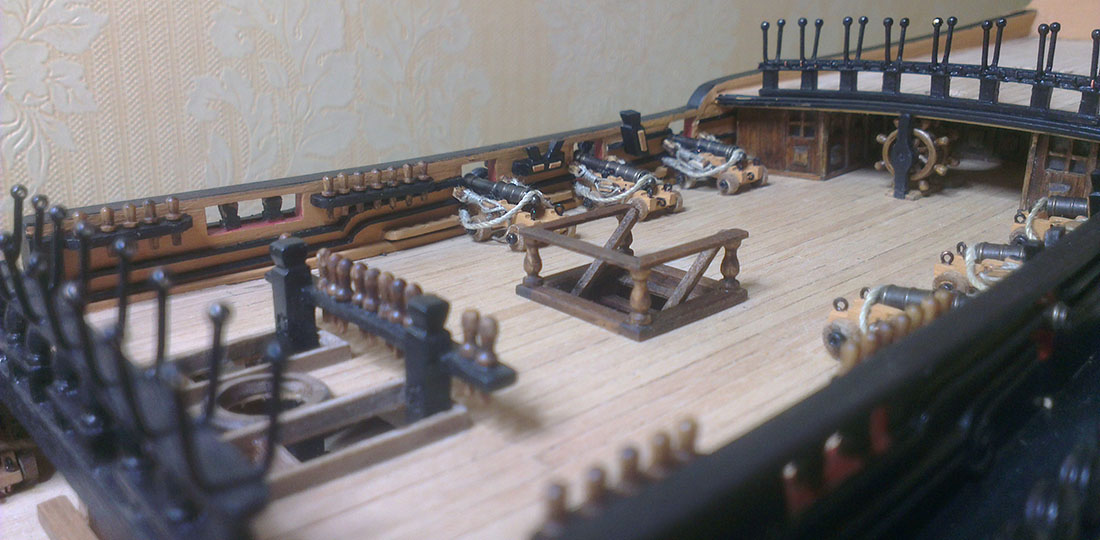
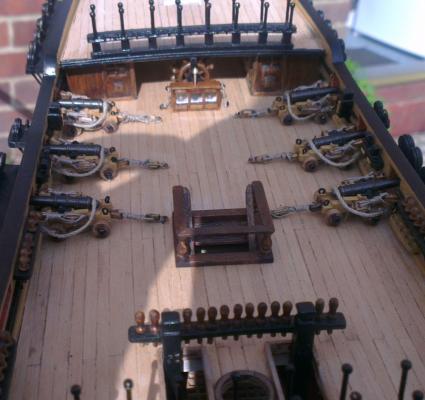
I'm currently working on the quarterdeck. I have just started making up the ten gun carriages which now need to be completed. Progress on this may be slow as I need to finish painting the hull, as well as touching up a few patches I'm unhappy with.
-
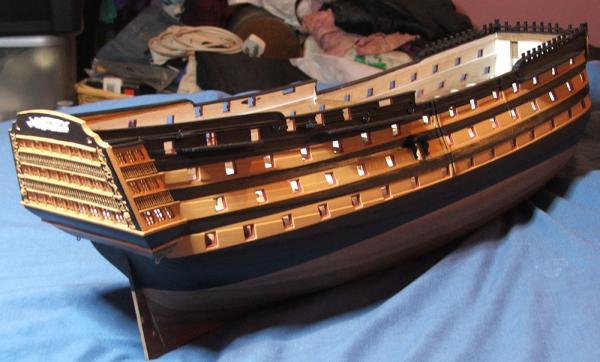
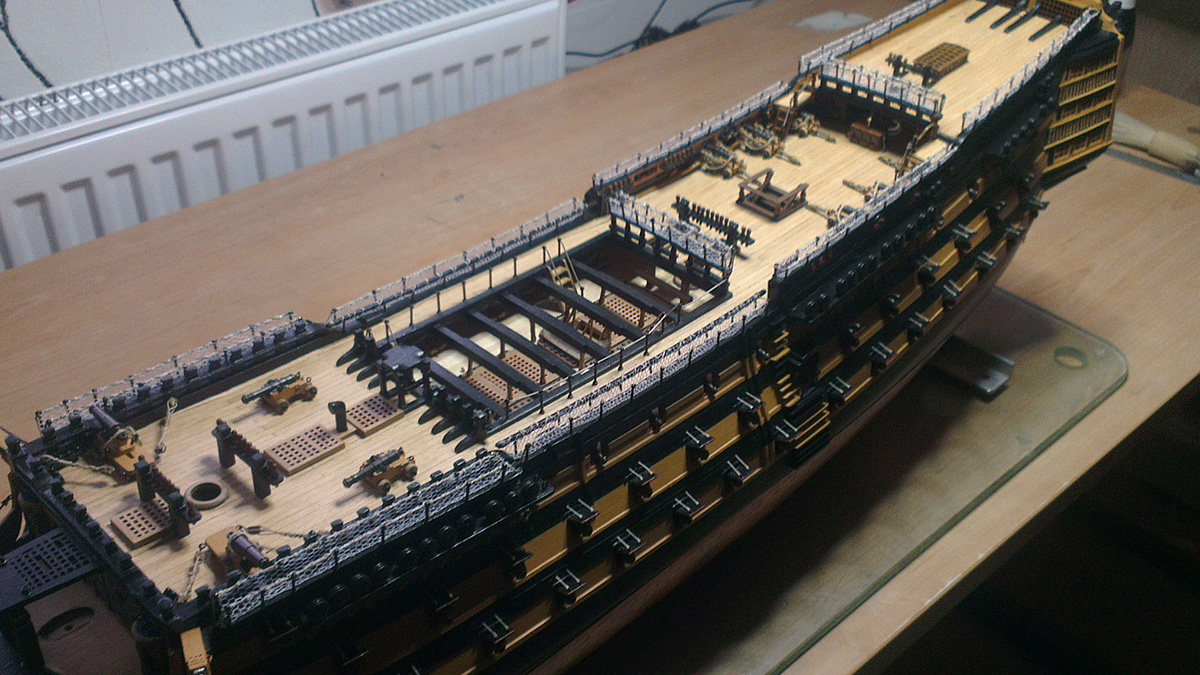
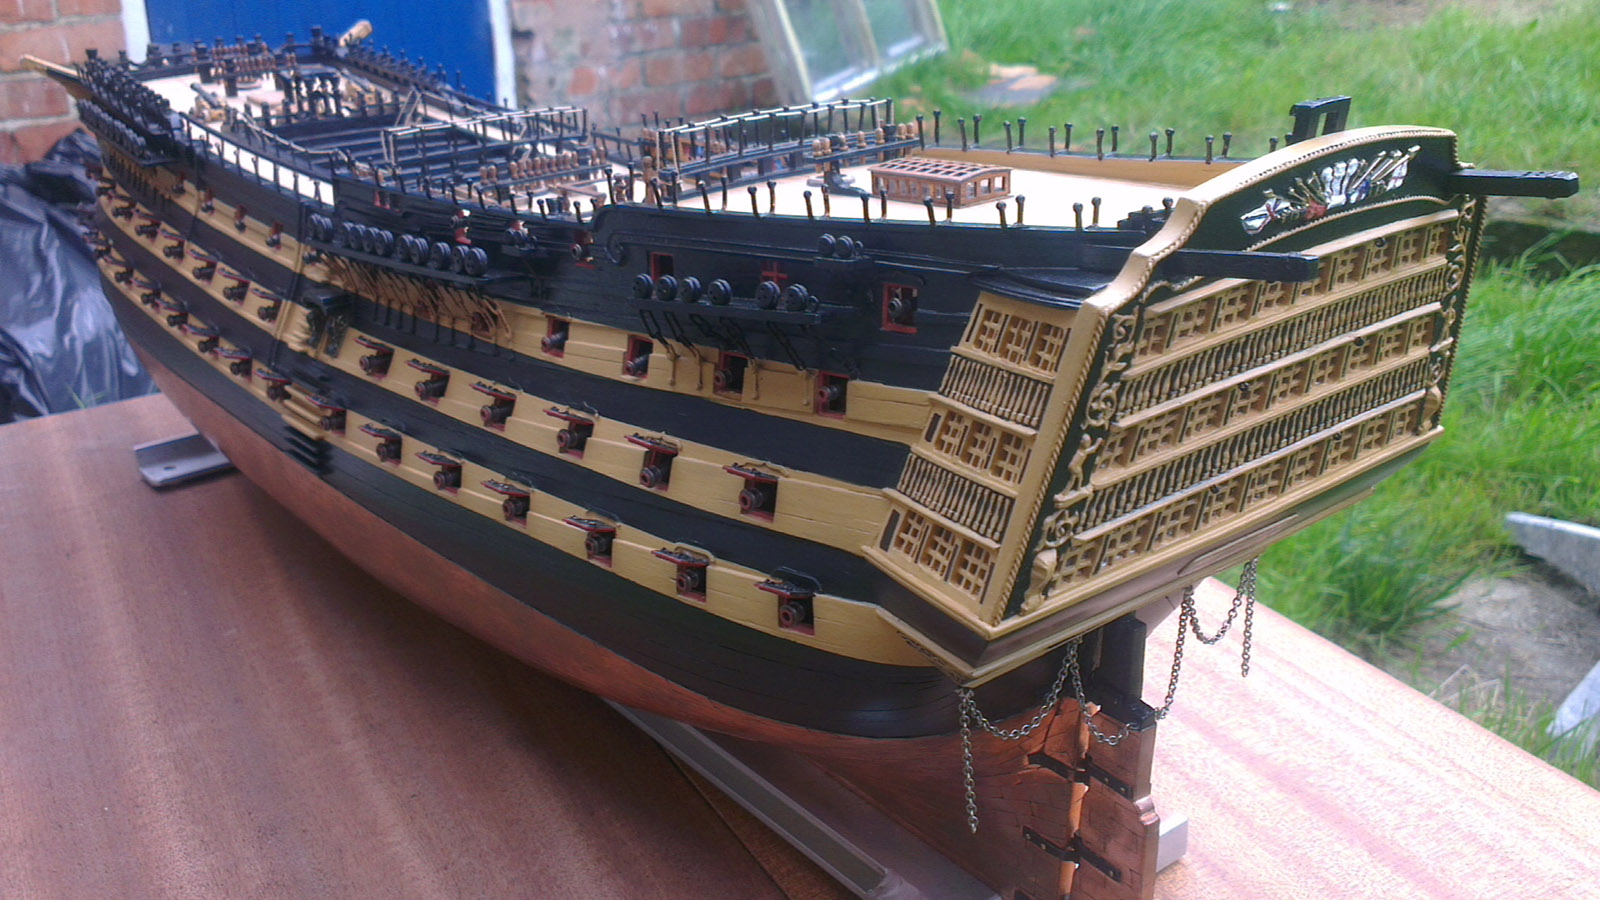
Hi everyone! This is my third build, the HMS Victory. I started this build many years ago and it has been stored for a long time.The kit started as a Coral but has been extensively modified. I removed all of the formers so the decks could be built up, putting in additional details such as gun carriages, deck beams, and pillars. I will continue to update as the build progresses, but for those interested in seeing more, HMS Victory and Royal Caroline photos are available at harvey-green.co.uk