


mkmossop
-
Posts
109 -
Joined
-
Last visited
Content Type
Profiles
Forums
Gallery
Events
Posts posted by mkmossop
-
-
Hi Tar,
The instructions don't say what to do... they're not great. Actually the model on the box cover and the model used in the instruction booklet are different in a lot of ways, and the instruction booklet isn't very specific about what to do.
I'll try hanging the coils from the horns and see how it looks
 .
.The block may be too square... I have no idea how they're supposed to look. I'm not going for super historical accuracy... I just want it to look good. In my next model I'll probably try to be more accurate.
Thanks again!
-
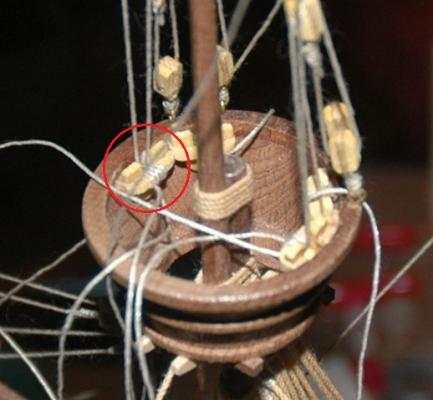
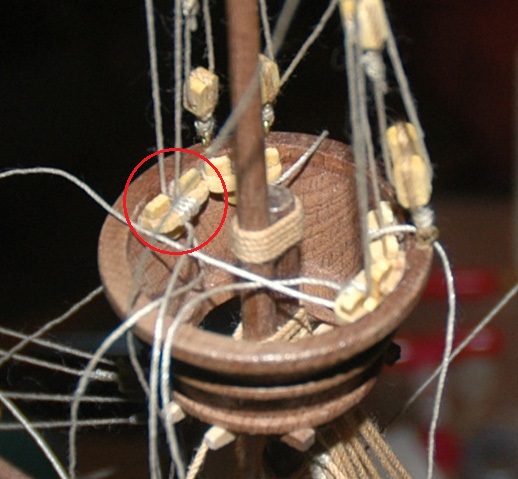
What about hanging the coils from these pieces circles in red? I assume that's not really done either?
On the box cover again they're hanging over the edge, but I assume there are belaying pins there.
-
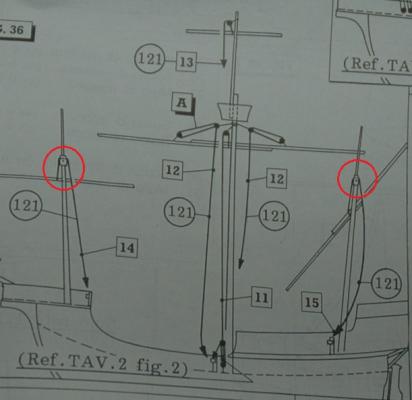
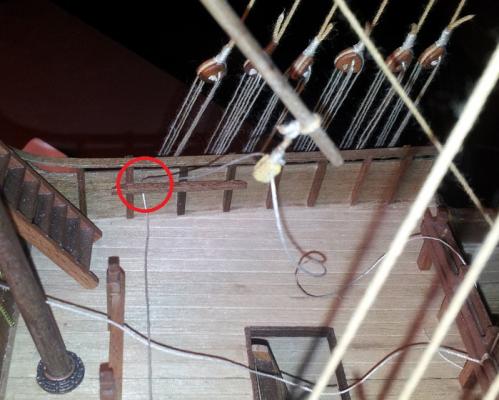
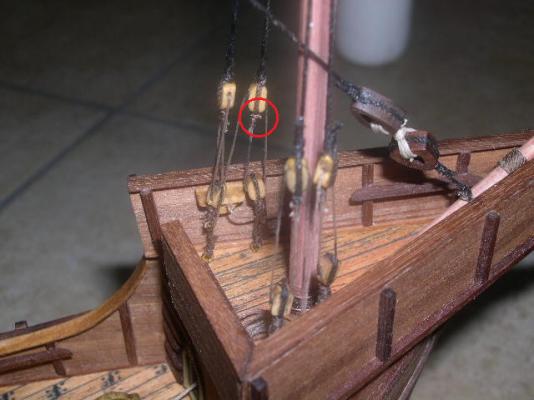
Anyone know what the purpose of the ropes circled in red are? I'm considering omitting them because I don't want to take the chance of messing up my masts when I drill a hole in them.
Also in the front it looks like the rope is tied to the spar... does this make sense? Wouldn't that turn the sail? Or is that the purpose?
-
Hmm... yes I think I would try that if I hadn't already drilled large holes in the side of my ship to fit the stub of the flag in... it wouldn't work now.
I'm gonna try out the epoxy.
-
Thanks for the detailed reply
 .
.I've made a few coils so far which I think look really nice... I used the pliers method as you descried above... worked great. Glad you posted it cause otherwise I would have used something the same diameter all around and I don't think it would have looked as good.
I suppose for the "top" I won't make coils... I'm just concerned it won't look as good if the rope is just cut.
-
-
I have to glue some small metallic flags to the side of my ship. The flags have a tiny metal nub coming off of them, which is the only surface to fasten to, so it's not much.
I've glued them with wood glue, which obviously didn't work that well, but it worked well enough until I hit them off a few times.
Is there something better than typical super glue I can use for this?
-
Bump...
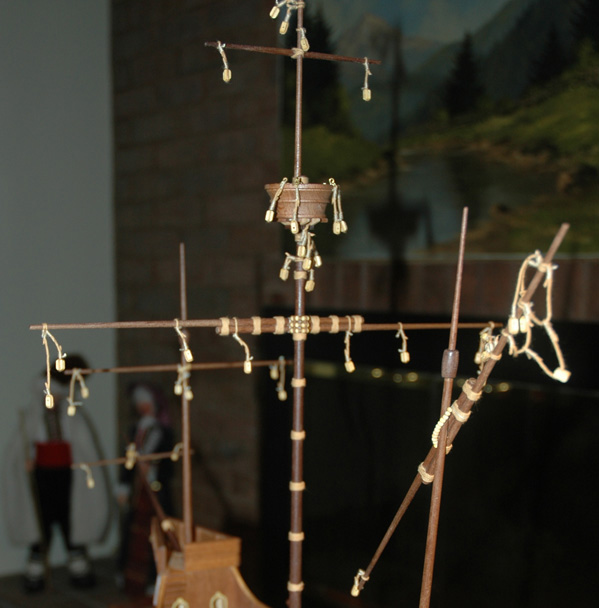
Ok so I'm really just curious now about whether hanging rope coils over the railing without a belaying pin is normal. There are a couple places I was thinking of doing it, one of them being in this bucket thing because I don't know where else I would put them.

-
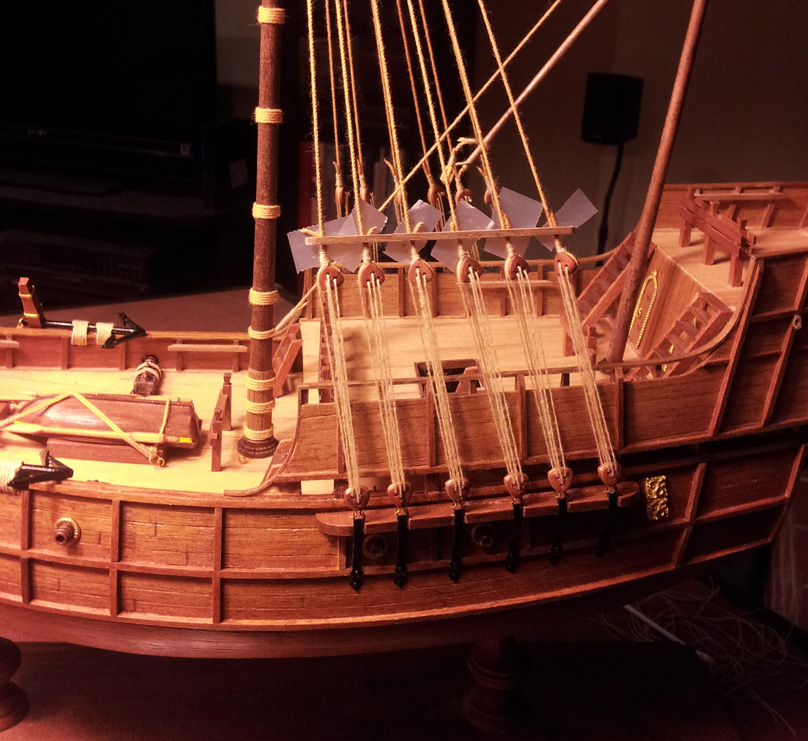
I don't have belaying pins no. The pins are for fastening the loose end of the rope though aren't they? From what I can see on my model I need to tie the rope on to the horizontal piece, then loop it through the dead eye, and then reattach it to the horizontal piece.
So when I initially attach it I assume I need to knot it on... is there a specific kind of technique for this?
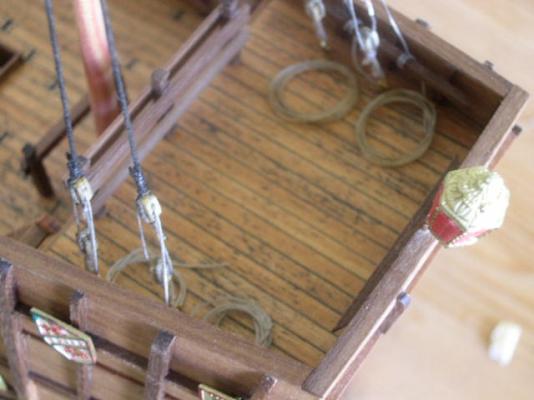
The instructions aren't very clear for this part. For the rest of the model the rope is fastened to a ring on the ground as shown in this picture. I'm 90% sure though that for this dead eye I don't use one of those rings and I'm supposed to fasten it to the horizontal piece... does that seem right?
-
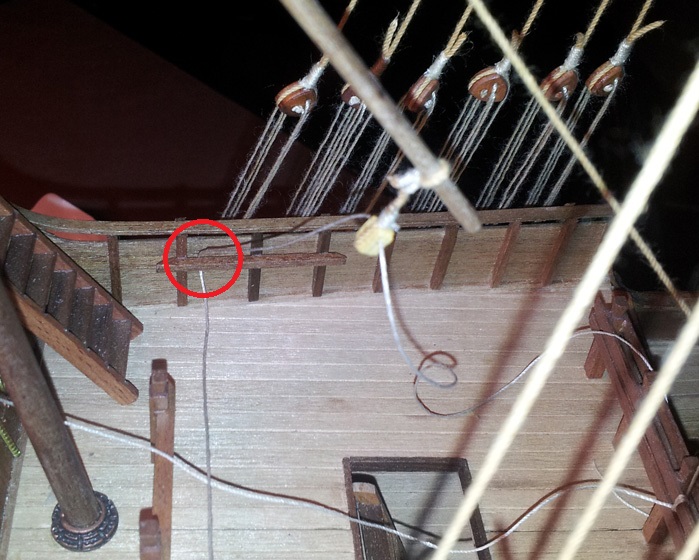
Another question... what type of knot do I use to fasten this rope to the side of the ship (not sure what that piece is called)?
-
Maybe I'm using my sausage fingers for reference. I couldn't wrap a line around my pinky and have it to scale

Ah yes that reminds me... how do we know how big to make the coils? I was just gonna make them a size I thought looked good. How should I determine they're diameter?
Mk,
Have a look at my Sherbourne log, the link to it is in my signature. Specifically the best views of coils are on page 3, post No. 40; page 5, post 68; page 8, post 113; page 9, post 132; and page 10, post 143.
Thanks!
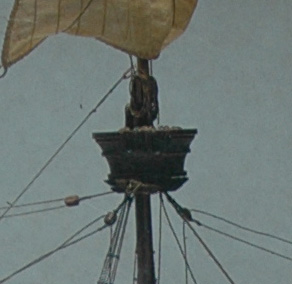
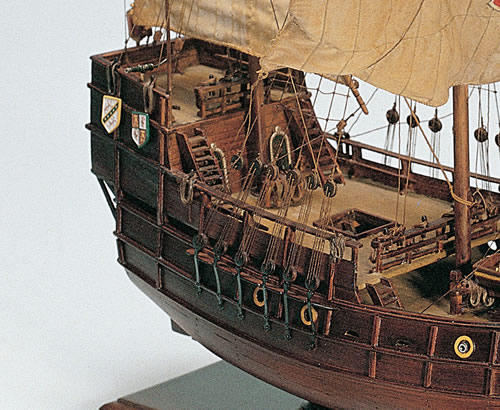
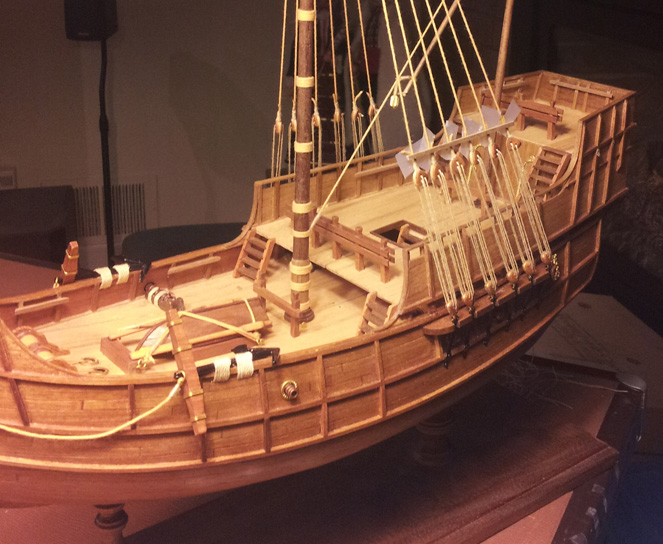
Also, is it normal to hang rope coils over the railing without a belaying pin (my ship doesn't have any)? There's one narrow deck and the front of my ship which will have several rope coils in it and I'm not sure there's enough room on the deck. The pic below is from the box cover with the coils hanging over the railing, however belaying pins are used. I was thinking of doing the same without the pins.
Also, in the picture I posted above (post #35) I'll need to put the coils somewhere, and I don't see where to put them other than hanging over the edge of the bucket (or whatever it's called lol).

-
Cool thanks so much for the detailed replies both of you
.Tar... any chance you could post a picture of one of your coils?
If you wrap it around your finger, the coils will start out way too big. That's why I used a pin when making my coils.
I'm confused... you said before that you were going for coils that looked like the ones I posted, but those are the same diameter from start to finish. So how would it be too big at the start?
-
Mkmossop,
I did the Flemish coils for my gun rigging on my Badger using the technique of coiling the line around a pin on top of painters tape, but thought they looked a little too neat. For the remaining coils, I decided to have coils that looked more like yours. What I did was again use painters tape, this time wrapping the line around a pin, putting diluted PVA on the line, and in one motion, pull the pin and put another piece of painters tape on top -- essentially, as you pull the pin the line loosens and gets messy, but by putting the second piece of painters tape on top, you help freeze the coil in position. I then wait a while for the glue to dry, remove the tape and you have your coil. Now, the coils come out randomly that way, and some you'll end up throwing out, but to me I preferred the result to the Flemish coils.
Thanks for the reply. What about just making coils by wrapping them around my finger or something and then dipping the whole thing in water/glue? Seems like that would work.
Also is there any general guide on the diameter of these? Not sure how big I'm supposed to make them.
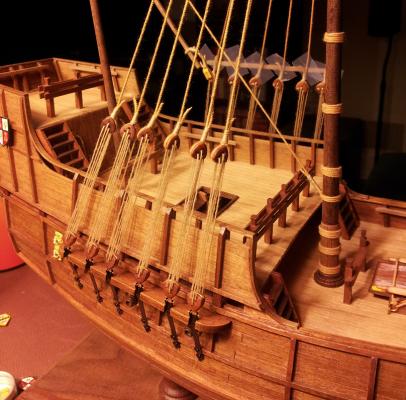
Also should every rope that's tied off have a coil, or can you just tie and cut some? This picture is of the same model as mine, and here the guy who made this has just tied the rope off. If I were gonna make coils would I just hang them over the edge of the bucket (or whatever it's called)? Or is that not done?
-
What if I wanna make a rope coil that looks like this? I read that you can dip the coil in 50/50 wood glue/water and then let the coil hold its shape. Has anyone tried this?
I guess I would form the coil, tie it on, and then rig the rope with a portion I didn't soak in glue?
-
Cool thanks! I'll do them as I did above then.
-
Cool thanks both for your help... not sure which method I'll use.
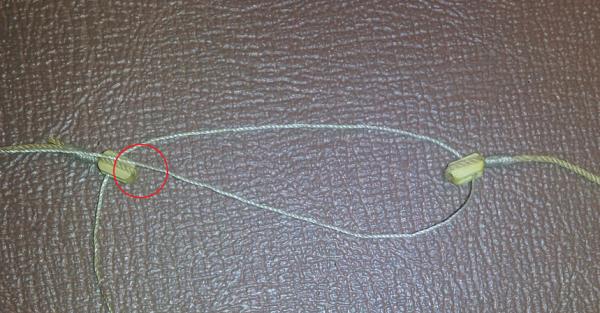
I tried something else myself based on how it looks in the other model pictures I've seen. I threaded the thinner rope beneath the thicker one and then fastened it. Is this an actual technique for this or just something I made up?
-
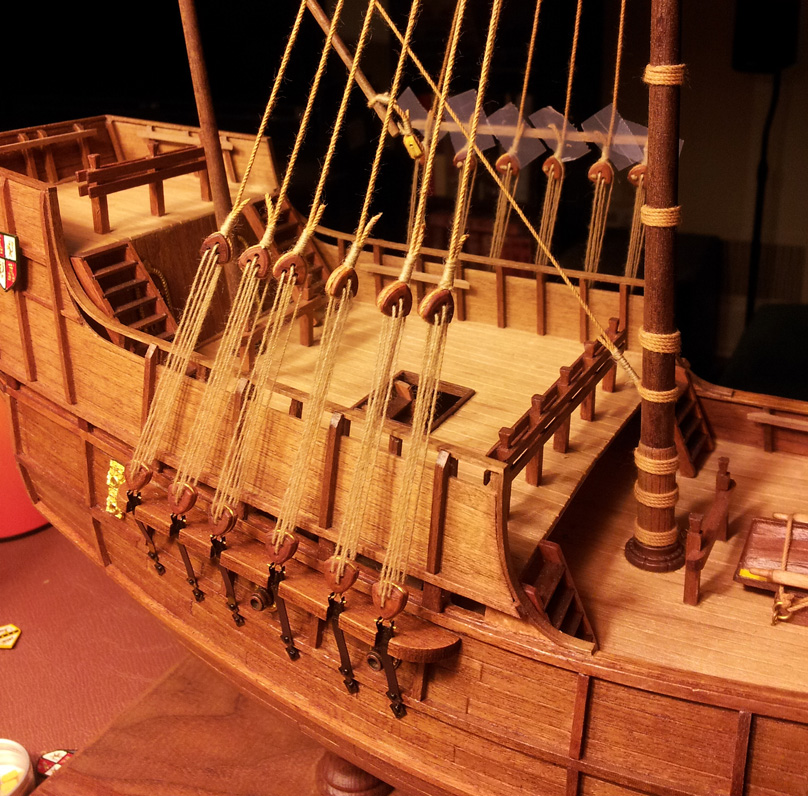
Need a bit more help...
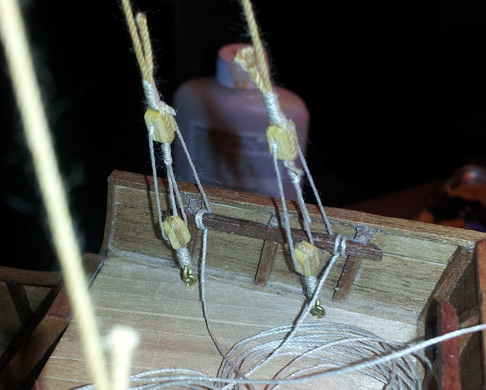
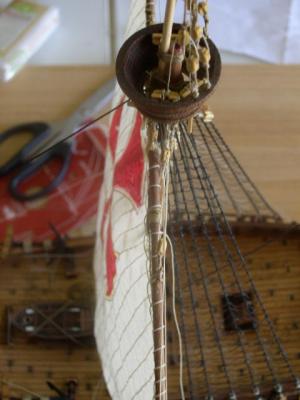
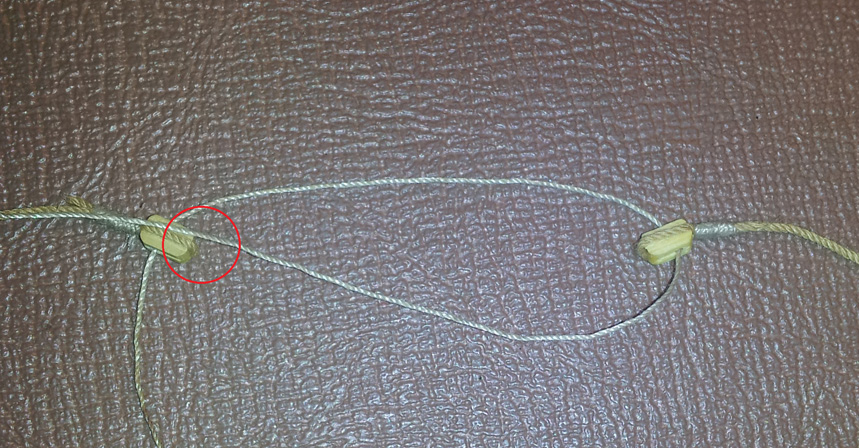
How do I attach the smaller rope in this picture to the wooden deadeye (where it's circled in red)? Do I thread it below the thicker rope and then tie a rope around it to secure it as I've done to attach the thicker rope to the deadeye? The instruction manual for this ship is very undetailed.
Second pic shows what I'm talking about.
-
have the spacer in place when you start doing your ratlines, and make sure the dead-eyses are facing front. The combined ratlines will make it less easier for the shouds/dedeyse to twist.
Jan
Thanks good idea. I'll try this and hopefully I can get them fairly even. I actually asked this question a while ago in another thread and someone mentioned putting some glue on the rope above the deadeye and twisting it... not sure how it would work but I'll do a test.
Your model looks very clean and nicely built so well done. Let's have a picture of her in the gallery when you have finished.Thanks
. I worked very hard on trying to keep it clean. -
Ok thanks for your help
.Would there be any way to space the shrouds slightly further apart and twist the deadeyes so they're all facing the same direction without using a spacer?
-
I'm not too concerned about historical accuracy... I'm going more for just aesthetic appeal.
And ya I know they're really far apart and I wish I had made them a bit closer, but they took me a long time to do and I really don't want to redo them. Also on the cover on the box they're the same distance apart (pic below is box cover).

-
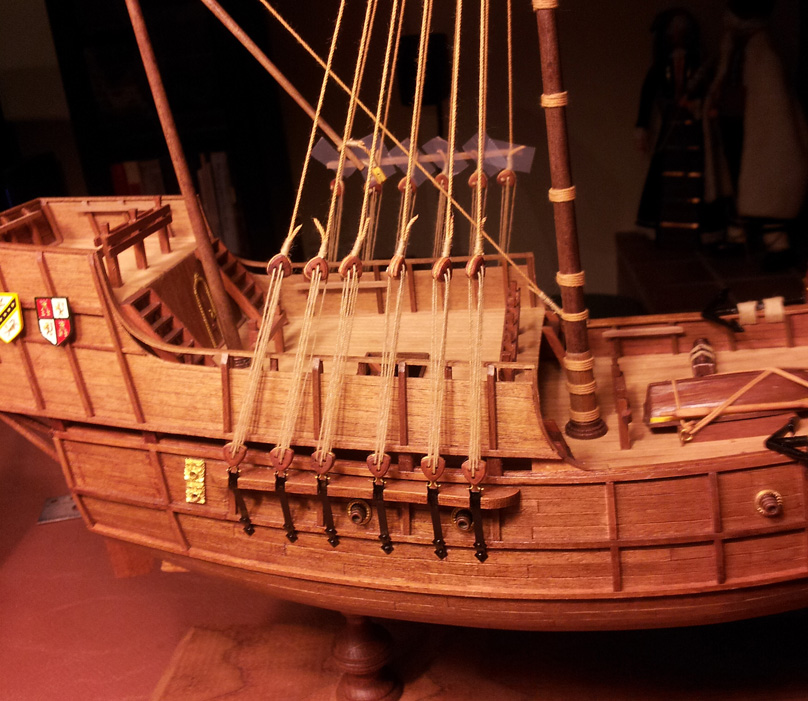
I'm having trouble deciding whether I should place a piece of wood across the shrouds. Anyone have any opinion based on the pics below? I just taped one on to see how it would look.
I'm leaning towards yes because it would help me space the shrouds slightly further apart, and it would also help me to twist all the deadeyes so they're at the same angle. I'm not sure I like how it looks though.


-
Thanks for all the replies! I think I'll get some of Floyd's stuff.
-
Ok so this is a very specific silly question, but I'm very anal about how my boat looks.
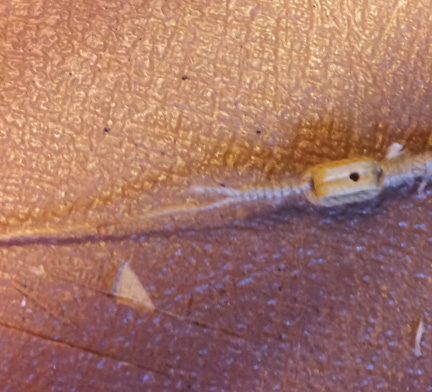
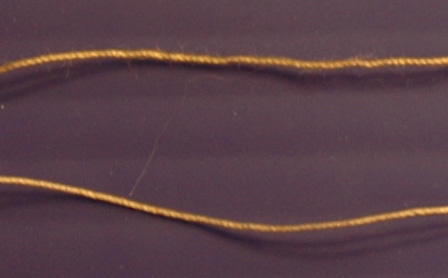
The rigging line that came with my boat is very rustic looking... it's nice and soft and has tiny bits of thread coming off of it. I ran out of it and bought some new line from Amati (same people who made my boat), but I don't like the look of it... it's very clean and new looking, and a bit stiff.
I've attached a pic of the two threads below... the one I like is the top one. I know this probably seems ridiculous seeing as they look almost identical in the picture, but there's a bigger difference in person.
Anyway, I'm just wondering where I might be able to get some of the rustic looking thread?
-


Help Rigging Santa Maria
in Masting, rigging and sails
Posted
Interesting... thanks for the help!